Honda VTX 1800 Charging System Troubleshooting
Finding a Honda VTX 1800's battery dead whenever you try to start it up is a sure sign of problems with the charging system.
Usually you only need to look at three parts of the charging system to find the cause: the battery, the stator and the regulator/rectifier. Watch the video above and follow the steps below to test the charging system of a Honda VTX1800 motorcycle.
Tools and Parts - Honda VTX1800 Charging System Testing
- Ratchet
- 5mm, 6mm Allens
- Screwdriver
- Multimeter
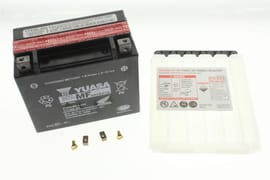
VTX 1800 Charging System Test #1: Static Battery
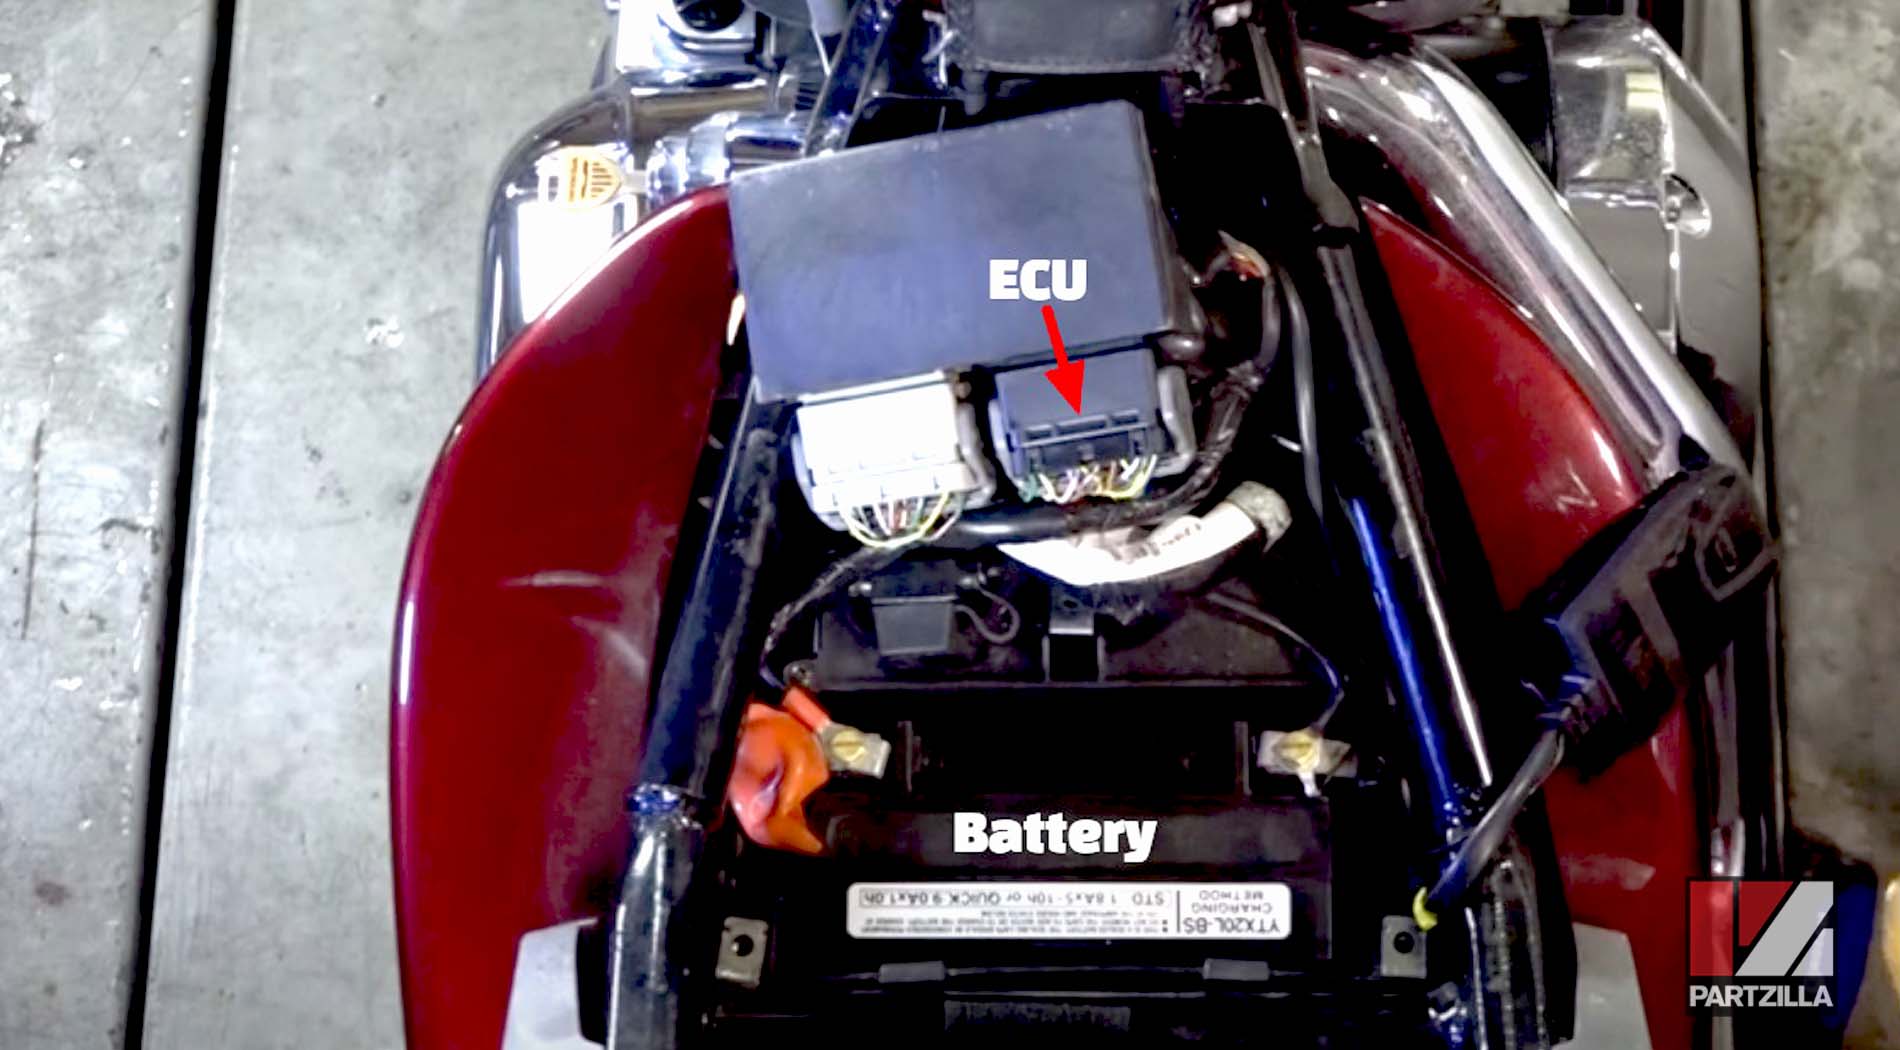
First, you'll need to access the battery. Remove the seat by taking off the 6mm bolts just above the rear shock absorbers on each side. Next, remove the battery holder that's held in place by three Phillips screws. Lift the ECU out of the way and remove the battery cover.
PRO TIP: Don't disconnect the ECU, because the wiring connectors wear out each time they're disconnected and reconnected.
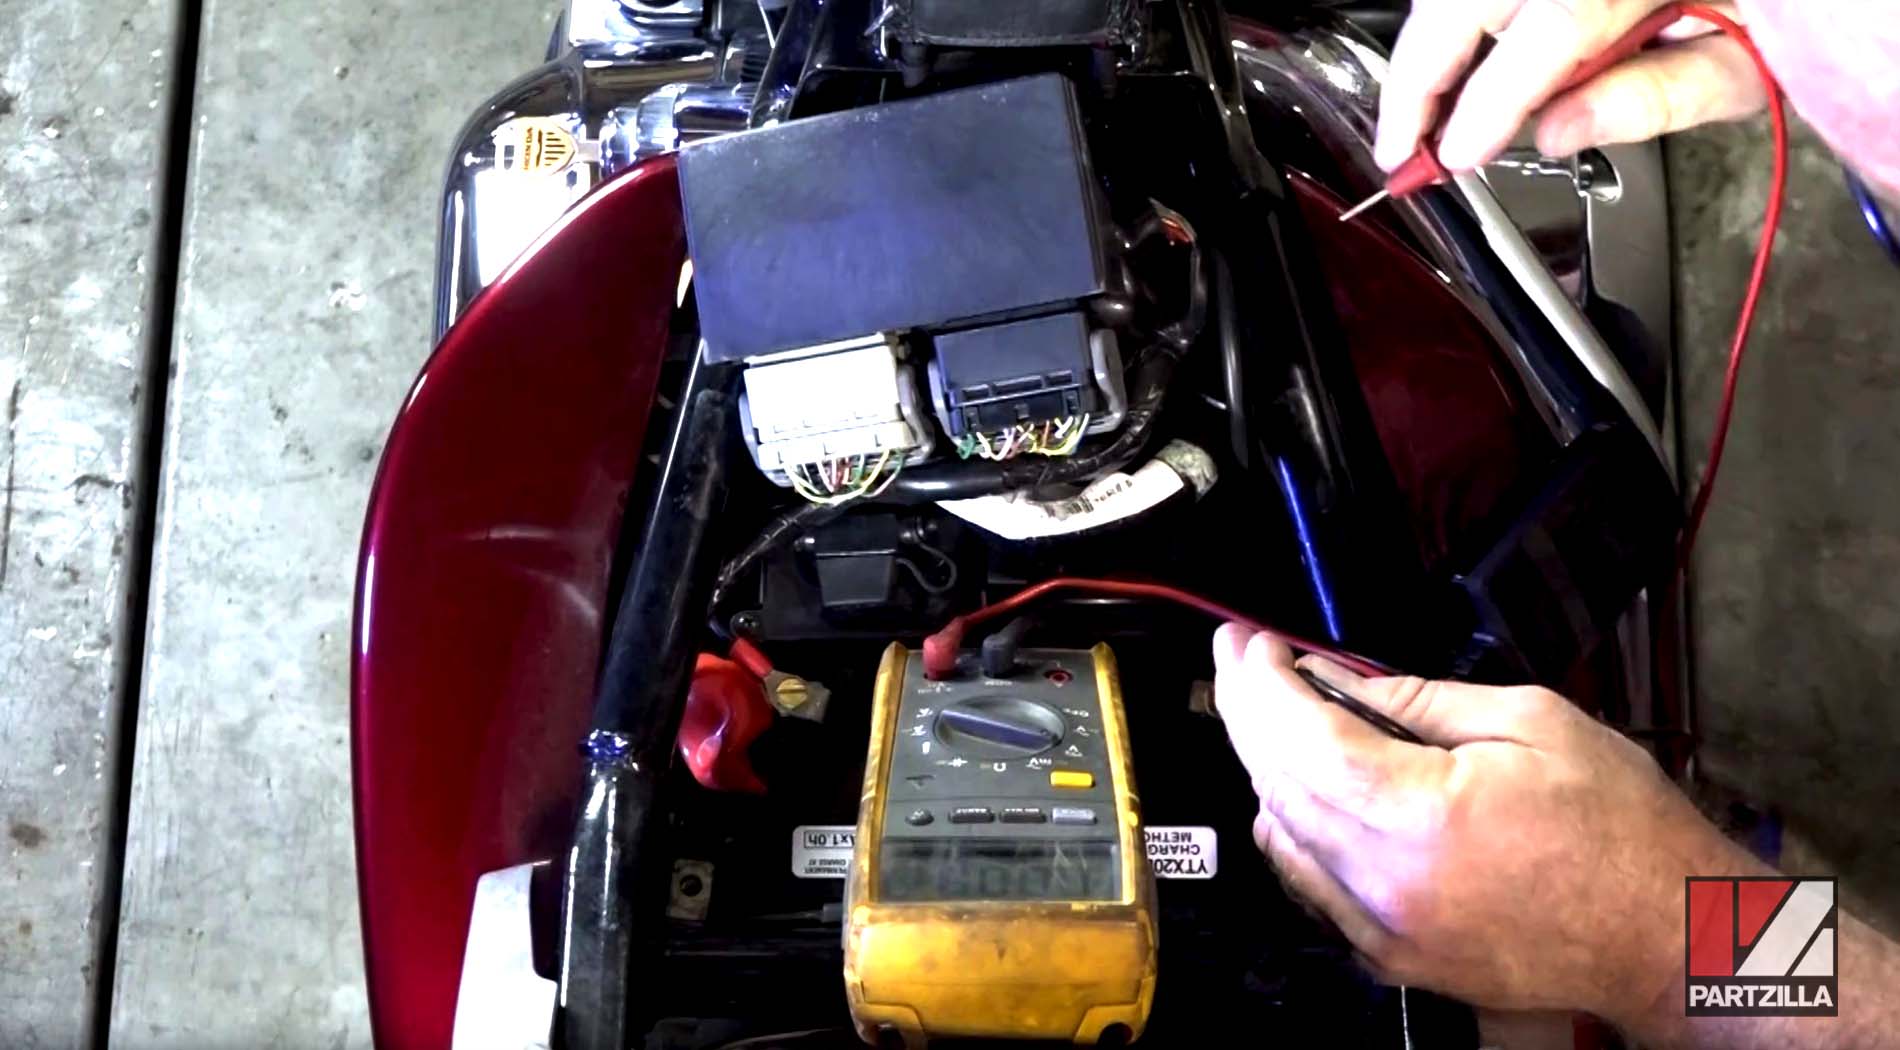
Test the battery's voltage by setting your multimeter to DC volts, and connecting it to the positive and negative terminals of the battery, with the ignition off. A healthy, fully charged battery should read between 12.5 volts and 13 volts. If you know the battery is charged but the voltage reading is below 12 volts, it needs to be replaced.
VTX 1800 Charging System Test #2: Active Battery
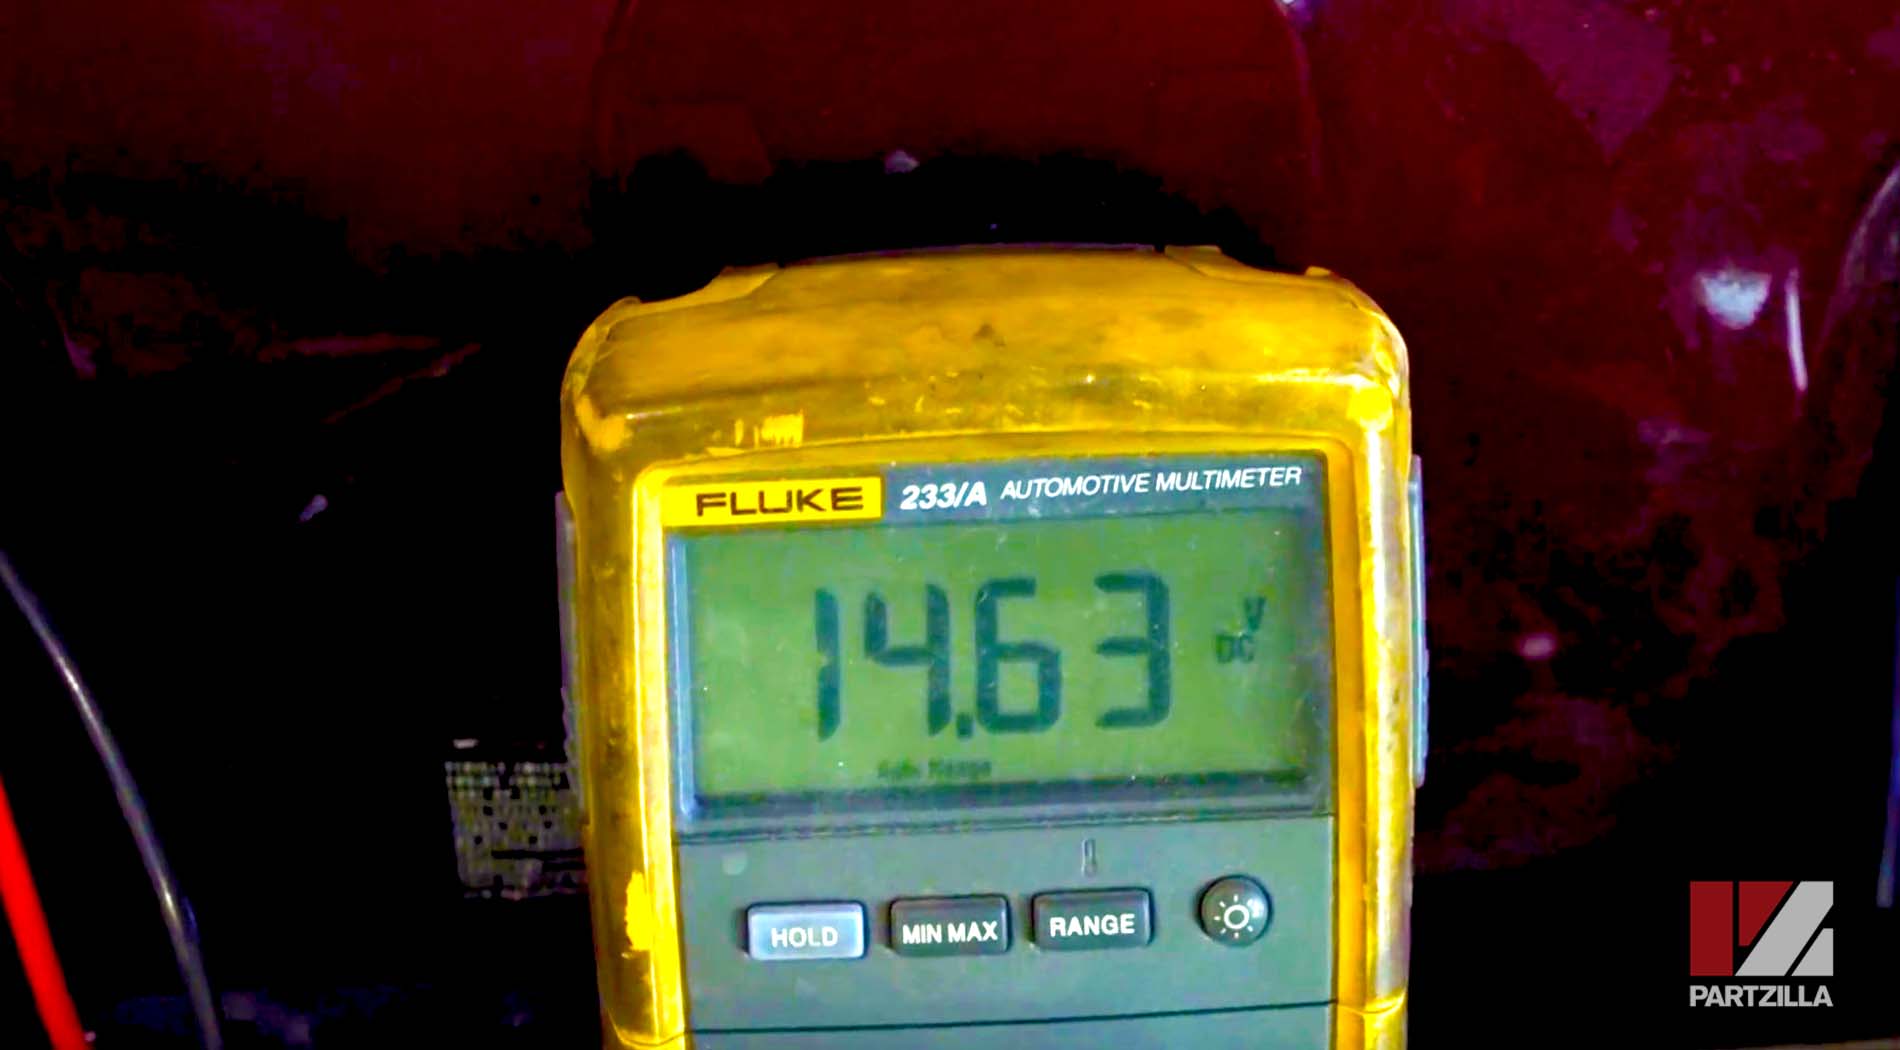
Repeat the static test, but this time with the ignition turned on and the motor running at about 4000 RPM. This reading should increase from the initial static reading, but not exceed 15.5 volts. If the reading is the same as or lower than the initial static reading, the problem with your VTX's charging system is either the stator or the regulator/rectifier
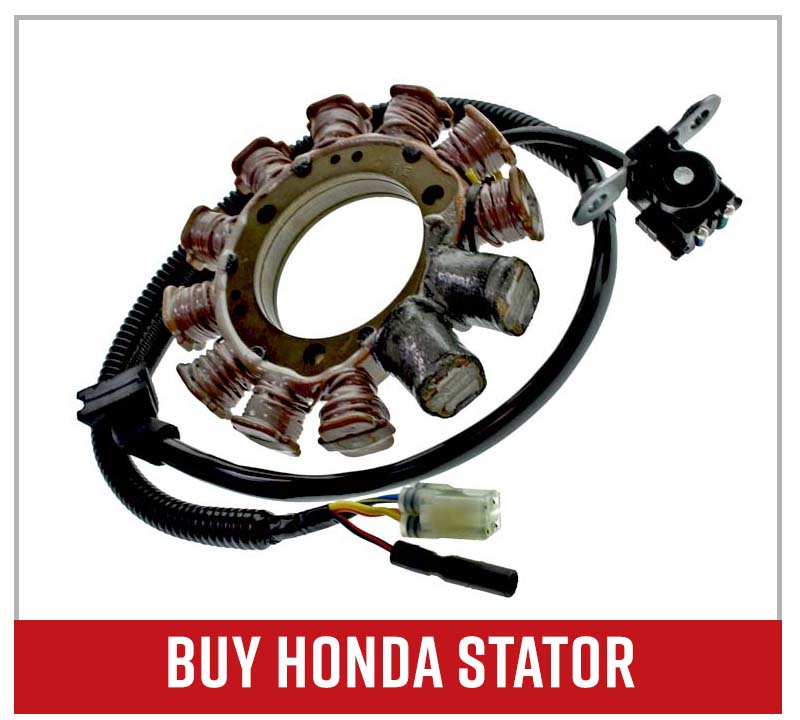
VTX 1800 Charging System Test #3: Stator ohms
Remove the left lower rear engine cover to access the stator wires by taking out the seven 5mm Allen bolts, and removing the left side cover by unclipping it. Disconnect the 3-wire connector that runs to the stator.
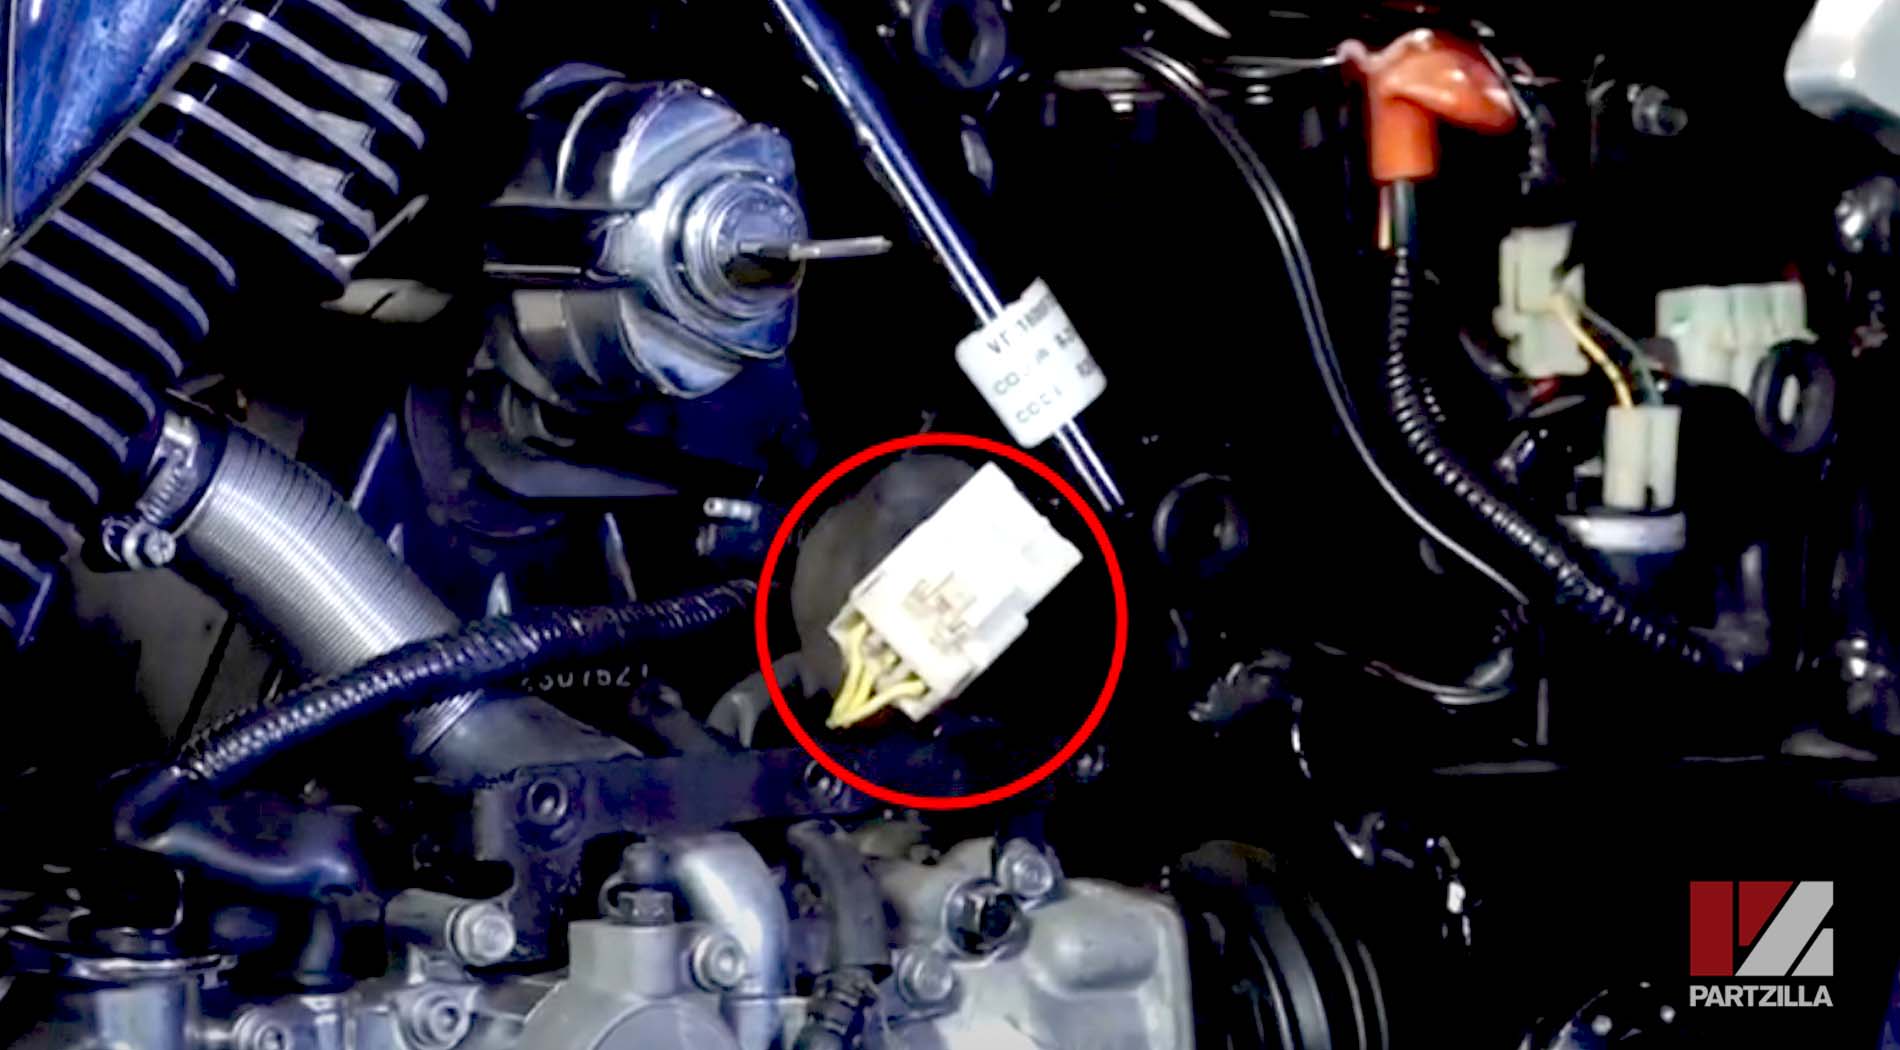
Set your multimeter to ohms and take readings between all three terminals in the 3-wire connector (1 and 2; 1 and 3; 2 and 3). Each reading should be between 0.1 ohms and 1 ohm. If any of the readings is 0 ohms, one of the stator coils has burned out and the stator must be replaced.
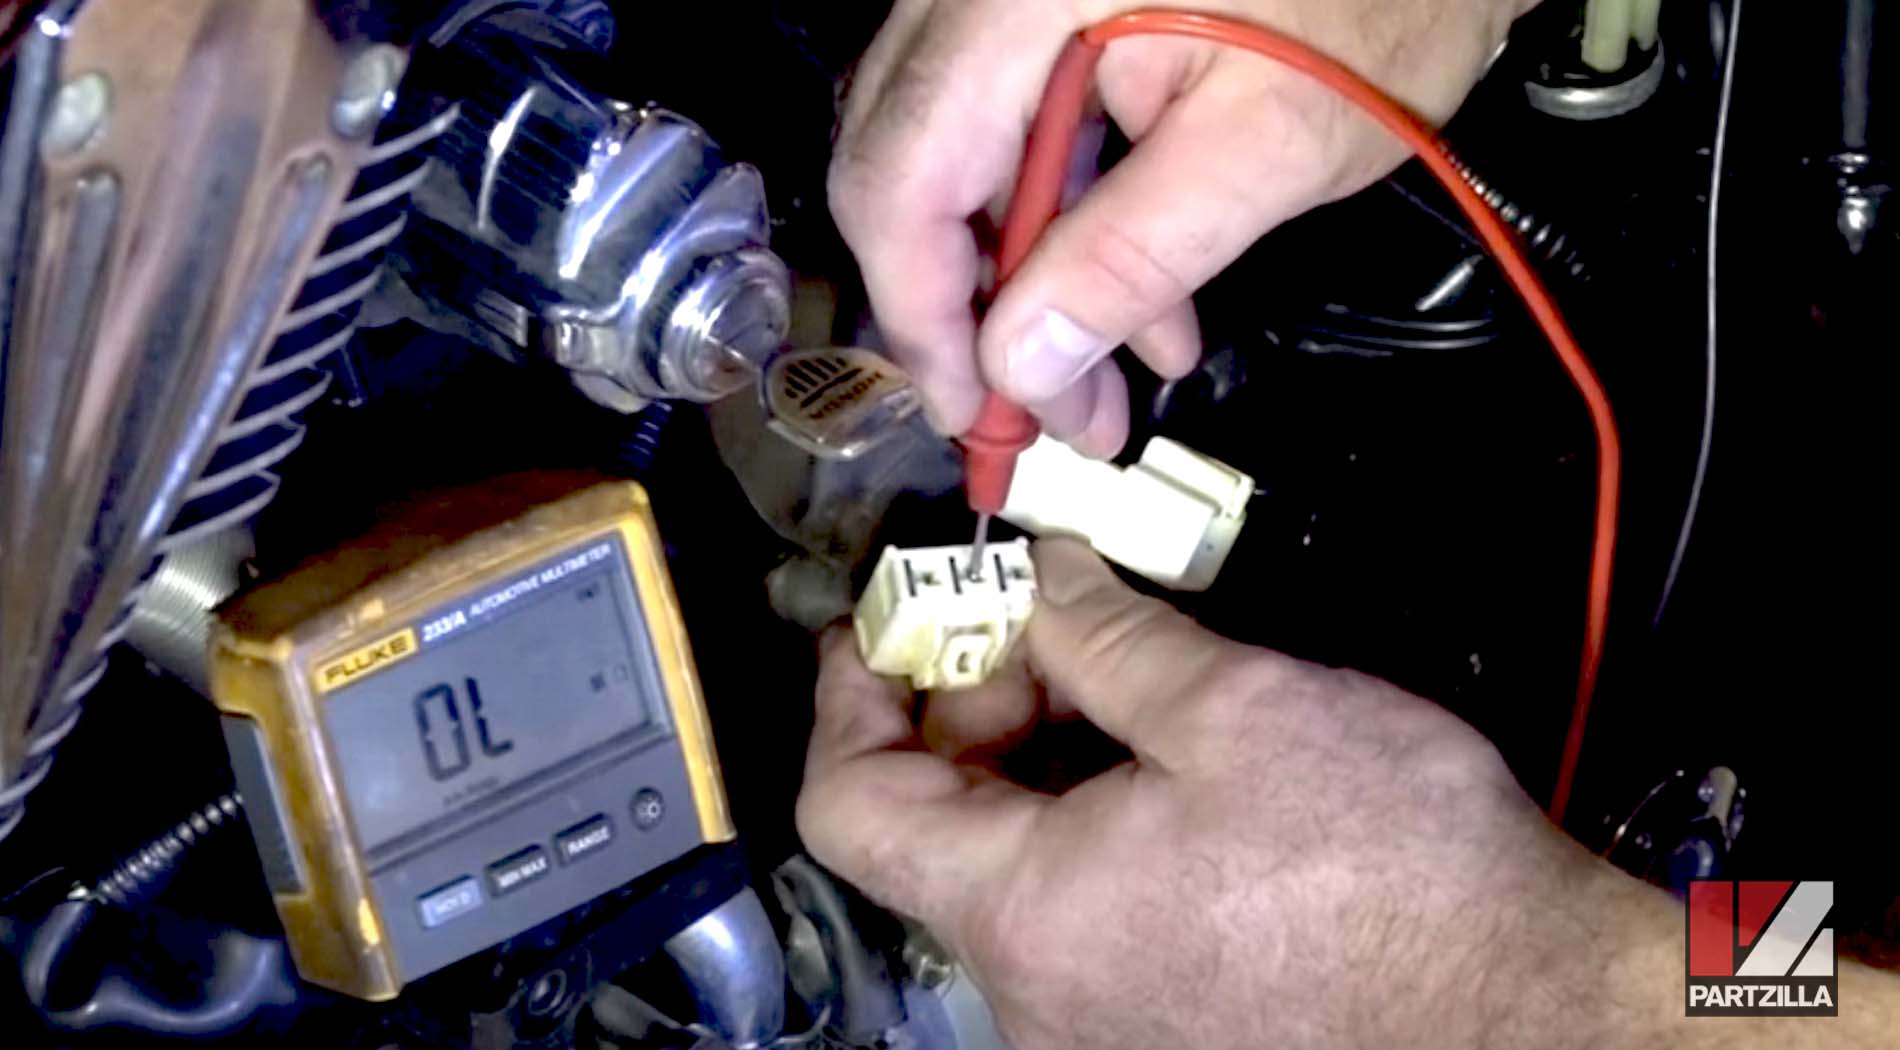
VTX 1800 Charging System Test #4: Stator Ground
Test that the stator isn't shorting to ground. Connect the ground lead of the multimeter to a ground source on your VTX 1800, and attach the positive lead to each of the terminals in the 3-wire connector individually. The reading should show an open circuit for each terminal. If any of the readings shows a closed circuit, the stator is faulty and must be replaced.
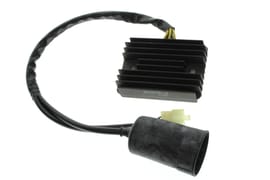
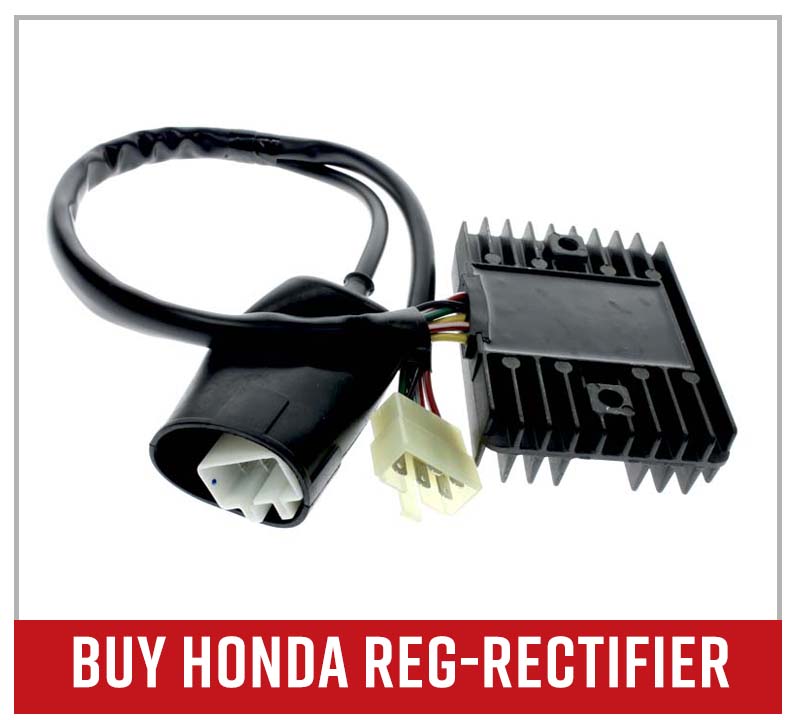
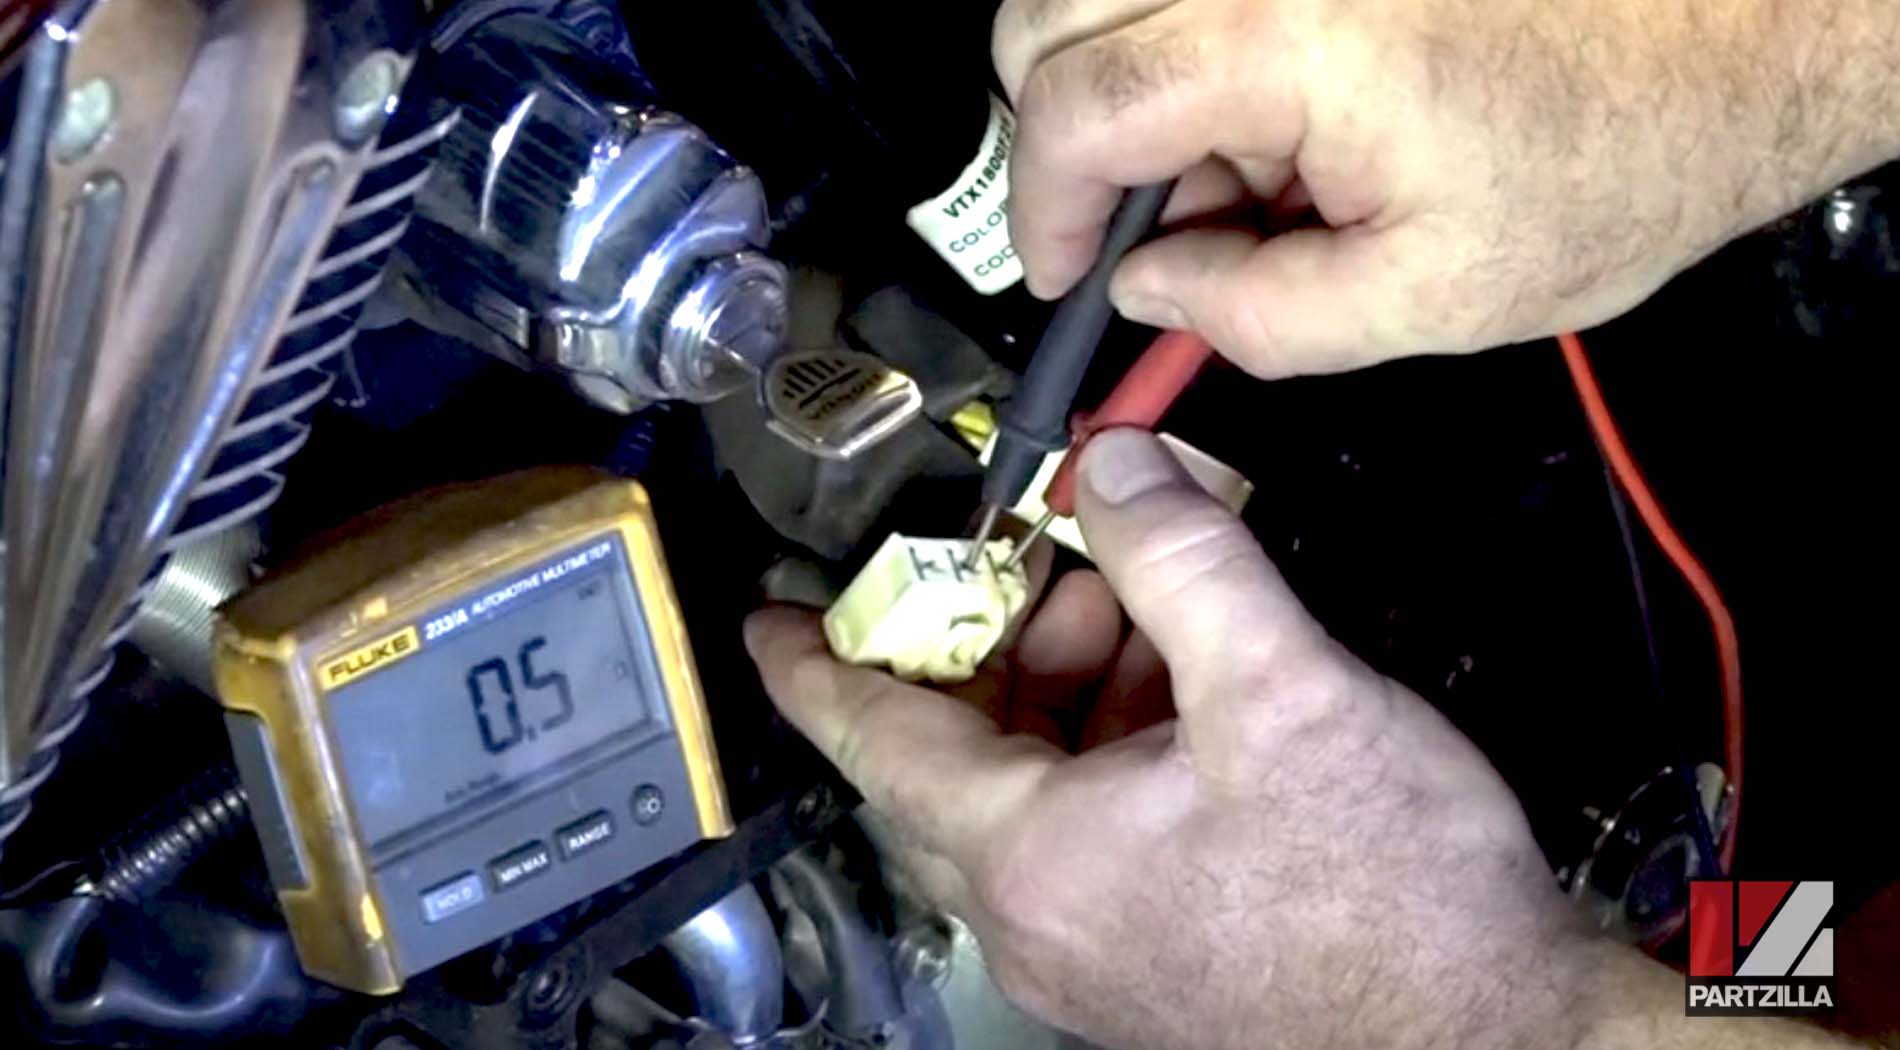
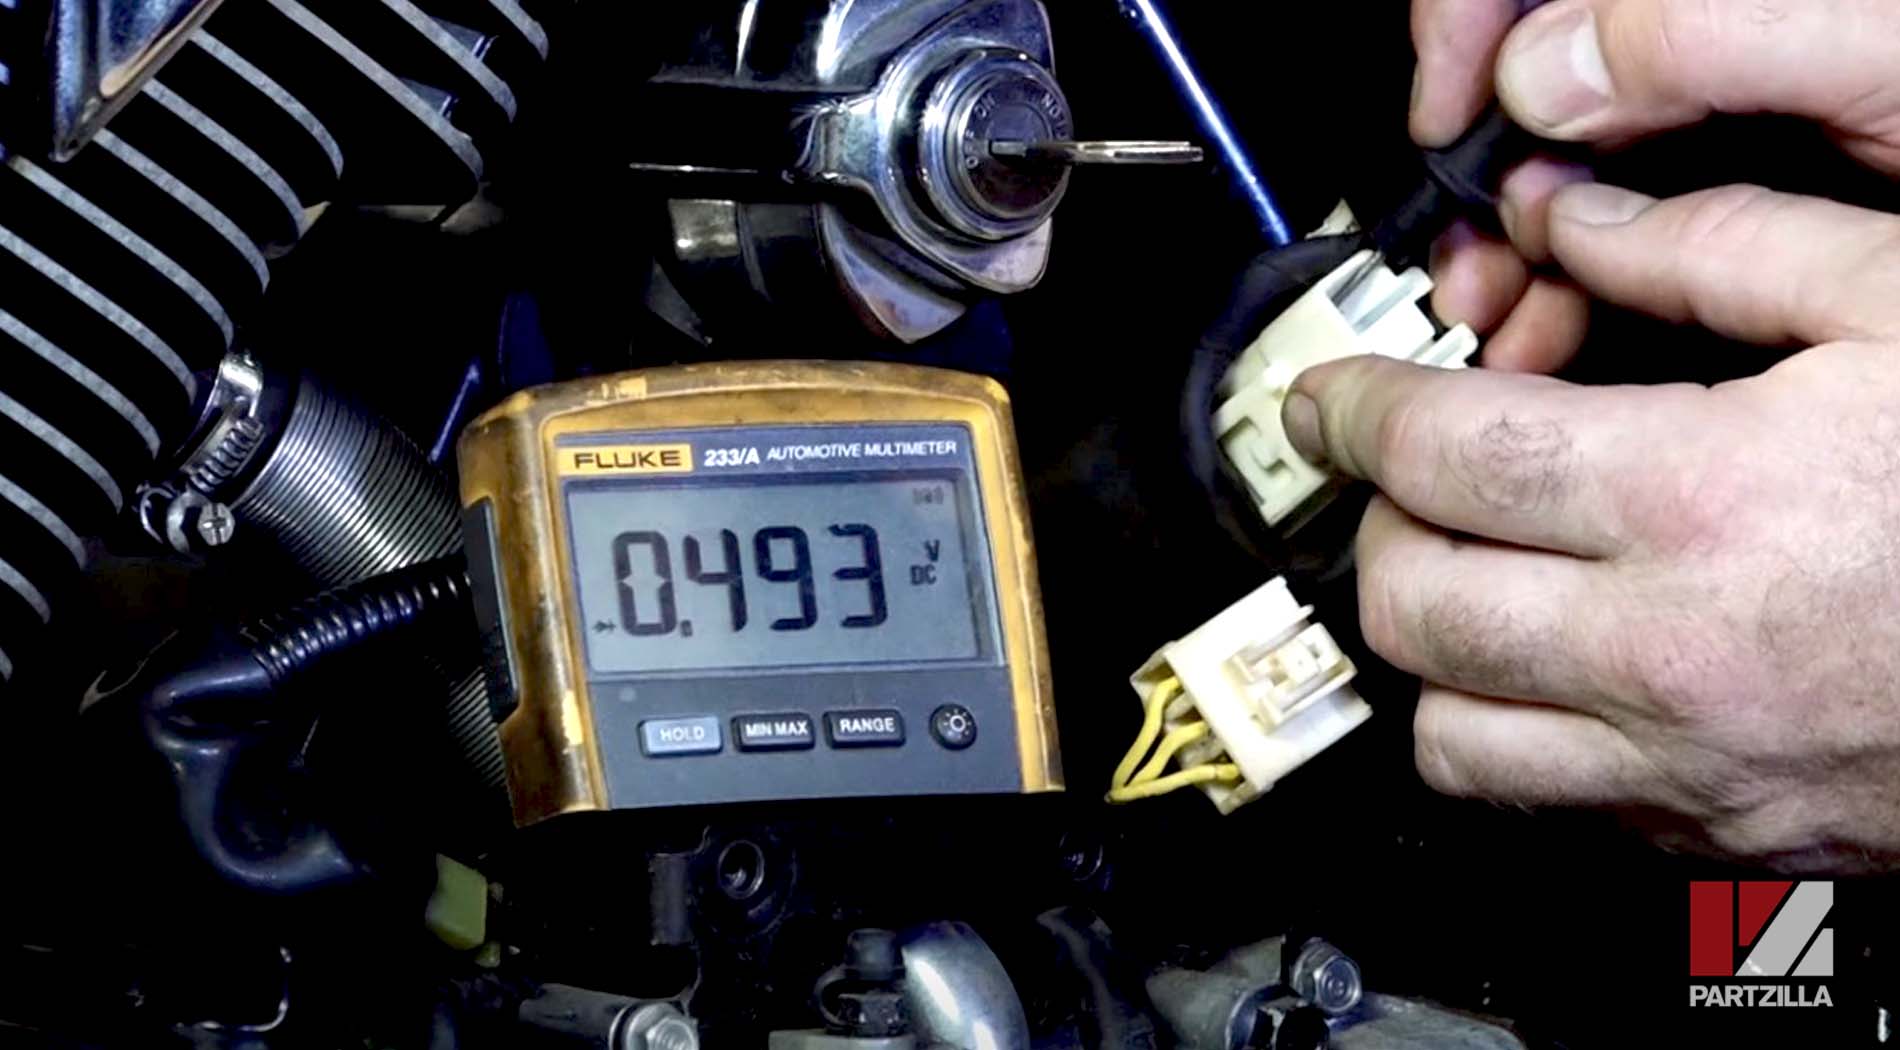
VTX 1800 Charging System Test #5: Regulator/Rectifier Diodes
The regulator/rectifier unit takes the AC voltage coming from the stator and converts it to DC voltage to charge the battery. Set the multimeter to Diode mode to test the diodes in the regulator/rectifier, and put the positive lead of the multimeter to the negative terminal of the battery. Take the side of the 3-wire connector that leads to the regulator/rectifier unit and put the negative lead of the multimeter on each of the three terminals individually. Each wire should read about 0.5 volts. Any other reading indicates that the regulator/rectifier unit is faulty and needs replacing.
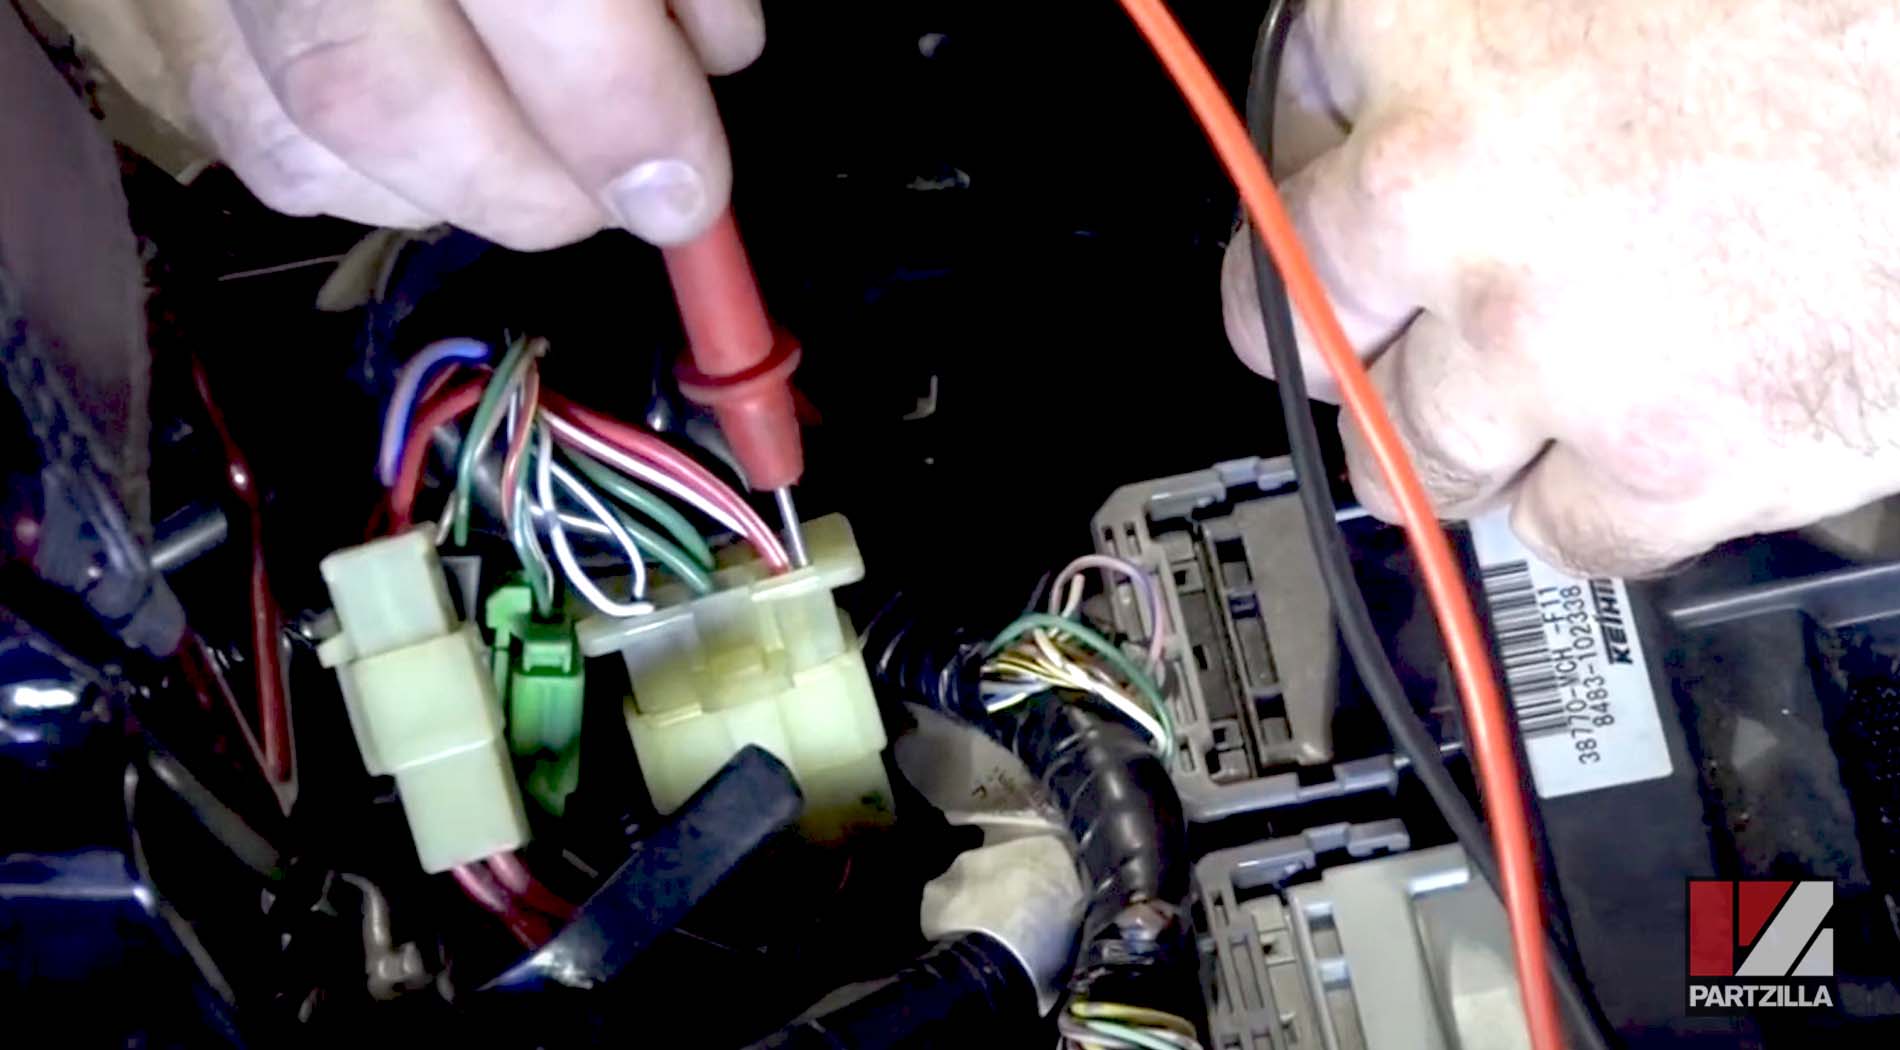
VTX 1800 Charging System Test #6: Regulator/Rectifier Wiring
Test the wires leading from the regulator/rectifier unit to the battery. There is a connector in front of the battery under the rear of the fuel tank. Test the two red wires with the white stripes and the two green wires at the connector. To test the red/white wires, set the multimeter to DC volts, and put the negative multimeter lead on the negative battery terminal and the positive lead to each red/white wire individually. The reading should be exactly the same as the static battery test reading. Put the positive multimeter lead on the negative battery terminal and the negative lead to each green wire individually to test the green wires. Each wire should read about 0.1 to 0.3 ohms. If you get readings outside these ranges, the problem is likely with the wiring.
If you ran all of these Honda VTX charging system tests but you're still having trouble with your motorcycle, watch the video below to find out how to troubleshoot "no start" conditions.