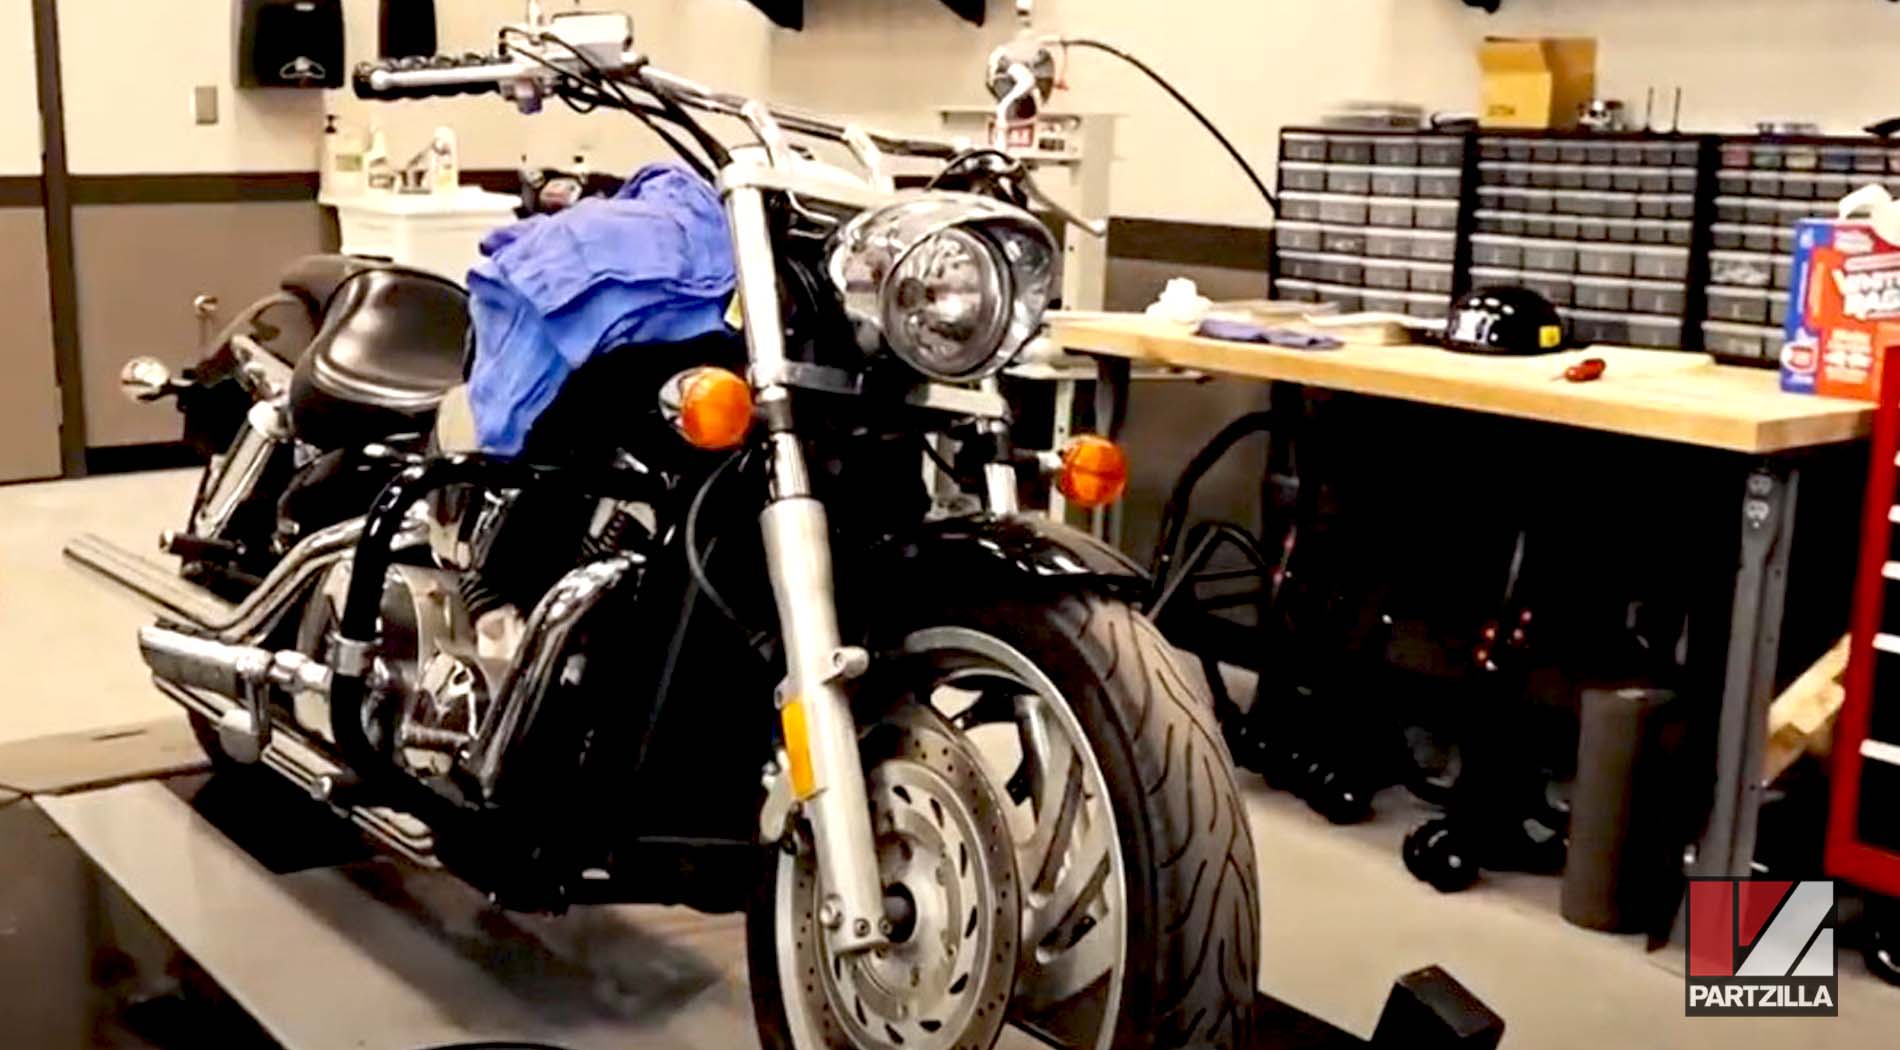
How to Bleed Honda VTX1300 Brakes
Bleeding the front barkes and rear brakes on a Honda motorcycle is a simple maintenance job that takes minutes to complete without the need for any special tools.
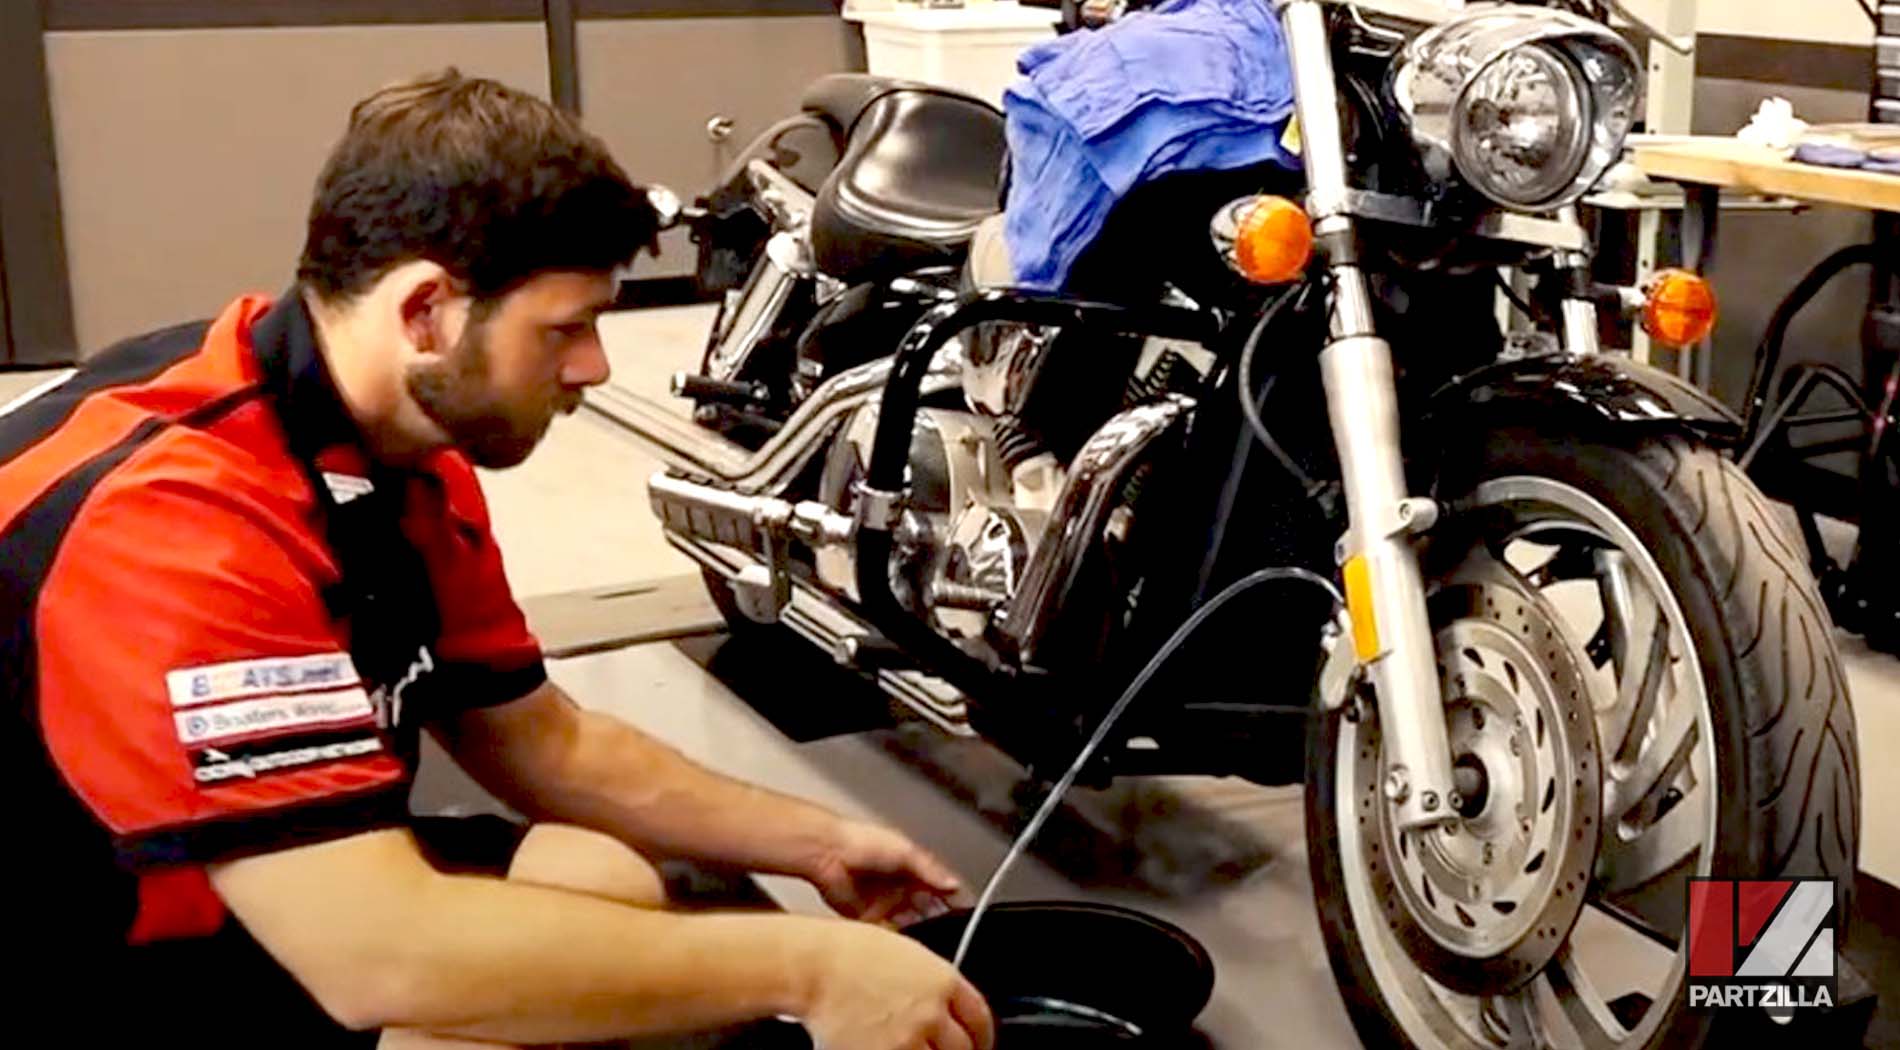
Watch the video above and follow the steps below to learn how to bleed the brakes on a Honda VTX1300.
Tools and Supplies – Honda VTX 1300 Brake Bleed
- 10mm wrench
- Screwdriver
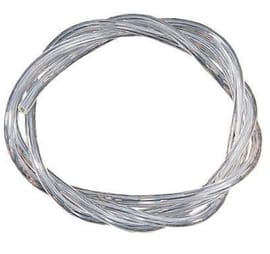
- 5/16” hose
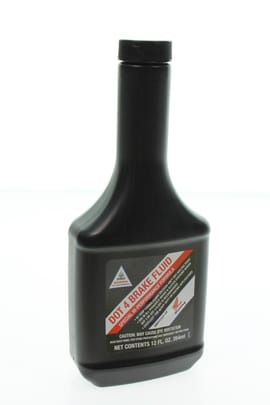
- Brake fluid
- Drain pan


How to Bleed Honda VTX1300 Front Brakes
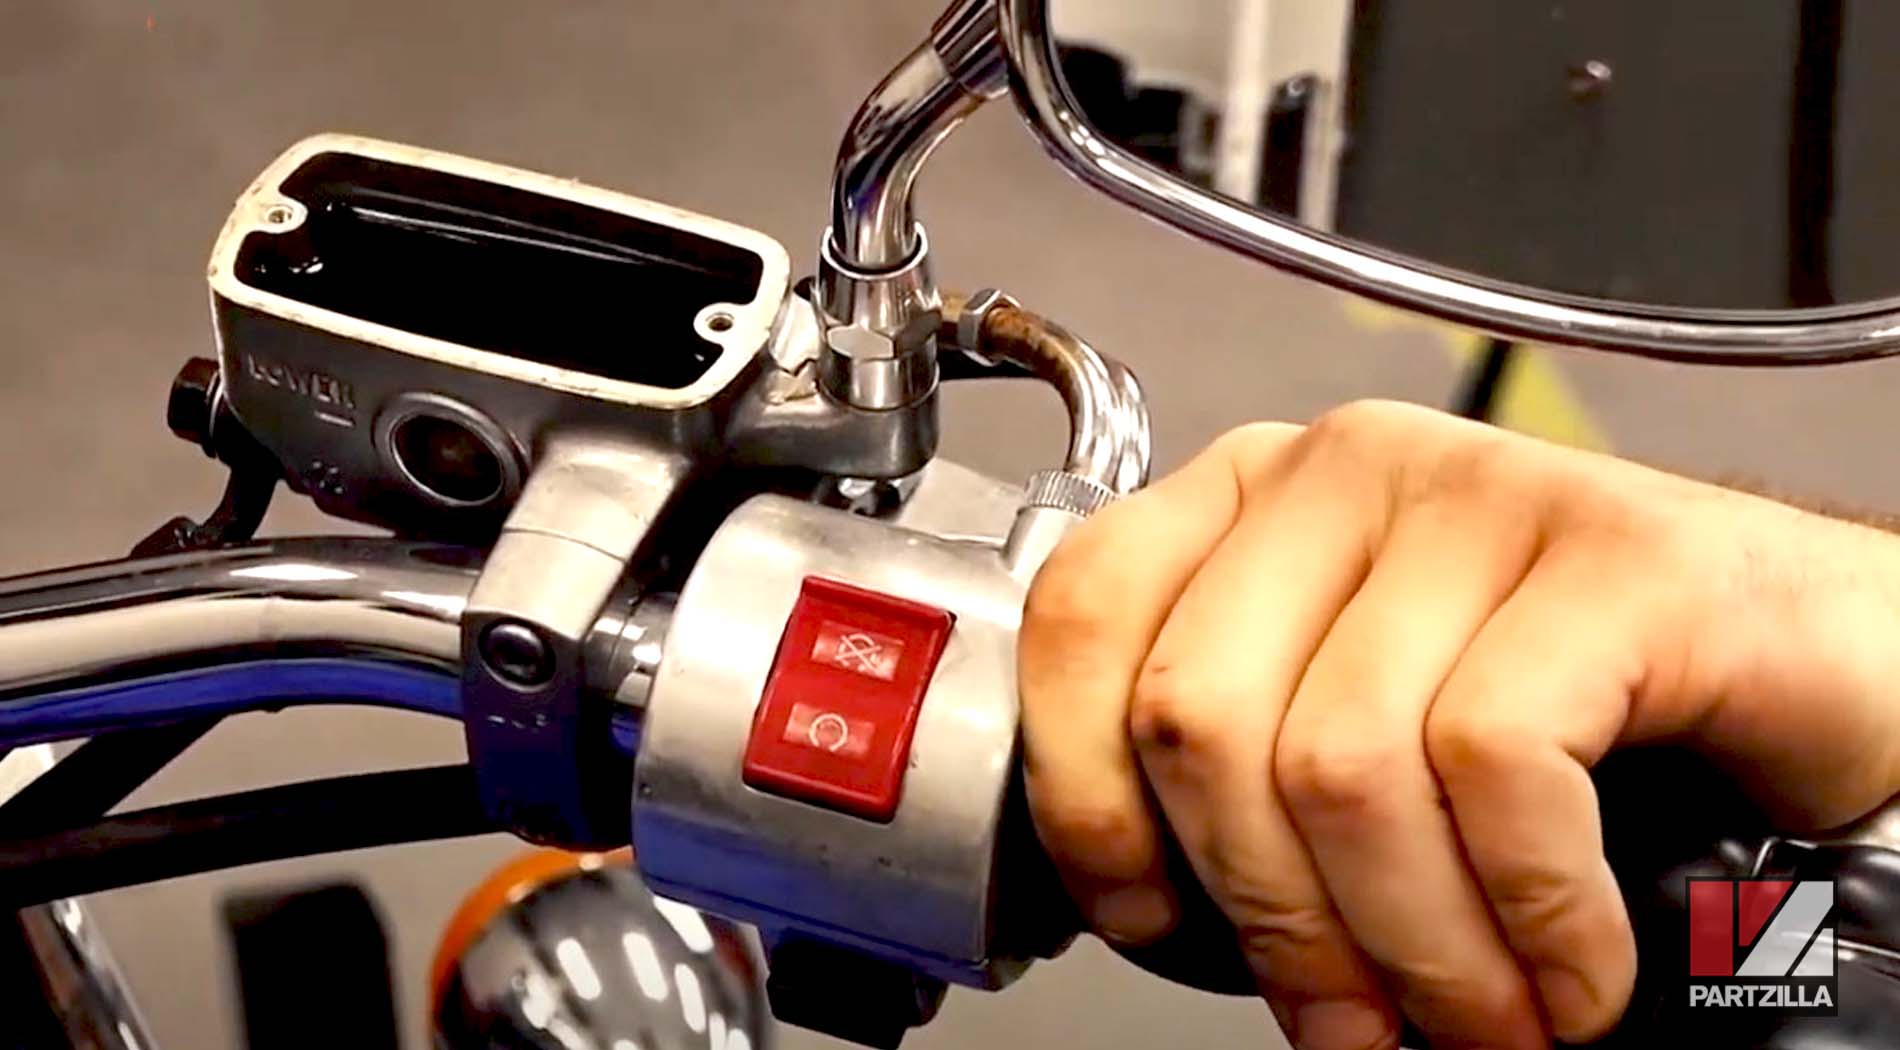
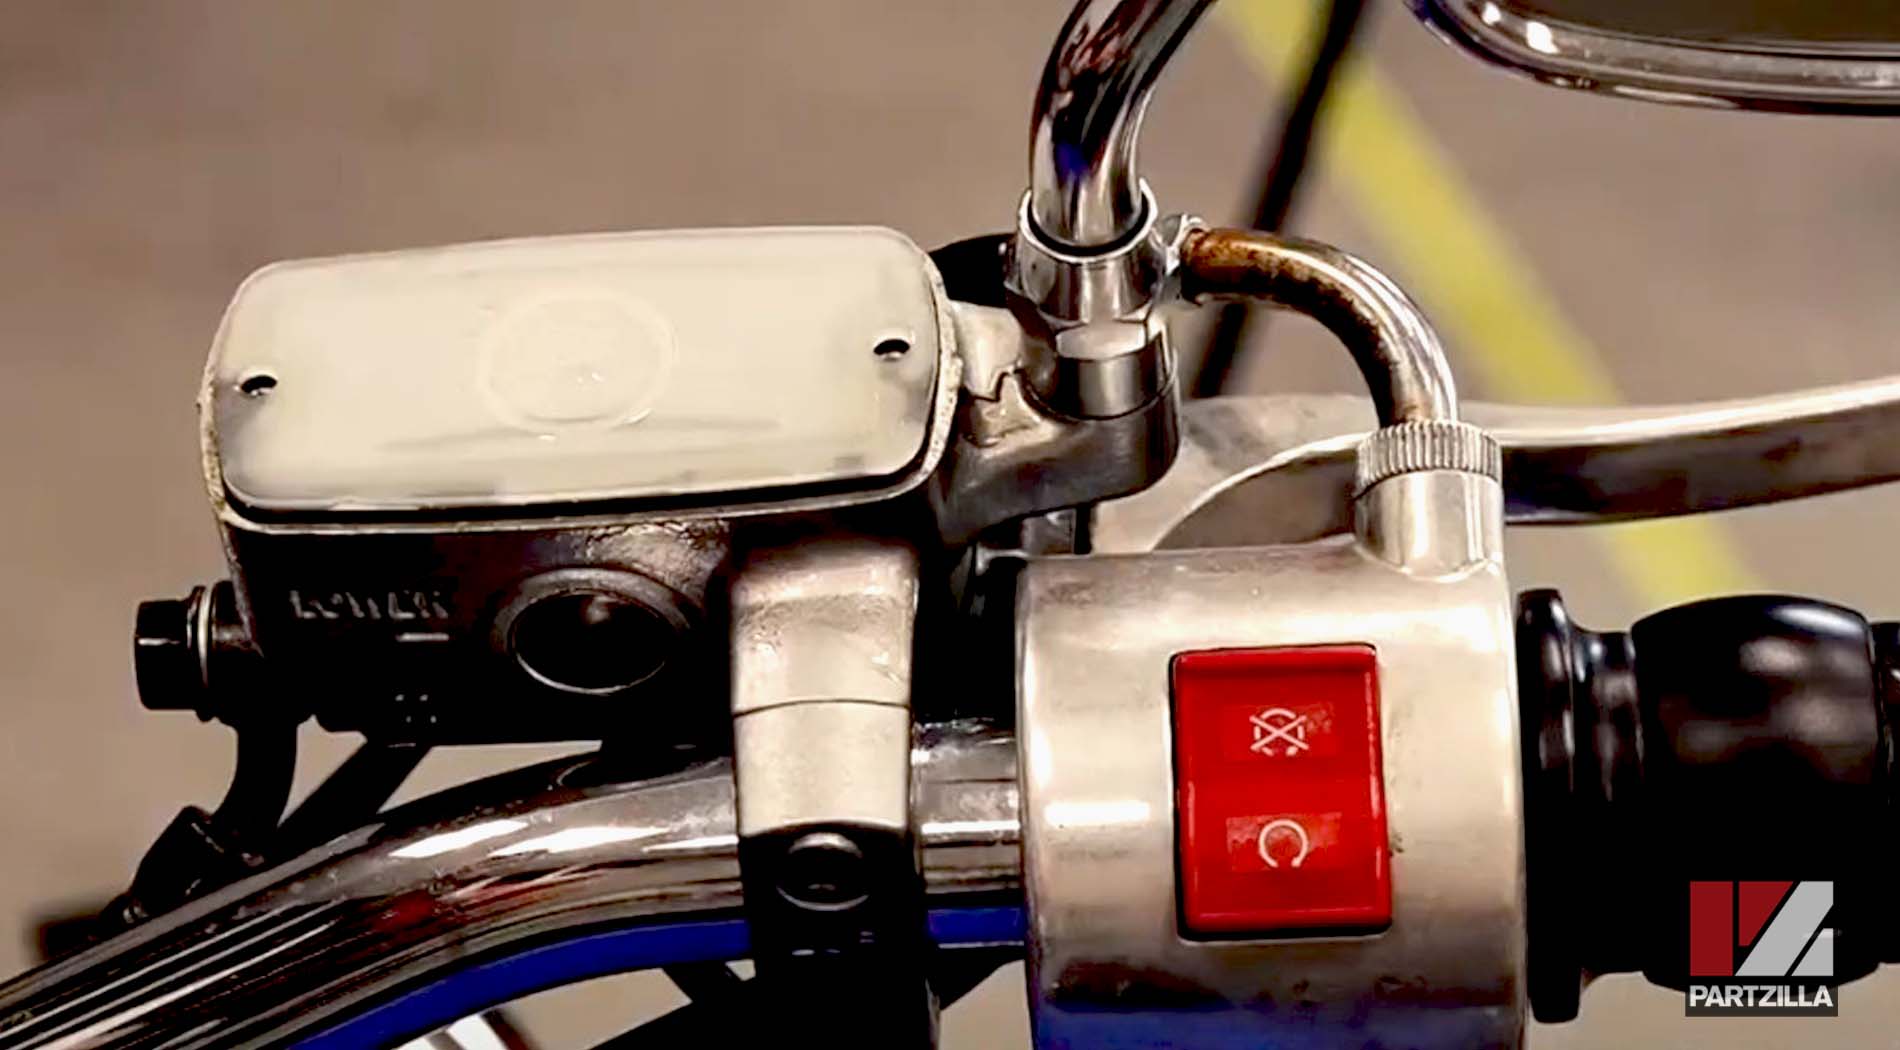
Step 1. Straighten the handlebars so the master cylinder is level.
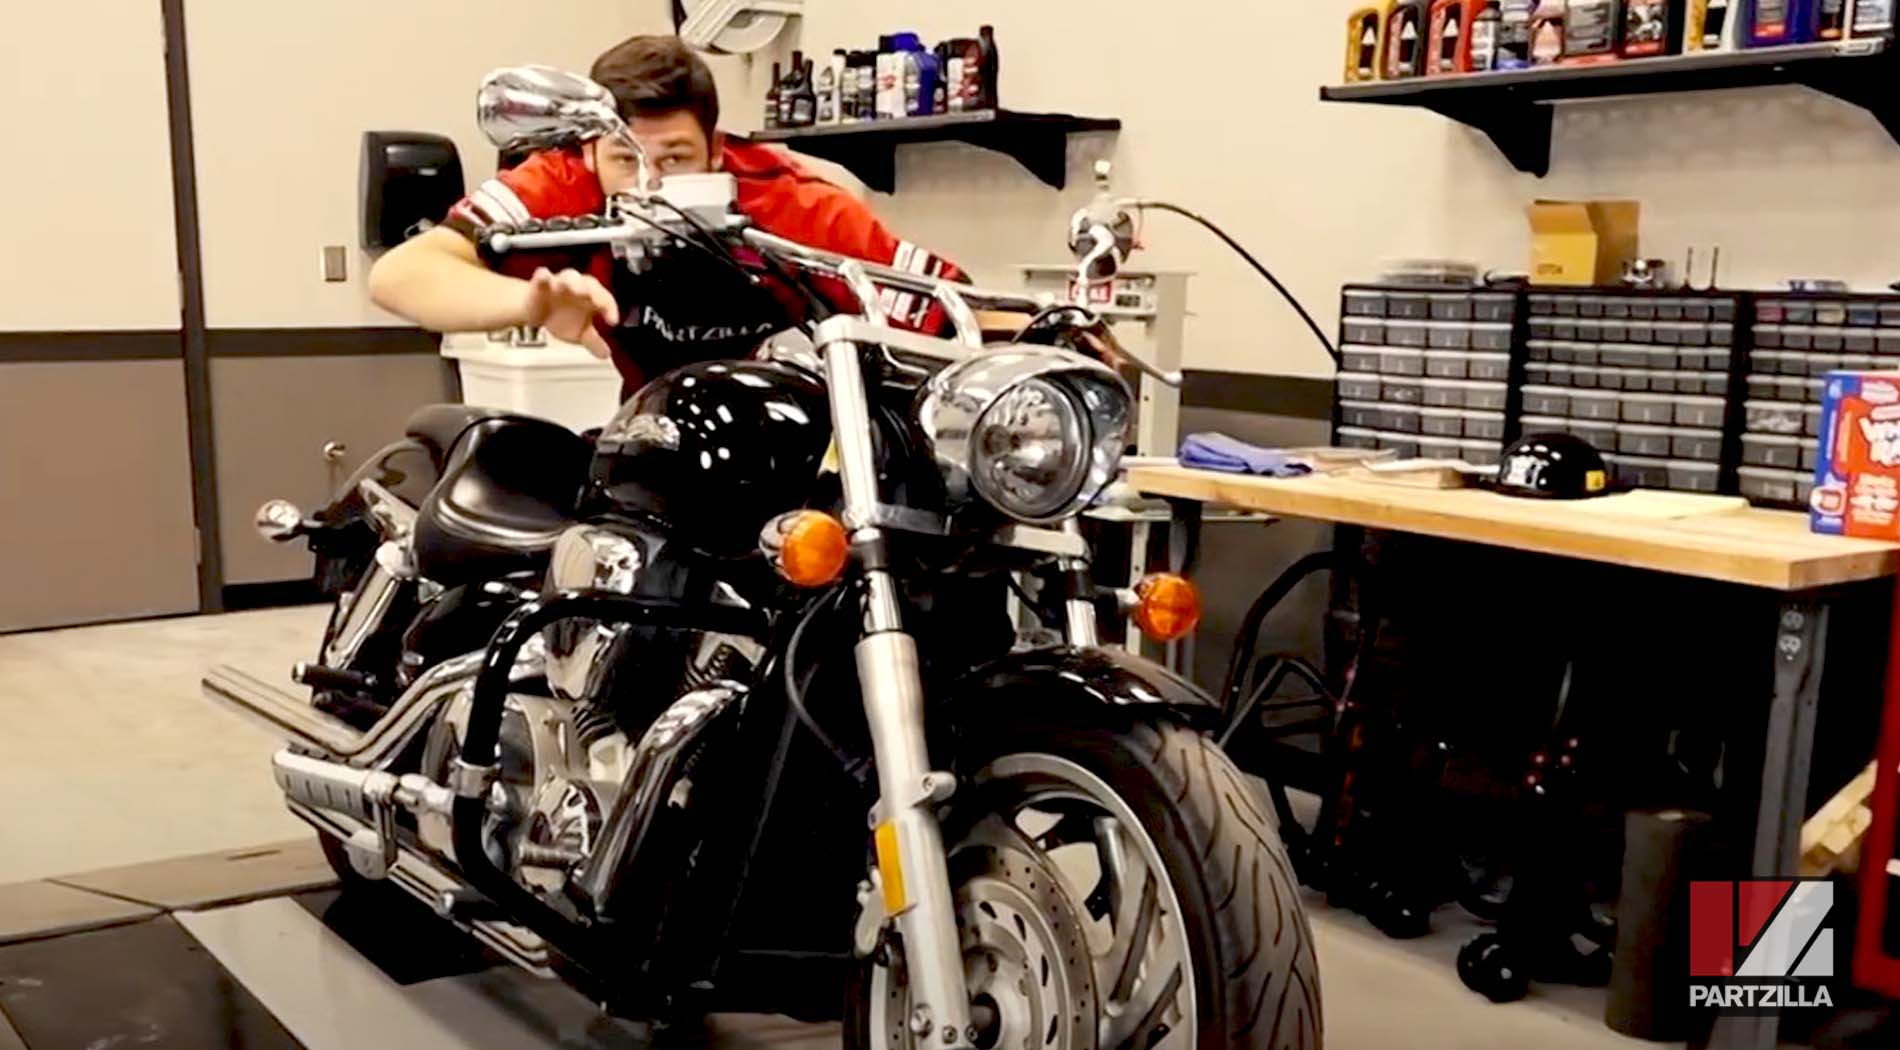
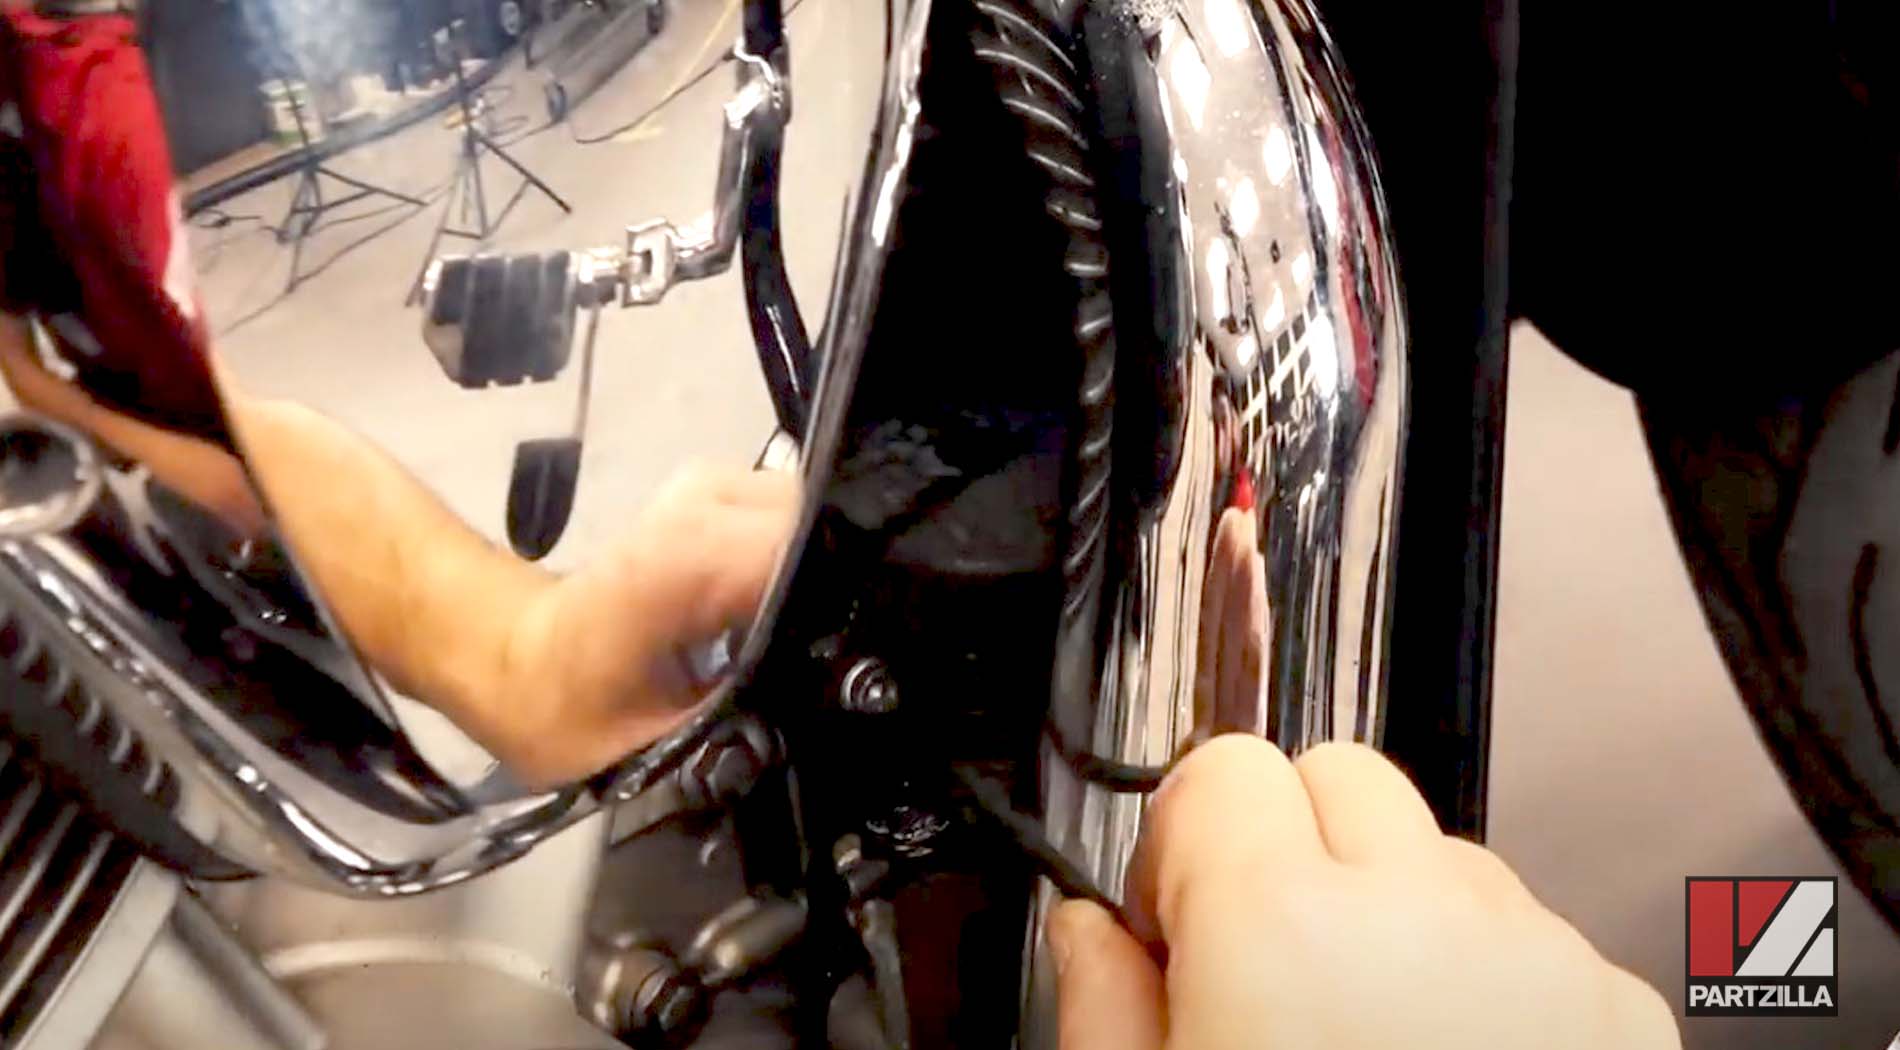
Step 2. Protect the gas tank’s paintwork with rags or shop towels.
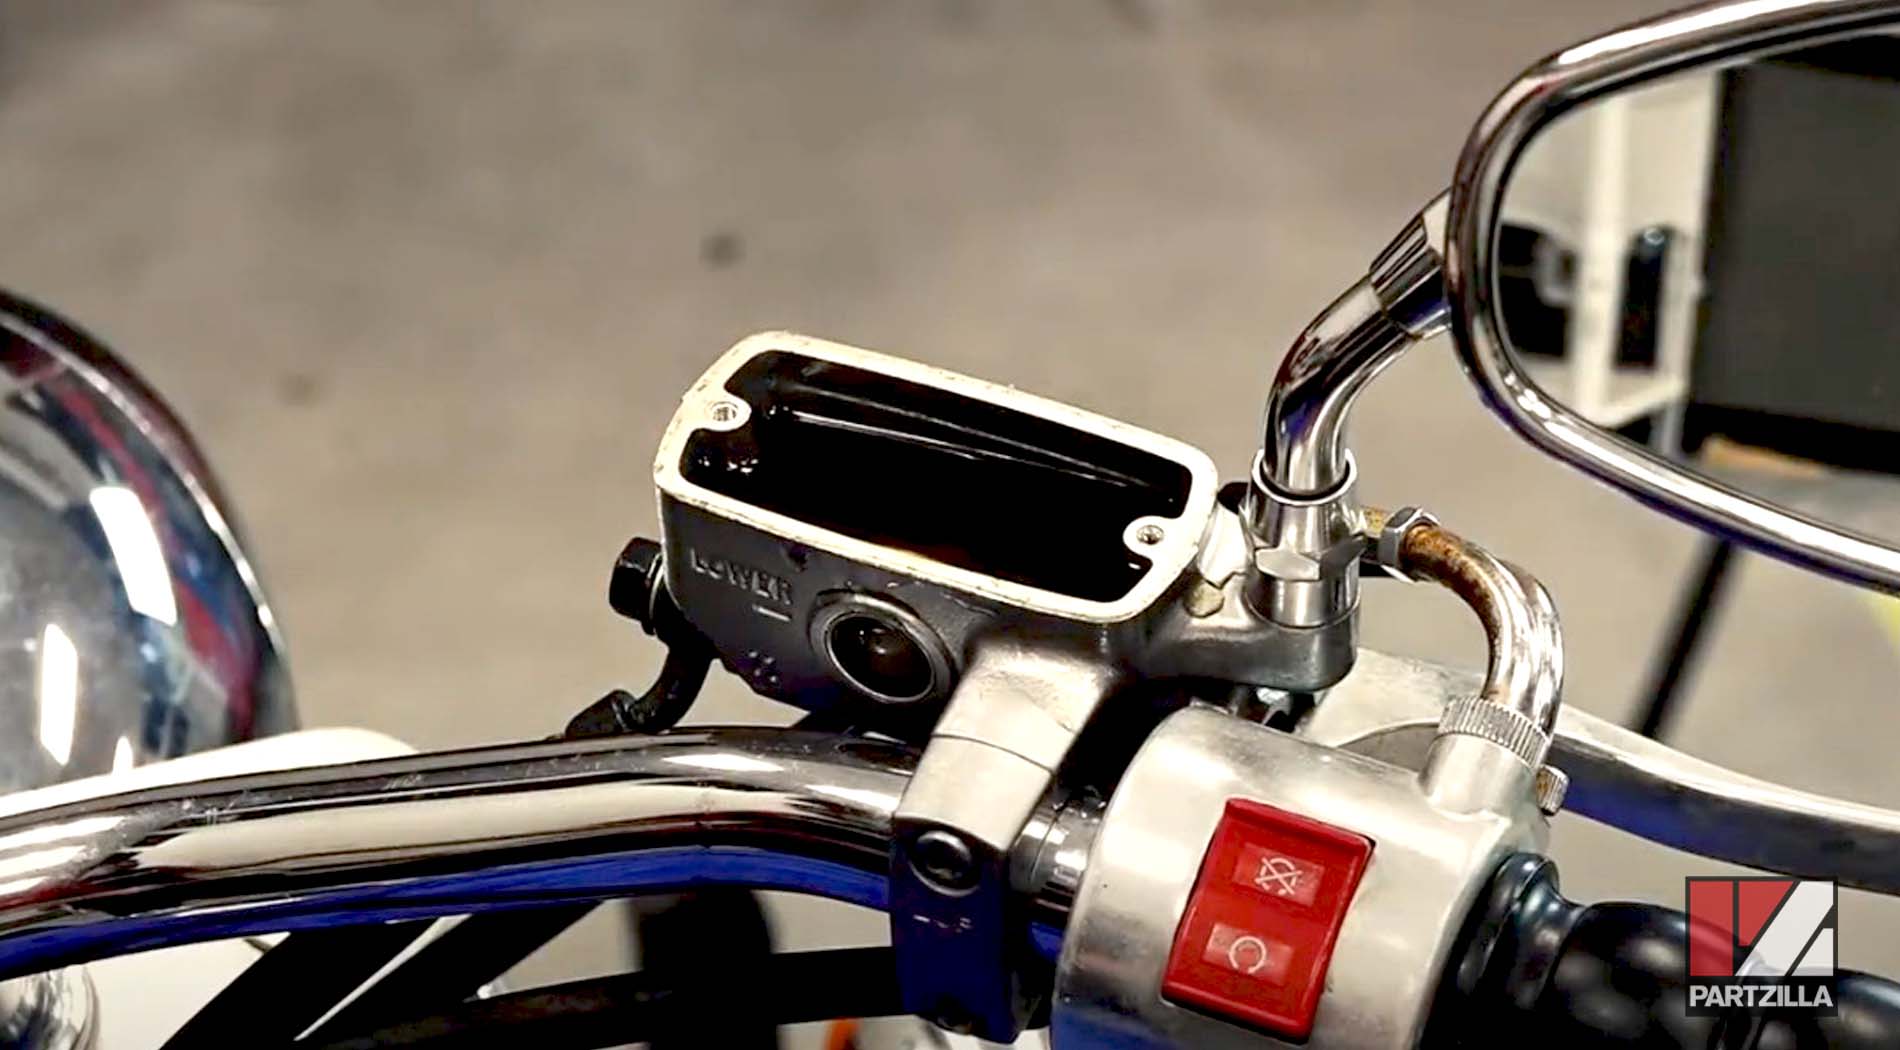
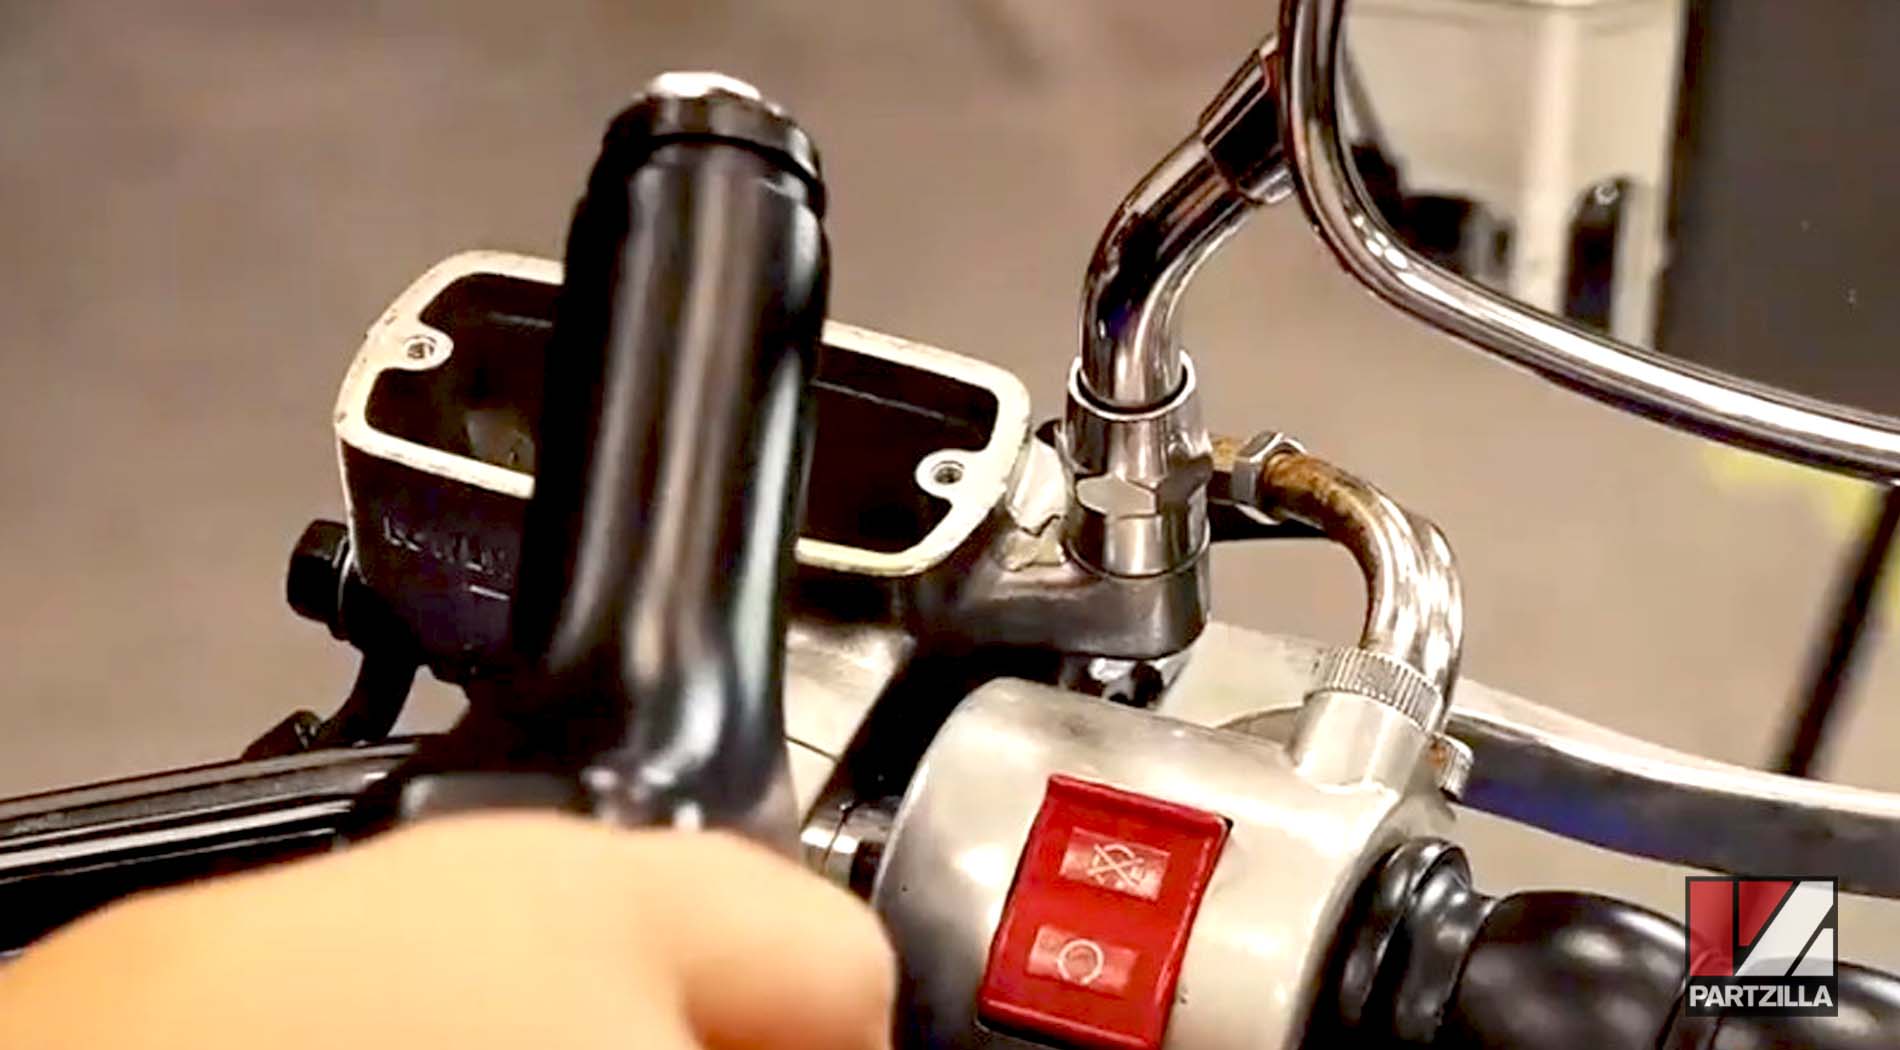
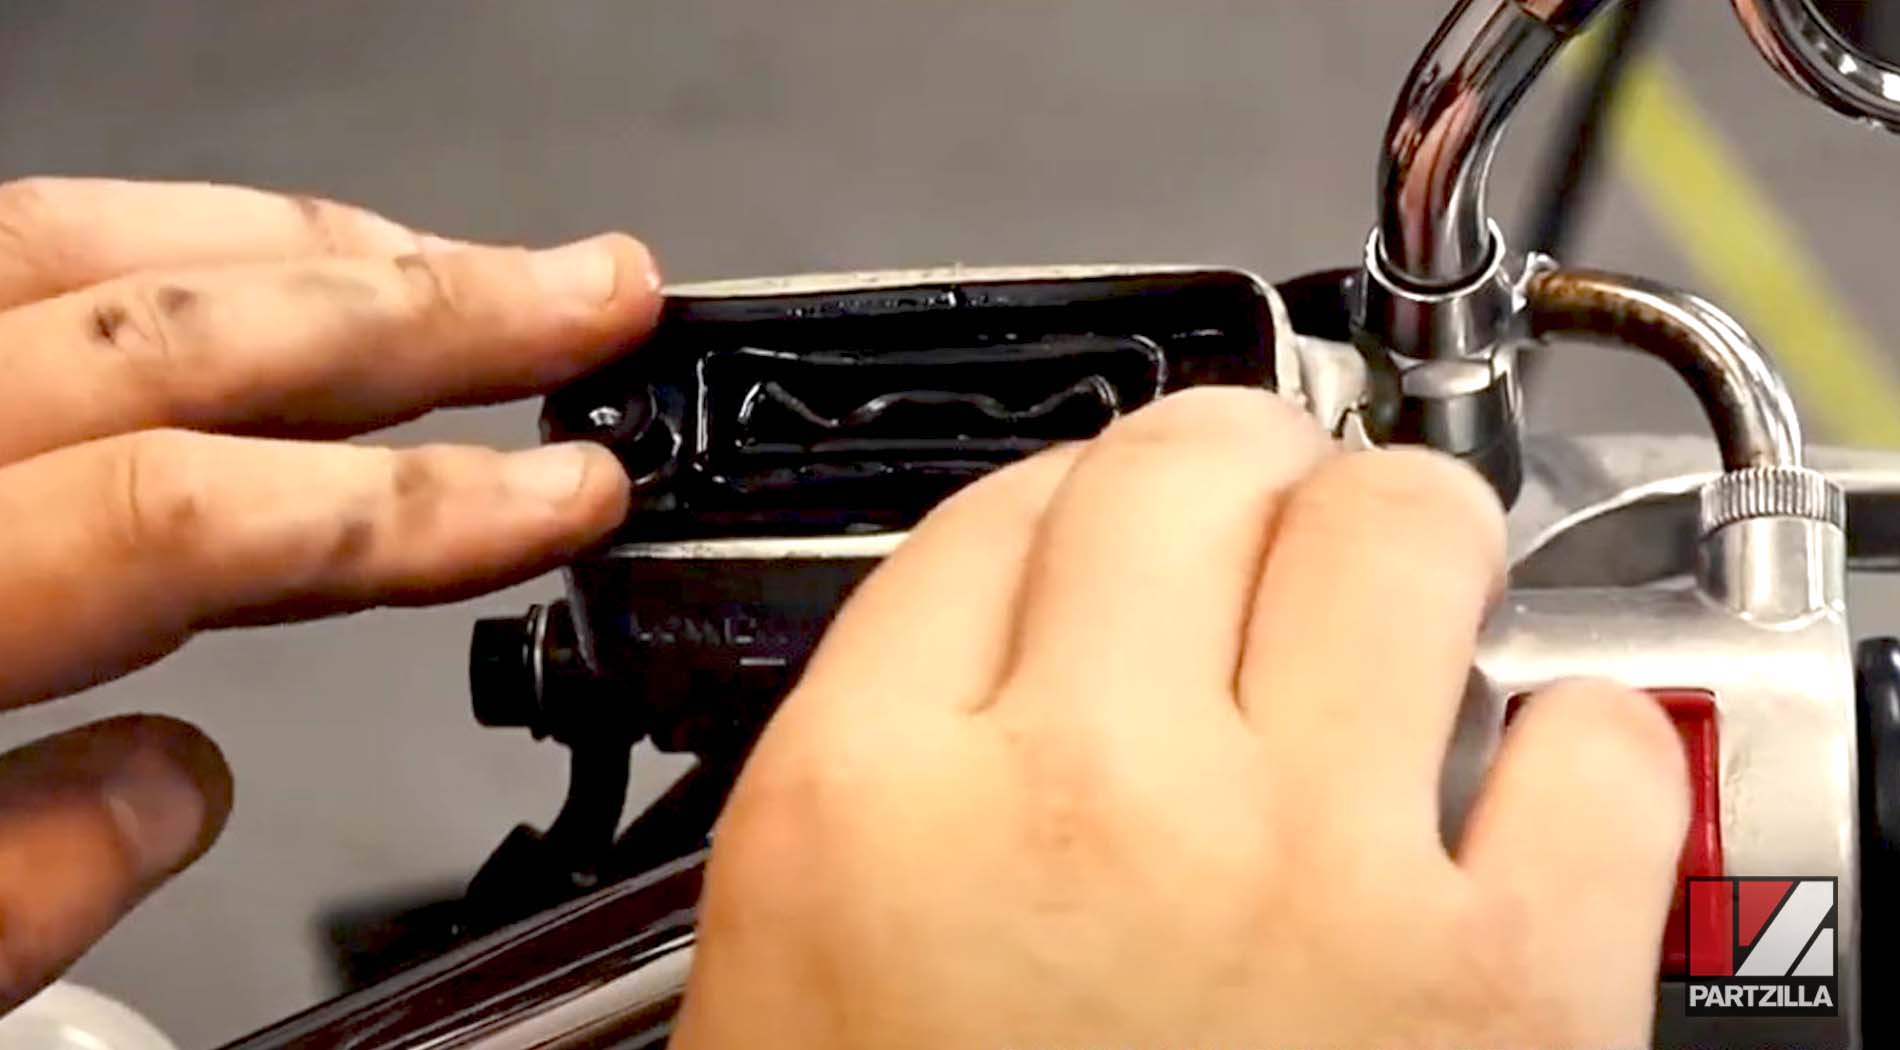
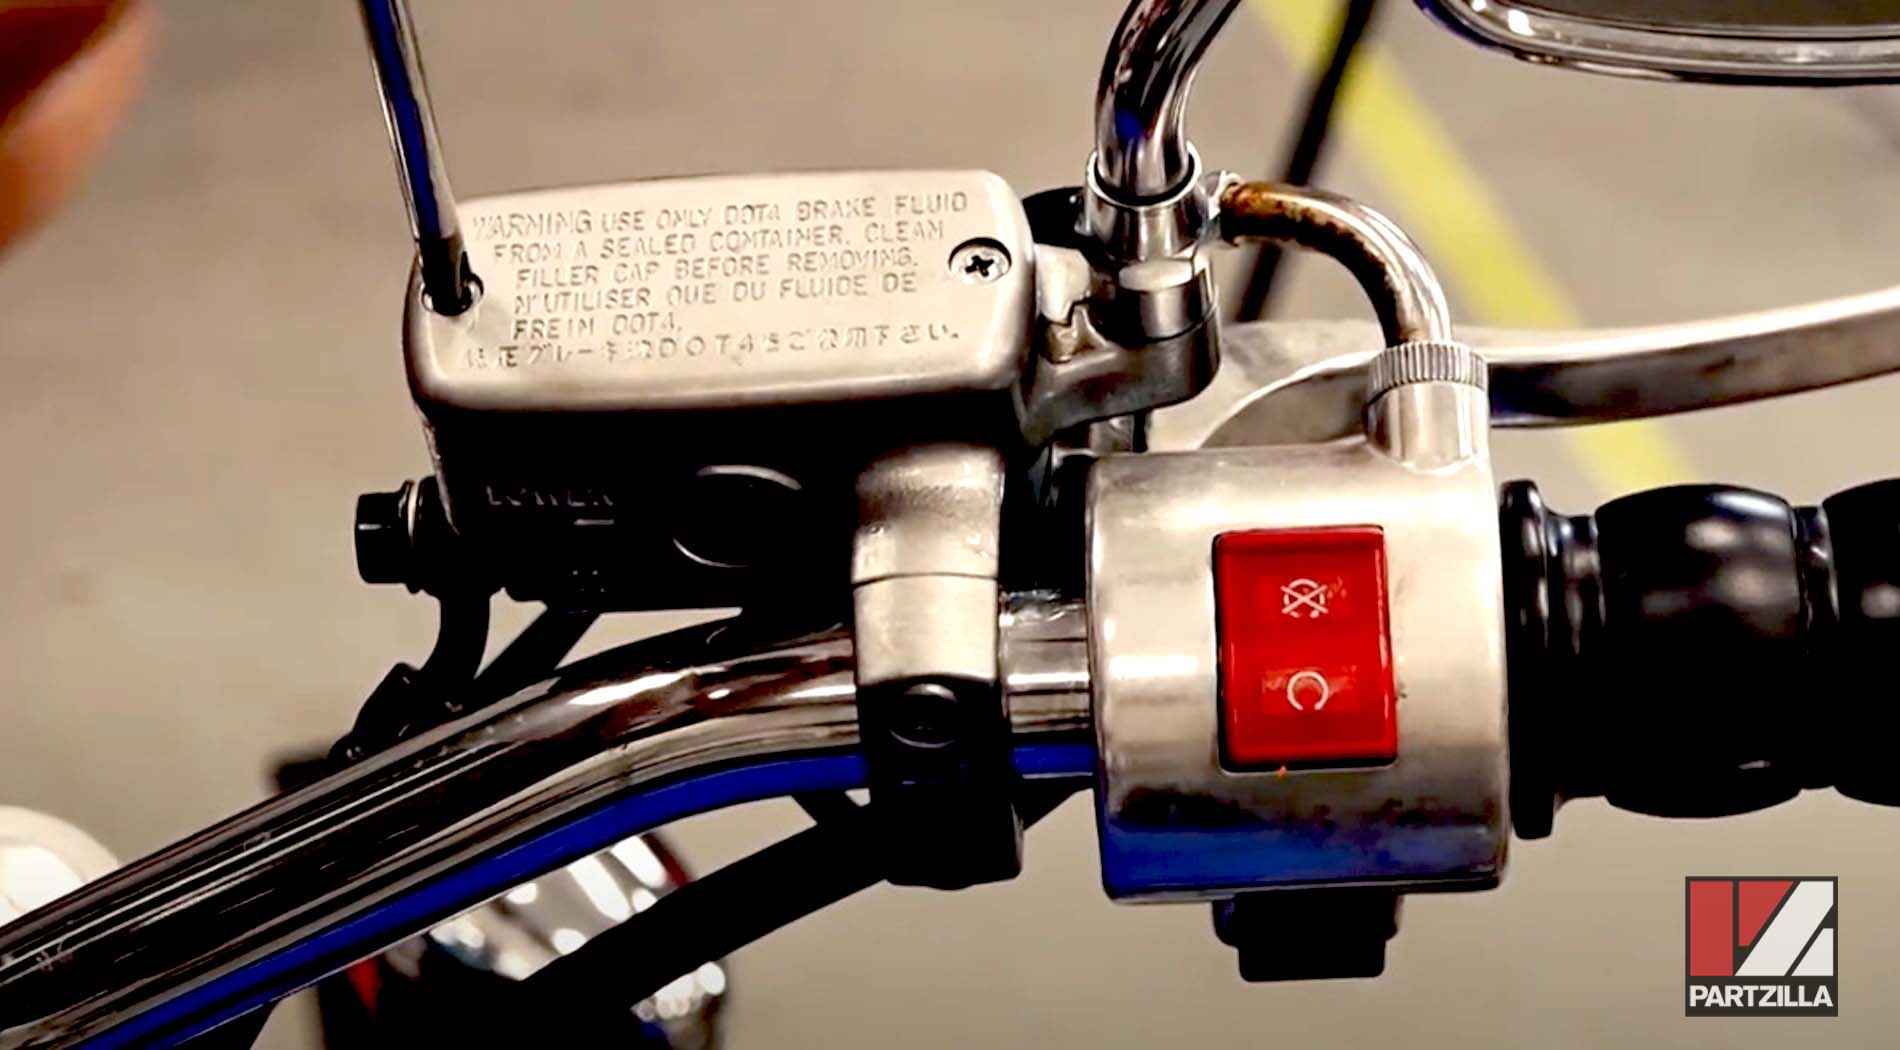
Step 3. Remove the front brake master cylinder’s reservoir cap, the diaphragm plate and diaphragm beneath it, followed by the float beneath them.

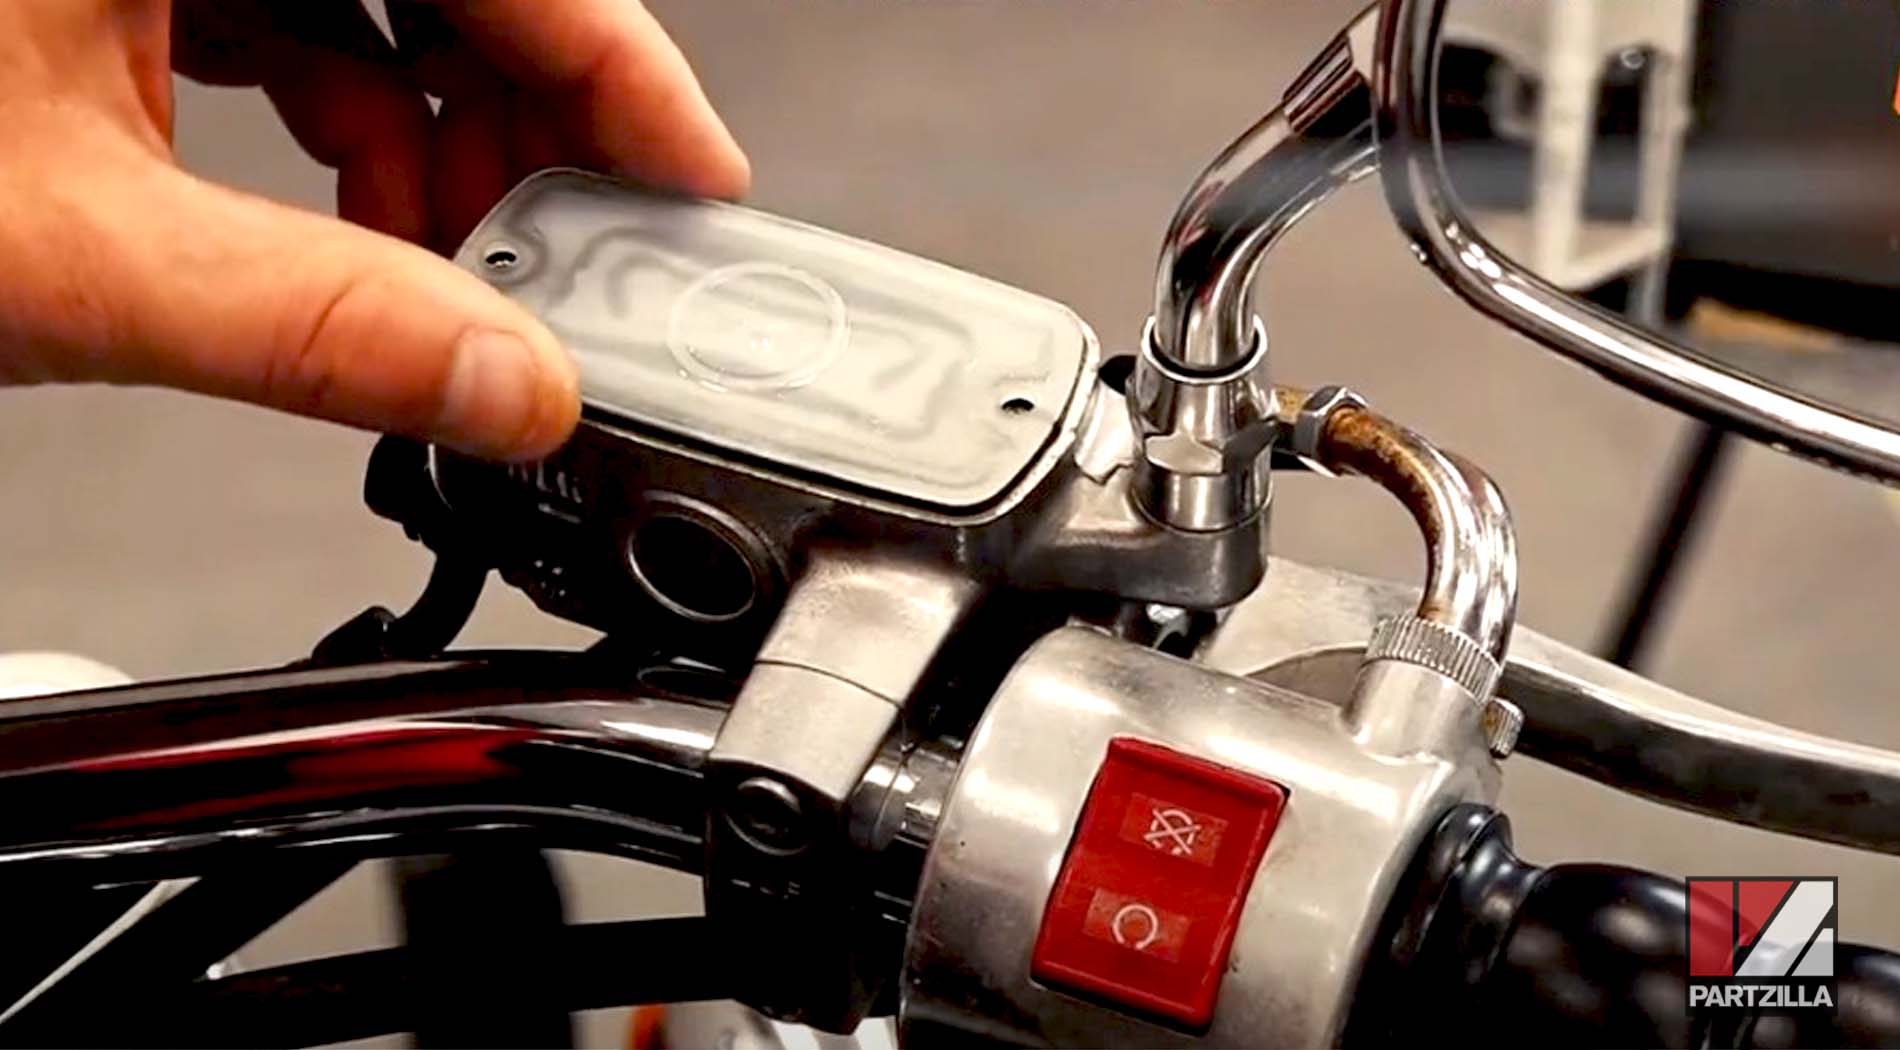
PRO TIP: The screws in the reservoir cap can be stubborn, so use an impact driver to loosen them without stripping the heads.
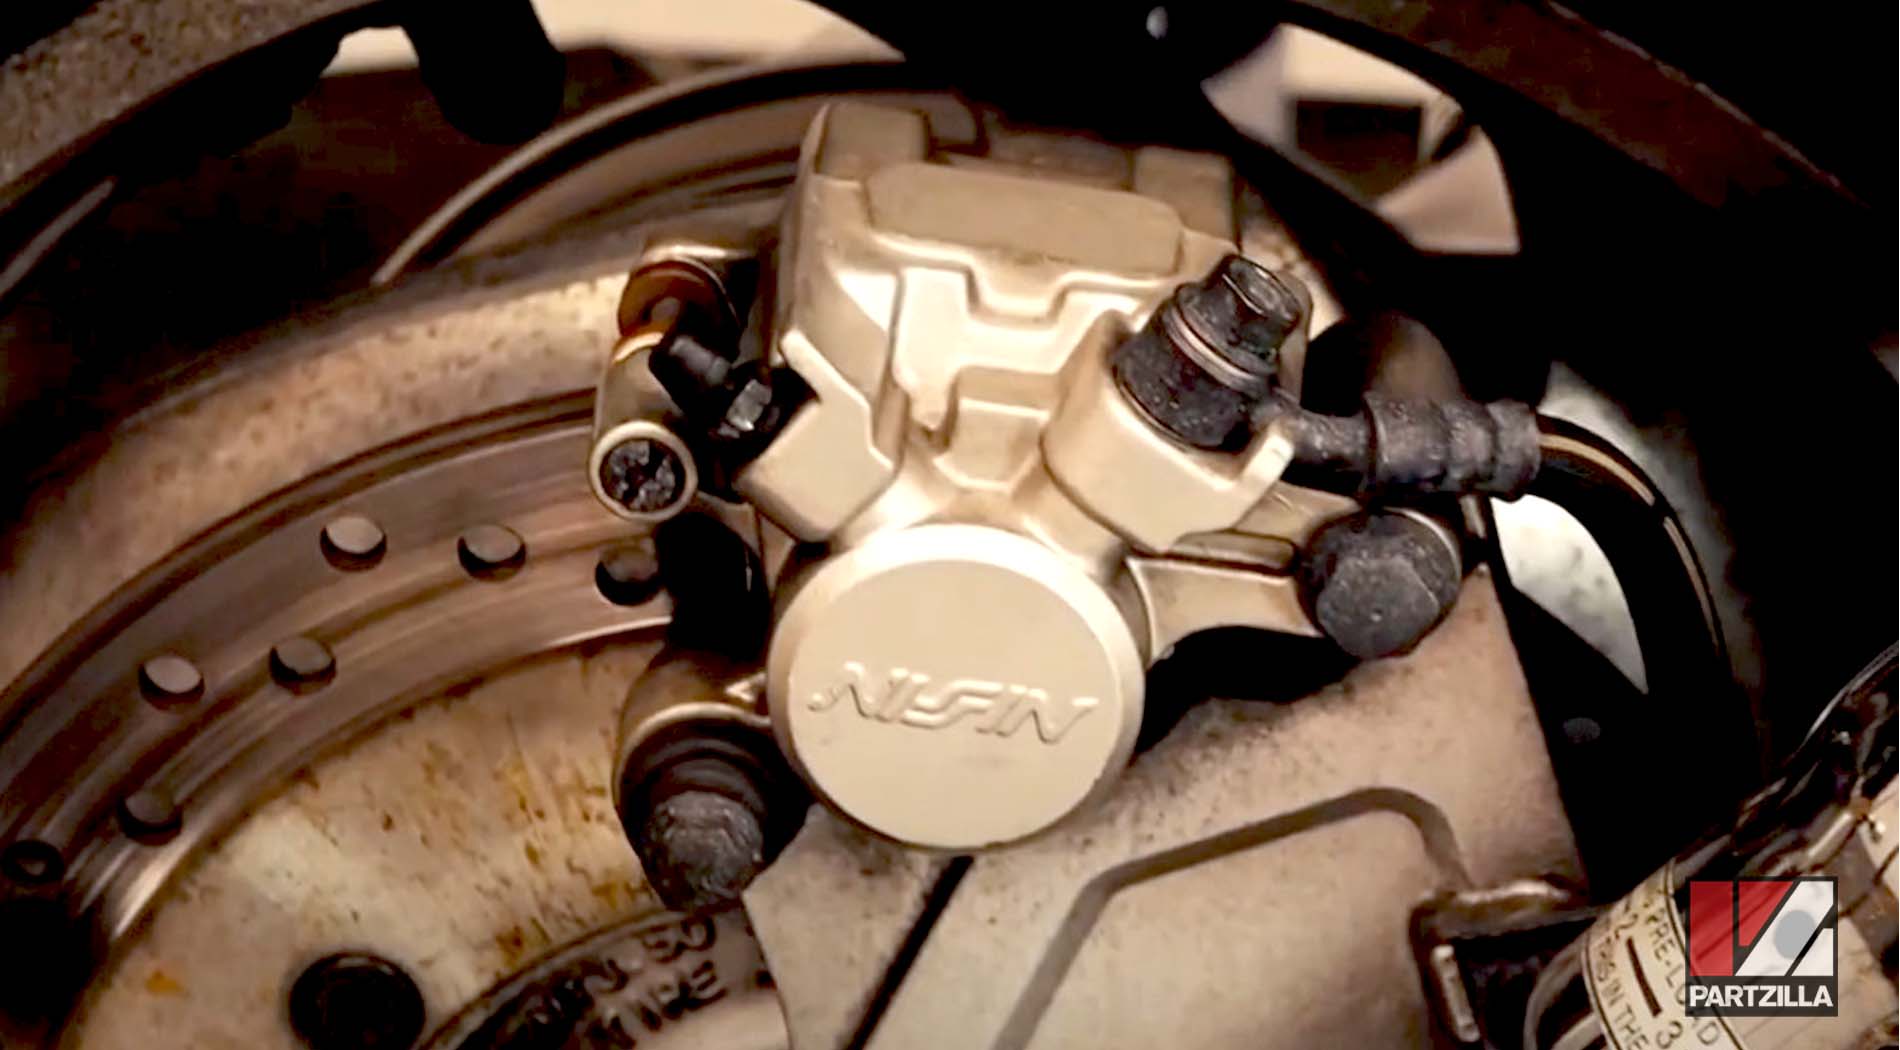
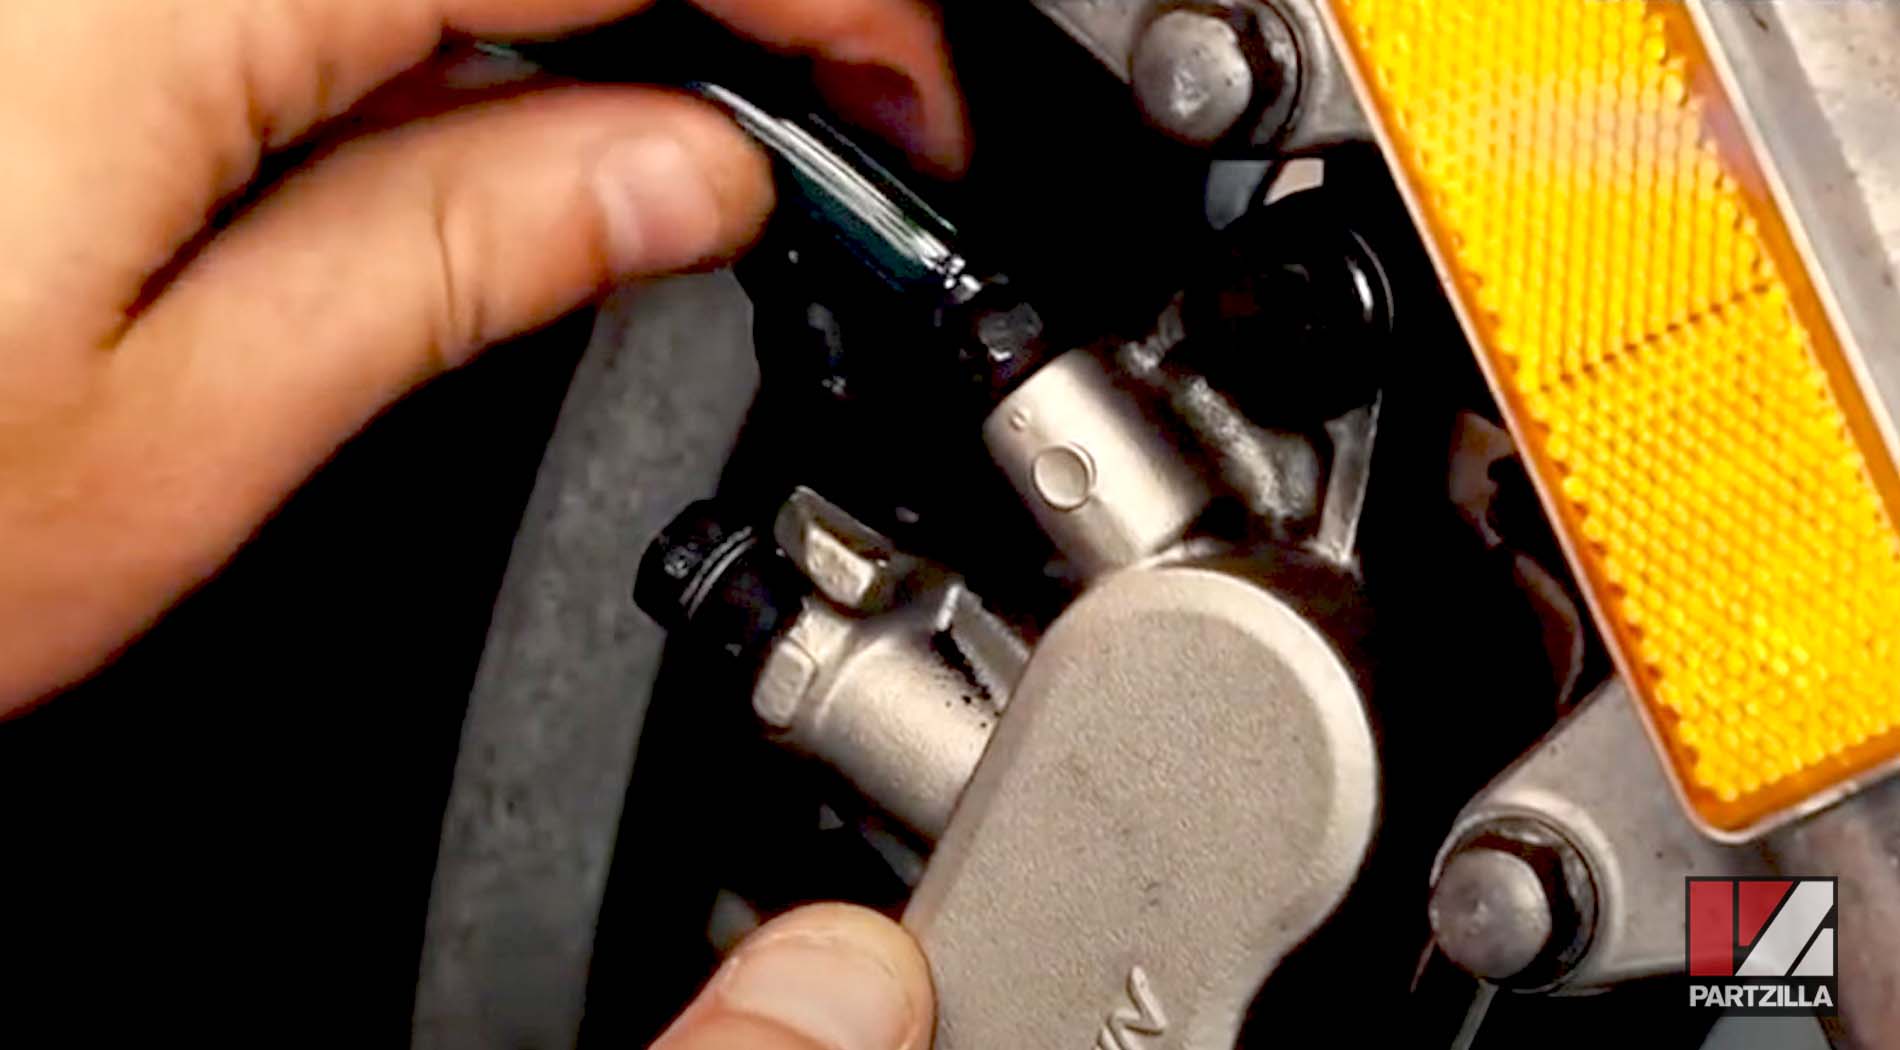
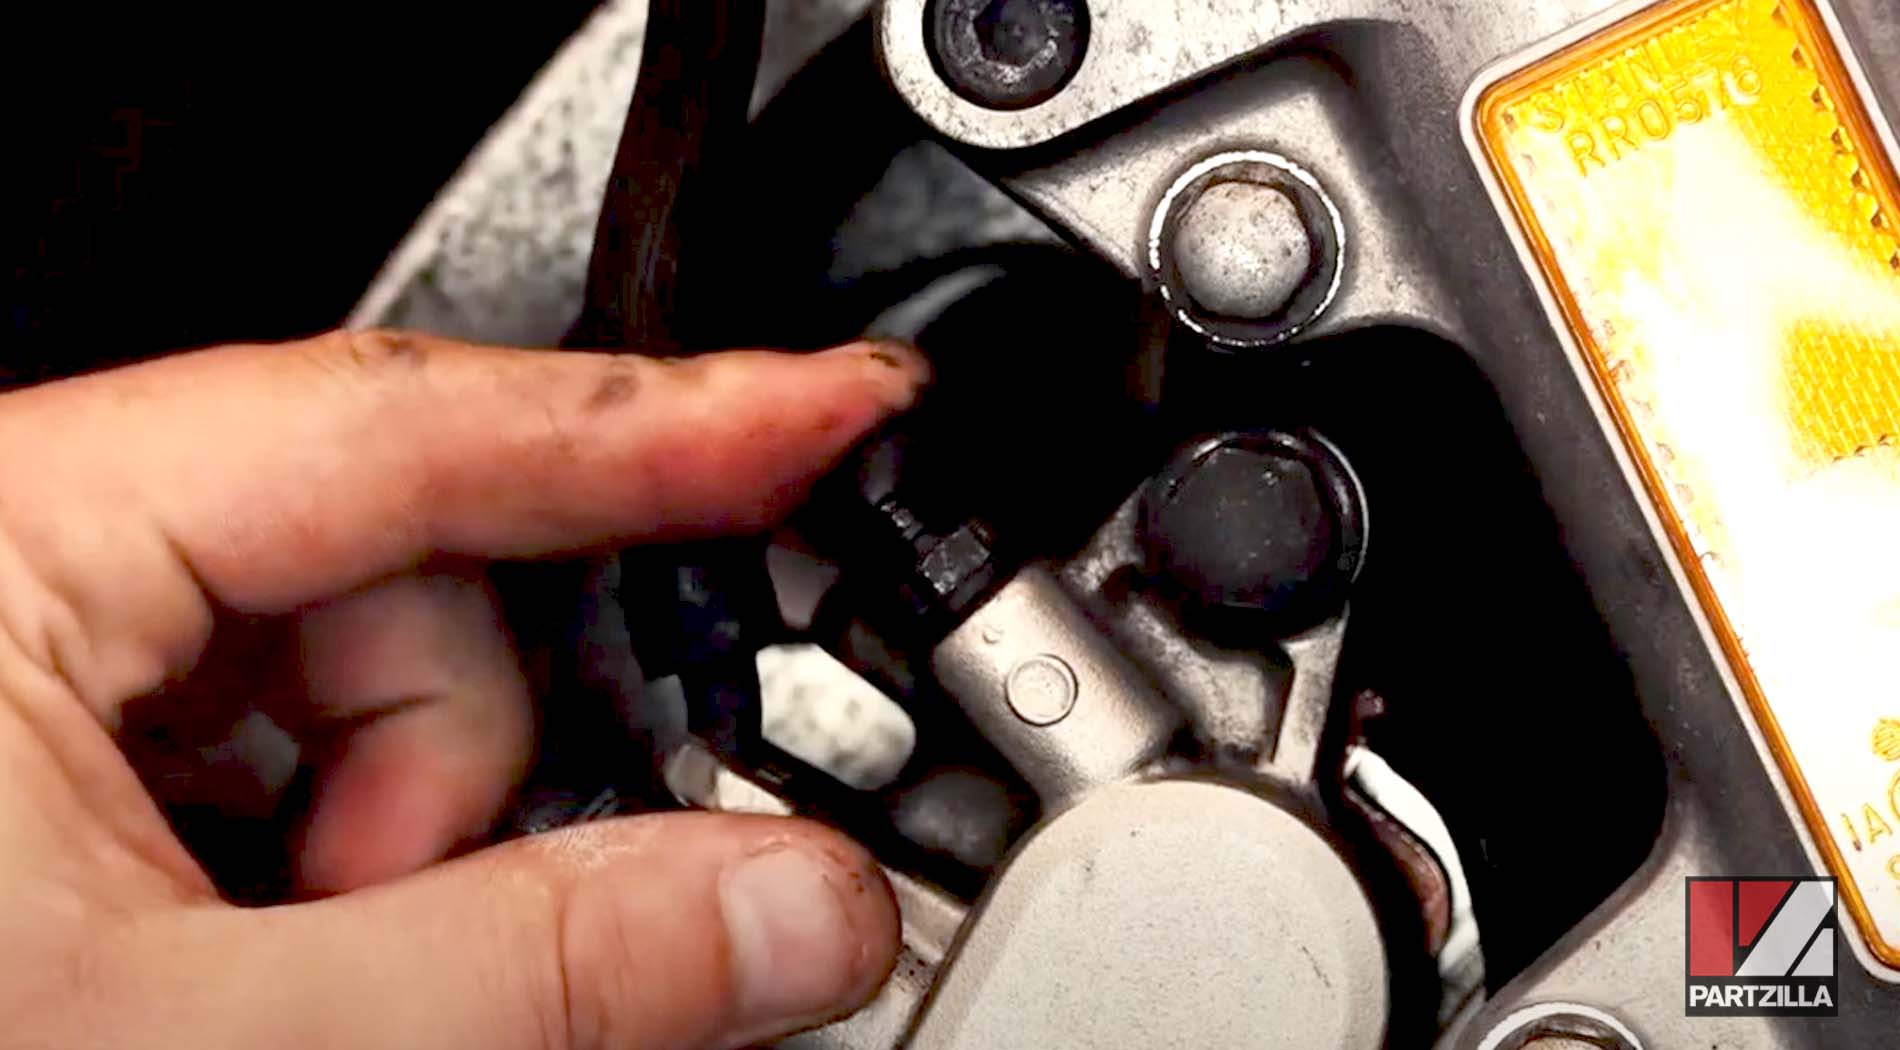
Step 4. Remove the dust cap from the bleed valve, which is located on the front brake caliper.
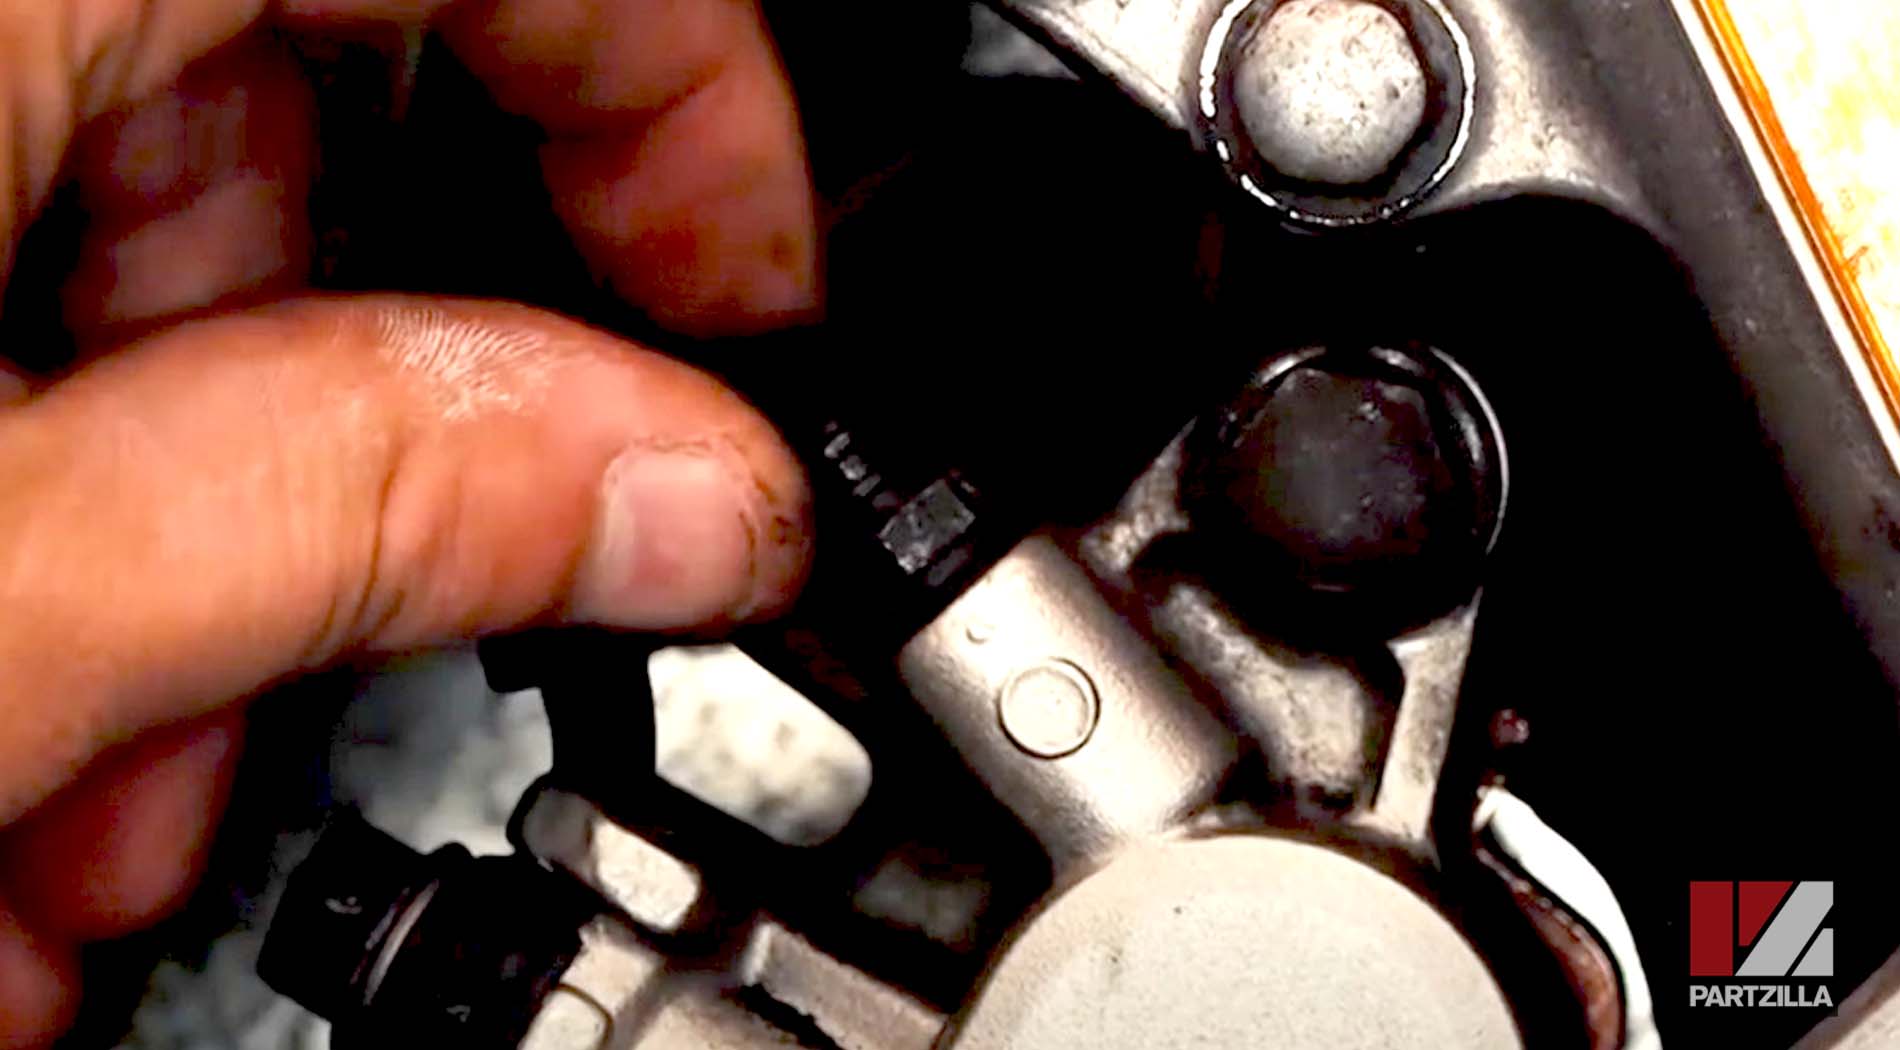
Step 5. Place a length of 5/16” hose over the bleed valve, and run the hose to a drain pan to catch the old brake fluid.
Step 6. Pump the front brake lever a couple of times, then hold the lever in and loosen the bleed valve. Old brake fluid should start to flow out of the bleed valve and into the hose.
Step 7. Tighten the bleed valve, then pump the front brake lever, hold the lever in and loosen the bleed valve again.

Step 8. Repeat Step 7 three or four times, then top off the brake fluid in the reservoir.
NOTE: Don’t let the reservoir run dry, or else air will get into the brake system and you’ll have to start the bleeding process again from scratch.
Step 9. Continue repeating steps 7 and 8 until you see new brake fluid without any air bubbles flowing into the 5/16” hose.
Step 10. Top off the master cylinder reservoir, then reinstall the float, diaphragm, diaphragm plate and reservoir cap.
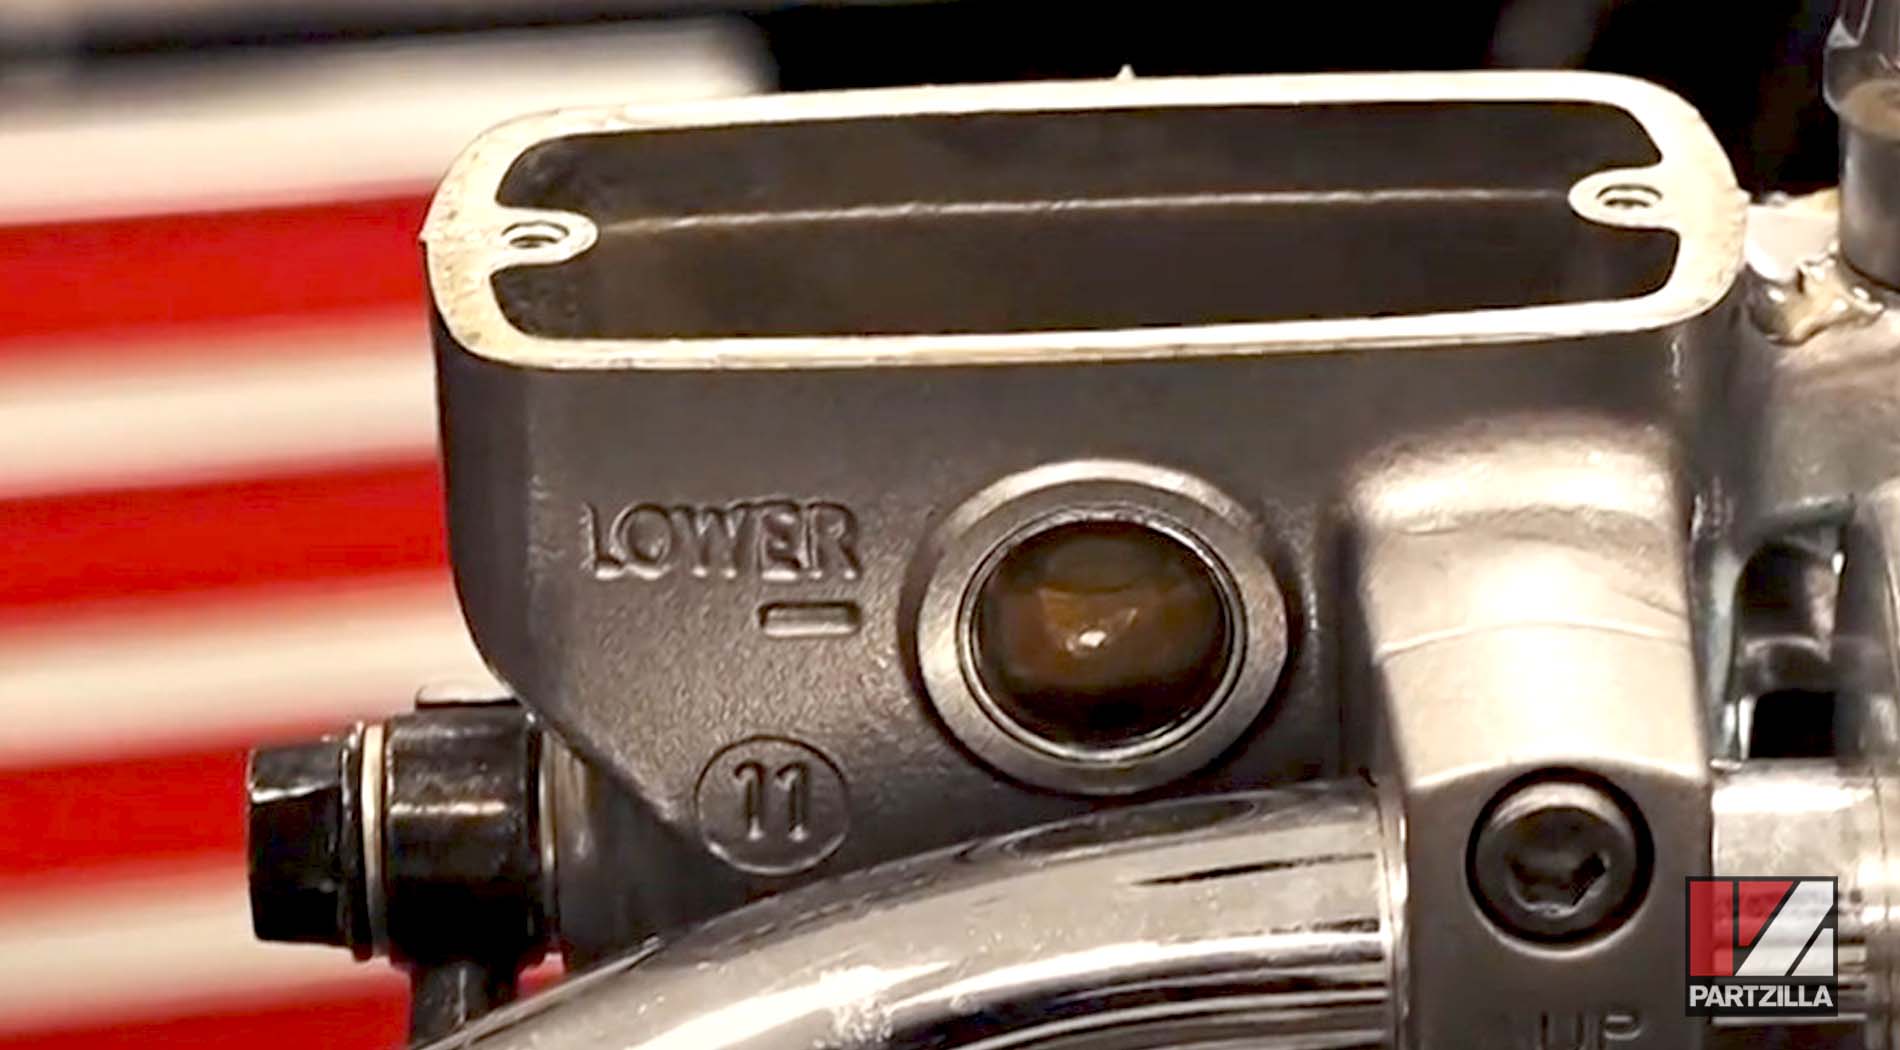
PRO TIP: If your VTX1300’s front brake pads are worn and you plan on replacing them soon, only refill the reservoir to the lower mark. This allows the brake fluid to flow back into the reservoir when the new pads are fitted and the pistons are pressed back into the brake calipers.
Step 11. Put the dust cap back onto the bleed valve, then wipe away any last drops of brake fluid from the caliper and reservoir.
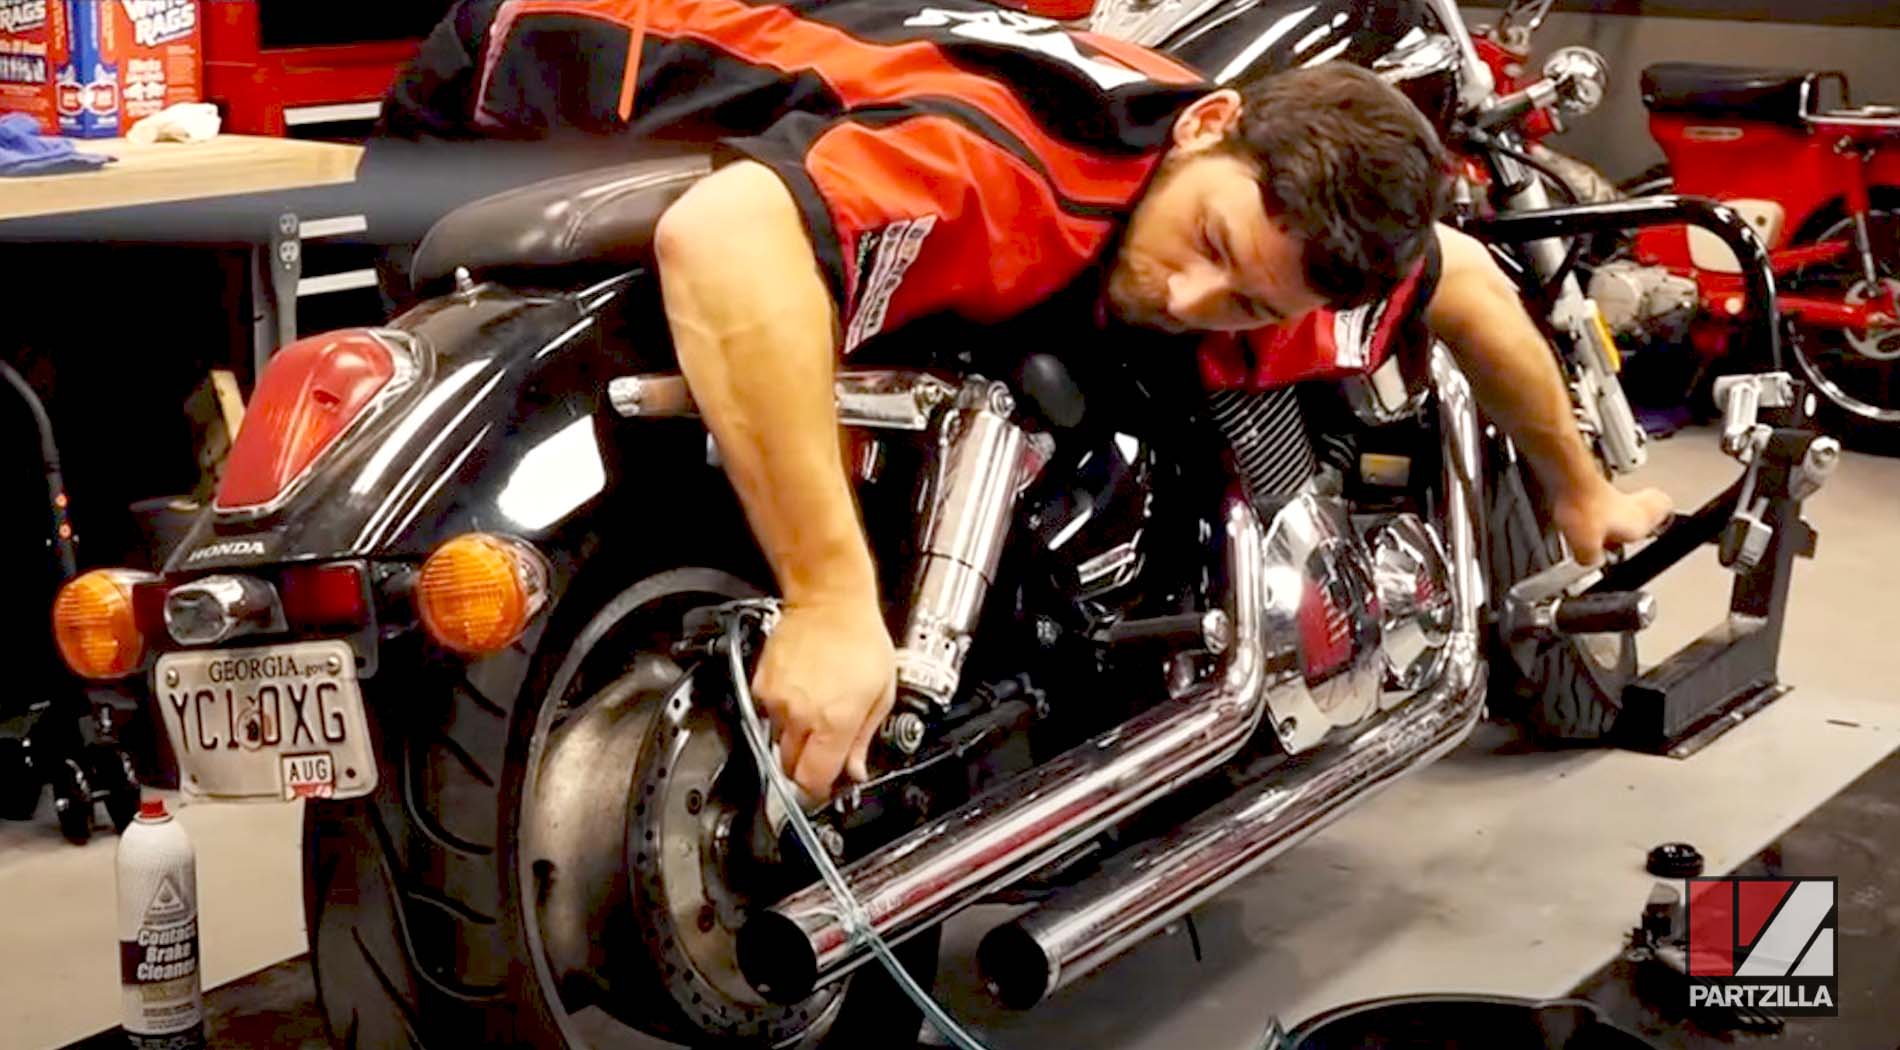
How to Bleed Honda VTX1300 Rear Brakes
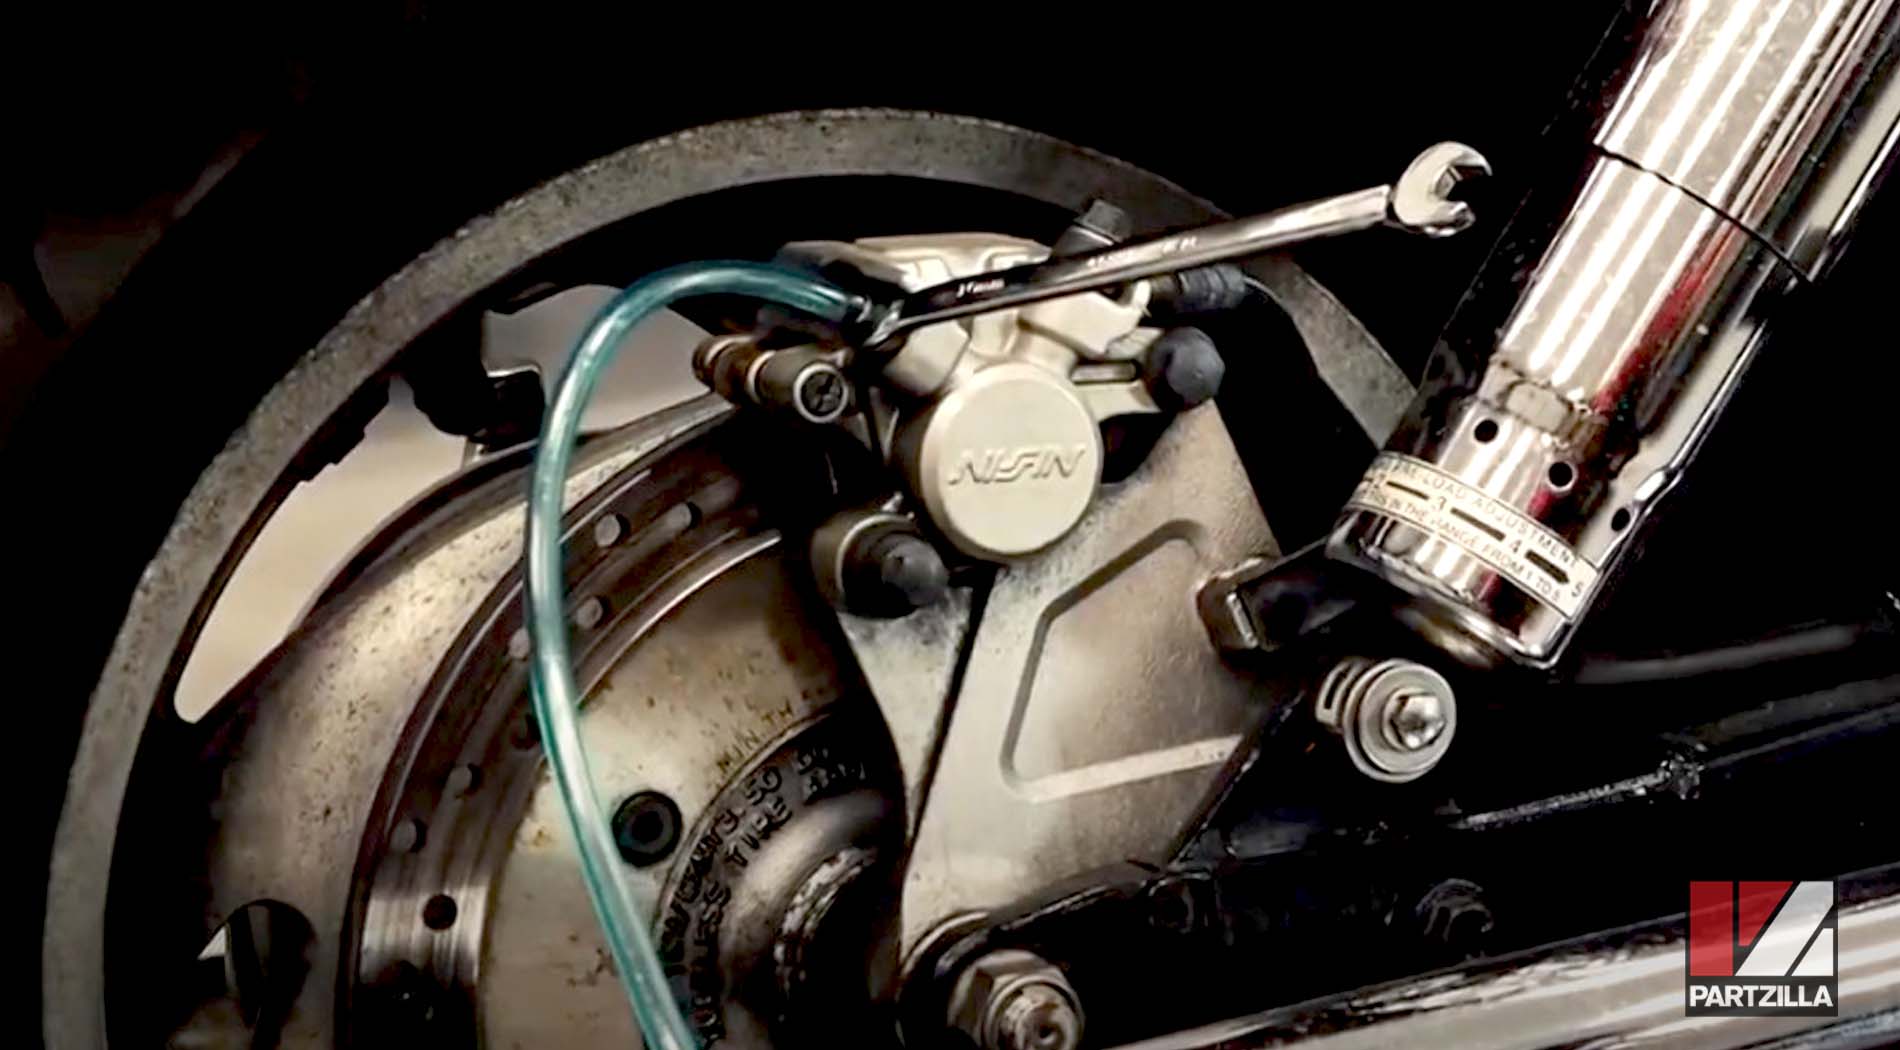
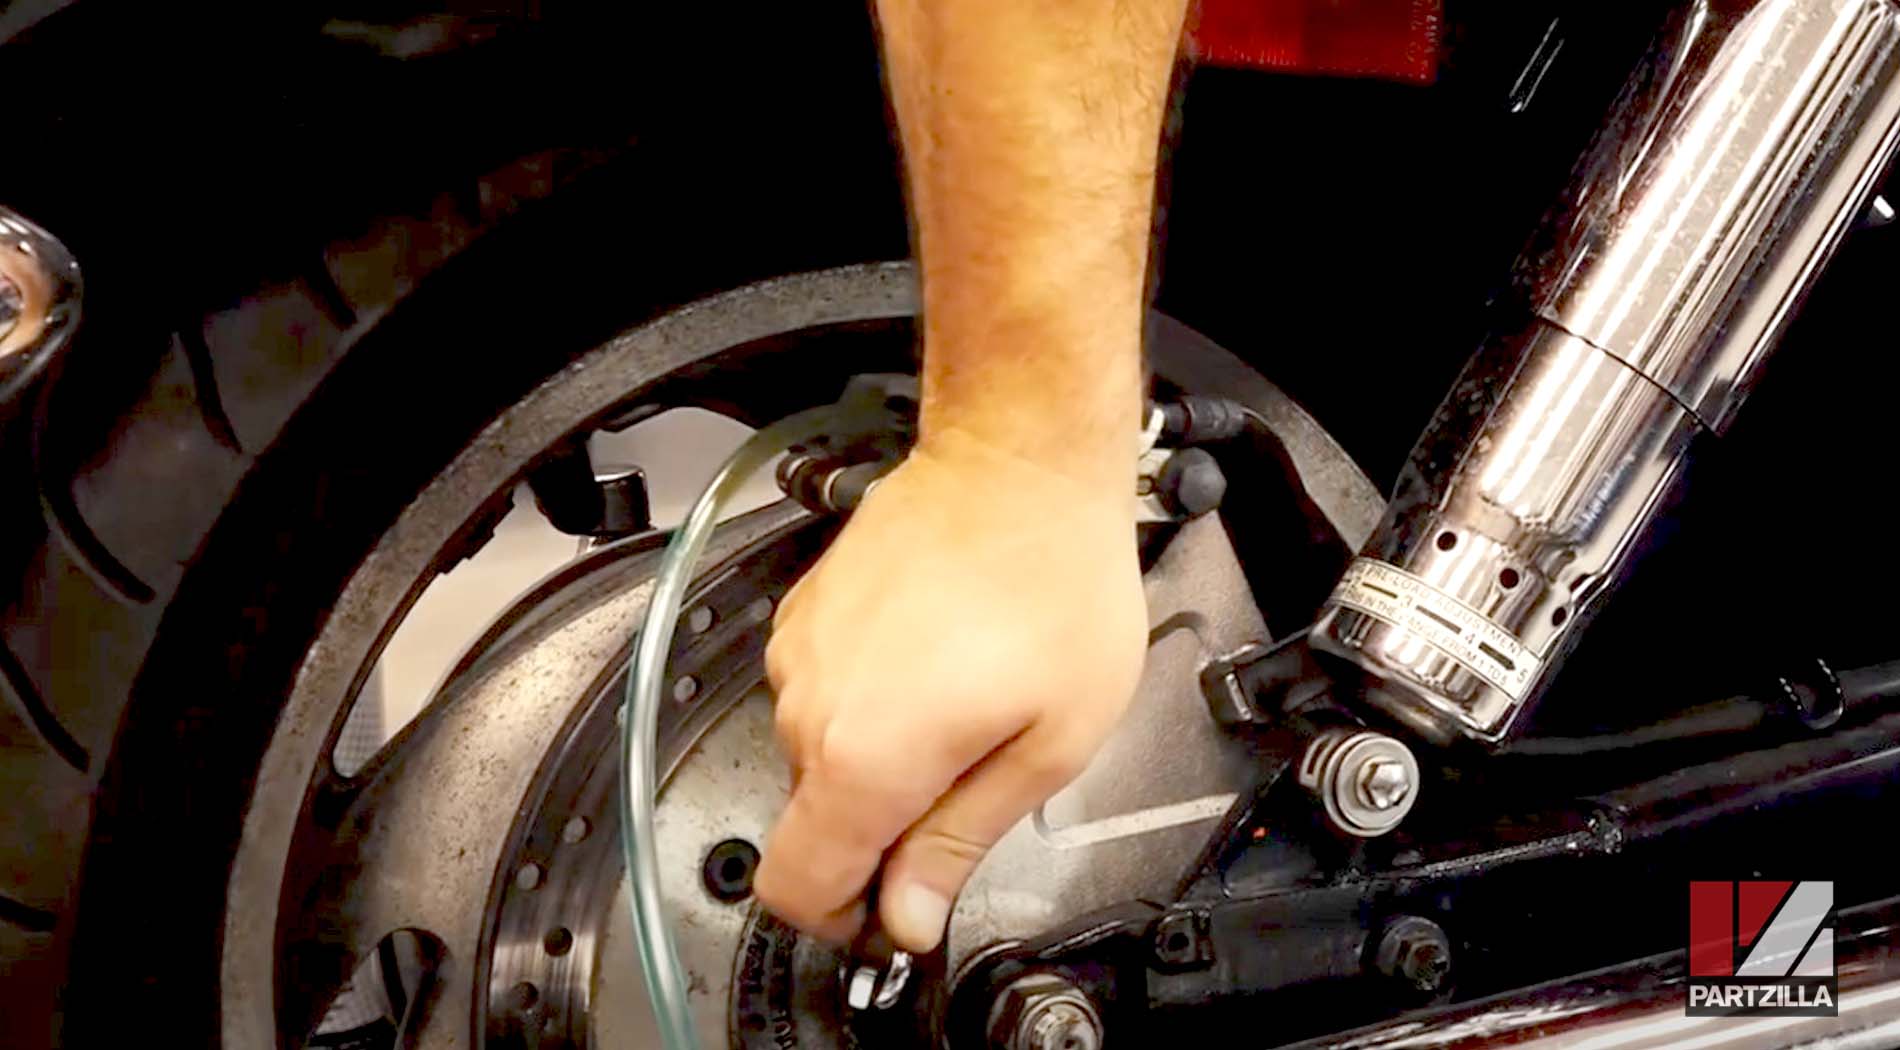
Step 1. Remove the dust cap from the bleed valve, which is located on the rear brake caliper.
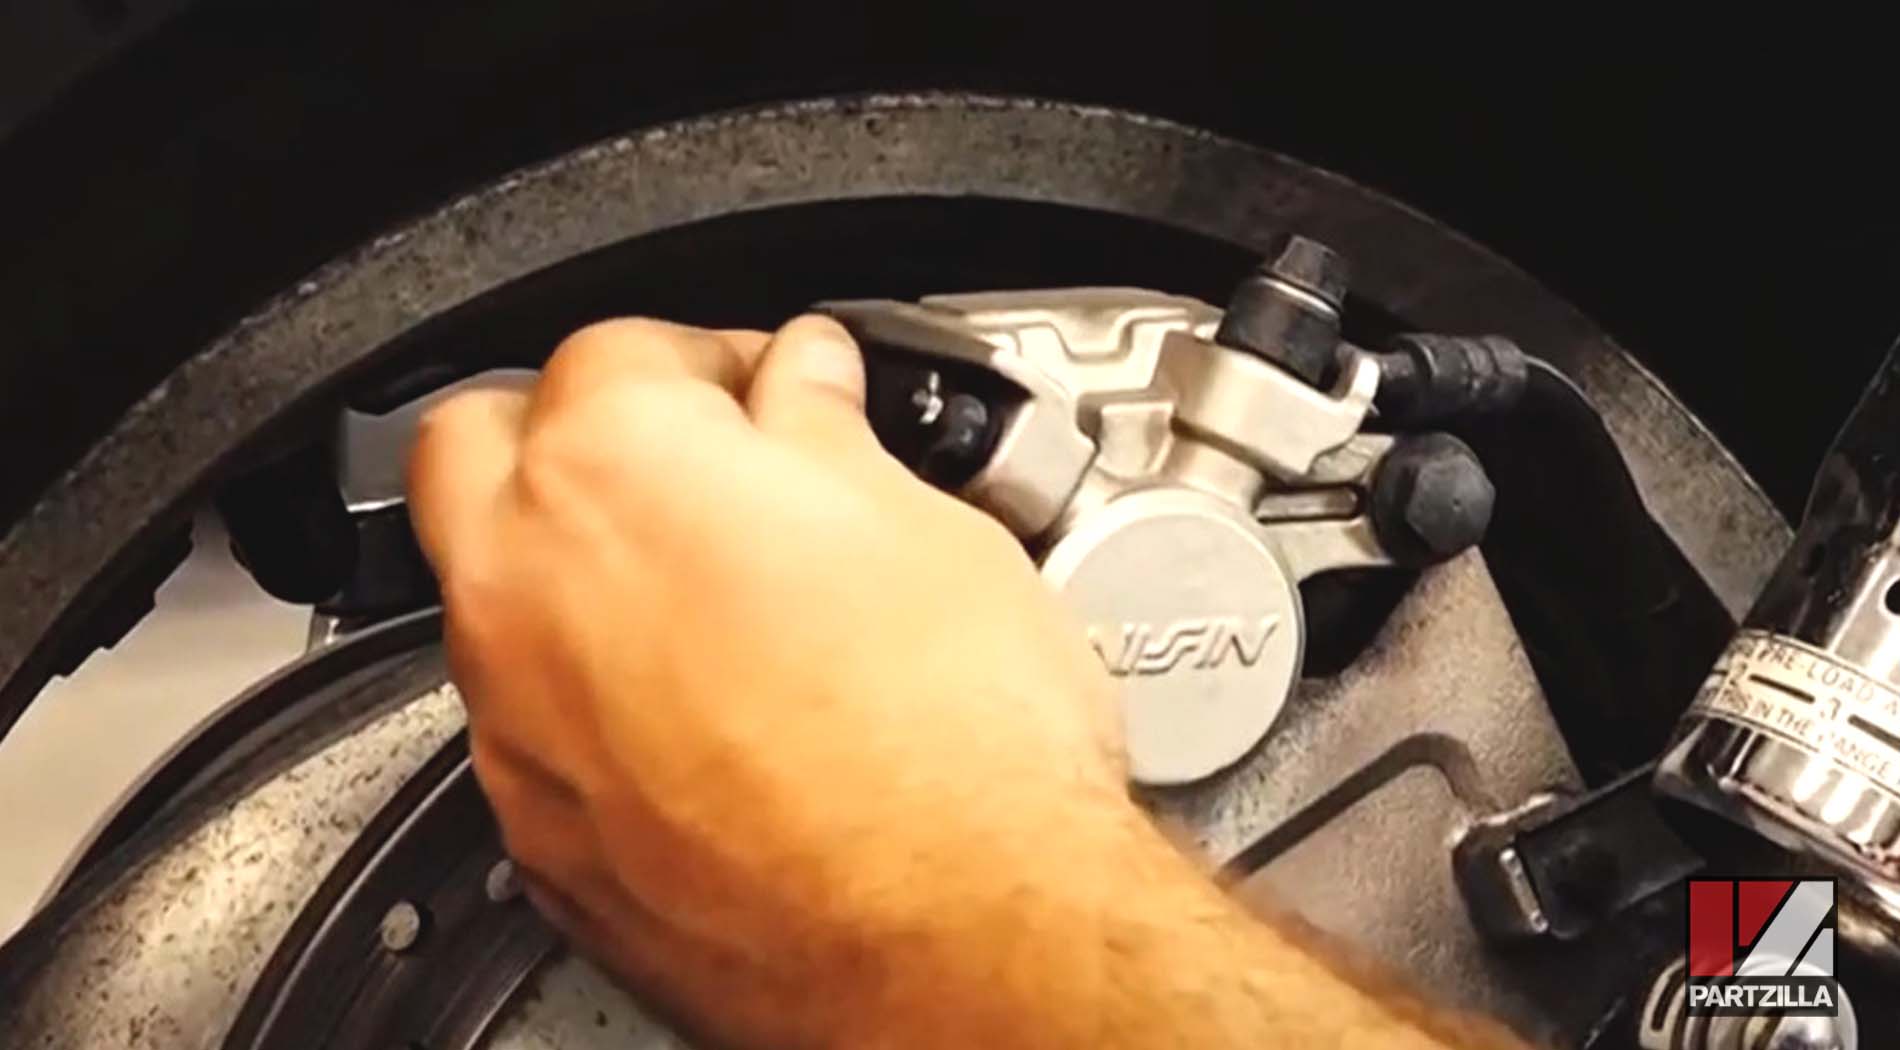
Step 2. Place a length of 5/16” hose over the bleed valve, and run the hose to a drain pan to catch the old brake fluid.
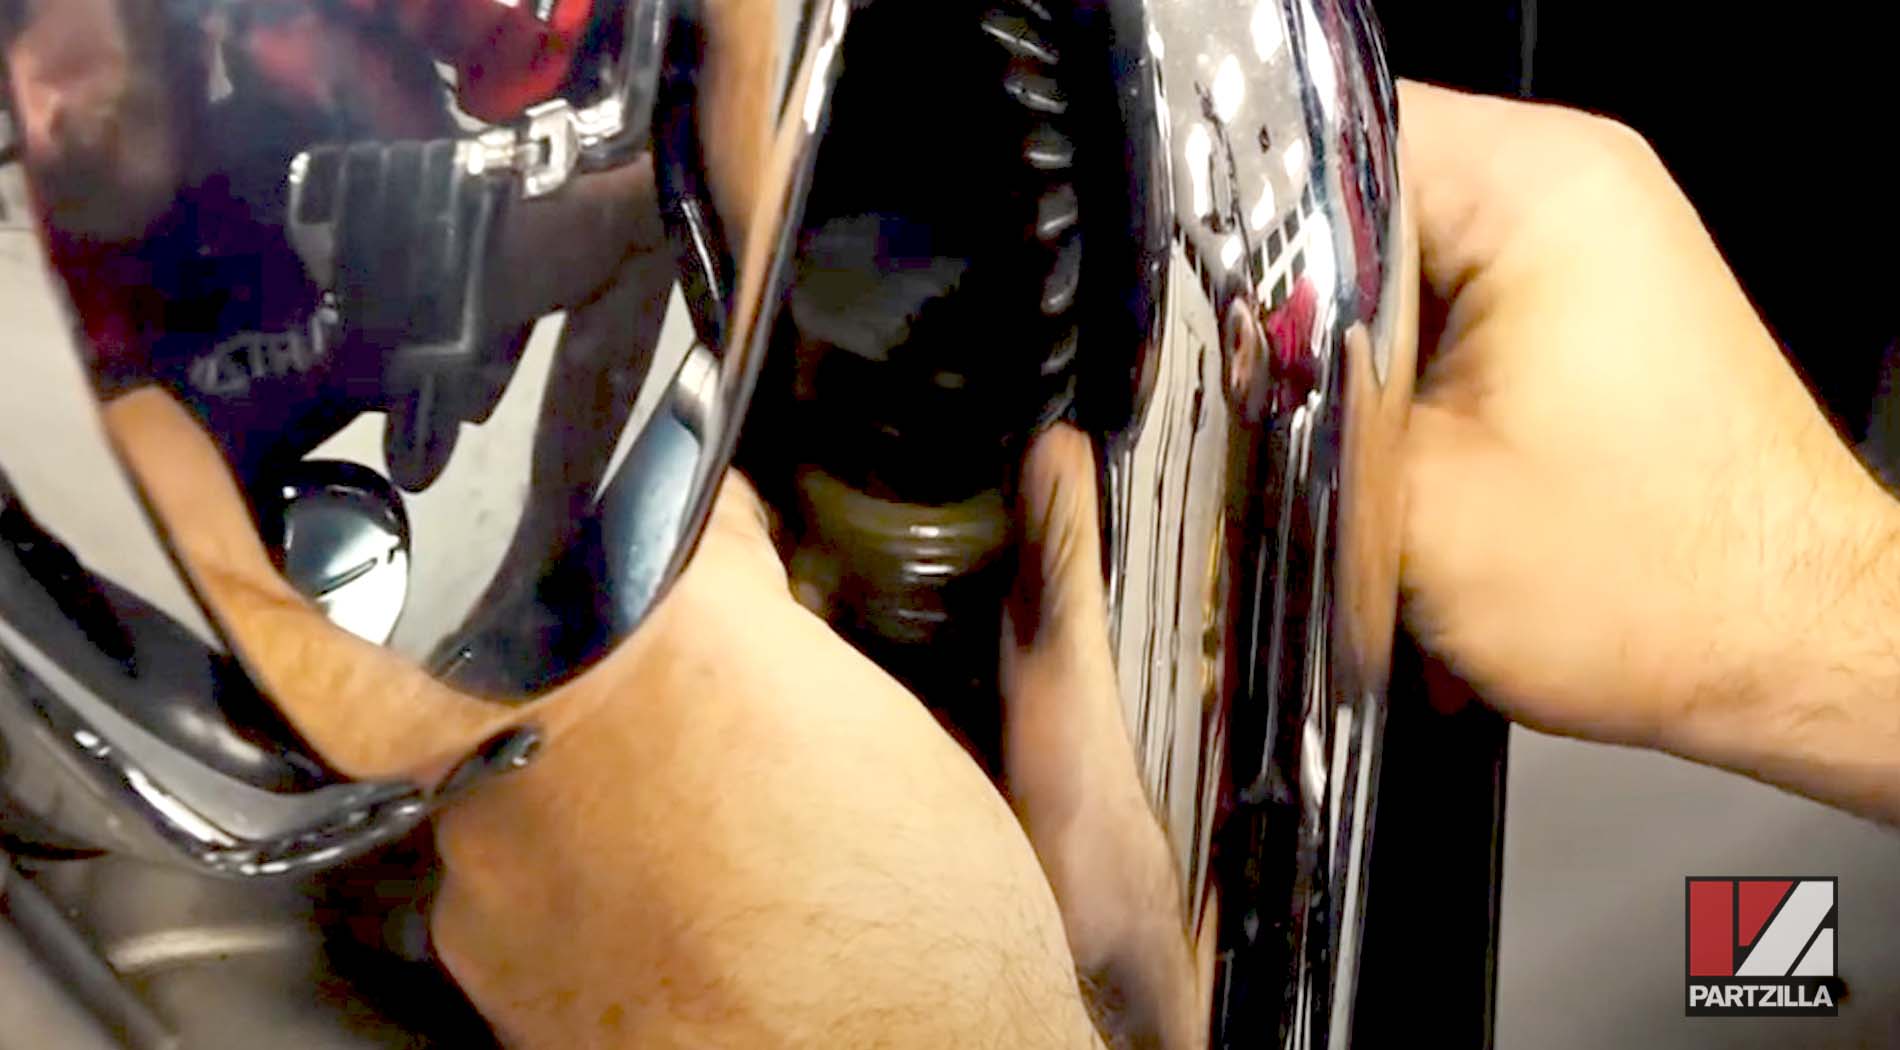
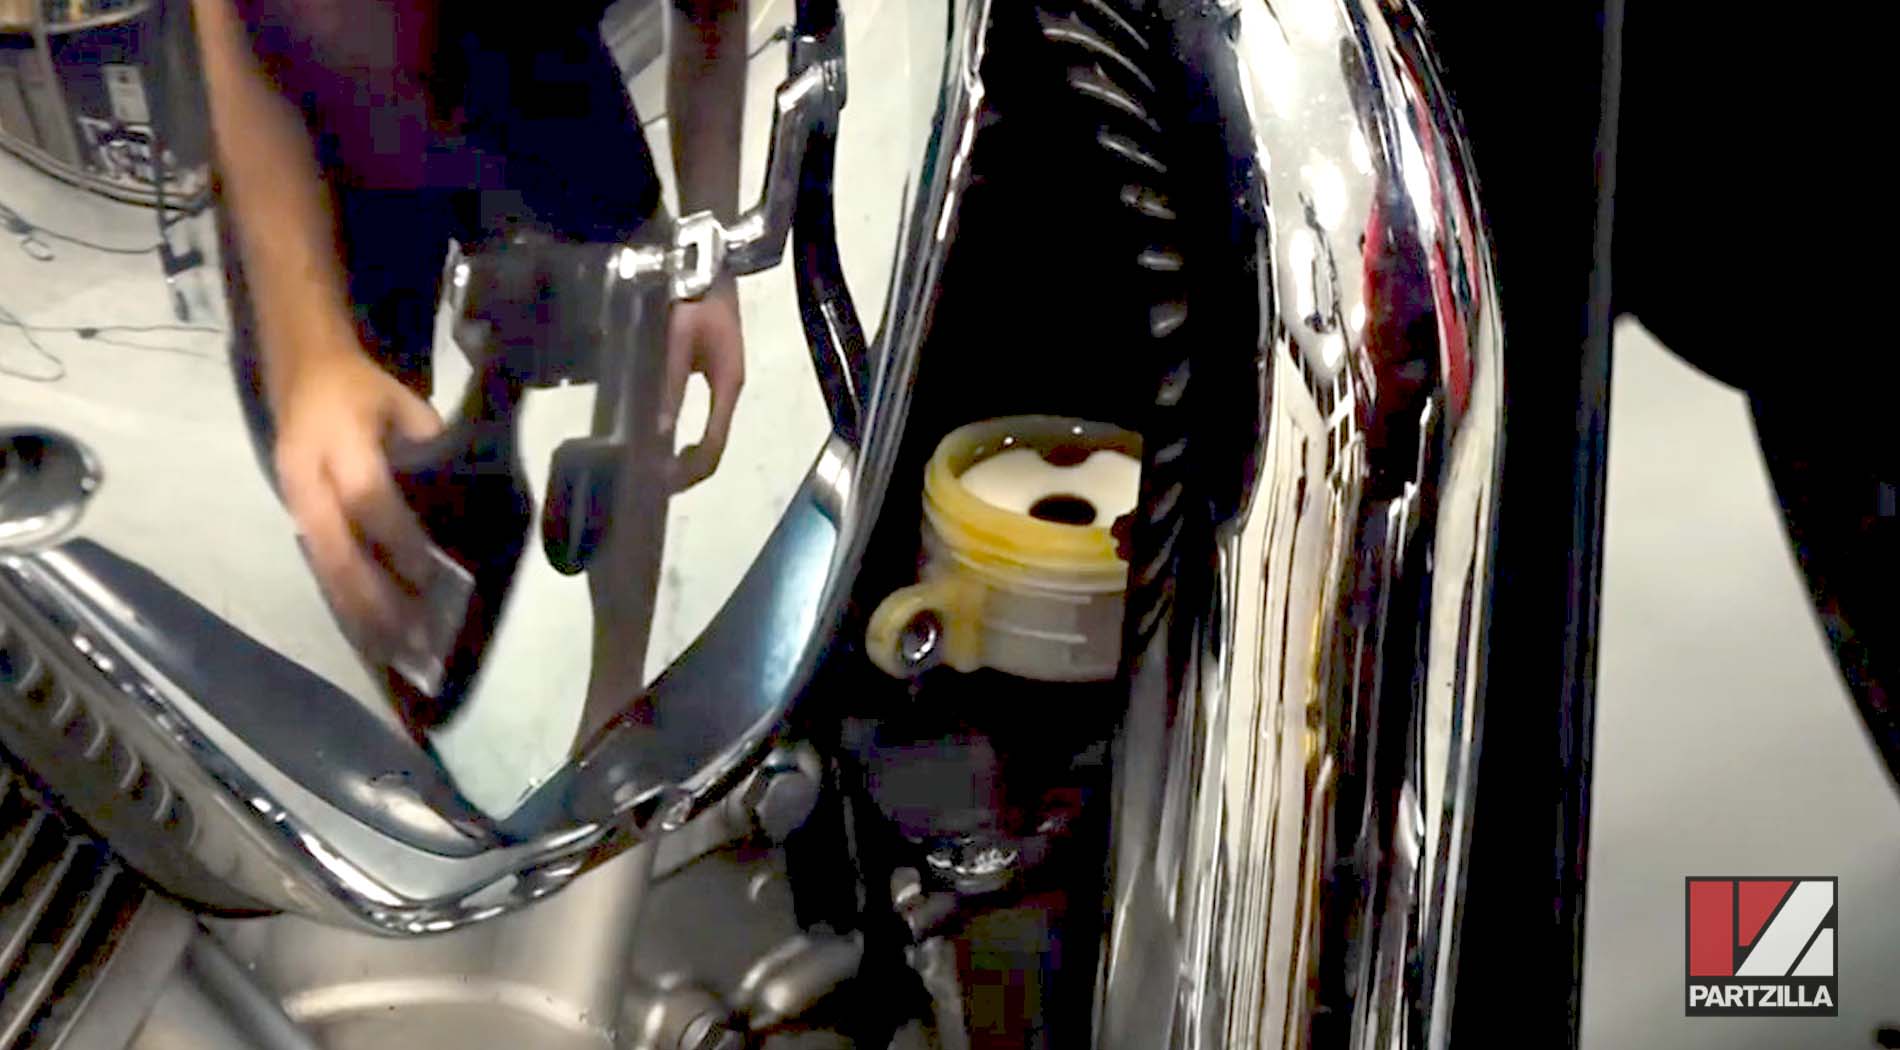
Step 3. Remove the bolt that holds the rear brake reservoir cover, followed by the cover itself.
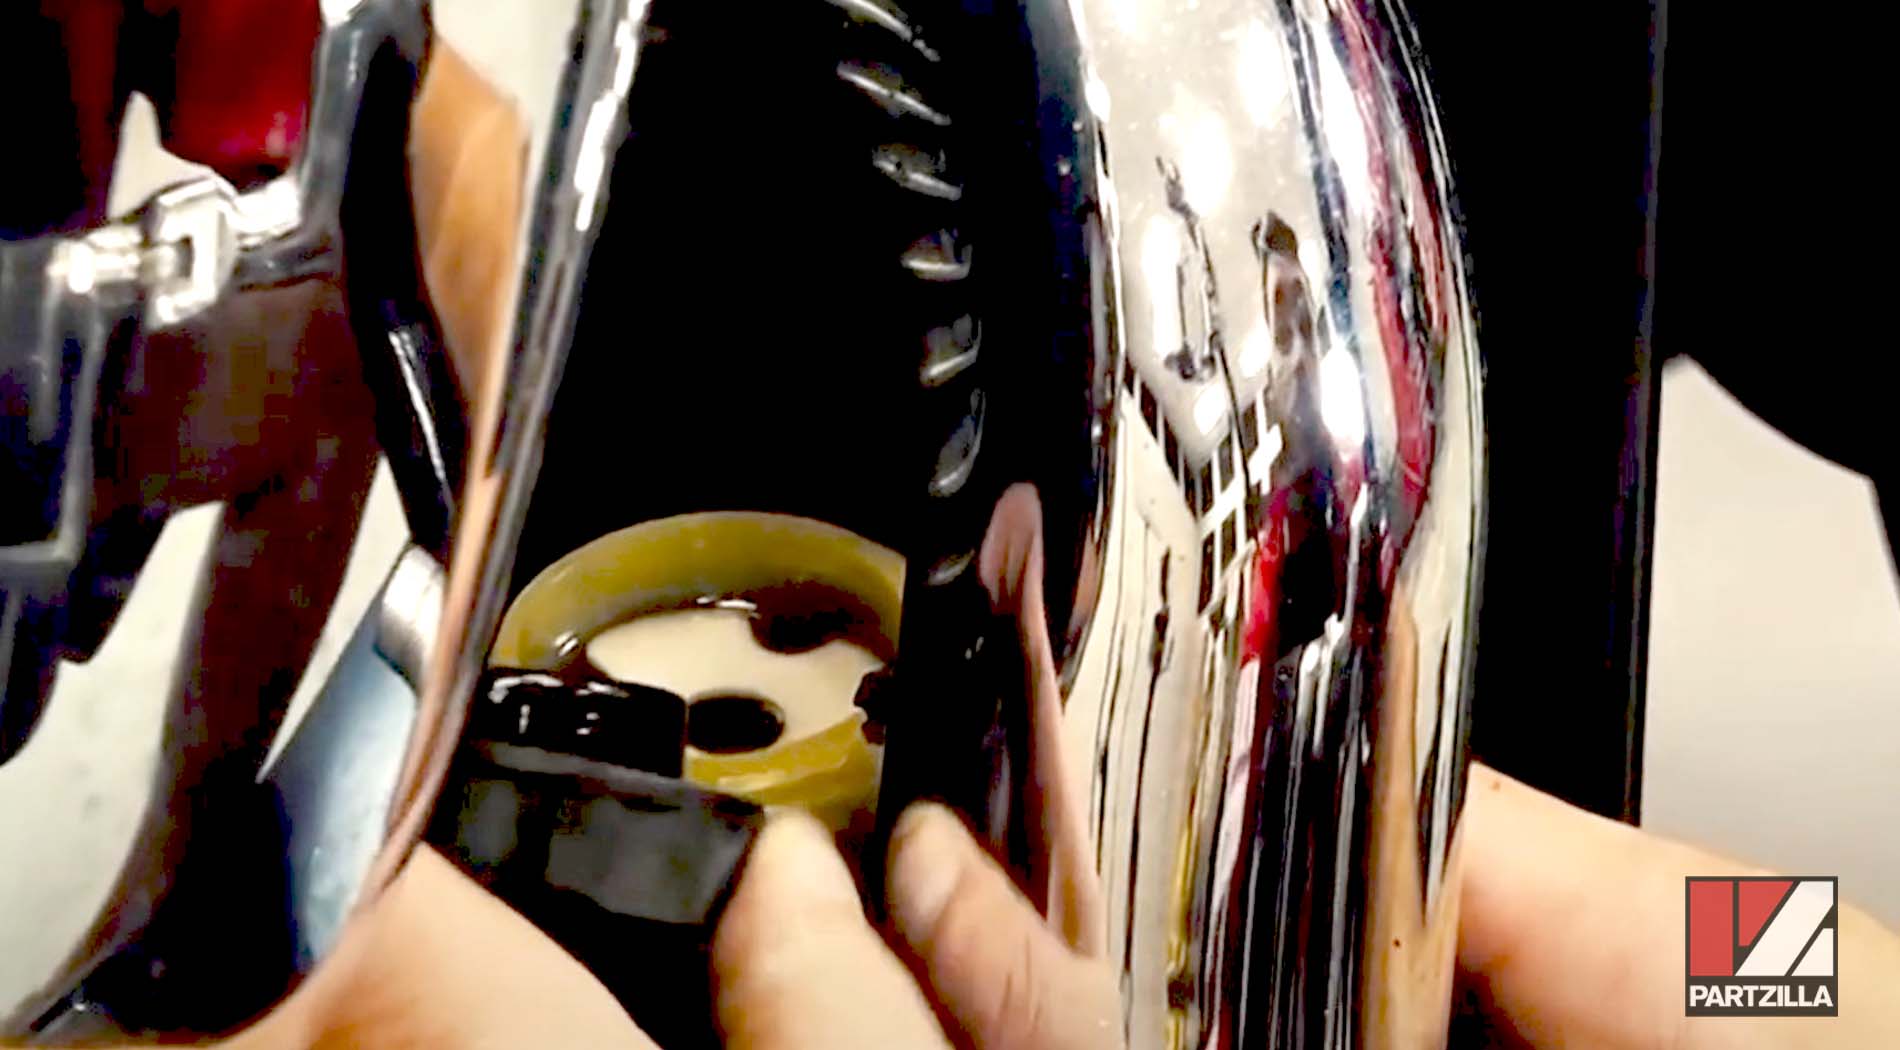
Step 4. Unscrew the rear brake master cylinder’s reservoir cap, then remove the diaphragm plate and the diaphragm.
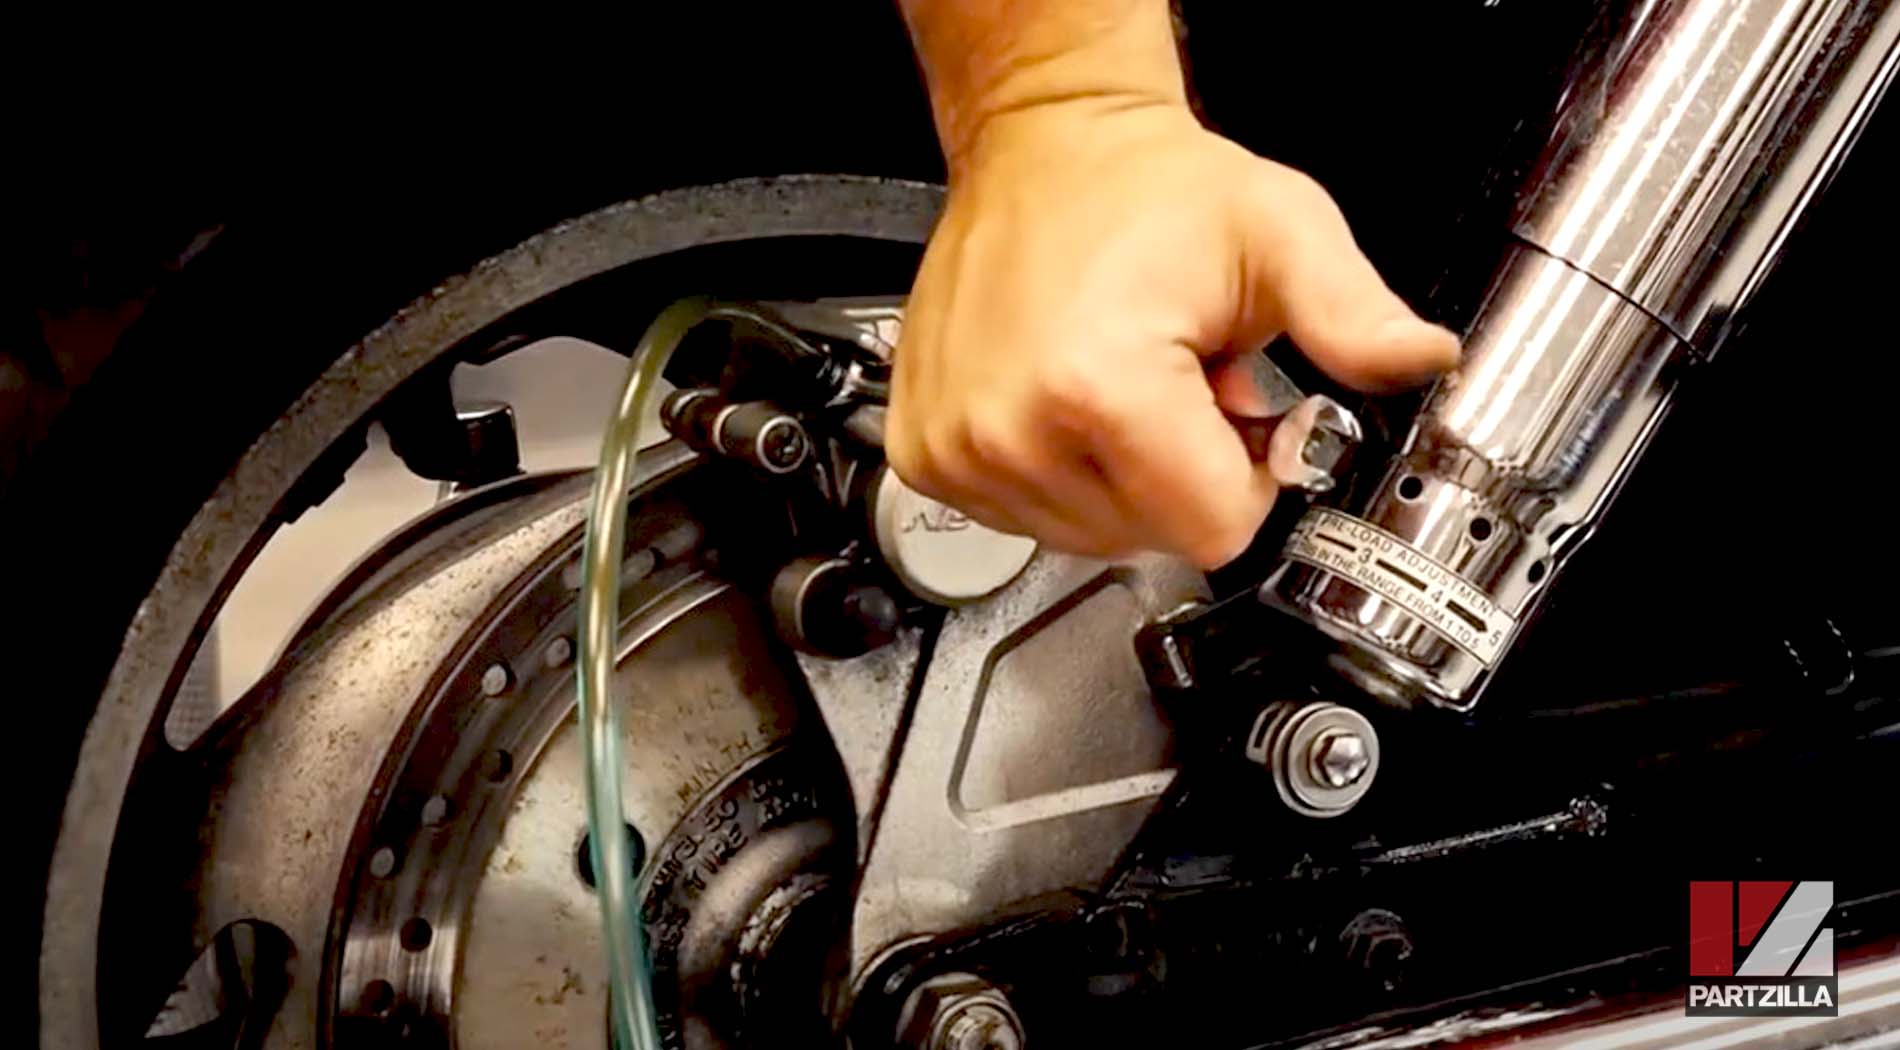
Step 5. Pump the rear brake pedal a couple of times, then hold the pedal down and loosen the bleed valve. Old brake fluid should start to flow out of the bleed valve and into the hose.
Step 6. Tighten the bleed valve, then pump the brake pedal, hold the pedal down and loosen the bleed valve again.
Step 7. Repeat Step 6 three or four times, then top off the brake fluid in the reservoir.

NOTE: Don’t let the reservoir run dry or else air will get into the brake system and you’ll have to start the bleed process again from scratch.
Step 8. Continue repeating steps 6 and 7 until you see new brake fluid without any air bubbles flowing into the 5/16” hose.
Step 9. Top off the master cylinder reservoir and reinstall the diaphragm, diaphragm plate, reservoir cap and the rear brake reservoir cover.
PRO TIP: If your VTX1300’s rear brake pads are worn and you plan on replacing them soon, only refill the reservoir to the lower mark. This allows the brake fluid to flow back into the reservoir when the new pads are fitted and the pistons are pressed back into the brake calipers.
Step 10. Put the dust cap back onto the bleed valve, then wipe away any last drops of brake fluid from the caliper and reservoir and you’re done.