How to Replace the Chain on a Honda TRX 400EX
Before you replace the chain on your Honda TRX 400EX, you need to decide which type of new chain you'll be installing.
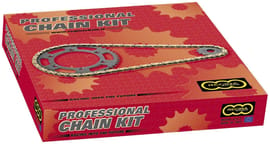
Chain Replacement Options
O-ring chains offer greater protection against dirt than roller chains and are far more durable when used in off-road environments. For this reason, we recommend fitting an O-ring chain to your ATV. O-ring chains last longer and even though they're more expensive, you probably won't have to replace them as often.
Roller Chains
The standard type of chain that's been used on quads and motorcycles for decades. Roller chains are more prone to wear, but are cheaper than O-ring chains.
O-ring Chains
Have small O-rings between the inner and outer plates that prevent dirt from getting between the plates. This means O-ring chains won't wear as quickly.
If you run your ATV in ways that require frequent chain replacement (competition, harsh environments), you'll probably prefer the ease of a clip master link chain. However, if you run your ATV at a more leisurely pace and don't need to change the chain that often, you might be better off with the added durability of a staked master link chain.
Clip Master Links
Secured by a clip that can be installed or removed with a flathead screwdriver. Chains with clip master links are much easier to replace and don't require any special tools, however the clip is not as strong as staked pins.
Staked Master Links
Secured by staking or flaring the pins using a chain tool. Chains with staked master links are much more durable, however they require a chain tool and are more time consuming to install.
After you have your chain selected, watch our Honda TRX 400EX chain replacement video above and follow the step-by-step guide below to get going.

Tools and Parts - Honda TRX400 Chain Replacement
- Ratchet and 6mm Allen
- Flathead screwdriver
- Hammer
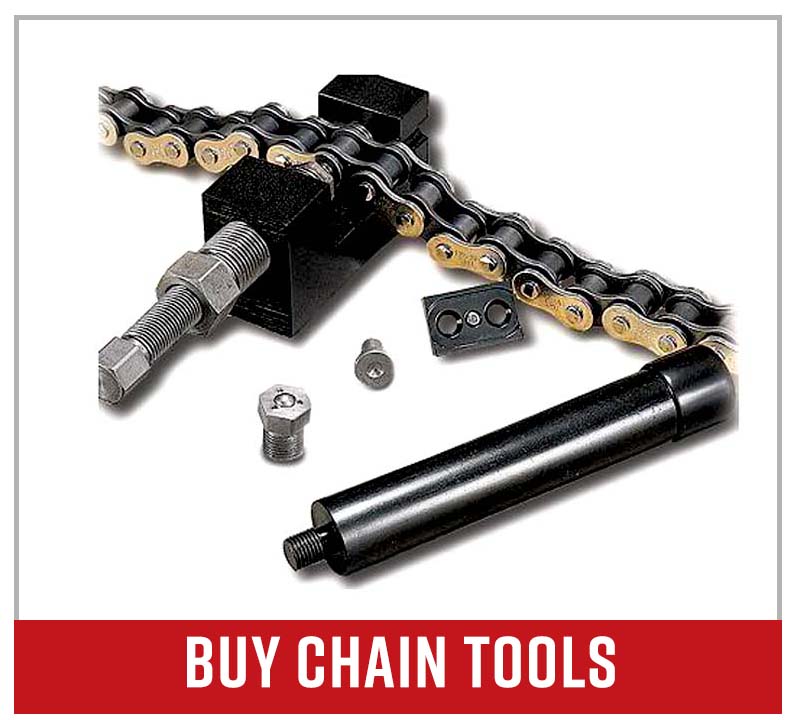
- Chain tool or angle grinder
- Chain
Removing a Honda TRX 400EX Chain
Step 1. Remove the left rear wheel.
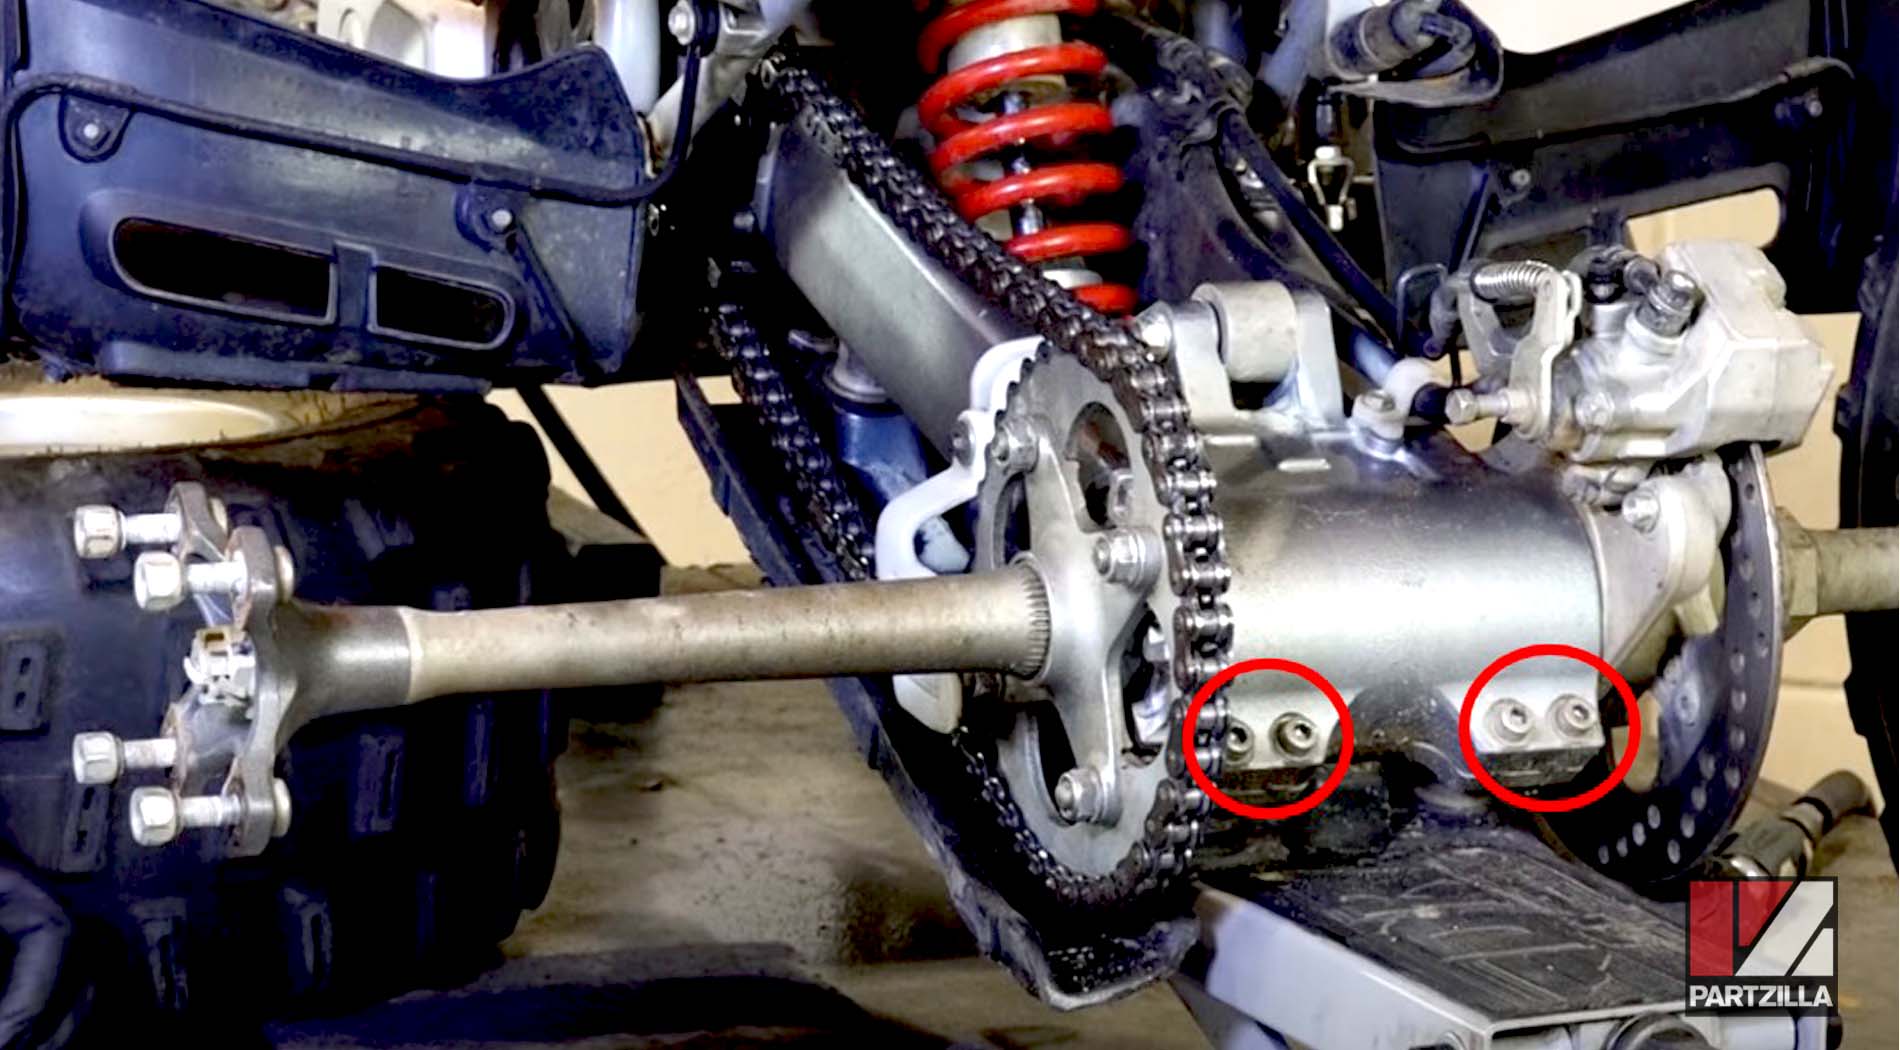
Step 2. Loosen the four pinch bolts at the rear of the axle hub, and rotate the hub counterclockwise (as viewed from the left side of the ATV) to slacken the chain.
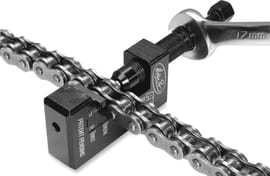
Using Chain Tool
Step 3. Insert the cutting die into the chain tool, then position the tool over a chain link and tighten the tool to break each pin loose. Next, insert the push pin into the chain tool, position the tool over the loosened pins, and tighten the tool to push each pin out of the chain.
Using Angle Grinder
Step 3. Use an angle grinder to grind away the flared heads of two chain pins, then pry off the outer plate and push out the link.
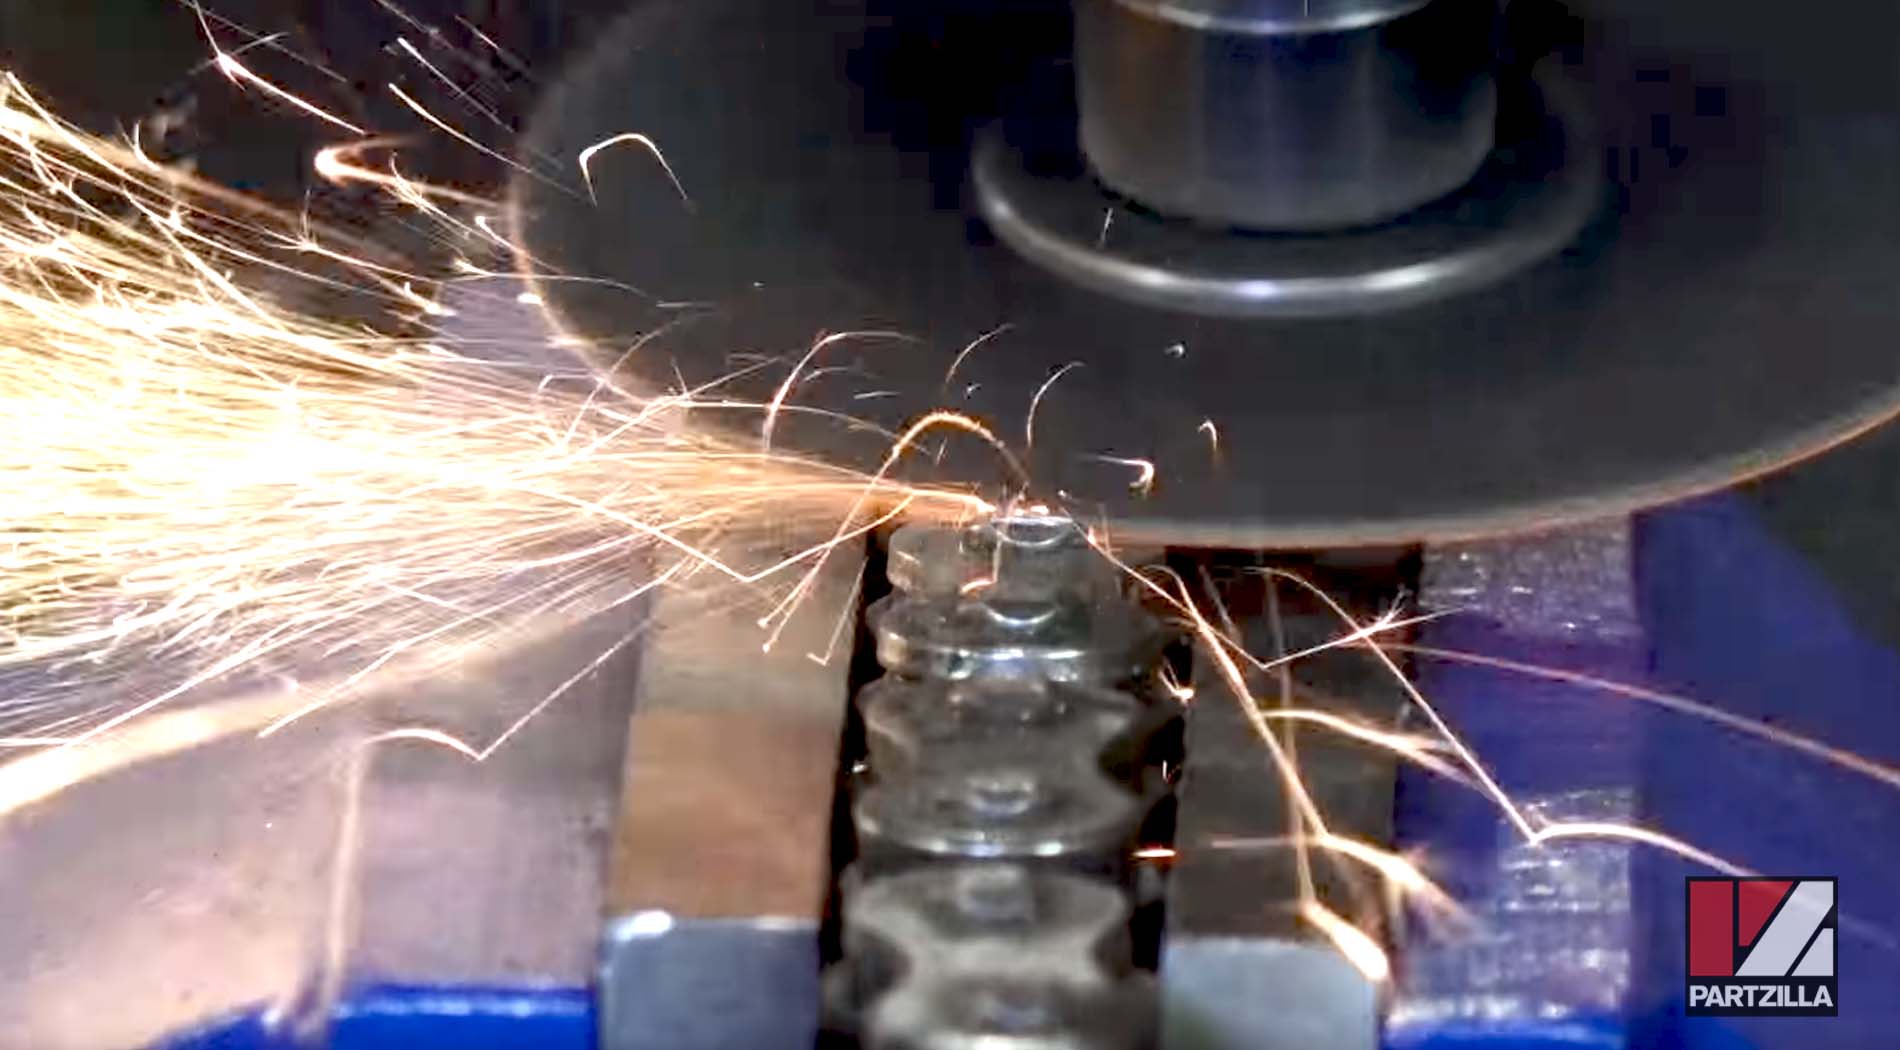
Watch the clip below to see how to complete this step.
Installing a Honda TRX 400EX Chain
Step 1. Count the number of links in the old chain, then count the same number of links in the new chain. Mark the point you need to break the new chain, and use either a chain tool or an angle grinder to break it, as described in Step 3 in the previous section.
PRO TIP: Cutting the new chain too short will mean you'll have to buy another new chain. The rule of thumb is to measure twice before cutting.
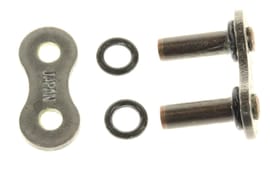
Step 2. Install the new chain over the sprockets and secure it with the new master link. The master link should be on the inside of the chain and the plate on the outside of the chain. The stamped markings on the plate should be facing outward.
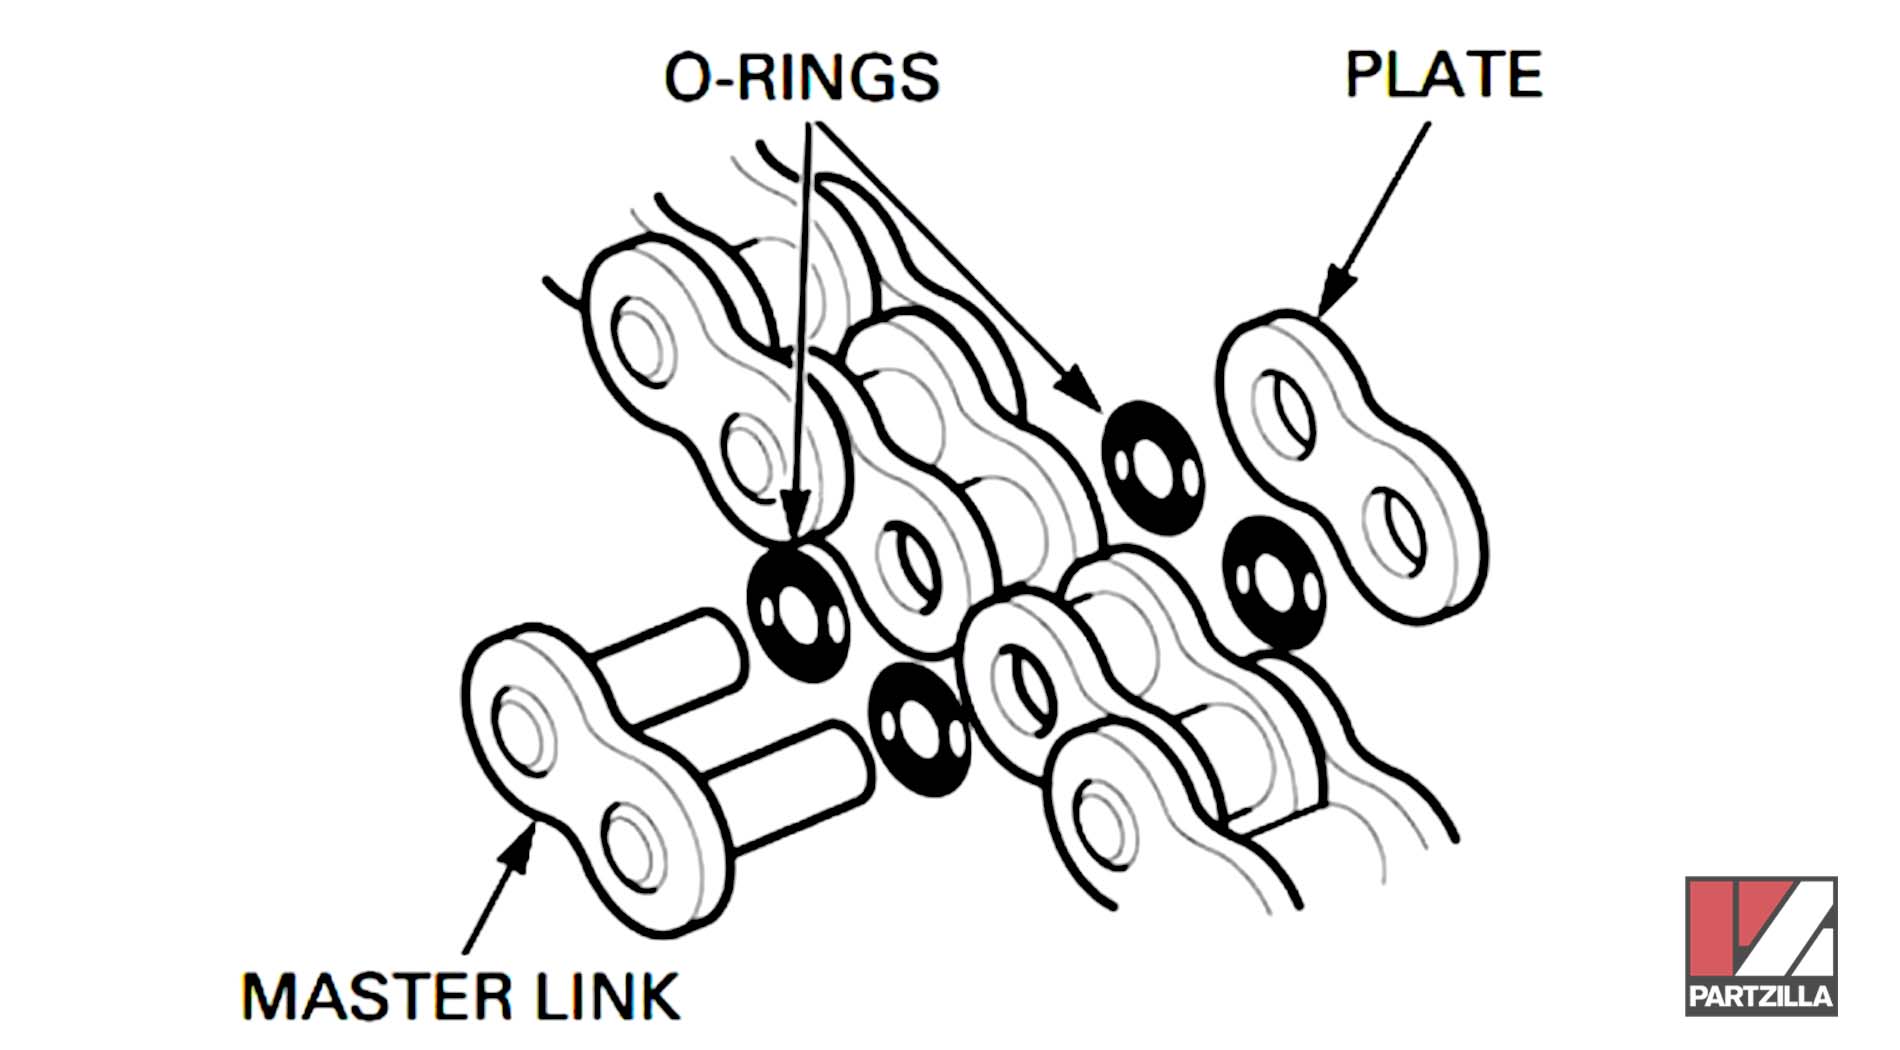
NOTE: If you're installing an O-ring chain, make sure you also install the four O-rings shown in the diagram above.
Without Chain Tool
Step 3. Install the master link clip by sliding it over the master link's pins with a flathead screwdriver. Make sure the gap in the clip is facing away from the chain's direction of travel to minimize the chances of the clip getting snagged on something.
With Chain Tool
Step 3. Insert the link plate holder into the chain tool, then position the tool over the chain and tighten the tool to press the plate into place. Next, insert the flaring die into the chain tool, position the tool over the master link's pins, and tighten the tool to flare the pins.

Watch the clip below to see how to complete this step.
Once you've completed all the steps above, the last thing left to do is to adjust the chain. Watch the video below to learn how to clean and adjust a Honda TRX 400EX chain.