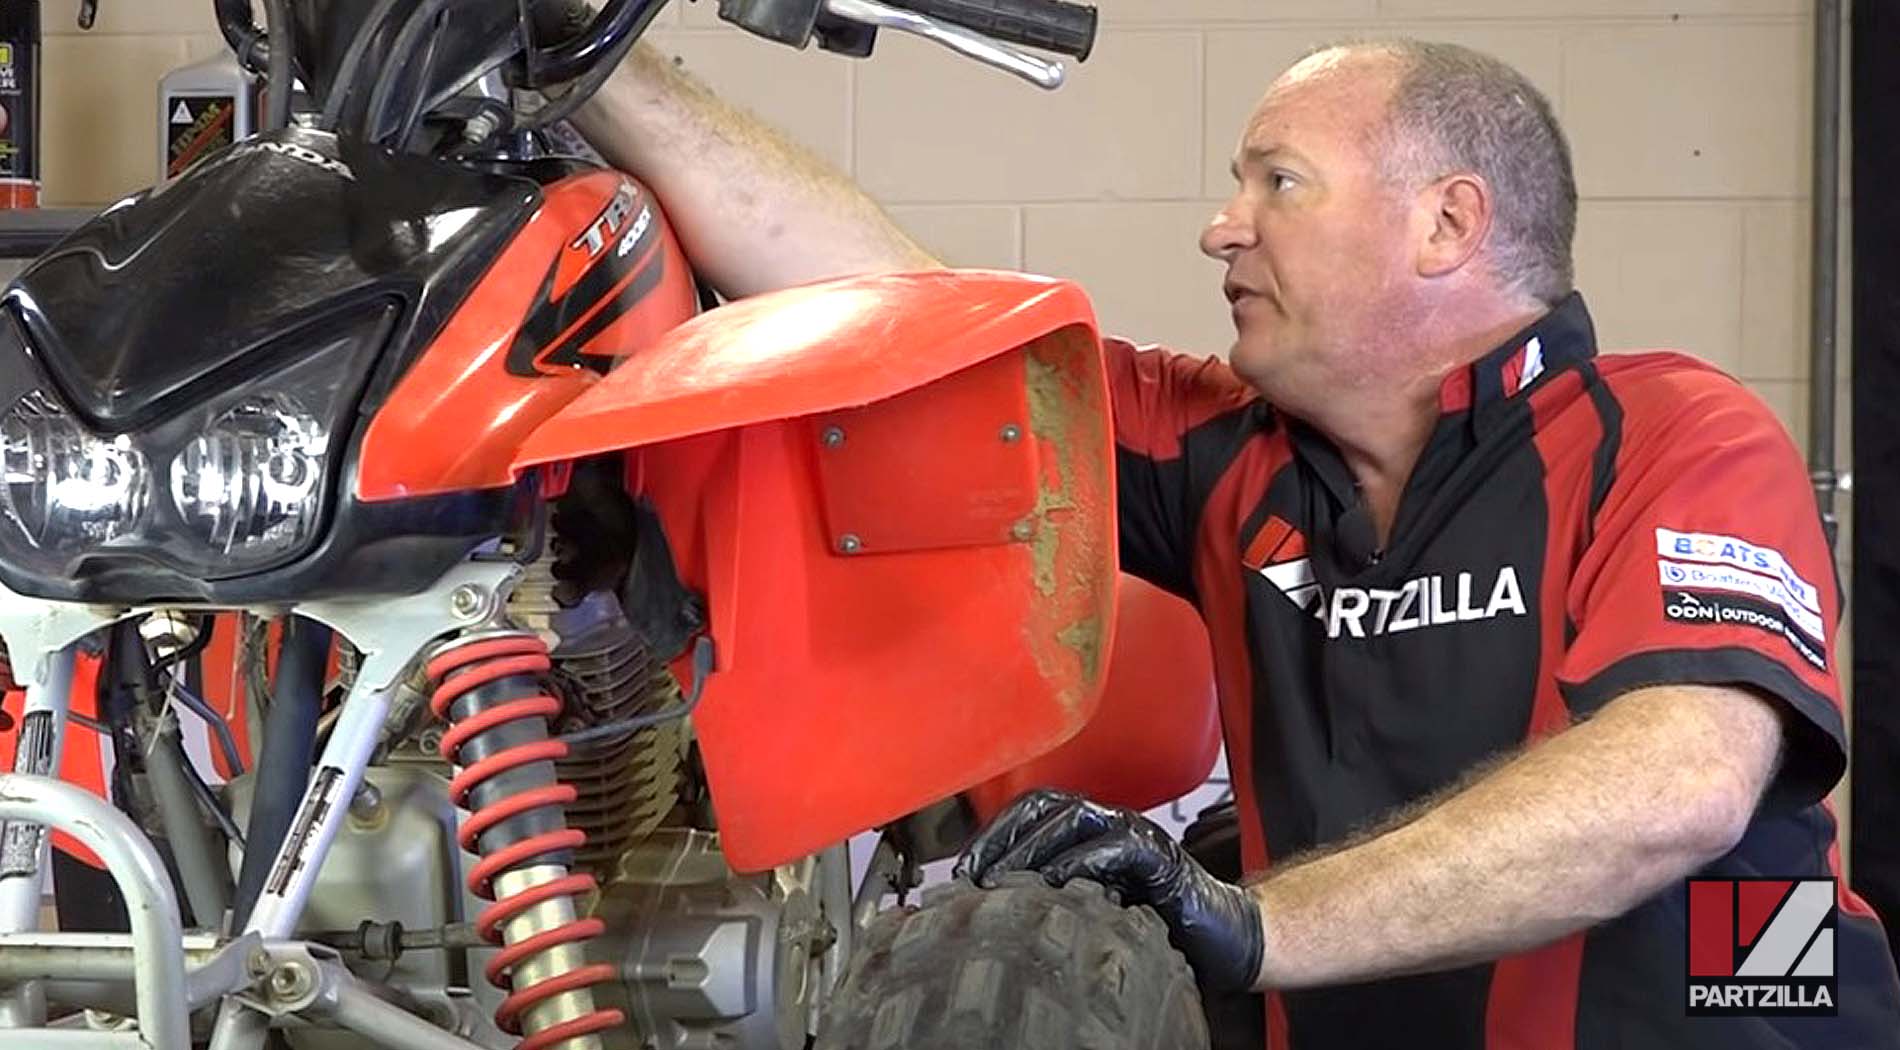
How to Change the Oil in a Honda TRX 400 ATV
Regular oil changes for your Honda ATV can slow the toll that heat and pressure take on its engine. Doing your own oil changes is a quick and inexpensive process that even beginner mechanics can pull off.
Watch the video above and follow the steps below to change the oil and oil filter in a Honda TRX 400.
See the parts diagram: Honda TRX400 right crankcase cover diagram
Tools and Parts - Honda TRX 400 Oil Change


NOTE: A Honda ATV works on a dry sump system, meaning it has oil in both the crankcase and the oil tank. You'll need to drain both.
Honda TRX 400 ATV Oil Change Steps
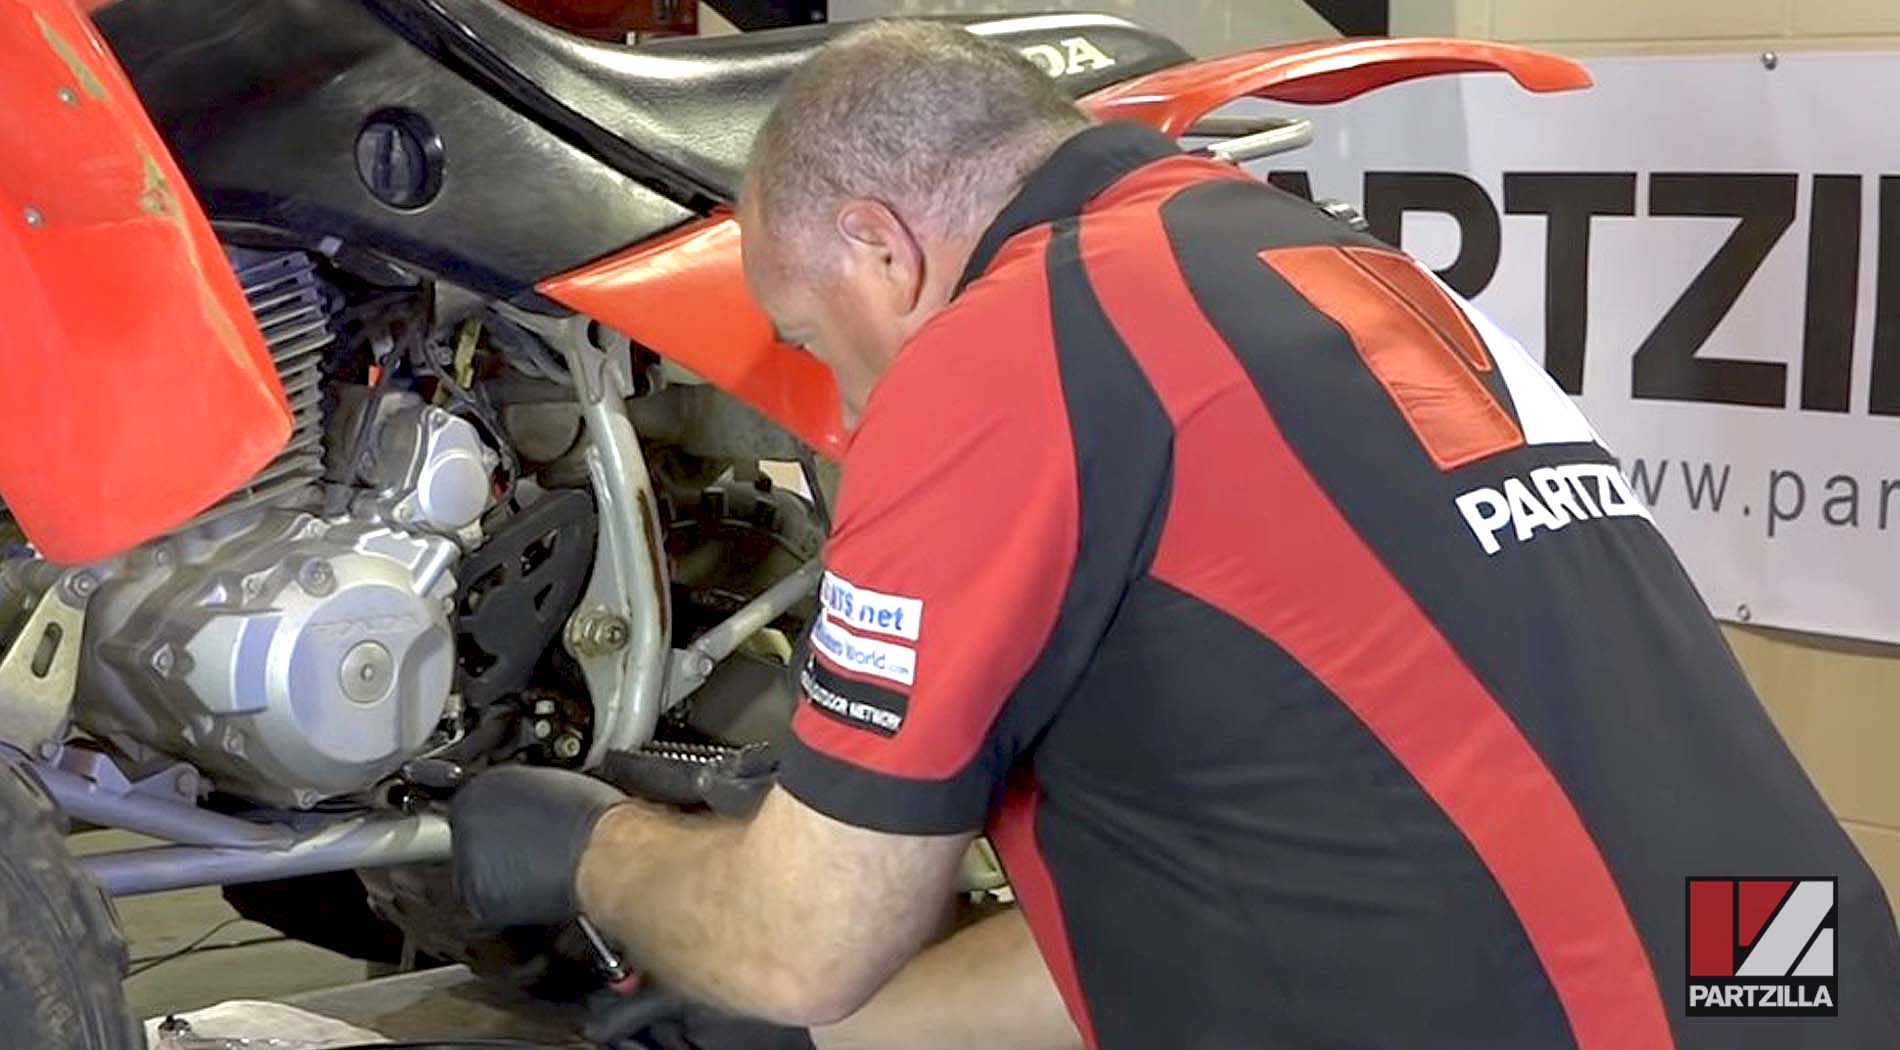
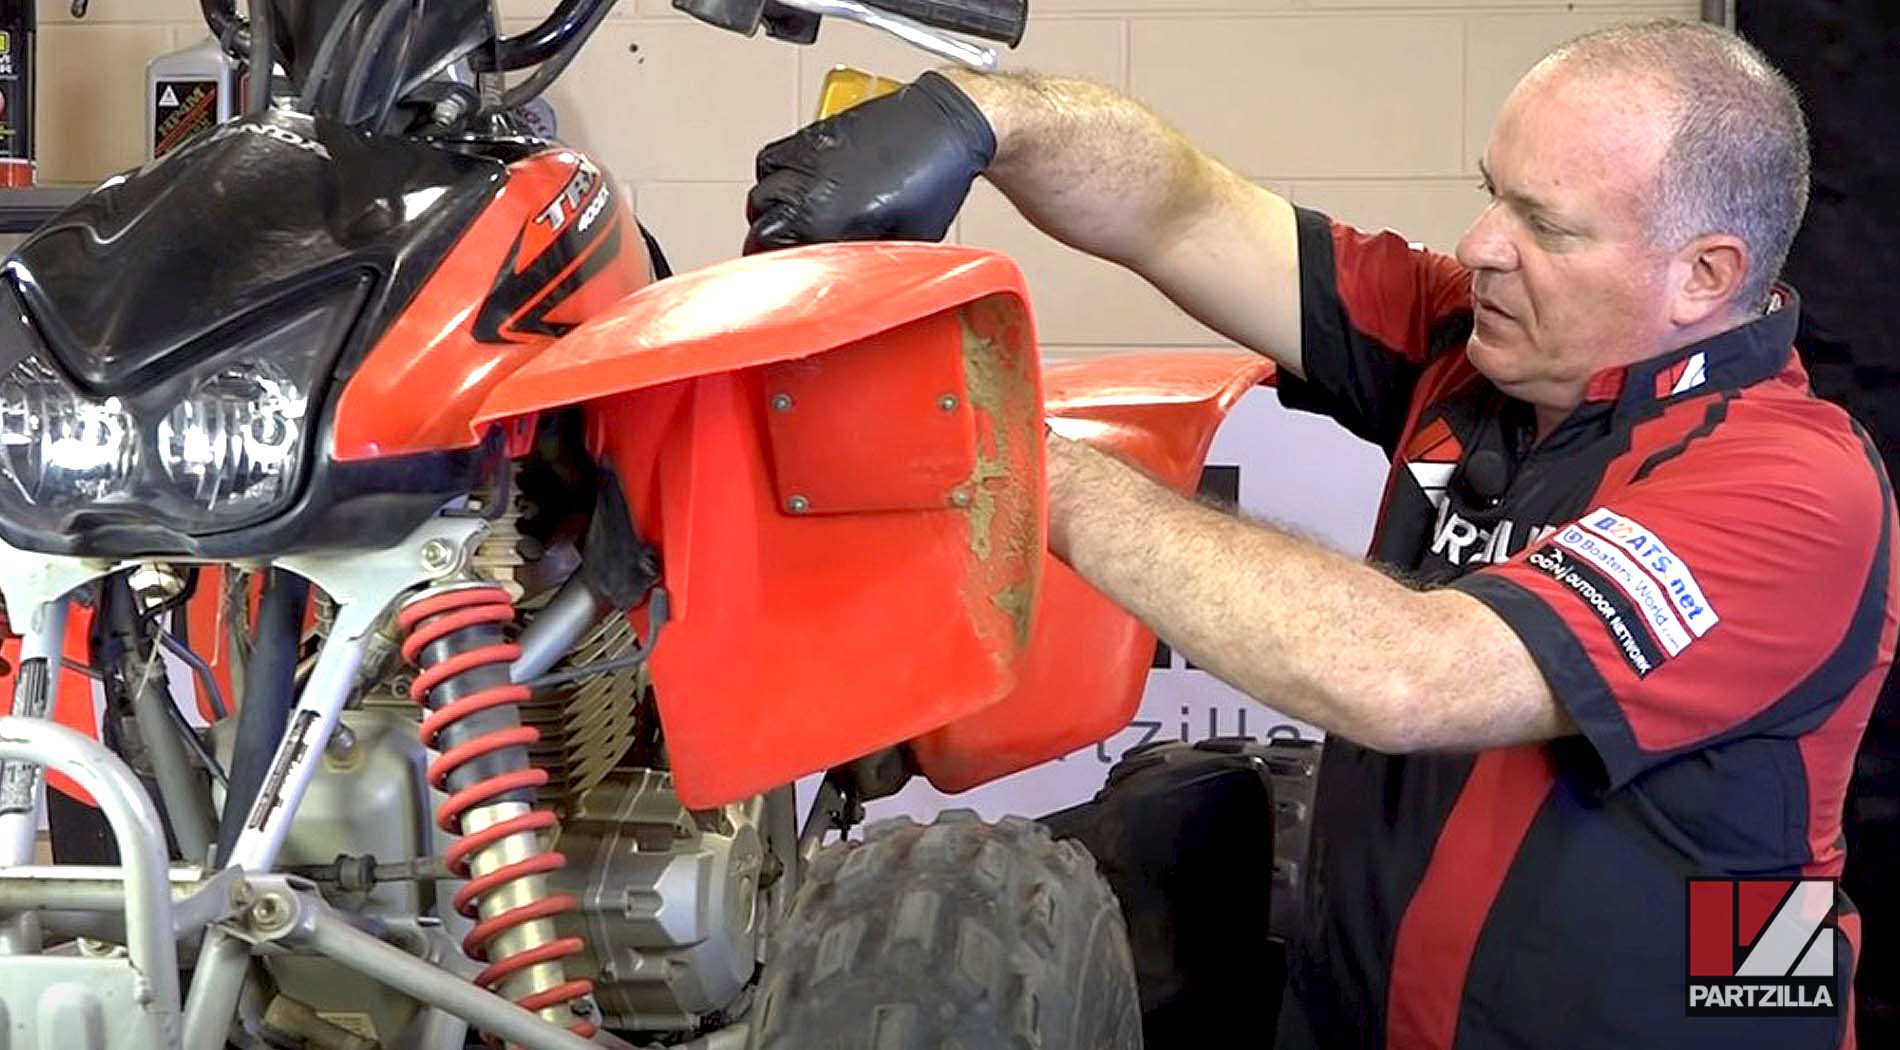
Step 1. Run the engine for a couple of minutes to get the oil circulated through the system. Stop the engine, then loosen the dipstick (located on the left side of the motor) and place a drain pan underneath the motor.
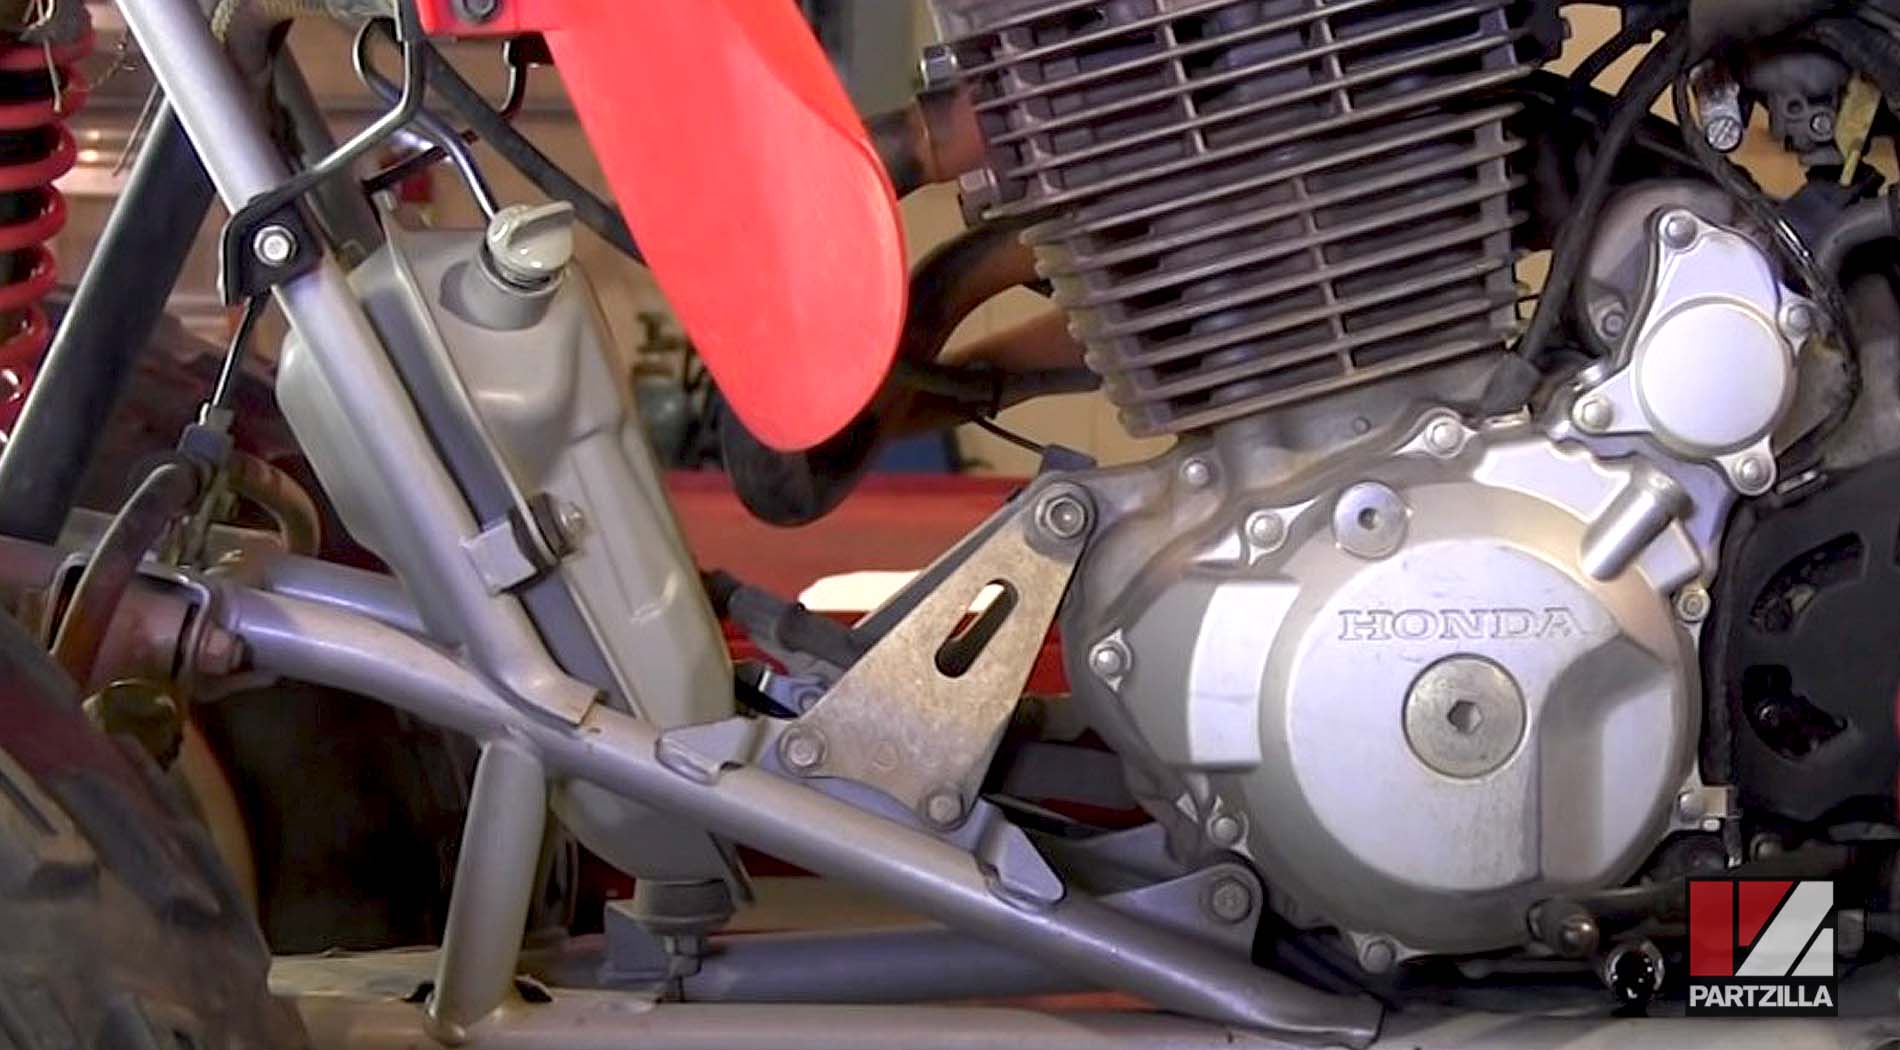
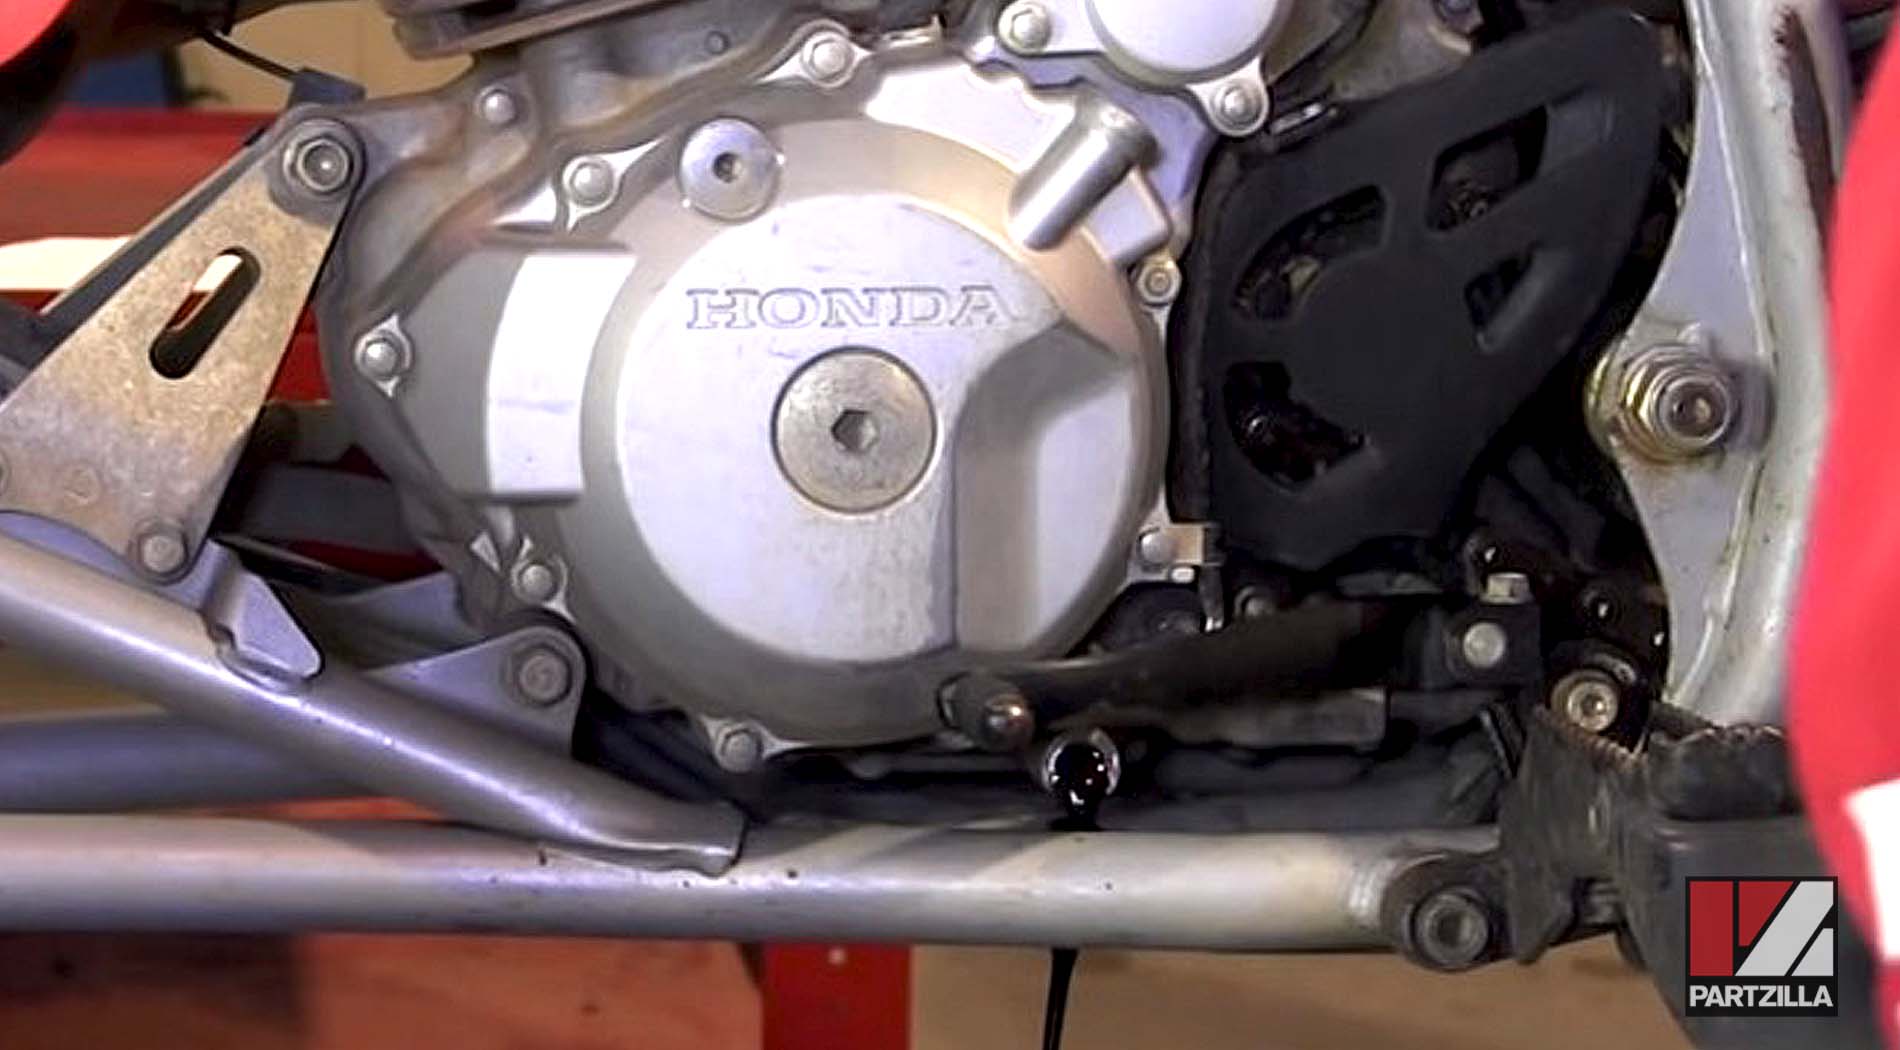
Step 2. Use a 12mm socket to remove the drain bolt for the crankcase (located low around the circular crankcase cover) and the crush washer behind the drain bolt, making sure not to lose the washer as the oil comes out.
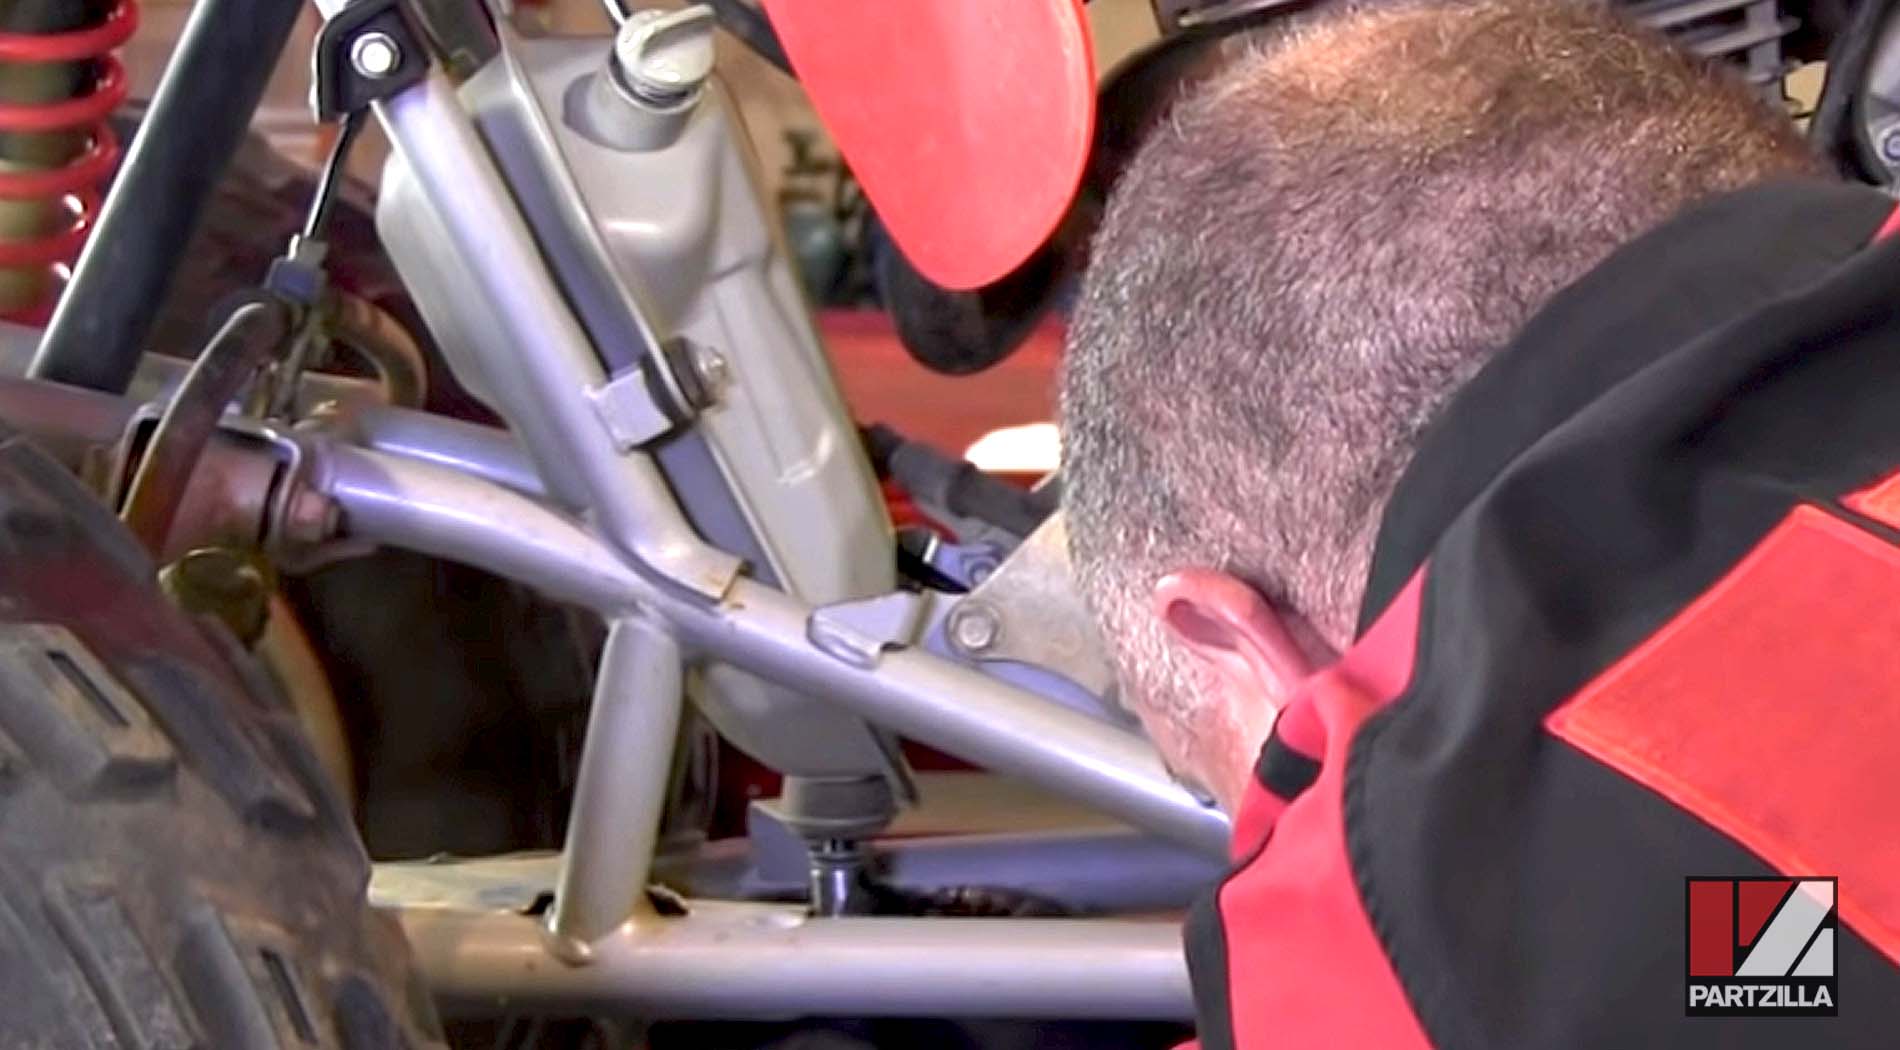
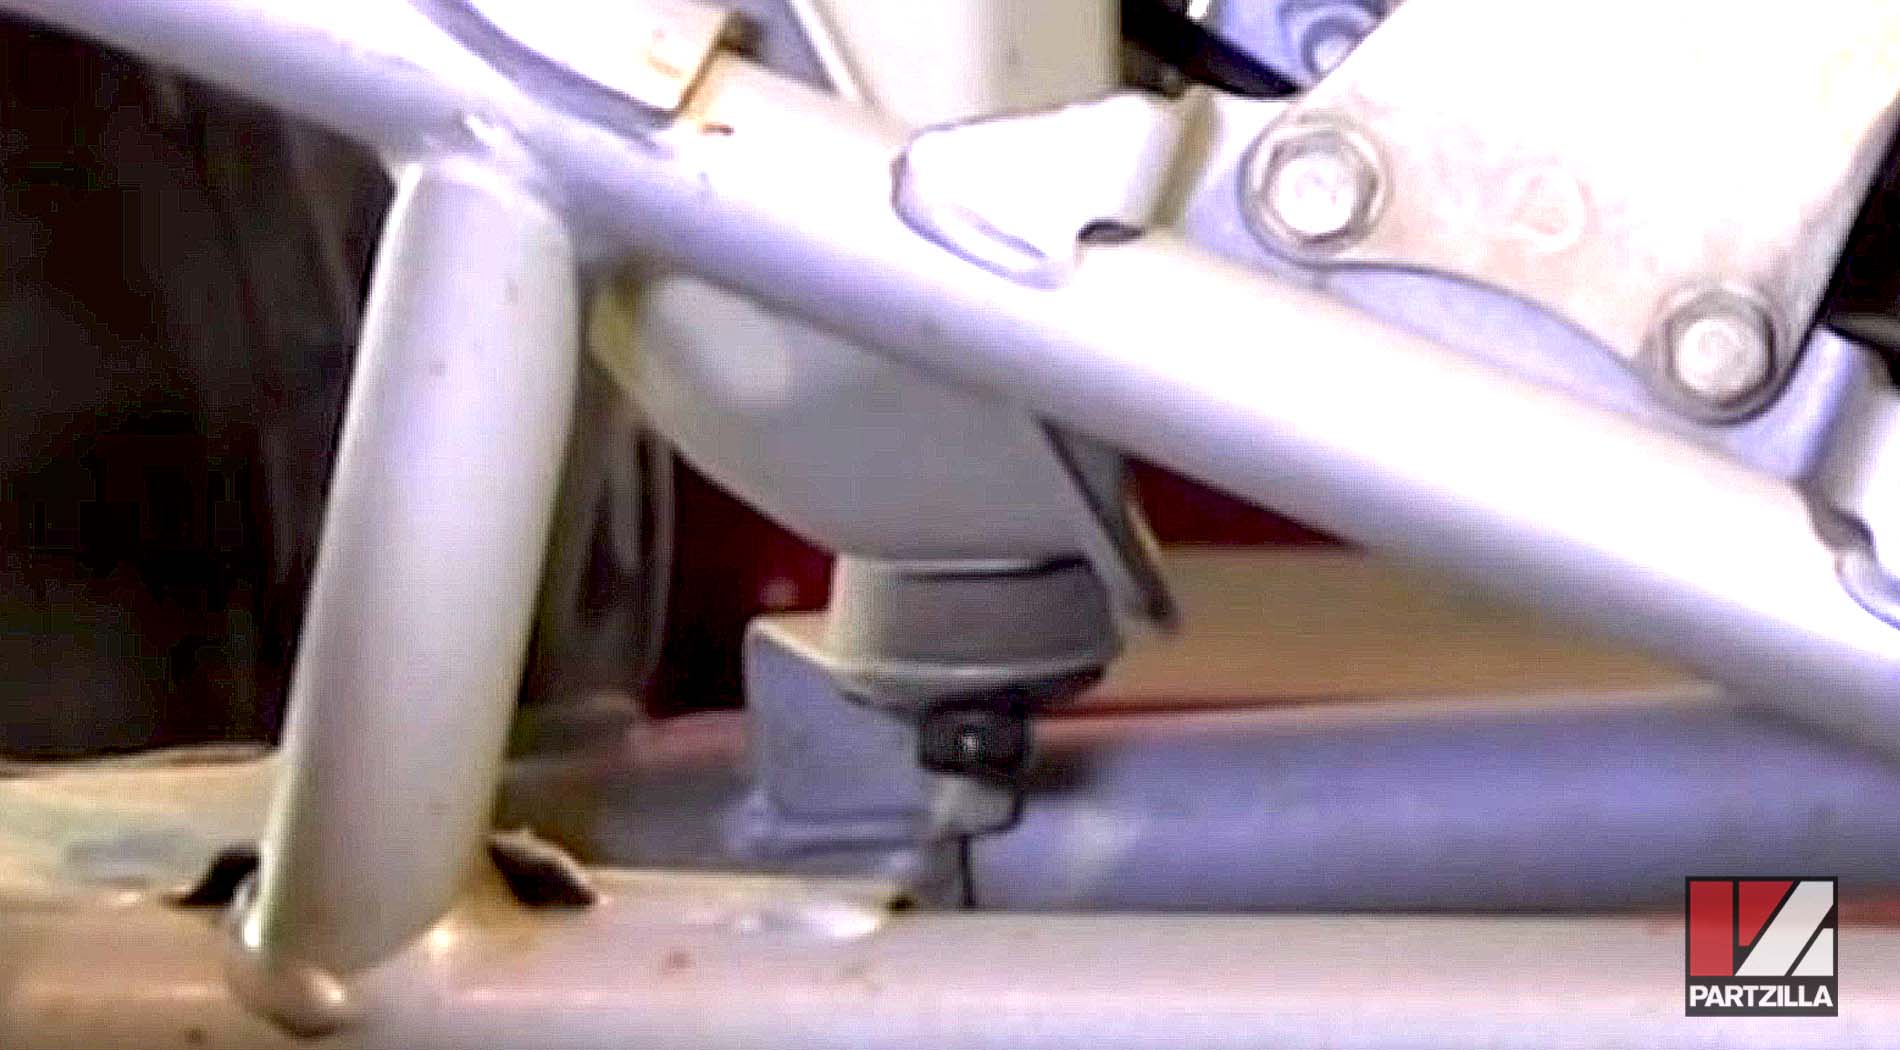
Step 3. Place the drain pan underneath the oil tank, and use a 14mm socket to remove the oil tank drain bolt (located in front of the engine), again making sure not to lose the crush washer behind it when you pull the bolt out.
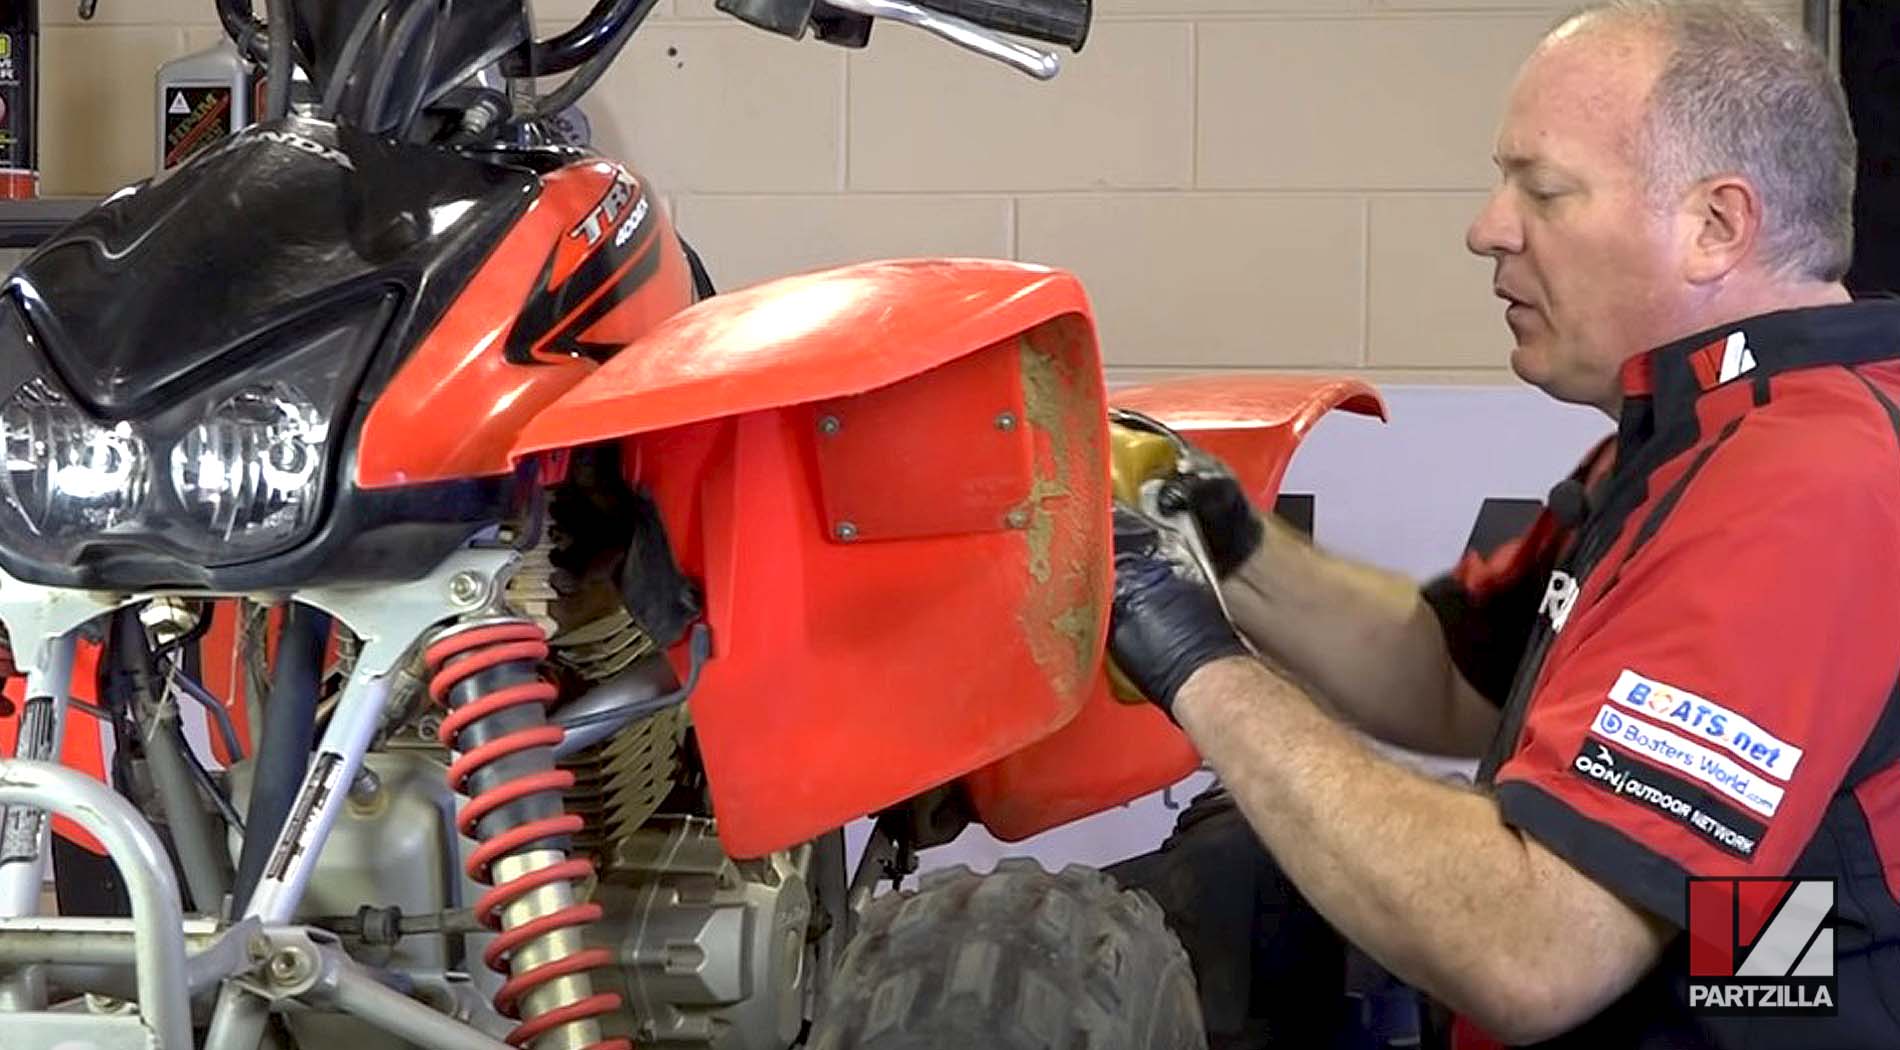
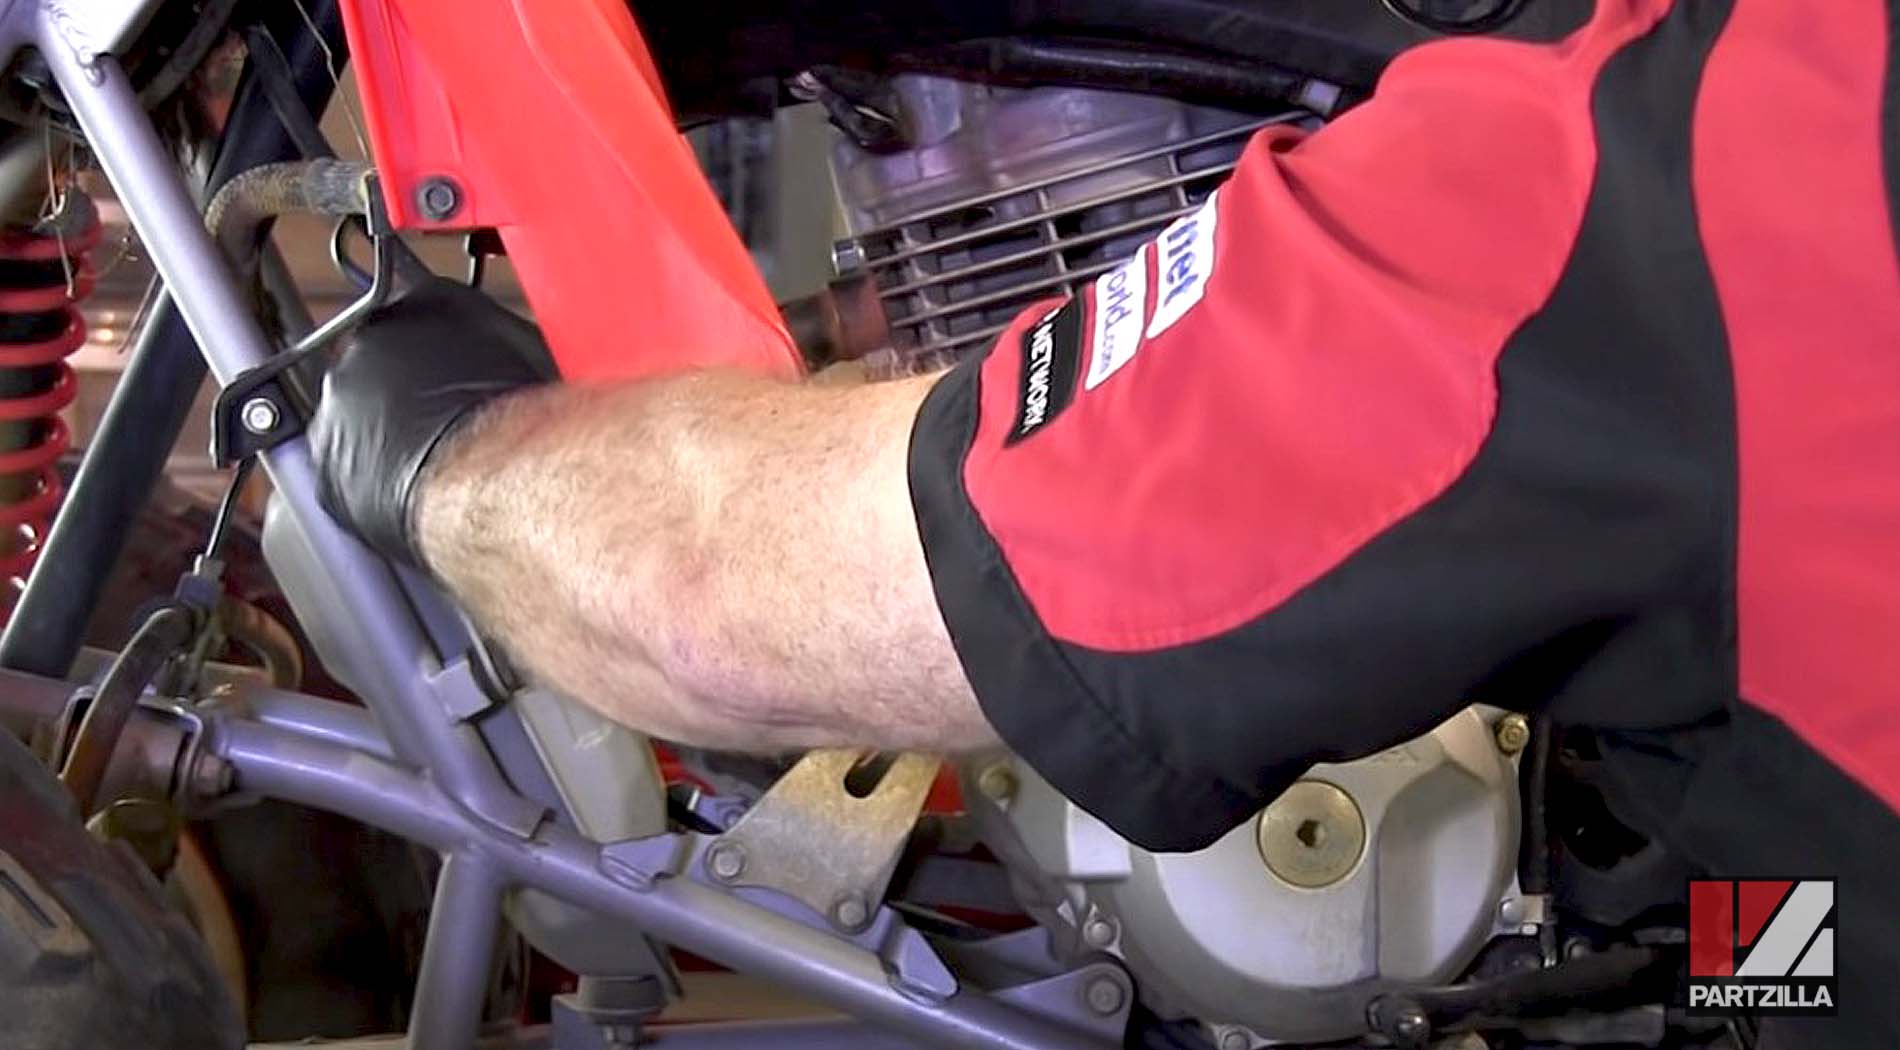
NOTE: While the crankcase and oil tank drain, move over to the right side of the engine to change the ATV’s oil filter.
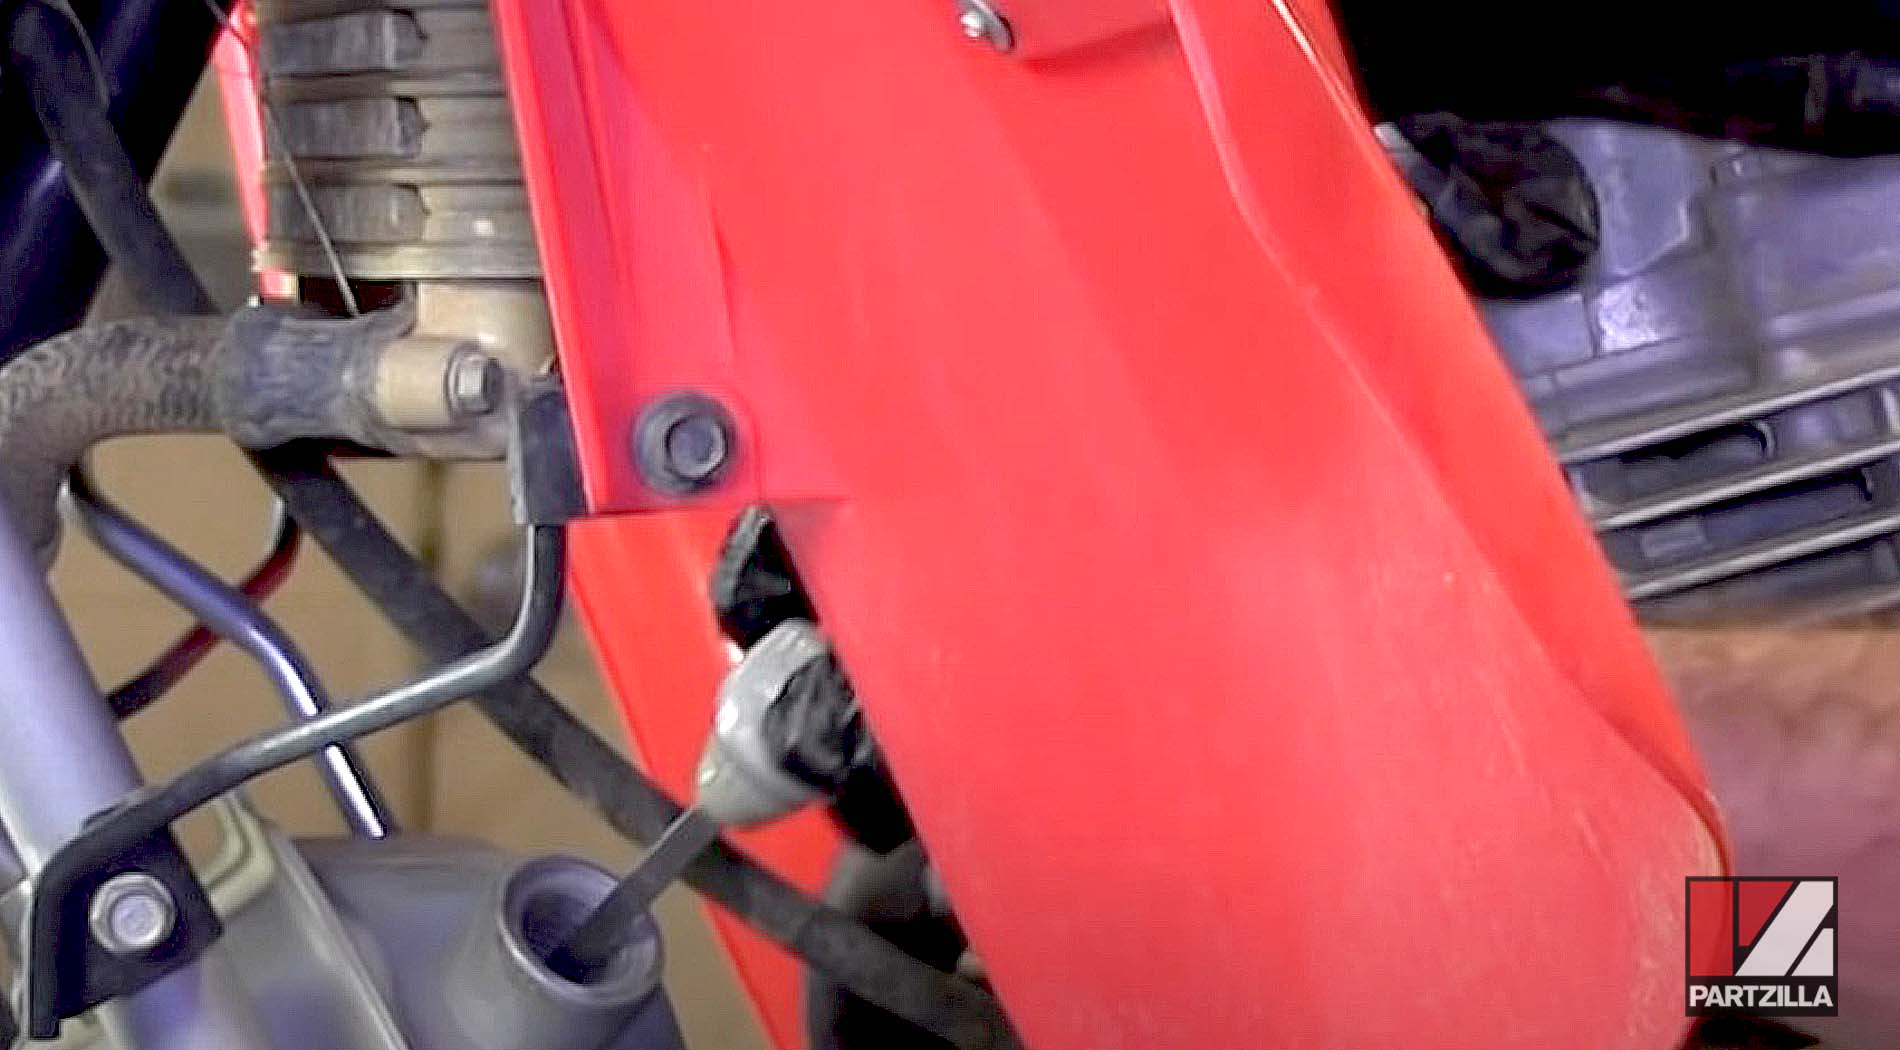
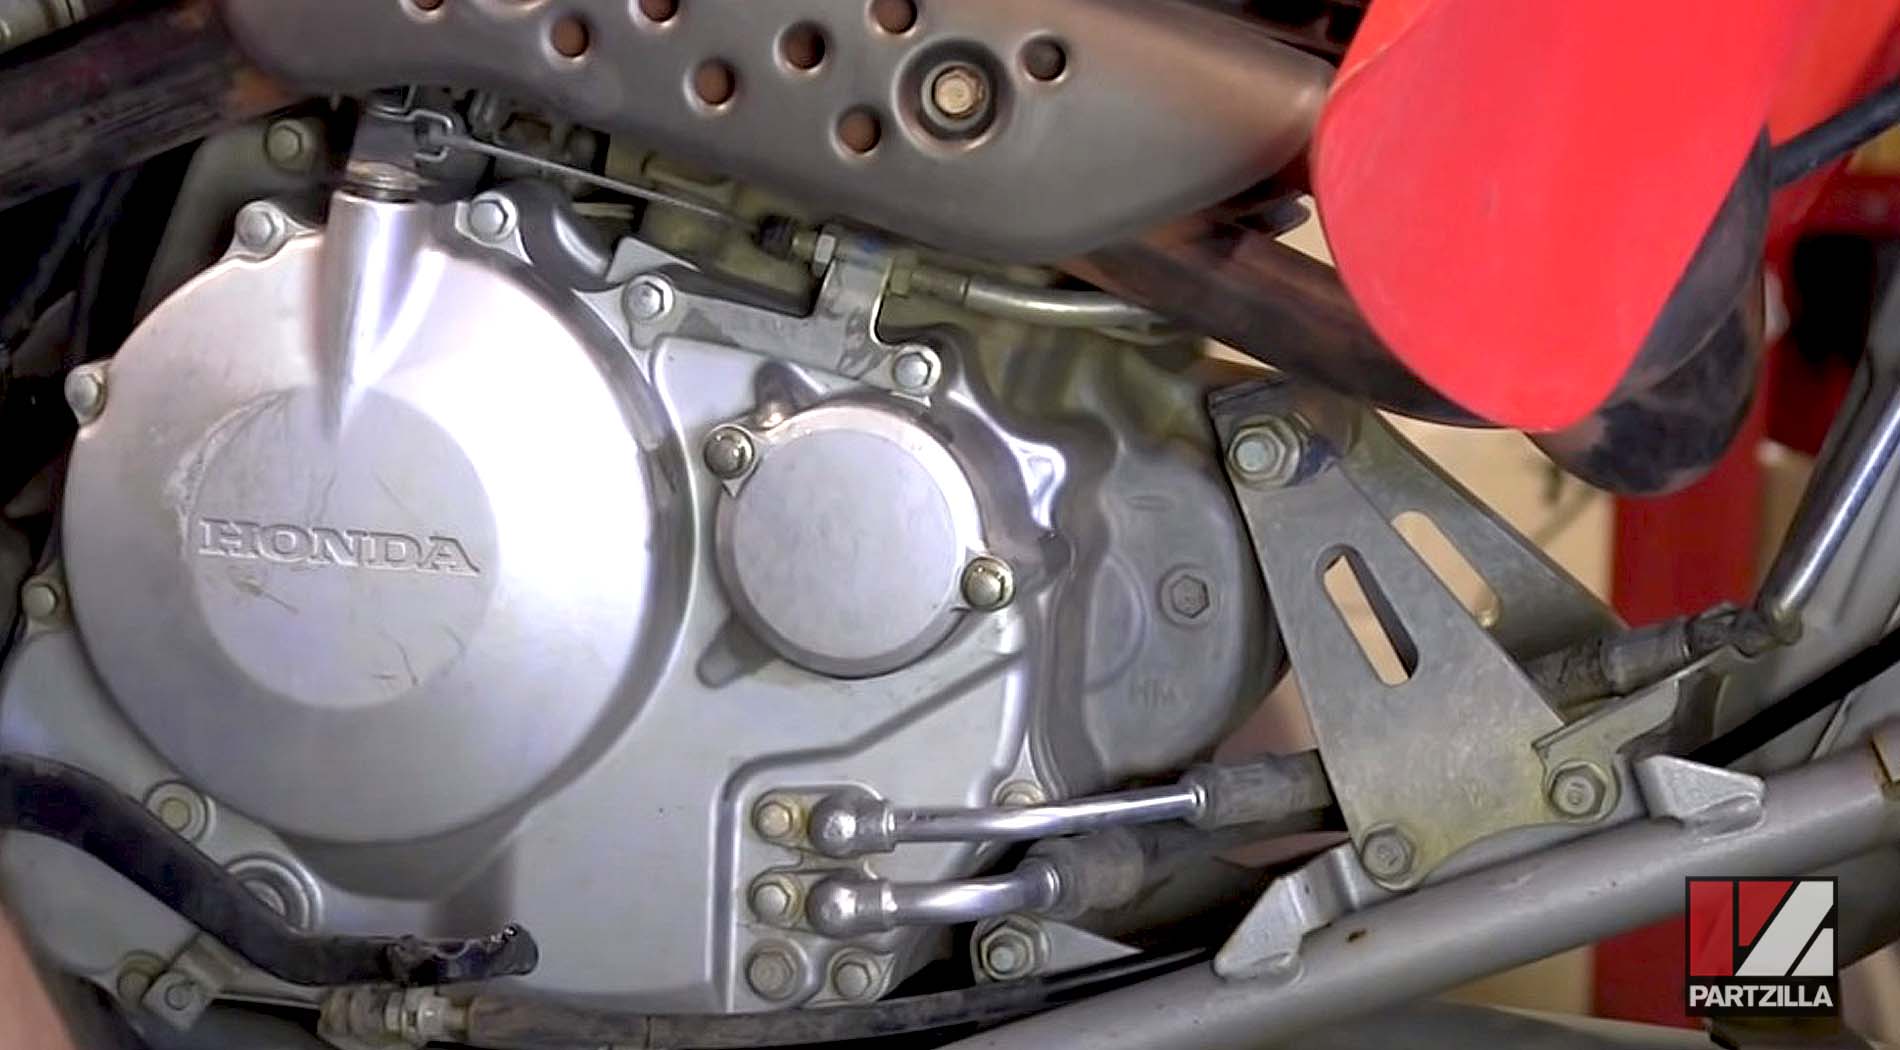
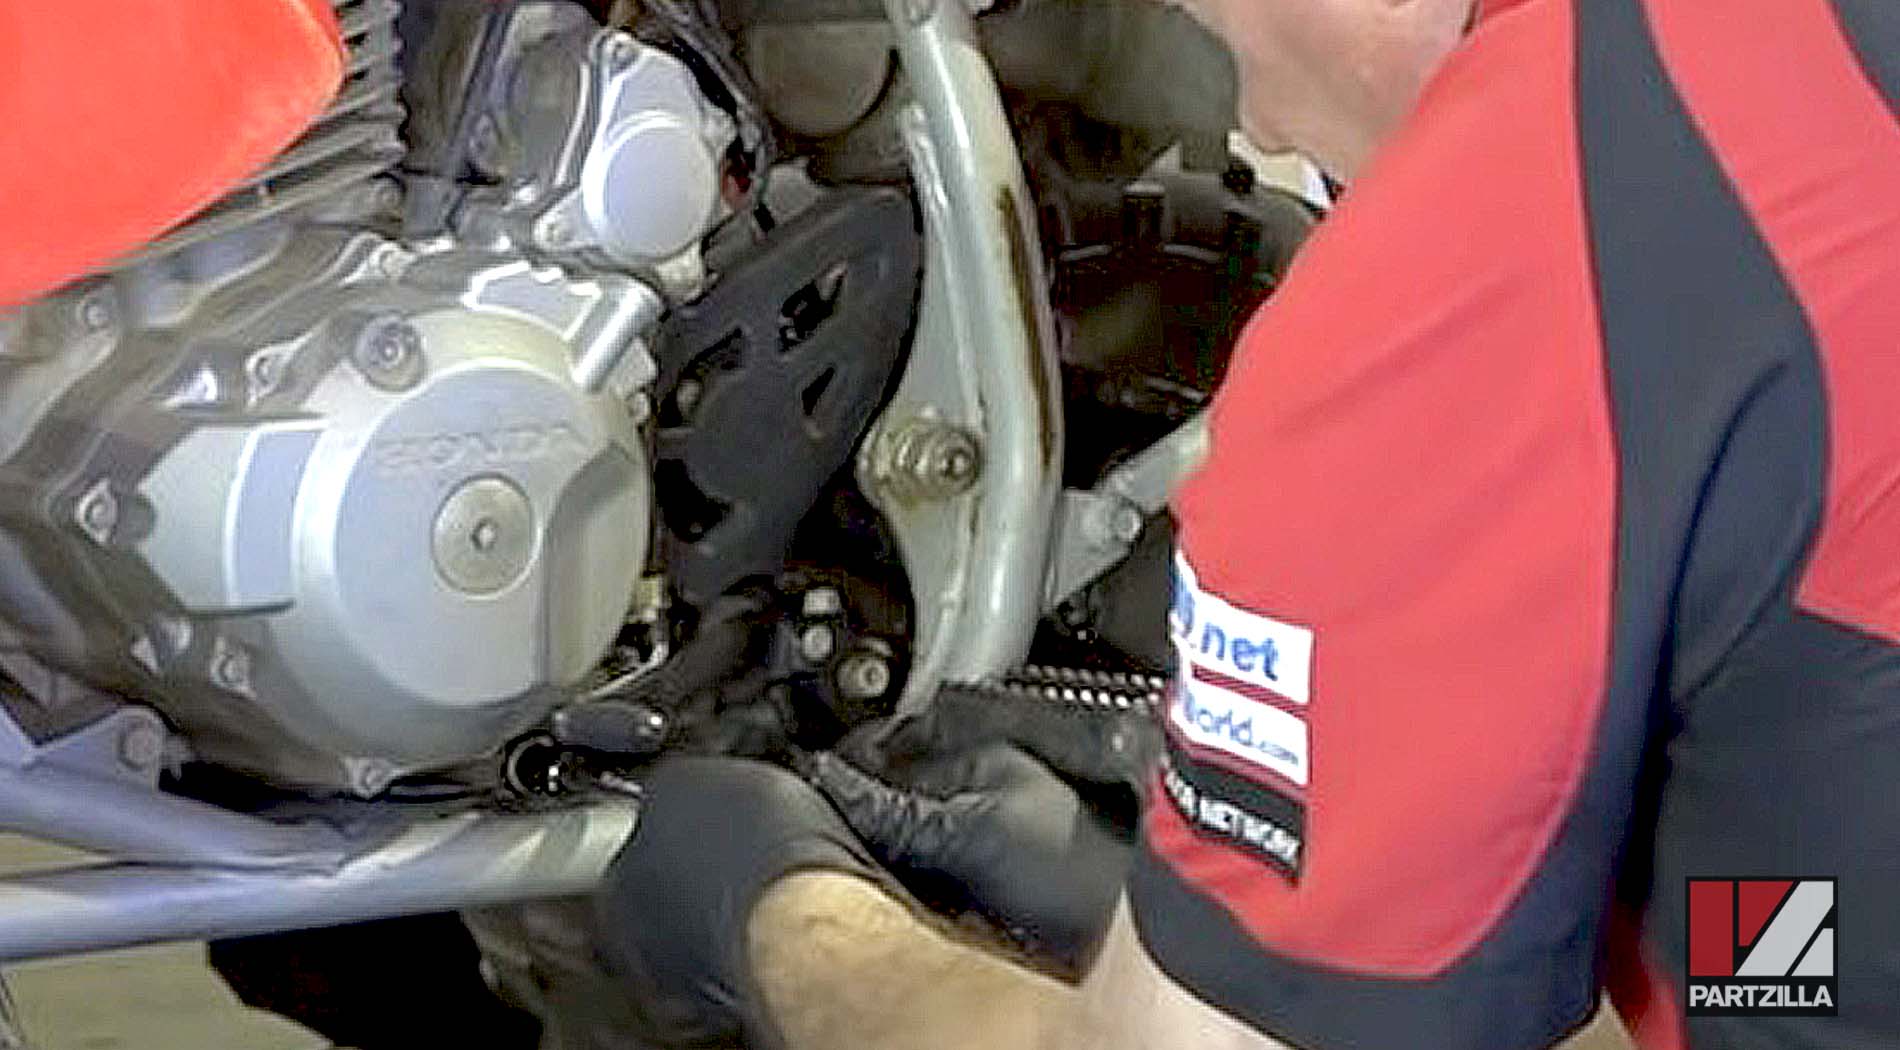
Step 4. Use an 8mm socket to loosen the two bolts holding the oil filter cover in place.
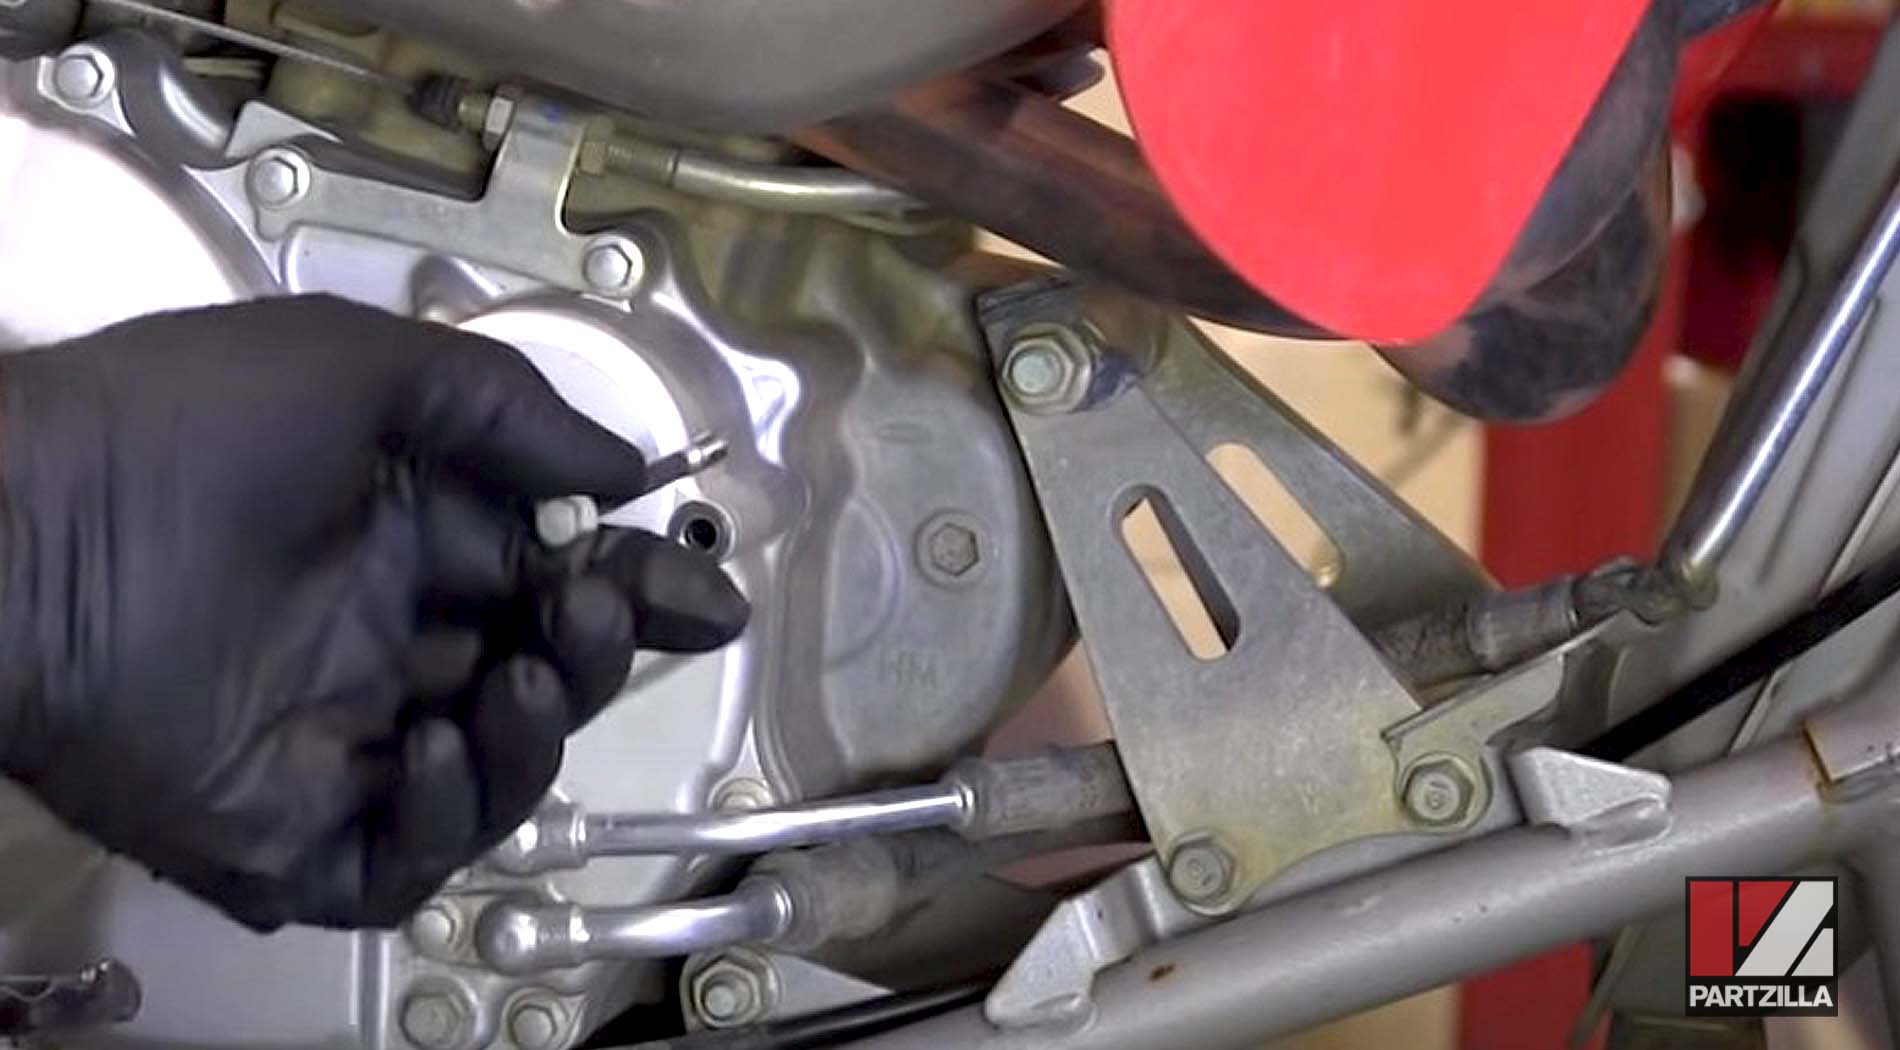
NOTE: The oil filter cover is a small cylinder next to the larger circular crankcase. Place something underneath the cover to catch oil that spills from removing it.
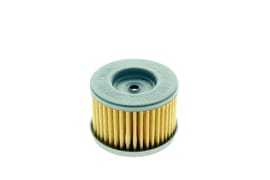
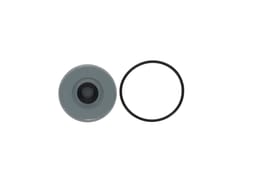
Step 5. Remove the oil filter, making sure to keep the spring behind it hanging on the case inside the filter chamber.
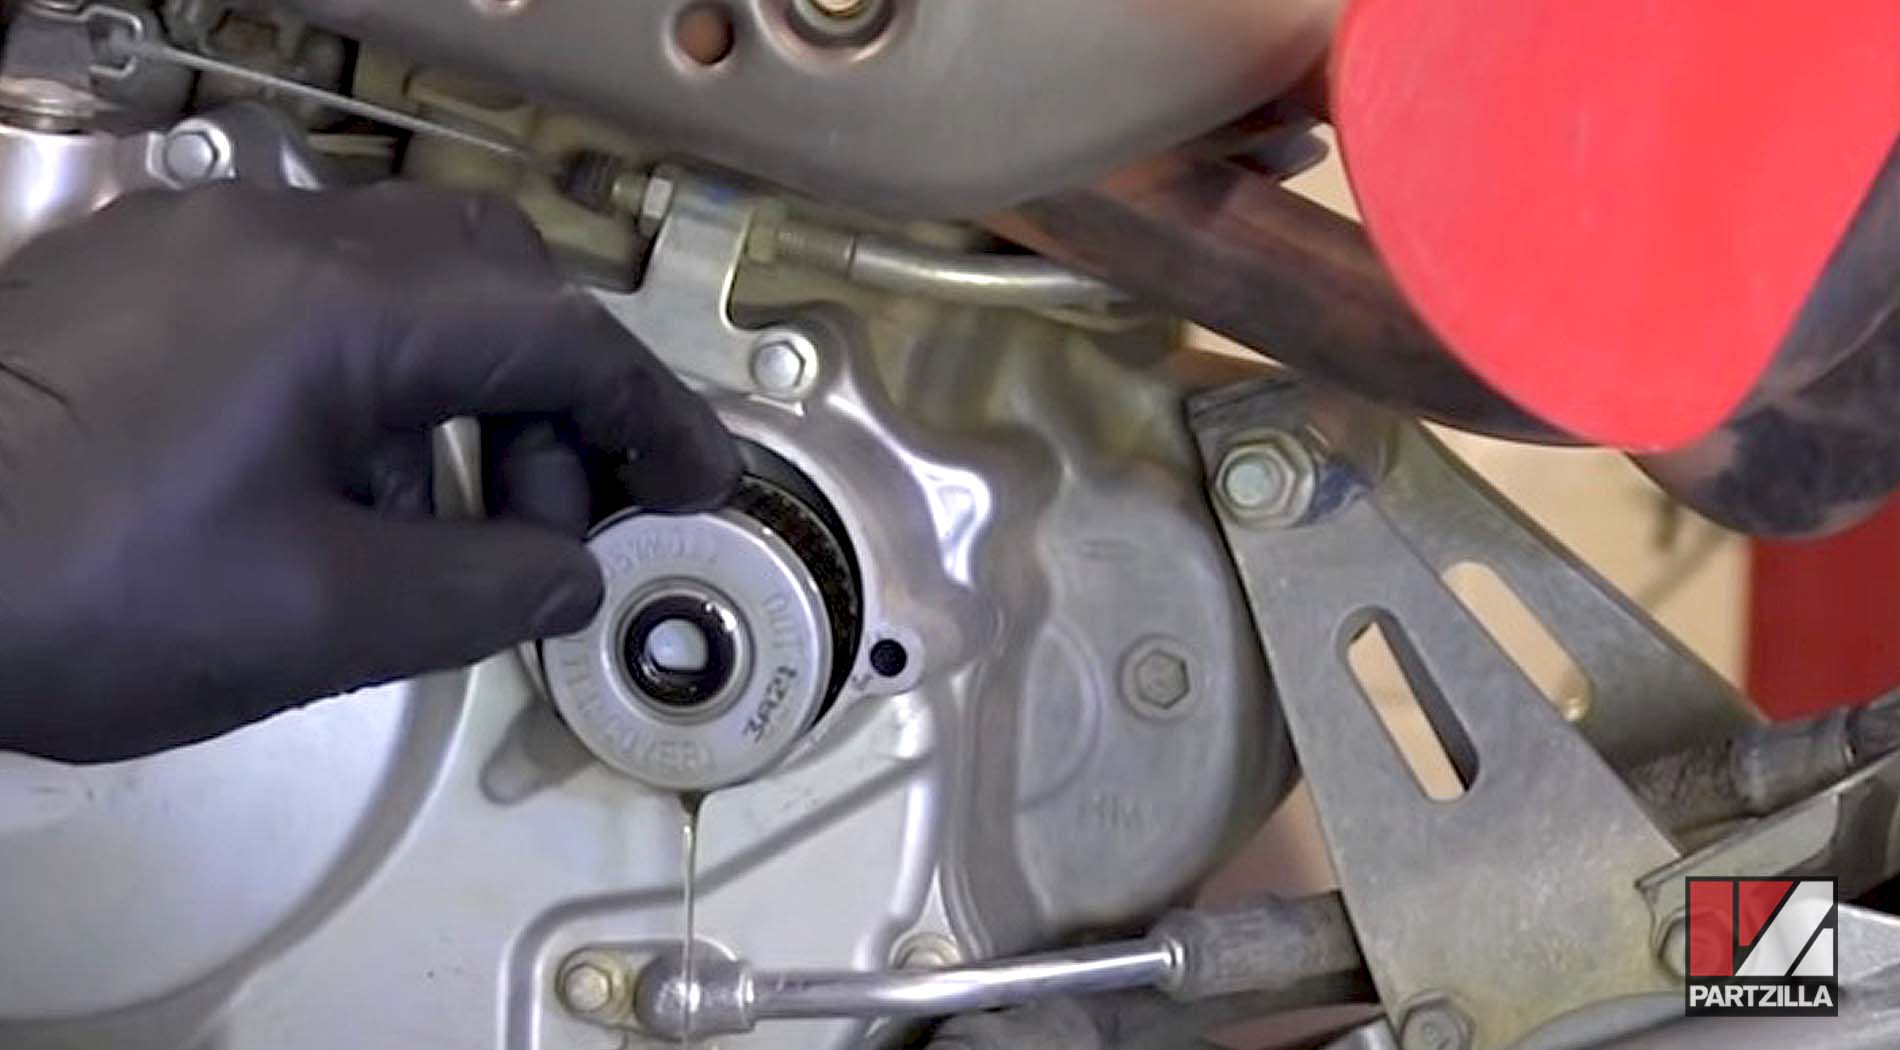
NOTE: Don’t lose the spring, since it needs to stay in place behind the new filter.
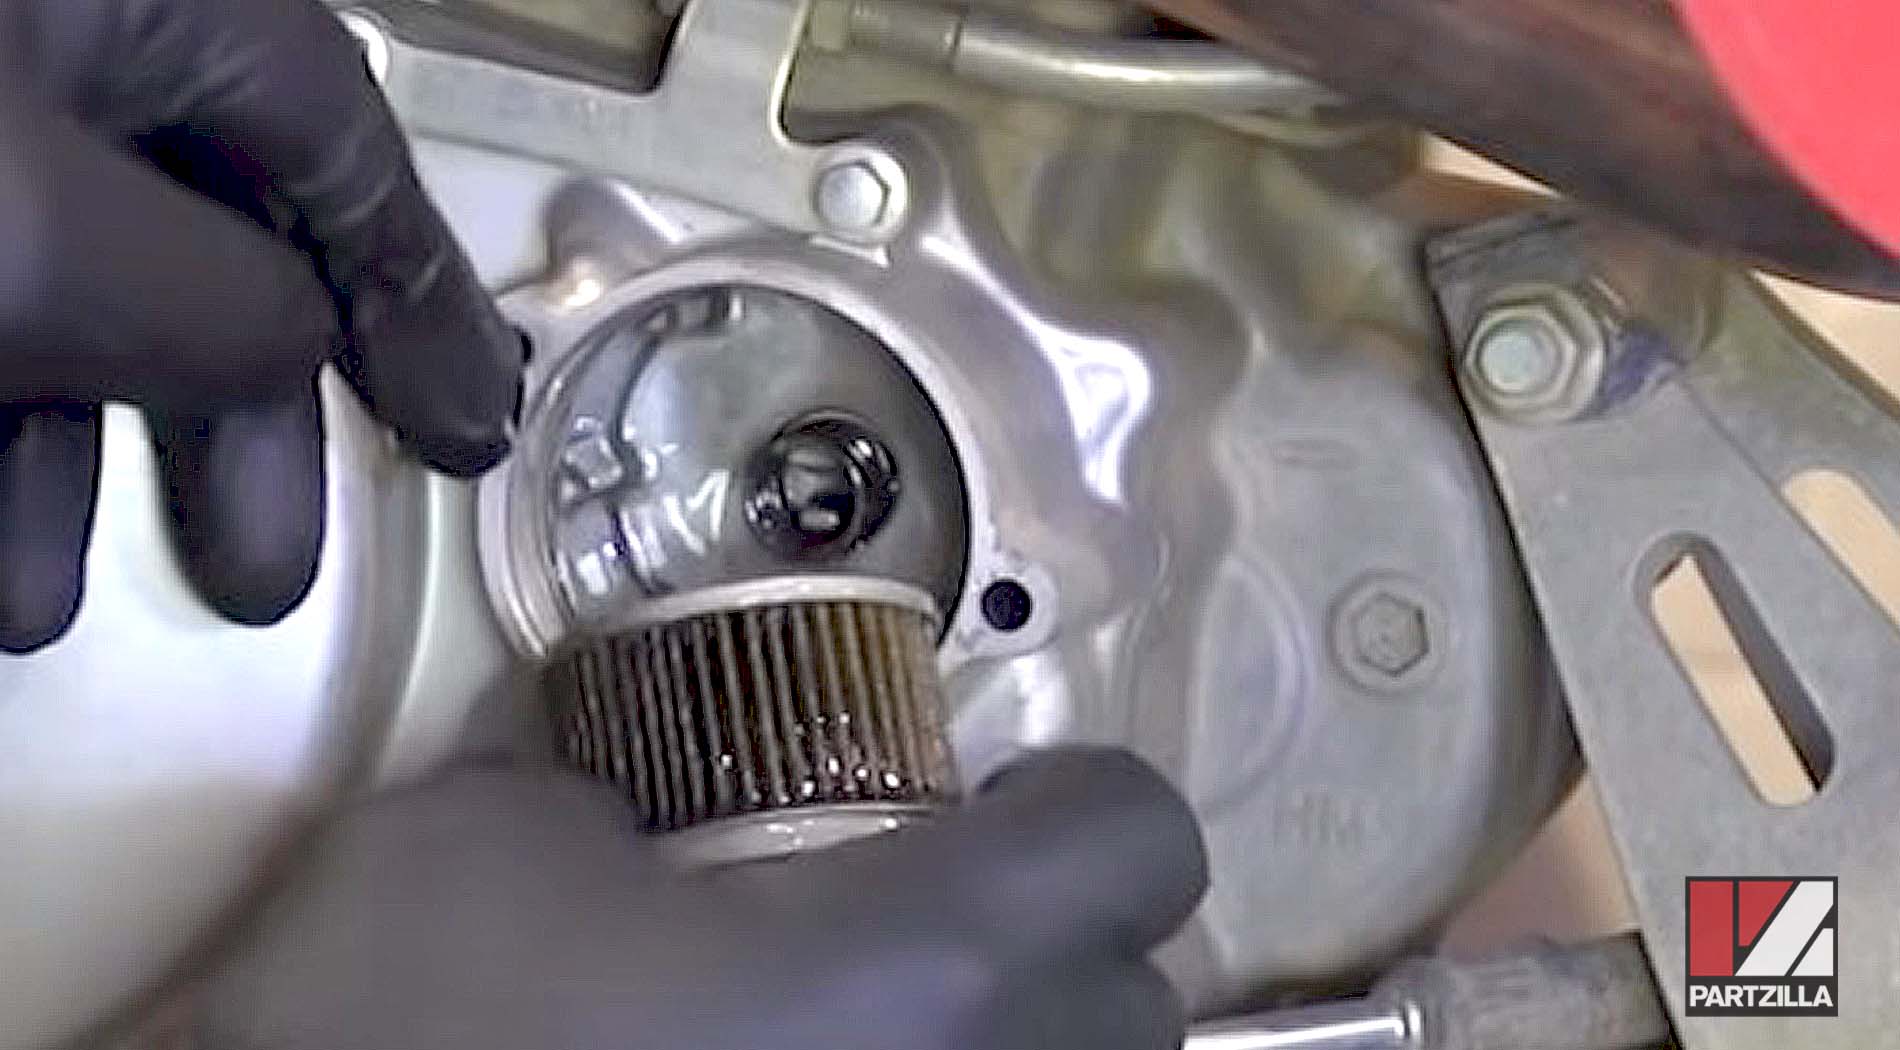
Step 6. Install the new oil filter.
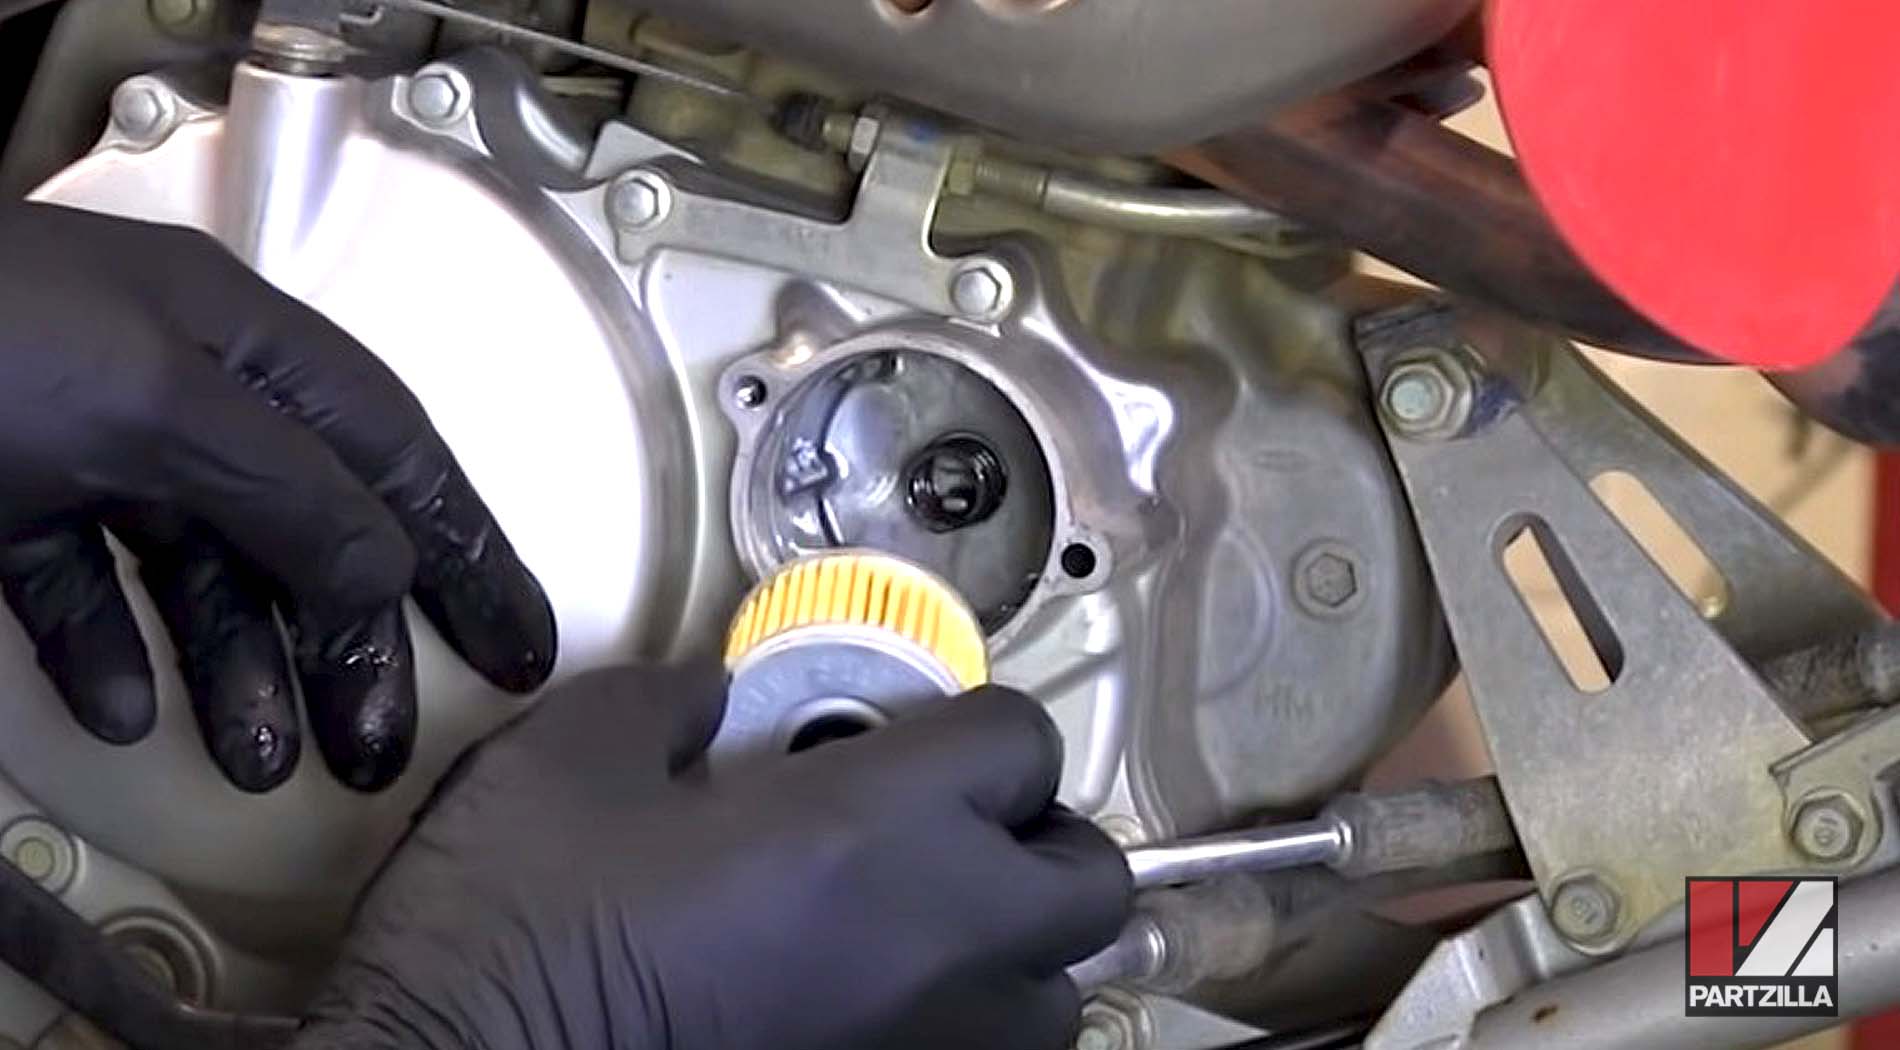

NOTE: Make sure the spring is still hanging at the back of the chamber before you install the new filter. Putting the filter in backward causes serious engine damage.
Step 7. Reinstall the filter cover and its two bolts, then tighten the bolts snug.
Step 8. Tighten the 14mm drain bolt with the crush washer on the oil tank, then do the same with the 12mm bolt on the crankcase. Thread both by hand first, then tighten them to 12 or 13 foot-pounds of torque.
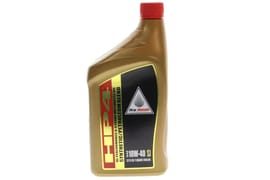
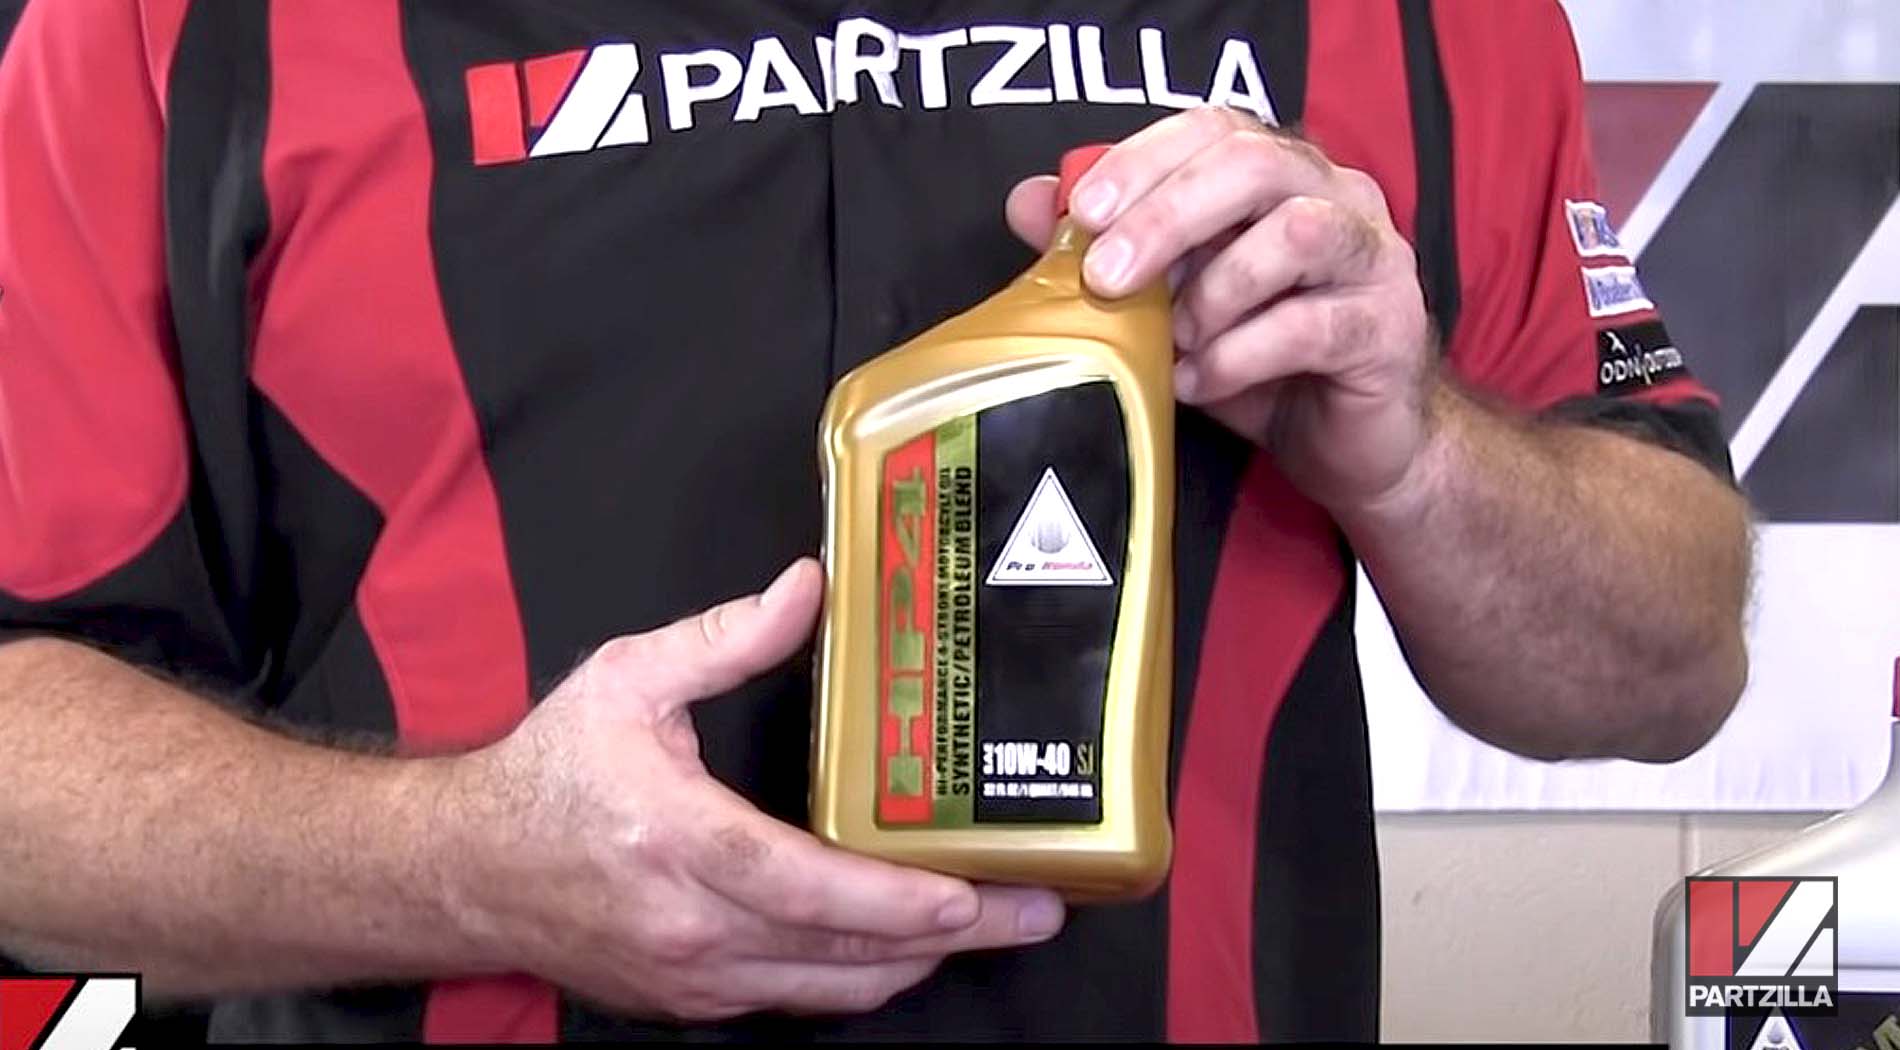
Step 9. Fill the engine with 1 quart of Honda 10W40 motor oil. Next, screw the dipstick in place and run the motor for 10-15 seconds to circulate the oil, then stop the engine and check the oil level on the dipstick.
NOTE: The Honda TRX 400 uses 1.9 quarts of oil. Before filling it up, check the capacity of the engine, and keep in mind that all of the oil will probably not go in at once. Some oil has to move up into the crankcase to make room for more in the oil tank.
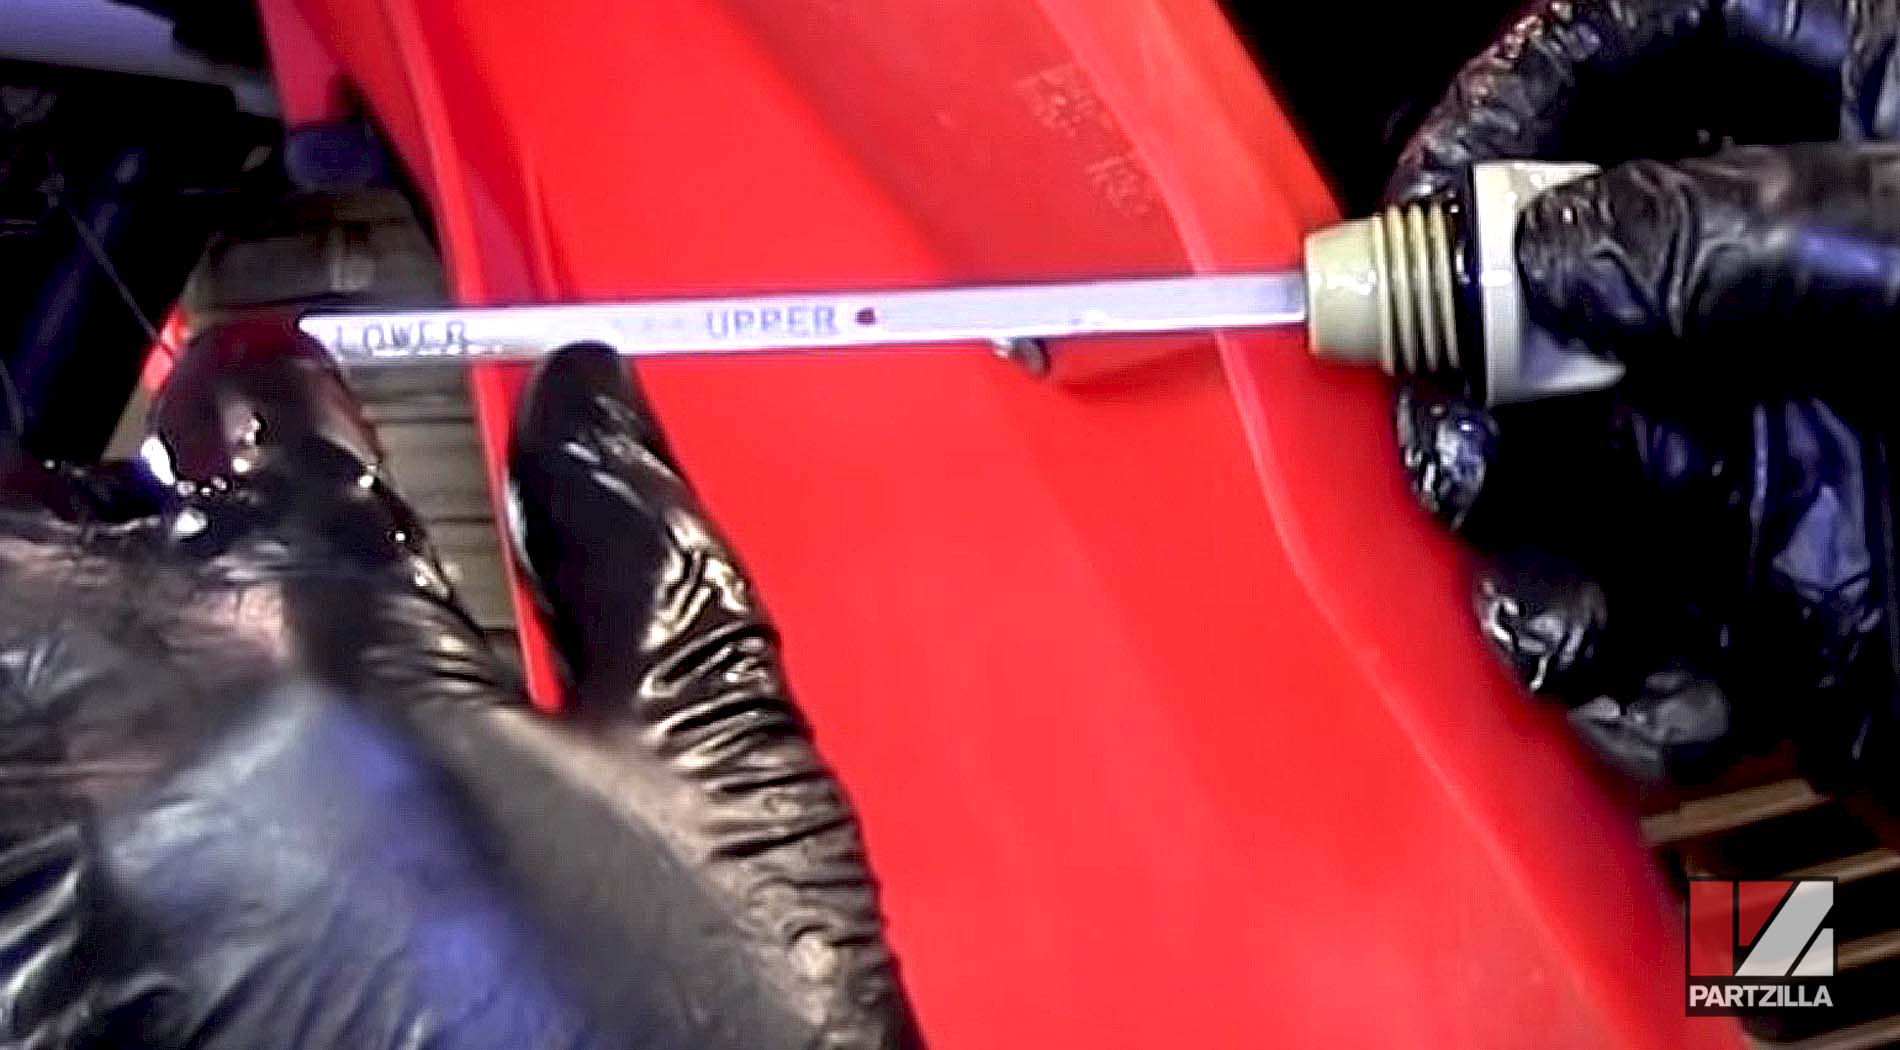
Step 10. Add another ¾ of a quart and replace the dipstick, then run the engine again for about two minutes. Finally, top off the oil to bring the level on the dipstick to about three-quarters capacity.