Honda Rancher TRX 420 Tie Rod End Replacement
When a Honda ATV steering system makes unusual sounds, worn out tie rod ends (aka steering joints) are a common culprit that can be taken care of pretty easily.
When tie-rod ends are worn out, the steering becomes omnidirectional and you’ll notice lots of play. And when one steering joint goes, the other will soon follow, so it’s best to just replace them both at the same time. Watch the video above and follow the steps below to learn how to replace the tie-rod ends on a Honda Rancher 420 ATV.
Tools and Parts – Honda Rancher 420 Tie Rod Ends Replacement
- 17mm, 19mm wrenches
- Digital torque wrench
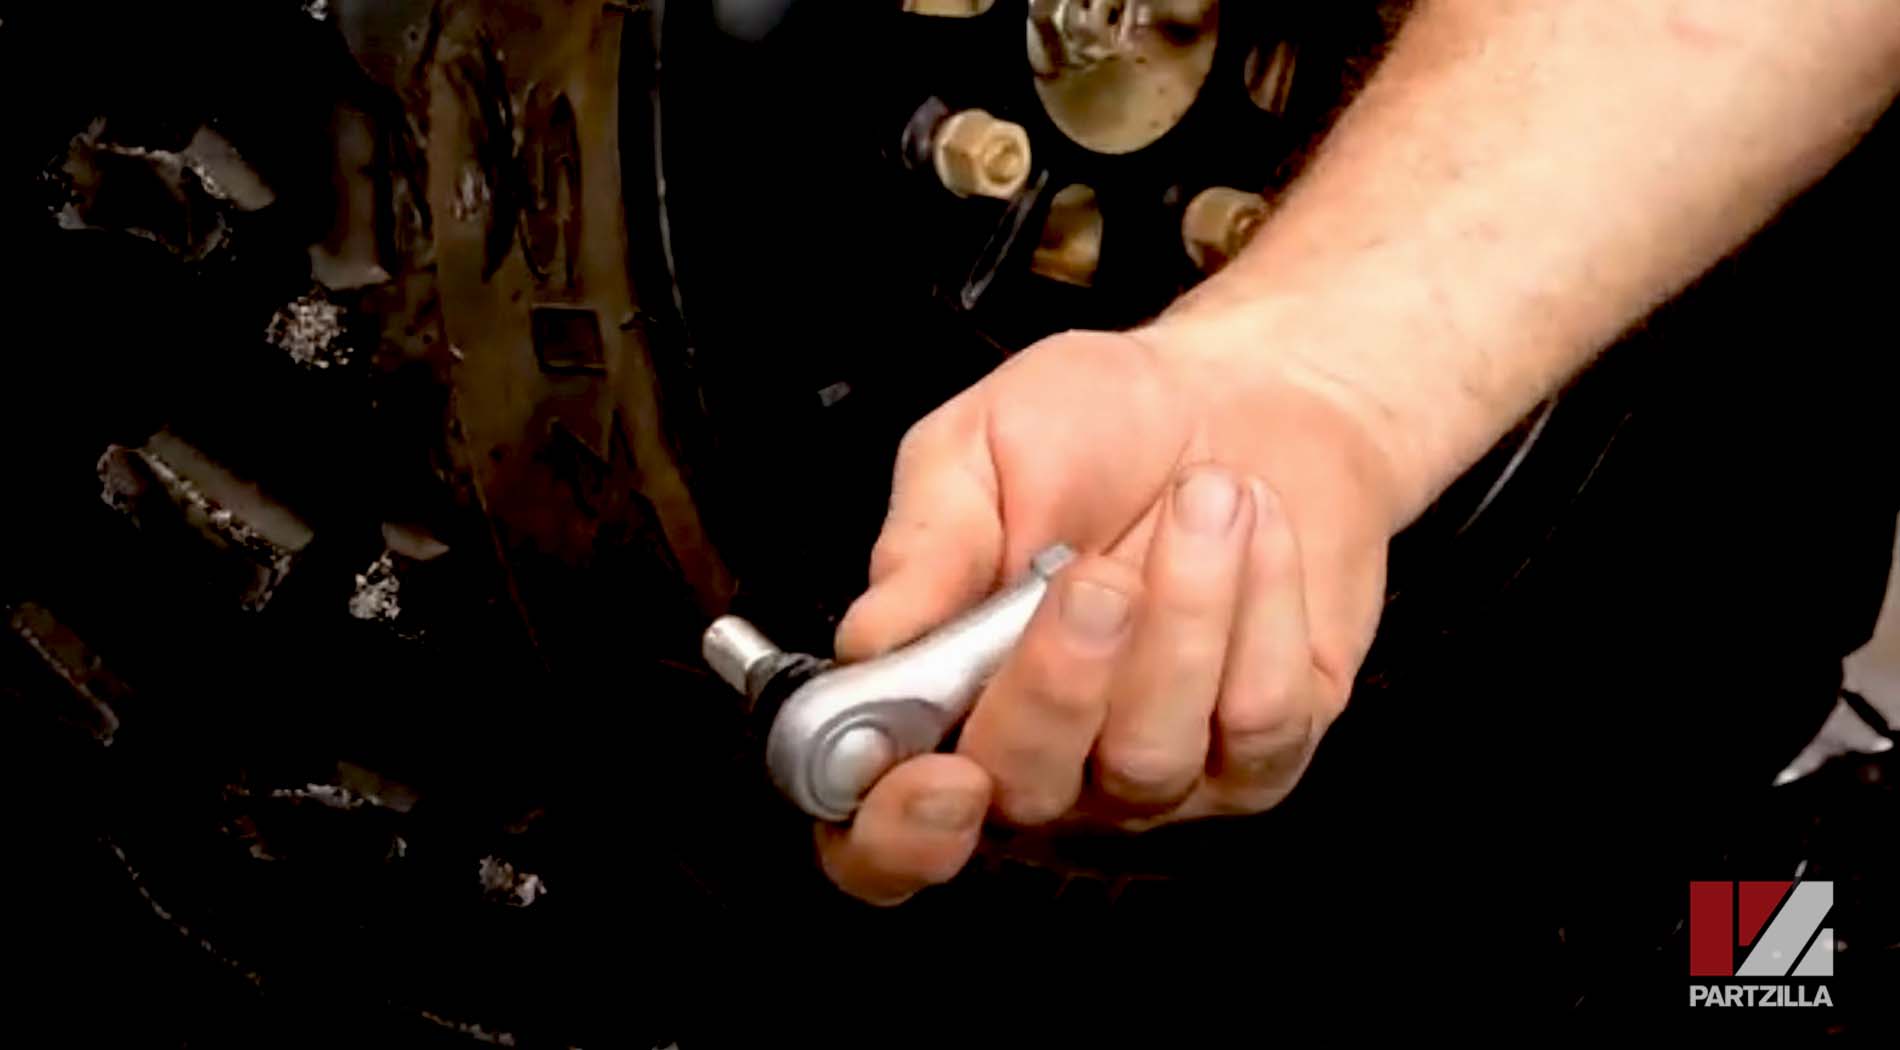
- Tie rod end (right)
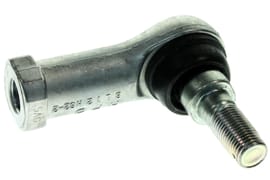
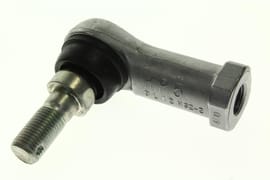
- Tie rod end (left)
- Cotter pin
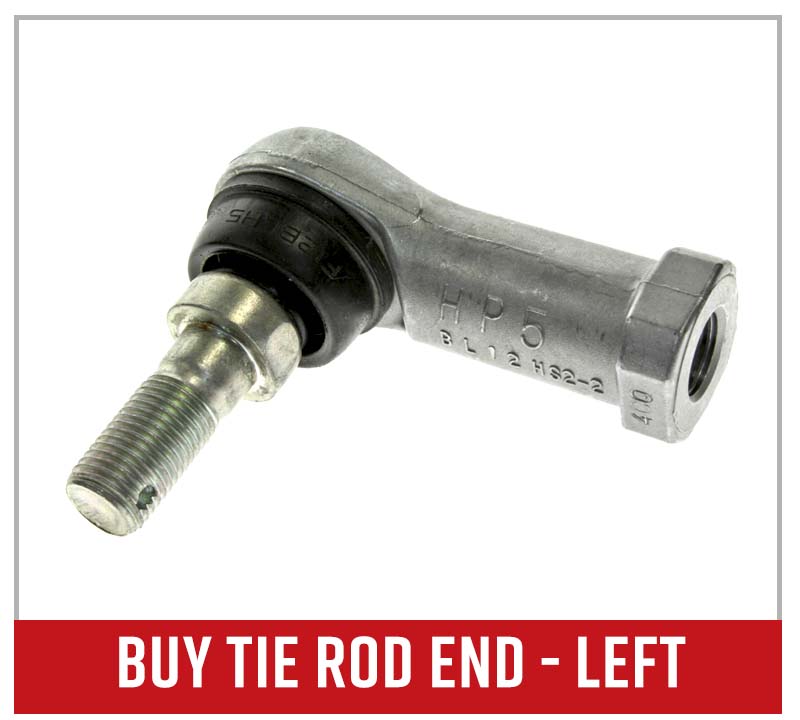

NOTE: The steering joints for the left and right sides have different part numbers, so make sure you don’t order the same part for both sides.
Honda Rancher 420 Steering Joint Replacement
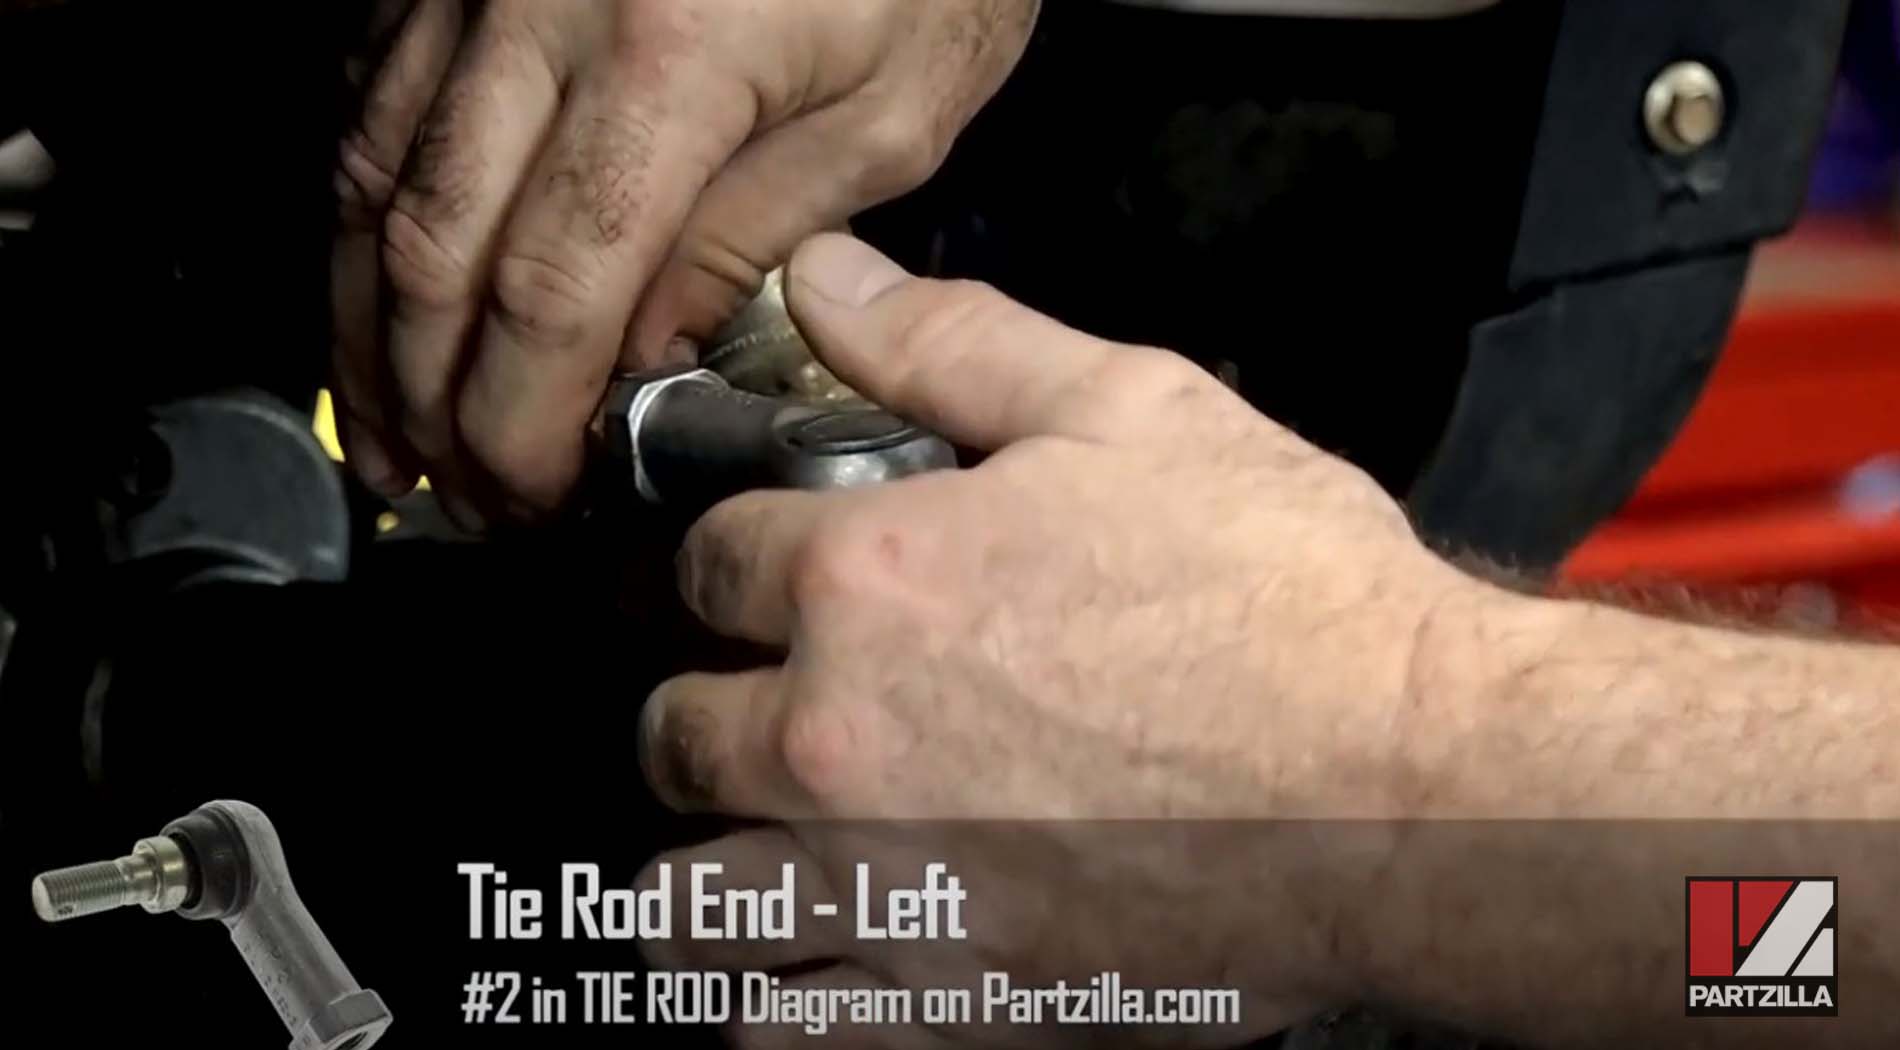
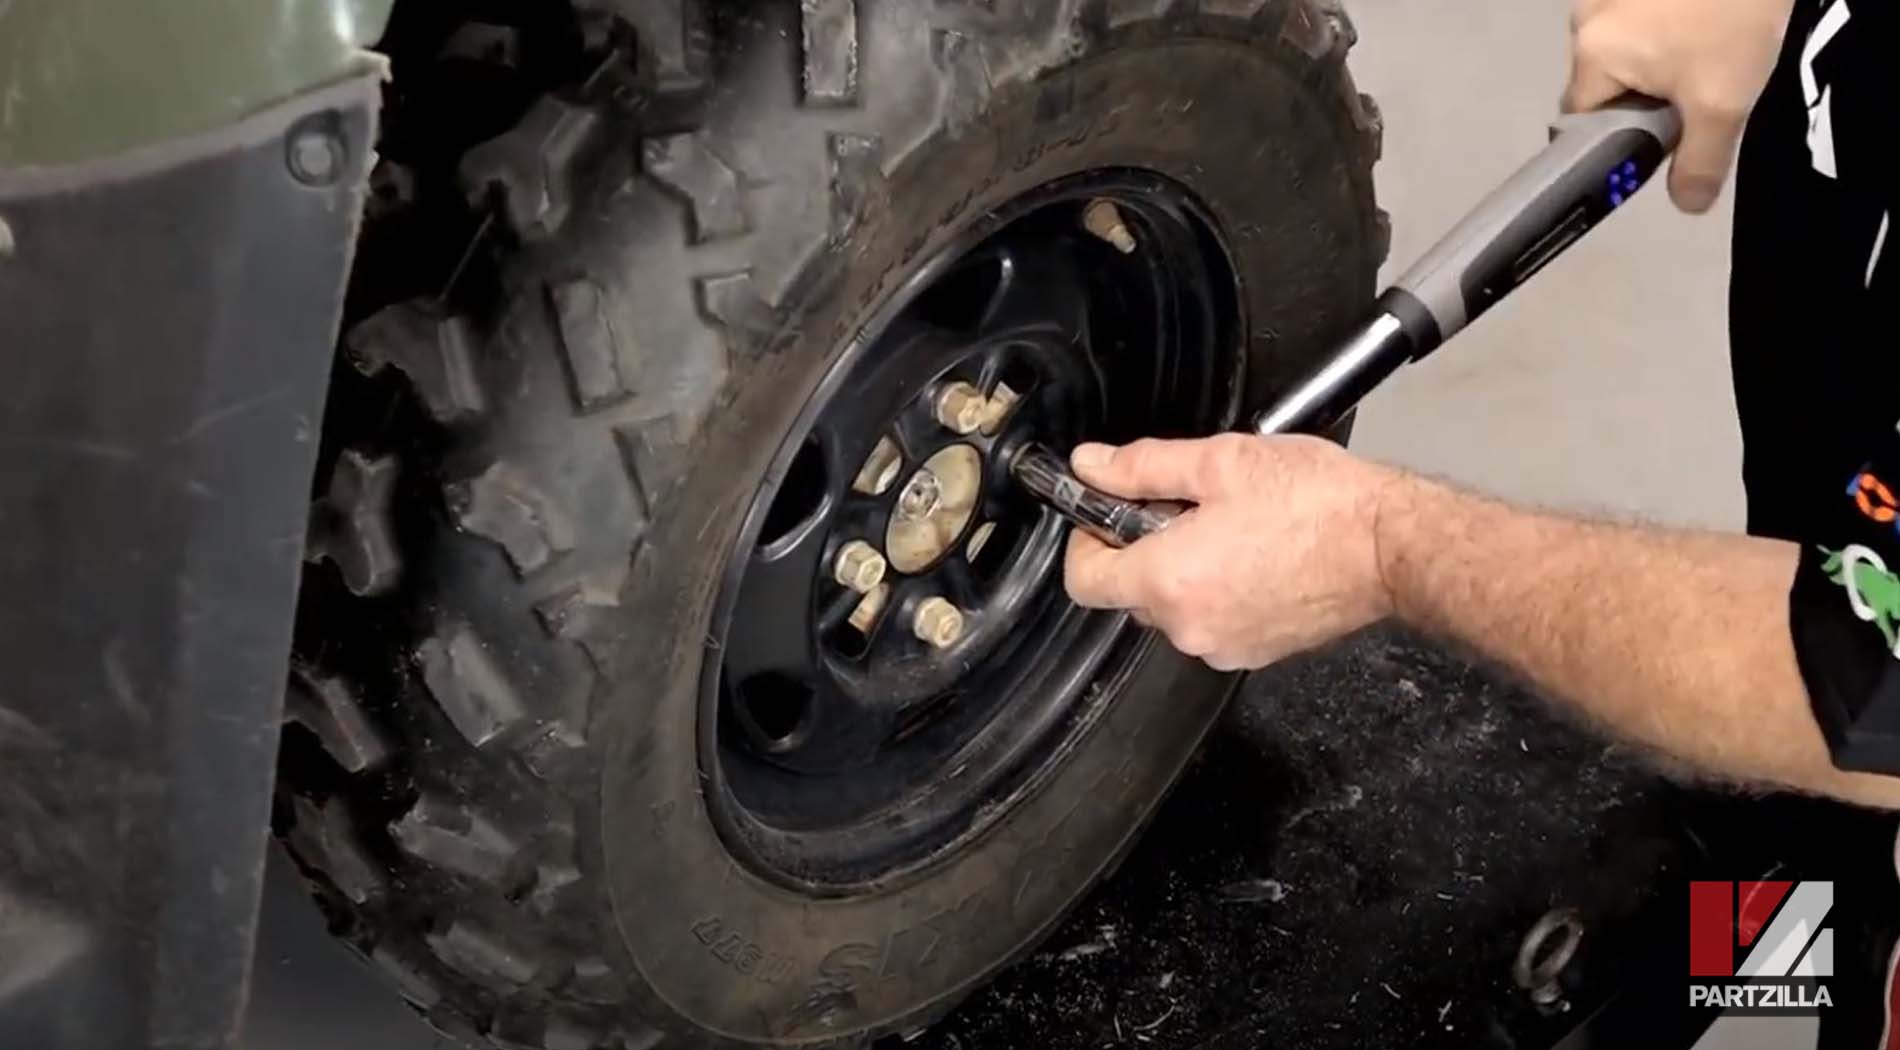
Step 1. Get the ATV lifted up and remove the front wheel to access the tie rod end.
NOTE: We started with the right side, but you can work either side first, as the steps are the same for both sides.
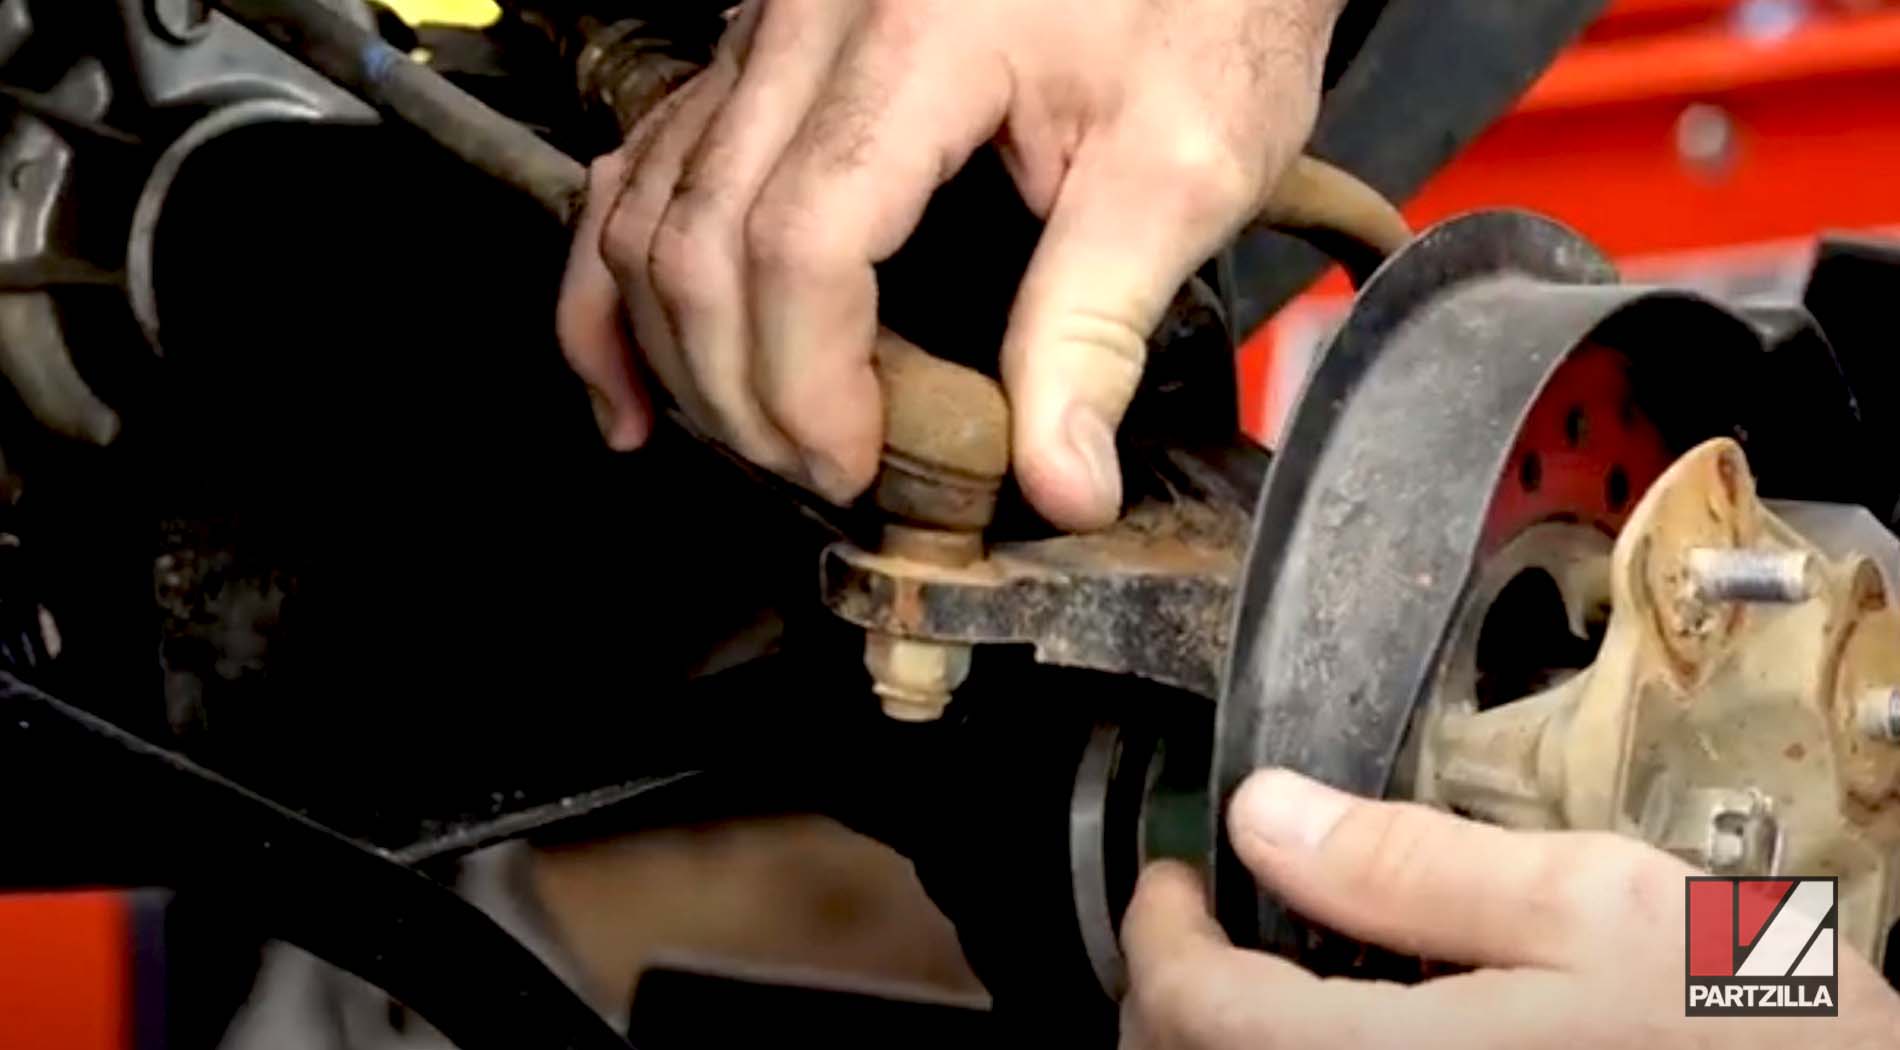
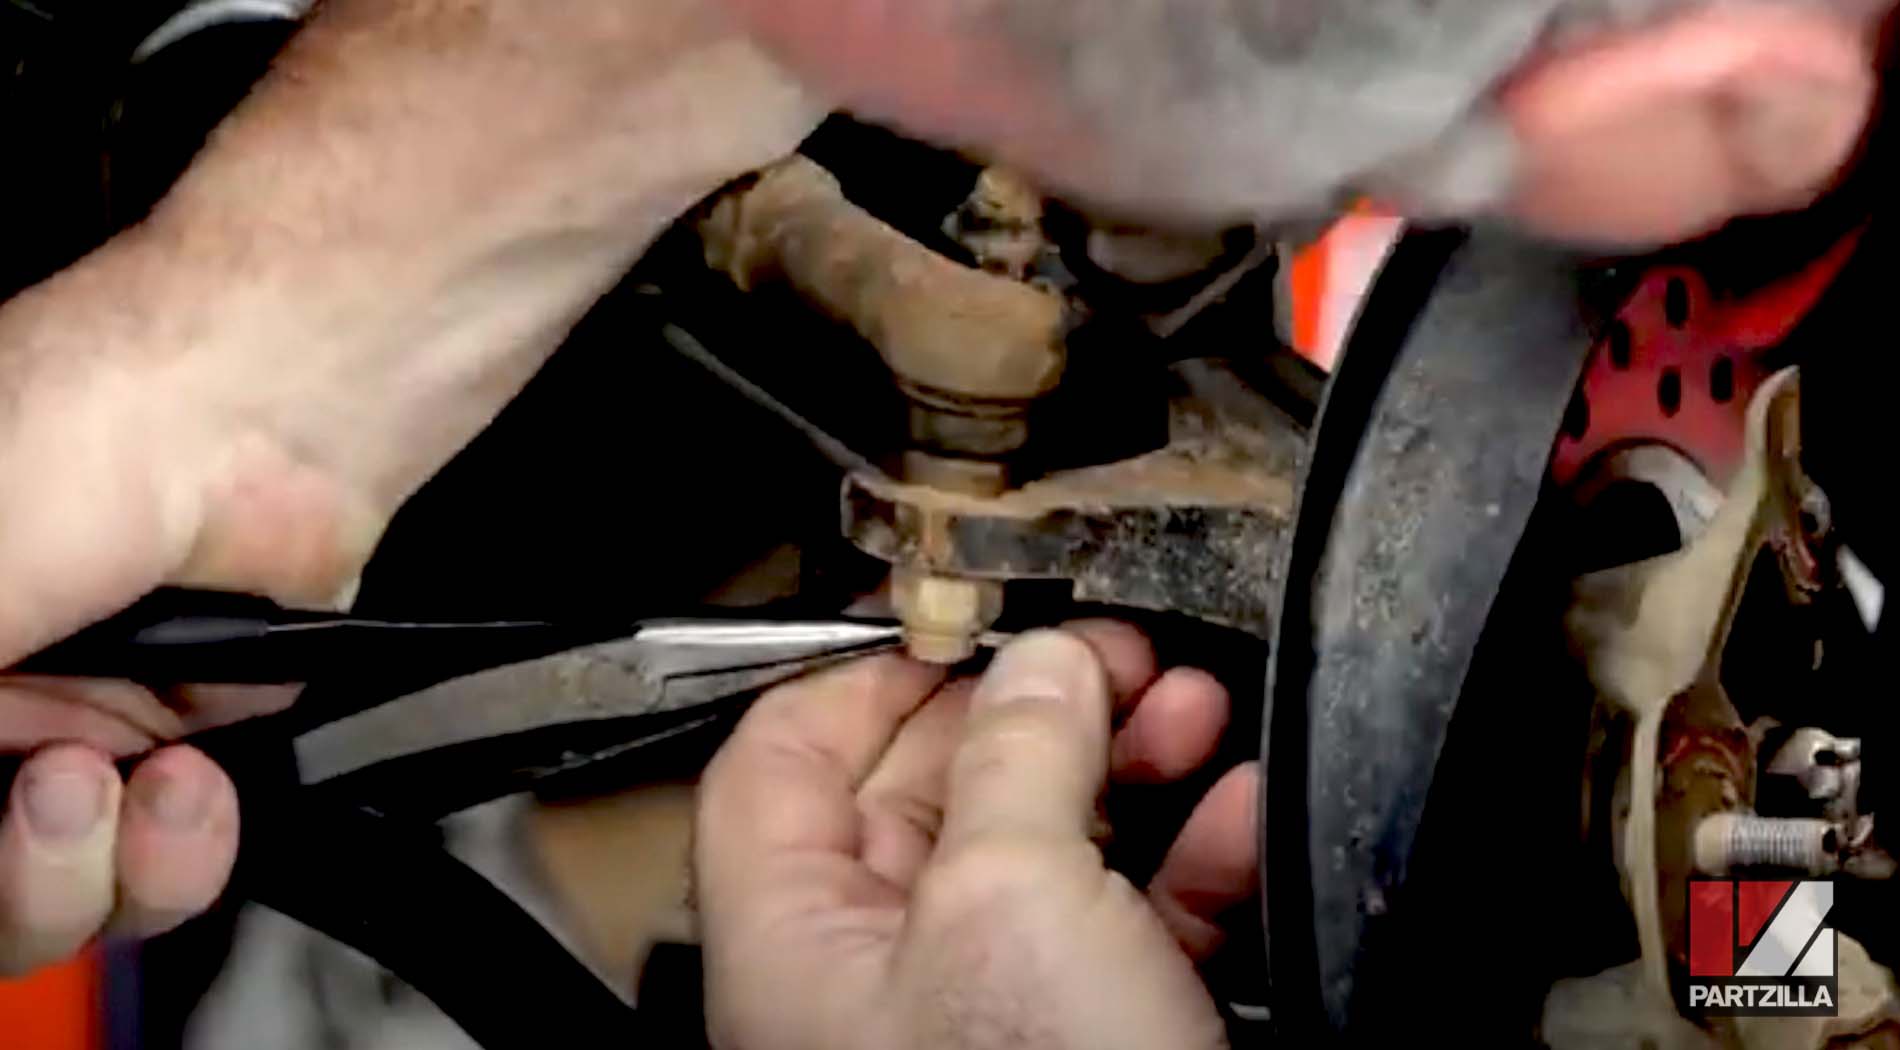
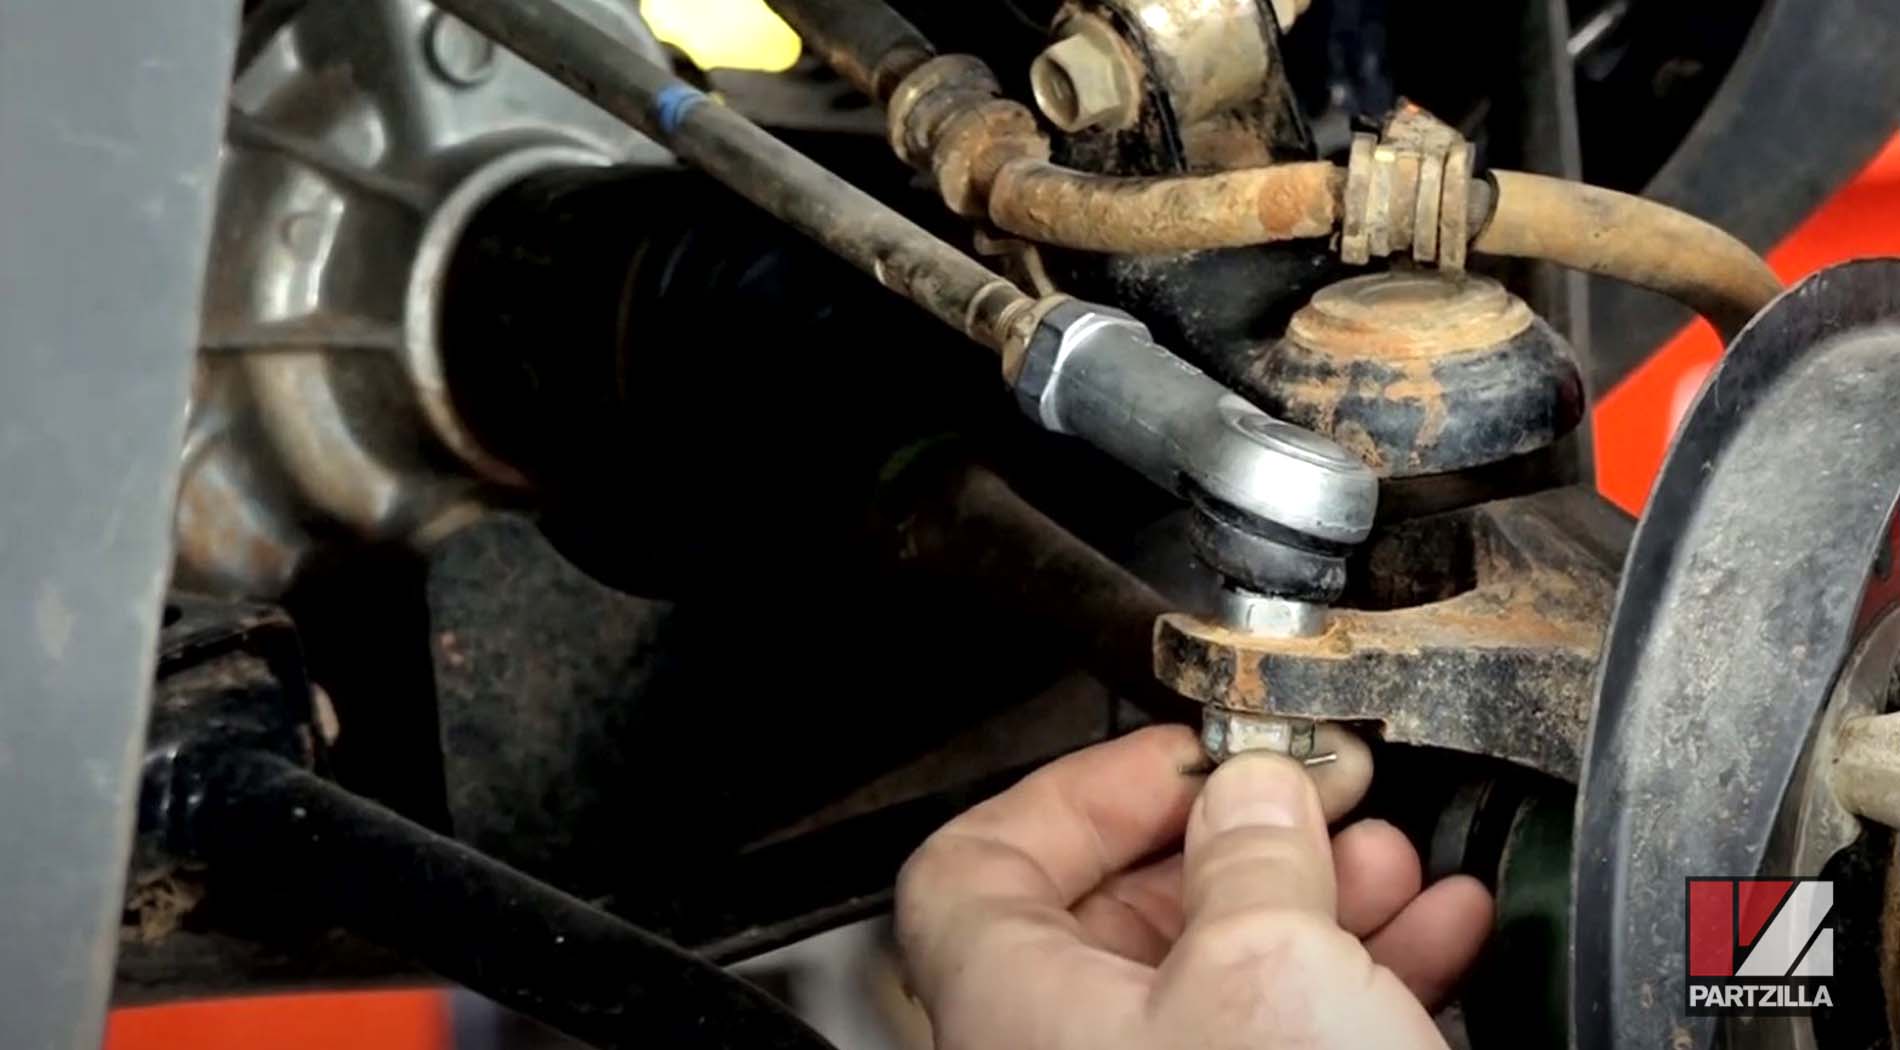
Step 2. Remove the cotter pin from the main nut that holds the tie rod end at the bottom.
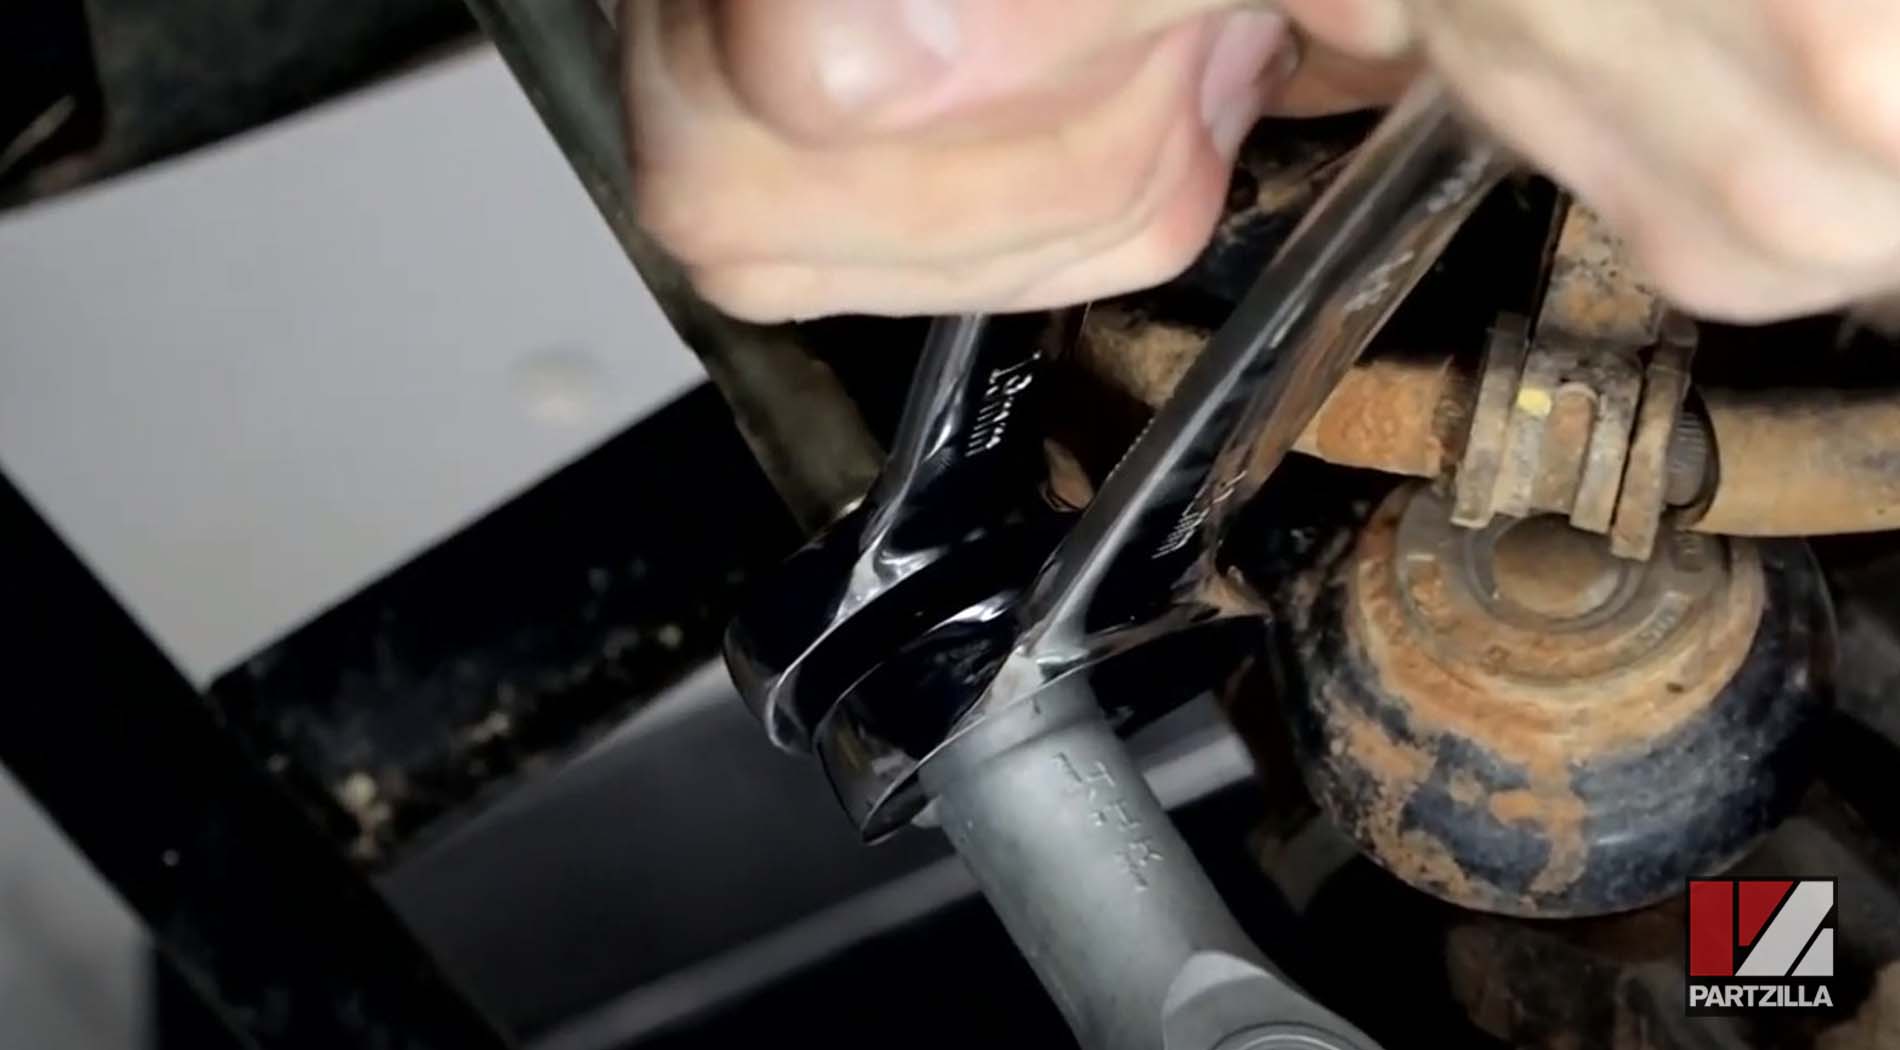
Step 3. Break loose the 19mm pinch nut that locks the steering joint in place at the top, but don't run it in. Leave it in the same position so you won't have to realign it later.
Step 4. Remove the 17 main nut that holds the tie-rod end at the bottom, then pull out the tie-rod end.
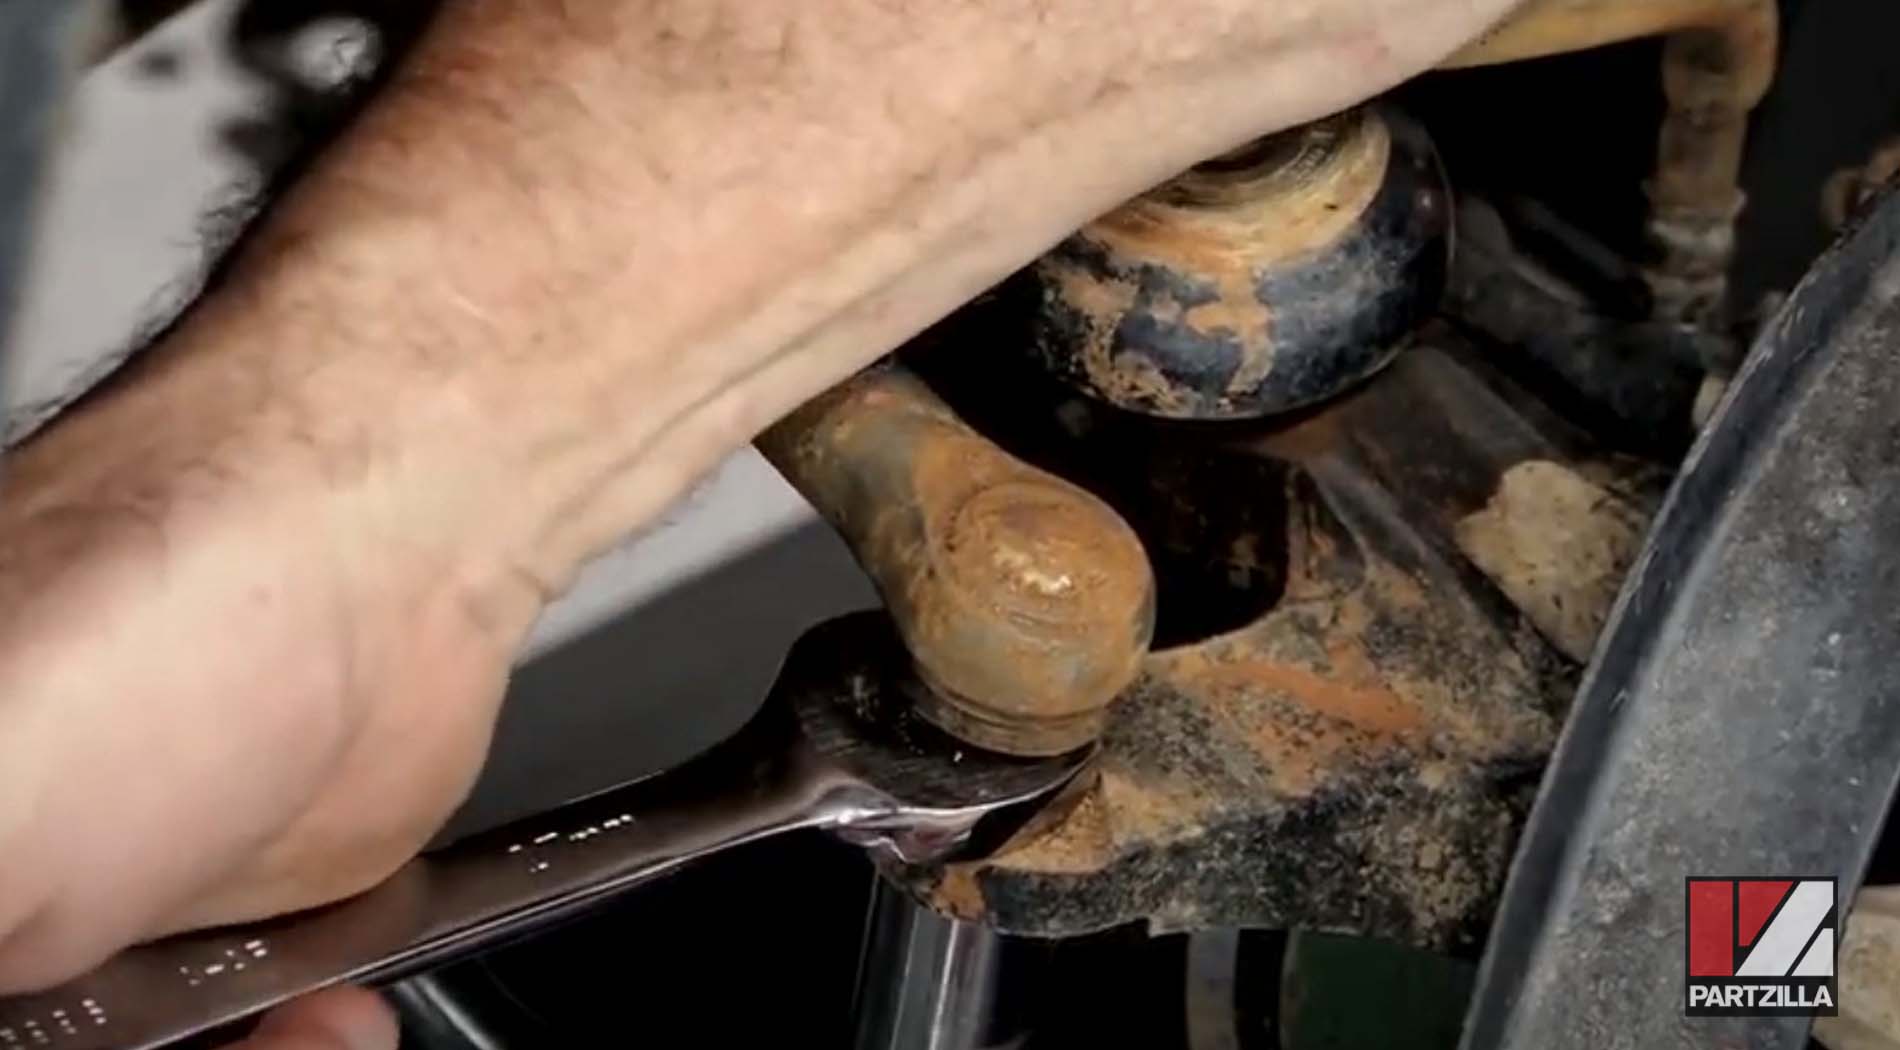
PRO TIP: Reach in and hold the tie-rod end still with a 17mm wrench on top while you’re removing the main nut from the bottom.
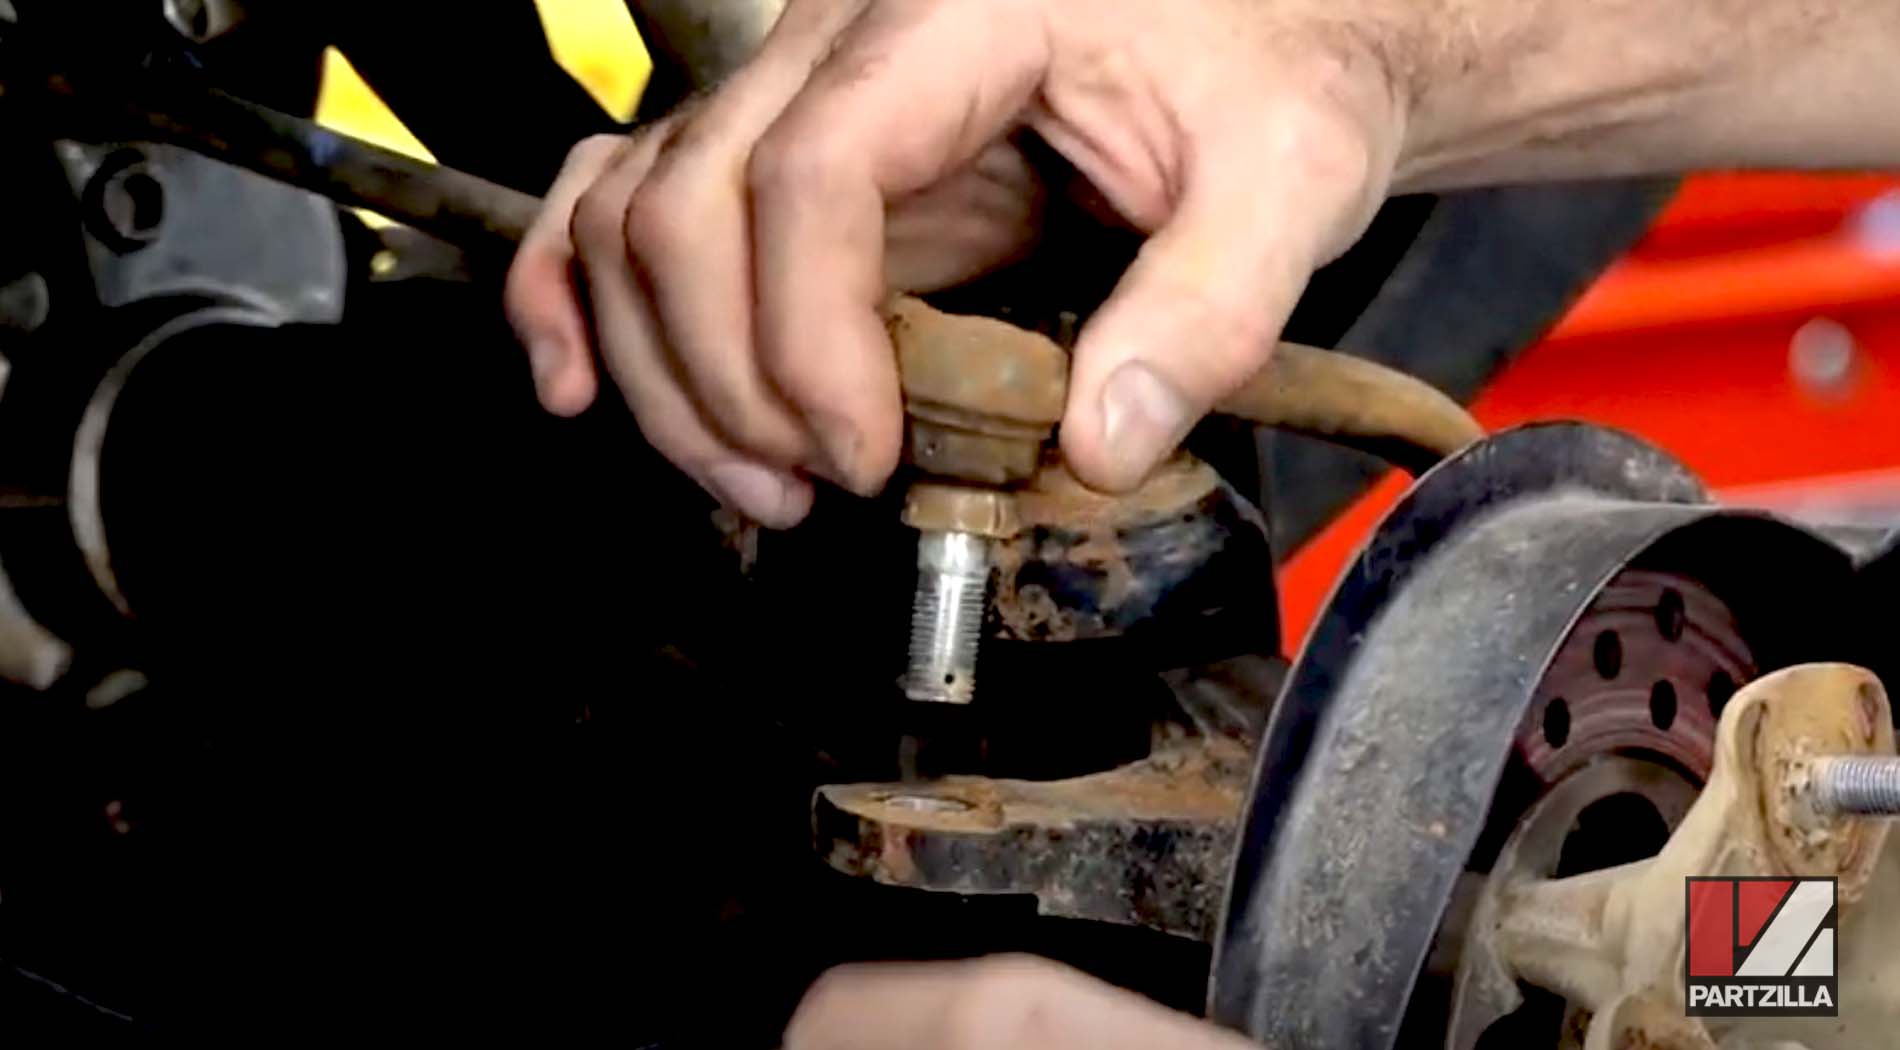
Step 5. Unscrew the old steering joint end by hand to remove it, then replace it with a new one.

NOTE: We did the right tie-rod end first, then the left, and once again, it’s highly recommended you replace both.
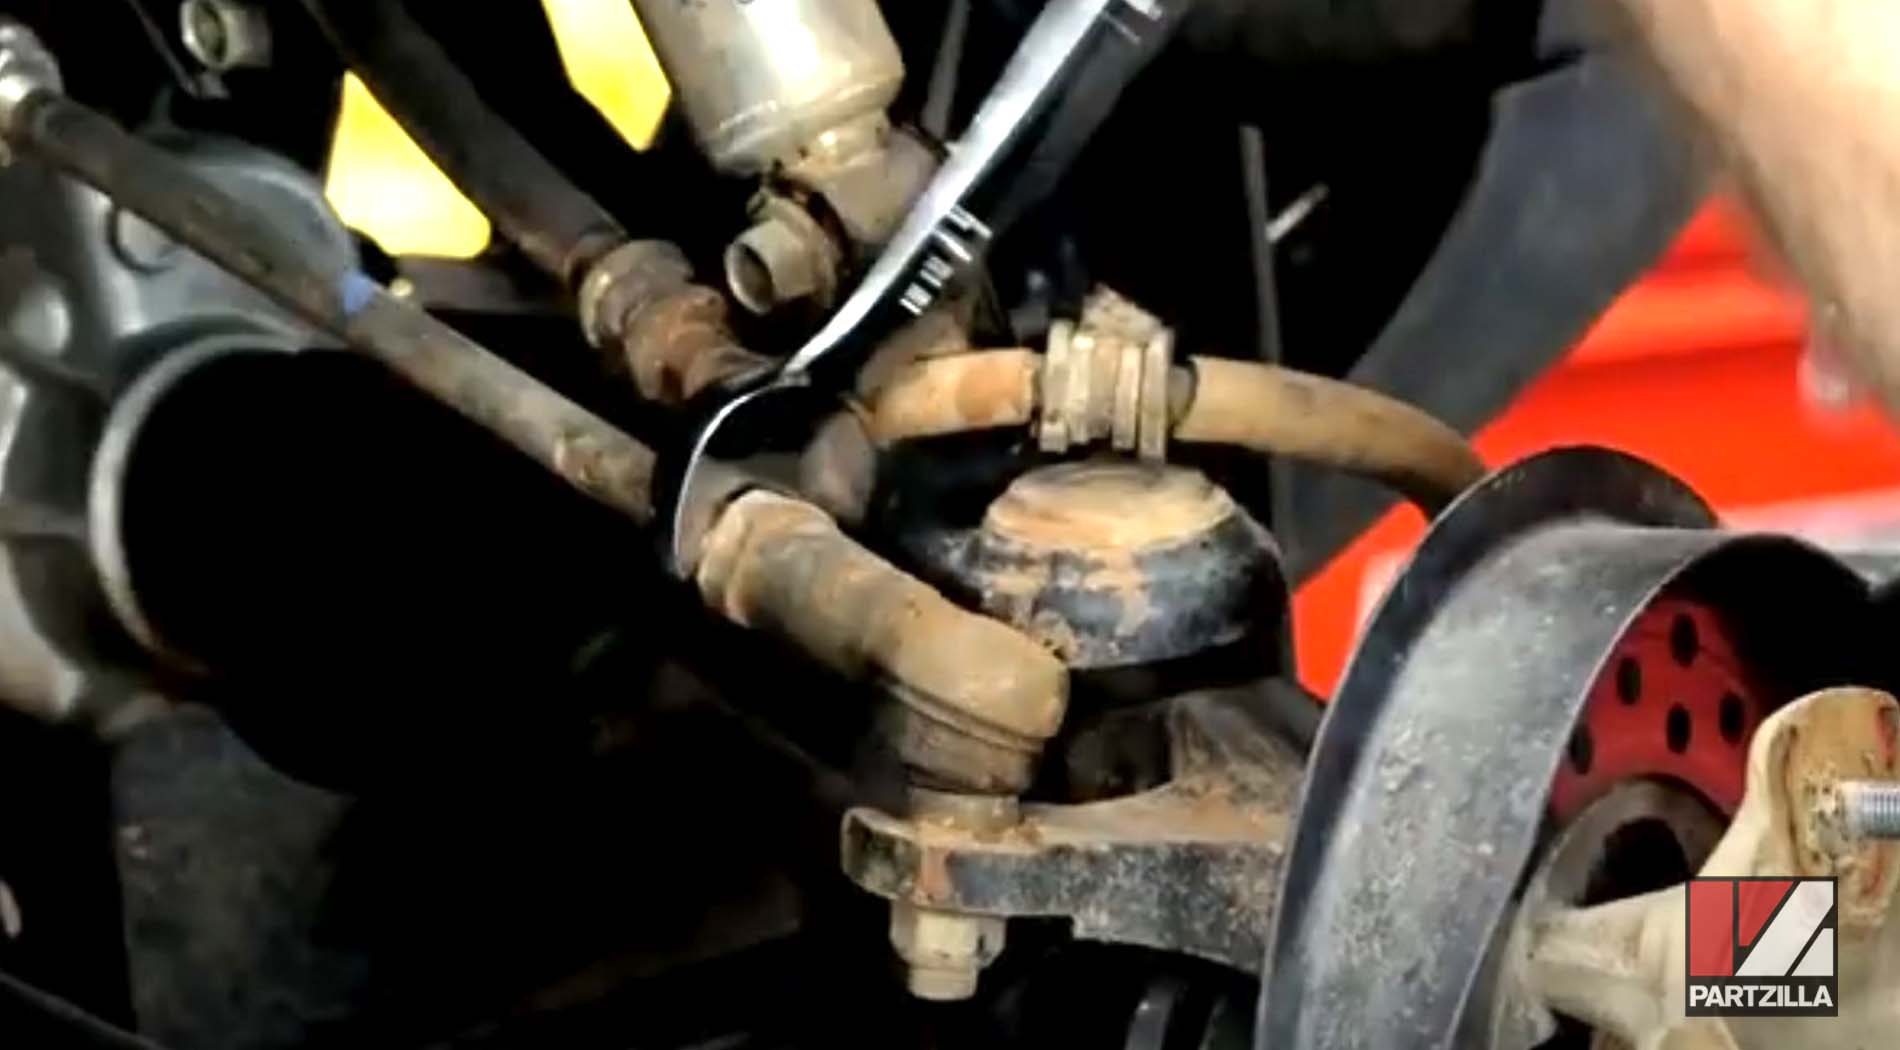
Step 6. Reinstall the 17mm main nut back on while holding the new tie rod end in place with a wrench and torque the nut to 40 foot-pounds.
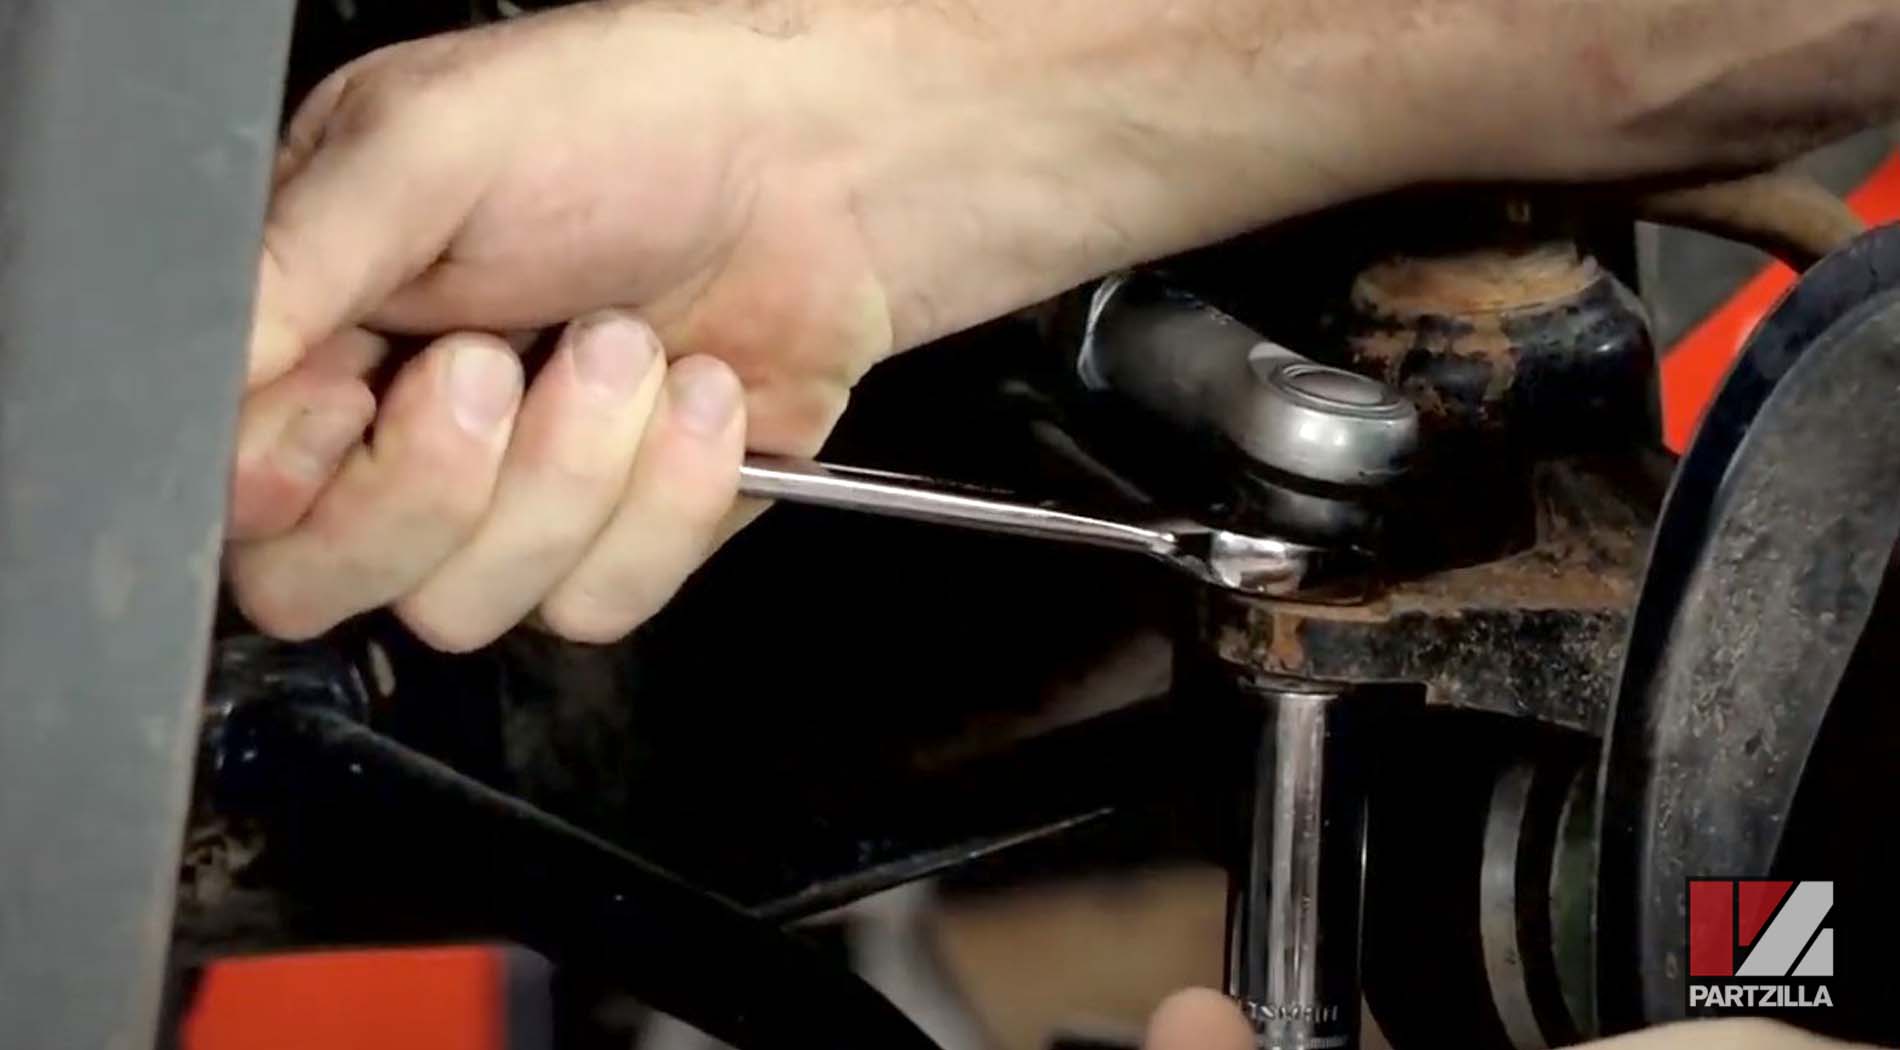
Step 7. Tighten up the 19mm pinch bolt while holding it in place independently with another wrench to avoid damaging it.
Step 8. Replace the cotter pin for the main nut with a new cotter pin.
Step 9. Put the wheel back on the machine, then torque the lug nuts to 47 foot-pounds and you’re done with the right side.
Step 10. Repeat the entire process for the left tie rod end.