How to Change Honda 420 Rancher Front Wheel Bearings: Part 1
If you have play in the front end of your Honda Rancher and can wiggle the front wheel around, it’s an indication that your ATV may have worn out wheel bearings.
Replacing the front wheel bearings on a Honda ATV is a long process, so we broke the steps needed to complete the job down into two parts. Watch the video above for the full job and follow the steps below to complete the first part of replacing the wheel bearings on a Honda Rancher TRX420.
Tools and Parts - Honda Rancher 420 Front Wheel Bearing Change
- 3/8th ratchet
- Torque wrench
- 10mm, 12mm, 17mm sockets
- 5mm Allen
- Driver set

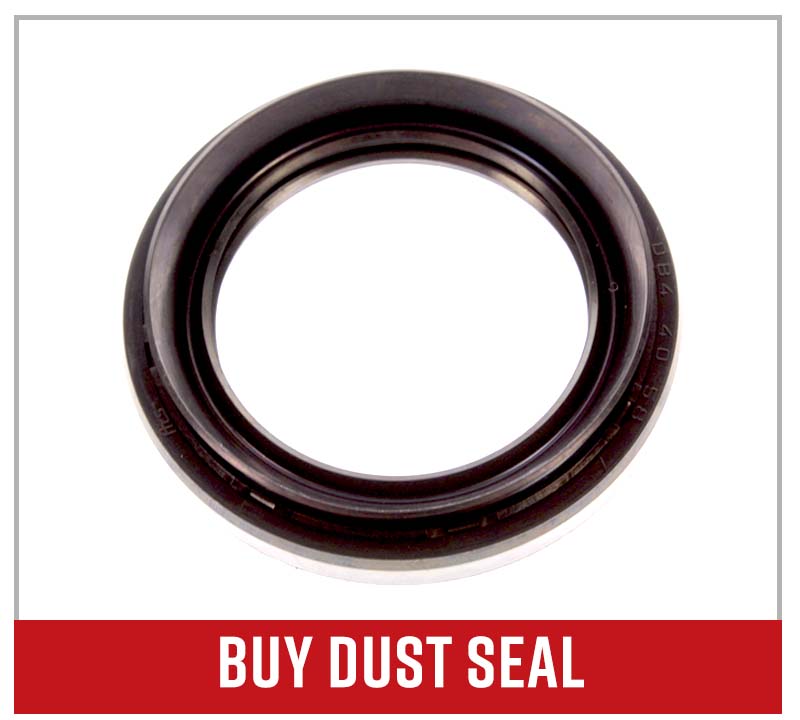
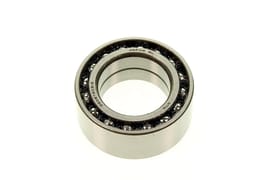
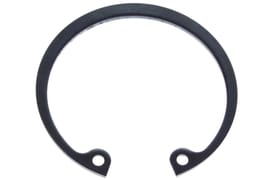
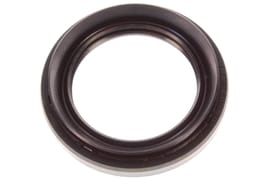
NOTE: These are the parts needed to replace the wheel bearings on one side. Unless you’re replacing just one damaged bearing, both sides tend to wear at about the same rate, so you should replace both bearings at the same time if one is worn. Use our Honda Rancher TRX420 front knuckle parts diagram to see the wheel bearing (#22), dust seals, (#23 and #24), and circlip (#27) locations.
Honda Rancher TRX420 Wheel Bearing Replacement
Step 1. Lift the unit up and remove the wheel.
PRO TIP: Use a floor jack with a big base since there’s a lot of pushing and pulling on this job. If you don’t have one, use jack stands to keep the unit stable while you work.
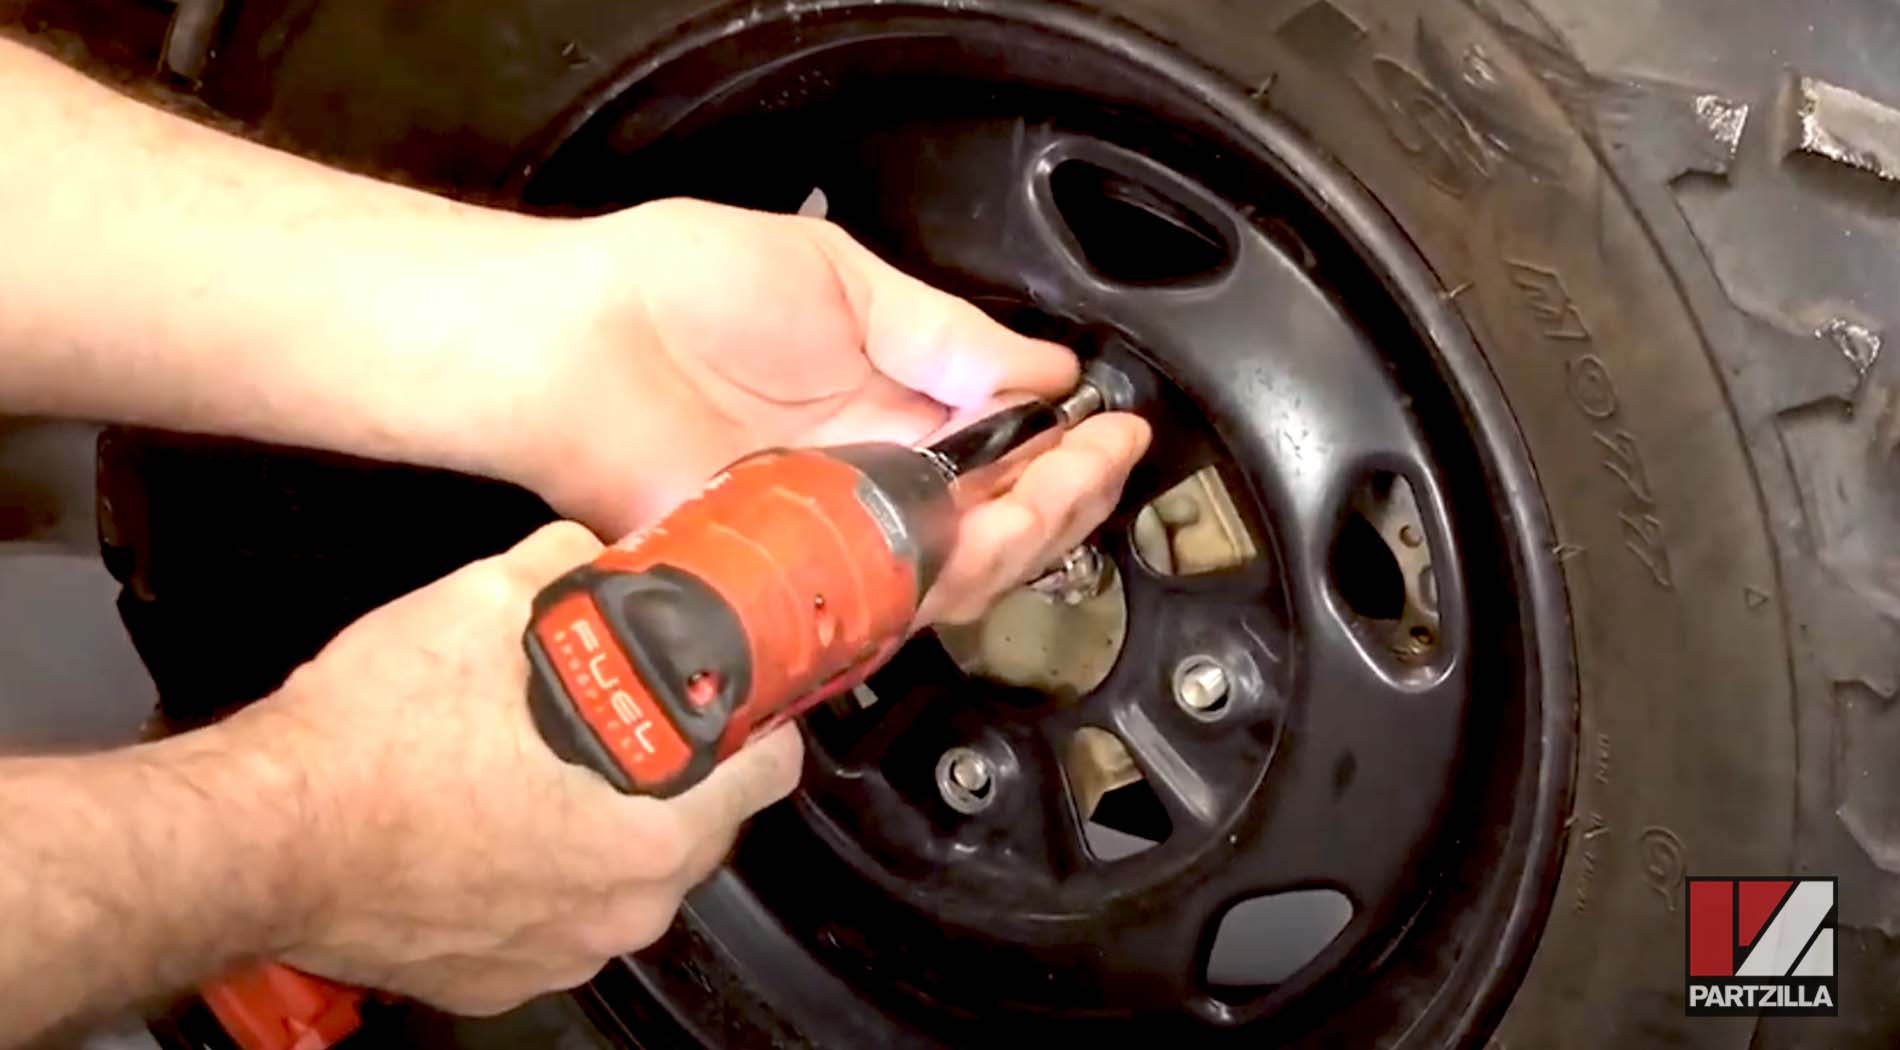
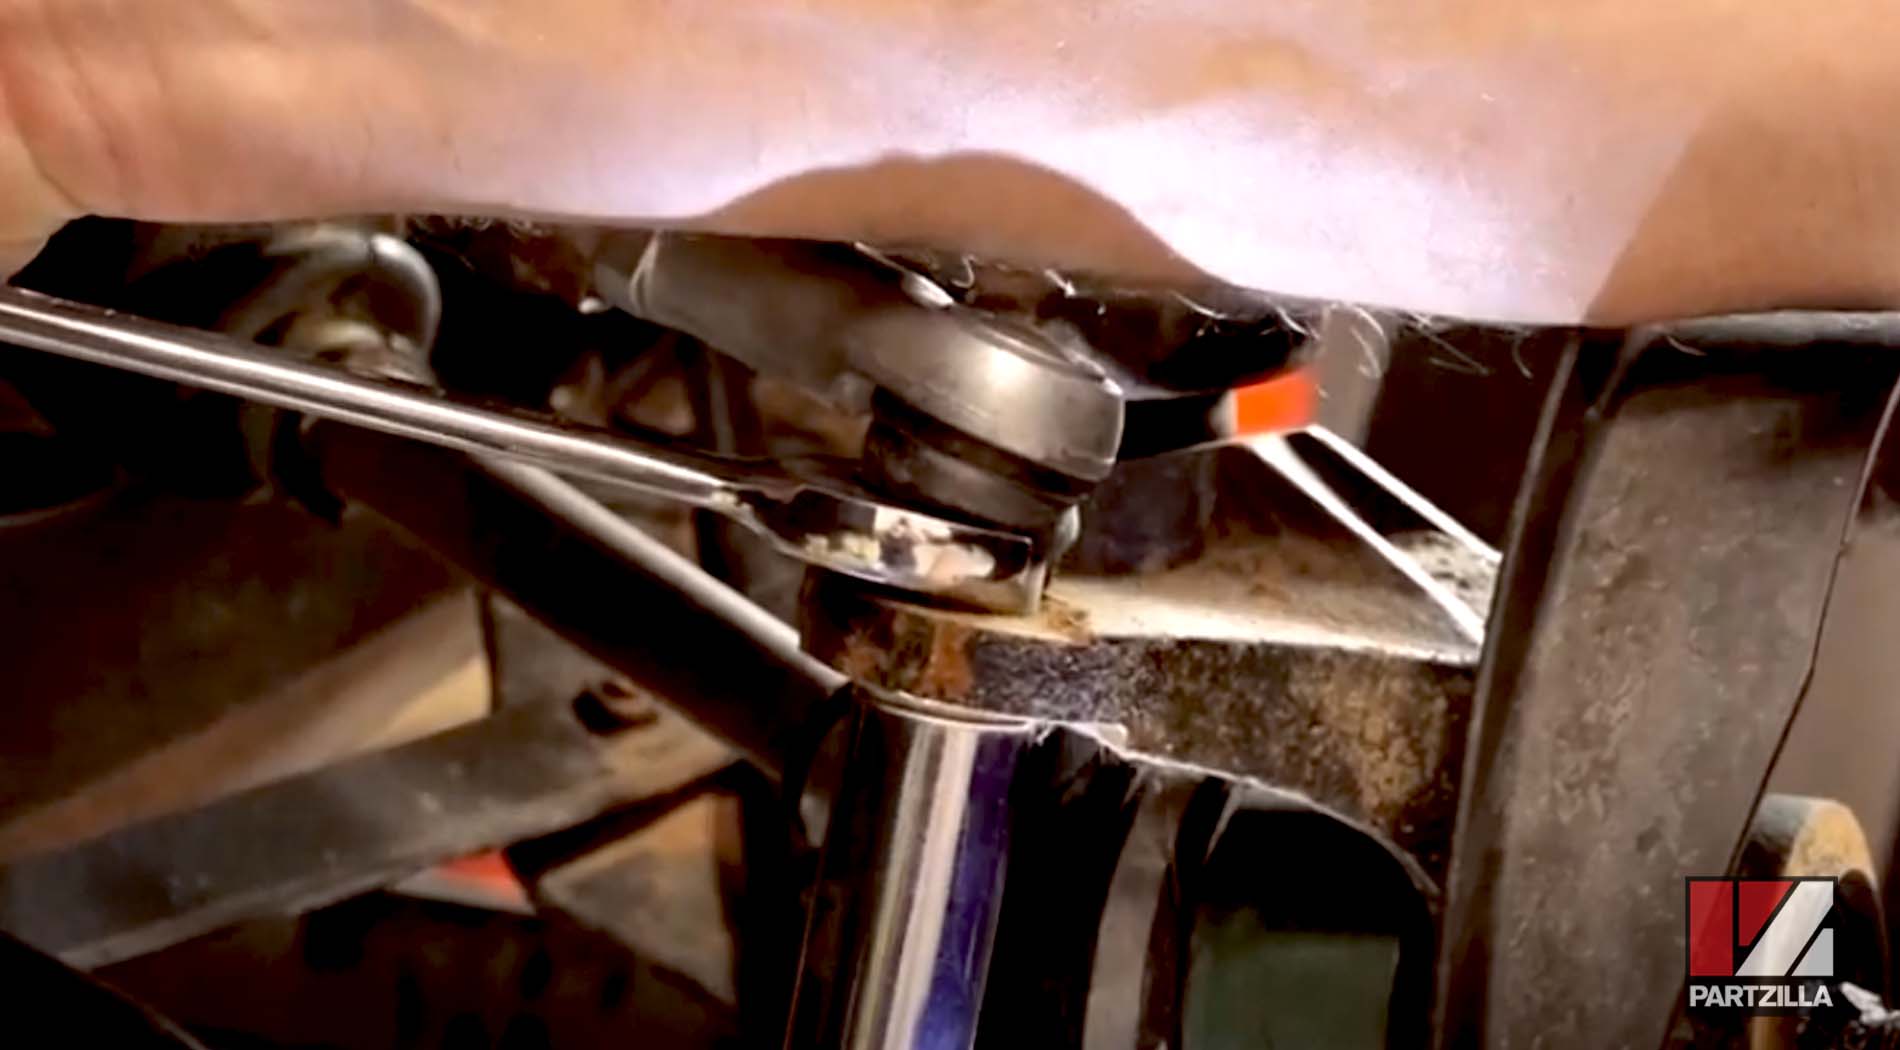
Step 2. Remove the castle nut in the center of the hub by first taking off the cotter pin that runs through it.
NOTE: You’ll need someone to hold the front brakes so that you can knock the castle nut loose.

Step 3. Remove the shield behind the brake caliper, which is held in place by two 10mm bolts.
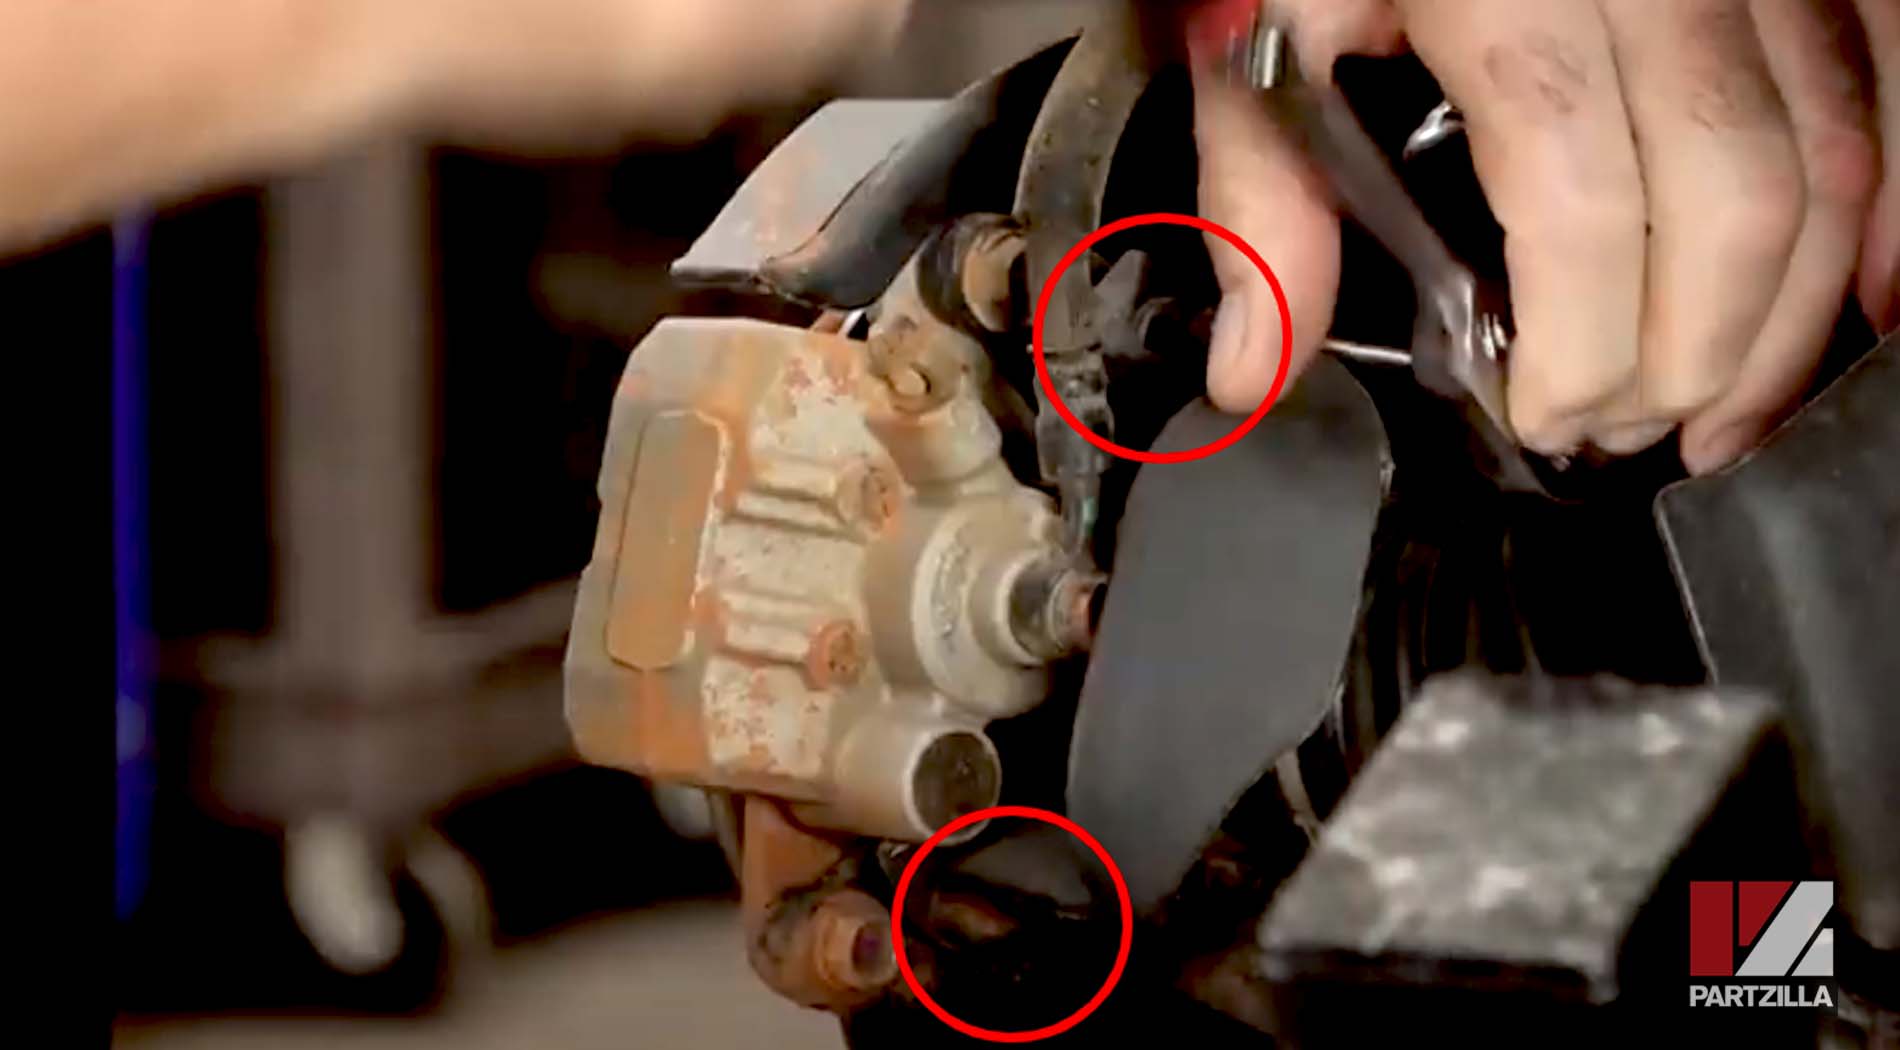
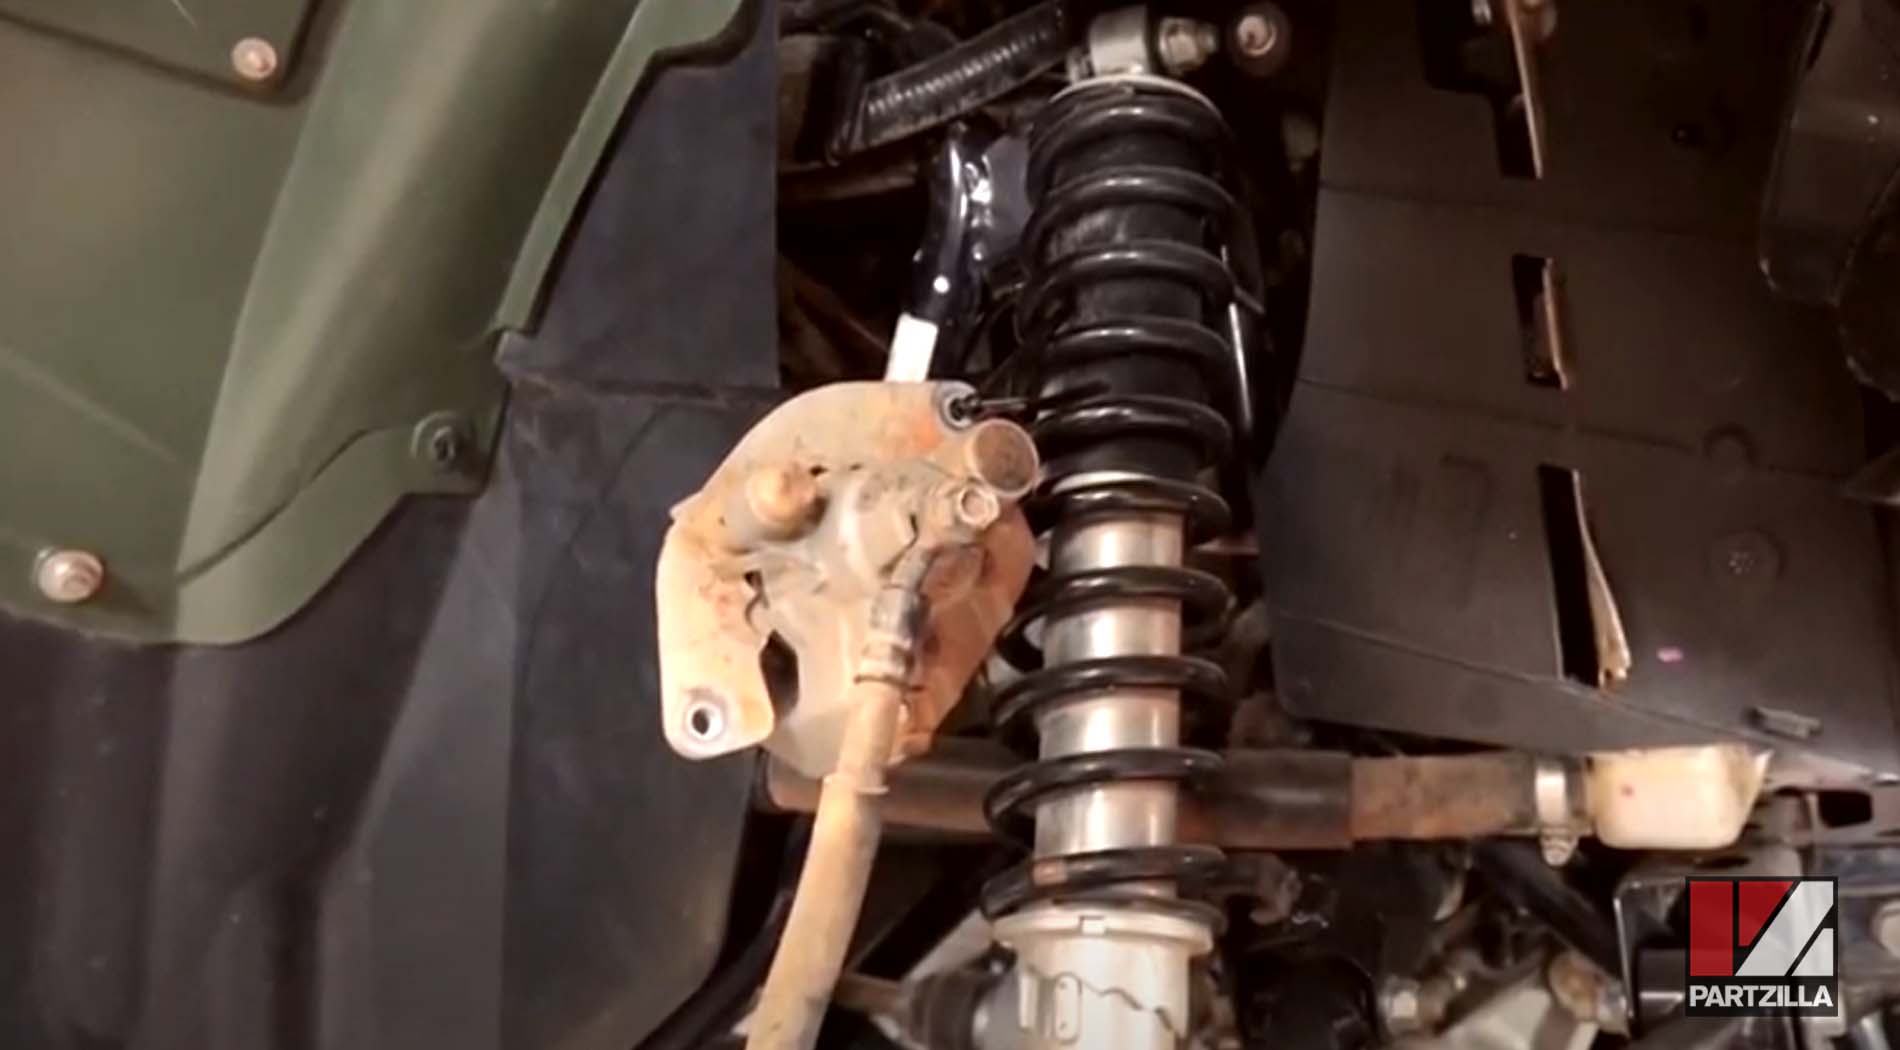
Step 4. Remove the brake caliper, which is held in place by two 12mm bolts.
Step 5. Unbolt the clamp holding the brake hose in place near the end of the control arm to give you more slack in the brake hose and more room to work.
Step 6. Lift the caliper and zip-tie it to the spring to secure it out of the way.
Step 7. Pull away the hub and brake disc assembly.
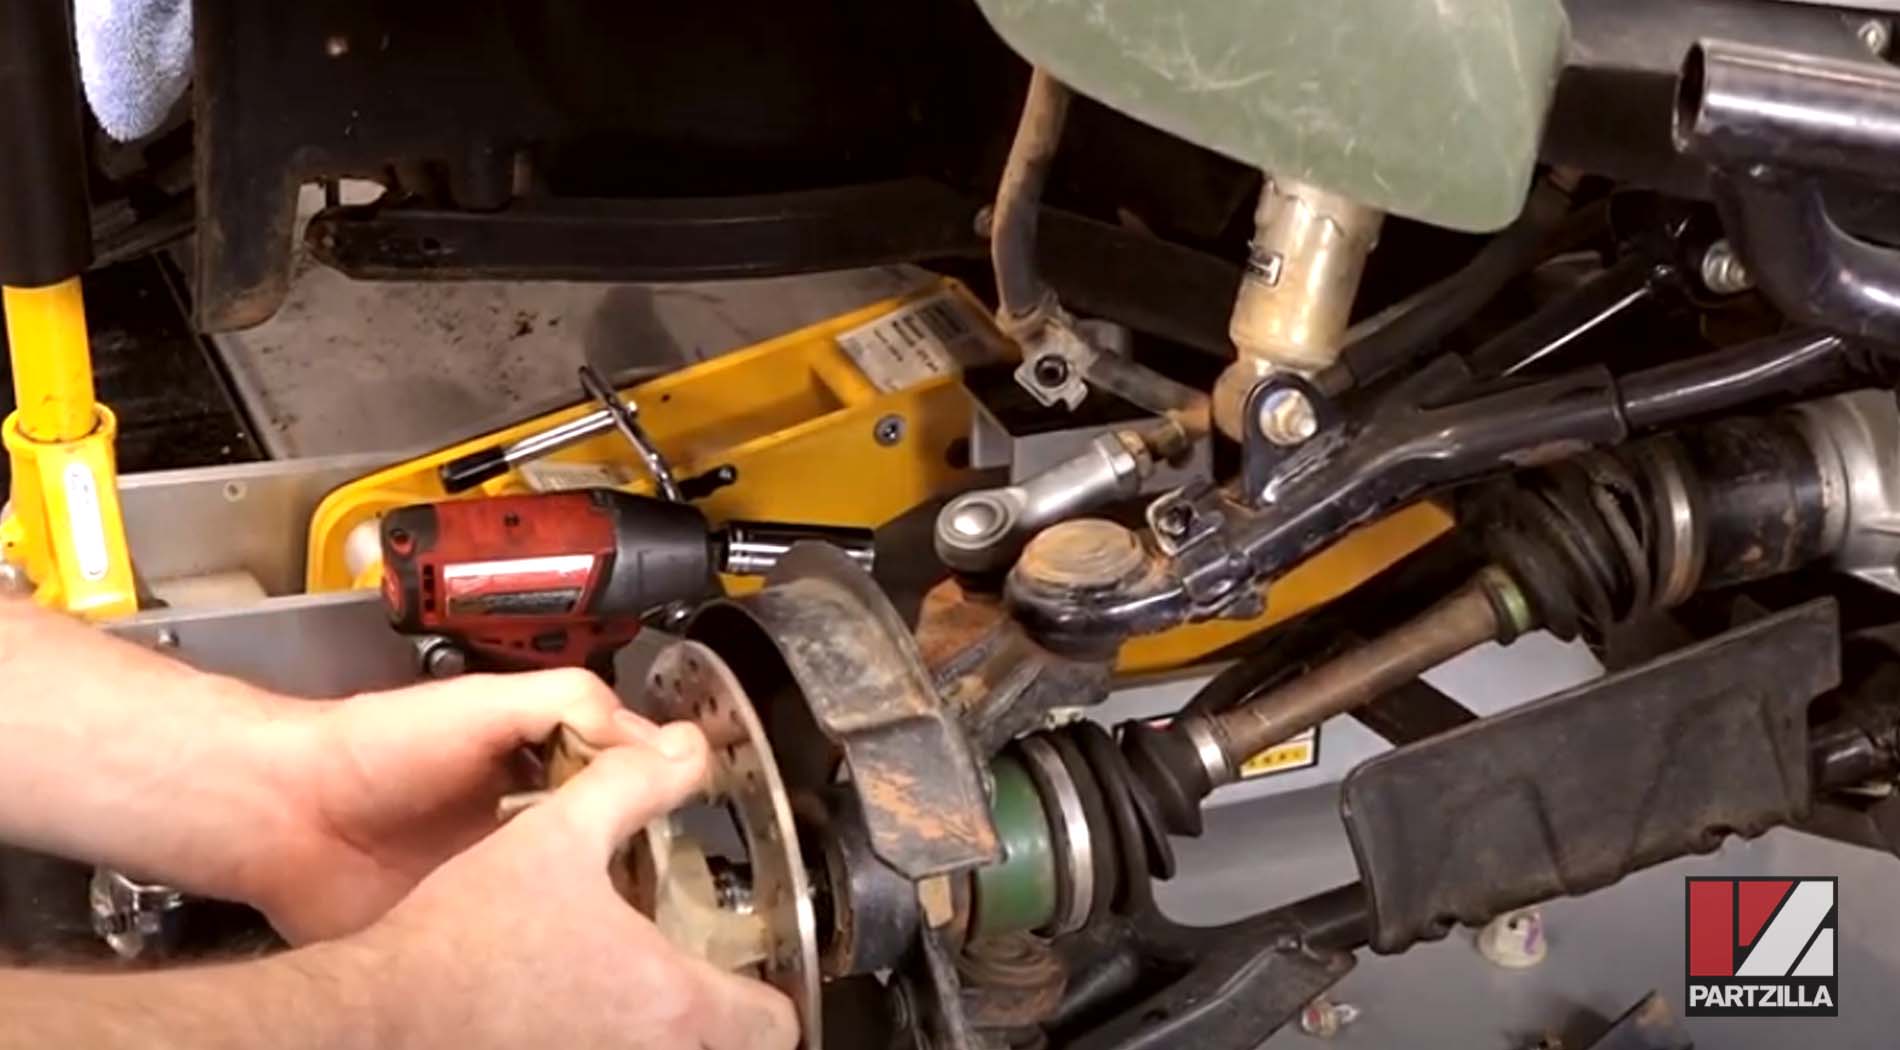
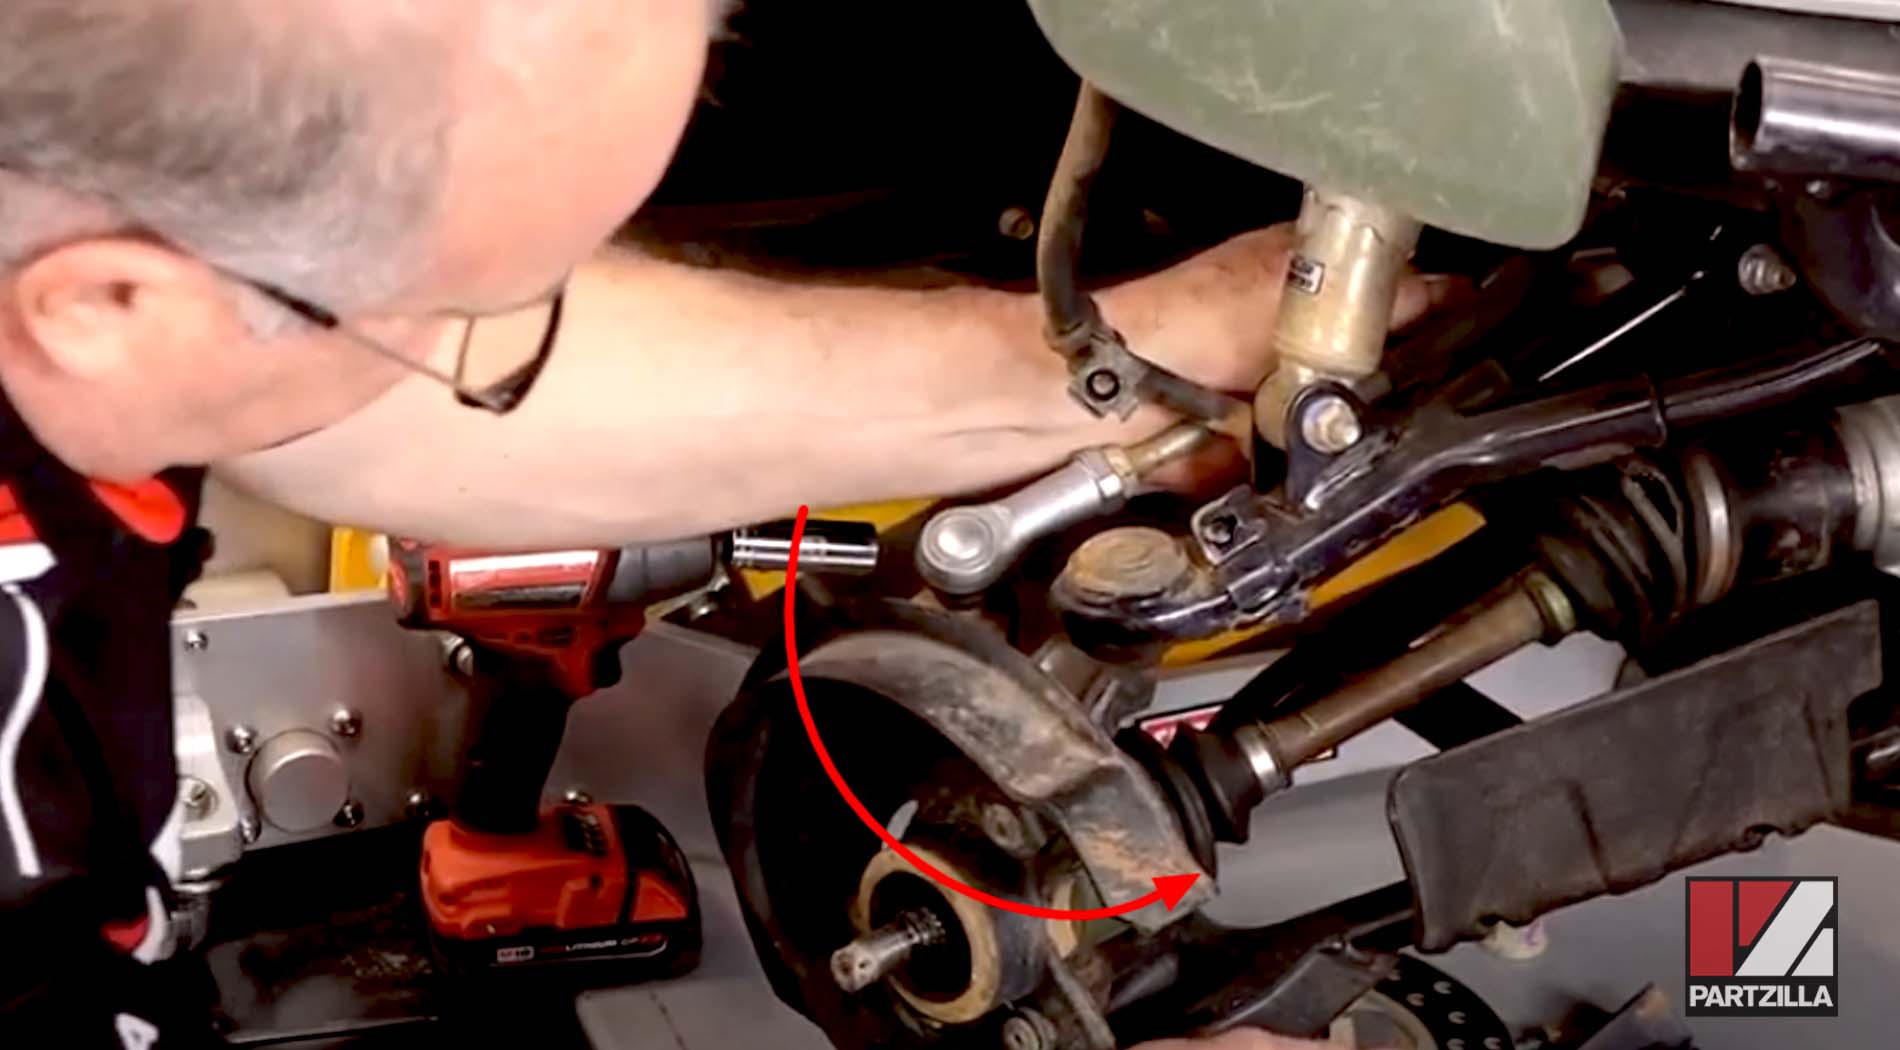
Step 8. Manually turn the whole assembly a bit (as if you’re turning the wheels) to get better access to the castle nut holding the tie rod end in place.
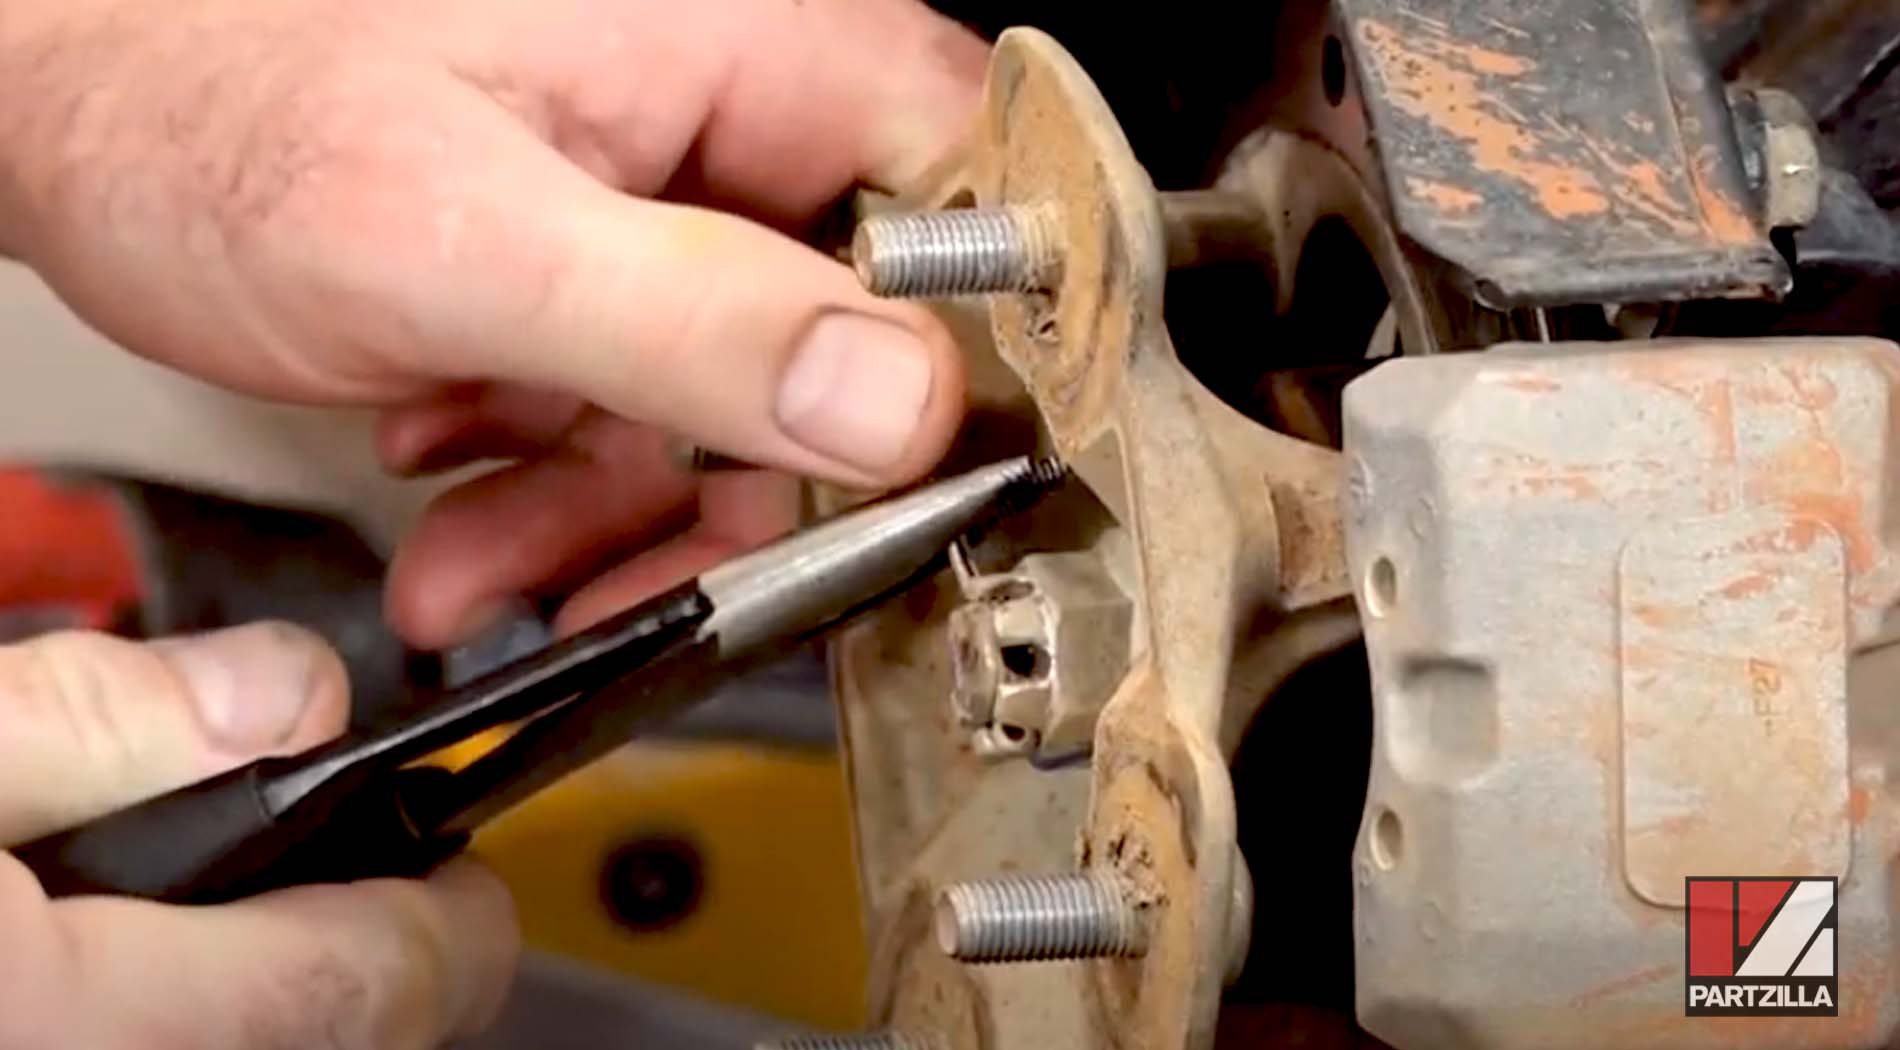
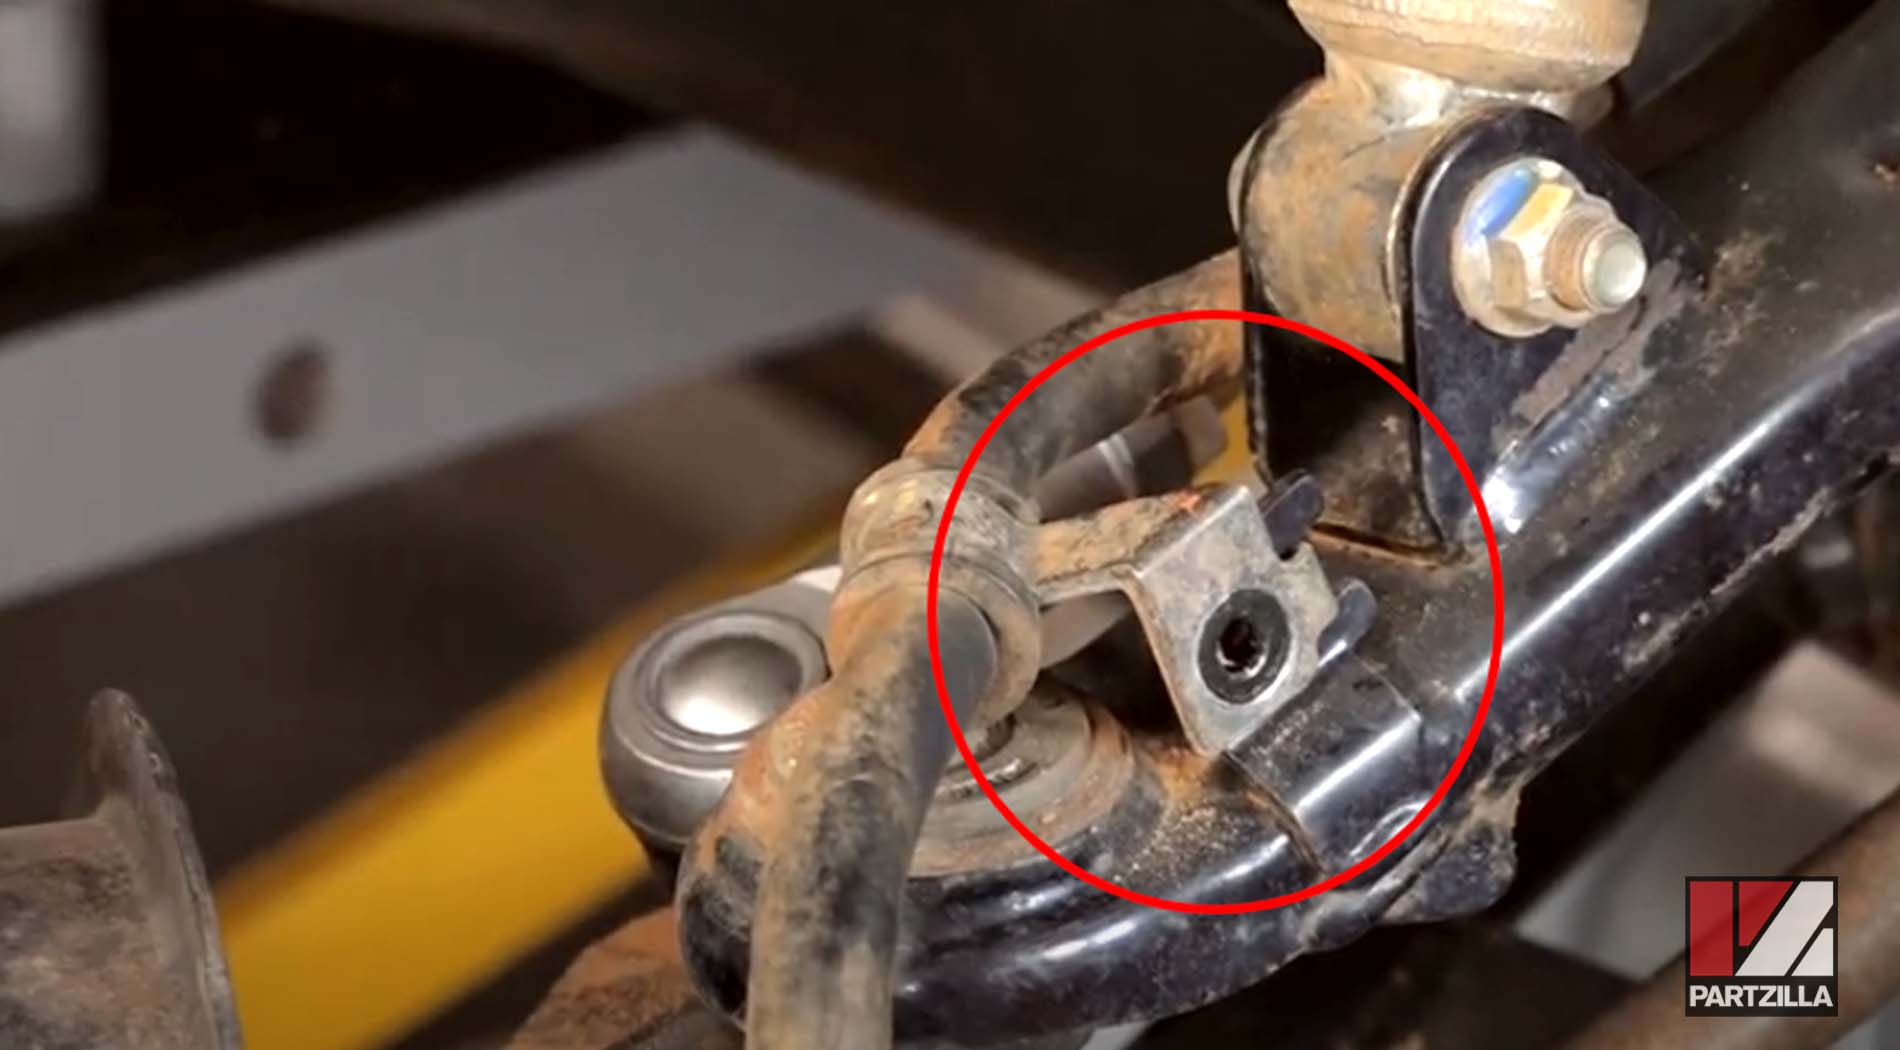
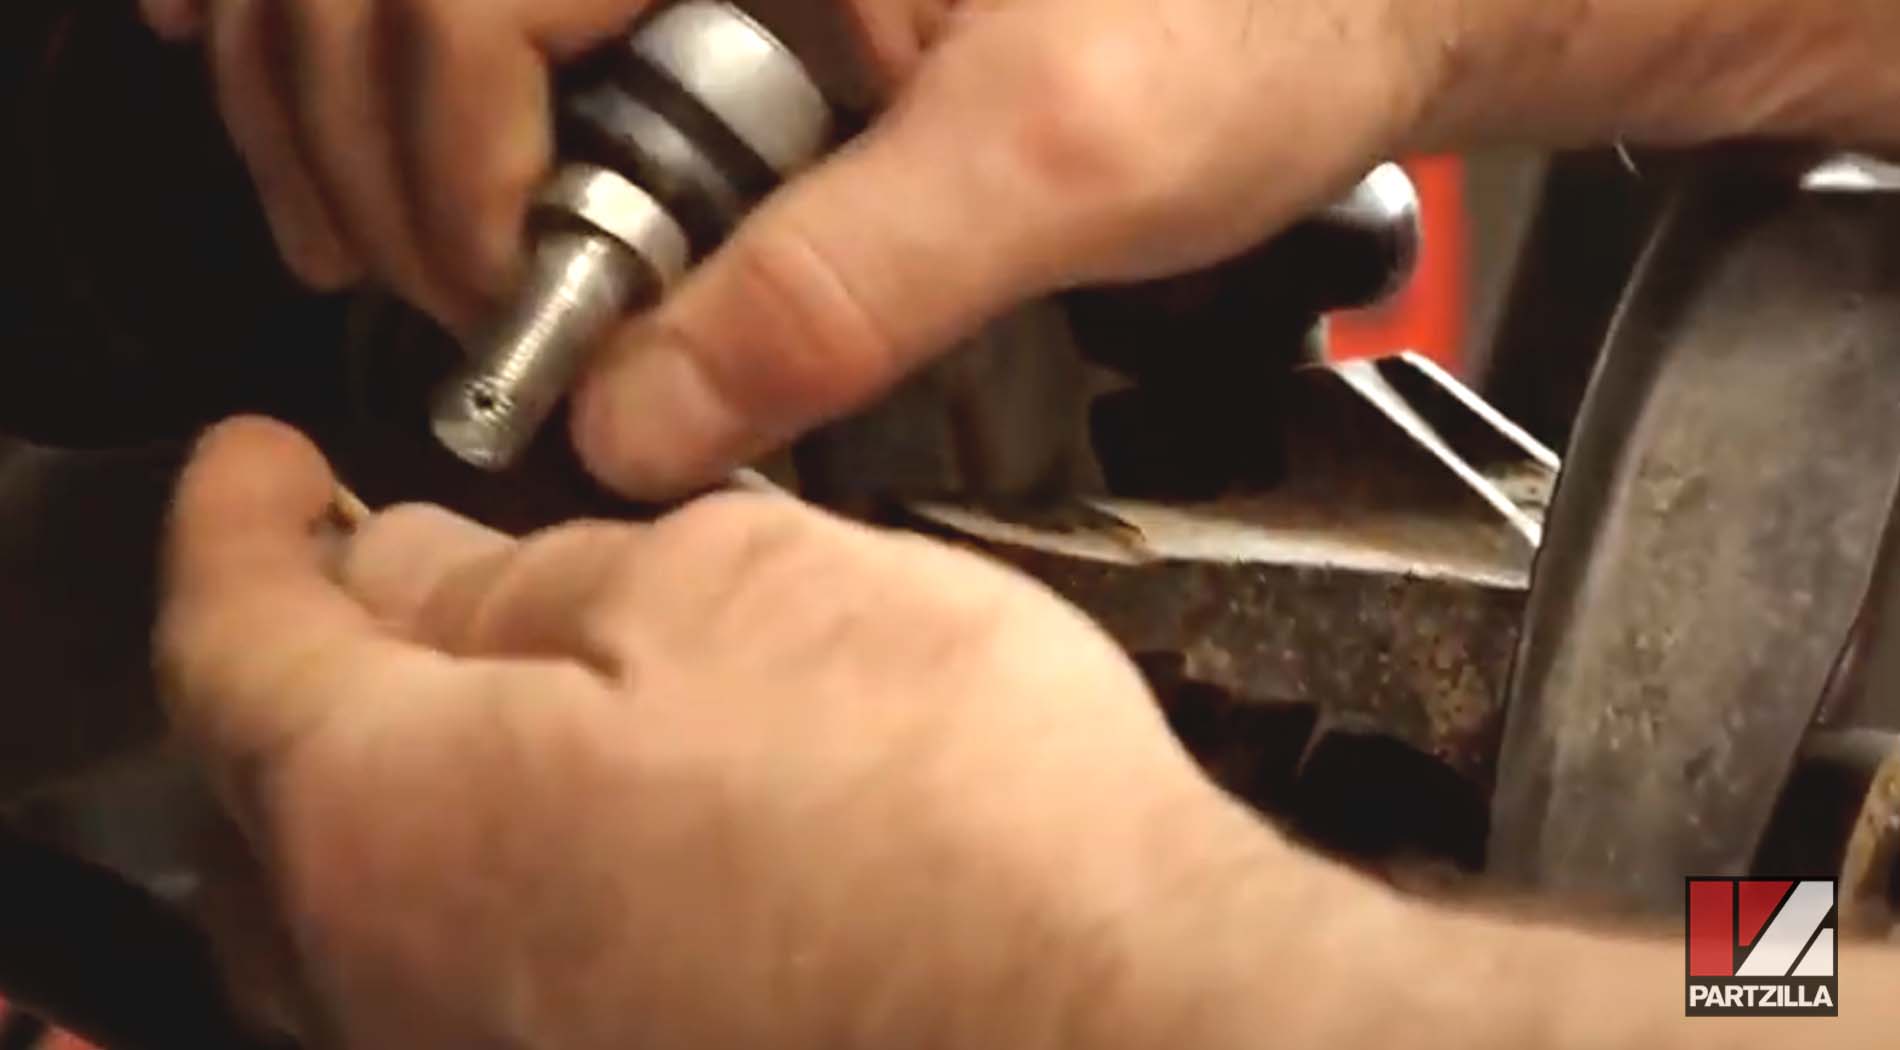
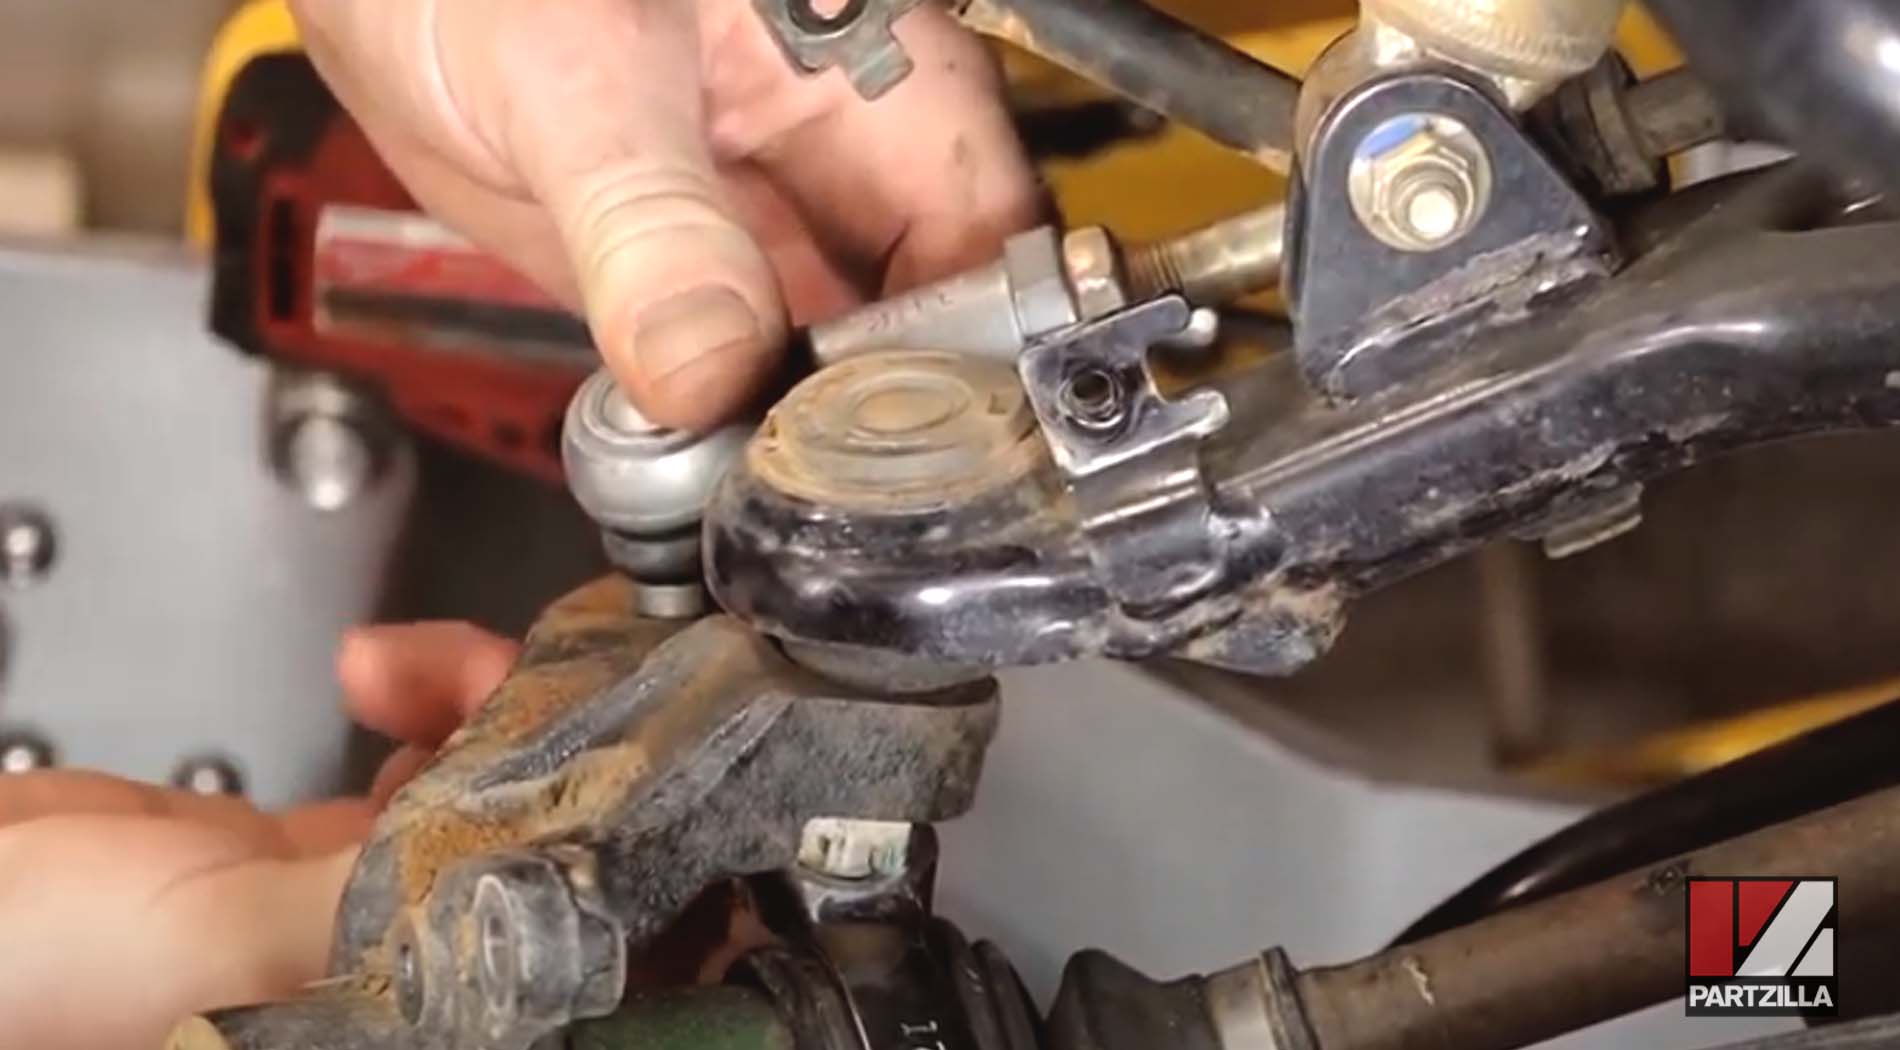
Step 9. Remove the cotter pin holding the tie rod end nut in place, followed by the castle nut itself.
PRO TIP: Honda’s tie rod ends have a flat area to keep them from spinning around while you remove the nut. Use a wrench to hold the tie rod end in place while using a socket to loosen the castle nut. With the tie rod end removed, put the castle nut back on the tie rod end to protect the threads while you work.
Step 10. Remove the cotter pin and castle nut holding the lower ball joint in place. Next, reverse the castle nut and thread it back in place for the moment.

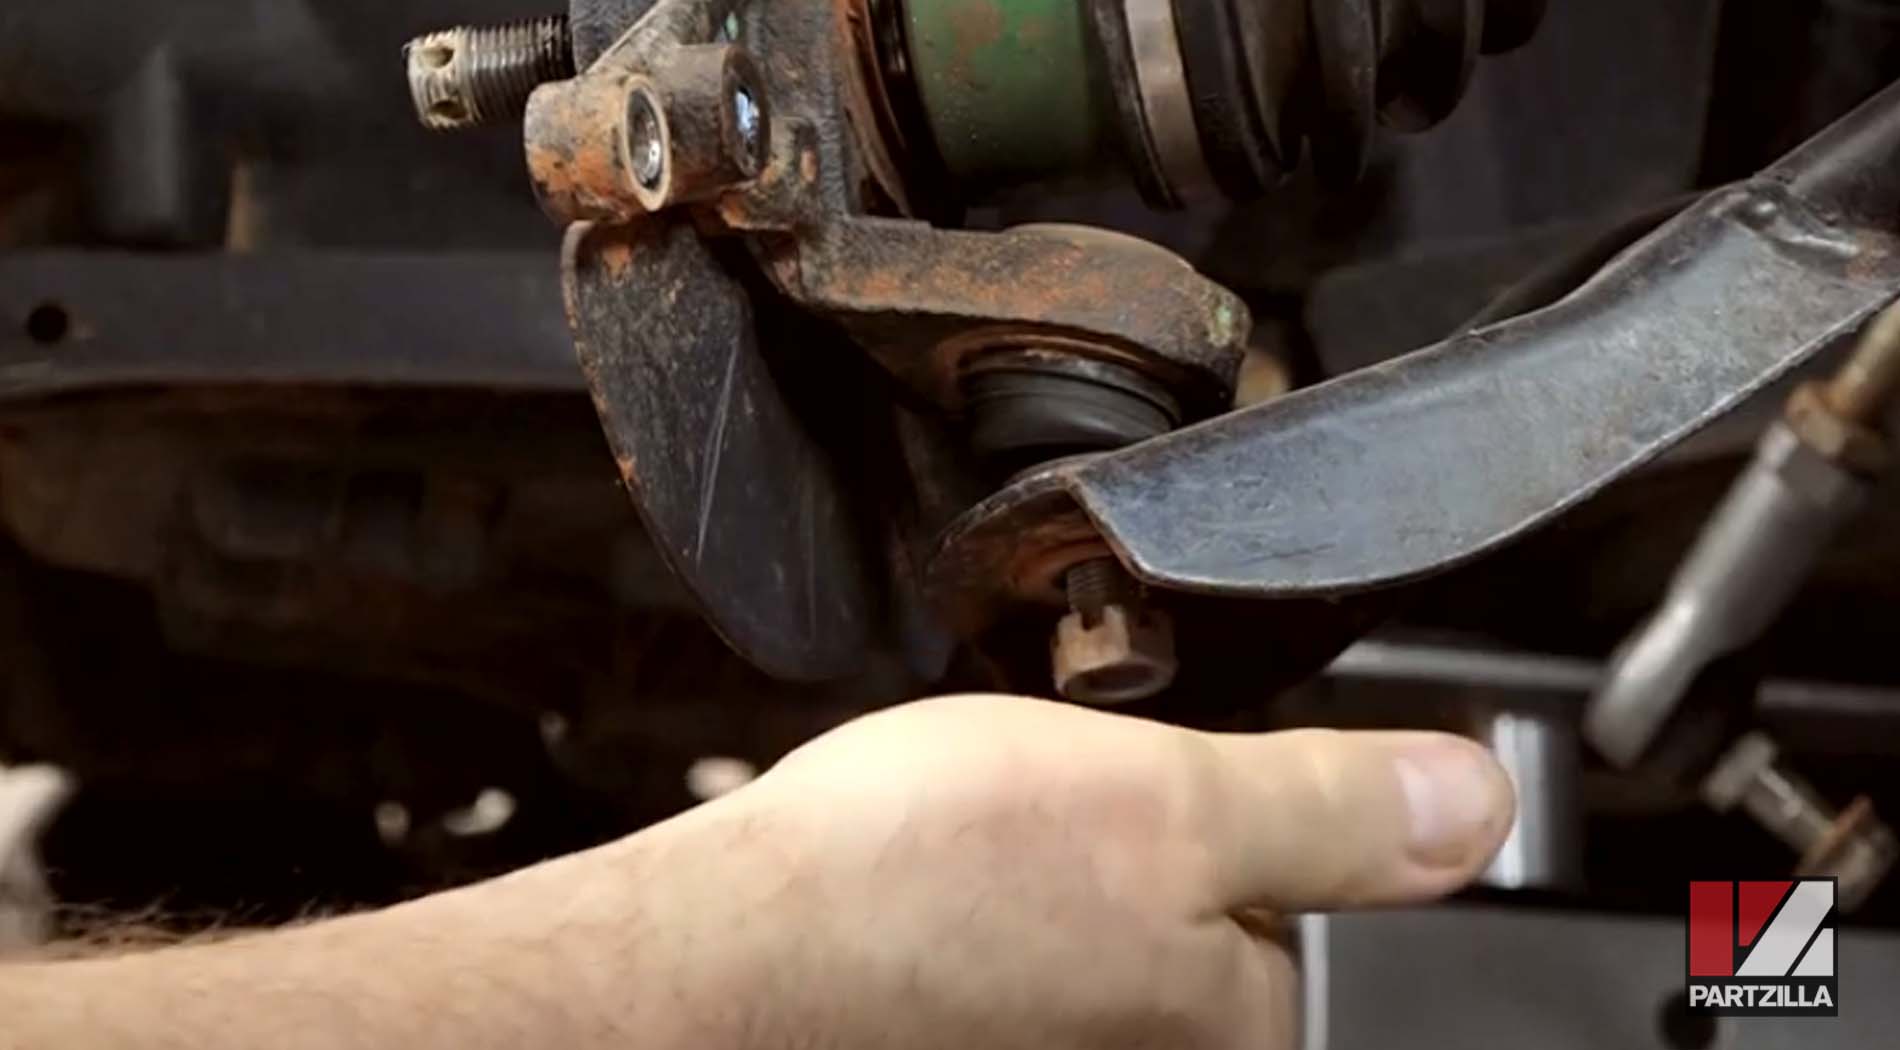
Step 11. Remove the splash guard in front of the steering knuckle, which is held in place by three 5mm Allen bolts.
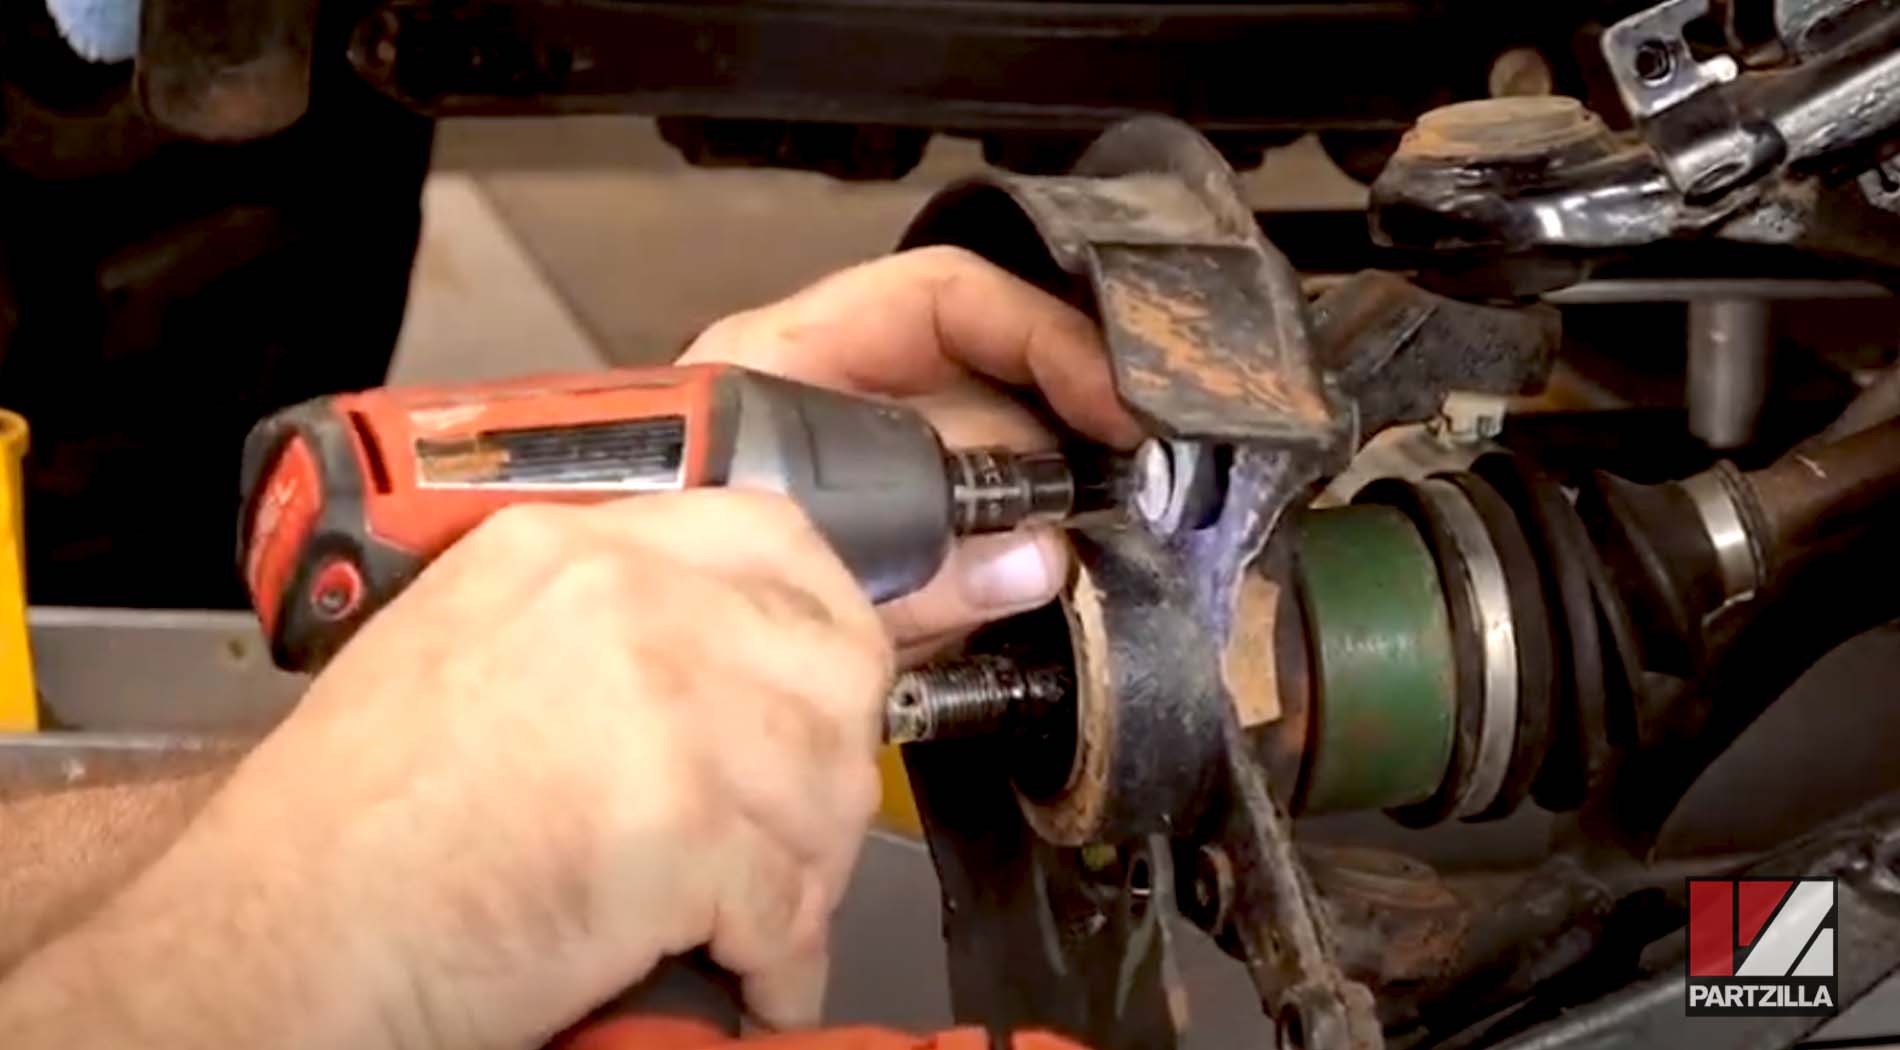
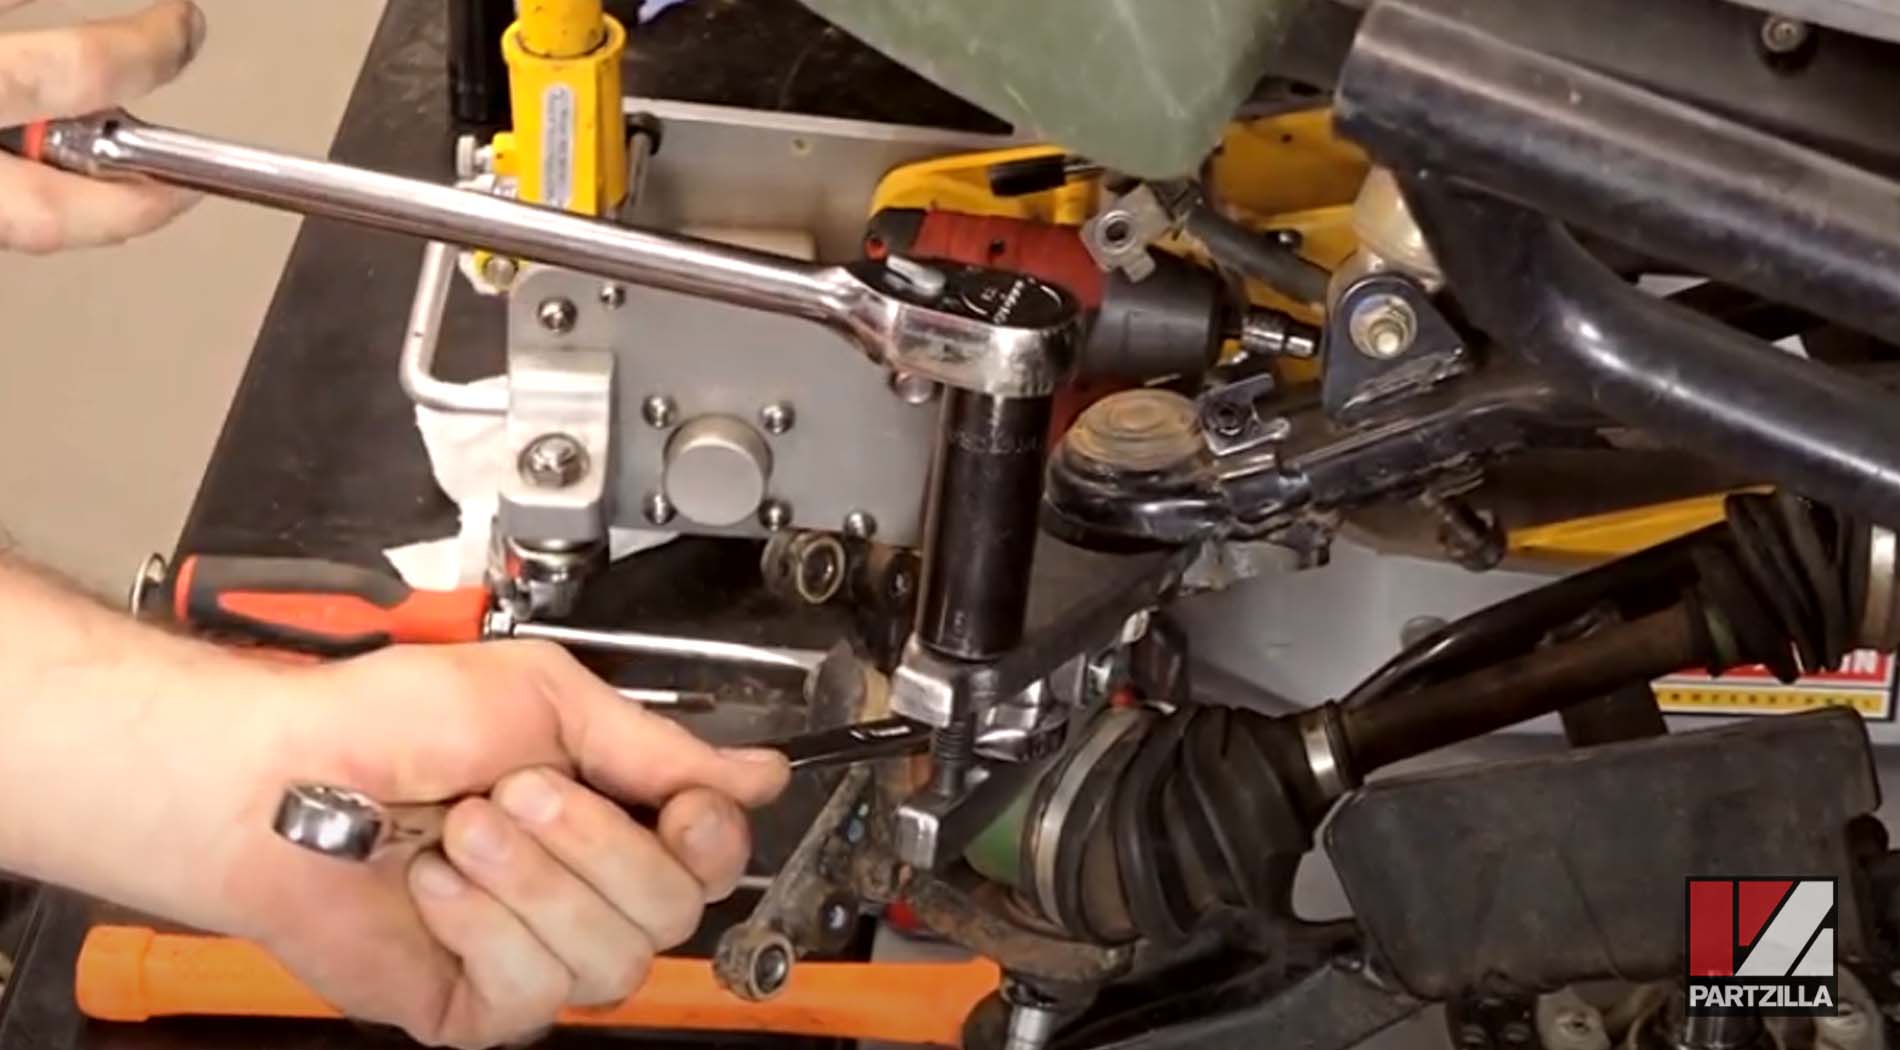
Step 12. Use a ball joint separator to free the lower arm from the ball joint. It uses the torque on the bolt to separate the arm from the ball joint.
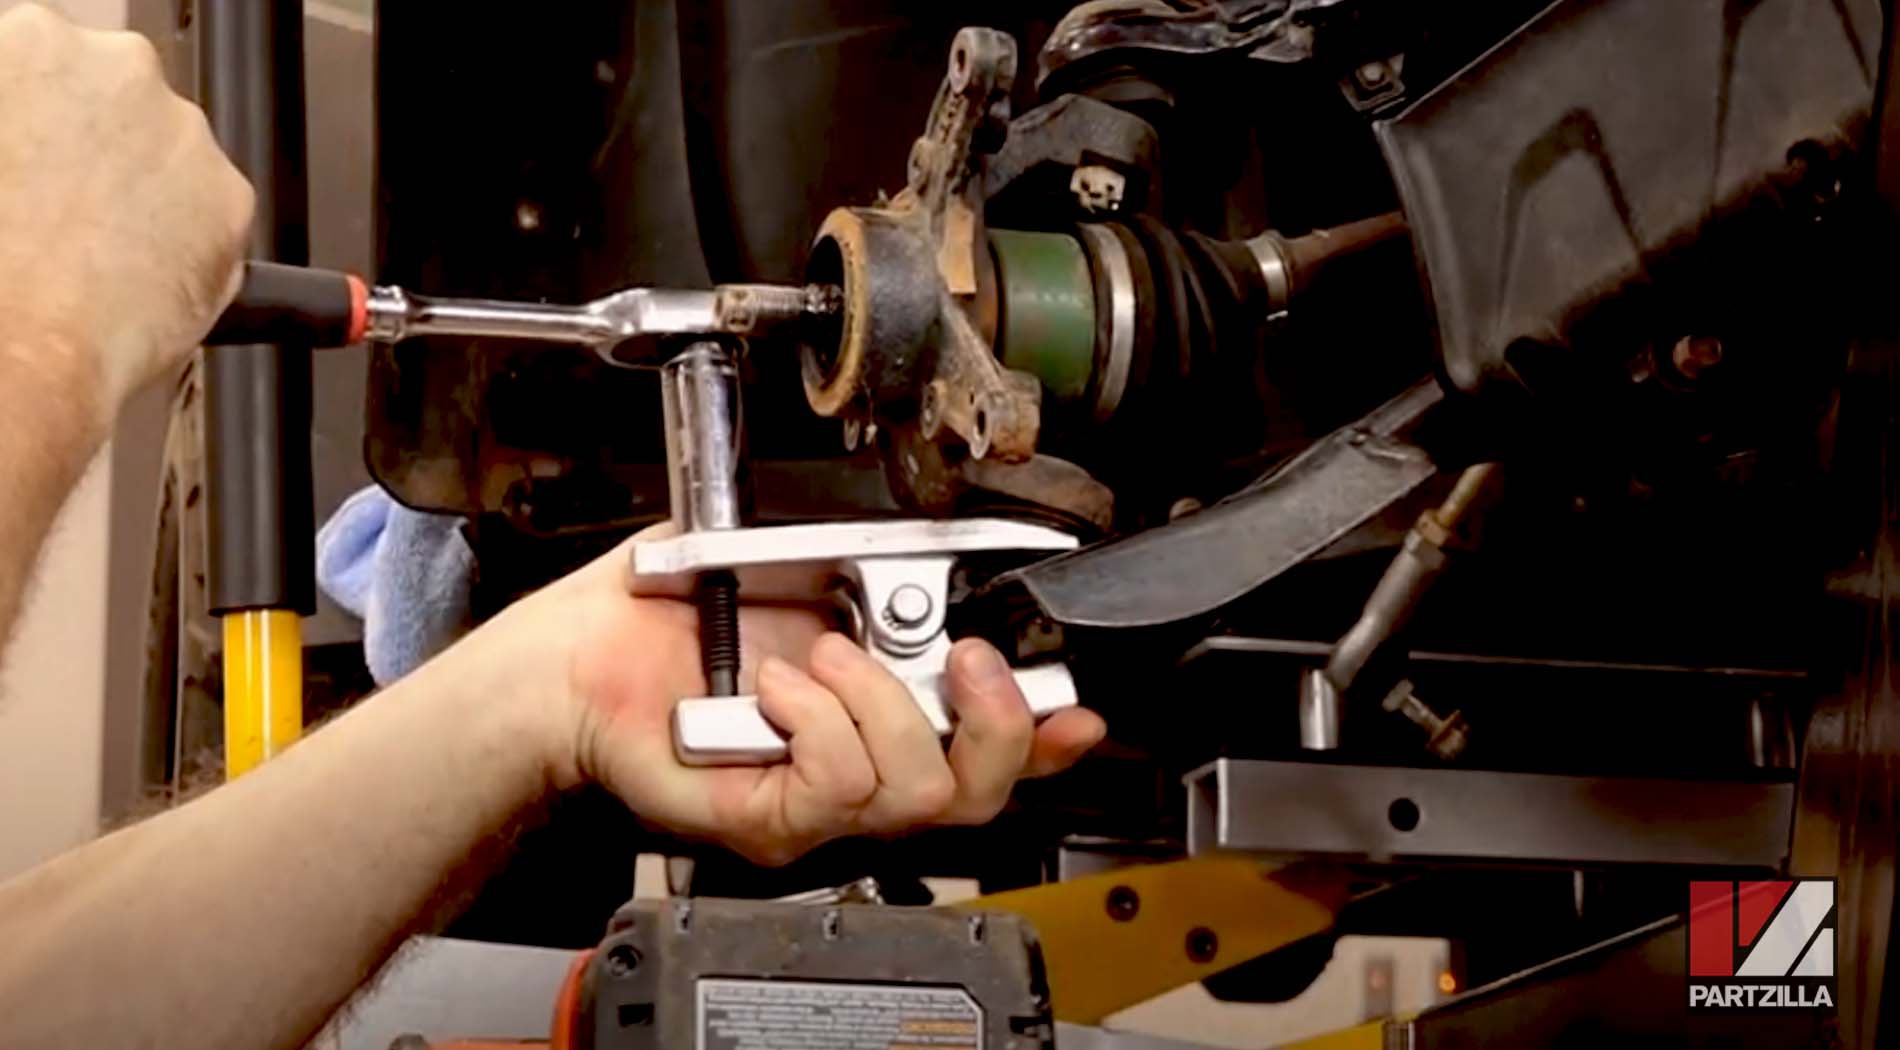
Watch the clip below to see the ball joint puller segment of our Honda Rancher 420 front wheel bearing replacement video.
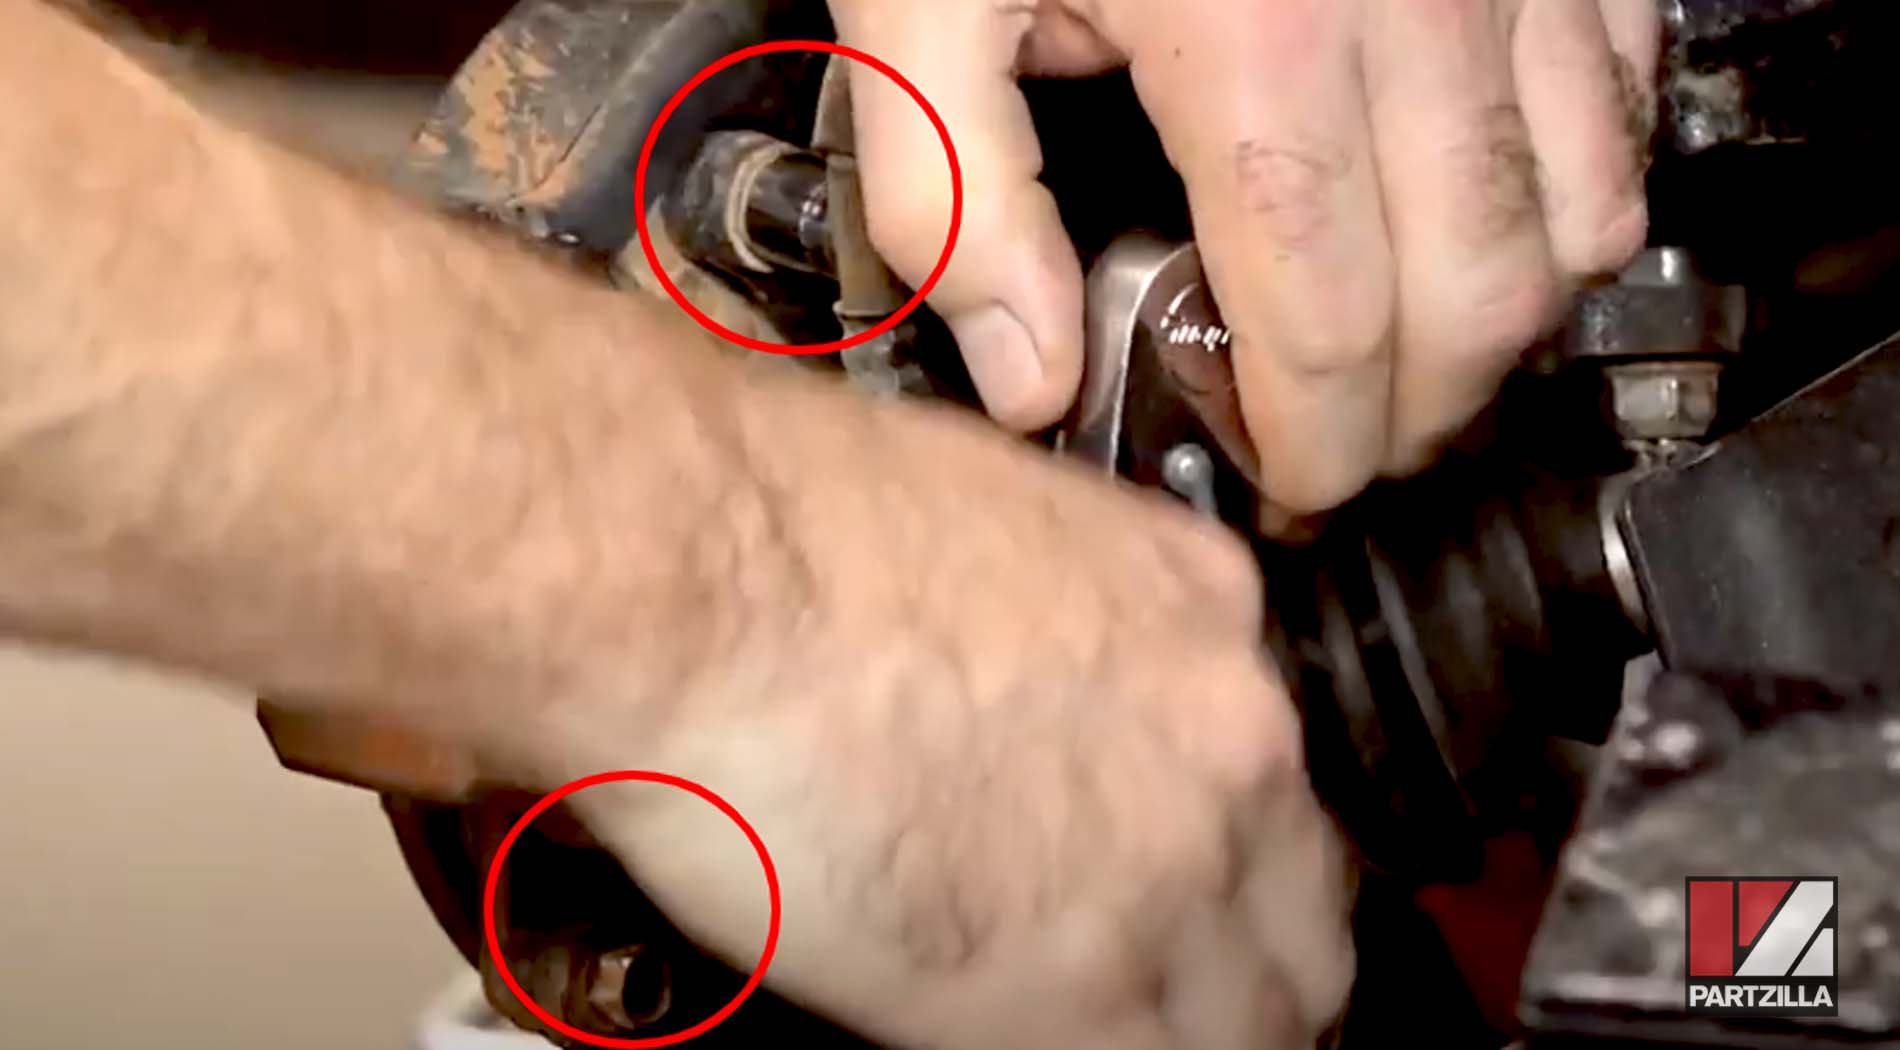
Step 13. Remove the upside-down castle nut from Step 10. Next, use another long ratchet (or prybar) to apply pressure to keep the ball joint from spinning as you remove the nut.
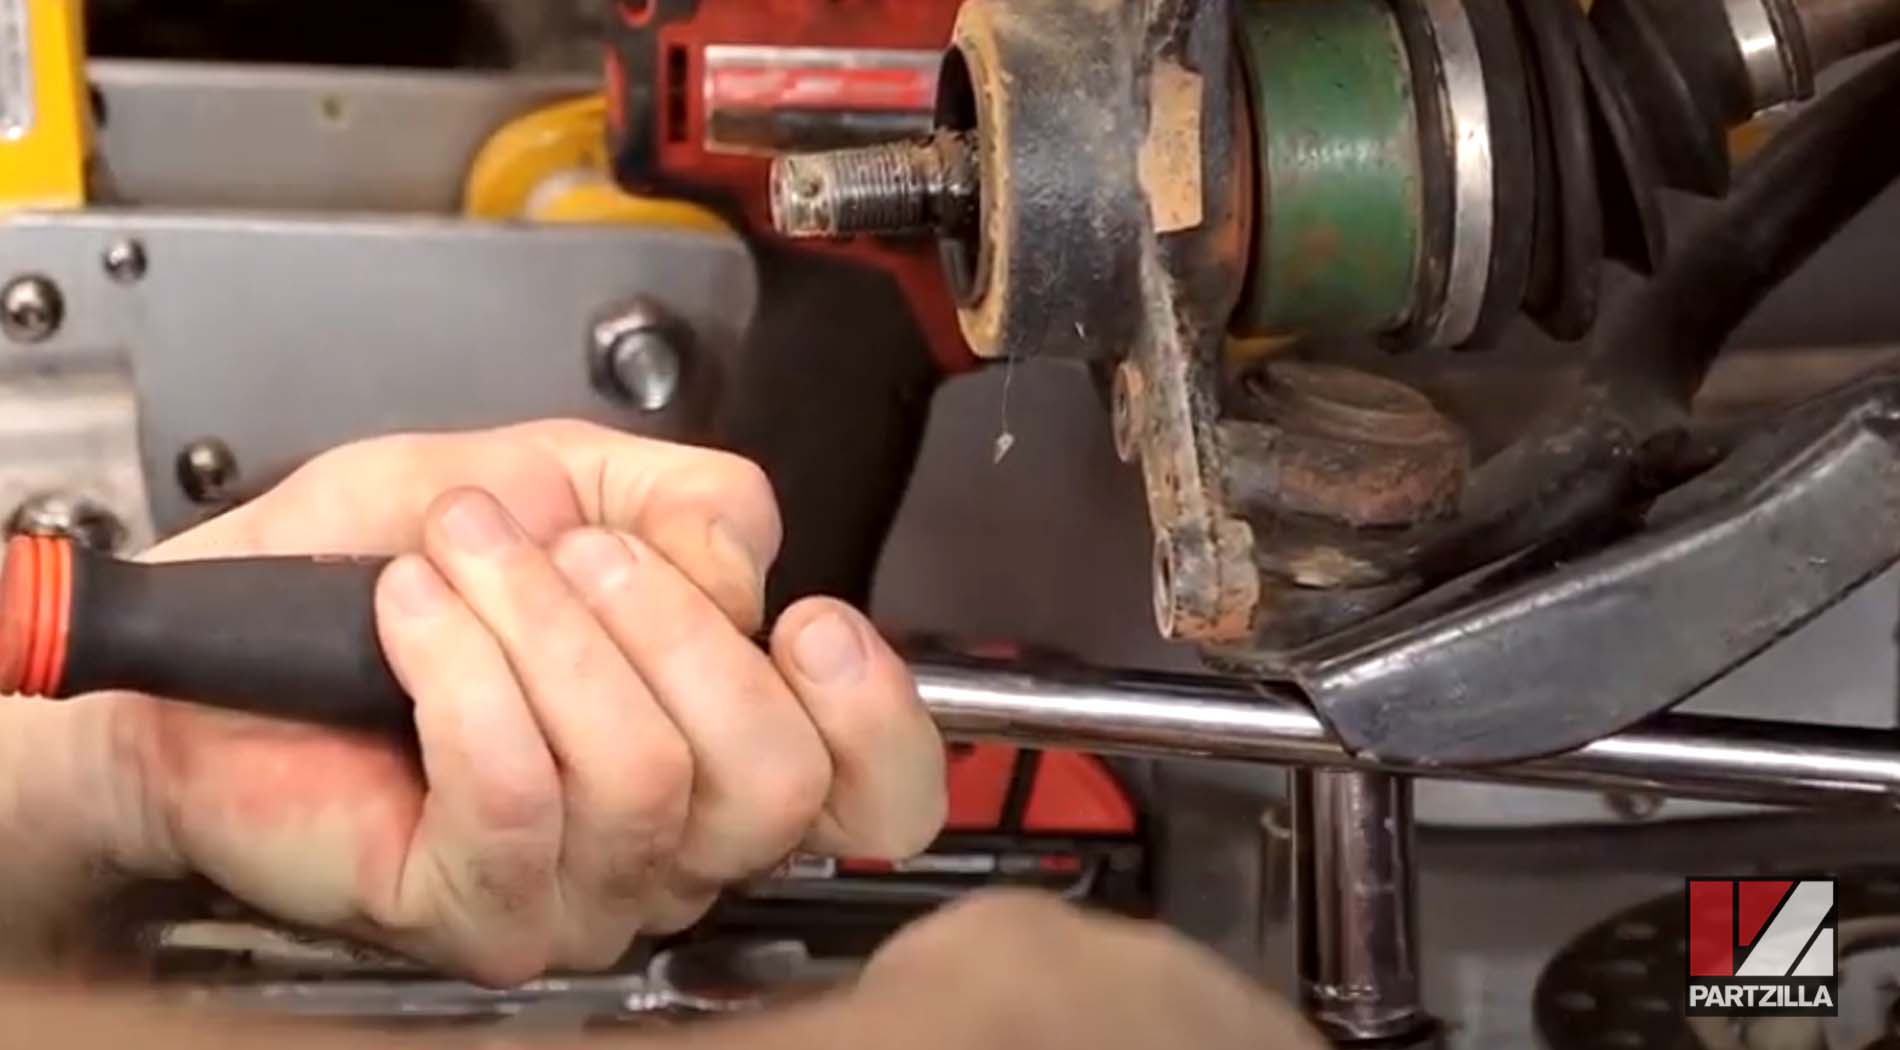
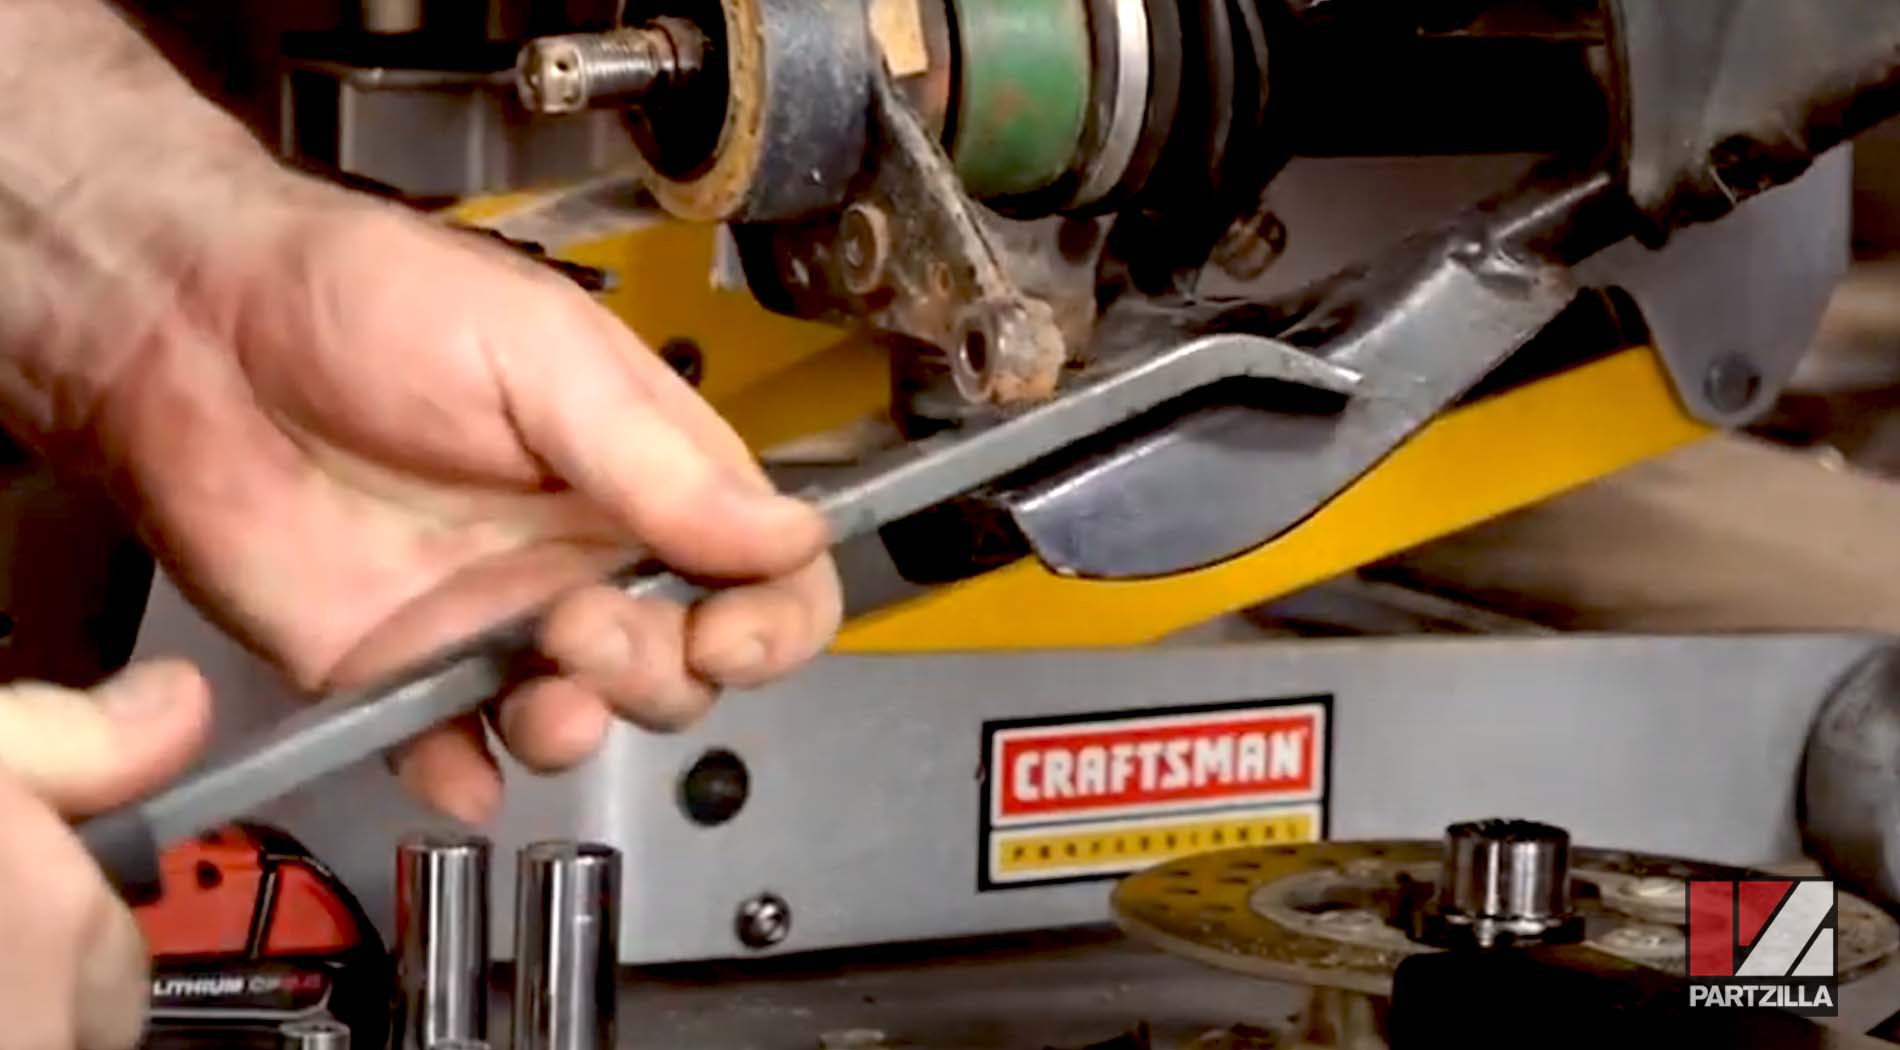
NOTE: You may need a pry bar to pull the joint again when getting the nut out.
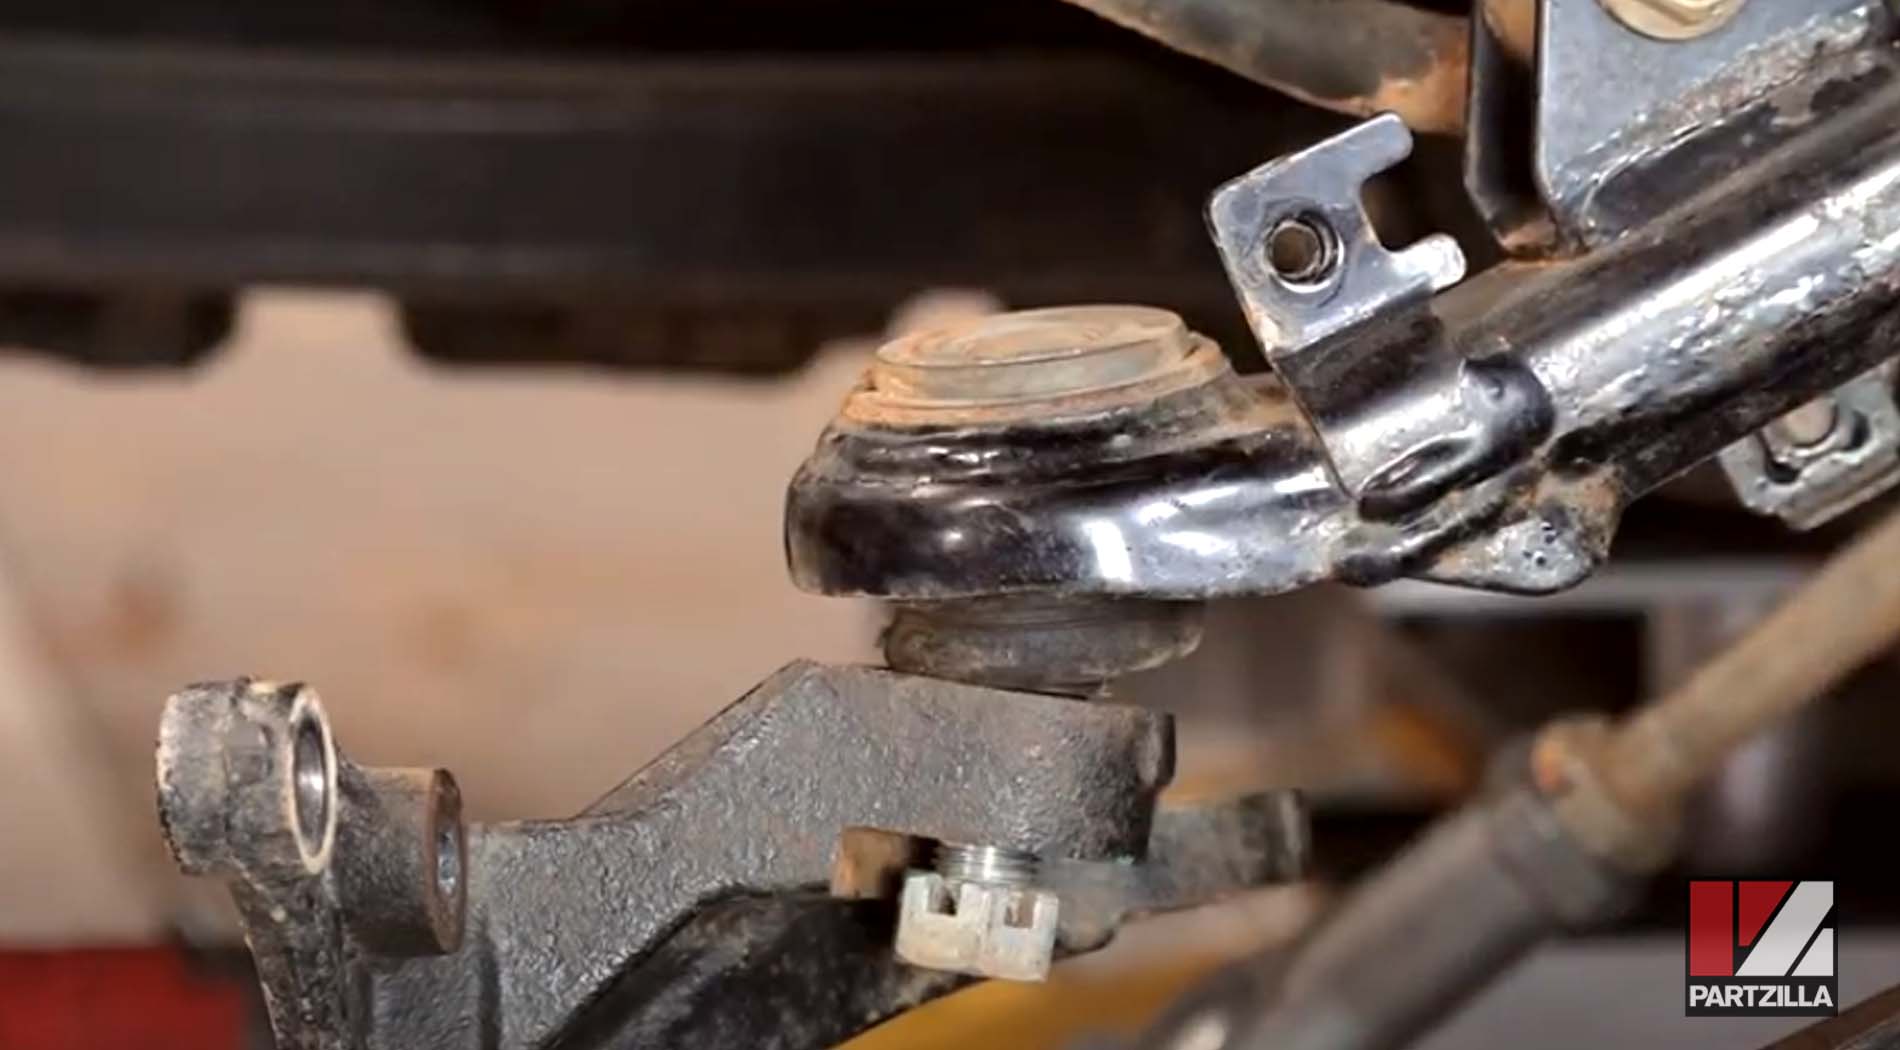
Step 14. Remove the cotter pin and 17mm castle nut at bottom of the steering knuckle for the upper ball joint. Reinstall the tie rod, then hand-tighten it to hold the knuckle still while you loosen the castle nut.
Step 15. Reverse the castle nut and re-thread it to get ready for the ball joint puller. Next, use the ball joint puller to free the steering knuckle from the ball joint.
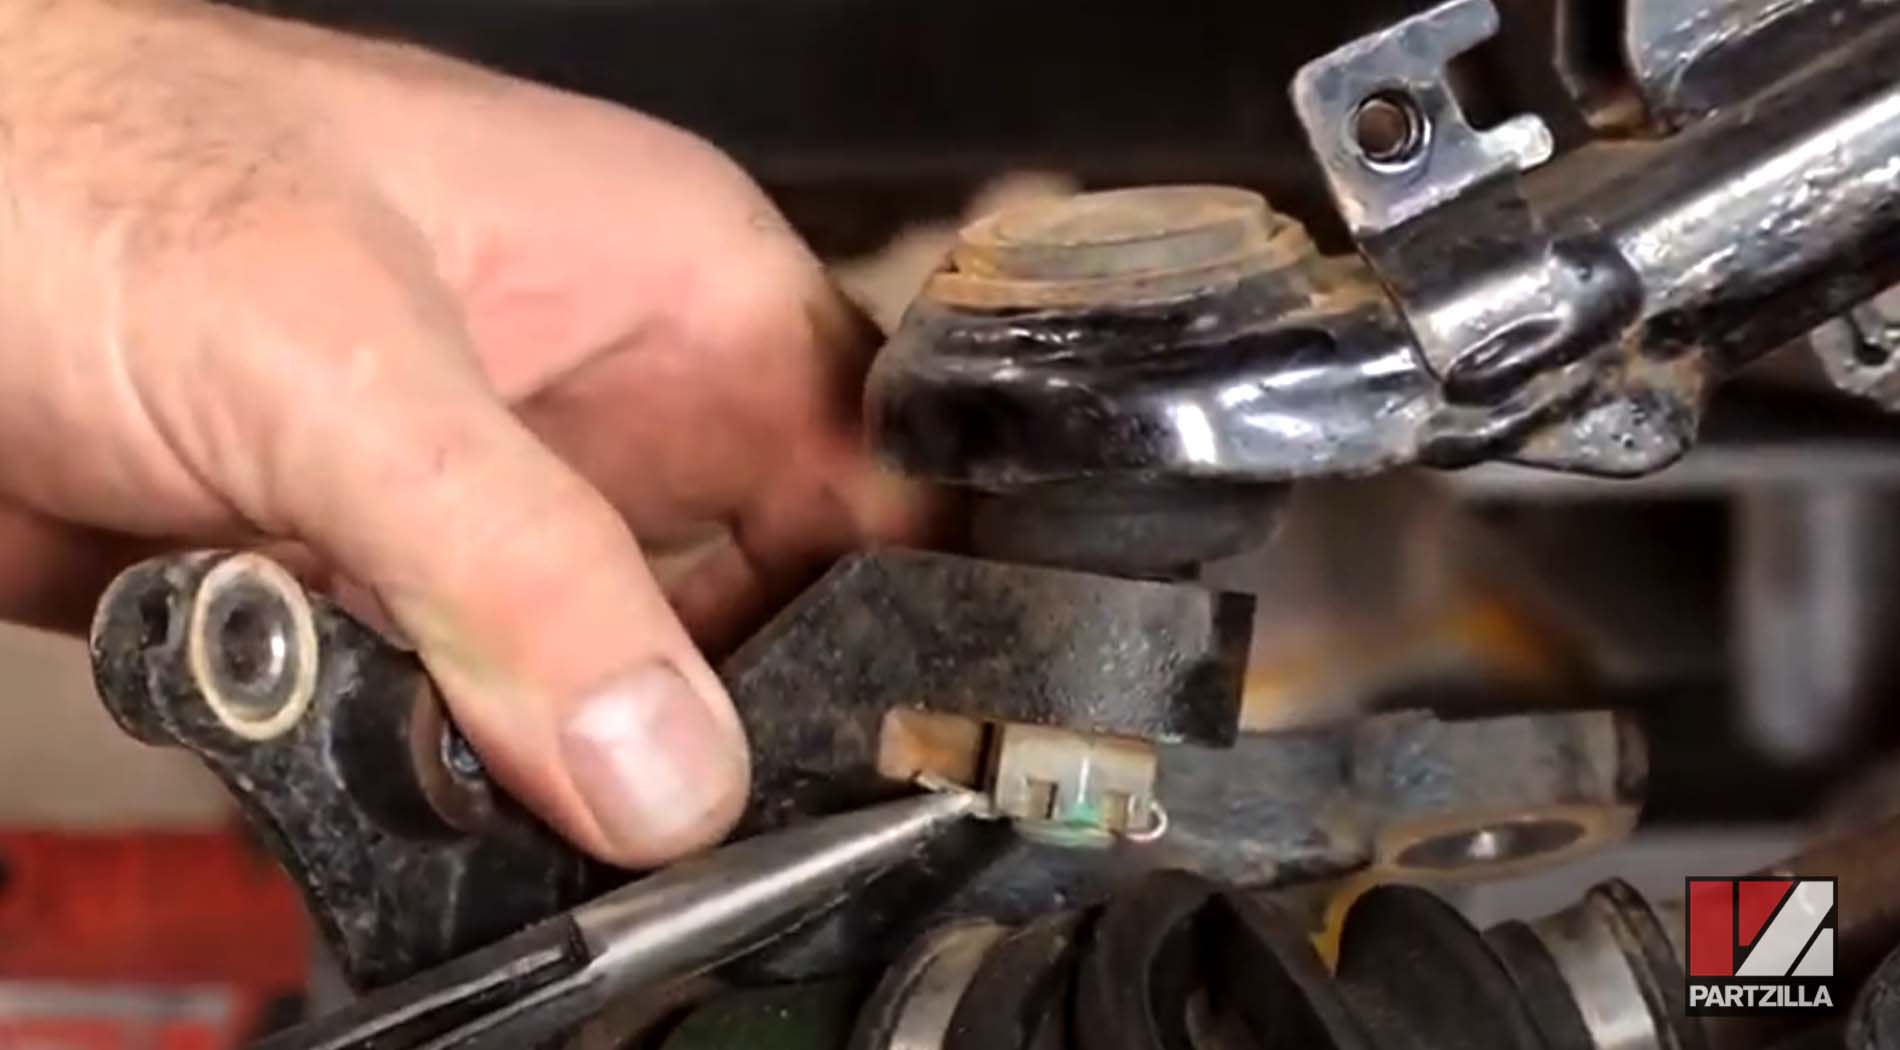
Step 16. Secure the steering knuckle after removing it so you can pry out the seals.
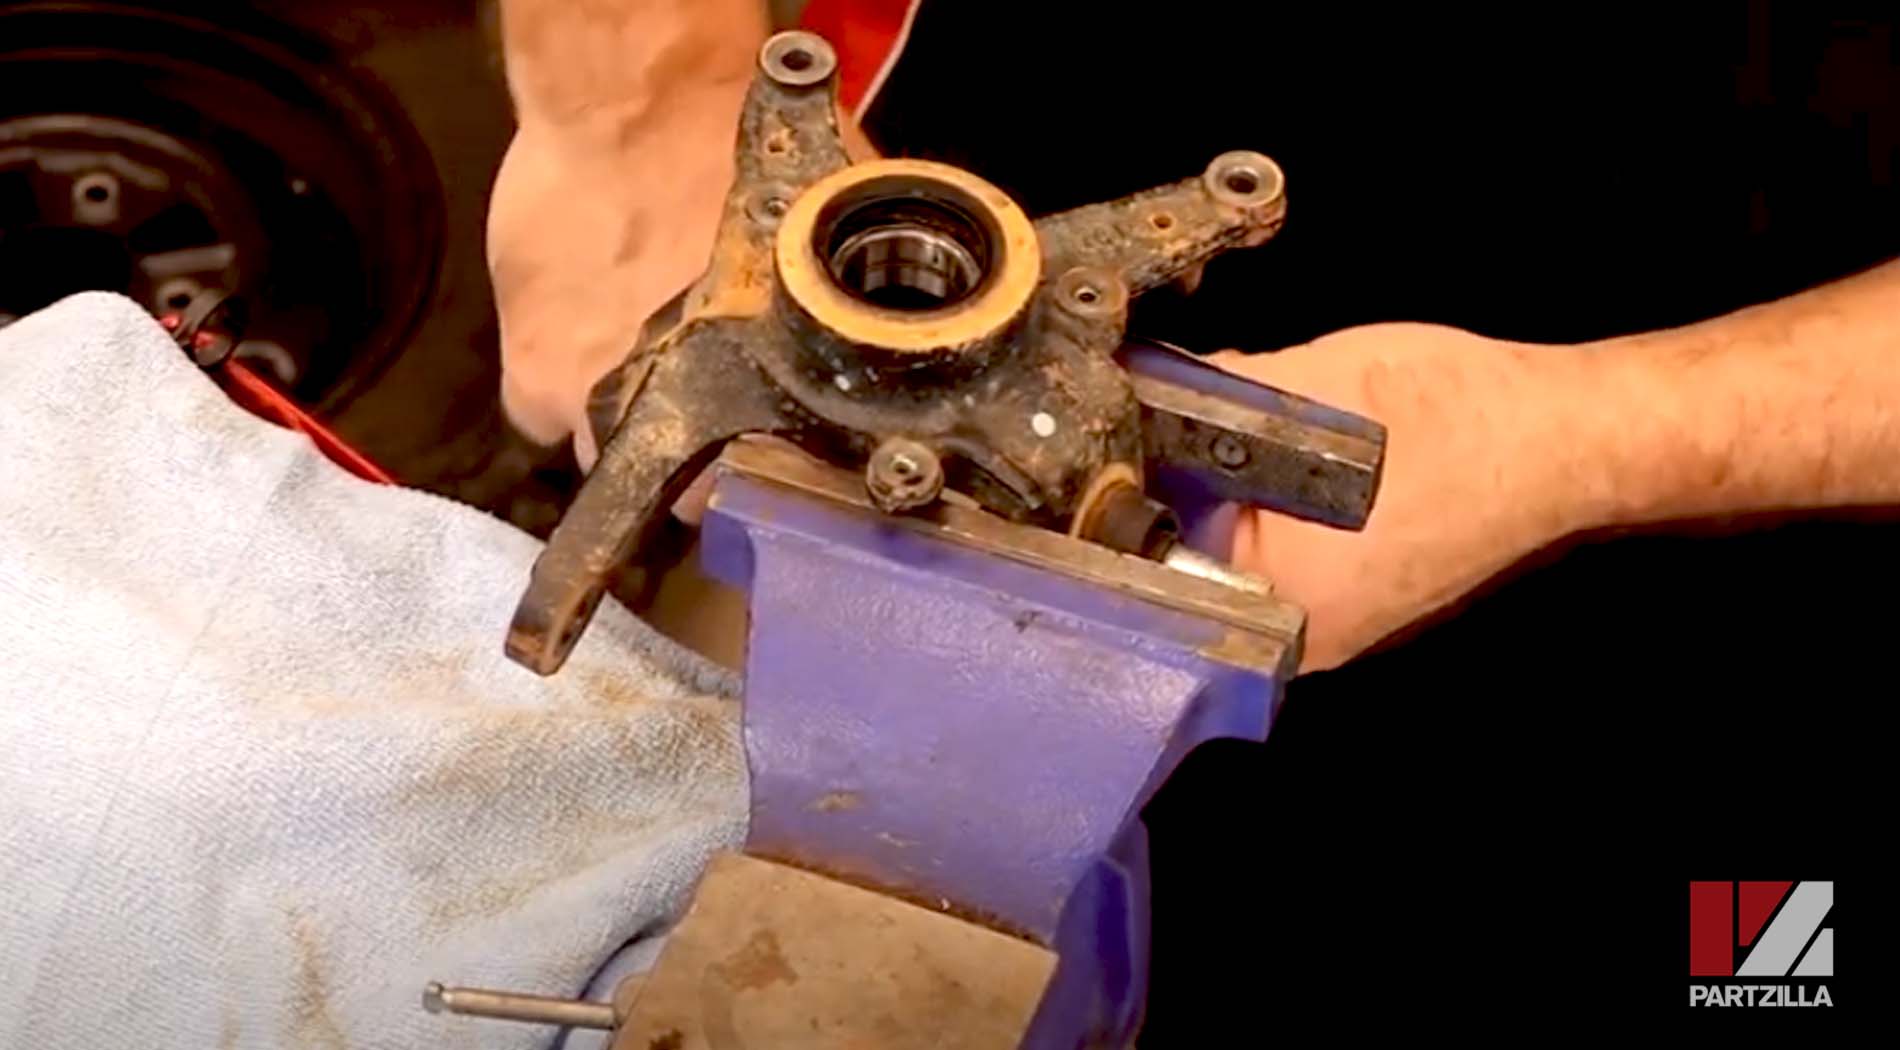
These steps cover the steering knuckle removal portion of a Honda Rancher TRX420 front wheel bearing replacement. In part 2, we’ll cover the rest of the process of changing out the wheel bearing, which you can continue watching below.