How to Change a Honda Rancher 420 Air Filter
A dirty air filter can harm a Honda ATV engine in more ways than one. If the air filter is damaged, the engine can suck dirt, debris and pieces of the filter into the intake.
Changing the air filter in a Honda Rancher 420 is a pretty straightforward maintenance job, and it’s more than worth the little time and effort it takes to get it done. Watch the video above and follow the steps below to change the air filter in a Honda Rancher TRX420 ATV.
Tools and Supplies - Honda Rancher 420 Air Filter Change
- Phillips head screwdriver
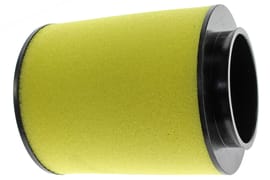
- Honda Rancher 420 air filter
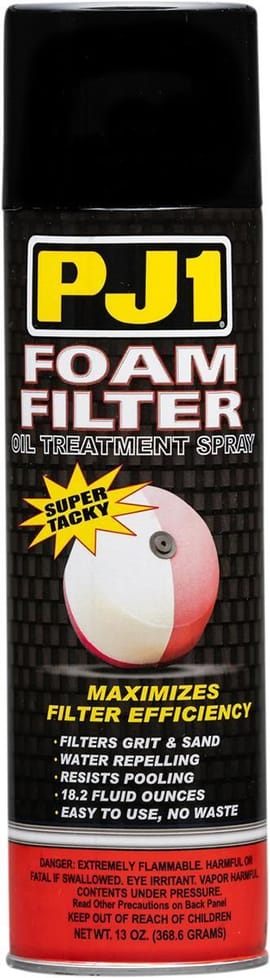
- Foam filter treatment


NOTE: If you’re only cleaning and reusing the filter without replacing it, check out or video below on how to clean and oil a foam air filter.
Honda Rancher 420 Air Filter Replacement
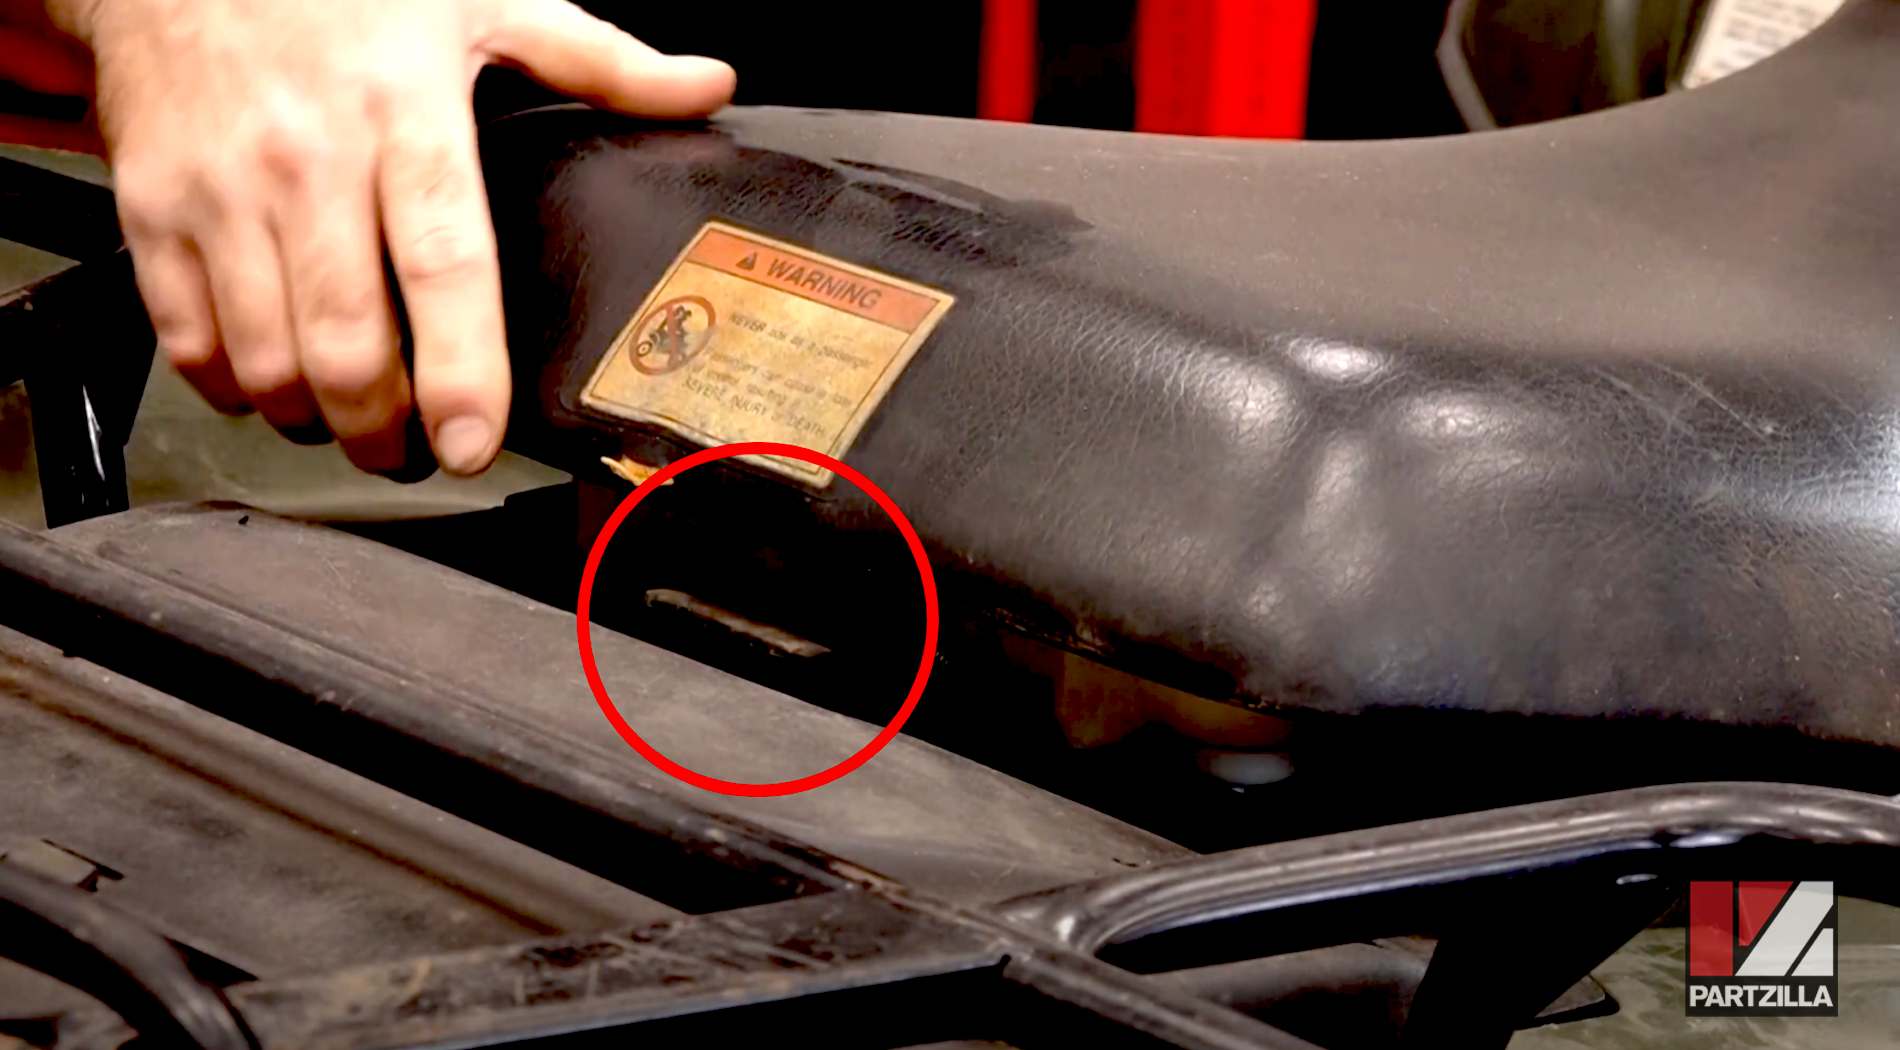
Step 1. Remove the seat by pulling up on the lever underneath the back of the seat and lifting the seat off.
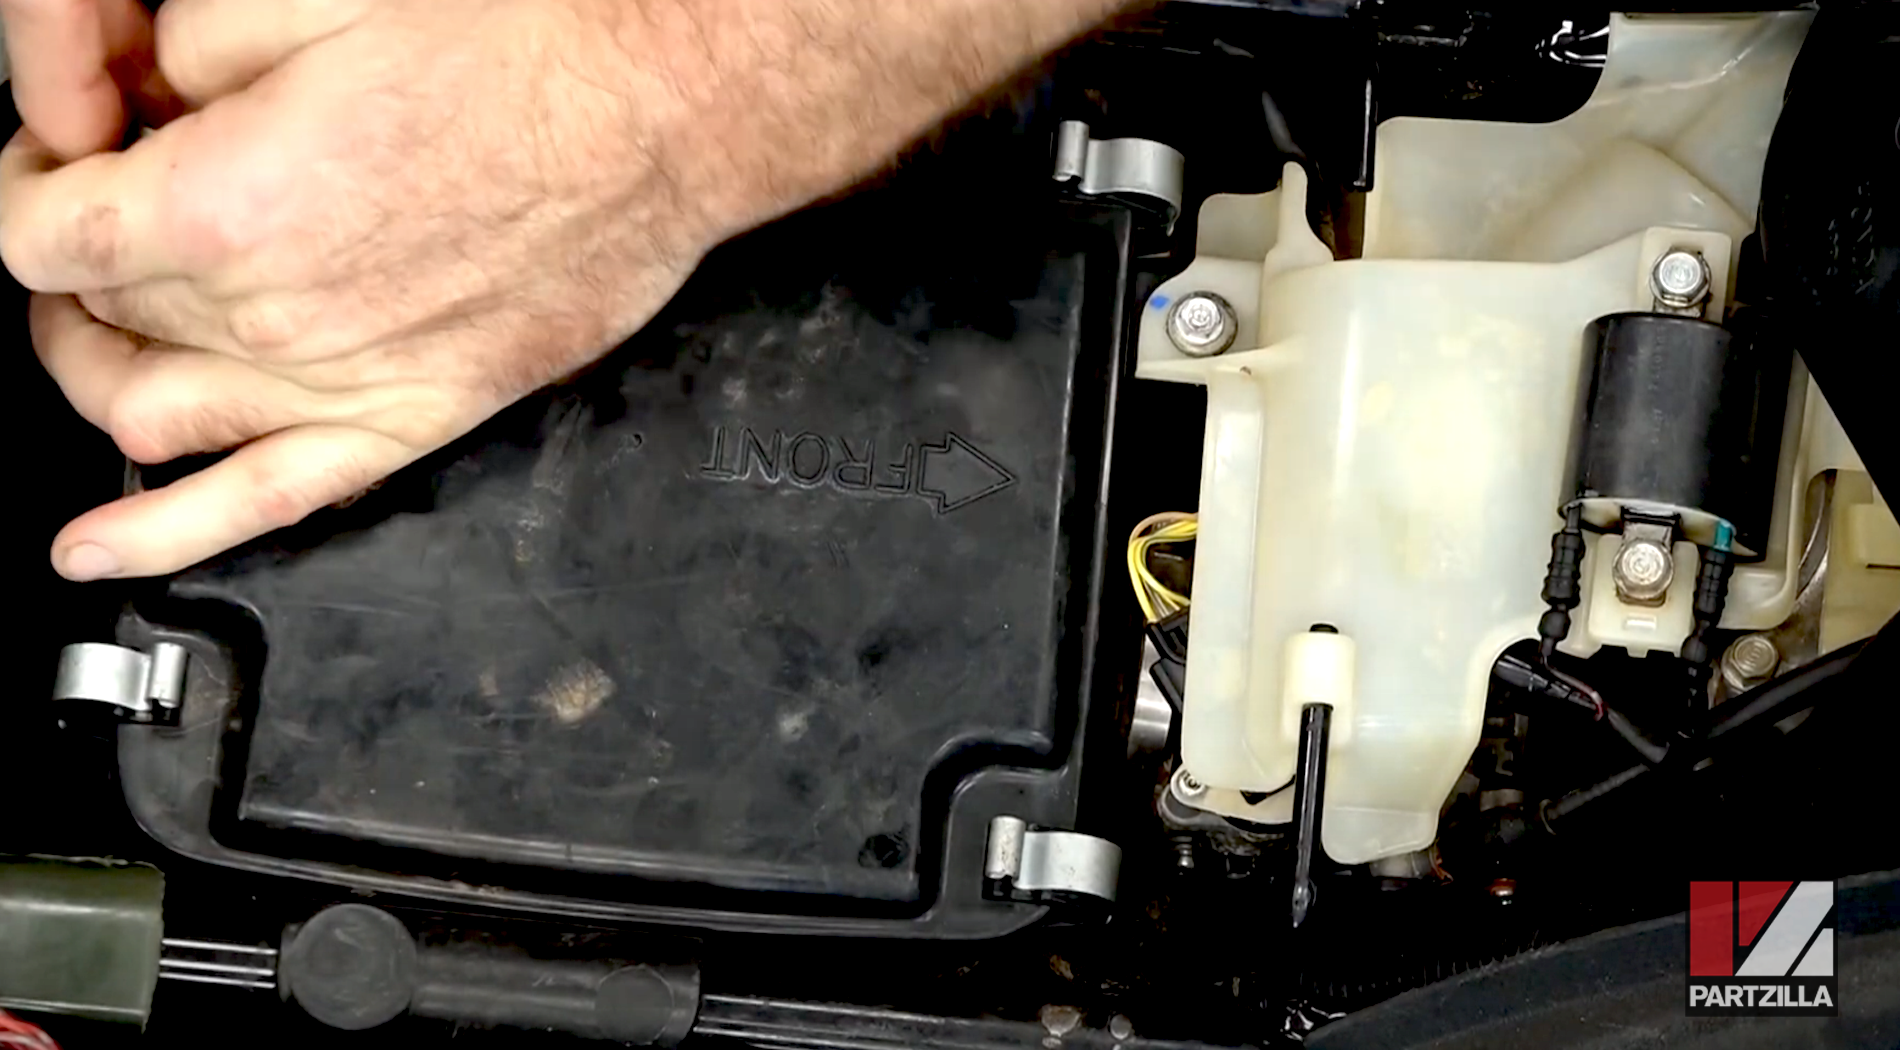
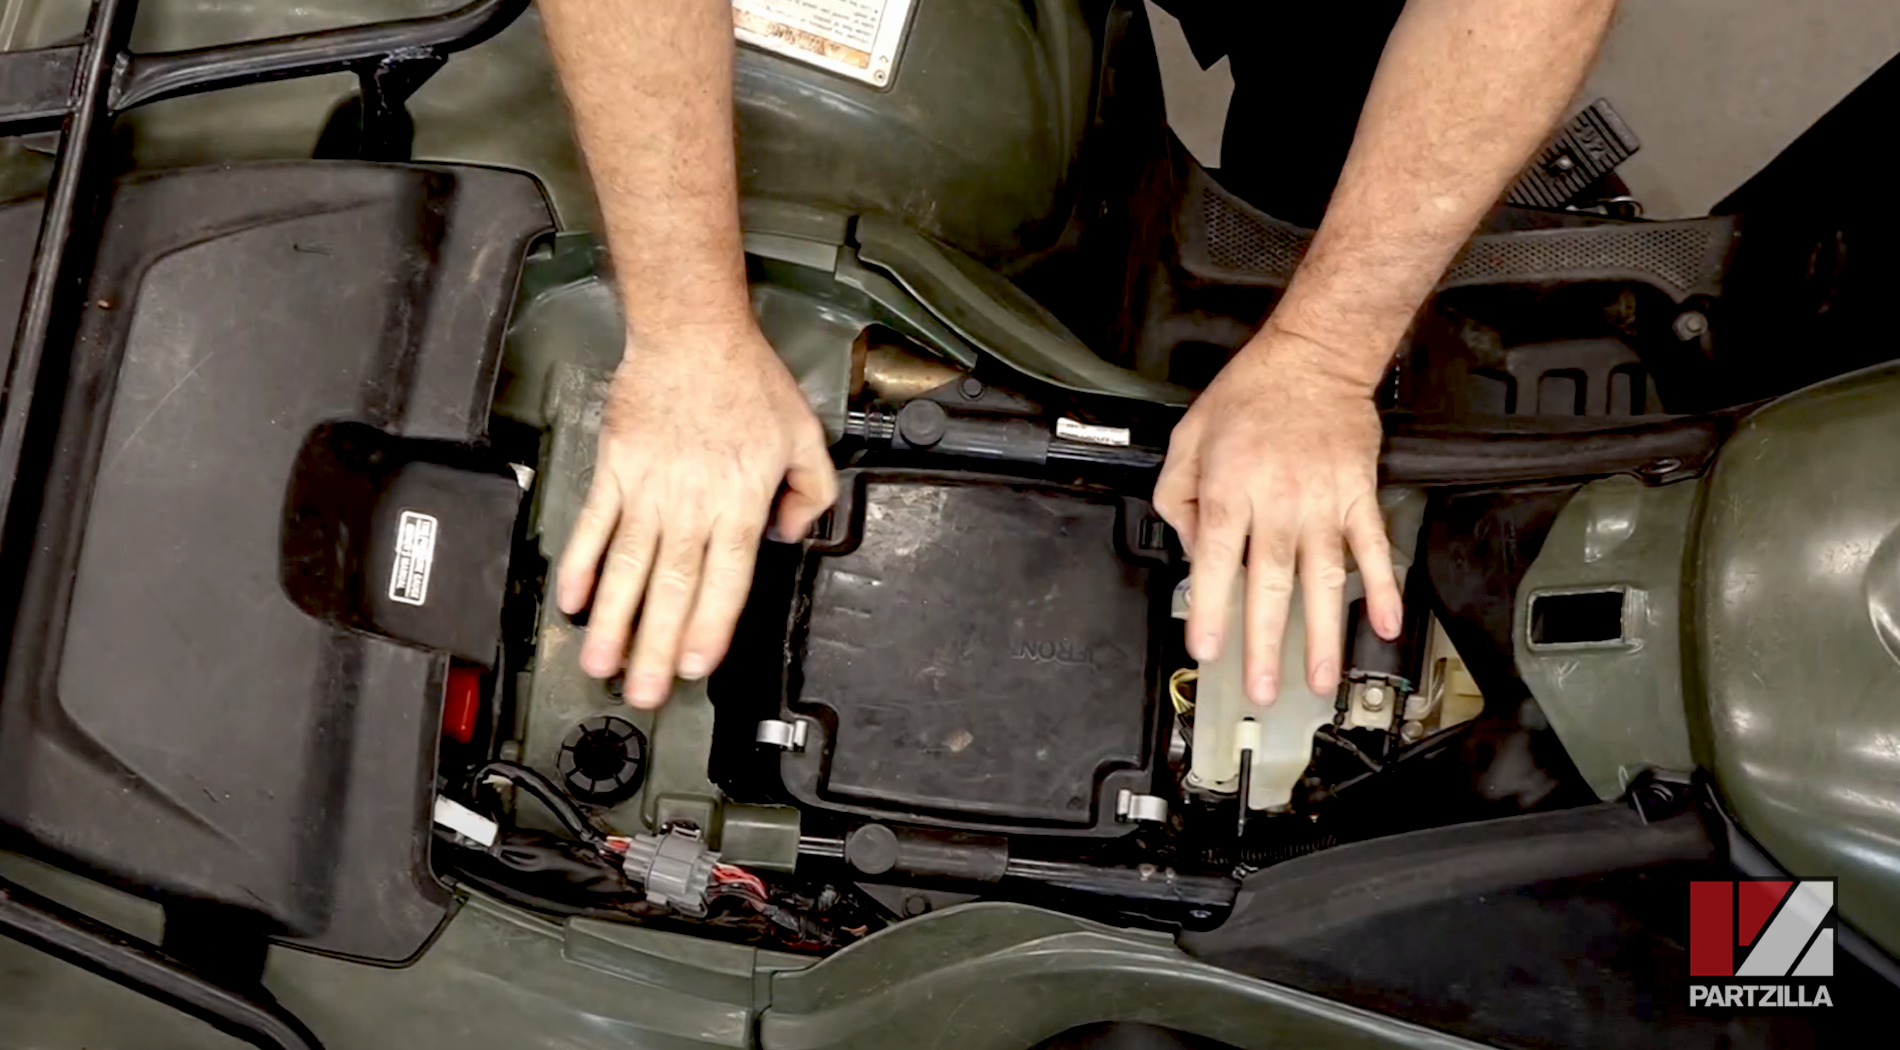
Step 2. Use your thumbs to release the clips on each corner of the airbox and then lift the top off.
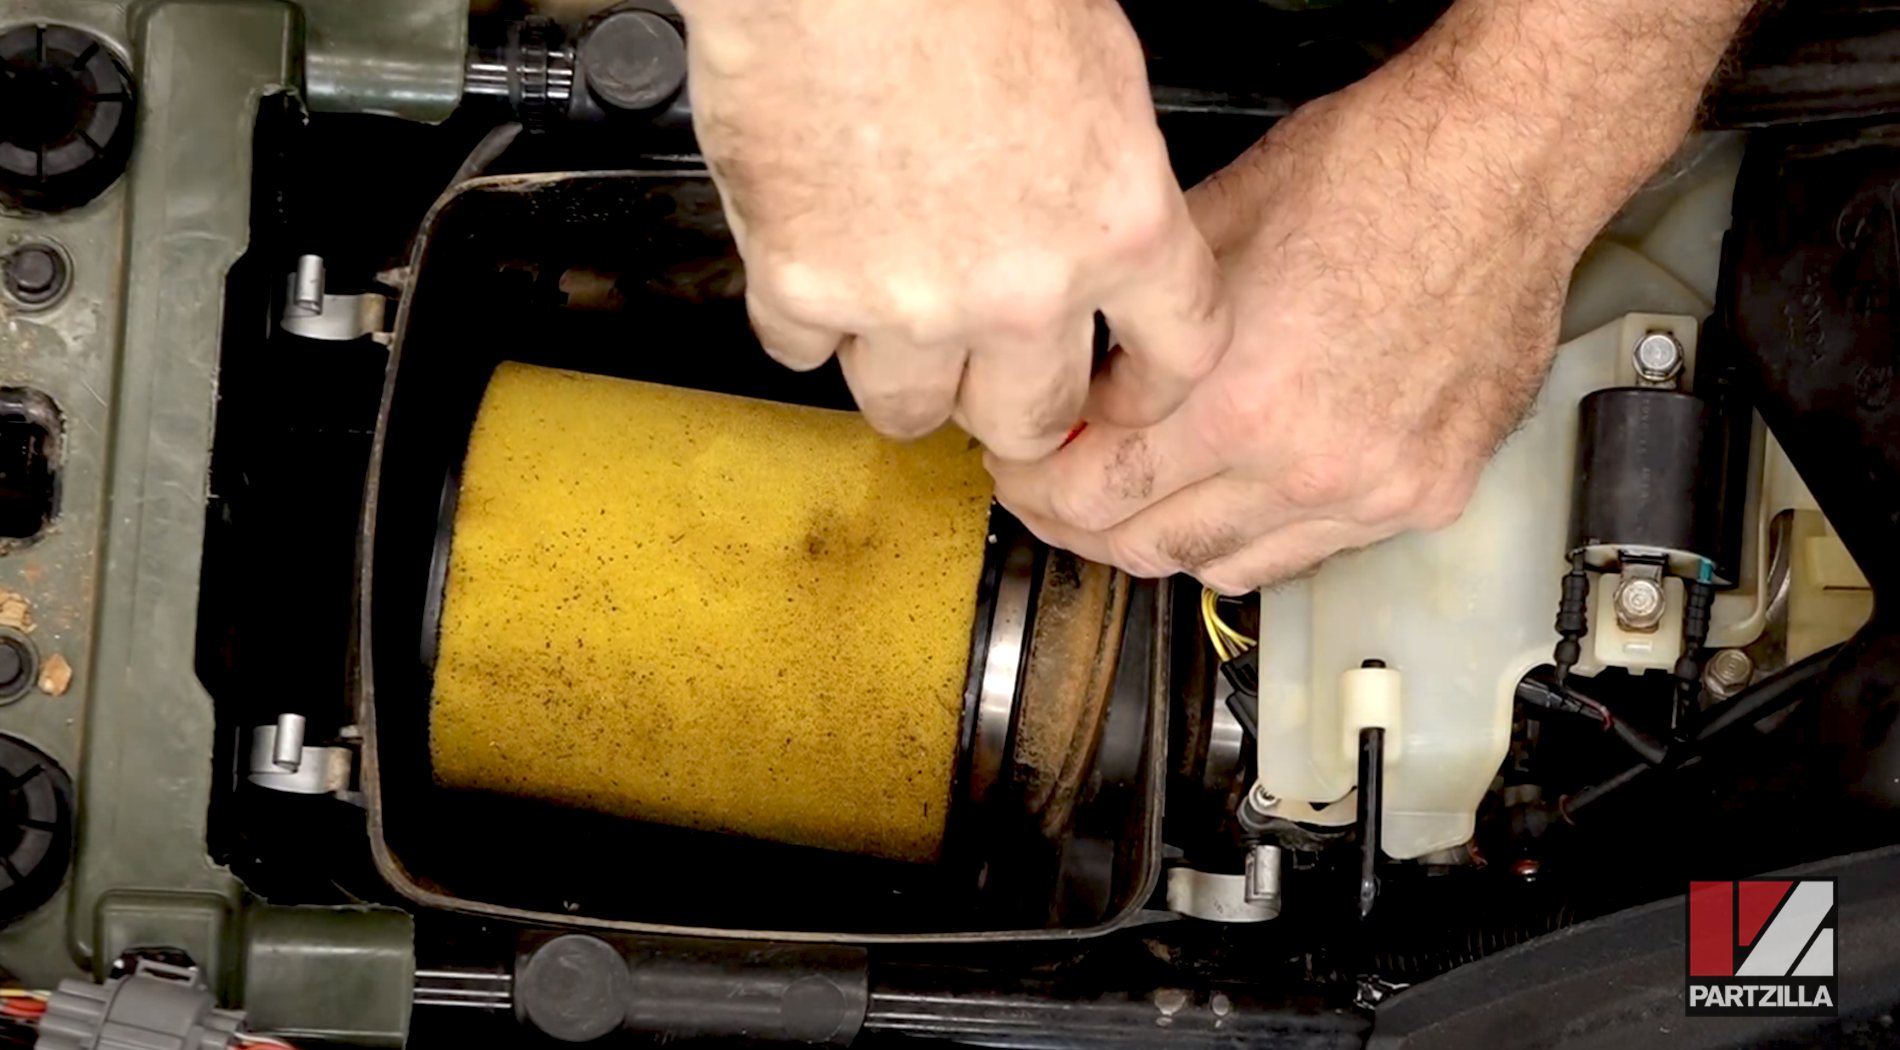
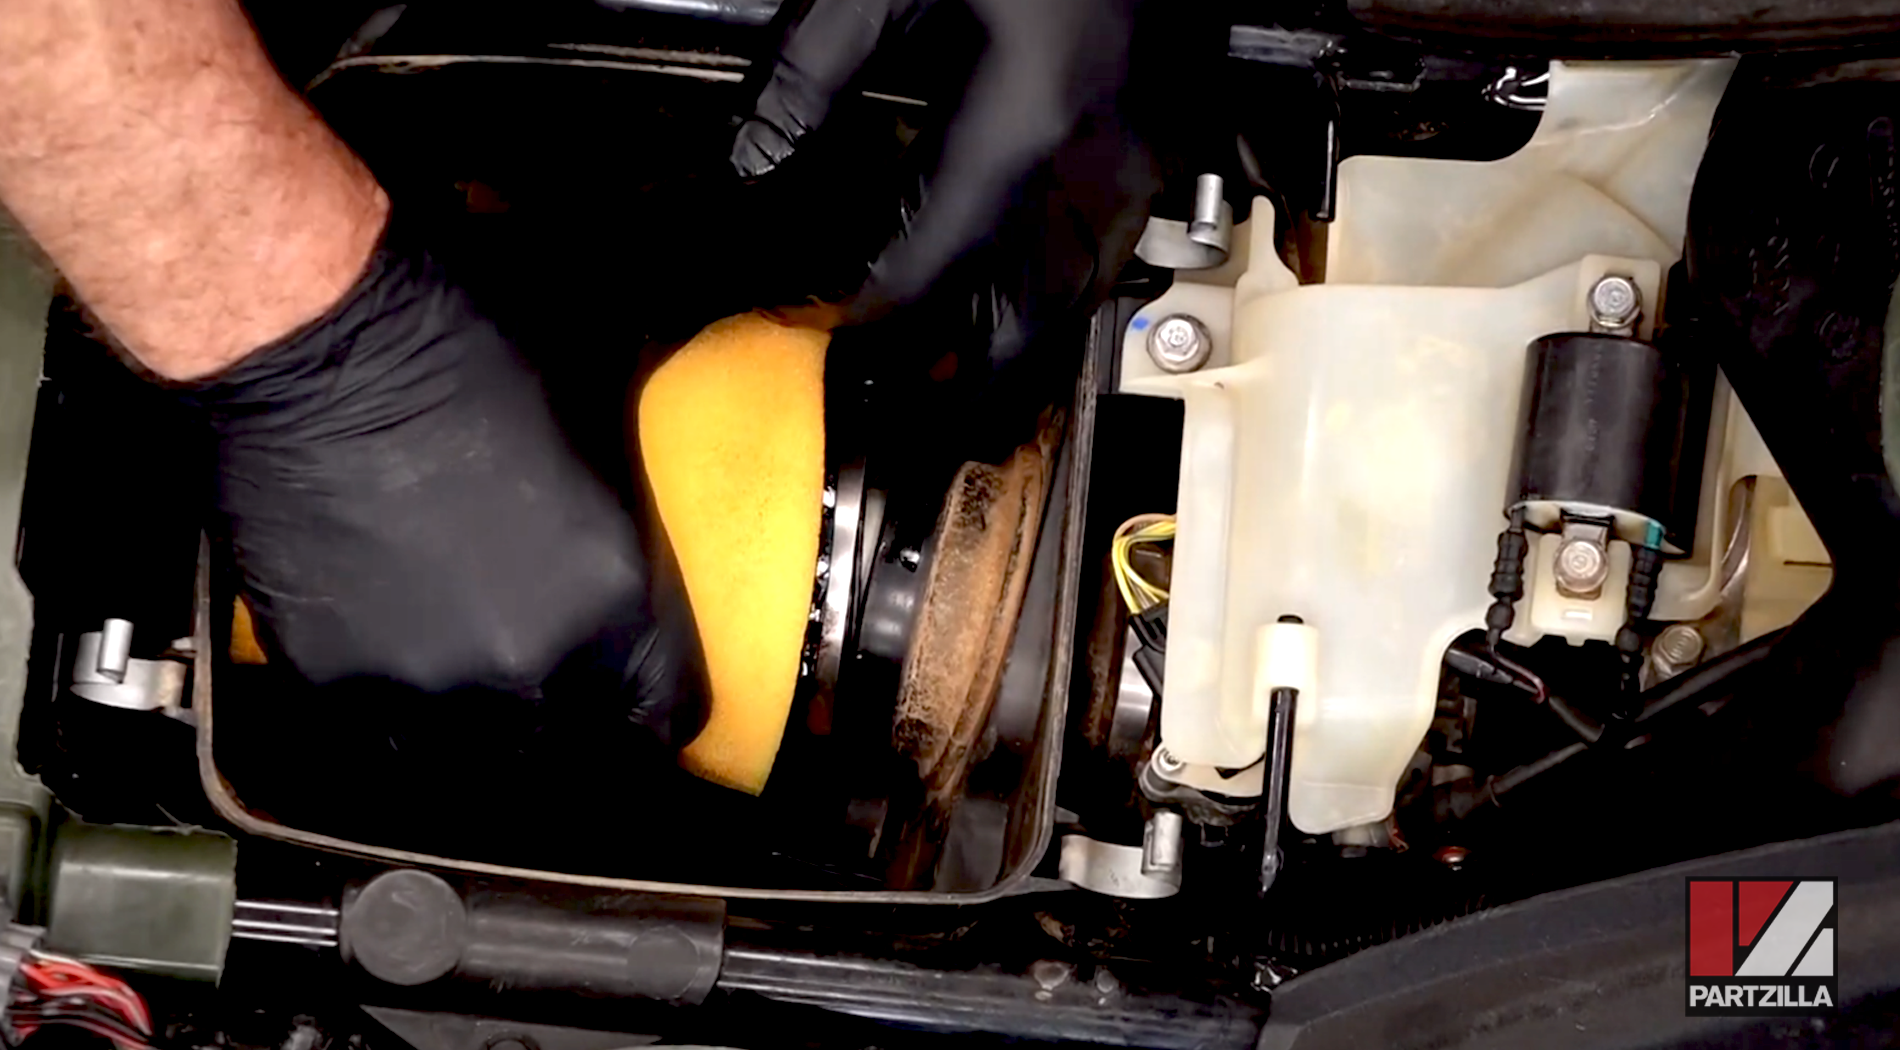
Step 3. Use a Phillips head screwdriver to loosen the clamp holding the air filter, then wiggle the air filter out.
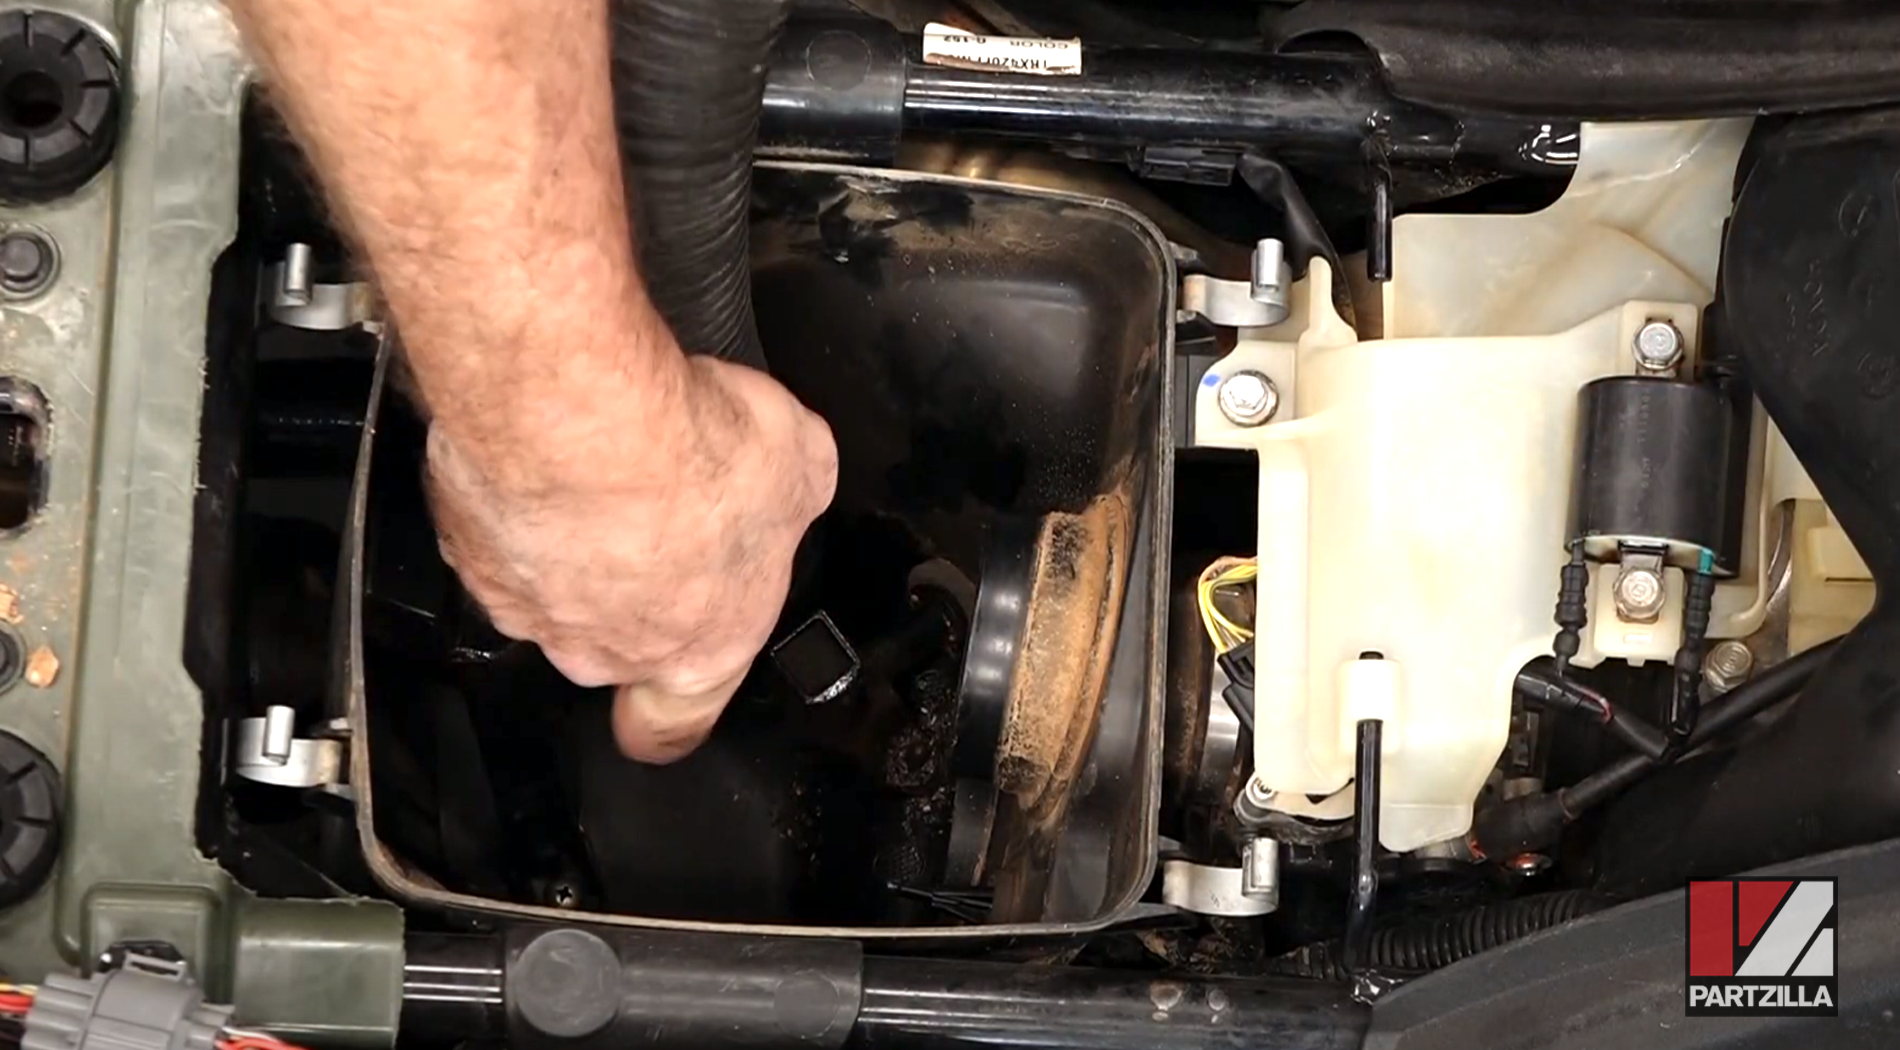
Step 4. Clean out the airbox of all dirt or debris. Use a shop vac if you have one to make it easier.
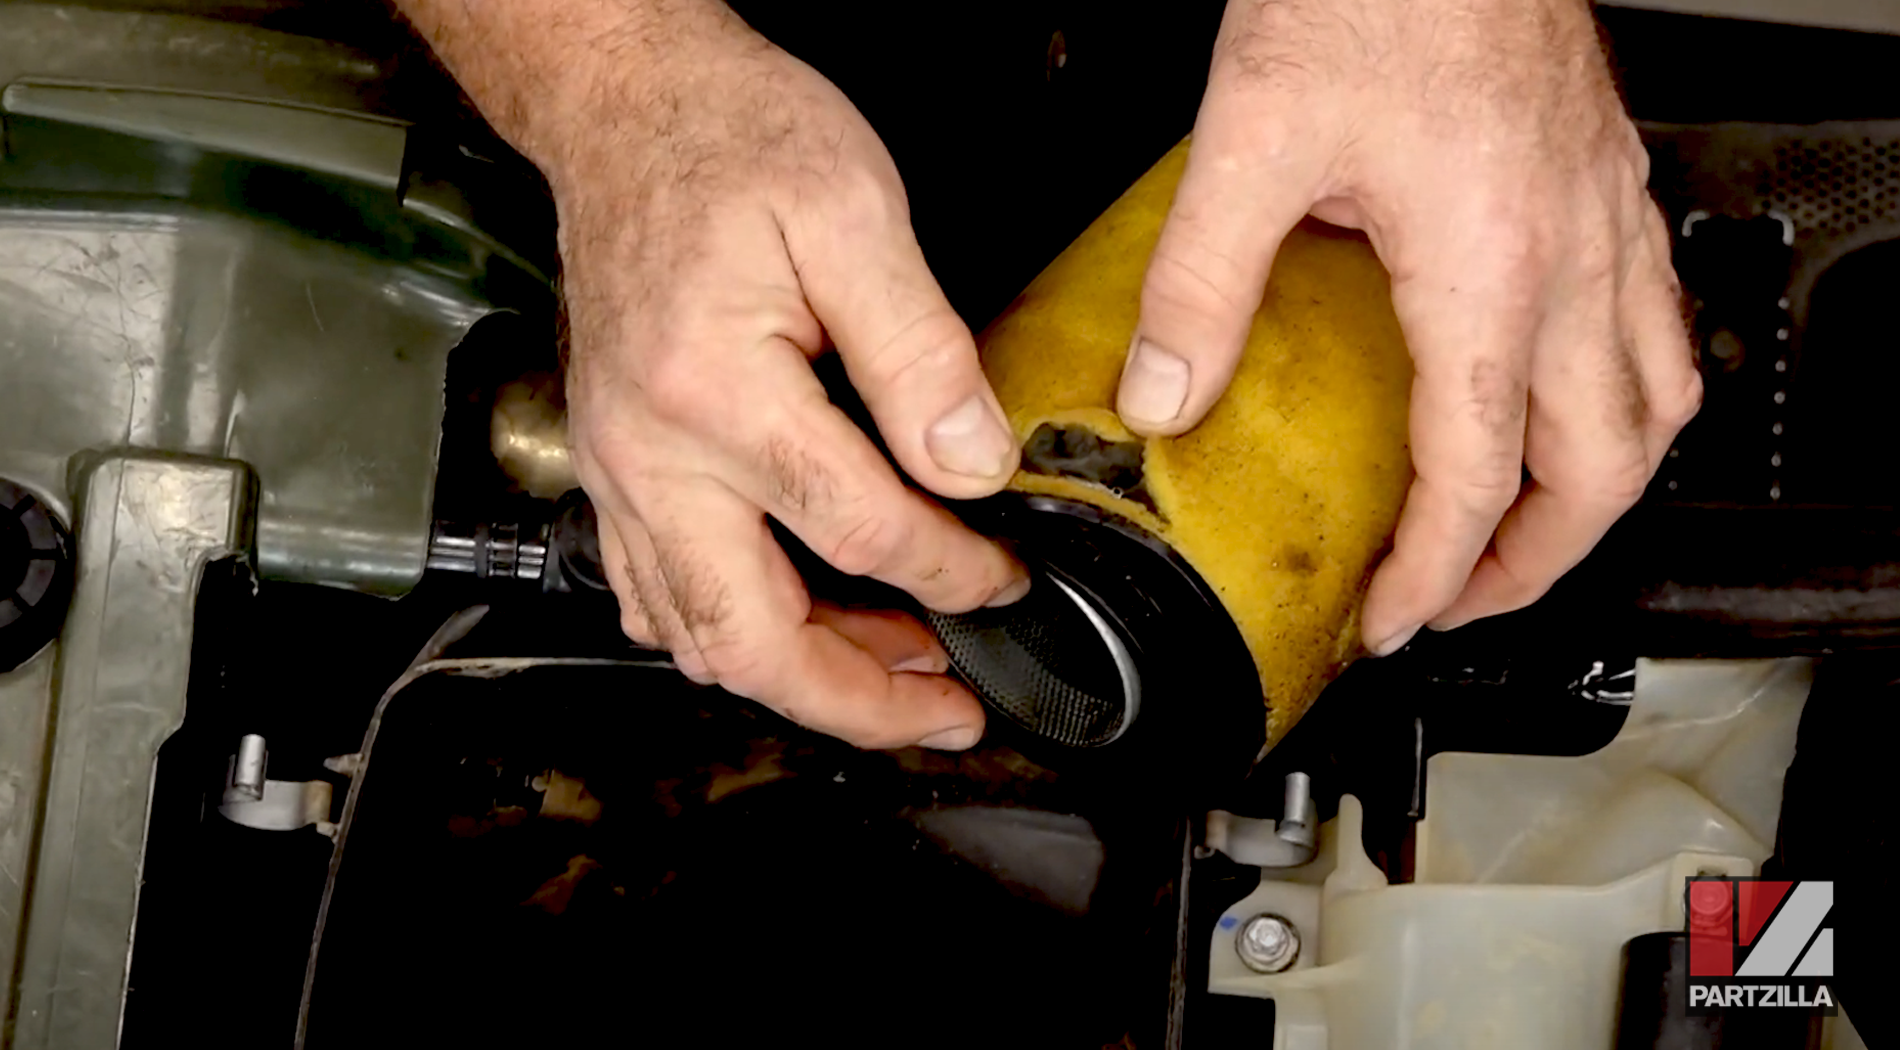
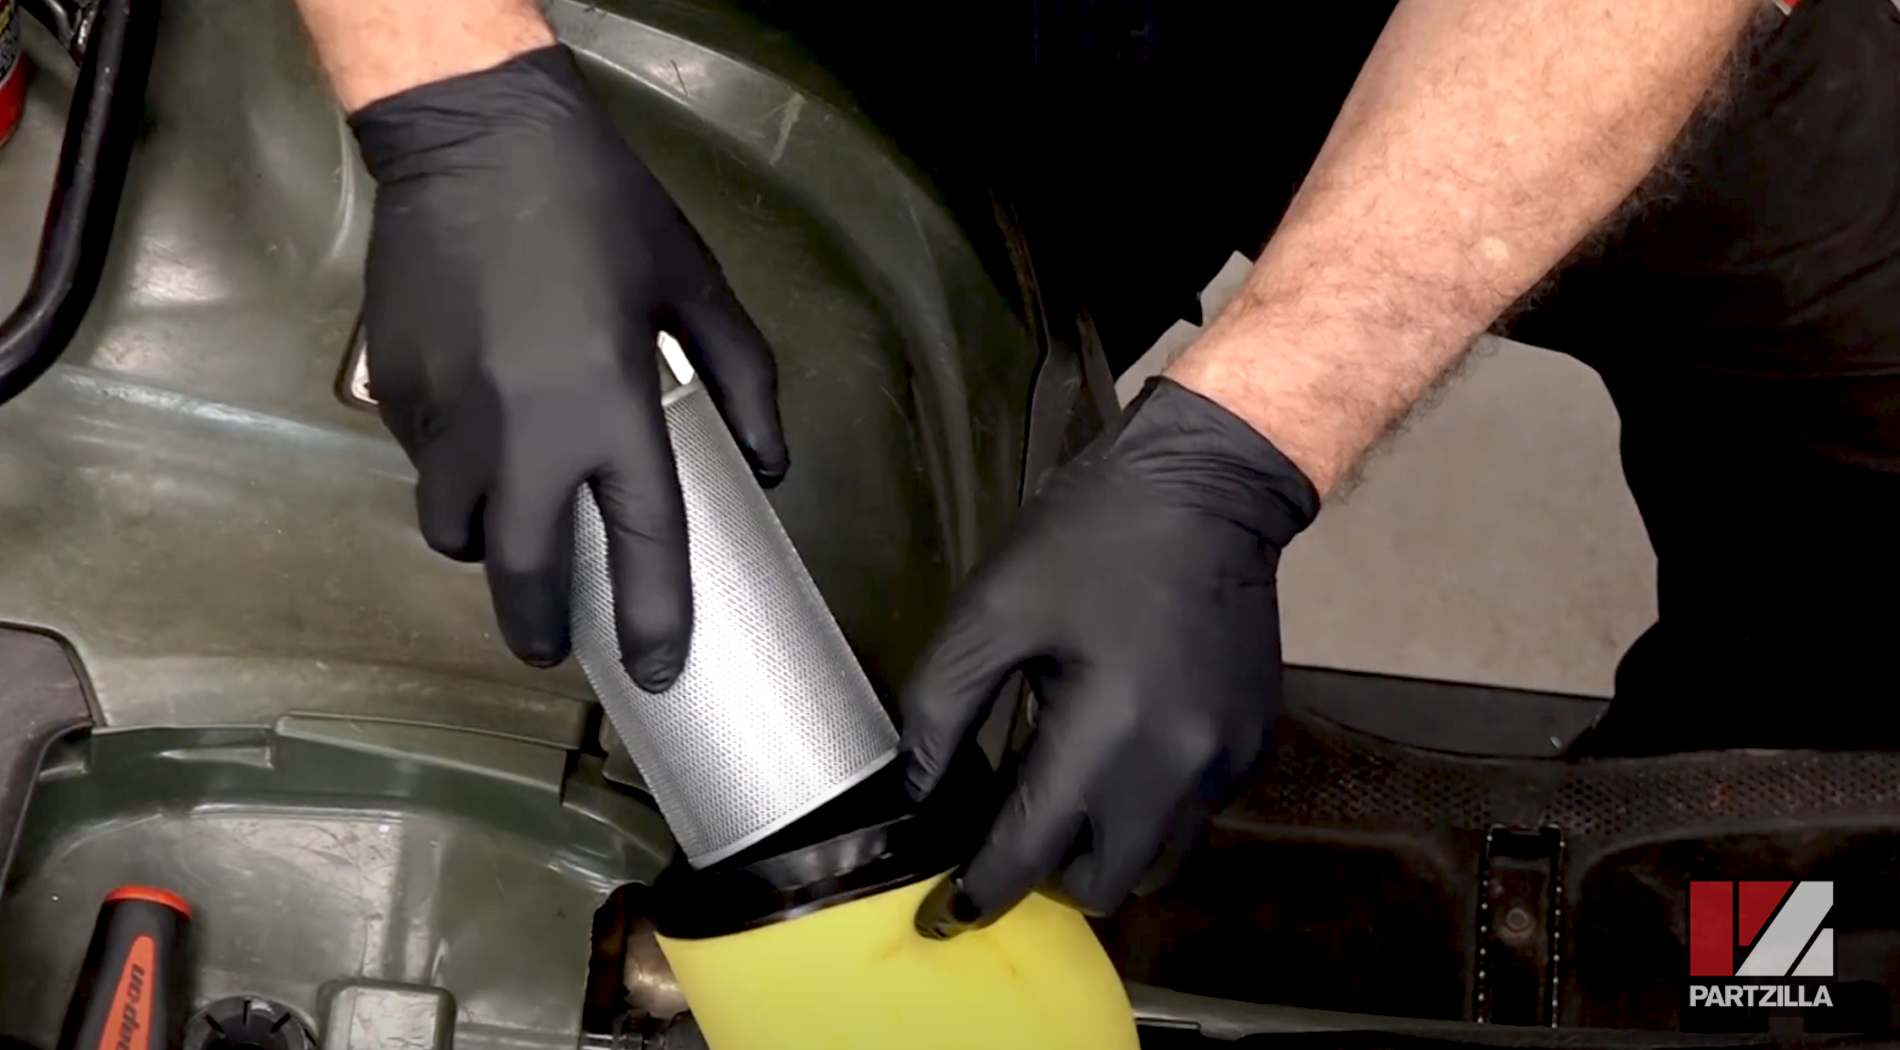
Step 5. Remove the old air filter from the frame that protects it by pushing the rubber filter end out over the frame and then sliding it off. Don’t lose the circular clamp that held the filter on the intake. Install the new air filter over the top of the metal frame.
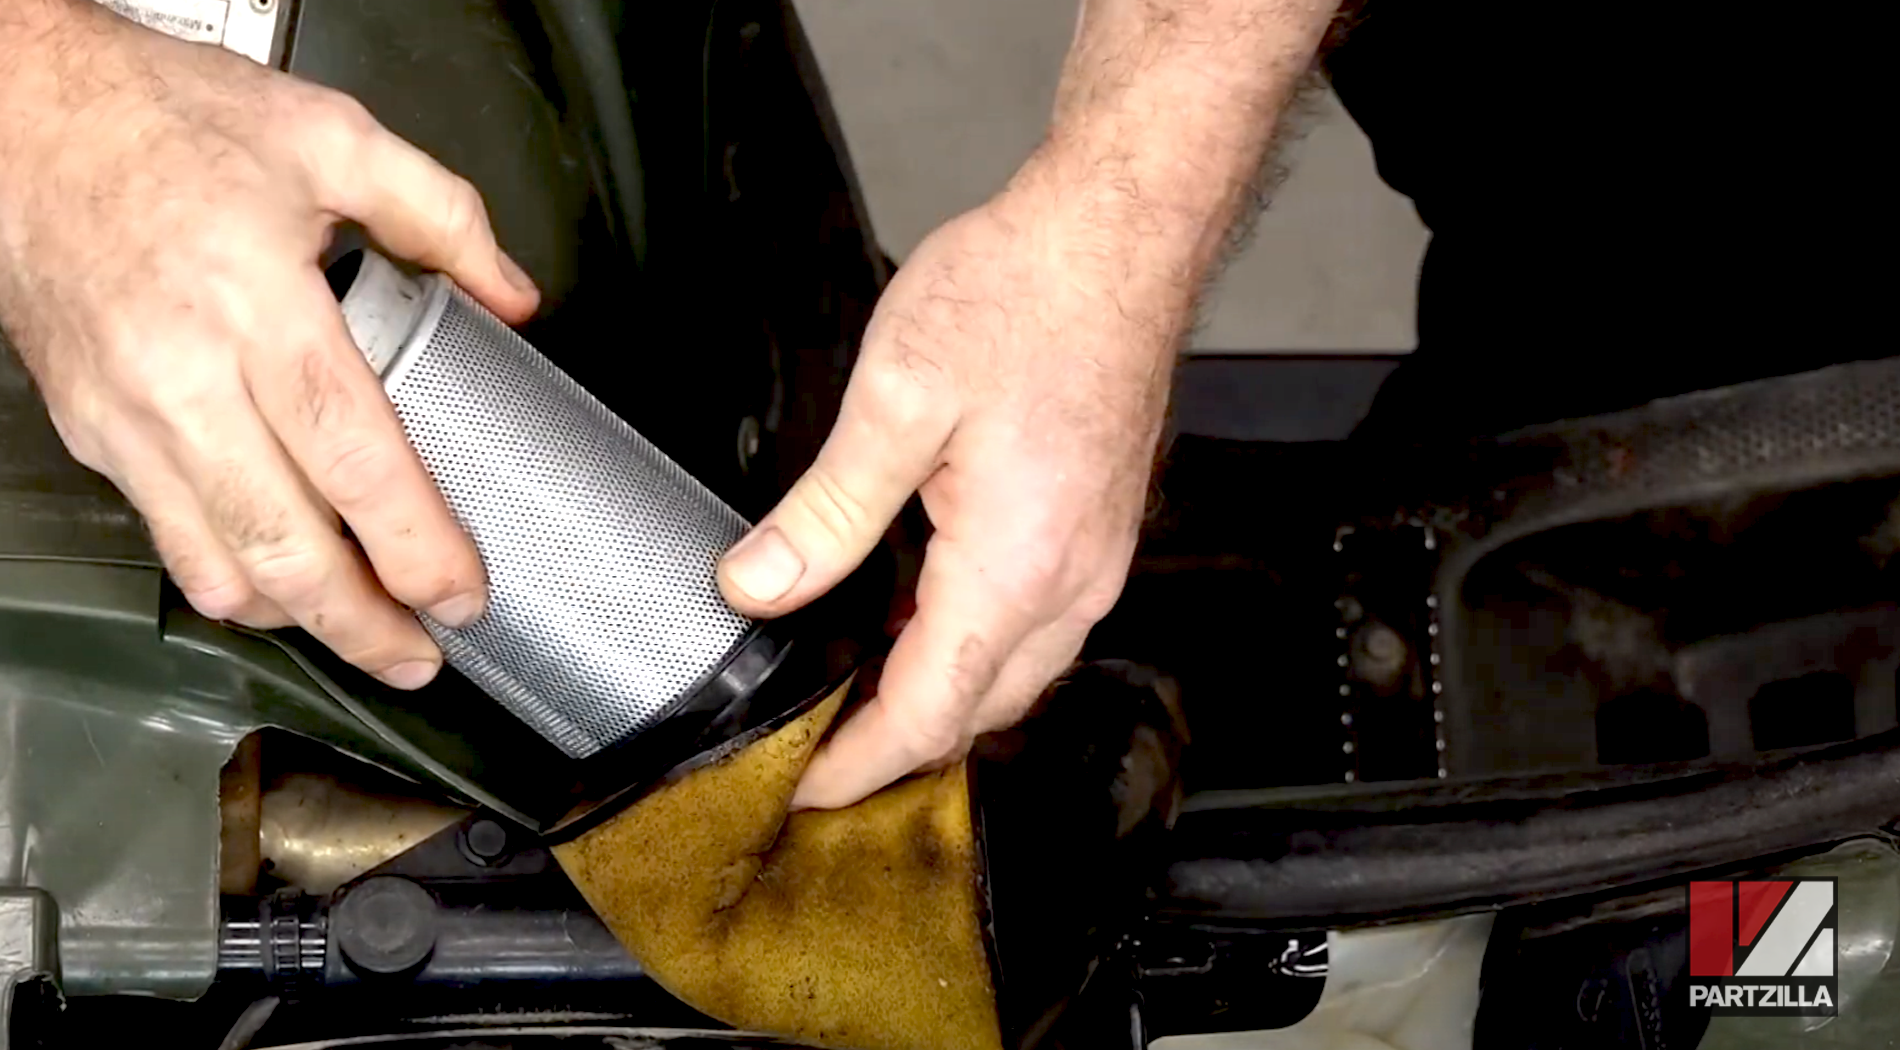
Step 6. Slide the frame into the new filter.
NOTE: You can treat the inside of the filter before installing it, or get the filter on the frame and treat only the outside surface.
Step 7. Replace the circular clamp.
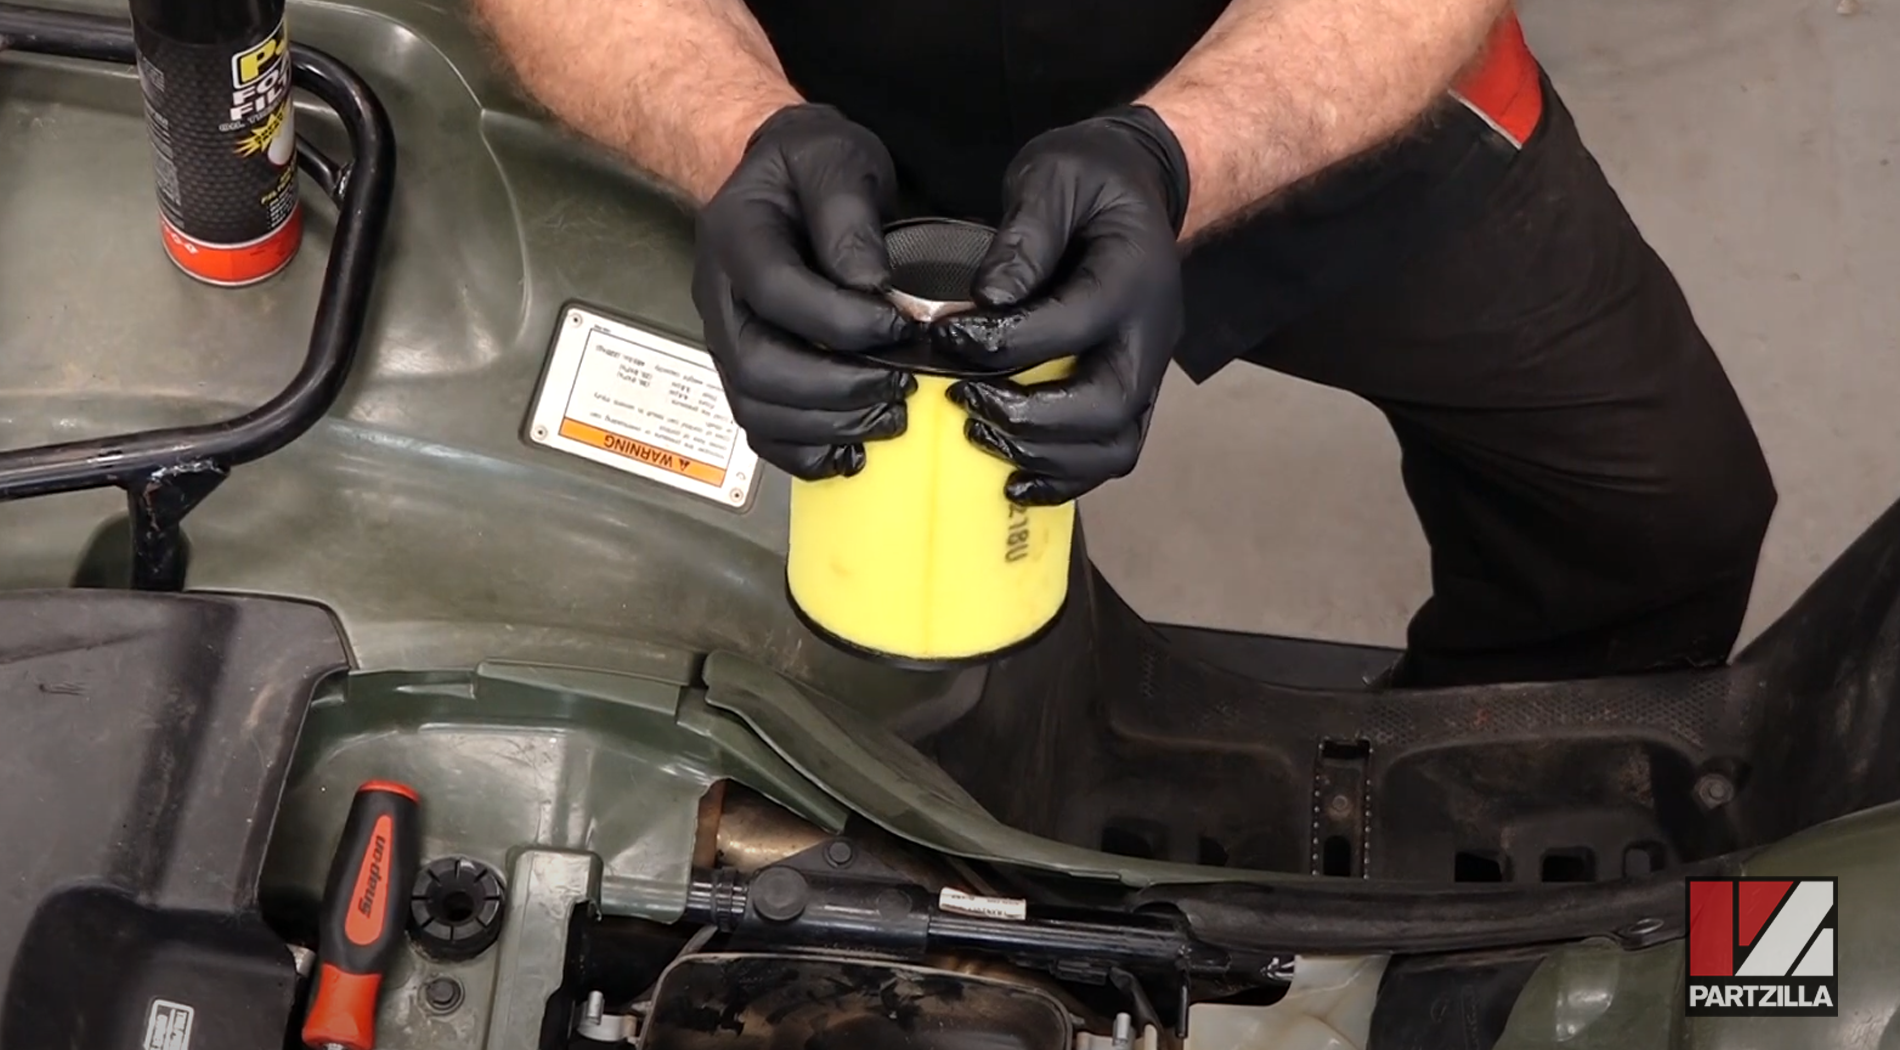
Step 8. Treat the filter with a light coat of foam filter treatment.
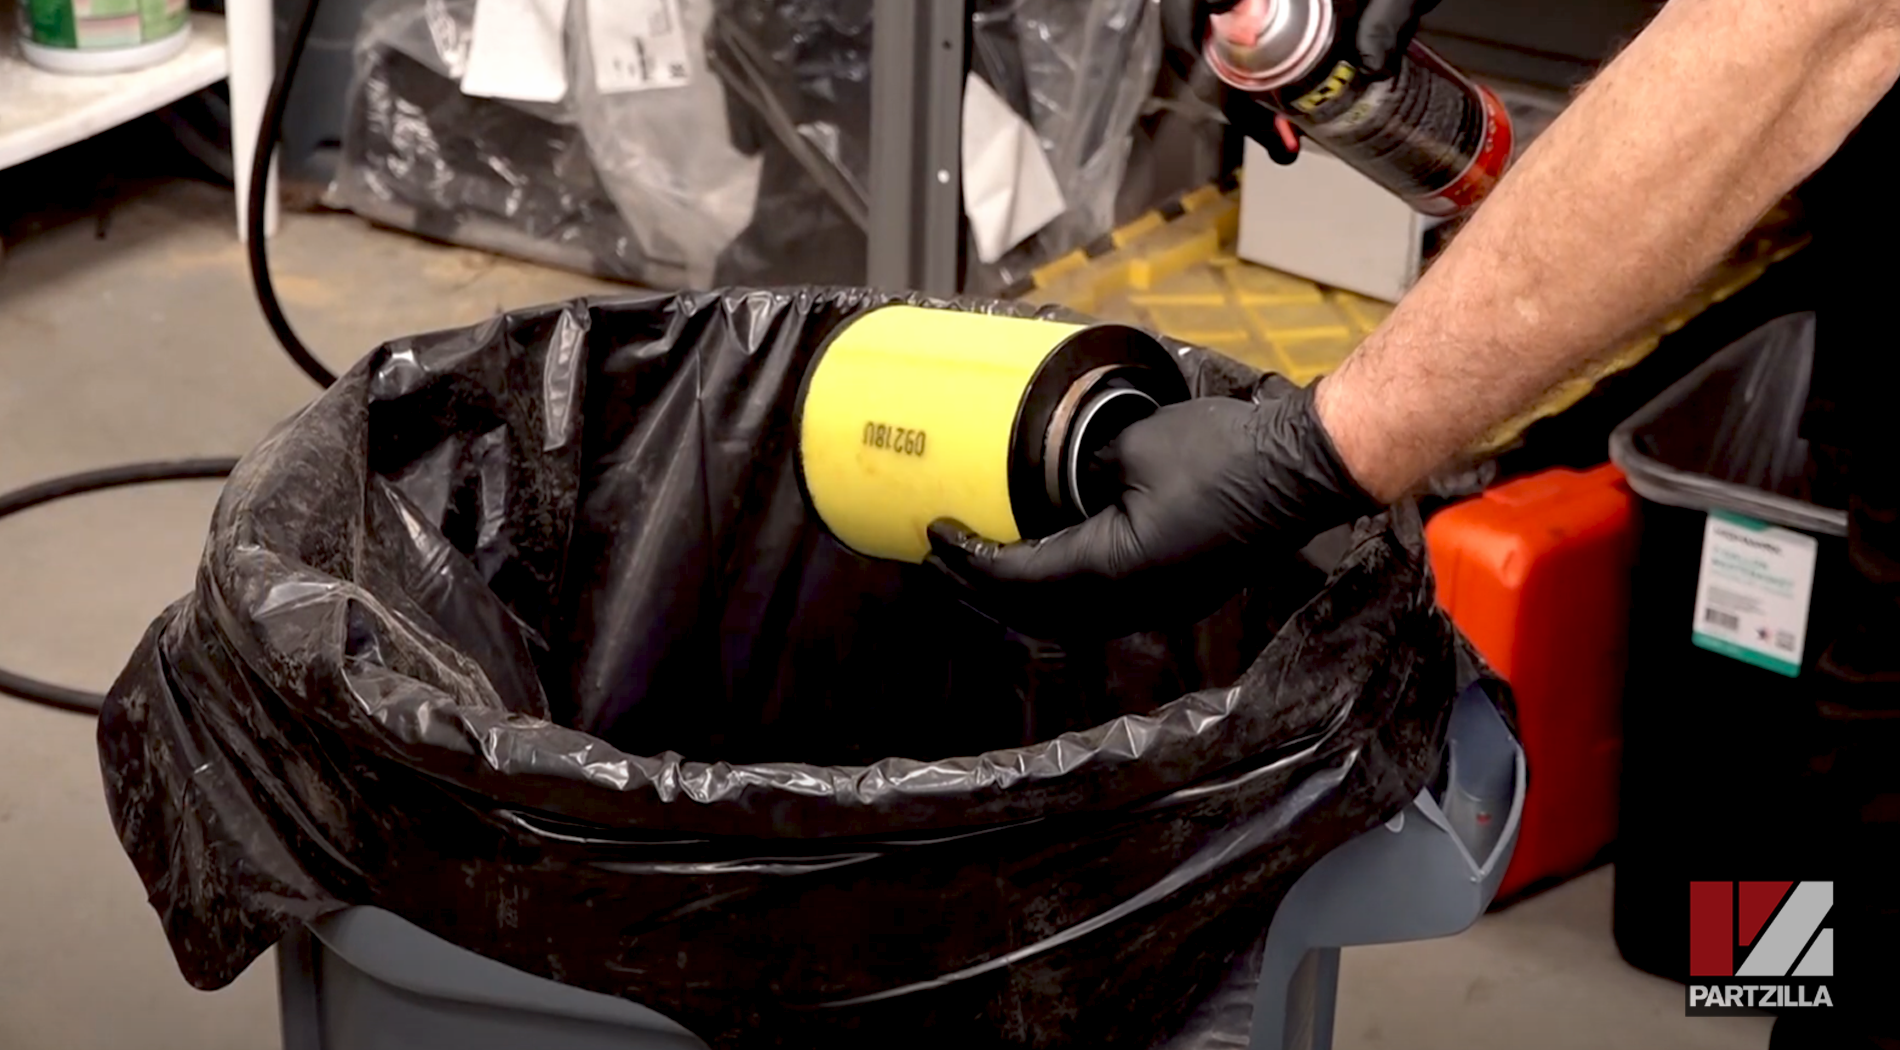
NOTE: This step can get a little messy, so you might want to do it outside or over a trash can.
Step 9. Get the filter back into the airbox, putting the metal frame inside the air filter into the rubber boot on the intake. The rubber part of the filter and the clamp go on the outside of the intake boot.
Step 10. Tighten the clamp with a Phillips head screwdriver.
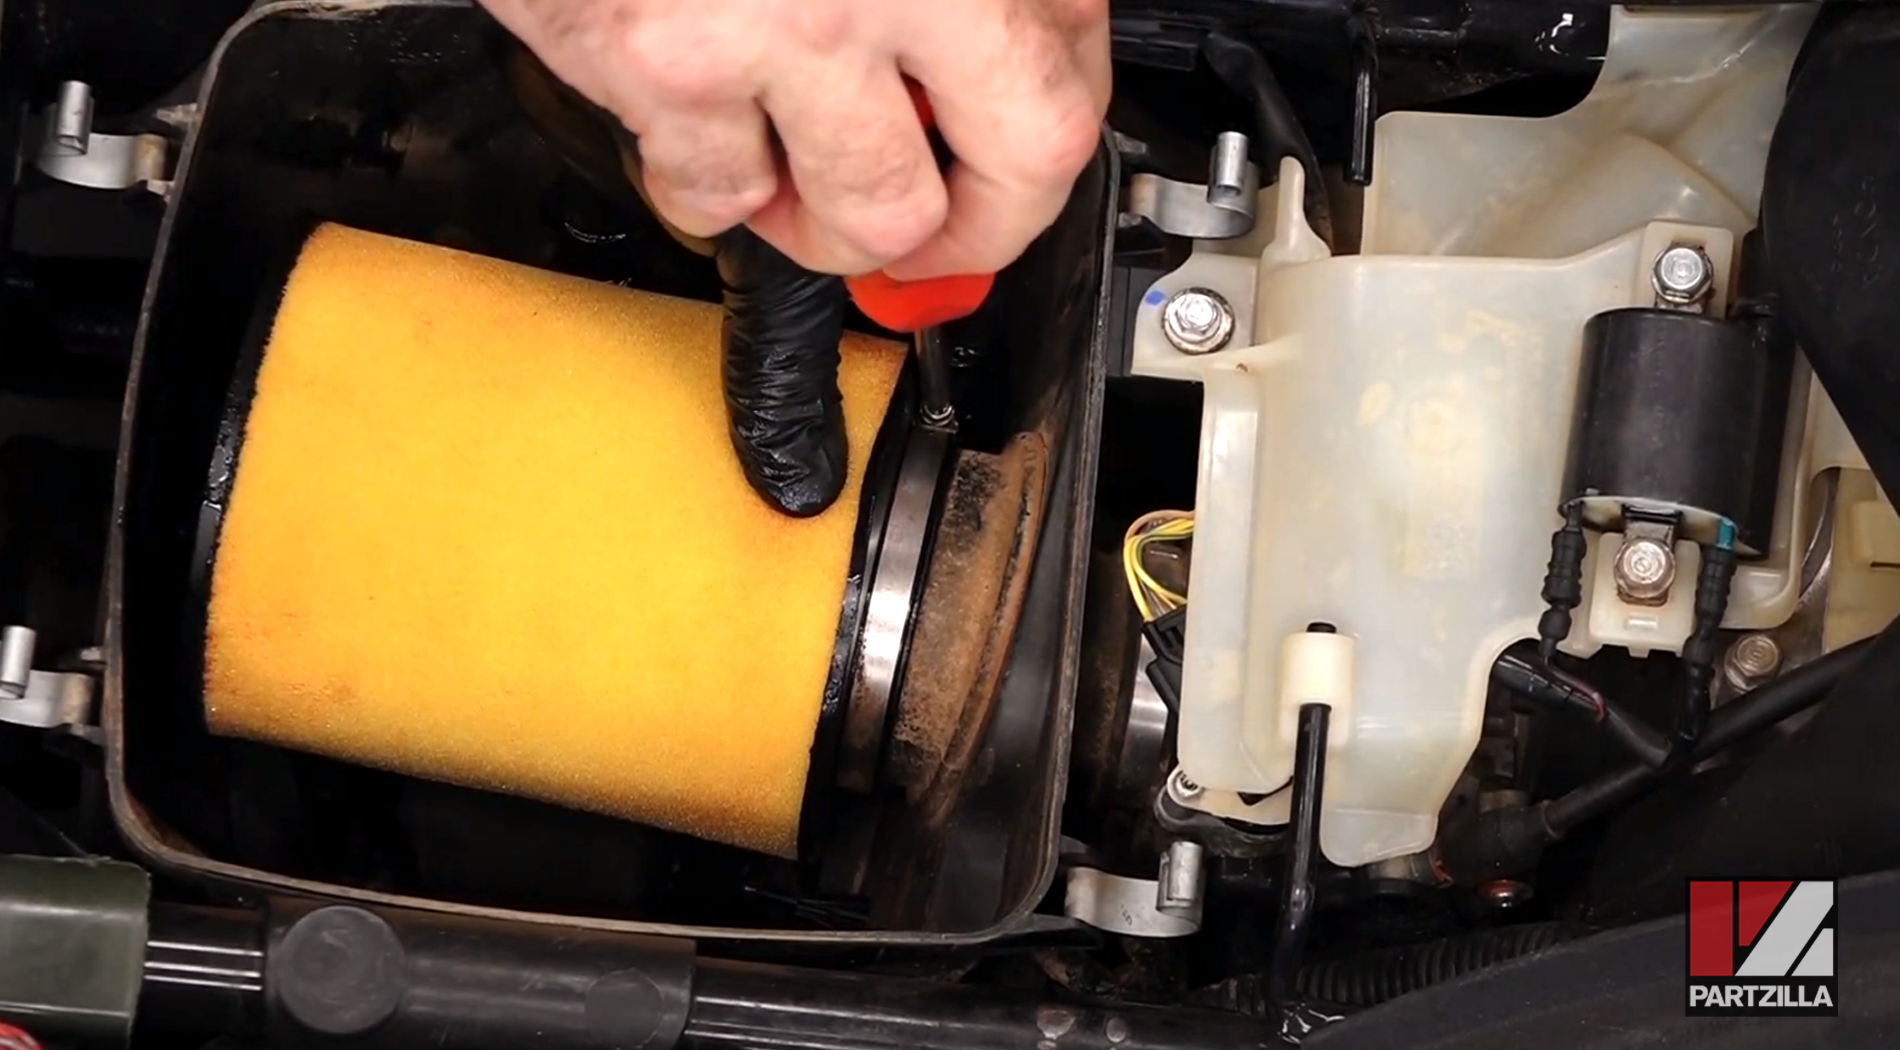
NOTE: Don’t overtighten the clamp, just snug it down.
Step 11. Replace the airbox cover. It’s directional and has “FRONT” stamped on it to tell you how it goes in. Get it in place, then engage the four clips on each of the four corners of the airbox. Finally, replace the seat and you’re done.