Honda Rancher TRX350 Top End Rebuild Part 4: Head Installation
Welcome to the fourth and final part of our Honda TRX350 top end rebuild series, in which we reinstall the head and its components onto our Honda ATV.
Watch the video above and follow the steps below to learn how to do the head reinstallation portion of the Honda TRX350 top end rebuild. Use our Honda TRX350 parts diagrams for additional reference.
Tools and Parts - Honda Rancher 350 Top End Rebuild Head Installation
- Ratchet and extensions
- 8mm-14mm sockets
- Spark plug socket
- 6mm Allen
- 10mm, 12mm, 14mm wrenches
- Screwdrivers
- Torque wrench
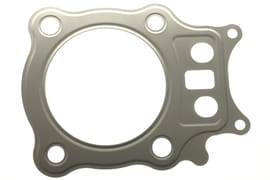
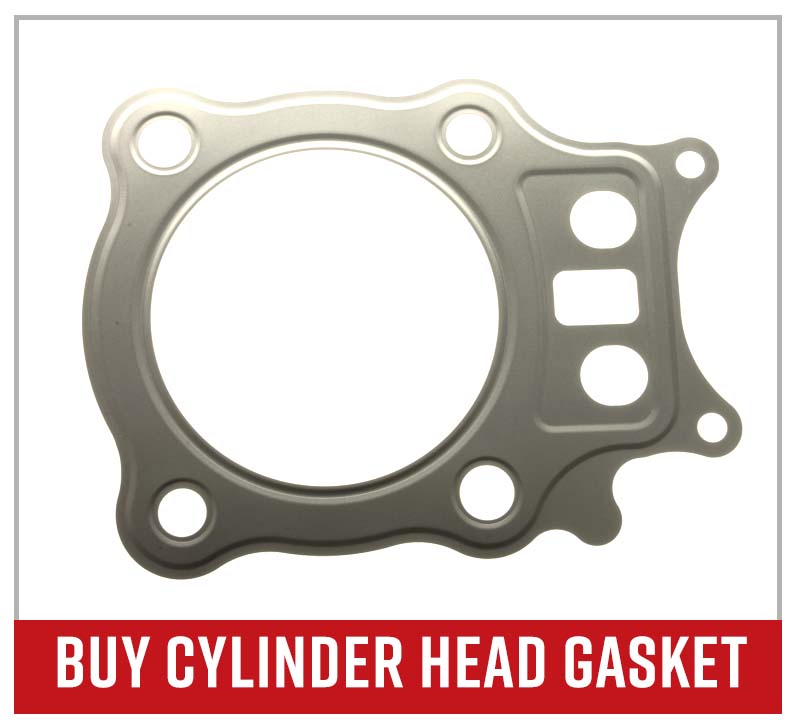
- Cylinder head gasket
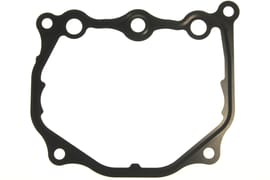
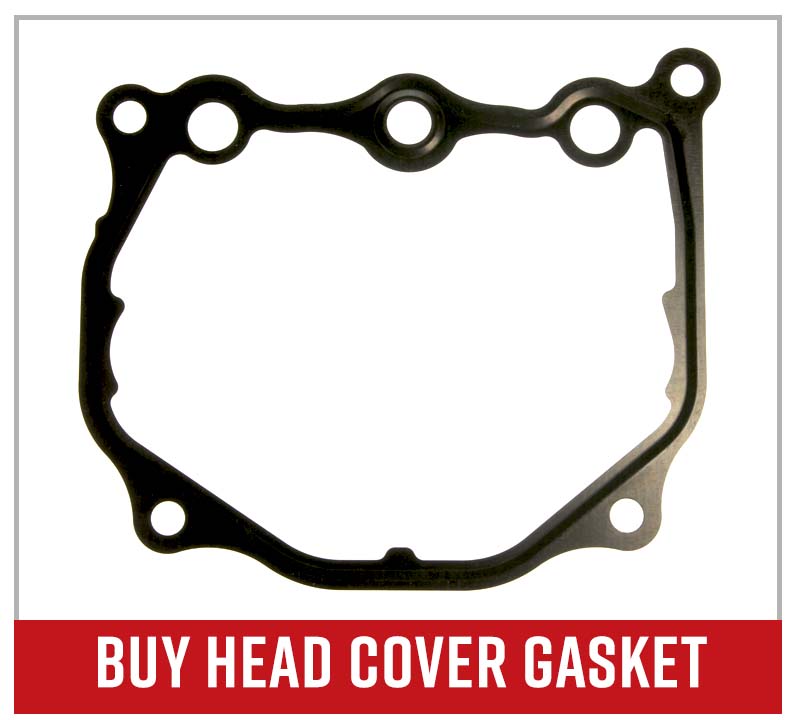
- Head cover gasket
- Exhaust pipe gasket
- Spark plug
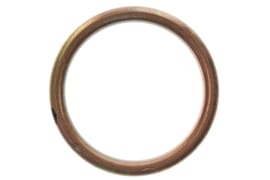
- O-ring
Honda TRX 350 Cylinder Head Reinstallation
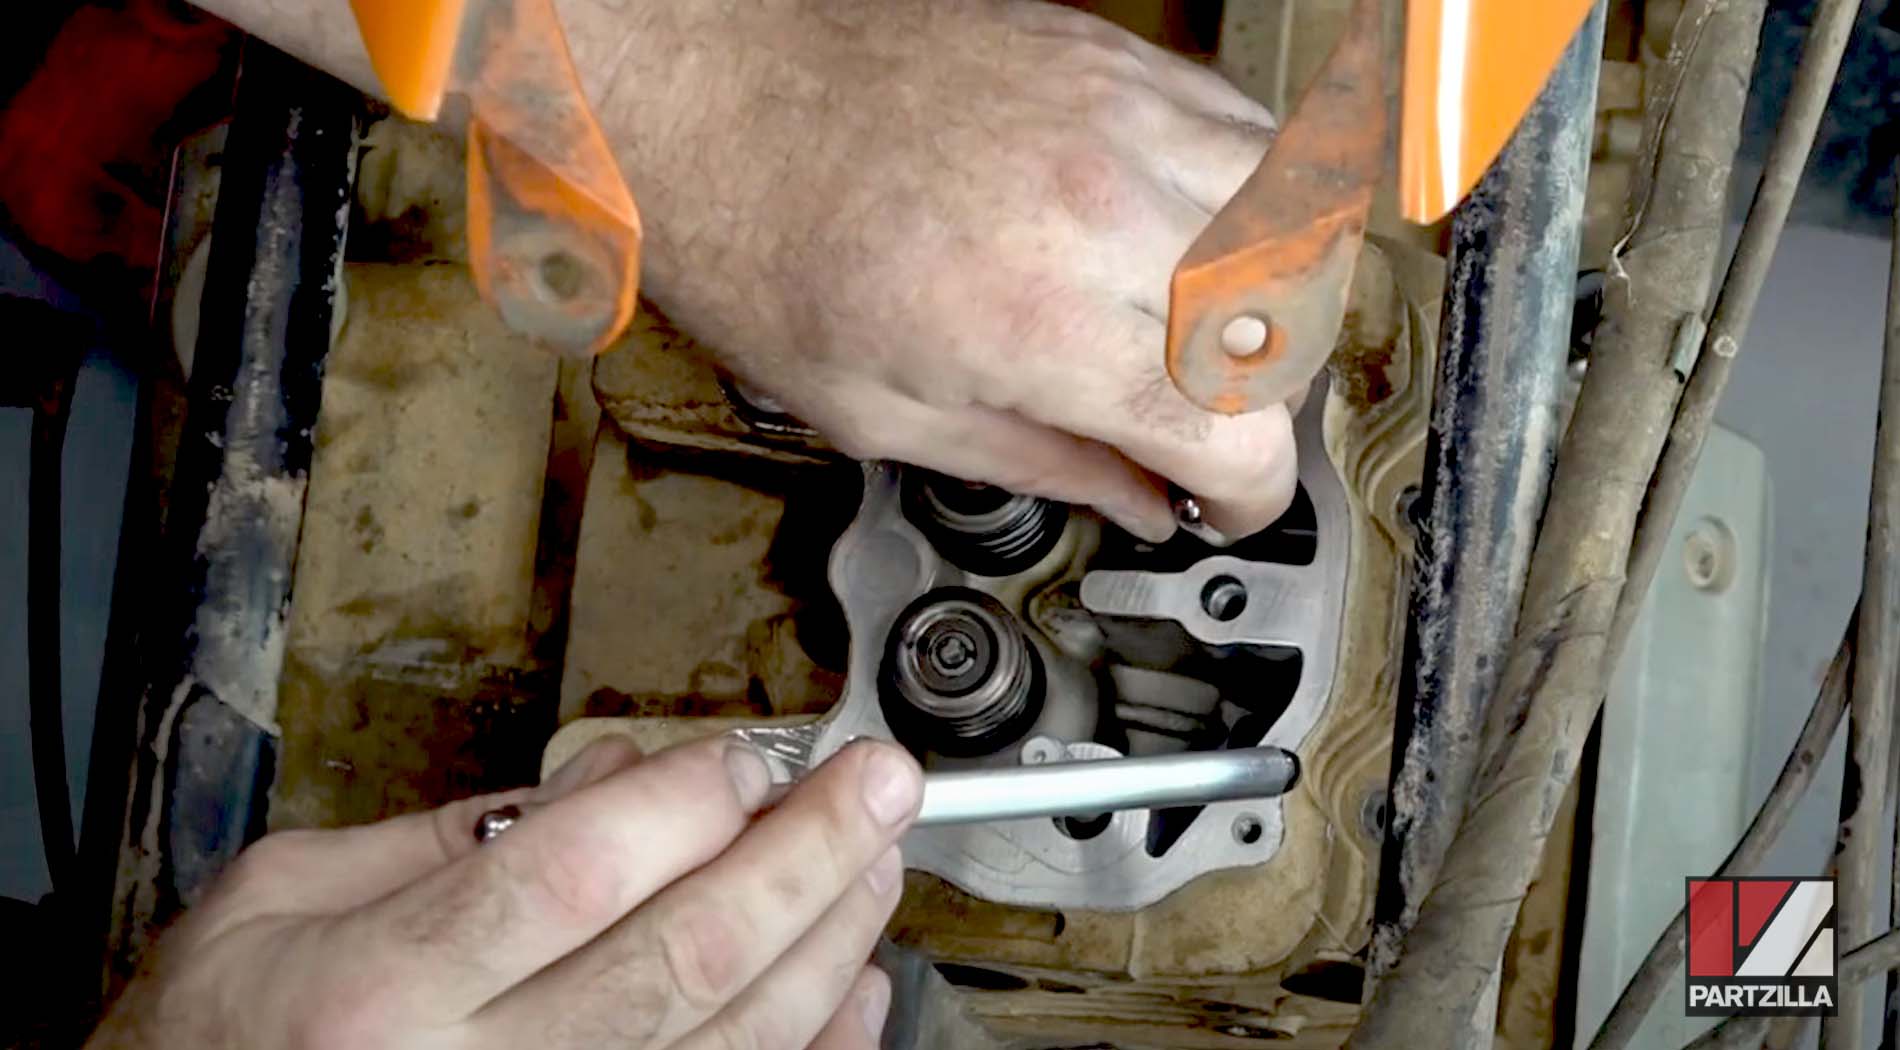
Step 1. Reinstall the dowels pins onto the front left and rear right cylinder head mounting bolts, then install a new cylinder head gasket with the tab facing toward the back of the engine.
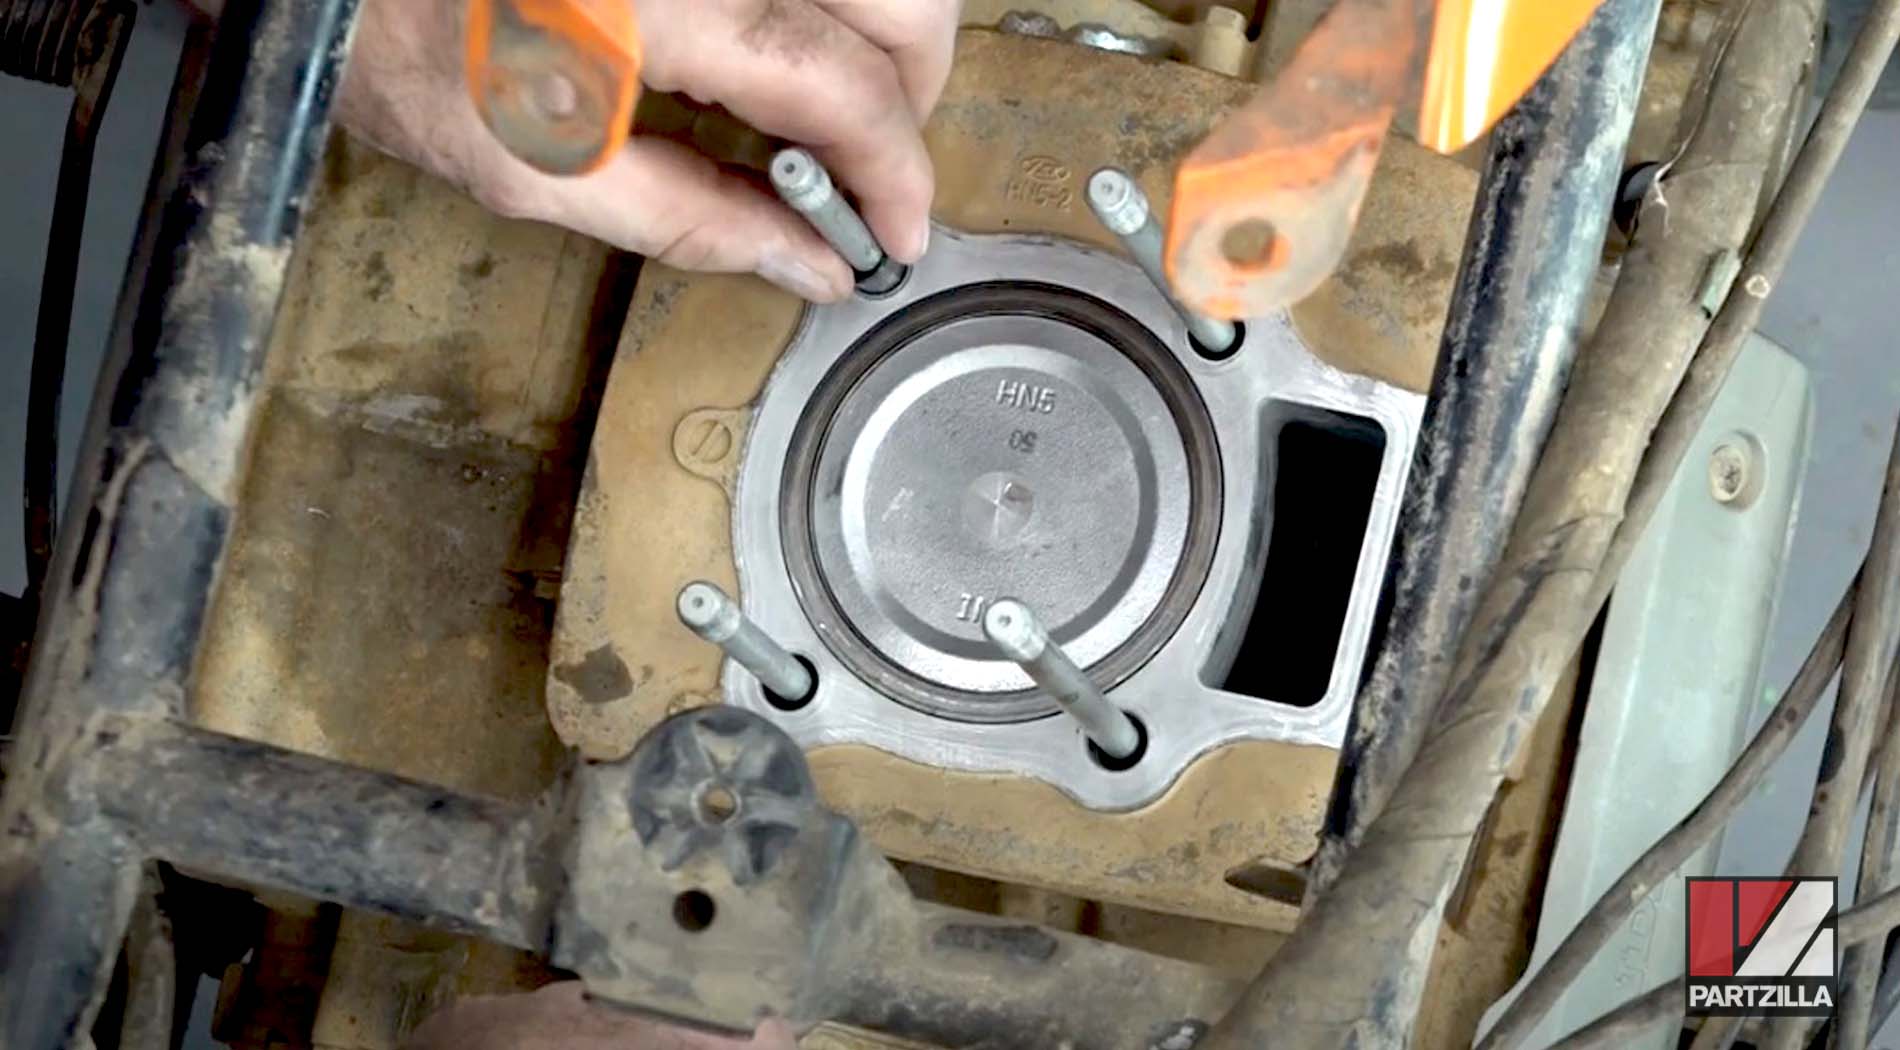
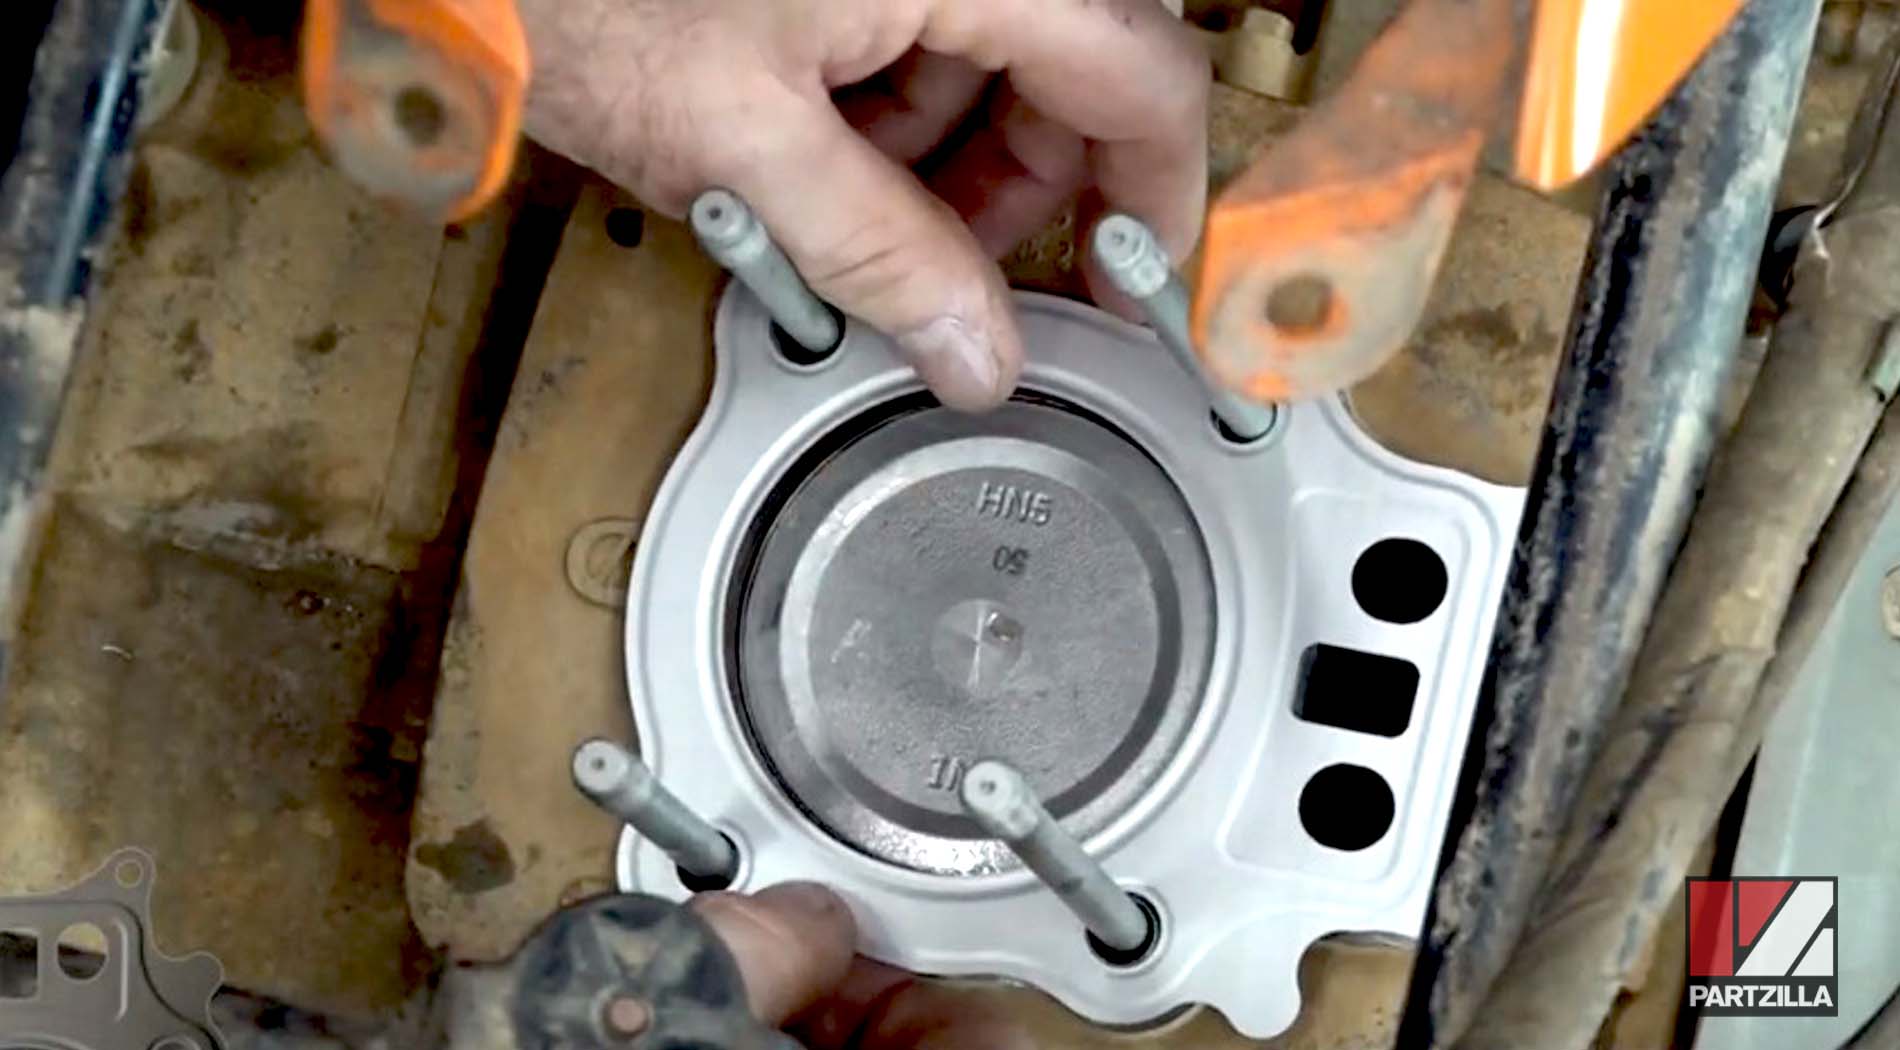
Step 2. Reinstall the cylinder head over its mounting bolts, then reinstall the dowel pins onto the right-side cylinder head mounting bolts.
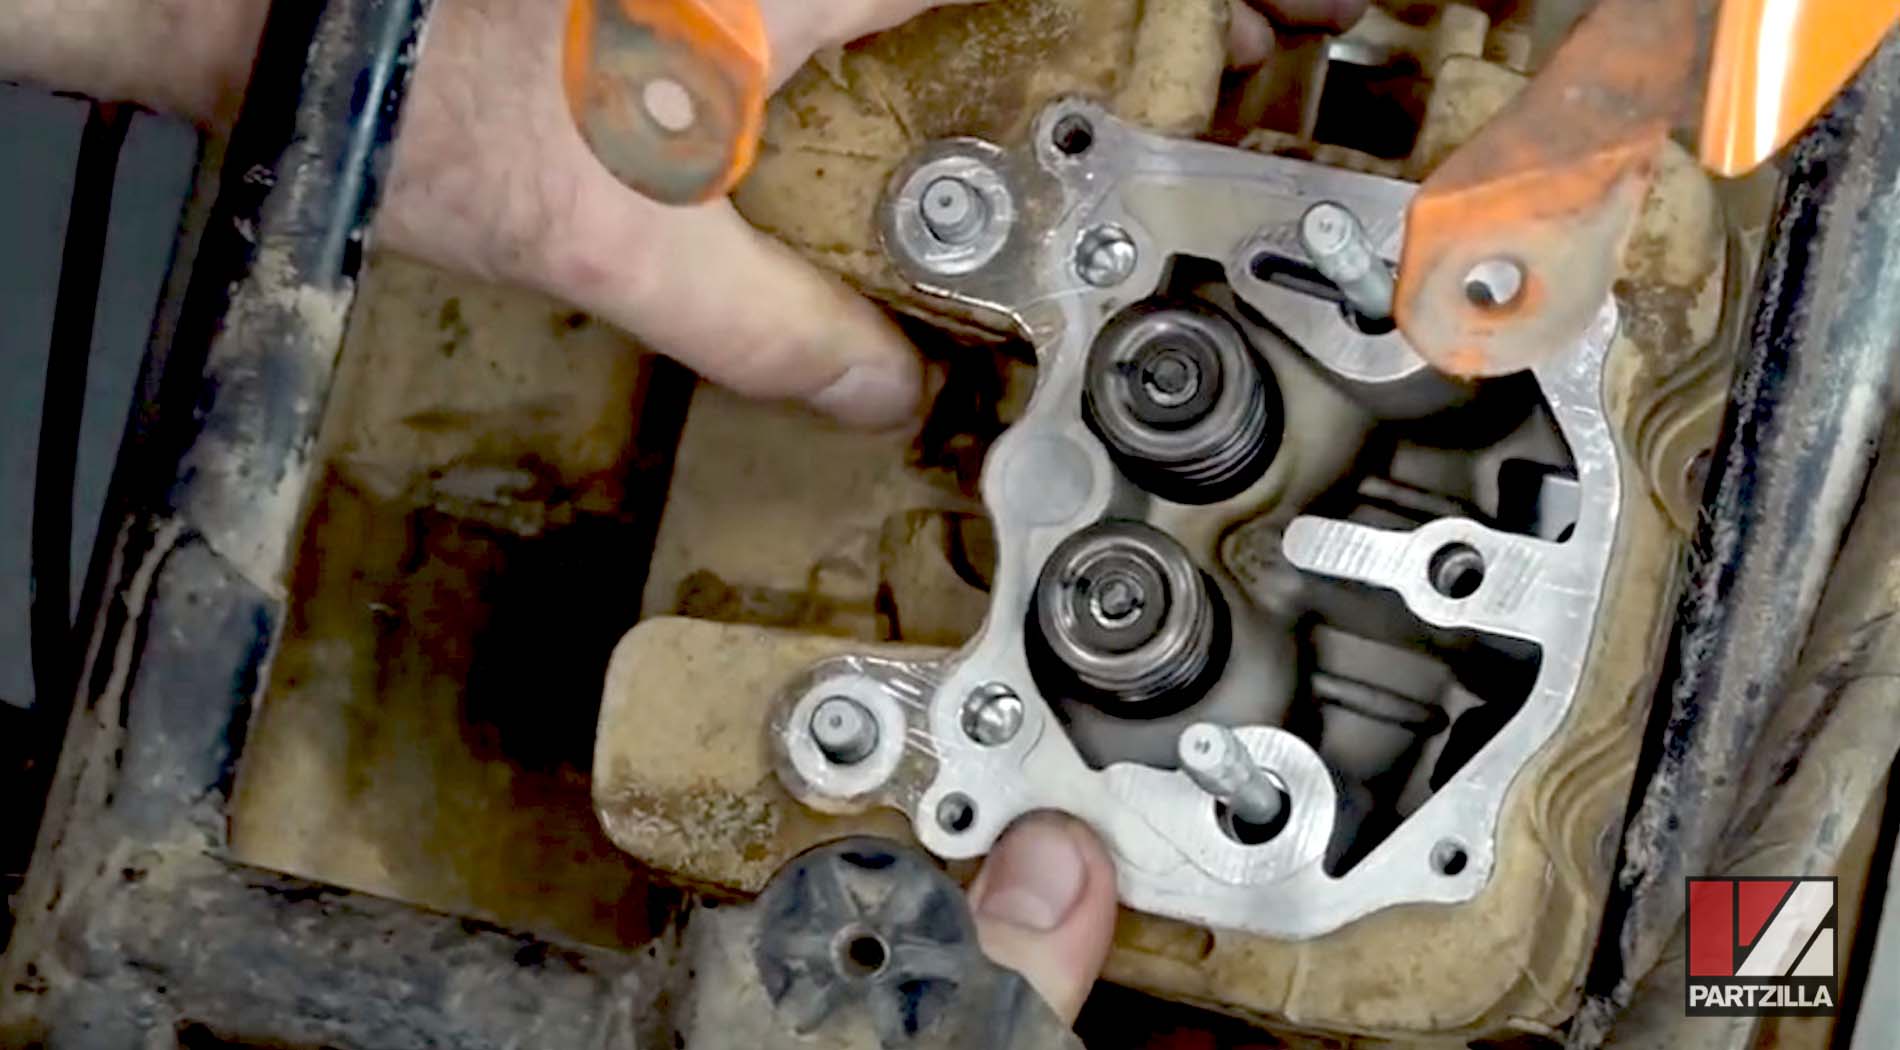
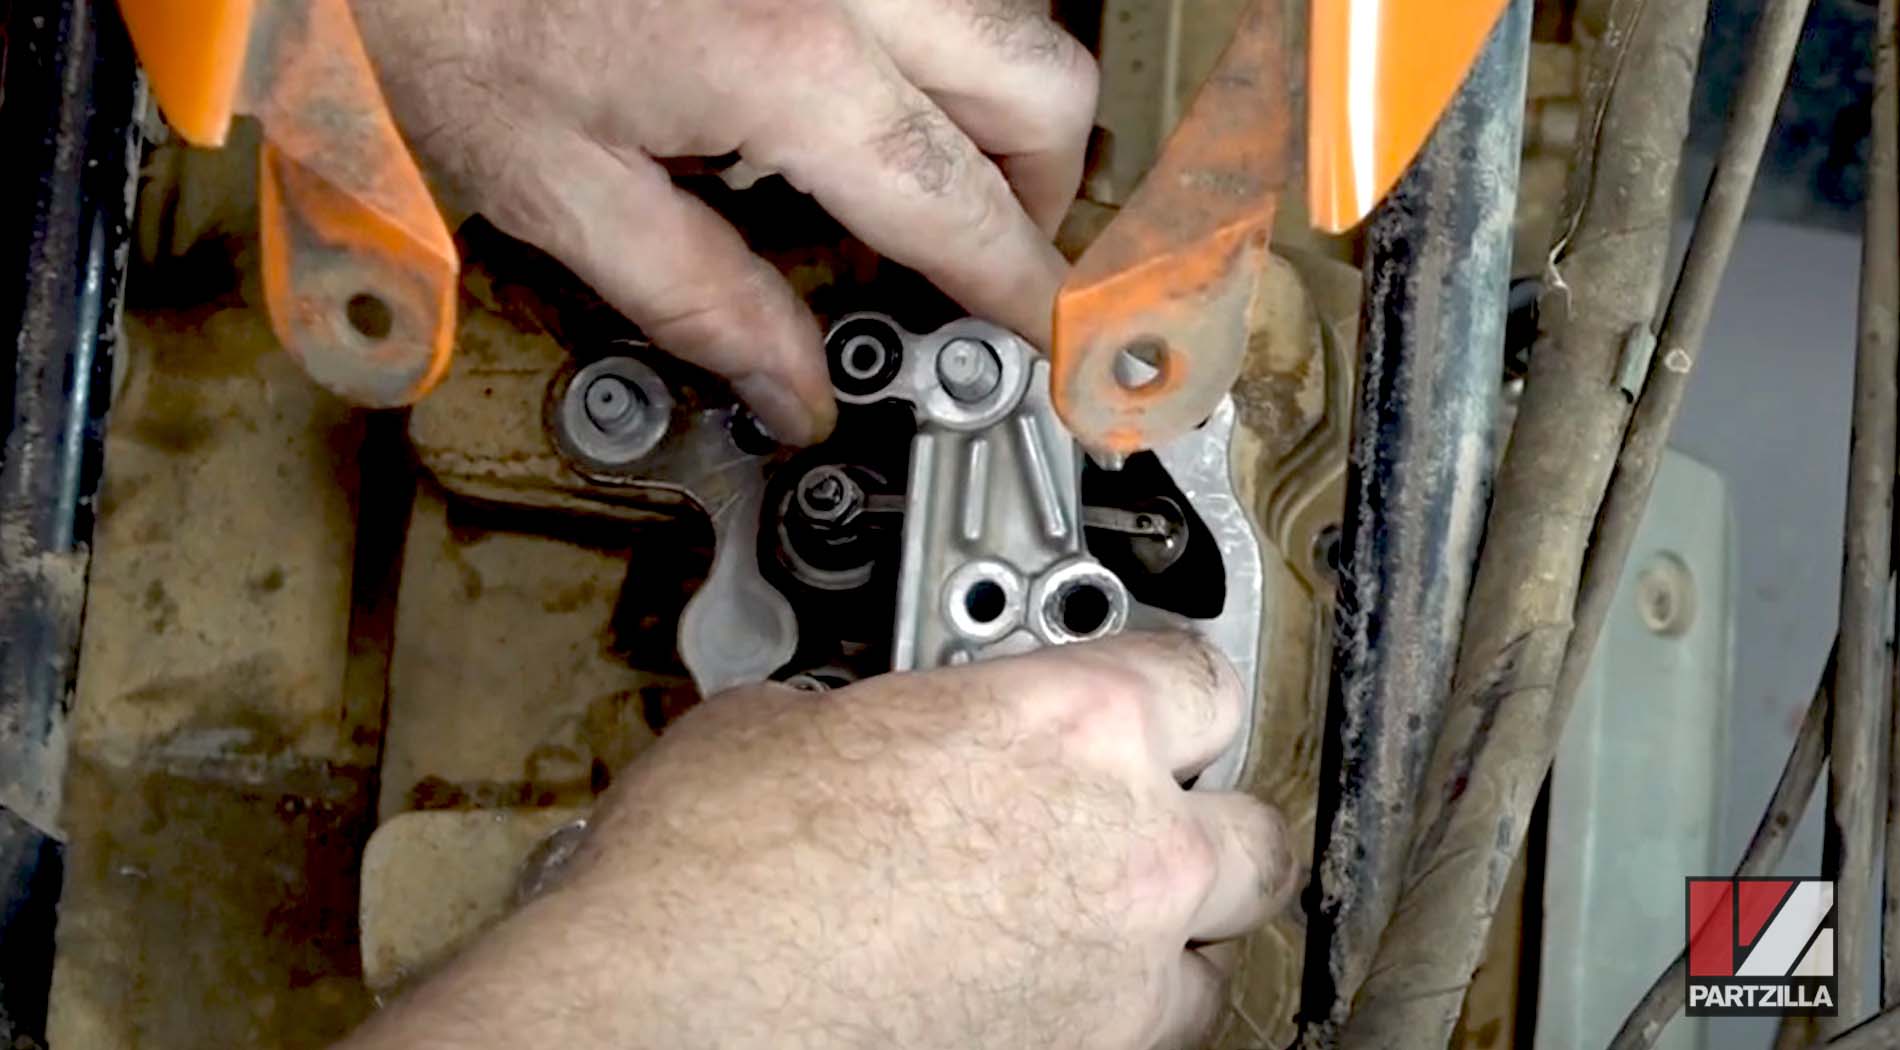
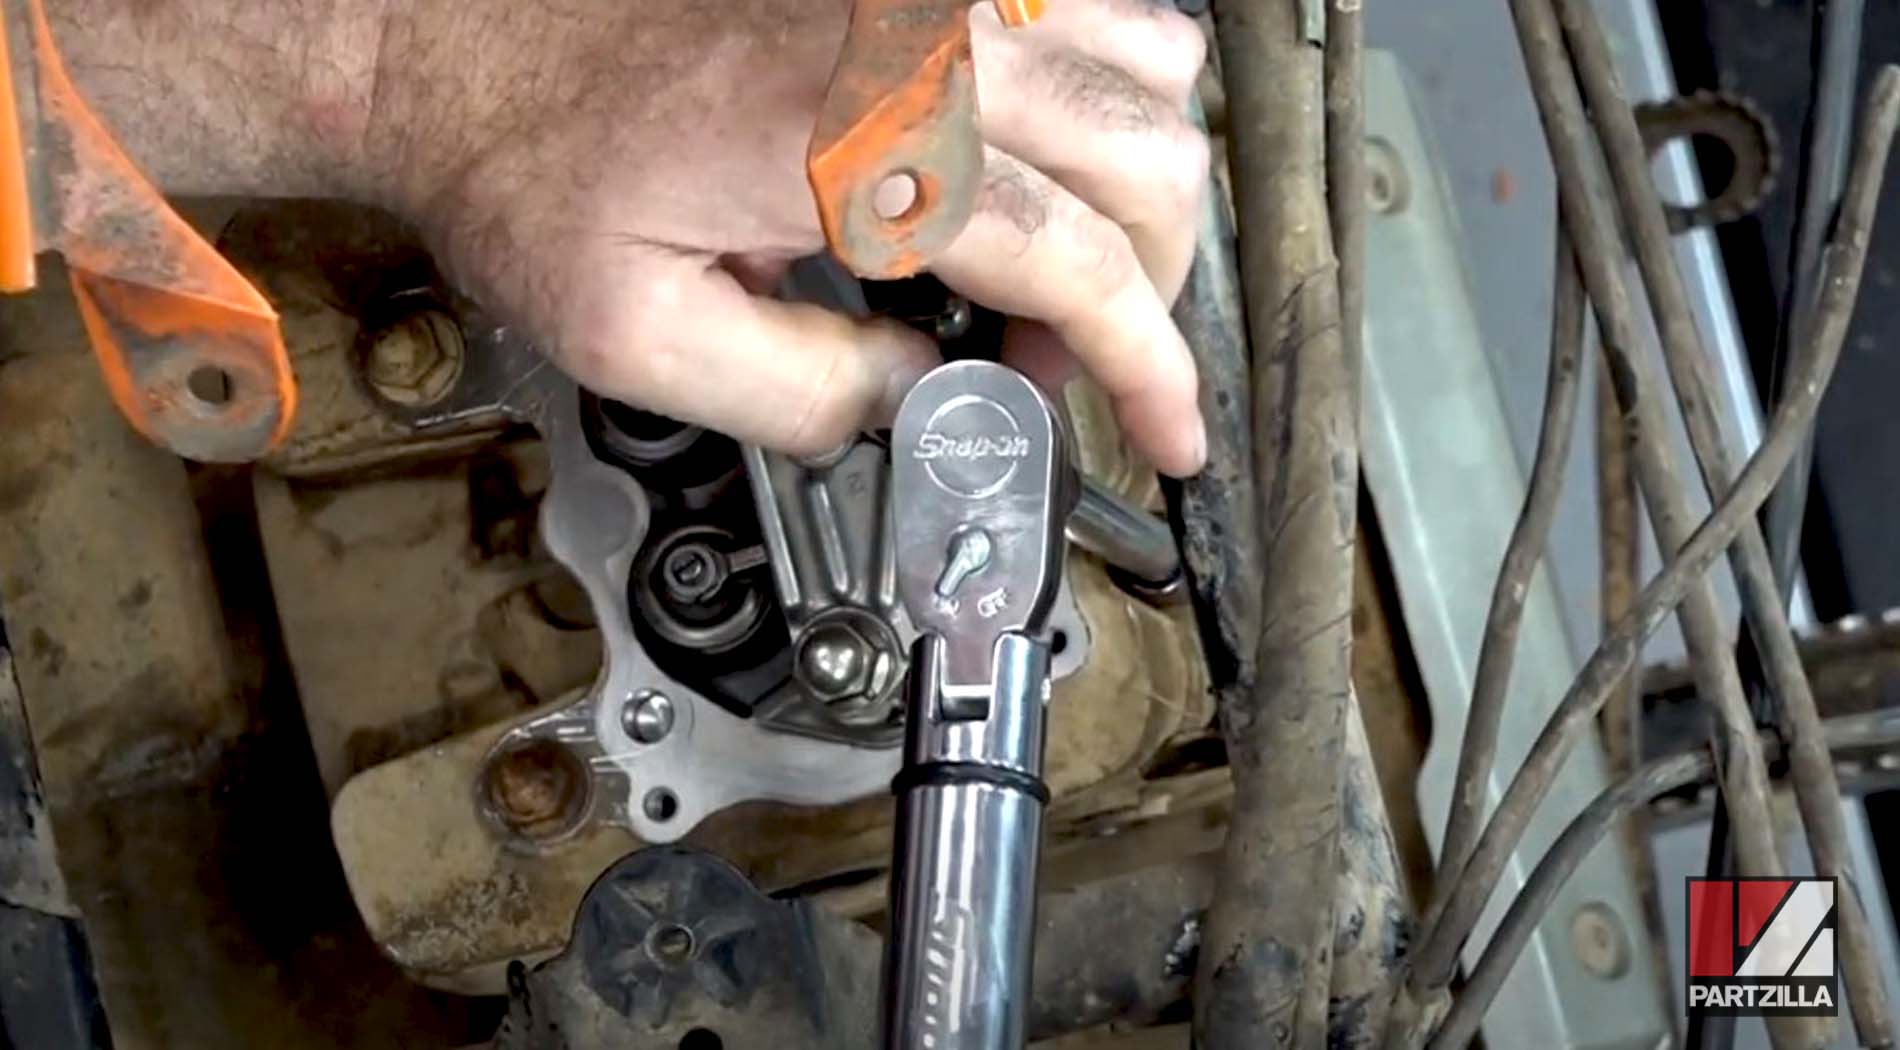
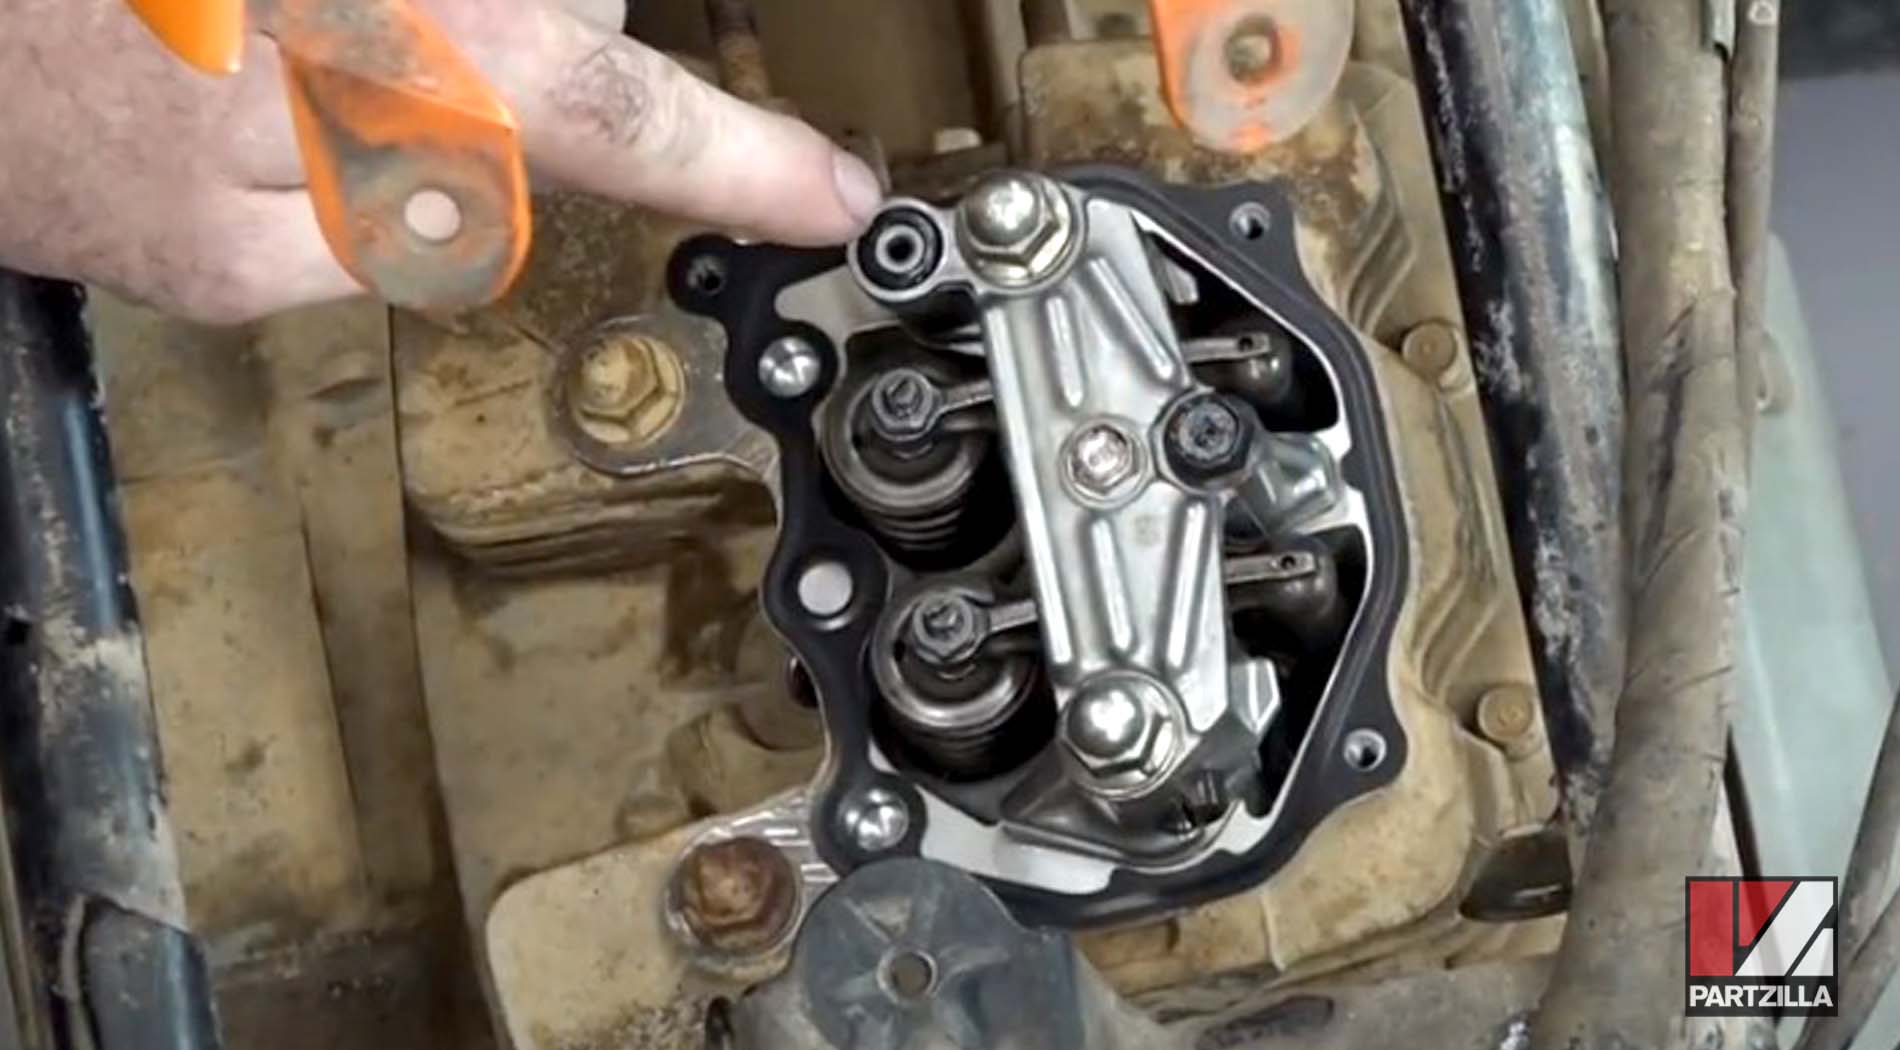
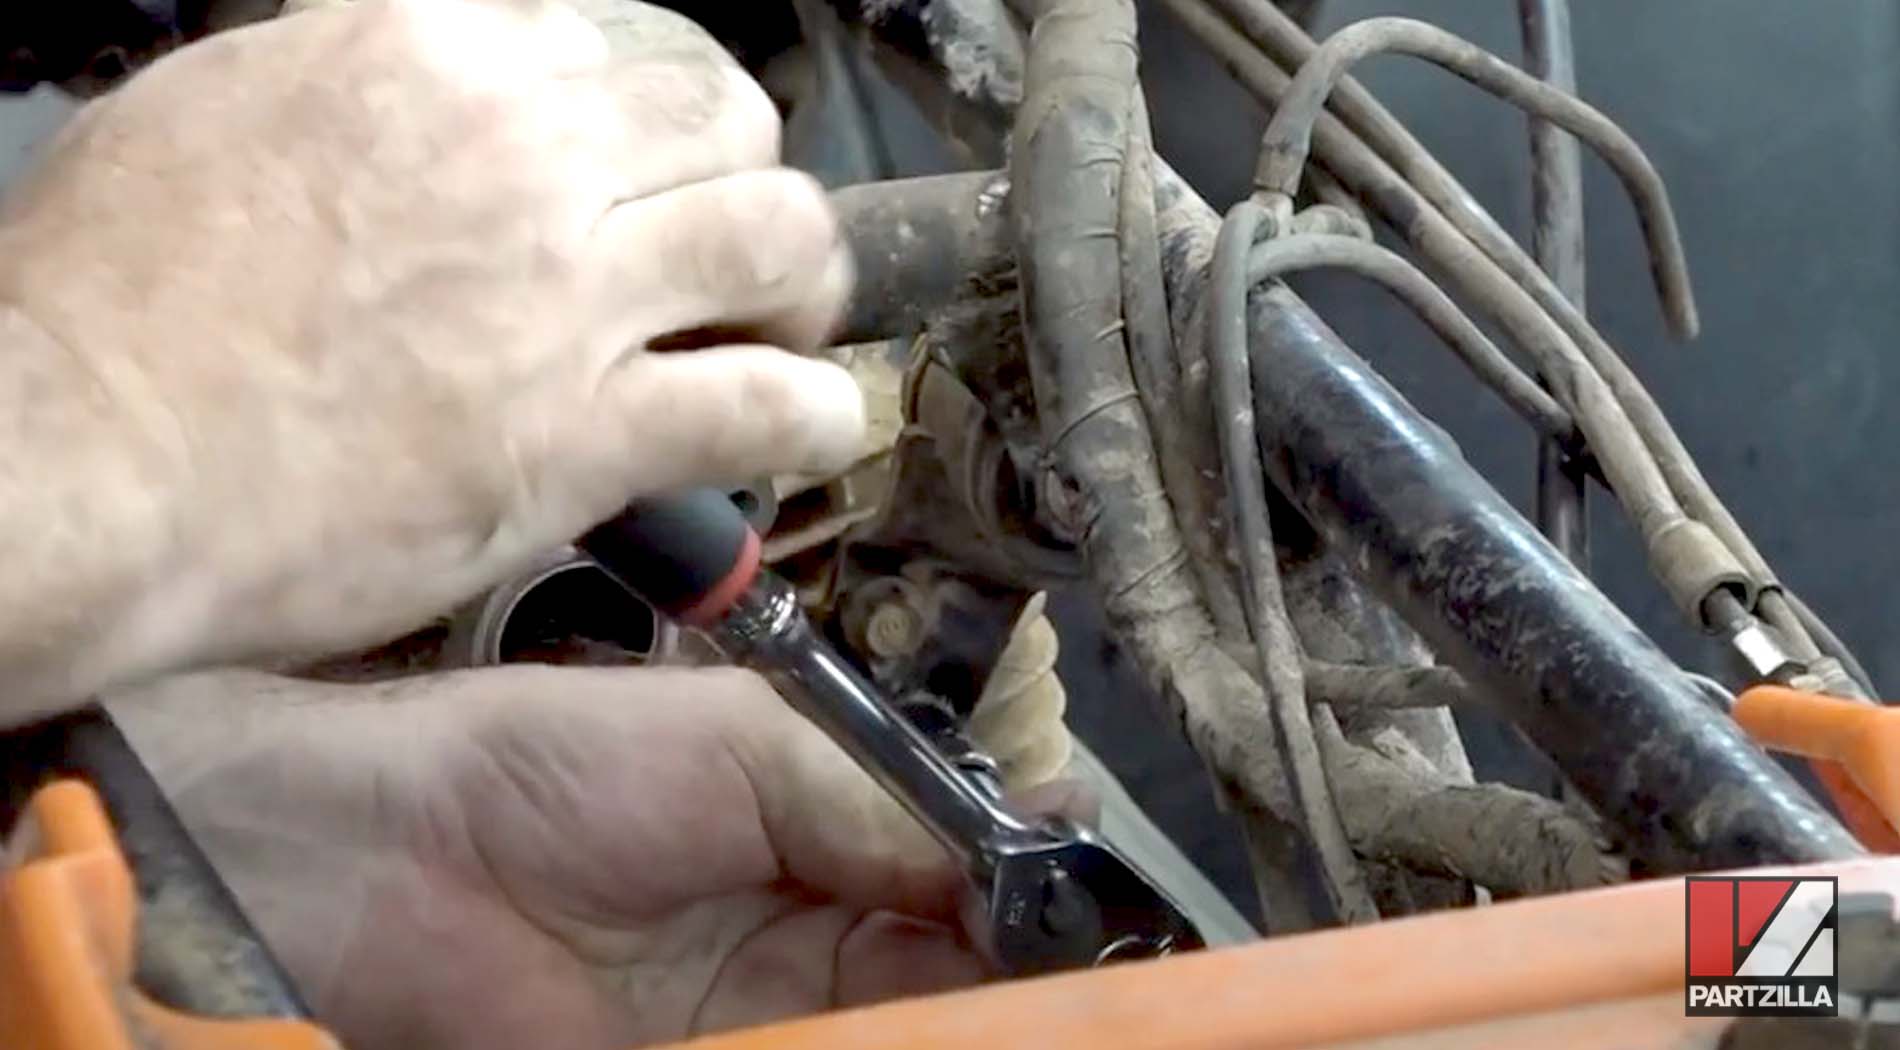
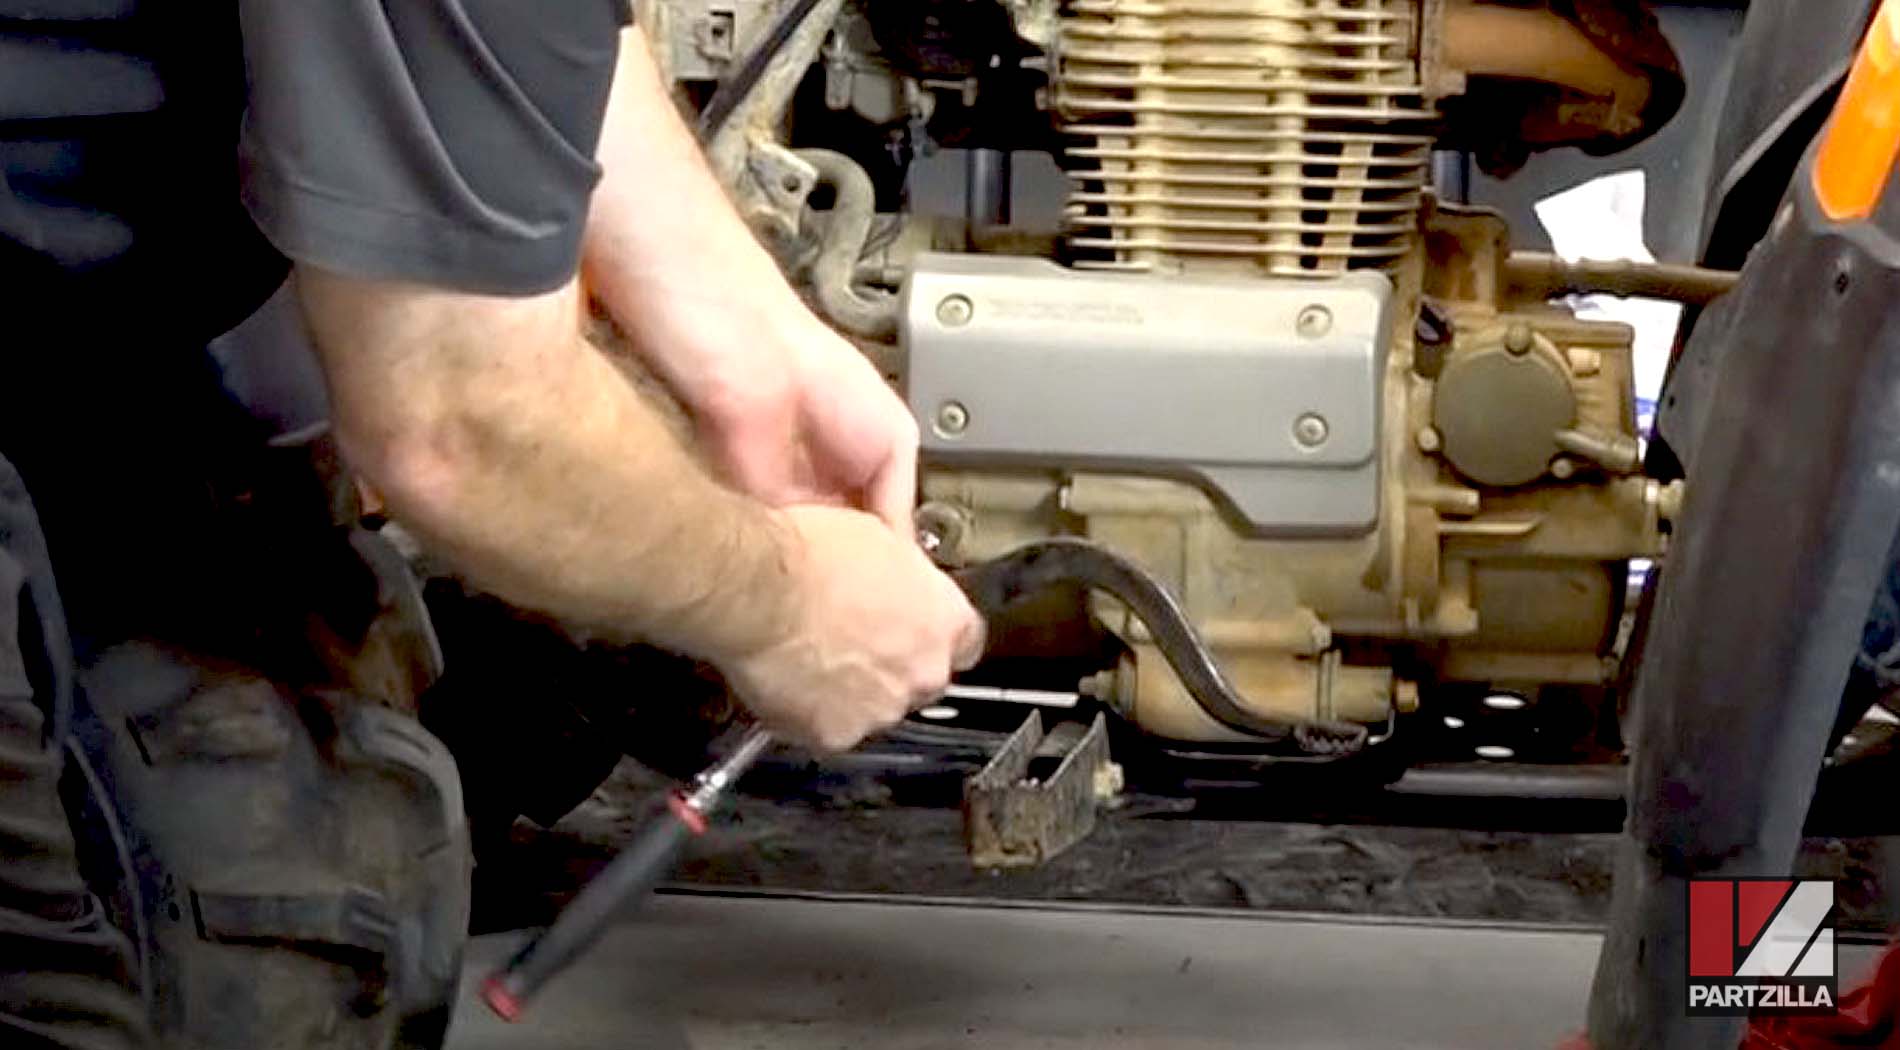
Step 3. Reinstall the pushrods and the rocker arm holder. Torque the four retaining nuts to 28 foot-pounds in the sequence shown in the image below, then torque the central nut to 22 foot-pounds and the rocker arm retaining bolt to 5 foot-pounds.
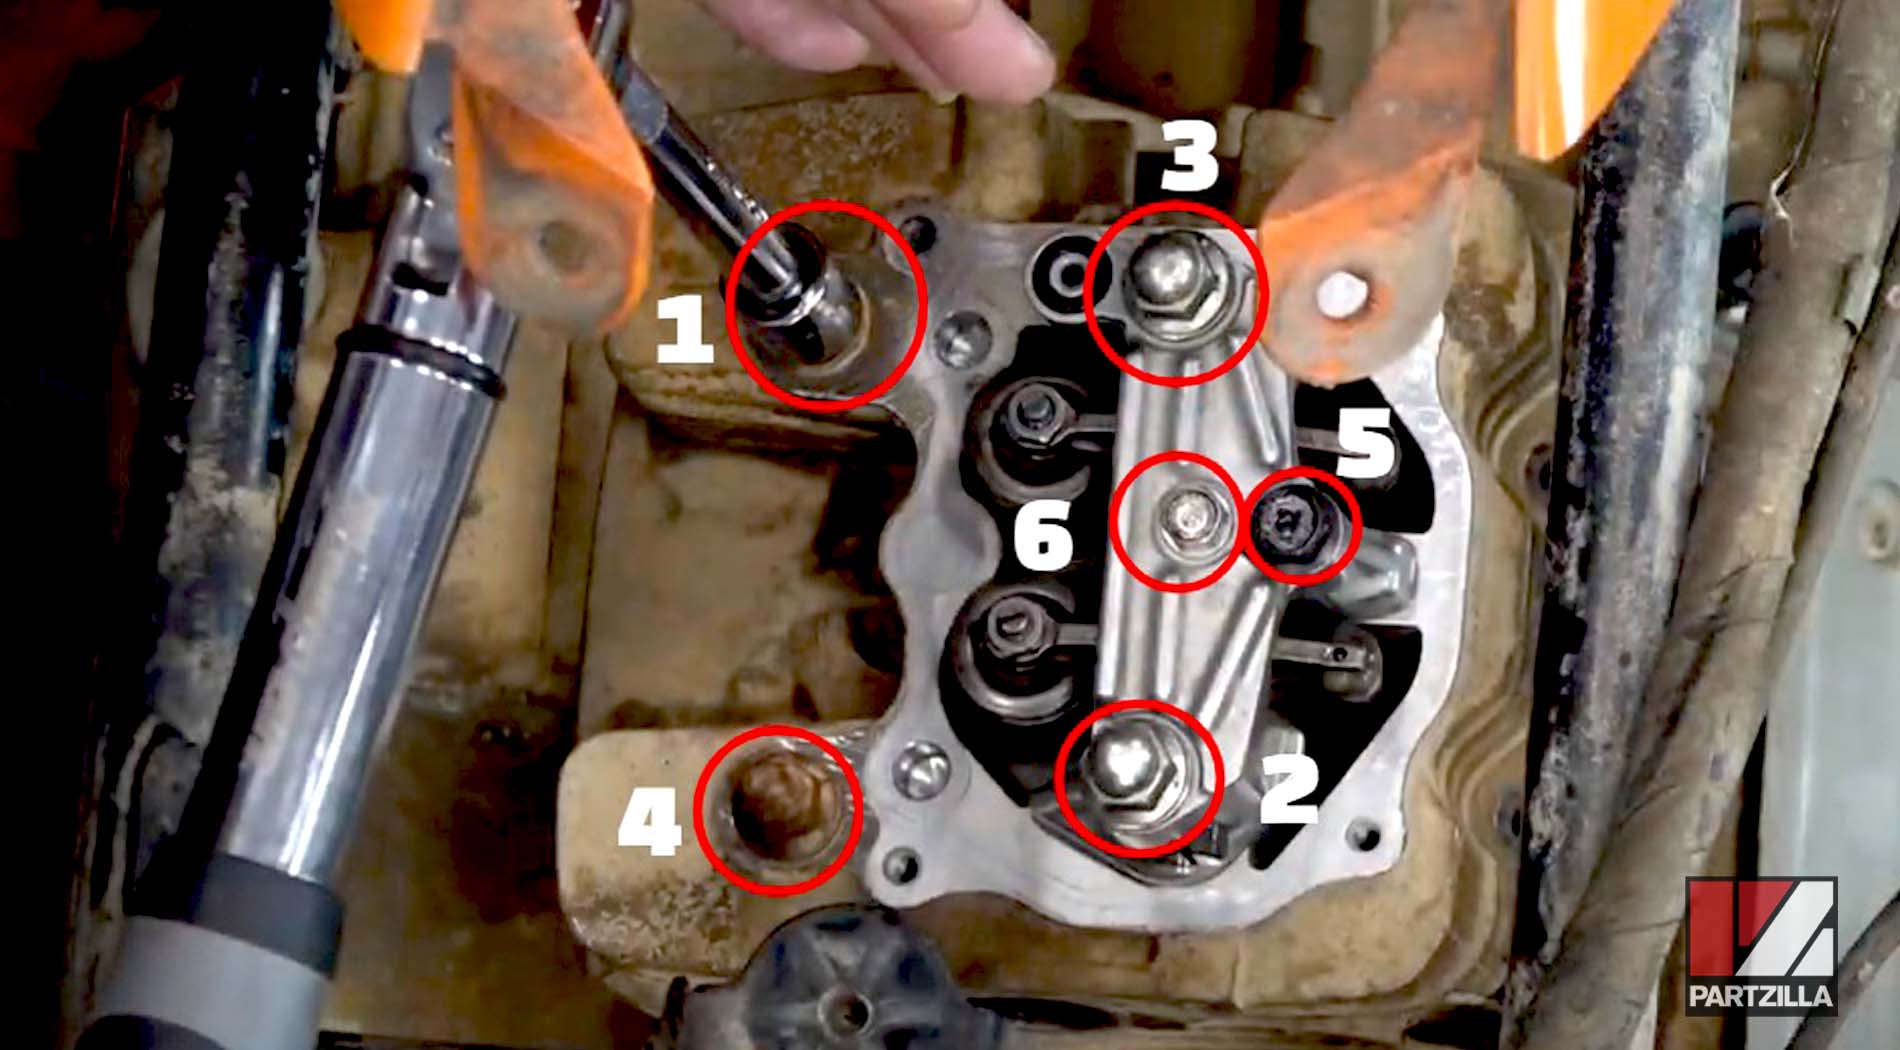
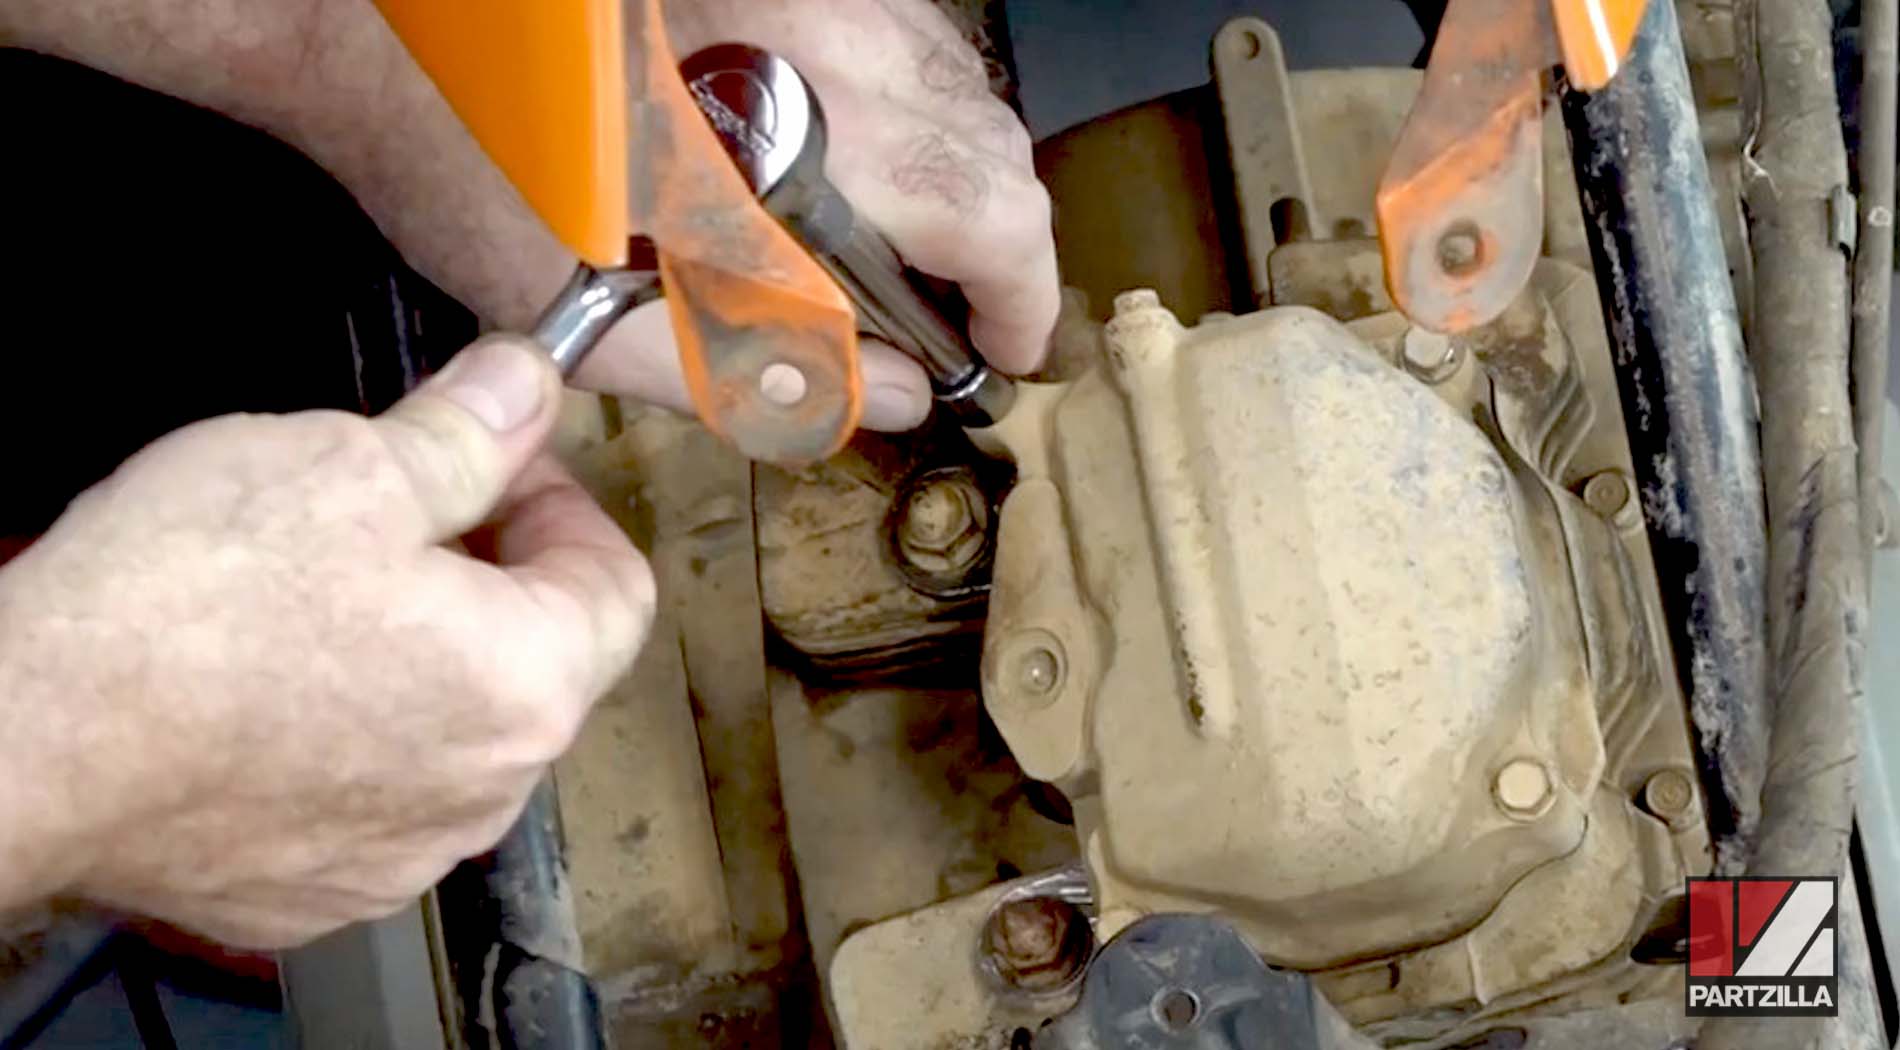
Step 4. Reinstall the two cylinder head bolts on the outer right side of the head and torque them to 5 foot-pounds.
Step 5. Install a new head cover gasket and a new O-ring into the rocker arm holder.
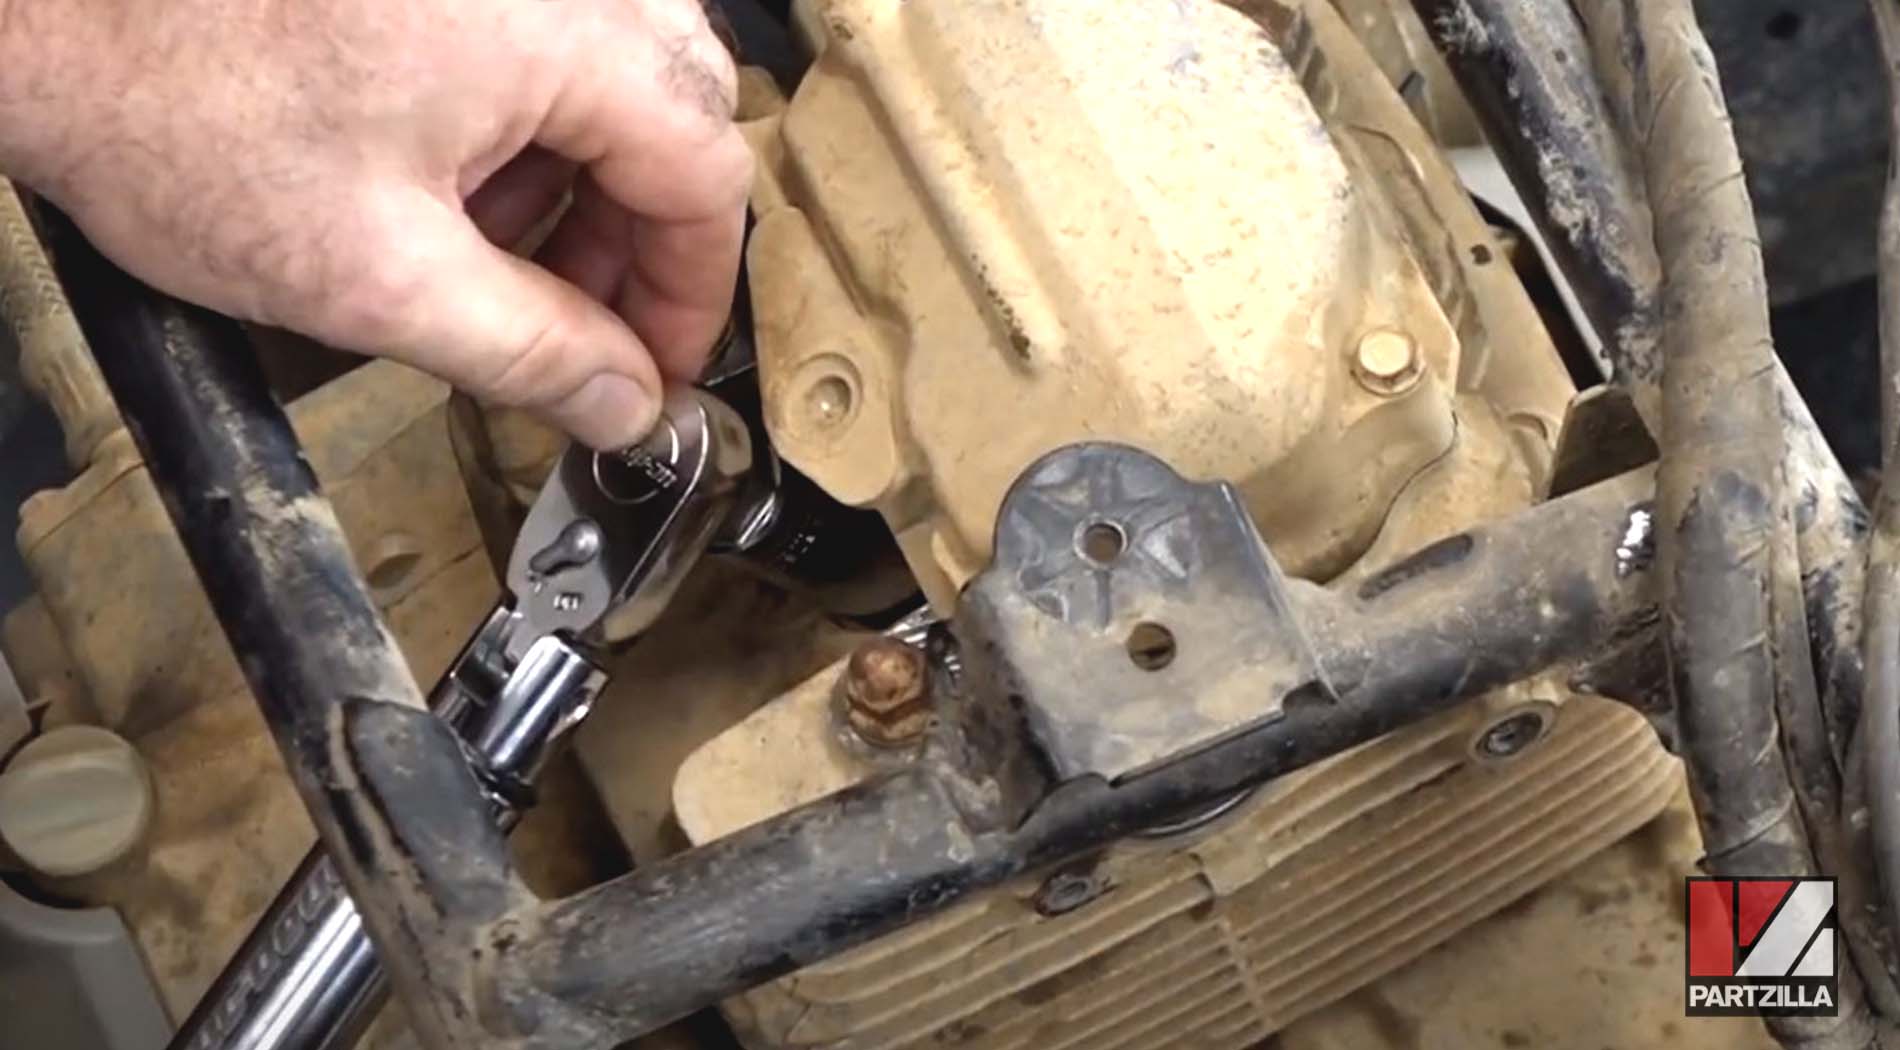
Step 6. Reinstall the cylinder head cover and tighten down the bolts.
NOTE: Don’t overtighten the bolts because they’re aluminum and can easily be stripped.
Step 7. Install a new spark plug and torque it to 13 foot-pounds.
Honda TRX 350 Top End Rebuild Exhaust Reinstall
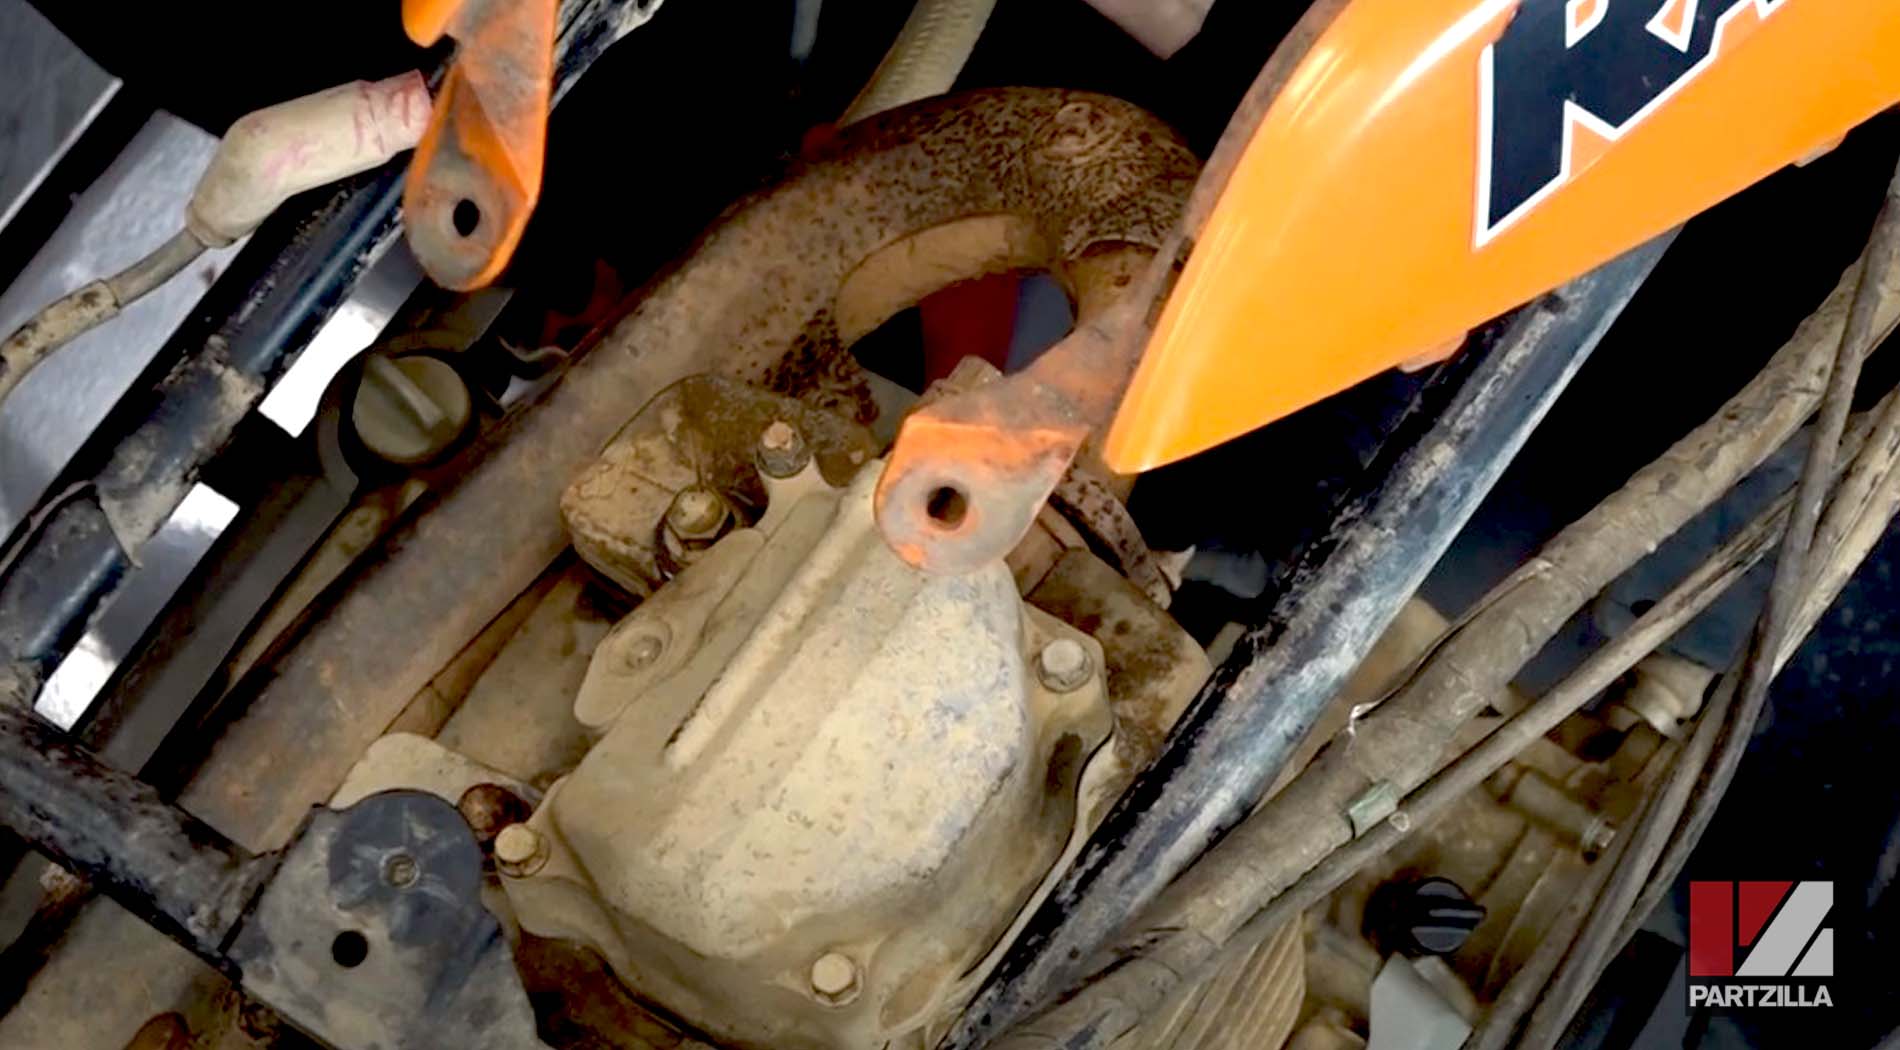
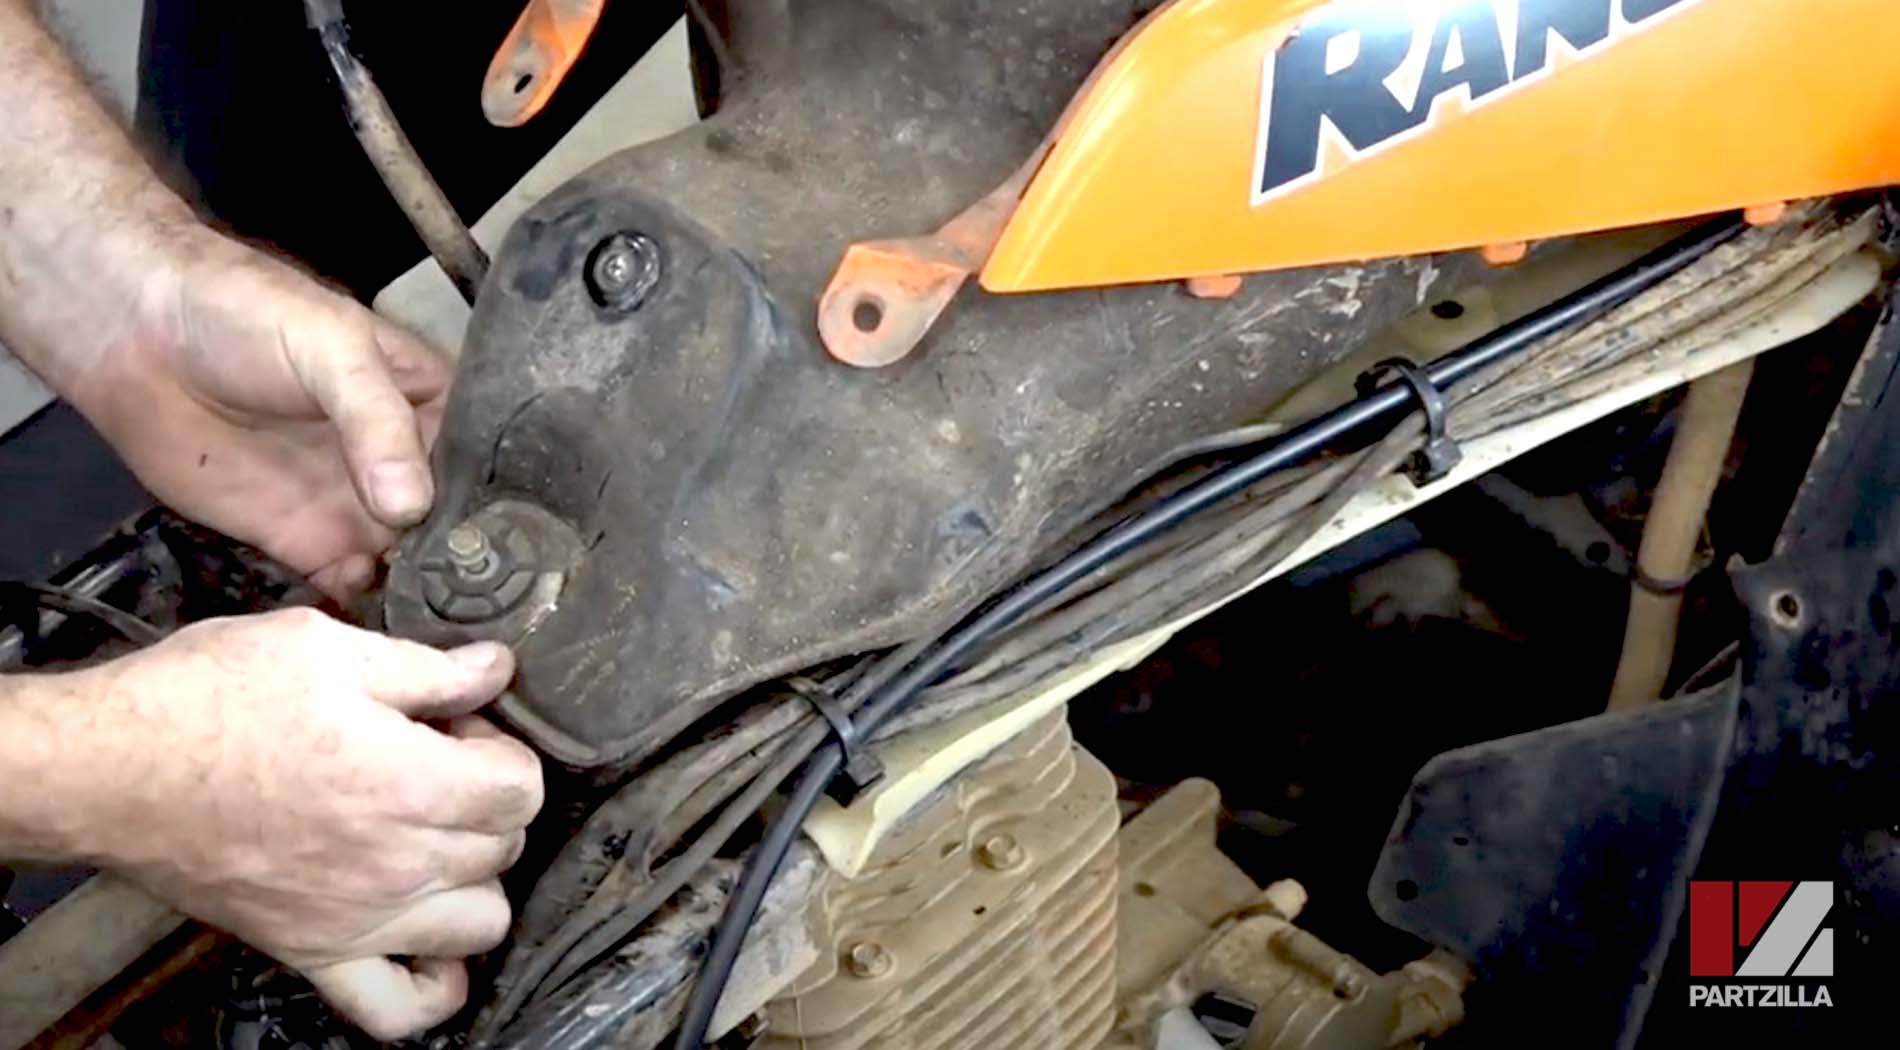
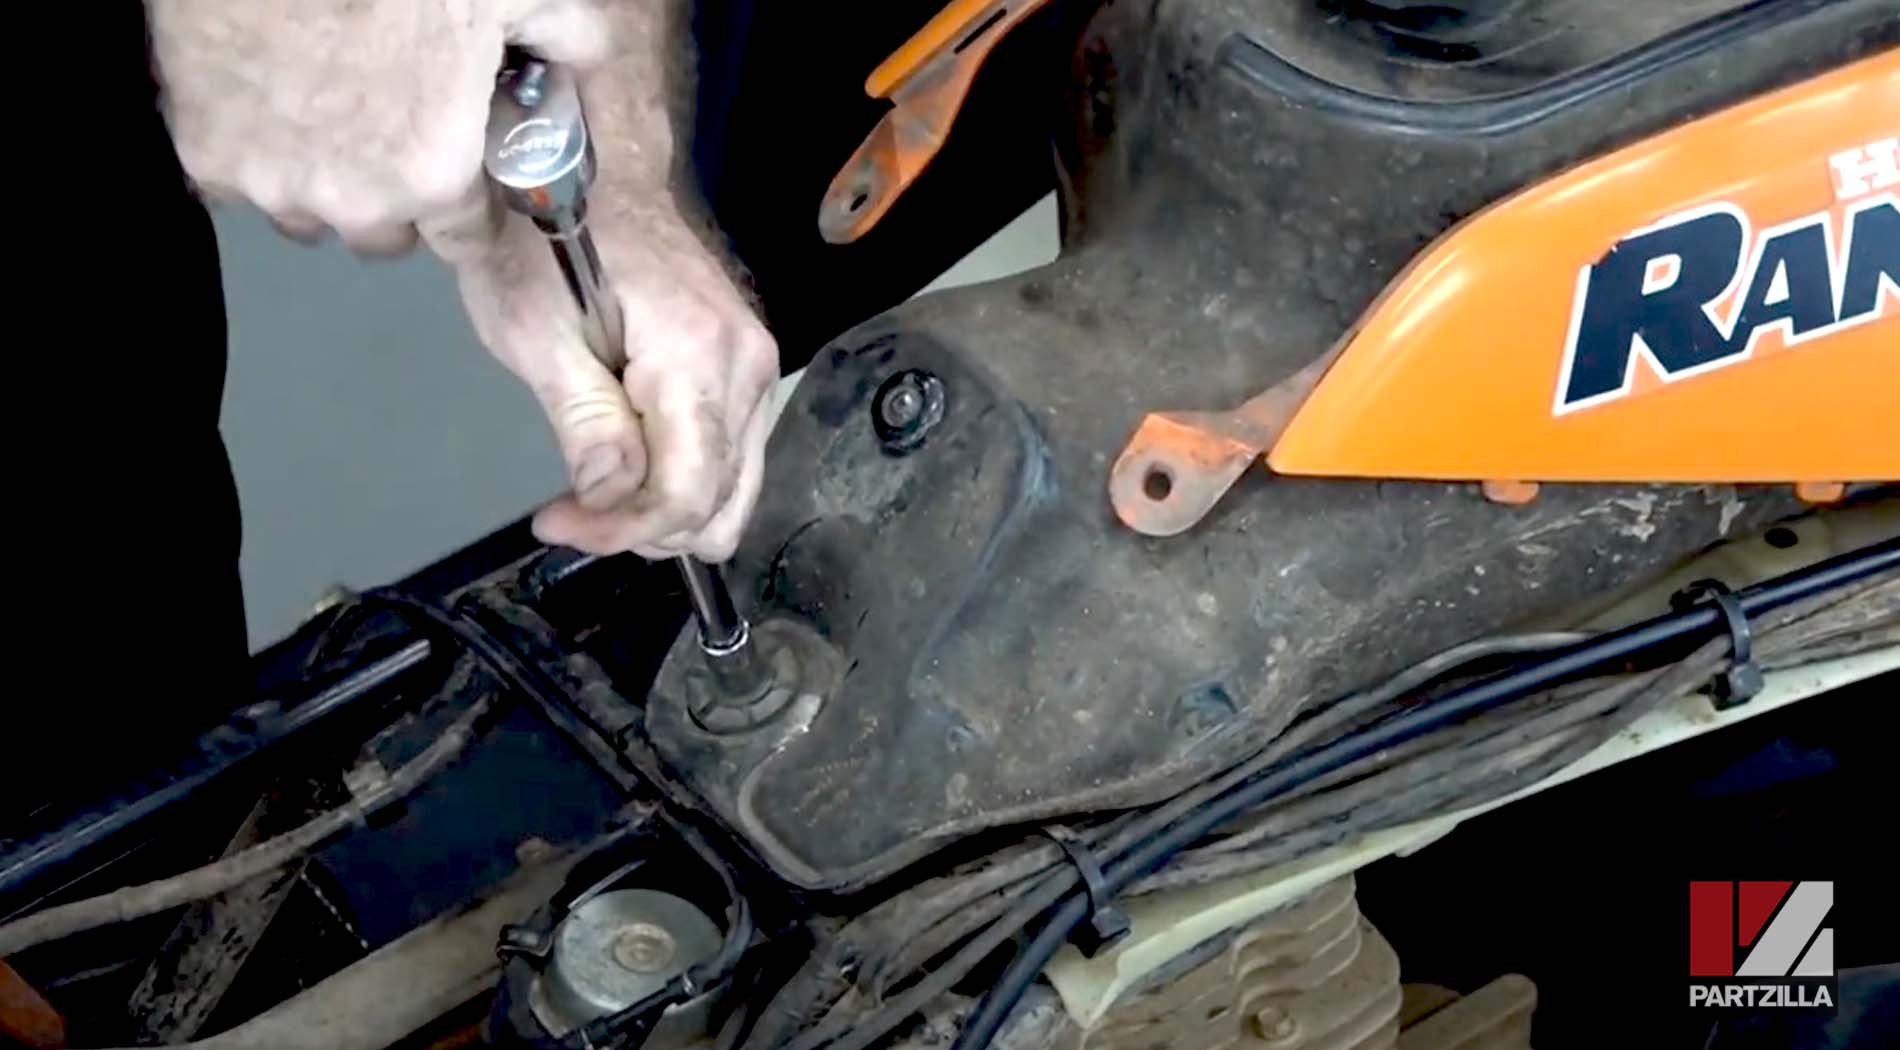
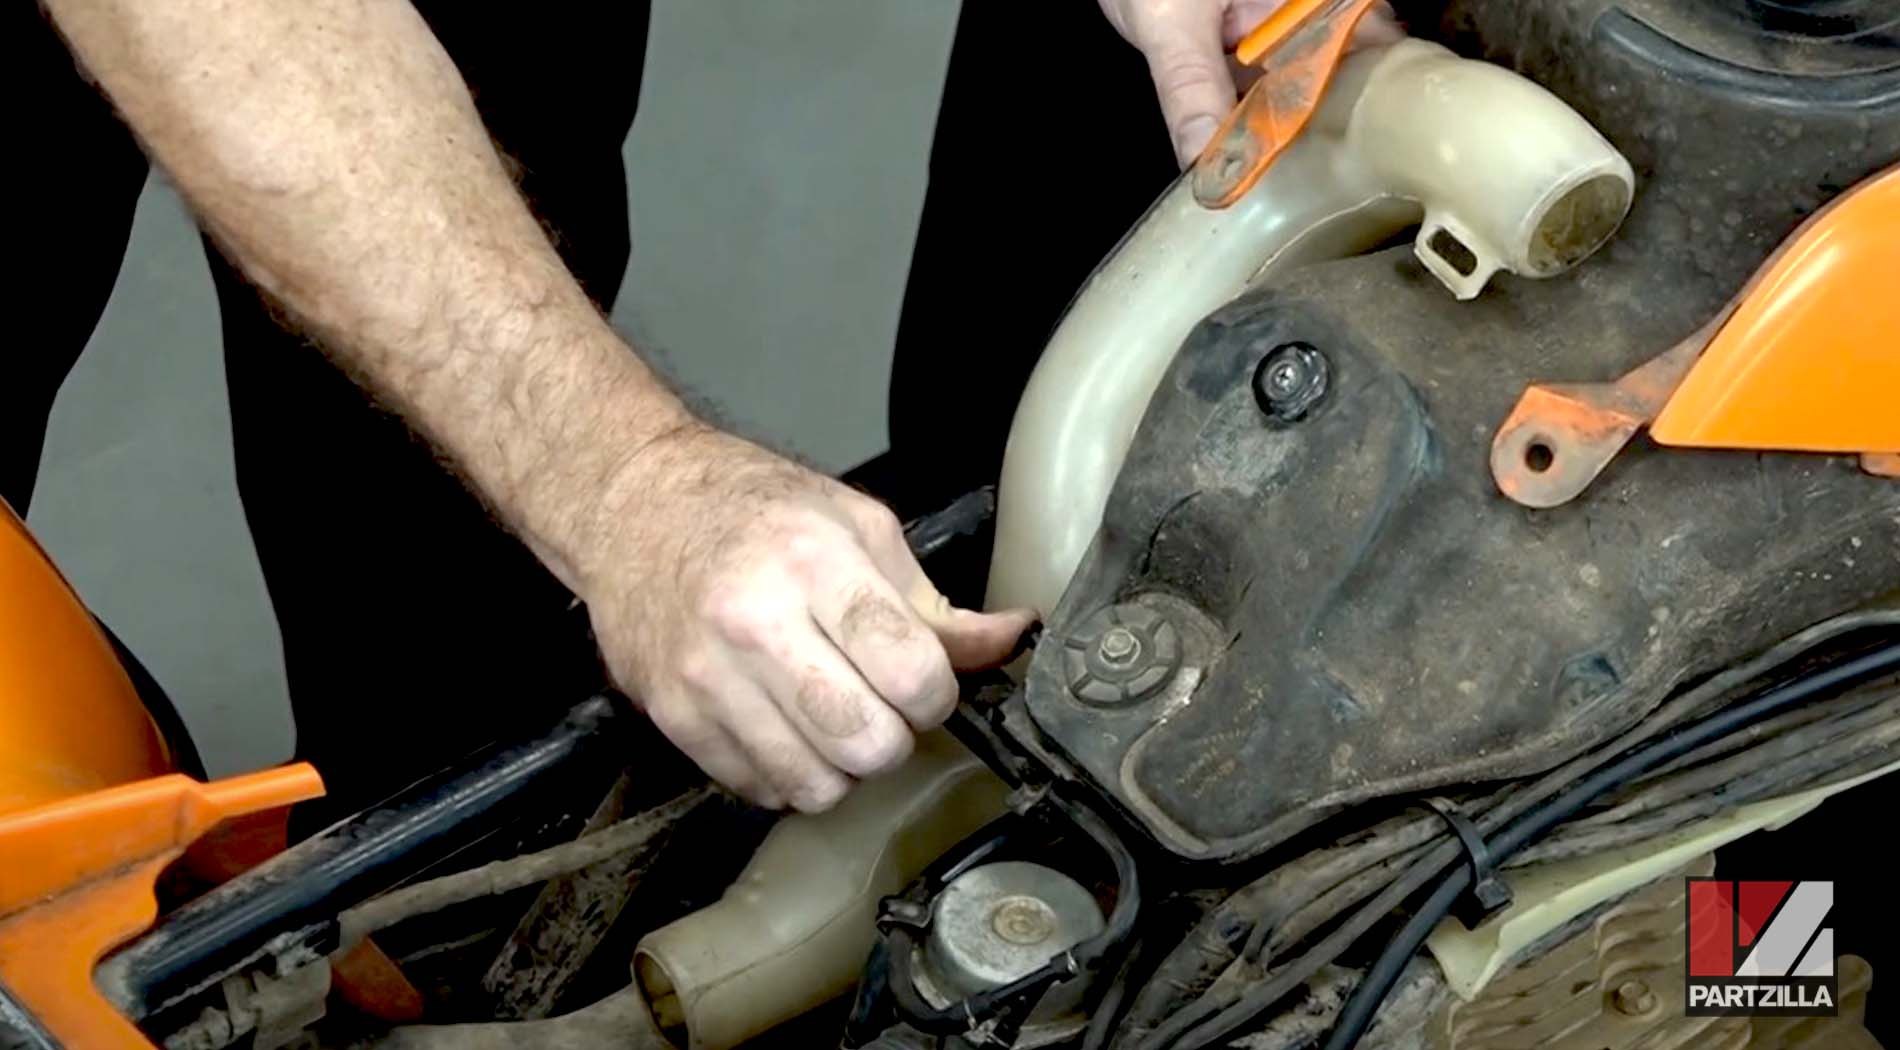
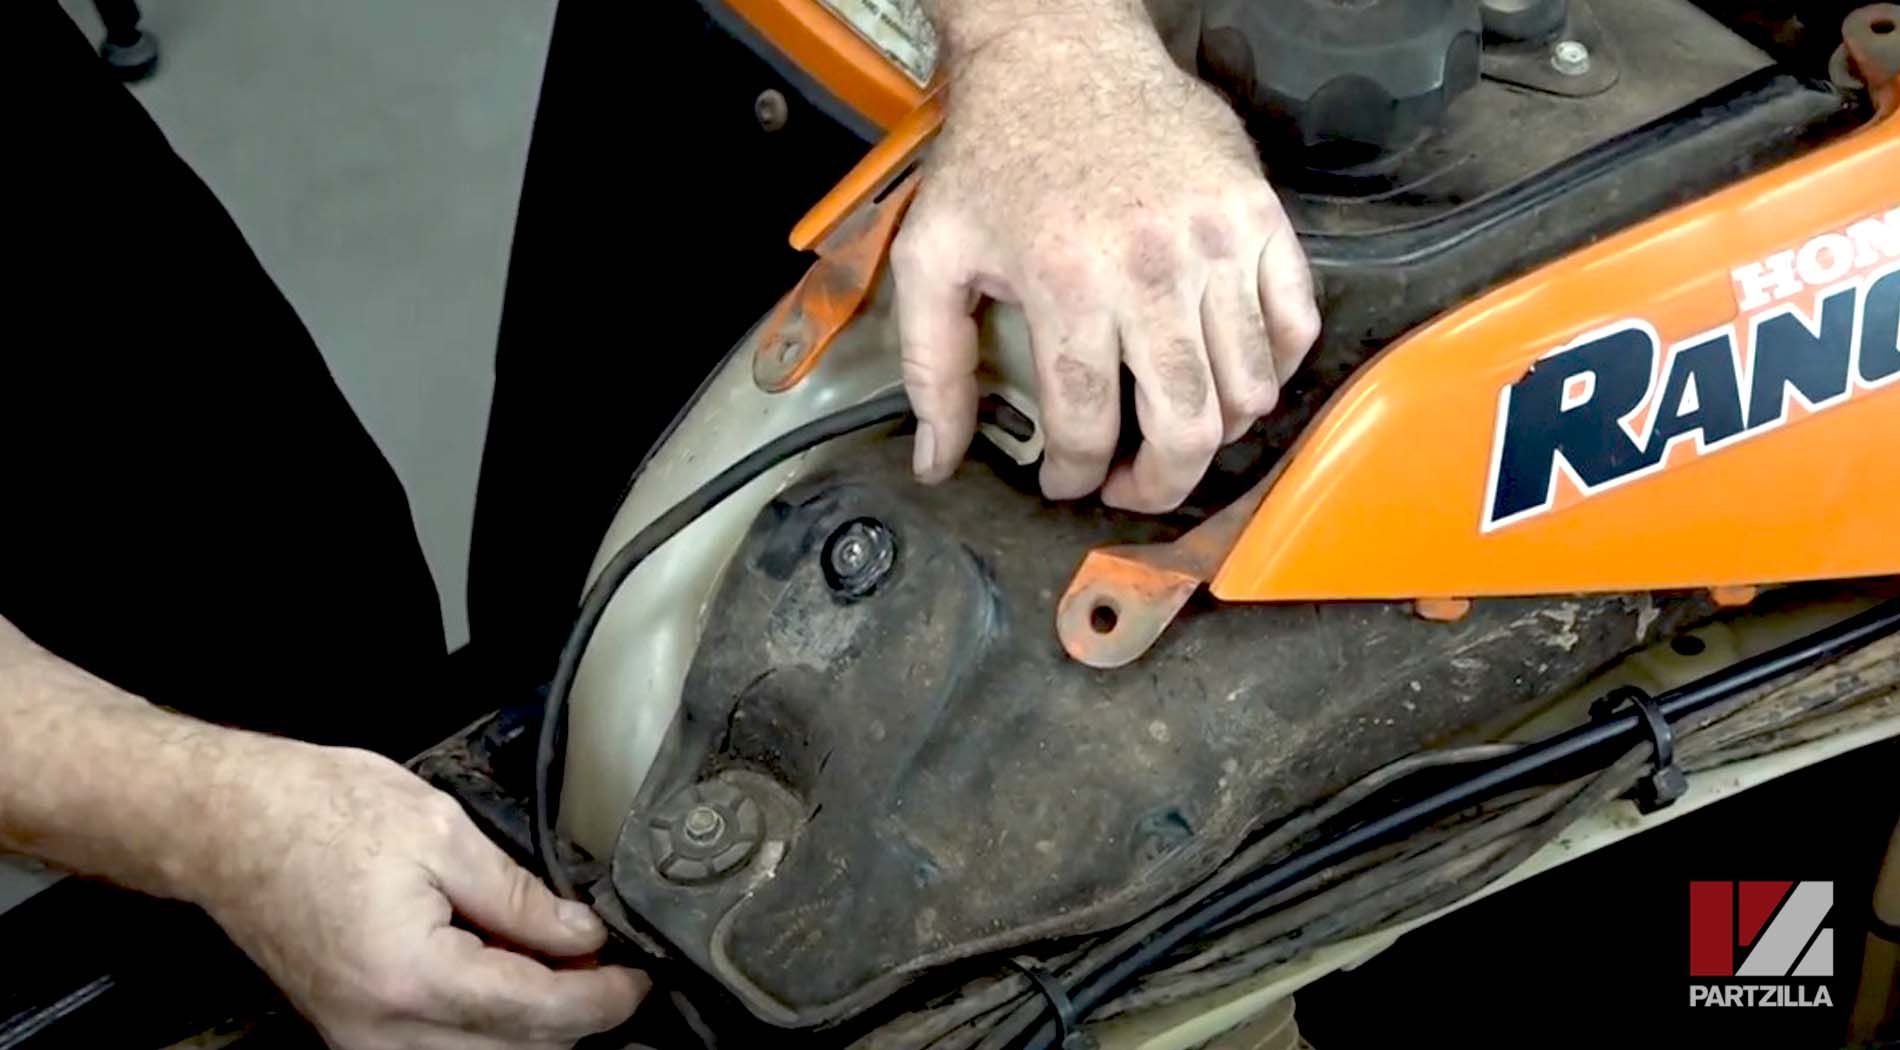
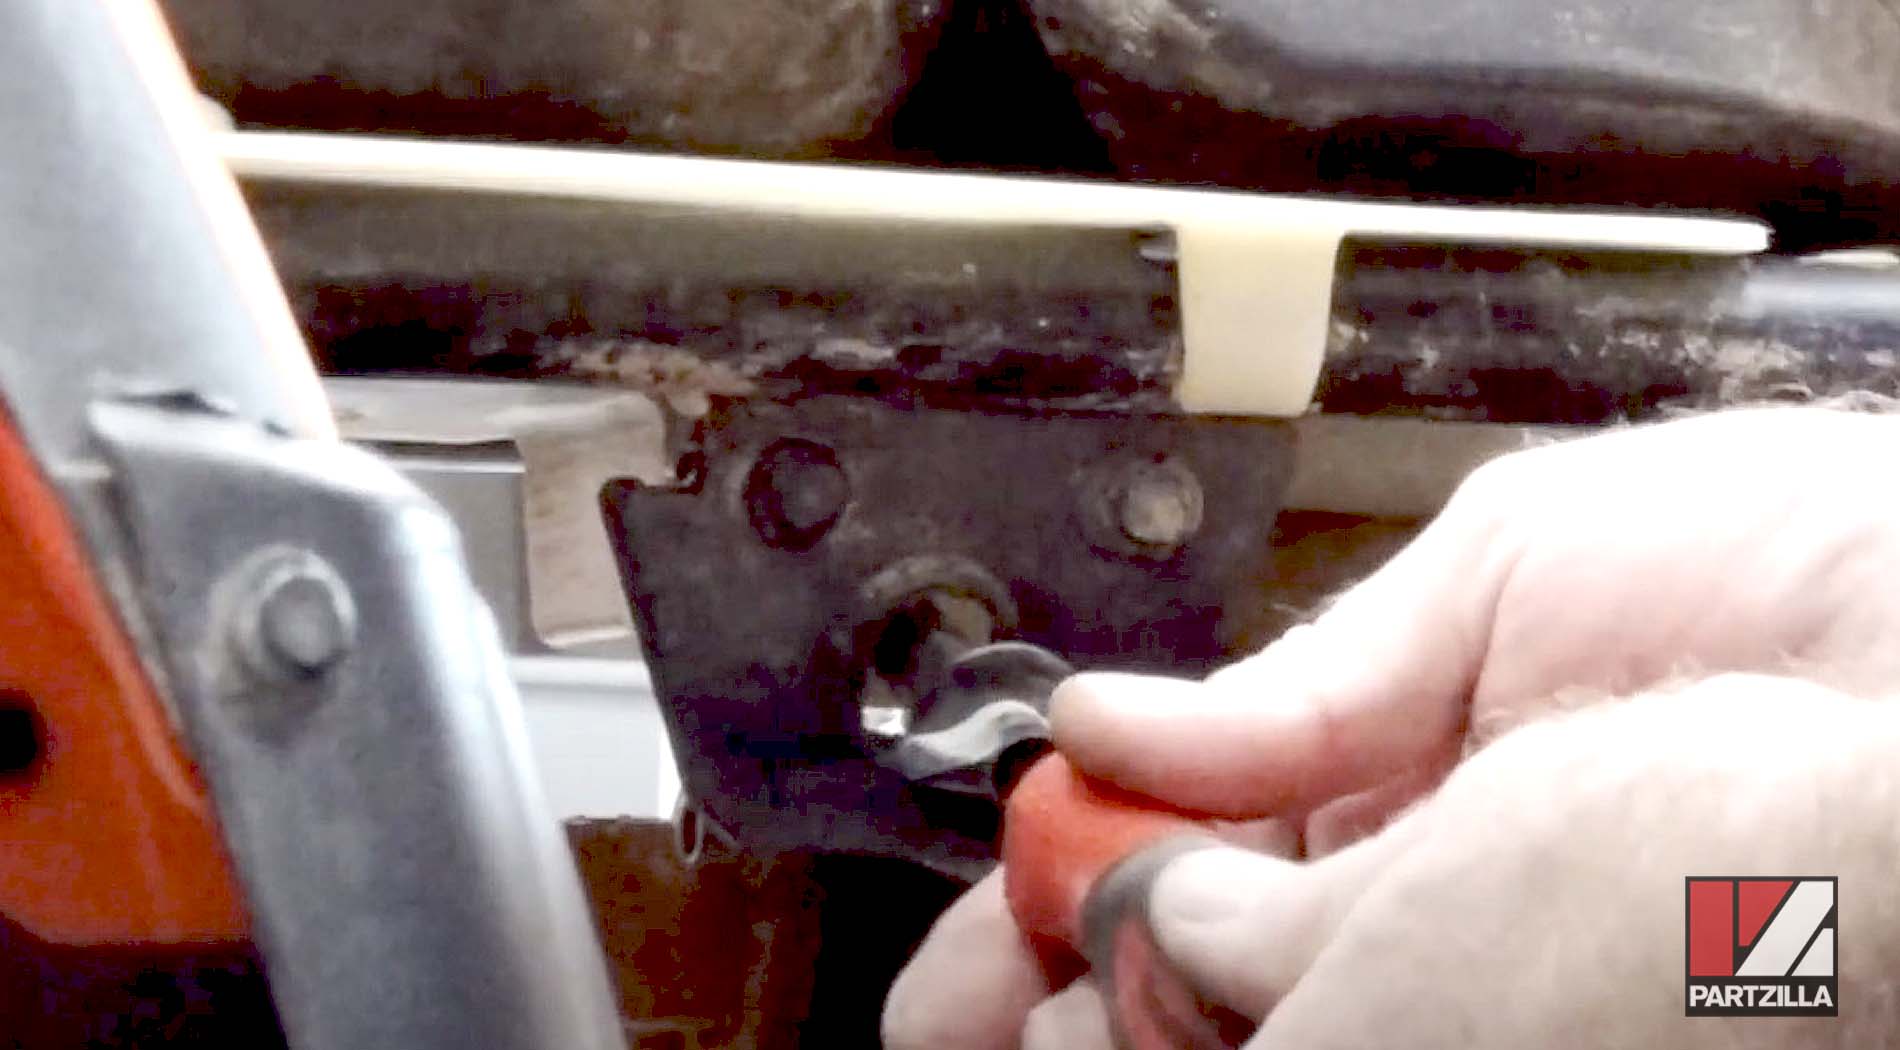
Step 8. Reinstall the motor mount upper bracket and reattach the cylinder to the bracket.

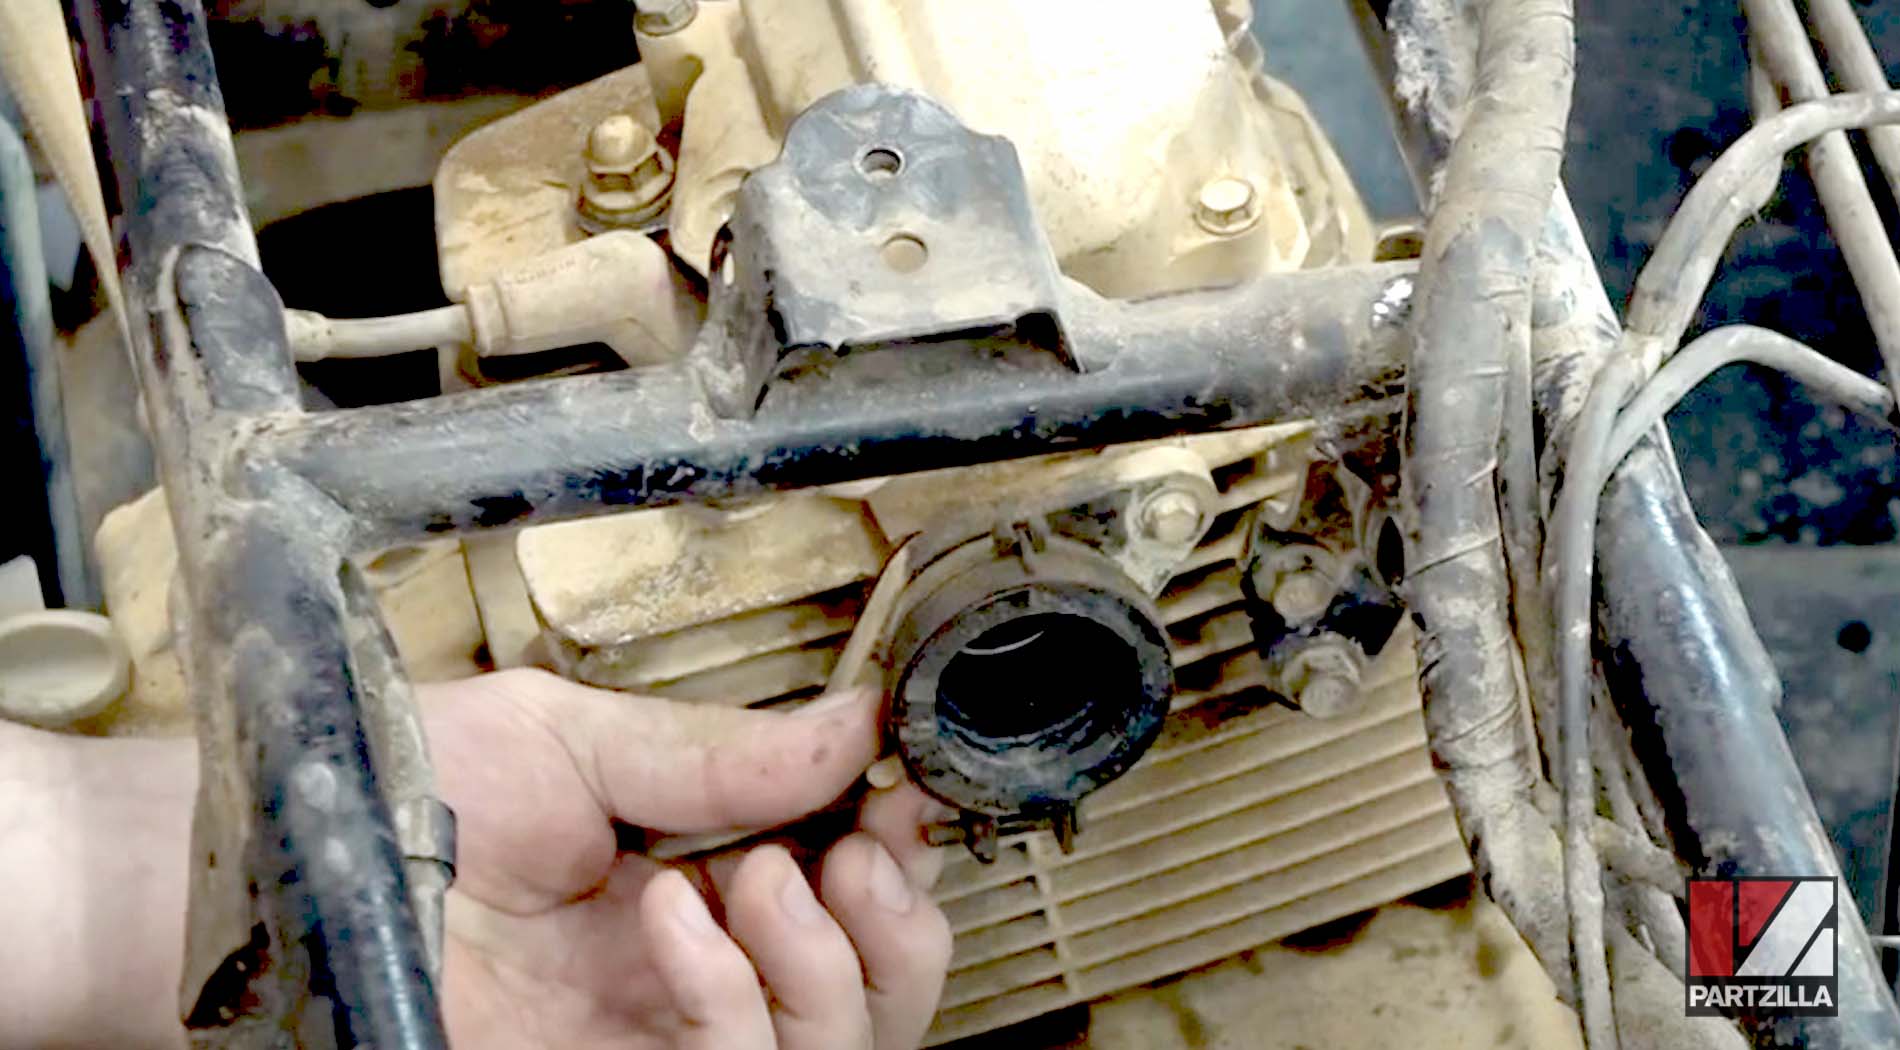
Step 9. Reinstall the air intake boot with the notch facing to the left side when looking at the ATV from front to rear.

Step 10. Install a new exhaust pipe gasket, then reinstall the exhaust pipe and hand-tighten the exhaust flange bolts so the exhaust can still be maneuvered. Reinstall the muffler, then tighten its mounting bolts and the exhaust flange bolts.


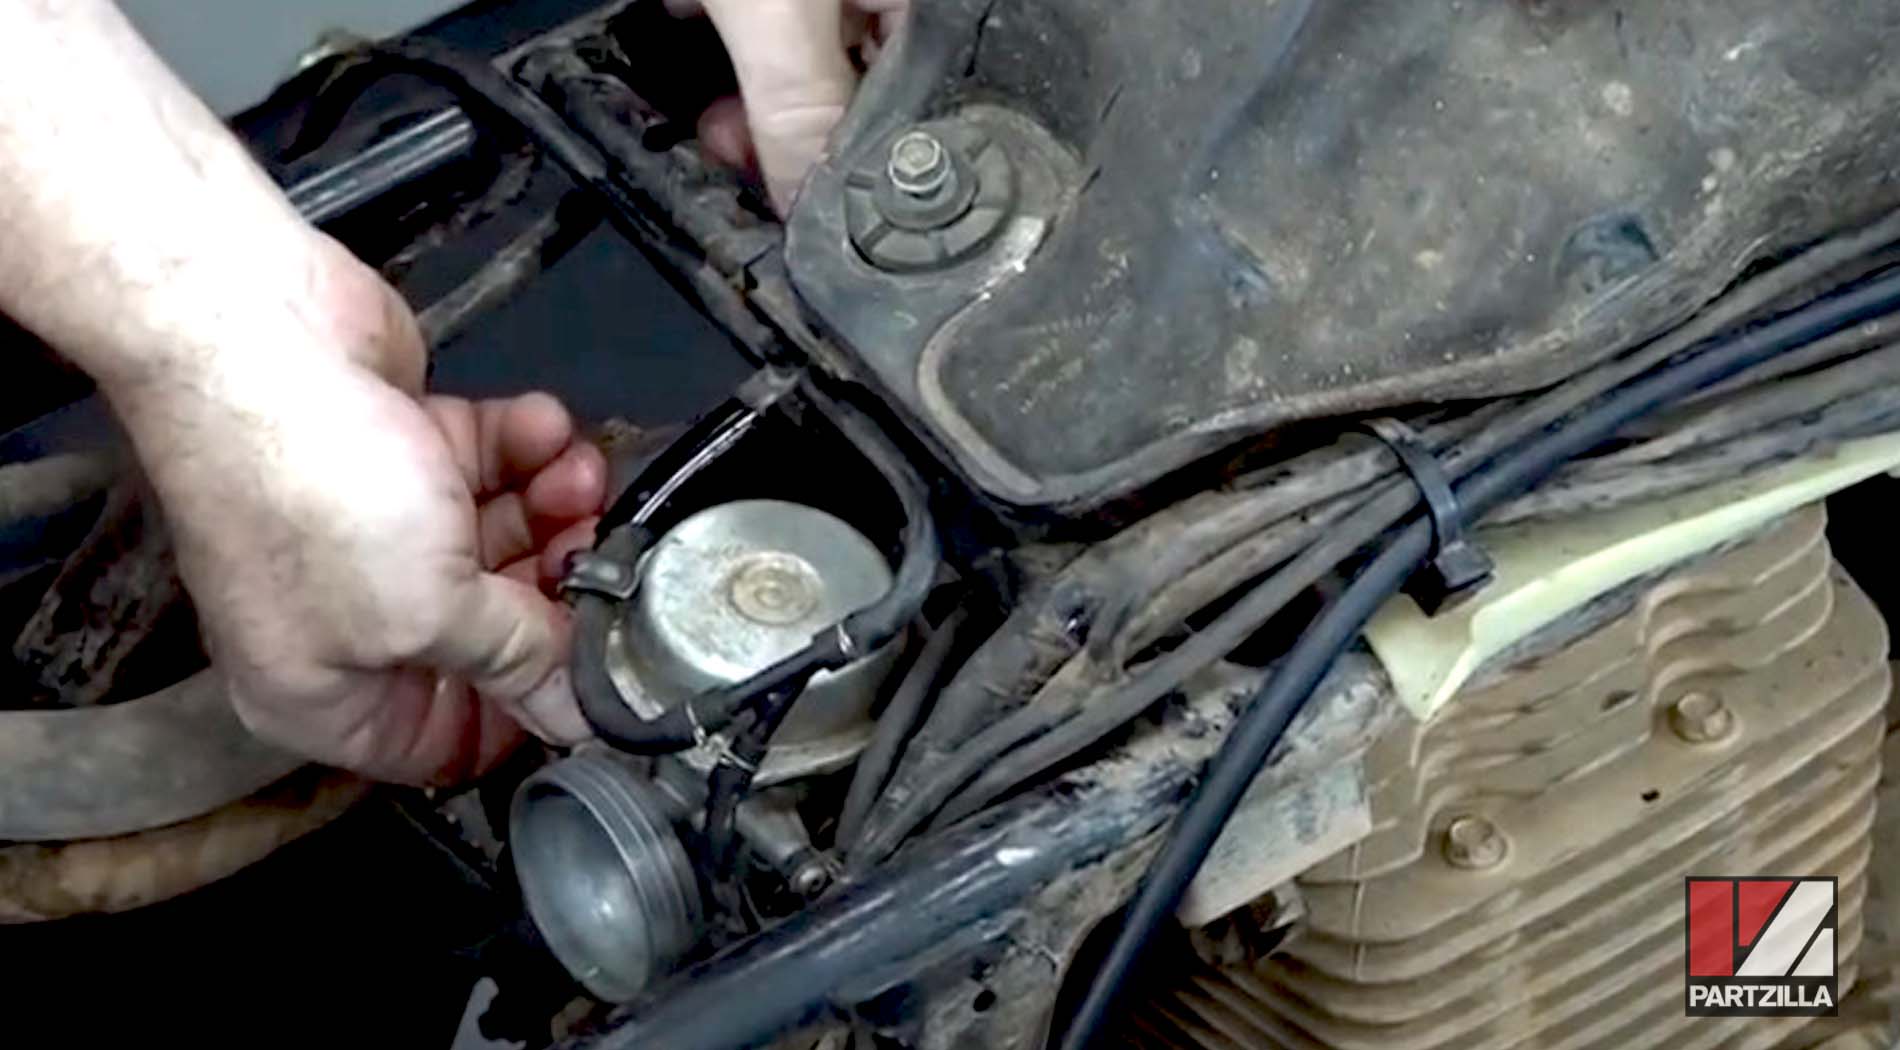
Honda TRX 350 Top End Rebuild Carburetor Reinstall
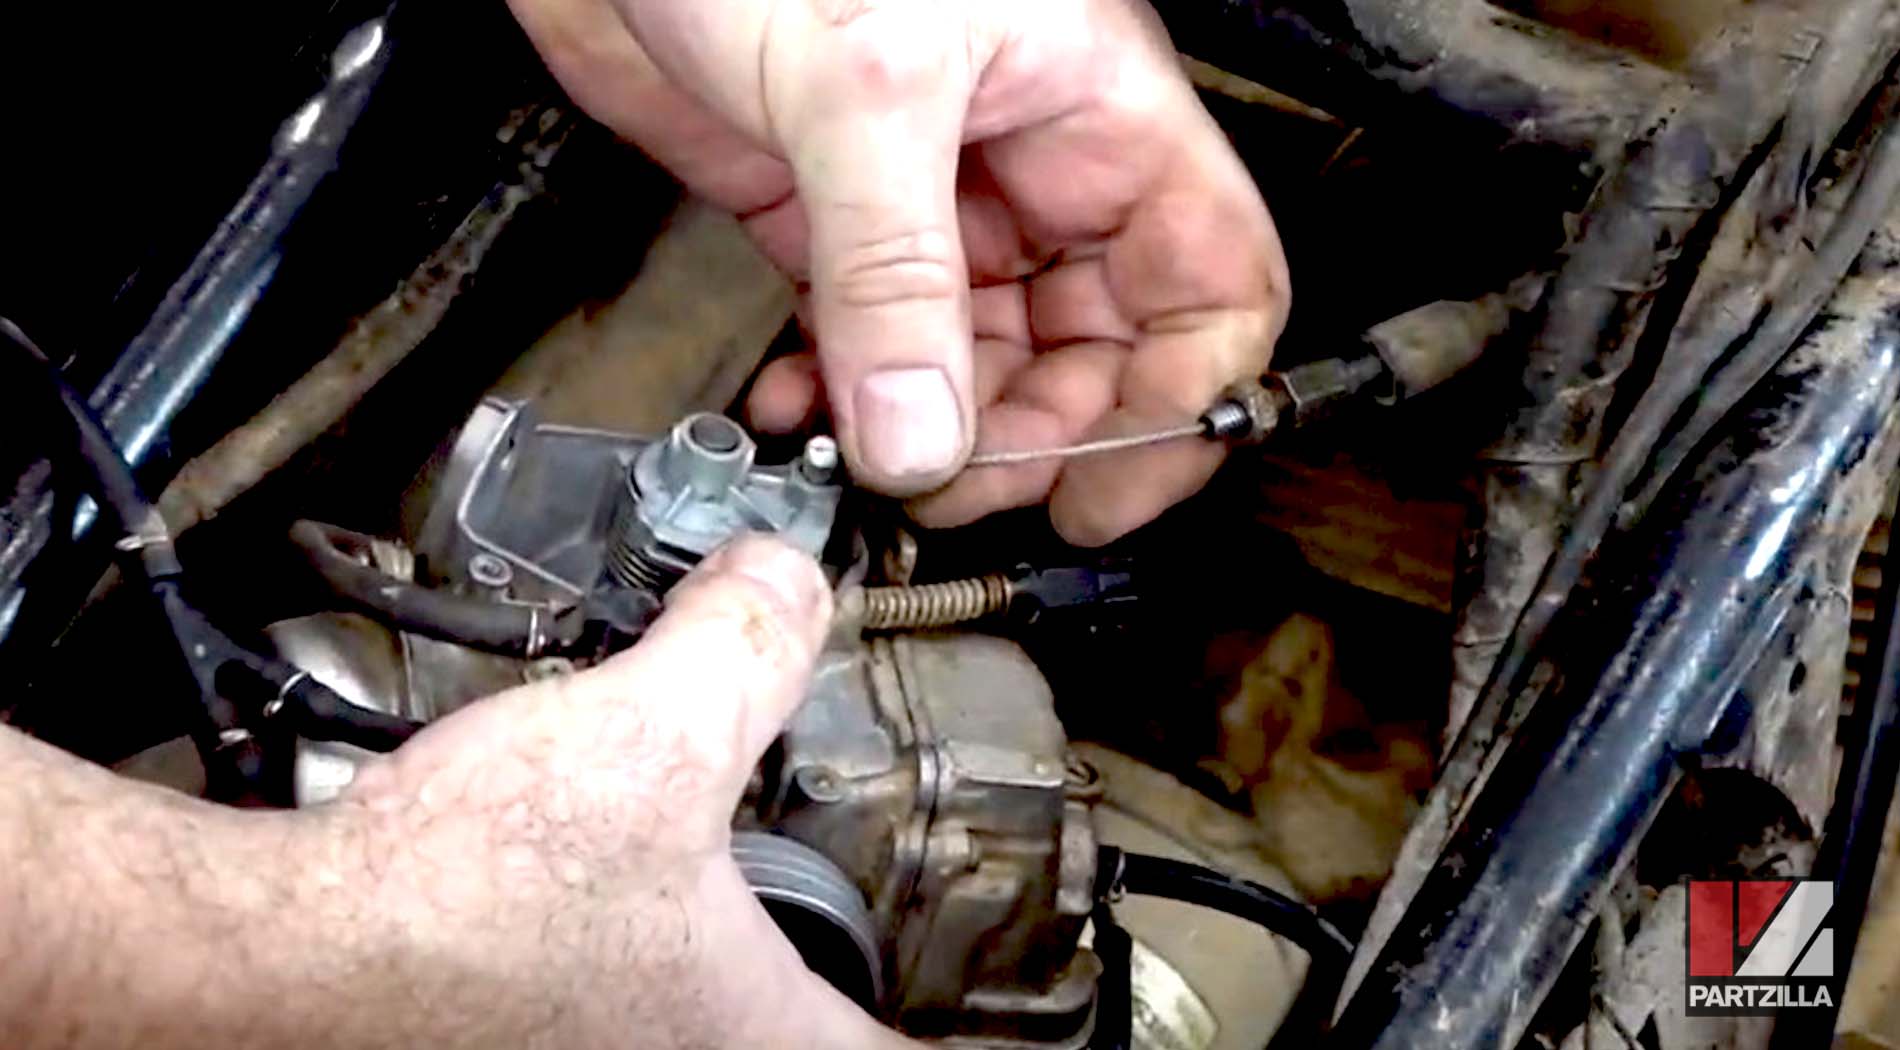
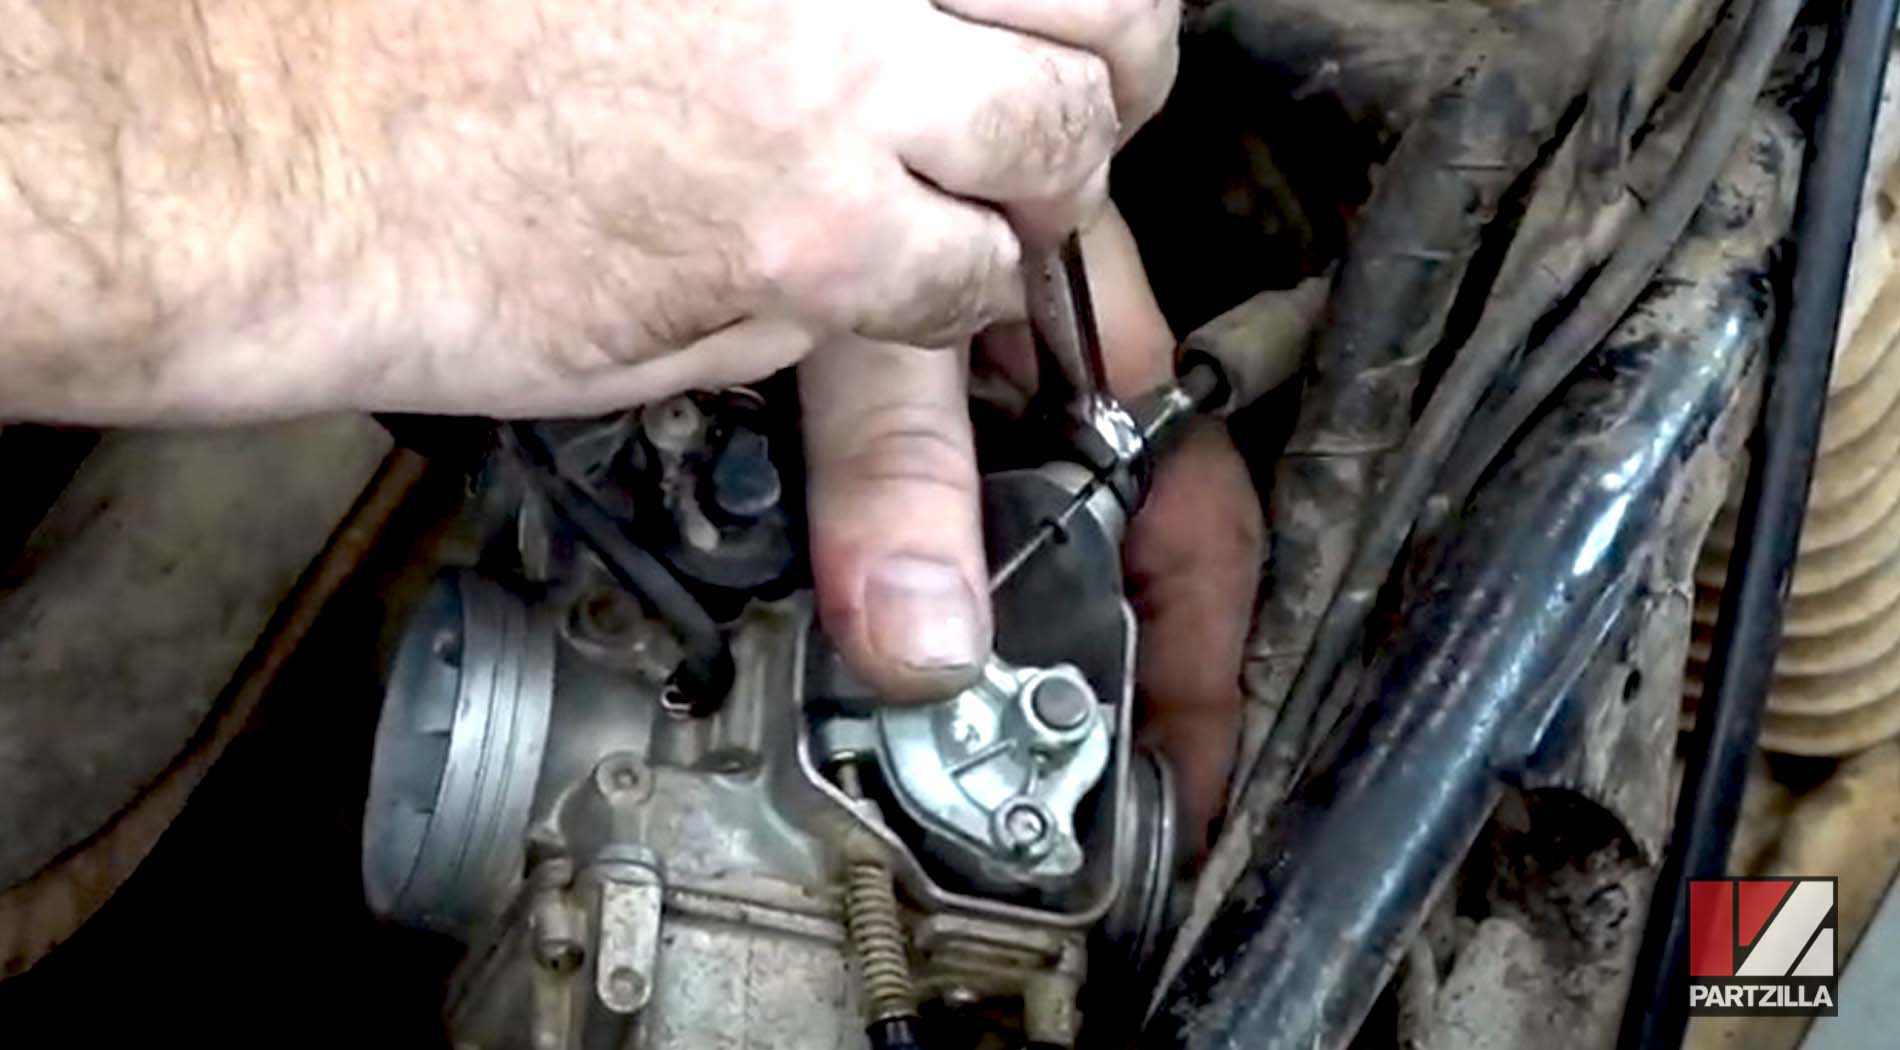
Step 11. Reattach the throttle cable to the carburetor, making sure there’s a little bit of play in the cable. Next, tighten the cable’s pinch bolt to lock it, then pull the rubber boot back over the pinch bolt.
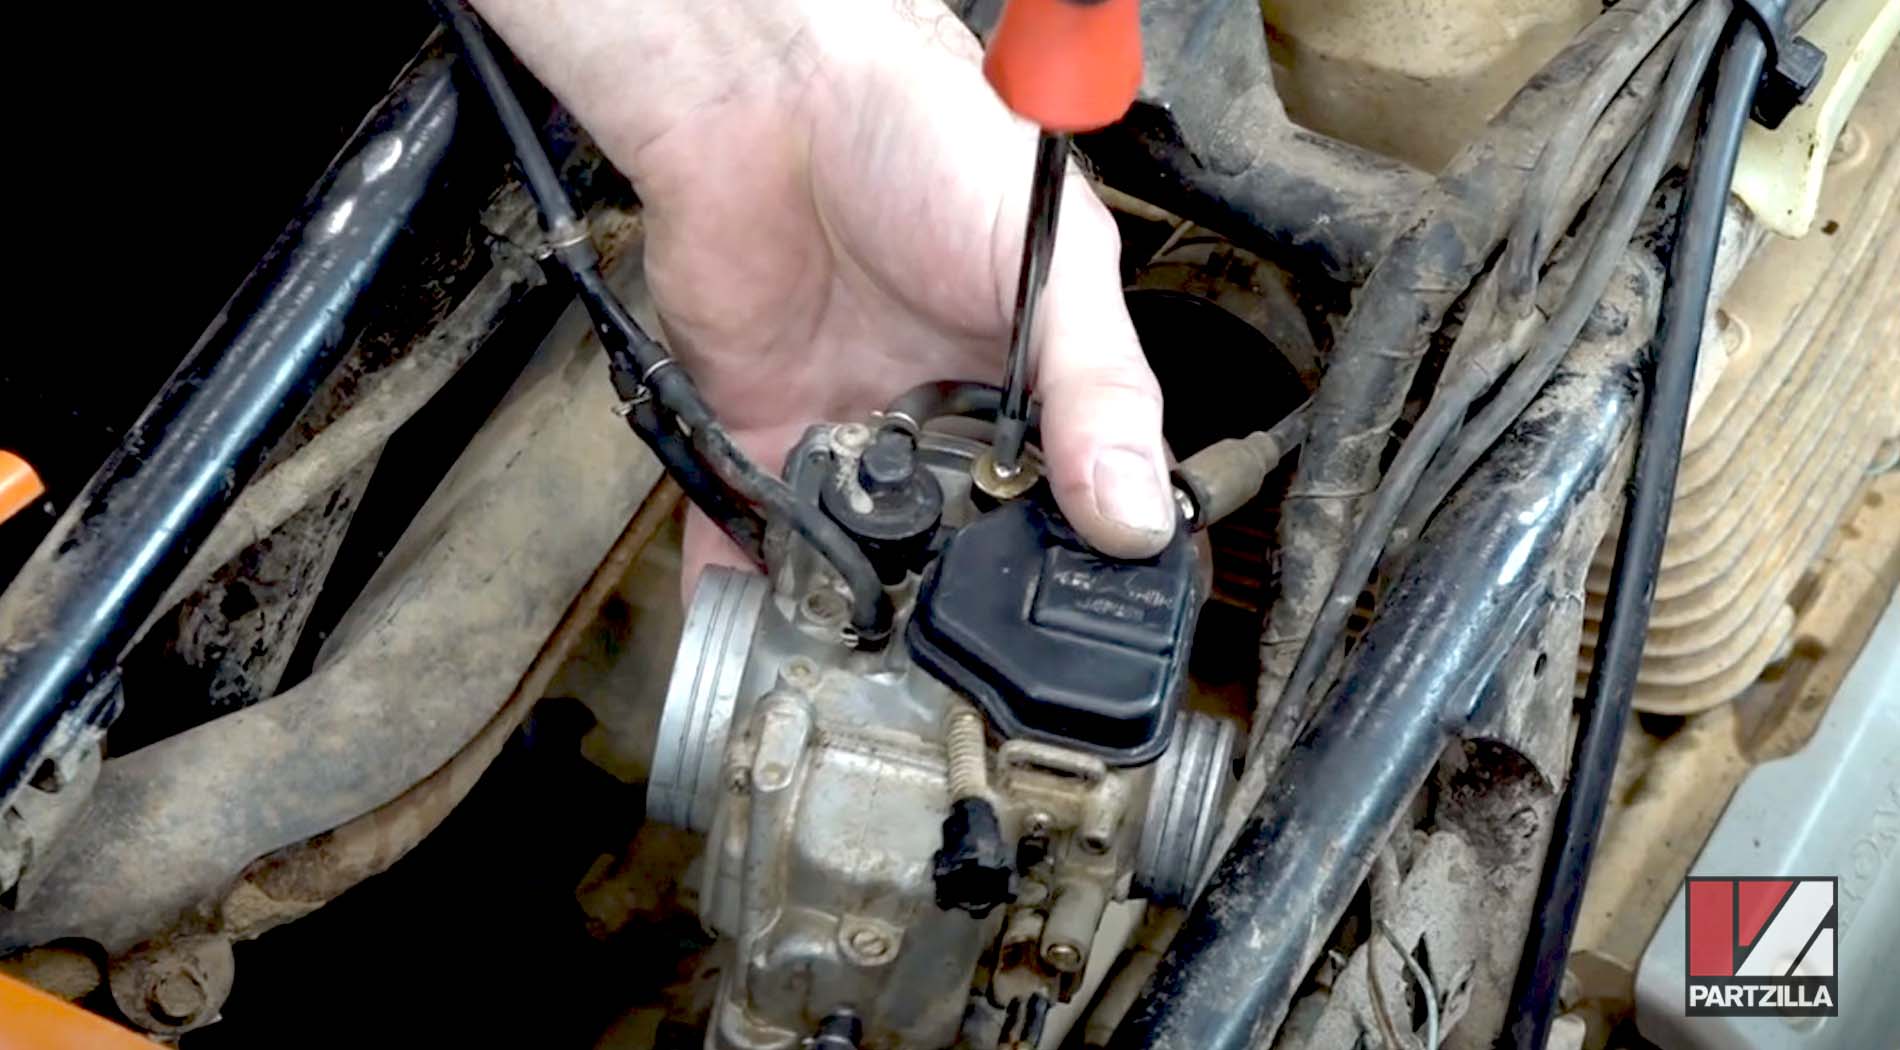
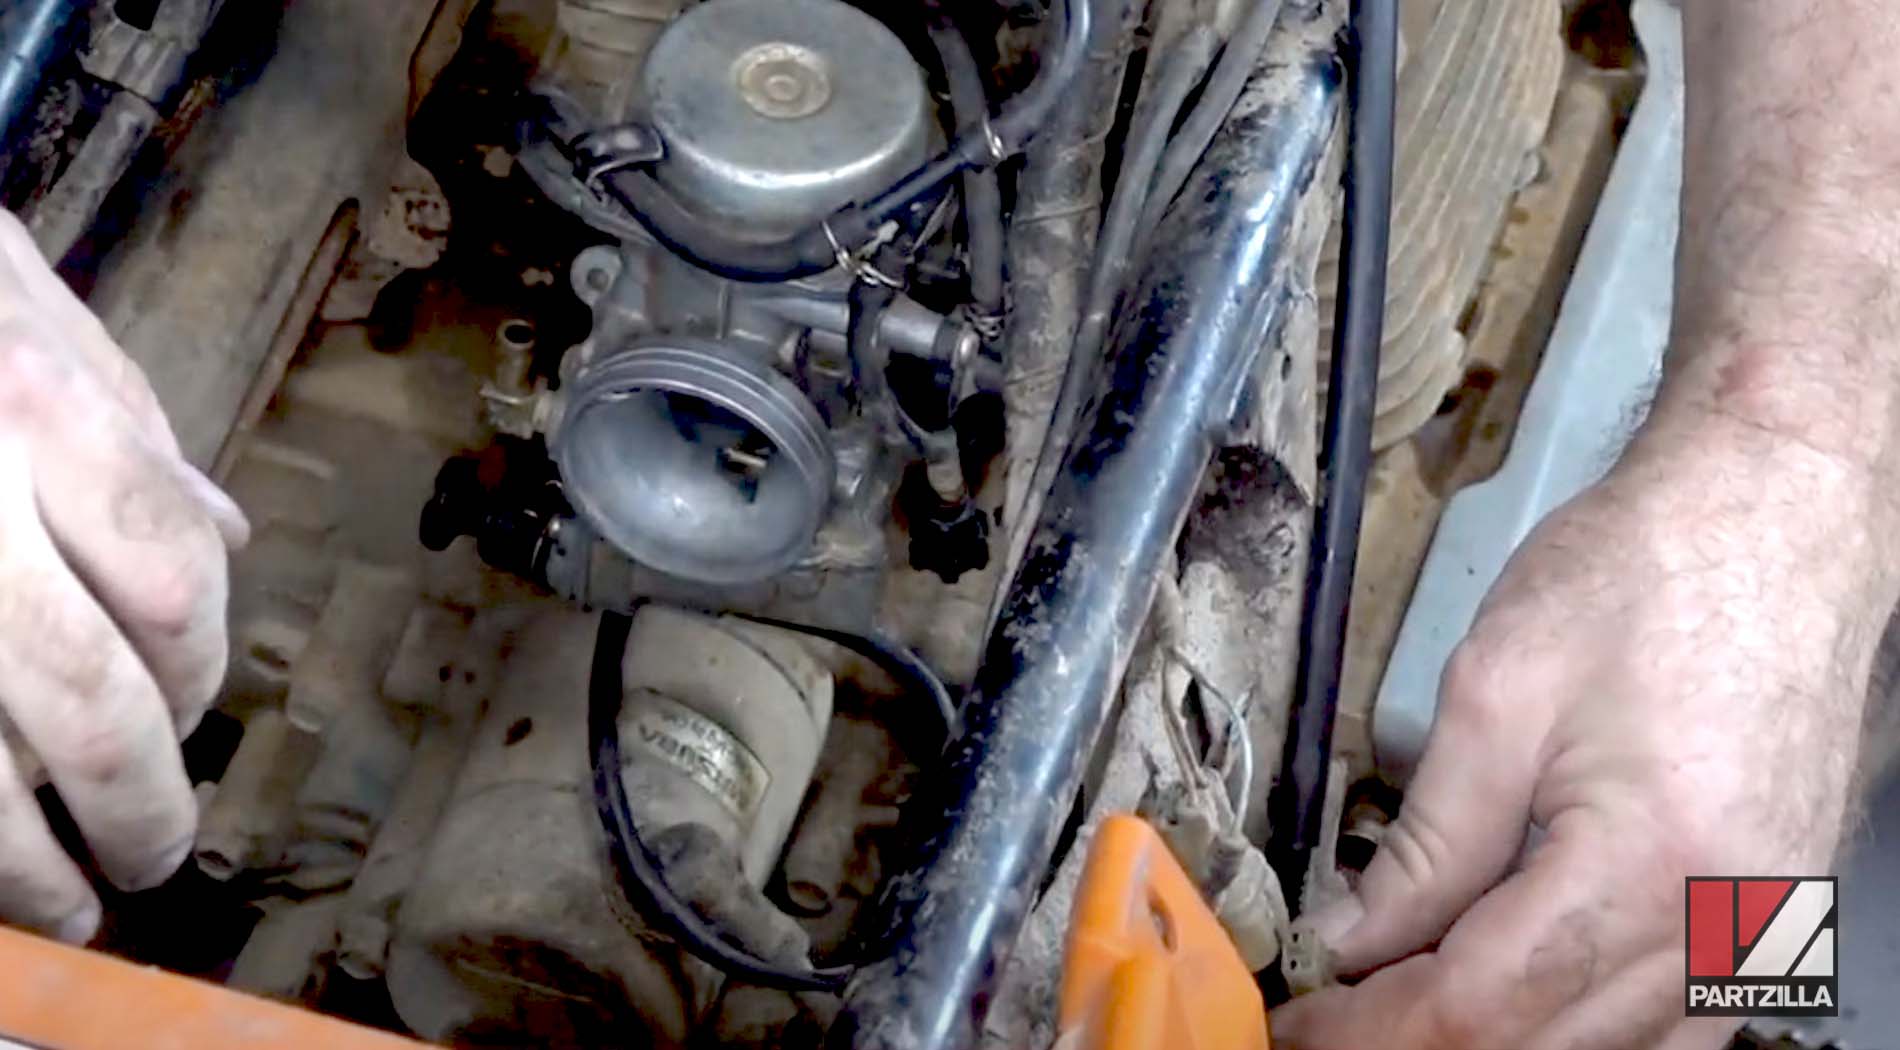
Step 12. Reinstall the carburetor body cover, then reattach the choke cable to the carburetor, reinstall the carburetor assembly to the engine intake and tighten the intake clamp.
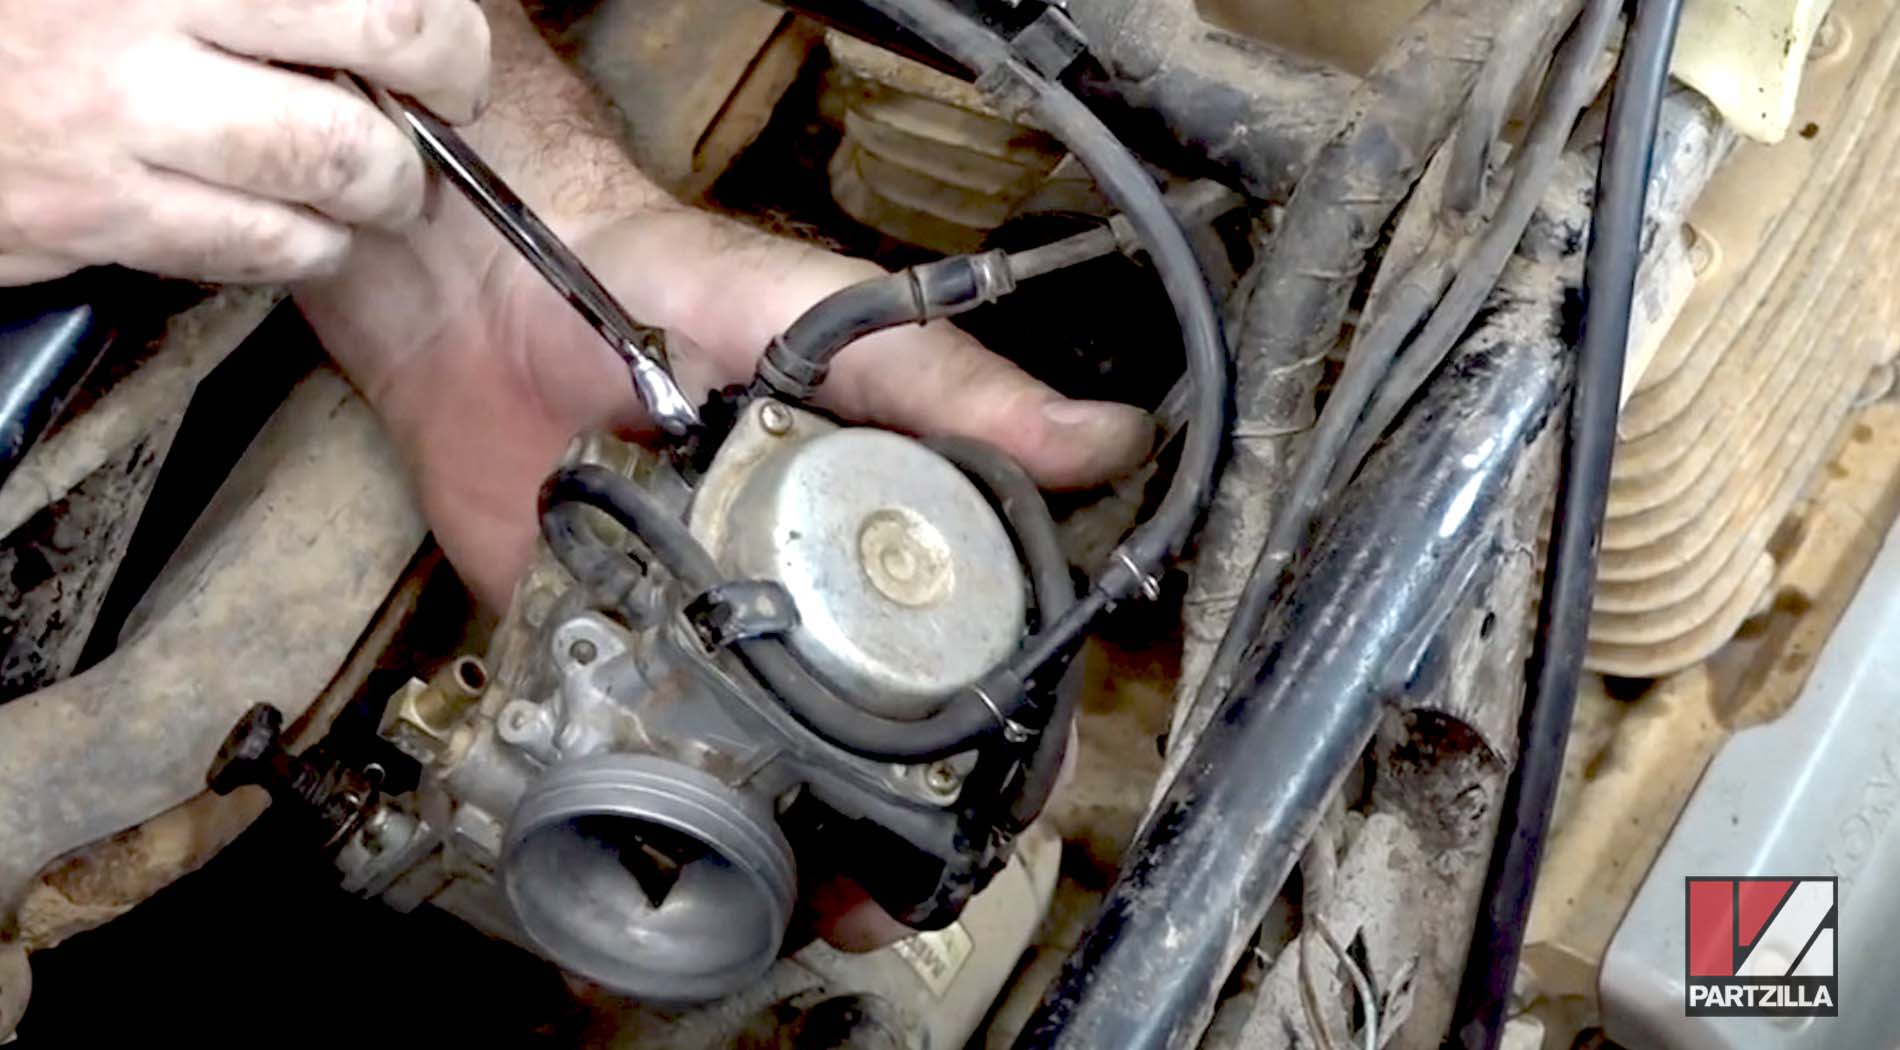
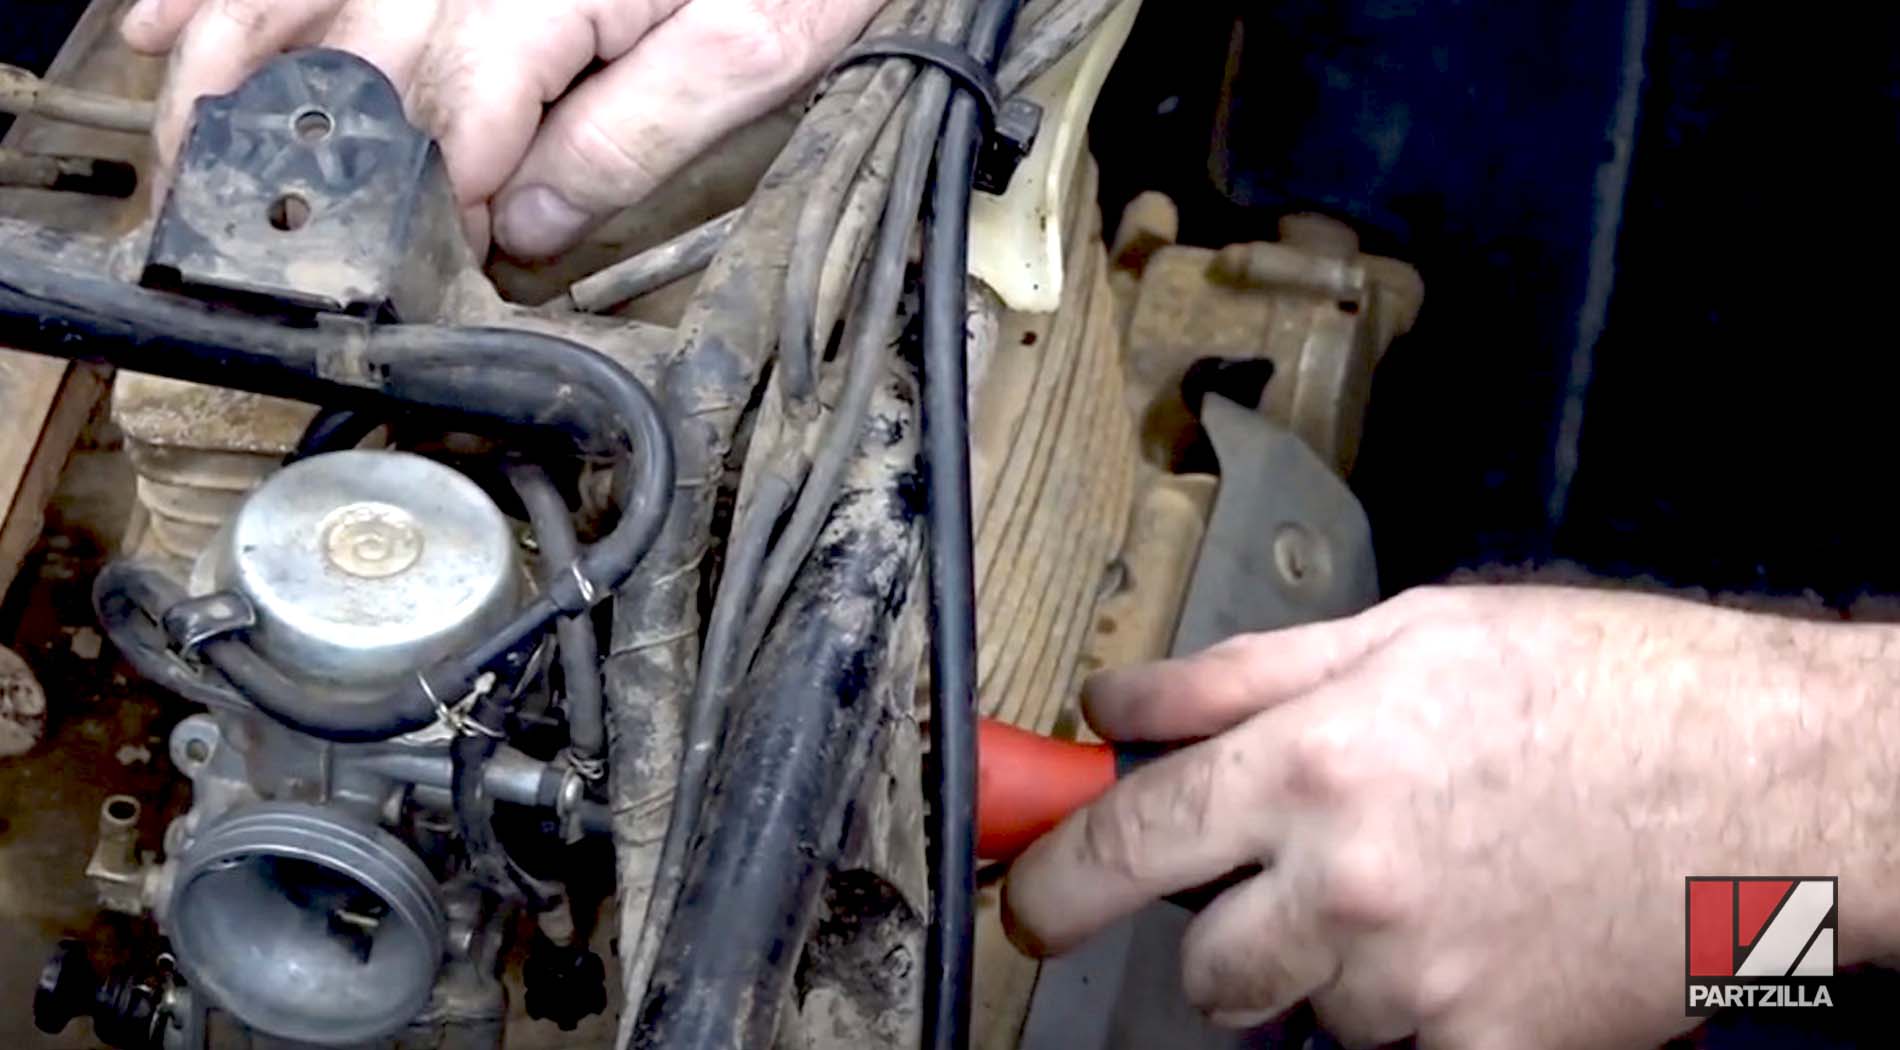
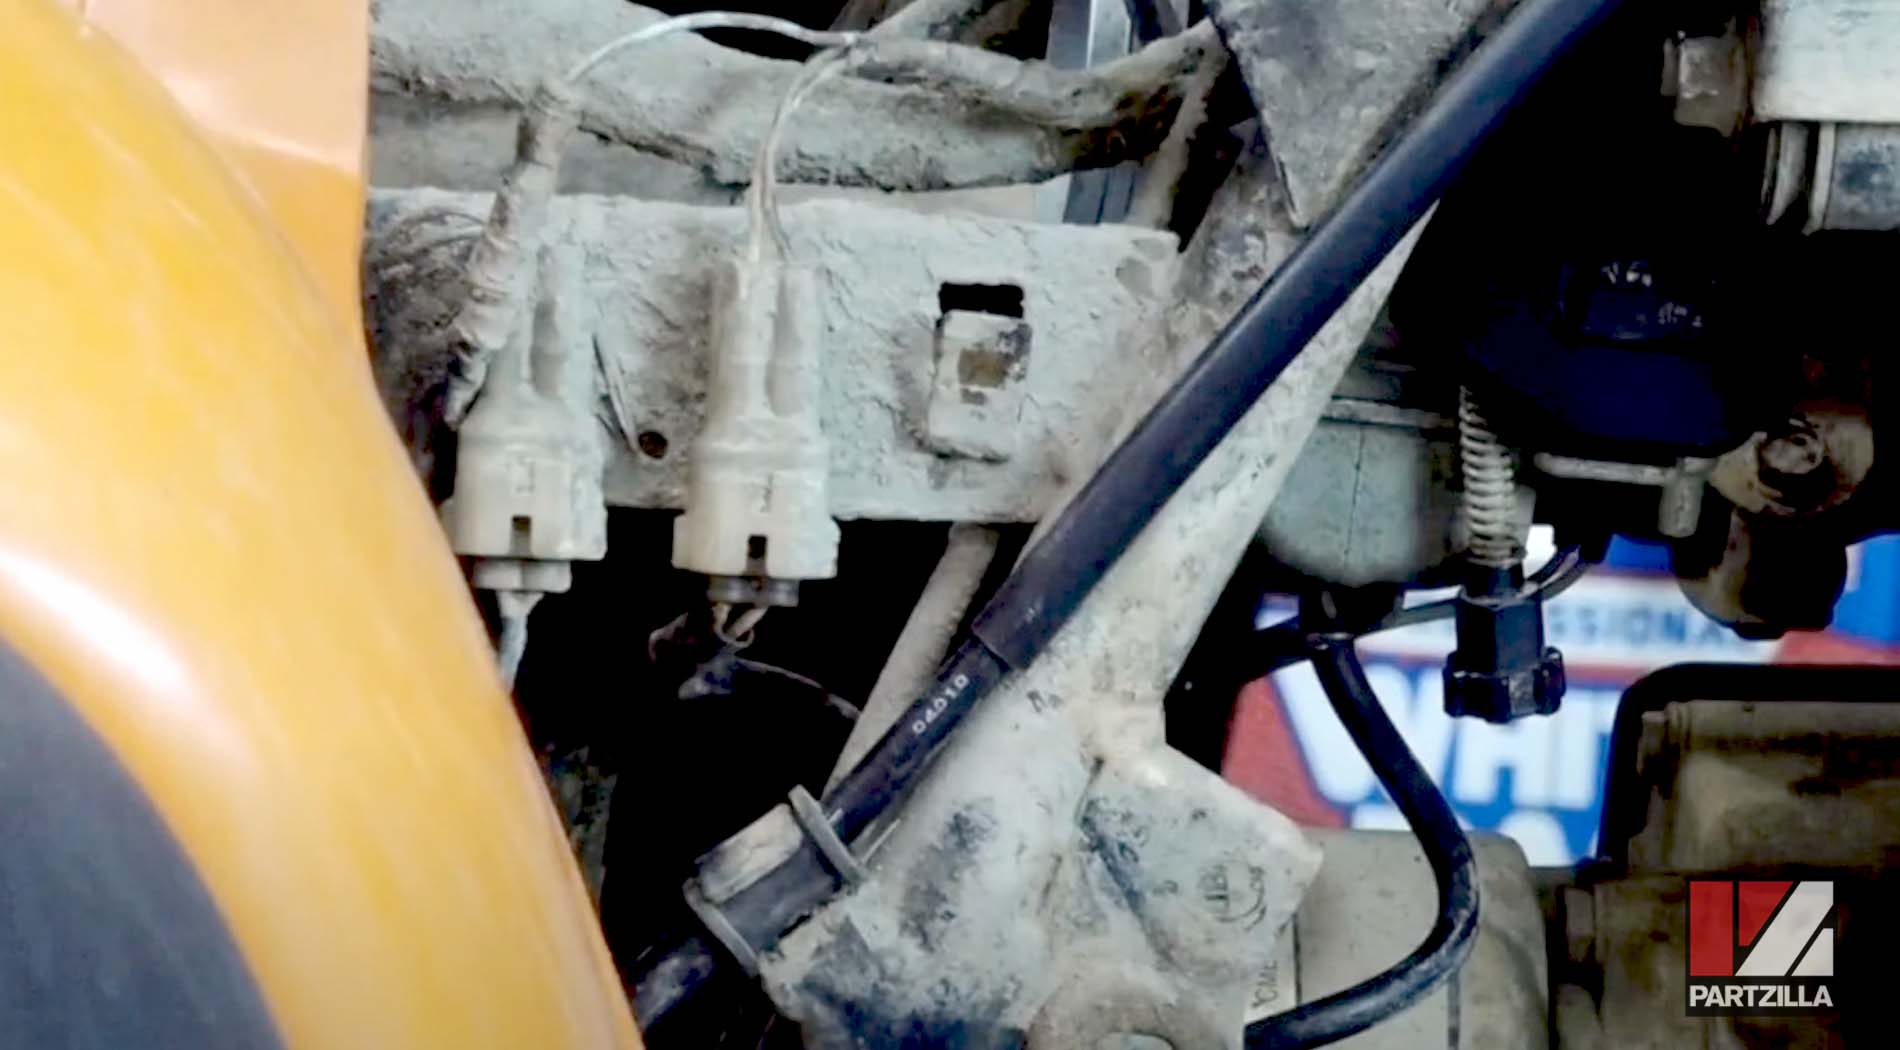
Step 13. Reconnect the float bowl heater’s electrical connector.
Honda TRX 350 Top End Rebuild Fuel Tank Reinstallation
Step 14. Reinstall the fuel tank heat protector cover onto the frame.

Step 15. Reinstall the fuel tank on top of the cover, then reconnect the fuel line from the tank to the carburetor assembly and tighten the three 10mm mounting bolts.
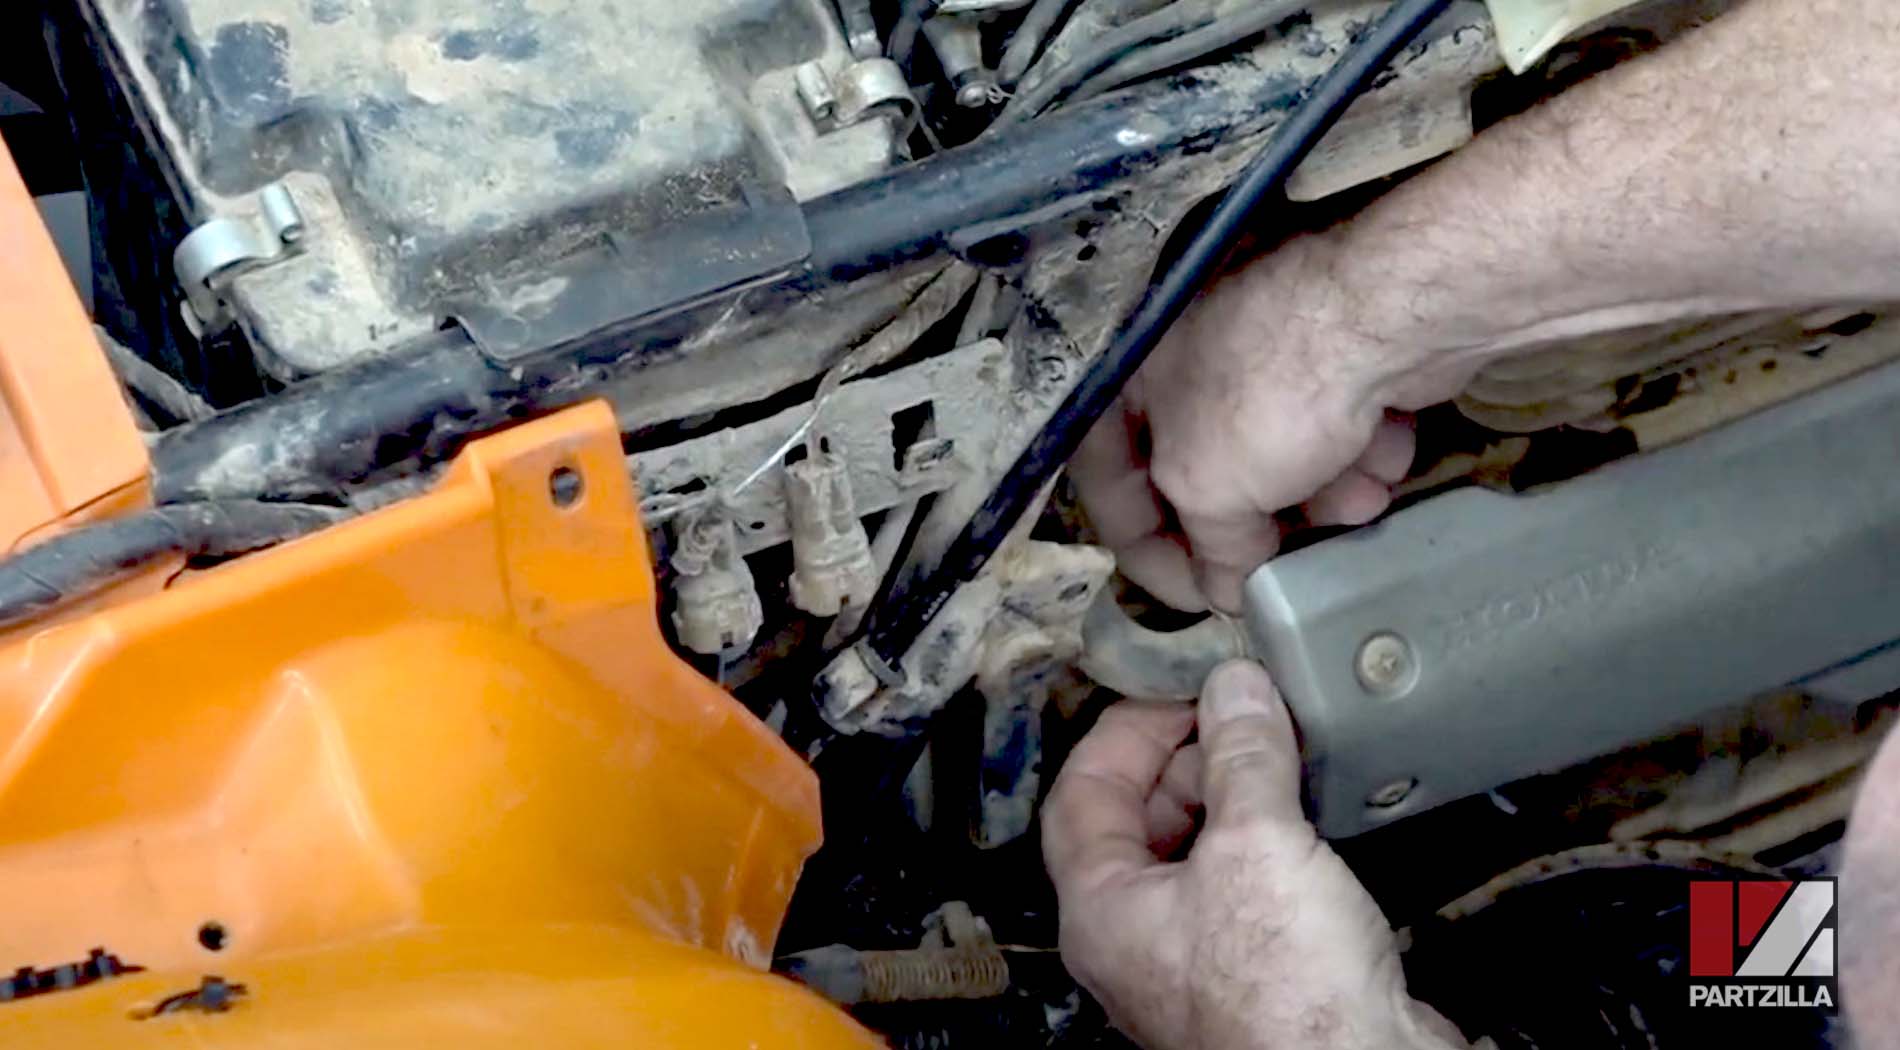
Step 16. Reinstall the air intake tube across the rear of the fuel tank and hold it in place with the plastic mounting rivet. Reroute the vent hose up through the aperture in the intake tube.
Step 17. Reinstall the petcock valve extension and turn it on.
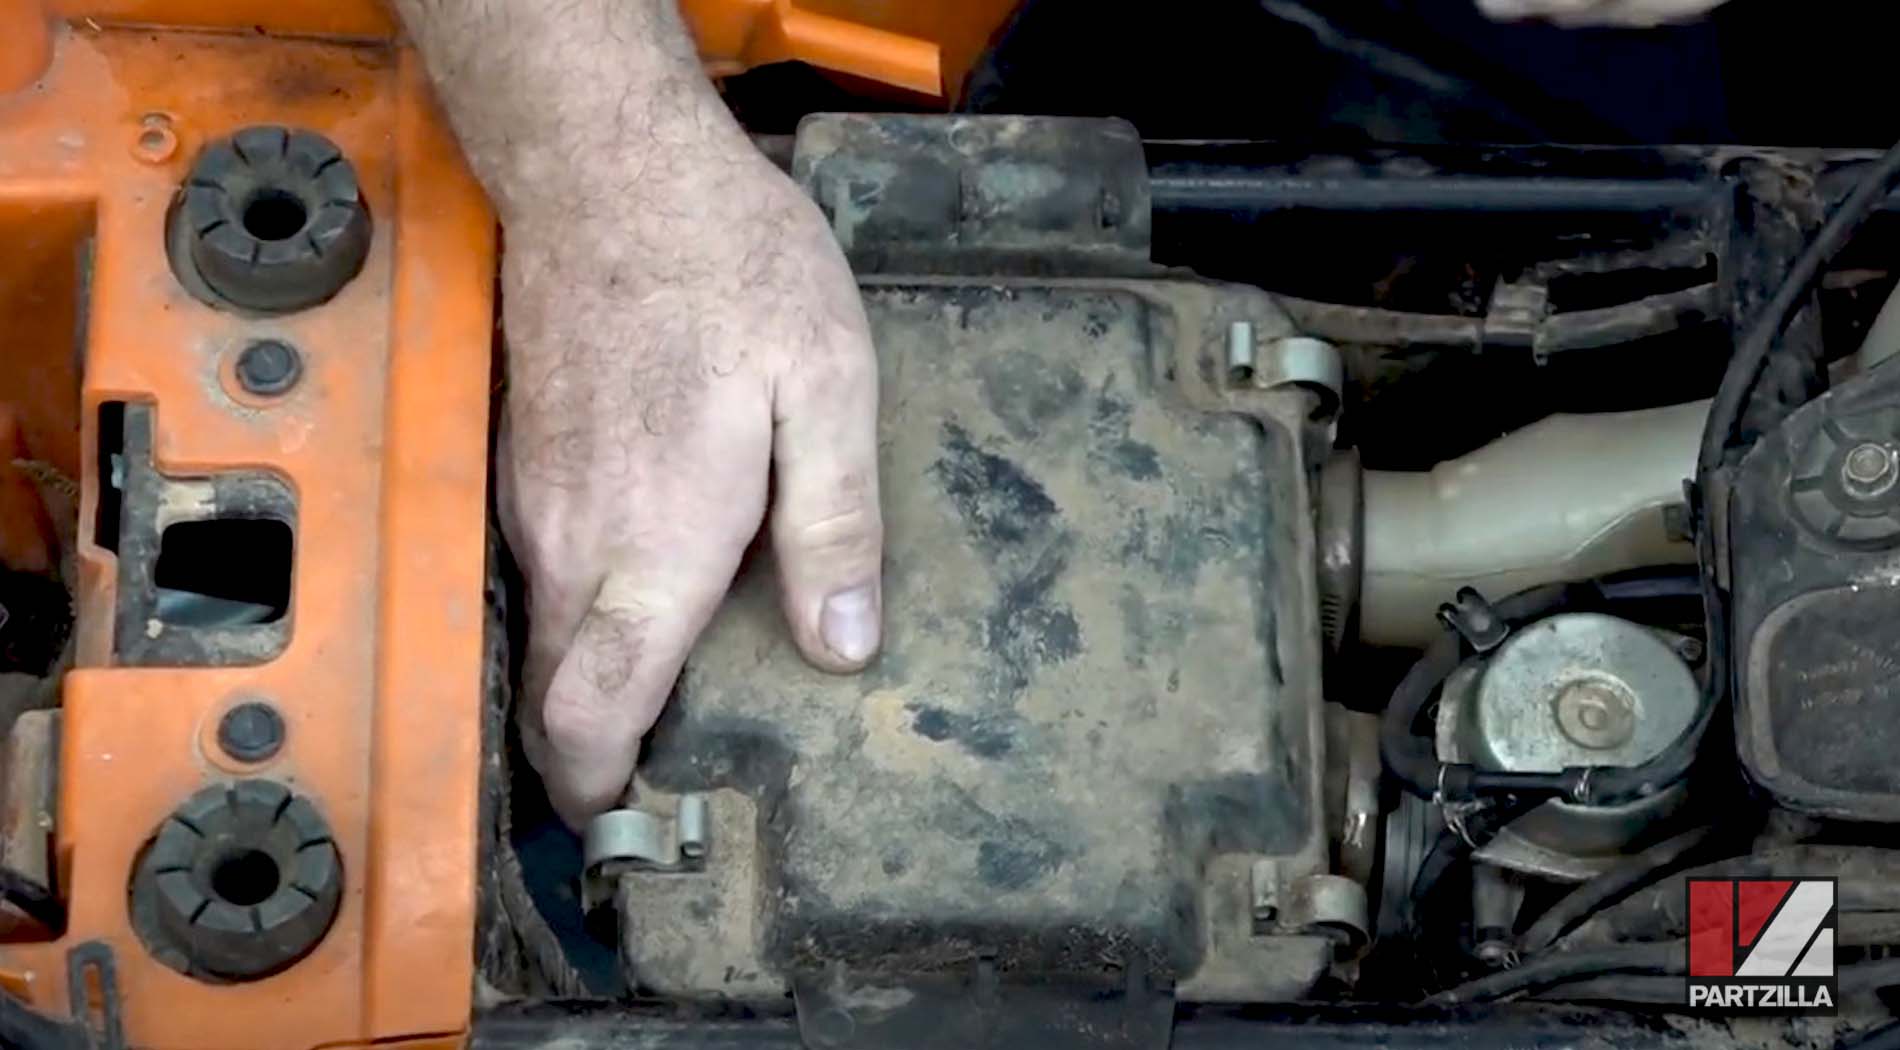
Honda TRX 350 Top End Rebuild Airbox Reinstall
Step 18. Slide the airbox assembly back into position behind the carburetor, then reattach the air intake tube and the carburetor intake boot. Tighten the clamps on the intake tube and carburetor intake boot.
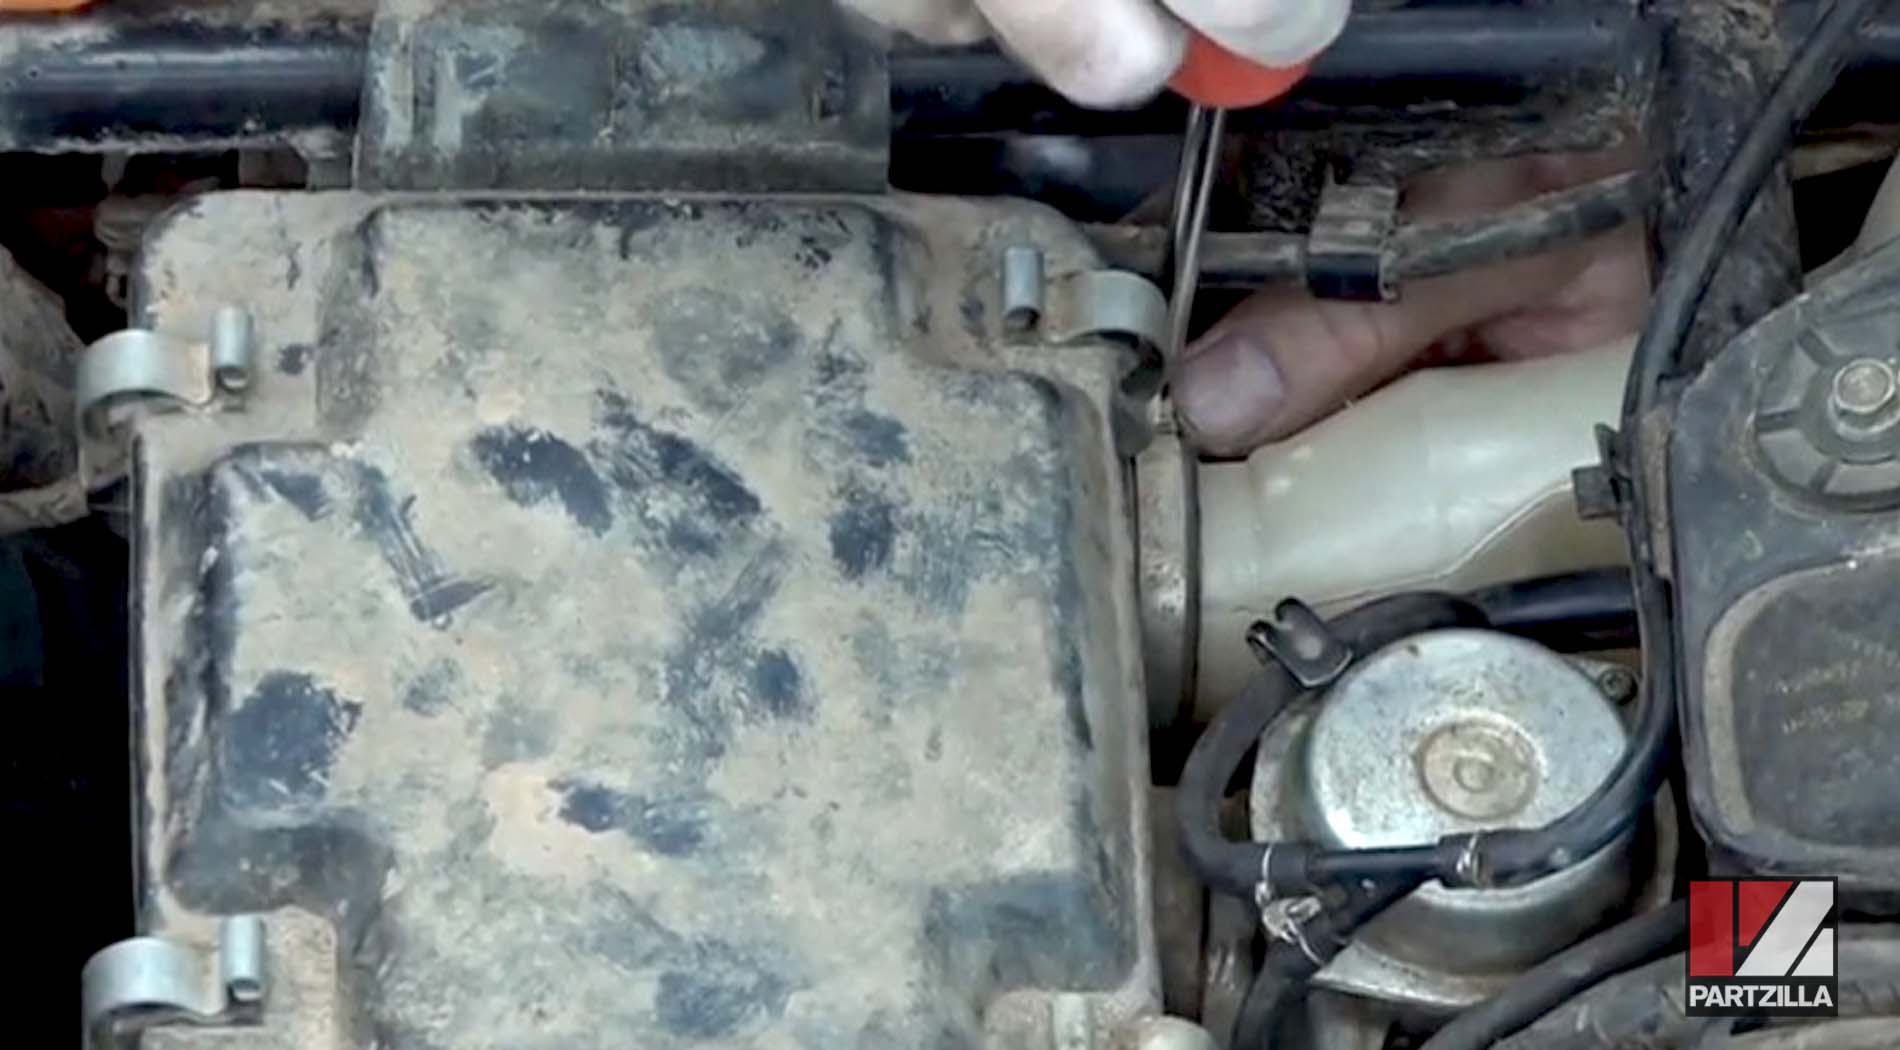
Step 19. Reconnect the airbox vent hose and reinstall the mounting bolt beneath the airbox assembly.
Honda TRX 350 Top End Rebuild Final Steps
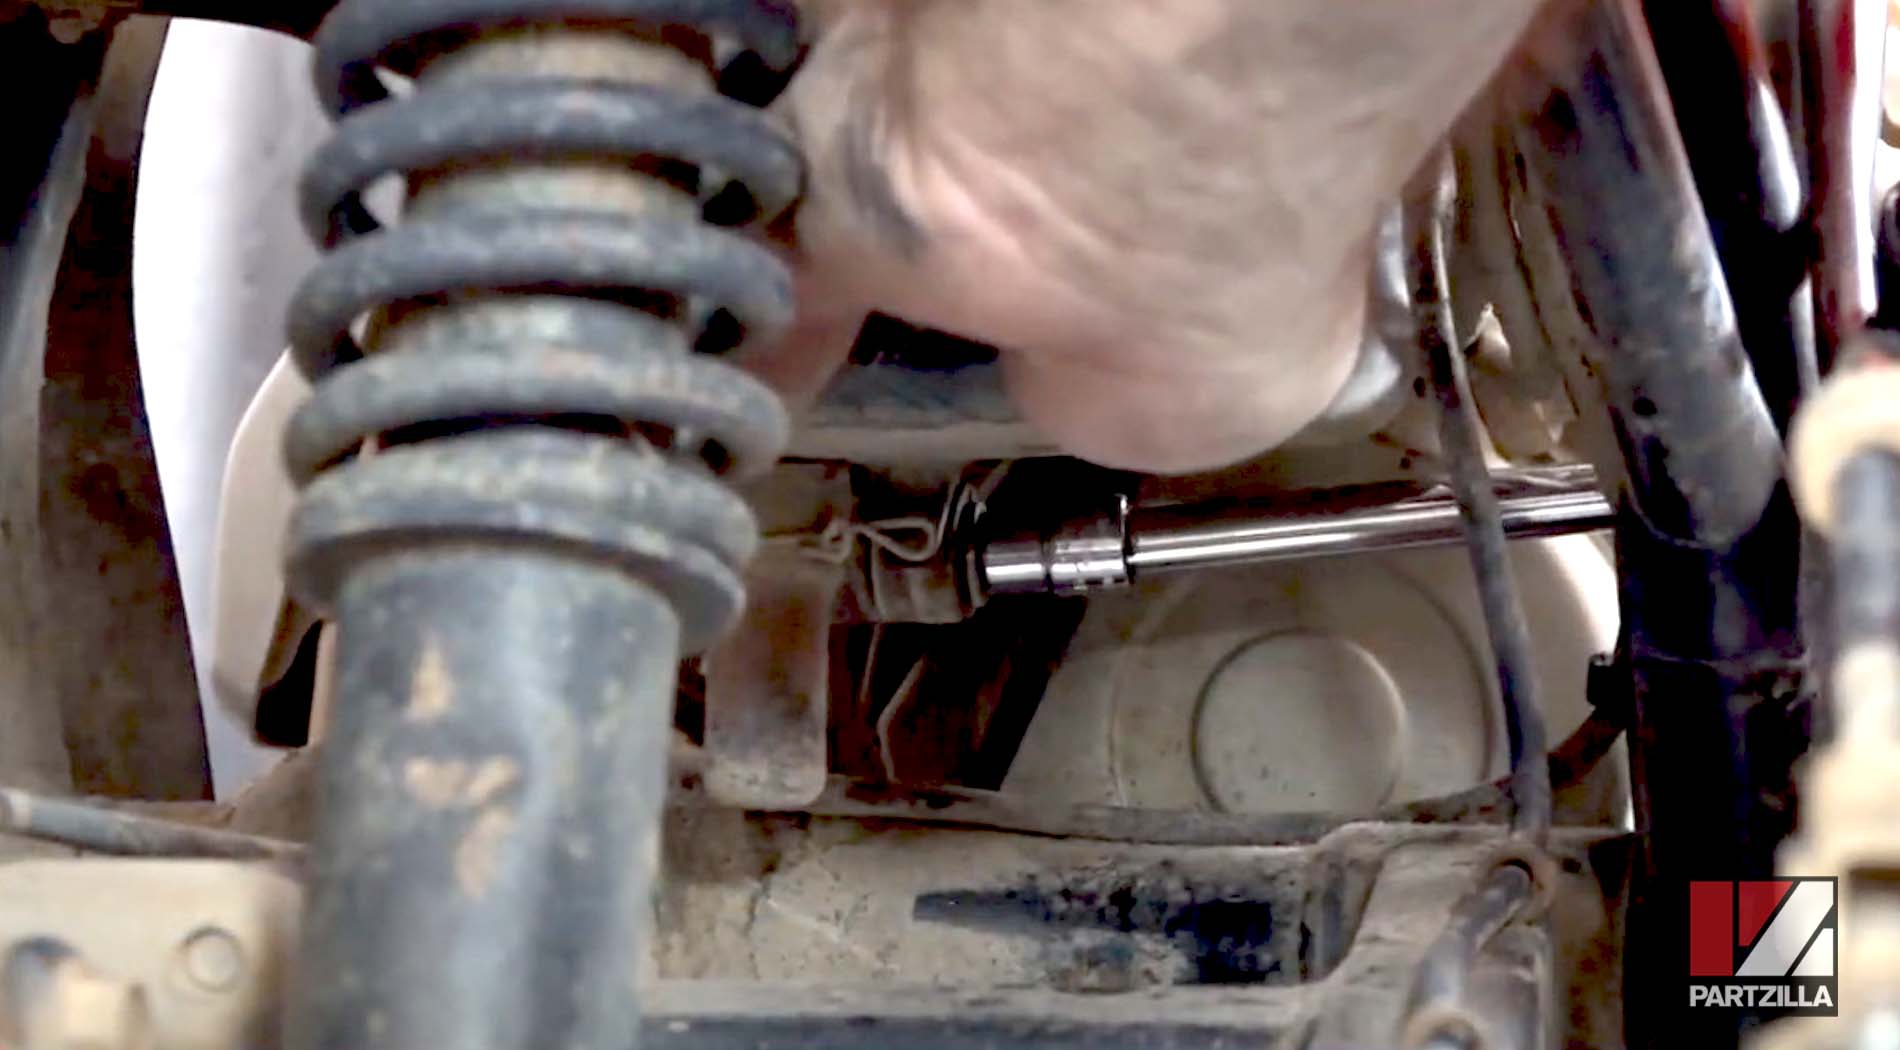
Step 20. Reinstall the TDC inspection plug into the right side of the crankcase.
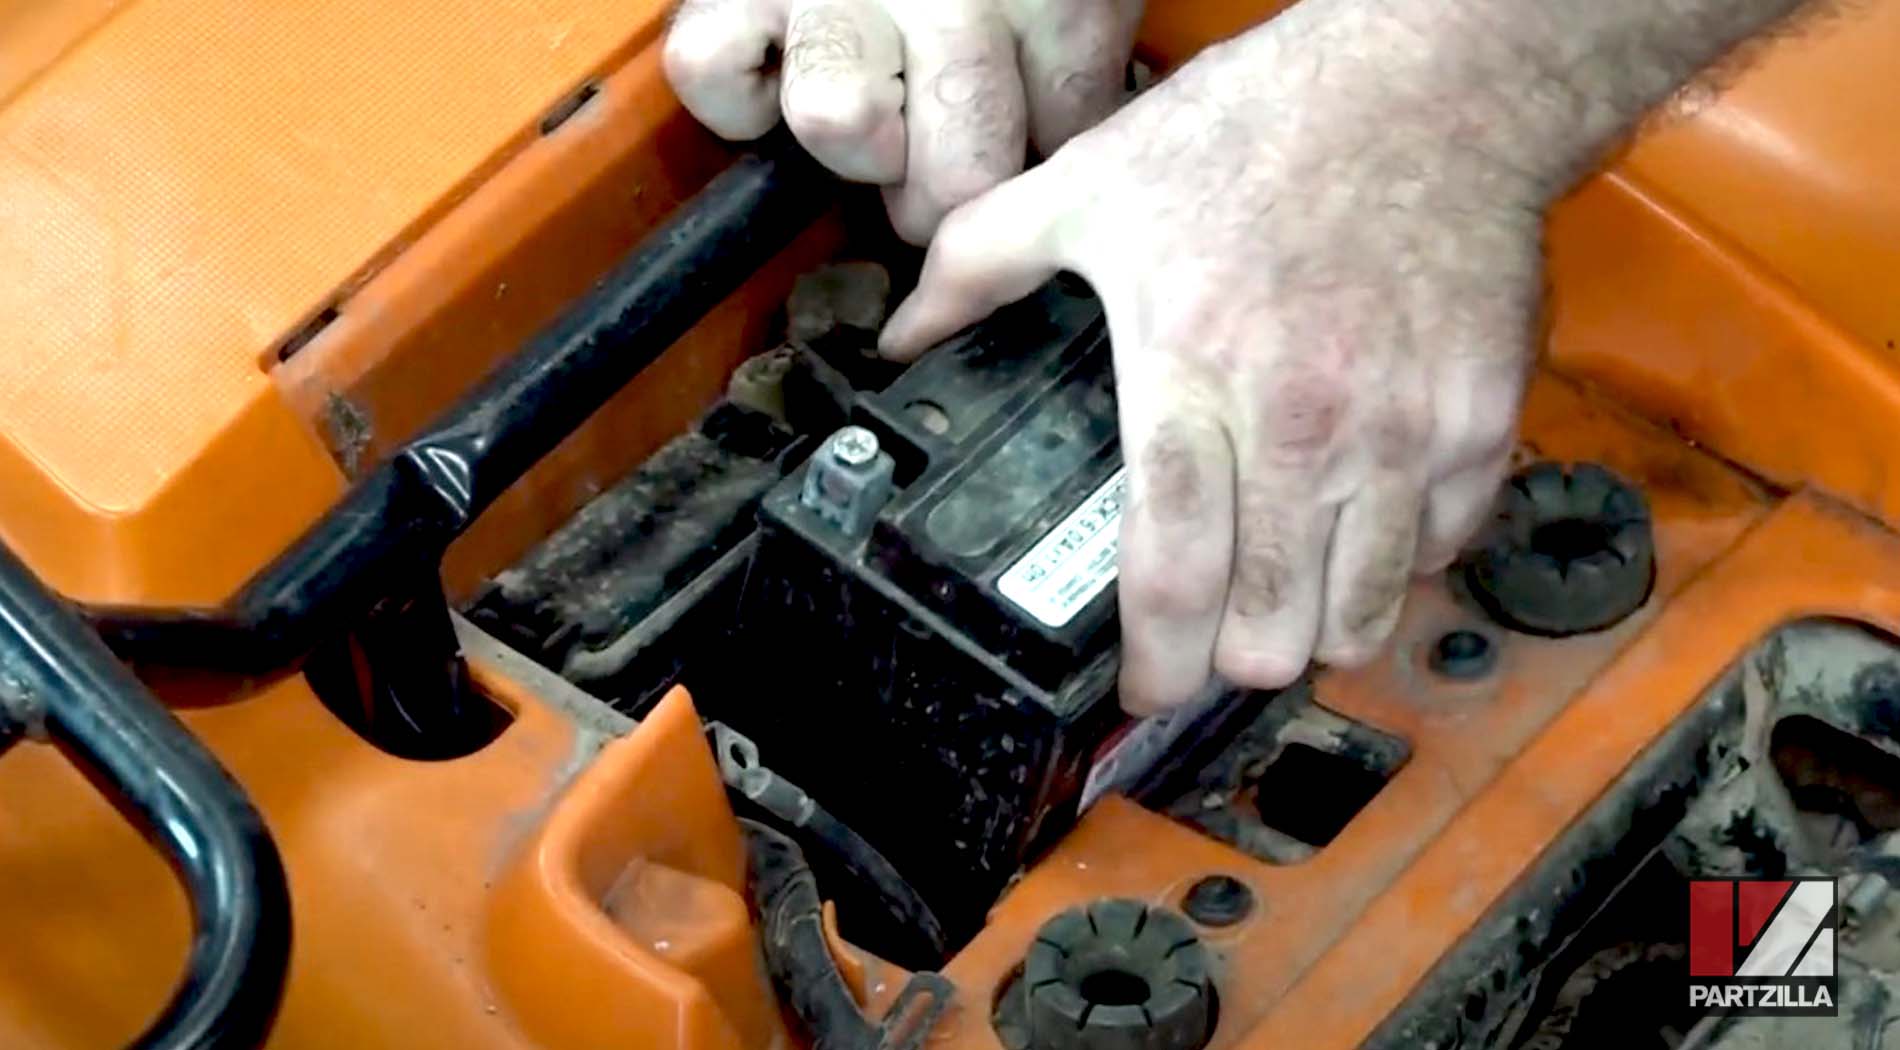
Step 21. Reinstall and reconnect the battery, then reinstall the body panels and the seat and you’re done.
Go easy on the Rancher 350 for the first few miles after the top end rebuild to avoid maximum throttle and aggressive acceleration. Be progressive with the throttle so the new internal parts will bed in nicely.