How to Change Honda Rancher 350 Front Brake Shoes
Replacing the front brakes on a Honda ATV is routine maintenance, and the Honda Rancher 350 brake shoes kit includes all the parts you need to get the job done.
Watch the video above and follow the steps below to change the front brake shoes on a Honda Rancher TRX350 ATV.
Tools and Parts - Honda Rancher 350 Front Brake Replacement
- 17mm, 27mm sockets
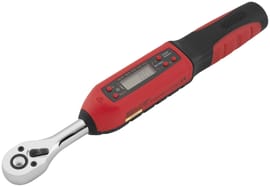
- Torque wrench
- Flat blade screwdriver
- Needlenose pliers
- Wire brush
- Soft blow hammer
- Breaker bar (optional)
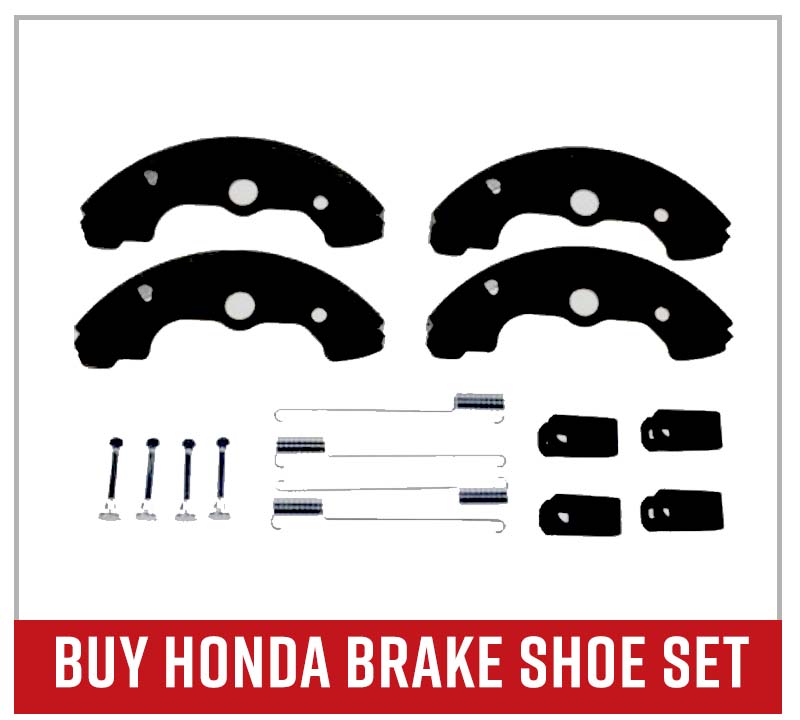
- Honda Rancher brake shoe kit
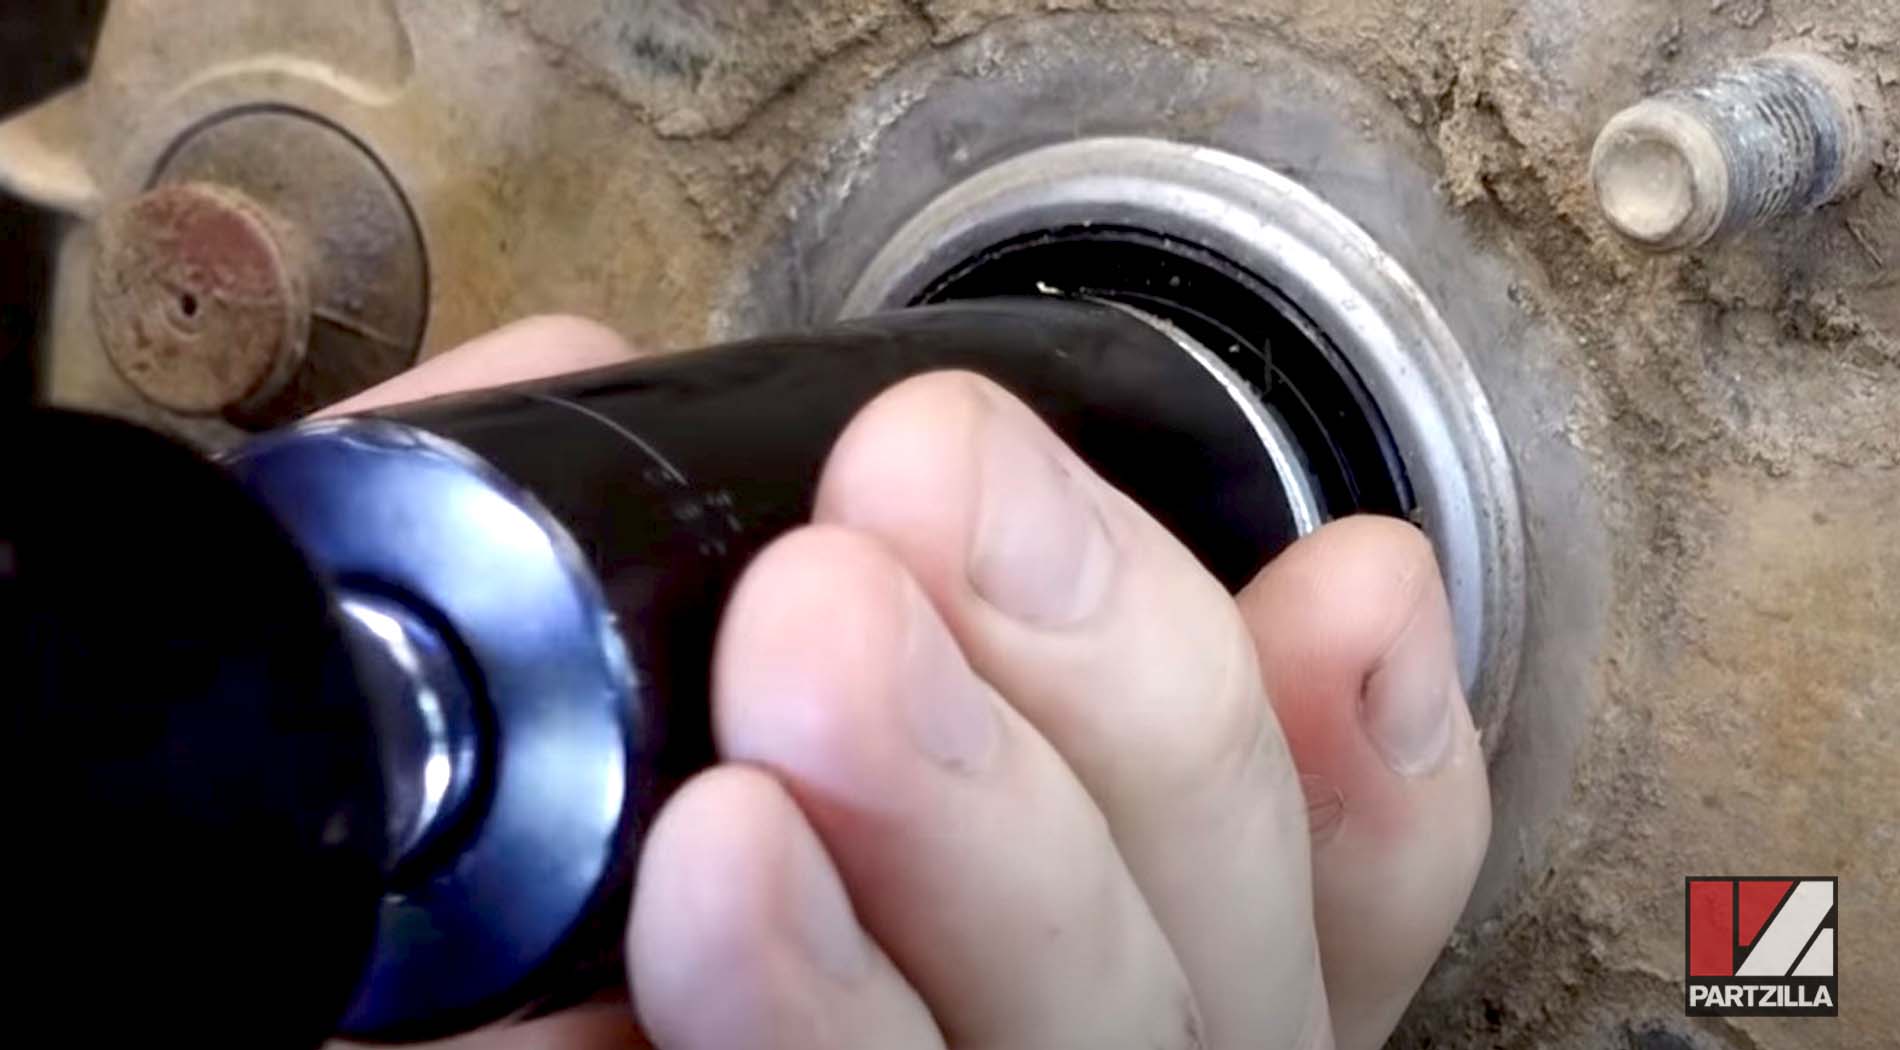
- Contact brake cleaner

How to Change Honda Rancher Front Brakes
Step 1. Remove the front wheel
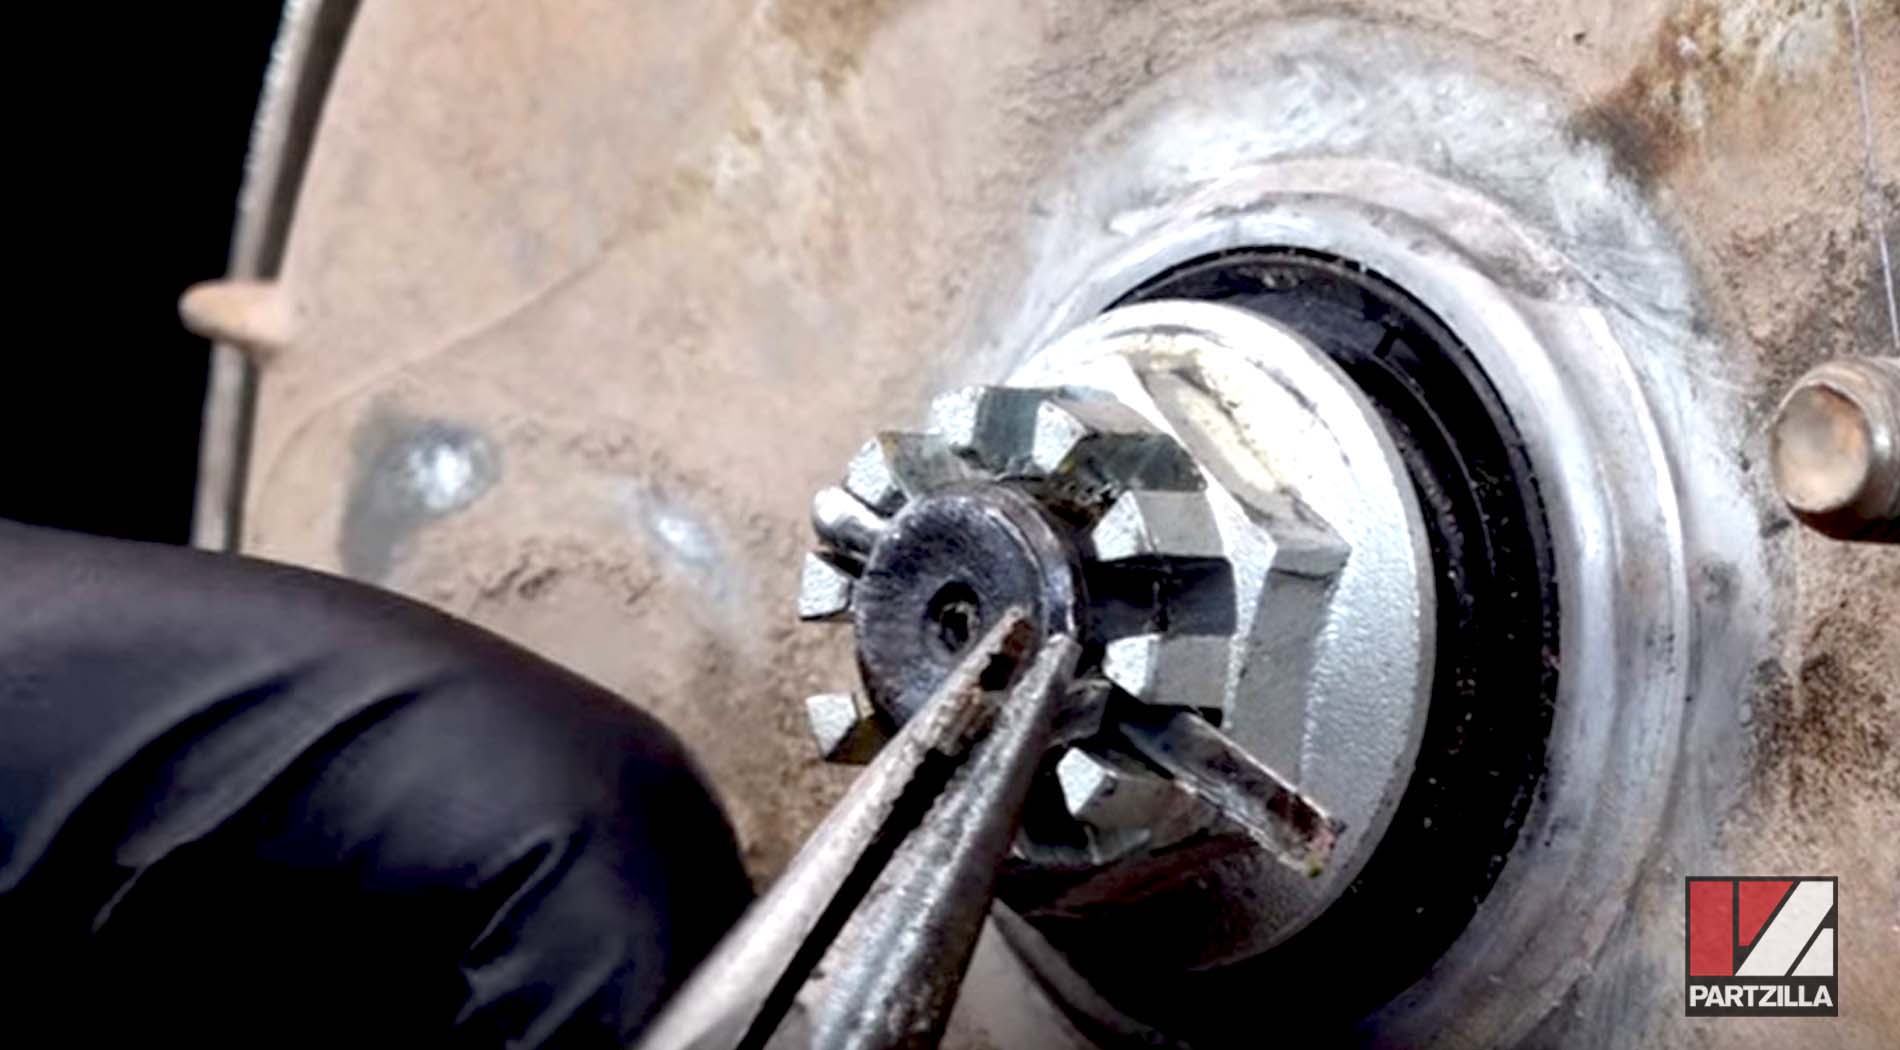
Step 2. Use pliers to remove the cotter pin in the center of the hub.
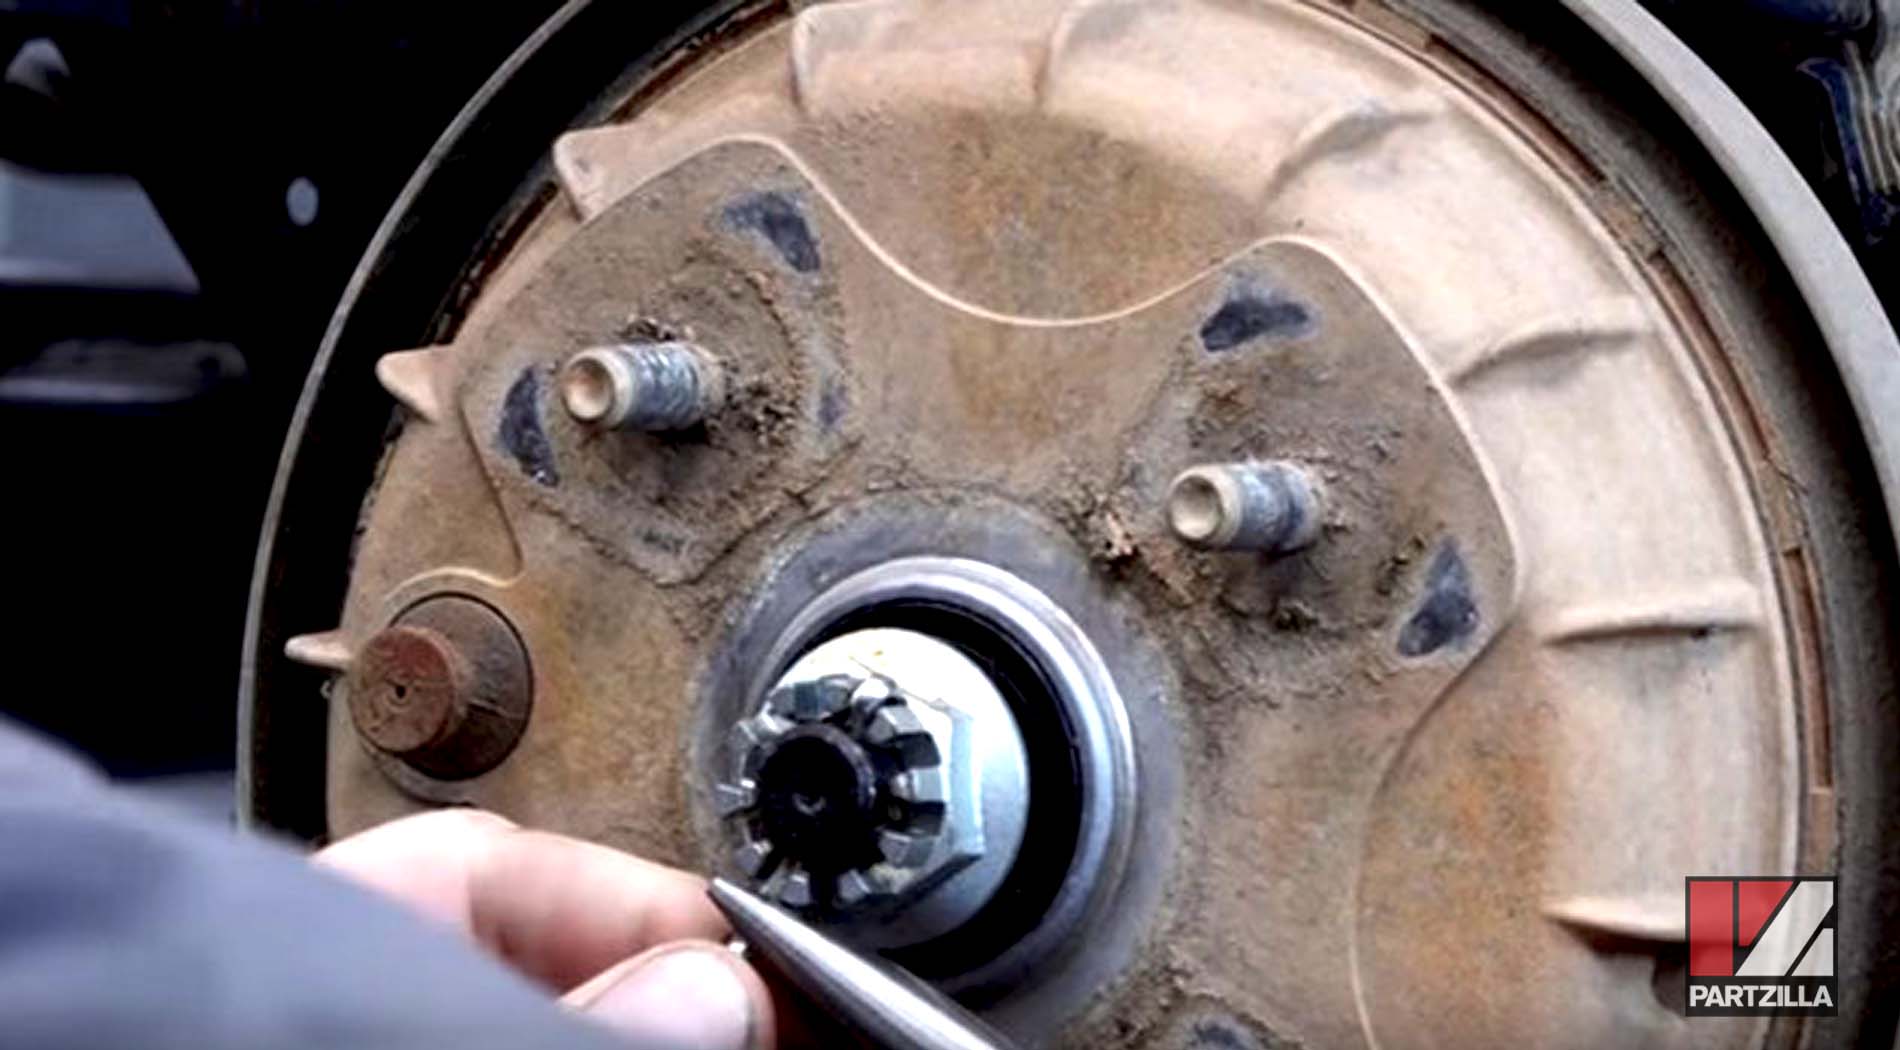
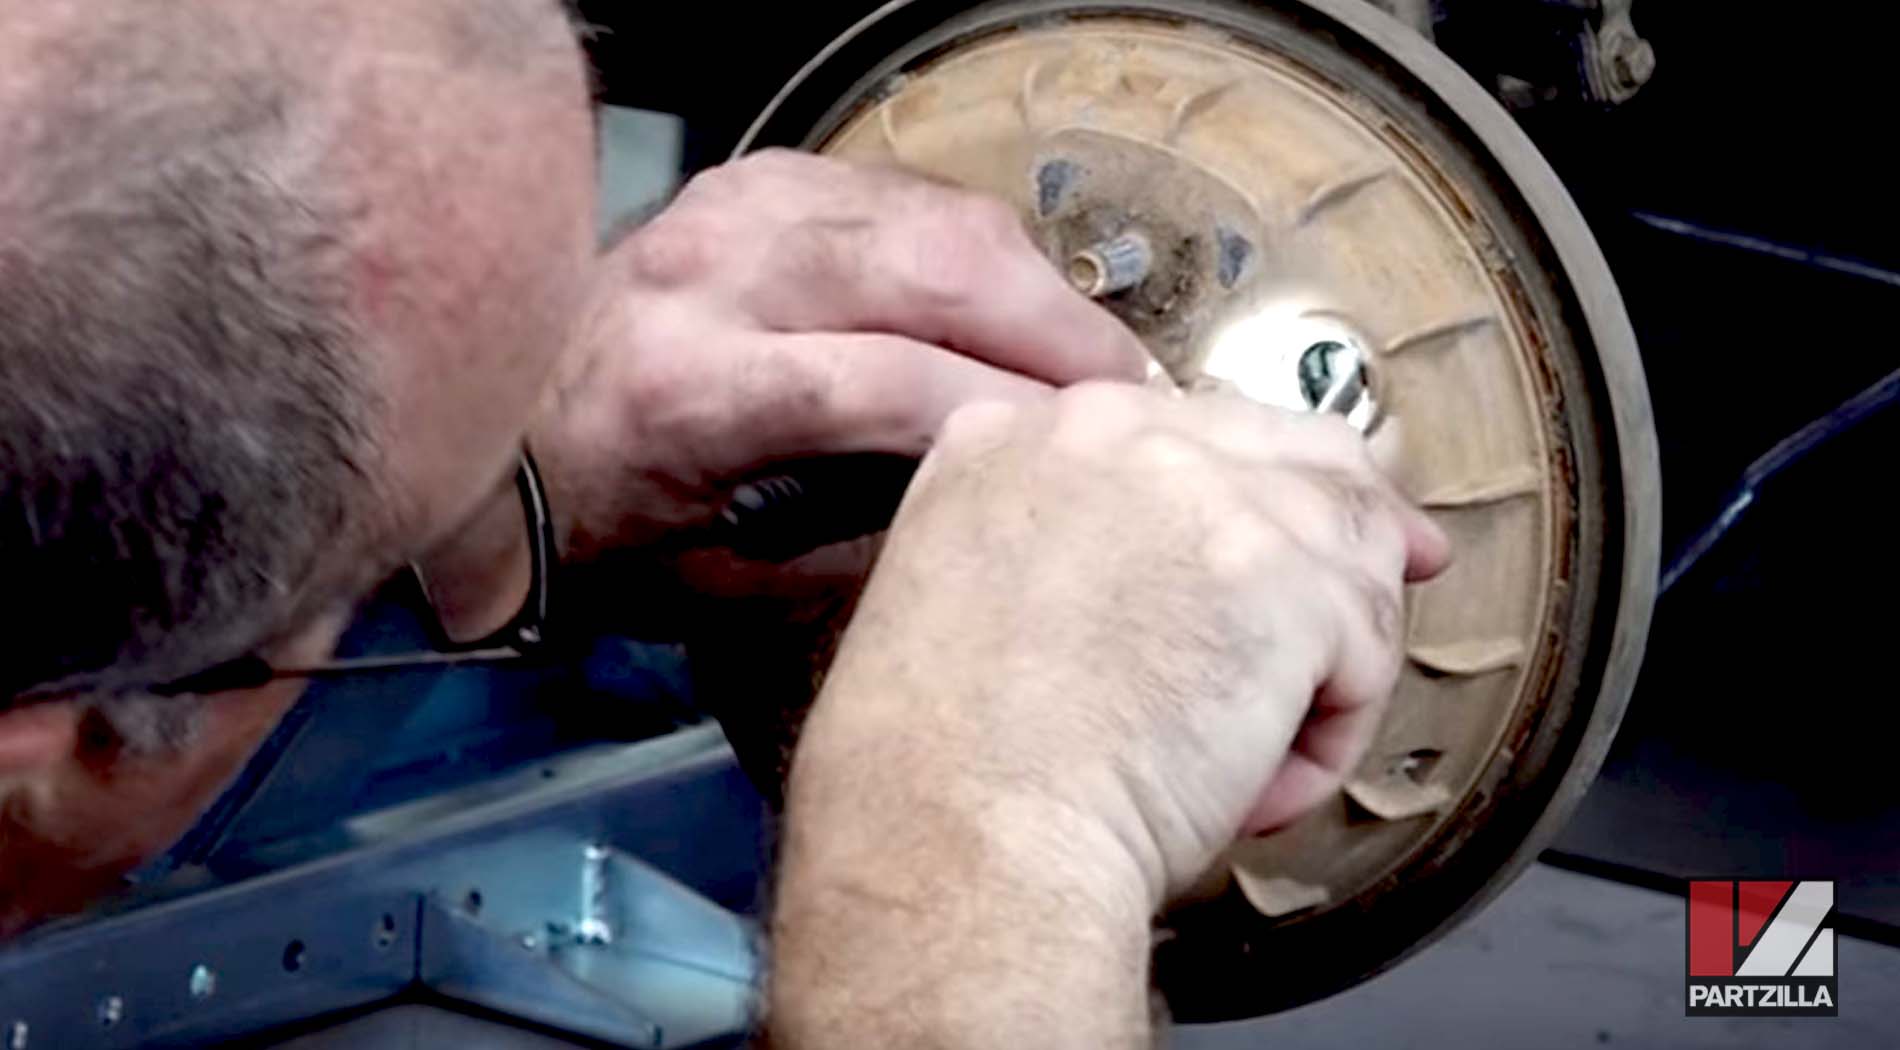
Step 3. Use a 27mm socket to remove the axle nut in the center.
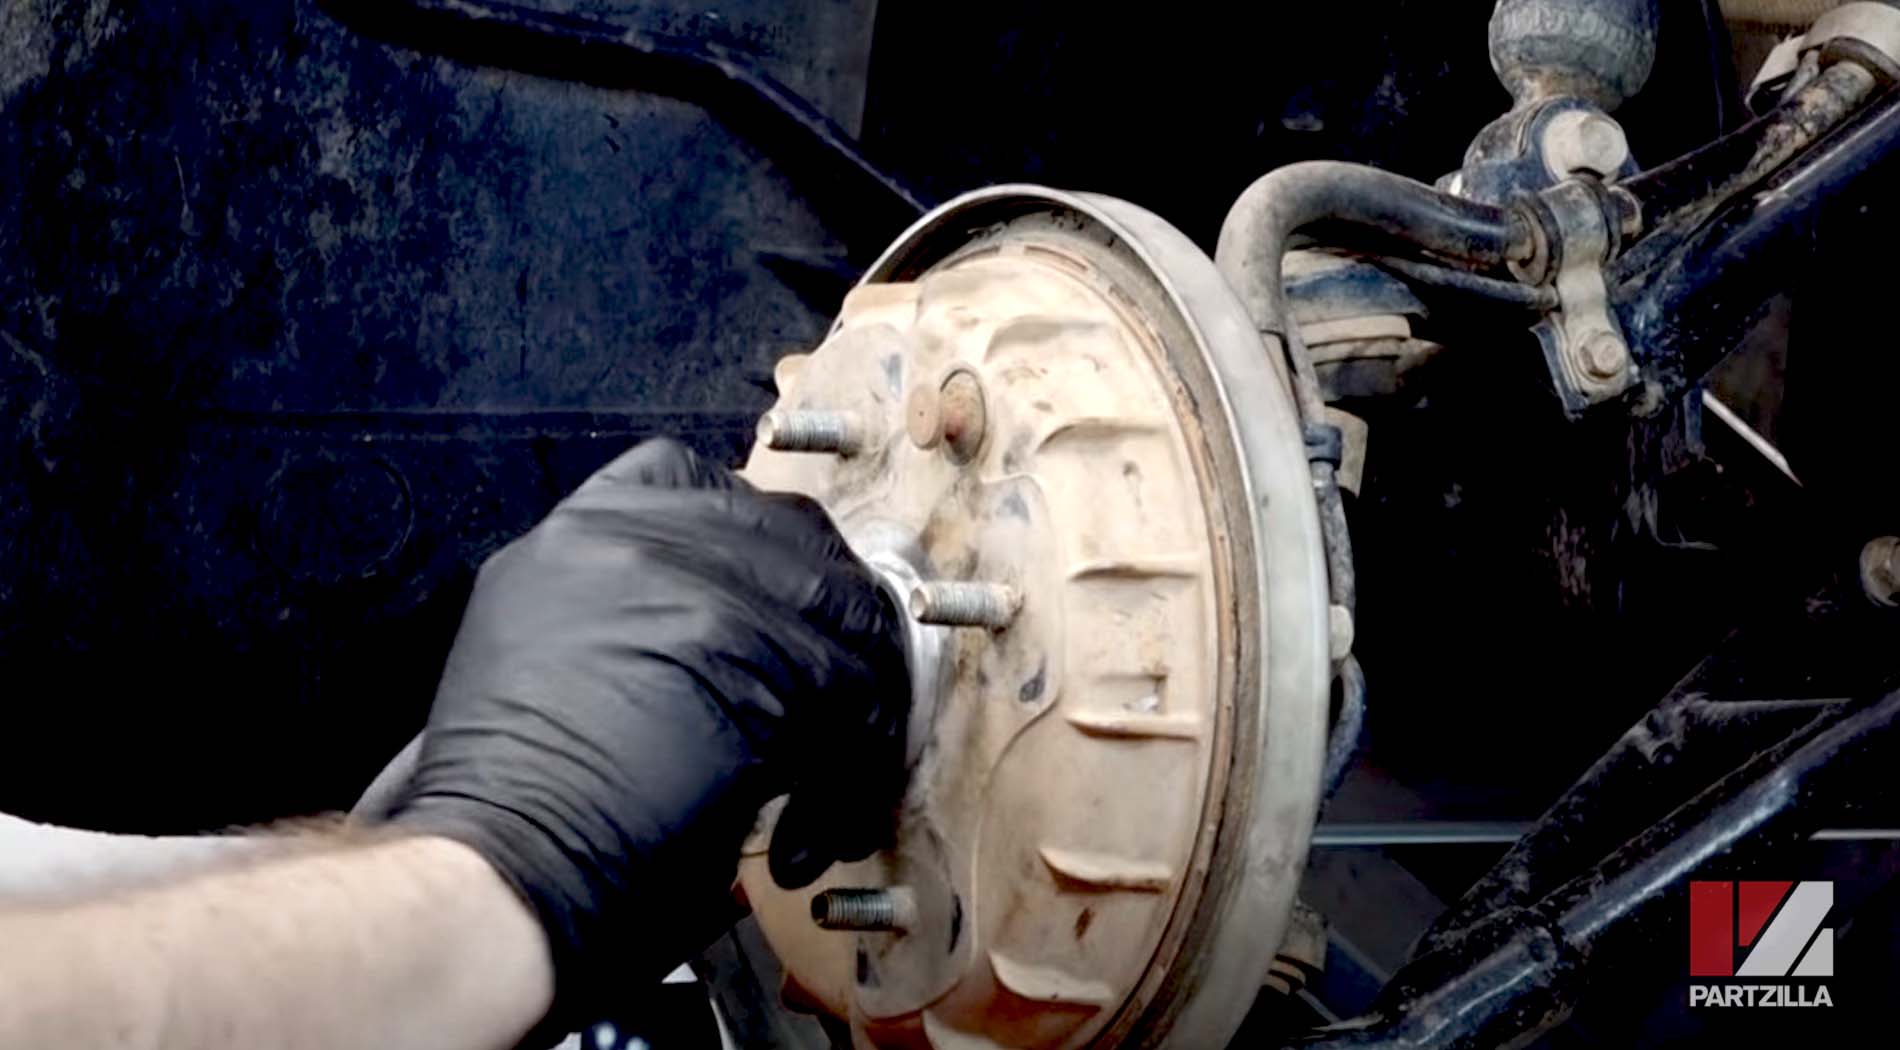
Step 4. Remove the plug on the drum.
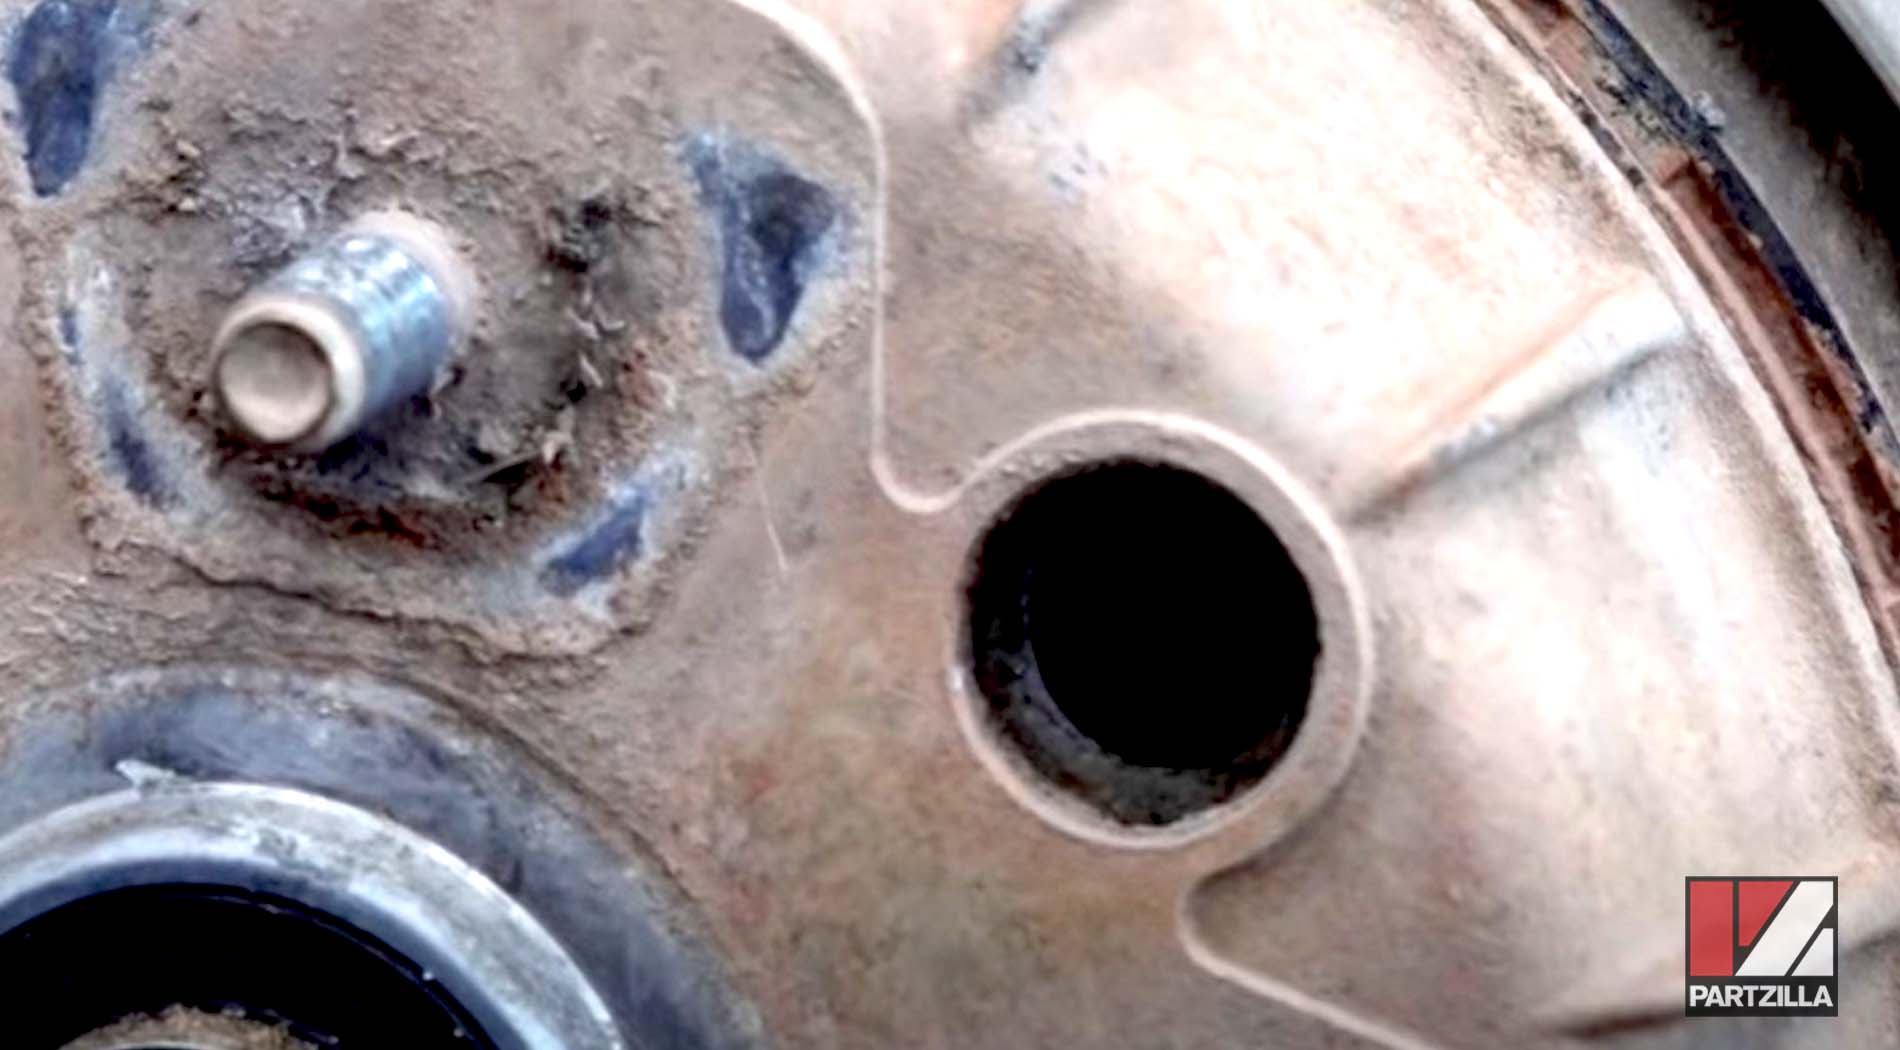
Step 5. Spin the drum so that you can see the notched brake adjusters in the plug hole. Use a flat-blade screwdriver to pry against these, and turn them to draw the brake pads in so you can remove the drum. Once you’ve done one, spin the drum around to do the second one.
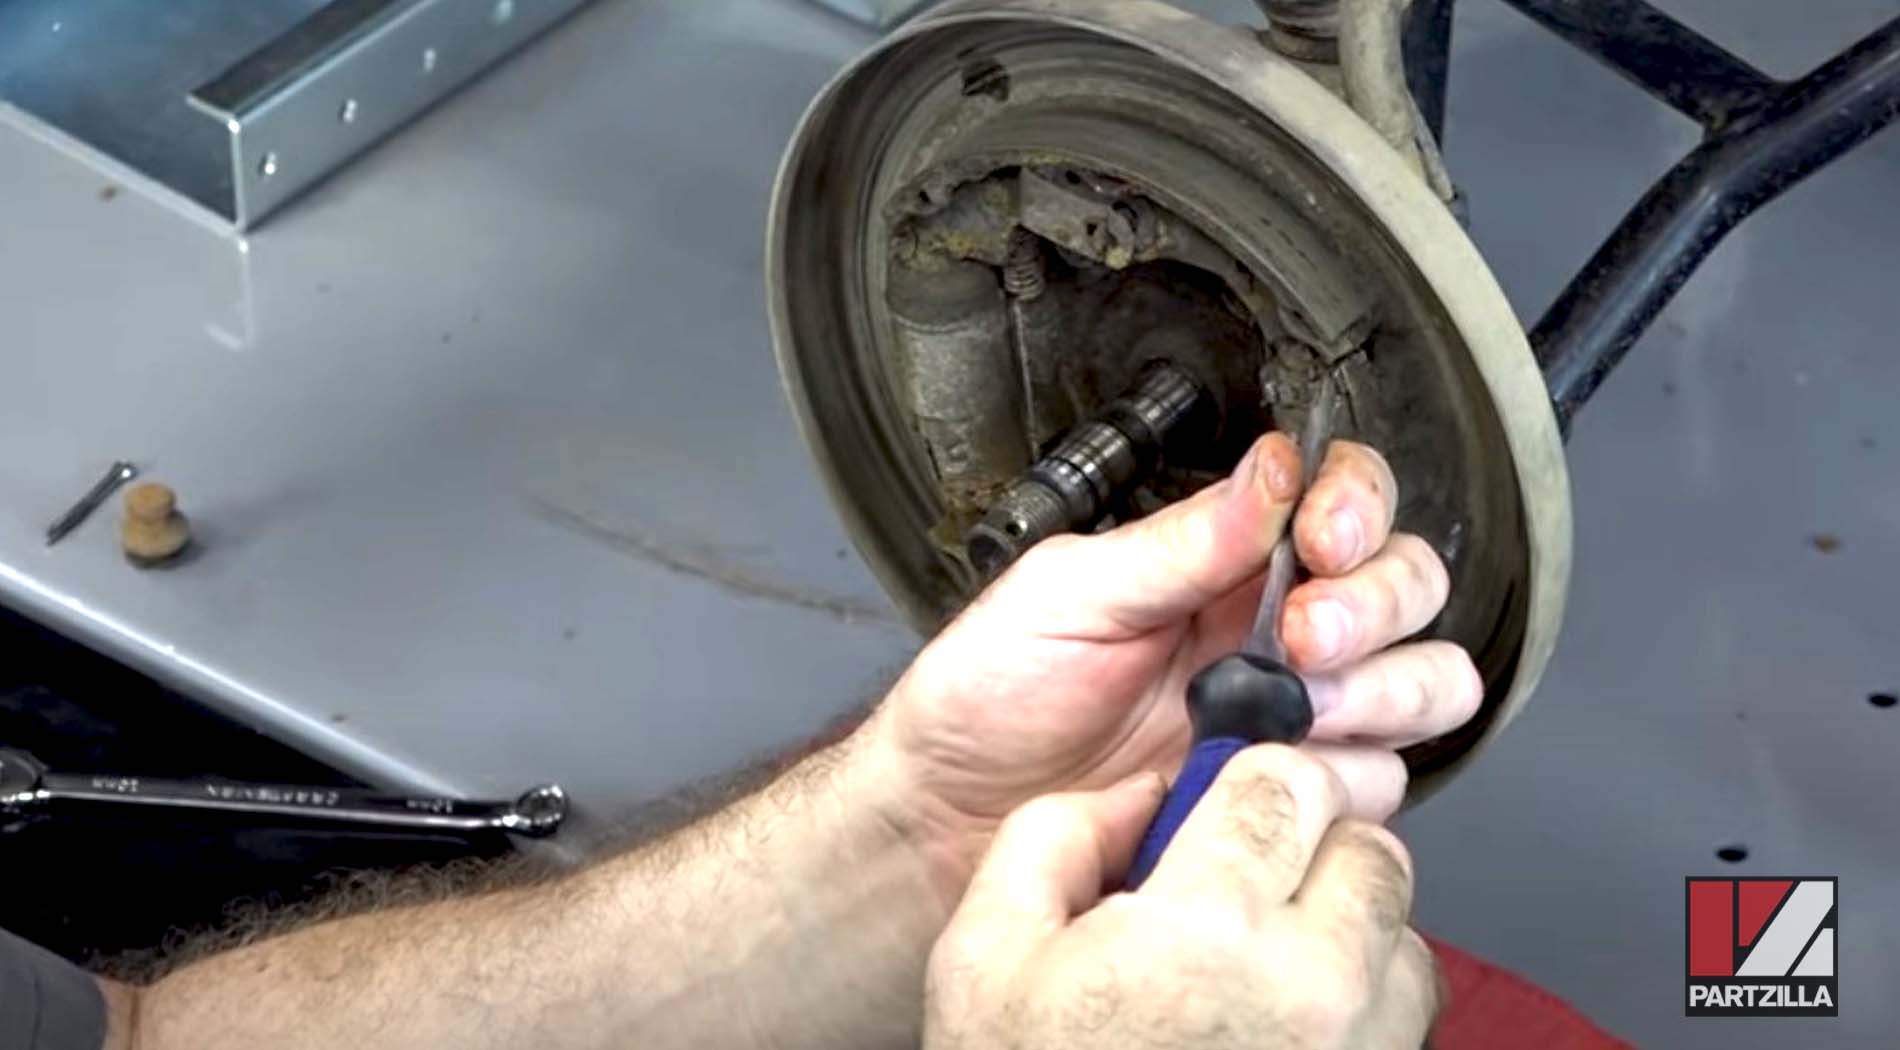
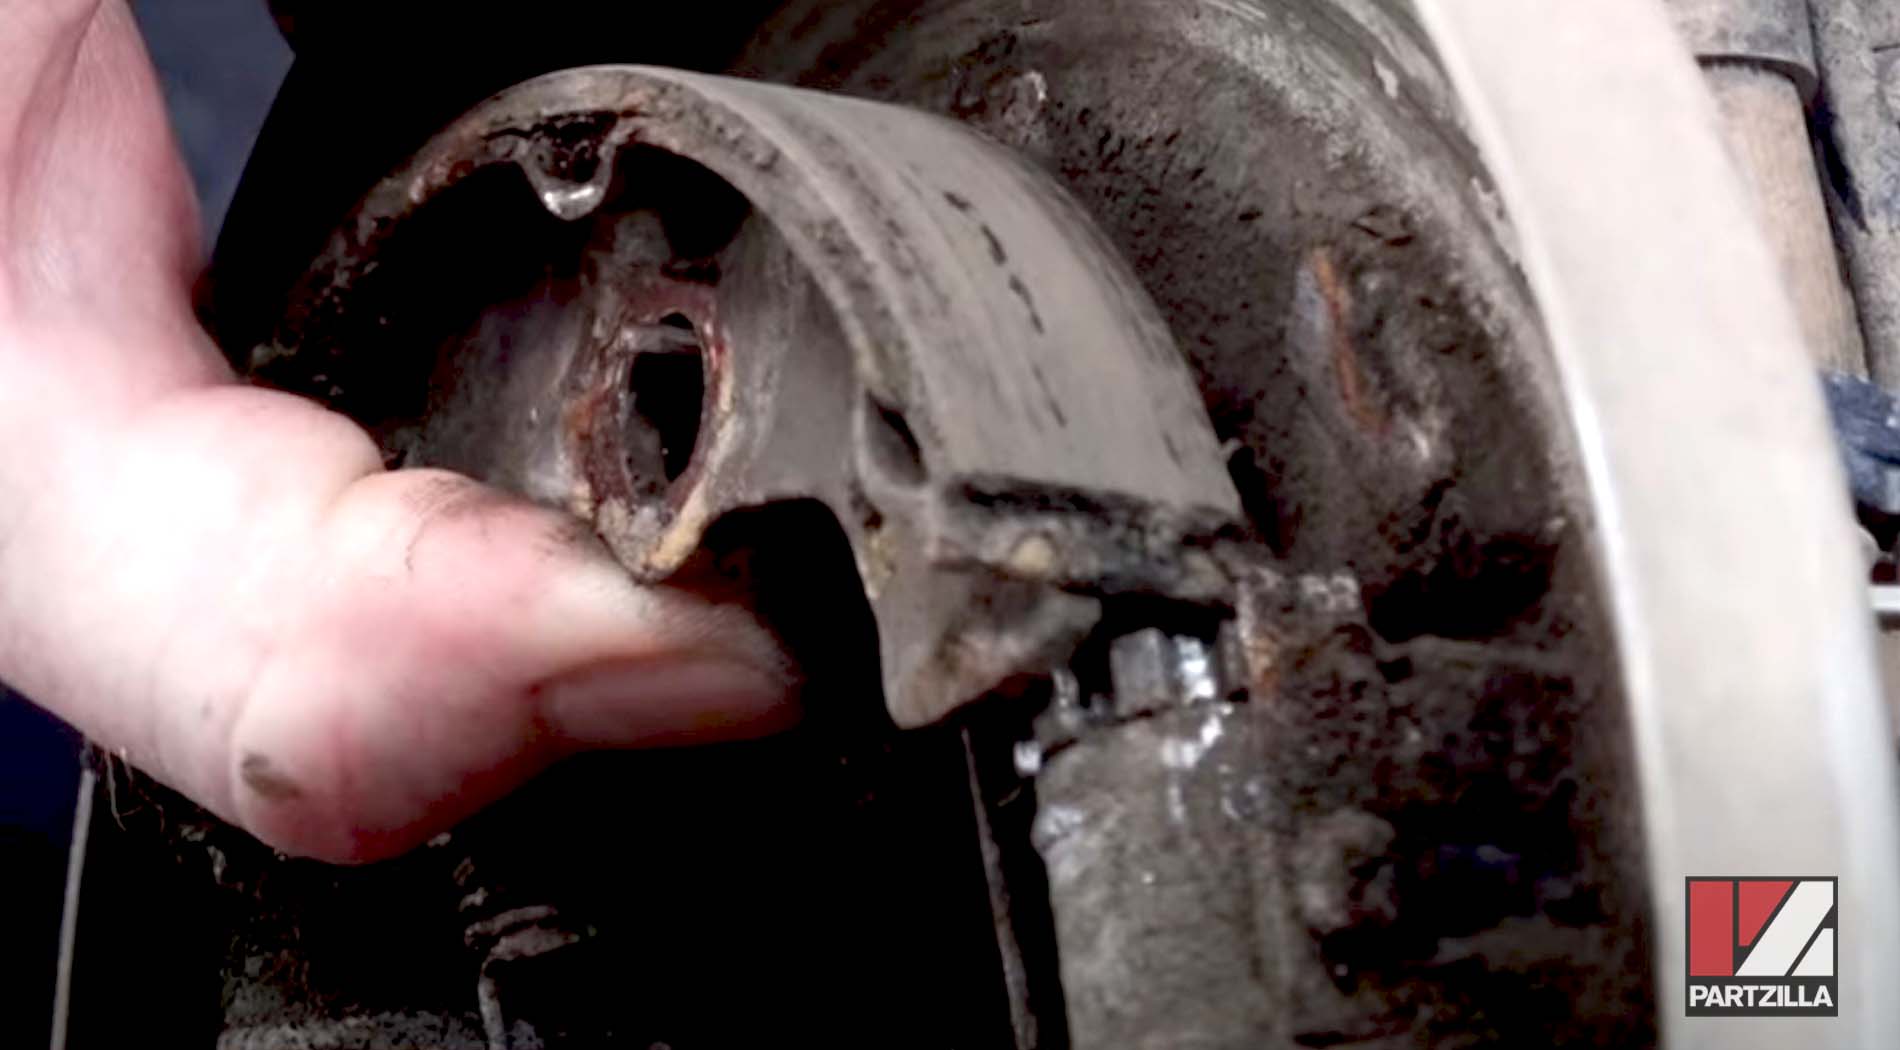
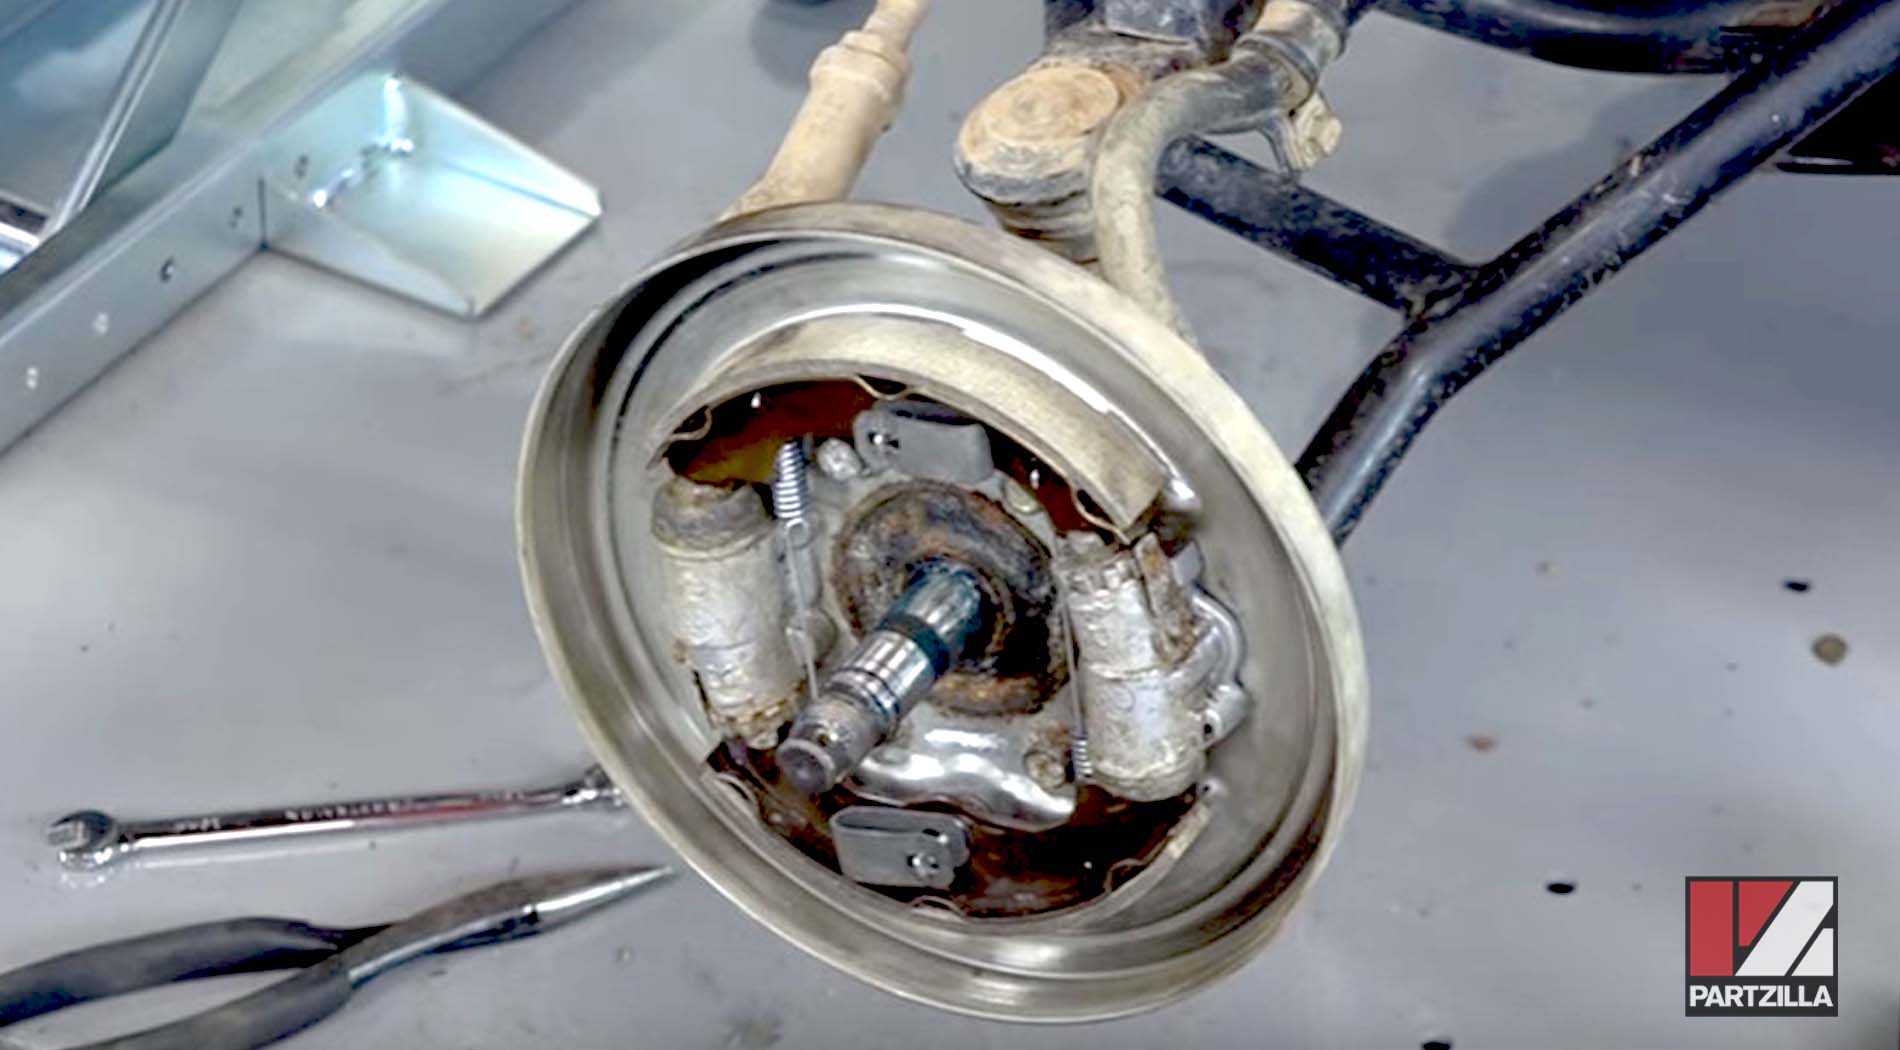
Step 6. Remove the hub, which should pull right off.

Step 7. Locate the two clips, one underneath each brake shoe, and use your thumb to push in on the clip while using your pliers to turn the pin. This allows you to remove the clips.
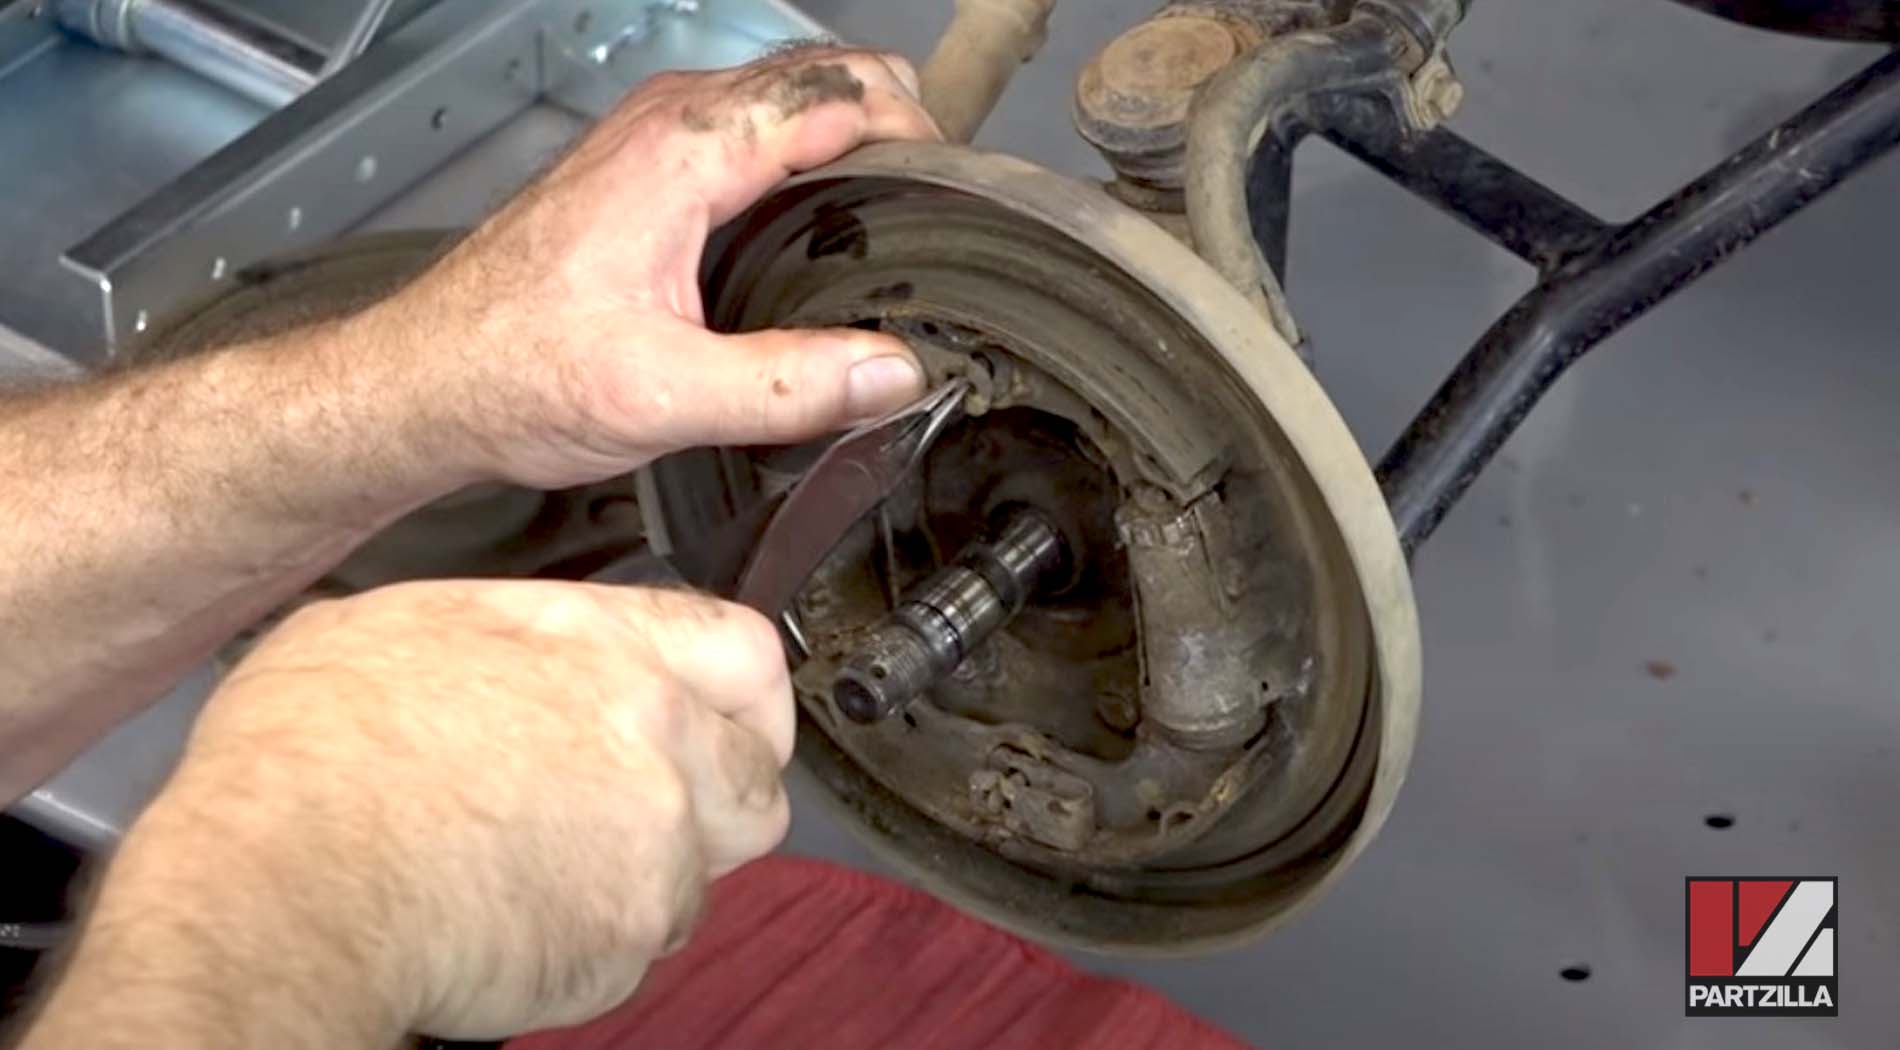
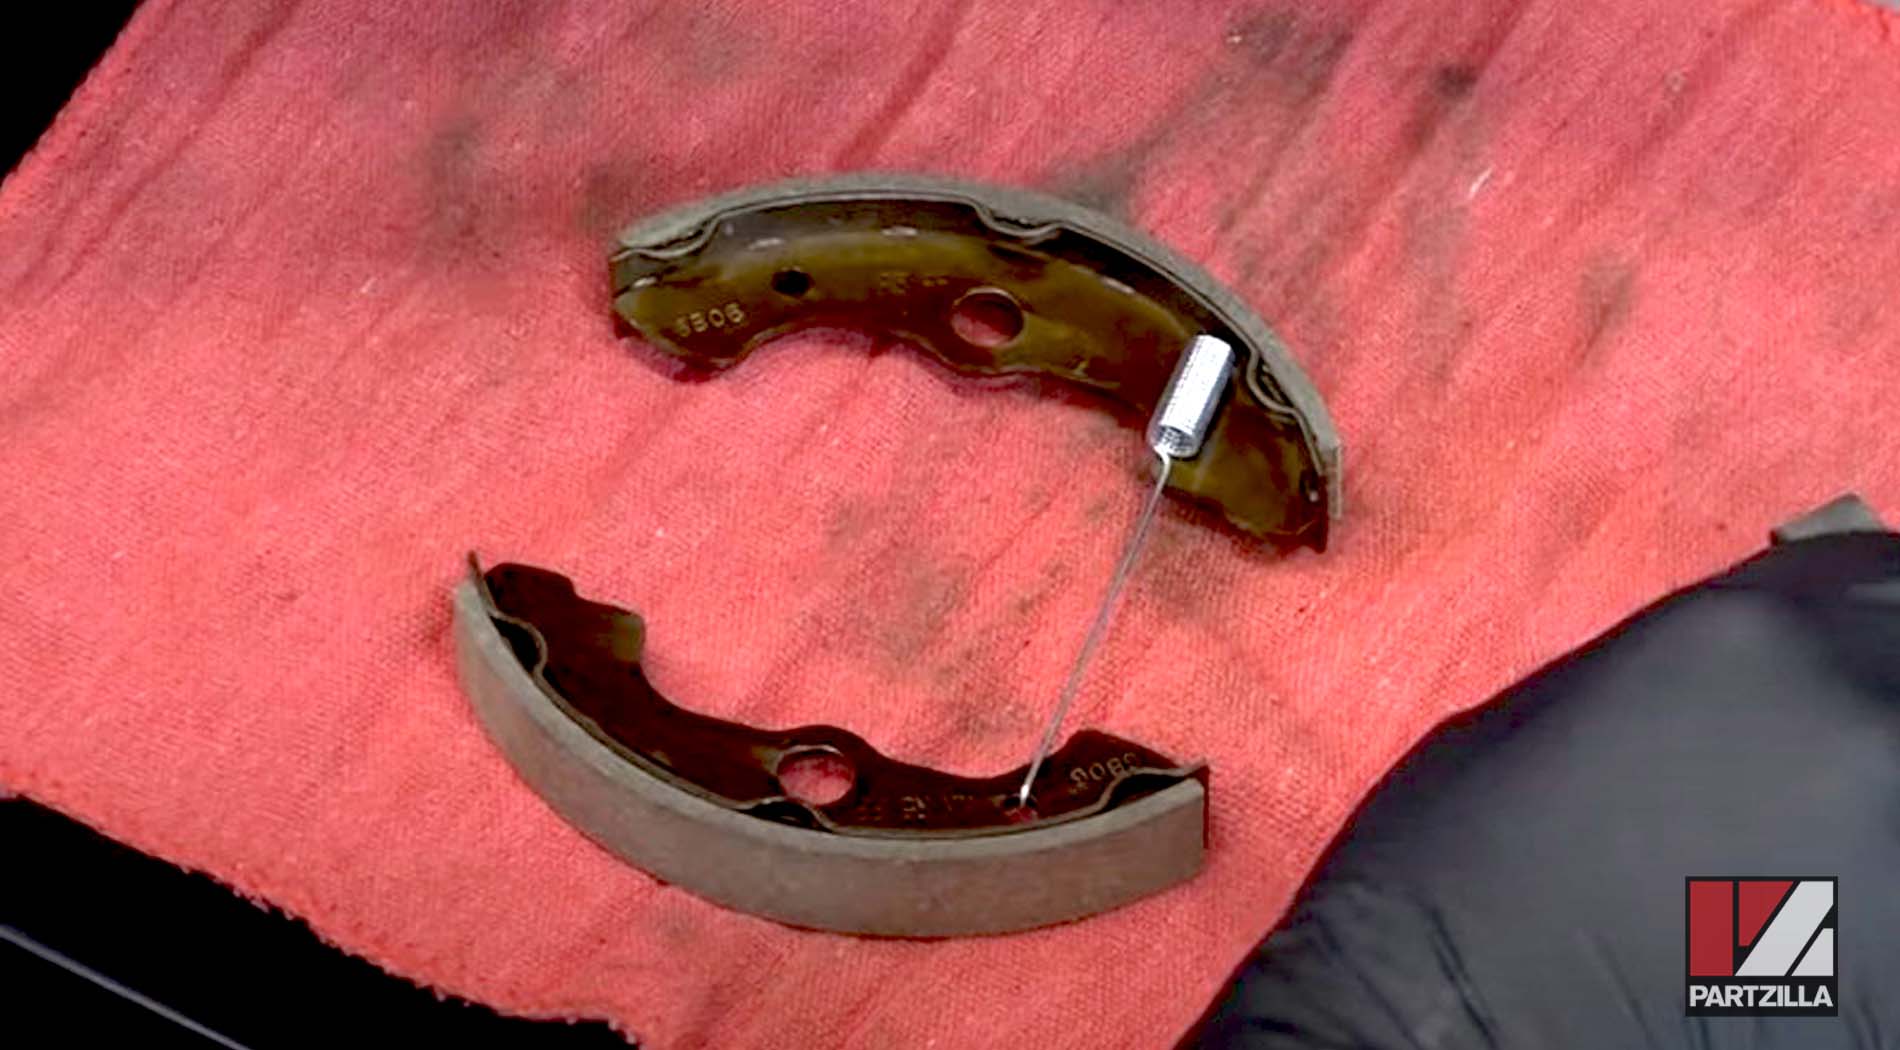
Step 8. Remove the brakes shoes. Two springs hold them together over the cylinders. Lift up on one of the shoes to allow them to be removed from the cylinders. The other shoe will hang loose on the springs as you pull them away.
Step 9. Clean up the inside of the drum and braking surface with a wire brush and some brake cleaner.

NOTE: Wear a mask to avoid breathing in any brake dust.
Step 10. Add some waterproof grease to the rubber seal on the inside of the drum to keep dust and other contaminants out.

Step 11. Lay down the brake shoes lettering up, and hook the first spring into the holes for them in the shoes. For the second spring, position it so that the spring is closest to the opposite shoe.
Step 12. Install the shoes with the springs facing away from you and into the hub. Notches on top of the cylinder allow you to hang the top shoe in place while you pull against the spring tension on the lower shoe to position it over the notches on the bottom of the cylinders.

NOTE: The coiled section of the spring is positioned on the end of the cylinder without the adjuster. This is why they were set opposite to each other in the last step.
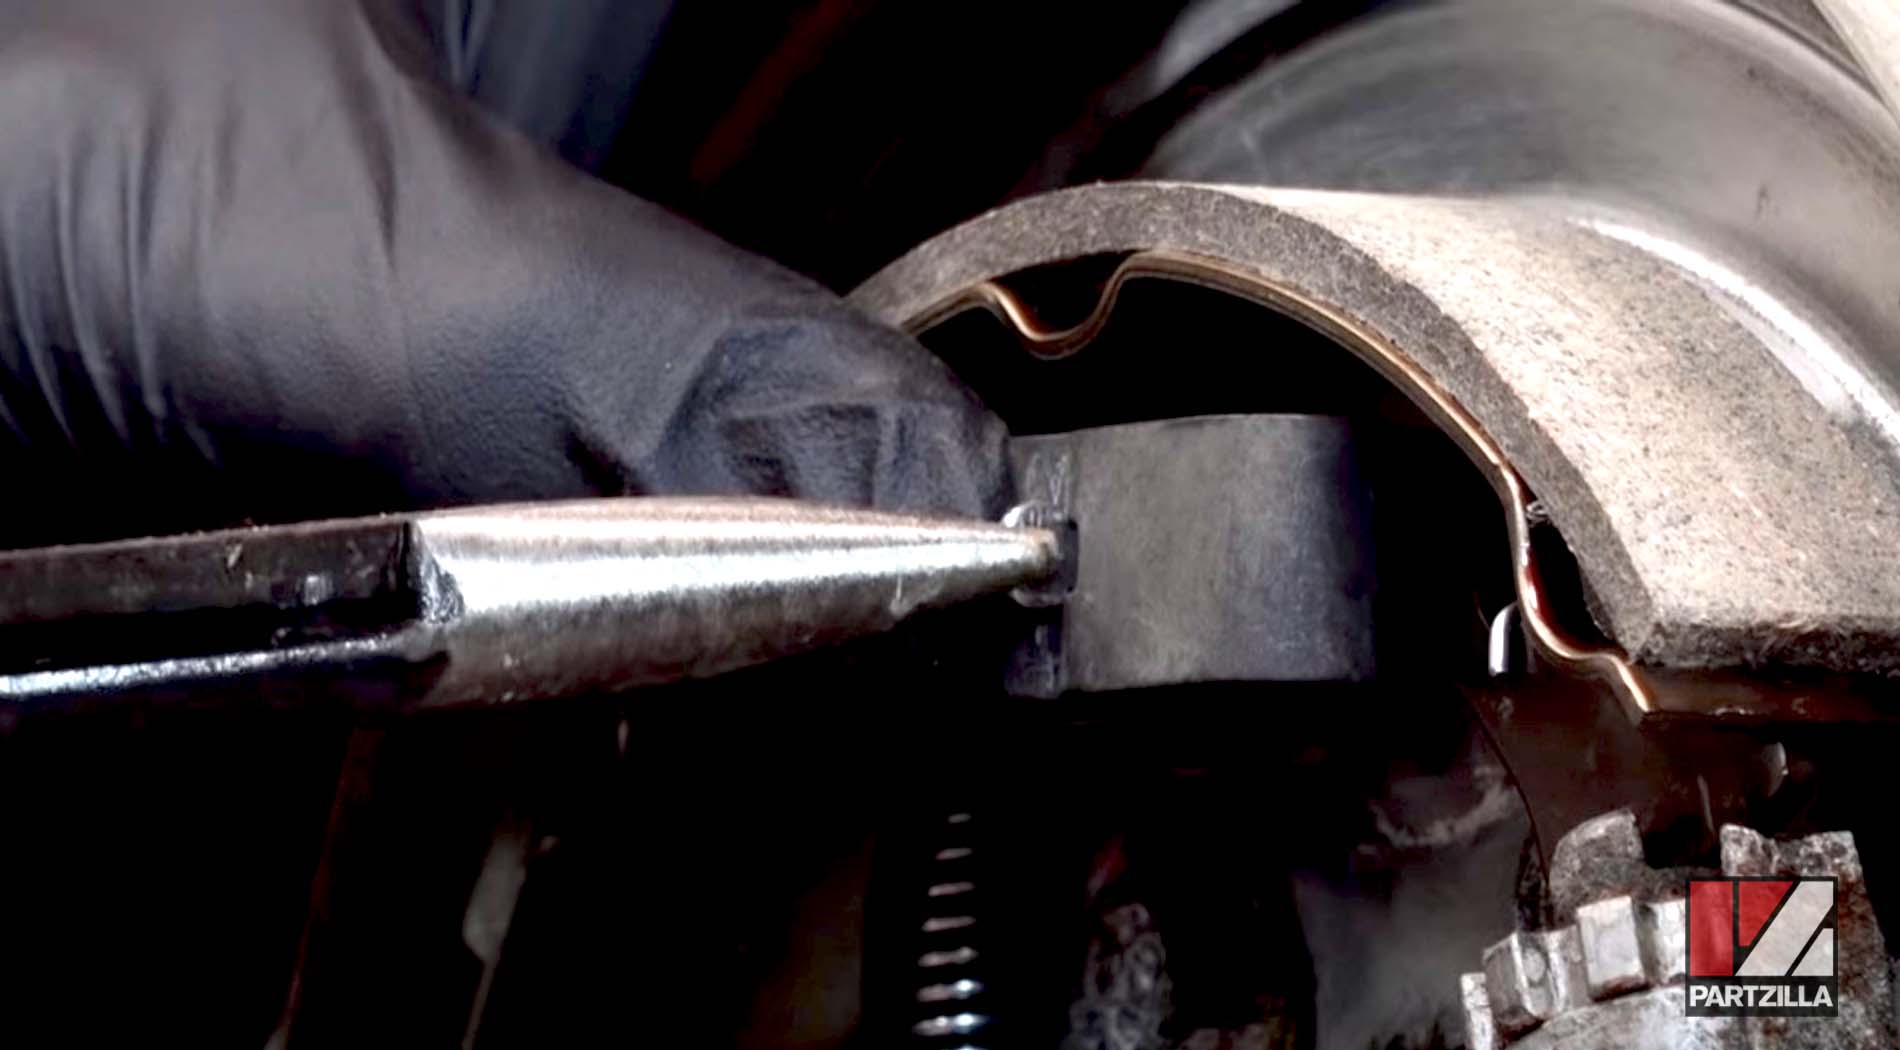
Step 13. Replace the retention springs by threading the pin through the back plate and placing the spring over the pin. Next, turn the pin clockwise to lock it in place. Repeat this process on the bottom for the other retention spring to hold both shoes in place.
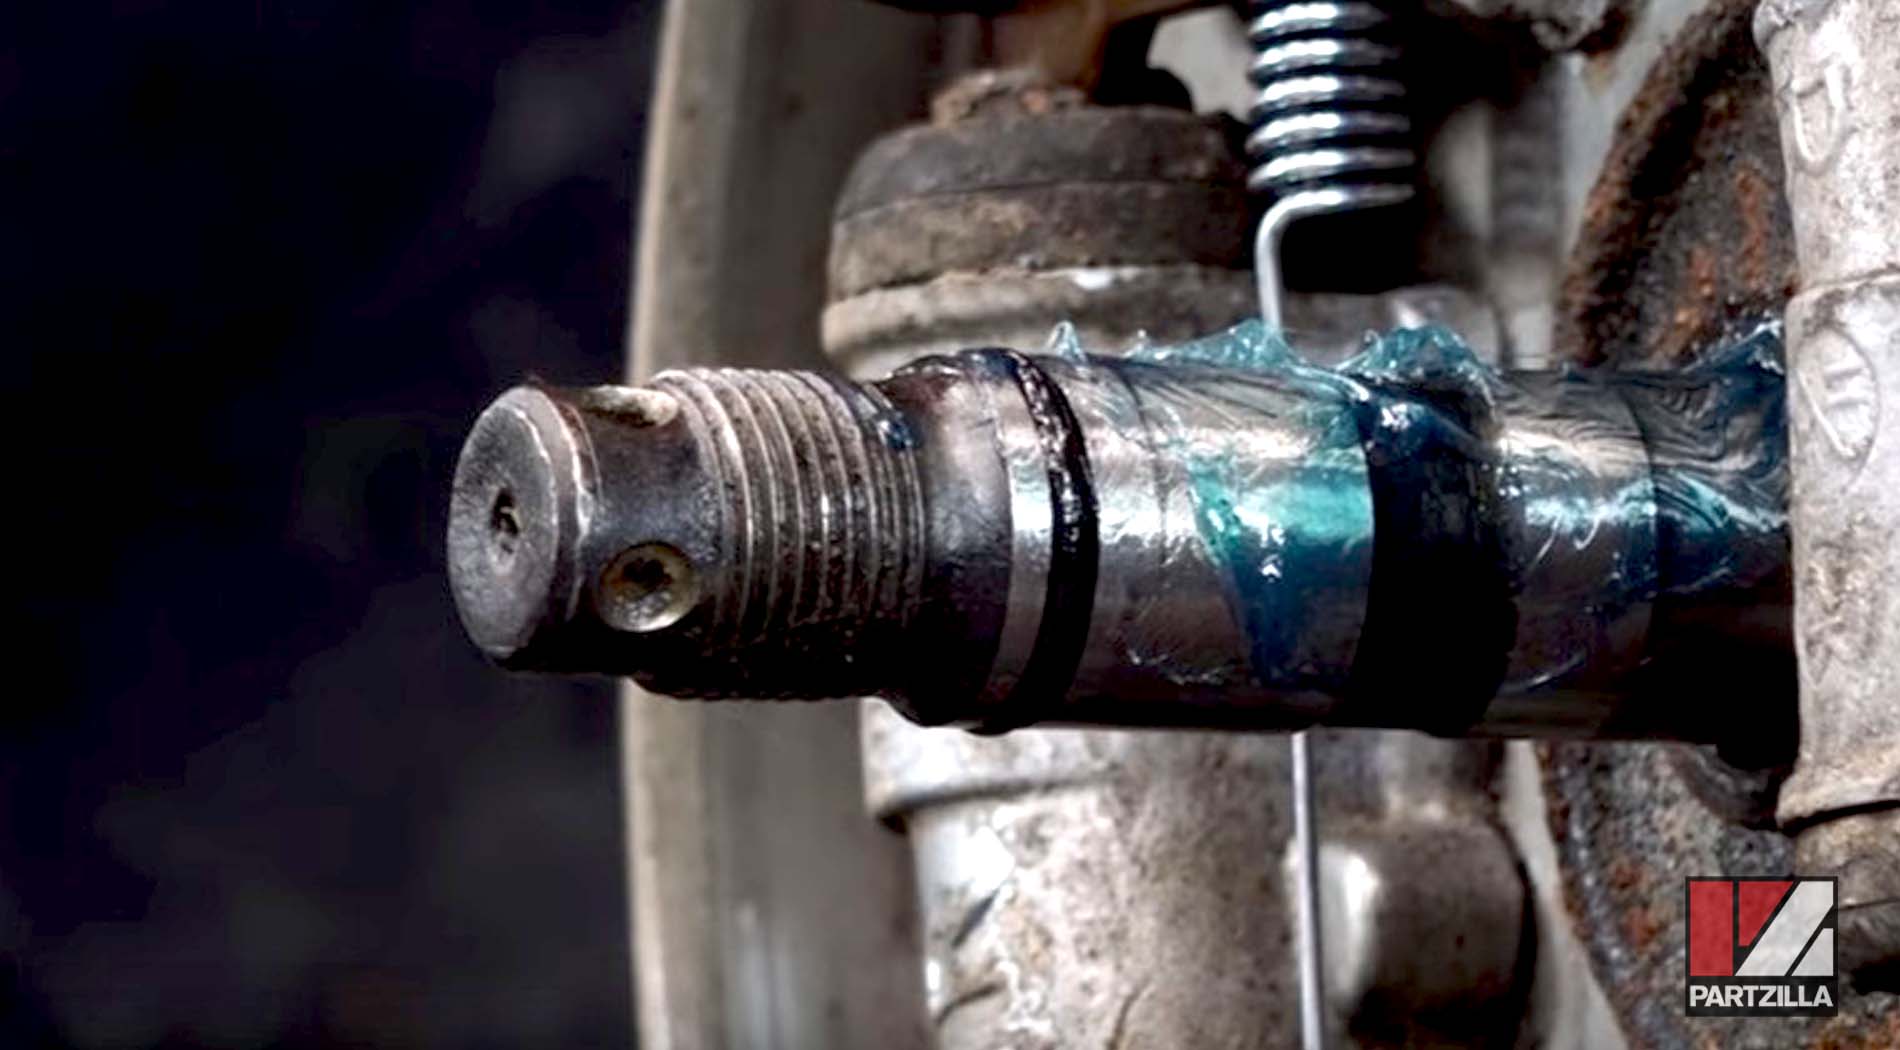
Step 14. Apply some grease to the spindle before replacing the drum.
Step 15. Check the assembly to make sure the springs are set opposite the adjusters, the retention springs are in place, and the shoes are aligned over the cylinders.
Step 16. Replace the drum by pushing it over the spindle to get it into place, then putting the dust plug back on.
Step 17. Replace the axle nut and torque it to 58 foot-pounds. Make sure it’s aligned so that you can put the cotter pin through to secure the nut.
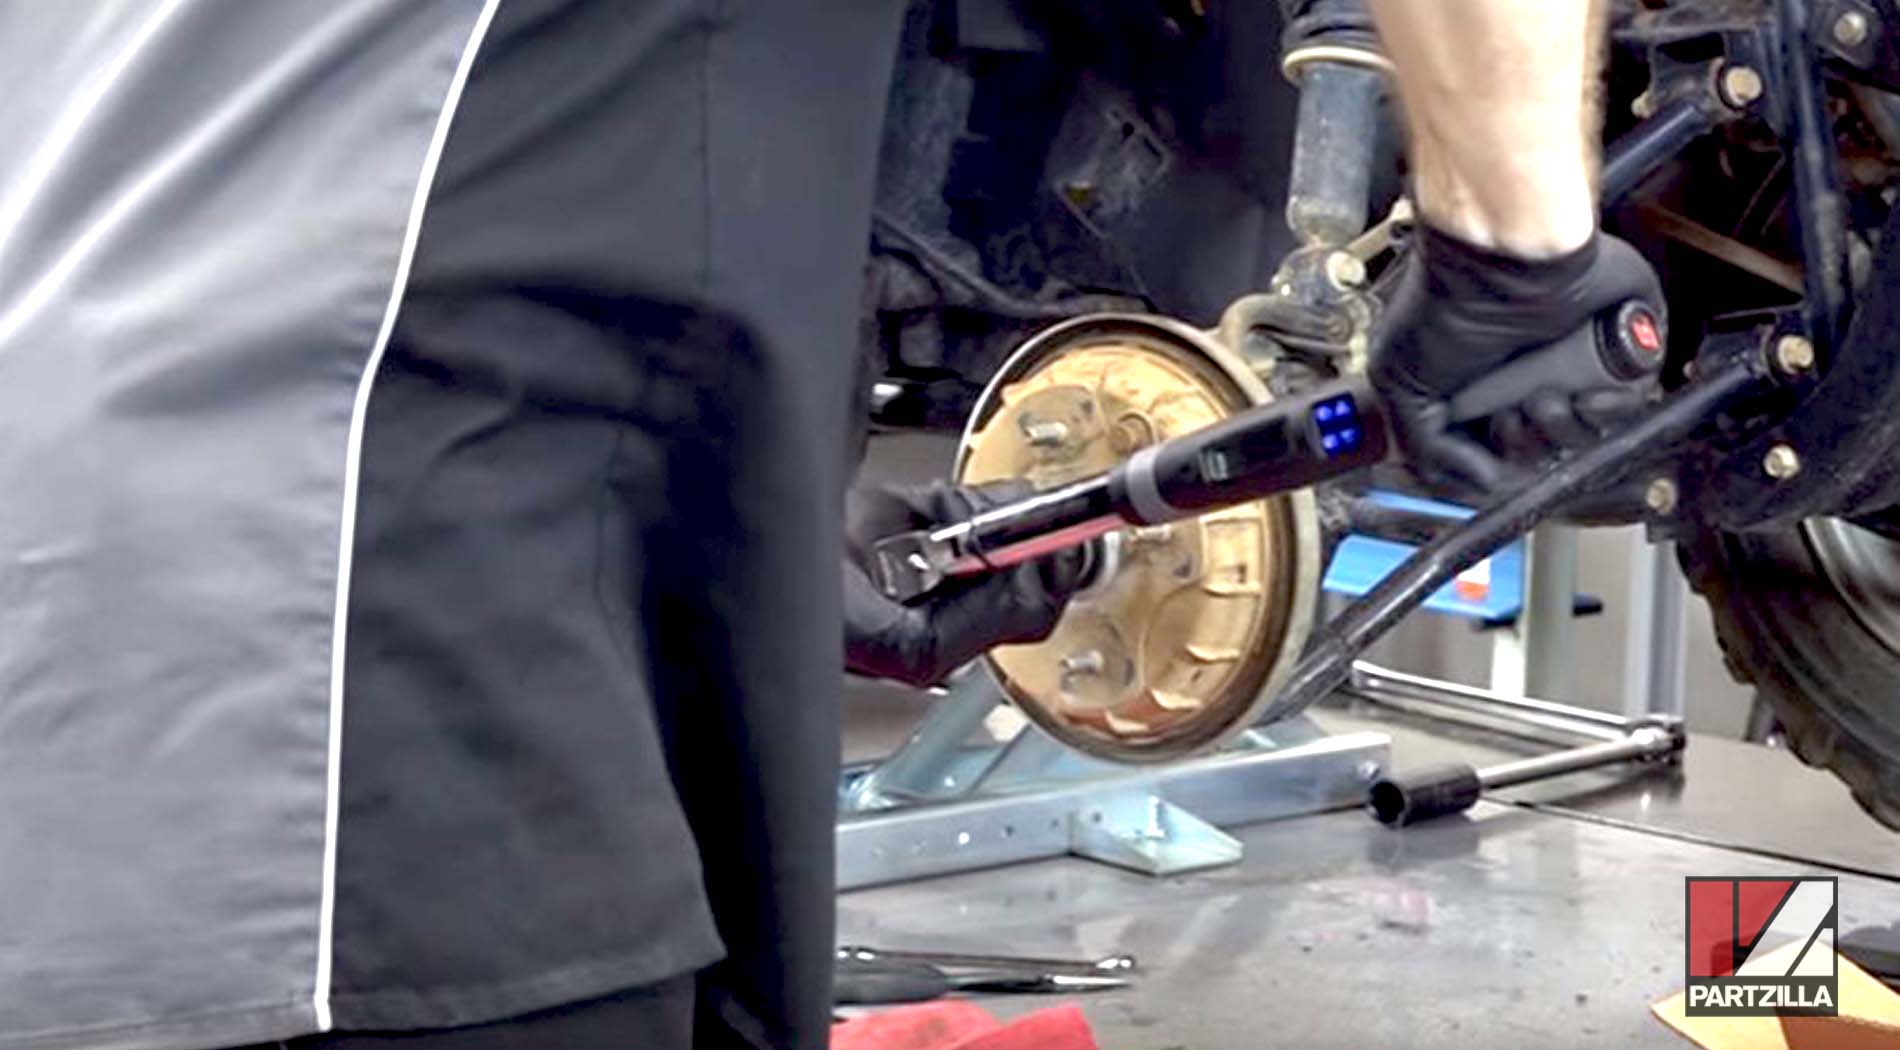
NOTE: Don’t worry if you have to give the axle nut a little more torque to line up the holes for the cotter pin.
Step 18. Replace the cotter pin, and bend one end up around the front of the axle bolt and one end back.
Step 19. Replace the wheel, then repeat the process on the other side and you’re done.