Honda Grom Ohlins Aftermarket Suspension Upgrades
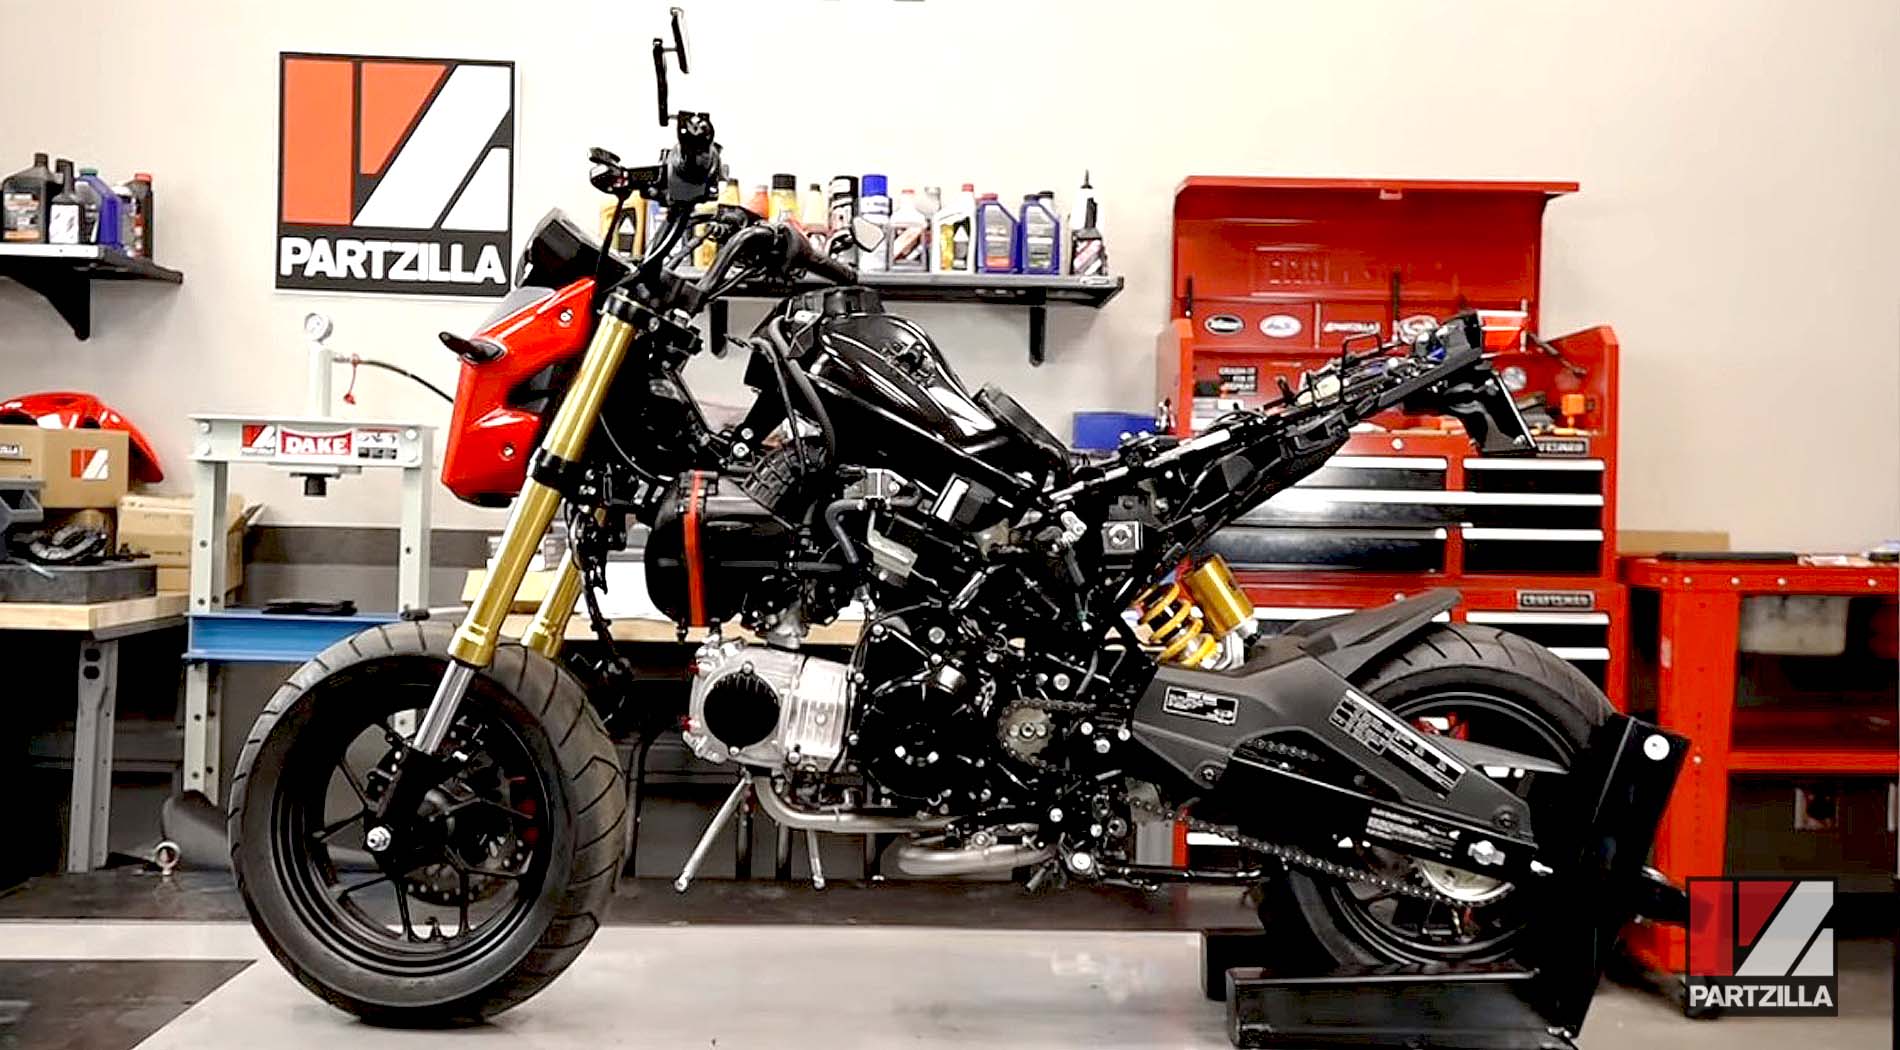
Our project to improve the performance and handling of a Honda Grom continues with the installation of Ohlins front and rear shock absorber kits.
Watch our Honda Grom aftermarket suspension upgrades video above or follow the steps below to get this project done.
Tools and Parts – Honda Grom Suspension Upgrade
- Ratchet and extensions
- Socket set including a 36mm socket
- 5mm, 14mm Allens
- Torque wrench
- Heat gun
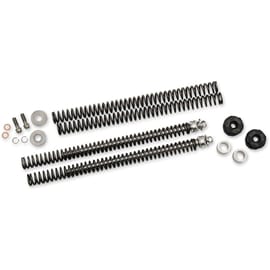
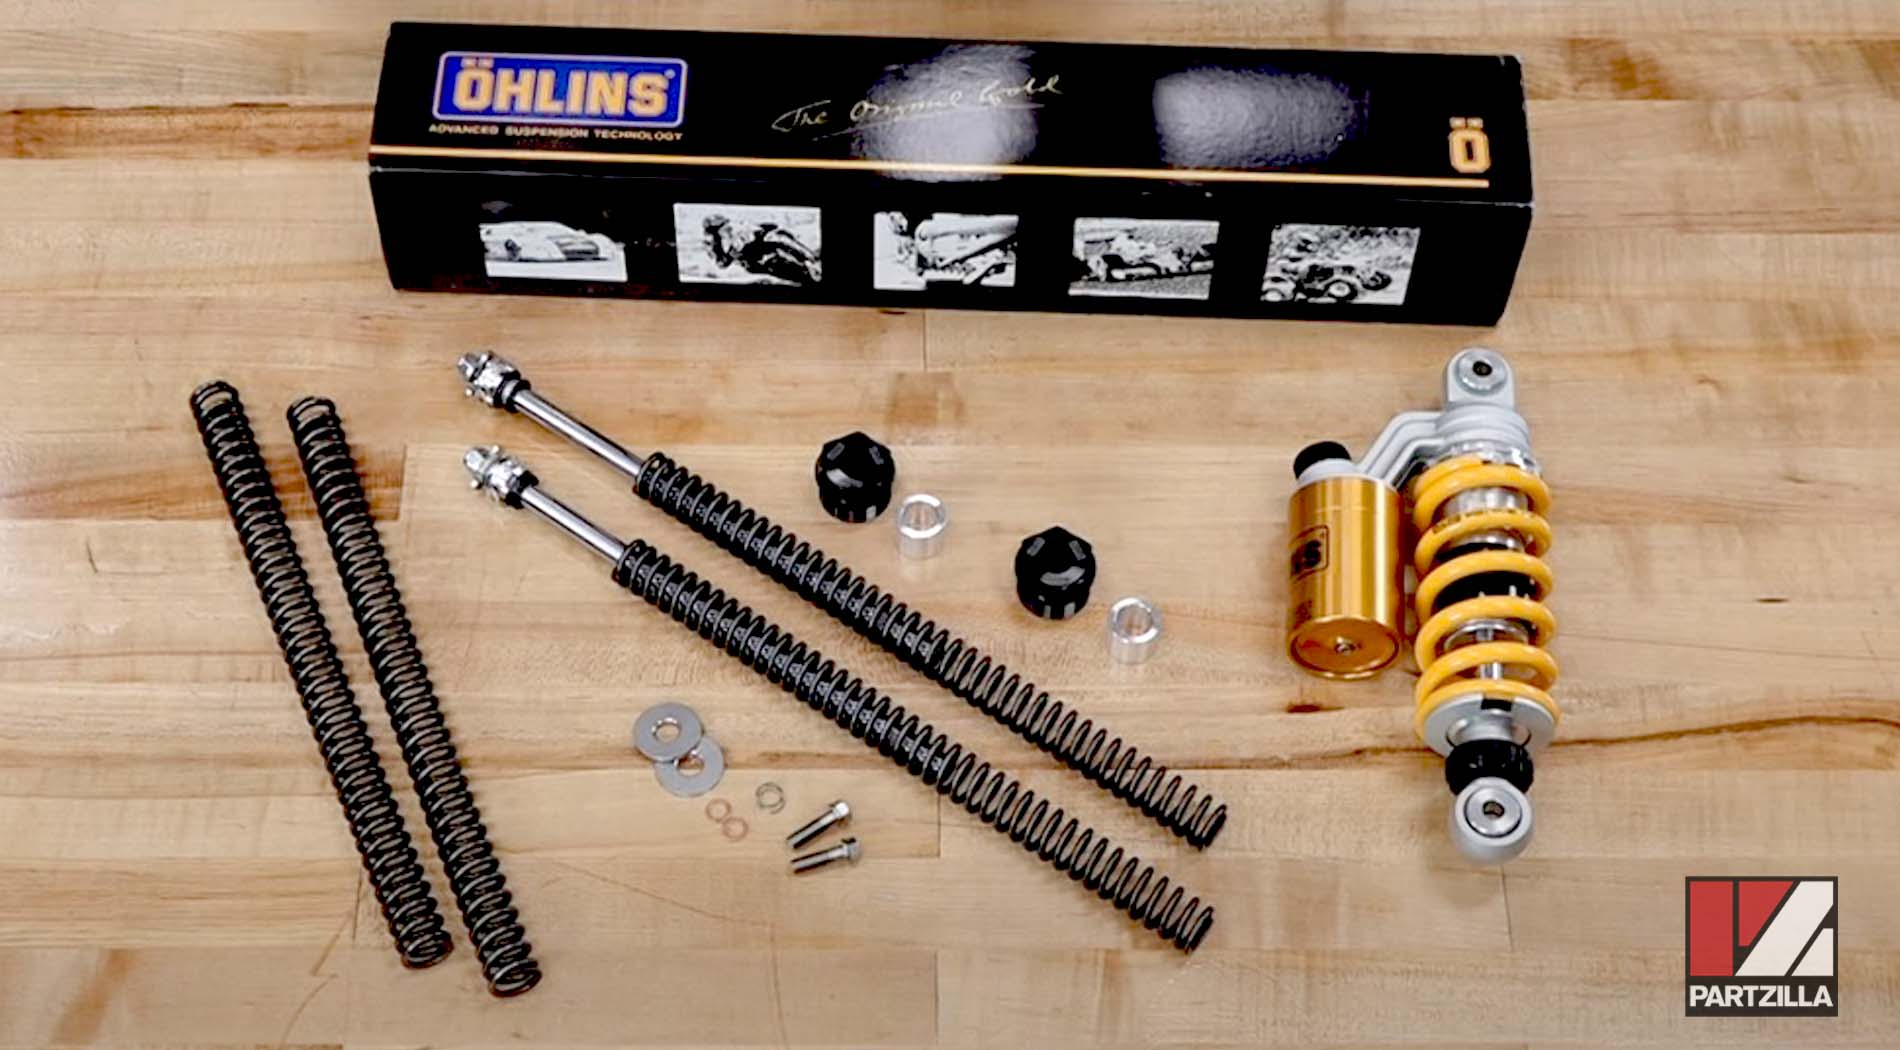
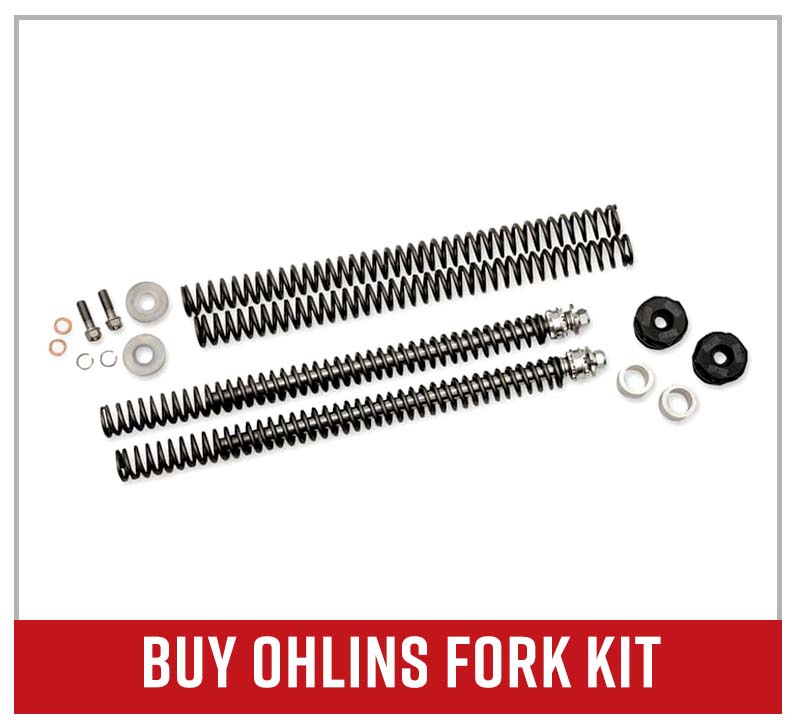
- Fork kit
- Fork fluid
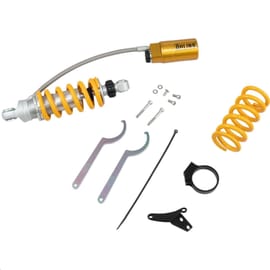
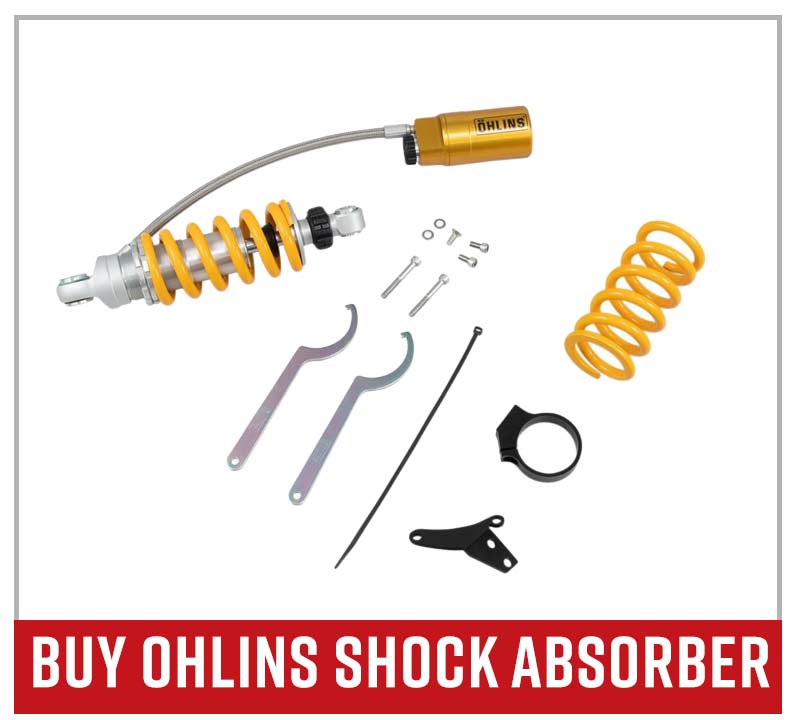
- Shock absorber kit (attached reservoir)
OR
- Shock absorber kit (remote reservoir)
Part 1: Removing Honda Grom Rear Shock Absorber
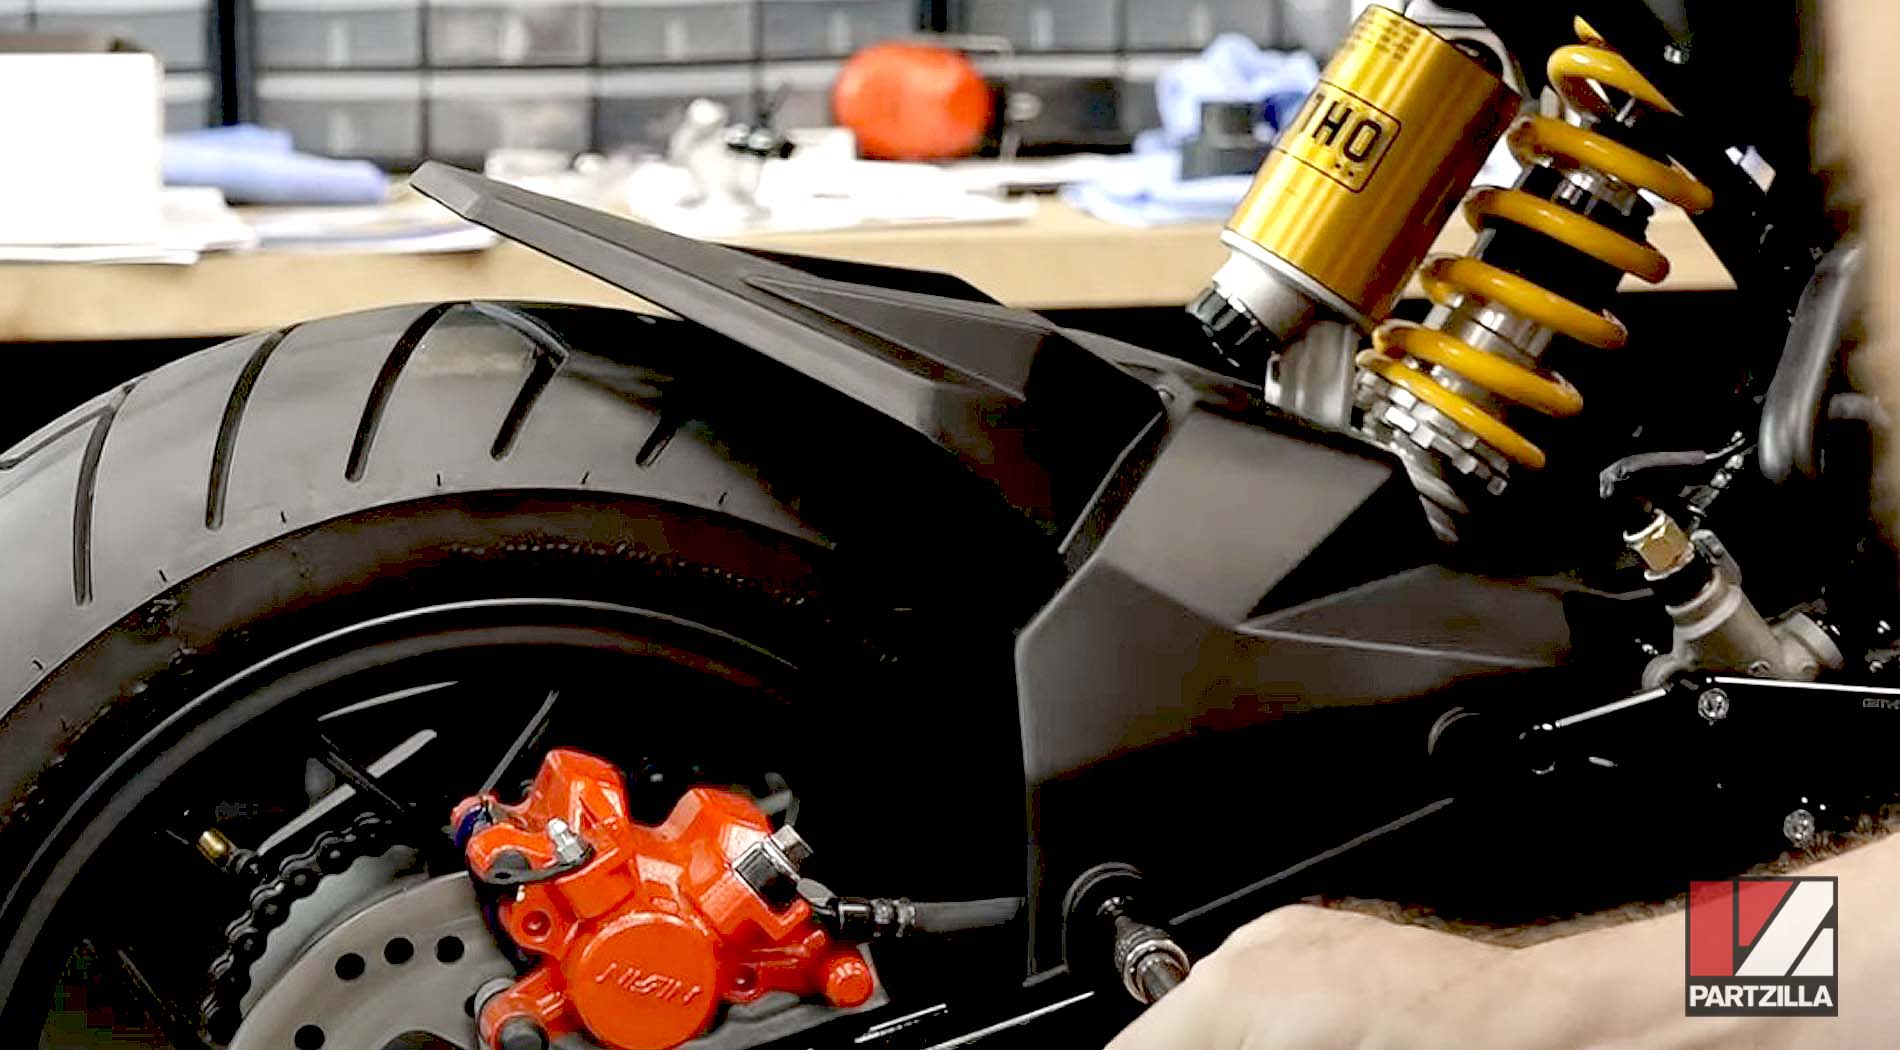
Step 1. Remove the lower fender from the swingarm.
NOTE: You may have to loosen or remove the muffler to access the lower fender bolts on the right side.
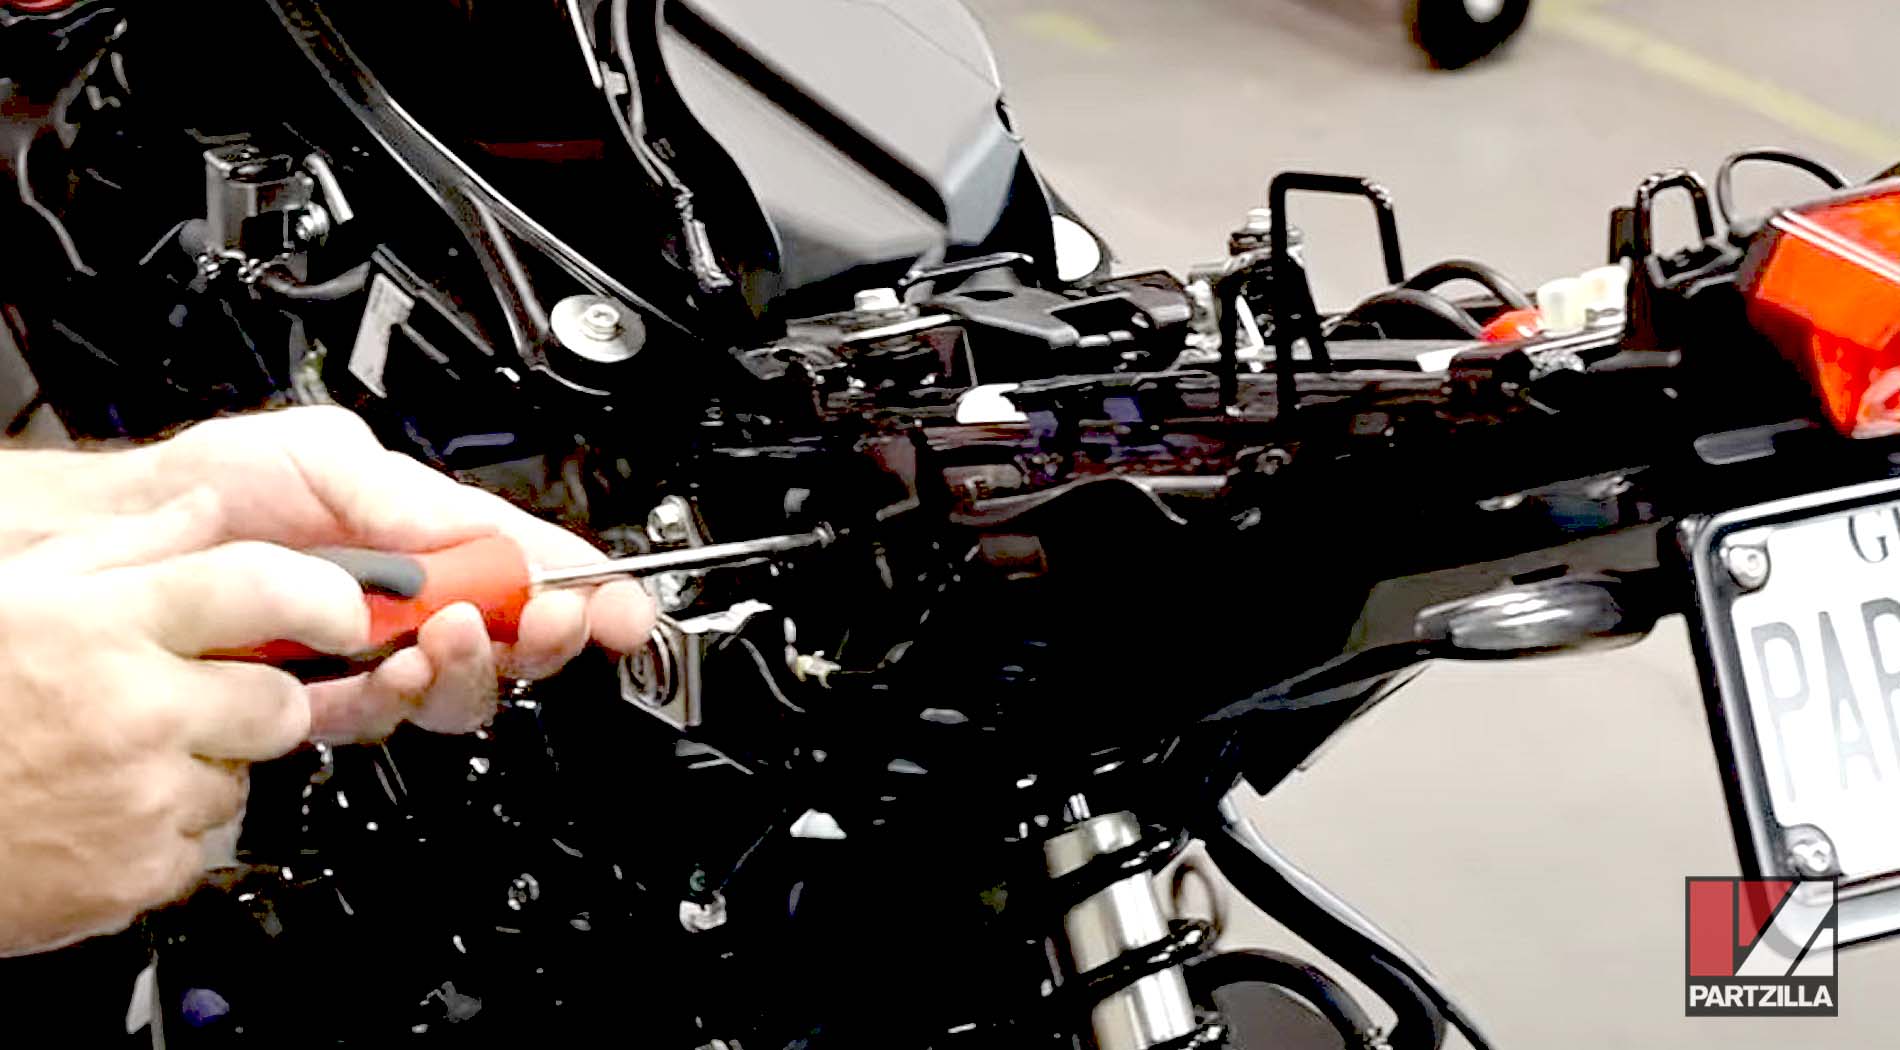
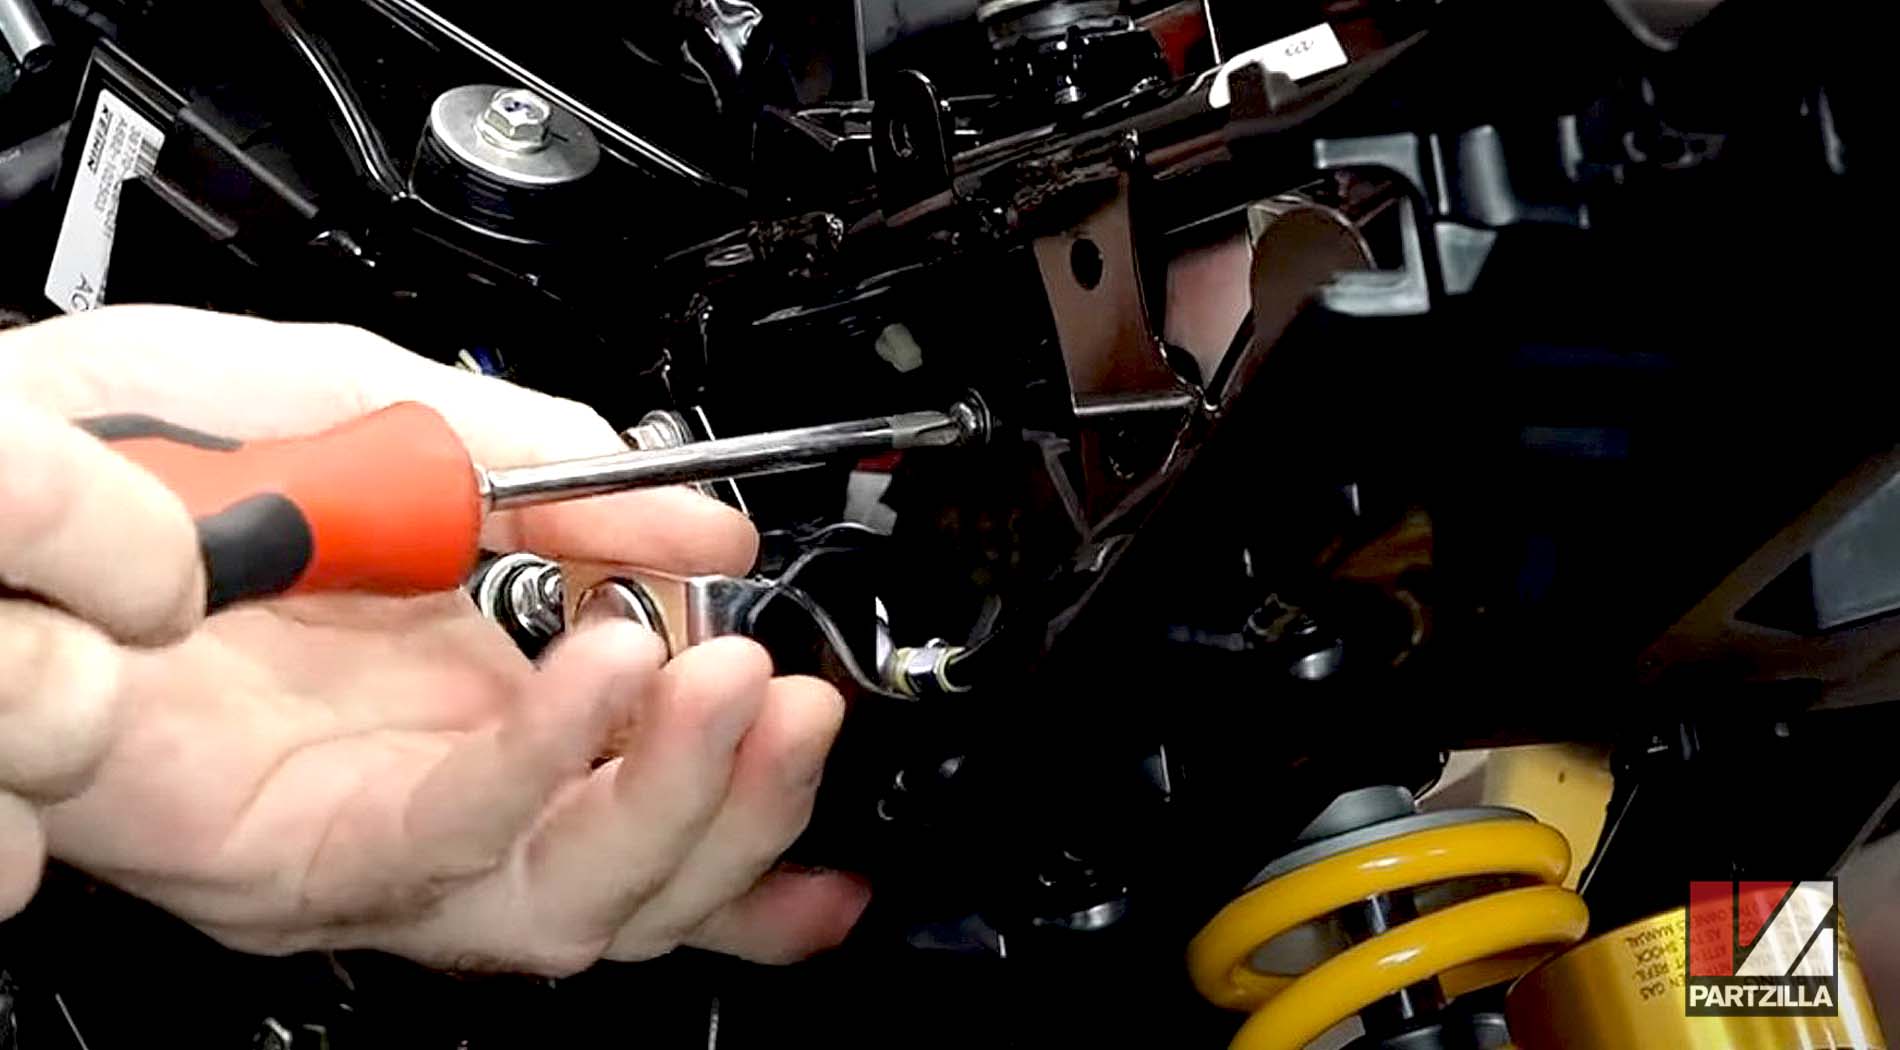
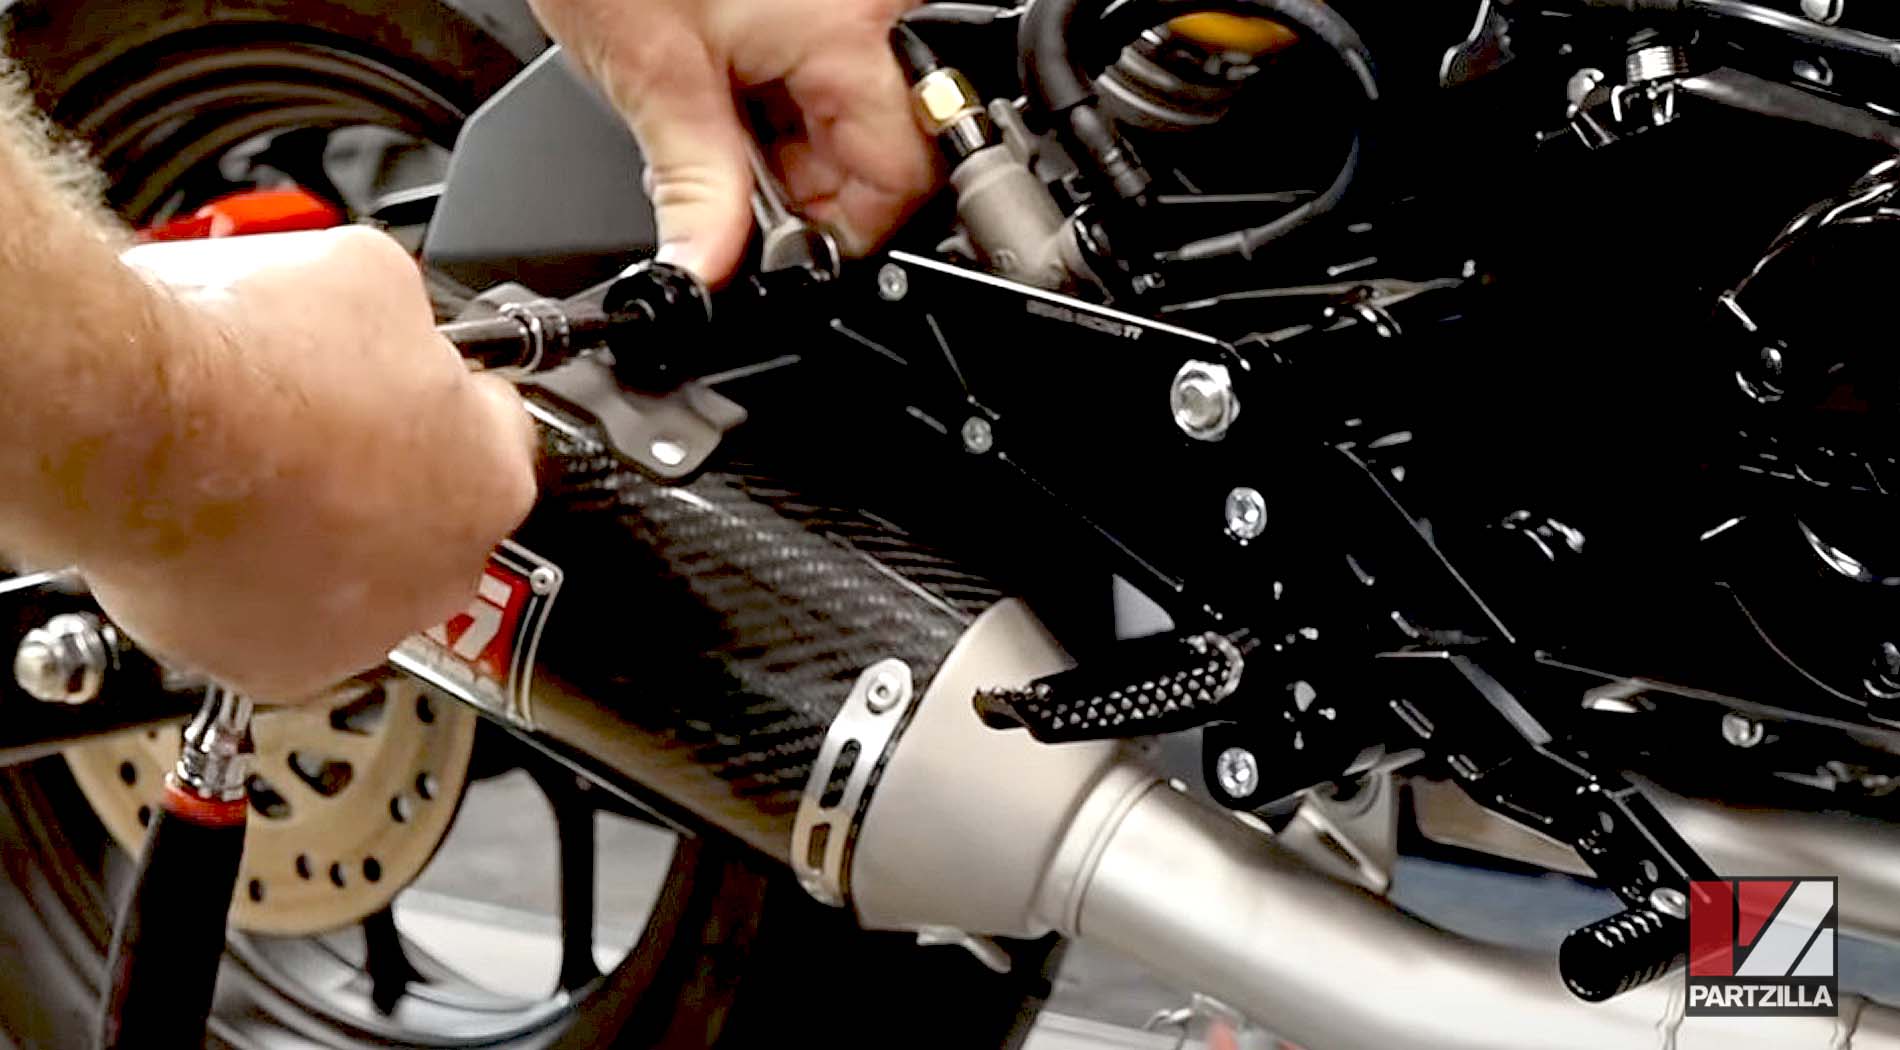
Step 2. Remove the bracket that holds the seat release lock. Swing the bracket out of the way to access the rear shock absorber upper mounting bolt.
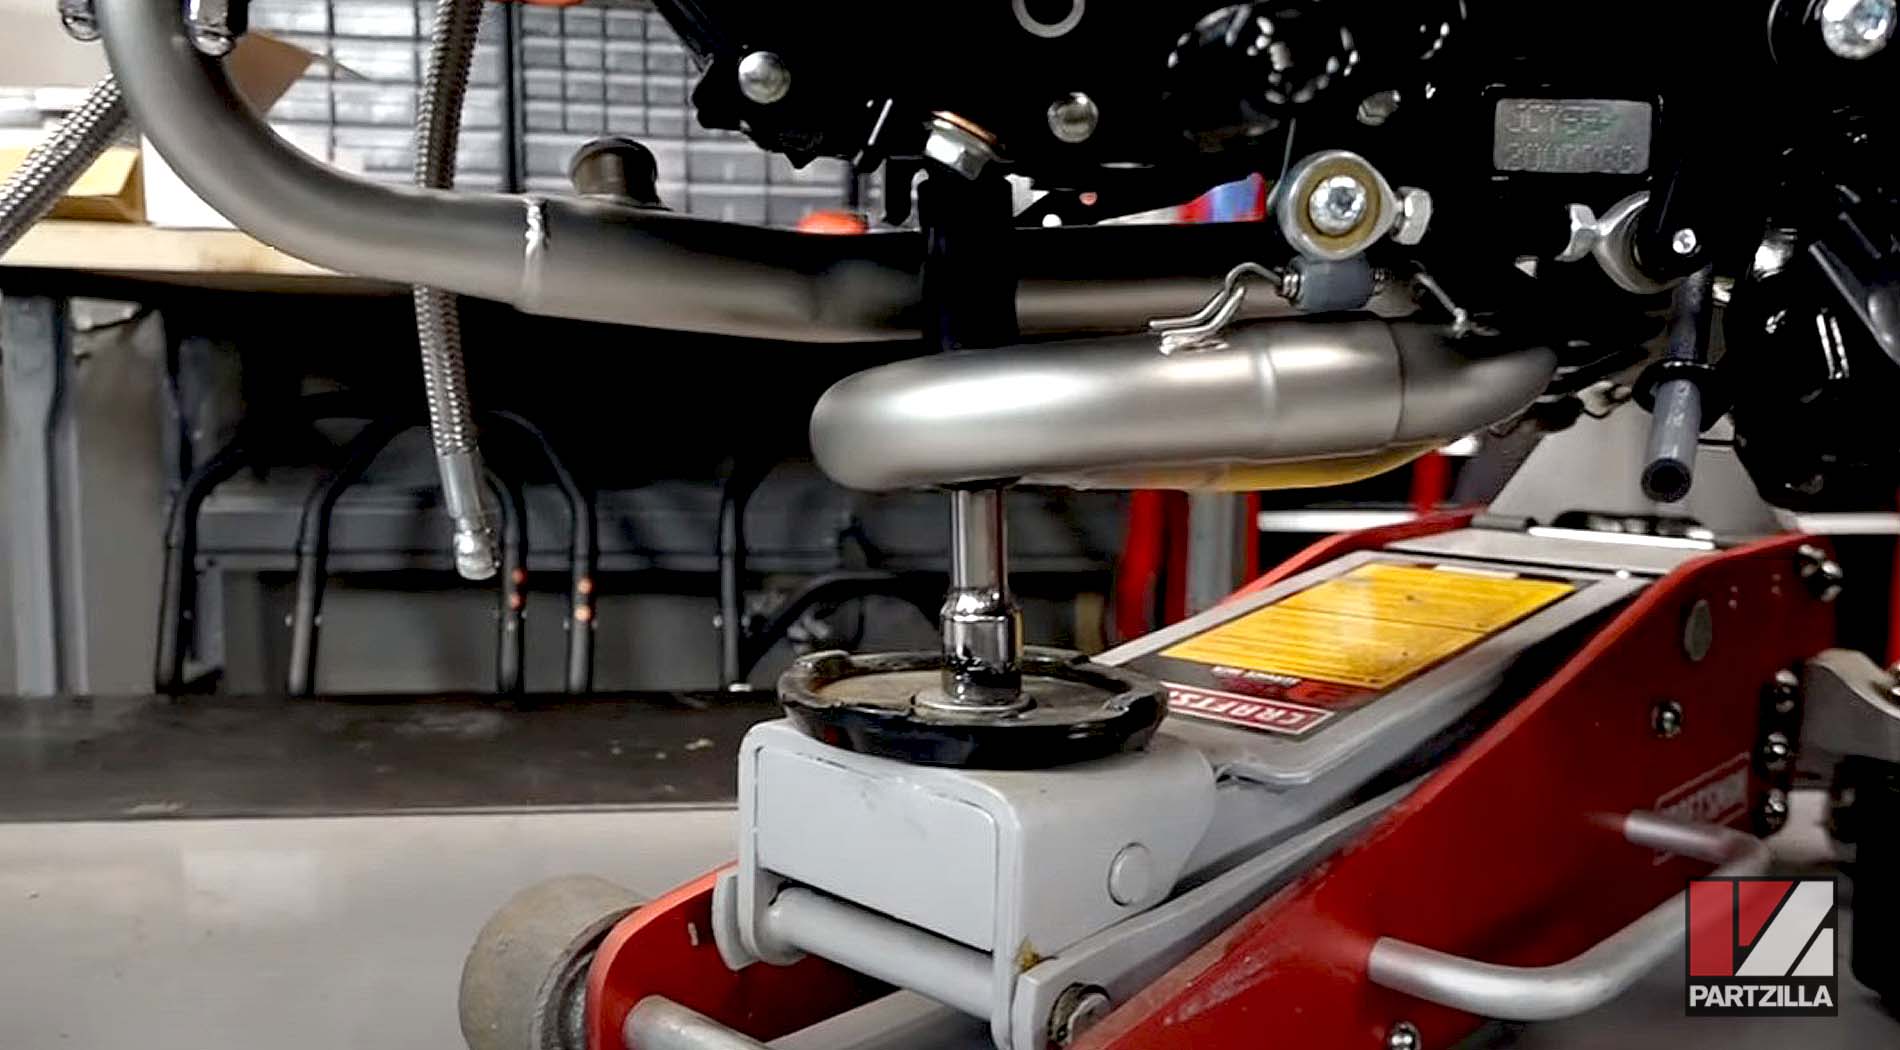
Step 3. Position a jack or lift under the swingarm pivot to support it.
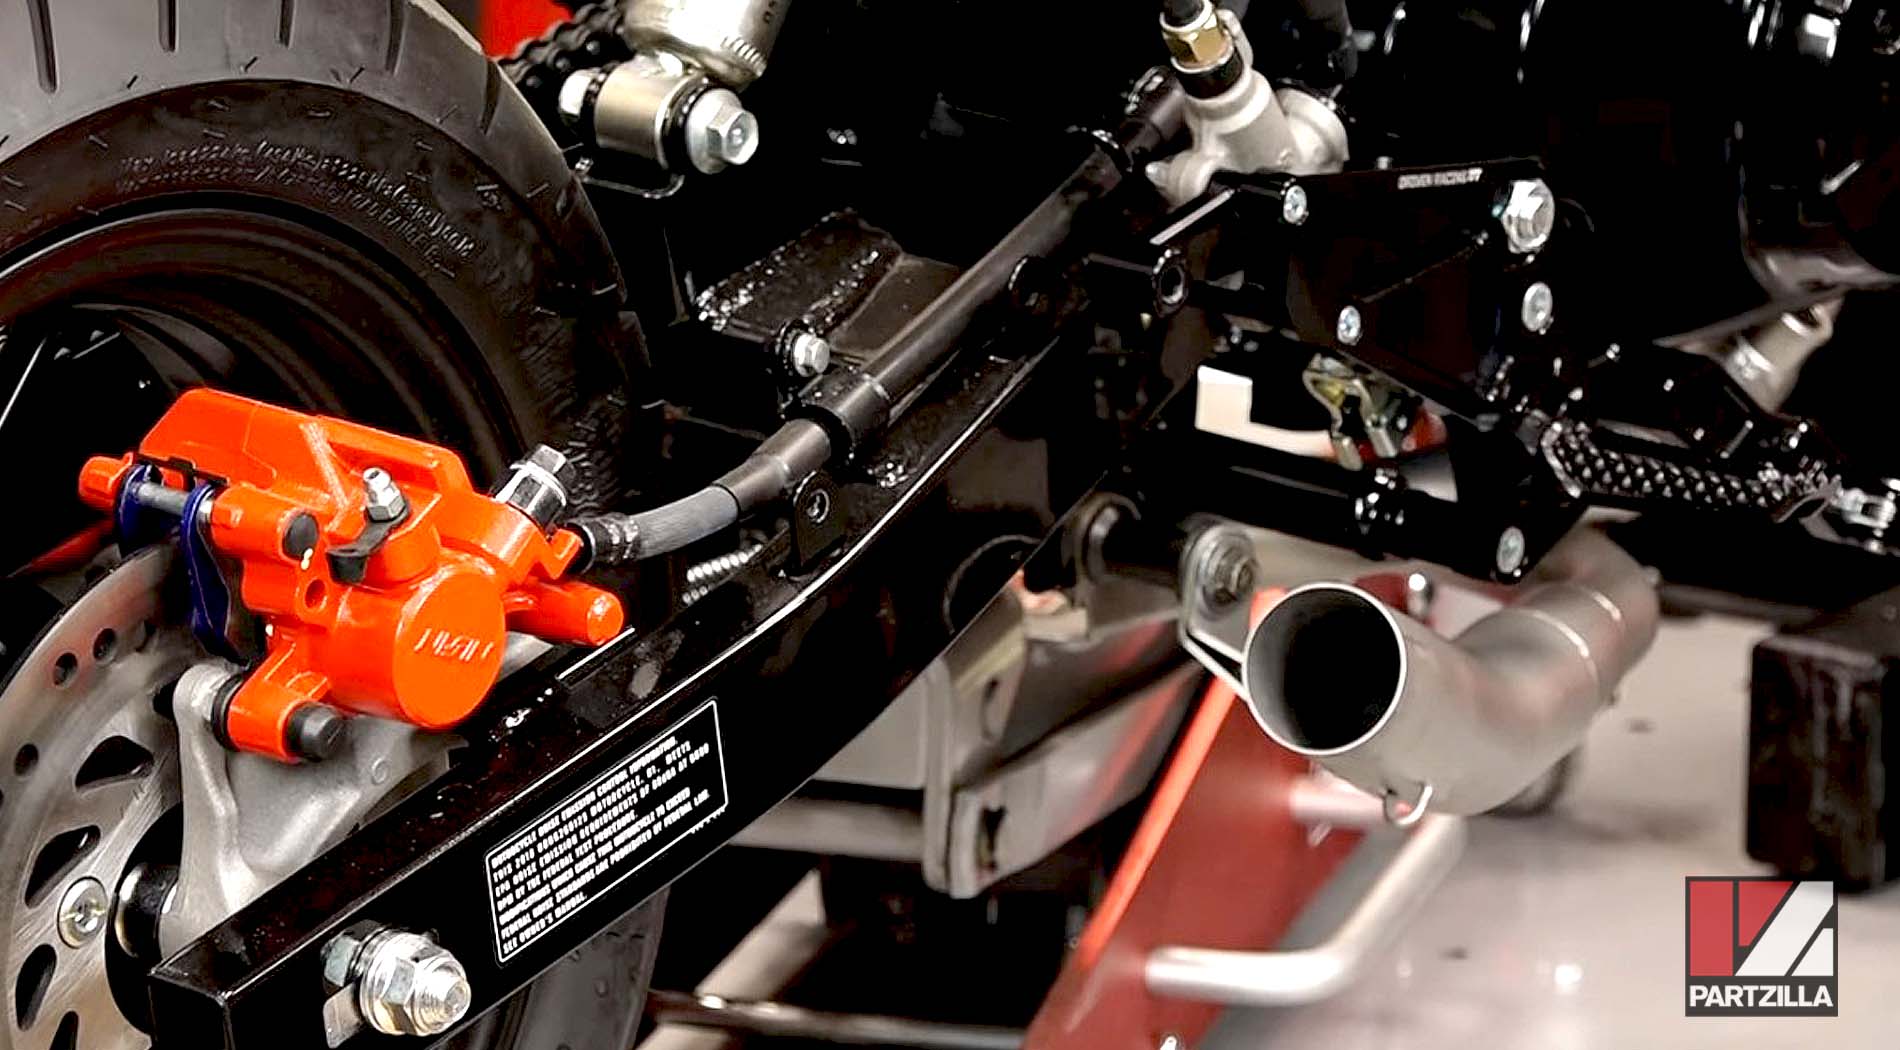
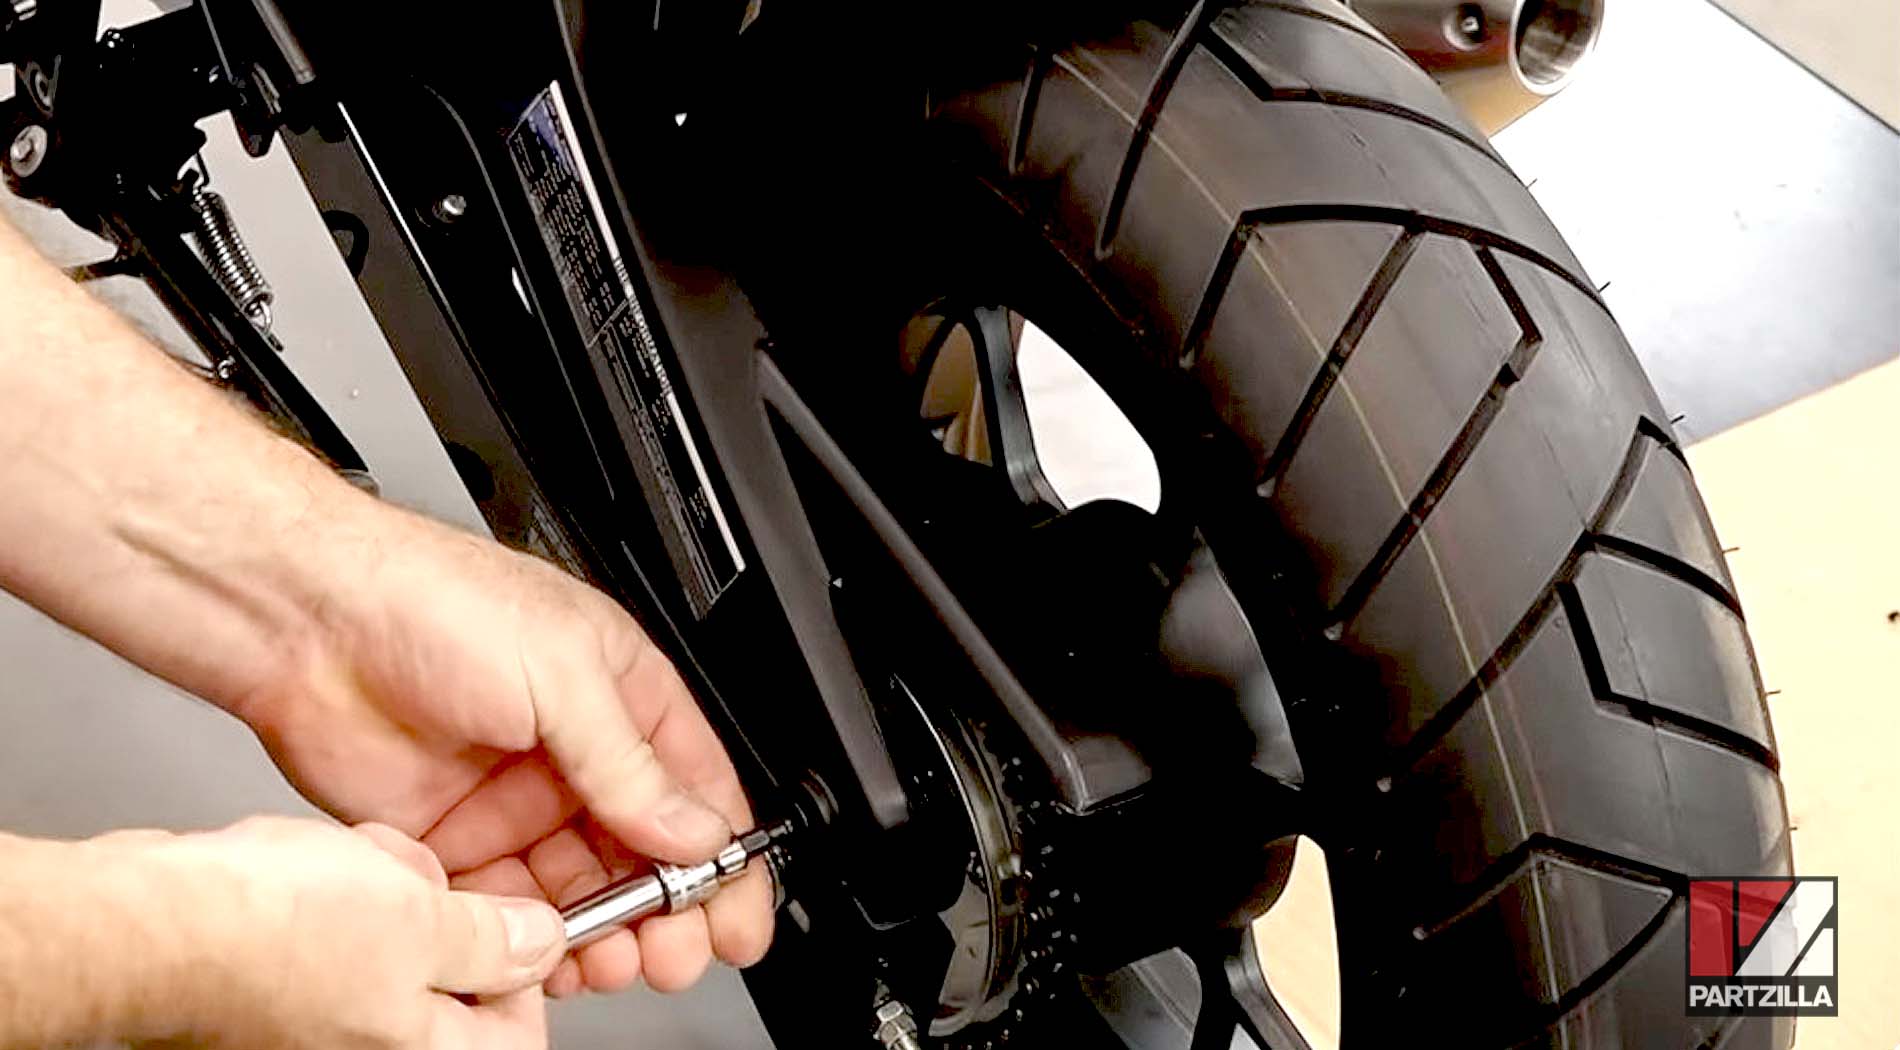
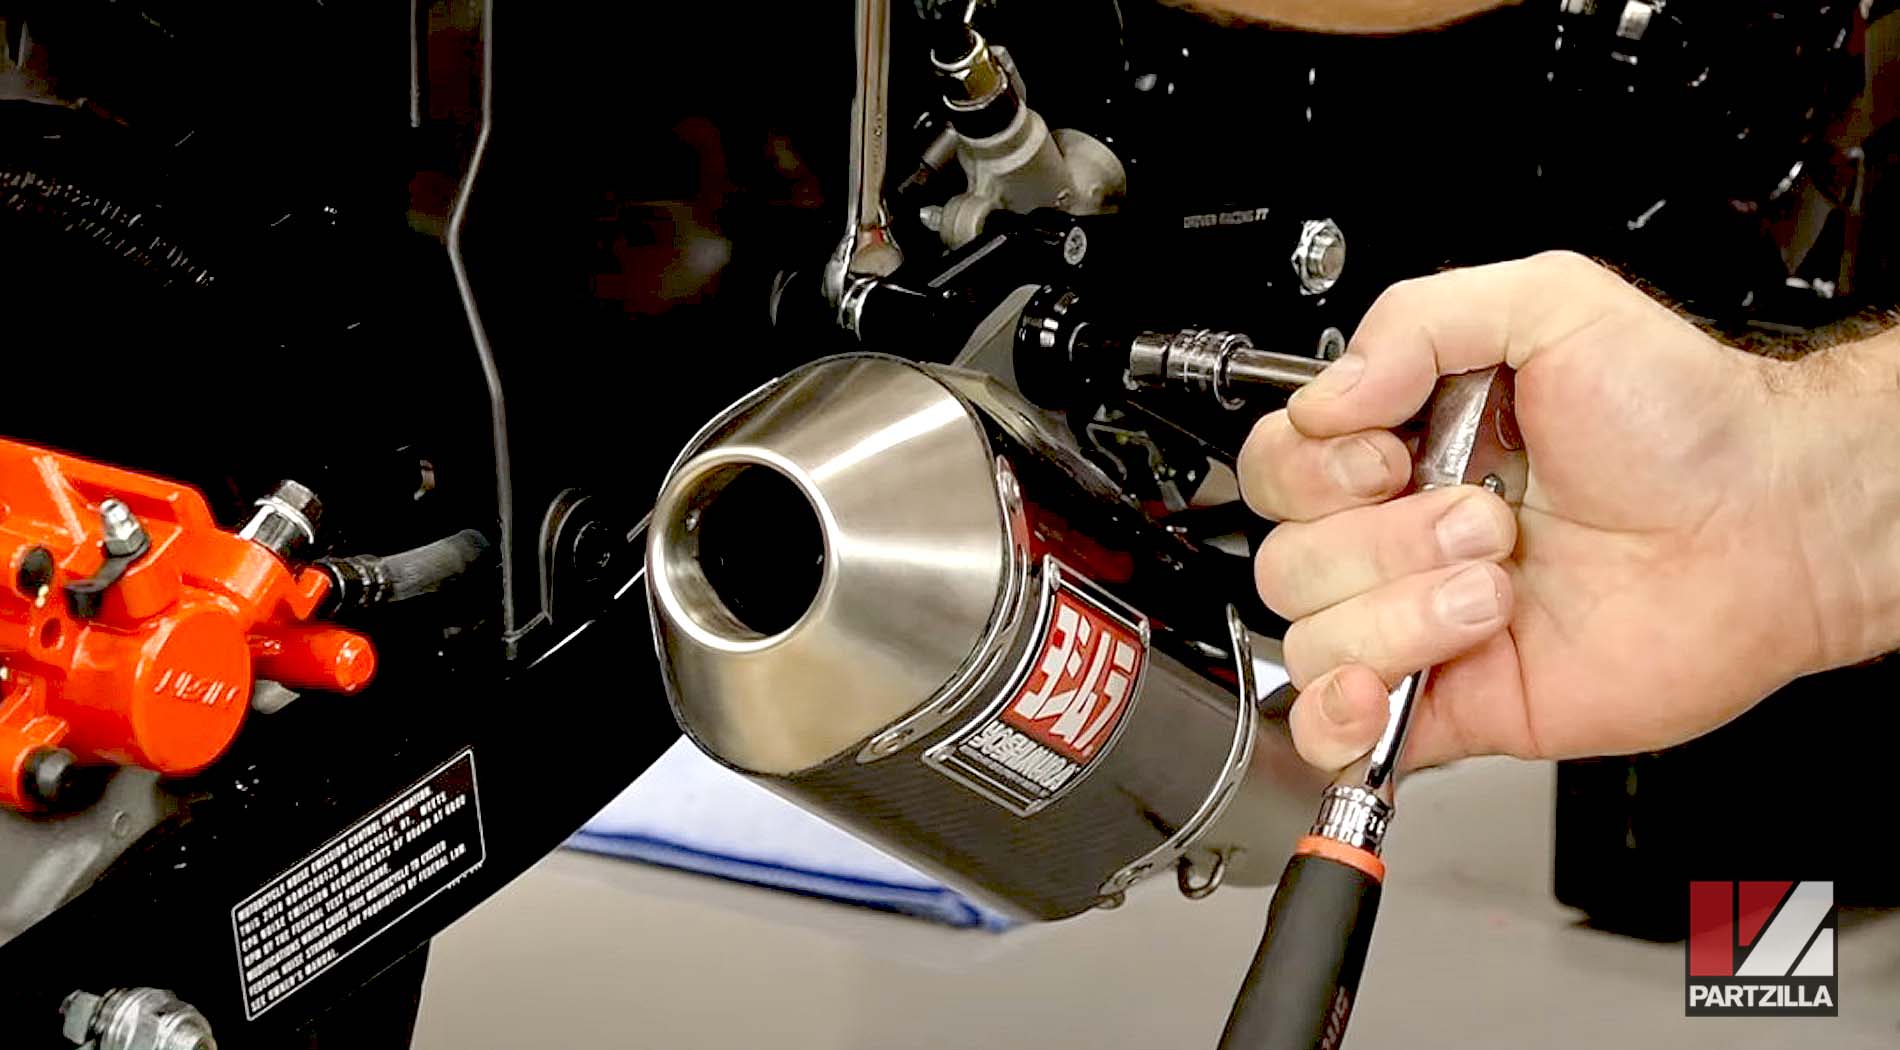
Step 4. Remove the upper and lower shock absorber mounting bolts, followed by the shock absorber itself.
Watch the clip below to see the rear shock absorber removal segment of our Honda Grom suspension upgrade video.
Part 2: Installing Honda Grom Rear Shock Absorber
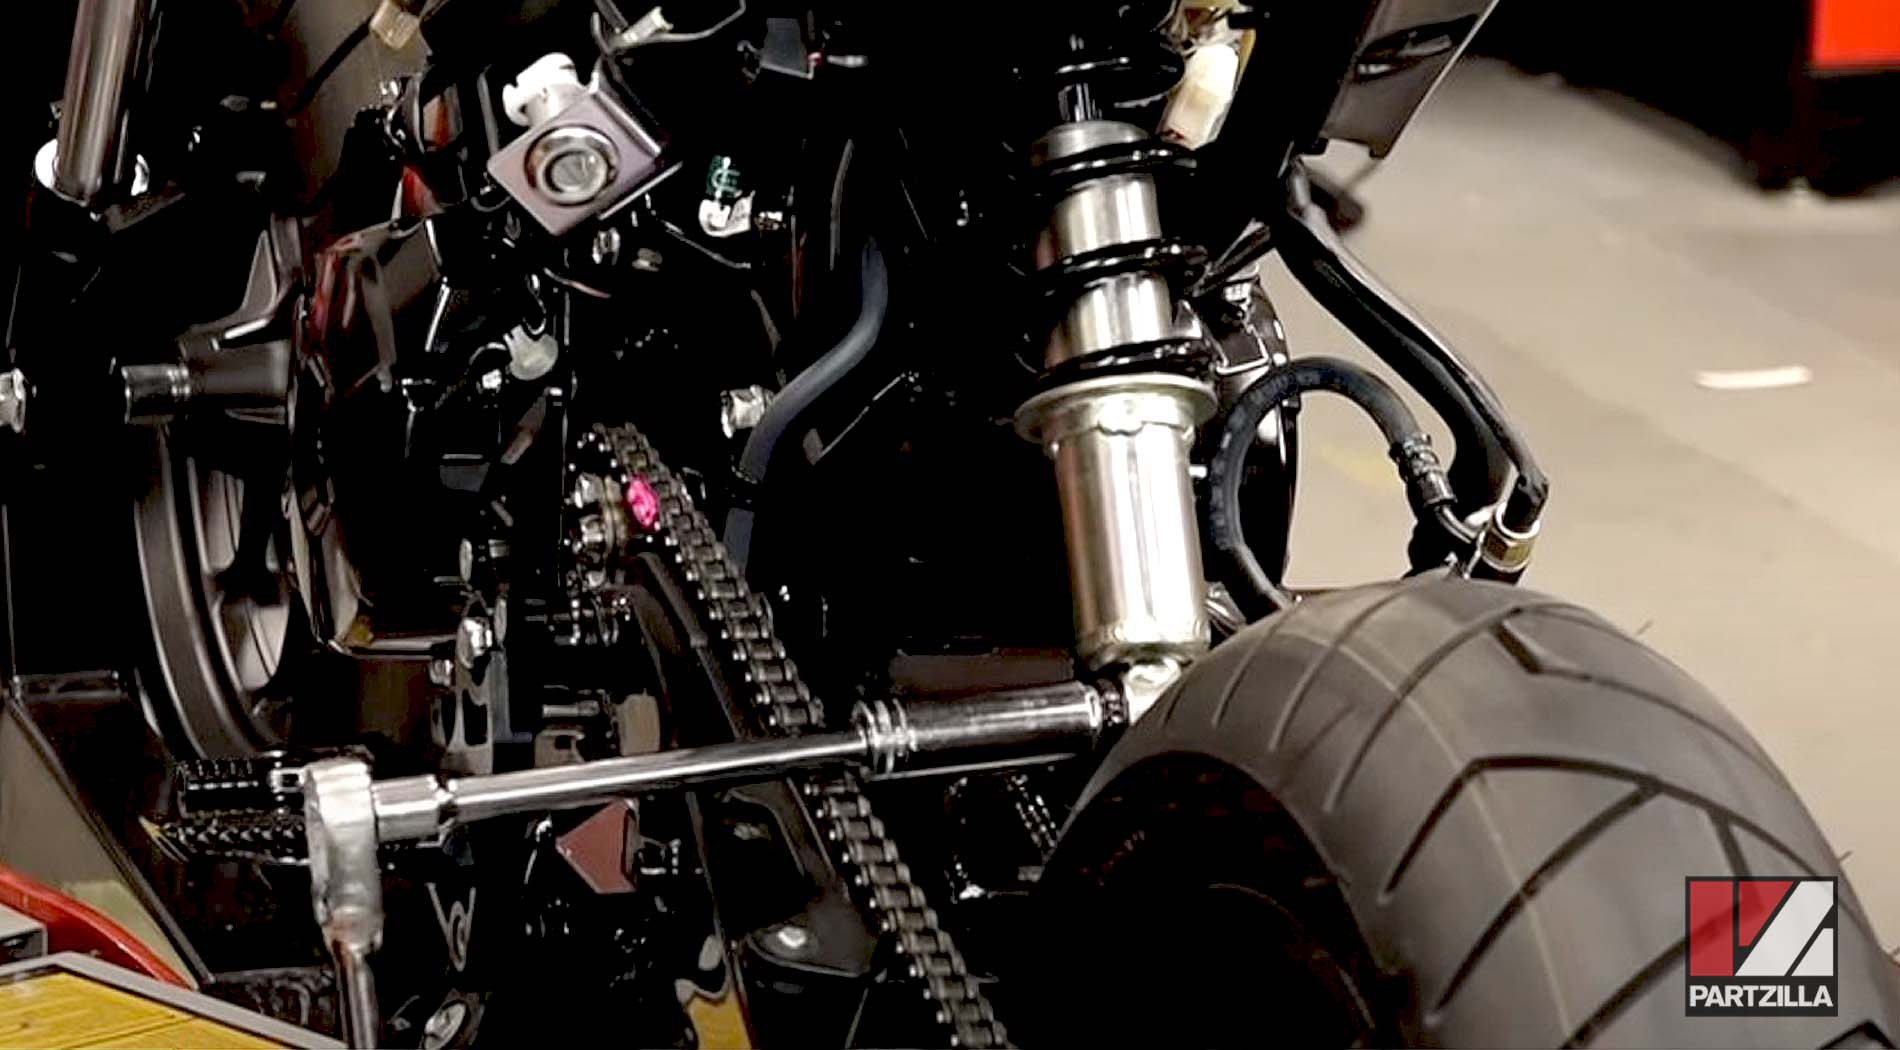
Step 1. Install the new shock absorber upside down so the reservoir clears the rear tire. Next, reinstall the upper and lower mounting bolts, and torque them to 34 foot-pounds.
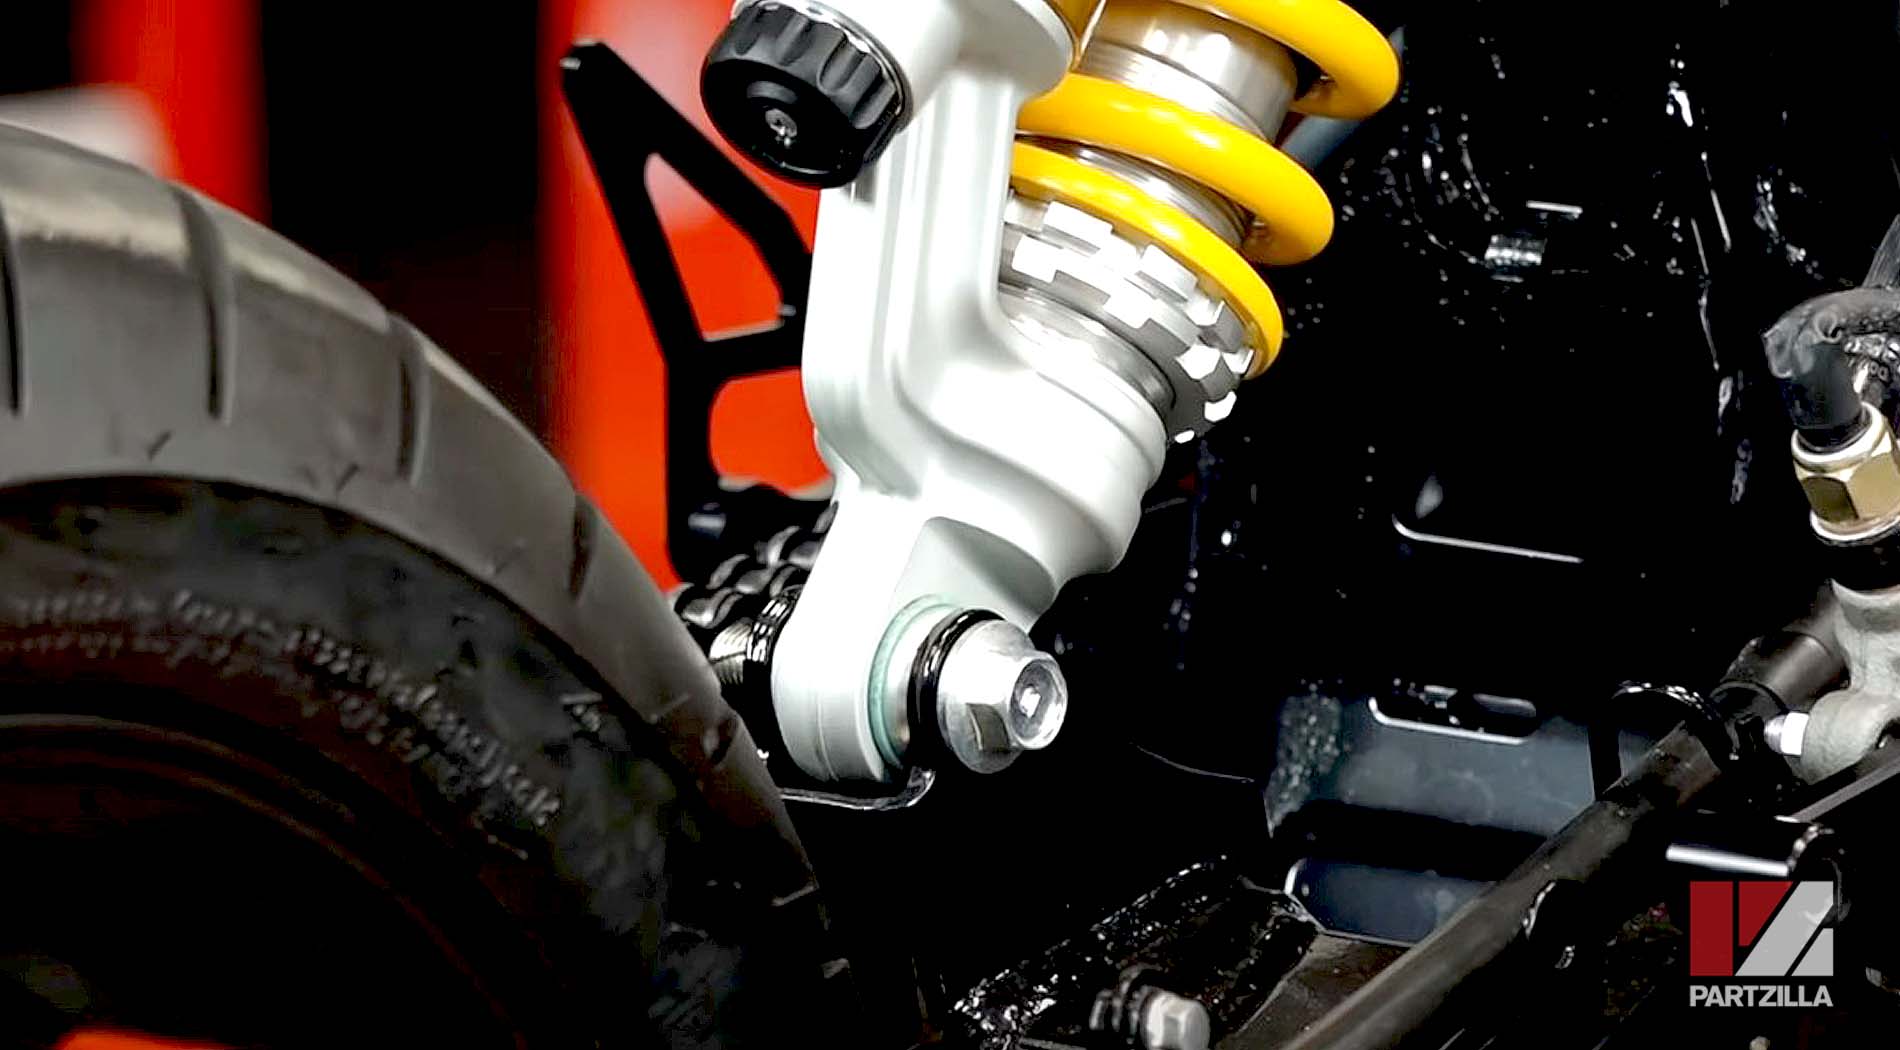
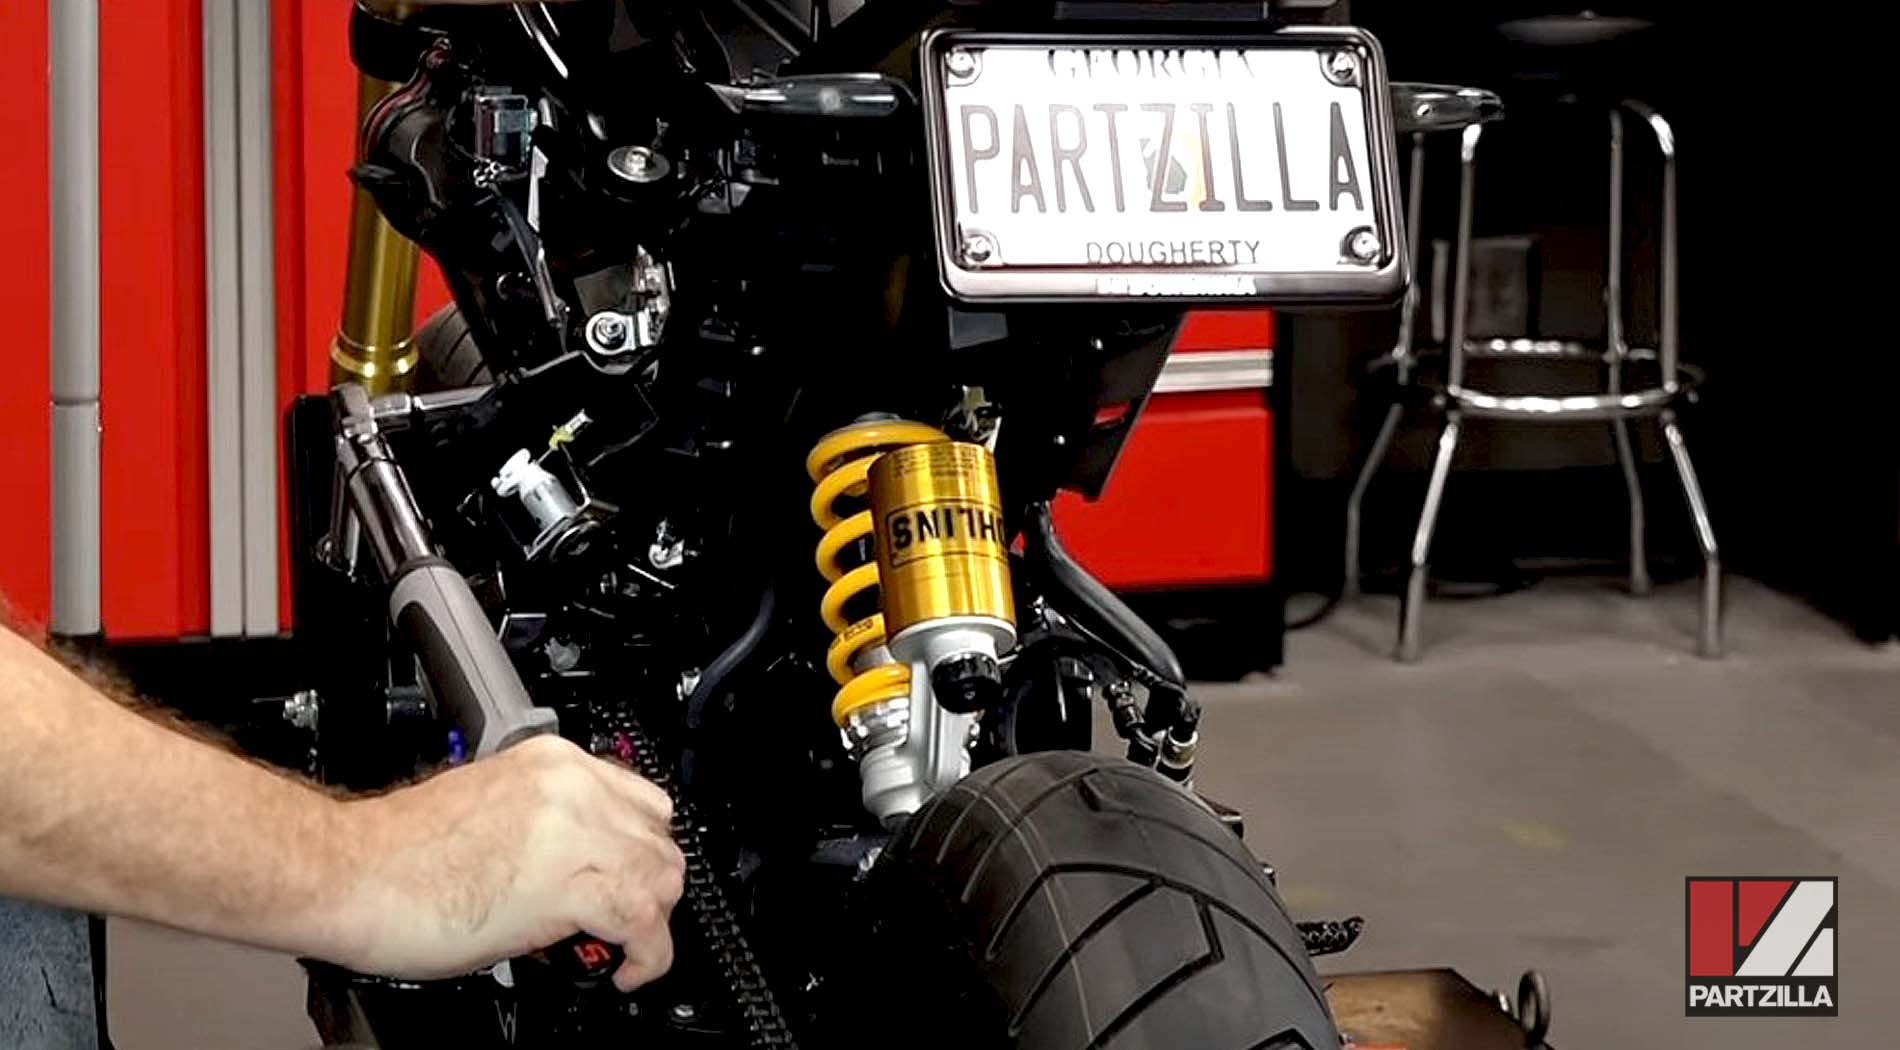
NOTE: Mounting the Ohlins shock absorber with attached reservoir upside down makes no difference to the performance of the shock or the Grom. However, you can fit the Ohlins shock absorber with remote reservoir instead, and mount the remote reservoir on the right side of the Grom beside the rear brake reservoir.
Step 2. Remove the jack or lift from under the swingarm, then reinstall the bracket that holds the seat release lock.
Step 3. Reinstall the lower fender from the swingarm. Next, reinstall the muffler if you had to loosen or remove it to access the lower fender bolts.
Watch the clip below to see the rear shock absorber installation segment of our Honda Grom suspension upgrade video.
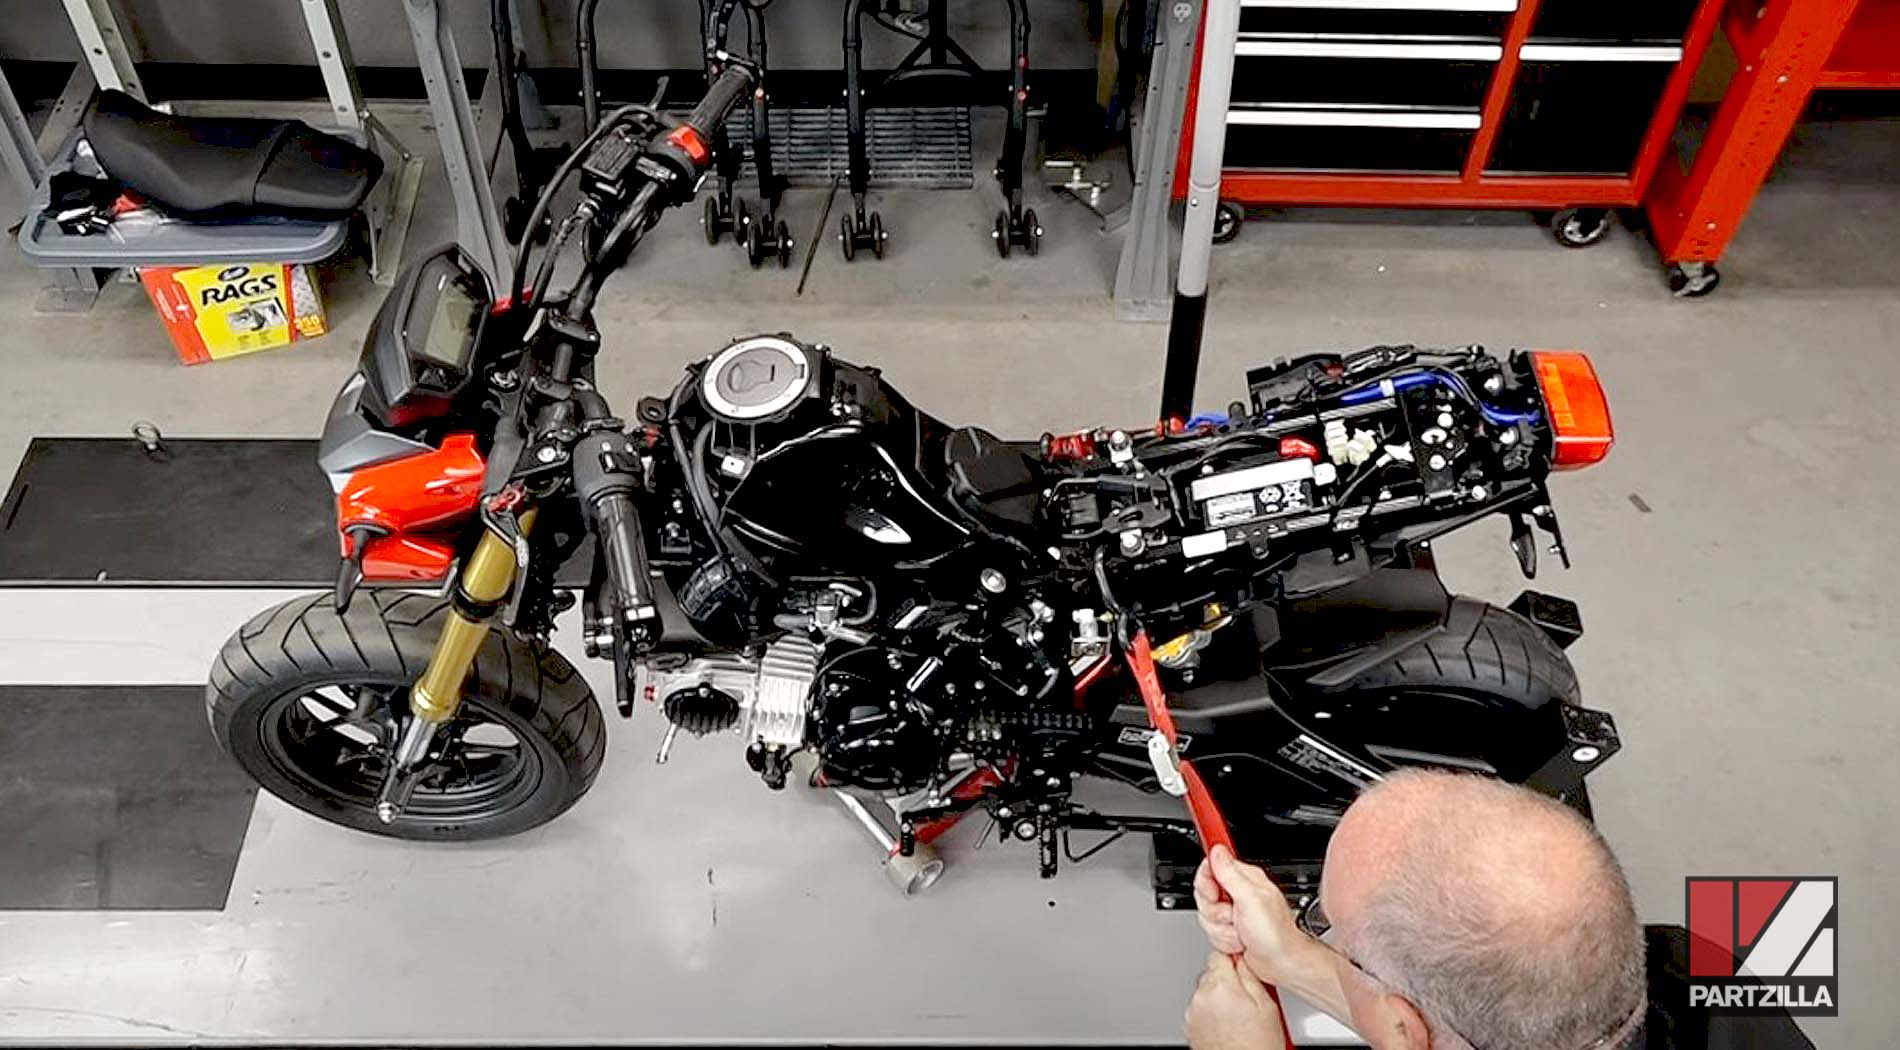
NOTE: Before working on the front forks, support the Grom under the engine and use tie-down straps to keep it secured.
Part 3: Removing Honda Grom Front Forks
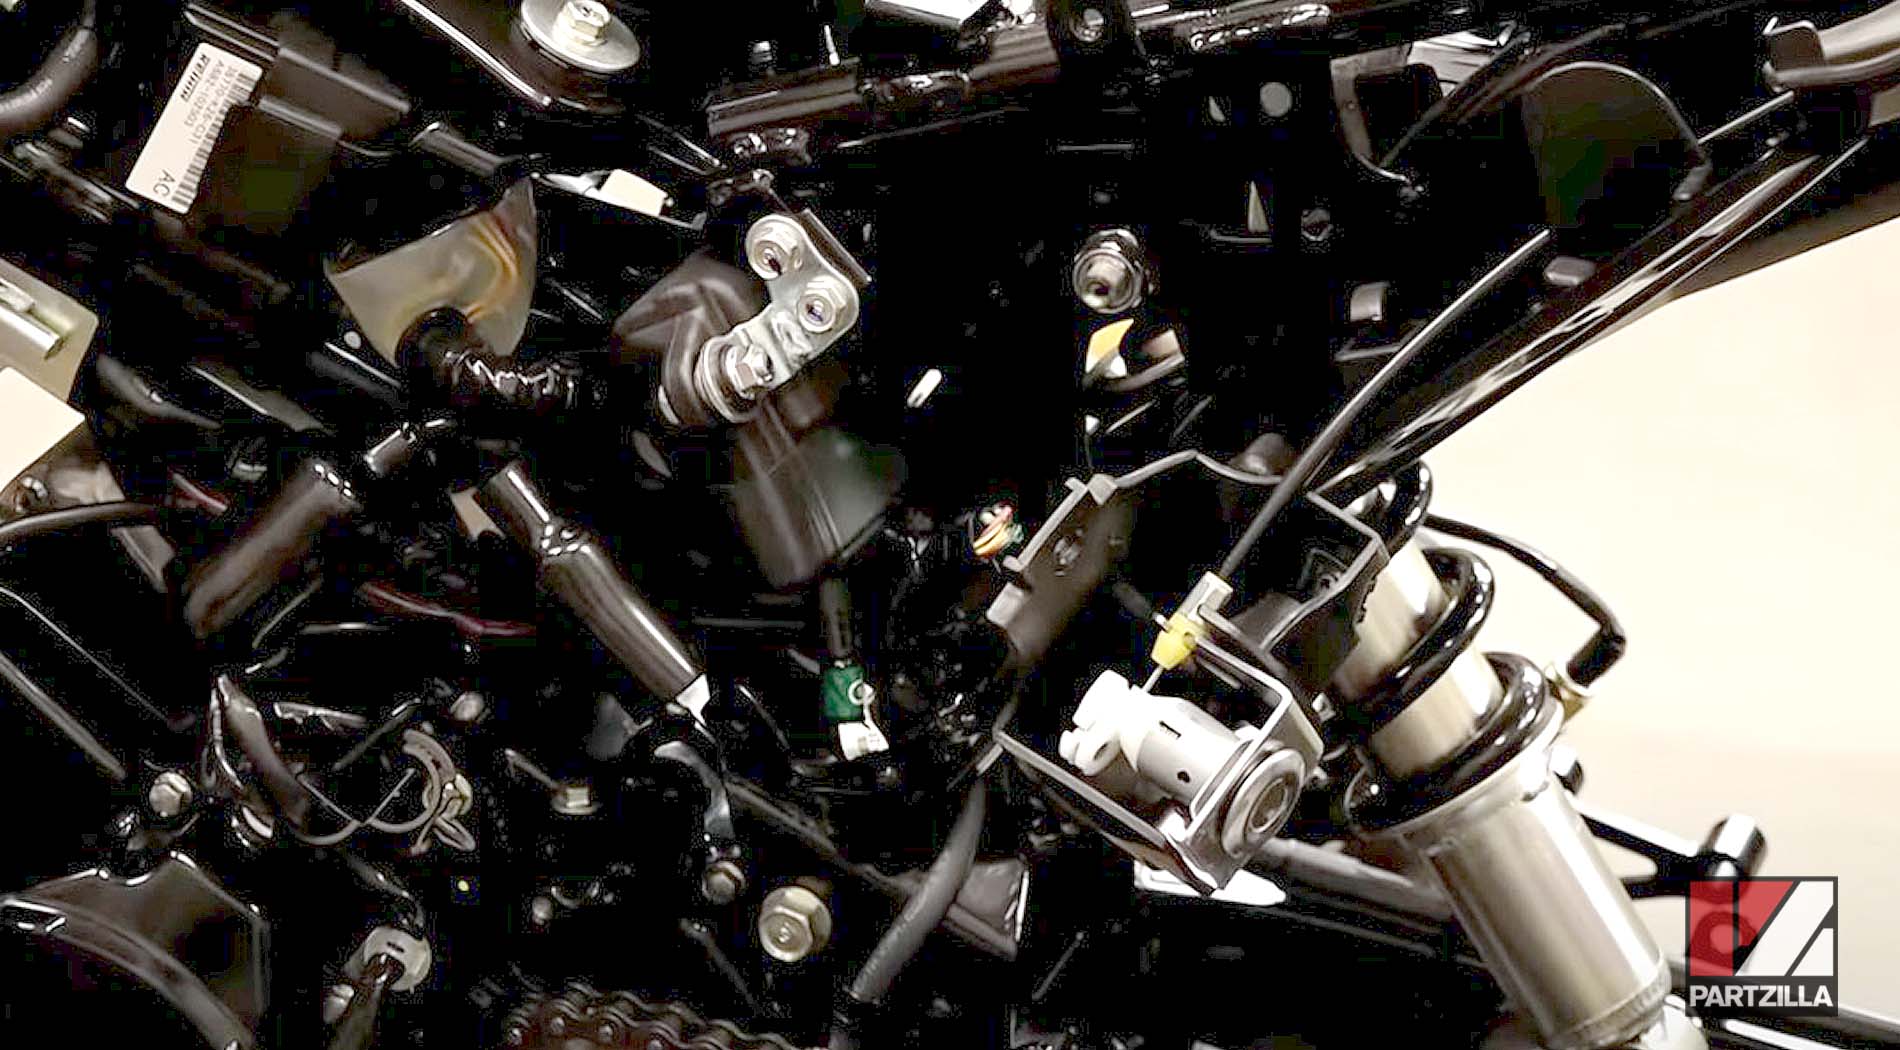
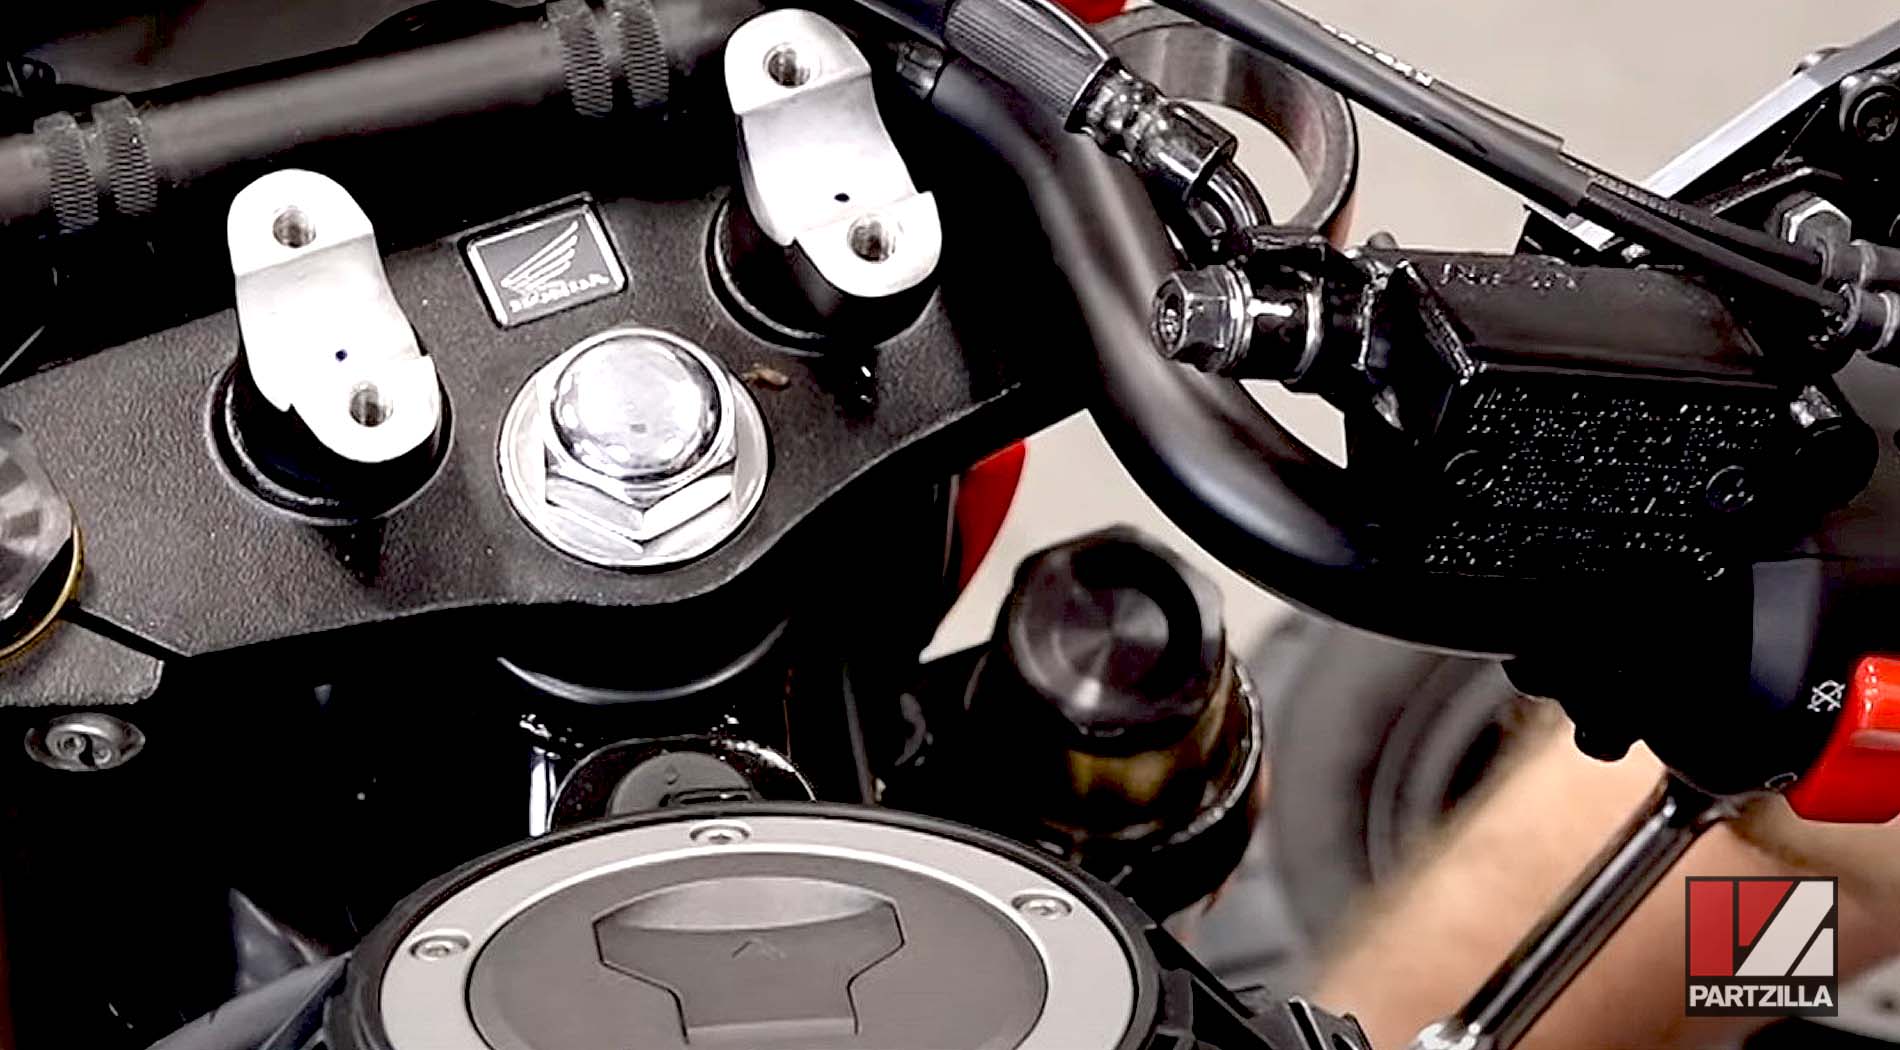
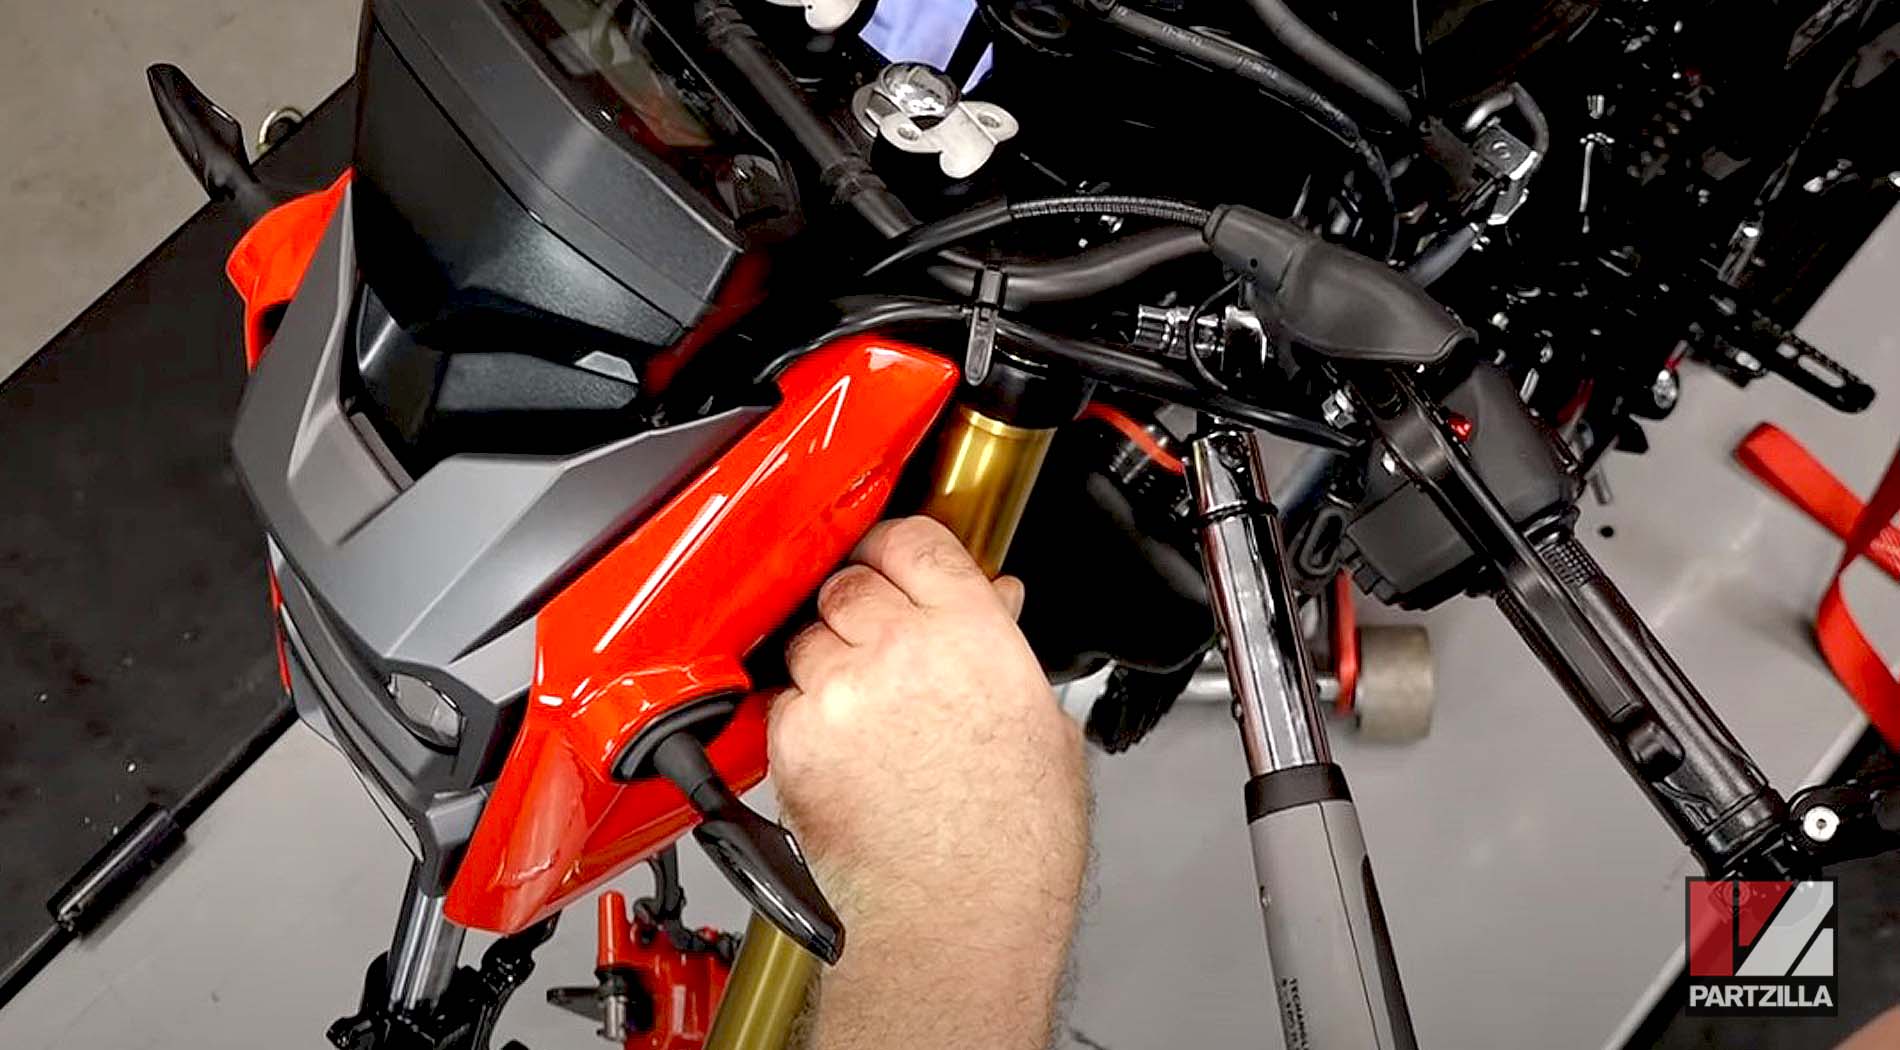
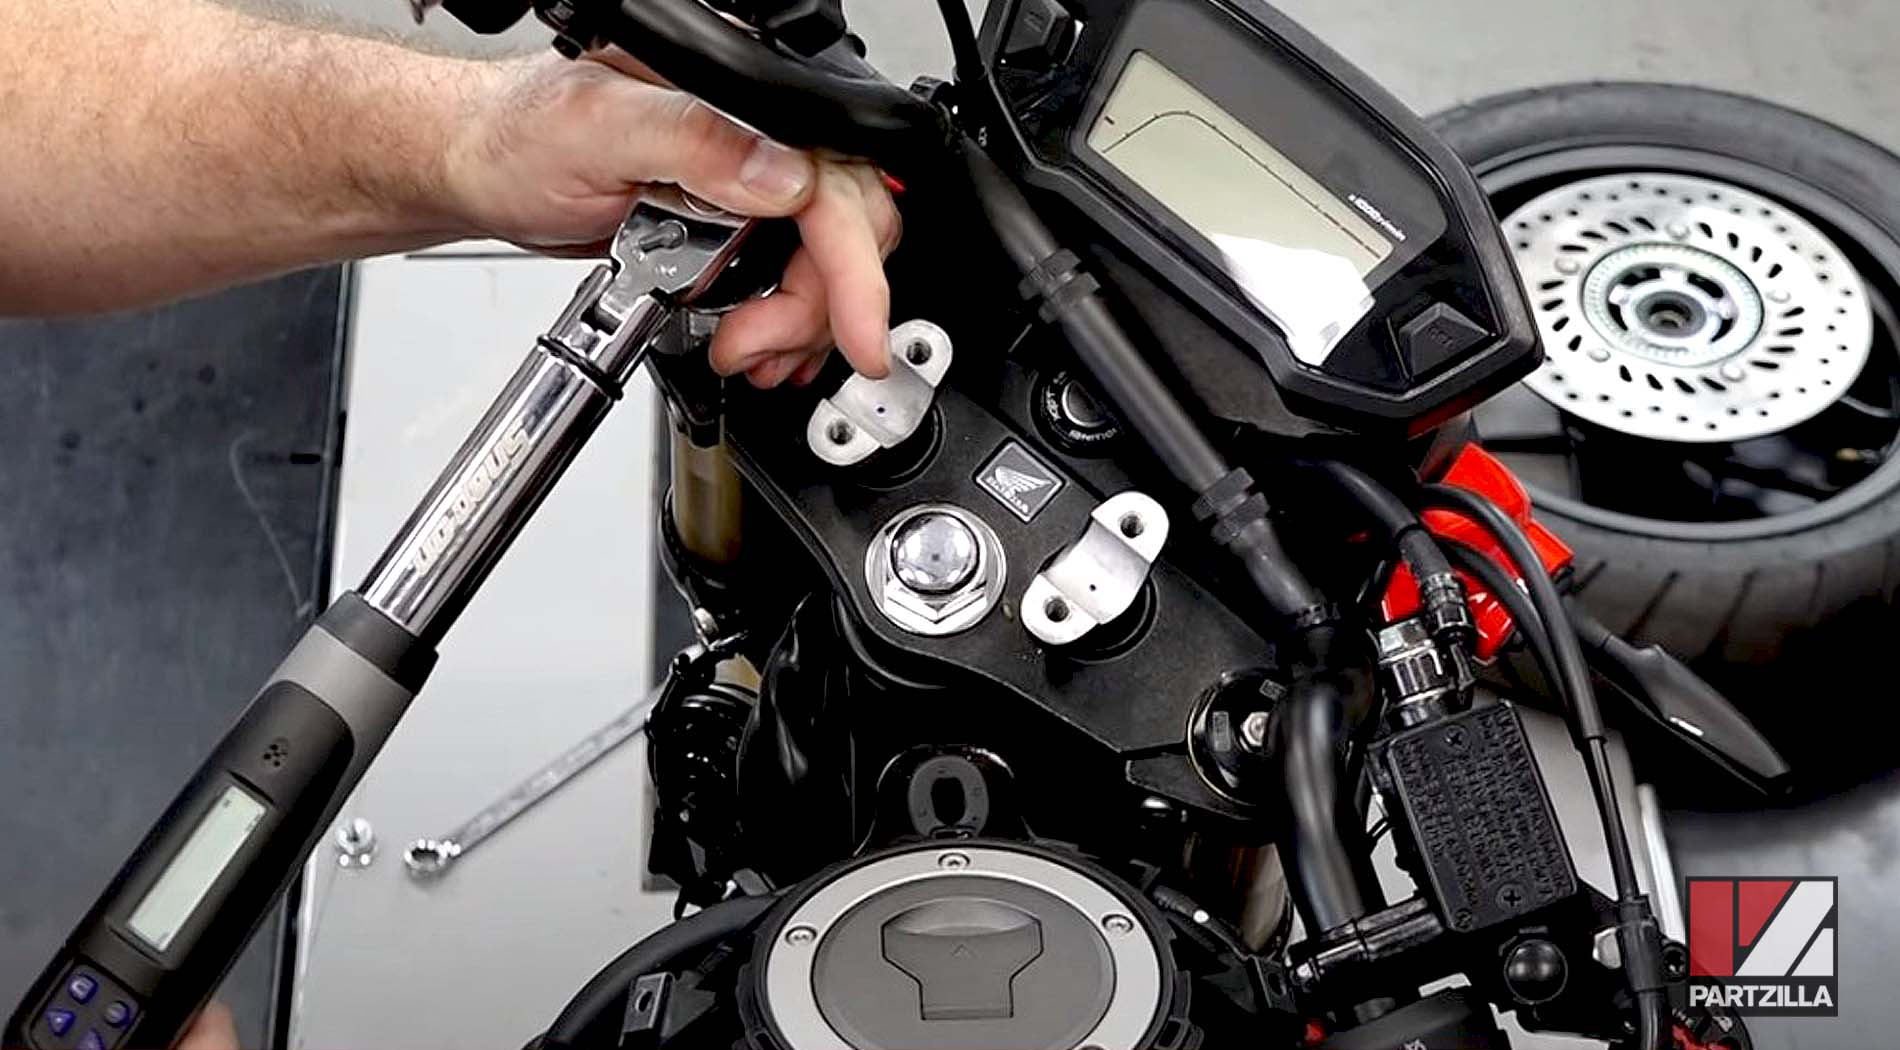
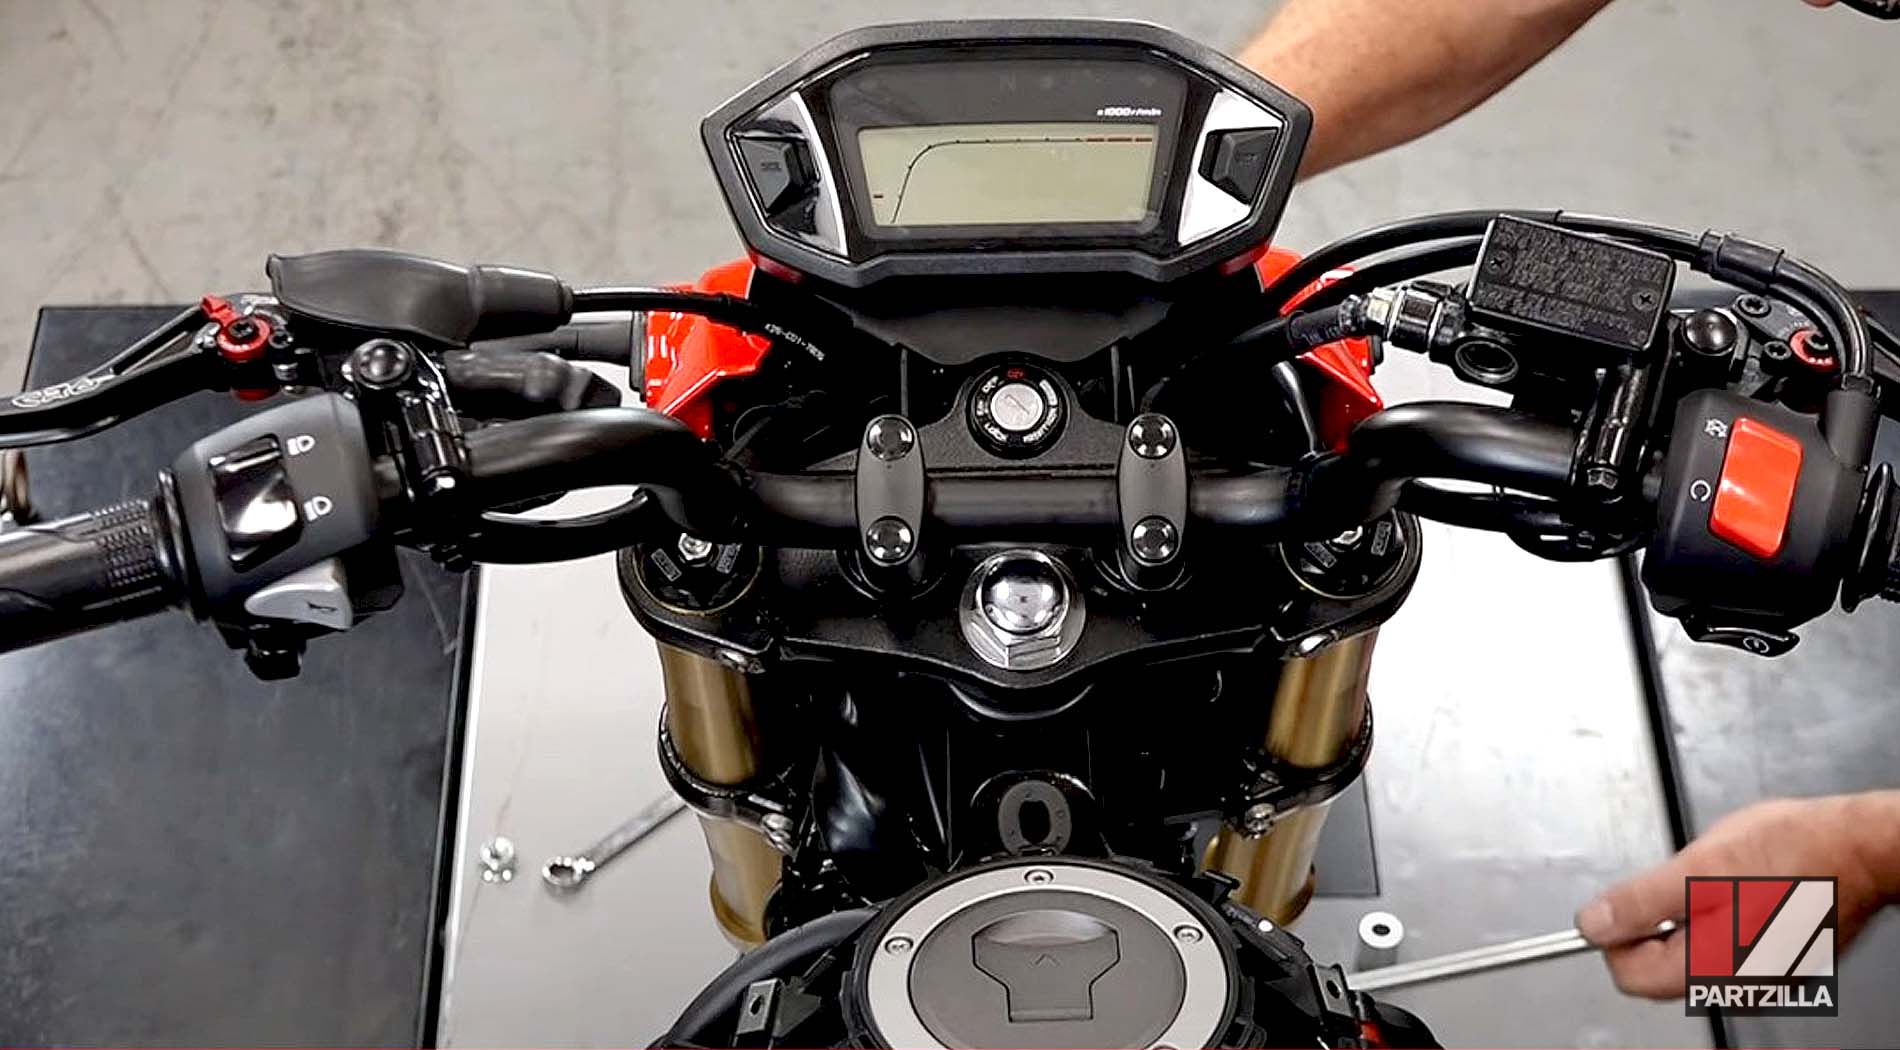
Step 1. Remove the four handlebar bolt caps and the bolts themselves, then remove the handlebars from the Grom.
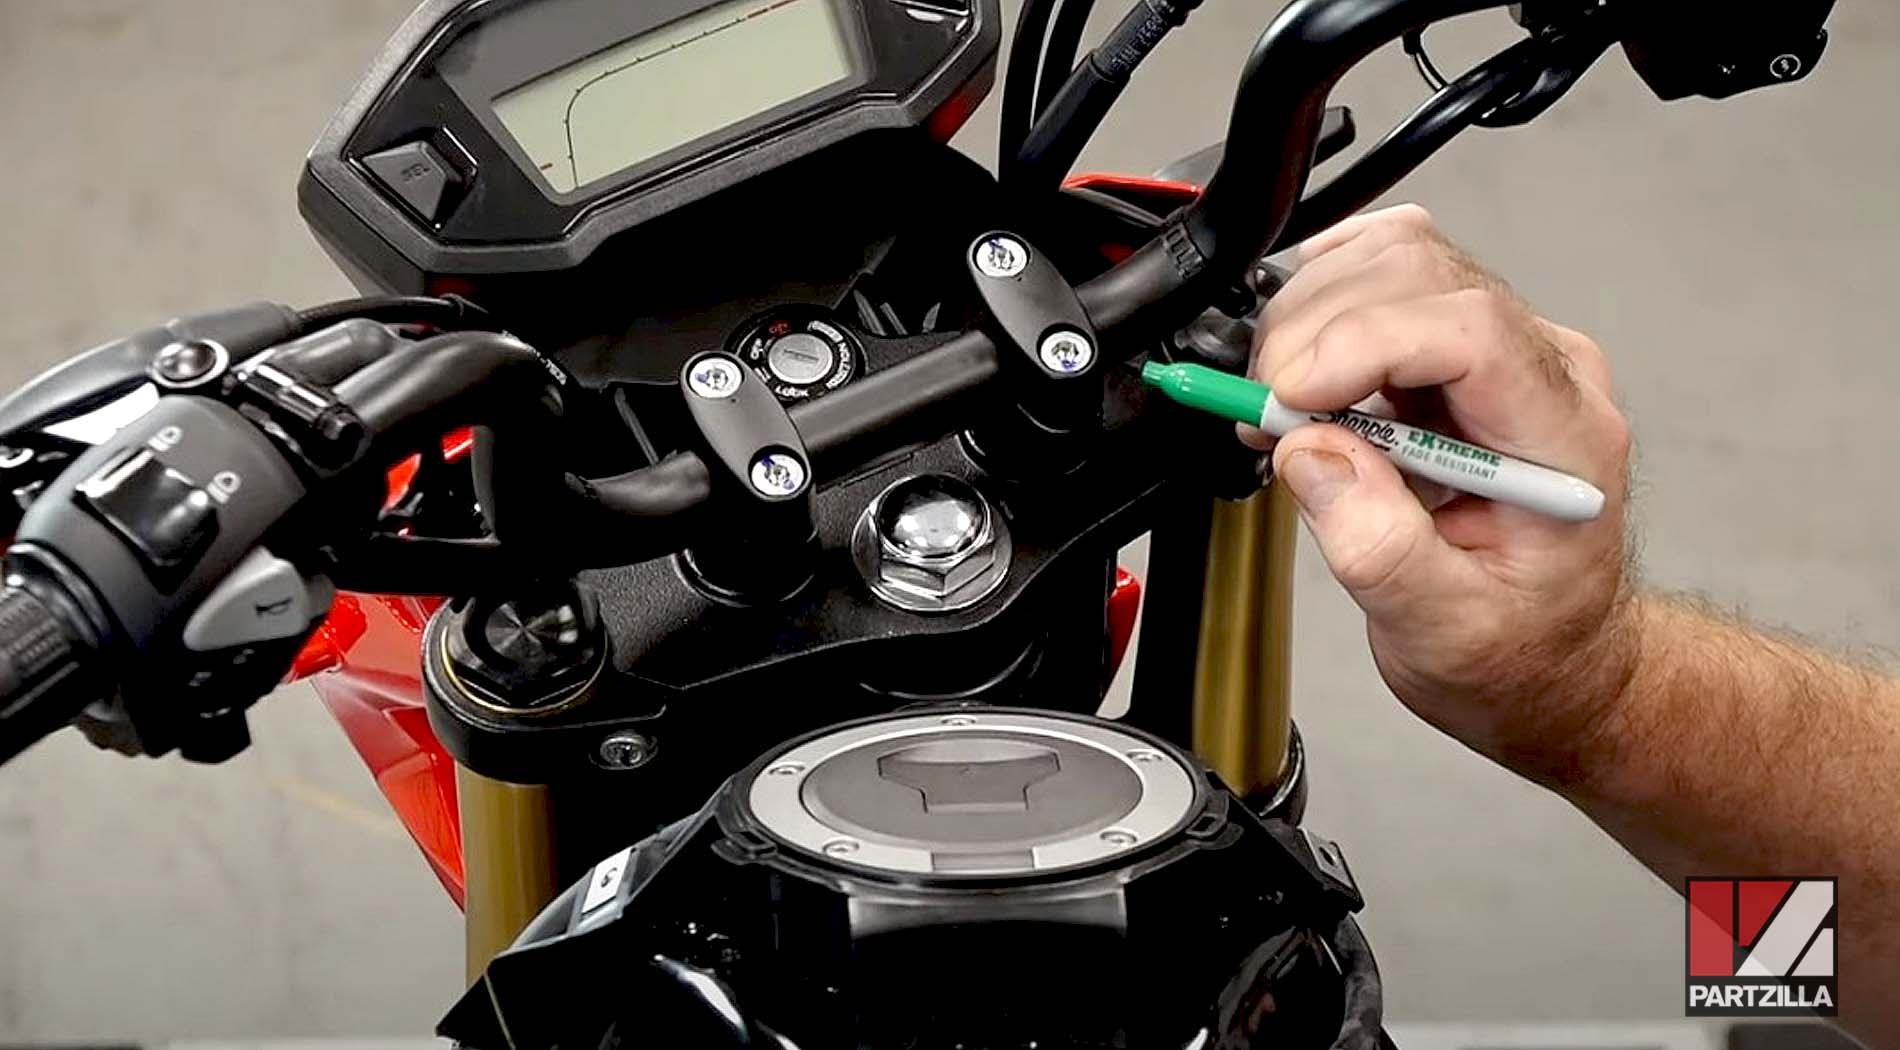
PRO TIP: Mark the handlebars with a marker pen before removing them, so you can reinstall them in the same position later.
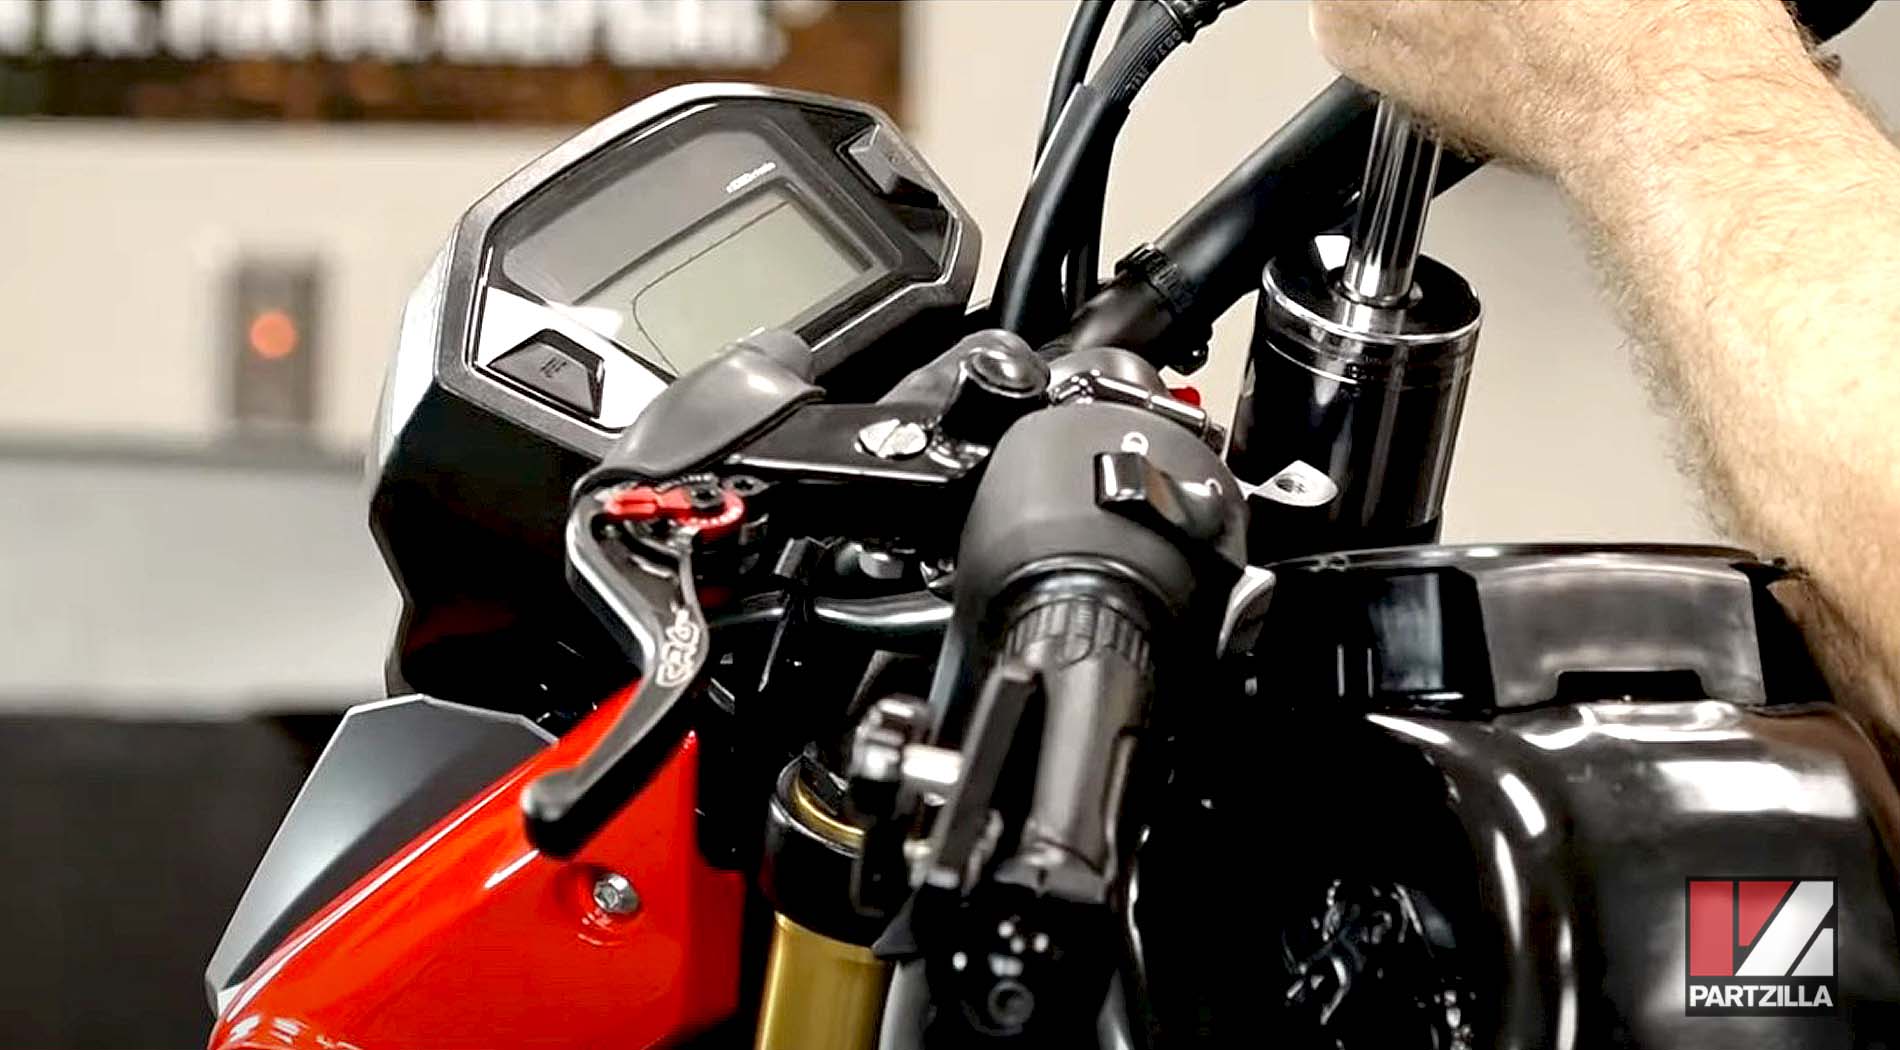

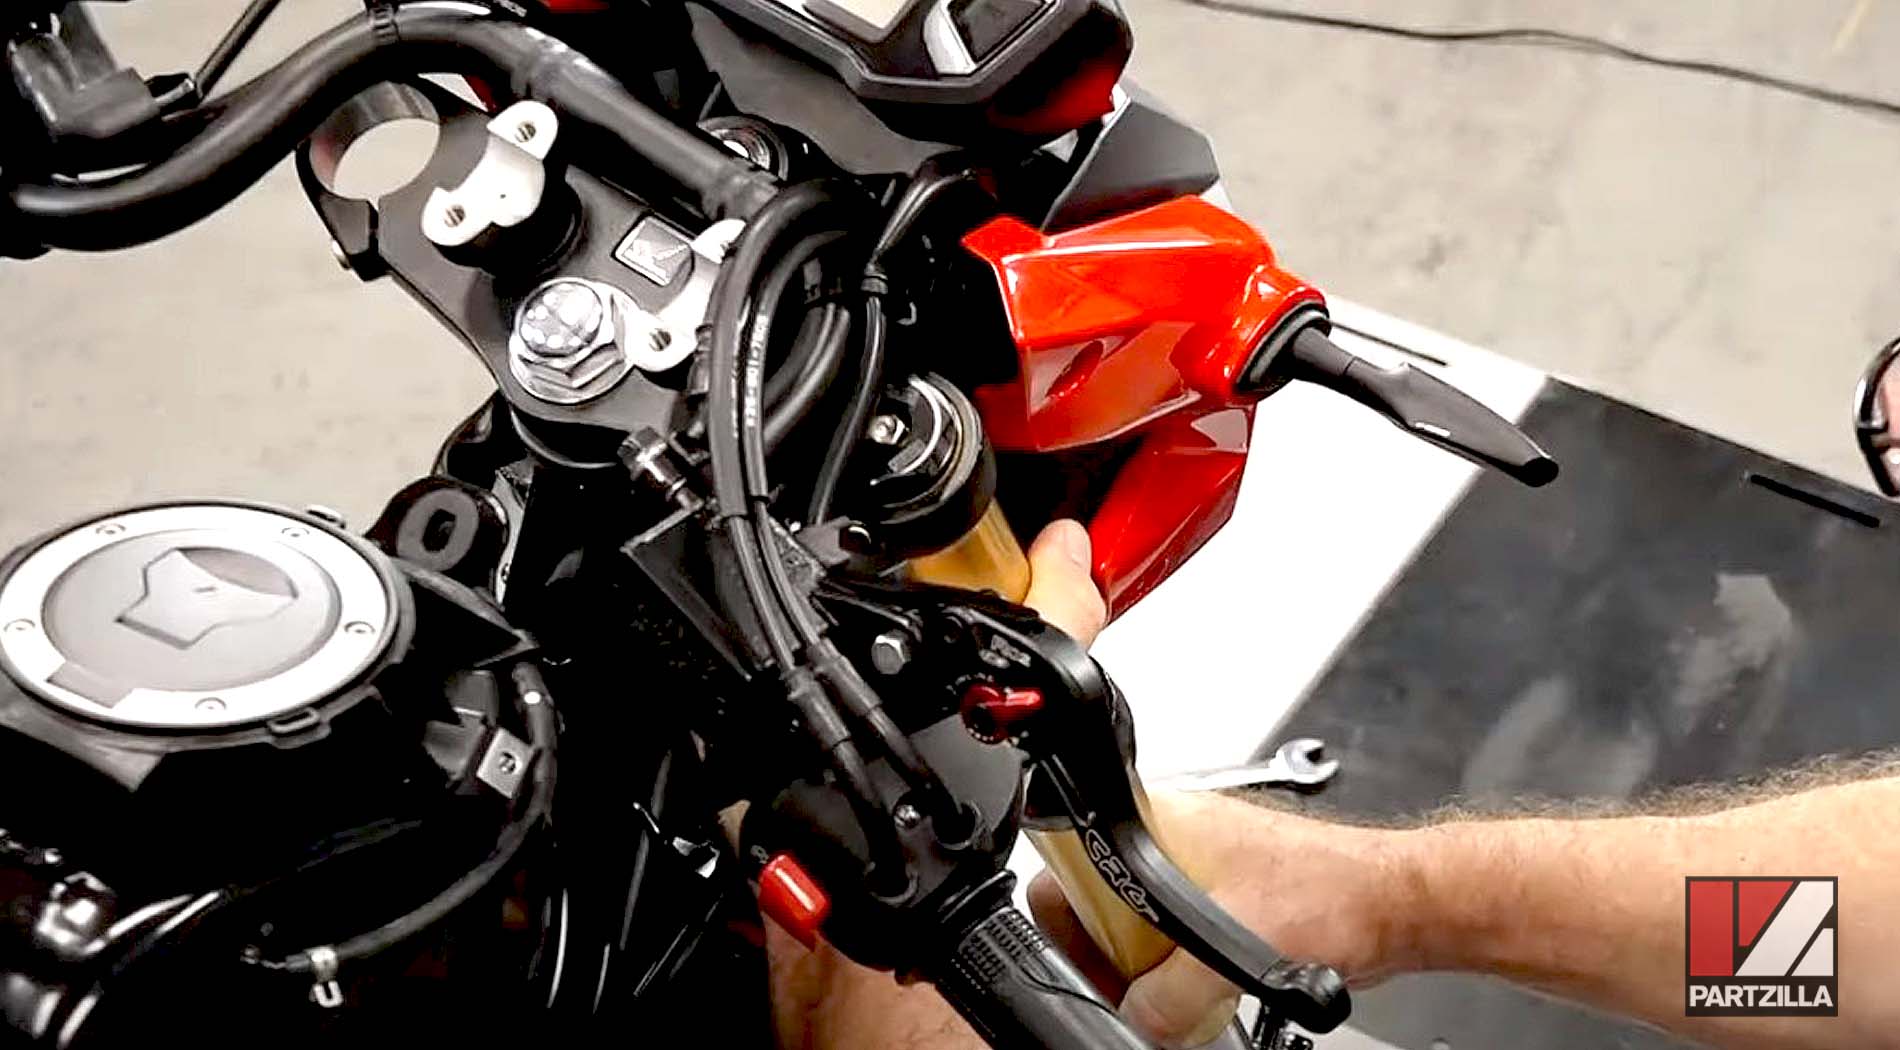
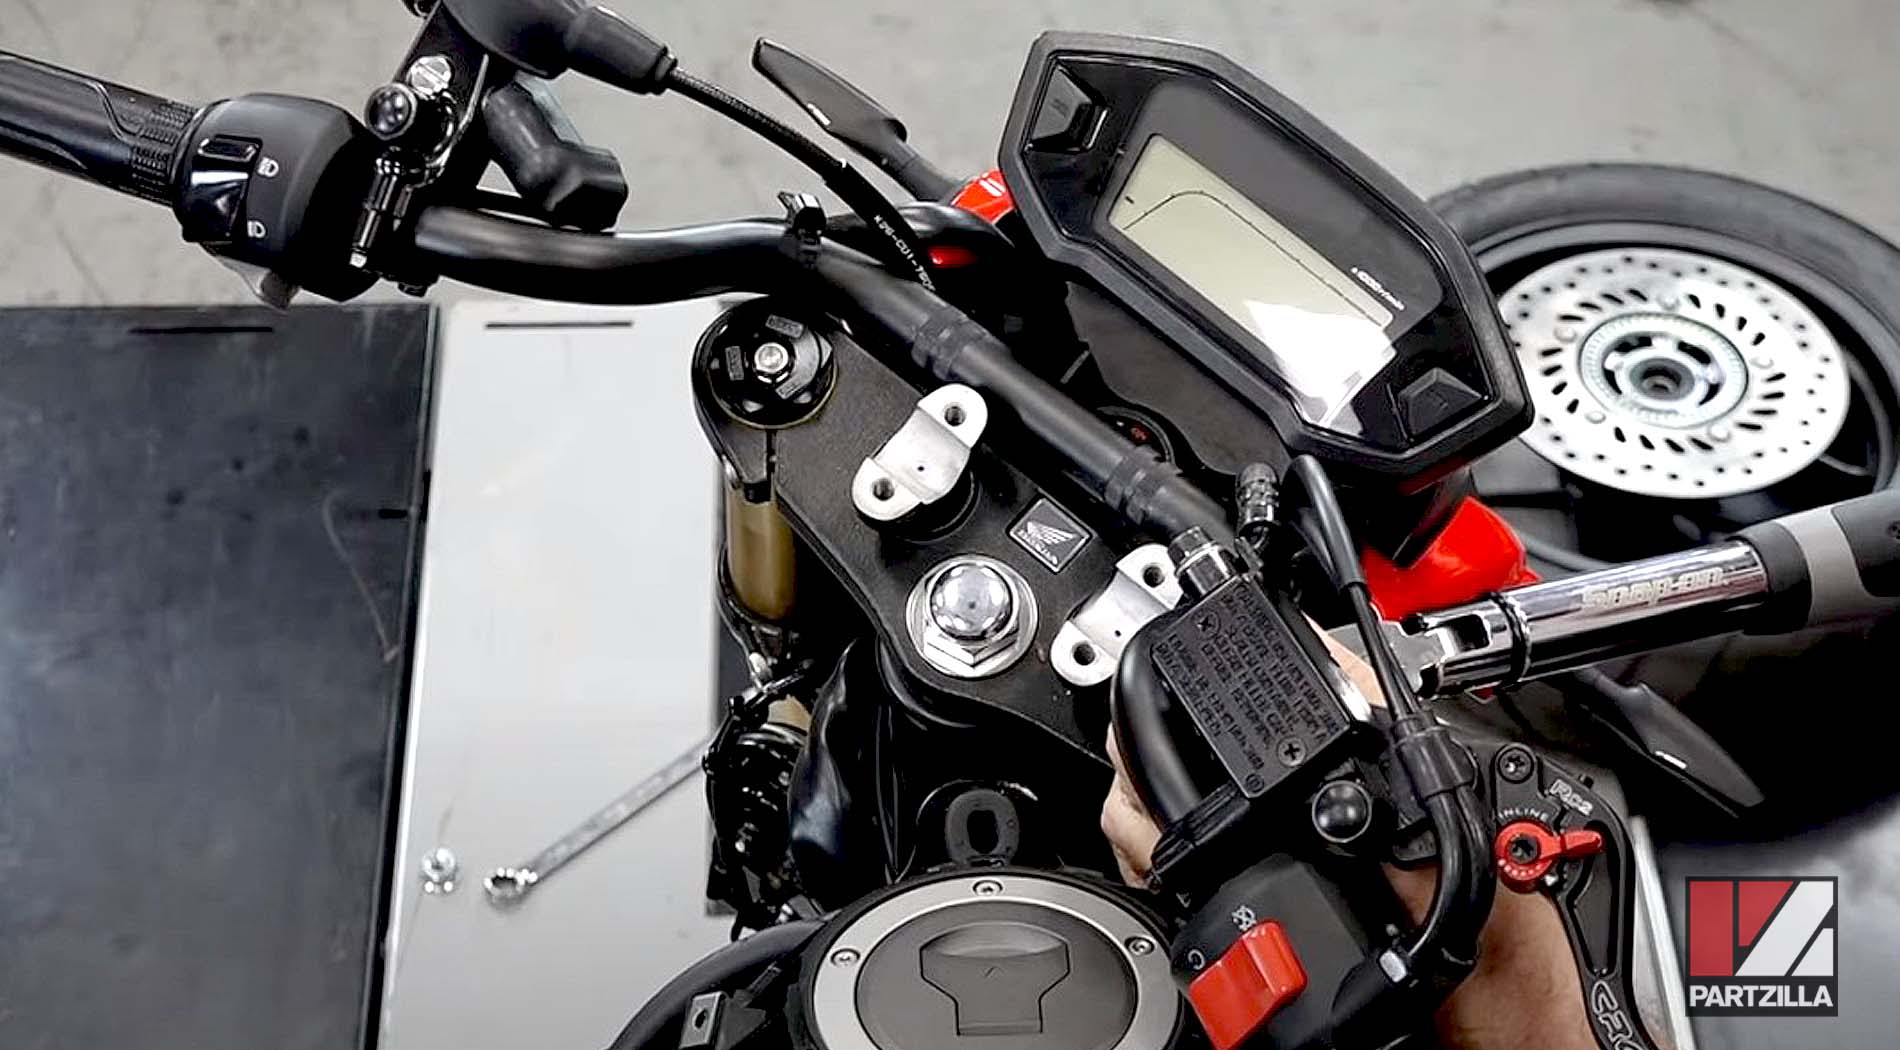
Step 2. Loosen the fork top caps.
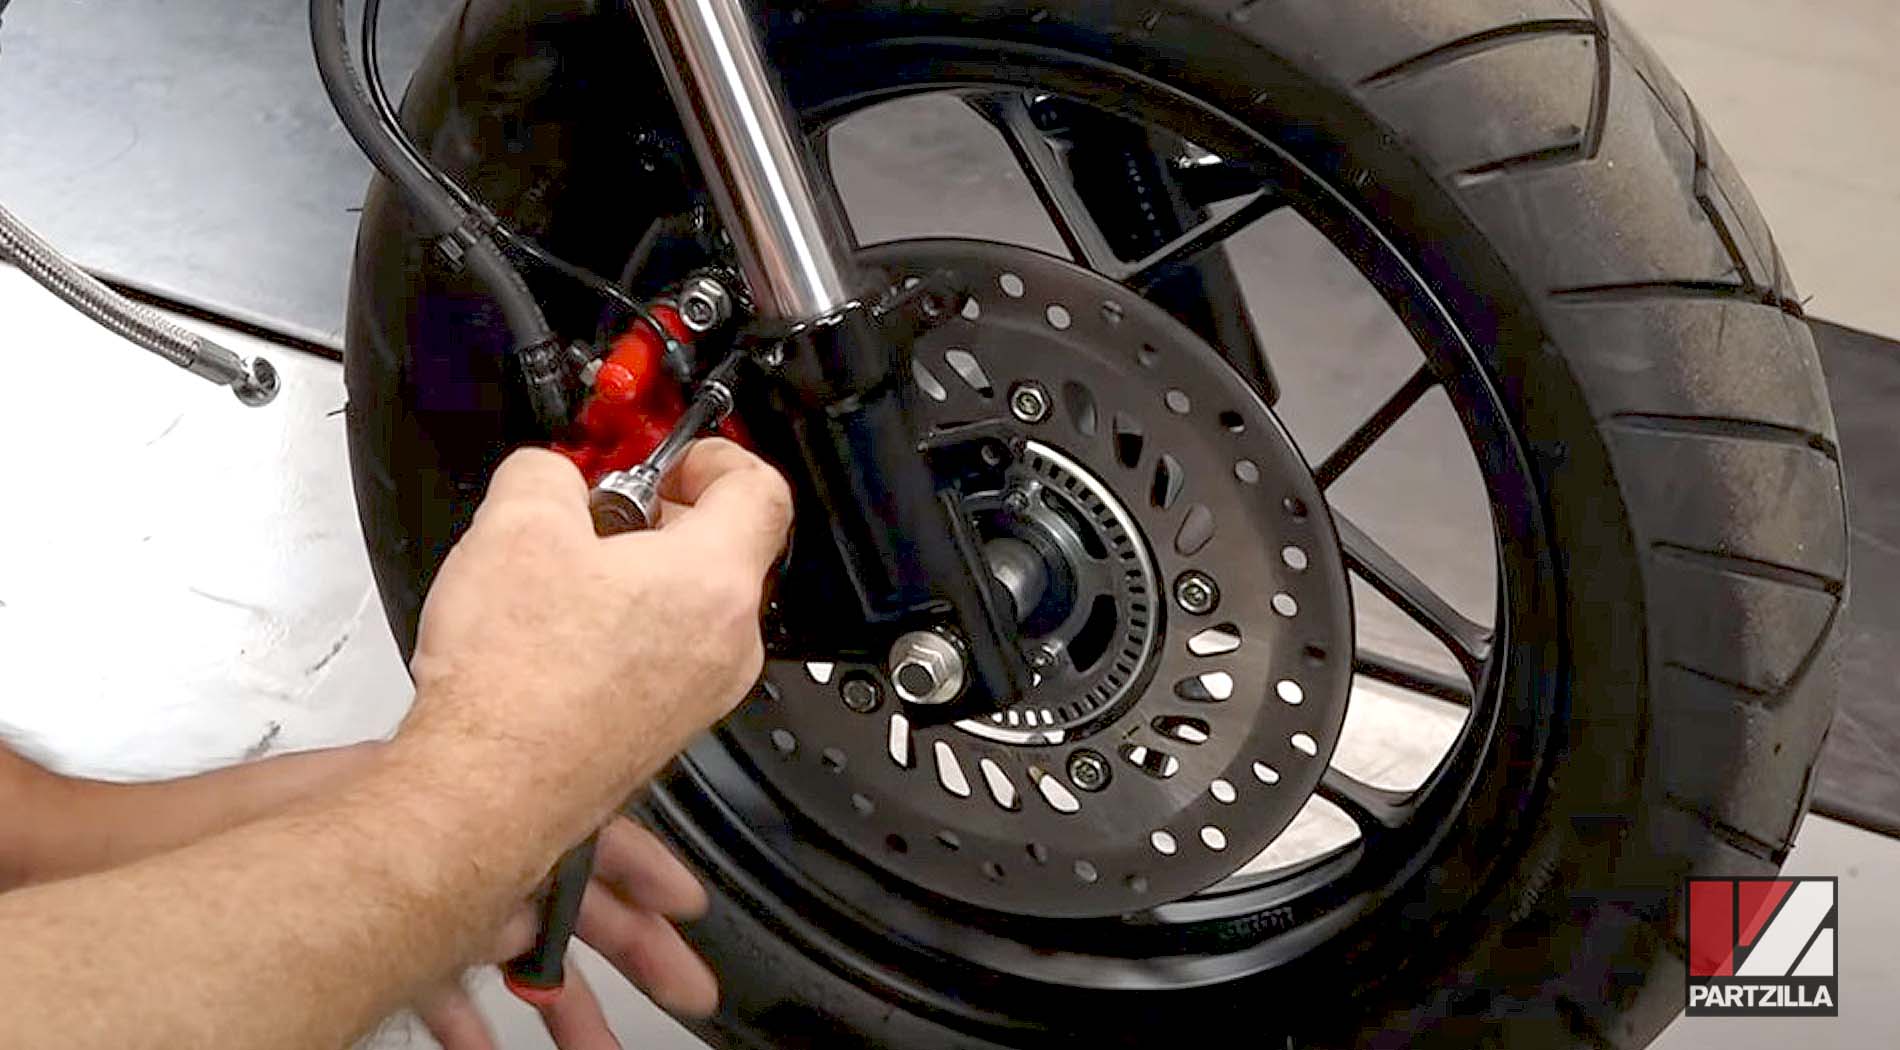
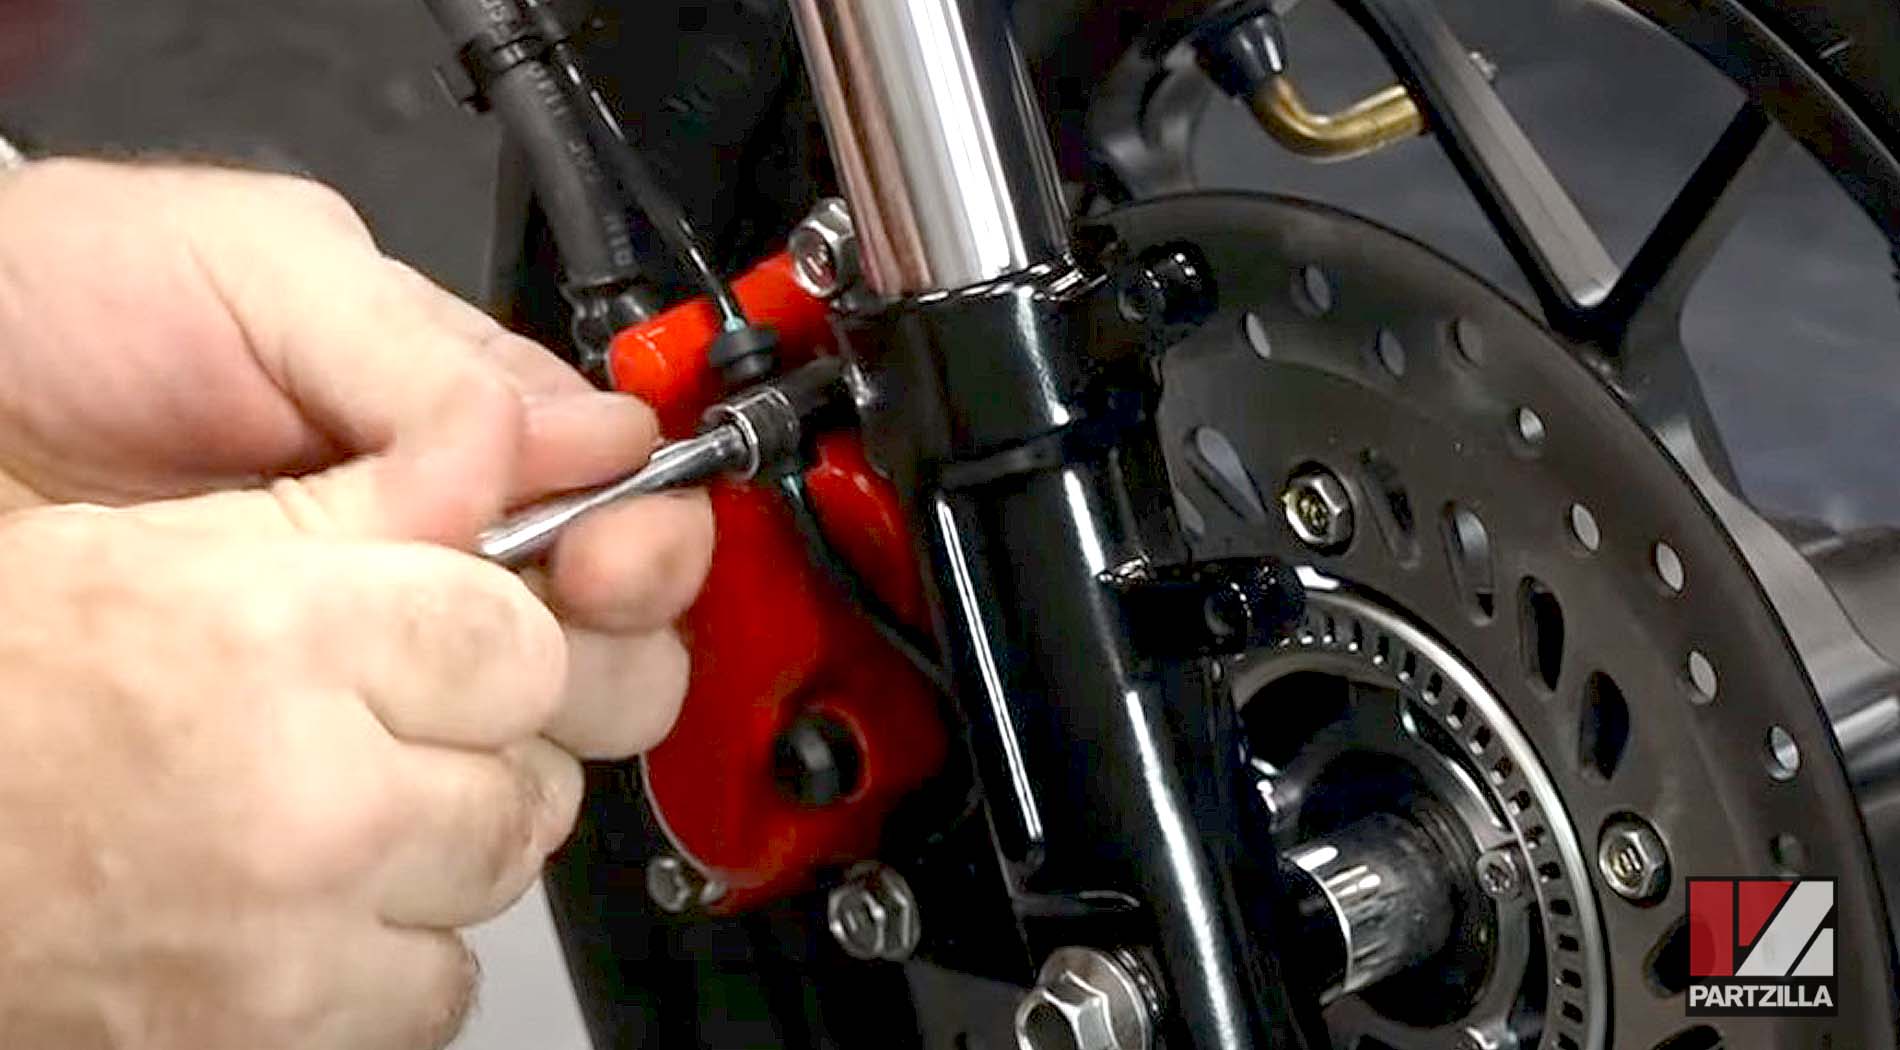
Step 4. Disconnect the speed sensor cable and the front brake caliper from the front wheel.
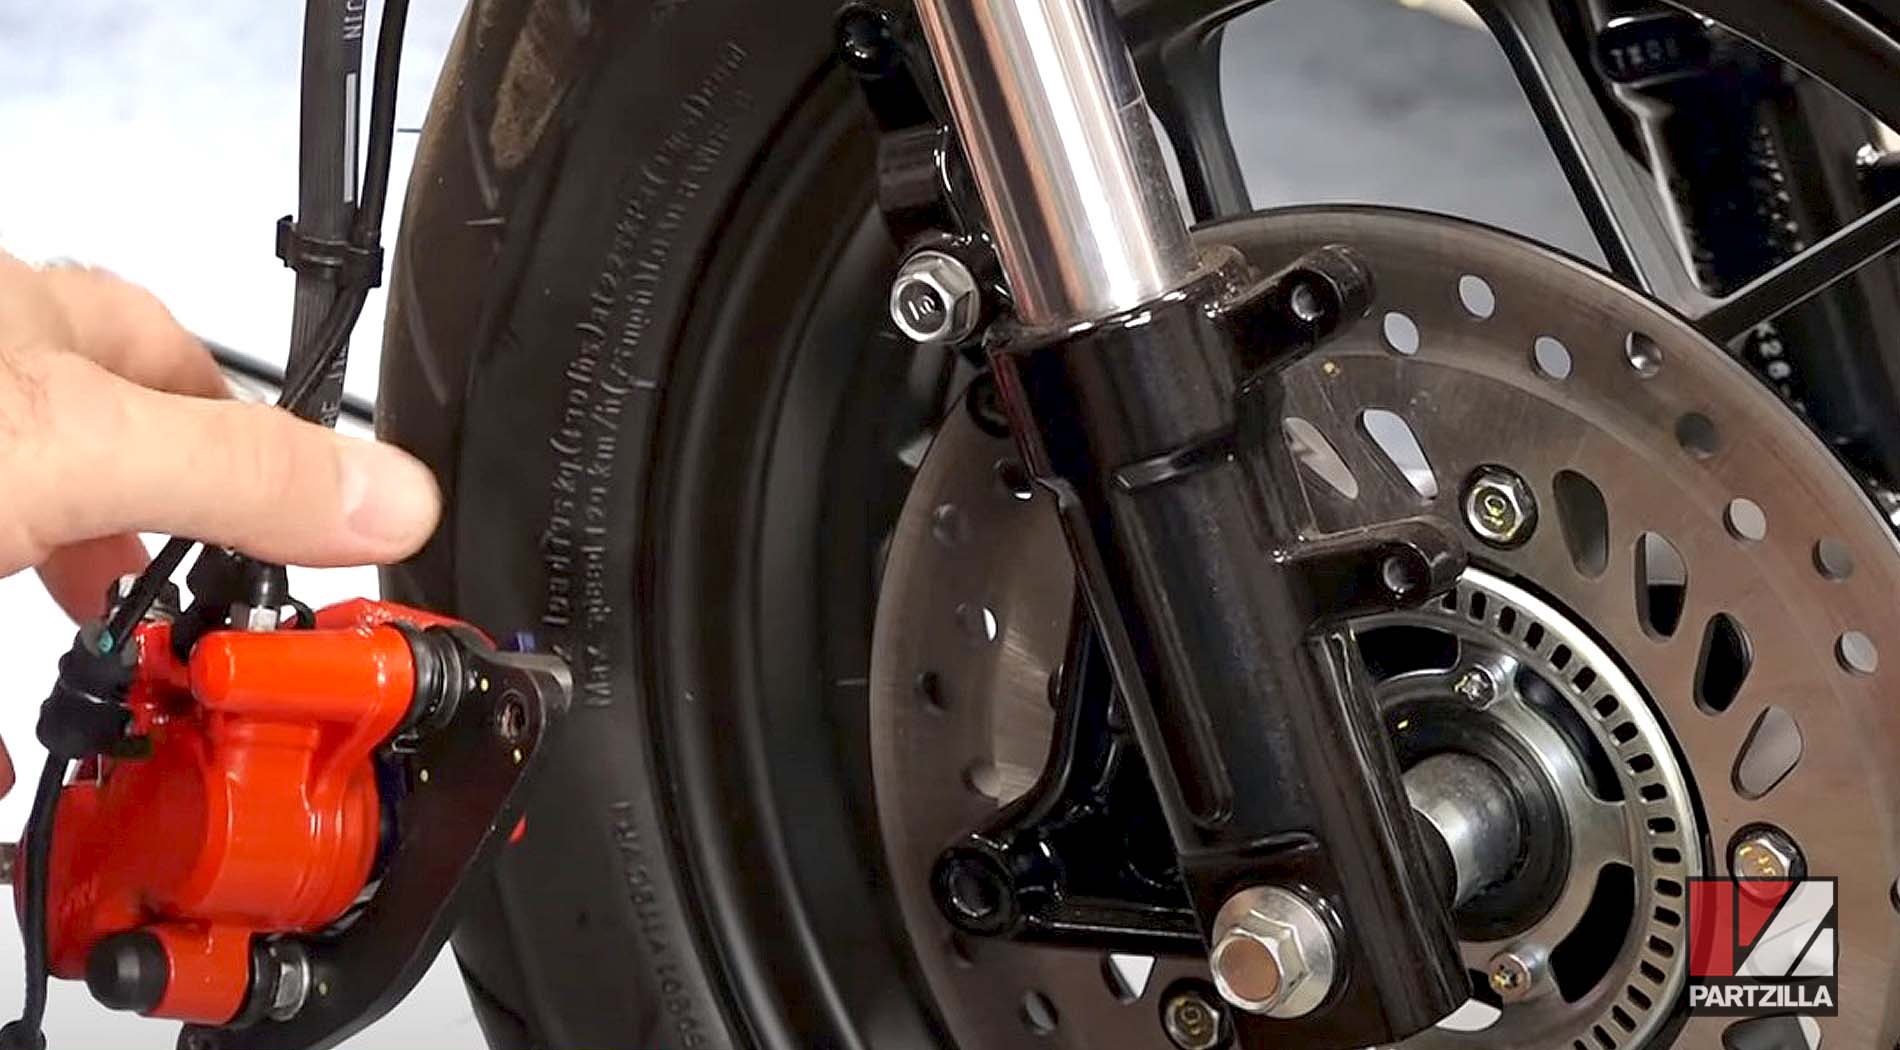
Step 5. Remove the axle nut, then slide the axle out of the front wheel and remove the wheel from the Grom.
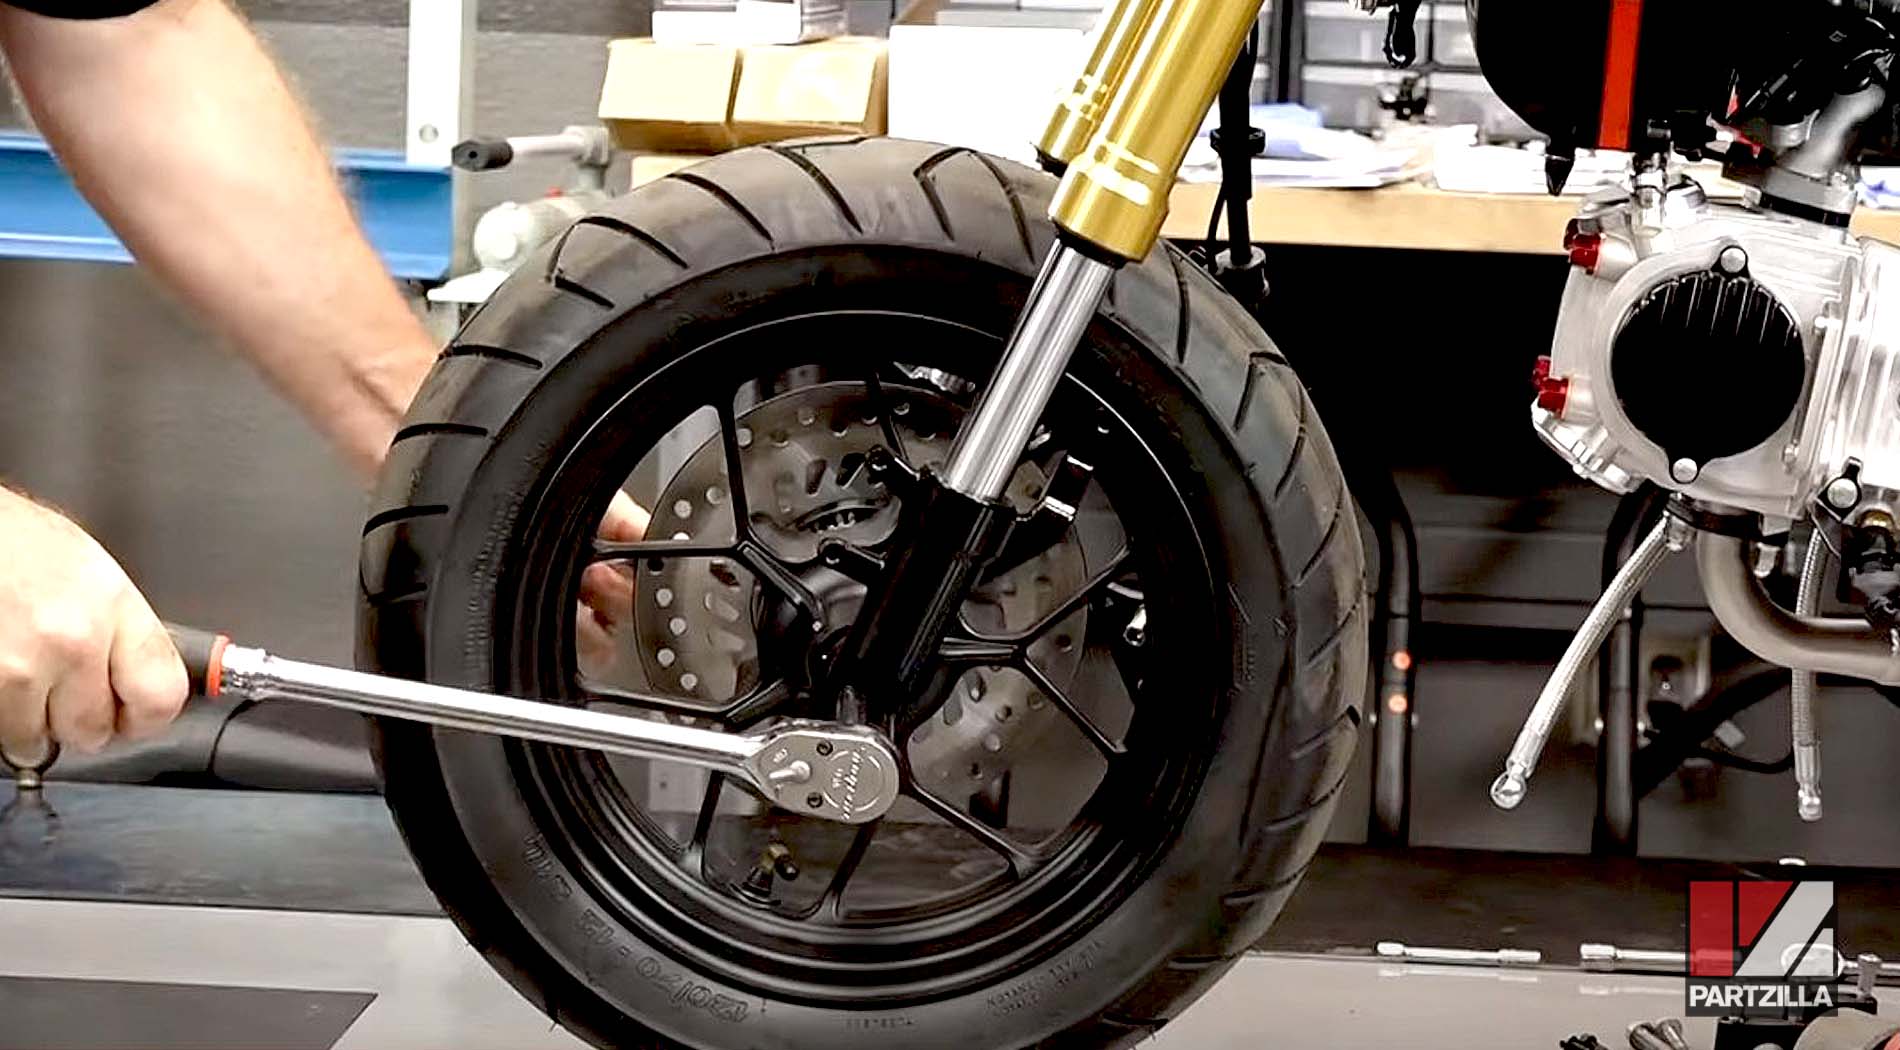

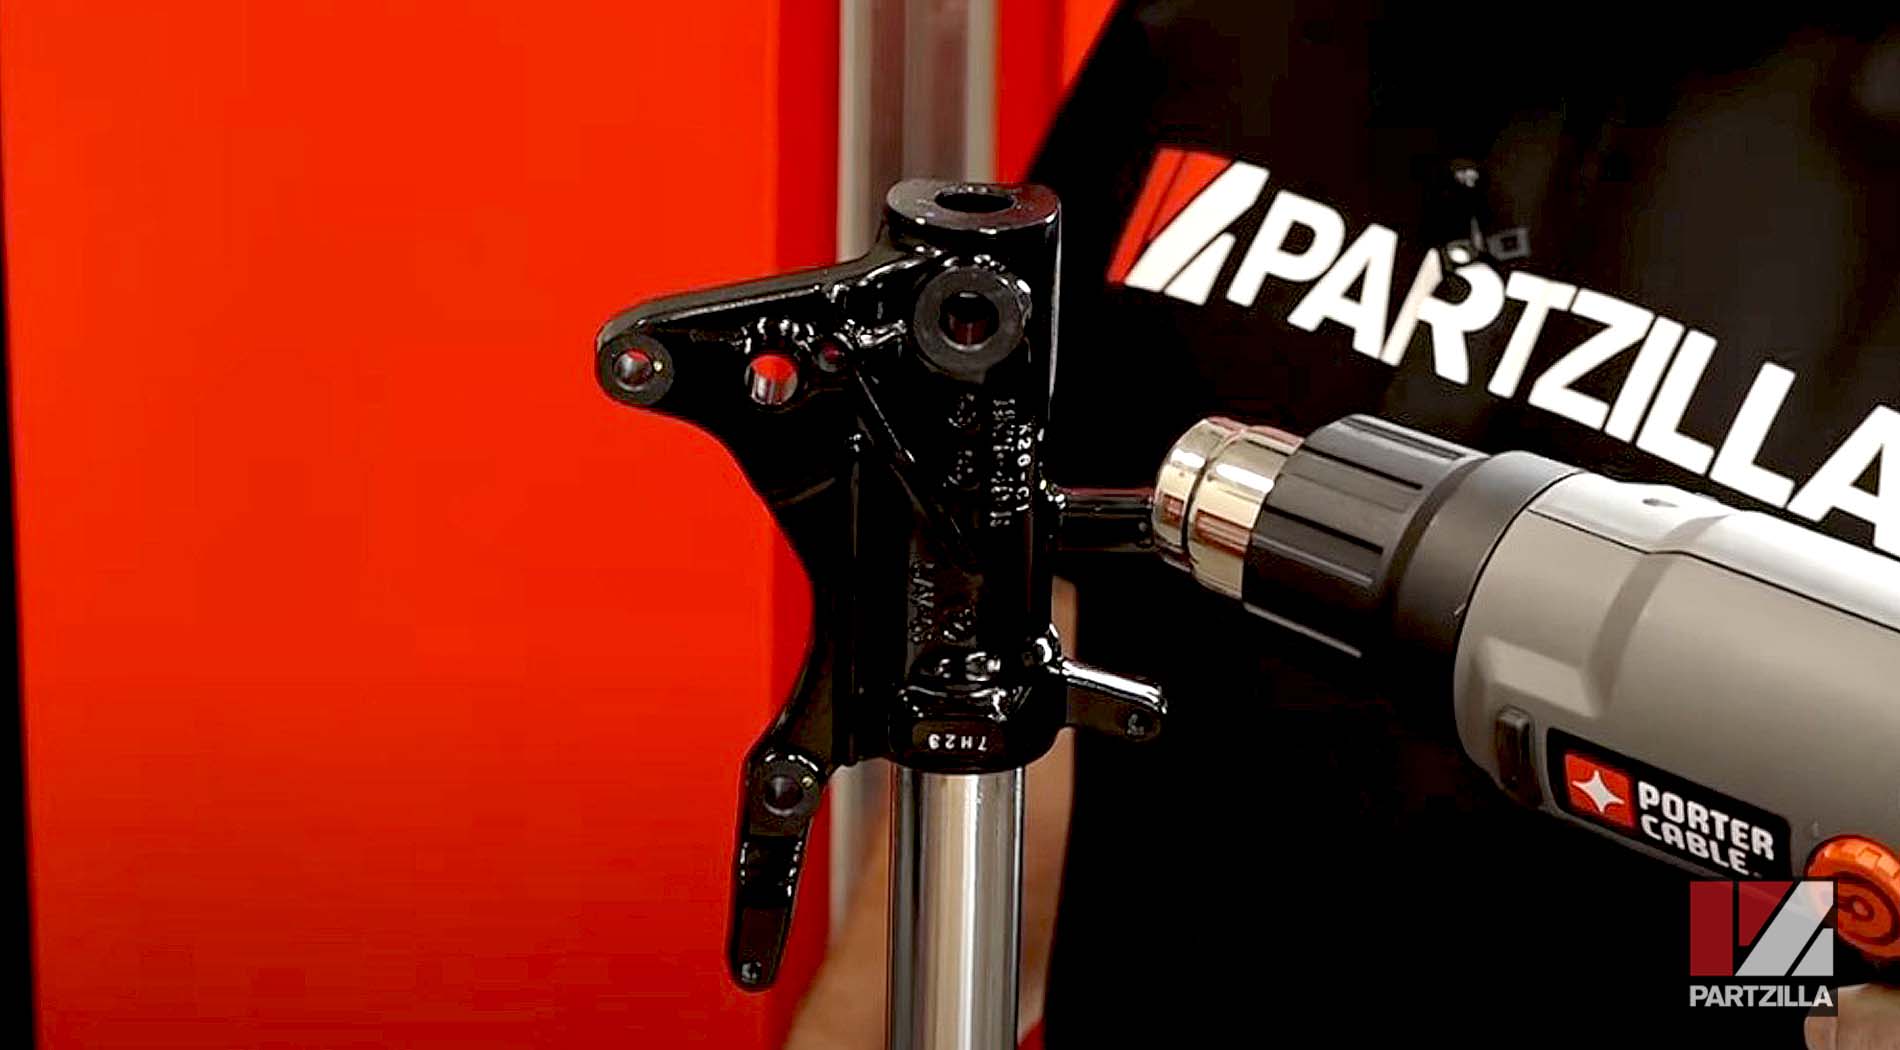
Step 6. Loosen the fork clamp pinch bolts, and drop the front forks out from the Grom.
Watch the clip below to see the fork removal segment of our Honda Grom suspension upgrade video.
NOTE: Make sure your work surface is completely clean to prevent any dirt or debris from getting into the forks.
Part 4: Installing Honda Grom Front Fork Kit
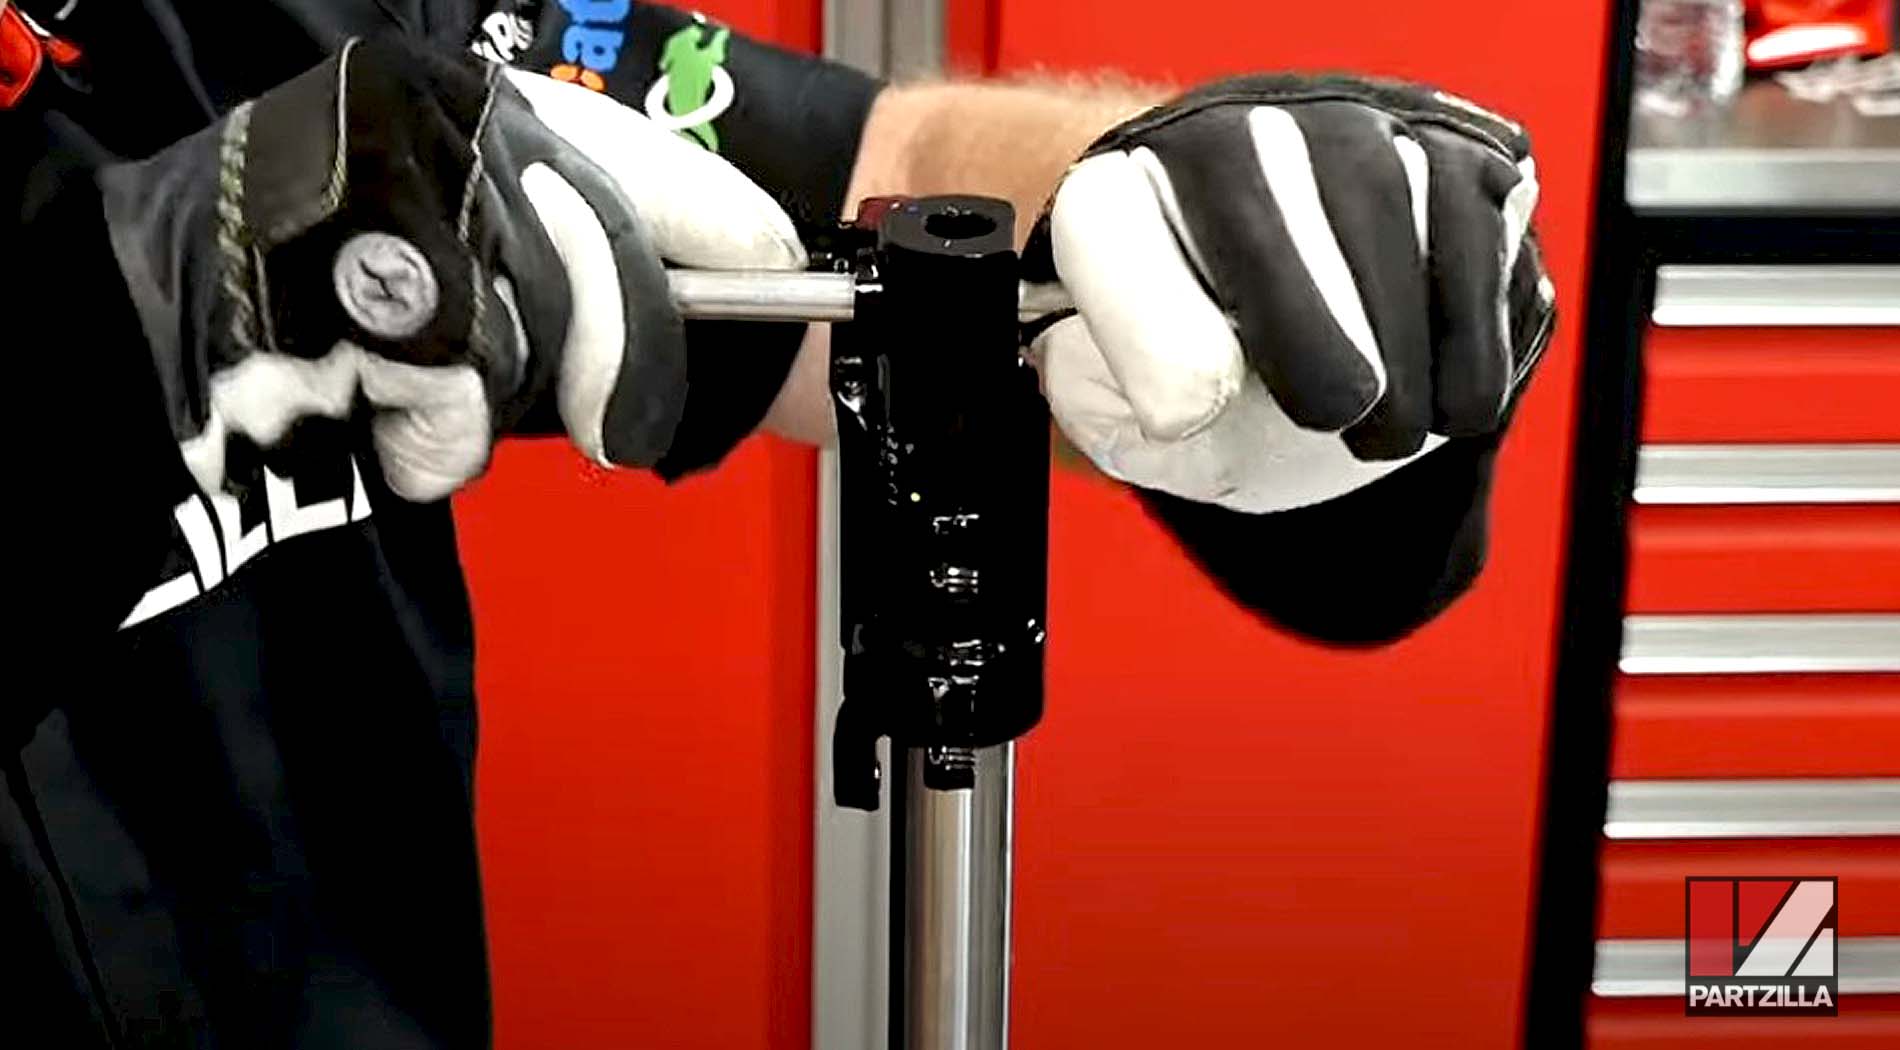
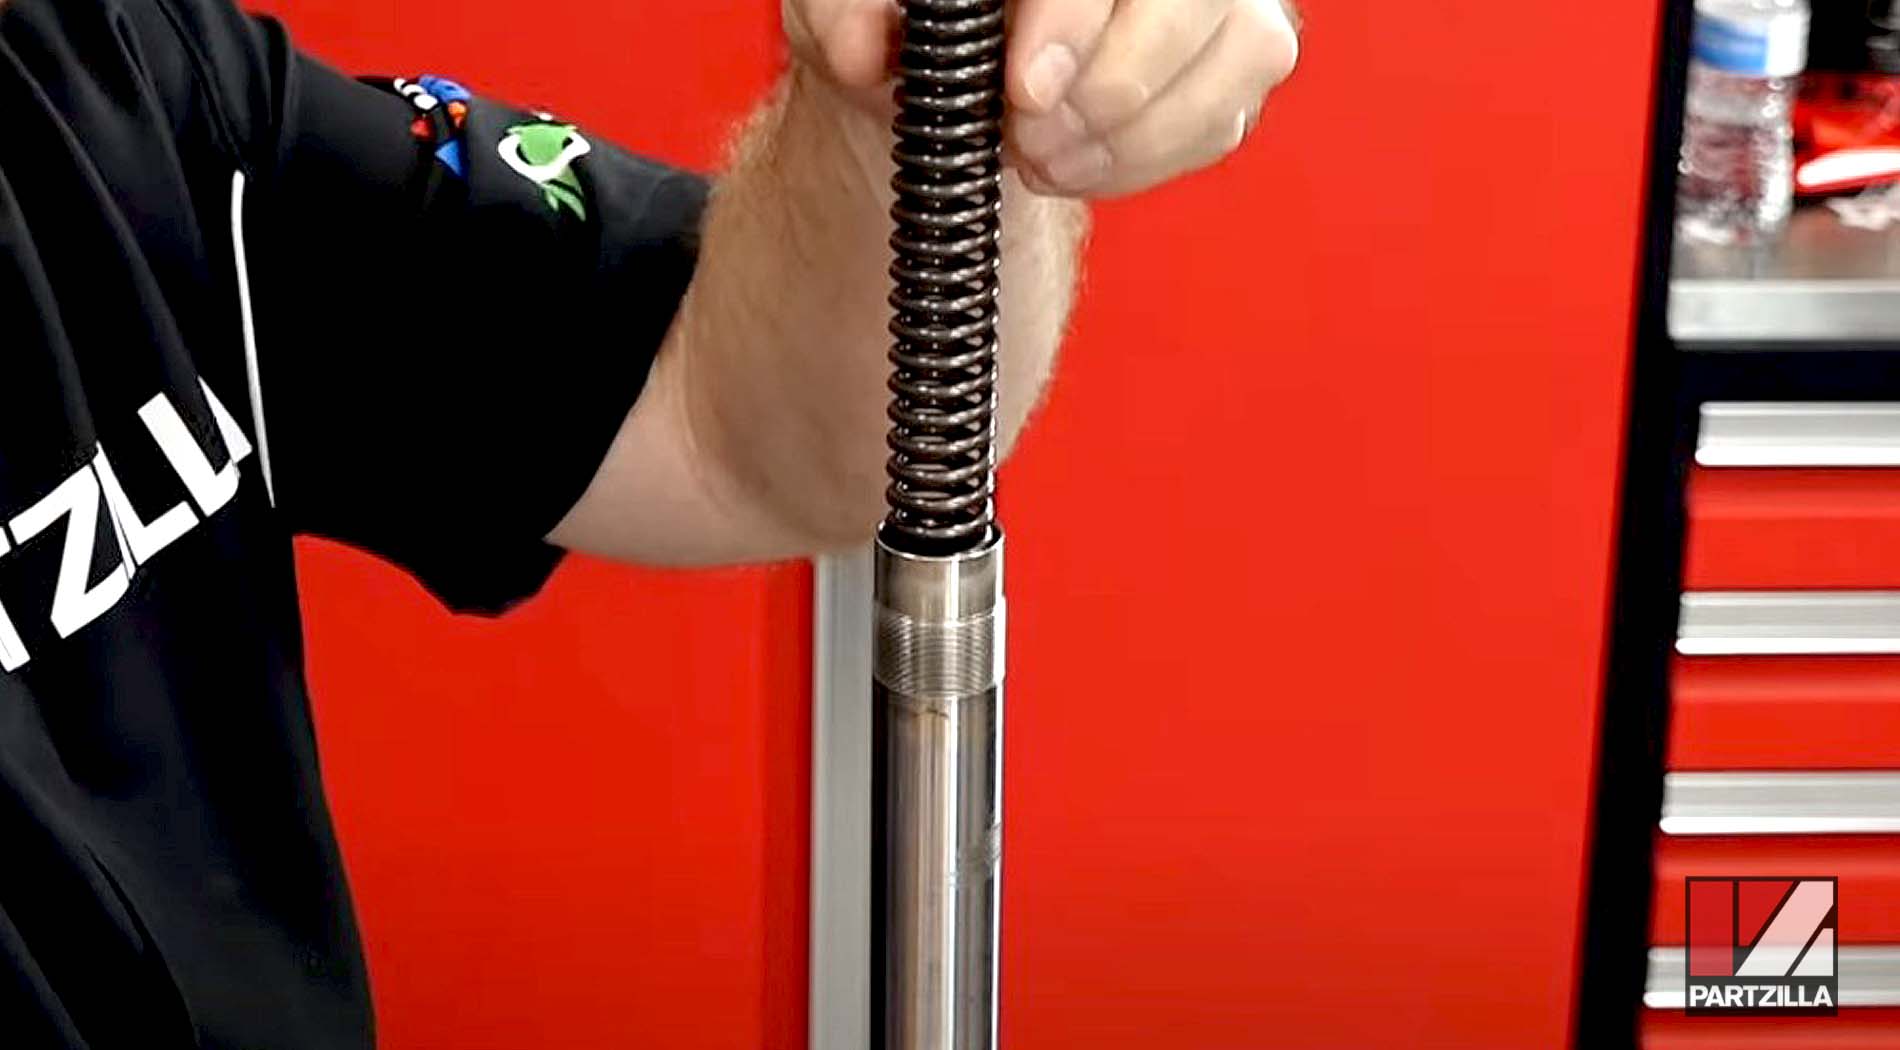
Step 1. Remove the fork top cap, the rubber stopper and the seat washer from the fork.
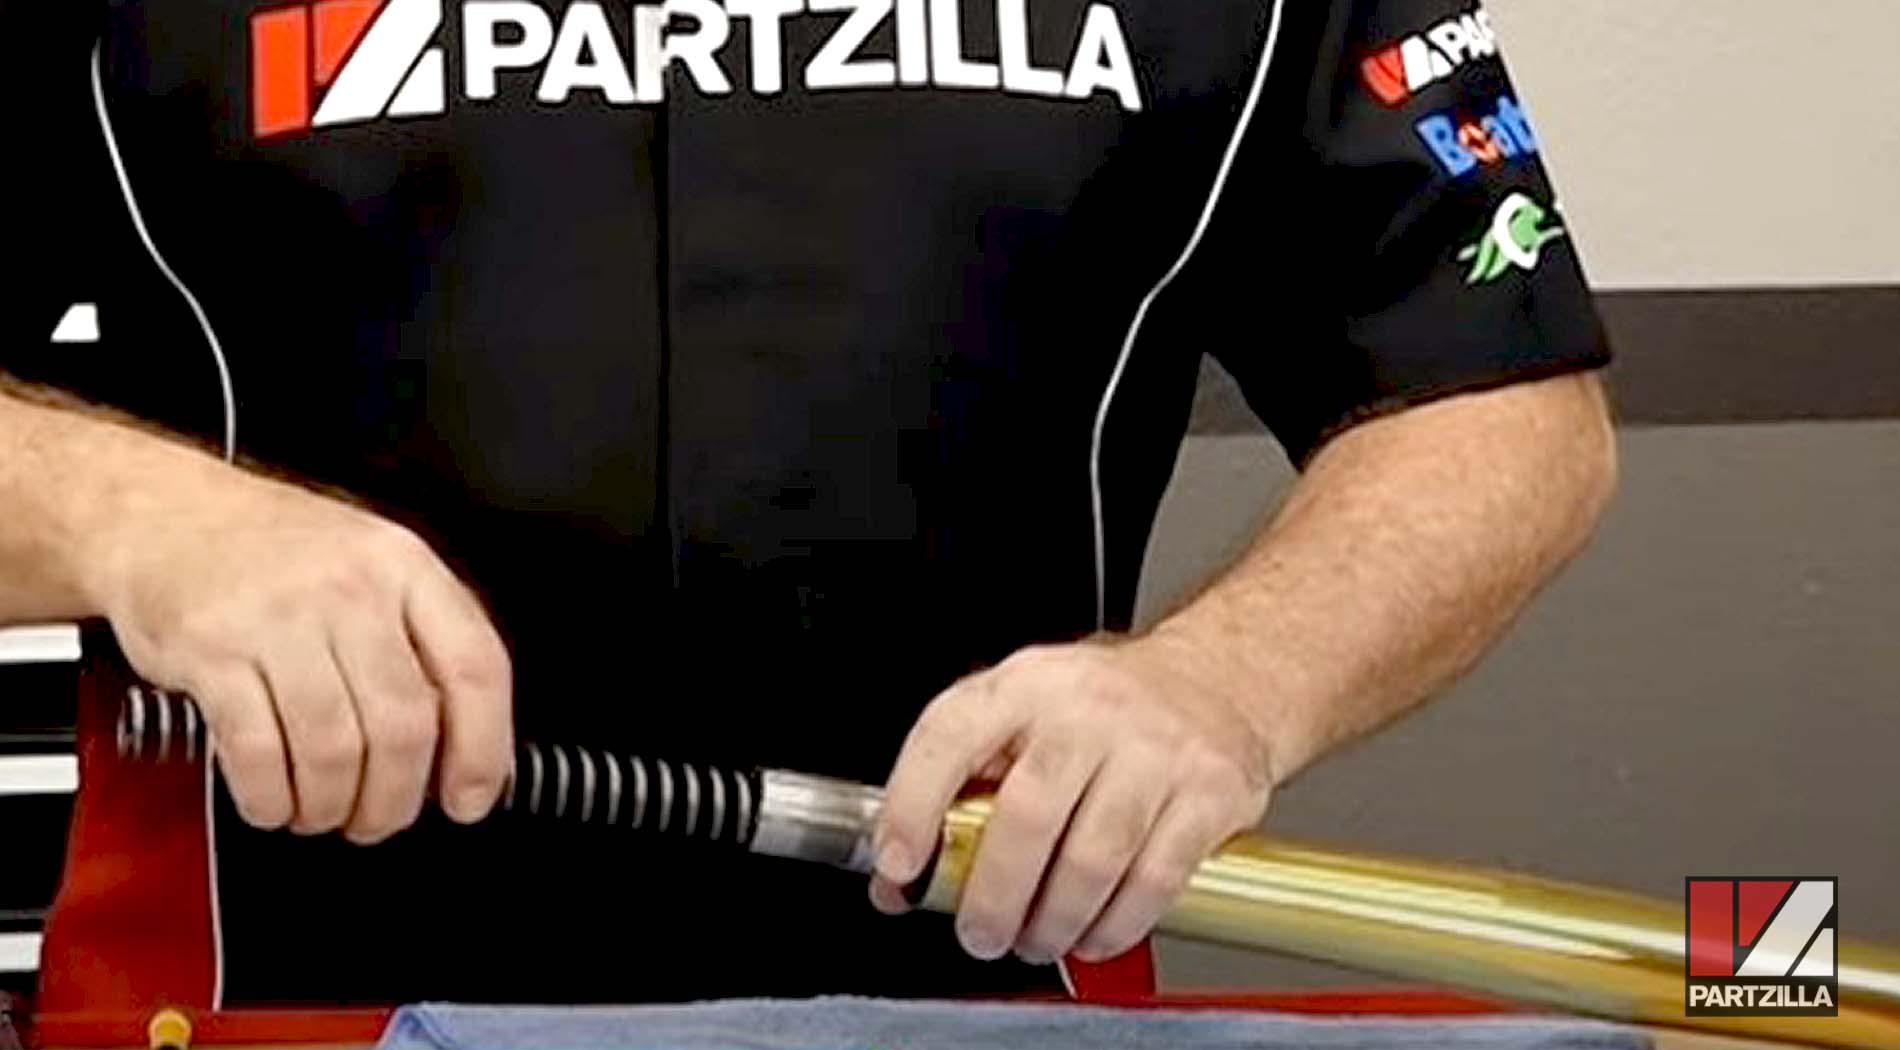
Step 2. Invert the fork, then carefully pull the damper tube back from the fork tube to drain the fork oil.

NOTE: Don’t fully remove the damper from the fork tube, or else you’ll have to reinstall the oil seals.
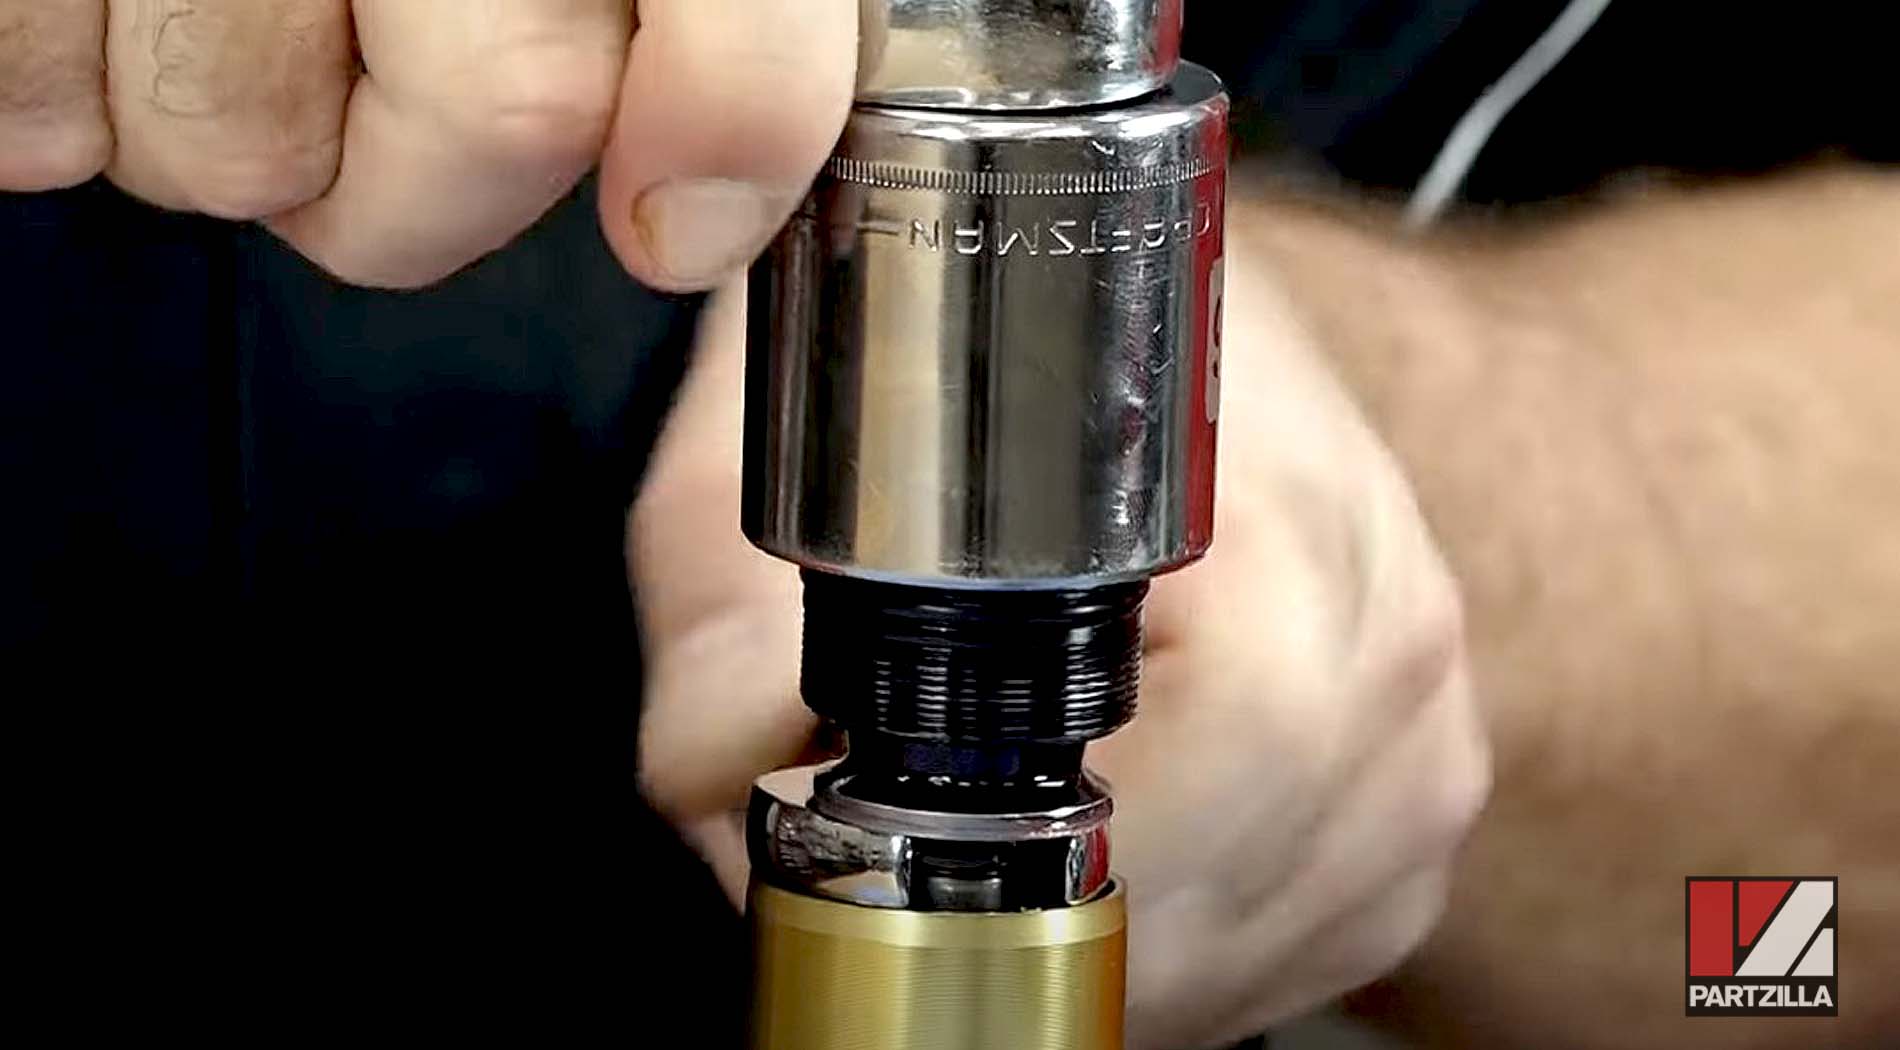
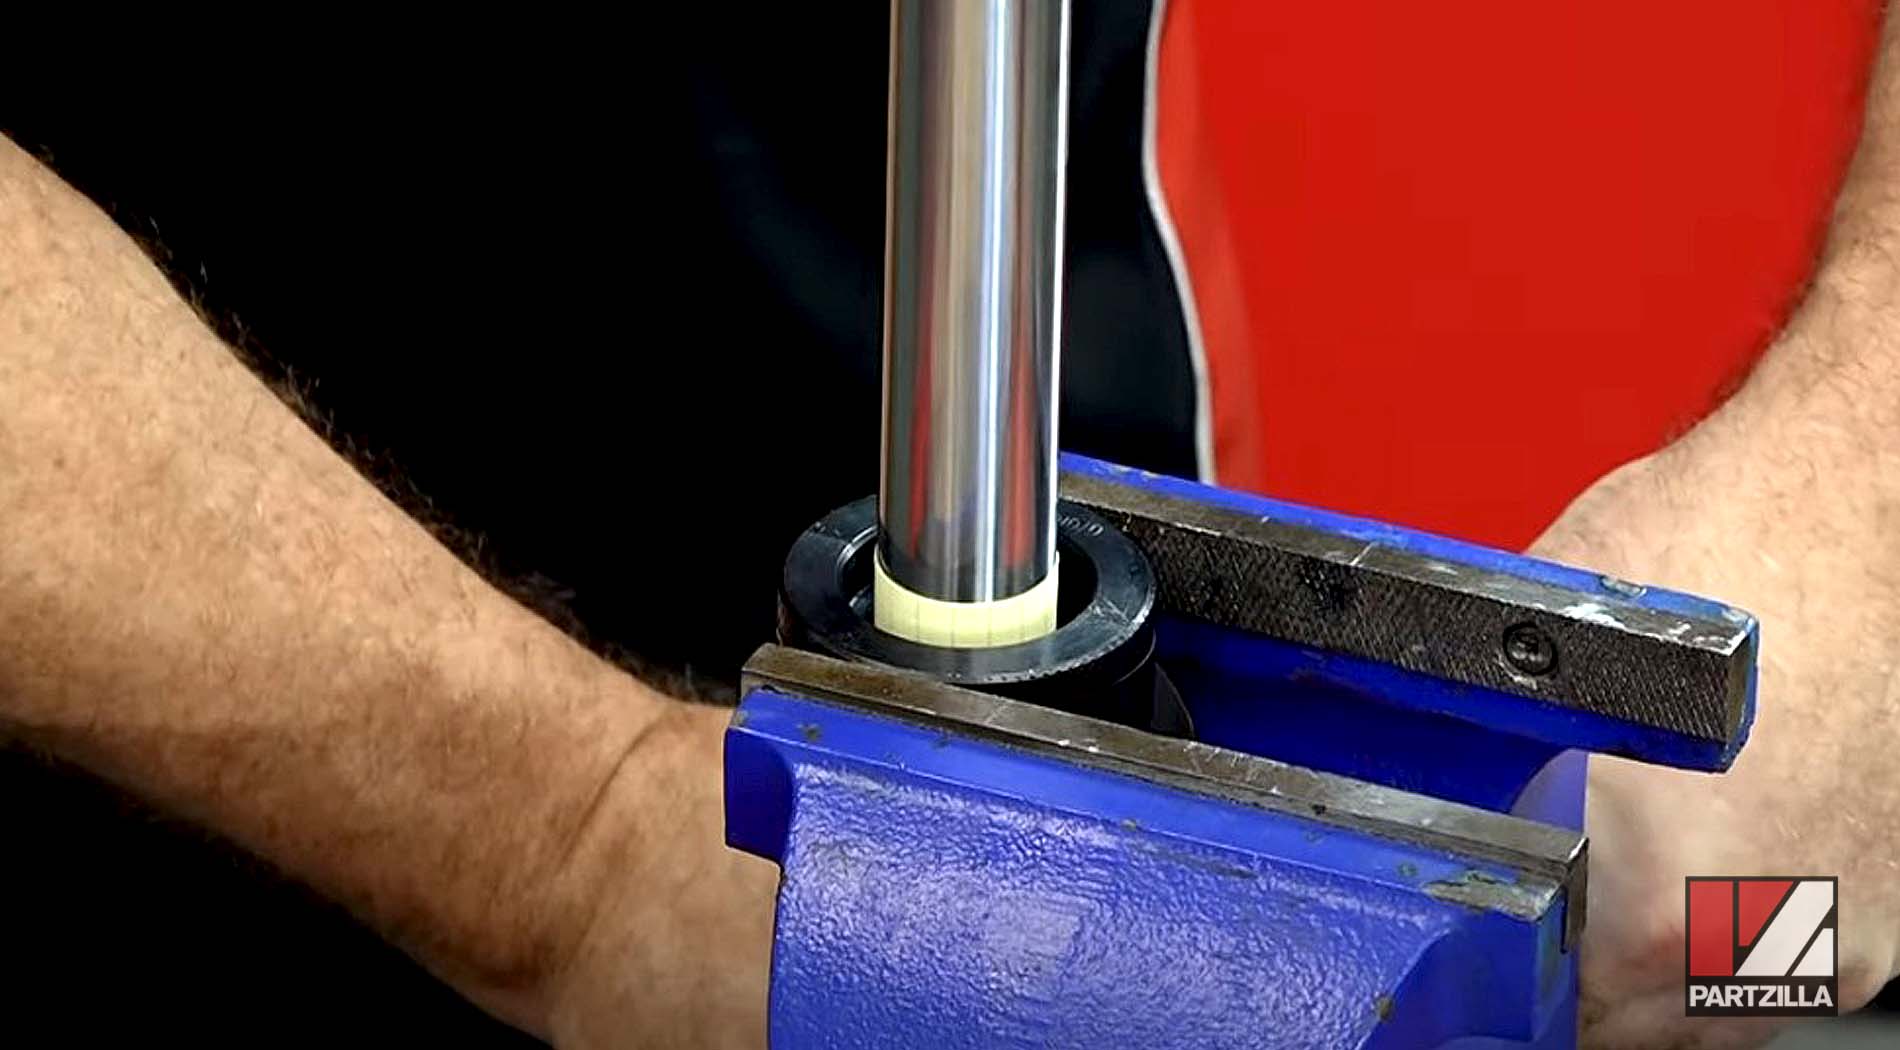
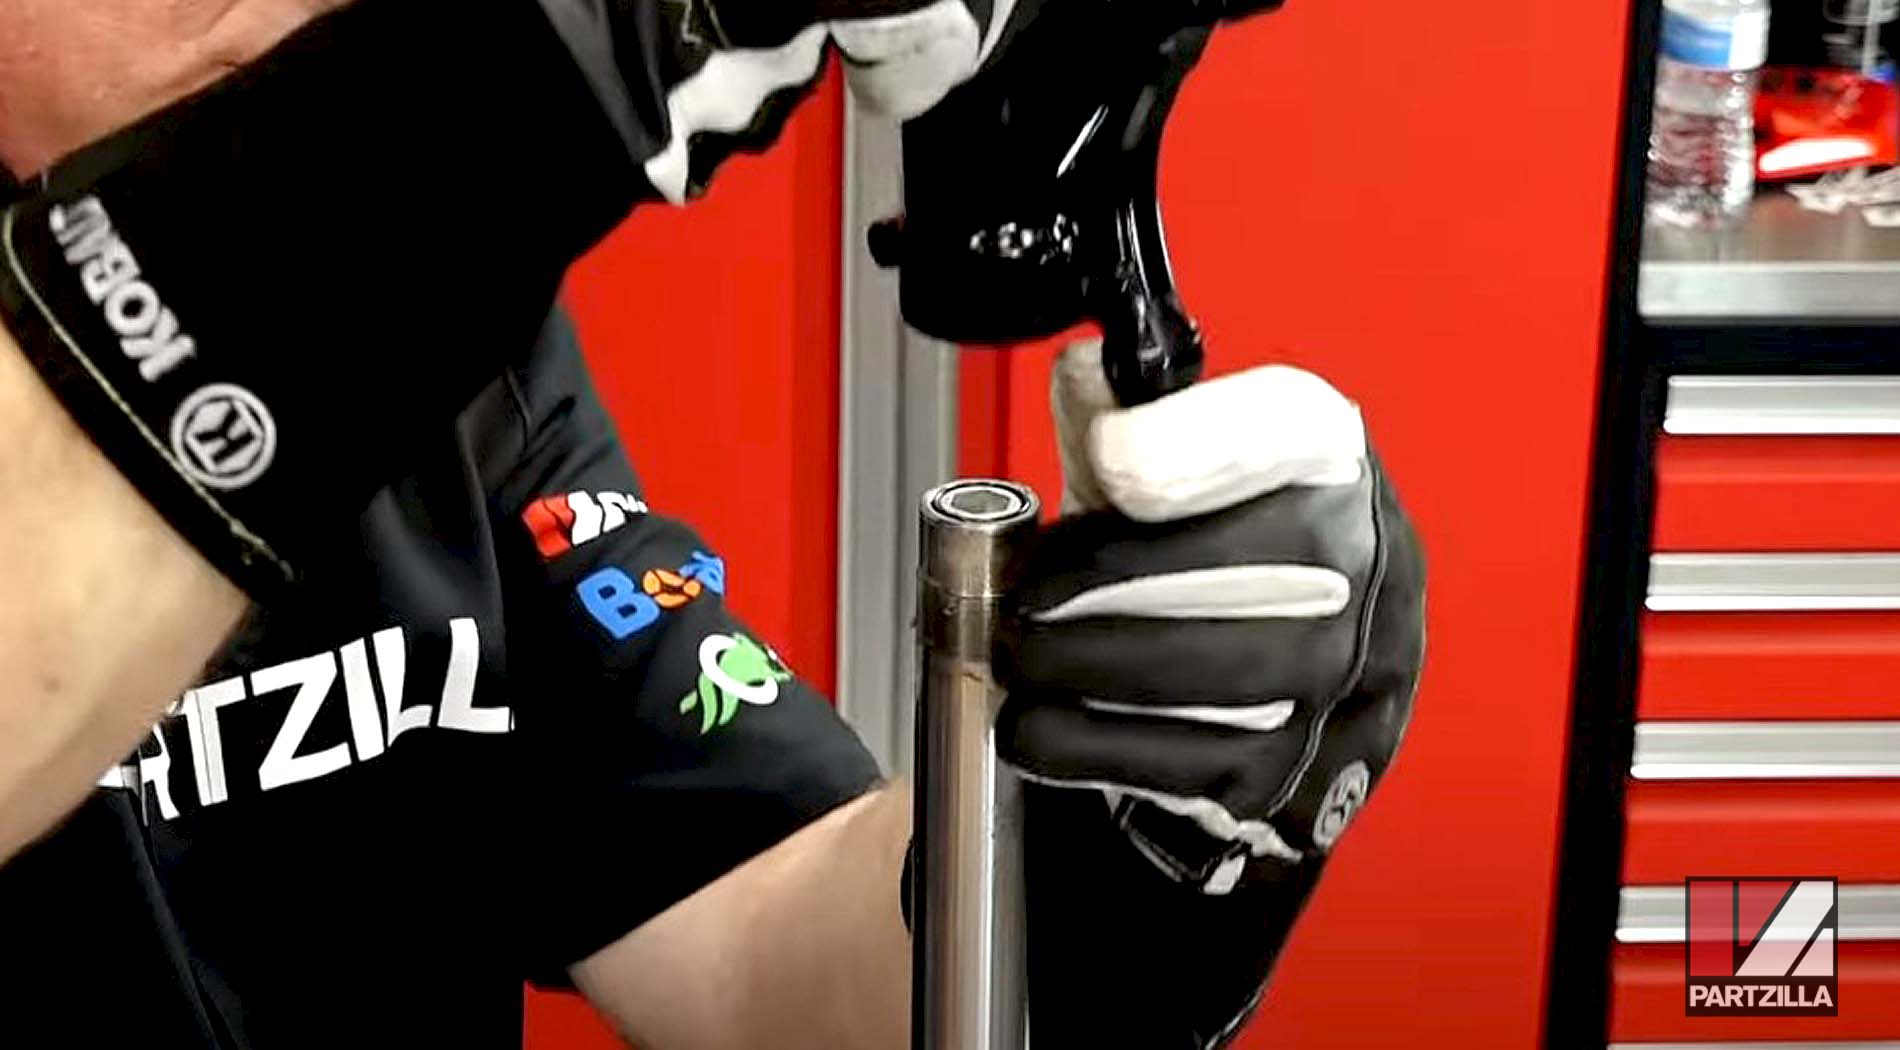
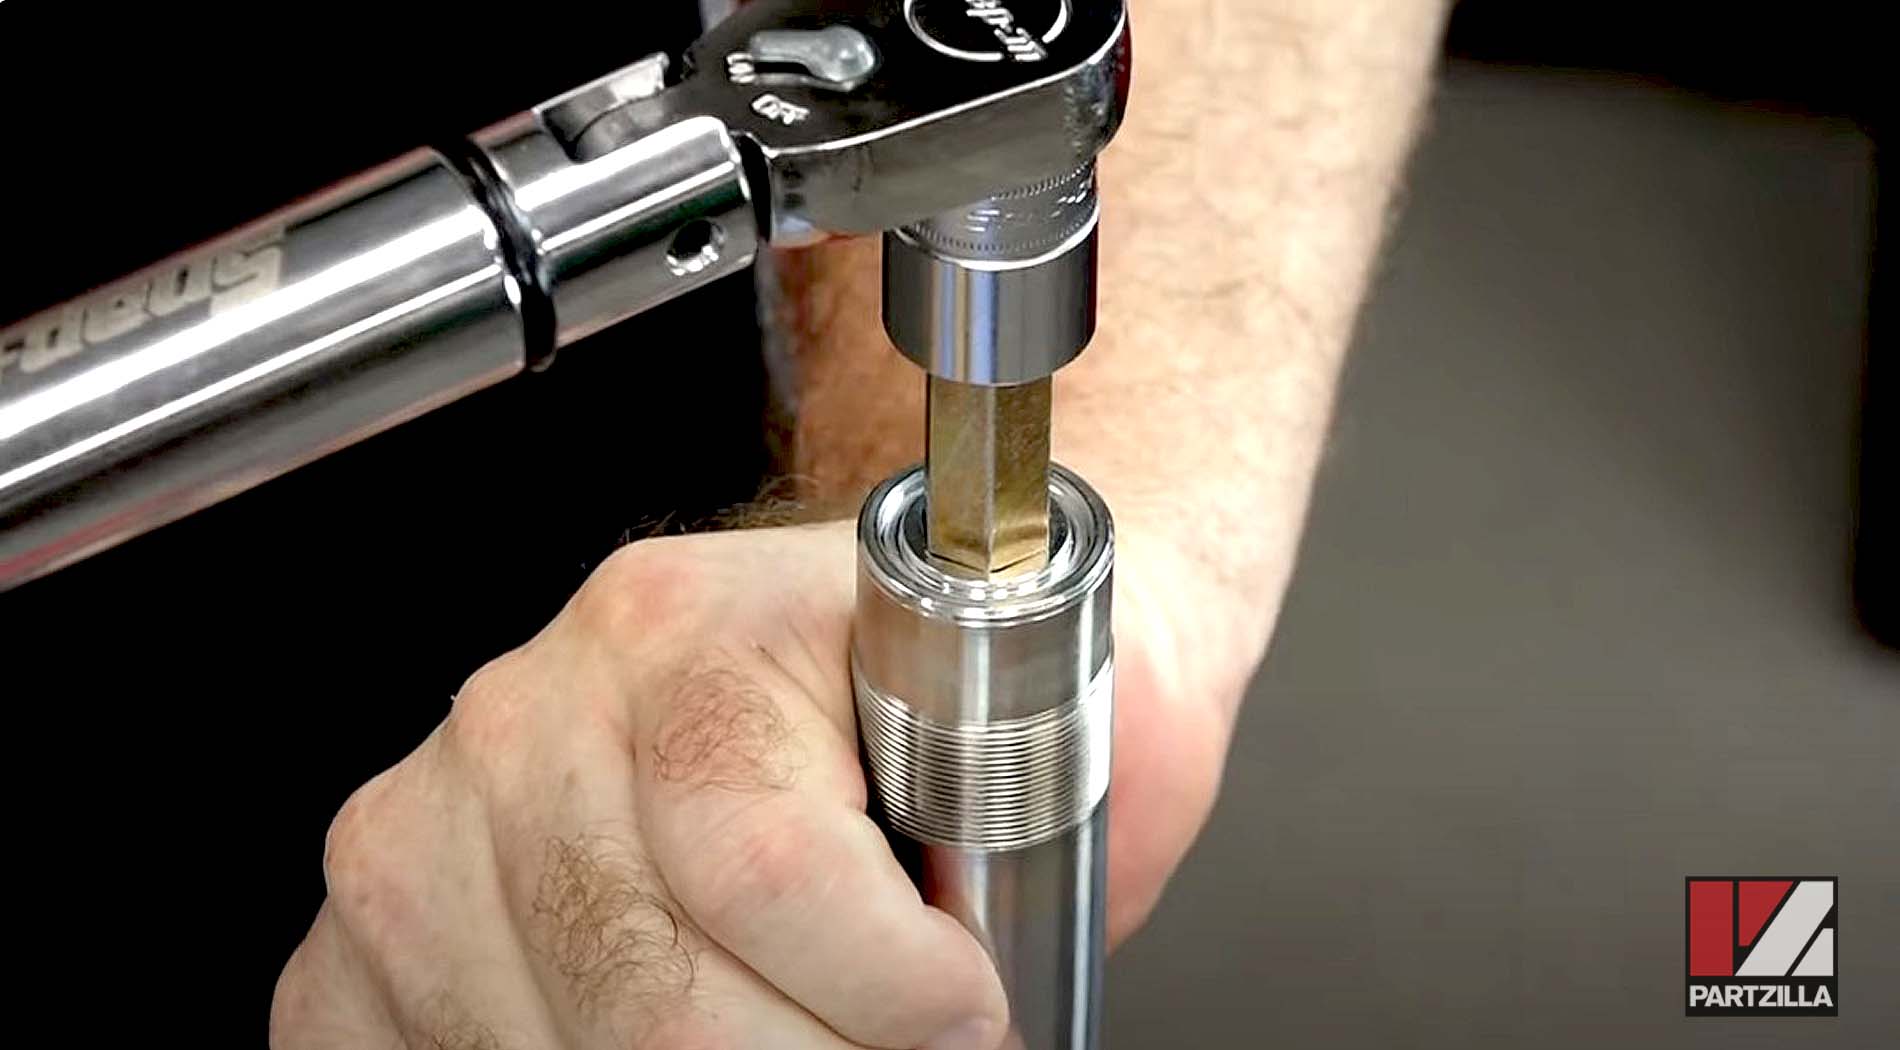
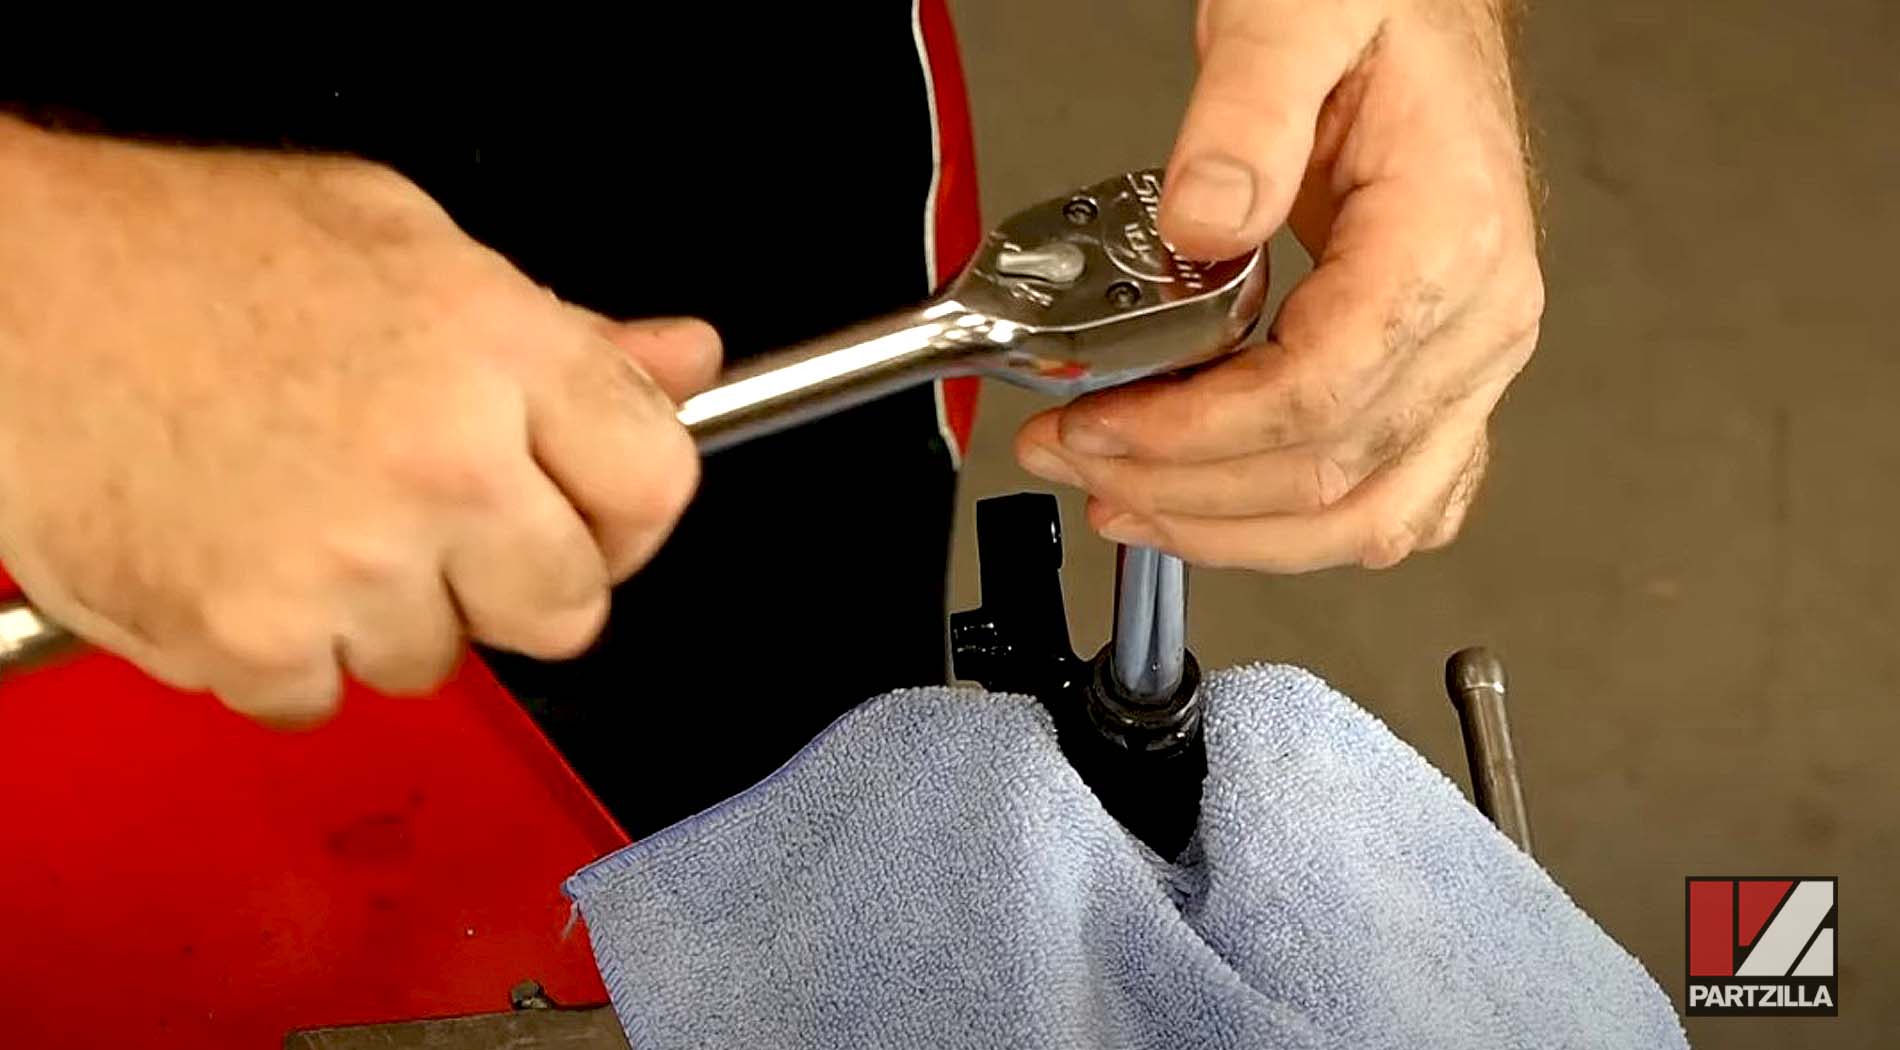
Step 3. Hold the damper tube with an Ohlins tool, or make your own from a 31mm seal driver and 8mm pin, and hold the fork in a vice.
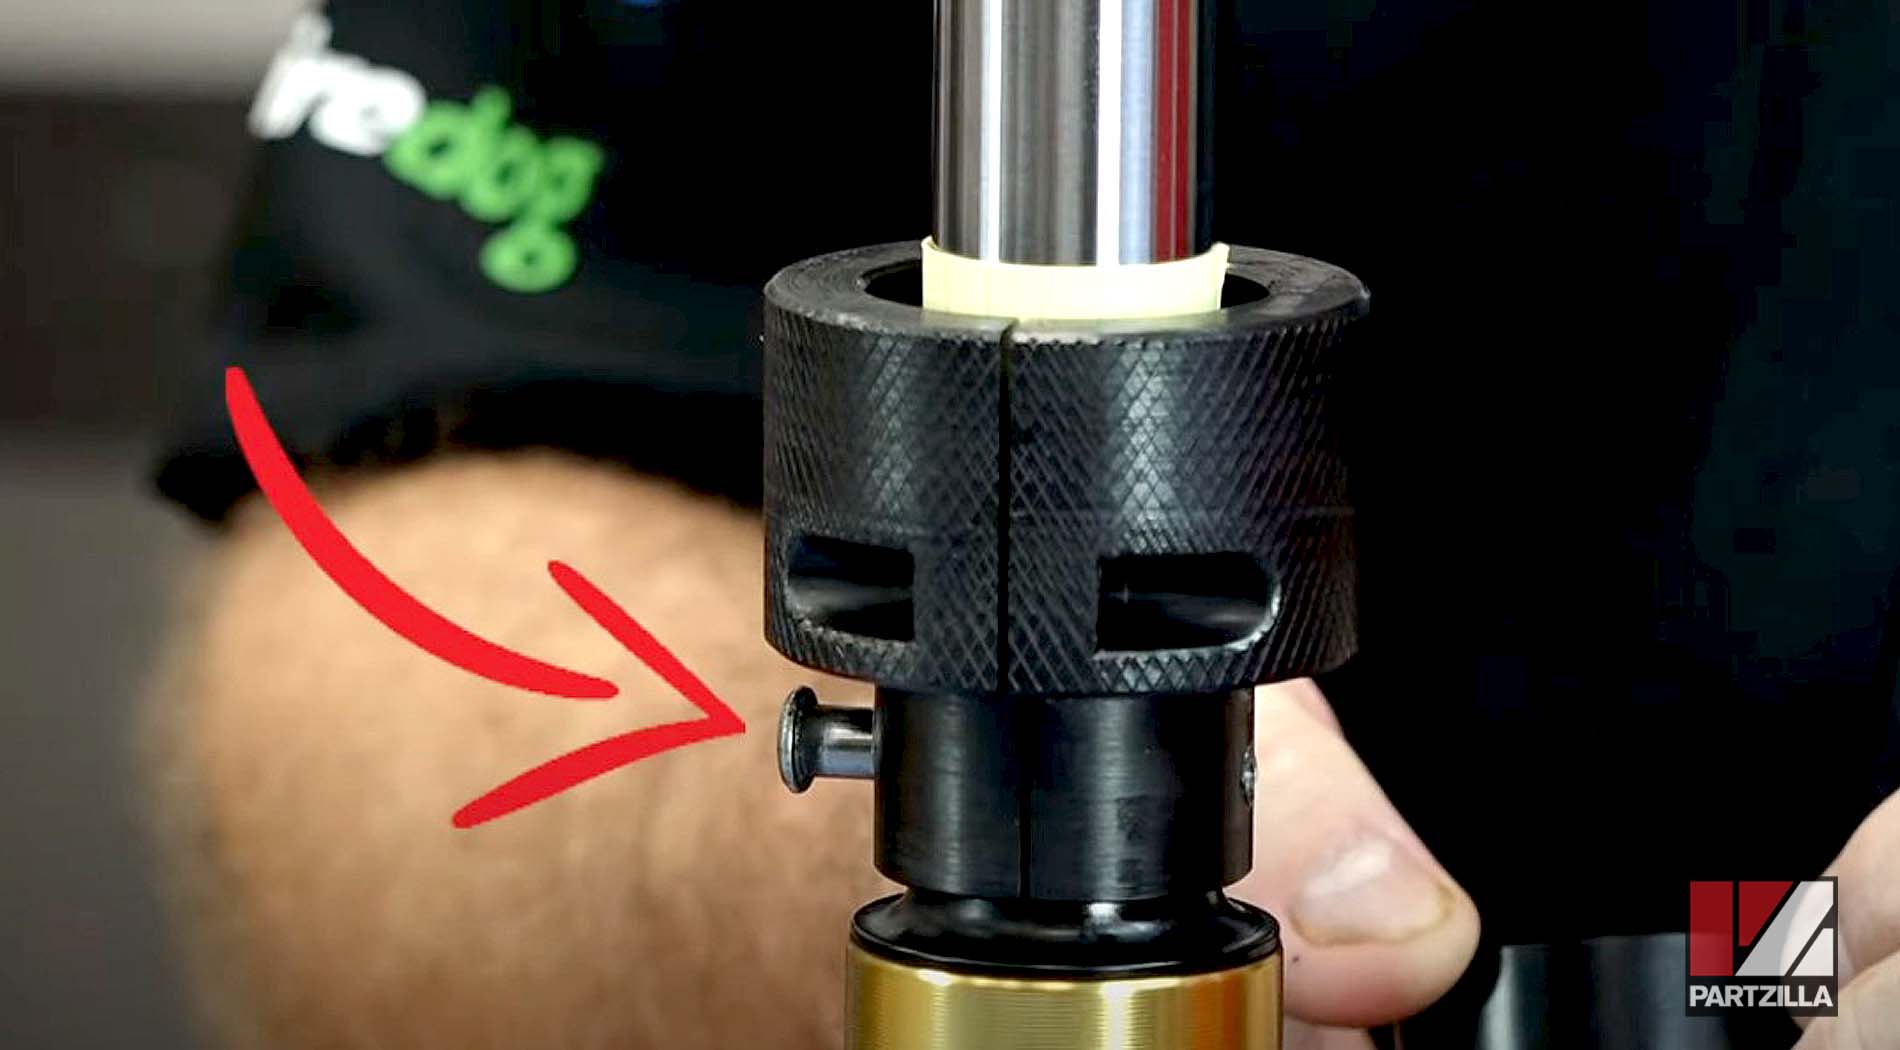
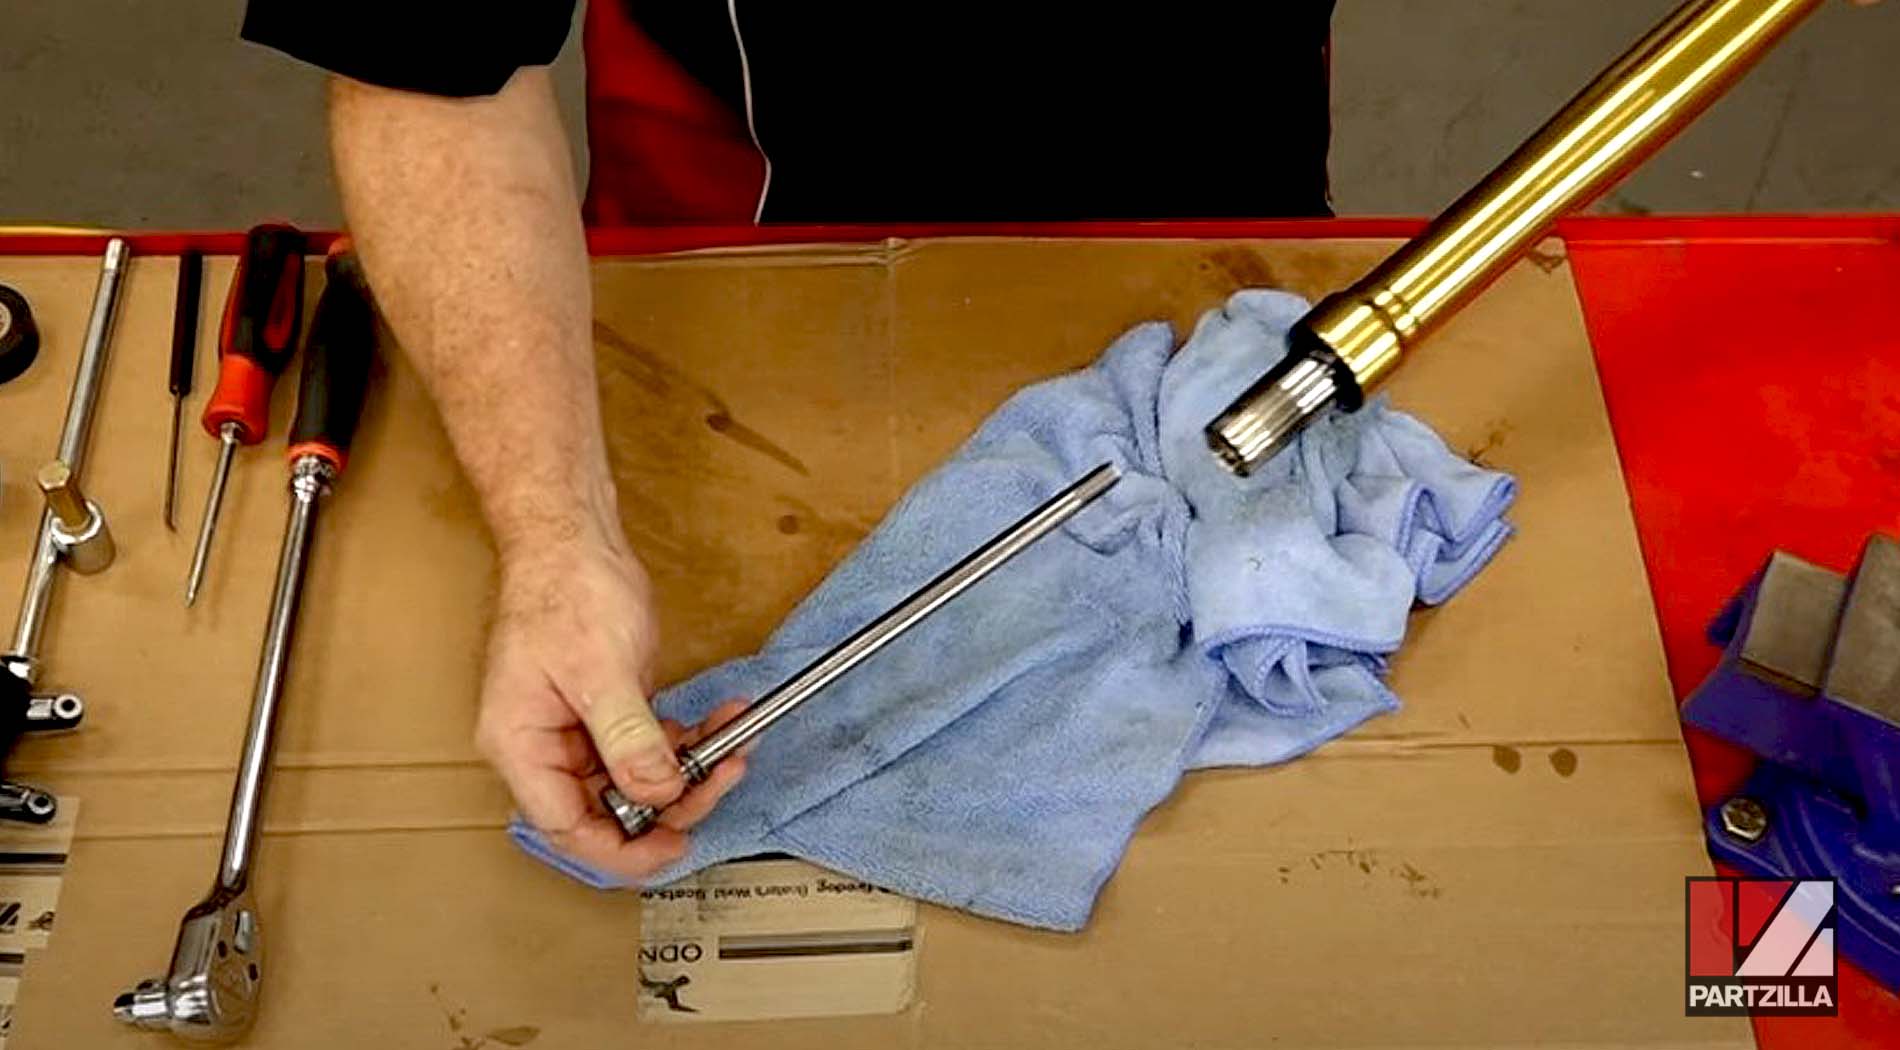
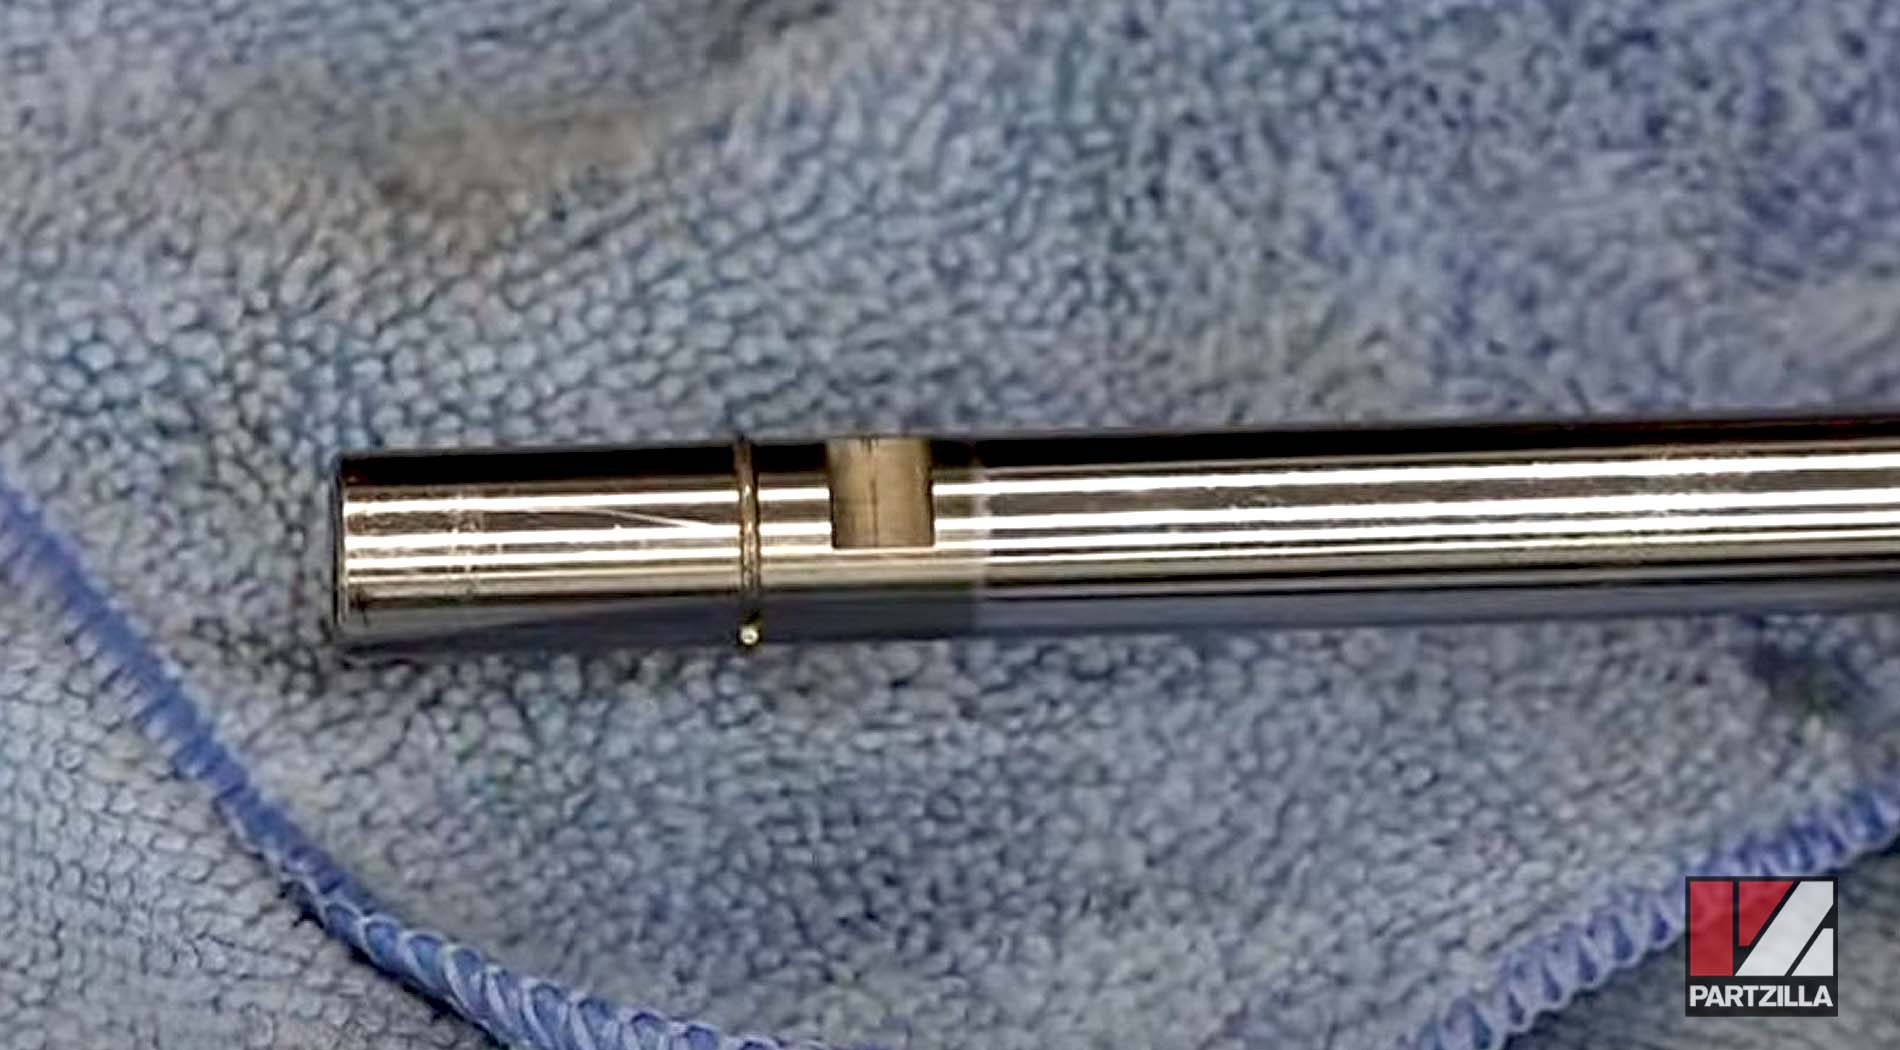
Step 4. Use a heat gun to heat and break down the threadlocker inside the fork end and remove it. The fork end has a reverse-thread, so rotate it clockwise to remove it. Next, remove the damper tube from the vice and the holding tool.
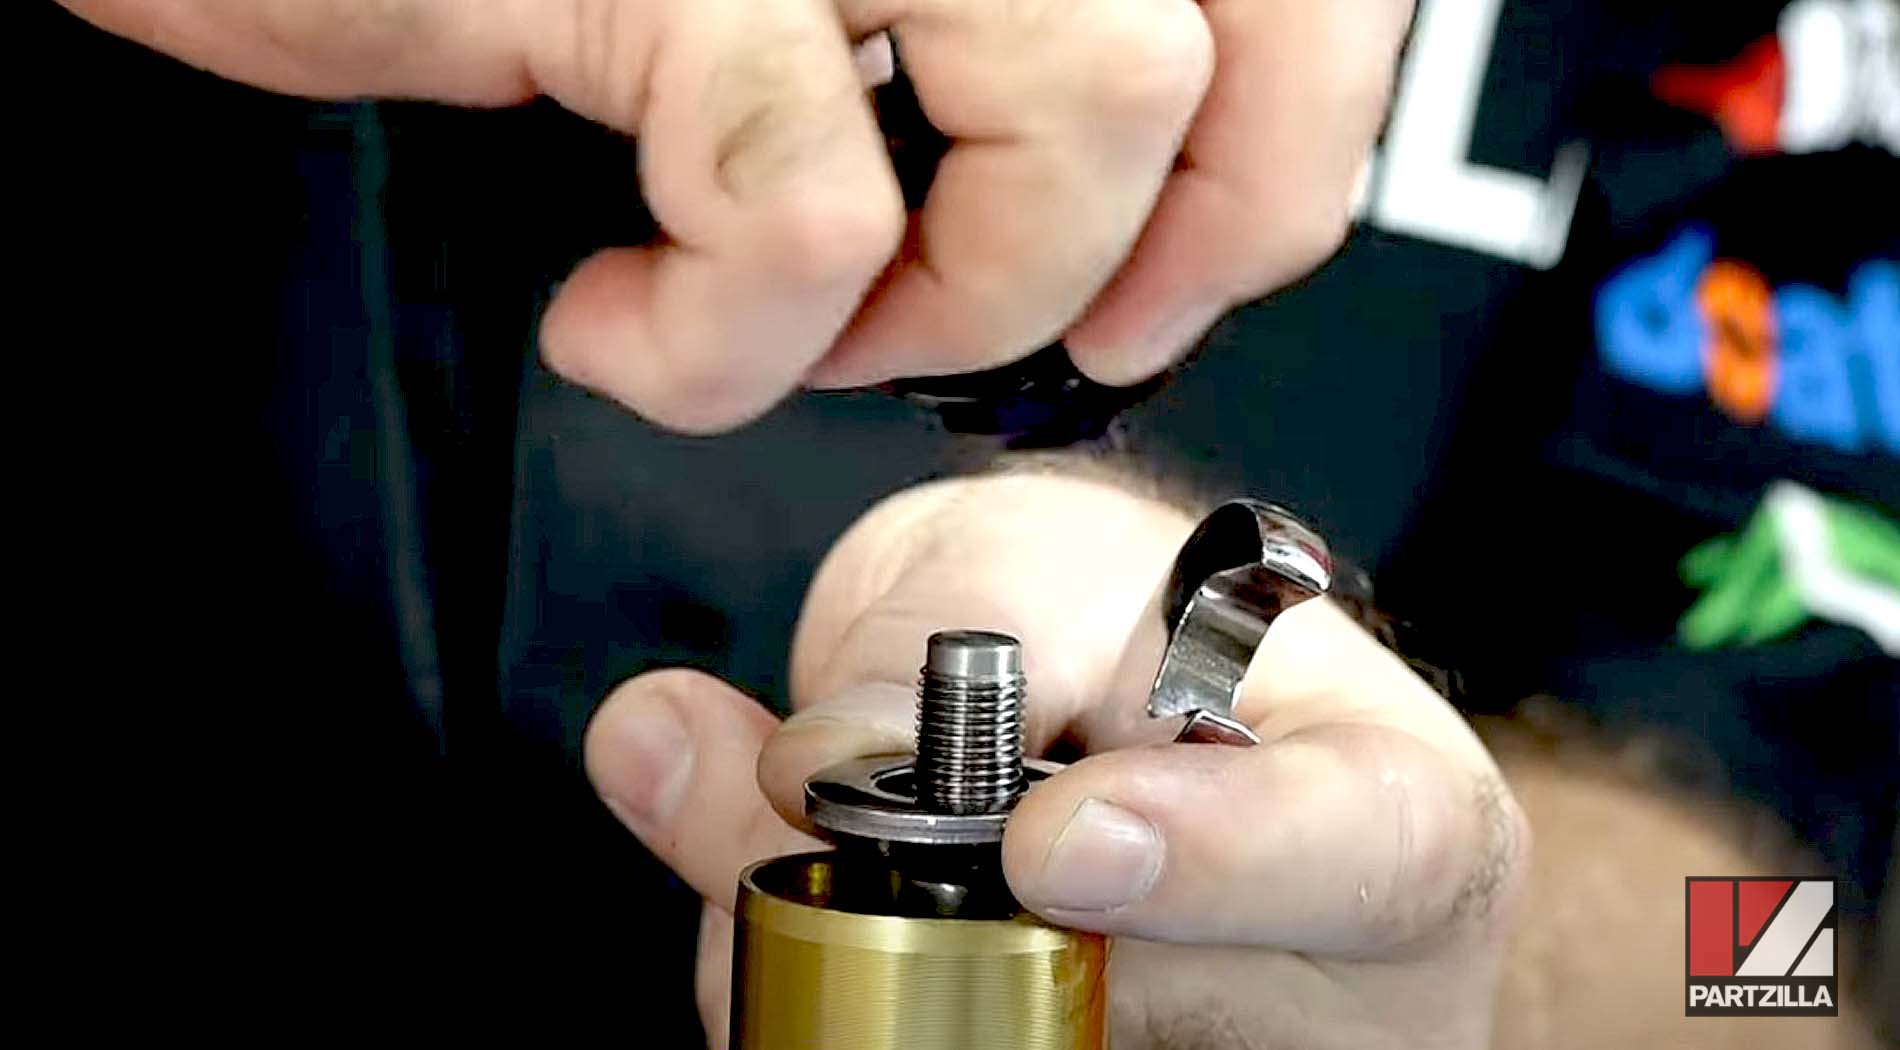
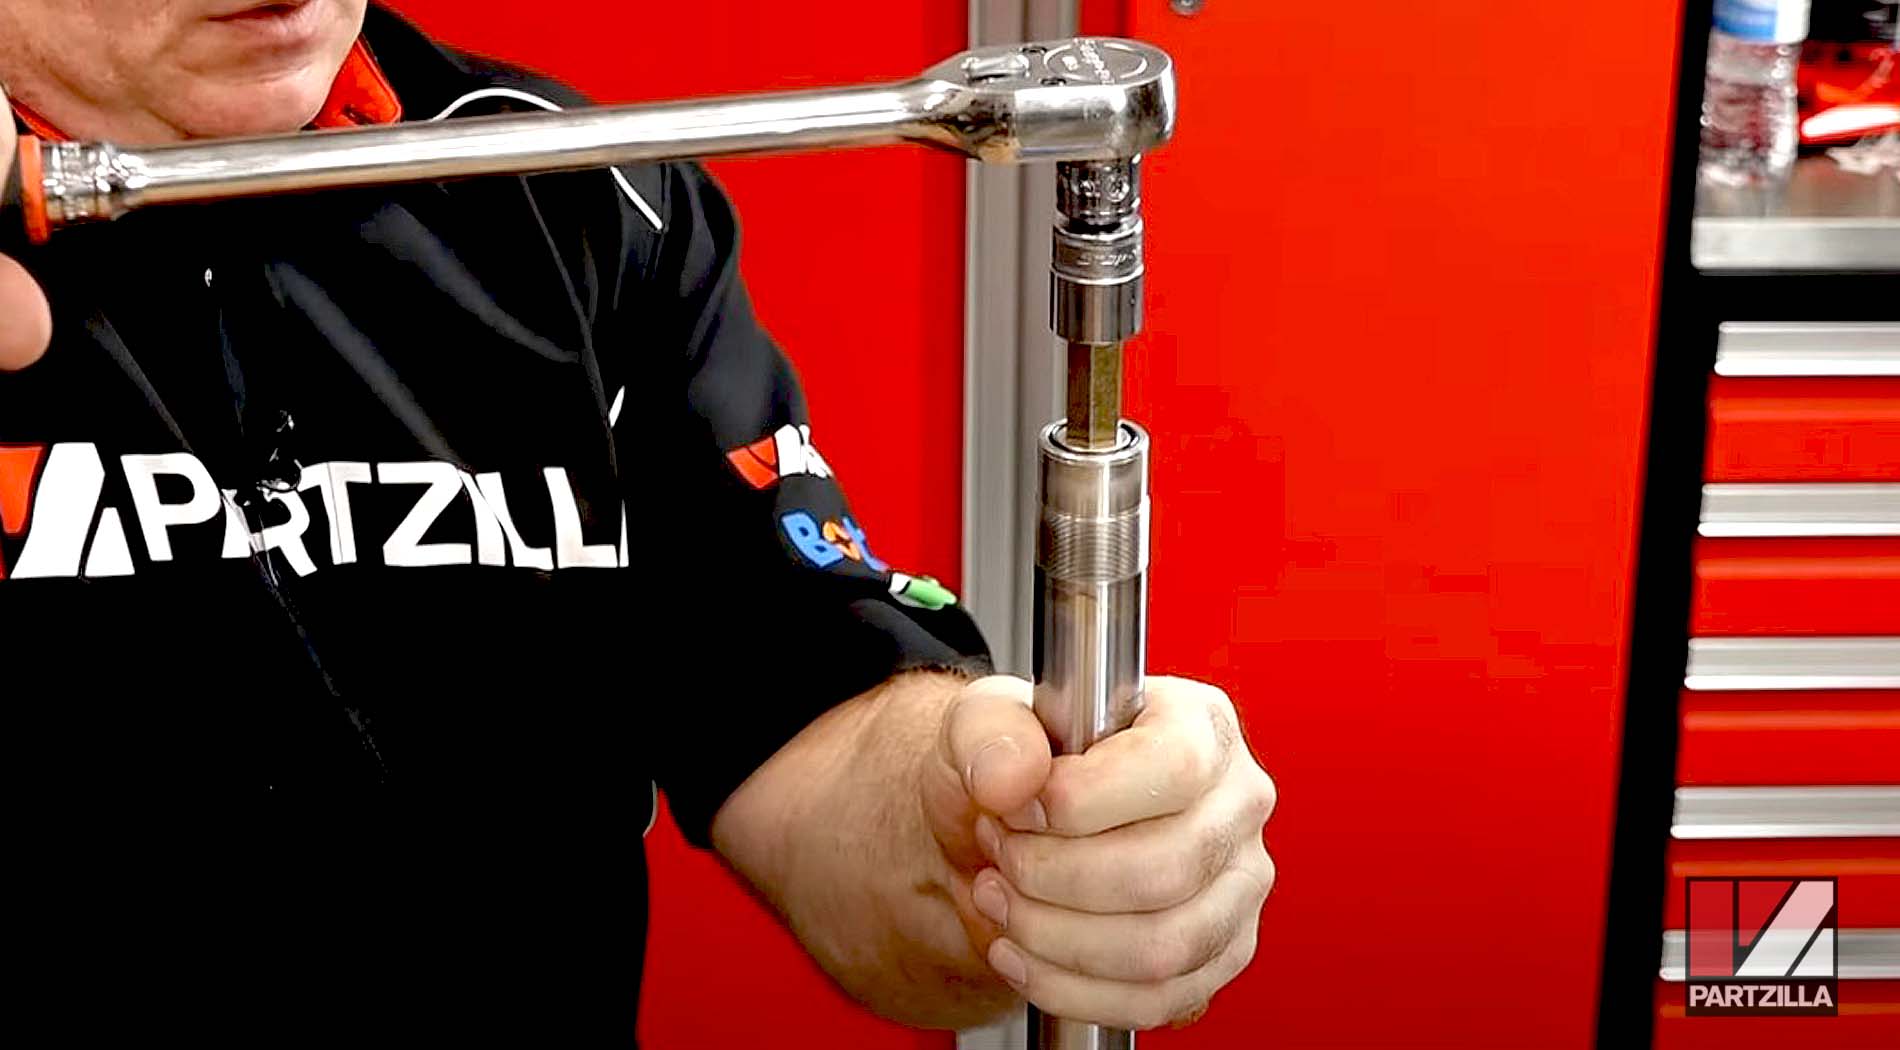
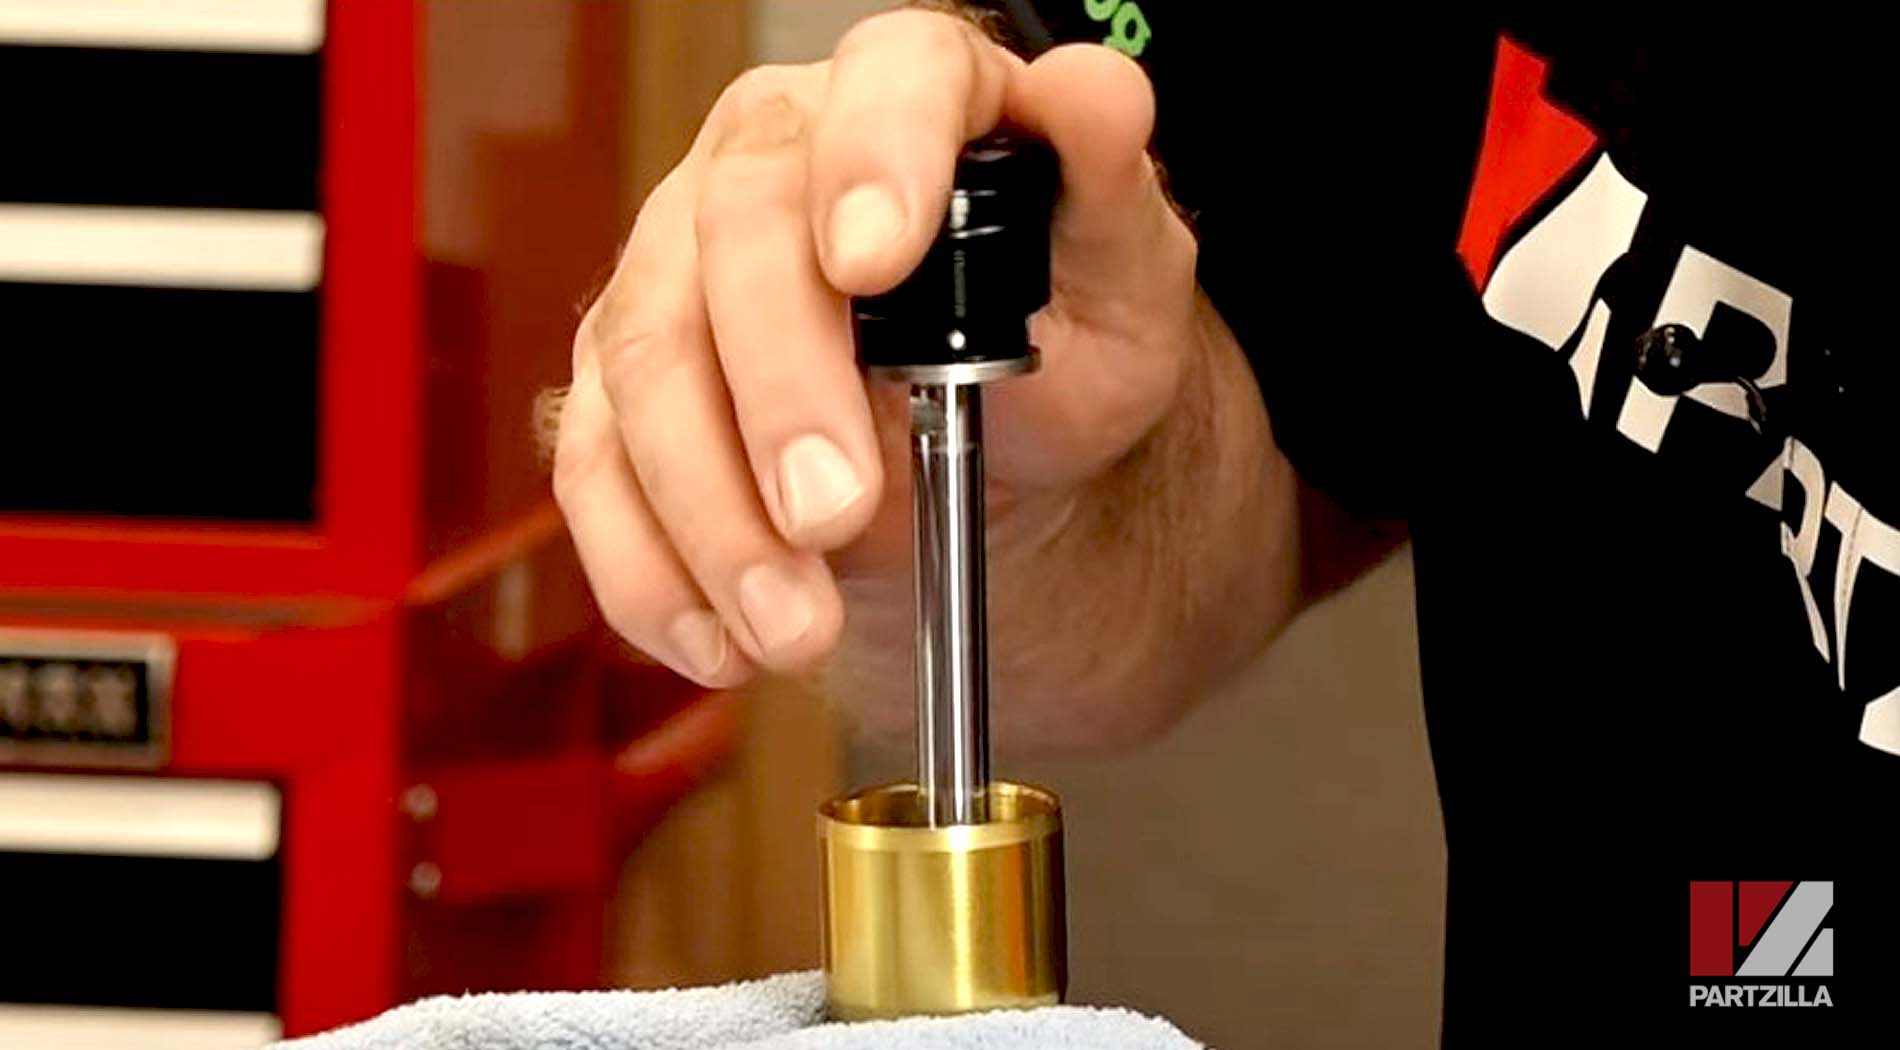
Step 5. Remove the damper tube’s 14mm end cap and washer.
NOTE: The spring inside the damper tube will try to force its way out as you remove the end cap, so be careful when doing this step.
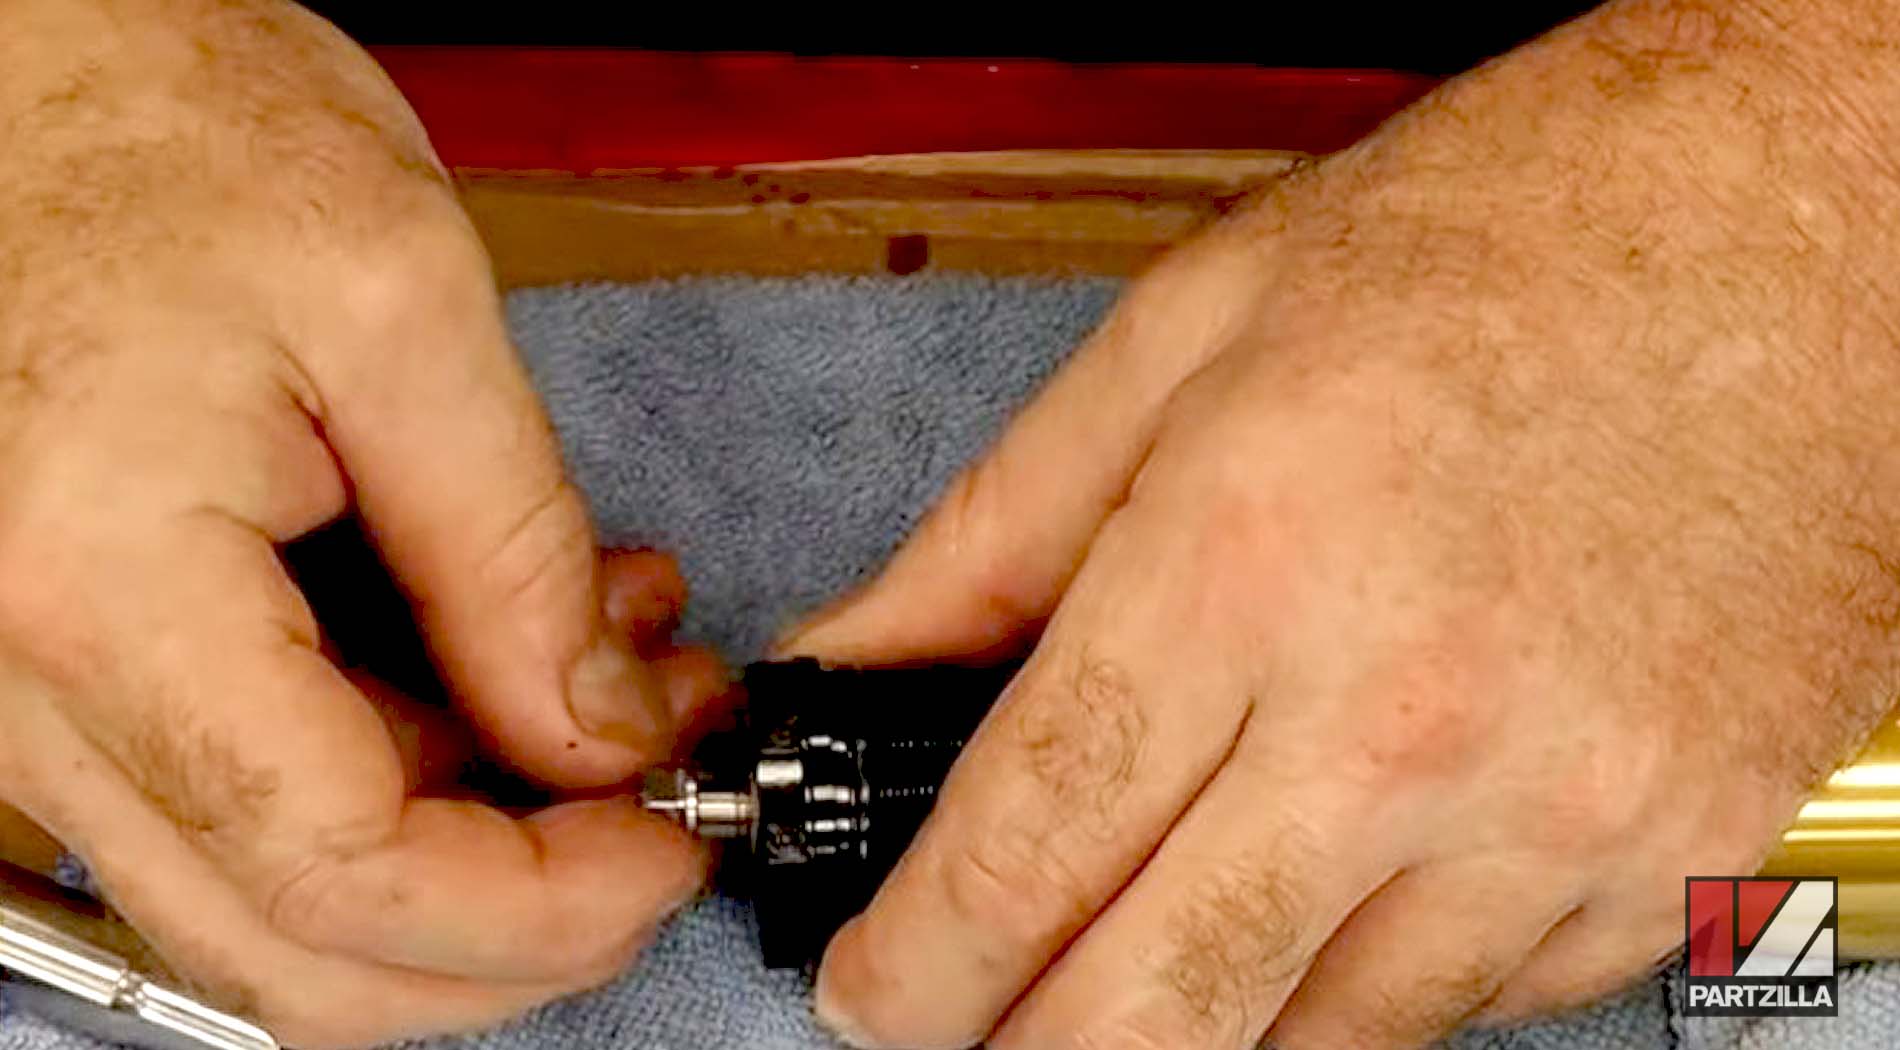
Step 6. Remove the spring and the damper rod from the damper tube.
Step 7. Remove the piston ring from the rebound side of the old damper rod and install it on the new damper rod (included in the Ohlins fork kit). Make sure the protrusions on the piston ring are facing the small spring on the damper rod.
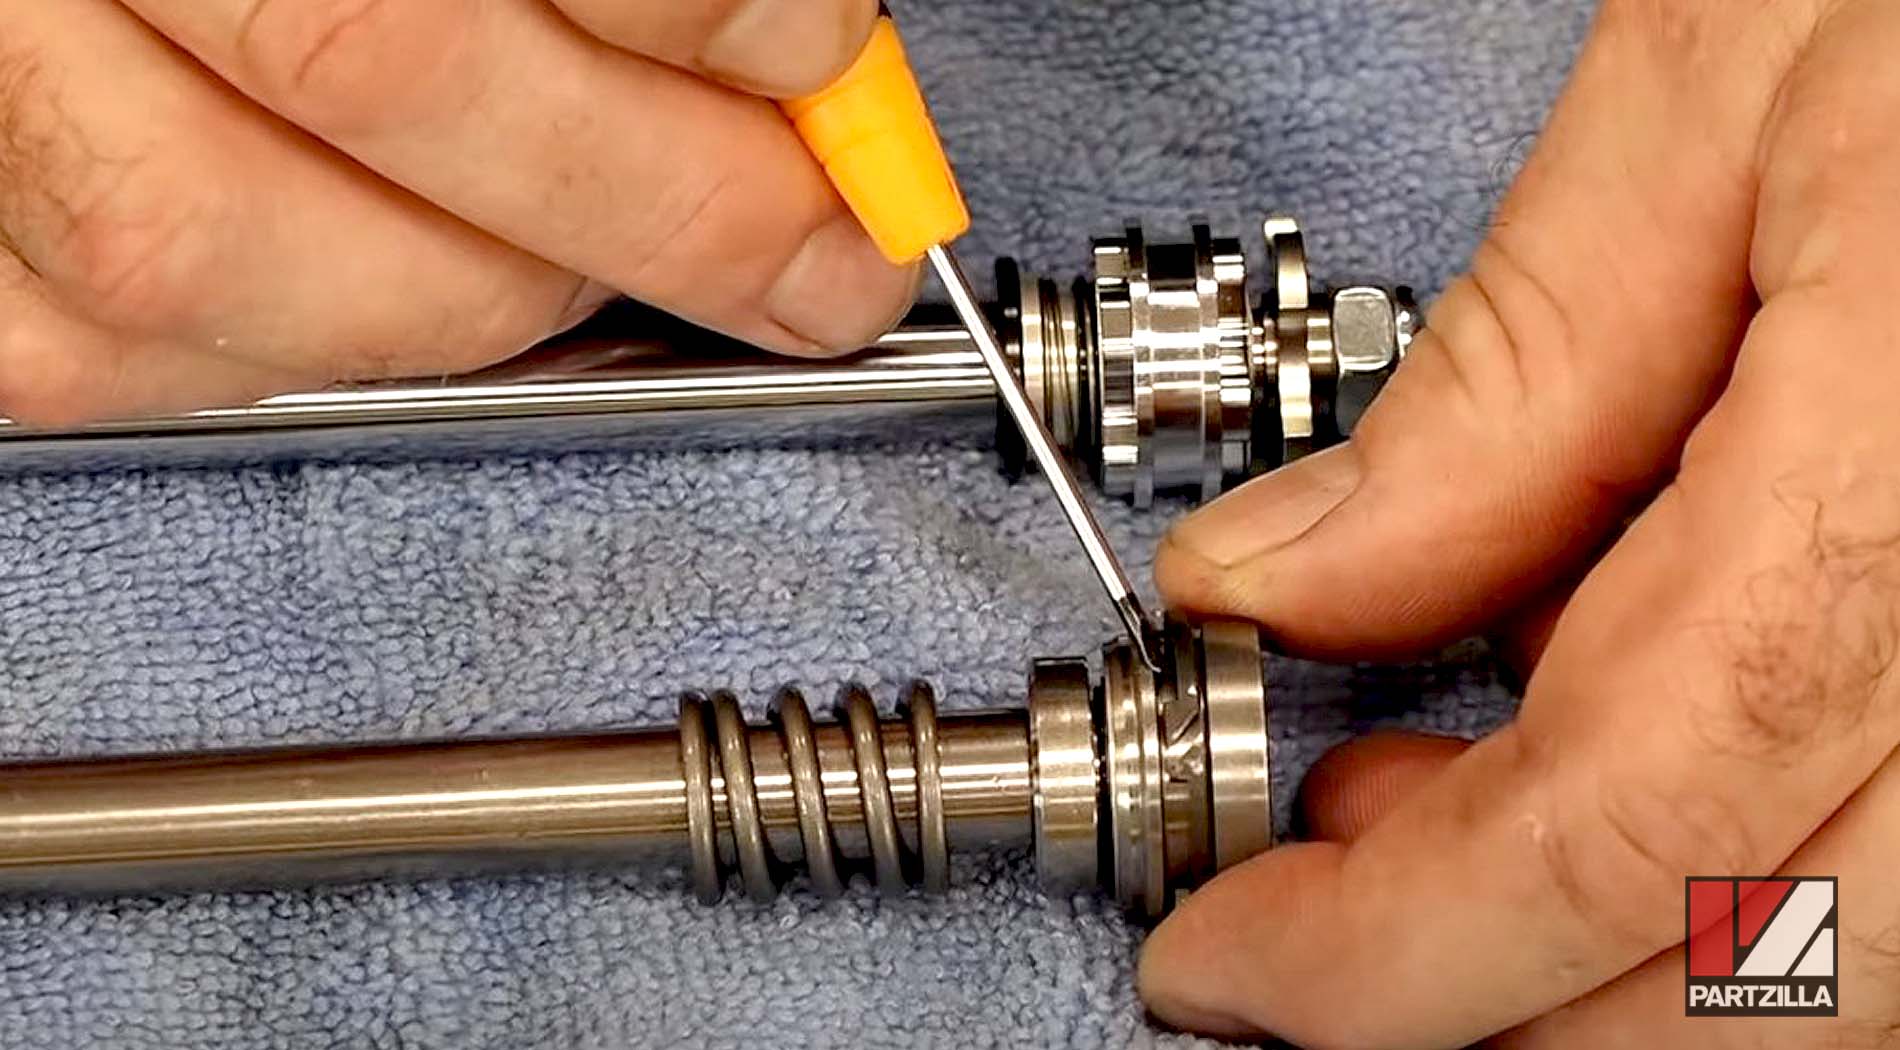
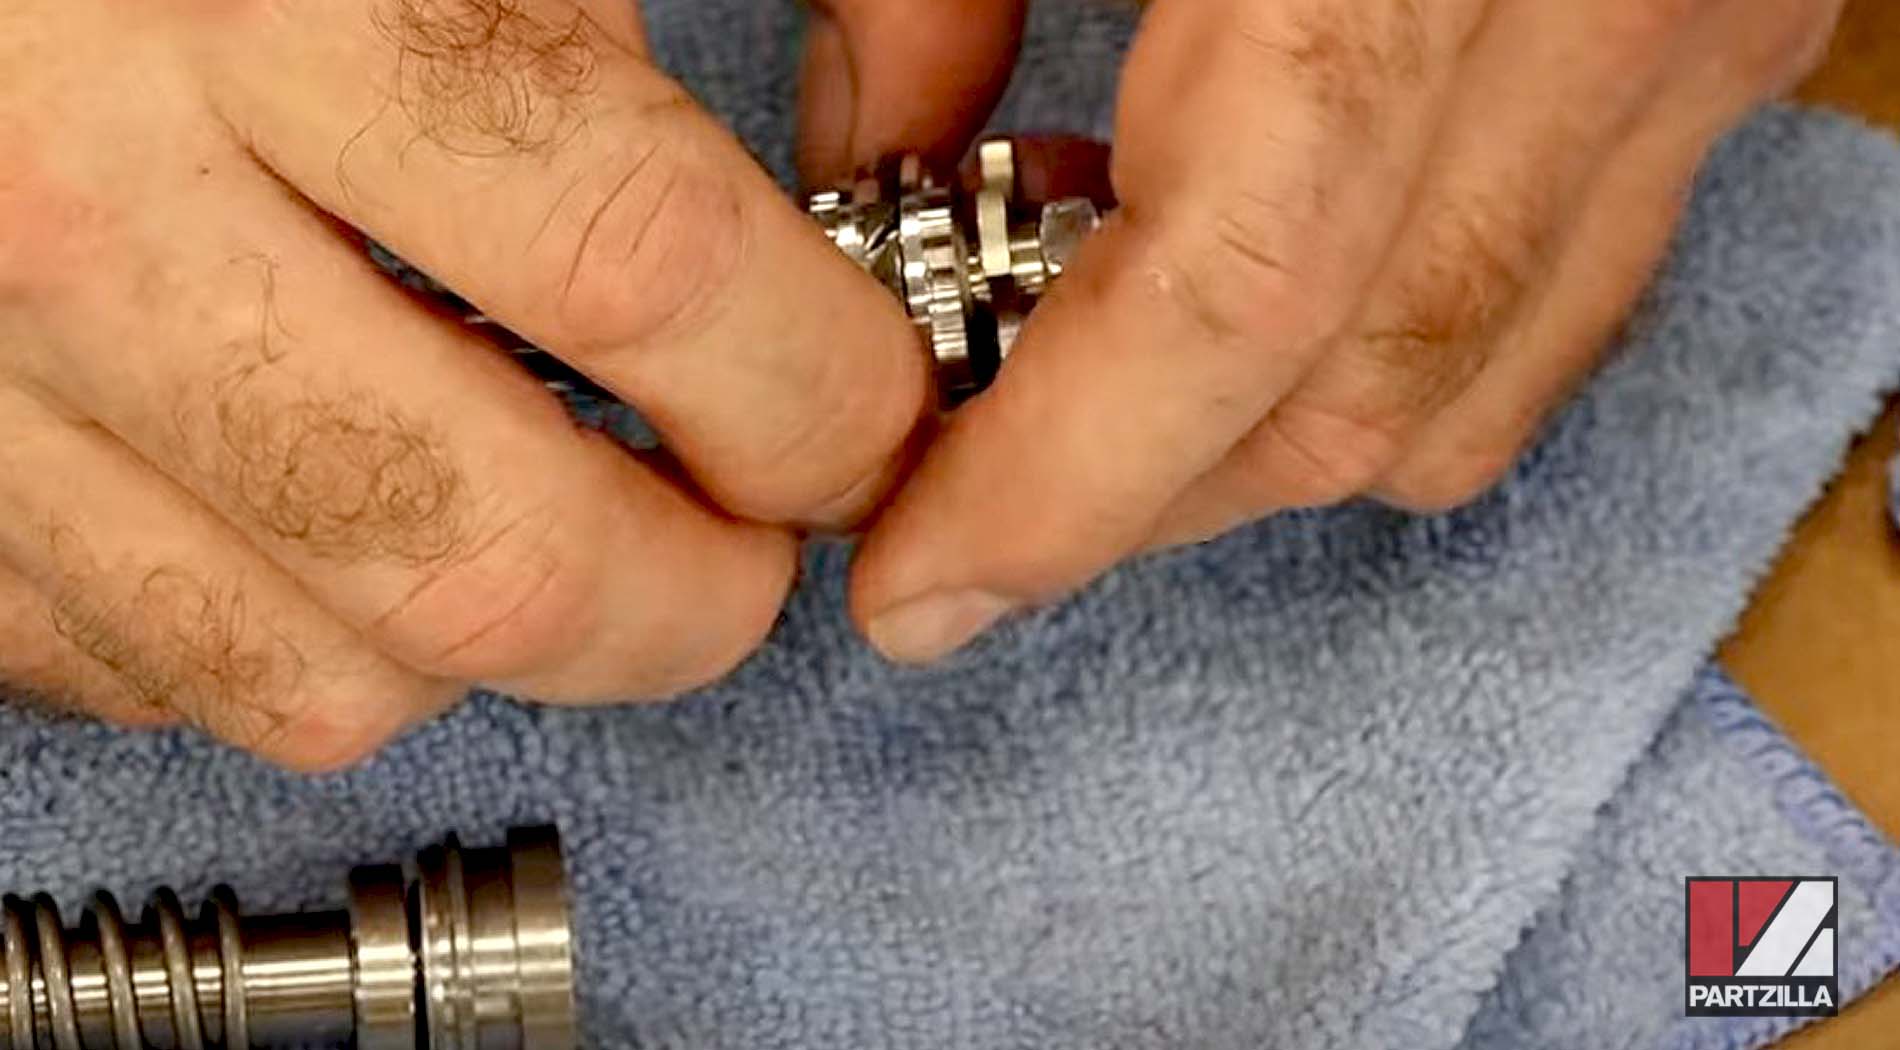
Step 8. Remove the return spring from the rebound side of the old damper rod and install it on the new damper rod.
Step 9. Repeat steps 7 and 8 for the compression damper rod.
Watch the clip below to see the fork disassembly segment of our Honda Grom suspension upgrade video.
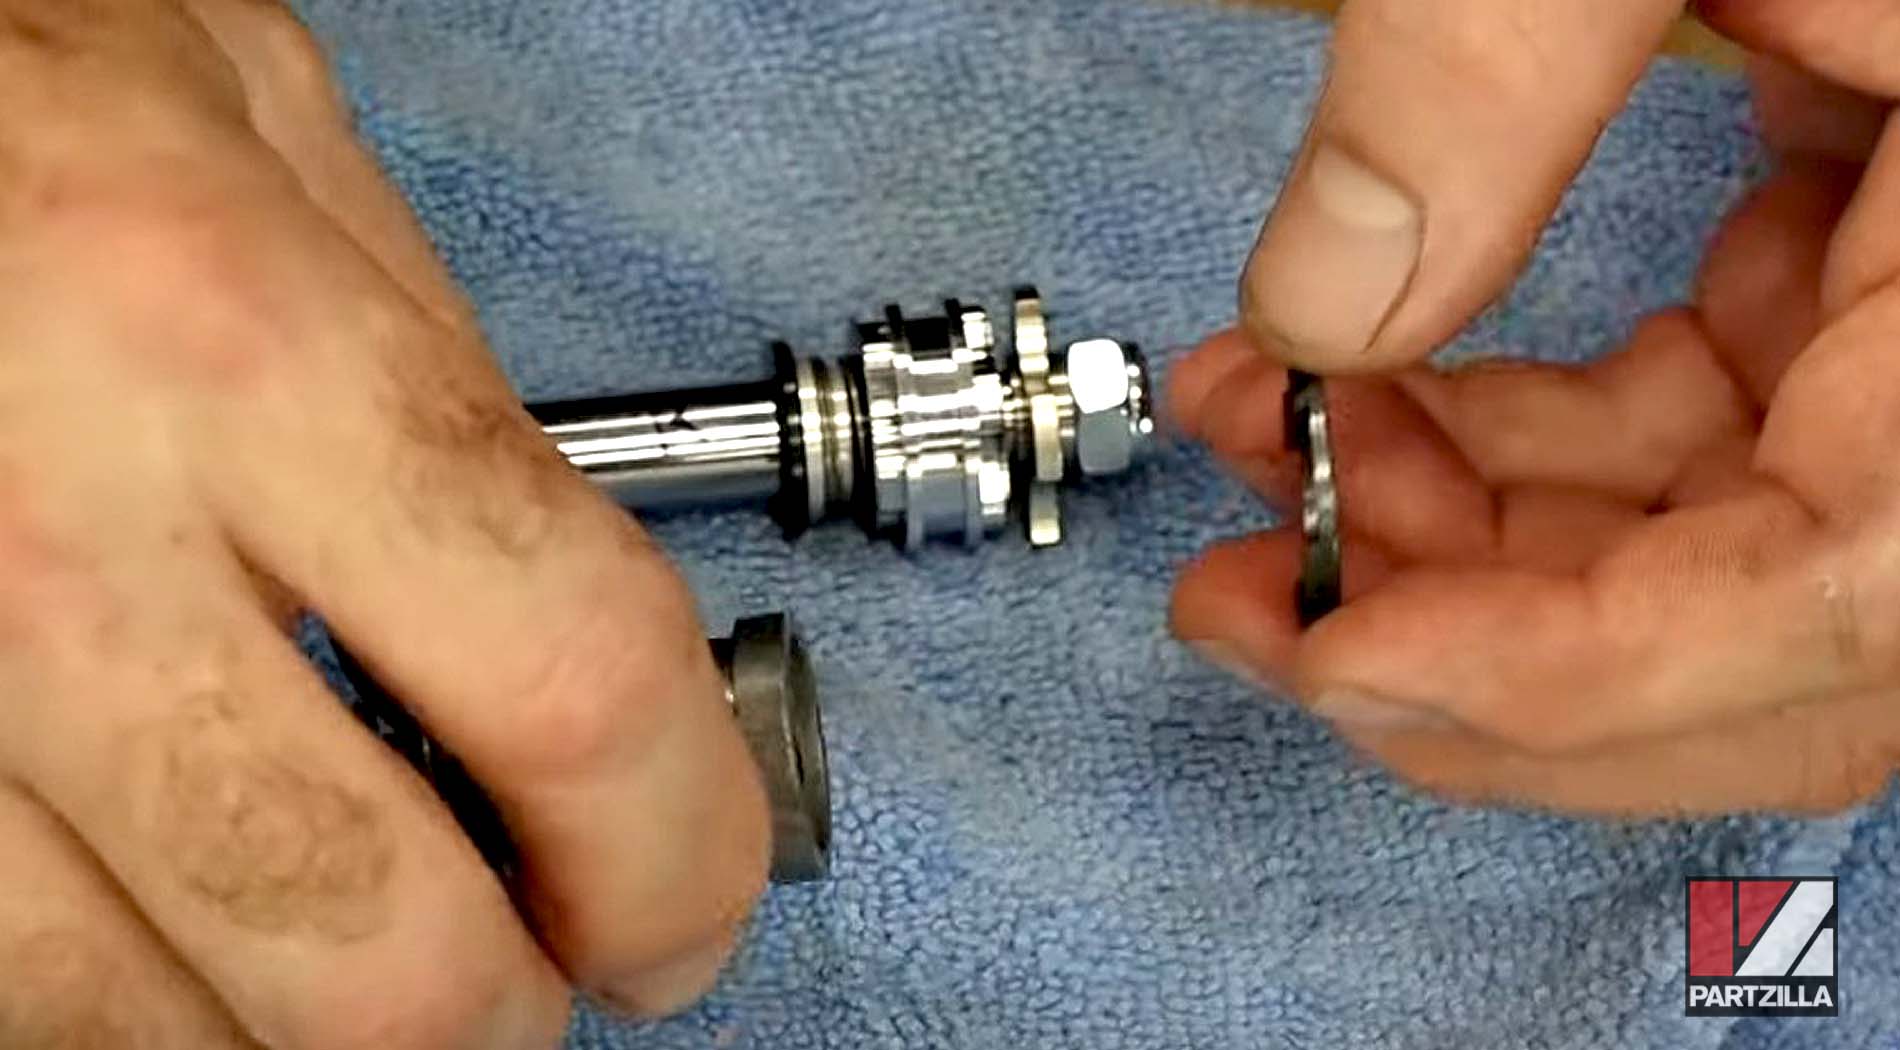
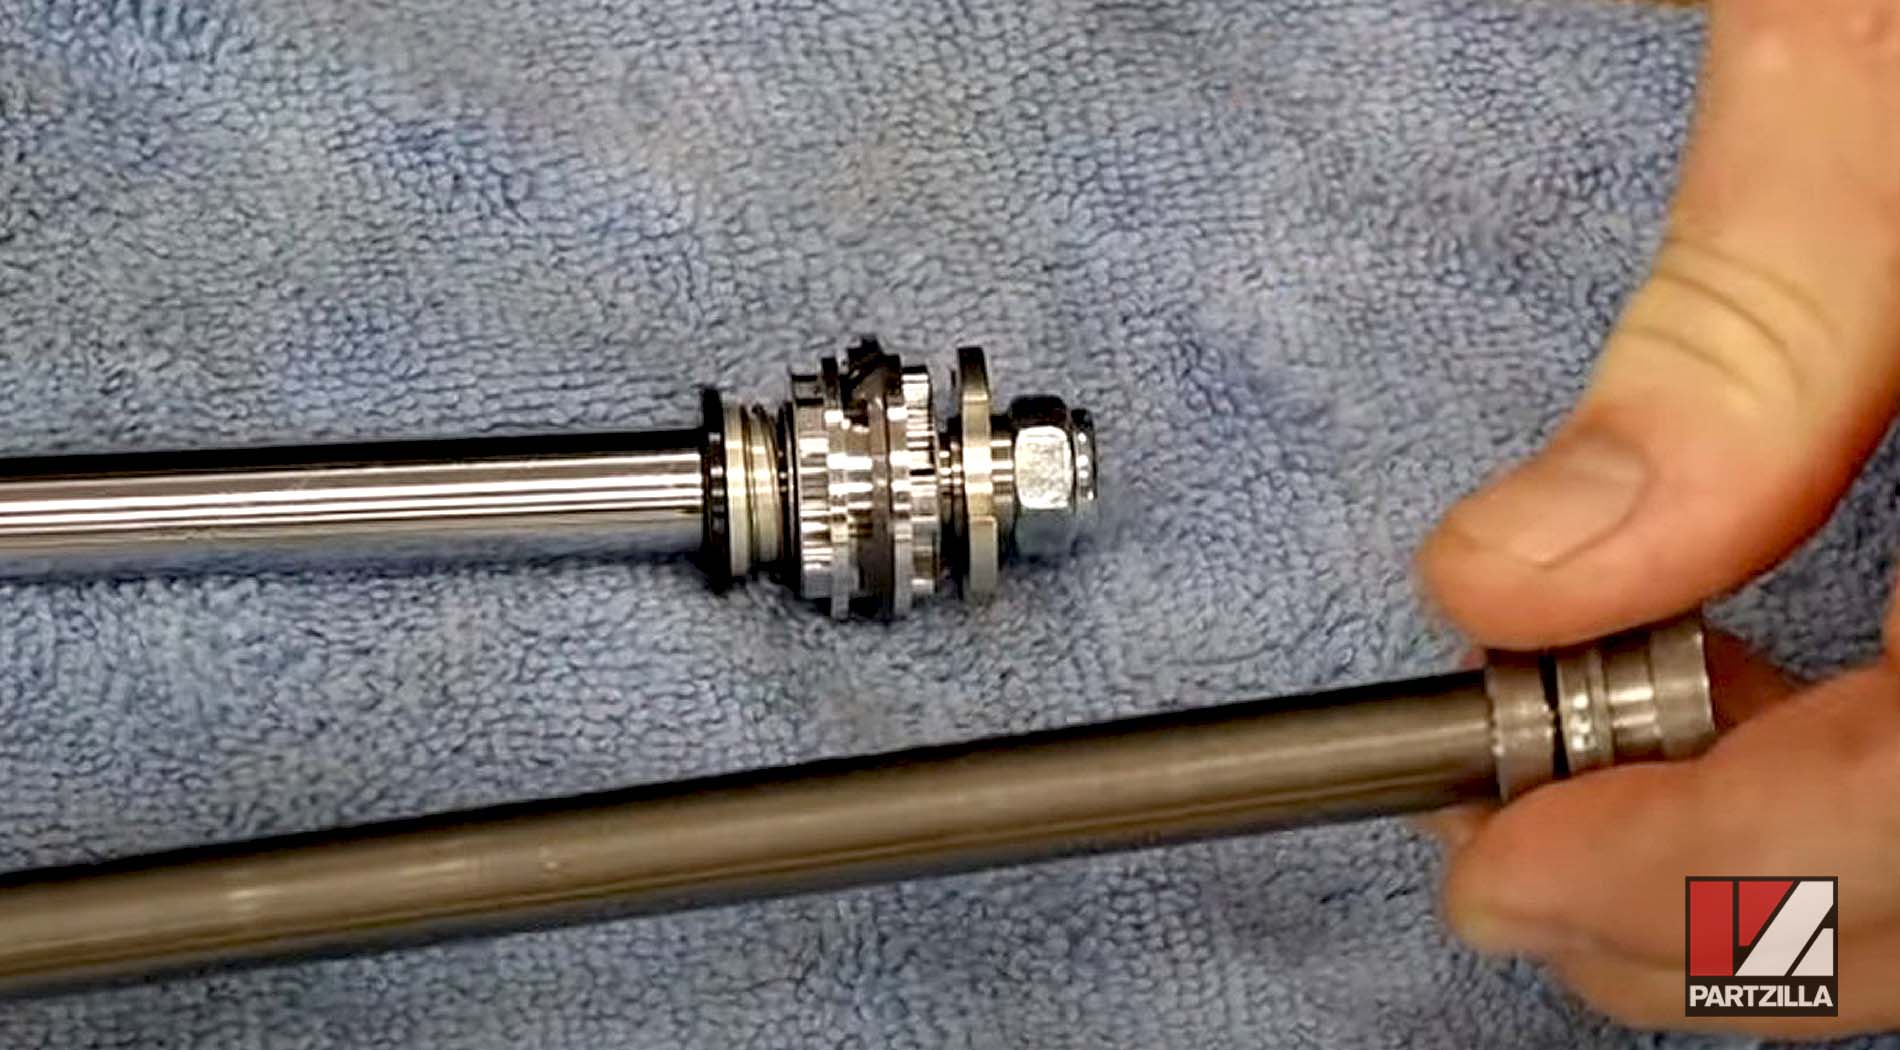
Step 10. Install the new damper rod into the damper tube.
Step 11. Install the new damper springs (included in the Ohlins fork kit) into the damper tube.
NOTE: The Ohlins fork kit includes two pairs of springs rated at 5.5N/mm and 6.0N/mm respectively. Choose whichever spring rate will best suit your riding style.
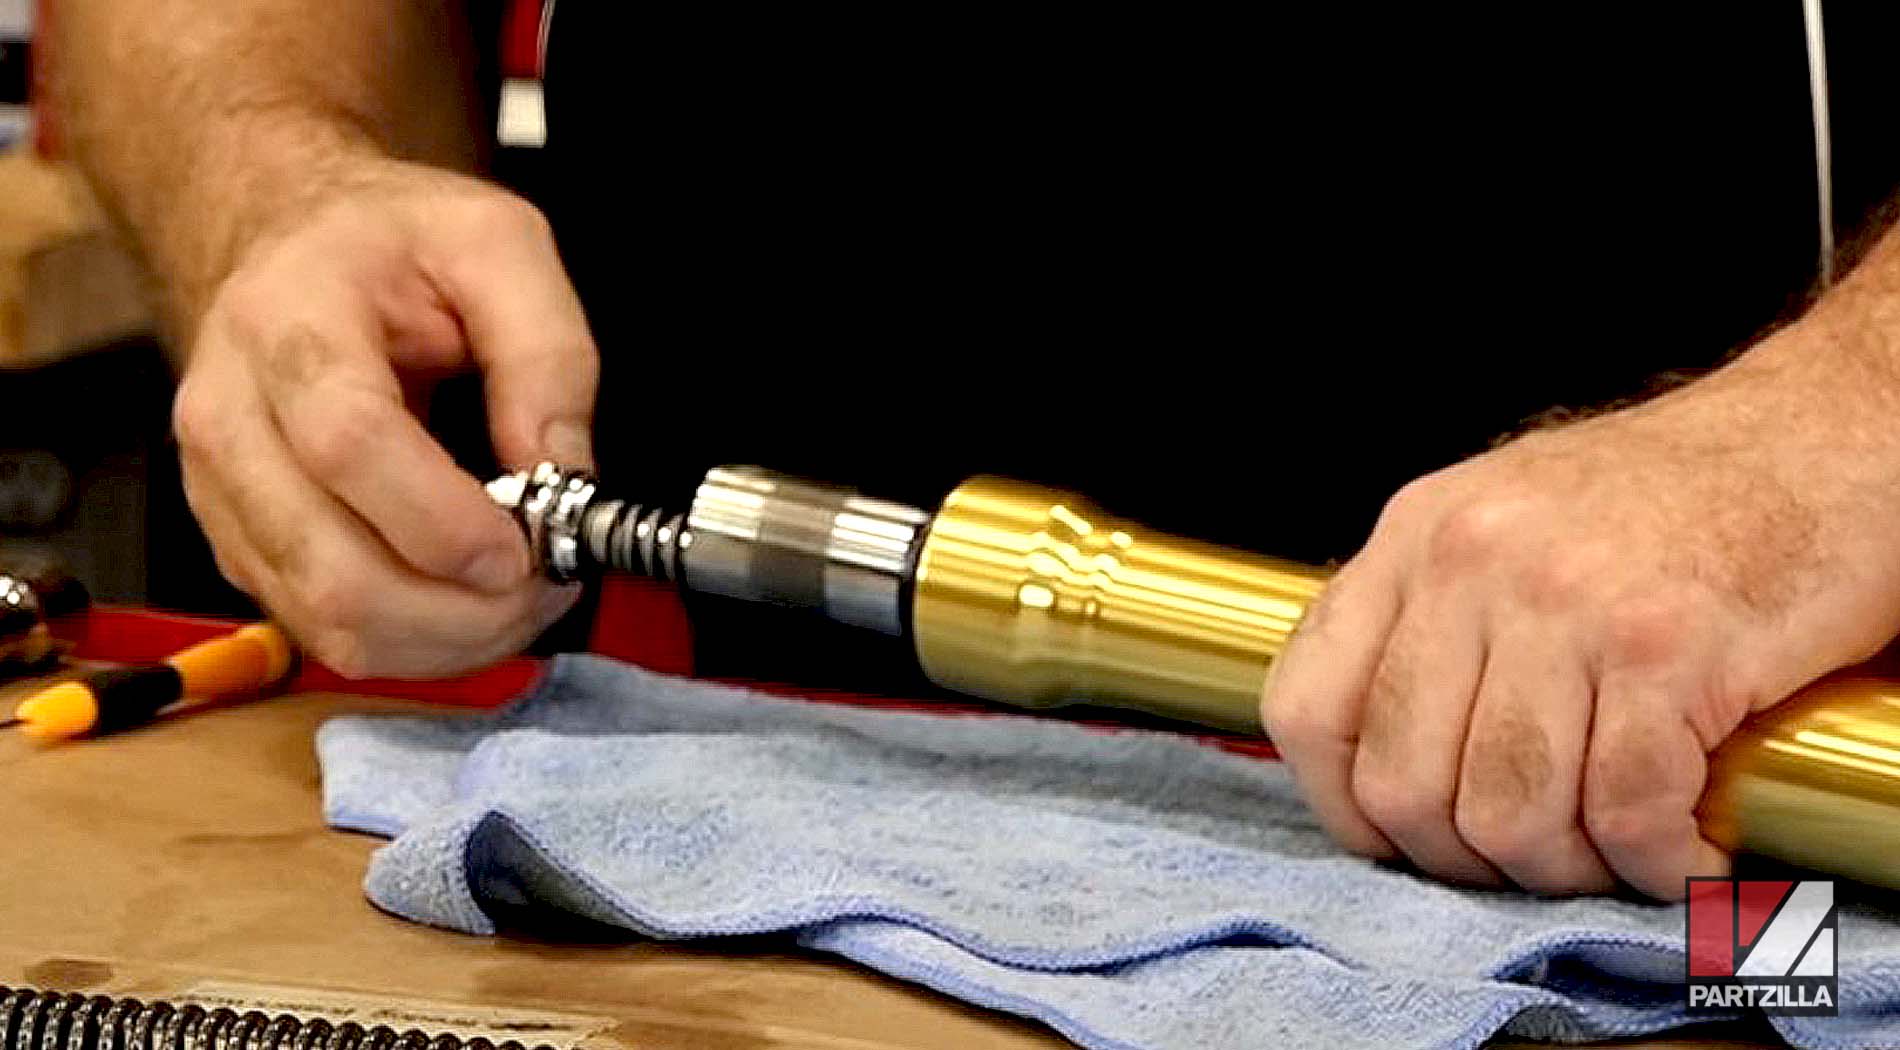
Step 12. Reattach the damper tube using the holding tool and hold the fork in a vice. Install the washer and spacer (included in the Ohlins fork kit) into the damper tube, then reinstall the stock damper tube’s 14mm end cap and torque it to 29.5 foot-pounds. Remove the damper tube from the vice and the holding tool.
Step 13. Install the circlip (included in the Ohlins fork kit) onto the damper rod and slide it down into the groove.
Step 14. Install the new seat washer (included in the Ohlins fork kit) onto the damper rod with the chamfered edge facing the circlip.

Step 15. Take the rubber stopper from the old fork top cap and install it into the new fork top cap (included in the Ohlins fork kit), then install the new cap into the fork. Apply threadlocker to the new bolt and crush washer (included in the Ohlins fork kit) and install the bolt into the fork top cap. Torque the bolt to 11 foot-pounds.

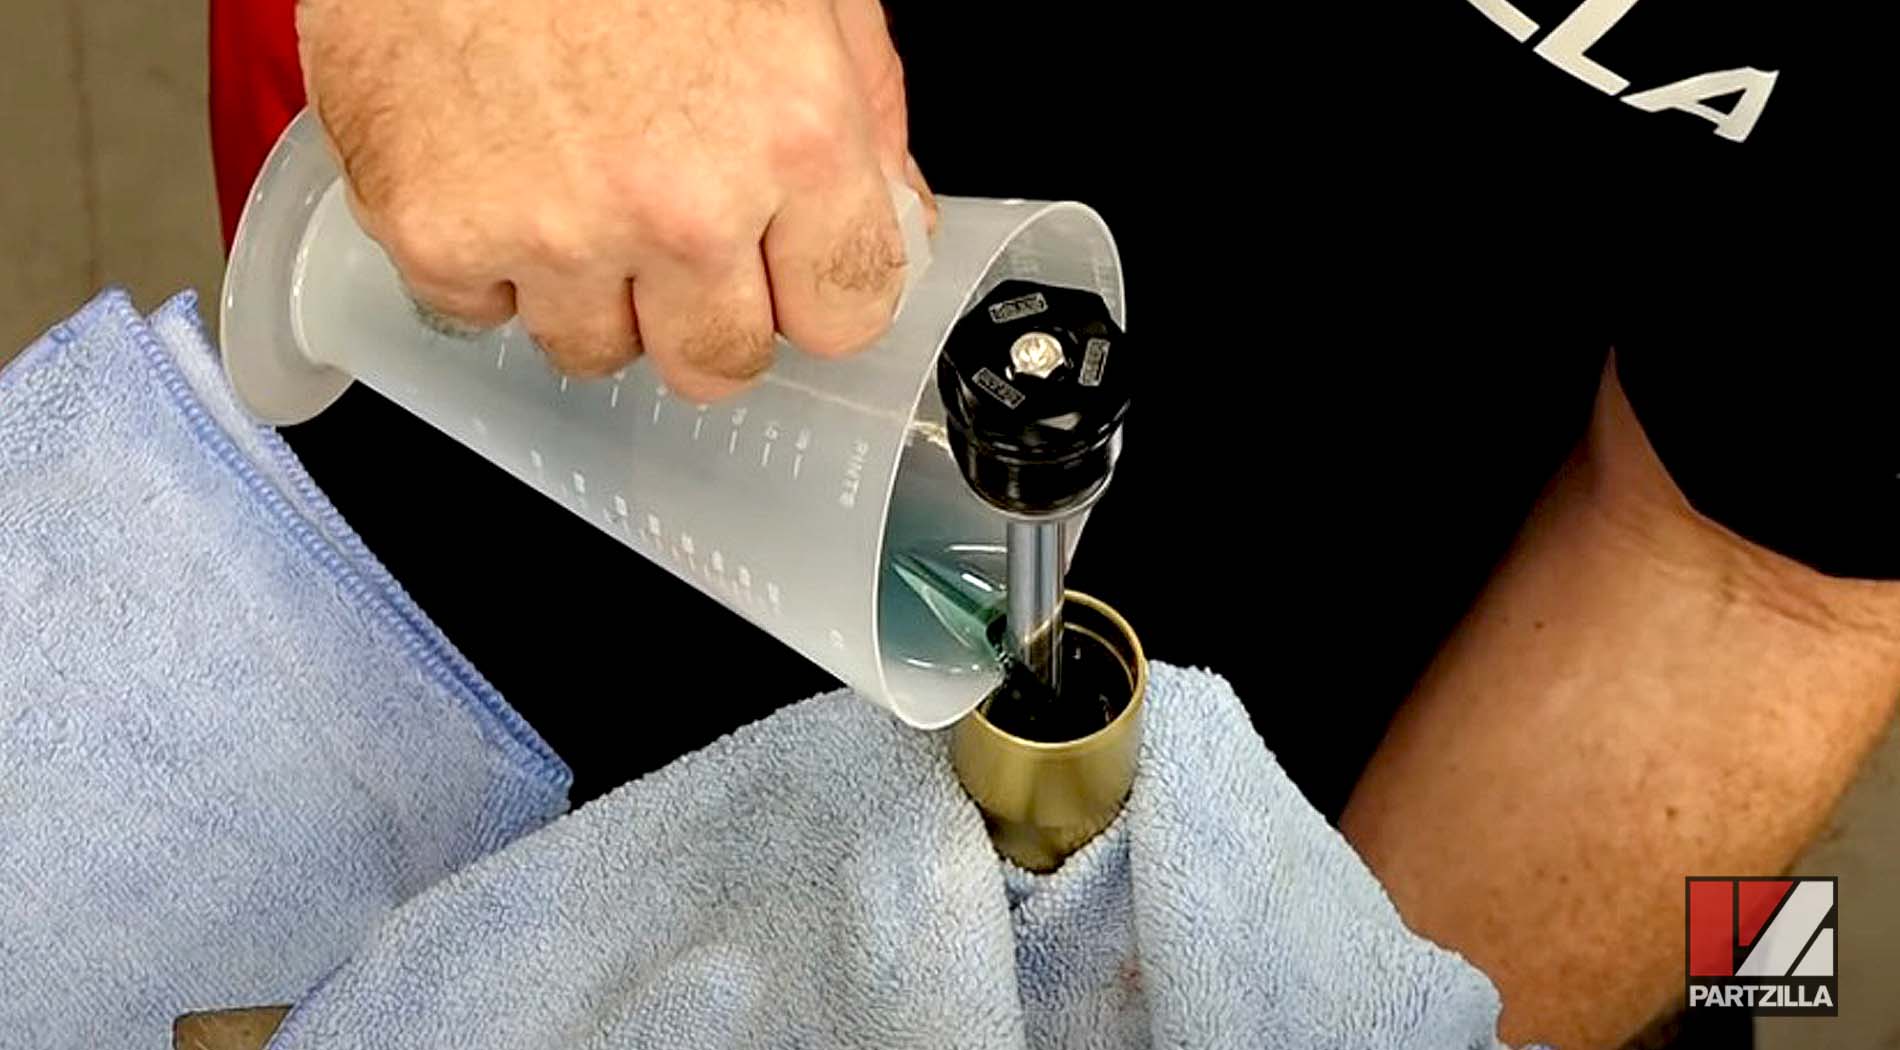
Step 16. Fill the fork with 235 milliliters of 5W fork fluid. Next, pull the damper up and down as you pour in the fork fluid to work out any air bubbles.
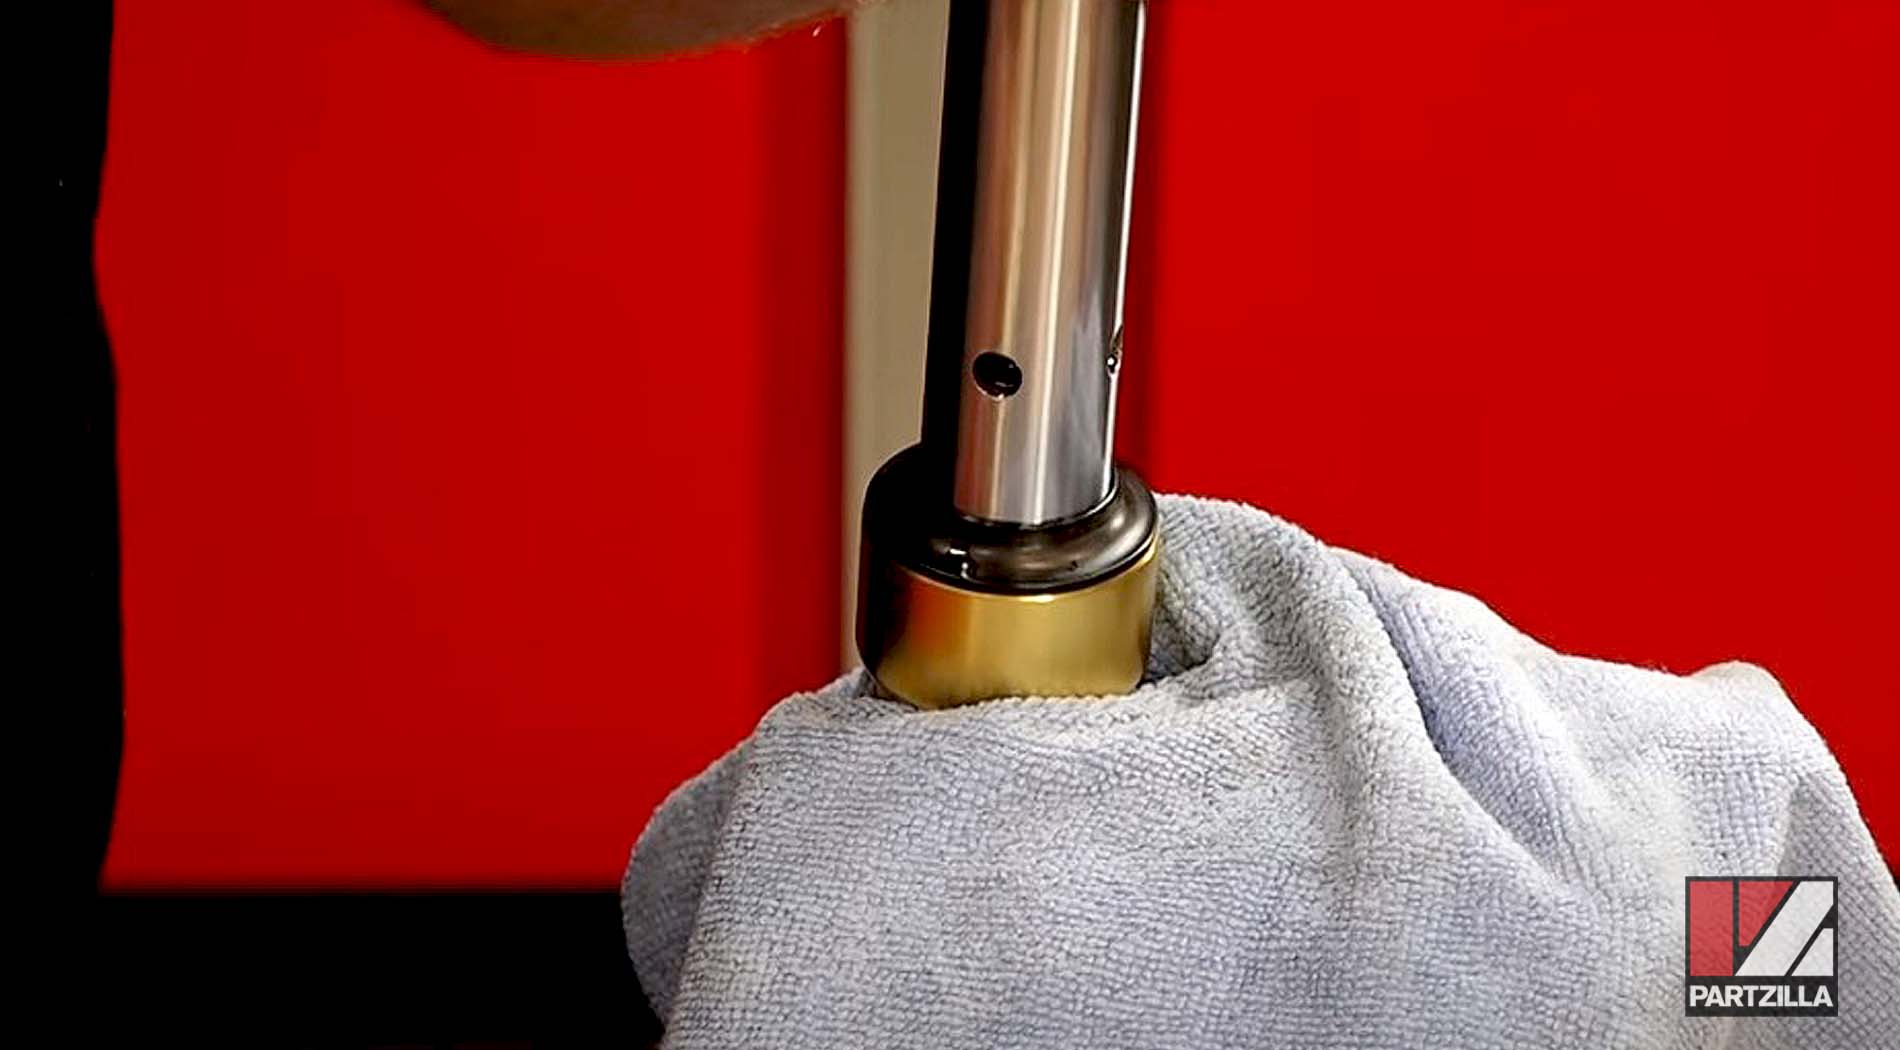
Step 17. Lightly grease the fork end cap’s O-ring, then tighten the fork top cap.

Step 18. Apply a film of high strength threadlocker to the damper tube threads, then reinstall the fork end.

Watch the clip below to see the fork reassembly segment of our Honda Grom suspension upgrade video.
Part 5: Reinstalling Honda Grom Front Forks
Step 1. Slide the forks back up into the fork clamps and torque the clamp pinch bolts to 20 foot-pounds.
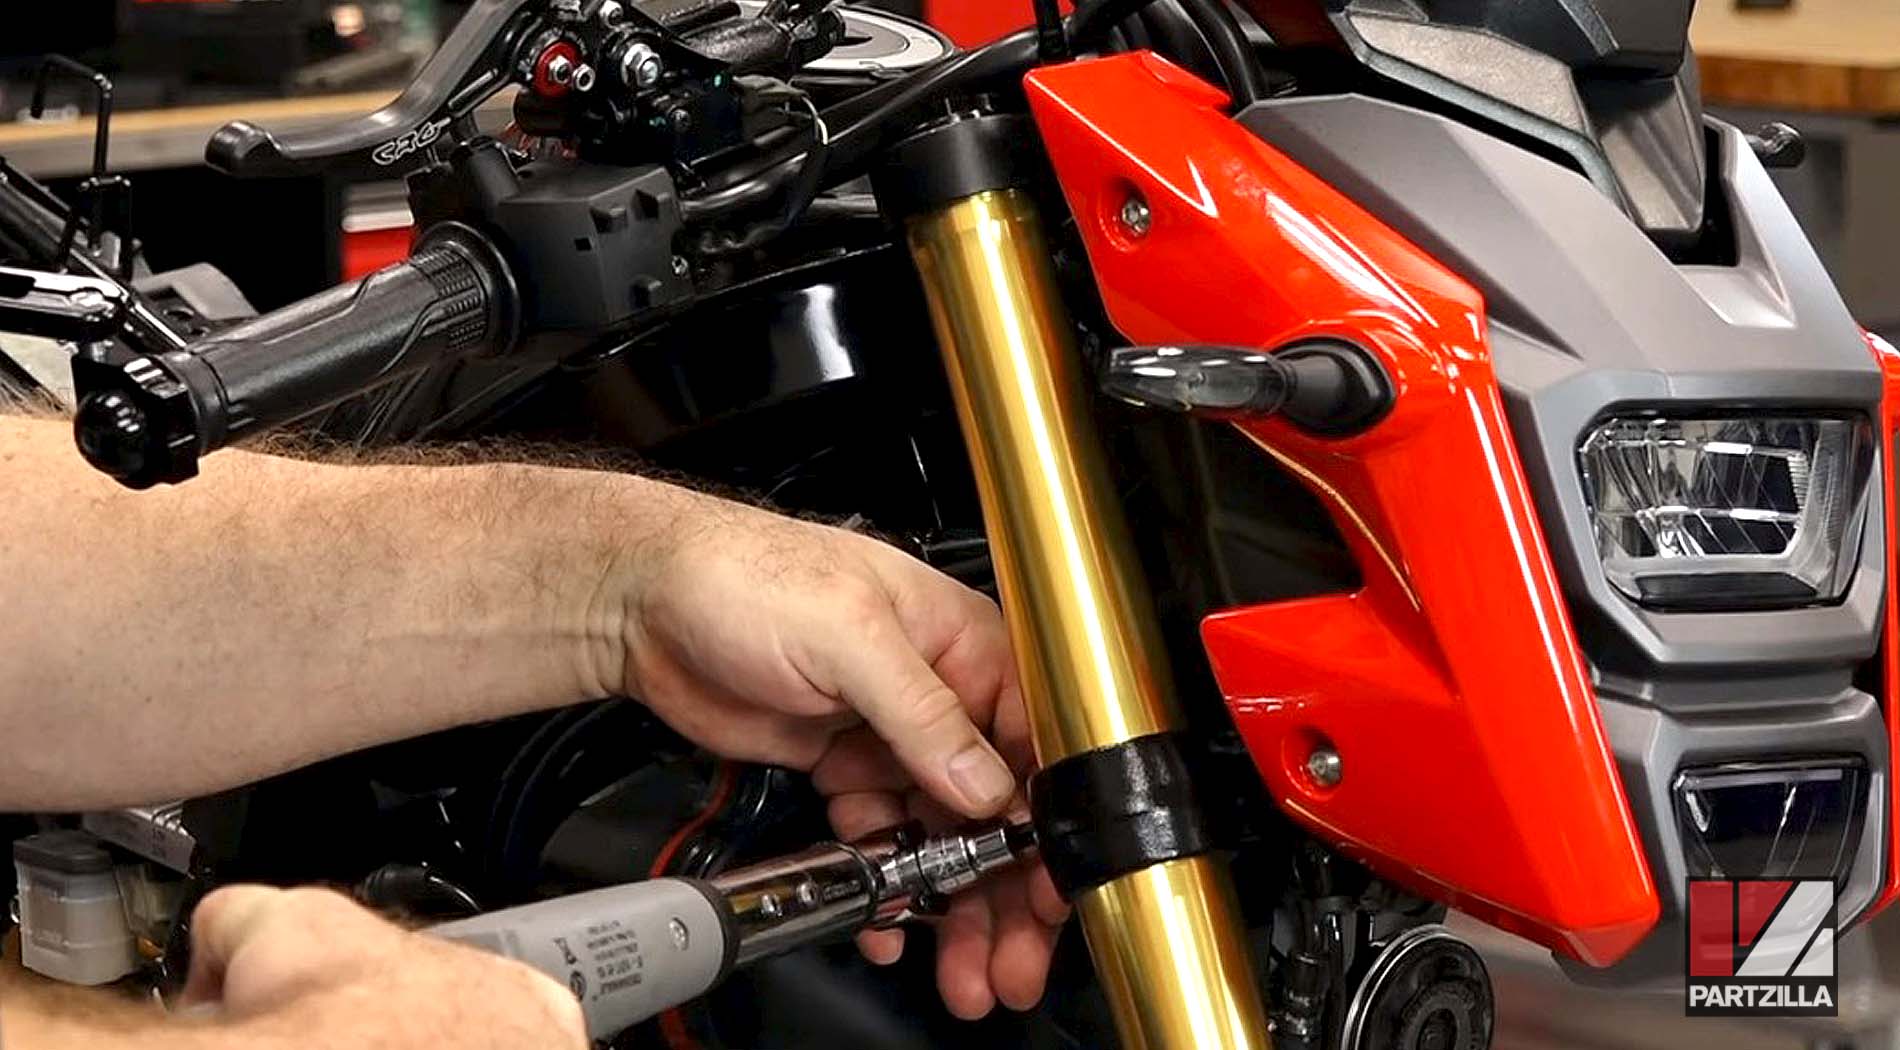
Step 2. Torque the fork top caps to 20 foot-pounds.
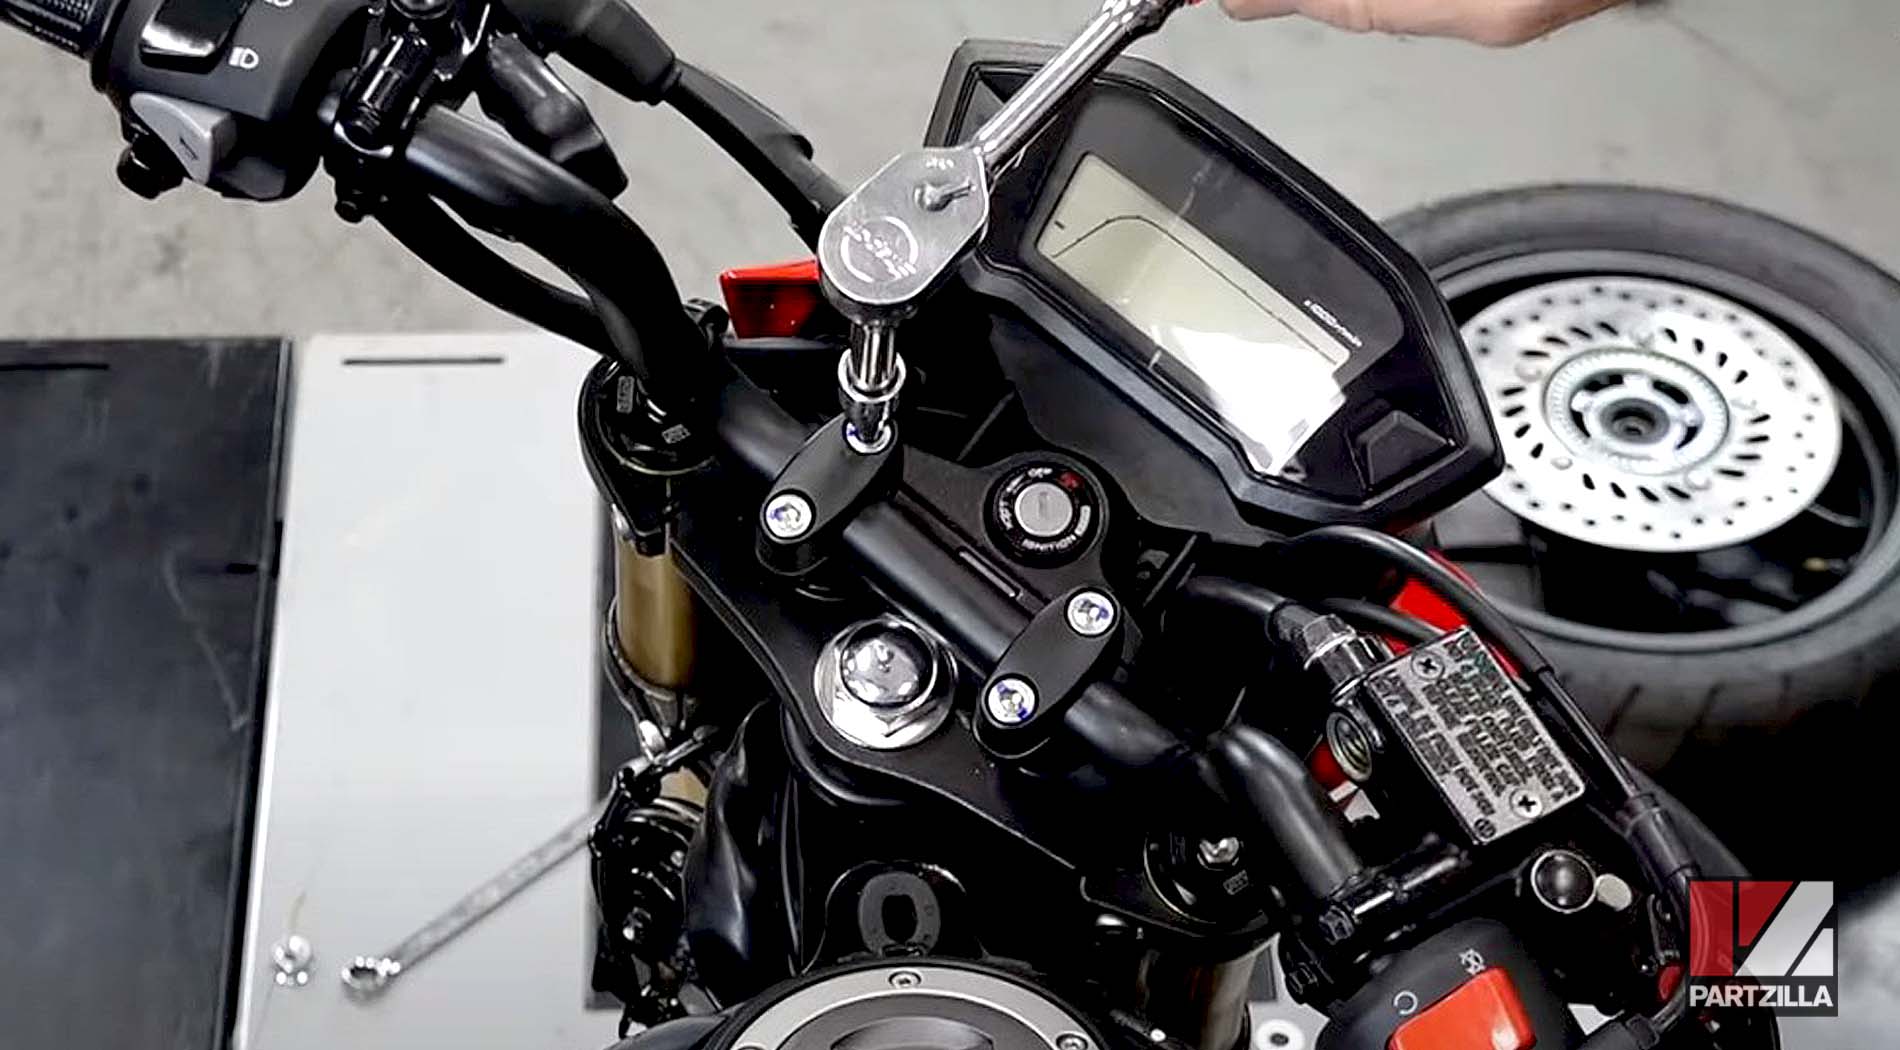
Step 3. Reinstall the handlebars and the handlebar bolt caps.
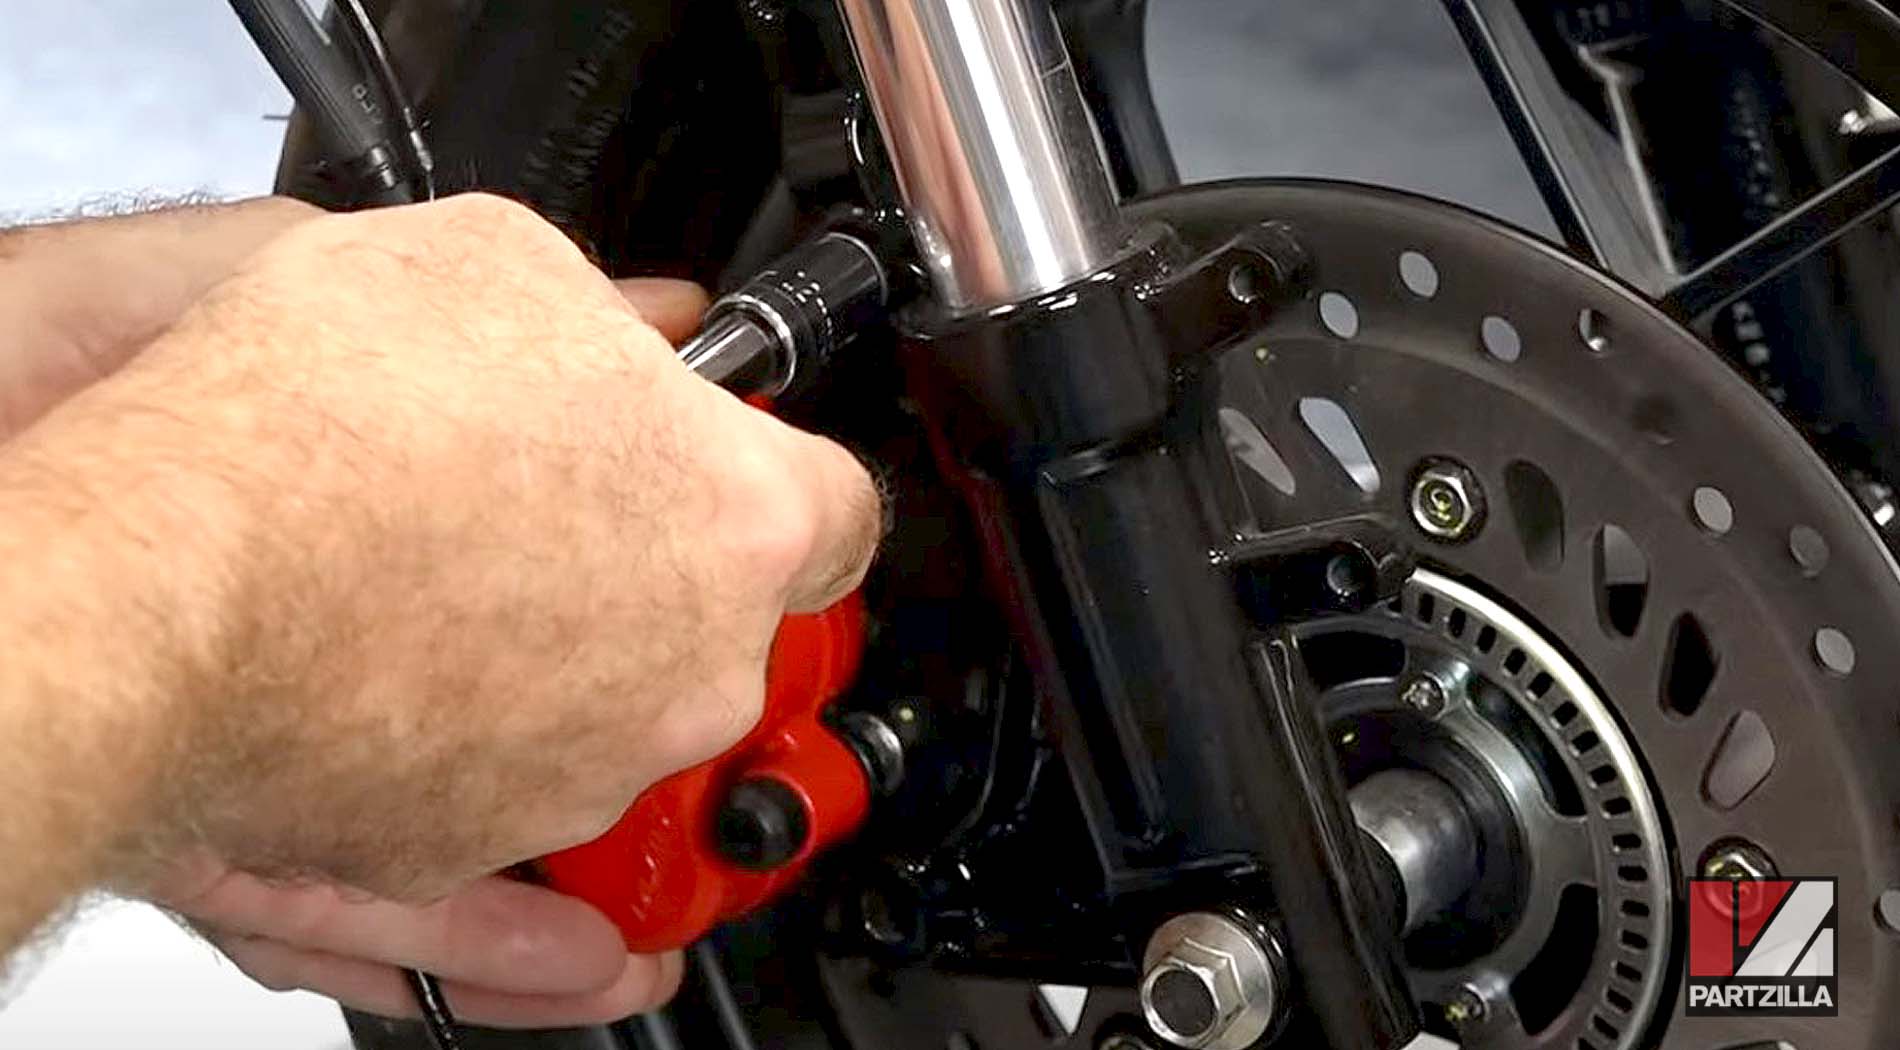
Step 4. Reinstall the wheel and the axle, then torque the axle nut to 40 foot-pounds.

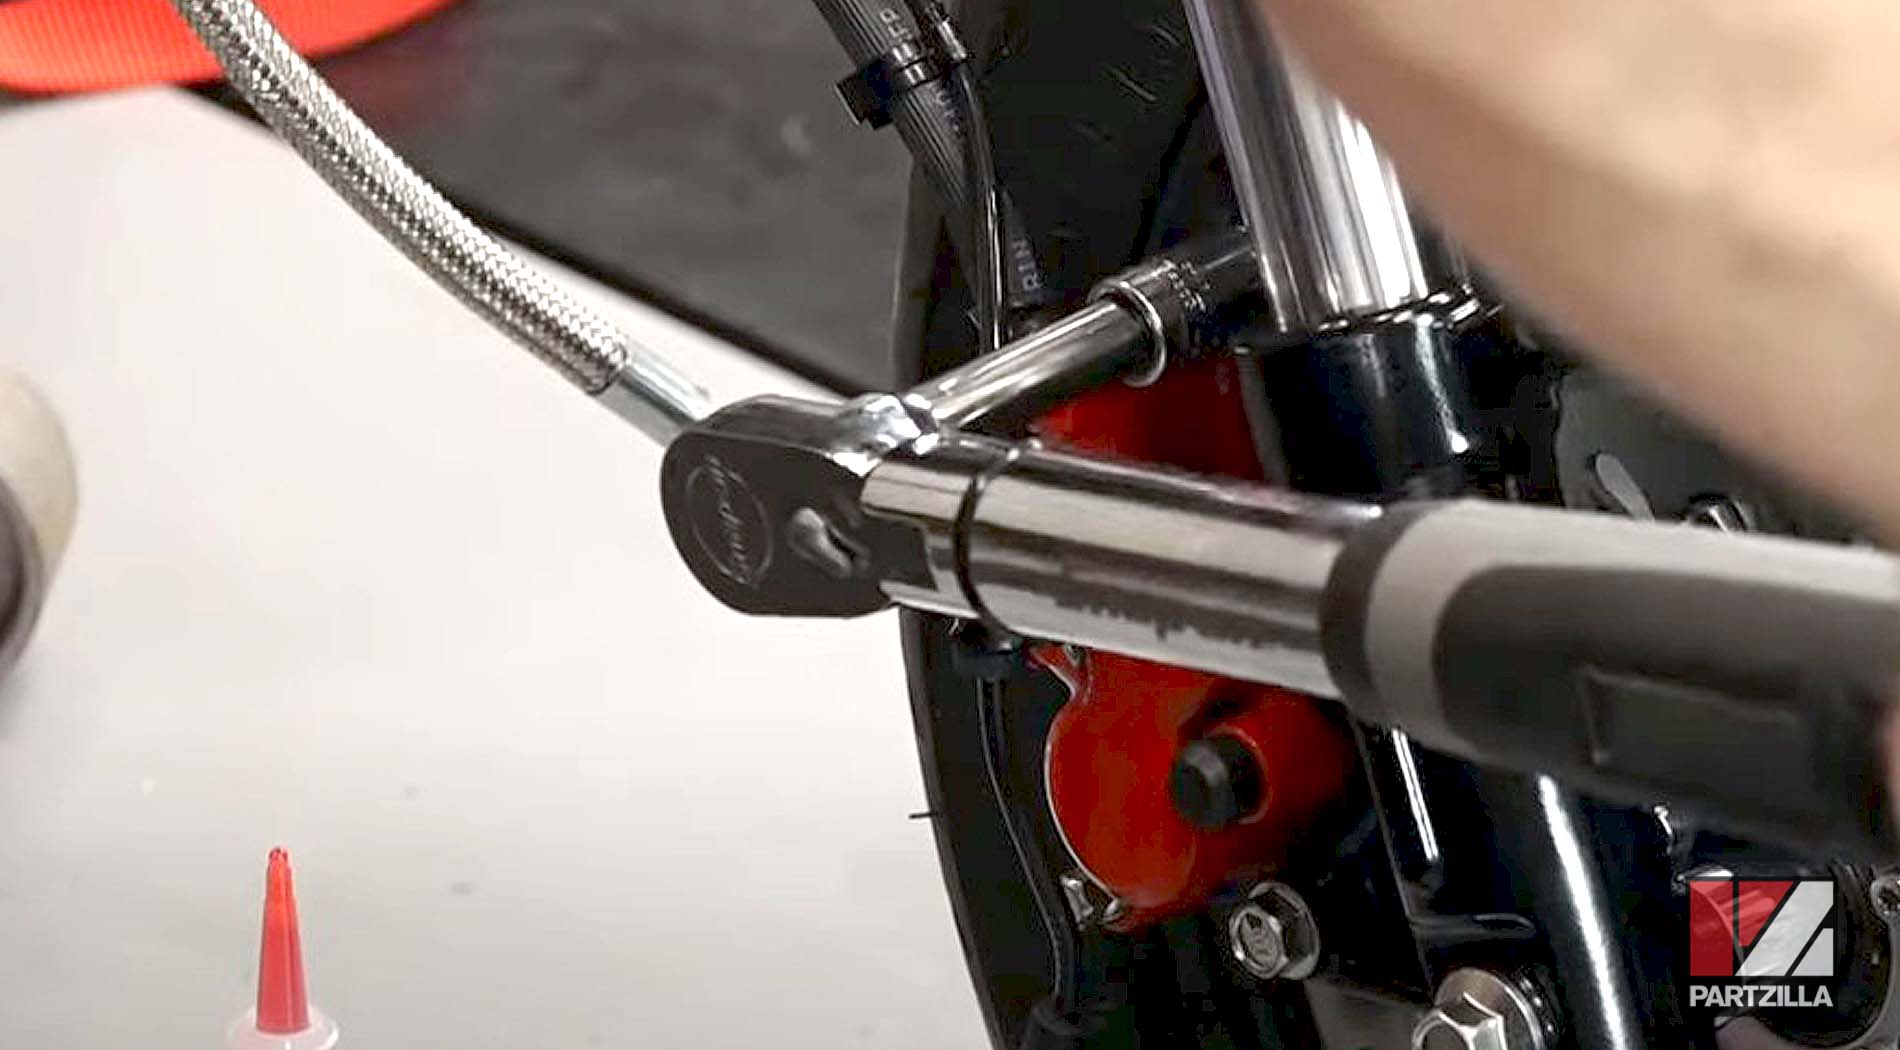
Step 5. Reconnect the speed sensor cable and the front brake caliper to the front wheel, then torque the caliper mounting bolts to 22 foot-pounds.
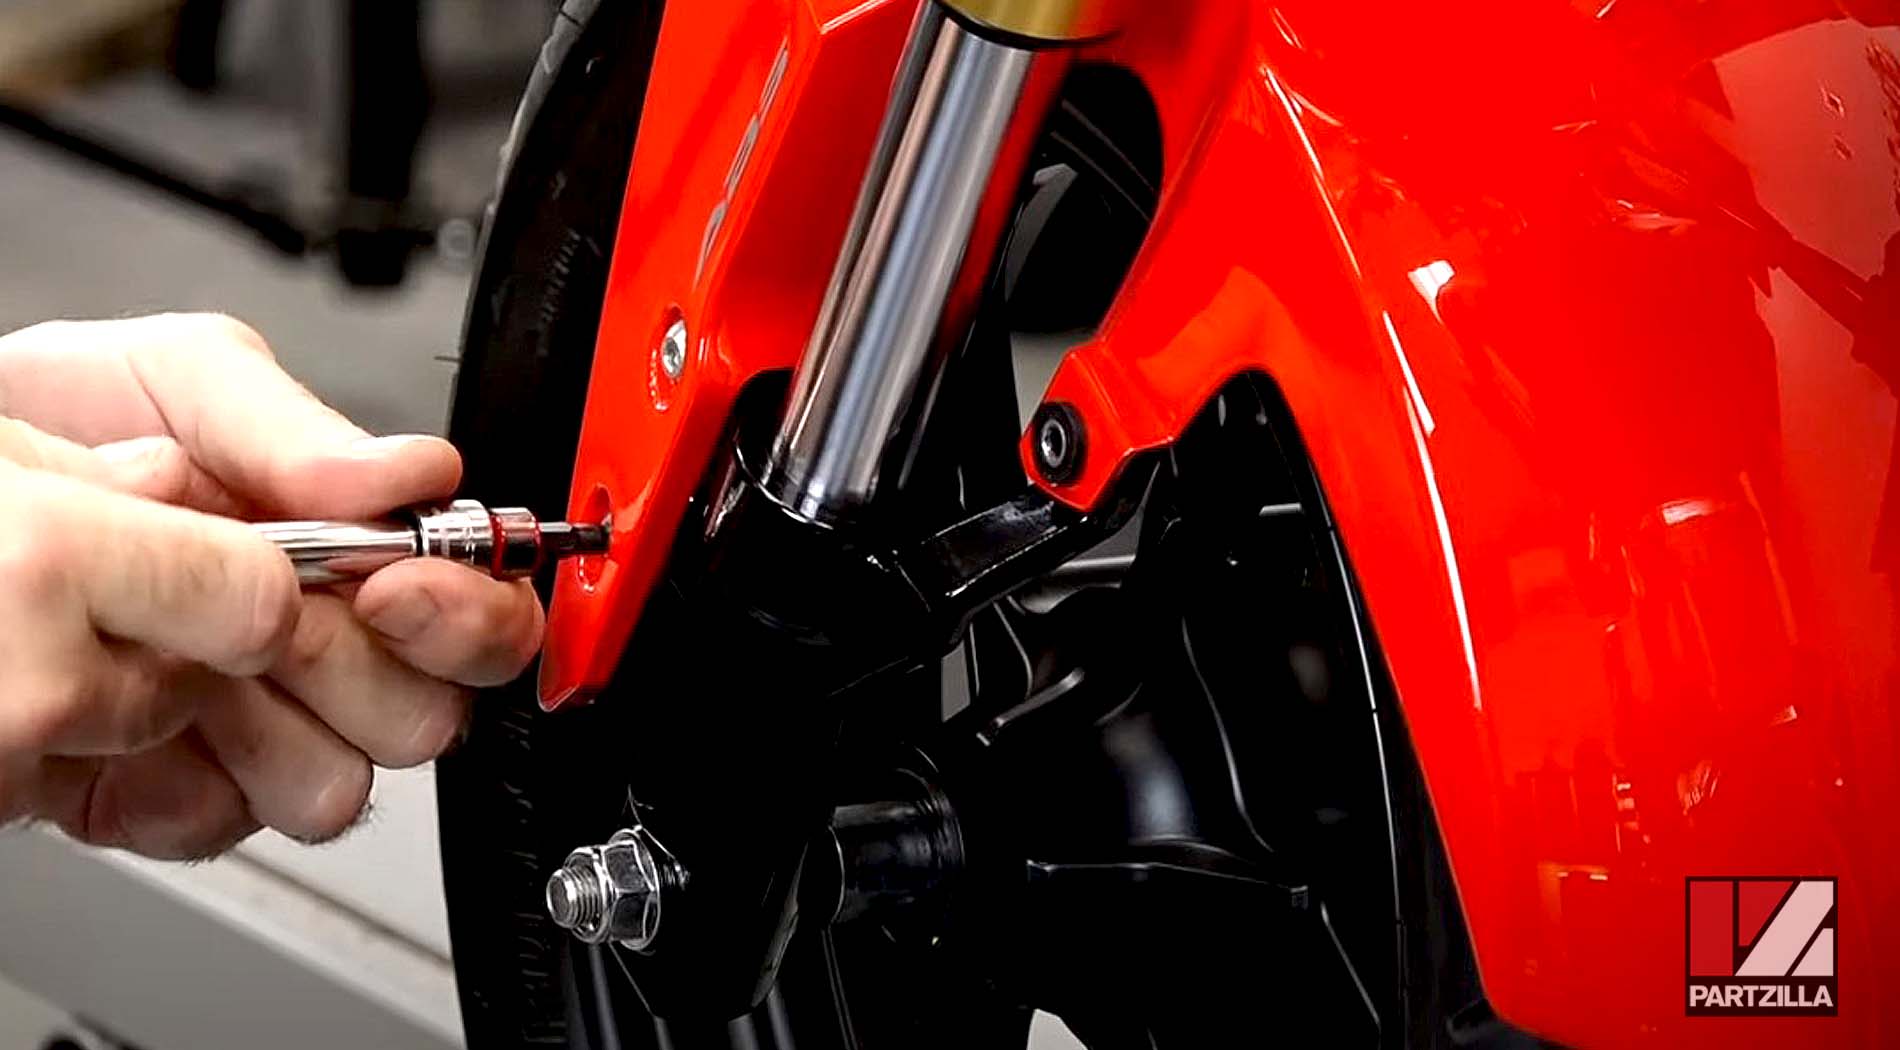
Step 6. Reinstall the front fender and you’re done.
Watch the clip below to see the fork installation segment of our Honda Grom suspension upgrade video.
Read about our entire Honda Grom upgrade project here.