Honda Grom Rear Fender Eliminator Kit Installation
Honda did a good job of styling the Grom, but some may find the factory rear fender a bit too chunky. With that in mind, we installed an aftermarket fender eliminator kit to our 2018 Honda Grom.
Watch the video above or follow the steps below to learn how install an aftermarket Yoshimura rear fender eliminator kit to a 2018 Honda Grom.
See the parts diagram: Honda Grom rear fender

Tools and Parts – Honda Grom Fender Eliminator Kit Install
- Ratchet and extension
- 10mm, 12mm sockets
- 10mm, 14mm wrenches
- 4mm Allen

Part 1: Honda Grom Rear Fender Assembly Removal
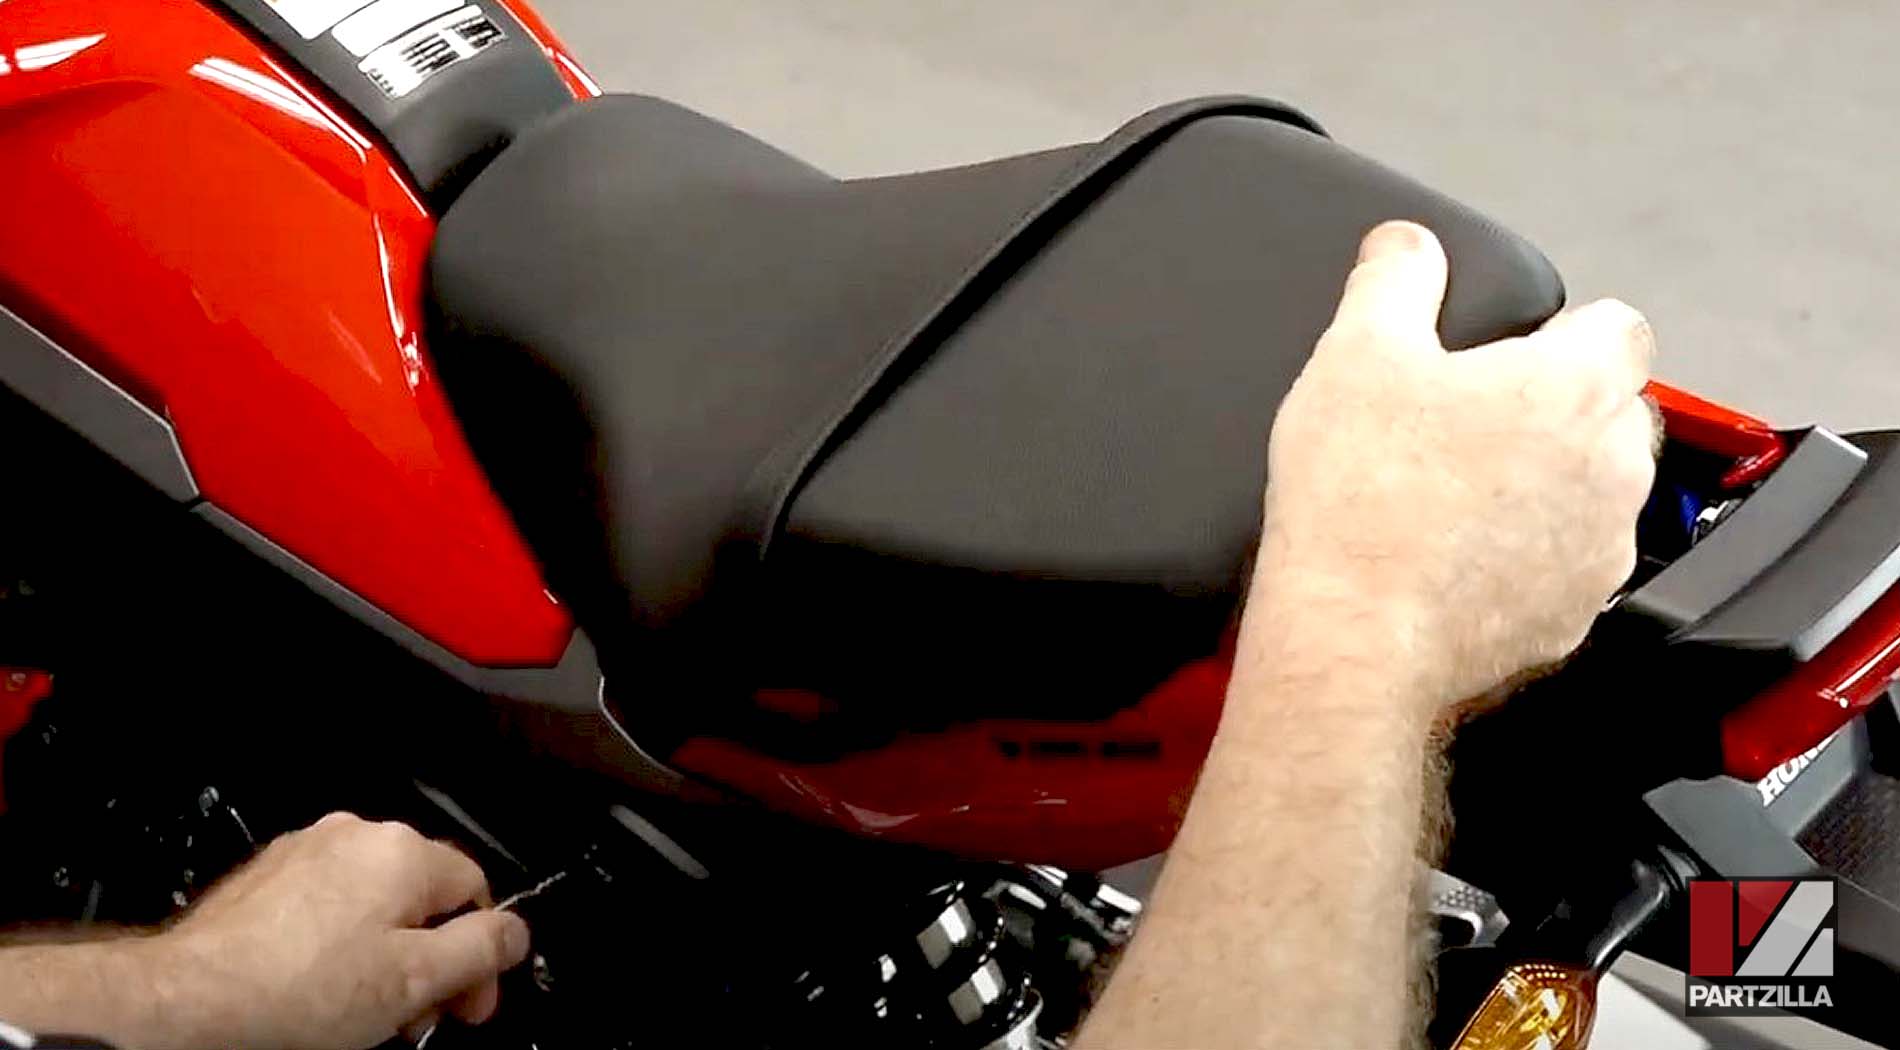
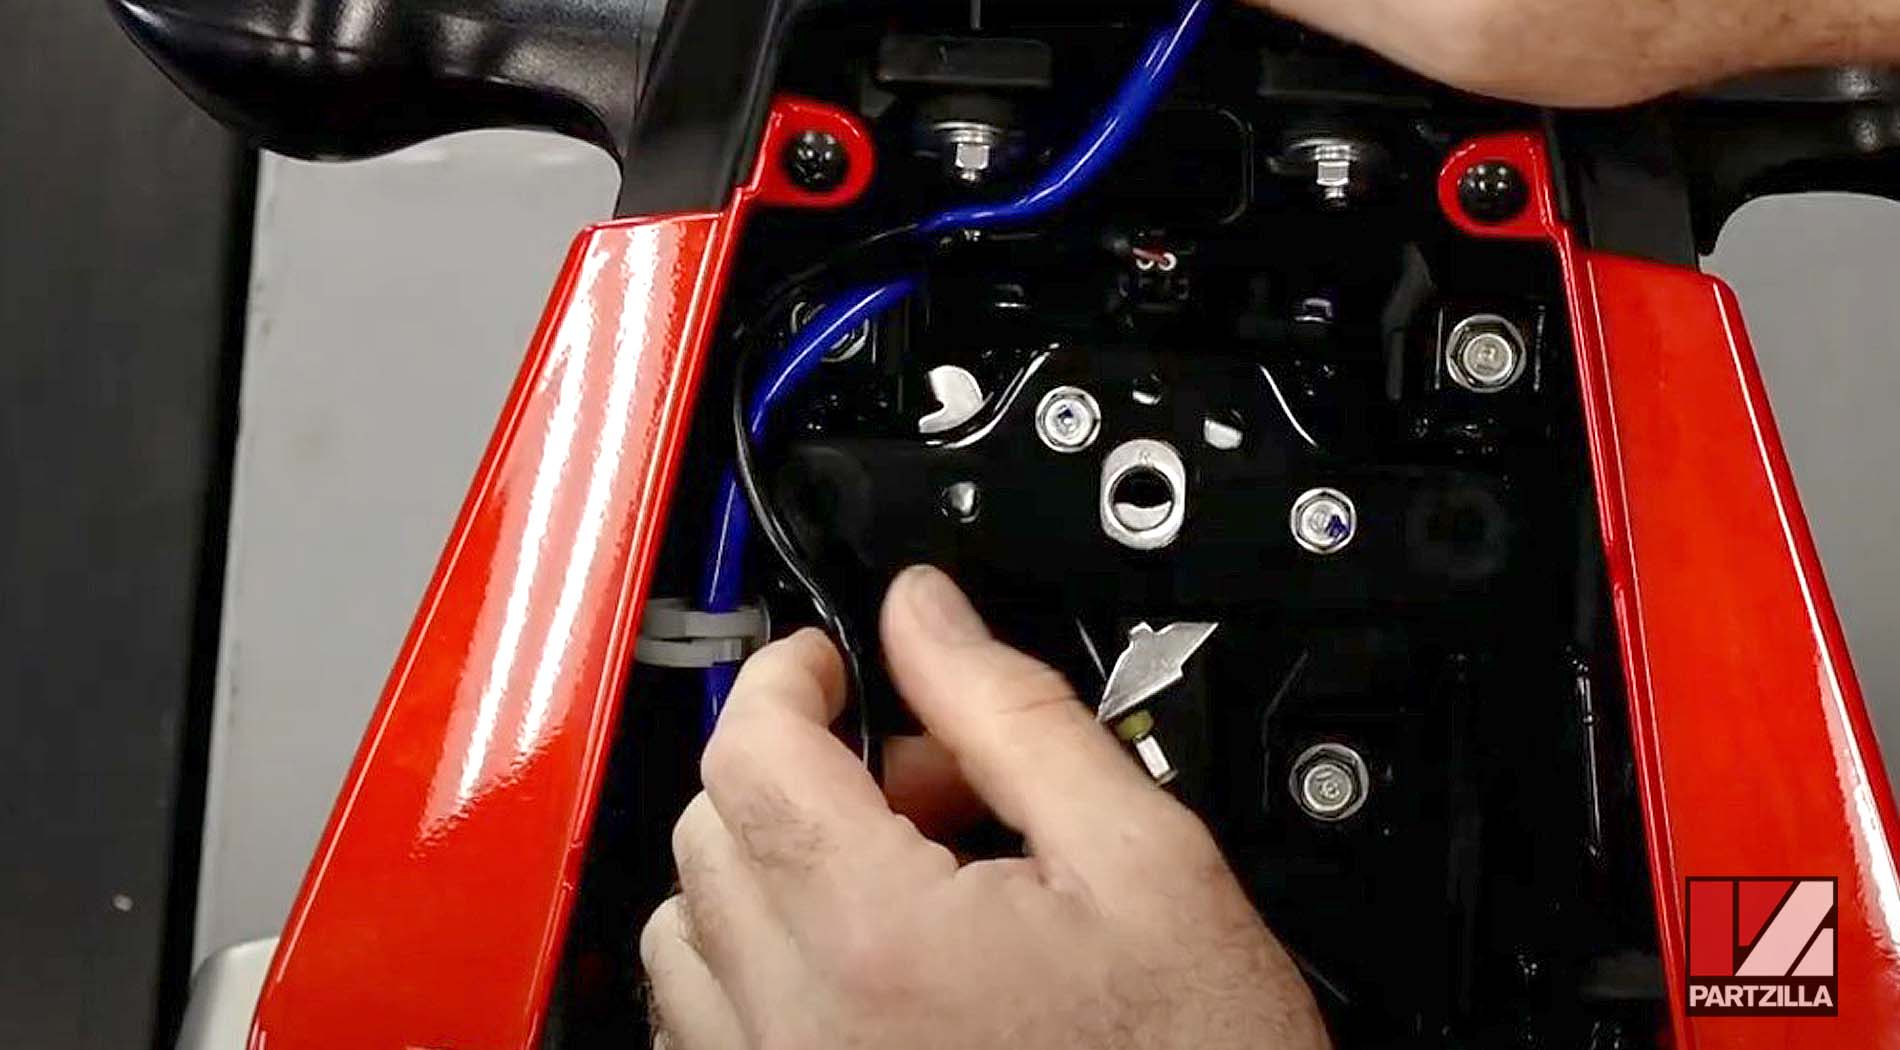
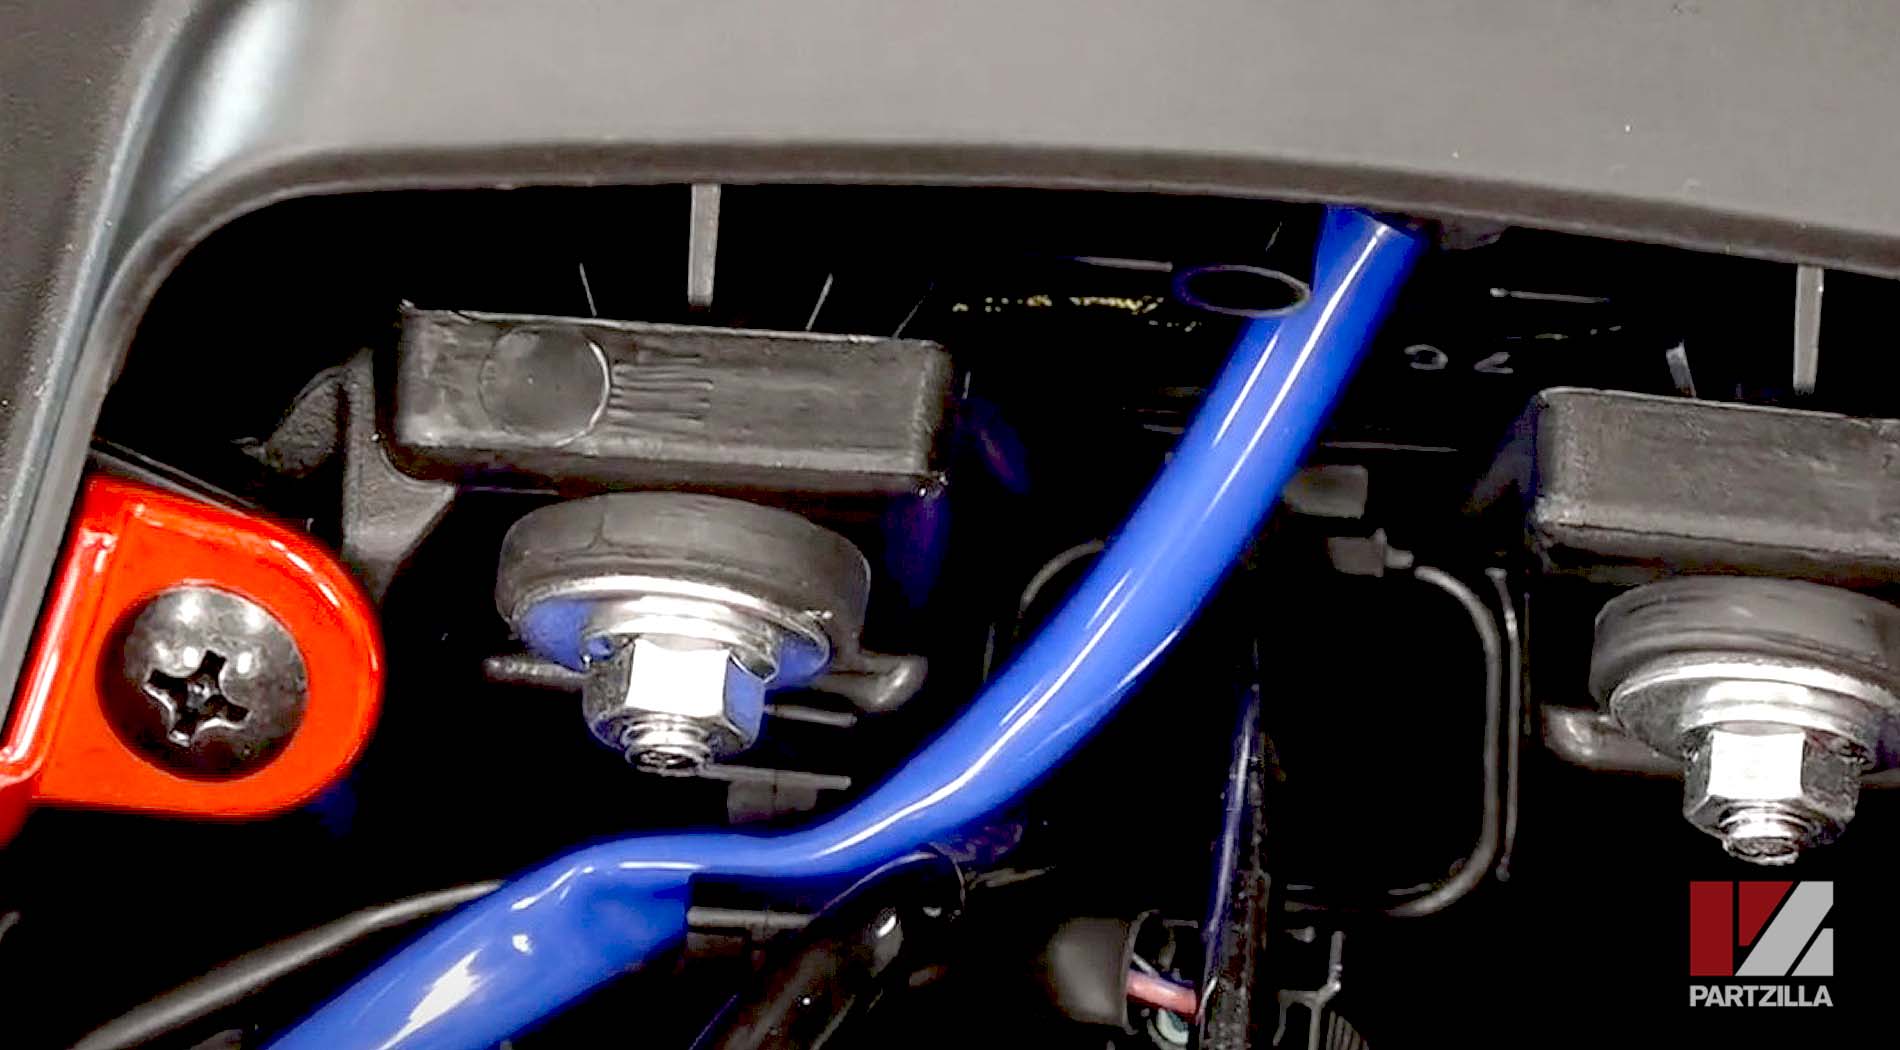
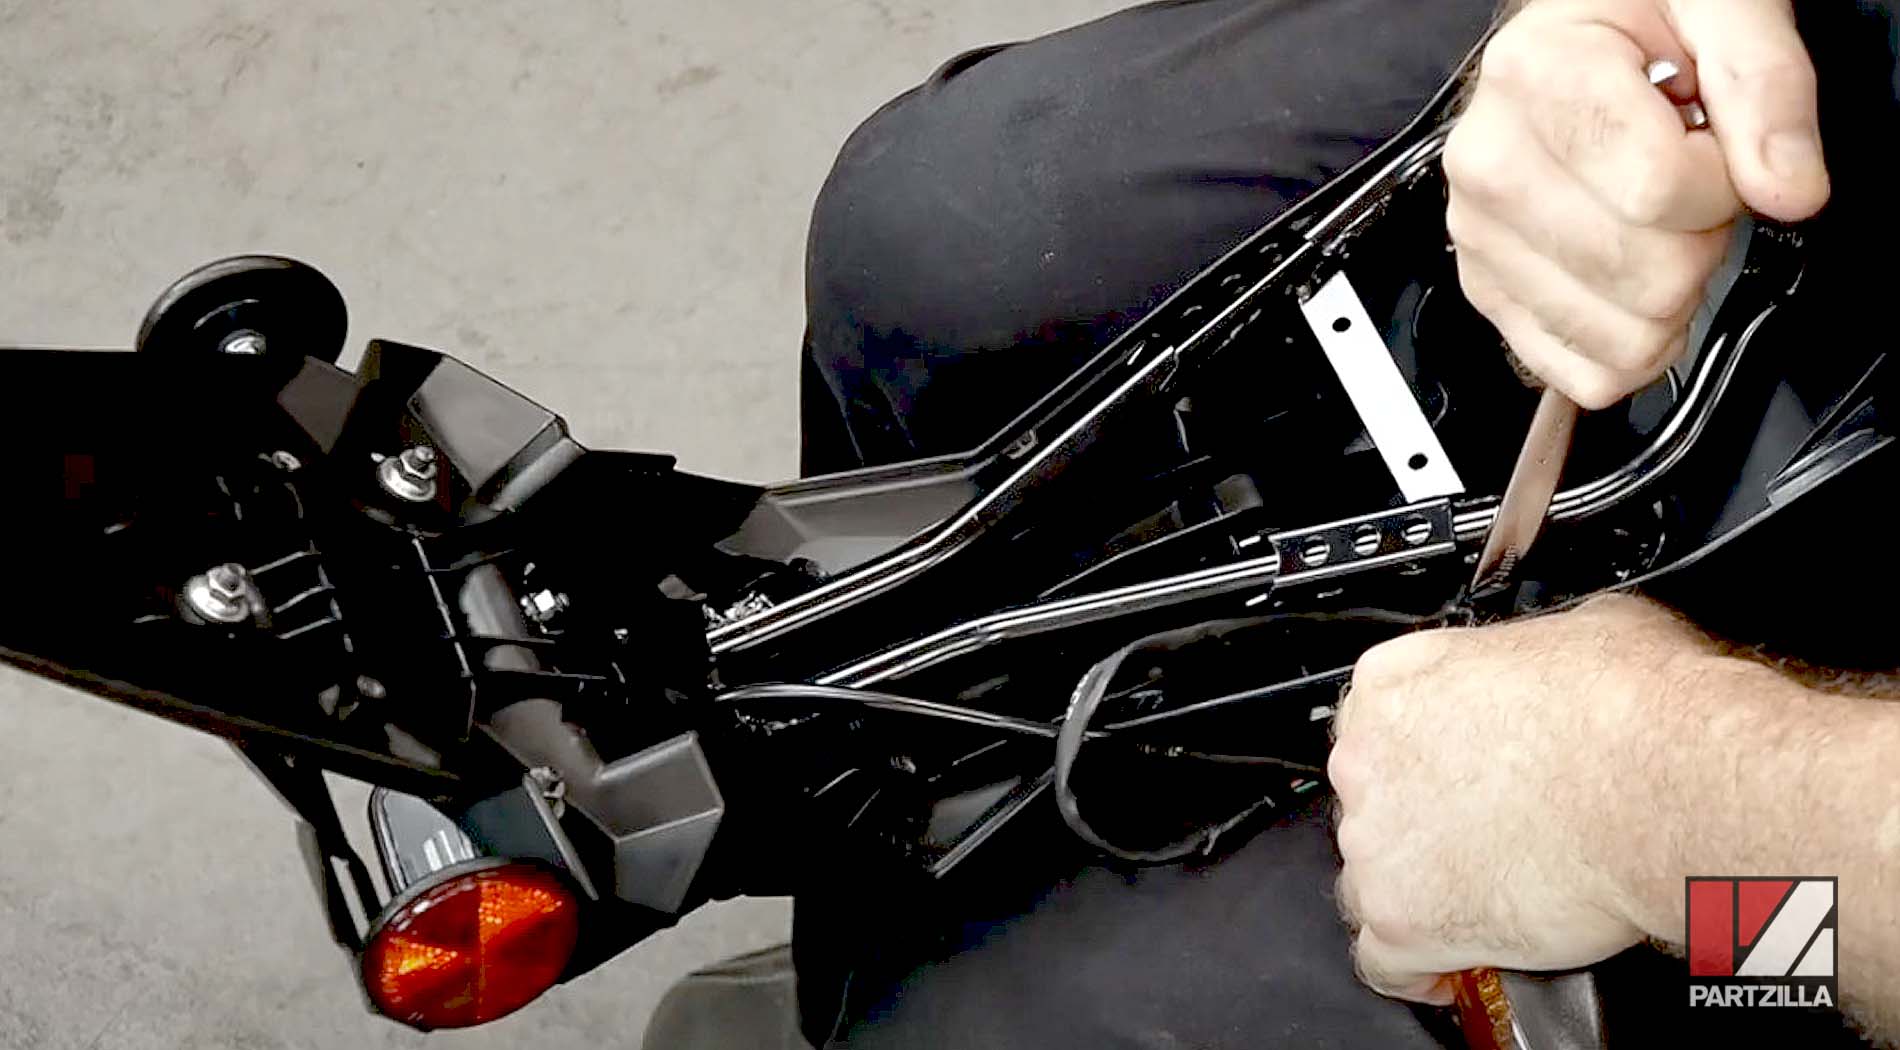
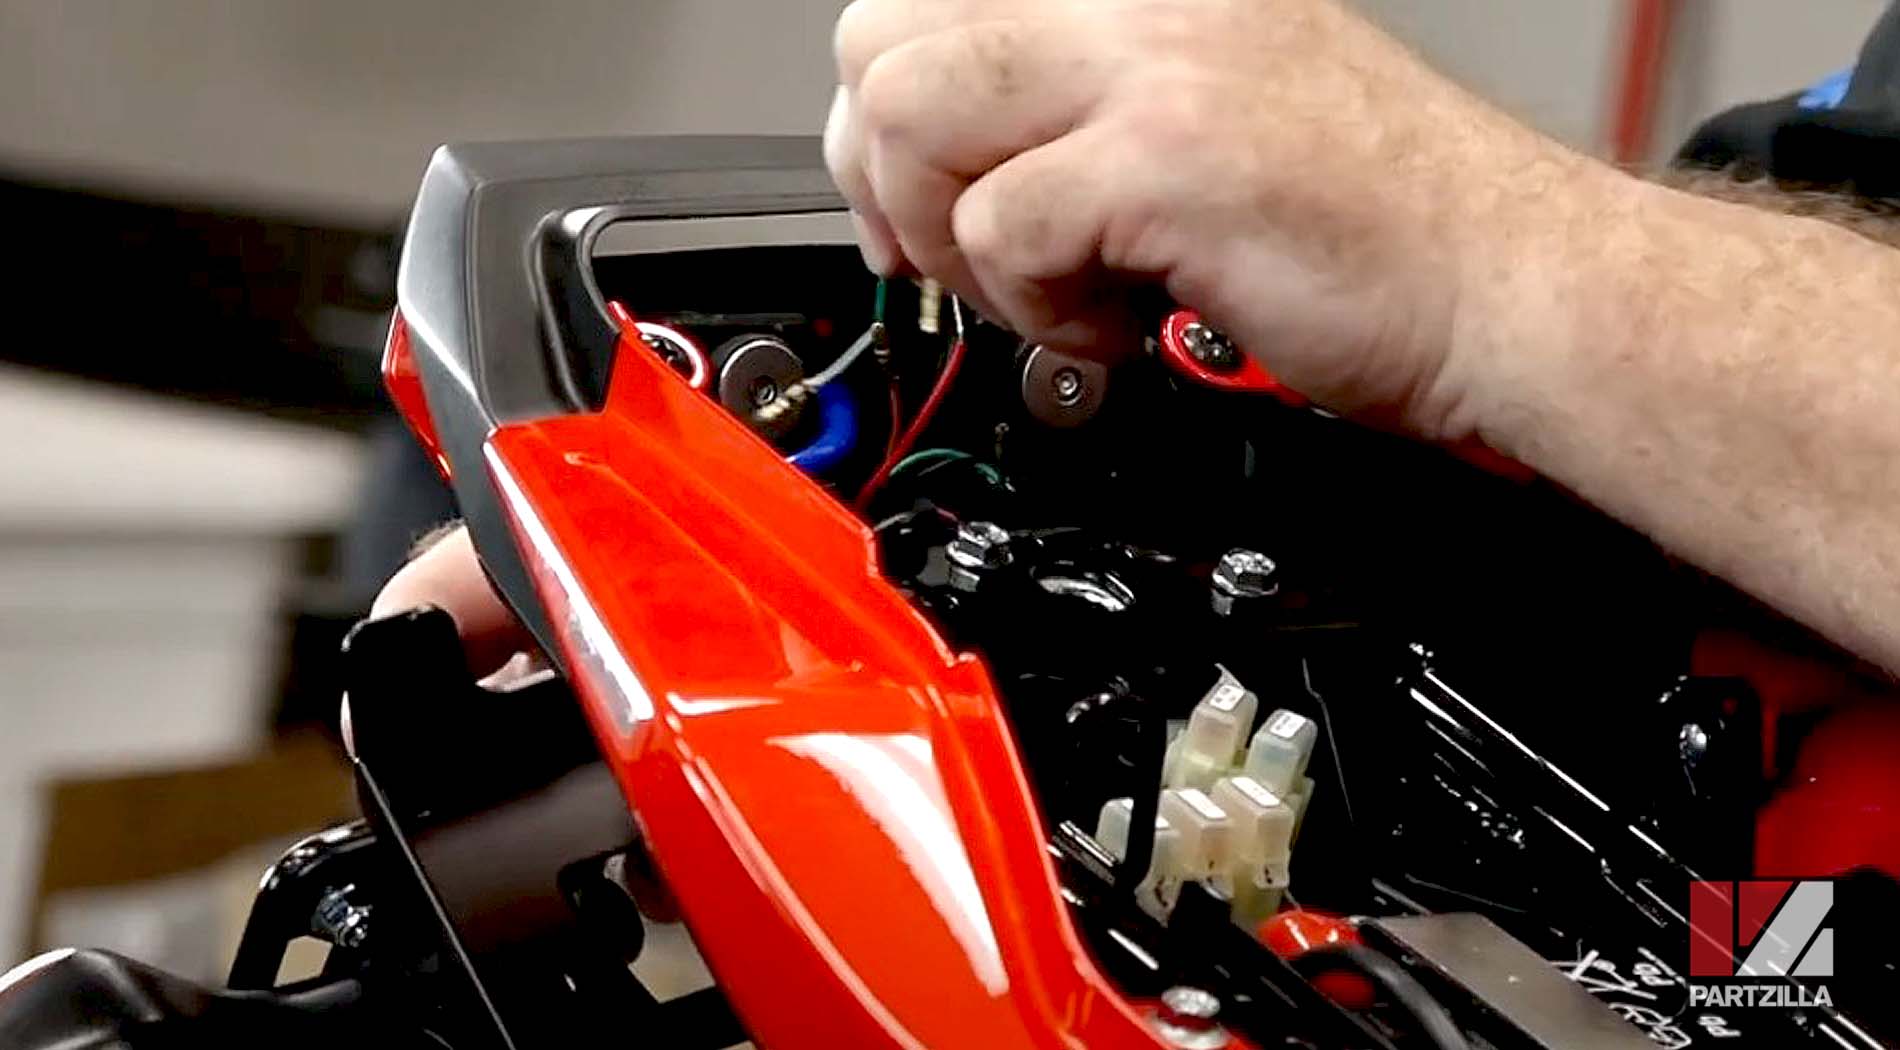
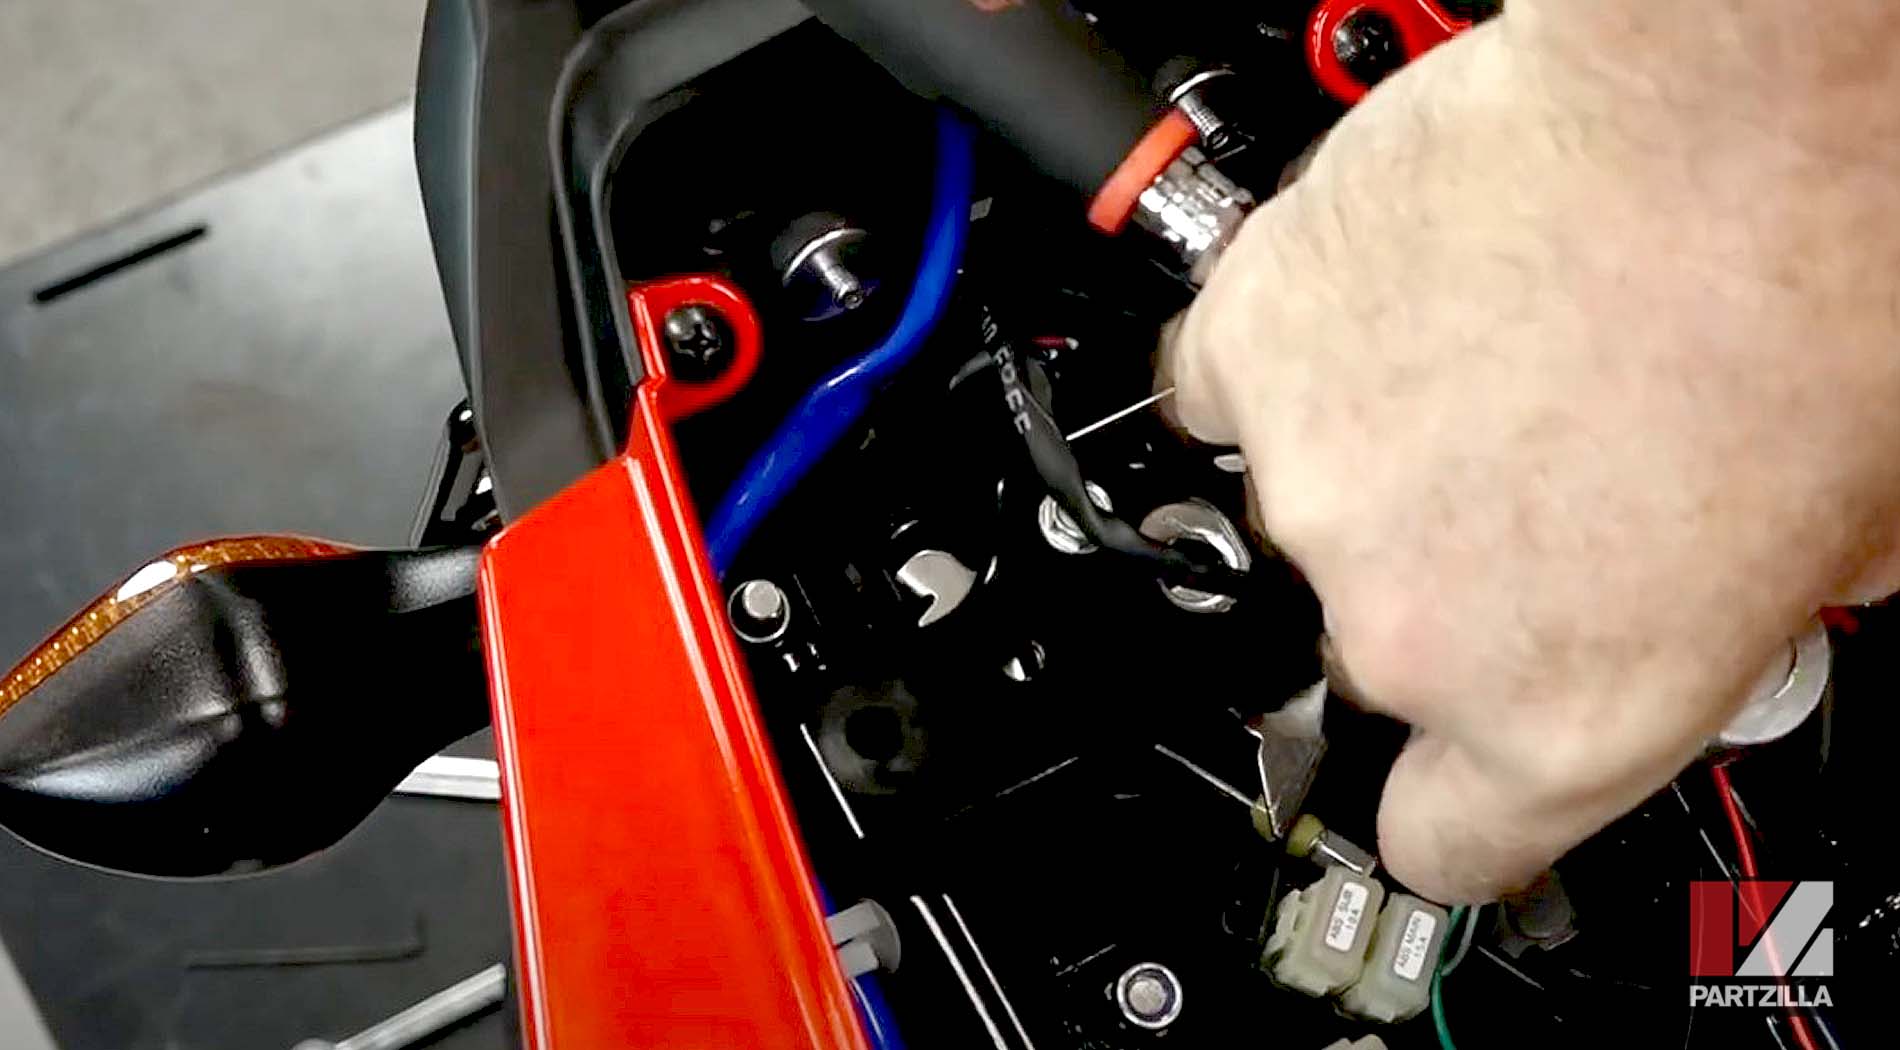
Step 1. Remove the seat, and disconnect the electrical sub-harness serving the rear fender assembly.
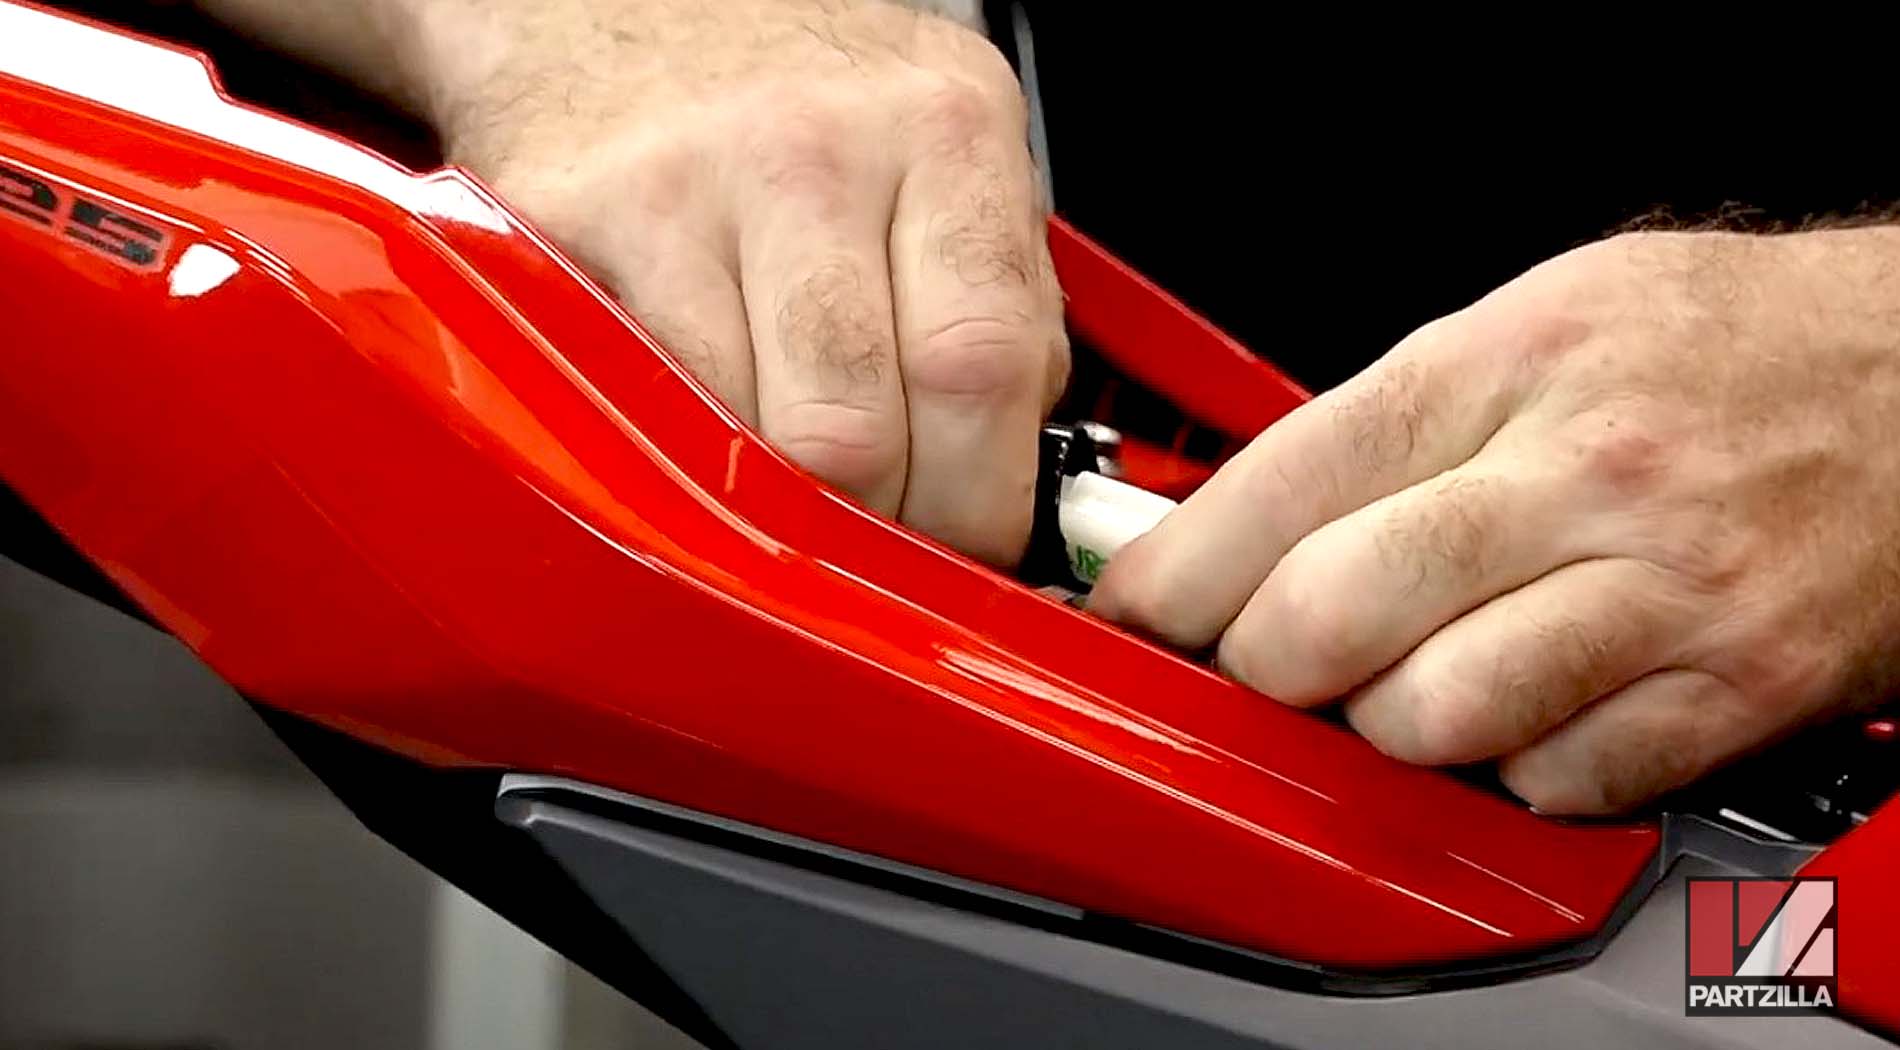
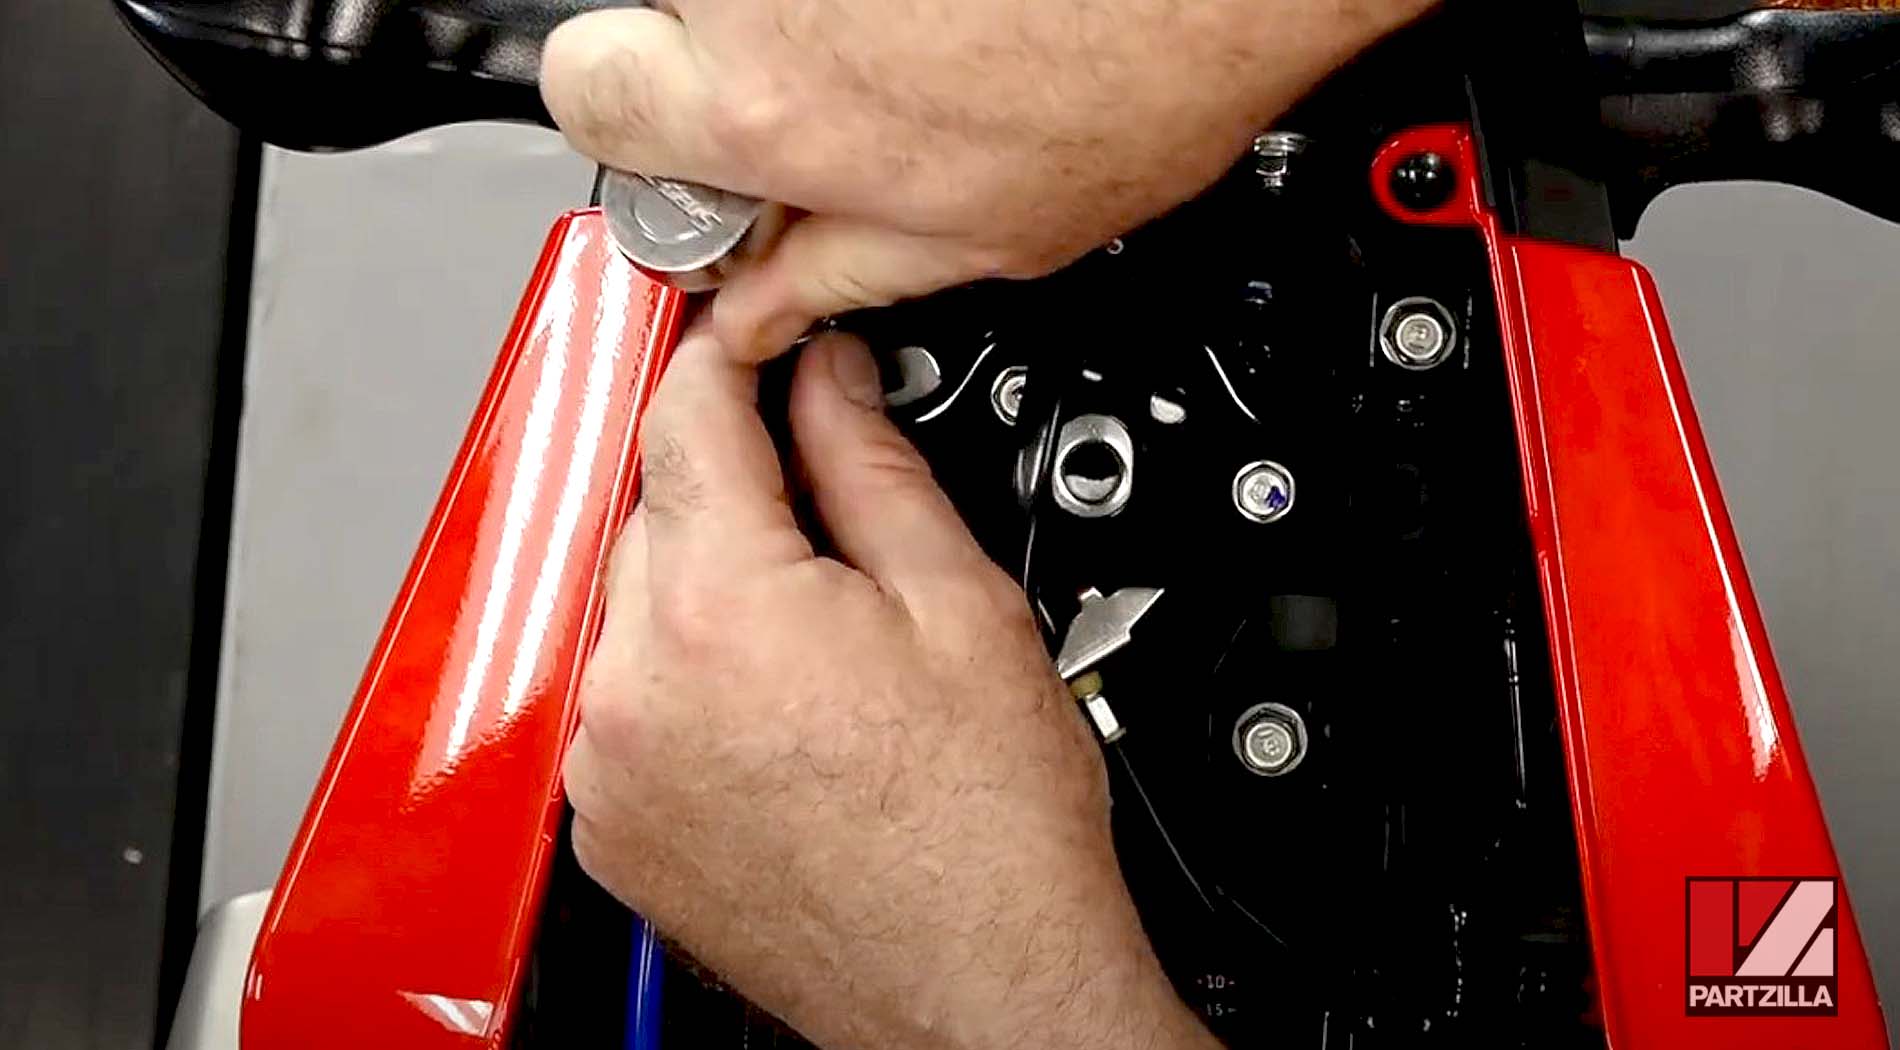
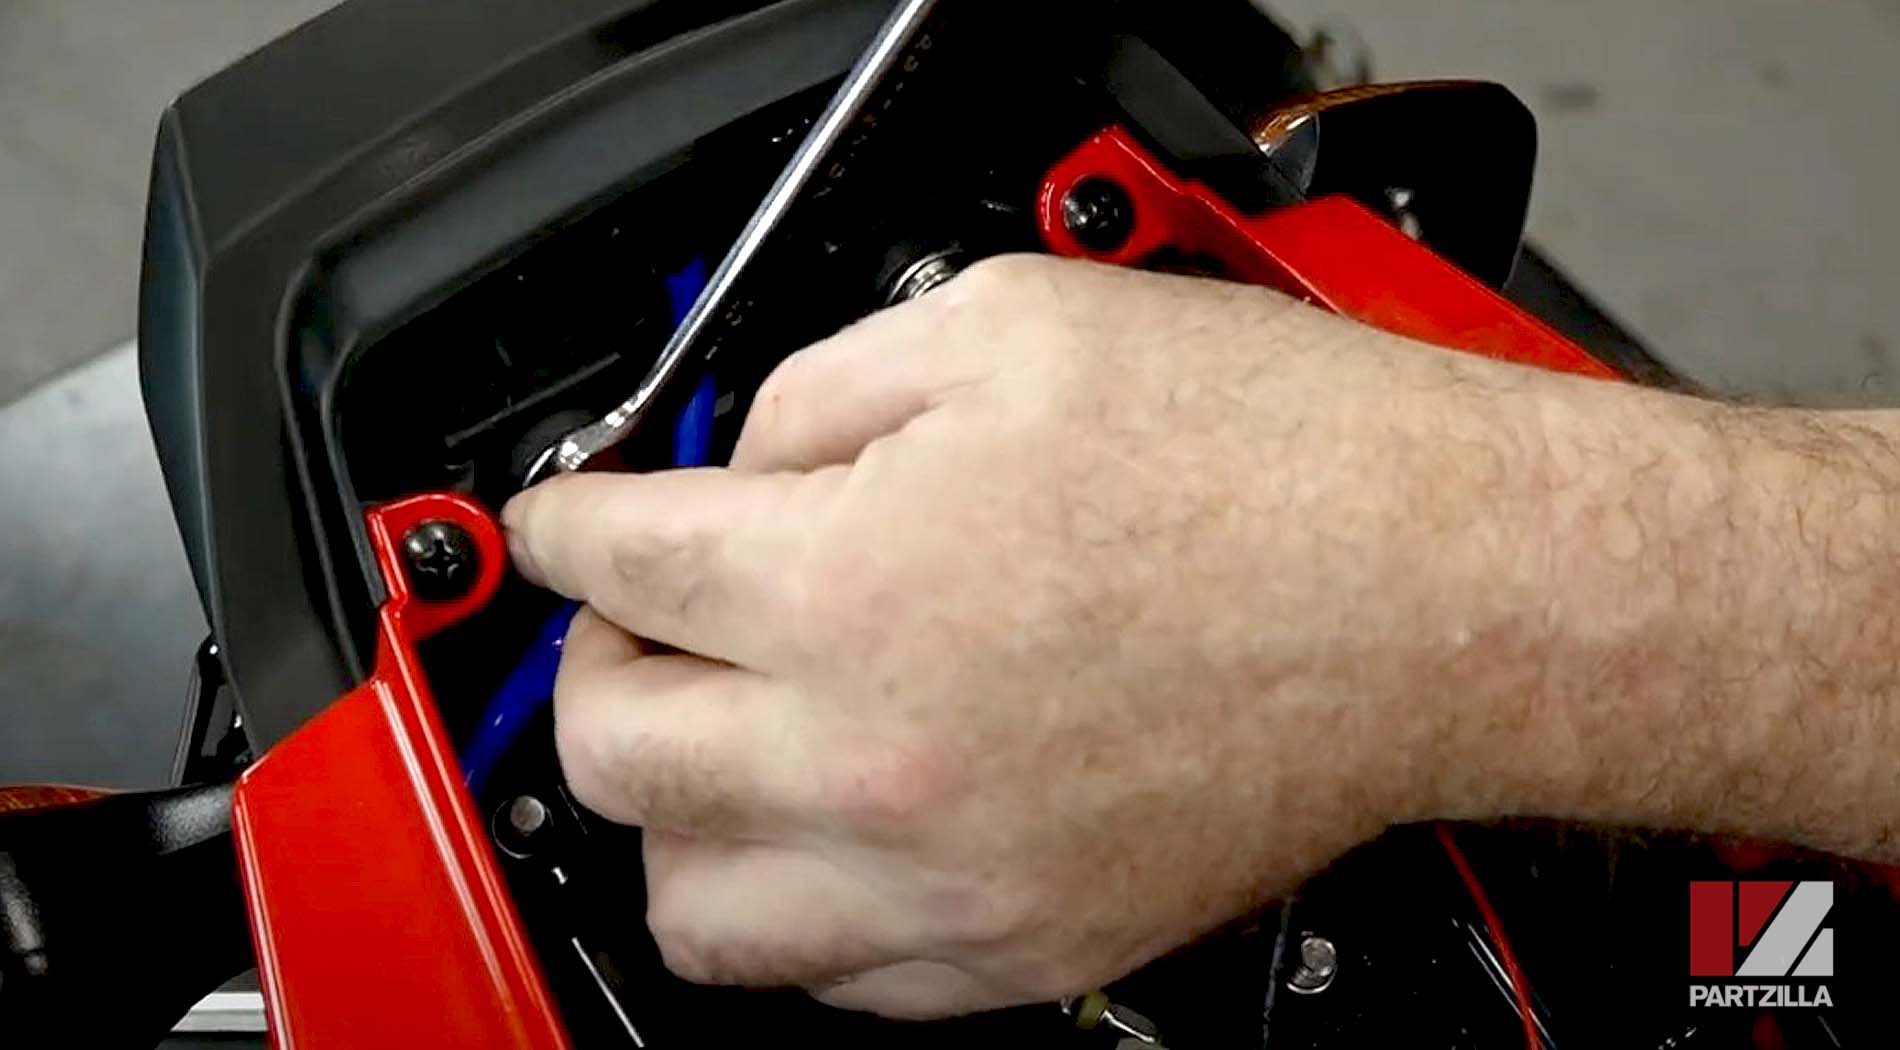
Step 2. Remove the four 12mm bolts, then unfasten the center clip holding the rear fender assembly and remove the rear fender assembly from the Grom.
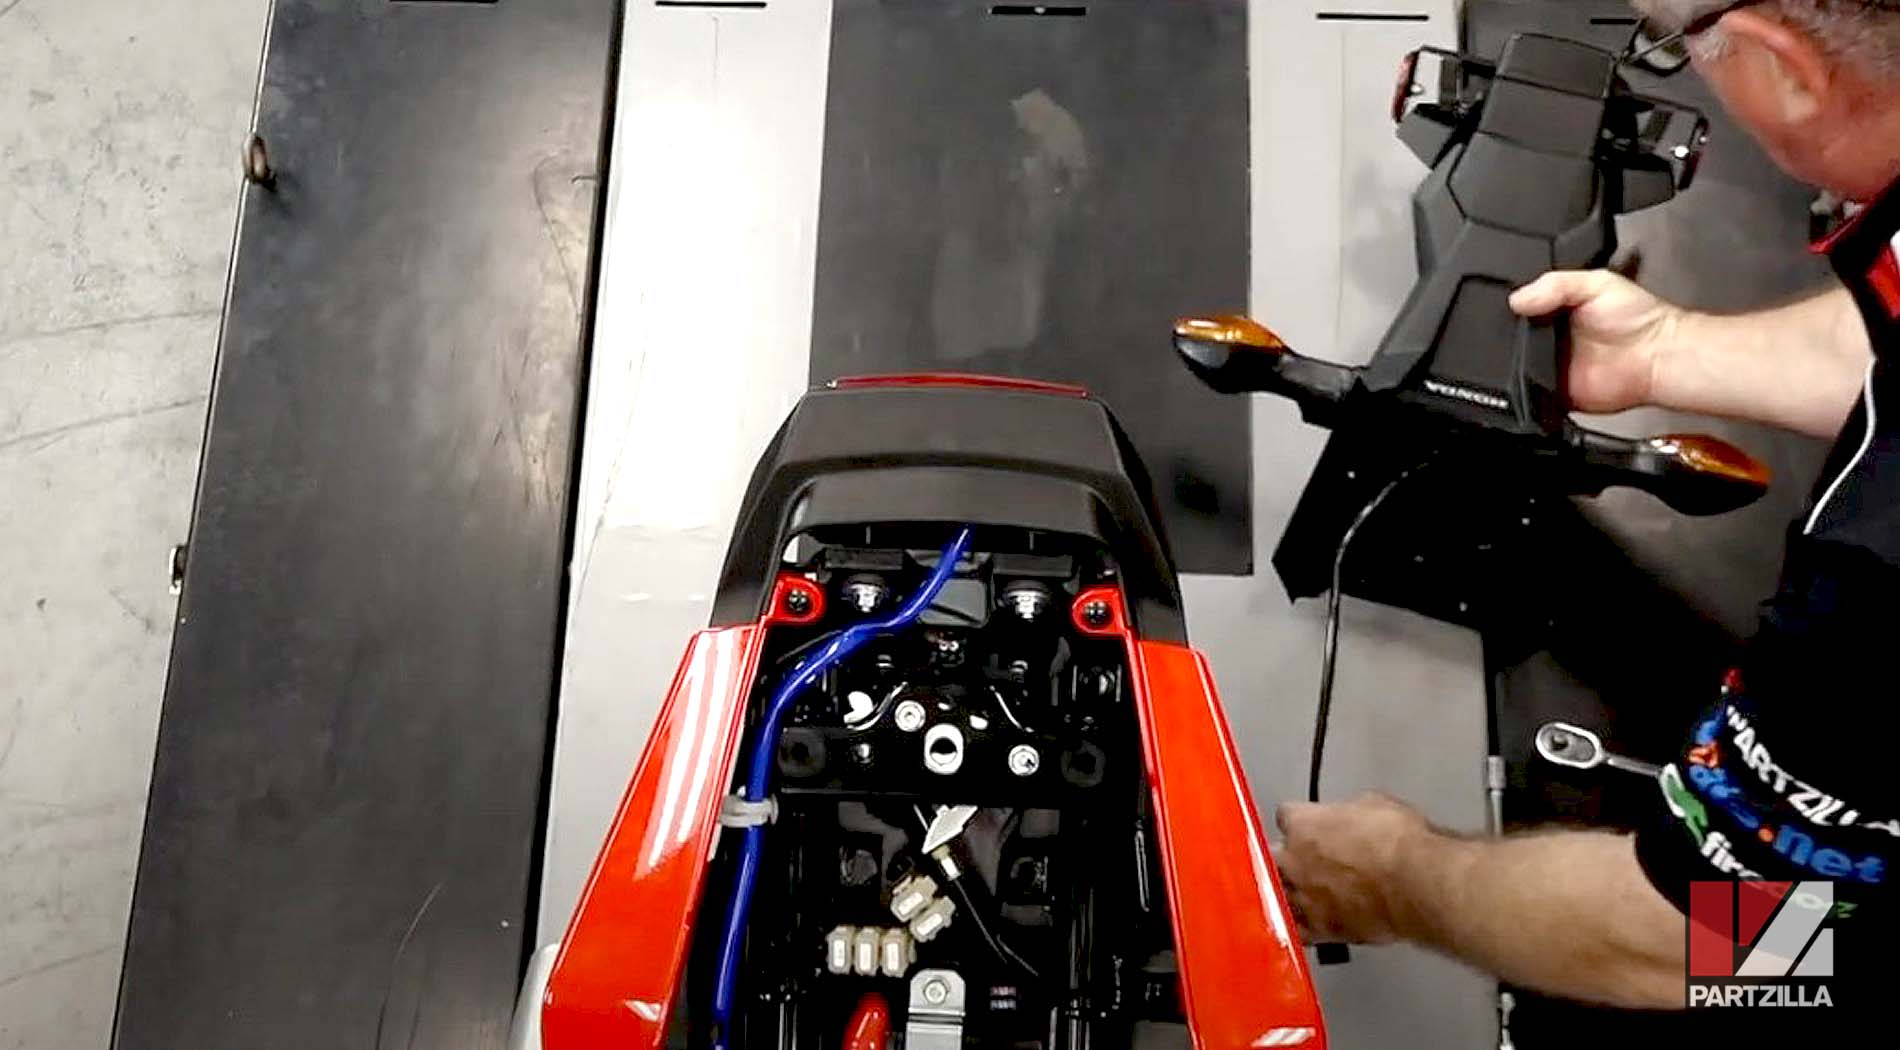
Watch the clip below to see the rear fender removal segment of our Honda Grom Rear Fender Eliminator Kit video.
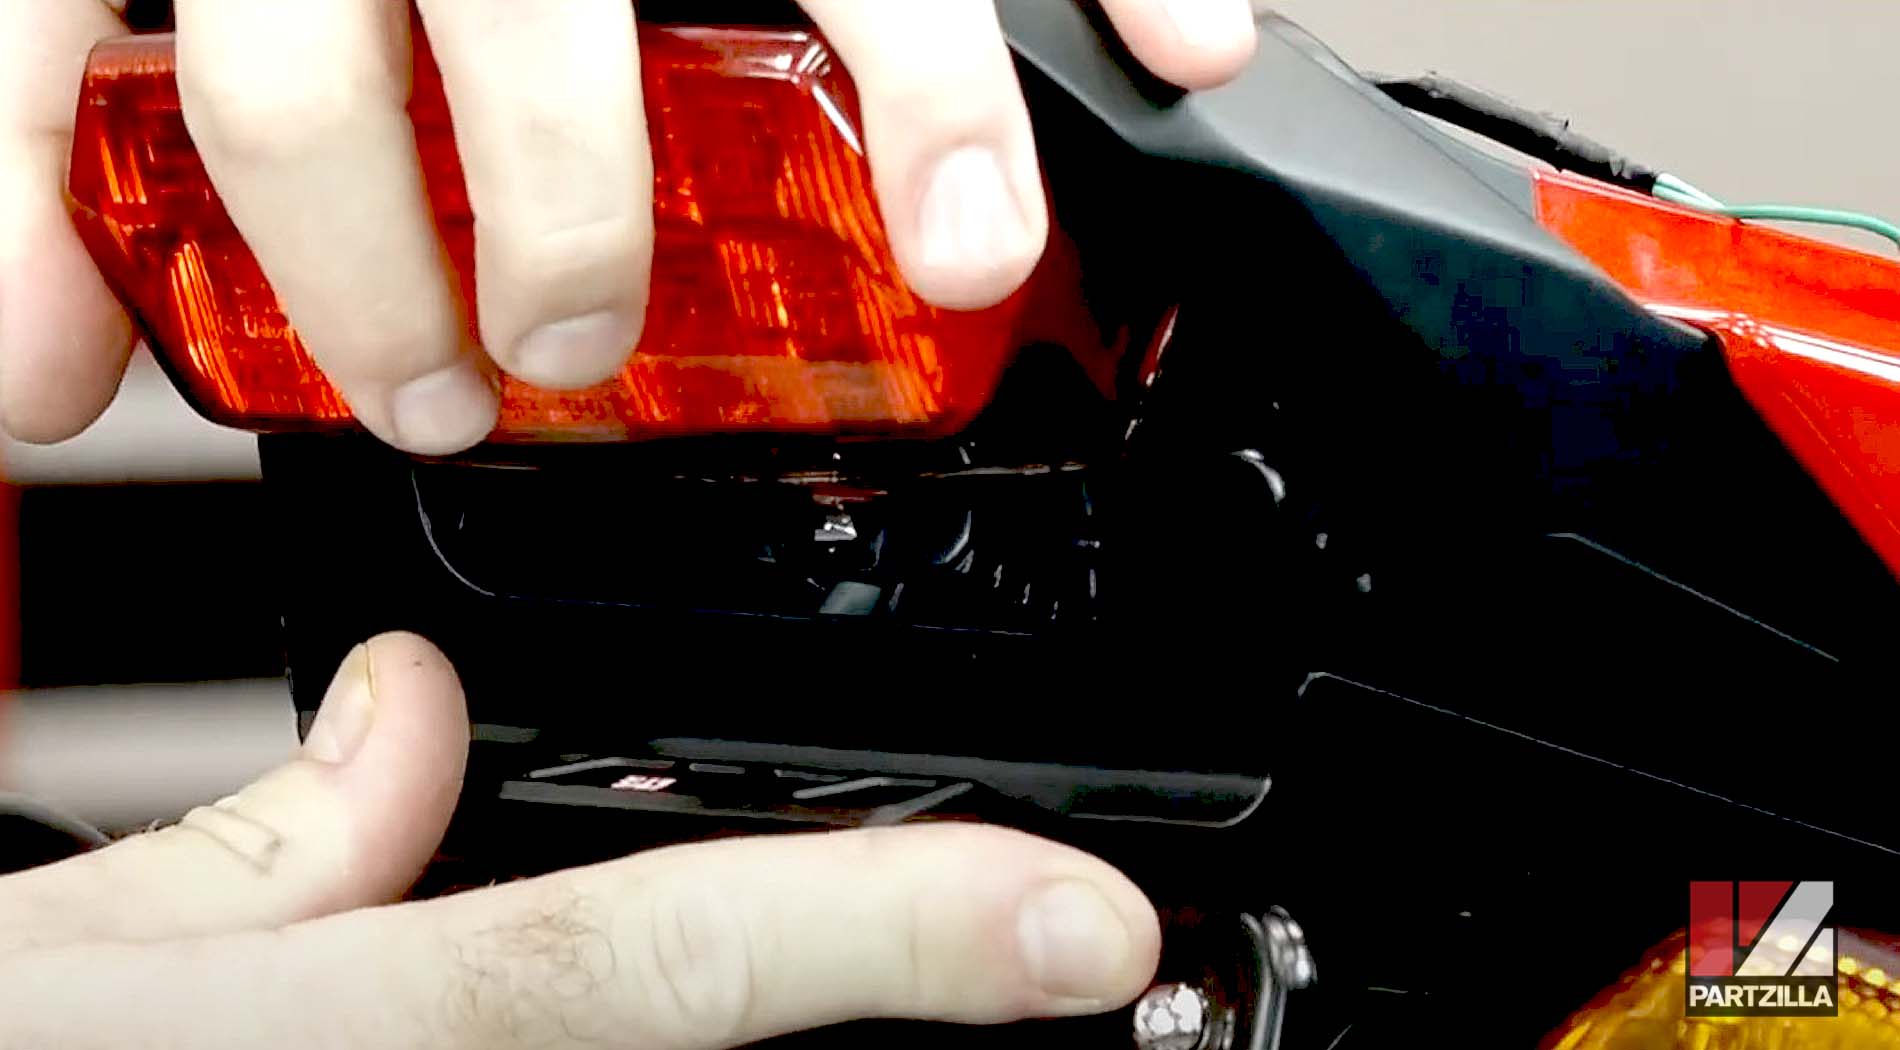
Part 2: Dismantling Honda Grom Rear Fender
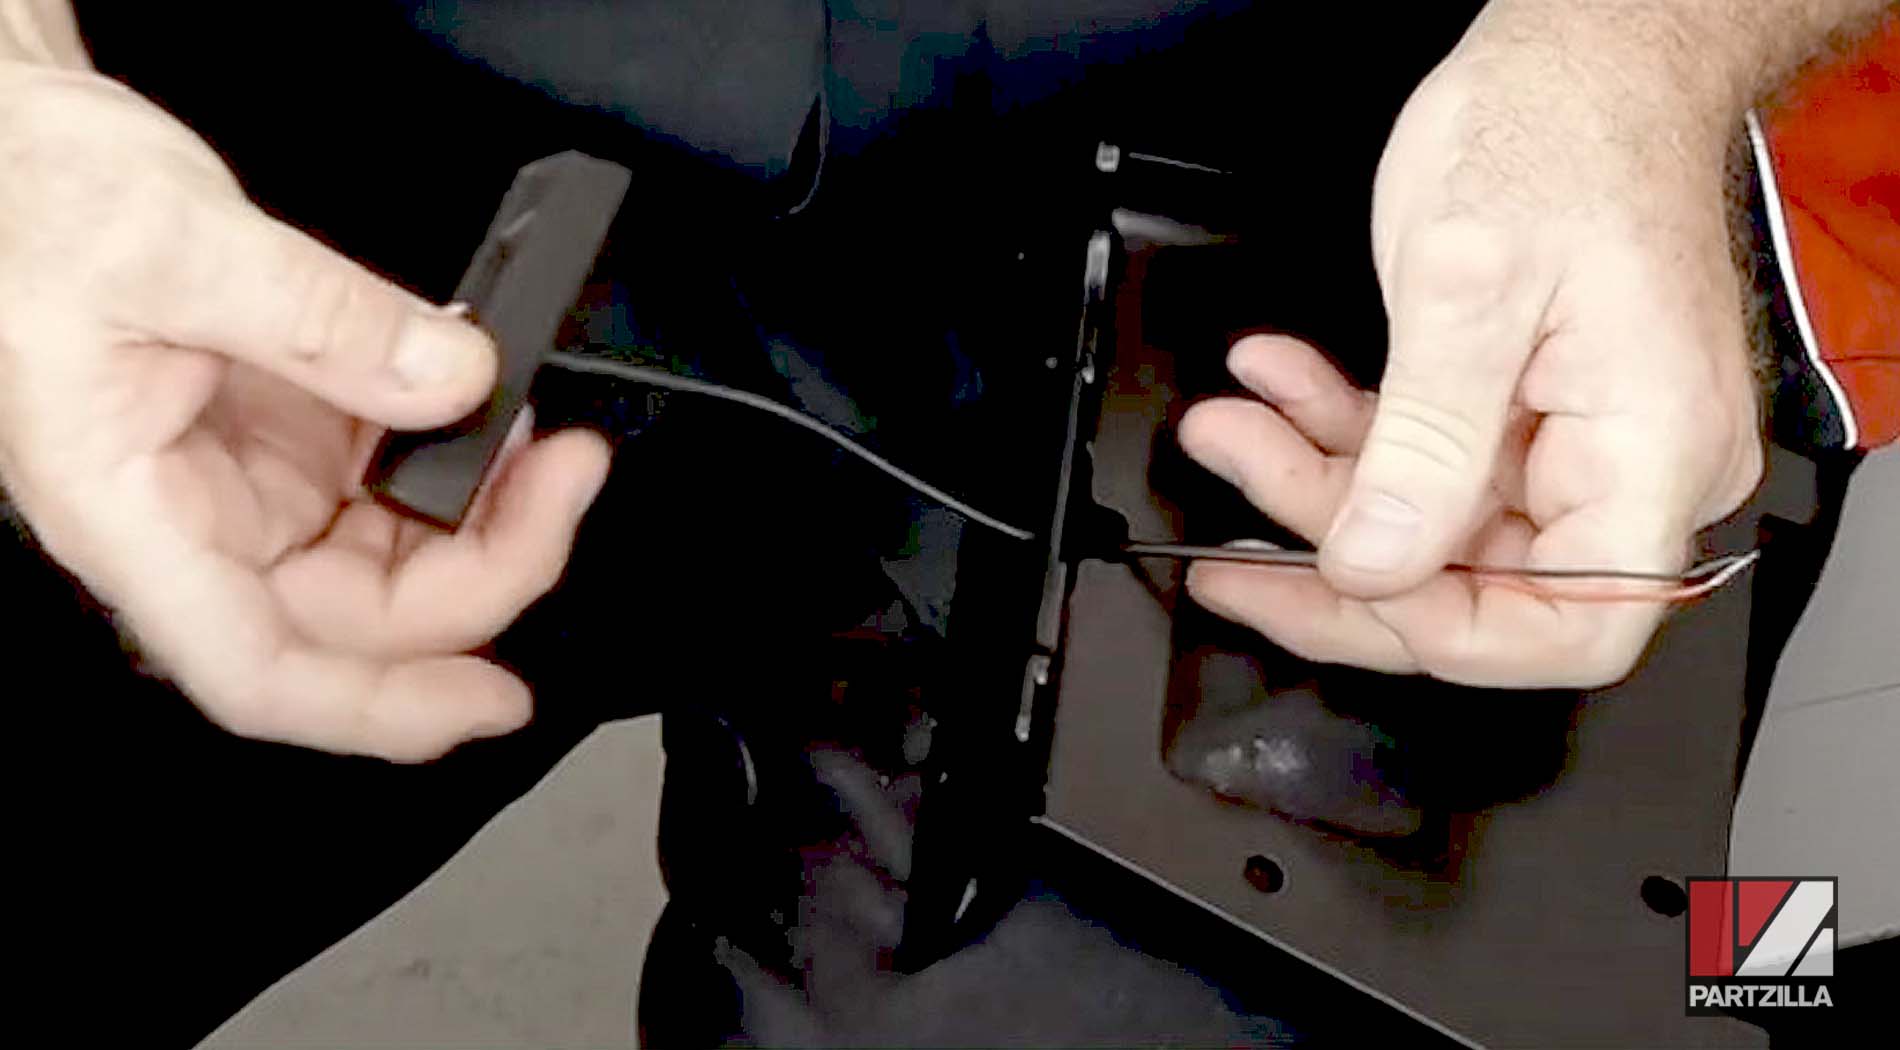
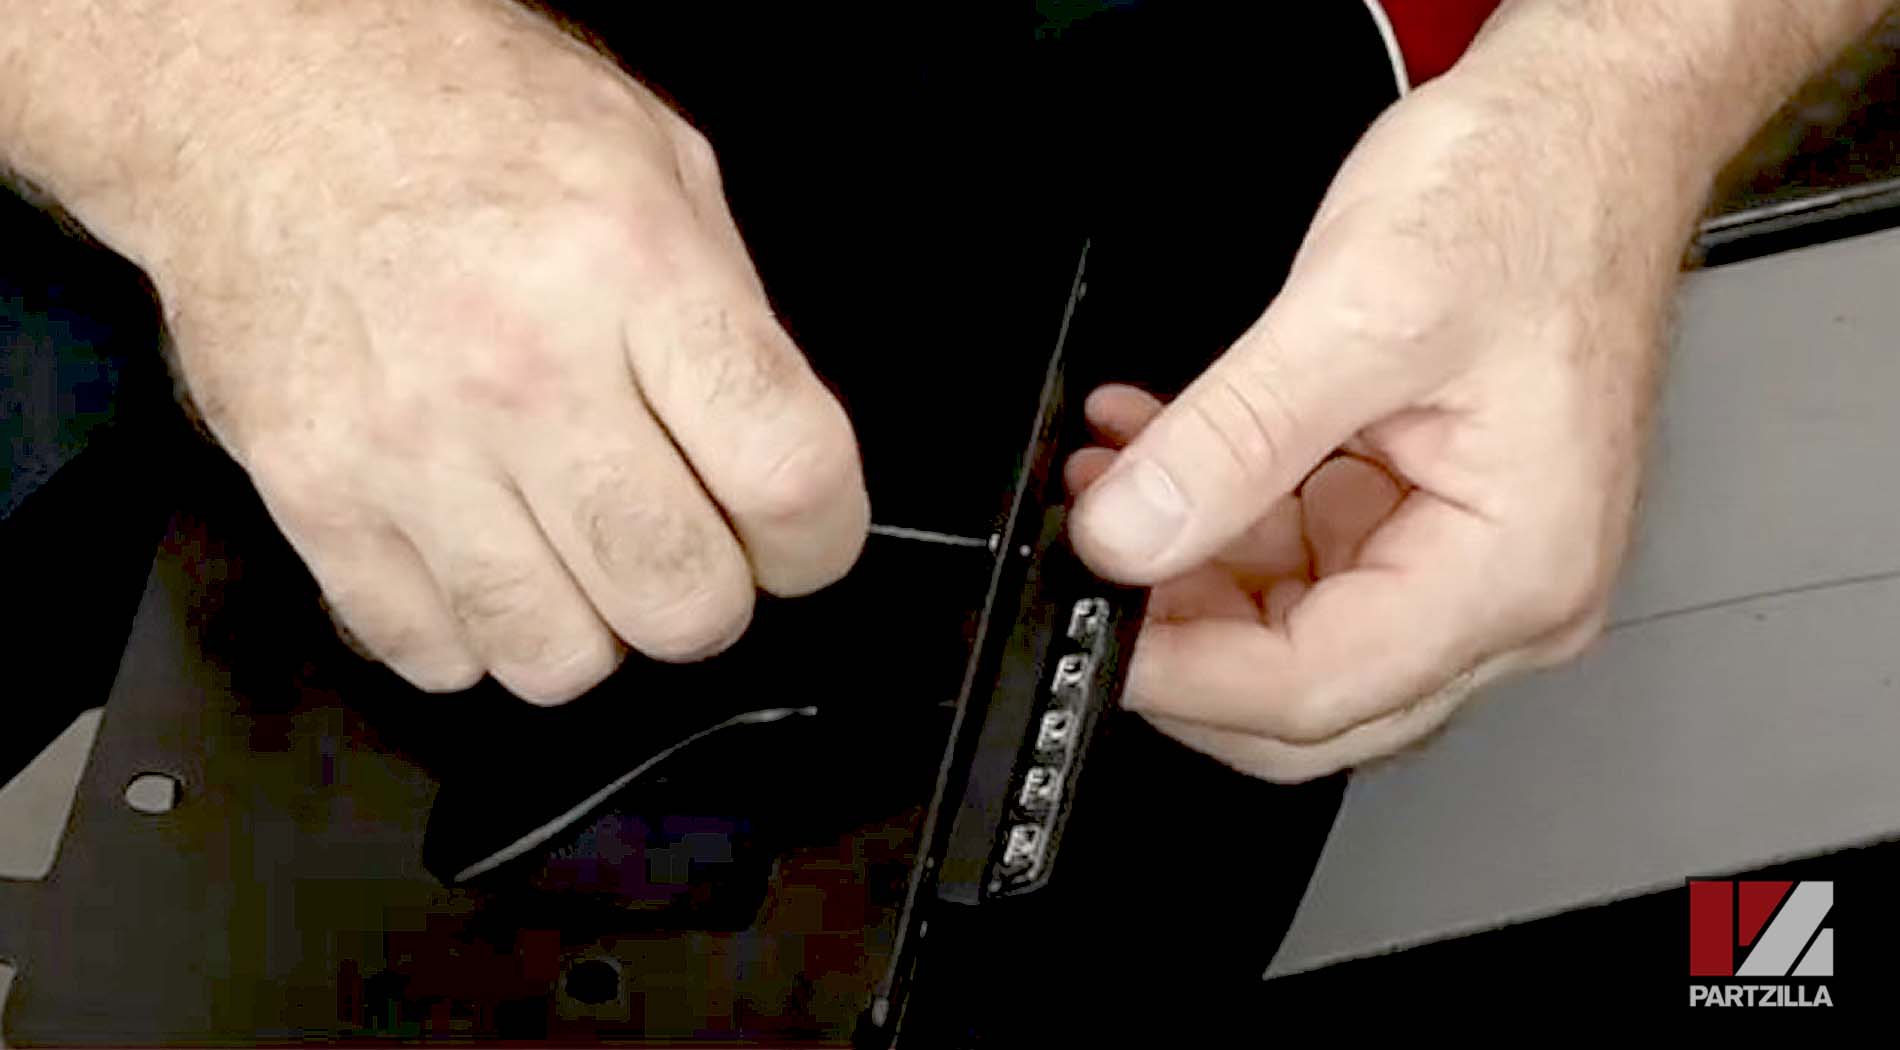
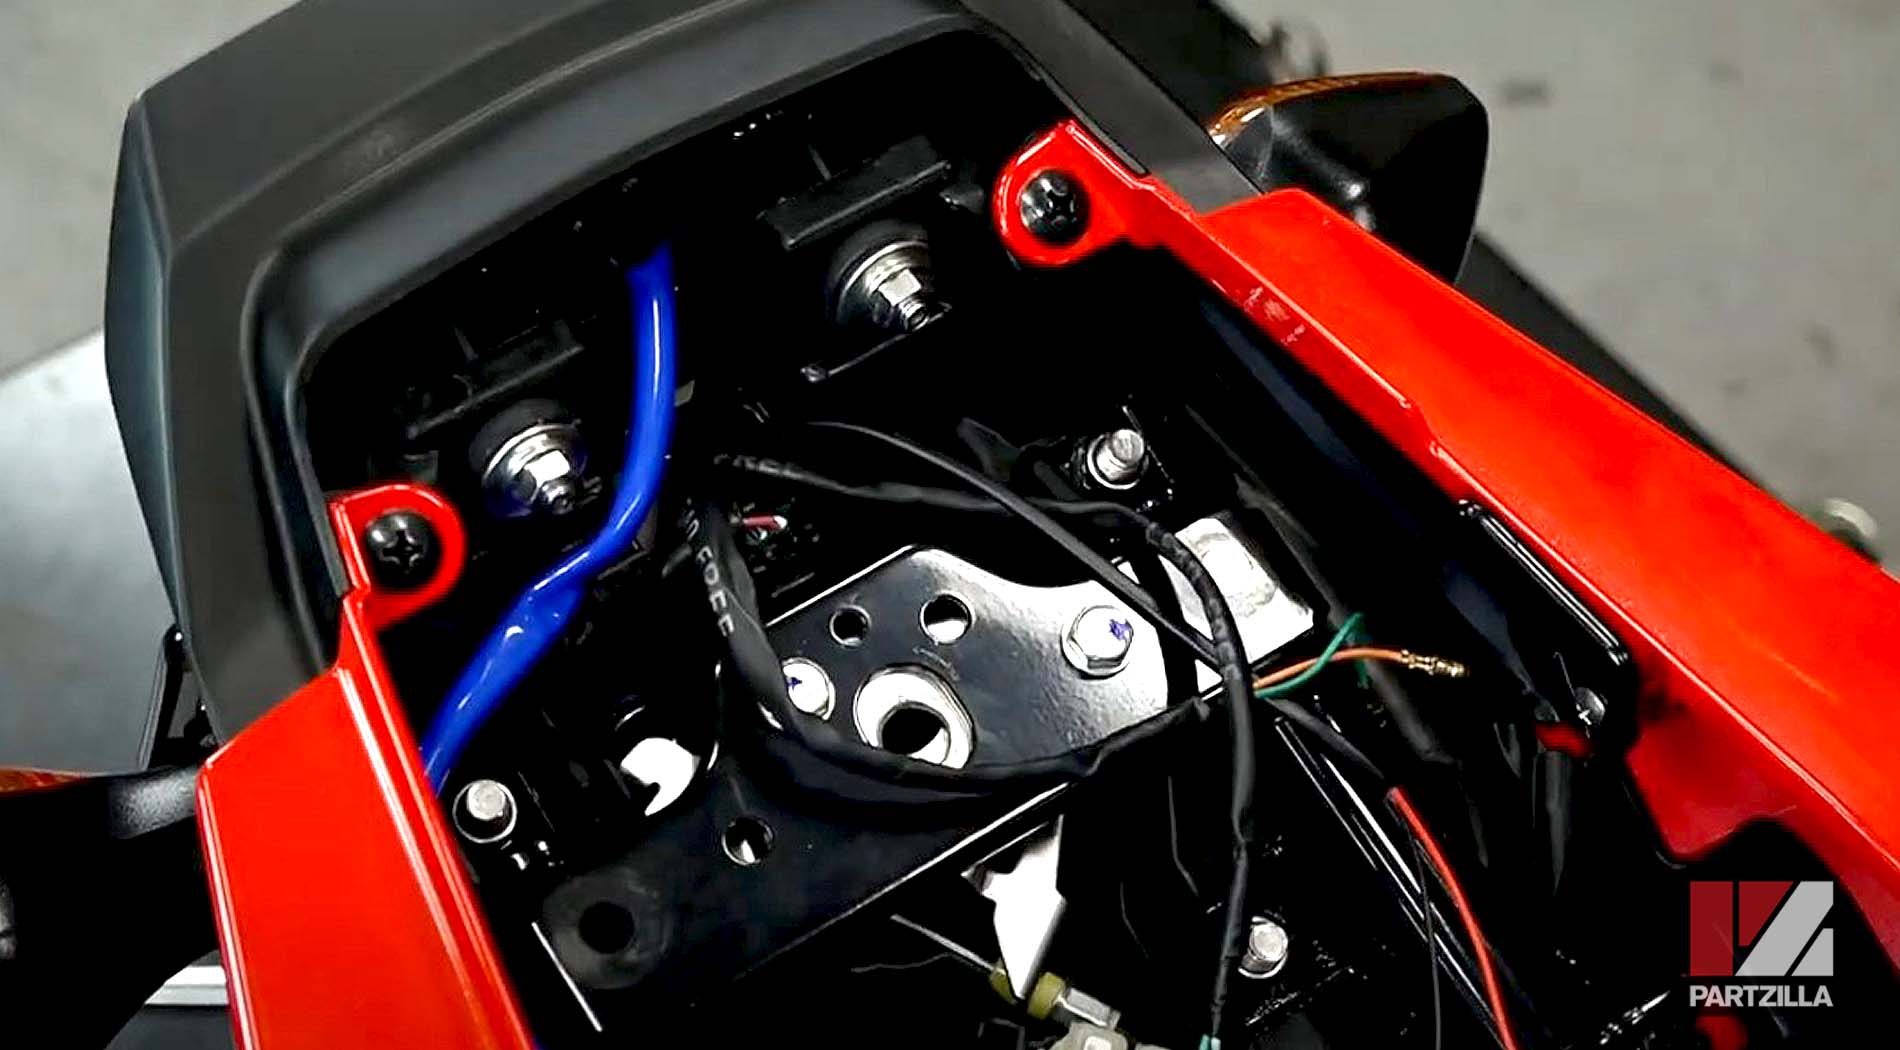
Step 1. Remove the lower panel from the rear fender assembly to access the wiring.
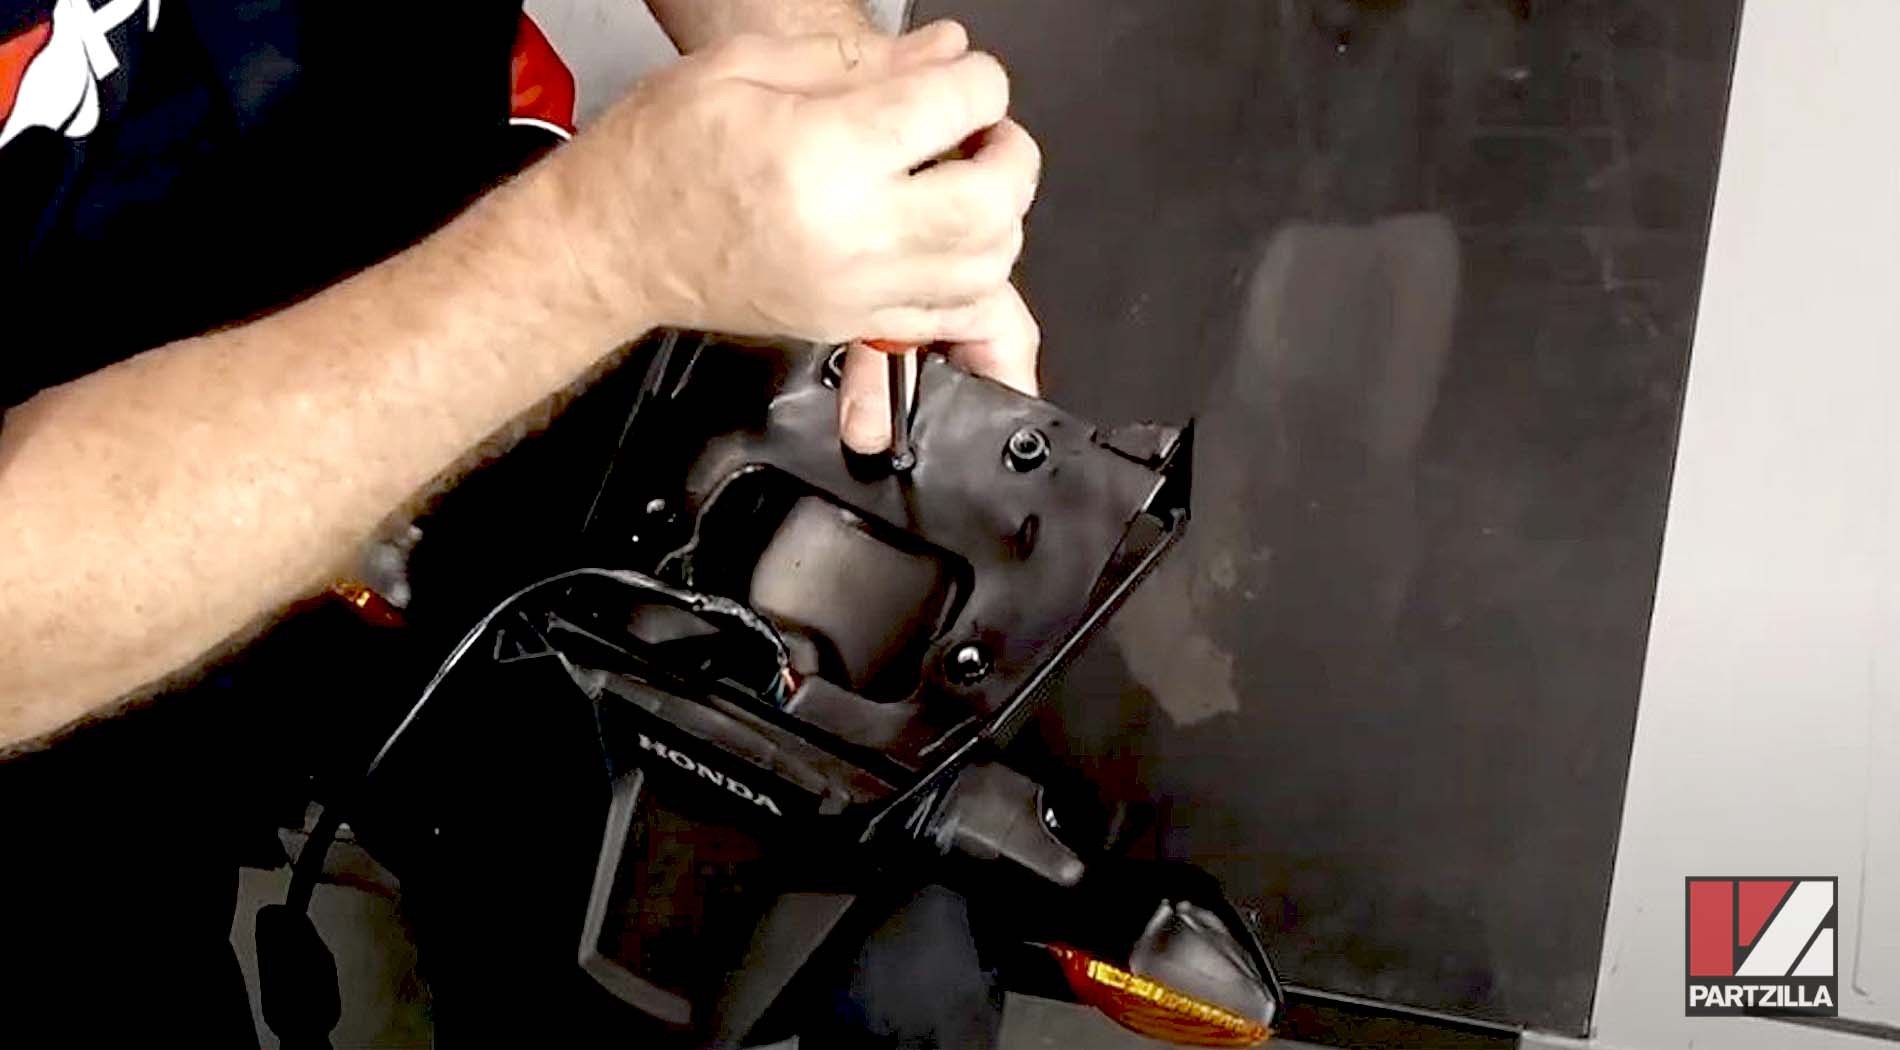
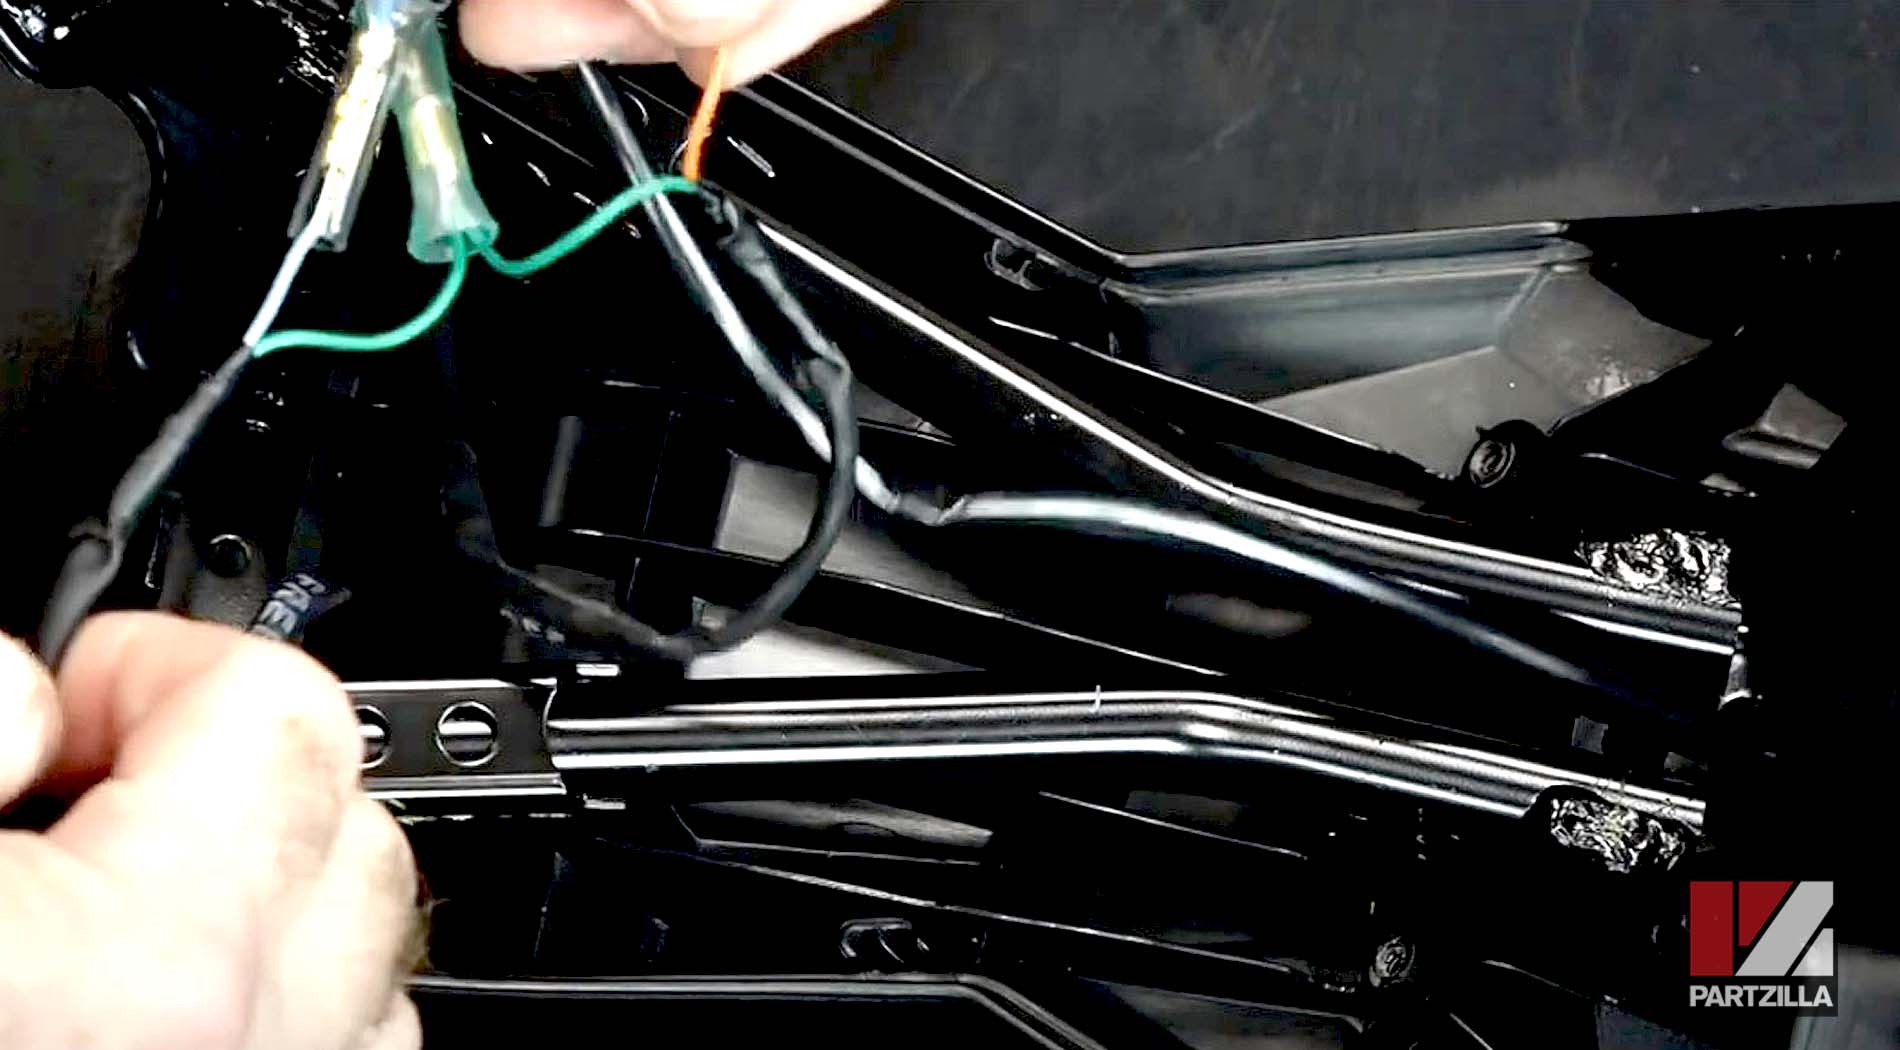
PRO TIP: Take pictures and make a note of which color wires serve which lights on which sides of the fender.
- The orange and green wires serve the left turn signal
- The light blue and green wires serve the right turn signal
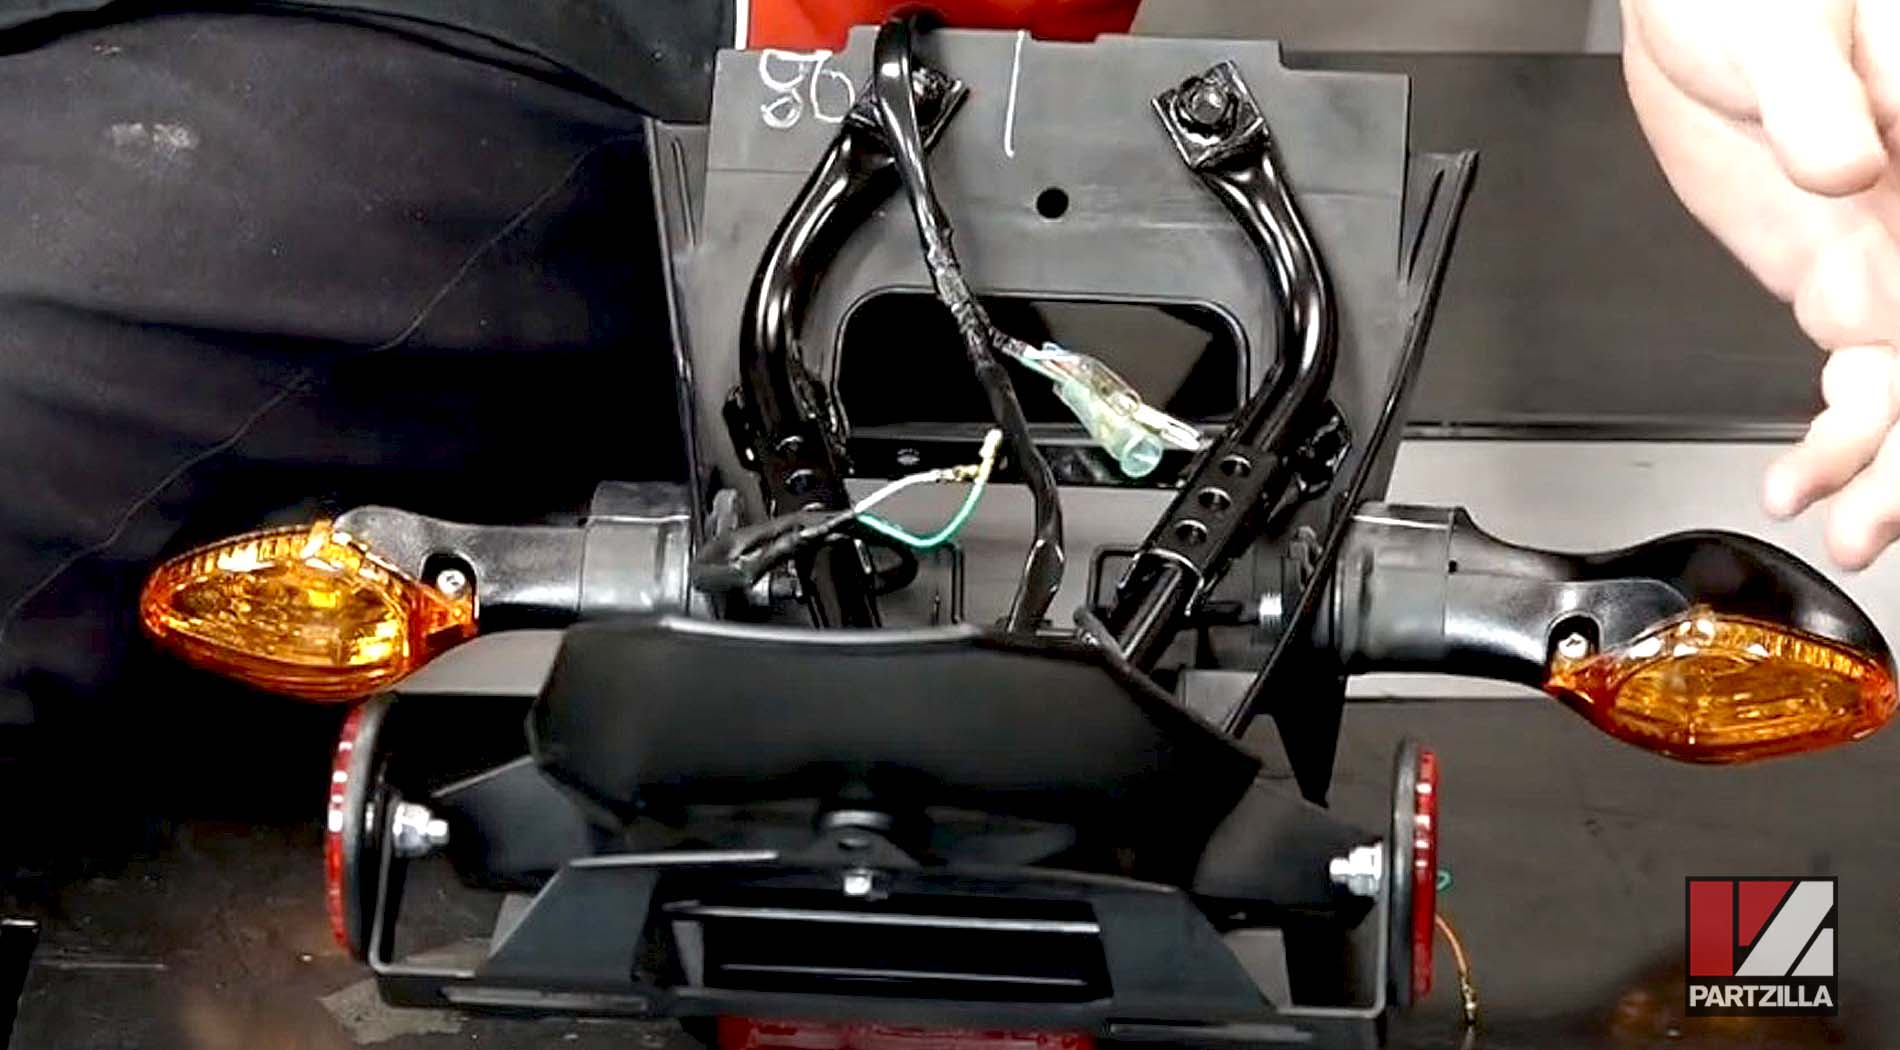
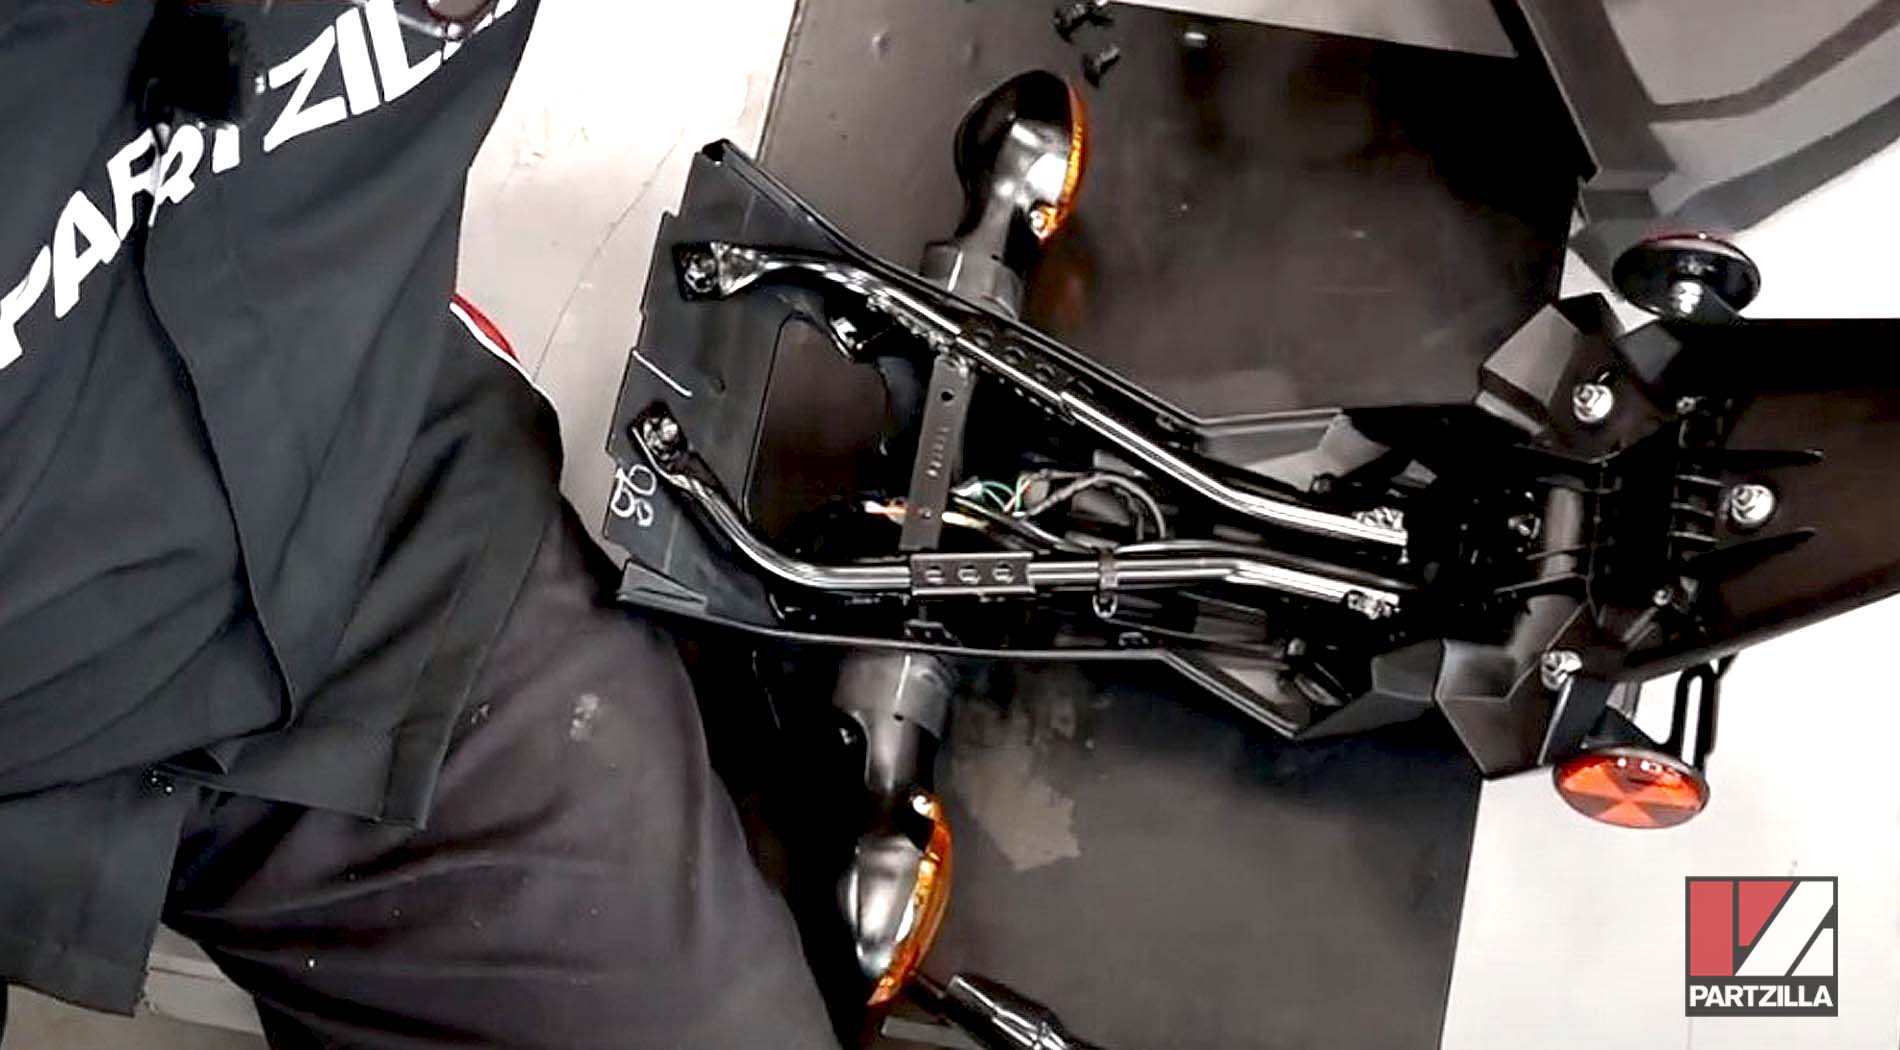
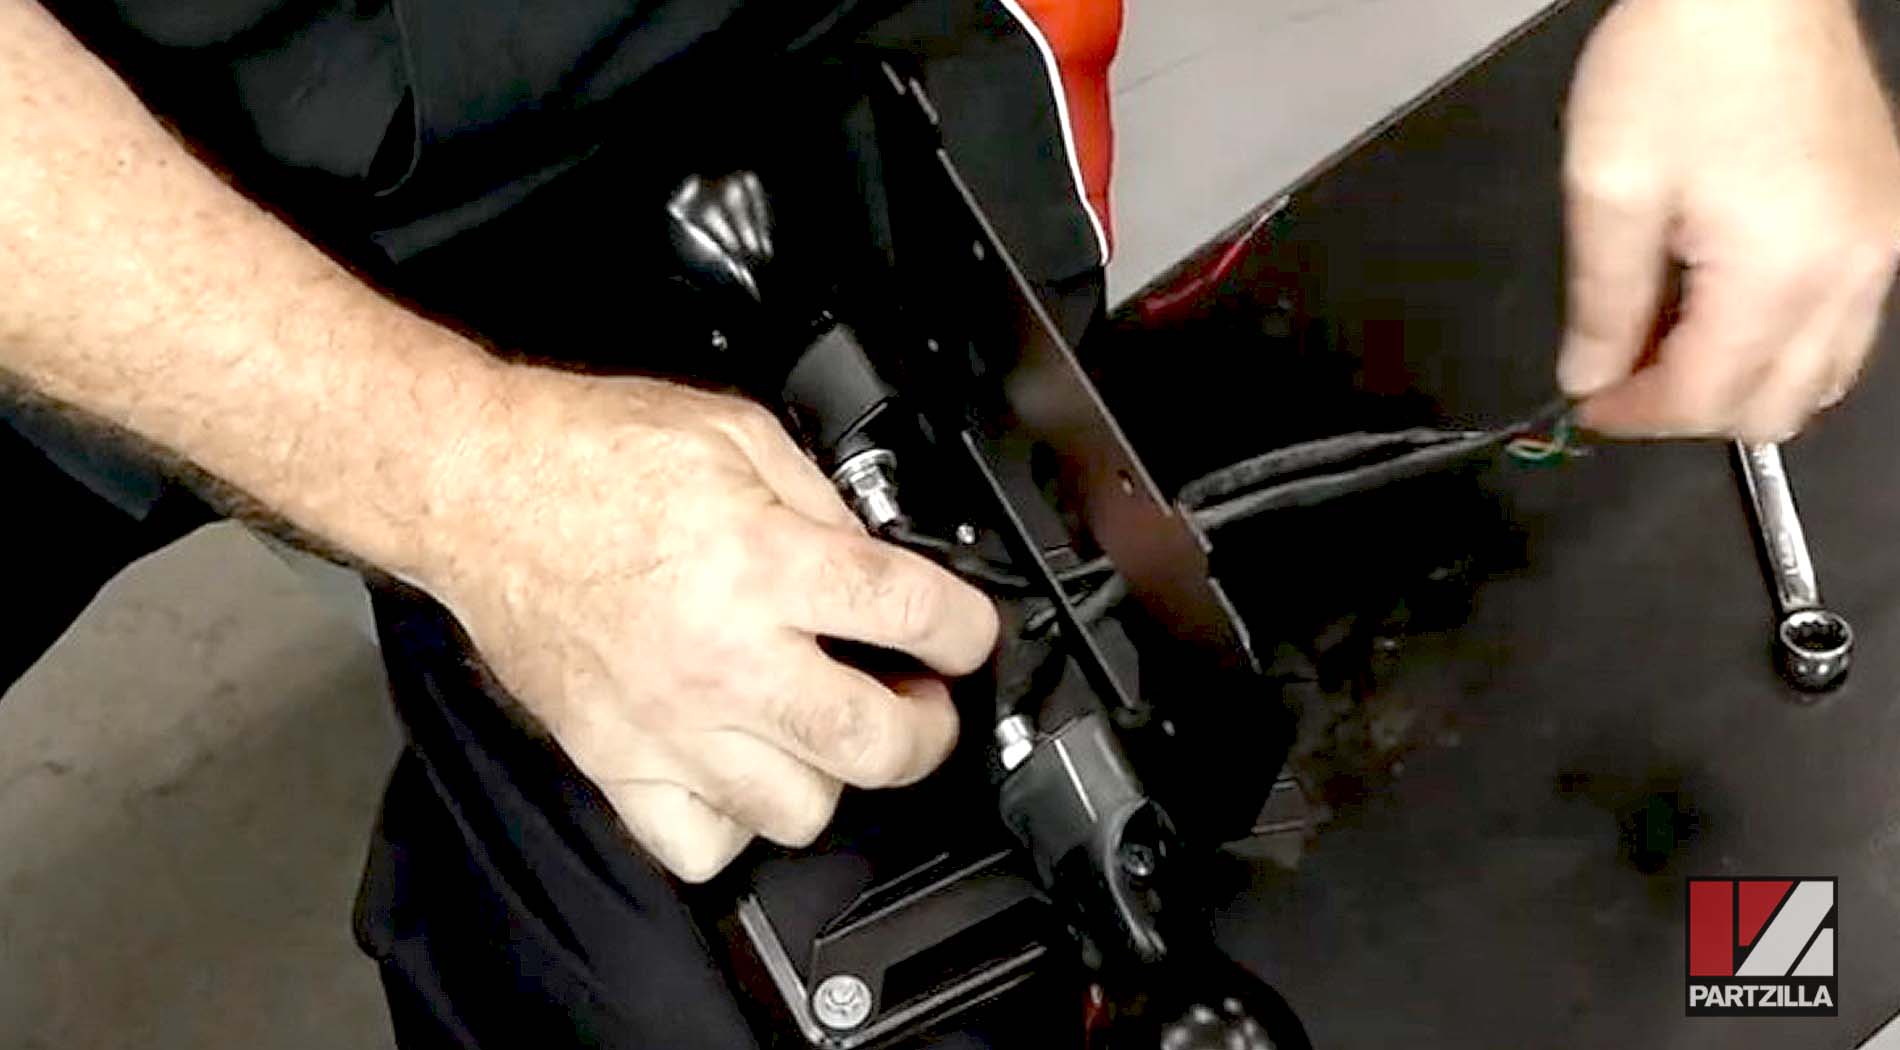
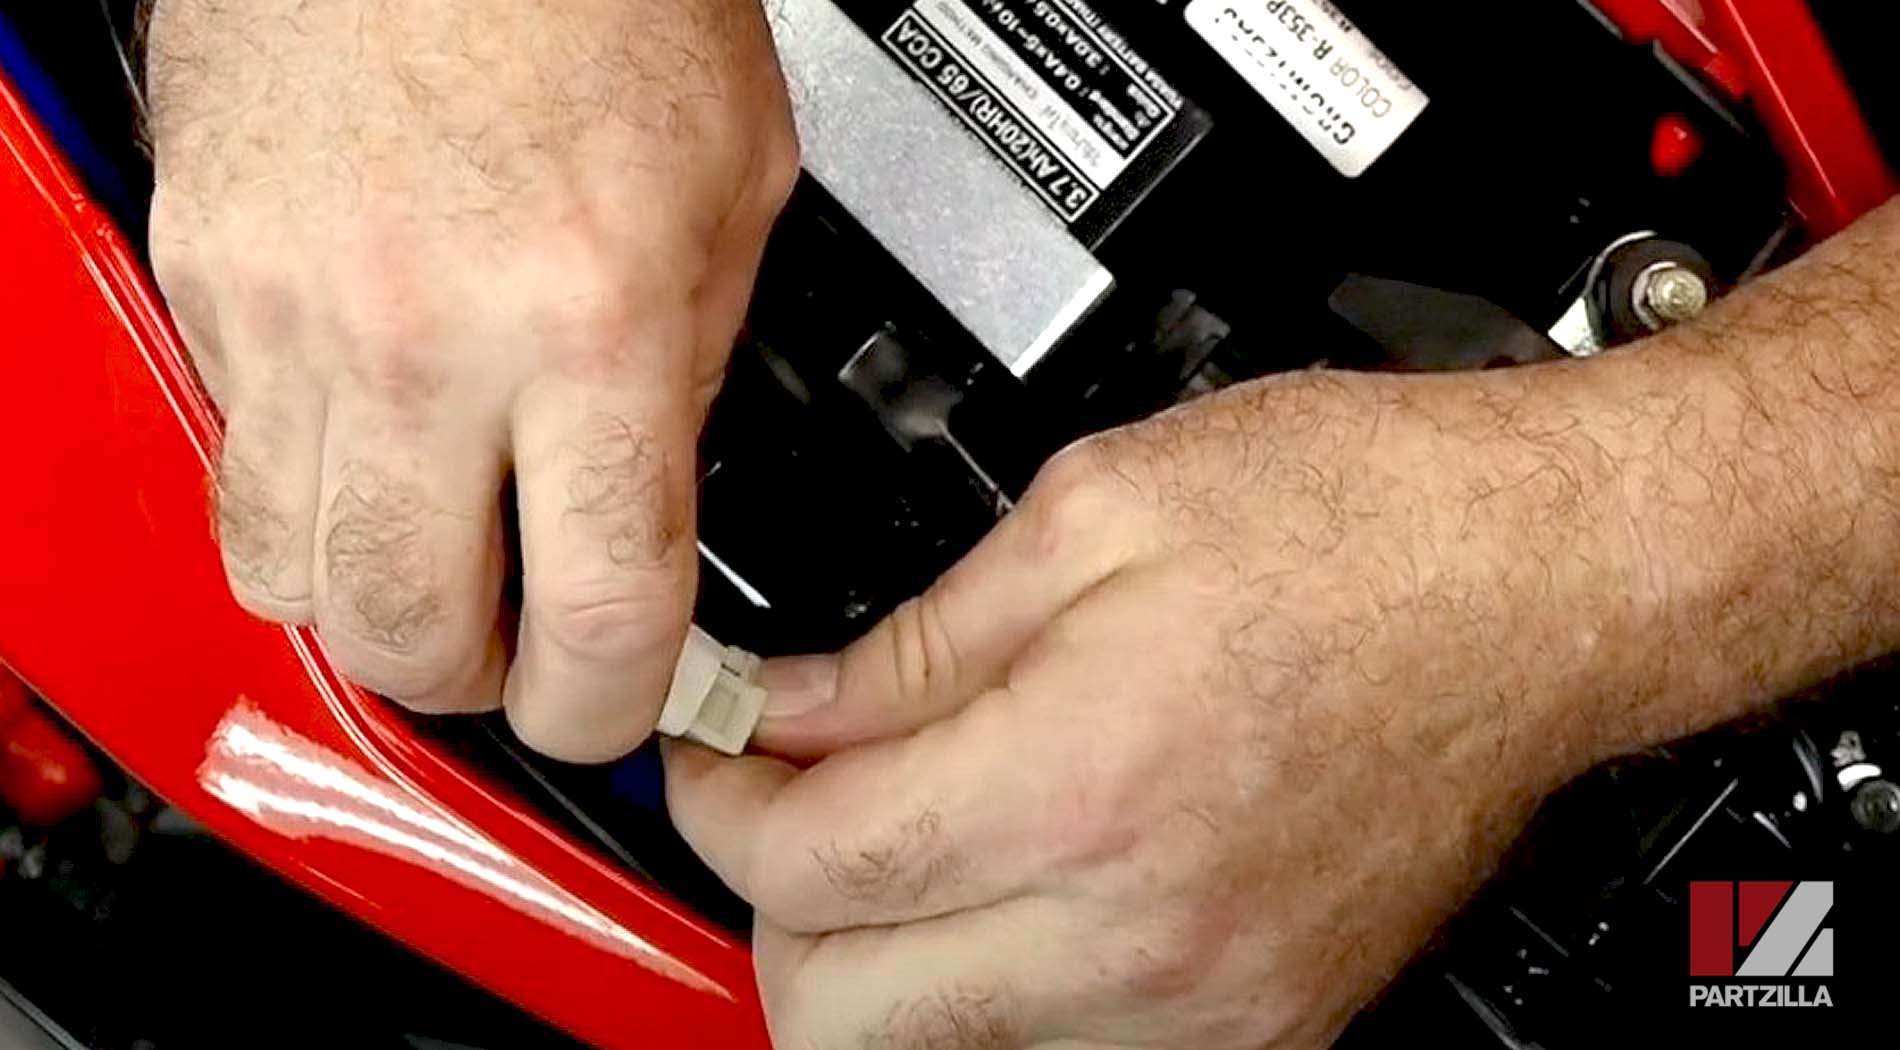
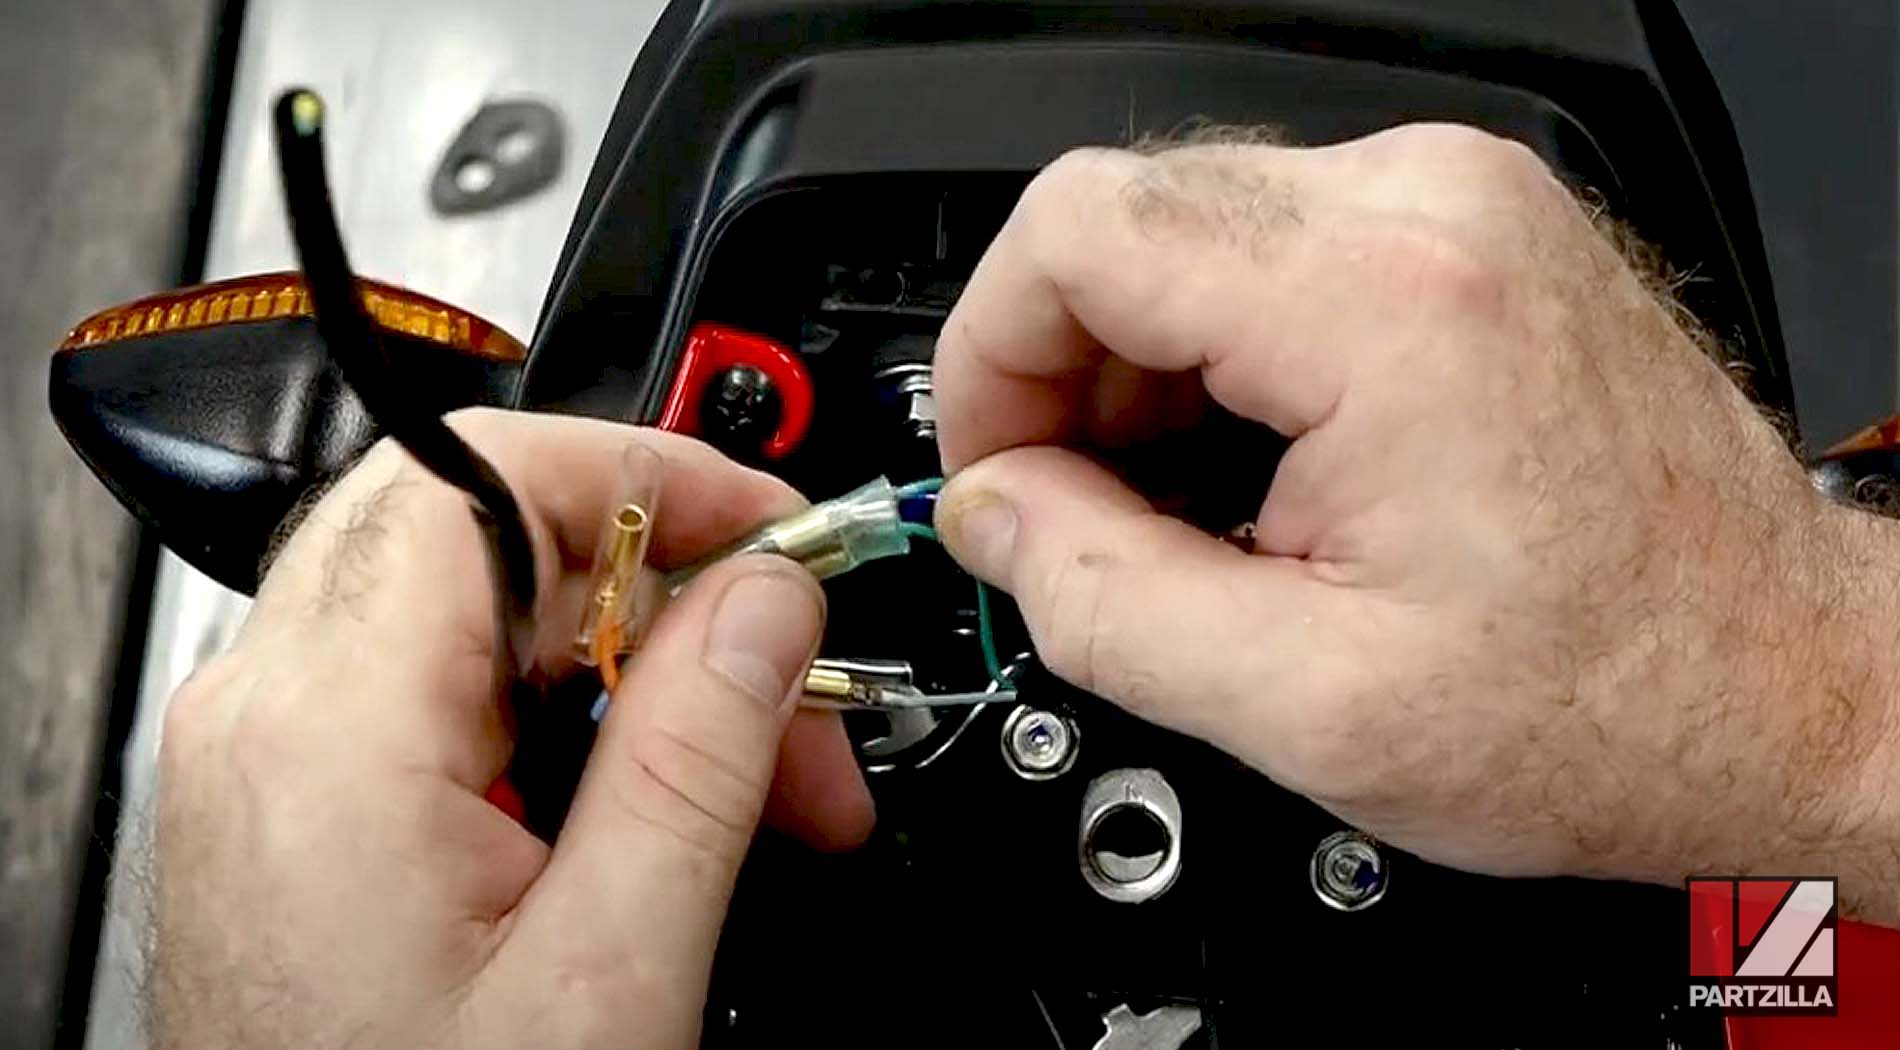
Step 2. Disconnect the wires leading to the turn signals from the sub-harness serving. Remove the two 14mm nuts holding the turn signals, followed by the turn signals from the rear fender assembly.
Step 3. Cut the wire from the sub-harness serving the license plate light at a point a few inches from the light, and then remove the sub-harness.
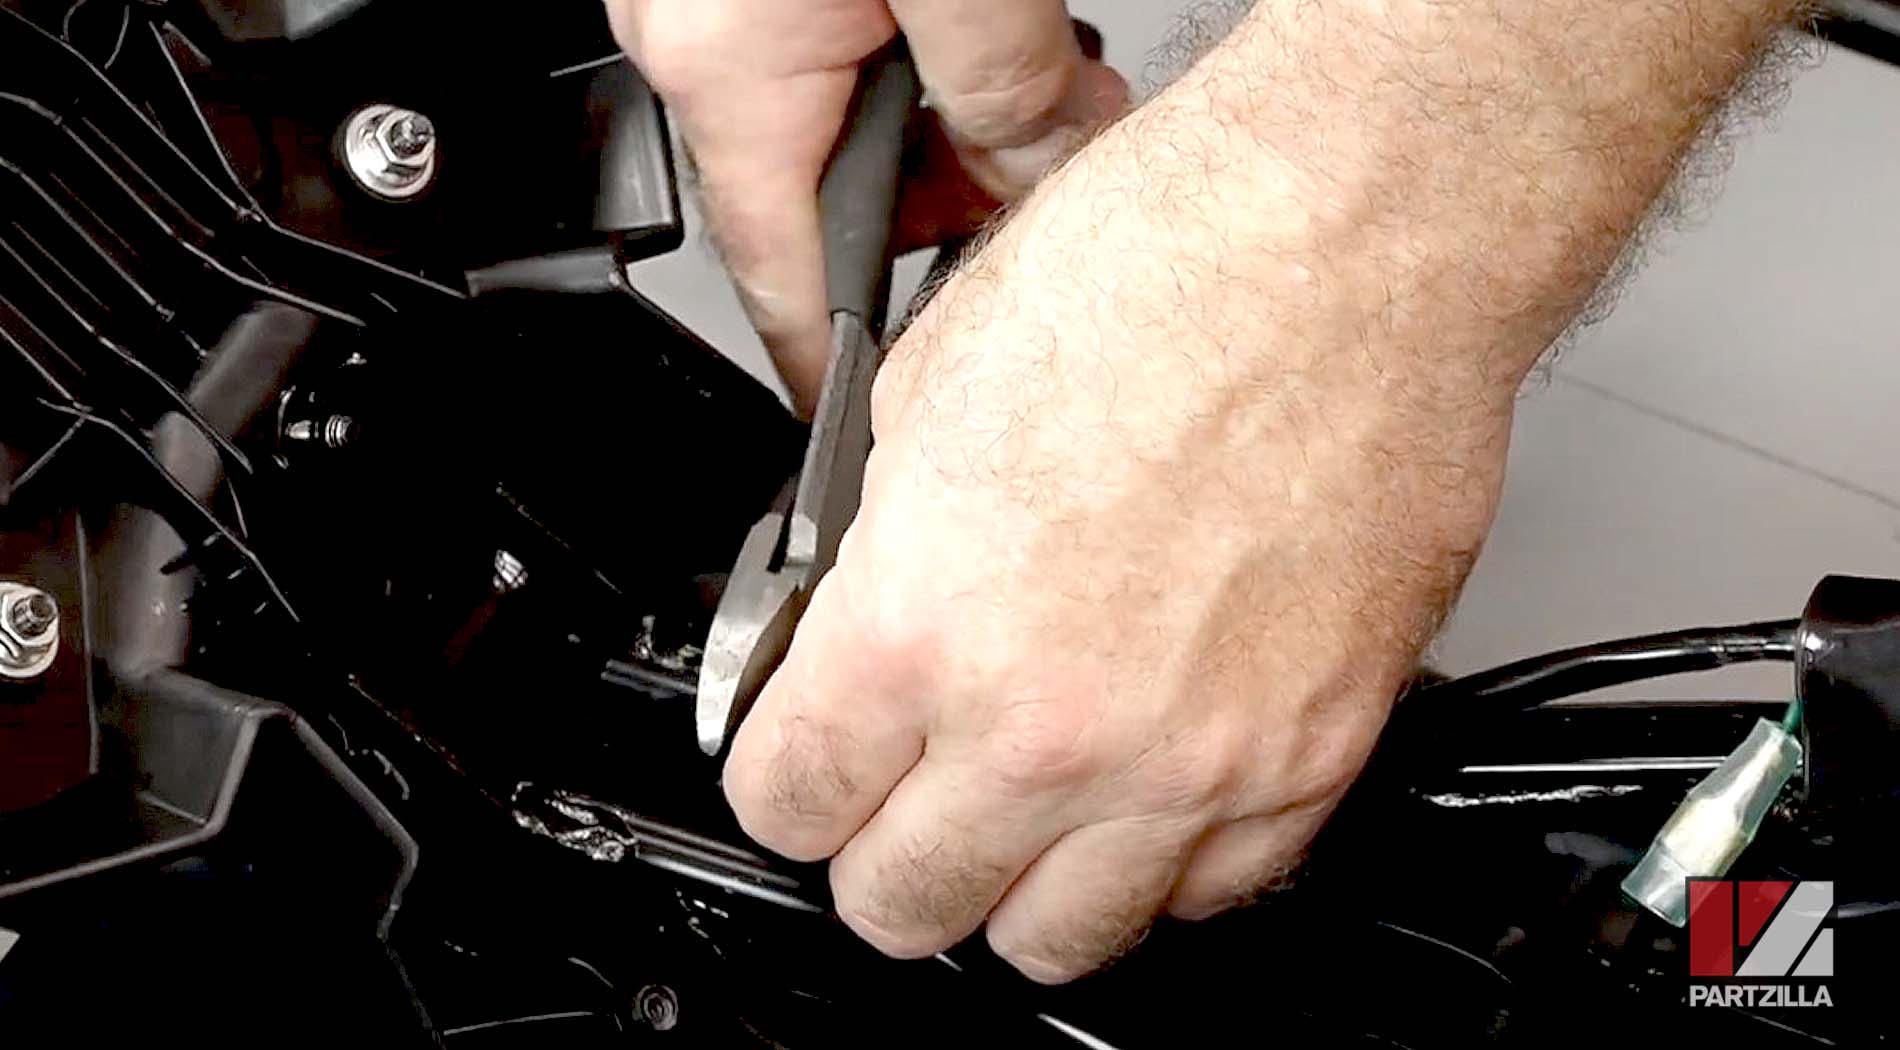
Watch the clip below to see the rear fender disassembly segment of our Honda Grom Rear Fender Eliminator Kit video.
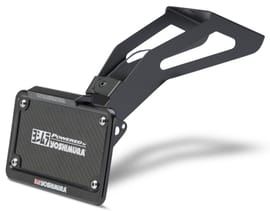
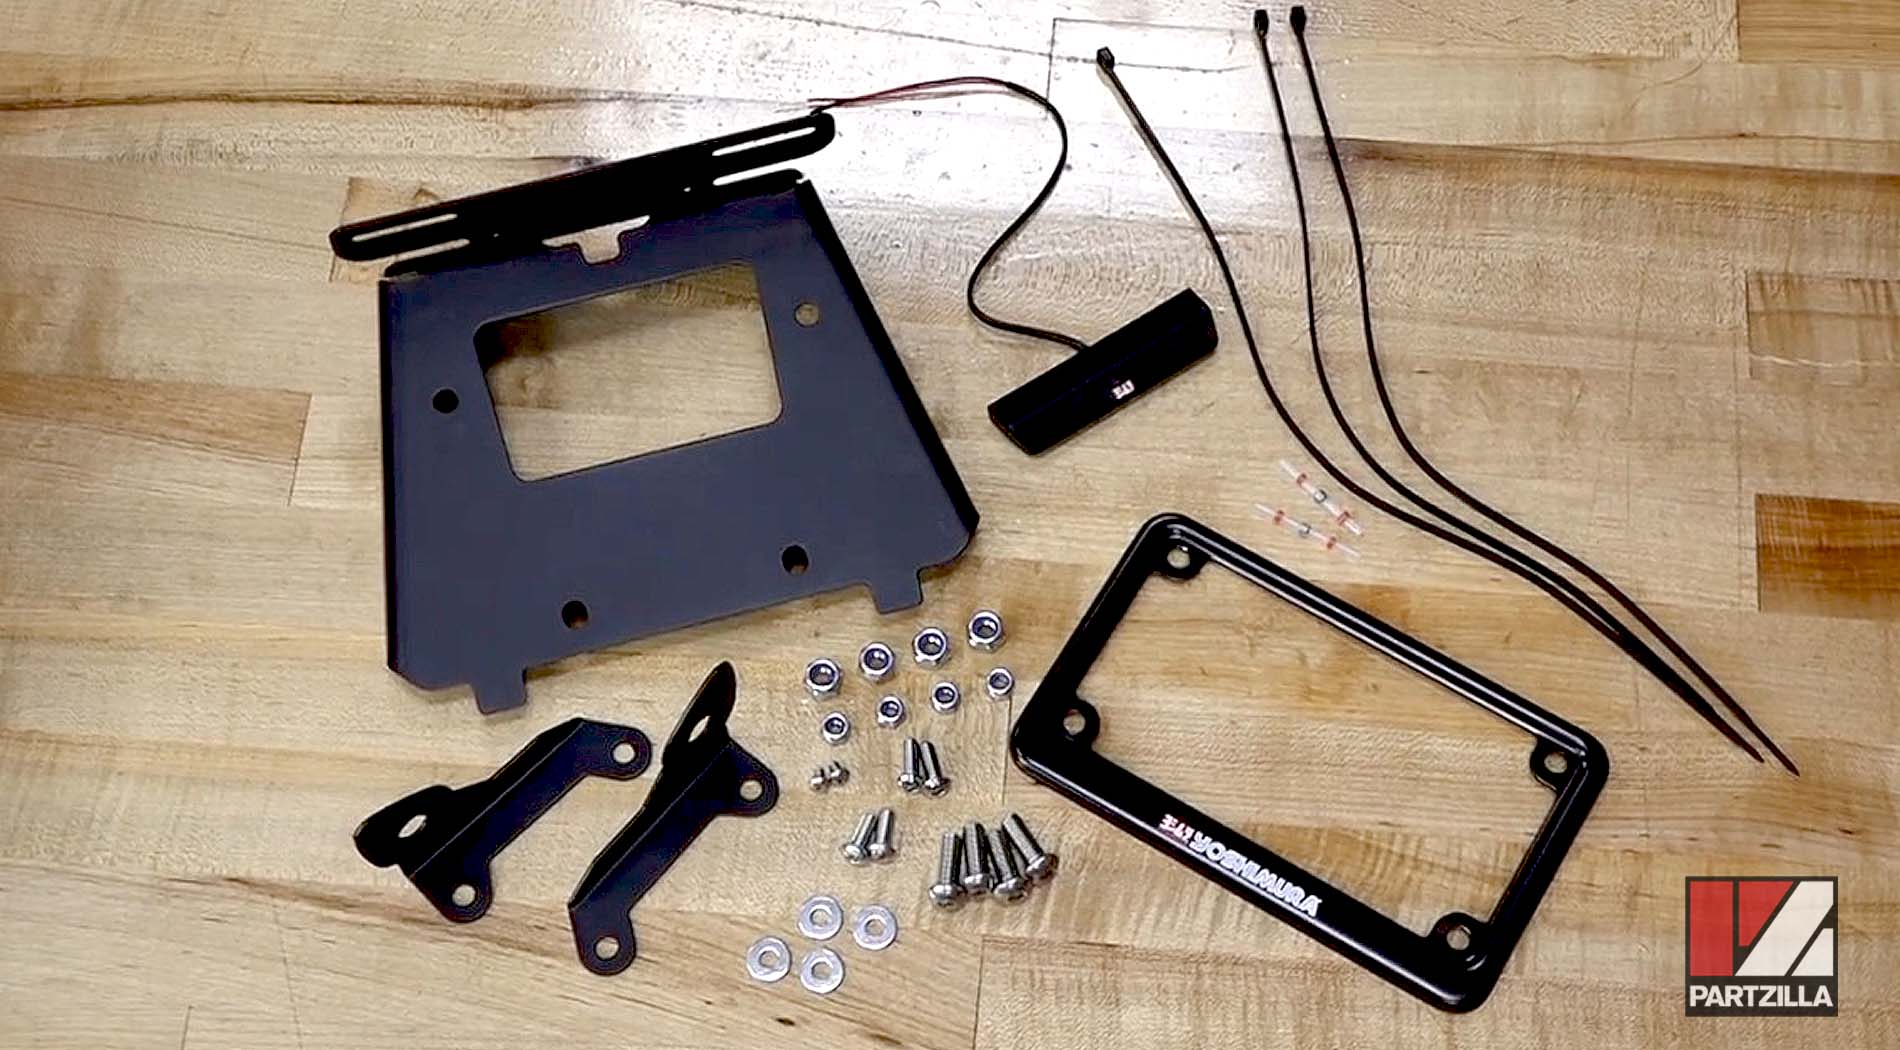
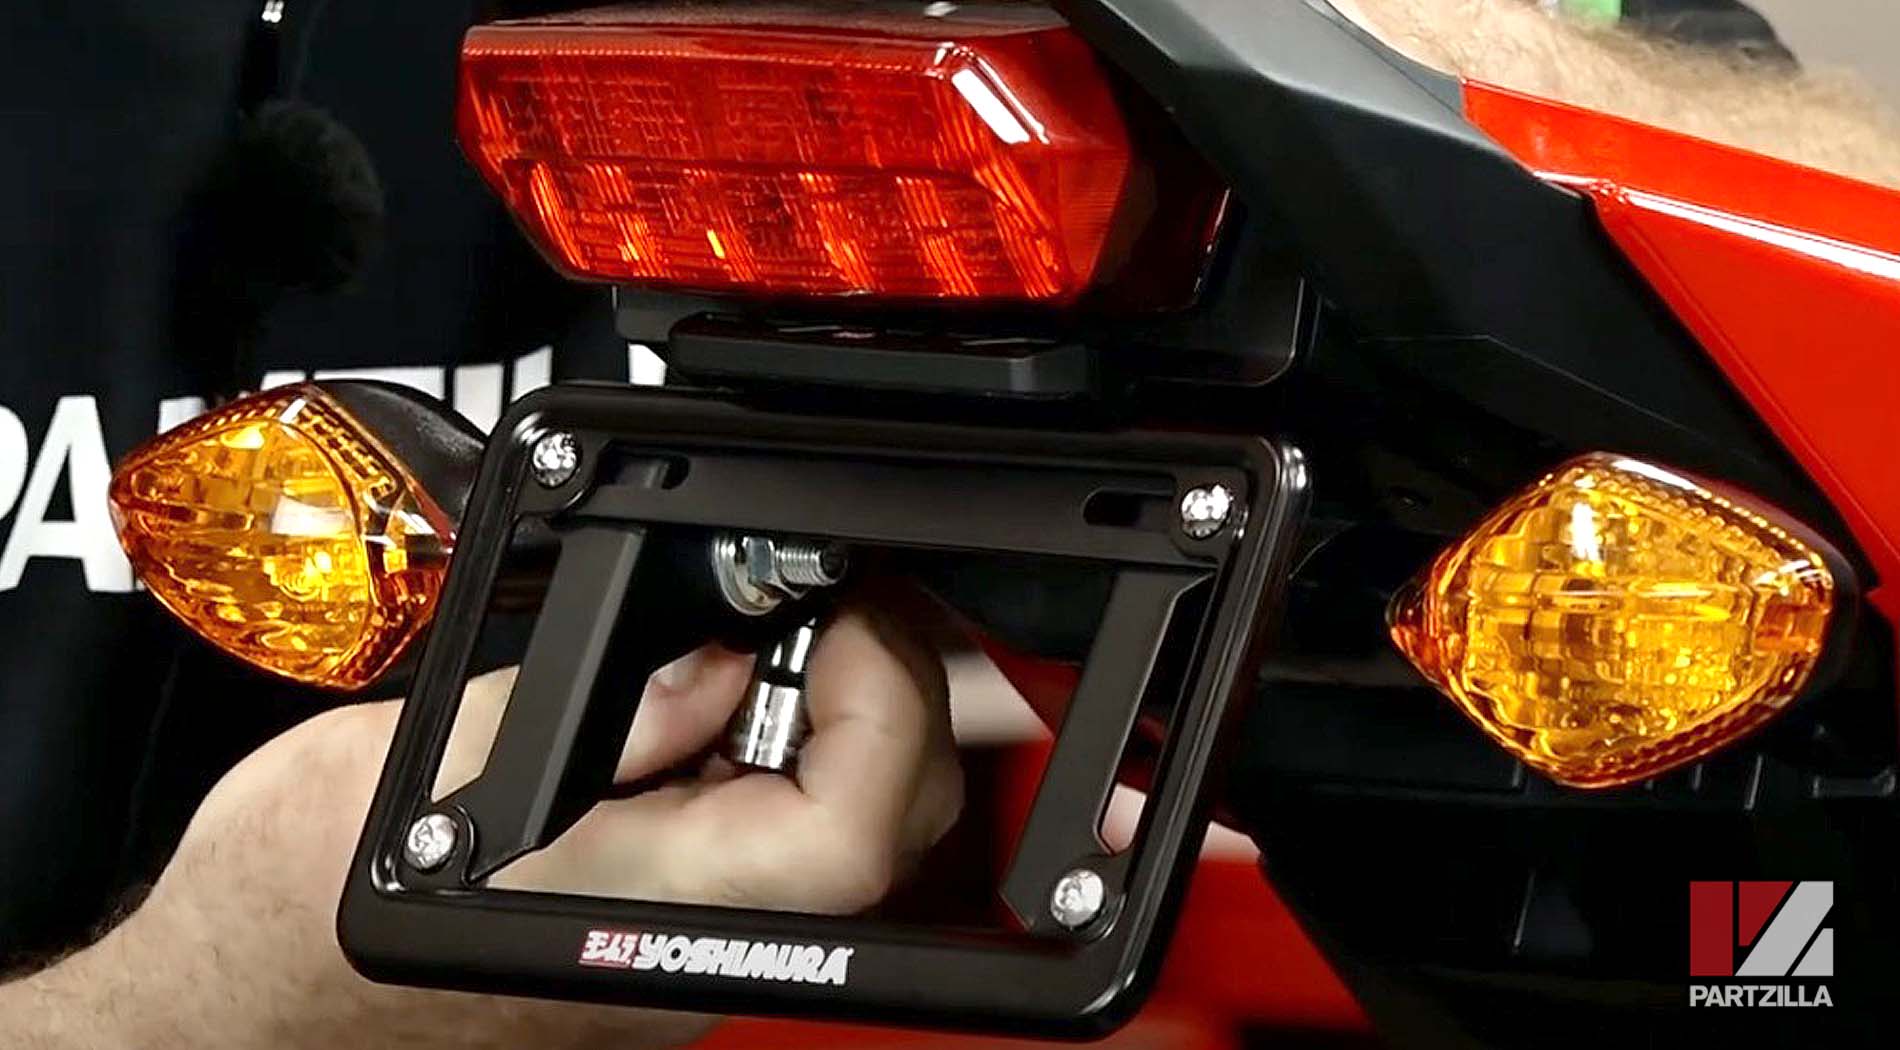
Part 3: Assembling Honda Grom Rear Fender Eliminator Kit
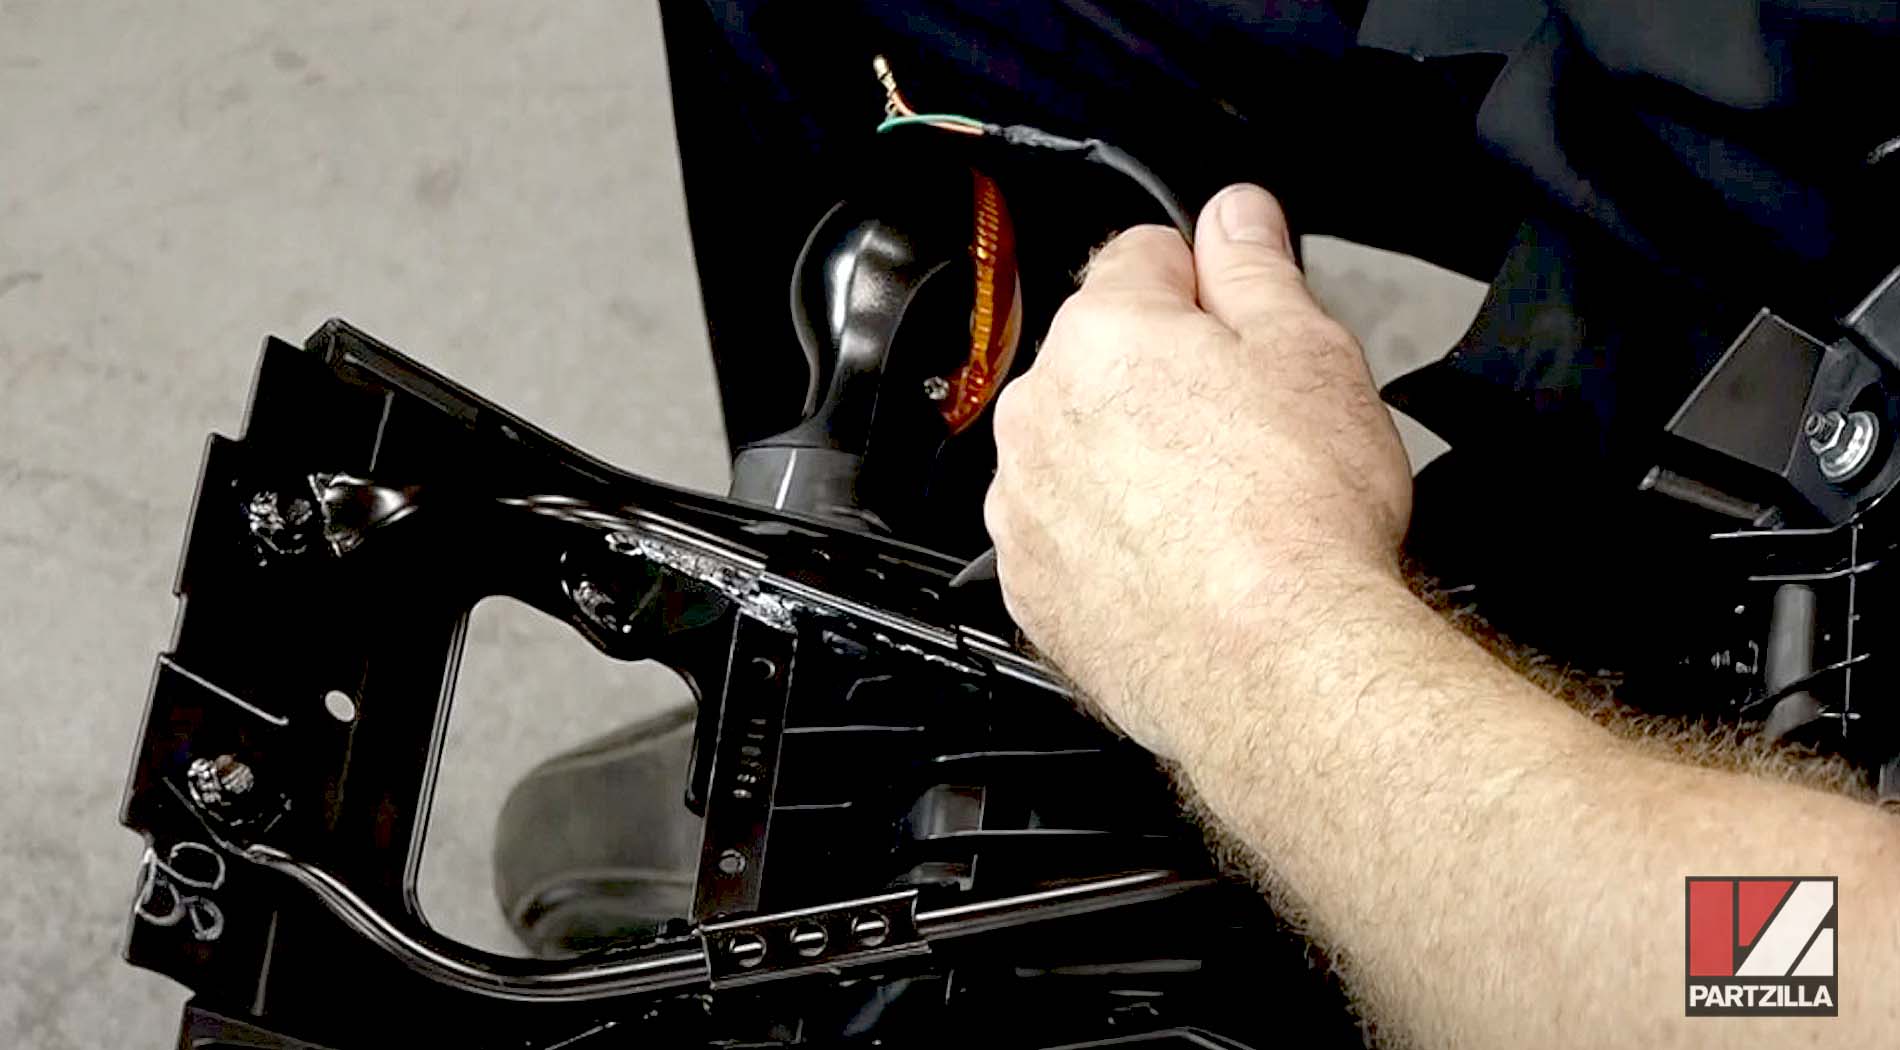
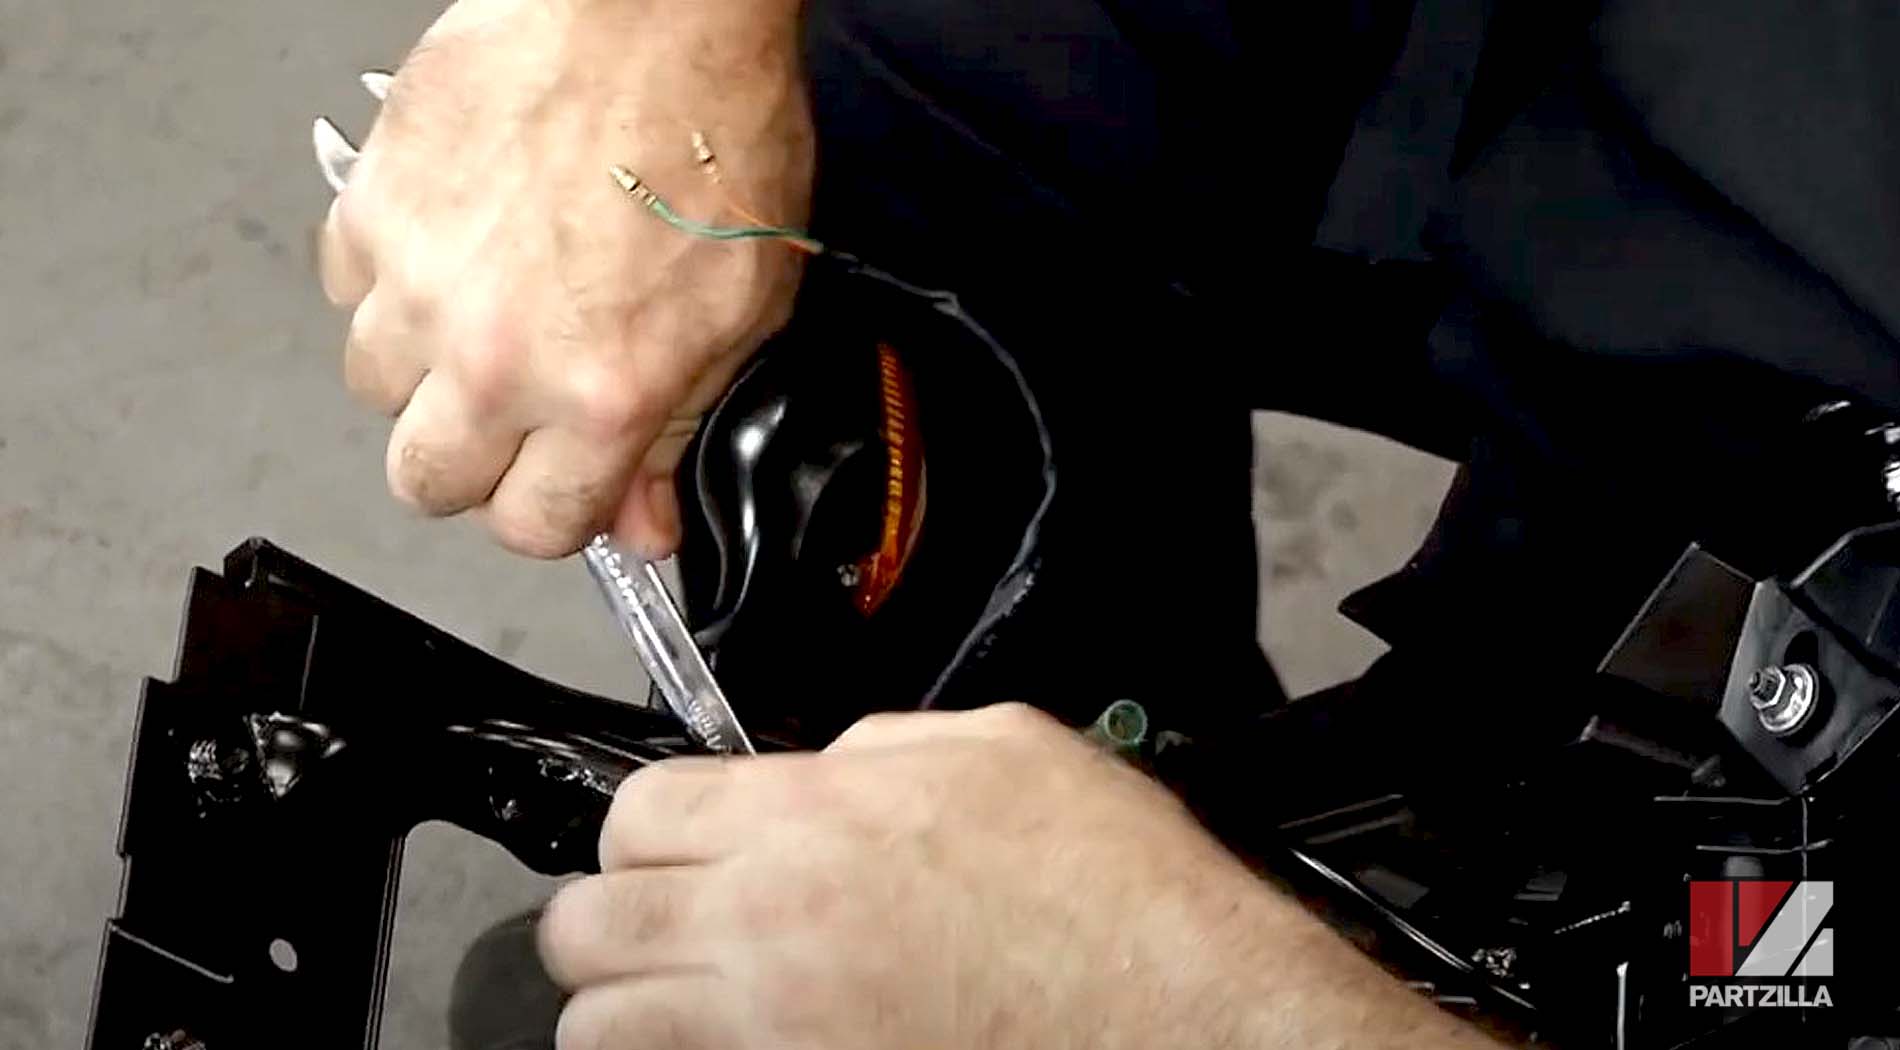
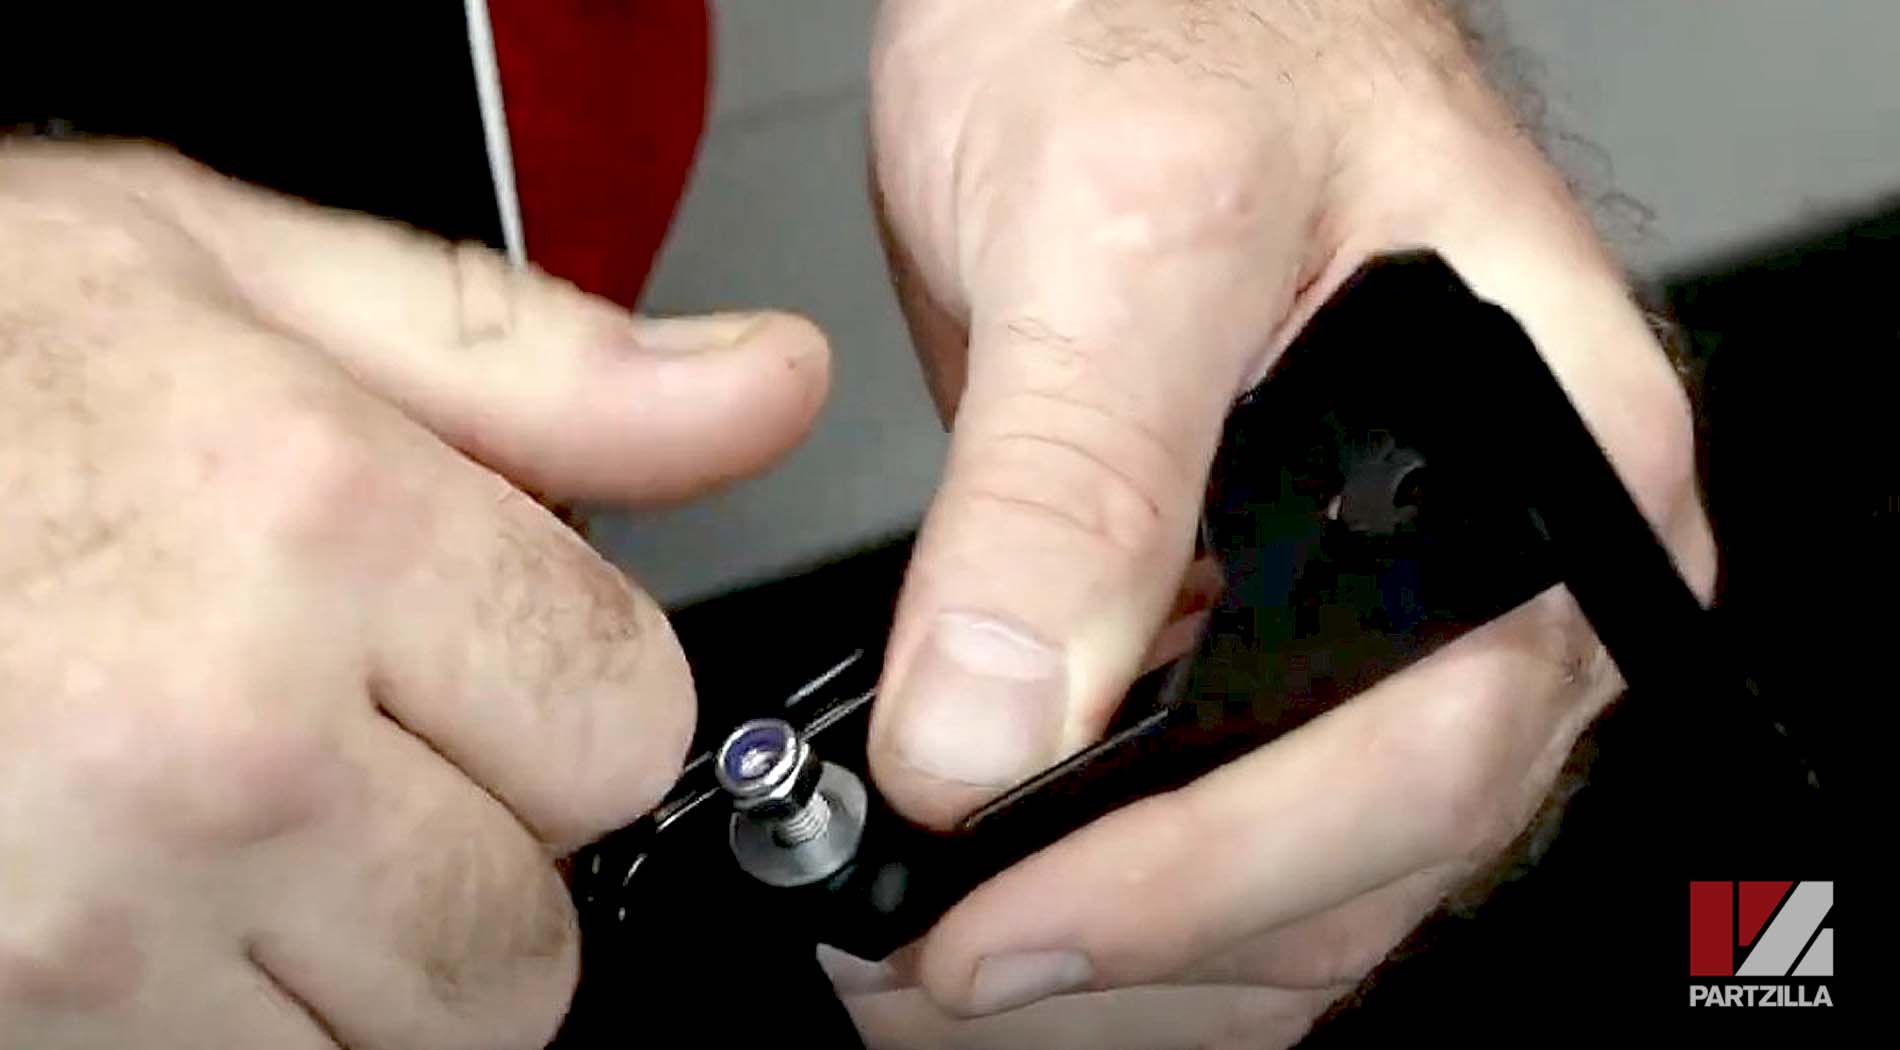
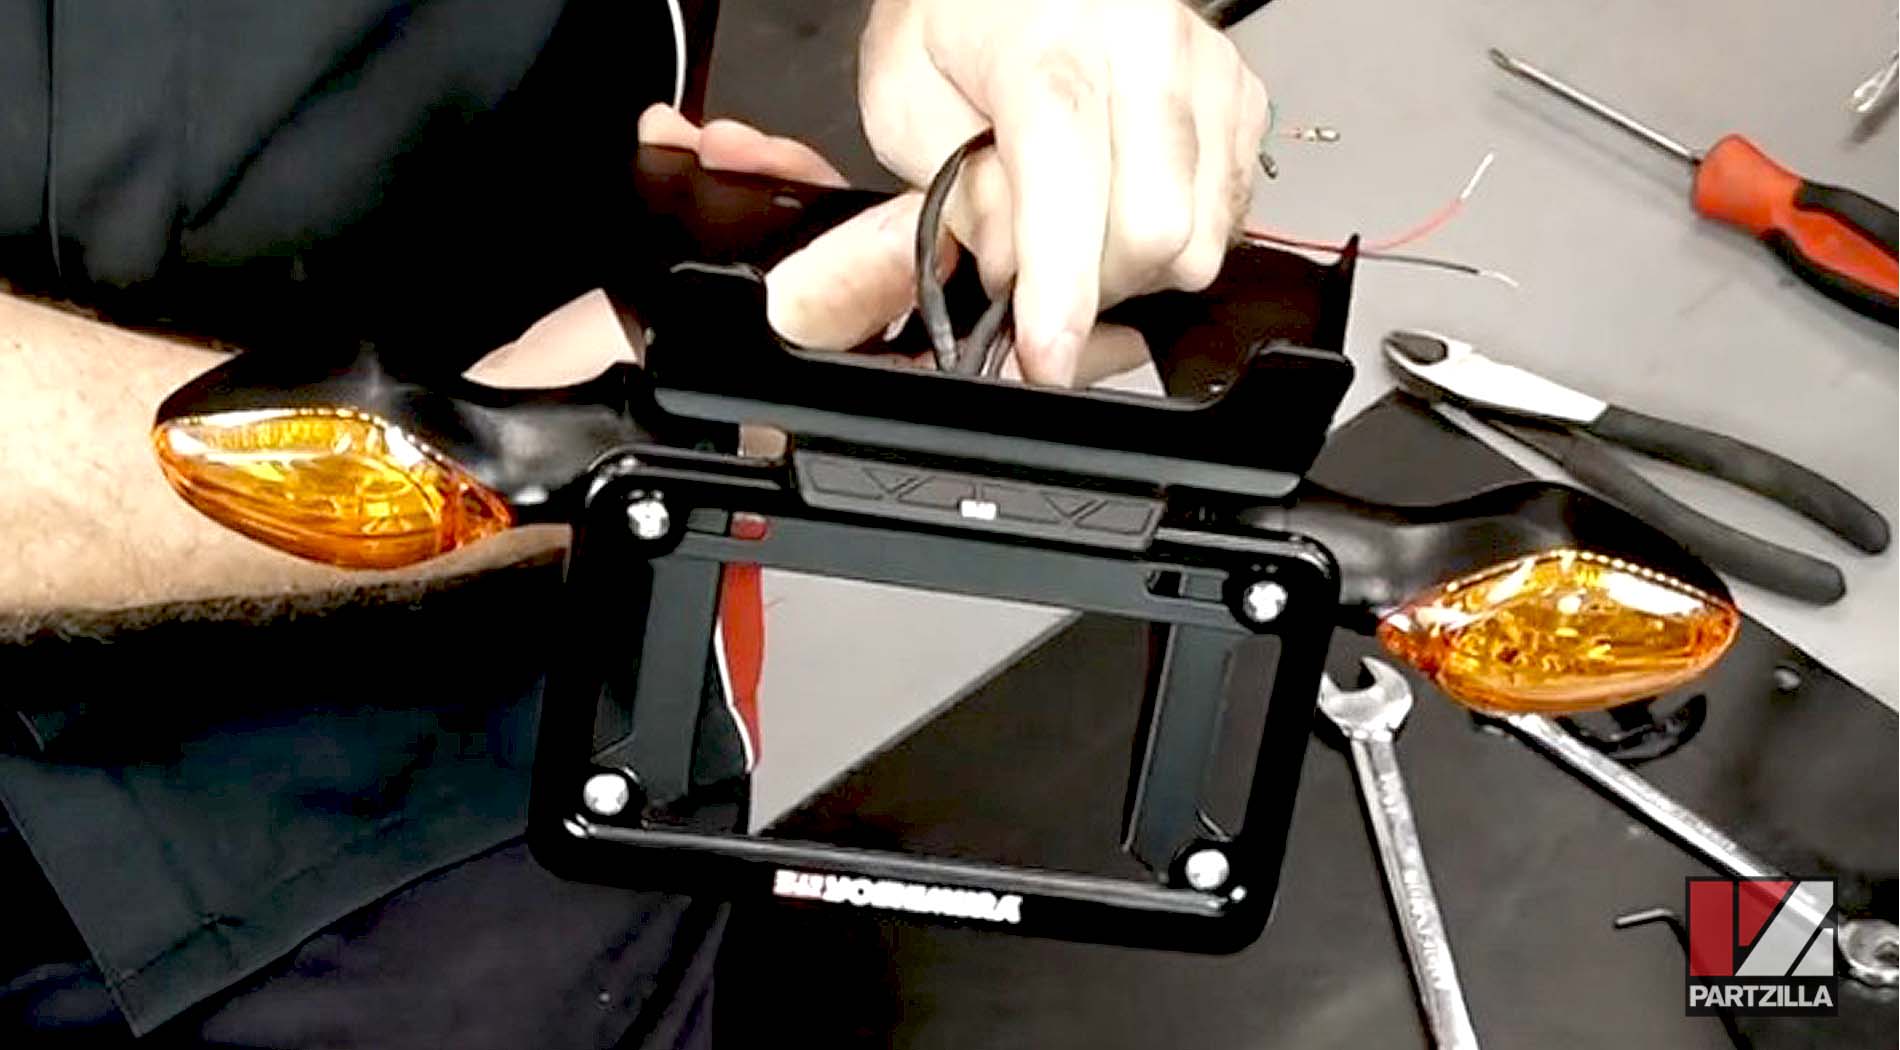
Step 1. Attach the license plate light to the fender eliminator bracket (both included in the Yoshimura fender eliminator kit).
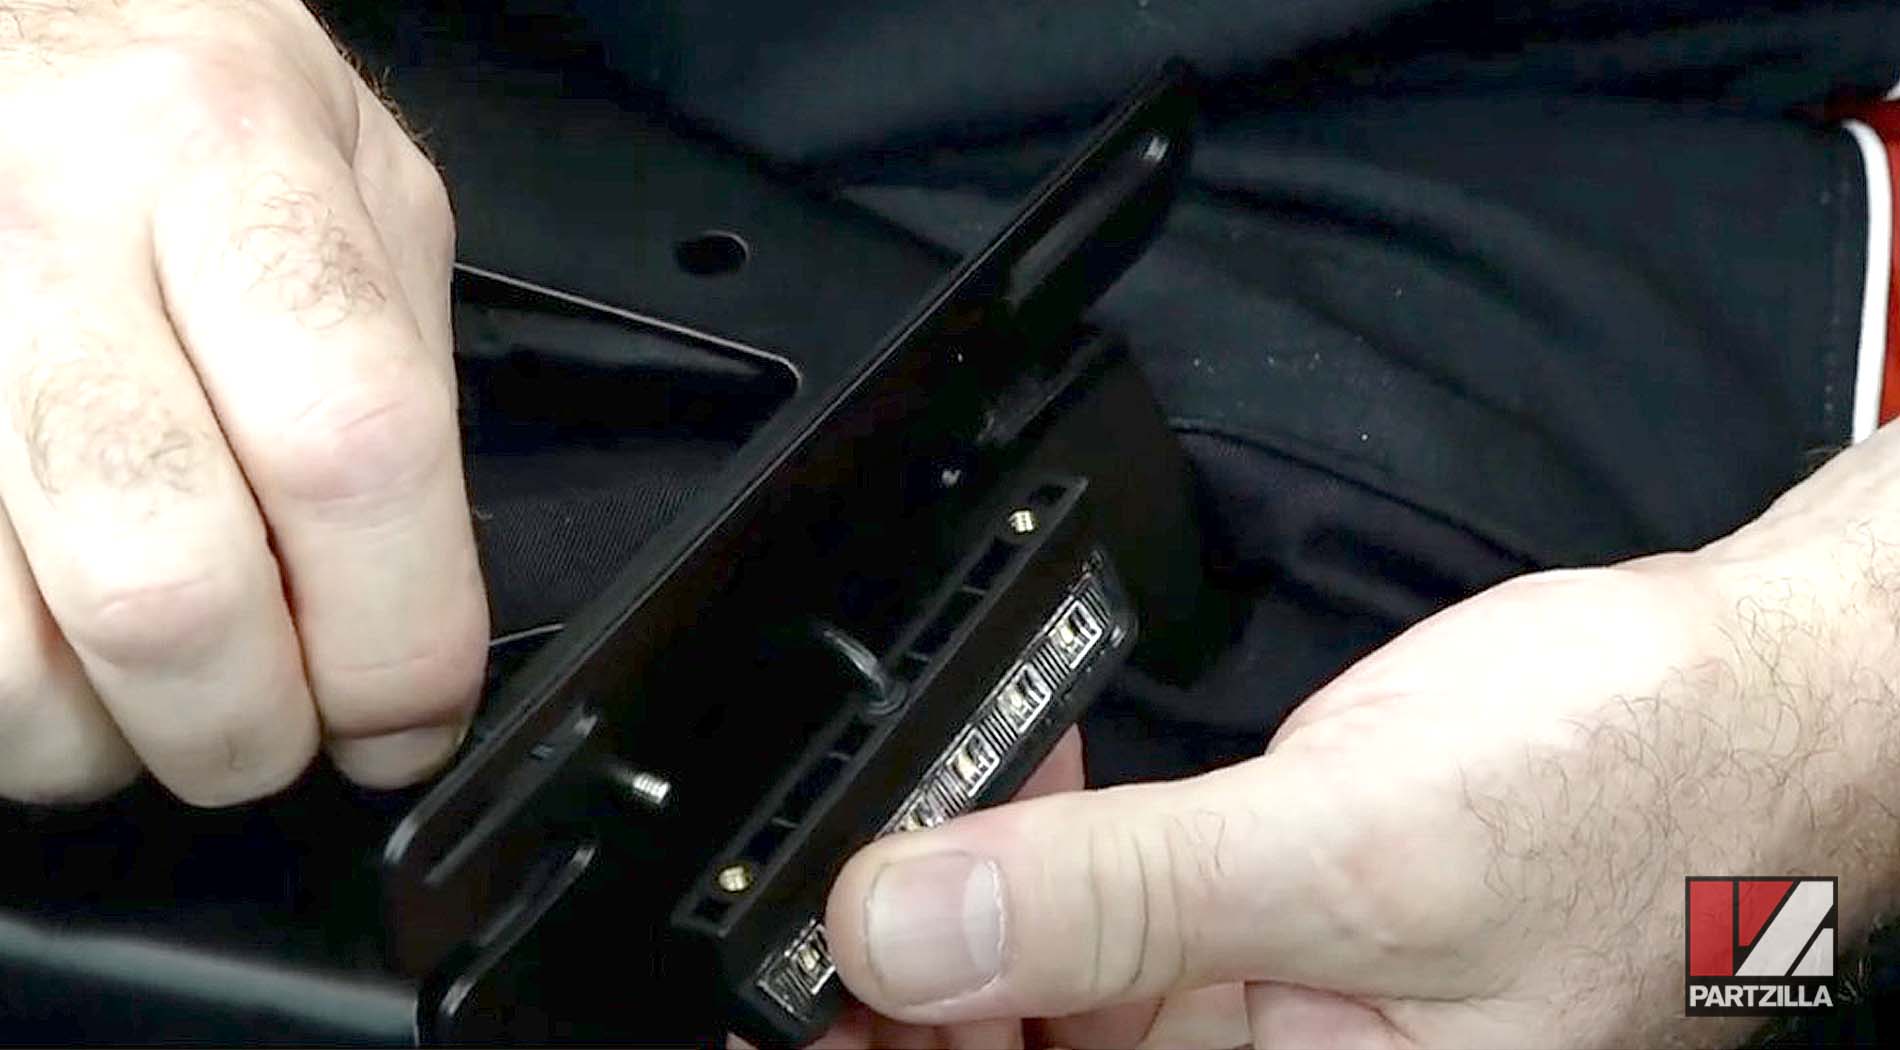
Step 2. Attach the license plate frame and the two turn signal brackets (all included in the fender eliminator kit) to the fender eliminator bracket using the 4mm Allen bolts and 10mm nuts.
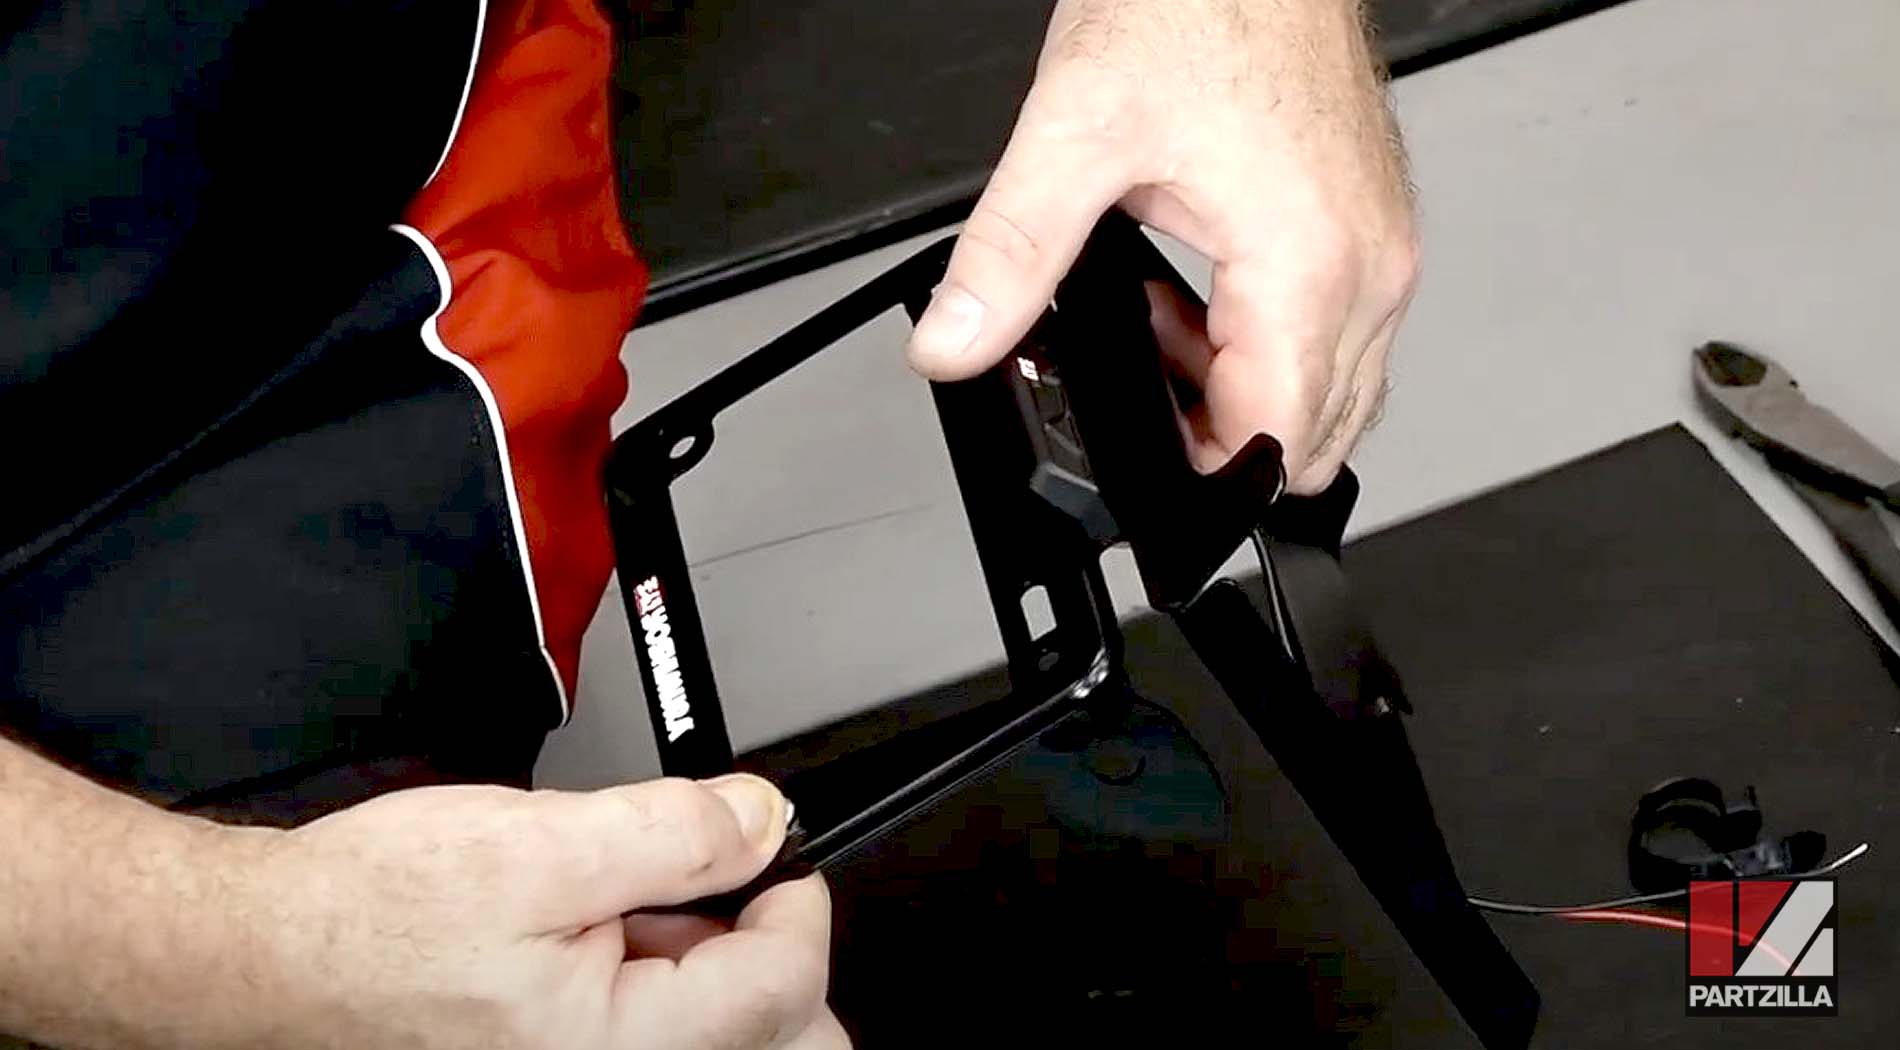
Step 3. Attach the Grom’s turn signals to the fender eliminator bracket, and route the wiring up through the bracket so they are in the correct location.
Watch the clip below to see the rear fender kit assembly segment of our Honda Grom Rear Fender Eliminator Kit video.
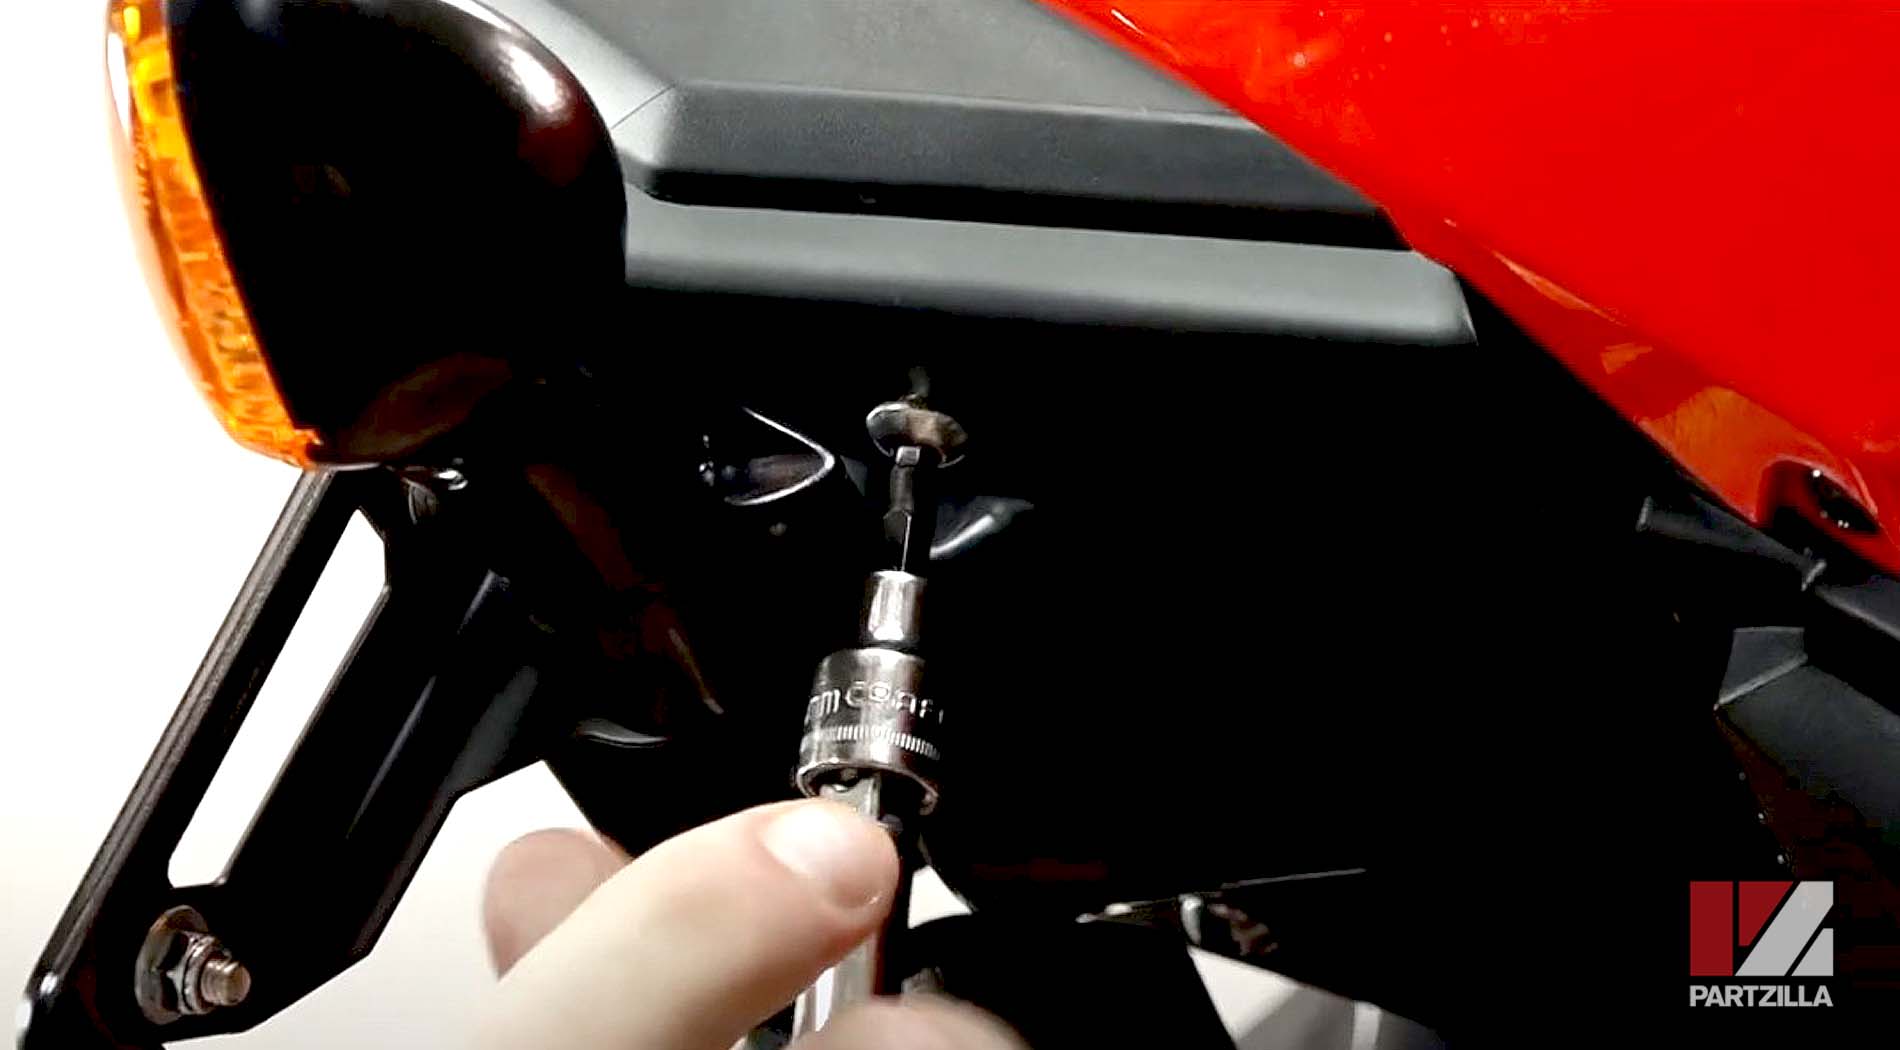
Part 4: Installing Honda Grom Rear Fender Eliminator Kit
Step 1. Loosen the taillight/brake light on the Grom so there is enough clearance for the fender eliminator bracket to slide up behind it.
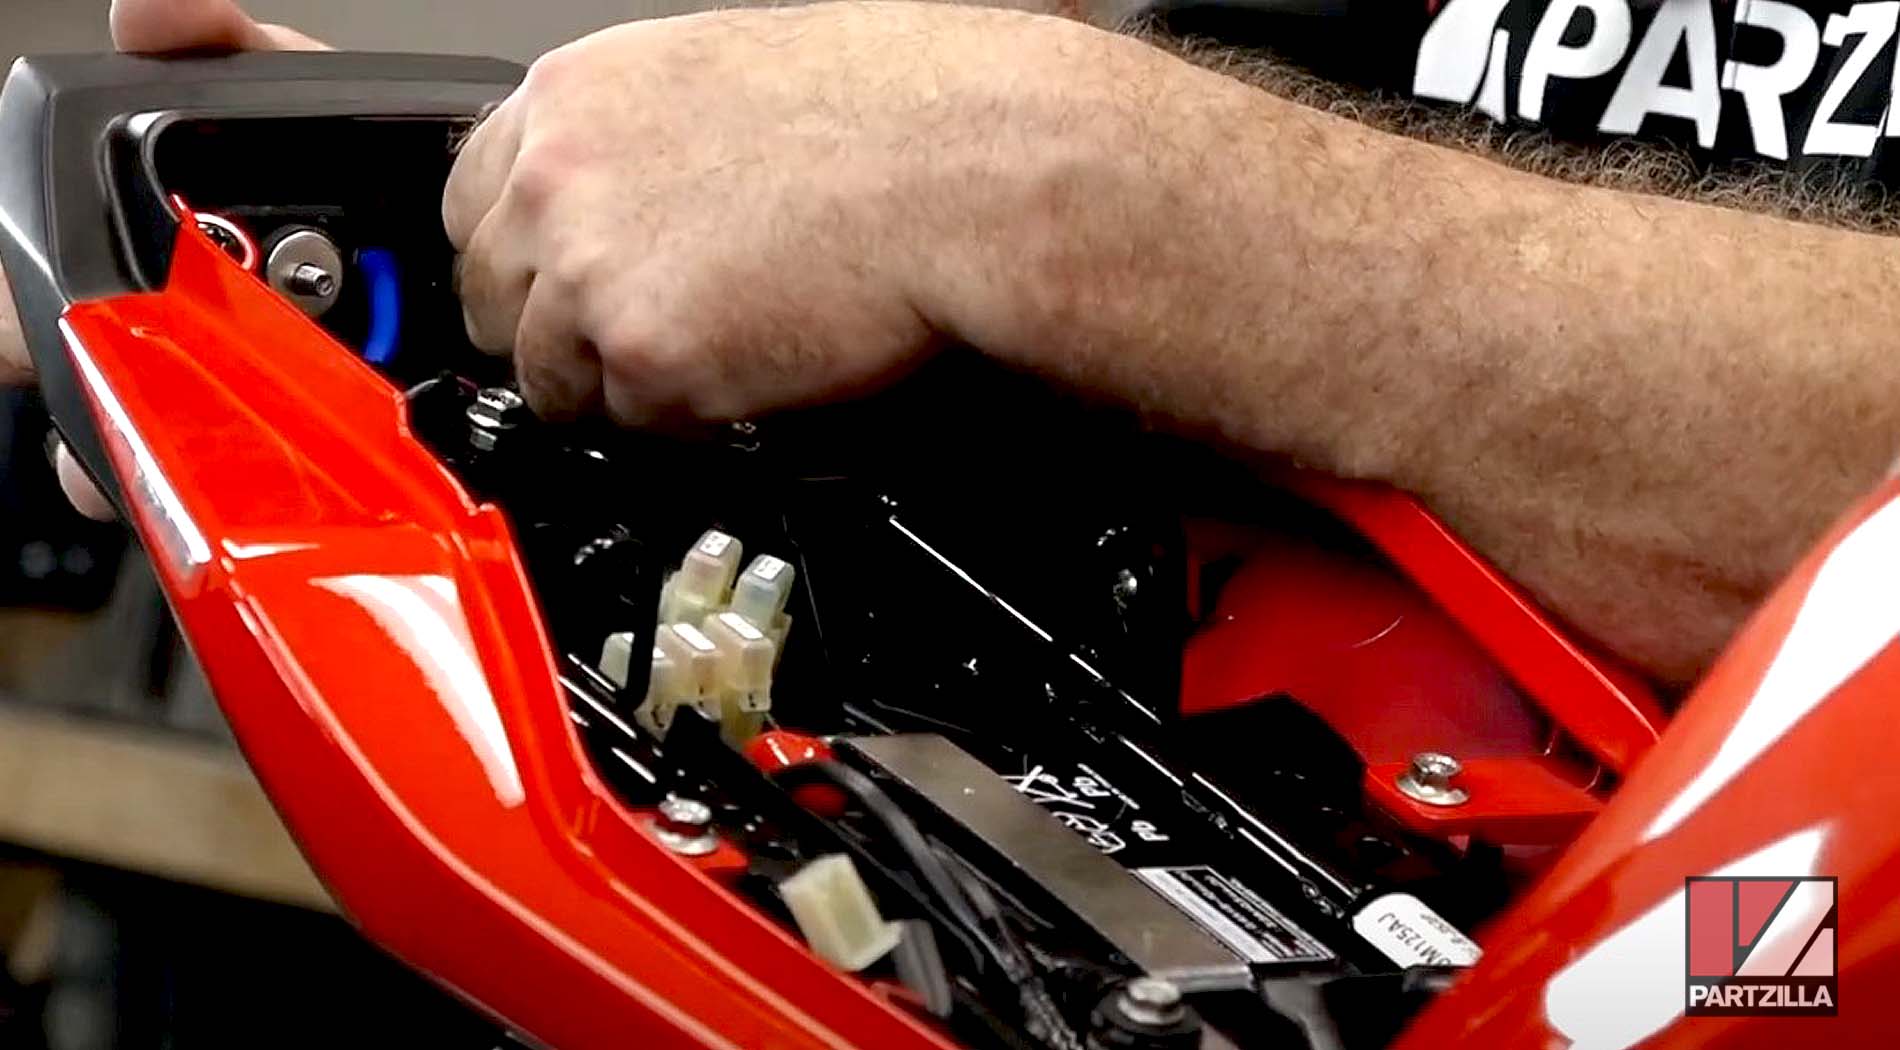
Step 2. Feed the wiring up through the upper fender, then slide the fender eliminator bracket under the seat pan and behind the rear light, and install the fender eliminator bracket assembly using the 8mm Allen bolts and the 8mm nuts.
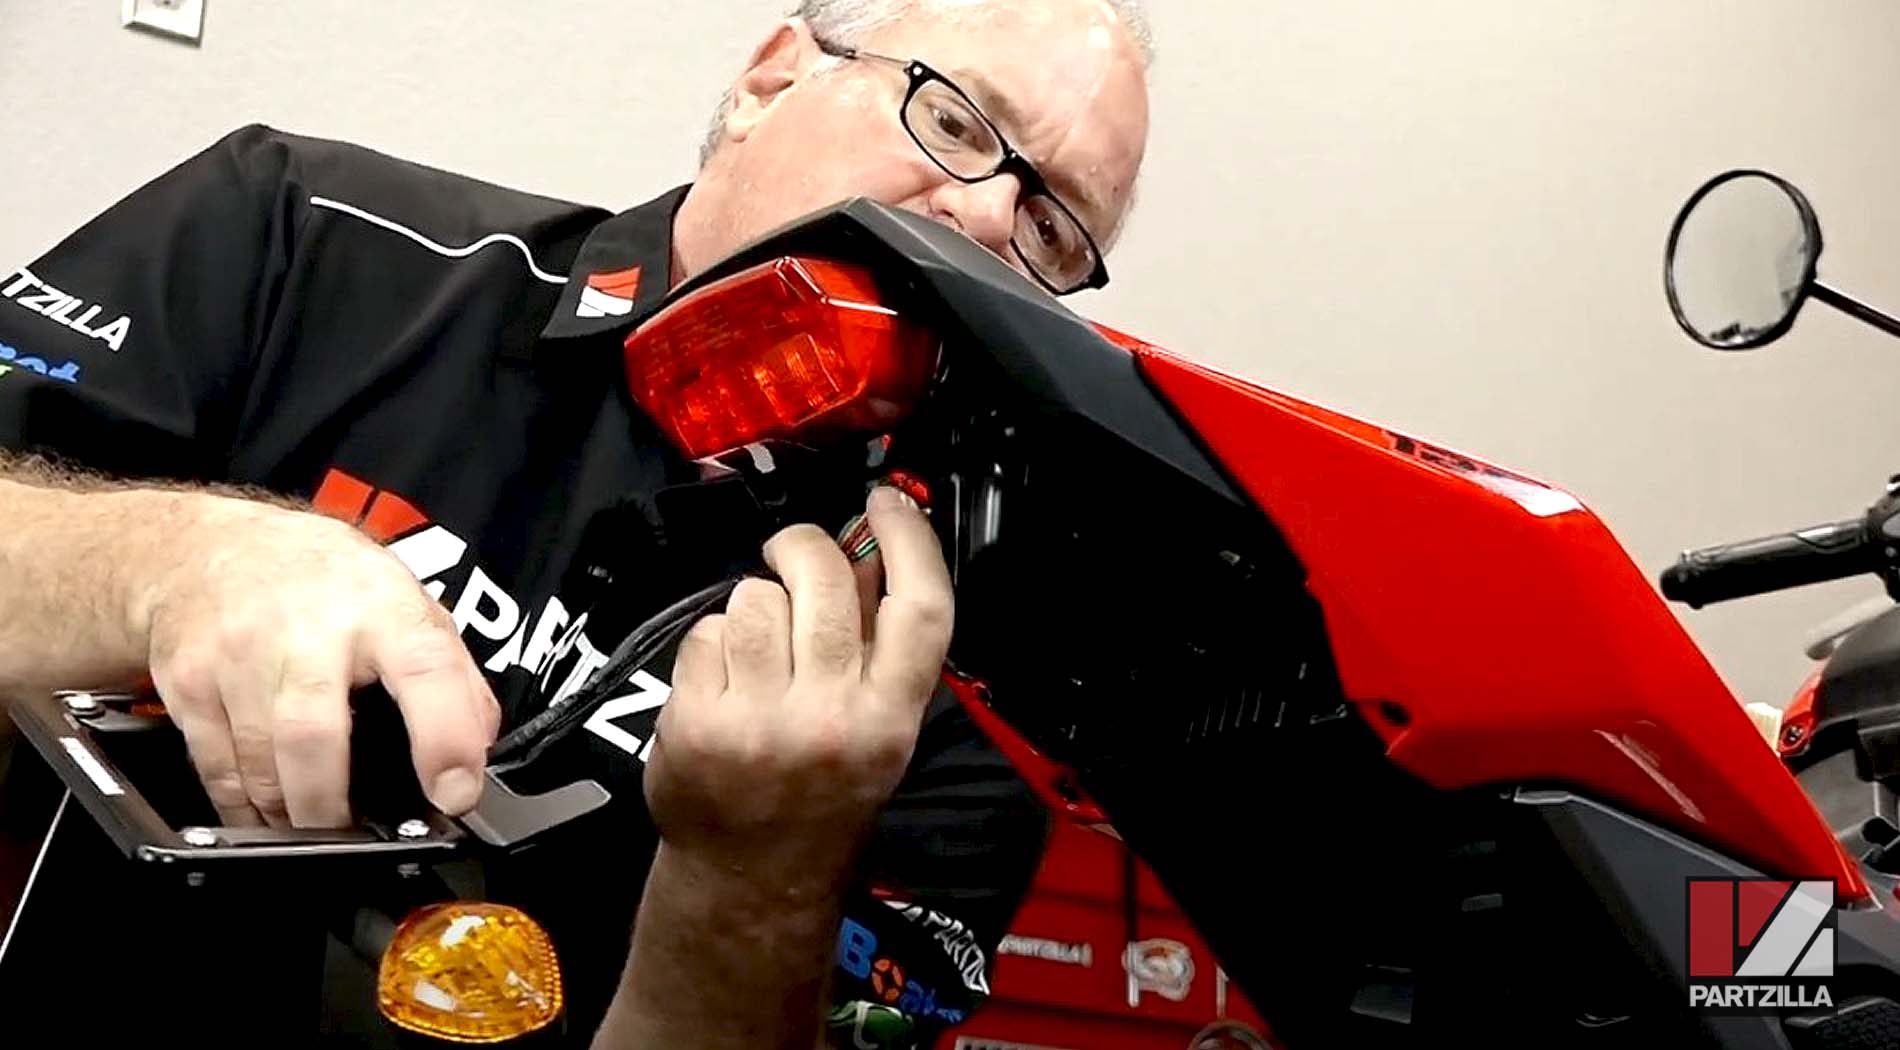

Step 3. Re-tighten the taillight/brake light, then reconnect the wires serving the turn signals to the sub-harness and reconnect the sub-harness to the main wiring harness.
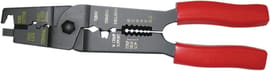
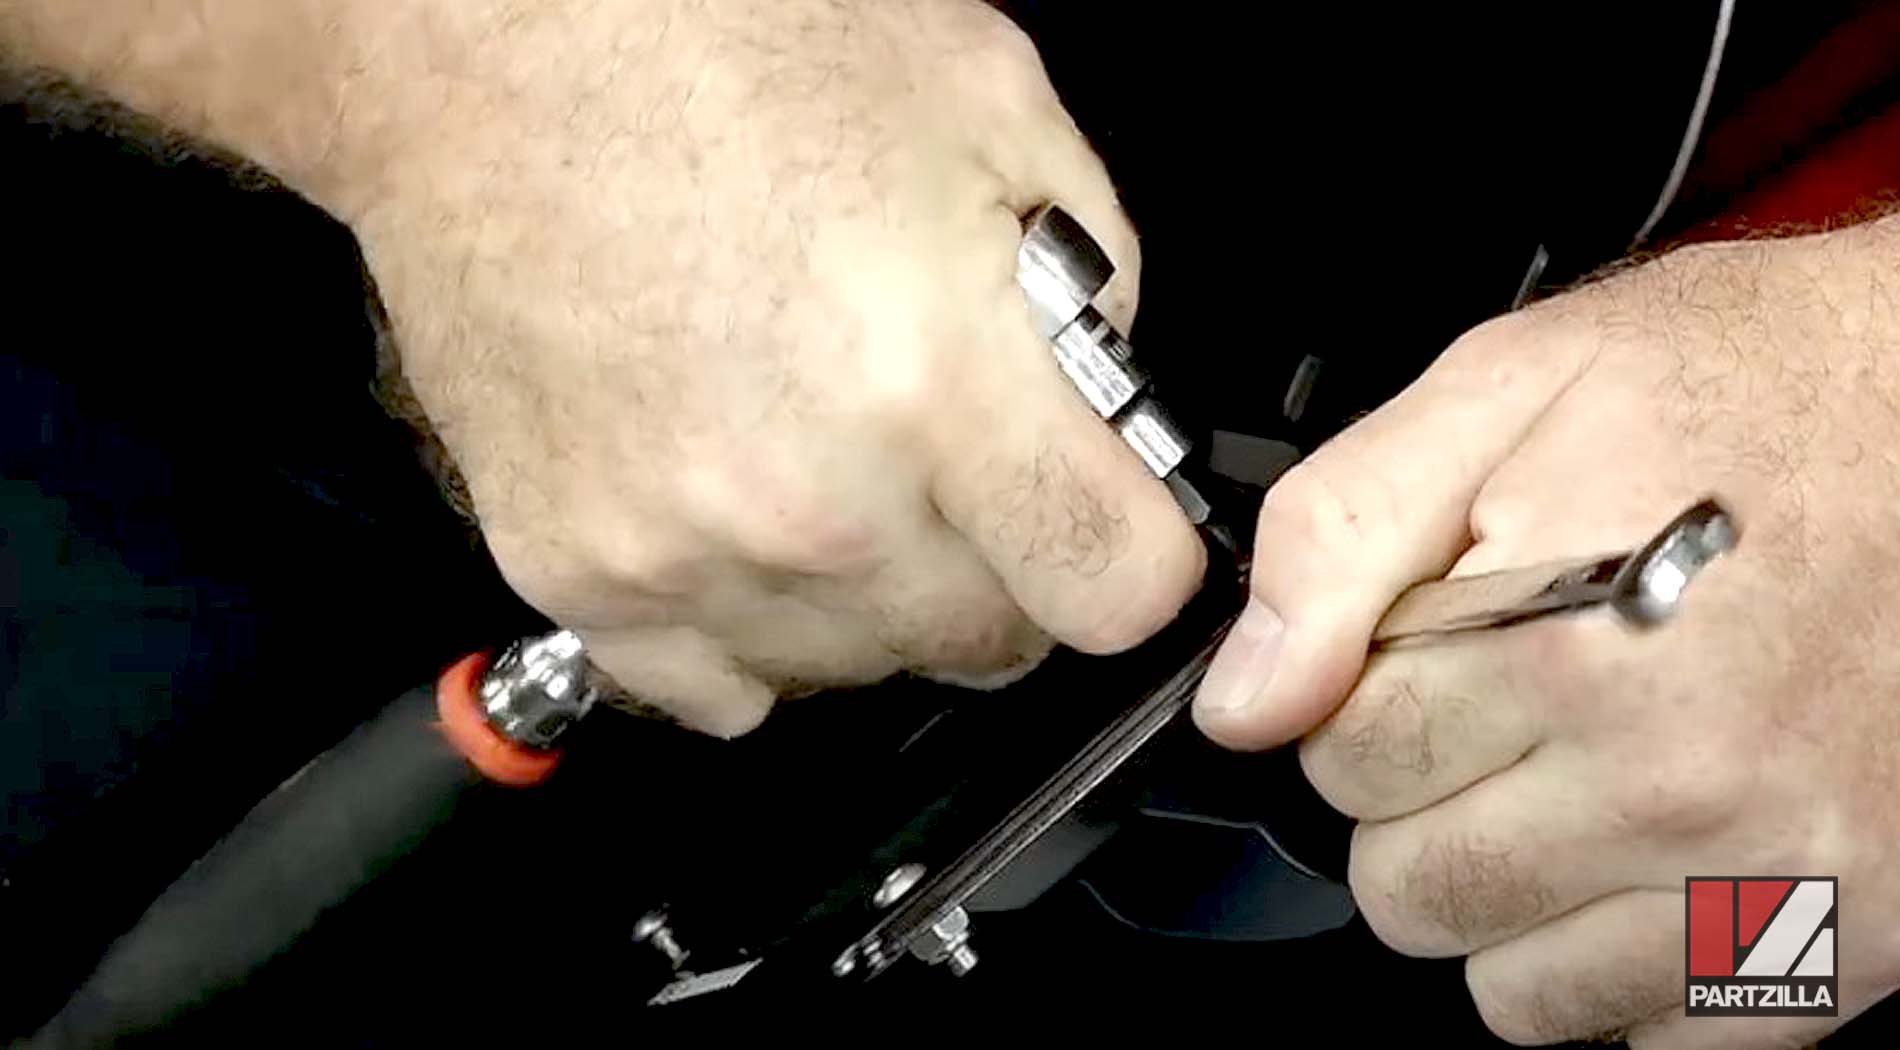
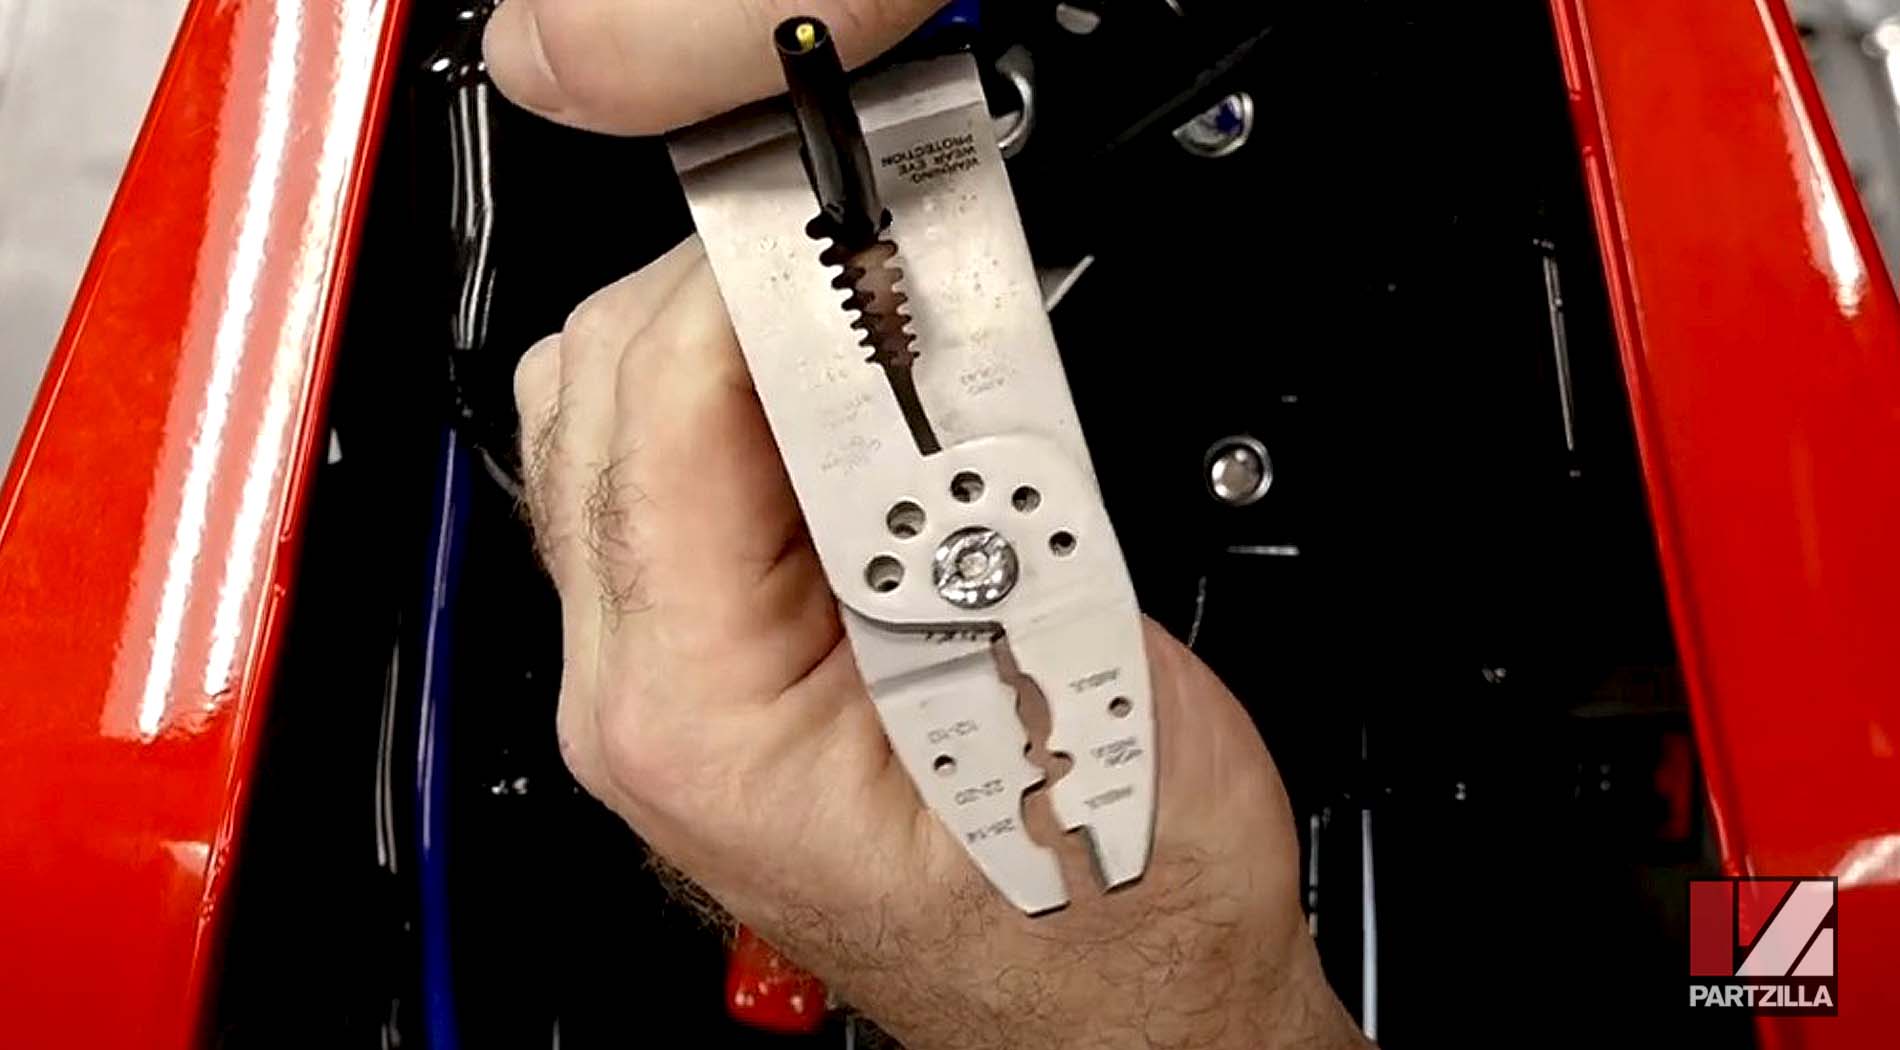
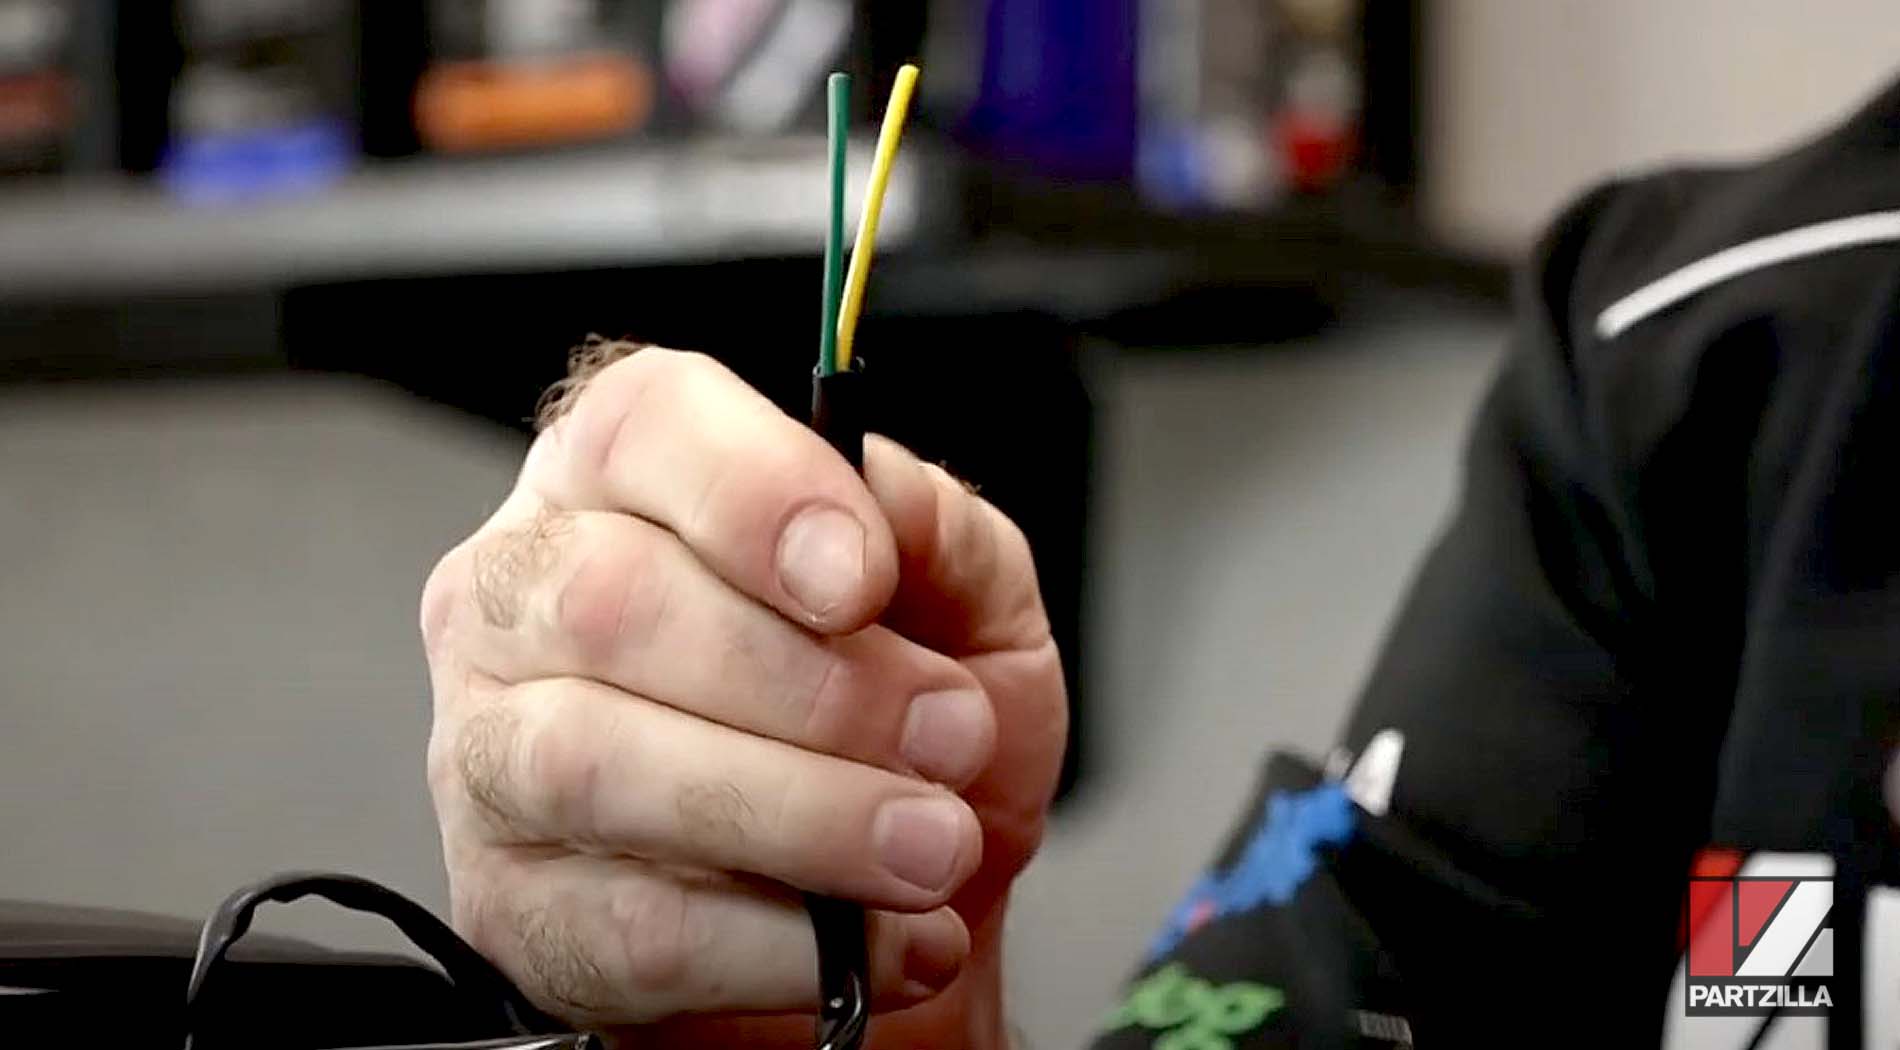
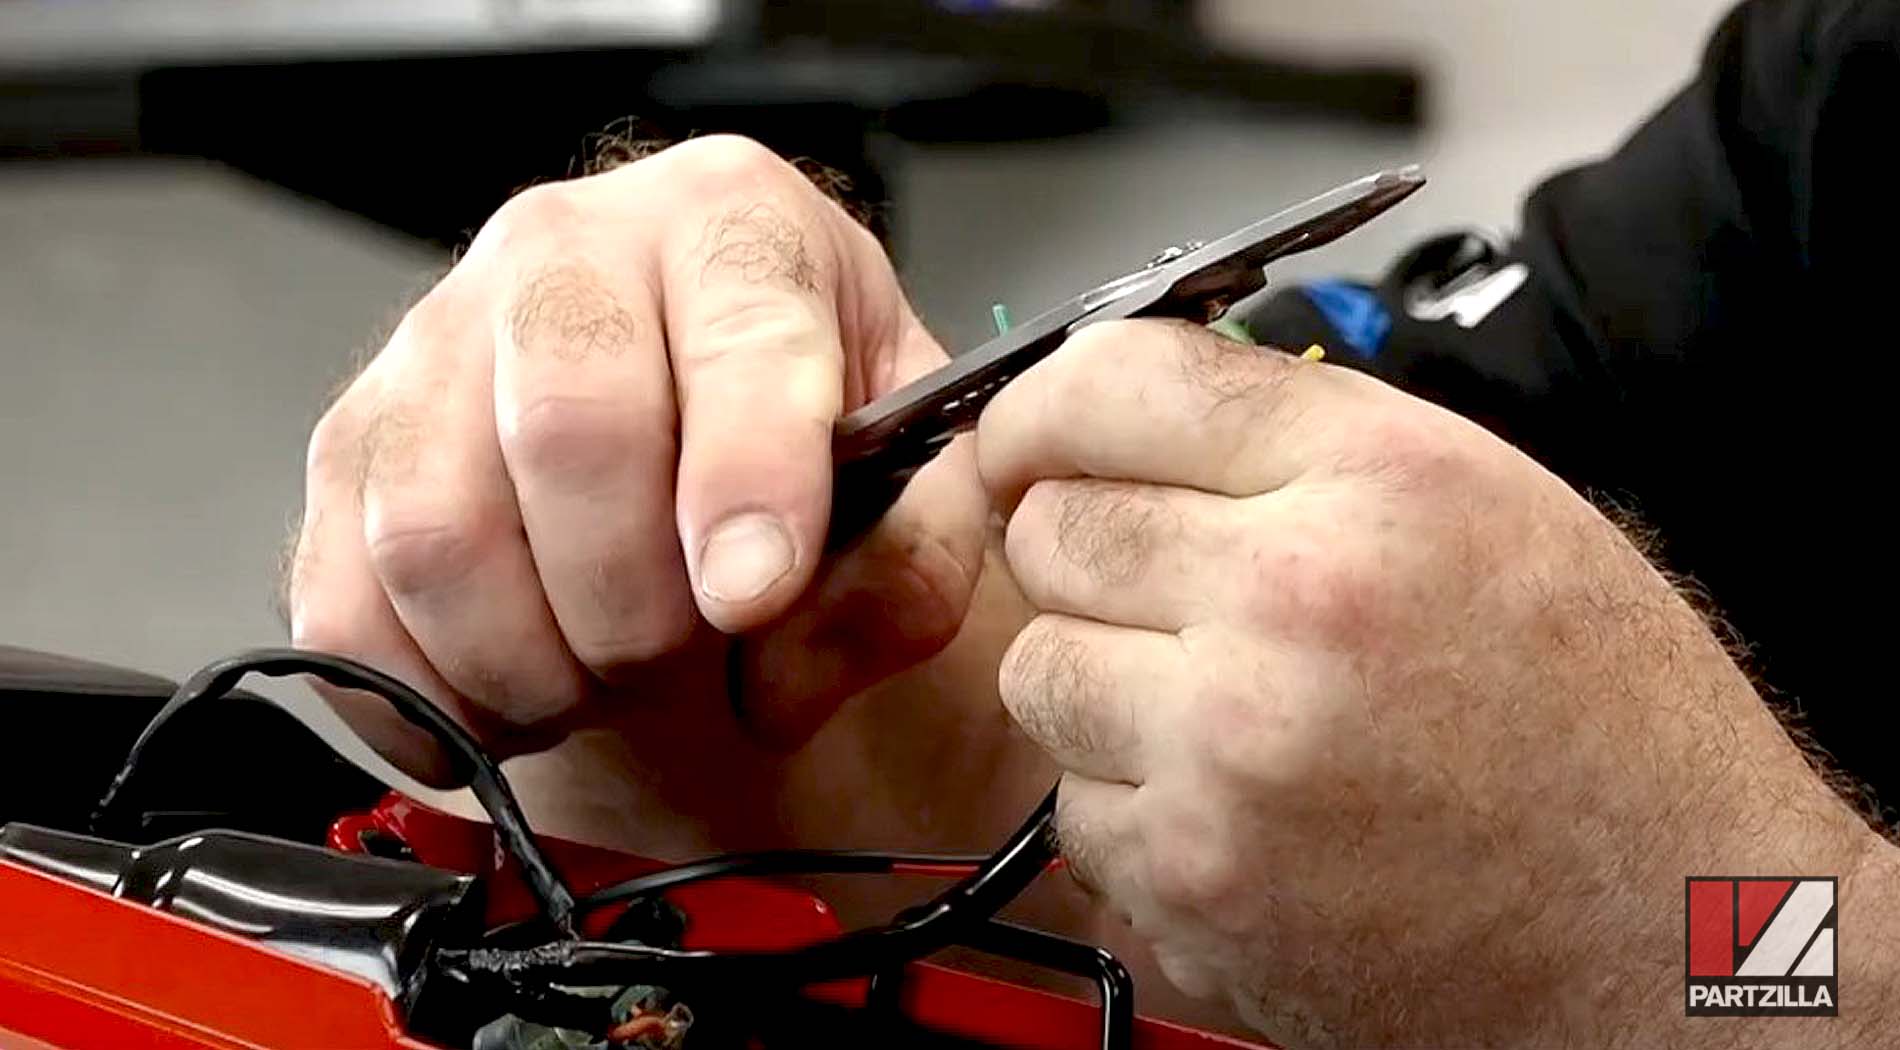
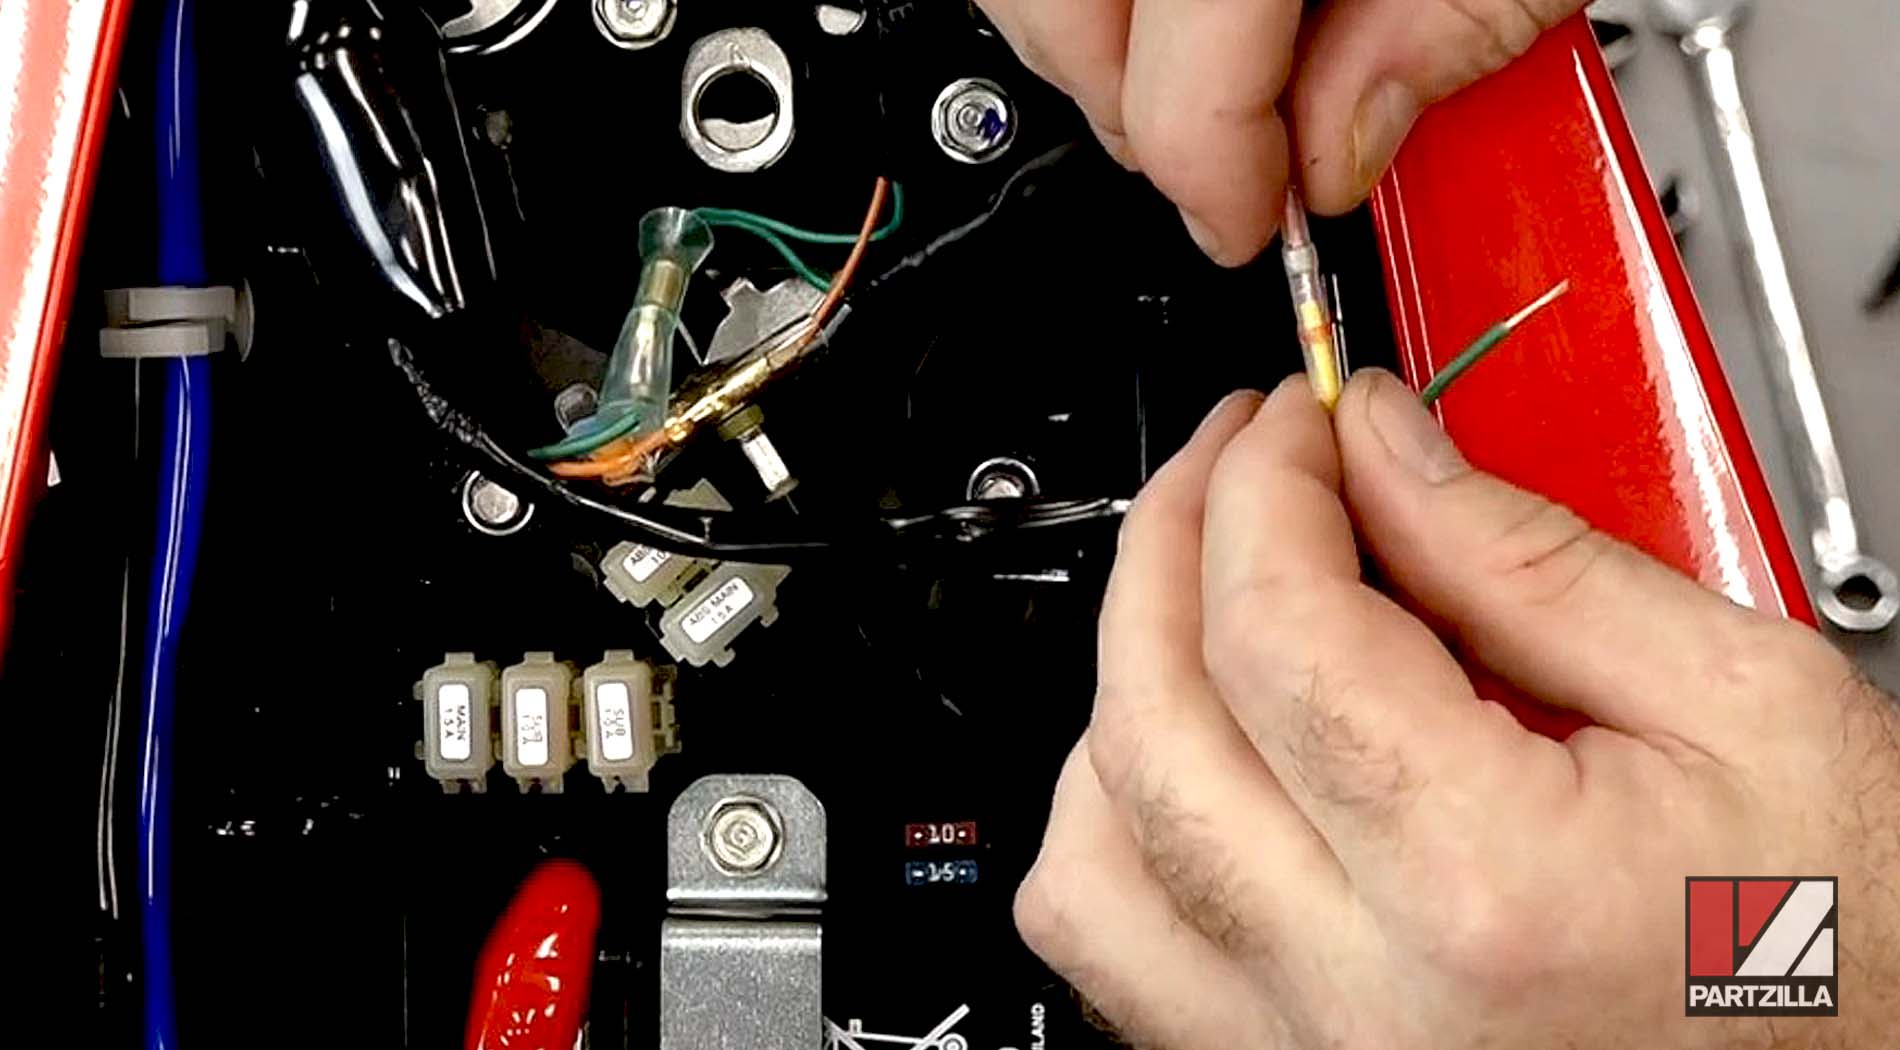
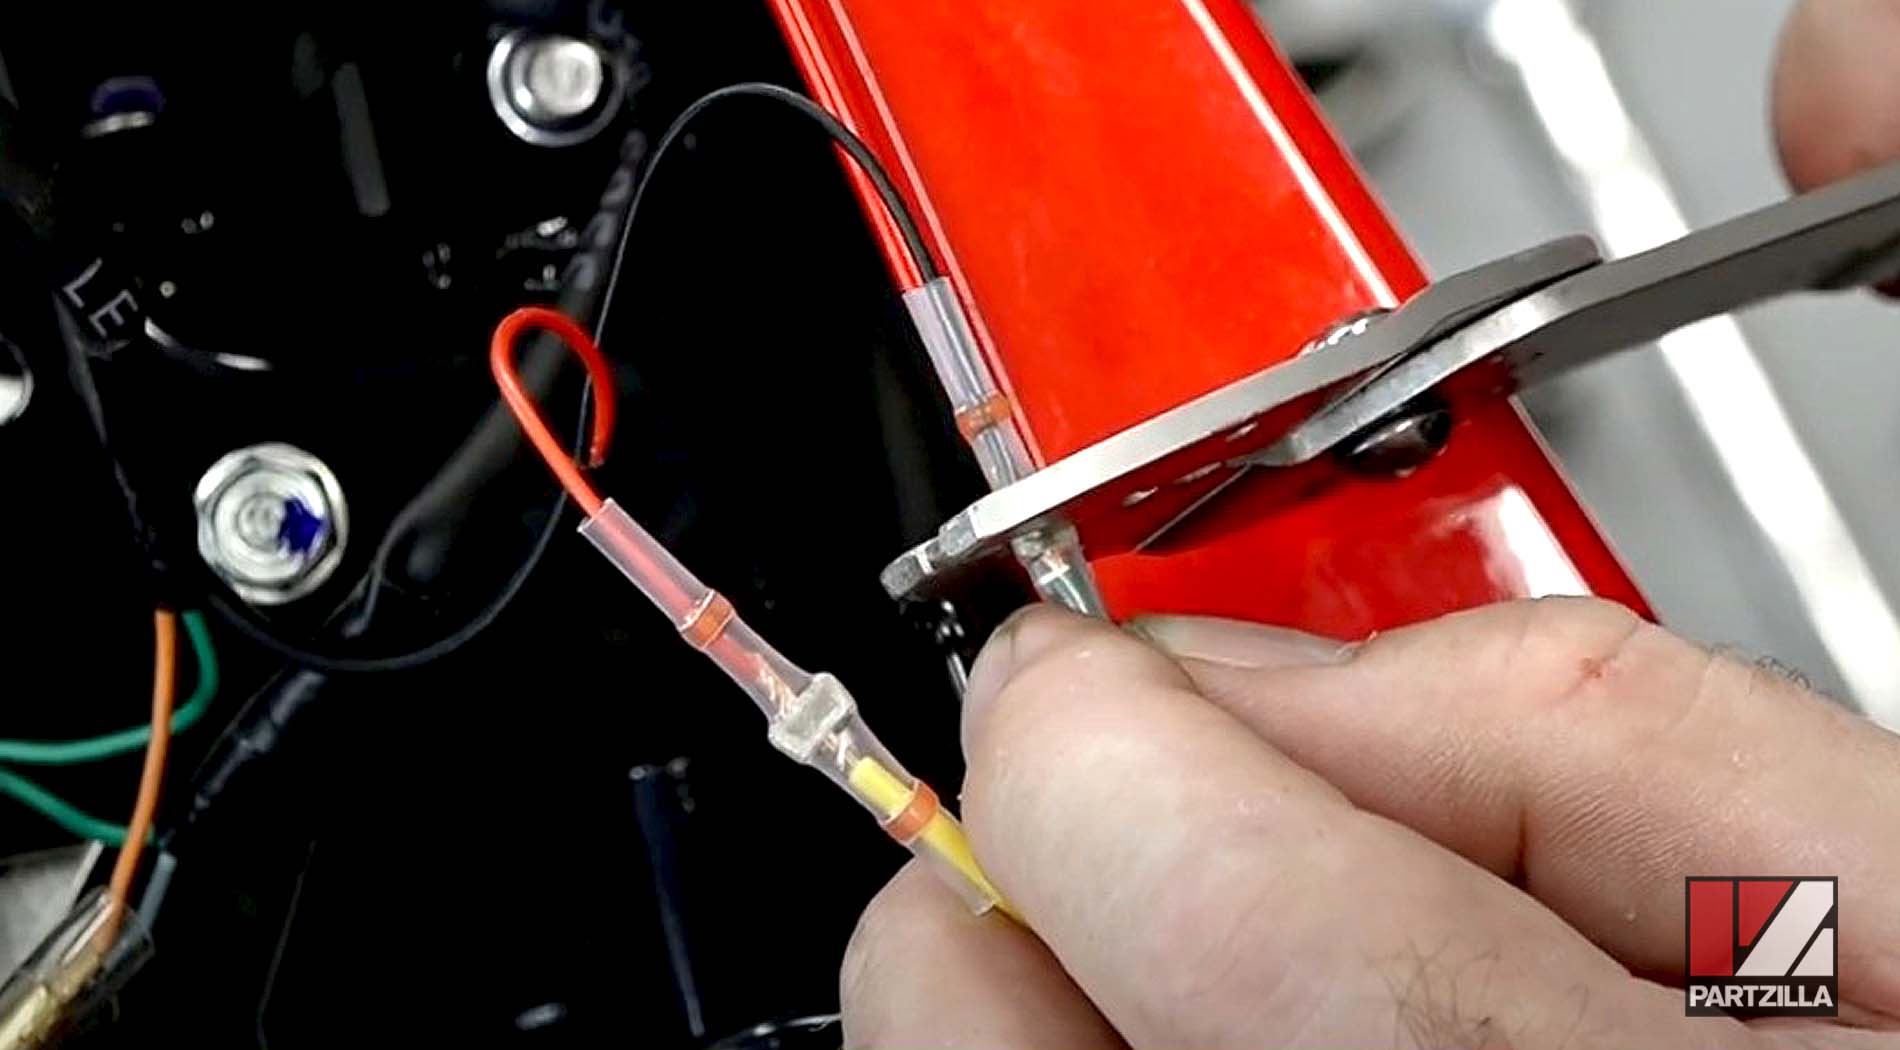
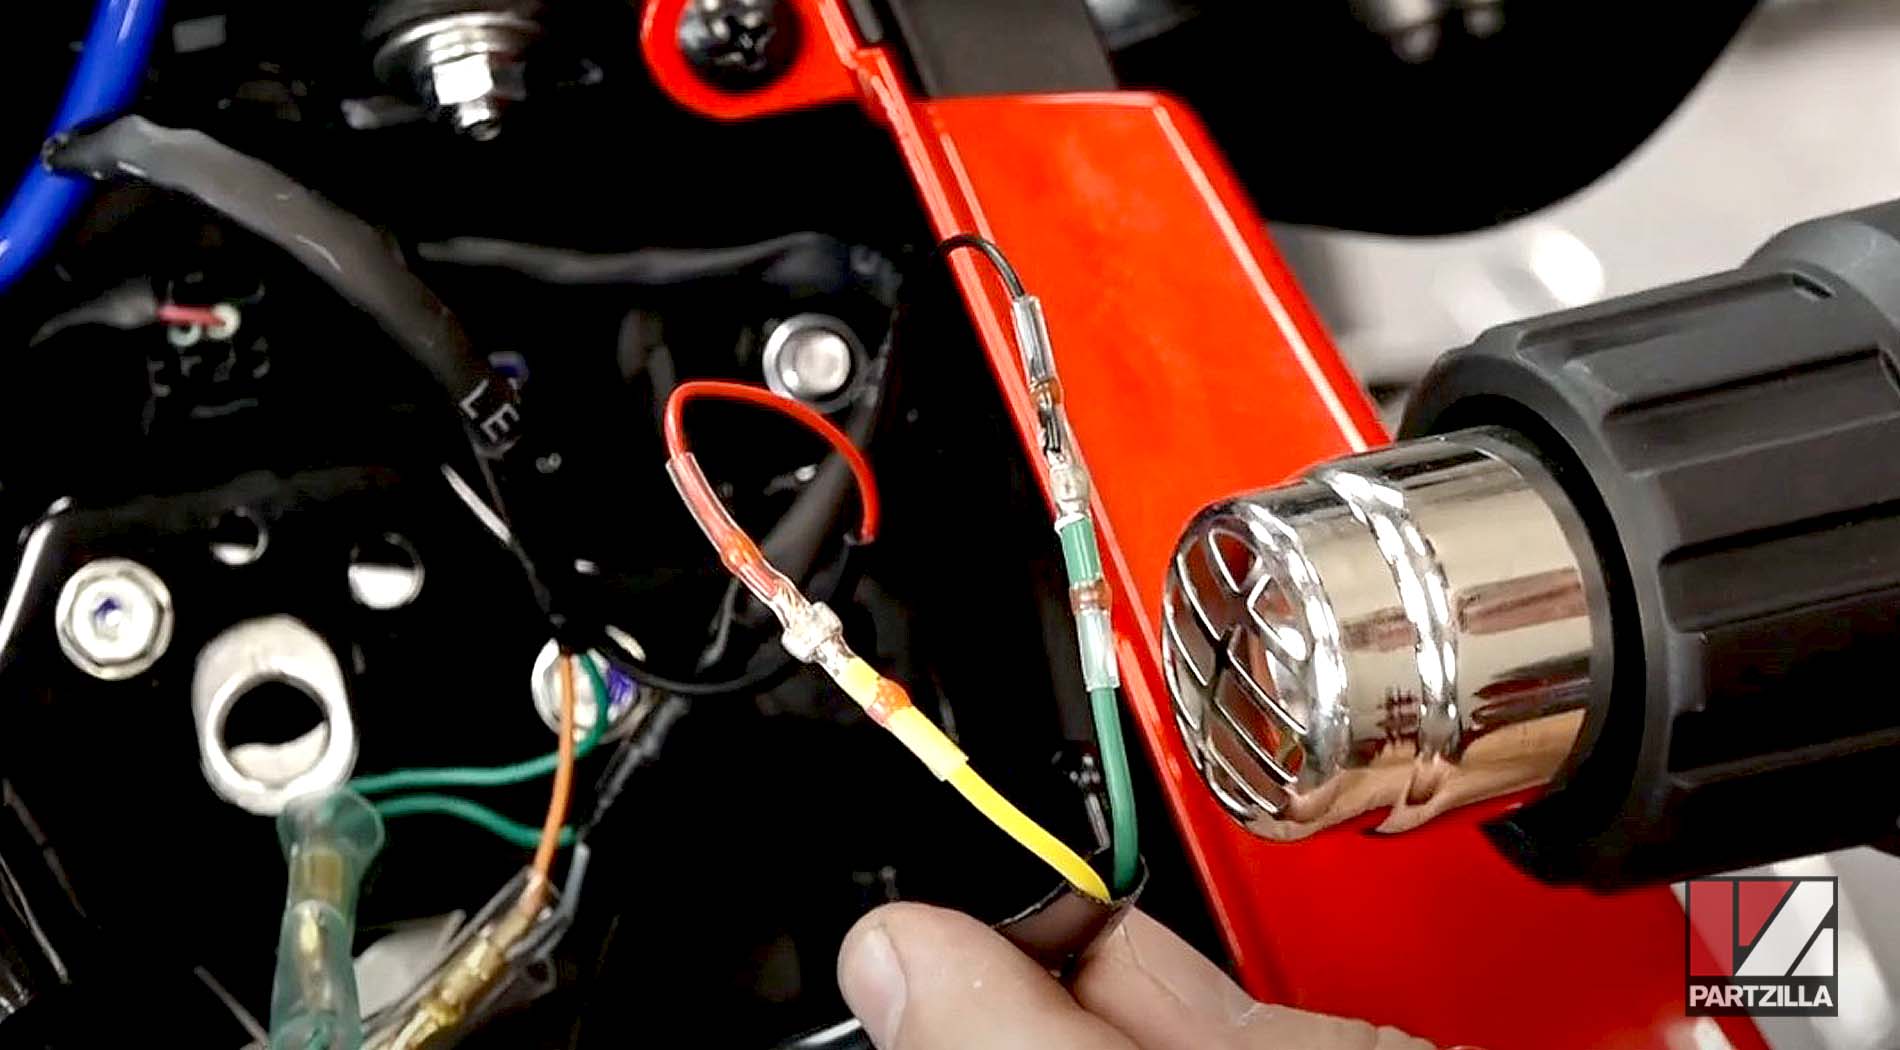
Step 4. Strip a length of the wire serving the license plate light from the sub-harness, and attach it to the wires from the new license plate light using a crimp tool and heat gun.
- Connect the sub-harness yellow wire to the license plate light red wire
- Connect the sub-harness green wire to the license plate light black wire
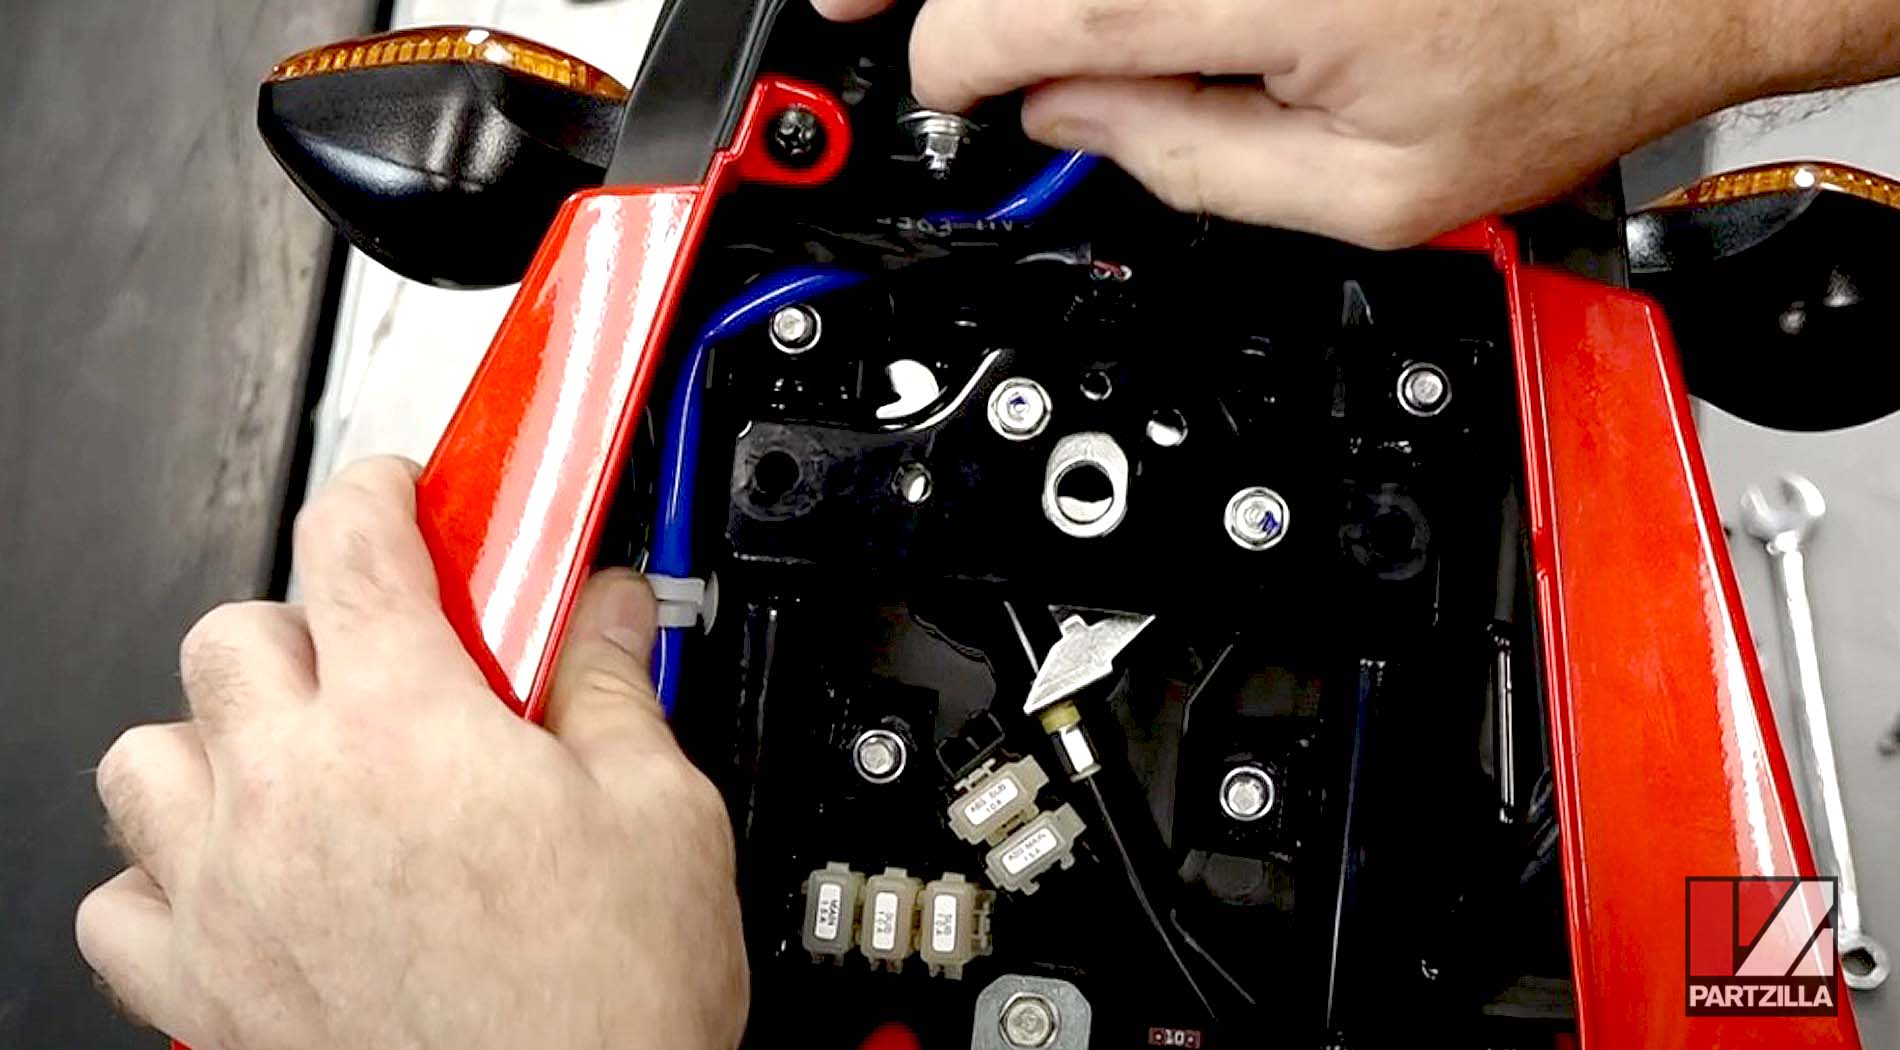
Step 5. Route the sub-harness back into the cable holders along the Grom’s frame and reinstall the seat.

Watch the clip below to see the rear fender kit installation segment of our Honda Grom Rear Fender Eliminator Kit video.
Now that the fender eliminator kit is installed on our Honda Grom, next we install a Driven Racing rearset and footpegs. Watch the video below to see the how to install an adjustable footpeg and rearset on a Honda Grom.