Honda Goldwing GL1800 Clutch Pack Replacement
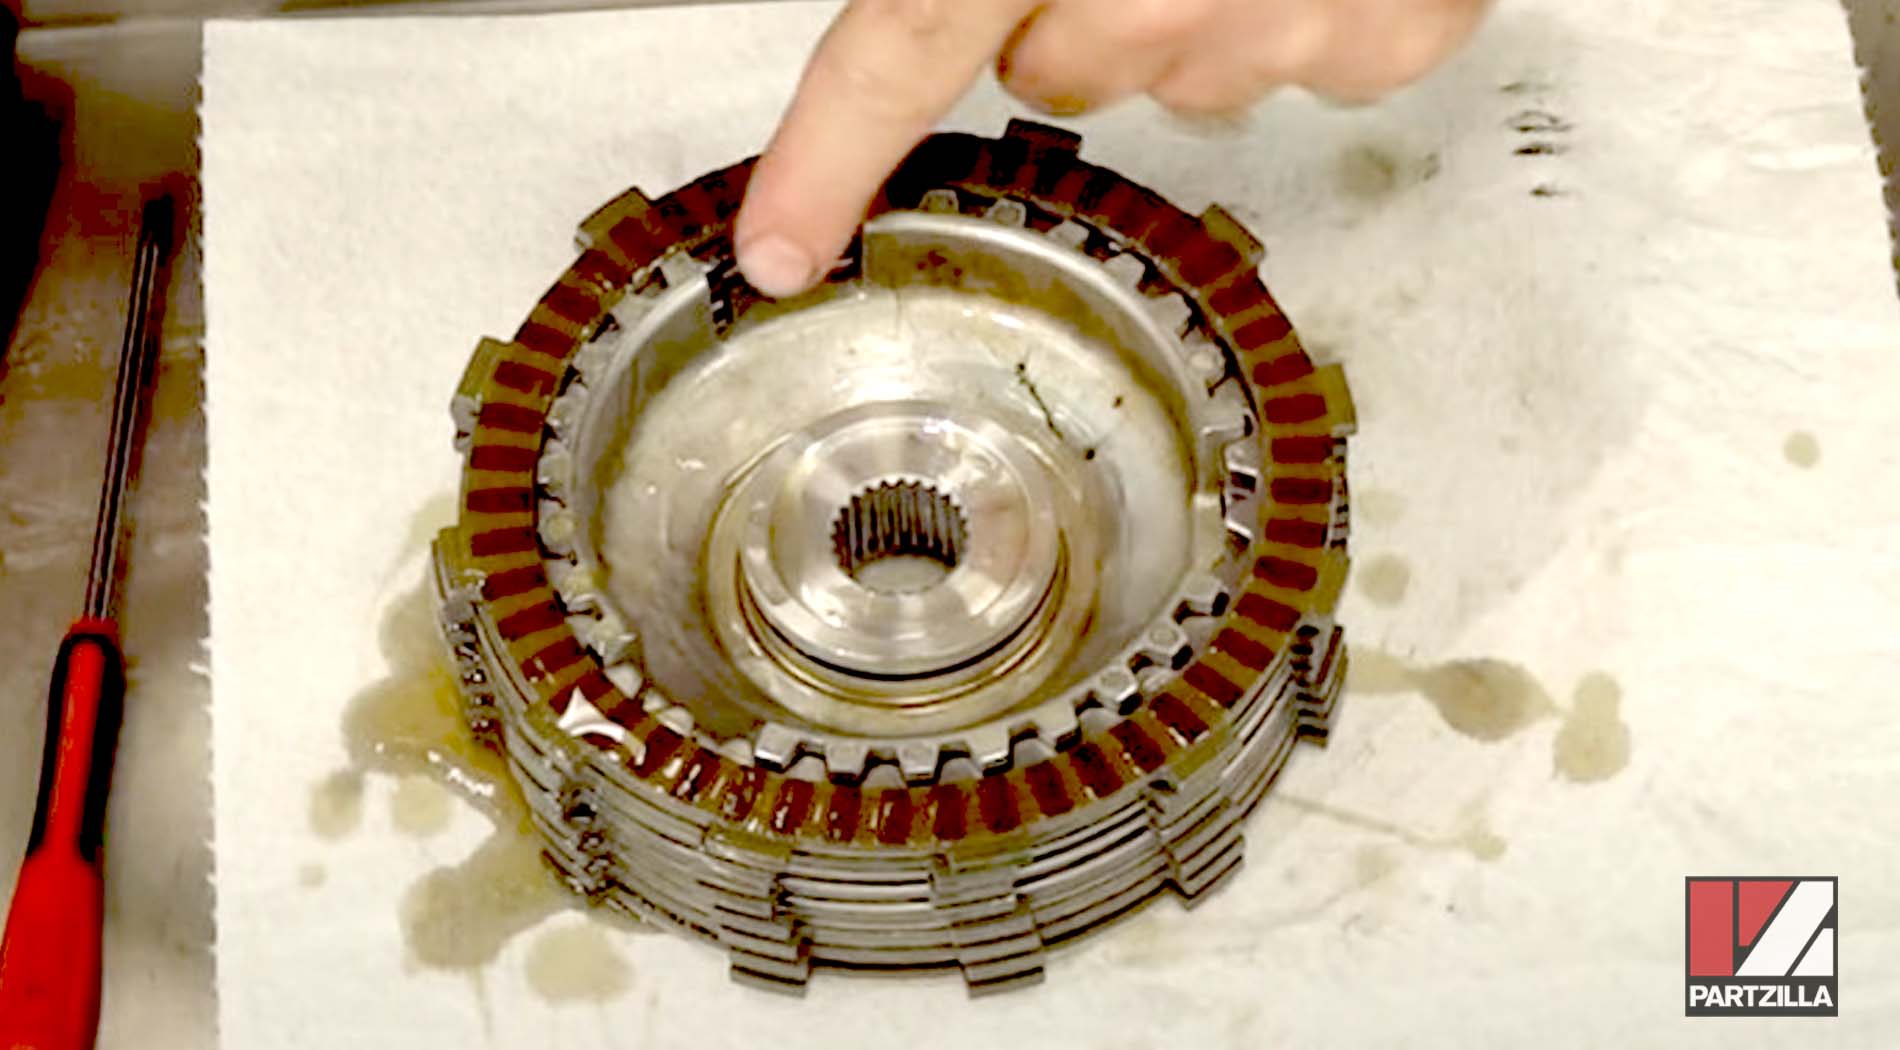
If your Honda motorcycle starts slipping when you're leaving a stopped state, it's time to take a look at the clutch and be ready to replace it. That’s because all the fiber discs in the clutch are starting to break down, and all the little pieces and particles are flowing around inside the engine.
Replacing the clutch on a Honda Goldwing is no easy task, but it’ll save you a lot of money if you do it yourself. Watch the video above or follow the steps below to replace the clutch pack on a Honda GL1800 Goldwing motorcycle.
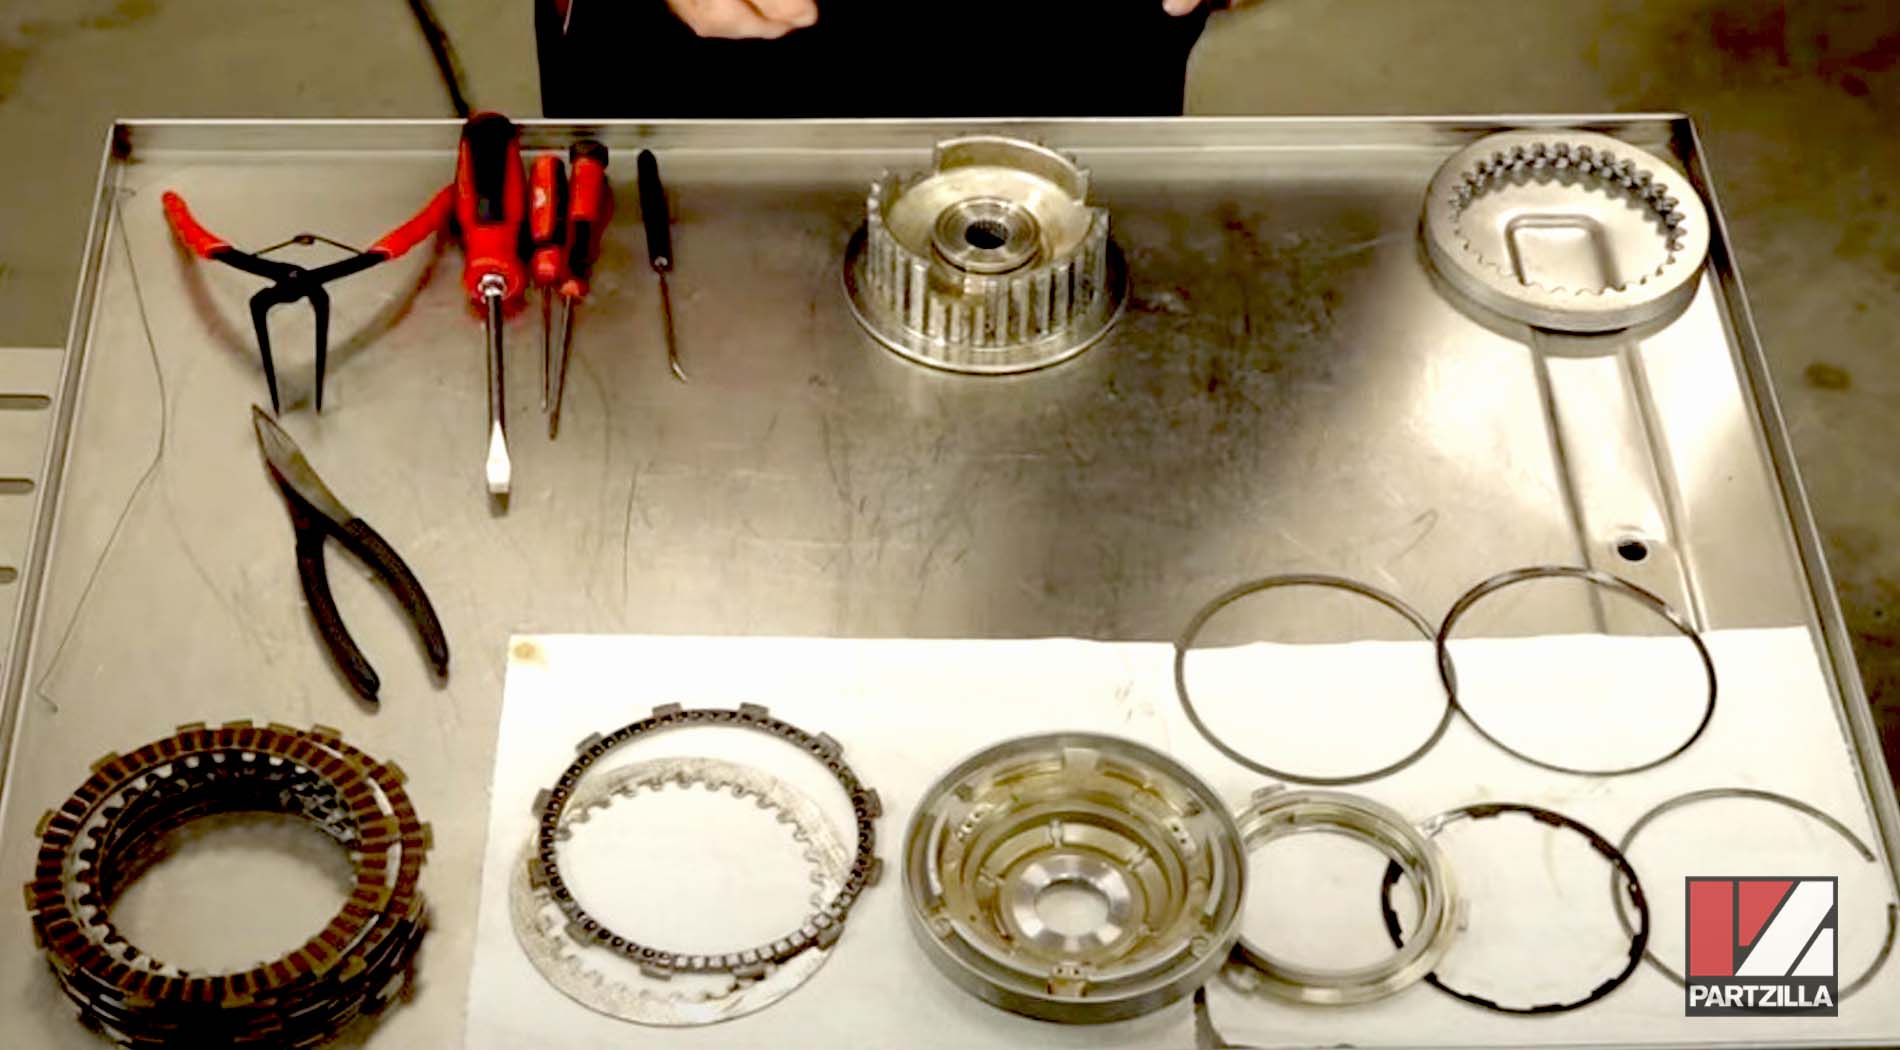
Tools and Parts - Honda Goldwing Clutch Replacement
- Ratchet and extensions
- Assorted wrenches
- Digital torque wrench
- Flat-blade screwdriver
- Engine oil
- Drain pan
- Circlip pliers
- Gasket scraper
- Contact/brake cleaner
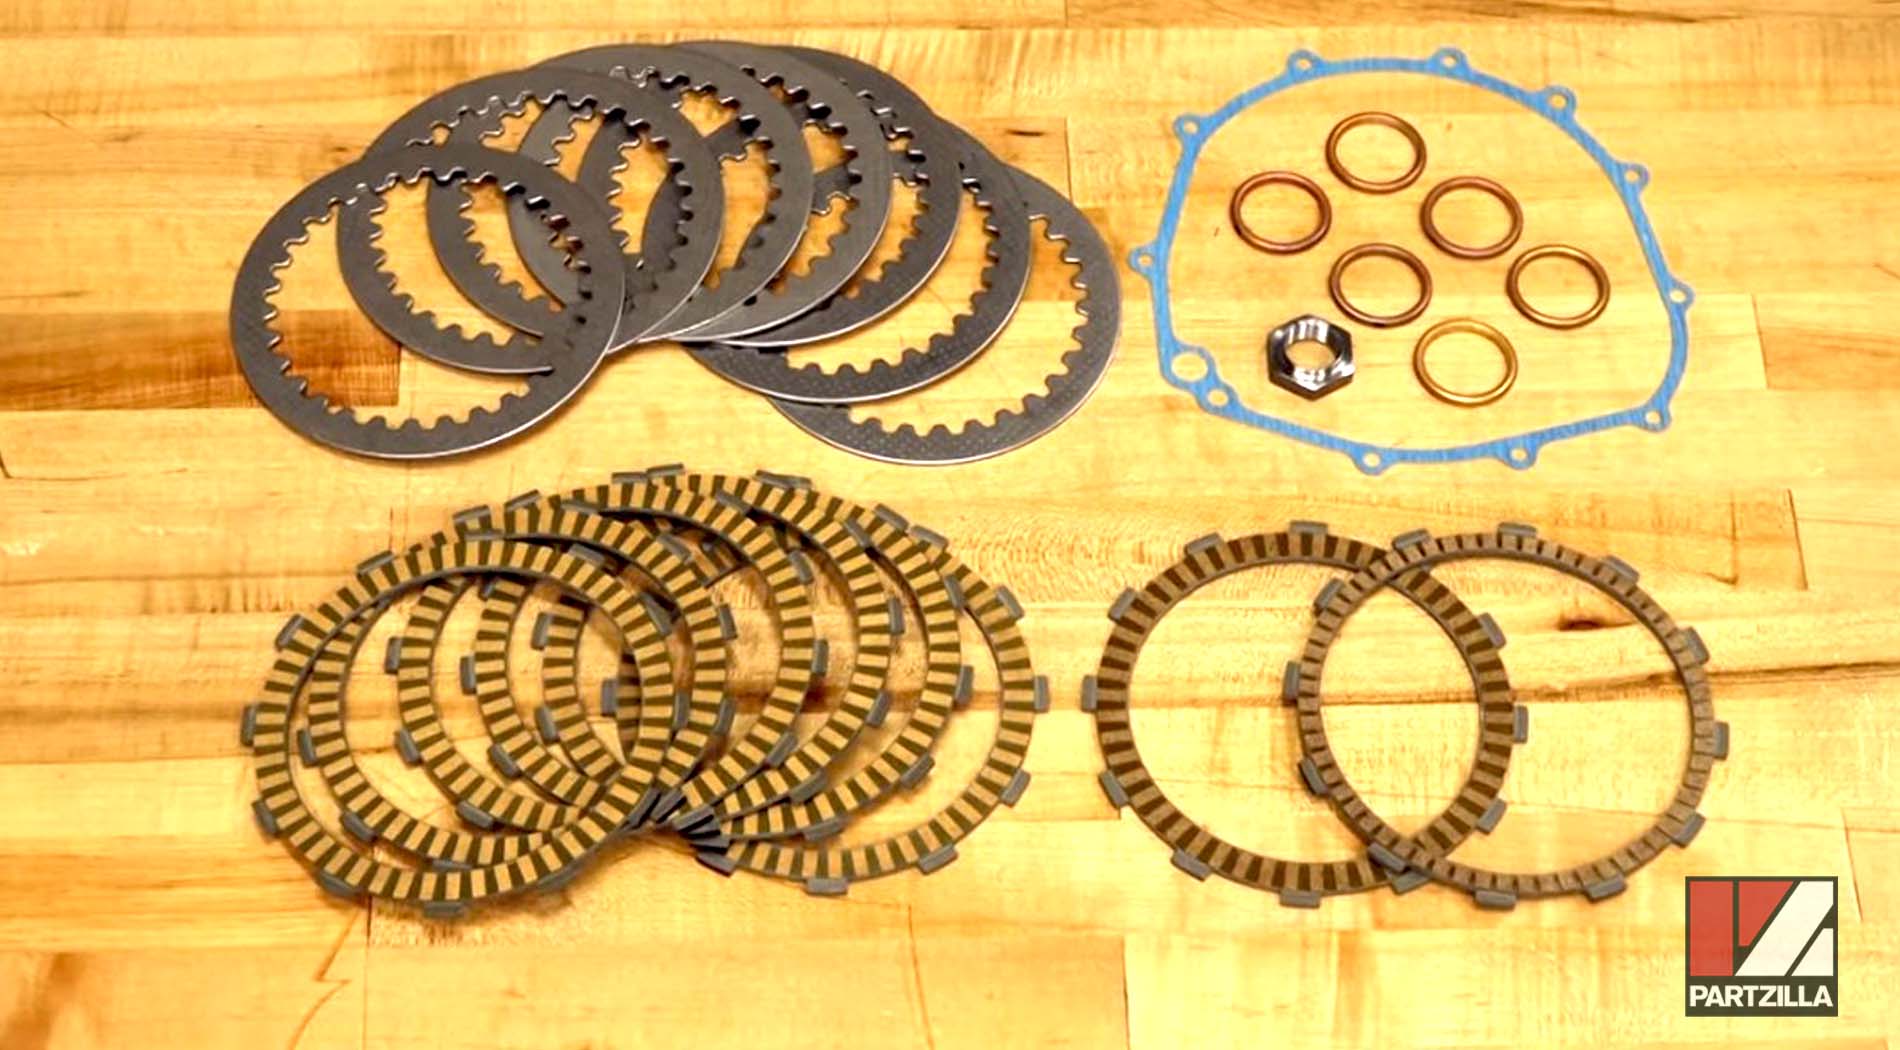
NOTE: Use our Honda GL1800 clutch parts diagram for reference, as there are three different part numbers for the fiber discs. All of the metal discs are the same.
Honda Goldwing GL1800 Clutch Pack Replacement
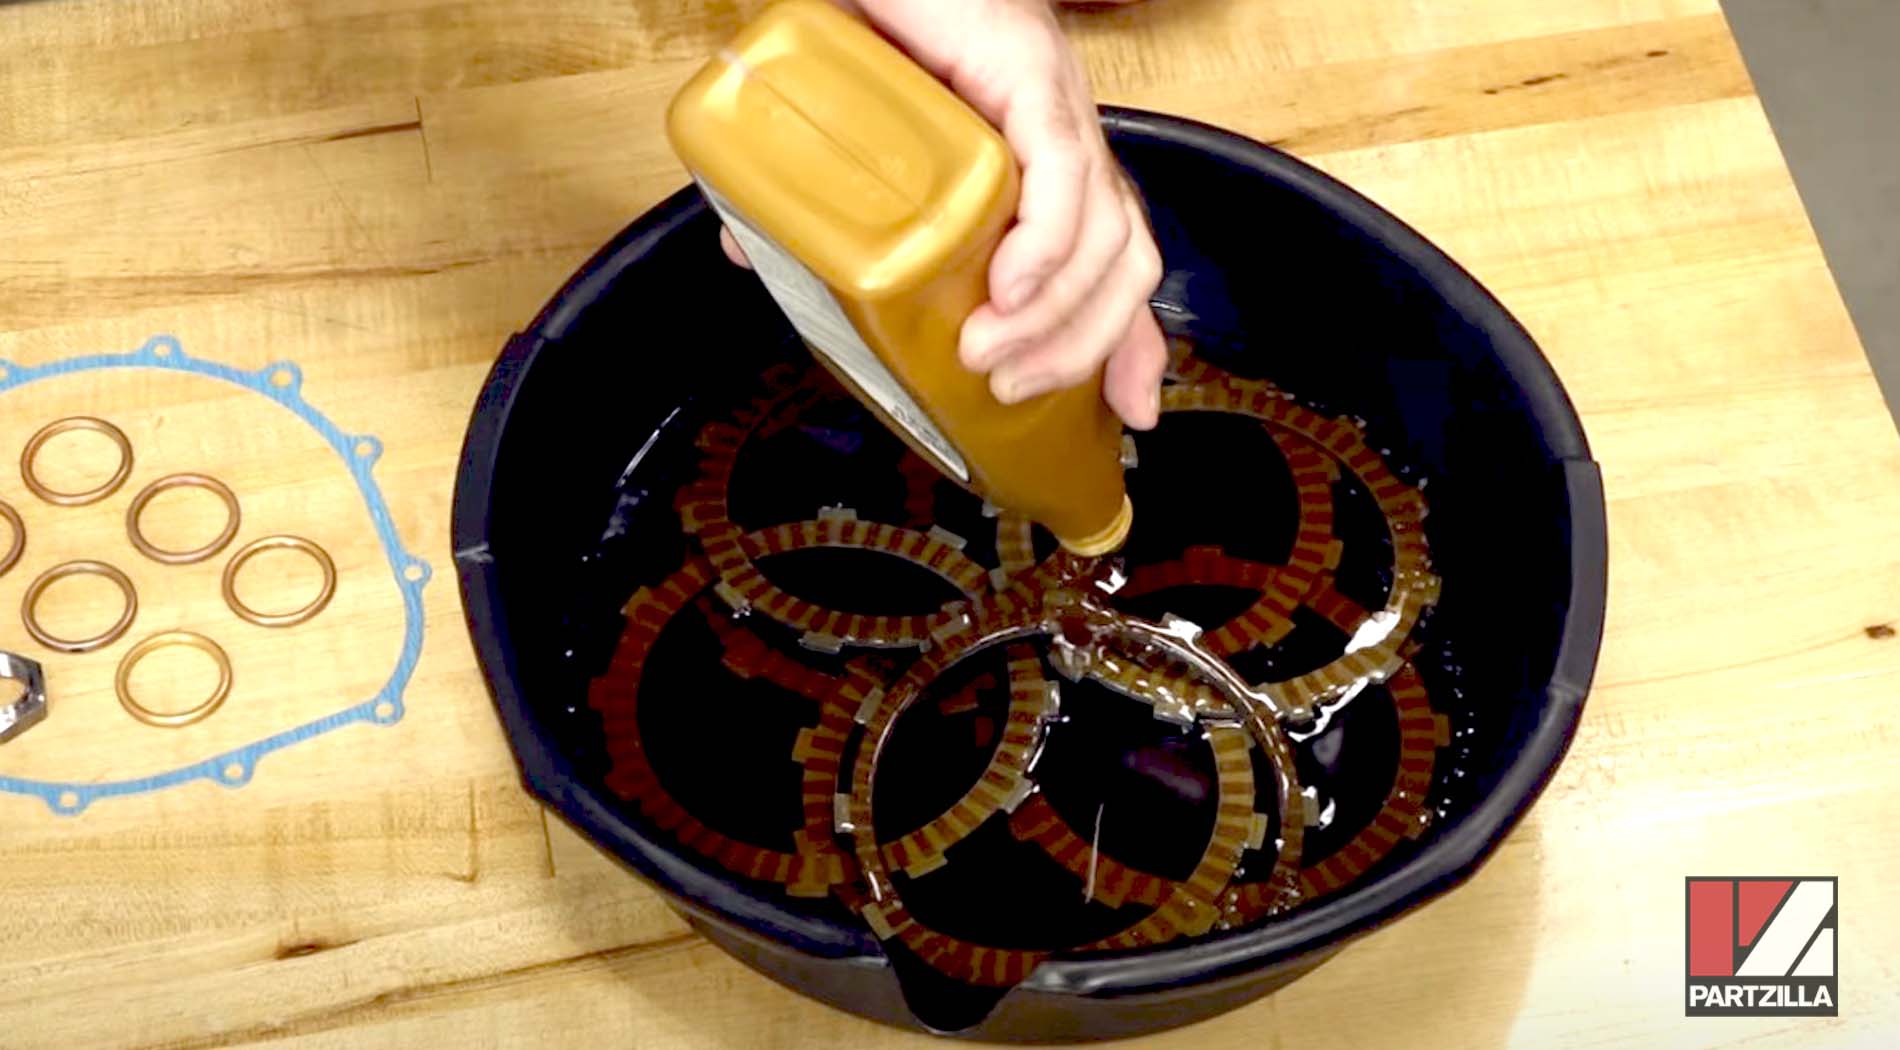
Step 1. Soak all of the new fiber plates in oil so they'll be ready for installation. If you install these fiber plates dry, they’ll wear out almost immediately, so let them soak in oil for a minimum of half an hour.
NOTE: The previous owner of our Honda Goldwing customized this bike with many accessories, so some of the following steps may not apply to your machine.
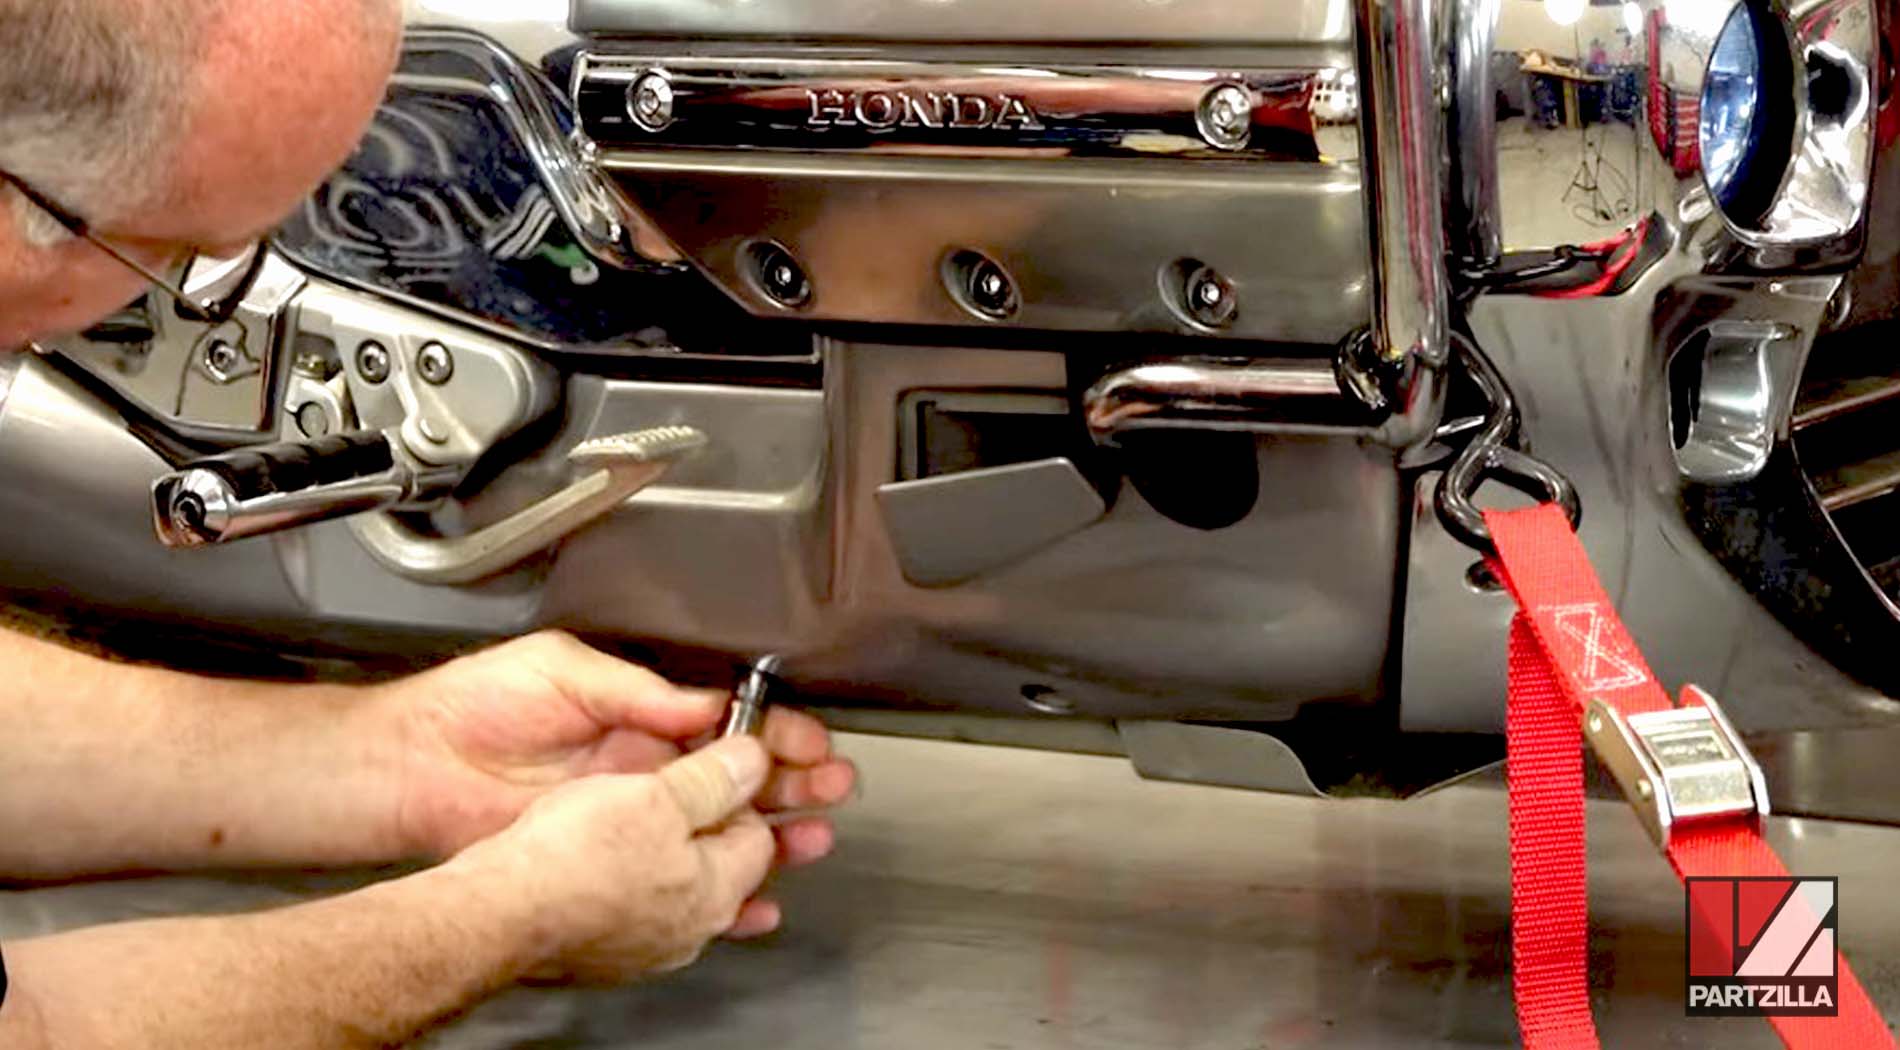
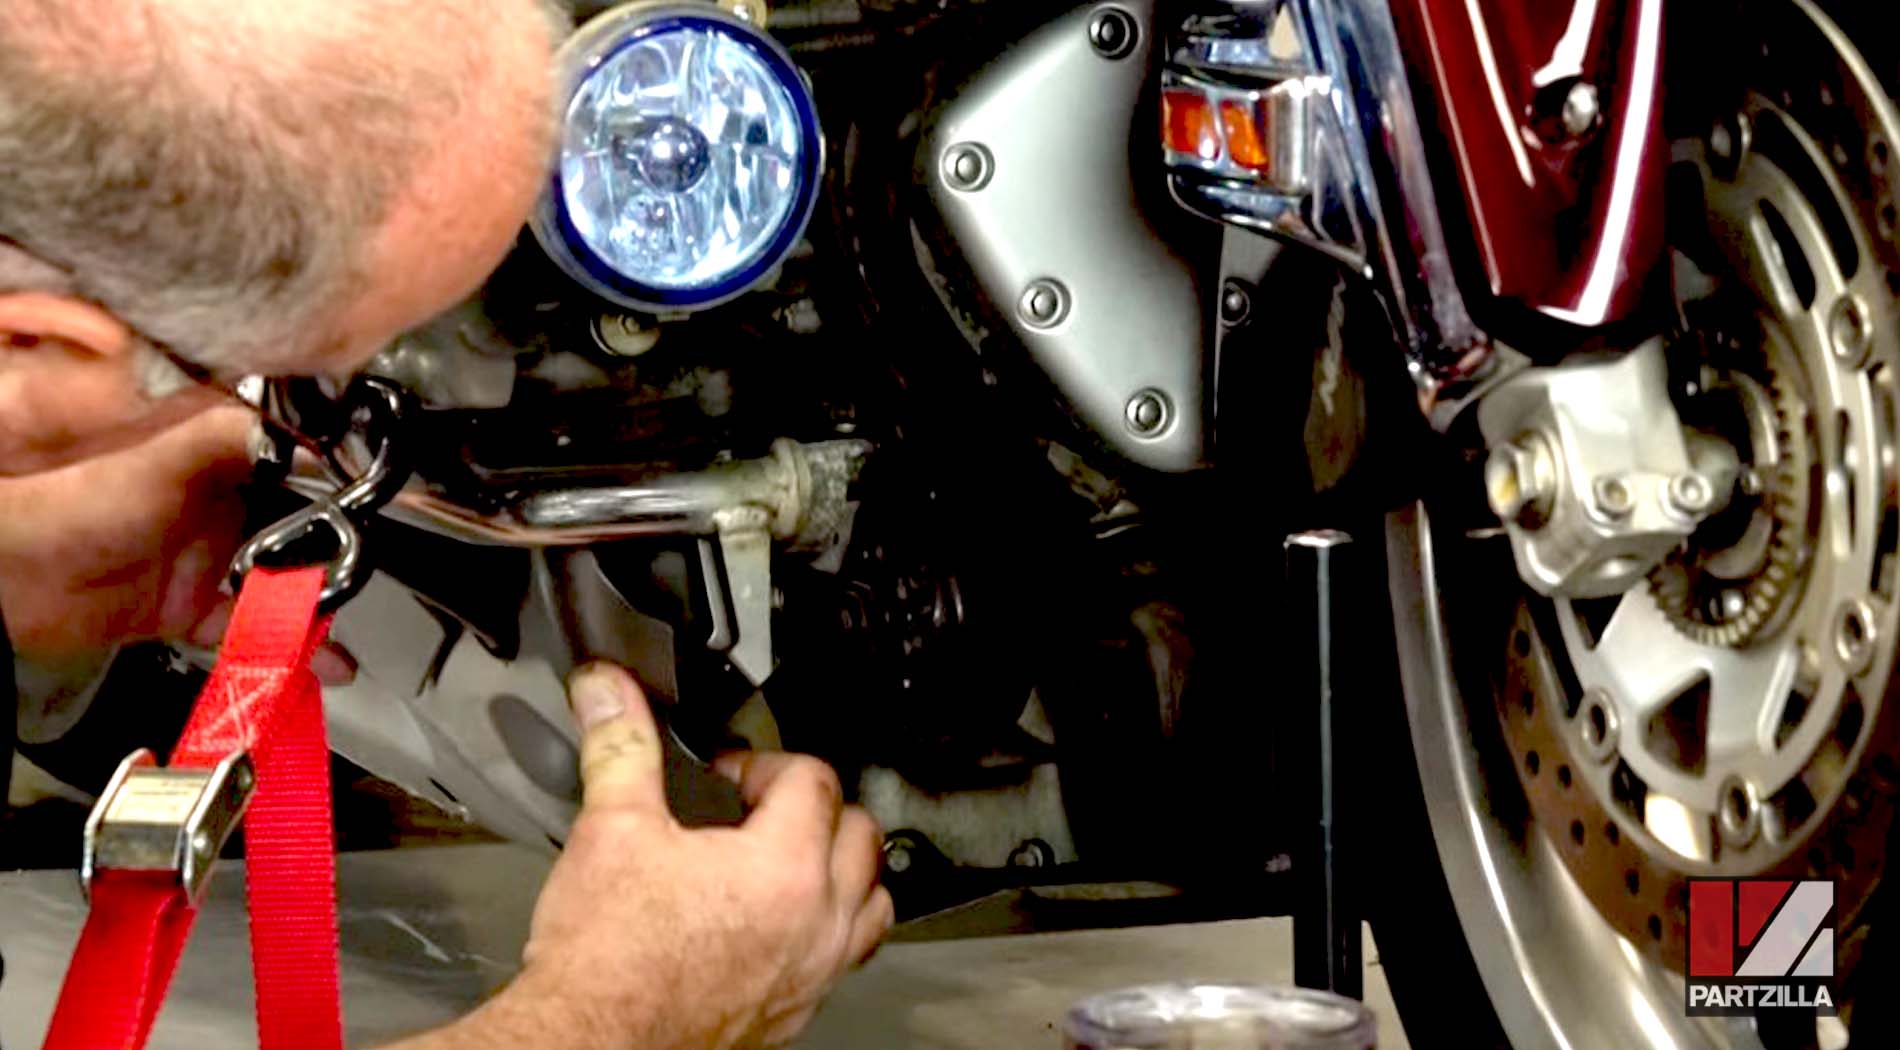
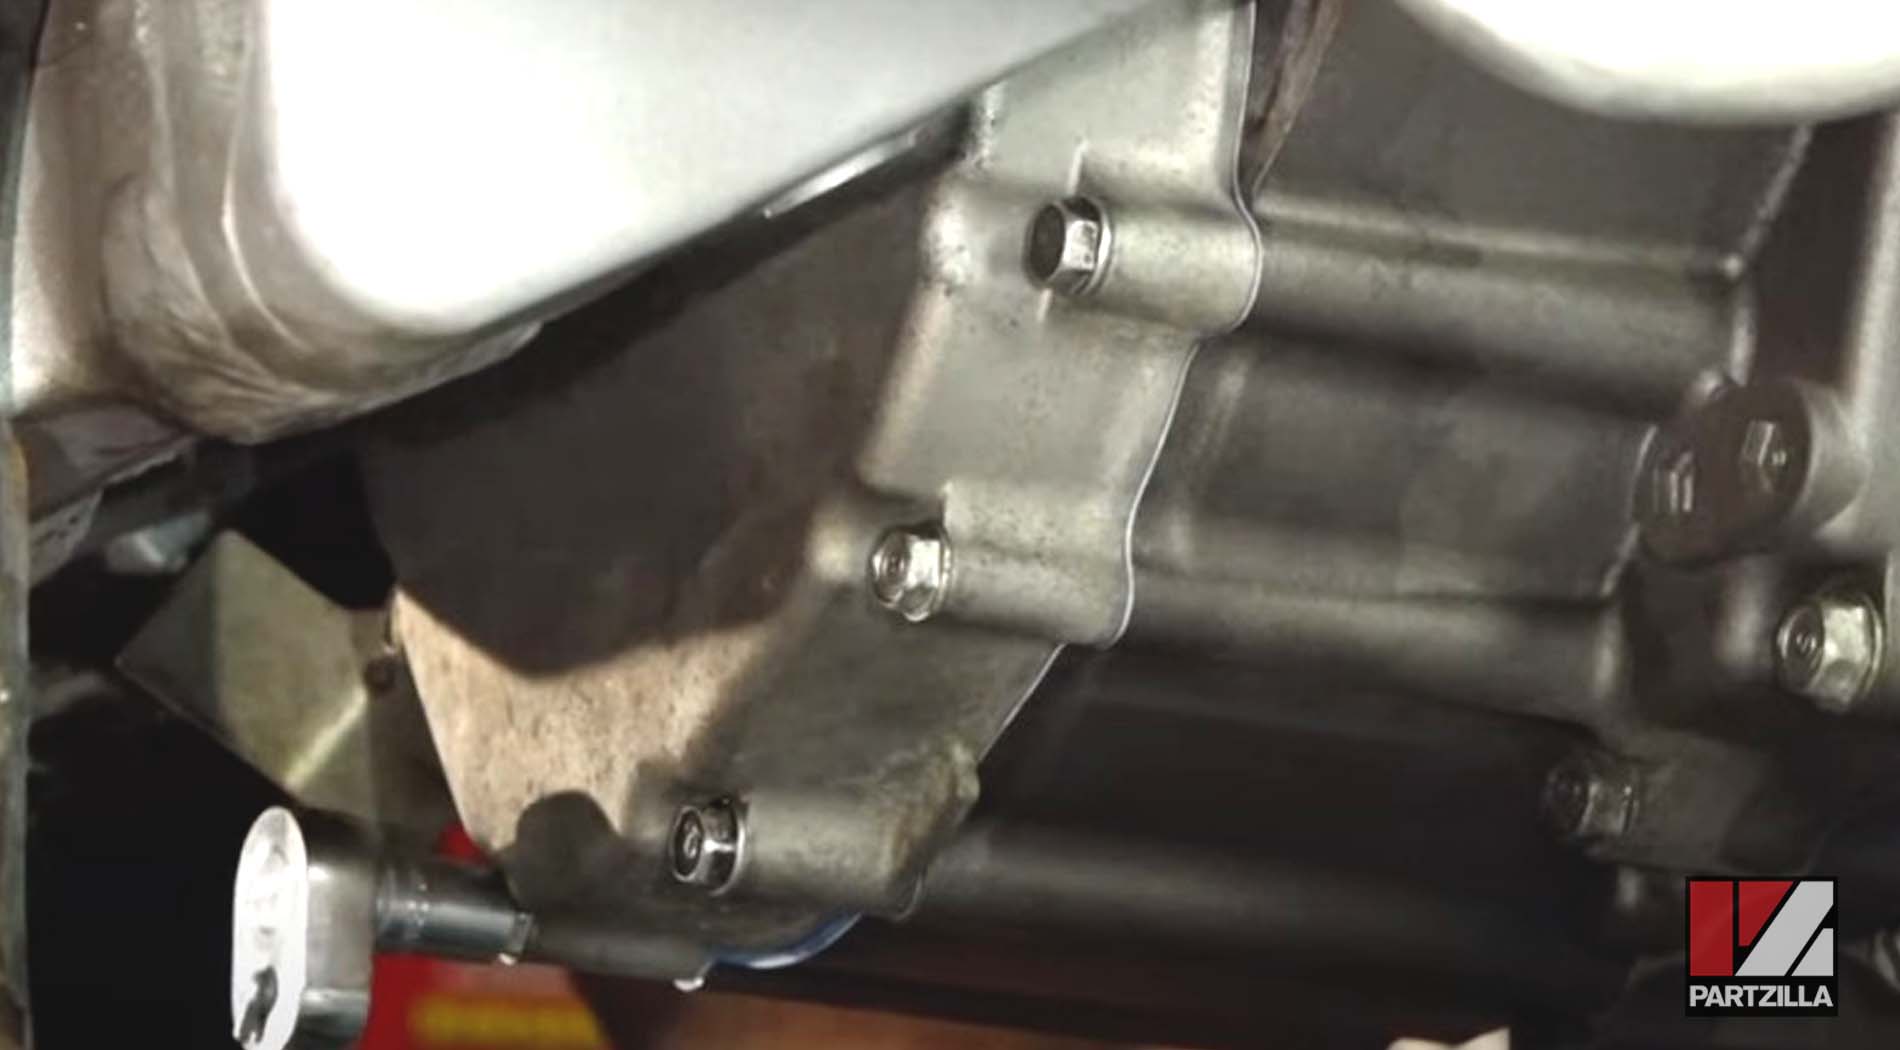
Step 2. Remove the skid plate and lower fairing, which have bolts on both sides of the motorcycle, and take off any additional covers you may have on your Goldwing to access the oil drain bolt.
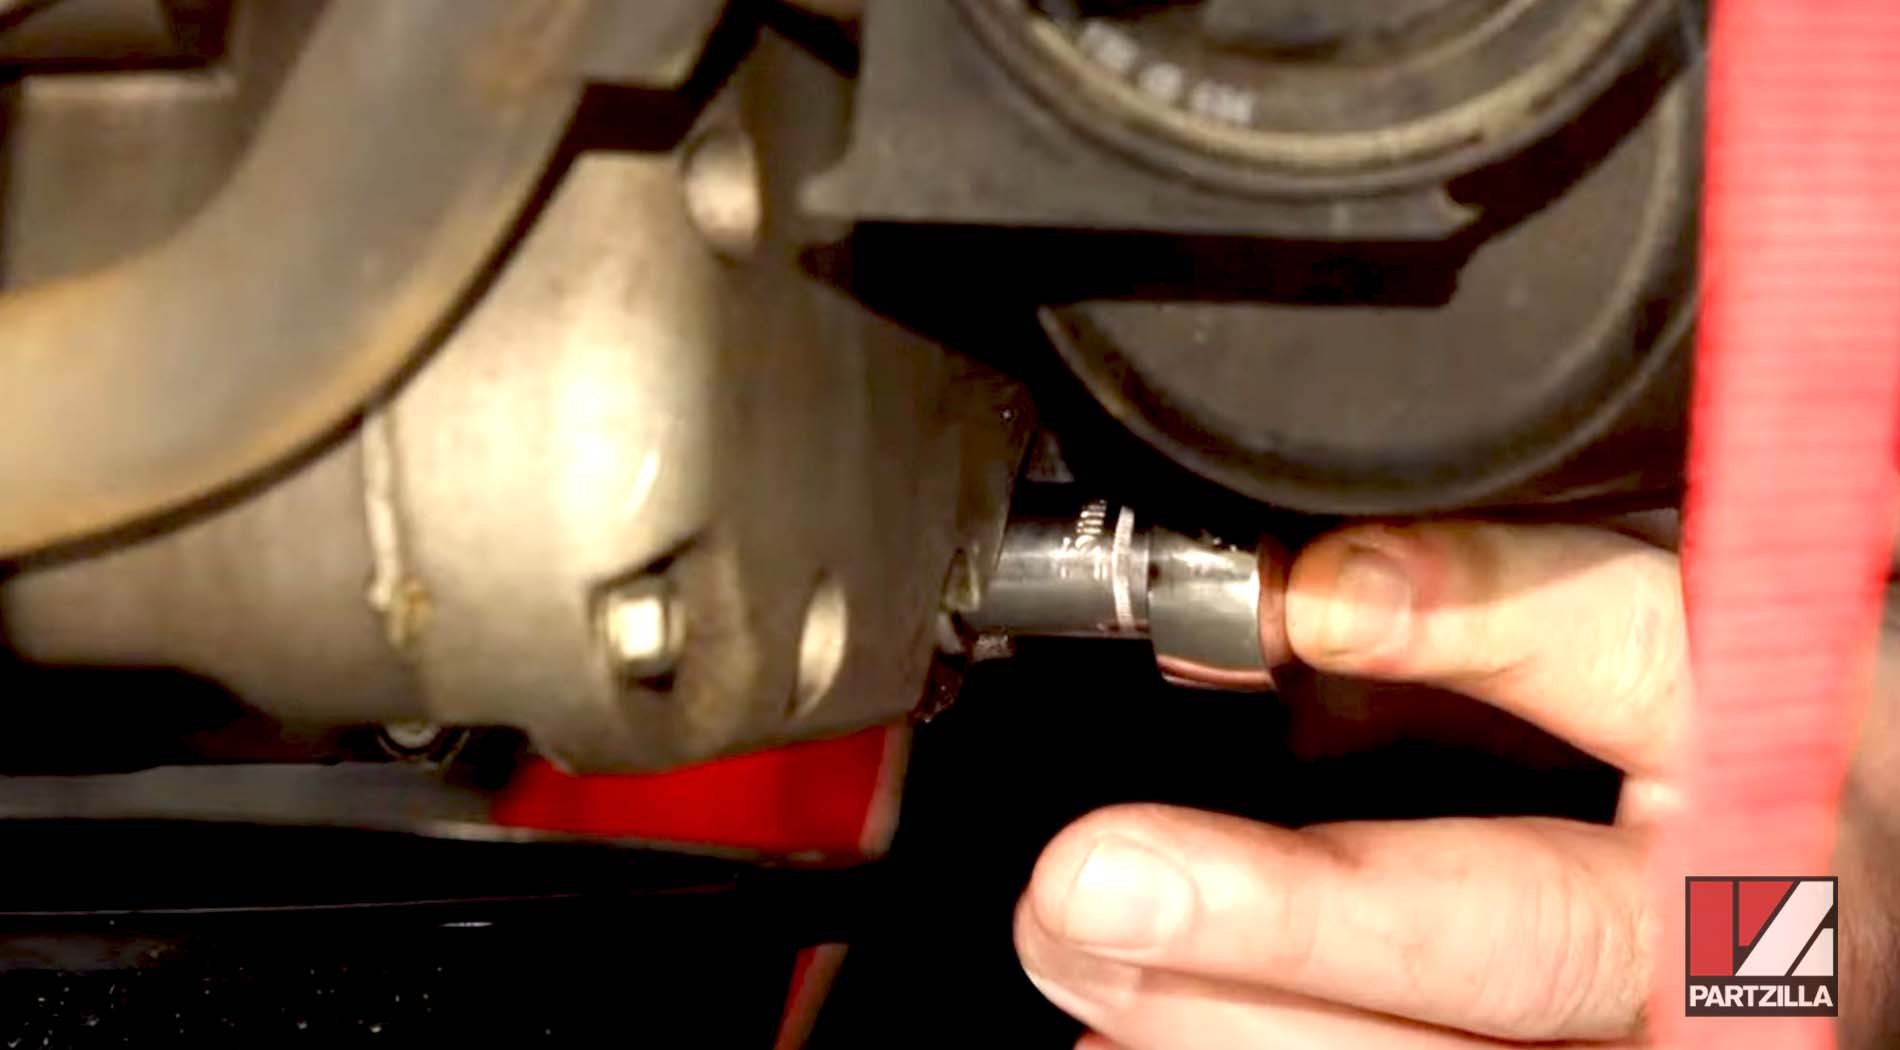
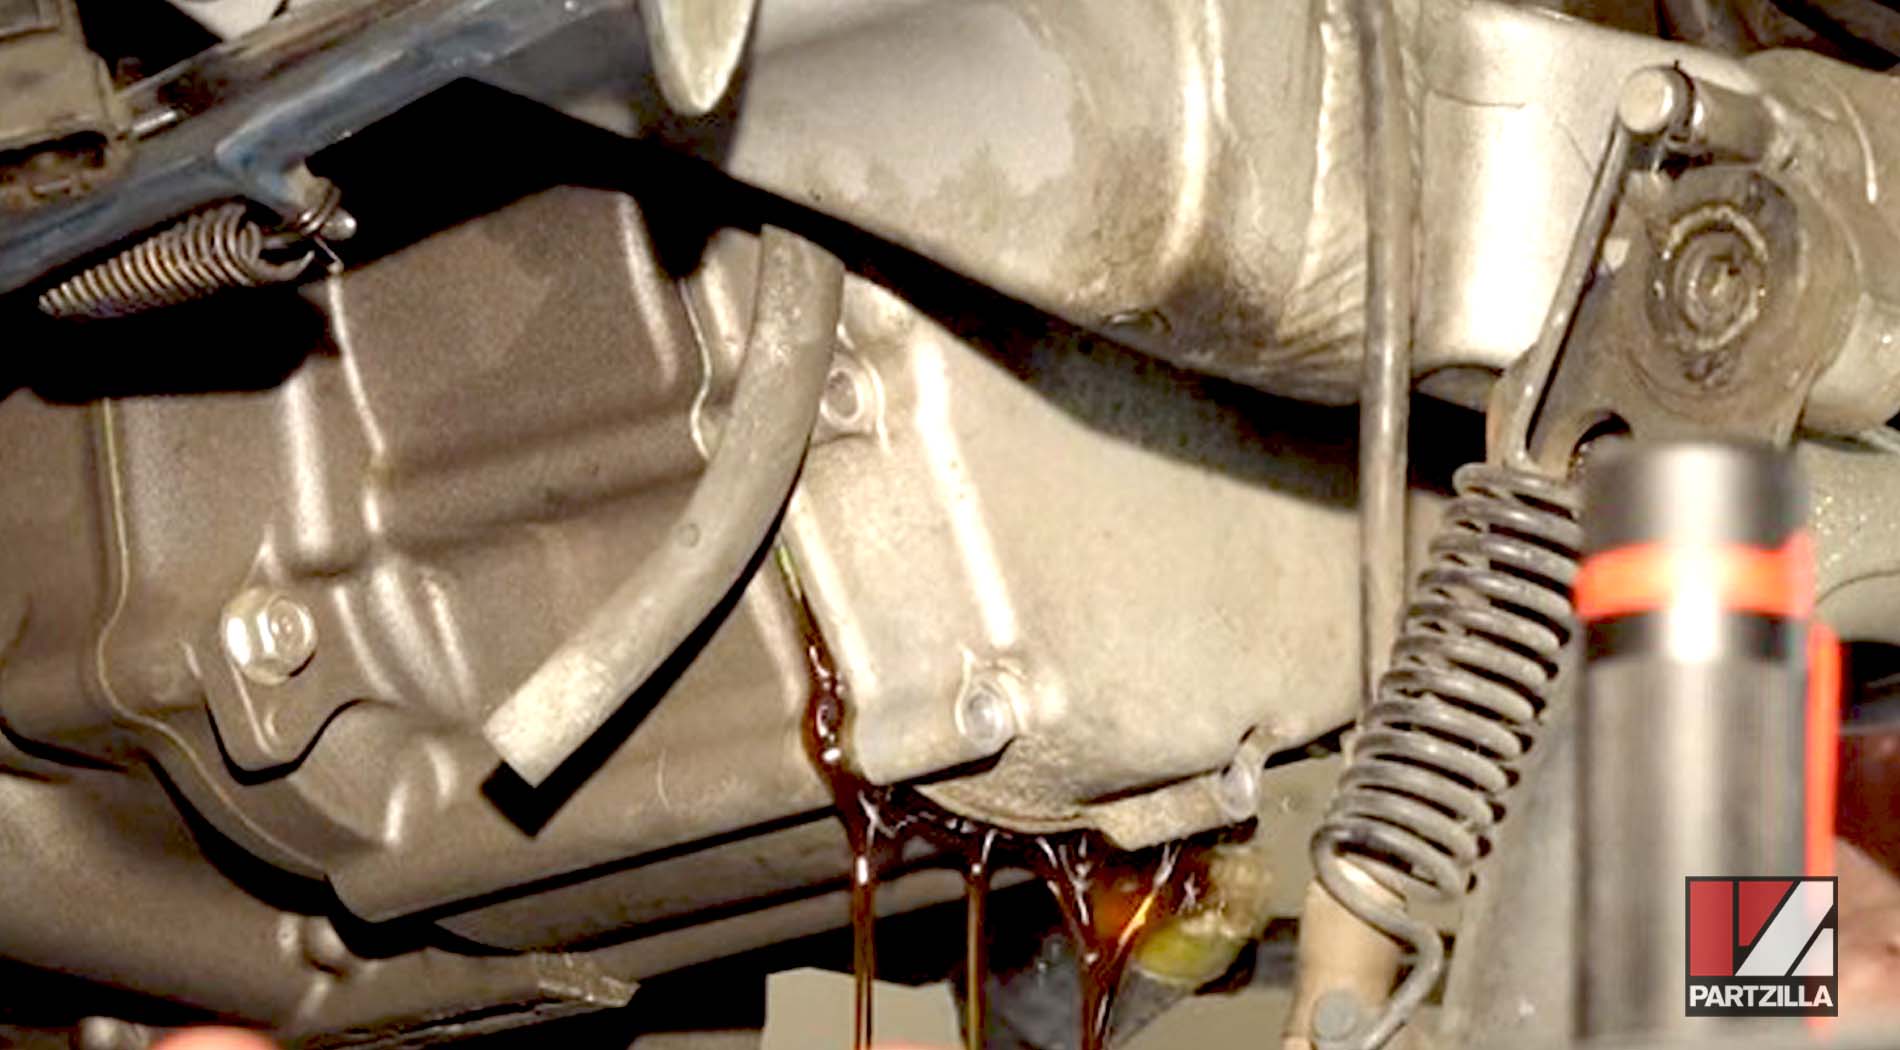
Step 3. Get a drain pan under the motorcycle, then remove the drain bolt and let the oil drain out of the machine.

Watch the video below to see how to do an oil change on a Honda Goldwing GL1800.
Step 4. Replace the drain bolt and torque it back to spec once the oil is drained out.
Watch the clip below to see the skid plate and oil draining segment of our Honda Goldwing GL1800 clutch pack replacement video.
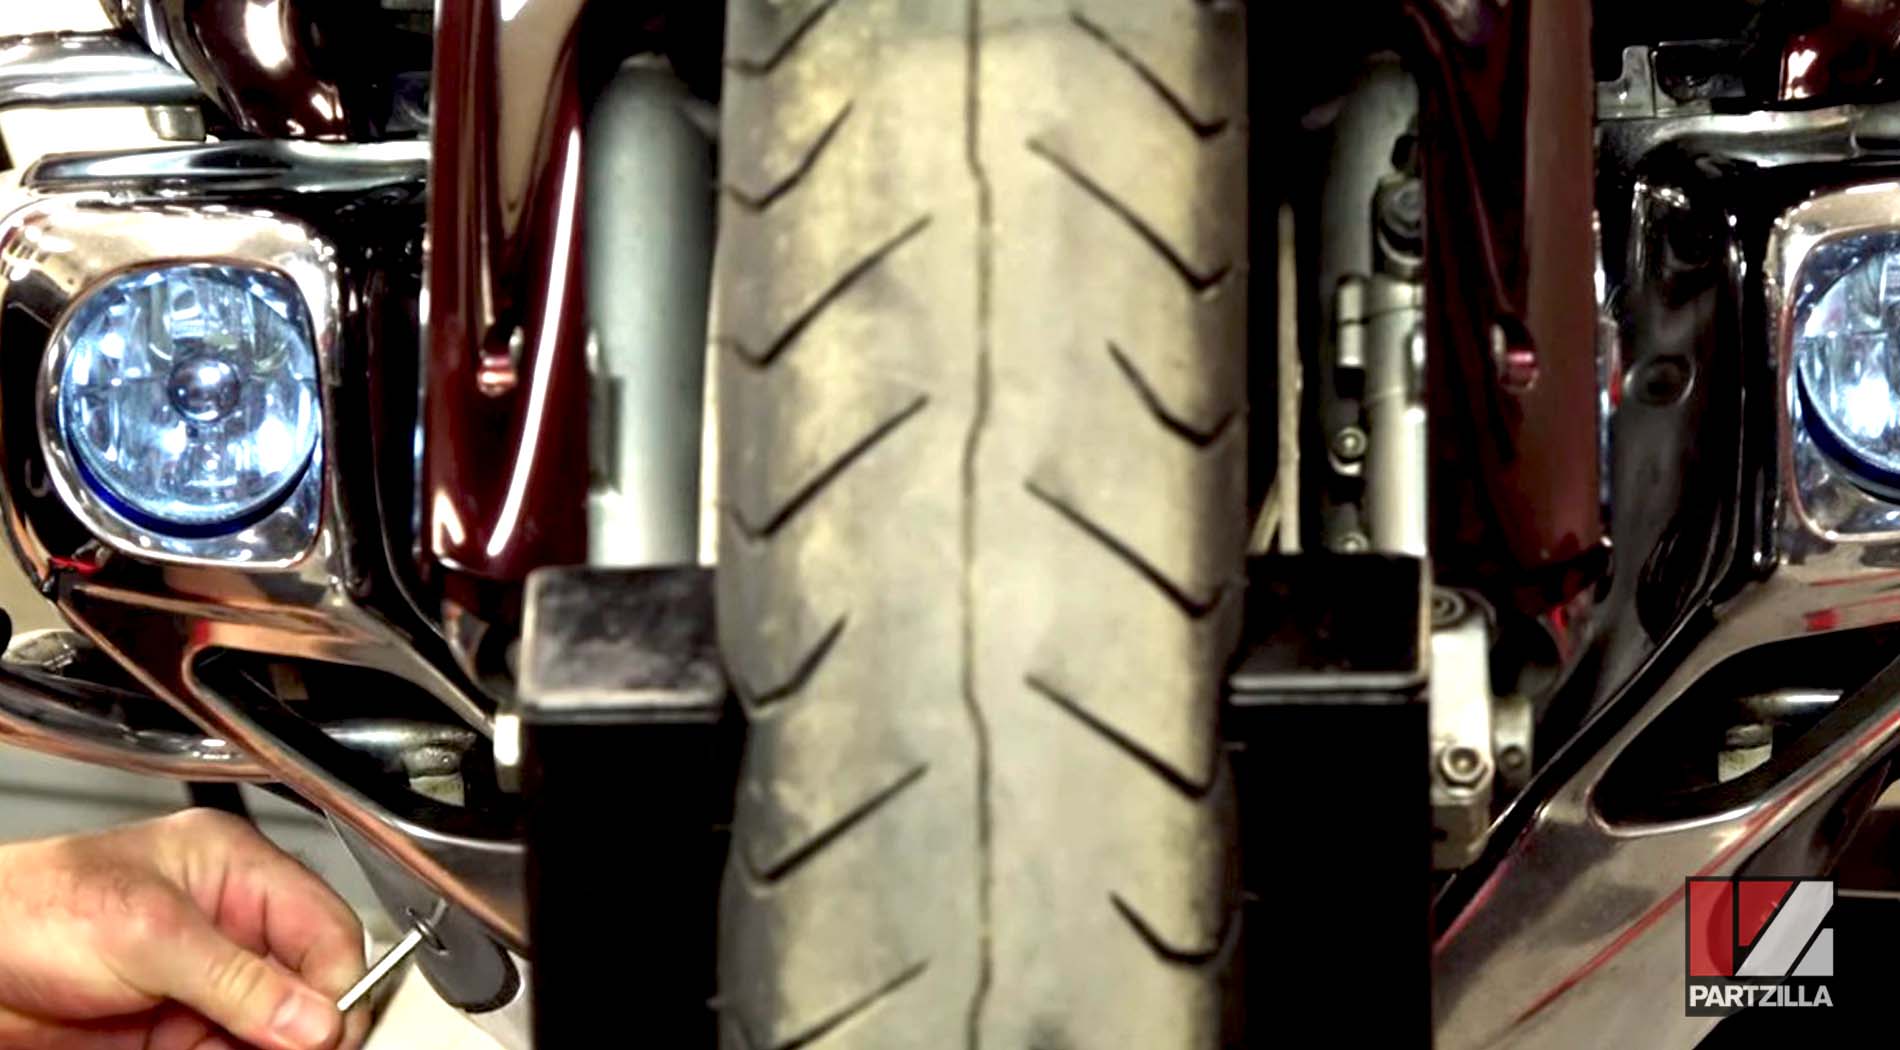
Step 5. Lift up the back end of the motorcycle (if you haven’t already) to drop down the center stand.
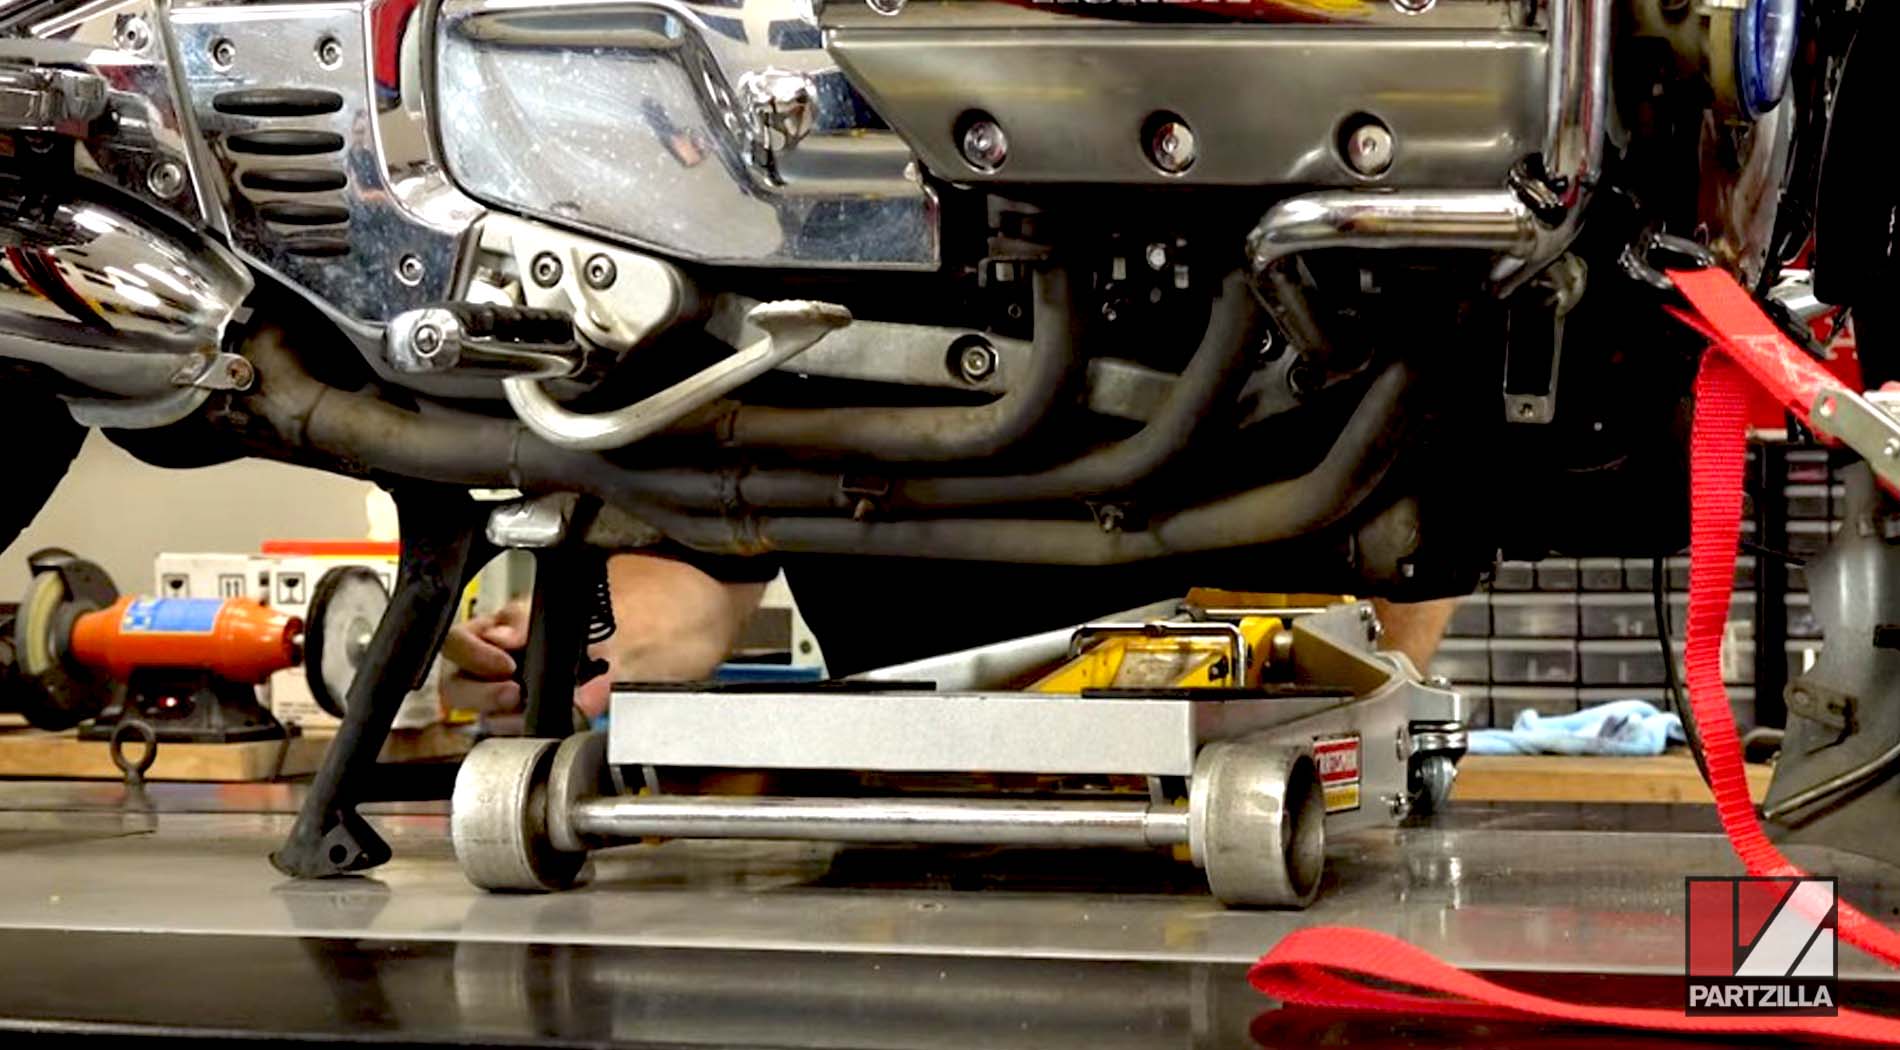
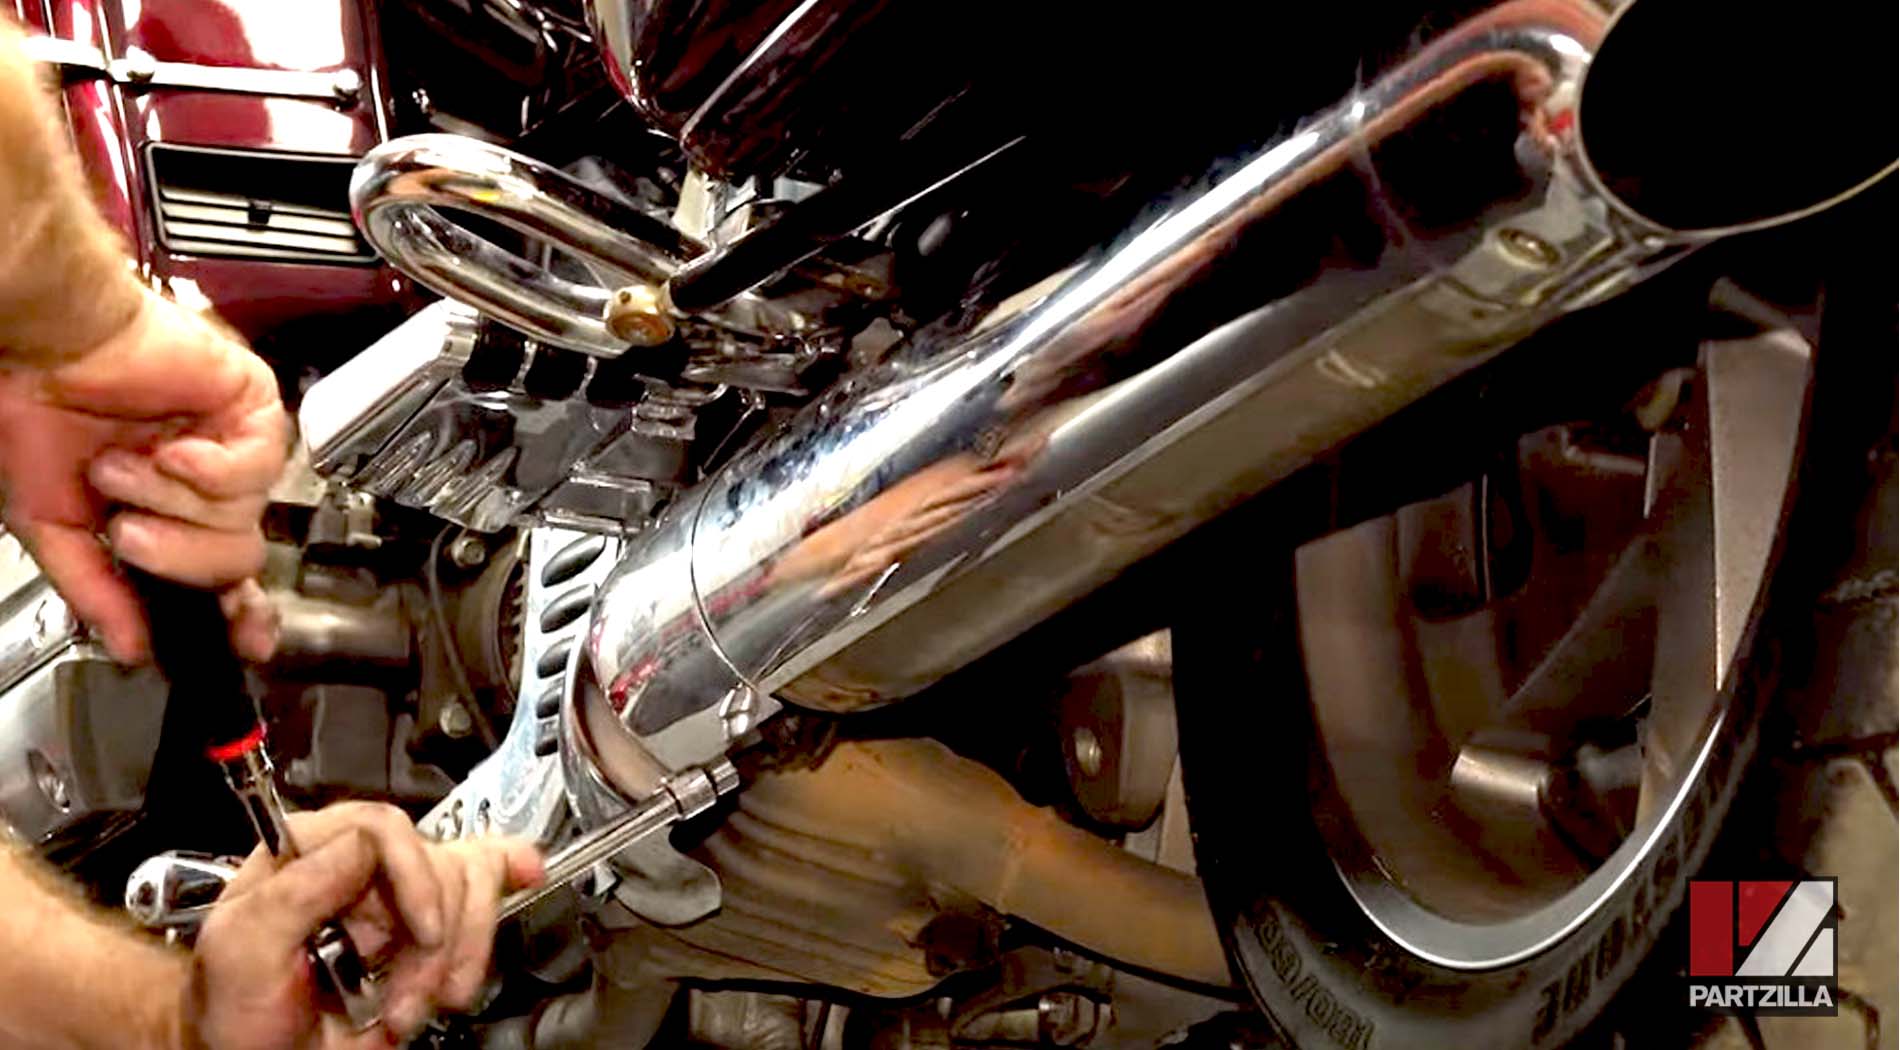
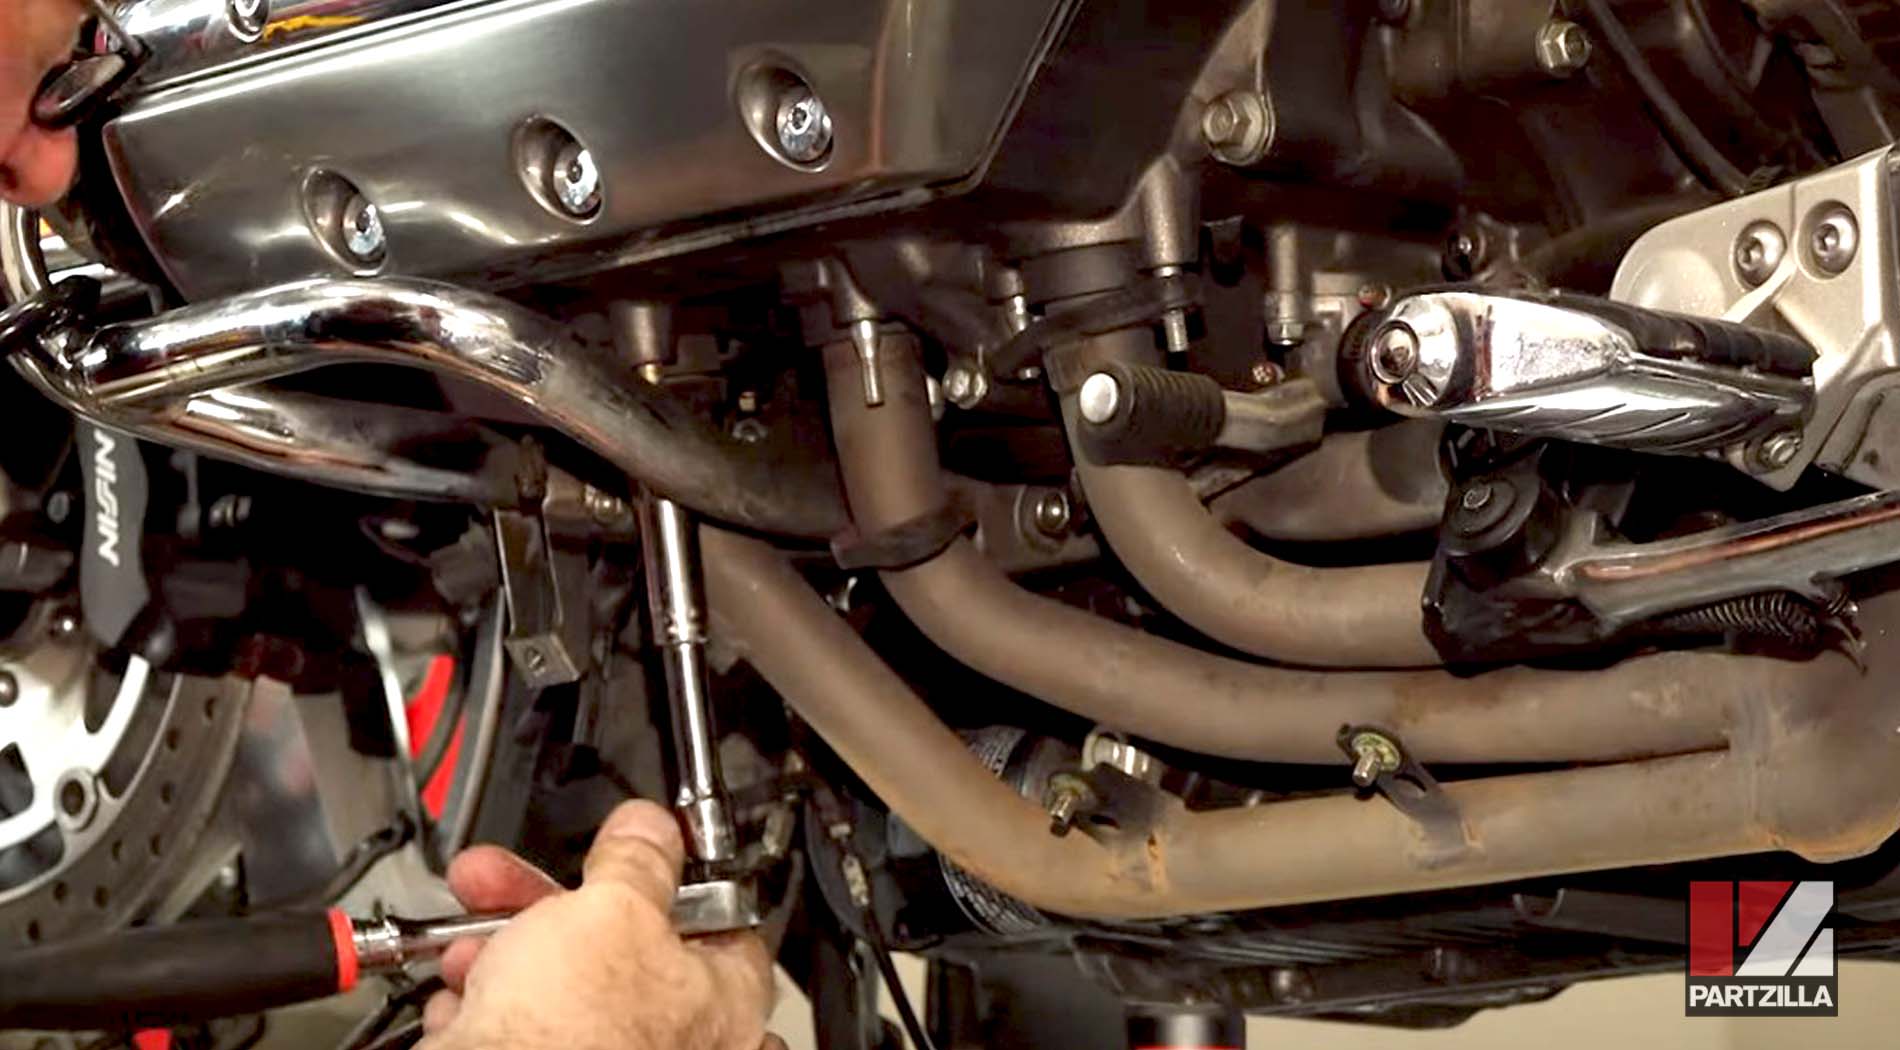
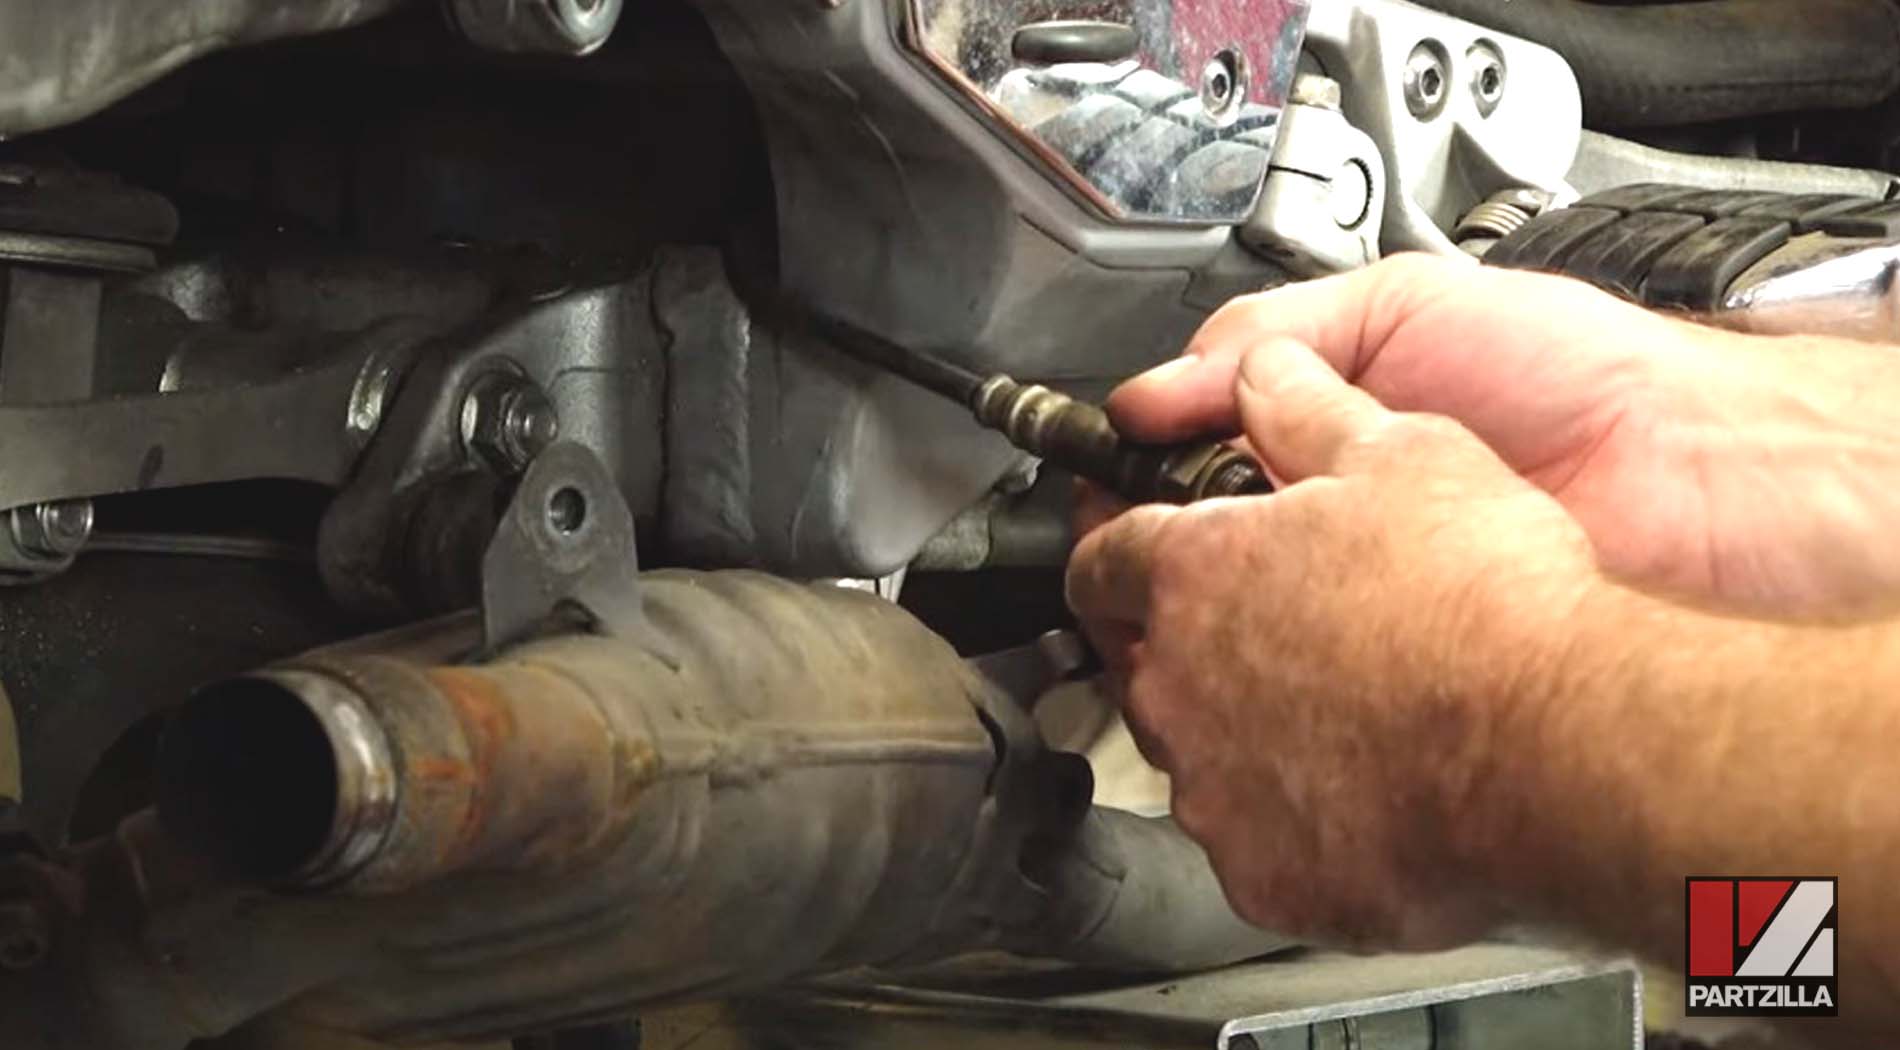
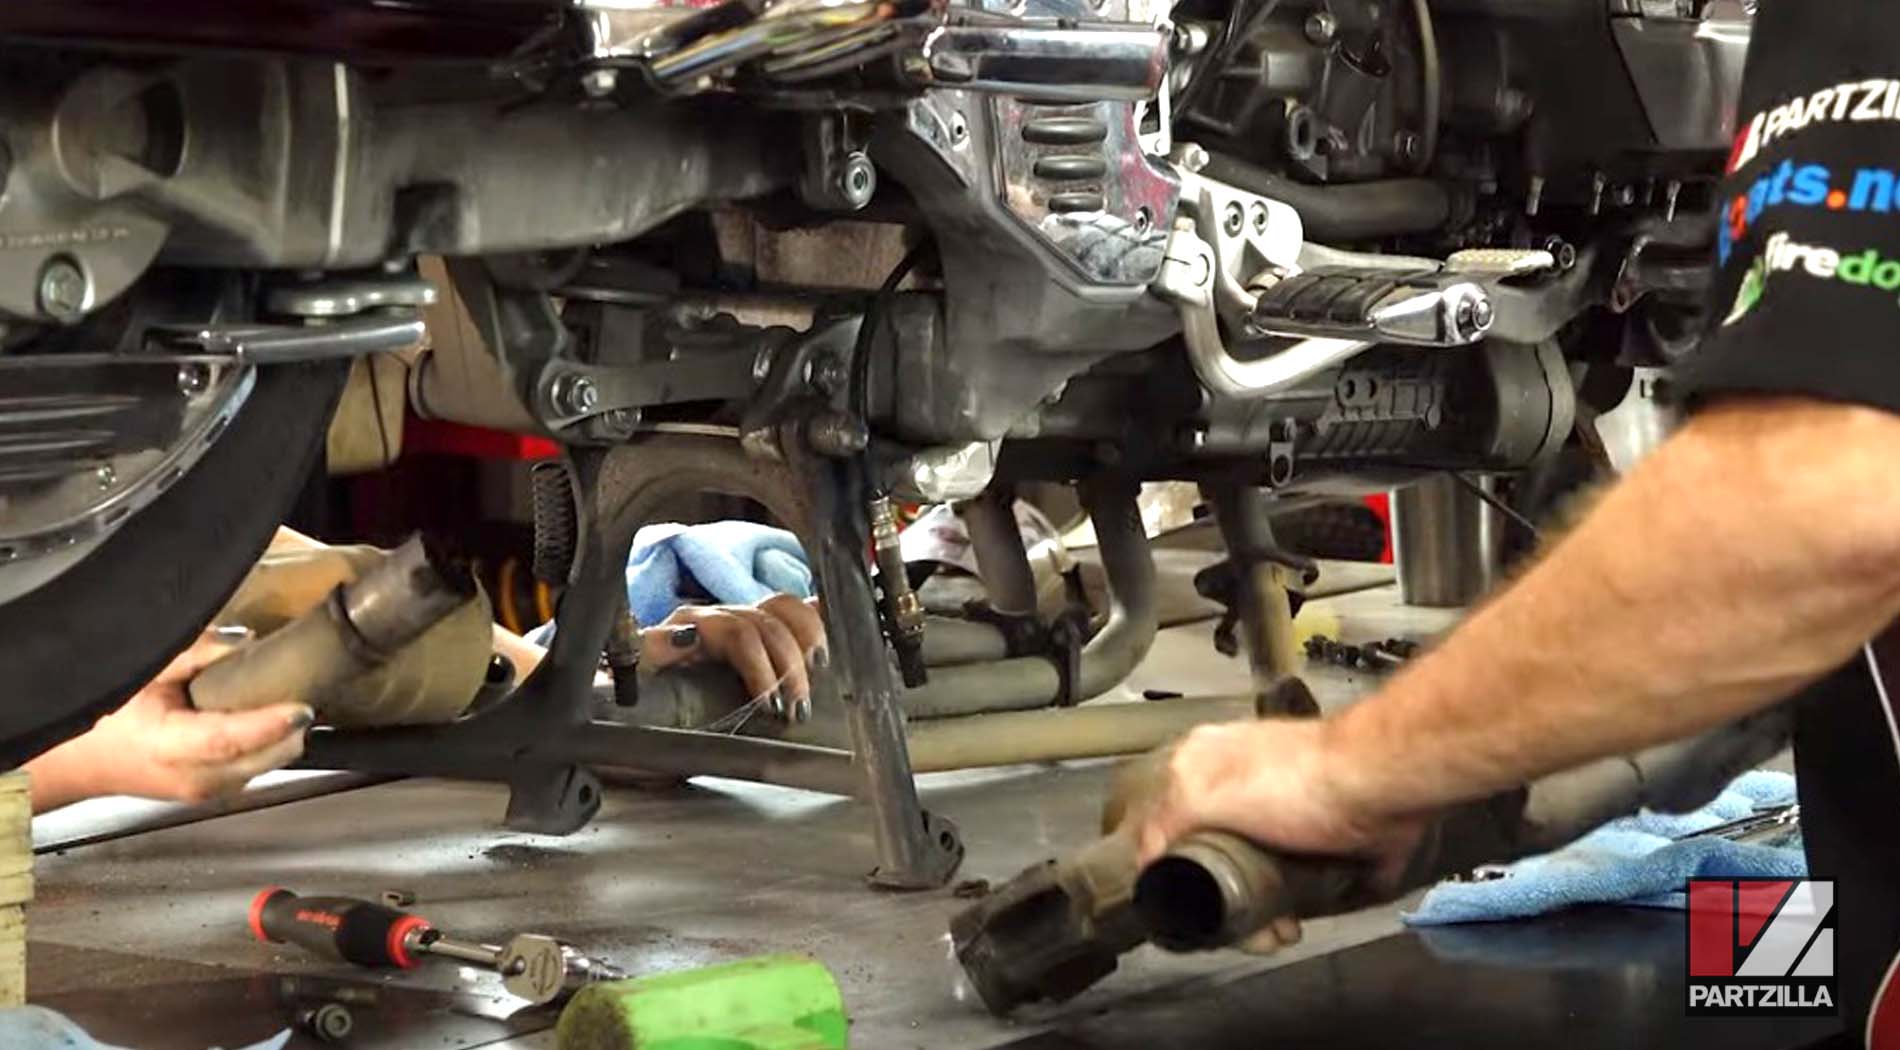
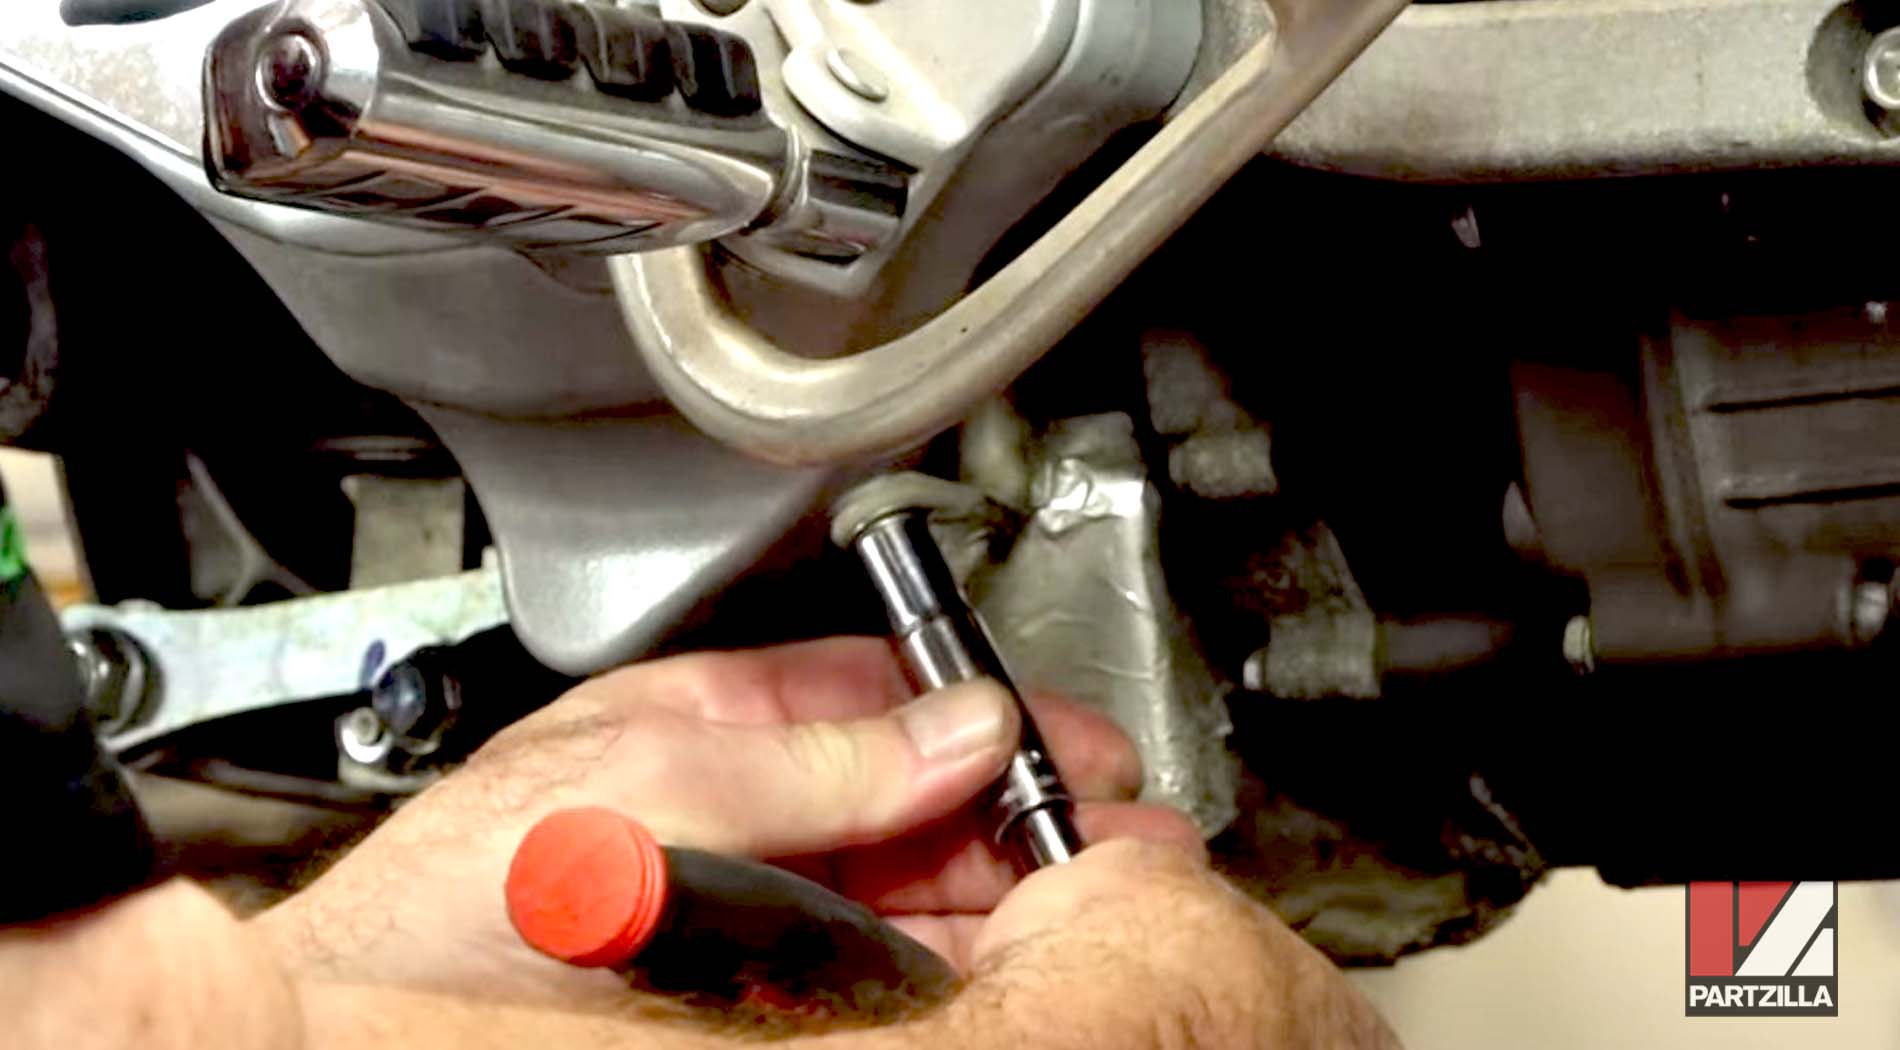
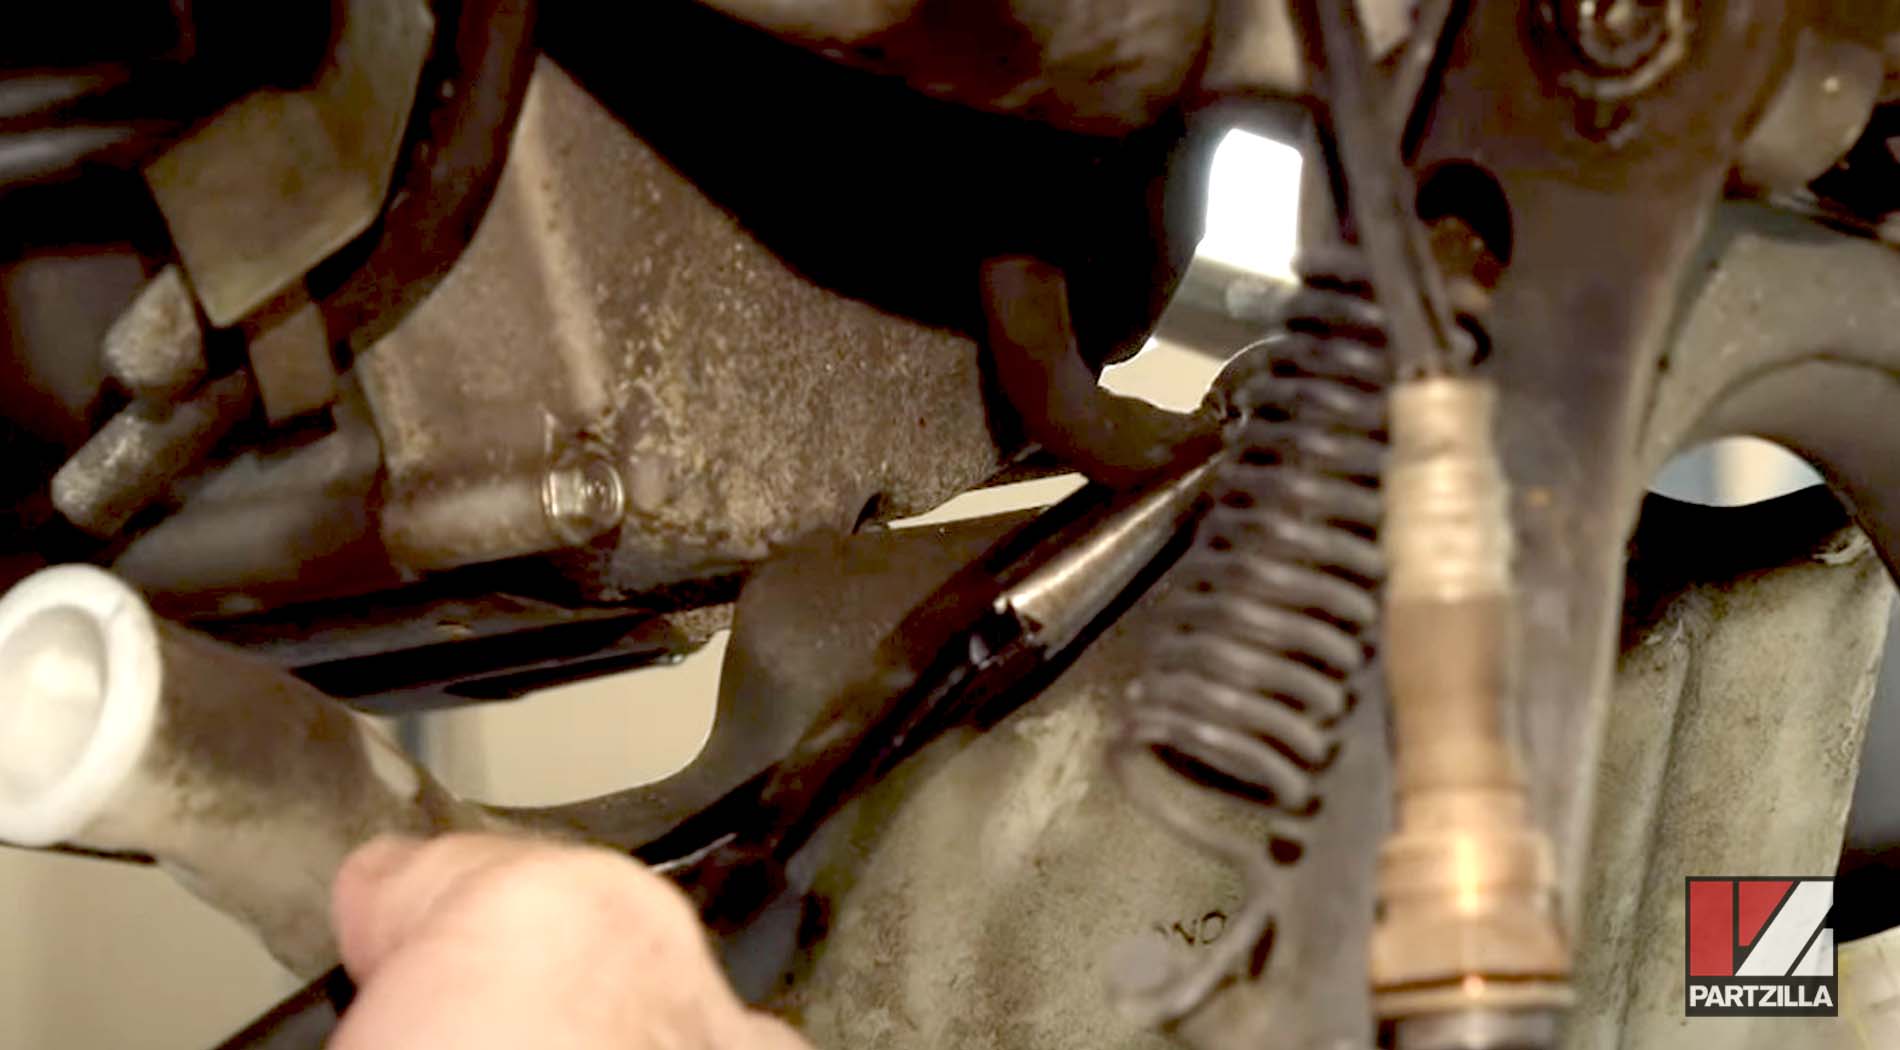
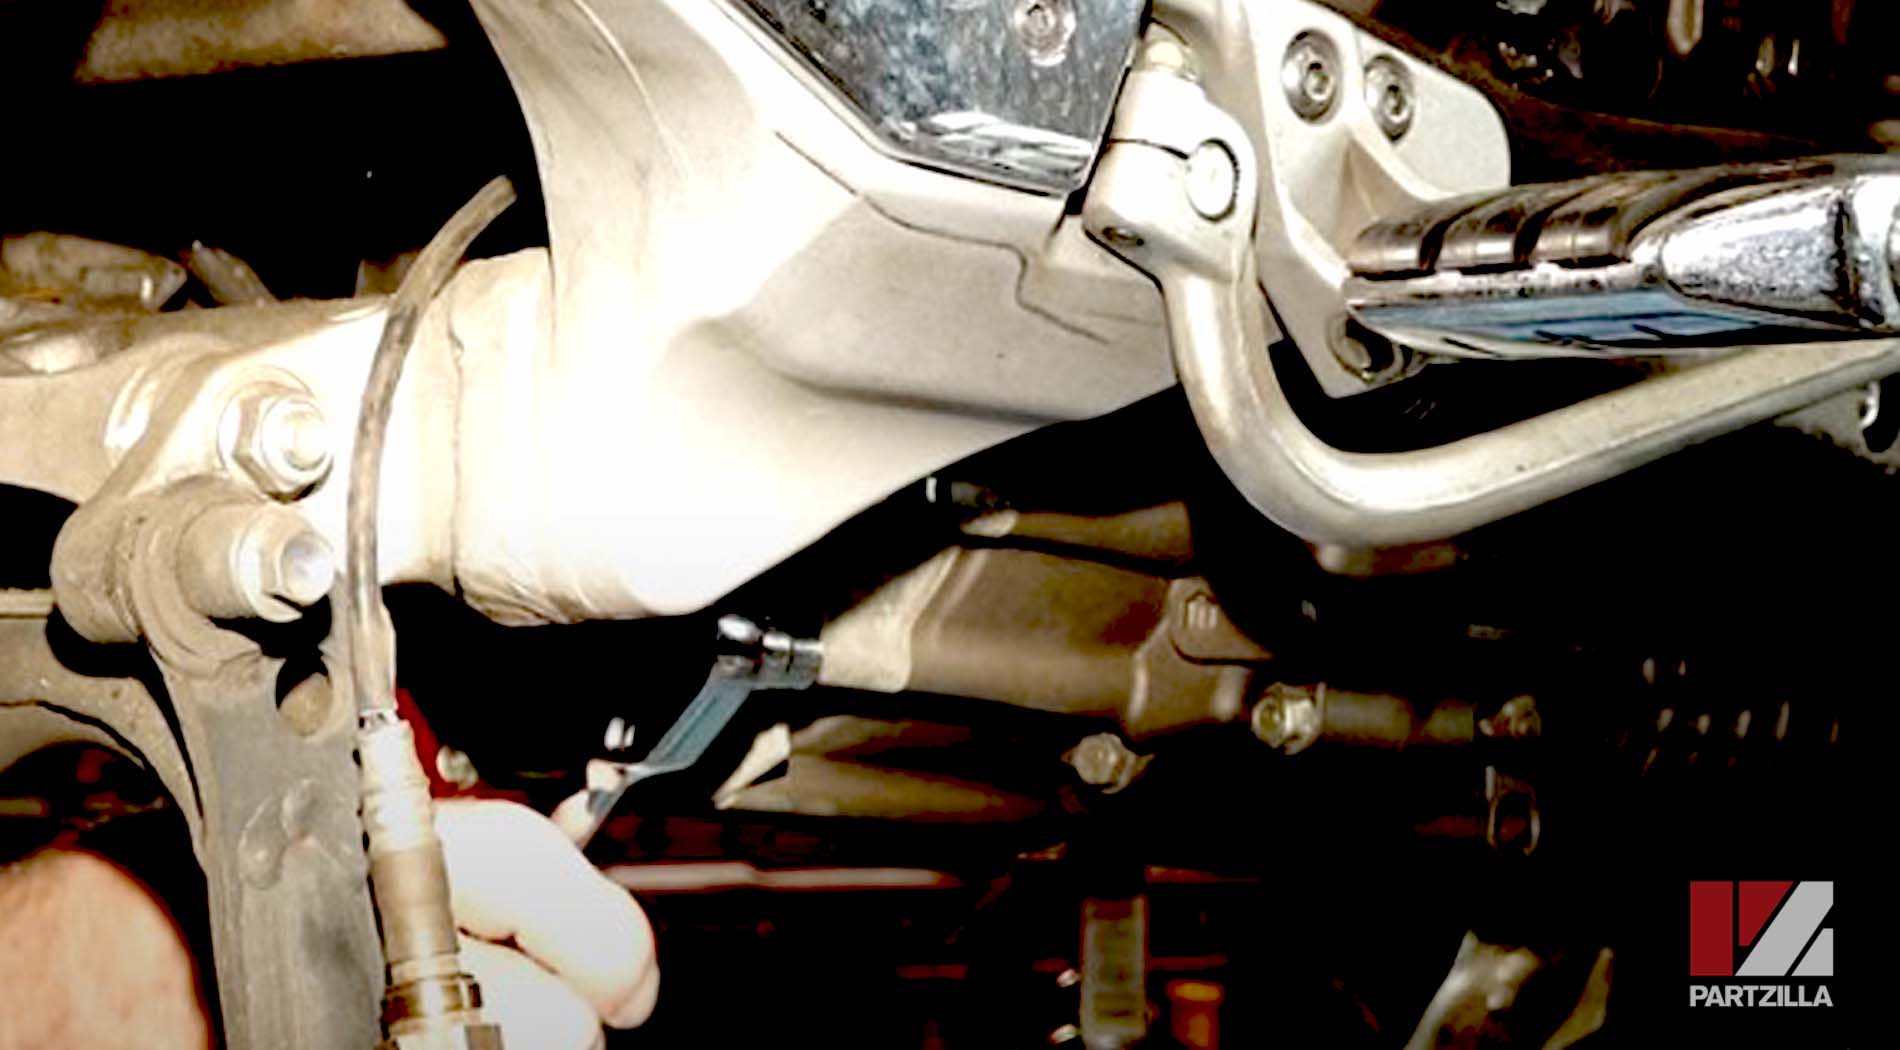
Step 6. Remove the entire exhaust, including the muffler, from both sides of the machine. The exhaust is held together by a 12mm bolt in the rear and a couple of 6mm Allen bolts you need to loosen up before you can pull each side off. Loosen and/or remove any bolts, panels and brackets to get the exhaust off the machine.
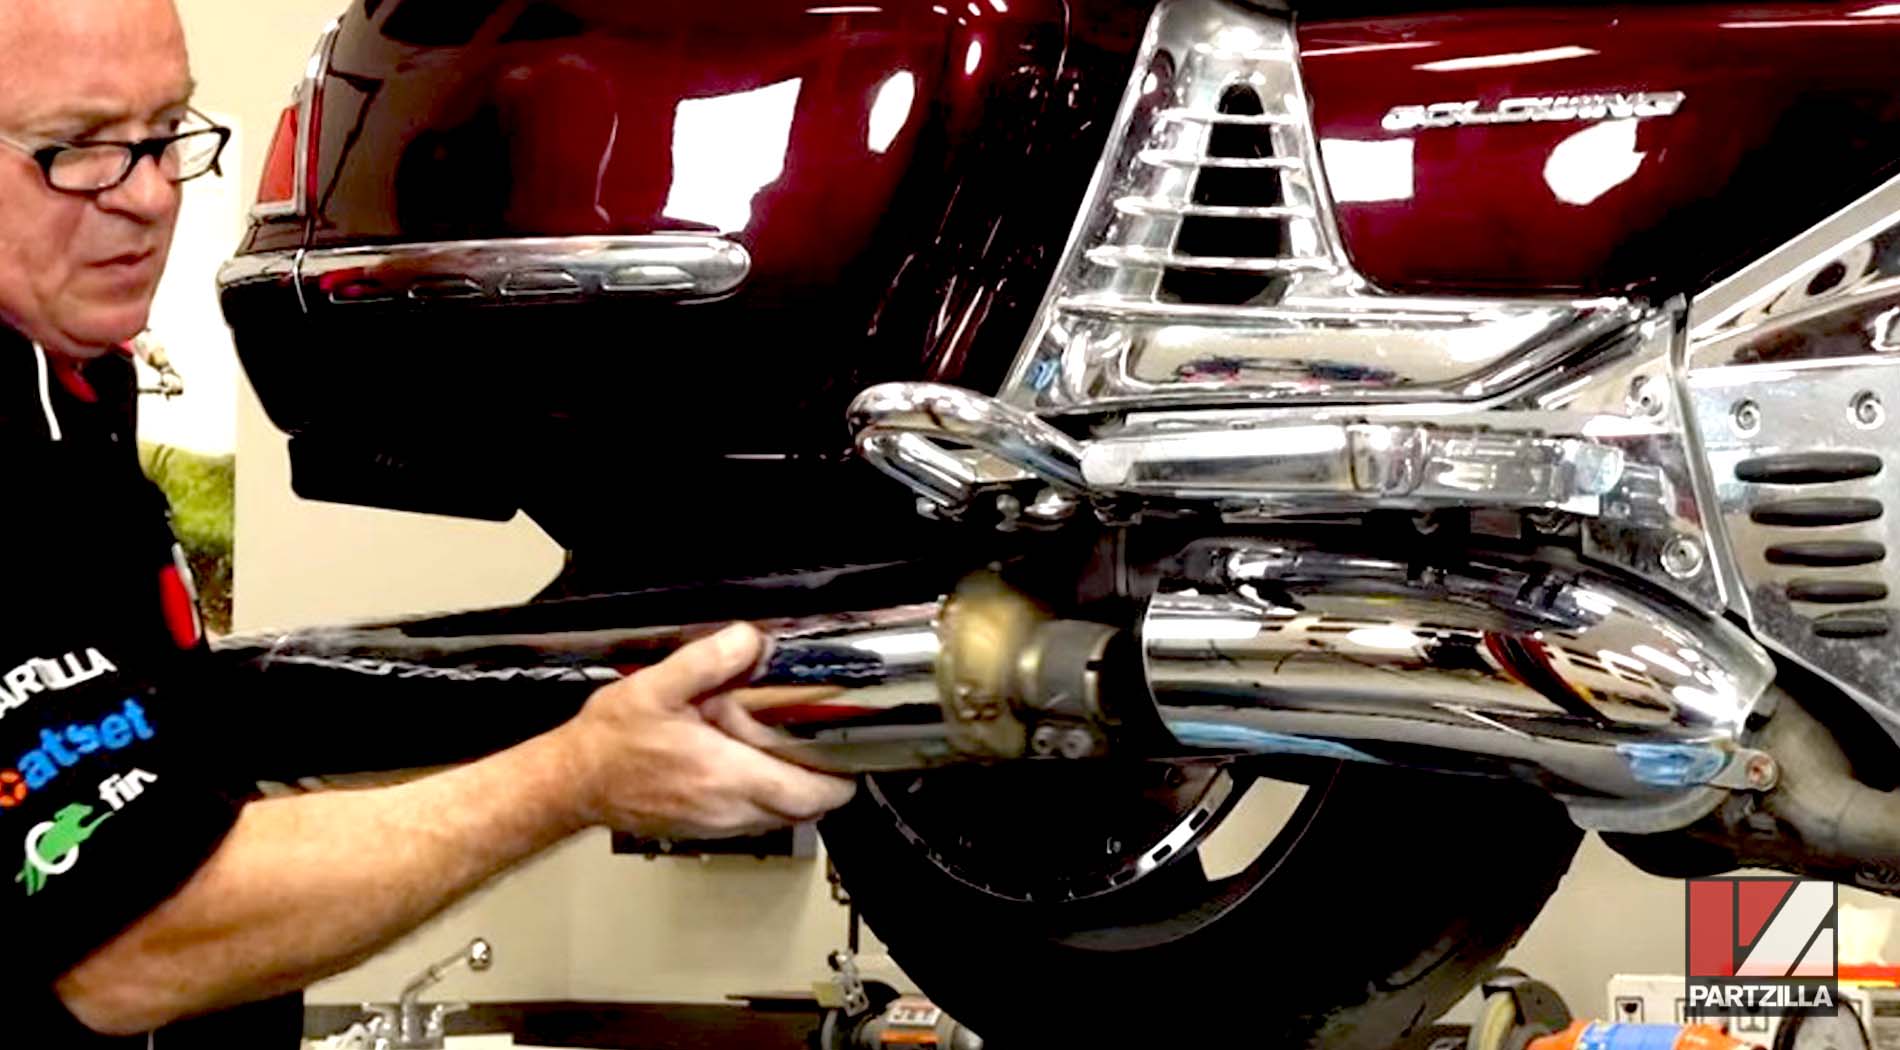
NOTE: Our Honda Goldwing has a trailer hitch on it with a support bar that covers up a bolt we needed to get to. If your machine has a trailer hitch, you may need to remove a support bar too.
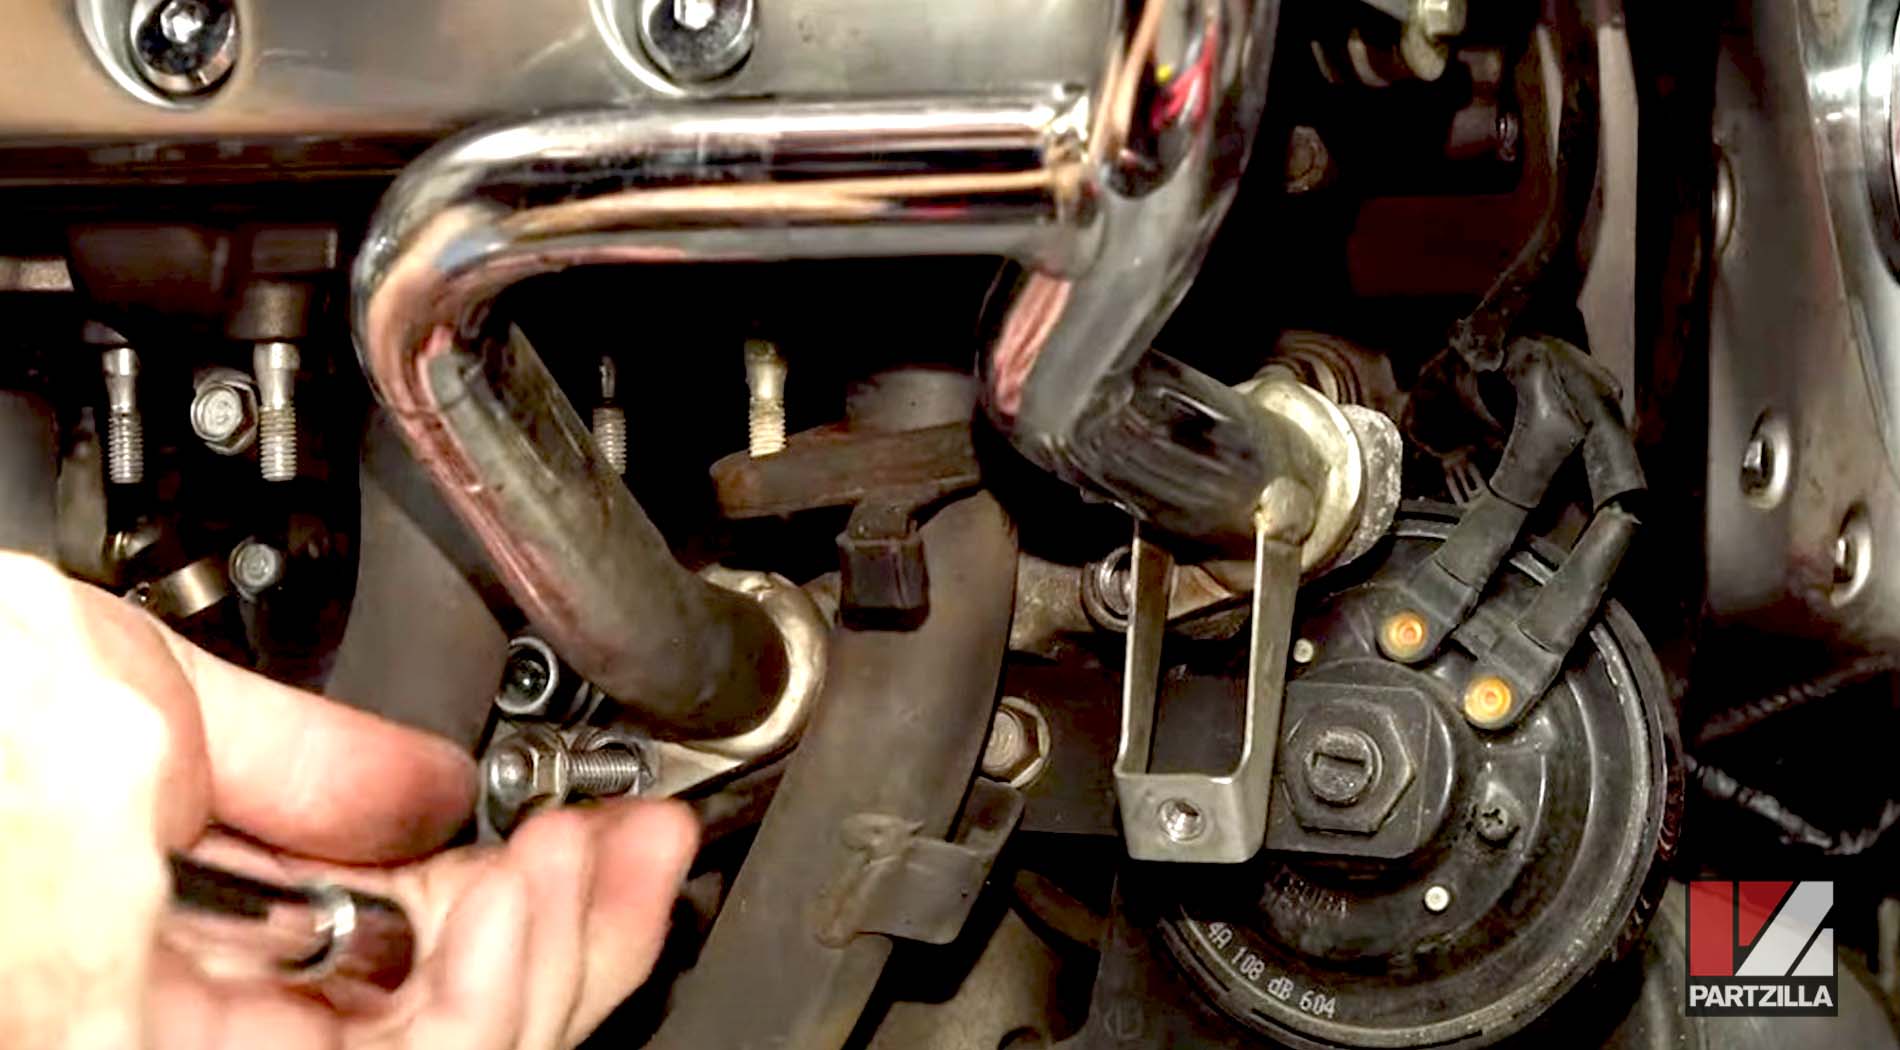
NOTE: Be careful to not damage any wires when unplugging the O2 sensors while removing the exhaust, as O2 sensors are expensive to replace.
Watch the clip below to see the exhaust removal segment of our Honda Goldwing GL1800 clutch pack replacement video.
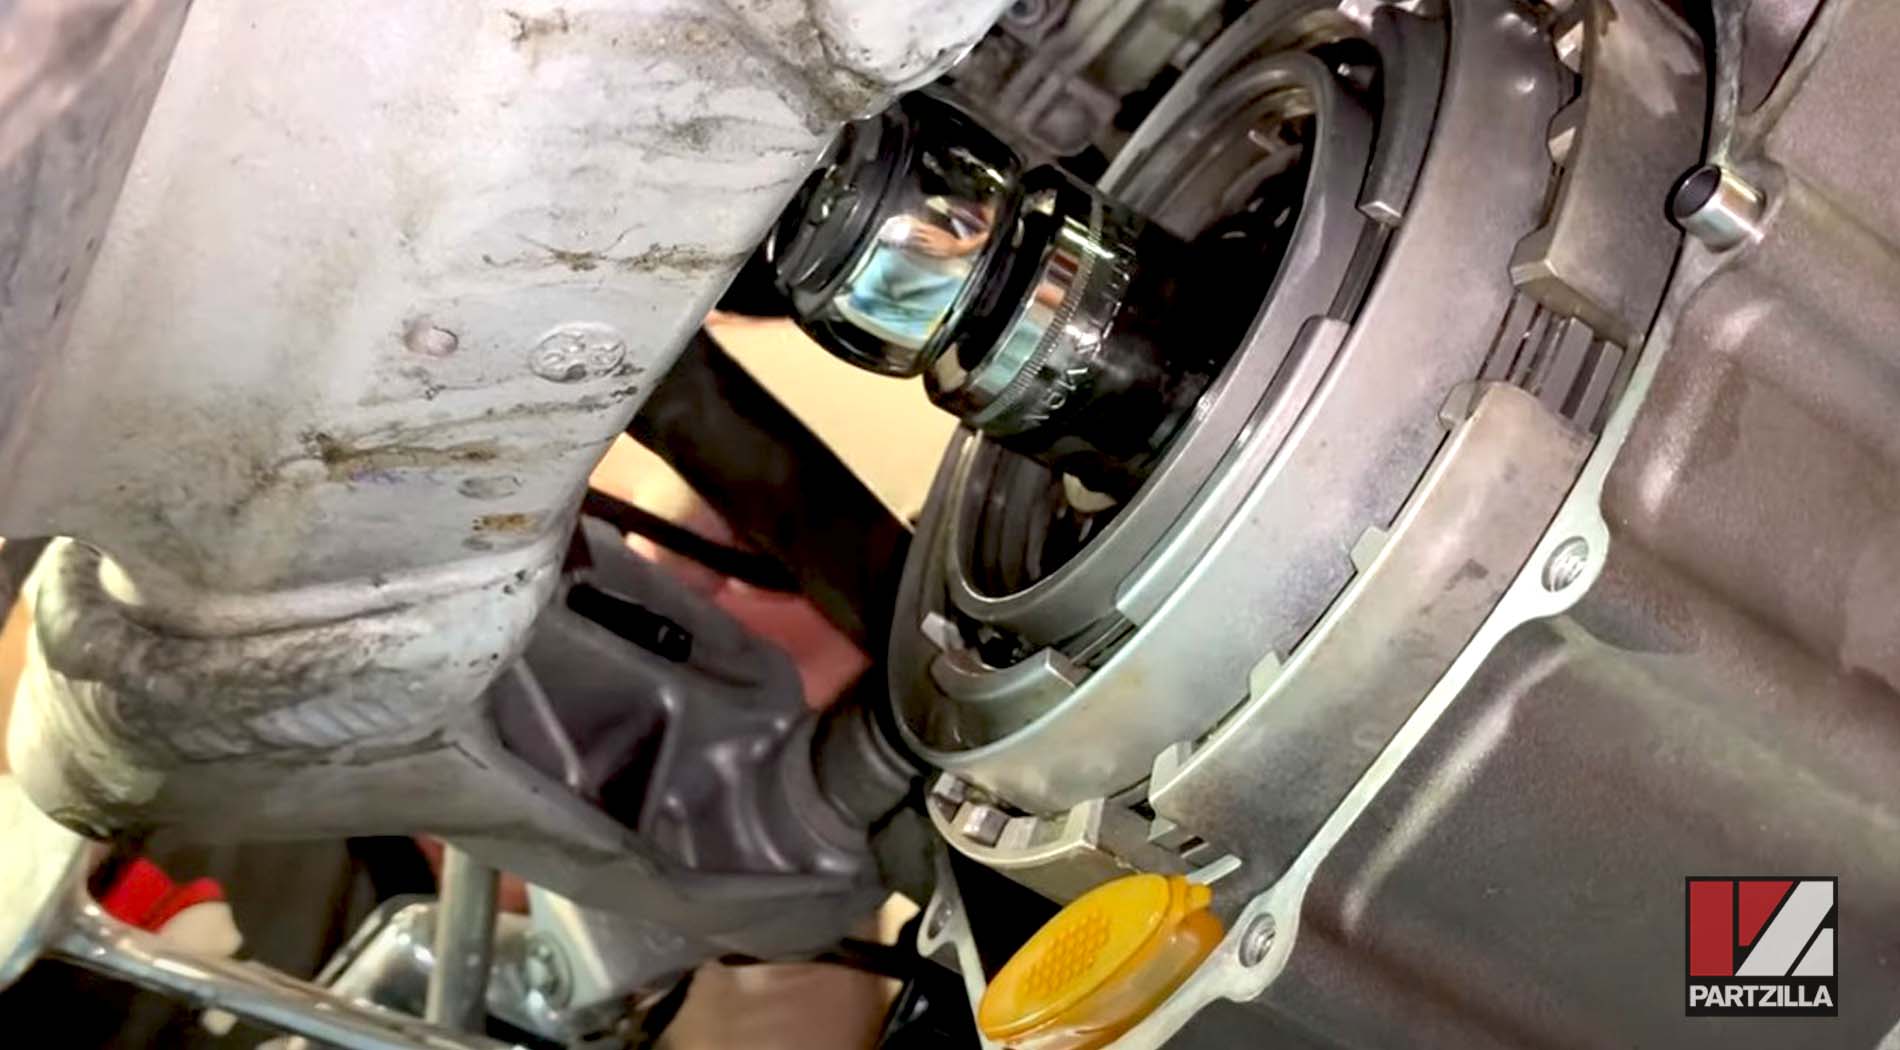
Step 7. Remove the coolant reservoir, which has two lines, one up at the top and one over to the side. Drain any coolant out before removing the reservoir.
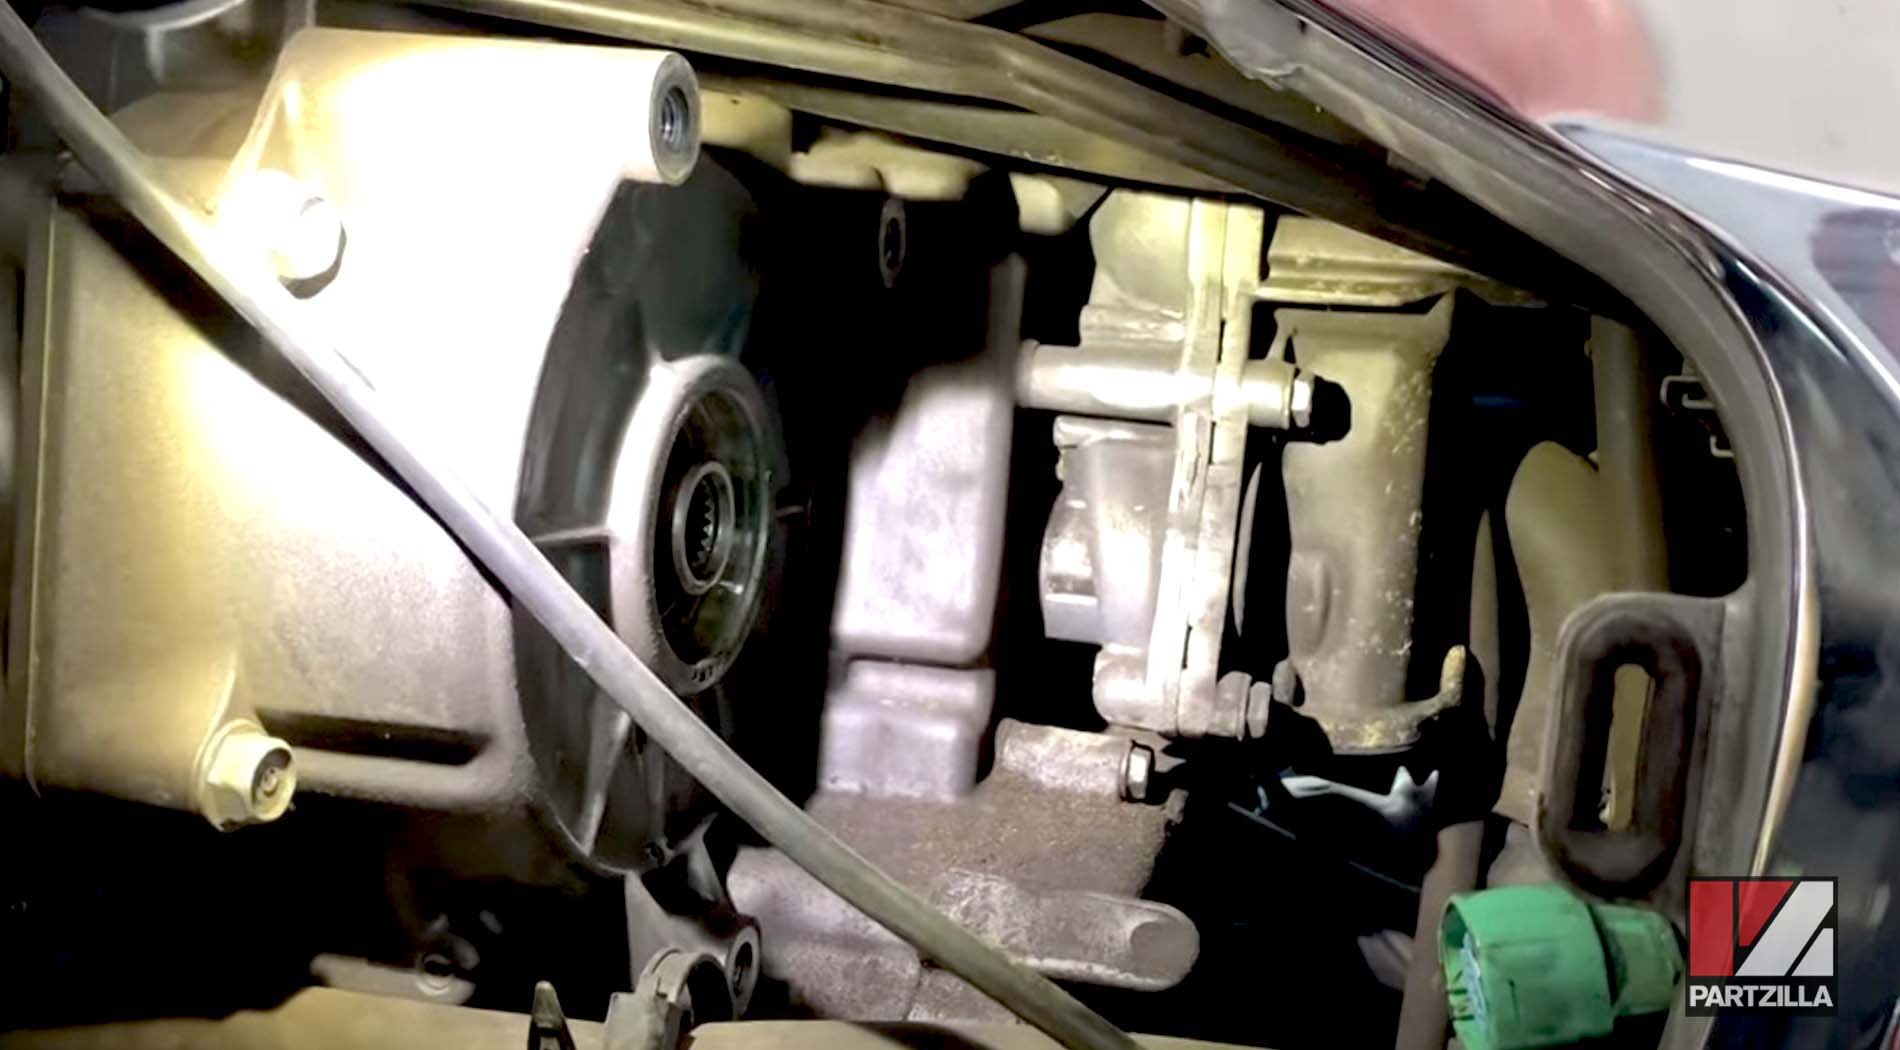
Step 8. Remove the eleven 10mm bolts holding the clutch cover in place.
PRO TIP: If your Goldwing’s clutch cover is really dirty, wipe it down to make sure it’s clean before you open it up. Also, disconnect the battery and then remove the alternator to give yourself more space to work.
NOTE: Don’t lose any O-rings that may have fallen out when you removed the clutch cover. Inspect the O-rings and replace them if they’re worn.
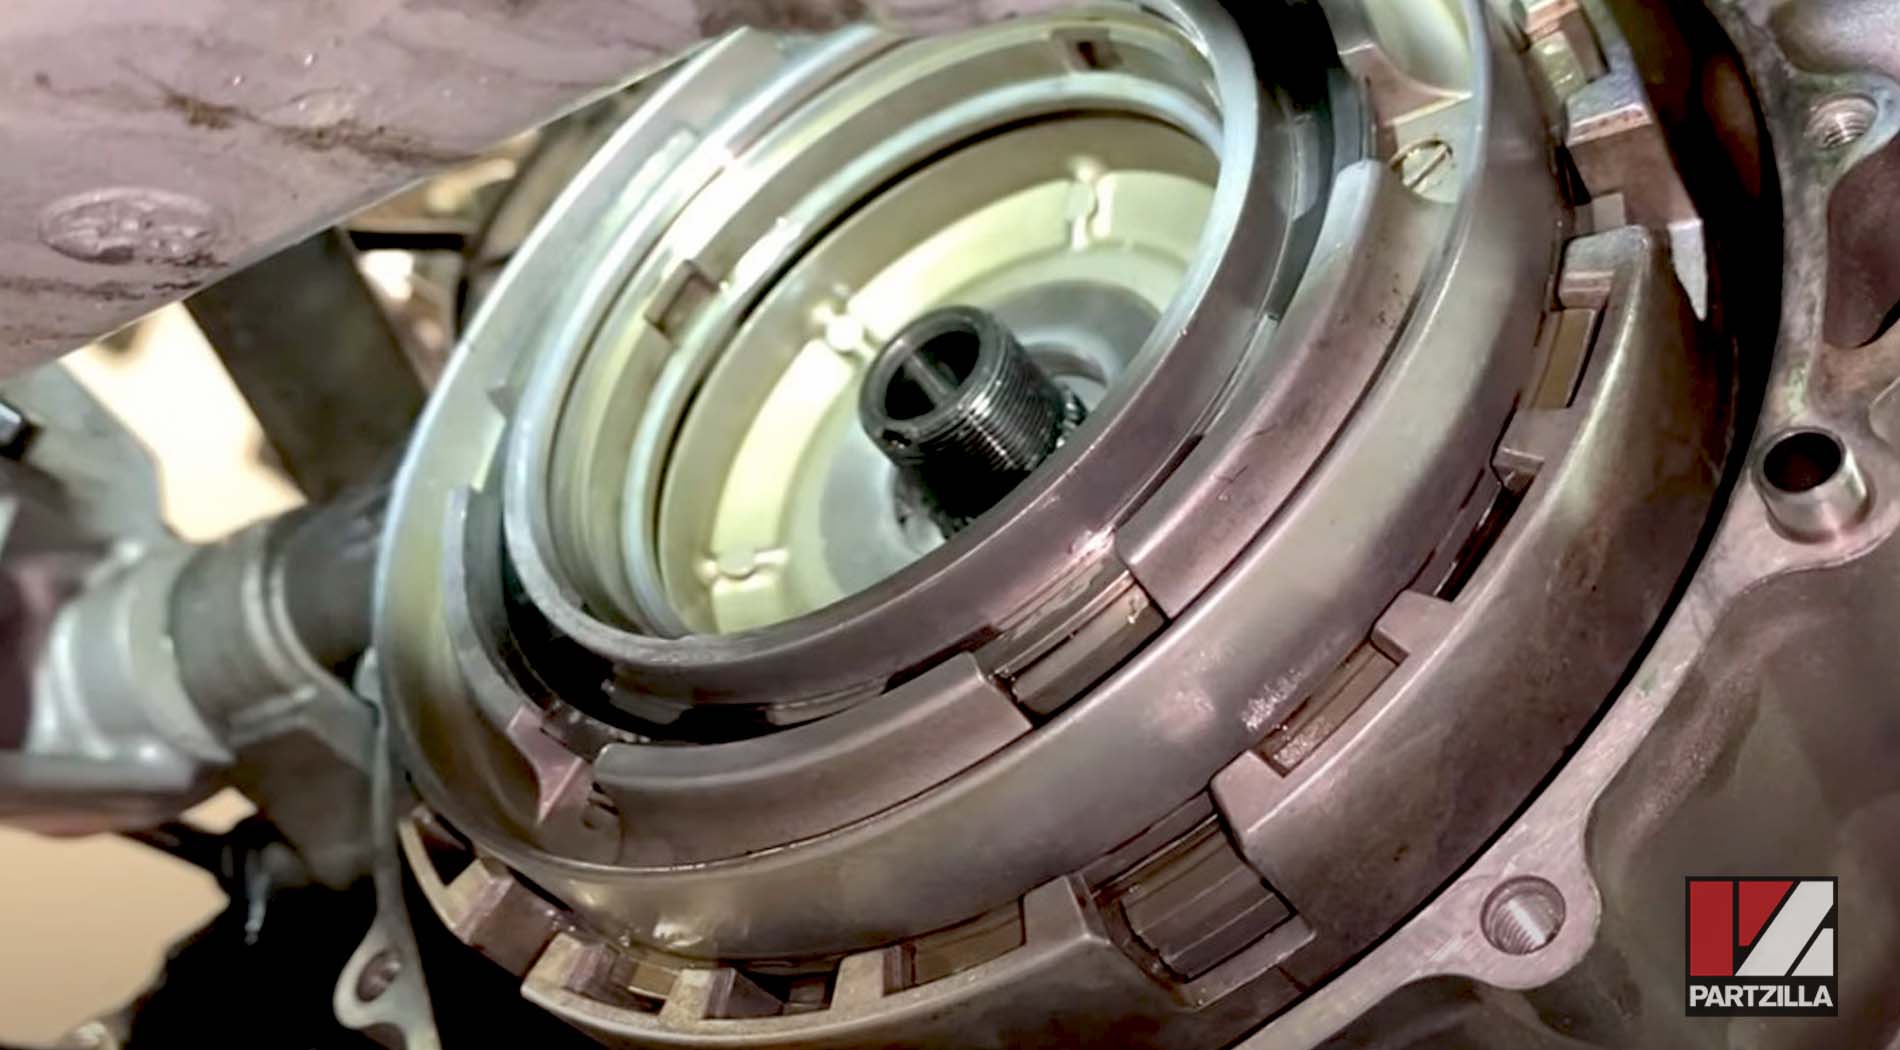
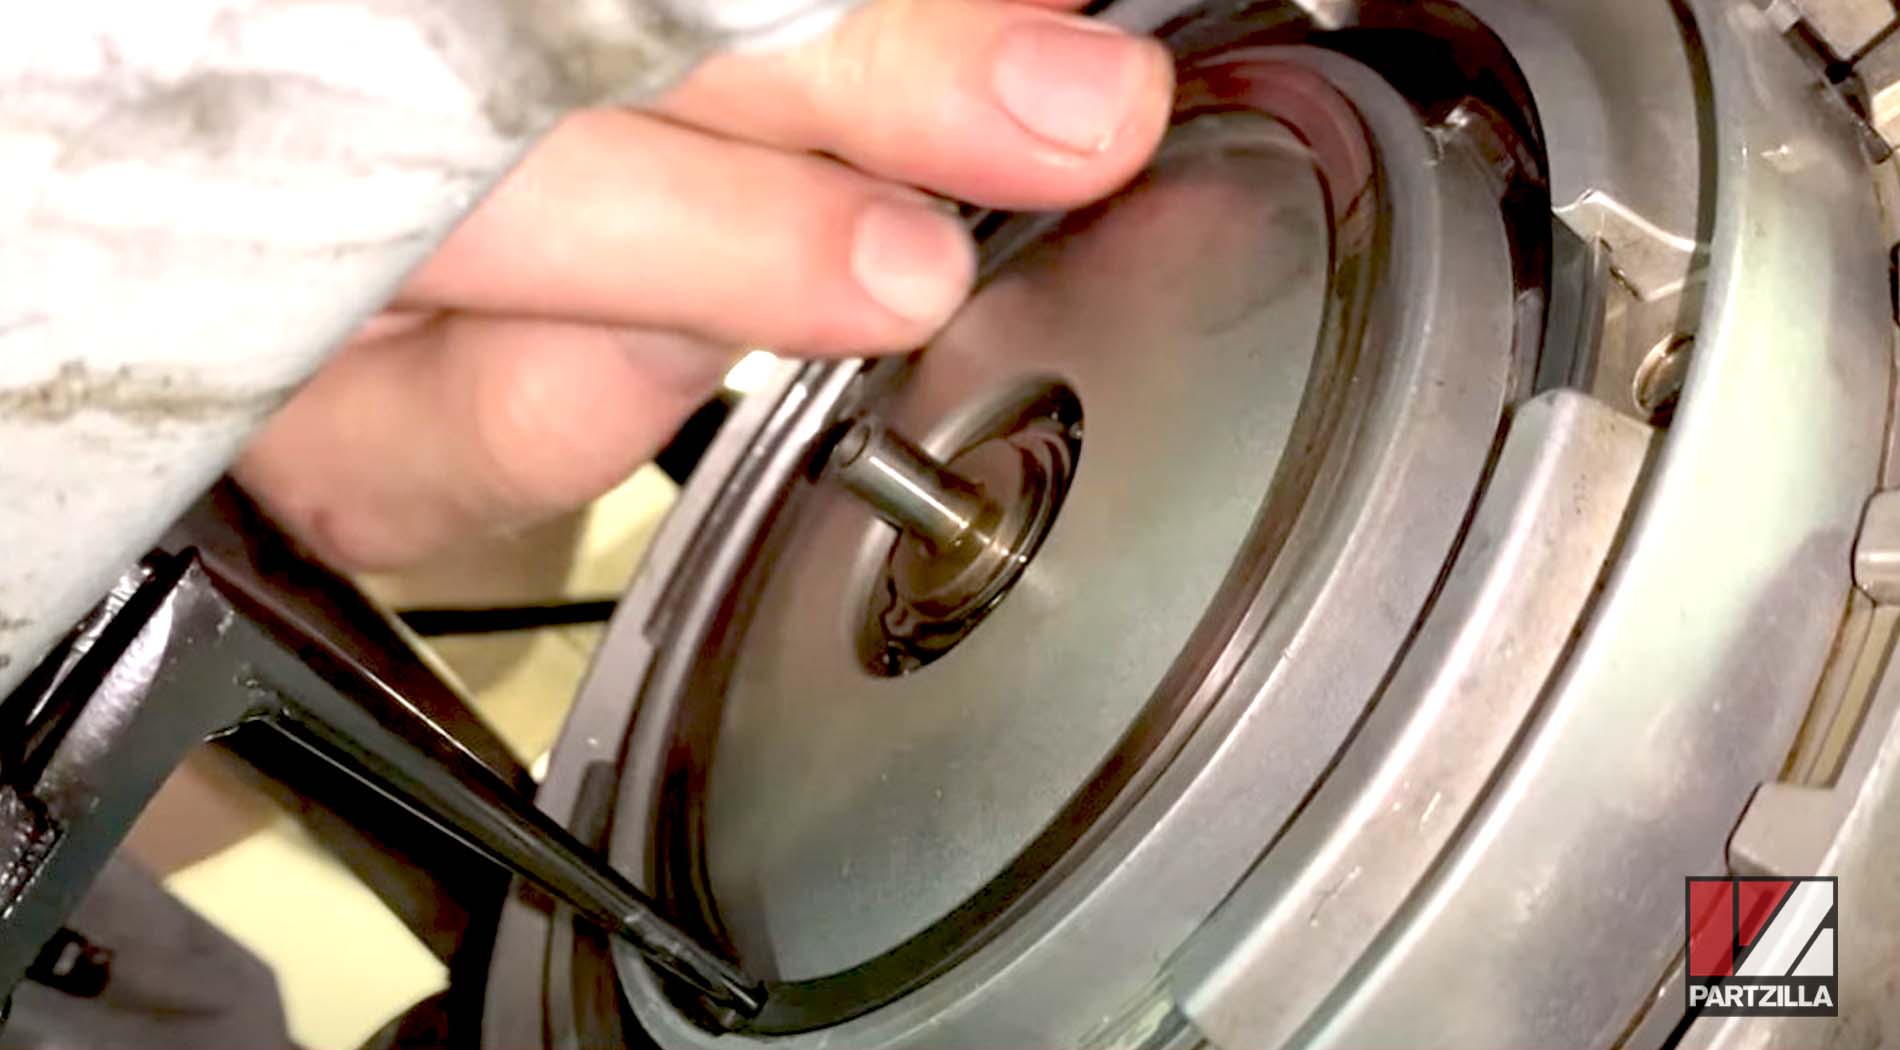
Step 9. Use circlip pliers to remove the stopper ring from the clutch, followed by the lifter plate behind it.
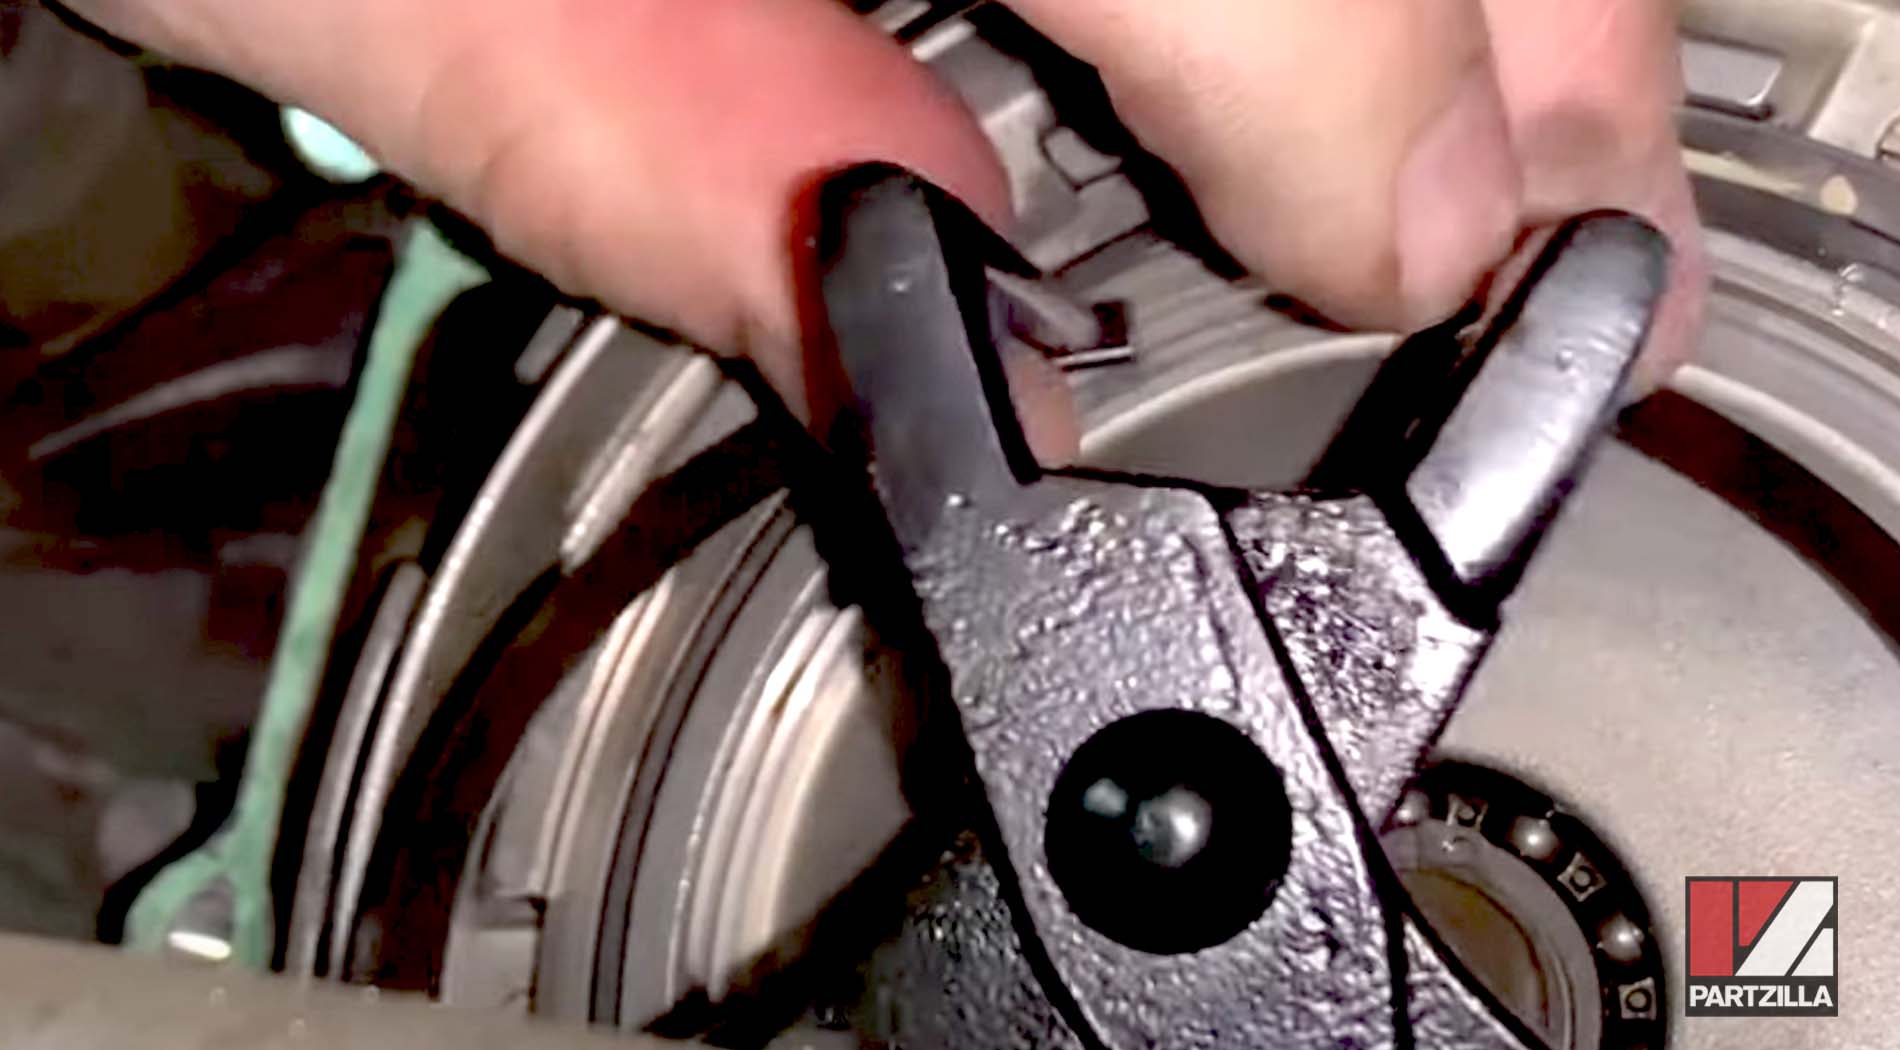
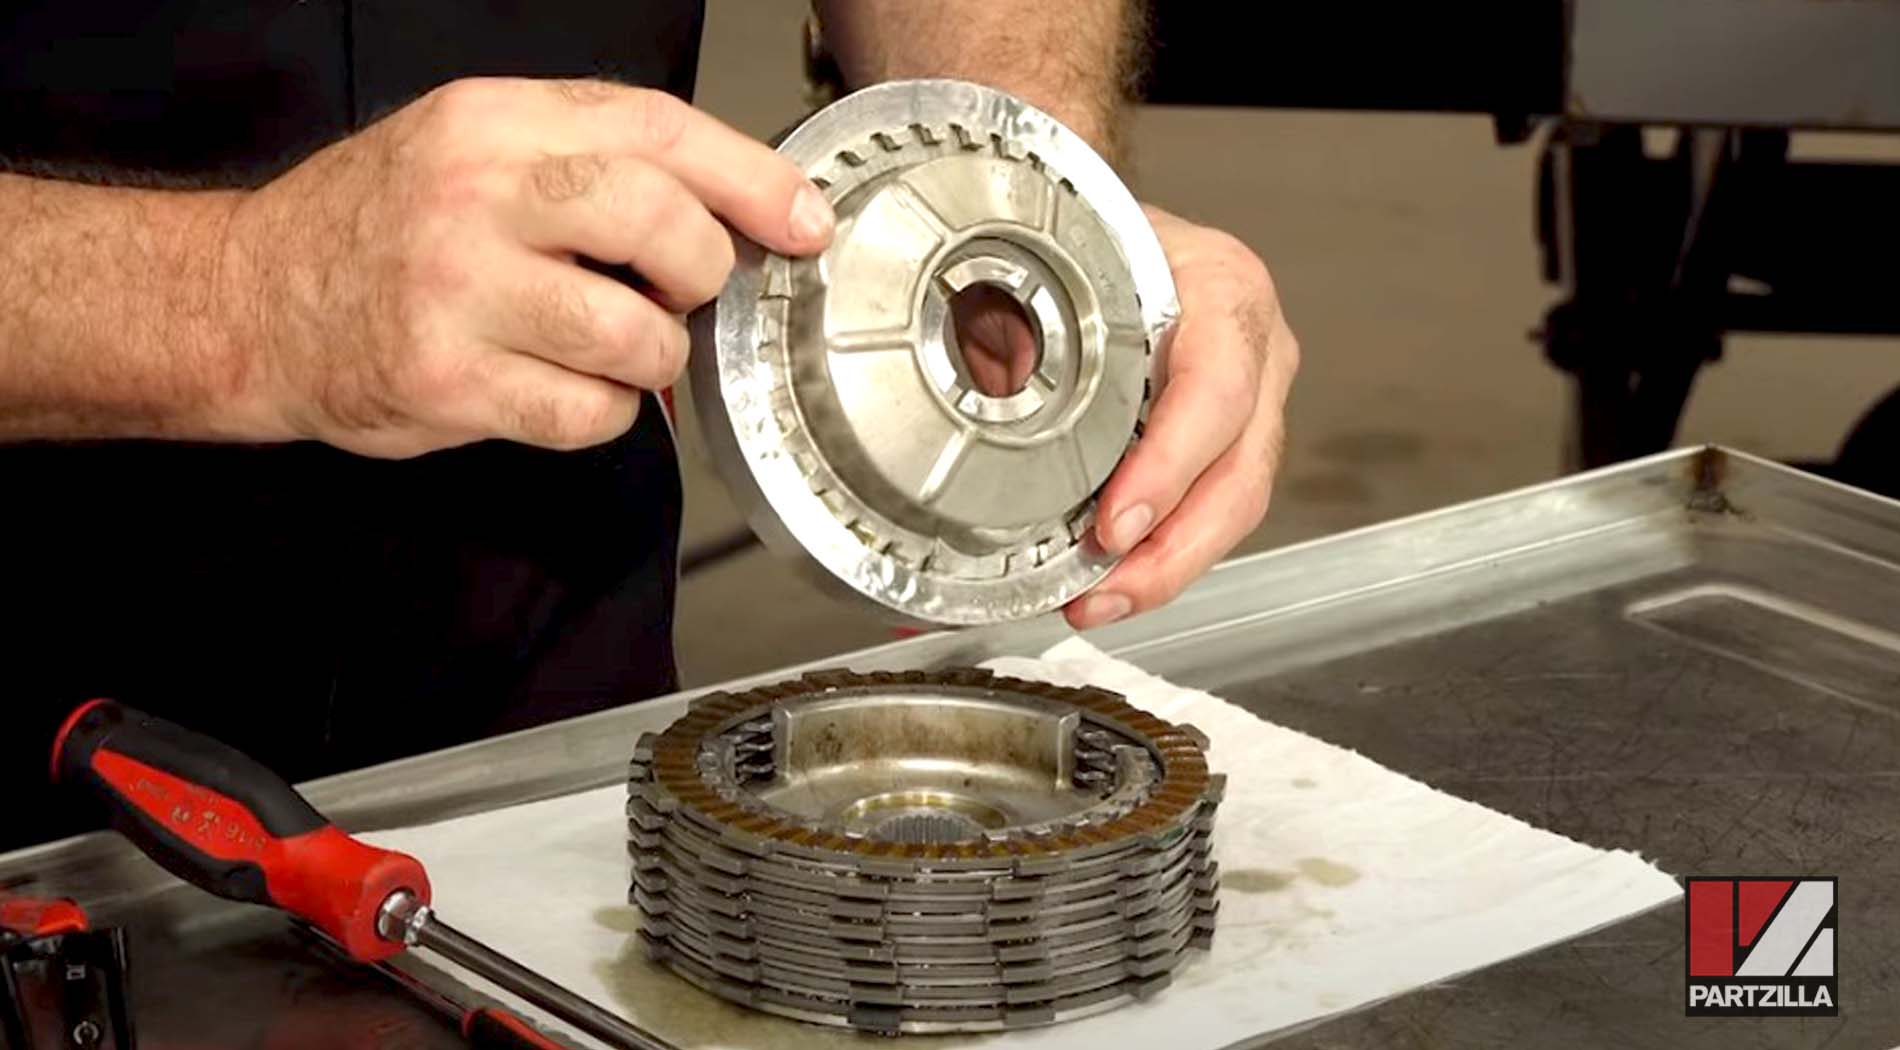
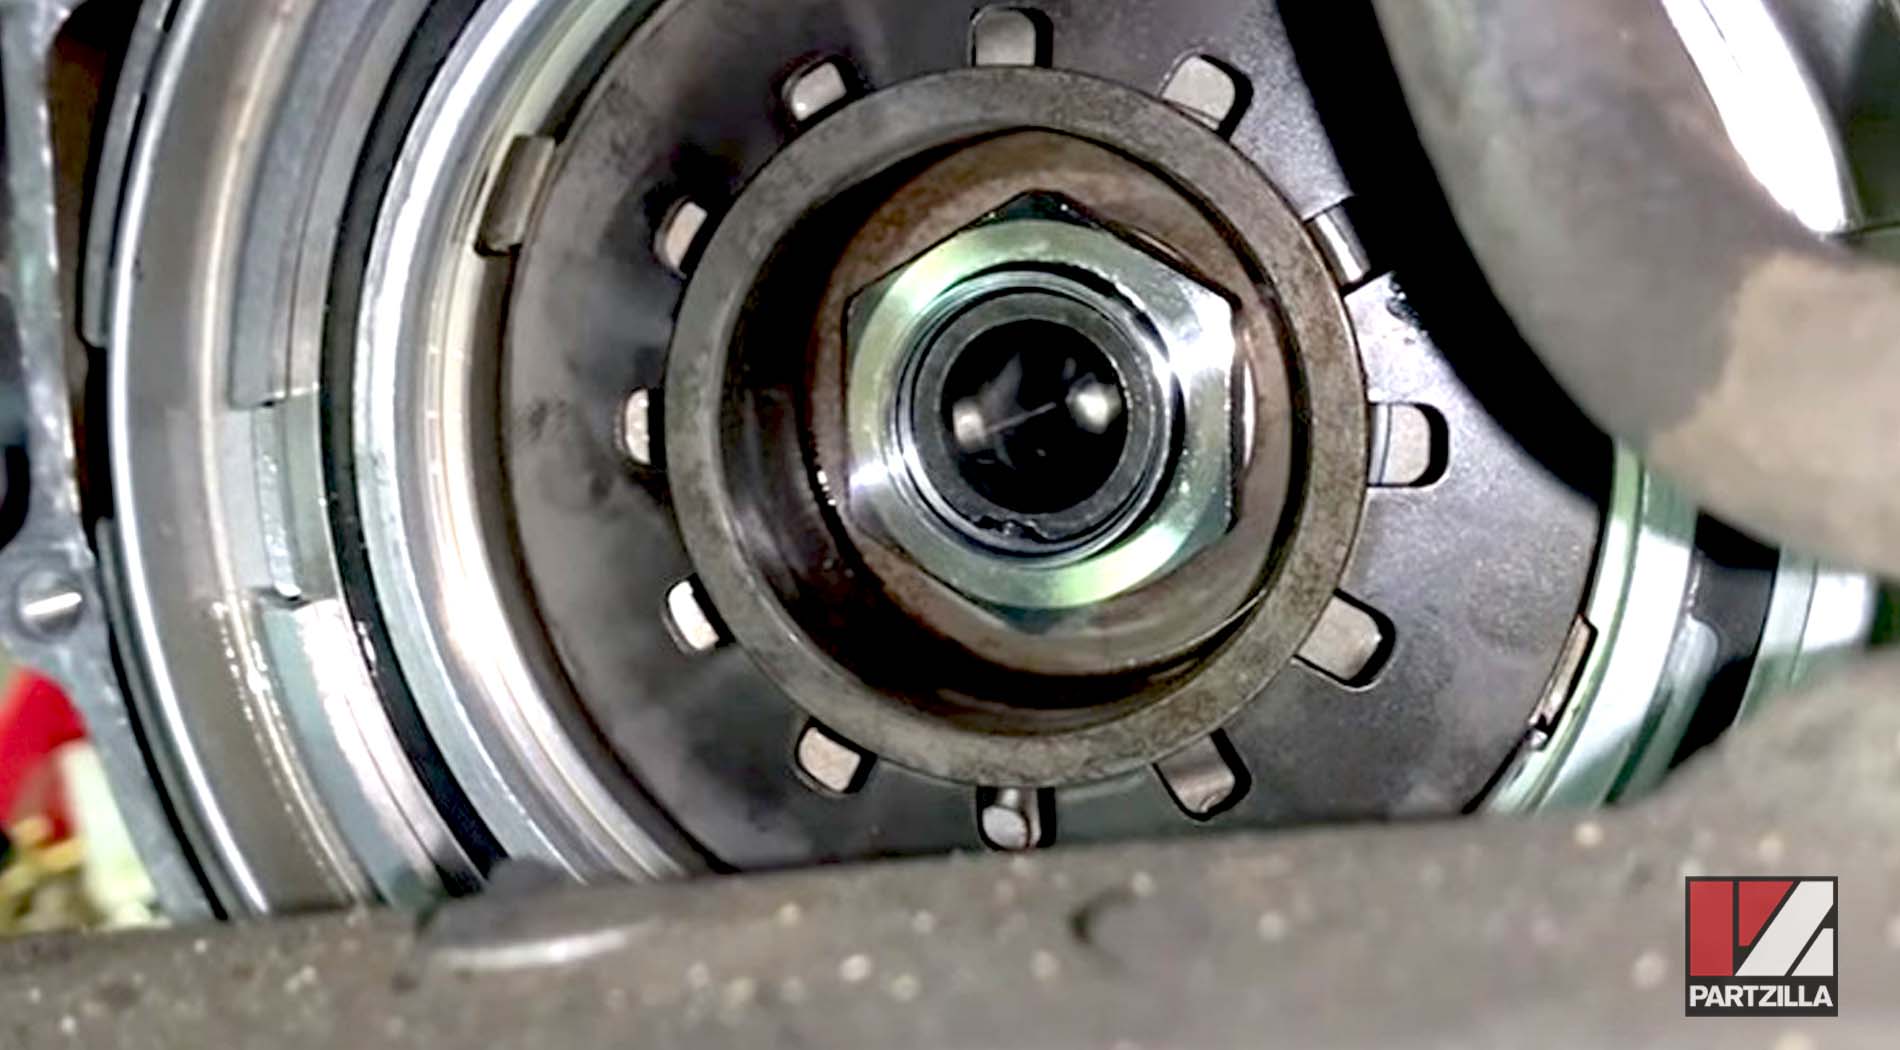
Step 10. Remove the 32mm main clutch nut by un-staking it first, then take off the washer, inner hub, spring, and the trim ring behind it. Next, remove the clutch pack.
PRO TIP: Shift the machine into any gear other than neutral and then have somebody hold on the brakes to make it easier to remove the clutch nut.

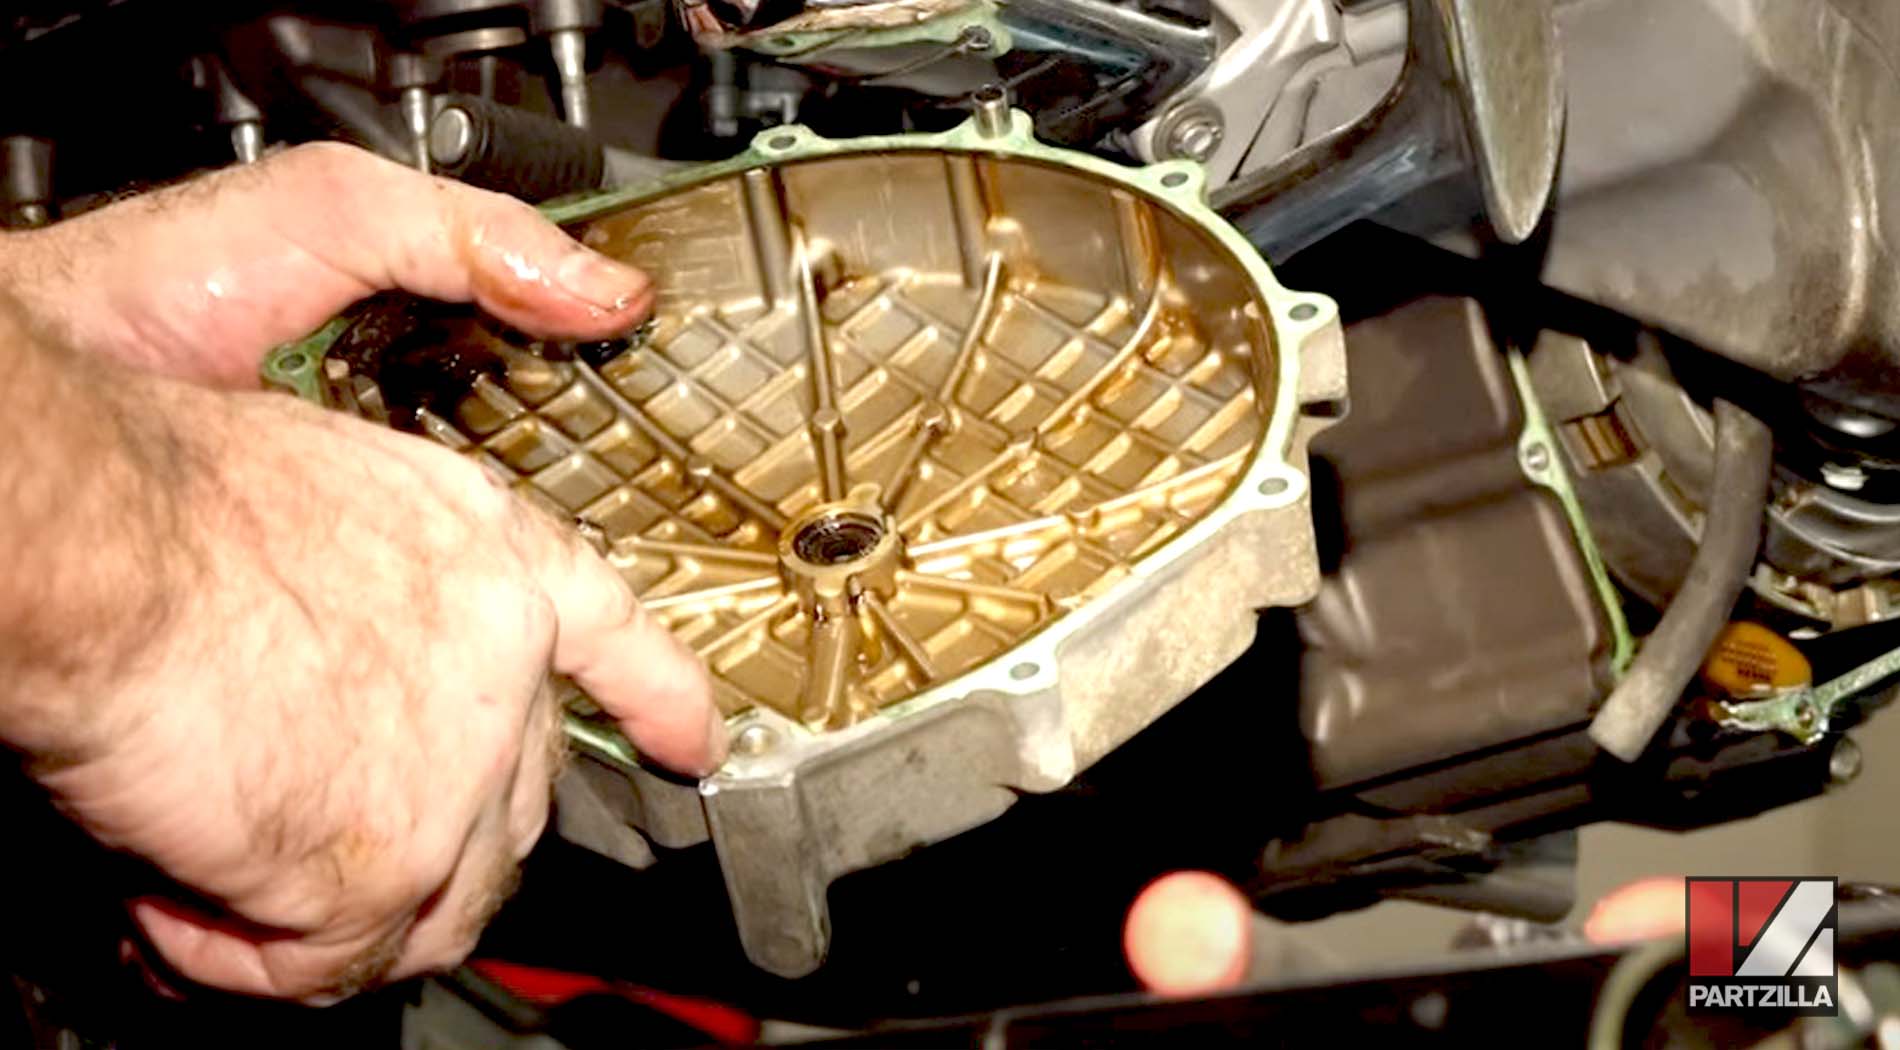
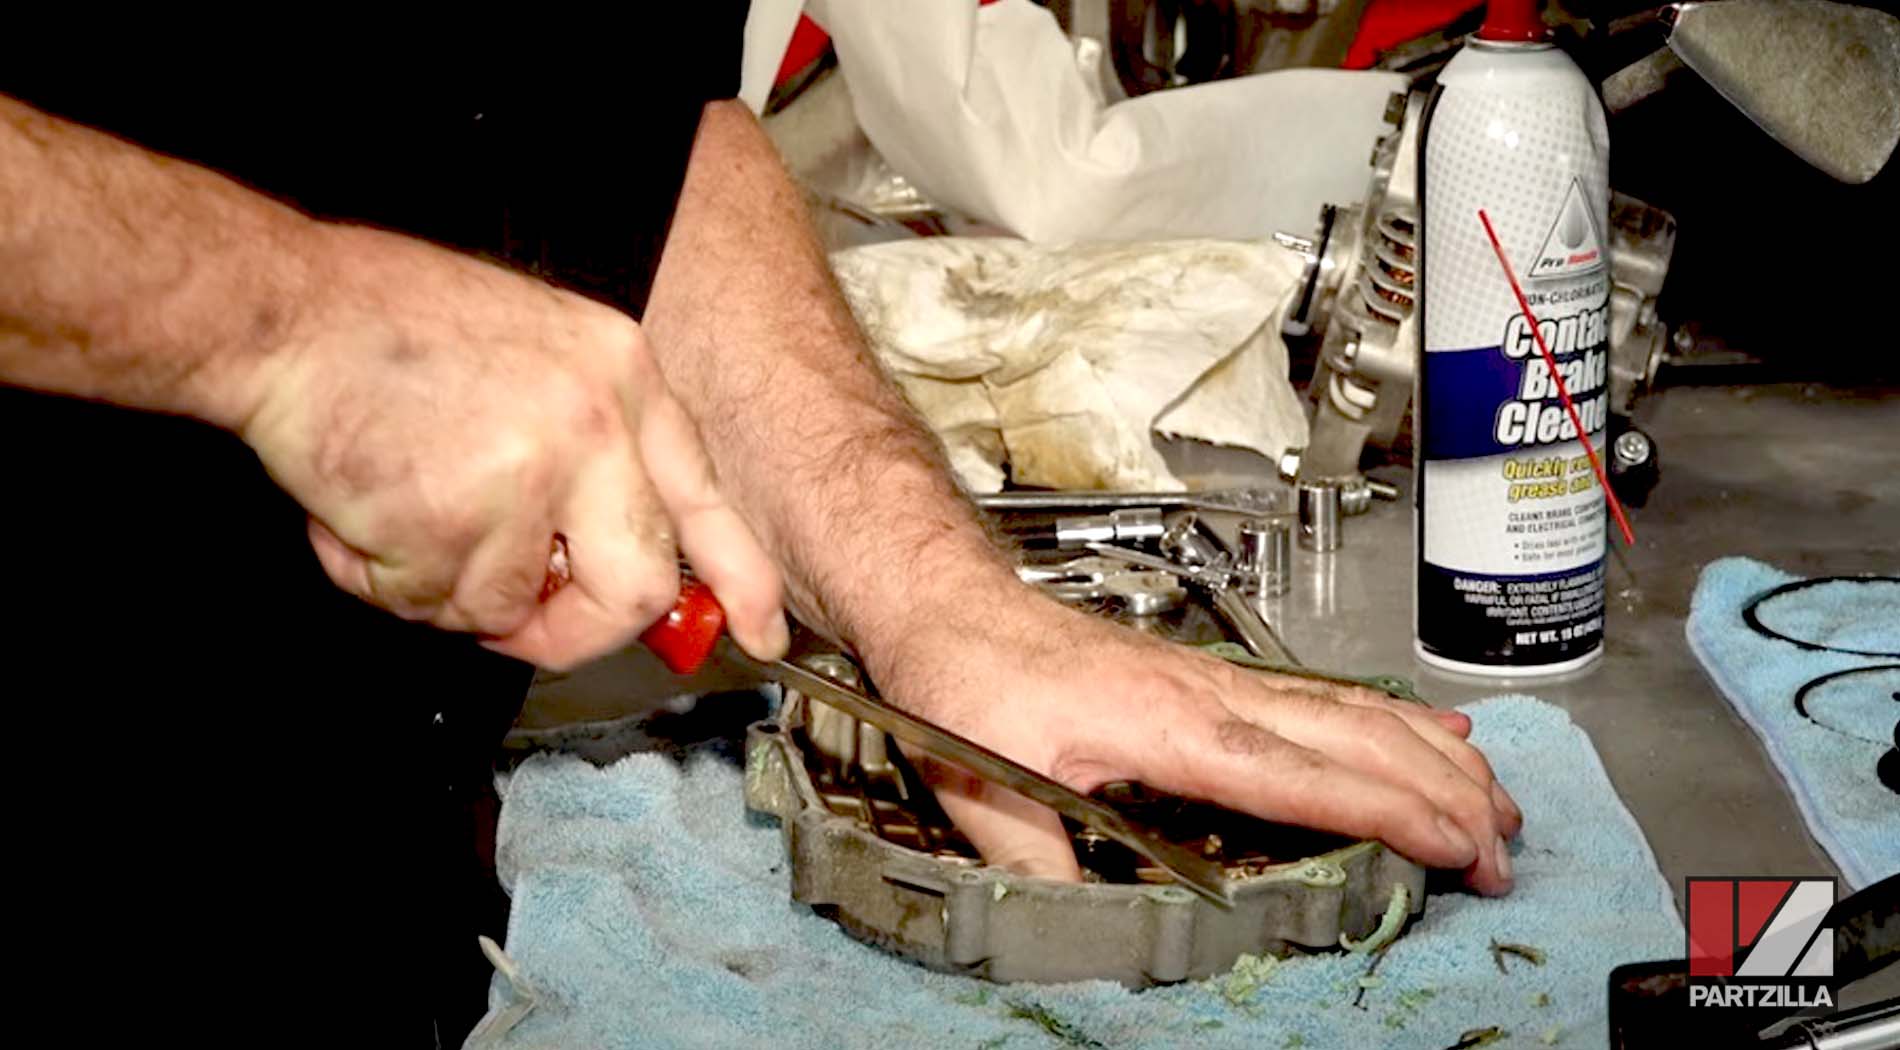
Step 11. Use contact cleaner and a gasket scraper to remove the clutch cover gasket. Take your time and do it carefully to avoid damaging the clutch cover.
Step 12. Remove the stopper ring from the clutch pack and the spring below it, followed by the lifter plate.
PRO TIP: Lay each piece out in the same configuration as you're pulling them off, because several pieces are directional.
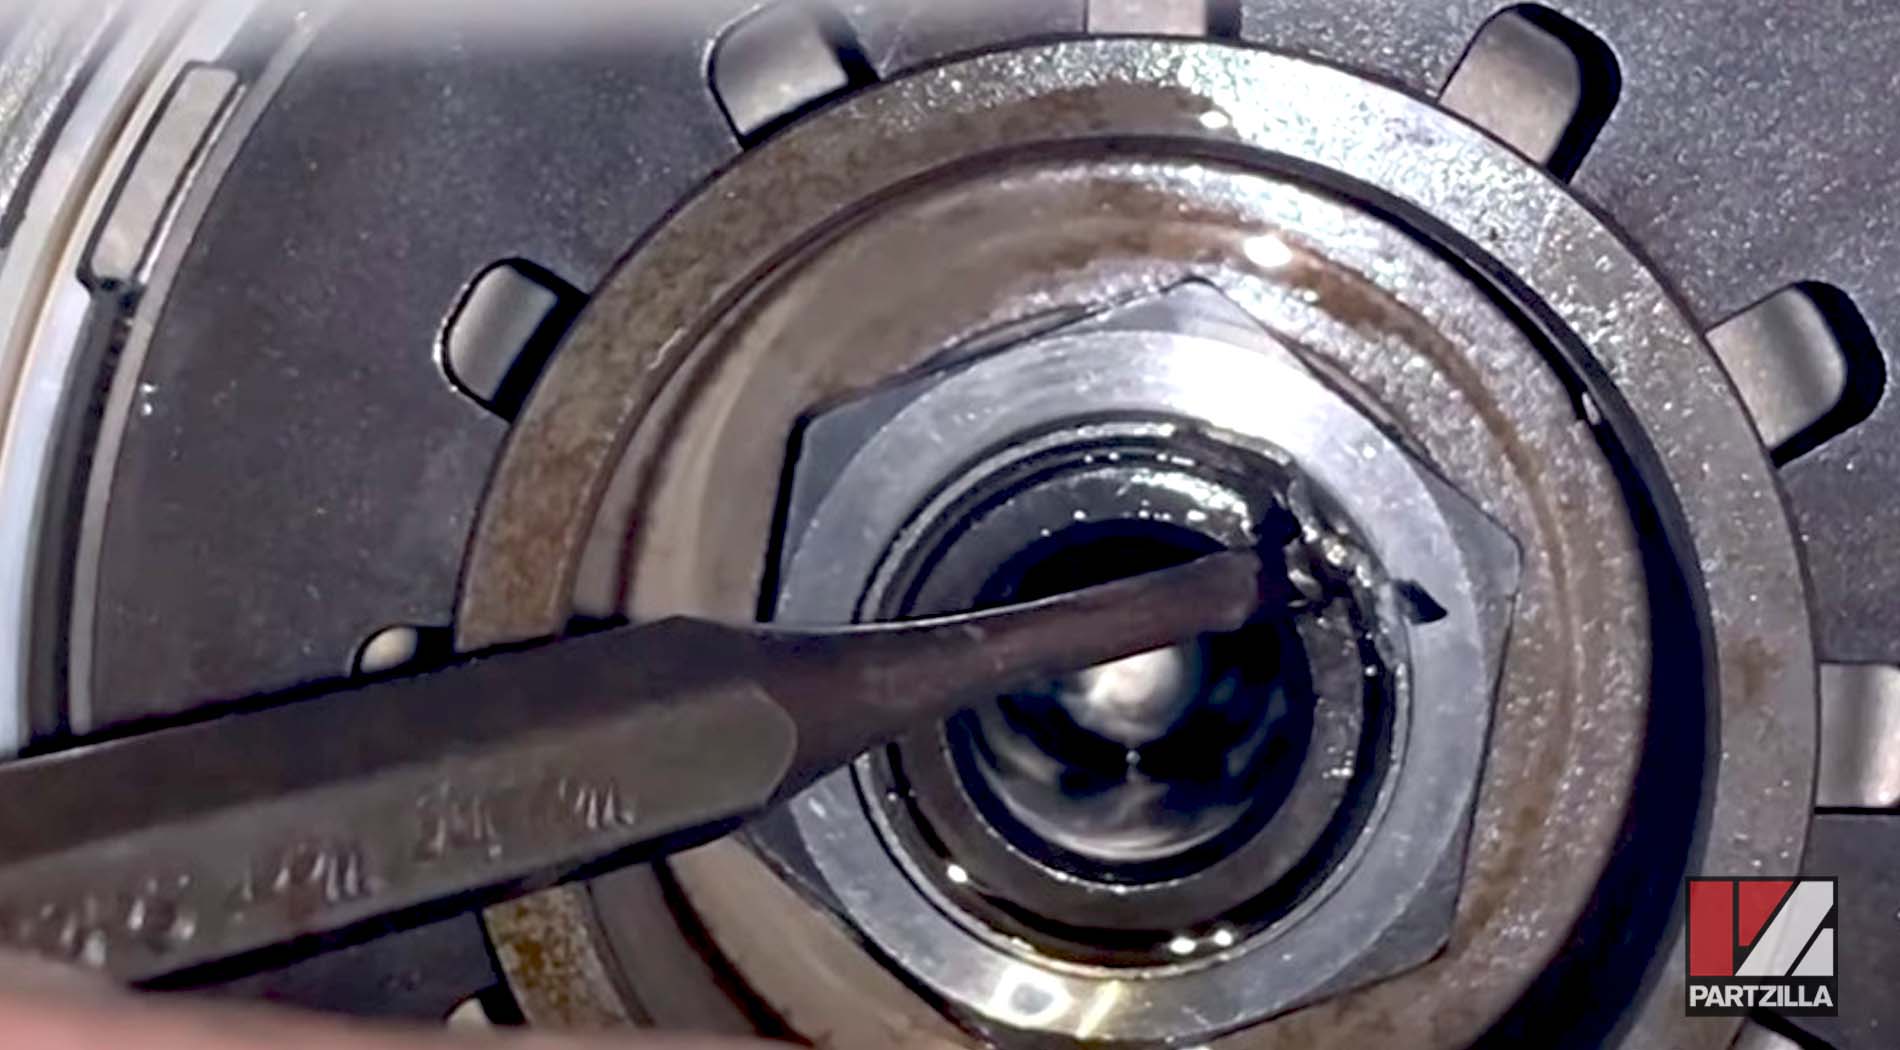
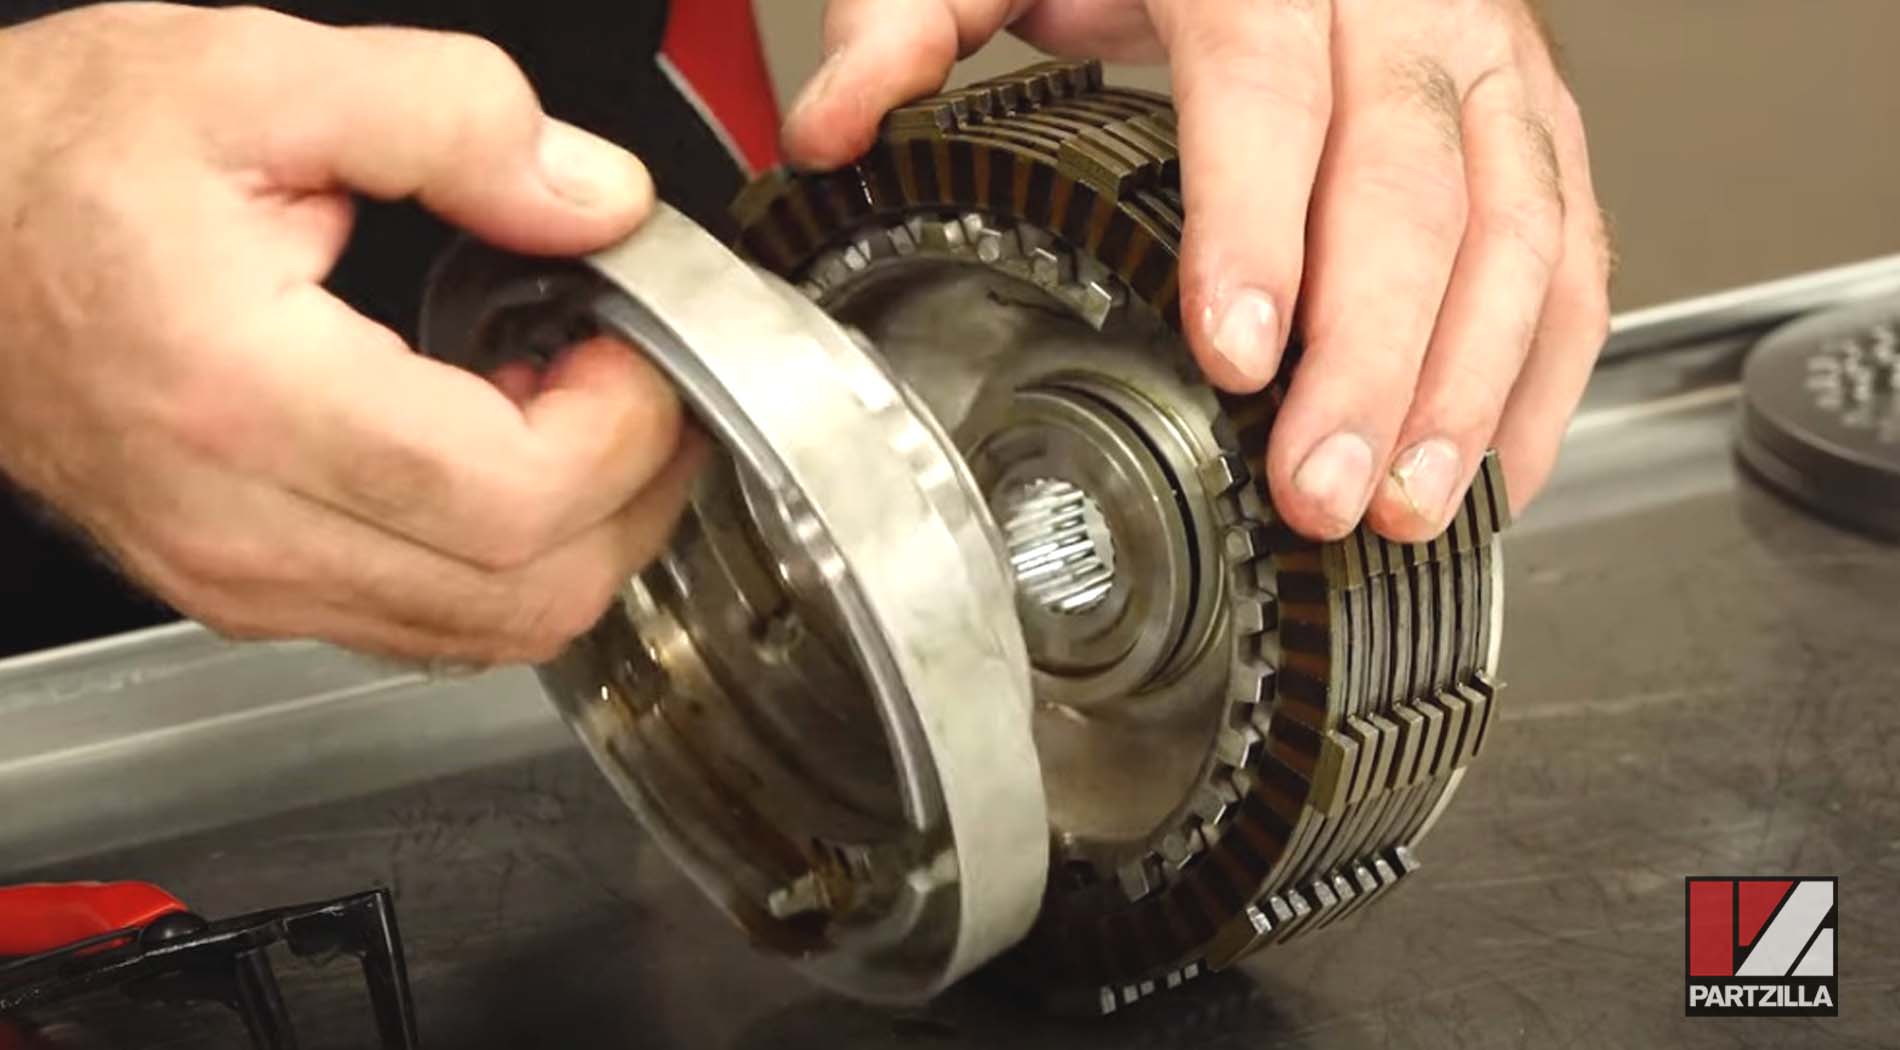
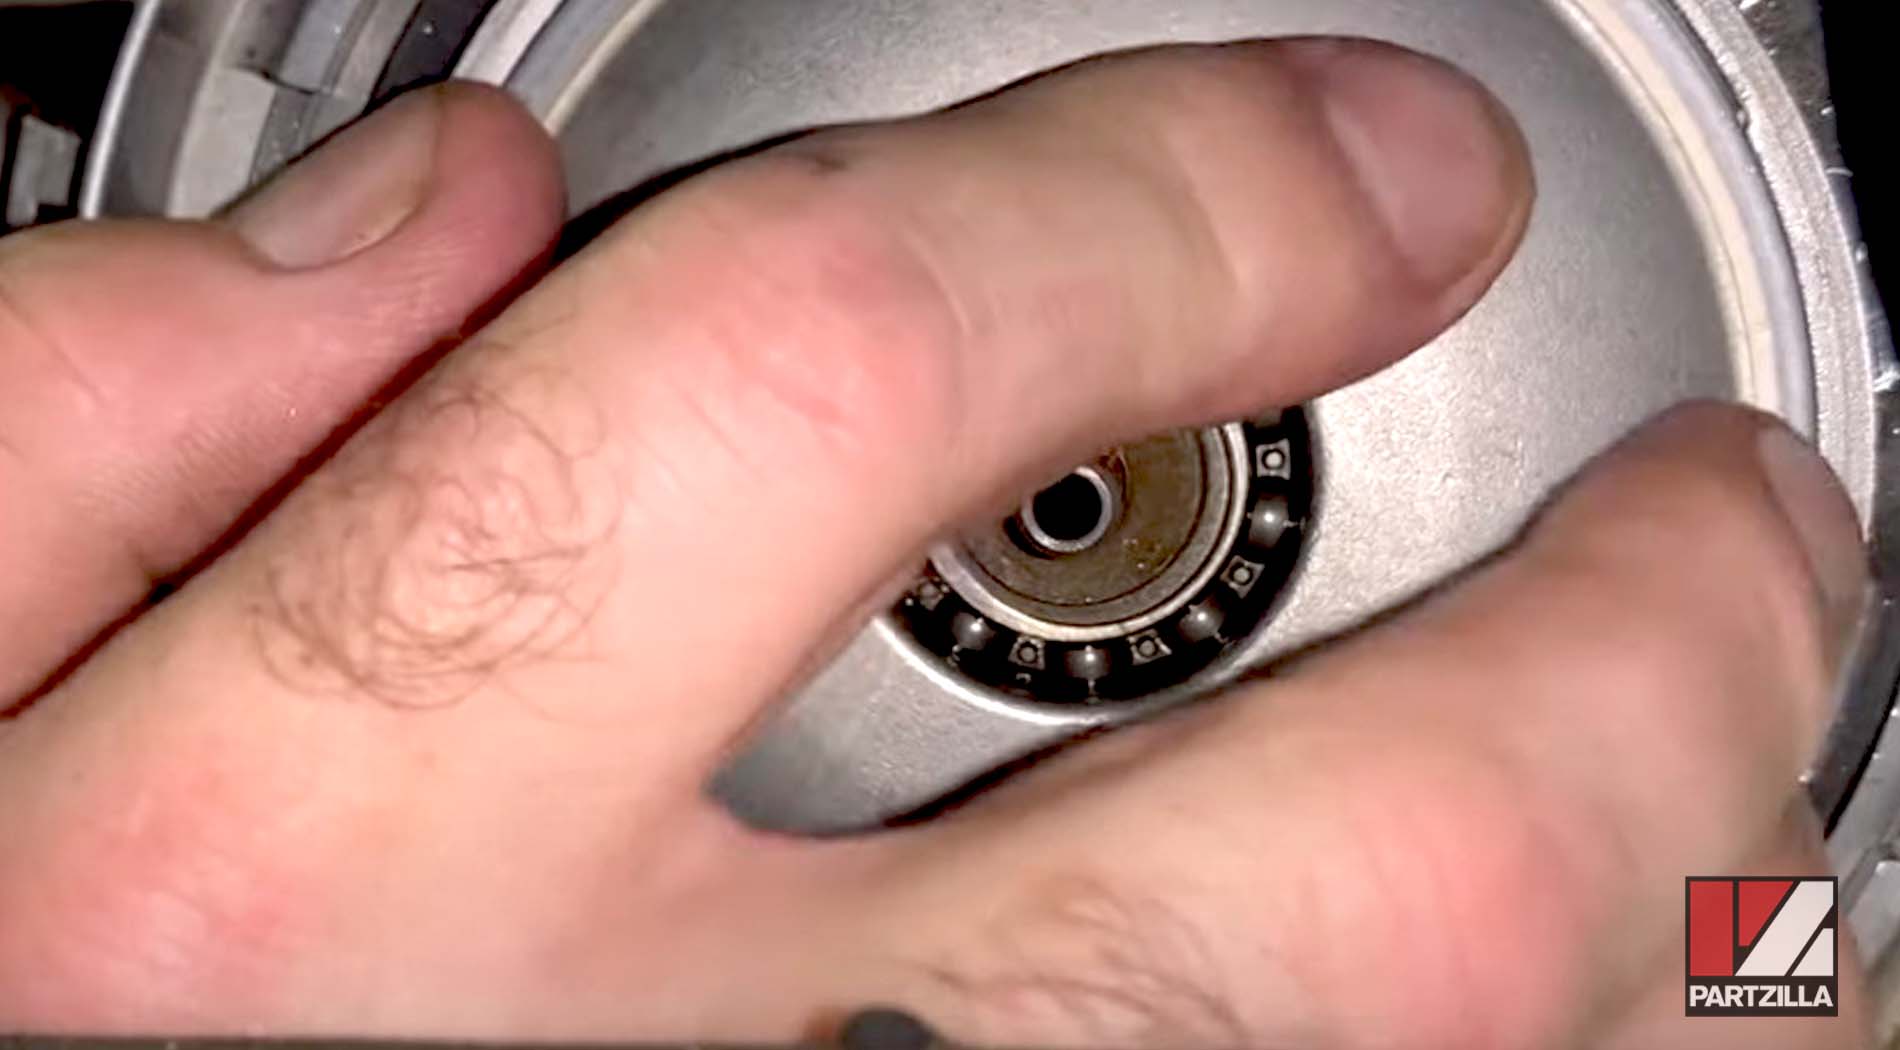
Step 13. Use a flat-blade screwdriver to separate the clutch piston and pressure plate, which are held together by an O-ring on the inside.
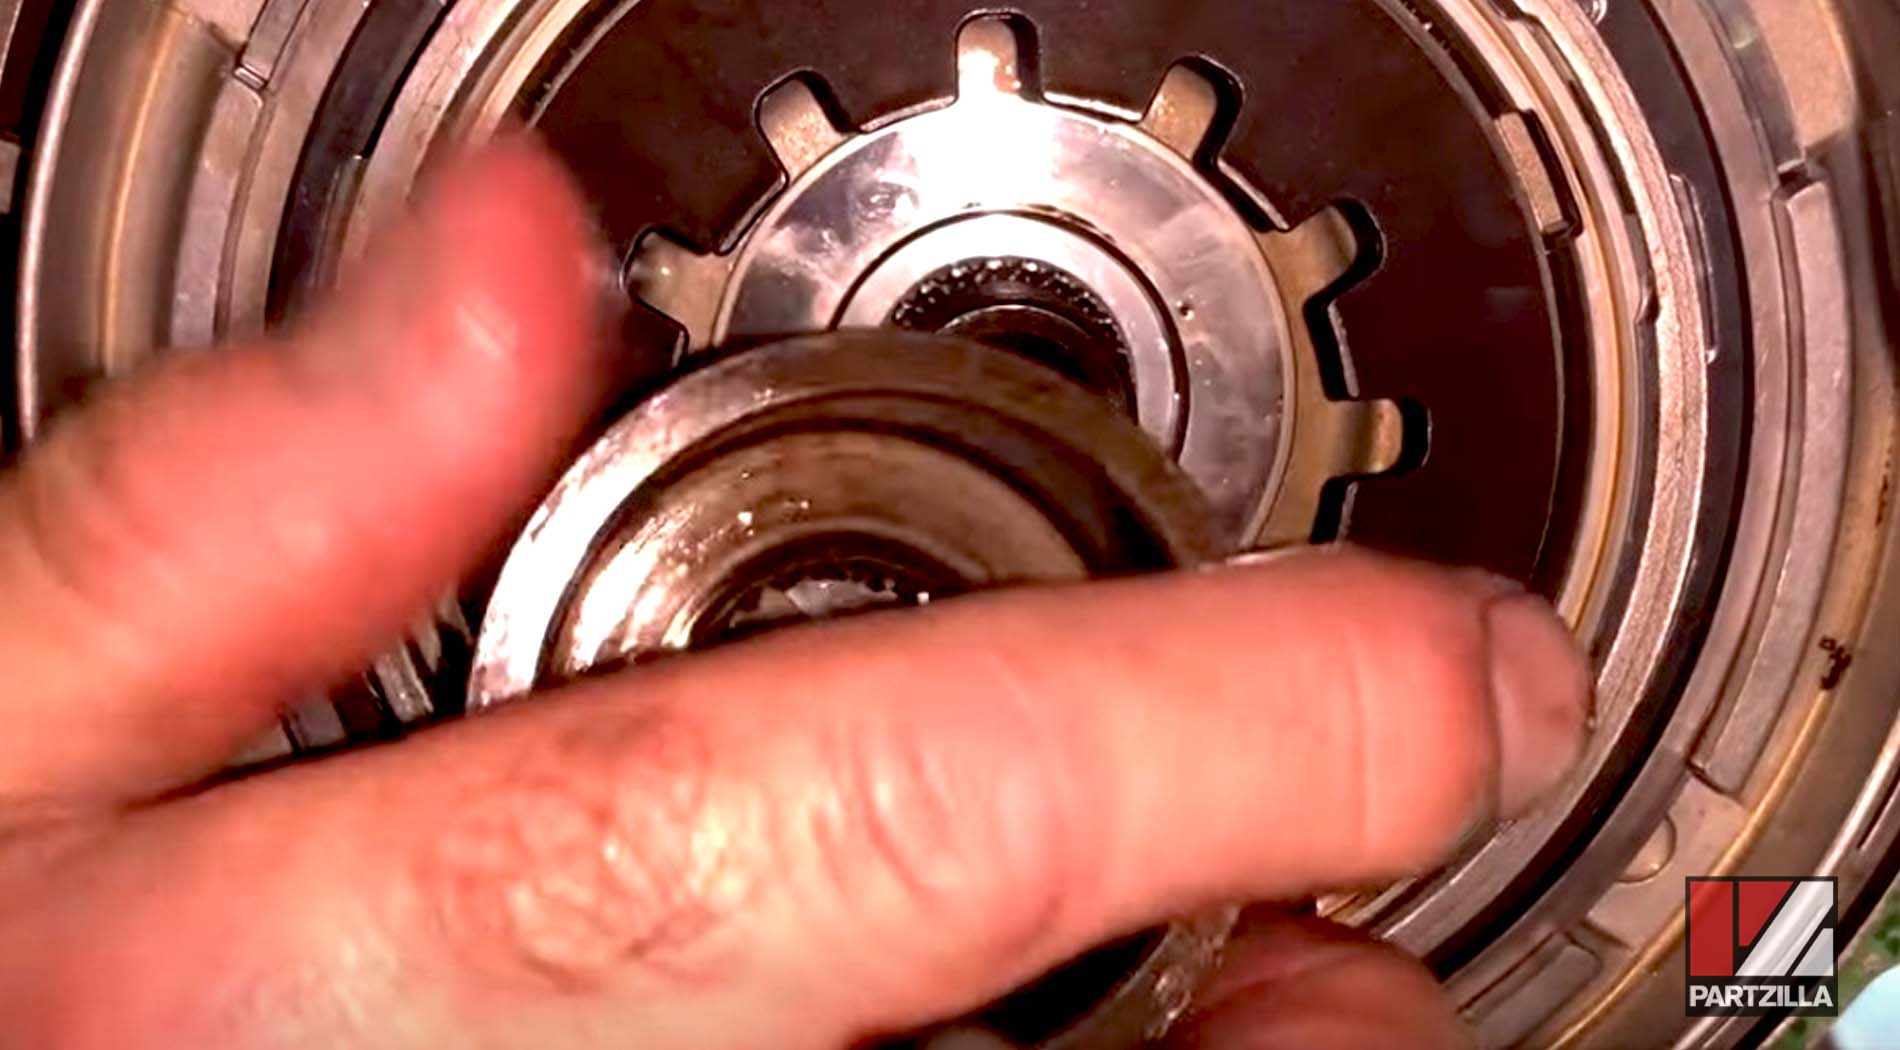
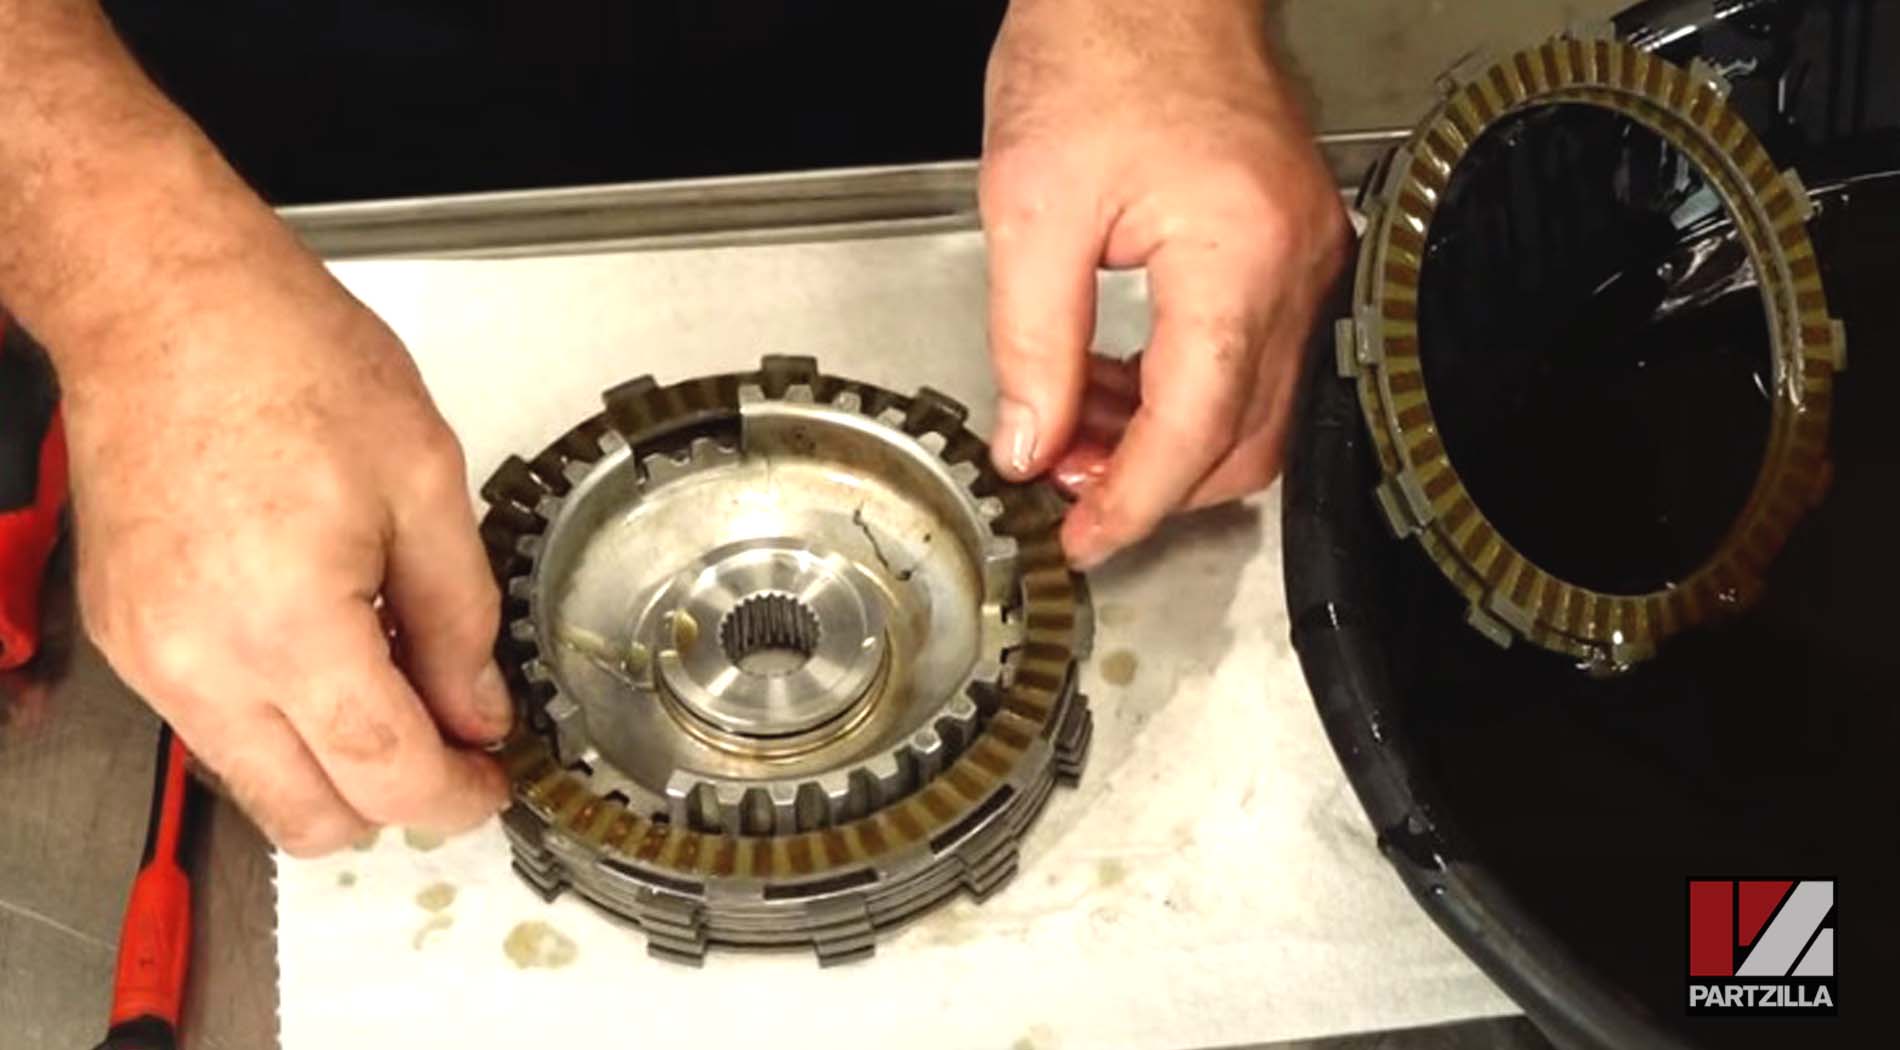
Step 14. Remove the clutch plates from the clutch pack.

NOTE: There’s also a clip wire and a spring you need to remove while you’re taking off the plates.
Watch the clip below to see the clutch disassembly segment of our Honda Goldwing GL1800 clutch pack replacement video.
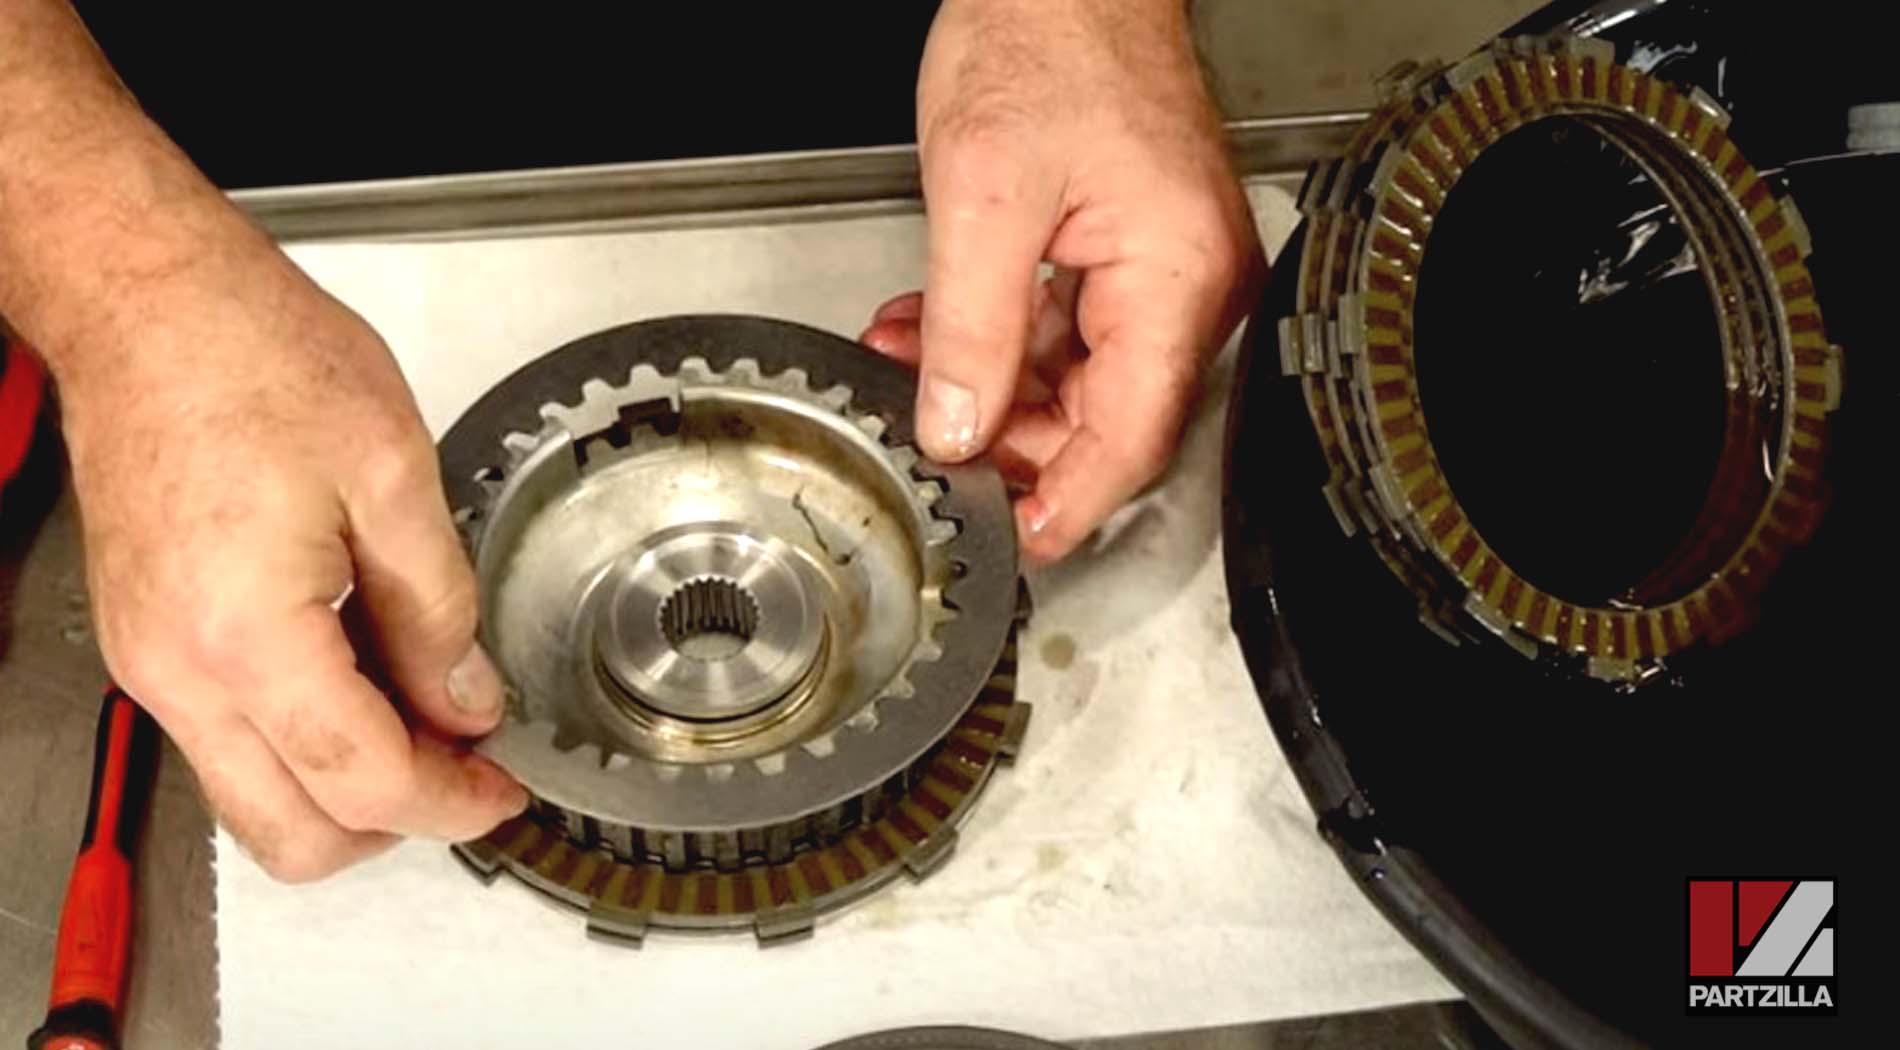
Step 15. Clean up the clutch pack before reassembling it. Install the new spring seat, followed by the judder spring, with the beveled edge facing in.
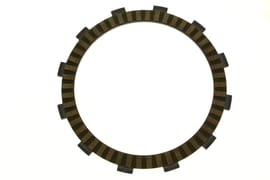
Step 16. Install clutch friction disk B (#6 on the clutch diagram), followed by the clutch plate (#8 on the clutch diagram).
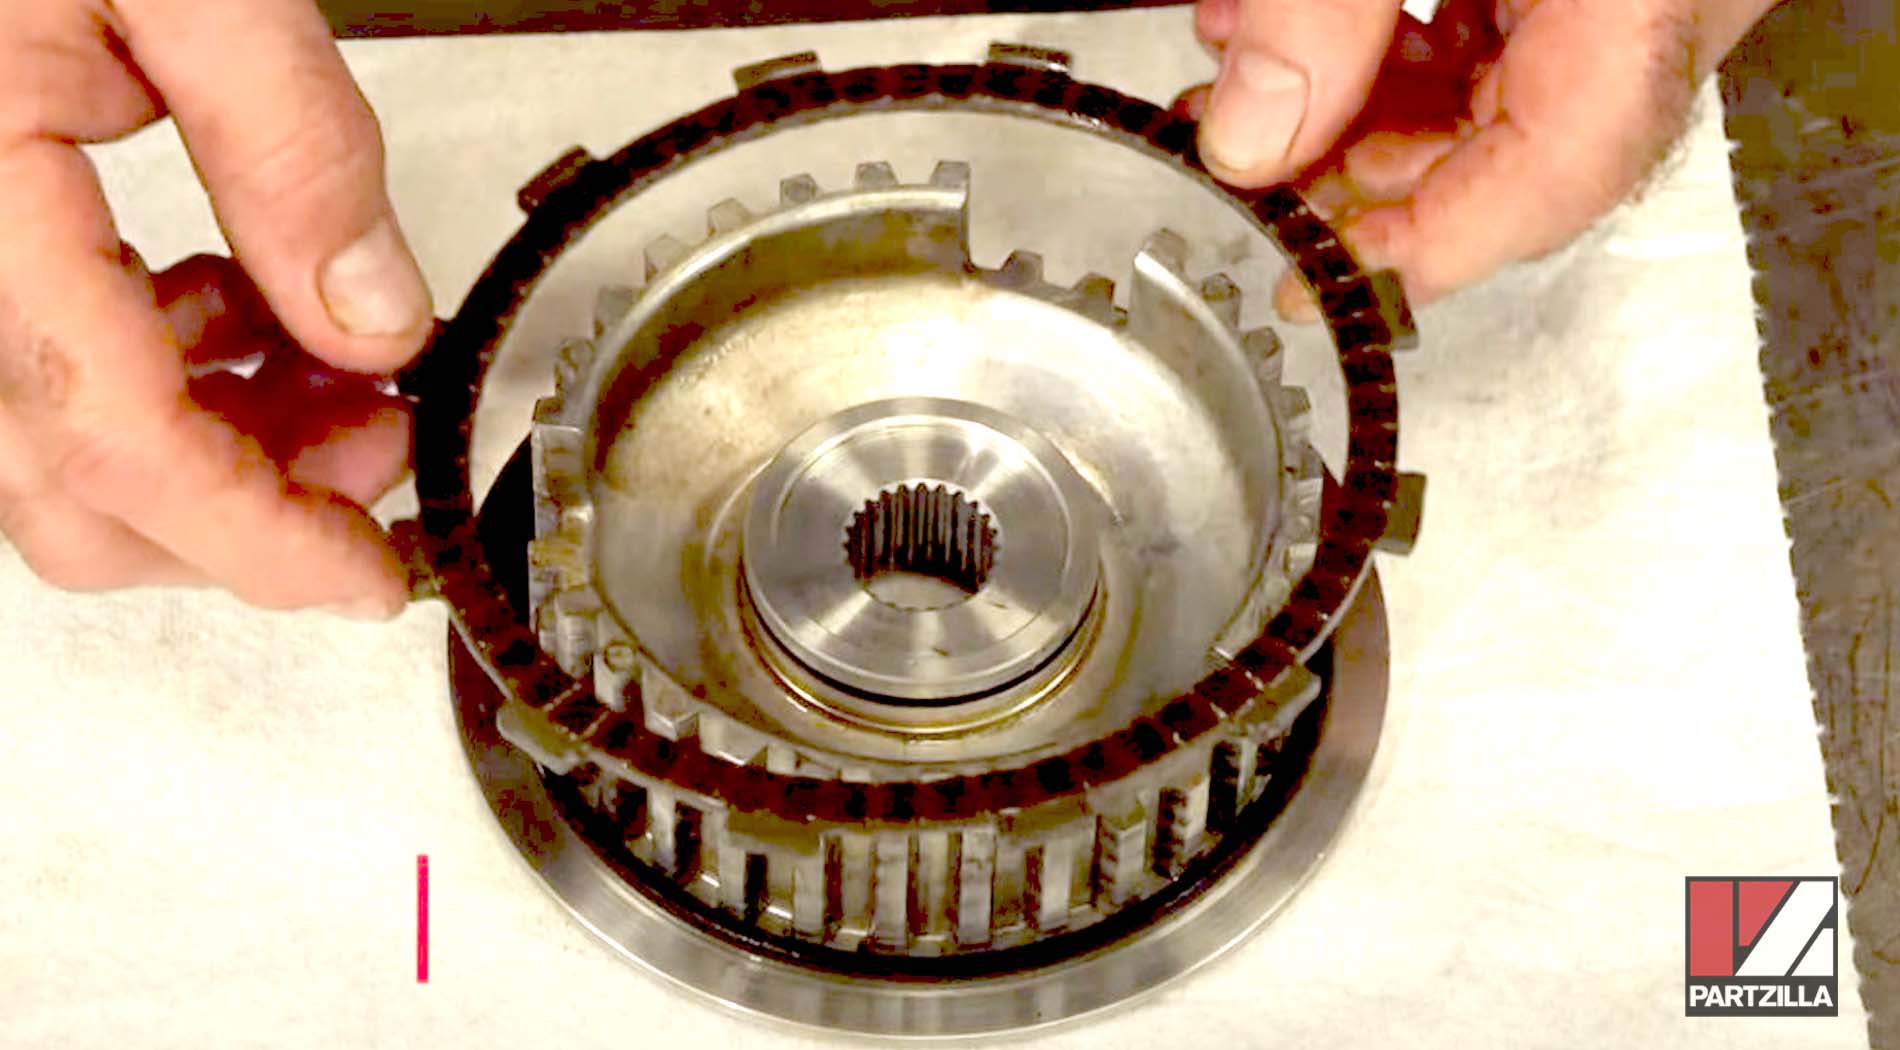
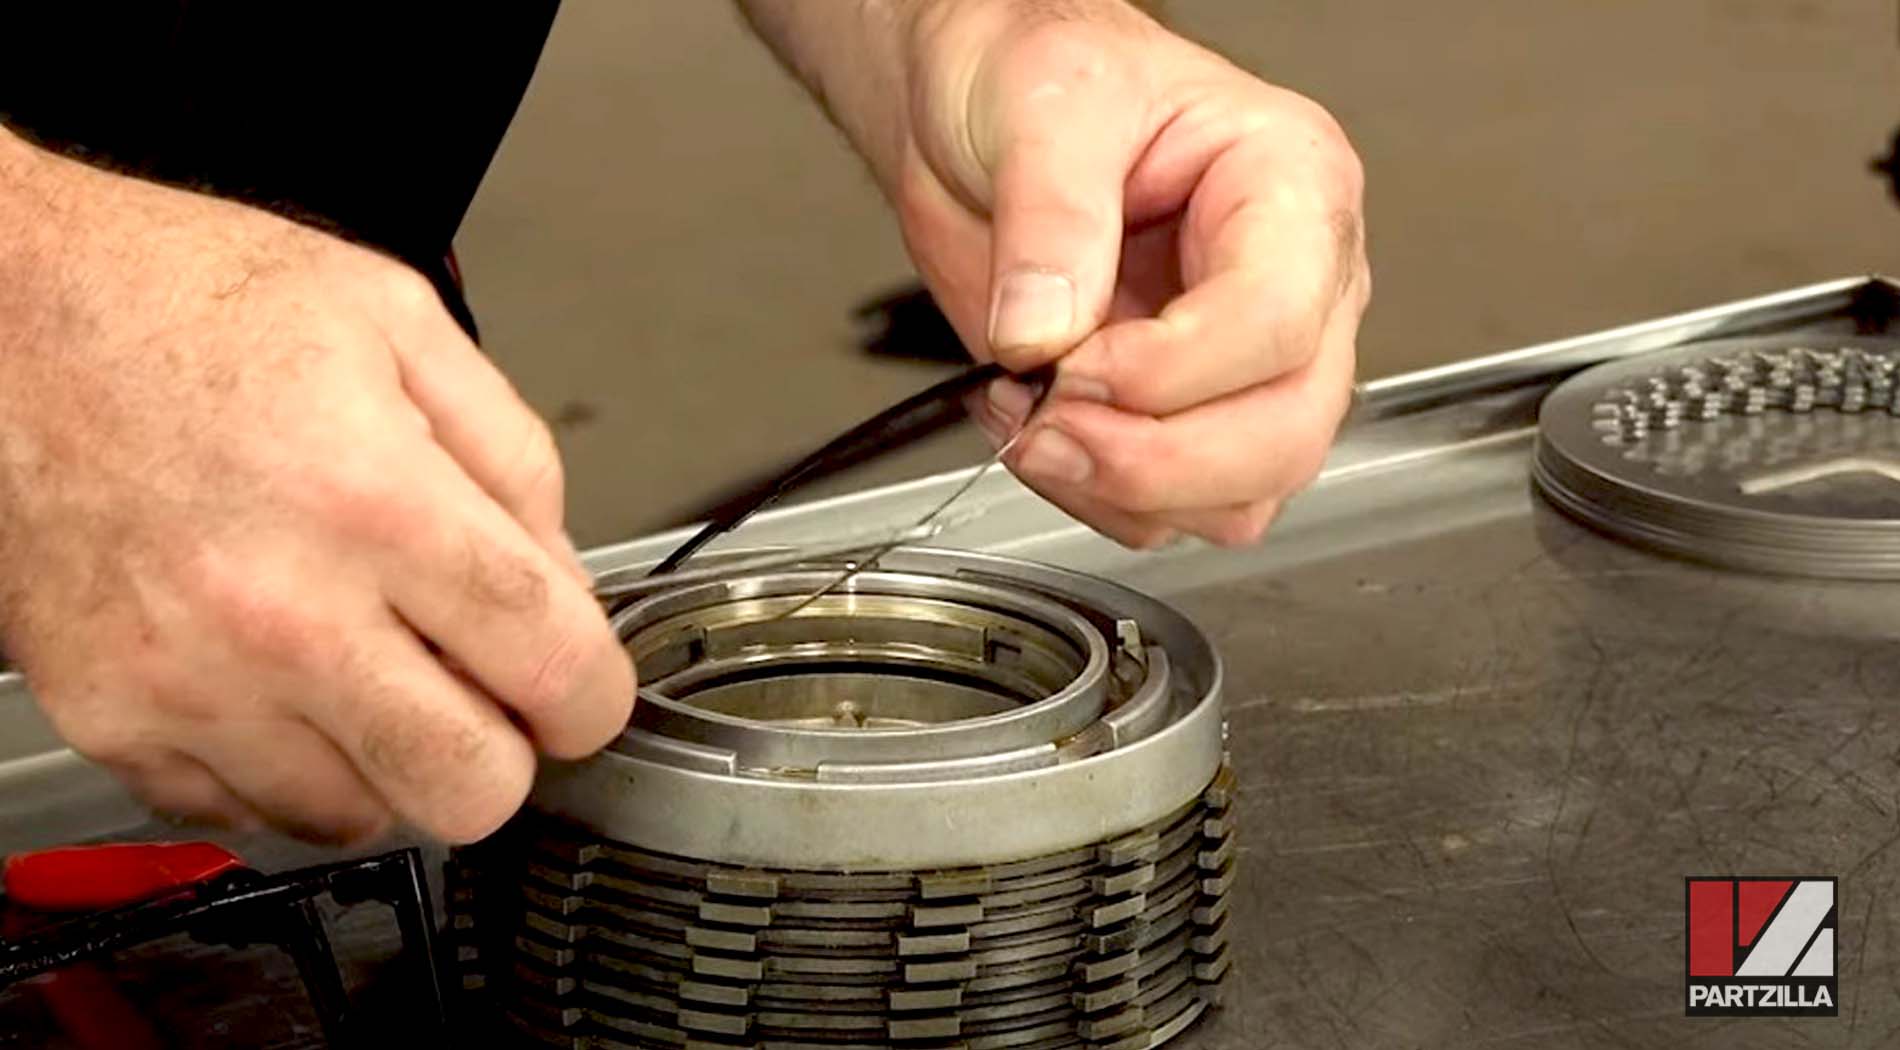
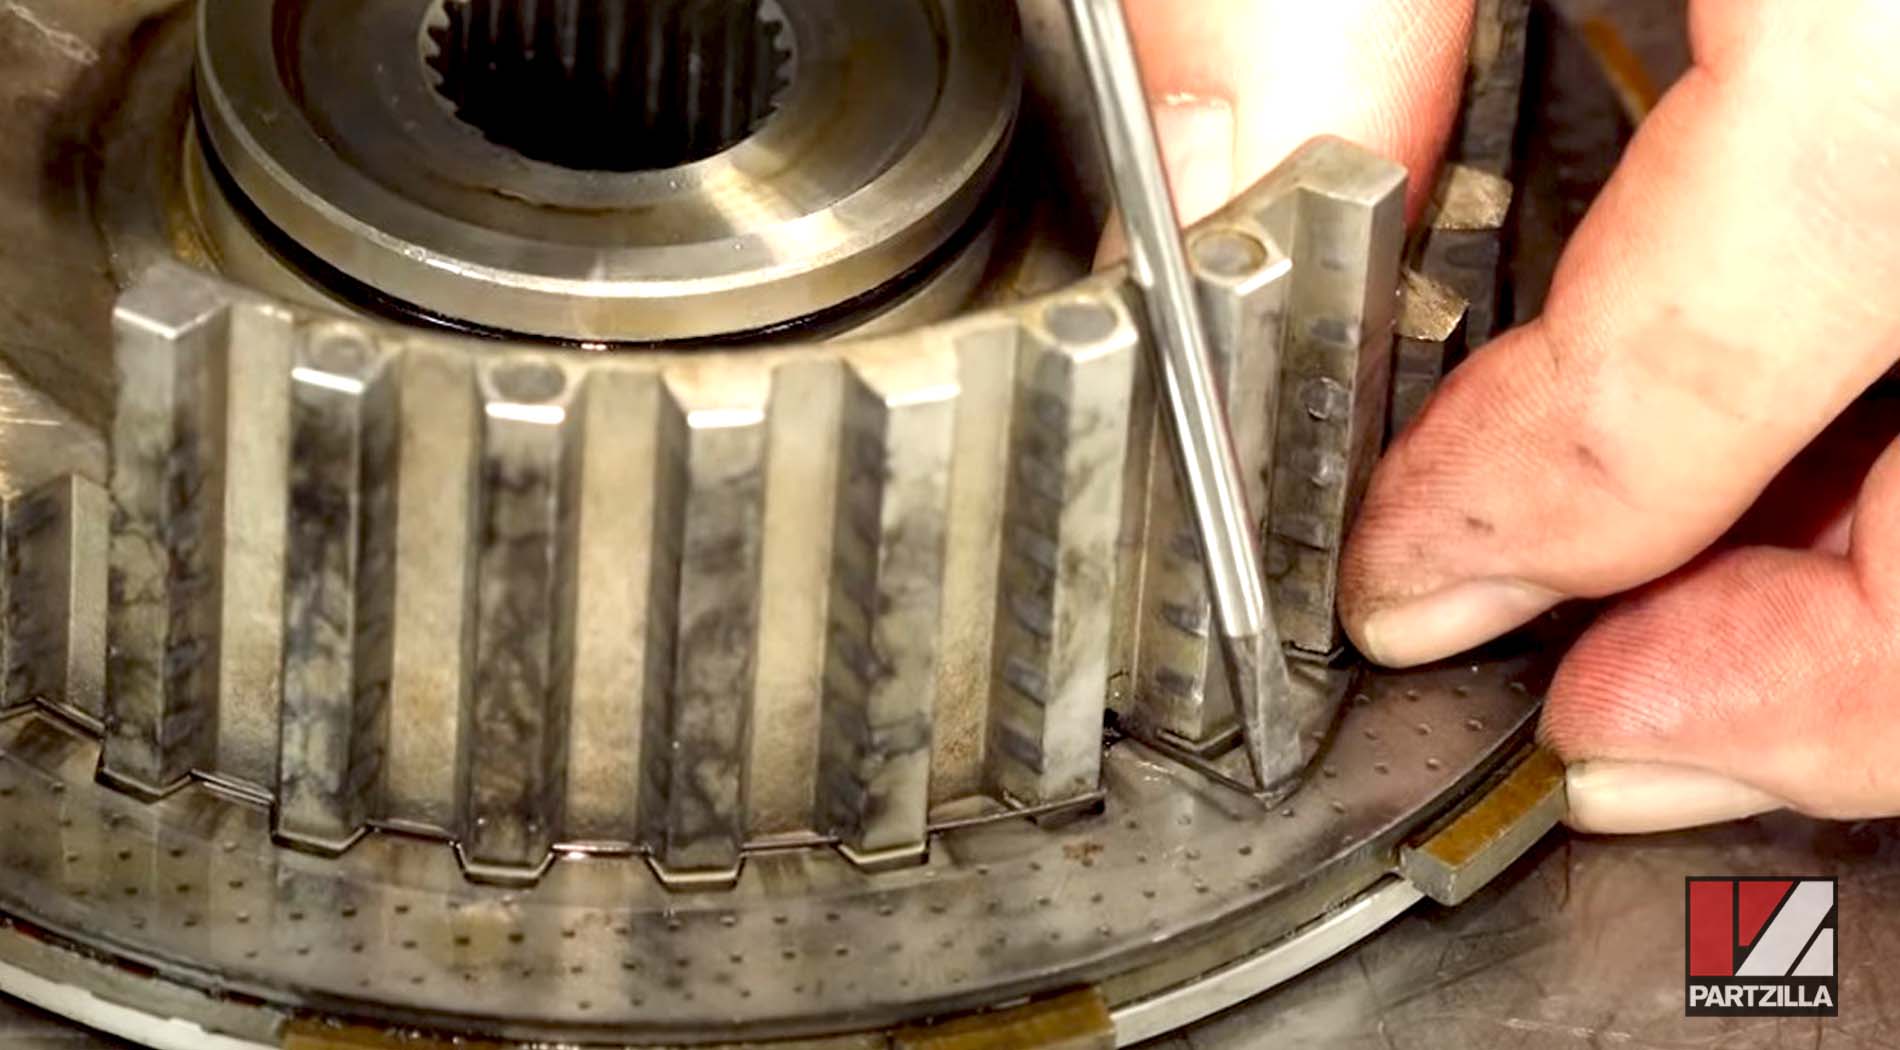
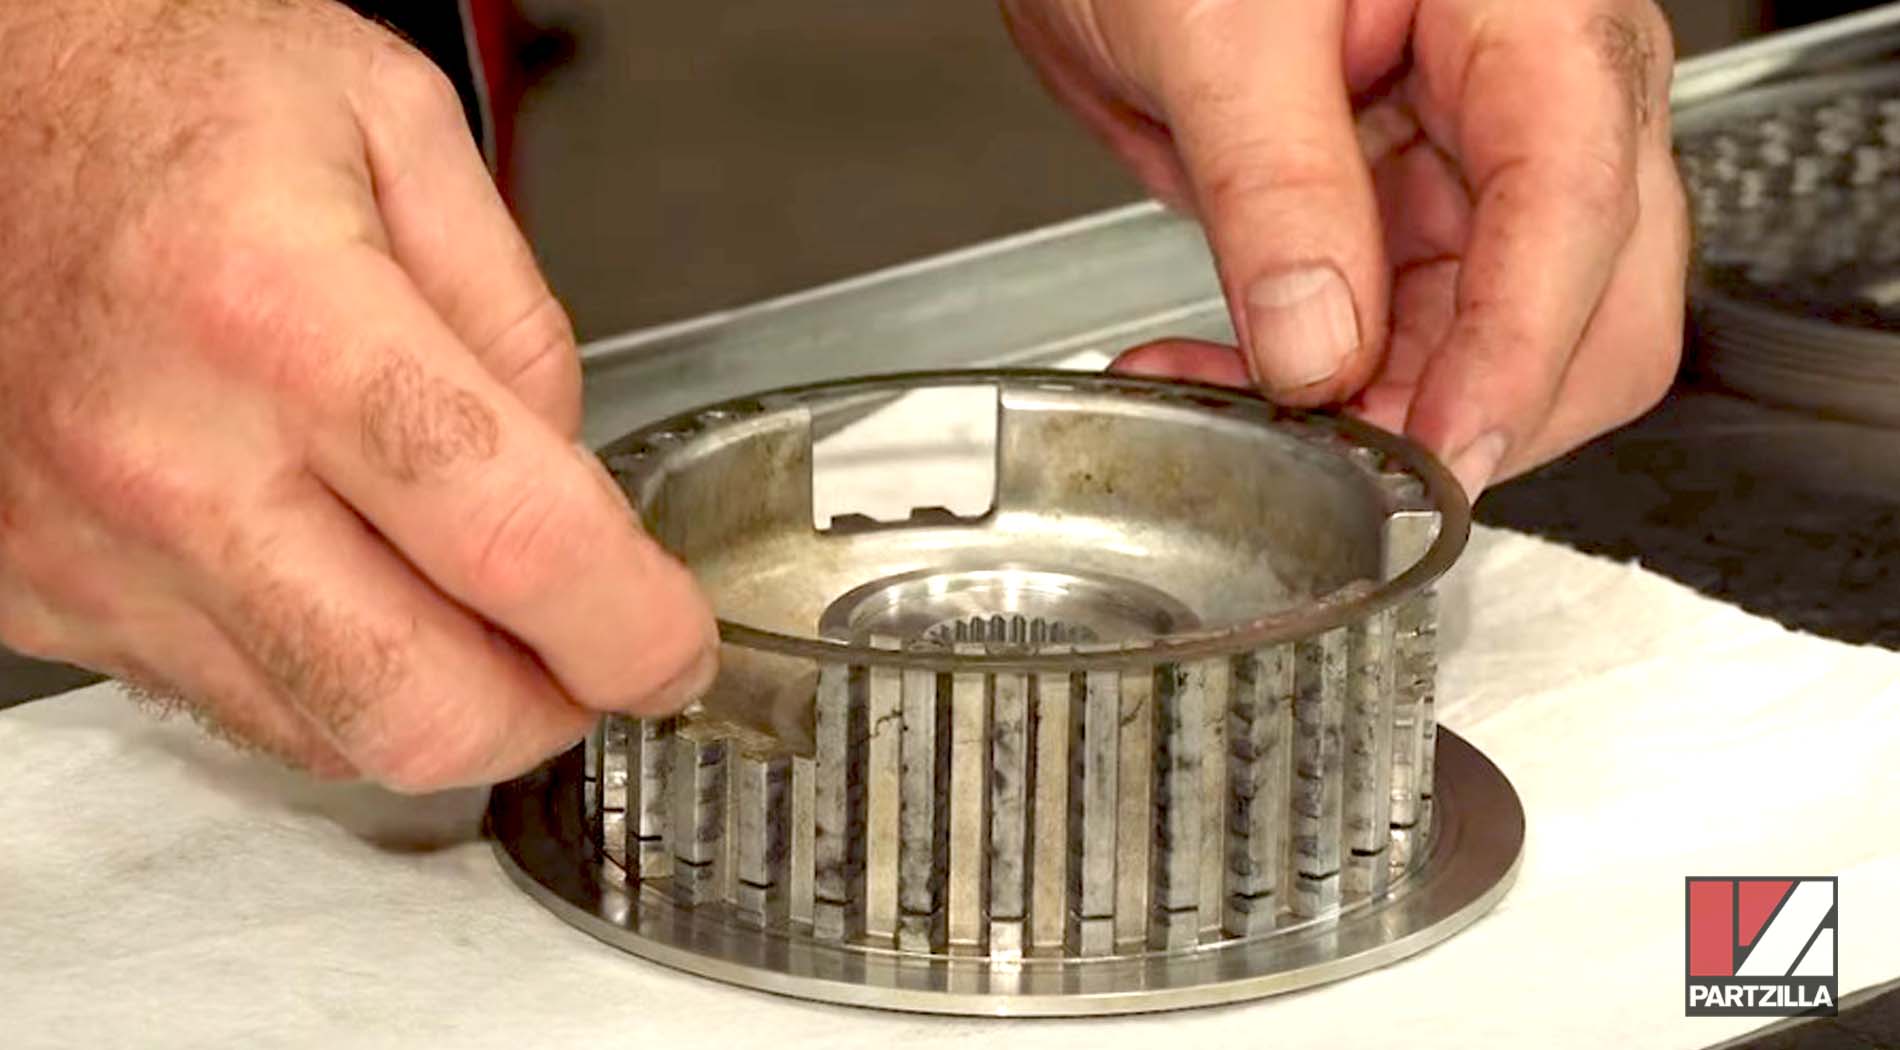
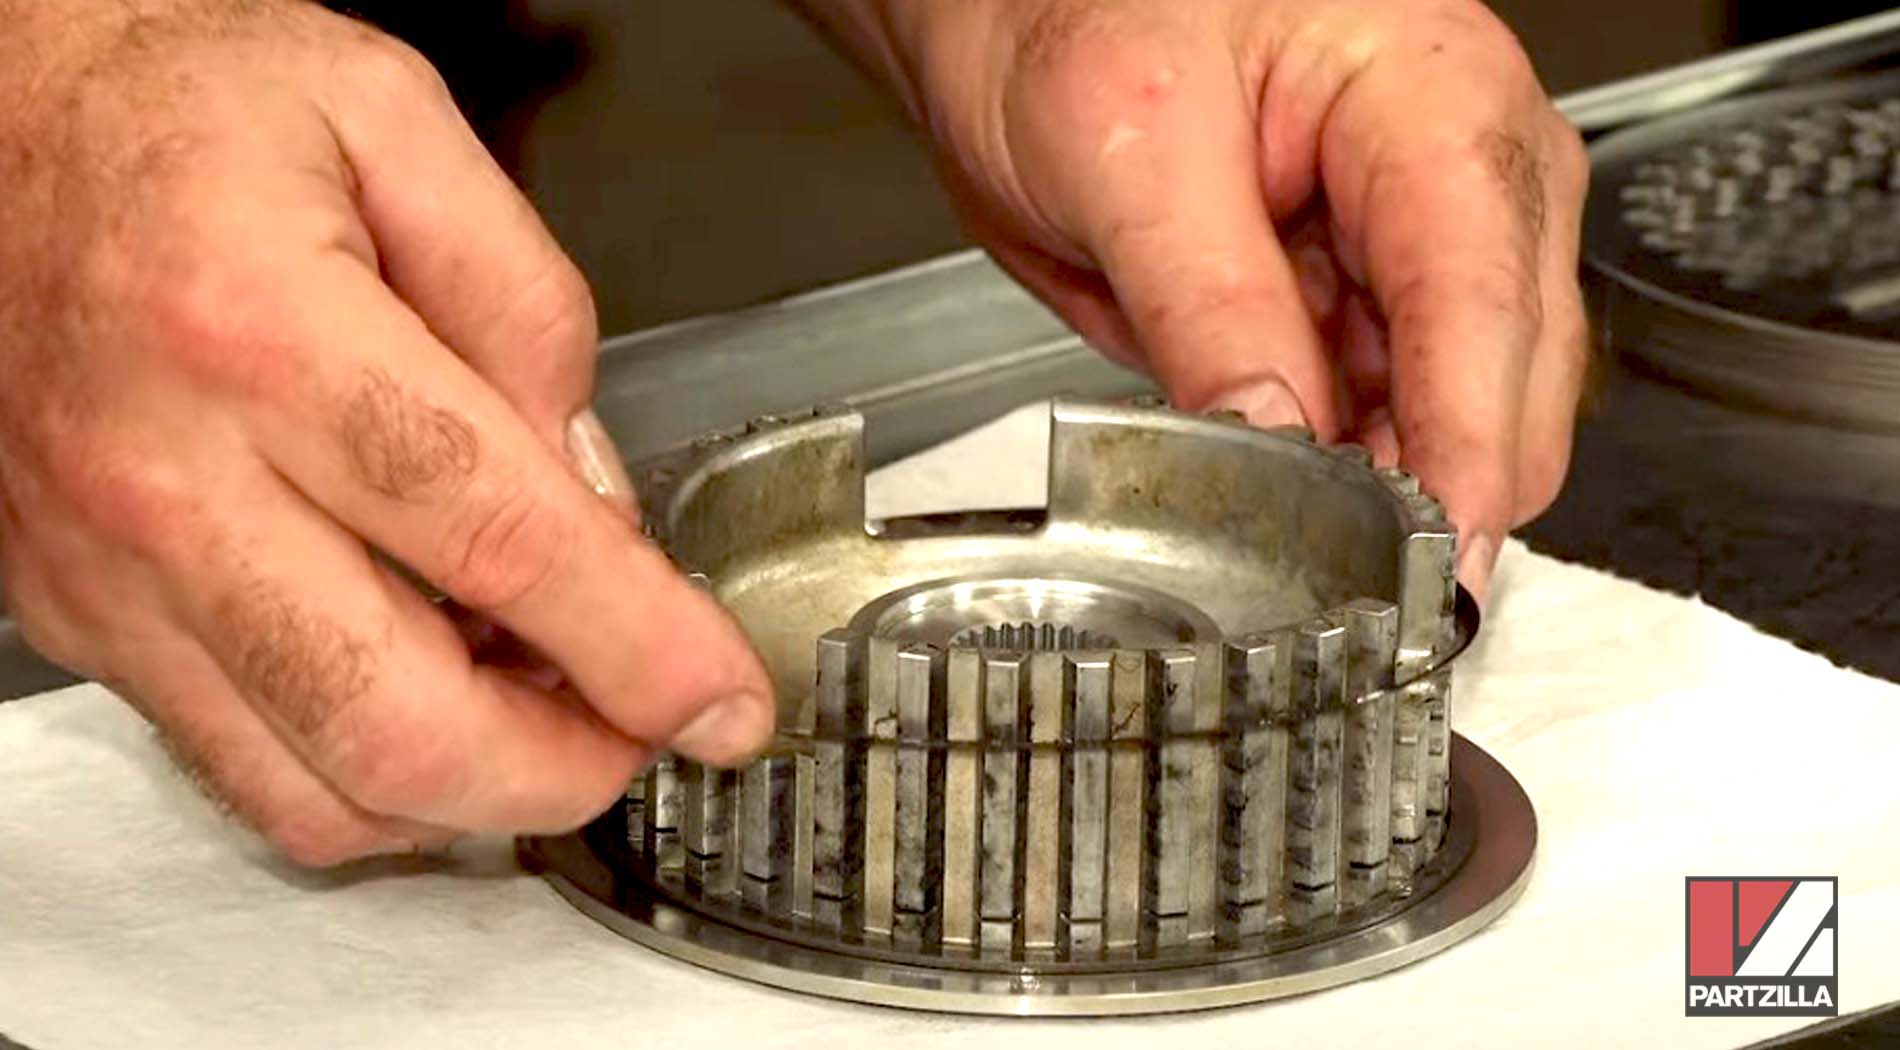
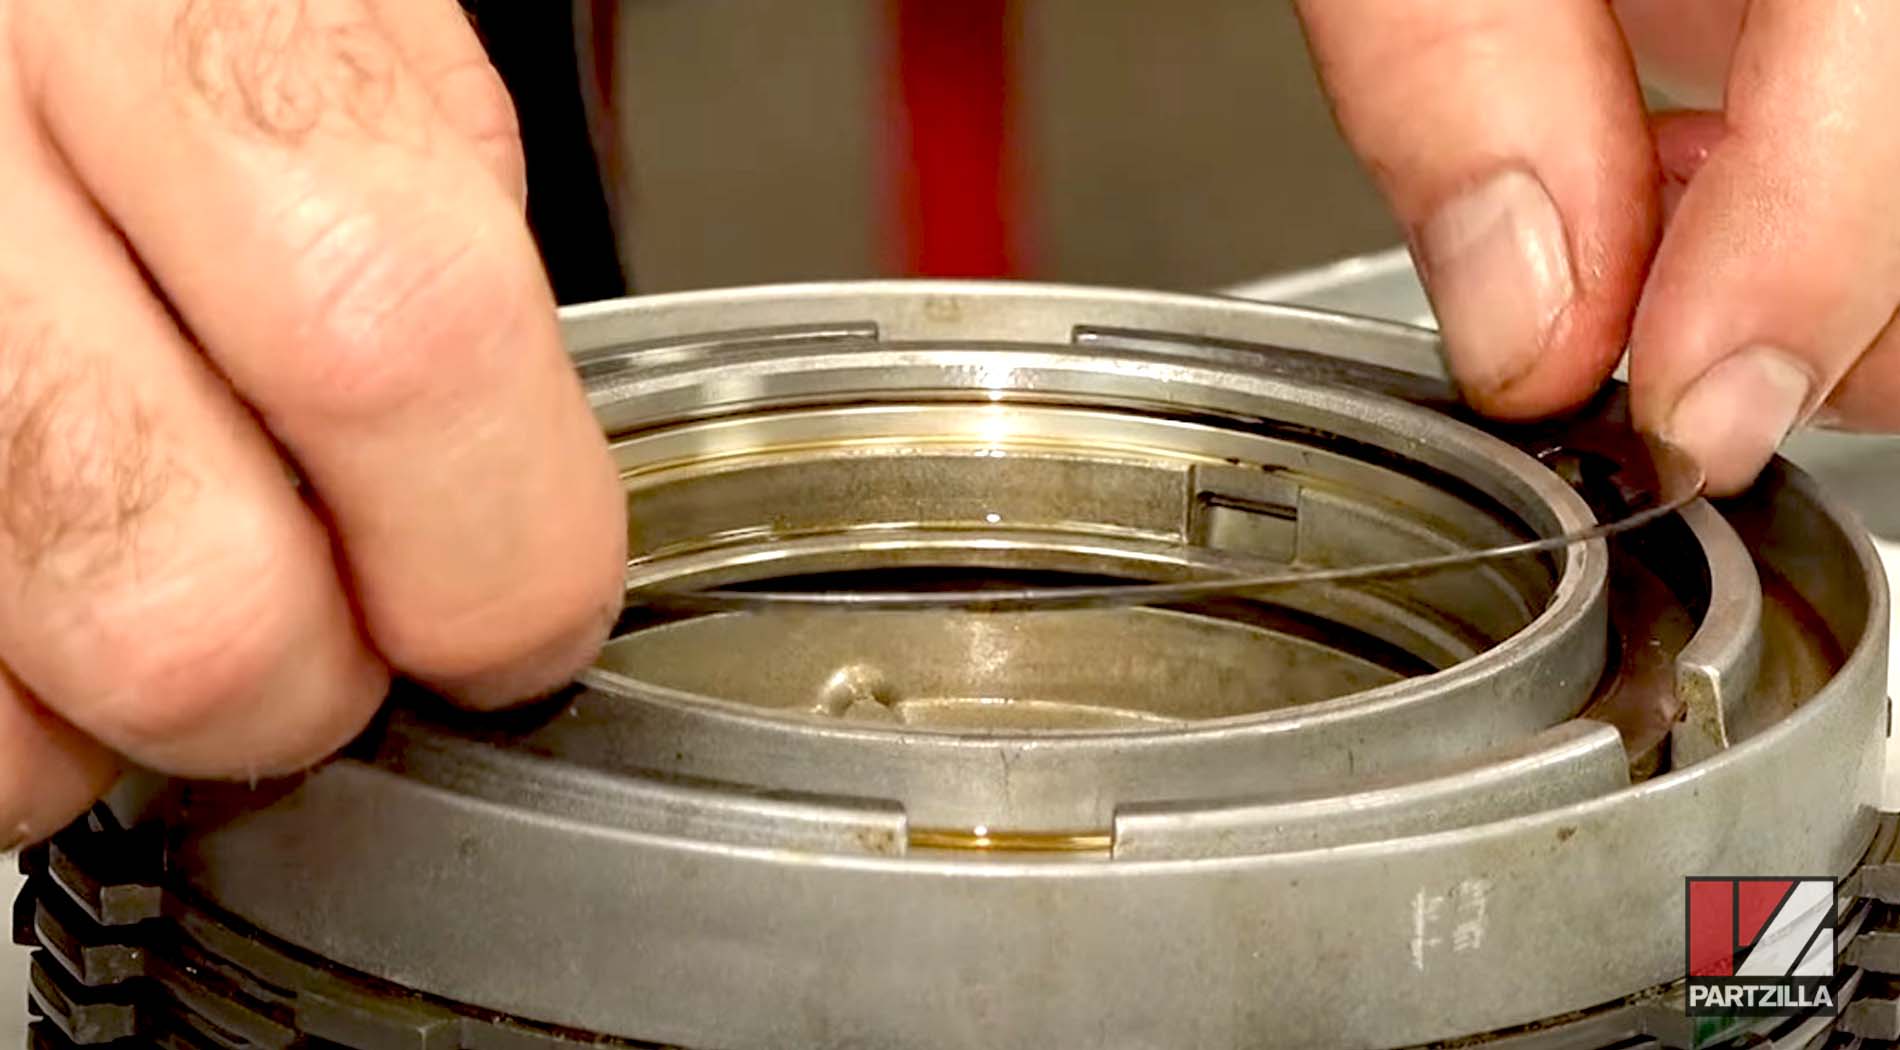
Step 17. Install the clutch center clip (#17 on the clutch diagram), then feed it around inside the groove. Do it section by section, pushing down on the plate, then feeding the wire into the groove.
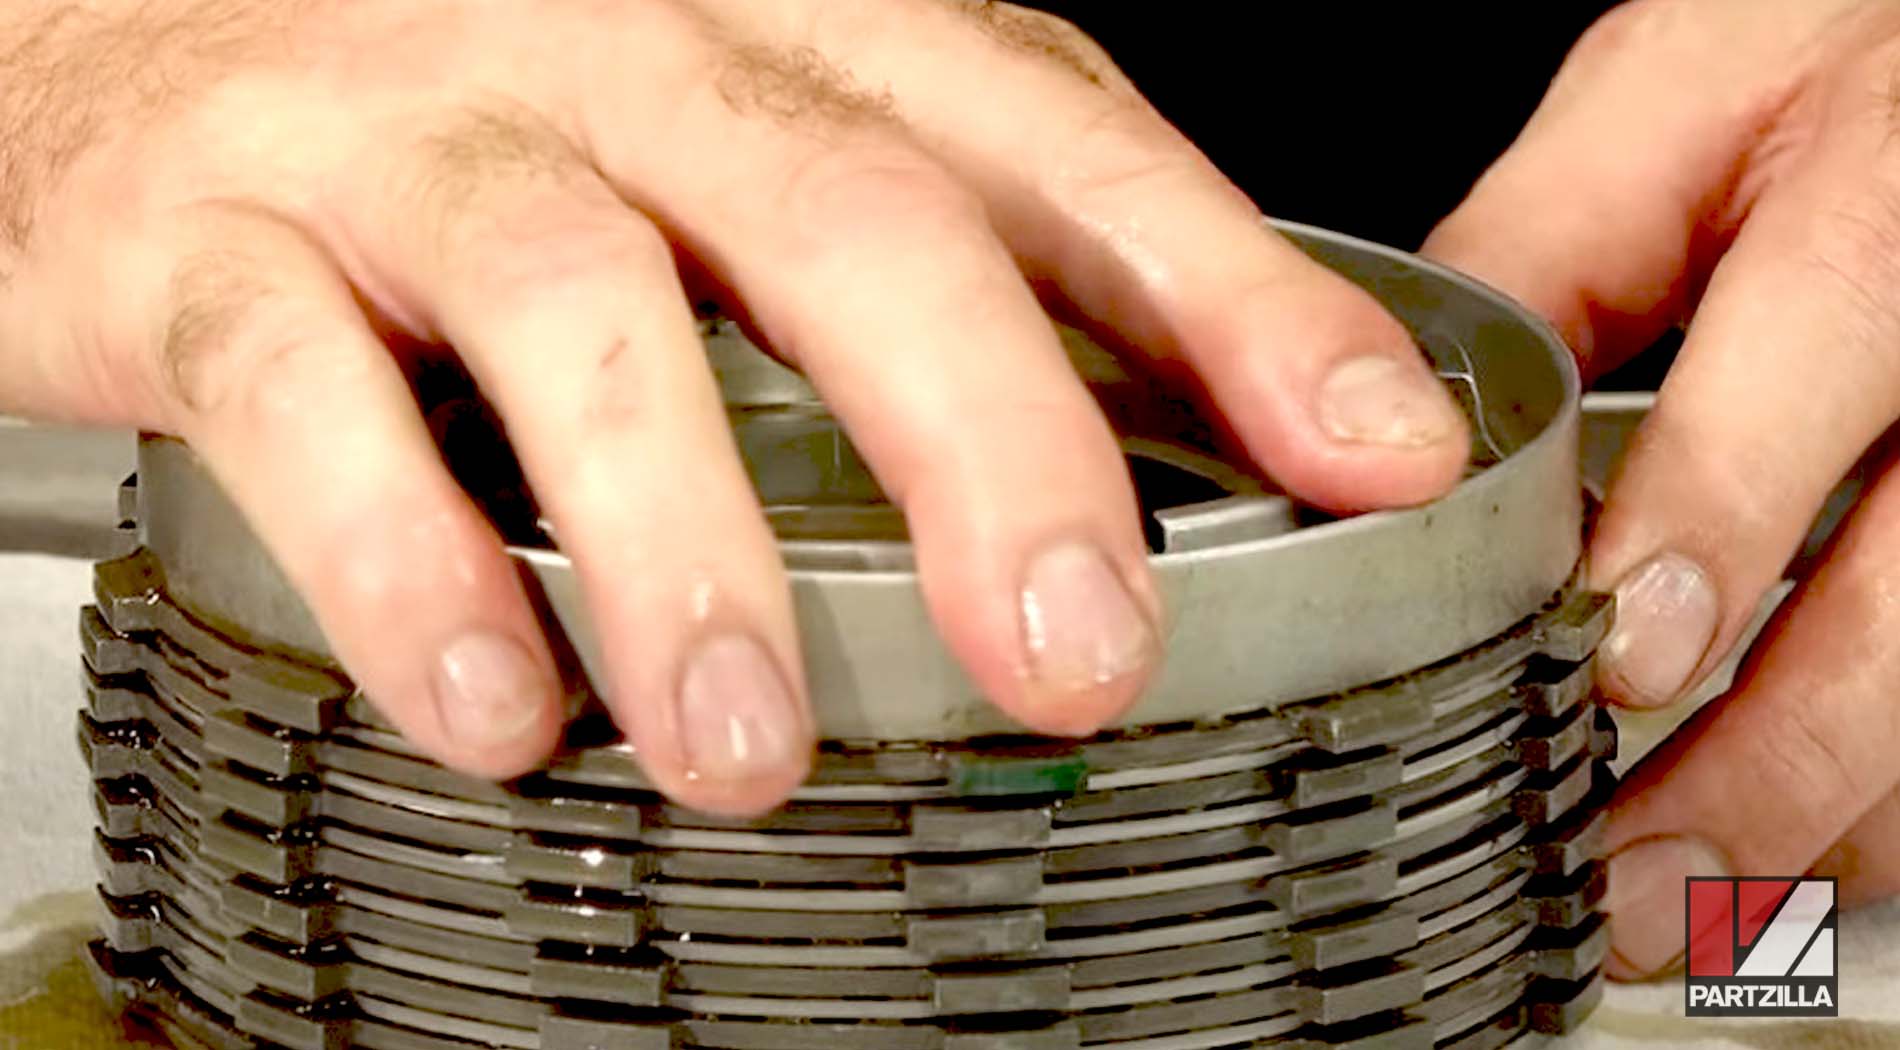
Step 18. Continue stacking the rest of the plates like on any other clutch pack, alternating between fiber and steel plates.
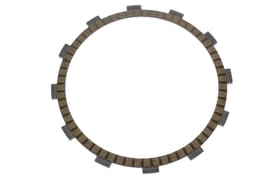
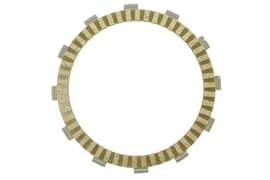
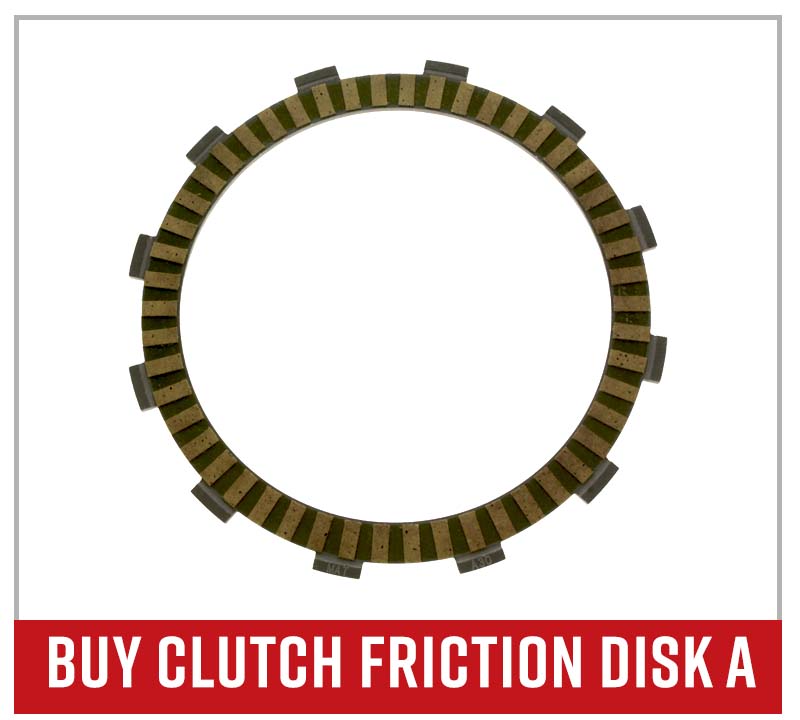
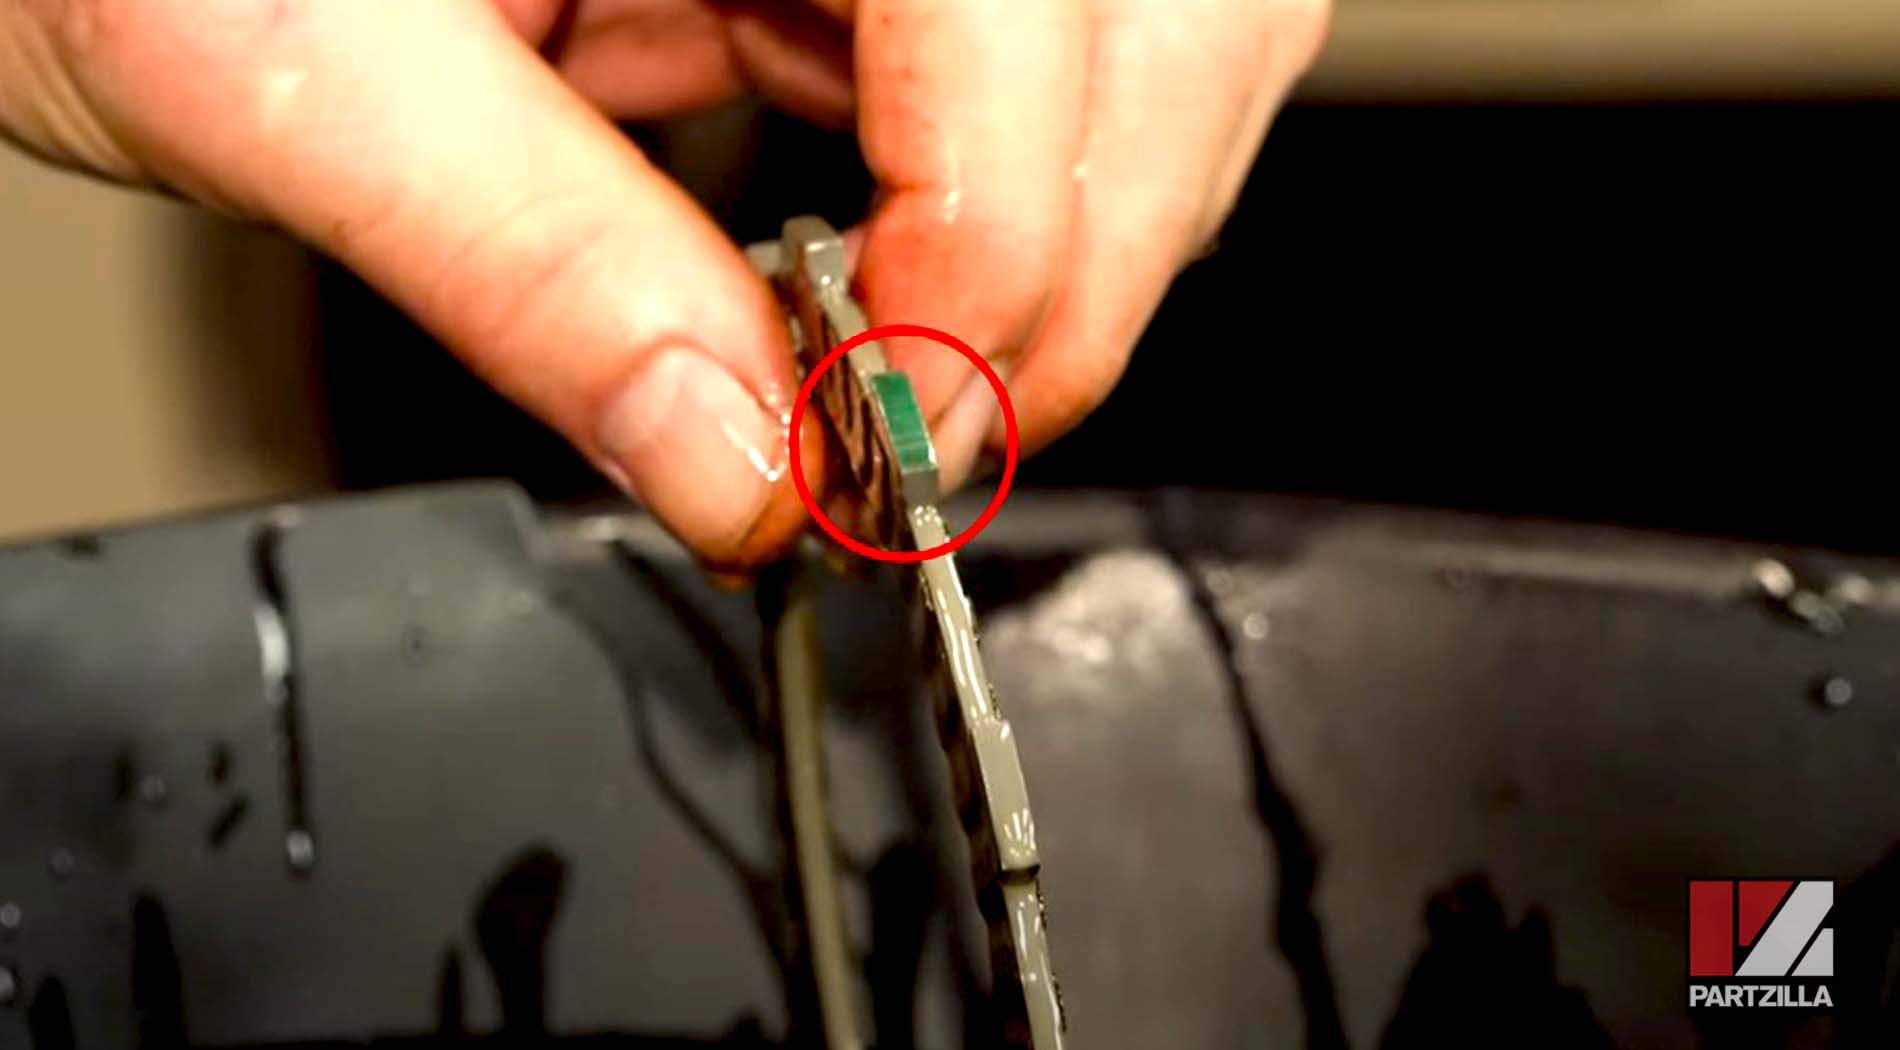
NOTE: There are three different types of fibers. The first fiber disc installed has a smaller edge, and the last disc to install has a green edge to it (clutch friction disk, #5 on the clutch diagram), whereas the others (clutch friction disk A, #7 on the clutch diagram) have a black edge.
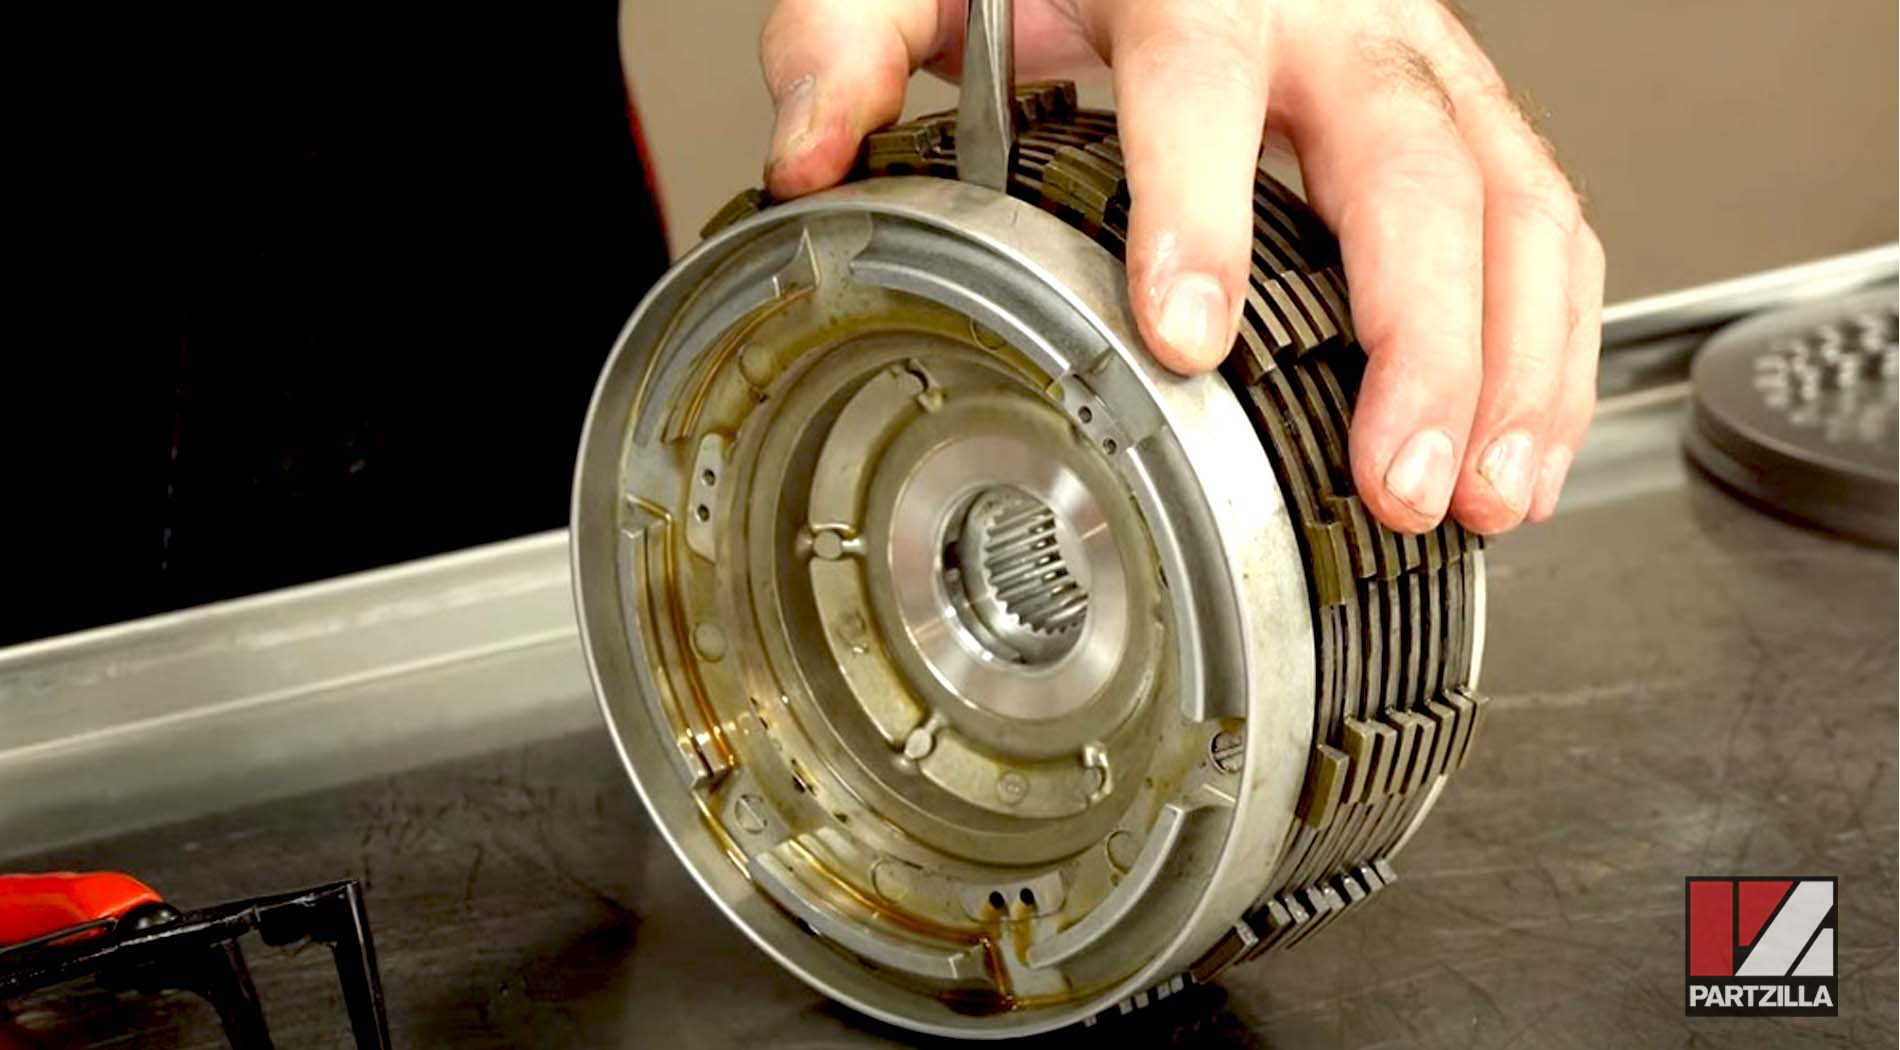
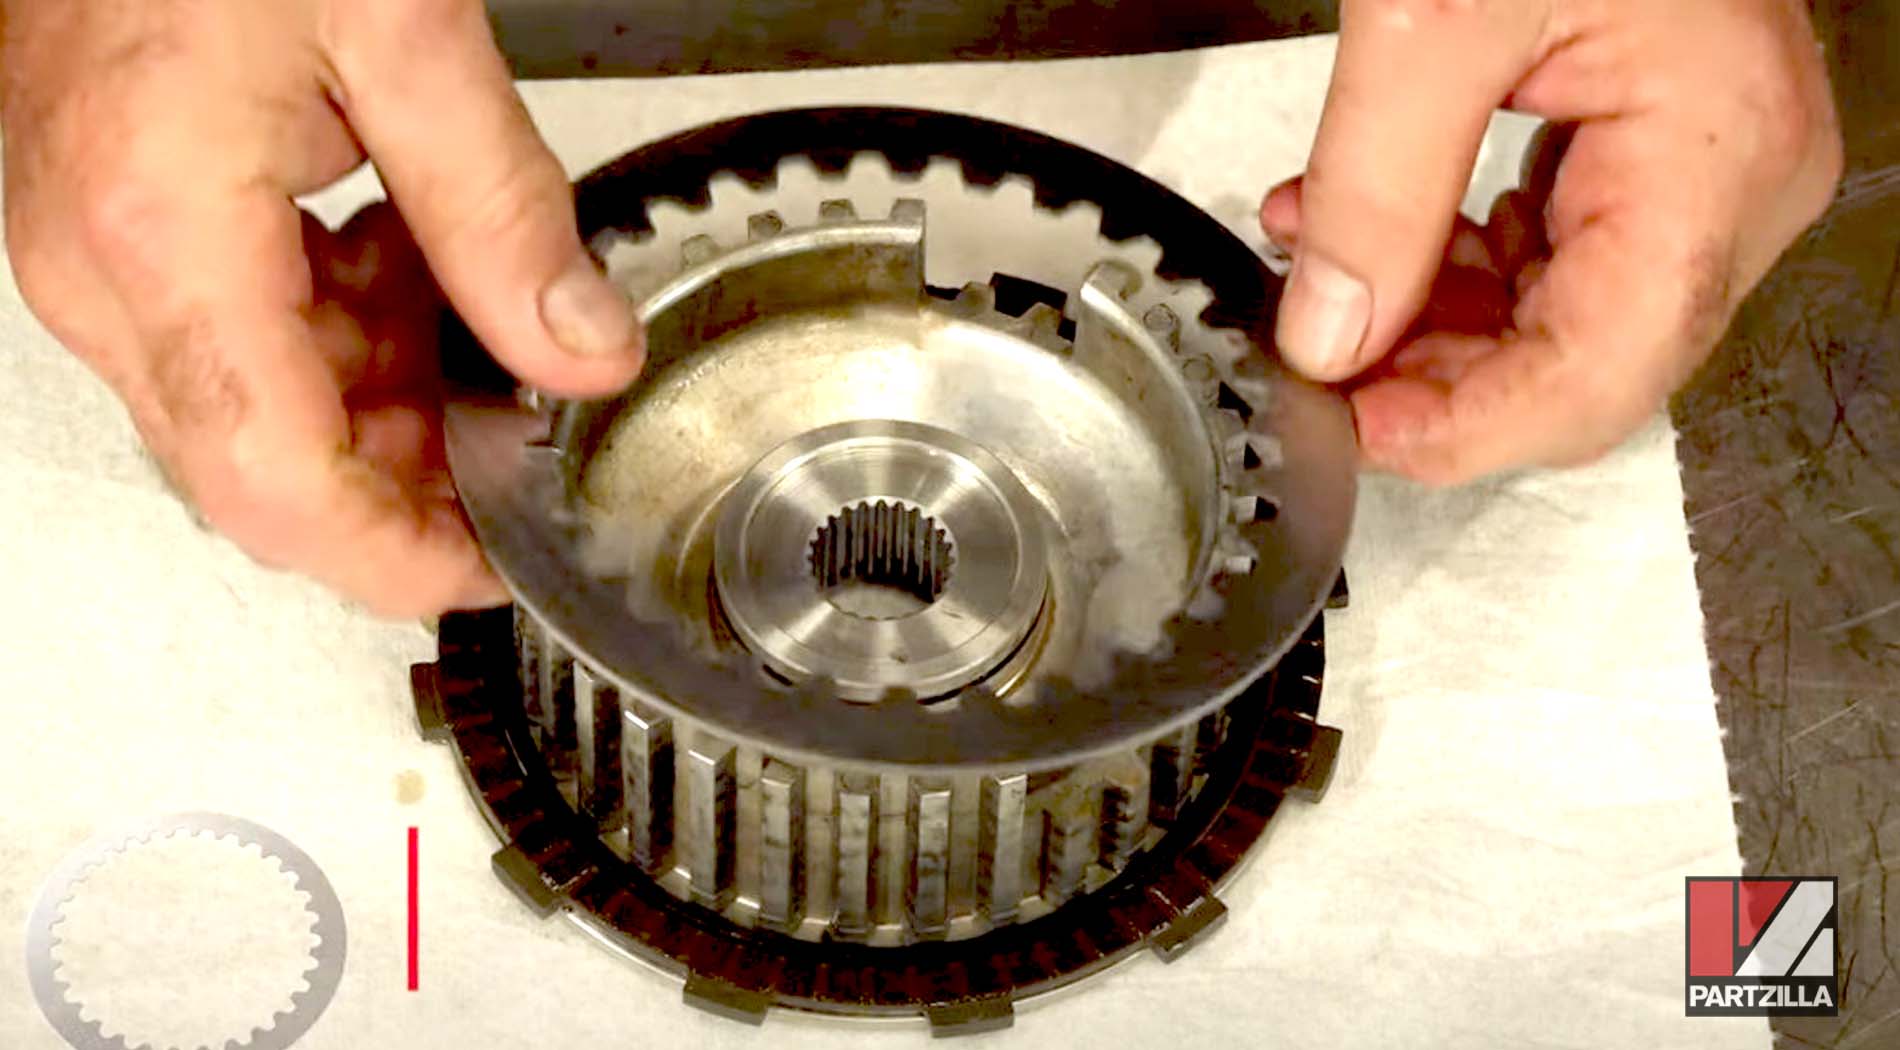
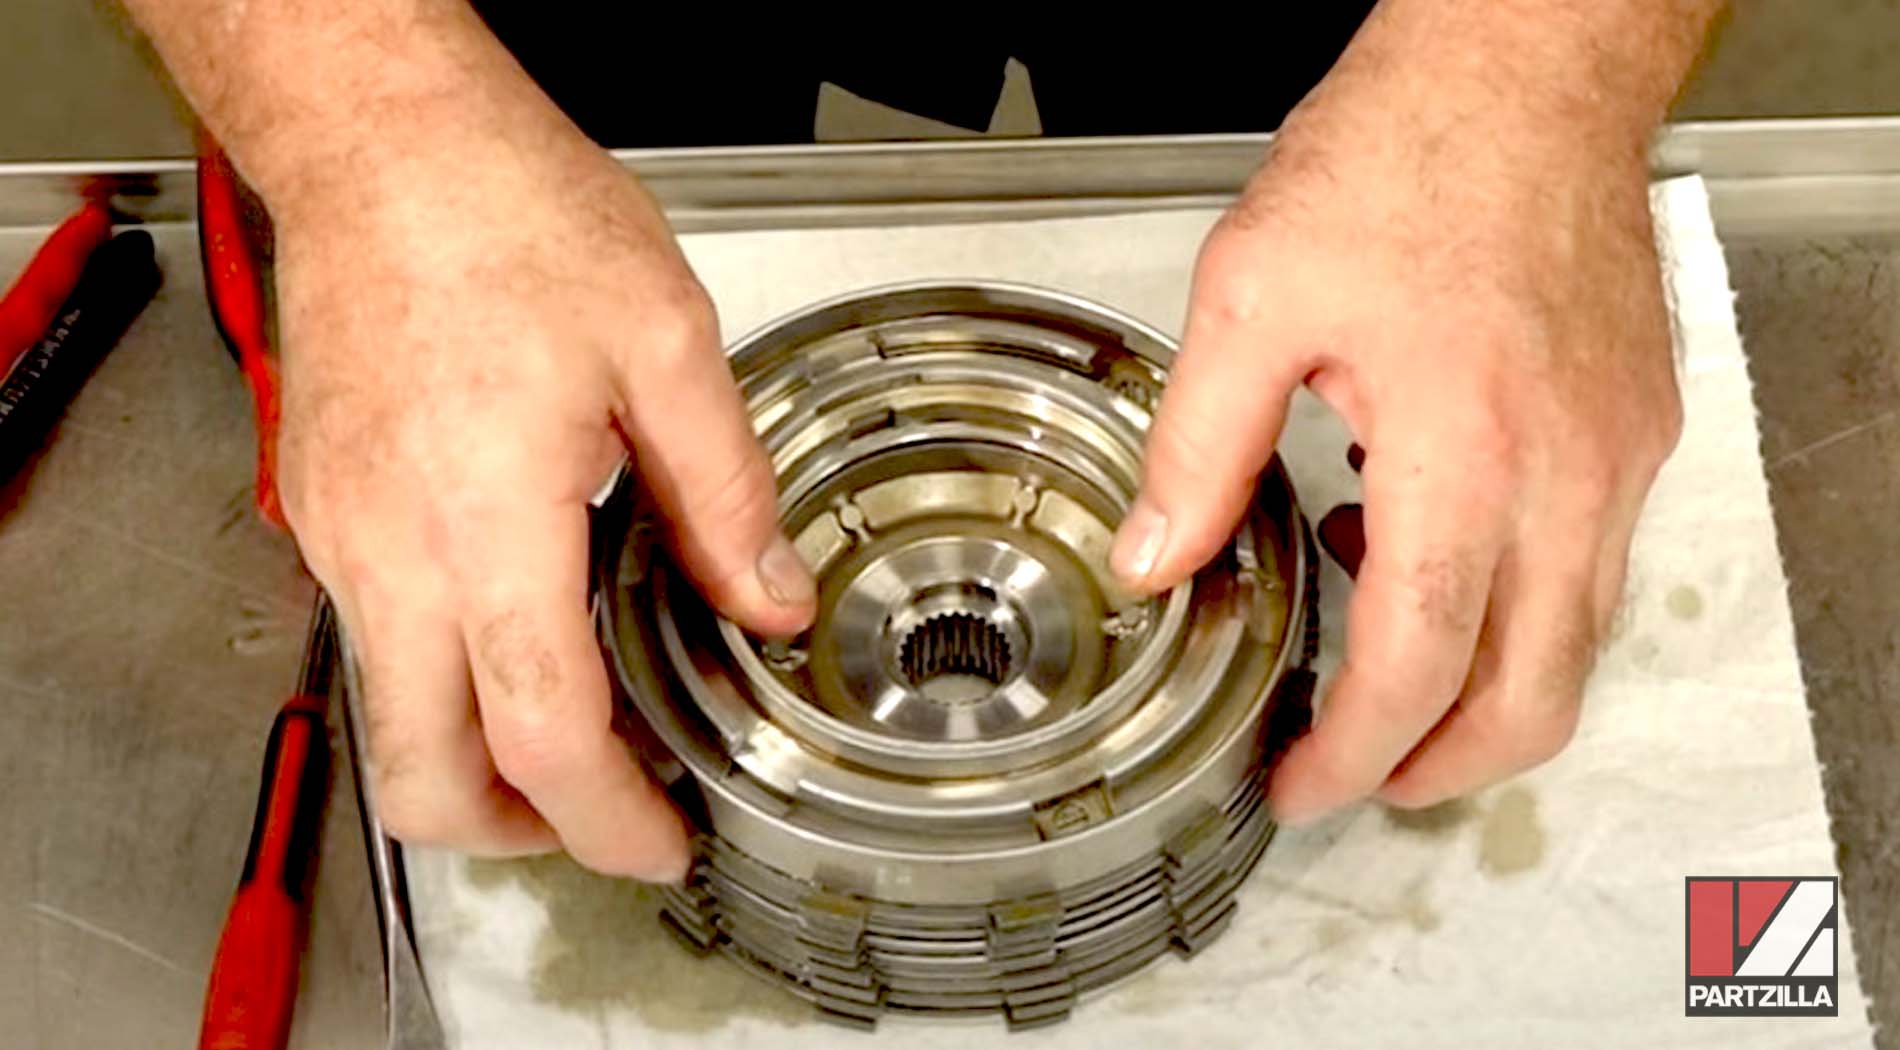
Step 19. Install the clutch piston and the pressure plate, making sure the protrusions on the piston are lined up with the notches on the clutch pack.
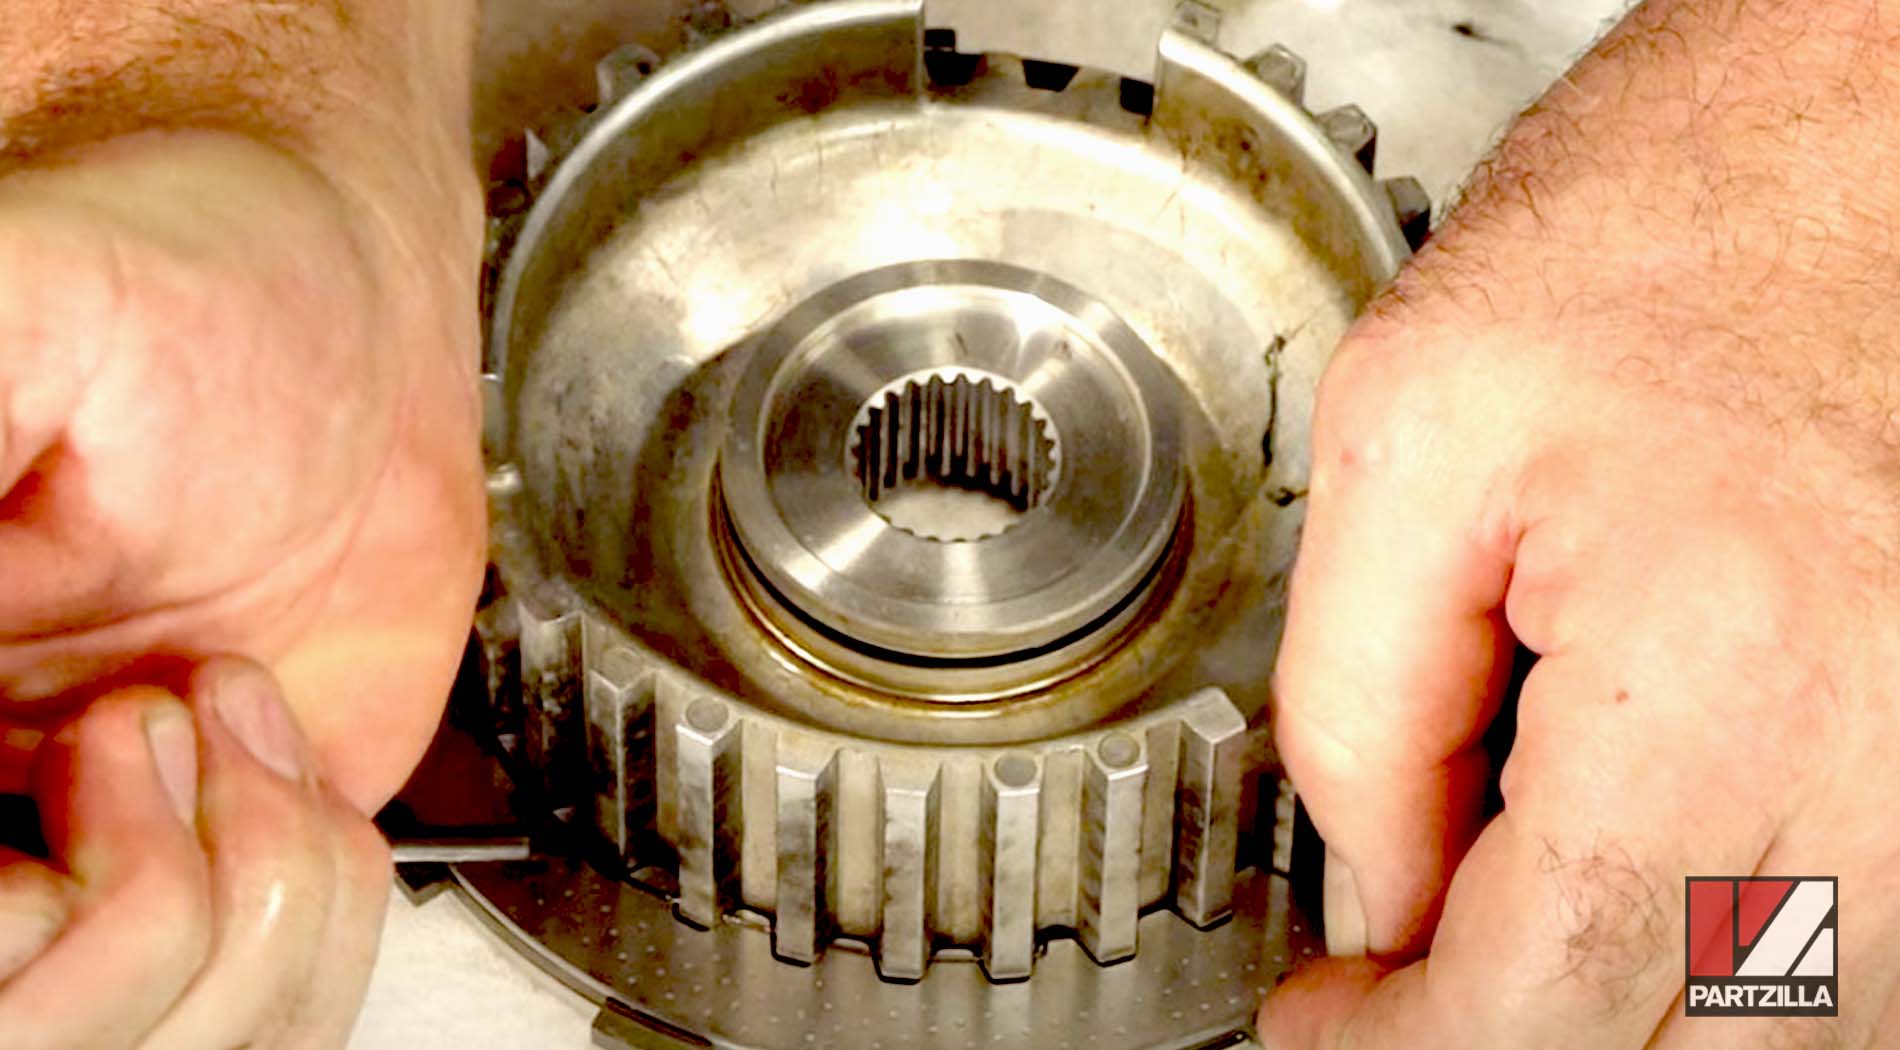
Step 20. Install the lifter plate, making sure the tabs align over the three sections of holes.
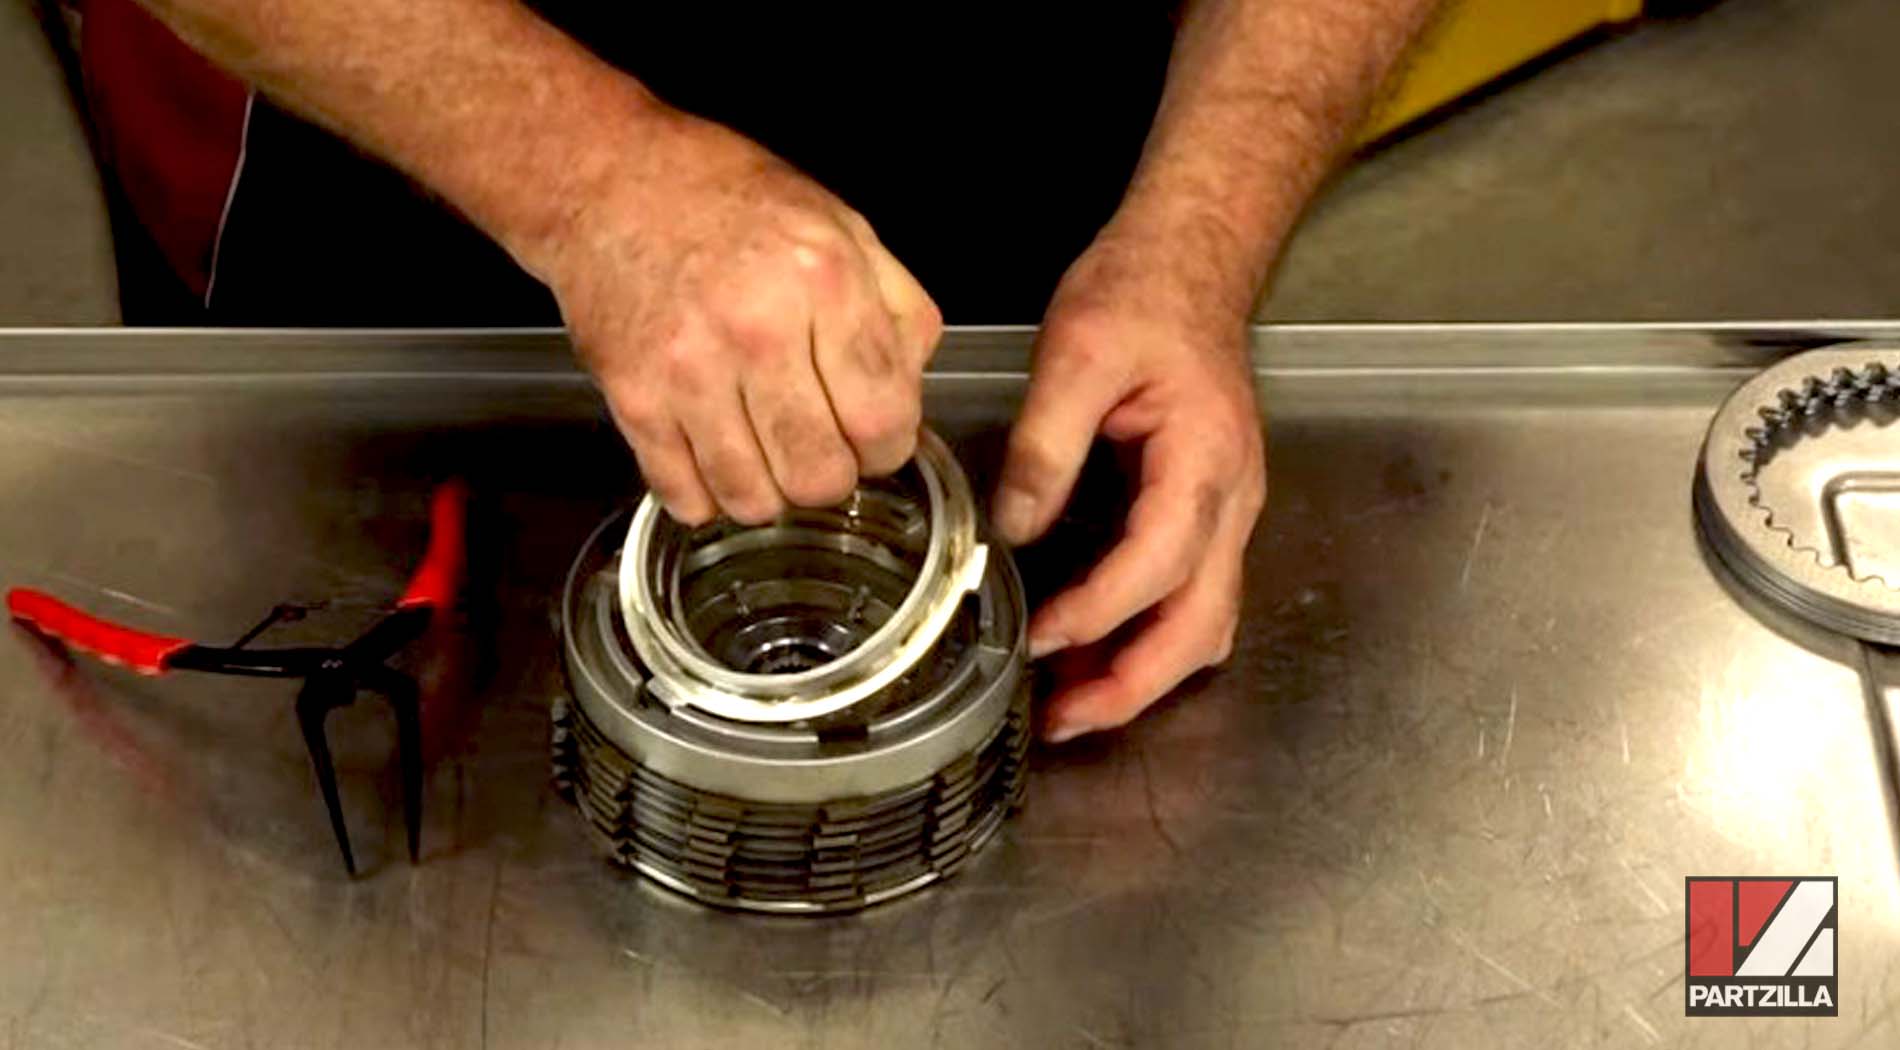
Step 21. Install the spring with the beveled edge facing down, followed by the retaining clip. Use circlip pliers to push the clip down into the groove.

NOTE: Make sure the clip is all the way in the groove, all the way around.
Step 22. Use a flathead screwdriver to align the fiber discs as much as possible.

Watch the clip below to see the clutch plates installation segment of our Honda Goldwing GL1800 clutch pack replacement video.
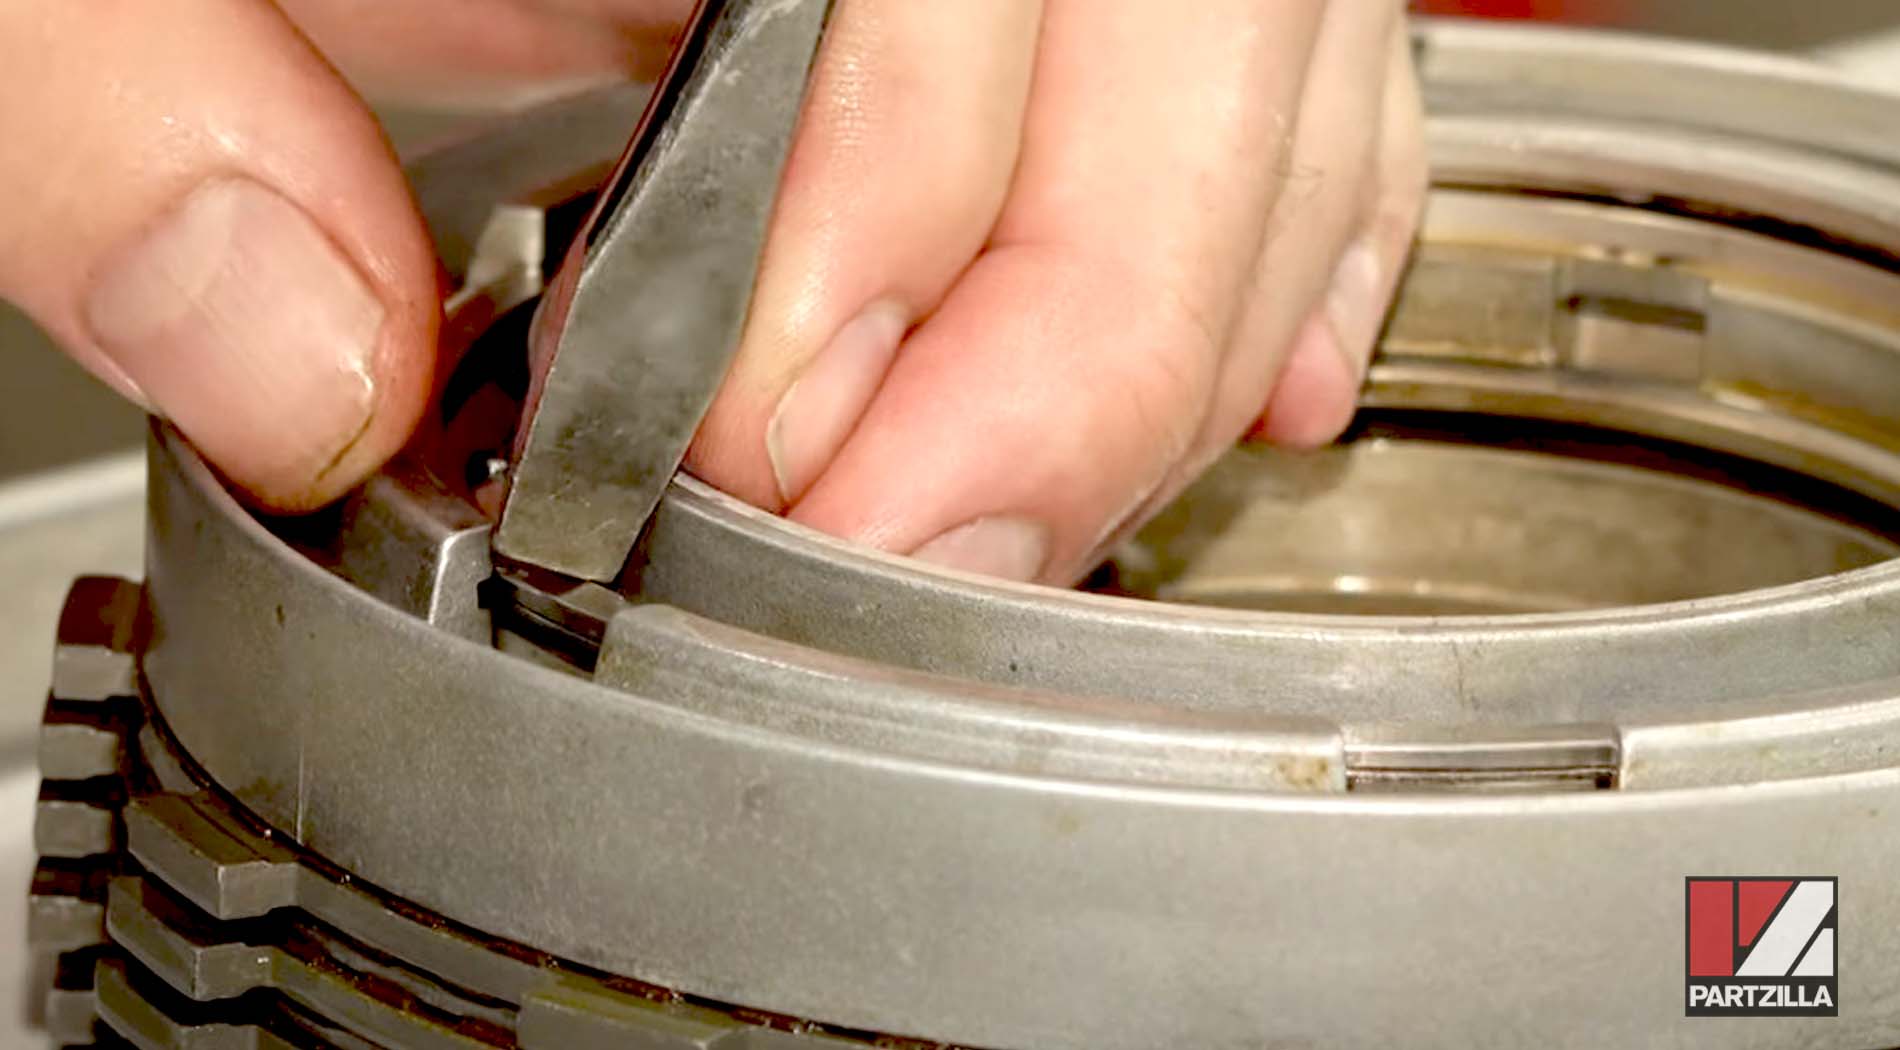
Step 23. Remount the clutch pack back into the motorcycle. Be patient, as it can be a little tricky getting each of the plates into the groove.
Step 24. Install the spring seat (concave facing out), followed by the spring, spring guide, washer and the new retaining nut.
Step 25. Put the motorcycle back in gear, then have somebody hold the brakes, and torque the nut to 94 foot-pounds.
Step 26. Put the machine back in neutral, then use a punch tool and a hammer to stake the nut.
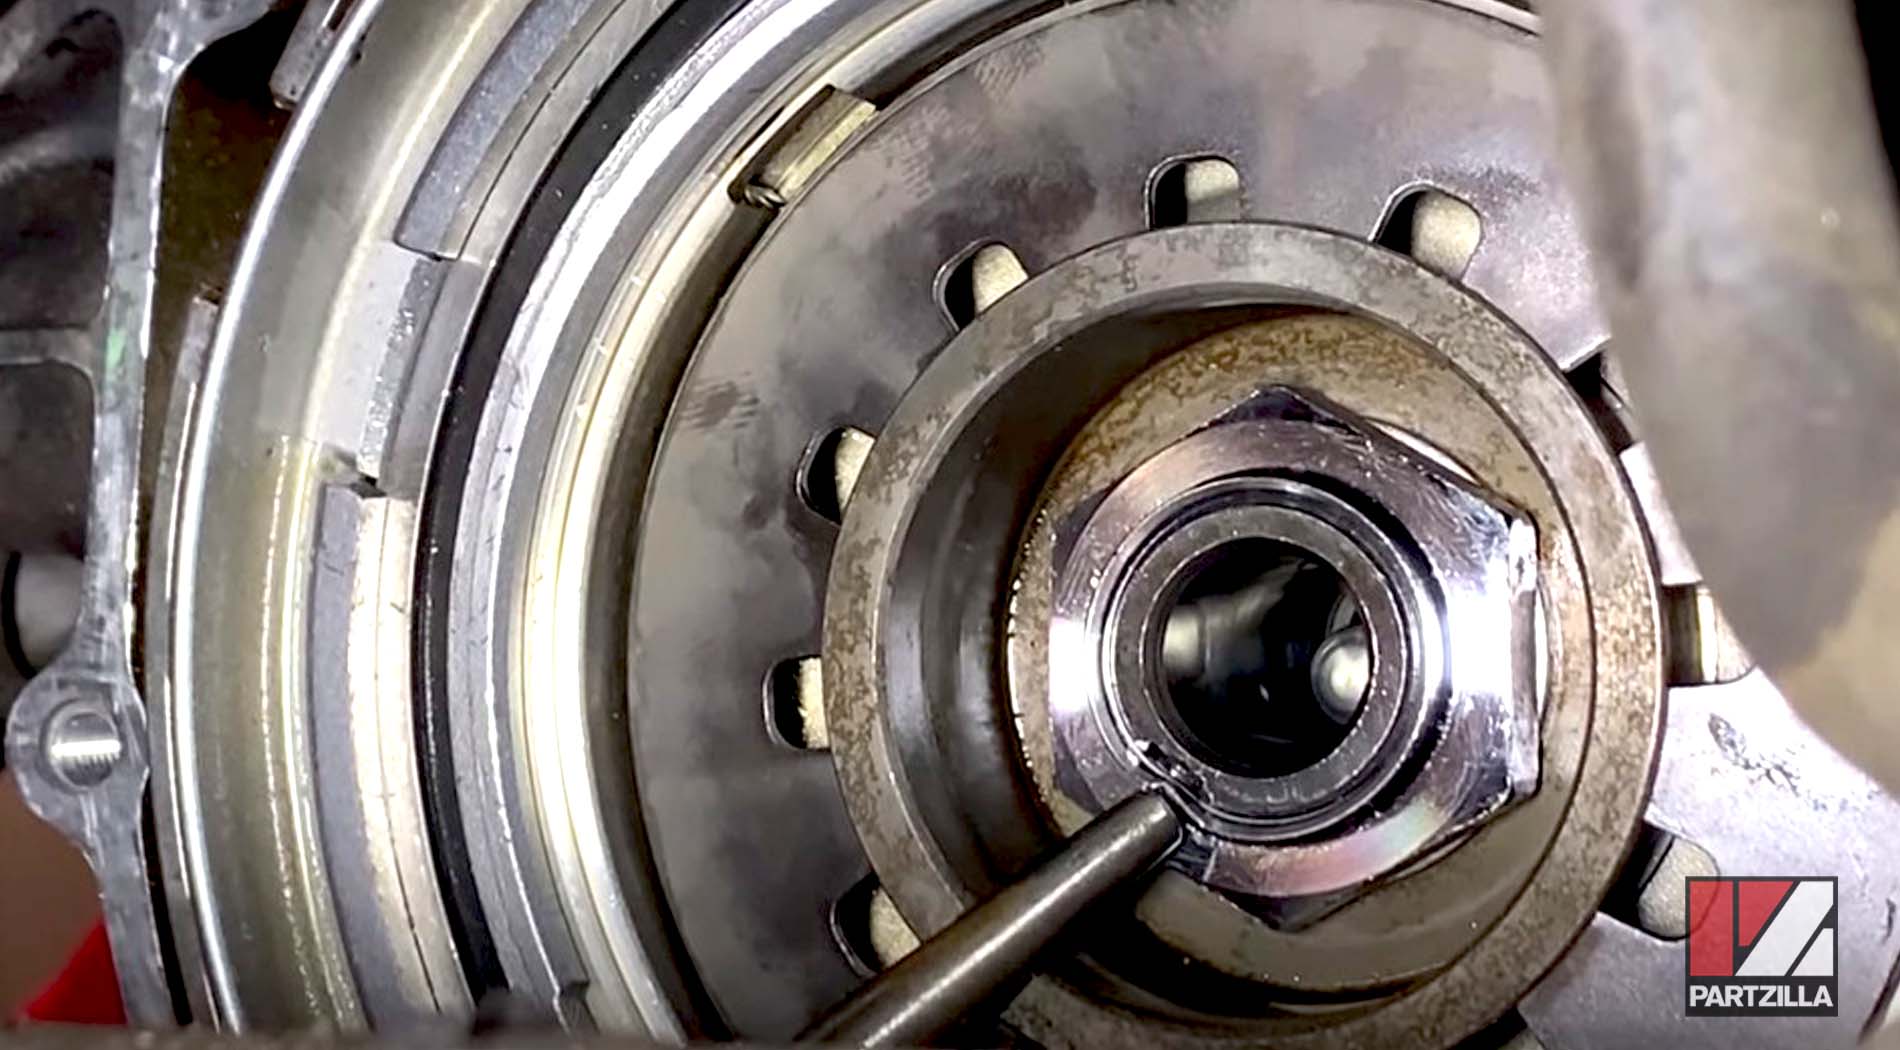
Step 27. Reinstall the lifter plate, followed by the stopper ring.
Step 28. Install the clutch cover gasket, followed by the clutch cover itself.

Step 29. Install the clutch cover bolts and tighten them carefully so they create a good seal with the gasket.
Step 30. Reinstall the parts of the motorcycle you removed and you’re done.