Honda CBR 929 Chain & Sprockets Change
When the chain on your Honda motorcycle needs replacing, you should replace the drive sprocket and the driven sprocket as well.
Putting a new chain on old sprockets wears out the chain in no time. Watch the video above and follow the steps below to change the chain and sprockets on a Honda CBR929 motorcycle.
Tools and Parts - Honda CBR Chain and Sprocket Replacement
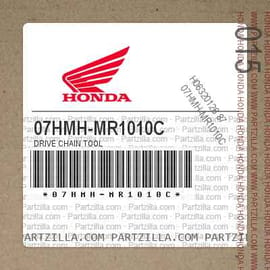
- Chain tool
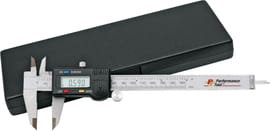
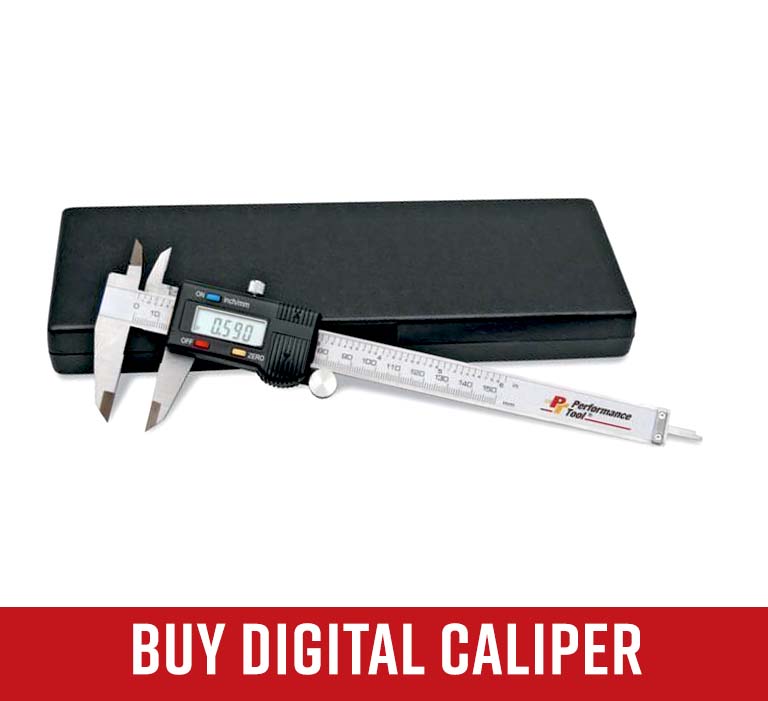
- Digital caliper
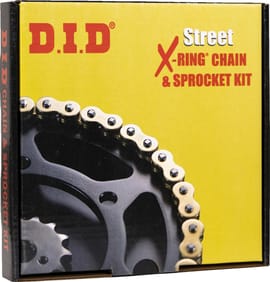
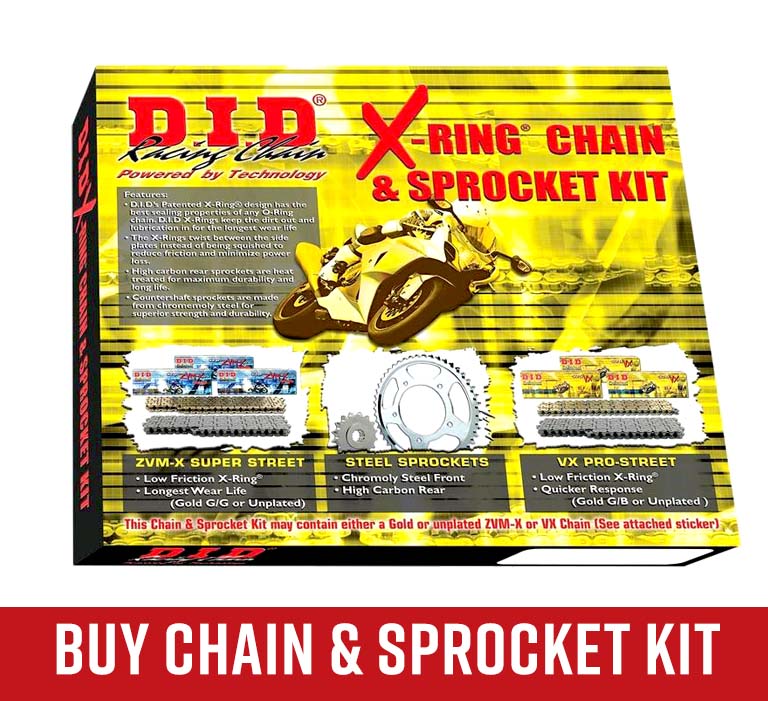
- Chain and sprocket kit
- Chain lube
- Grease
NOTE: Buy a chain and sprocket kit that includes both sprockets with the chain. You'll also need a chain tool to break apart the old chain and press the new chain together, and a digital caliper for the precise measurements for installing a new chain.
Replacing Honda CBR929 Sprocket & Chain
Step 1. Remove the old chain by pressing the pins out from a link with a chain tool.
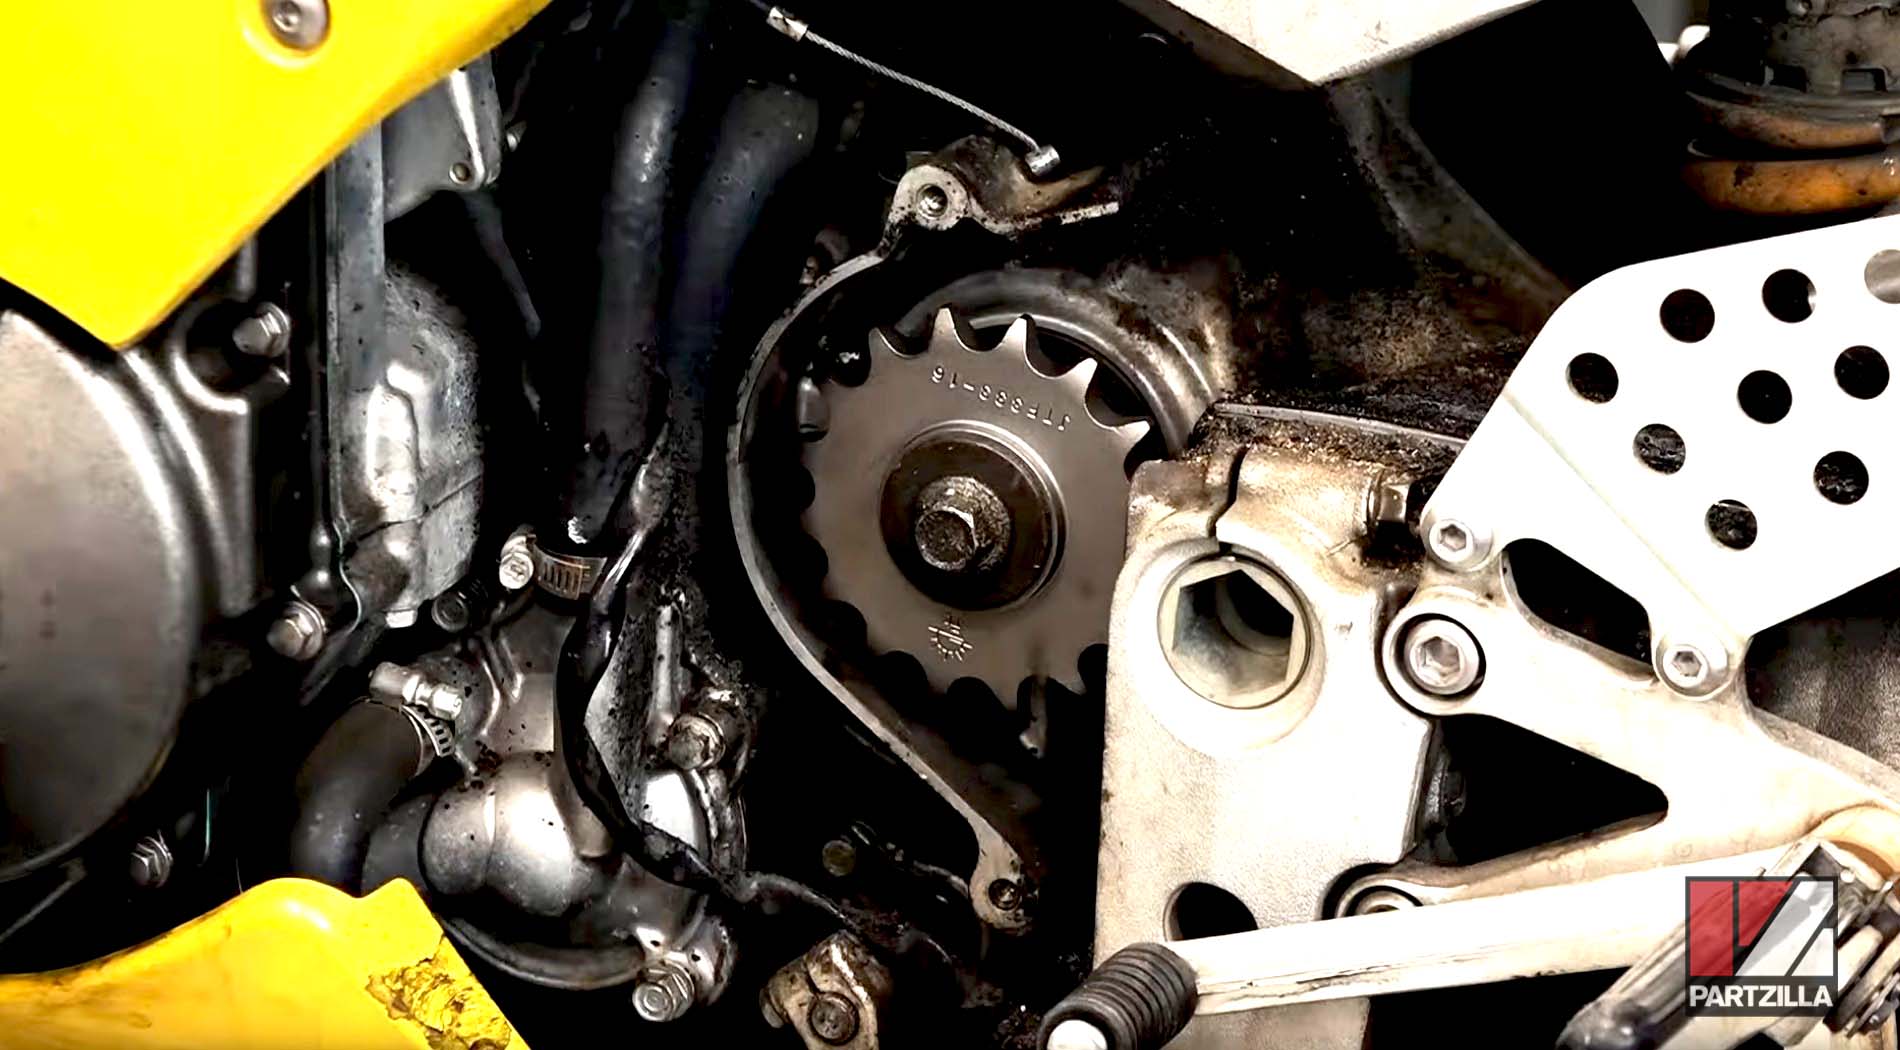
Step 2. Remove the drive sprocket cover.
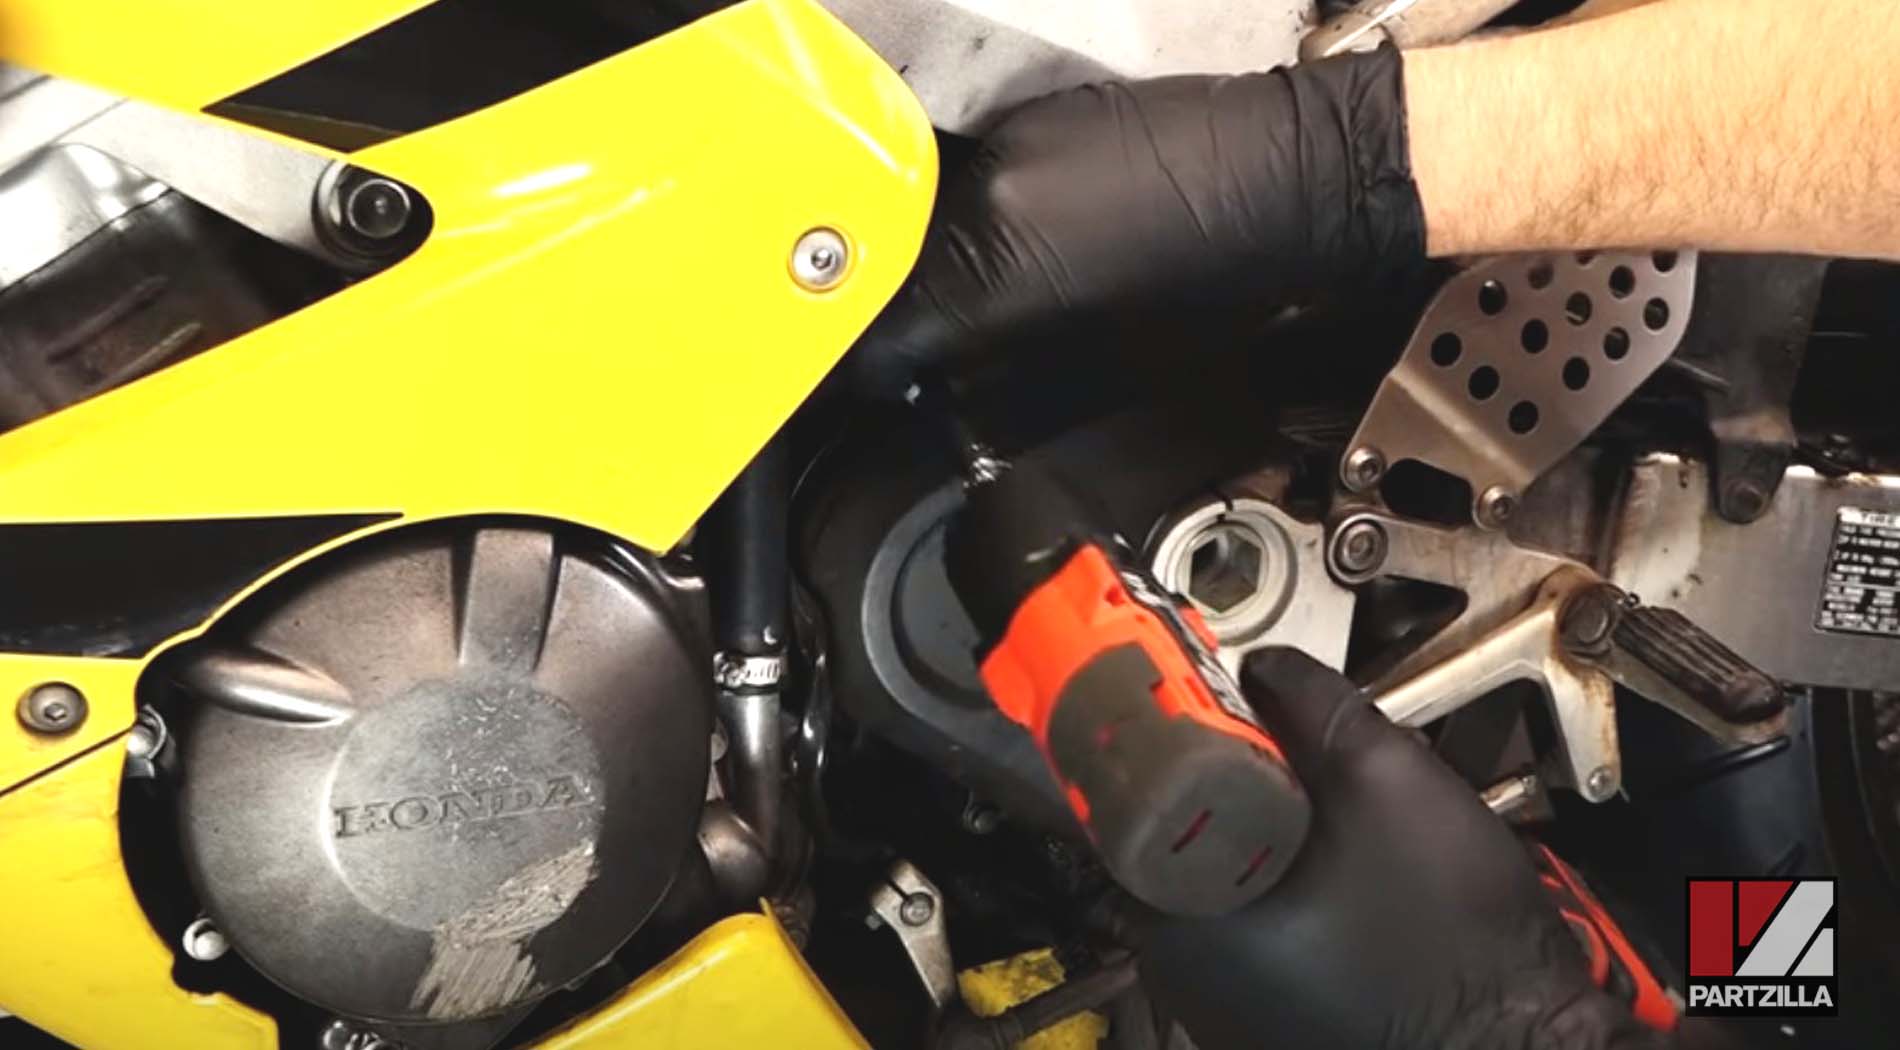
Step 3. Remove the drive sprocket center bolt and the sprocket itself. Clean the area with brake/contact cleaner.
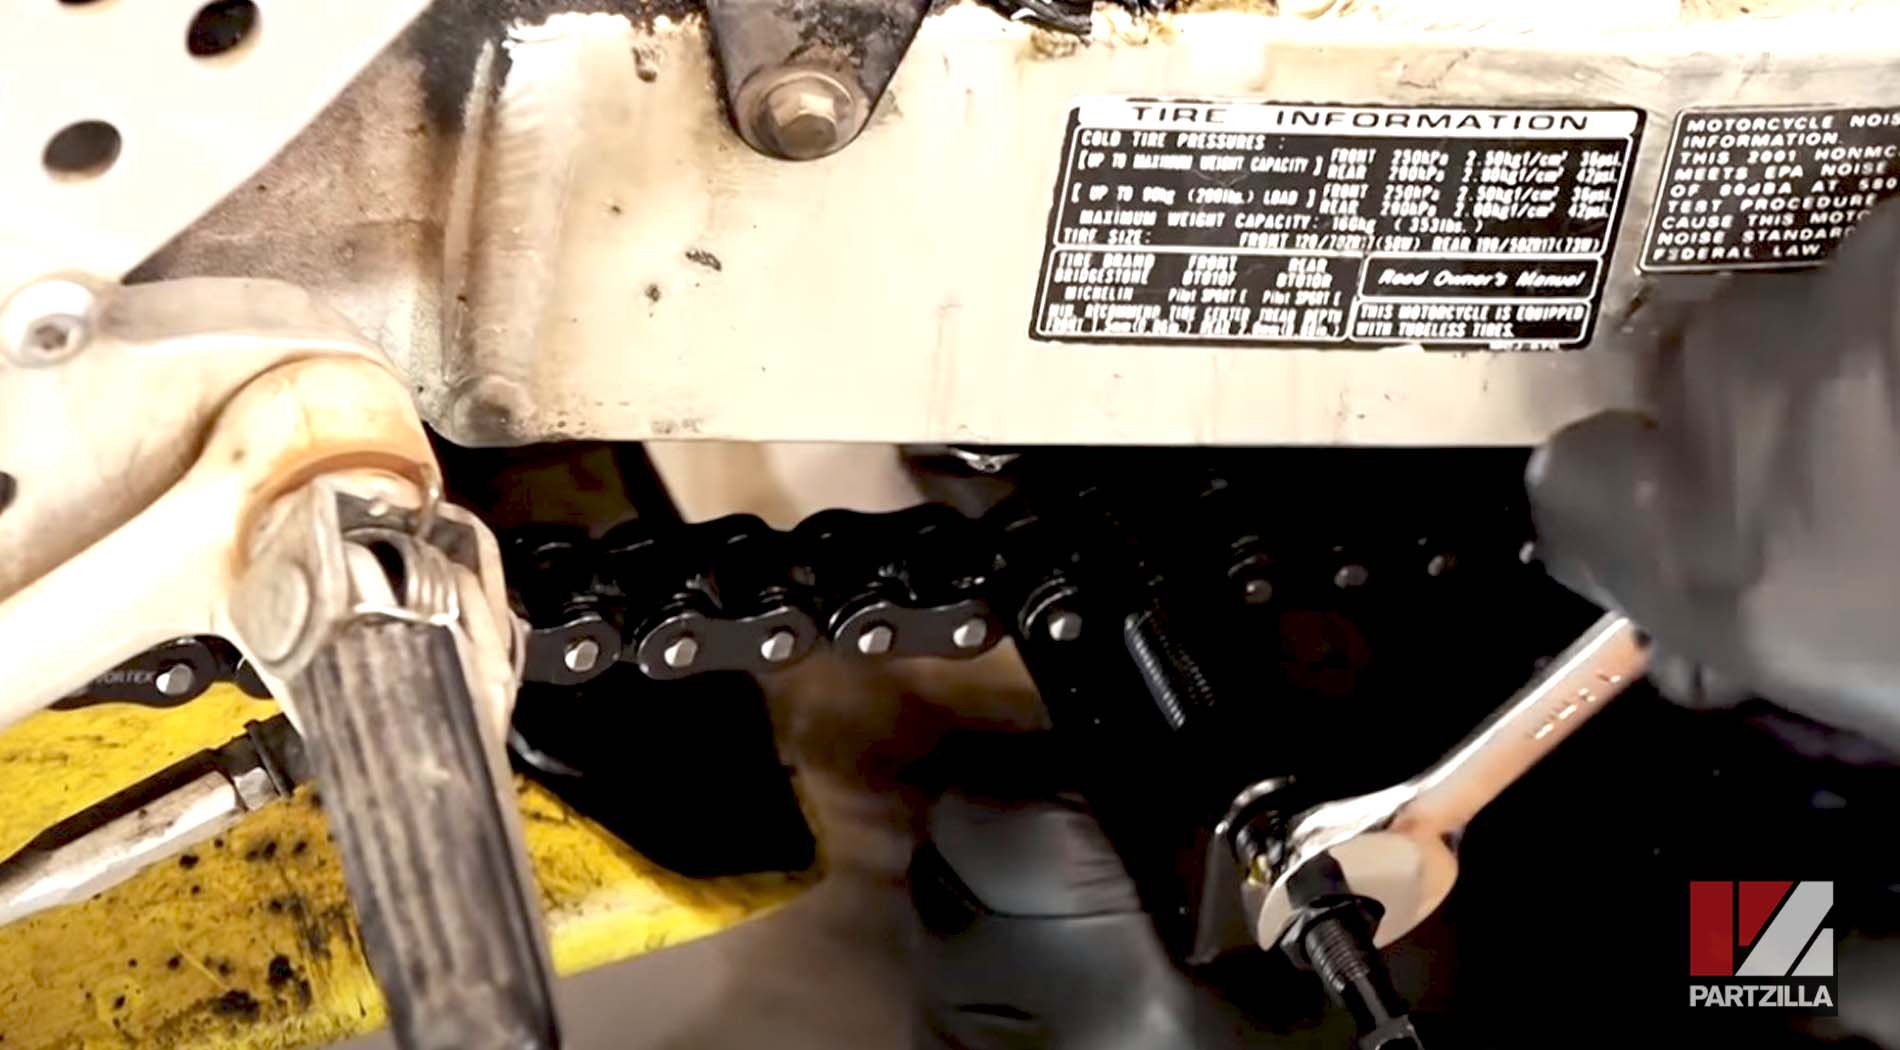
Step 4. Loosen the chain adjusters in the rear swingarms.
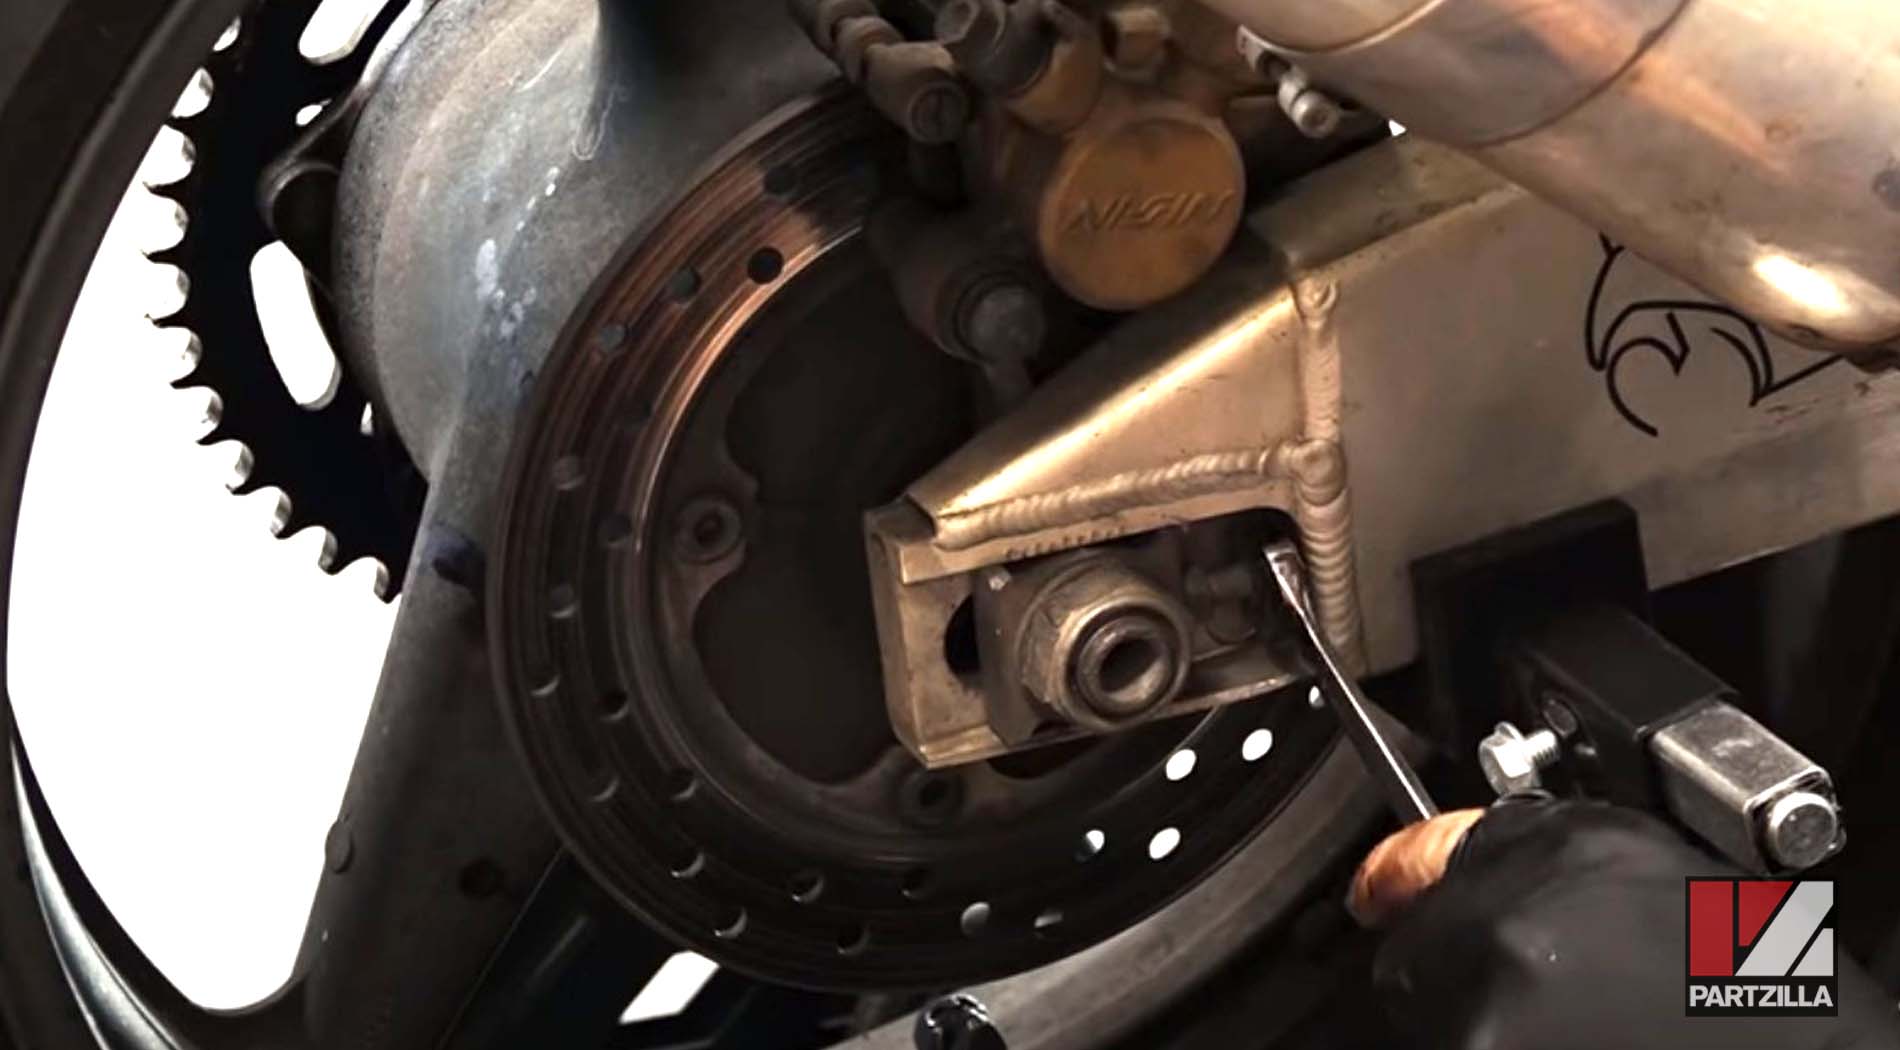
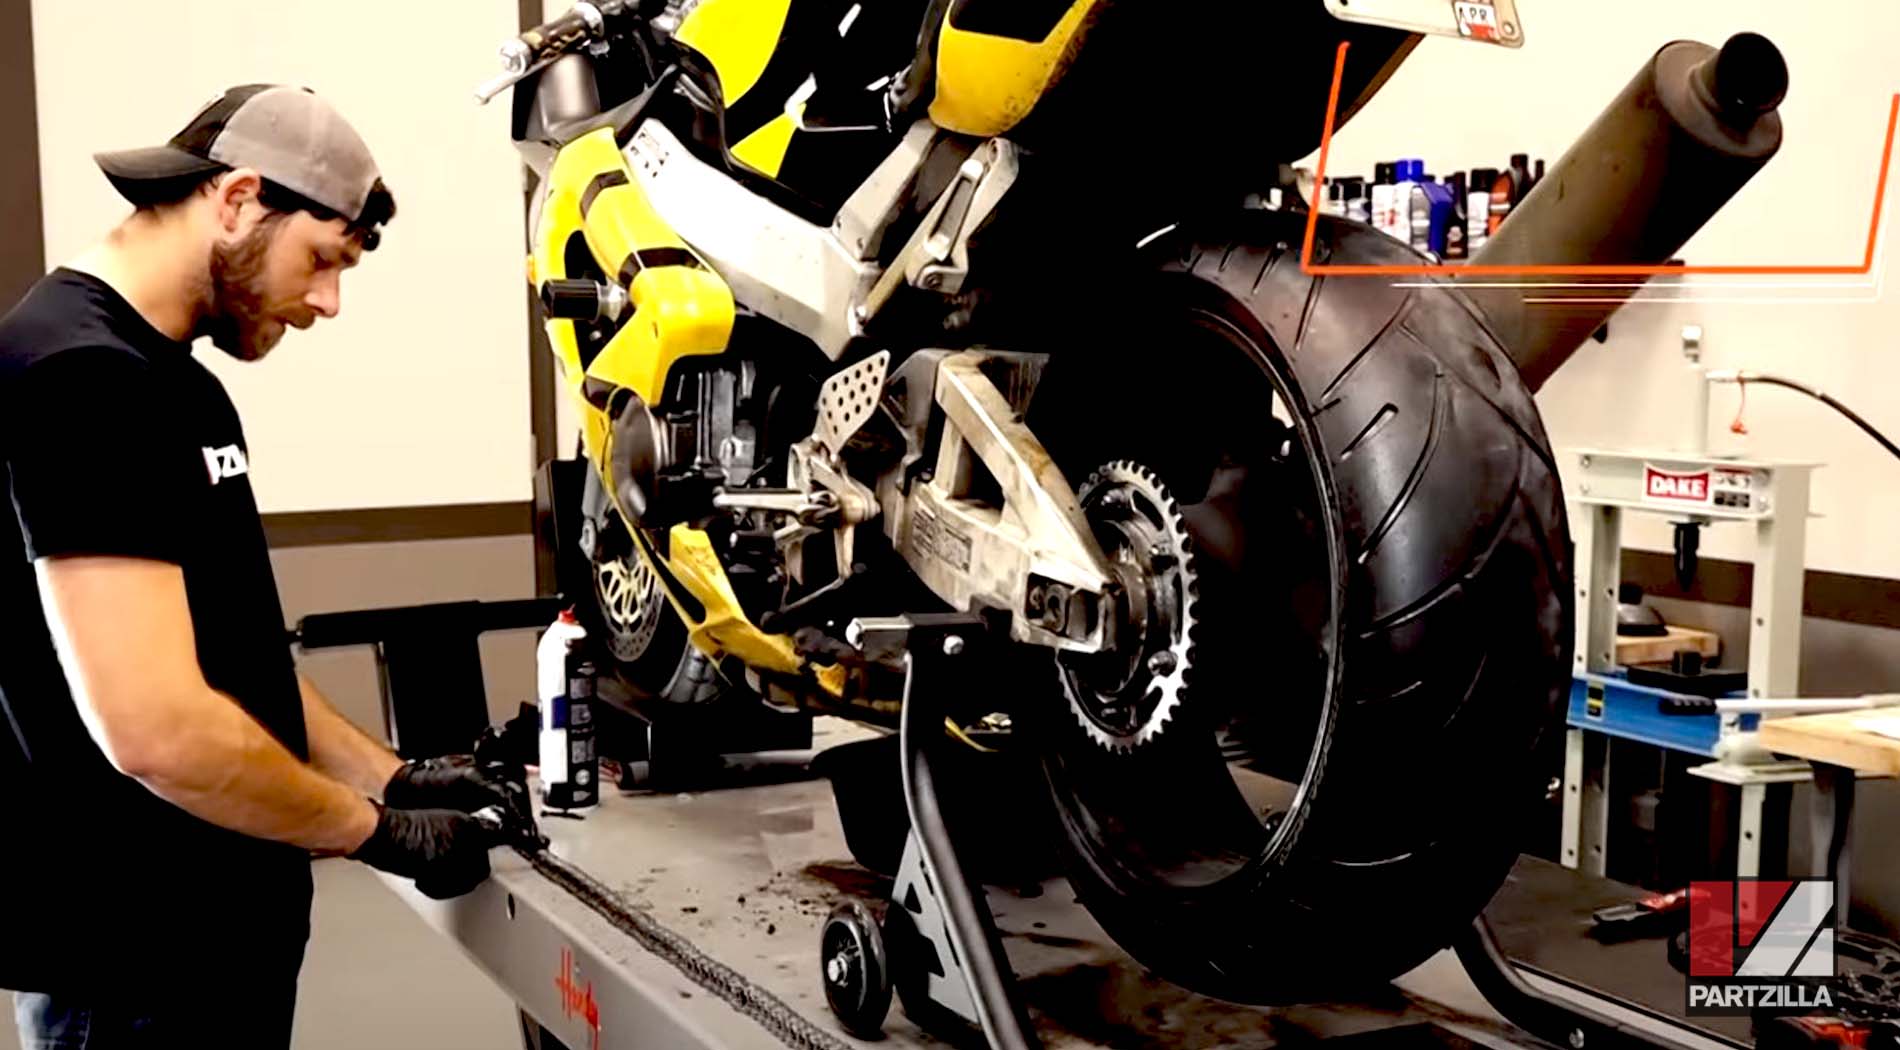
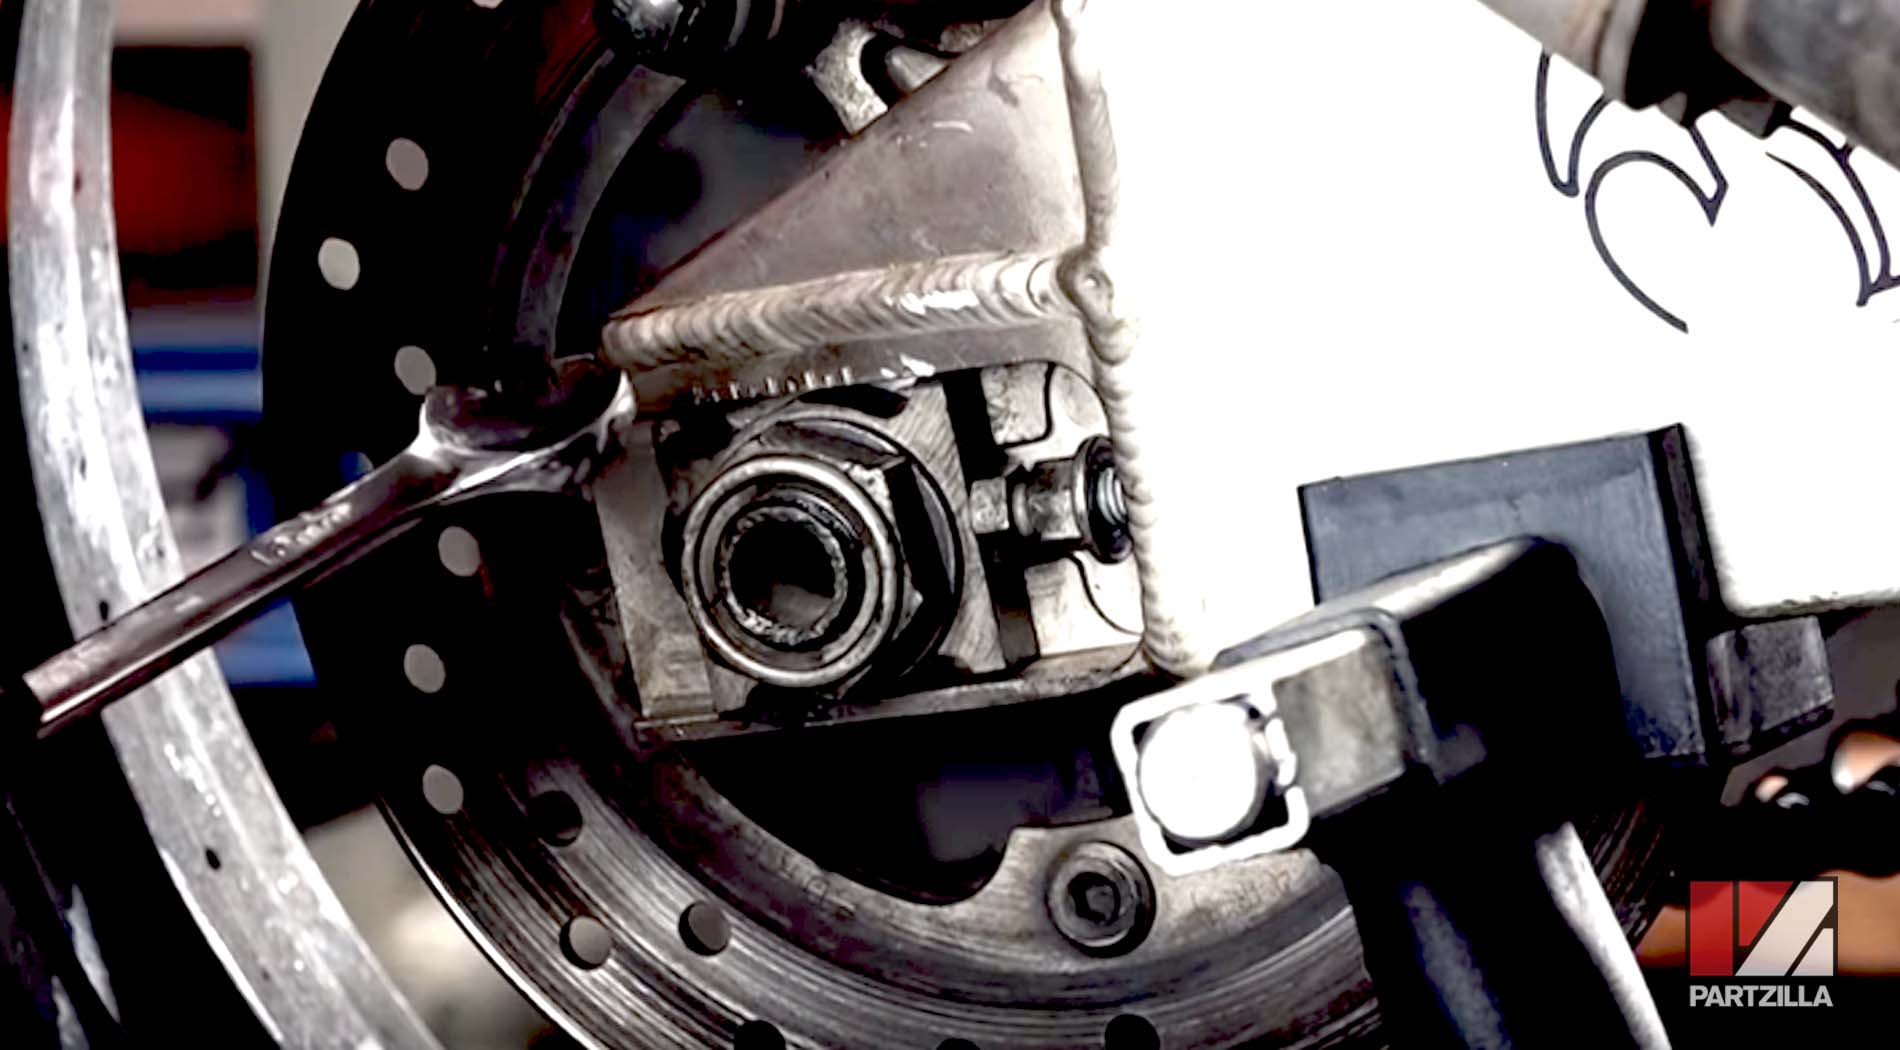
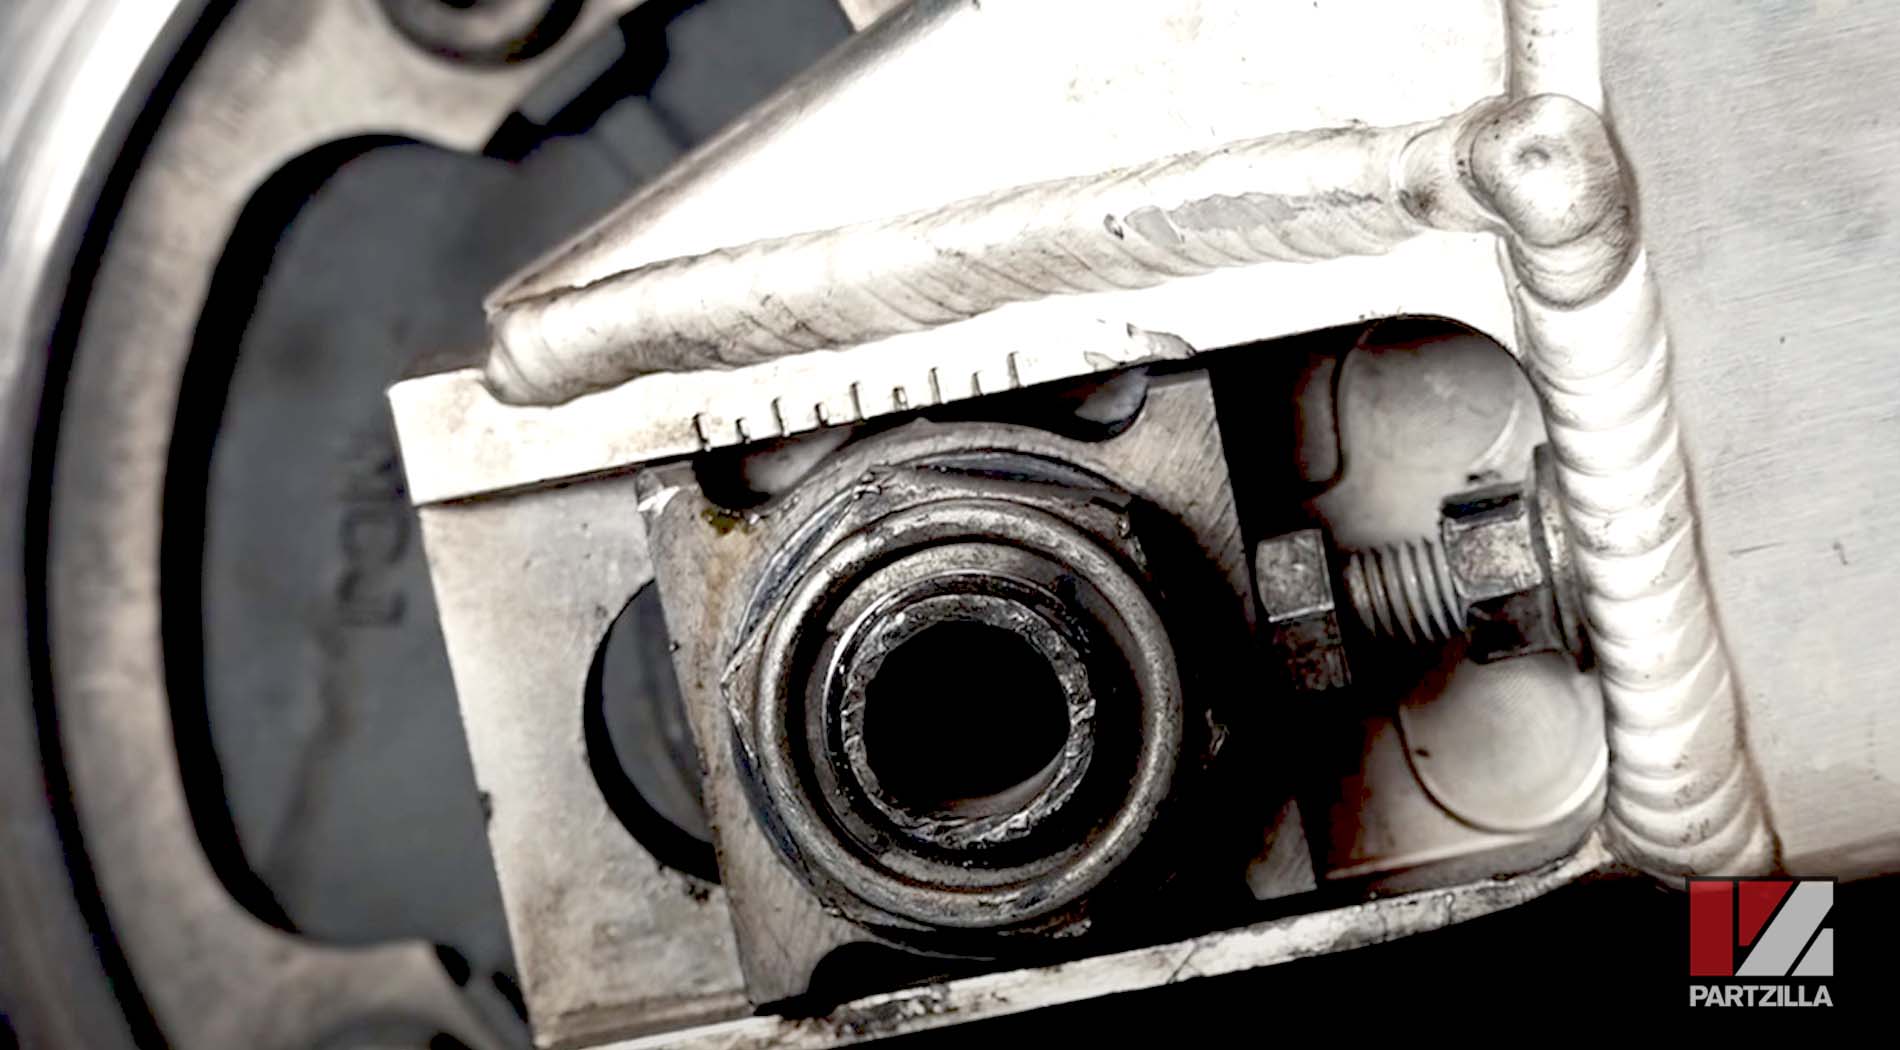
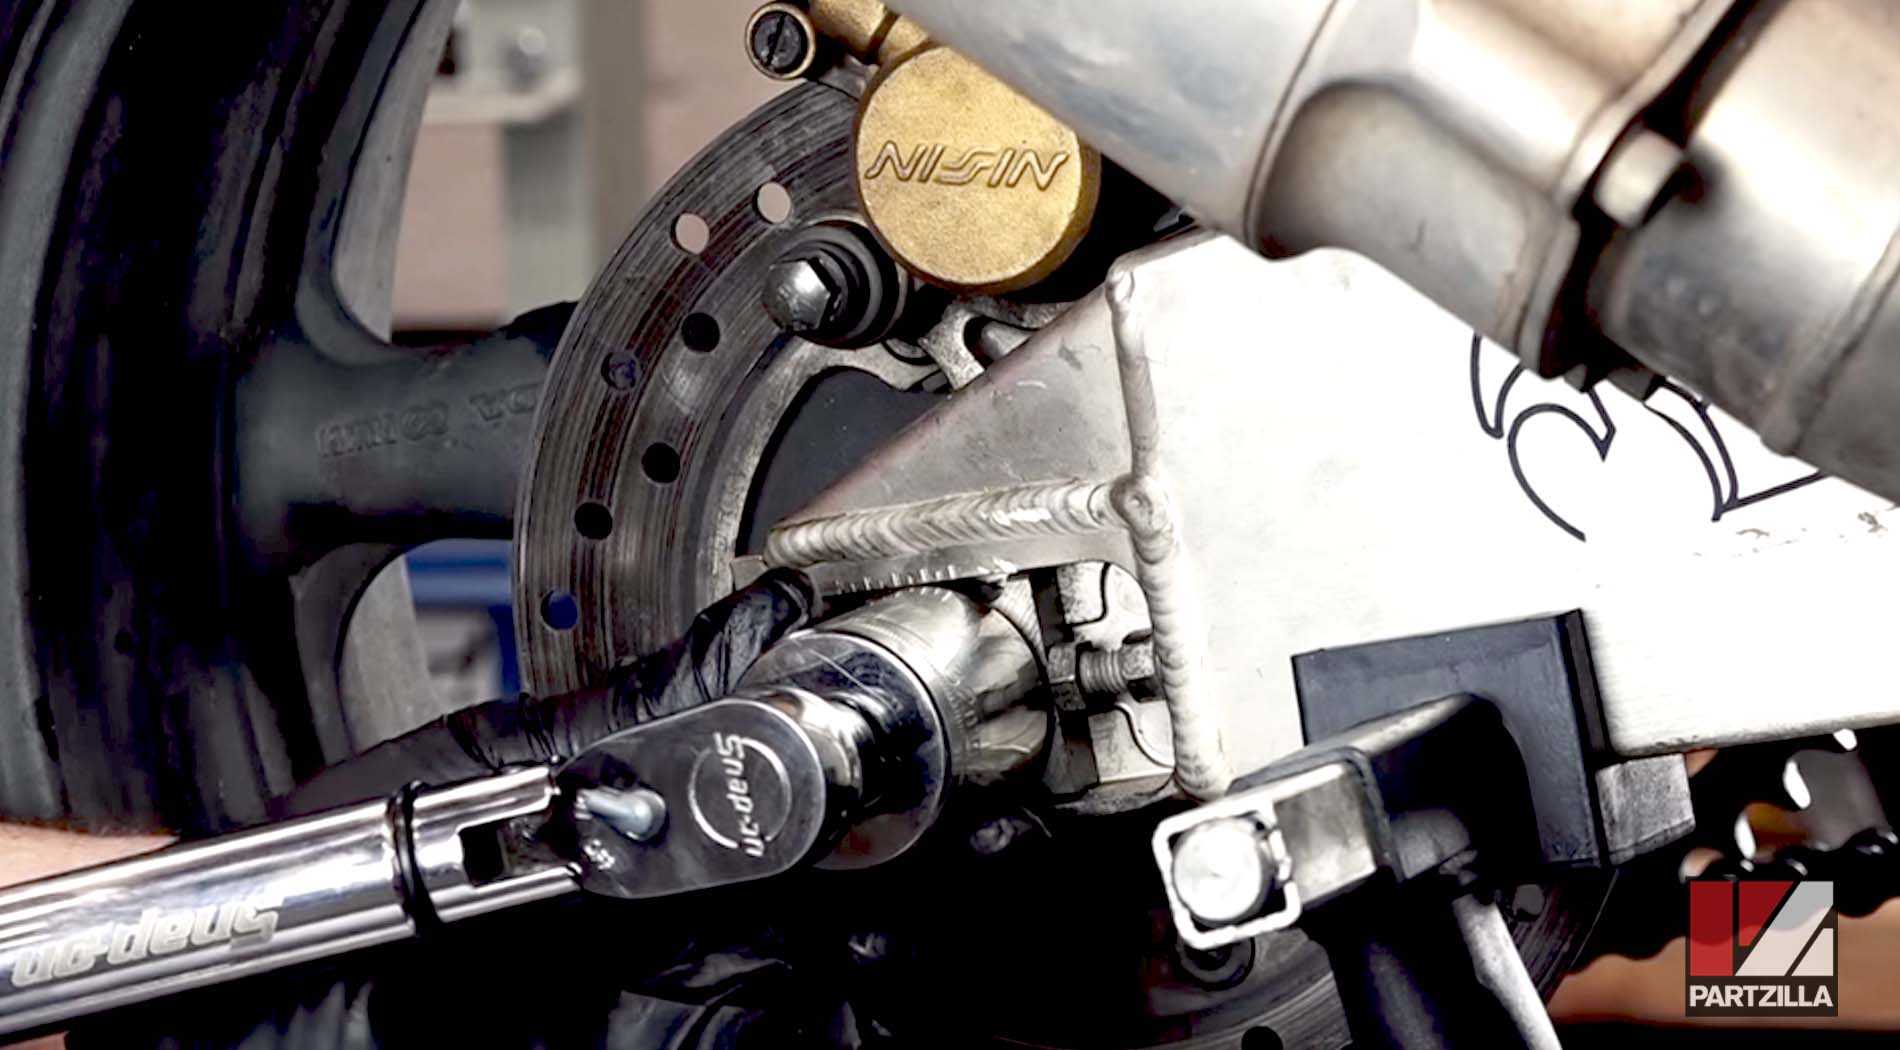
Step 5. Remove the axle nut, then pull out the axle from the swingarm and take off the rear wheel.
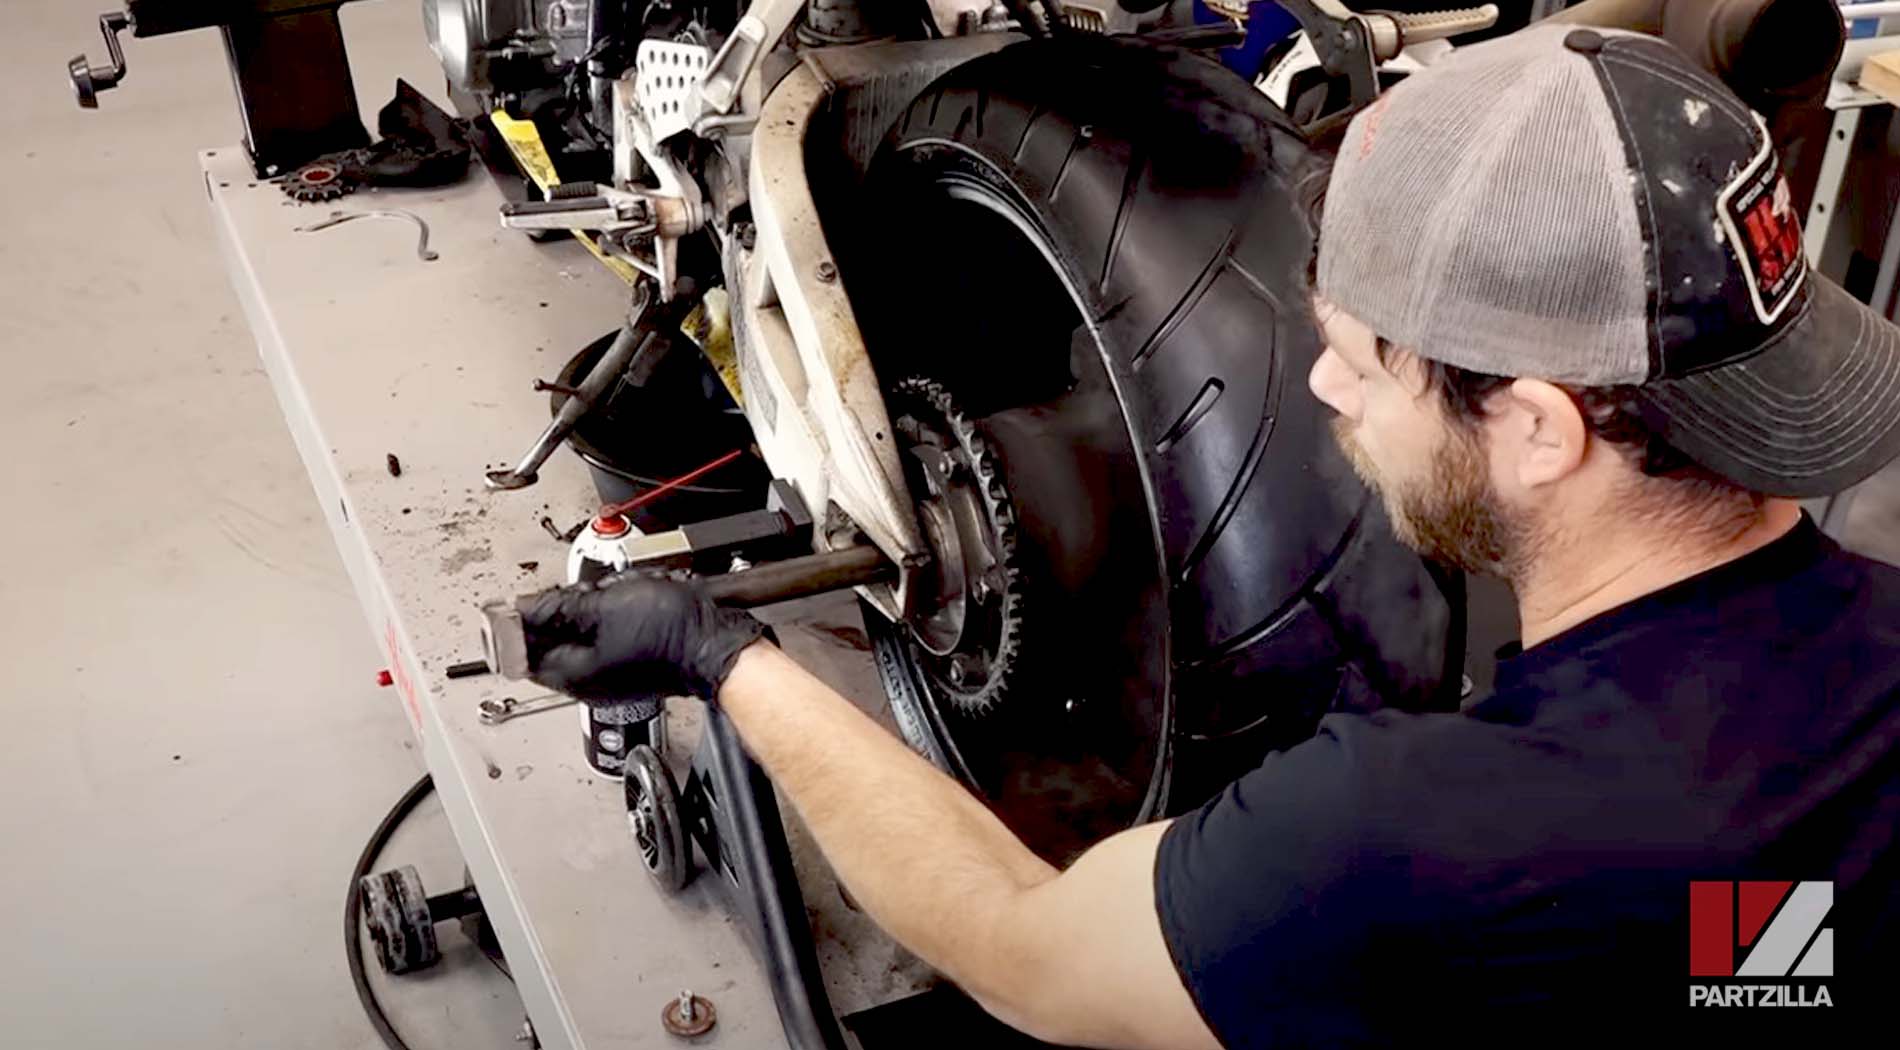
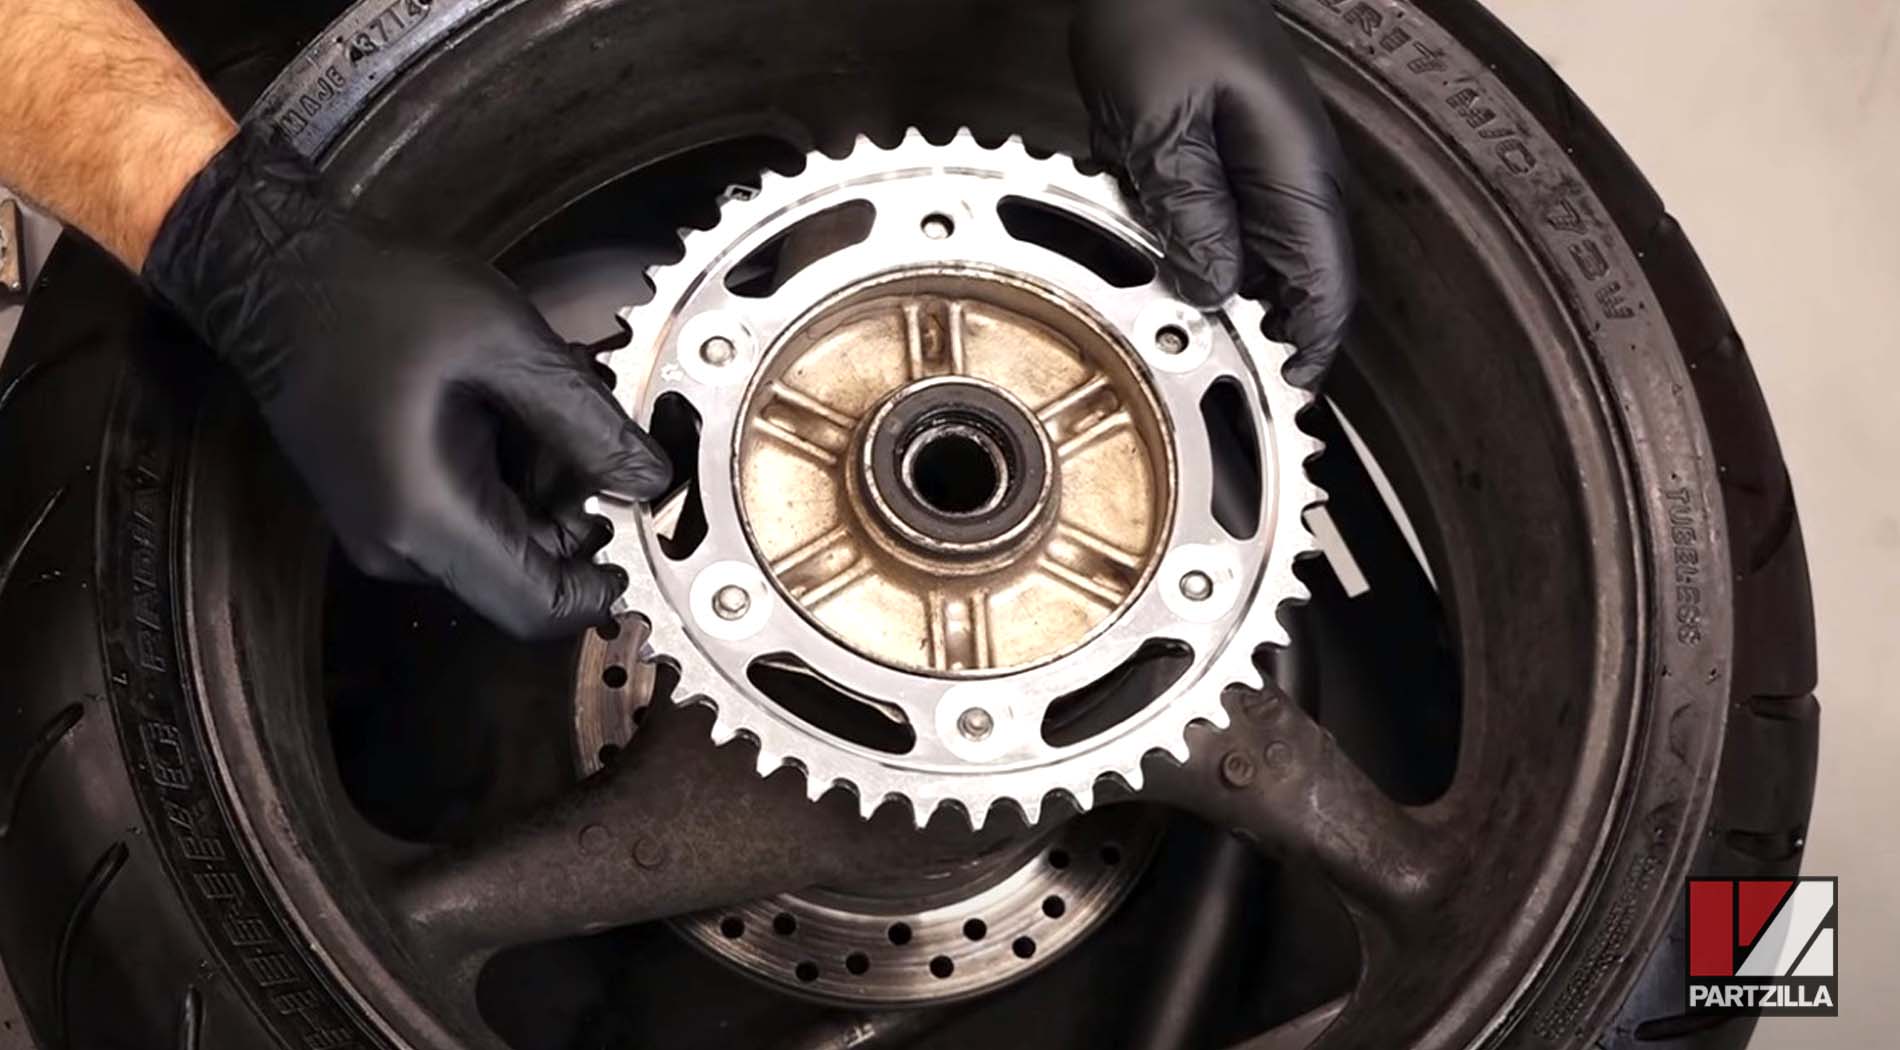
Step 6. Remove the driven sprocket from the rear wheel.
Step 7. Install the new driven sprocket onto the rear wheel. Make sure the beveled side of the sprocket is facing outwards, and torque the sprocket bolts to 47 foot-pounds.
Step 8. Clean and lightly grease the axle, then remount the rear wheel back into the swingarm and secure it with the axle nut.
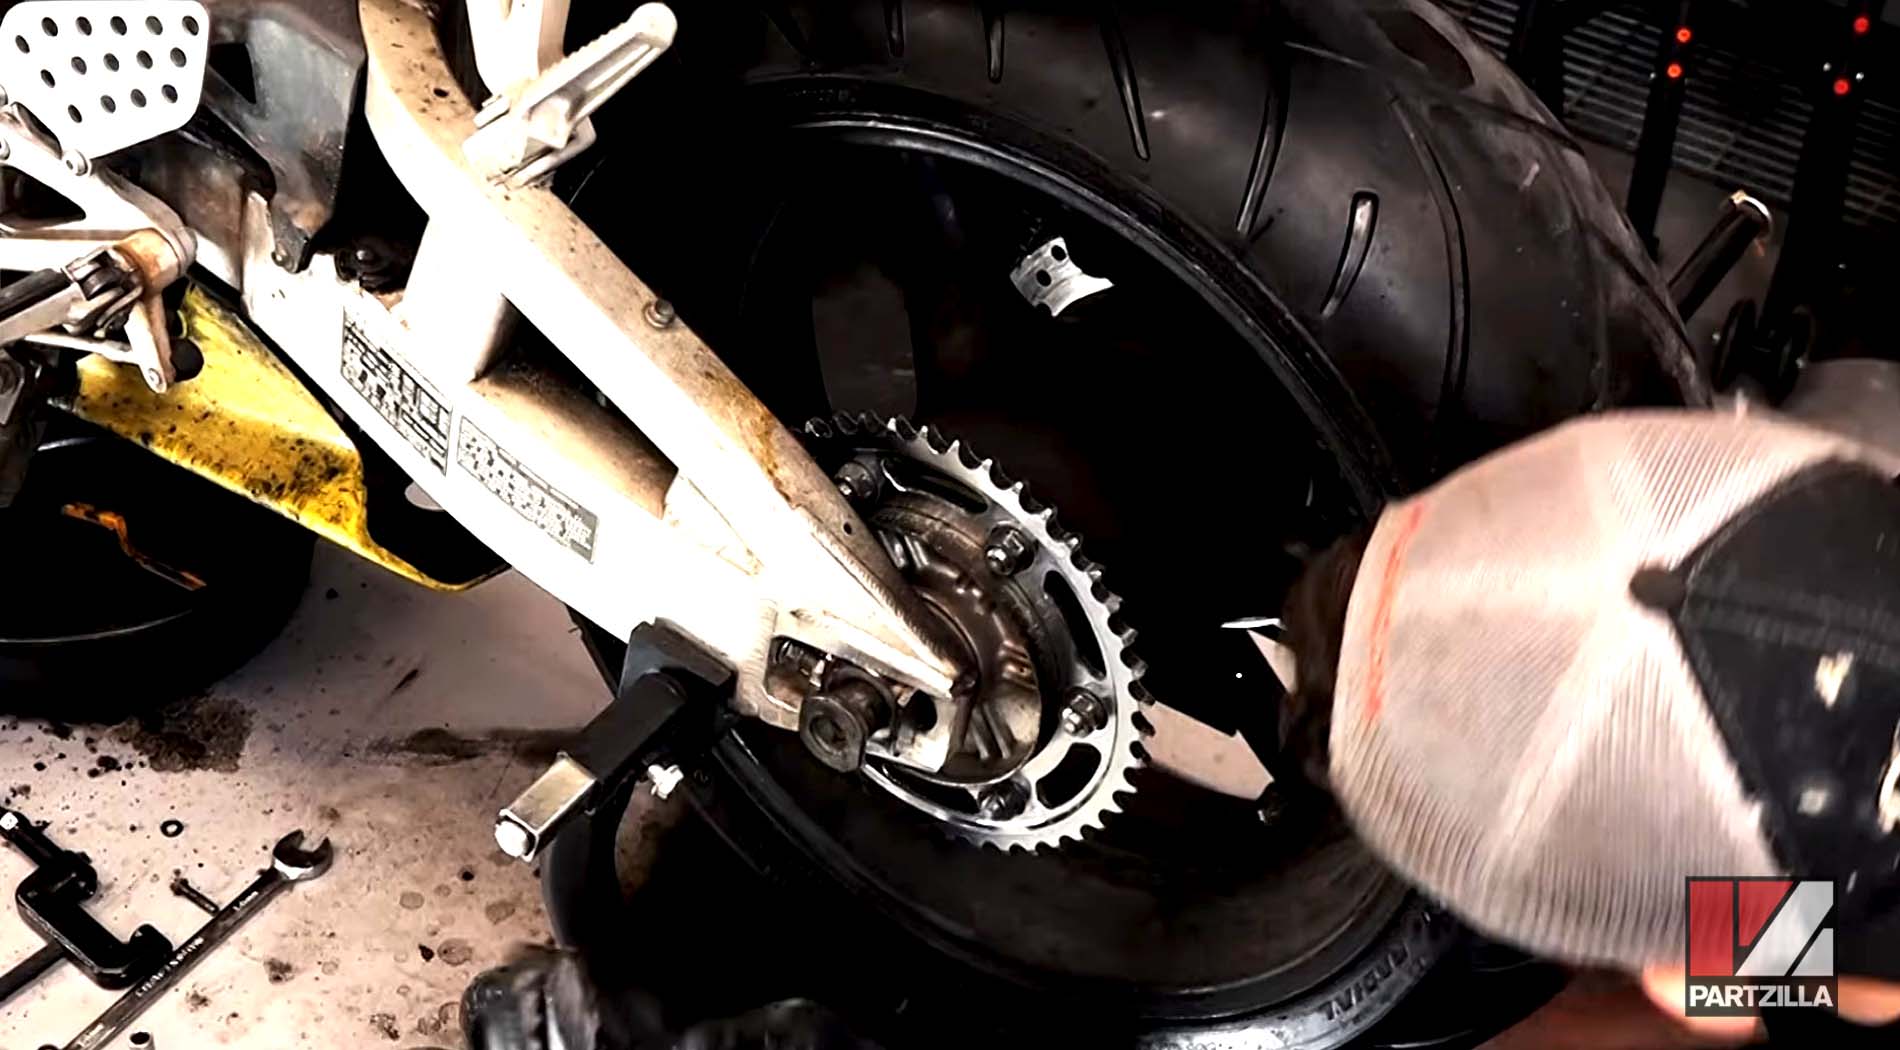
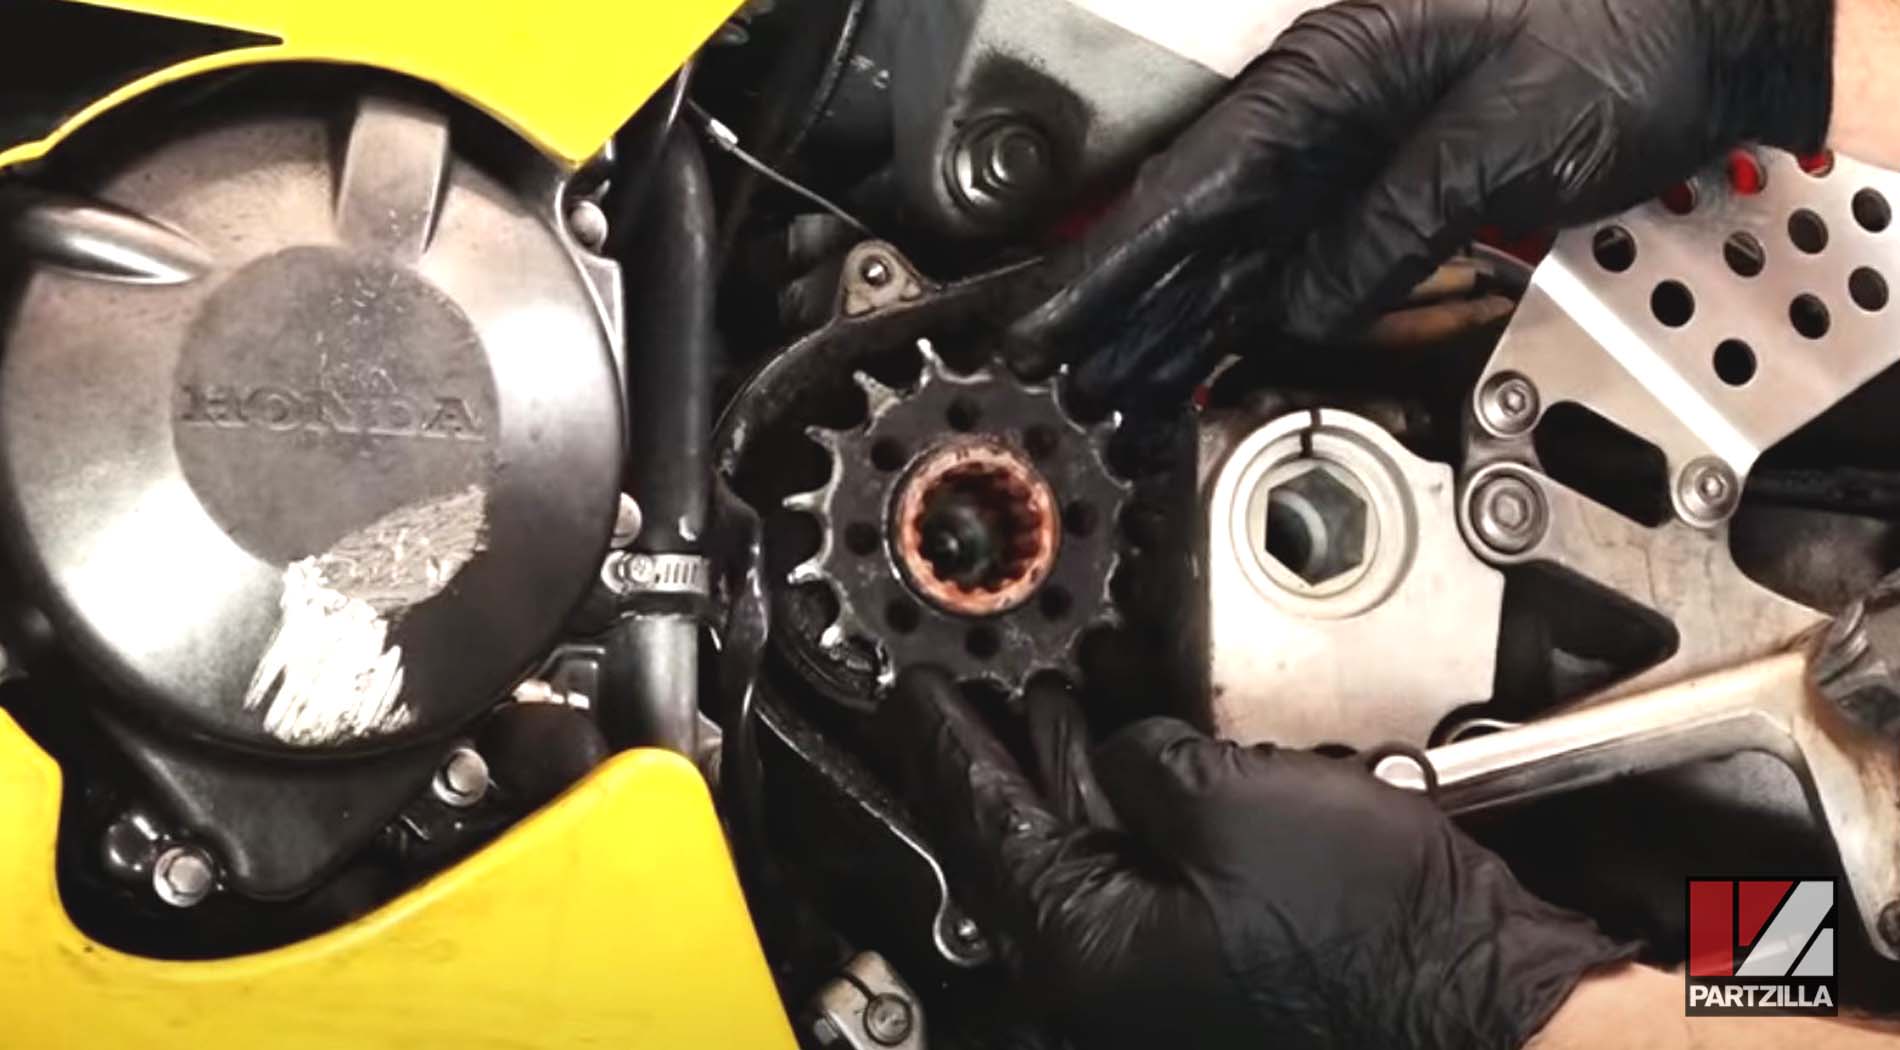
Step 9. Install the new drive sprocket onto the driveshaft output, and torque the center bolt to 40 foot-pounds.
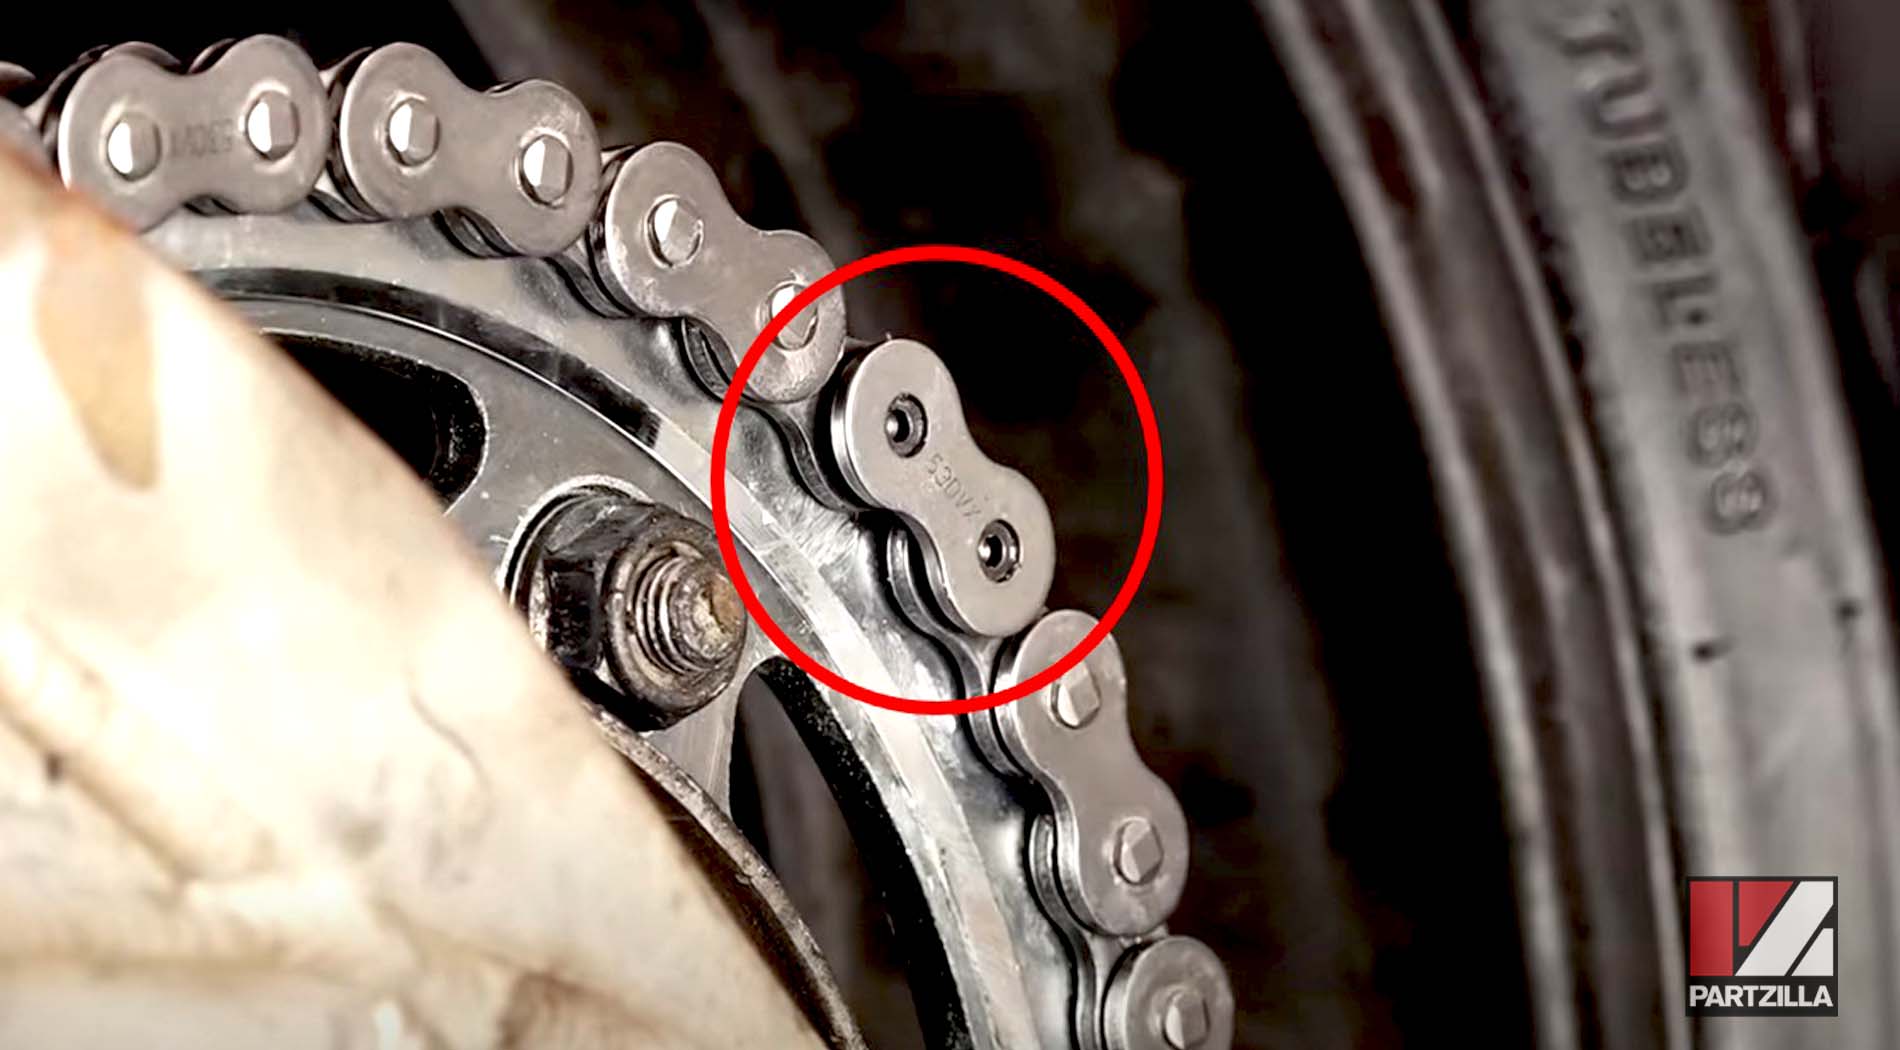
Step 10. Get the new chain and count out 108 links. Do this twice to be absolutely sure you have counted correctly, then use the chain tool to remove any excess chain links.
Step 11. Run the new chain around the drive sprocket and the driven sprocket, and install the new chain's master link and the link's O-rings.
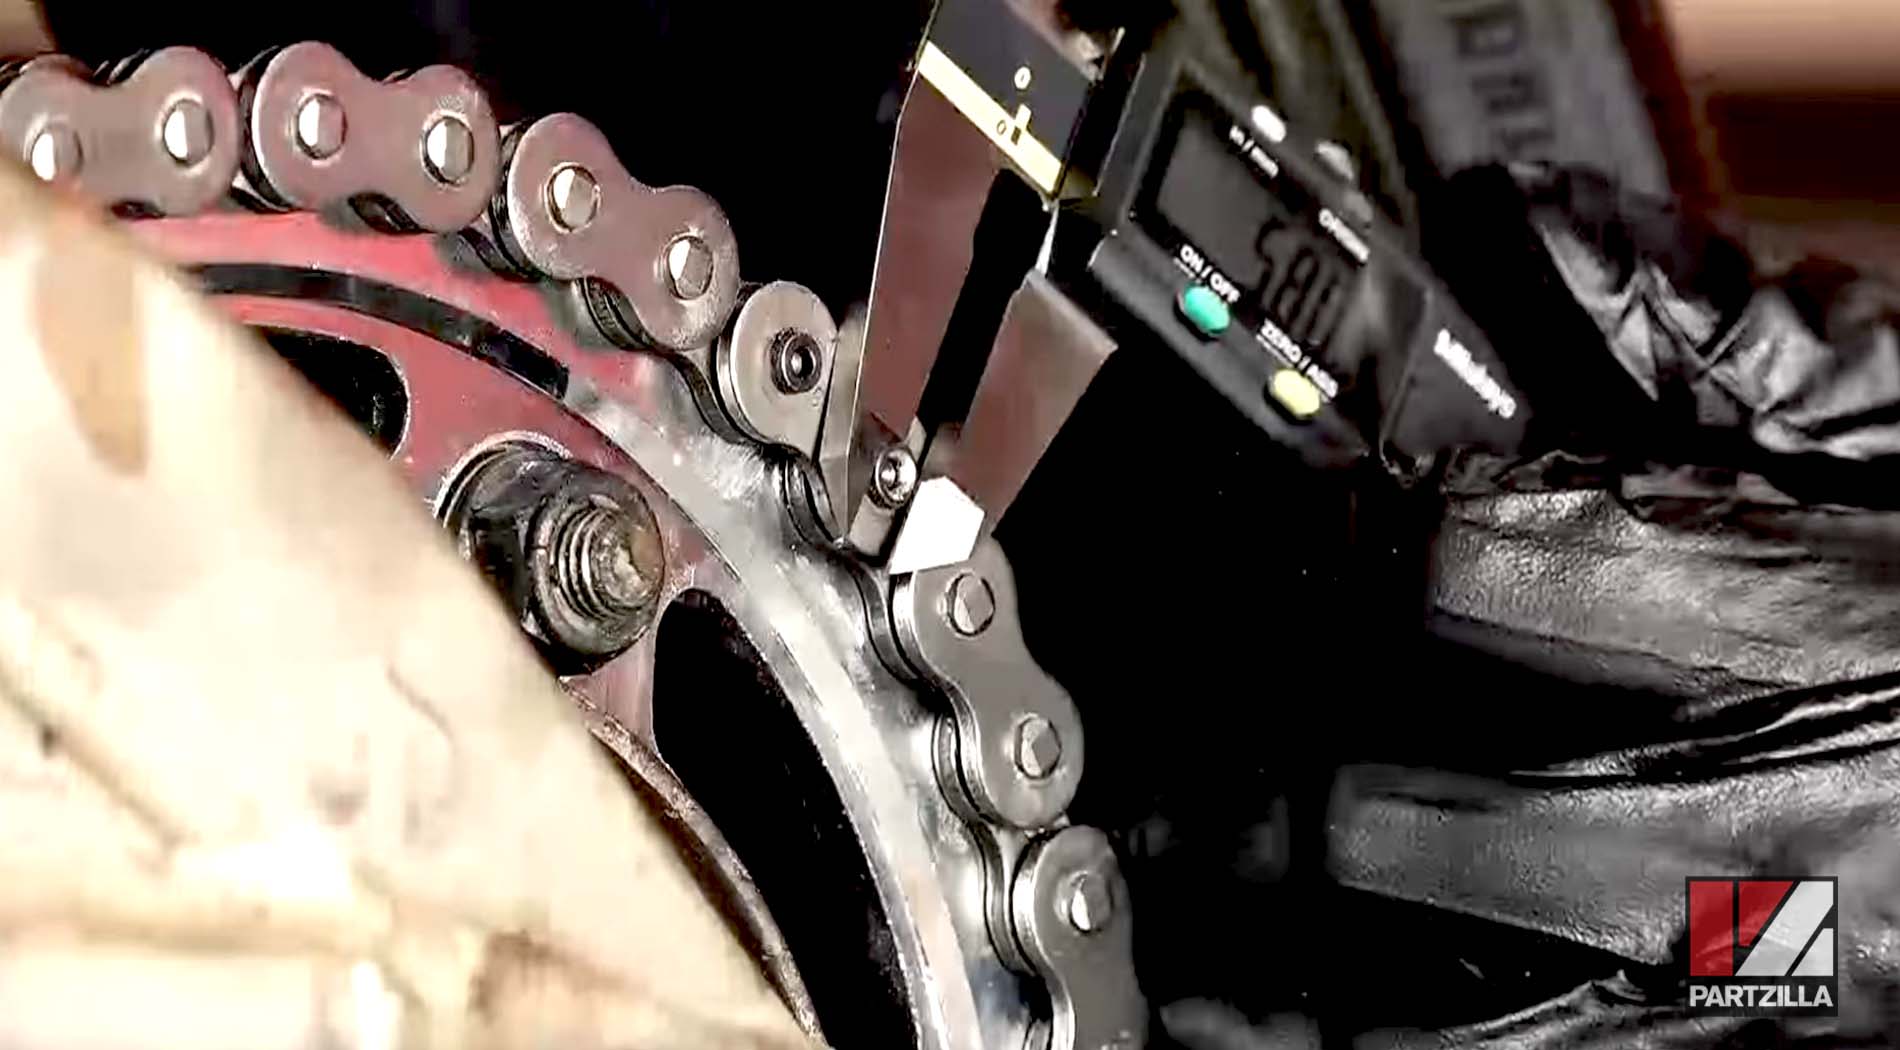
Step 12. Press the master link's outer plate using the chain tool. Work slowly and pause frequently to measure with a digital caliper until the master link's pin length is between 1.15 and 1.55 millimeters.
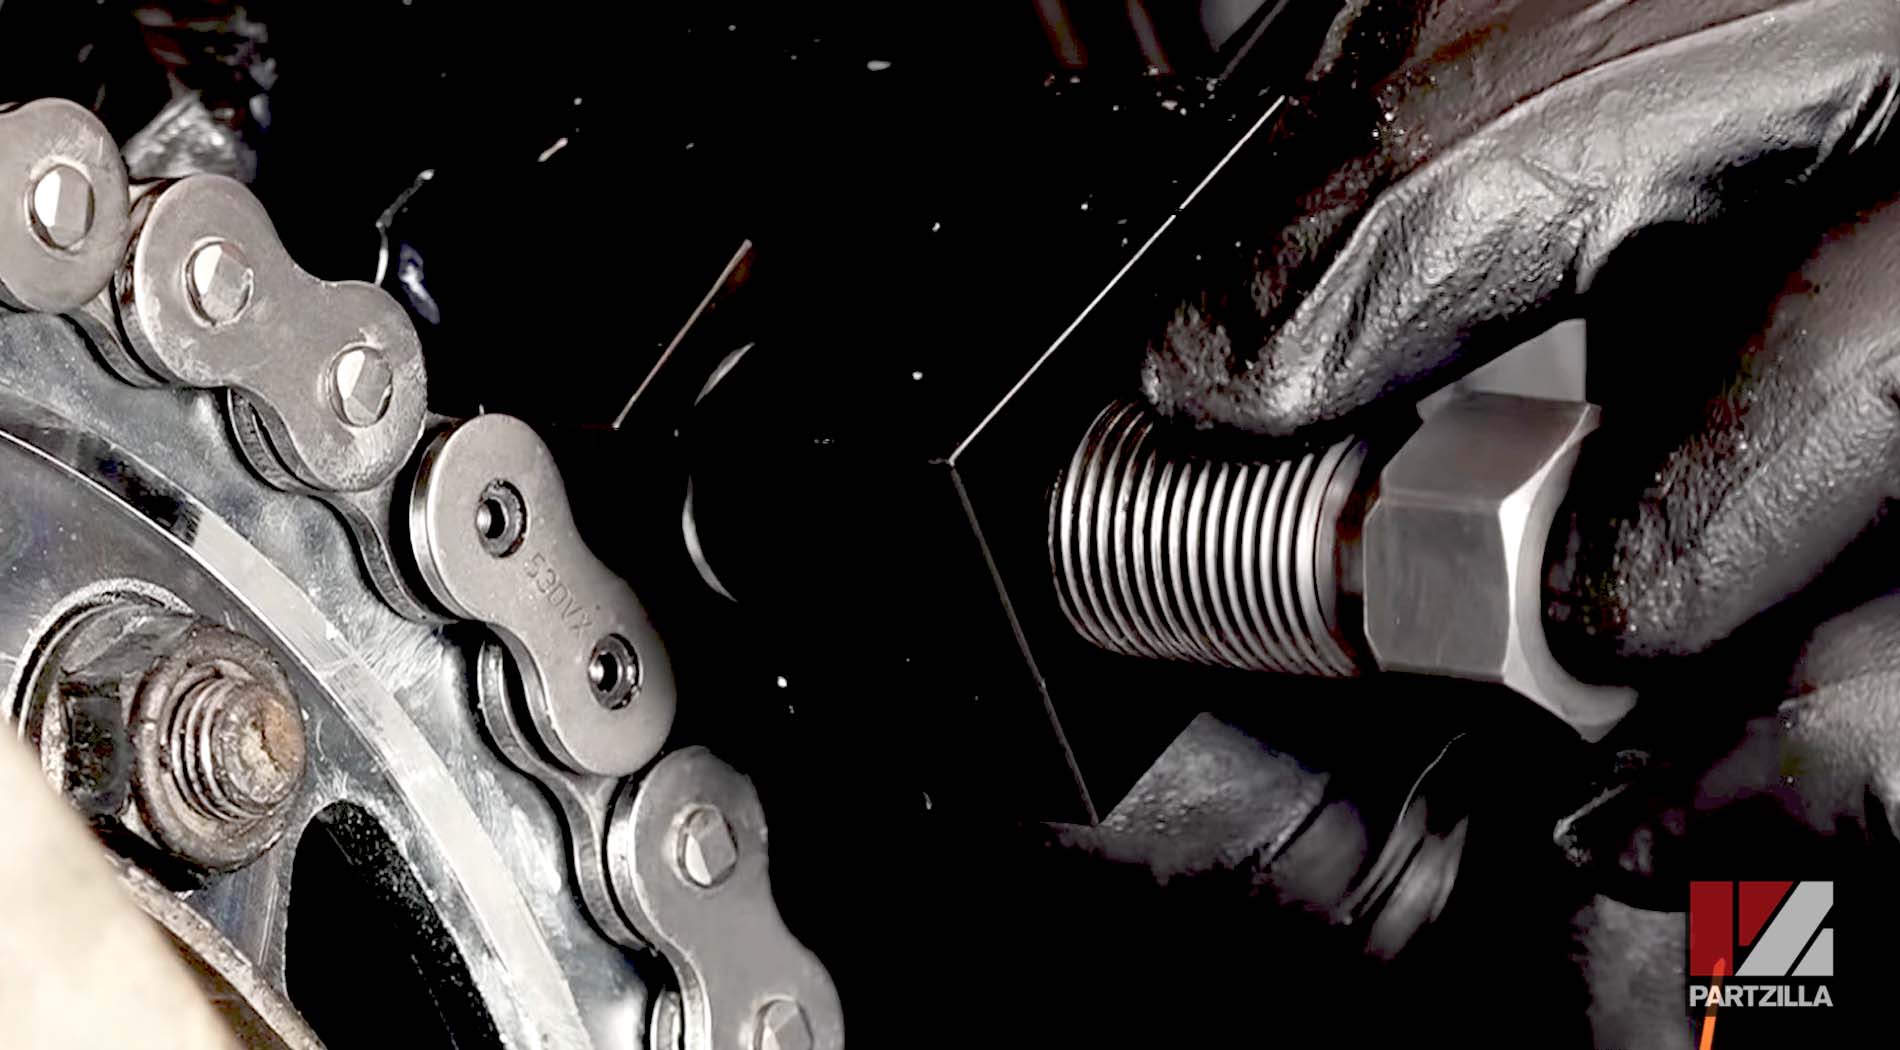
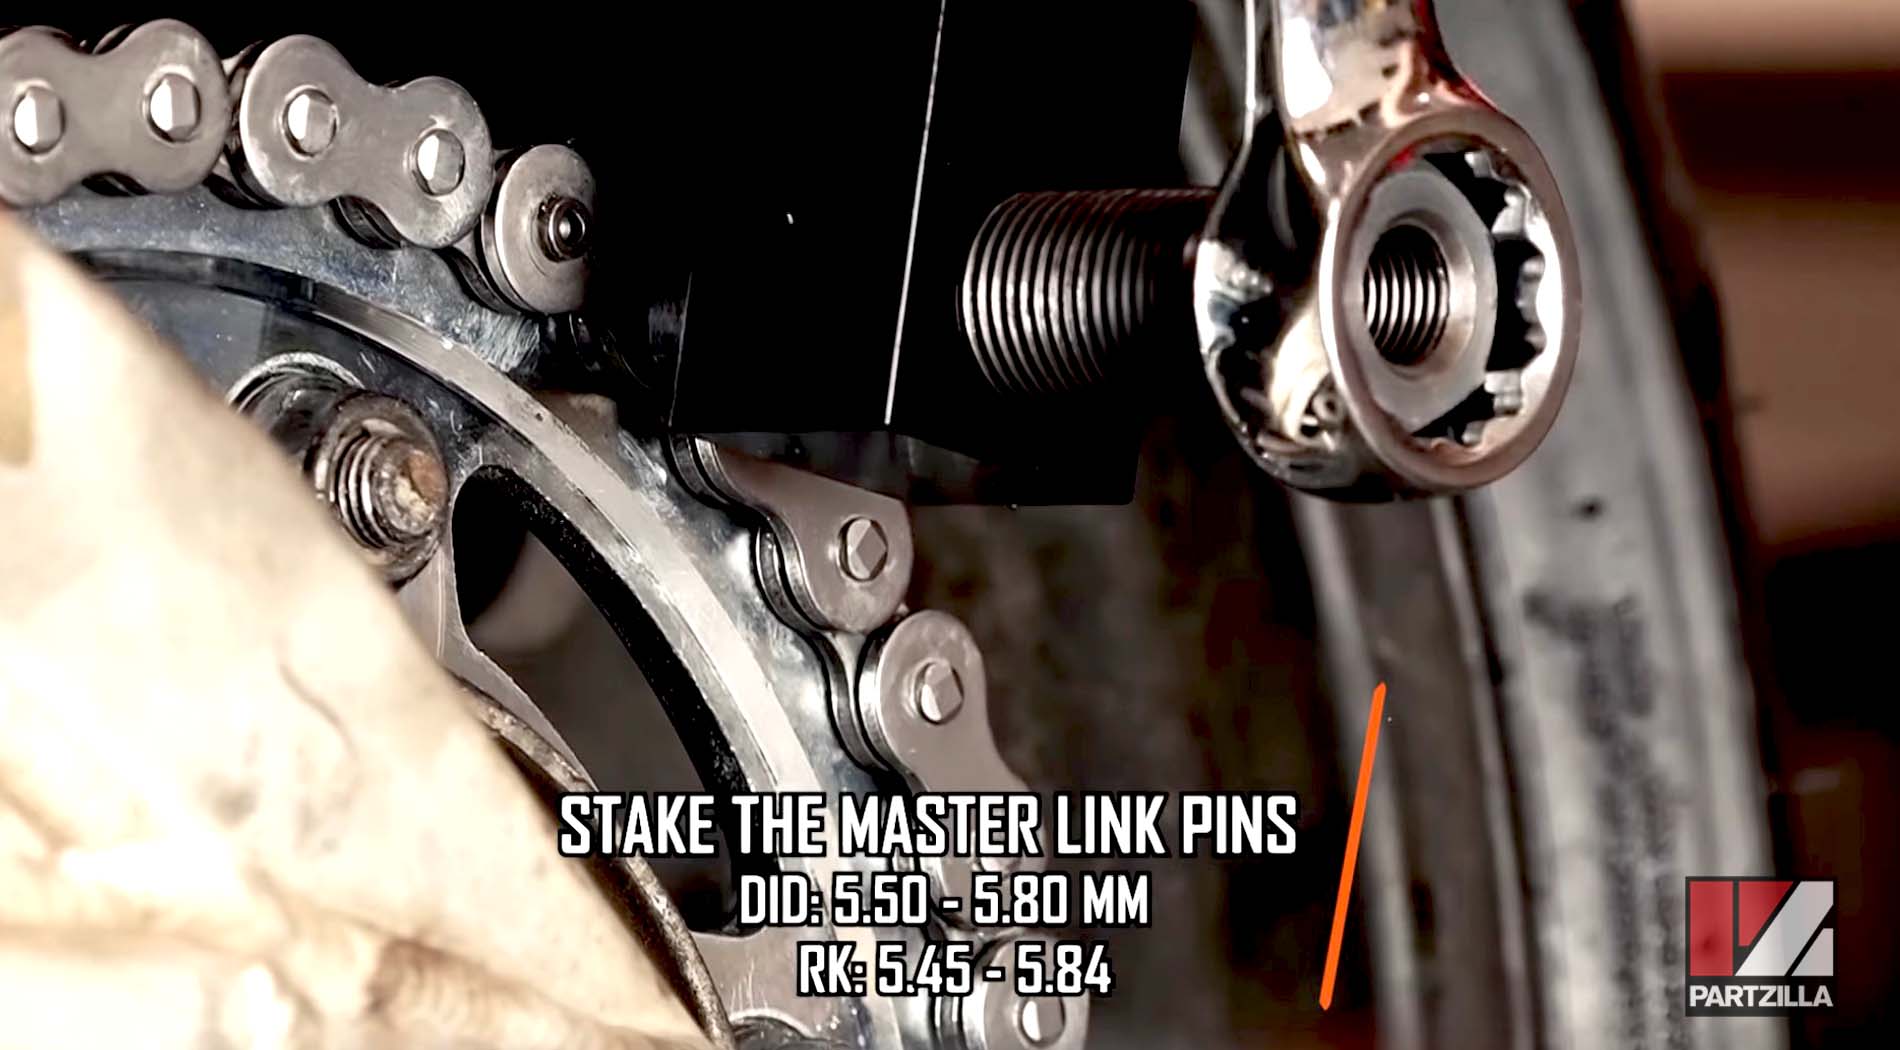
Step 13. Stake the master link's pins with the chain tool until the flare of the pins is between 5.5 and 5.8 millimeters. Once again, work slowly and measure frequently.
Step 14. Tighten the chain adjusters until there is the correct amount of slack in the chain.
NOTE: Check the Honda manual to see the precise chain slack for your CBR model.
Step 15. Make sure the chain adjusters are at the same point on the swingarm indexes. If the adjusters are not aligned, the rear wheel will not track straight and will cause the chain and driven sprocket to quickly wear out.
Step 16. Tighten the chain adjusters' locking nuts to secure the adjusters in place.
Step 17. Torque the axle nut to 47 foot-pounds, and give the new chain a good coating of chain lube.
After installing a new chain on your Honda motorcycle, you should check its tension after a few days of running and tighten it if necessary.
Need a more in-depth look on how to change the chain and sprockets on a Honda CBR motorcycle? Watch the video below to see a chain and sprocket replacement on a 2008 Honda CBR 600.