How to Change a Honda CBR600 Air Filter
Getting the air filter changed on some Honda motorcycles like the CBR600 is pretty straightforward. Changing out the air filter is simple maintenance that helps ensure the longevity of your bike.
Watch the video above and follow the steps below to change the air filter on a Honda CBR 600.
See the parts diagram: Honda CBR600RR air cleaner diagram
Tools and Parts – Honda CBR600 Air Filter Change
- Ratchet
- 5mm Allen
- Phillips screwdriver
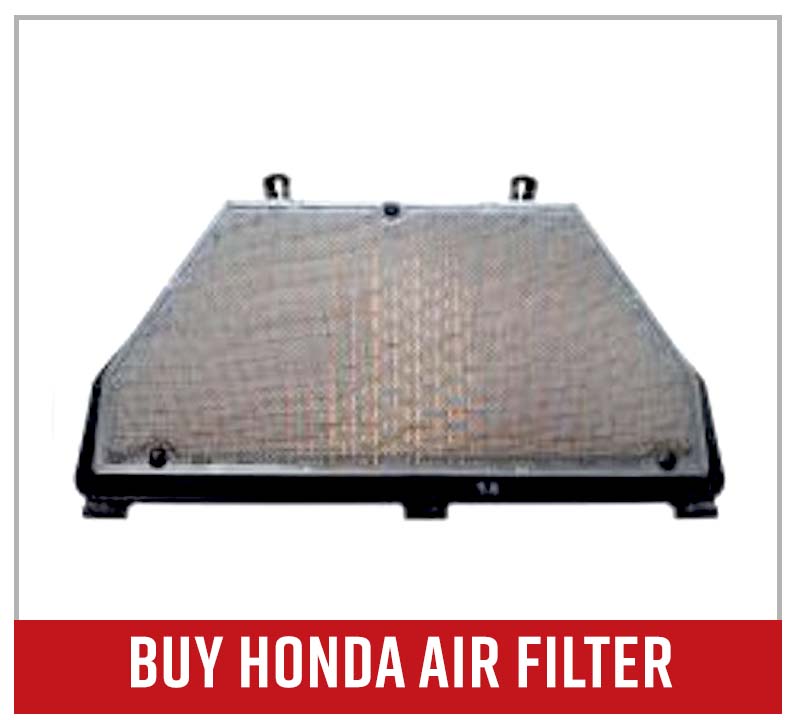
- Honda air cleaner element
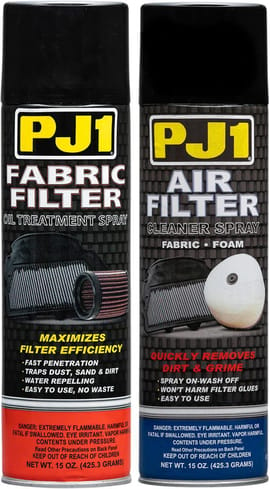
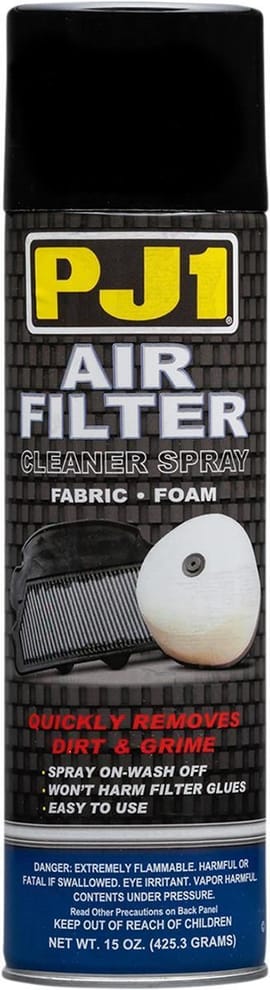
NOTE: If you’re just cleaning and replacing a reusable air filter like the one in this unit, we recommend getting a PJ1 fabric air filter cleaning kit.

How to Remove Honda CBR600 Air Filter
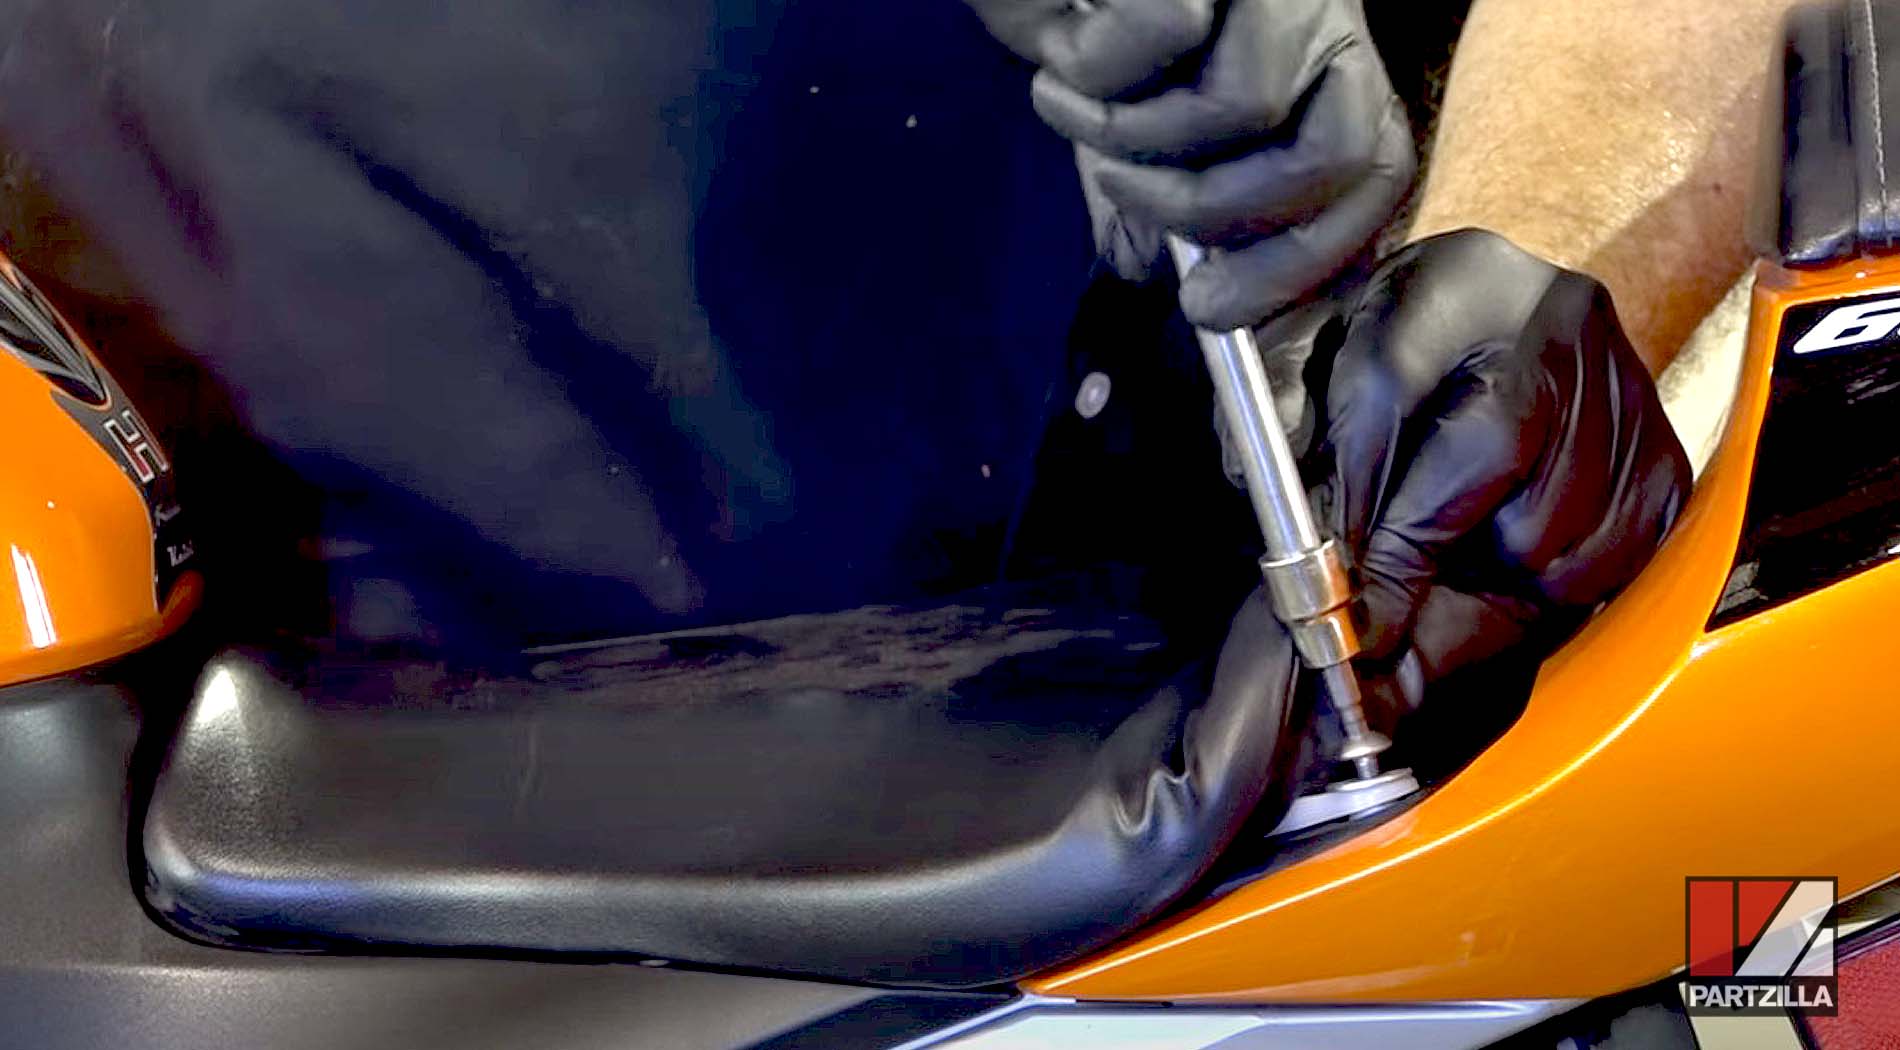
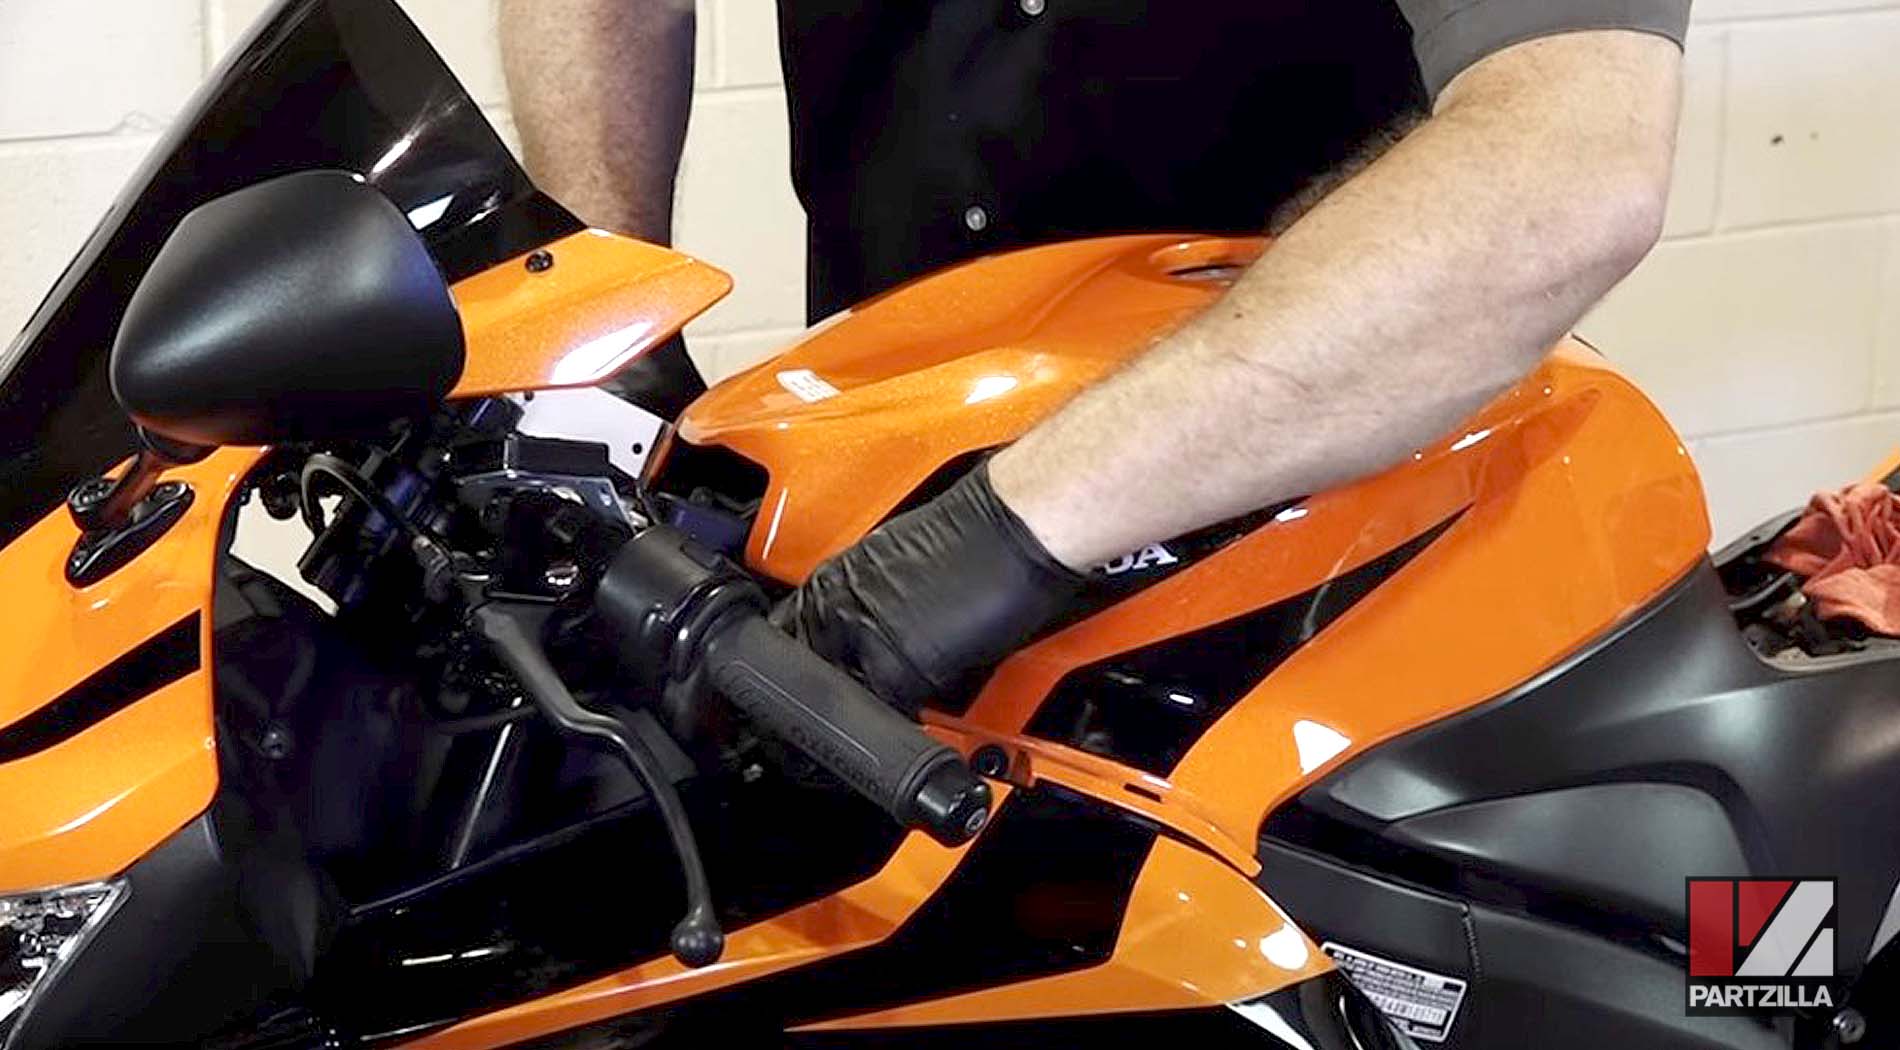
Step 1. Remove the seat by unscrewing the two 5mm Allens located under the right and left rear corner of the seat cushion.
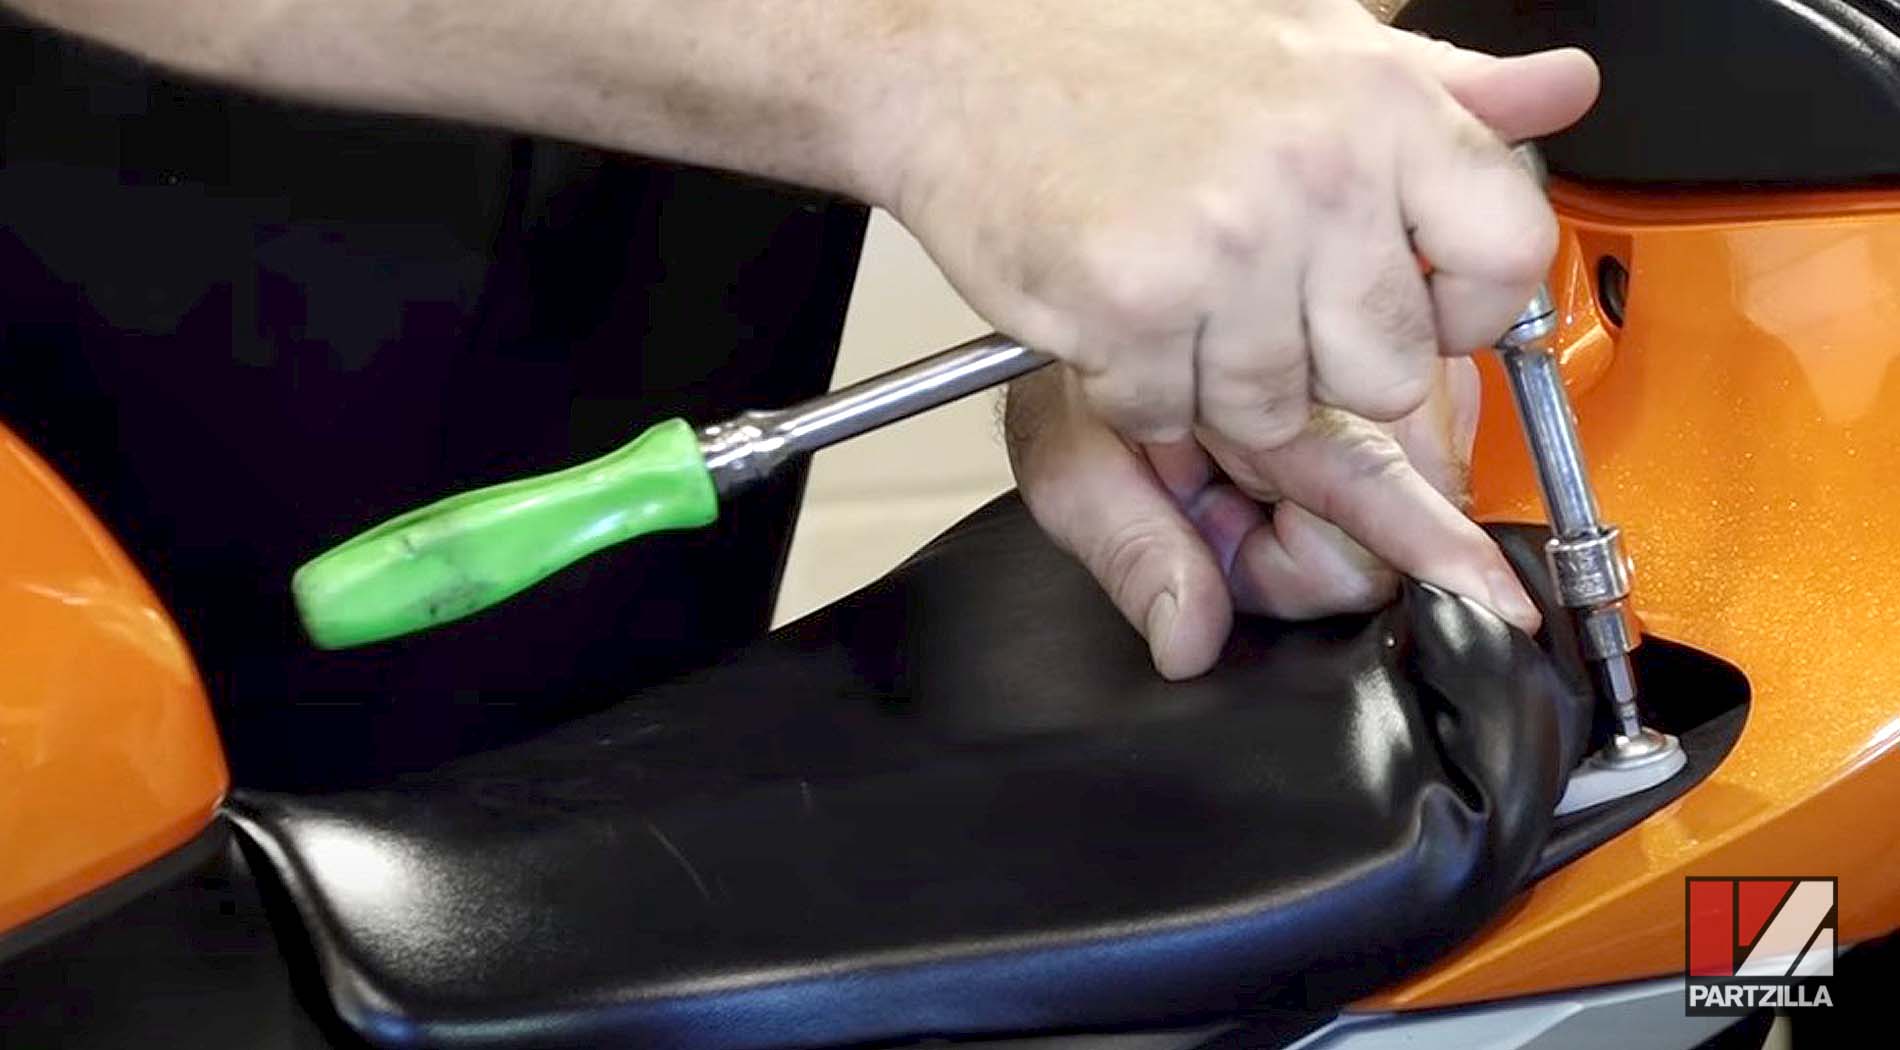
PRO TIP: Use our CBR600 seat mount diagram for additional reference.
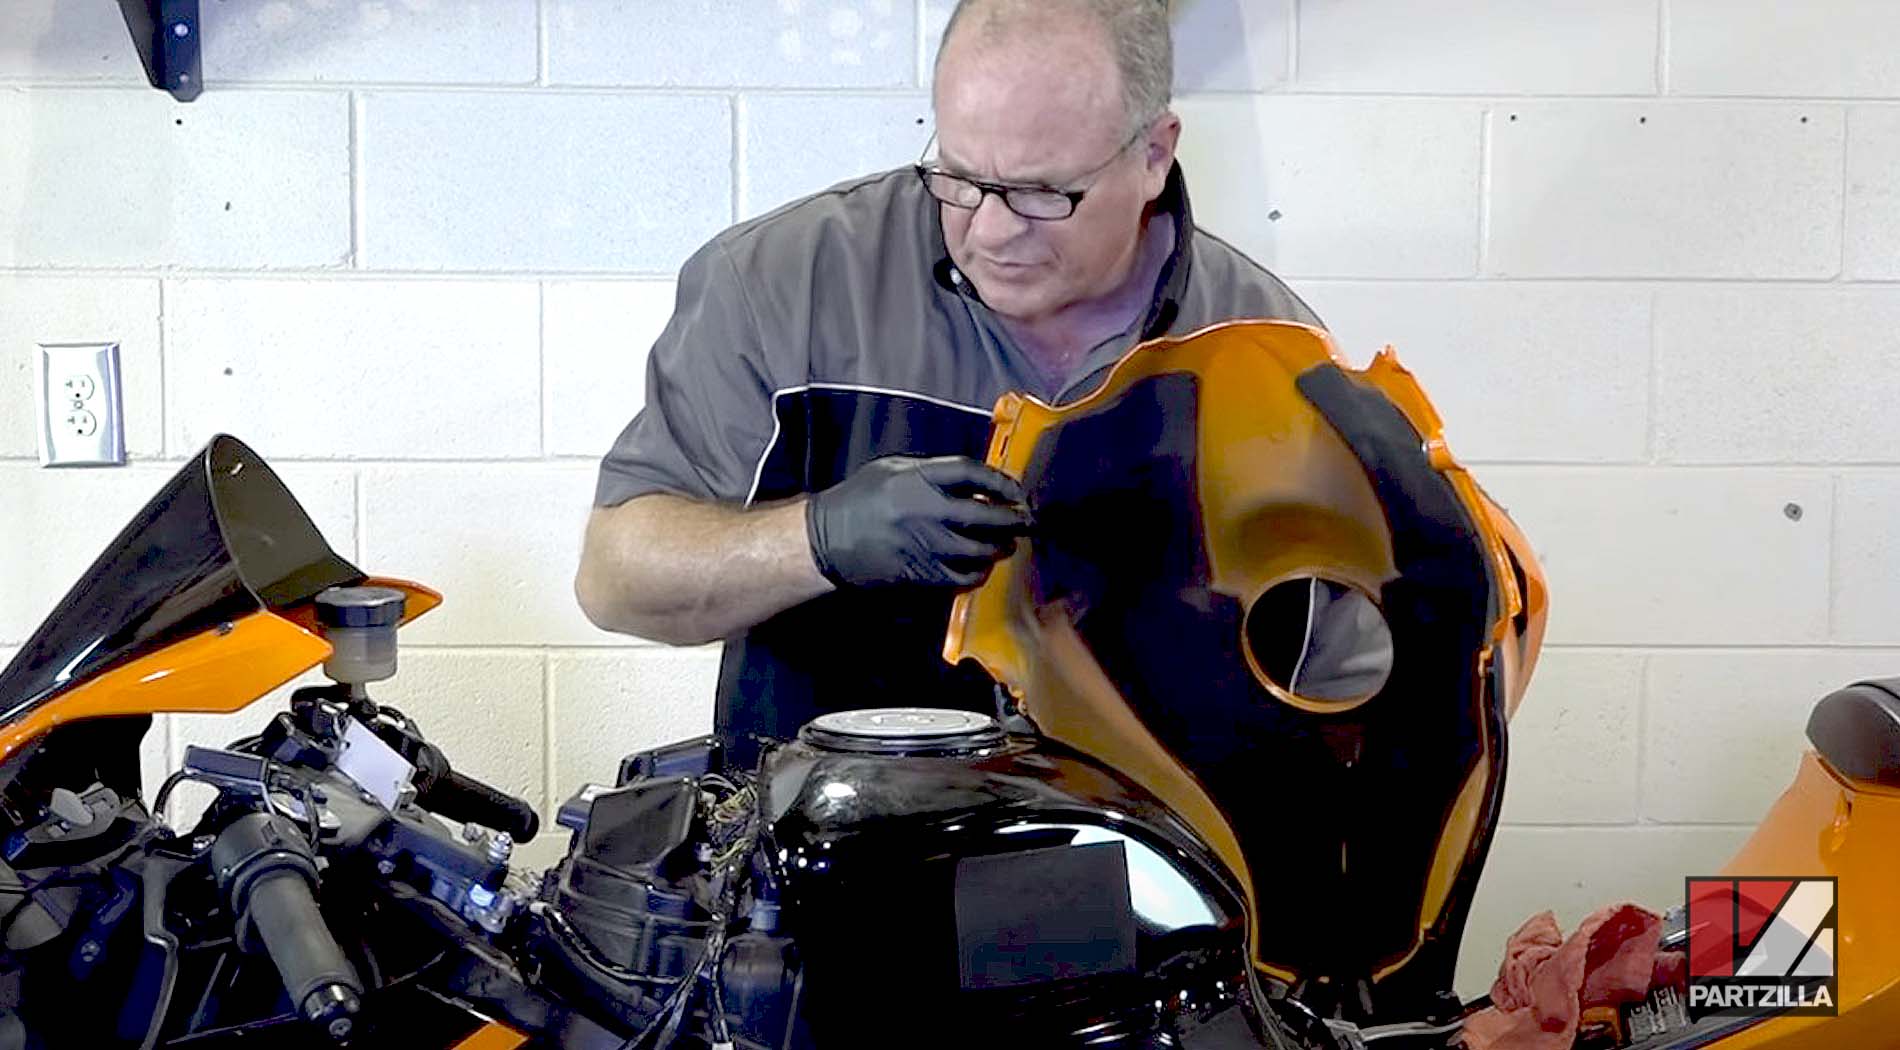
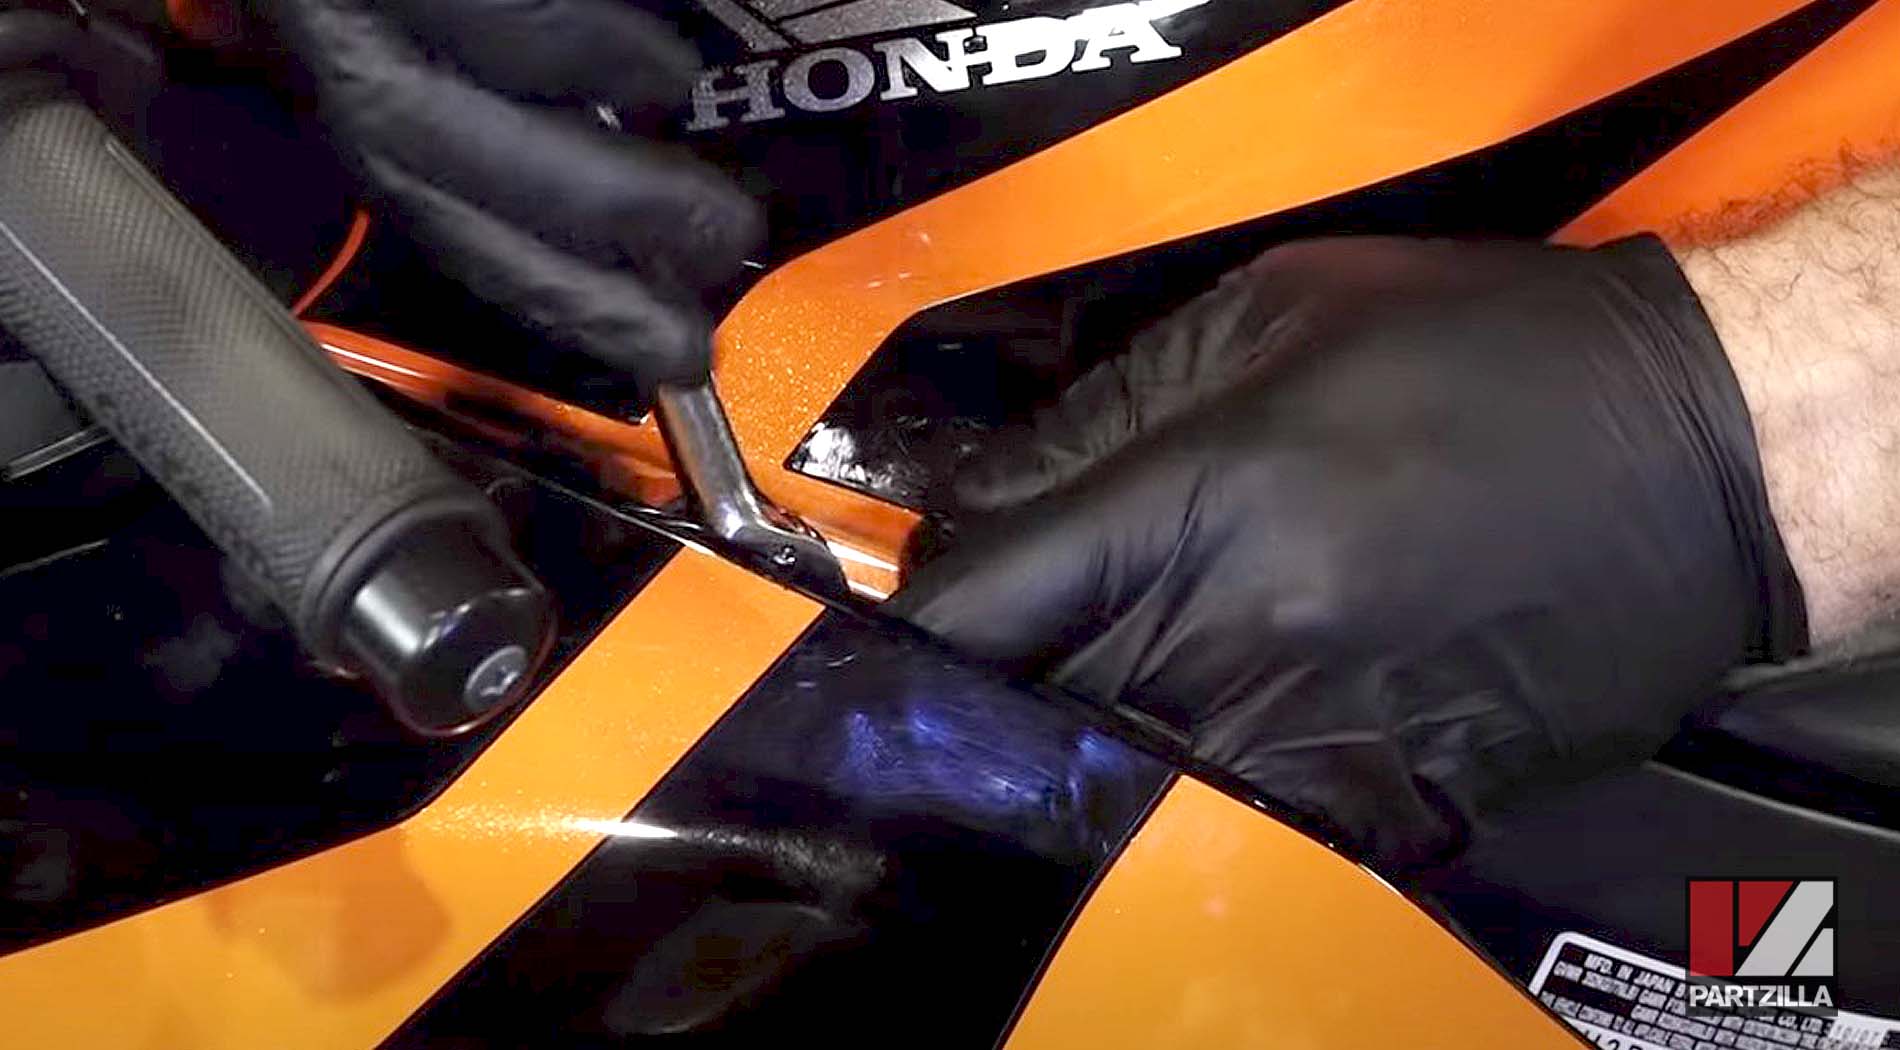
Step 2. Remove the screws and the rivets that hold the tank cowling in place.
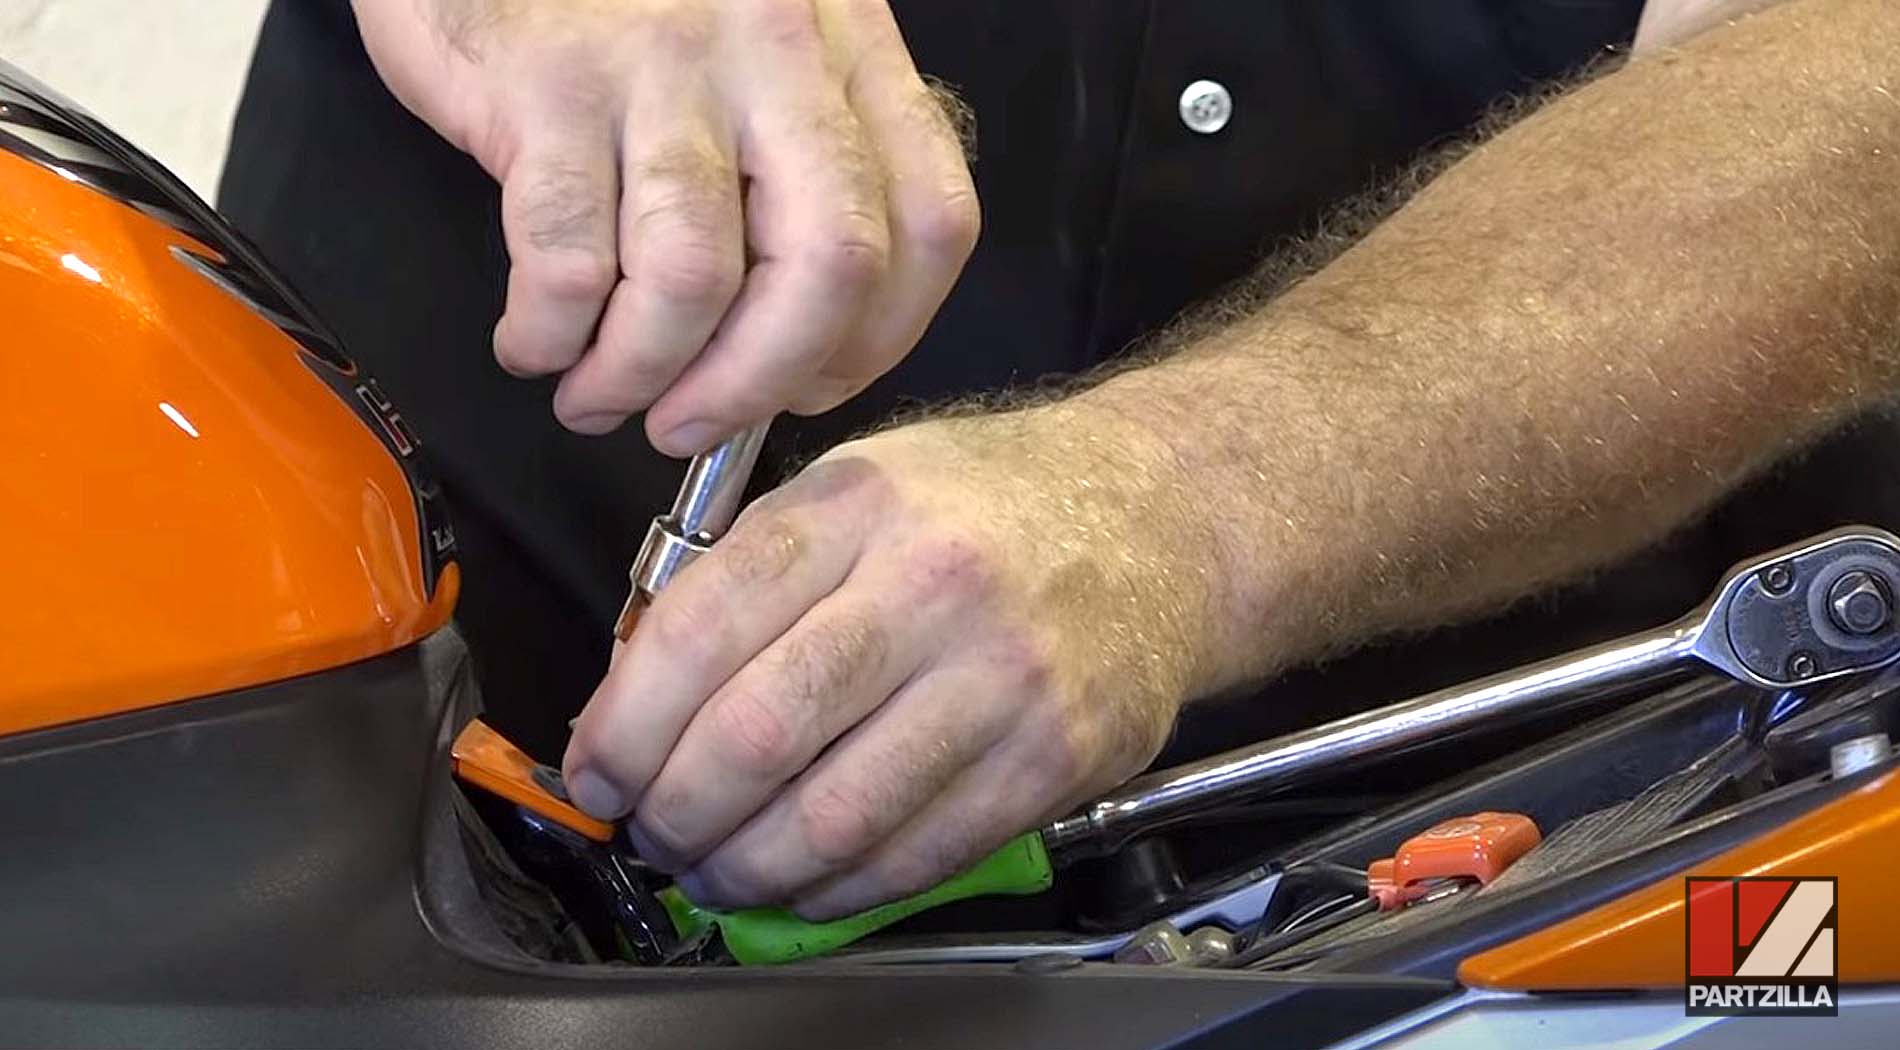
Step 3. Remove the two 5mm bolts on each side of the tank.
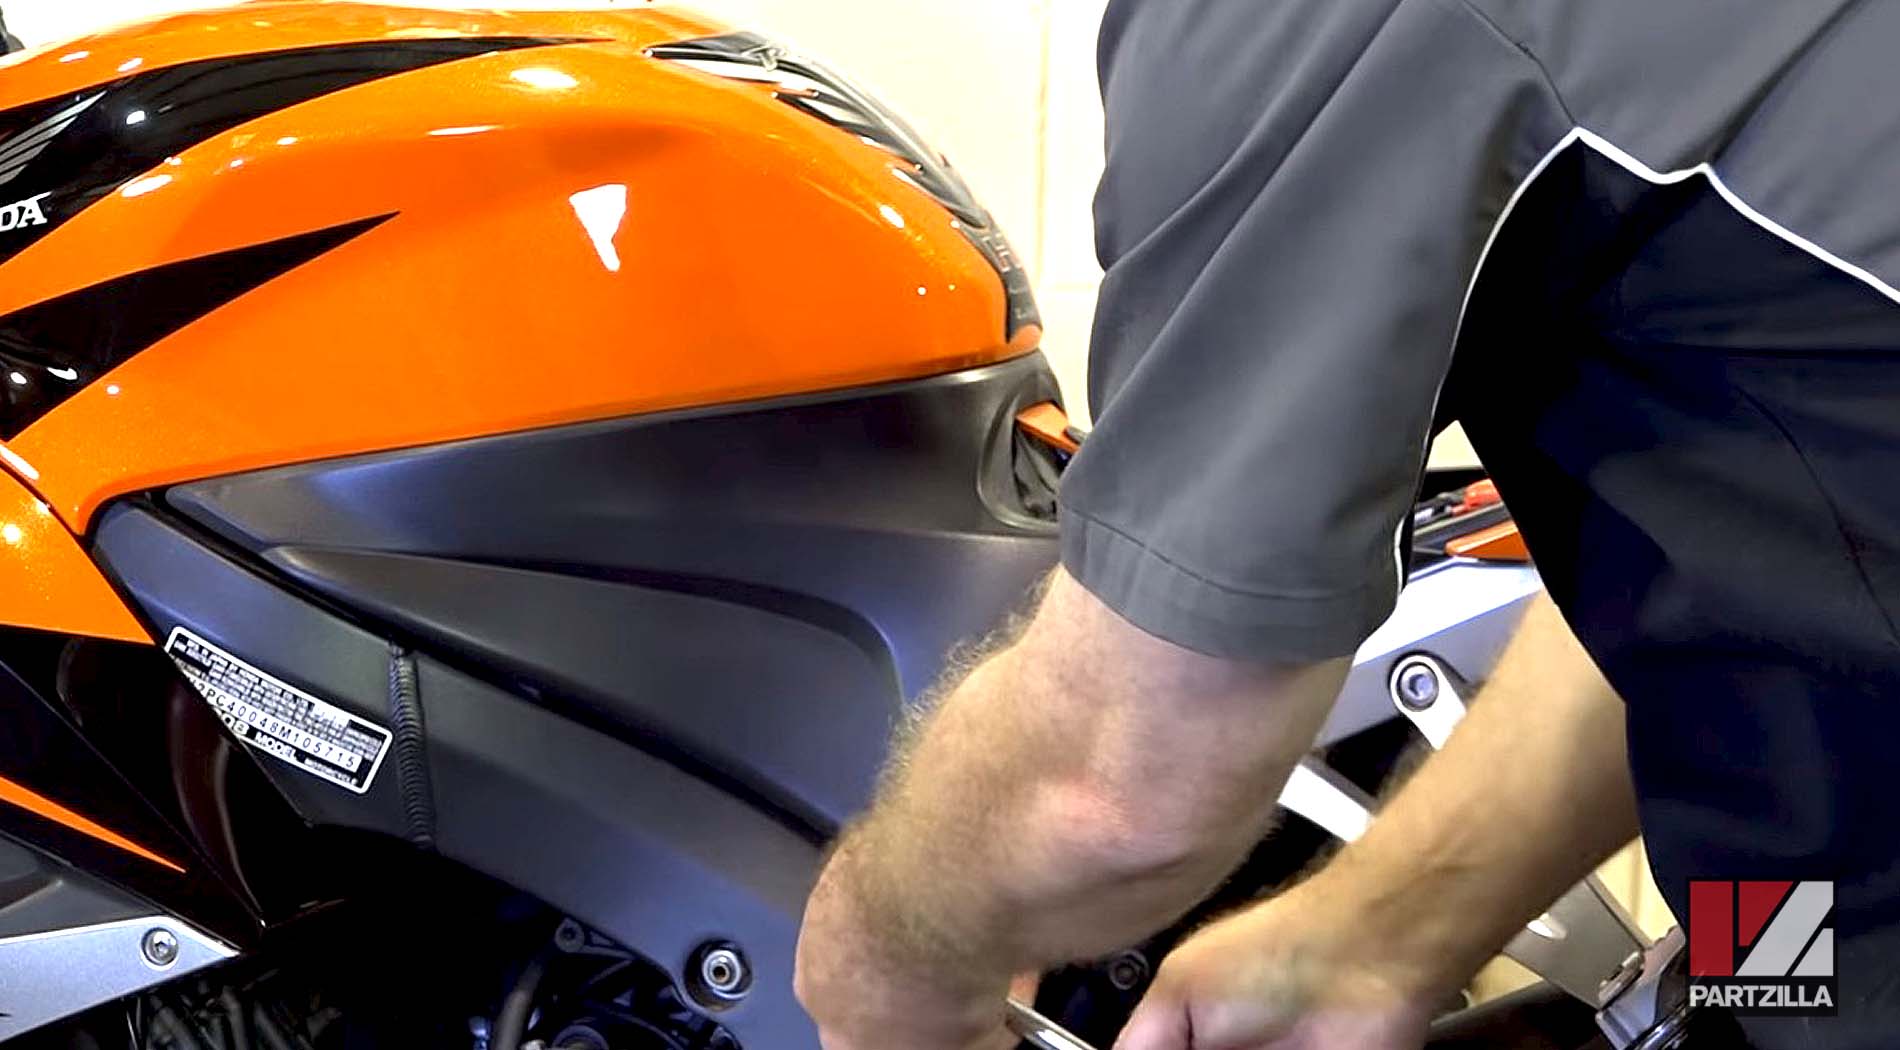
Step 4. Carefully lift the tank cowling off the motorcycle.
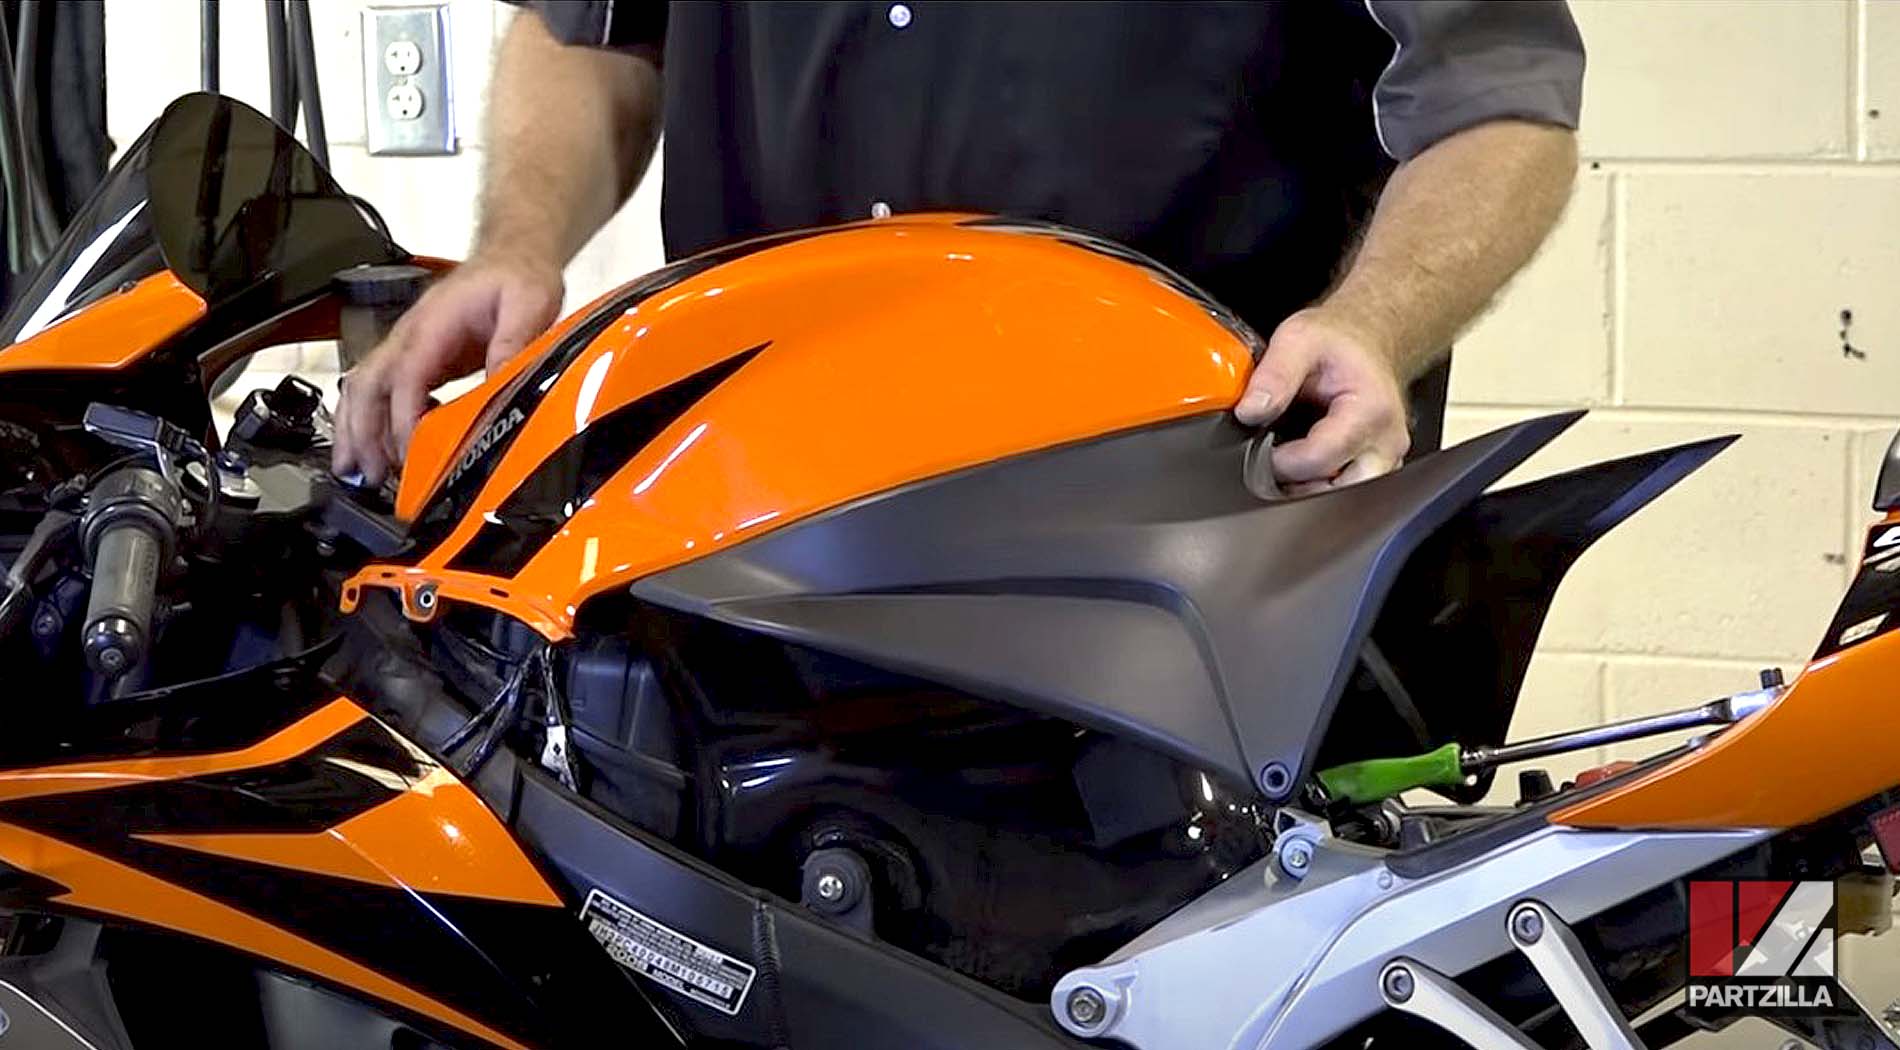
NOTE: The cowling is hooked underneath the other plastic pieces around it, so you may have to gently pull them away from each other.
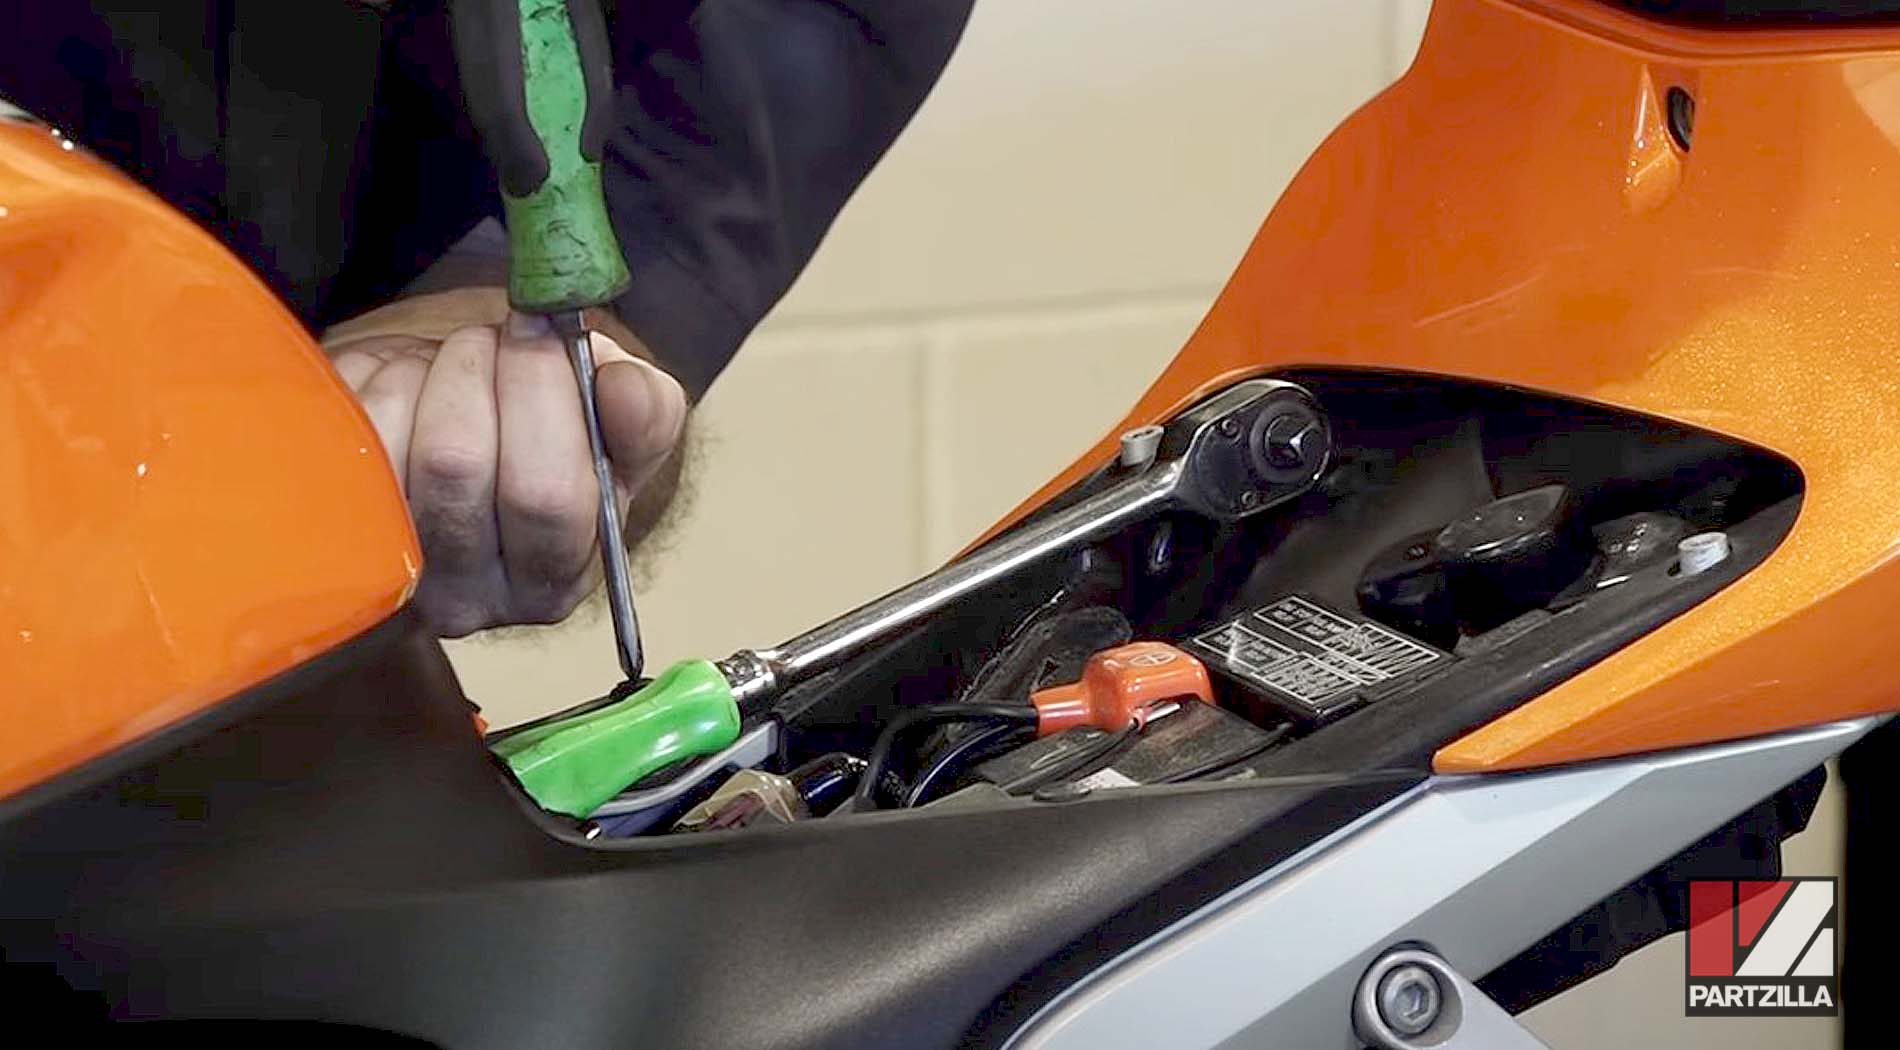
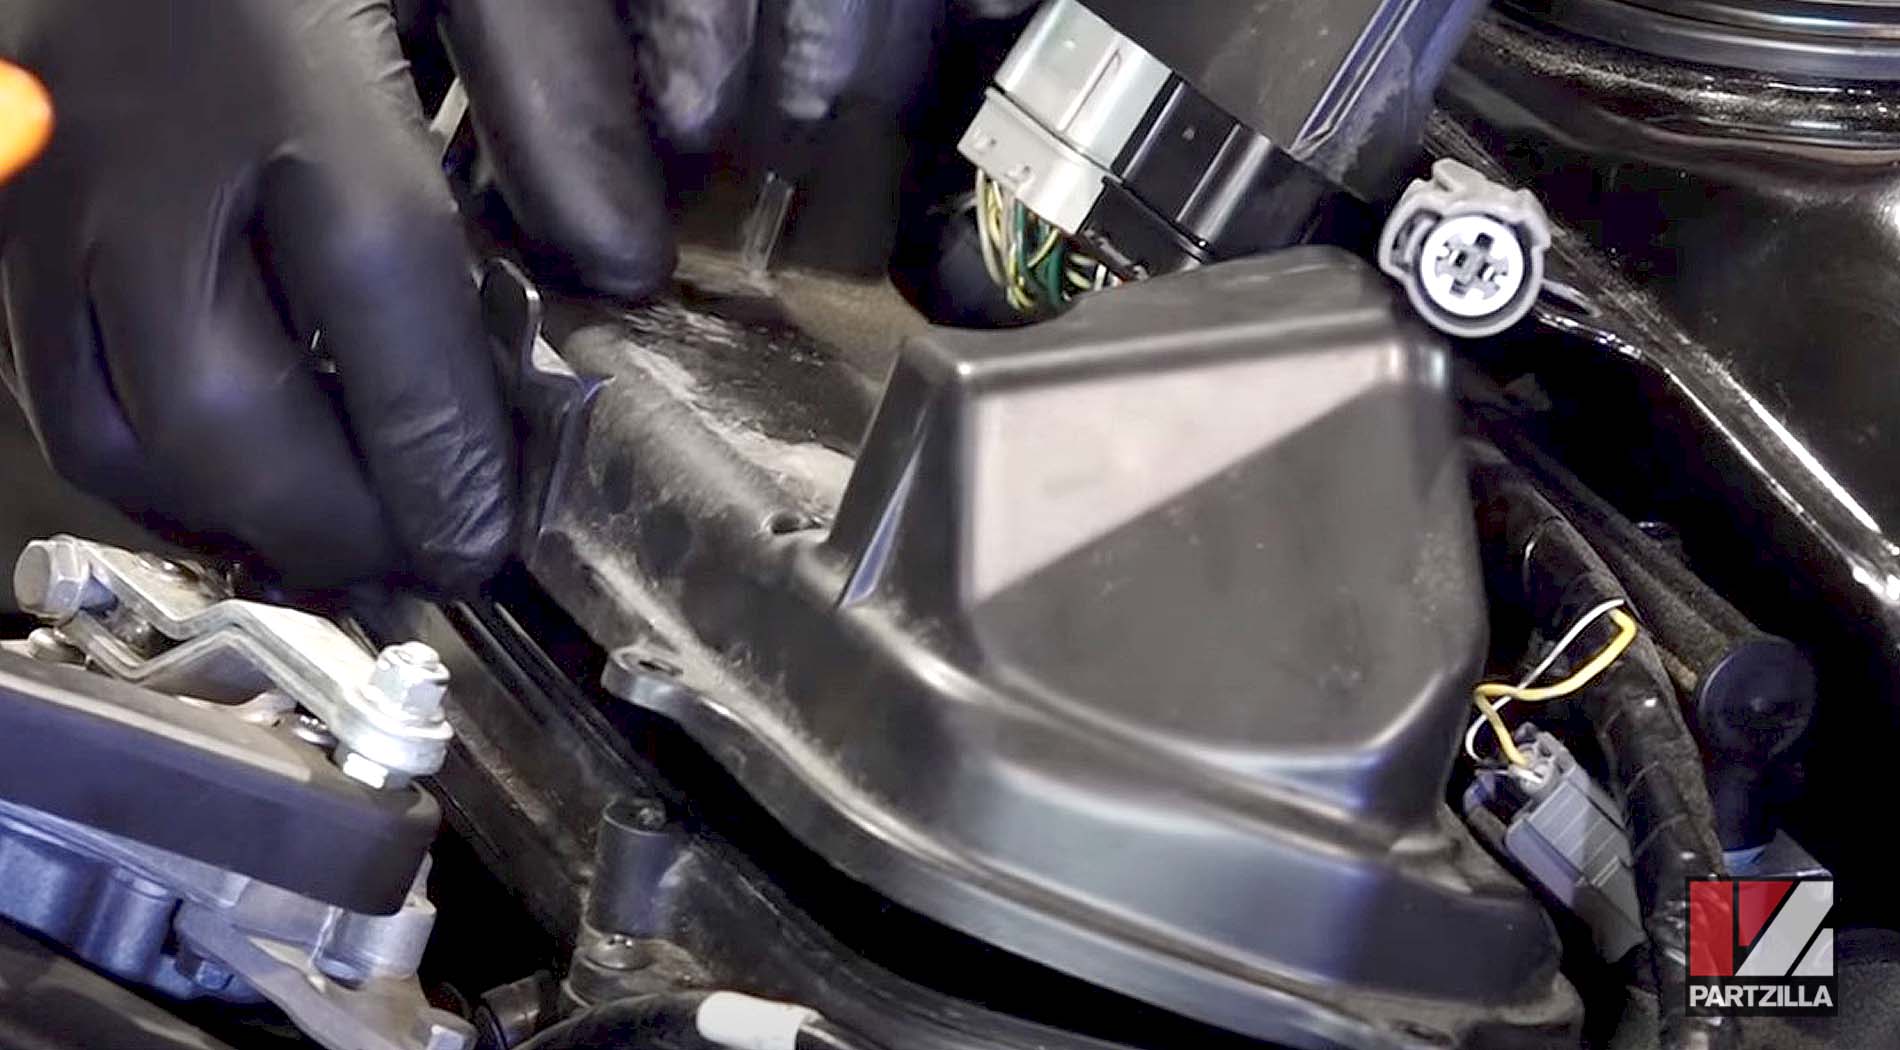
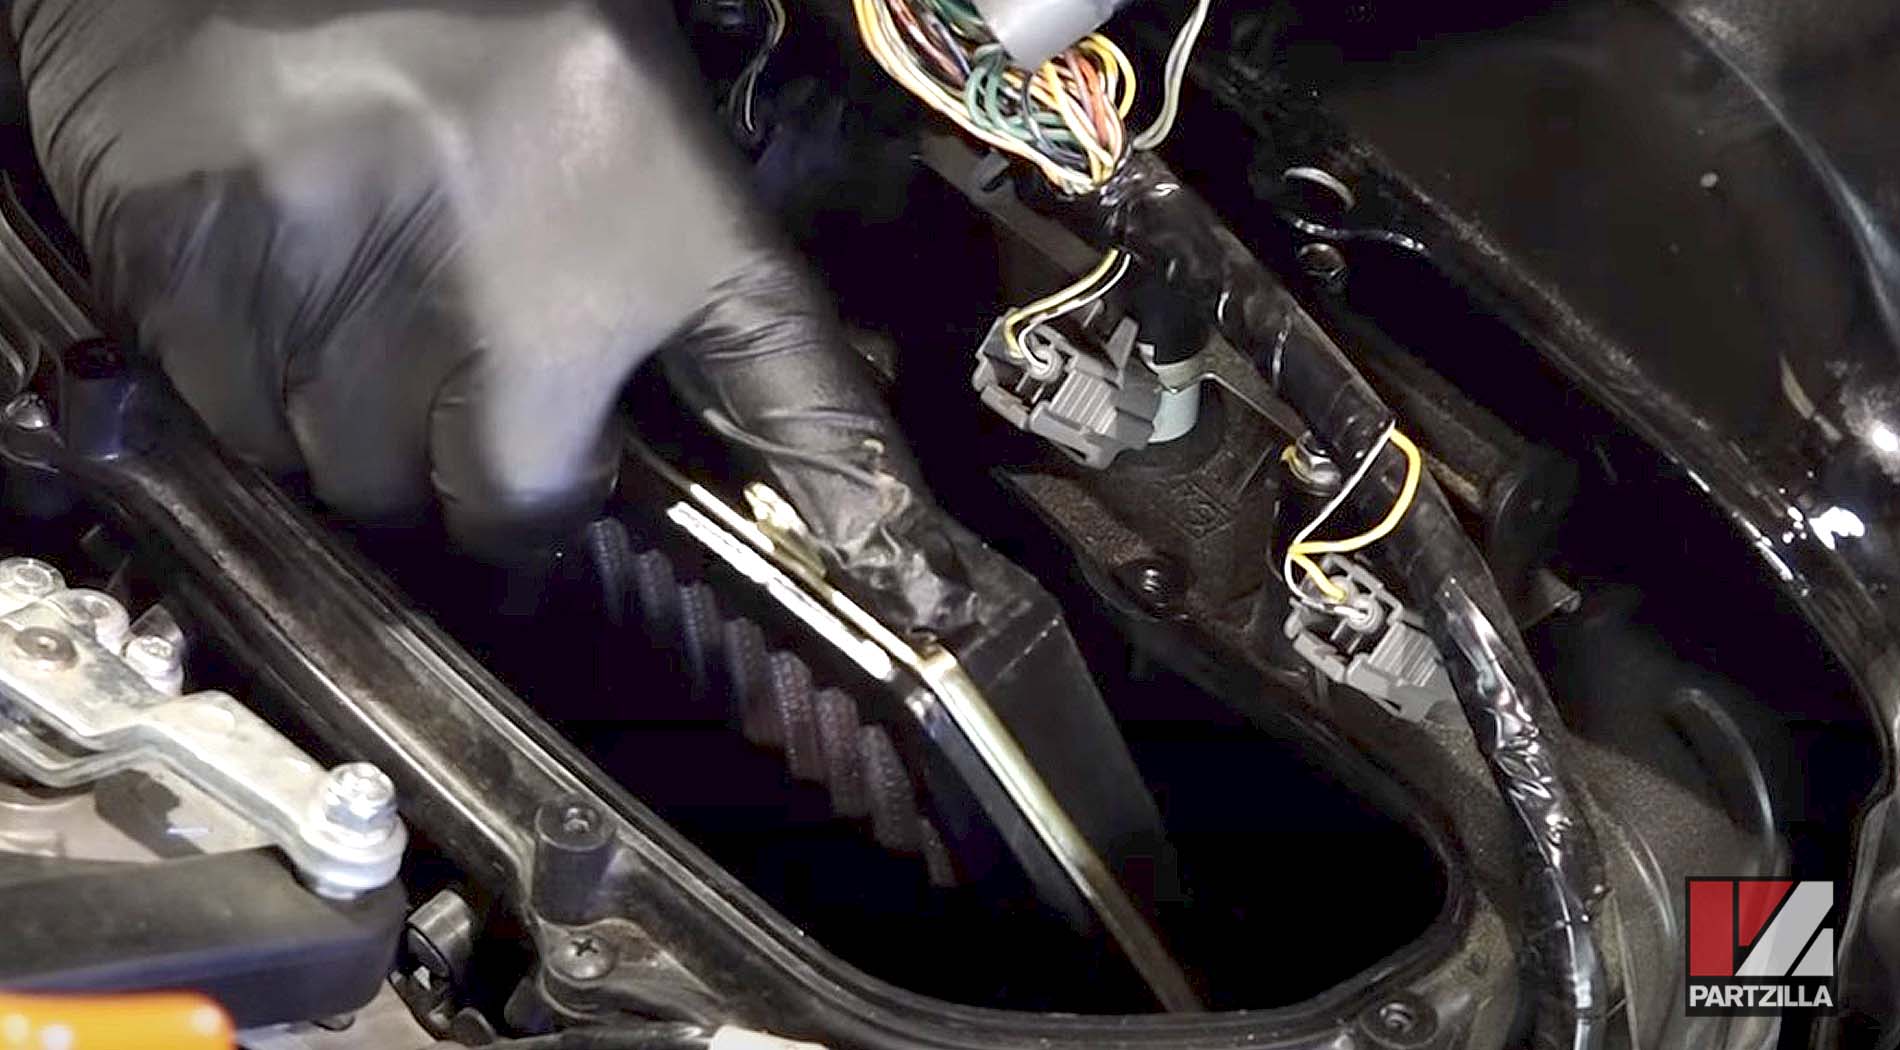
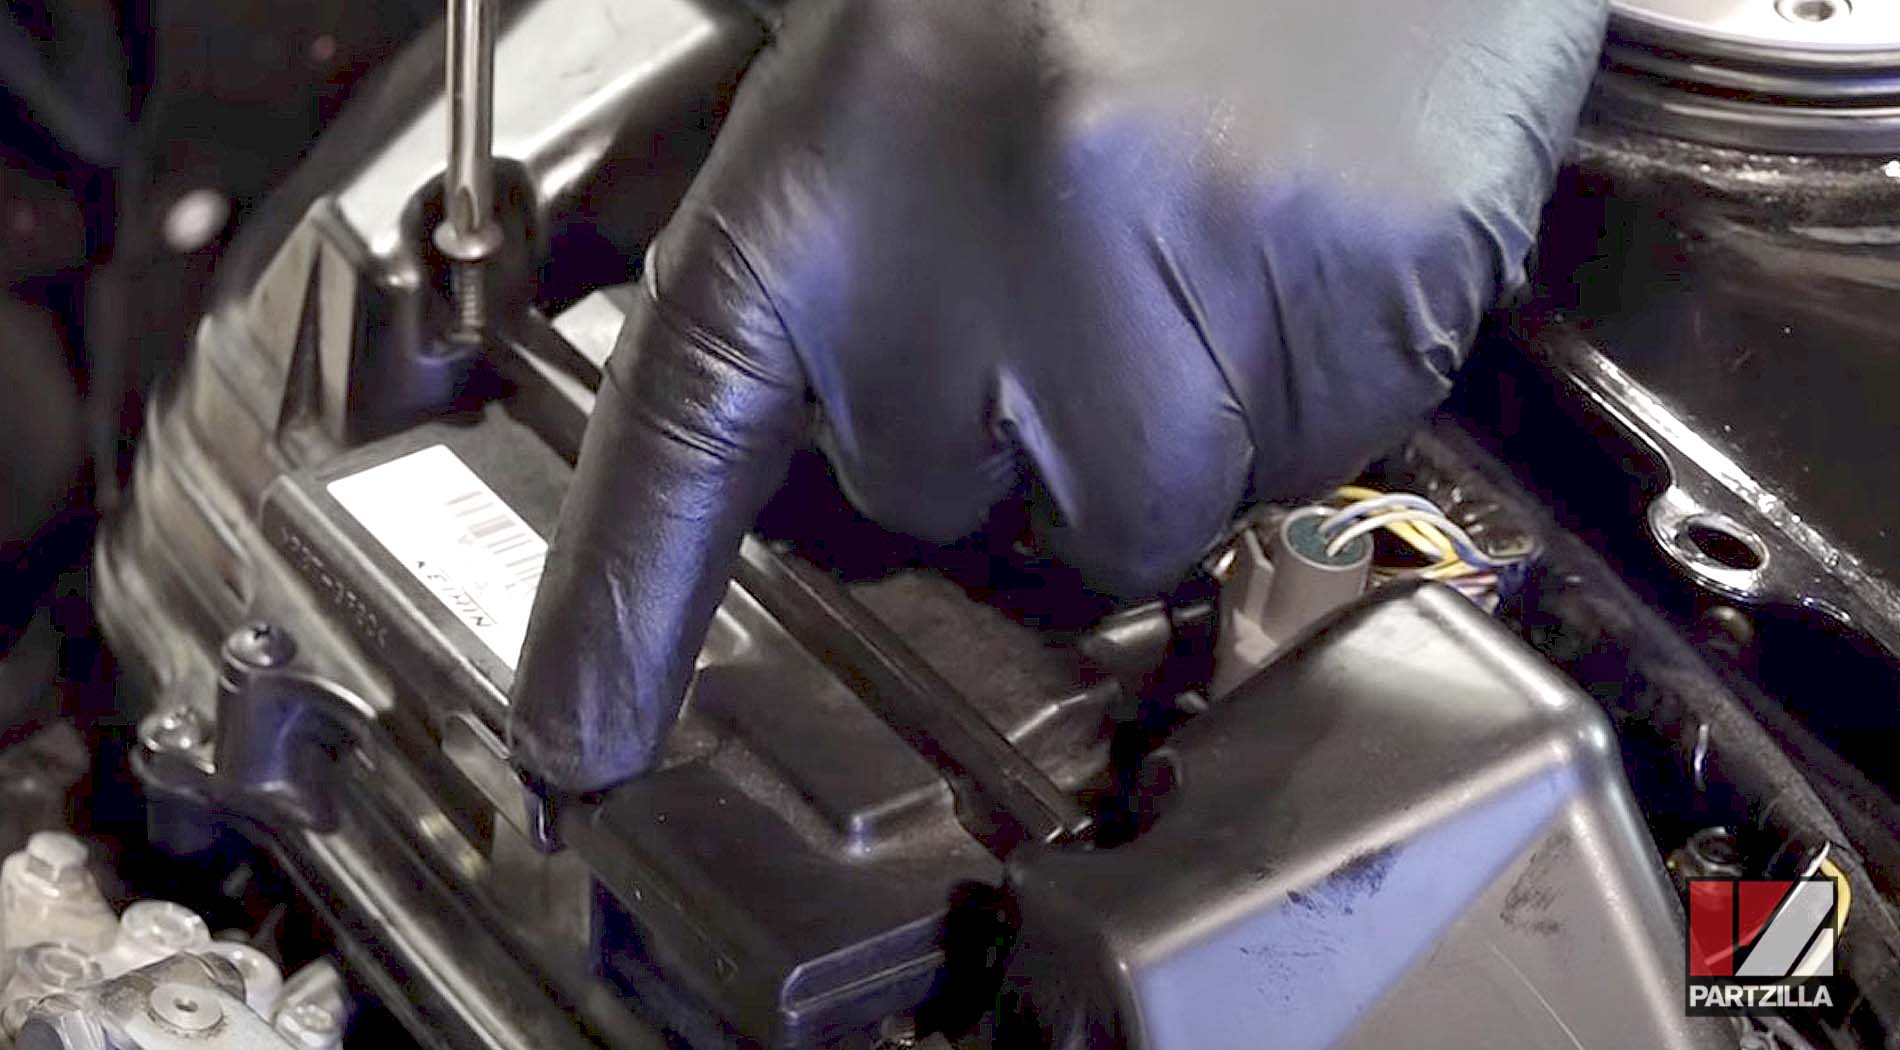
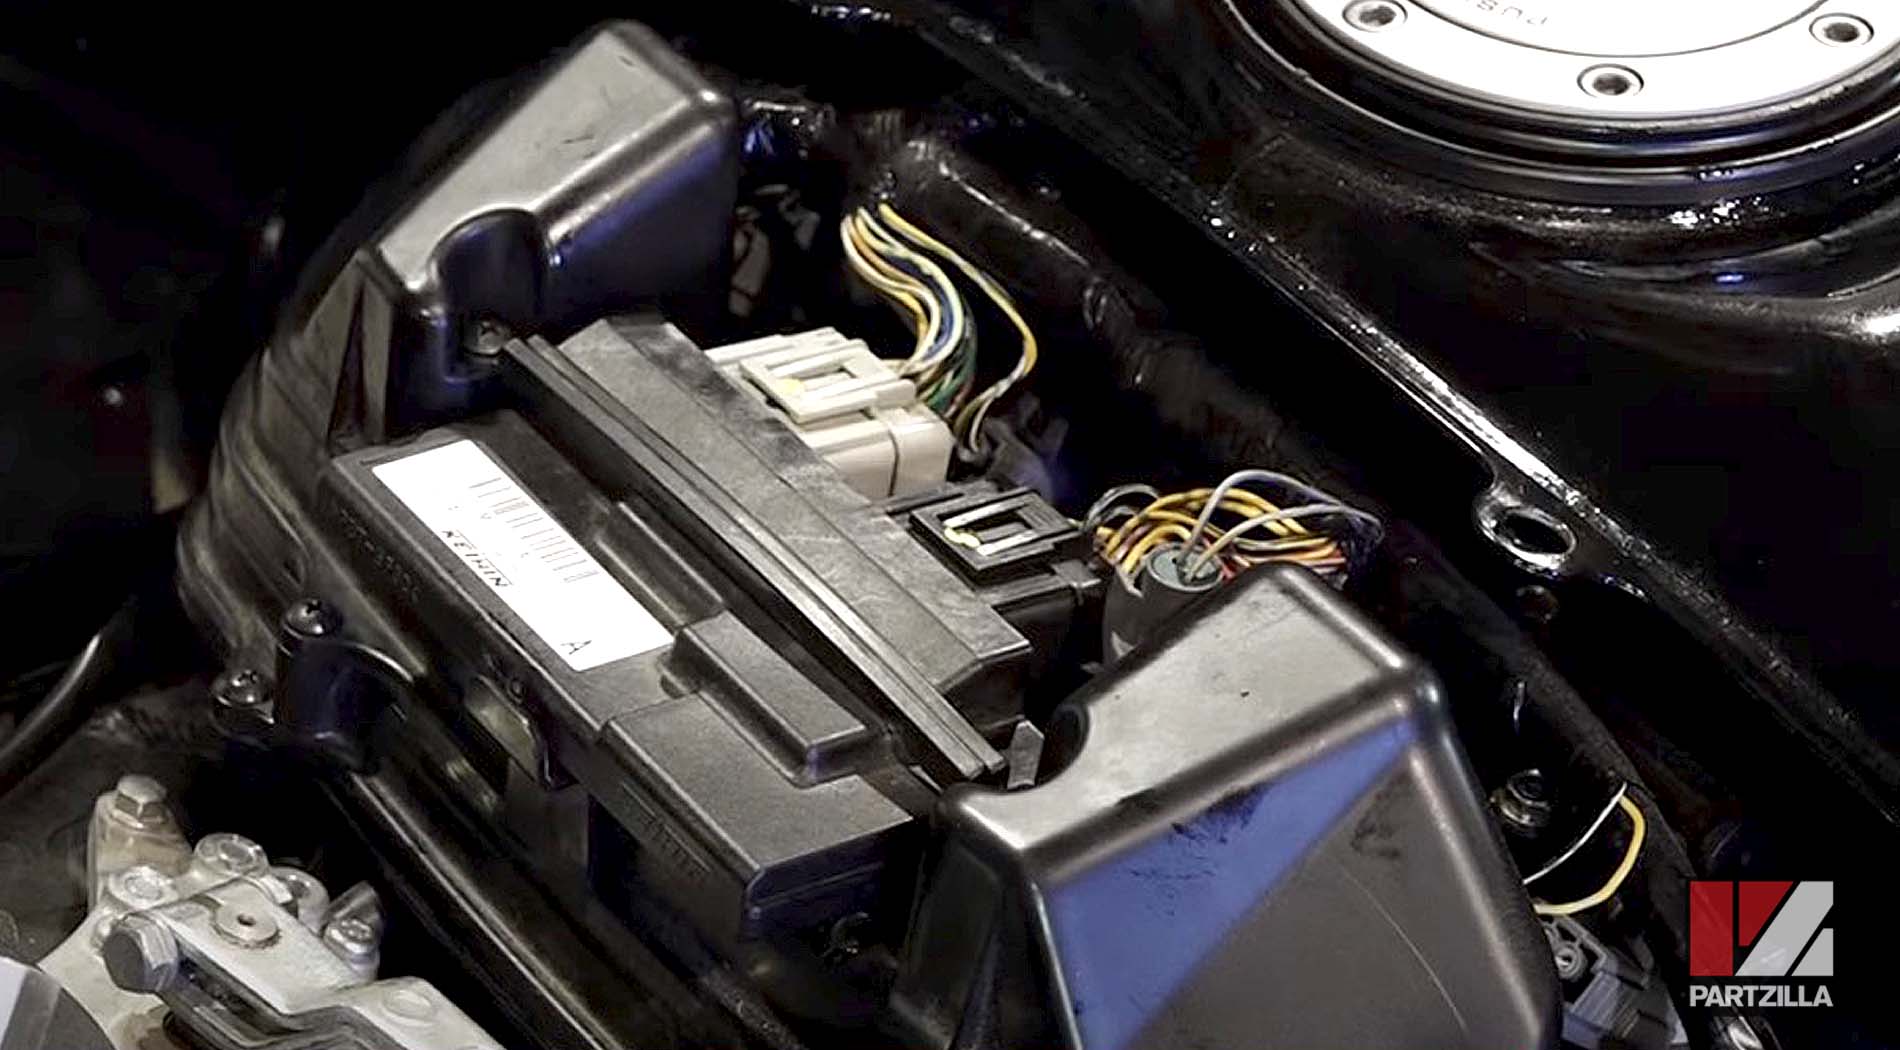
Step 5. Disconnect the grey IAT sensor harness.
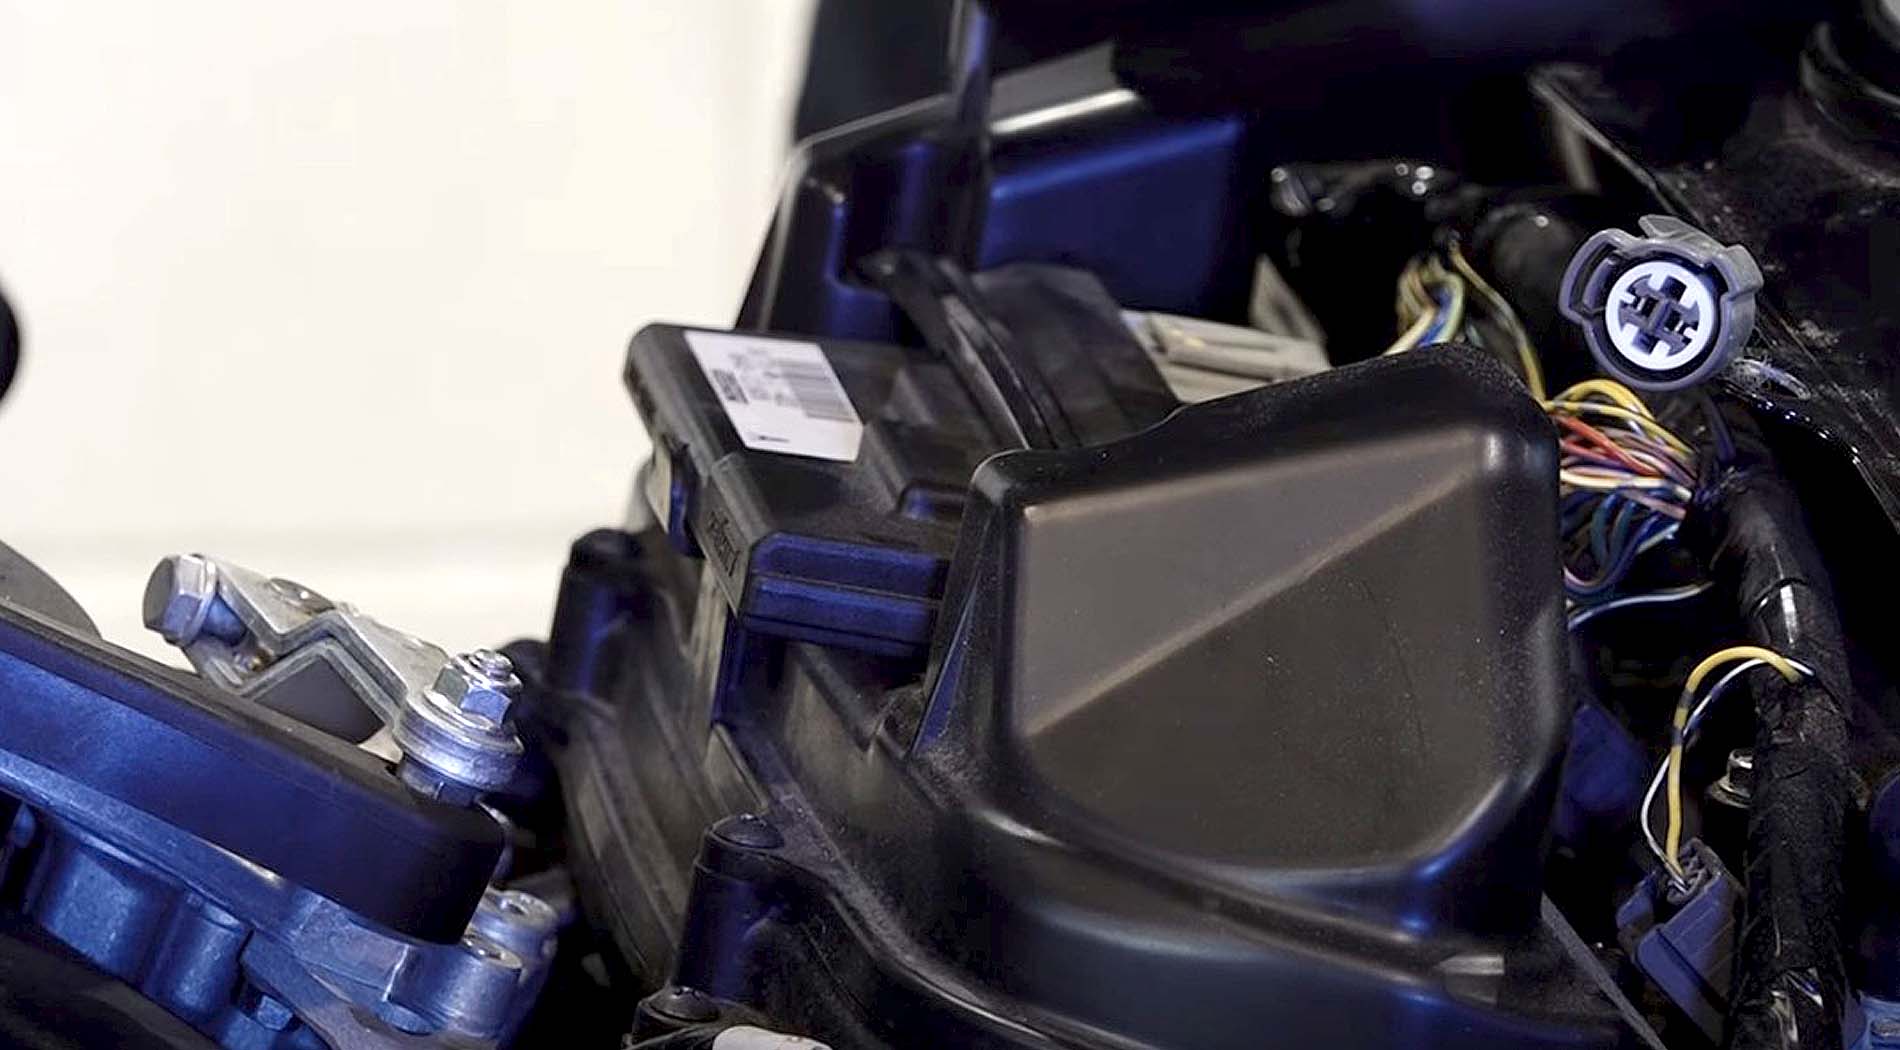
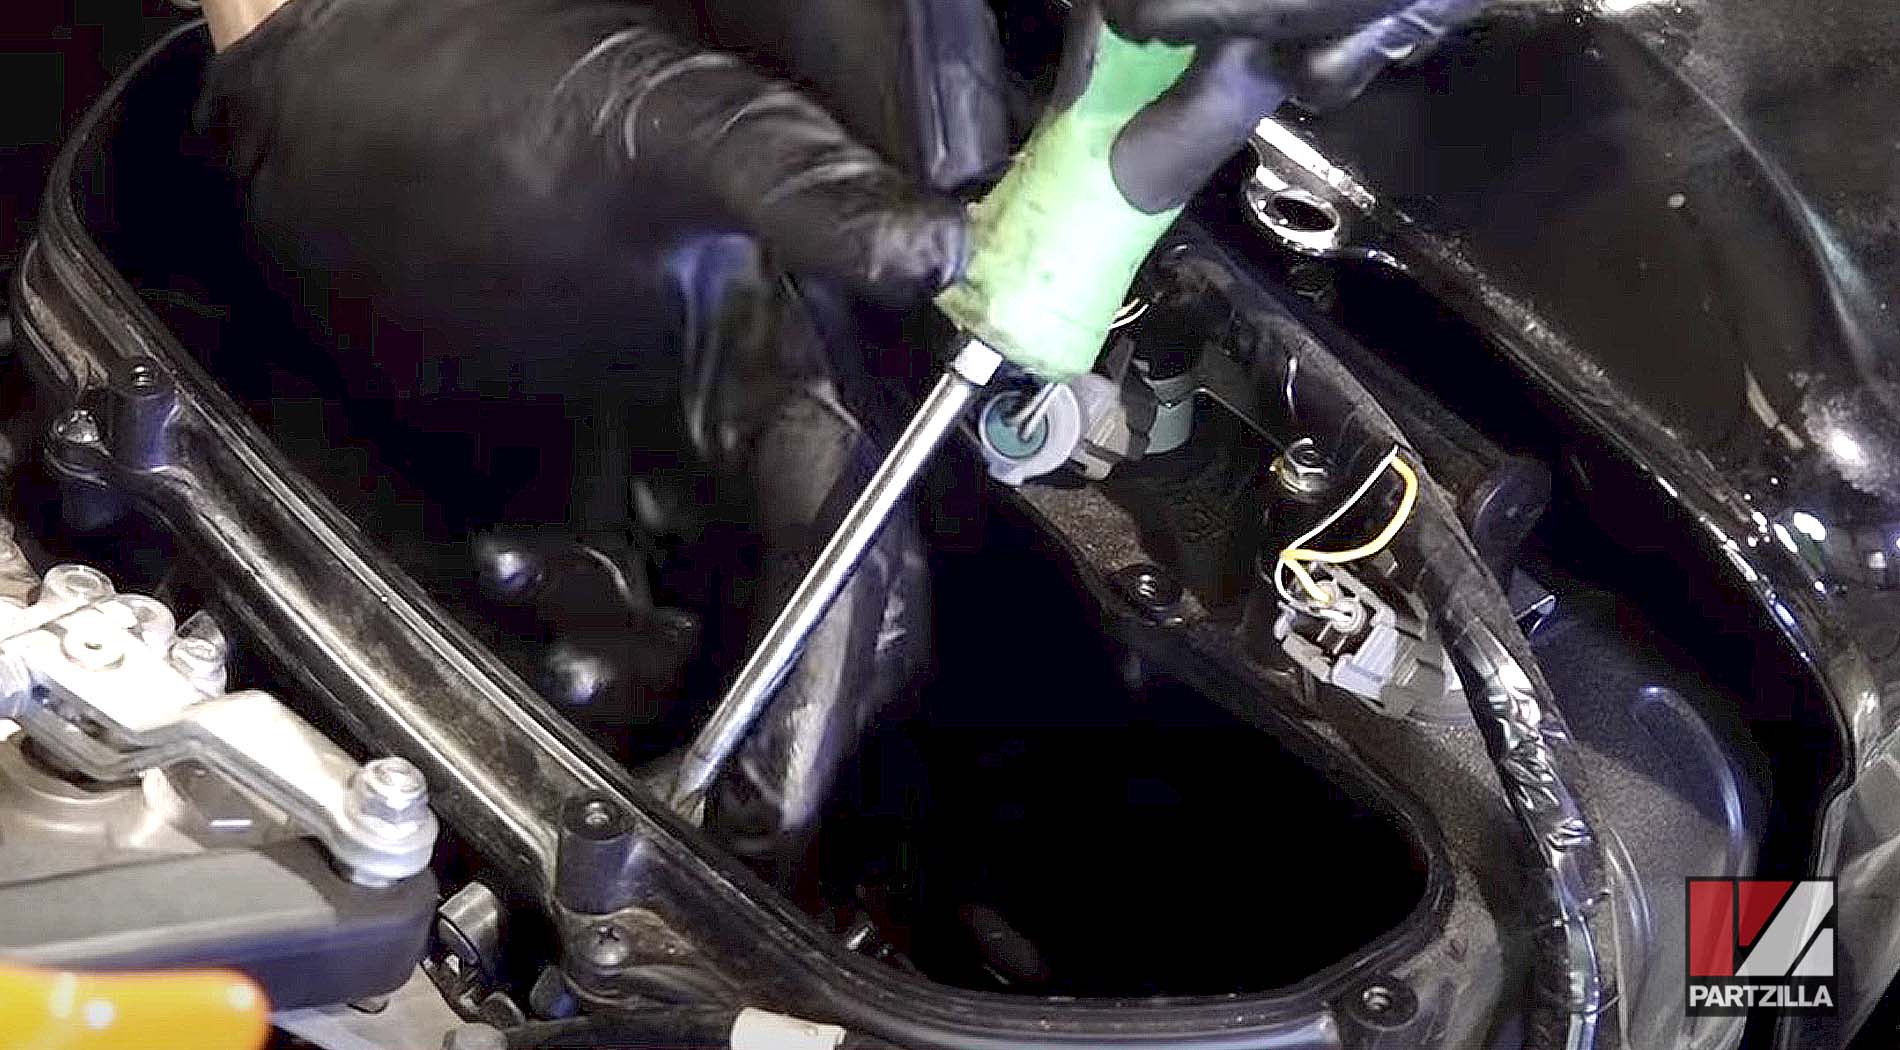
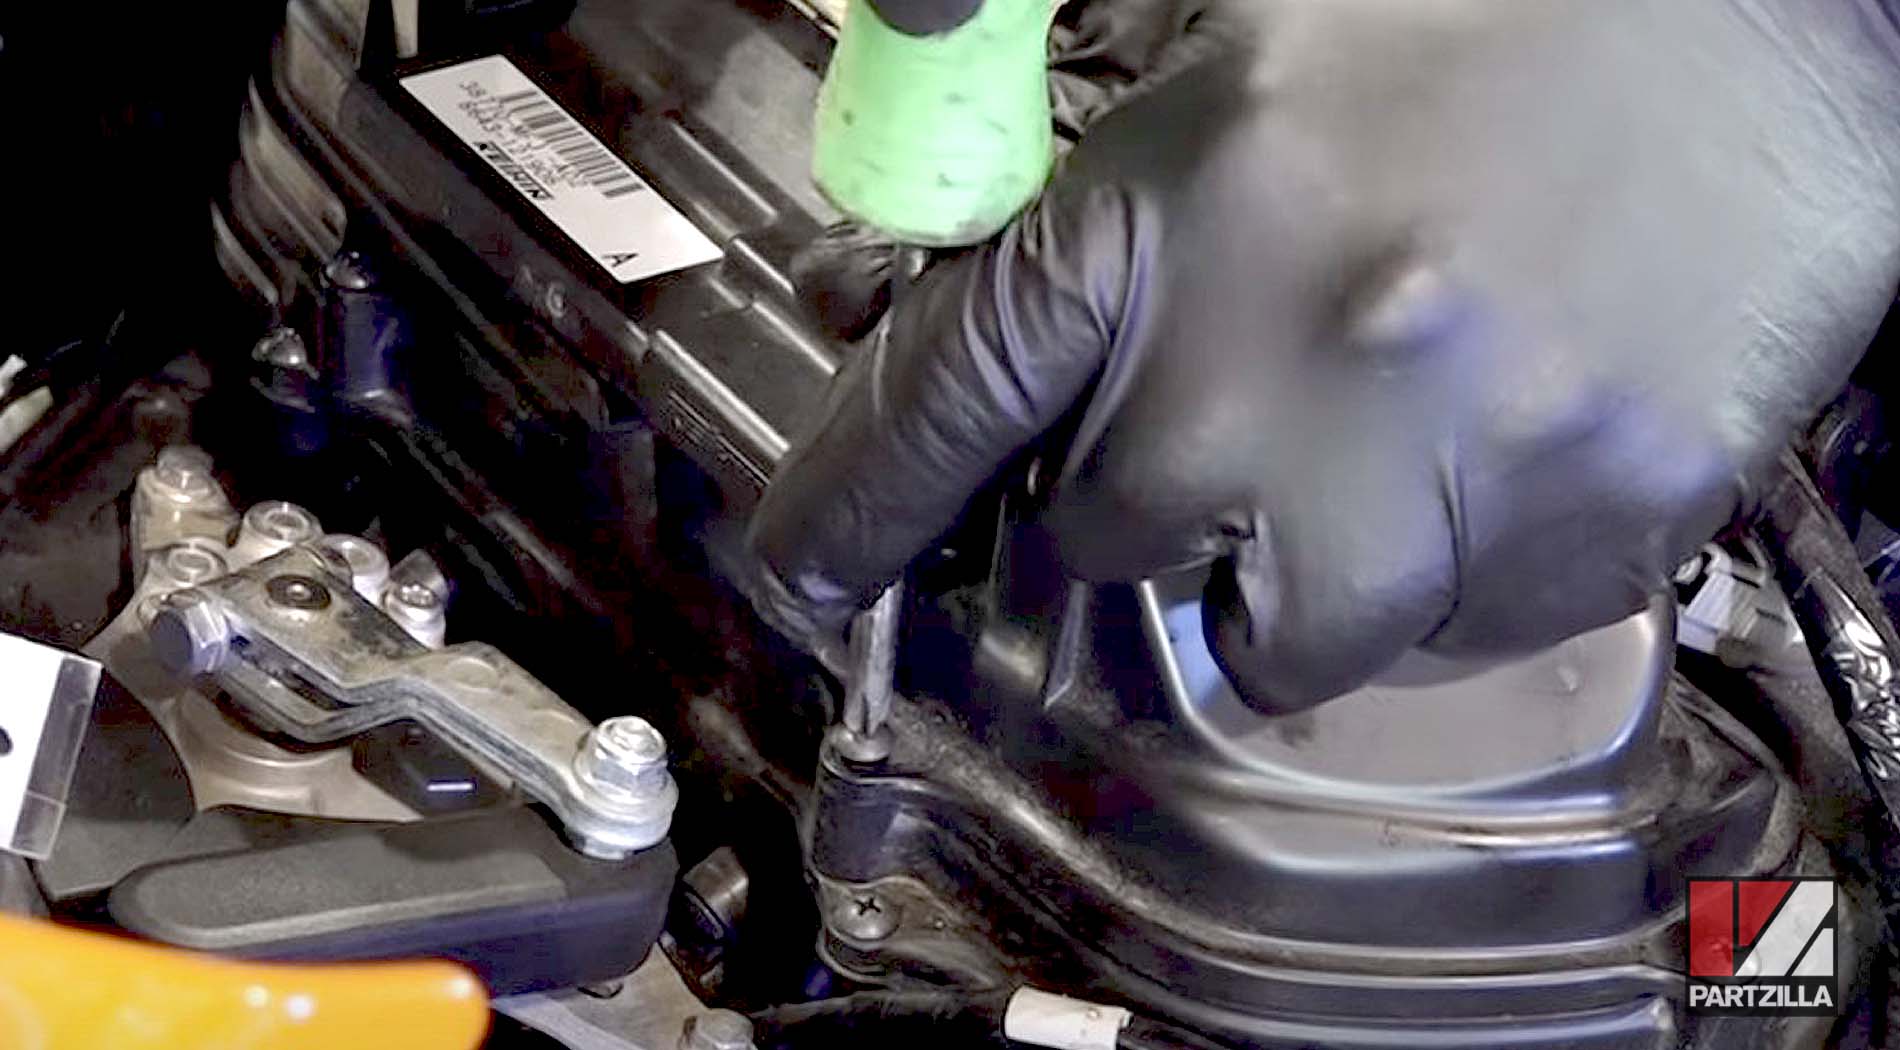
Step 6. Remove the two Phillips head screws that hold the ECM bar in place, then remove the bar without disconnecting the ECM.

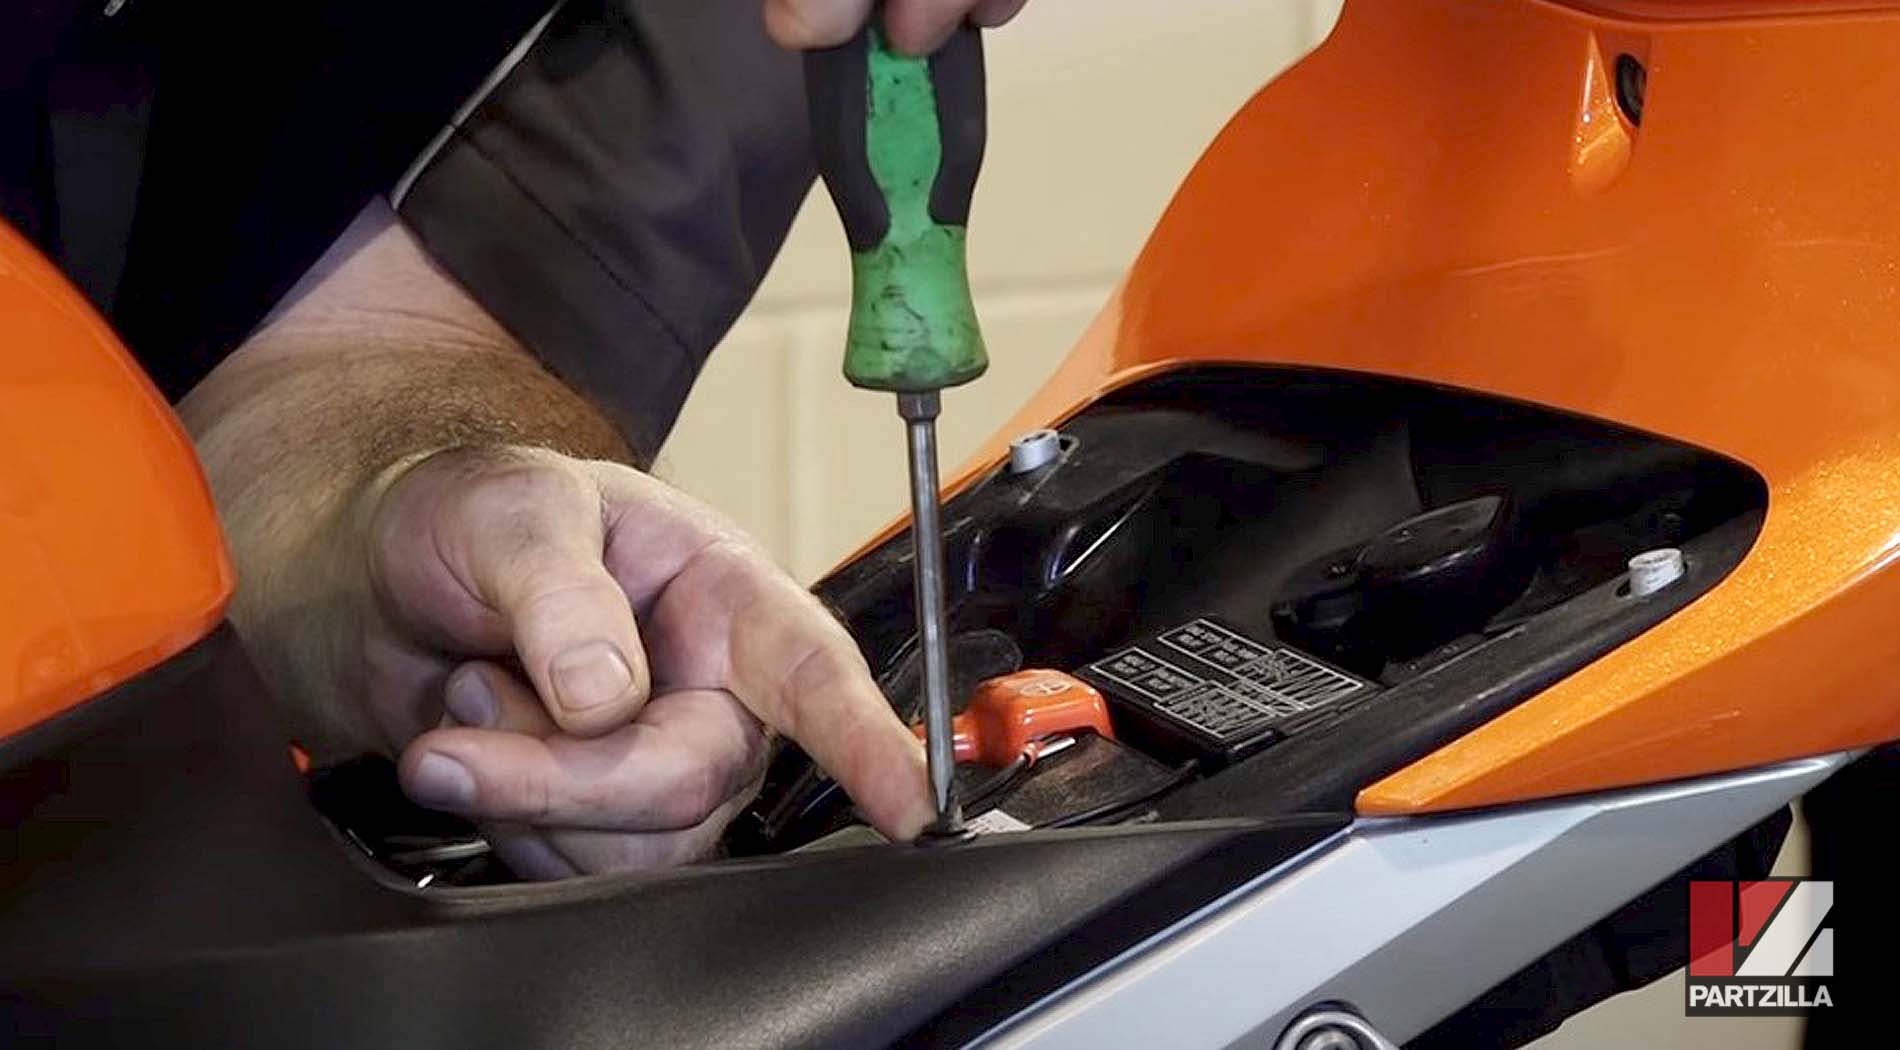
Step 7. Remove the six Phillips head screws that hold the airbox lid in place, then lift off the lid.
Step 8. Remove the two Phillips head screws that hold the air filter in place, and lift the air filter out.
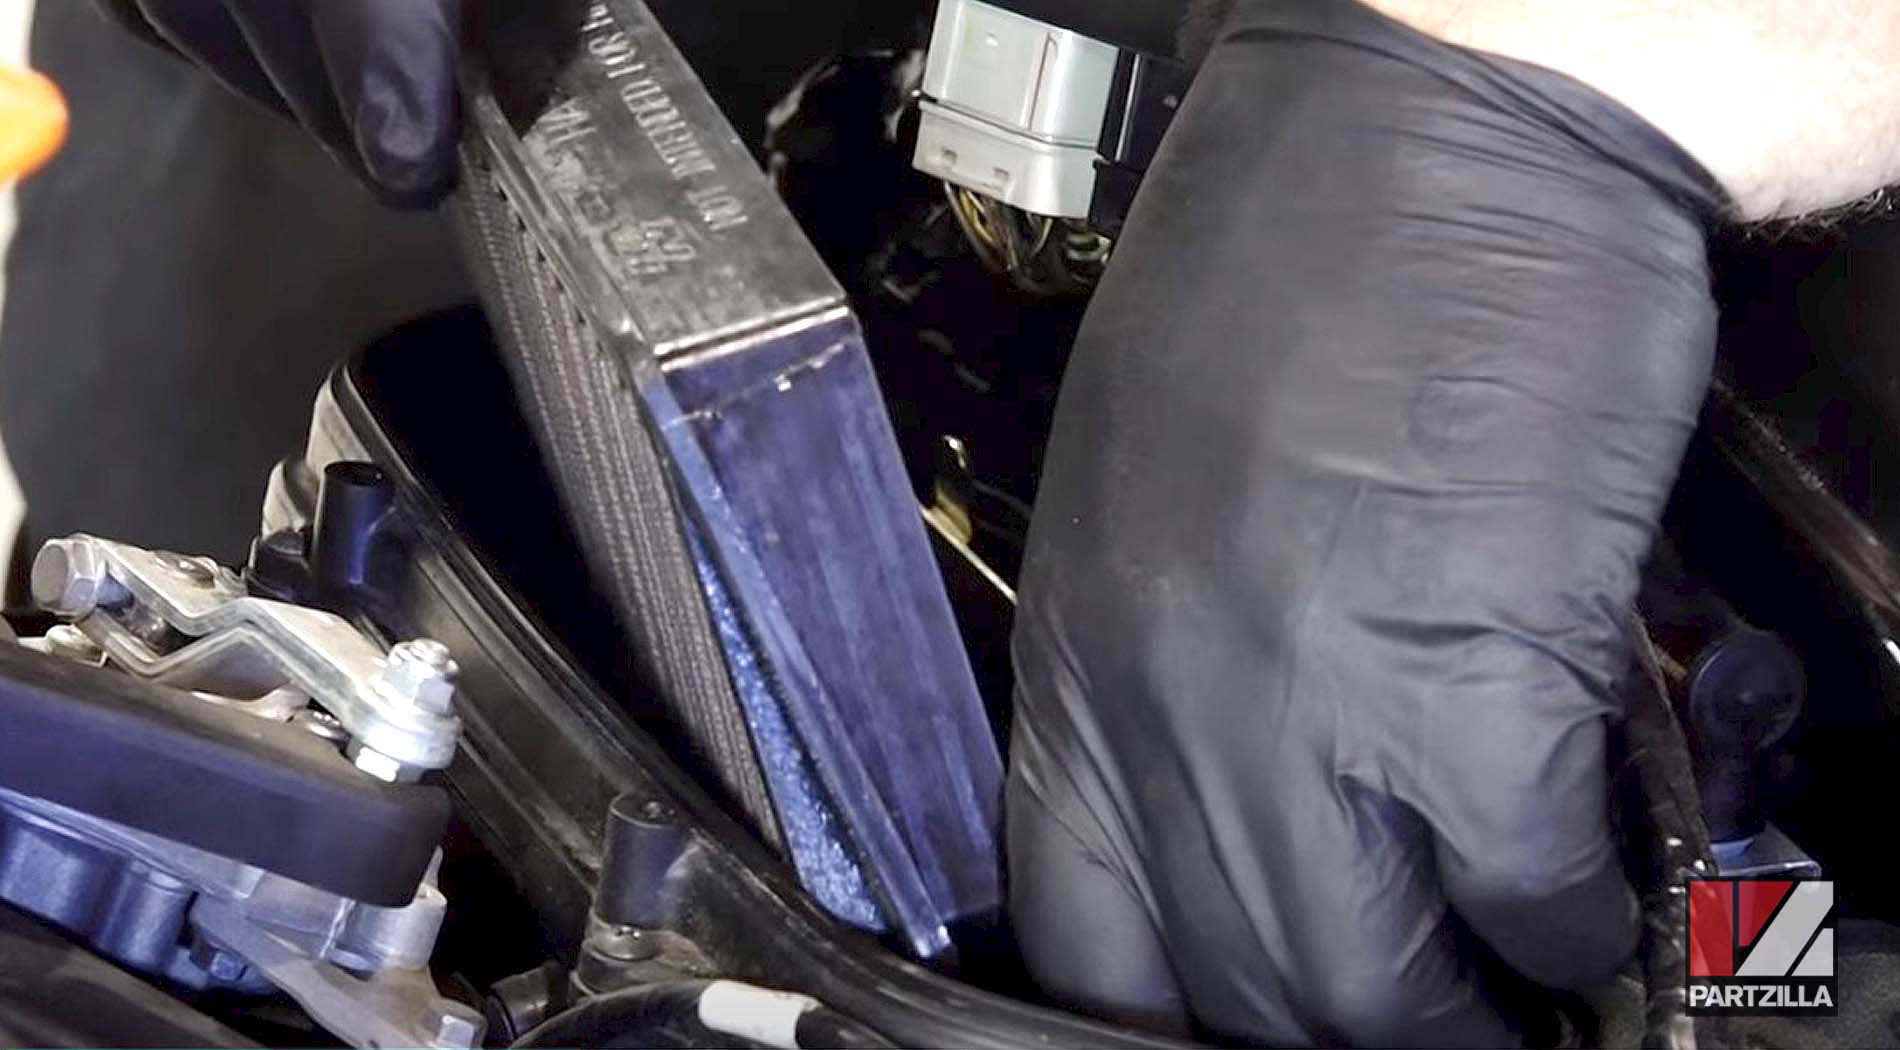
NOTE: The filter in our CBR600 was a K&N reusable high-flow air filter, so we cleaned it and treated it. If you have a fabric filter, see our K&N air filter cleaning video below and pick up a fabric filter cleaning kit, or replace your filter with a new Honda CBR600 air filter.
How to Replace Honda CBR 600 Air Filter
Step 1. Slide the air filter back into place, and replace the two Phillips head screws that hold the filter inside the airbox.
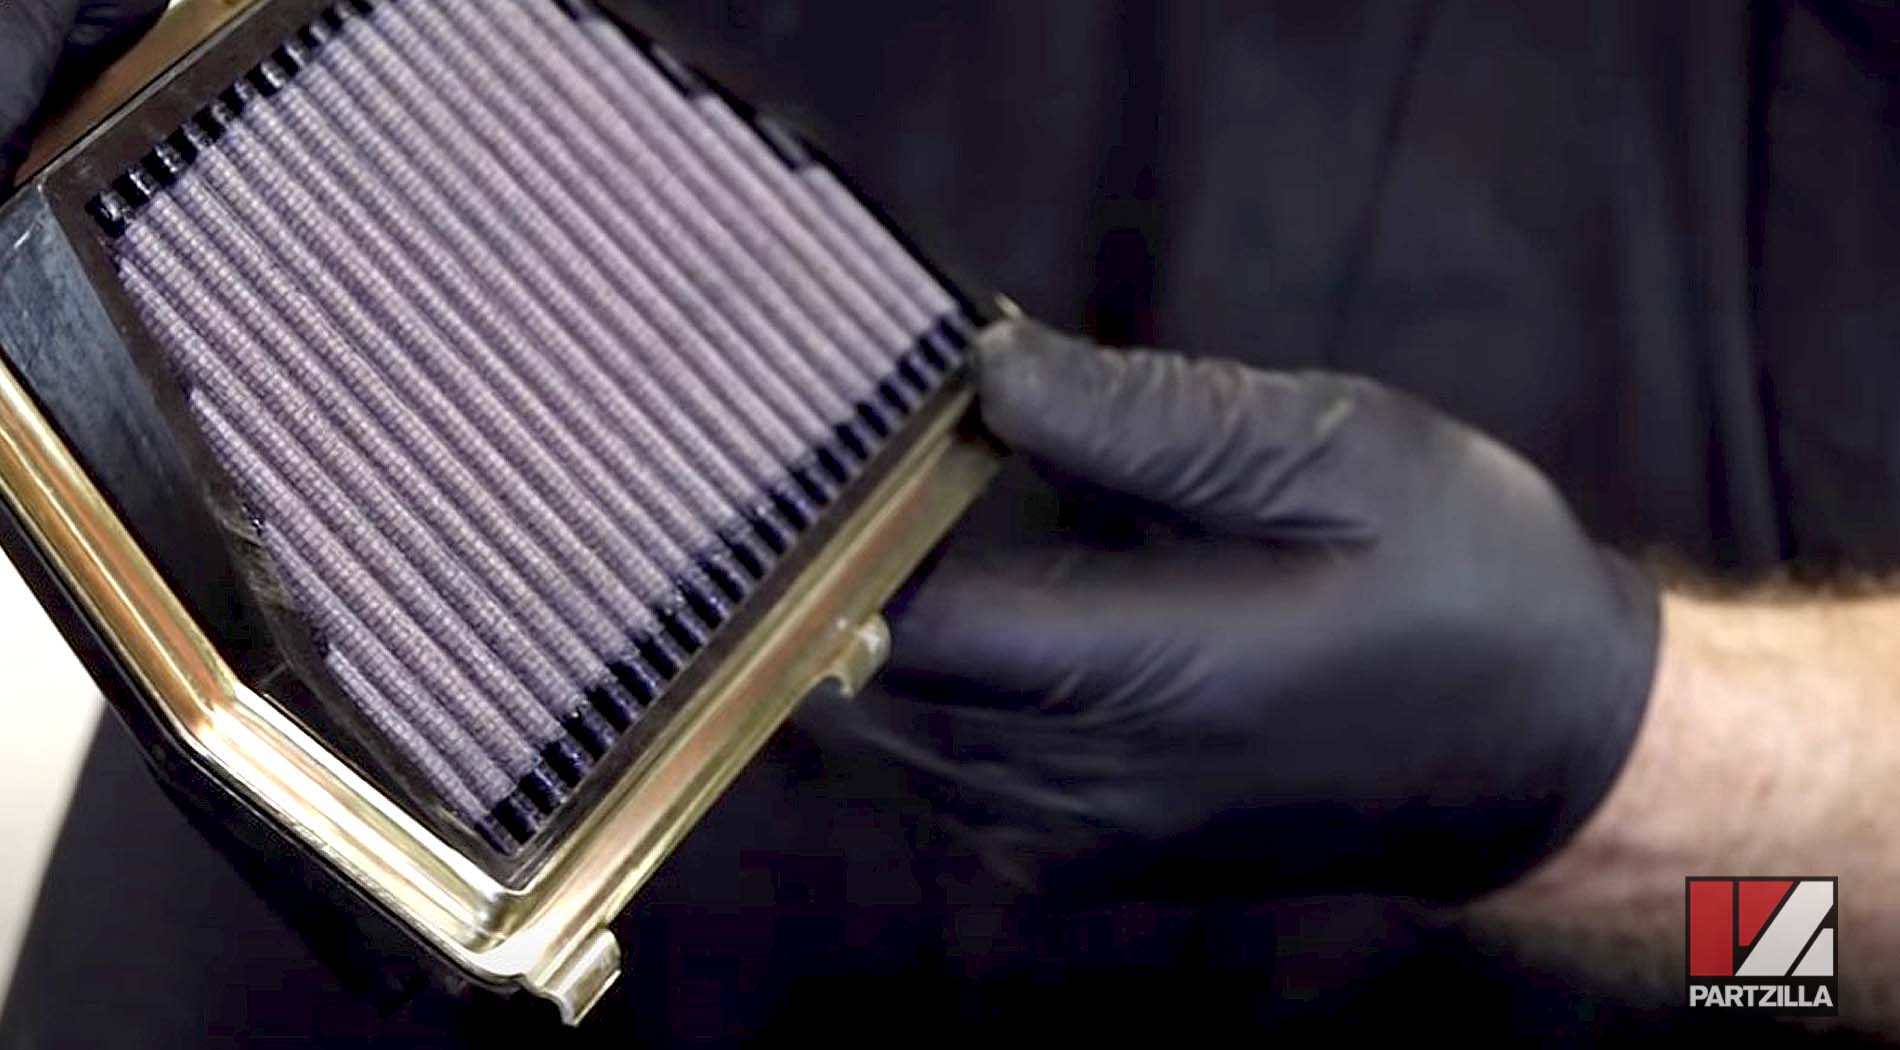
NOTE: The filter has holes in it that the screws will pass through. If they don’t line up with the holes in the airbox, you don’t have the air filter inserted correctly.
Step 2. Reinstall the airbox lid, then replace and tighten down the six Phillips head screws that hold it in place.
Step 3. Lay the ECU back into position, then reinstall the bar that holds it in place.
Step 4. Reconnect the IAT sensor.

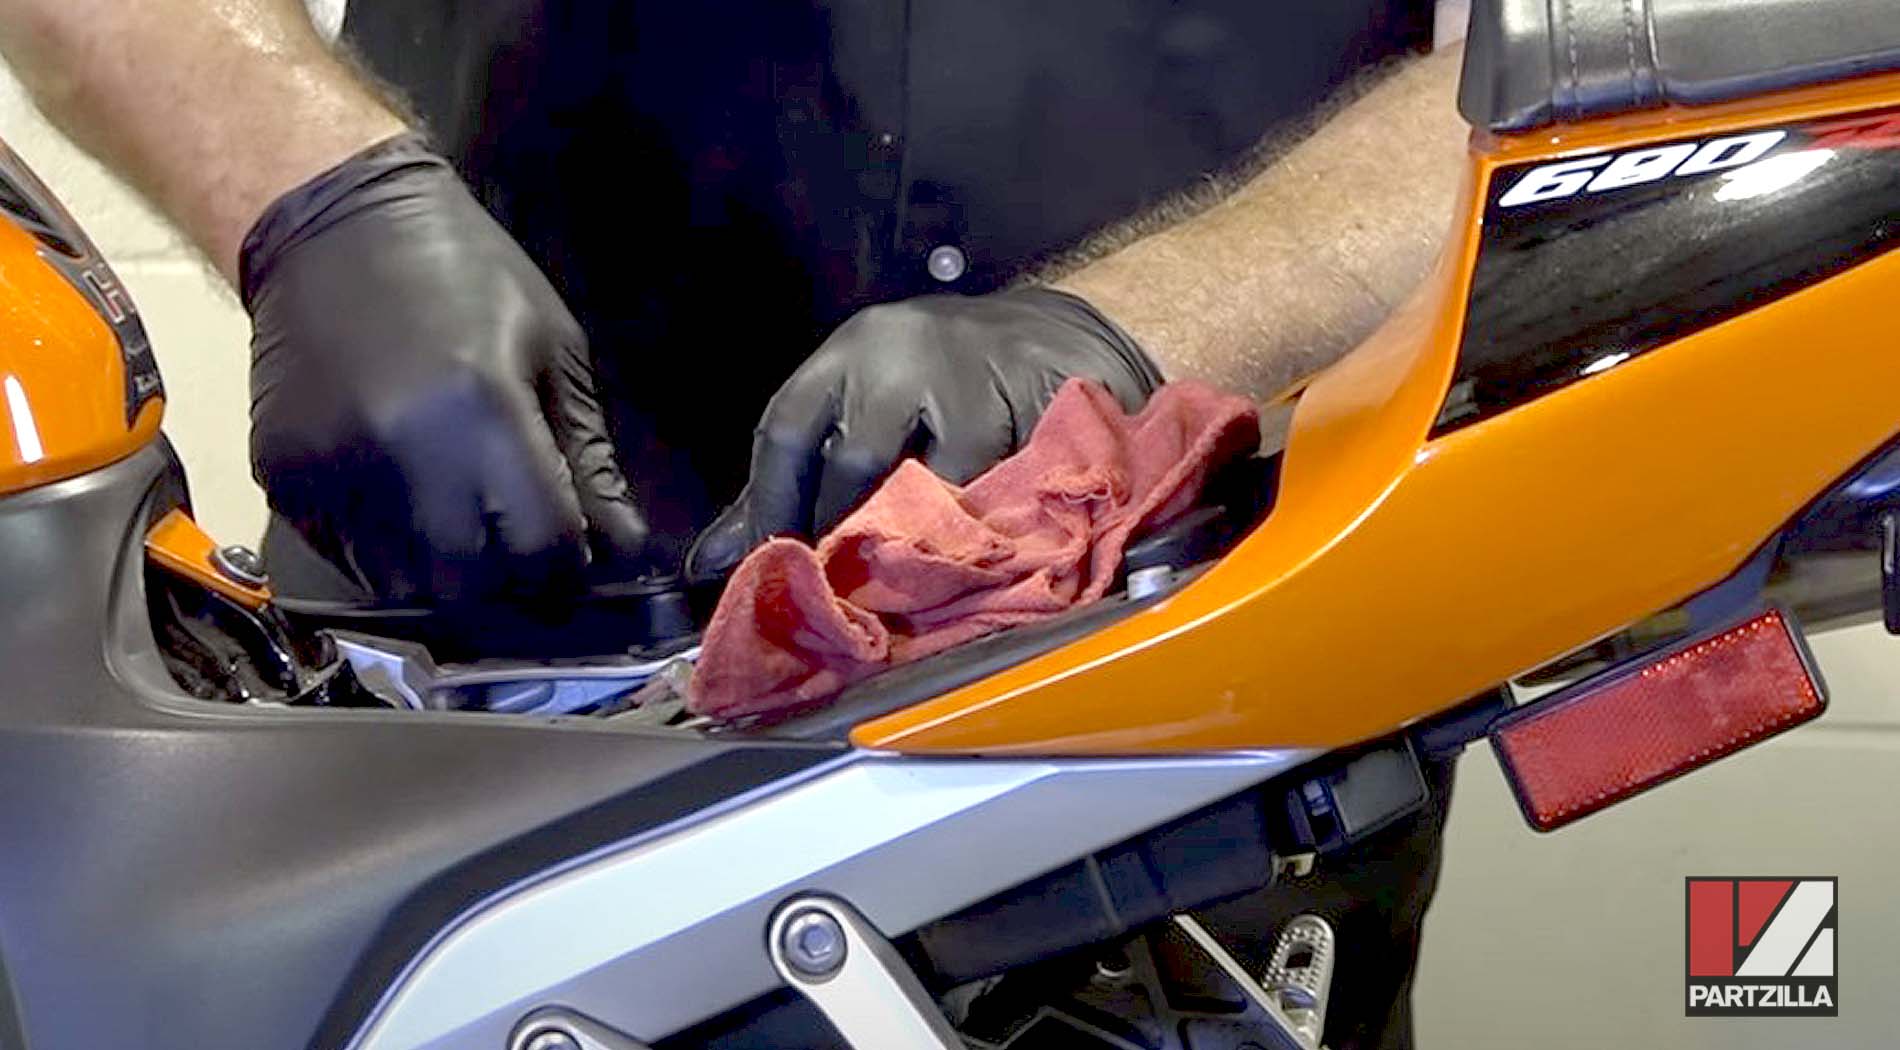
Step 5. Reinstall the tank cover by getting it into place and pulling the lower cowl outward so the tank cover can slide underneath. Next, snap the panels back into place.
Step 6. Replace the Allen bolts on both sides of the tank cover.
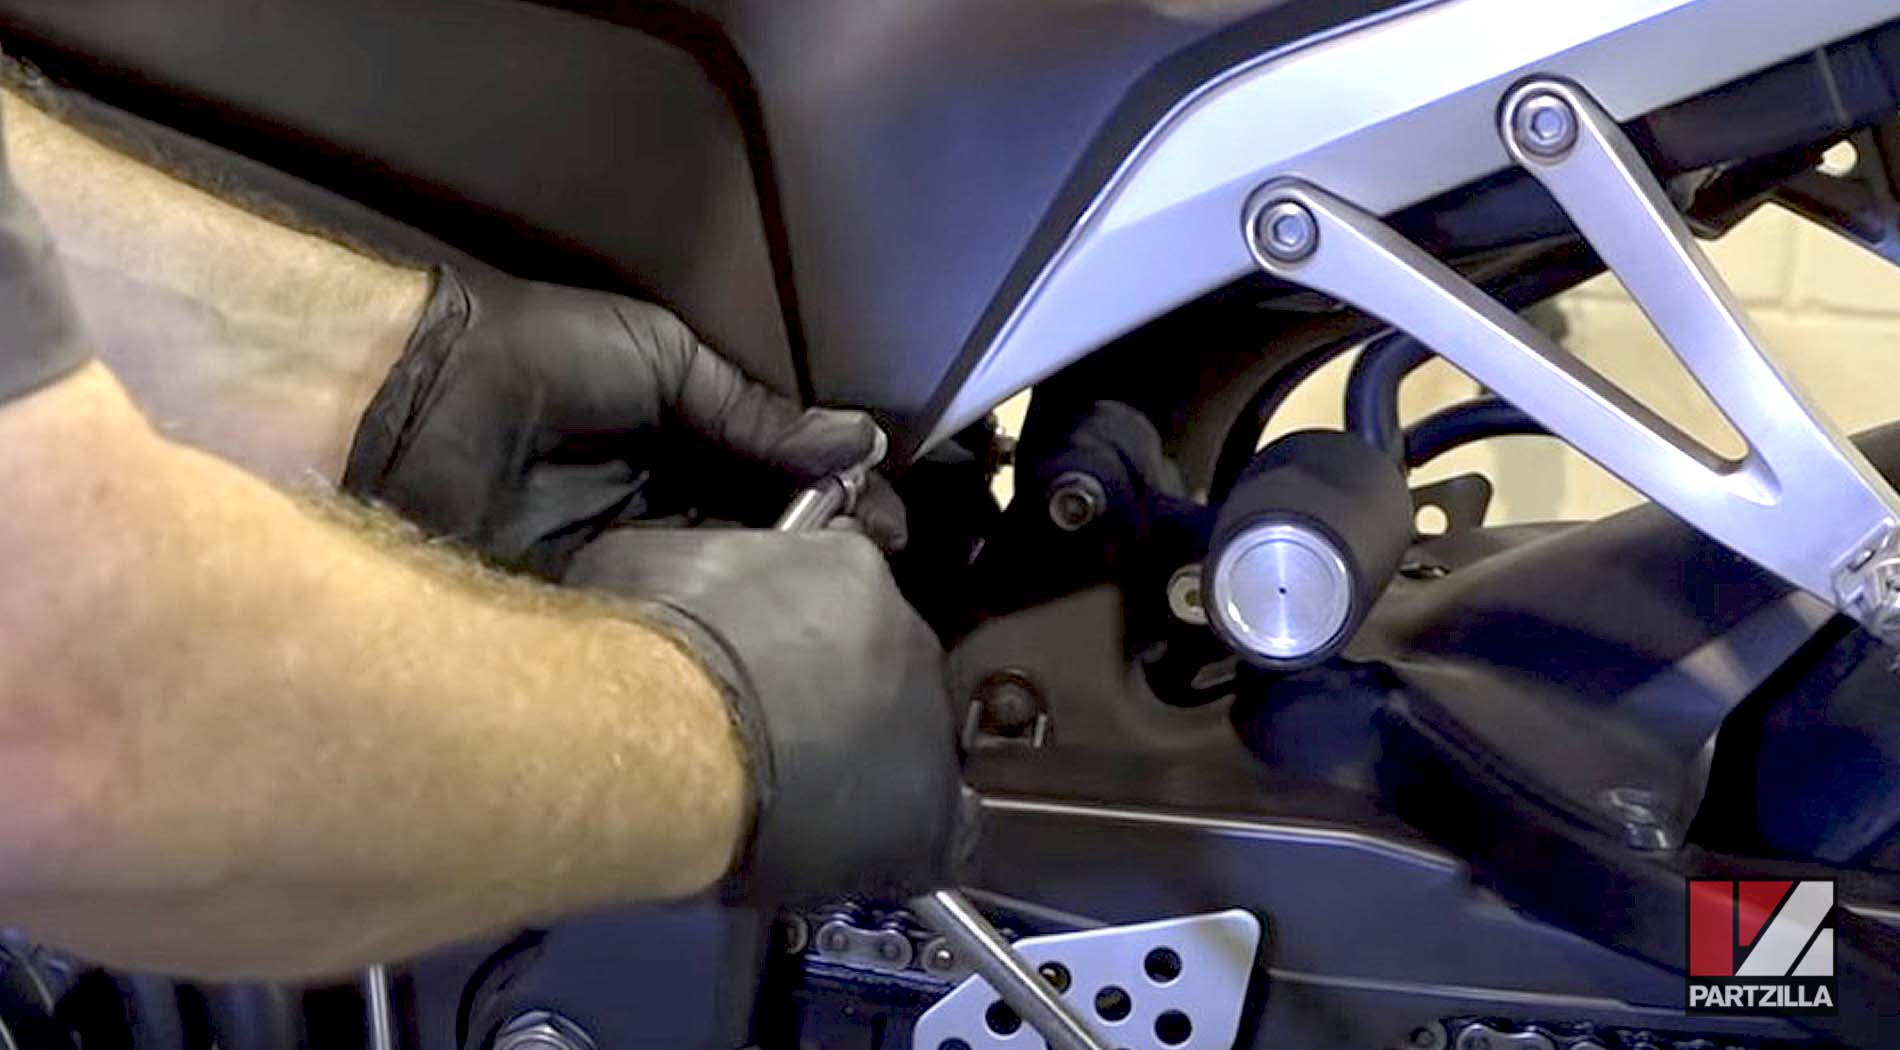
Step 7. Push the two clips on the back of the tank cover into place.
Step 8. Reinstall the seat and the two Allen bolts that hold it in place, and you’re done.