Honda VTX 1800 Fuel Line Replacement
After 8-10 years, rubber hoses and grommets on a Honda motorcycle can get dry or cracked. This isn't always a big deal, unless that hose carries fuel from the motorcycle's tank to the engine.
Should a fuel line start to leak, it can quickly become a very dangerous situation. Watch the video above and follow the steps below to swap out a fuel line on a Honda VTX 1800.
Tools and Parts - Honda VTX 1800 Fuel Line Replacement
- 5mm, 6mm Allen wrenches
- Ratchet
- 3", 6" extensions
- 10mm, 12mm sockets
- 10mm box wrench
- Needlenose pliers: small and large
- Flat head screwdriver
- Shop towels or rags
- Bentnose pliers (optional)
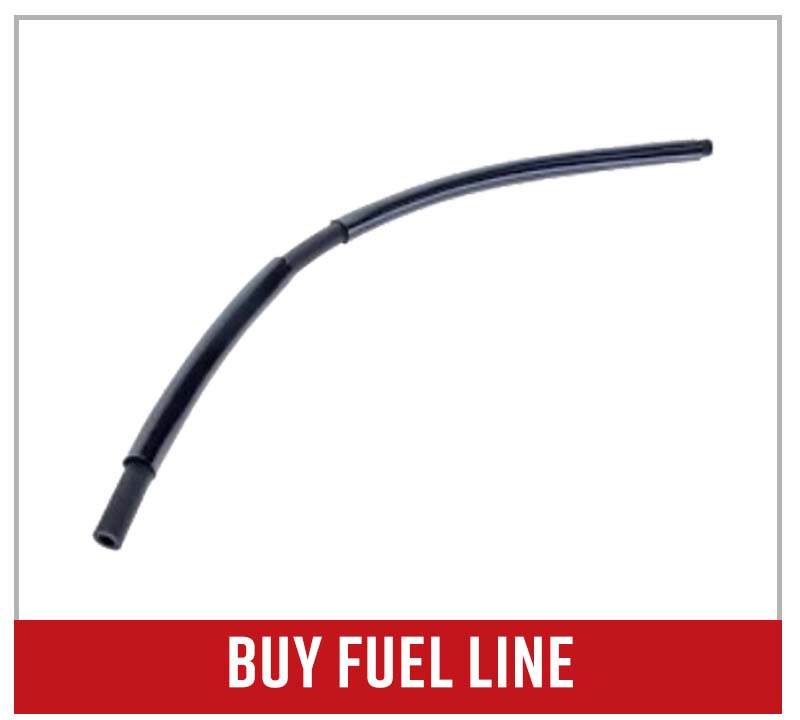
- 2005 Honda VTX 1800 fuel line
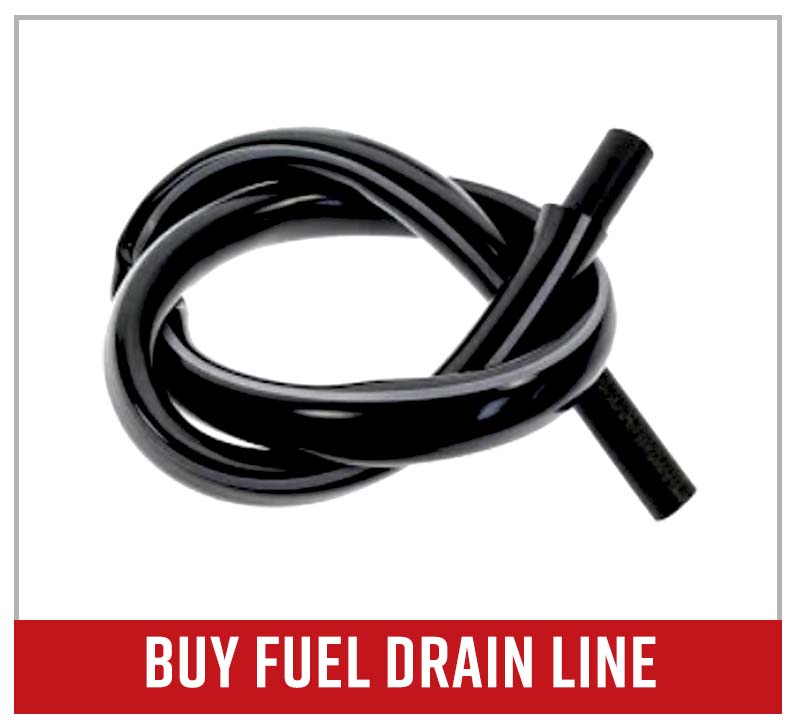
PRO TIP: It helps to have a fuel can and a drain hose handy to drain the fuel tank.
Honda VTX 1800 Fuel Line Replacement
Step 1: Remove the seat, followed by the bolt that goes through the back of the fuel tank with a 10mm box wrench and socket.
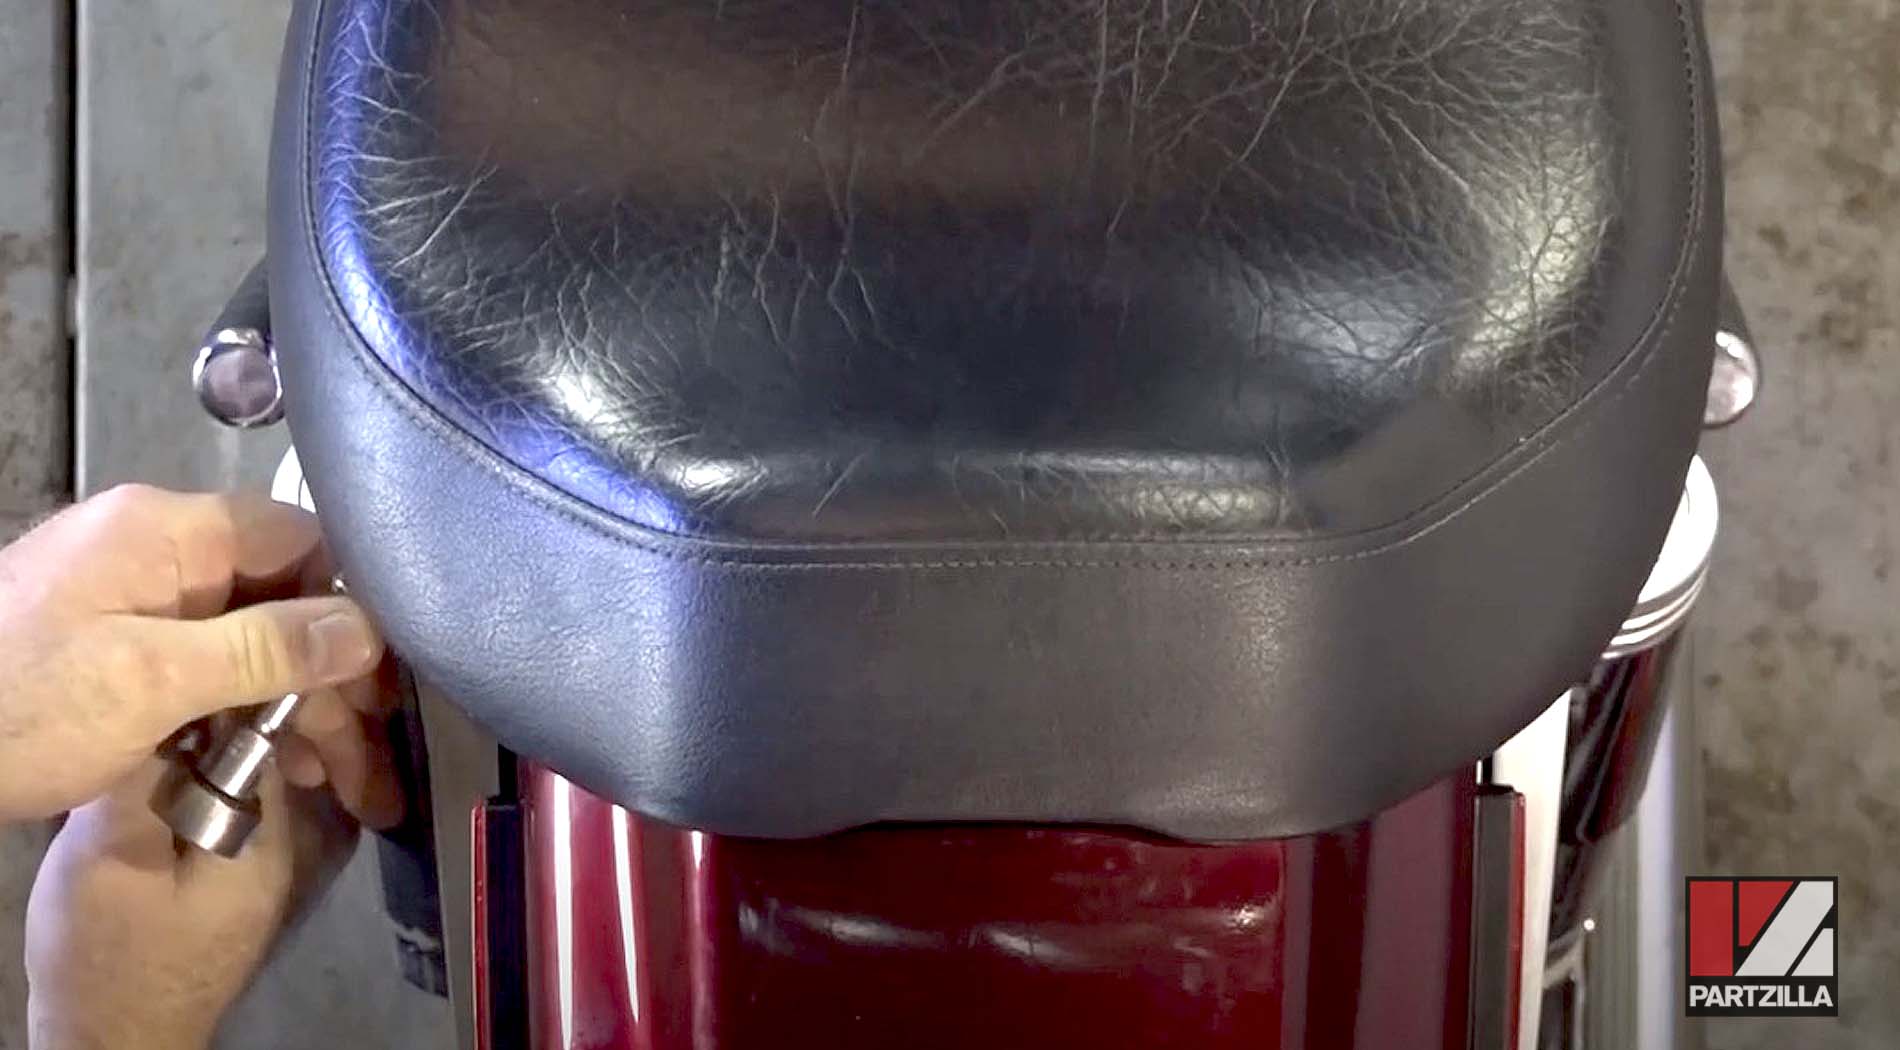
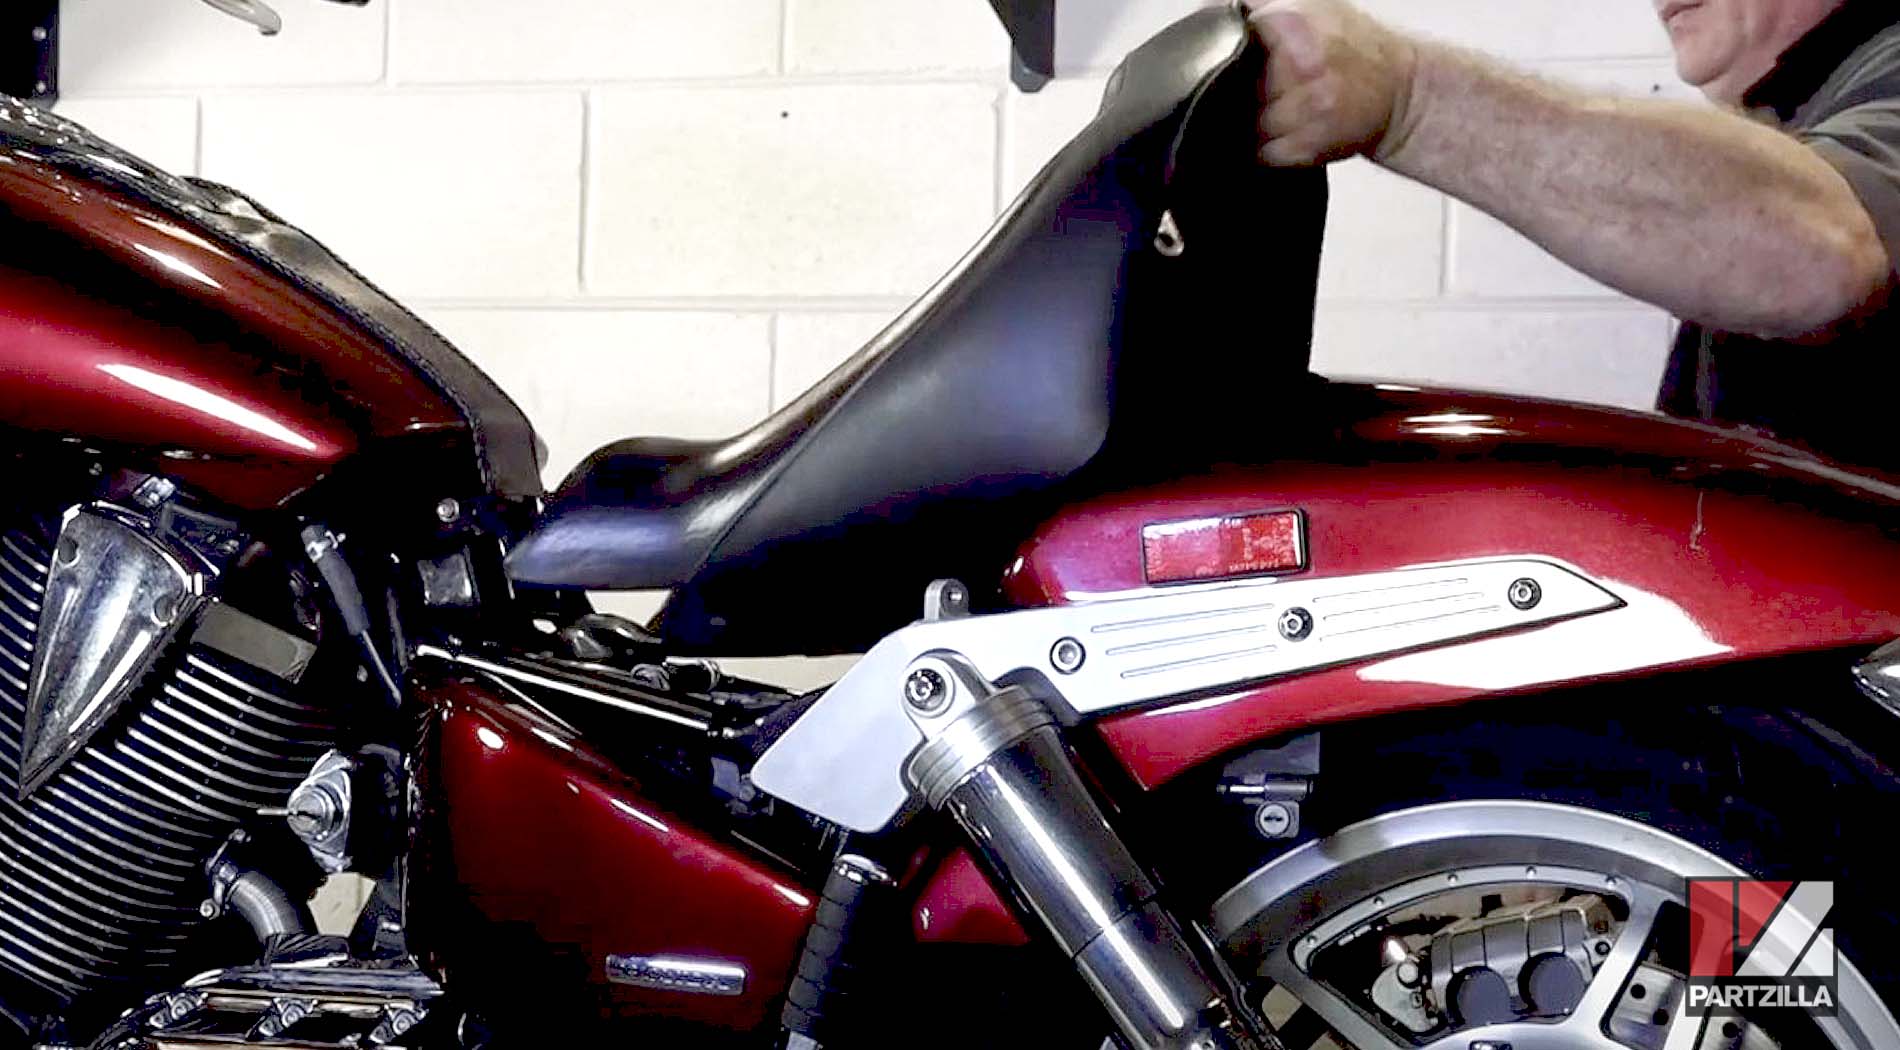
NOTE: On the 2005 Honda VTX 1800, you'll need a 6mm Allen to remove both seat bolts, which are located under the rear edge of the seat, right above the shocks.
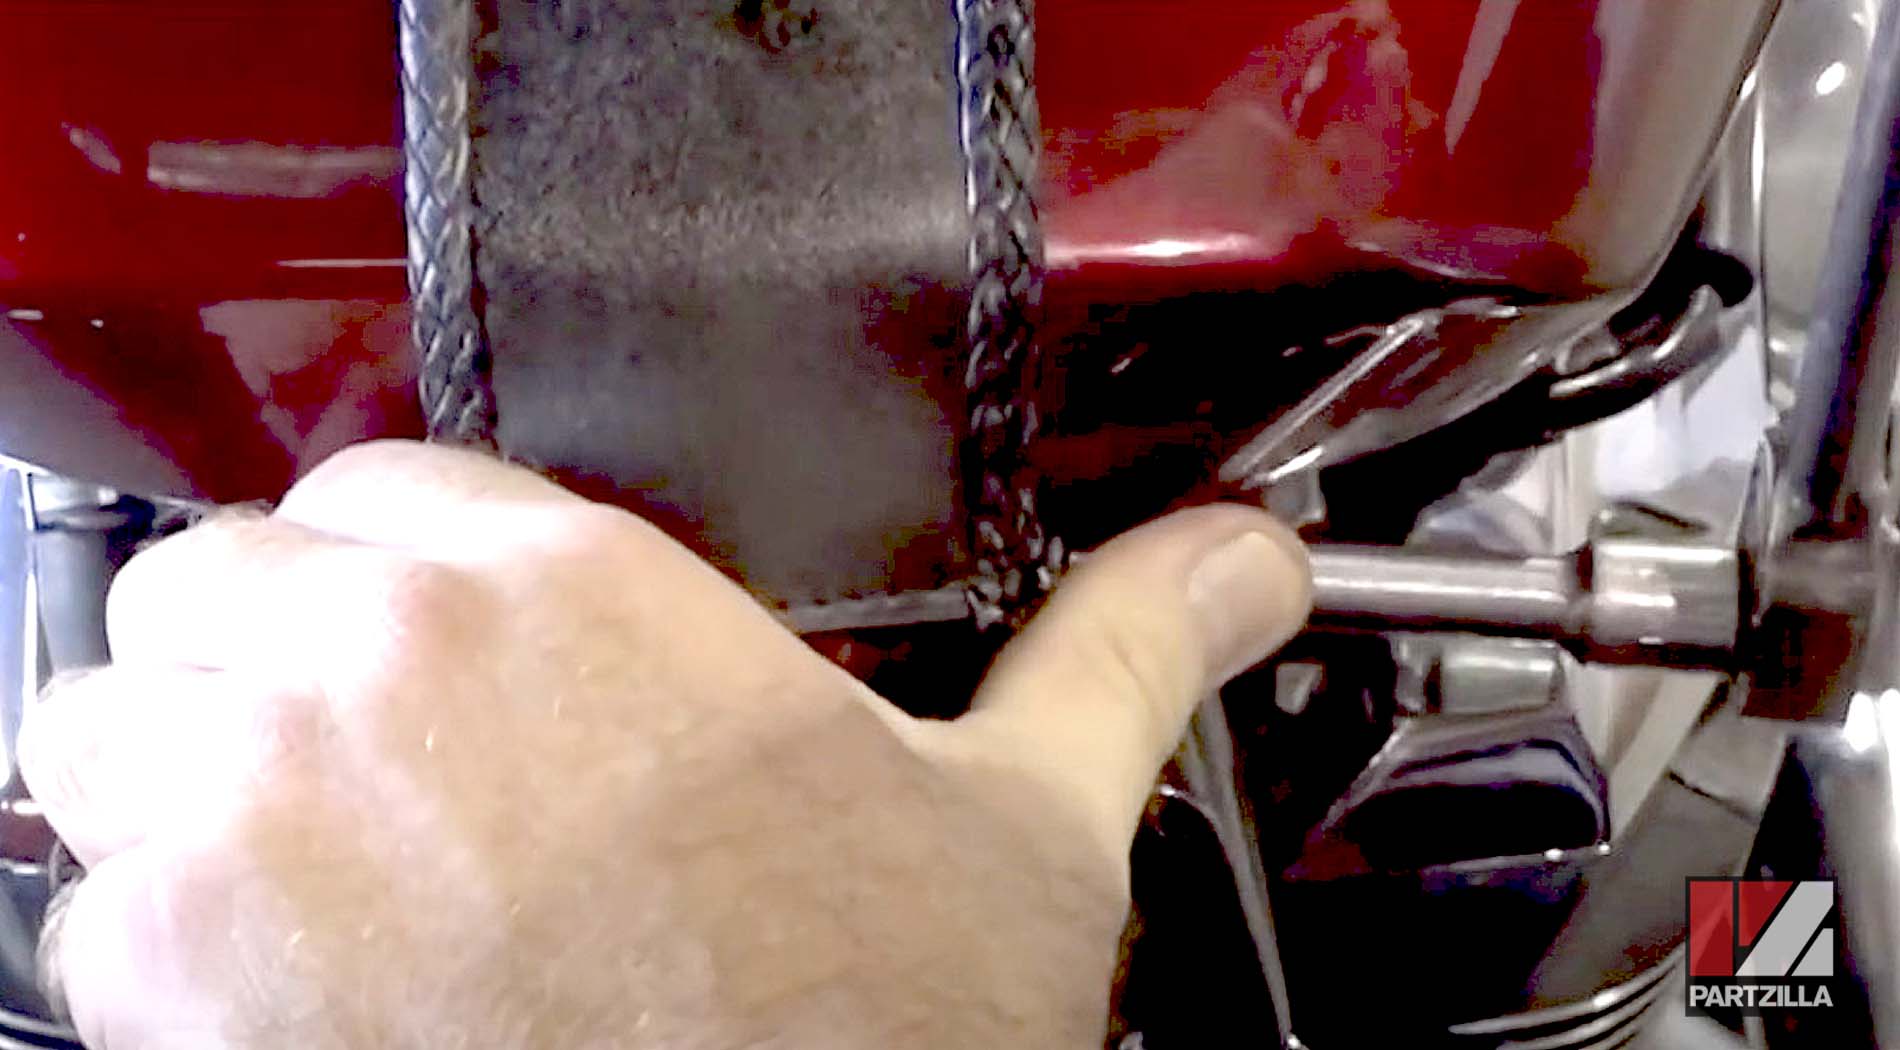
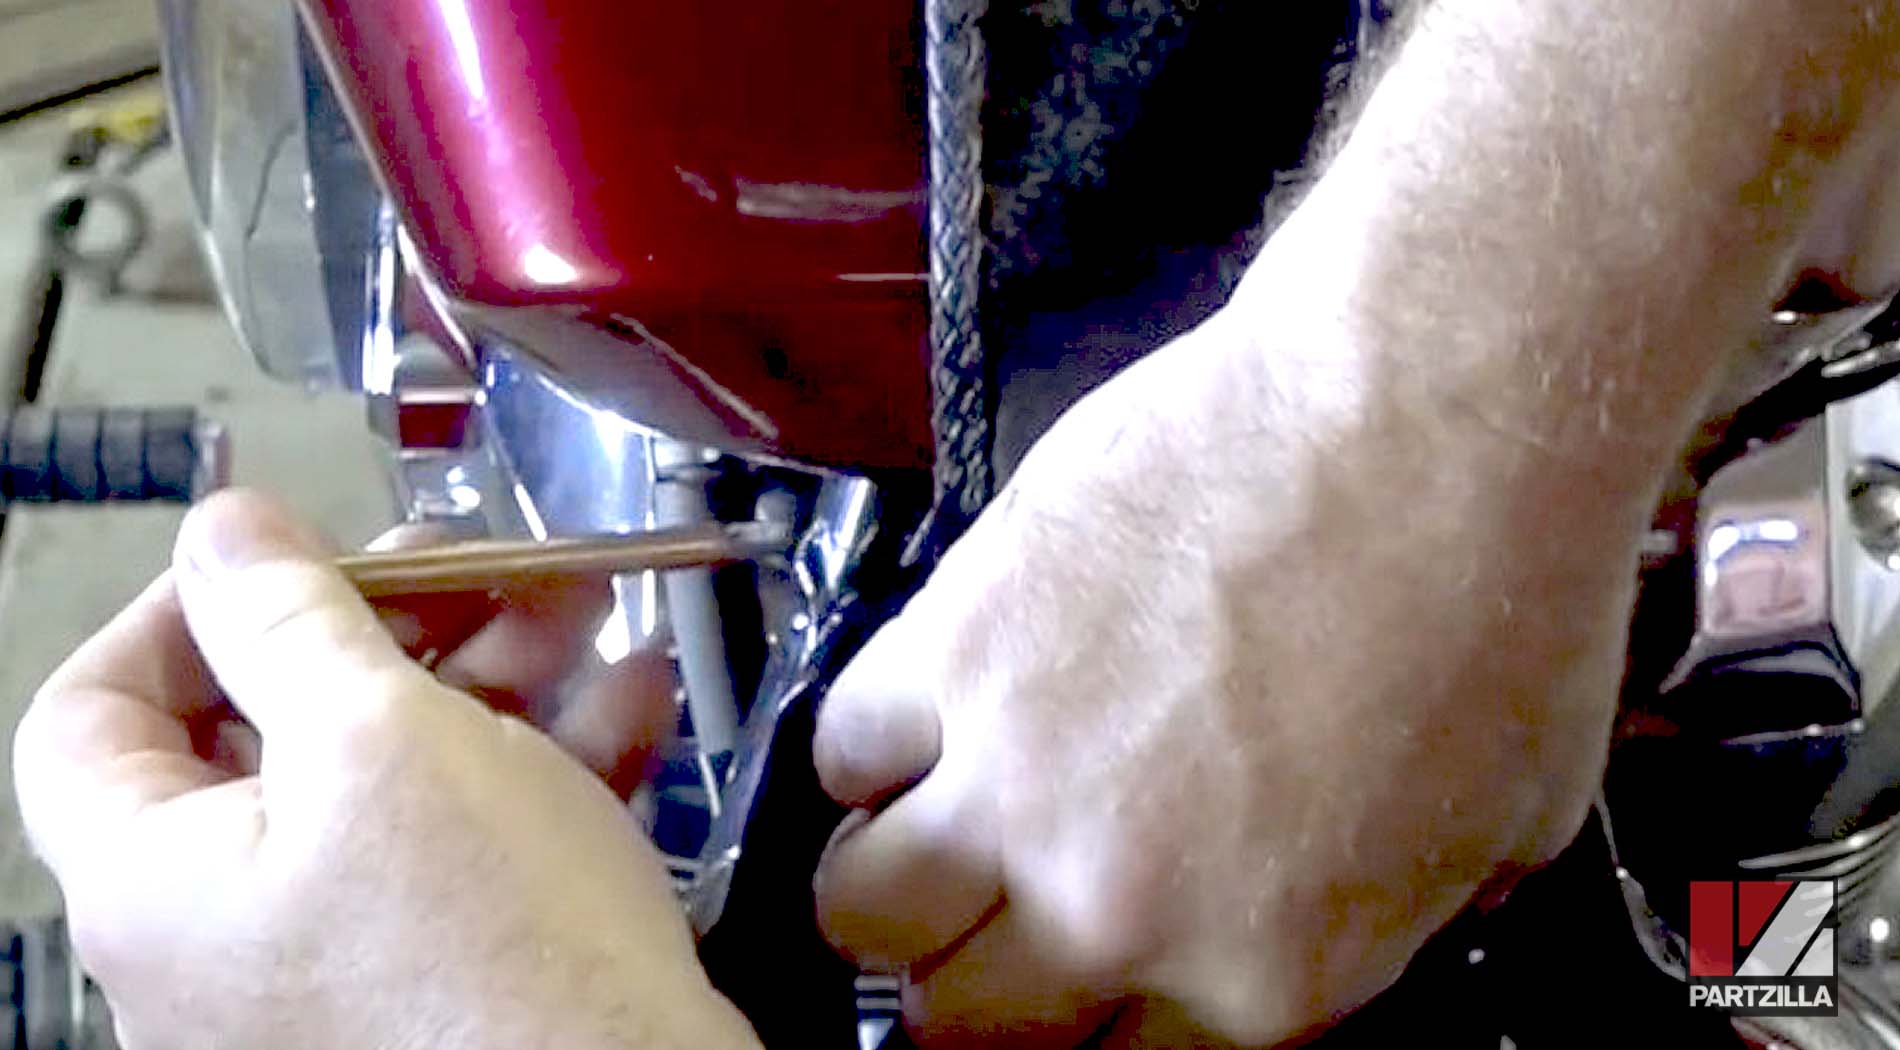
Step 2. Remove the three bolts on the center display using a 5mm Allen. Next, remove the fuel cap, take the center display off and hang it off the front side of the bike. Place the fuel cap back on the tank.
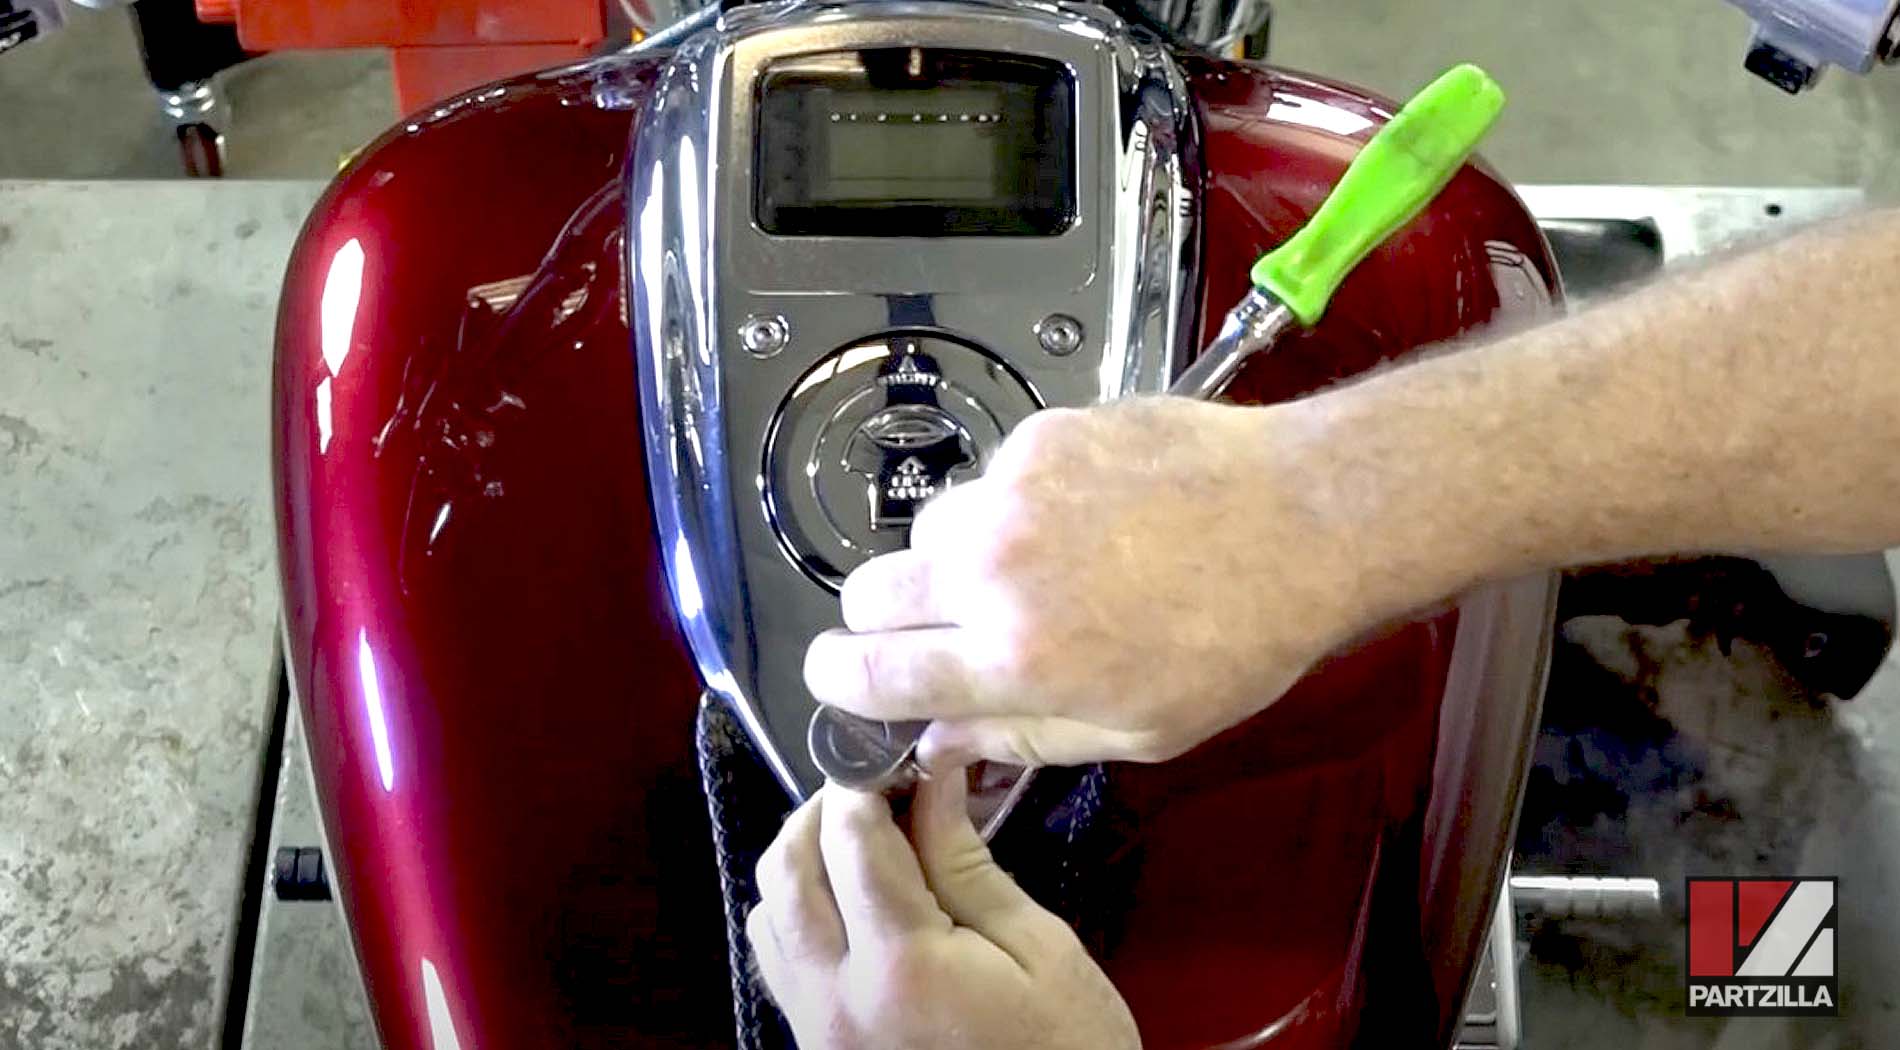
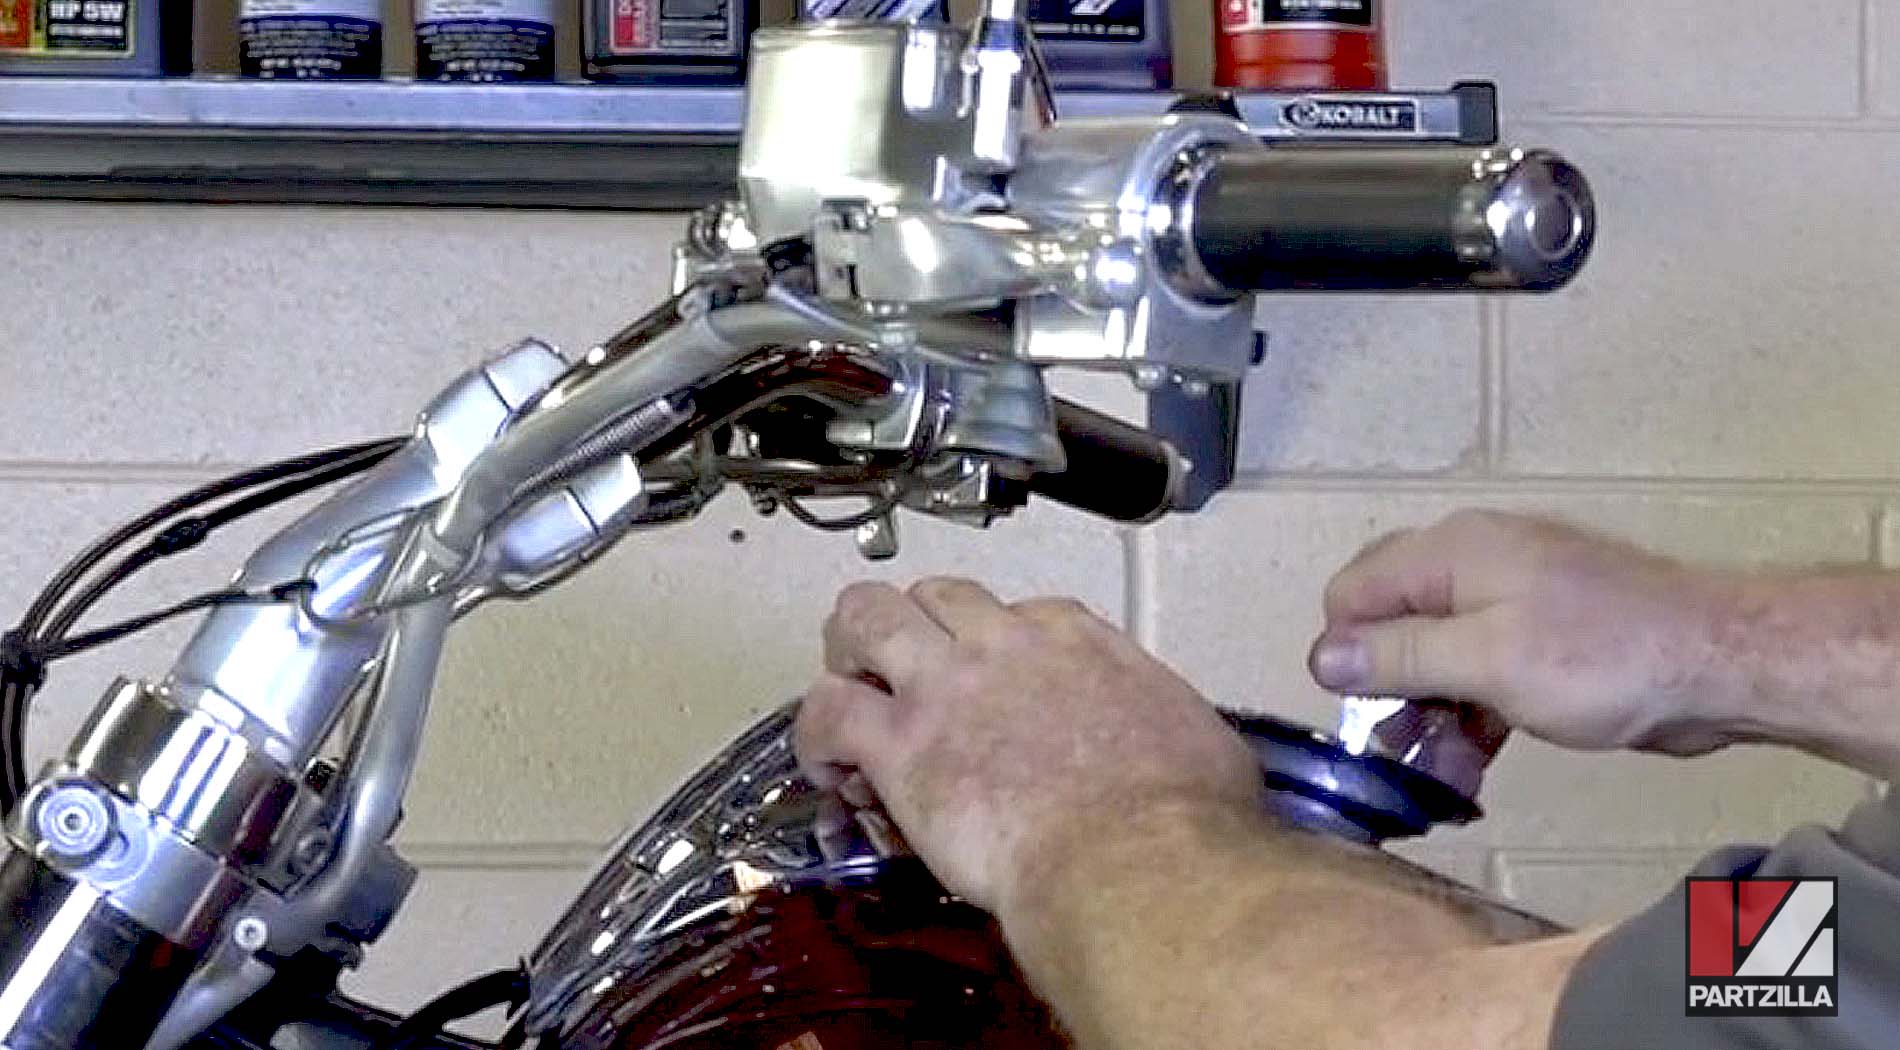
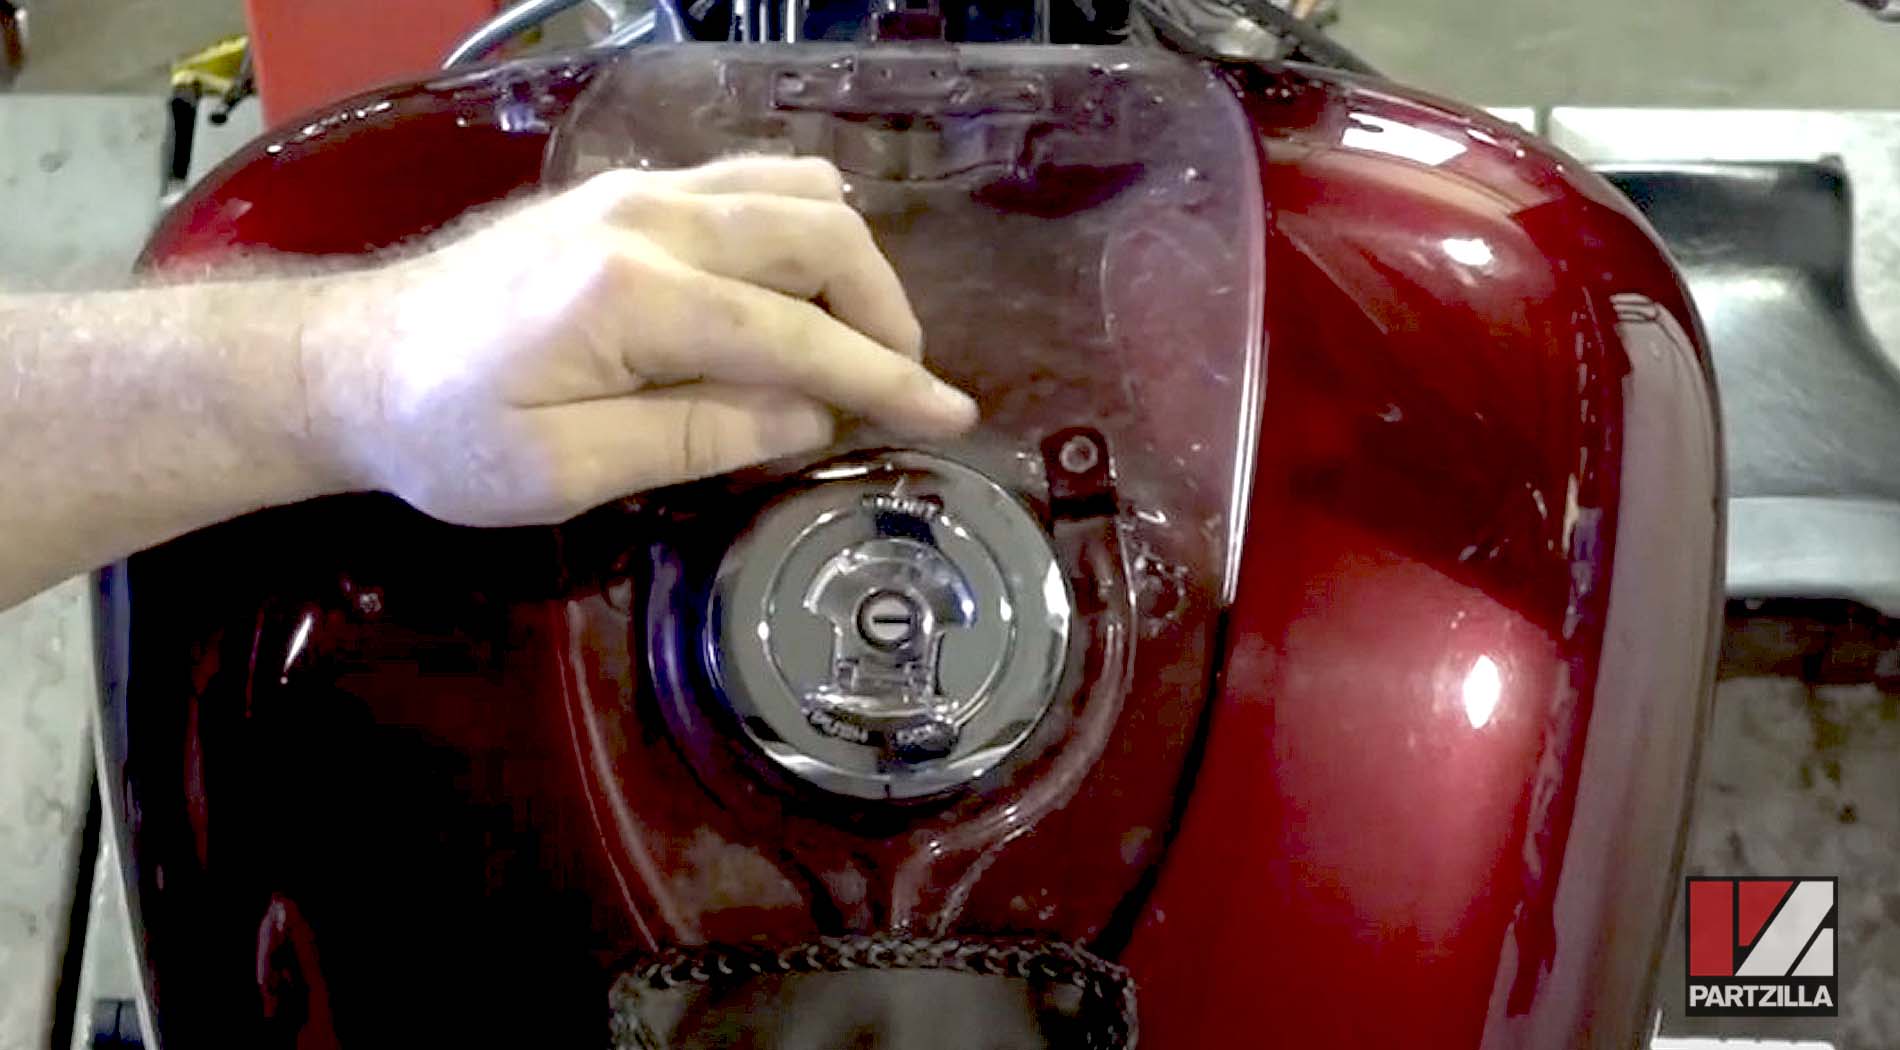
NOTE: If there's fuel in the tank, drain it by disconnecting the main fuel line and attaching a drain hose that dumps into a gas can. Once the fuel is drained, lift the tank, disconnect the vent hoses and fuel level sensor, then remove the tank and set it aside.
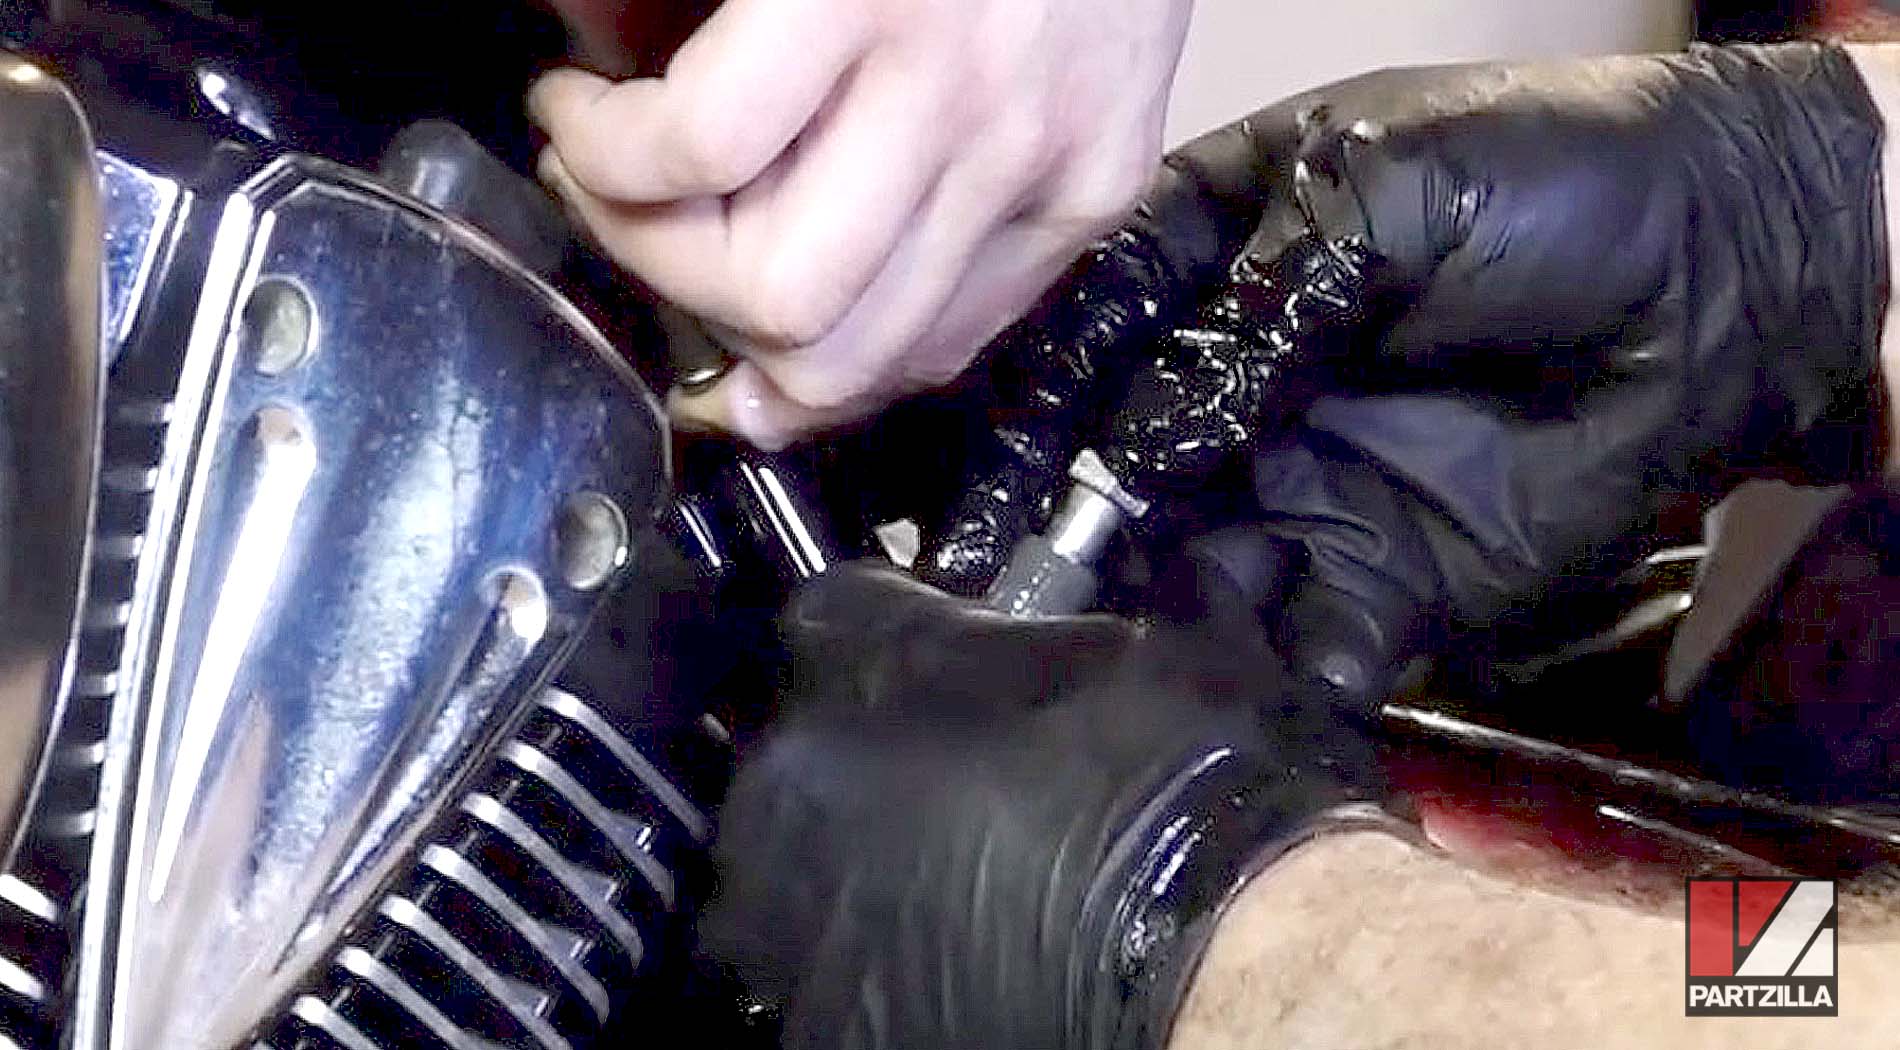
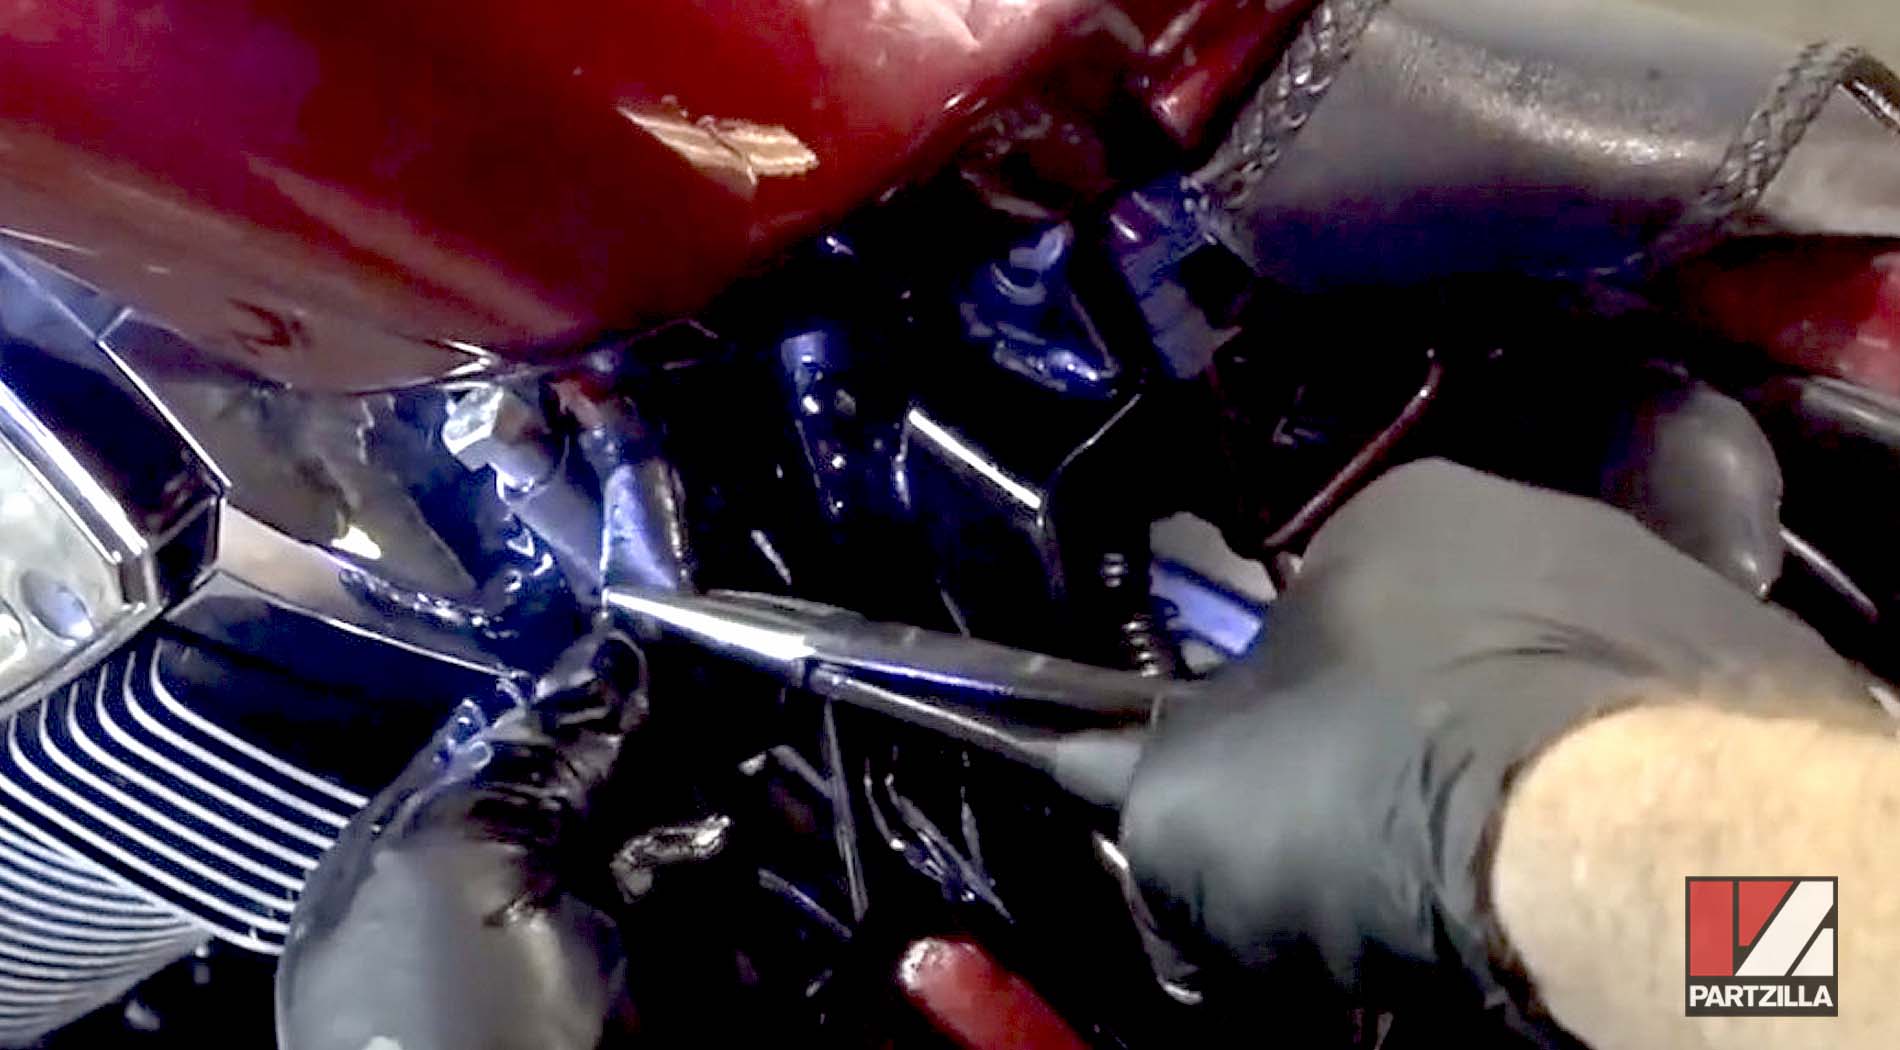
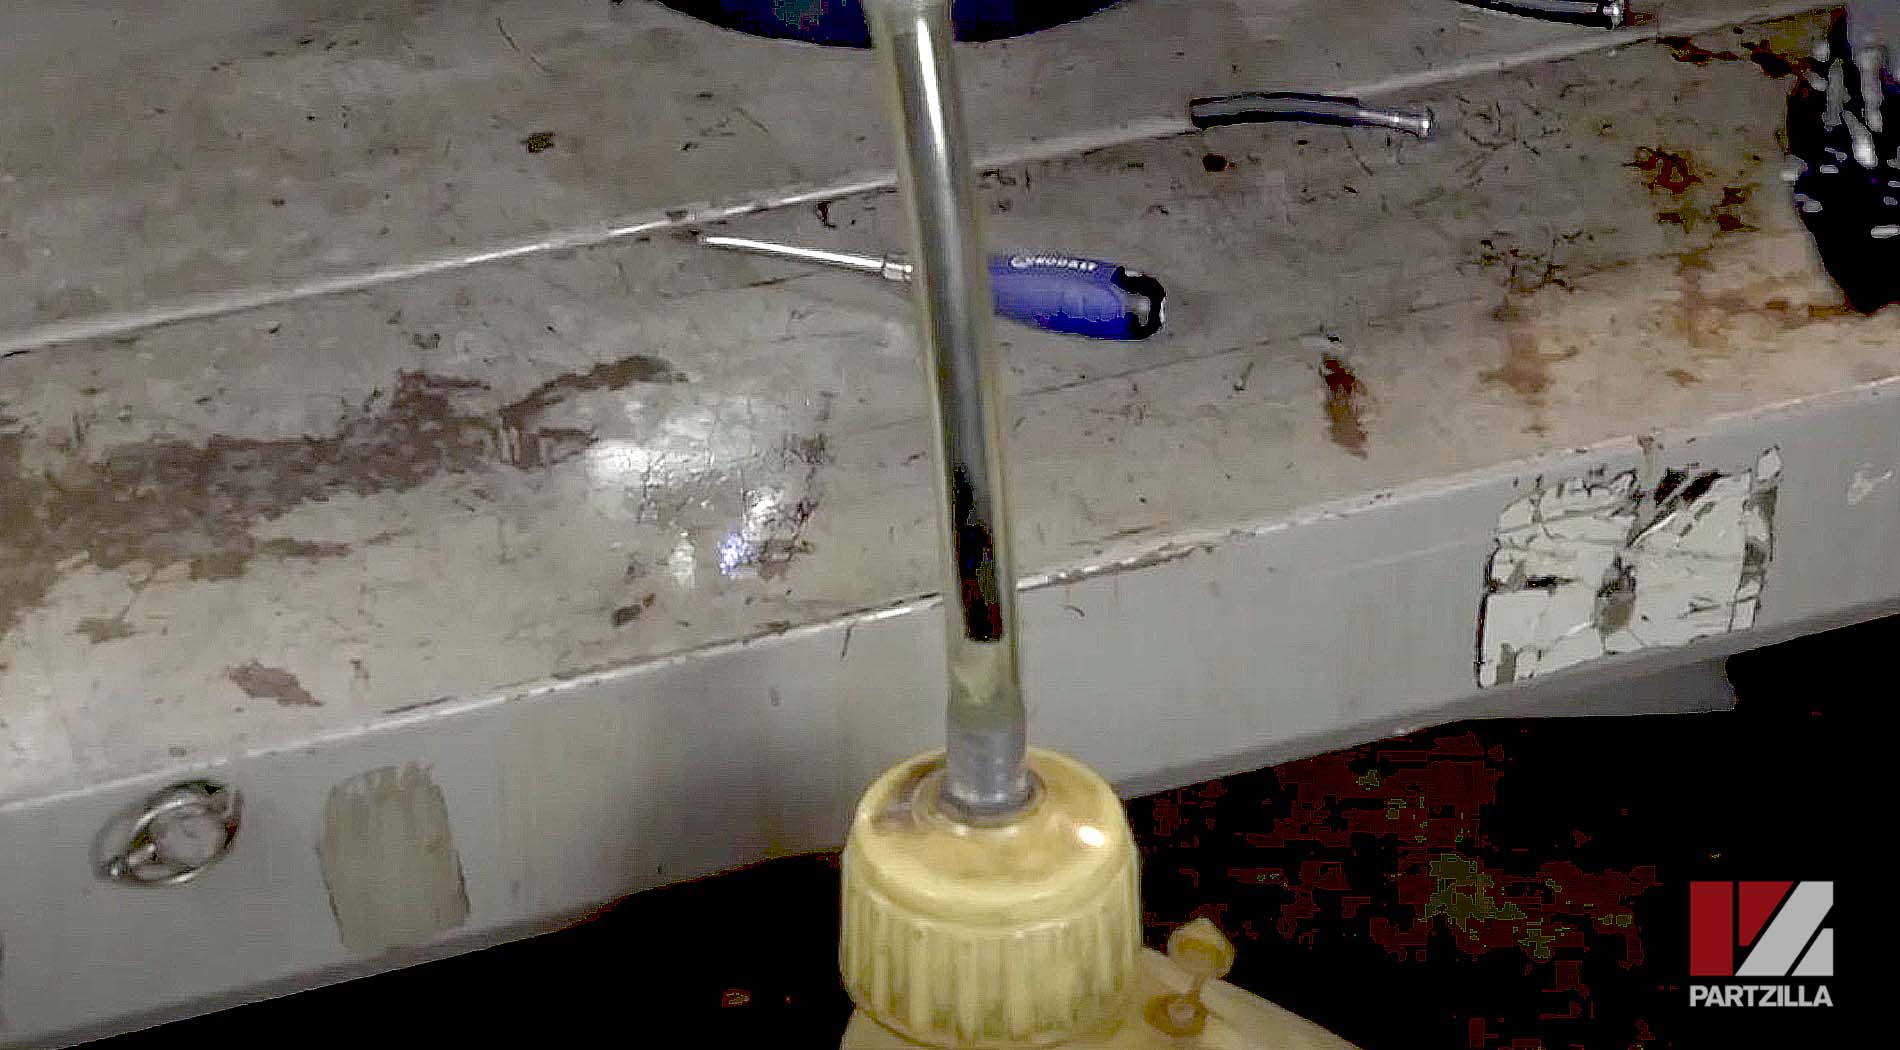
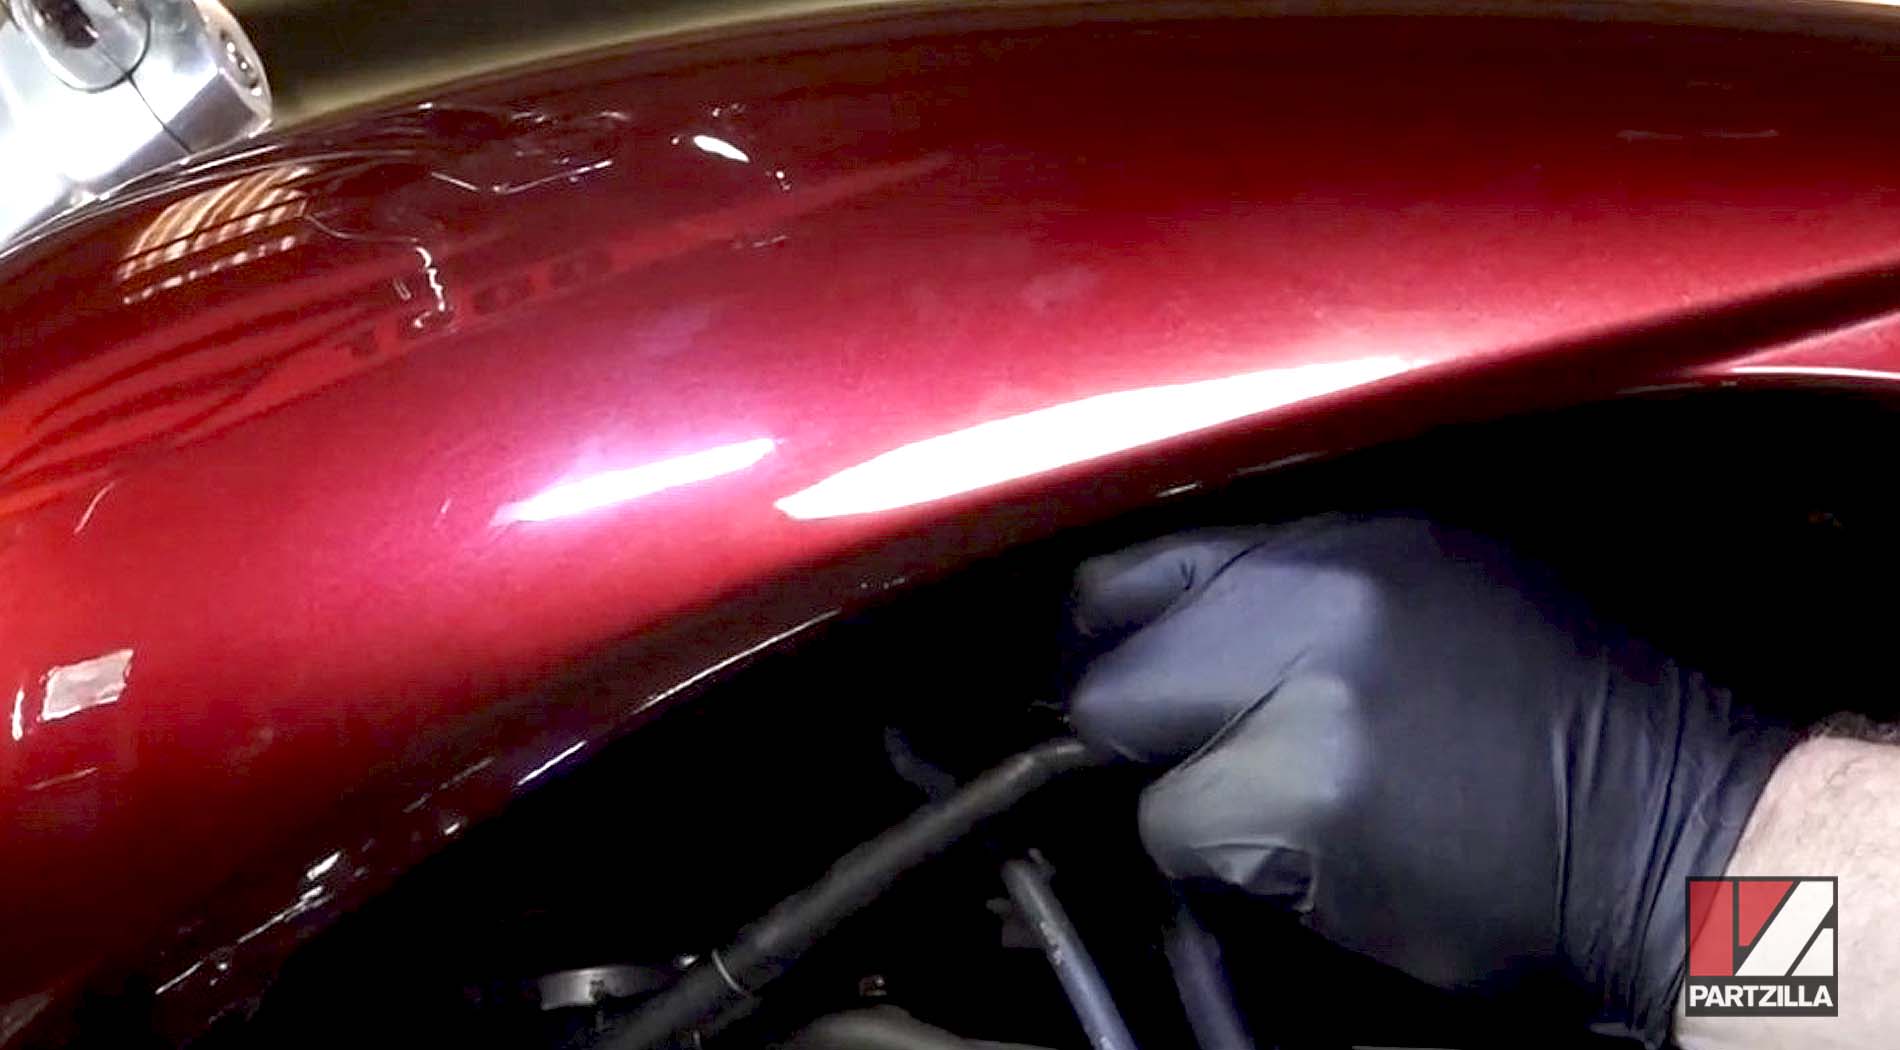
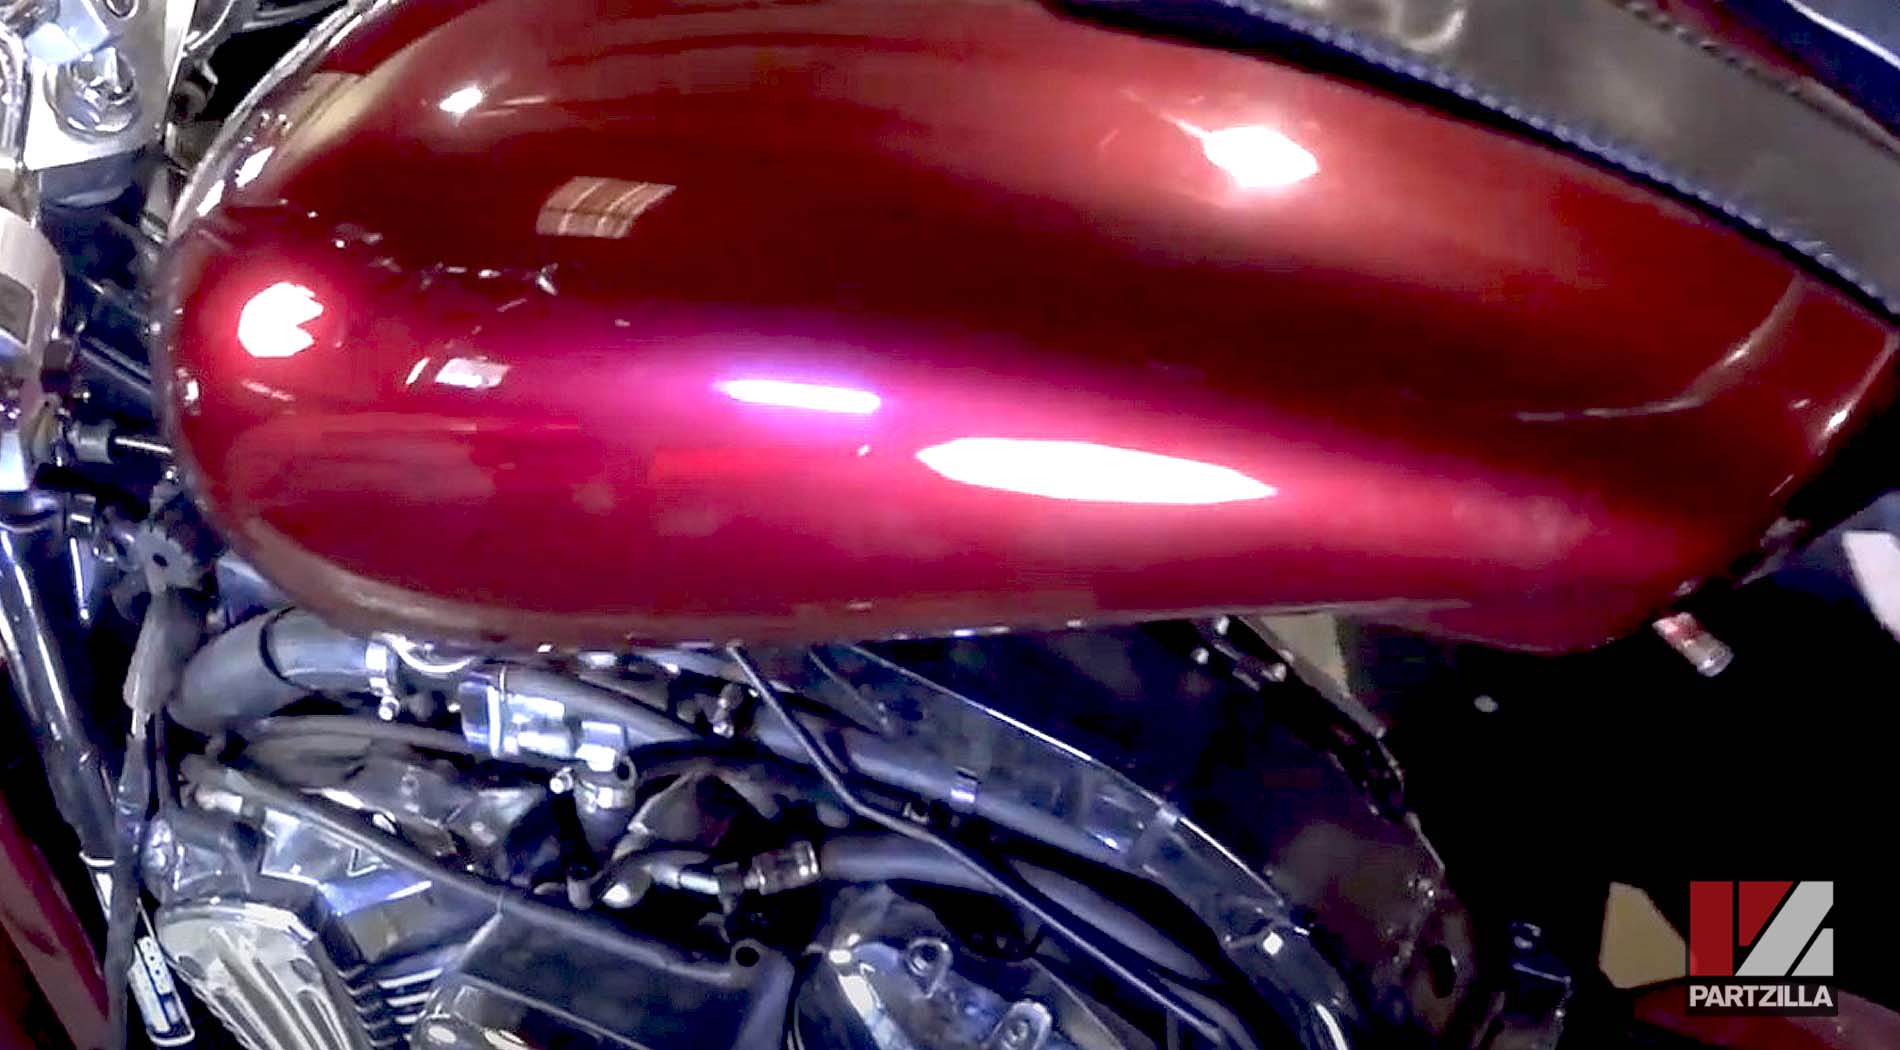
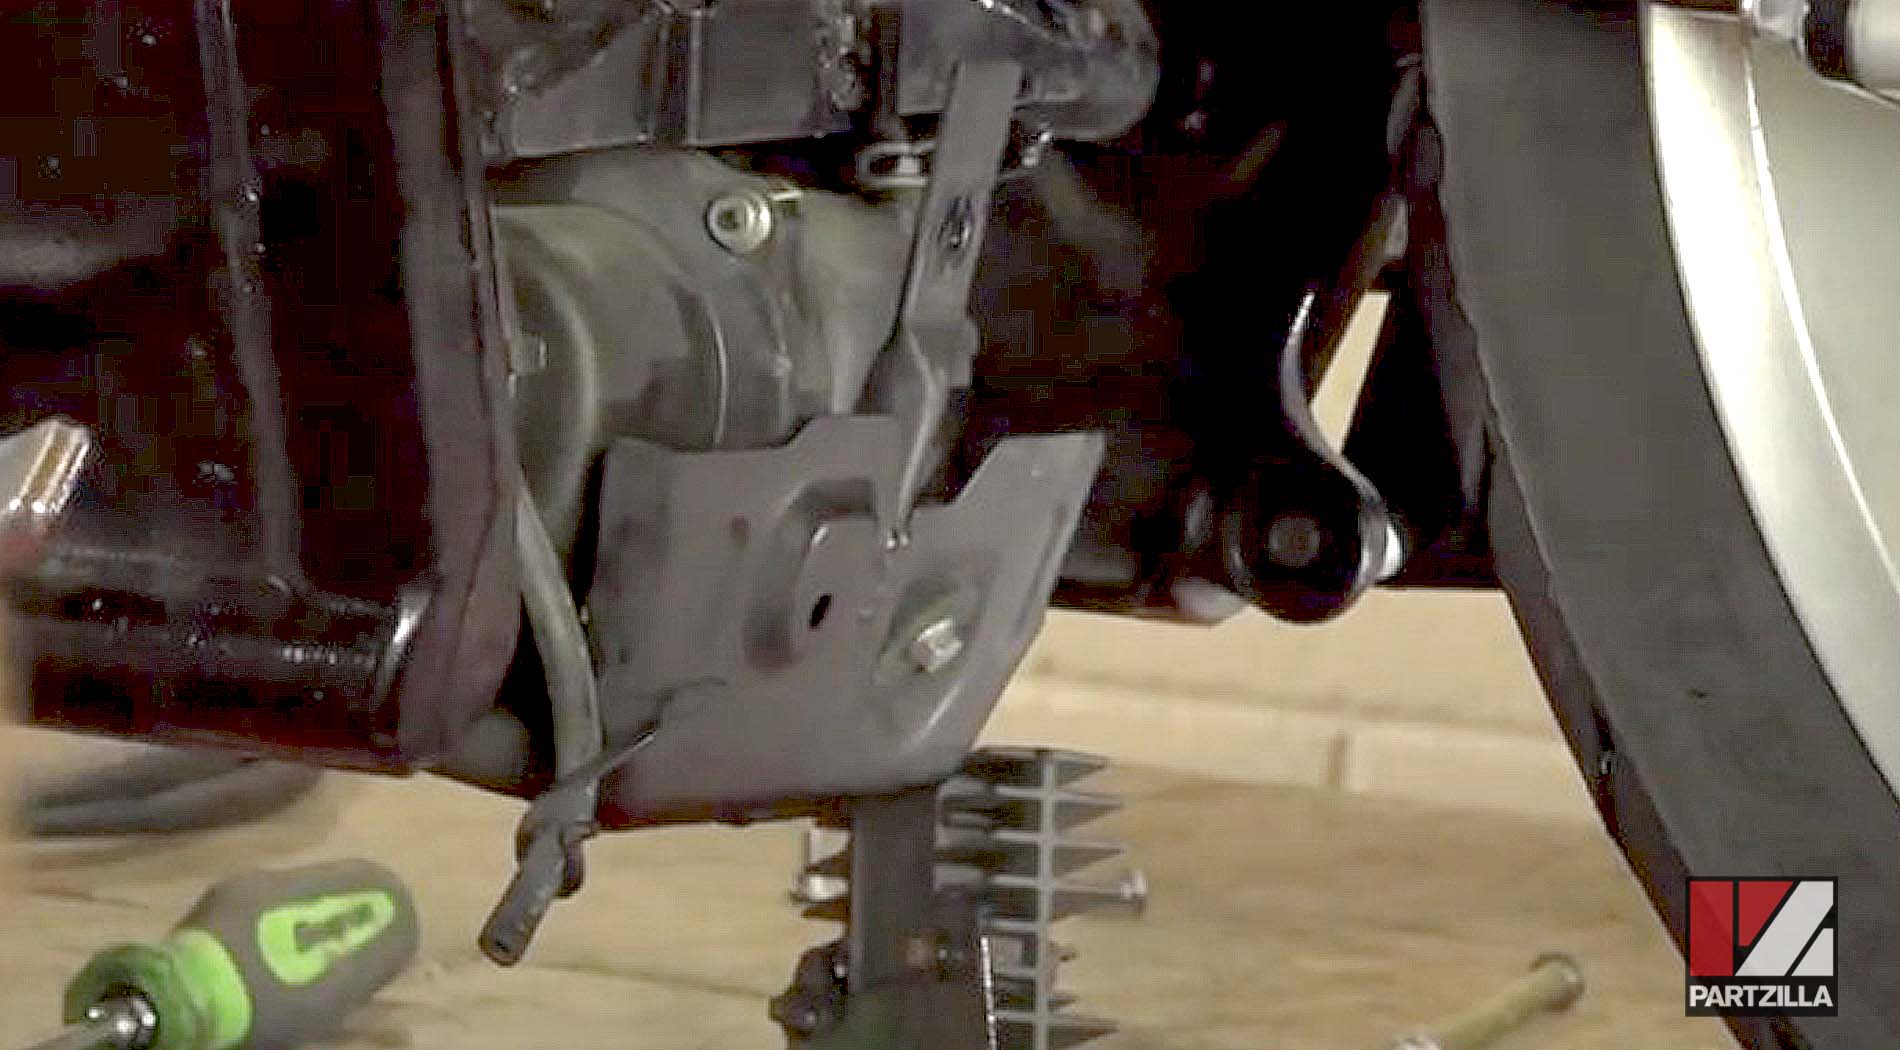
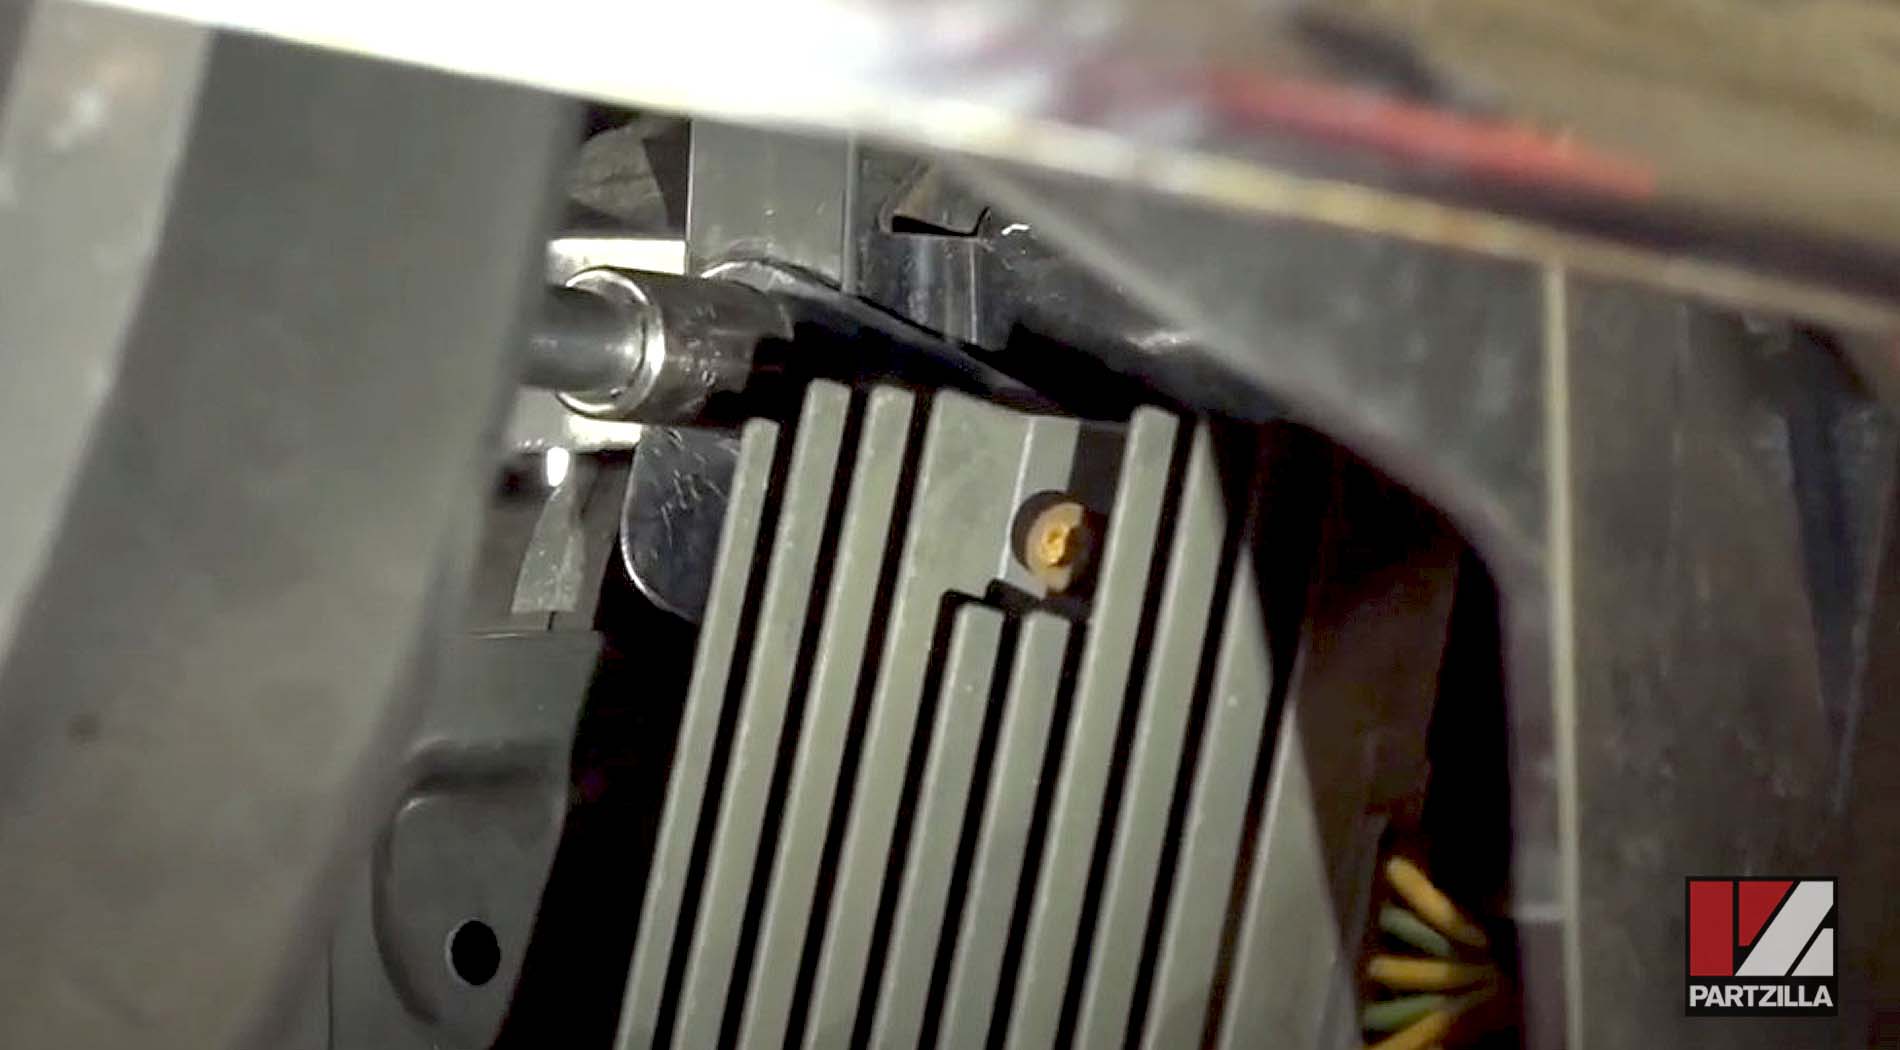
Step 3: Remove the three 12mm bolts holding the fuel pump and regulator/rectifier, then slide the regulator out of the way and lower the fuel pump. Use needlenose pliers to loosen the clamp, and a flat-head screwdriver to pry the line off the fuel pump connection.
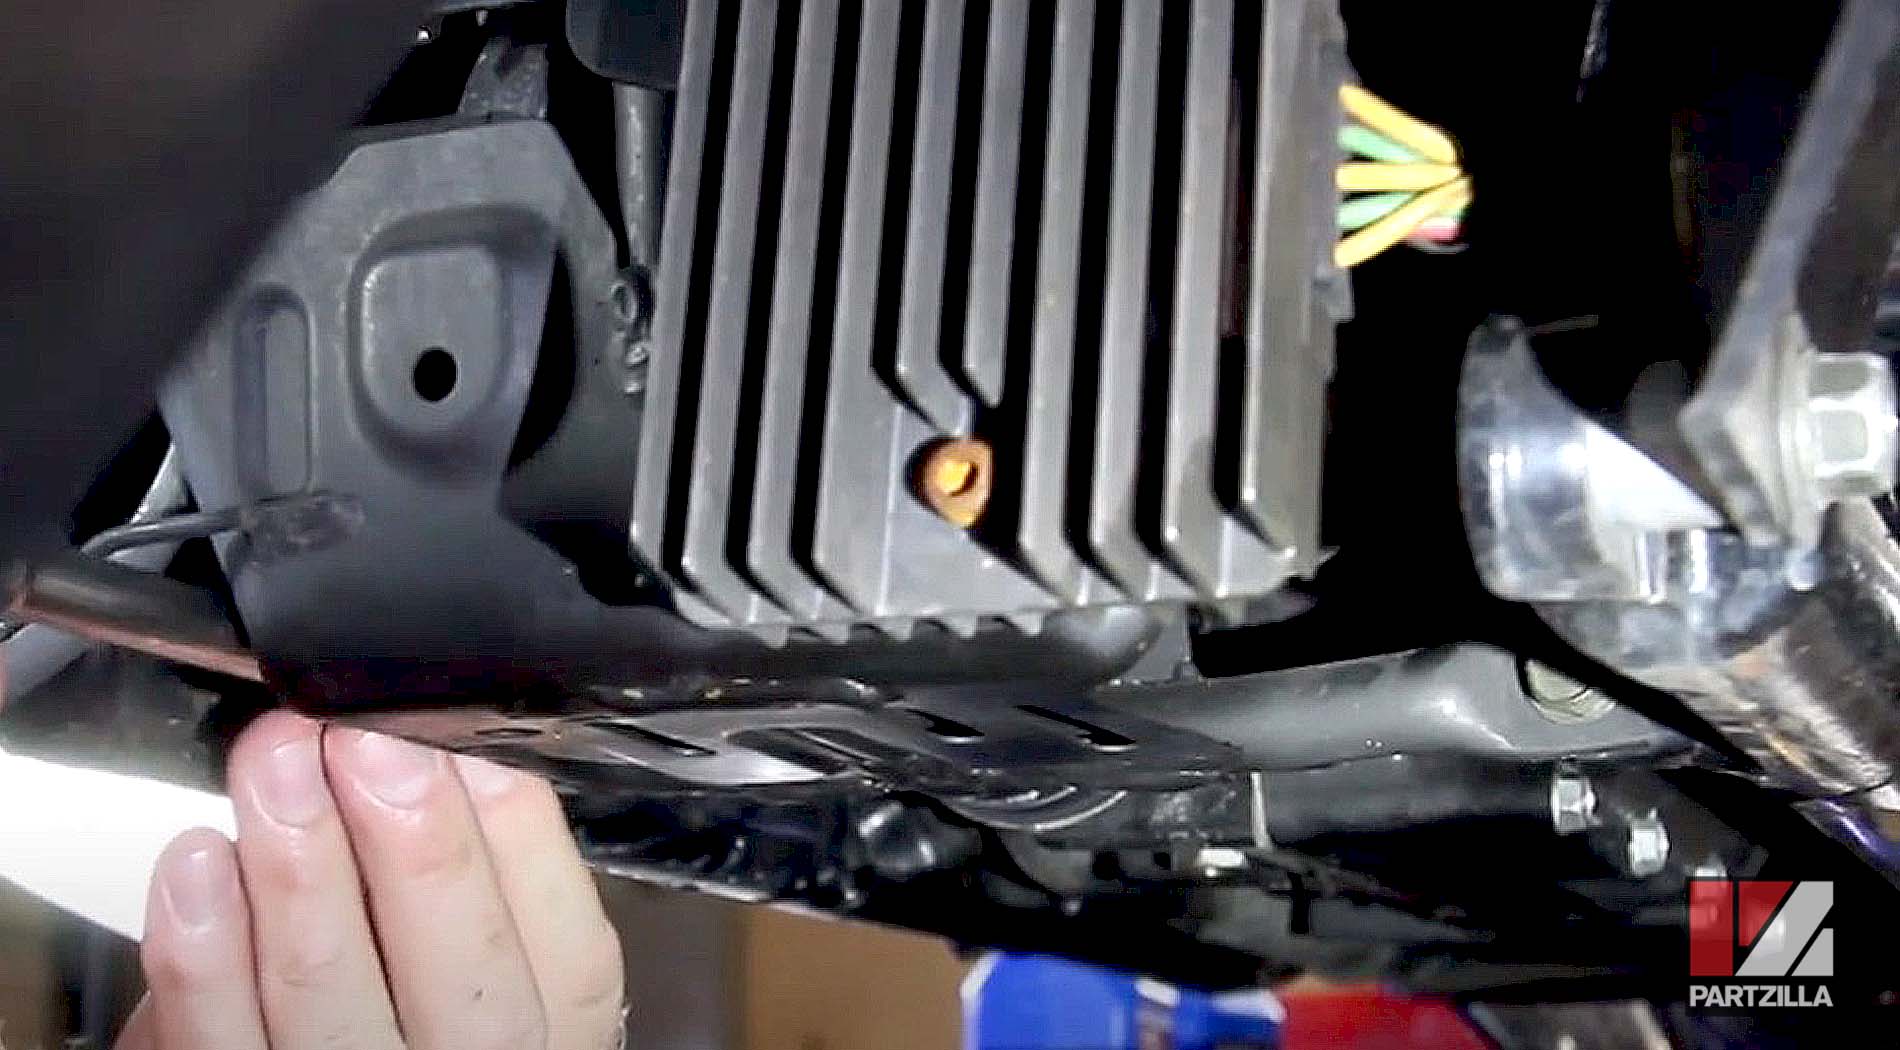
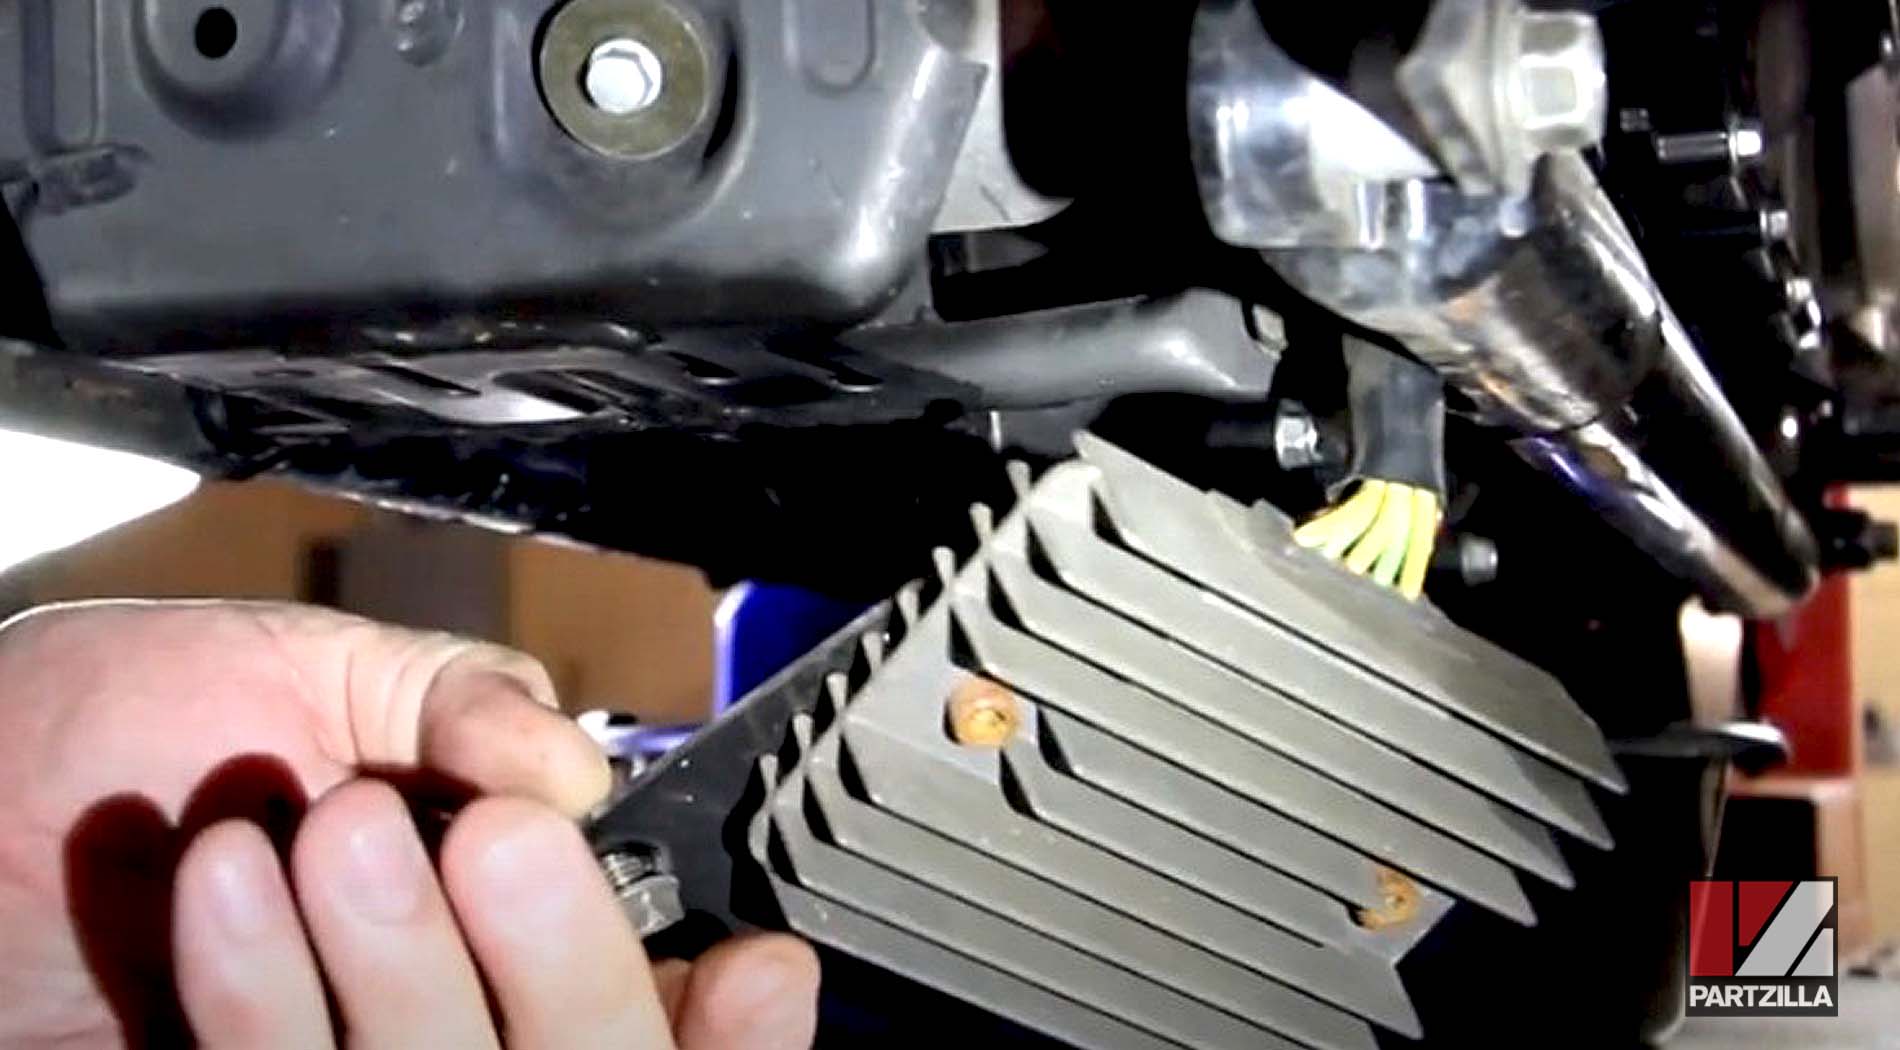
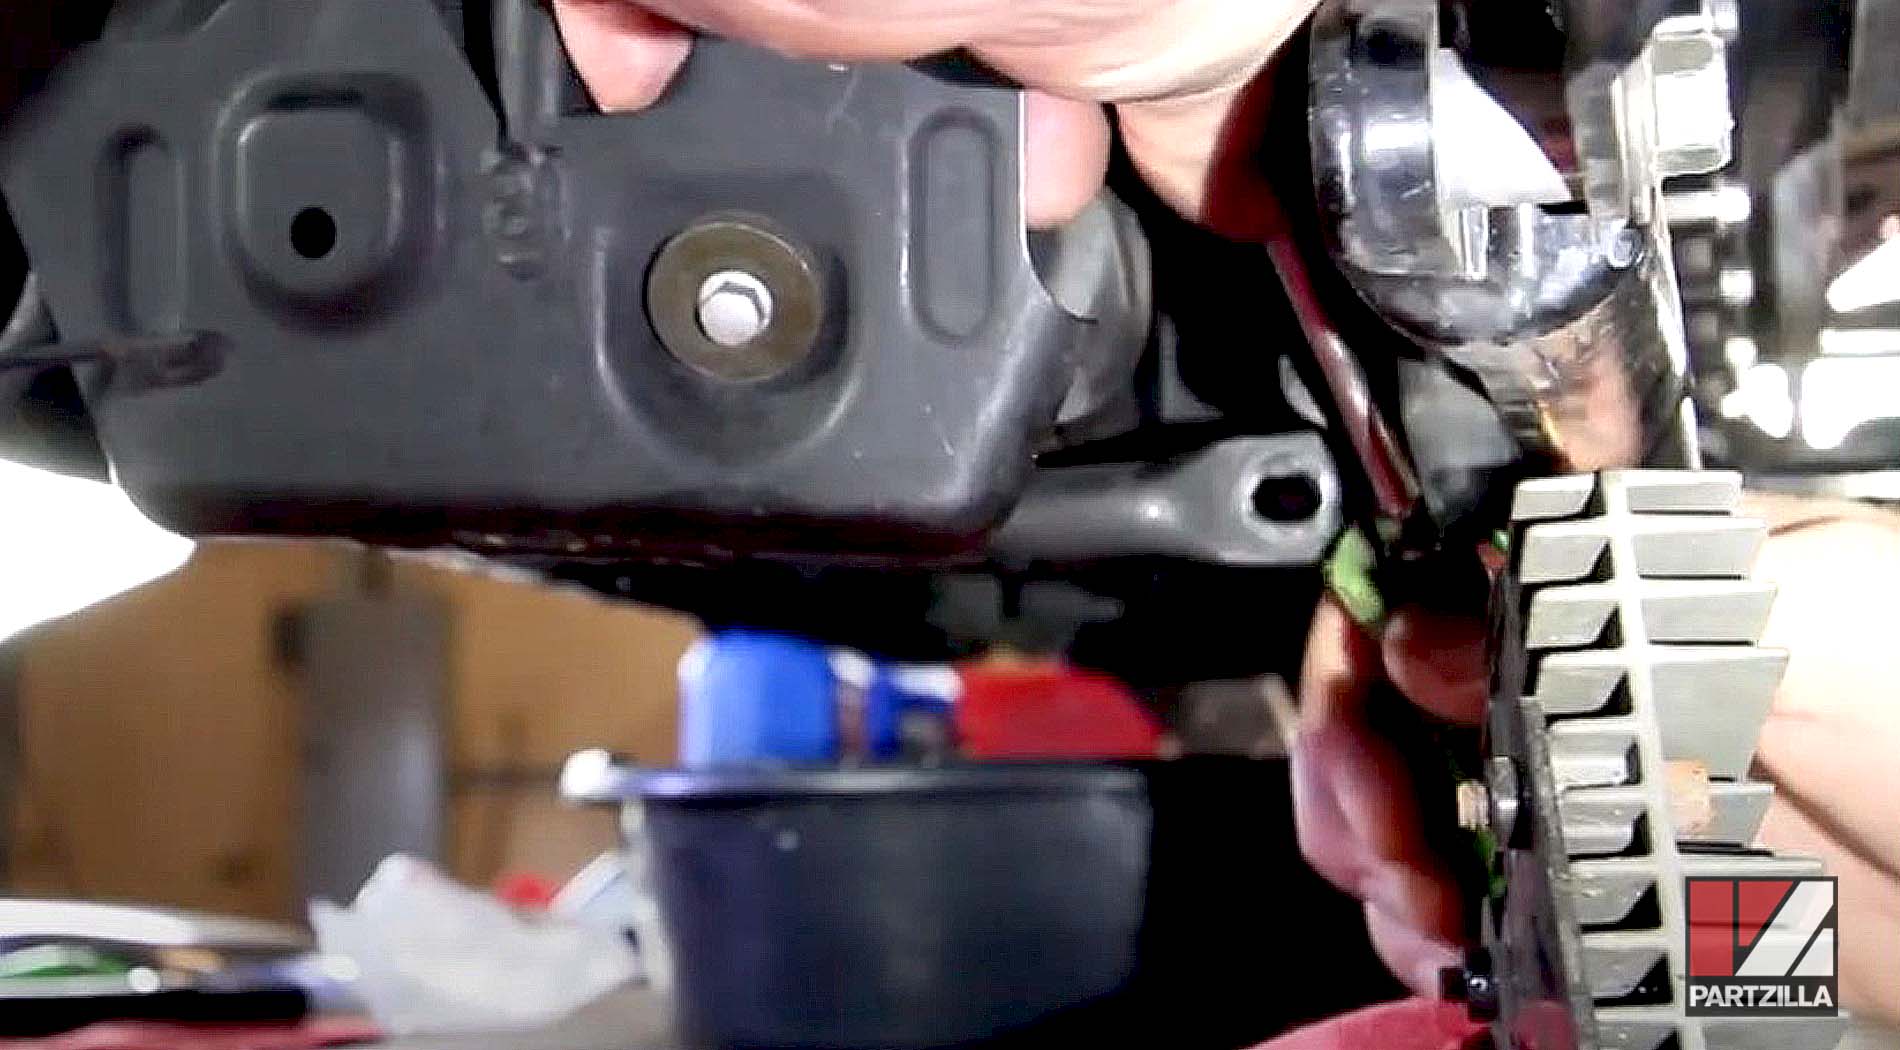
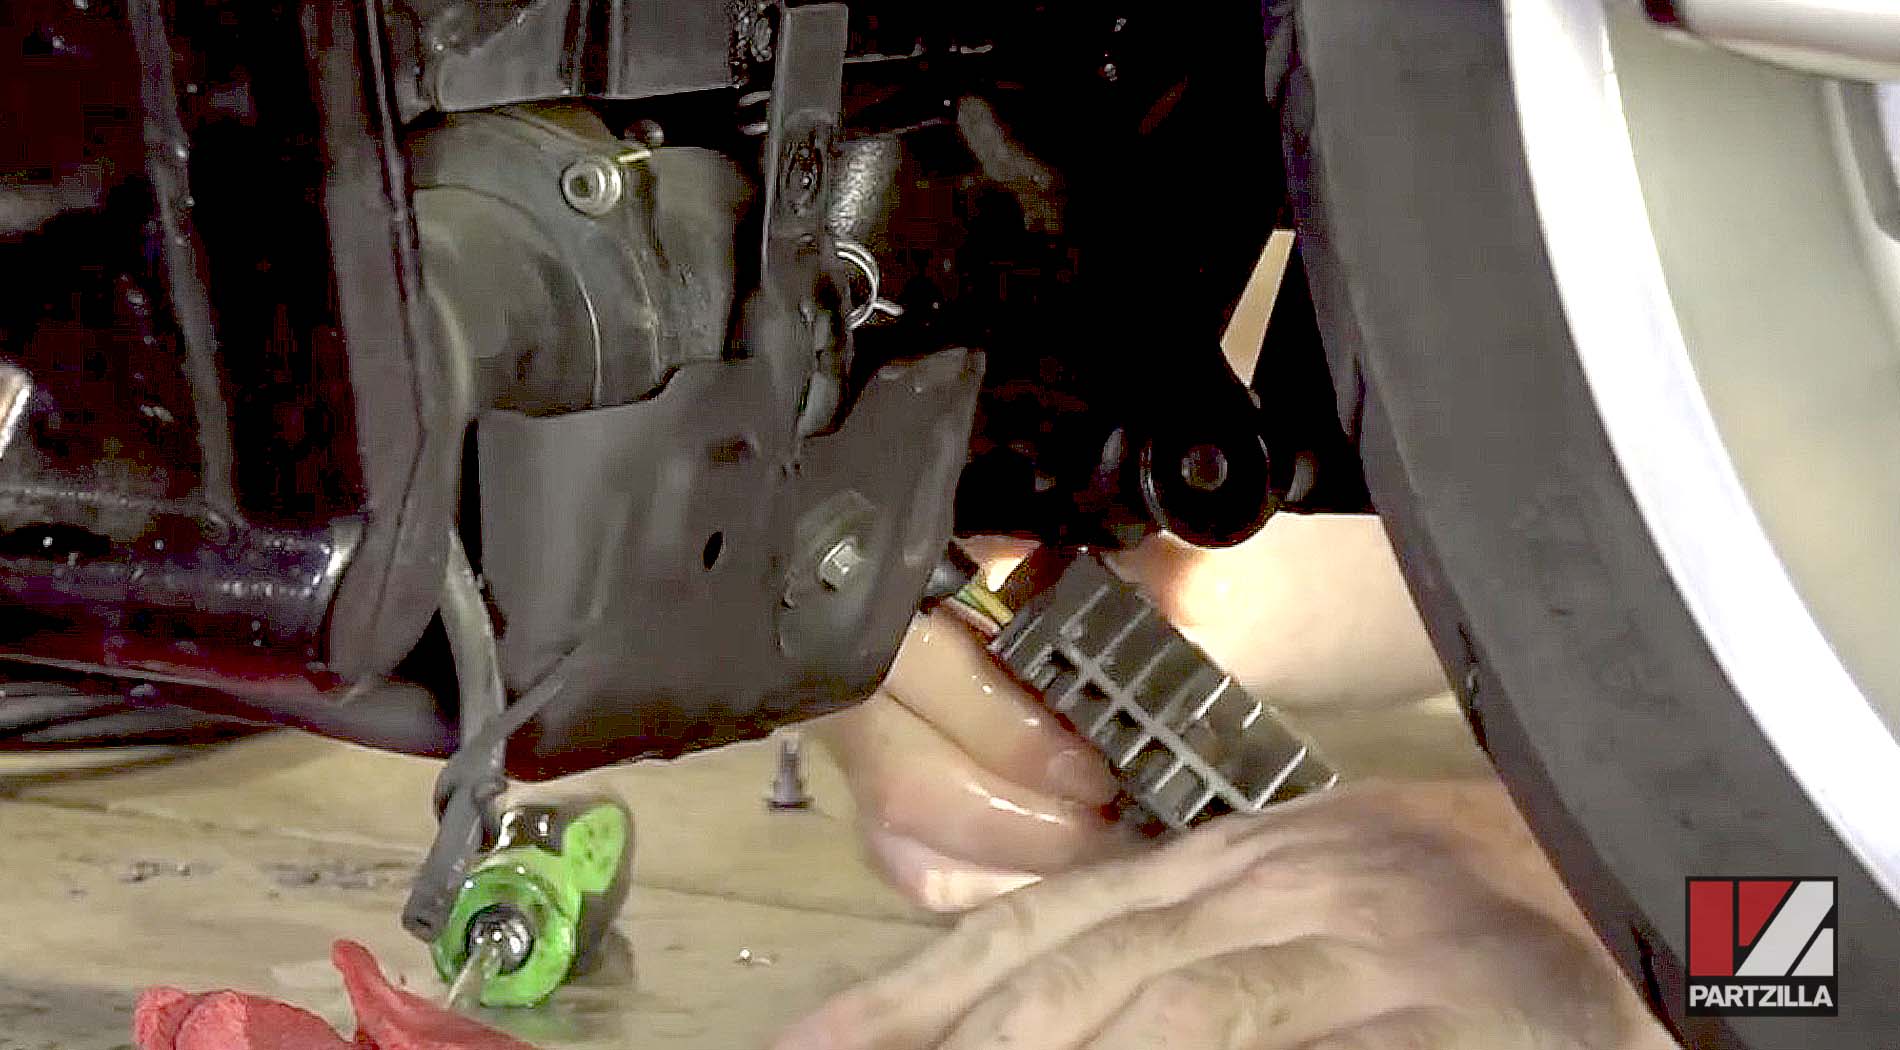
NOTE: There will be some residual fuel in the line (circled above), so have a rag handy to clean it up.
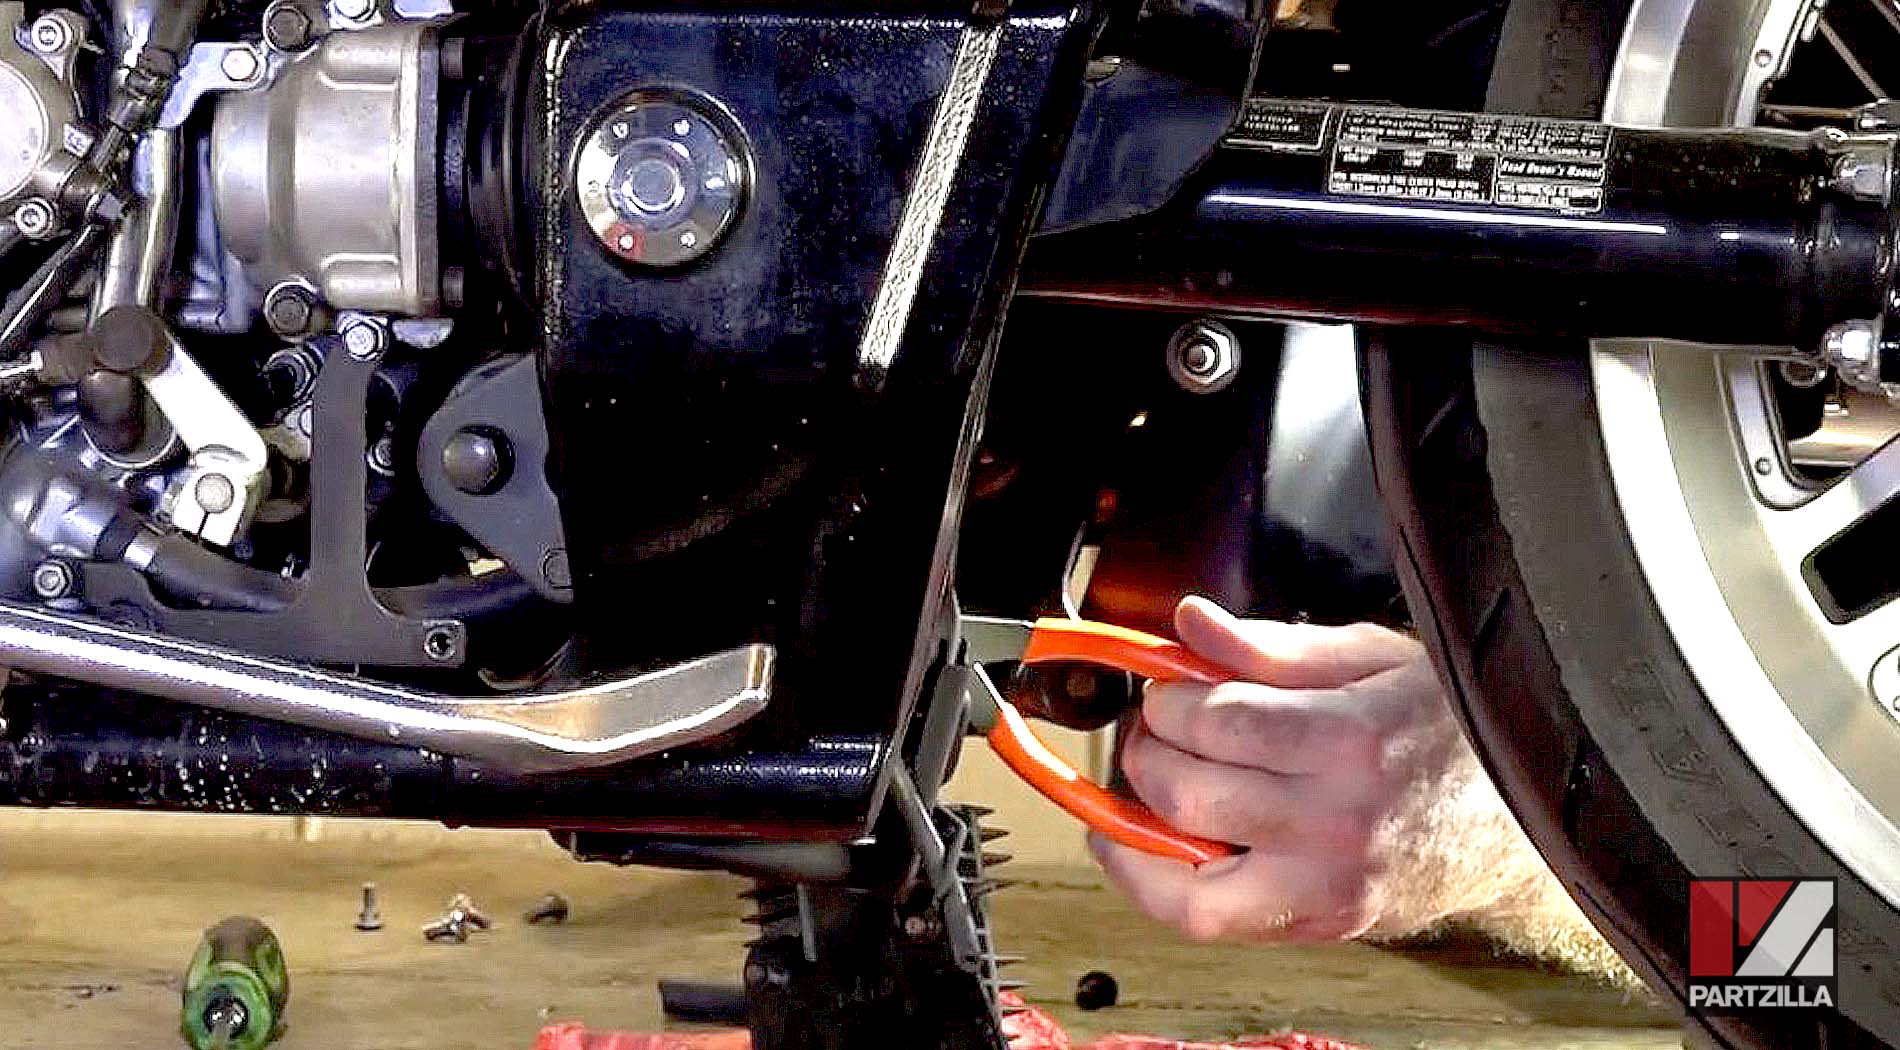
Step 4: Feed the old hose down a little so you have some room at the bottom. Once the hose is fed through, remove the old line and bolt stem.
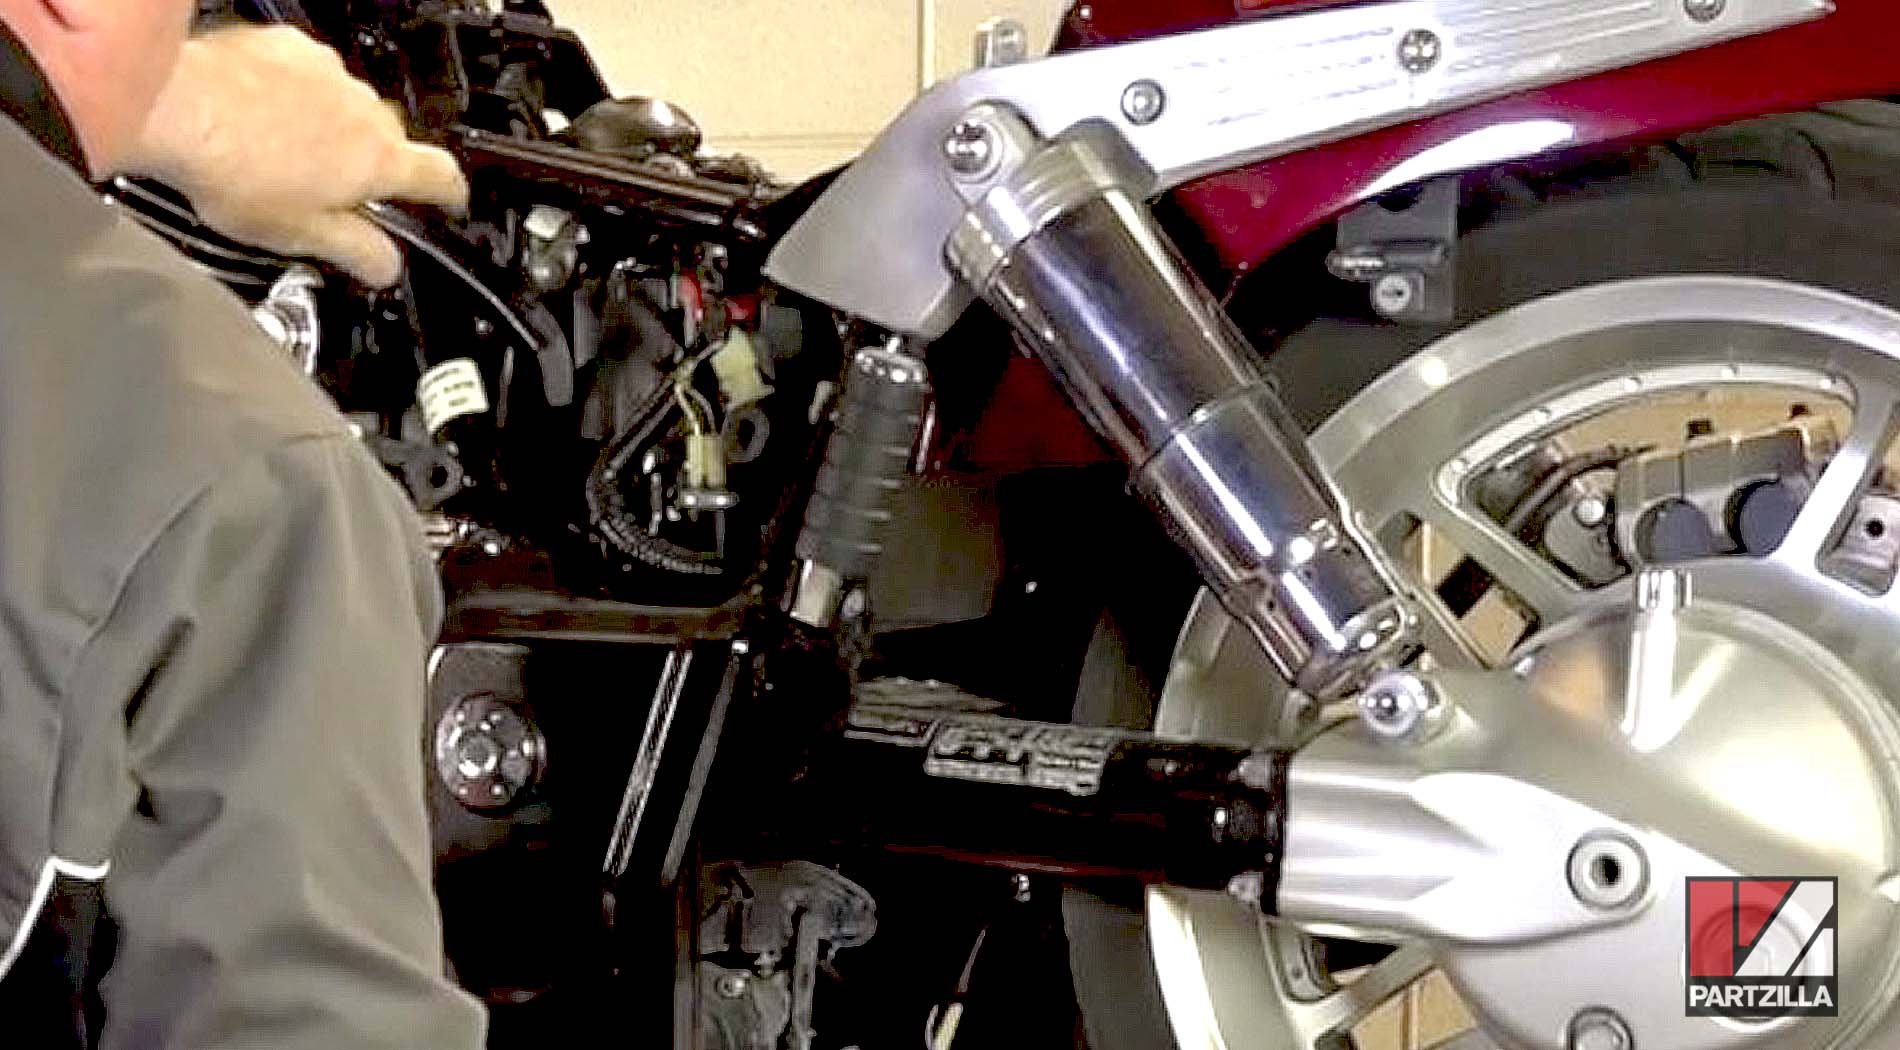
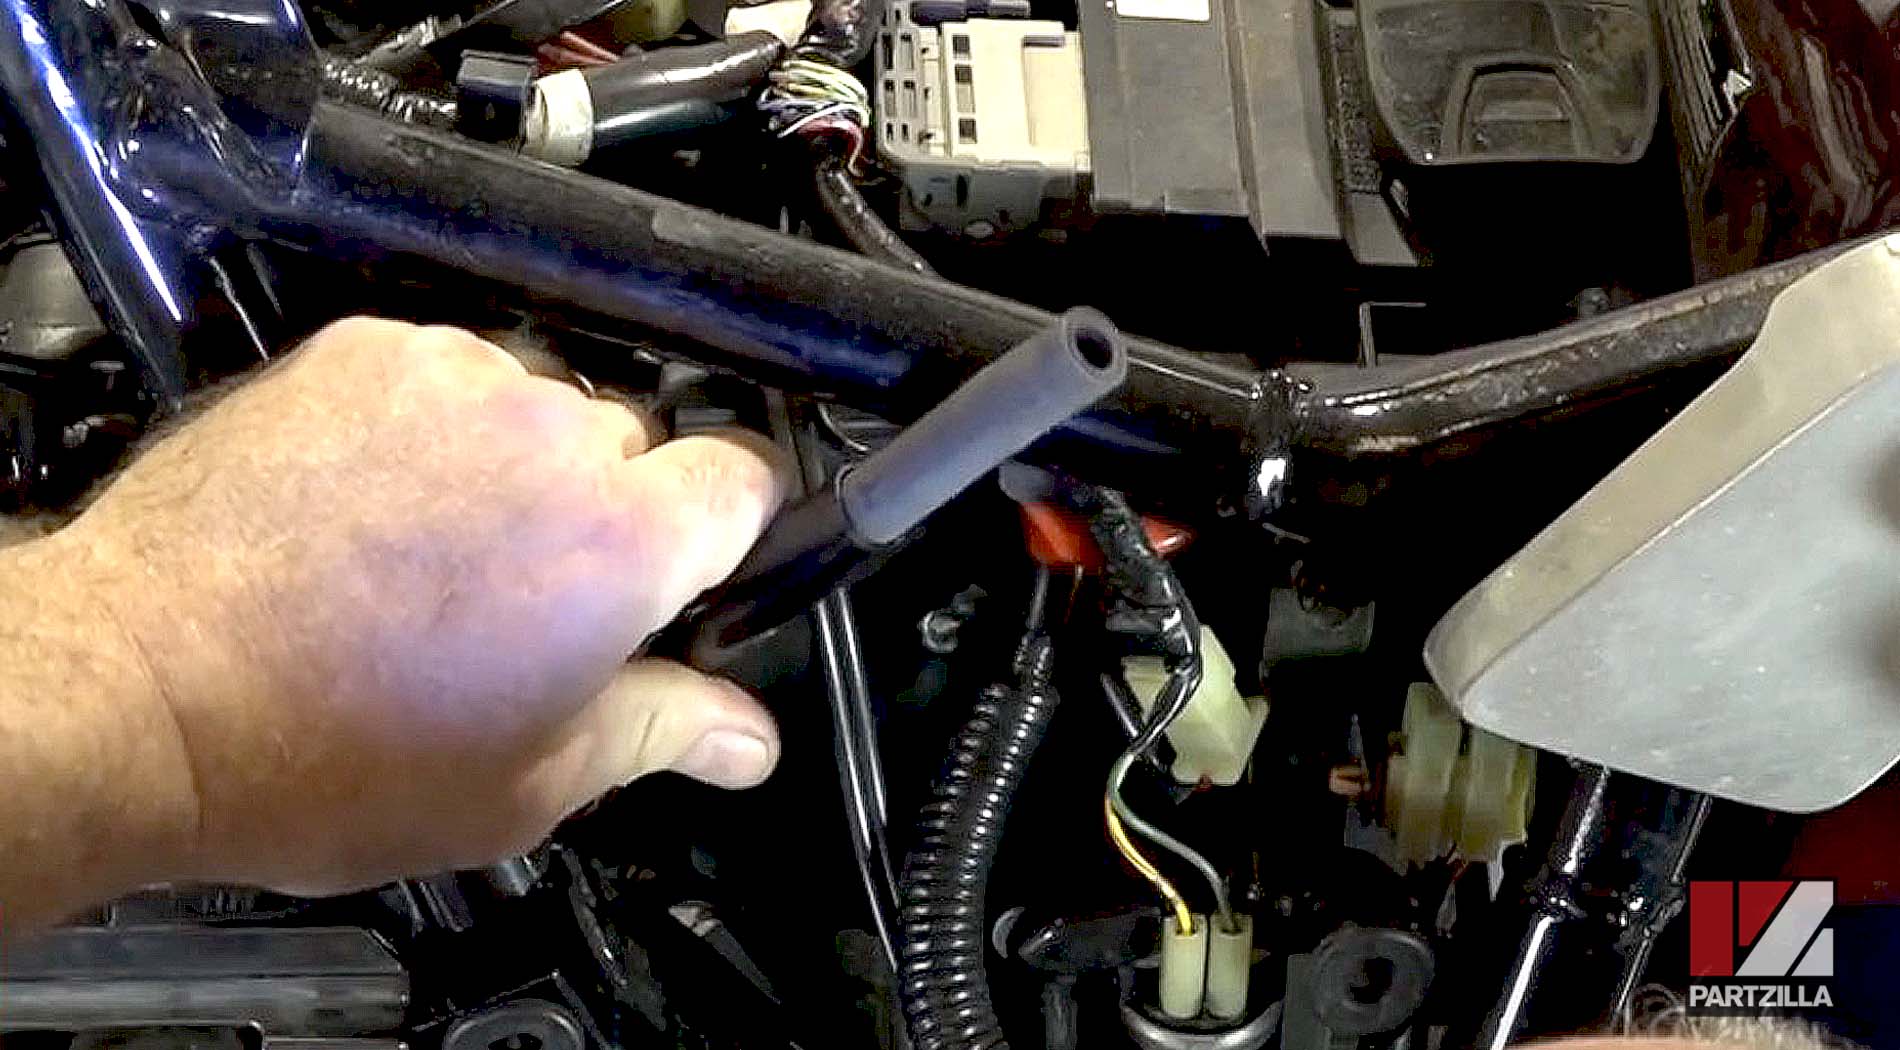
PRO TIP: Grind or shear off the head of a bolt, then feed the stem of the bolt into the bottom of the old line. Feed the new line onto the other end of the stem so it connects the two hoses. From there, you can pull the old line up through the top of the bike and feed the new line up from the bottom.
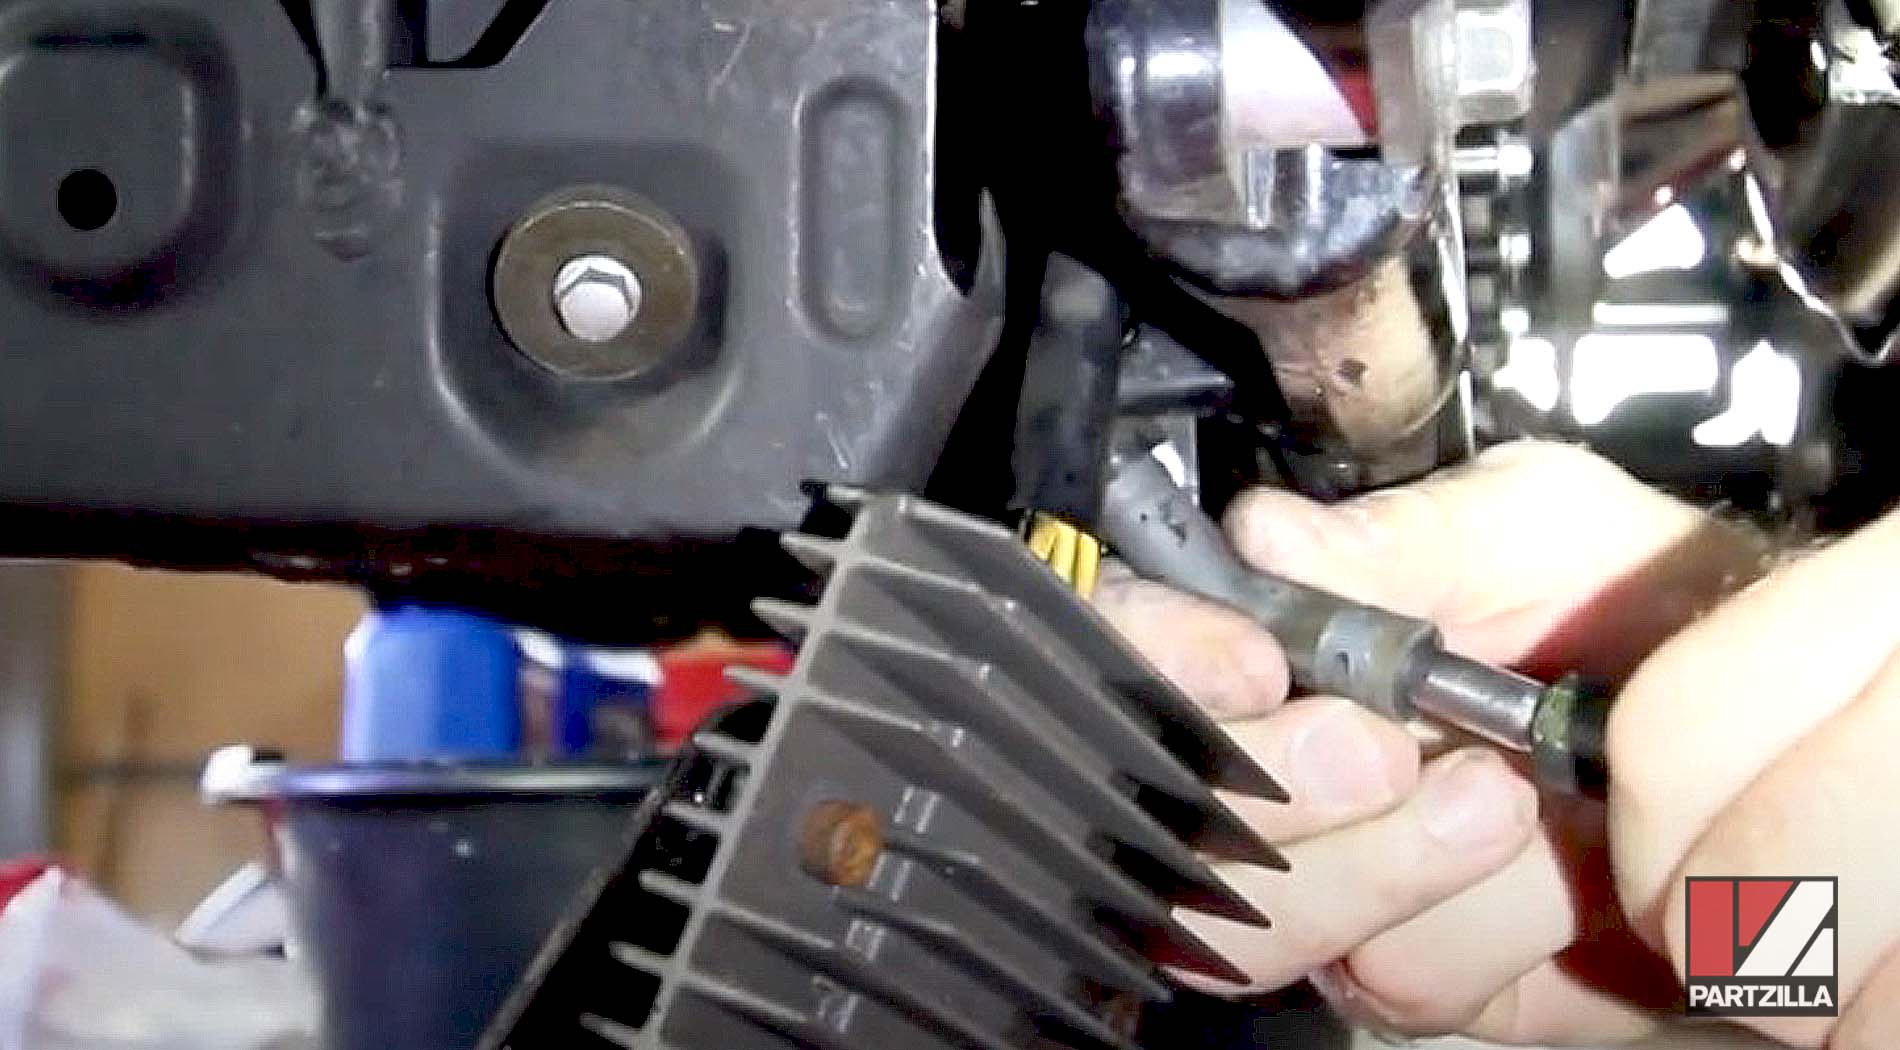
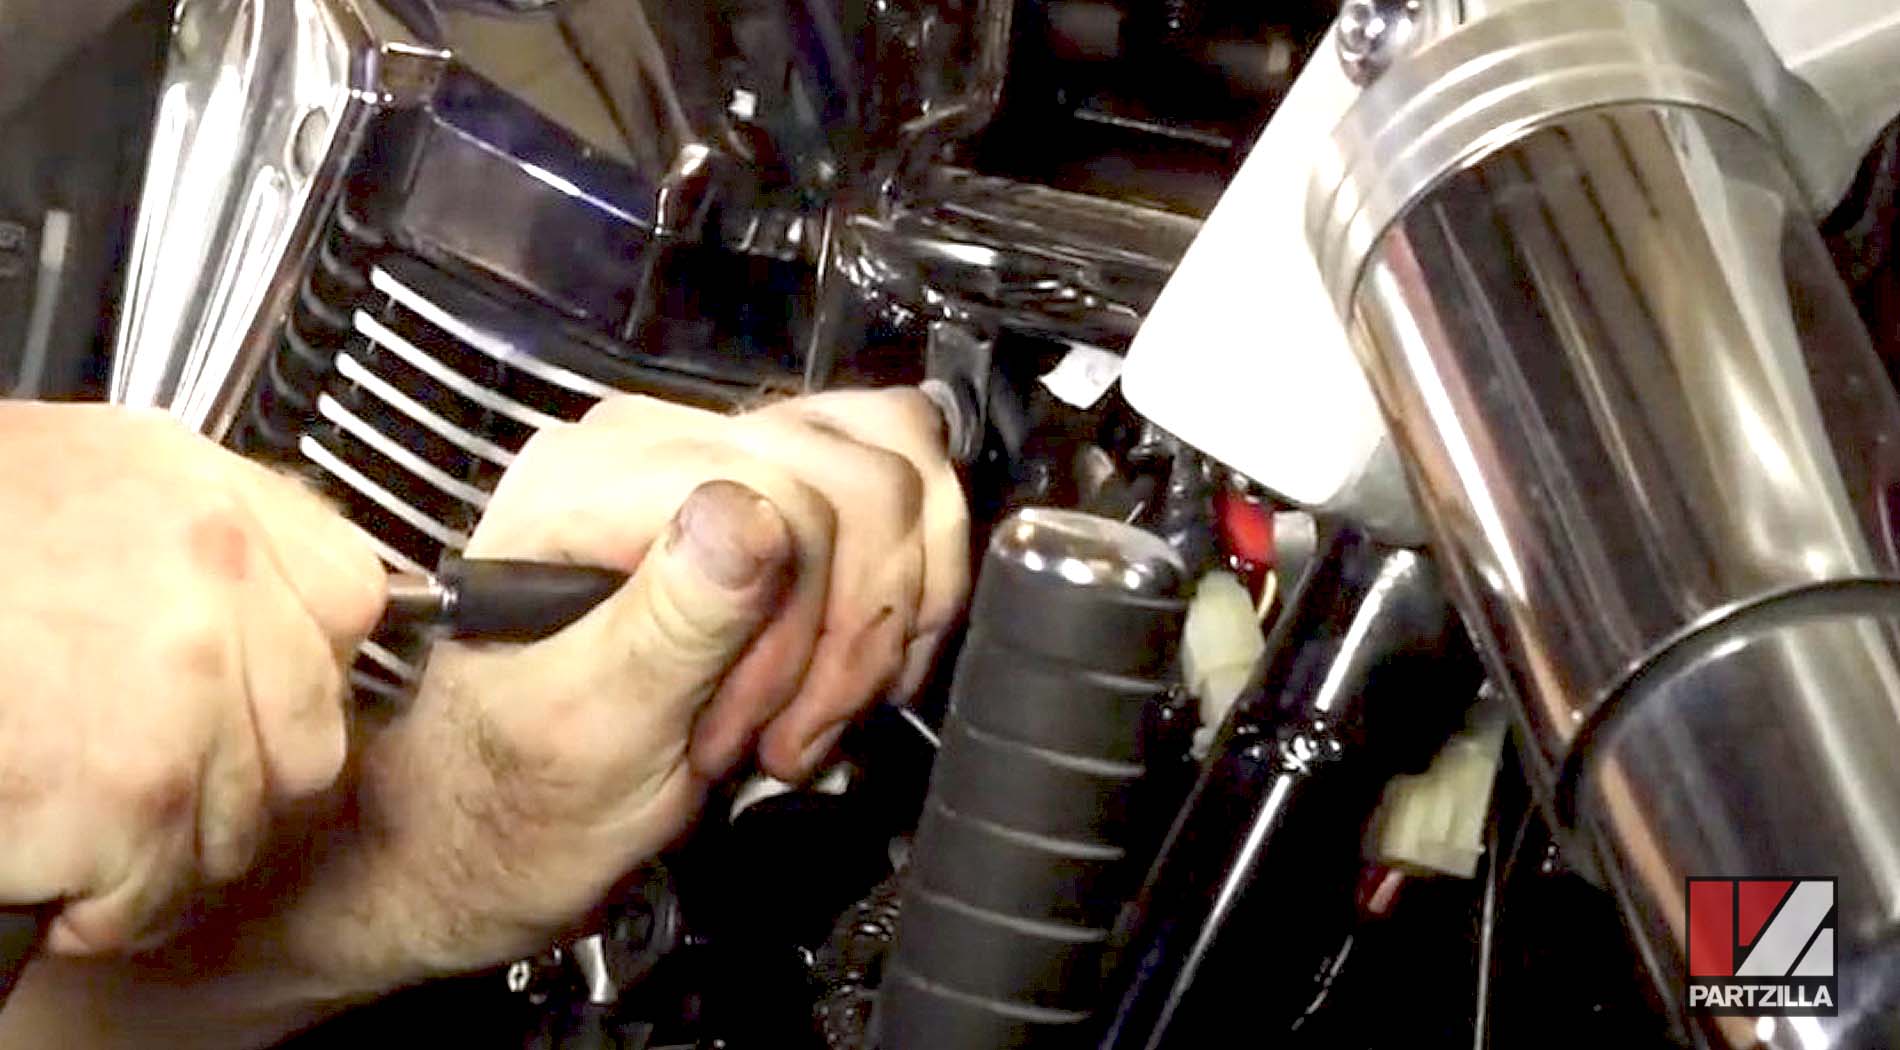
Step 5: Reconnect the lower end of the fuel line into the fuel pump first. Next, retighten the clamp on the hose, then reposition the fuel pump and regulator. Thread the three bolts back in loosely to line everything up, then tighten them with a ratchet.
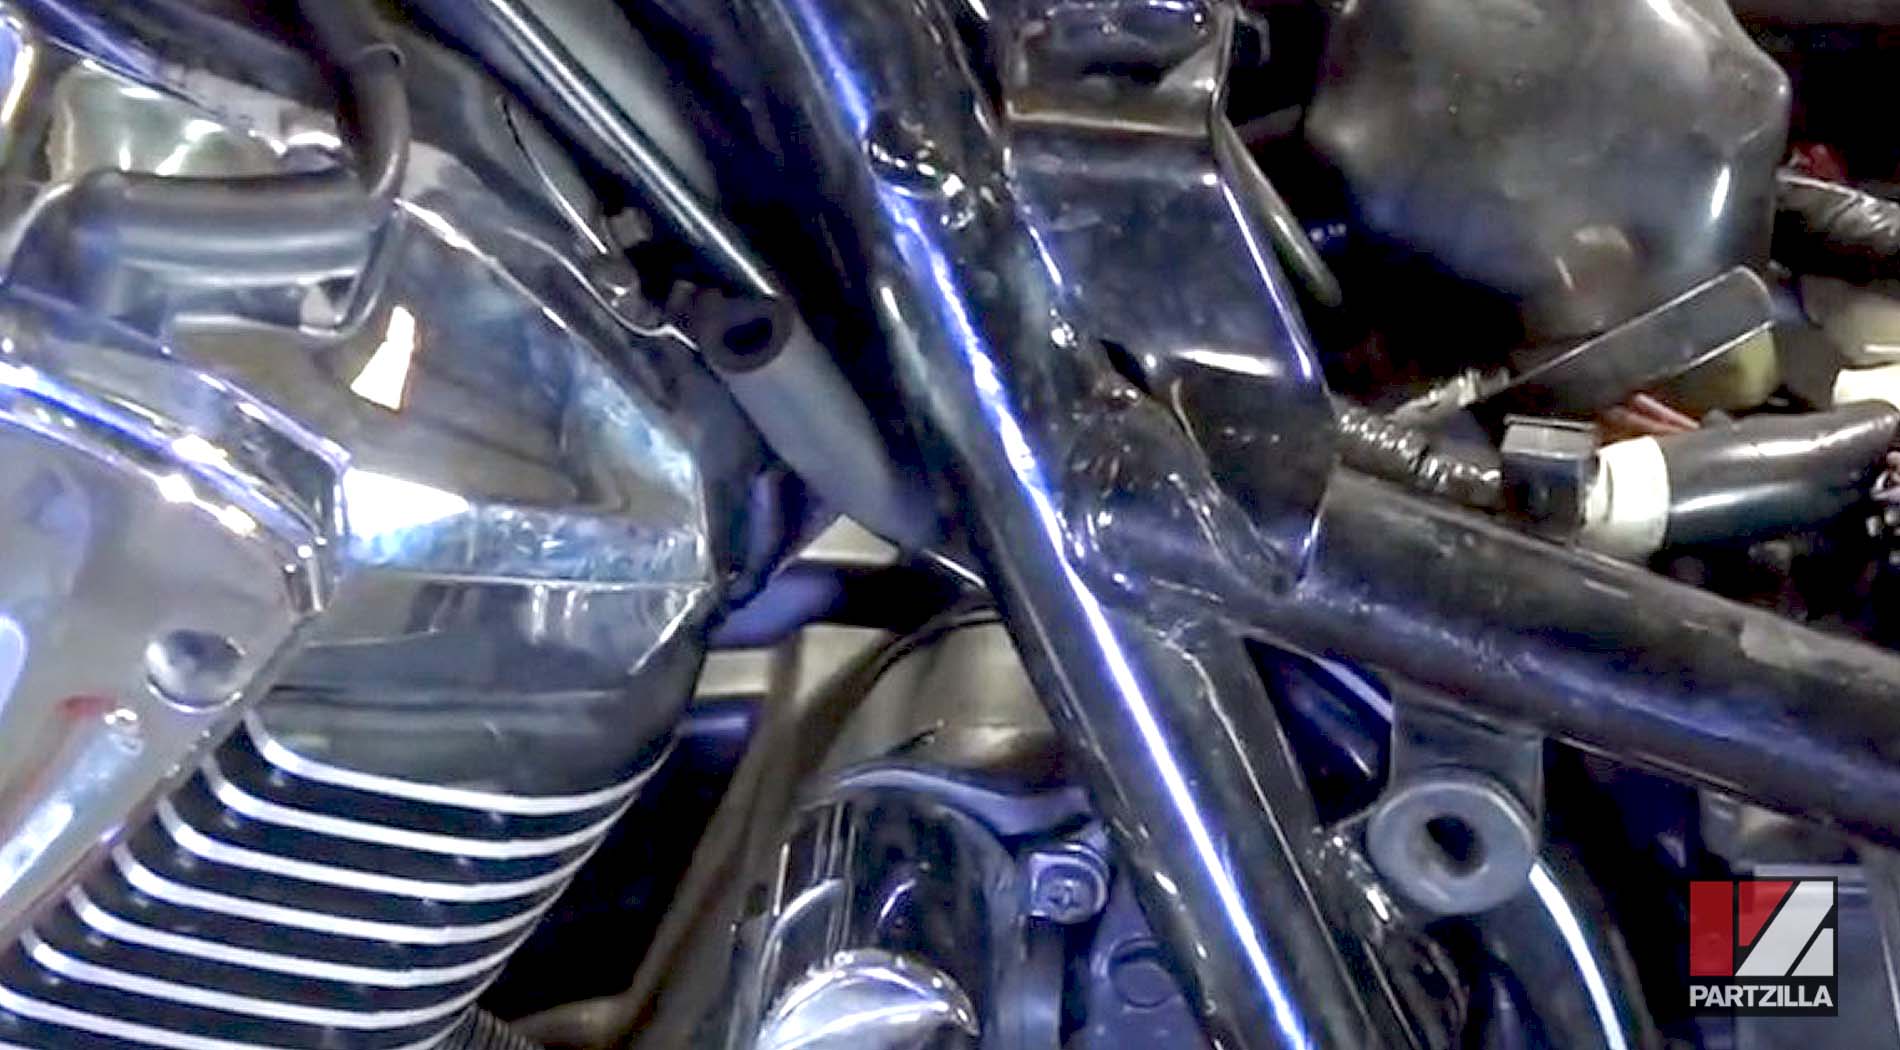
Step 6. Grab the top of the fuel line to pull out the slack, then tuck the line behind the frame as it was before. Replace the tank on the bike, then reconnect the hoses and center display and you're done.
Ready to do some more maintenance on your Honda VTX 1800? Watch the video above to learn how to change the coolant on your motorcycle.
