How to Change Honda VTX 1800 Final Drive Oil
Changing the final drive oil in a Honda VTX 1800 only takes a handful of minutes, and can save you hundreds of dollars in costly rear differential repairs.
This simple bit routine maintenance task is something you should do at least once a year or every 12,000 miles. Watch the video above and follow the steps below to change the final drive fluid in a Honda VTX1800.
Tools and Parts – Honda VTX 1800 Rear Diff Oil Change
- Ratchet and 17mm socket
- Drain pan
- Torque wrench
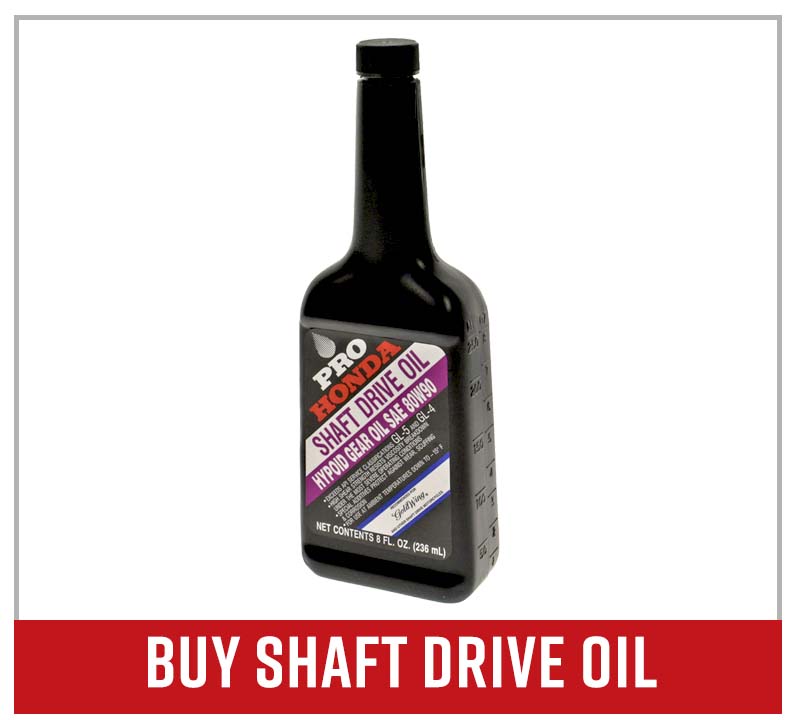
- Honda shaft drive oil
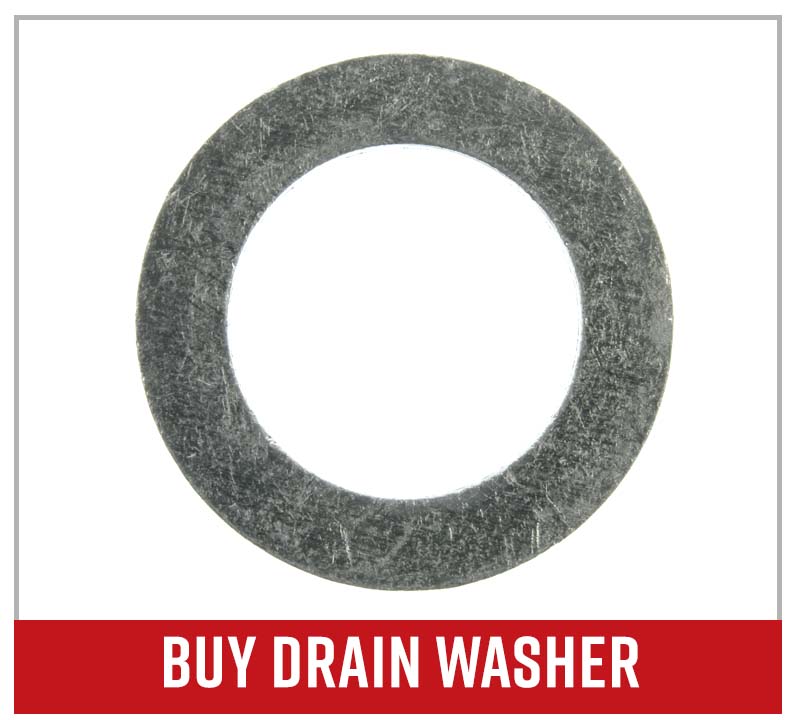
- Drain plug crush washer
PRO TIP: Before getting started, take your Honda motorcycle for a short ride to warm up the final drive oil, which helps it drain out faster.
Changing Honda VTX 1800 Final Drive Oil
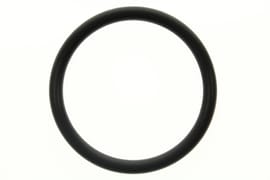
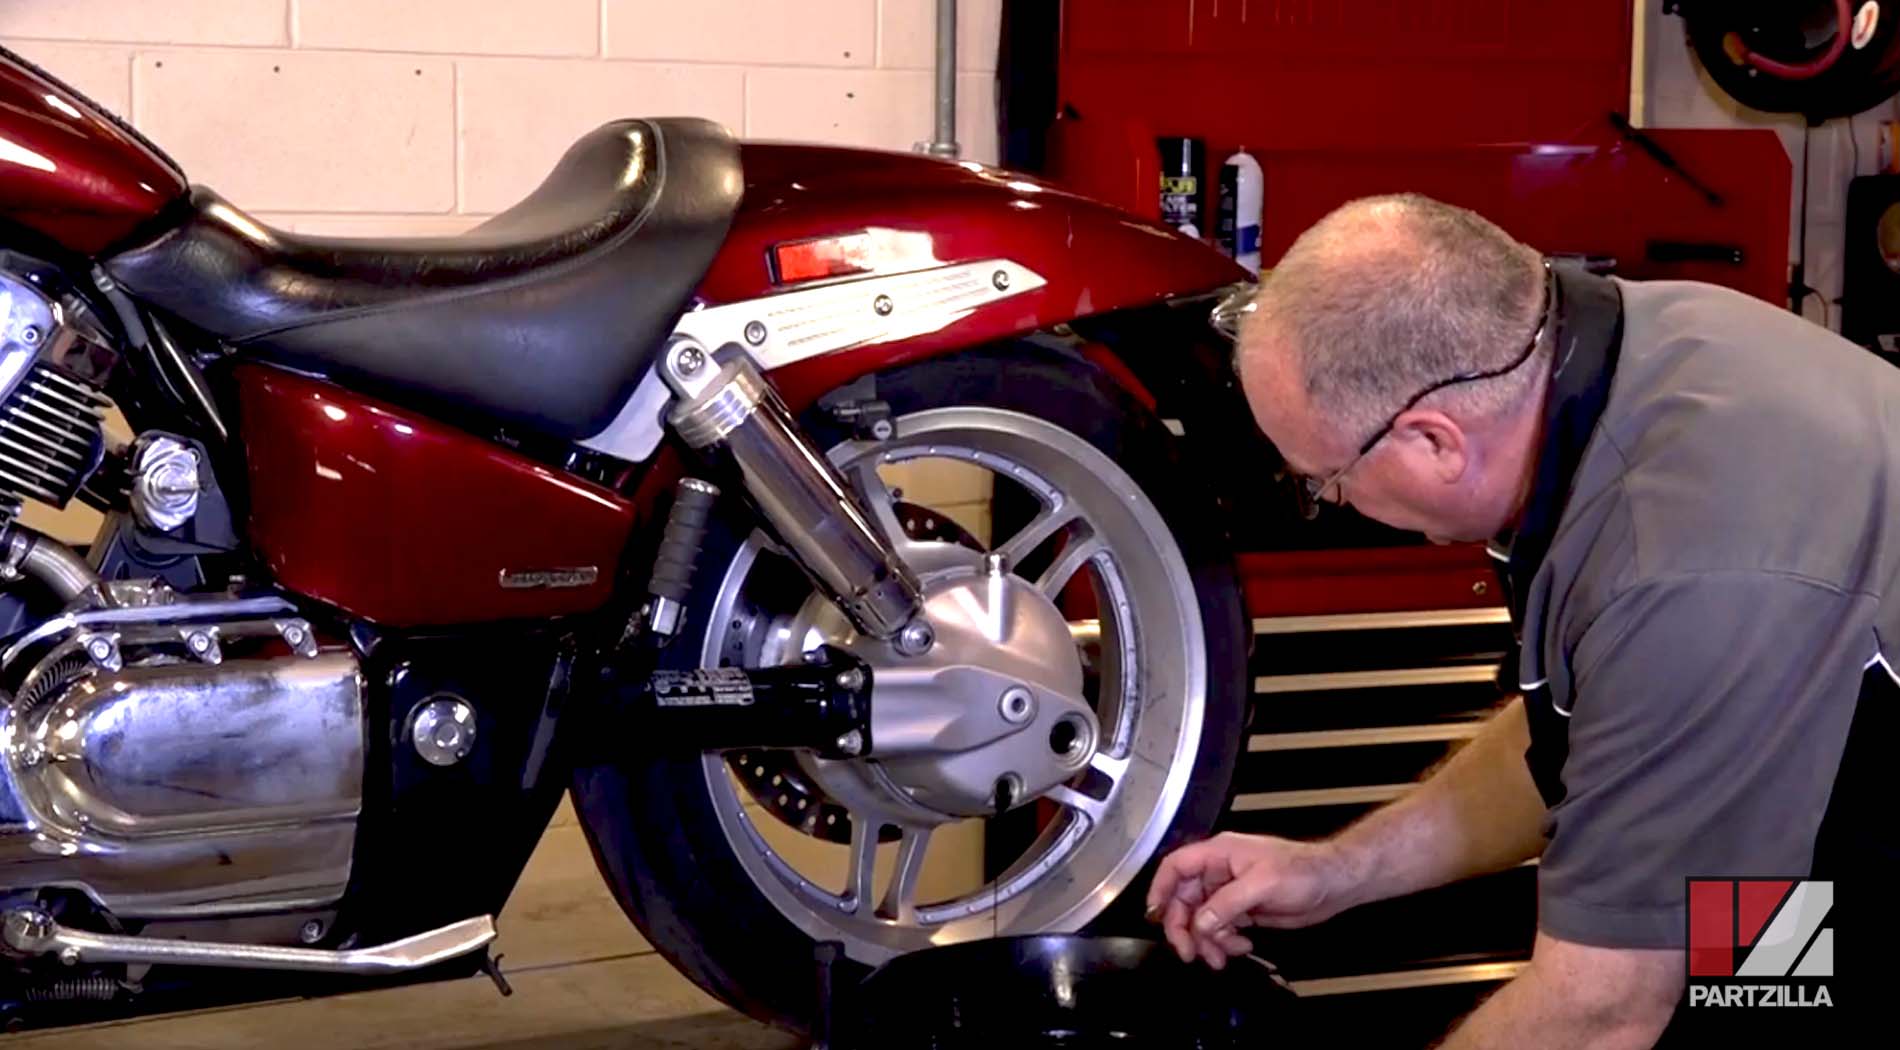
Step 1. Remove the fill plug and the O-ring from the final drive assembly. Inspect the O-ring for wear and replace it if necessary.
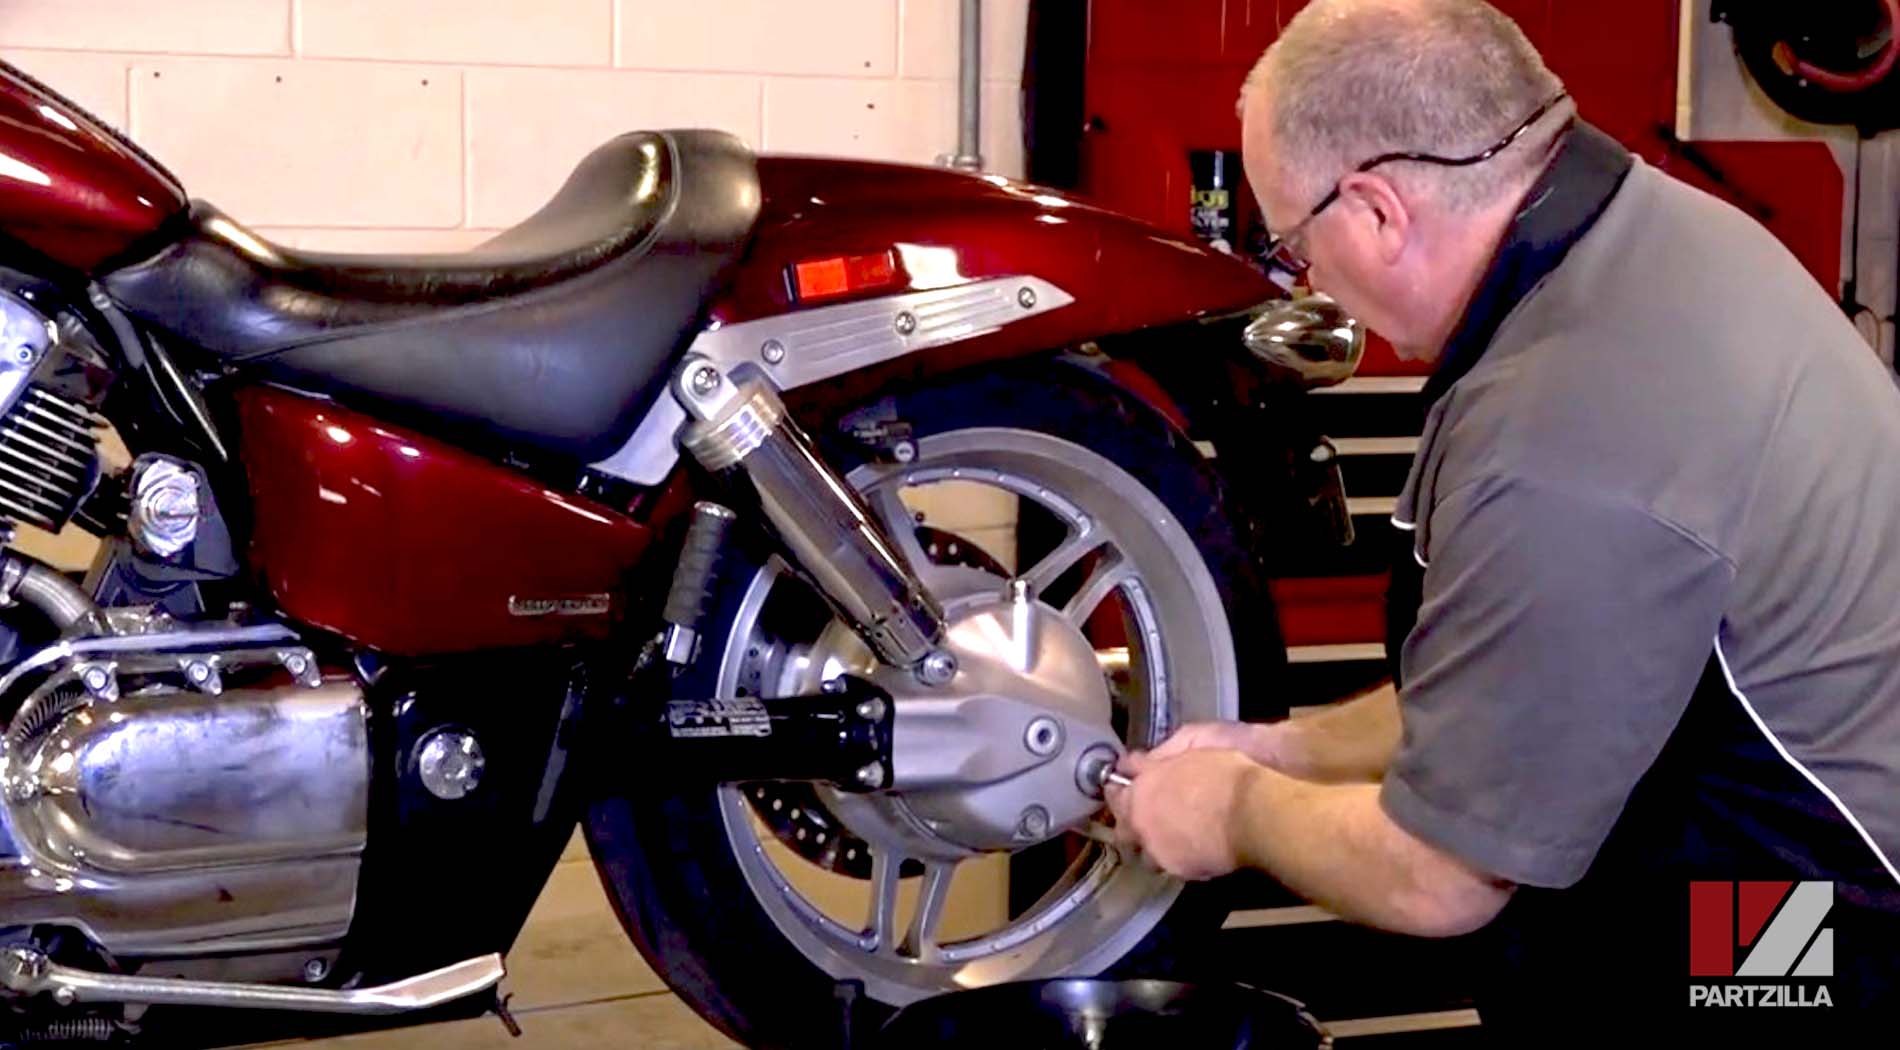
Step 2. Remove the drain plug and the crush washer from the final drive assembly.
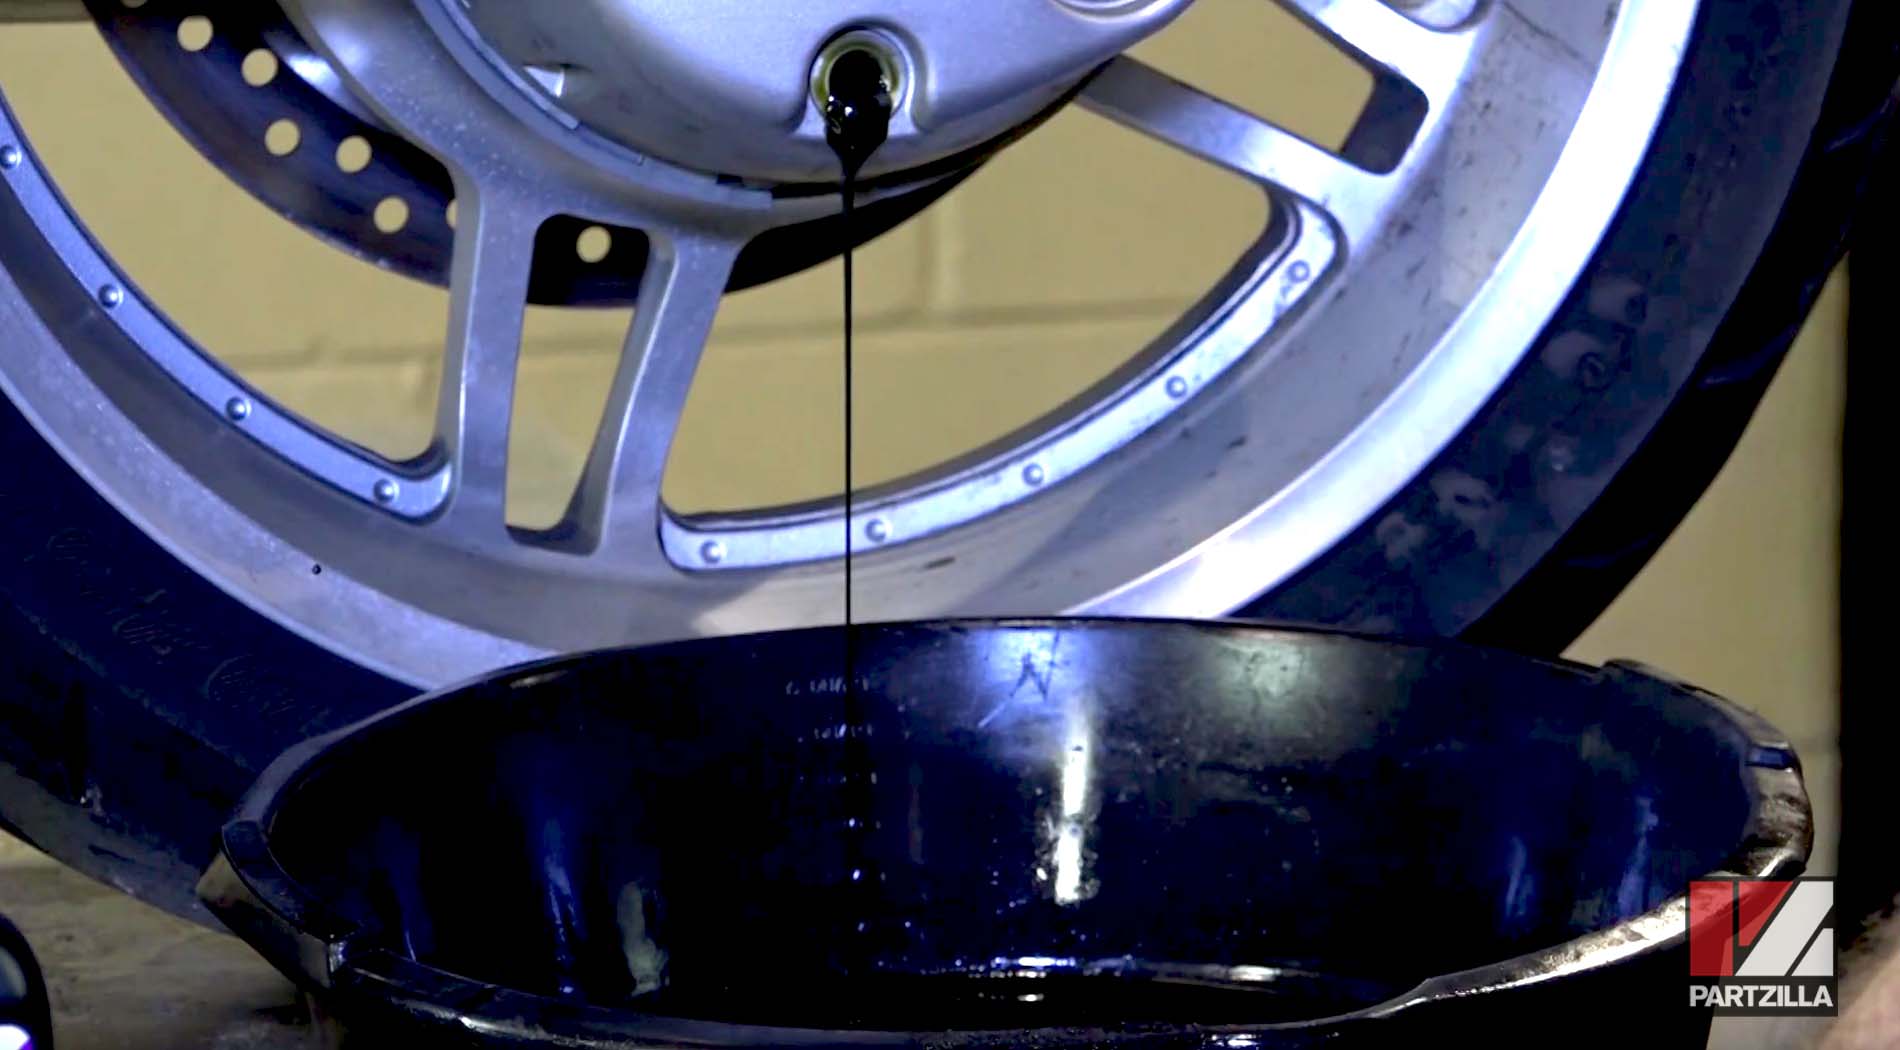
Step 3. Drain out the final drive fluid.
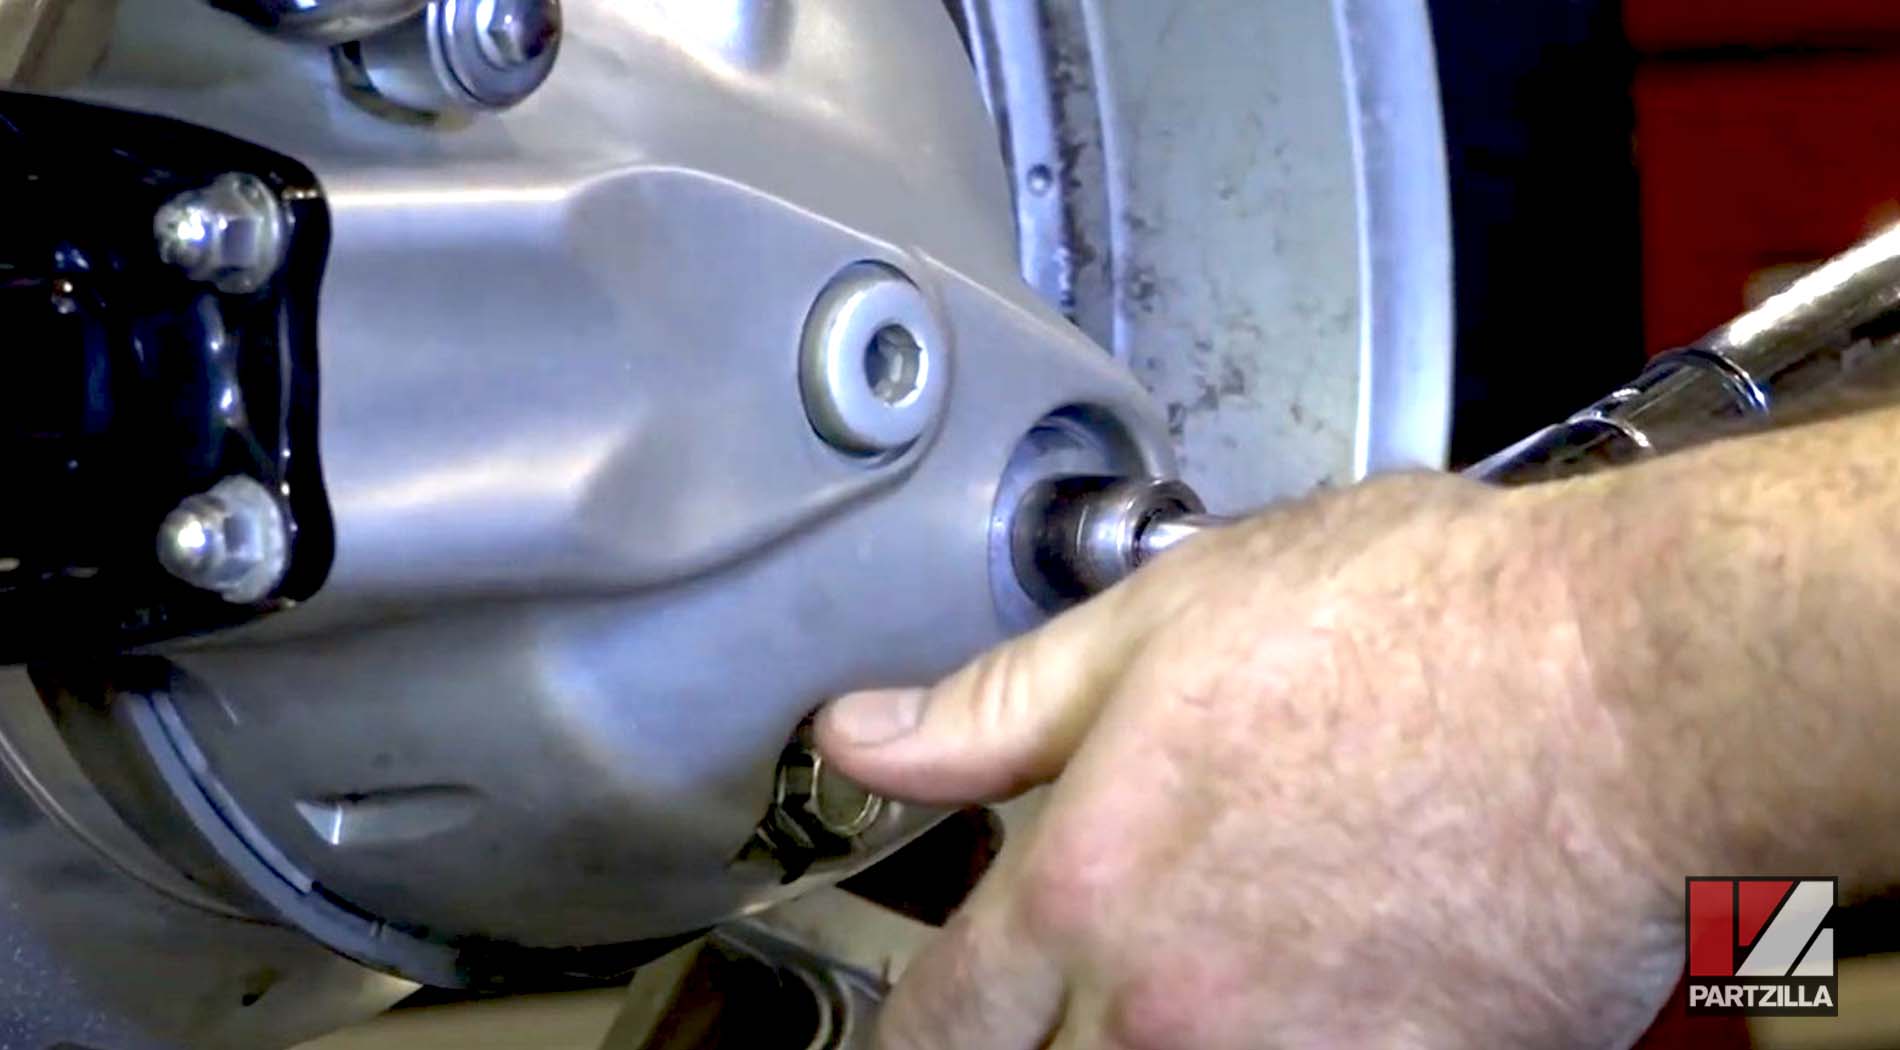
Step 4. Install a new crush washer and reinstall the drain plug. Torque the drain plug to 14-foot pounds.
NOTE: Crush washers are designed for single use only, so it’s highly recommended you replace it with every oil change, even if it looks like it’s reusable.
Step 5. Refill the final drive assembly with Honda hypoid gear oil until the oil just begins to spill out over the threads of the fill hole.
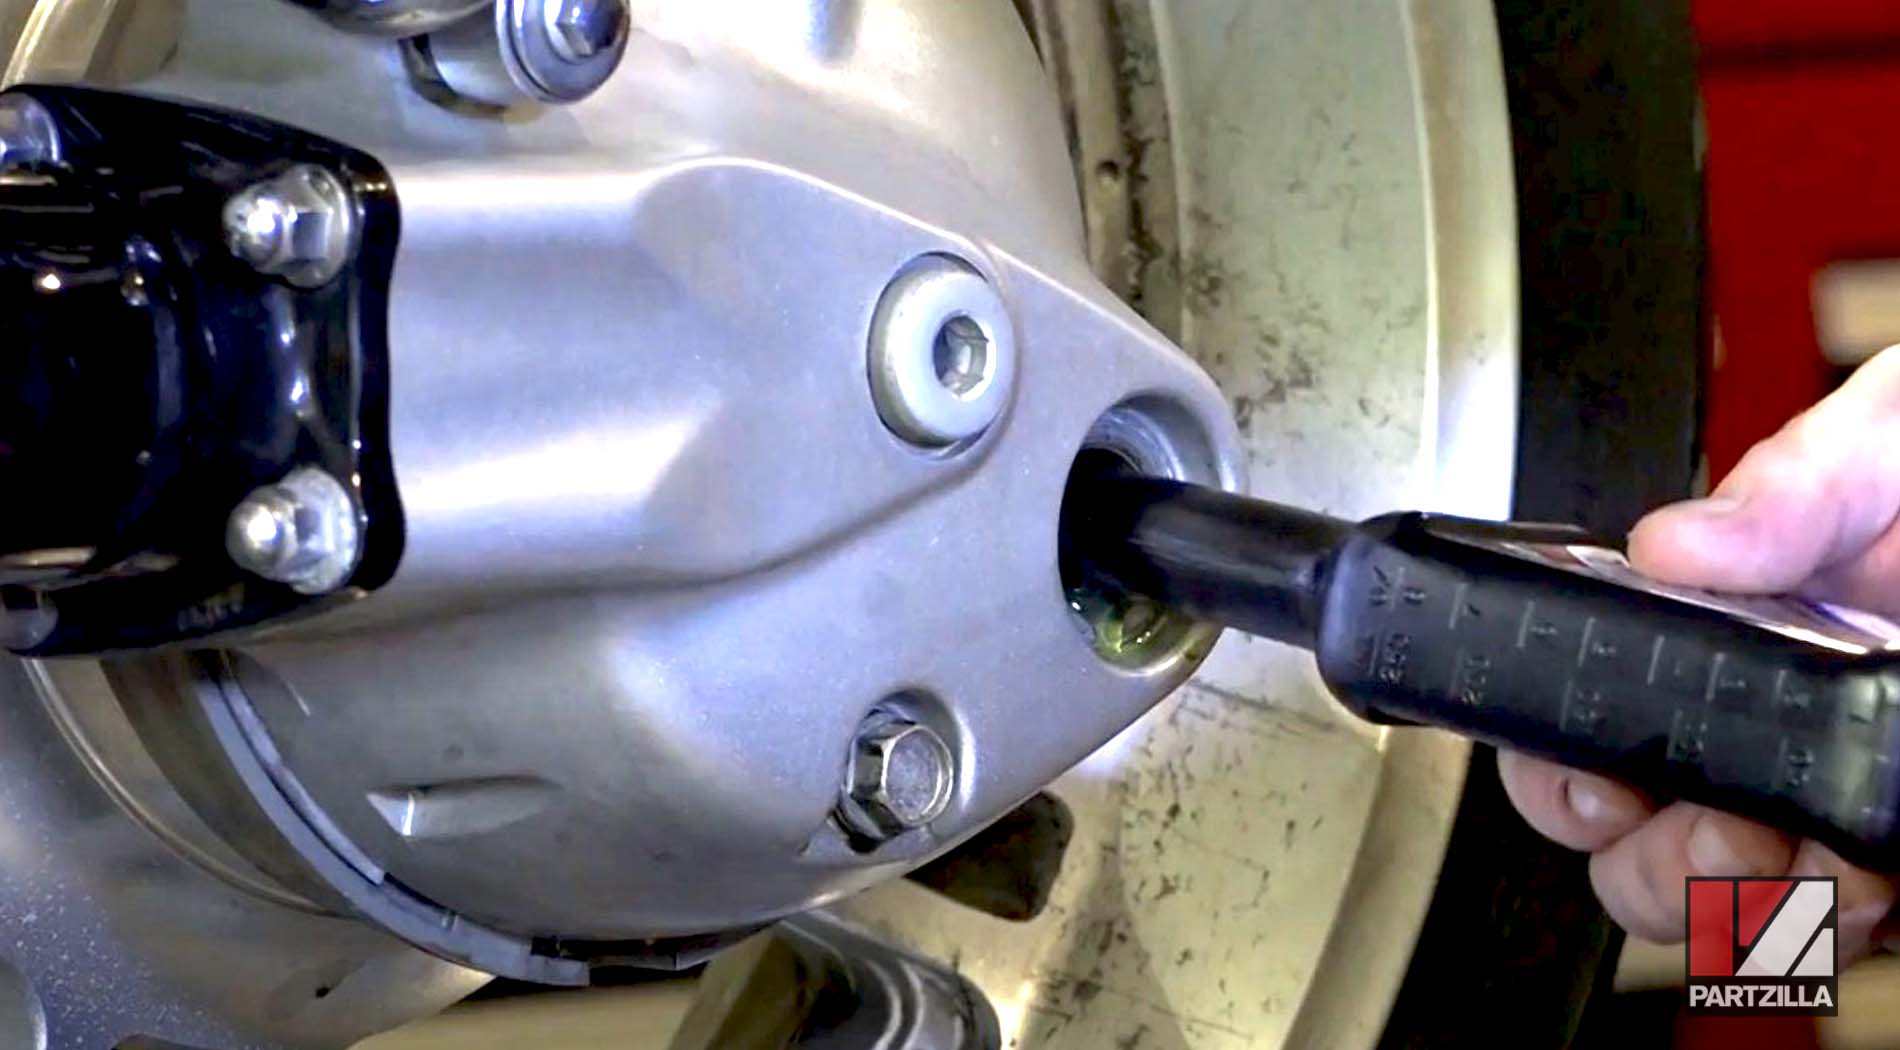
PRO TIP: Make sure the motorcycle is on a level surface when you refill the final drive assembly so you know you’re adding the correct amount.
Step 6. Reinstall the fill plug and O-ring, then torque the fill plug to 14-foot pounds and you’re done.
Ready to change the engine oil in your Honda motorcycle? Watch the video below to see how to change the oil in a Honda VTX 1800.
