How to Replace the Front Brake Pads on a Honda TRX 400
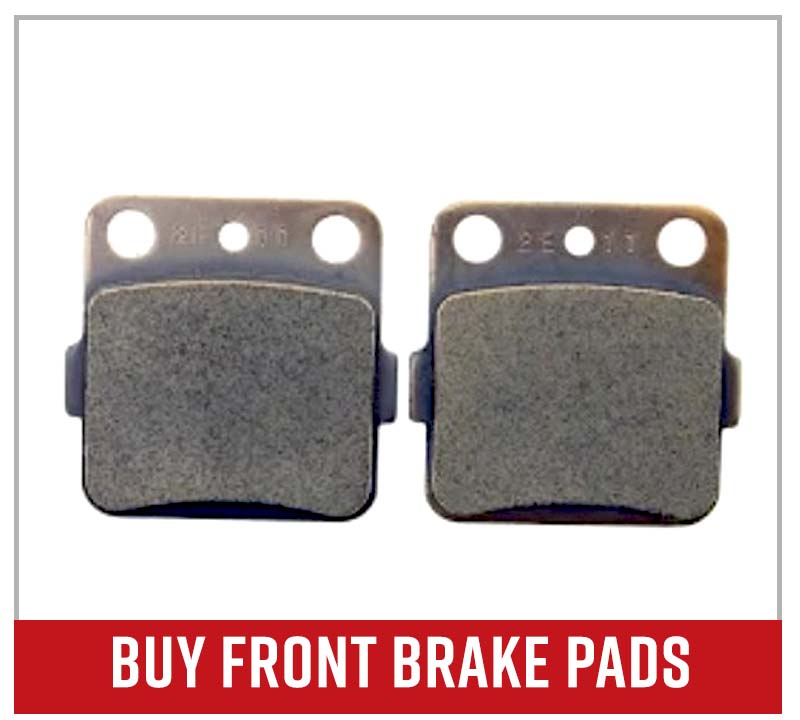
Replacing the front brake pads on a Honda ATV helps get rid of squeaking, squealing and grinding sounds while restoring stopping power.
Honda TRX 400 brakes have wear indicators to let you know when it’s time to replace the brake pads. Watch the video above and follow the steps below to replace the front brake pads on a Honda TRX400.
Tools and Parts – Honda TRX 400 Front Brake Pads Change
- Flat-blade screwdriver
- 5mm Allen
- Ratchet and extensions
- 5mm, 12mm sockets
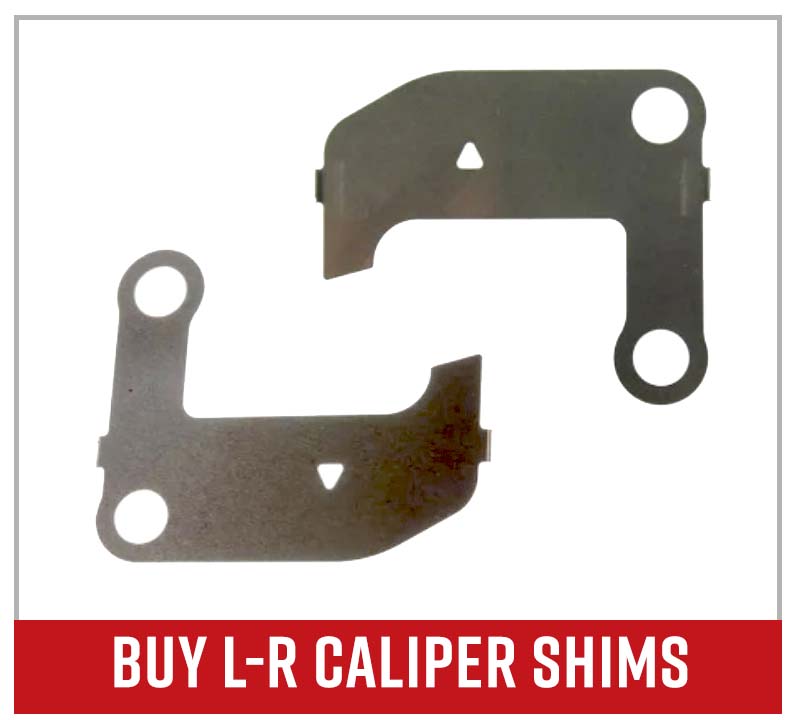
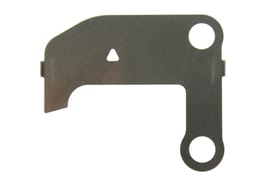
NOTE: You’ll need separate sets of shims with different part numbers for the right and left side.
Removing the Front Brake Pads from a Honda TRX 400 ATV
Step 1. Remove the front tire
Step 2. Use a flat-blade screwdriver to remove the two plastic caps on the back of the caliper.
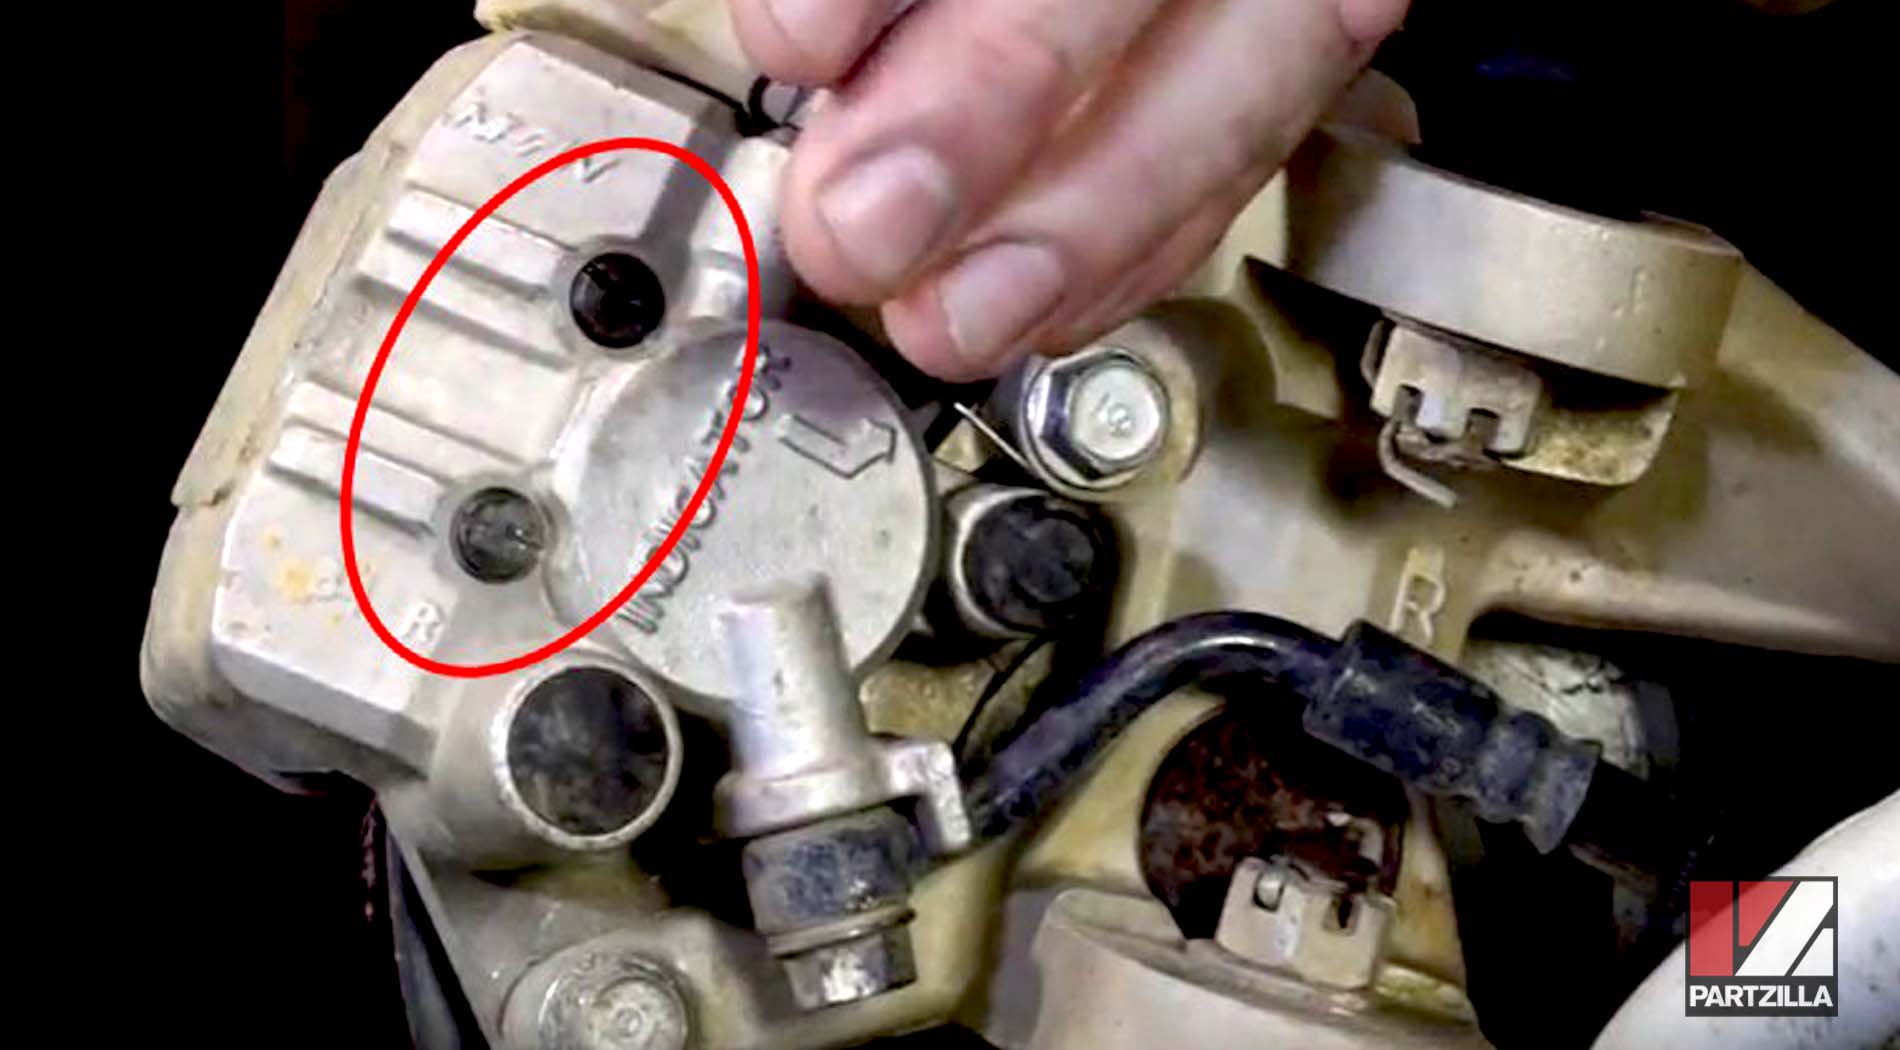
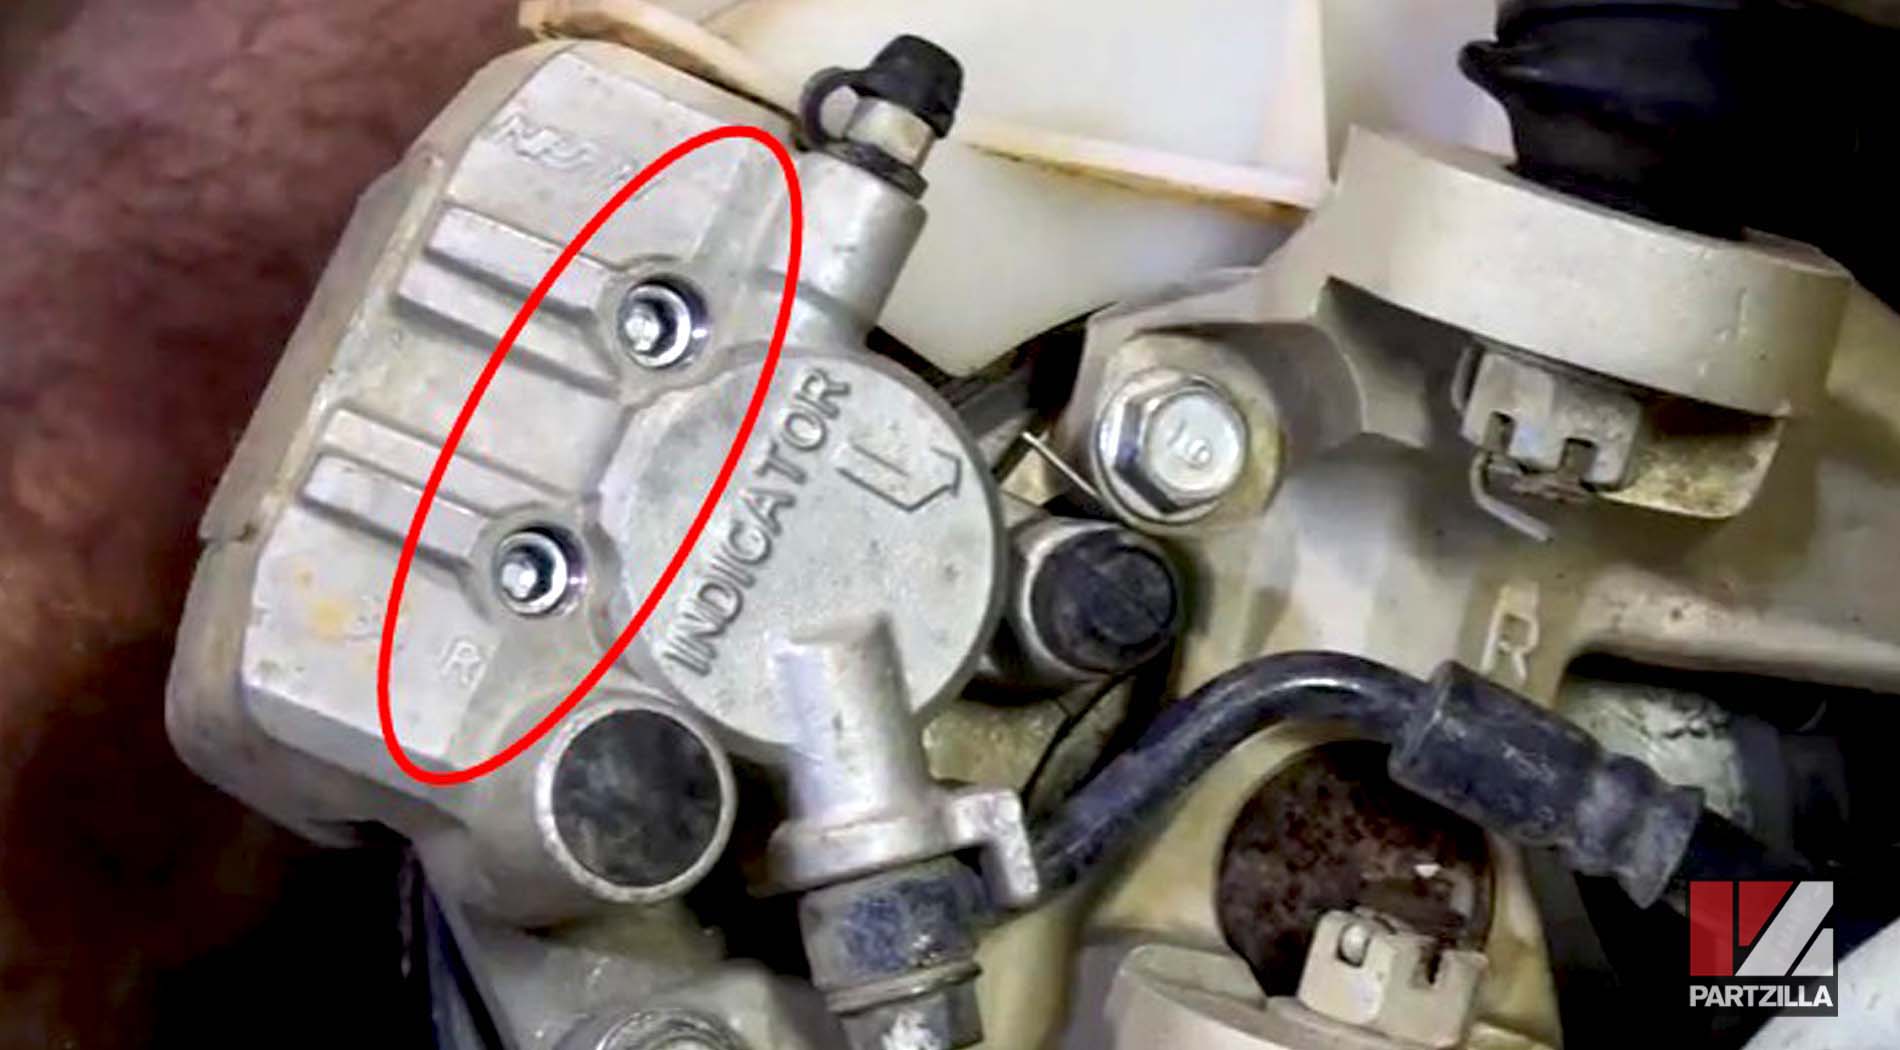
Step 3. Loosen the two 5mm Allen bolts under the caps enough to still hold the brake pads in place without removing them.
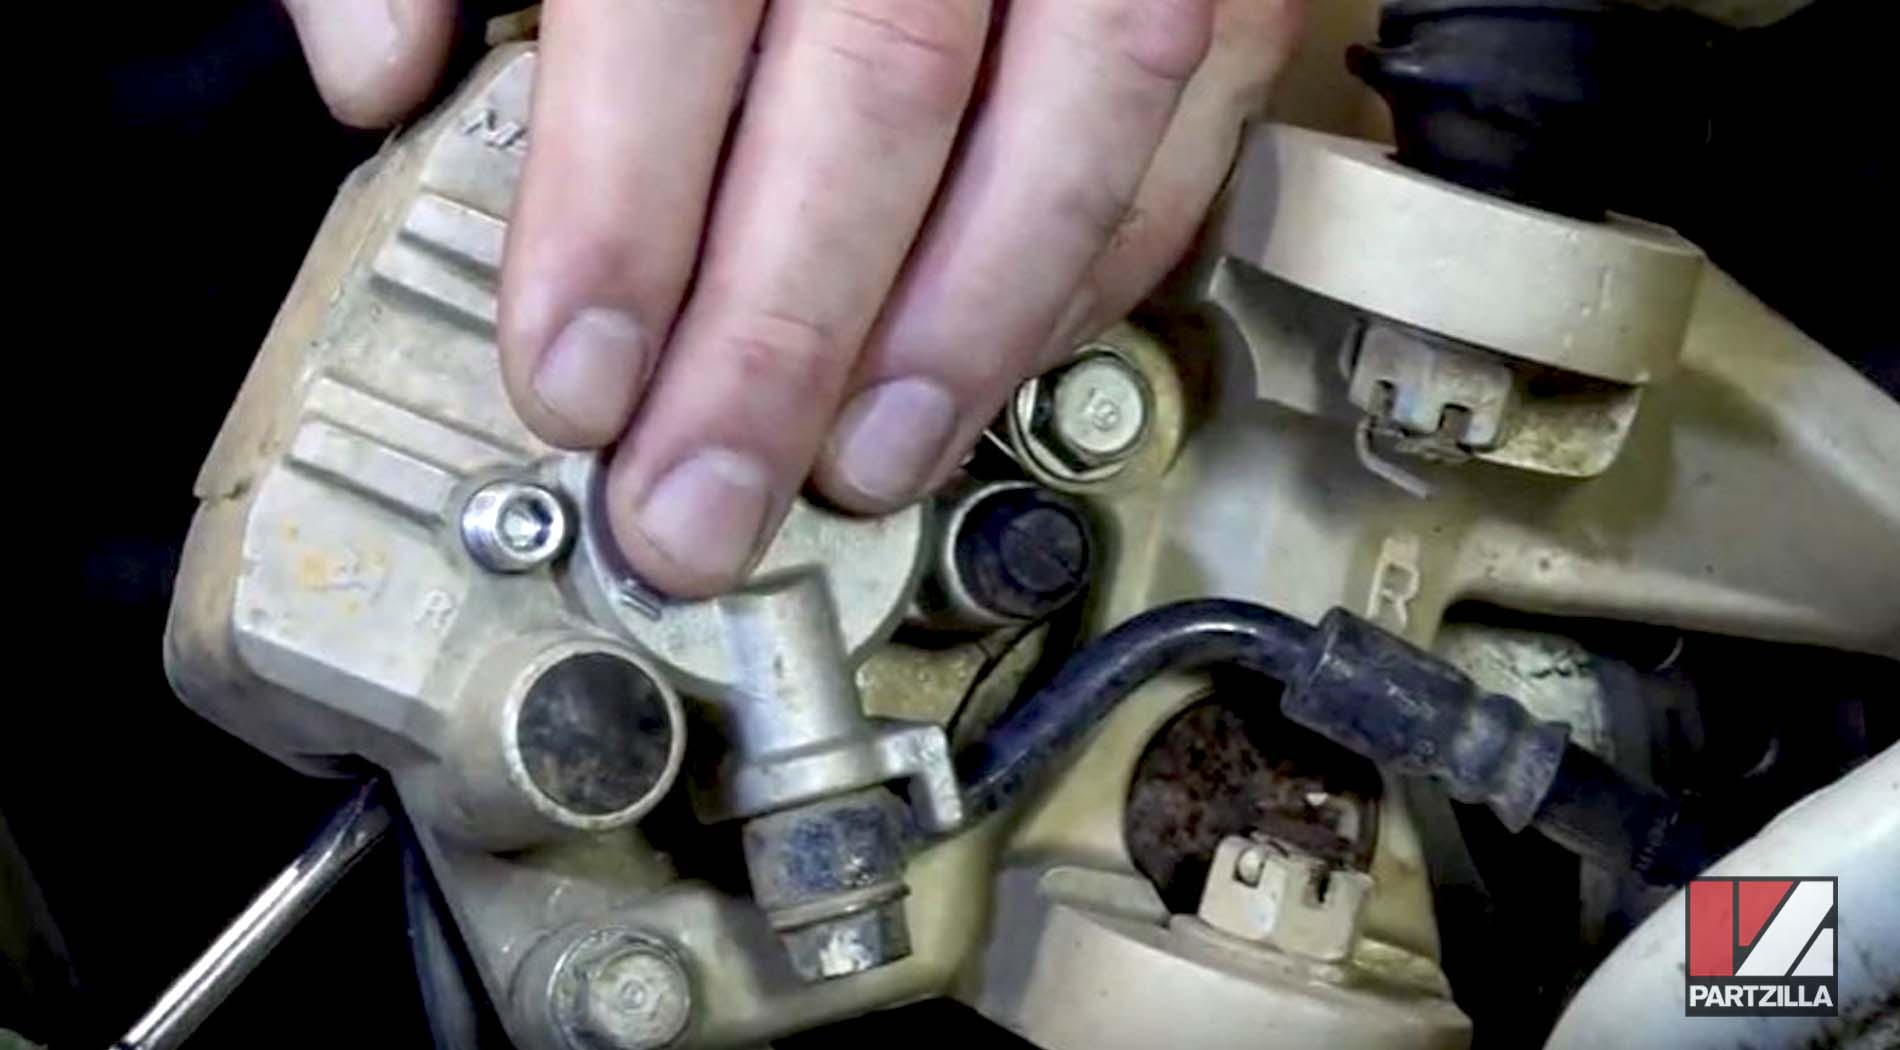
Step 4. Wedge a flat-blade screwdriver between the brake pads in the caliper, then pry them apart to compress the cylinder in the caliper.
Step 5. Remove the two 12mm bolts on the back of the caliper, followed by the caliper itself.
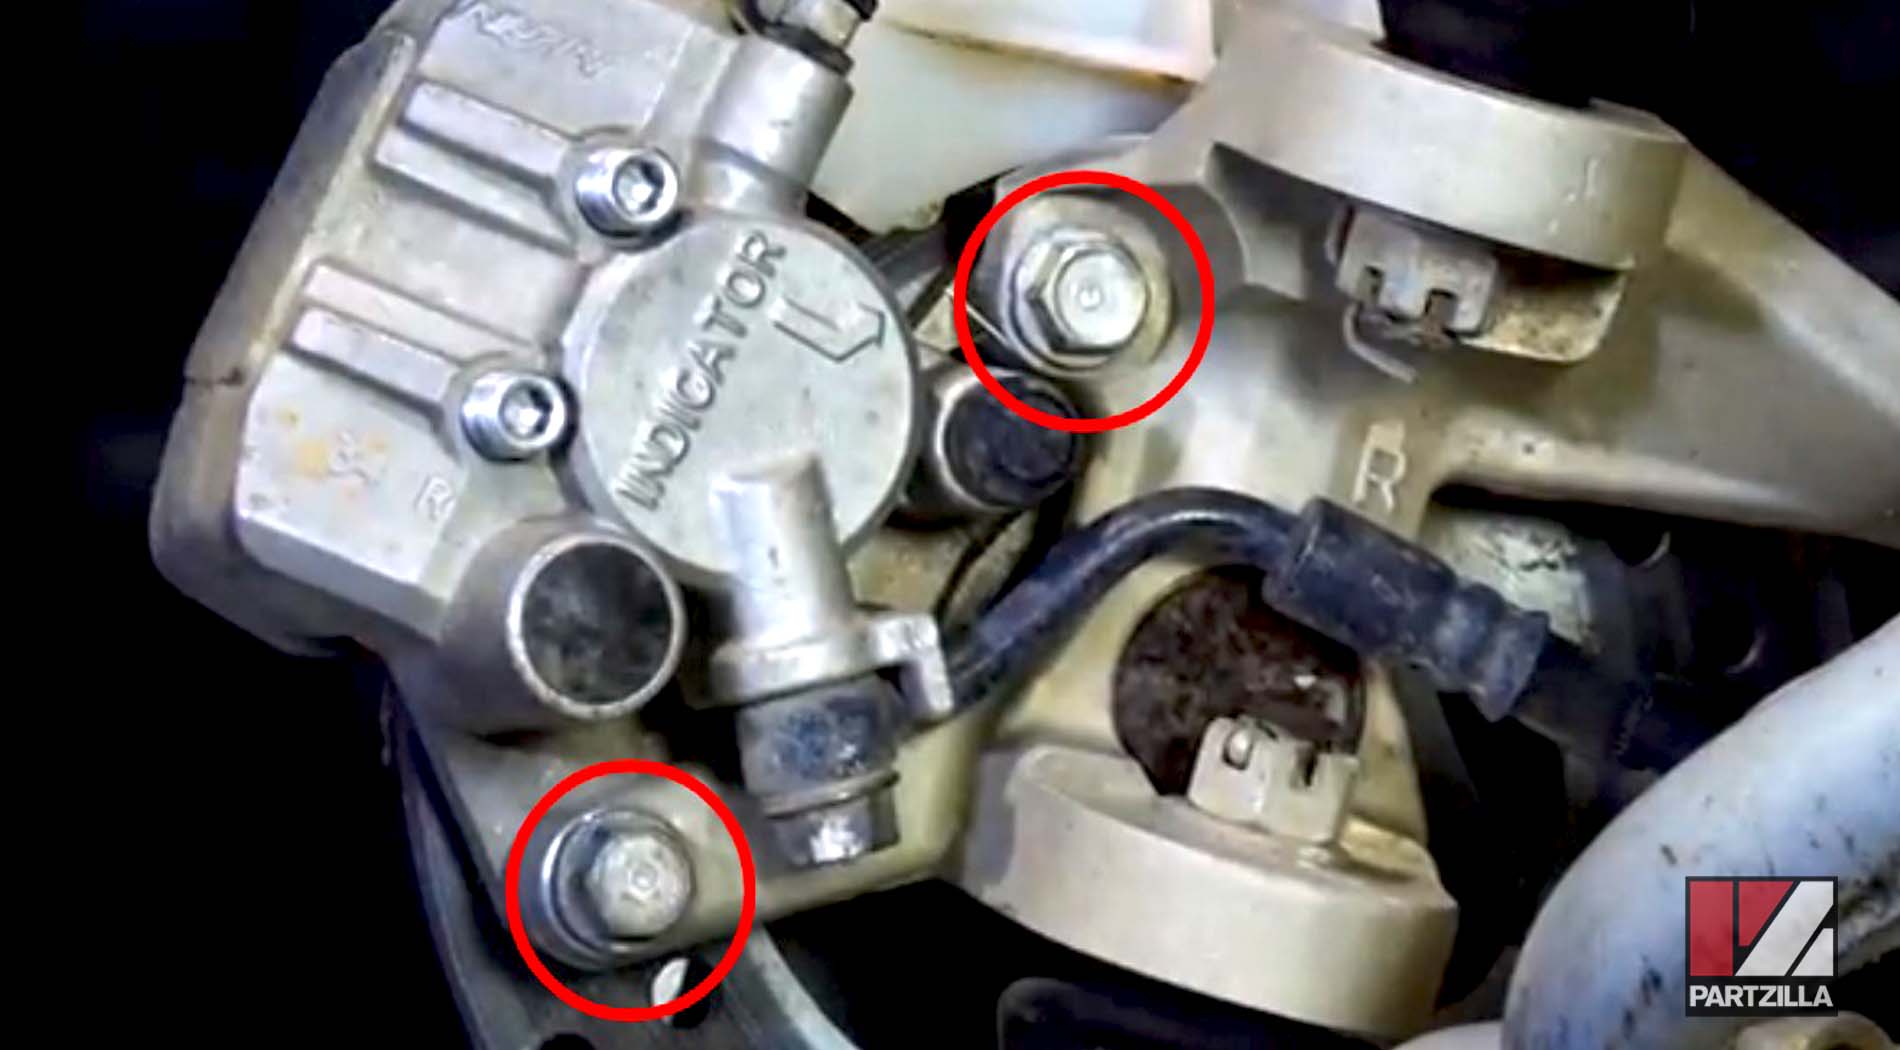
Step 6. Push the brake pads in toward the top of the caliper to release tension on the 5mm bolts that you loosened. Remove the bolts by hand to allow the pads to drop out of the caliper.
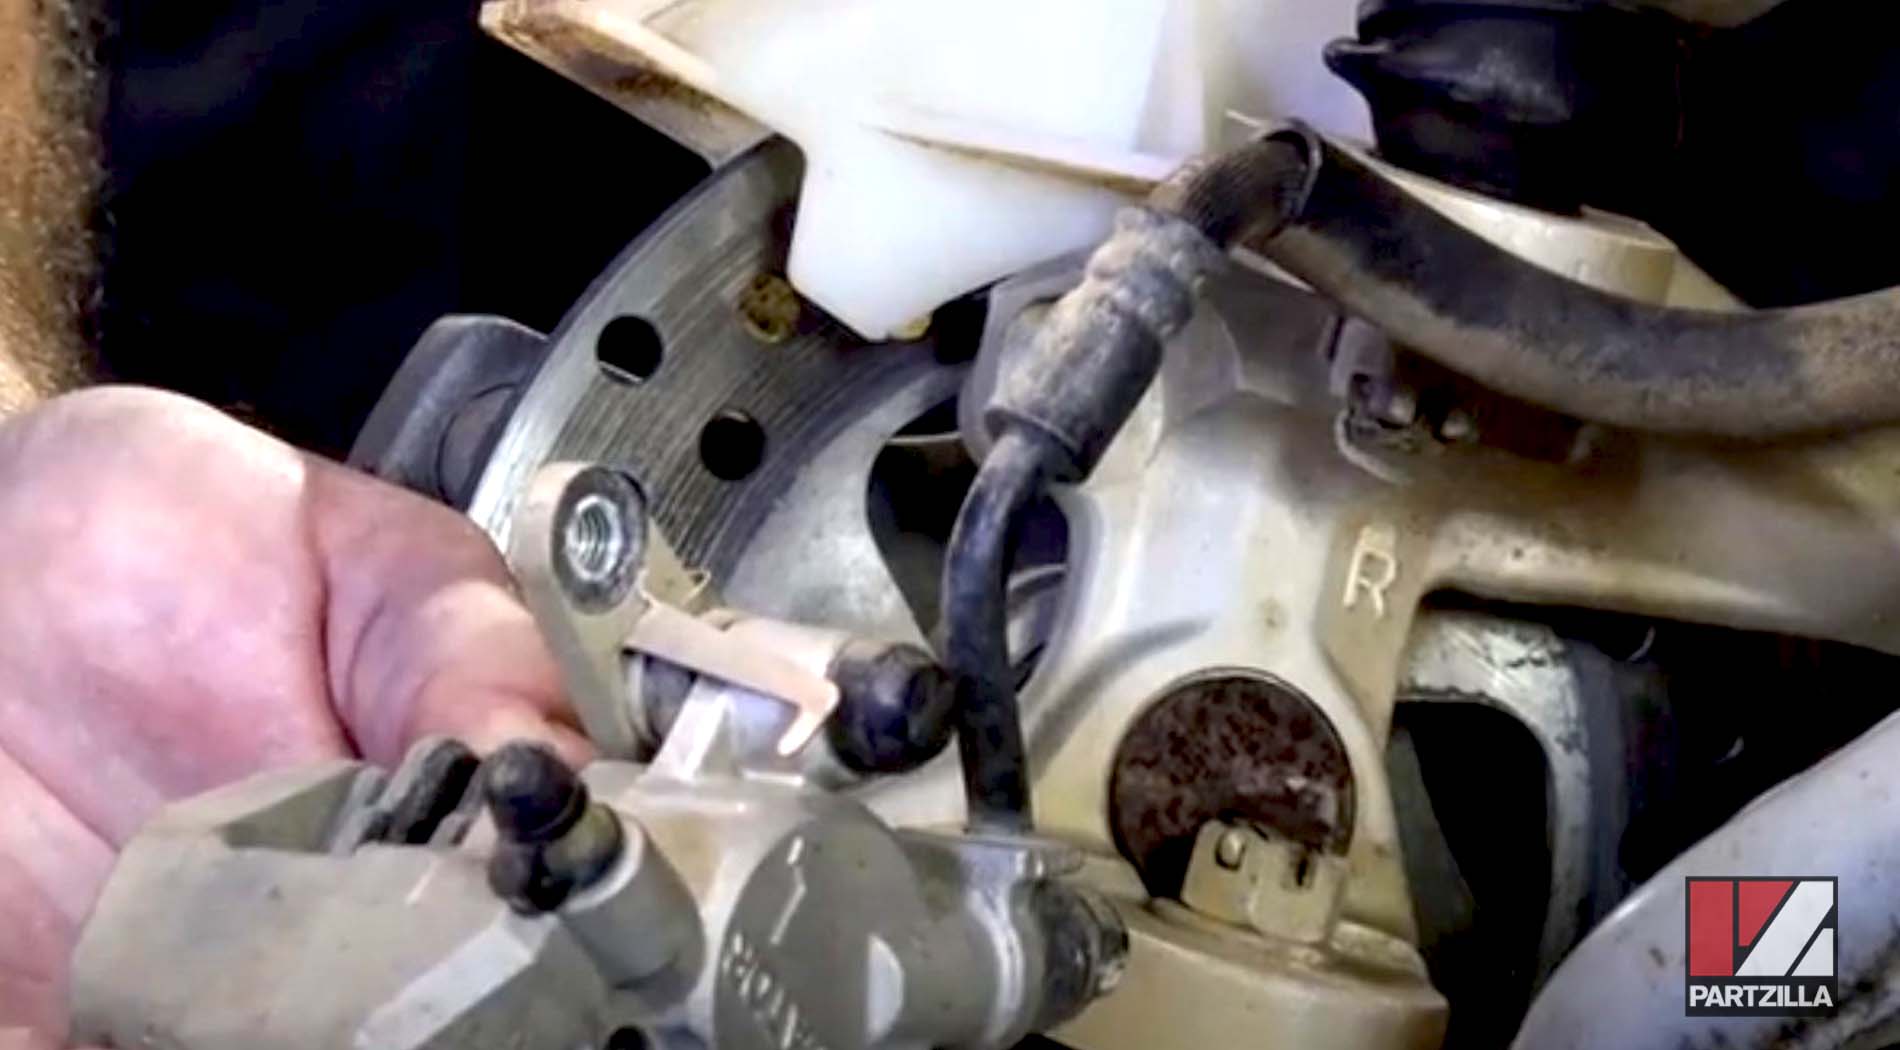
NOTE: Don’t lose the shims mounted to the brake pads. They’re specific to the right and left side of the ATV.
Step 7. Remove the brake pad shims from the old brake pads.
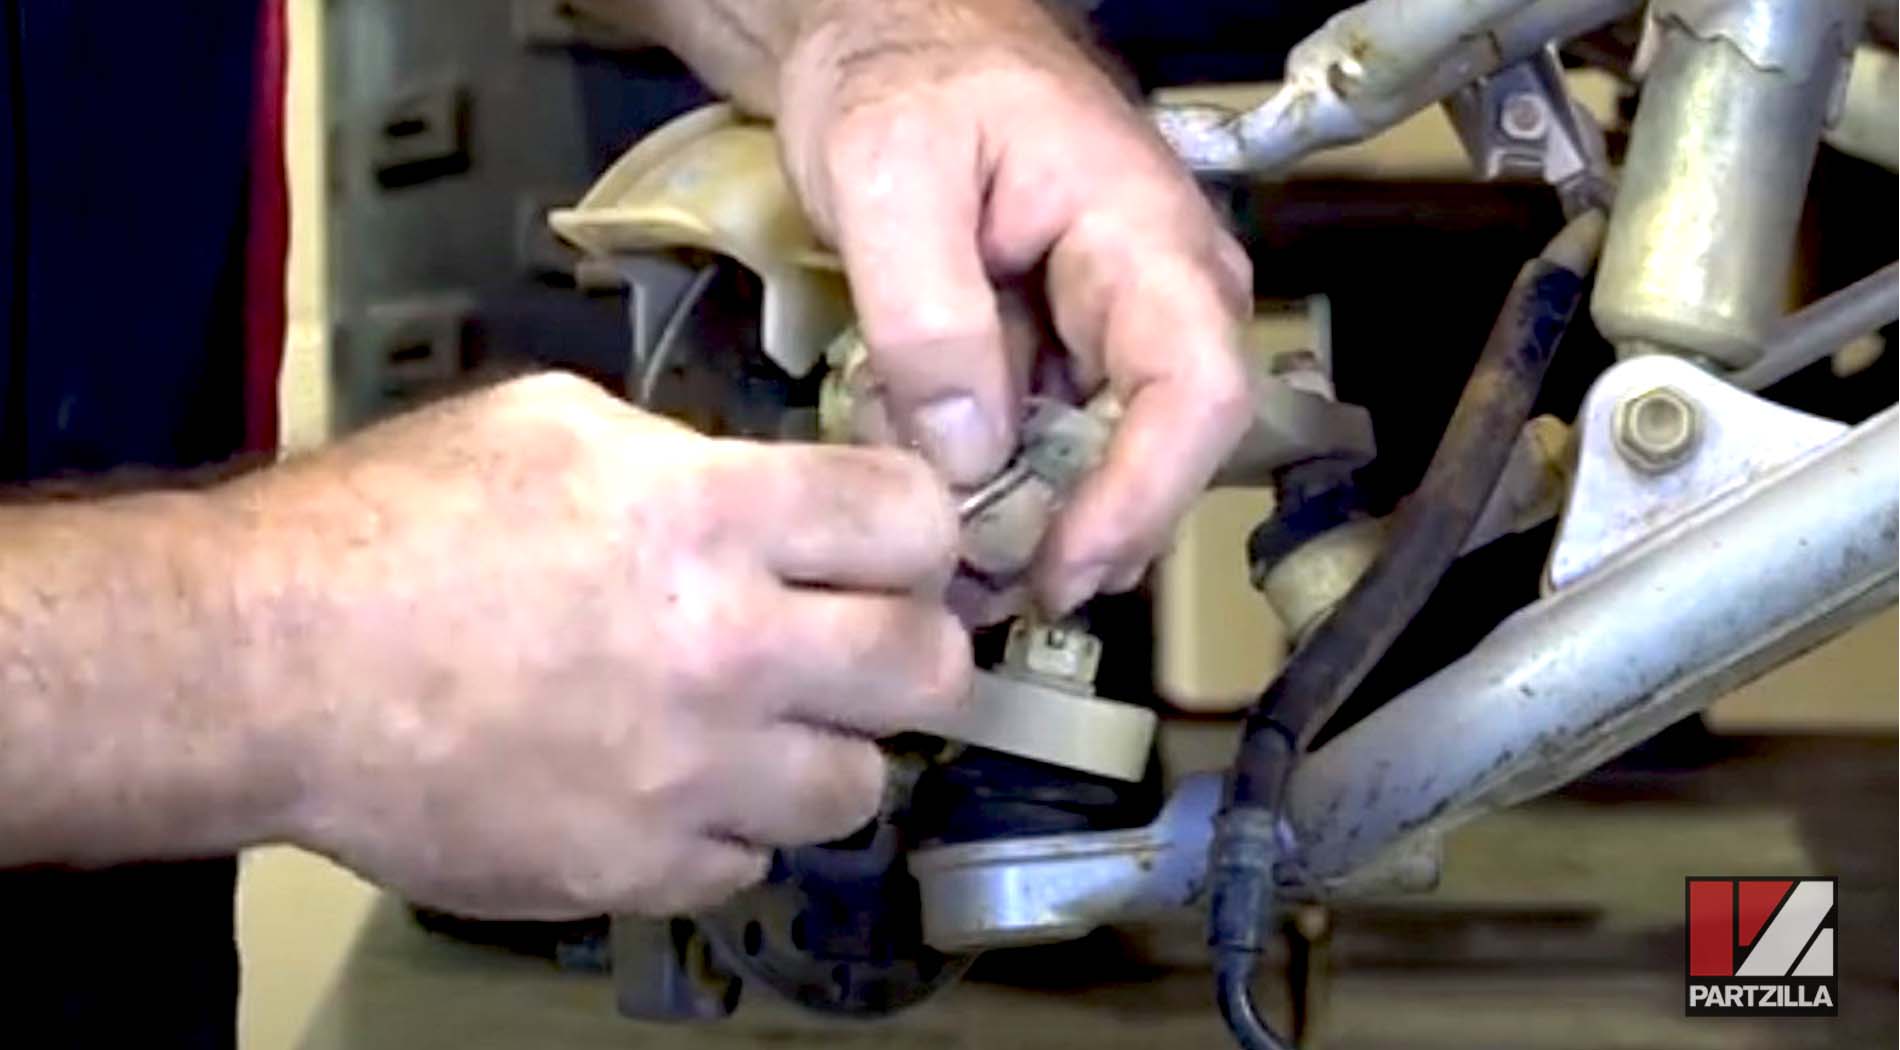
PRO TIP: Slide a flat-blade screwdriver between the pad and the shim and pry the shim away from the pad. Repeat this procedure for the other pad. You’ll need them again, since the new pads don’t include new shims.
Replacing the Front Brake Pads on a Honda TRX 400 ATV
Step 8. Snap the new pads into the shims, making sure that the holes on the shims line up with the holes on the pads.
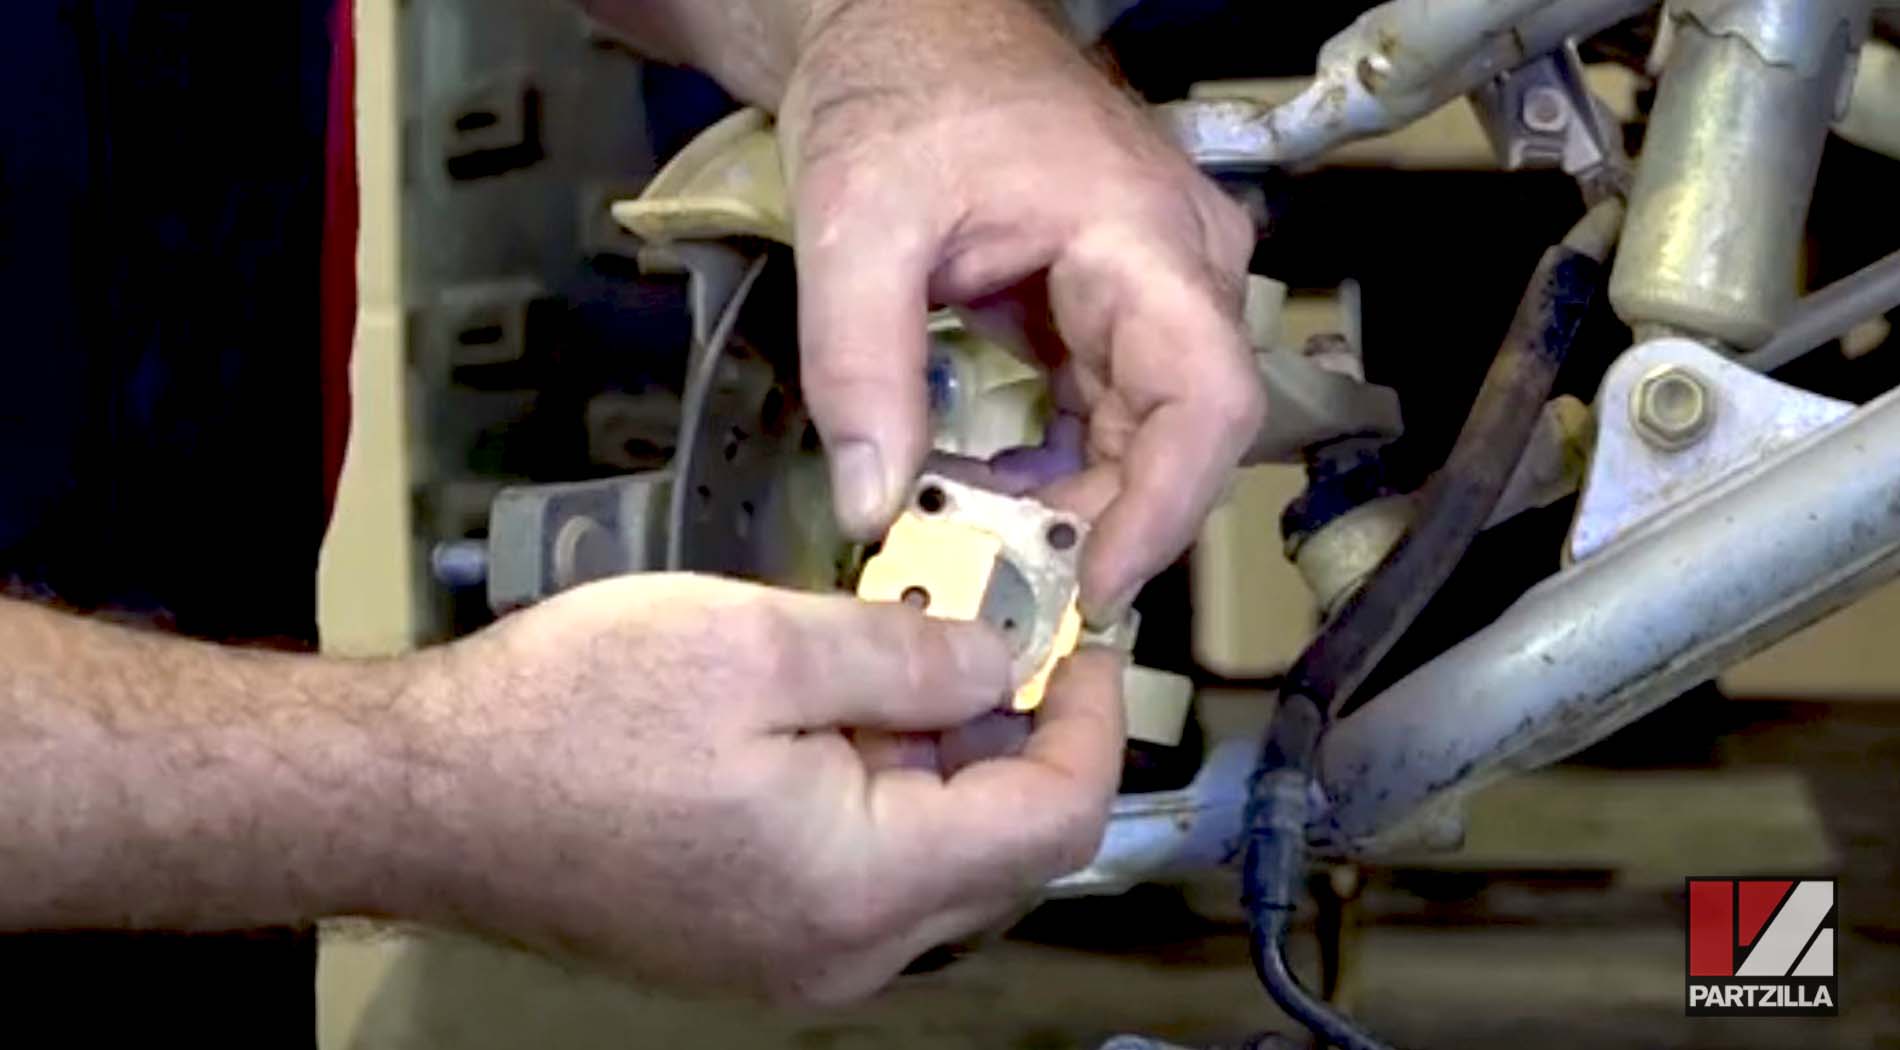
Step 9. Partially reinsert the 5mm Allen bolts into the caliper.
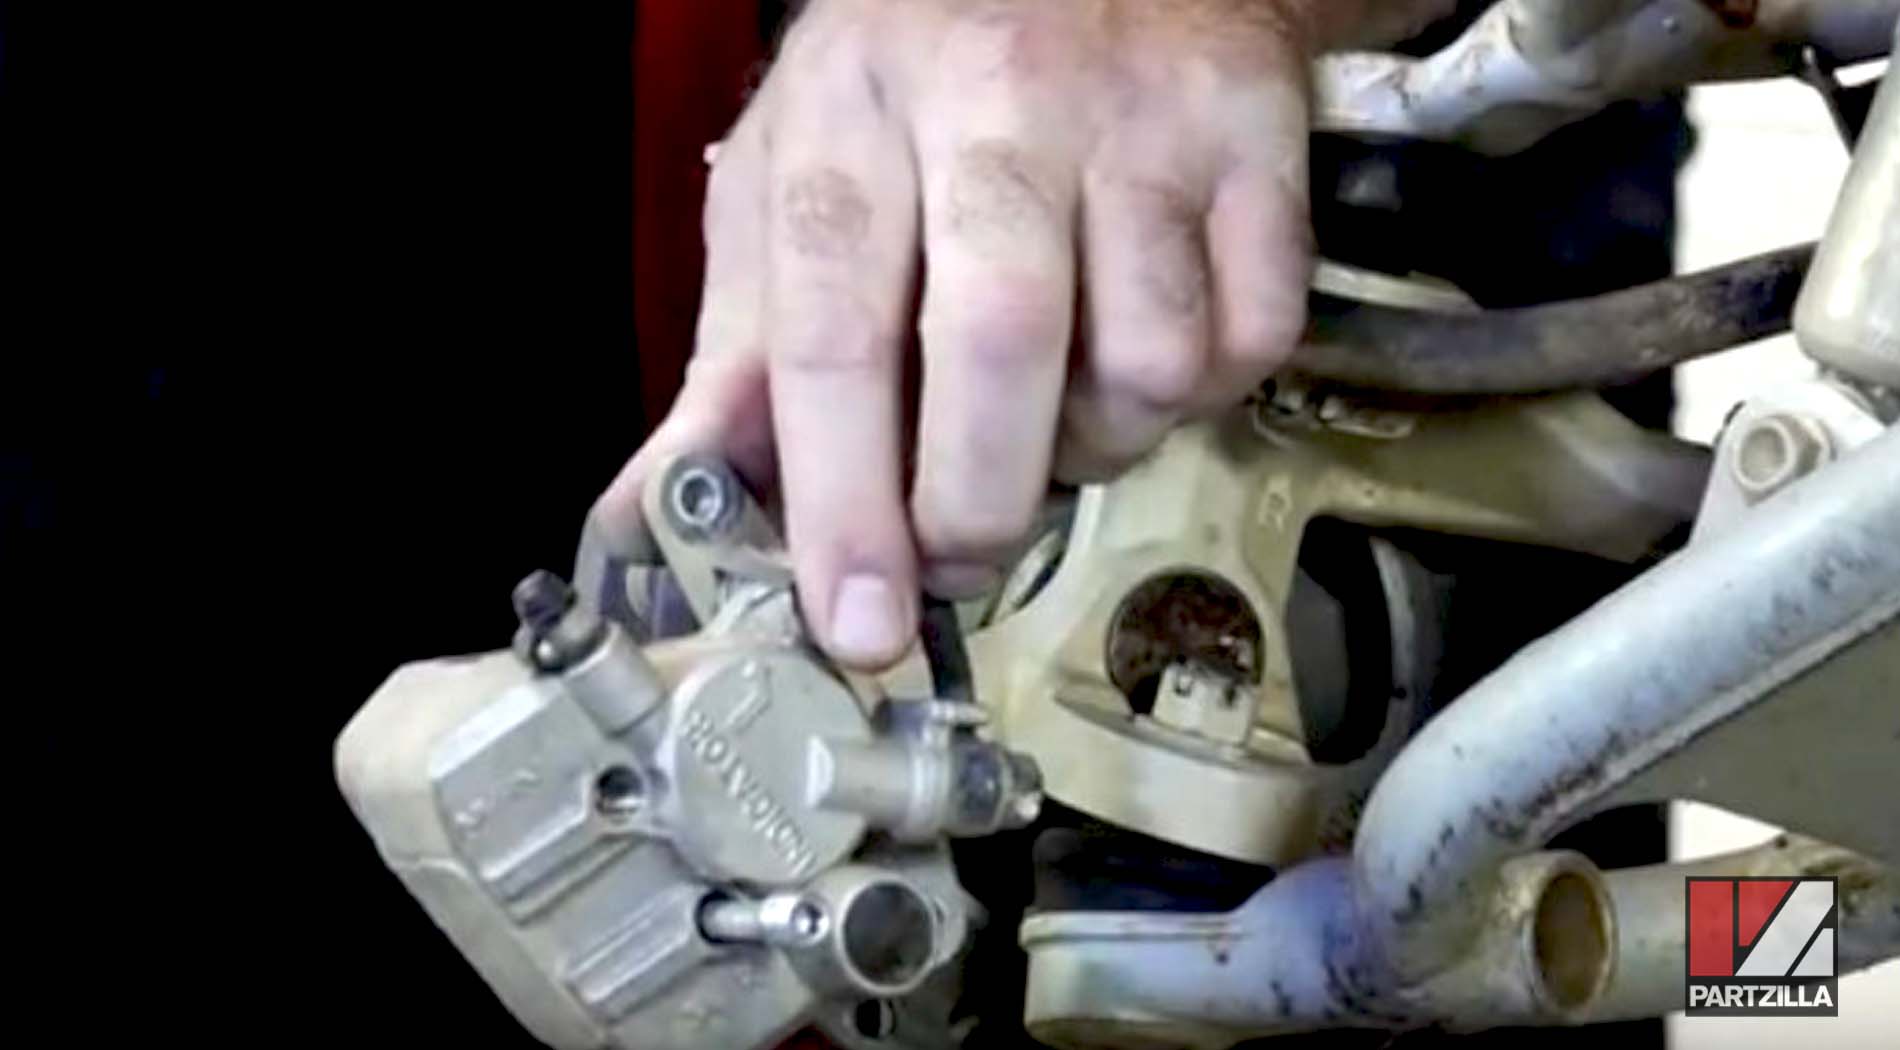
NOTE: If you slide the bolts too far into the caliper, you won’t be able to position the new brake pads.
Step 10. Insert the first pad by positioning it so that the shim faces toward the cylinder and the 5mm bolts.
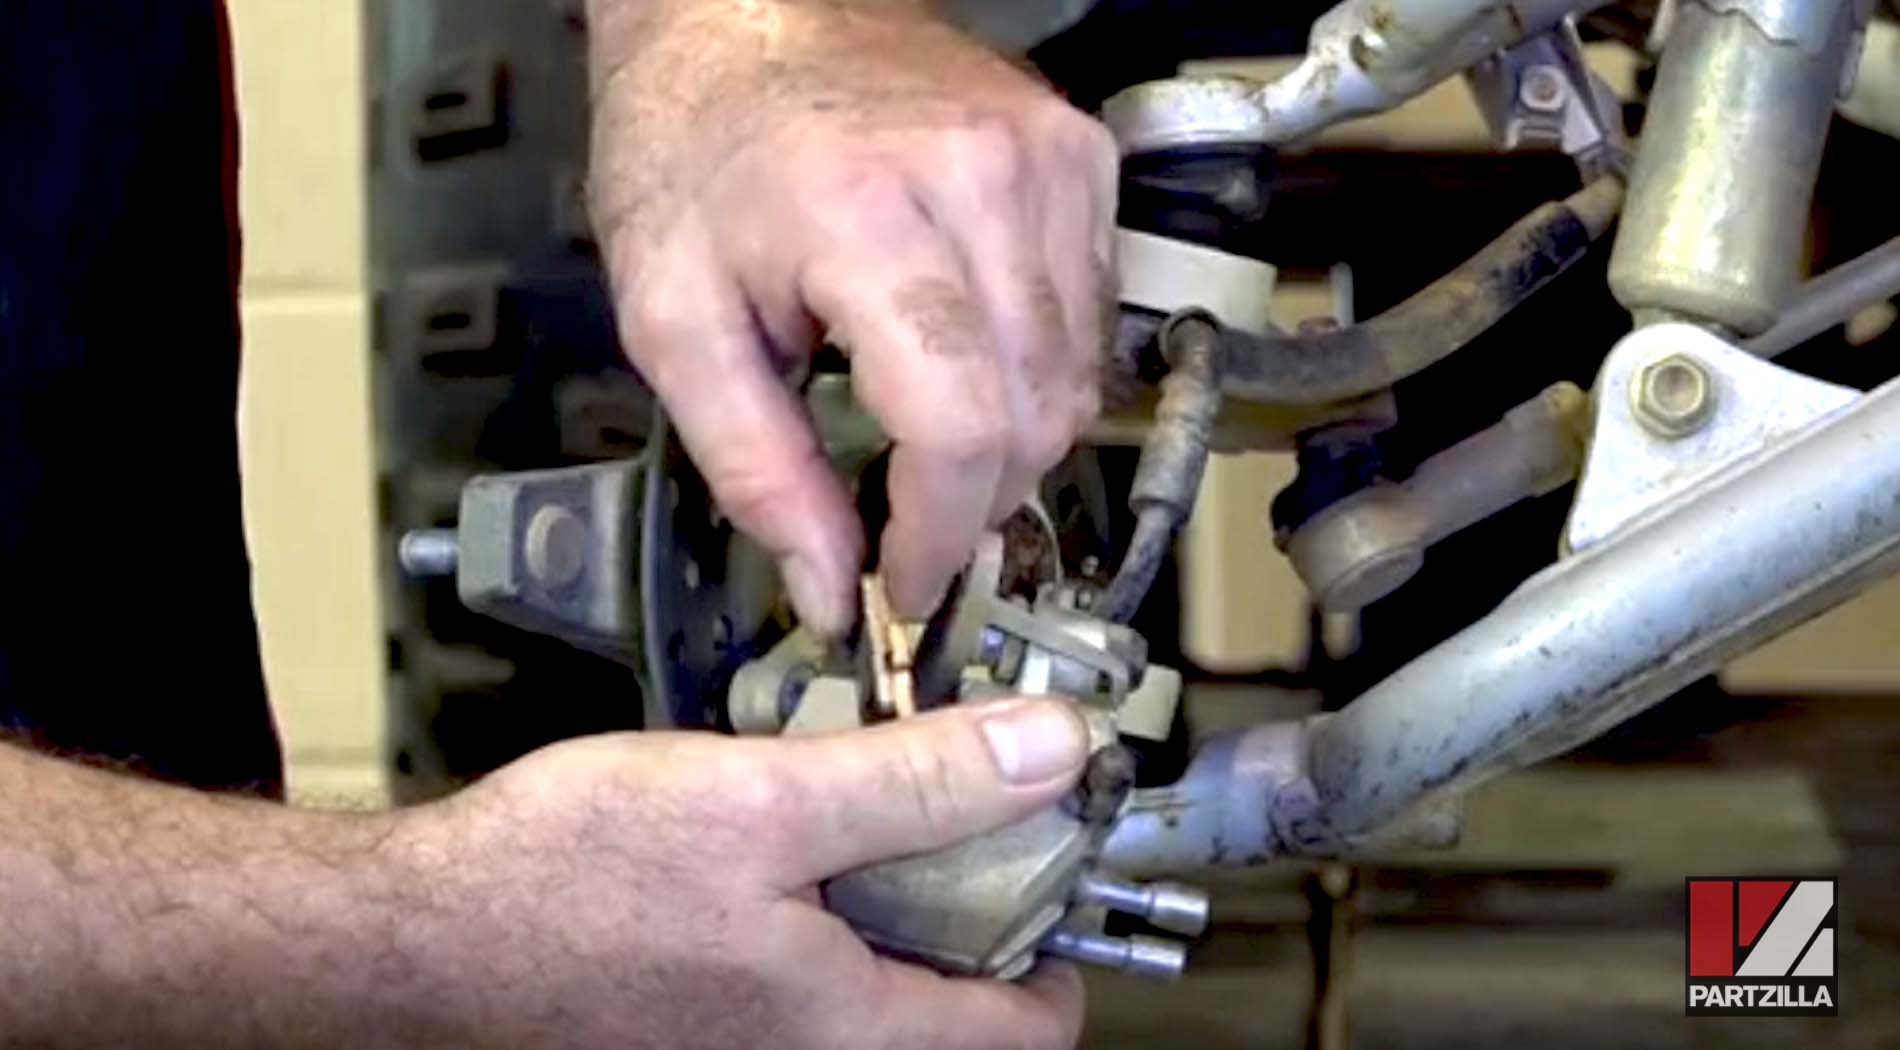
Step 11. Insert the outer pad by positioning it with the shim facing away from the cylinder and 5mm bolts.
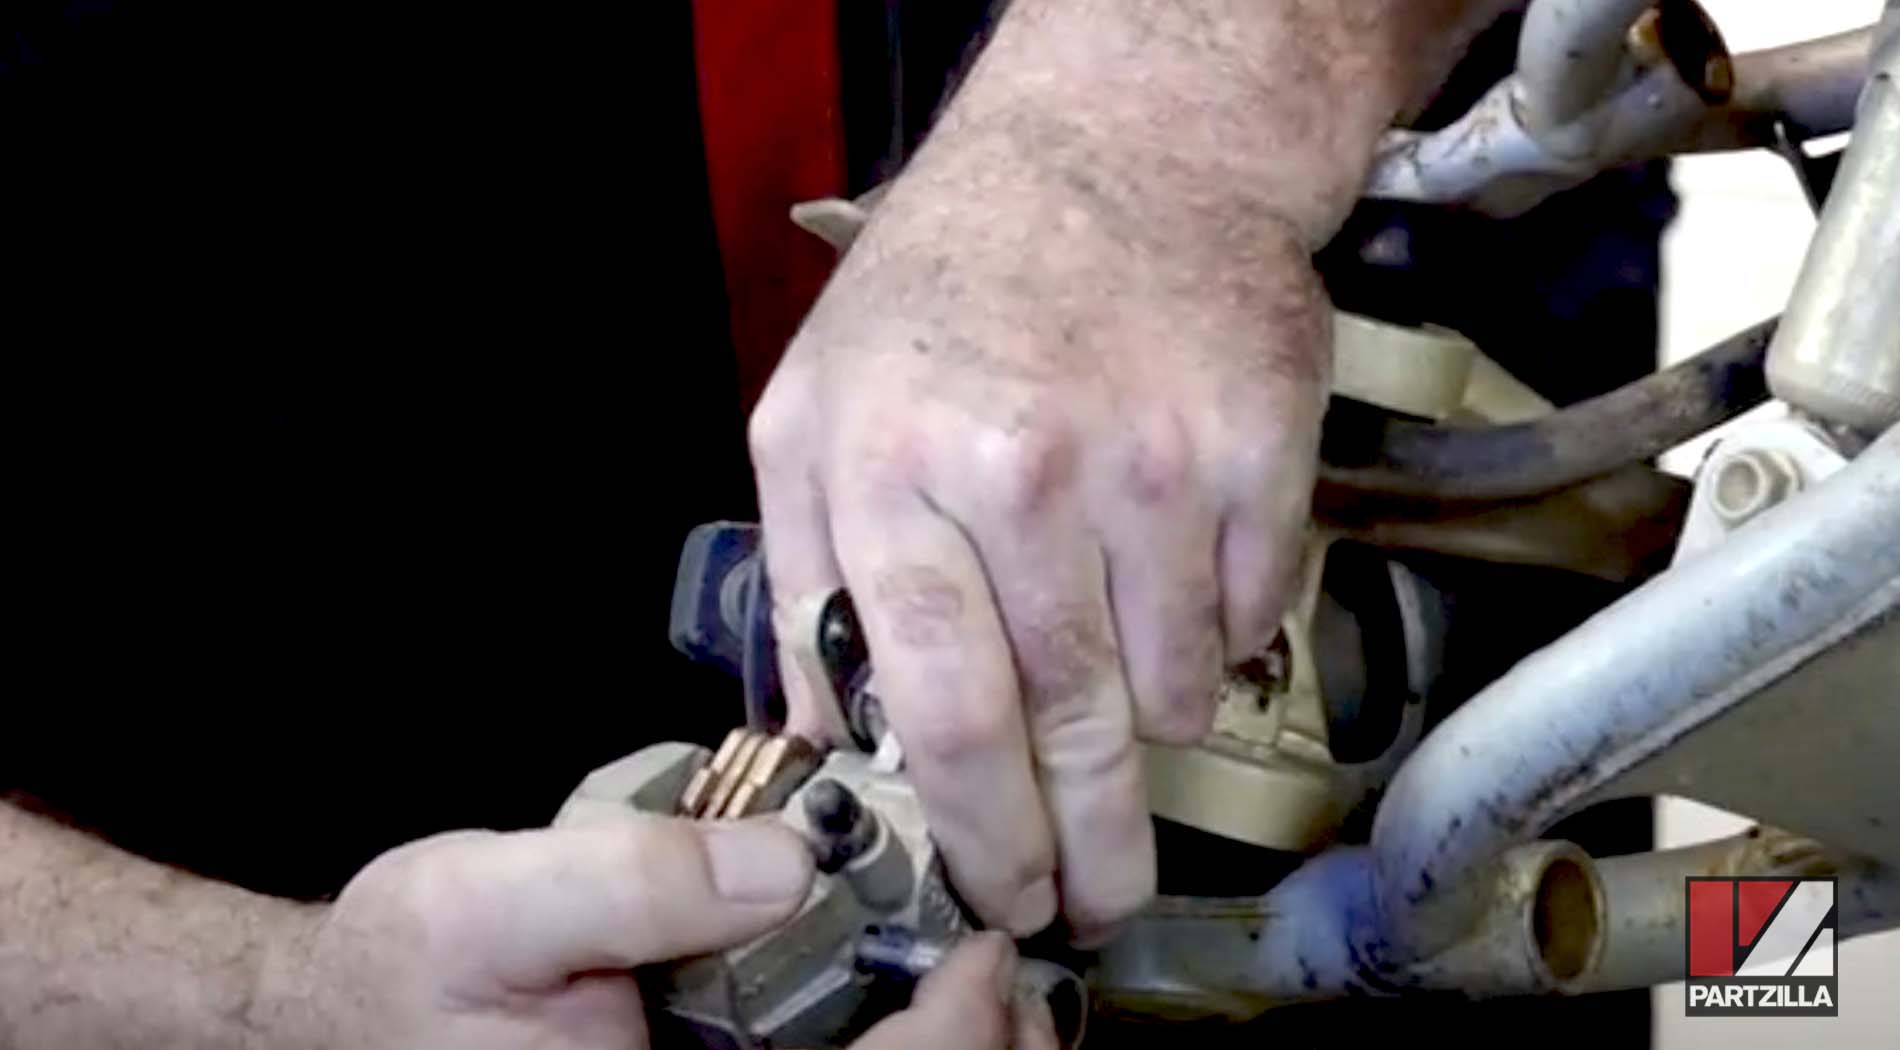
NOTE: As you insert the pads, you’ll feel a spring. While simultaneously pushing down on the pads to load the spring, push the two 5mm bolts through the pads and into place.
Step 12. Use a 5mm socket to tighten the 5mm bolts.
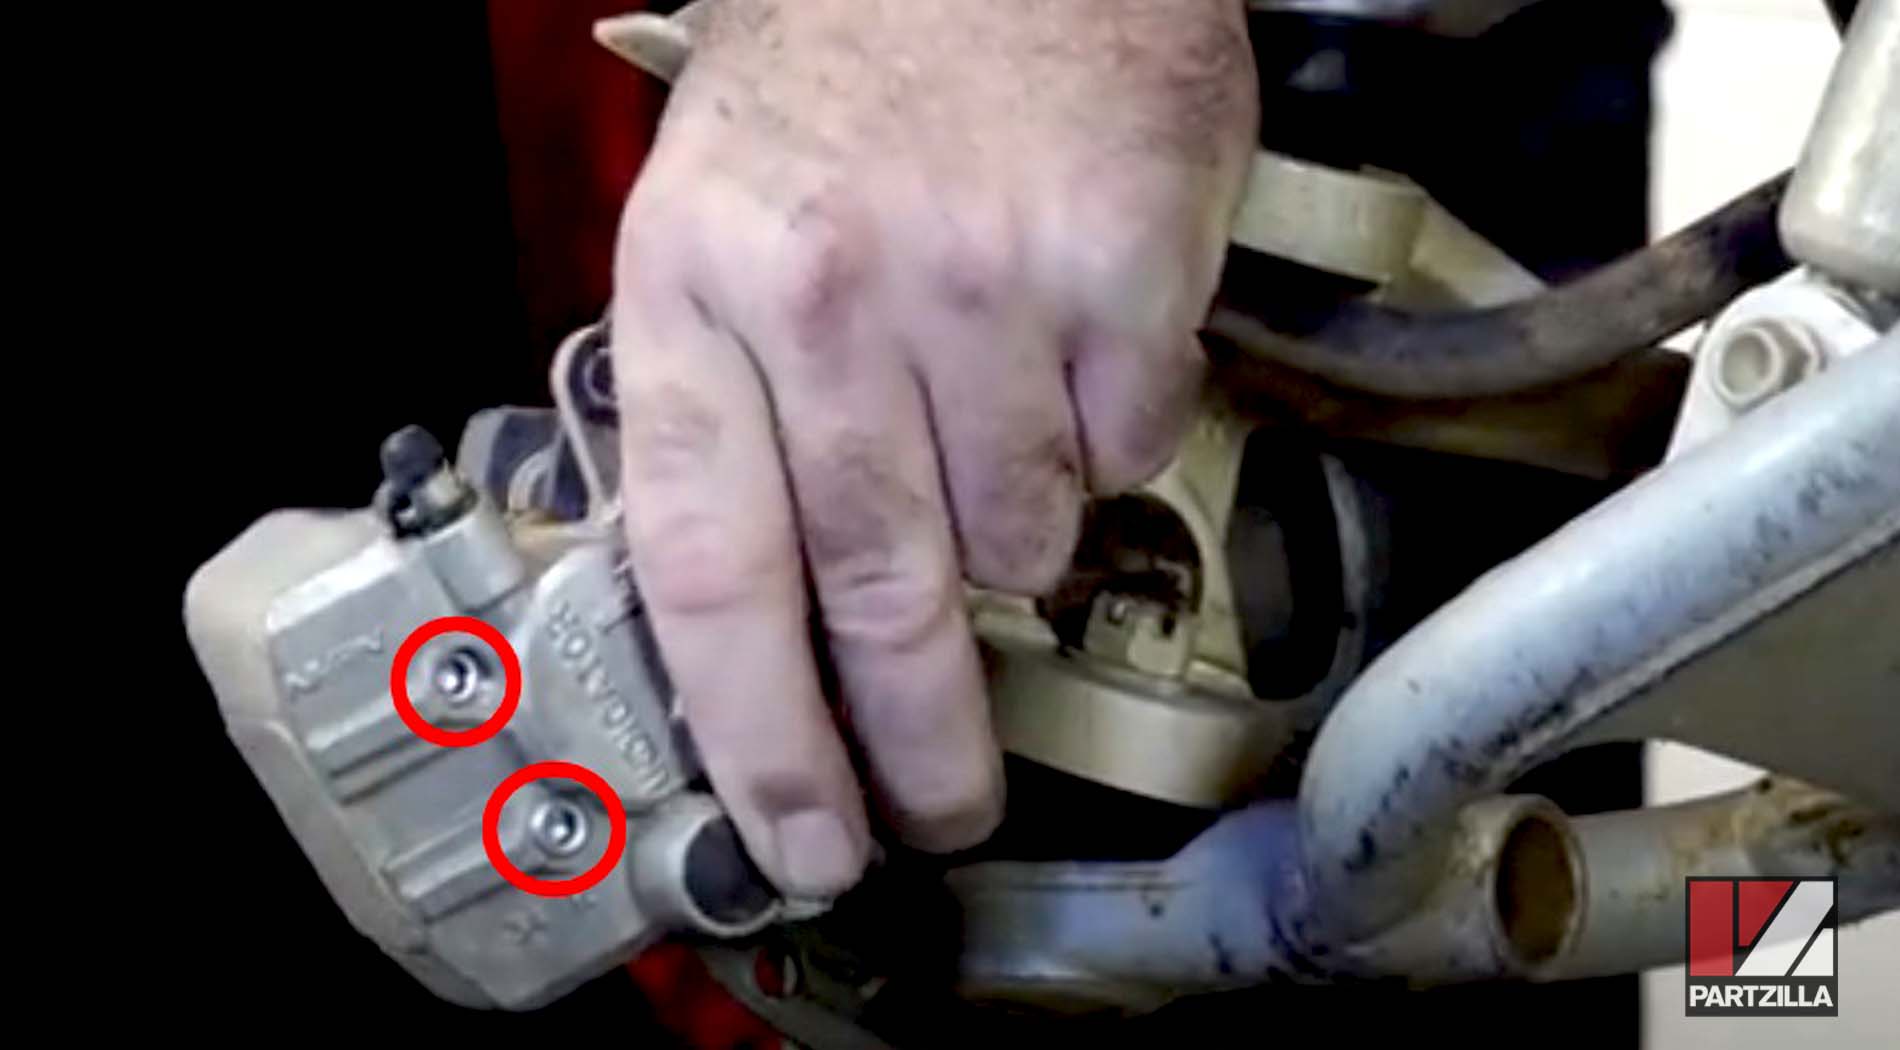
NOTE: Don’t fully tighten the bolts until the caliper is in place.
Step 13. Pry the pads apart with a flat-head screwdriver to create enough separation so that you can easily place the caliper back over the brake rotor.
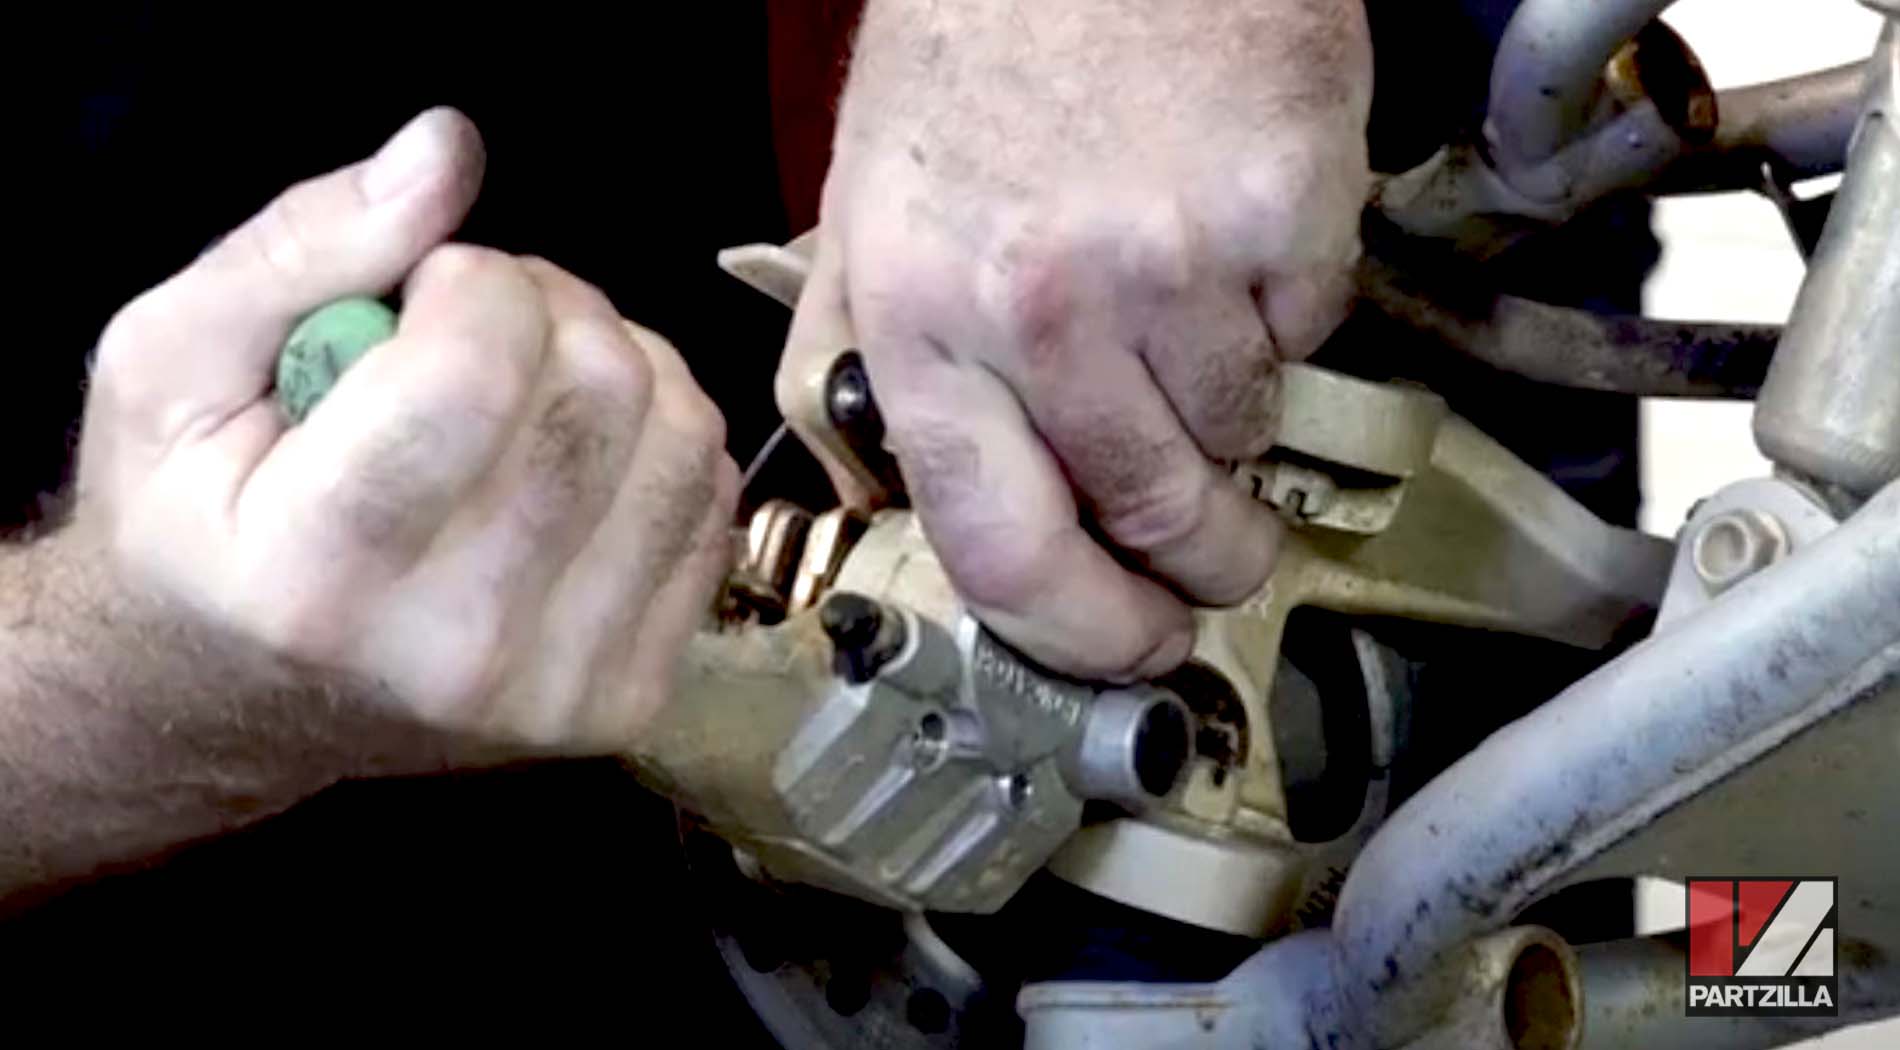
Step 14. Position the caliper over the rotor so that it sits between the two brake pads. Line the bolt holes on the caliper up with the two bolt holes on the carrier.
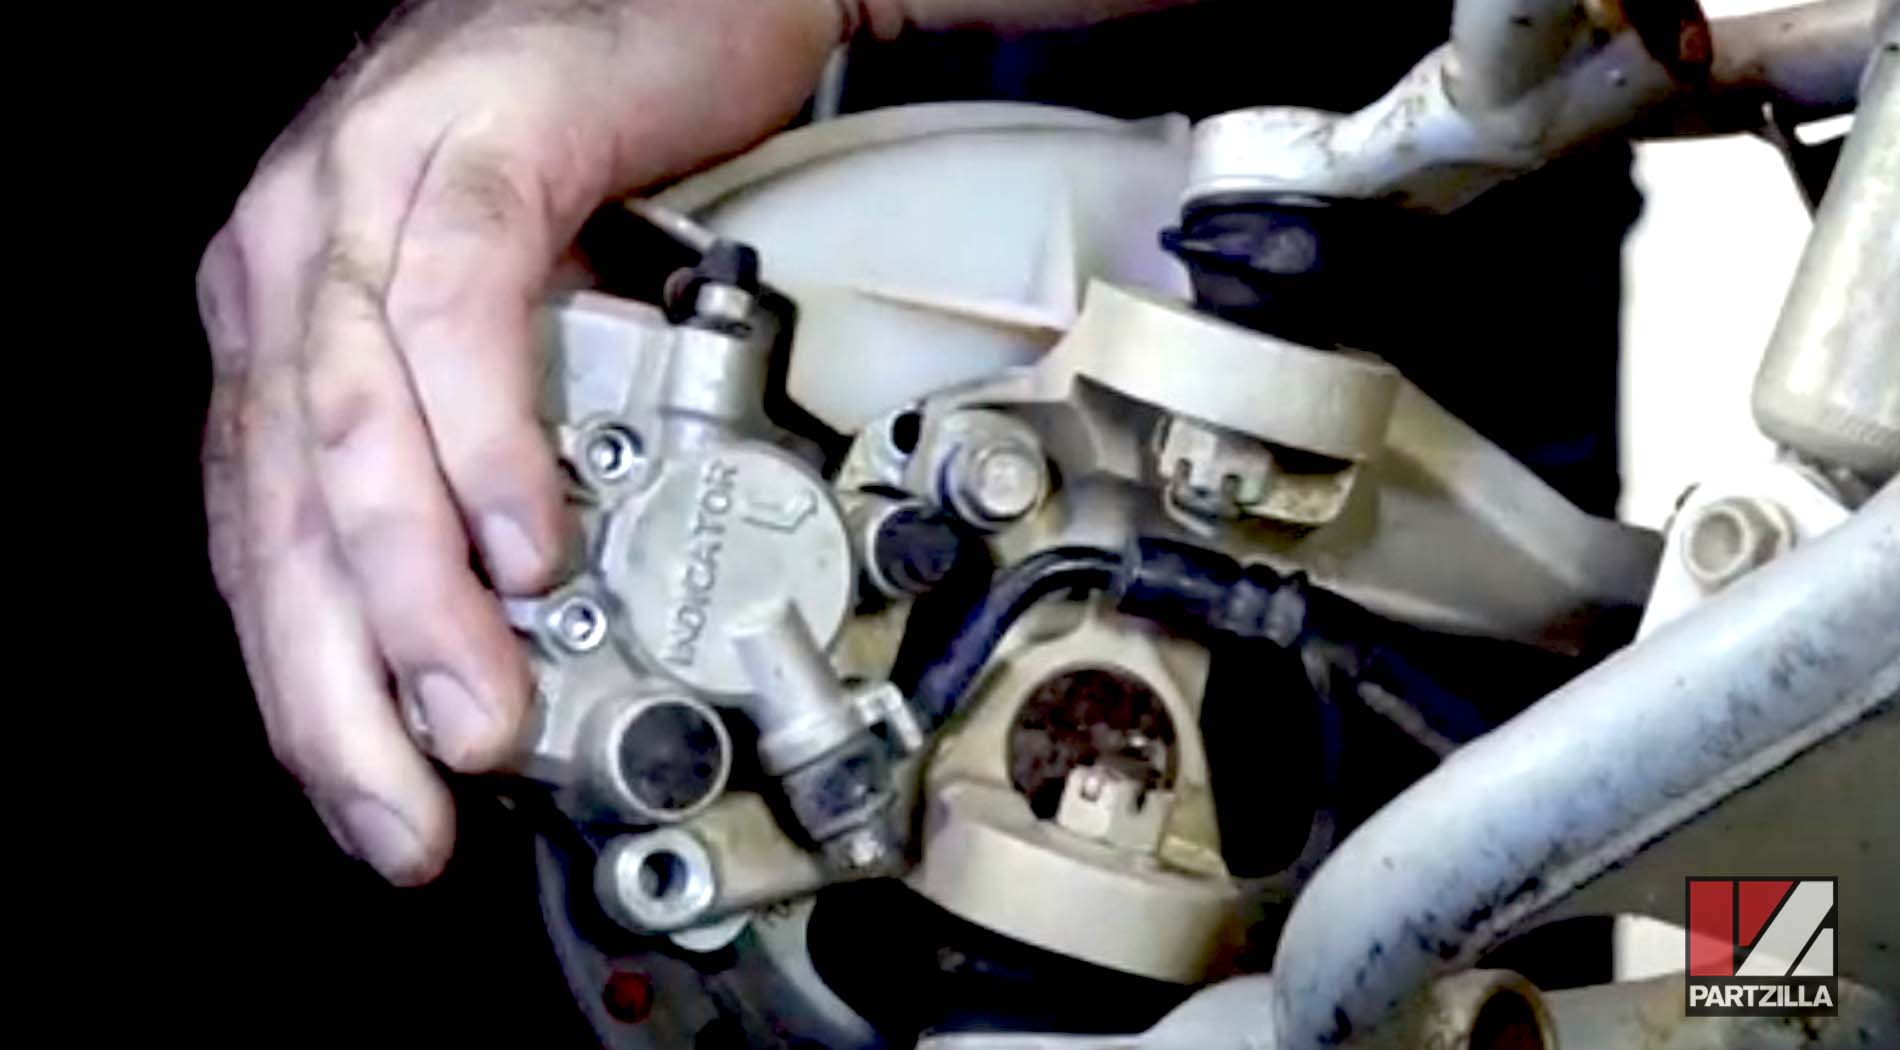
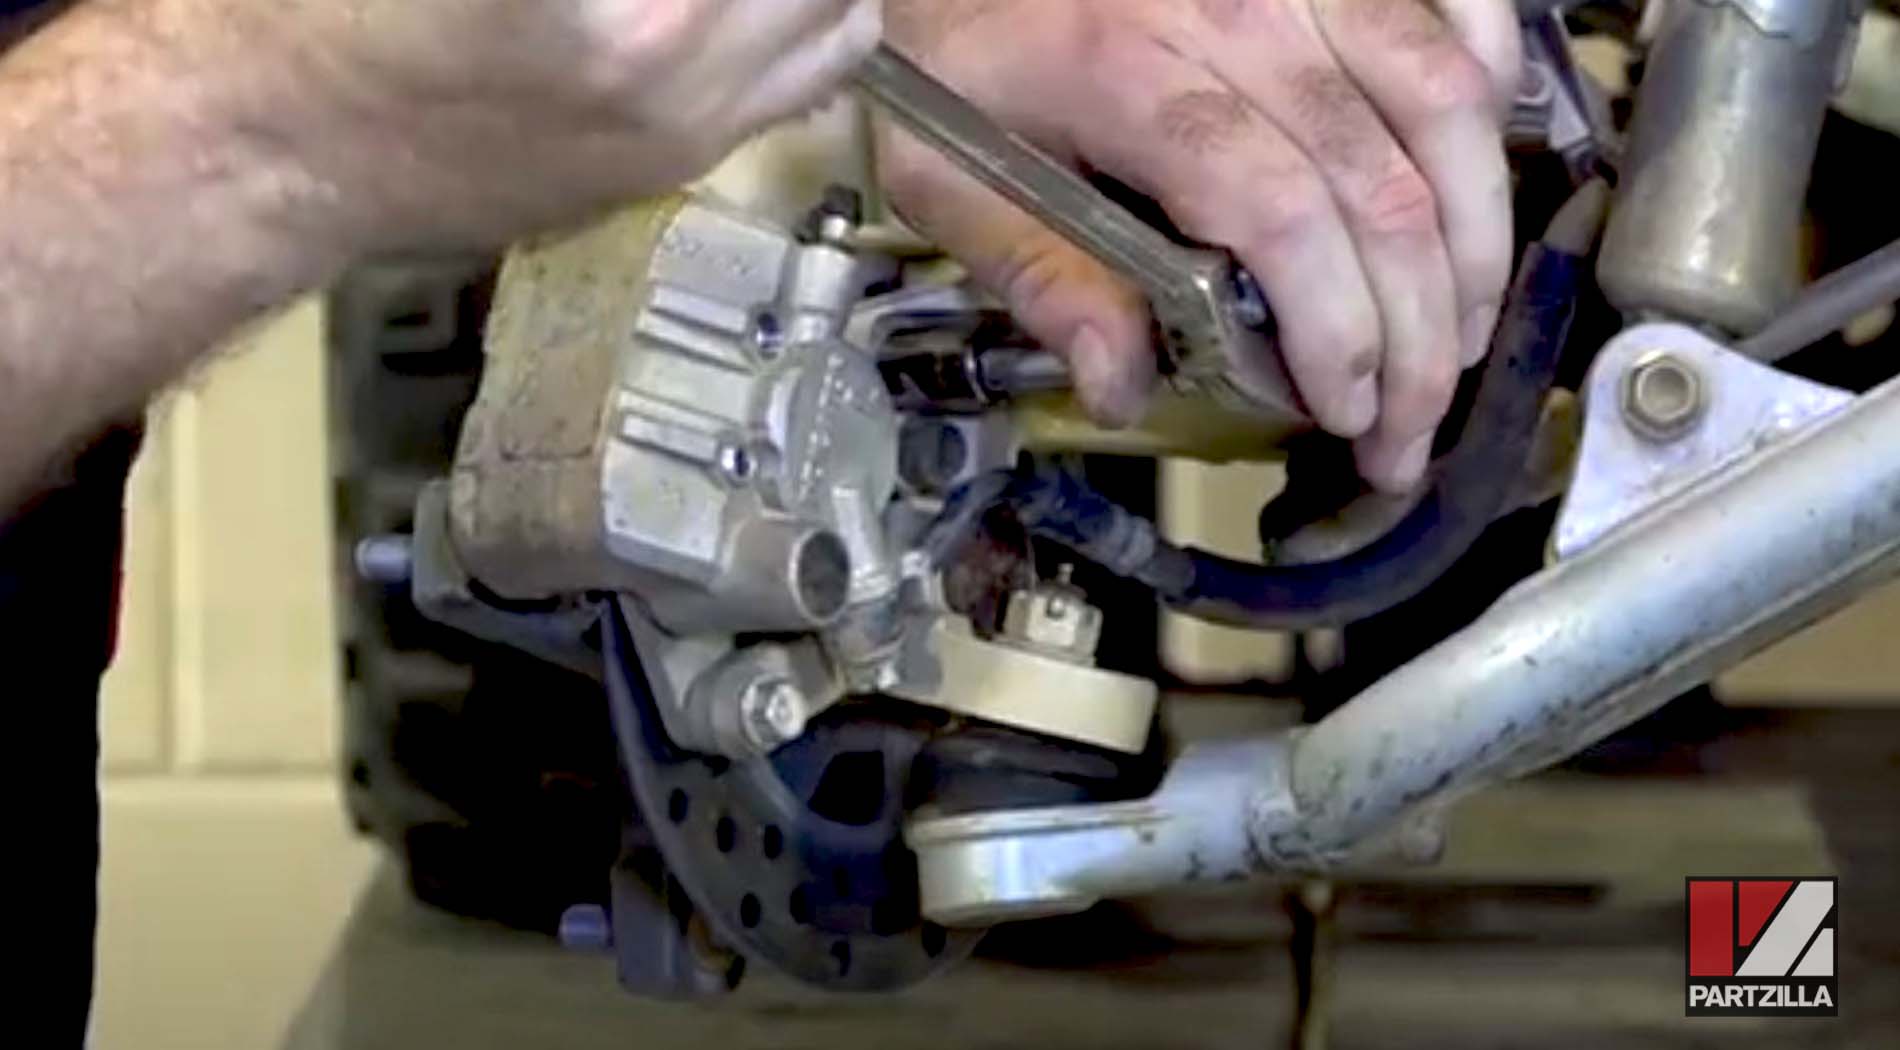
Step 15. Insert the two 12mm bolts and hand-tighten them to hold the caliper in place, then tighten them completely with a 12mm socket.
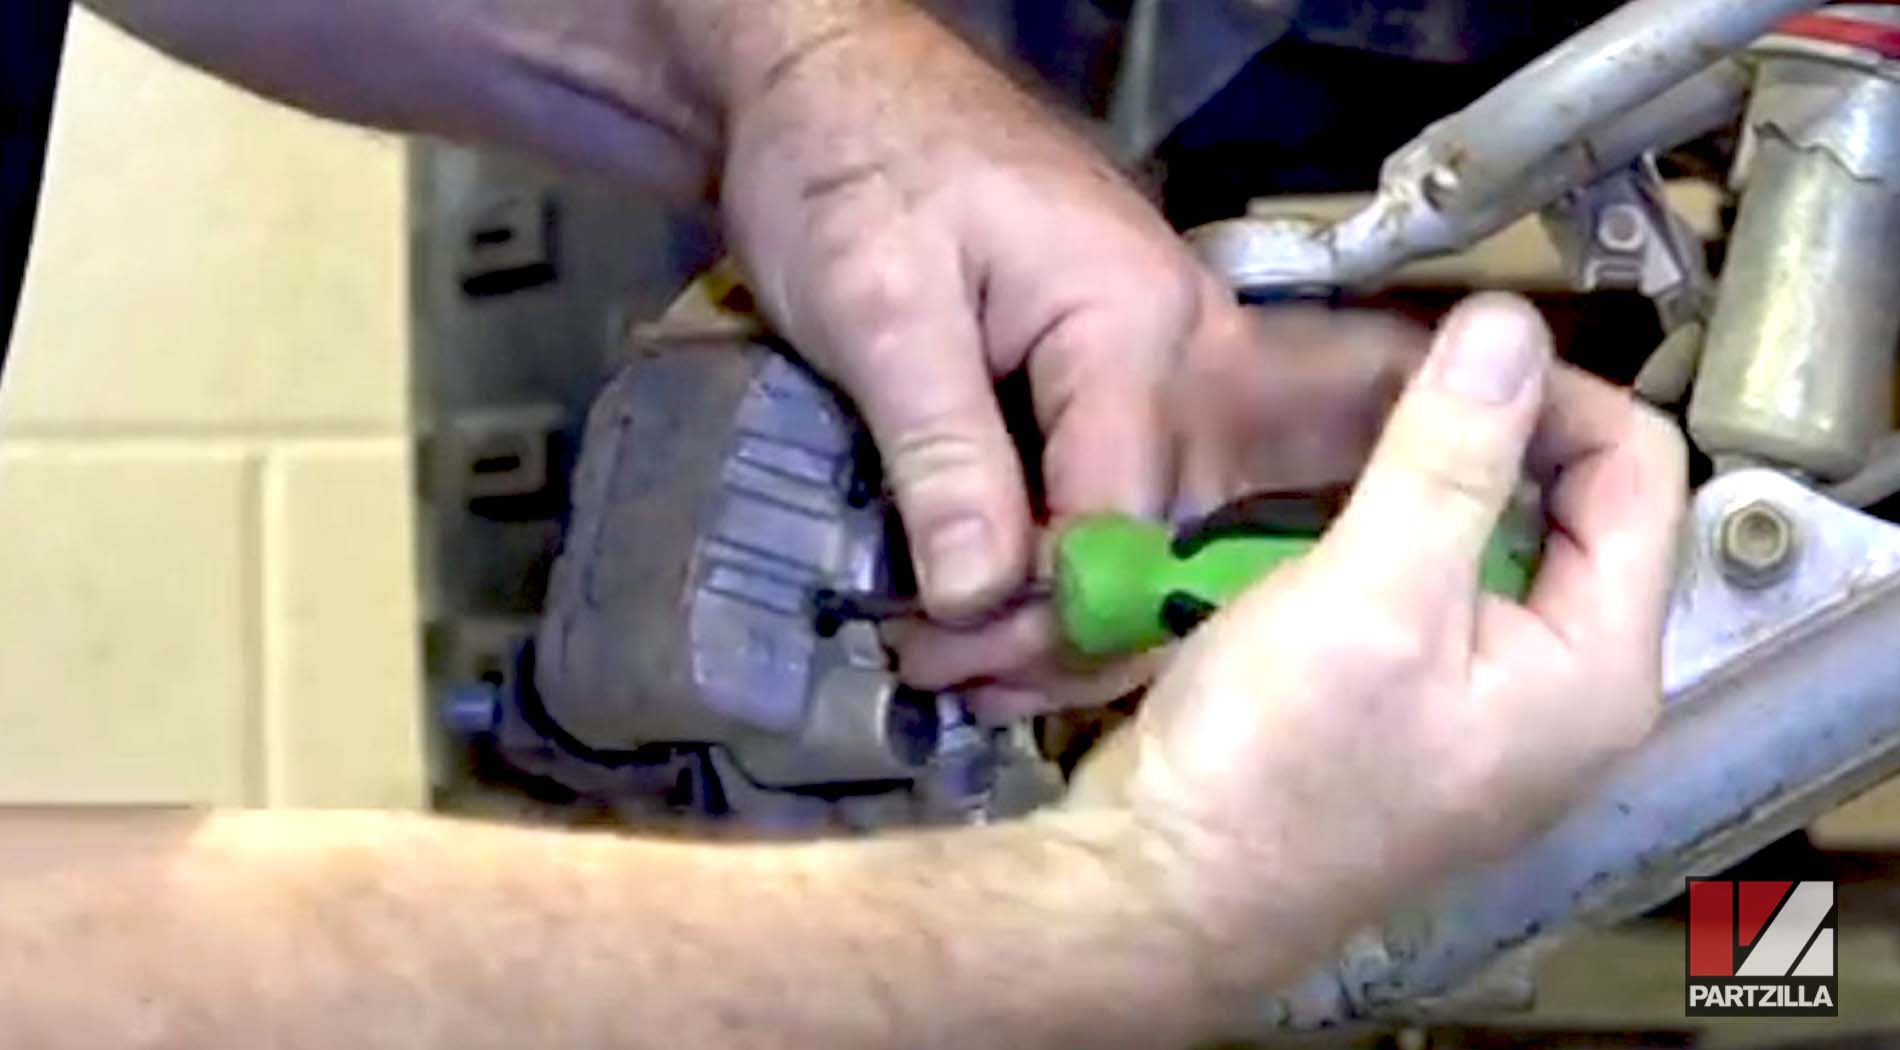
Step 16. Tighten down the 5mm bolts, then replace the plastic caps over the bolts.
Step 17. Pump the brakes a couple of times to get the pads to seat in, then reinstall the front tire and you’re done.
