How to Bleed & Rebuild Honda TRX400 Rear Master Cylinder
When you step on your ATV's brake pedal and not much happens, you've either got air in the braking system, or the rear master cylinder needs repairing.
Whether you need to bleed the rear master cylinder or rebuild it, we'll walk you through how to do both. Watch the video above or follow the steps below to bleed the rear brakes and rebuild the rear master brake cylinder on a Honda TRX400EX.
Tools and Parts - Honda TRX 400 Rear Master Cylinder Rebuild
- 8mm, 10mm, 12mm wrenches
- 5mm Allen
- Pliers
- Circlip pliers
- Small flathead screwdriver
- 1/4-inch hose
- Contact/brake cleaner
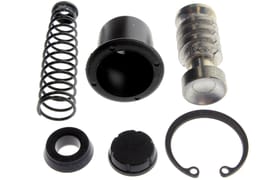
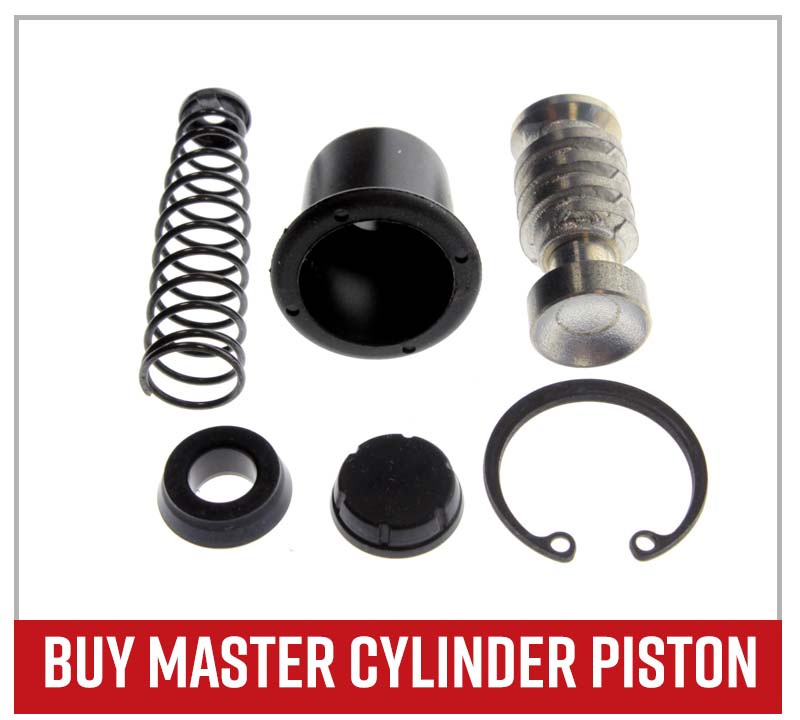
- Master cylinder piston kit
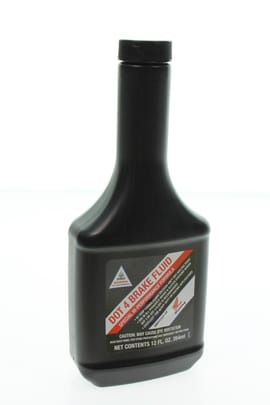
- DOT 4 brake fluid

How to Bleed Honda TRX 400EX Rear Brakes
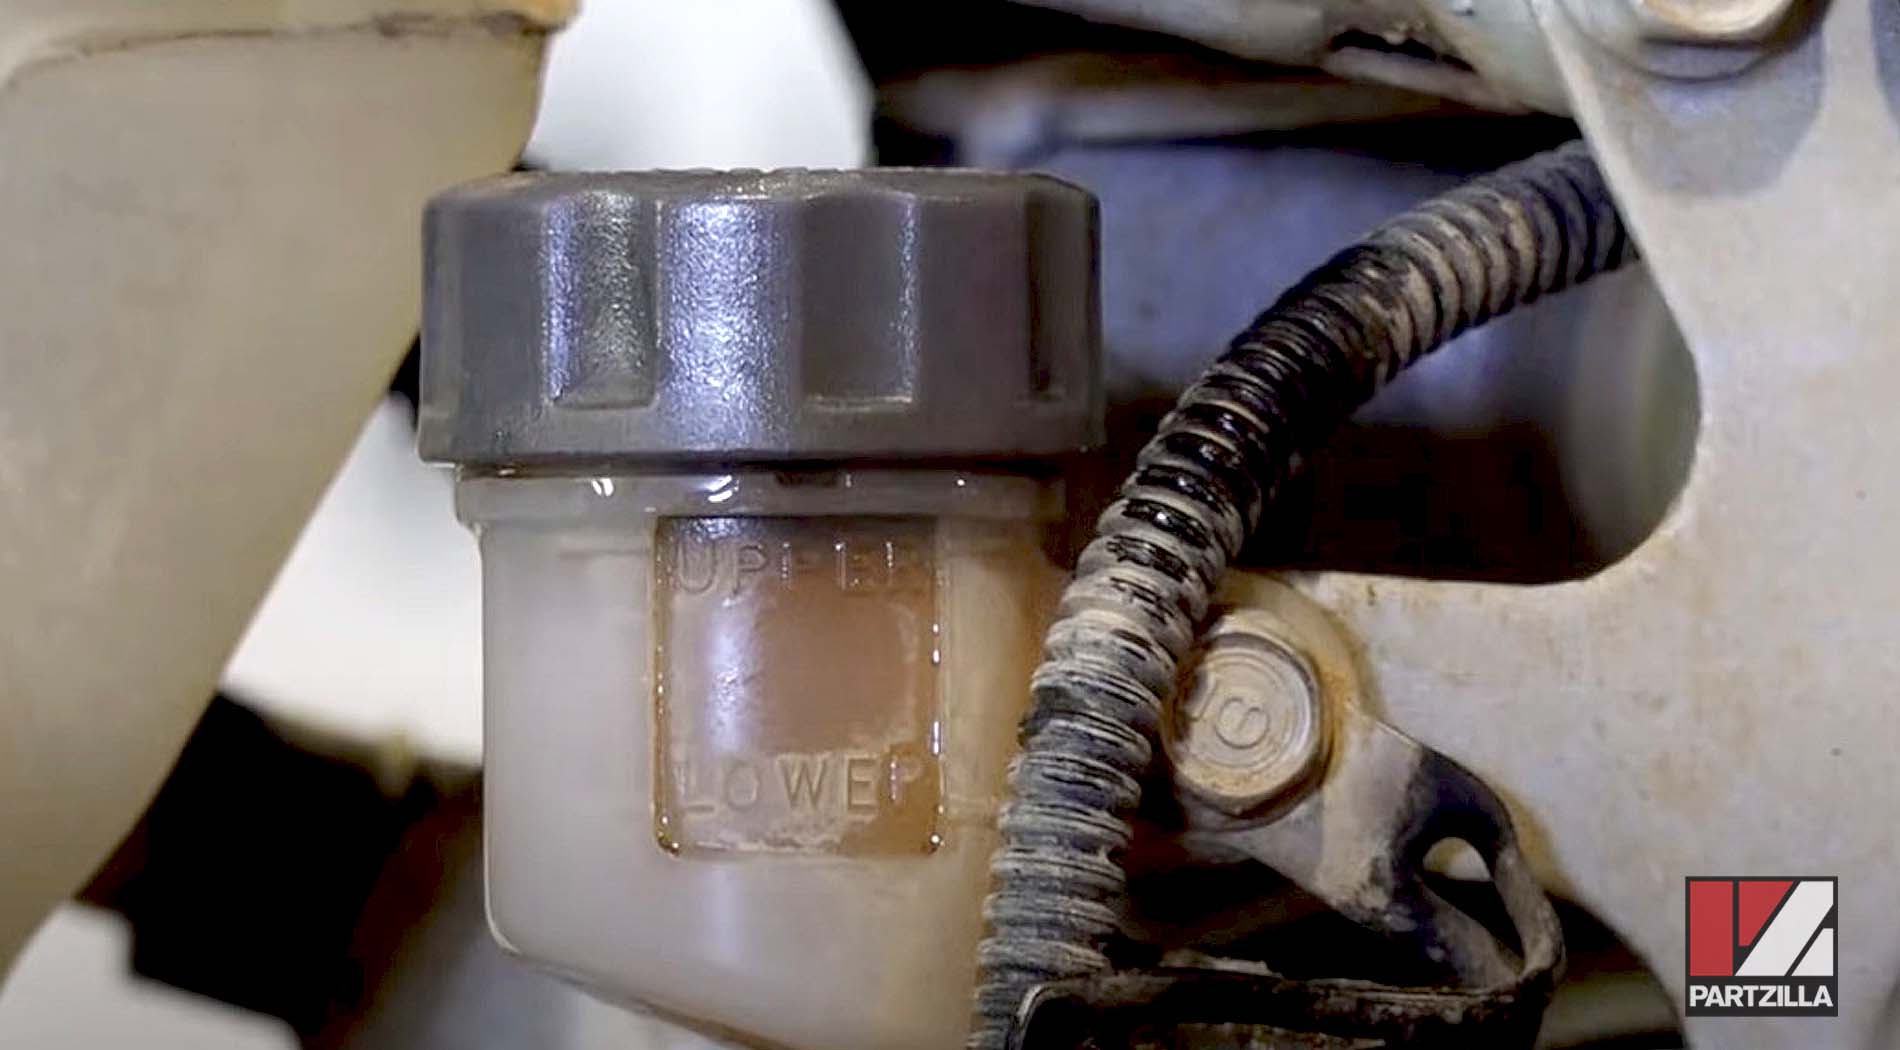
Step 1. Remove the cap from the rear master cylinder reservoir, and fill the reservoir with DOT 4 brake fluid and replace the cap.

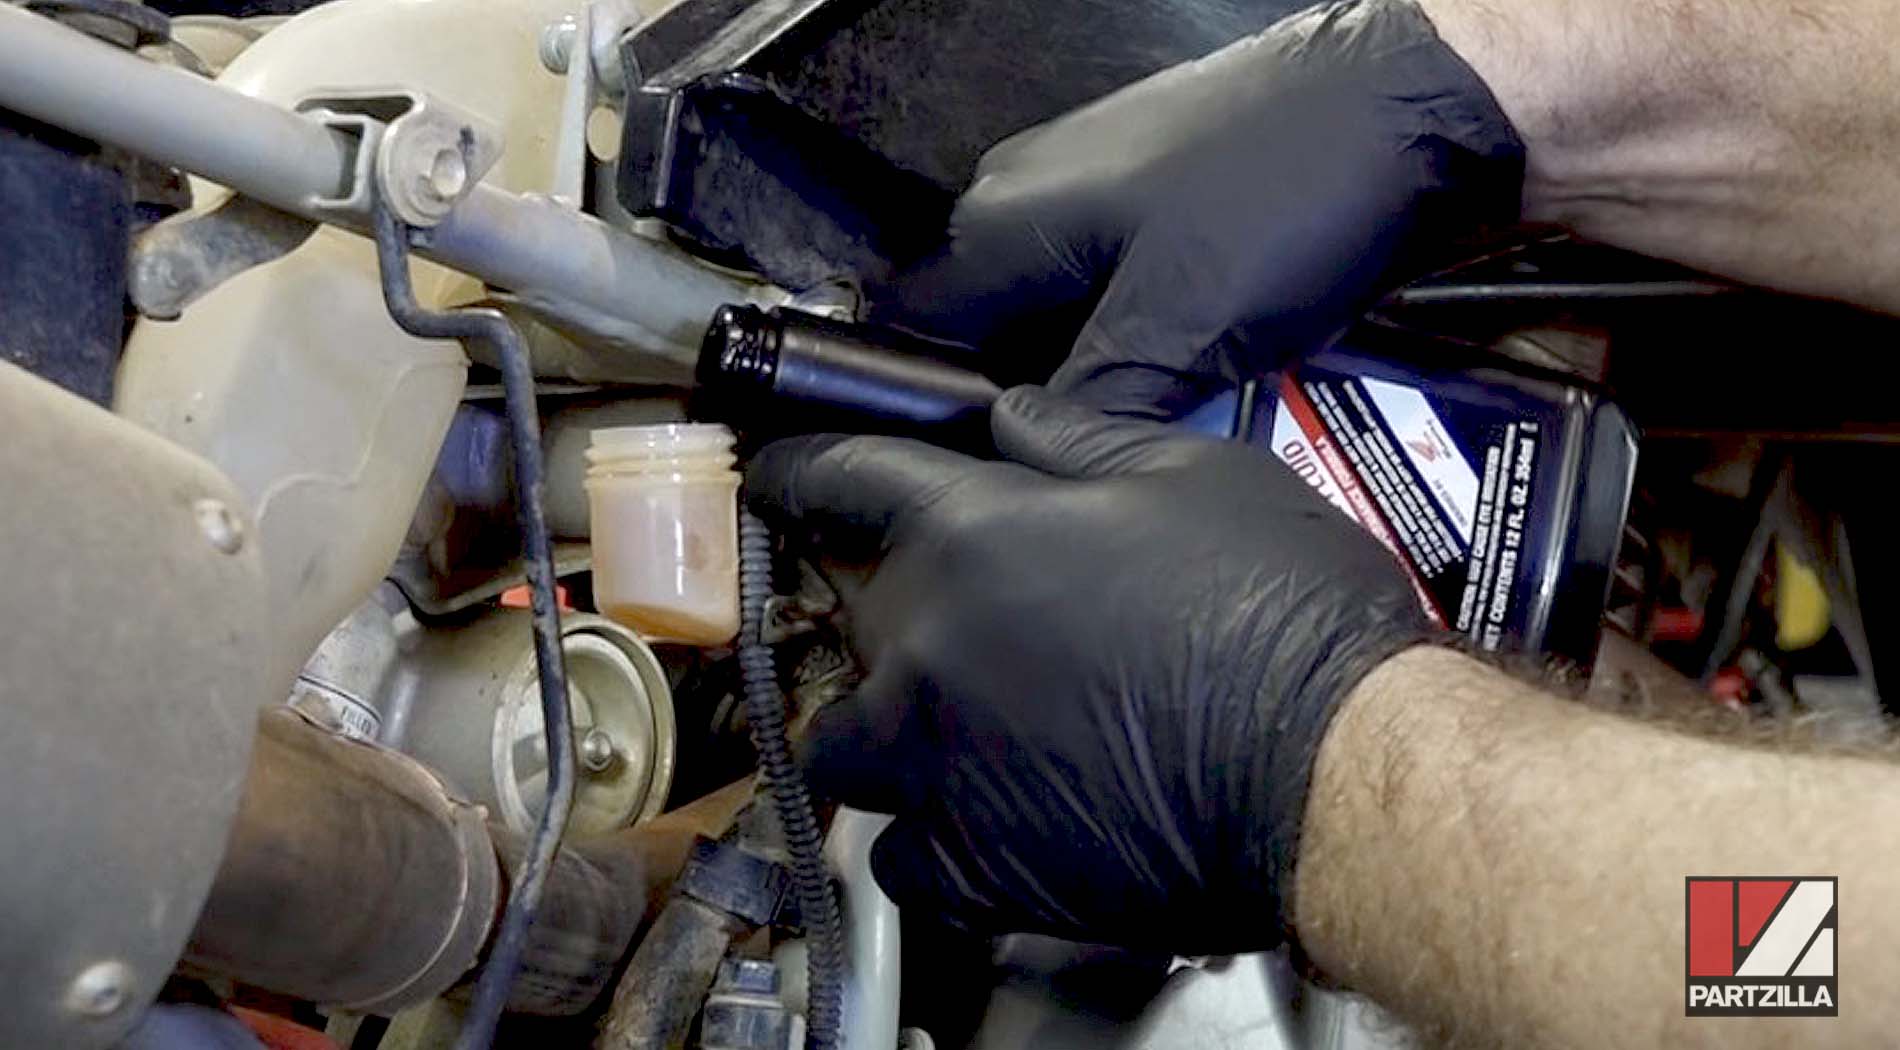
Step 2. Remove the rubber cap from the bleed screw in the rear brake caliper, then put an 8mm wrench over the bleed screw, and attach a length of 1/4-inch hose to the bleed screw, with a container beneath the other end of the hose to catch the old brake fluid.

Step 3. Pump the rear brake pedal a few times, keep it held down, and loosen the brake caliper bleed screw. Old brake fluid will begin to flow out of the caliper and into the hose.
Step 4. Tighten the bleed screw, and pump the rear brake pedal again a couple of times. Keep the pedal pressed down, then loosen the bleed screw once more, allow the old brake fluid to flow out, and retighten the bleed screw.
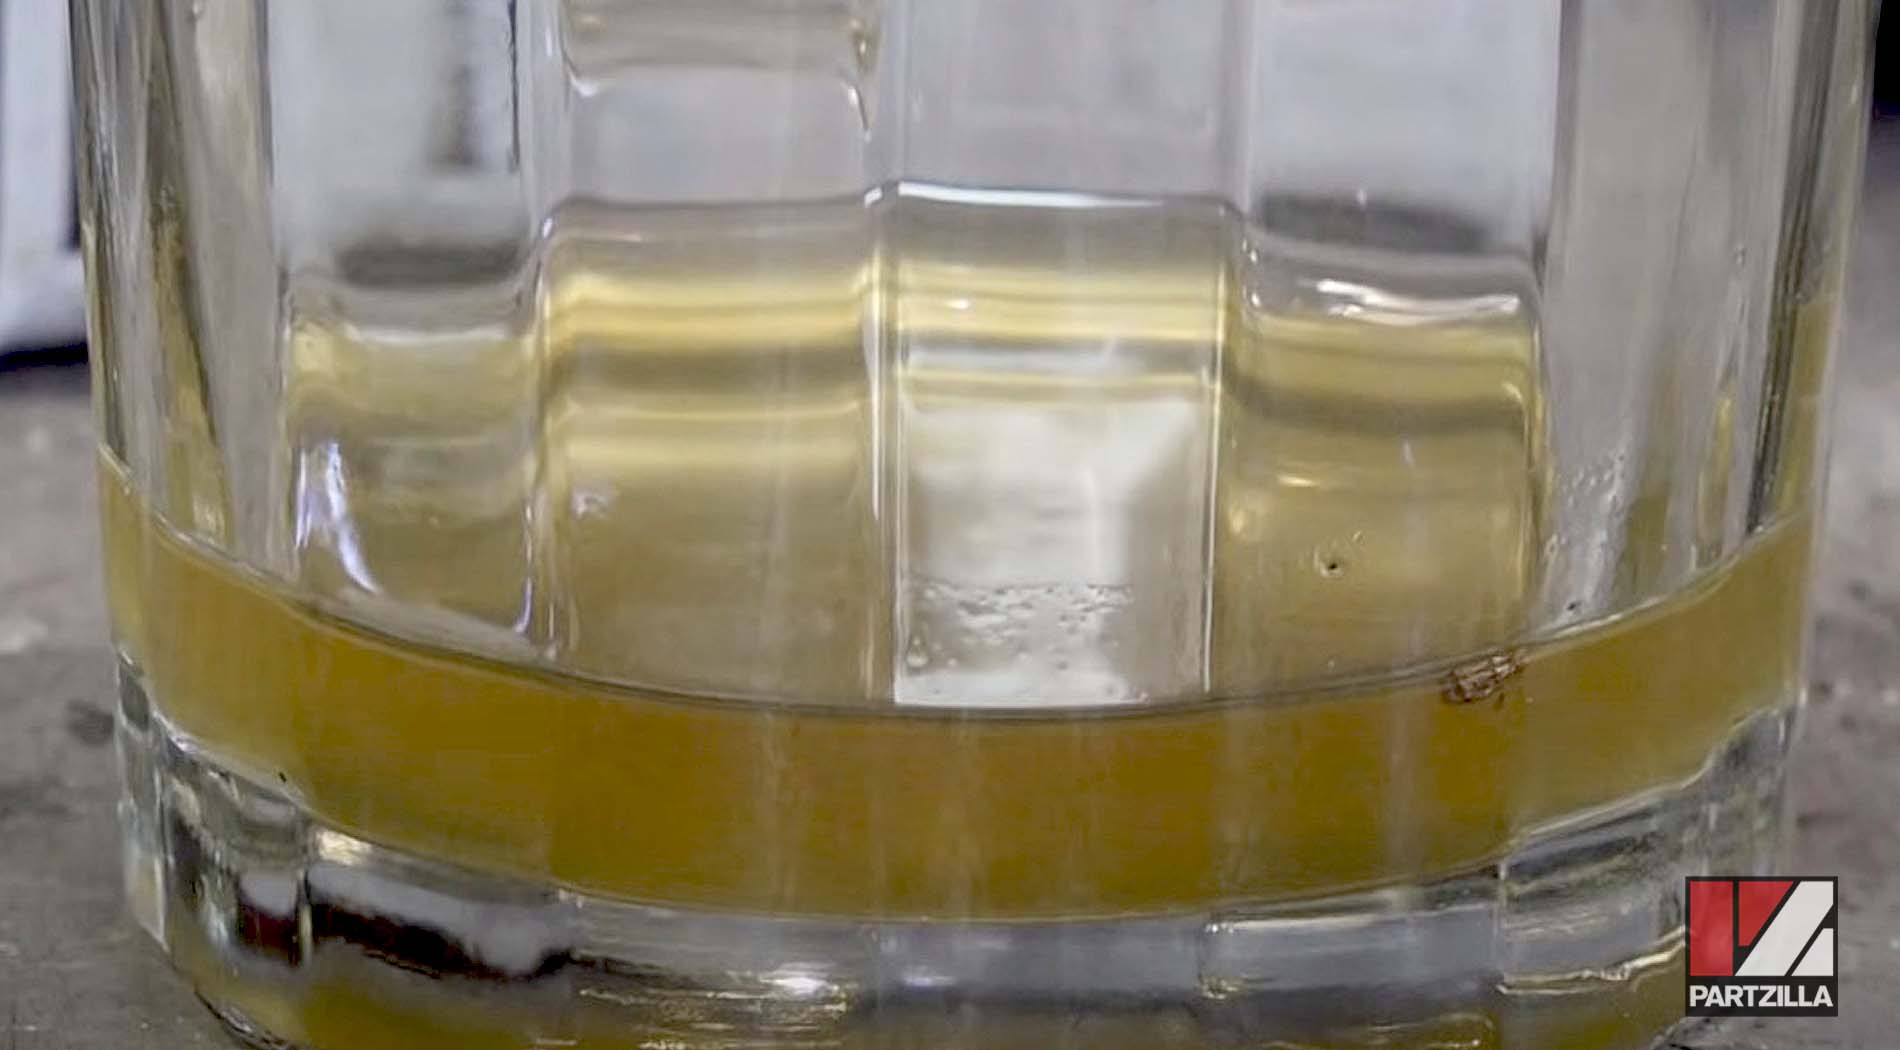
Step 5. Repeat Step 3 and Step 4 a couple of times until nothing but fresh clear brake fluid with no air bubbles is flowing out of the master cylinder, then top off the master cylinder reservoir.

Step 6. Make sure the bleed screw is fully tightened, put the rubber cap back over the bleed screw, and remove the hose and the 8mm wrench. Top off the reservoir to the upper fill line, then reinstall the reservoir cap and you're done.
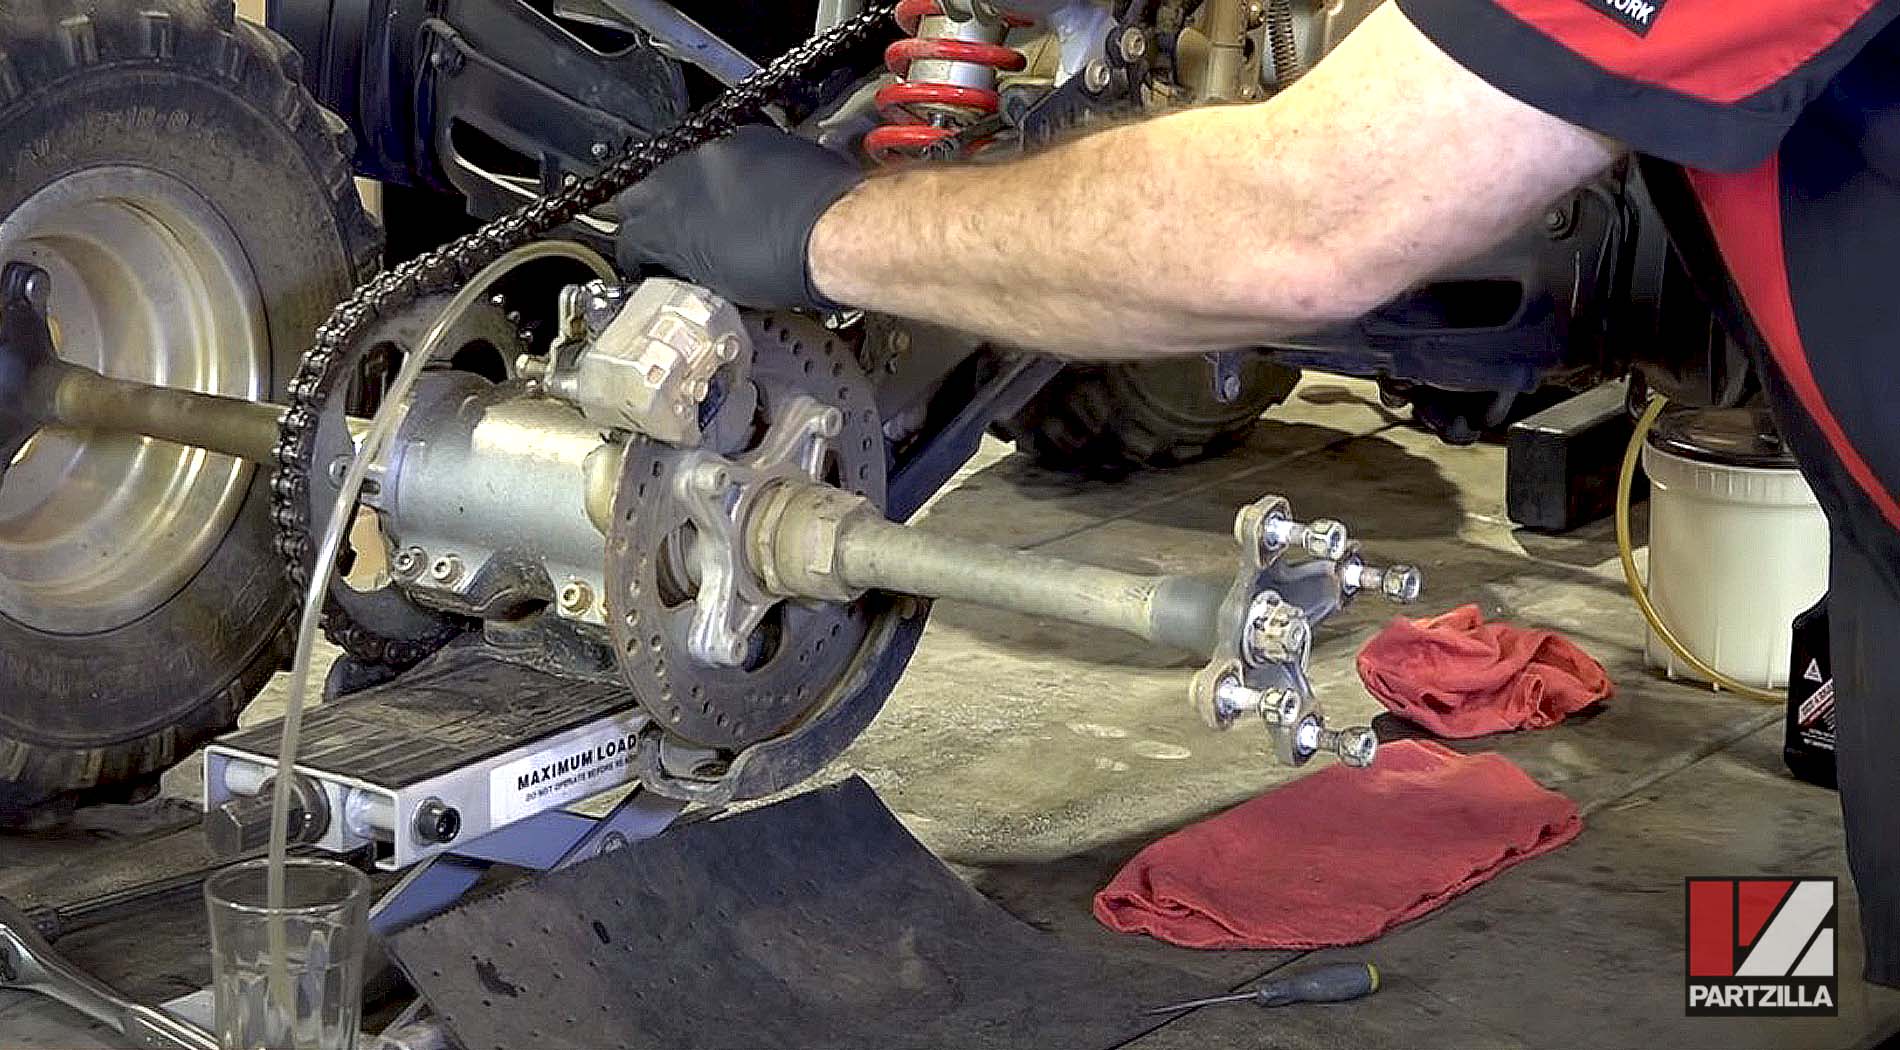
How to Remove Honda TRX 400EX Rear Brake Master Cylinder
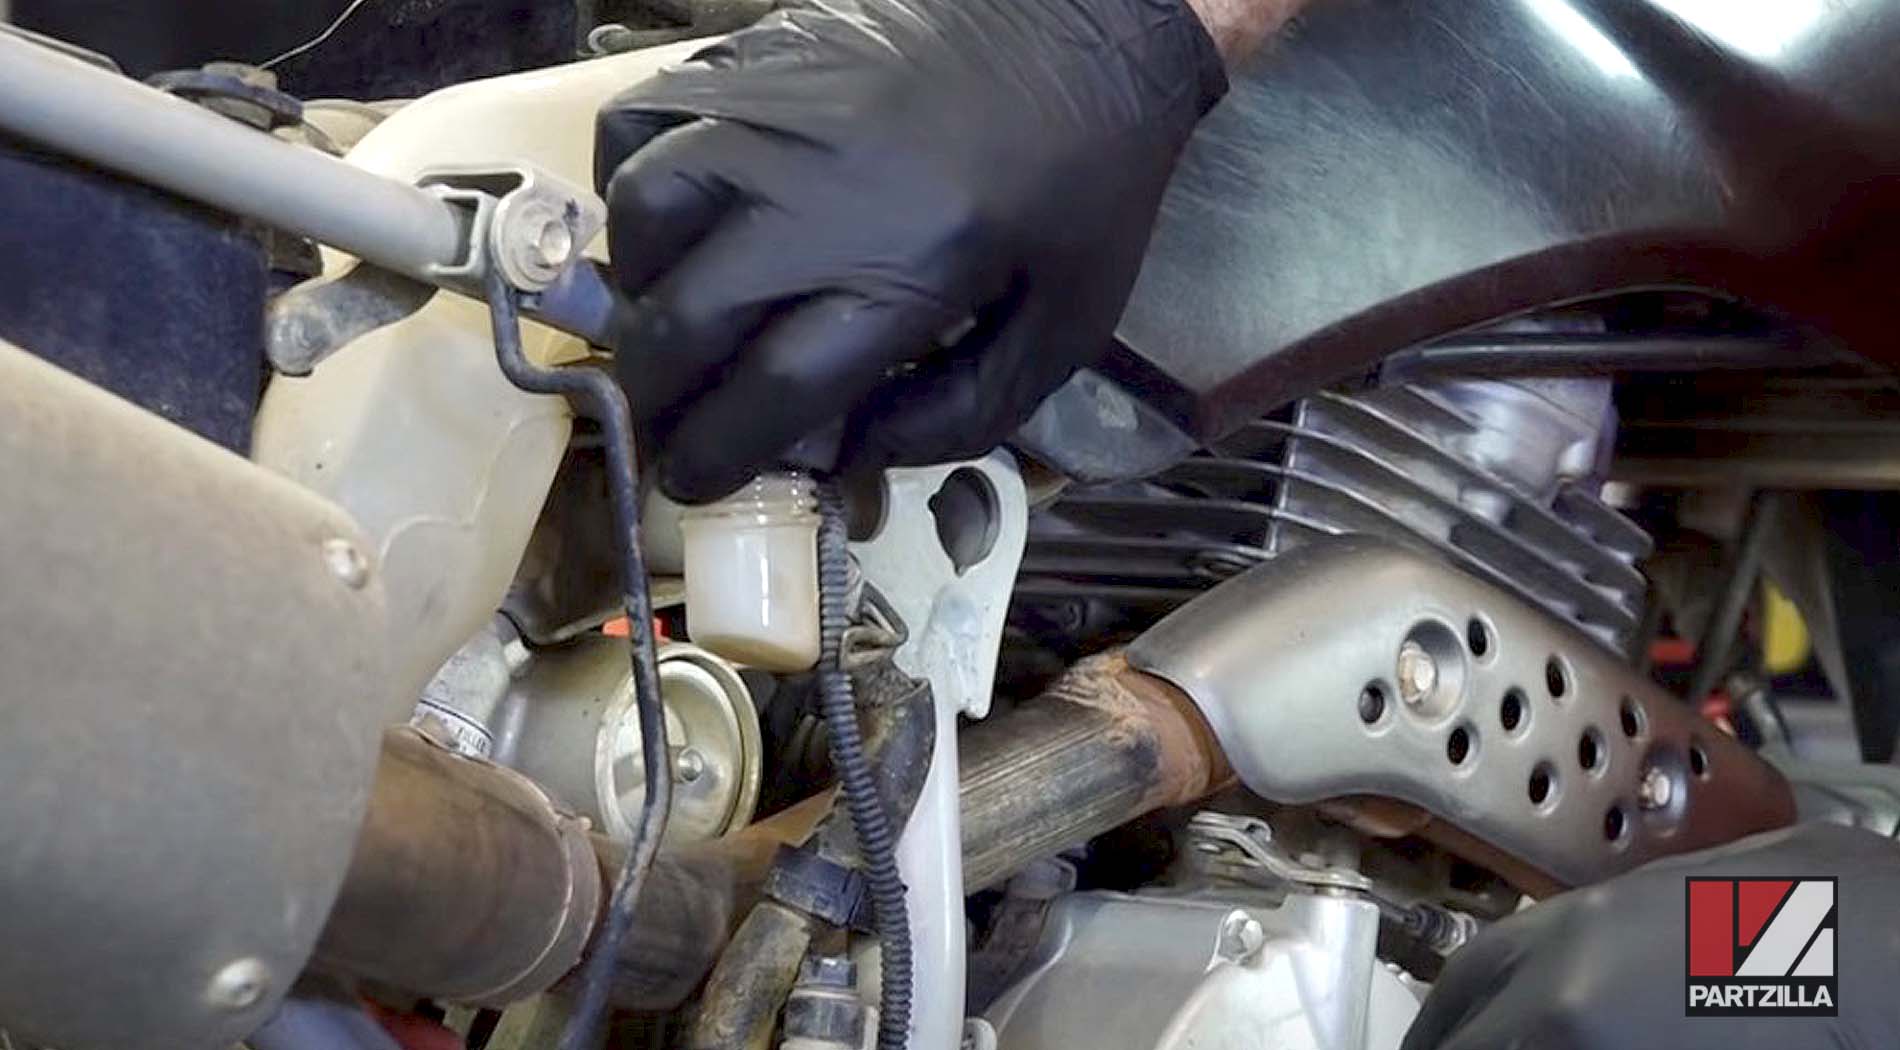
Step 1. Remove the cap from the rear master cylinder reservoir so air can enter into the system and the brake fluid can drain out from it.
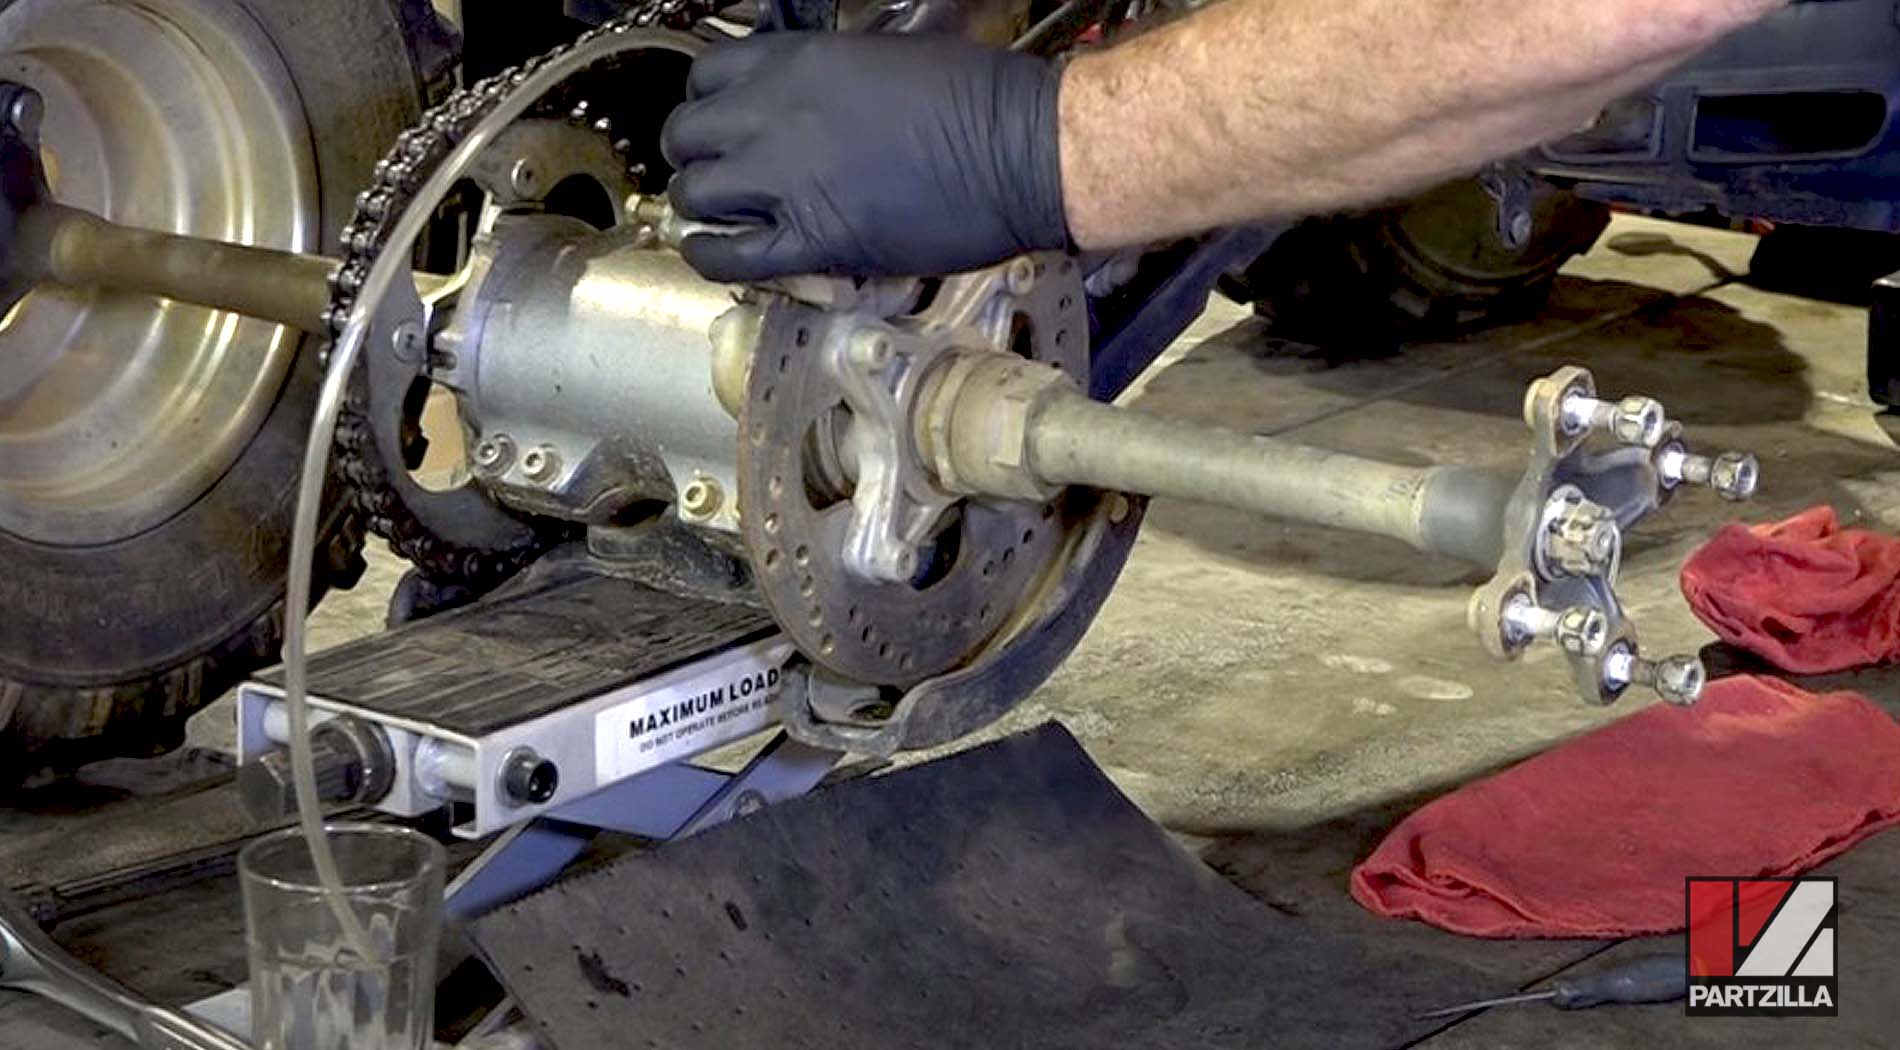
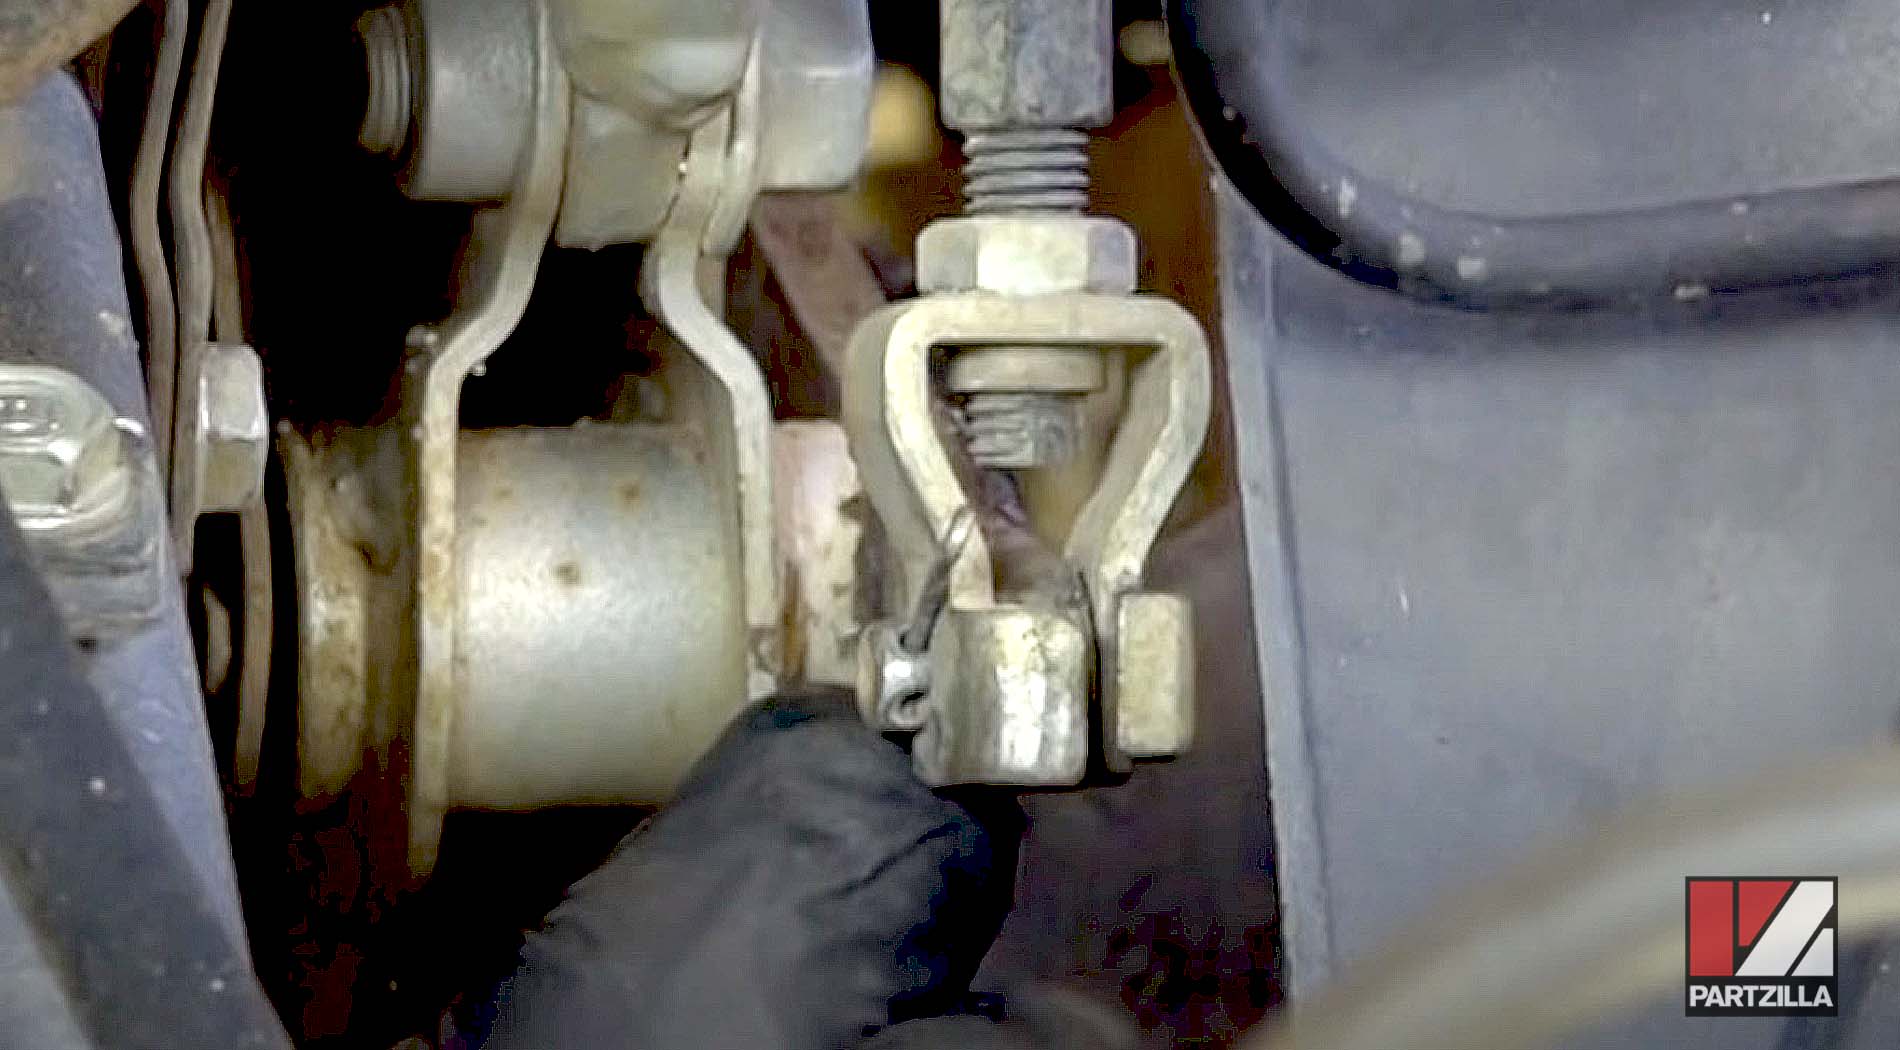
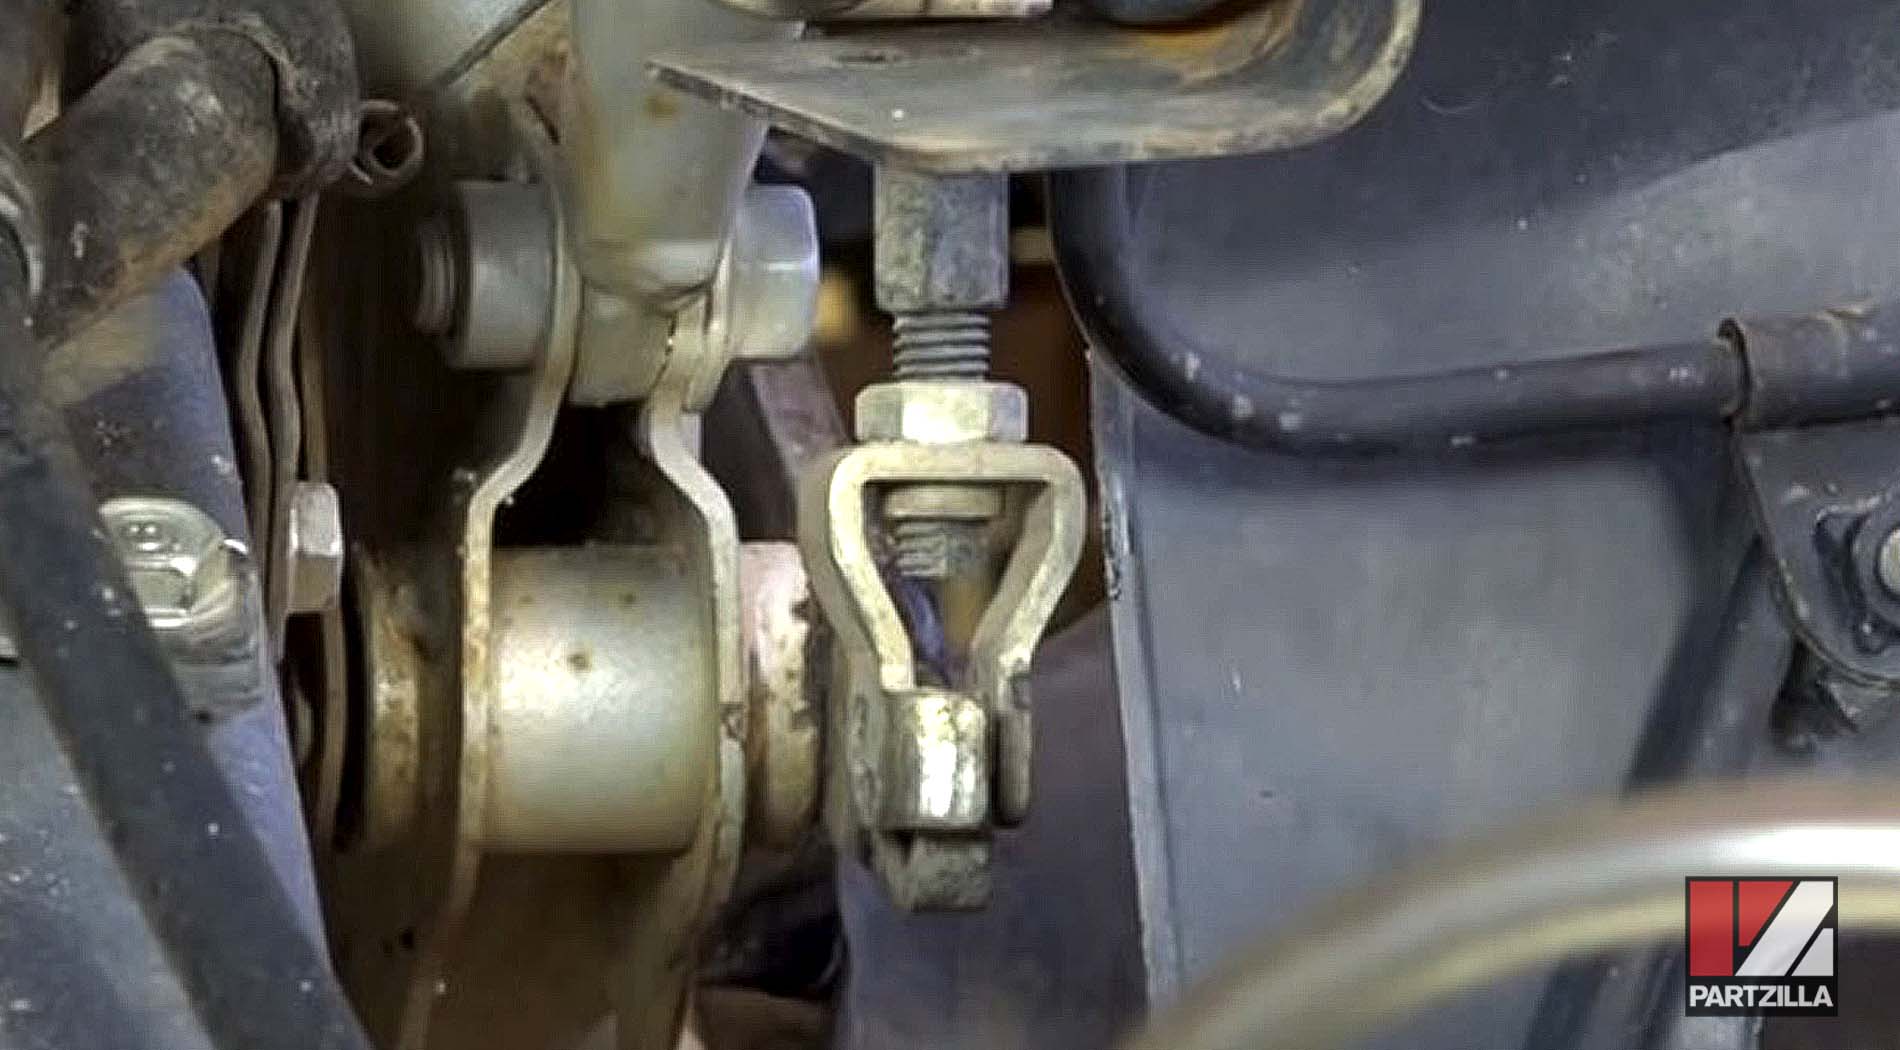
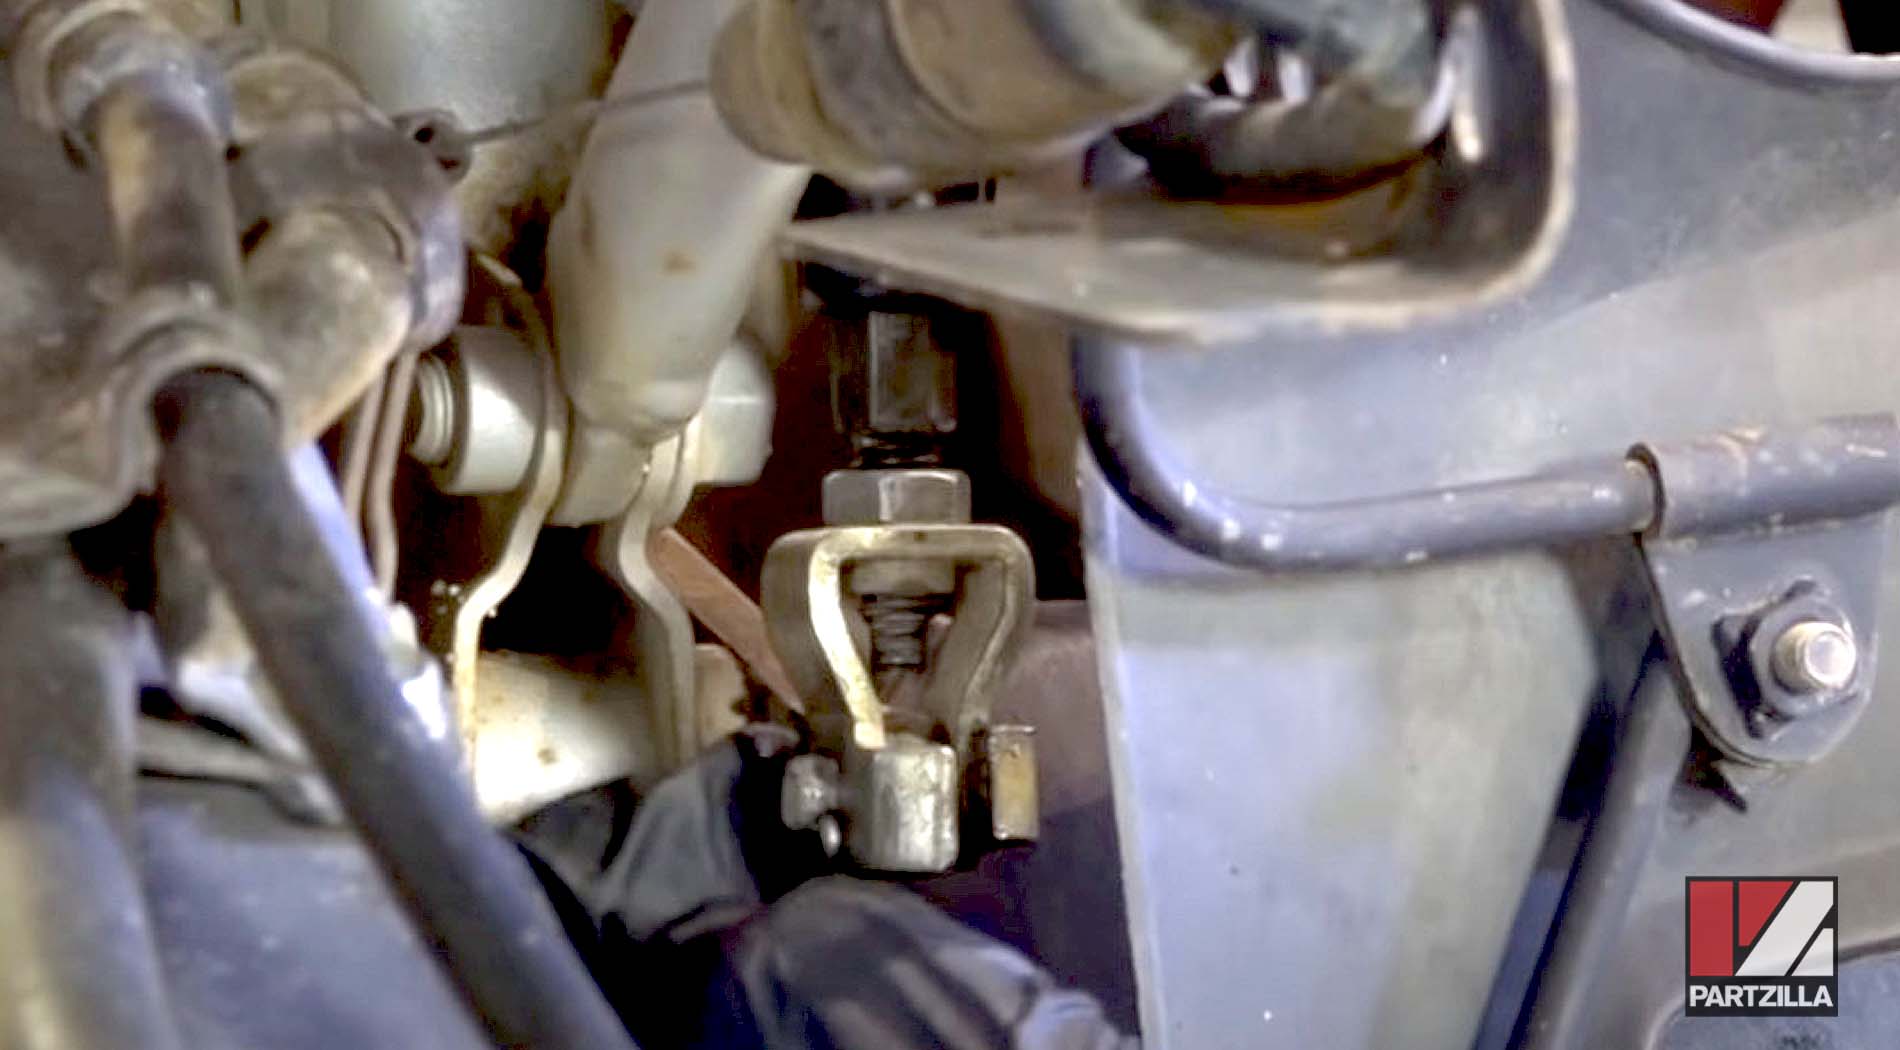
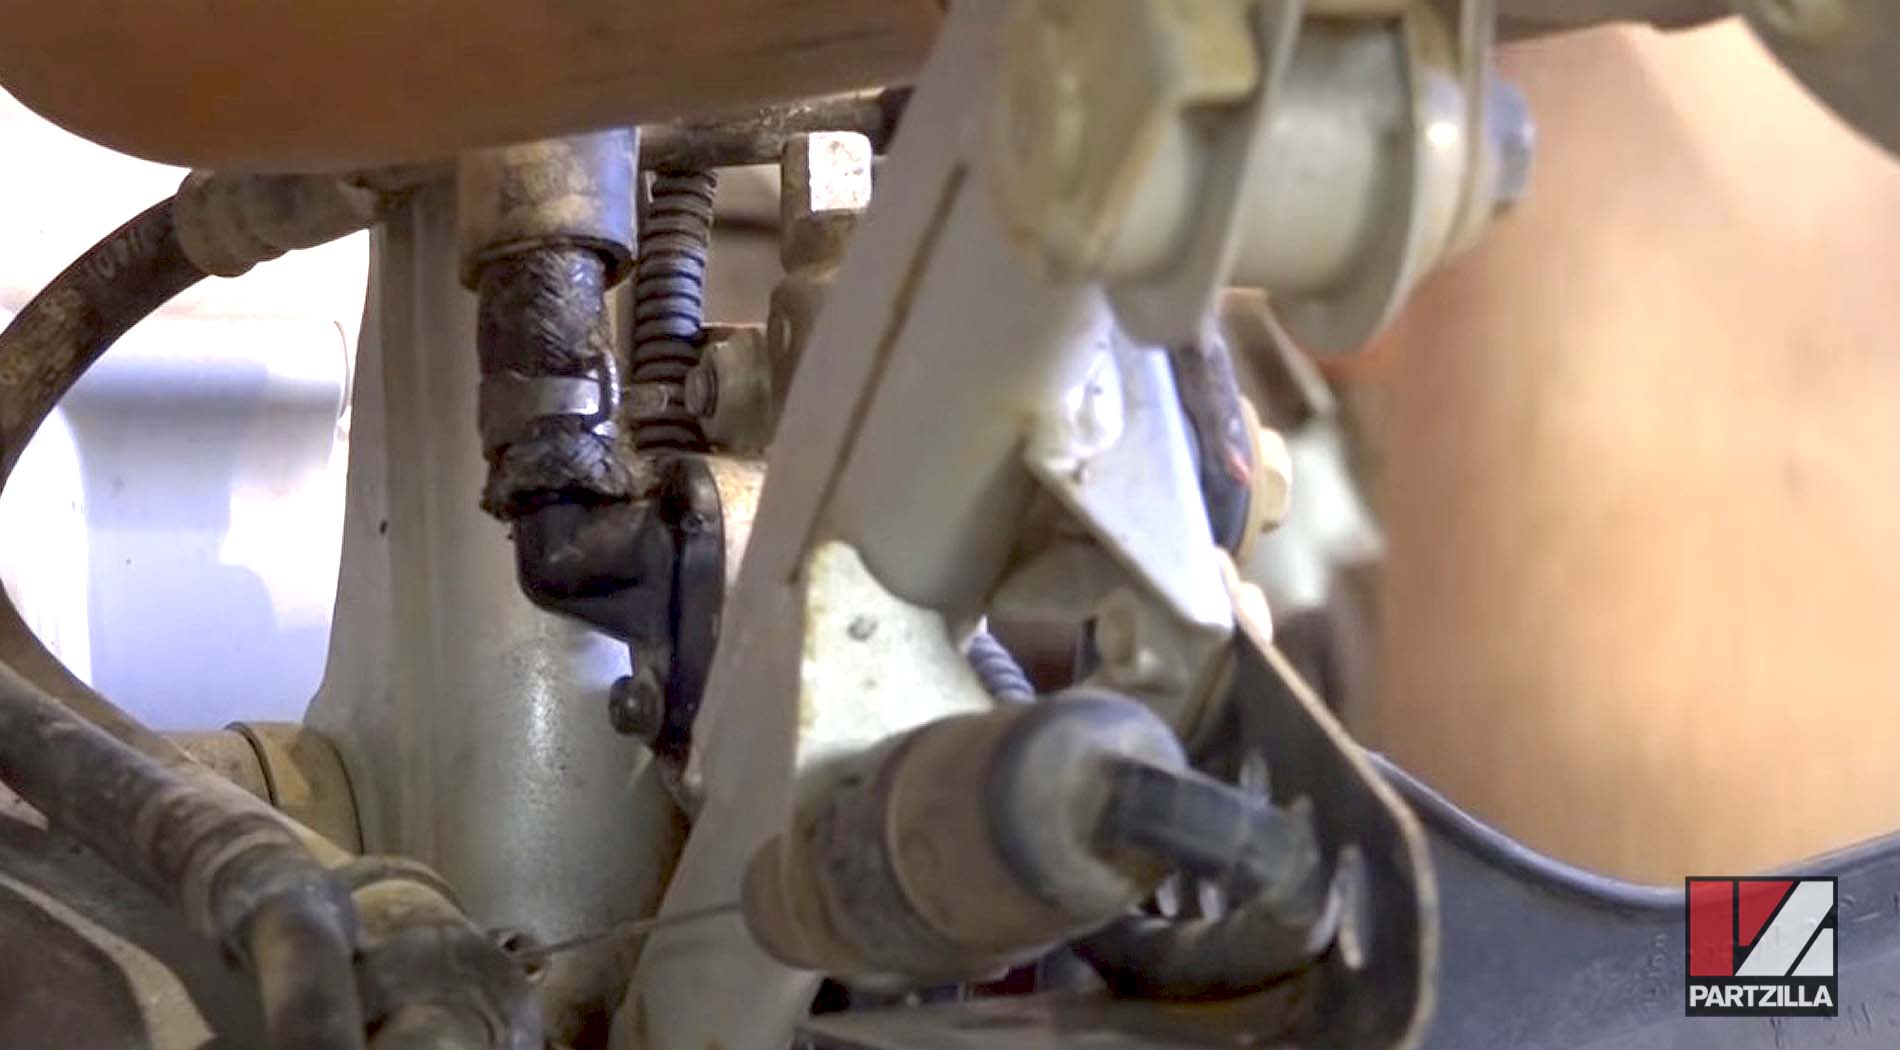
Step 2. Remove the cotter pin and the pivot pin from the brake pedal joint.
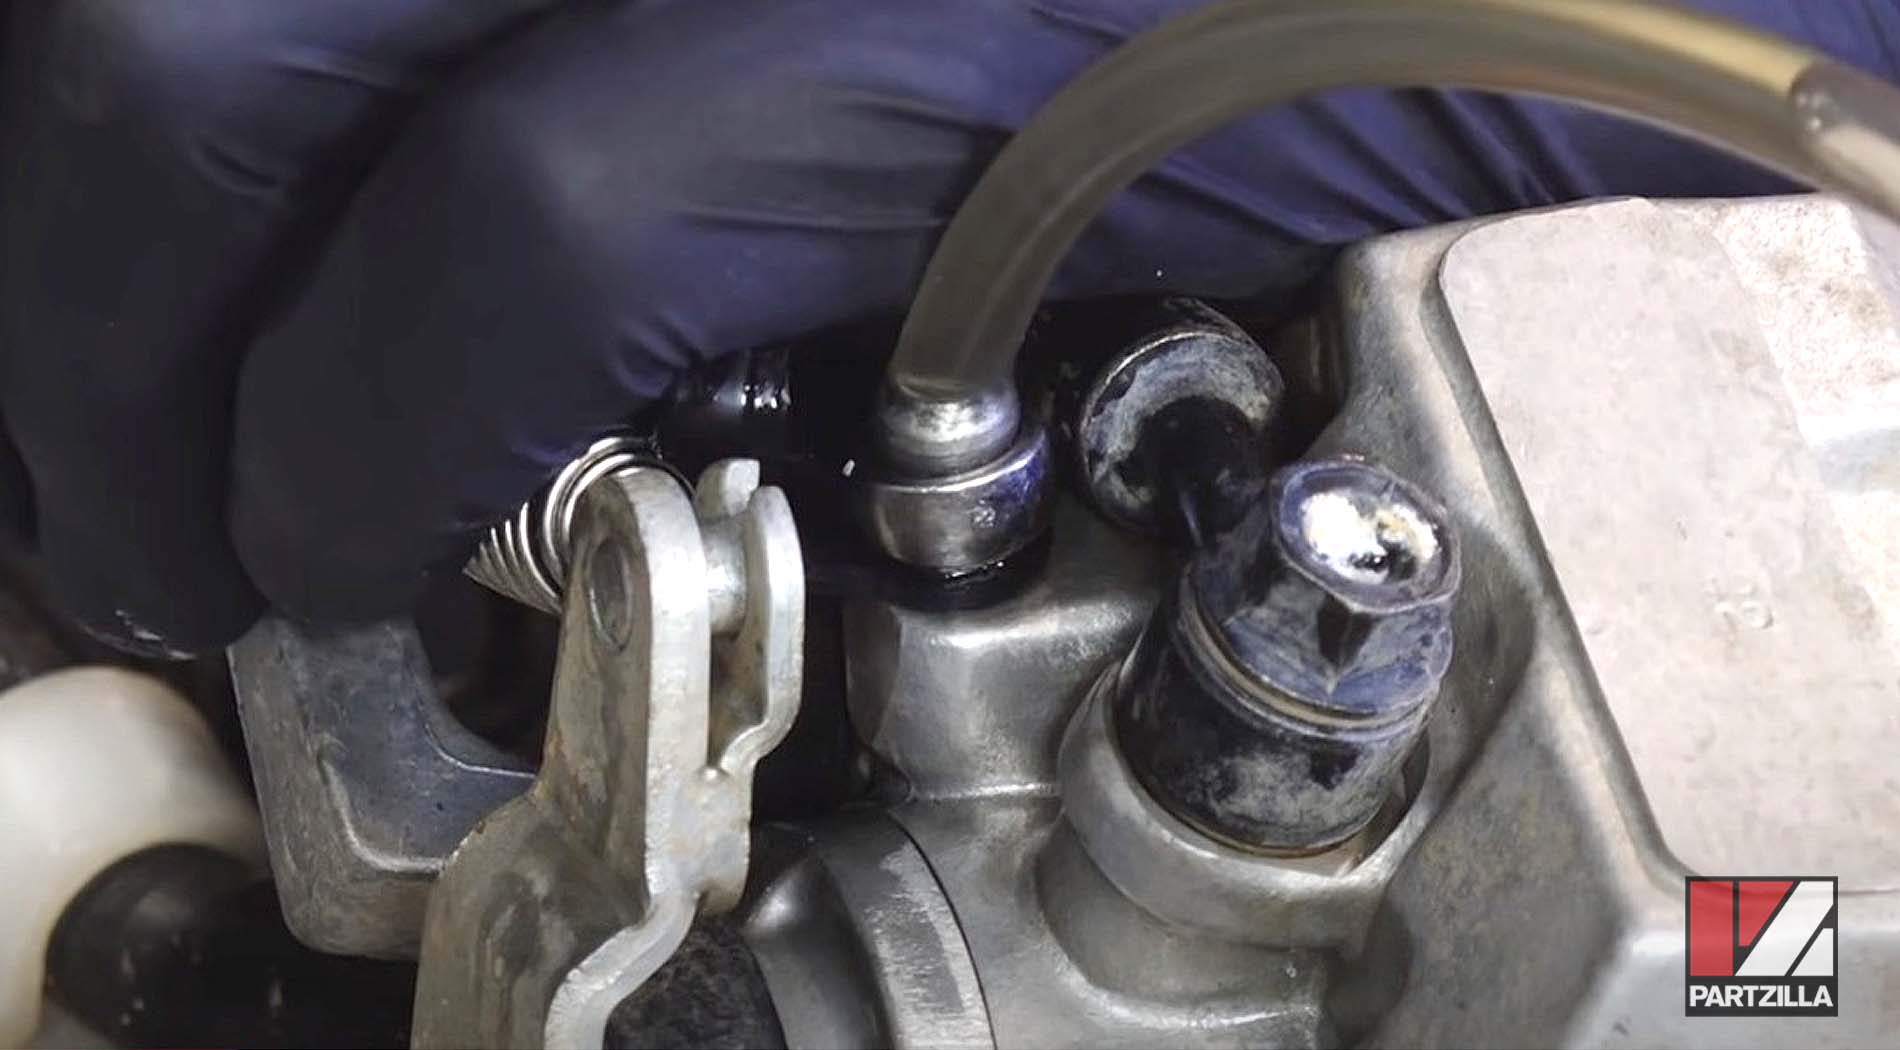
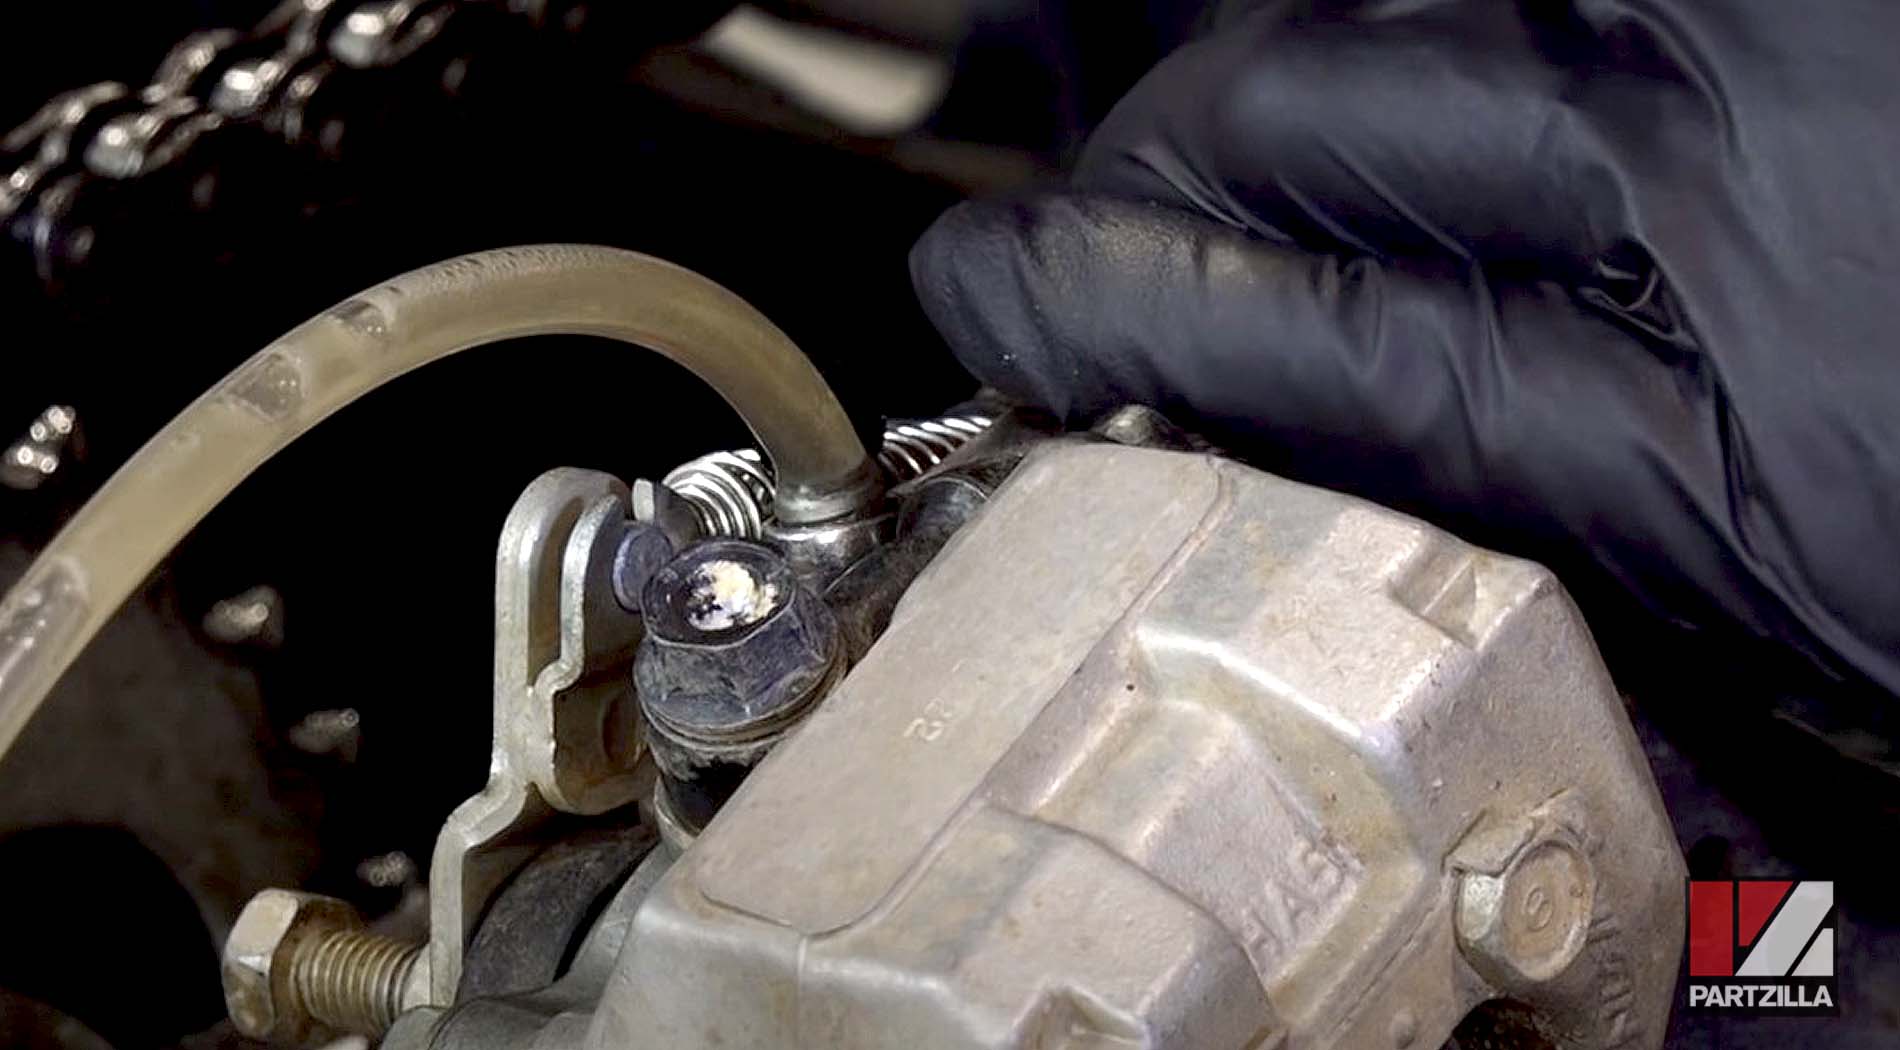
Step 3. Remove the clip on the hose leading from the reservoir to the master cylinder, and detach the hose from the master cylinder.
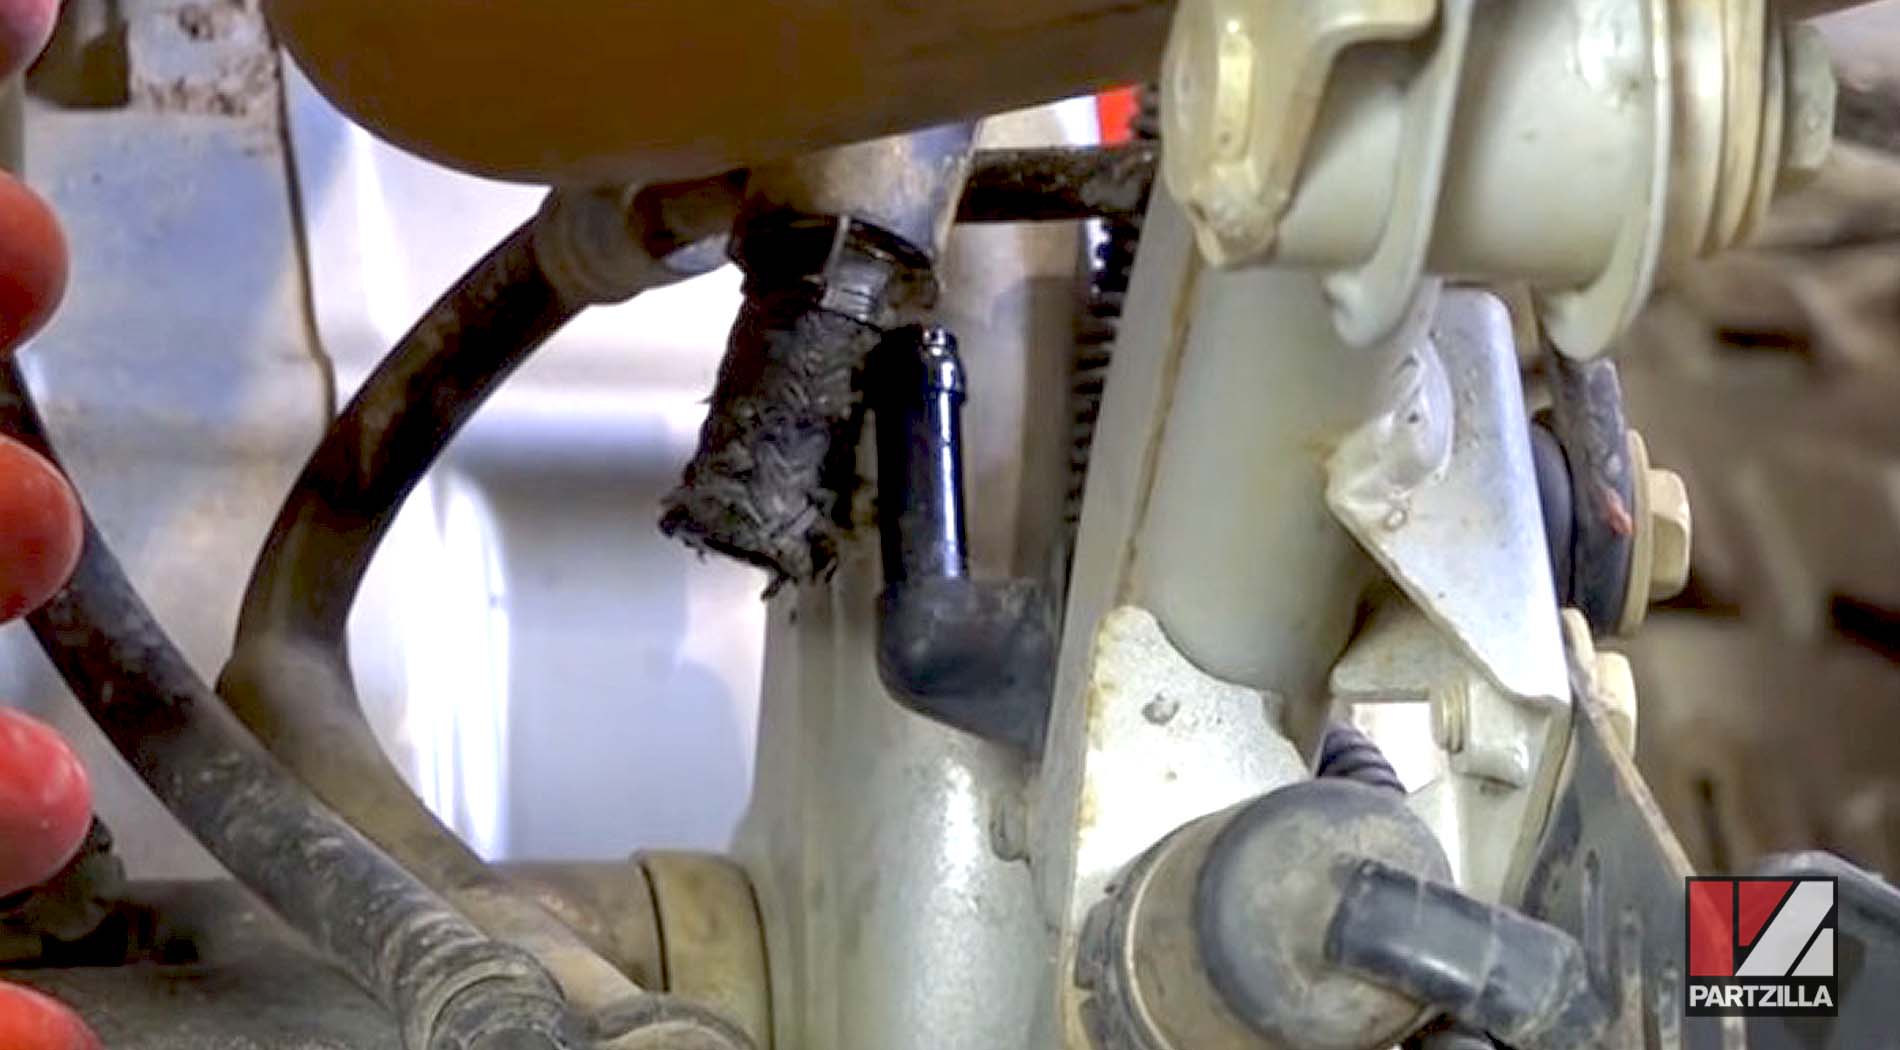
PRO TIP: Have a container and a rag ready to catch the brake fluid that drains from the reservoir and hose.
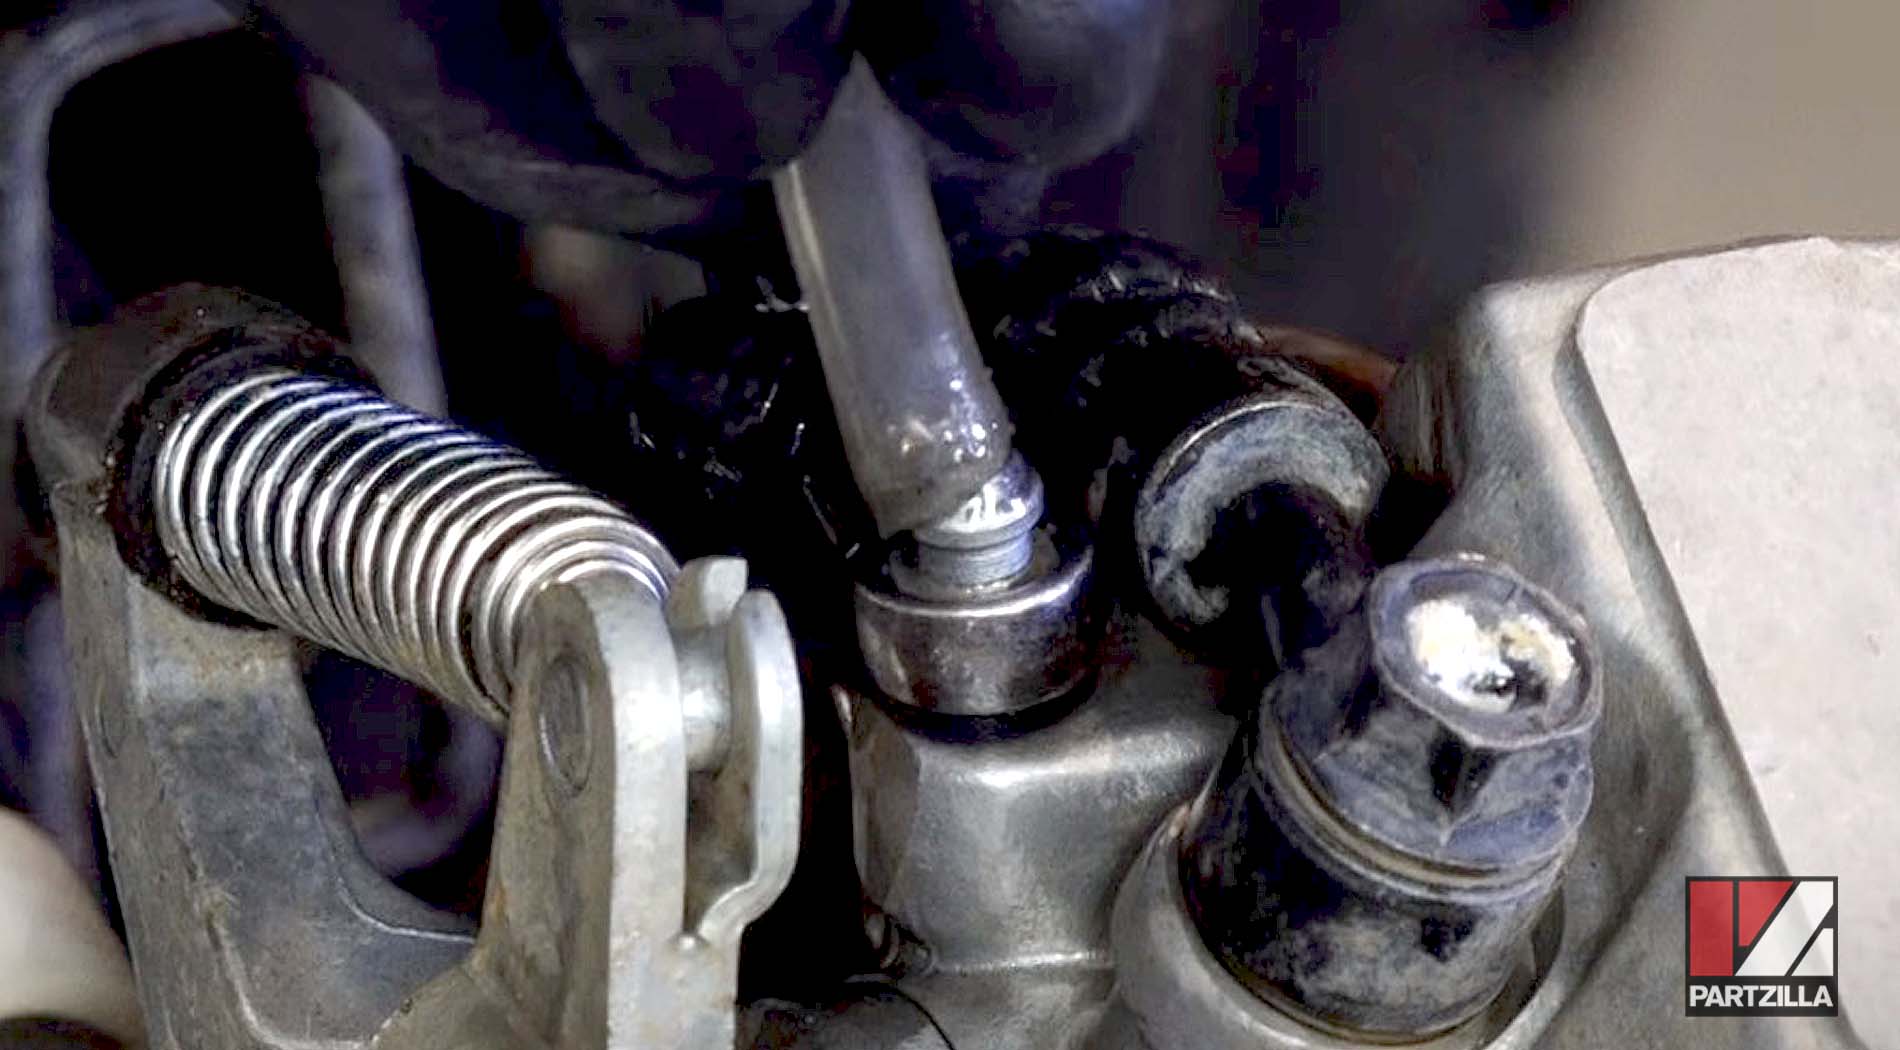
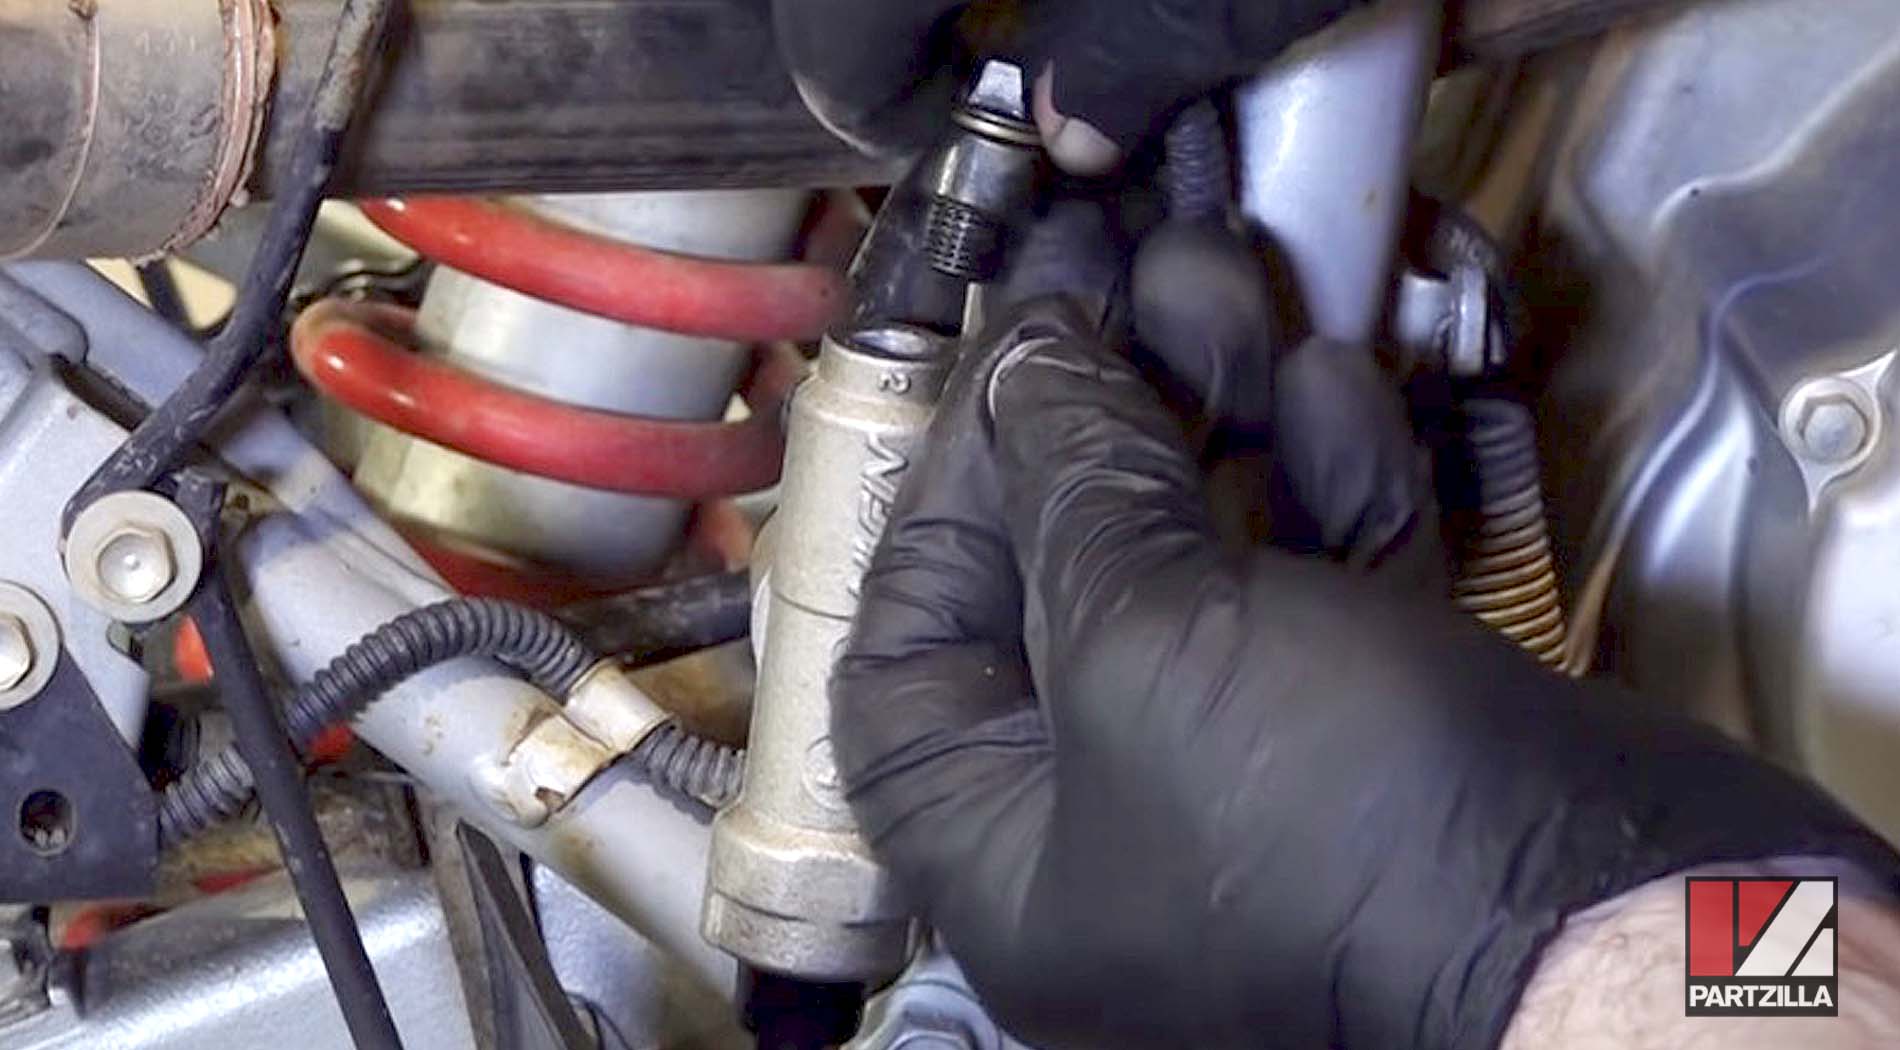
Step 4. Remove the 12mm banjo bolt securing the line that leads from the master cylinder to the rear brake caliper.
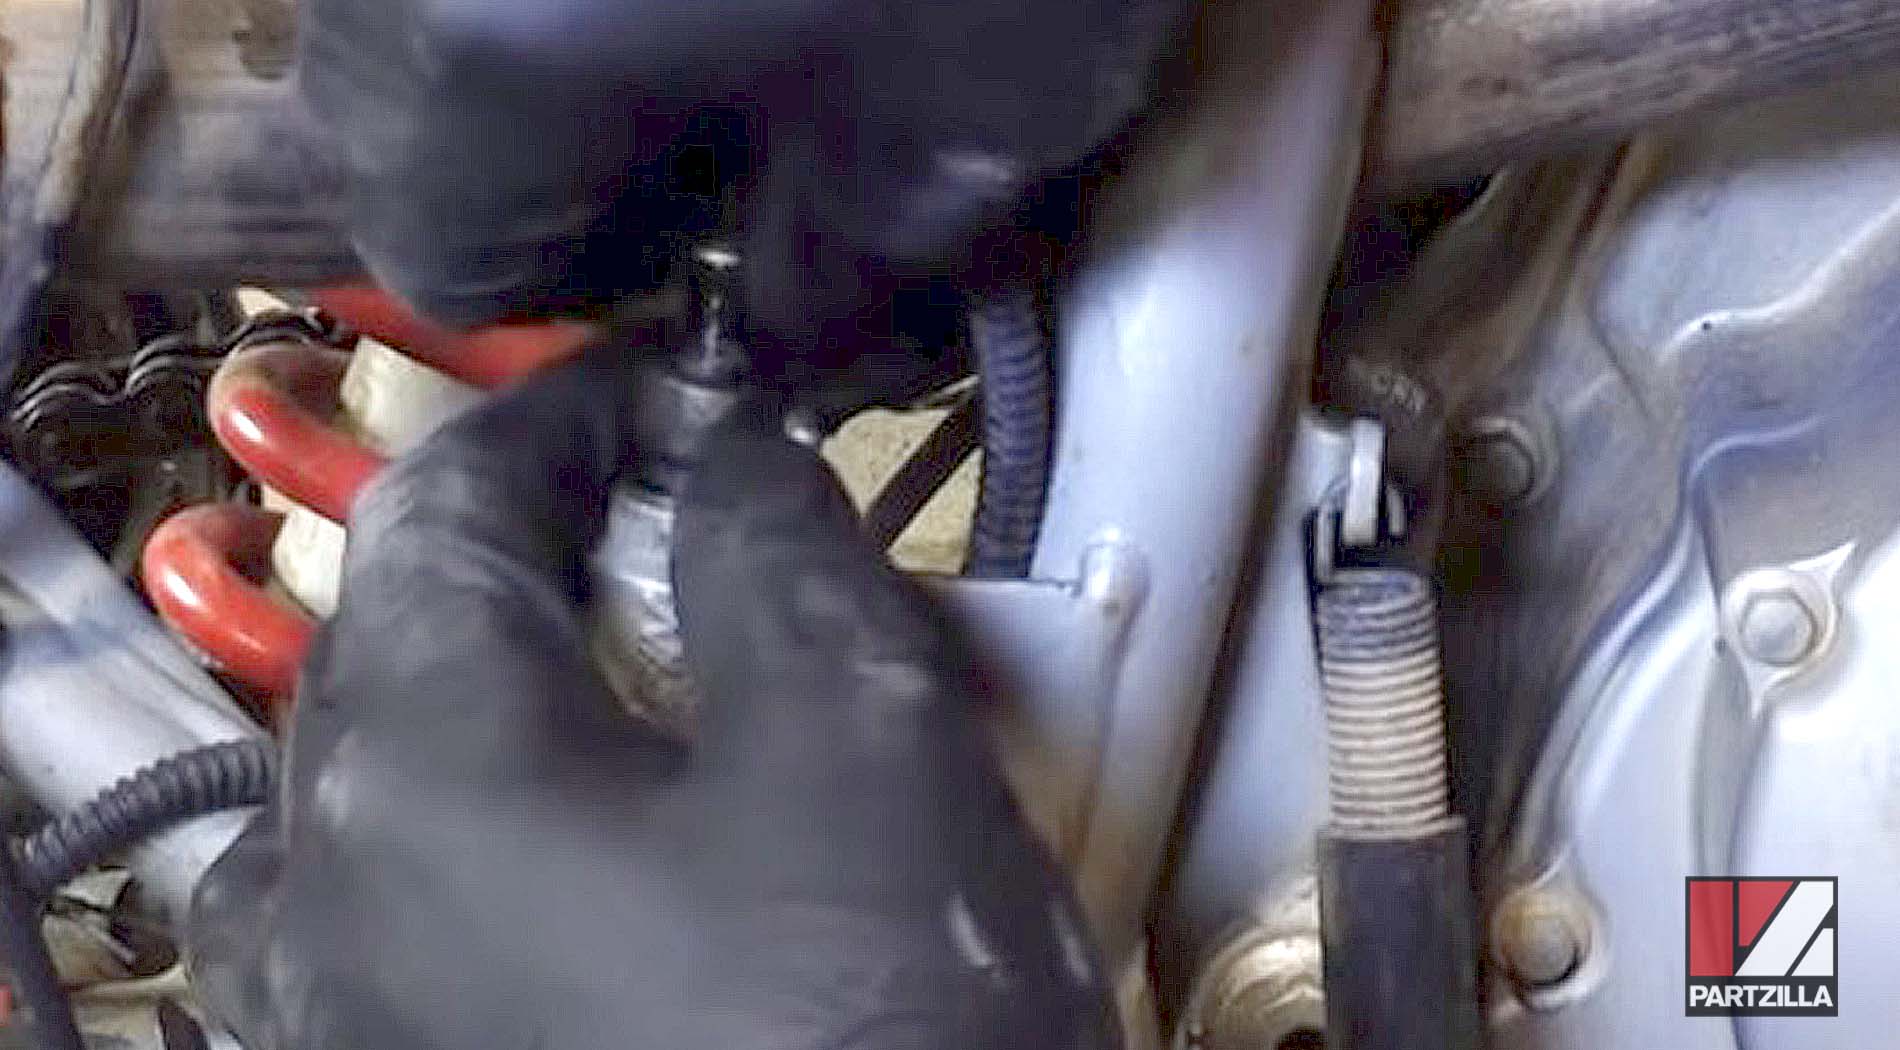
NOTE: Be careful not to lose the crush washers that are on either side of the banjo bolt.
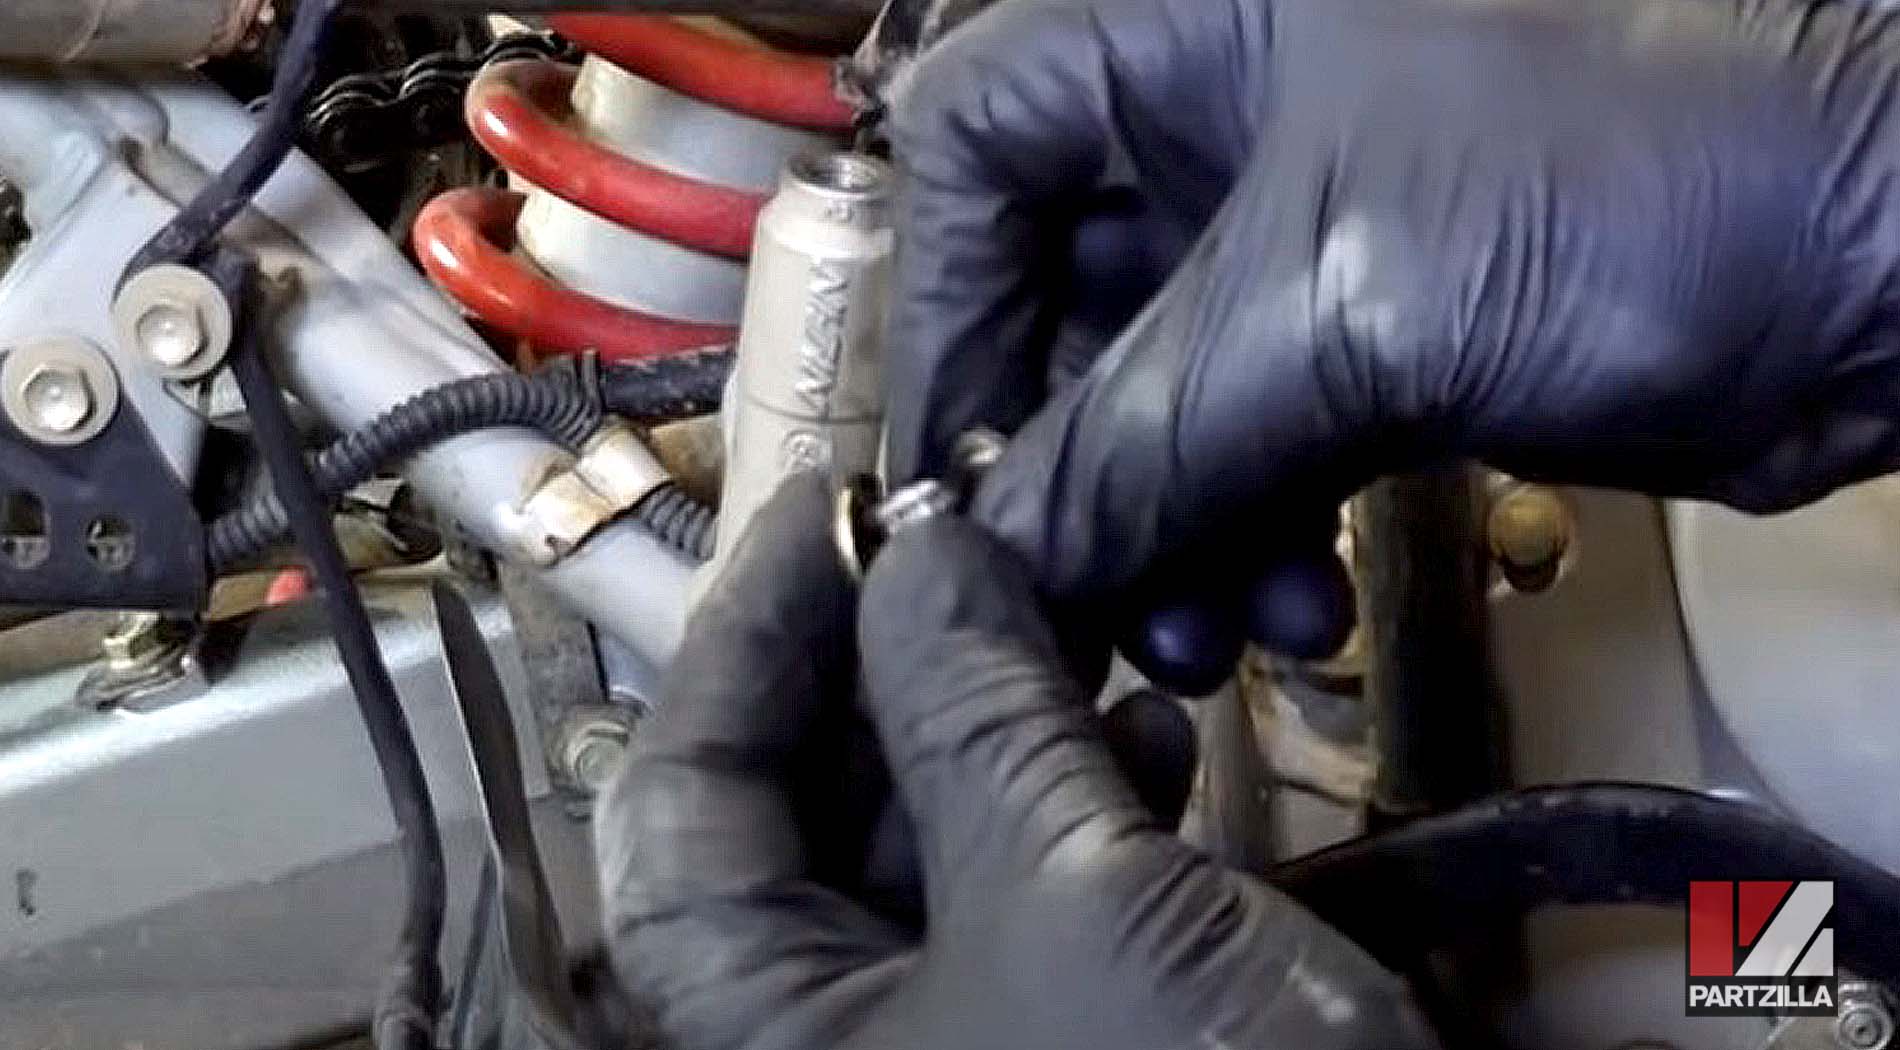
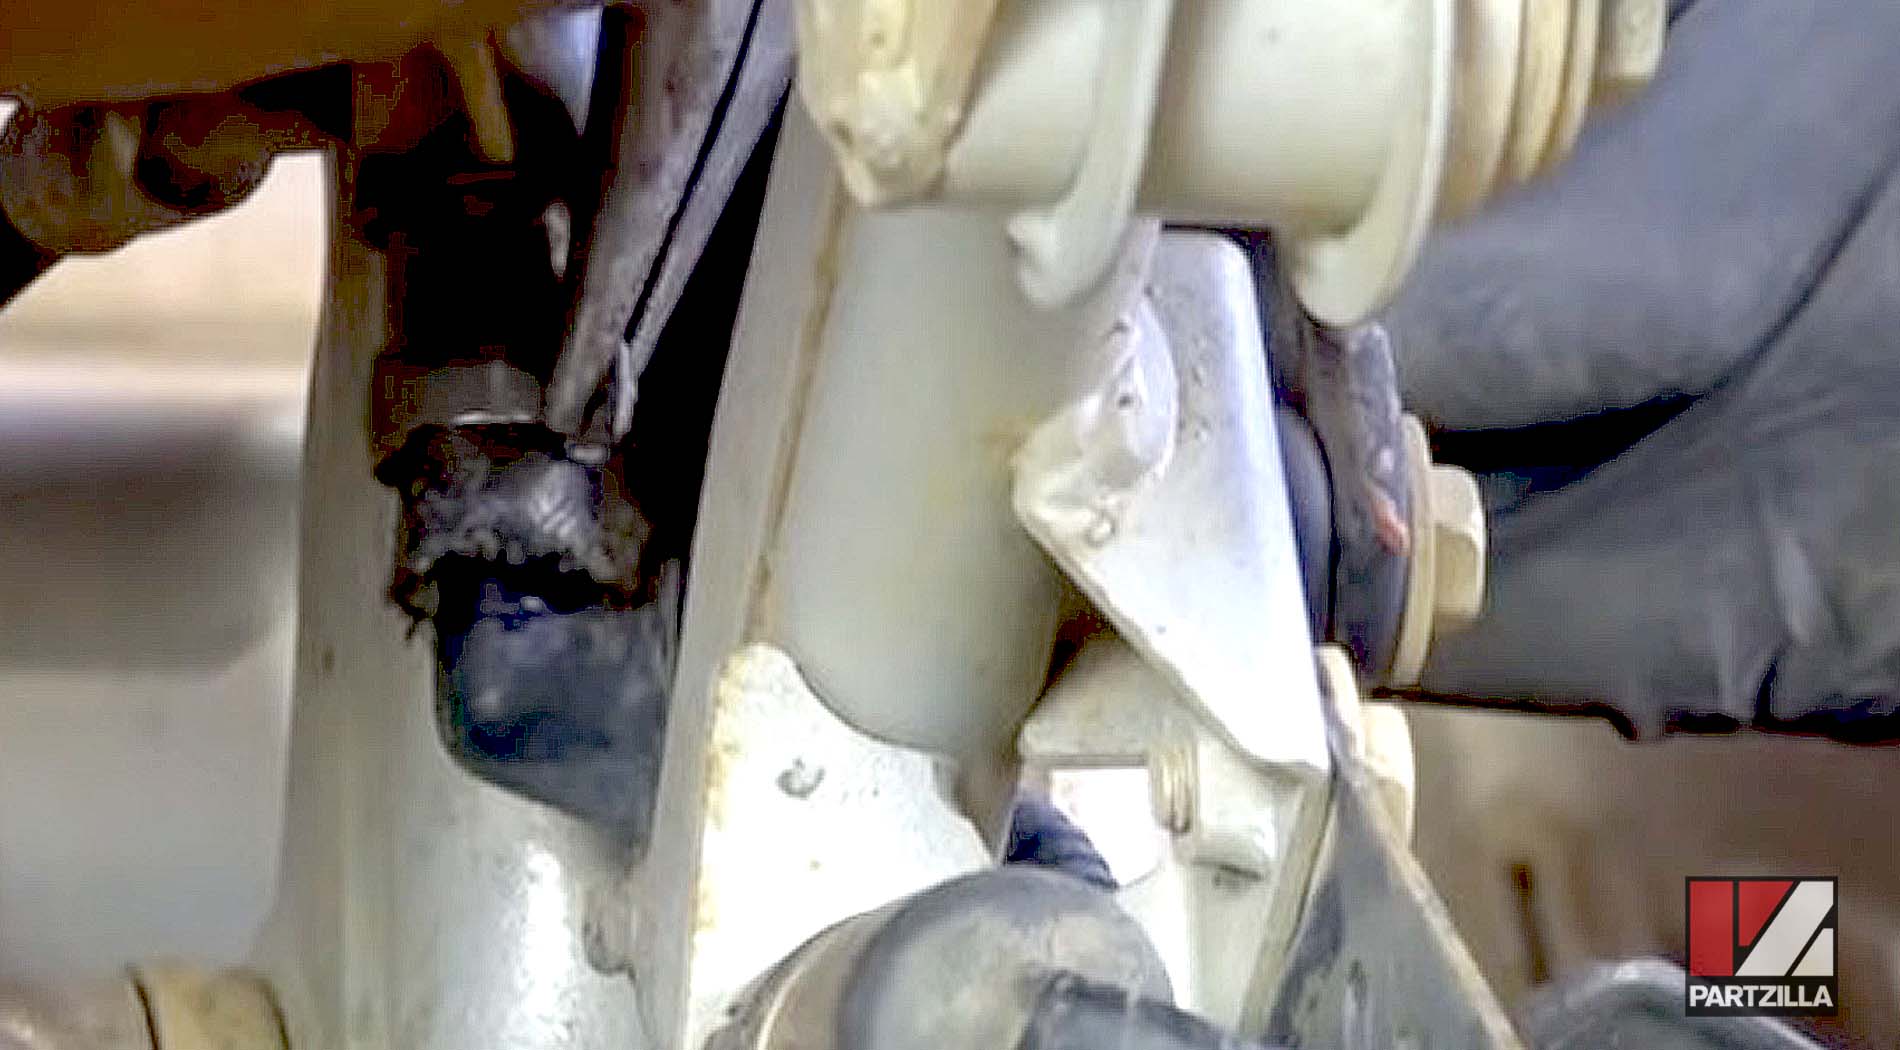
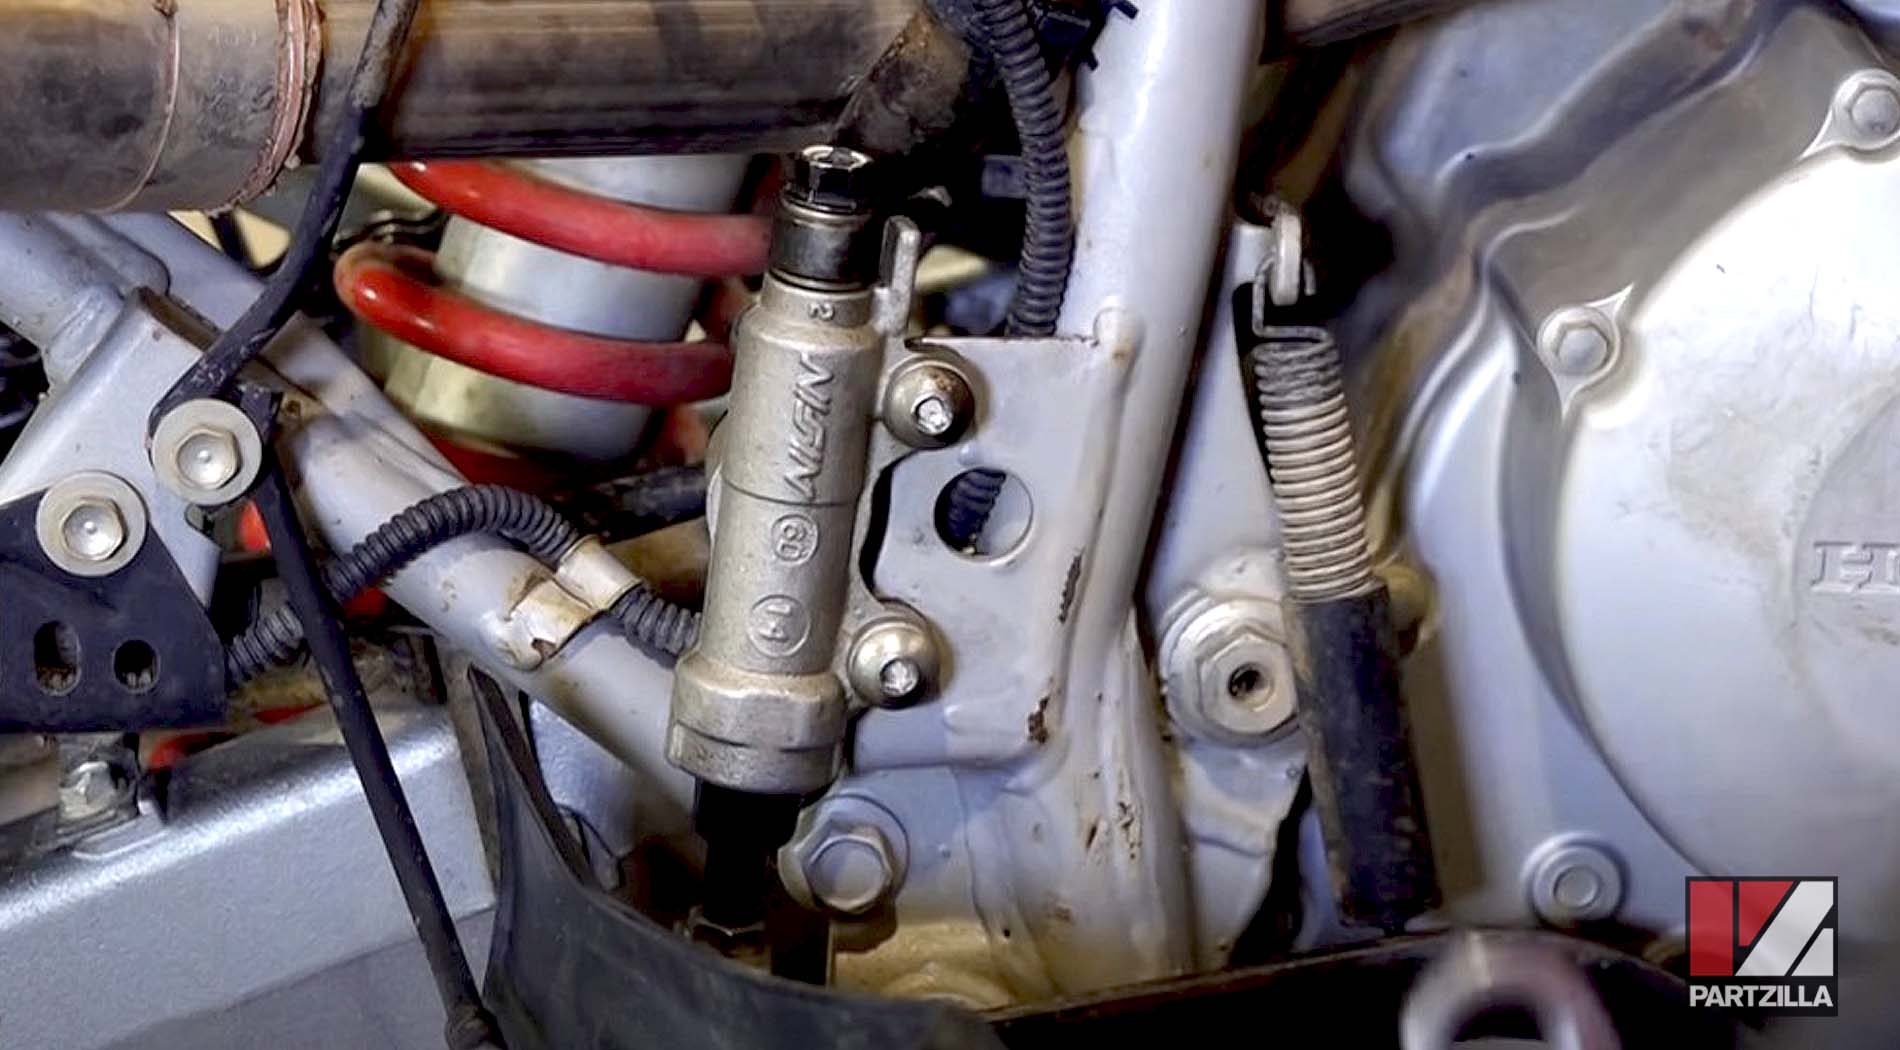
Step 5. Remove the two 5mm Allen mounting bolts holding the master cylinder to the frame.
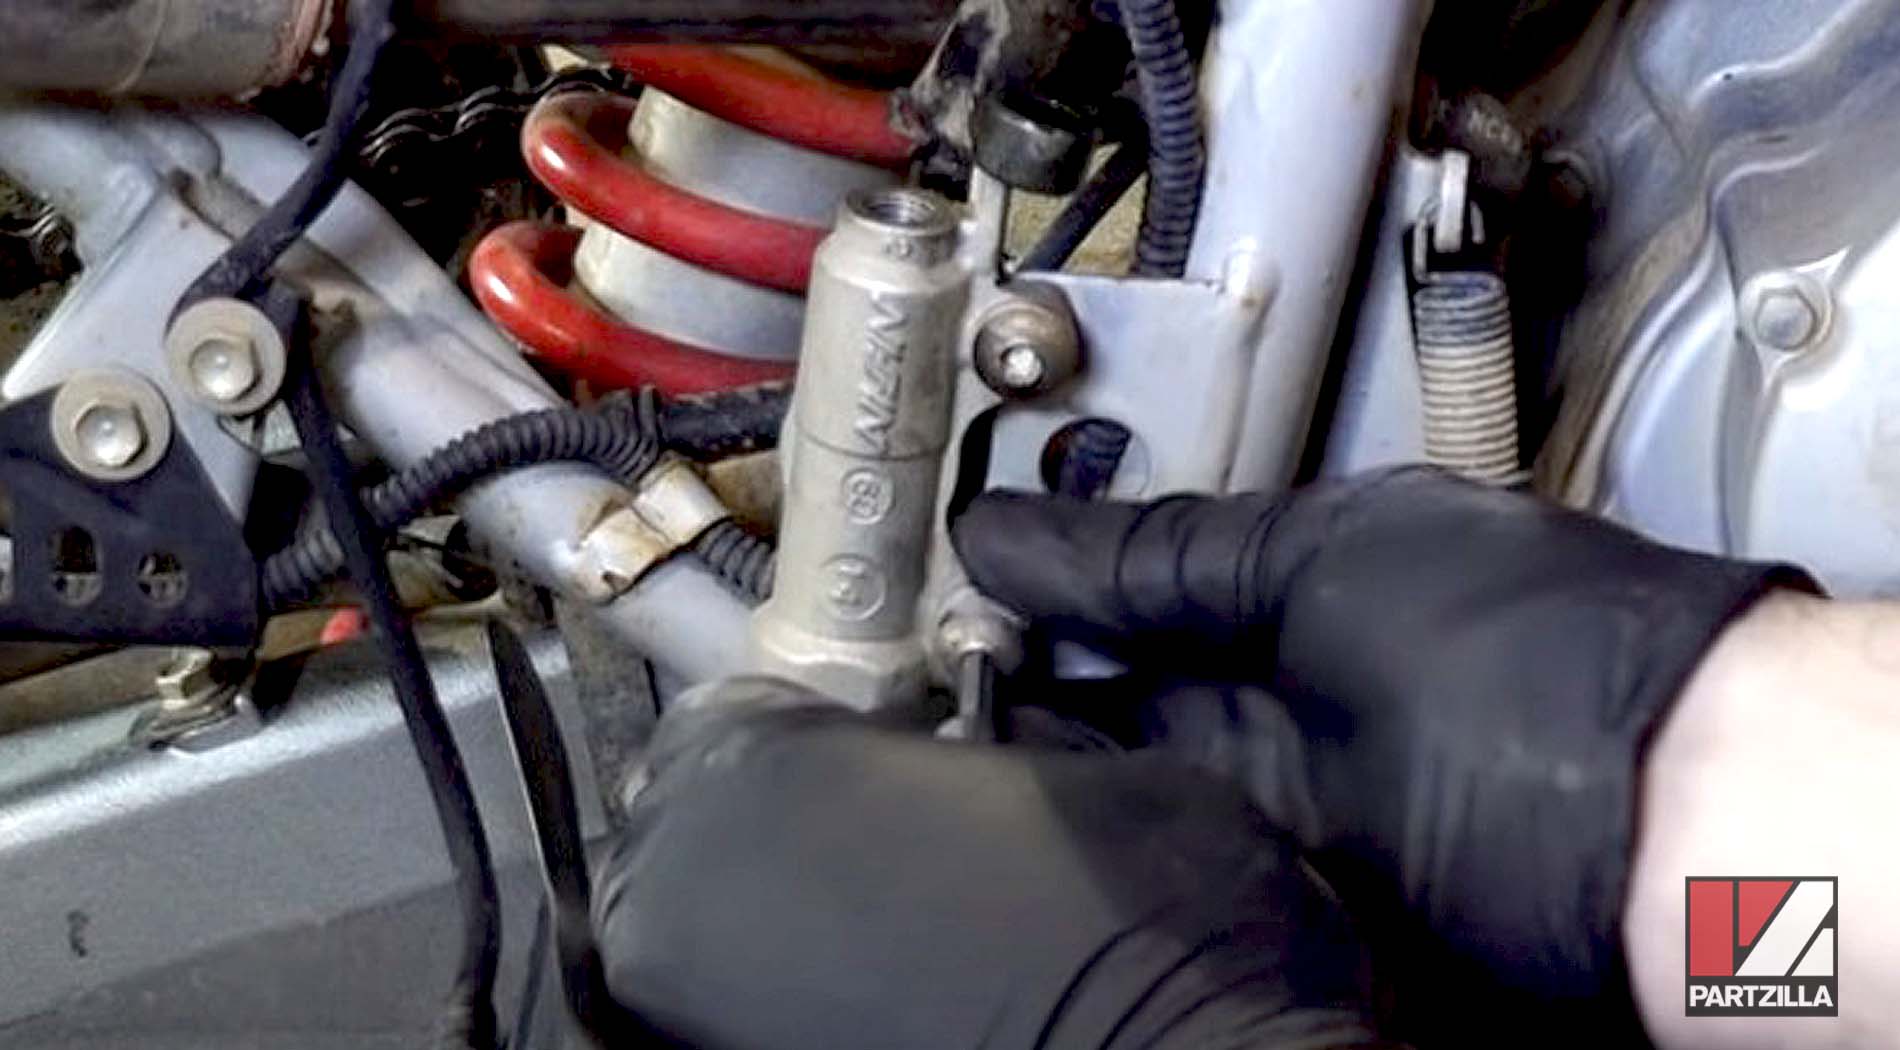
NOTE: A little dirt in the braking system can reduce the system's performance, so keep everything spotlessly clean when rebuilding the rear master cylinder.
How to Rebuilding Honda TRX400EX Rear Master Cylinder
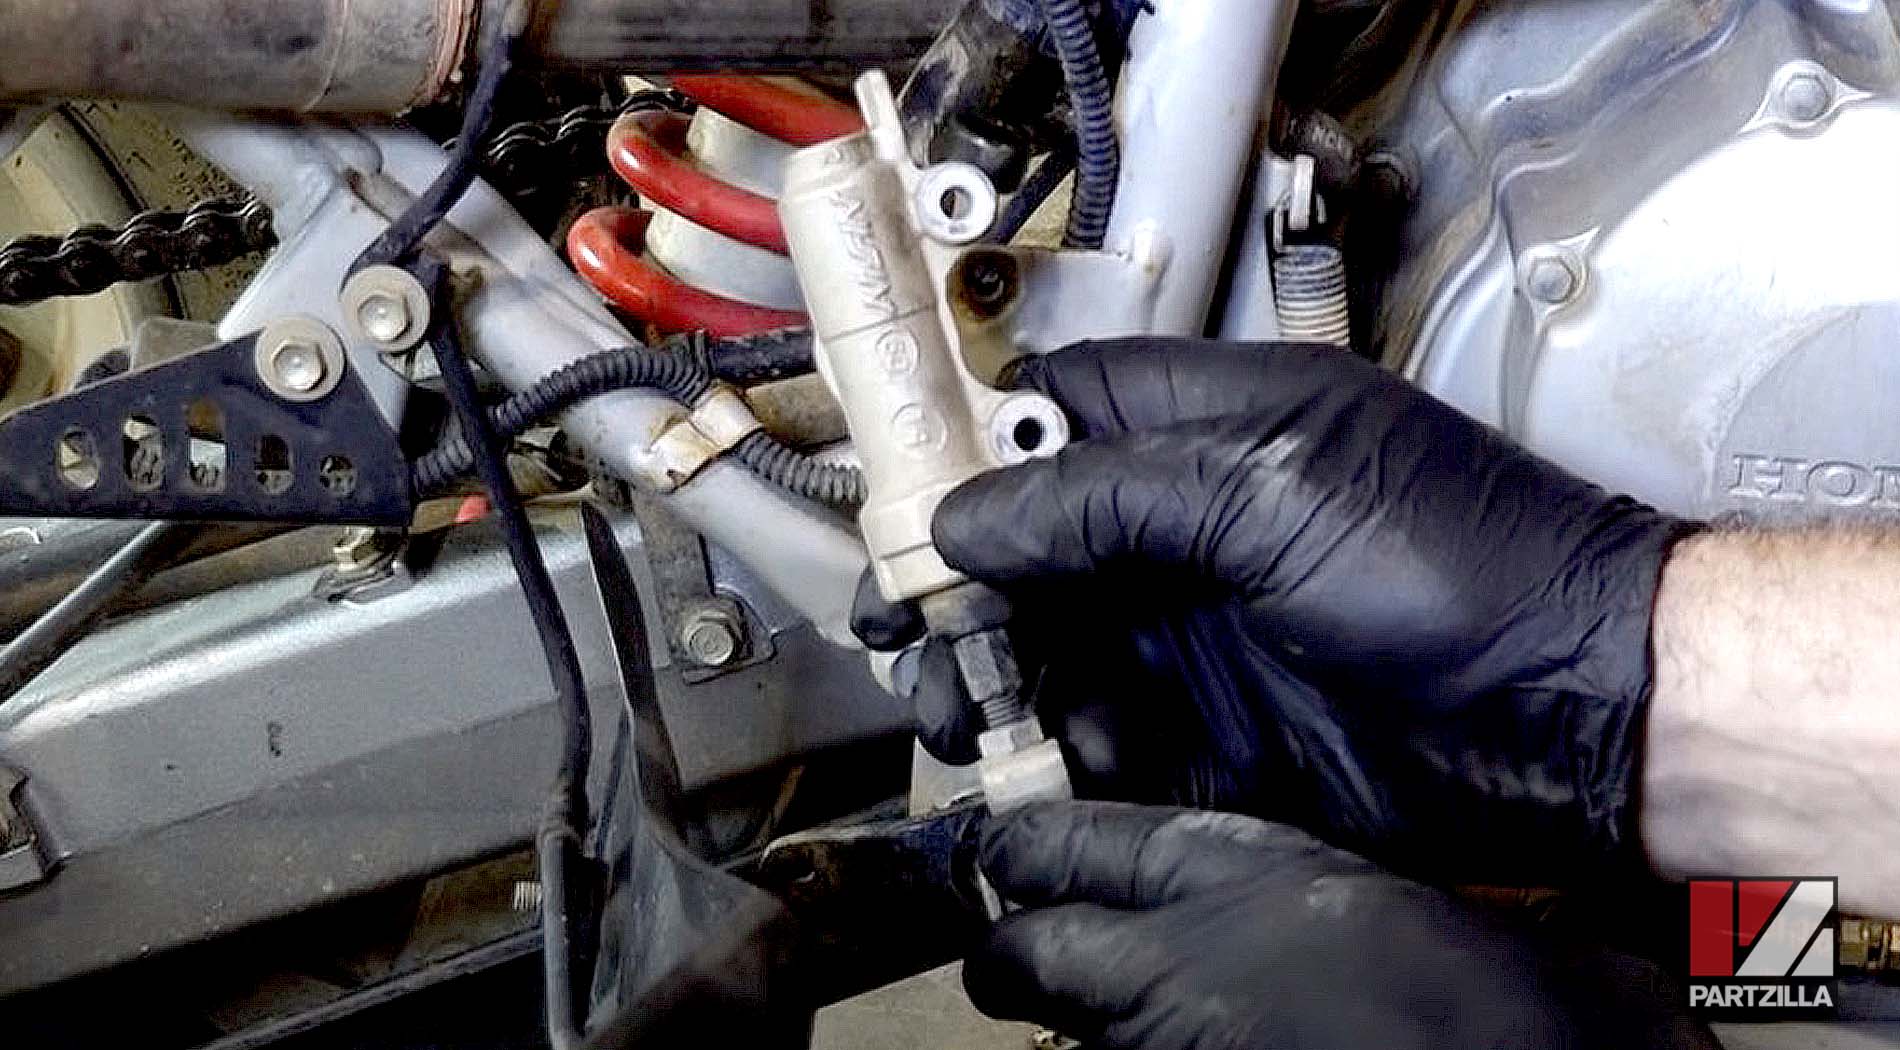
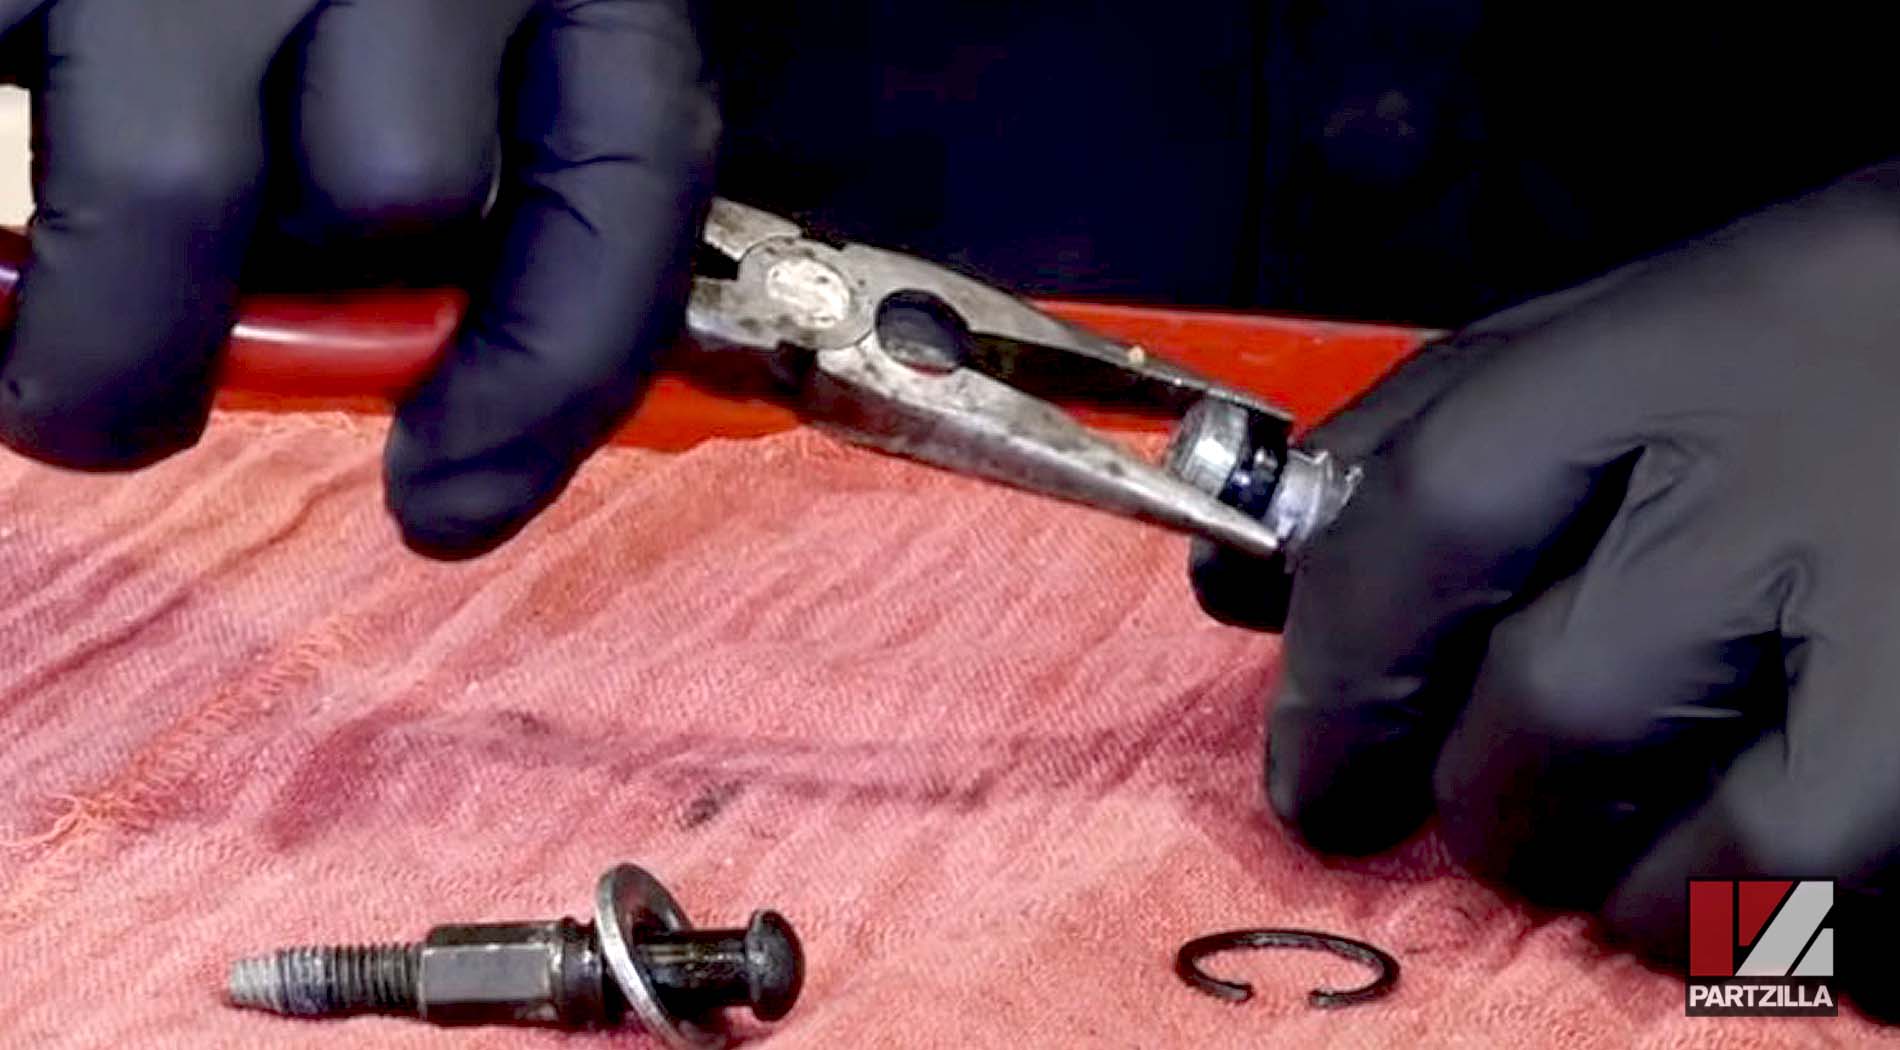
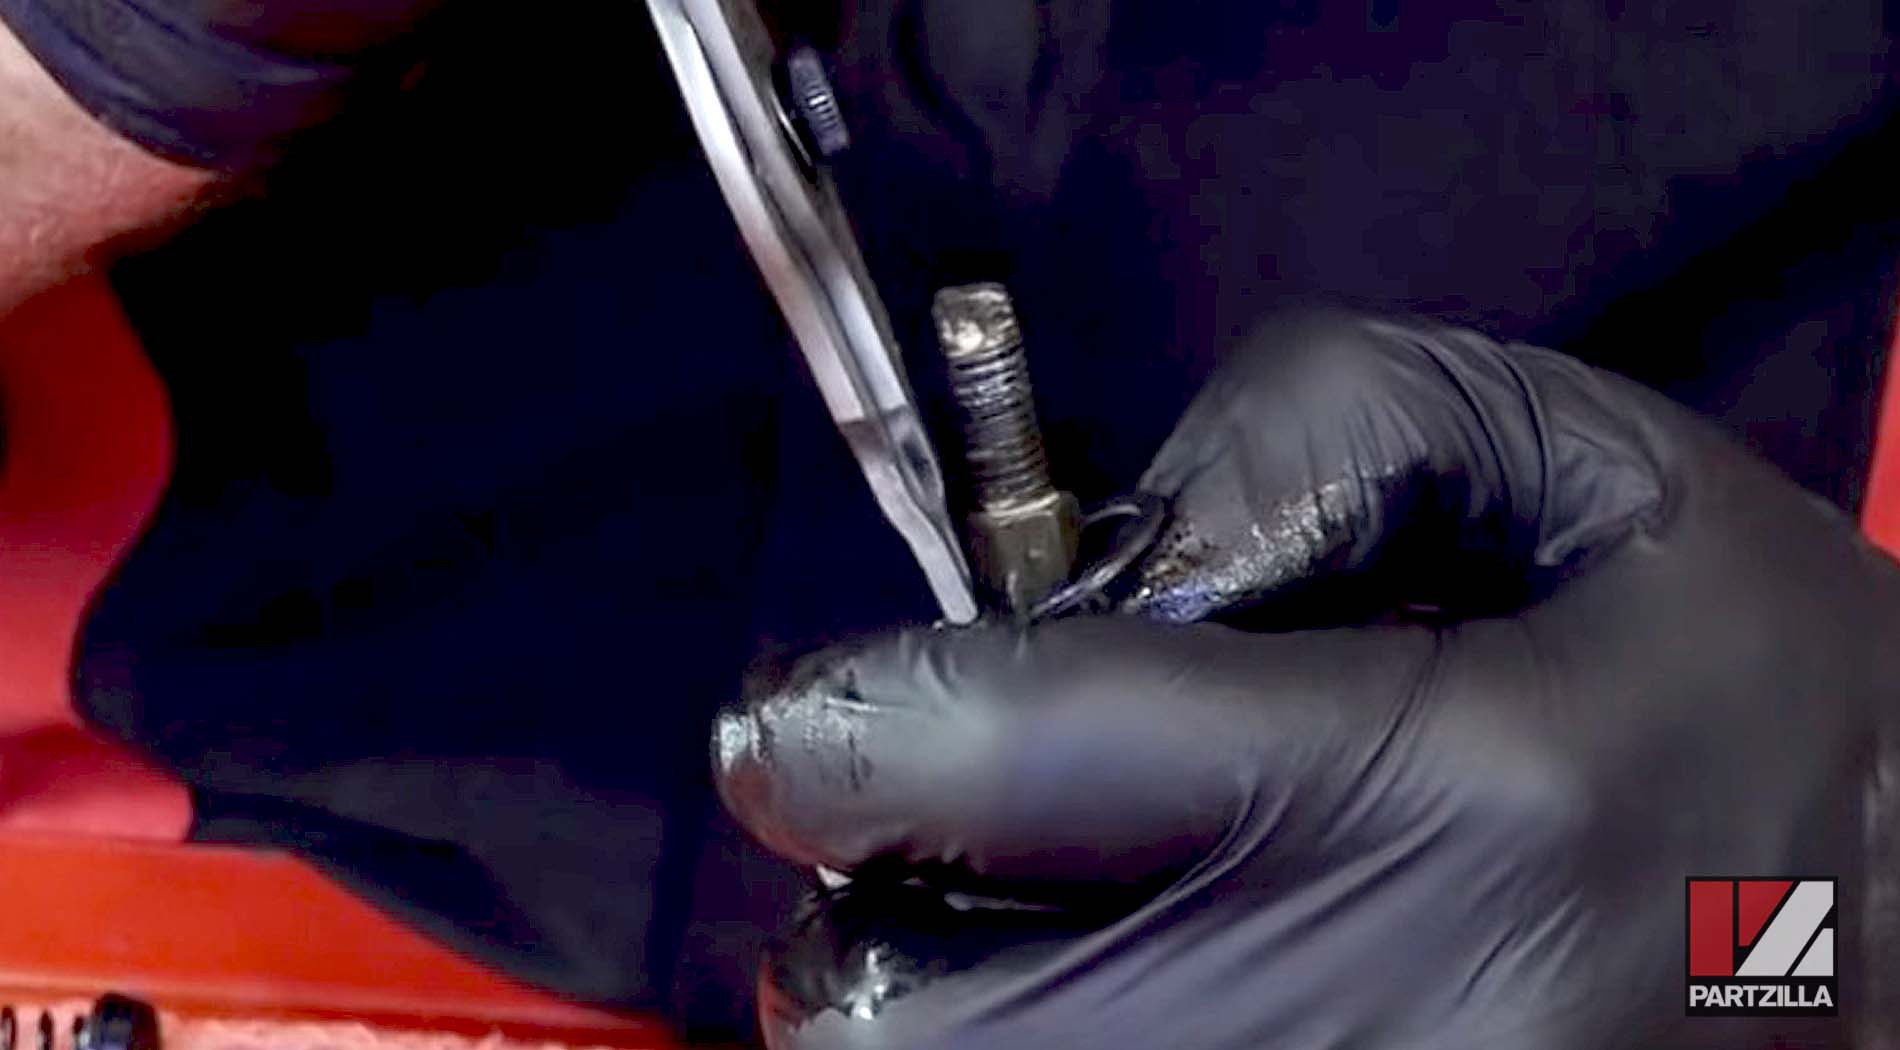
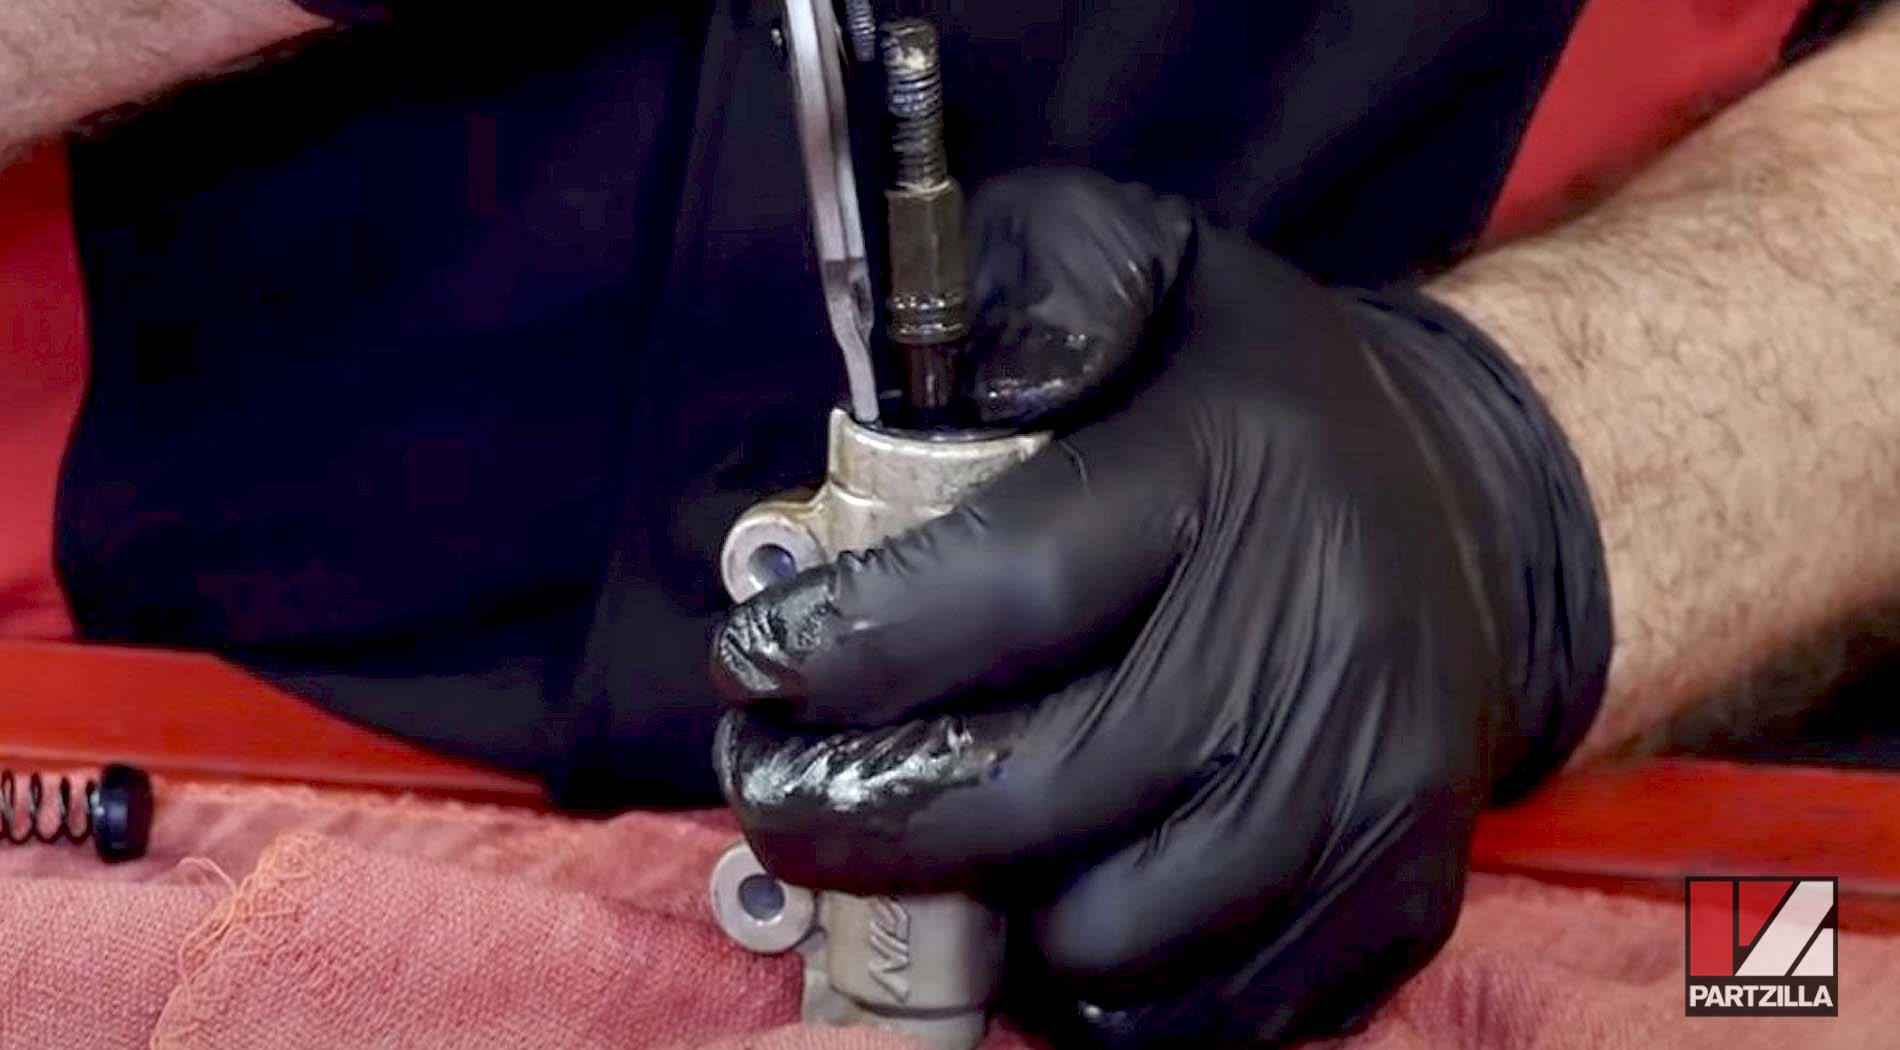
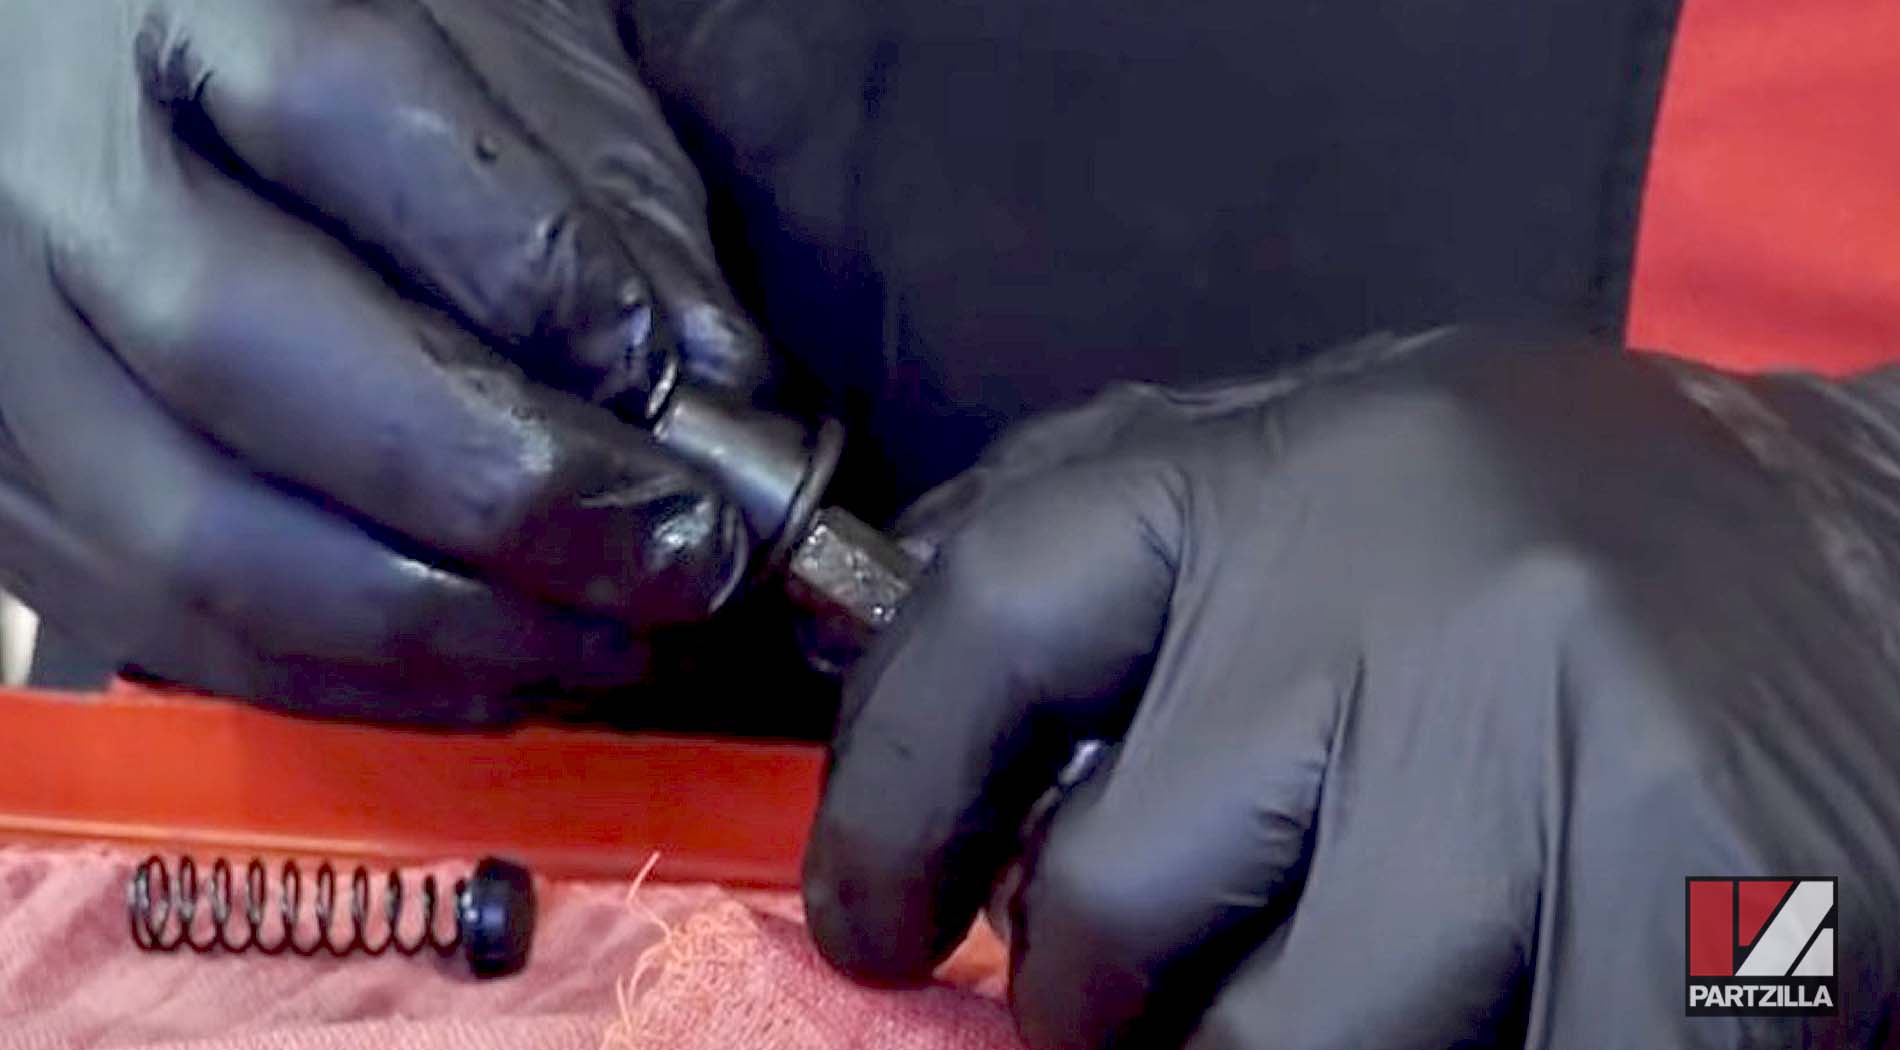
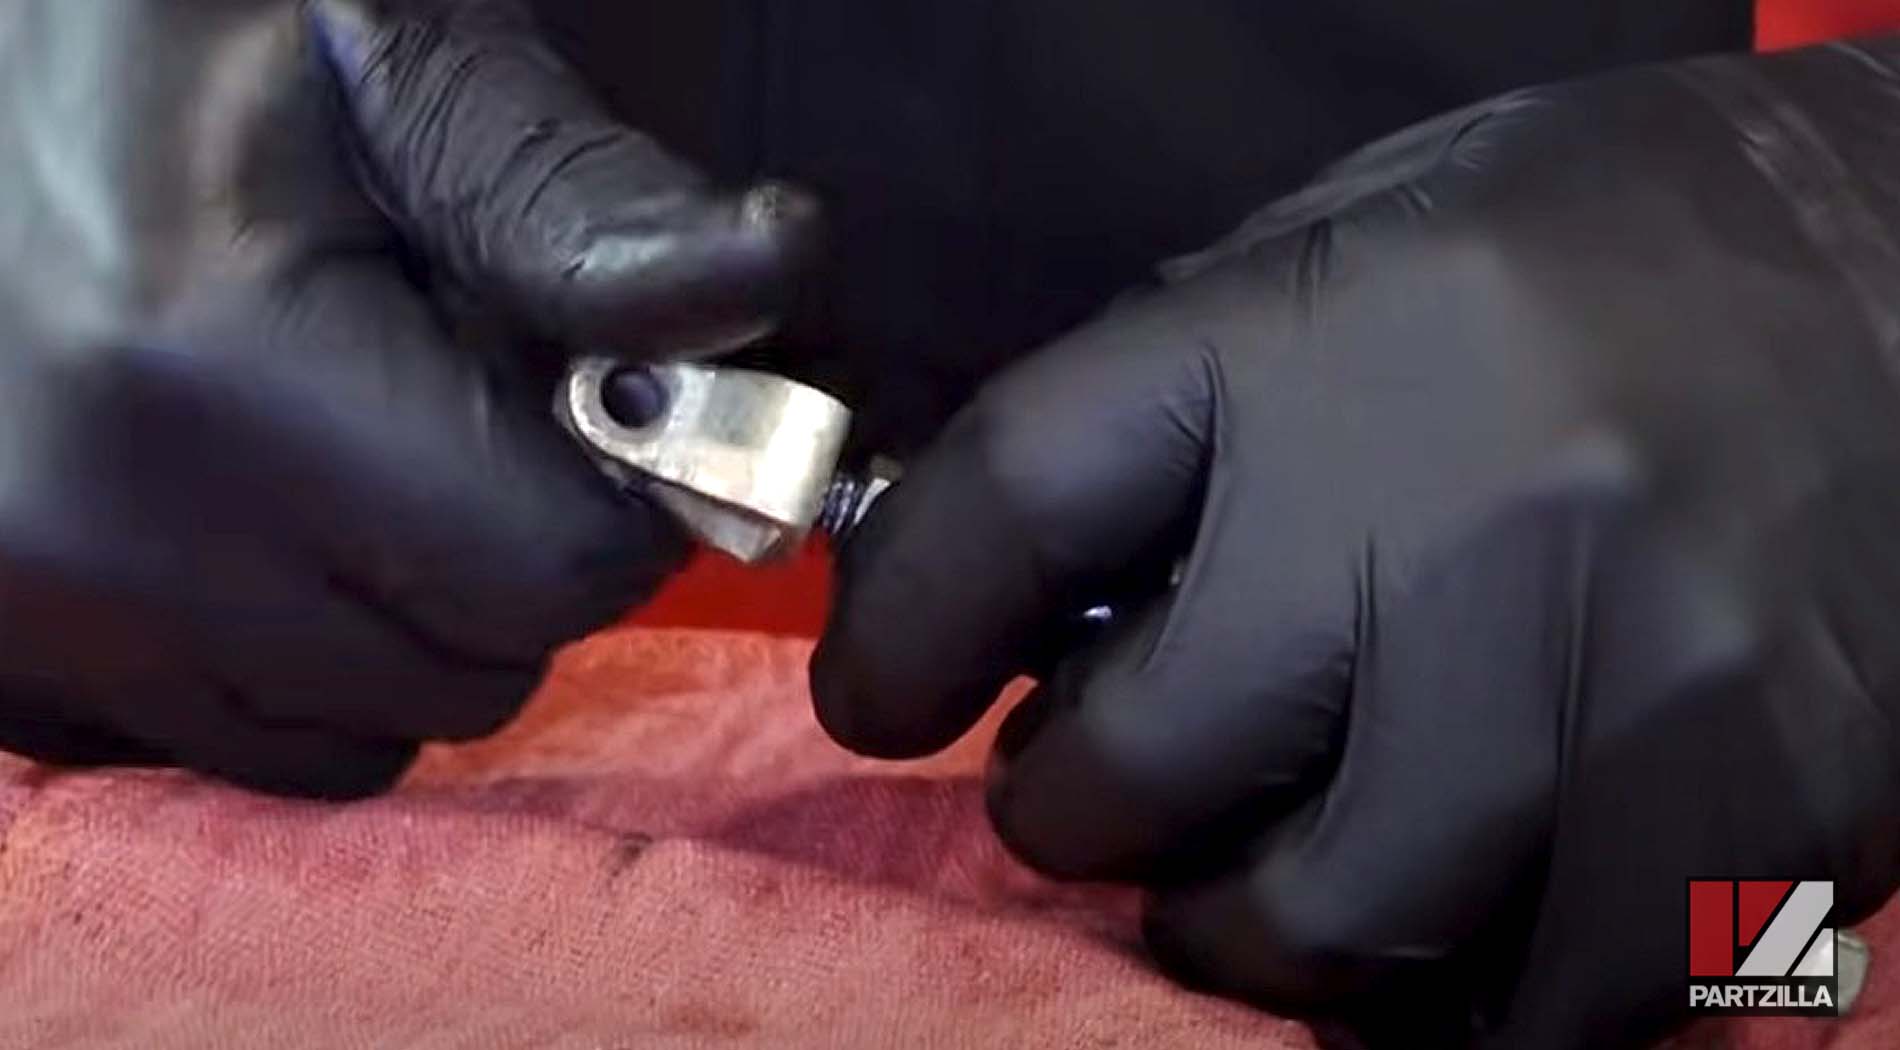
Step 1. Unscrew and remove the brake pedal joint and lock nut from the bottom of the master cylinder push rod, then remove the rubber boot from the master cylinder.
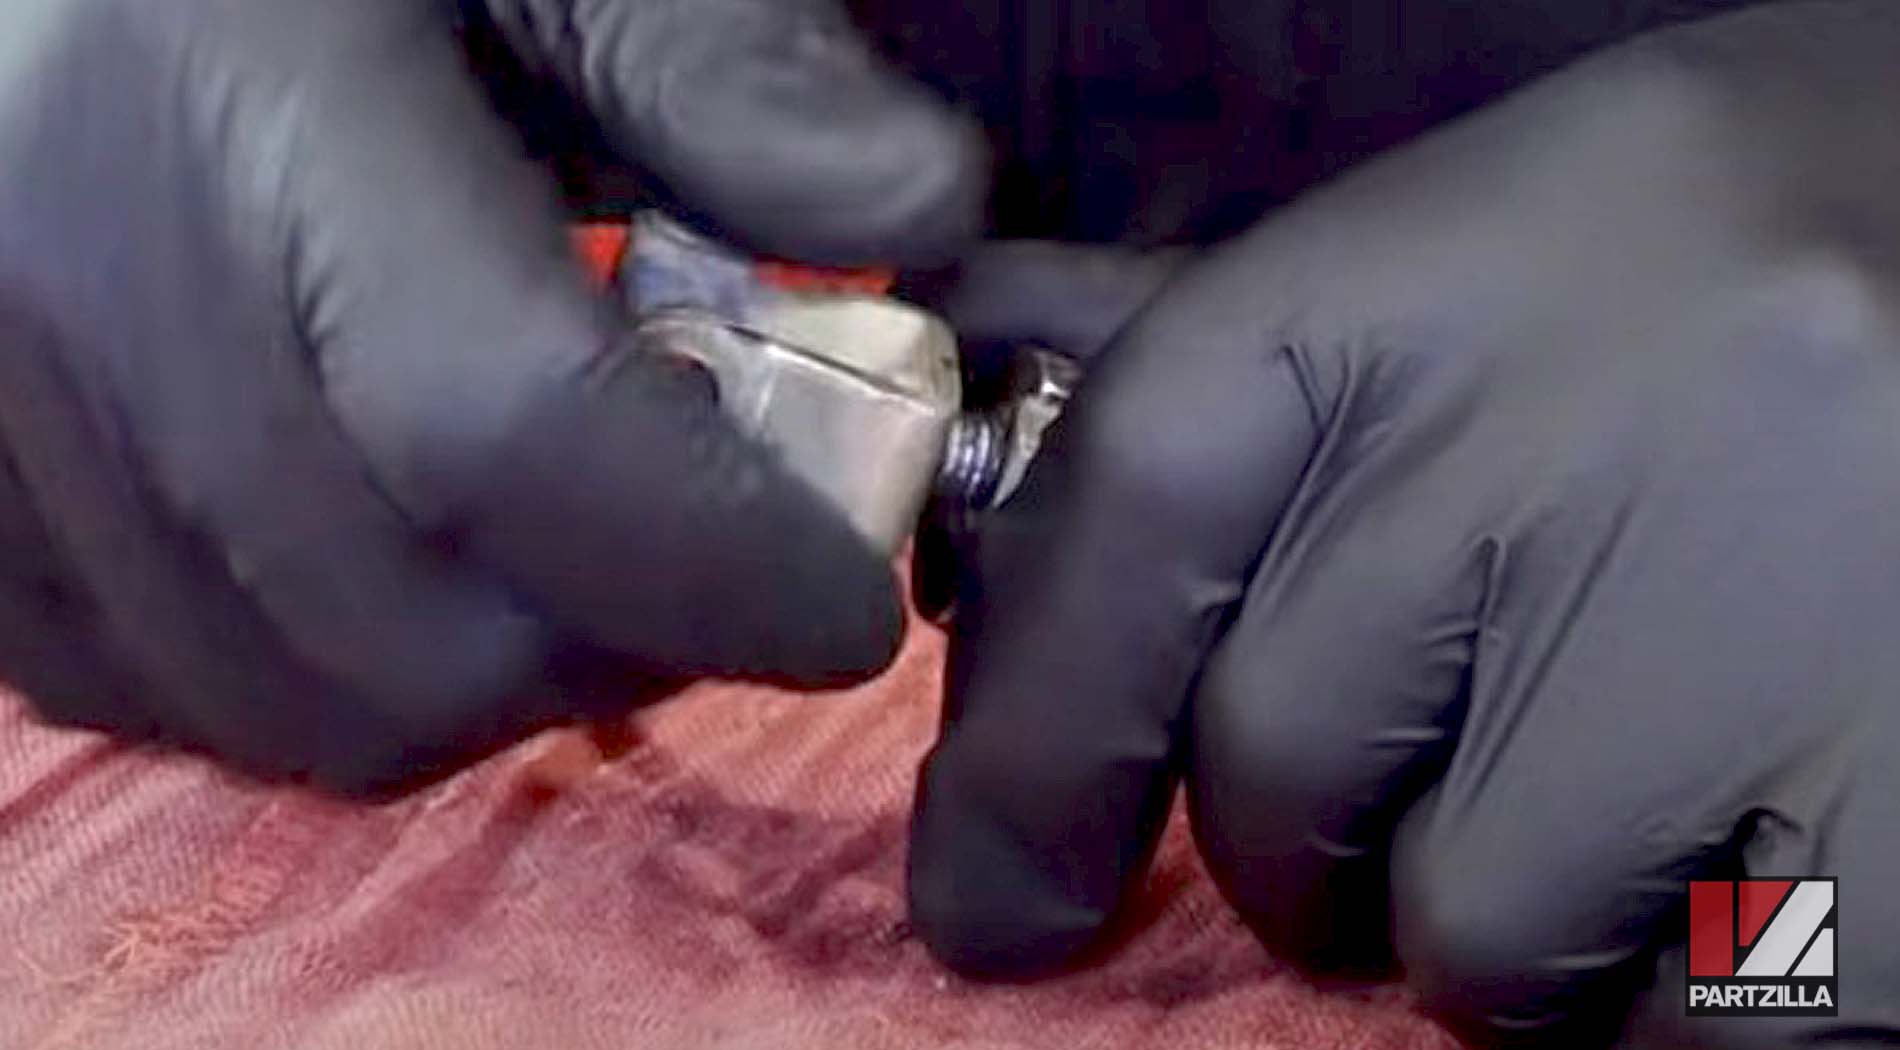
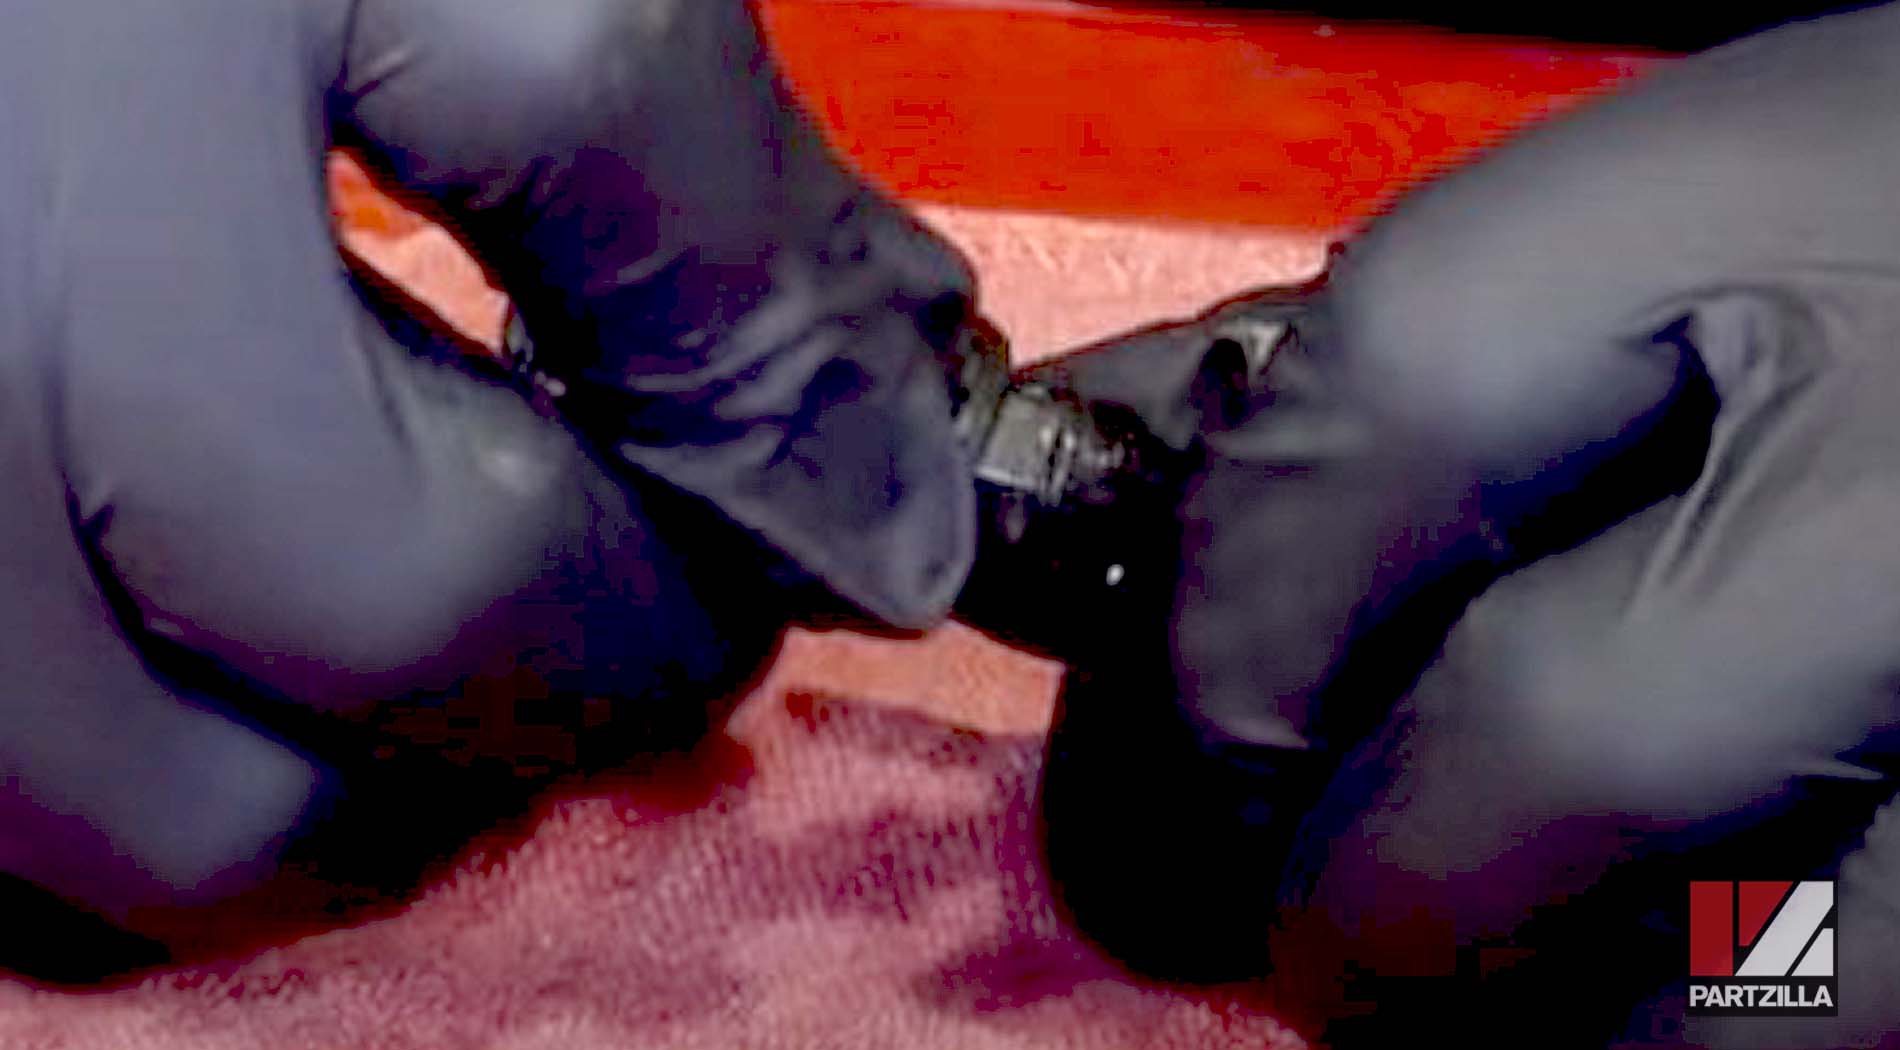
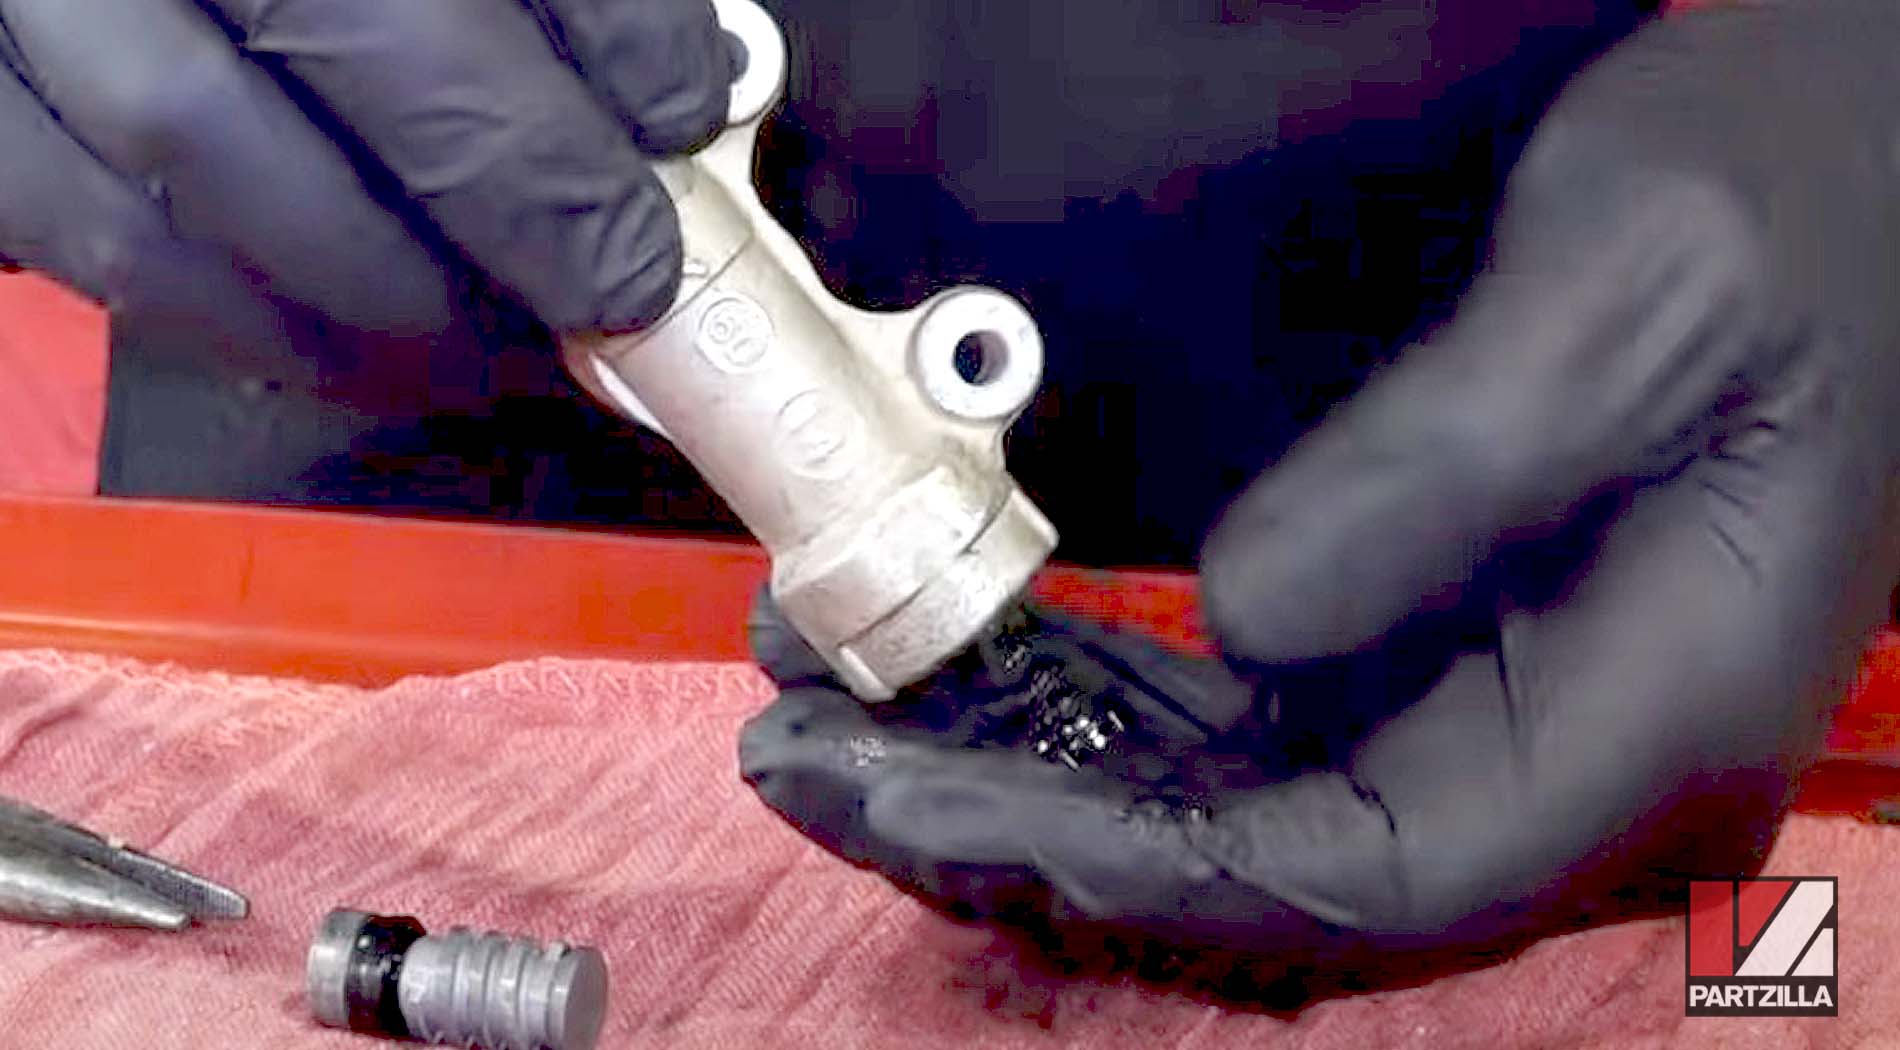
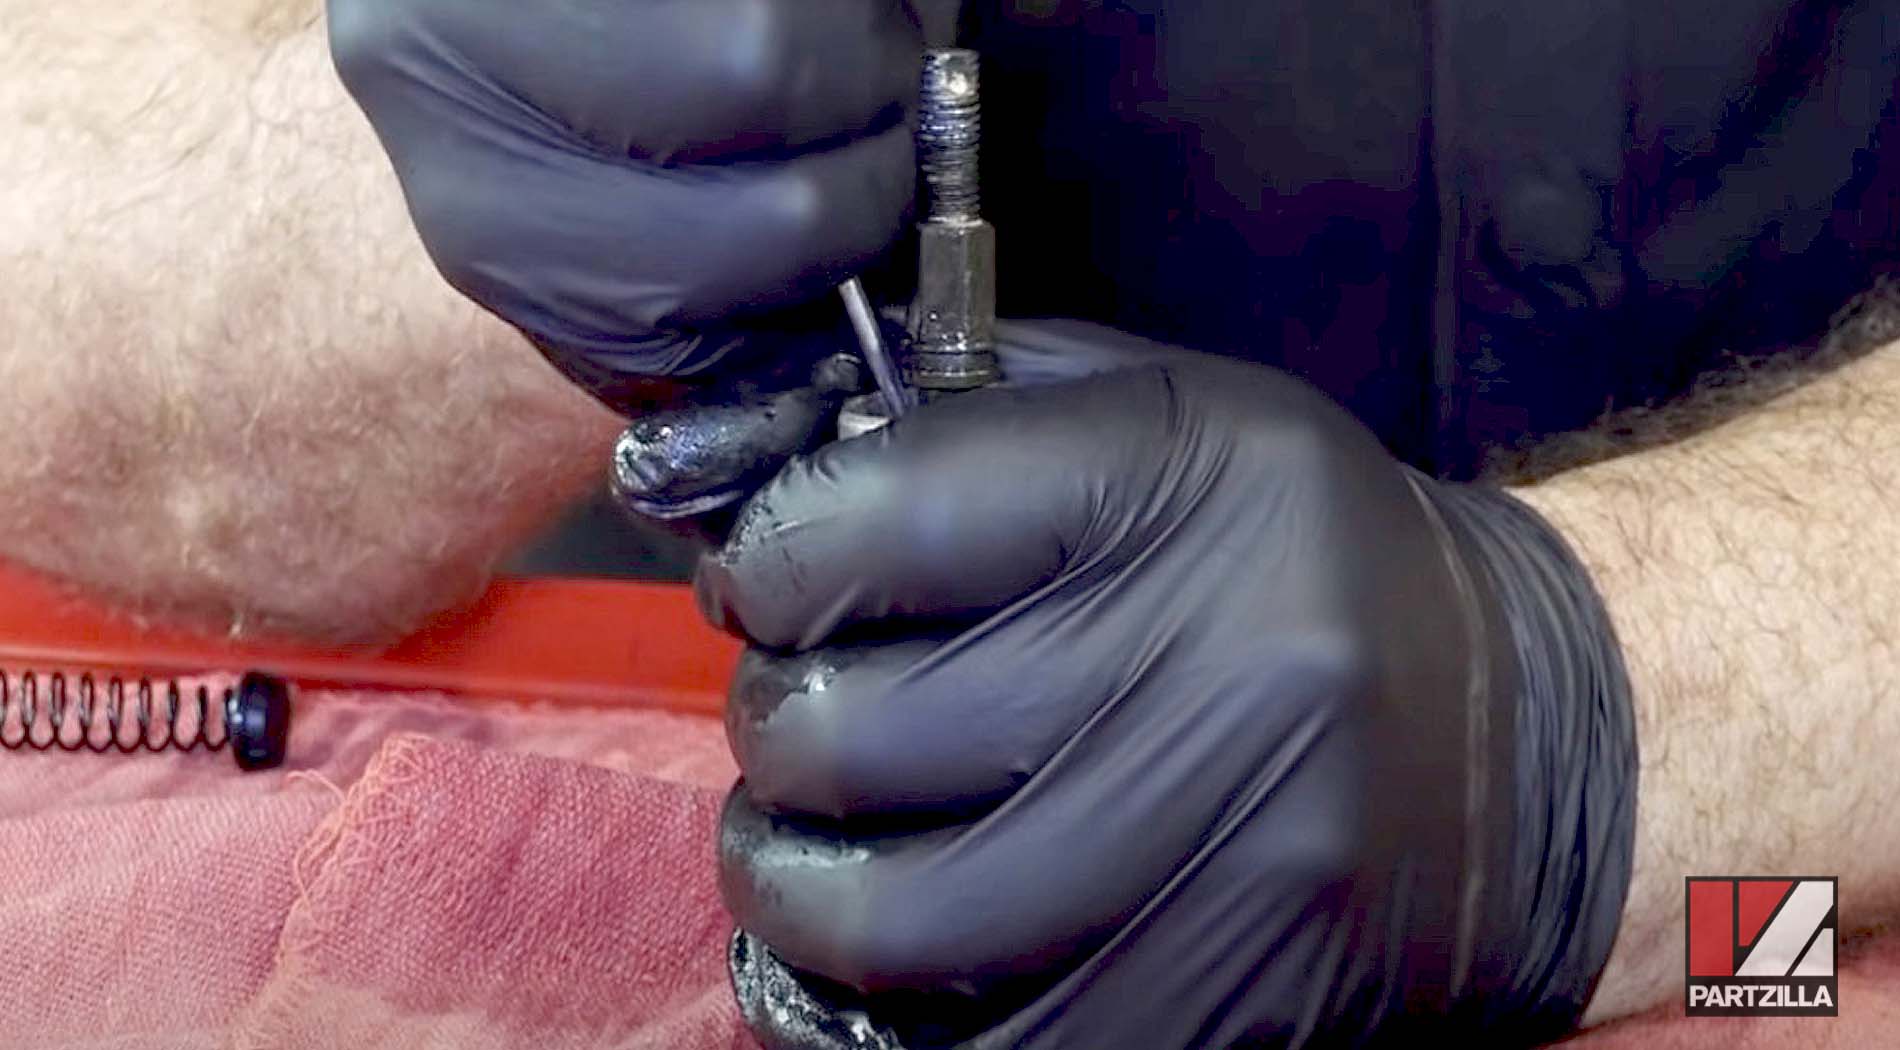
Step 2. Reach into the master cylinder and remove the circlip securing the push rod. Pull the push rod out of the master cylinder.
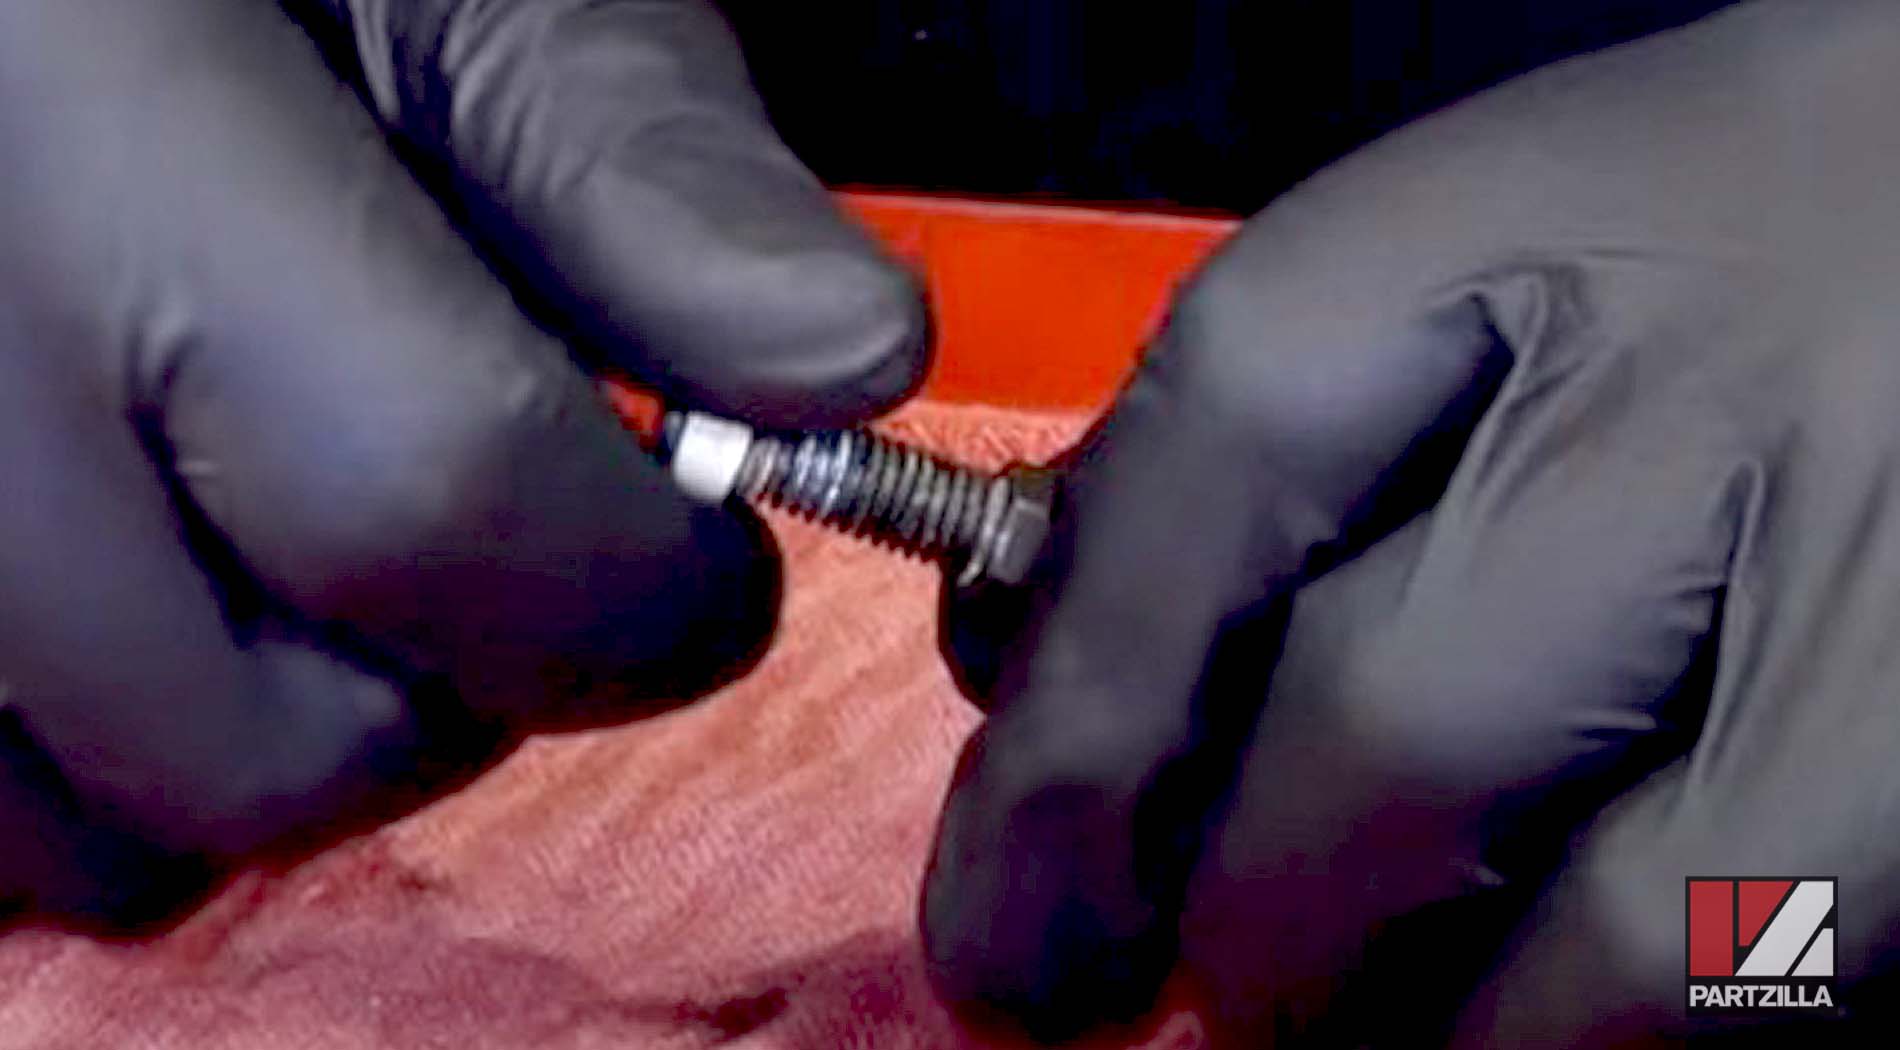
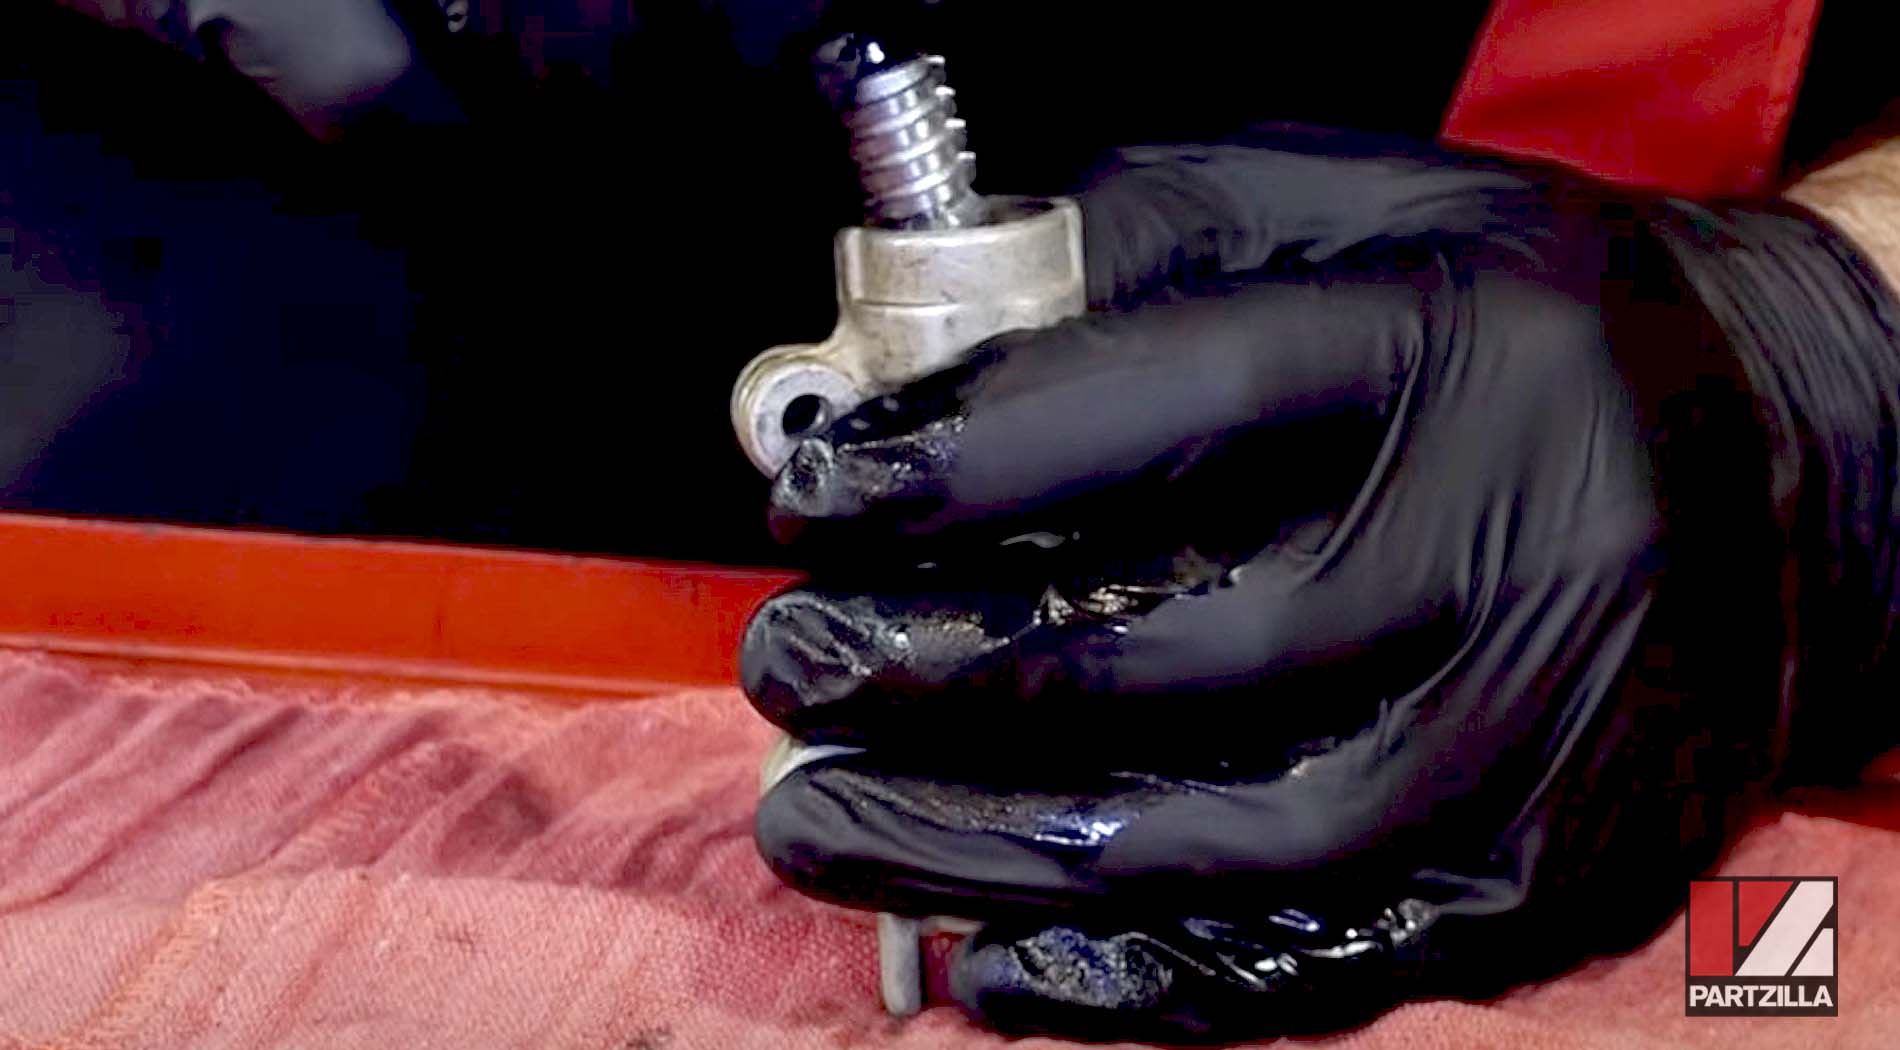
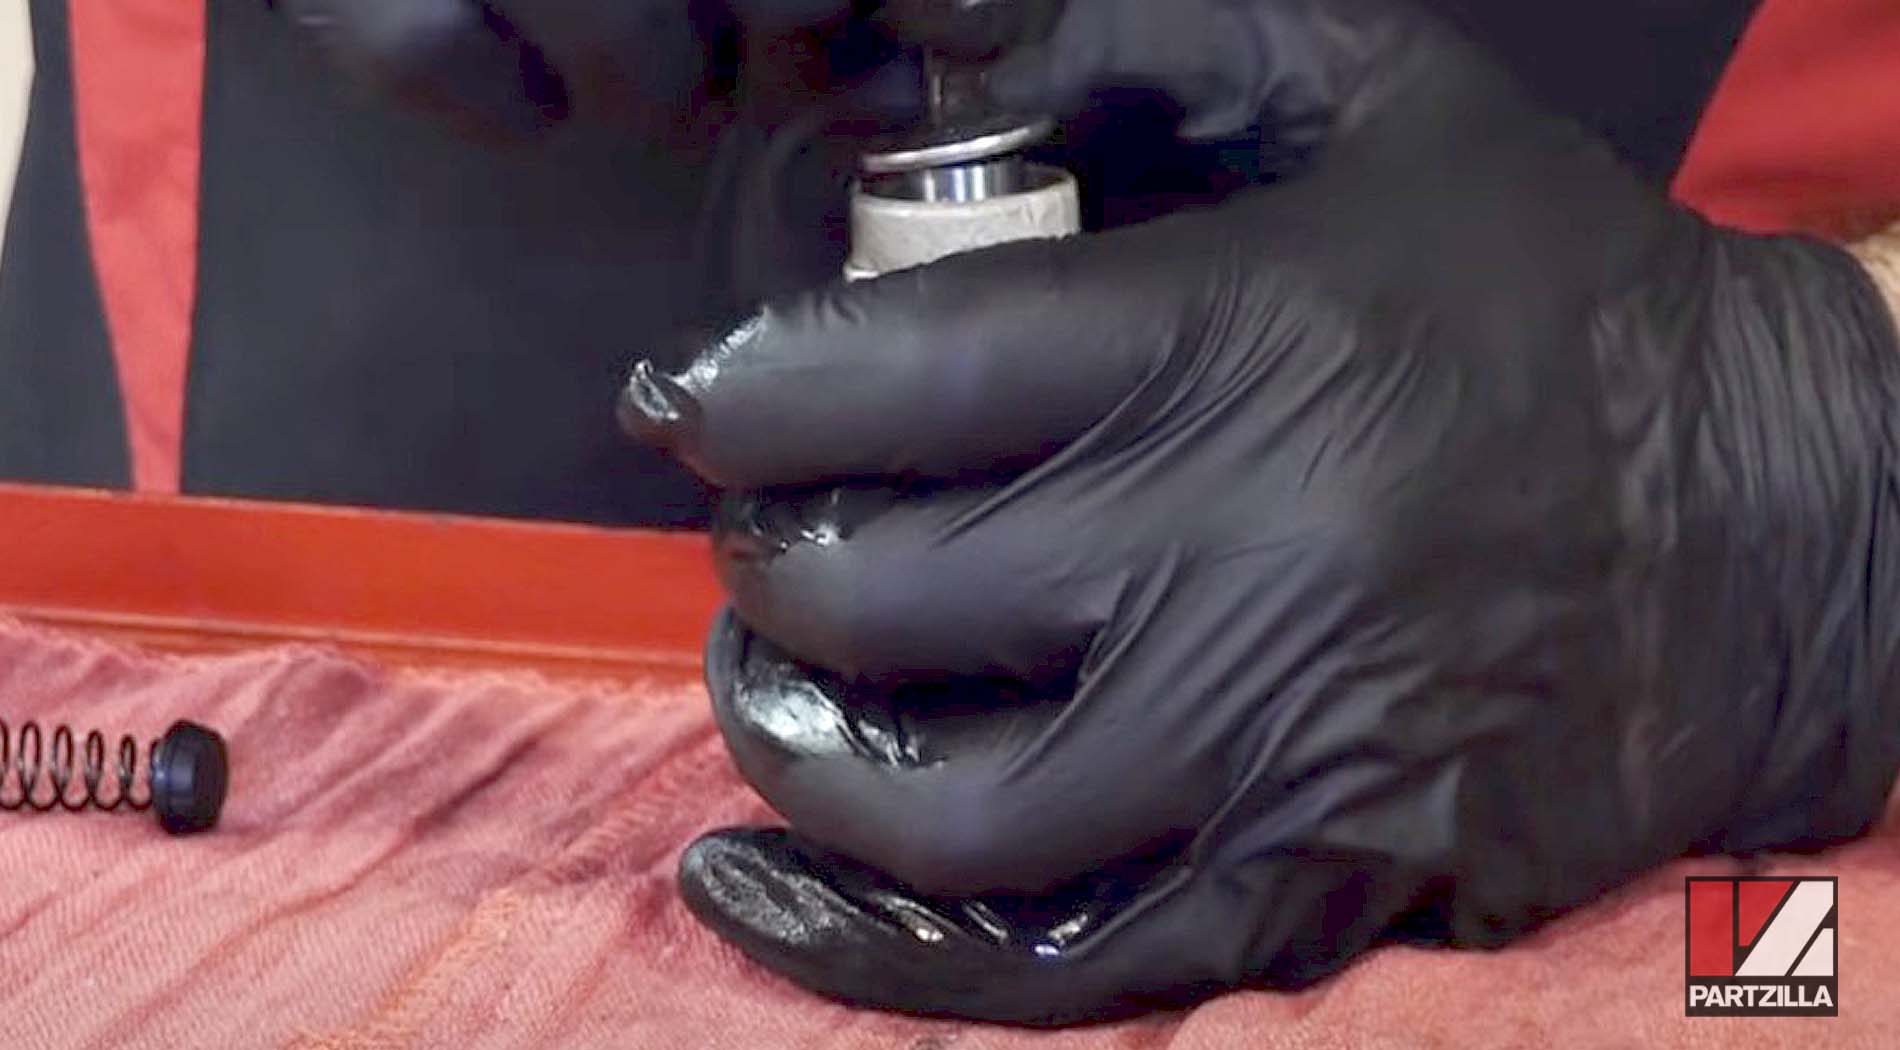
Step 3. Pull the piston and the spring out from the master cylinder. Note that there is a plastic cap on one end of the spring.
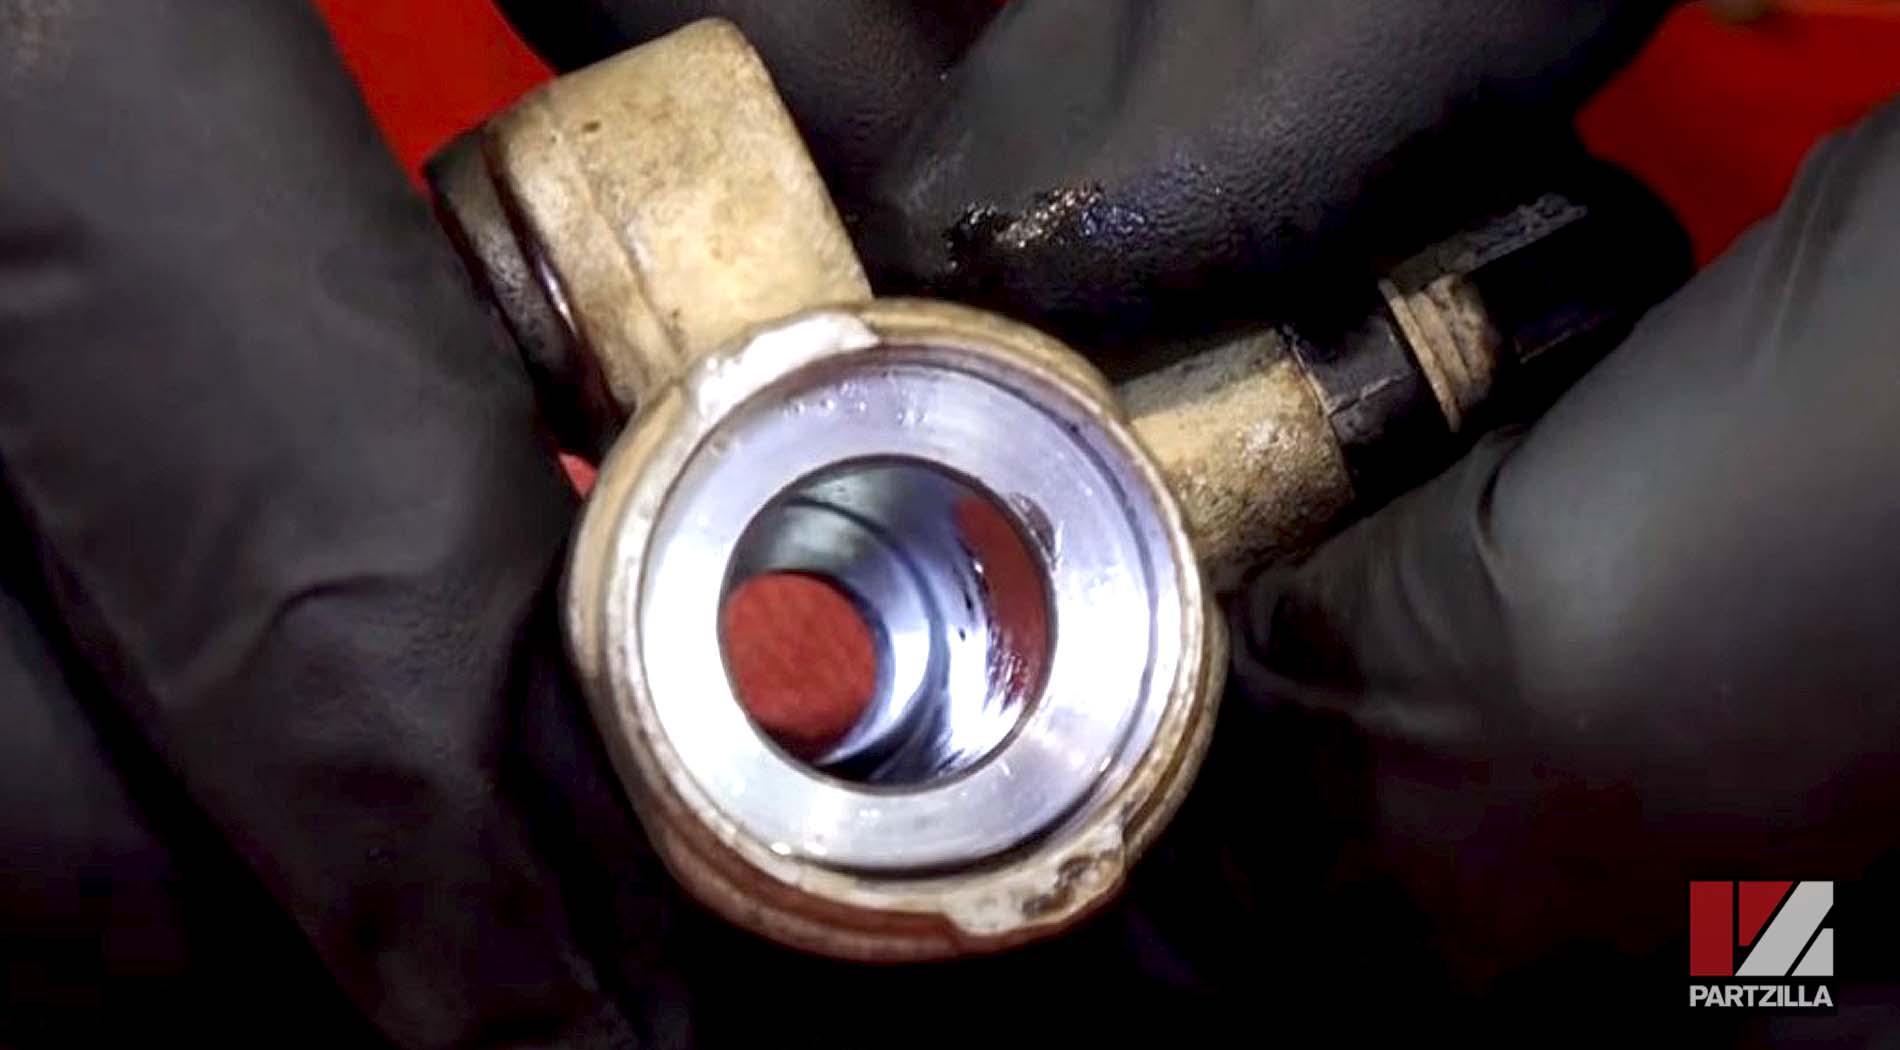
Step 4. Clean the master cylinder with contact/brake cleaner, and inspect the cylinder bore for any scratches or pitting. If the bore shows signs of wear or damage, replace the master cylinder.
Step 5. Install the new piston seal onto the new piston (both parts are included in the master cylinder piston kit). Make sure the new seal is installed so that its narrow end is facing out from and its flared end facing into the master cylinder when the piston is installed in the master cylinder.

PRO TIP: To make installing the new seal easier, lube it with a drop of DOT 4 brake fluid.

Step 6. Lube the master cylinder bore with DOT 4 brake fluid, and install the new spring and plastic cap (both are included in the master cylinder piston kit) into the master cylinder.
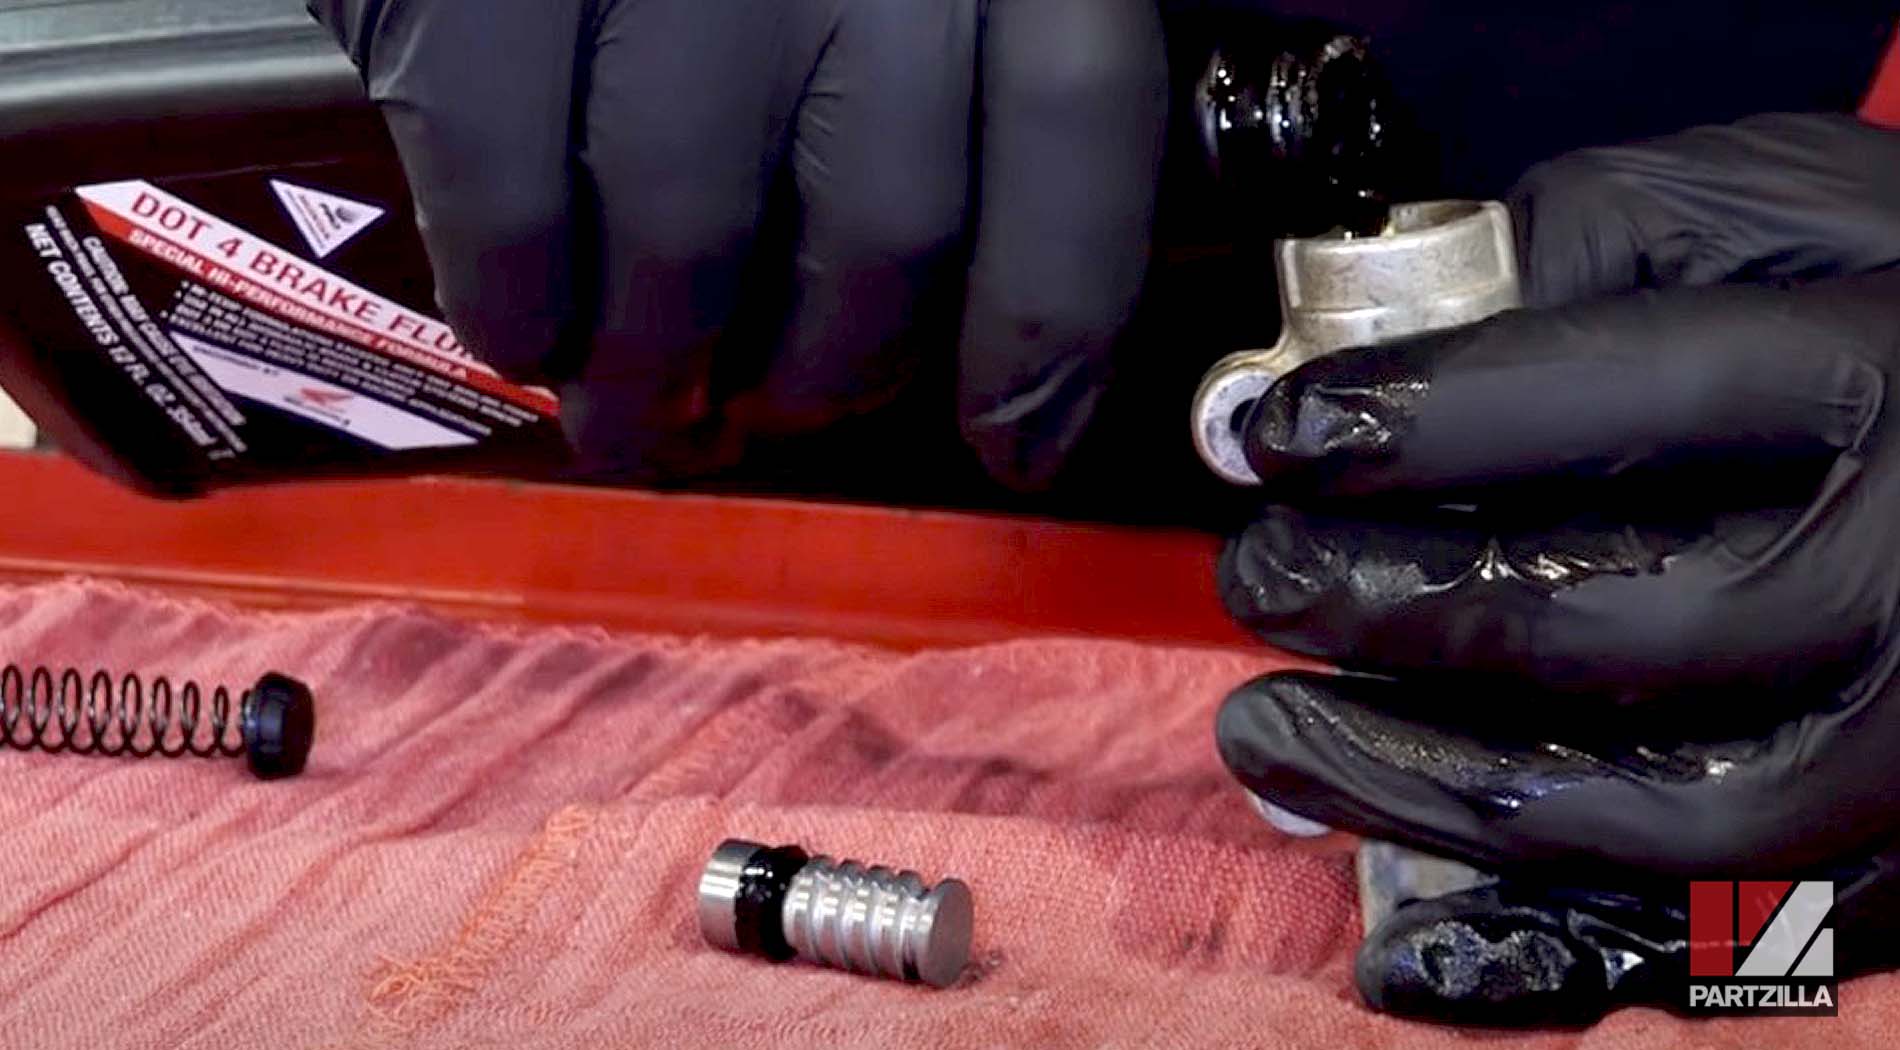
Step 7. Install the new piston and seal into the master cylinder, then reinstall the pushrod into the master cylinder.
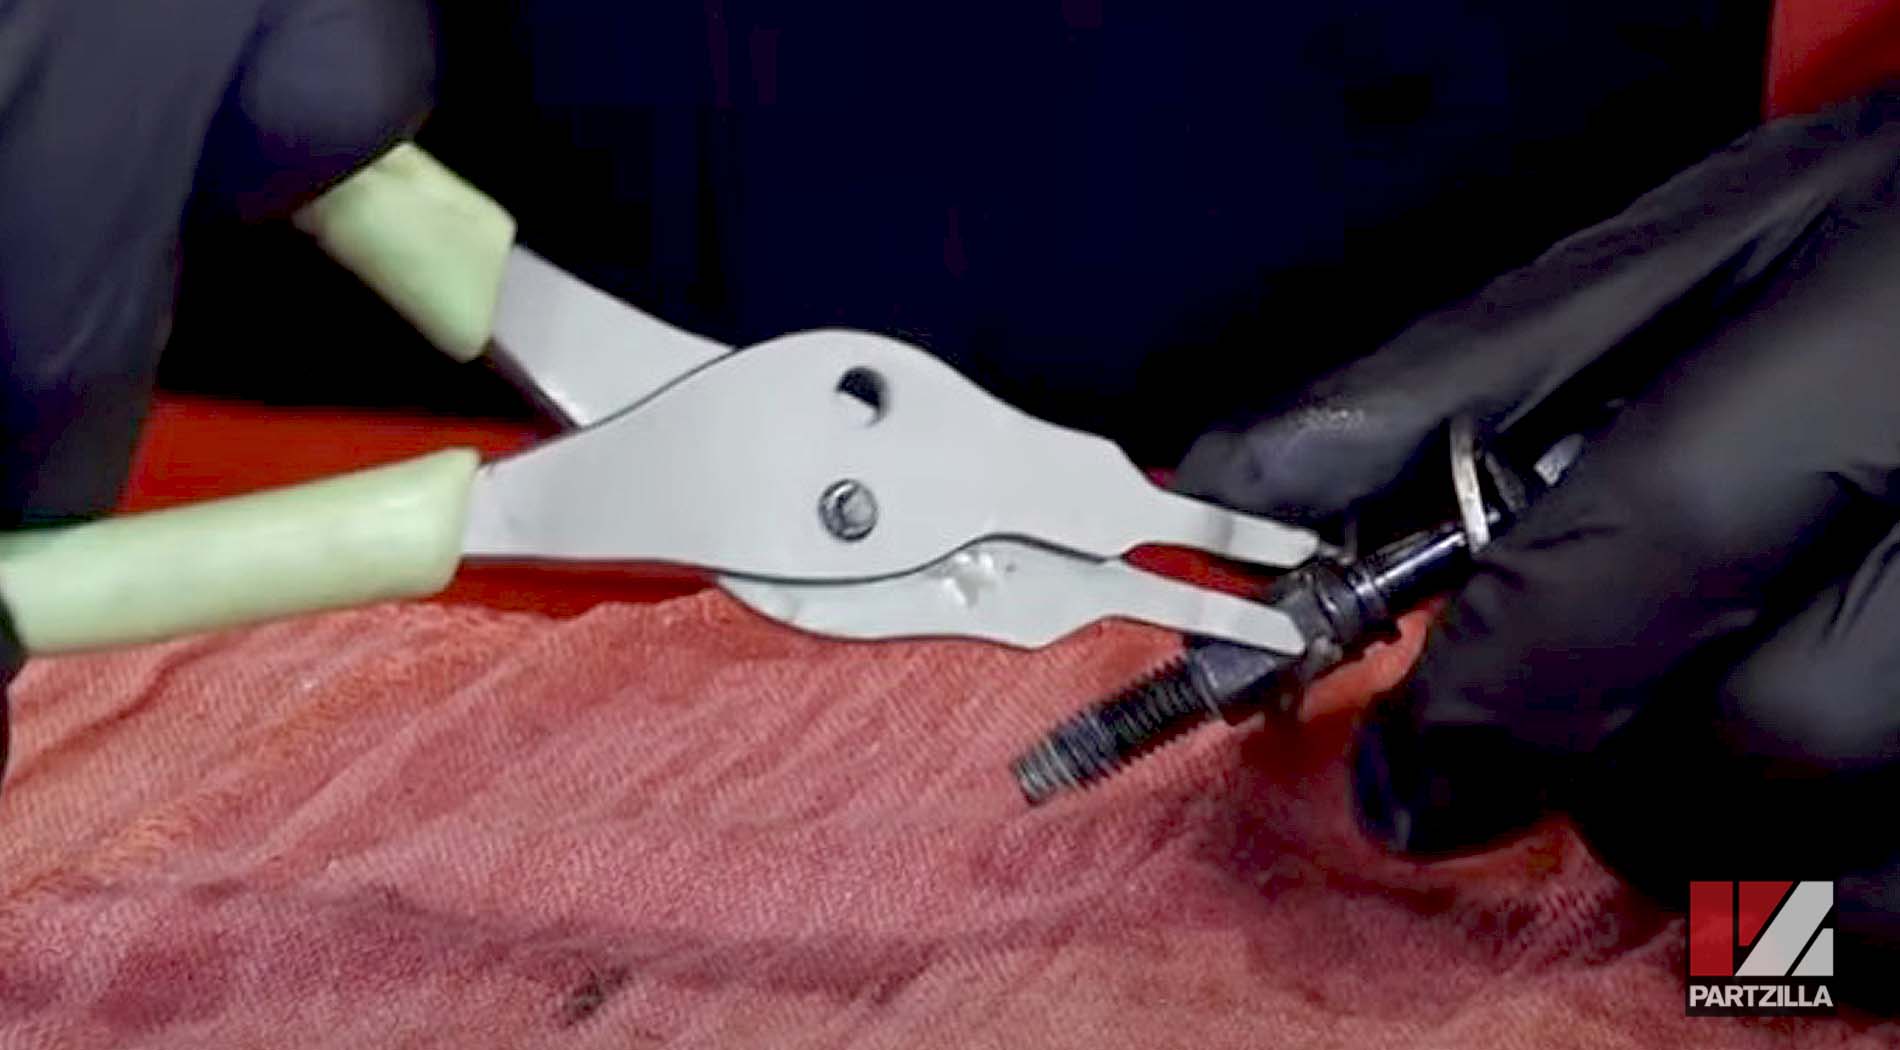
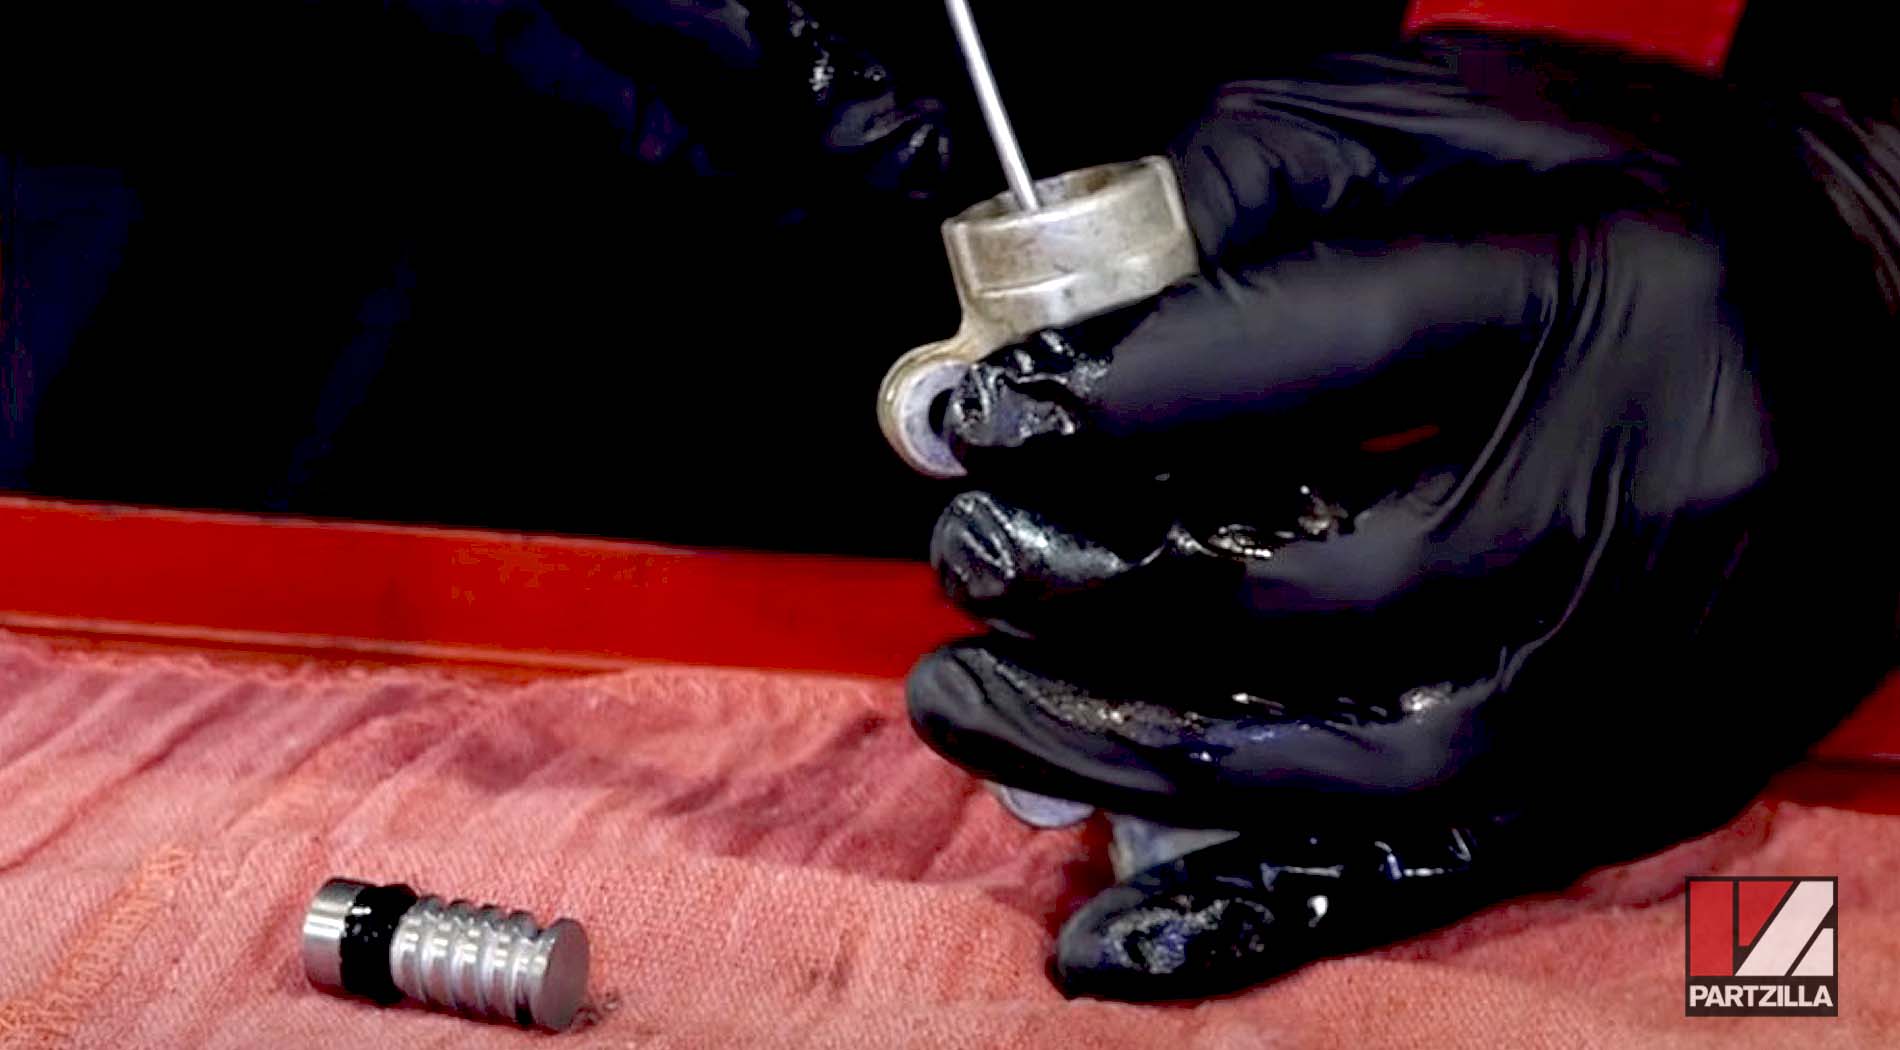
NOTE: The spring will try to force the piston and pushrod back out of the master cylinder, so keep the pushrod pressed down until you can install the new circlip (included in the master cylinder piston kit) into the cylinder bore that will lock everything in place. Have the circlip already staged in the circlip pliers before installing the piston and pushrod, so you can quickly grab the pliers and install the circlip while you hold everything else in place.
Step 8. Use a screwdriver to press the circlip further into the bore until it snaps into its channel within the master cylinder.
Step 9. Install the new rubber boot (included in the master cylinder piston kit), and make sure it has seated in the groove in the master cylinder. Then, reinstall the lock nut and the brake pedal joint onto the bottom of the push rod.
How to Reinstall Honda TRX 400 Rear Brake Master Cylinder
Step 1. Reinstall the two 5mm Allen mounting bolts securing the master cylinder to the frame.
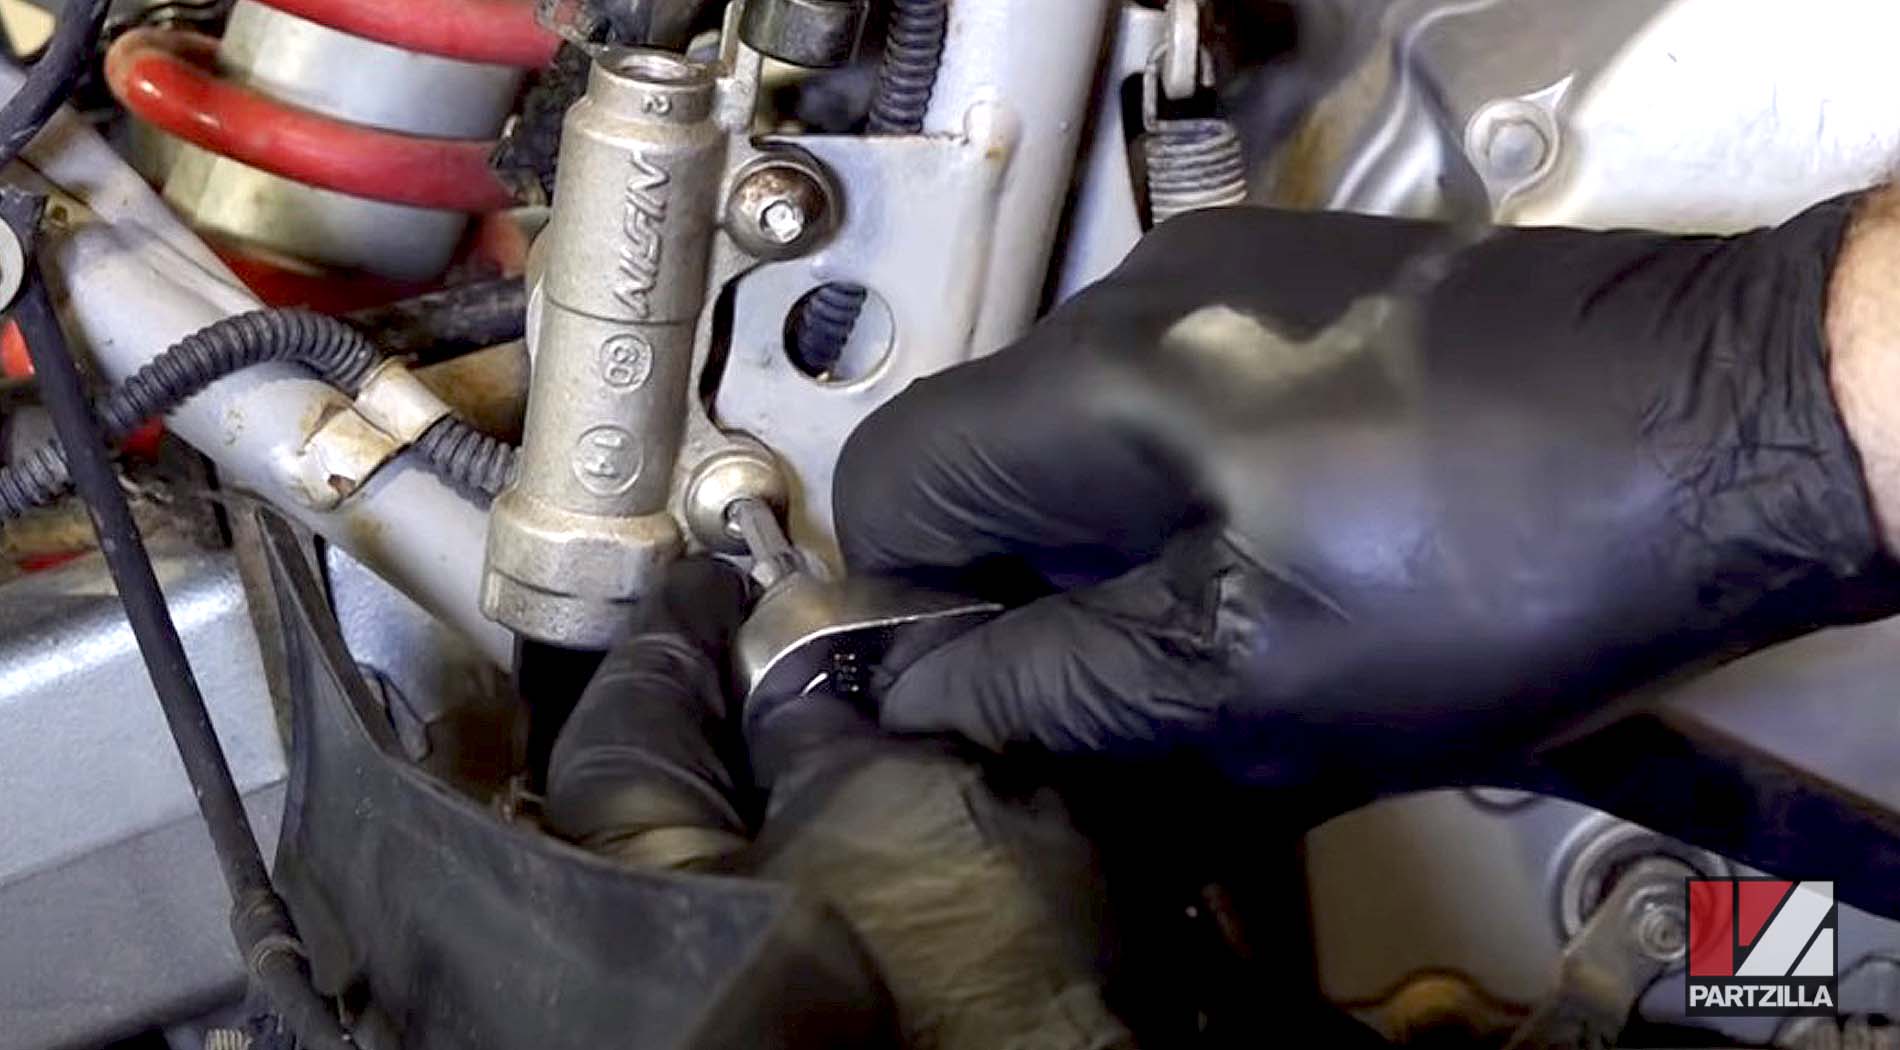
Step 2. Reinstall the brake pedal into the brake pedal joint, then reinstall the pivot pin and the cotter pin.
Step 3. Reattach the reservoir hose, and reposition the hose clip back in place.
Step 4. Reattach the line running from the master cylinder to the rear brake caliper, then reinstall the two crush washers and the banjo bolt.
Finally, make sure the brakes are properly bled with no air in the system and top off the reservoir with brake fluid.

Watch the video below to see how to bleed the front brakes on a Honda TRX400, both manually and automatically.