How to Replace a Honda TRX 400EX Clutch
If you’ve never replaced the clutch on a Honda ATV, you’ll be surprised how easy it is, especially since it doesn’t require any special tools.
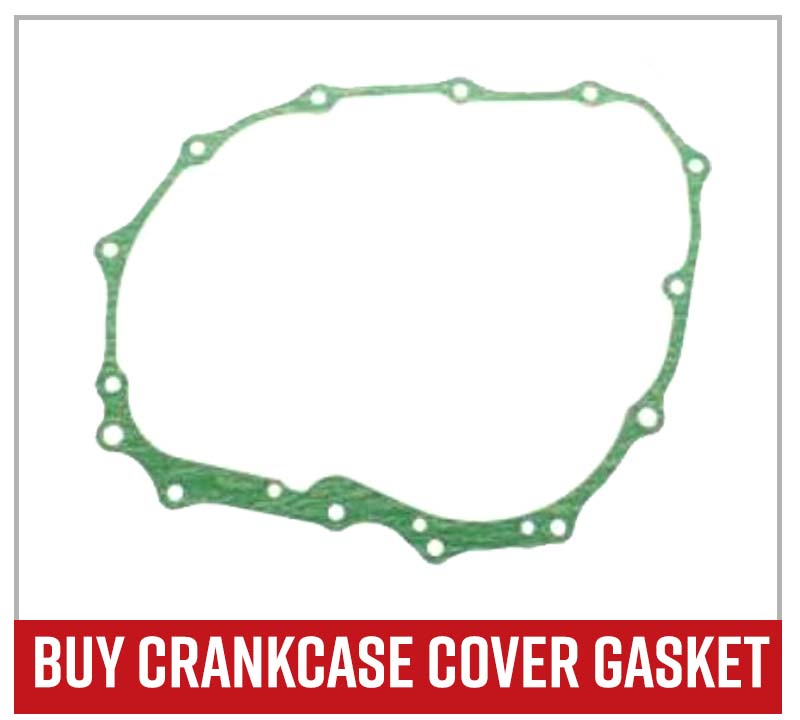
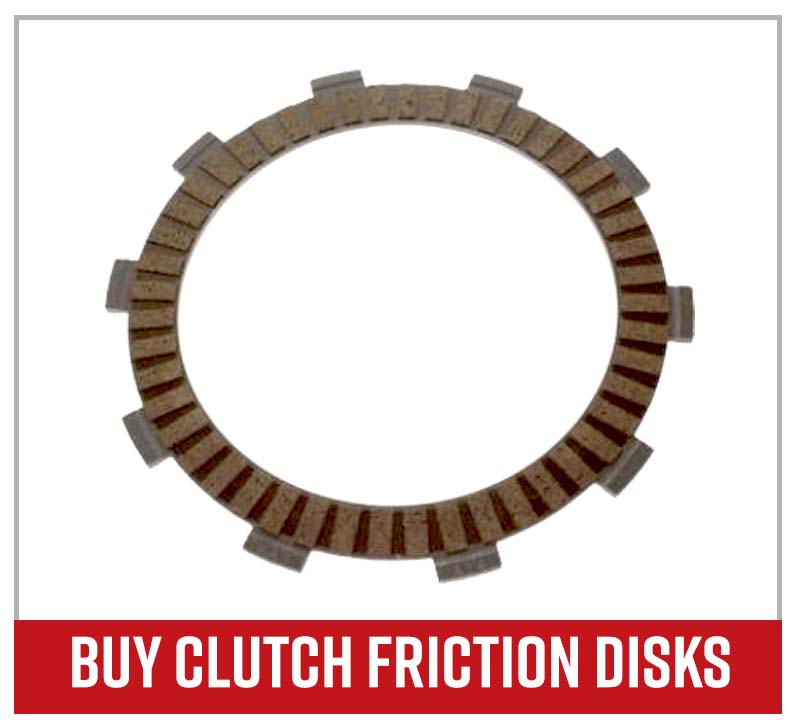
As for the parts, you’ll only need the Honda clutch kit for the TRX 400, which contains all the individual clutch disks and a new crankcase cover gasket. Follow the steps below and watch our Honda TRX 400EX clutch replacement video above to get this job done. Use our Honda TRX exploded parts diagrams for additional reference.
Tools and Parts – Honda TRX 400 Clutch Replacement
- Ratchet and extensions
- Socket set
- Allen set
- Pliers
- Flathead screwdriver
- Clutch kit
- Crankcase cover gasket
Disassembling Honda TRX 400EX Clutch
Step 1. Drain the engine oil.
Step 2. Remove the rear brake pedal by taking off the cotter pin and the pivot pin at the rear of the pedal, then removing the Allen bolt securing the brake pedal to the frame.
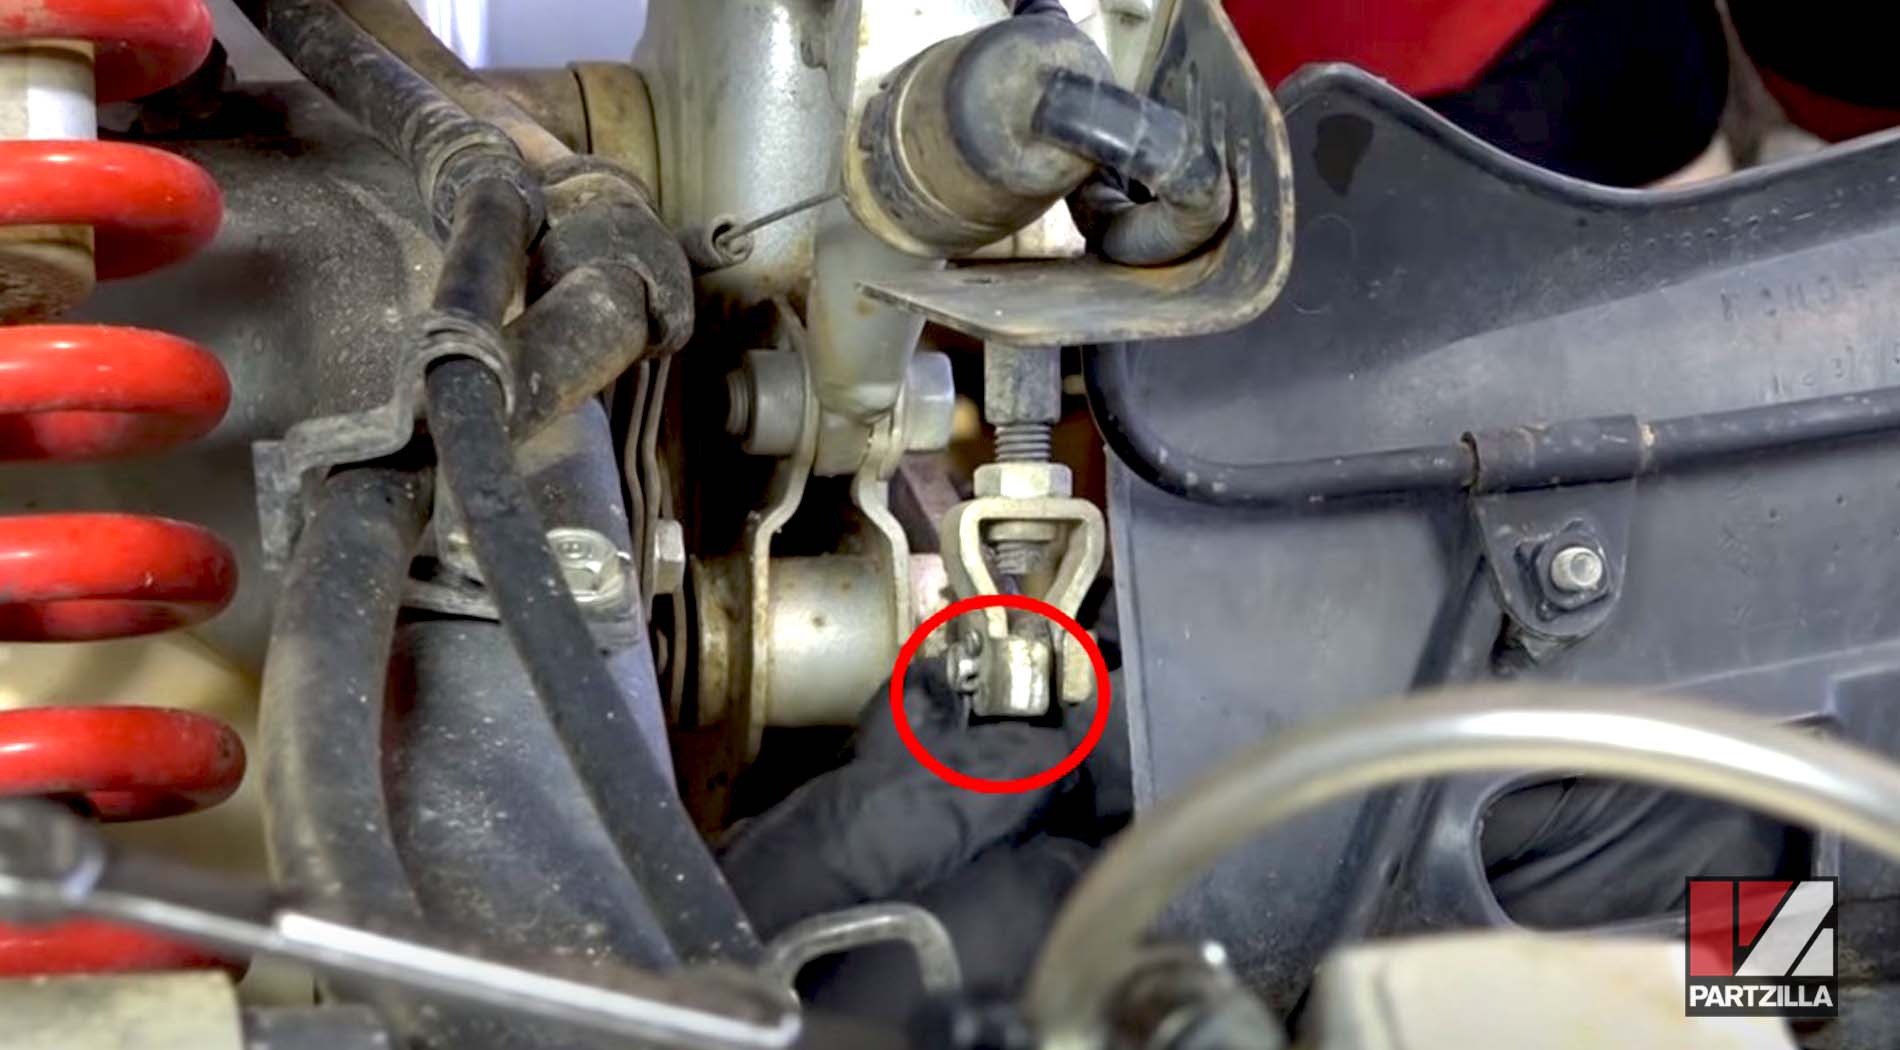
Step 3. Disconnect the reverse cable by loosening the pinch bolt, and removing the nut and washer from the cable holder.
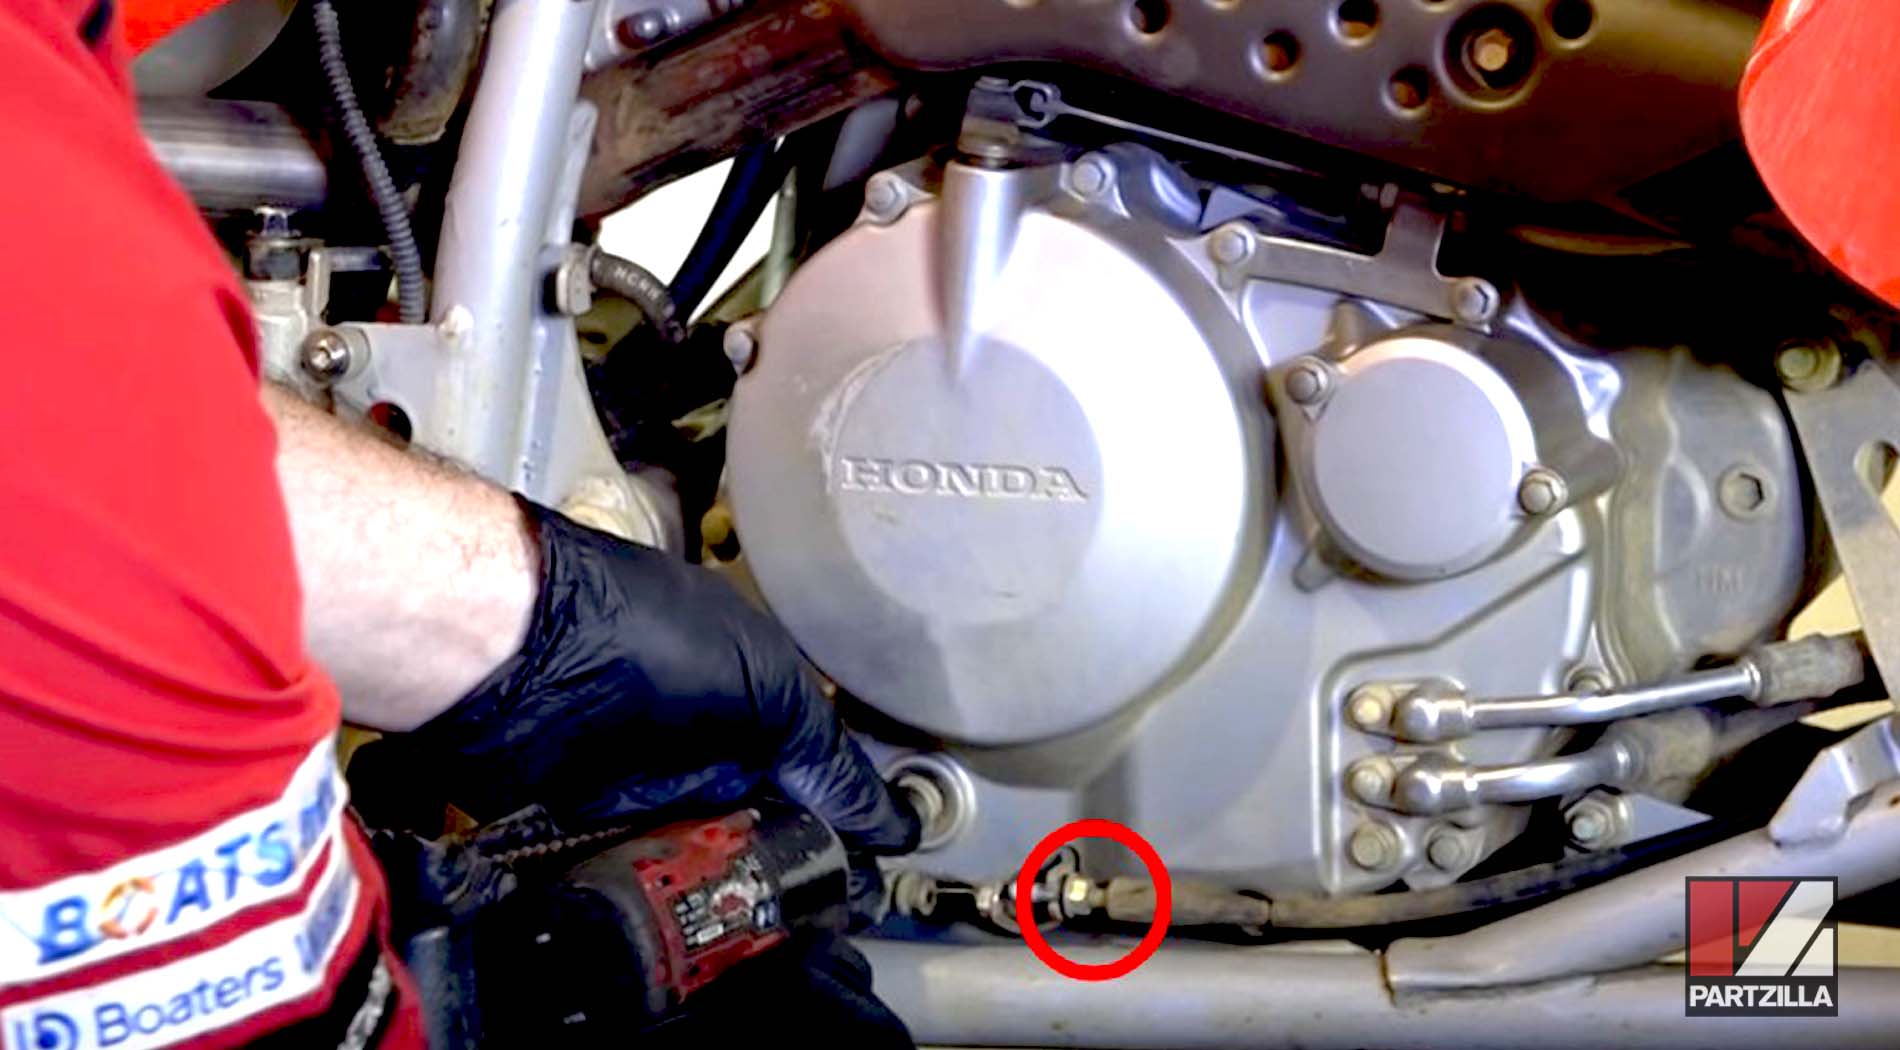
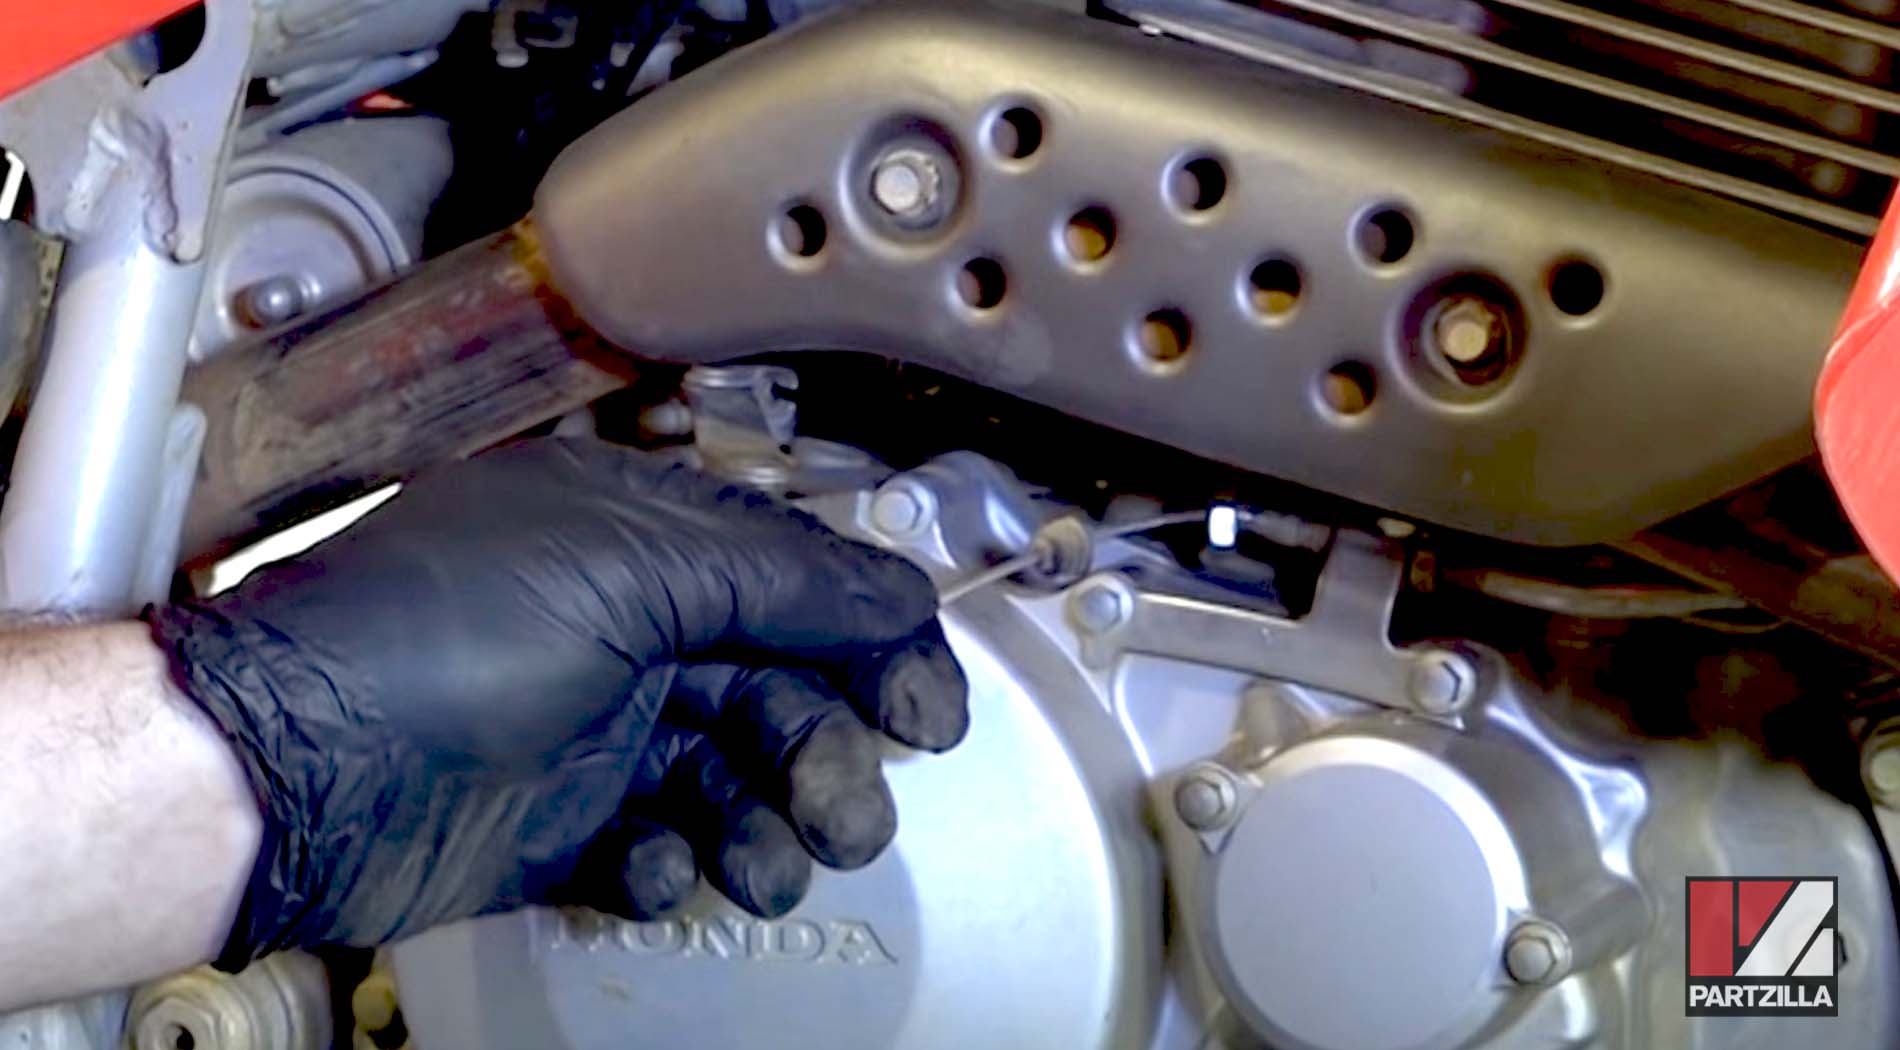
Step 4. Disconnect the clutch cable by loosening the pinch bolt, easing the cable end out from its retaining hook and pulling the cable free.
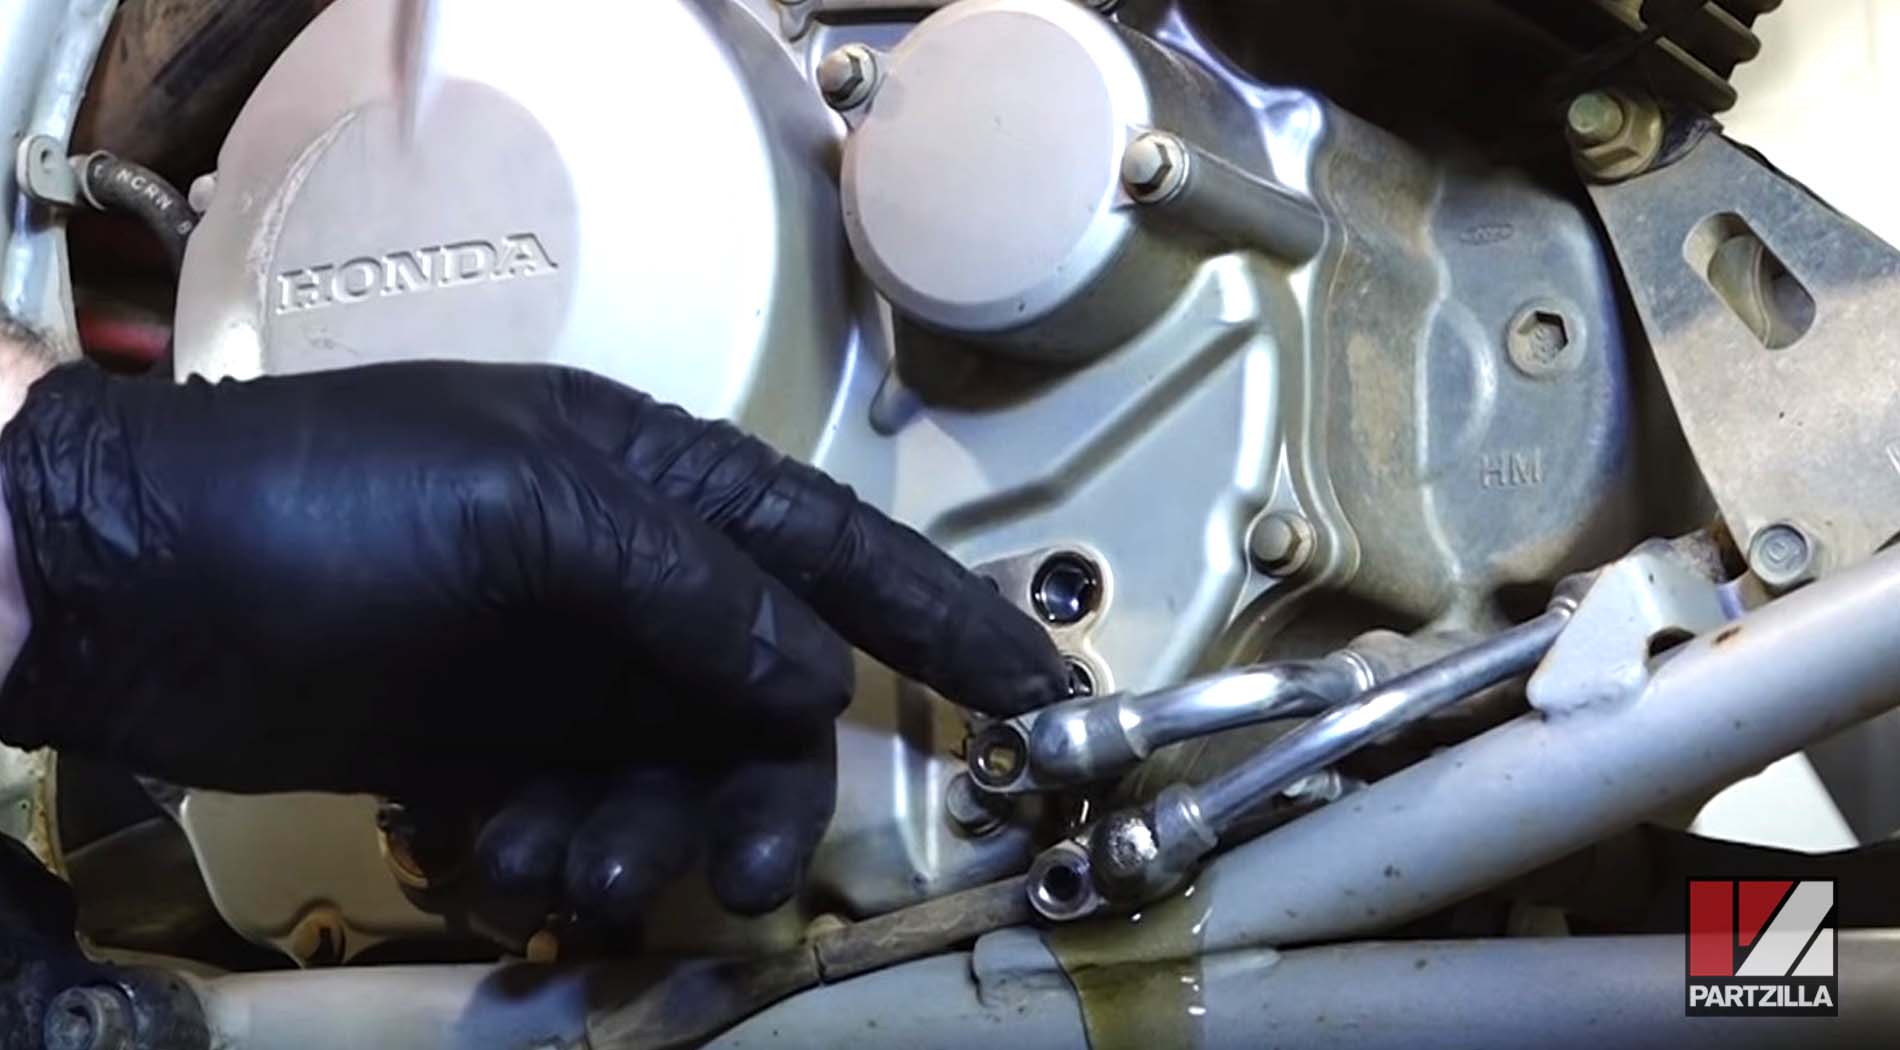
Step 5. Disconnect the oil send and return lines, being careful not to lose the O-rings inside the lines. Have a drain pan ready to catch the oil that will spill from the lines as they’re disconnected.
Step 6. Remove the 8mm crankcase cover bolts, then pry the crankcase cover off the crankcase, being careful not to damage the mating surfaces of the cover or crankcase.
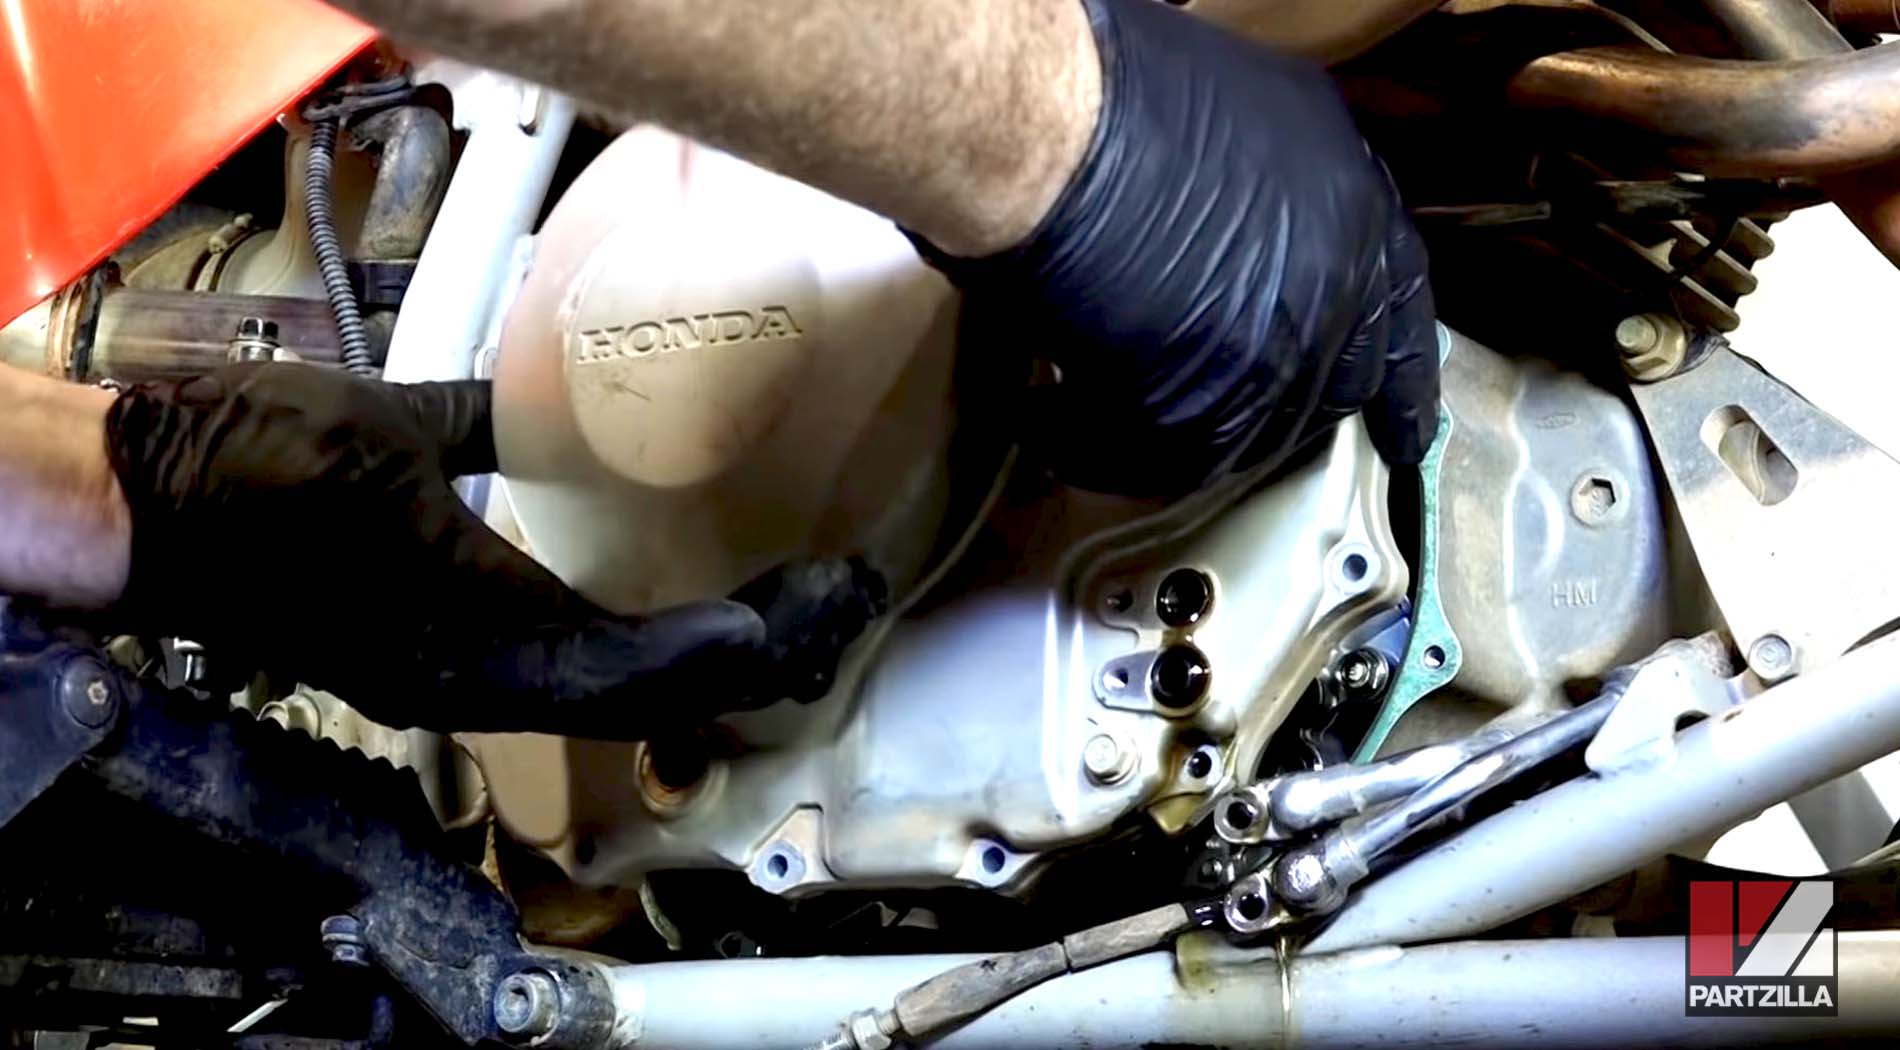
NOTE: The bolts differ in length, so lay them out in the order you removed them to reinstall them in their correct positions later.
Step 7. Remove the clutch springs, followed by the old clutch disks from the clutch basket.
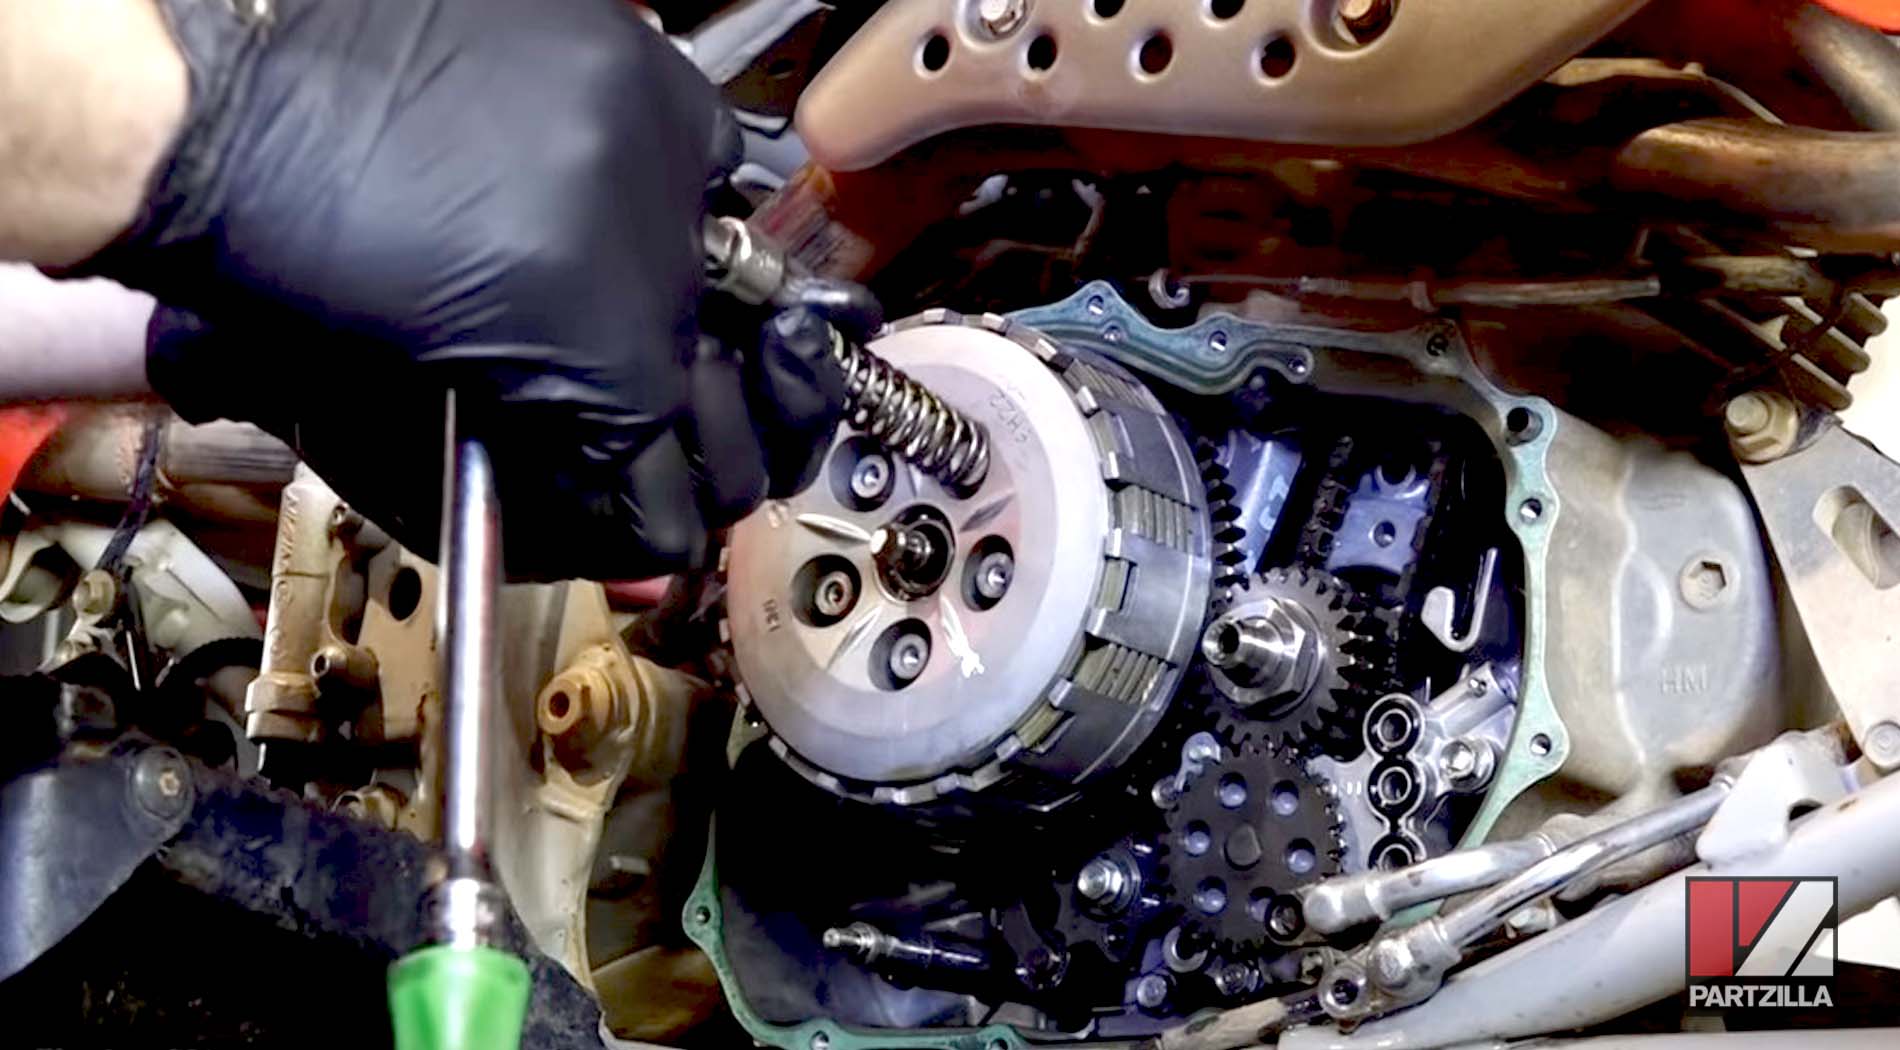
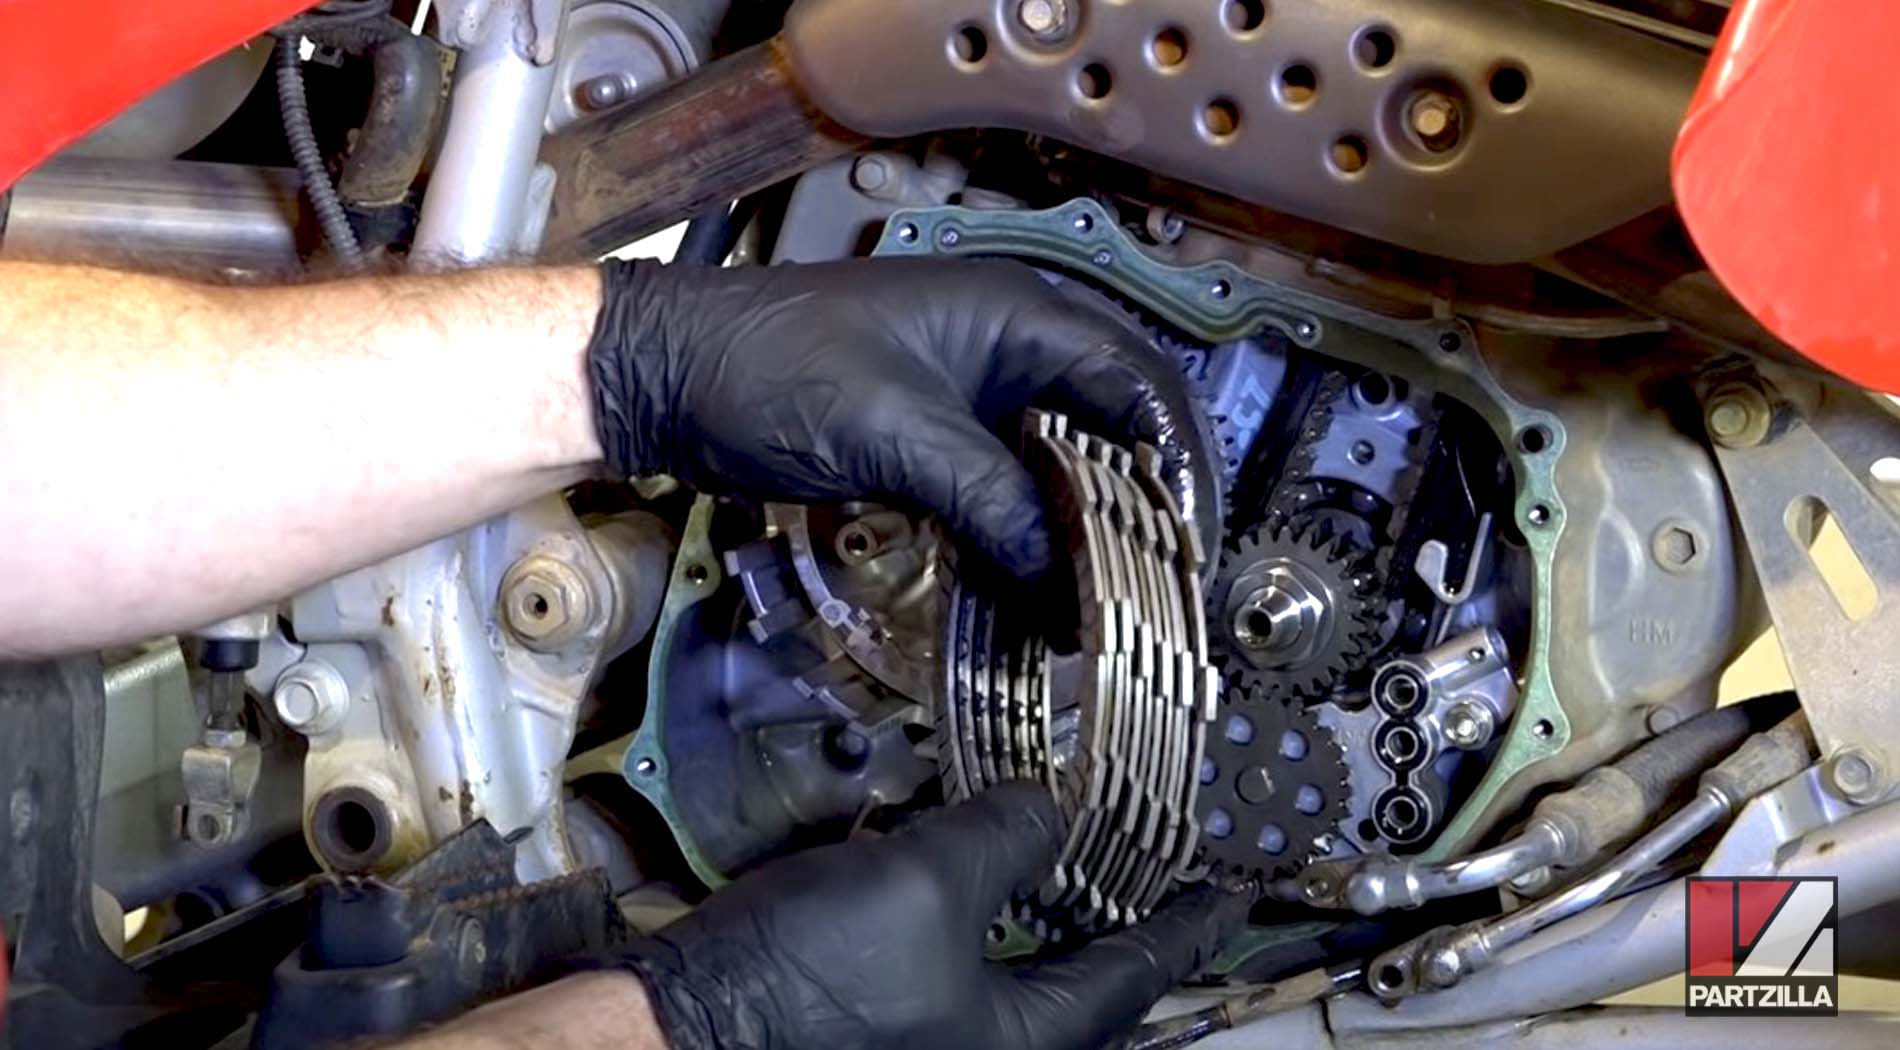
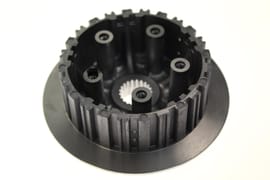
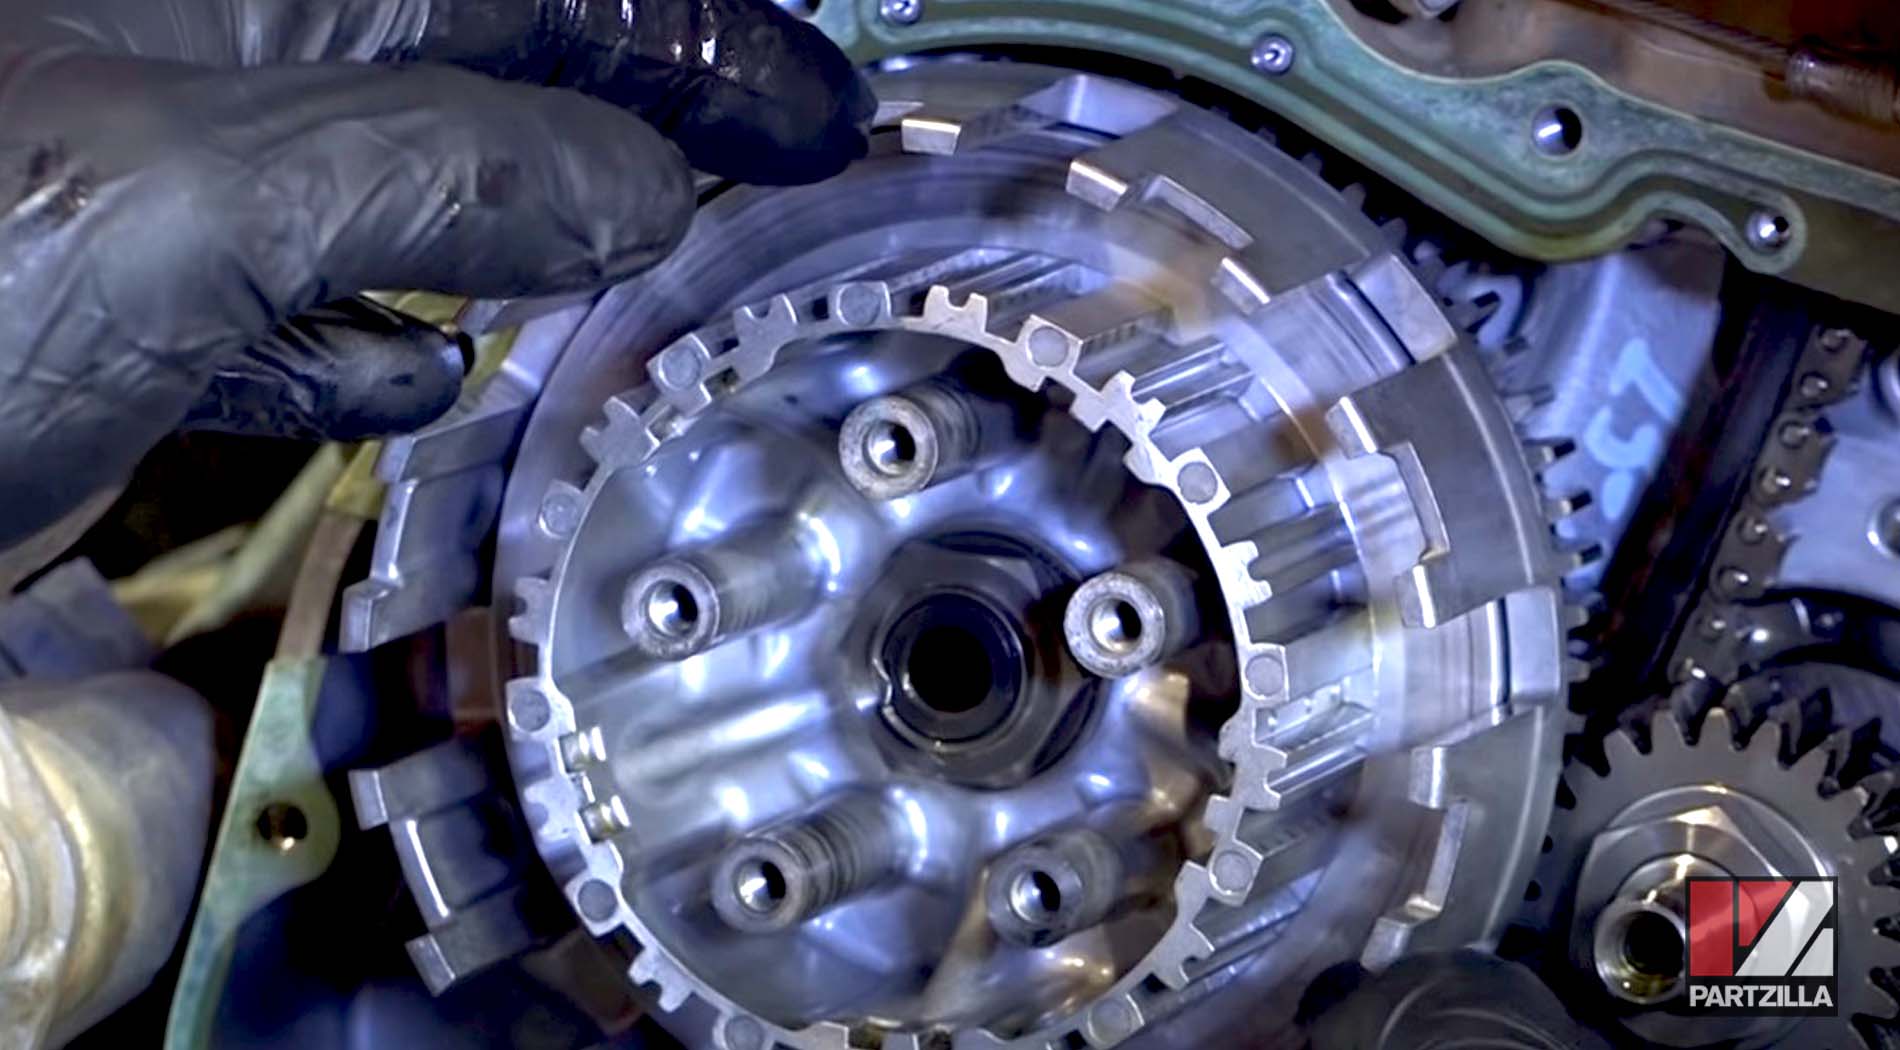
Step 8. Inspect the clutch drum and clutch basket for wear or damage, and replace them if necessary.
Installing Honda TRX 400EX Clutch Plates
Step 1. Thoroughly soak the new clutch friction disks (included in the clutch kit) in engine oil before installing them.

NOTE: If the fibers of the friction disks are not properly oiled, the clutch will burn up the first time you go to use it.
Step 2. Remove the two dowel pins from the crankcase while the friction disks soak, then remove all the old gasket material from the crankcase and crankcase cover with a razor blade.
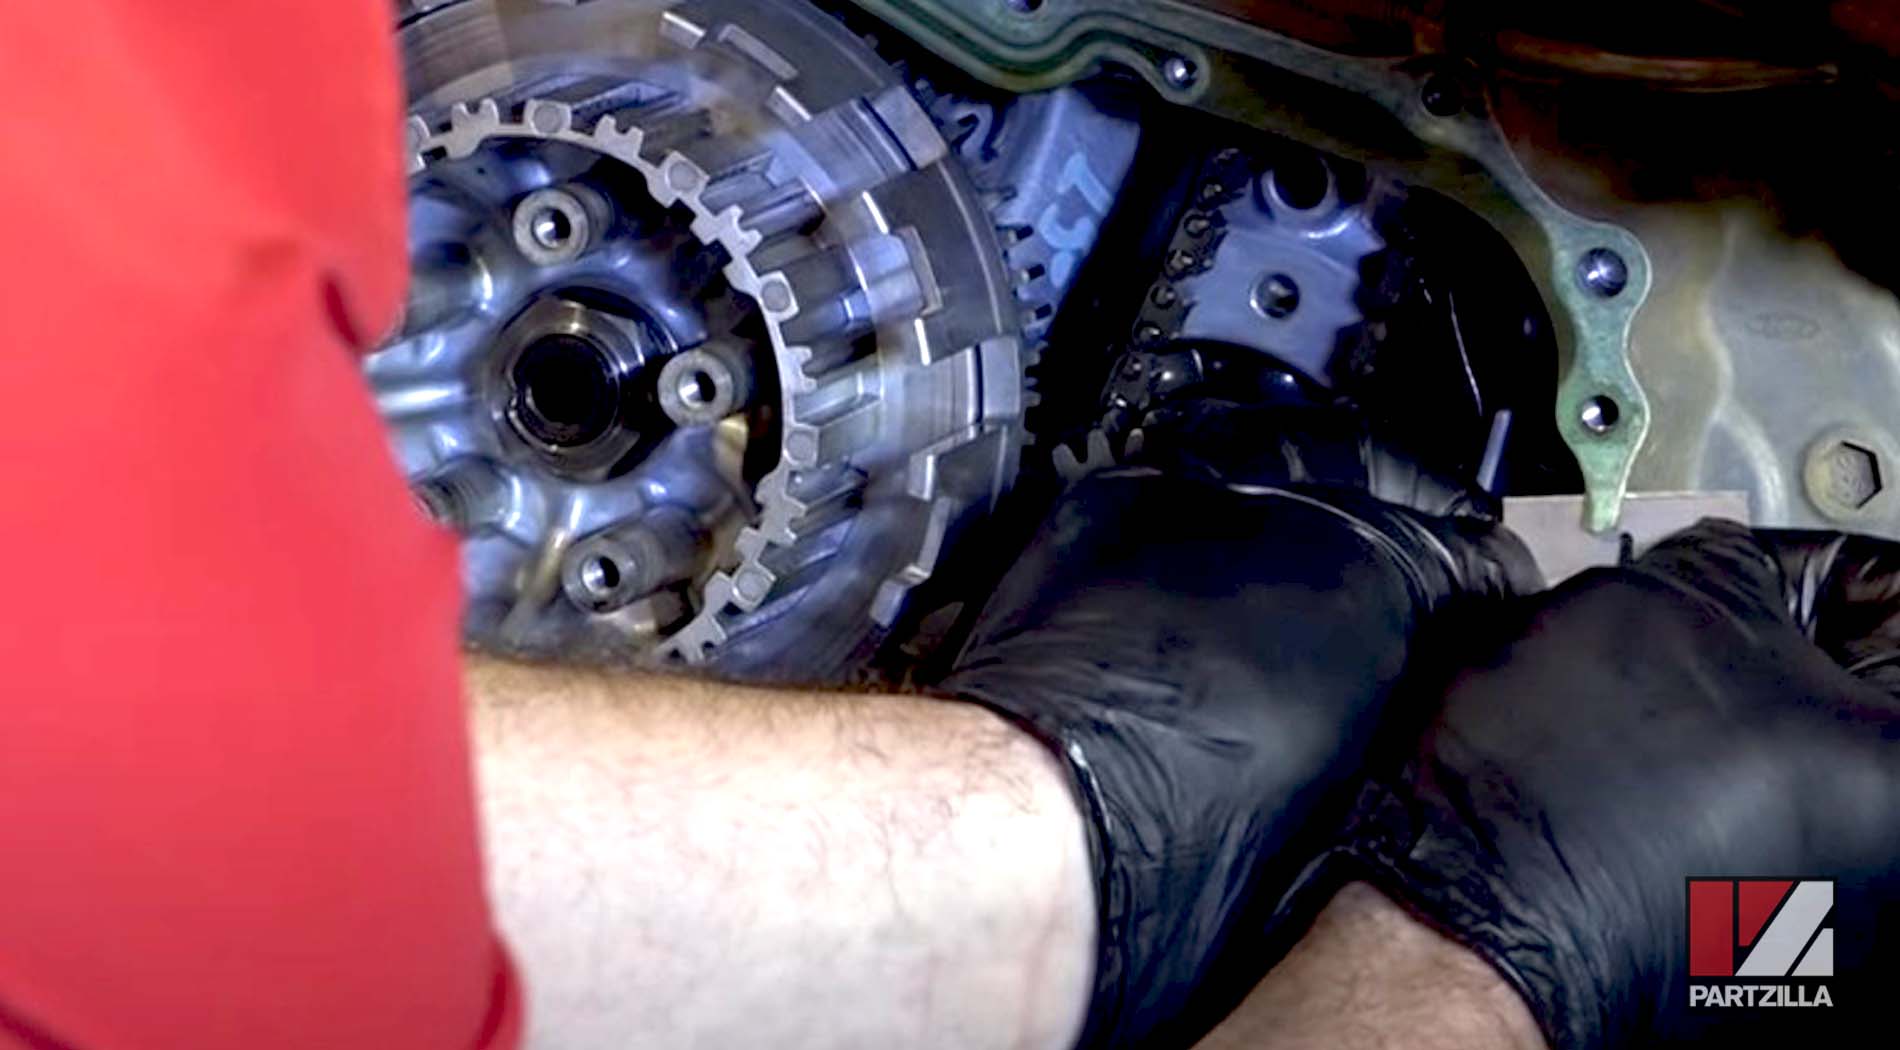
NOTE: Be careful not to gouge or damage the mating surfaces of the cover or crankcase.
Step 3. Install a new friction disk into the clutch basket, followed by a new metal drive disk, and continue to alternate the disk types as you install them. Offset the last friction disk by one tooth in the clutch basket.
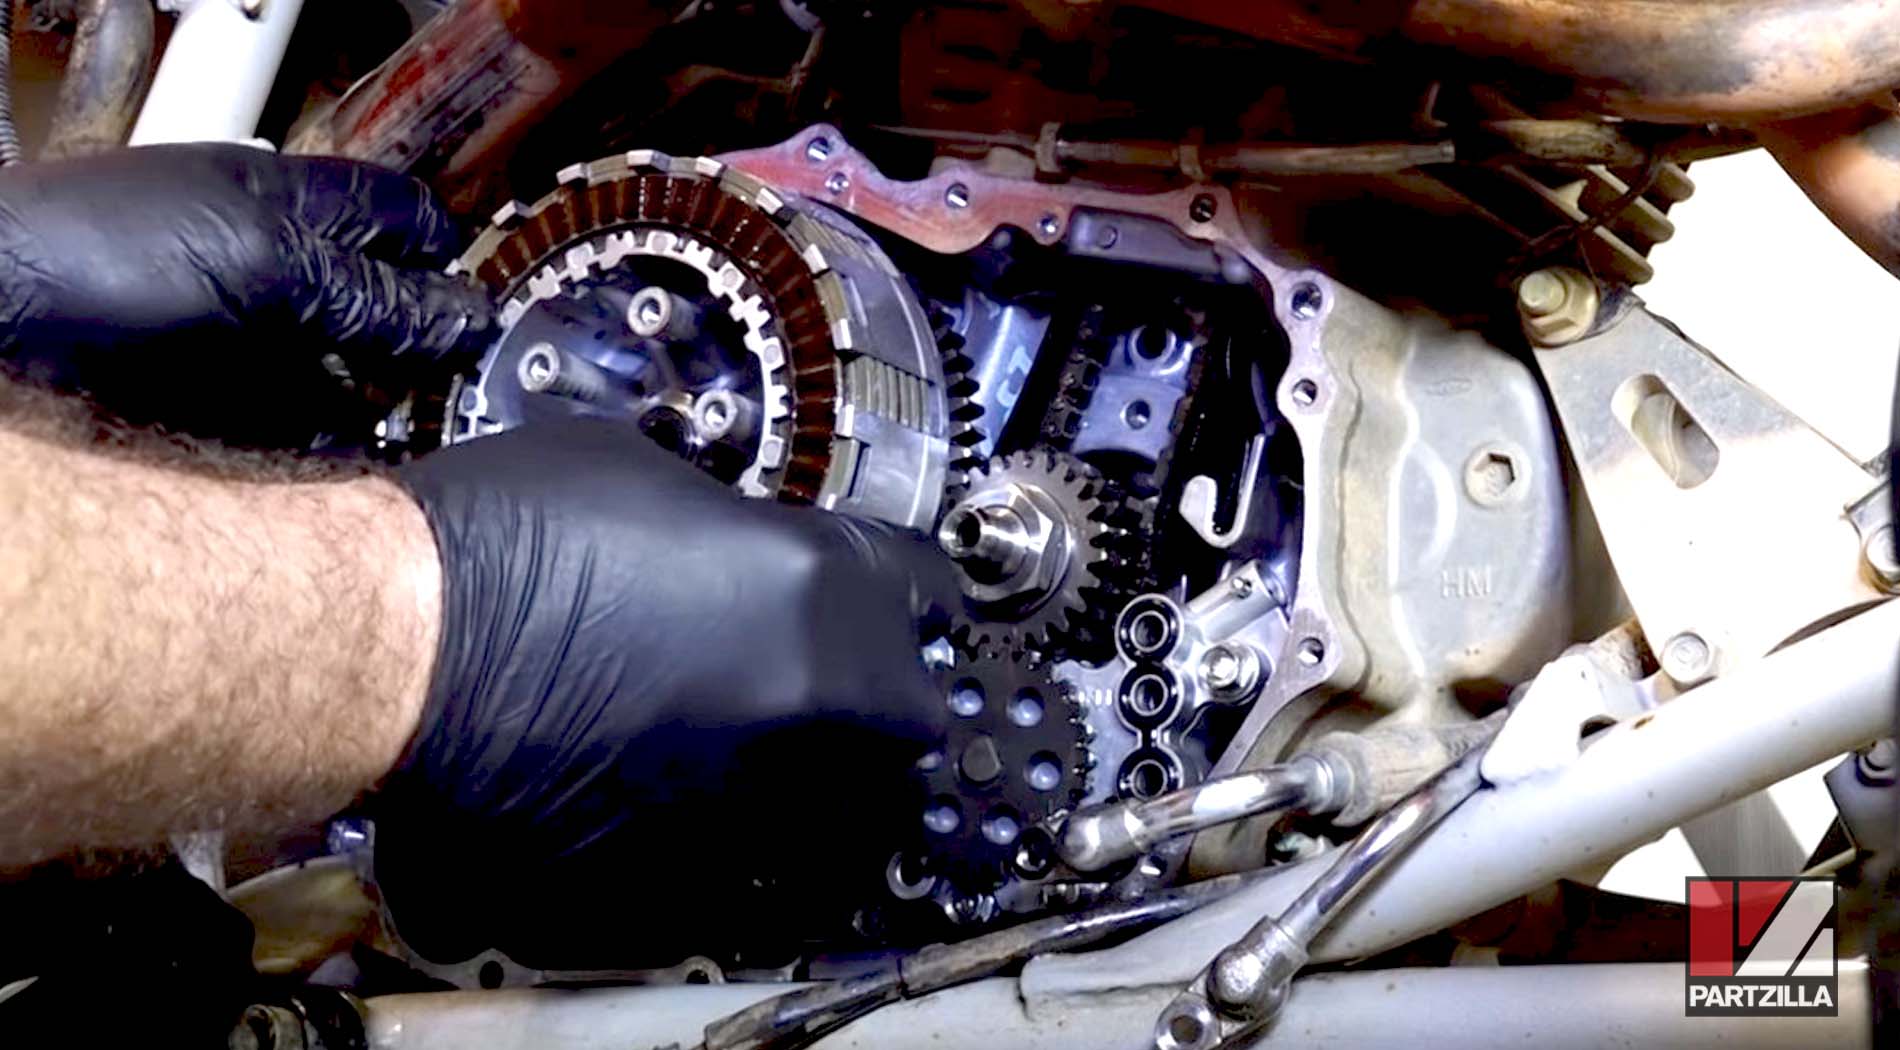
Step 4. Reinstall the clutch pressure plate, clutch springs and clutch bolts. Gradually tighten the bolts in a diagonal pattern to keep the spring tension on the pressure plate even.
Reassembling Honda TRX 400EX Clutch
Step 1. Reinstall the two dowel pins into the crankcase and install a new crankcase cover gasket.
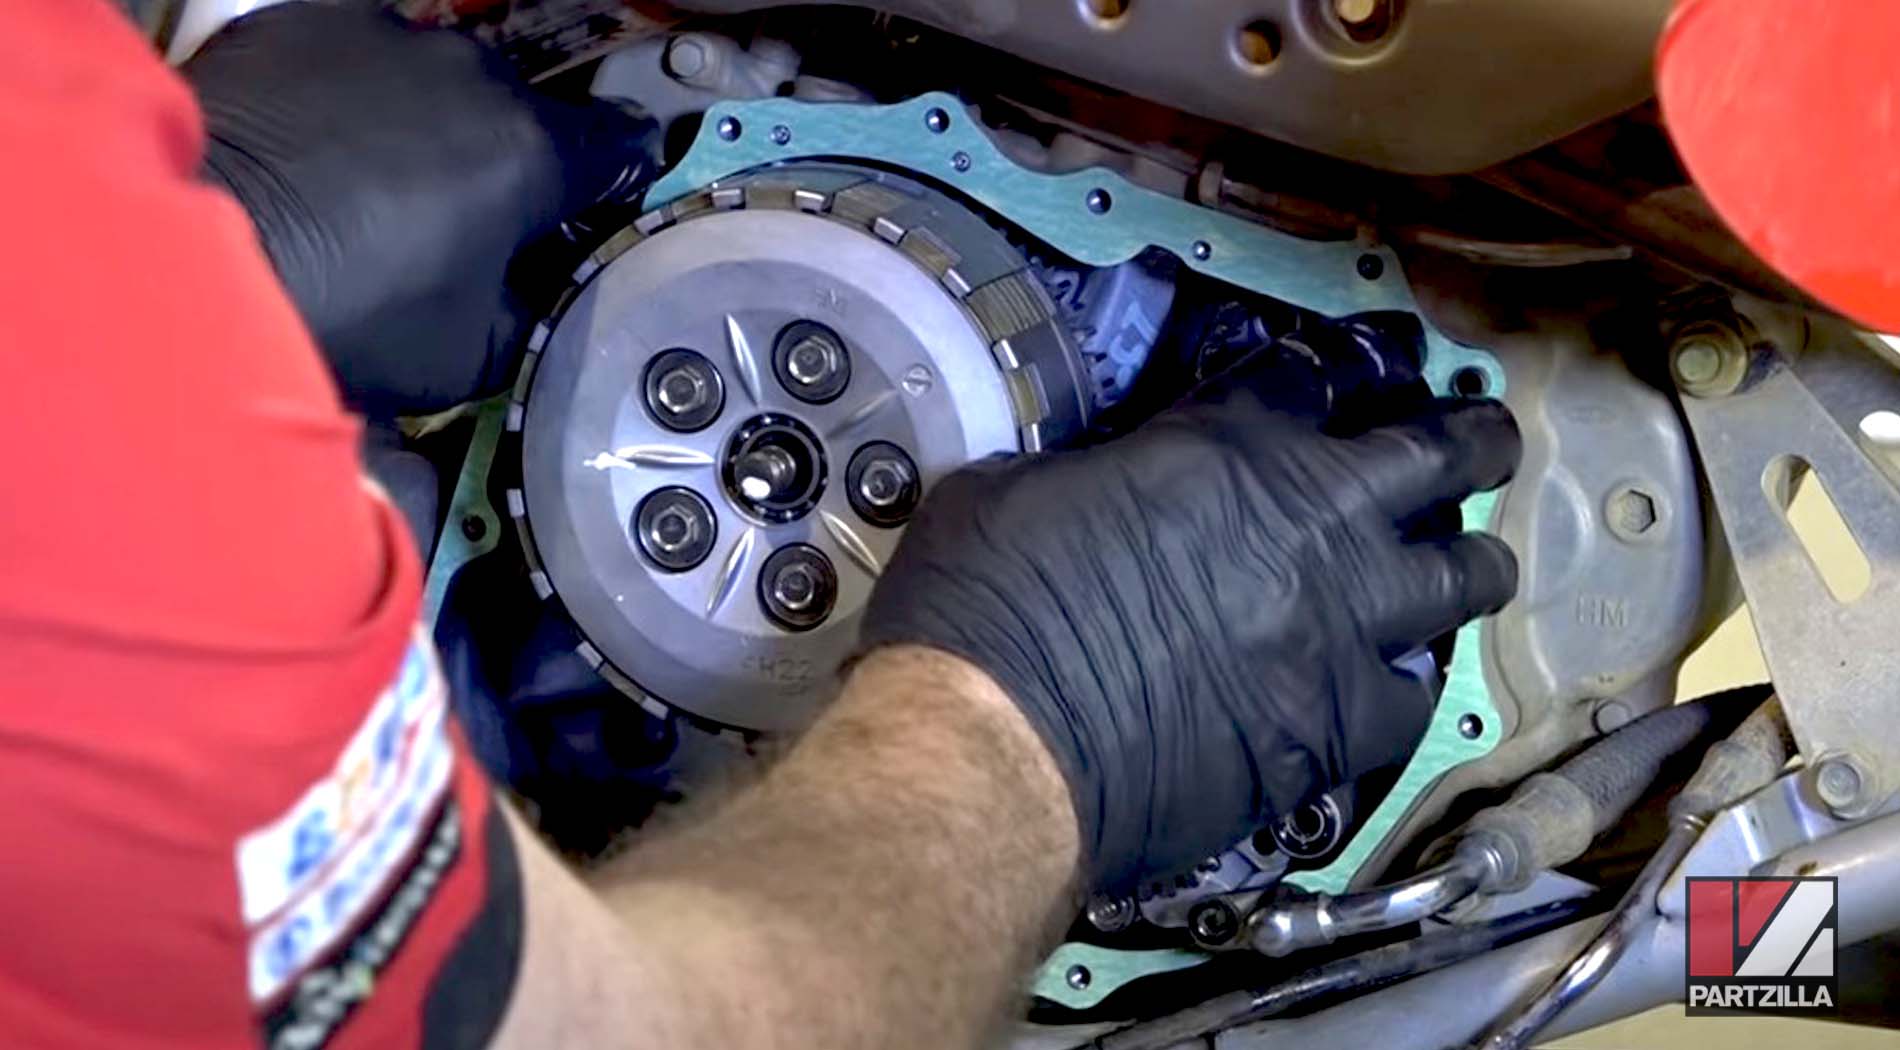
Step 2. Reinstall the crankcase cover onto the crankcase. Rotate the clutch lifter arm as you reinstall the cover so the spindle groove engages with the clutch mechanism.
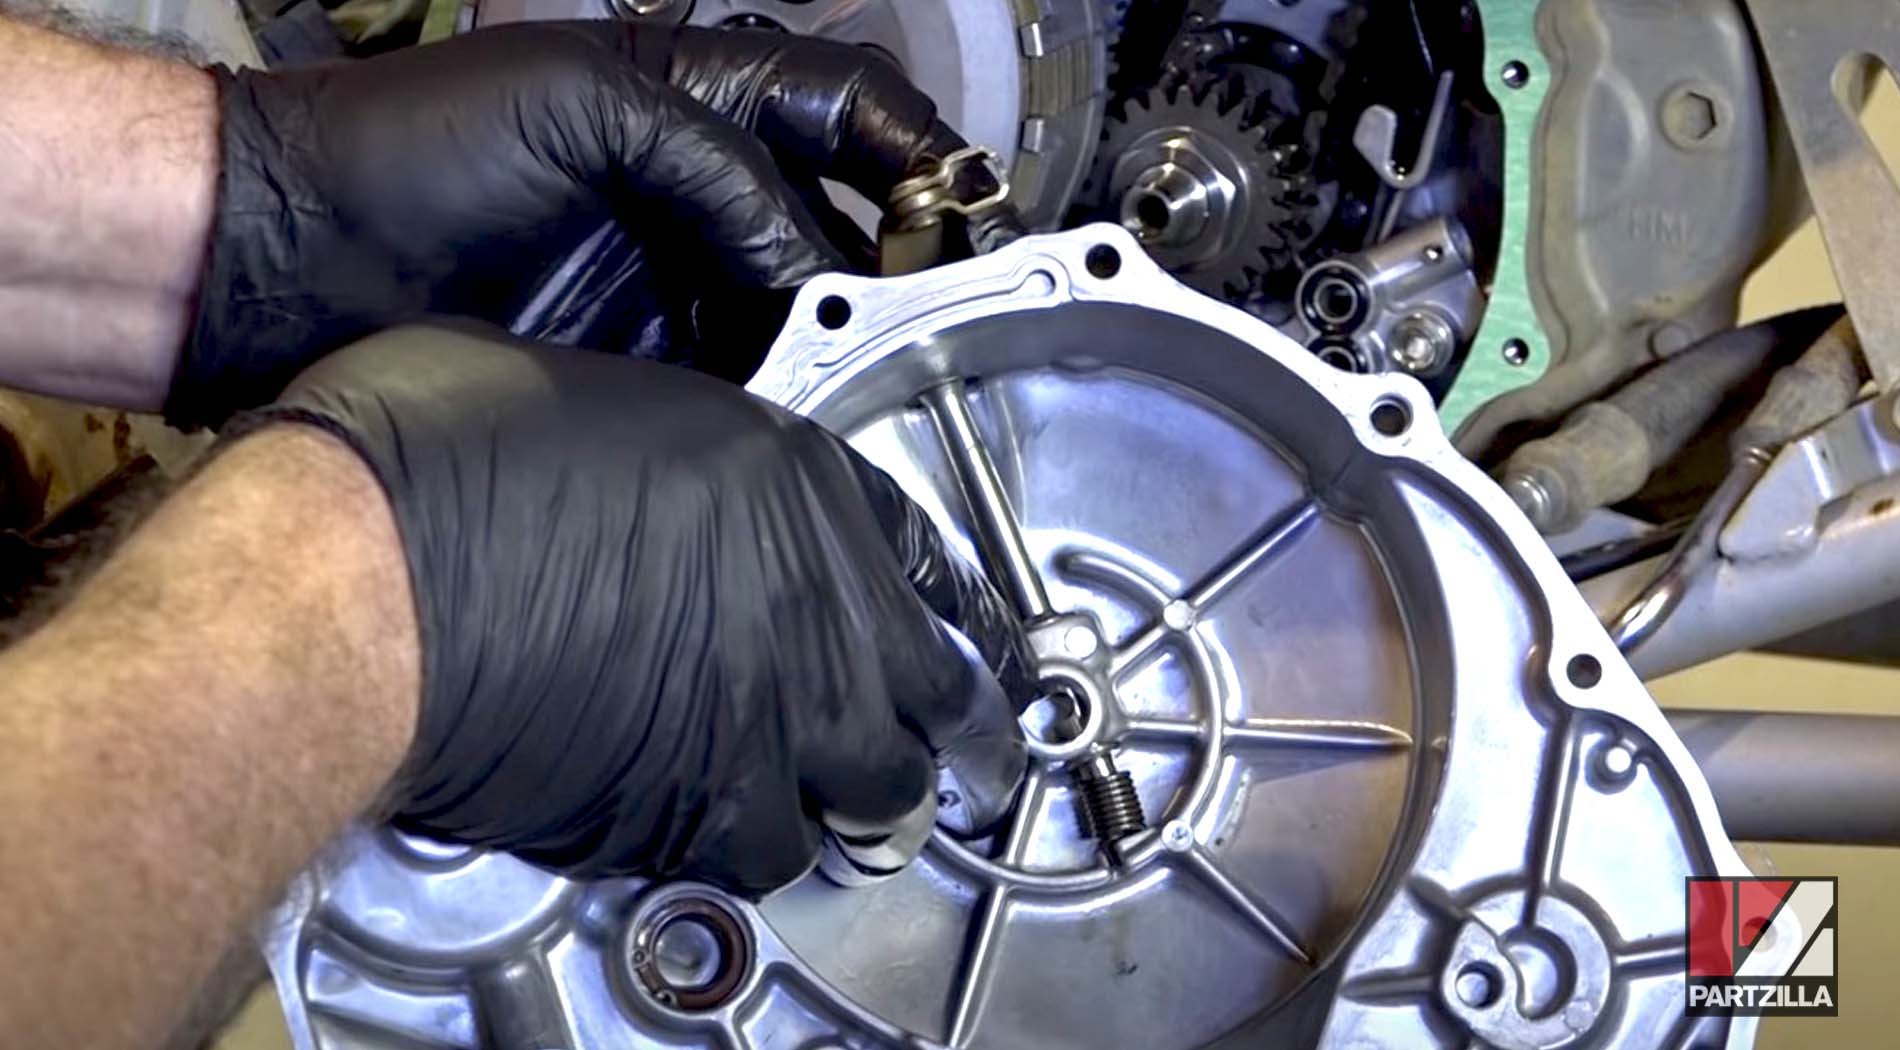
Step 3. Reinstall the 8mm crankcase cover bolts in the same order you removed them.
Step 4. Reattach the oil send and return lines, the reverse cable and the clutch cable and adjust them accordingly.
Step 5. Clean and grease the pivot point on the rear brake pedal and reinstall the pedal.
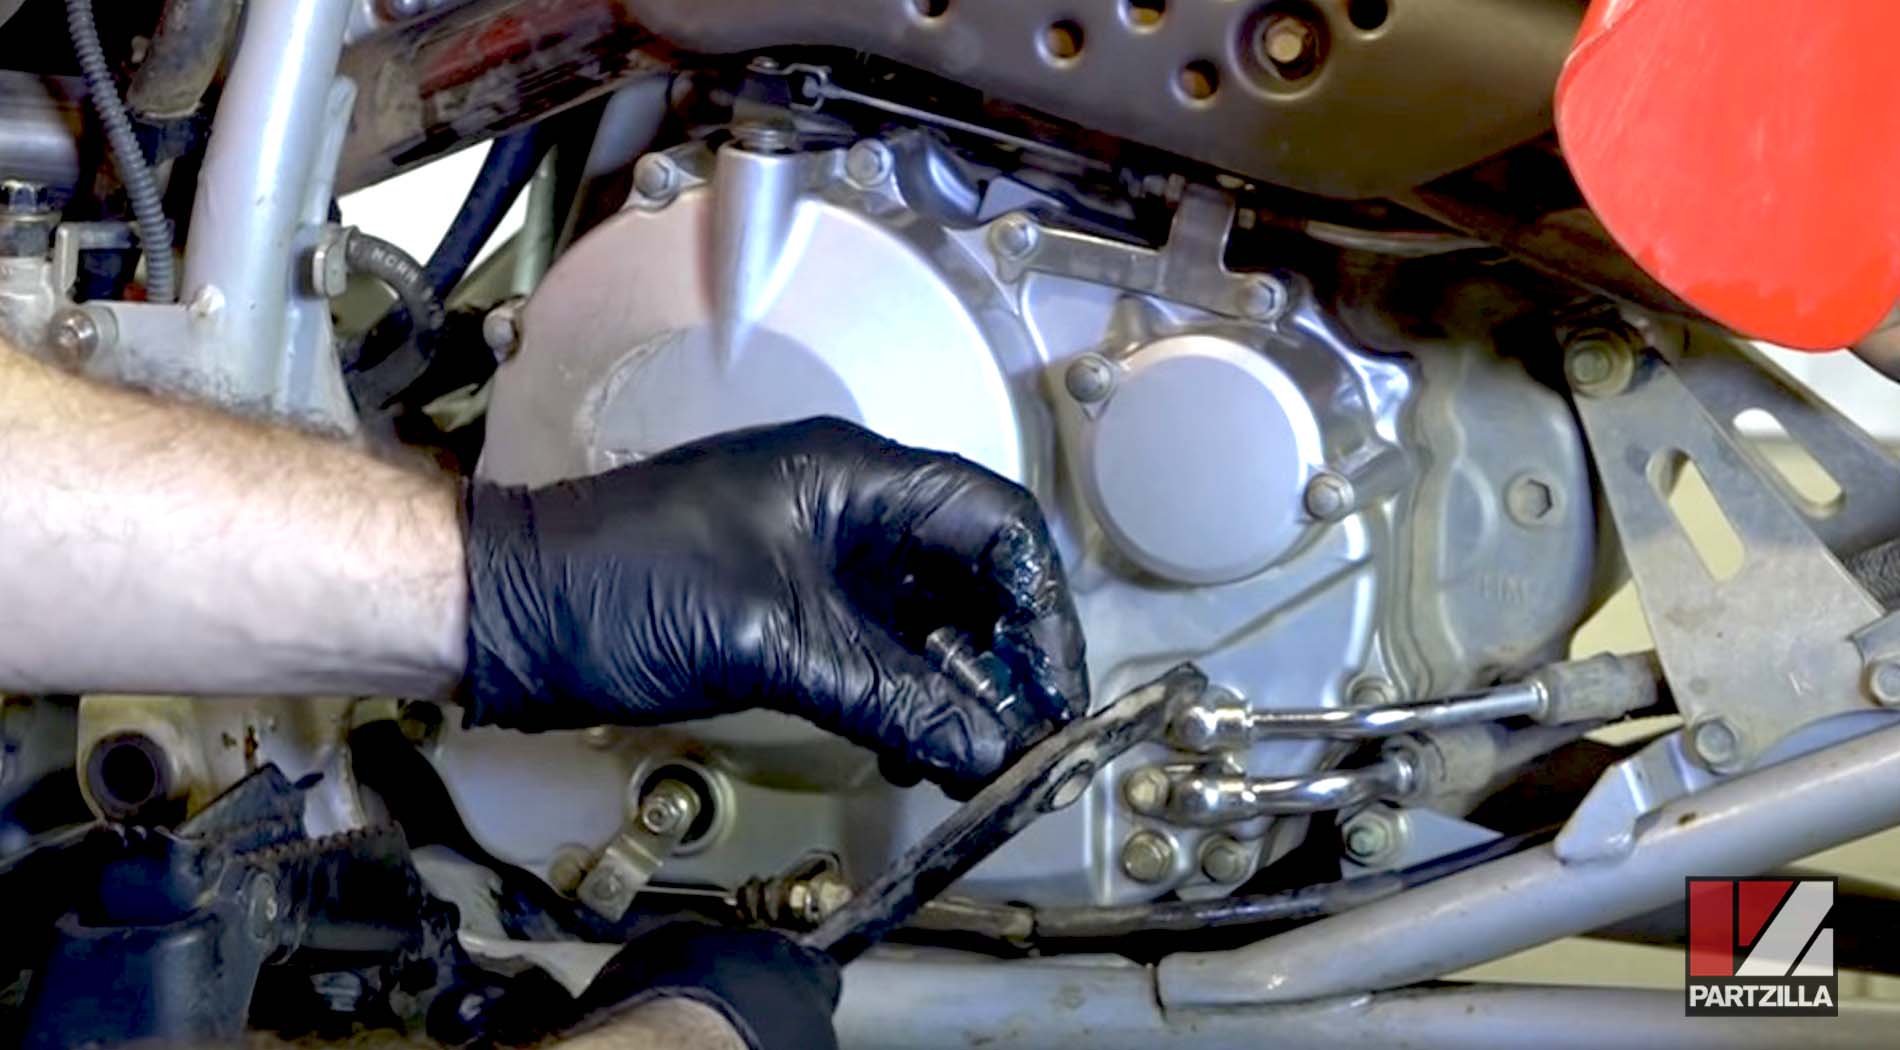
Step 6. Refill the engine with oil and you’re done.
