How to Adjust & Clean a Honda TRX400EX Chain
A slack chain on a Honda ATV slows down the response of the rear wheels to the throttle/engine and dulls the ATV's performance. Conversely, an overly tight chain lifts the rear suspension, which ruins the ATV's handling, and rapidly wears out the chain and sprockets.
Inspecting the chain's tension on a TRX 400 should be done before every ride. Watch the video above and follow the steps below to learn how to clean and adjust the chain on a Honda TRX400EX.
See the parts diagram: Honda TRX400 rear wheel axle/drive chain
Tools and Parts - Honda TRX 400 Chain Cleaning and Adjusting
- Ratchet and extensions
- Tape measure
- Sockets and Allens
- Screwdriver
- Chain brush
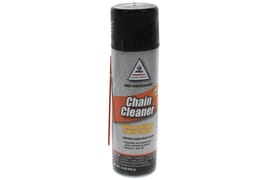
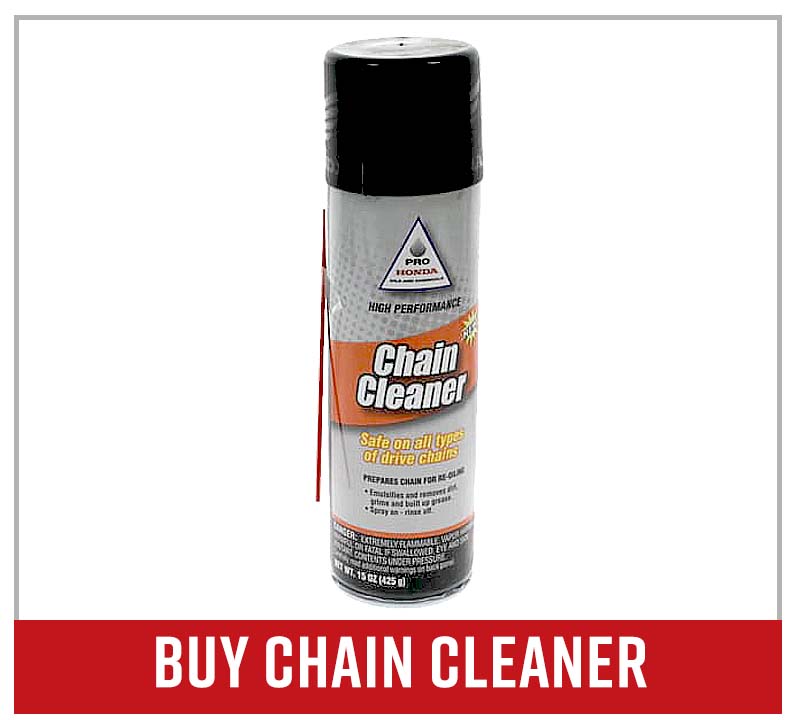
- Chain cleaner
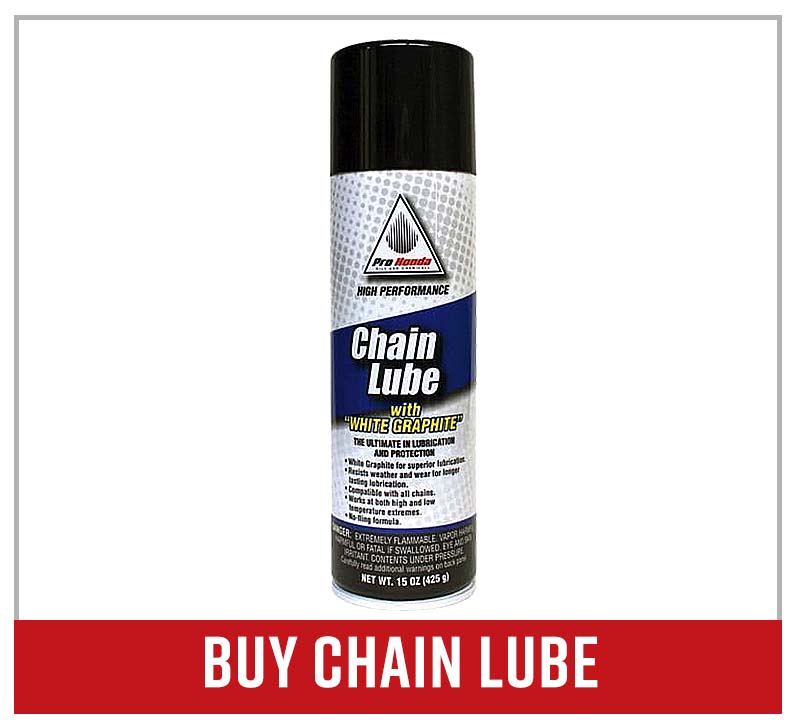
- Chain lube
How to Measure Honda TRX400 Chain Slack
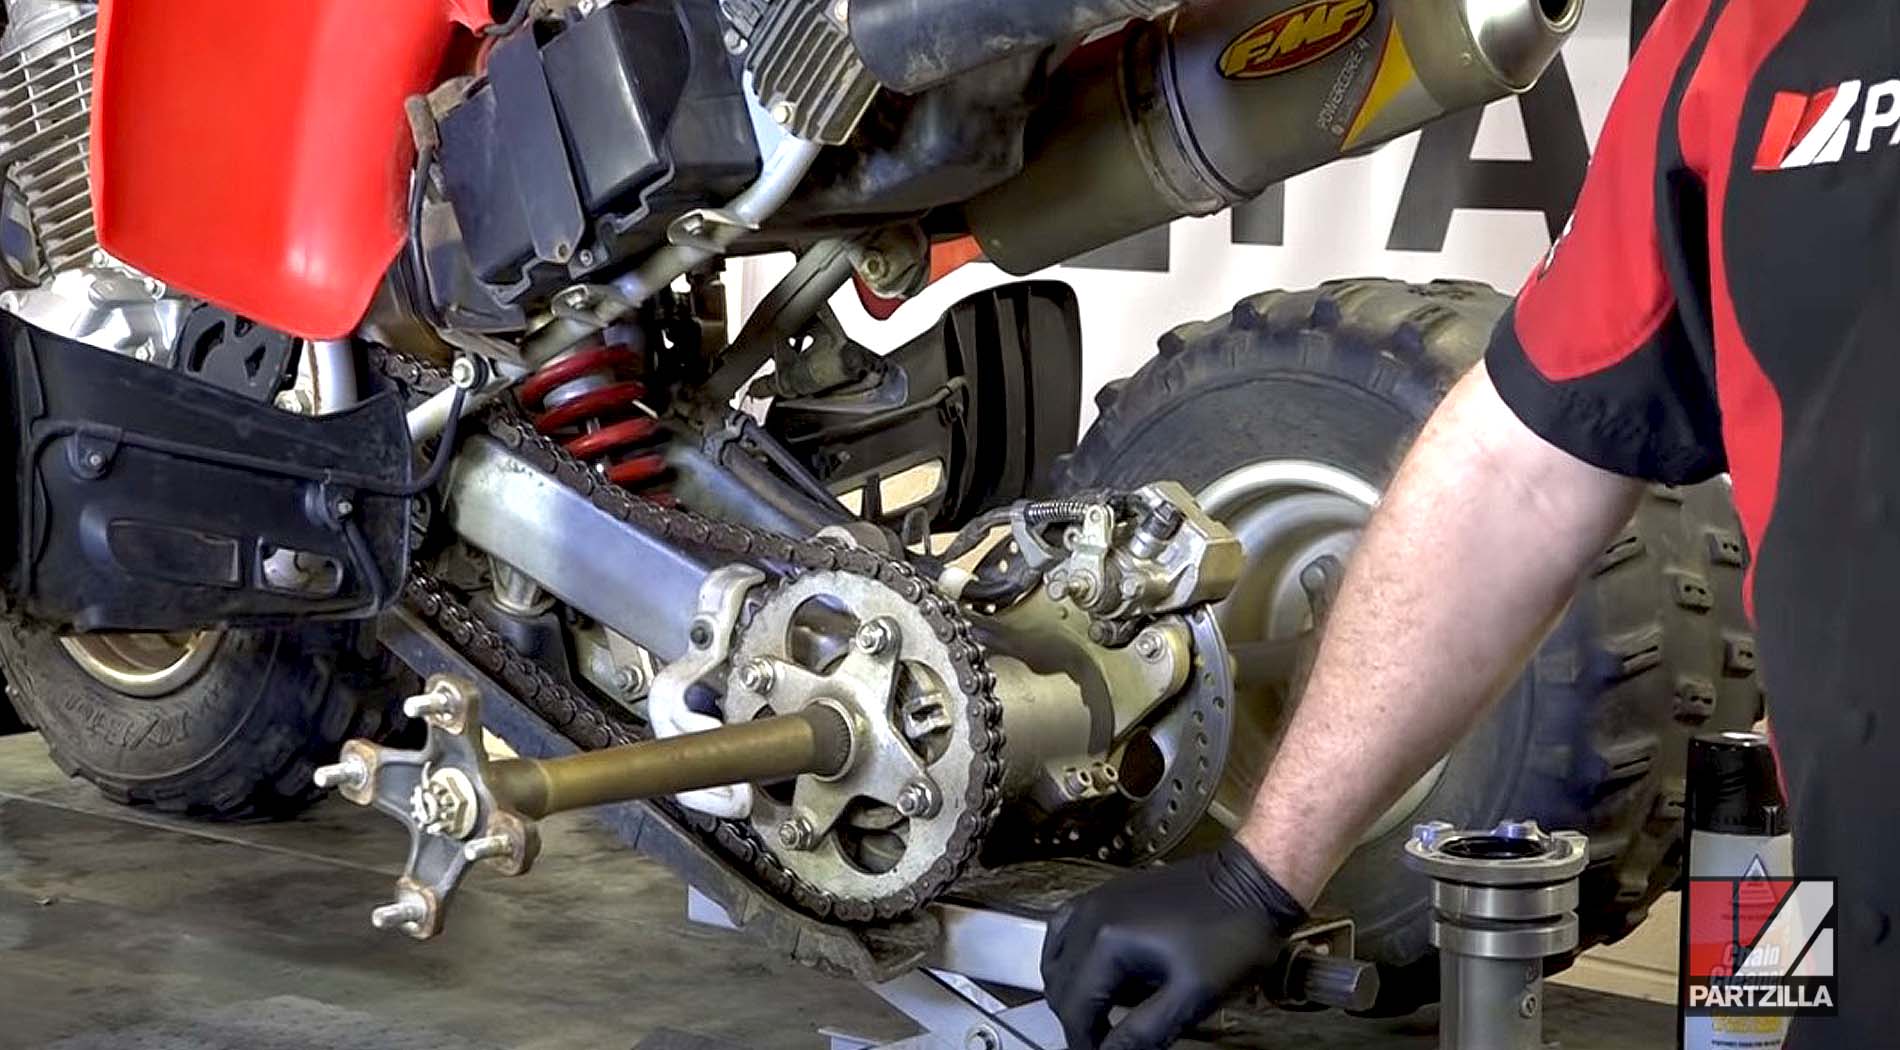
Step 1. Remove the left rear wheel from the ATV.
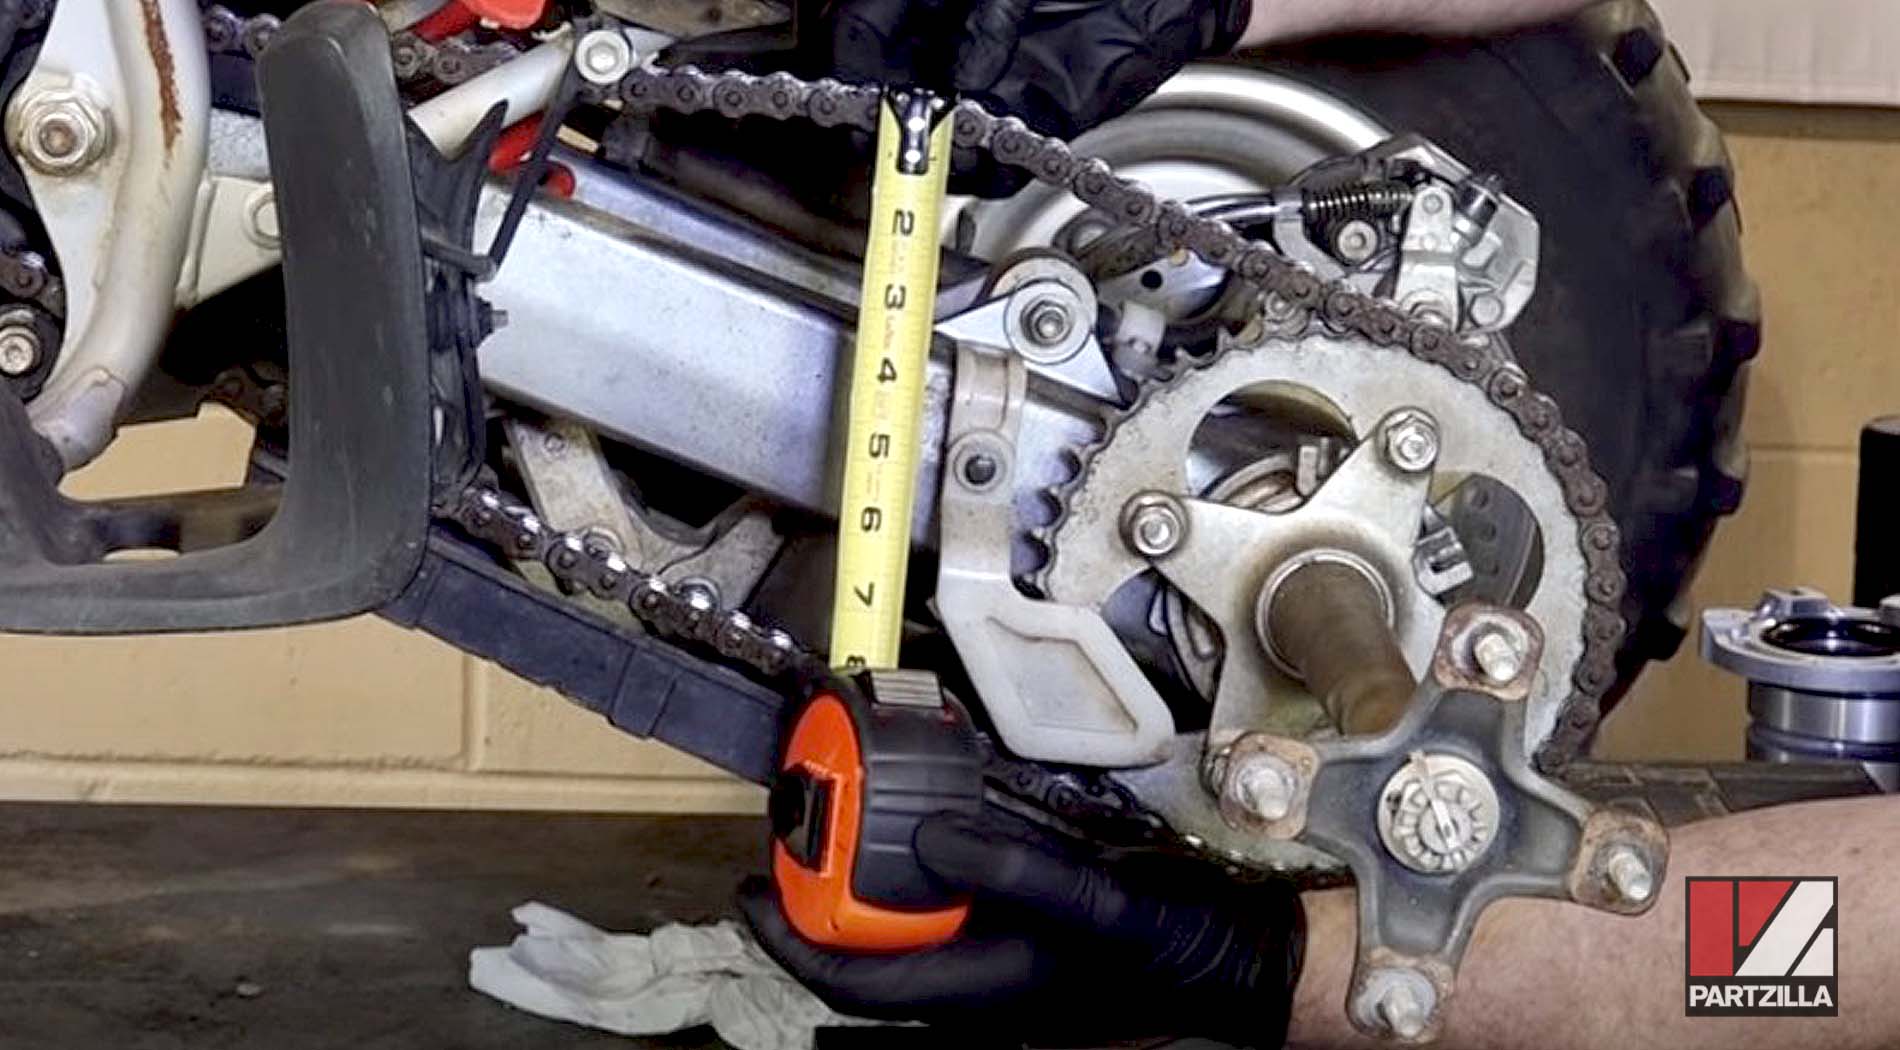
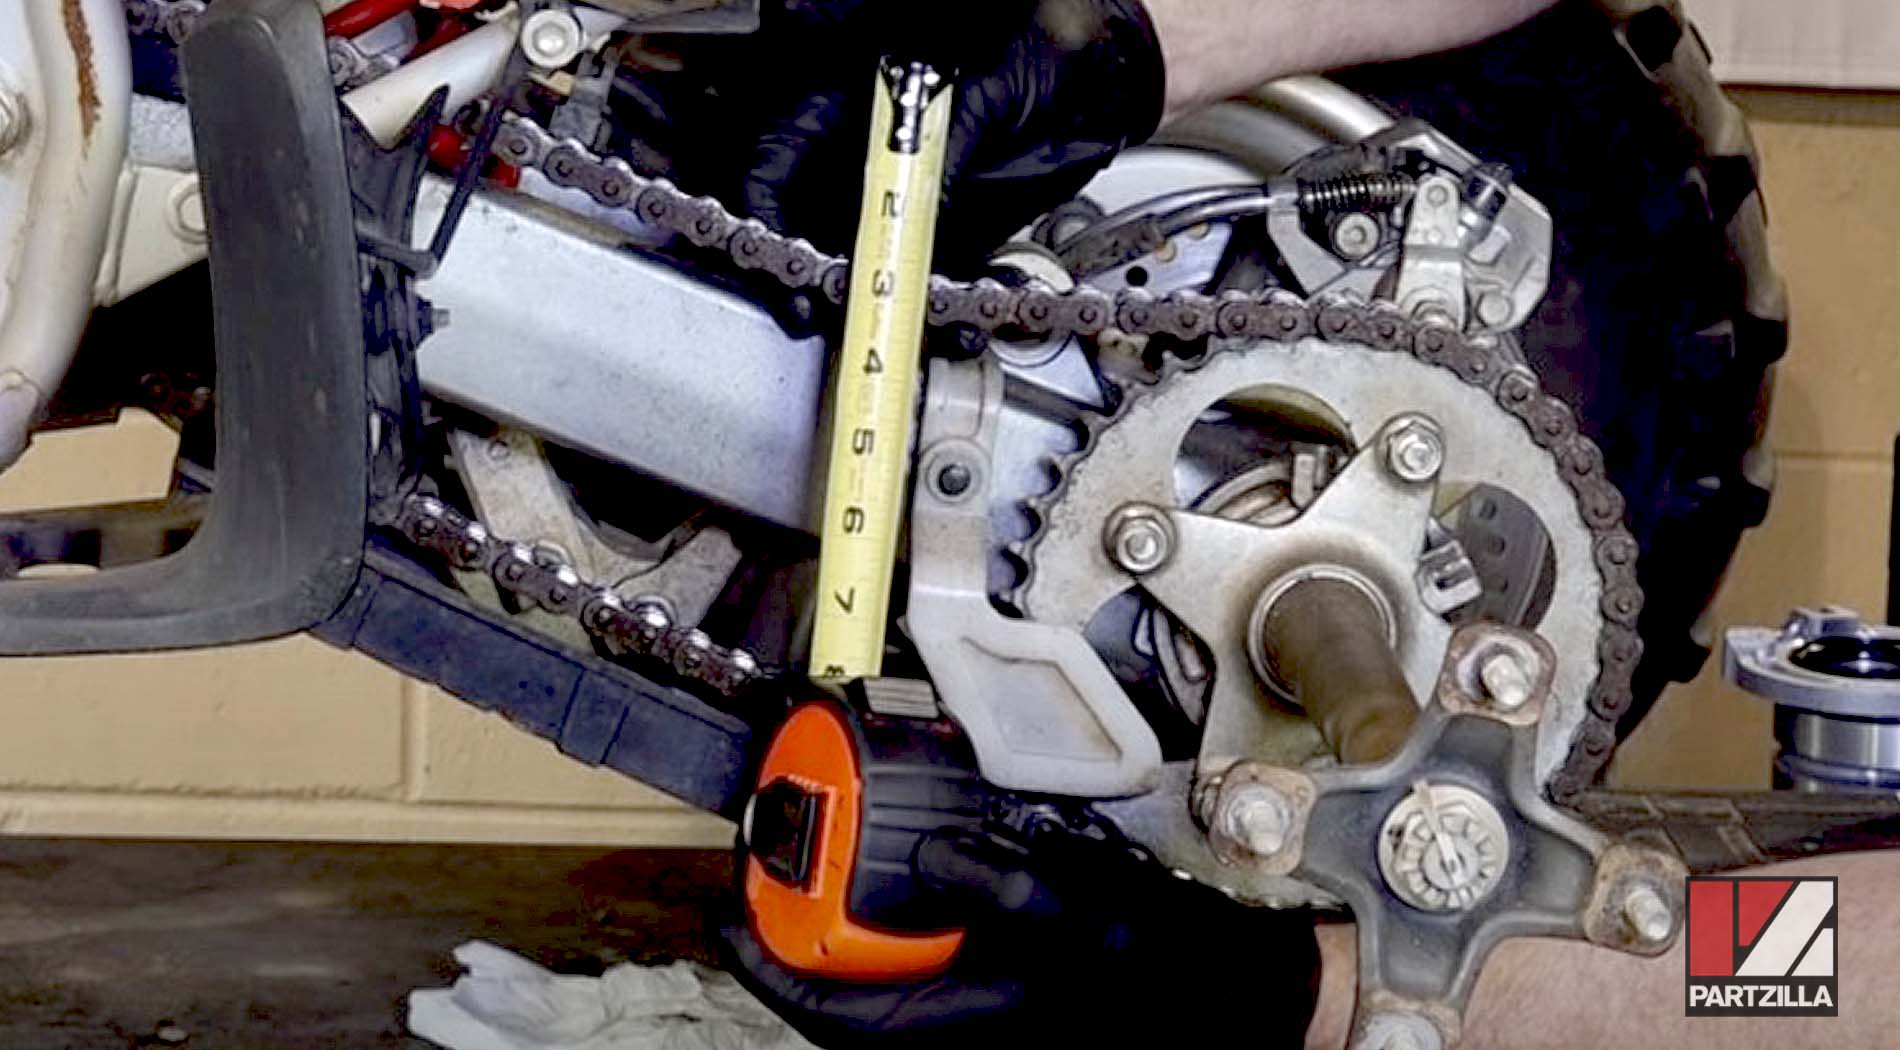
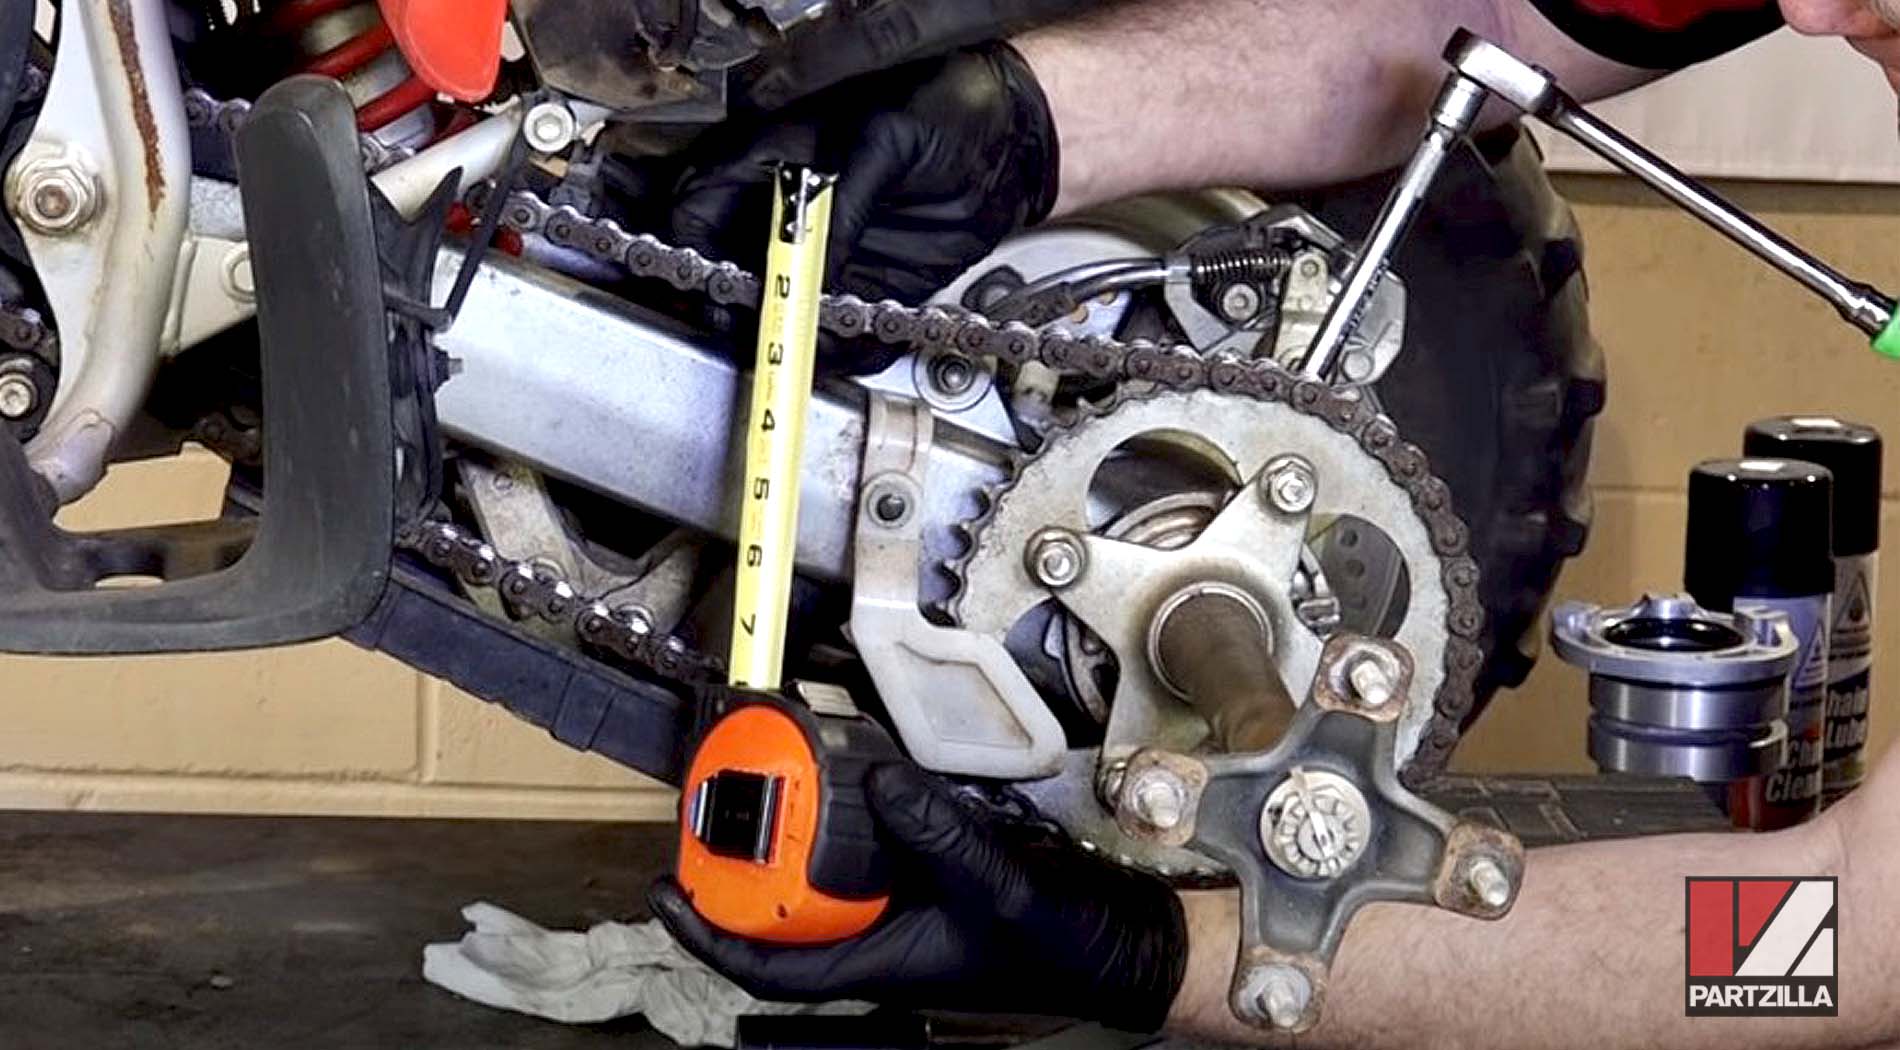
Step 2. Hold a tape measure next to the drive chain above the rear swingarm, and about two-thirds of the way back between the front and rear sprockets. Raise the chain up and push it down to measure the amount of slack. The correct chain slack for a 2007 Honda TRX400EX is about 1 and 3/8th inches.
How to Adjust Honda TRX400 Chain Slack
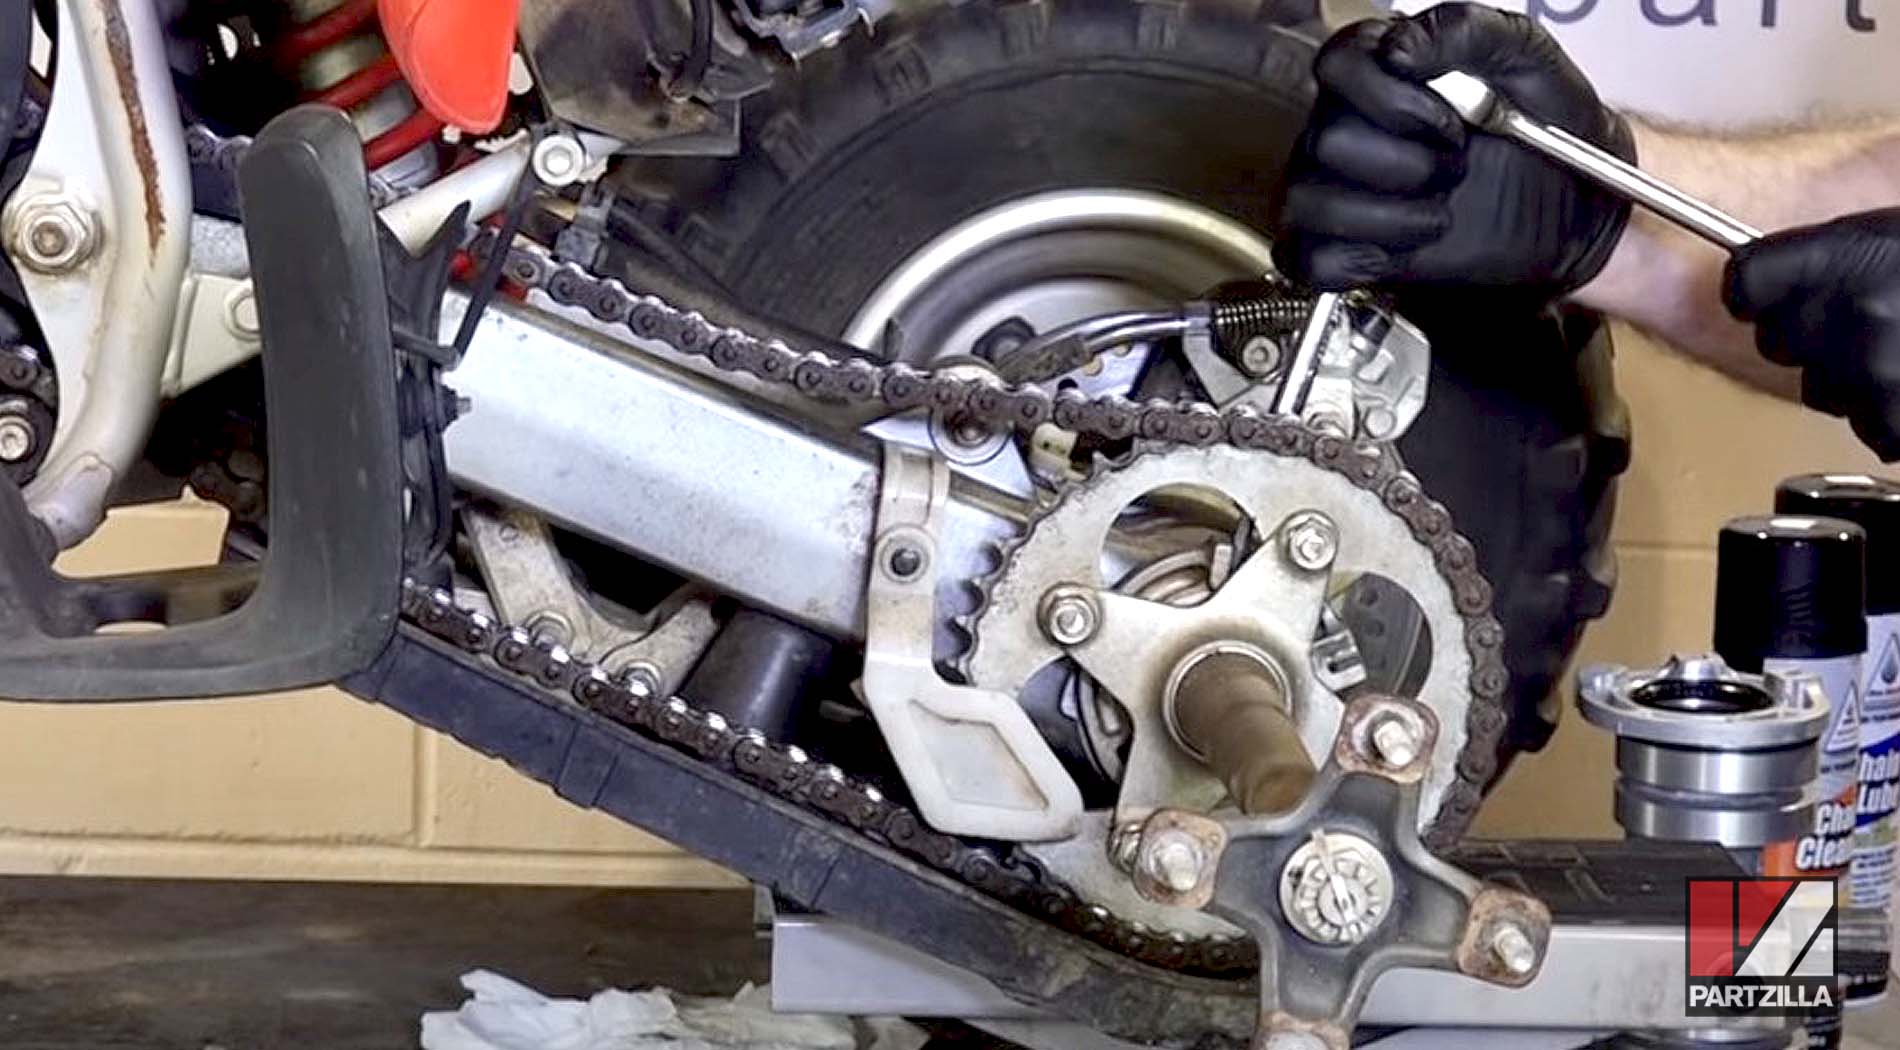
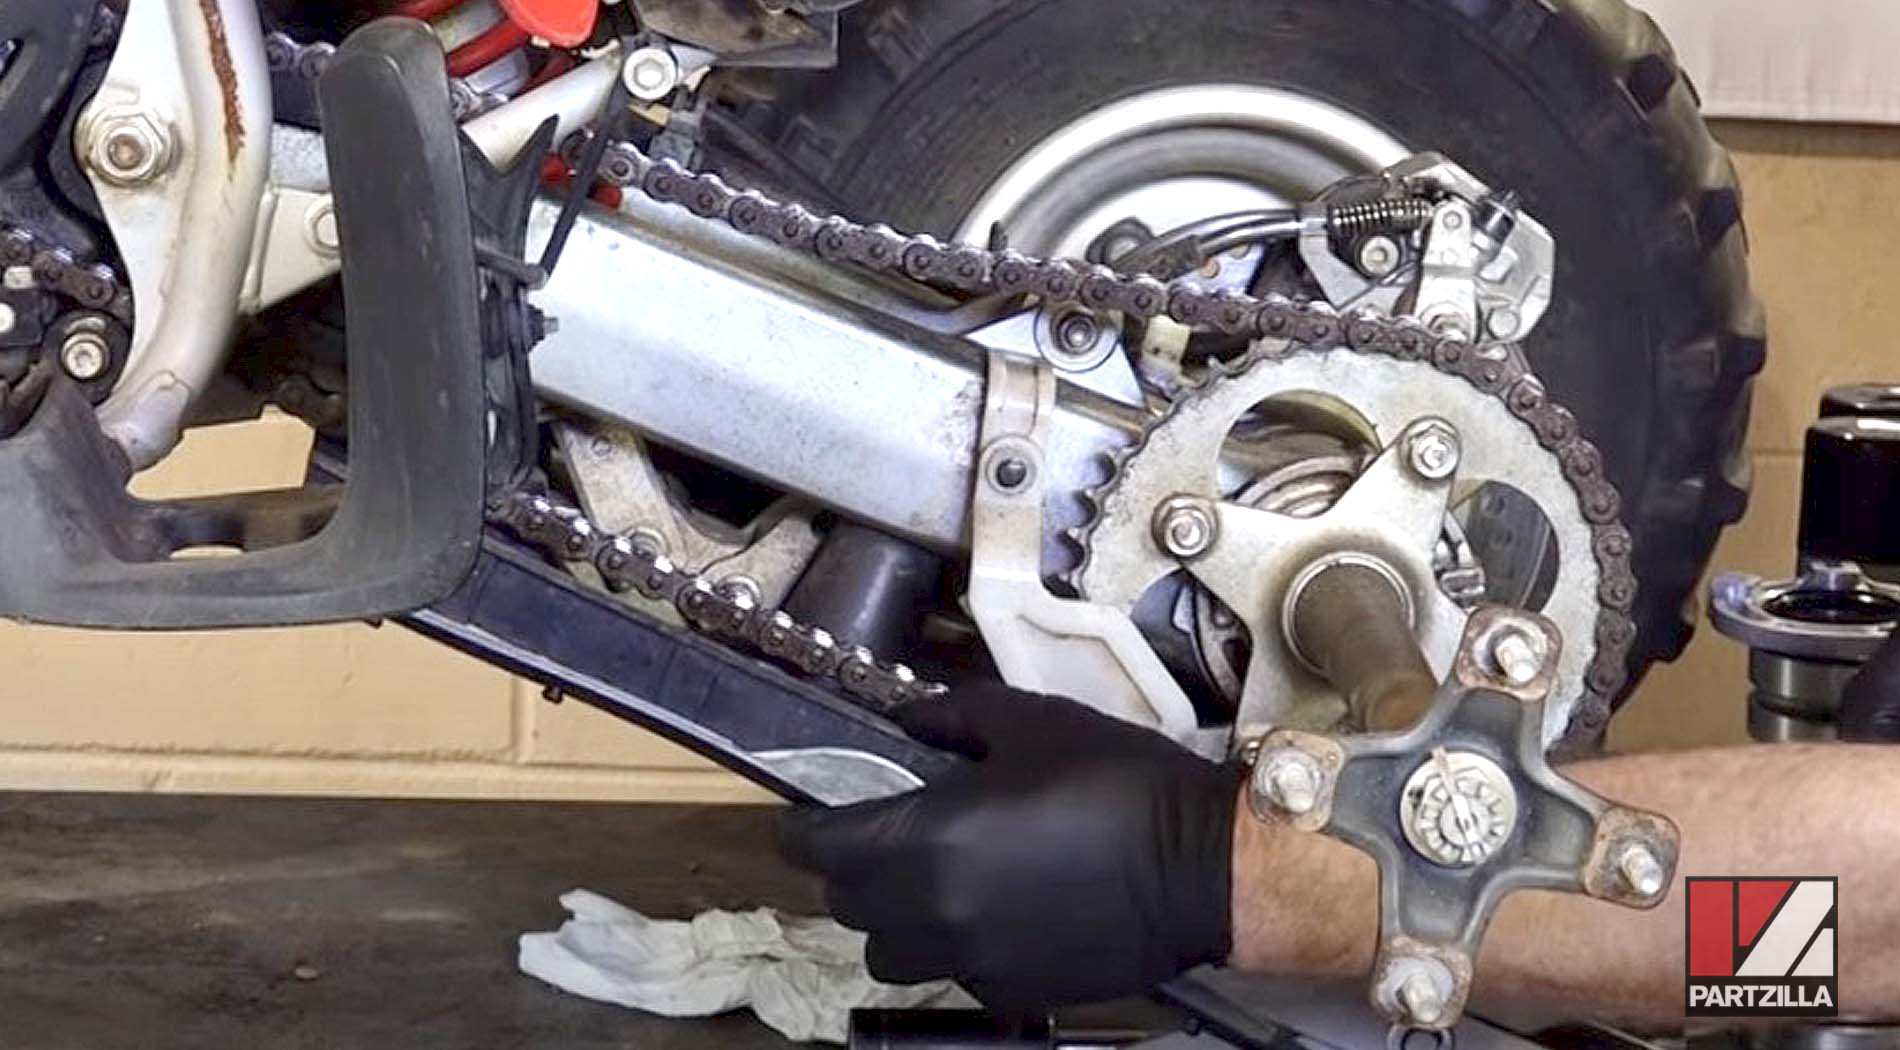
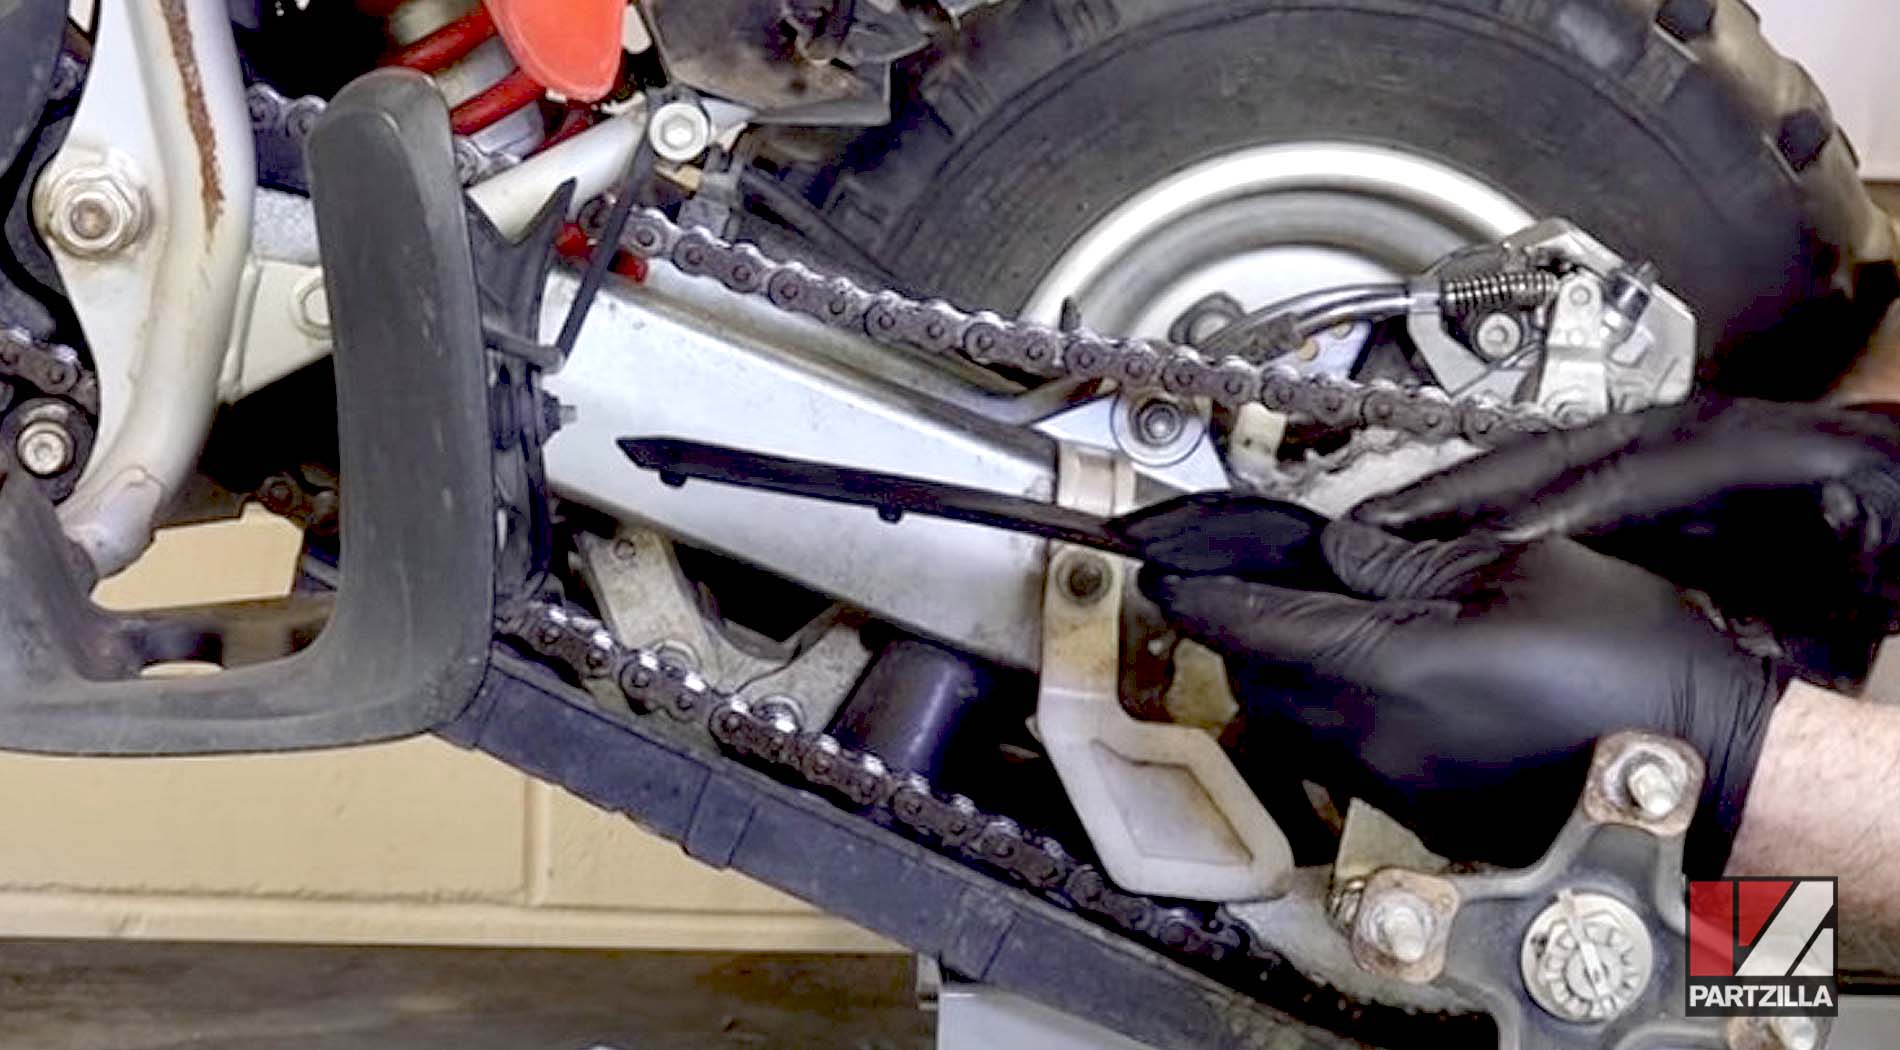
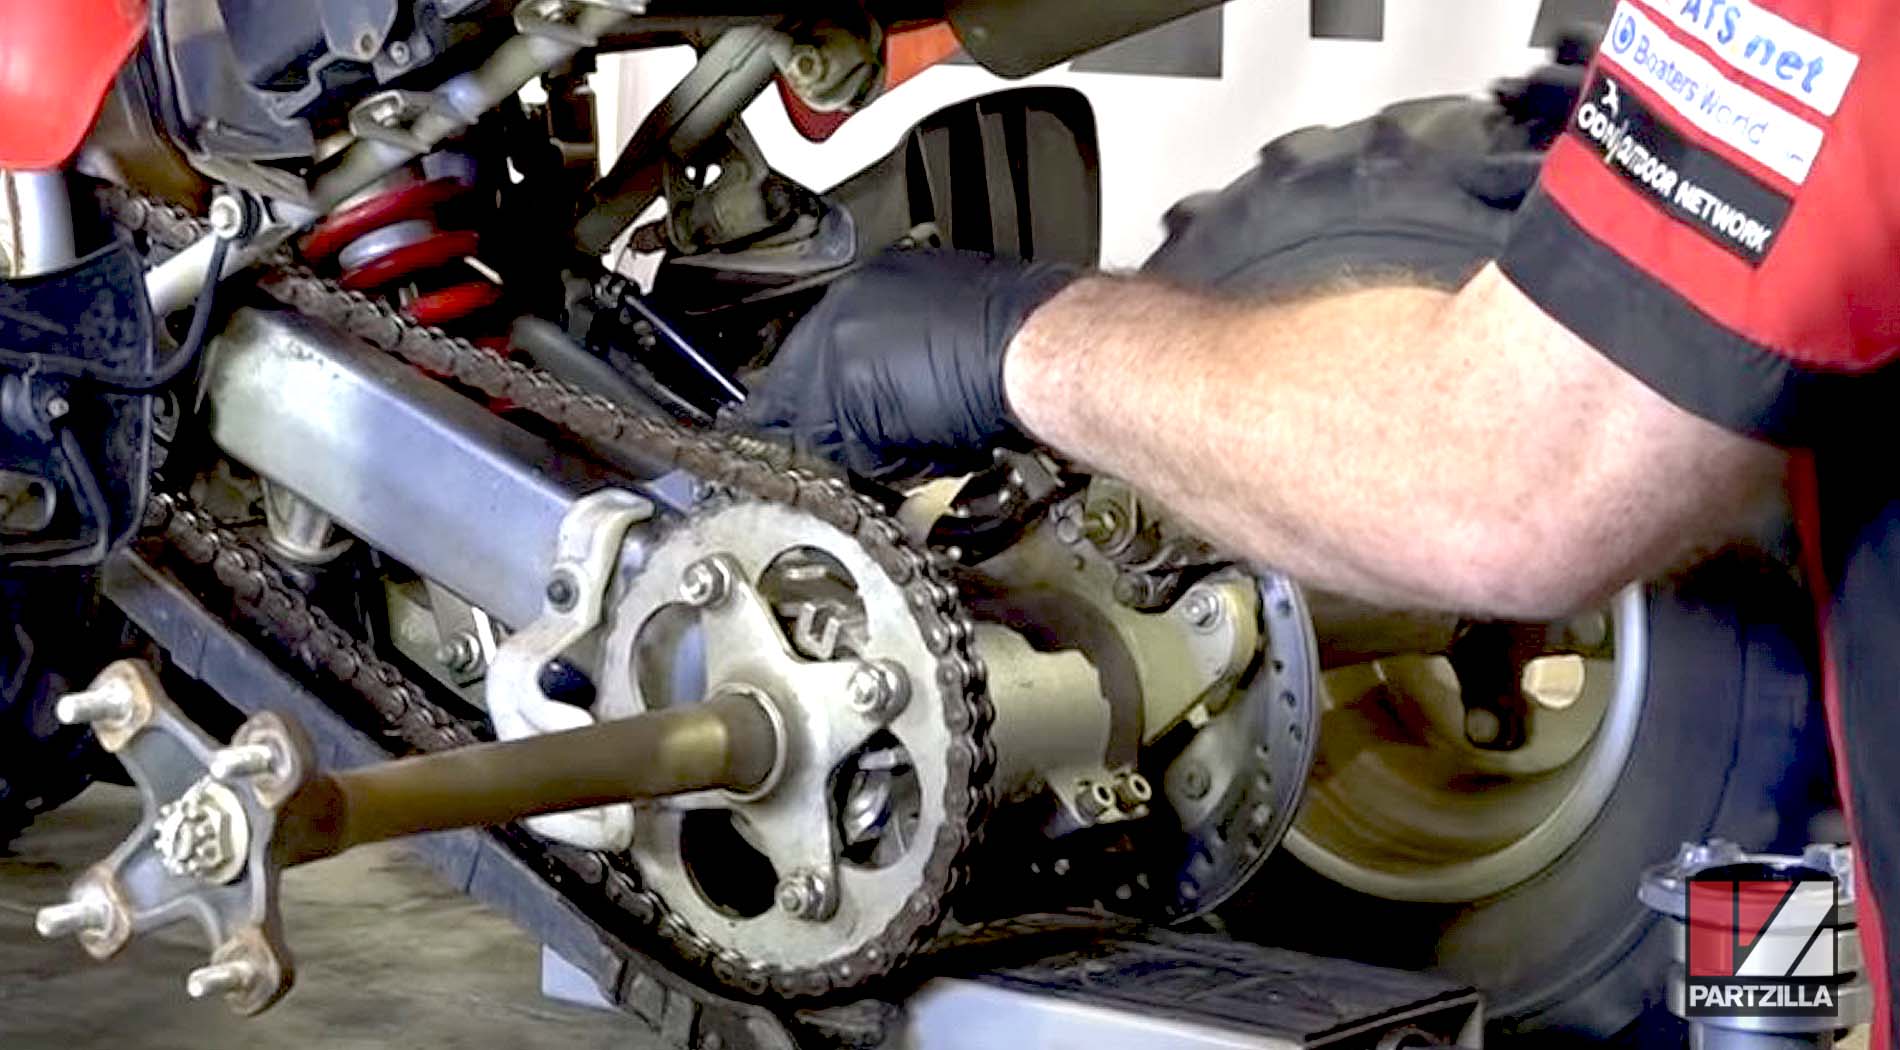
Step 1. Loosen the four pinch bolts at the rear of the axle hub.
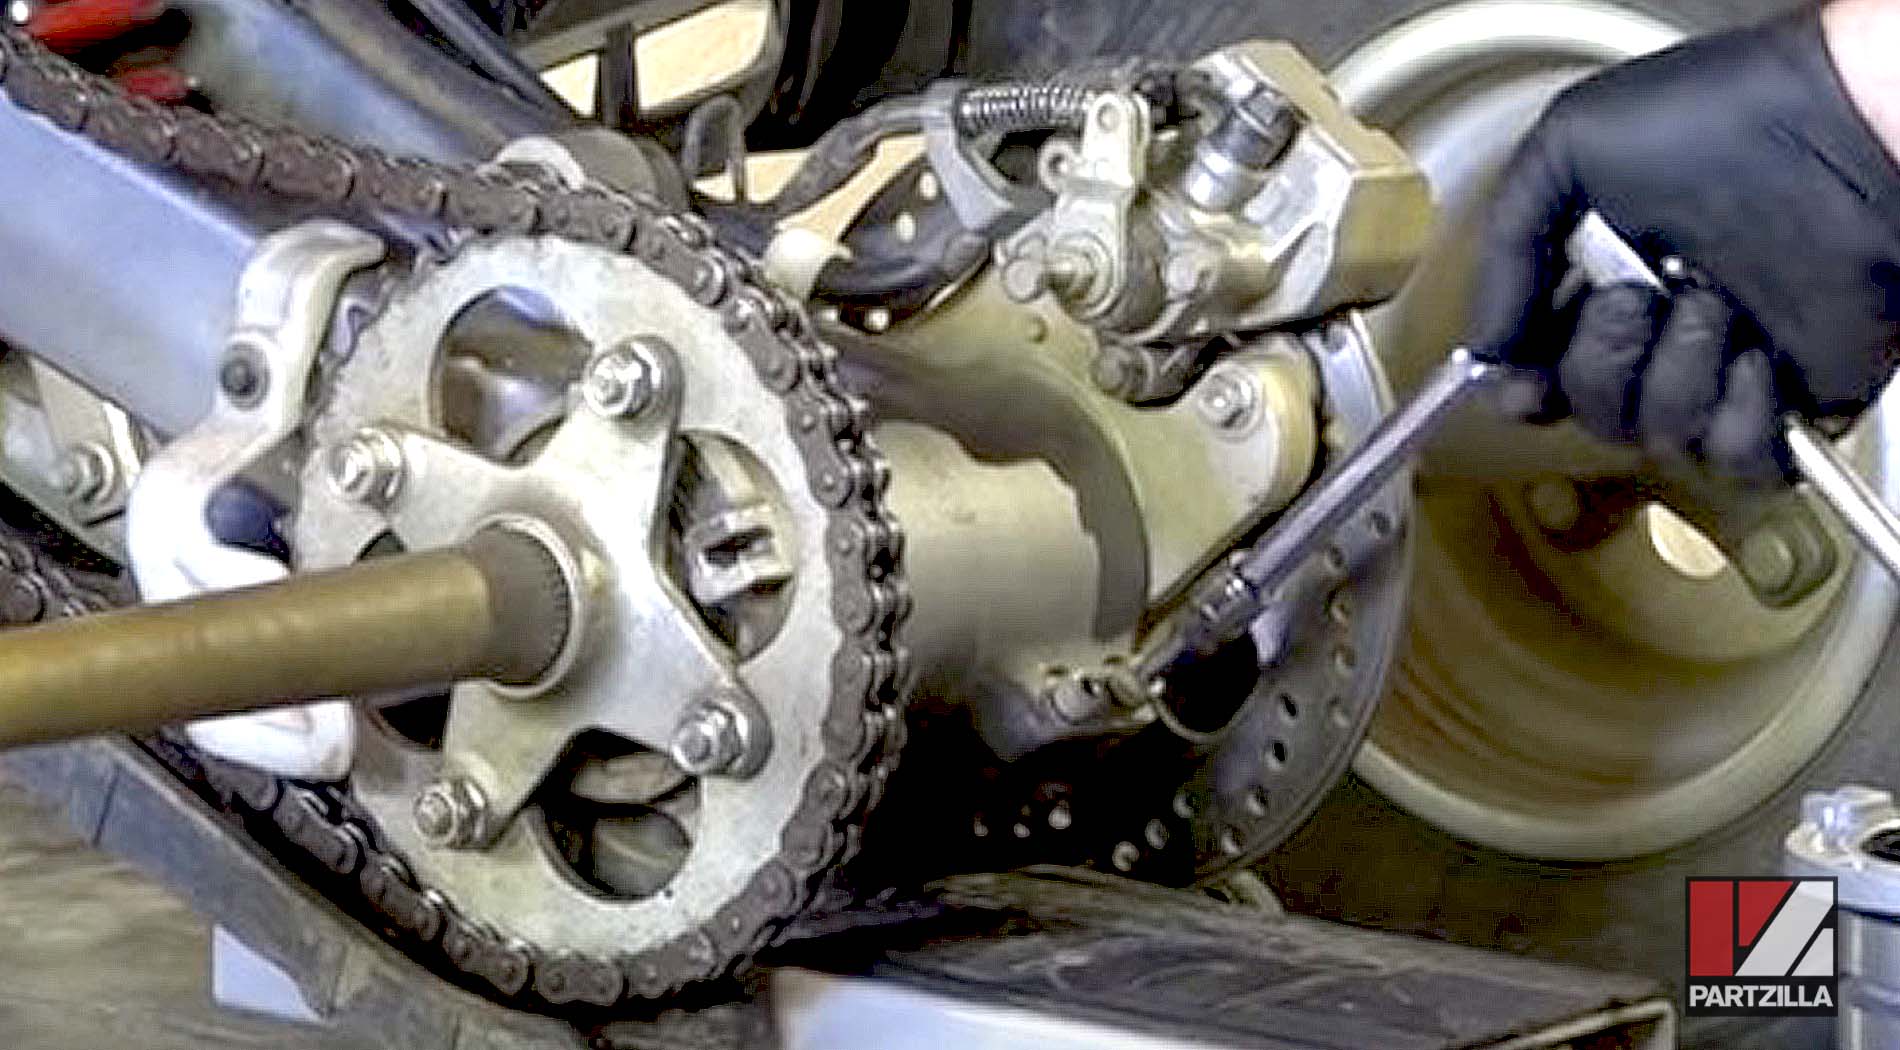
NOTE: Because the centerline of the hub is offset, it will either increase or decrease the distance between the front and rear sprockets as the hub is rotated, thus adding or reducing the tension on the chain.

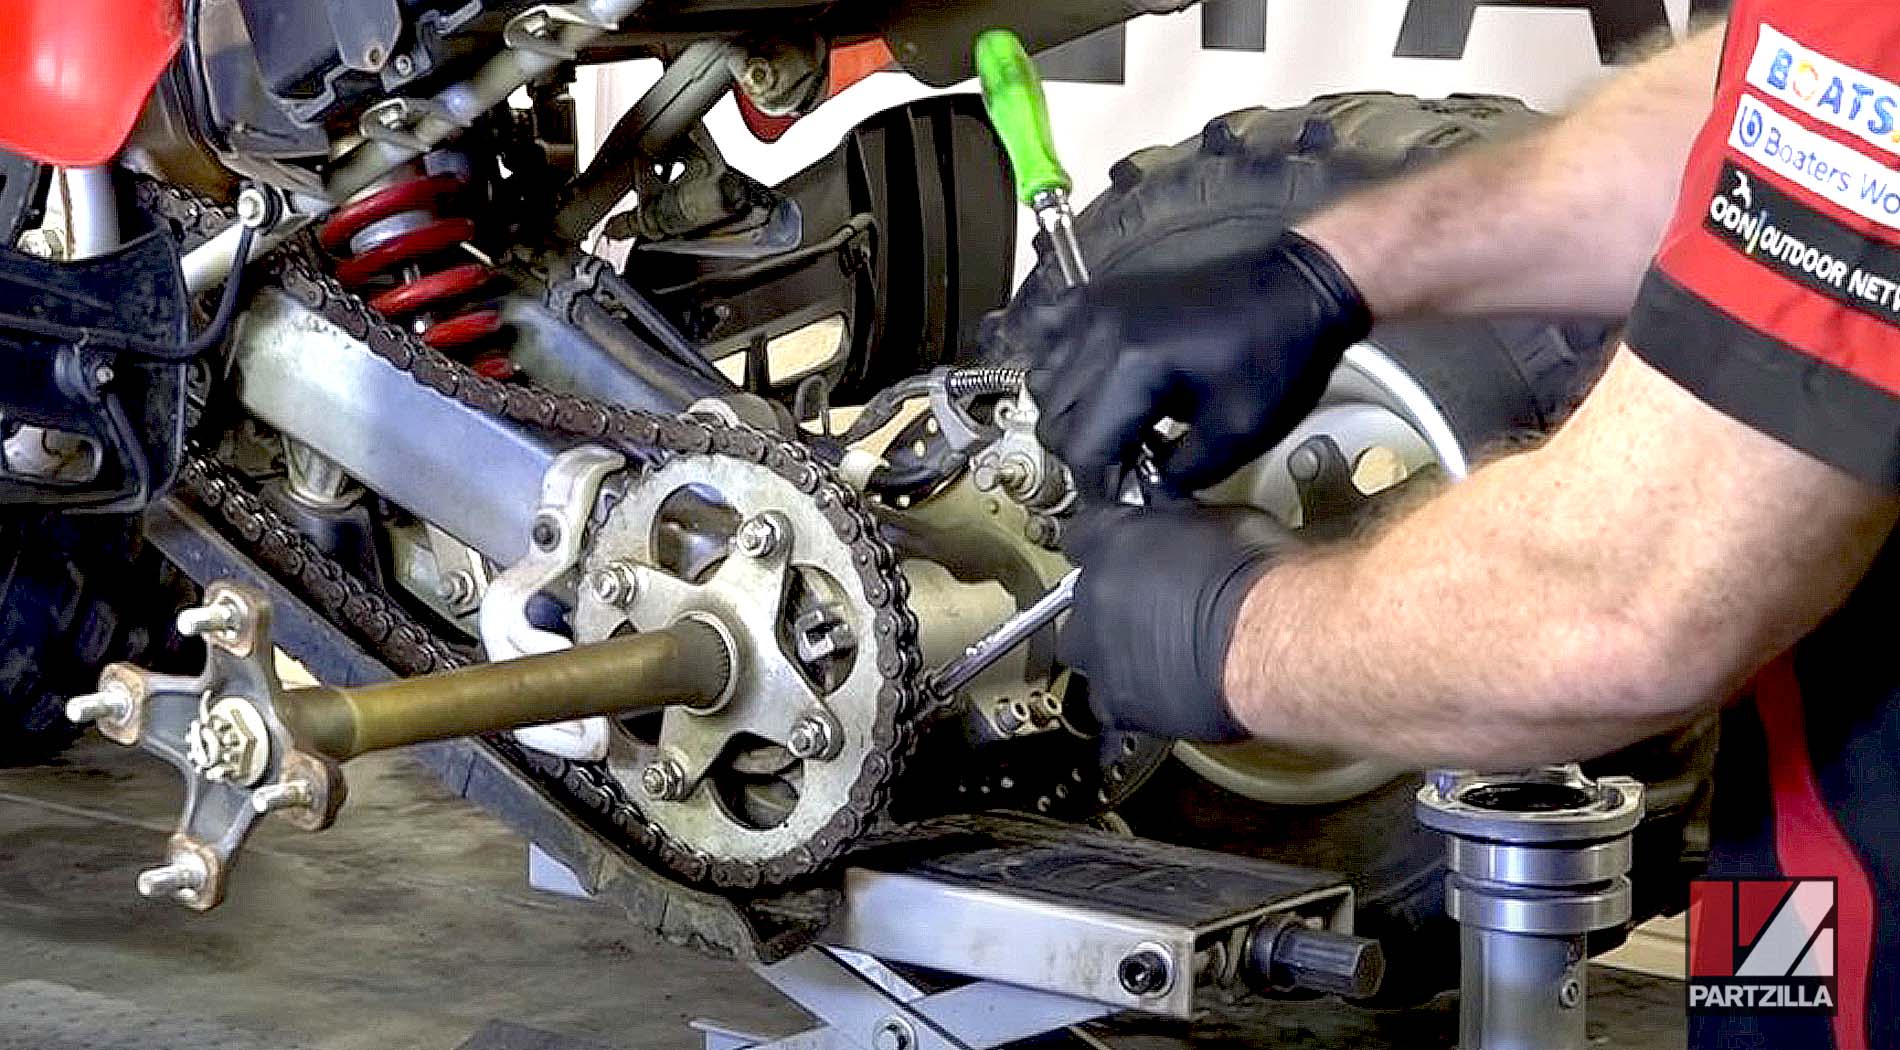
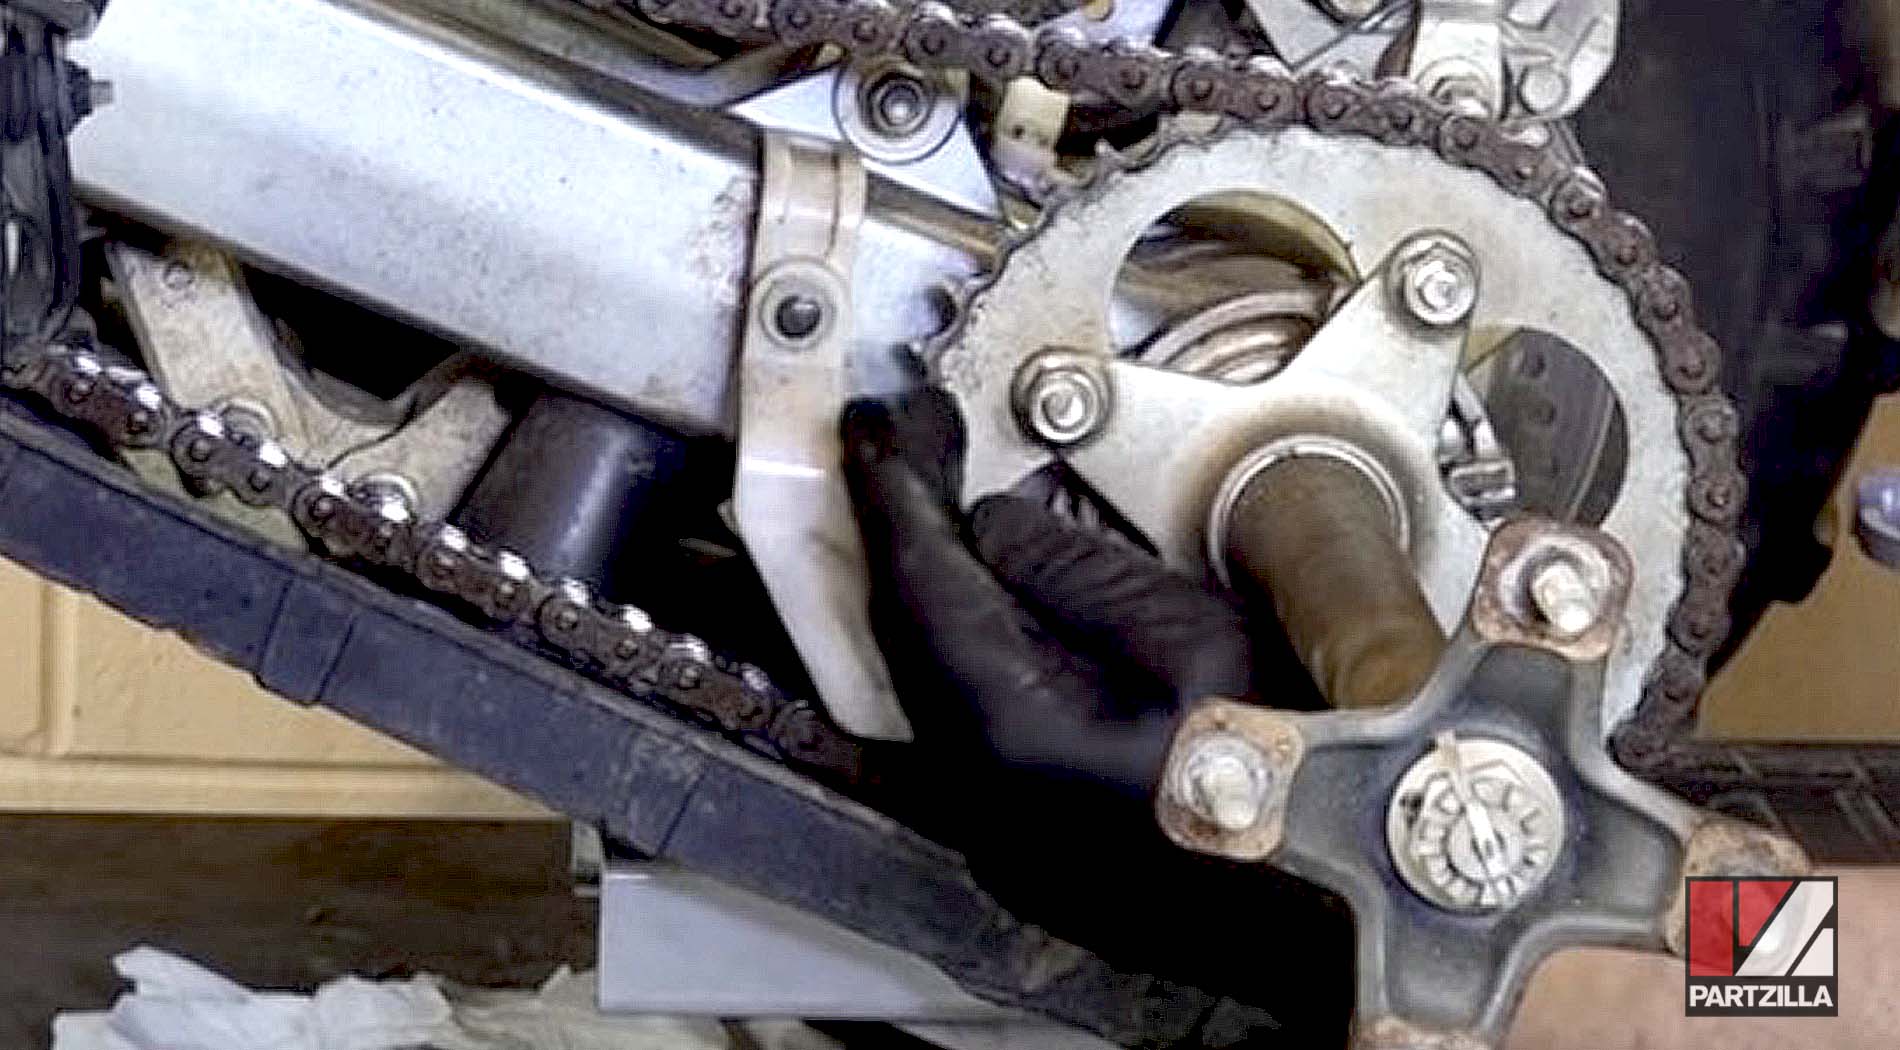
Step 2. Tighten or loosen the chain as needed.
- To tighten the chain, put a socket or robust screwdriver into one of the slots in the side of the hub, and rotate the hub clockwise as viewed from the left side of the ATV.
- To loosen the chain, put a socket or robust screwdriver into one of the slots in the side of the hub and rotate the hub counterclockwise, as viewed from the left side of the ATV.
Step 3. Measure the chain slack again, and continue adjusting the chain until it is at the right tension.

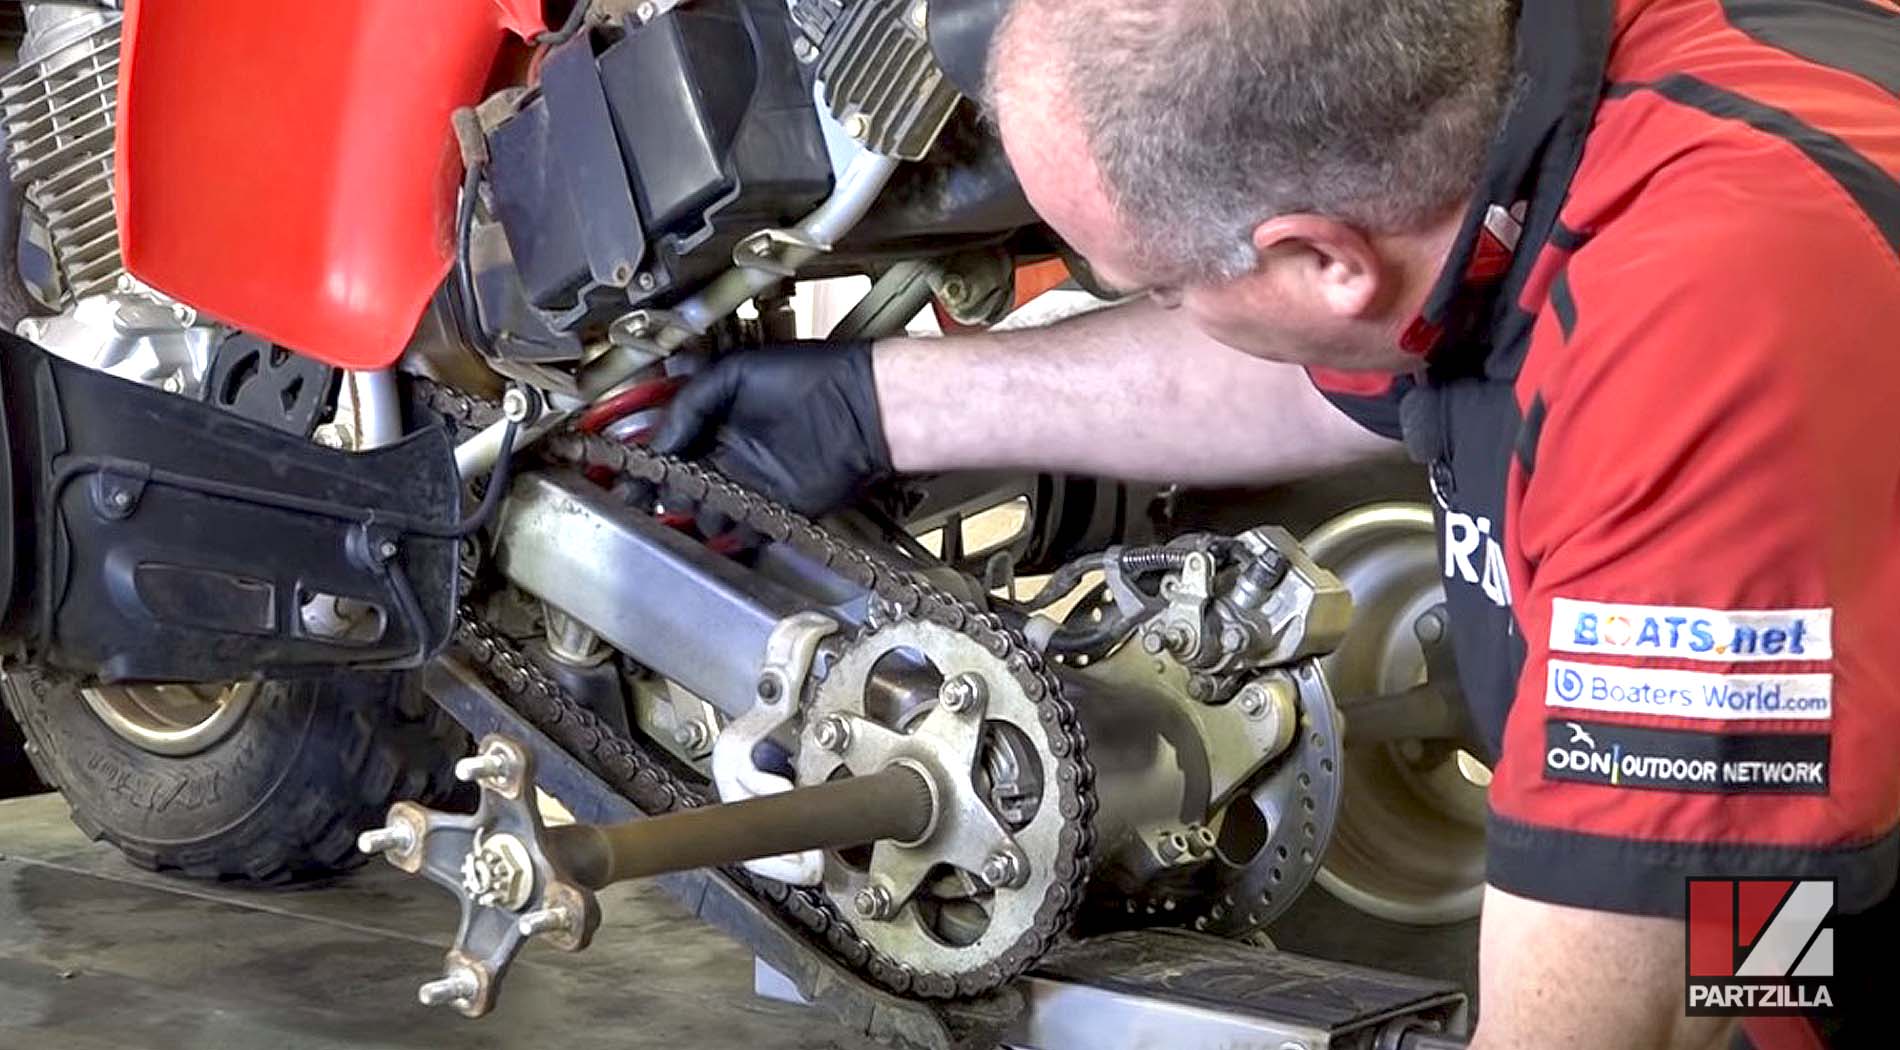
Inspecting Honda TRX400EX Chain and Sprockets
Step 1. Inspect the chain for kinks, damaged links, damaged pins or damaged rollers.
Step 2. Inspect the lower chain guide, found in the bottom chain cover. If the guide is worn, it must be replaced.
Step 3. Inspect the forward chain guide, located over the front of the swingarm. If the guide is worn, it must be replaced.

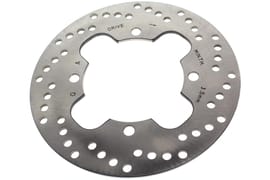
Step 4. Inspect the front and rear sprockets for wear. If the sprocket teeth have become long and pointed, or if any of the teeth are cracked or missing completely, replace the sprocket.

PRO TIP: If you need to replace either the sprockets or the chain, then replace all three parts together. A new chain on old sprockets, or a new sprocket combined with an old chain will quickly wear out the new part to the point it will need replacing again.
How to Clean Honda TRX400 Chain and Sprockets
Step 1. Thoroughly coat the chain and sprockets with chain cleaner. Rotate the rear wheel to move the chain and sprockets so every bit of them is coated, and then leave the cleaner to penetrate the dirt for about half a minute or so.
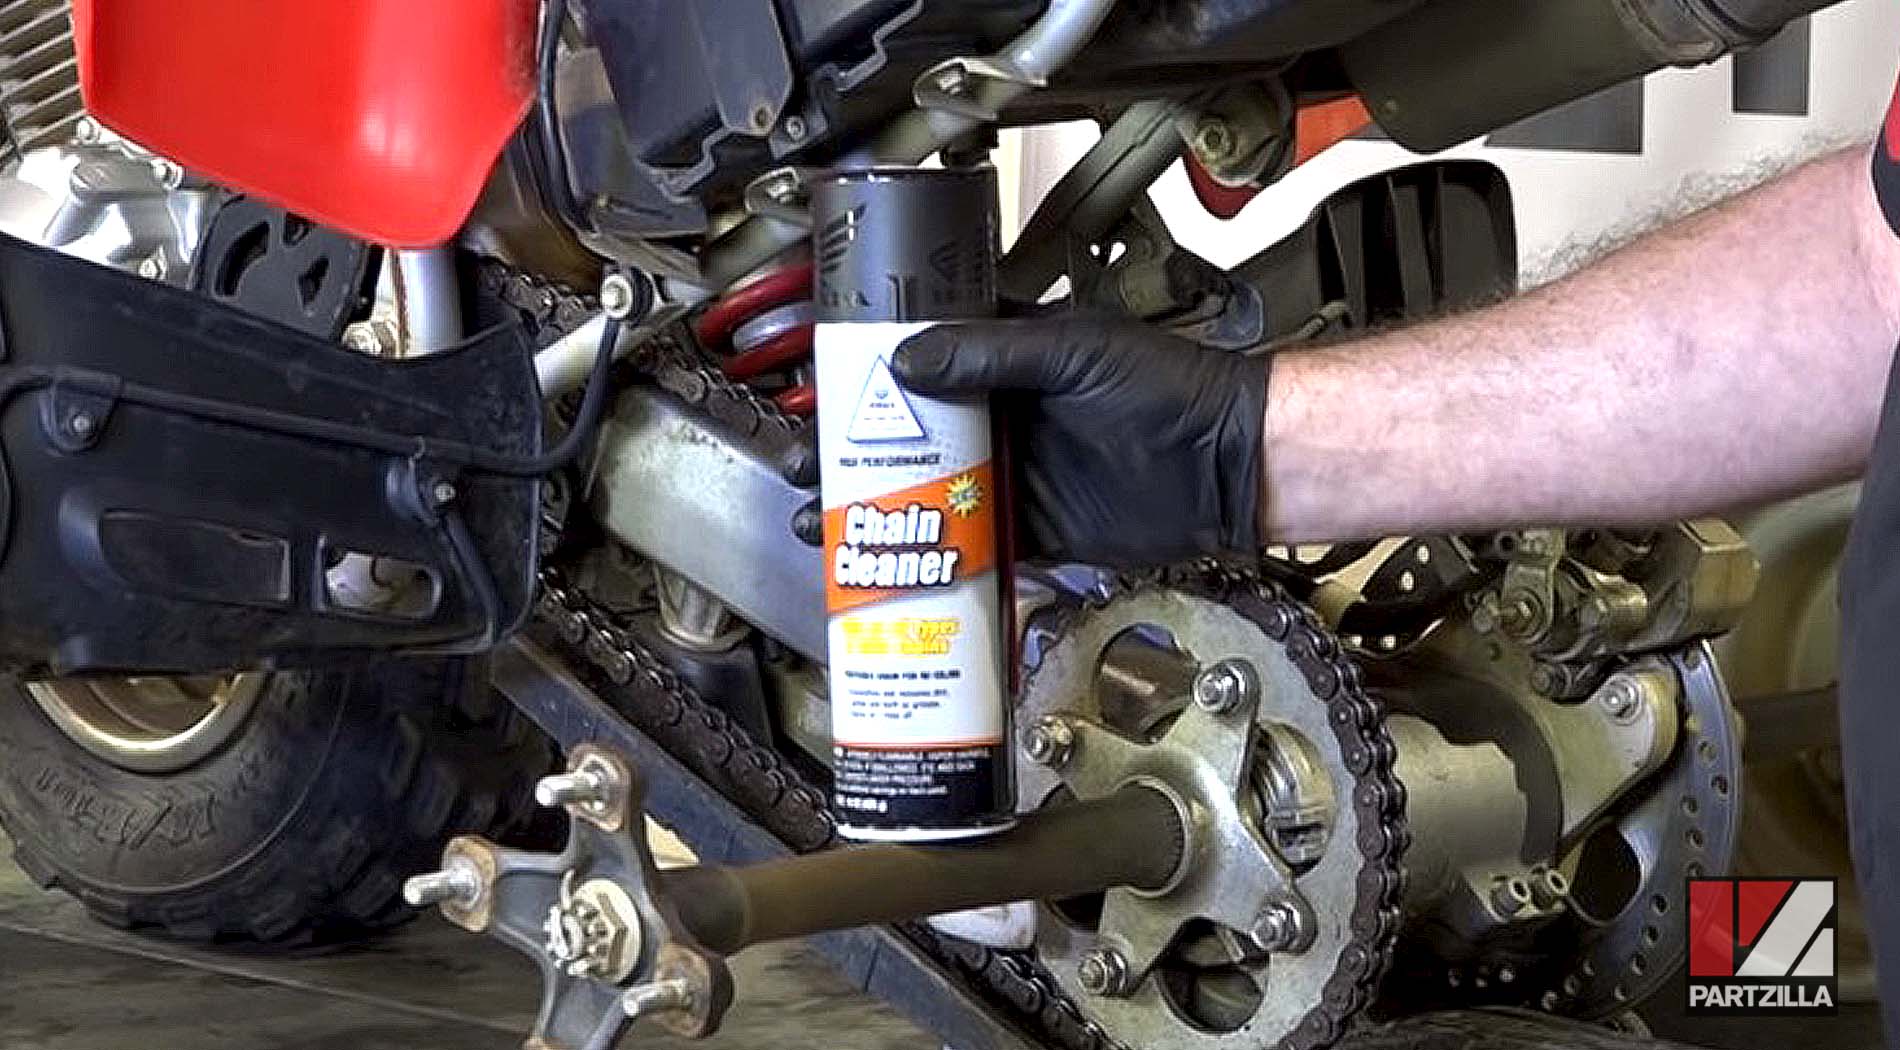
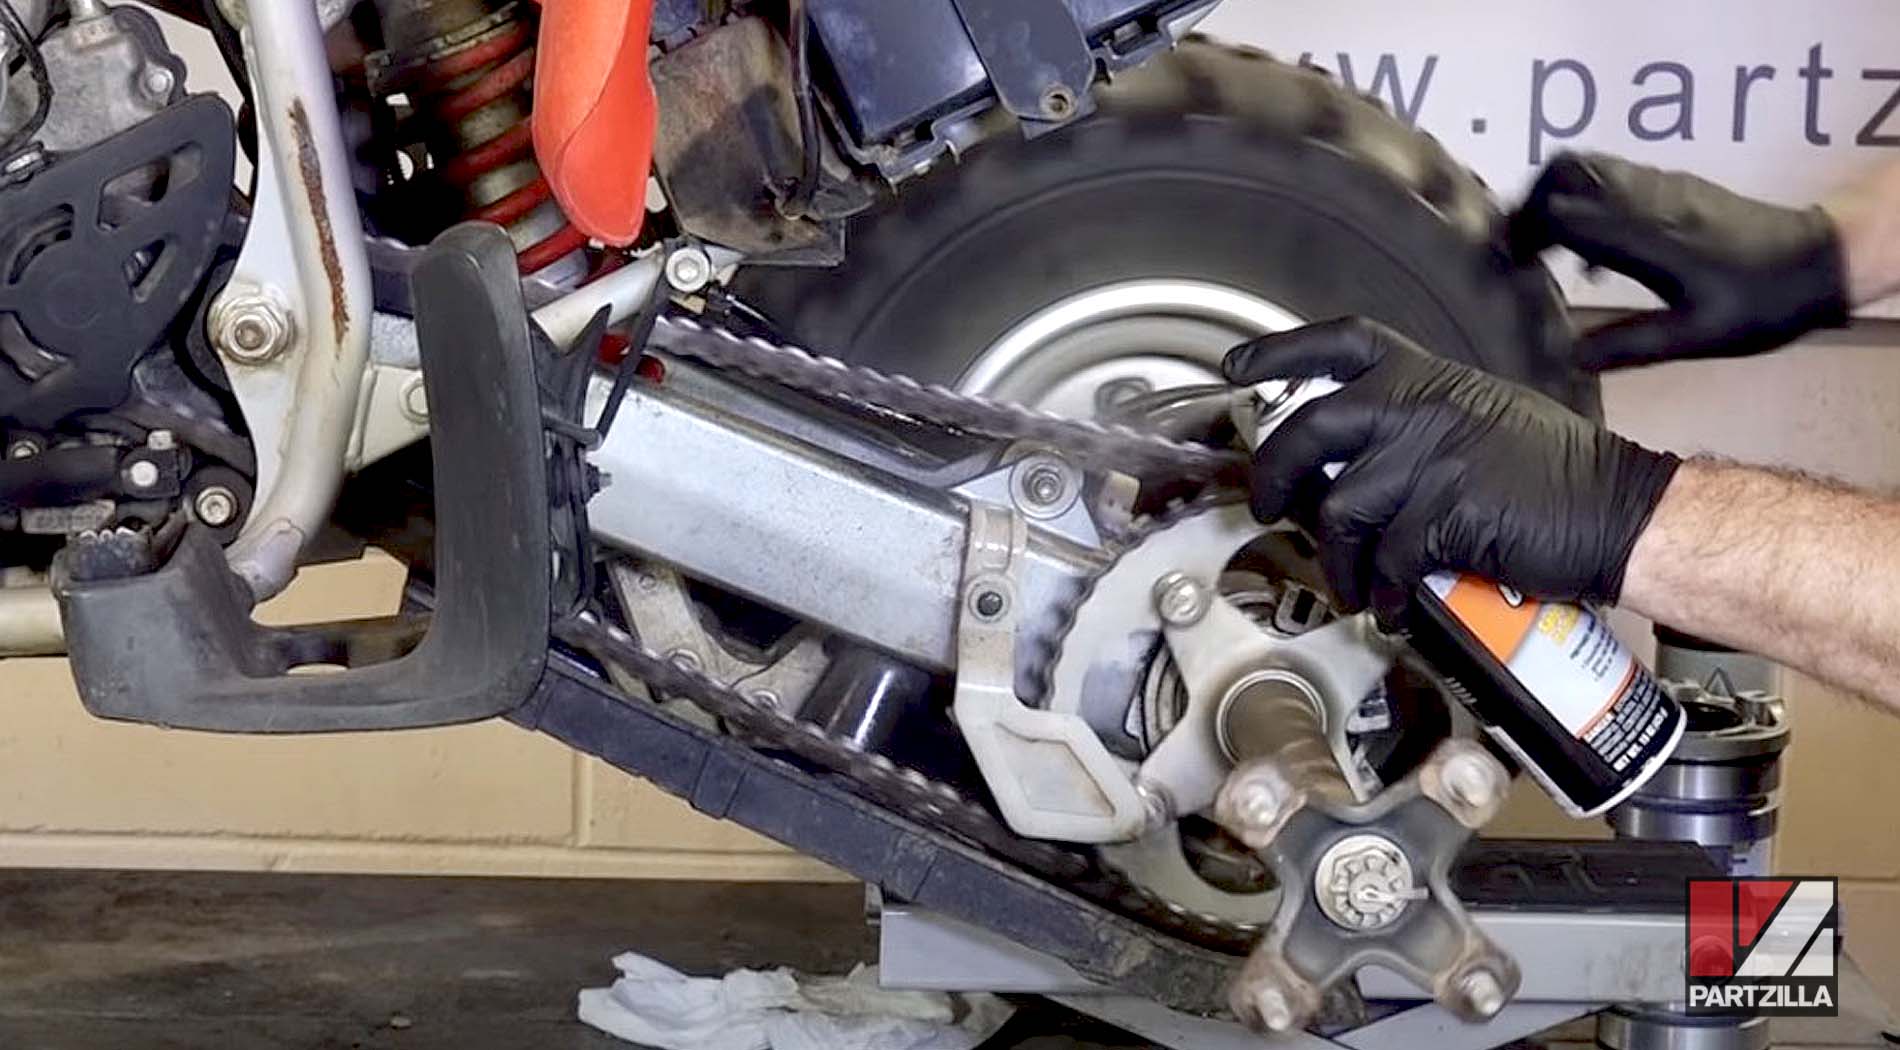
Step 2. Rotate the rear wheel again, and use a brush to remove the dirt and debris from the chain. Brush the chain's inner and outer plates, the pins, and the tops and bottoms of the rollers. Wash the chain cleaner off the sprockets and chain with water, and dry them with a rag or shop towel.

Step 3. Thoroughly coat the chain and sprockets in chain lube. Once again, rotate the rear wheel to move the chain and sprockets so every inch of them is coated.
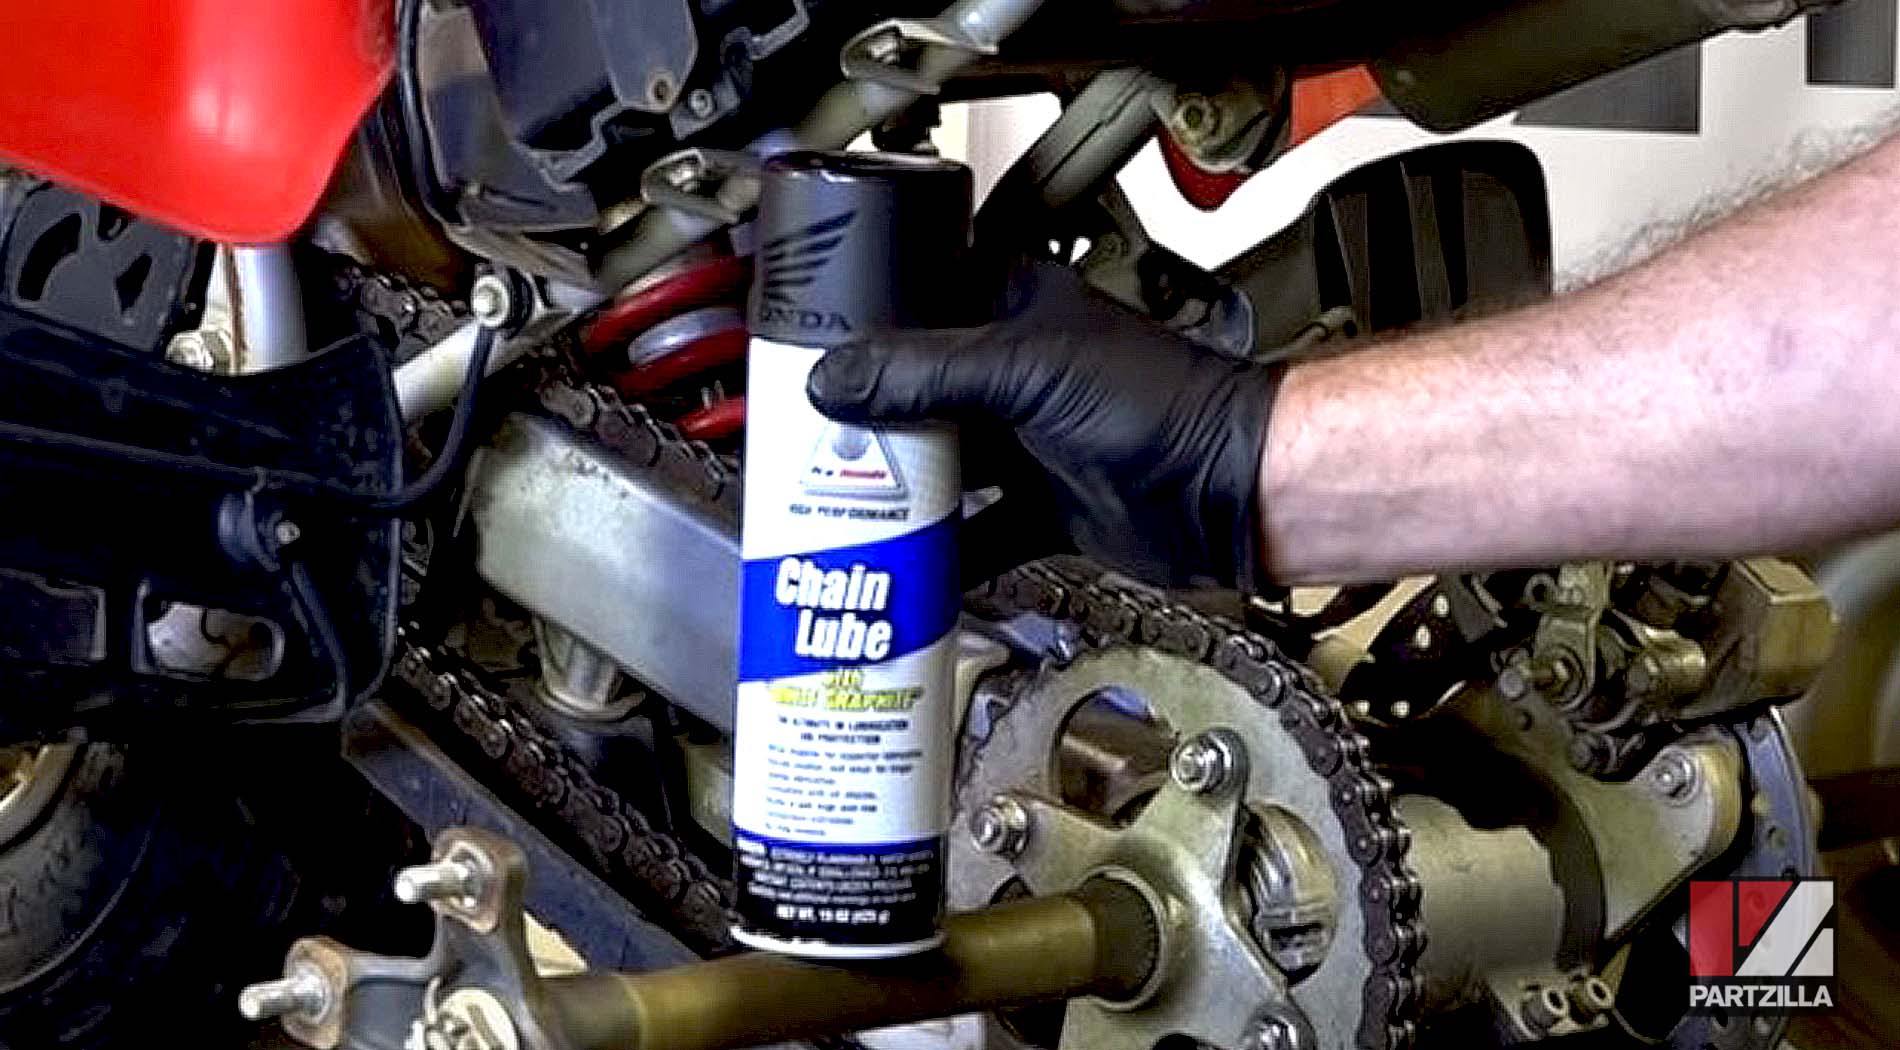


PRO TIP: Always use a quality chain lube instead of regular oil. Chain lube is designed and manufactured to cling to a chain revolving at high speed, and provide long-term lubrication and protection. Oil is too thin, and will therefore be flung off the chain when it's moving at high speed.
Watch the video below to learn how to replace the chain on a Honda TRX400 ATV.