How to Change Honda Rancher 420 Oil
An oil change on a TRX 420 Honda ATV is standard maintenance, and an important way to keep your ATV's engine healthy. Honda recommends every 12 months, 100 hours, or 600 miles: whichever comes first.
Watch the video above and follow the steps below to learn how to do an oil change on a Honda TRX 420.
Tools and Supplies - Honda Rancher TRX420 Oil Change
- 3/8th ratchet
- 17mm socket
- 8mm socket
- Torque wrench
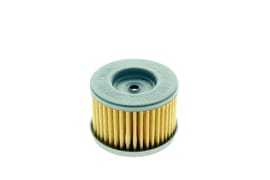
- Honda Rancher 420 oil filter
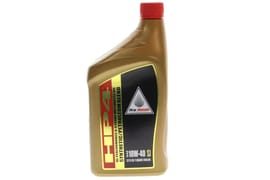
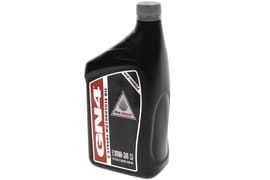
- Honda HP4 semi-synthetic oil
Changing the Oil on a Honda Rancher
Step 1. Run the engine for a couple of minutes to circulate the oil.
PRO TIP: You don't need to bring the engine all the way up to temperature, but circulating the oil a little will make it easier to drain.
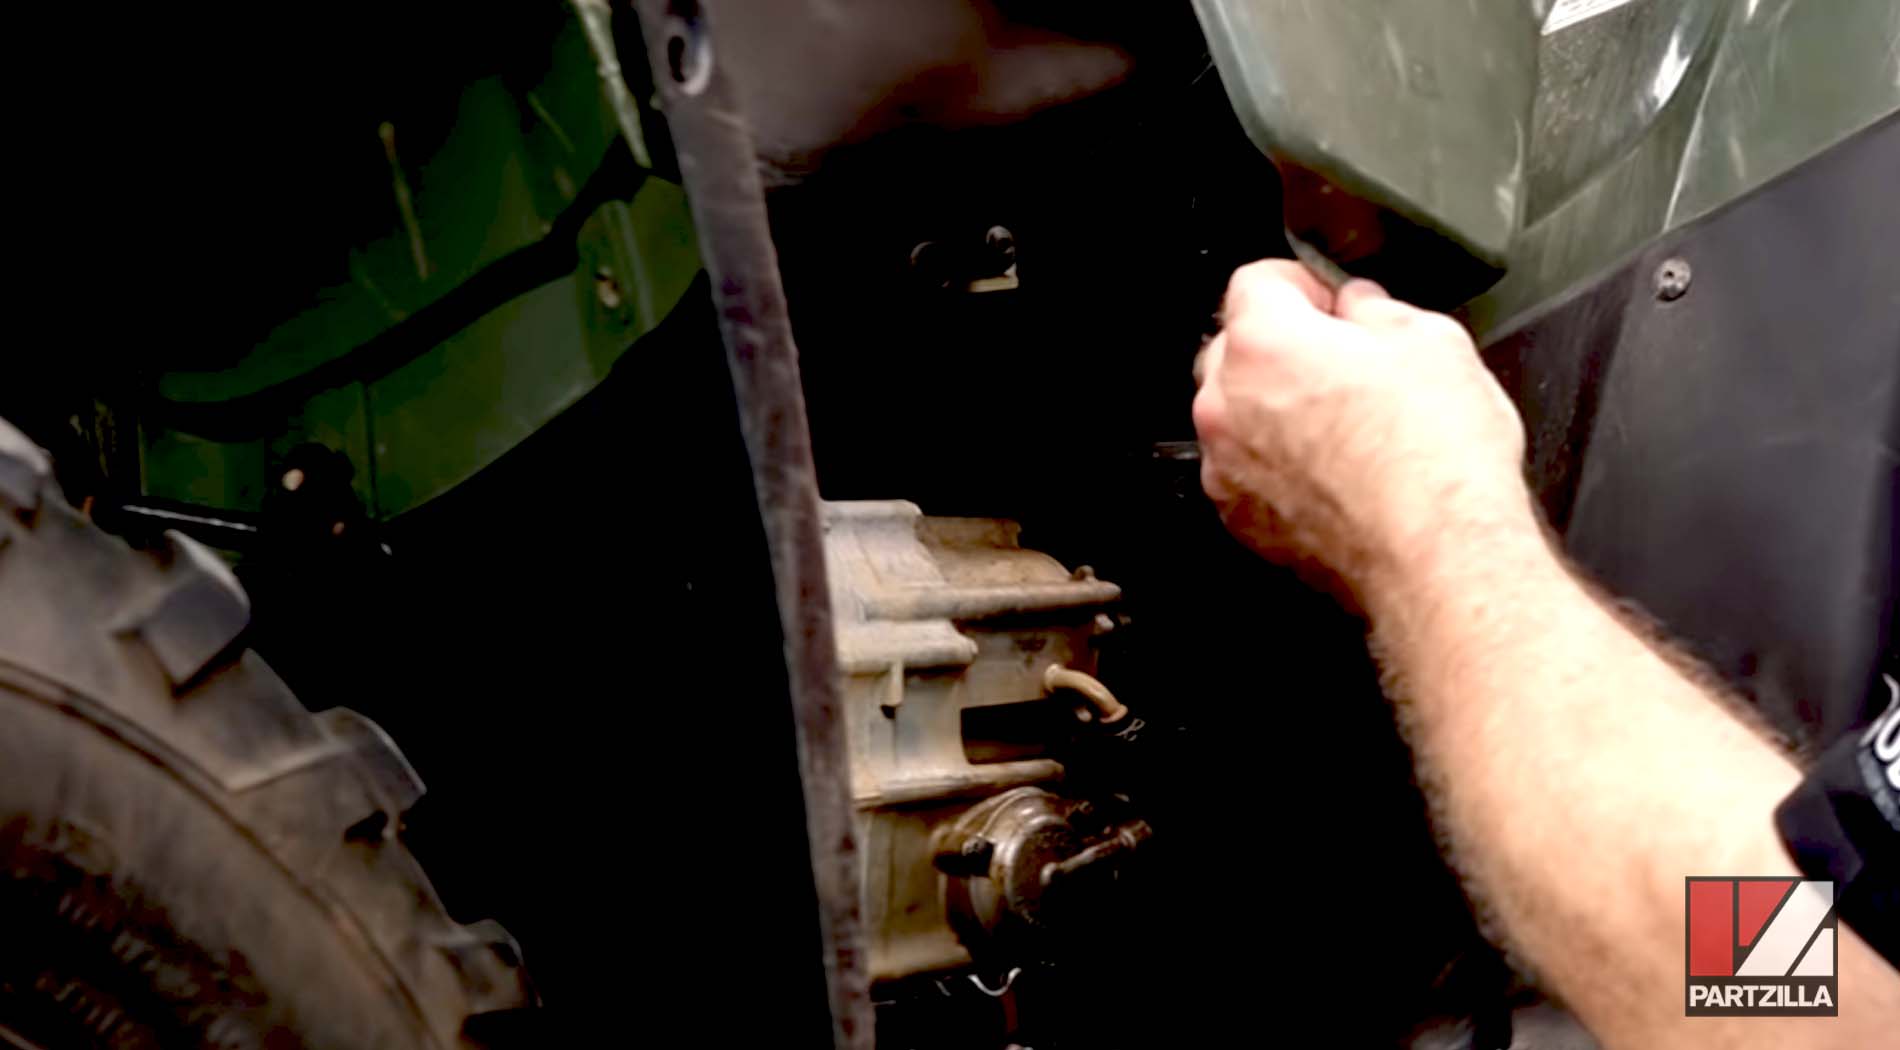
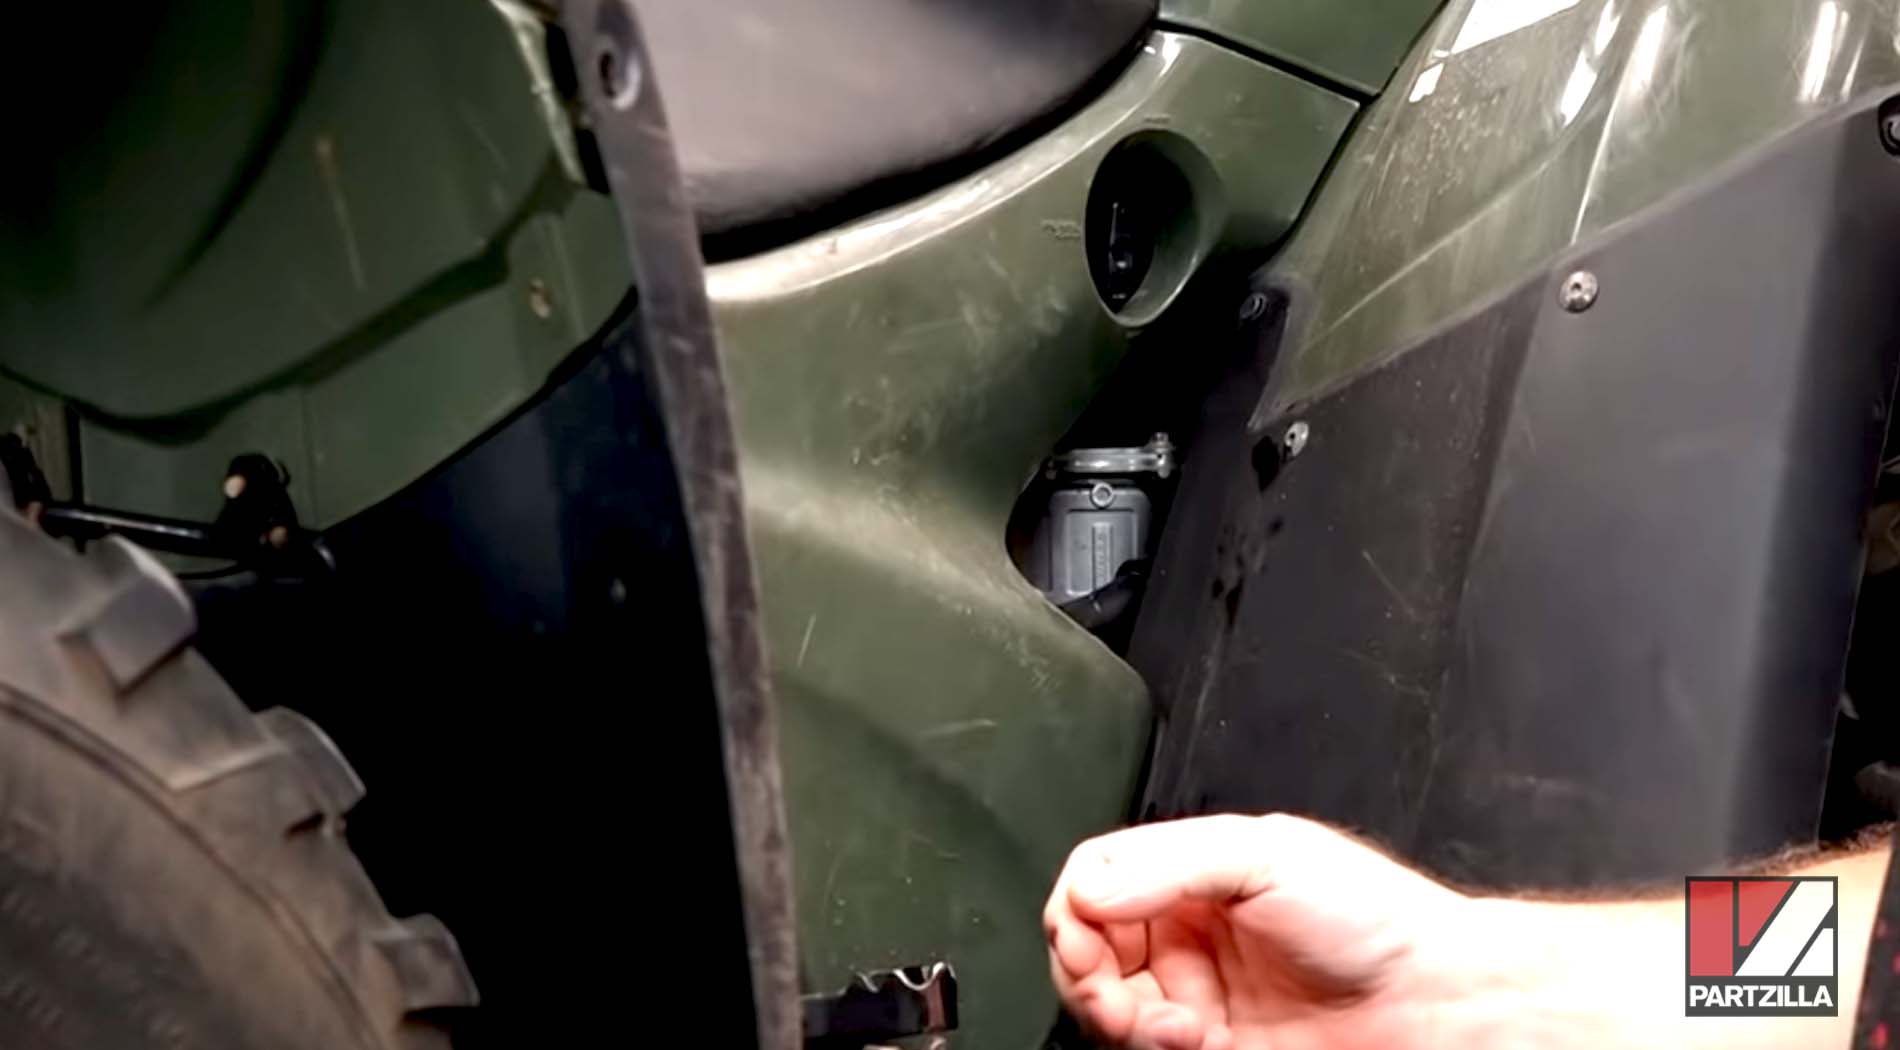
Step 2. Remove the plastic panels on both sides of the unit. You can pull them out by hand without any tools.
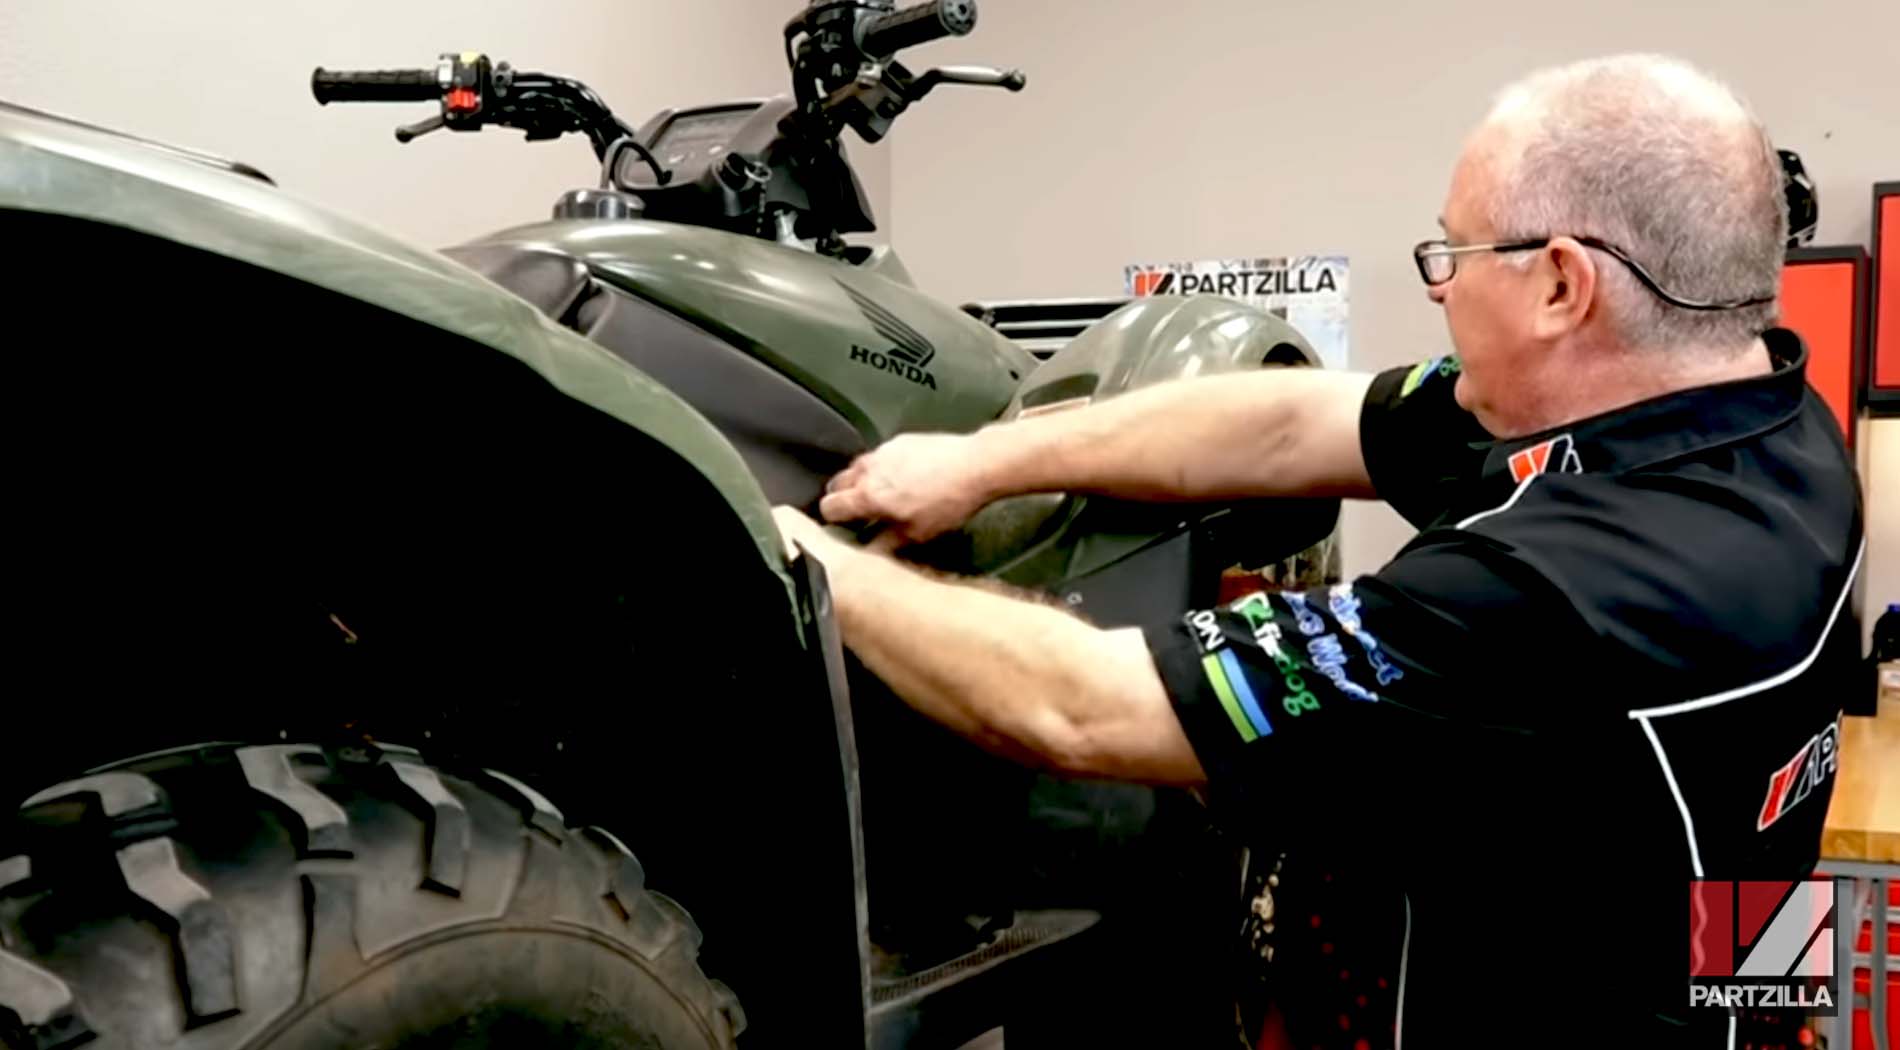
PRO TIP: Removing the right side panel allows you to access the oil filter, and on the left hand side you'll find the oil fill cap.
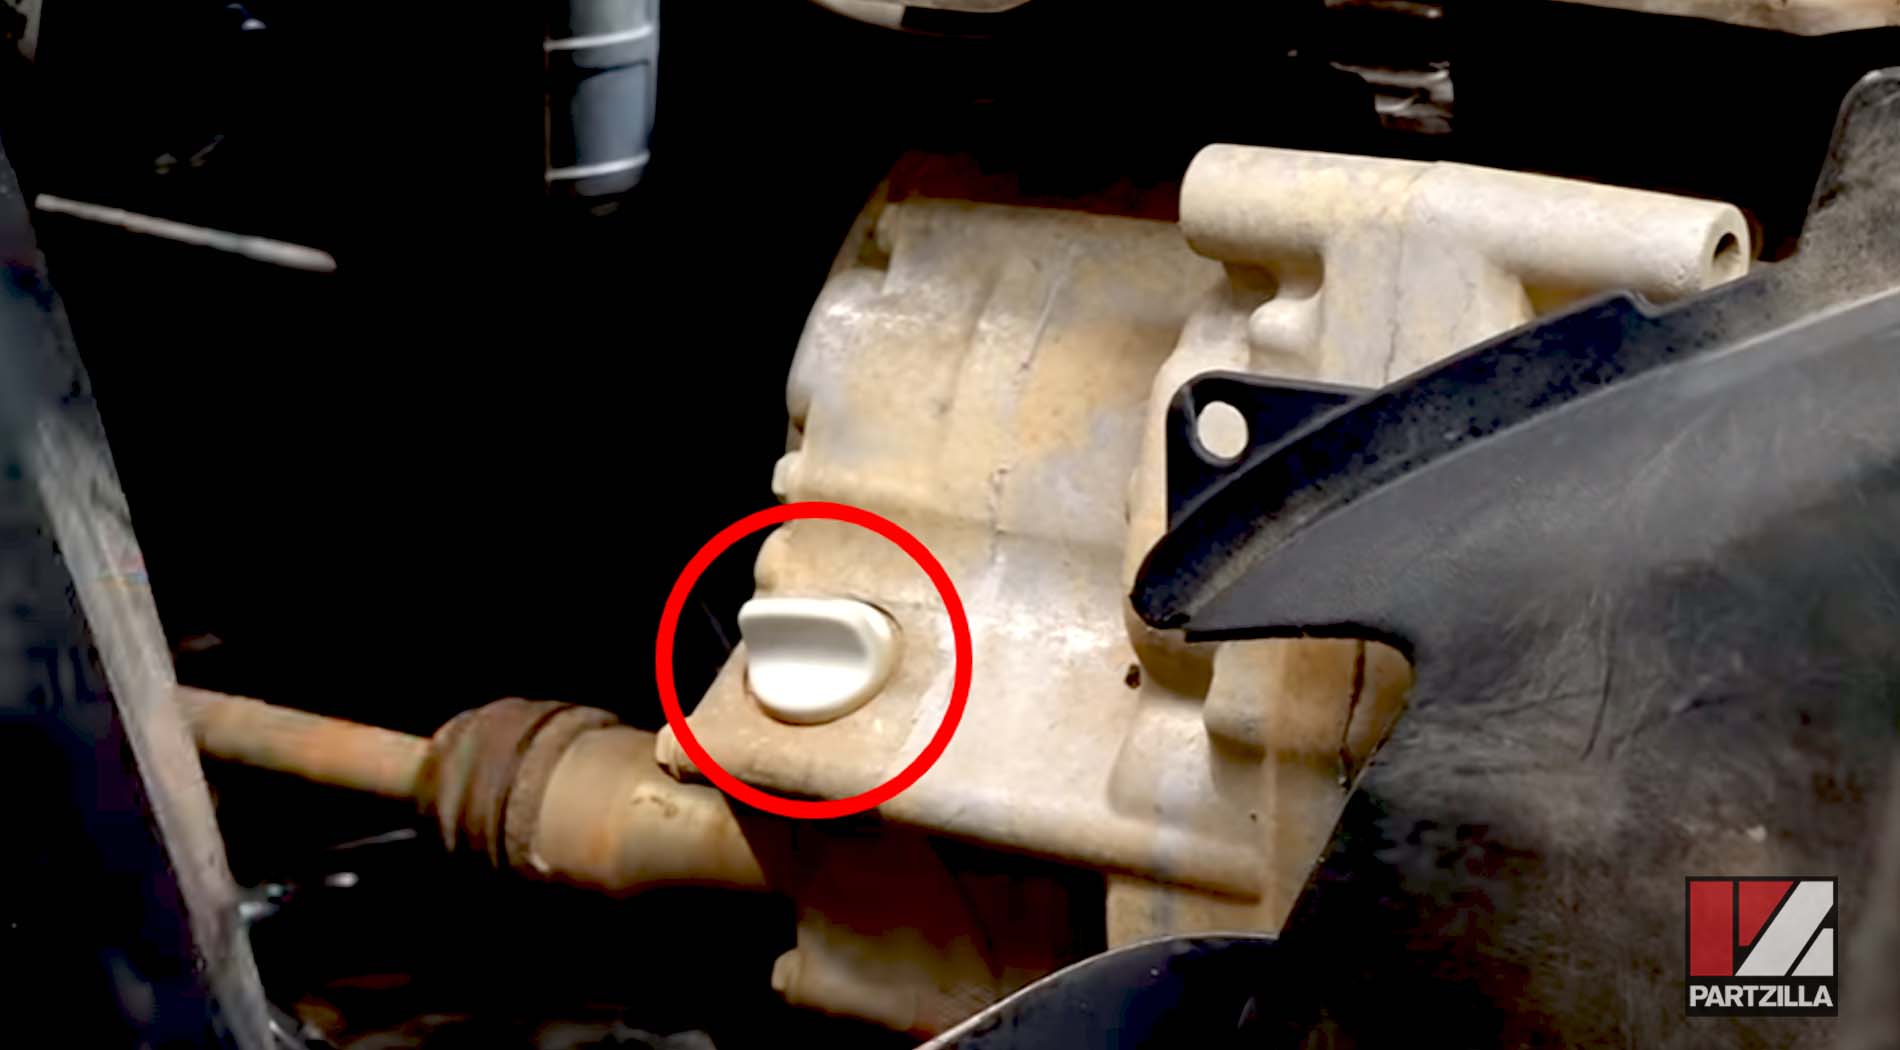
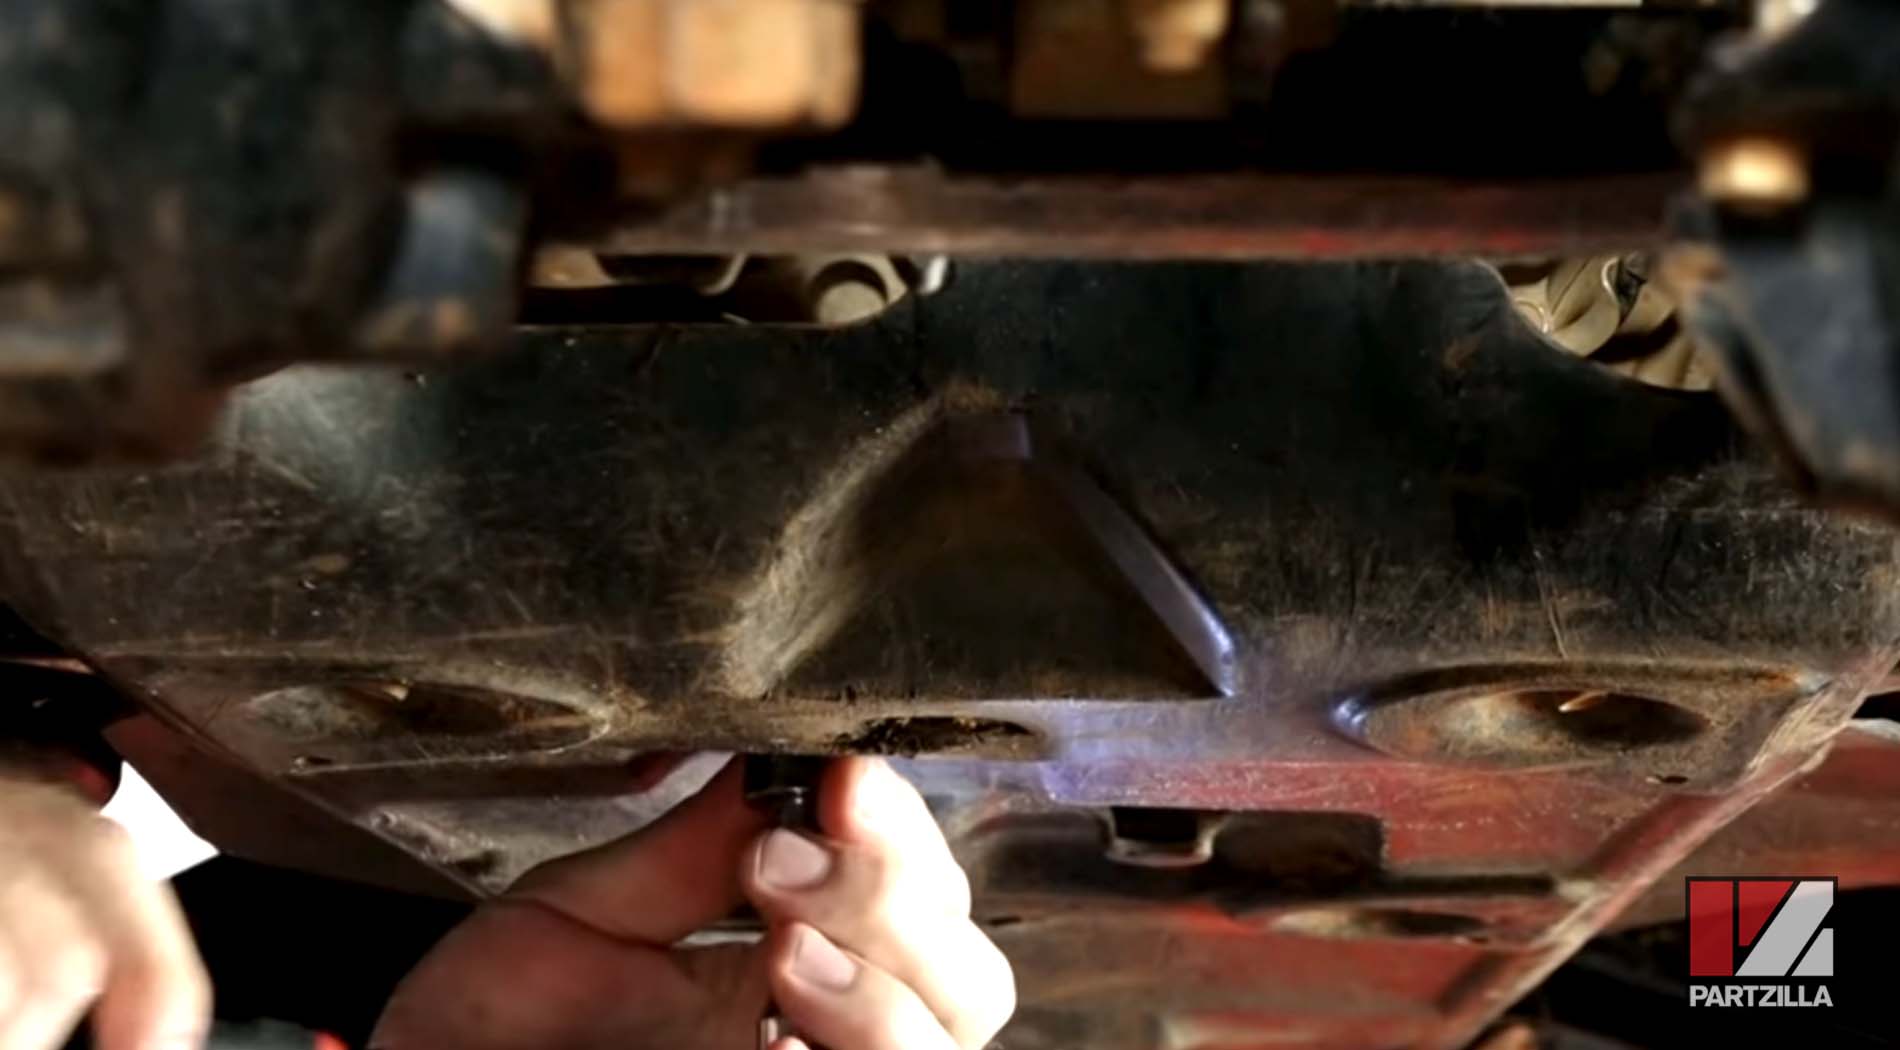
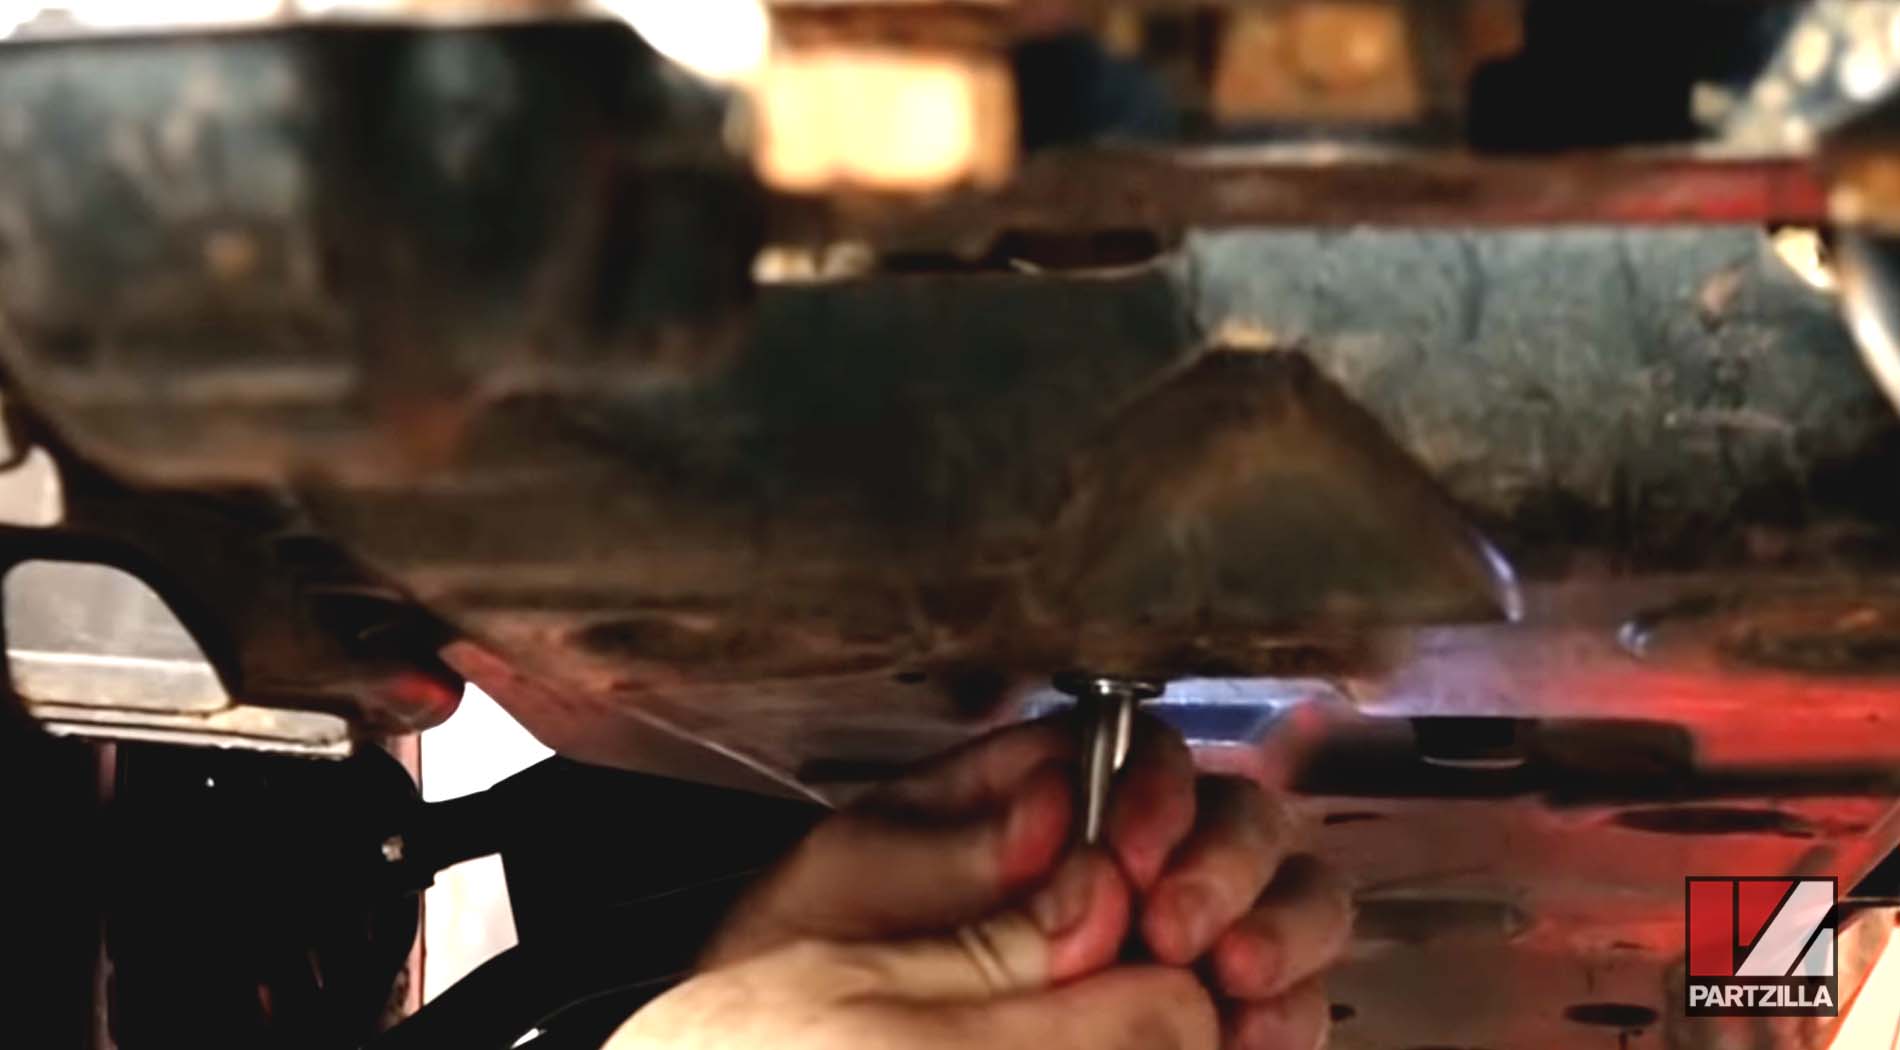
Step 3. Find the drain bolt underneath the unit to remove the used oil, and get a drain pan to catch the oil. See #7 in the Rancher crankcase diagram to find the bolt's location. Access the drain bolt through the hole in the skid plate, and use your 17mm socket to remove it.
NOTE: Be careful not to lose the crush washer on the bolt. If you need to replace it, Honda has a drain bolt crush washer available for purchase.
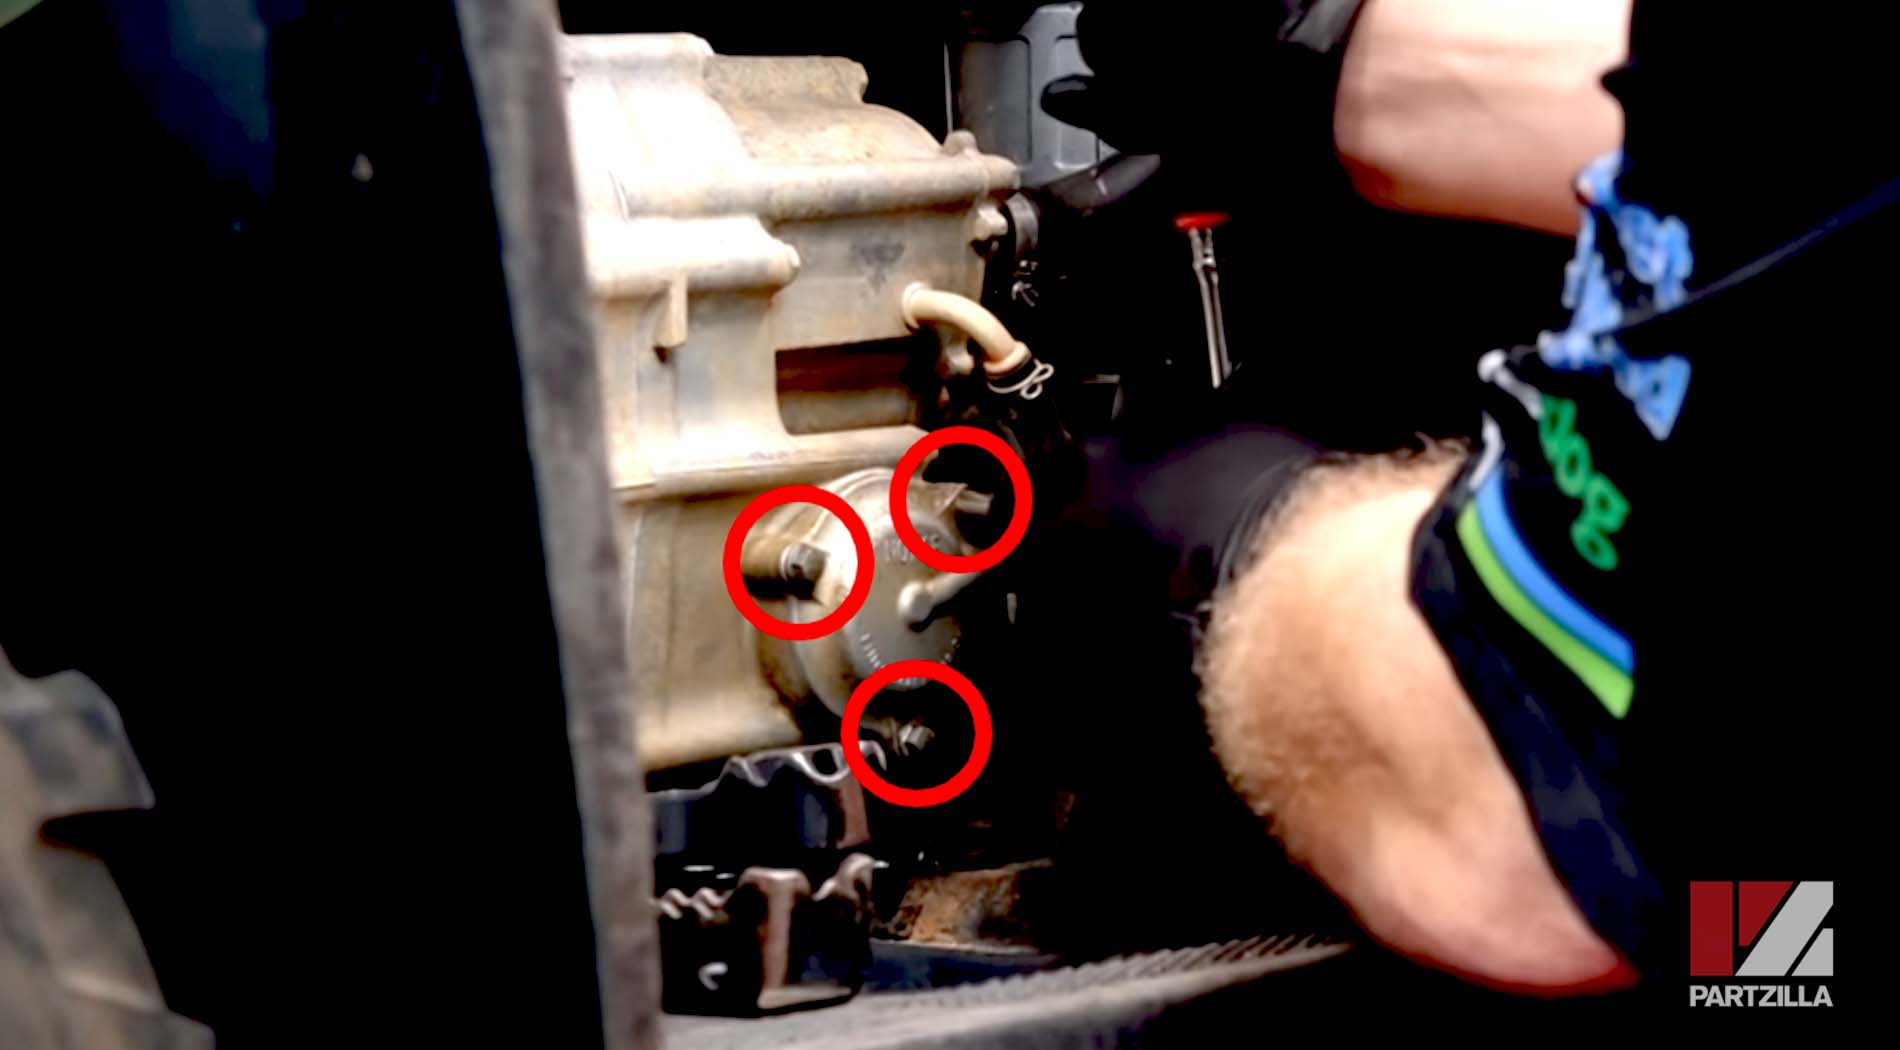
Step 4. Remove the old oil filter while the used oil drains. The filter is found on the right side of the engine and can be seen as #4 in our Rancher front crankcase cover diagram. Some oil will leak out, so get a rag underneath it to avoid a mess. Take off the three 8mm bolts to remove the cover and expose the filter, then pull the filter out.
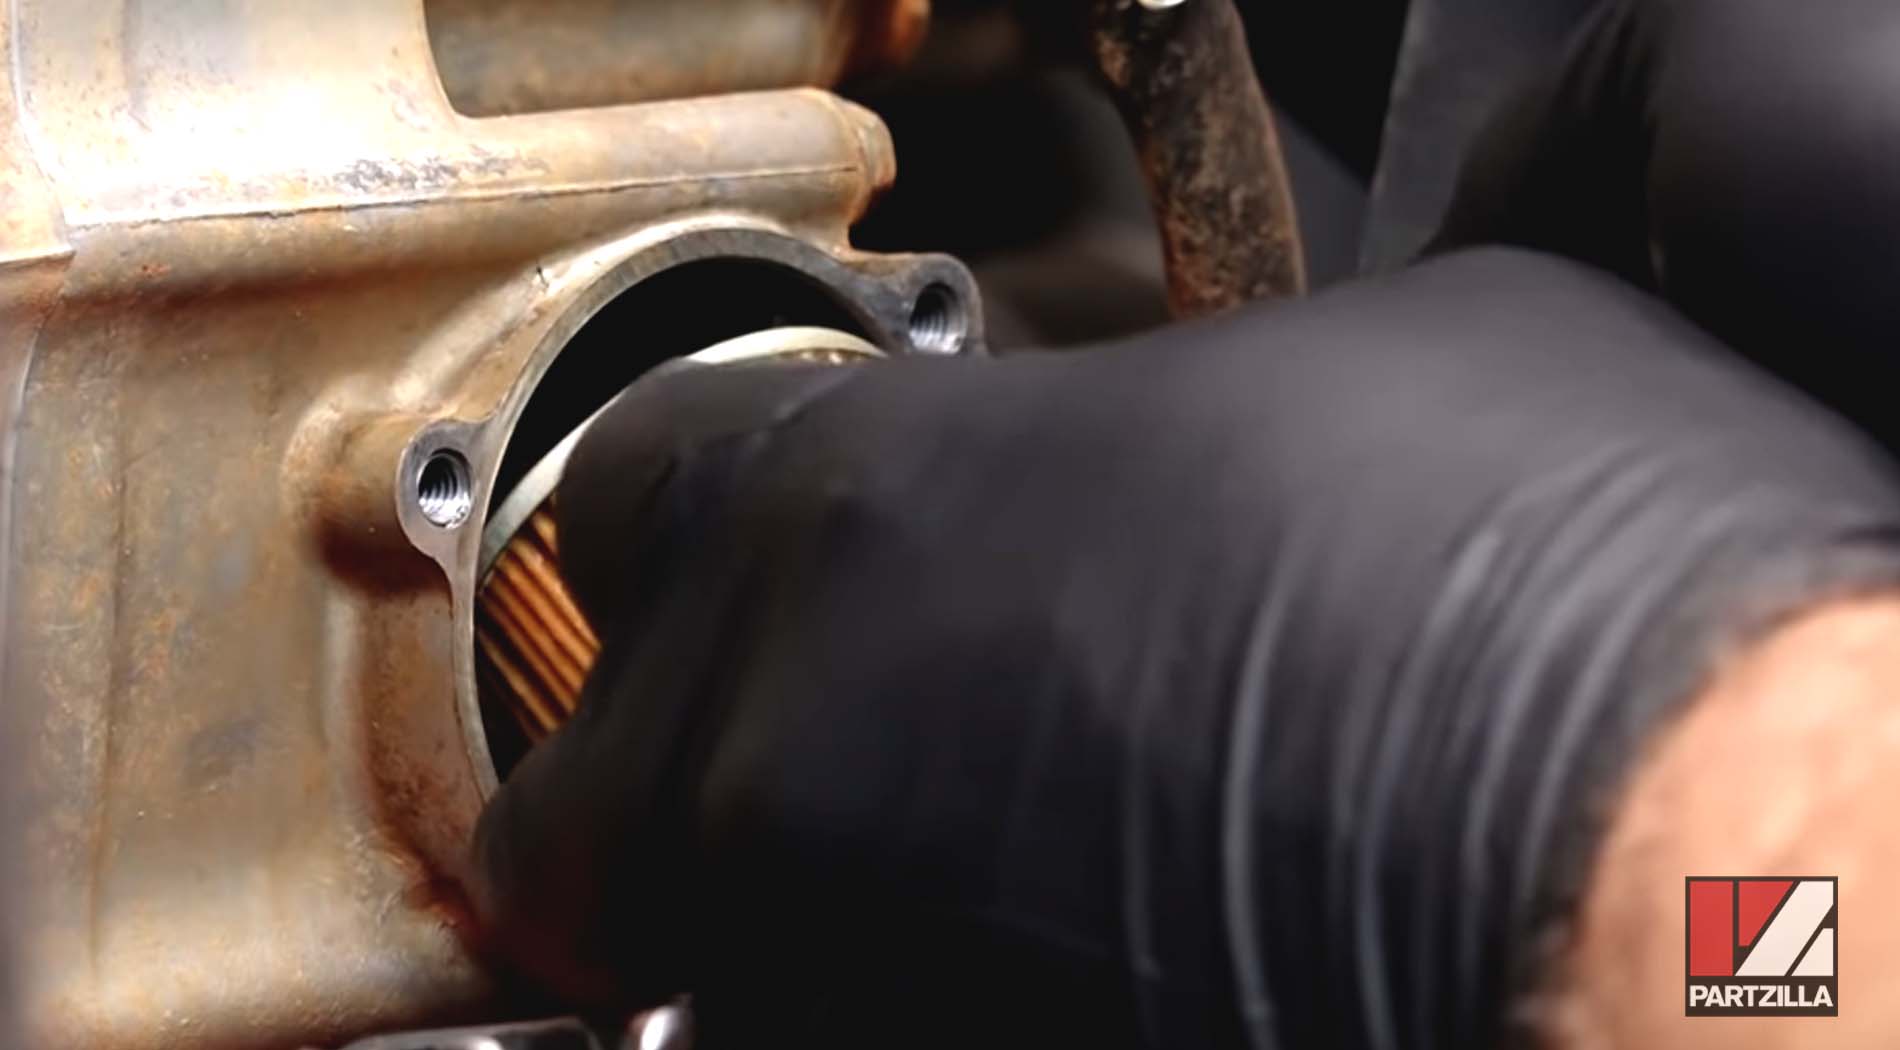
NOTE: There's a spring behind the filter that should remain in place.
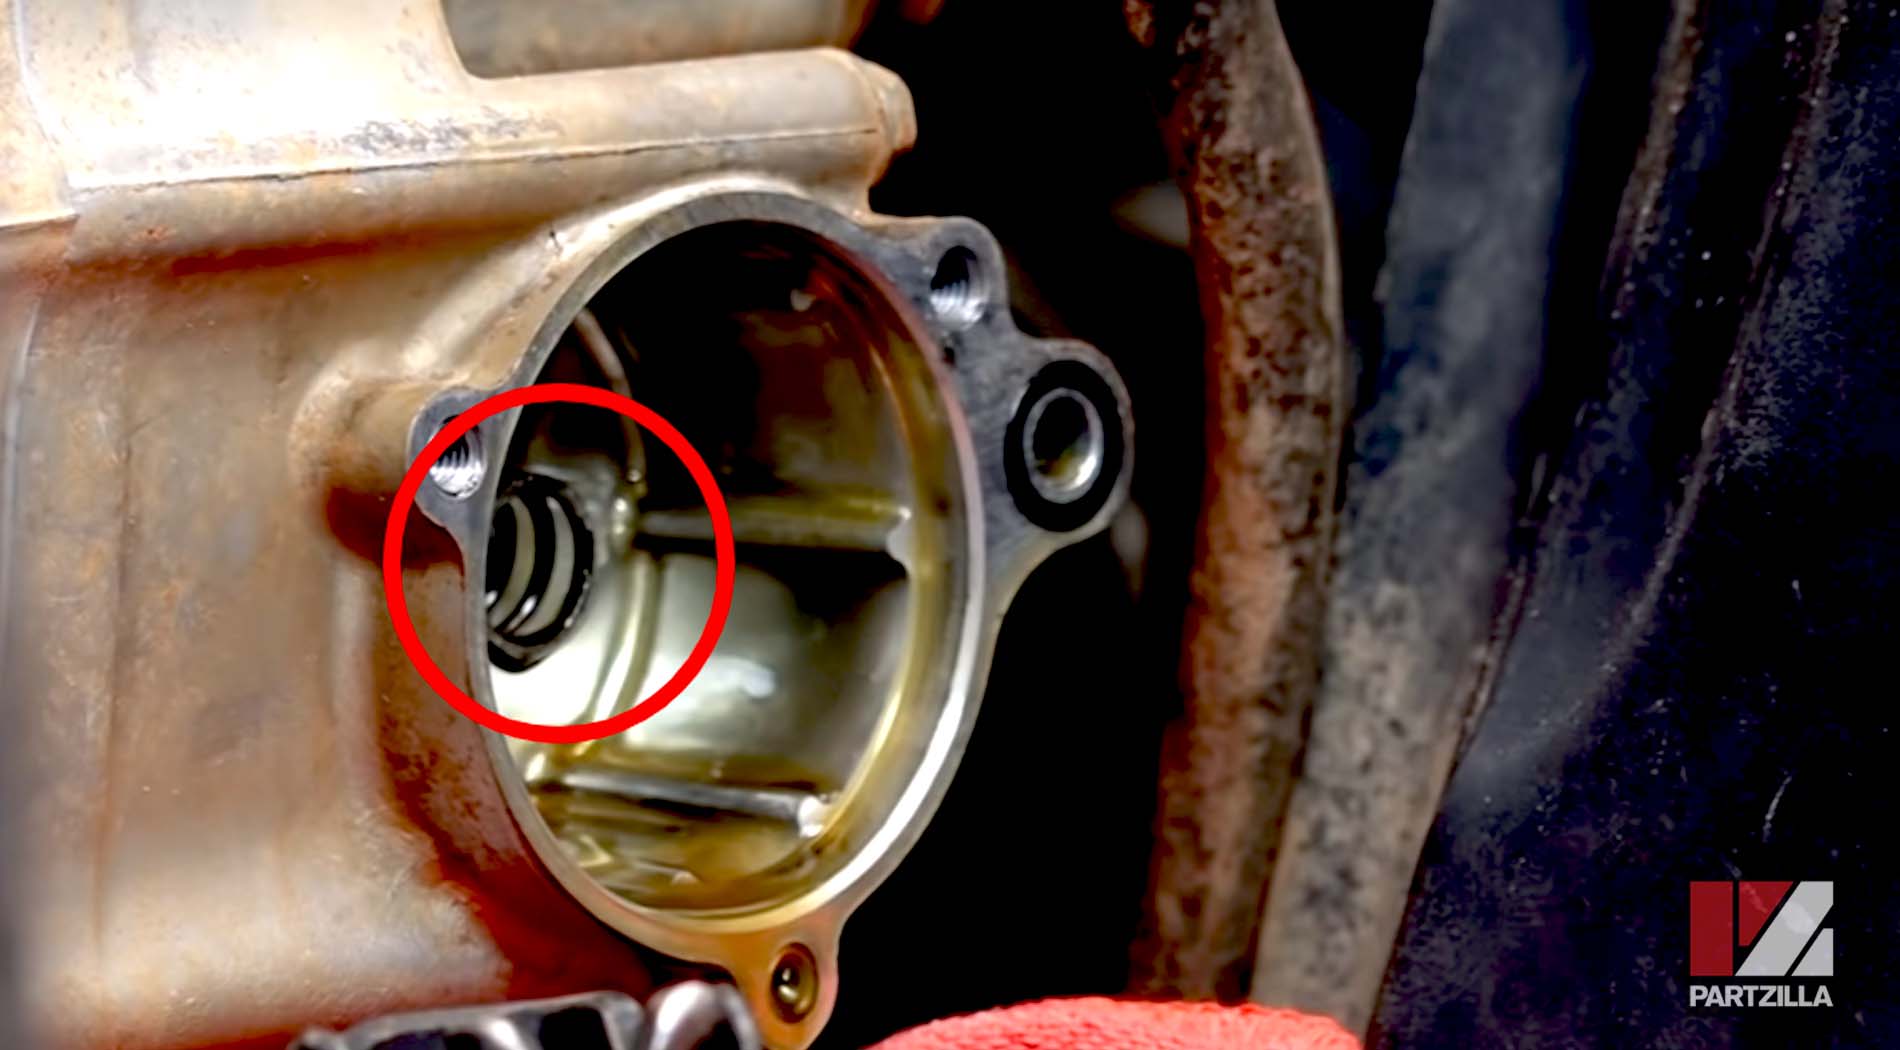
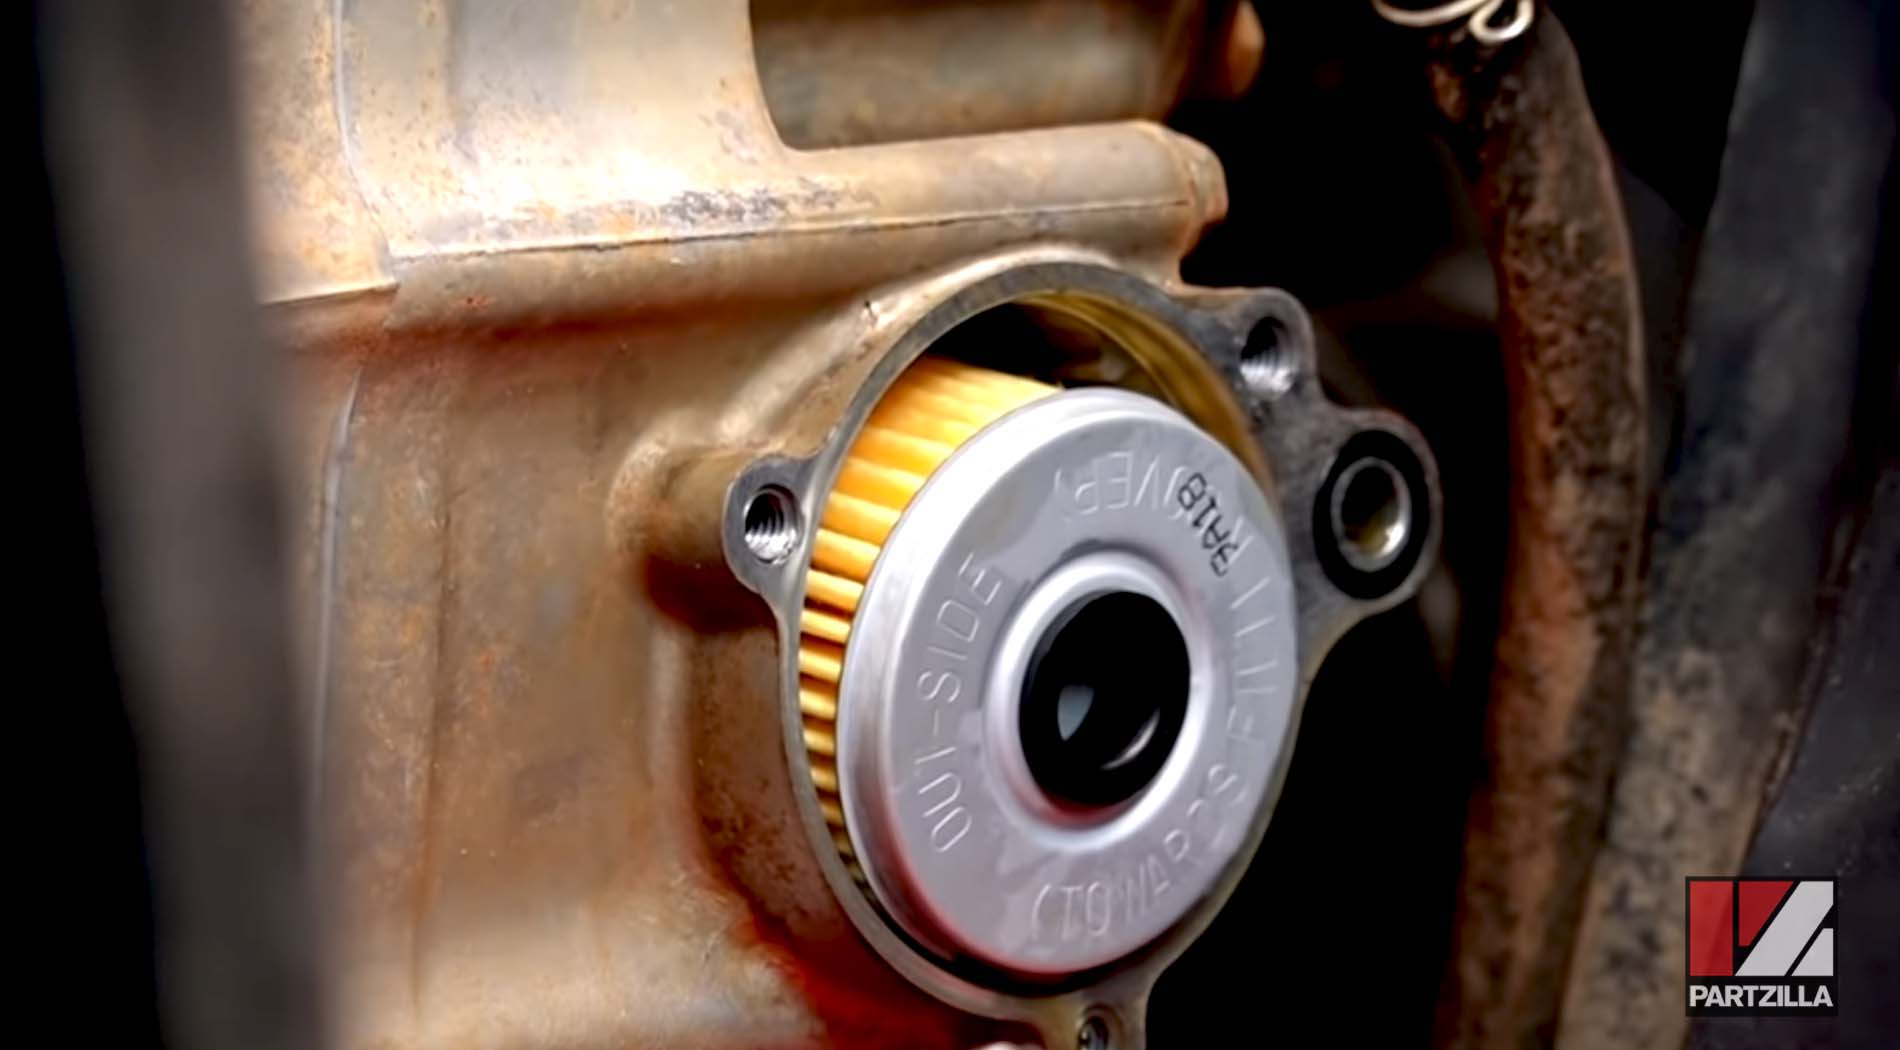
Step 5. Replace the oil filter. One side of the filter will have "Outside" stamped in the metal. It's crucial that this side faces out toward you when you install the filter. Make sure the spring is behind the filter and then slide it in place.
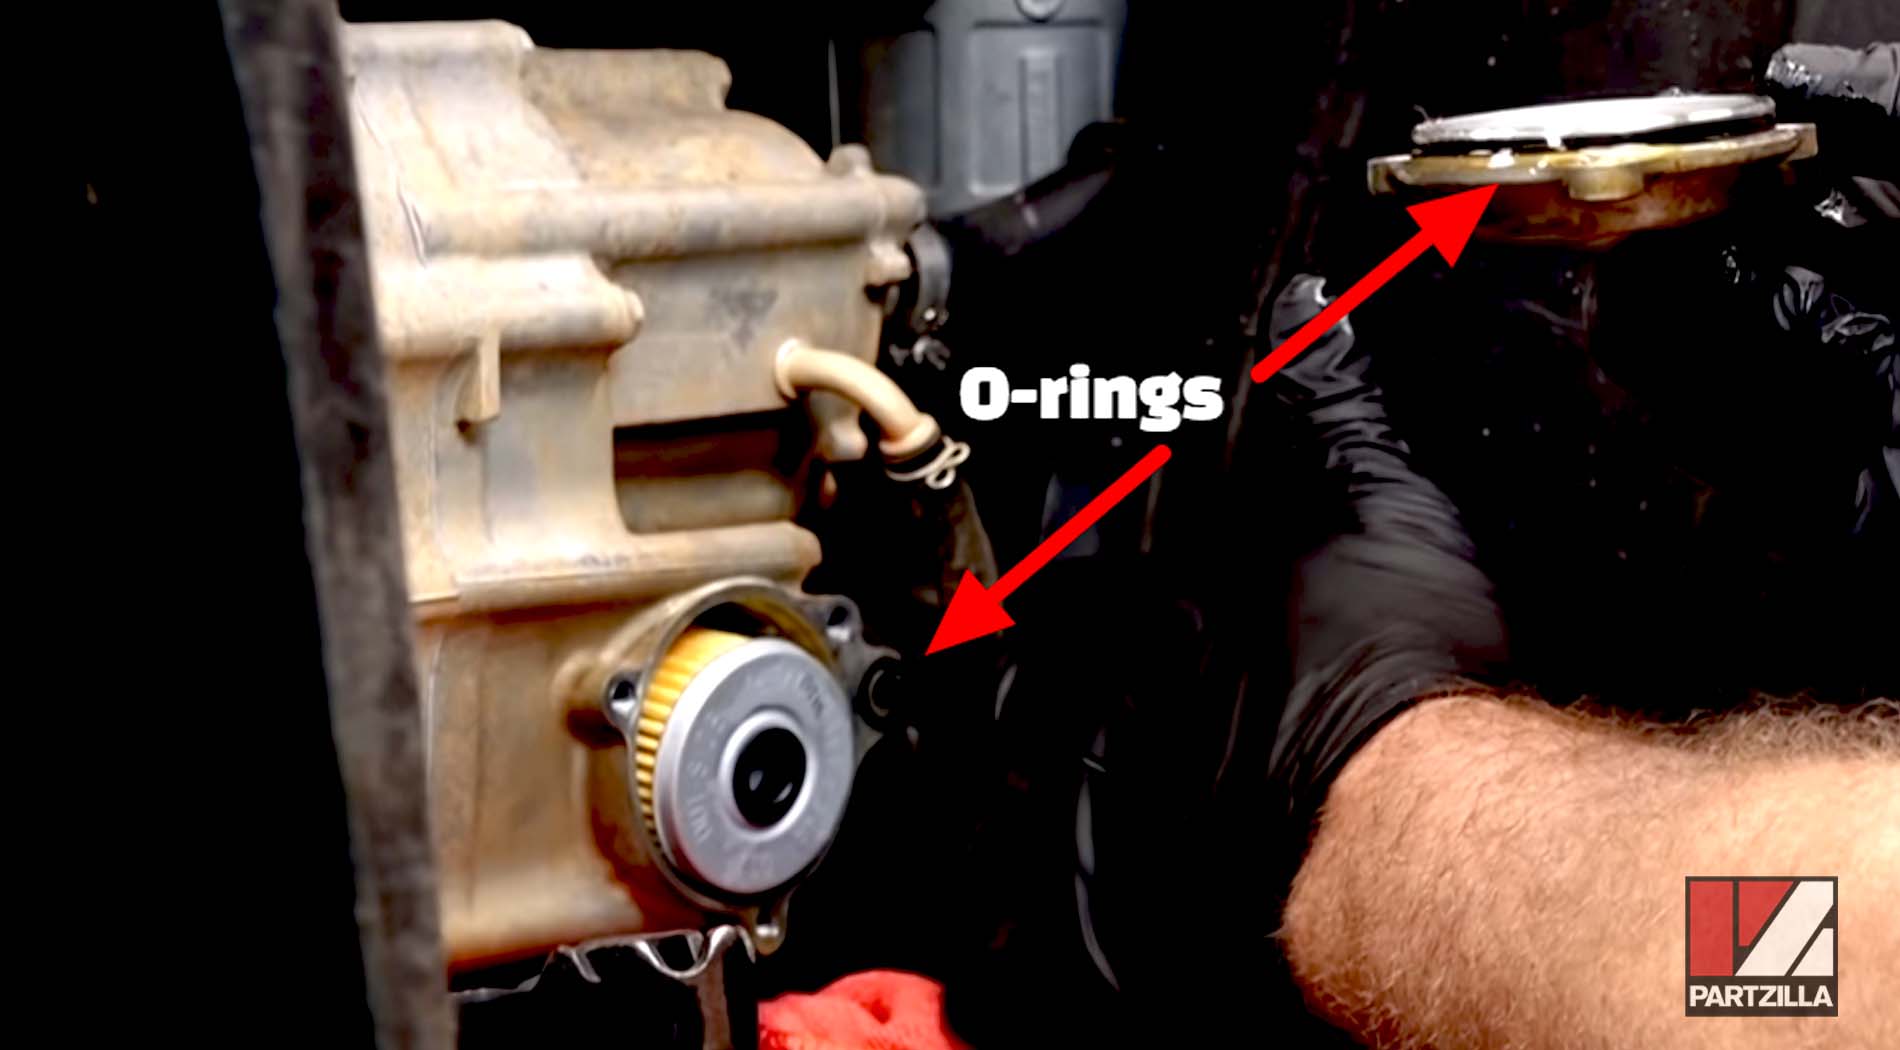
Step 6. Inspect the O-rings on the oil filter cover and around one of the bolt holes for the cover. Make sure they are not cut or damaged. Then, replace the filter cover and the three 8mm bolts without over-tightening them.
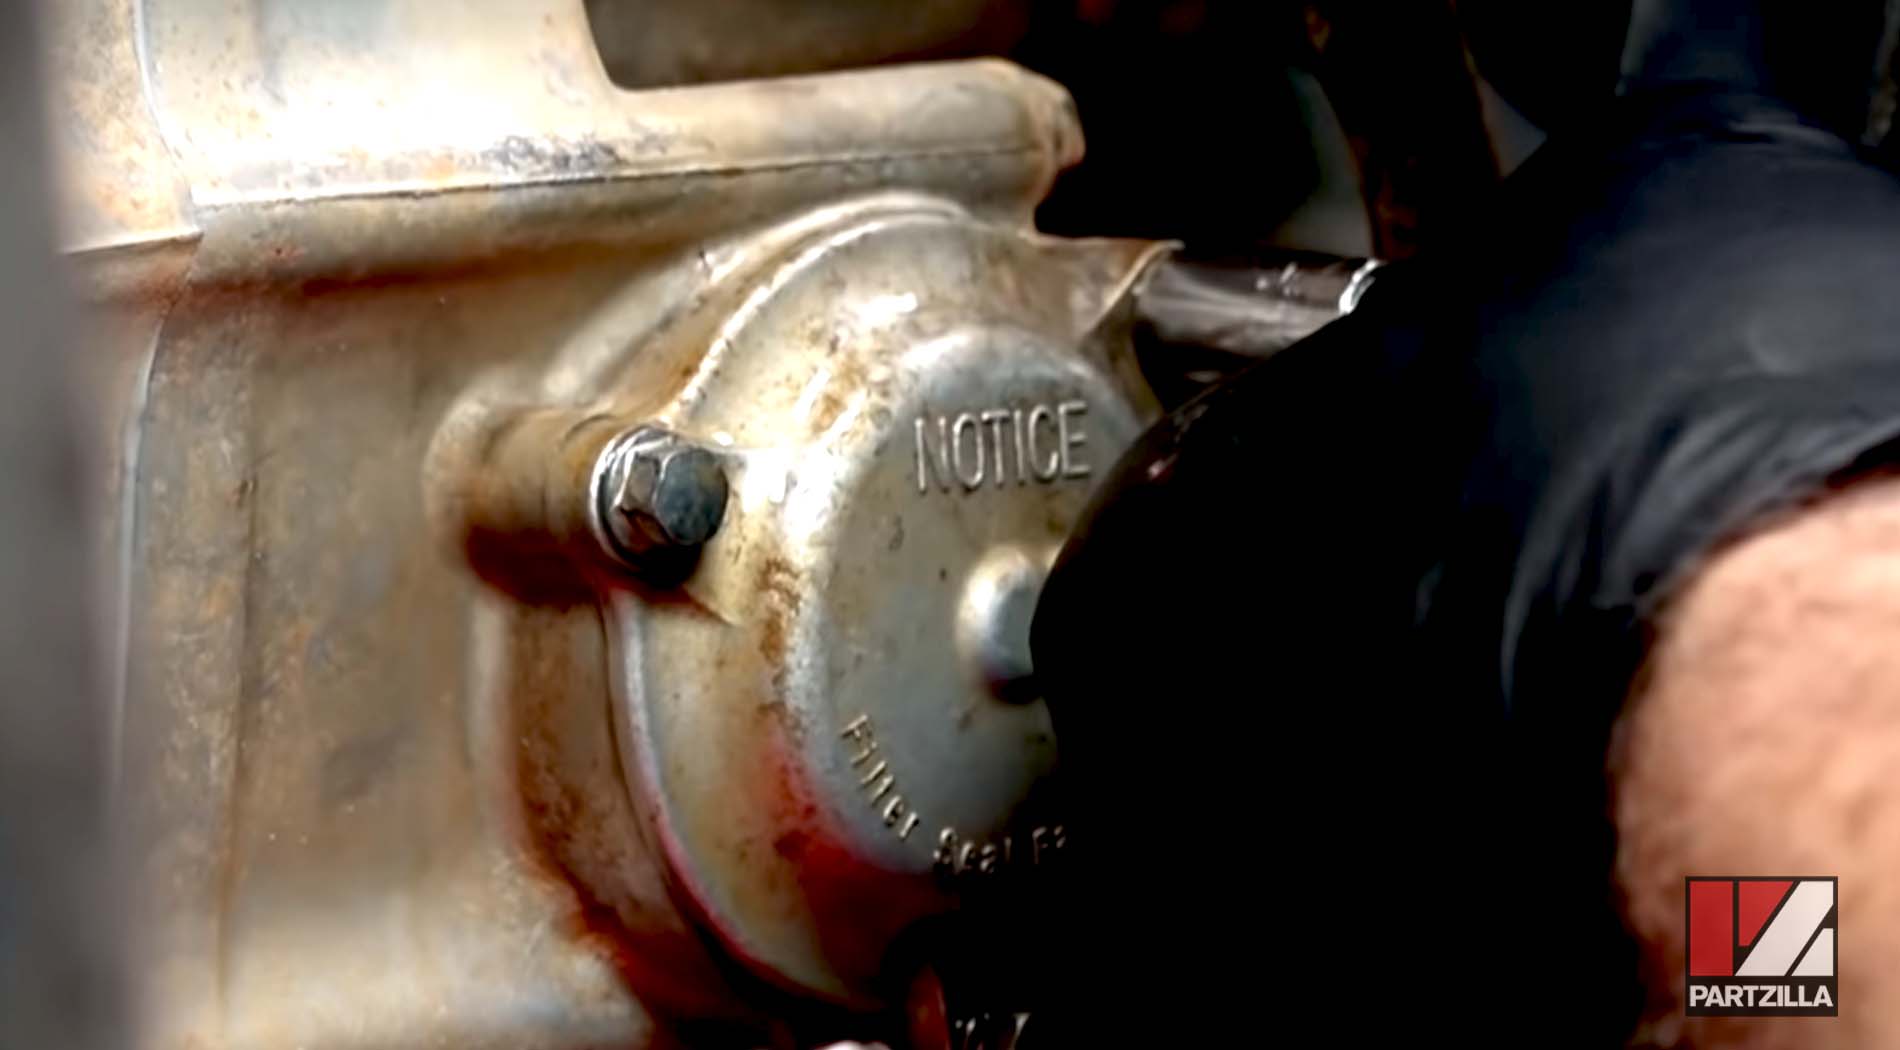
Step 7. Replace the right-hand side plastic. There's a tab at the bottom of the plastic piece. Hook it into place first, then push the rest of the plastic into place and snap it.
Step 8. Replace the drain plug. Hand-tighten it first to get it threaded, then use a torque wrench to tighten it to 18 foot-pounds.
Step 9. Refill the engine with oil.

PRO TIP: Honda says the oil capacity of the Rancher 420 is 3 quarts, but we found that can be a little too much. Pour in 2.5 quarts, replace the fill cap, run the engine for a couple of minutes, and then check the level. To check the oil level on the engine, don't screw in the fill cap. Just plunge it in and remove it, then top the engine off with oil to set the level.
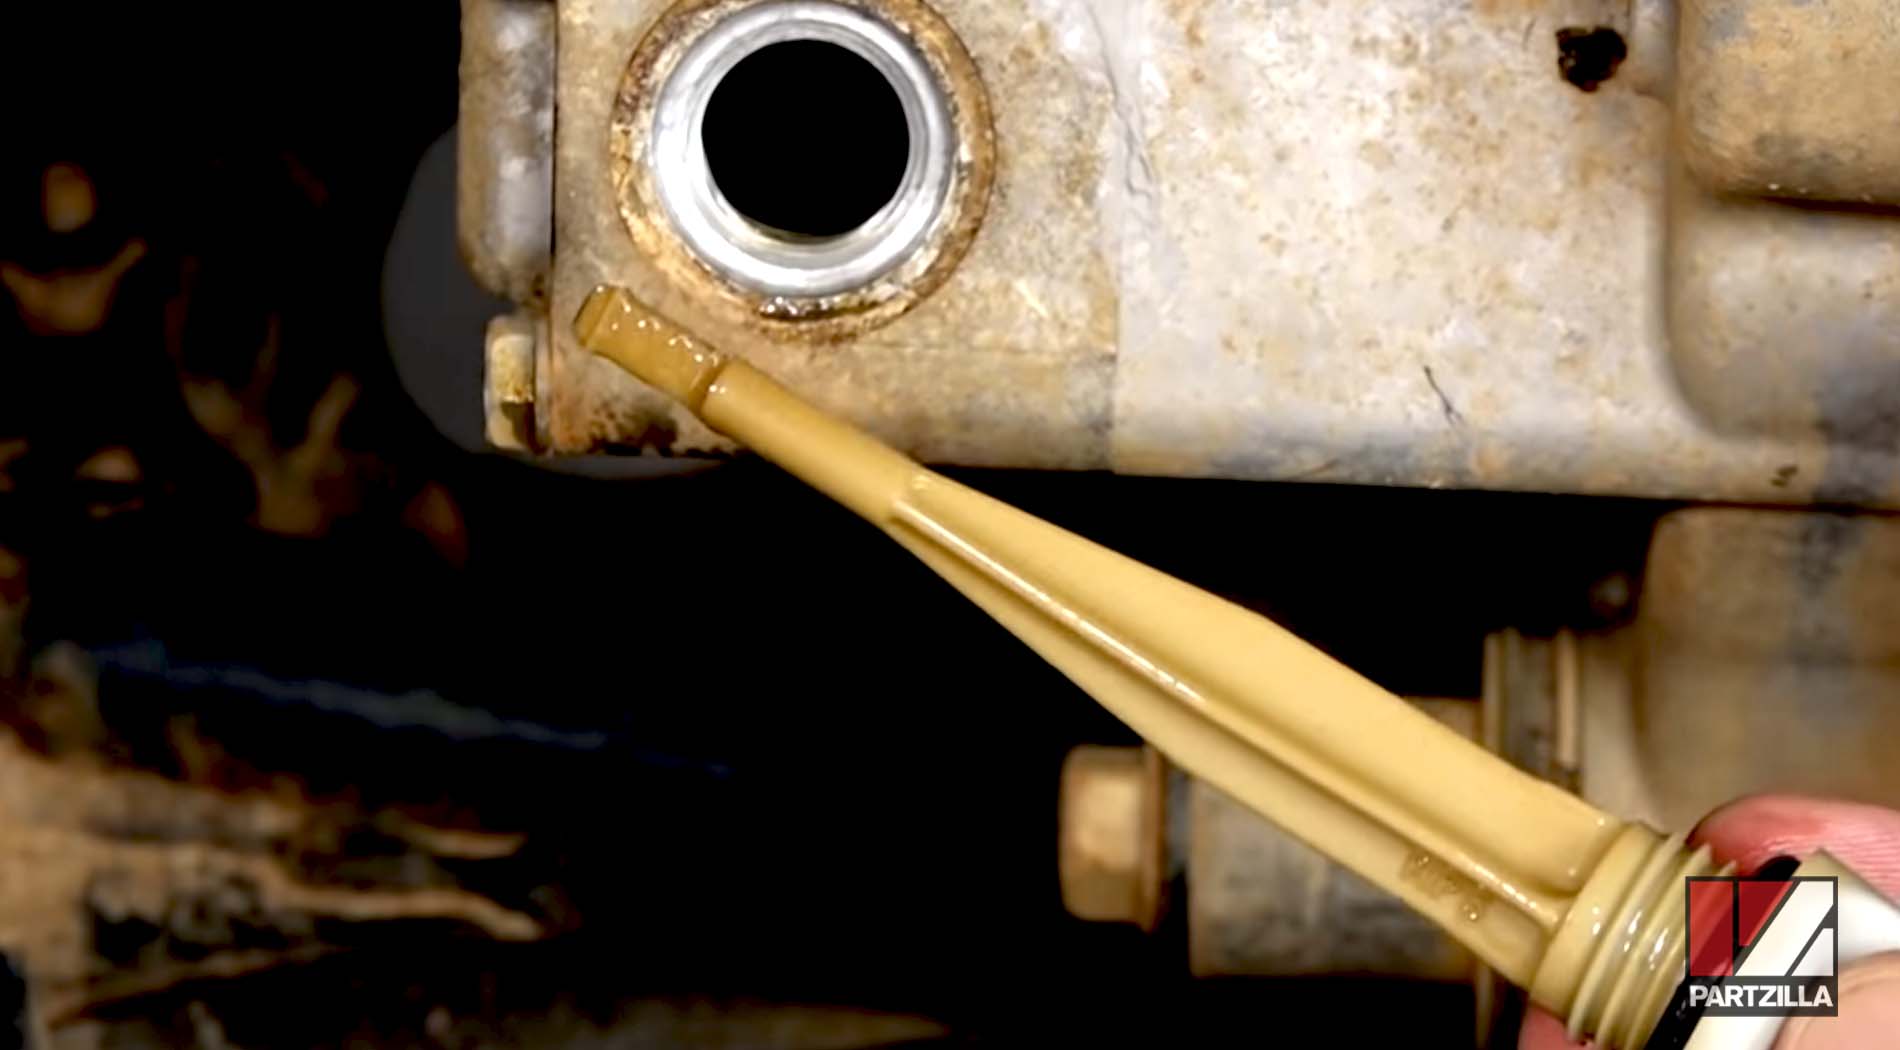
Step 10. Replace the fill cap.
Step 11. Replace the plastic cover and you're done.

Now that you've got the engine oil change done on your Honda TRX 420, why not go ahead and change rear differential oil while you're at it? Watch the video below to see how to change the drive shaft oil on a Honda Rancher 420.
Watch our full Honda Rancher TRX420 repair videos playlist below.


