Honda TRX350 Rancher Valve Adjustment
Incorrect valve clearances can wear an engine down fast. Checking the valve clearance (or valve lash) and adjusting it on a Honda Rancher is a straightforward job that only requires the tools listed below.
Watch the video above and follow the steps below to do a valve adjustment on a Honda Rancher 350.
Tools Needed - Honda TRX350 Rancher Valve Adjustment
- Ratchets and extensions
- 6mm Allen
- 10mm socket
- Spark plug socket
- 10mm wrench
- Screwdrivers
- Pliers
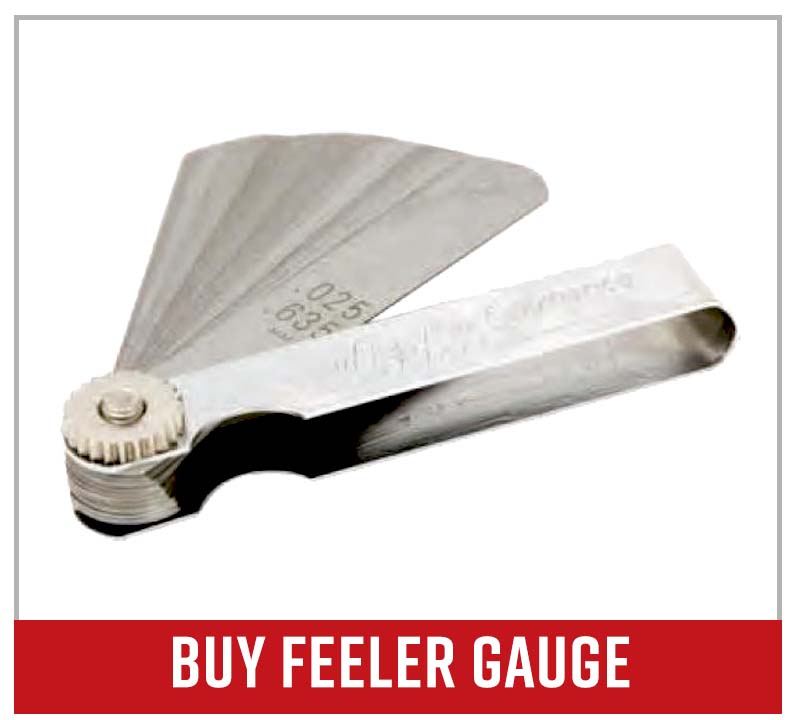
- Feeler gauge

How to Adjust Valves on a Honda TRX350 Rancher
Step 1. Disconnect the negative cable from the battery.
Step 2. Remove the left and right side engine covers, the seat, and the airbox intake tube that sits on top of the gas tank.
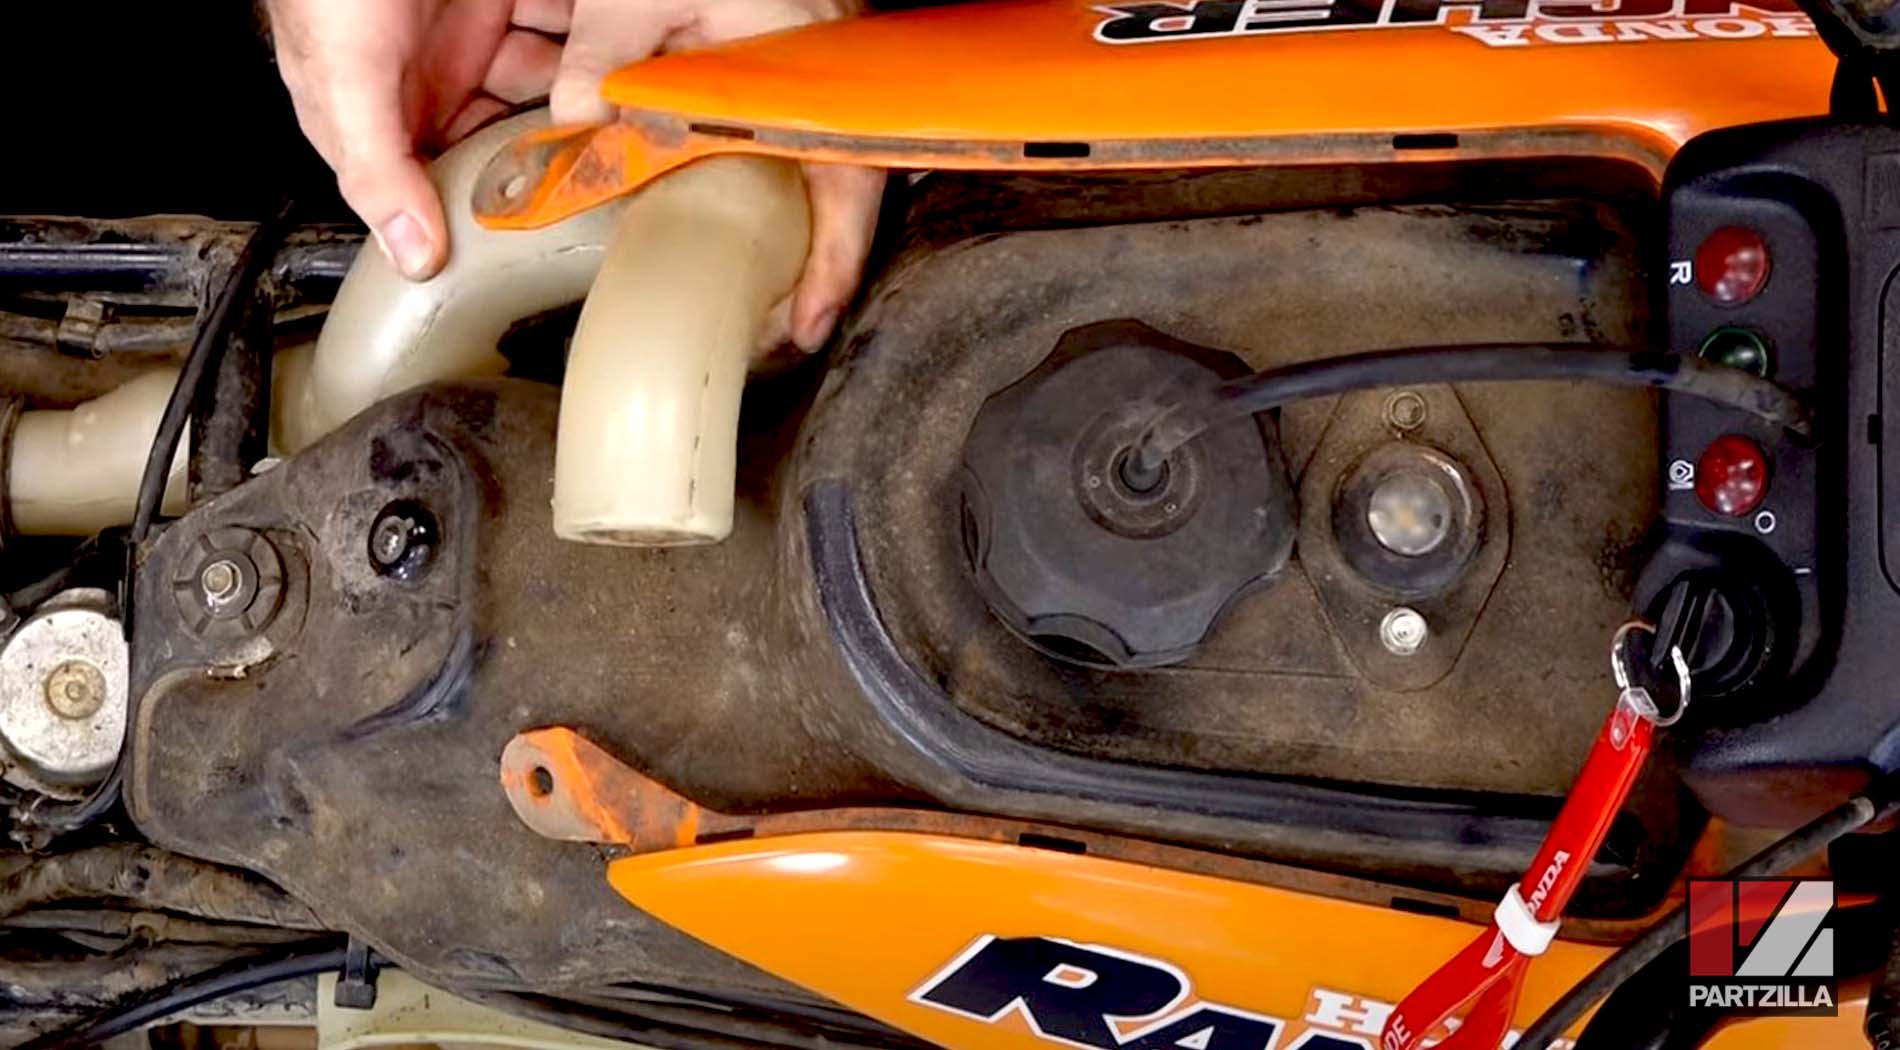
Step 3. Remove the gas tank by turning the fuel valve lever off, then removing the screw holding down the lever and the lever itself. Next, disconnect the fuel line from the carburetor, then remove the three gas tank mounting bolts (turn the steering to access the two at the front). Finally, remove the gas tank by lifting it slightly and sliding it backward.

Step 4. Remove the plastic pan beneath the gas tank by popping it off the two plastic rivets that secure it at the front, and unhooking the cables from the clips along the right side of the pan.
Step 5. Remove the four valve cover bolts, the valve cover and the spark plug.

PRO TIP: To prevent any dirt or debris from falling into the engine, make sure the area around the valve cover is clean before removing it.
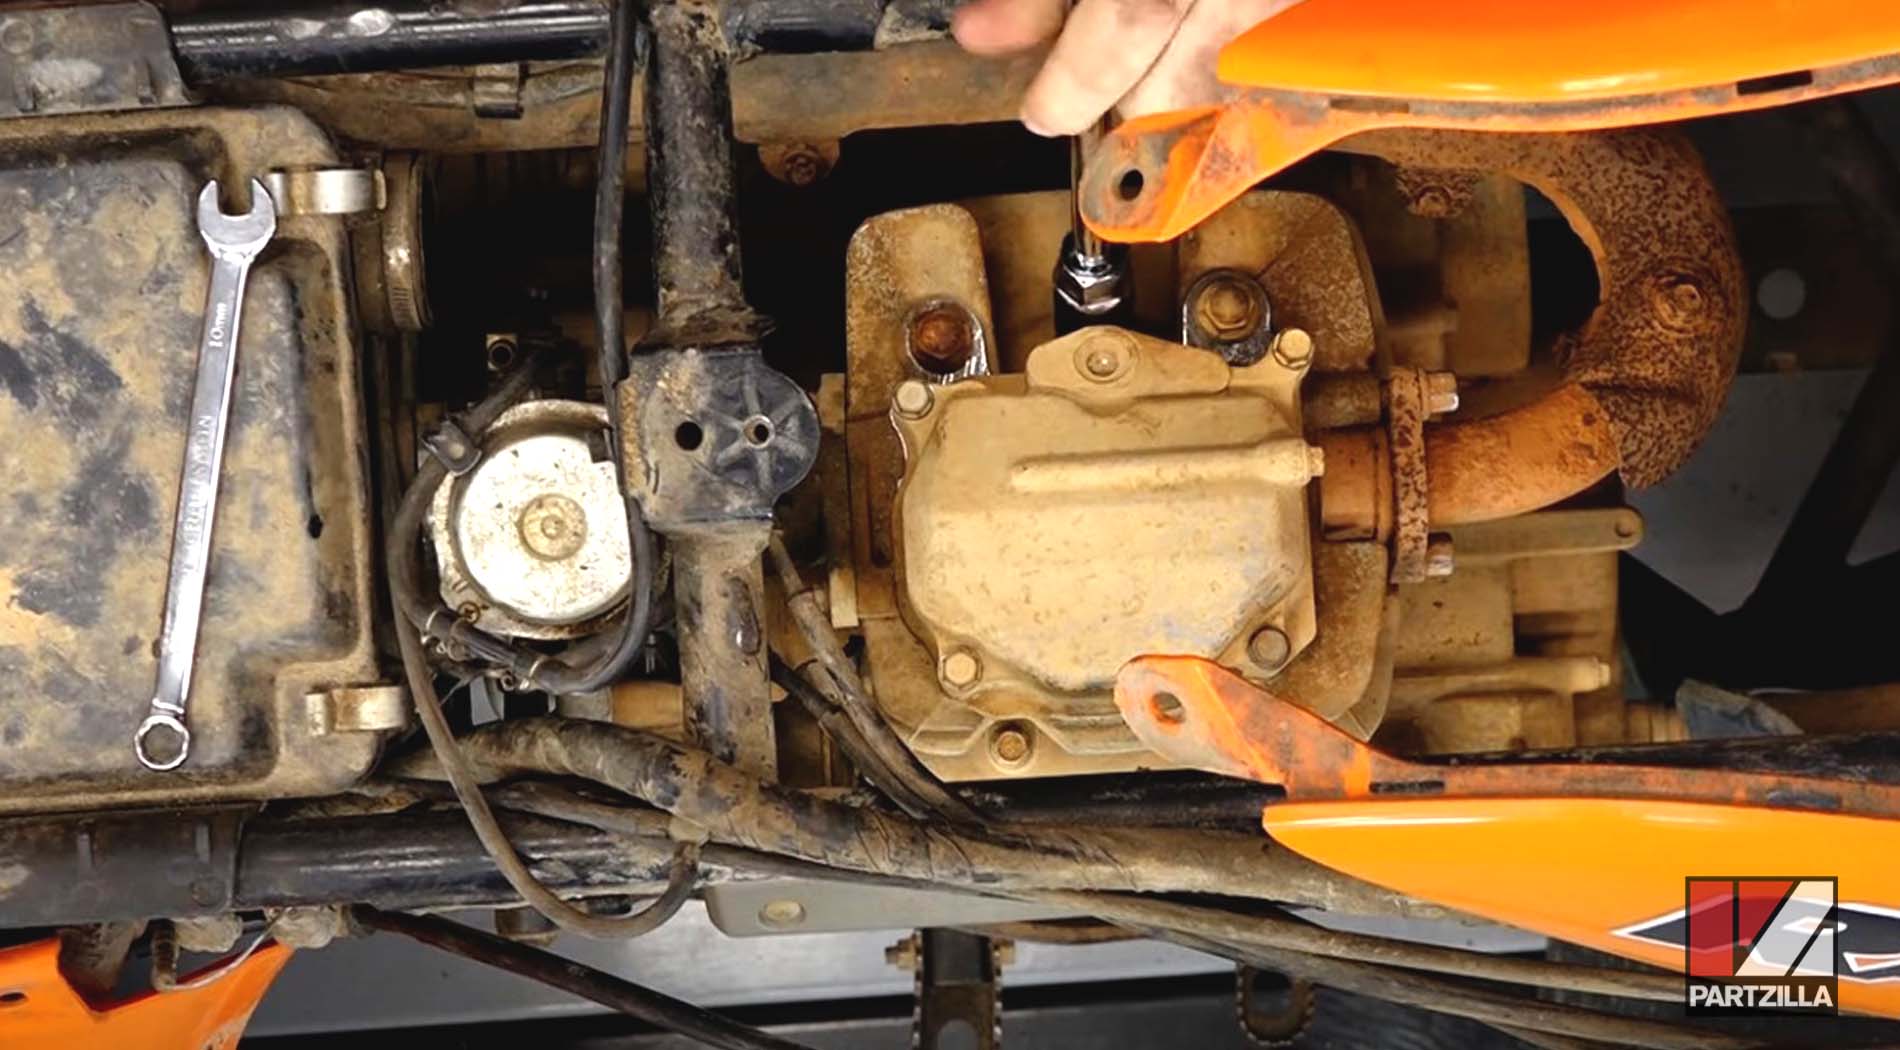
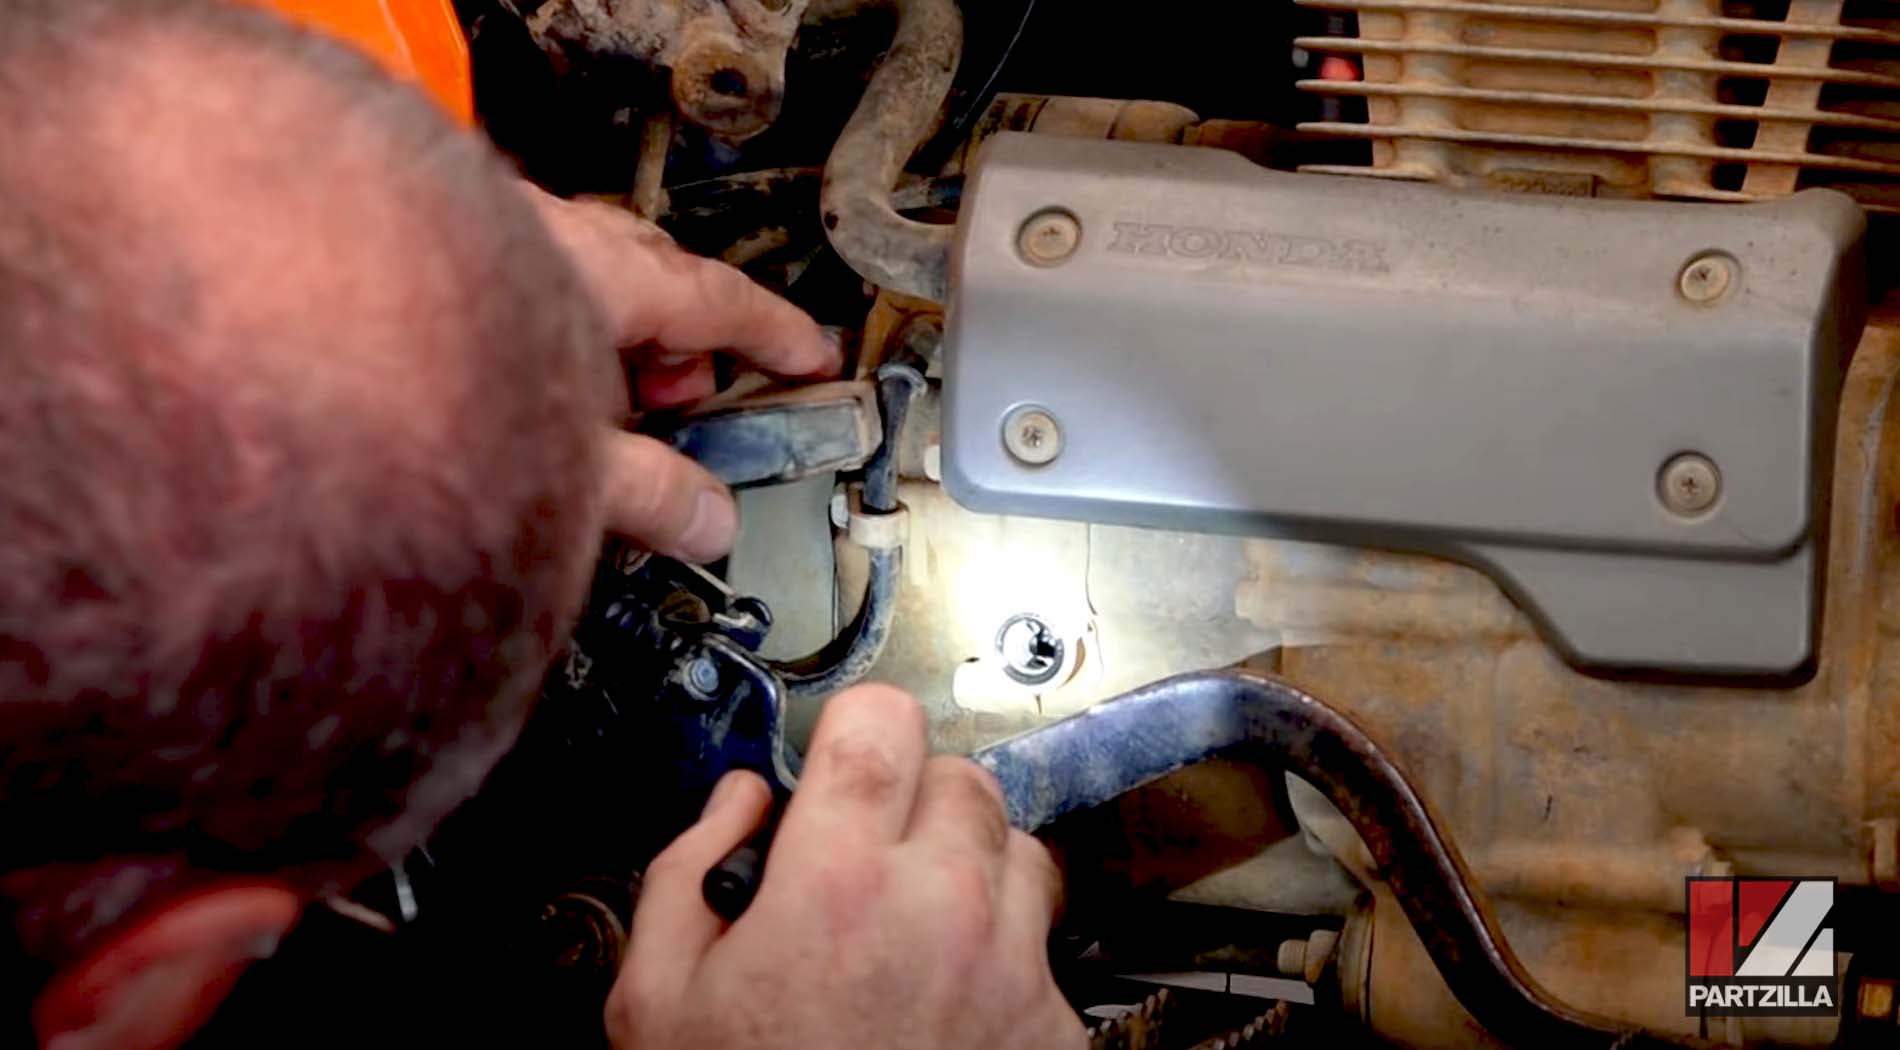
Step 6. Bring the engine to top dead center (TDC) by removing the inspection bolt located at the bottom rear of the motor, and slowly rotating the engine by pulling the manual recoil starter until the T on the flywheel is in the center of the inspection hole. Check that the engine is at TDC by moving the valve rocker arms. If the rockers have some play, the engine is at TDC. If the valves are locked solid, the motor is at bottom dead center (BDC) and you’ll have to continue rotating the engine until the T is centered in the inspection hole again.
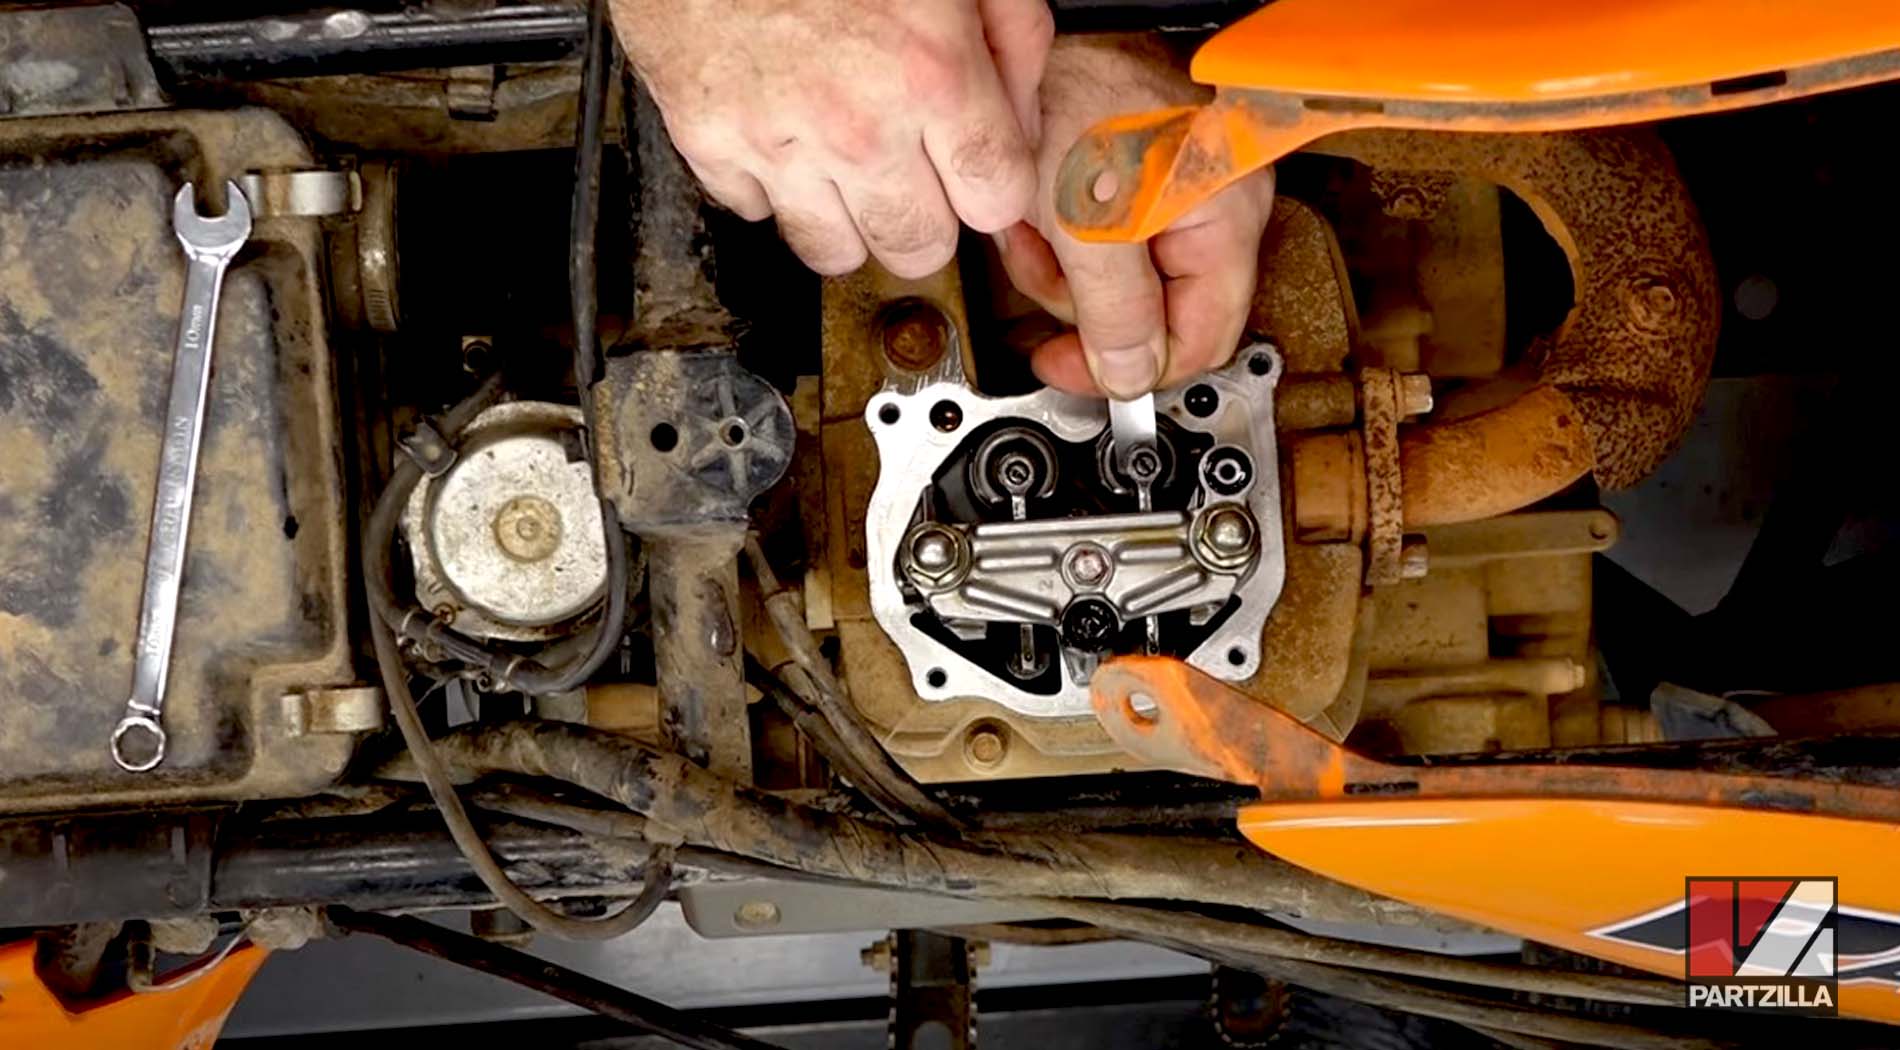
Step 7. Loosen the rocker arm lock nut very slightly to adjust a valve, then slide a feeler gauge into the gap between the rocker arm and the valve head, and turn the adjustment screw at the top of the valve until the gap is correctly set. Hold the adjustment screw in place as you tighten the lock nut to maintain the correct valve gap.
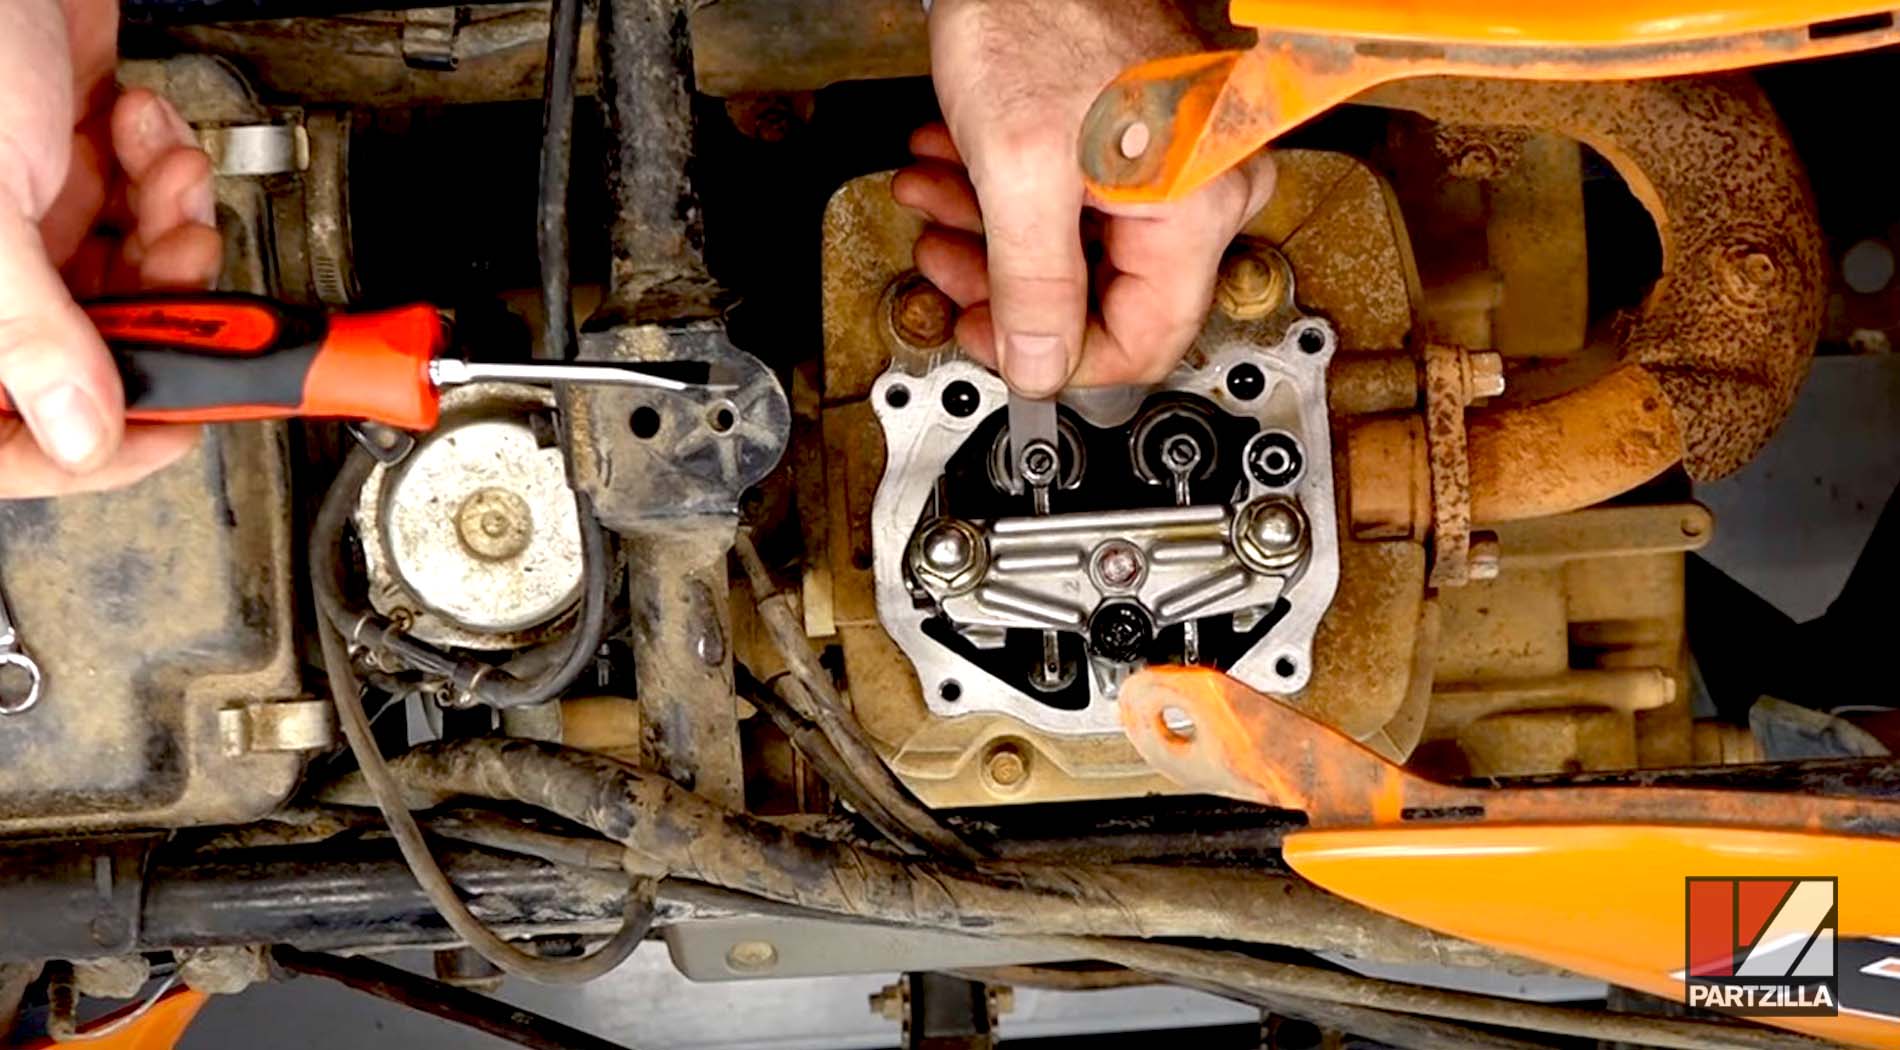
PRO TIP: The correct valve gaps for your ATV will be noted in the owner’s manual. The valve gaps for a 2003 Honda TRX350 Rancher are 0.015mm or 0.006” for both the intake and exhaust valves.
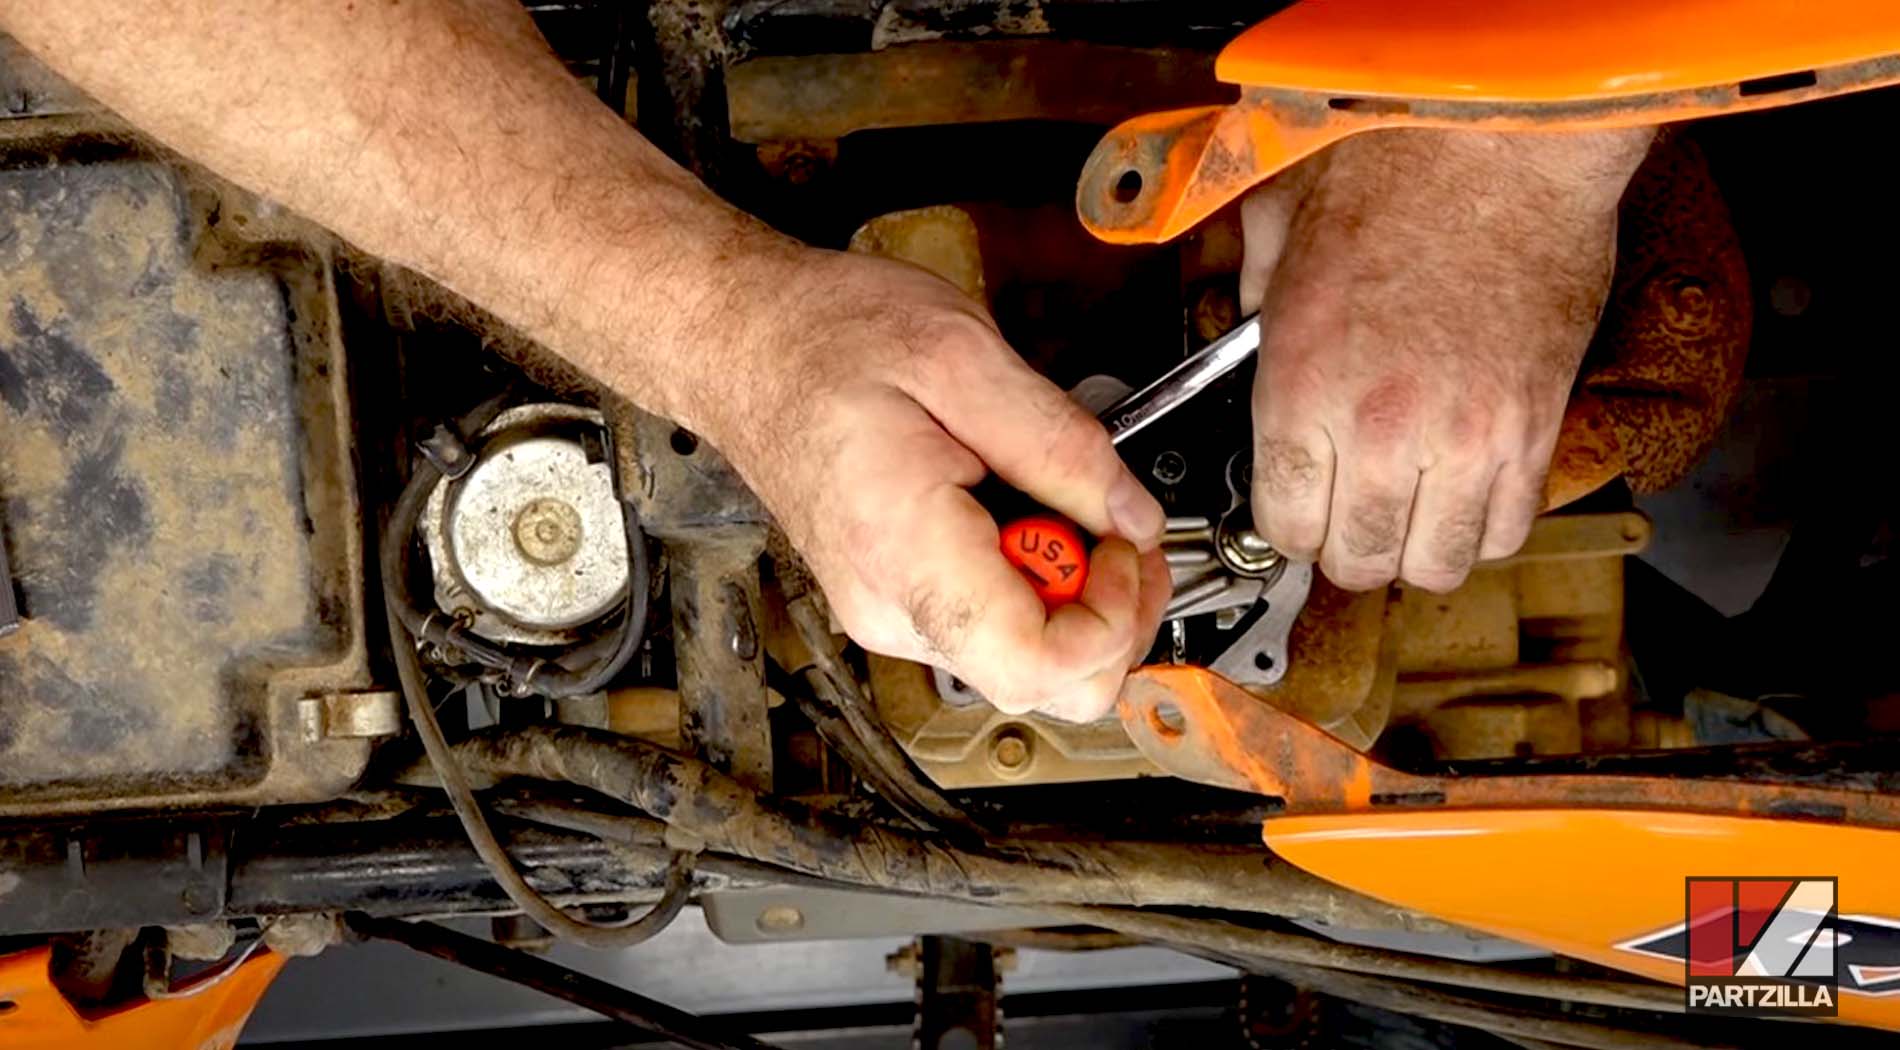
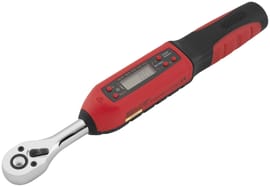
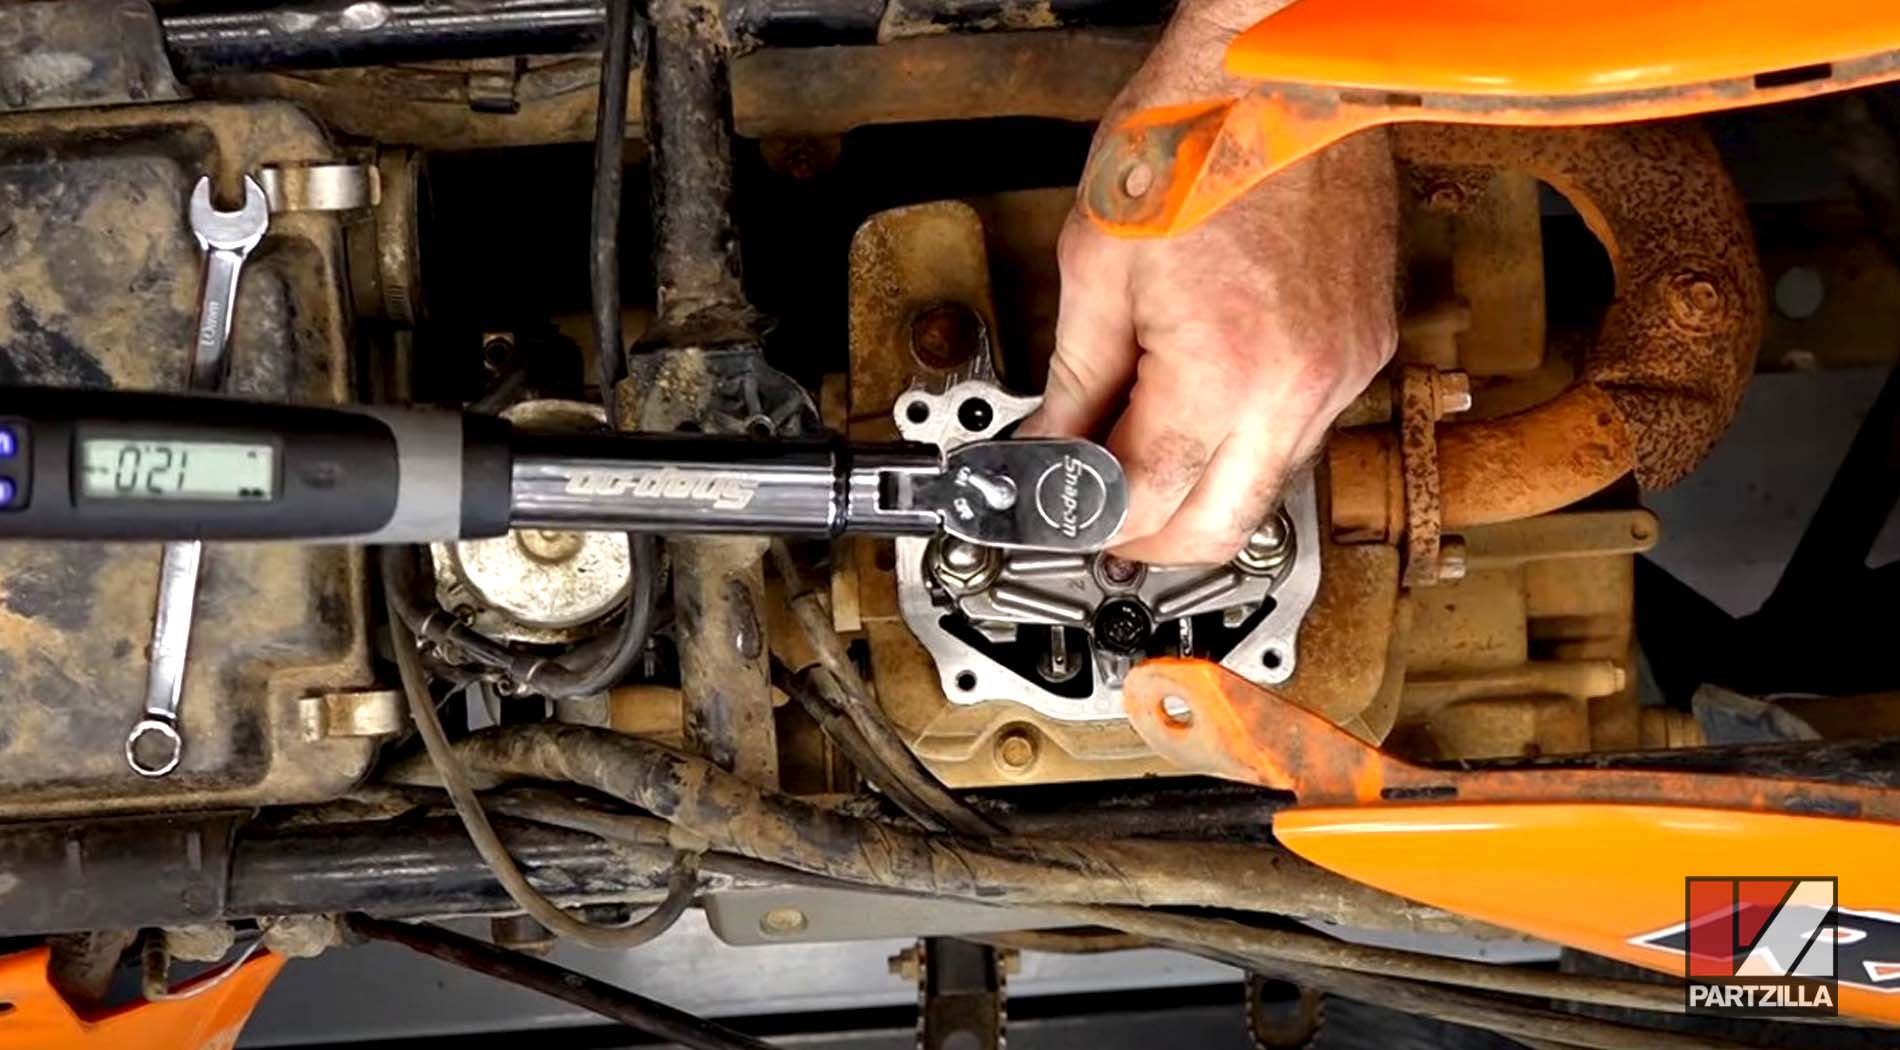
Step 8. Once the lock nut is tightened, torque it to 12 foot-pounds, then check the gap again and readjust it if necessary. Repeat this process for both valves.
Step 9. Reinstall the valve cover, the plastic pan, gas tank, airbox intake tube, seat and engine covers, then reconnect the negative battery cable and you’re done.
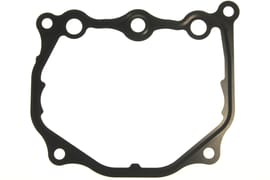
NOTE: If the valve cover gasket is worn or damaged when the cover was removed, replace it with a new head cover gasket.