How to Change Honda Rancher TRX420 Front Brake Pads
Replacing the front brake pads on a Honda ATV doesn’t require any special tools, and it’s the most straightforward way to maintain your quad’s stopping power.
Honda Rancher 420 brake pads have a wear indicator, roughly the width of a credit card. If you wear down enough brake pad material, the indicator tells you it’s time to change the pads. Letting them go too long causes reduced stopping power because there’s less pad material to dissipate heat.
Watch the video above and follow the steps below to change the front brake pads on a Honda Rancher TRX420 ATV.
Tools and Parts- Honda Rancher 420 Front Brake Pads Replacement
- 10mm, 12mm, 17mm sockets
- 5mm Allen wrench or socket
- Ratchet
- Flat-blade screwdriver
- Torque wrench
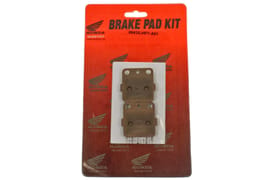
- Honda Rancher 420 brake pads (x2)
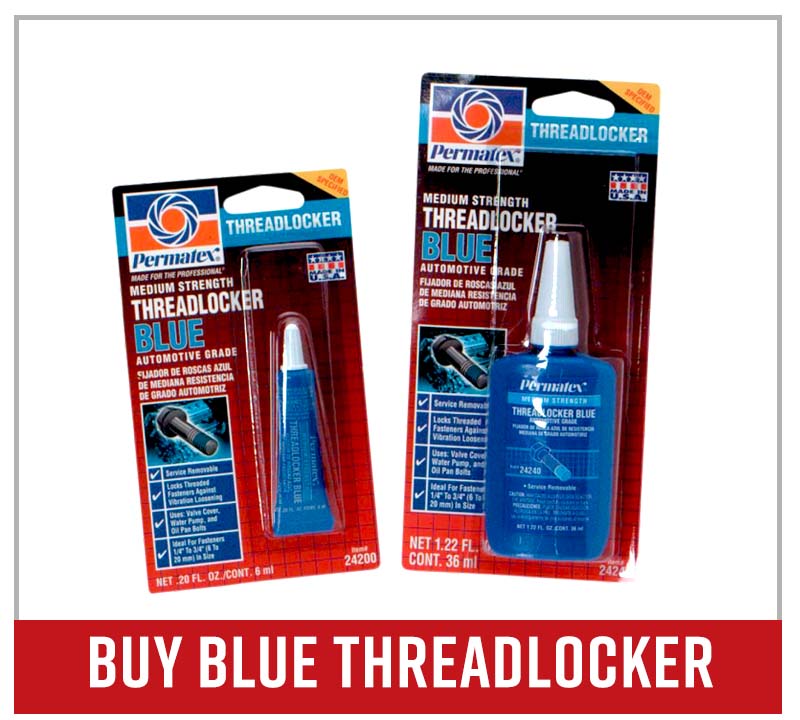
- Blue threadlocker
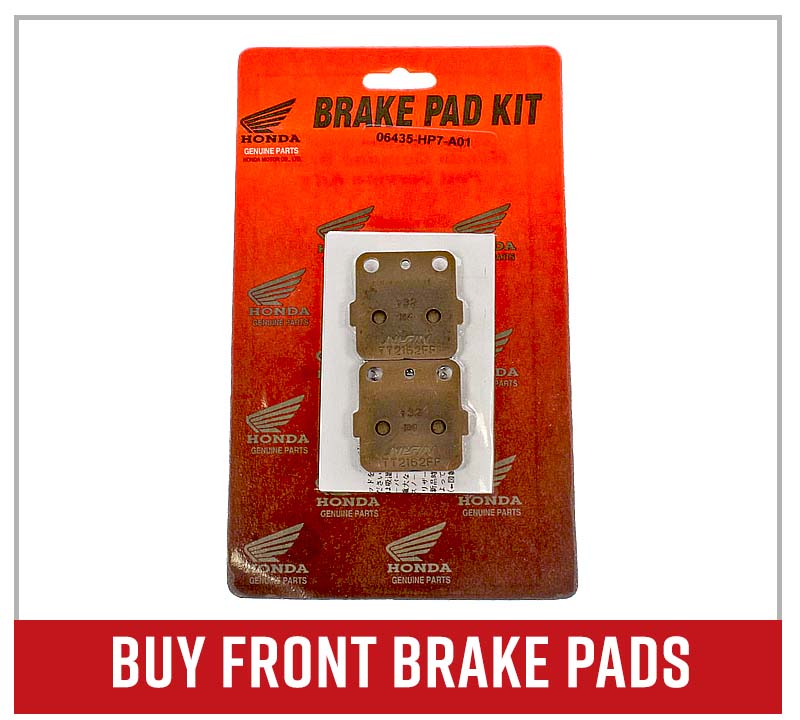
NOTE: You need to order two sets of the brake pads for both the right and left sides.
Honda Rancher 420 Front Brake Pads Change
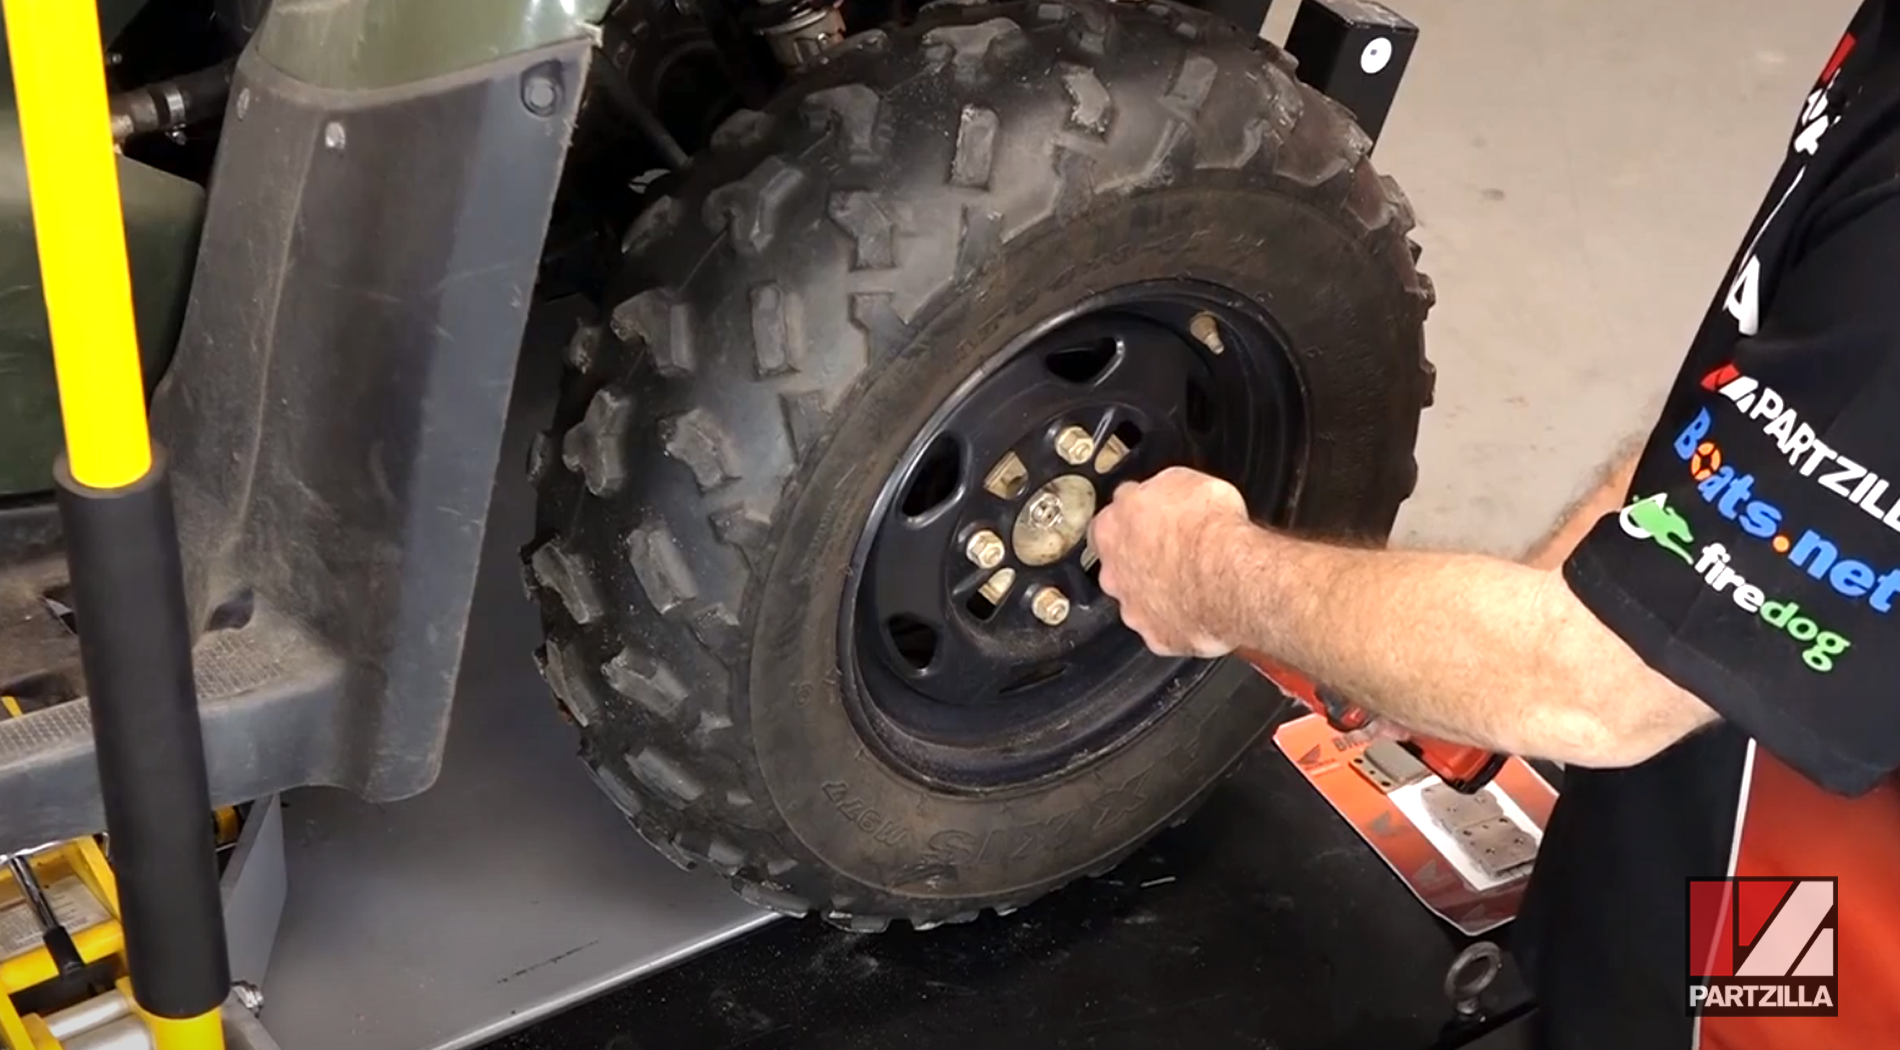
Step 1. Lift the unit up and use an impact wrench to loosen the 17mm lug nuts on the wheel. If you don’t have an impact wrench, use a ratchet to break the lug nuts loose before you lift the unit up.
Step 2. Remove the two 10mm head bolts that hold in place the plastic guard protecting the caliper.
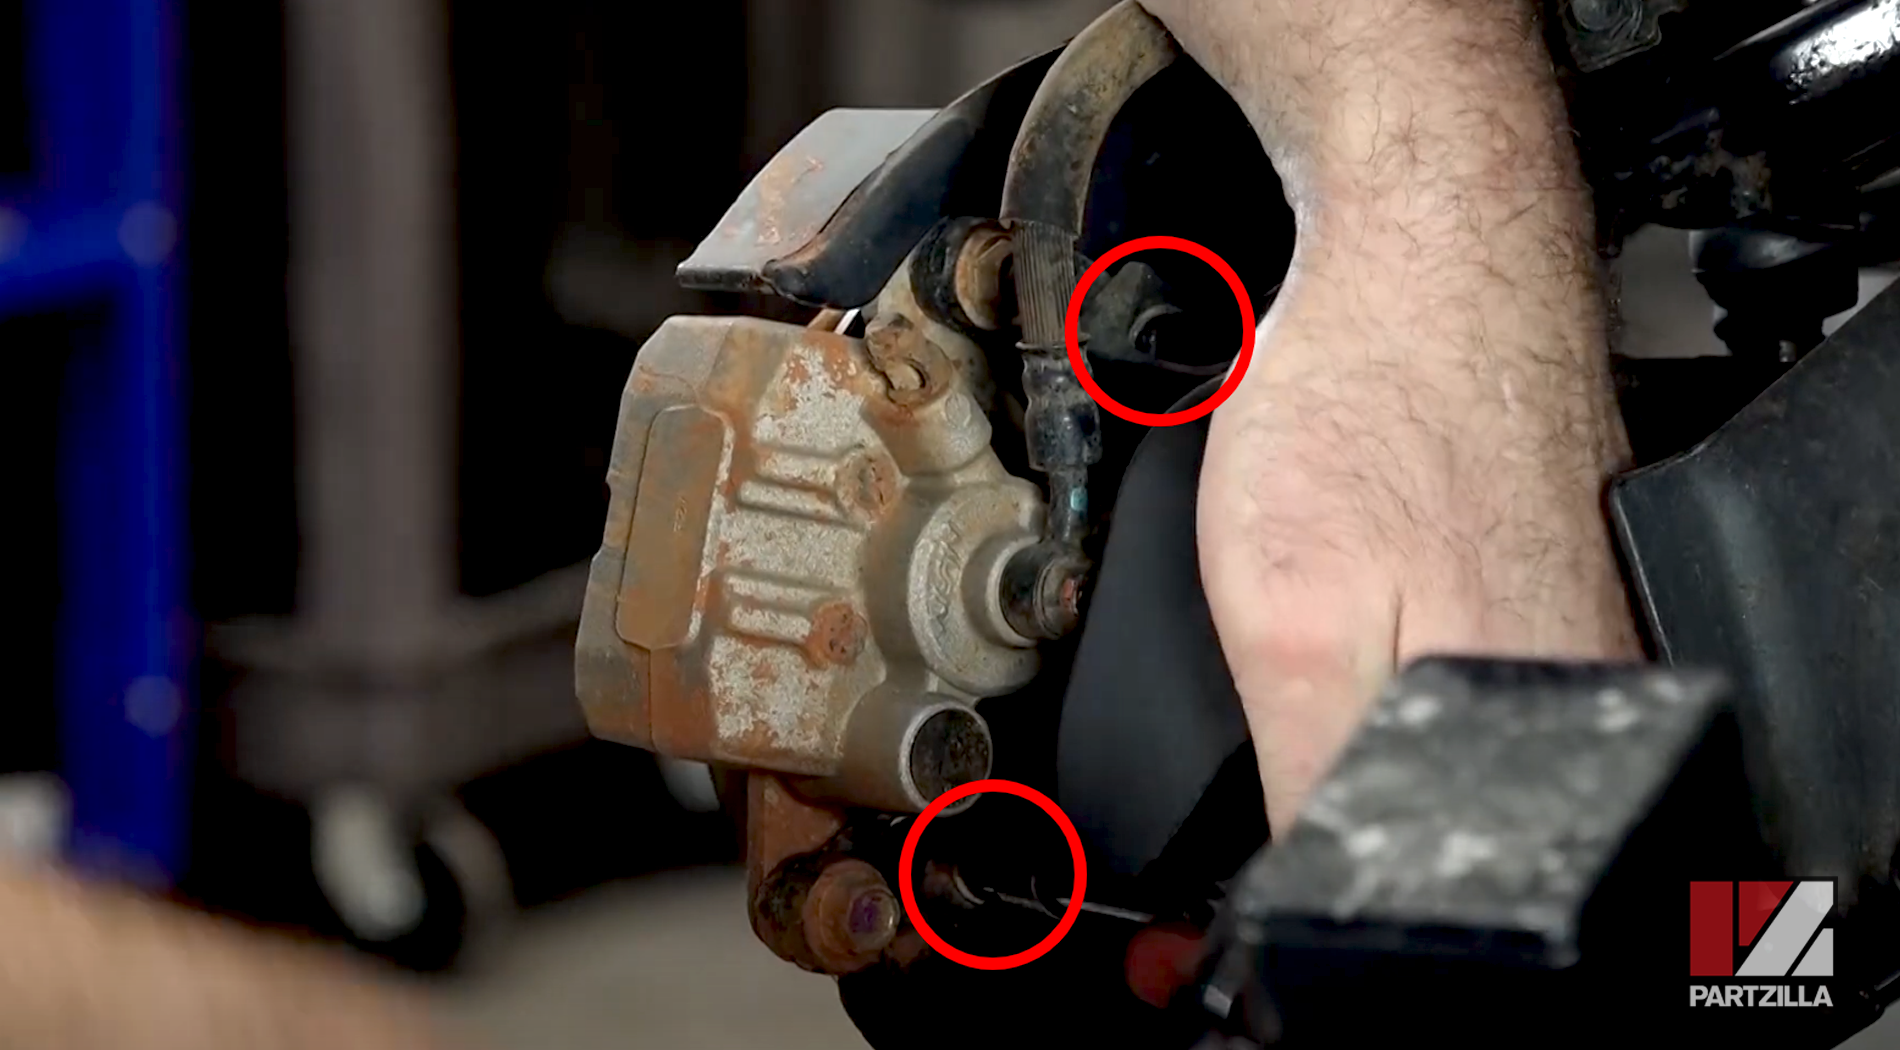
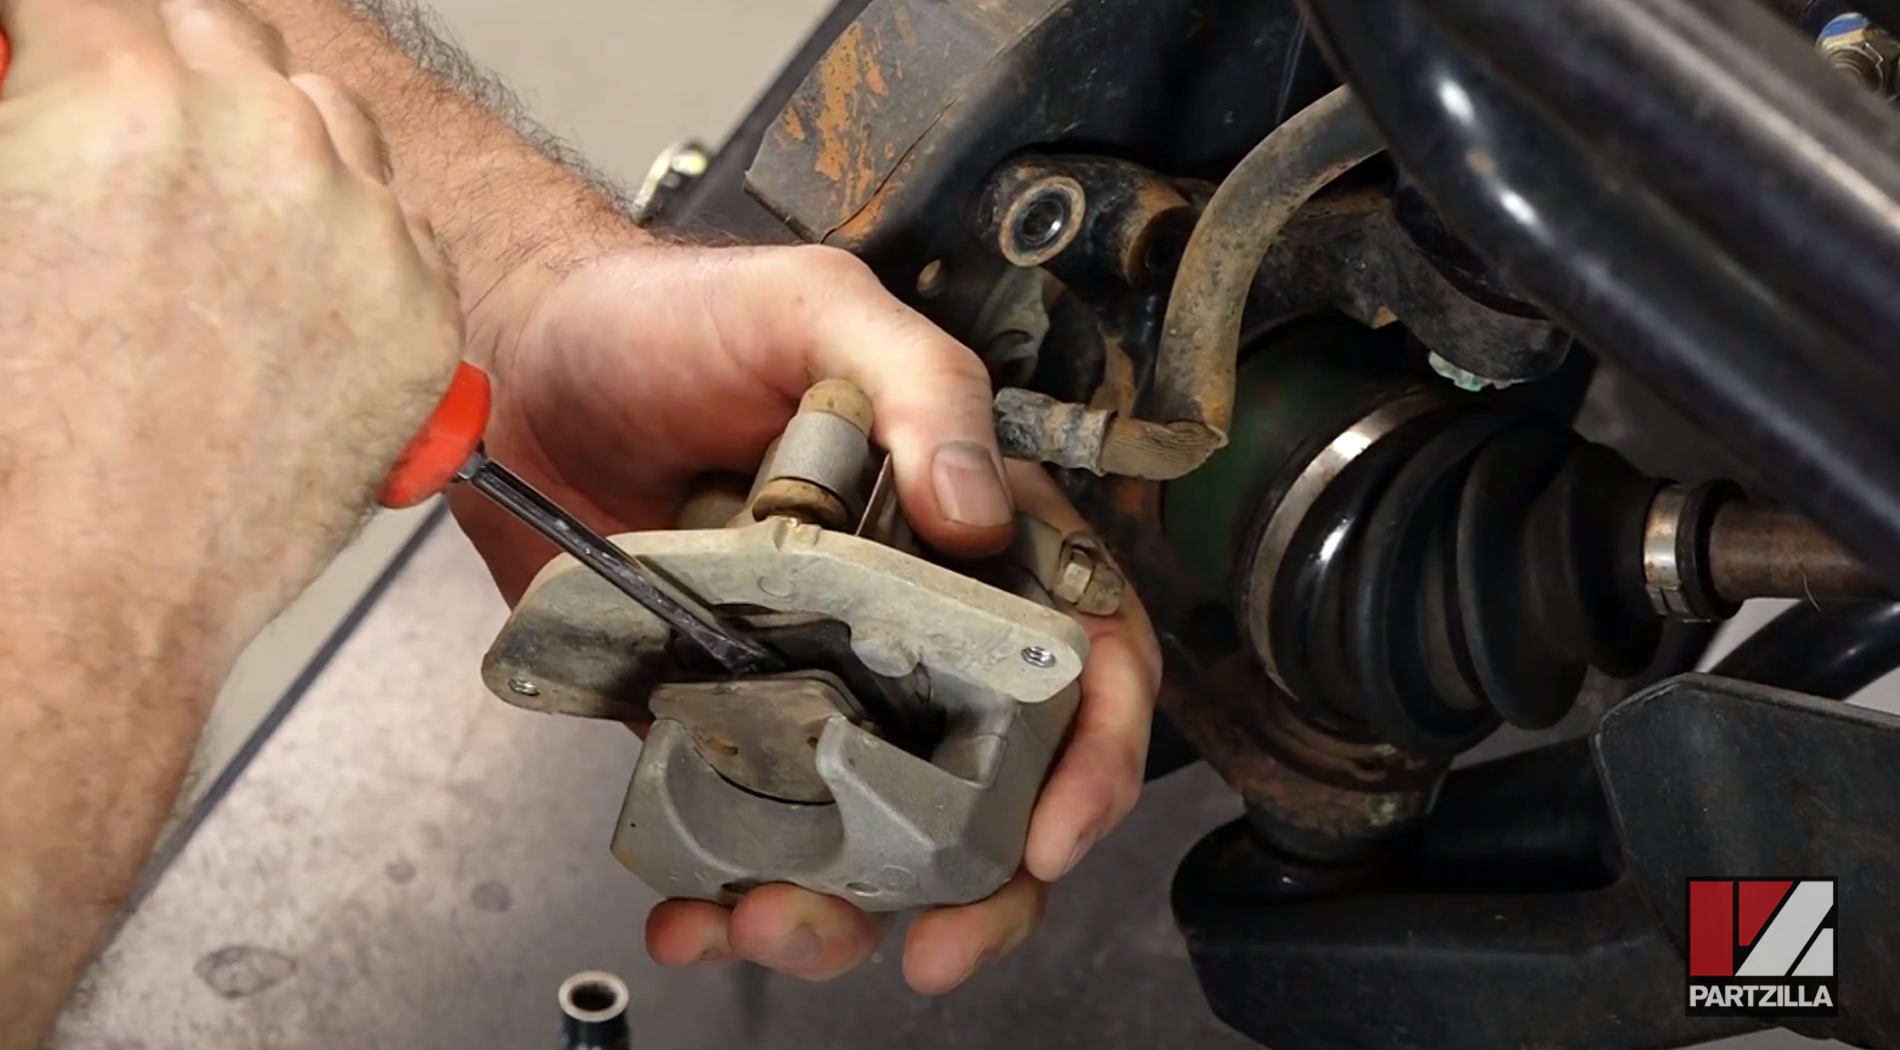
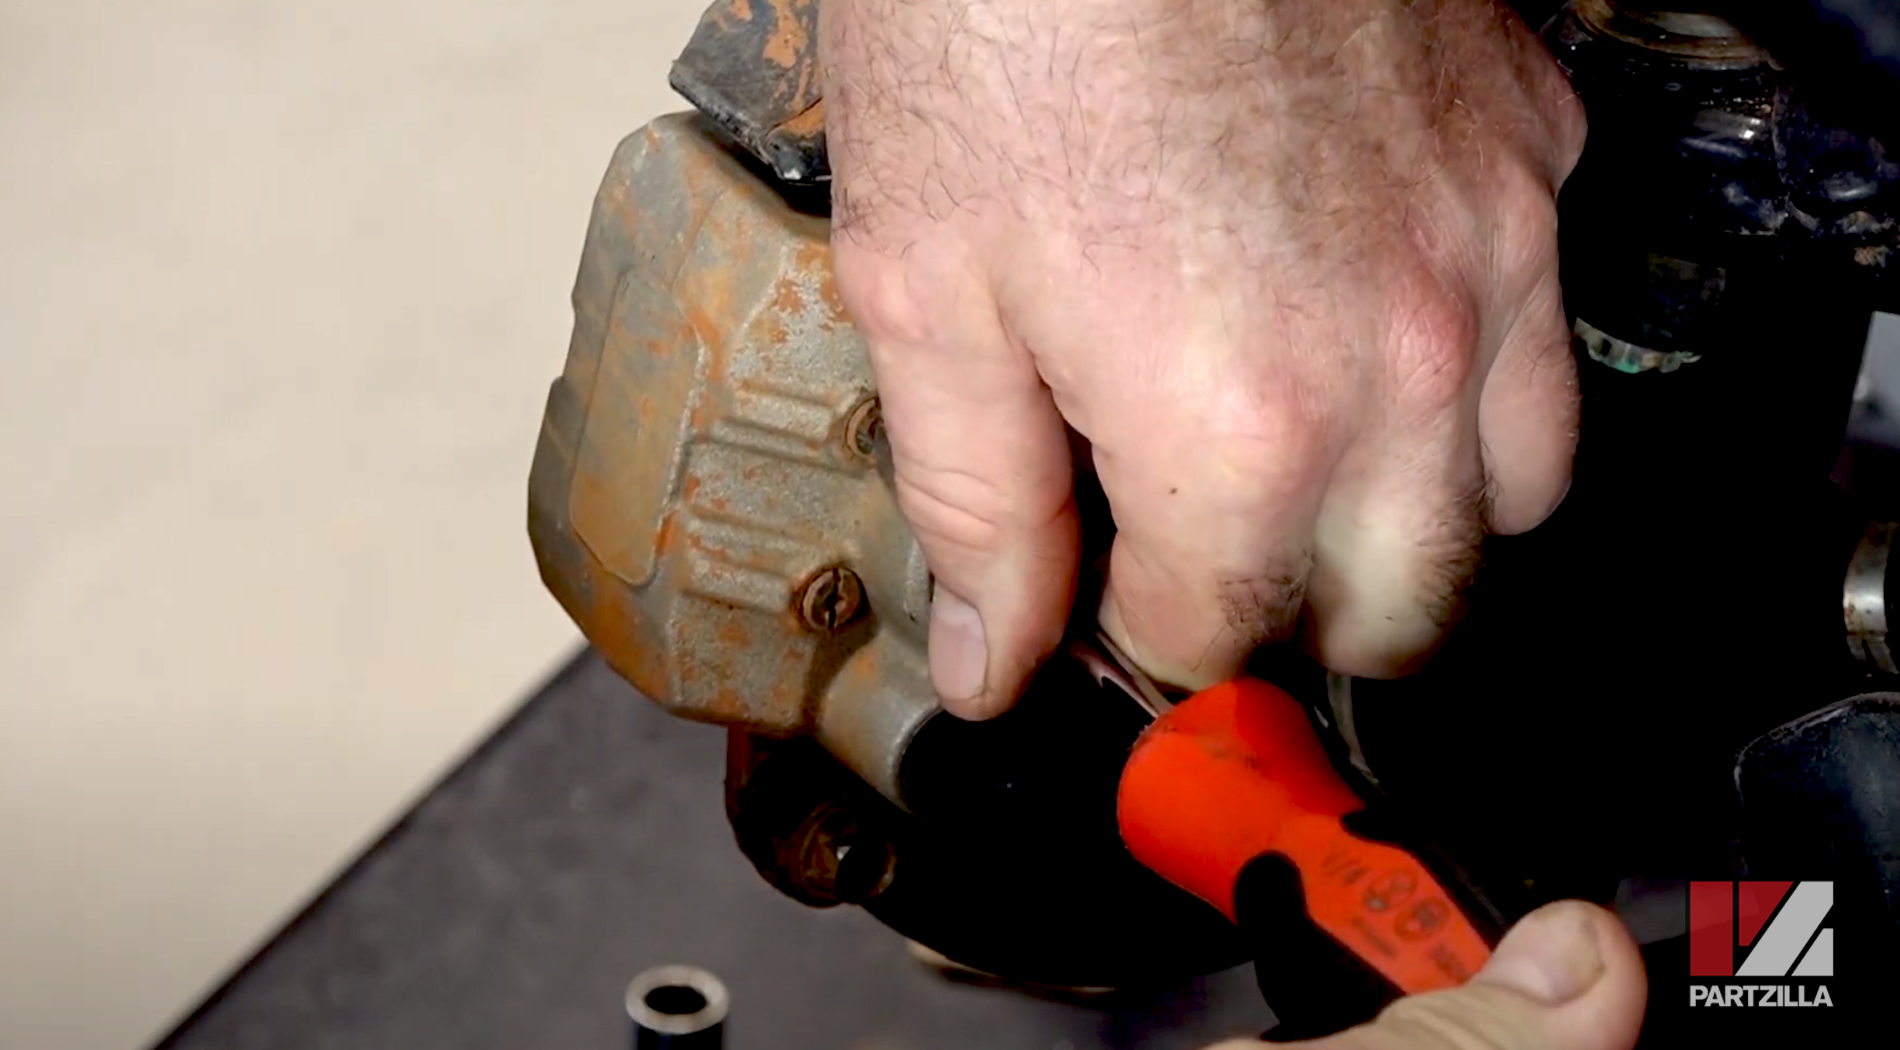
Step 3. Remove the two plastic caps on the back of the brake caliper with a flat-blade screwdriver.
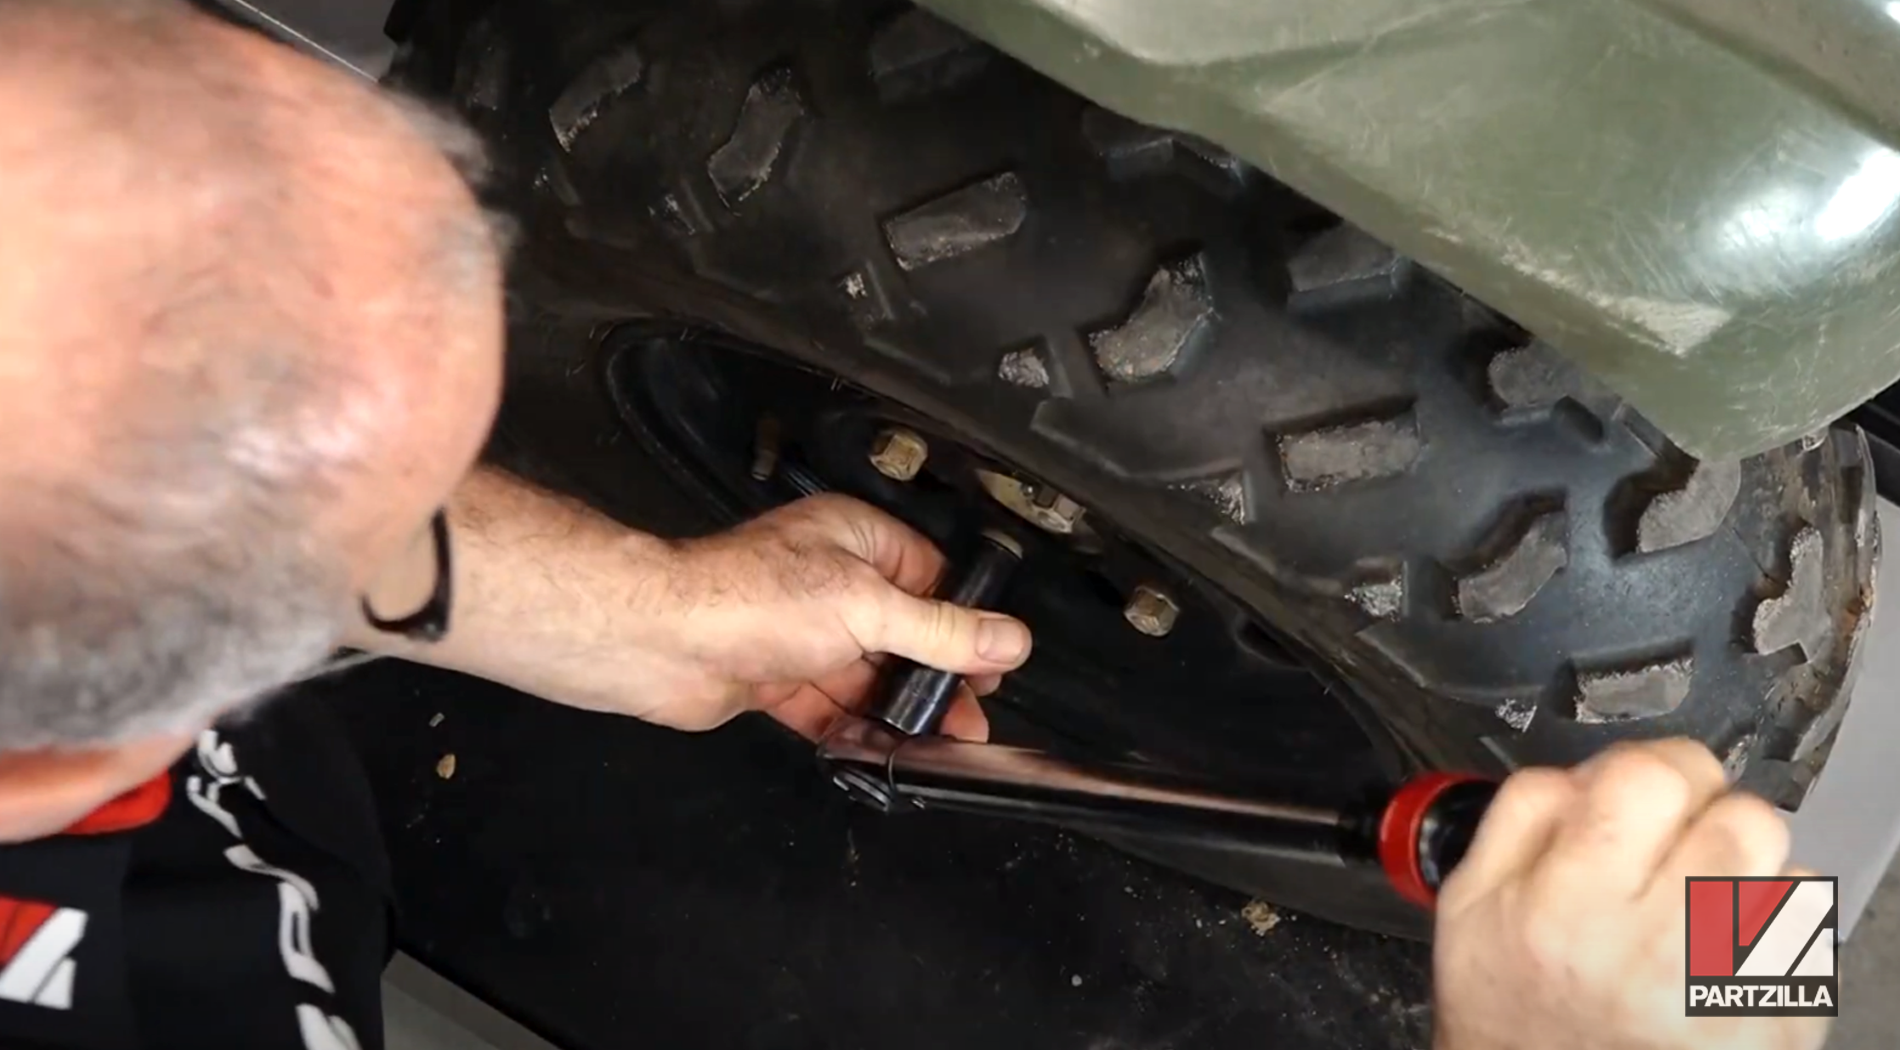
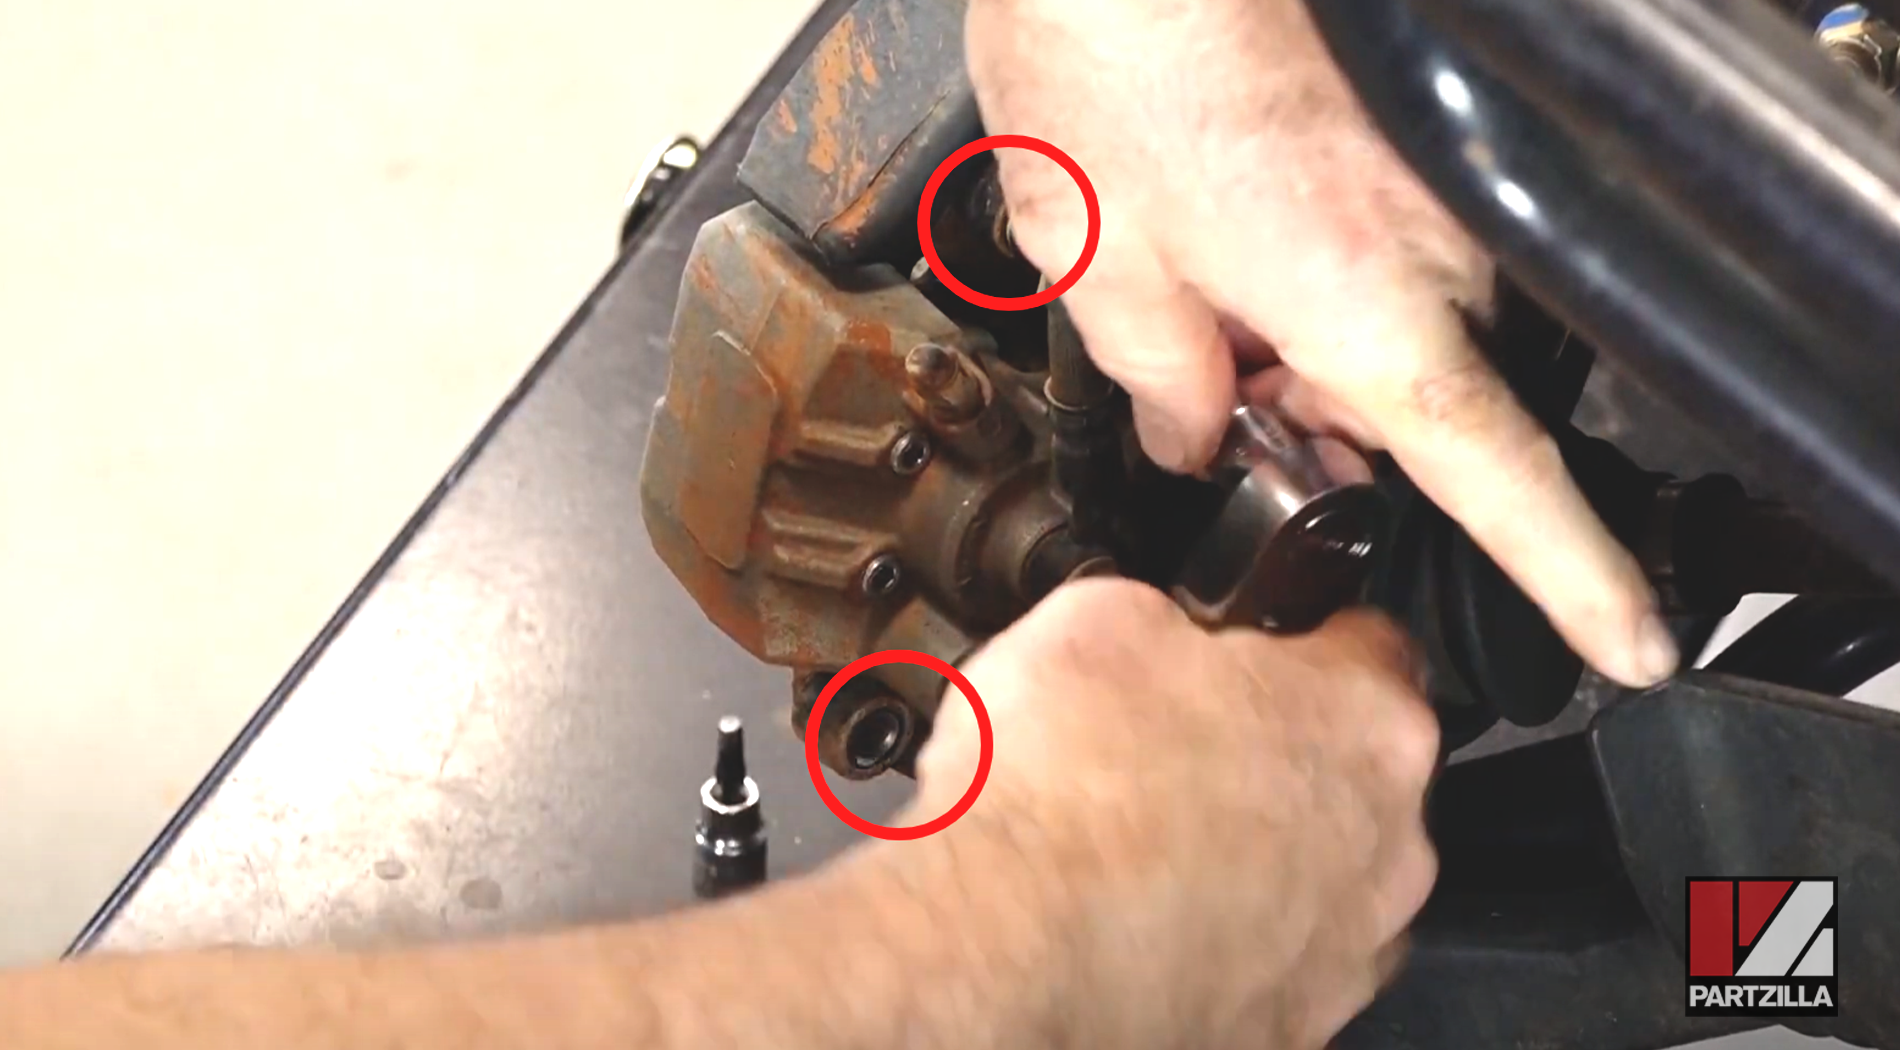
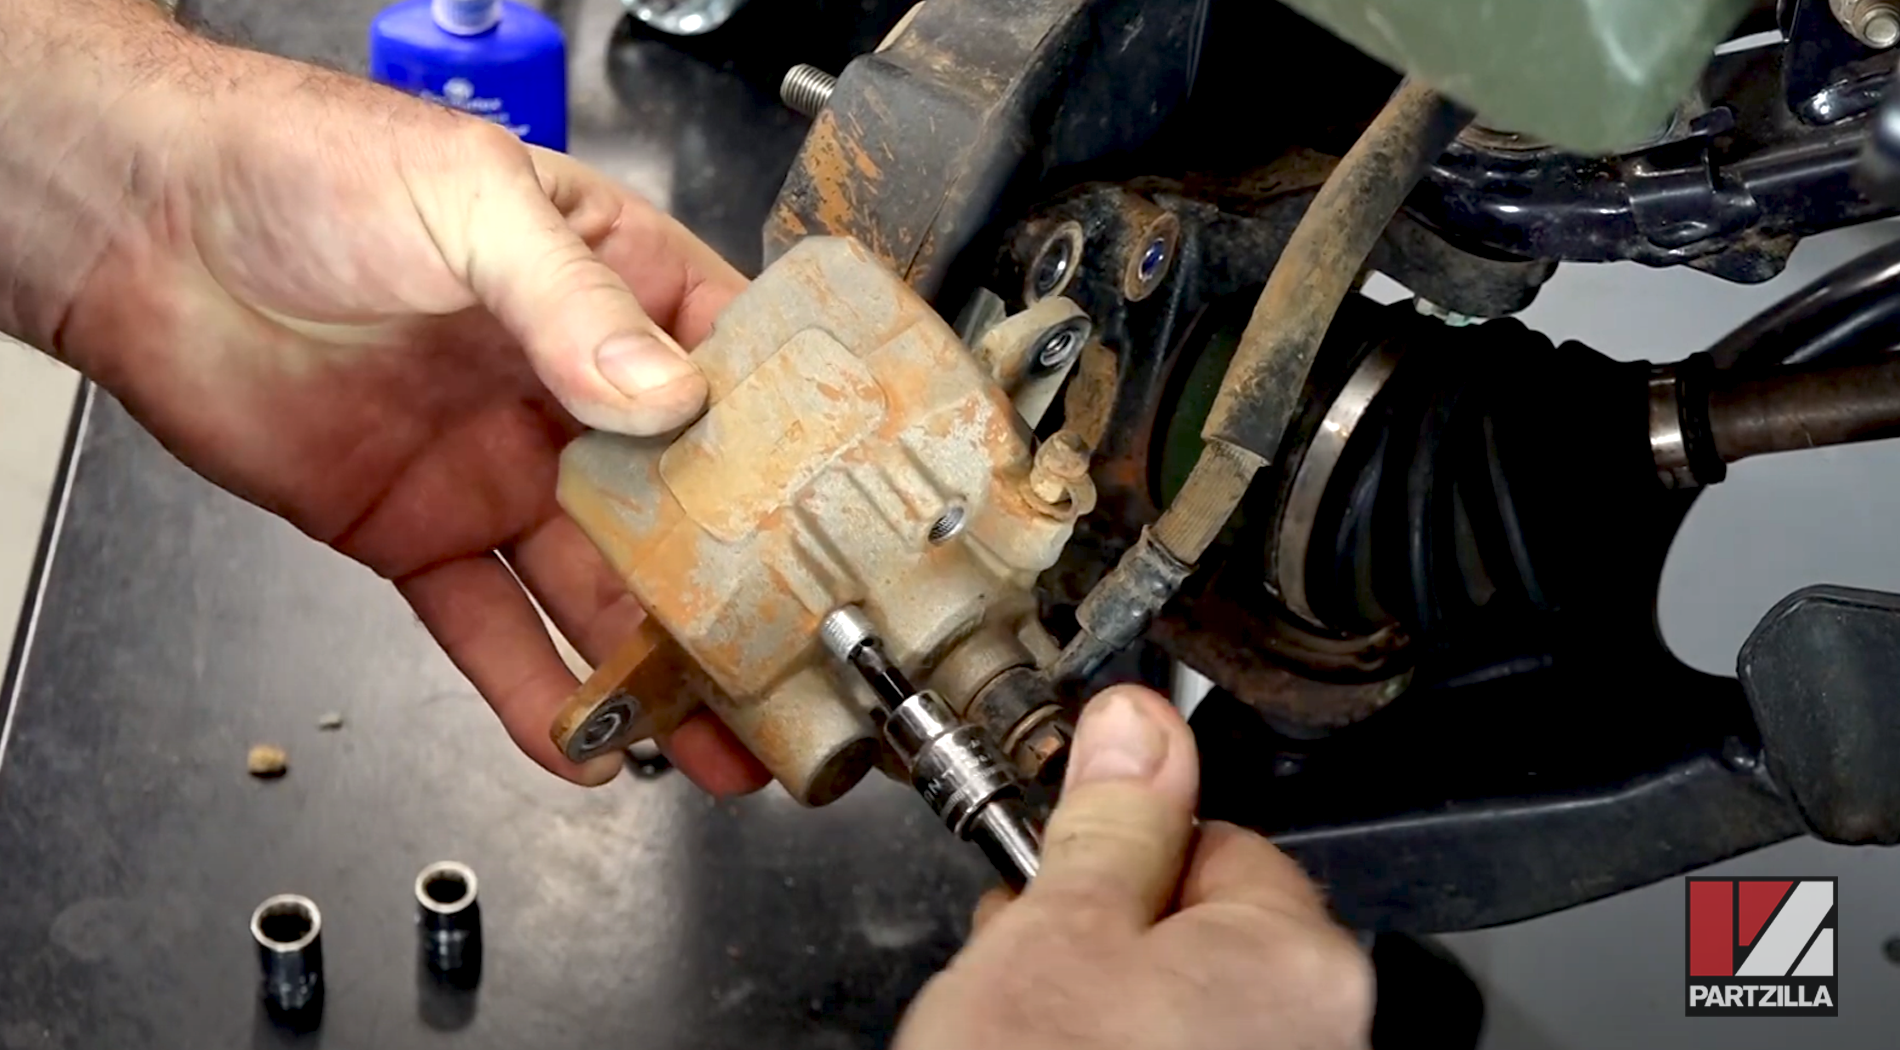
Step 4. Break loose the 5mm Allen pins that hold the brake pads in place. You don’t need to remove them yet, just break them loose.

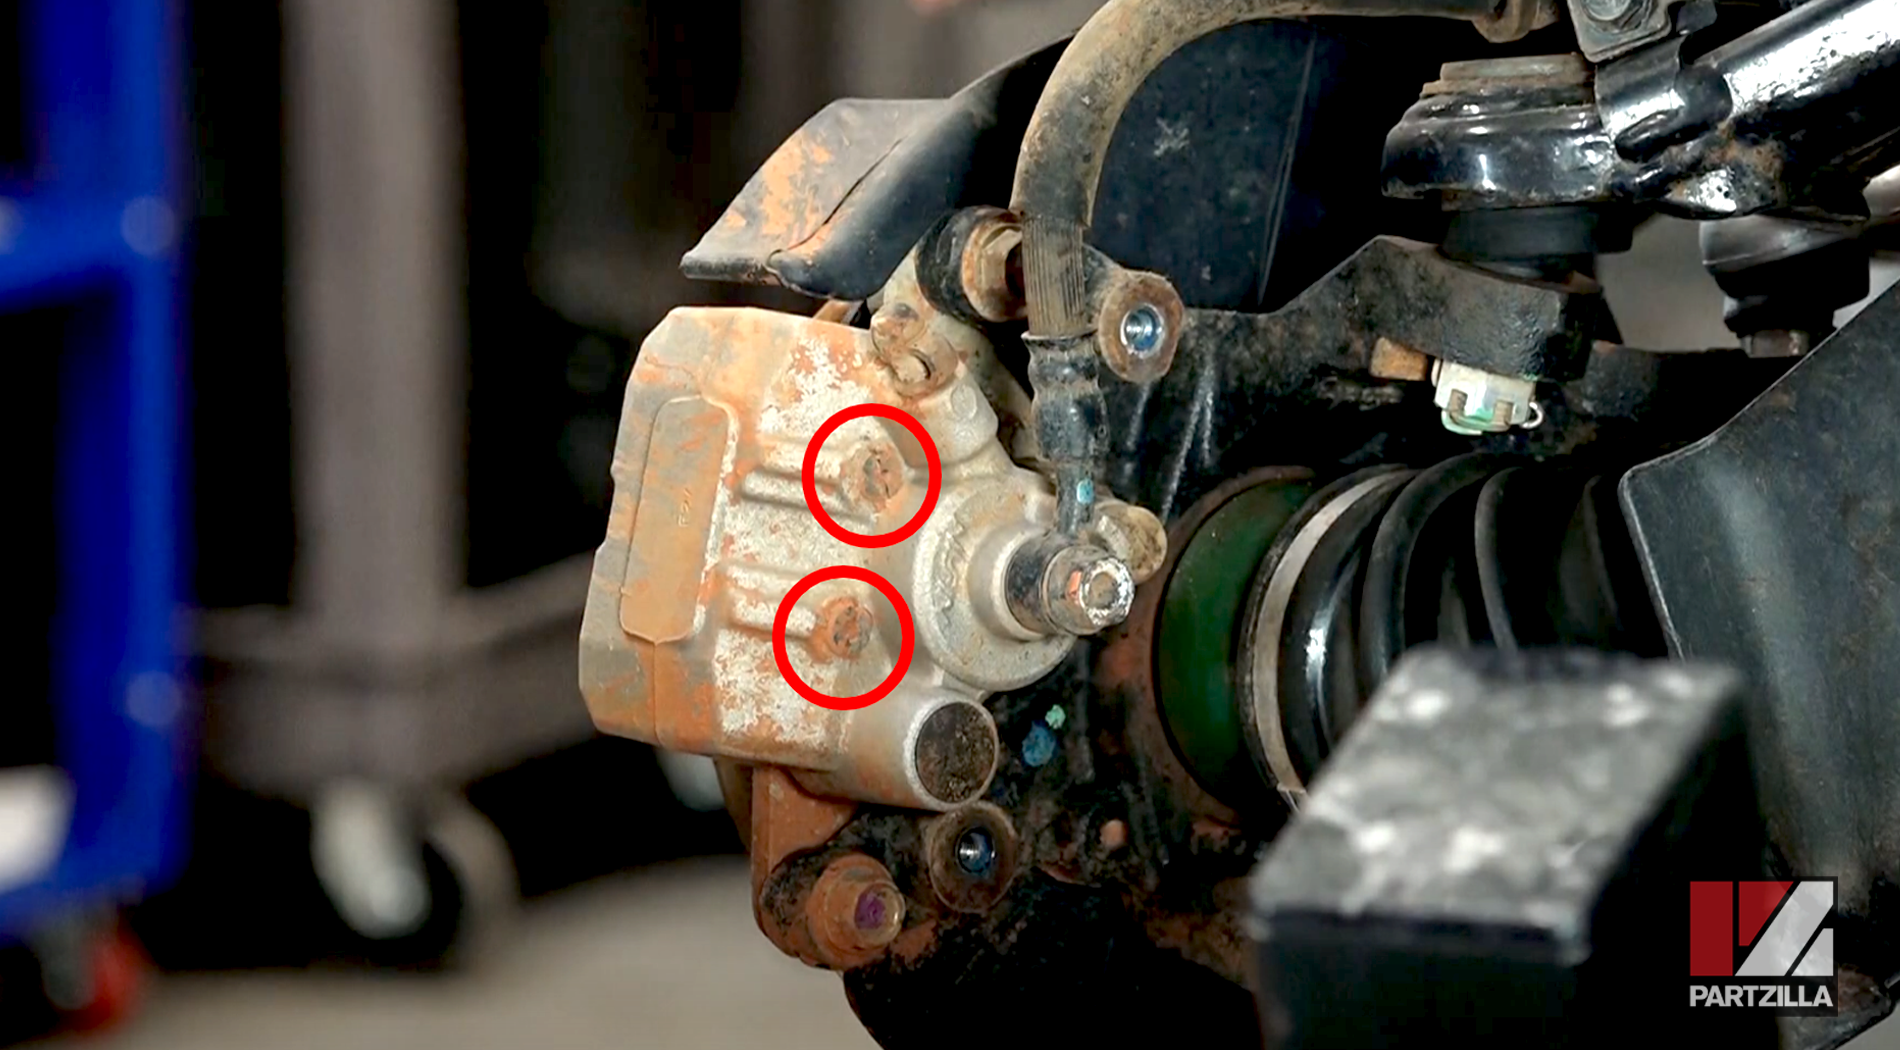
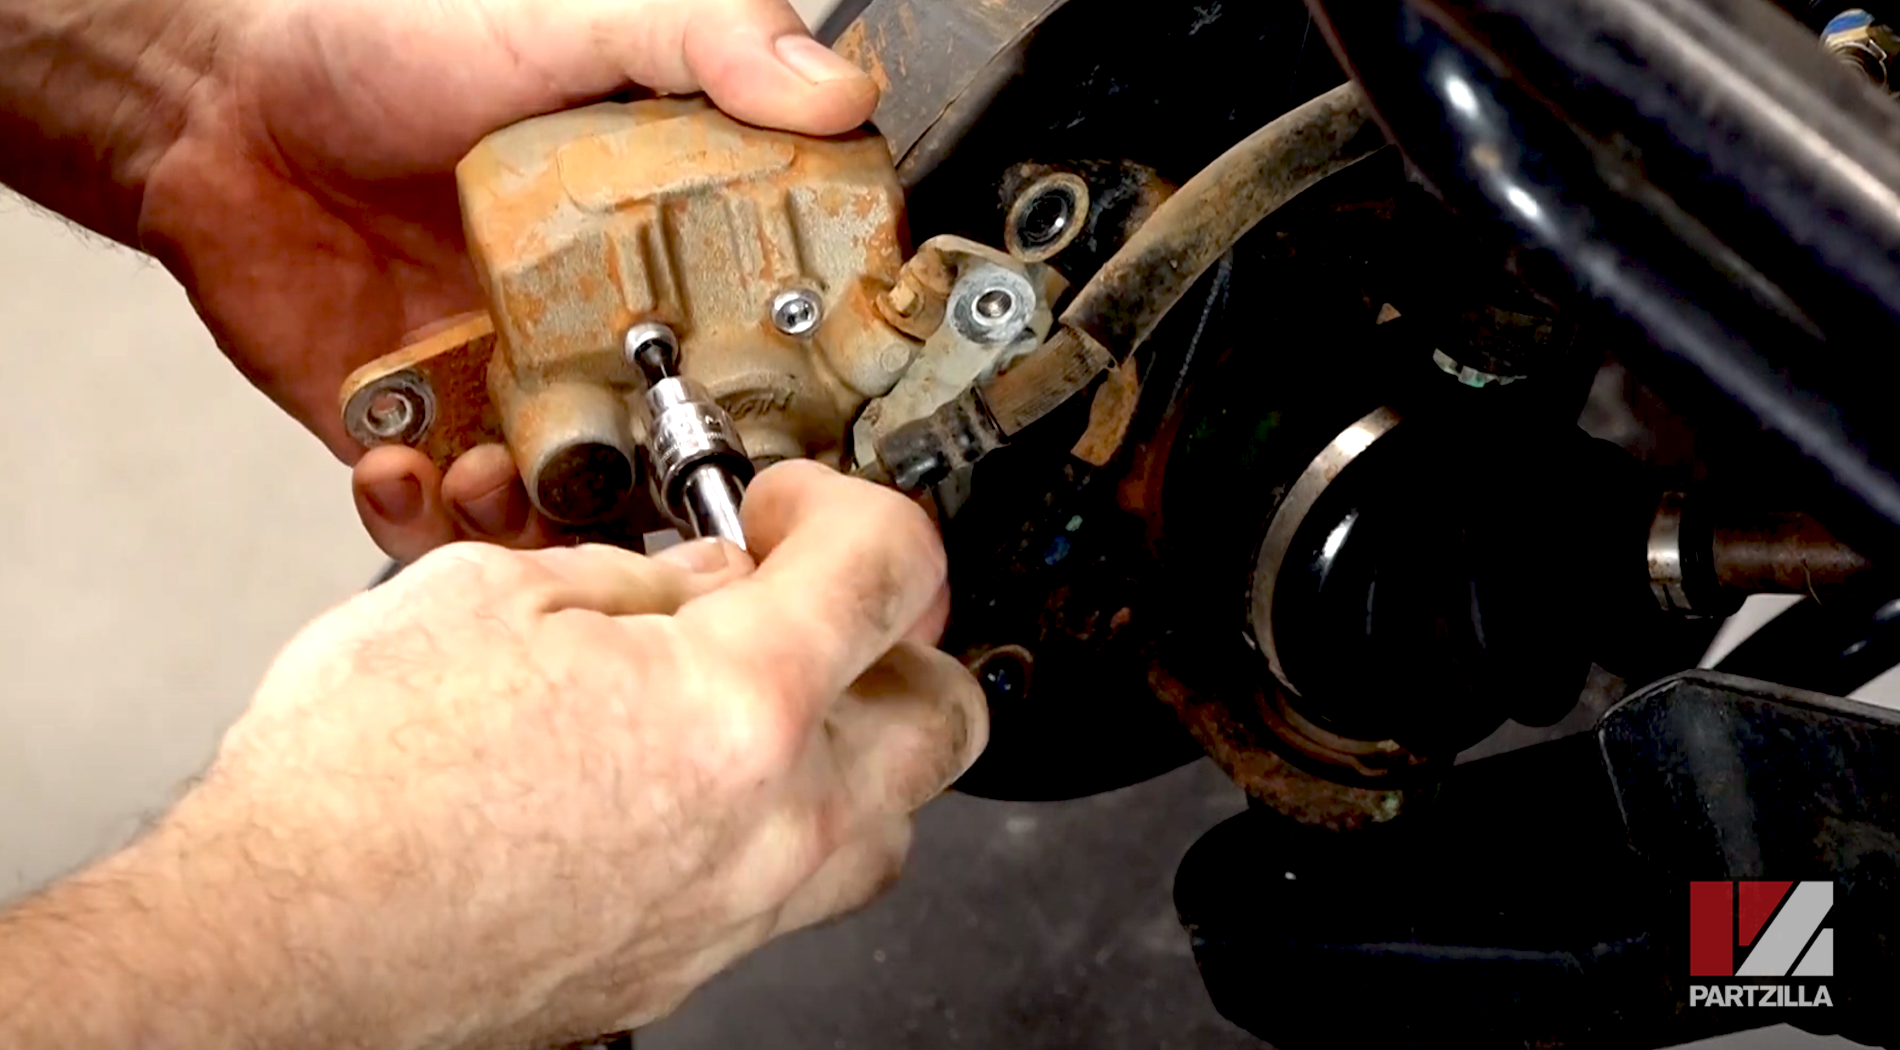
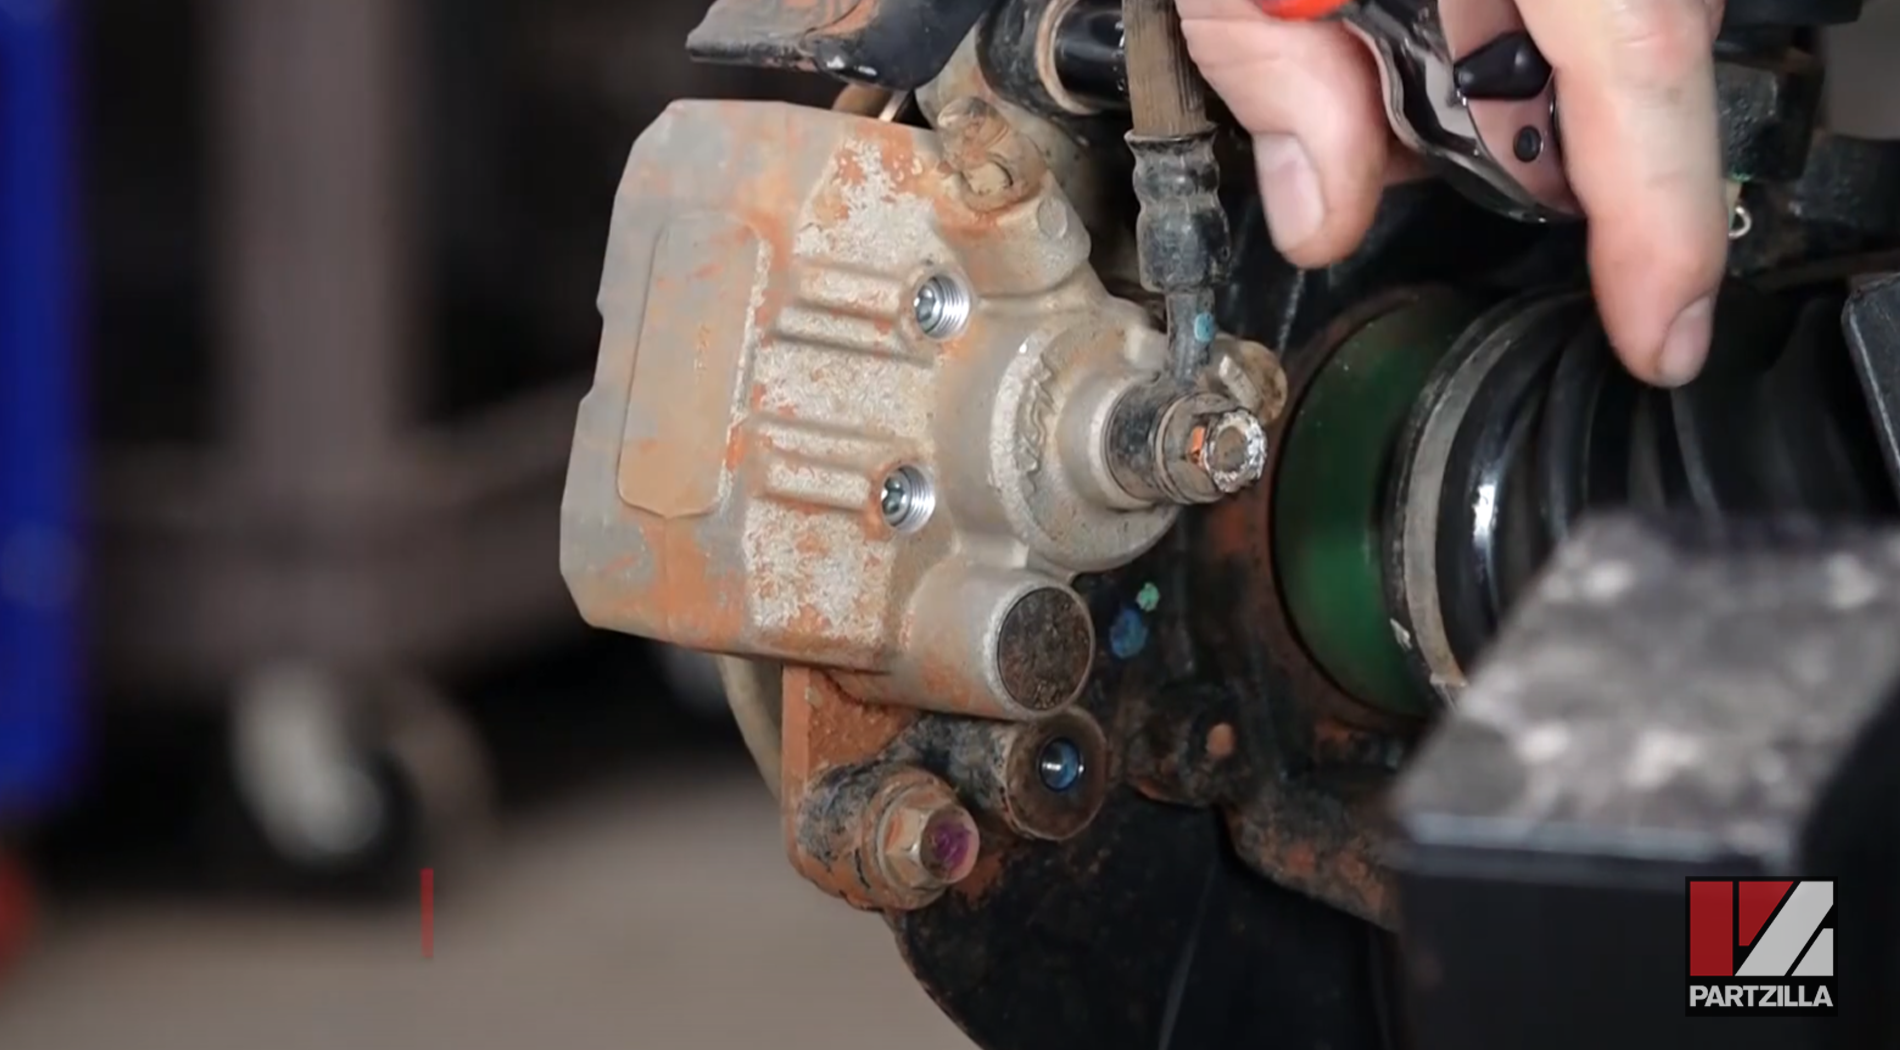
Step 5. Remove the brake caliper, which is held in place by two 12mm bolts.
Step 6. Use a flat-blade screwdriver to push the old pads back into the caliper and compress the pistons. This makes room for the new brake pads.
Step 7. Use a 5mm Allen to remove the pins holding the brake pads in place.
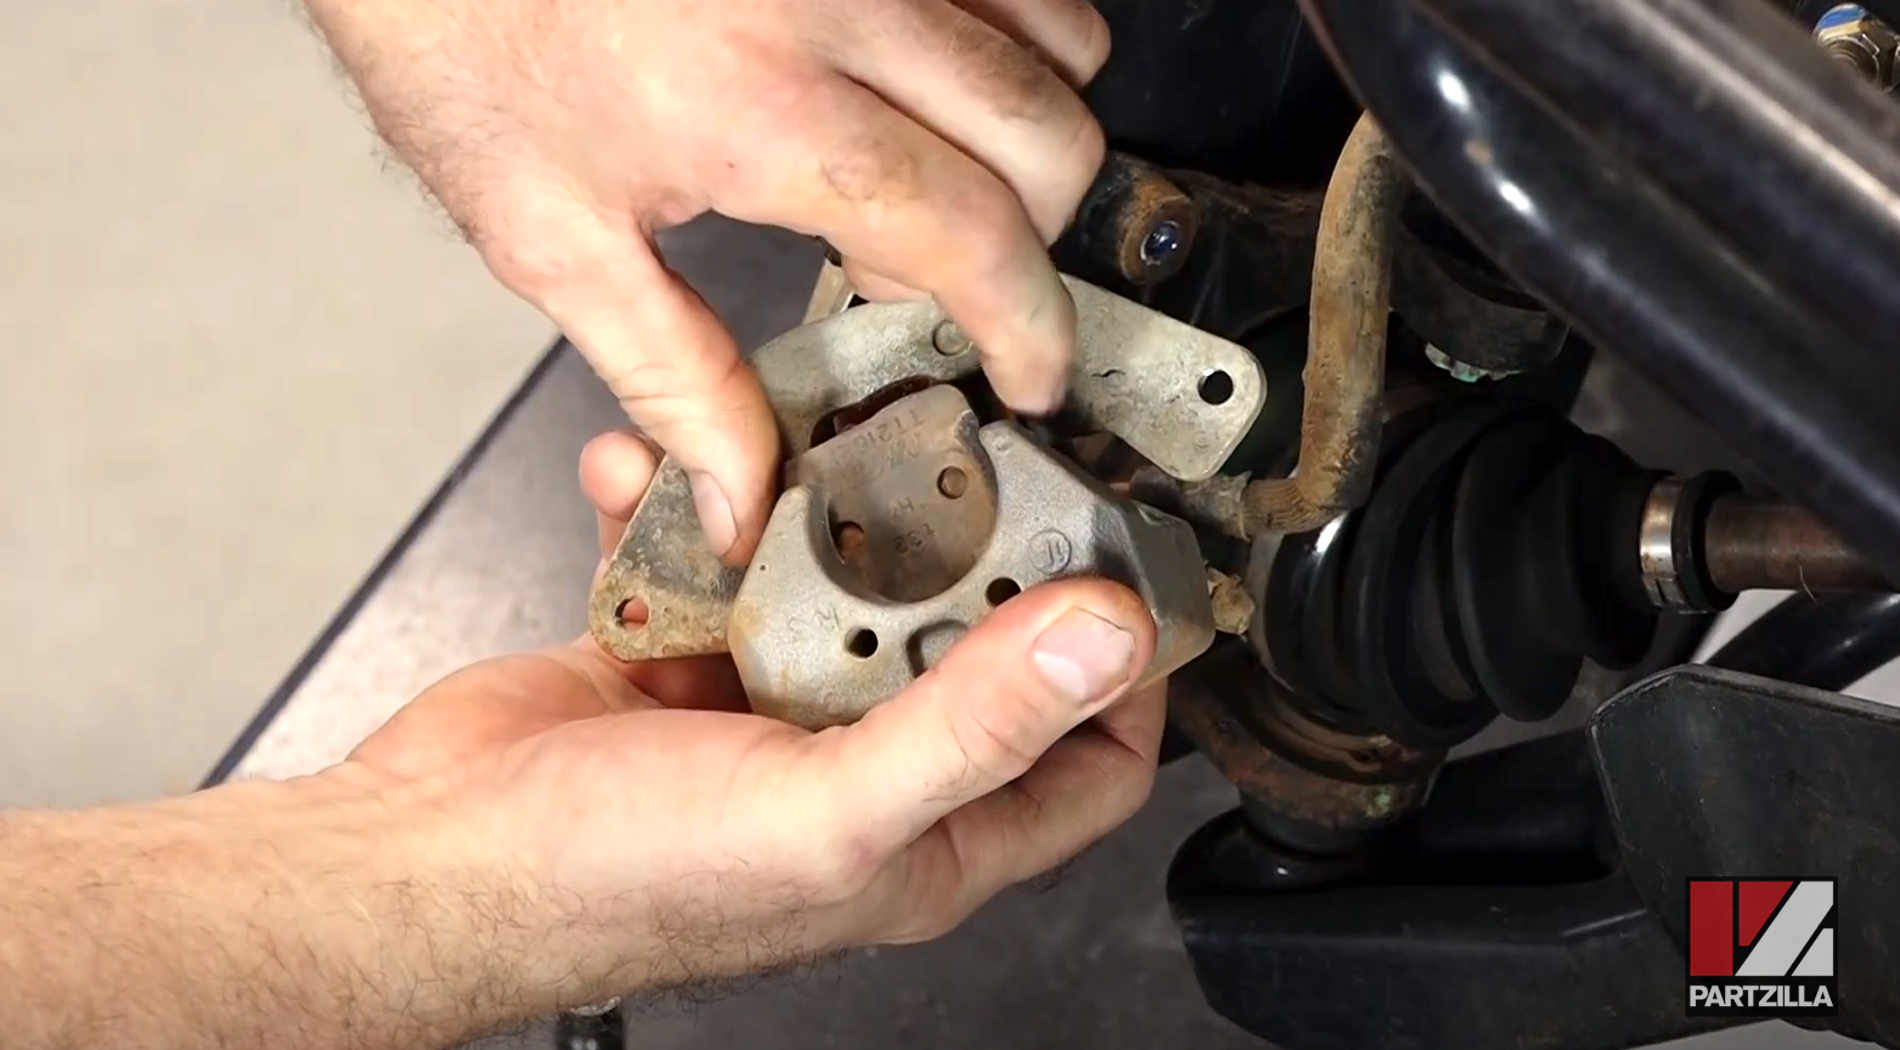
Step 8. Flip the caliper over and lift the pads out.

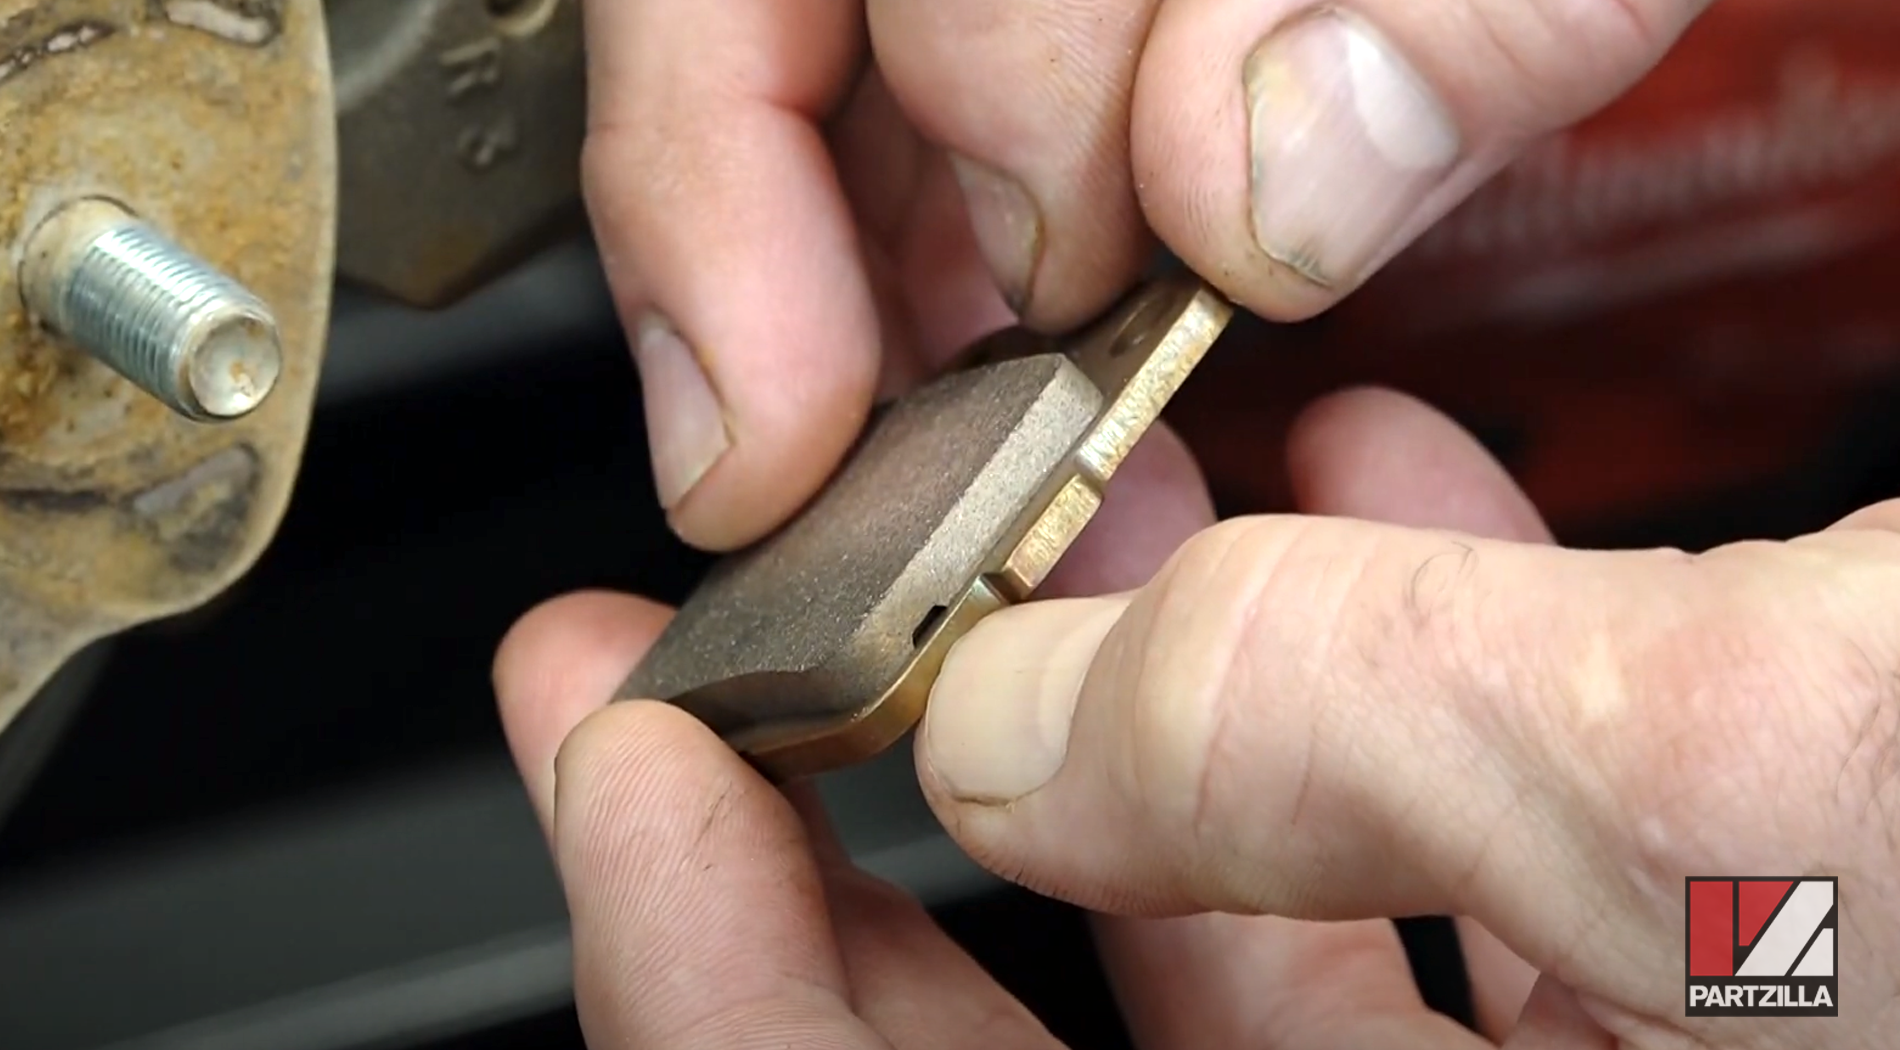
Step 9. Clean the brake pad pins with a wire brush before installing the new pads.

Step 10. Install the new brake pads by sliding them into place. They’re identical, so it doesn’t matter which one is inside or outside. Line up the holes, then insert and thread in the pins.
NOTE: You may need to push in on the pads to get the holes for the pins to line up since there’s a spring in the caliper.
Step 11. Install the caliper by sliding it back over the brake rotor and replacing the 12mm bolts. Torque the bolts to 22 foot-pounds.
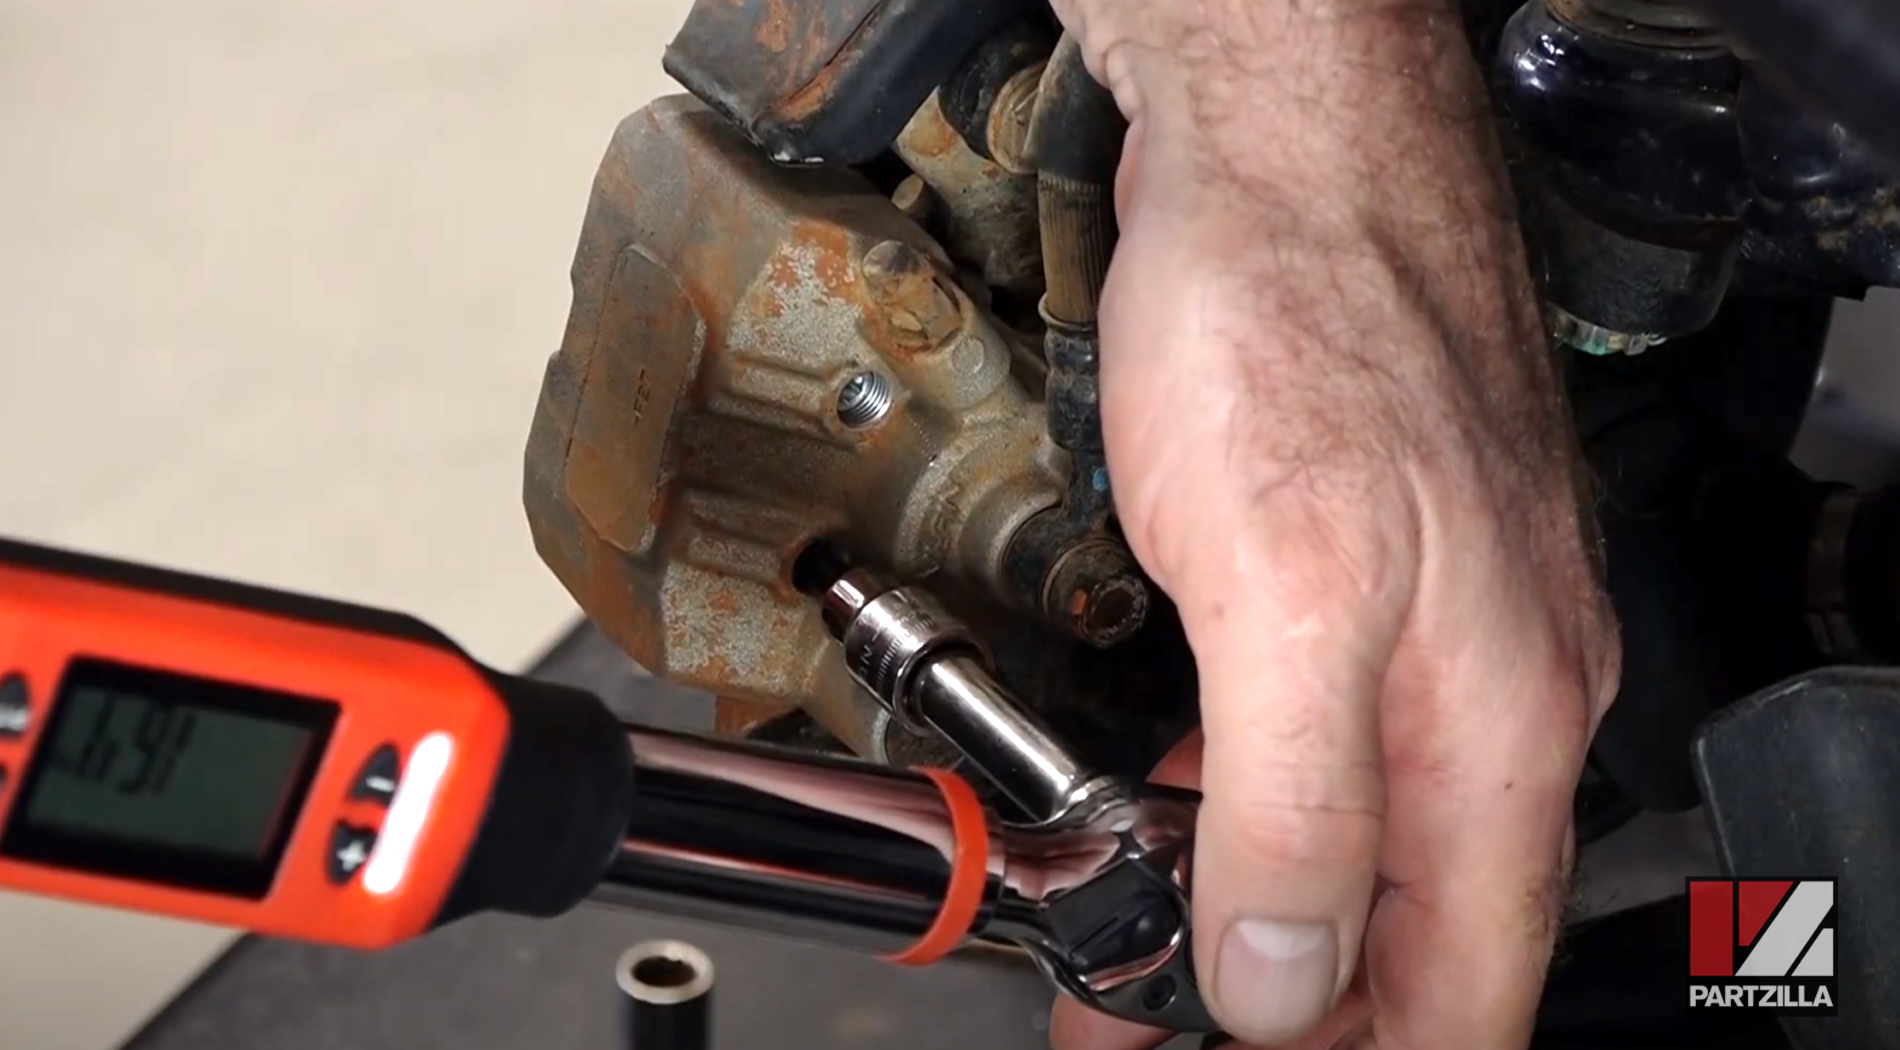
Step 12. Use a 5mm Allen to torque the pad pins to 16 foot-pounds.
Step 13. Use a flat-blade screwdriver to replace the caps over the pins.
Step 14. Replace the plastic guard protecting the caliper. Add a little blue threadlocker to the two 10mm bolts that hold the guard in place.

Step 15. Pump the front brake lever a couple of times to get the pads back in place.
NOTE: If you pushed the pistons back to make room for the new pads, this pushes the pistons back into position.
Step 16. Replace the wheel, then torque its 17mm lug nuts to 47 foot-pounds and you’re done.