How to Change Honda TRX420 Rancher CV Boots
If you hear clicking or grinding coming from the front wheels of your Honda ATV, it may be the CV joints, which are protected by CV boots. Cracked or torn CV boots can let in dirt and moisture into the joints.
Watch the video above or follow the steps below to learn how to replace the CV boots on a Honda Rancher TRX420 ATV.
Tools and Supplies - Honda Rancher 420 CV Axle Boots Replacement
- 3/8th ratchet
- Torque wrench
- 10mm, 12mm, 14mm, 17mm sockets
- 14mm wrench
- 5mm Allen
- Chisel
- Soft blow hammer
- Race grease
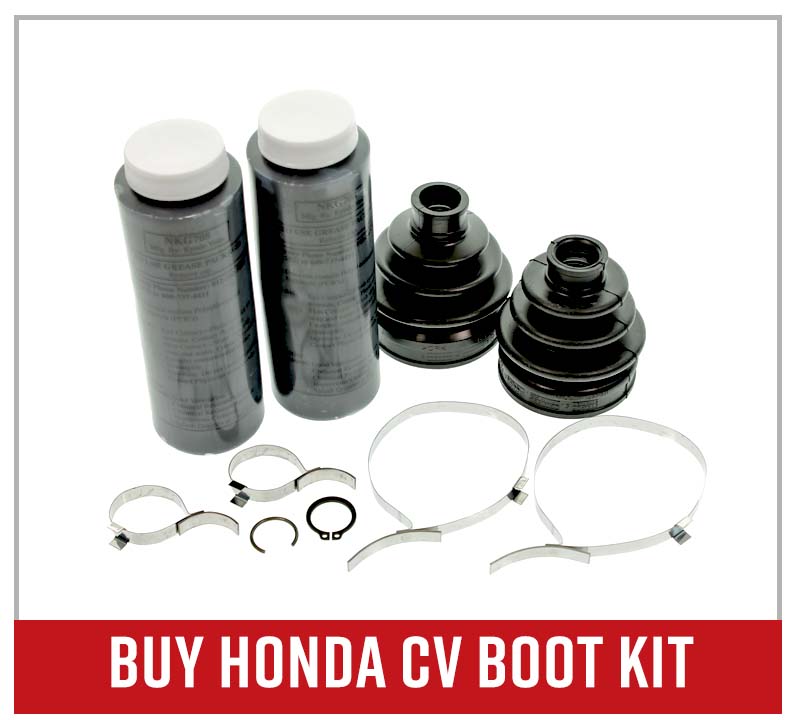
- Honda Rancher 420 CV boot kit
- Ball joint separator
NOTE: You need to order two CV boot sets for your Honda Rancher if you’re replacing the boots on both the right and left side. Check out the Honda Rancher 420 front knuckle and drive shaft diagram to see how the CV boots fit.
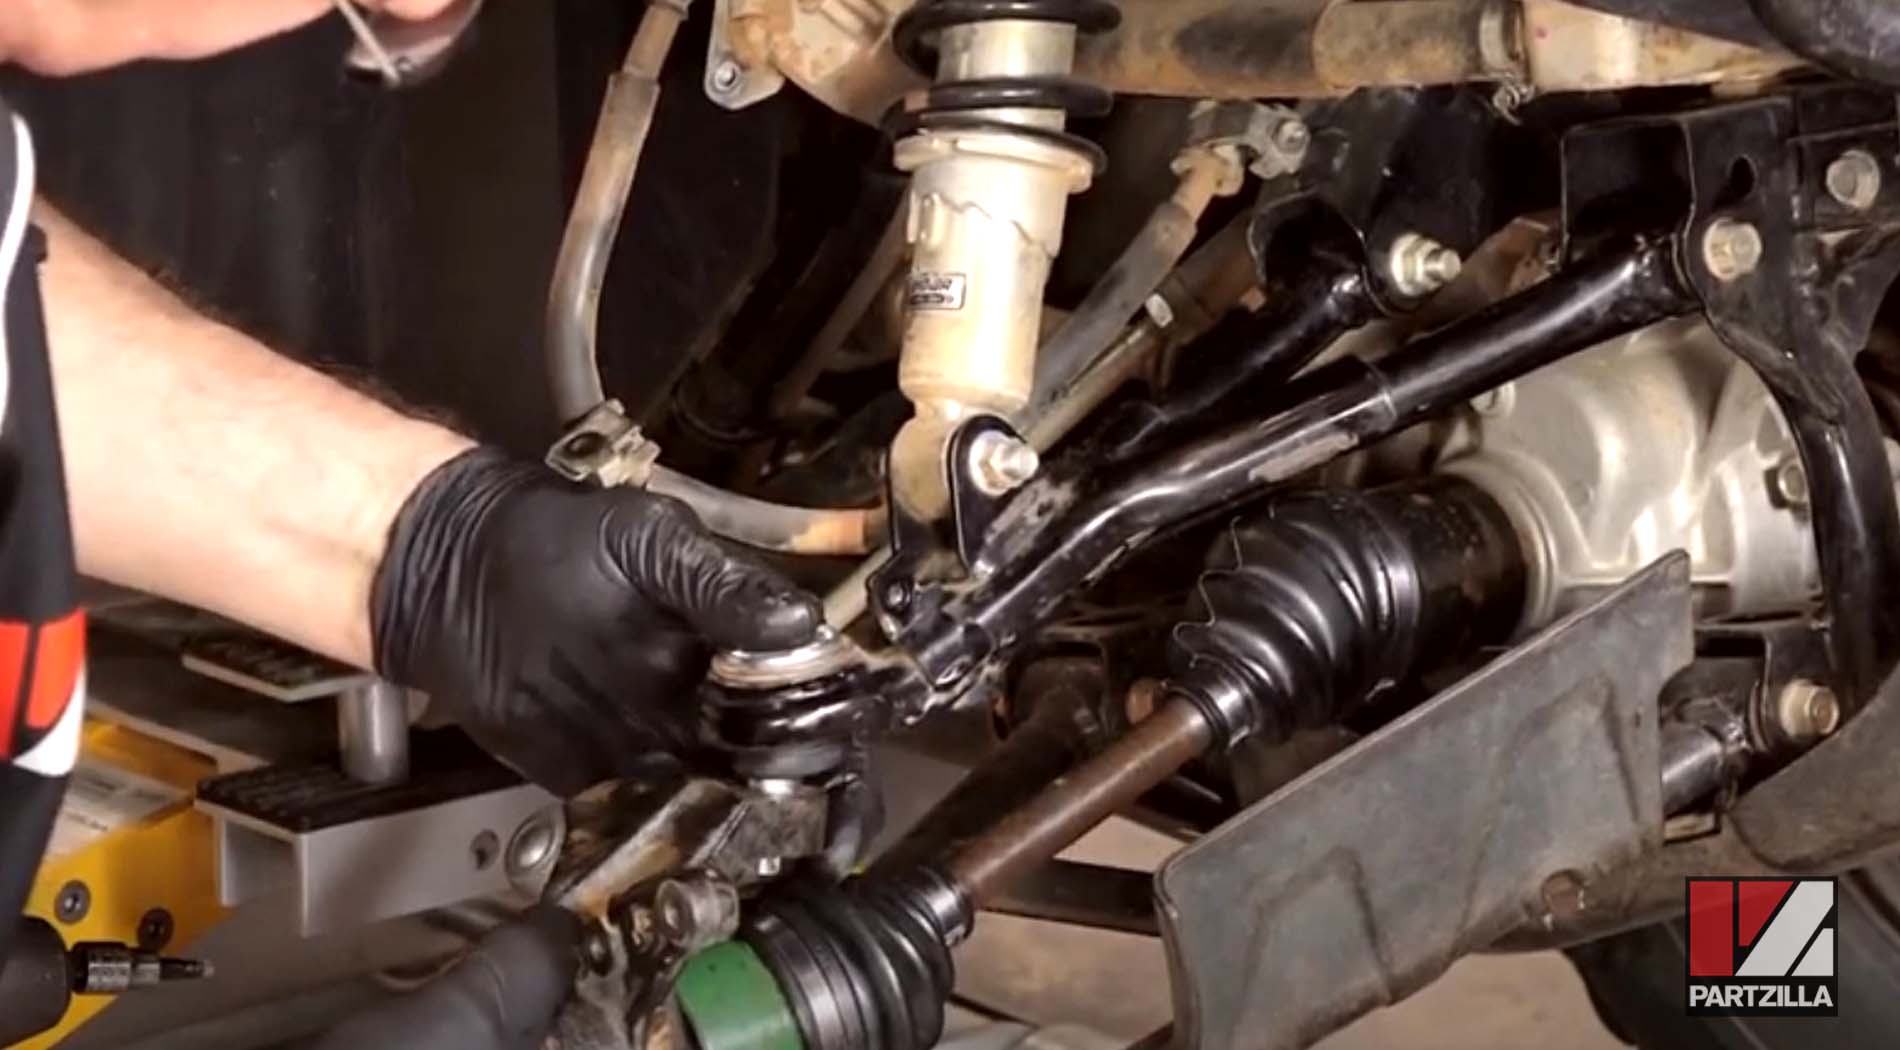
The steps for changing the CV Boots on a Honda Rancher 420 start with removing the wheel, the caliper and the tie rod end, and releasing the ball joints. These steps are covered here and in the video above.
Honda Rancher 420 CV Boot Replacement
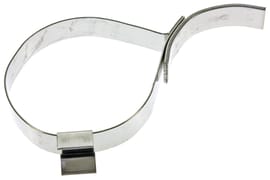
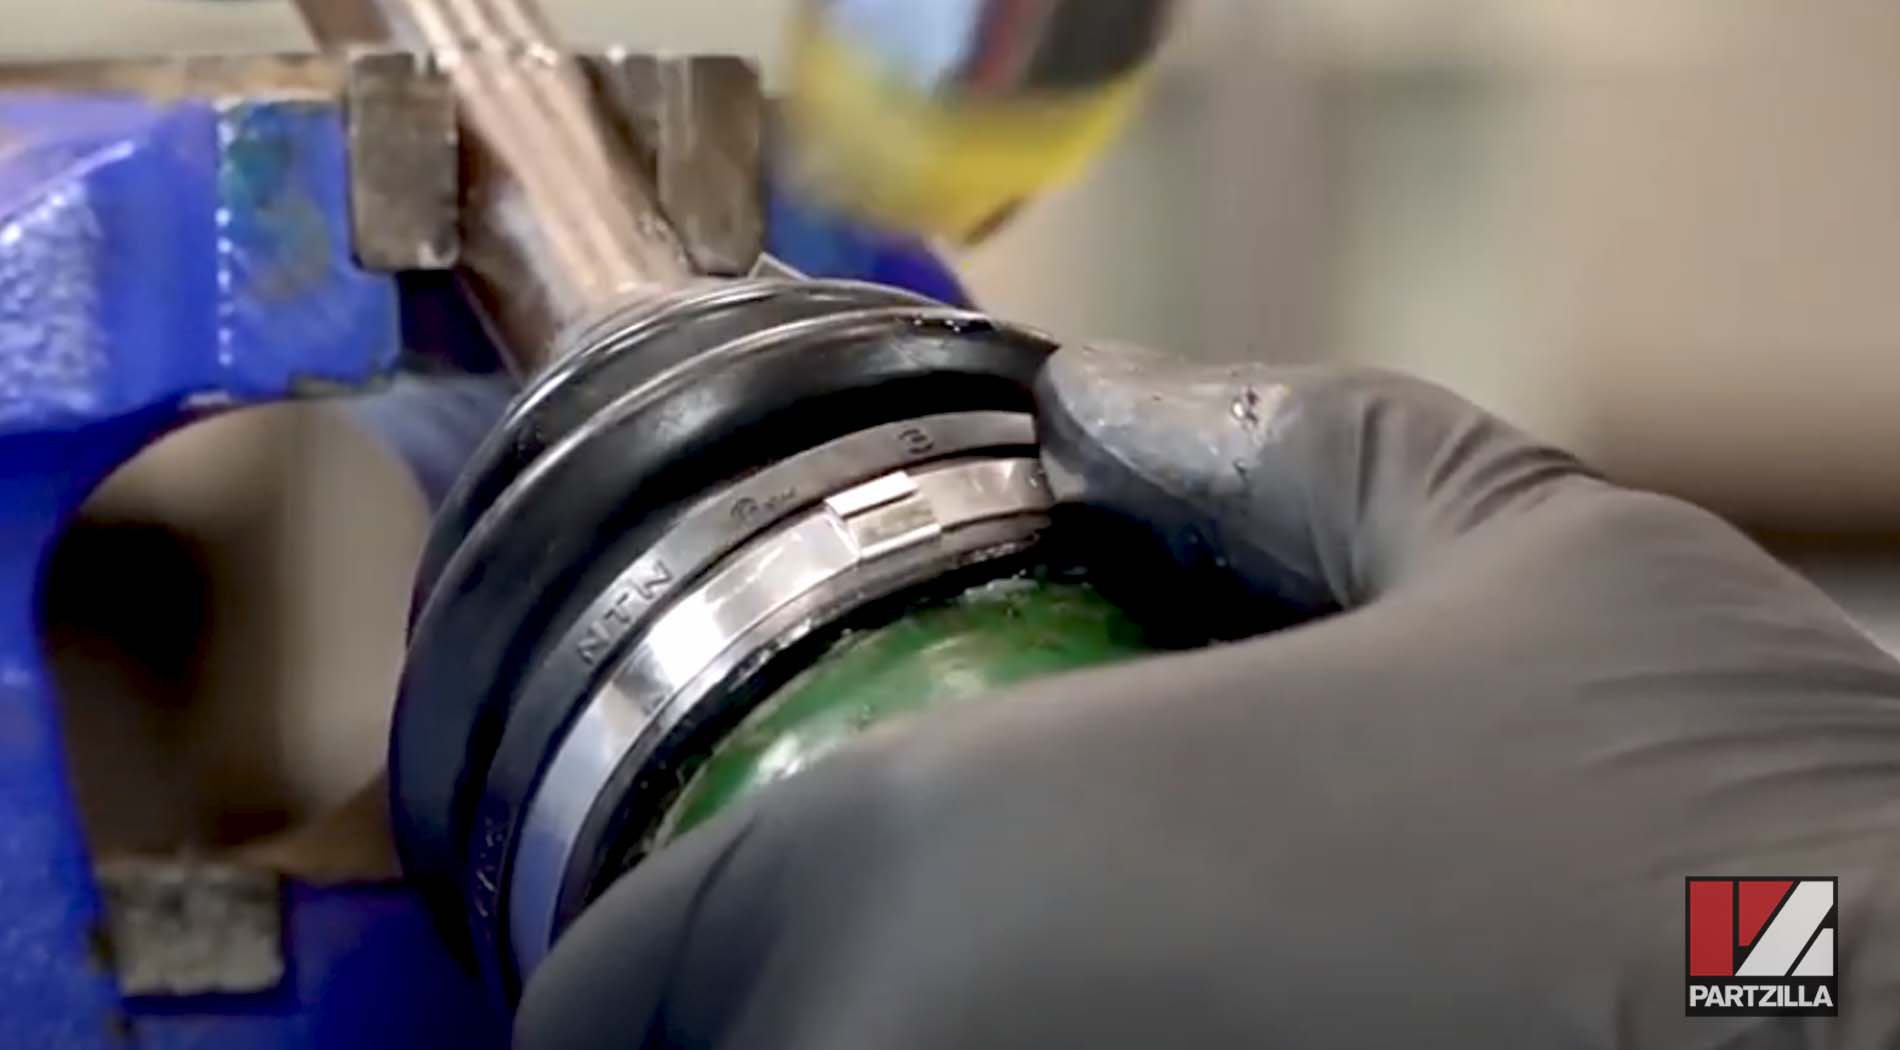
Step 1. Get the drive shaft into a vise to remove both the inner and outer boots. Even if you’re only replacing the outer boot, you’ll need to remove the inner boot and joint. The outer joint is fixed, so everything must slide on and off the inner side of the drive shaft. Remove the inner boot by using a chisel and a soft-blow hammer to bend the clamps open on both the inner and outer sides of the inner boot.
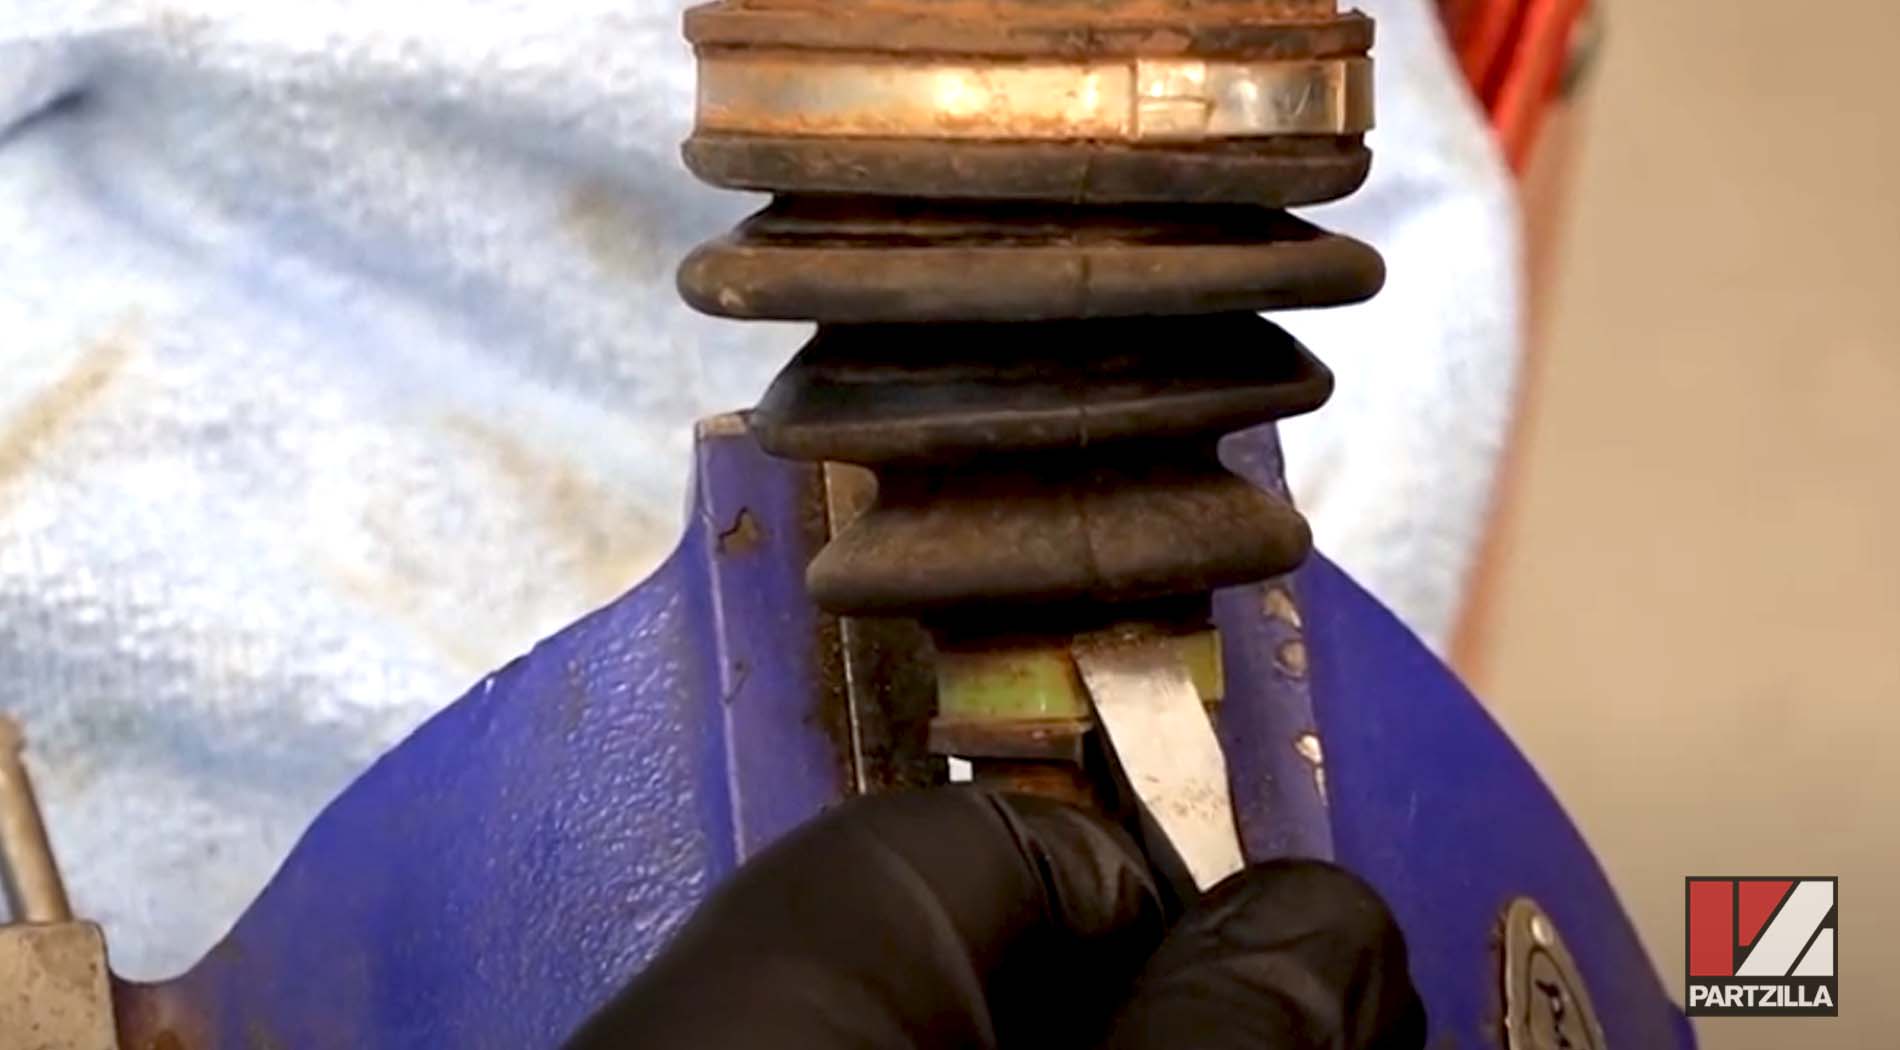
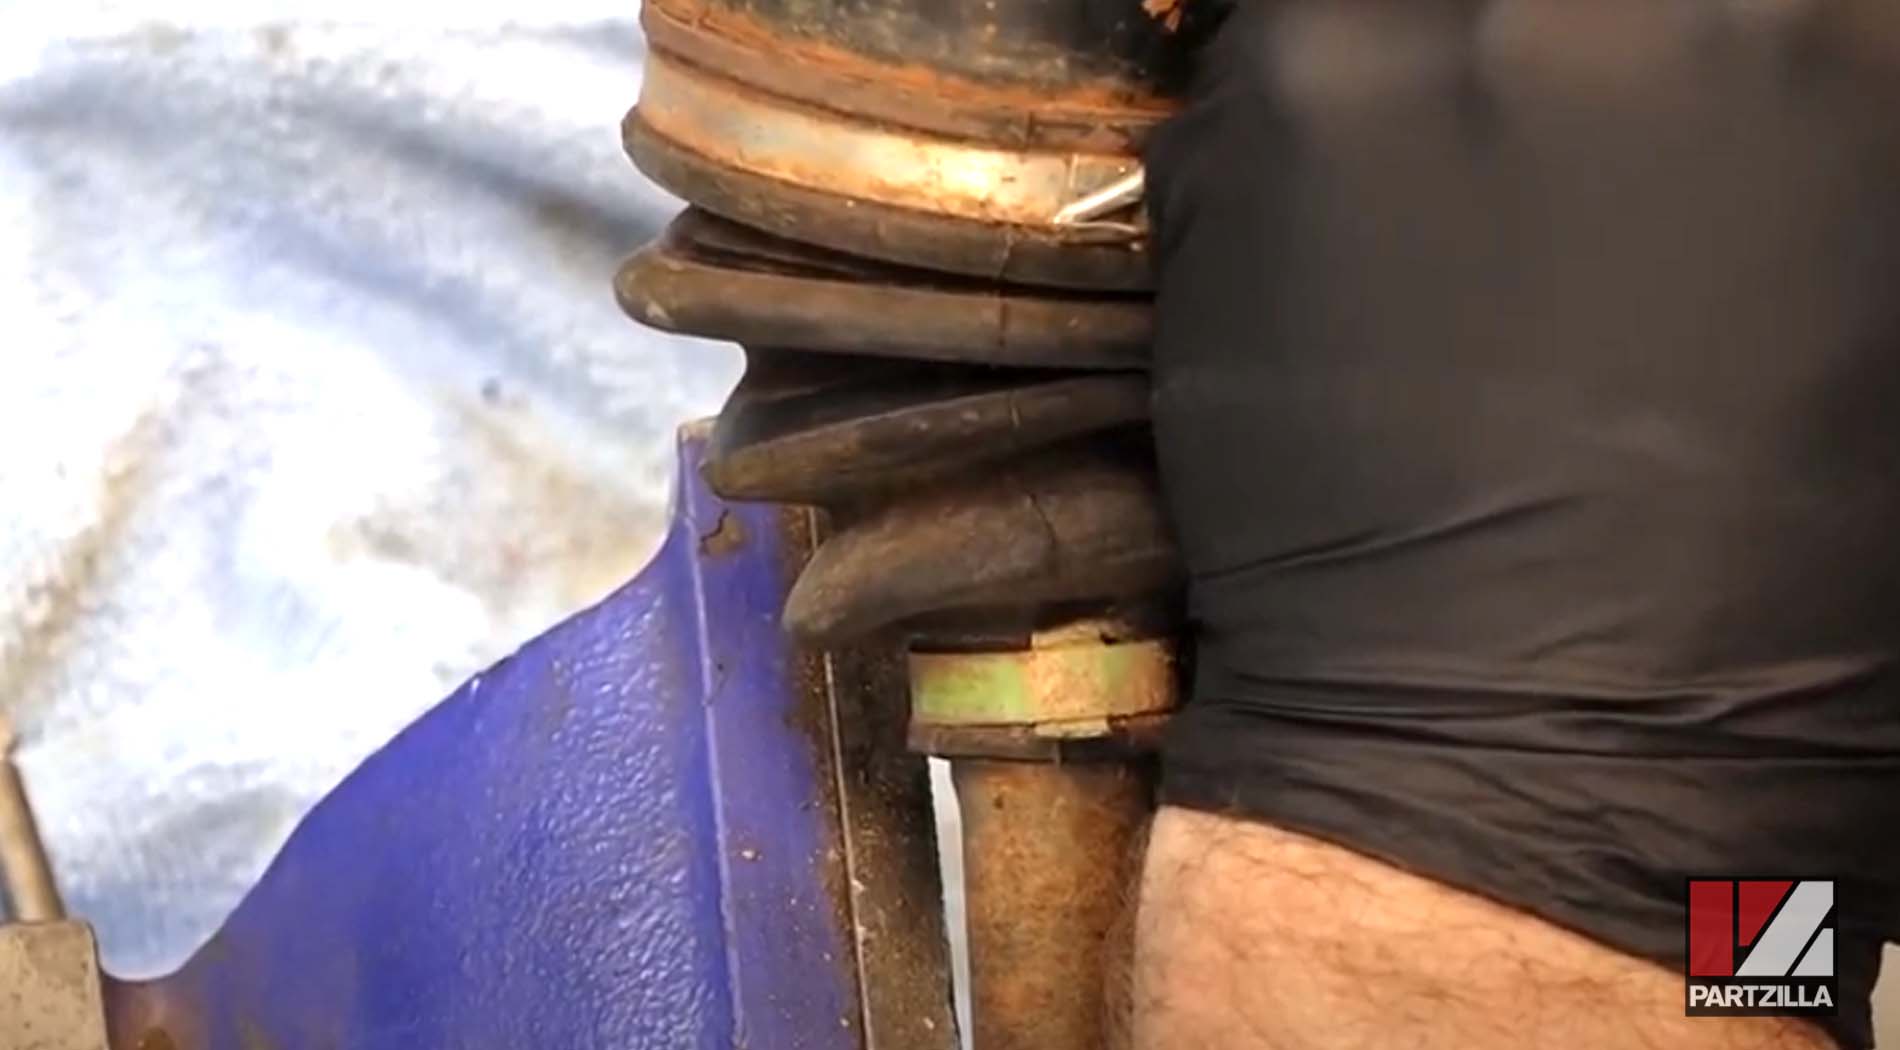
NOTE: The direction the clamps are wrapped around the shaft are oriented so that the end of the clamp is facing away from the direction of rotation, that way the clamp end can’t catch on anything as the shaft turns.
Step 2. Pull the inner boot from the joint, then get paper towels to wipe away as much of the old grease as possible.
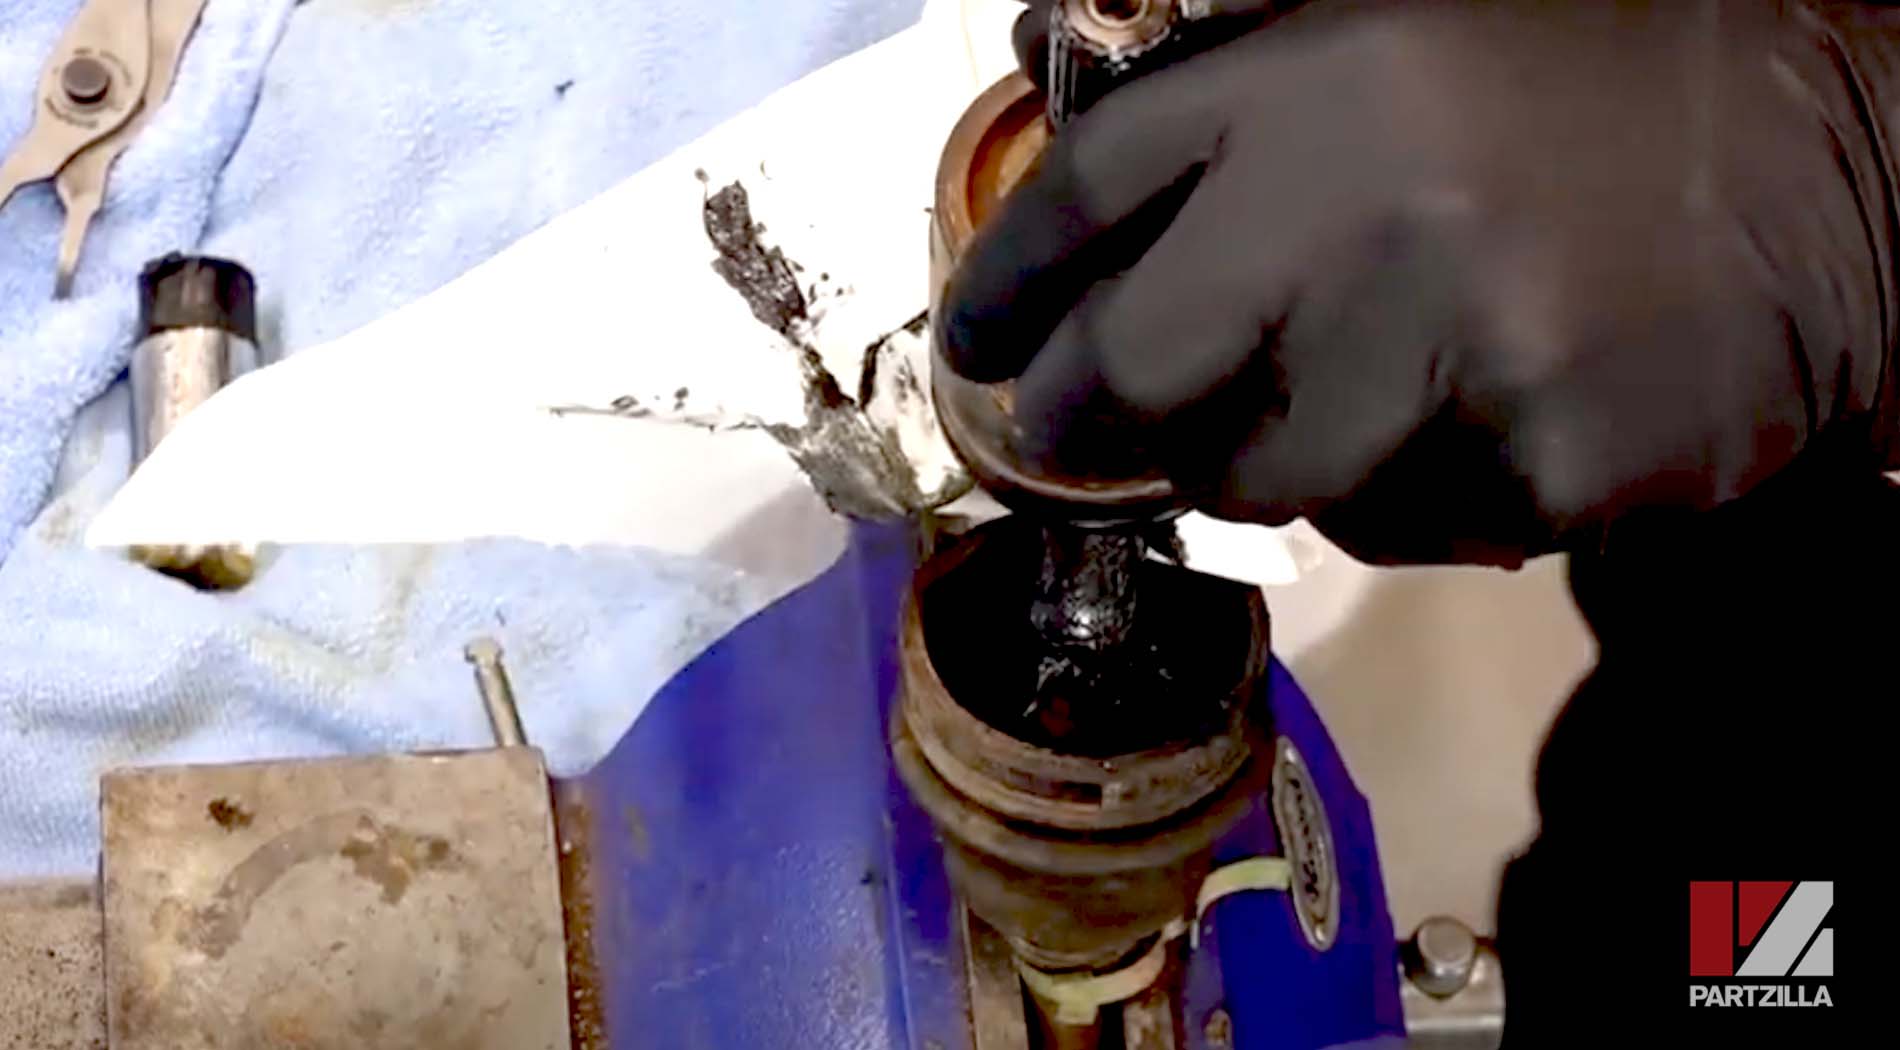
Step 3. Remove the stopper ring up under the outer casing by prying it loose with a screwdriver or pick.
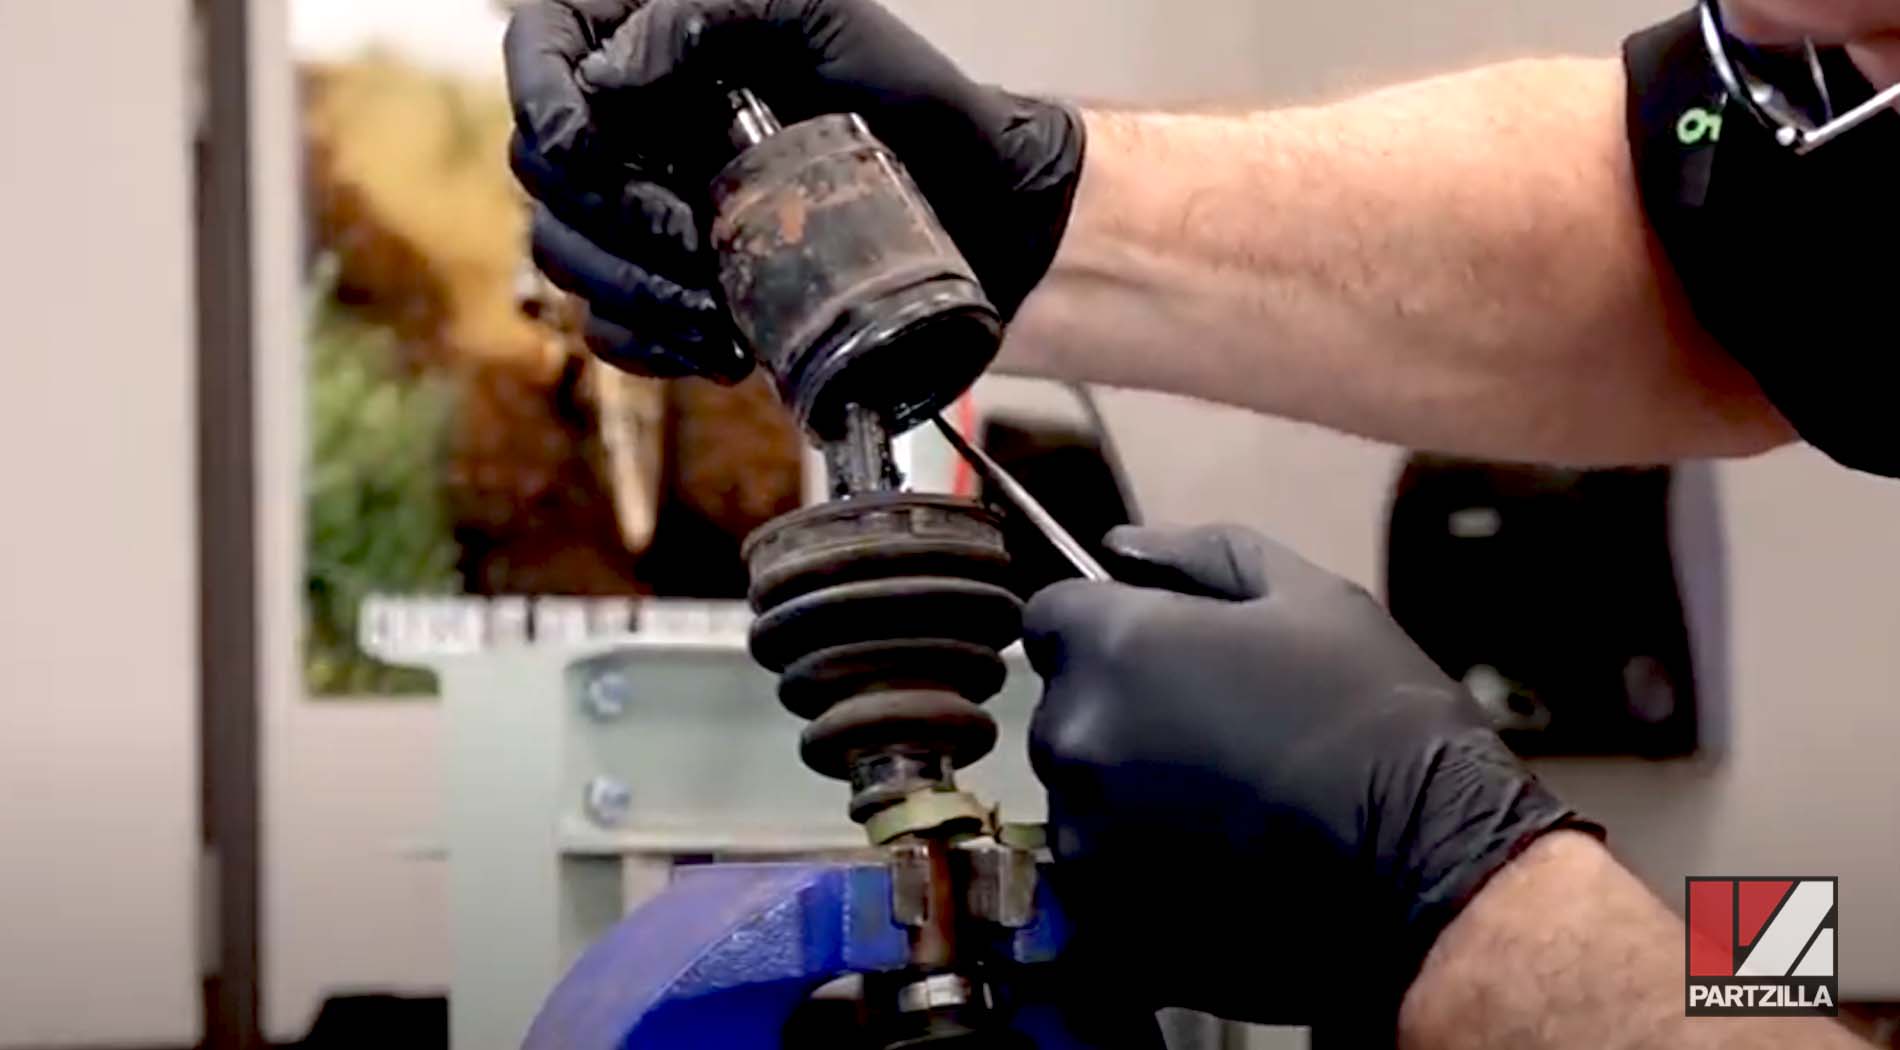
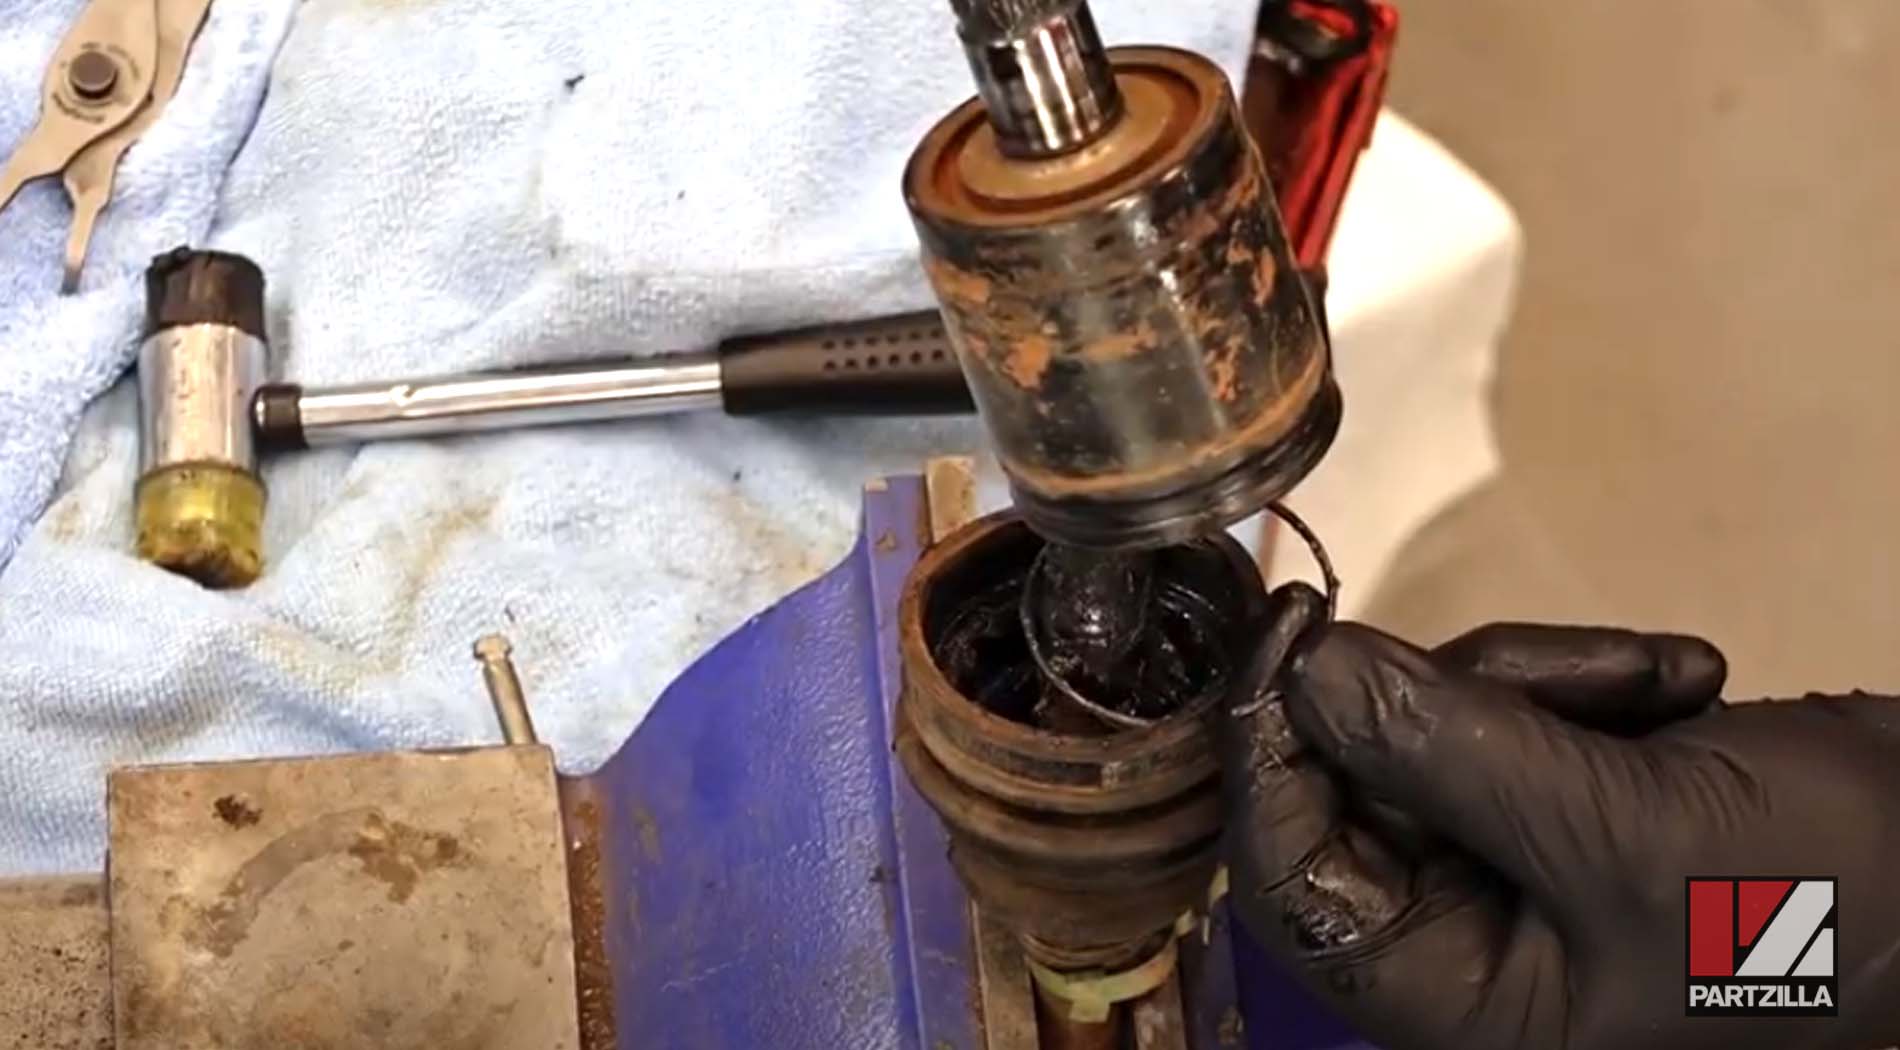
Step 4. Pull the outer race.
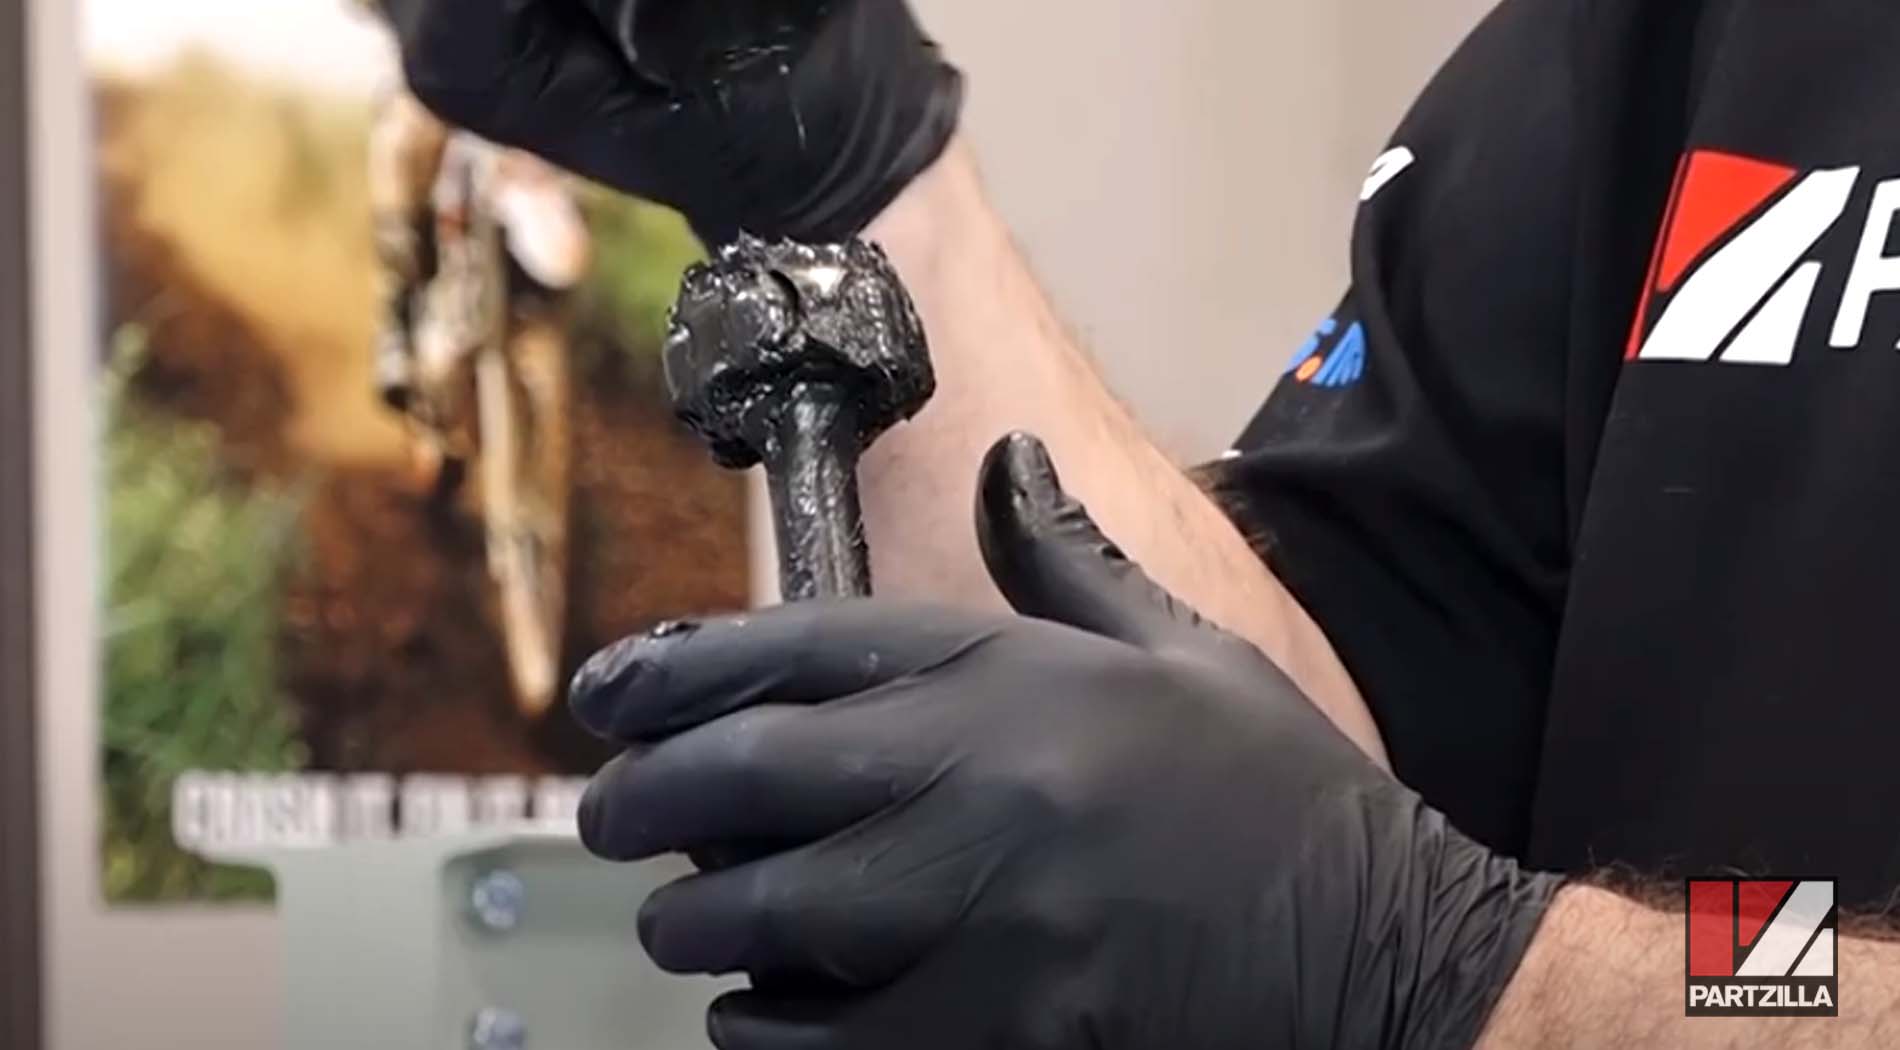
Step 5. Wipe the rest of the grease off the joint to get it as clean as possible.
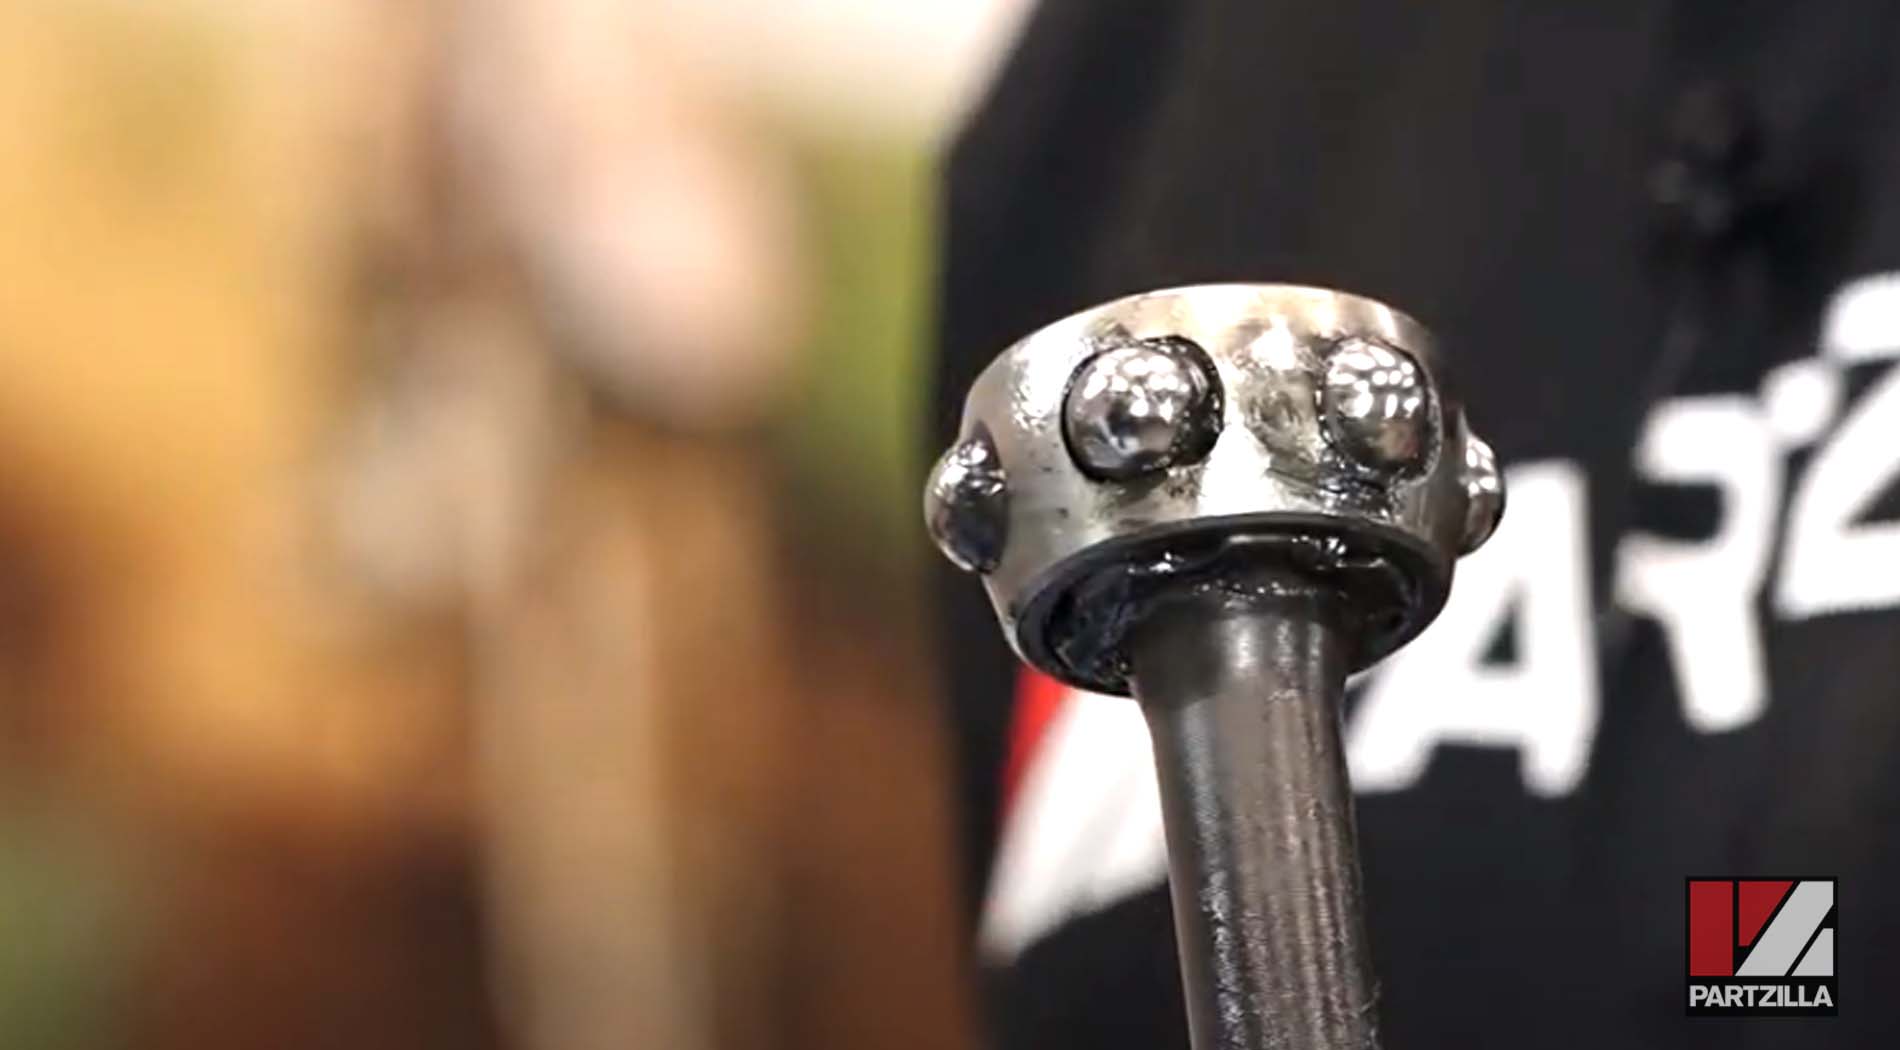
Step 6. Remove the circlip that holds the joint in place.
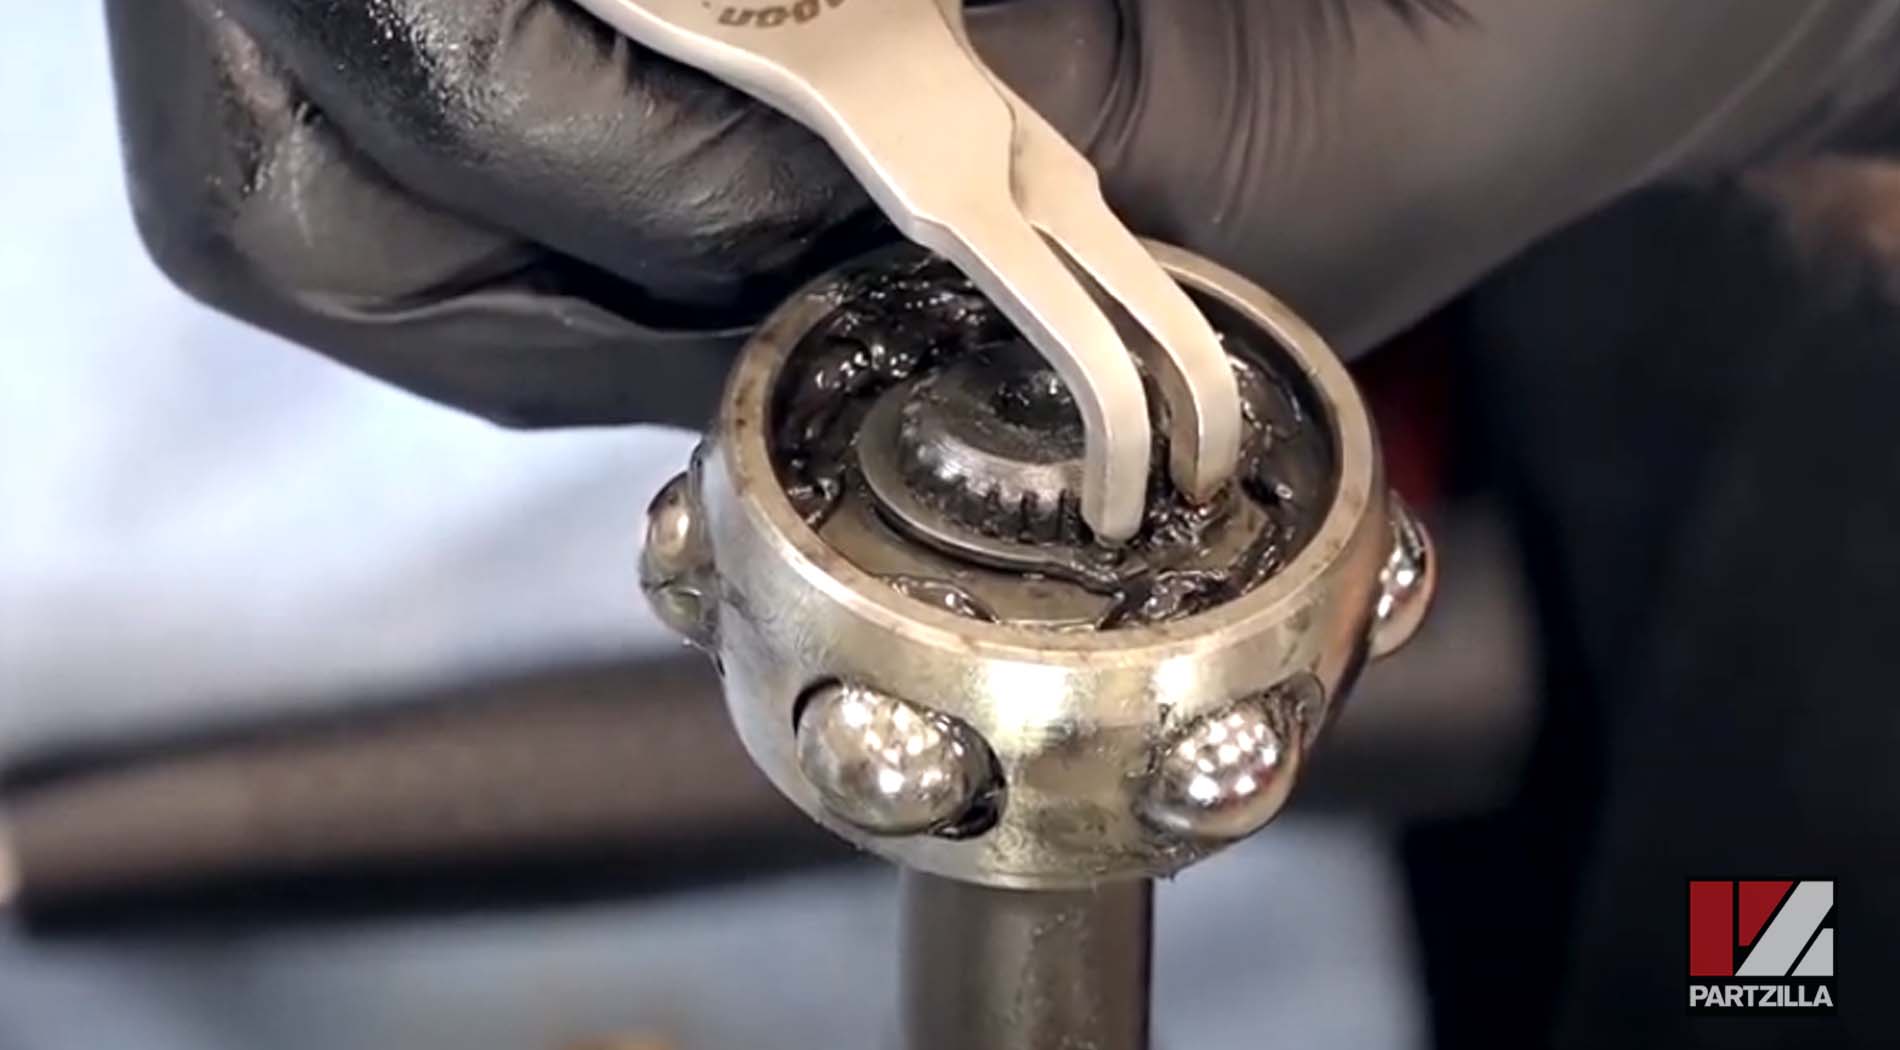
Step 7. Remove the joint by gently tapping on it with a rubber mallet to move it up the splines.
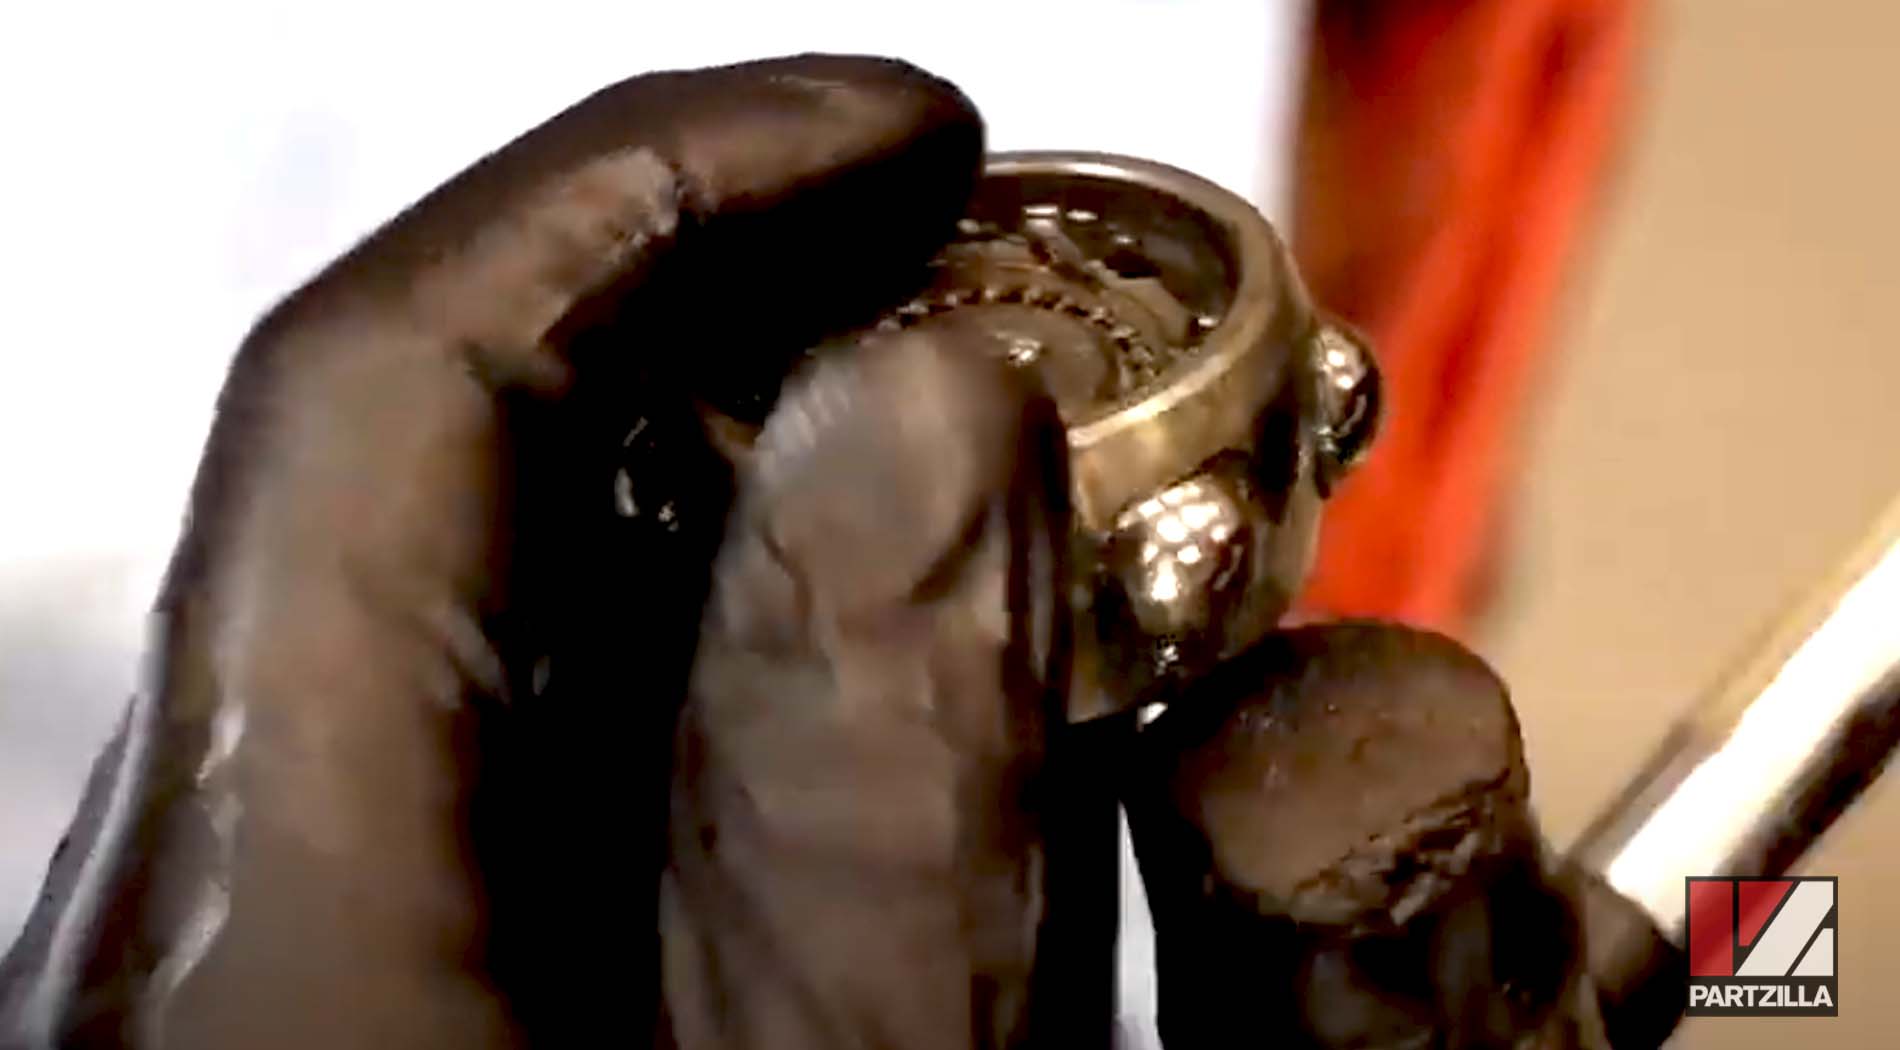
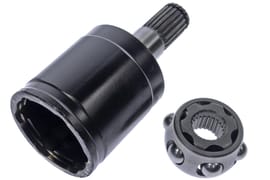
NOTE: The concave side of the joint faces away from the shaft and the flat side of the joint faces toward it.
Step 8. Remove the inner boot by sliding it off the drive shaft.
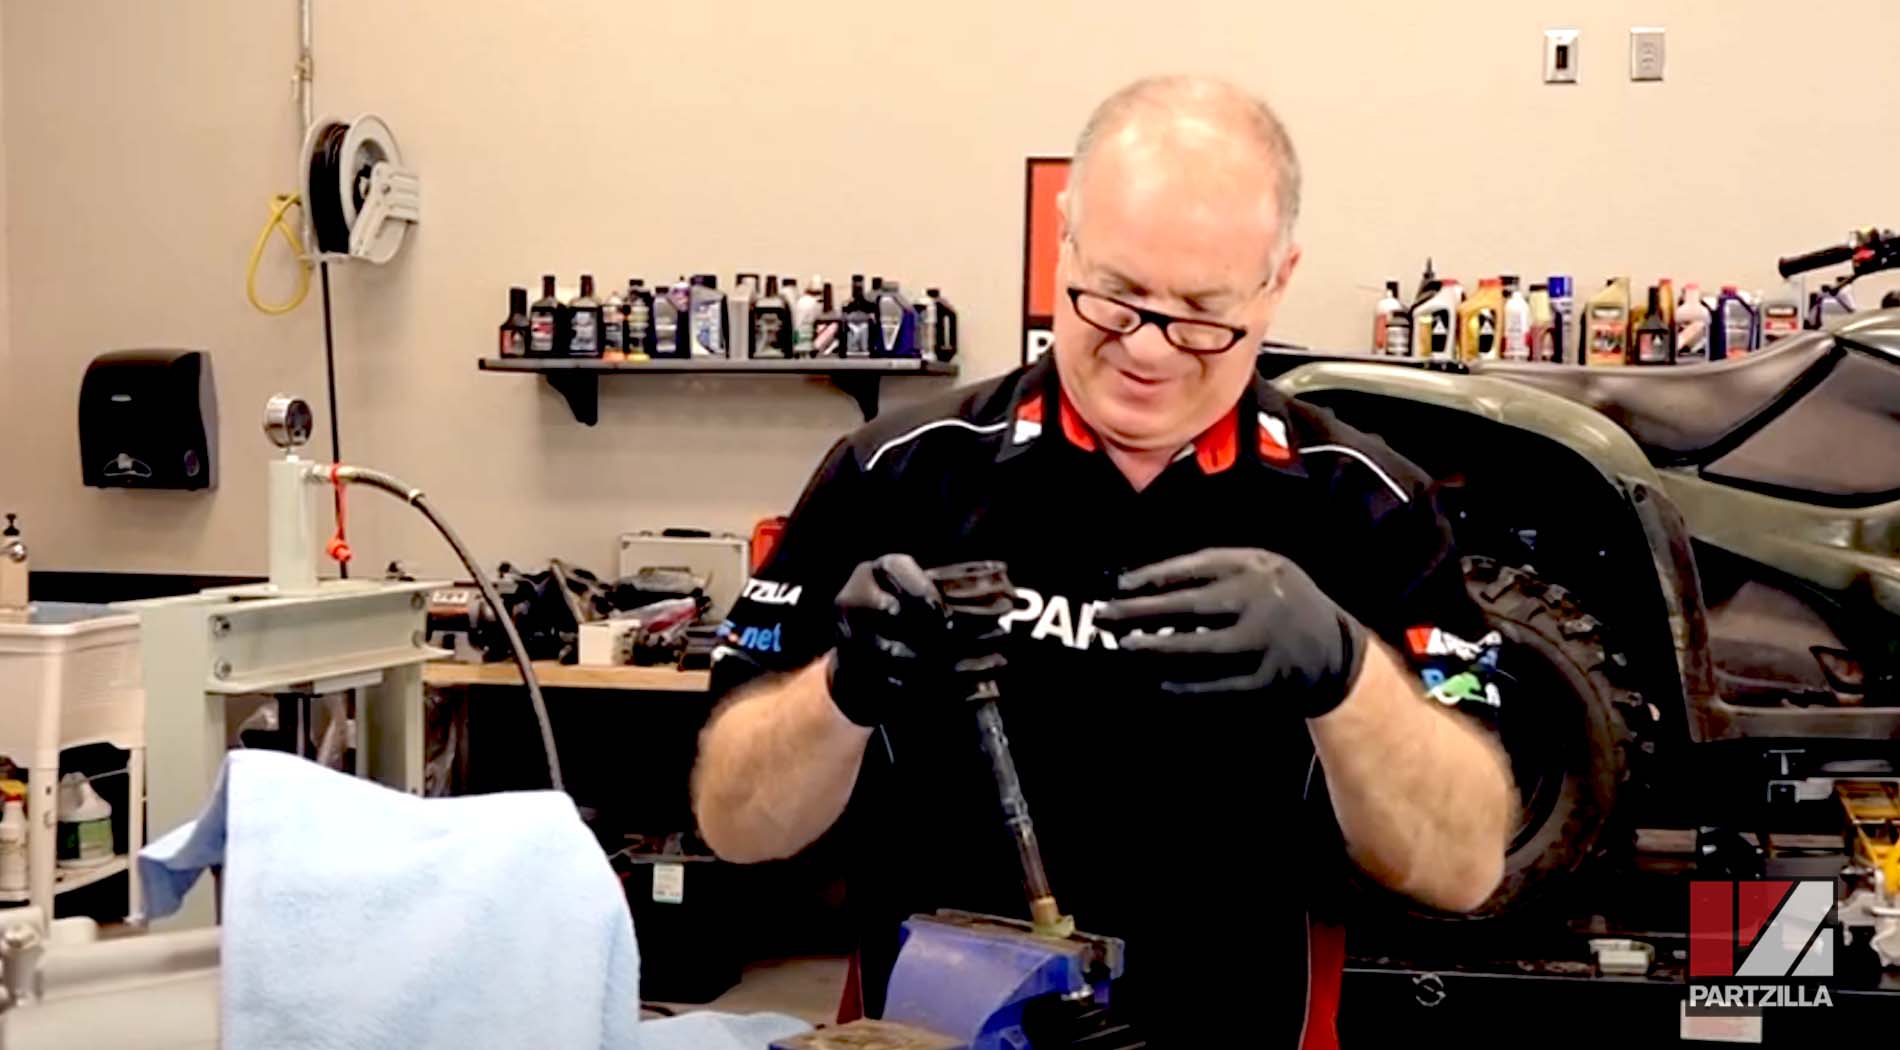
Step 9. Remove the clamps that hold the outer boot in place. Same procedure as the inner boot clamps: bend back the tabs, pull the clamp away.
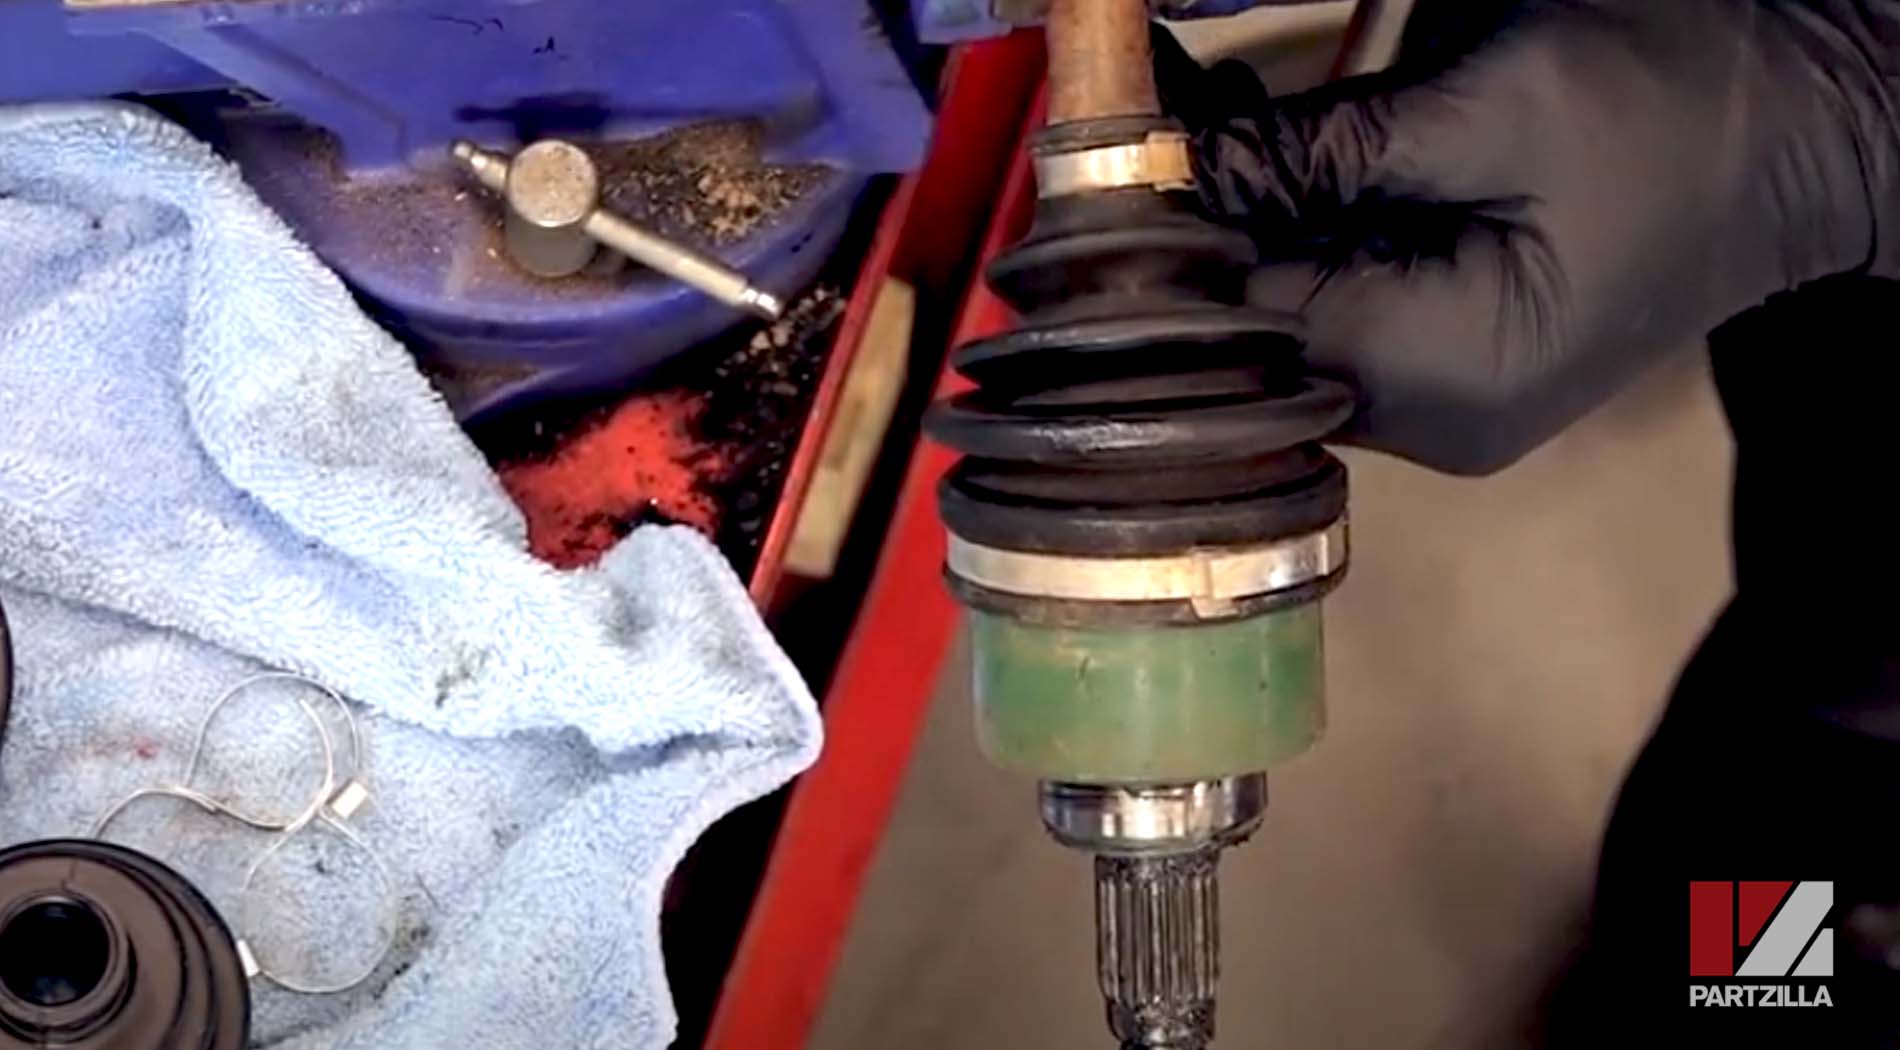
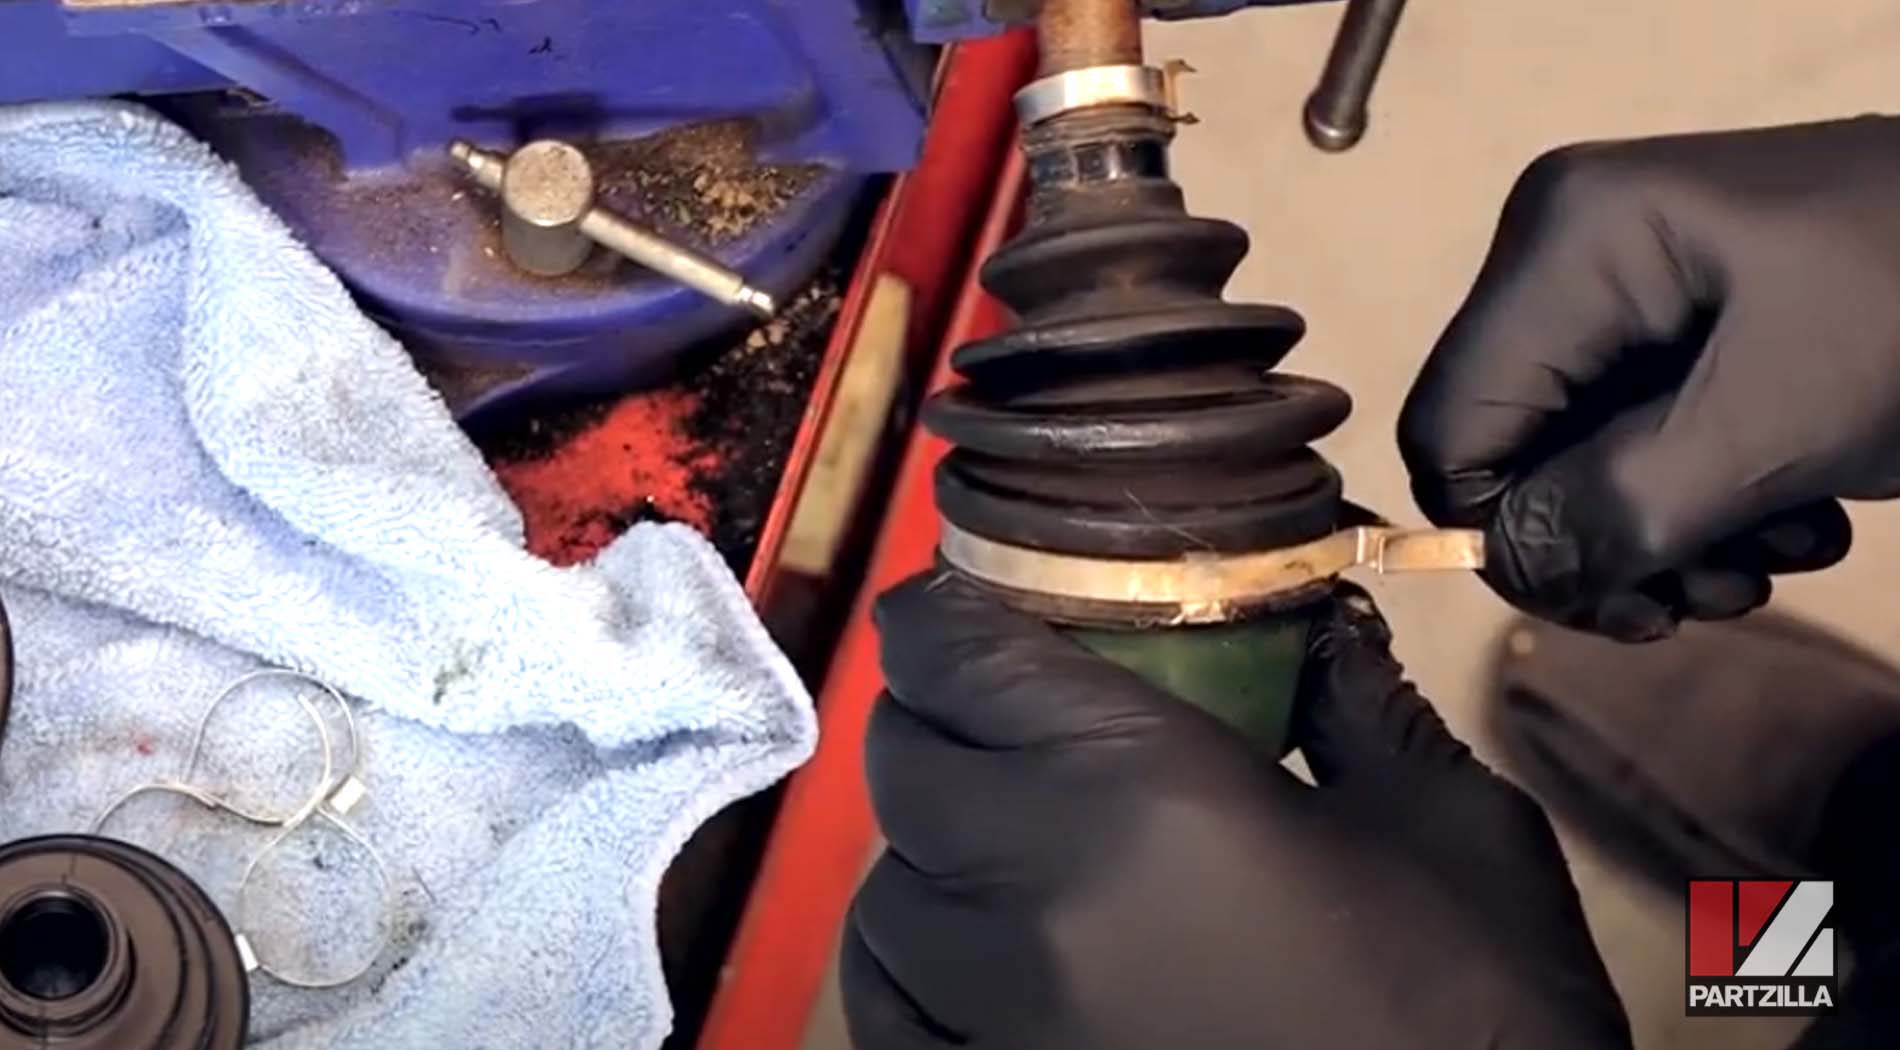
Step 10. Slide the outer boot off the drive shaft.
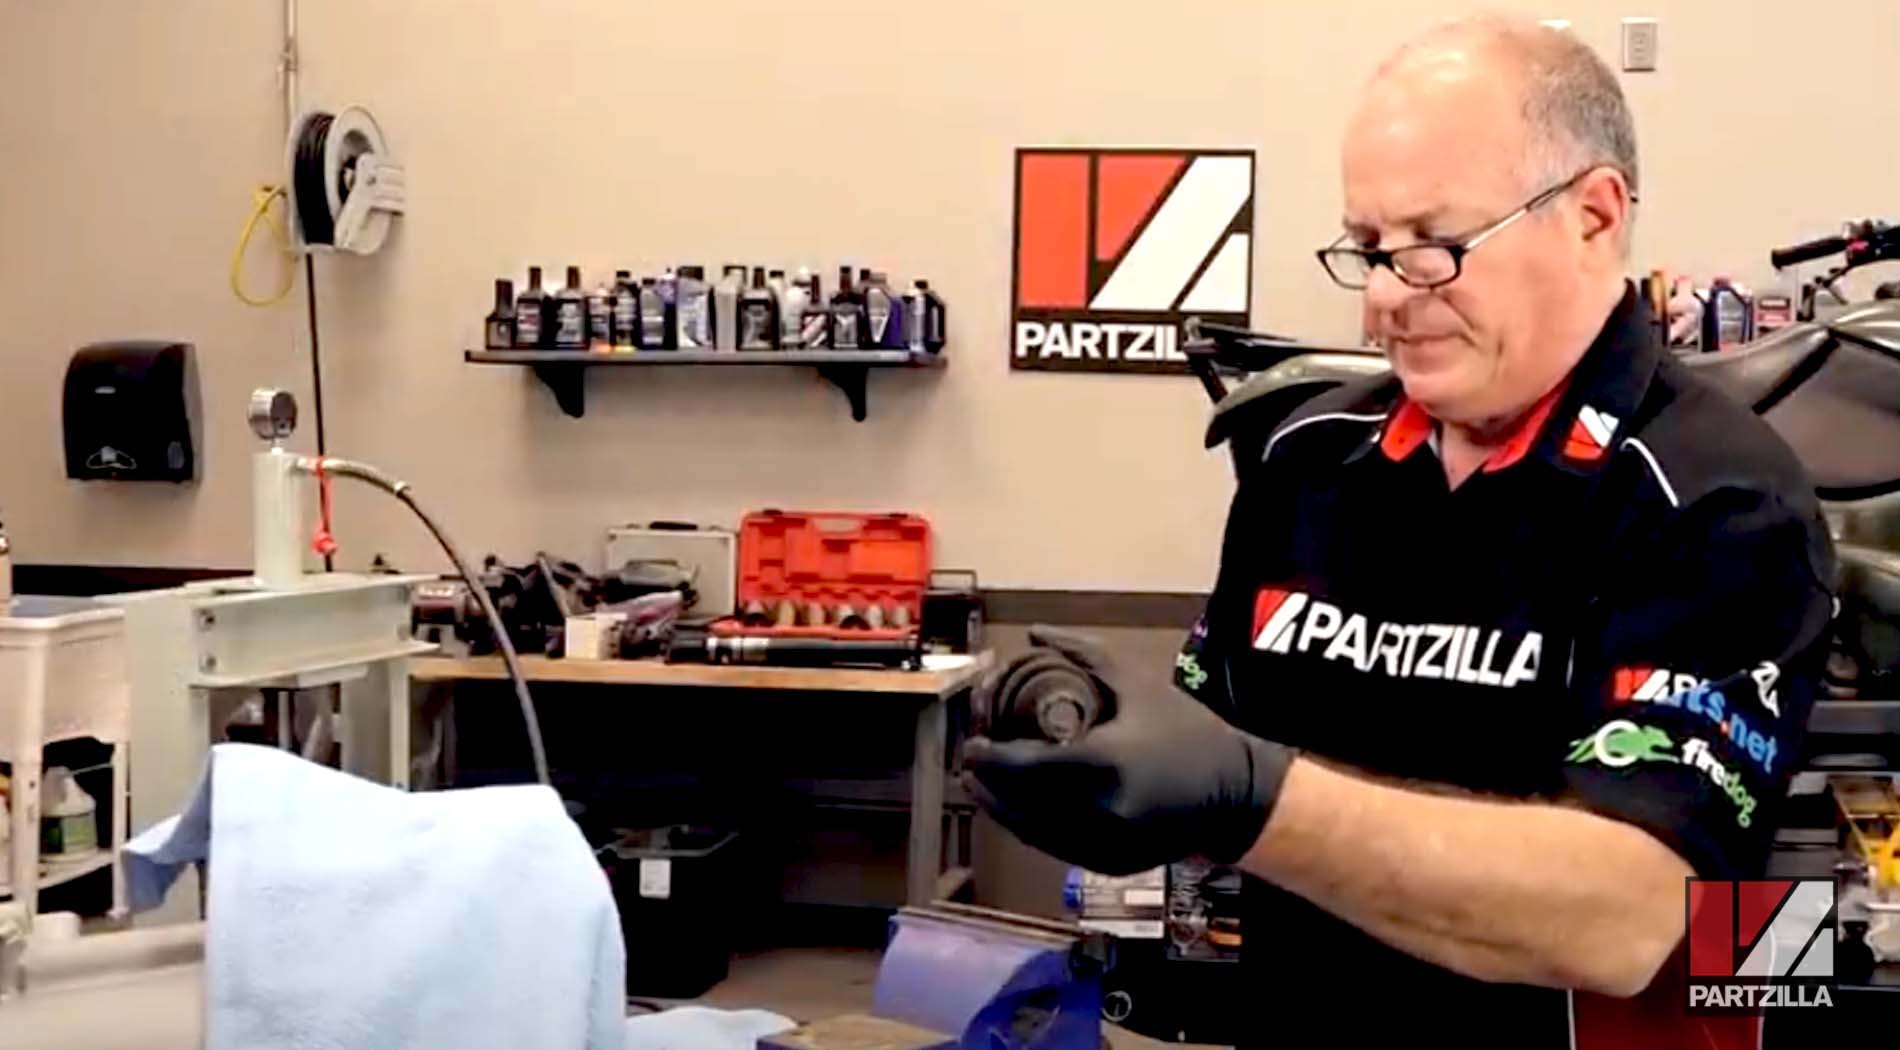
Step 11. Wipe off as much grease from the outer joint as possible.
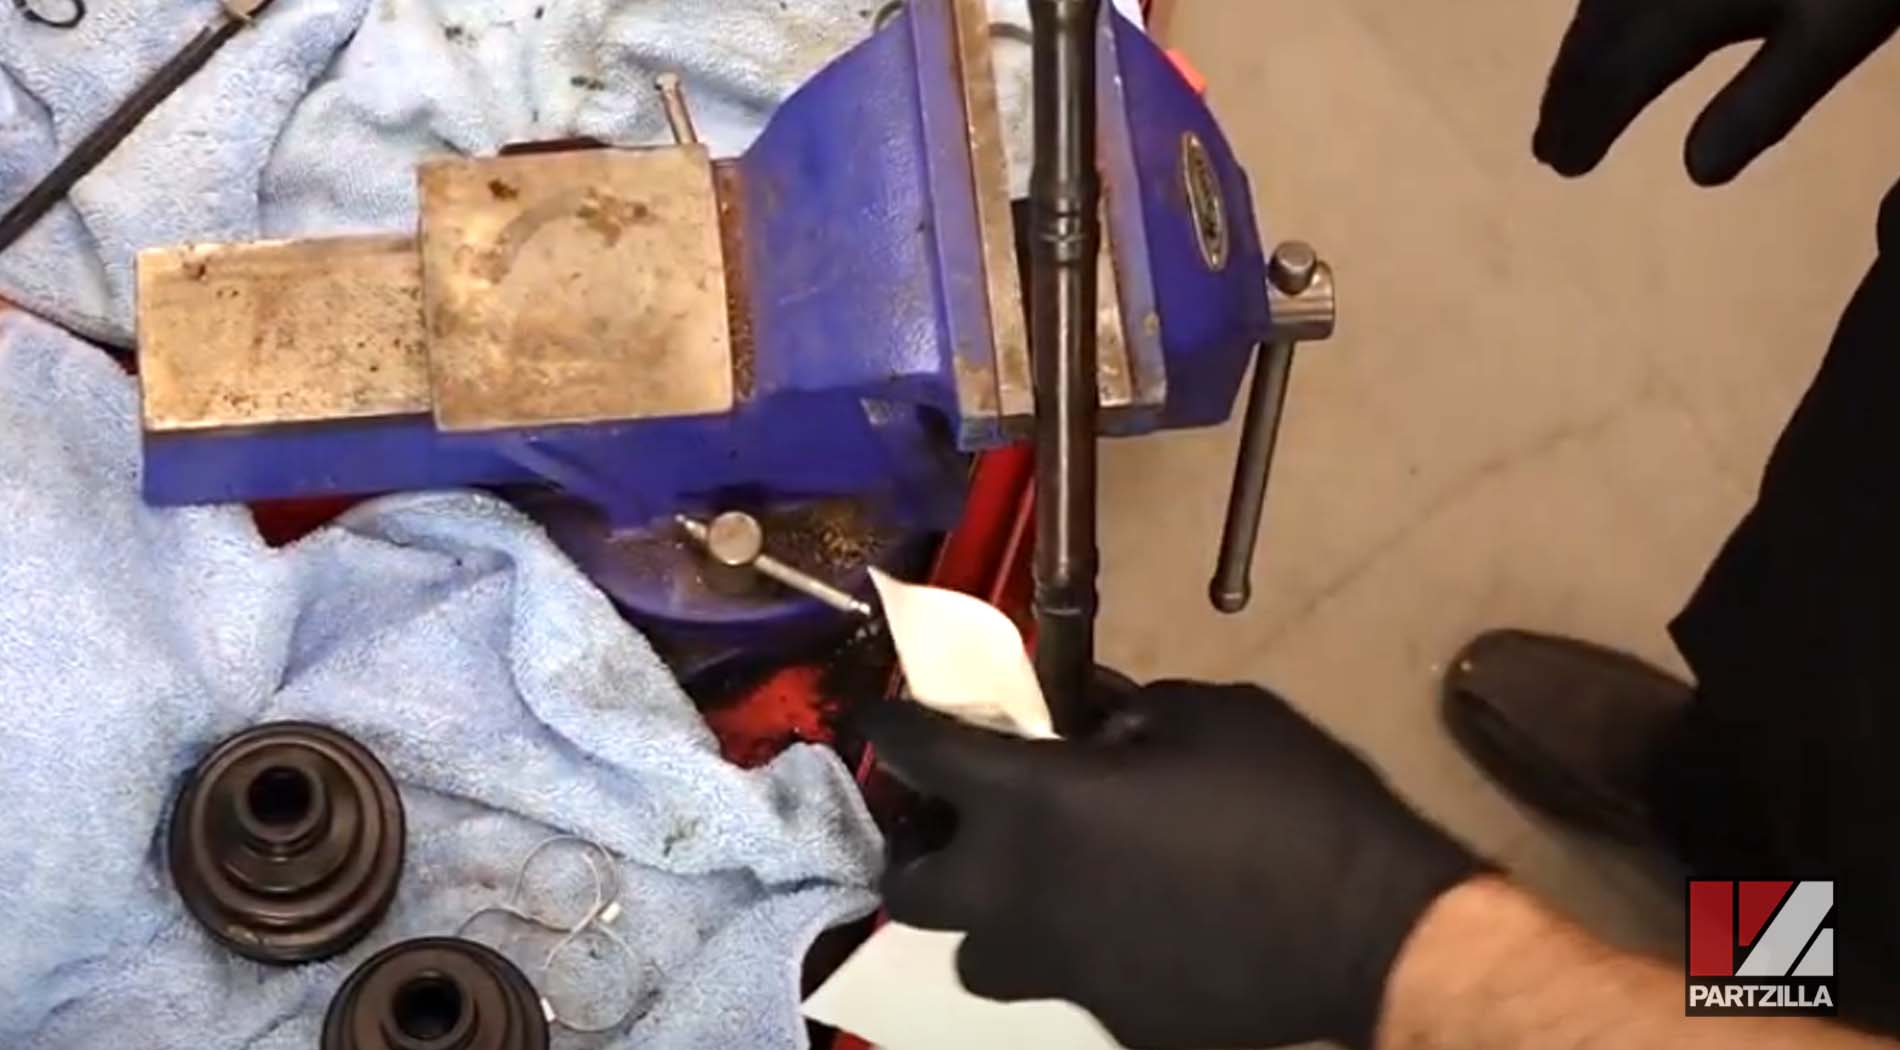
NOTE: If your CV boot had a tear, make sure you have all of the debris removed and the joint still feels fluid when you manipulate it by hand.
Step 12. Squirt grease (included in the CV boot kit) into the outer joint, making sure not to get any on the outer casing where the CV boot will seat.
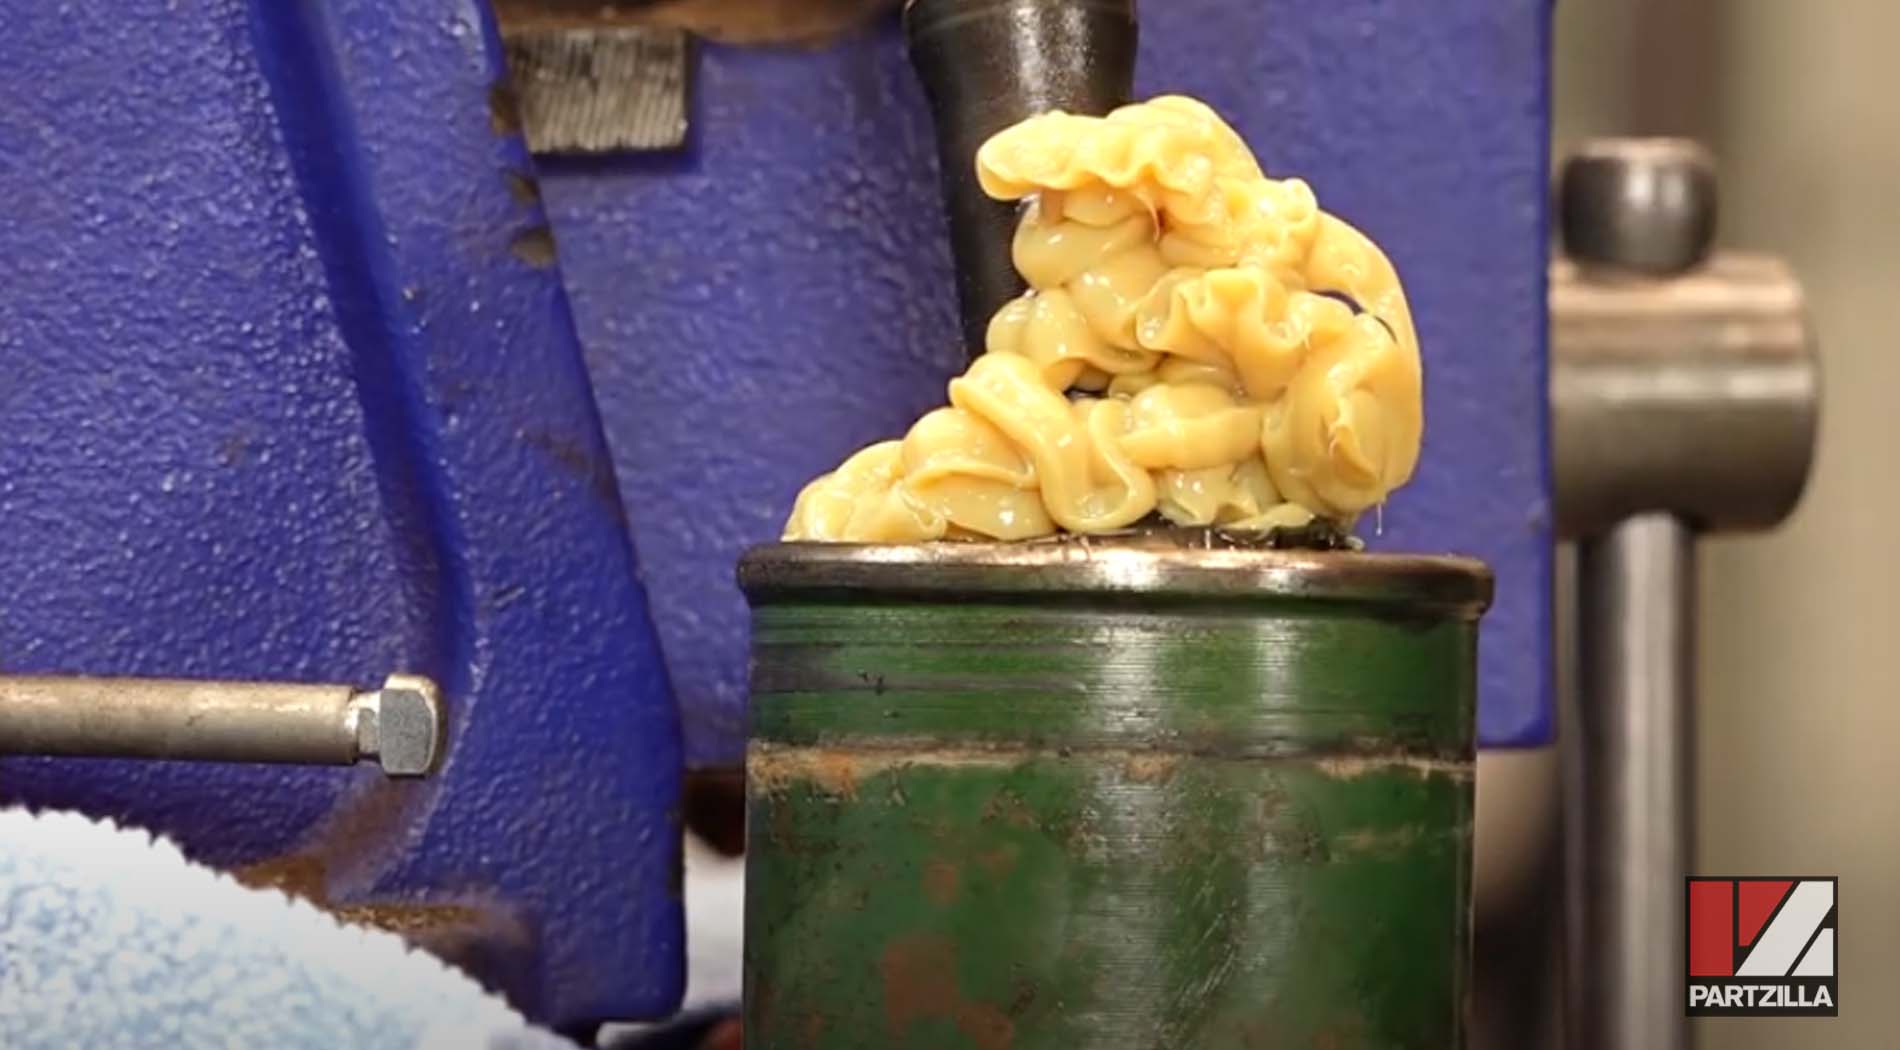
Step 13. Slide the outer boot into place and over the outer casing.
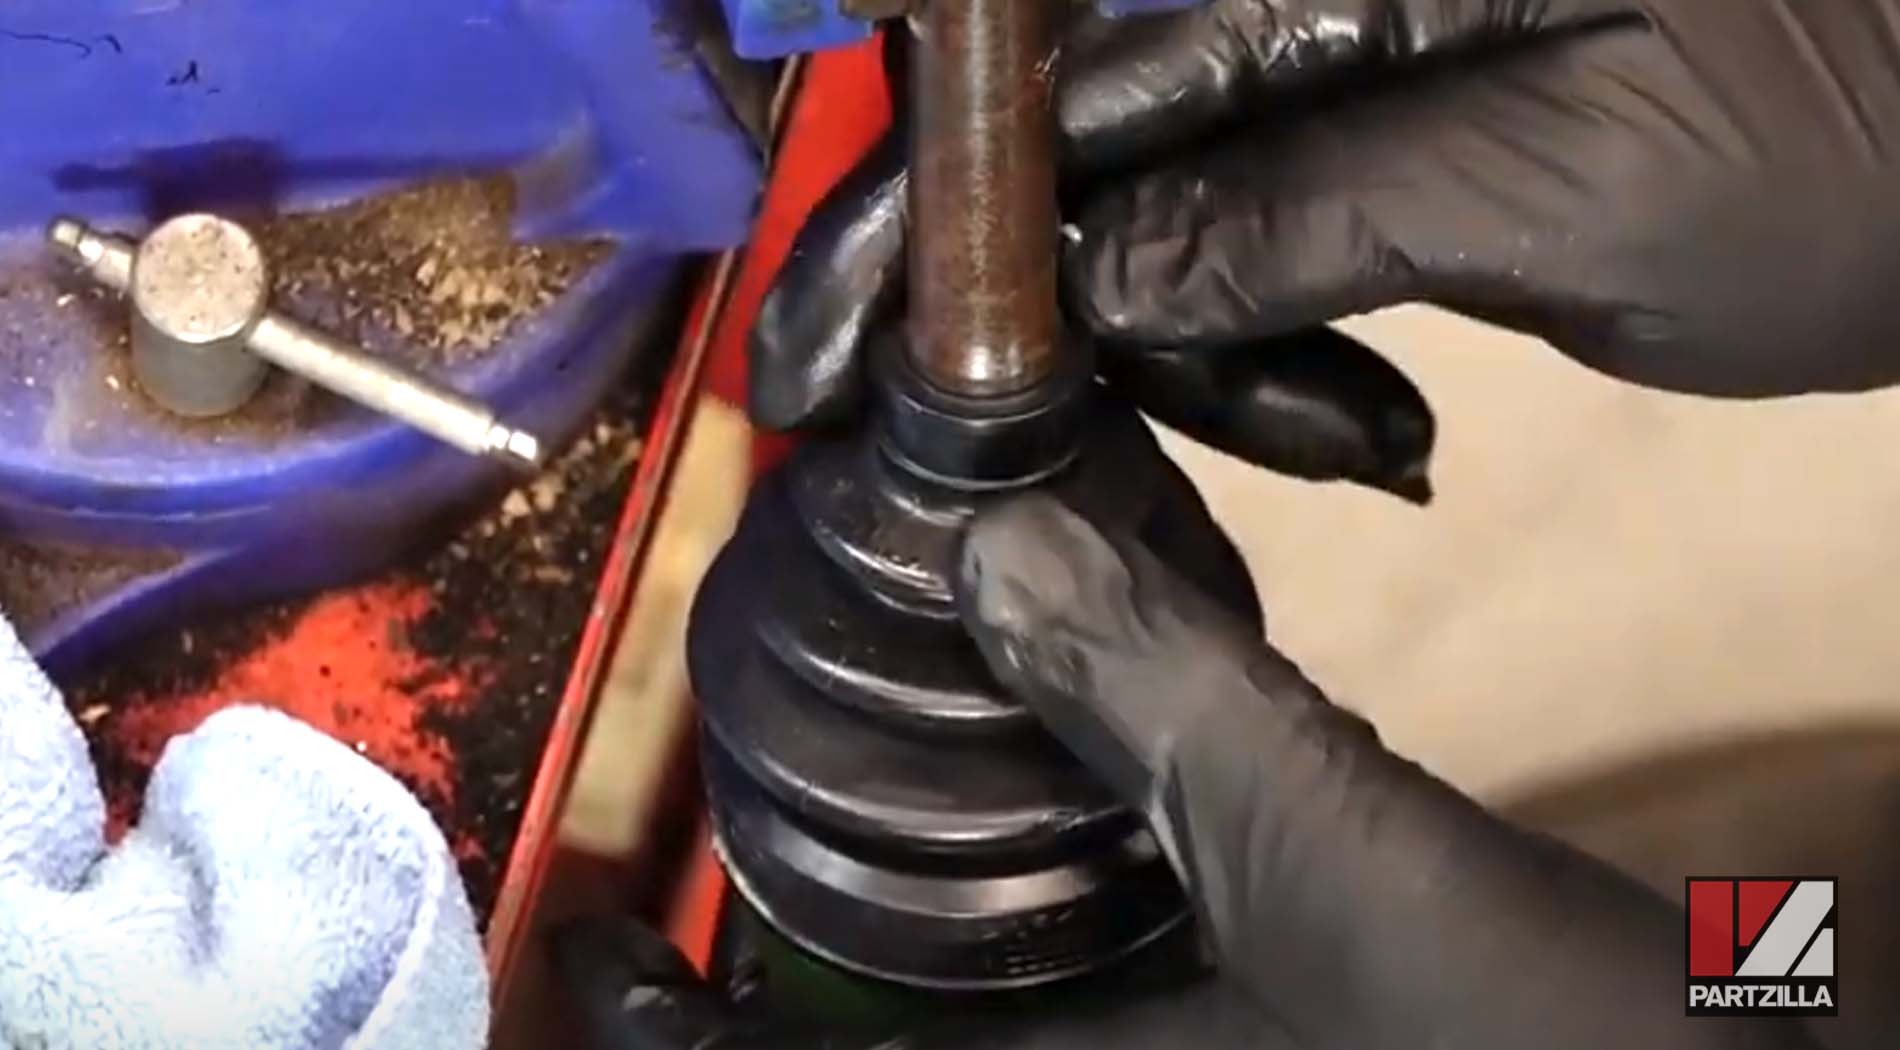
NOTE: The inner and outer boots are different diameters. The one with the larger diameter is the outer boot, nearest to the wheel.
Step 14. Slide the small inner clamps for both the inner and outer boots onto the shaft.
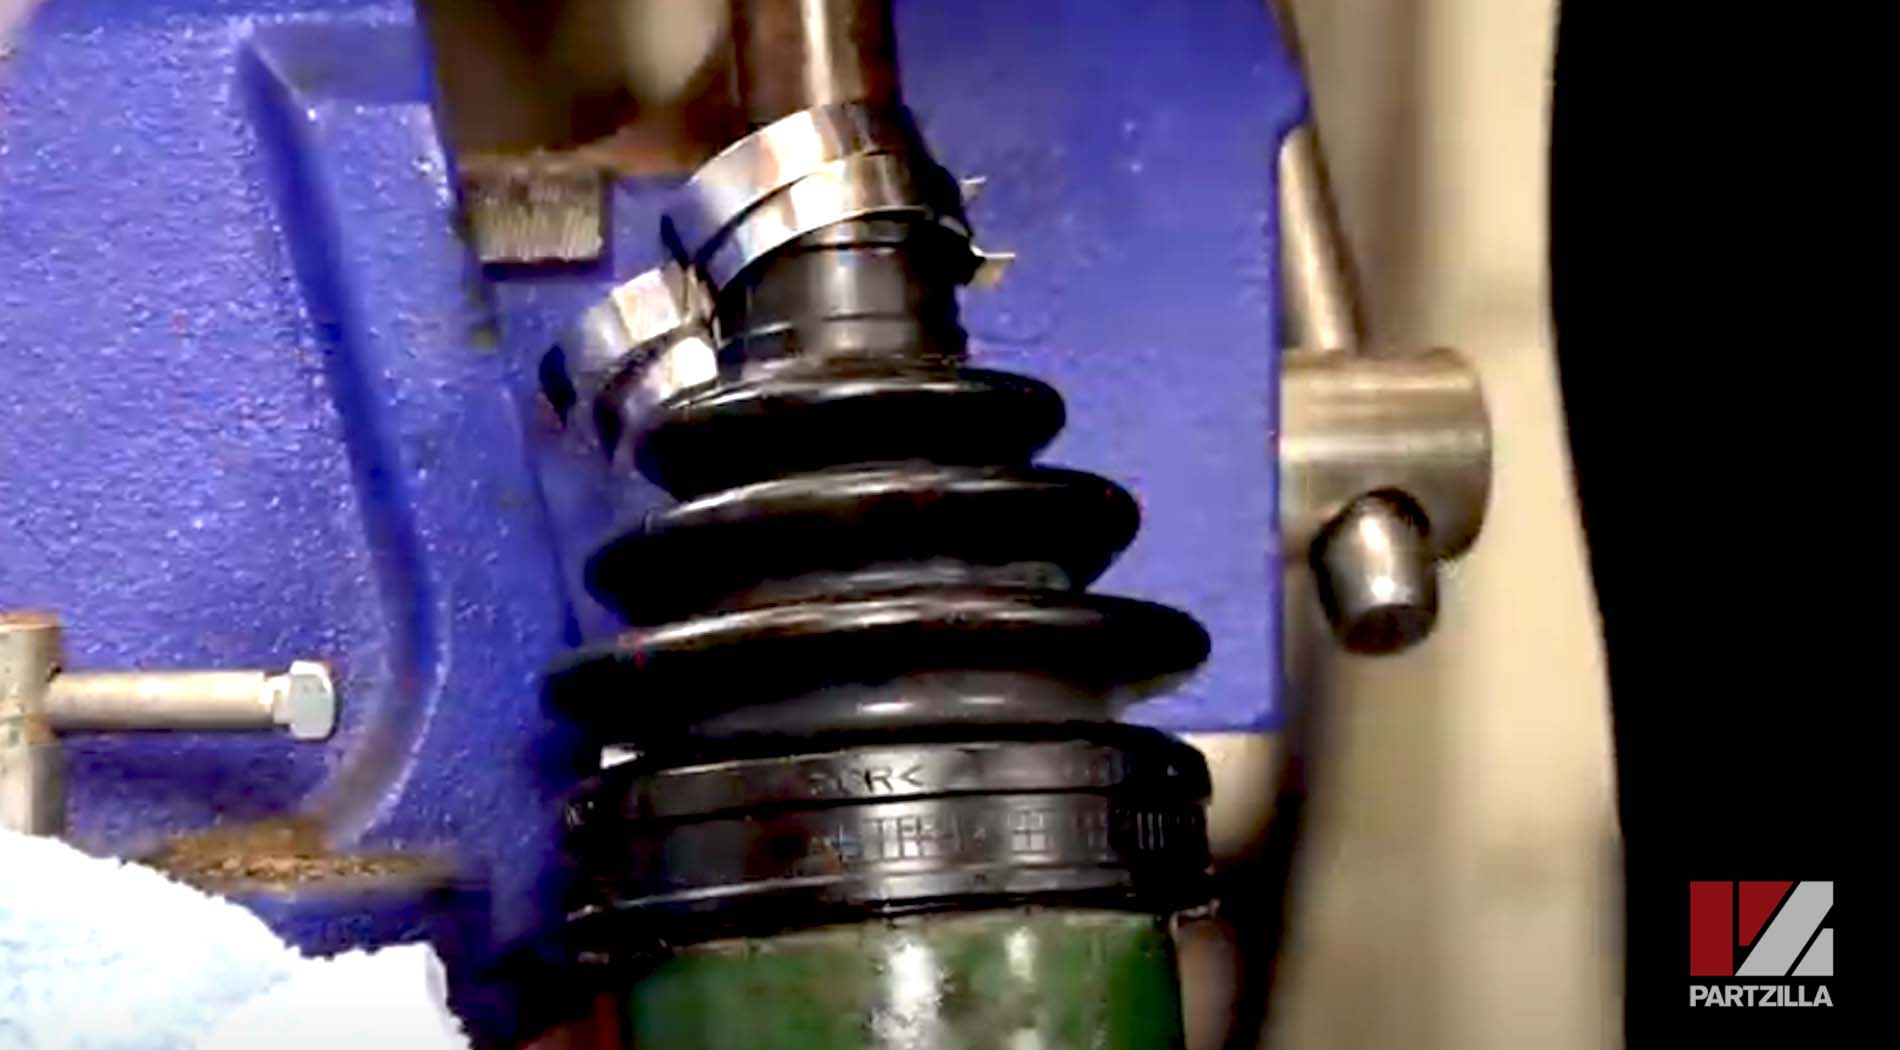
NOTE: Once the inner boot is on, you won’t be able to get the clamps past the boot. Remember to have the tabs on the clamps facing away from the direction of rotation.
Step 15. Slide the inner boot into place.
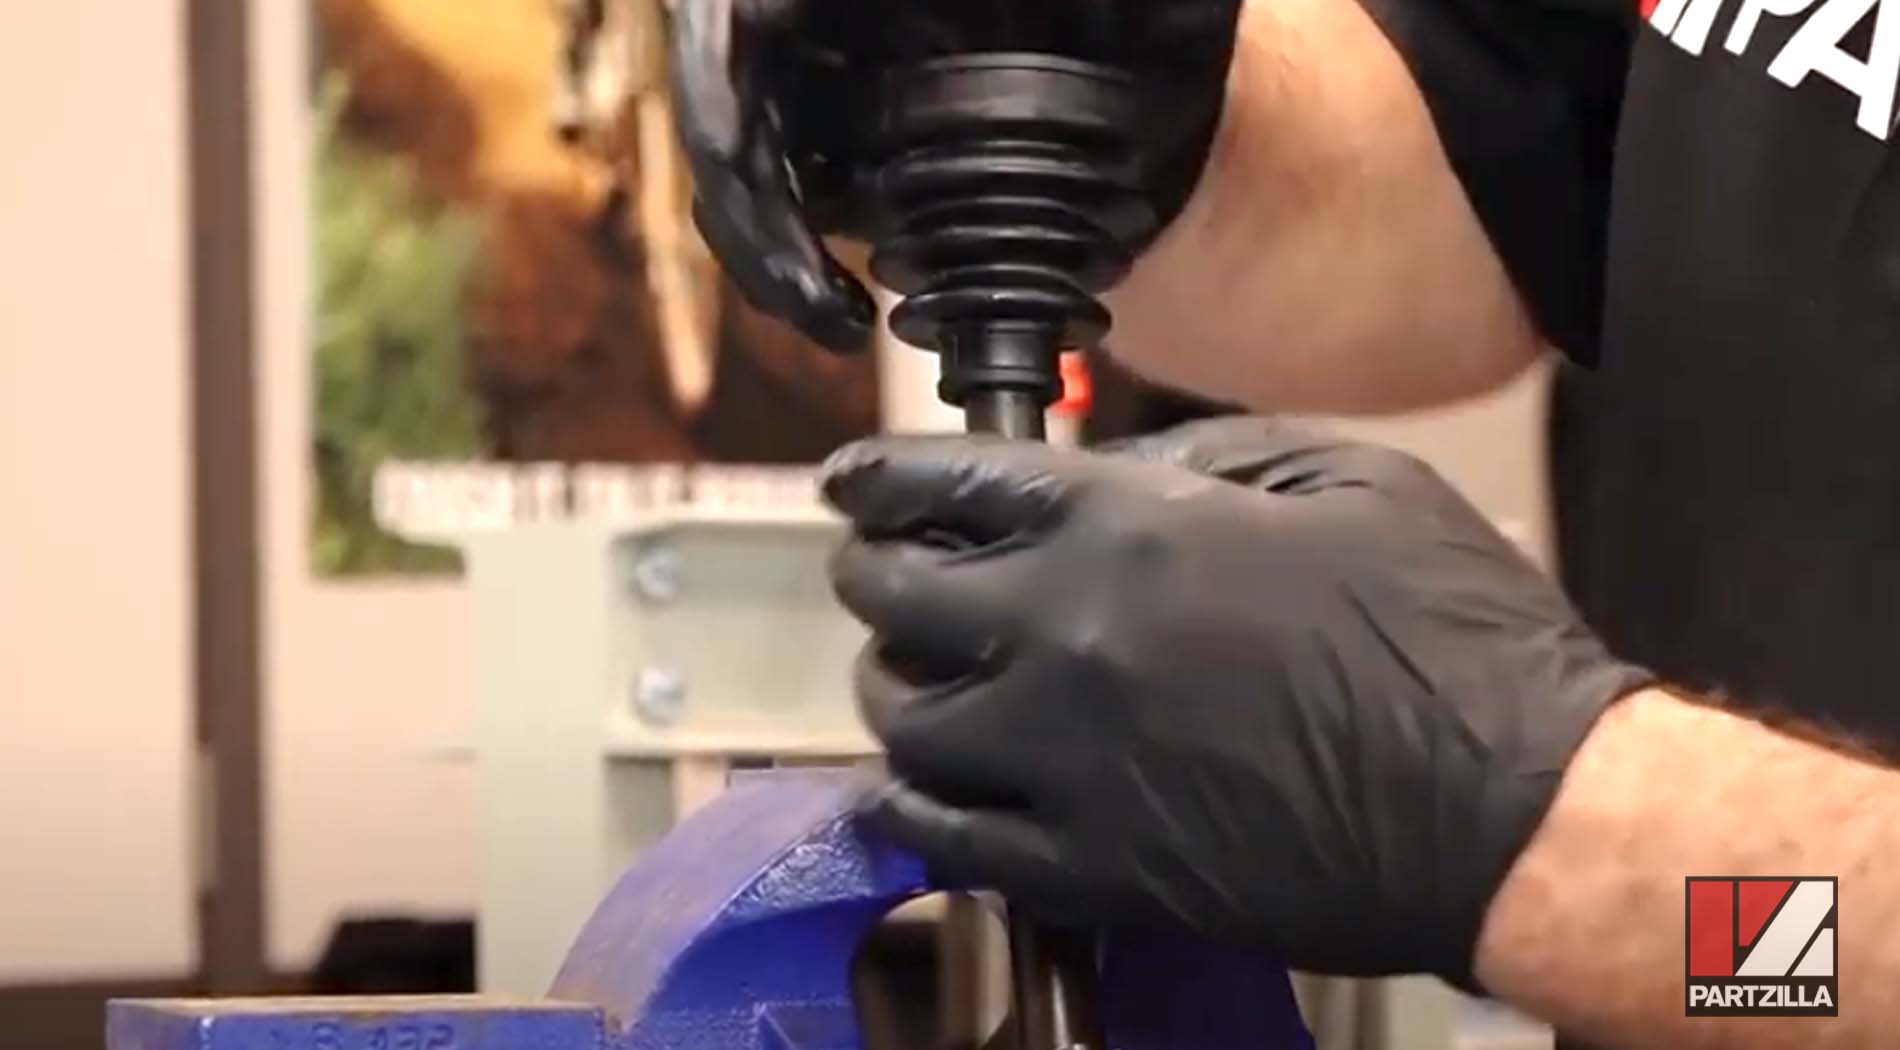
Step 16. Slide the inner joint onto the splines on the drive shaft.
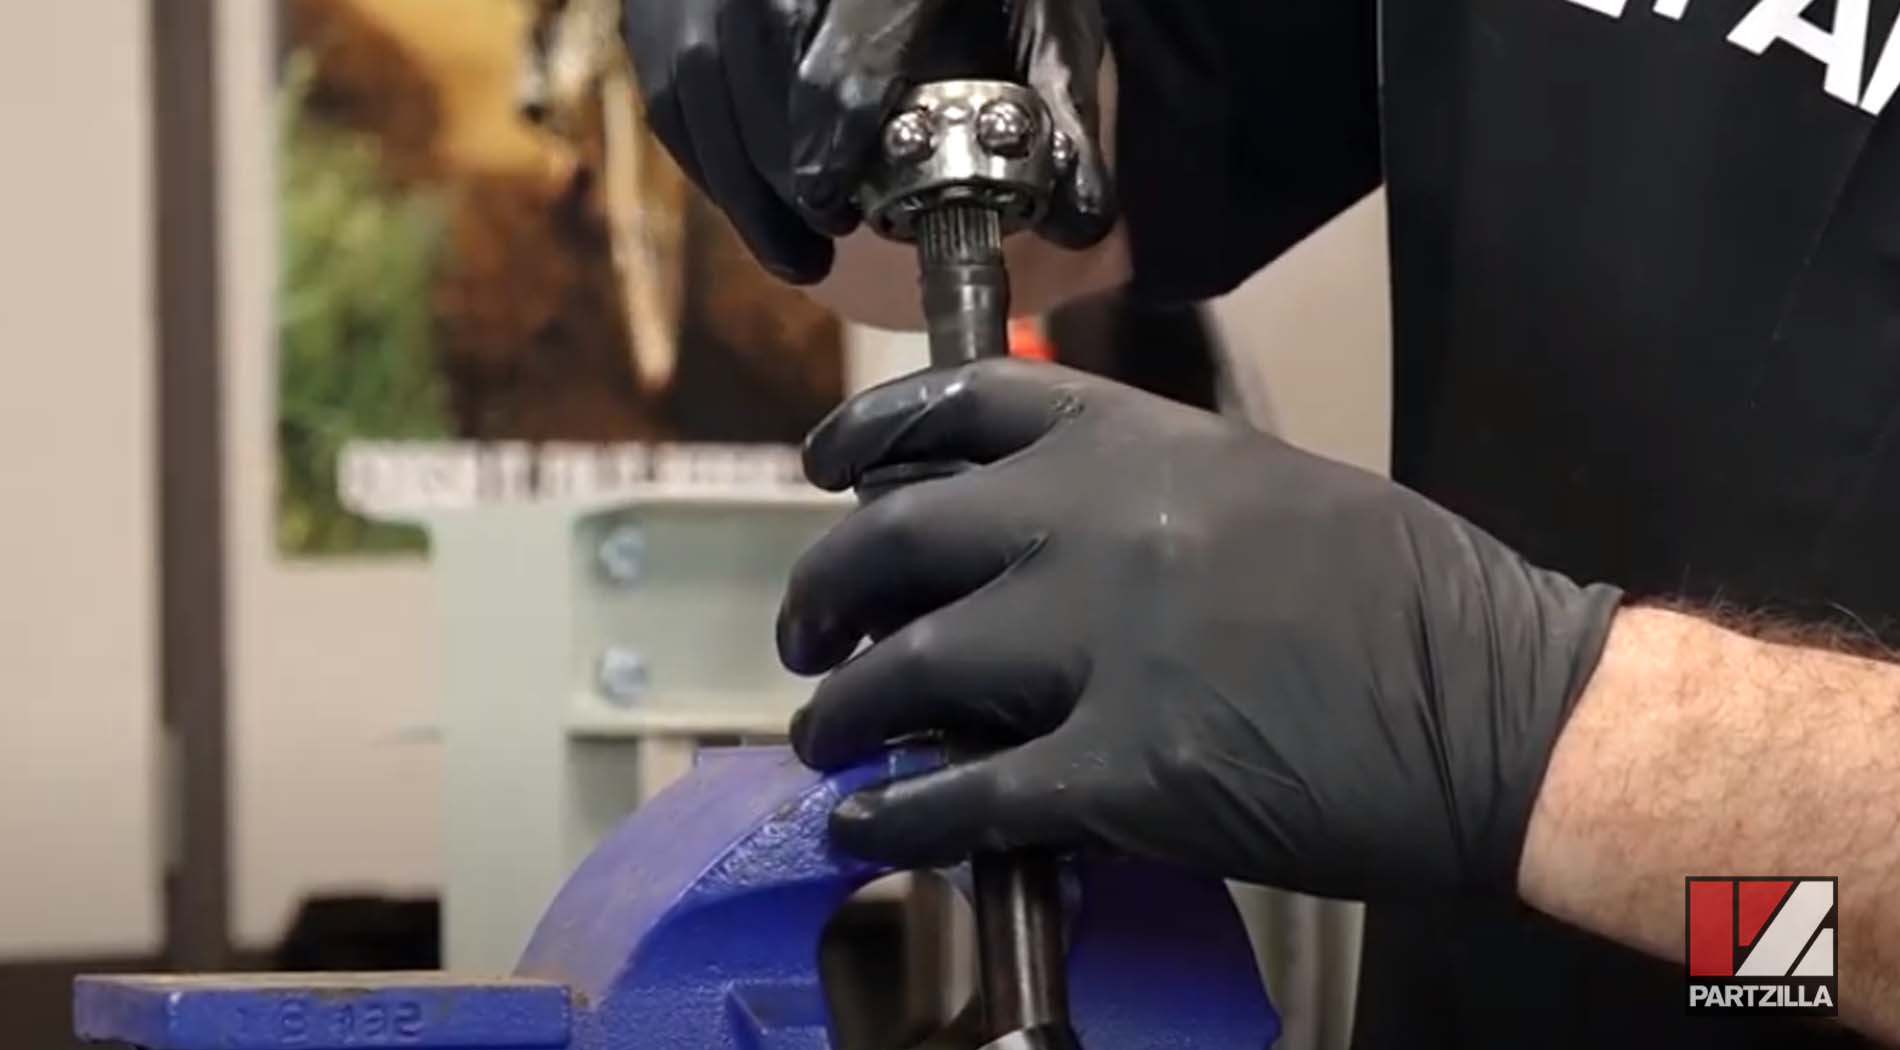
NOTE: The flatter side of the joint faces toward the drive shaft, the concave side faces away.
Step 17. Replace the circlip (included in the CV boot kit) that holds the inner joint in place.
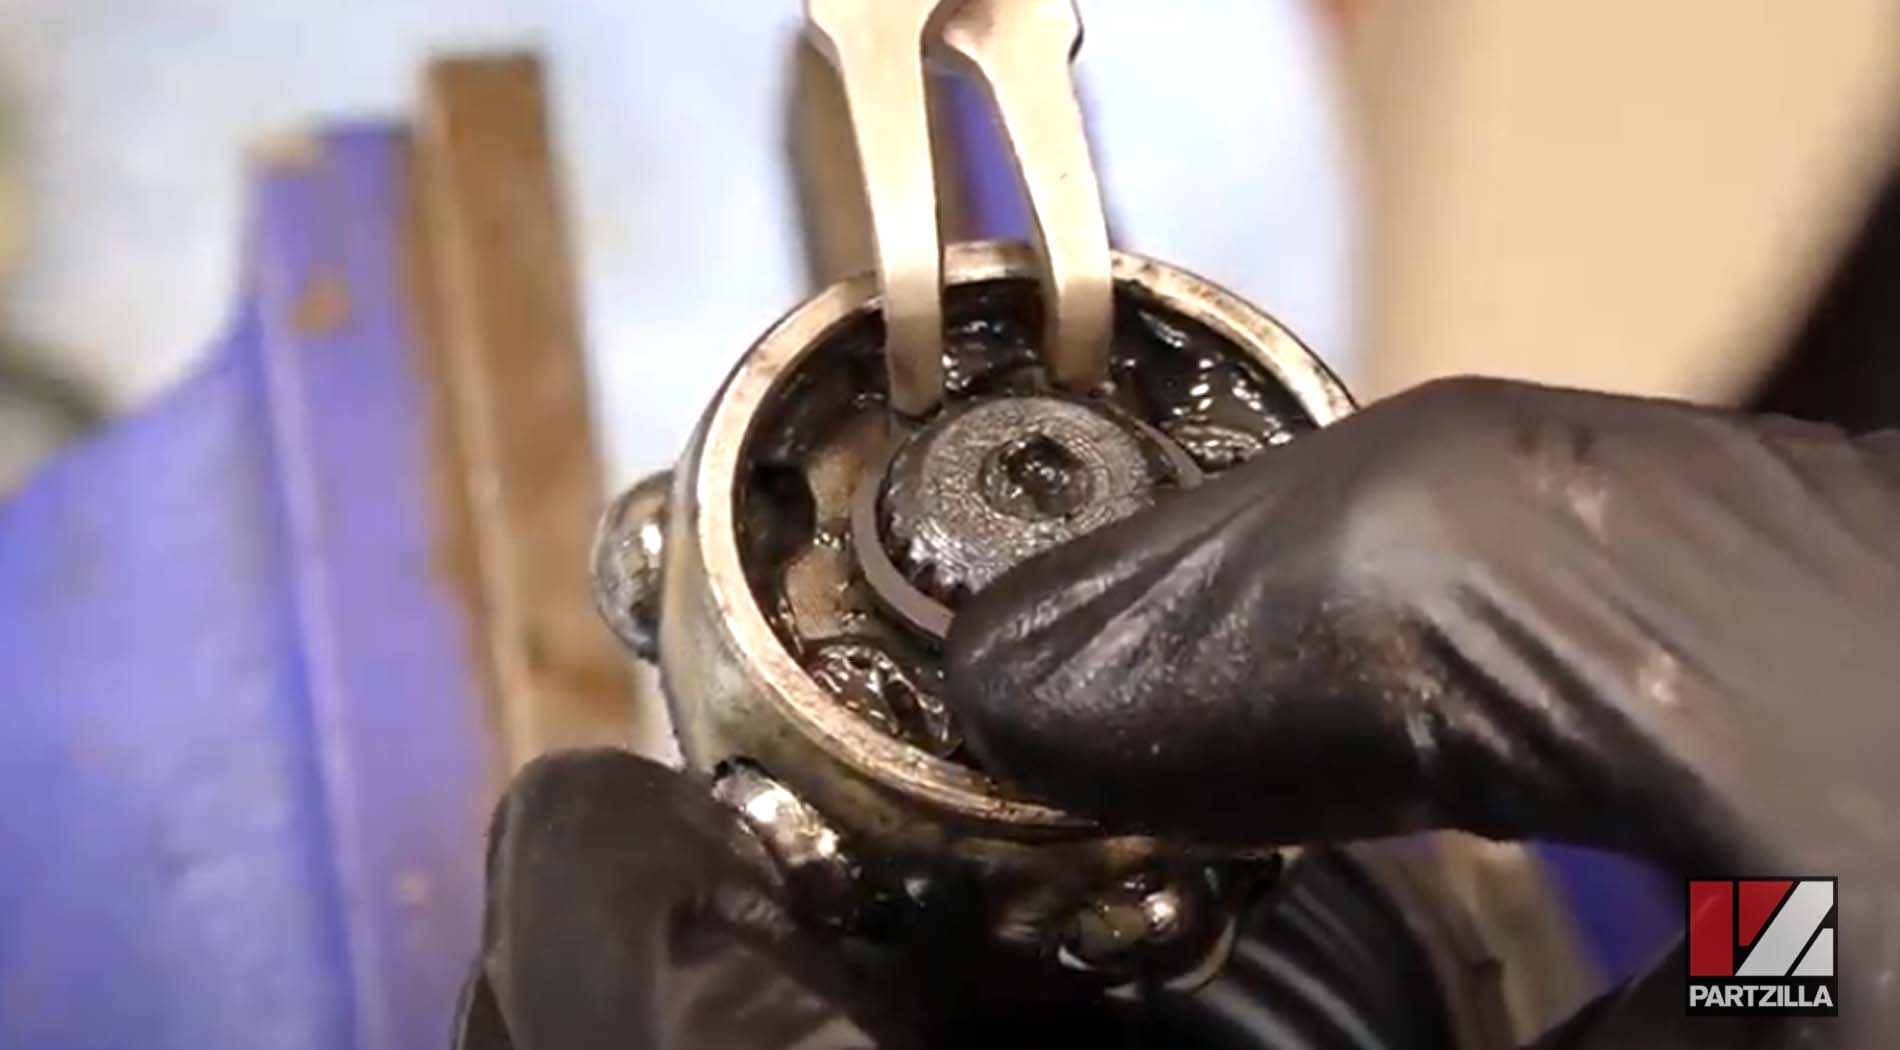
Step 18. Wipe the last of the old grease out of the casing and fill it up with new grease.
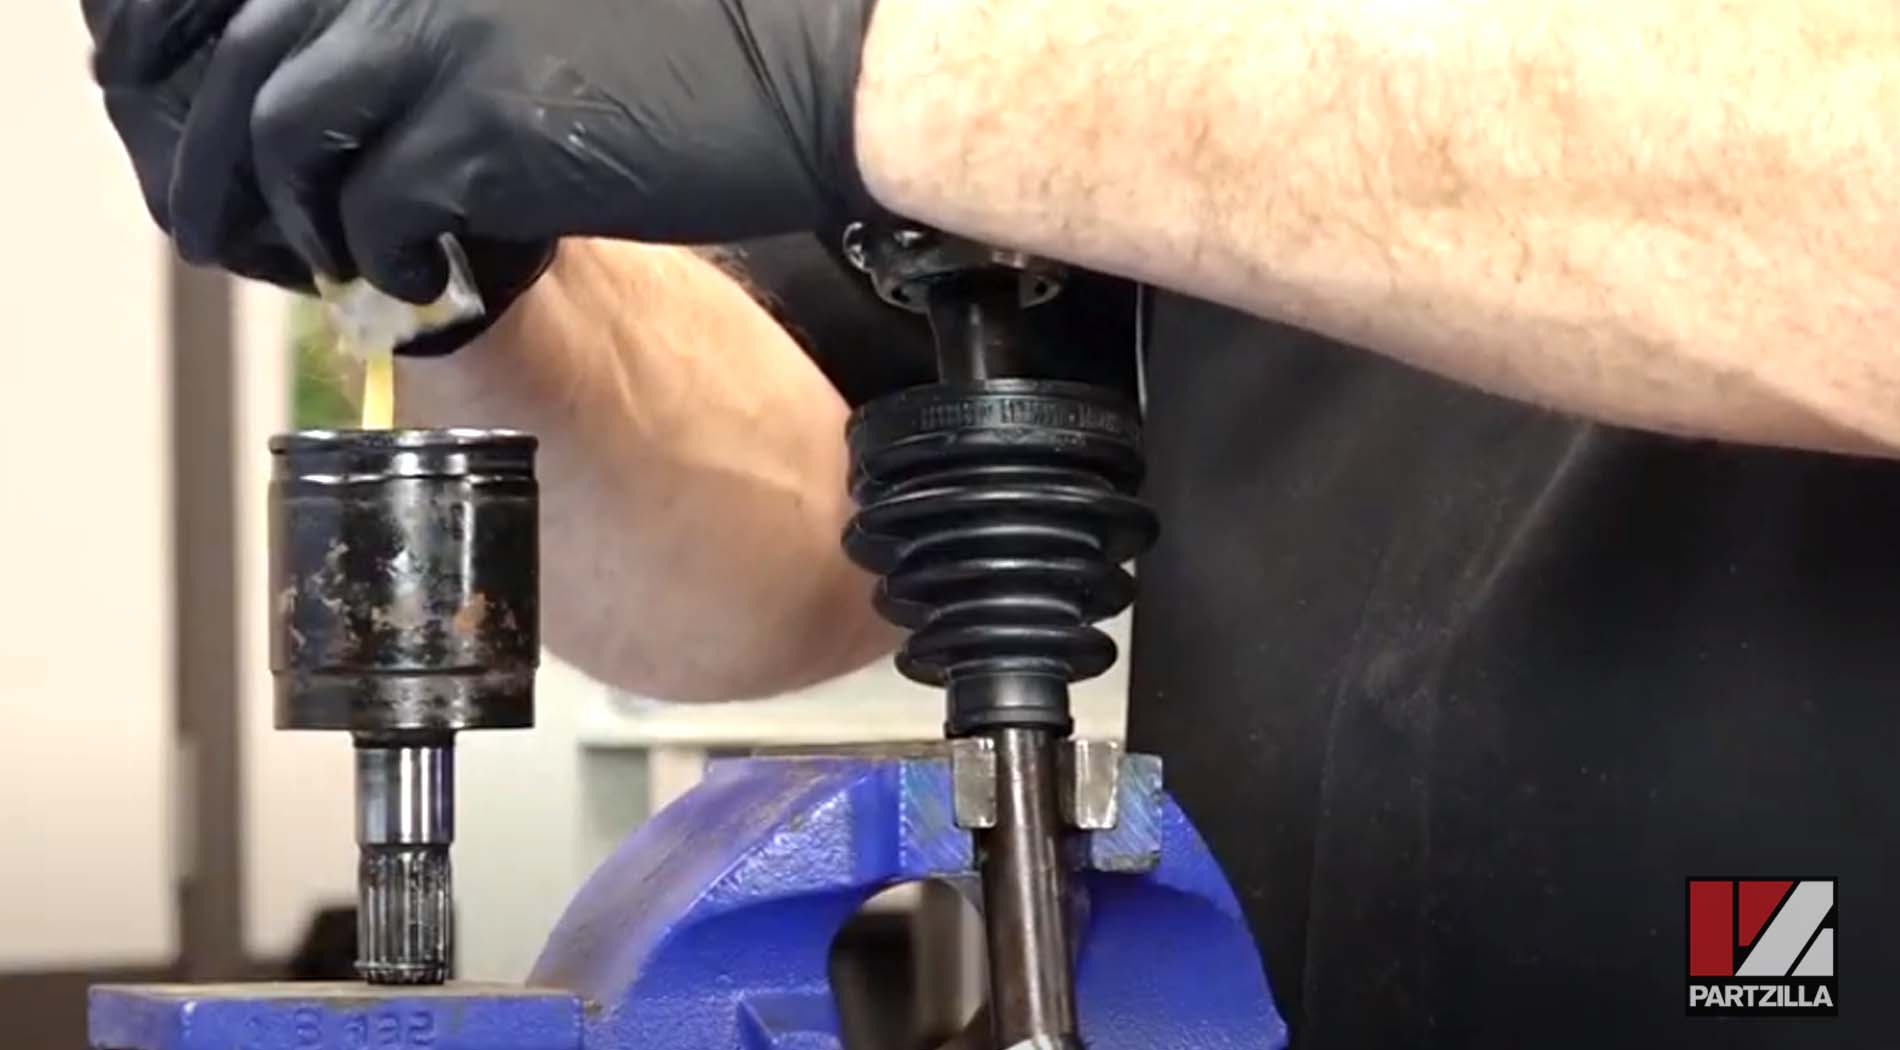
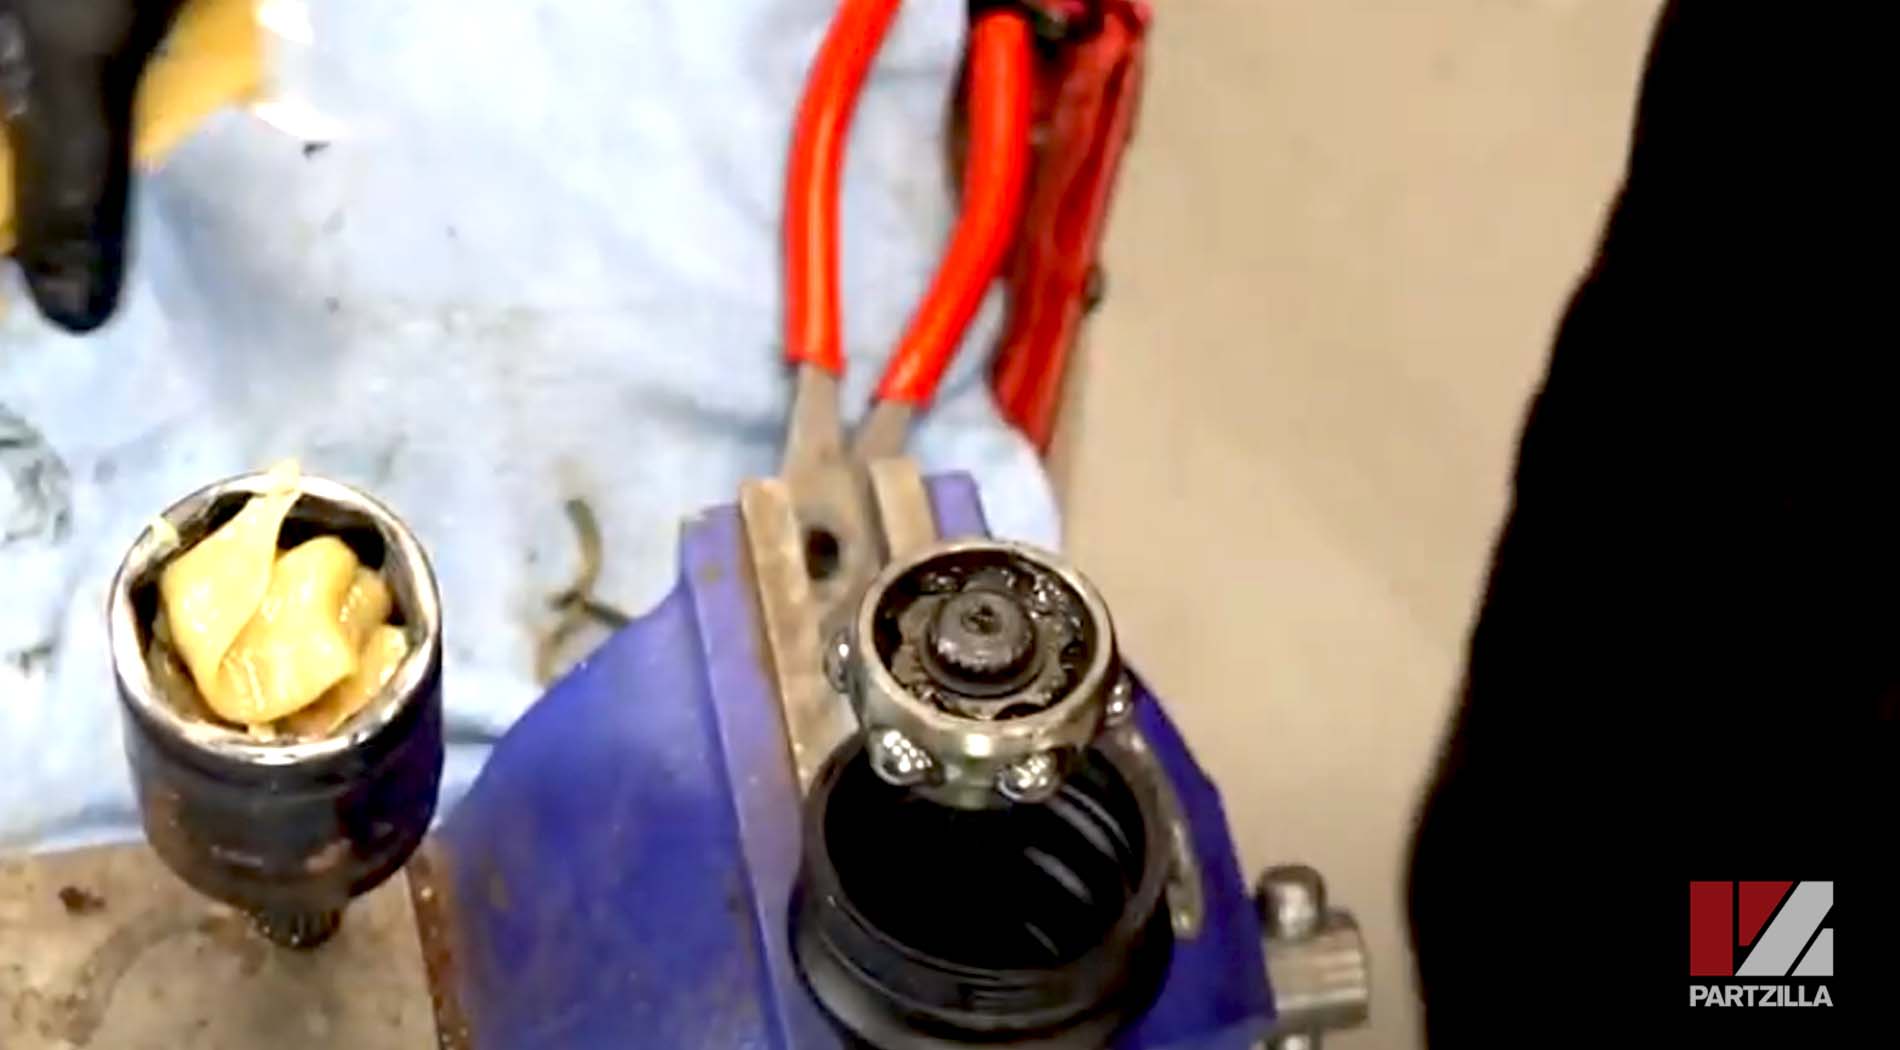
Step 19. Push the casing on over the top of the joint.
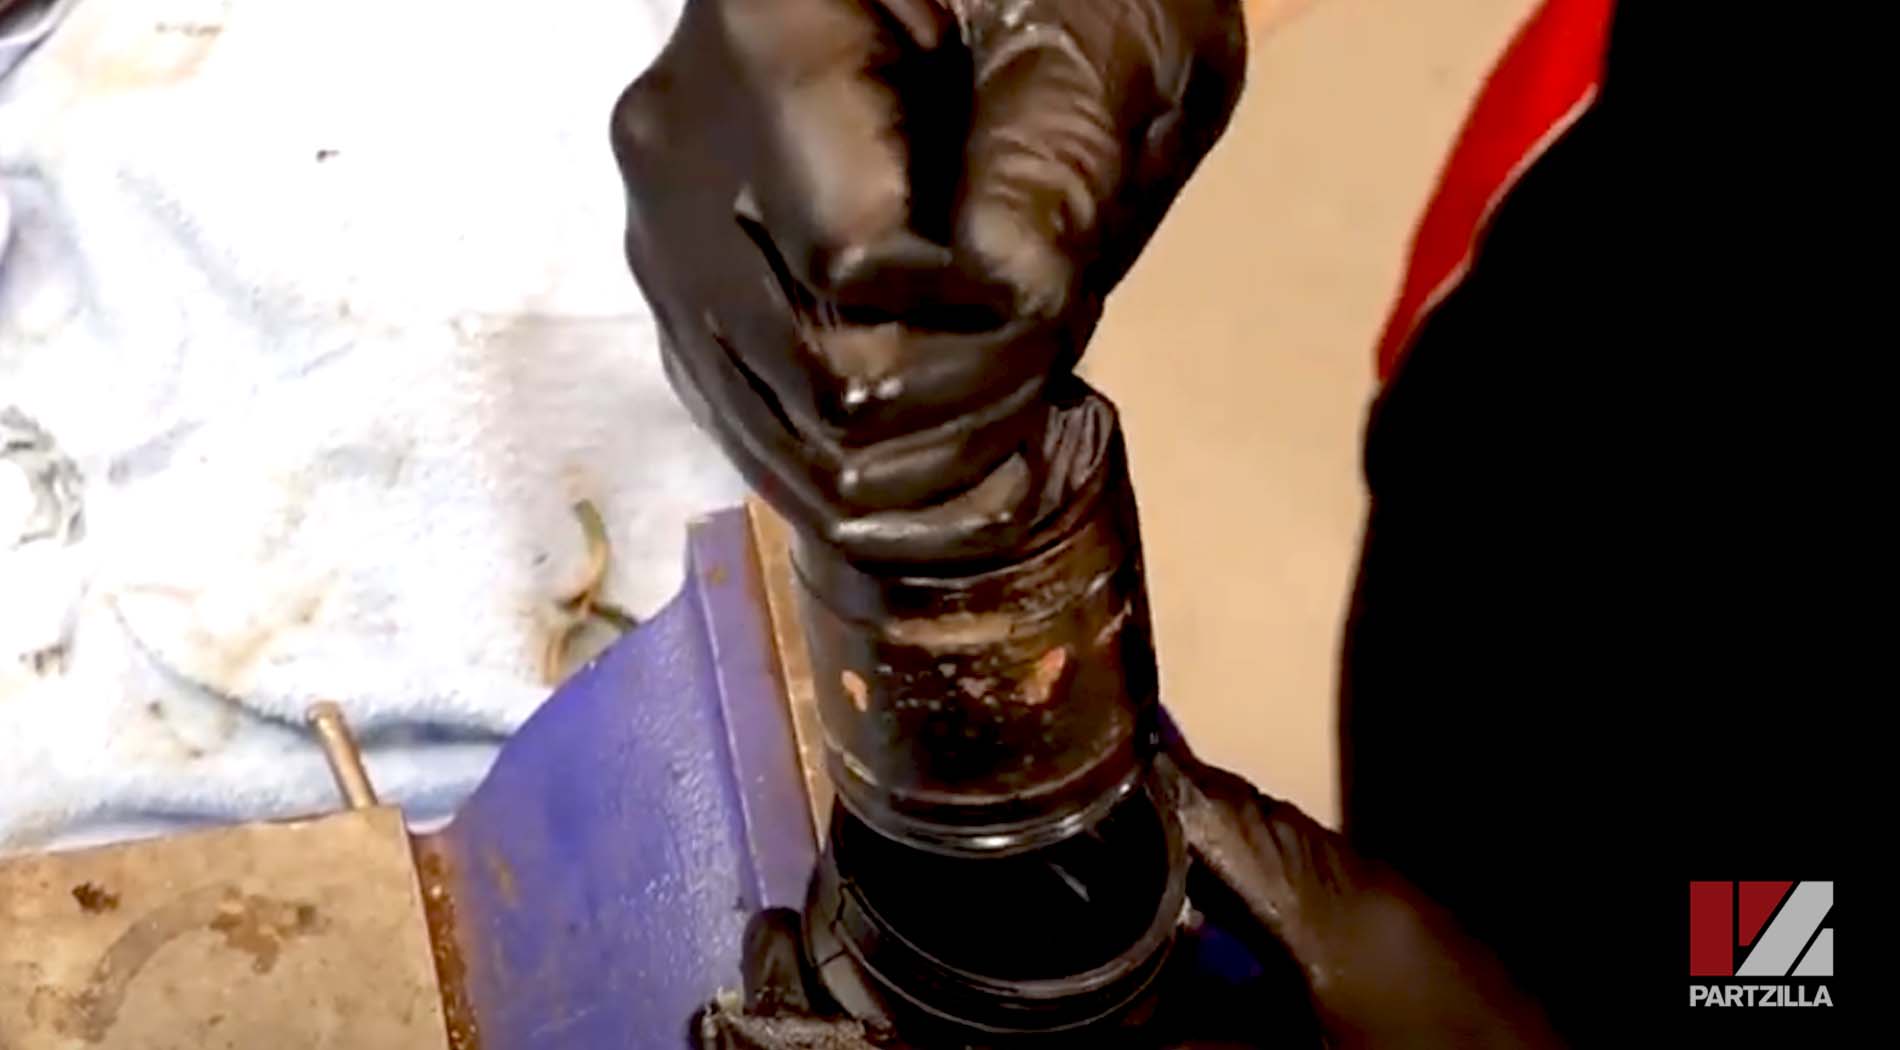
Step 20. Replace the stopper ring. You’ll feel it snap into place.
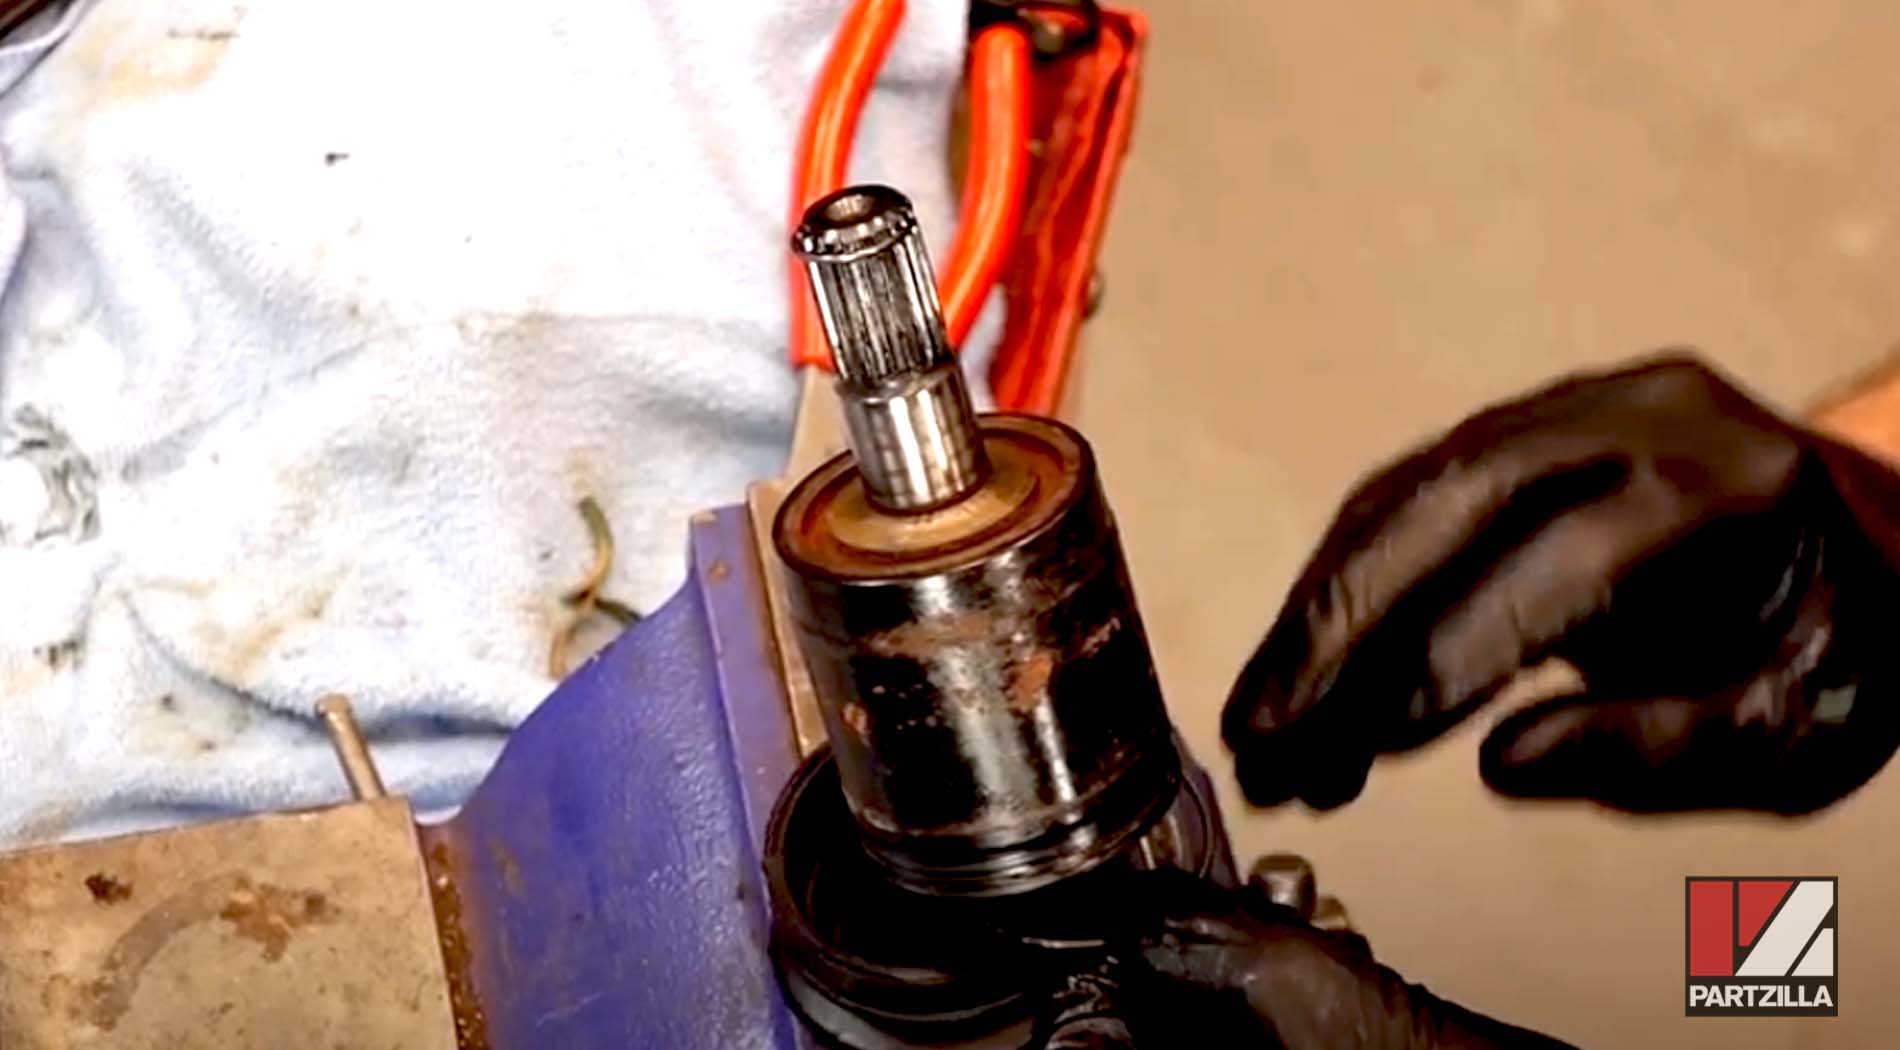
Step 21. Wipe down the indentation where the boot will seat on the casing, then seat the boot into place.
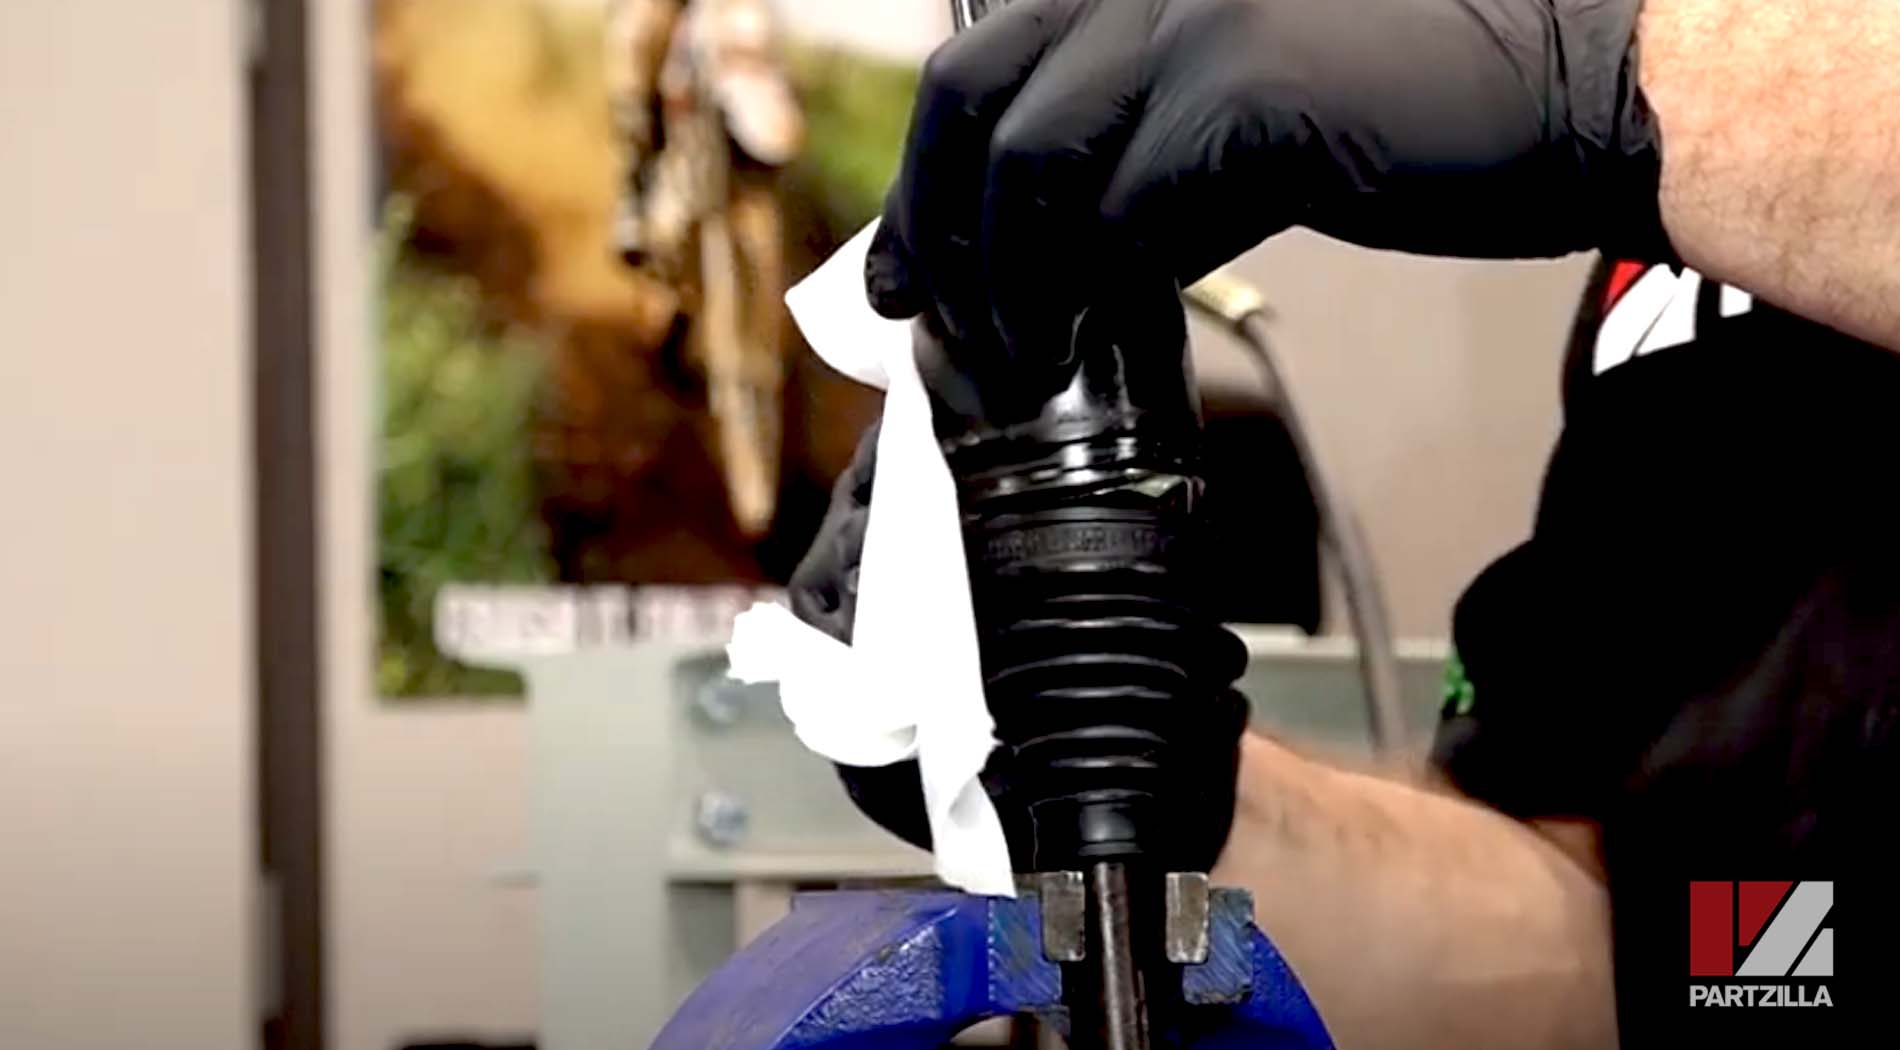
NOTE: You’ll find an indentation where it seats both on the casing and on the drive shaft itself.
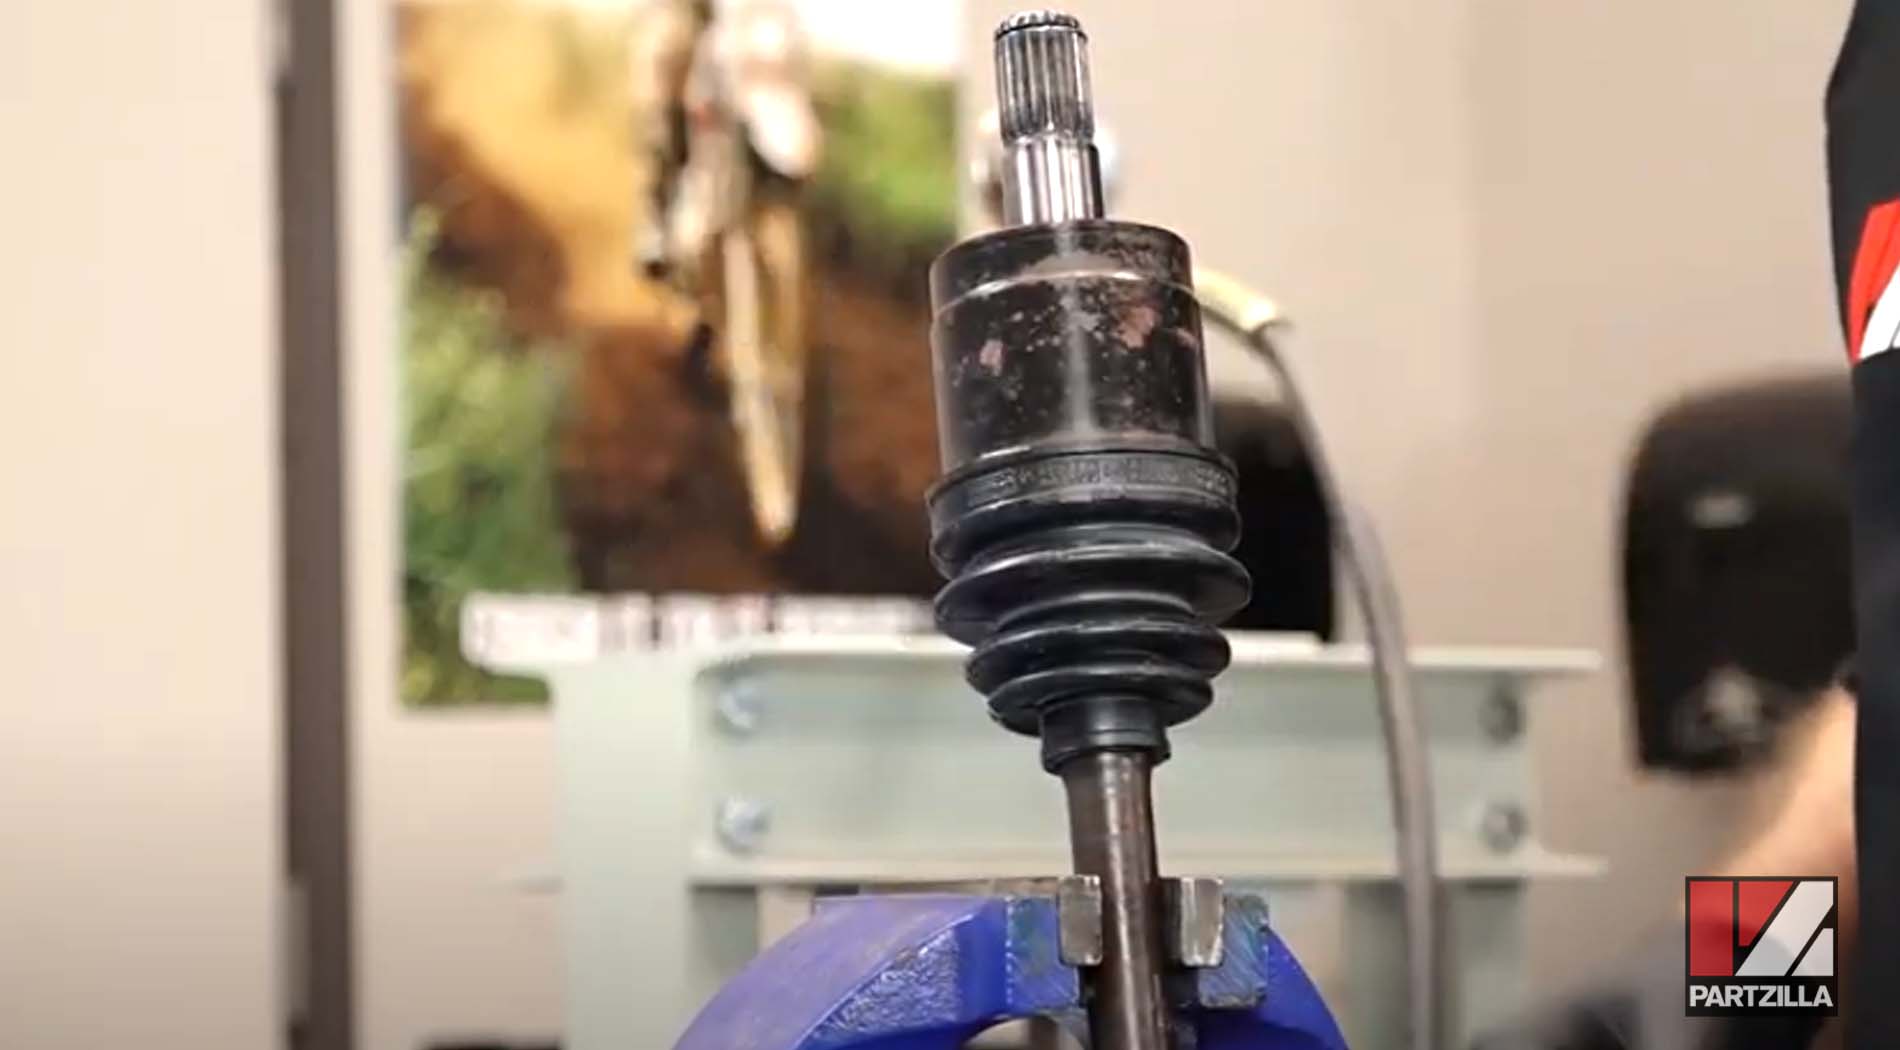
Step 22. Lock the four clamps on the two boots into place. First, bend the tab over, then use a soft-blow hammer to bend the small locking tabs into place.
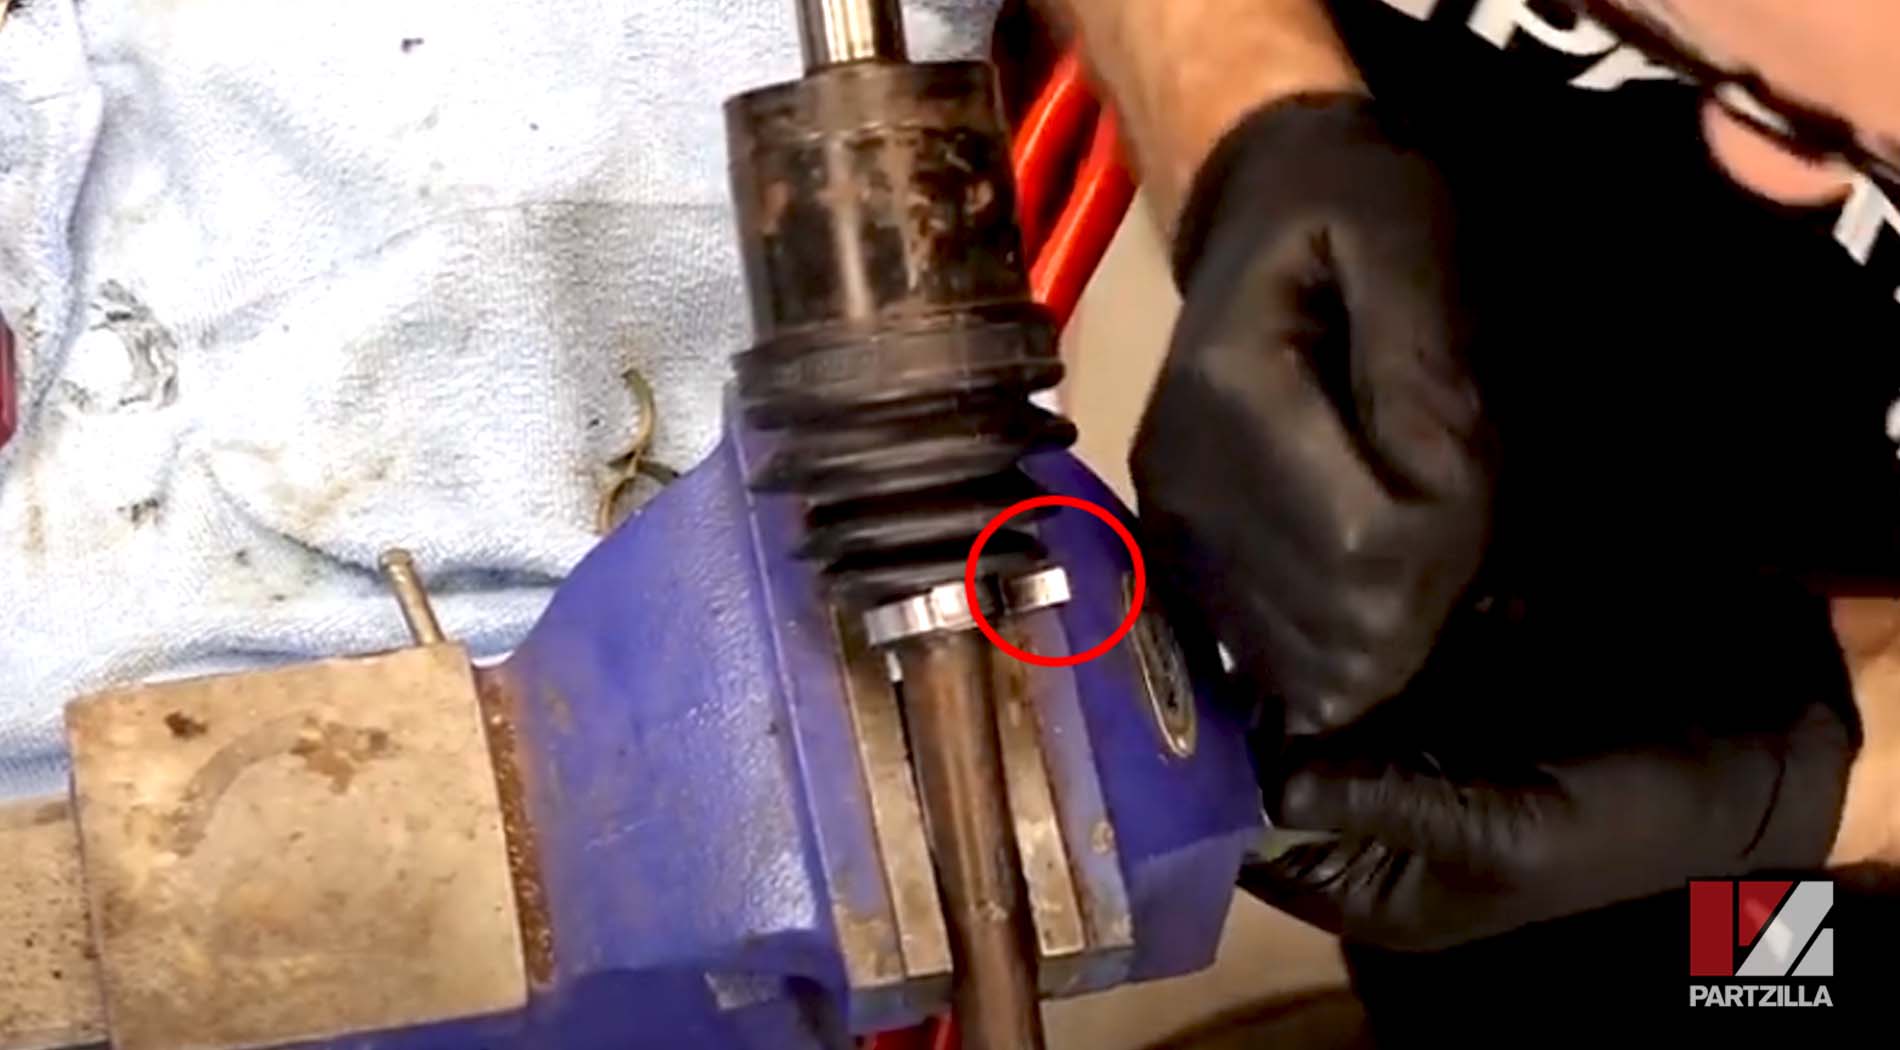
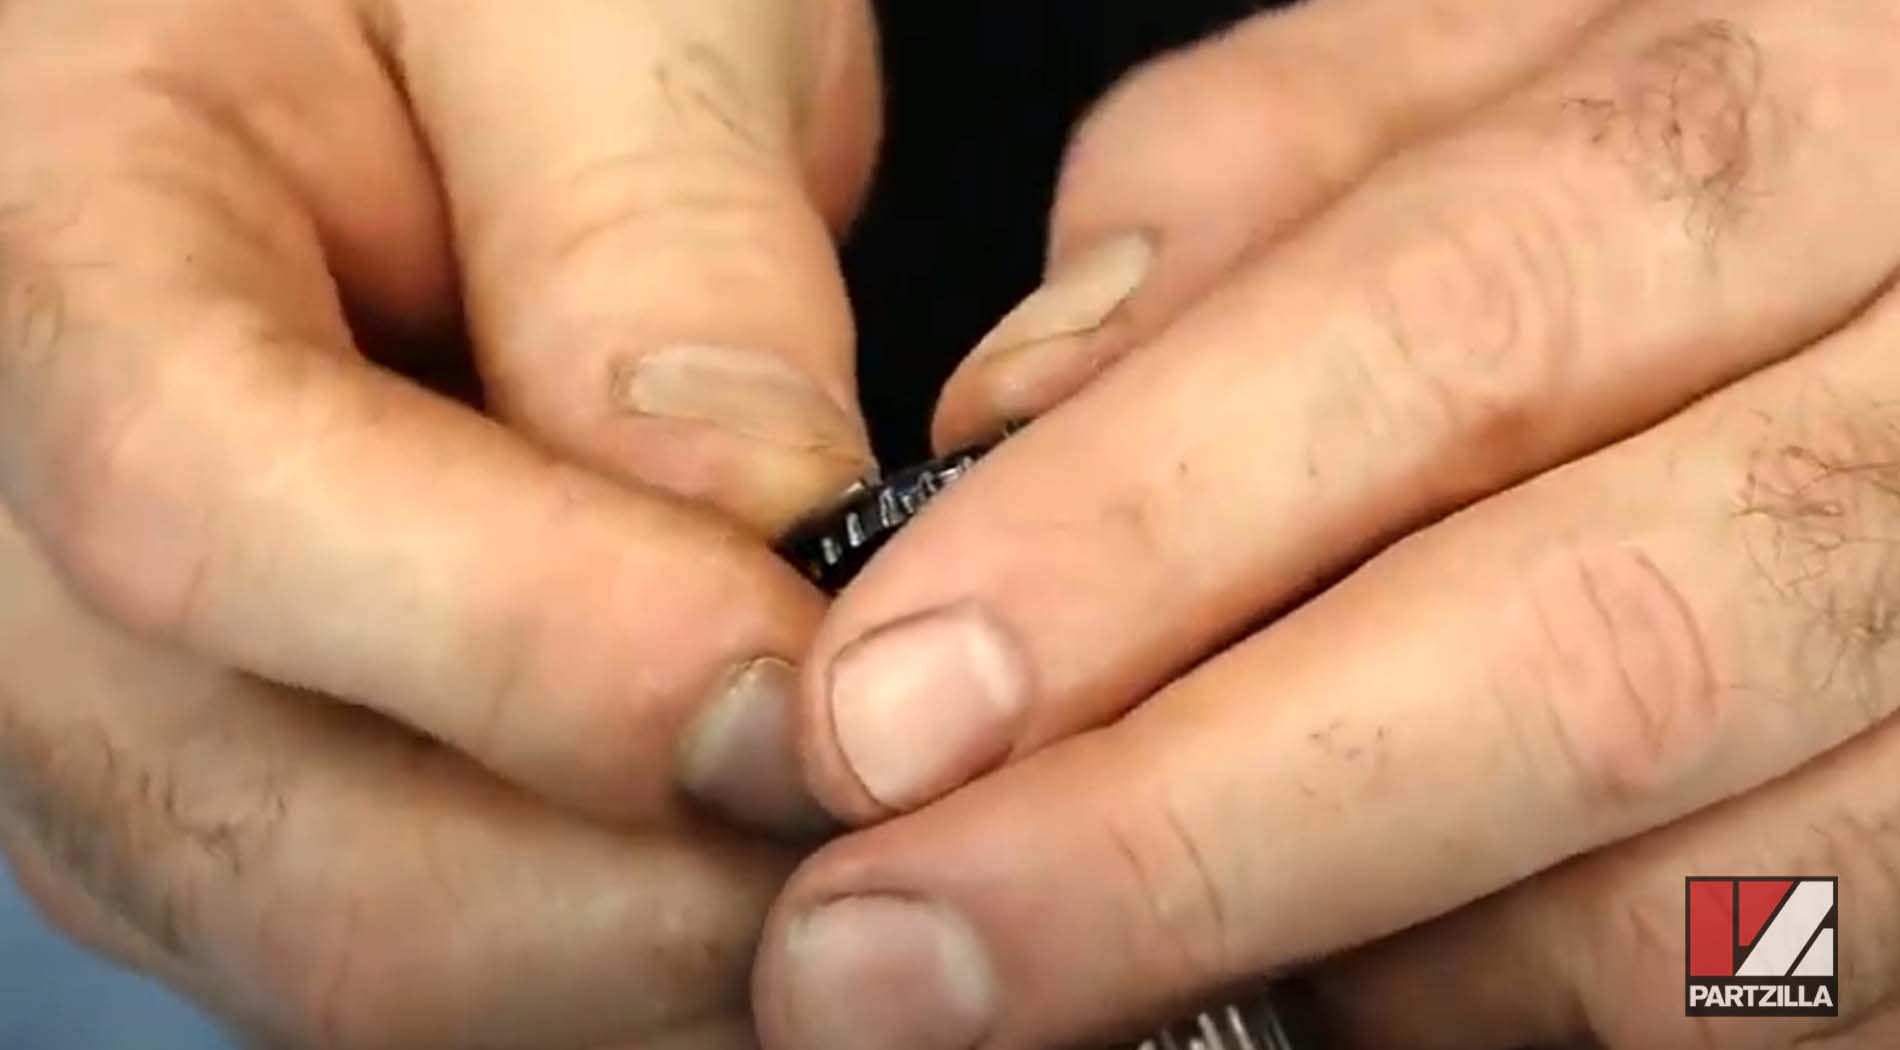
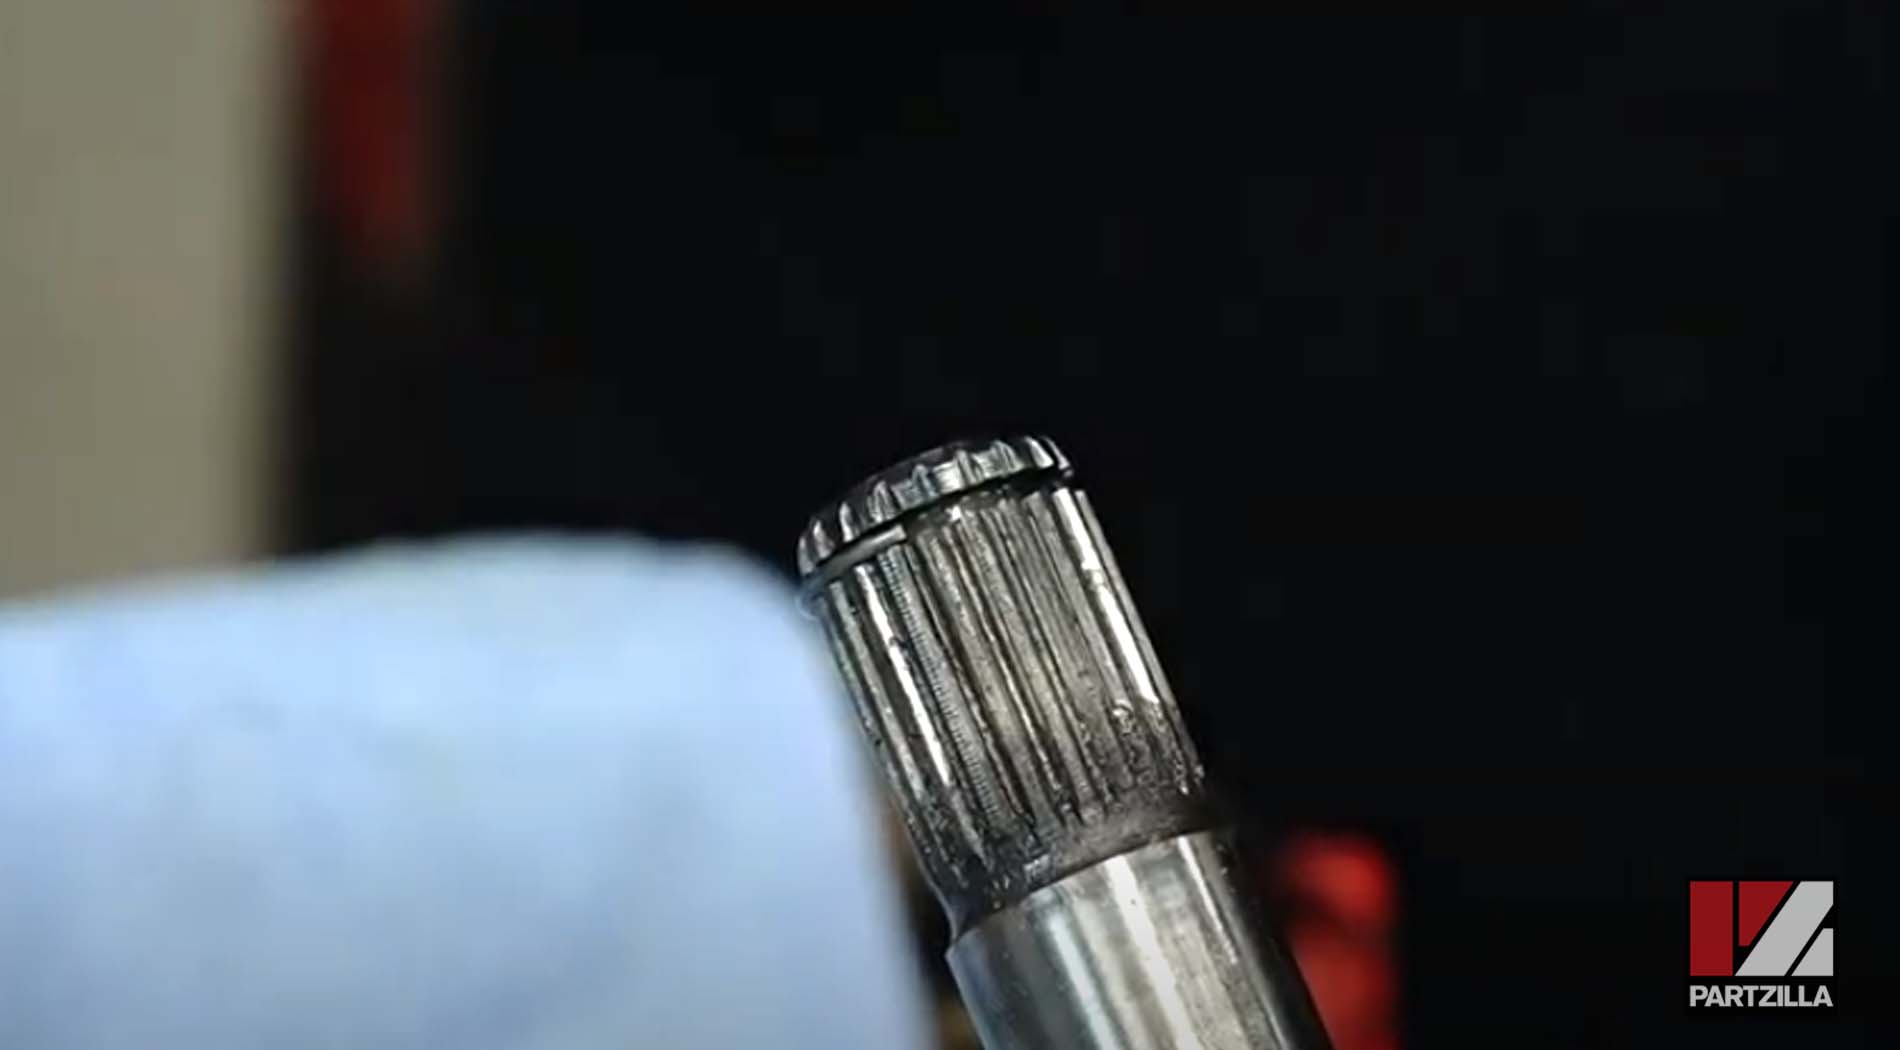
Step 23. Insert the small retaining ring (included in the CV boot kit) at the end of the drive shaft into the case. Just pry the old one off and walk the new one into place.
The rest of the process to change the CV boots involves reinstalling the steering knuckle, replacing the hub and the brake caliper and the wheel (those steps are covered here).
Watch the clip below to complete the process of replacing the CV boots on a Honda TRX420.
