Honda Rancher 350 Top End Rebuild Part 1: Engine Teardown
Welcome to the first part of our Honda TRX350 top end rebuild series, which walks you through how to disassemble the motor of a Honda Rancher 350.
Watch the video above and follow the steps below to learn how to tear down the engine of a Honda TRX350. Use our Honda TRX 350 exploded parts diagrams for additional reference.
Tools – Honda Rancher 350 Top End Rebuild
- Ratchets and extensions
- Socket set
- 10mm, 14mm wrenches
- 6mm Allen
- Zip lock bags
- Pliers
- Side cutters
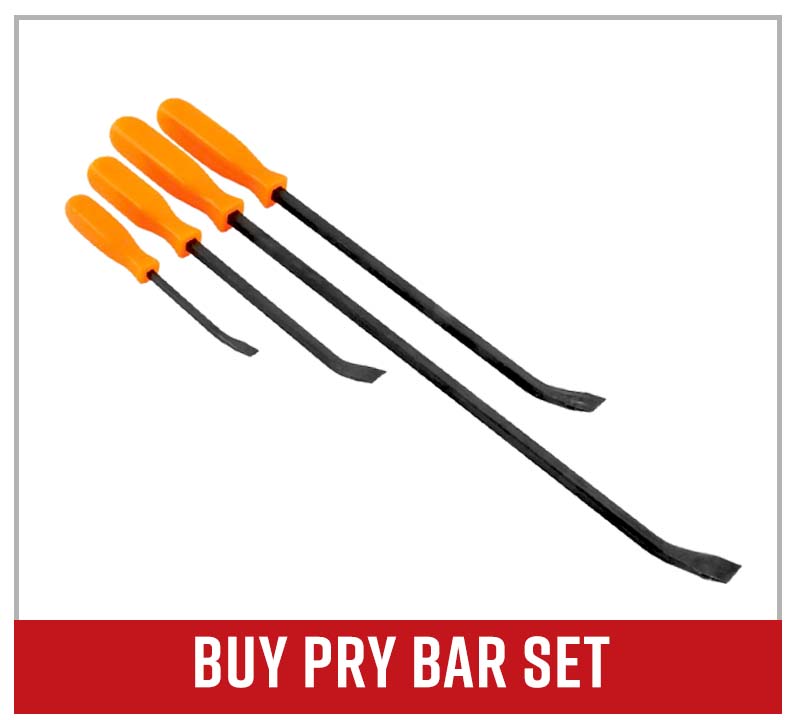
- Pry bar
- Screwdrivers
Tearing Down a Honda TRX350 Rancher Top End
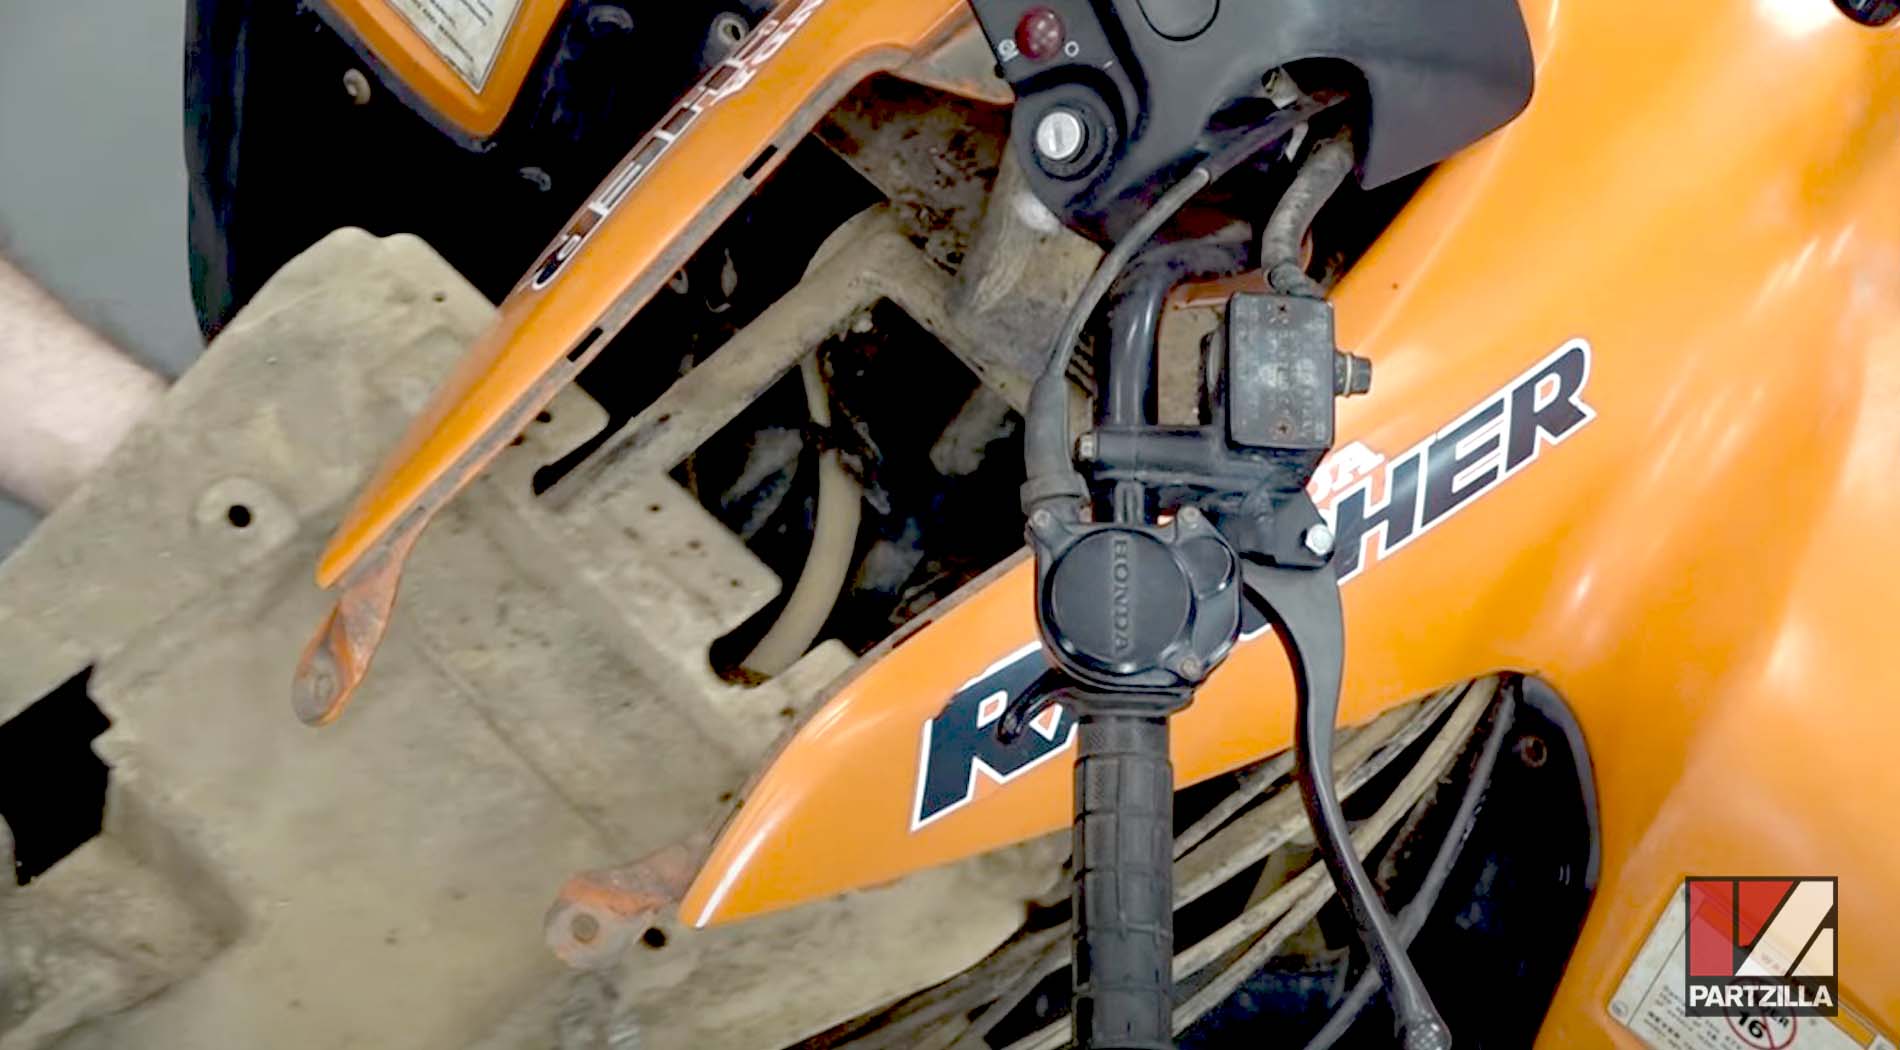
Step 1. Remove the seat, the fuel tank cover and the side covers.

PRO TIP: Collect the rivets, nuts, bolts, screws, washers, etc. from each component as you remove it, put them in a zip lock bag and label the bag. It’ll be much easier to find the correct part for the correct component when it’s time to reassemble the top end.
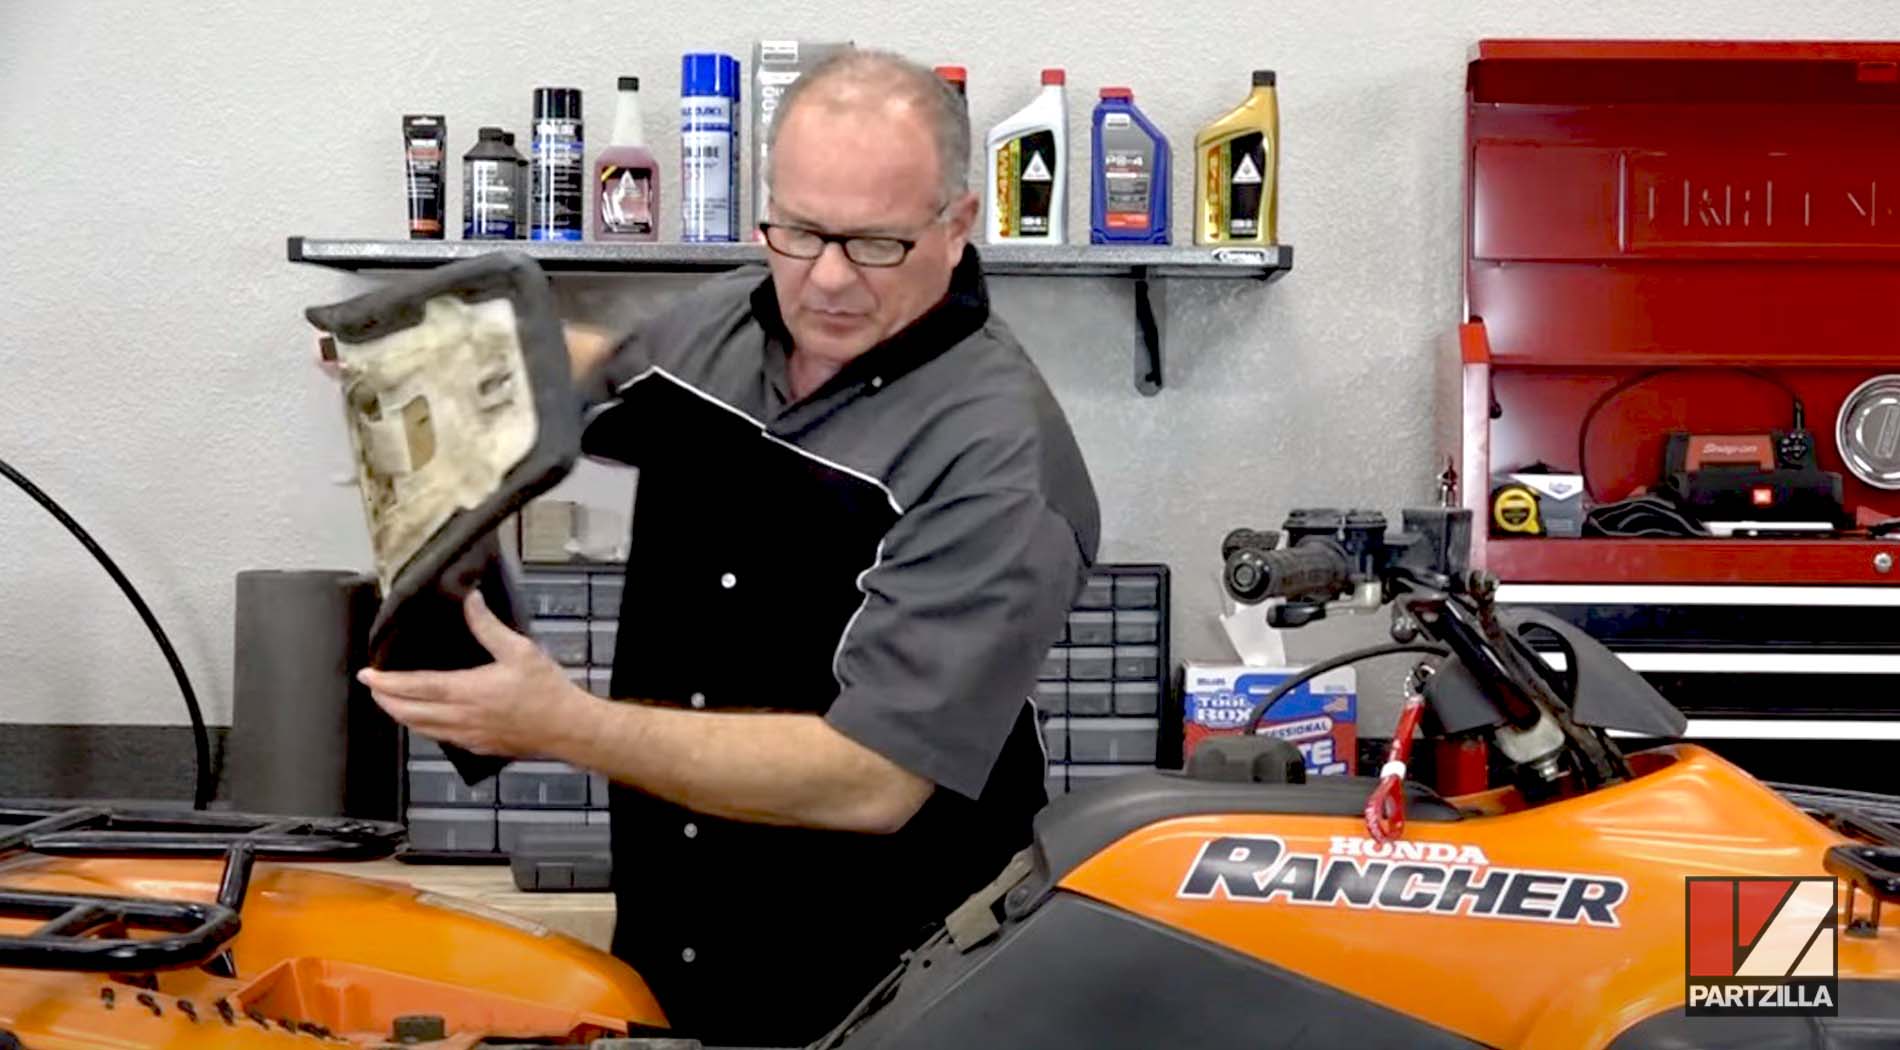
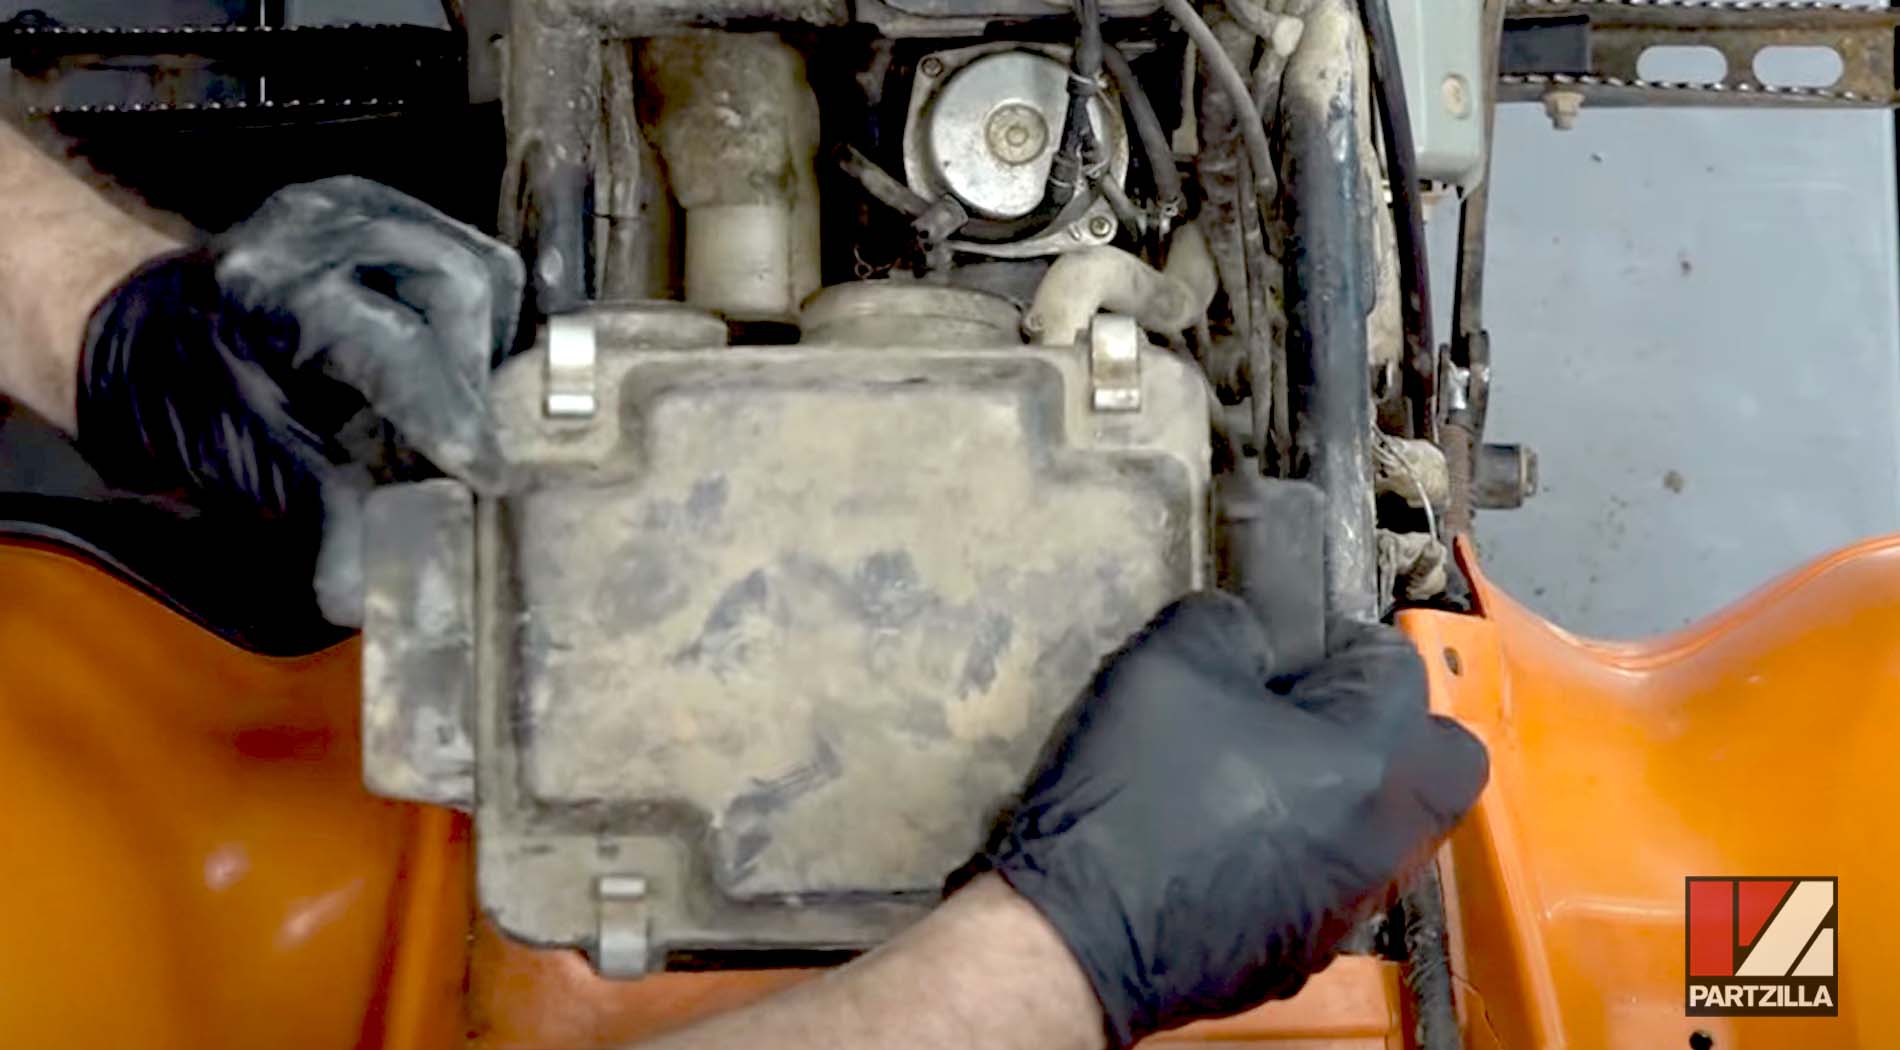
Step 2. Remove the air cleaner assembly.
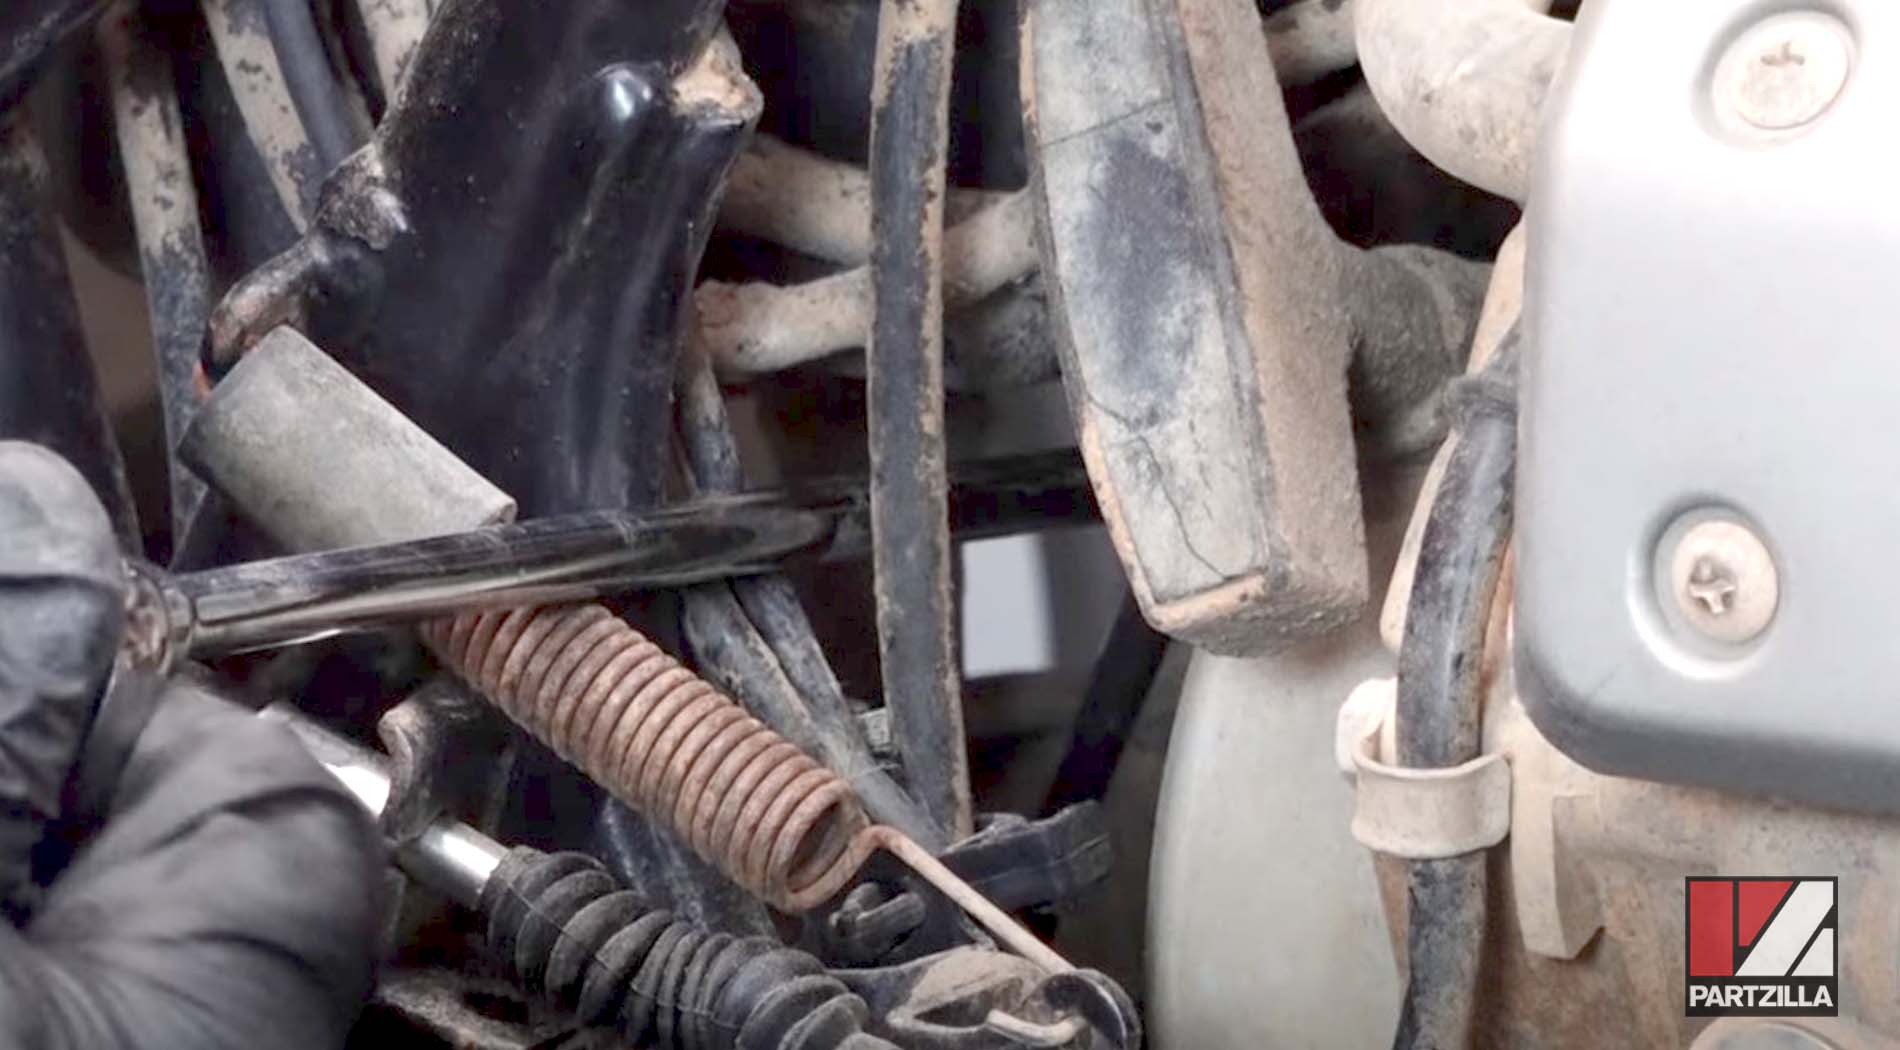
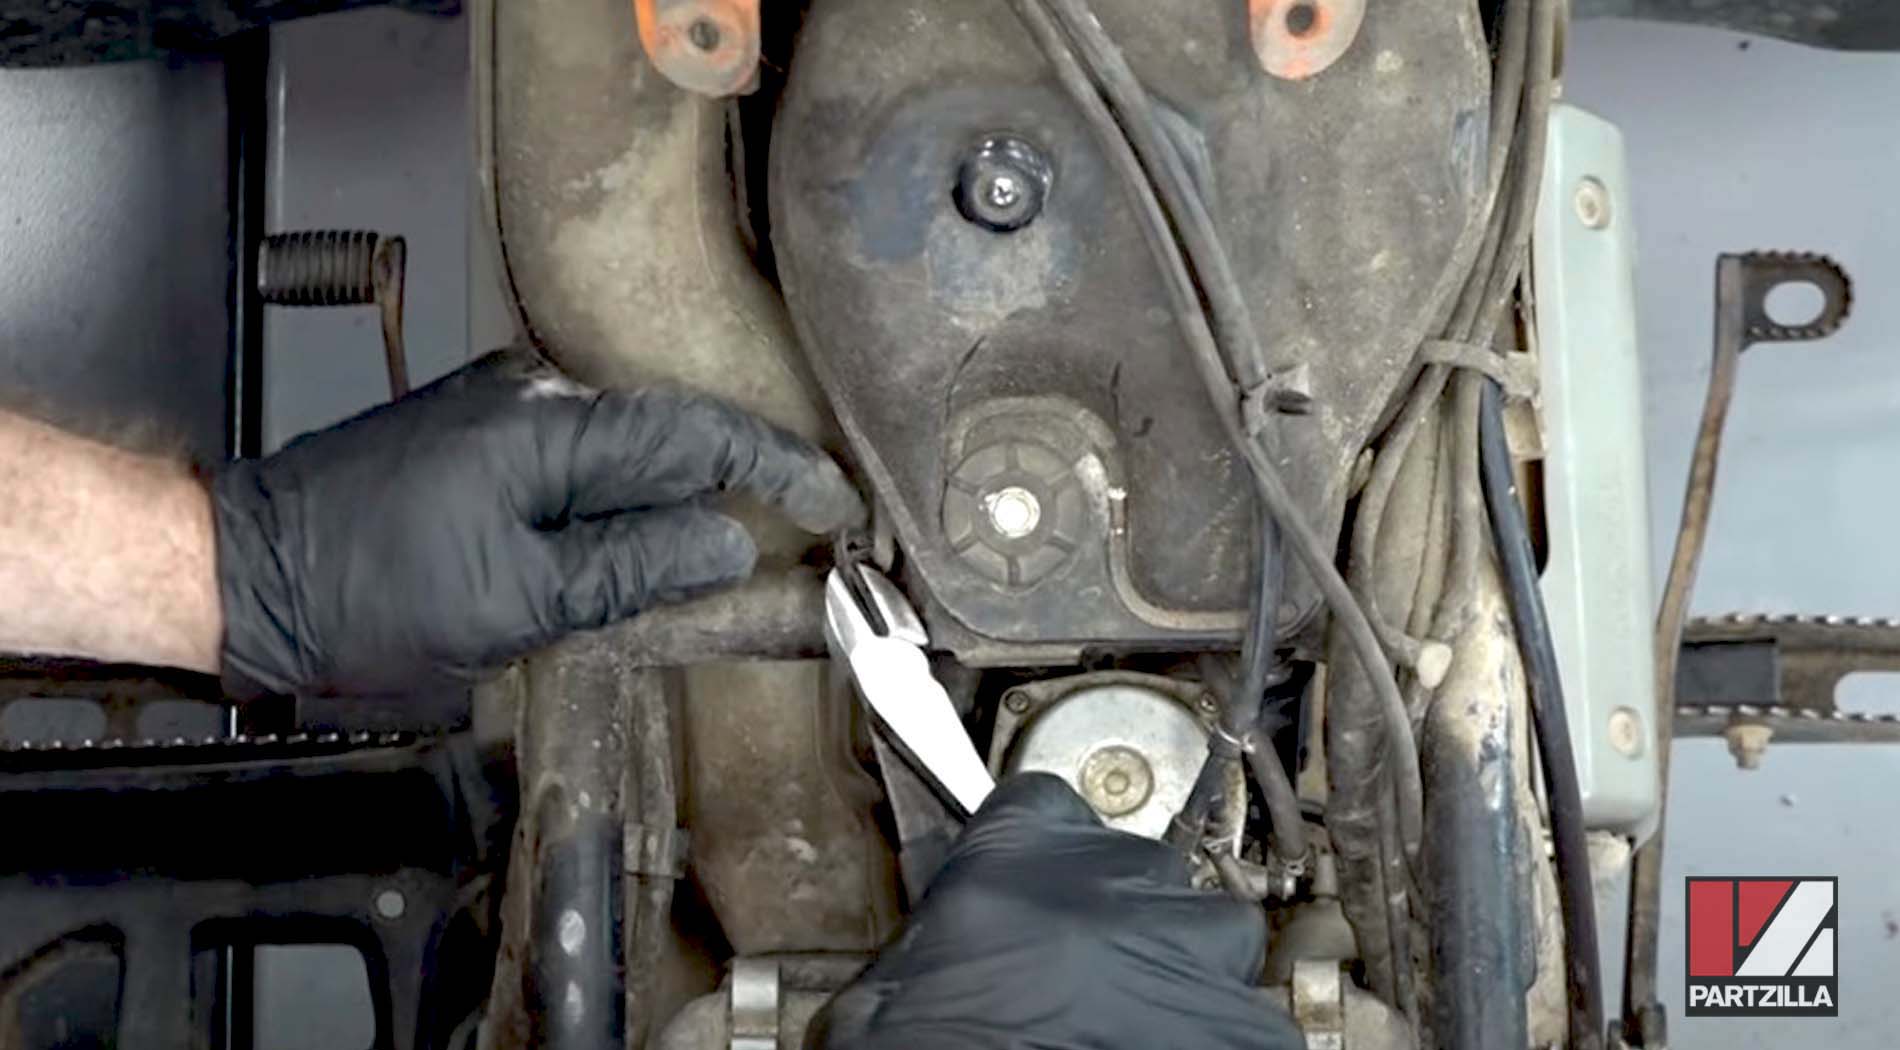
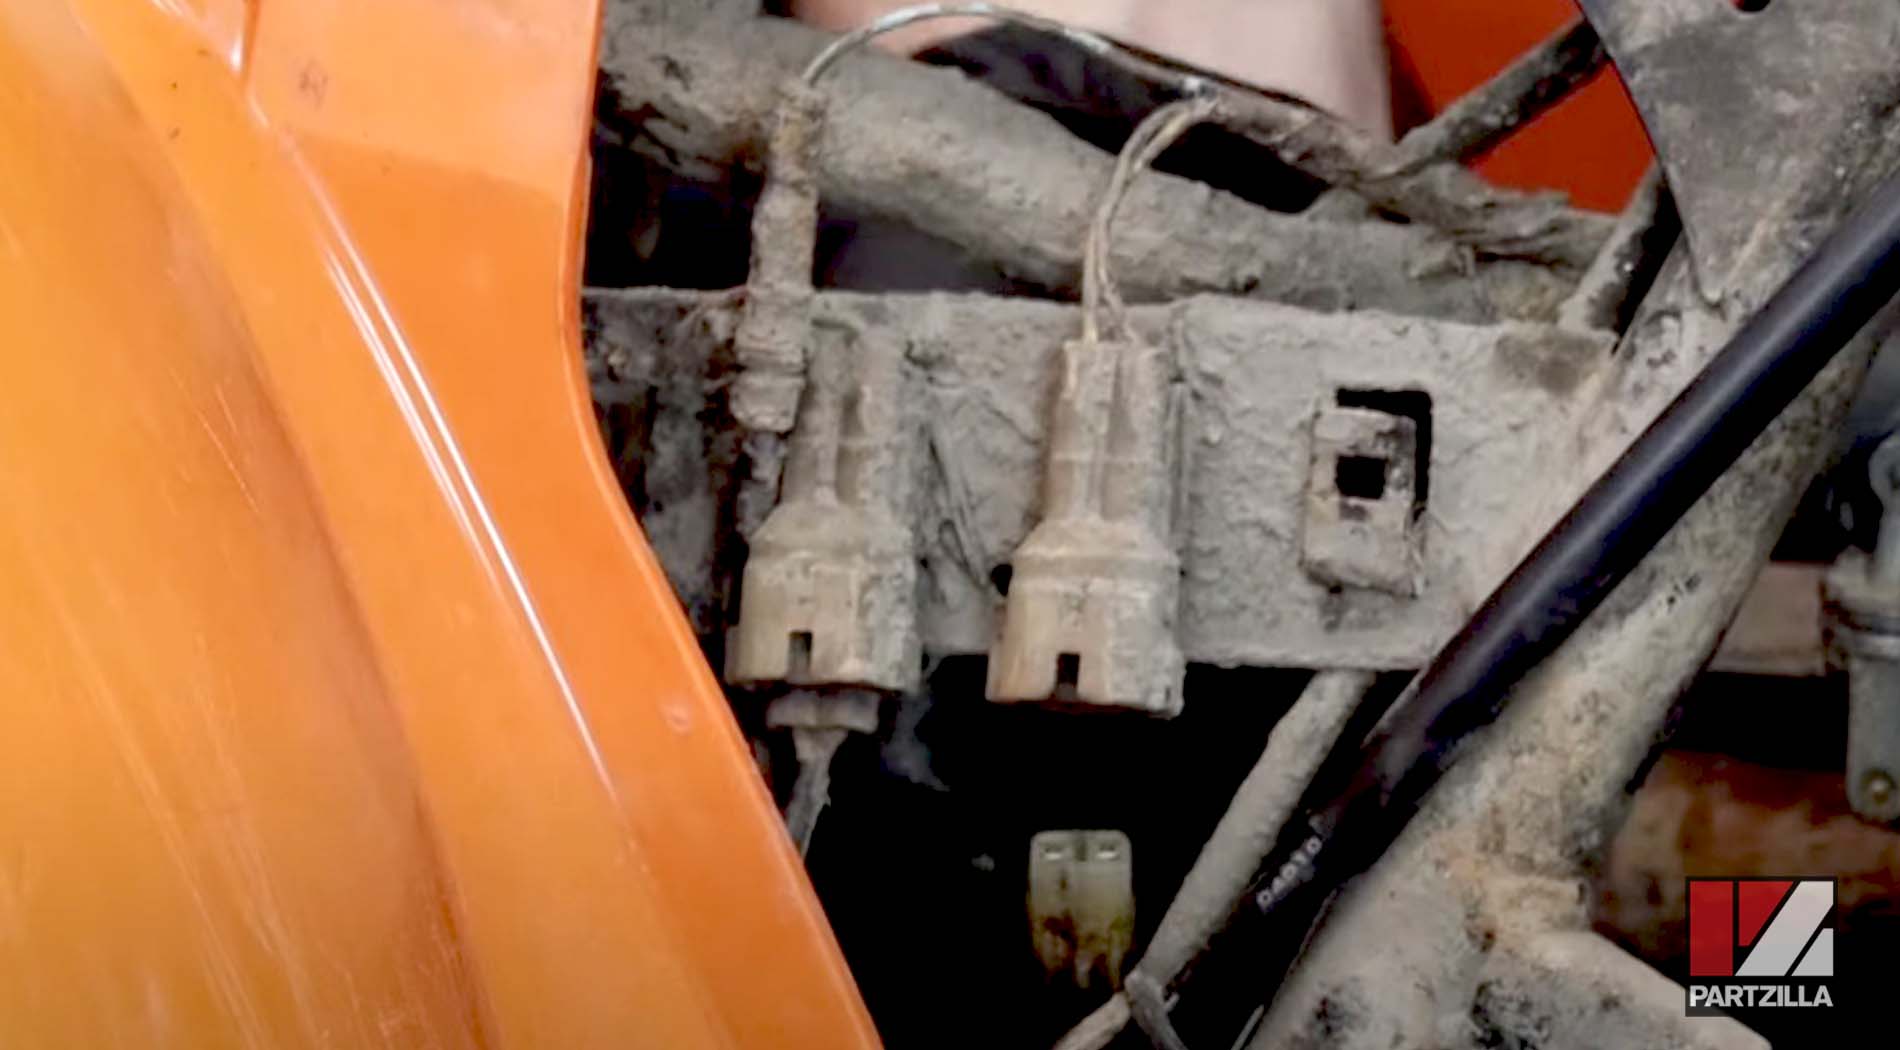
Step 3. Disconnect the fuel line, electrical connector and the intake boot from the carburetor. Next, disconnect the choke cable and throttle cable, and remove the carburetor.
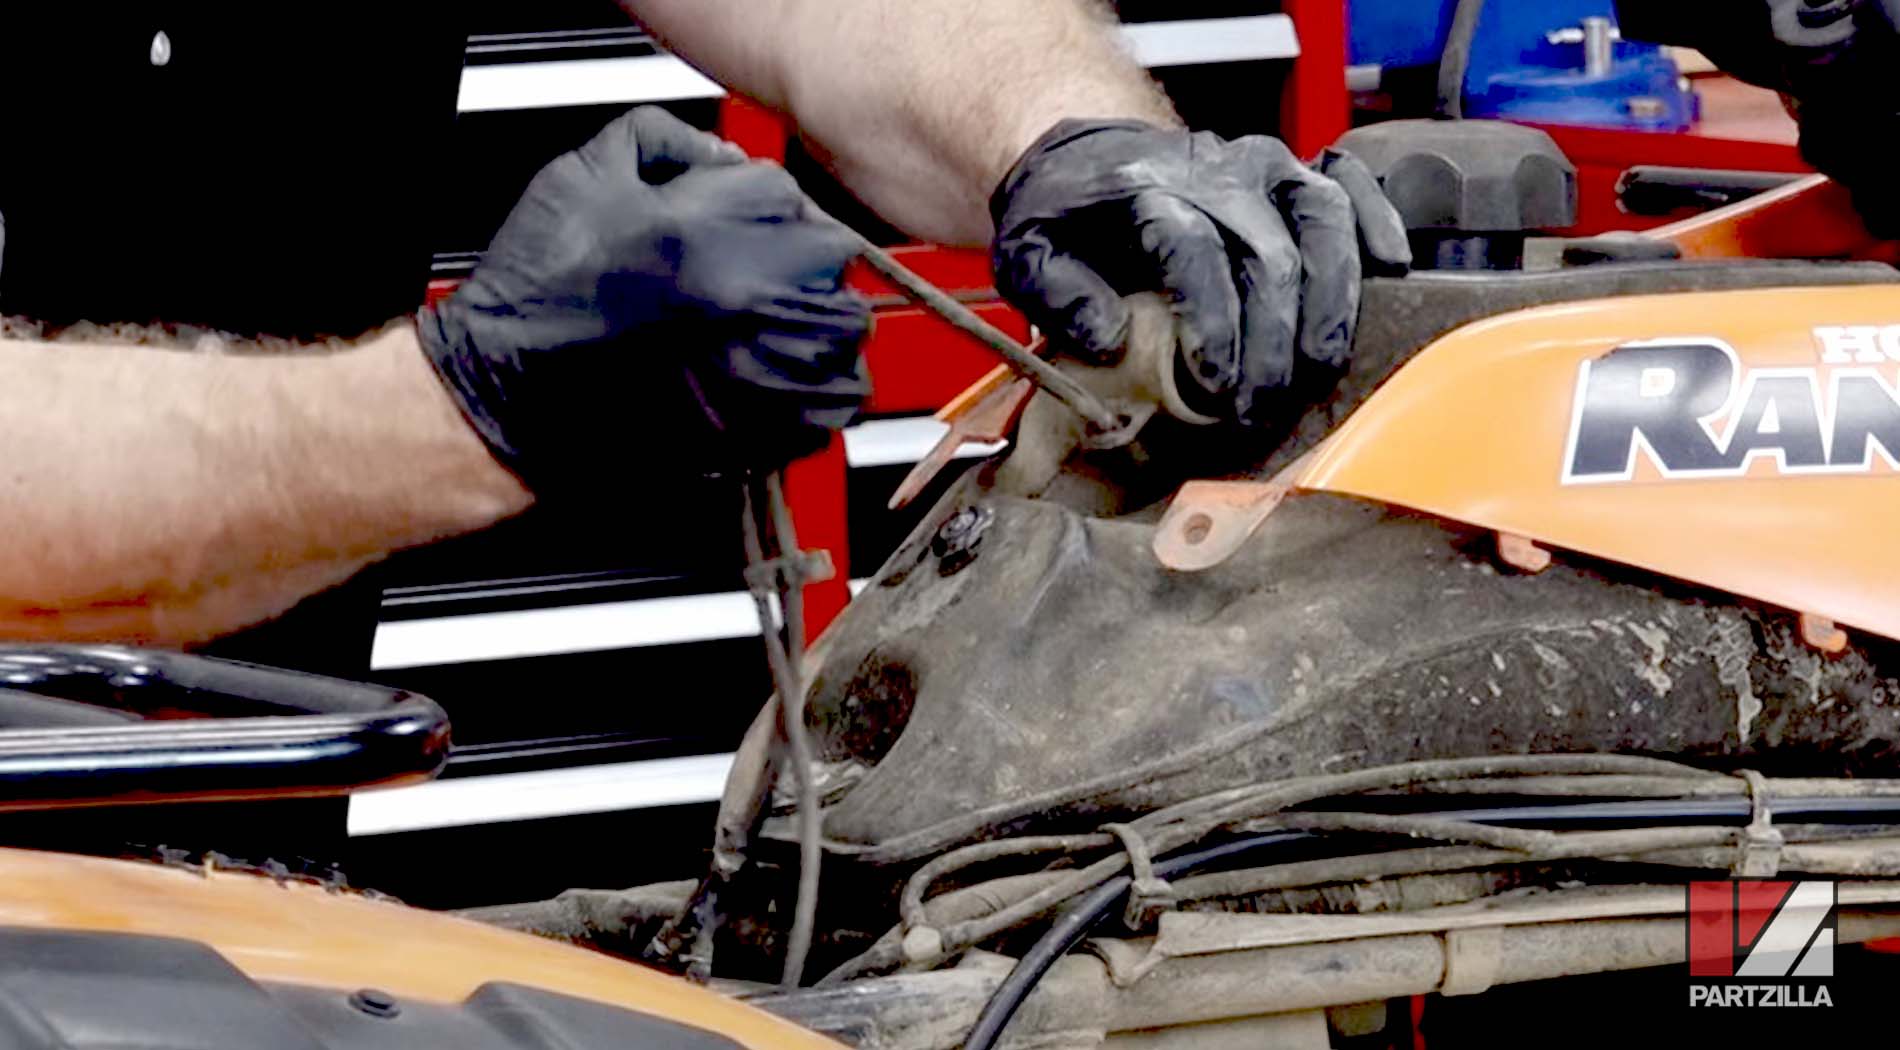
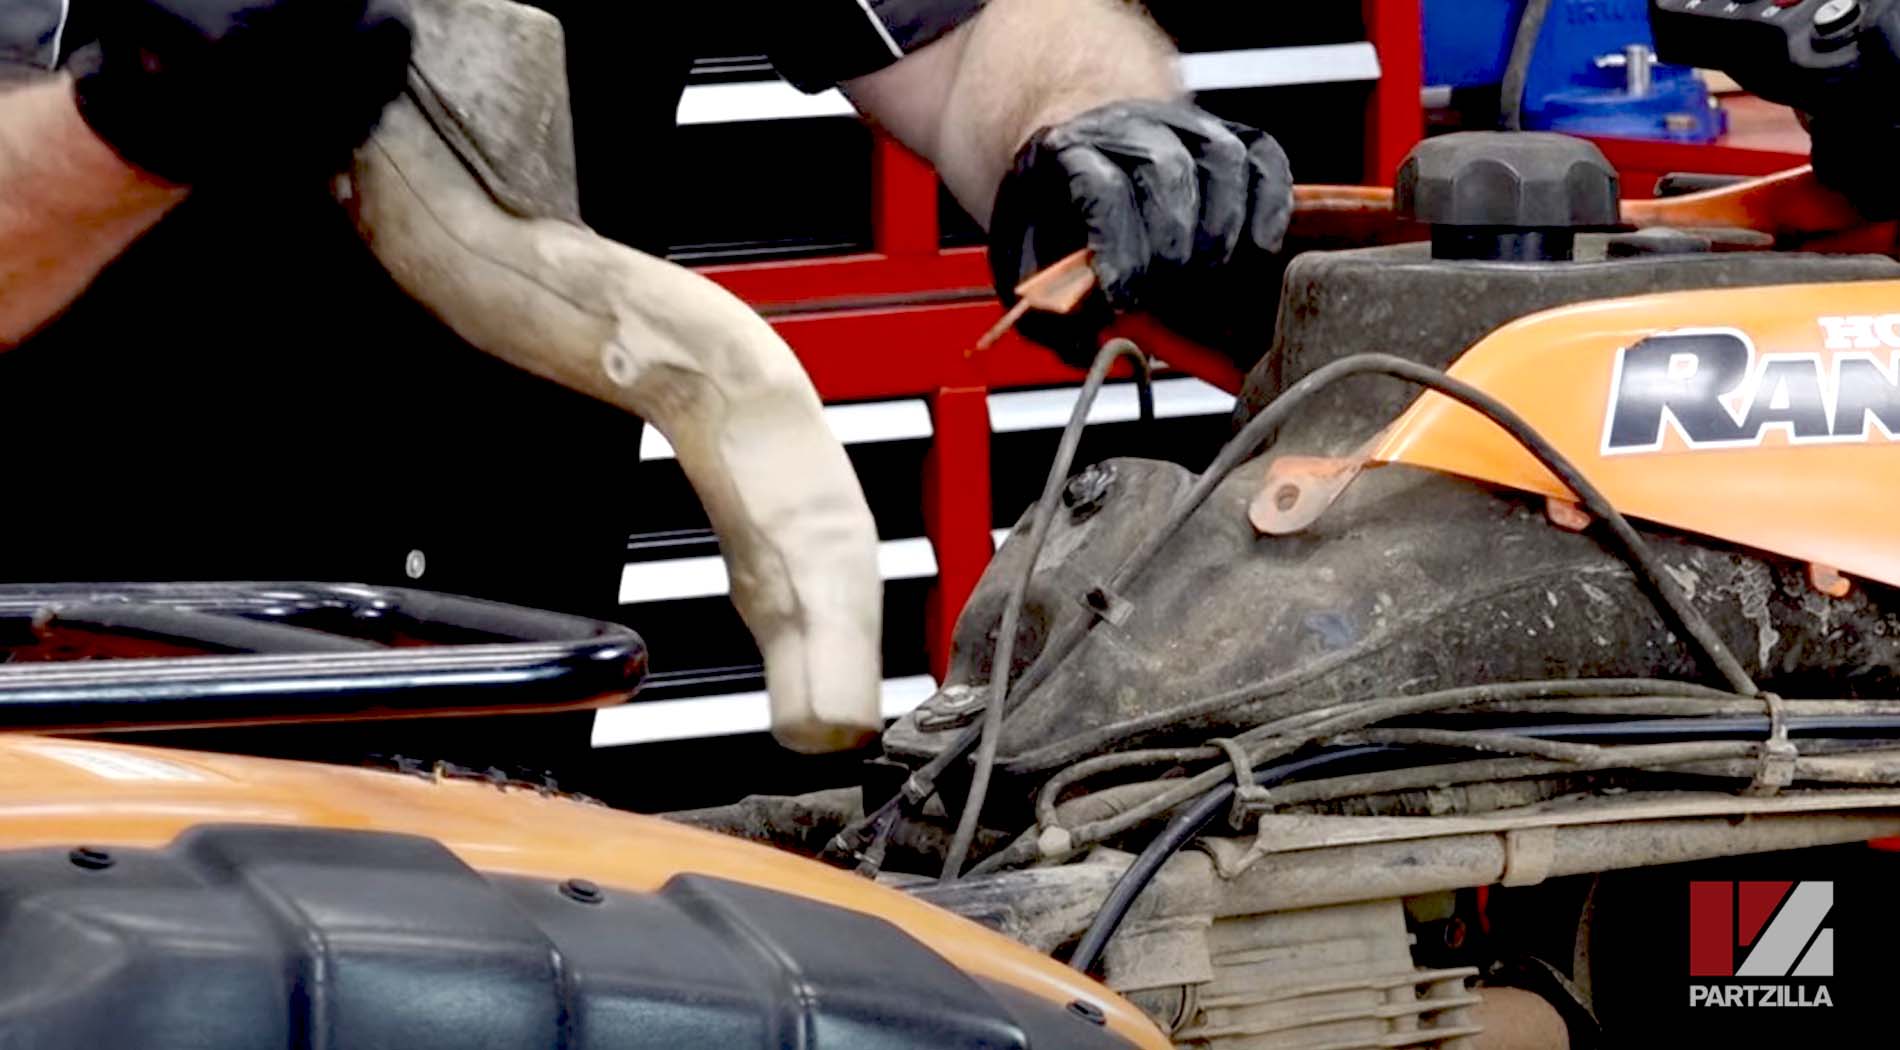

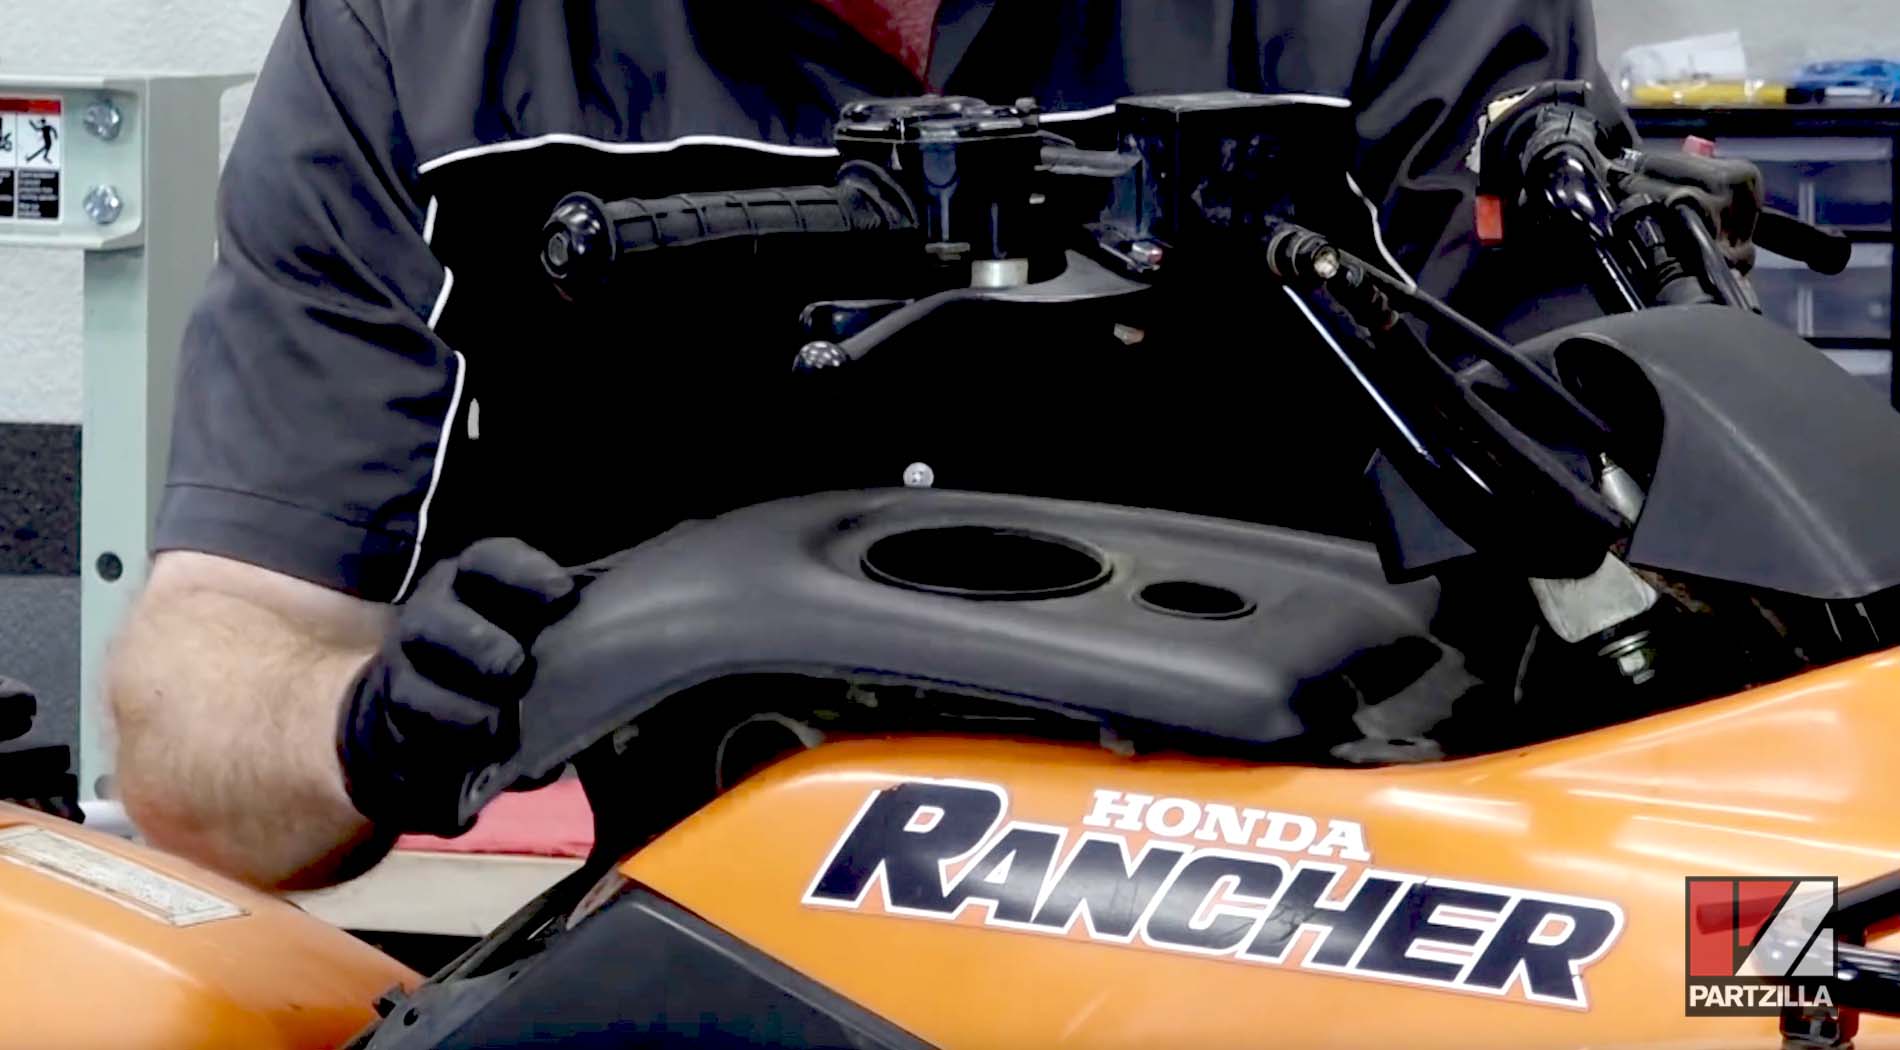
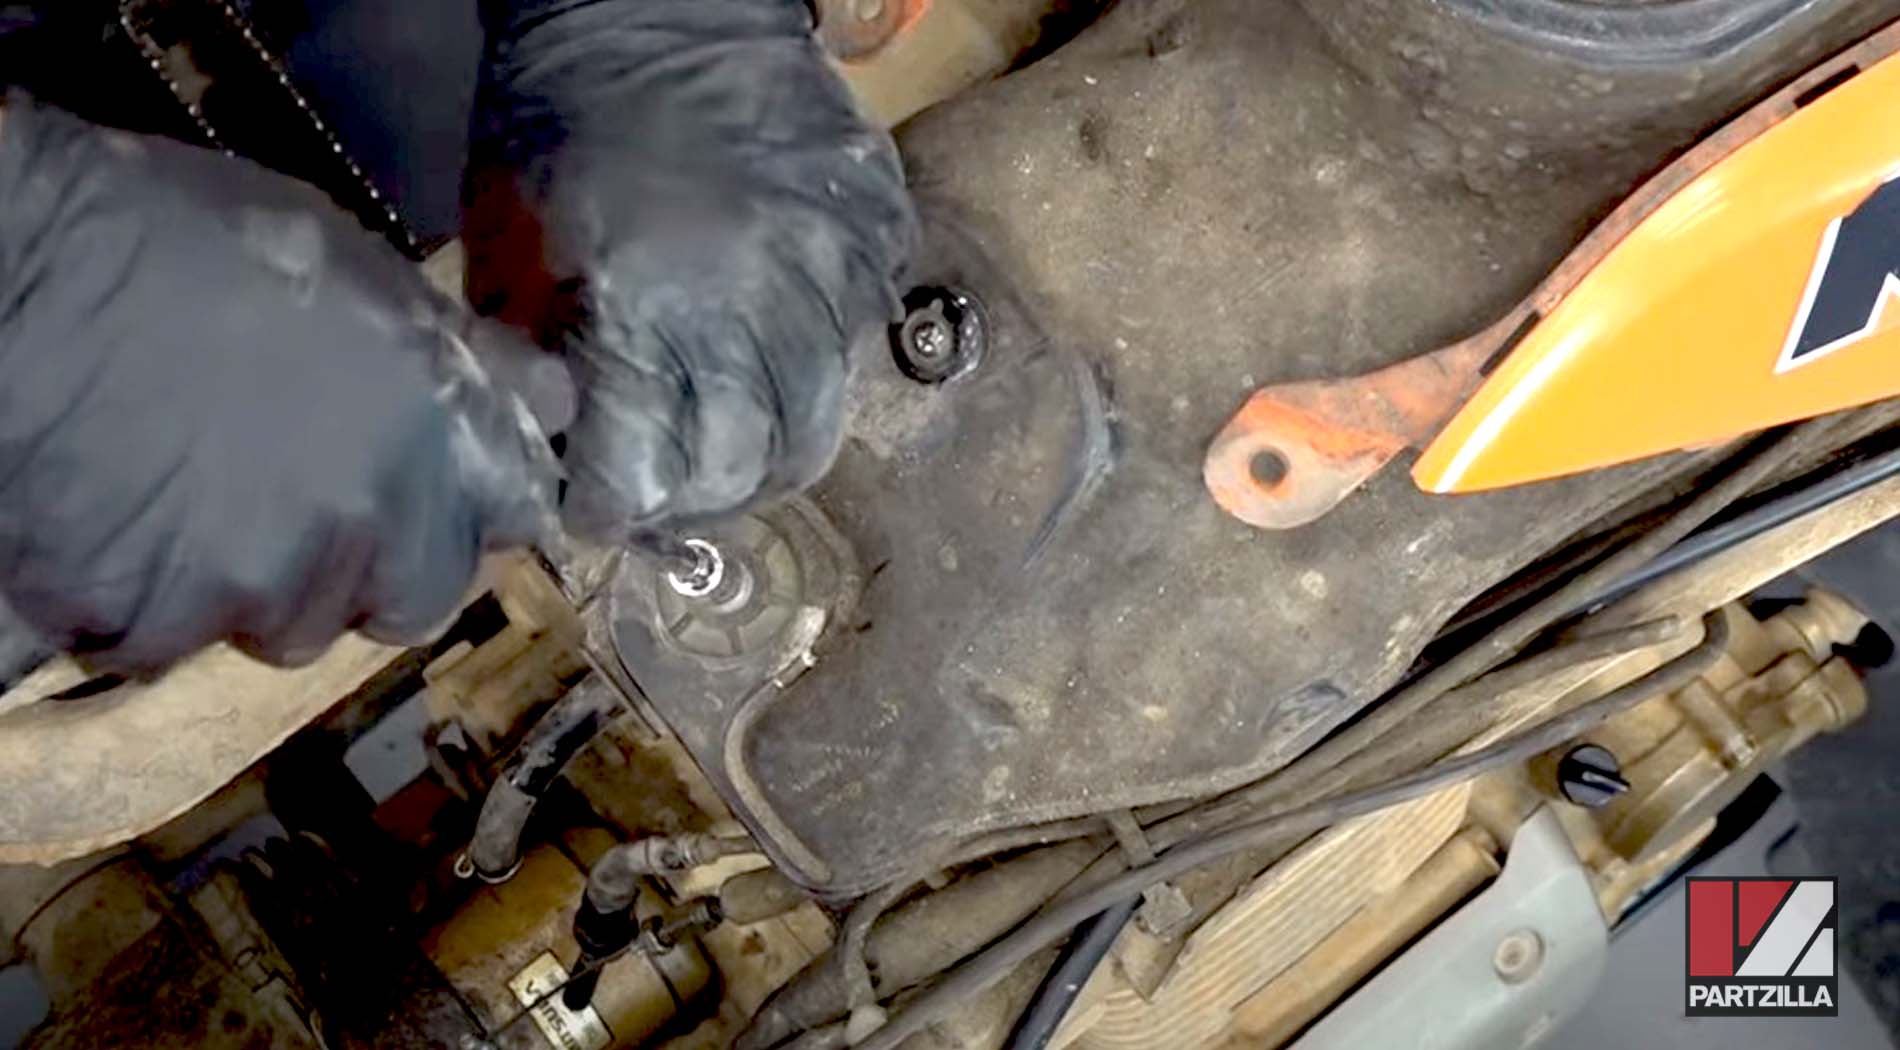
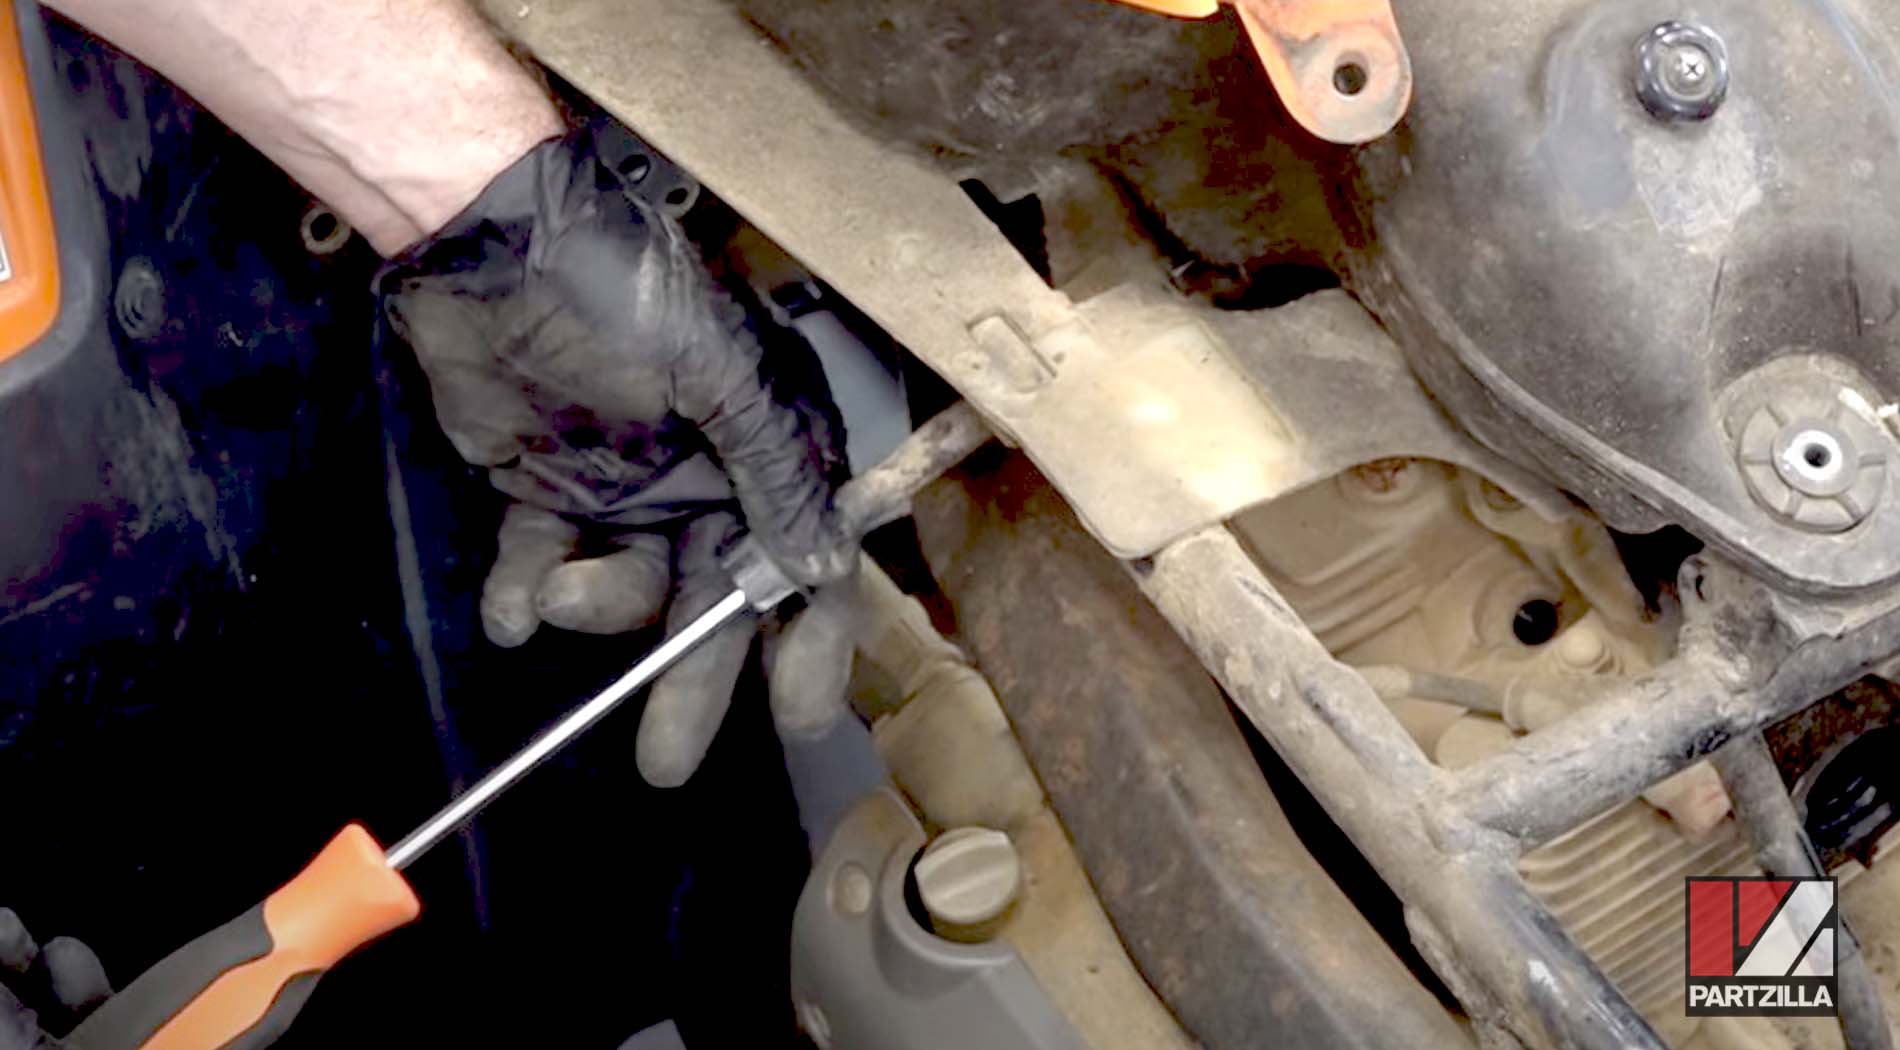
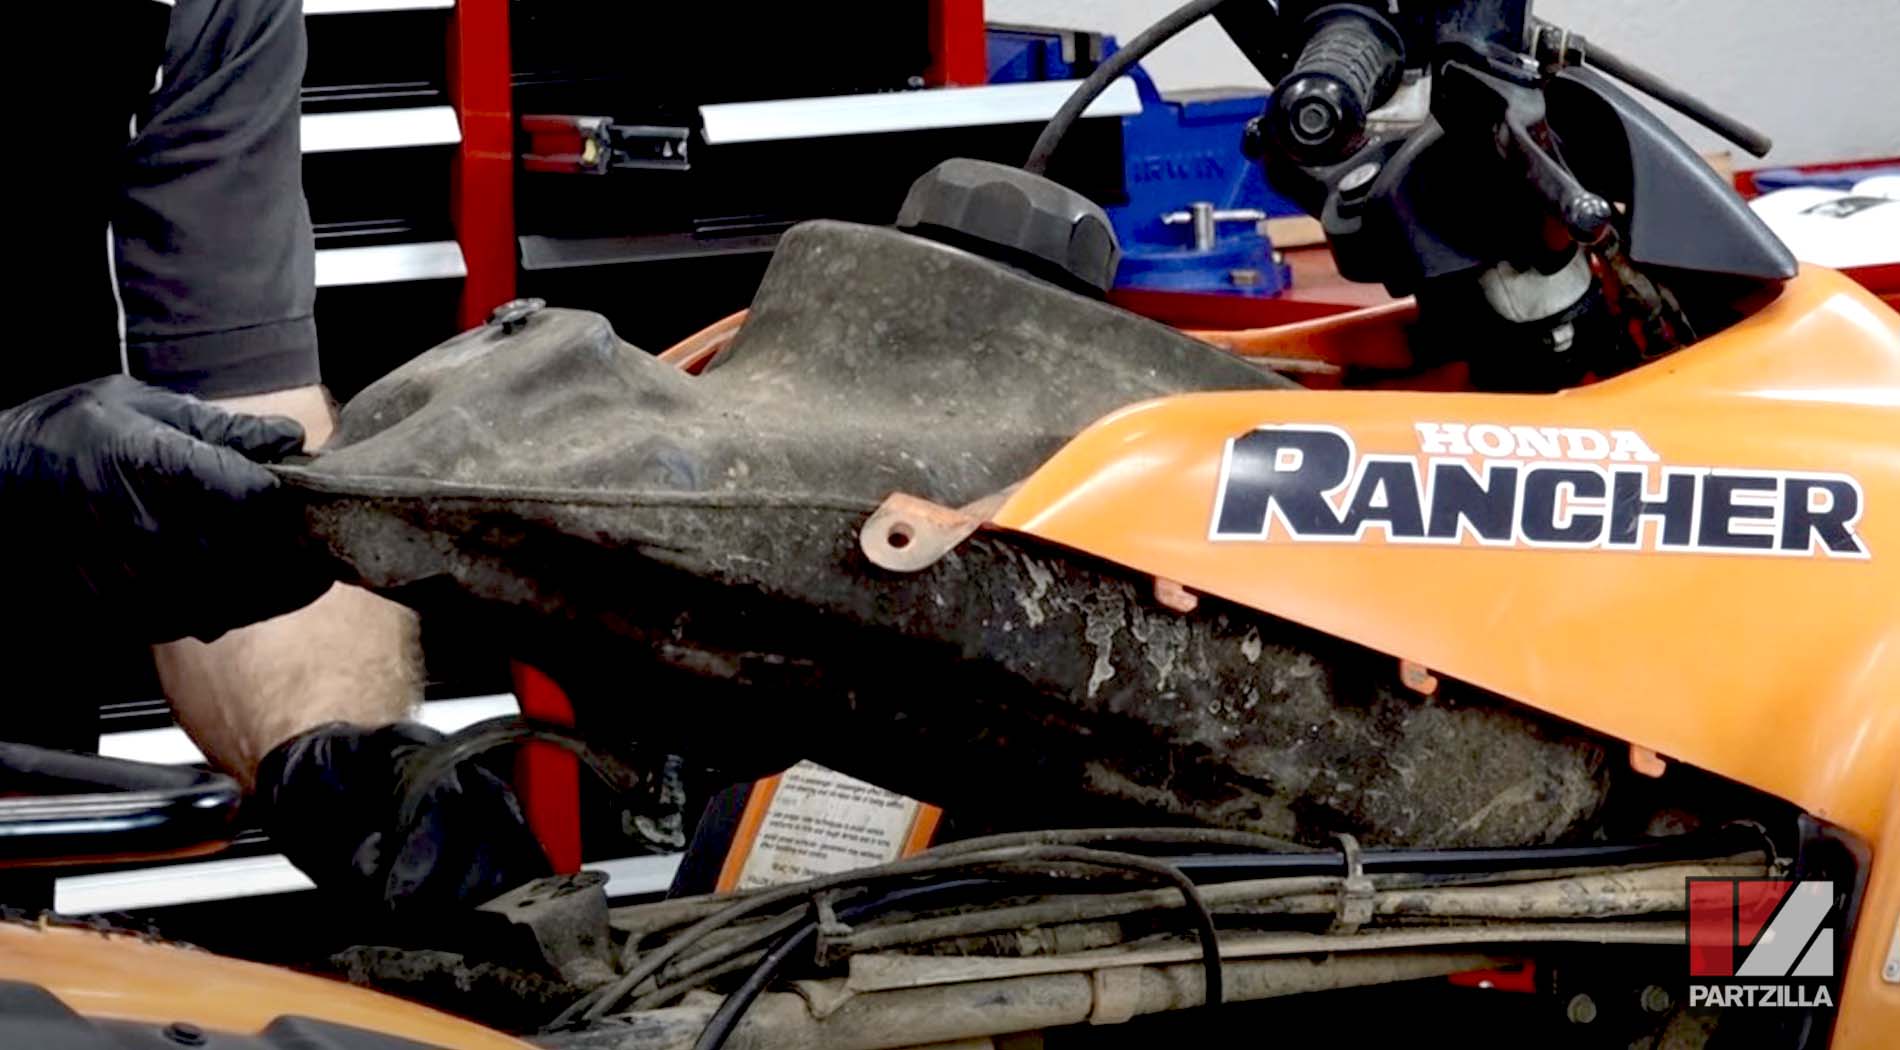
Step 4. Remove the fuel tank and the plastic shelf beneath it.
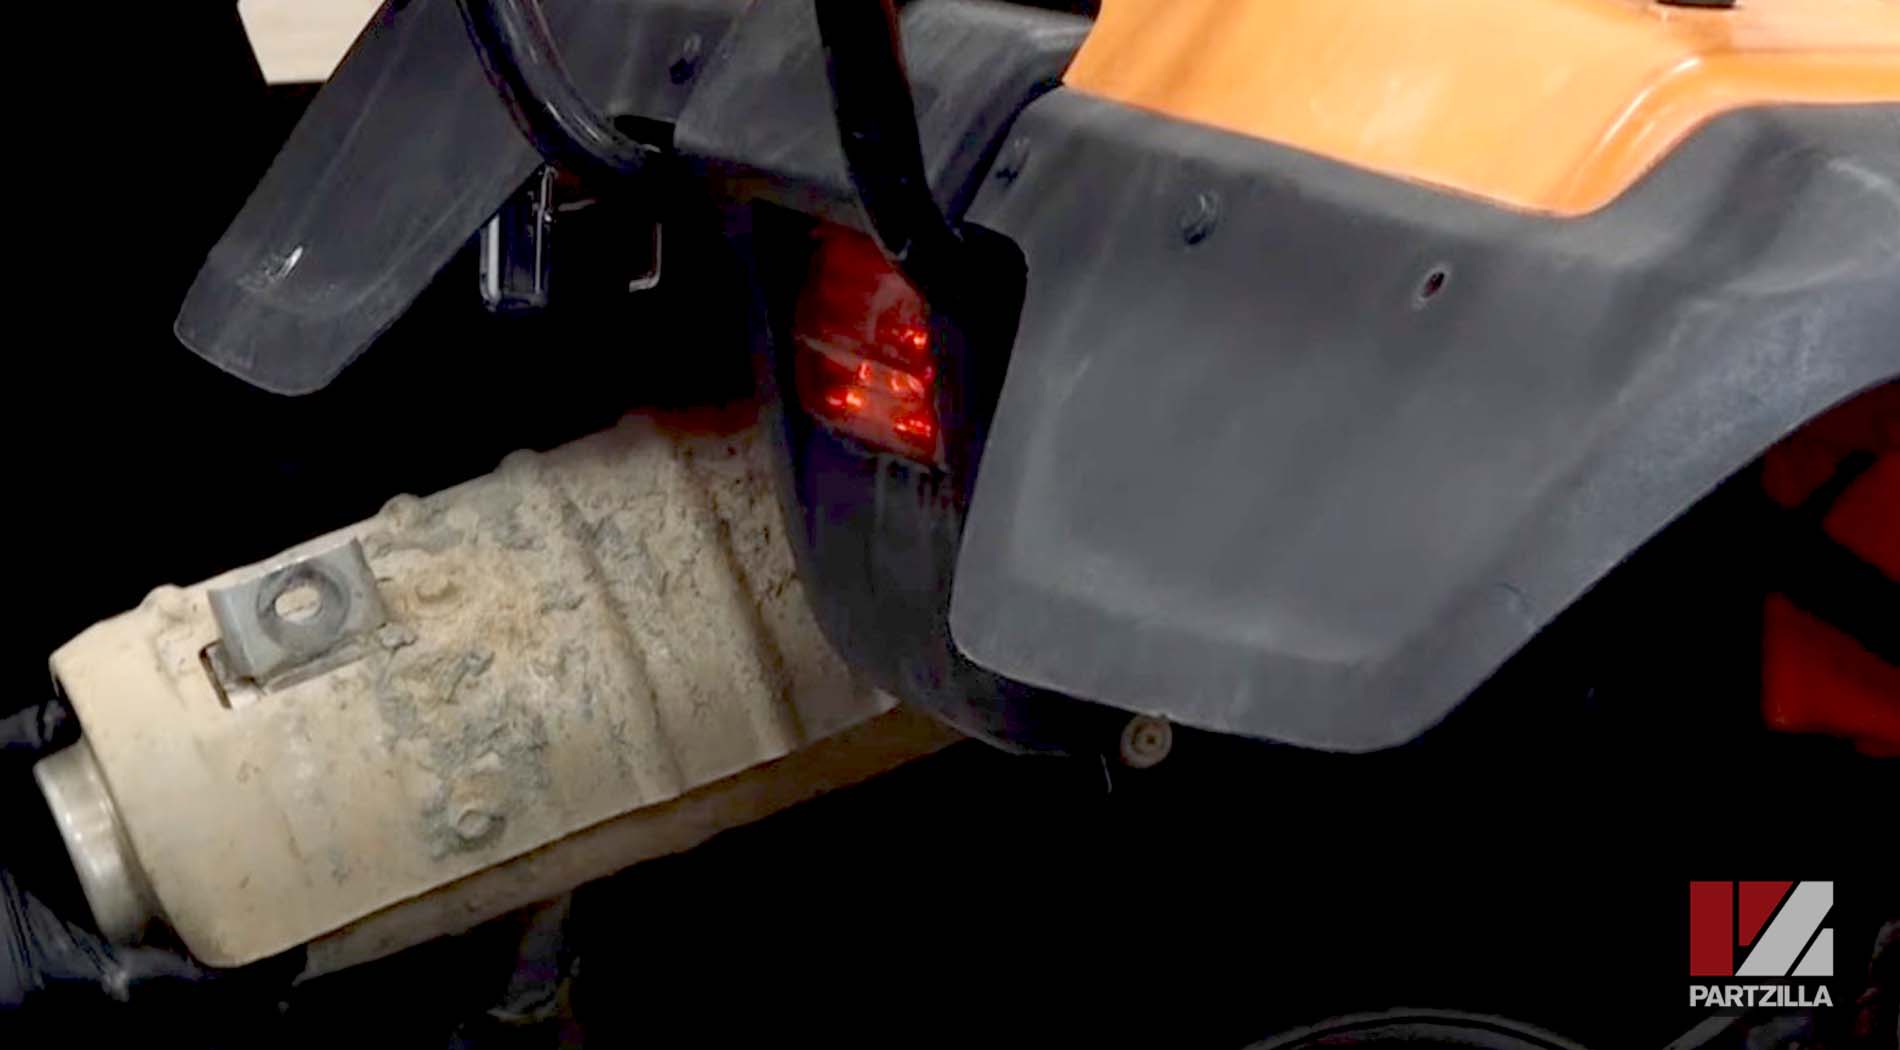
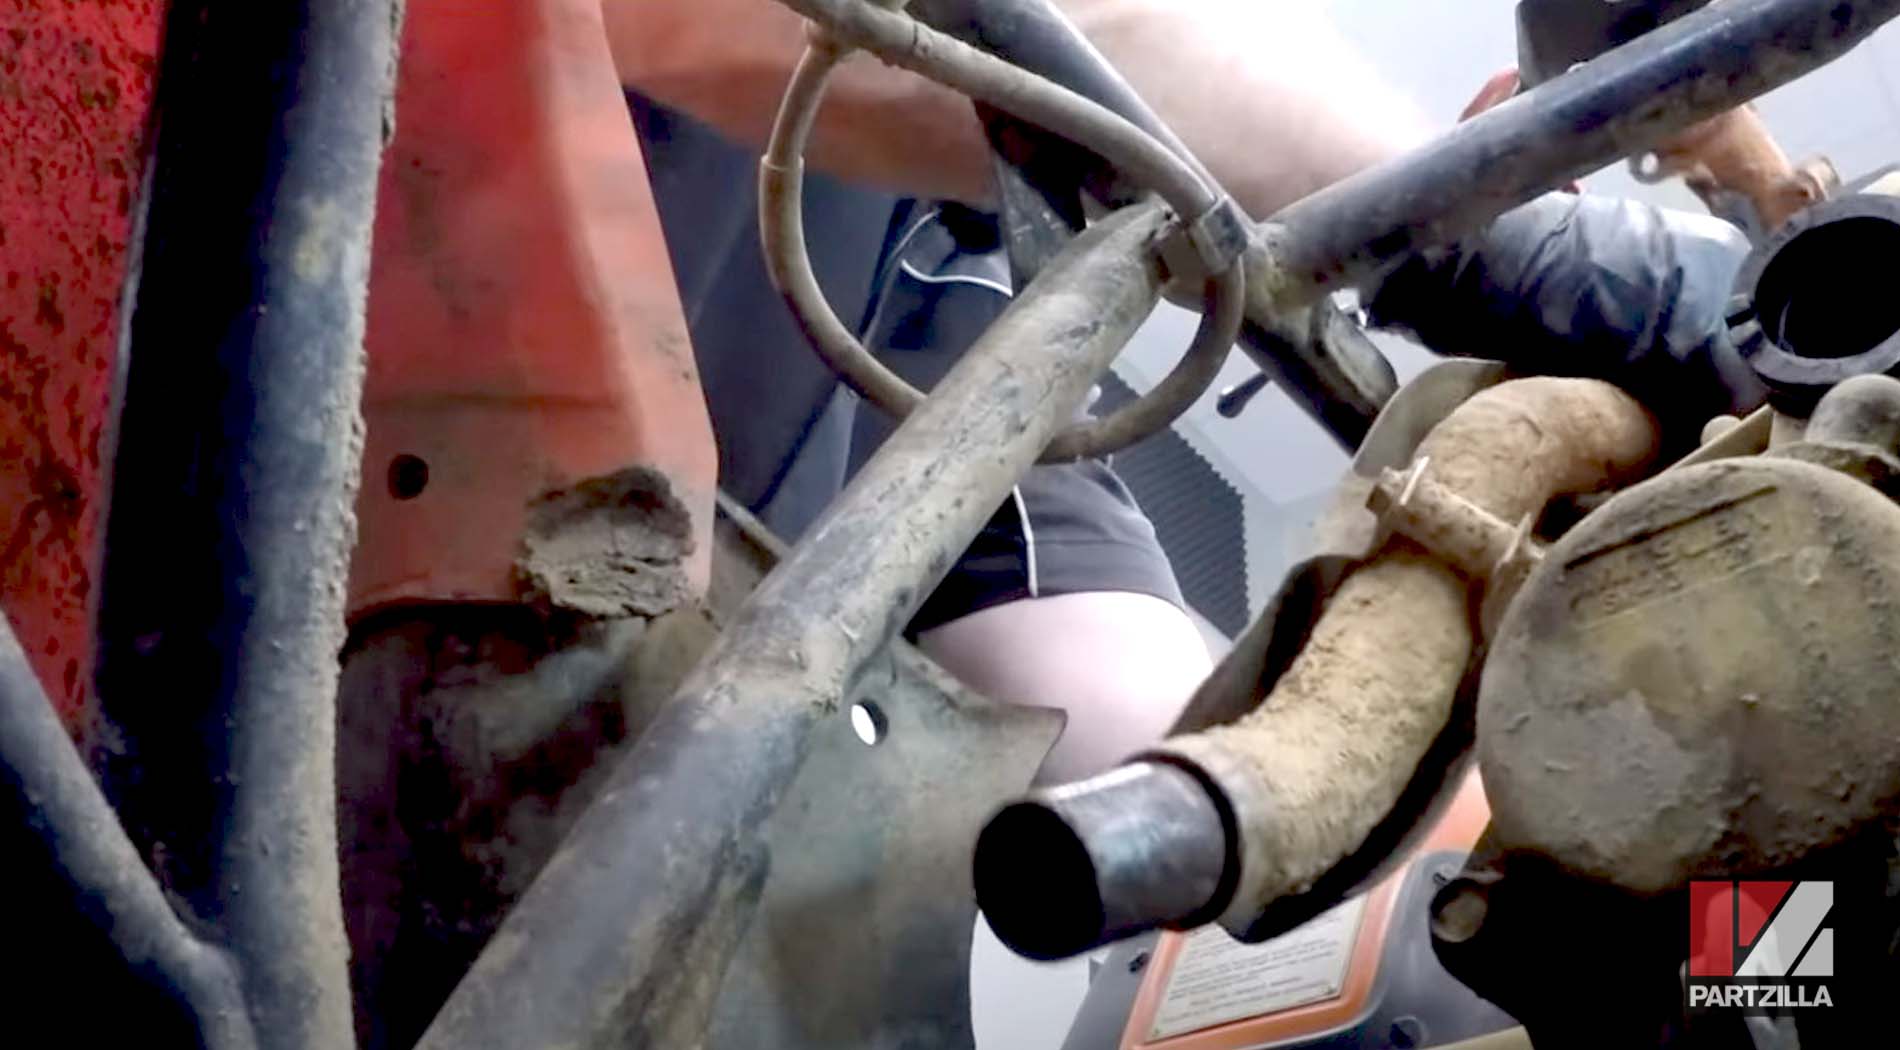
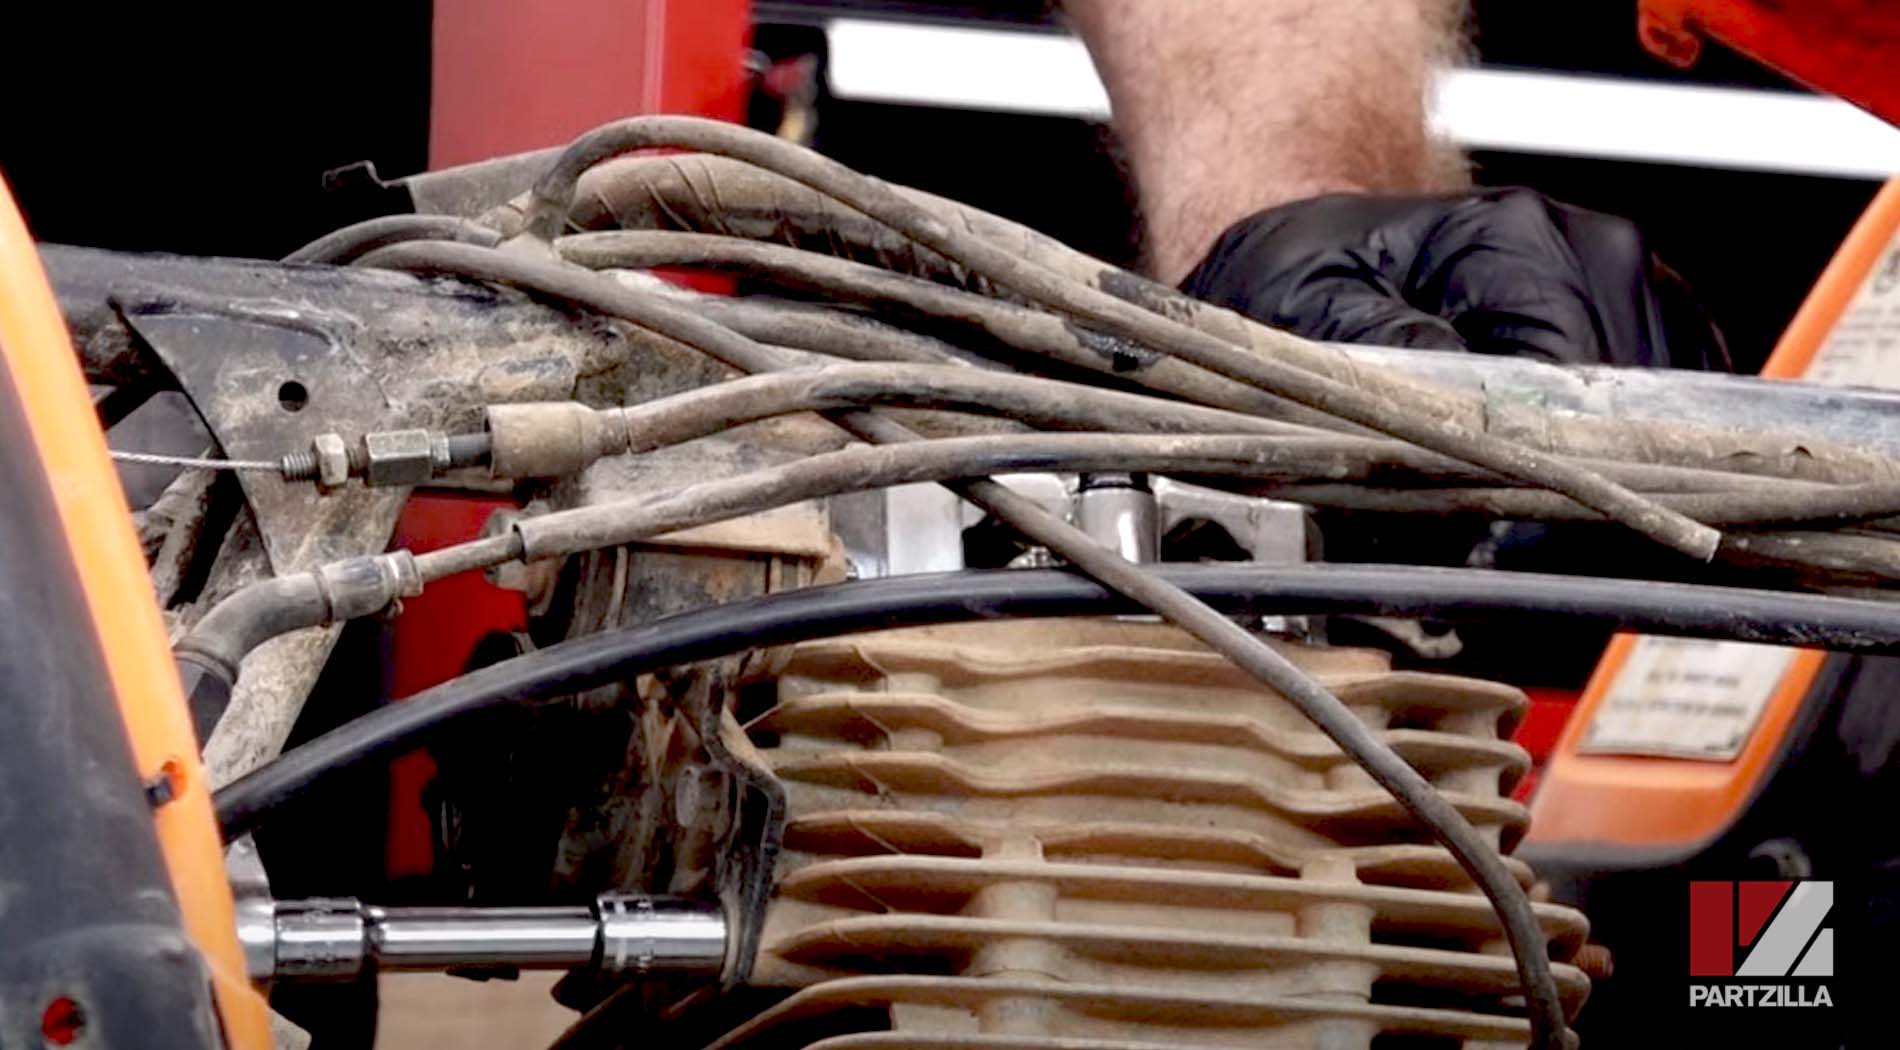
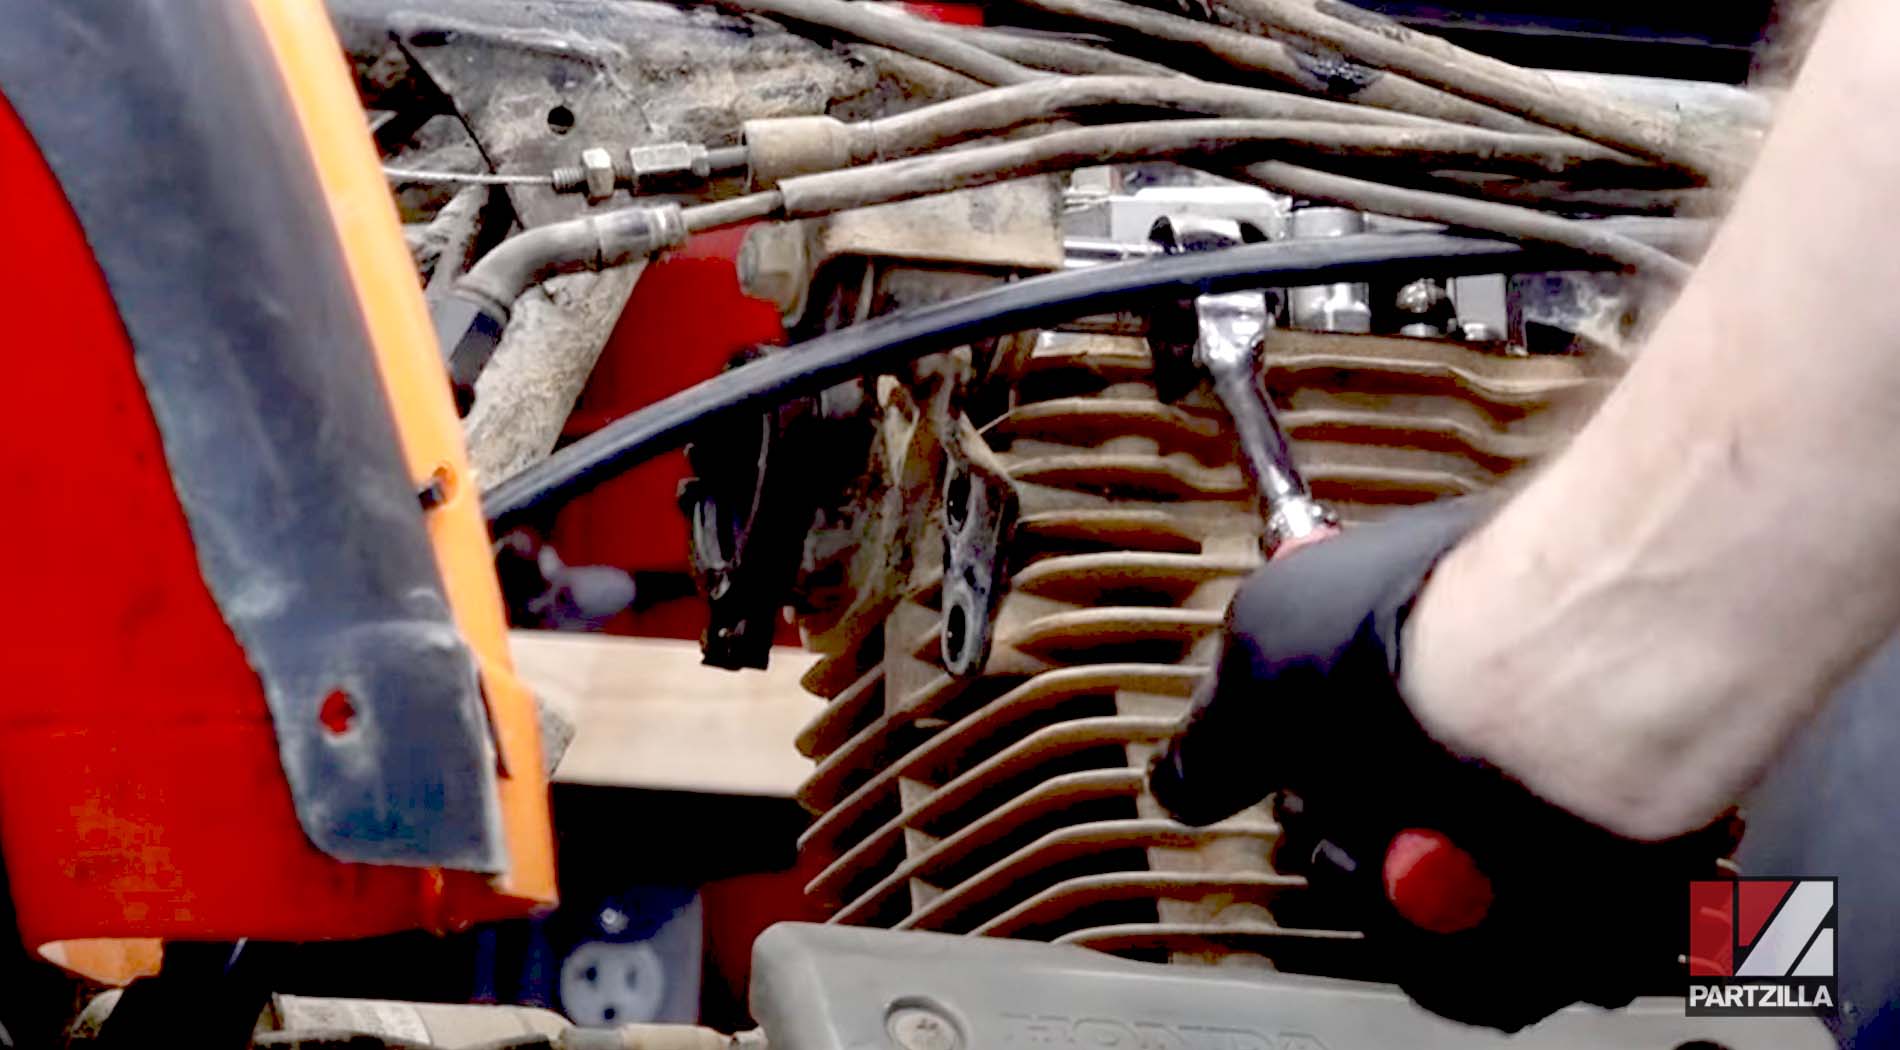
Step 5. Remove the exhaust muffler, the exhaust header and the carburetor intake from the cylinder head and the intake.

Watch the clip below to see the ancillary components removal segment of our Honda TRX350 engine teardown video.
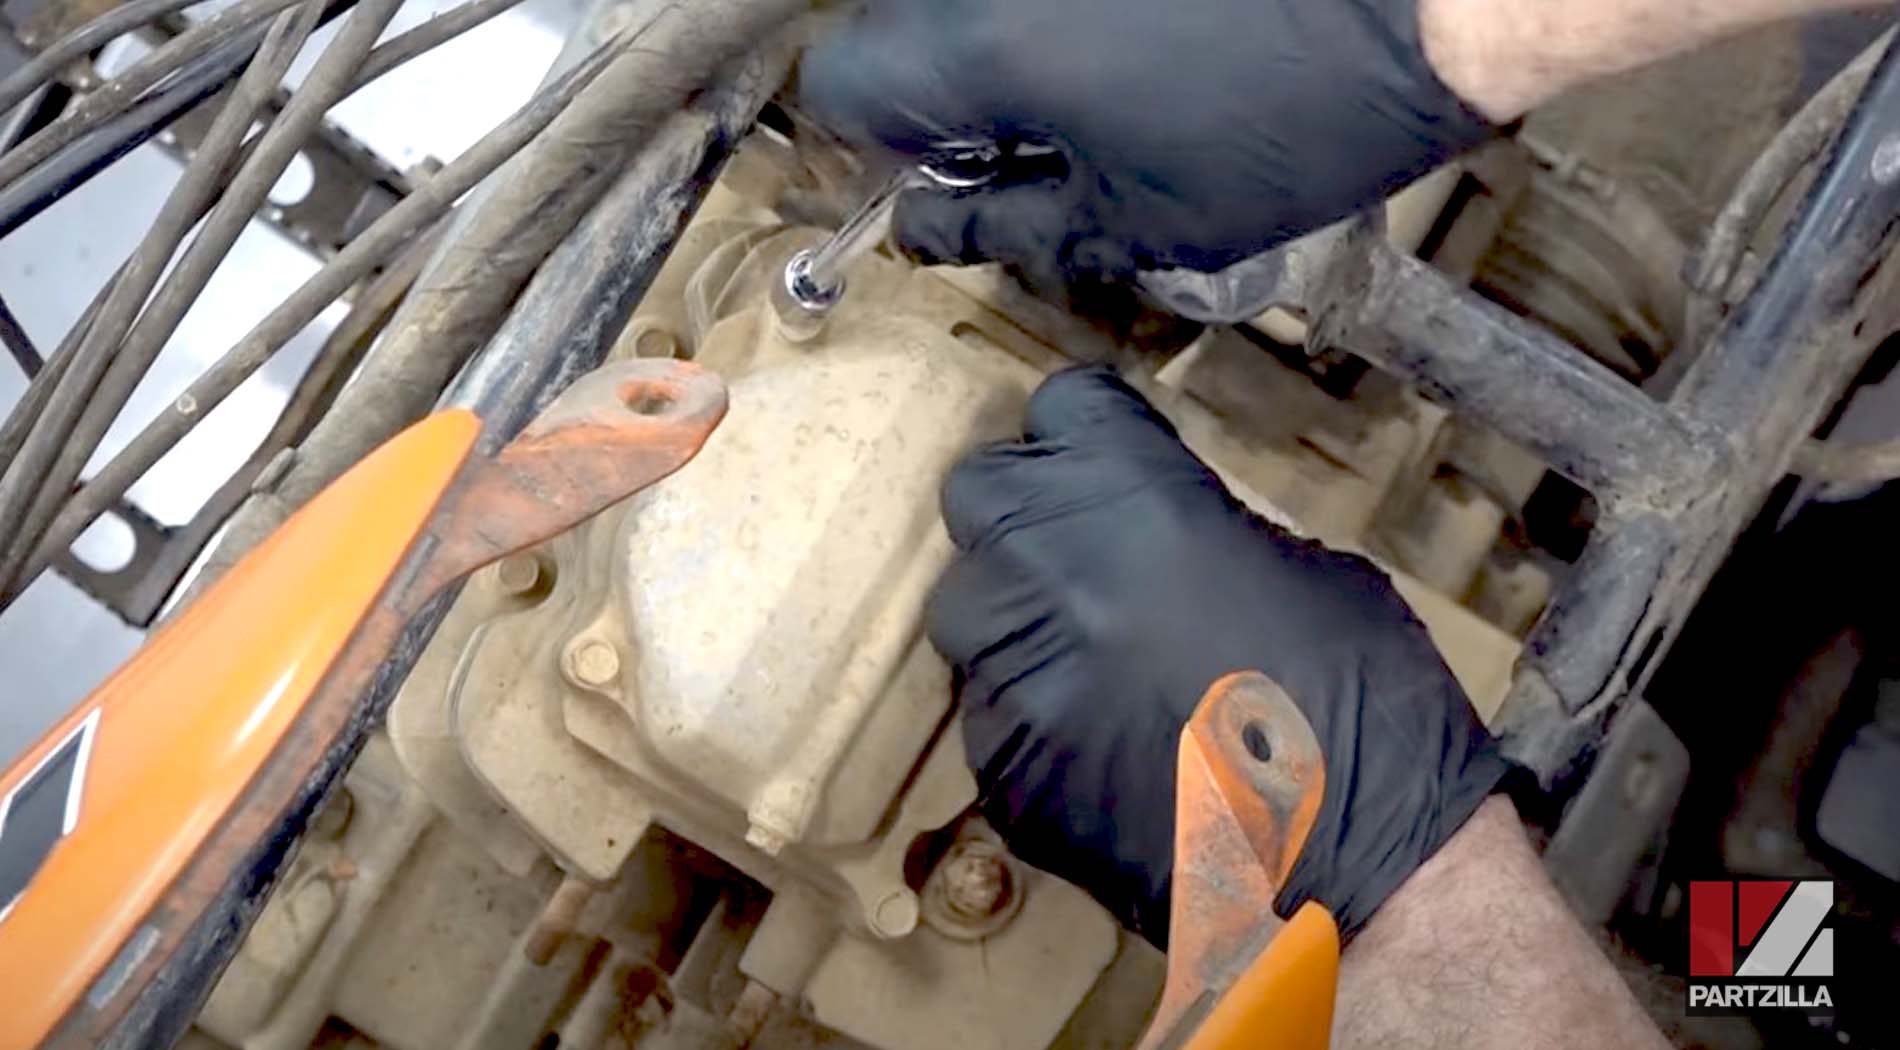
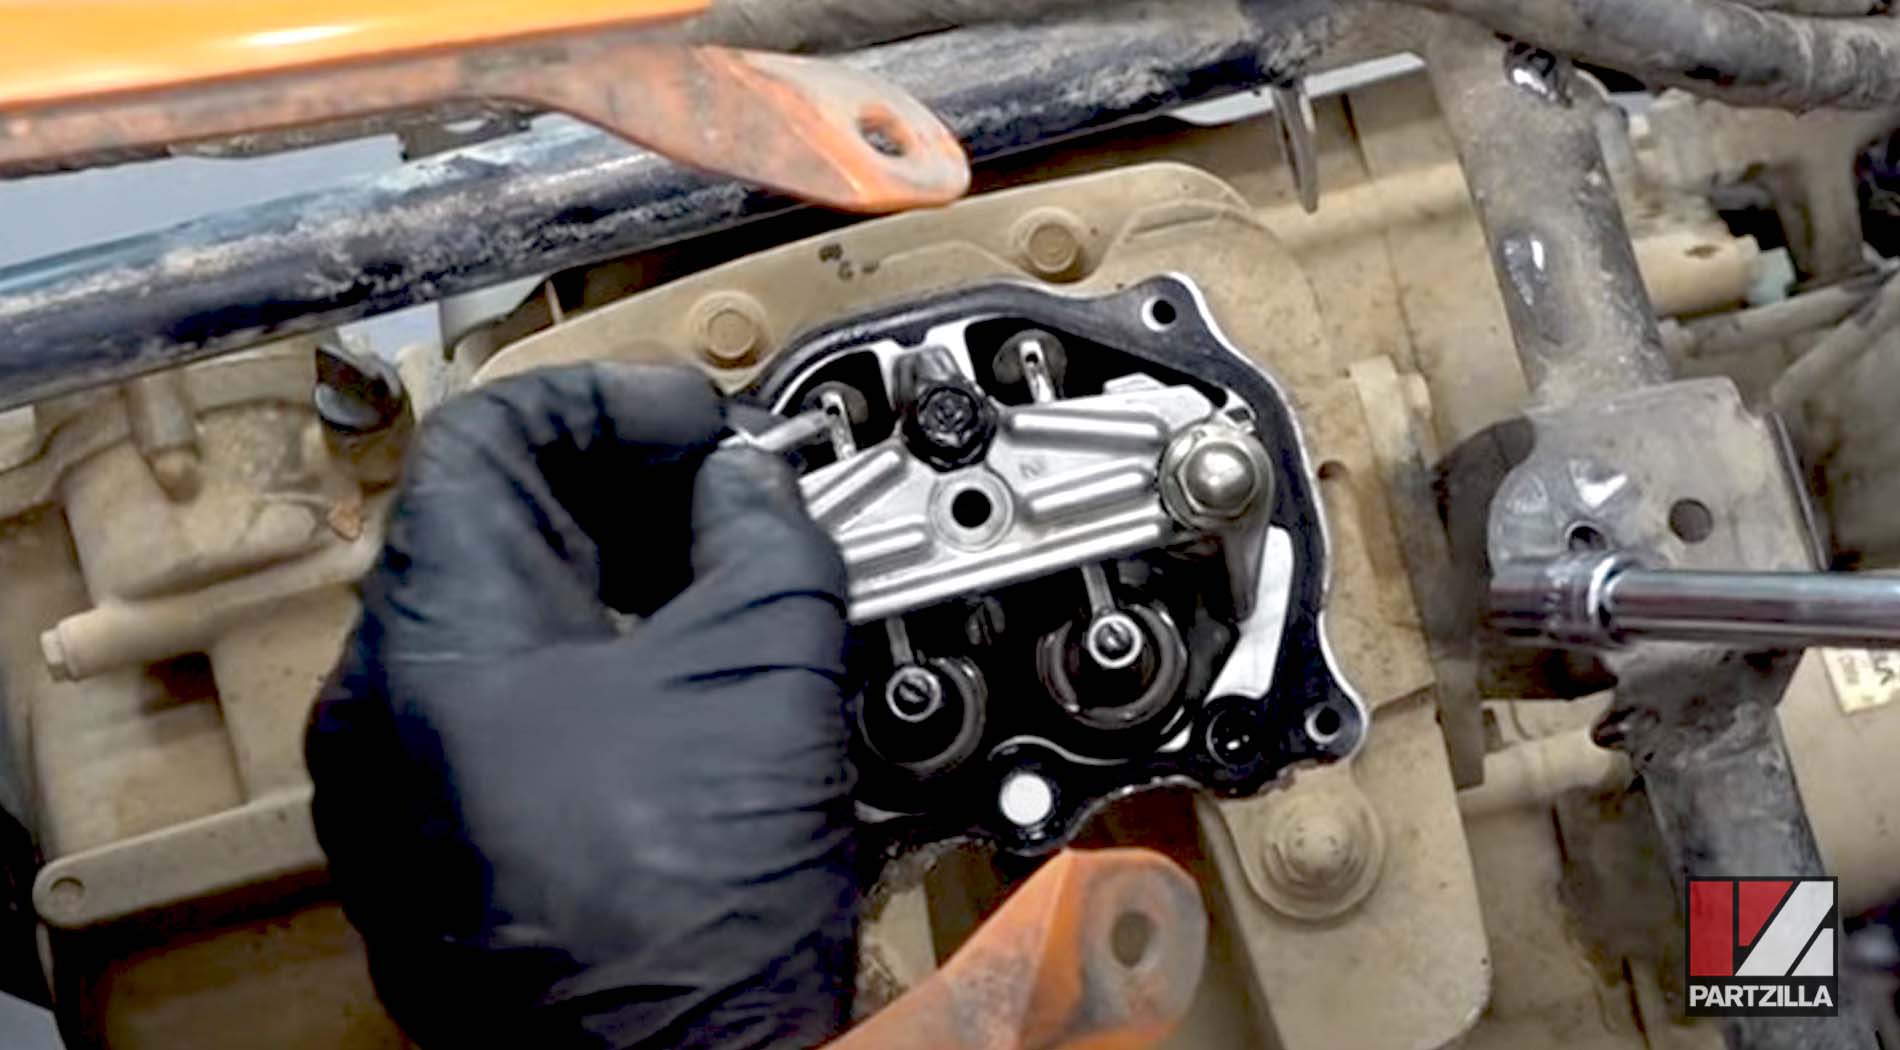
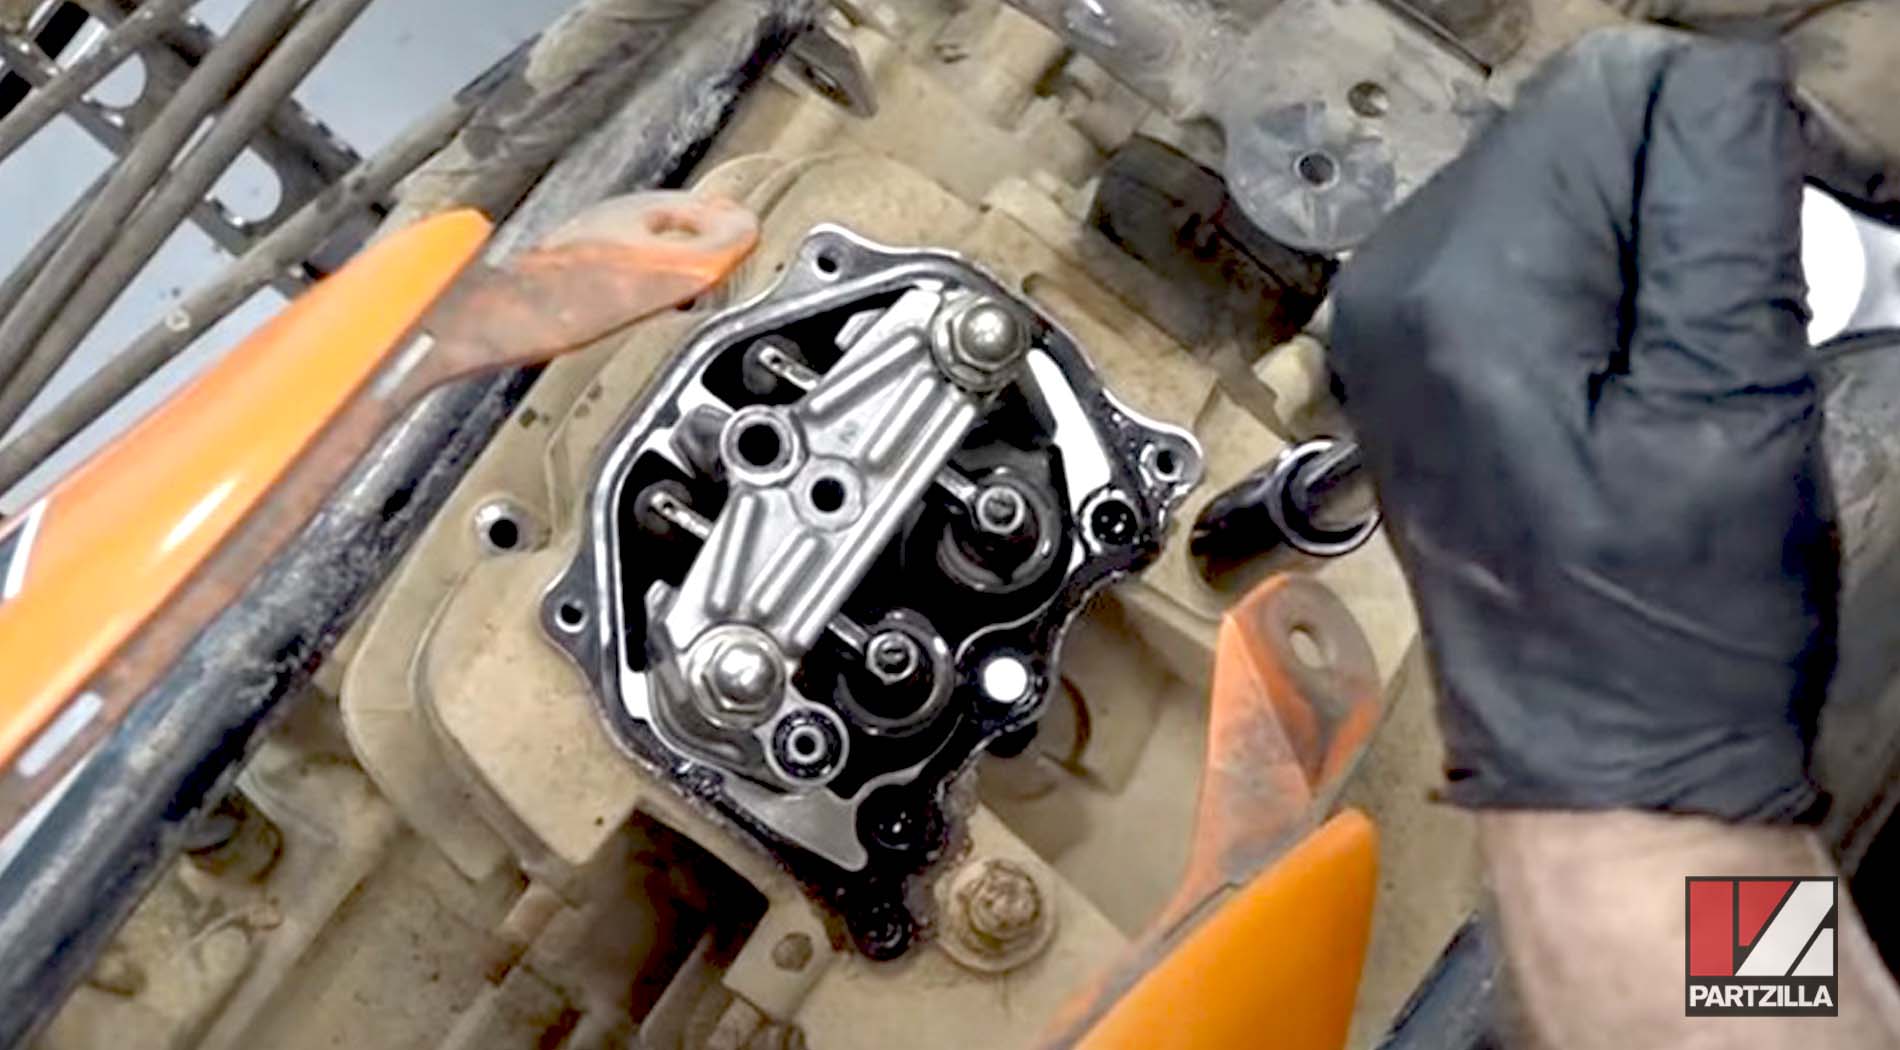
Step 6. Remove the cylinder head/valve cover.
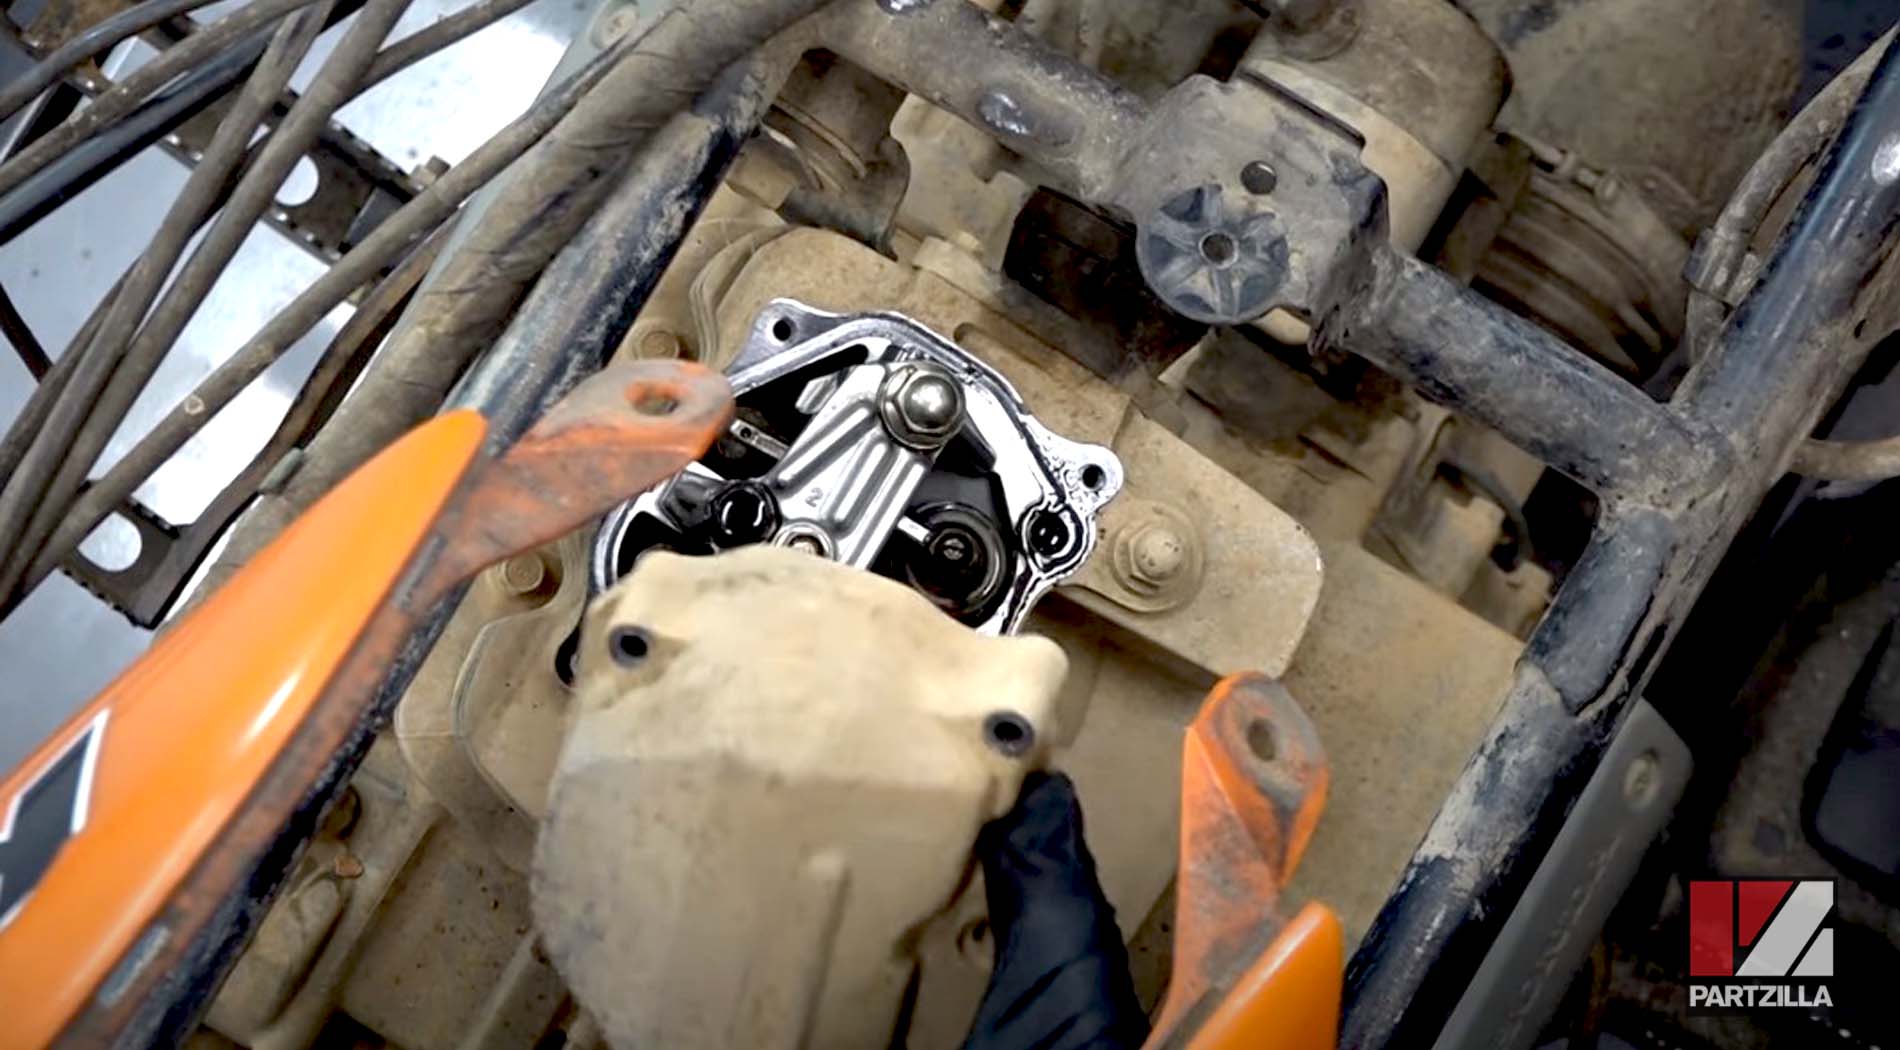
Step 7. Remove the inspection bolt in the crankcase, then slowly pull the recoil starter cable to turn the engine until it’s at top dead center.
NOTE: The engine is at TDC when the timing mark is in the center of the inspection hole.

Watch the clip below to see the TDC setting segment of our Honda TRX350 engine teardown video.
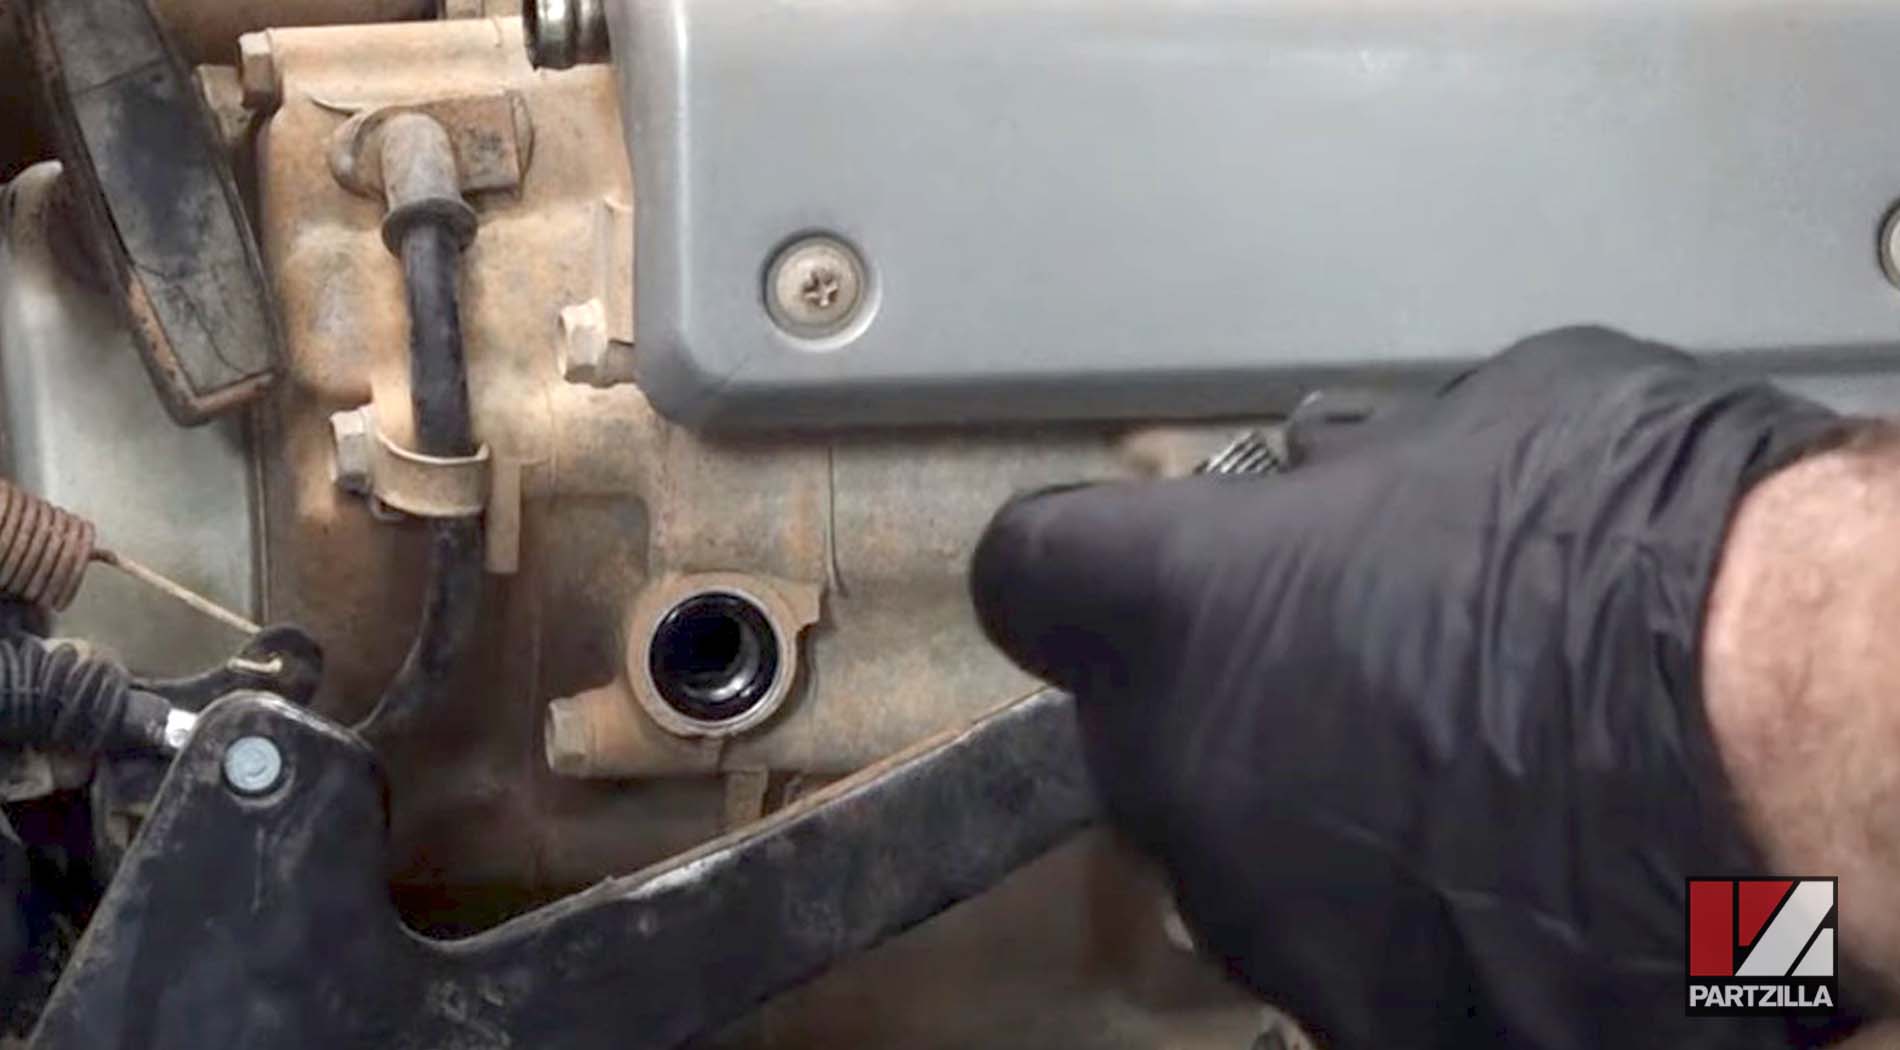
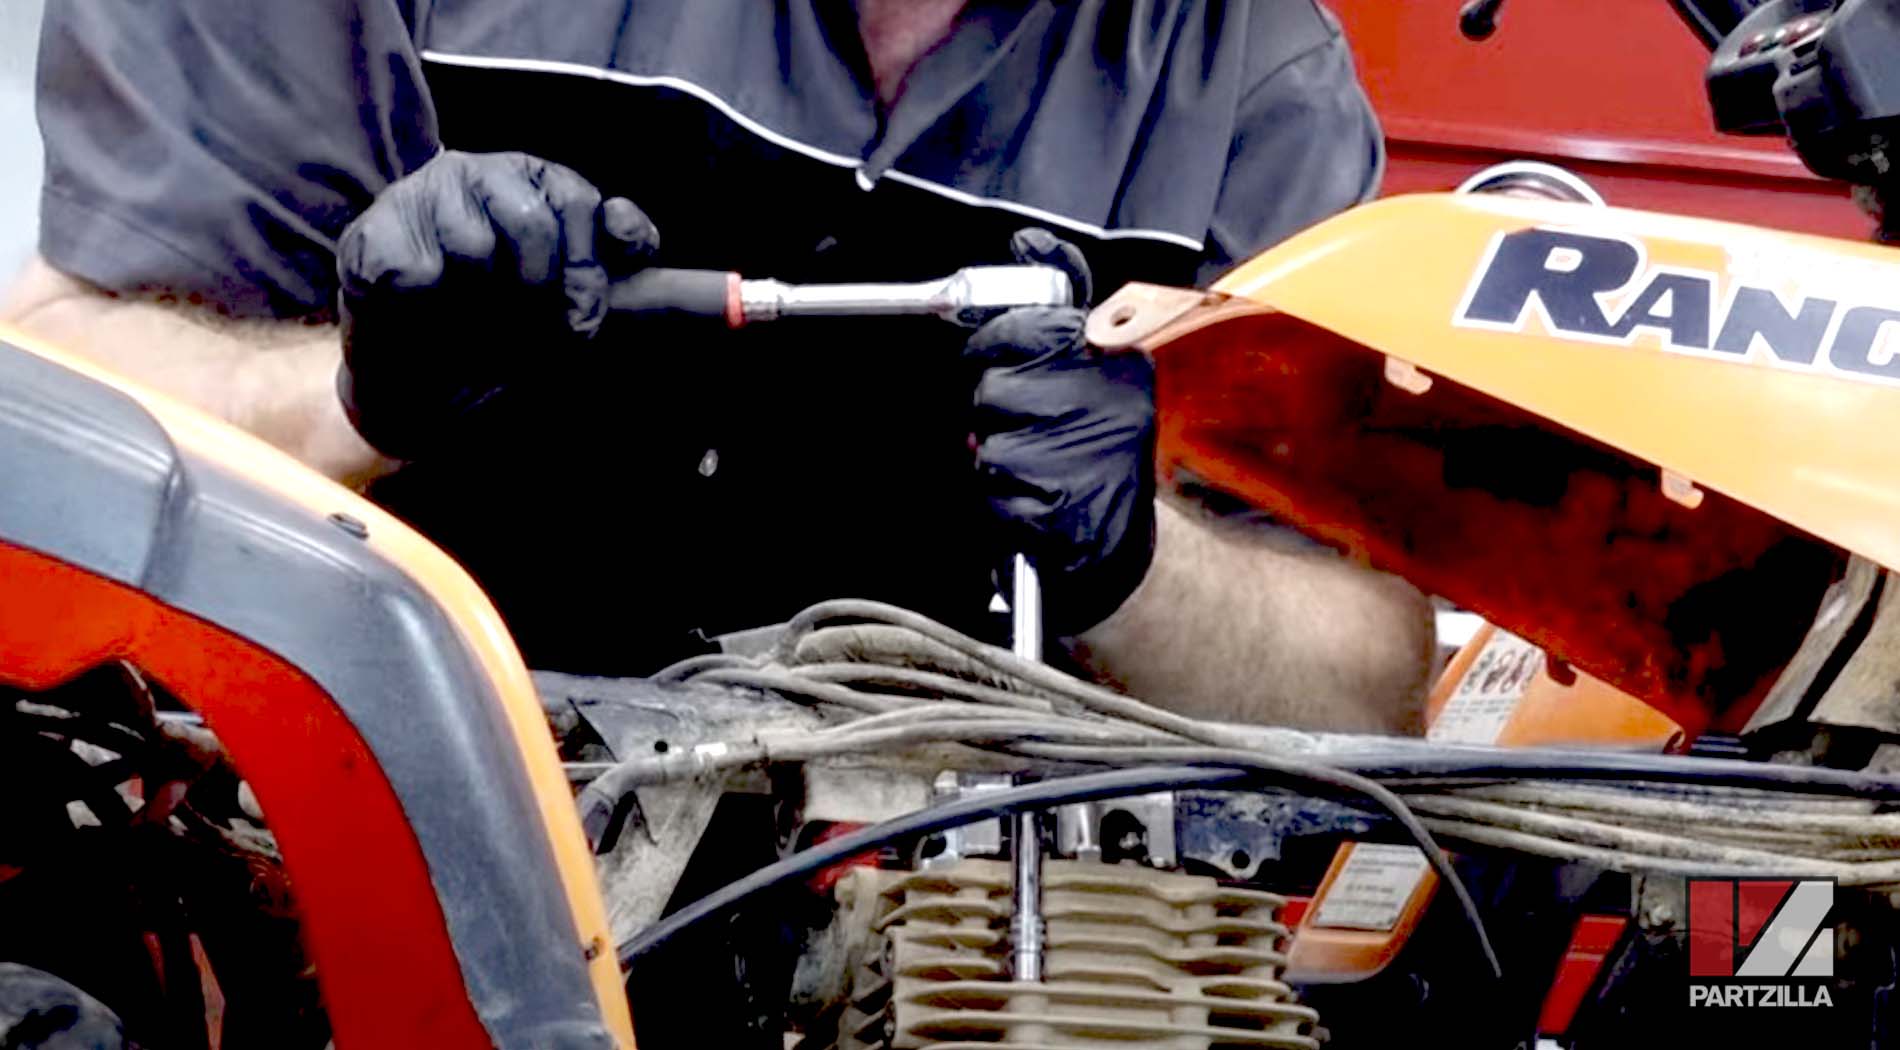
Step 8. Remove the engine mounting bolts securing the cylinder head to the frame.
Step 9. Remove the 10mm bolt and the 12mm bolt from the top of the cylinder head, and the two 10mm bolts on the right side of the cylinder.
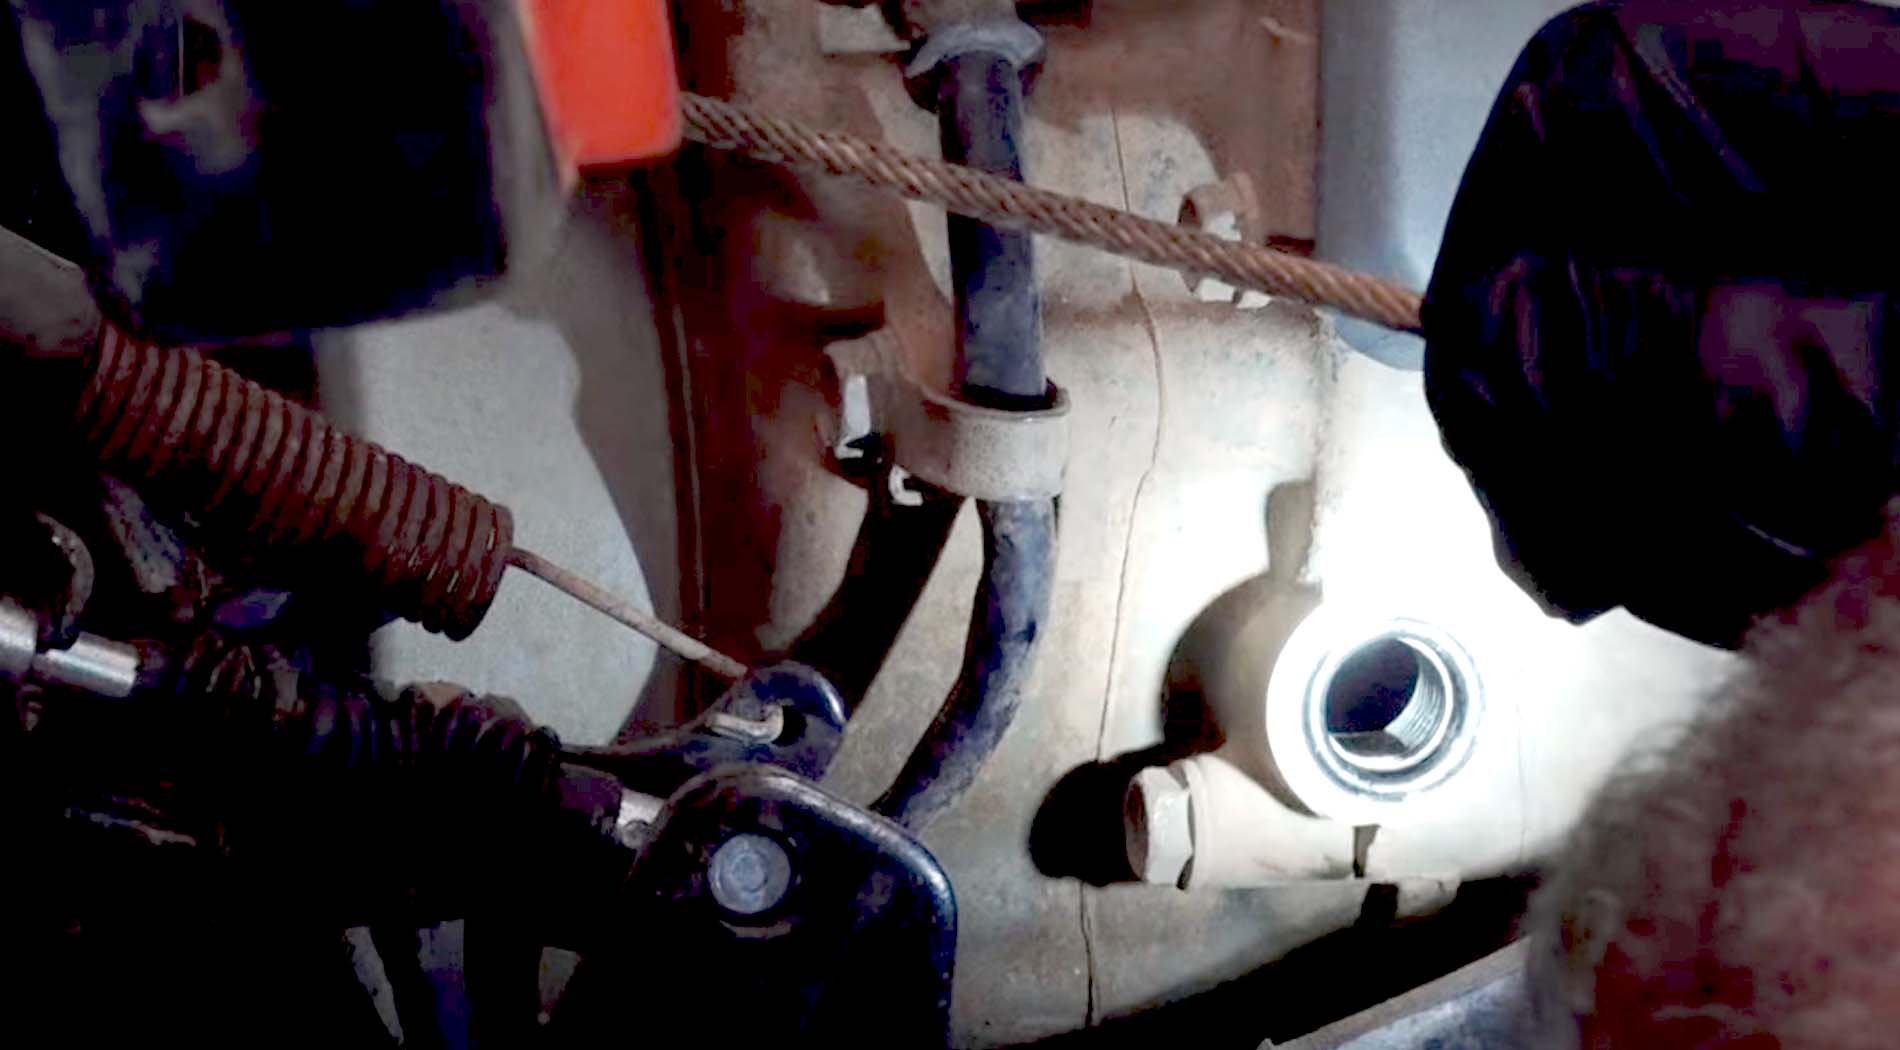
Step 10. Remove the four main cylinder head bolts by loosening them a quarter-turn at a time and working in a diagonal pattern. This releases the tension on the cylinder head evenly and prevents it from warping. Next, remove the cylinder head.

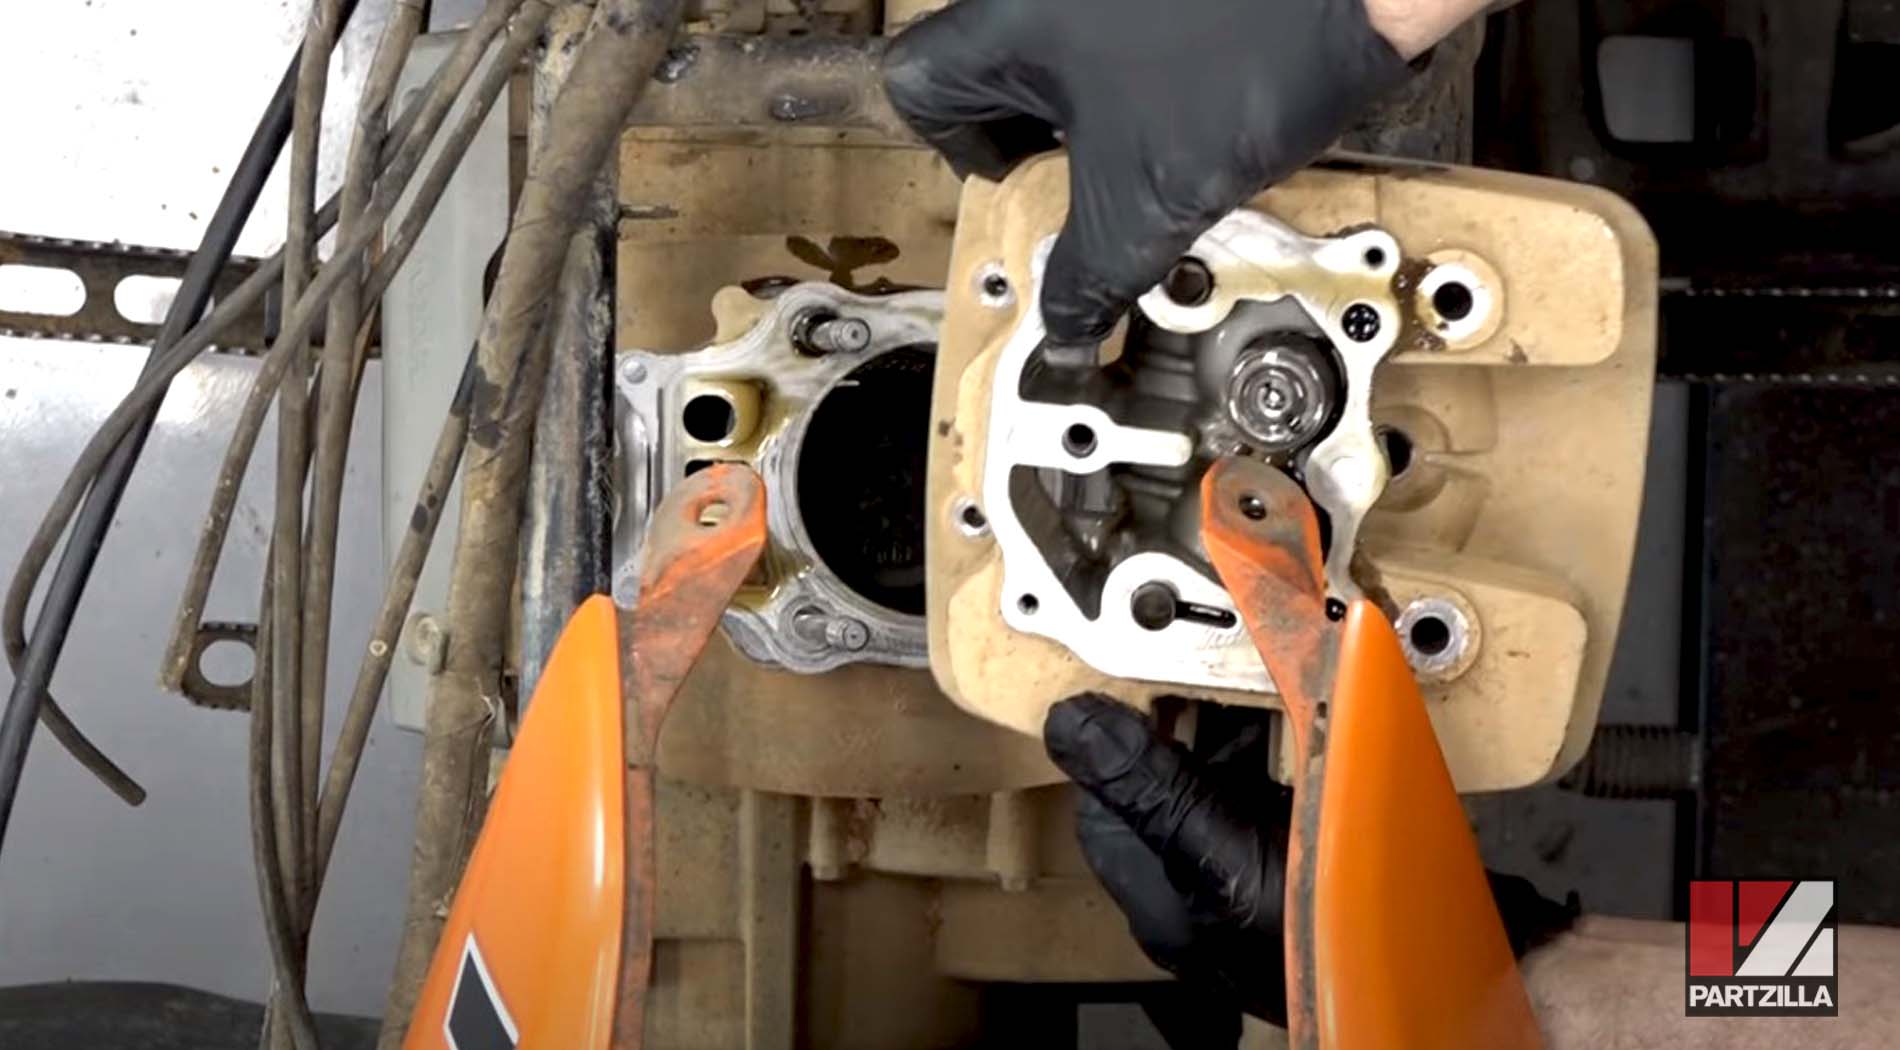
Watch the clip below to see the cylinder head removal segment of our Honda TRX350 engine teardown video.
Step 11. Carefully pry the cylinder loose from the crankcase and remove it.
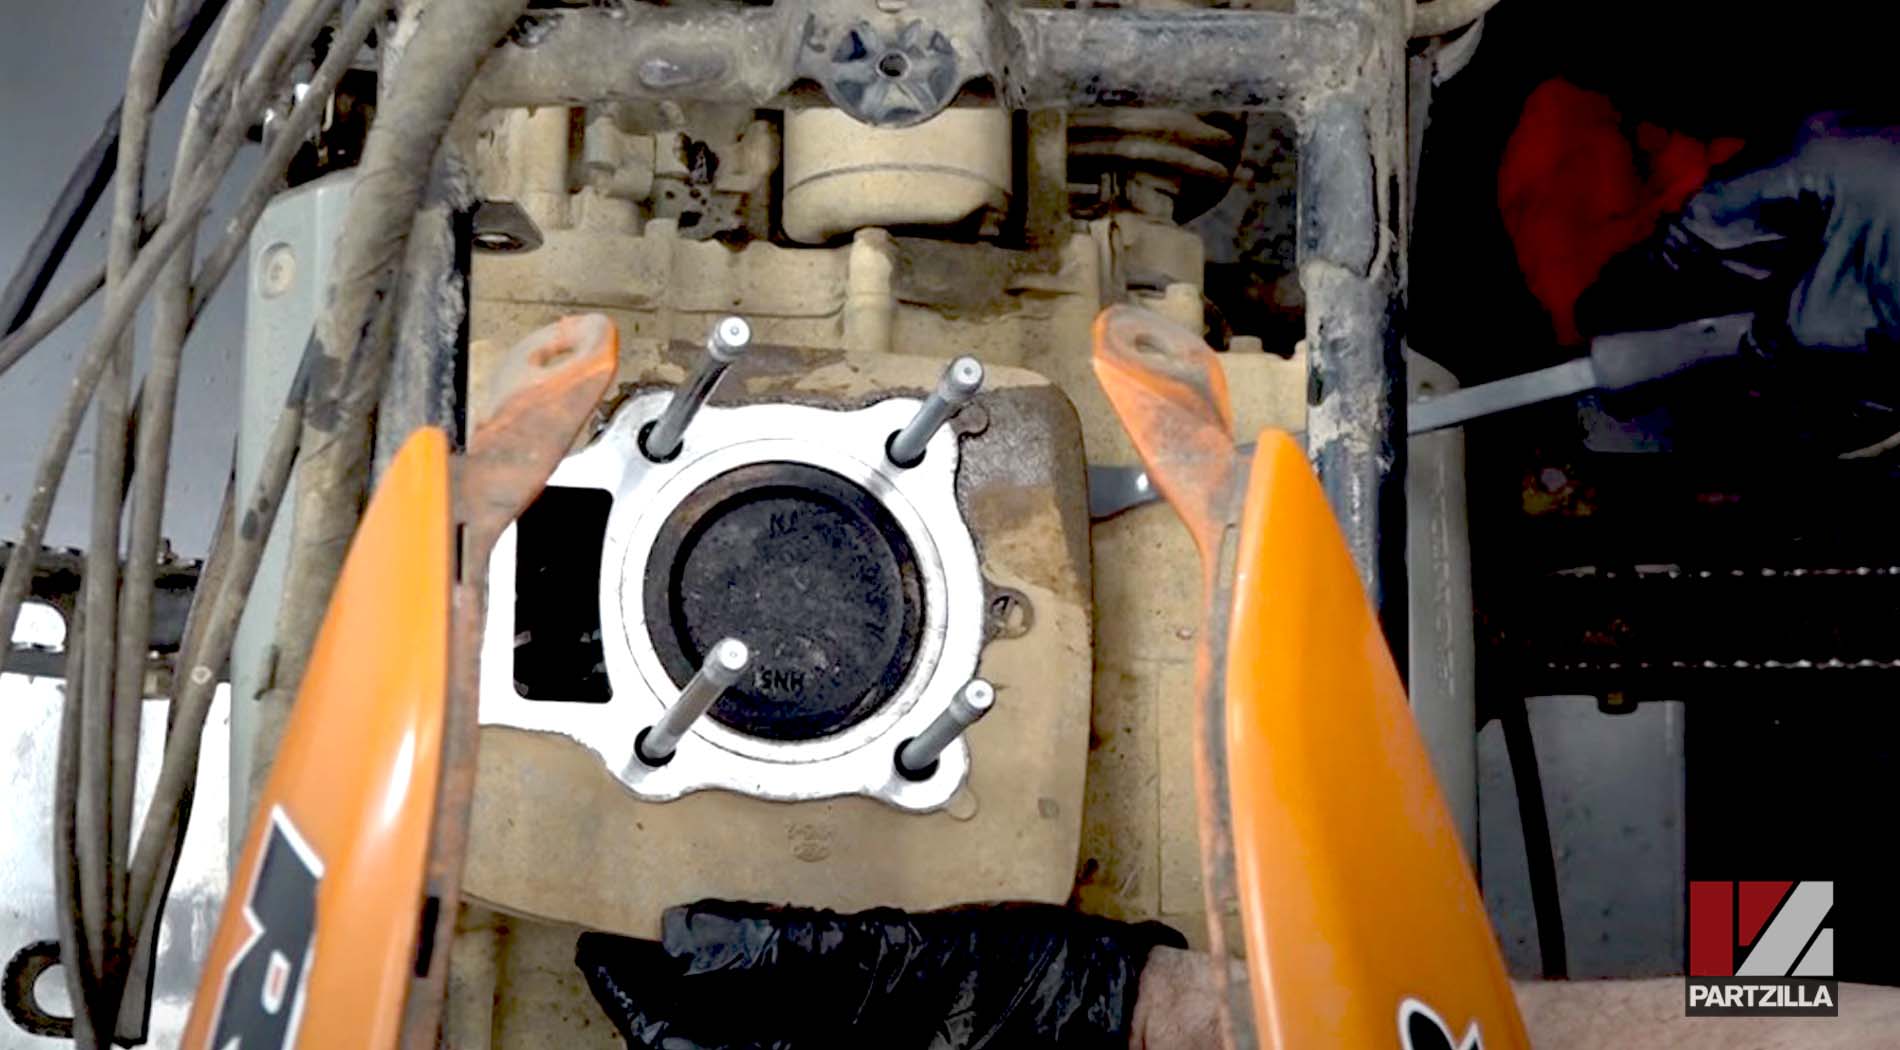
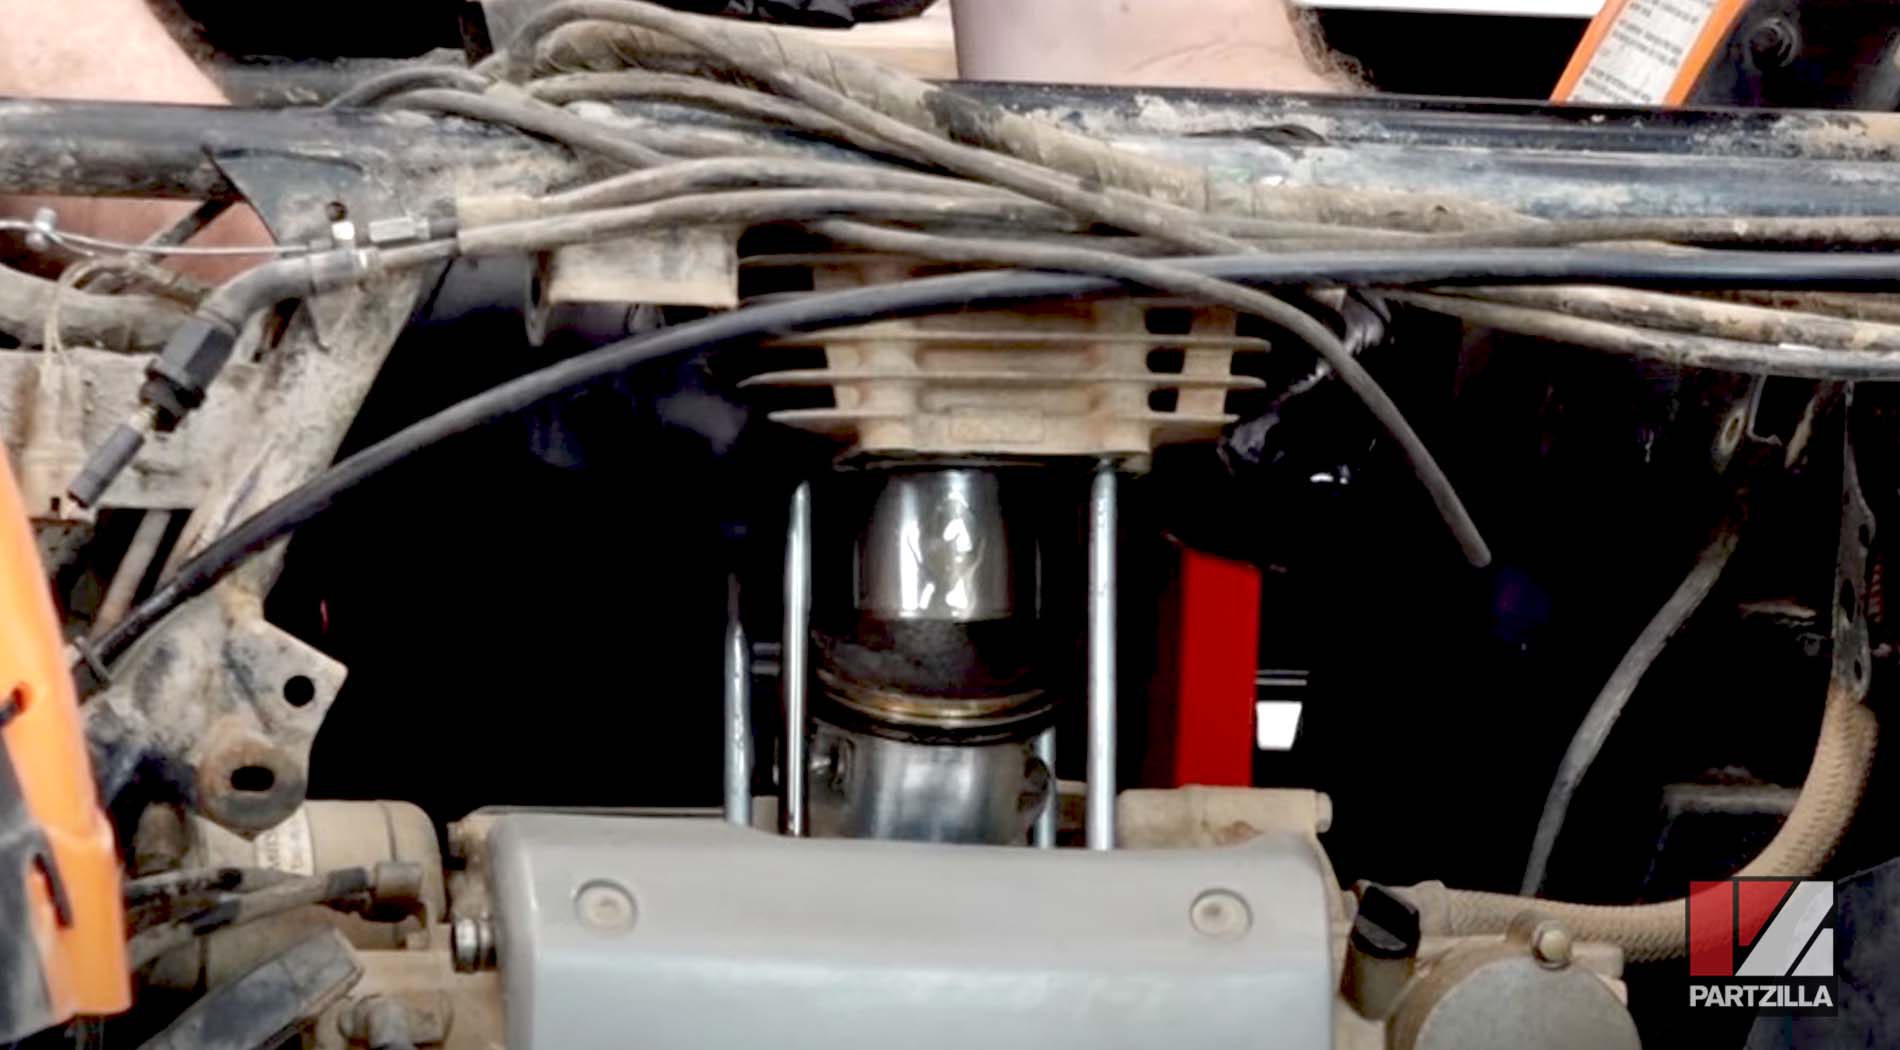
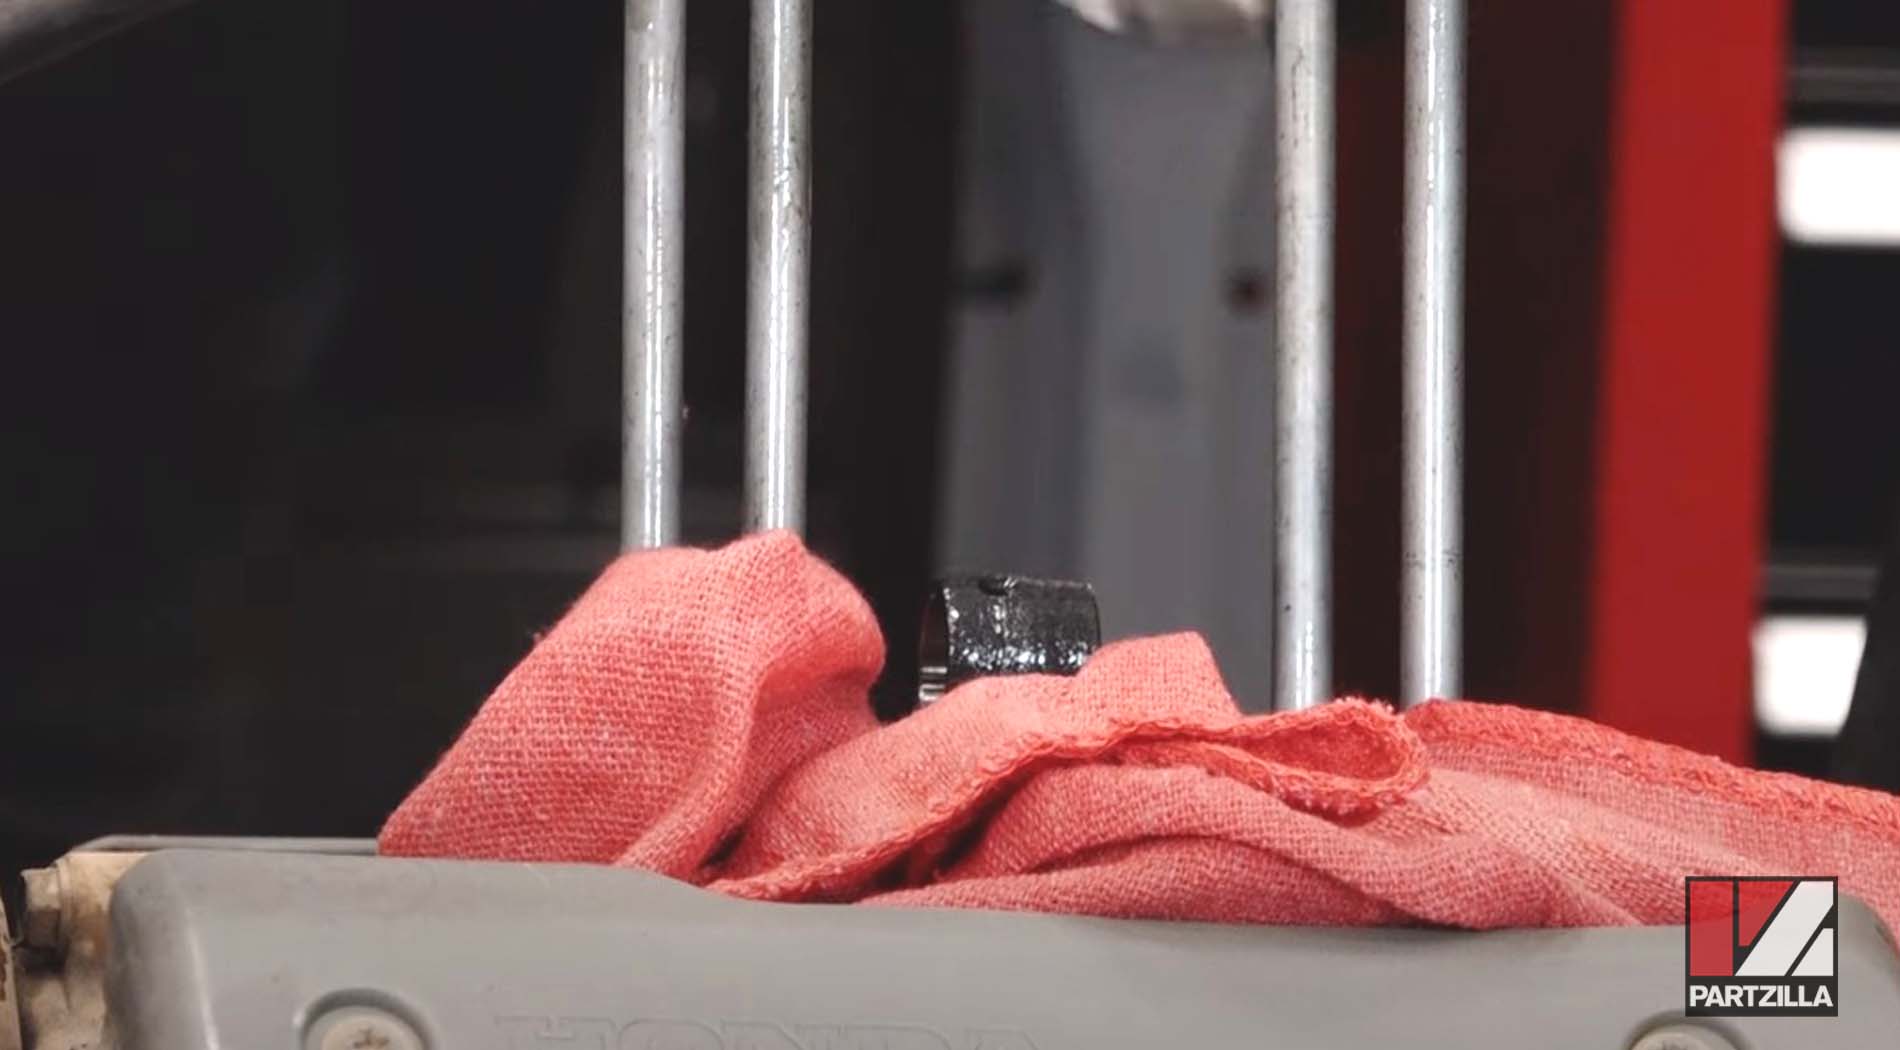
NOTE: There are two dowels on top of the cylinder and two more beneath it on the mounting studs. Cover the crankcase opening with shop towels to prevent anything from falling into the crankcase.
Step 12. Remove one of the piston pin circlips, then slide the piston pin out of the piston and remove the piston from the crankshaft connector rod.
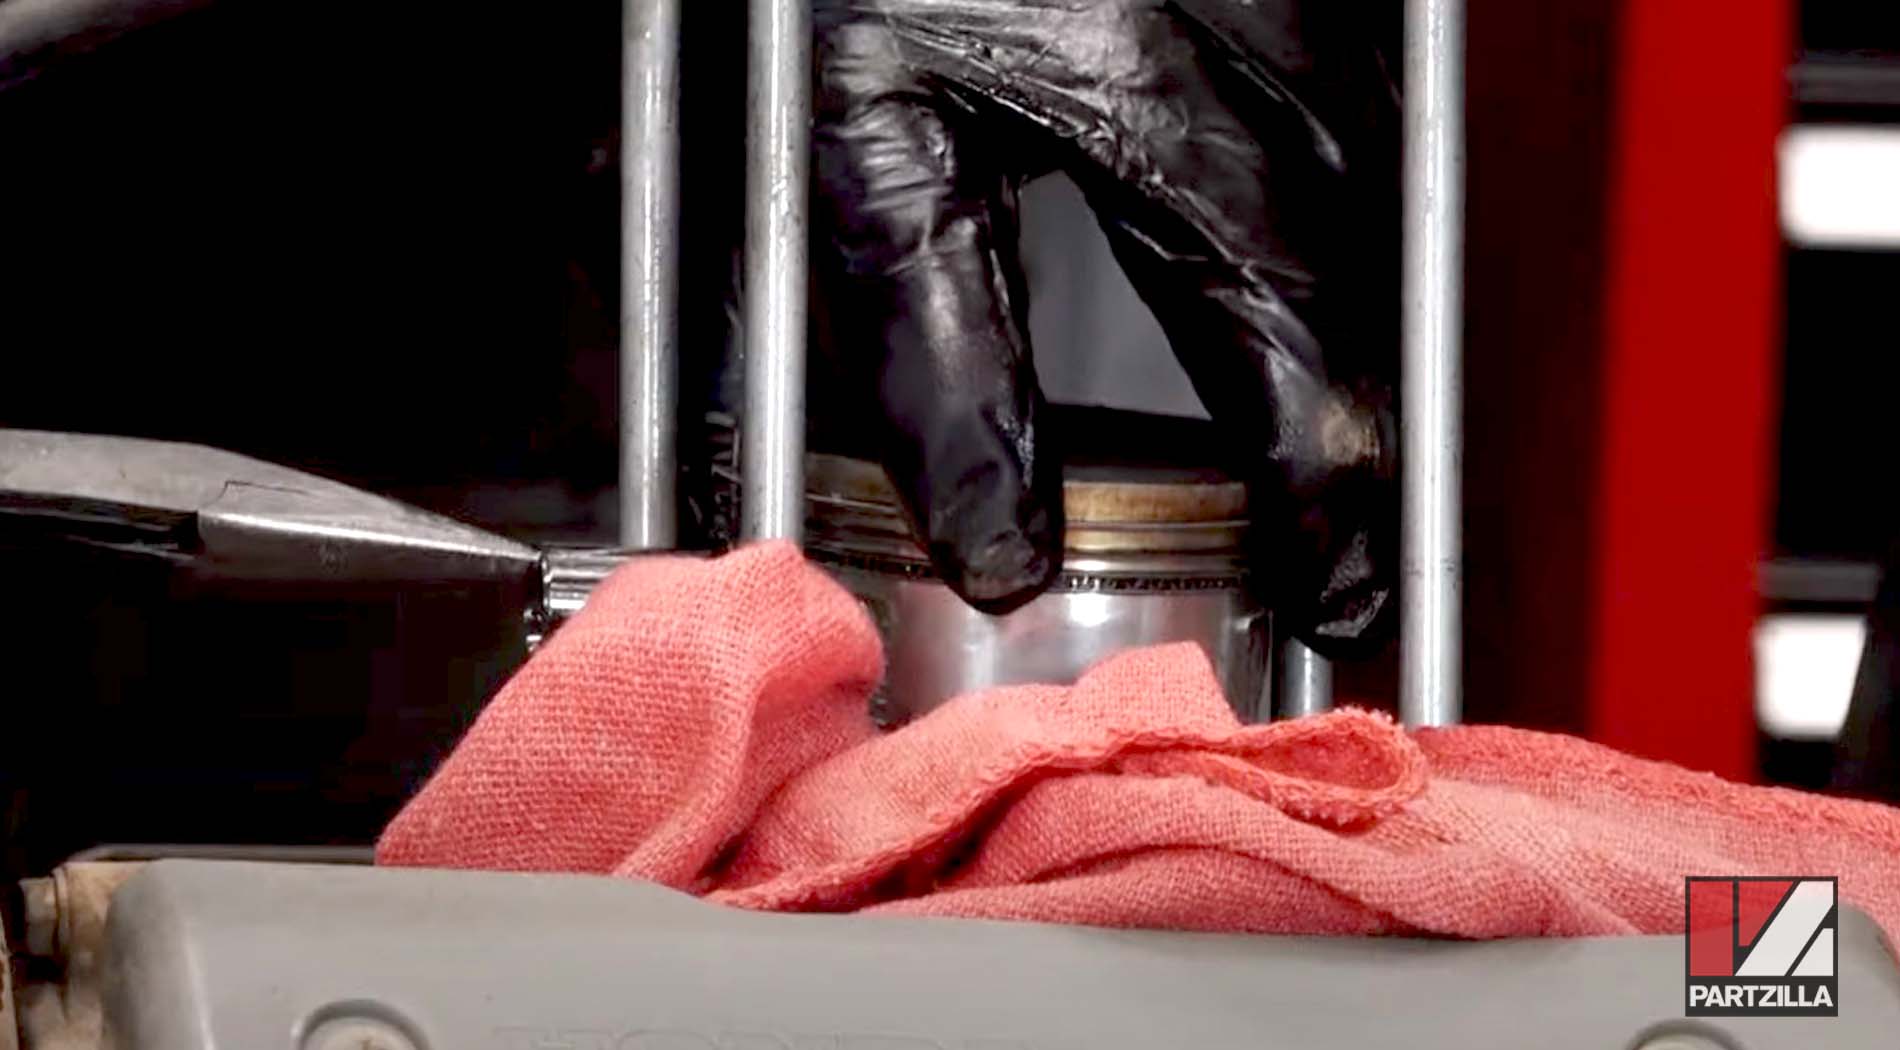
Watch the clip below to see the cylinder and piston removal segment of our Honda TRX350 engine teardown video.
After disassembling the top end of the Honda ATV, it’s time to rebuild the piston and cylinder. Watch our Honda Rancher TRX350 Top End Rebuild Part 2 video below to move on to the next step.