Honda CRF450R Rims & Tires Installation
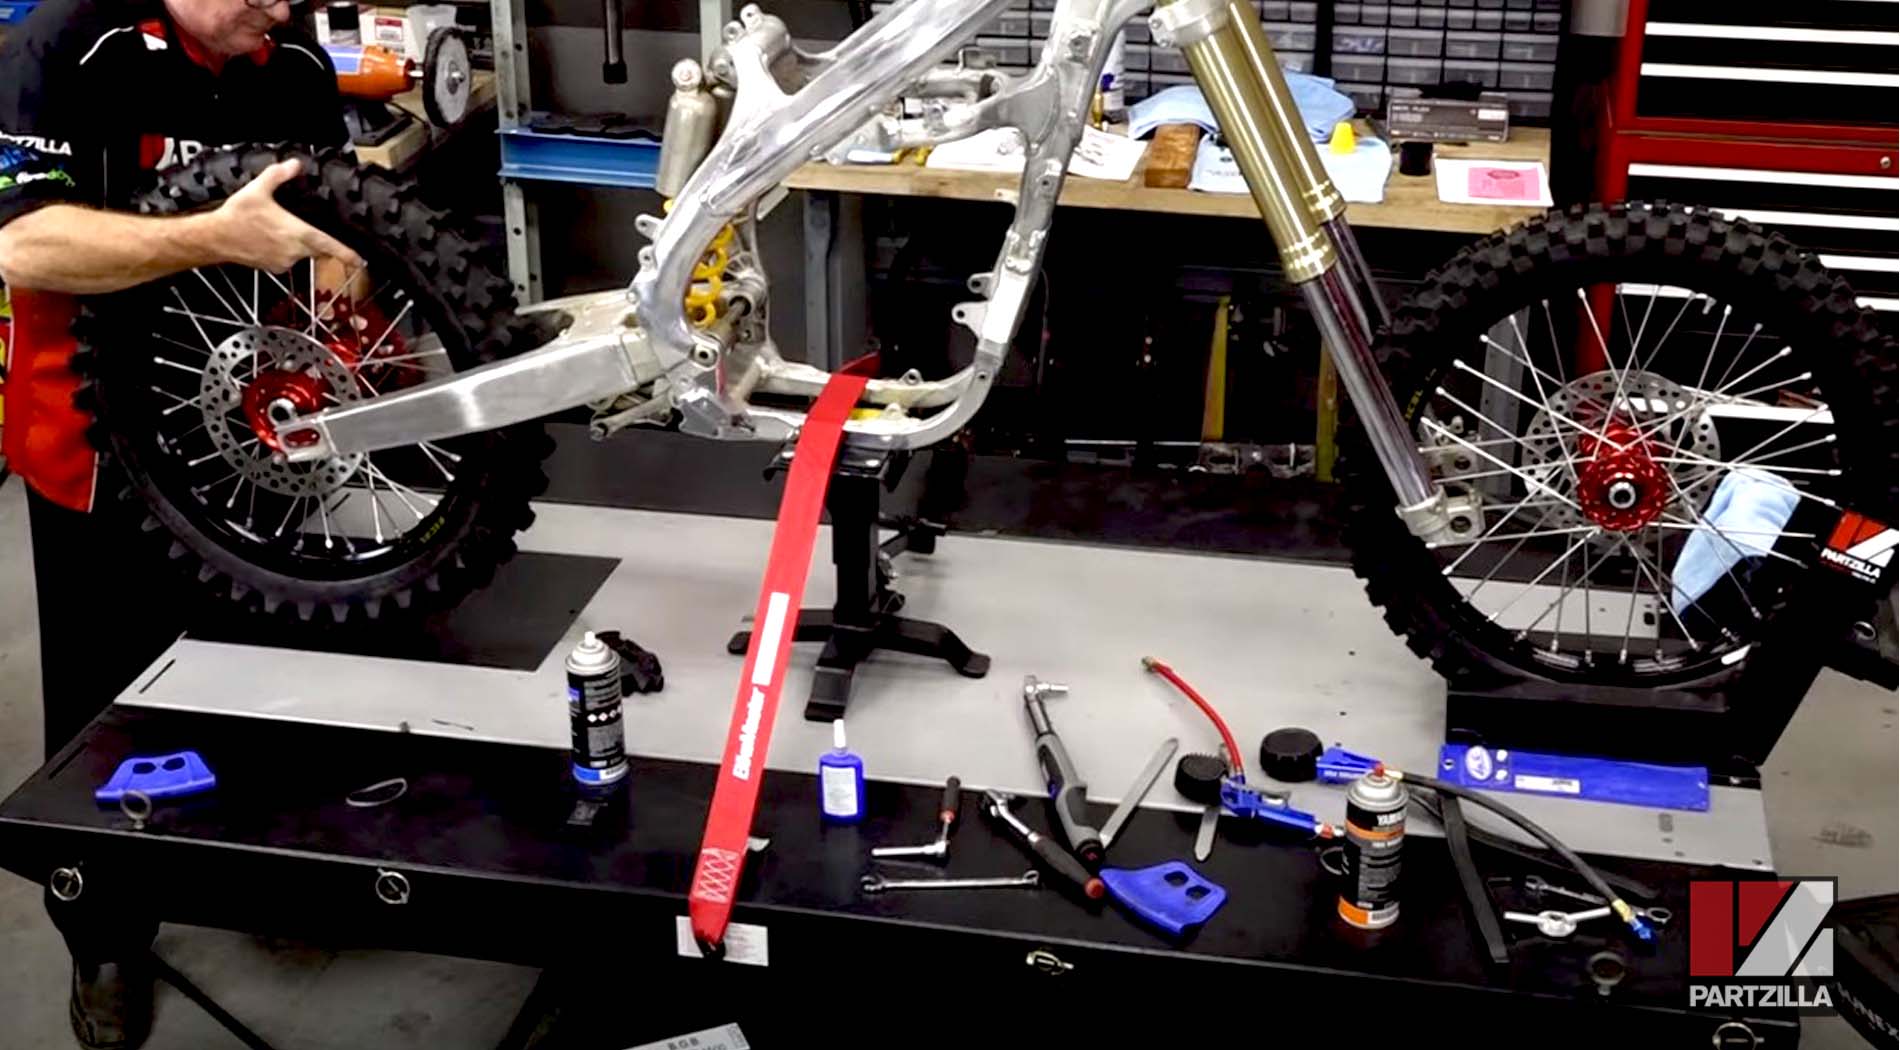
As part of our complete 2005 Honda CRF450R motorcycle rebuild, we installed new rims and tires to get this dirt bike ready to tackle muddy tracks and trails.
Watch the video above and follow the steps below to do a tire and rim installation on a Honda CRF450 dirt bike.
Tools, Parts and Supplies - Honda CRF450 Custom Tires & Rims Upgrade
- Blue threadlocker
- High performance grease
- Torque wrench adapter
- Torque wrench
- Ratchet and extensions
- Tire pressure gauge
- Rear sprocket
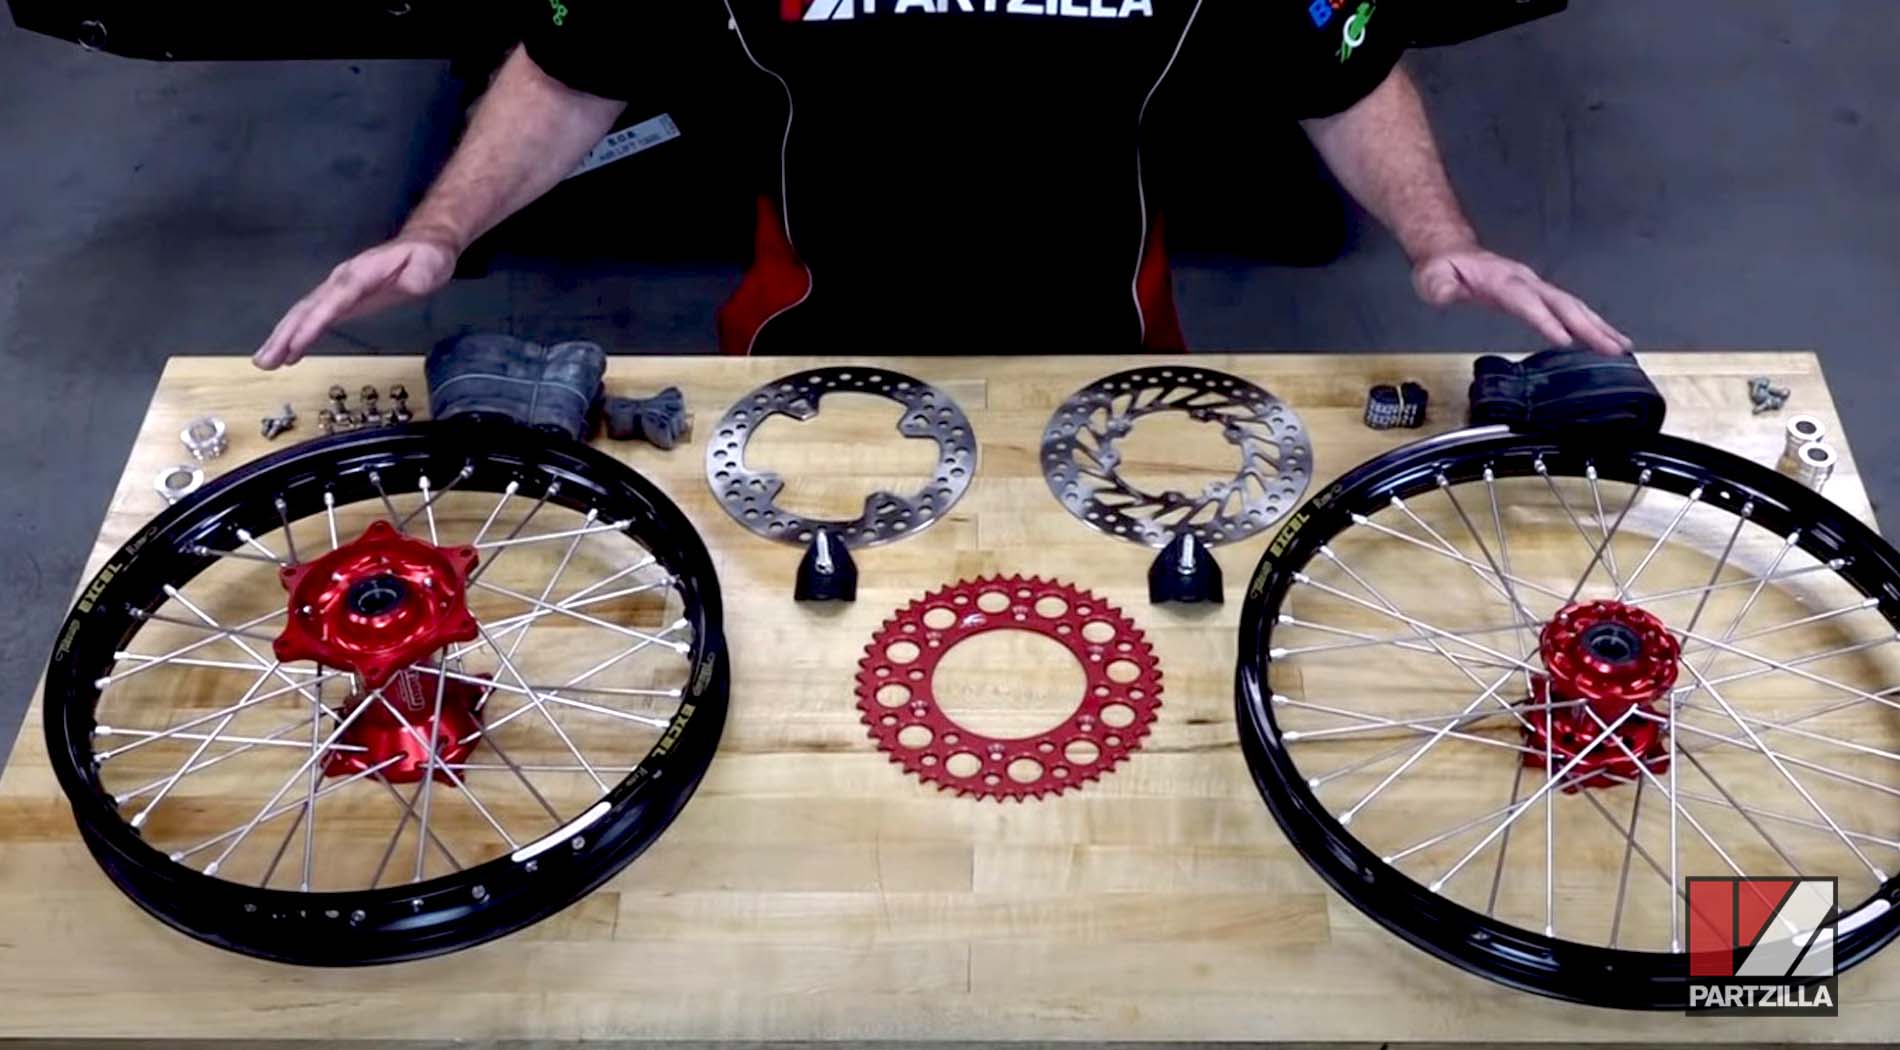
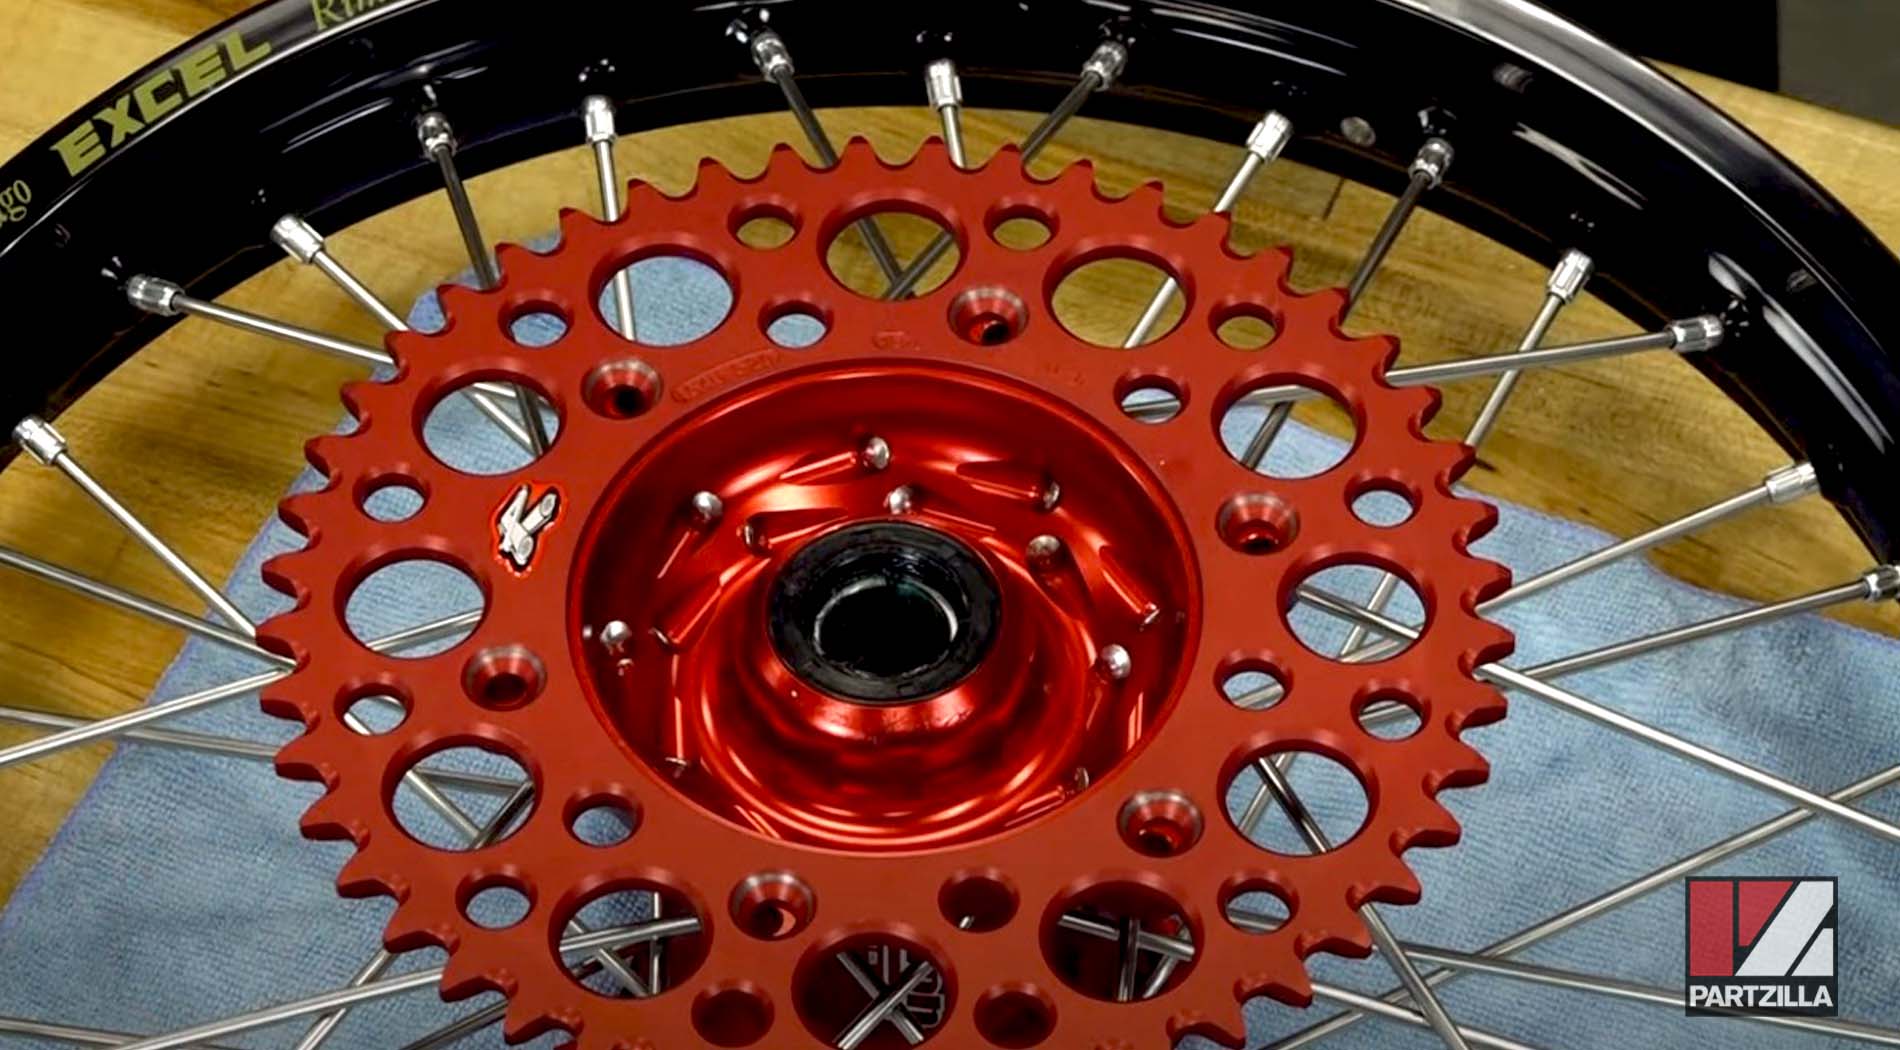
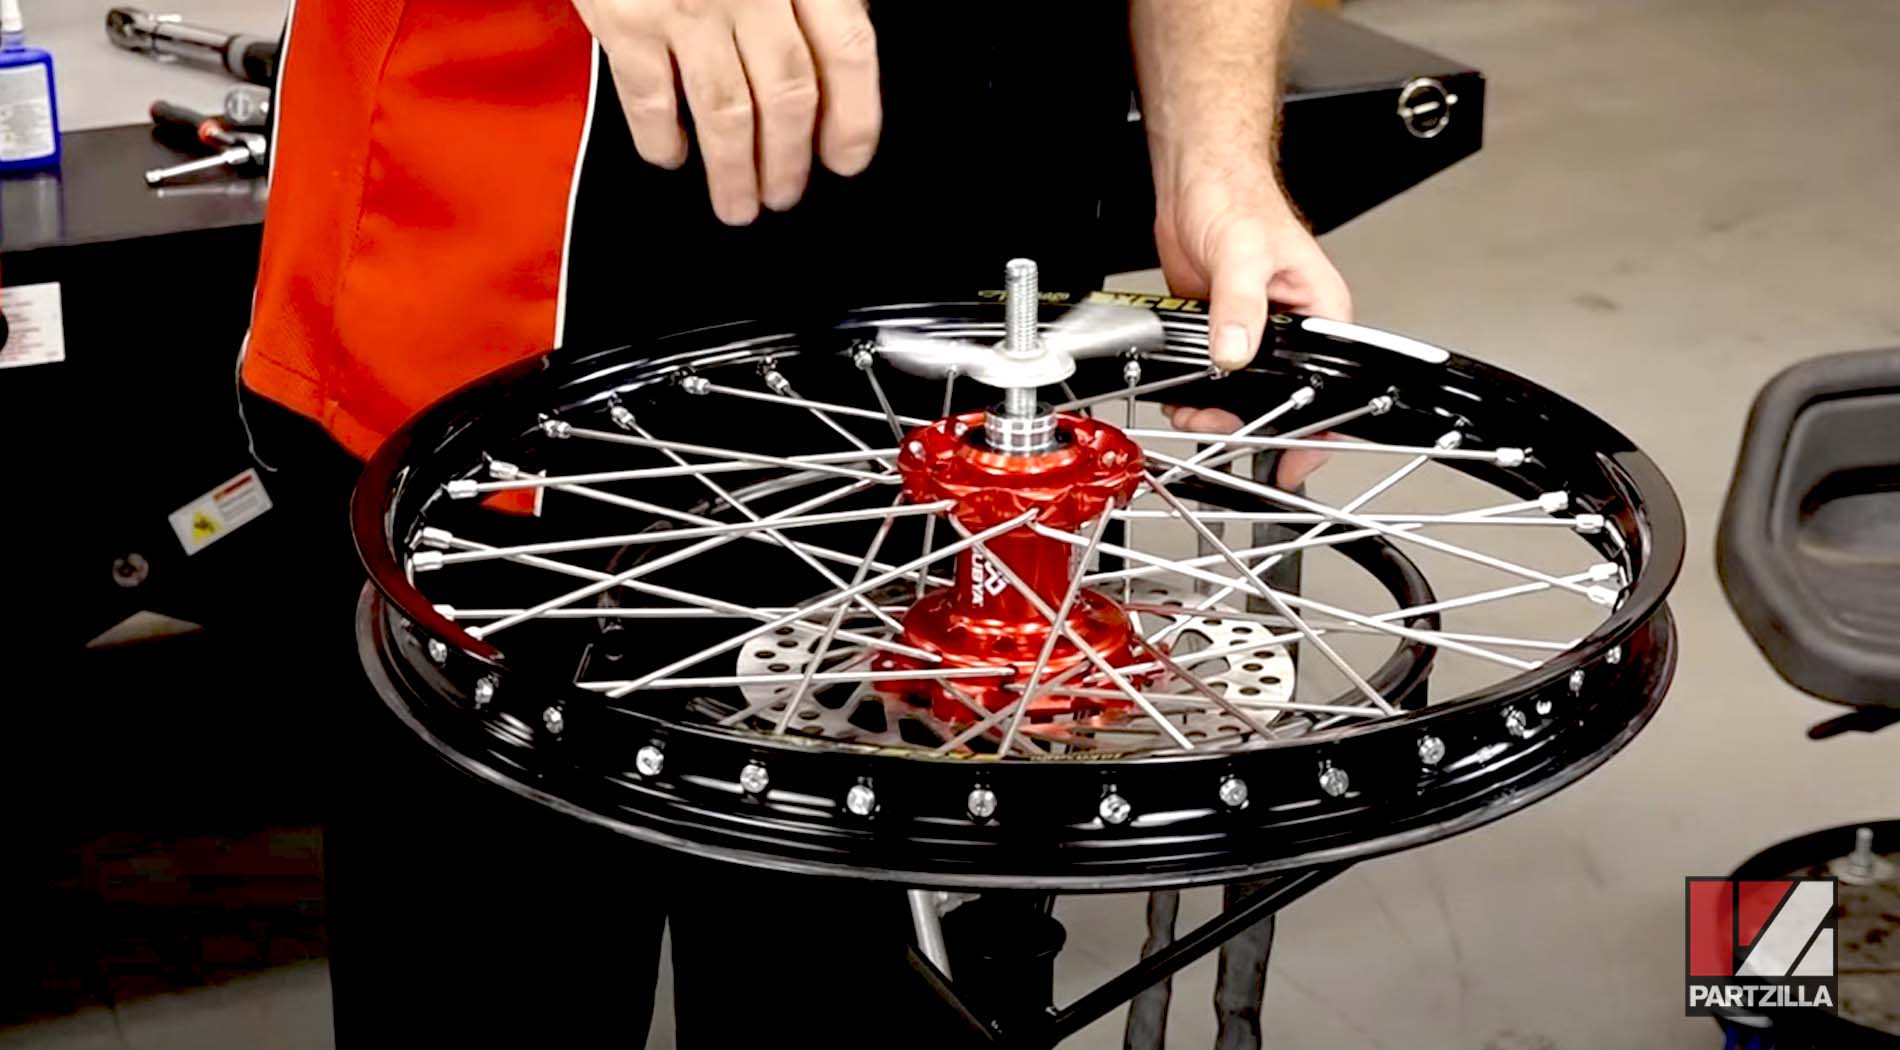
While this project could be done with OEM Honda parts, we used a set assembled by a company called Dubya, who builds and torques to spec whatever configuration you want, including all the spacers, mounting bolts, etc. This setup includes Excel rims, Talon hubs and spokes they laced up and balanced for us. We also used OEM rotors, a Renthal sprocket and Pirelli tires.
Honda CRF450R Tires and Wheels Installation Steps
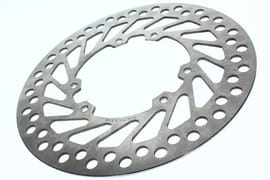
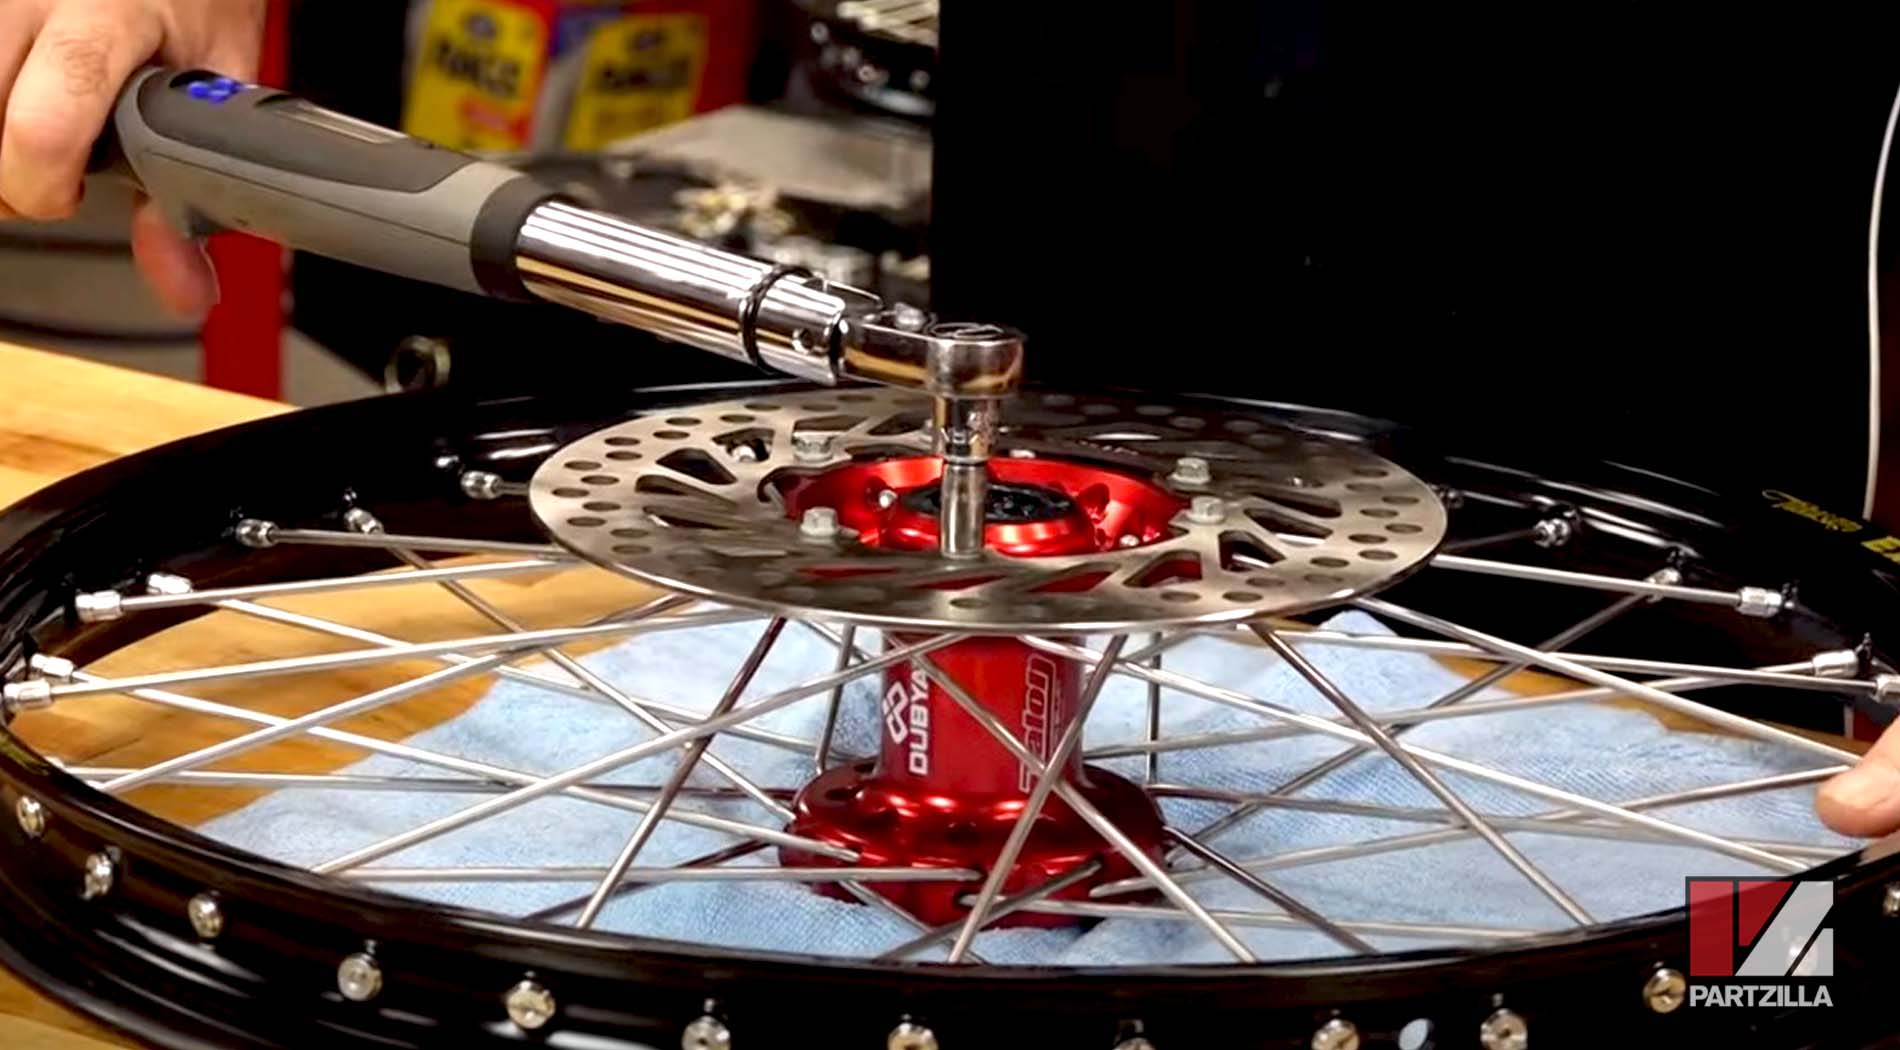
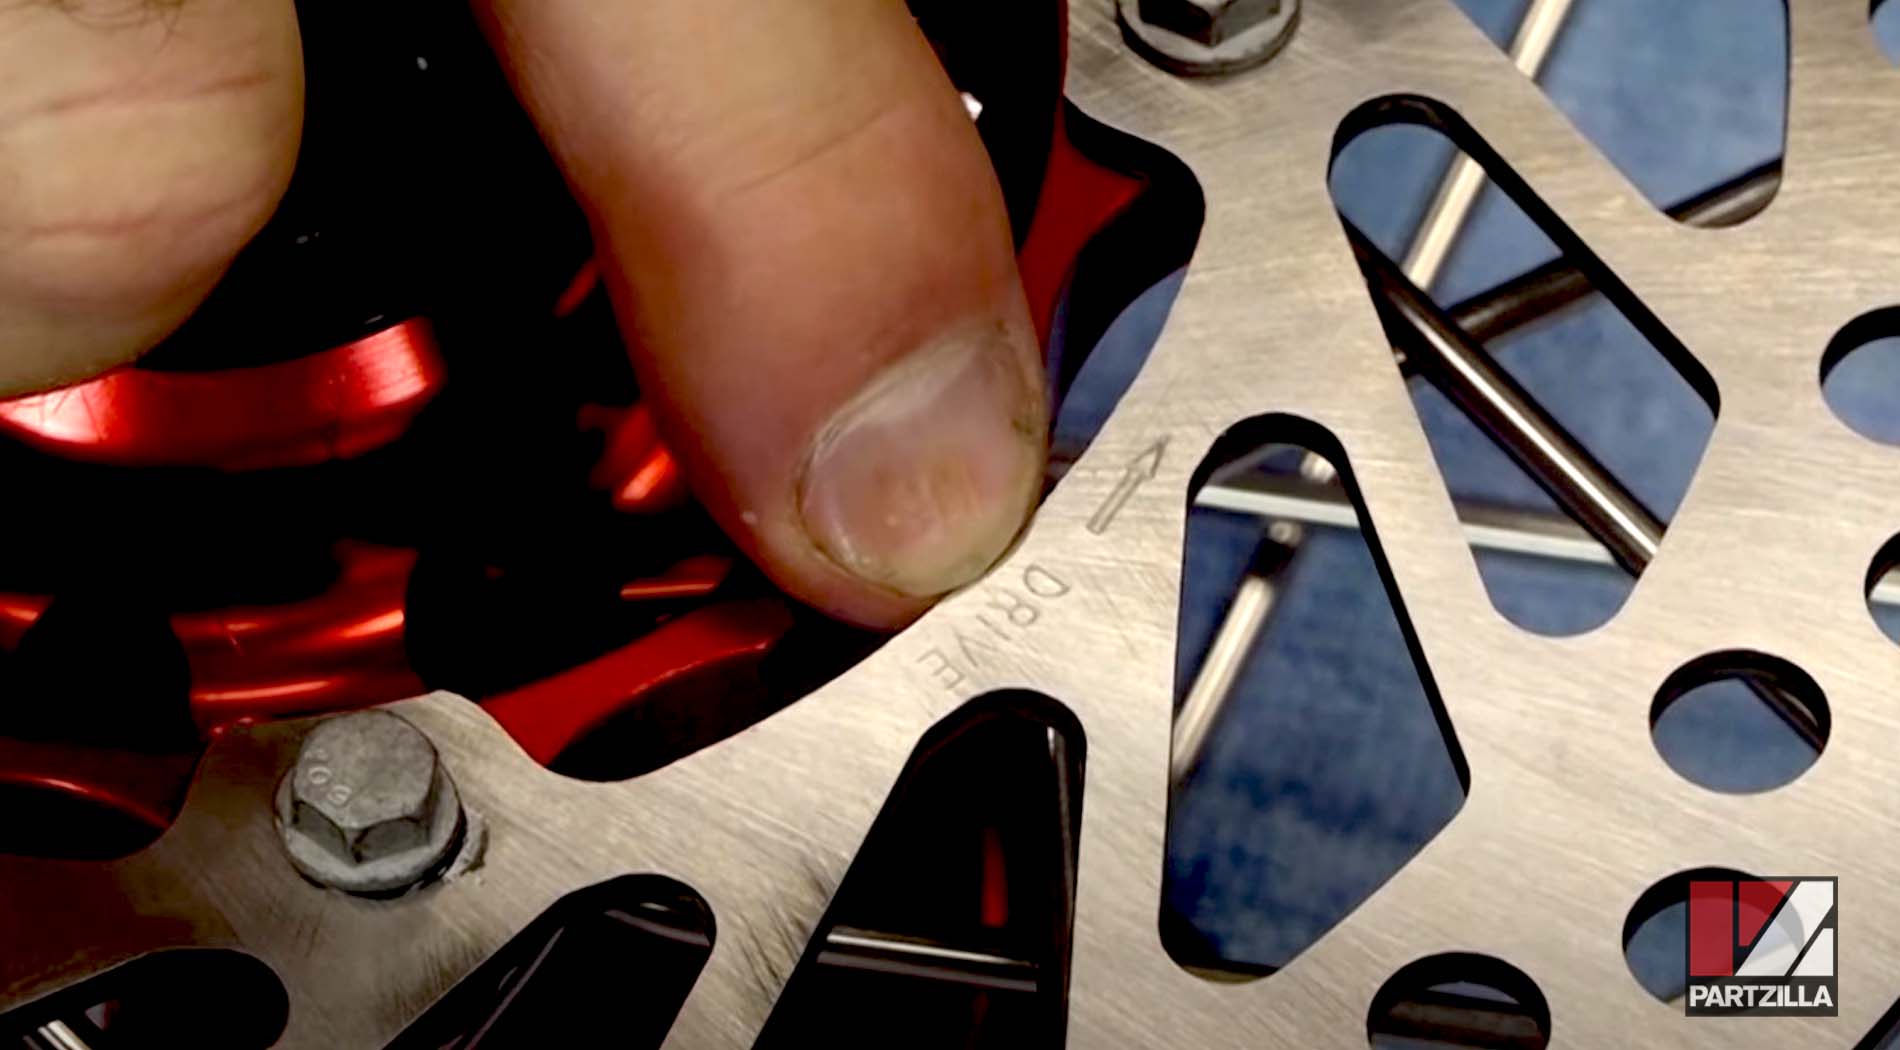
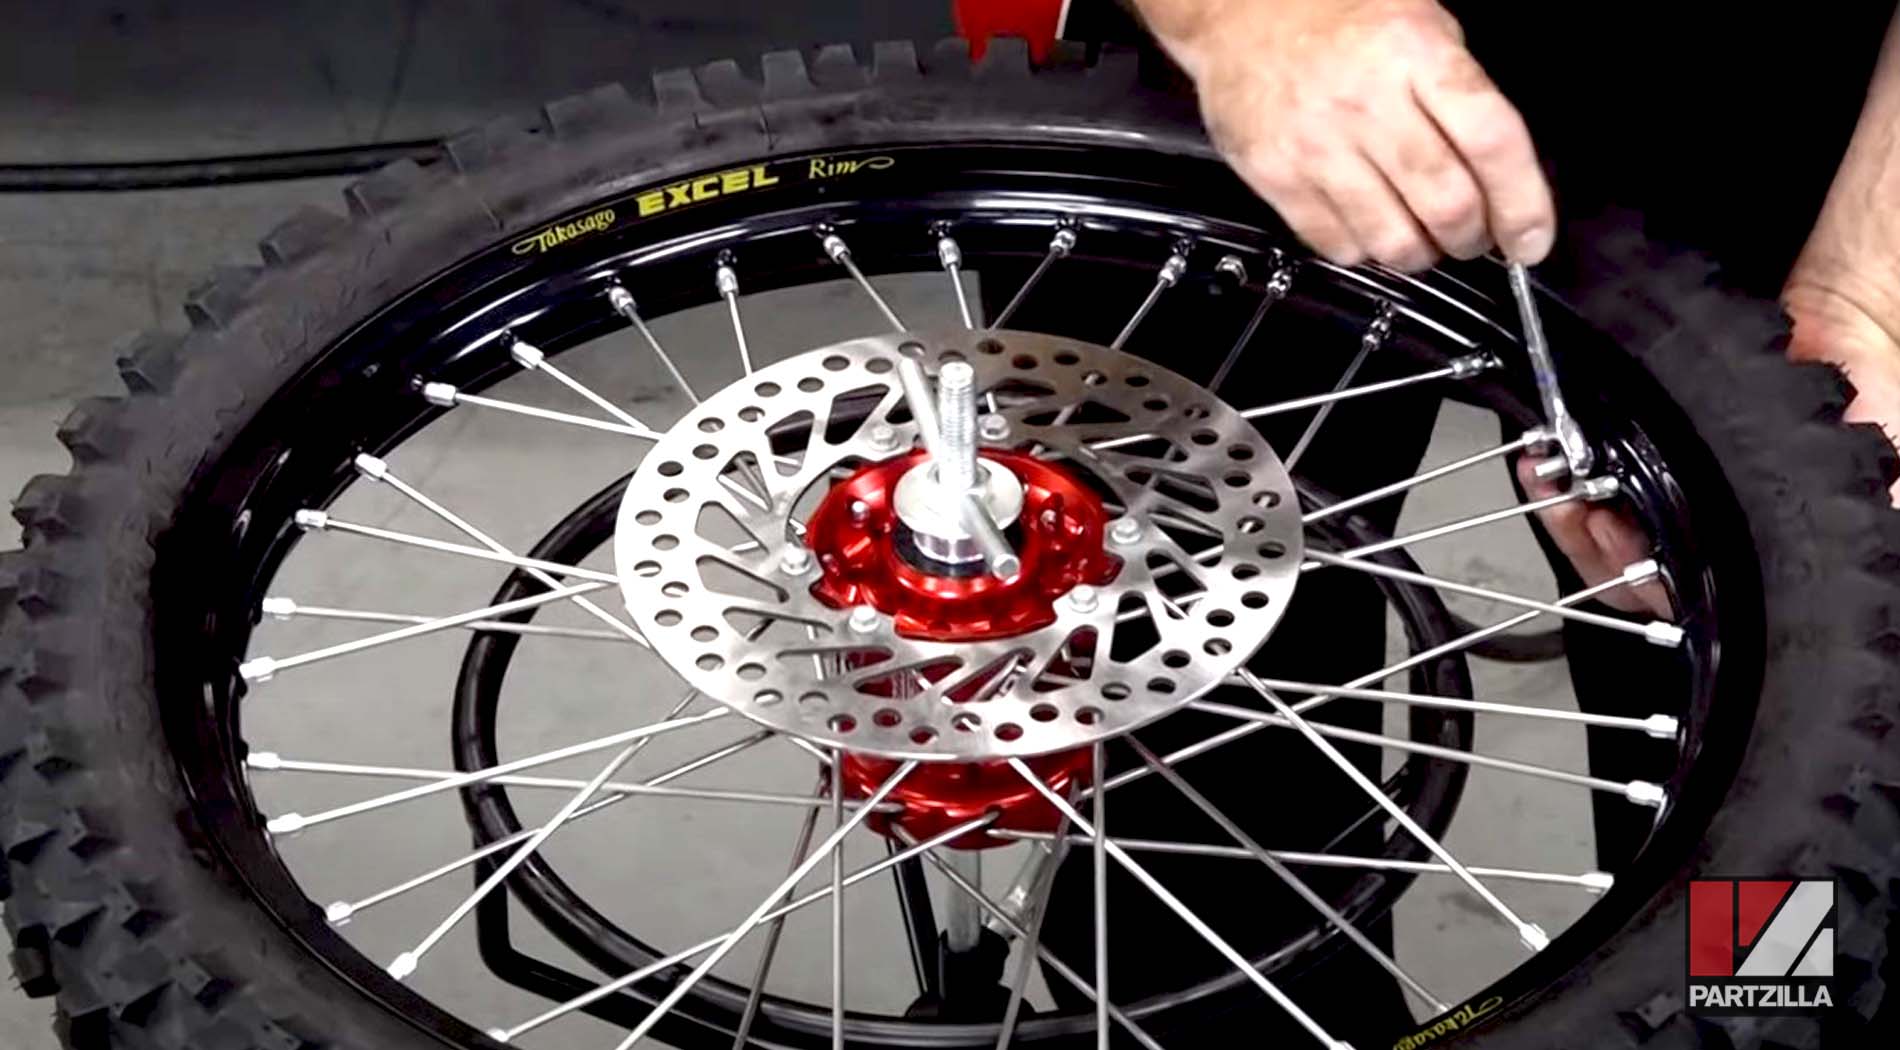
Step 1. Install the brake disc to the front wheel, then add blue threadlocker to the brake disc mounting bolts, install the bolts snug and torque them to 8 foot-pounds.
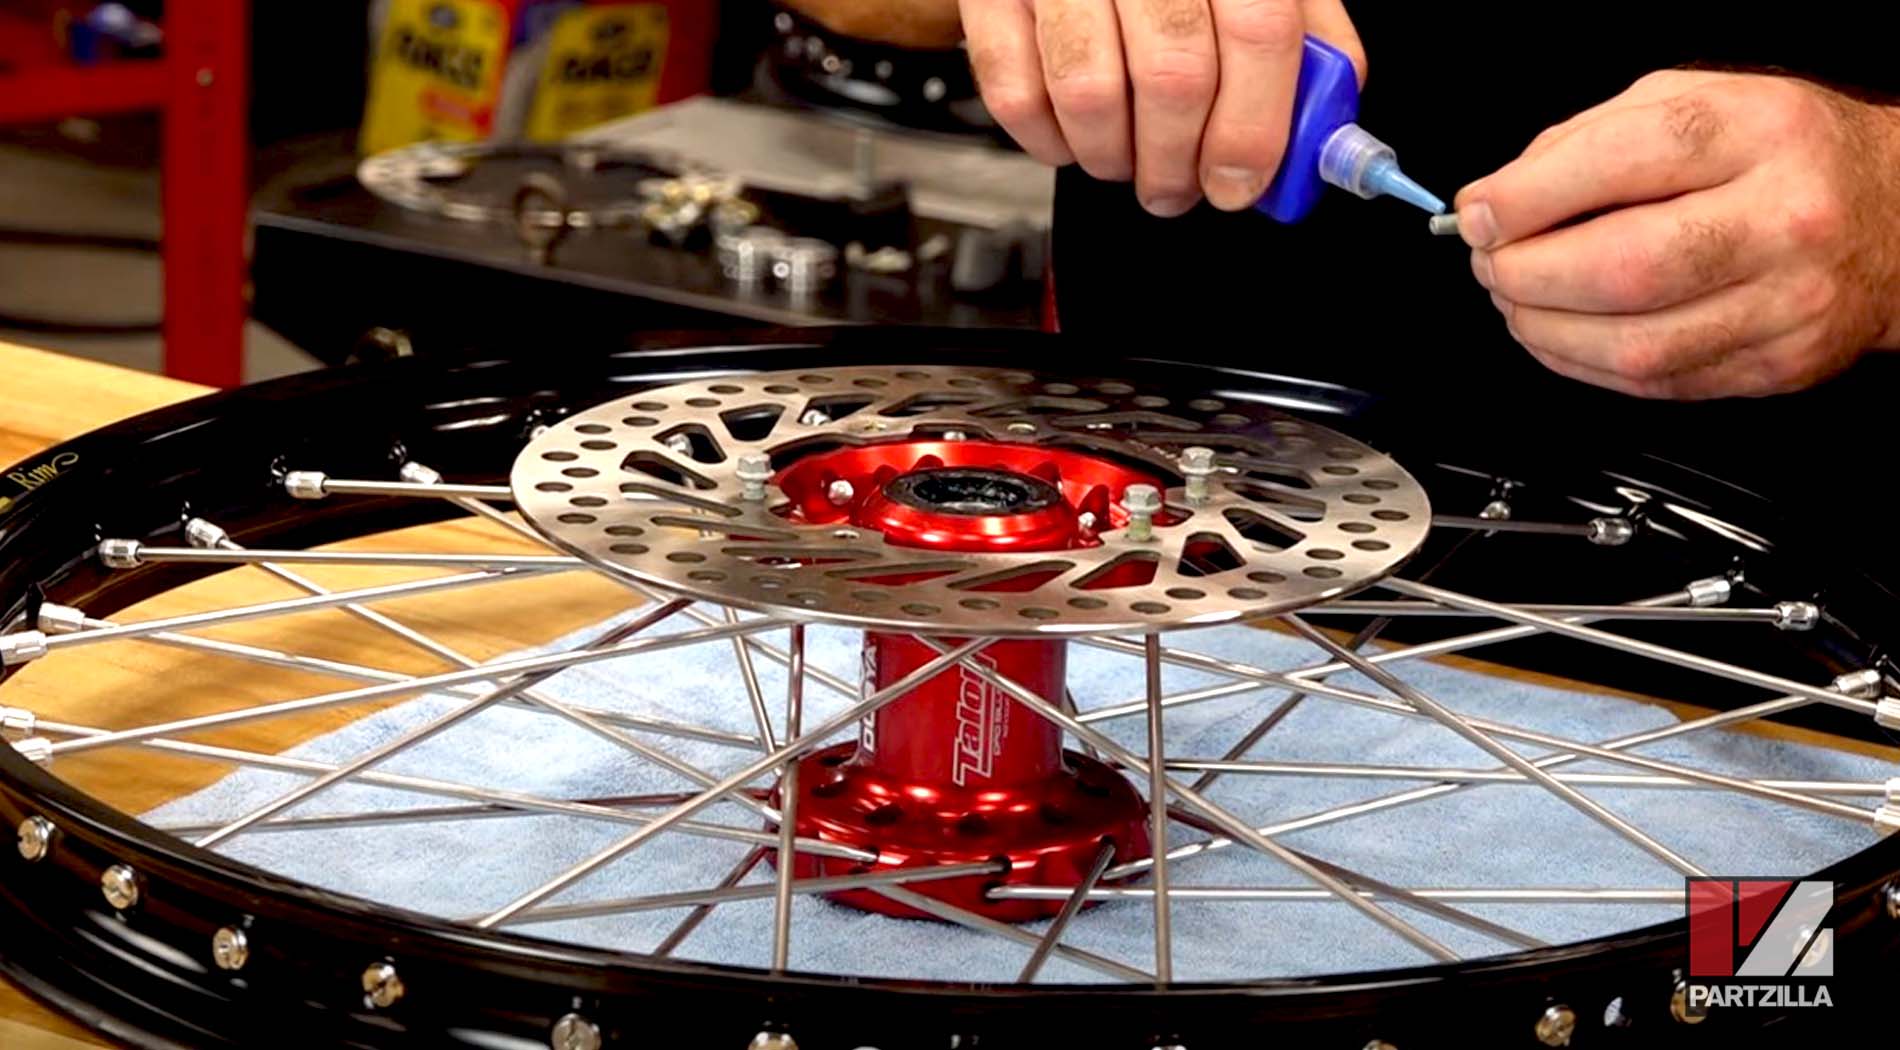
NOTE: The front brake disc is directional, so make note of which way the drive is pointing and install the disc with the label facing out.
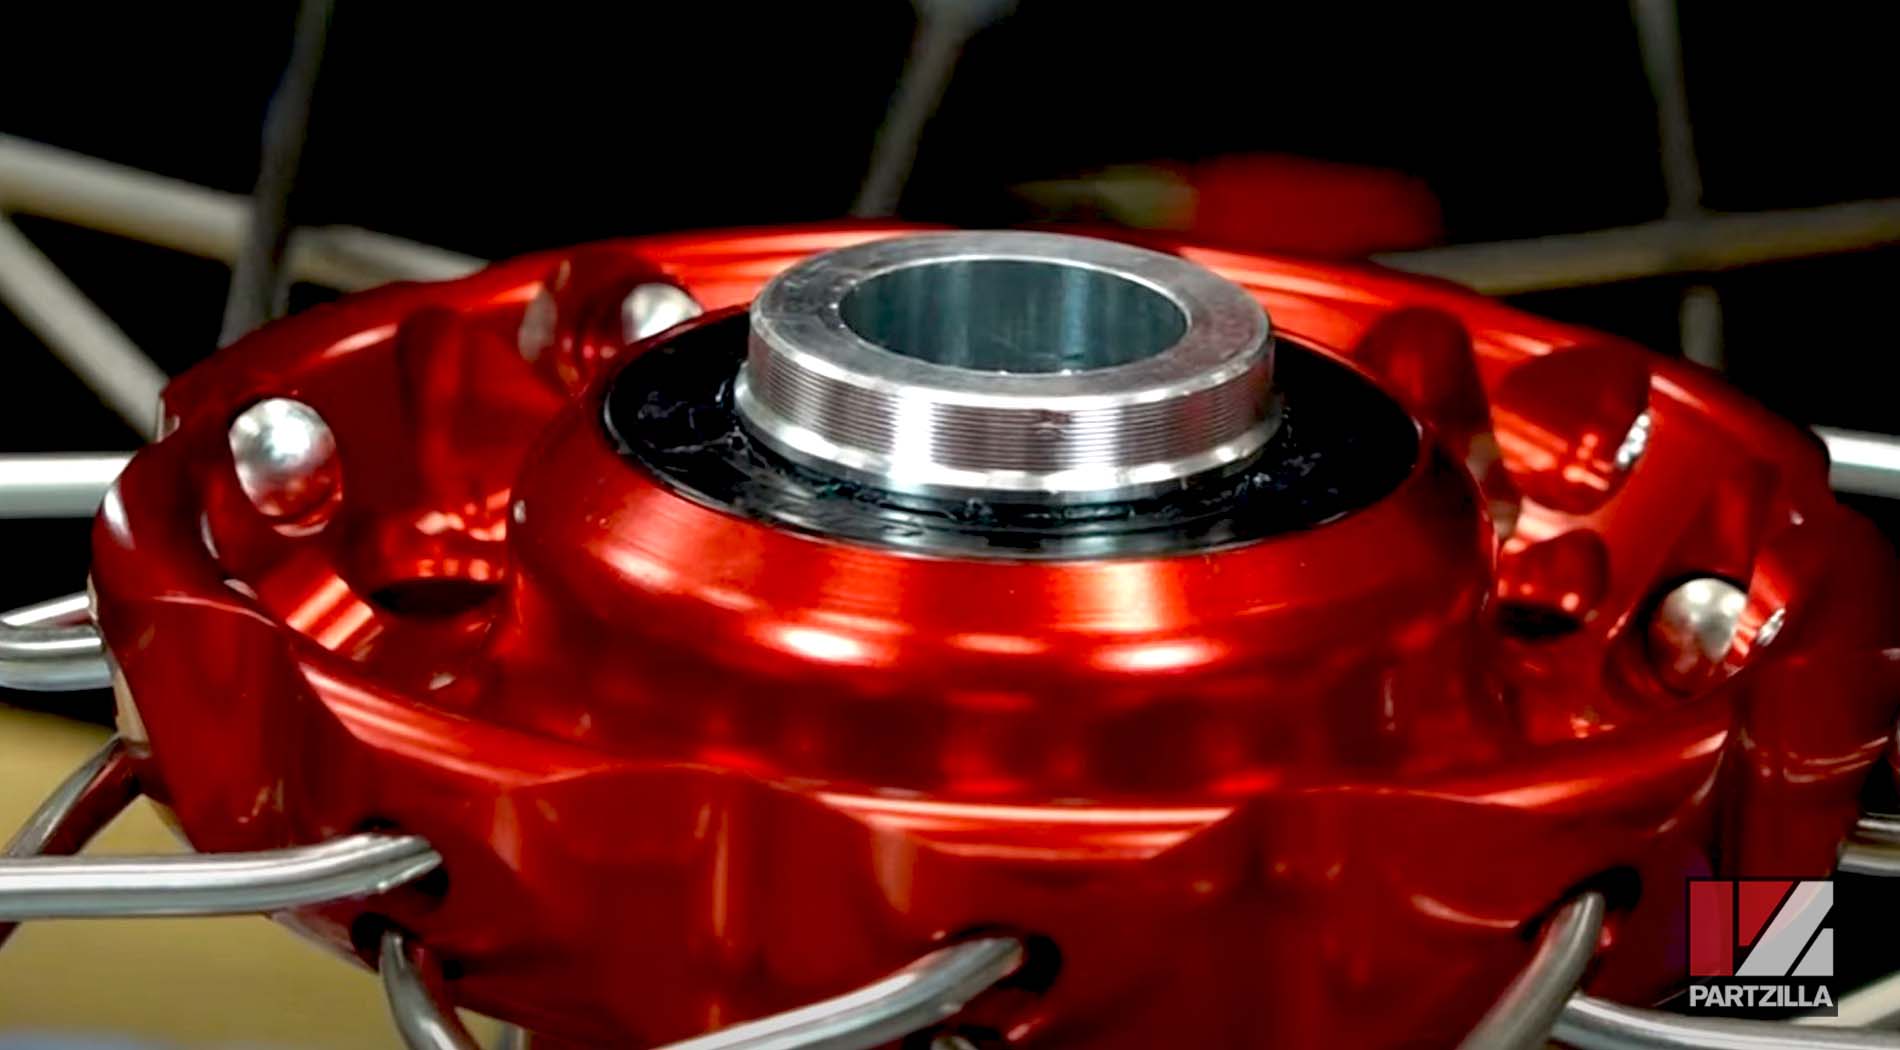
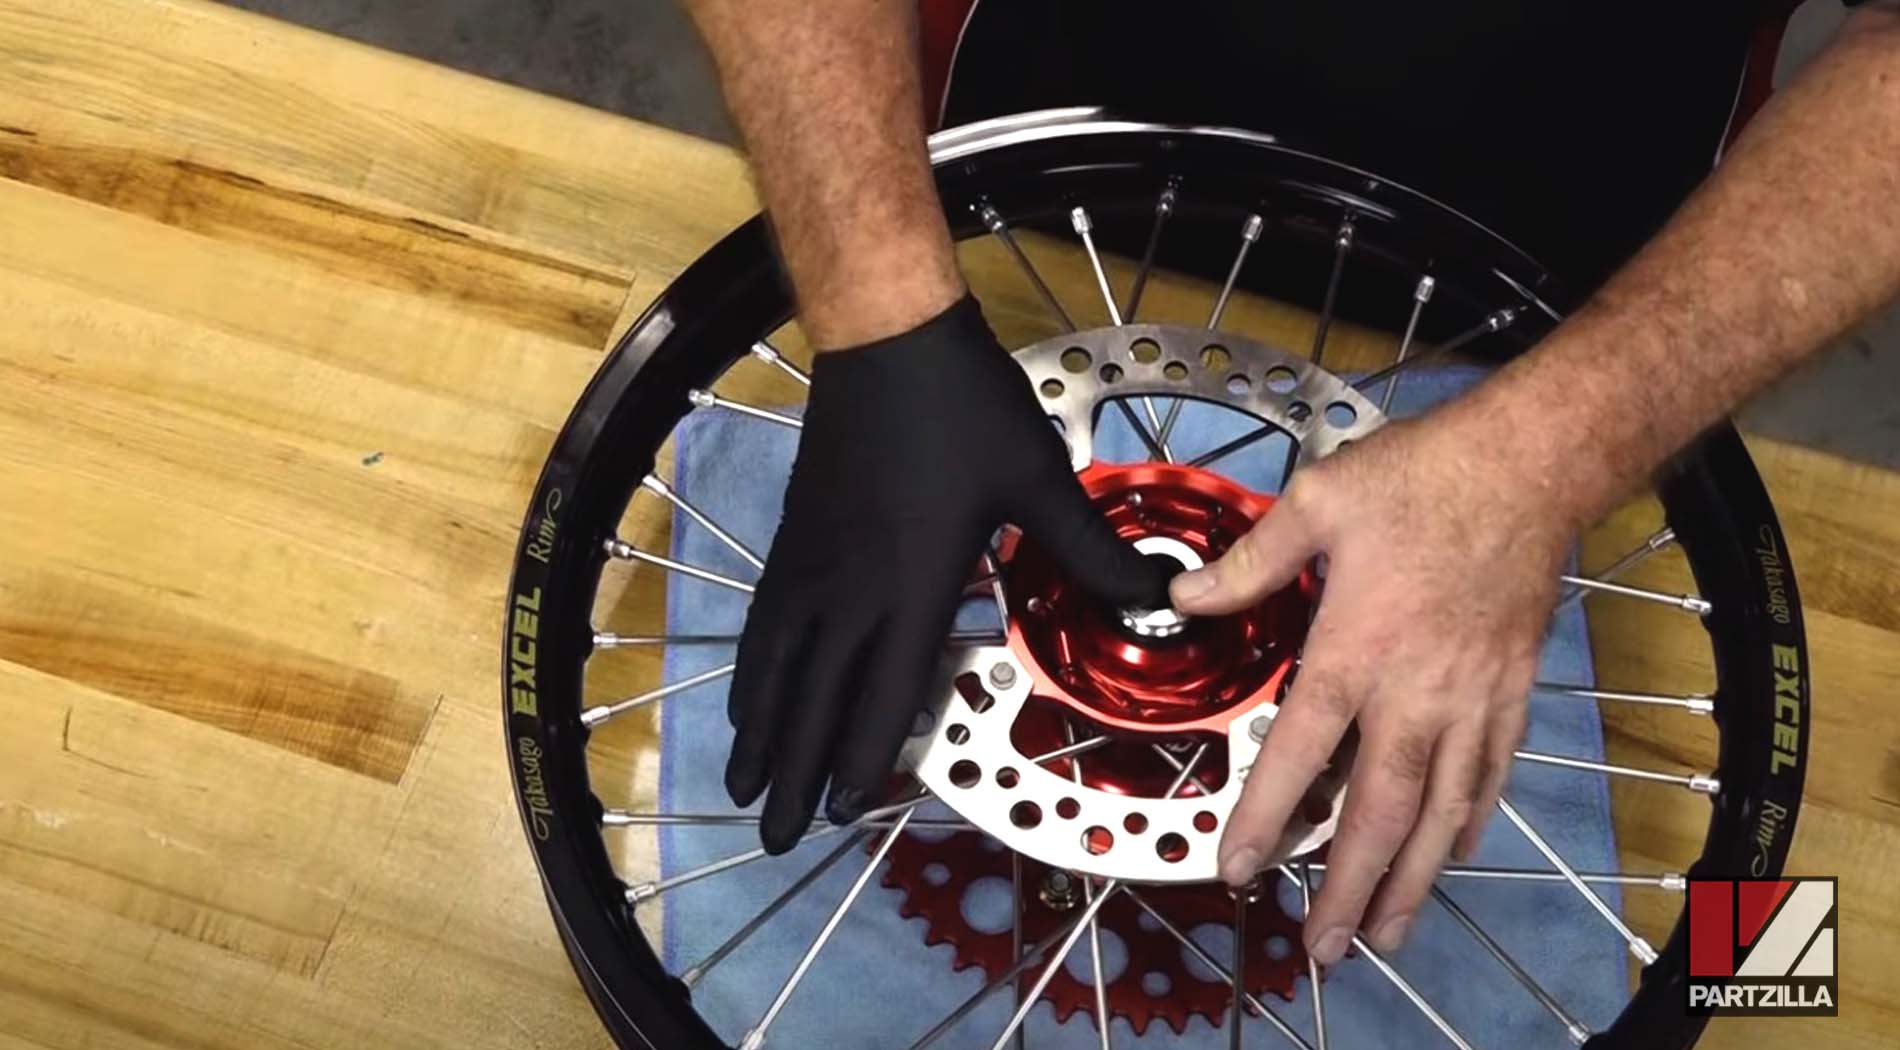
Step 2. Add high performance grease to pack the seals and fill the gap in between the bearing and the seals on both sides of the wheel.
Step 3. Install the spacers on both sides of the wheel.
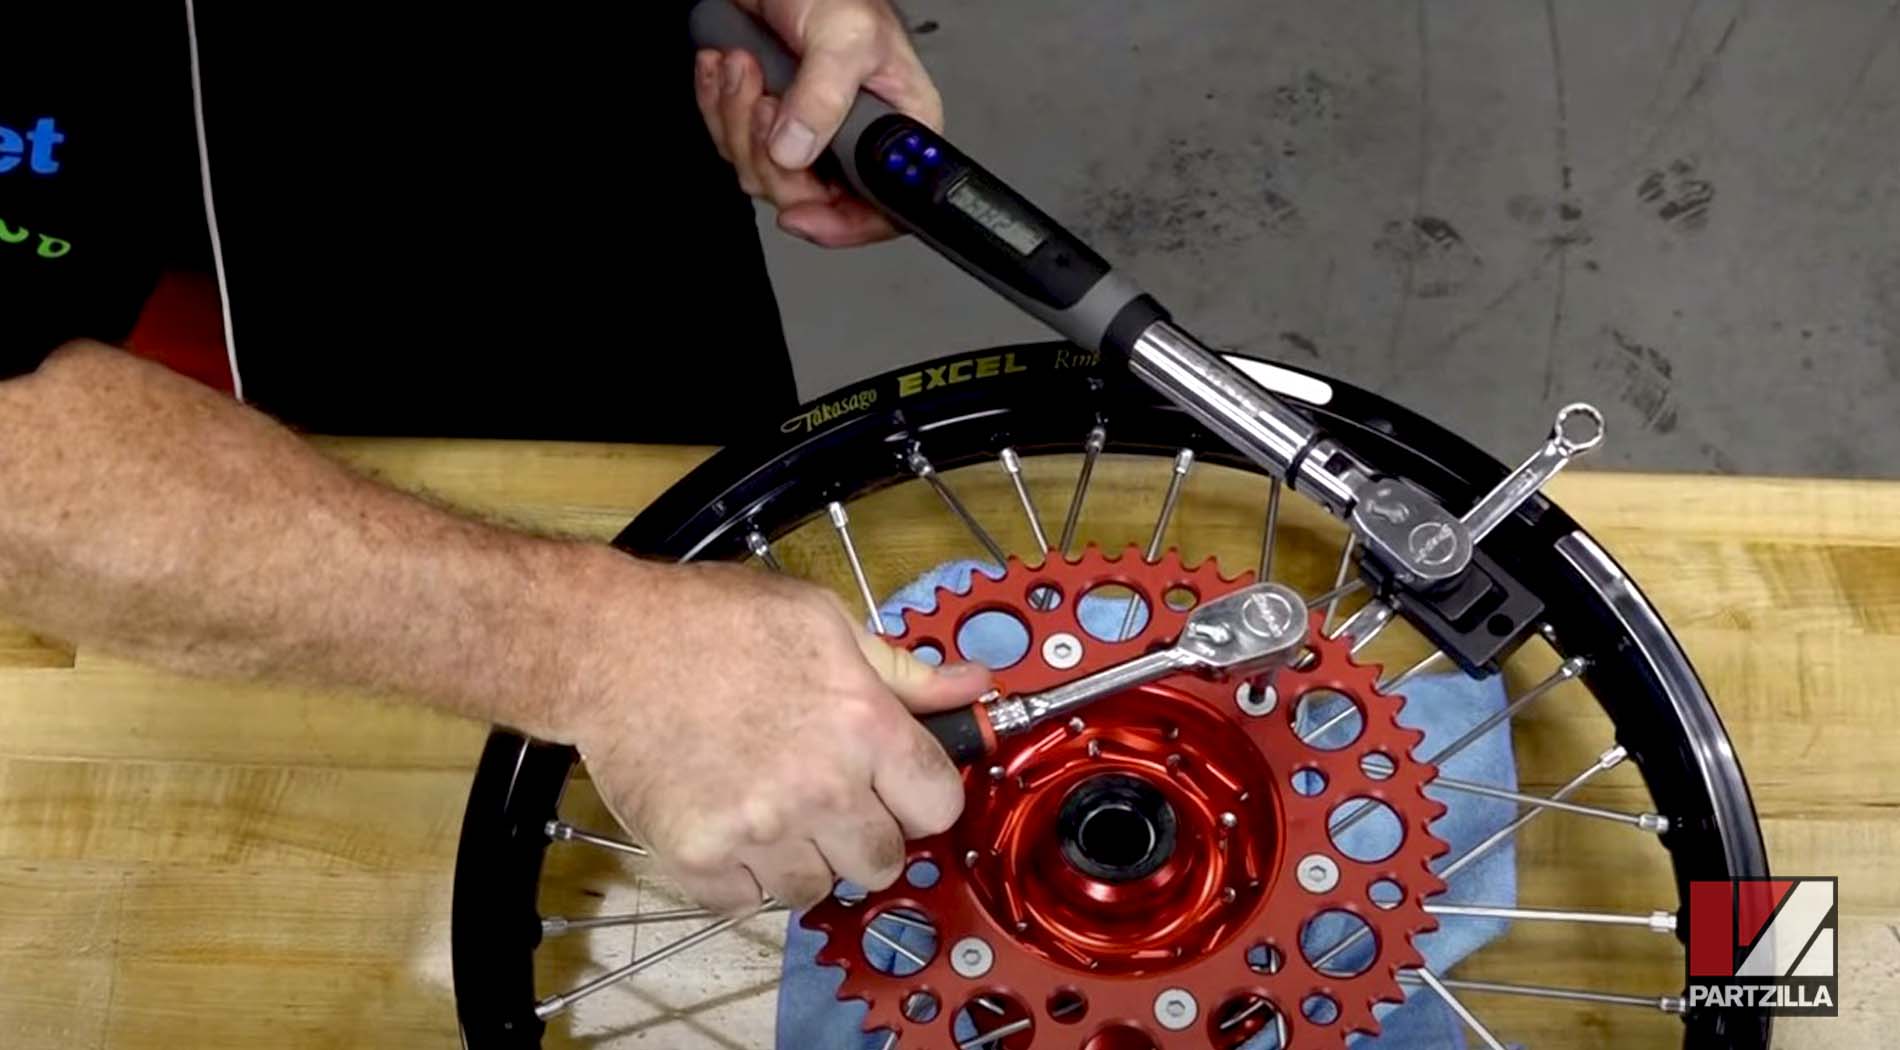
Step 4. Install the rear sprocket and its mounting bolts and nuts snug onto the rear wheel, then torque the bolts to 24 foot-pounds.
PRO TIP: Use an adjustable torque wrench adapter attached to a standard wrench to reach the nuts and torque them to 24 foot-pounds.
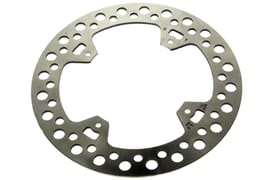
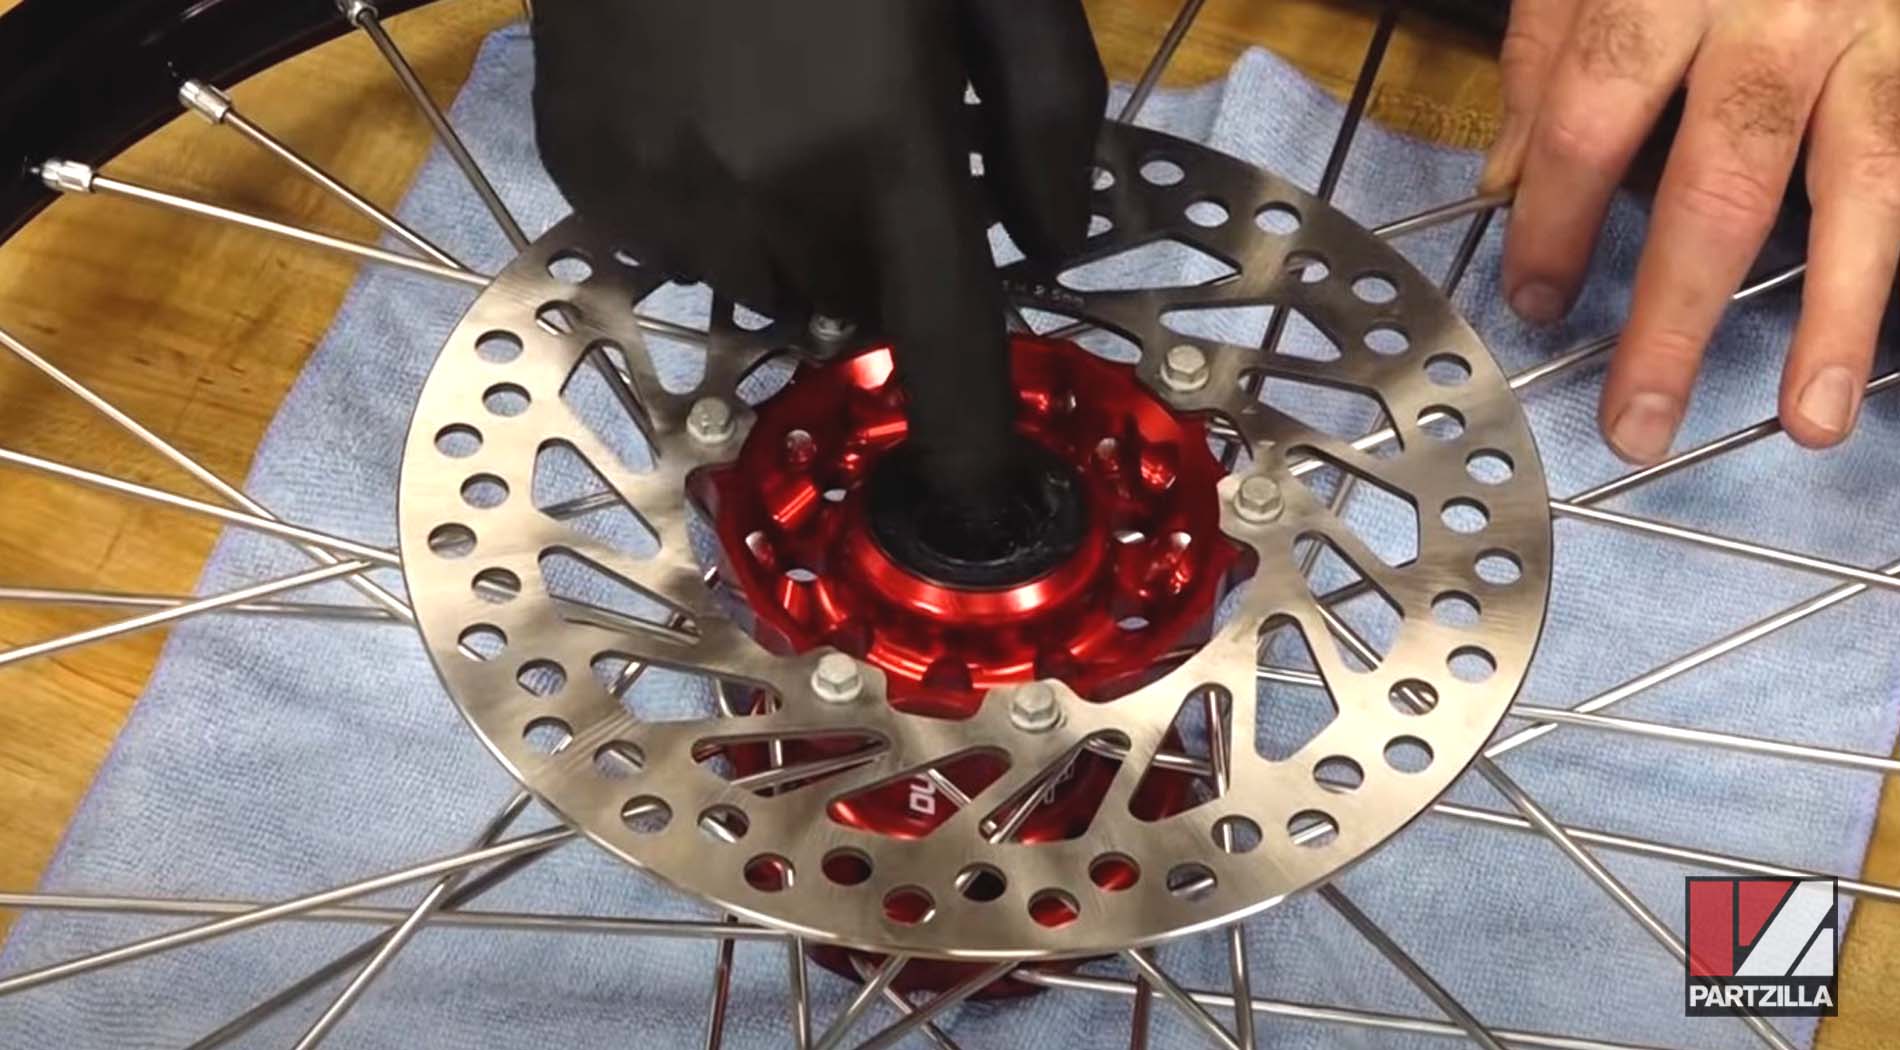
Step 5. Flip the wheel over, add blue threadlocker to the brake disc’s mounting bolts, then install the rear brake disc and its bolts and torque them to 8 foot-pounds.
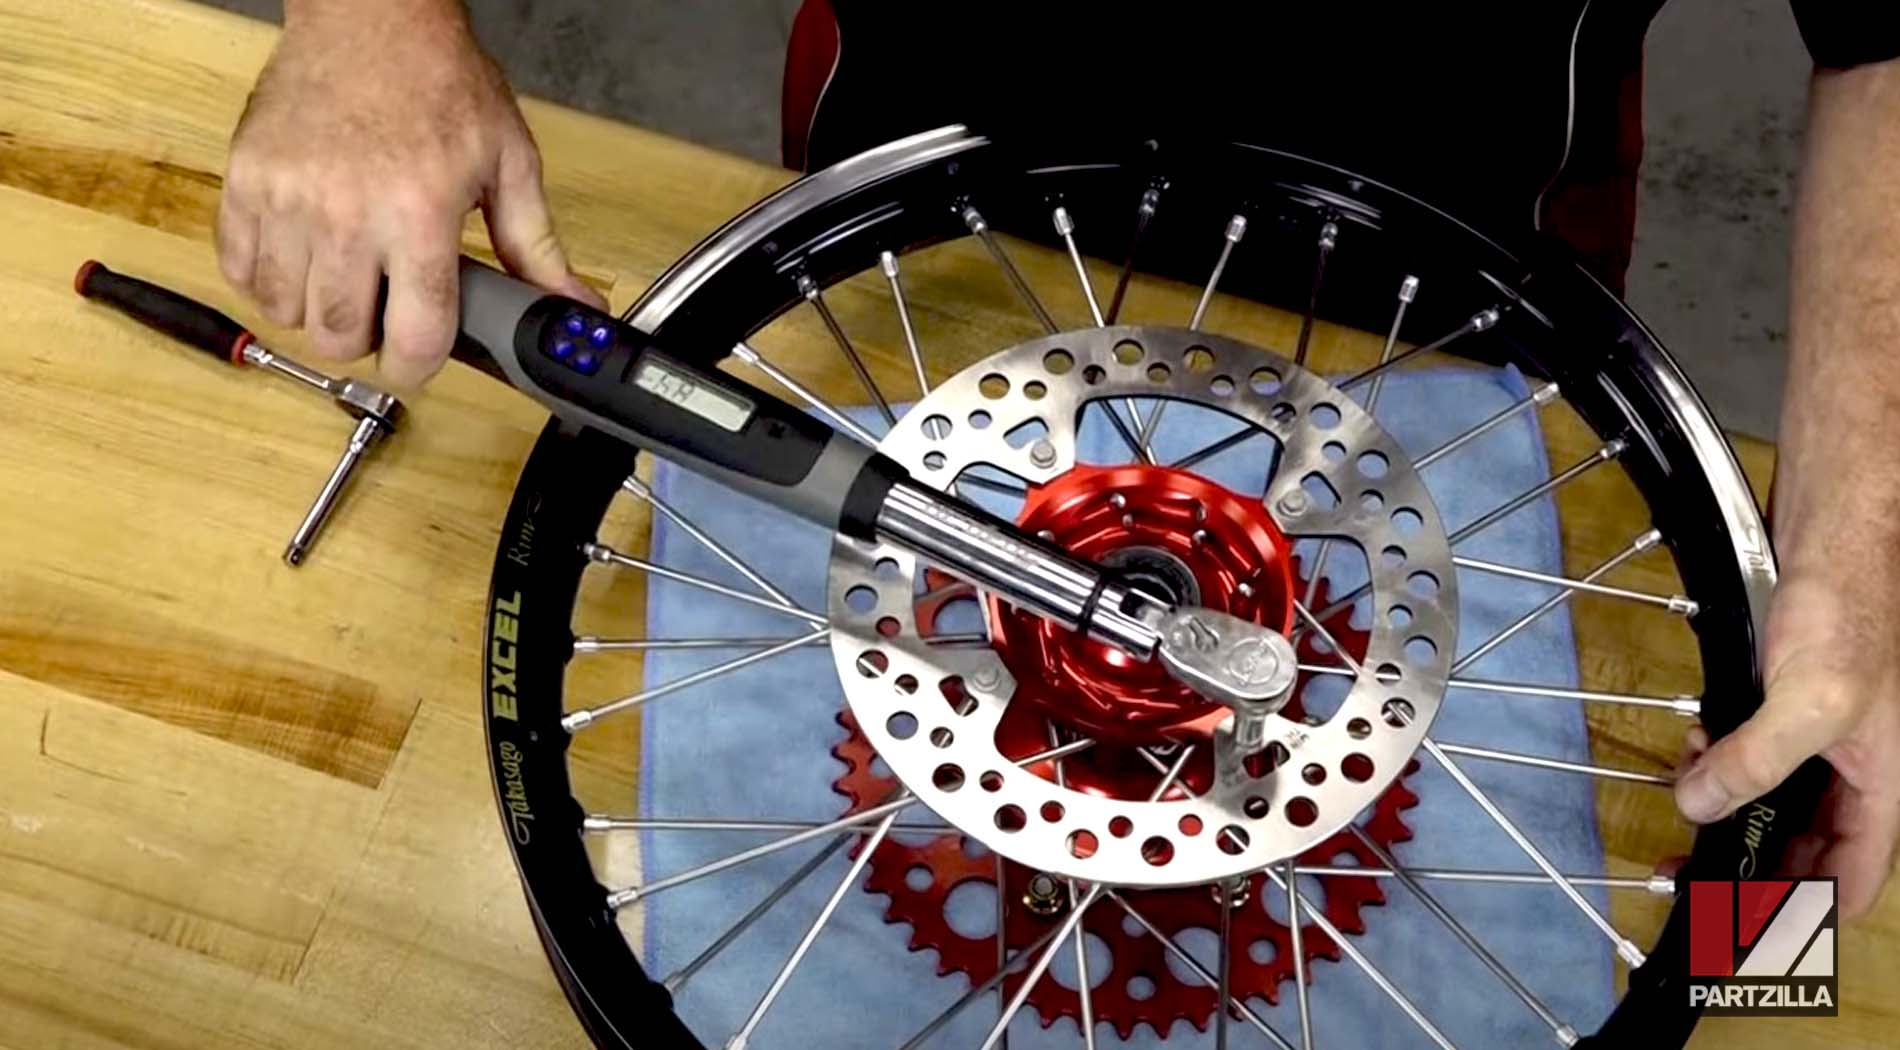
PRO TIP: This rear brake disc isn’t directional, but install it with the stamped numbers facing outward to show the minimum thickness.
Step 6. Pack the seals with grease, then install the spacers on both sides of the wheel, noting which side they’re stamped for (one is stamped disc, the other is stamped S-P-R-O for sprocket).
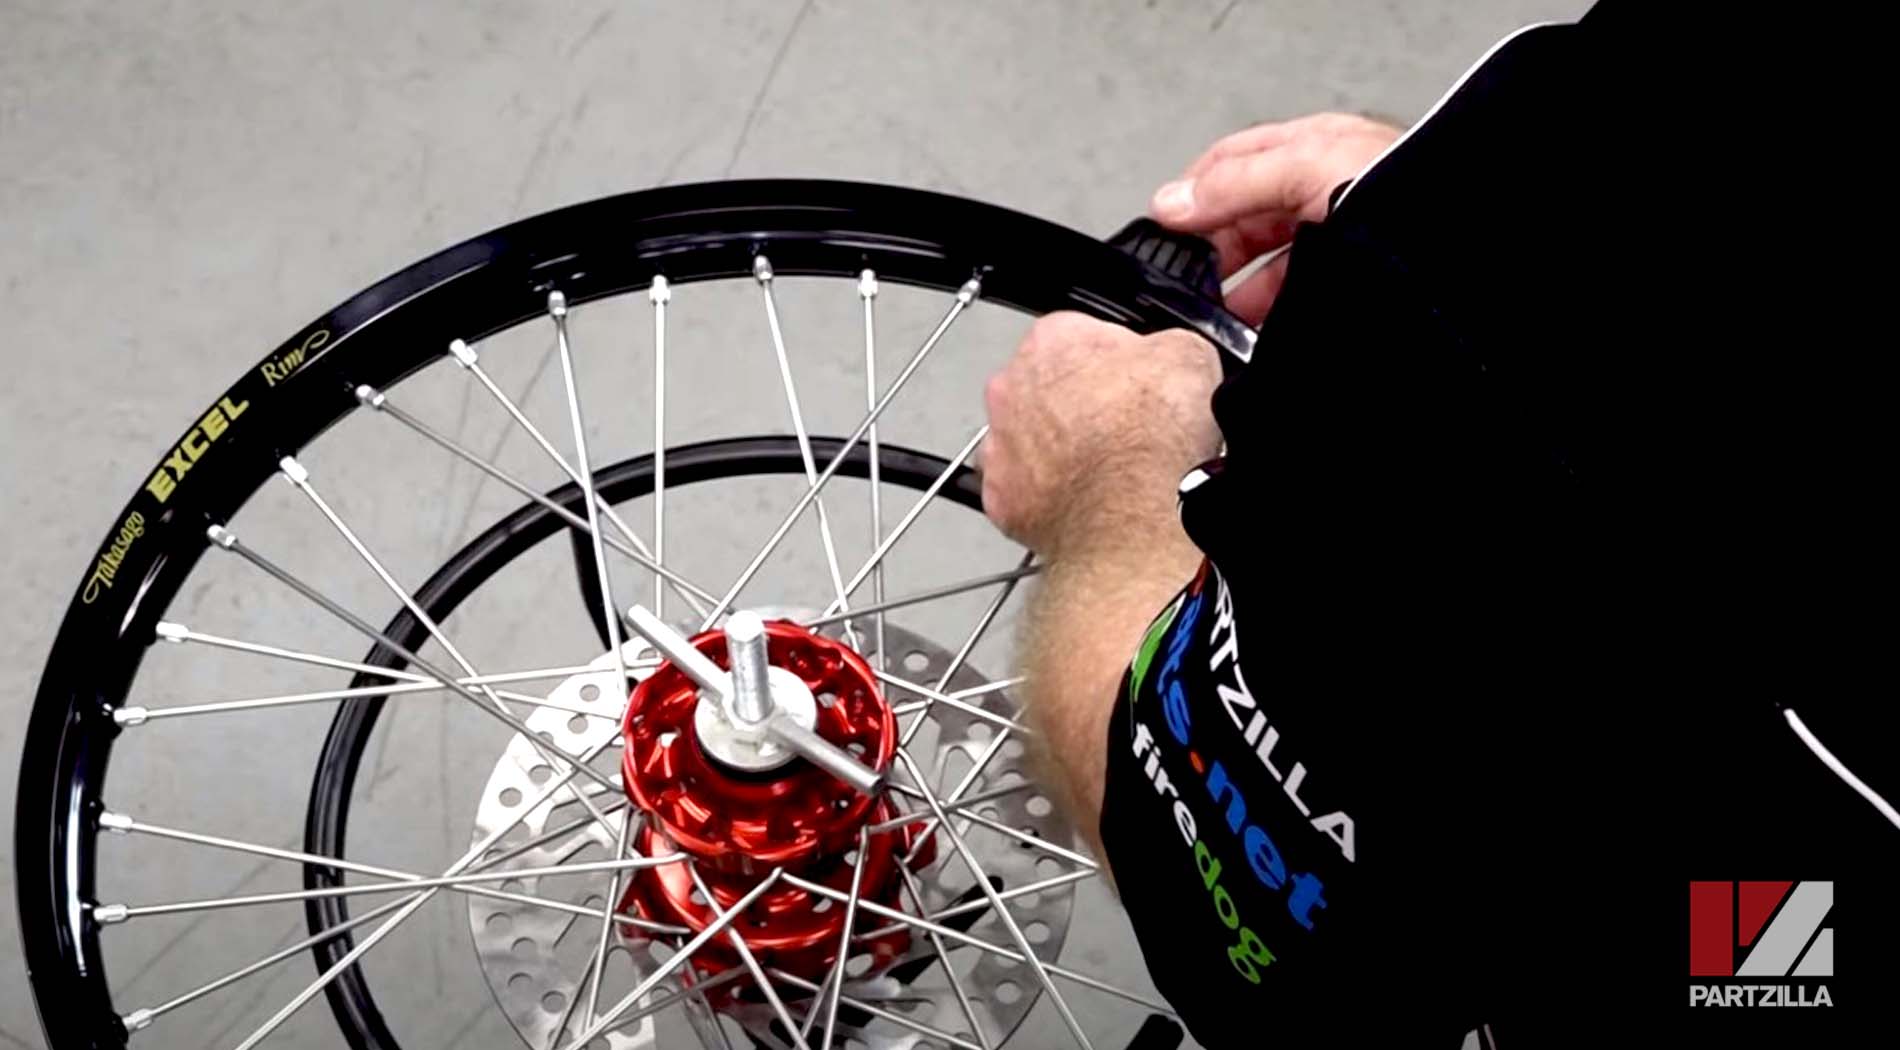
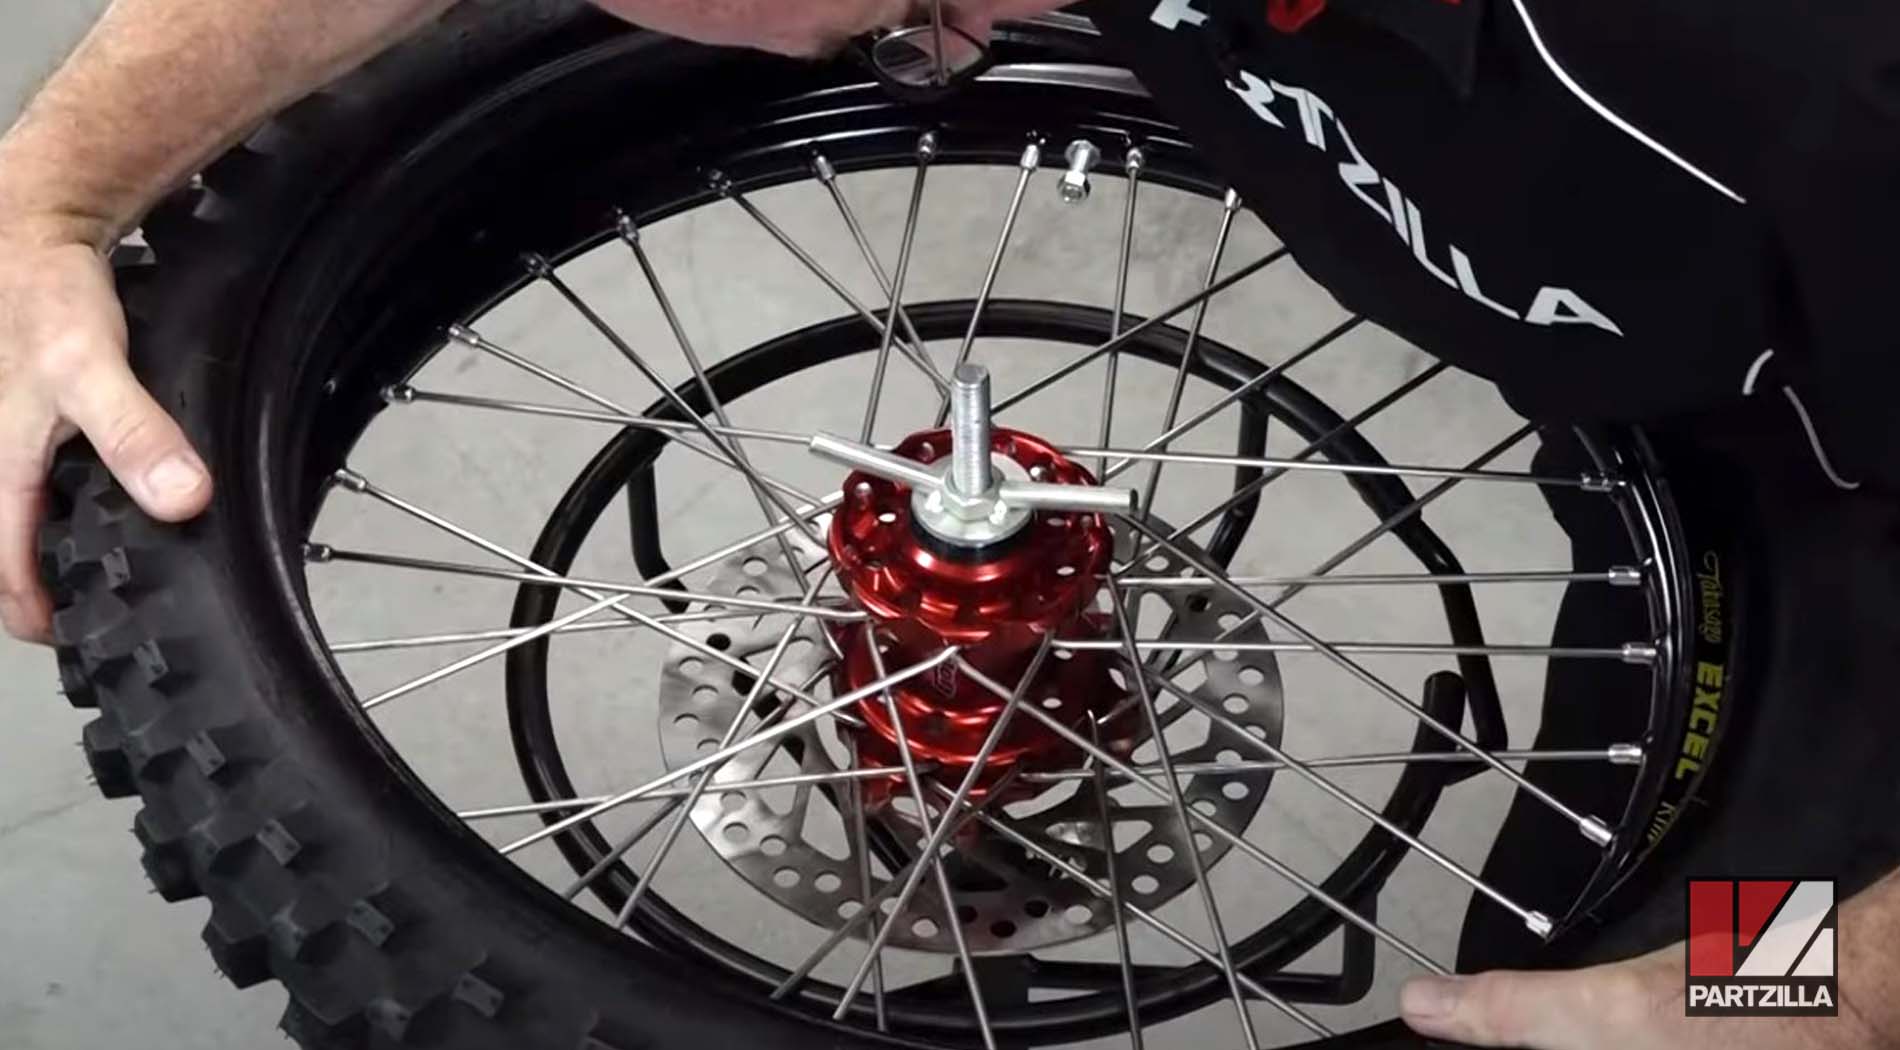
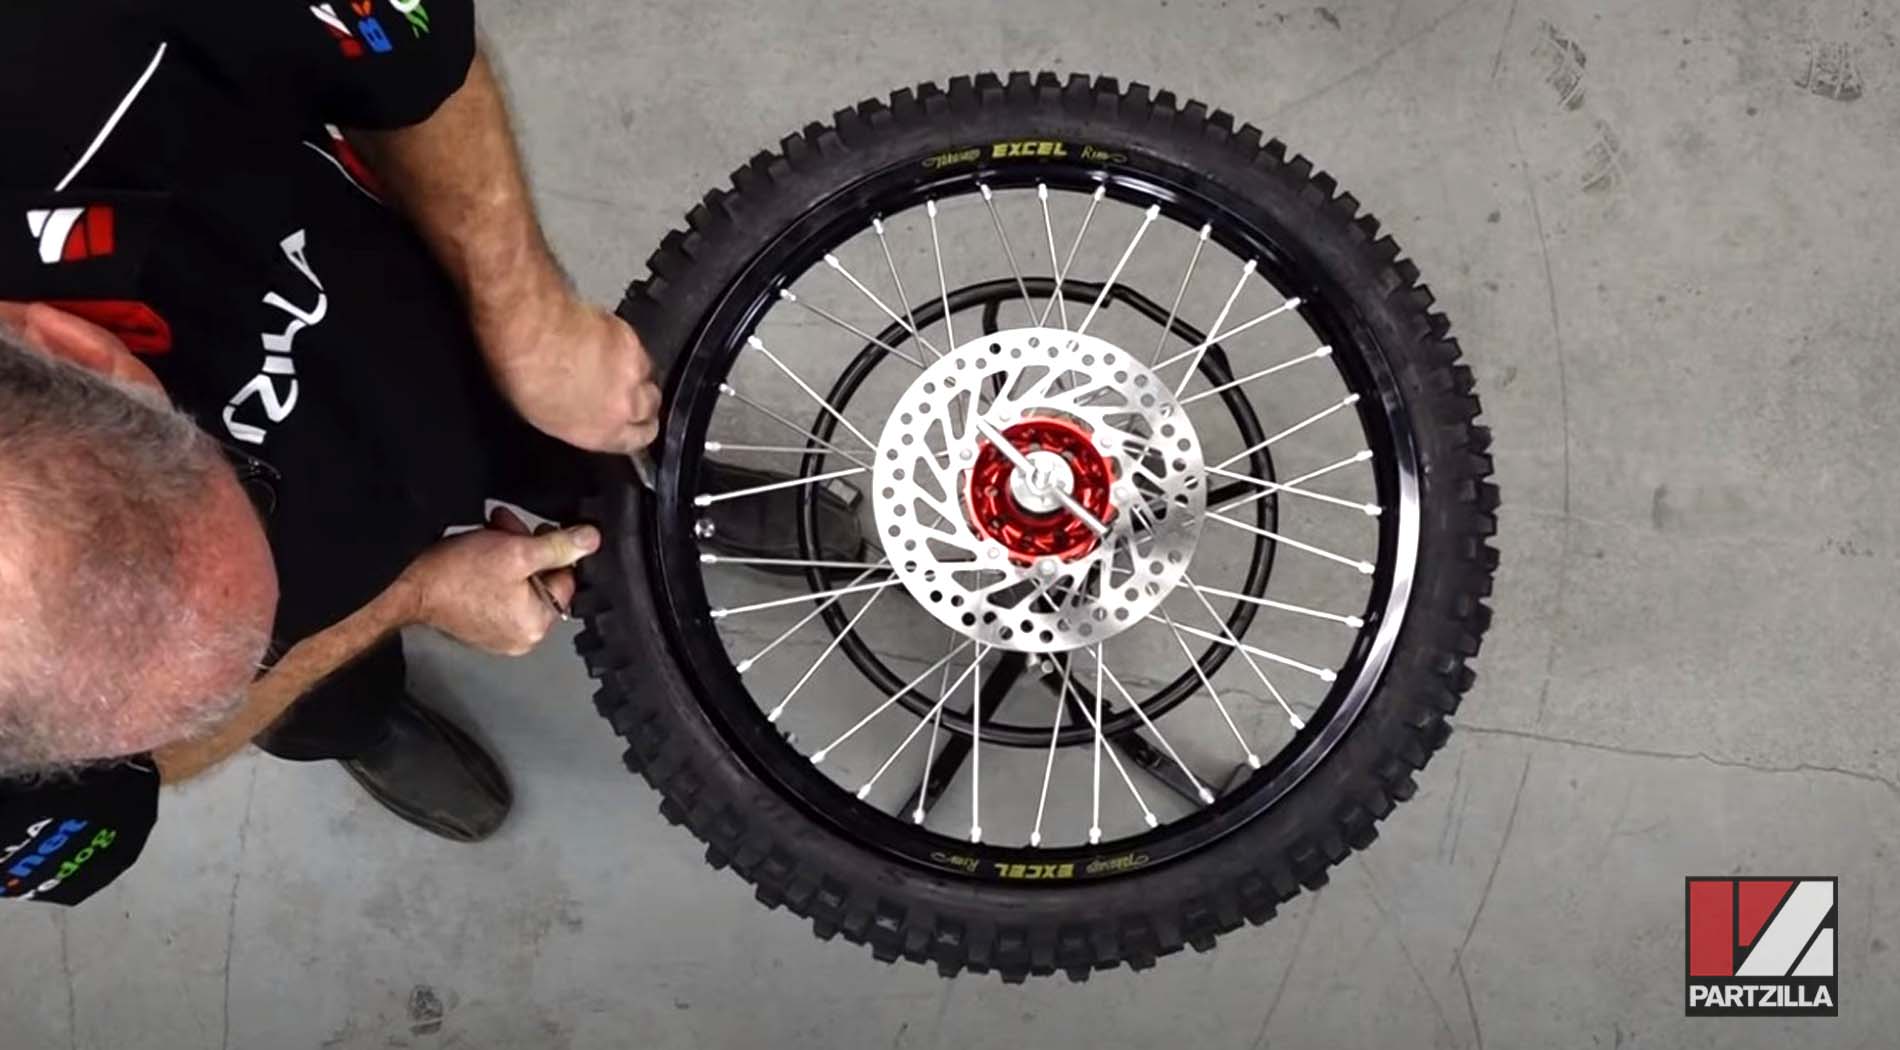
Step 7. Mount the front tire onto a tire station with the brake disc facing down.
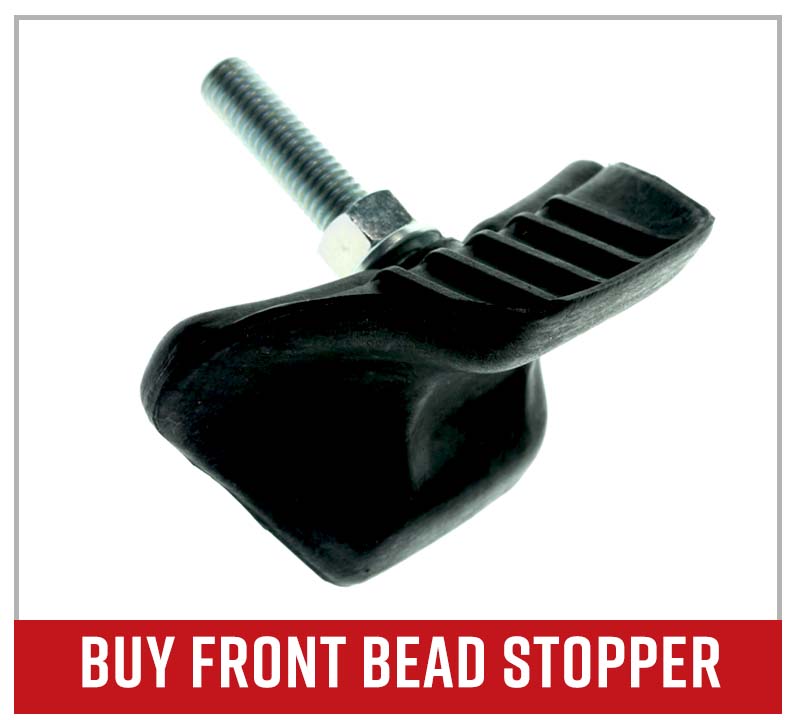
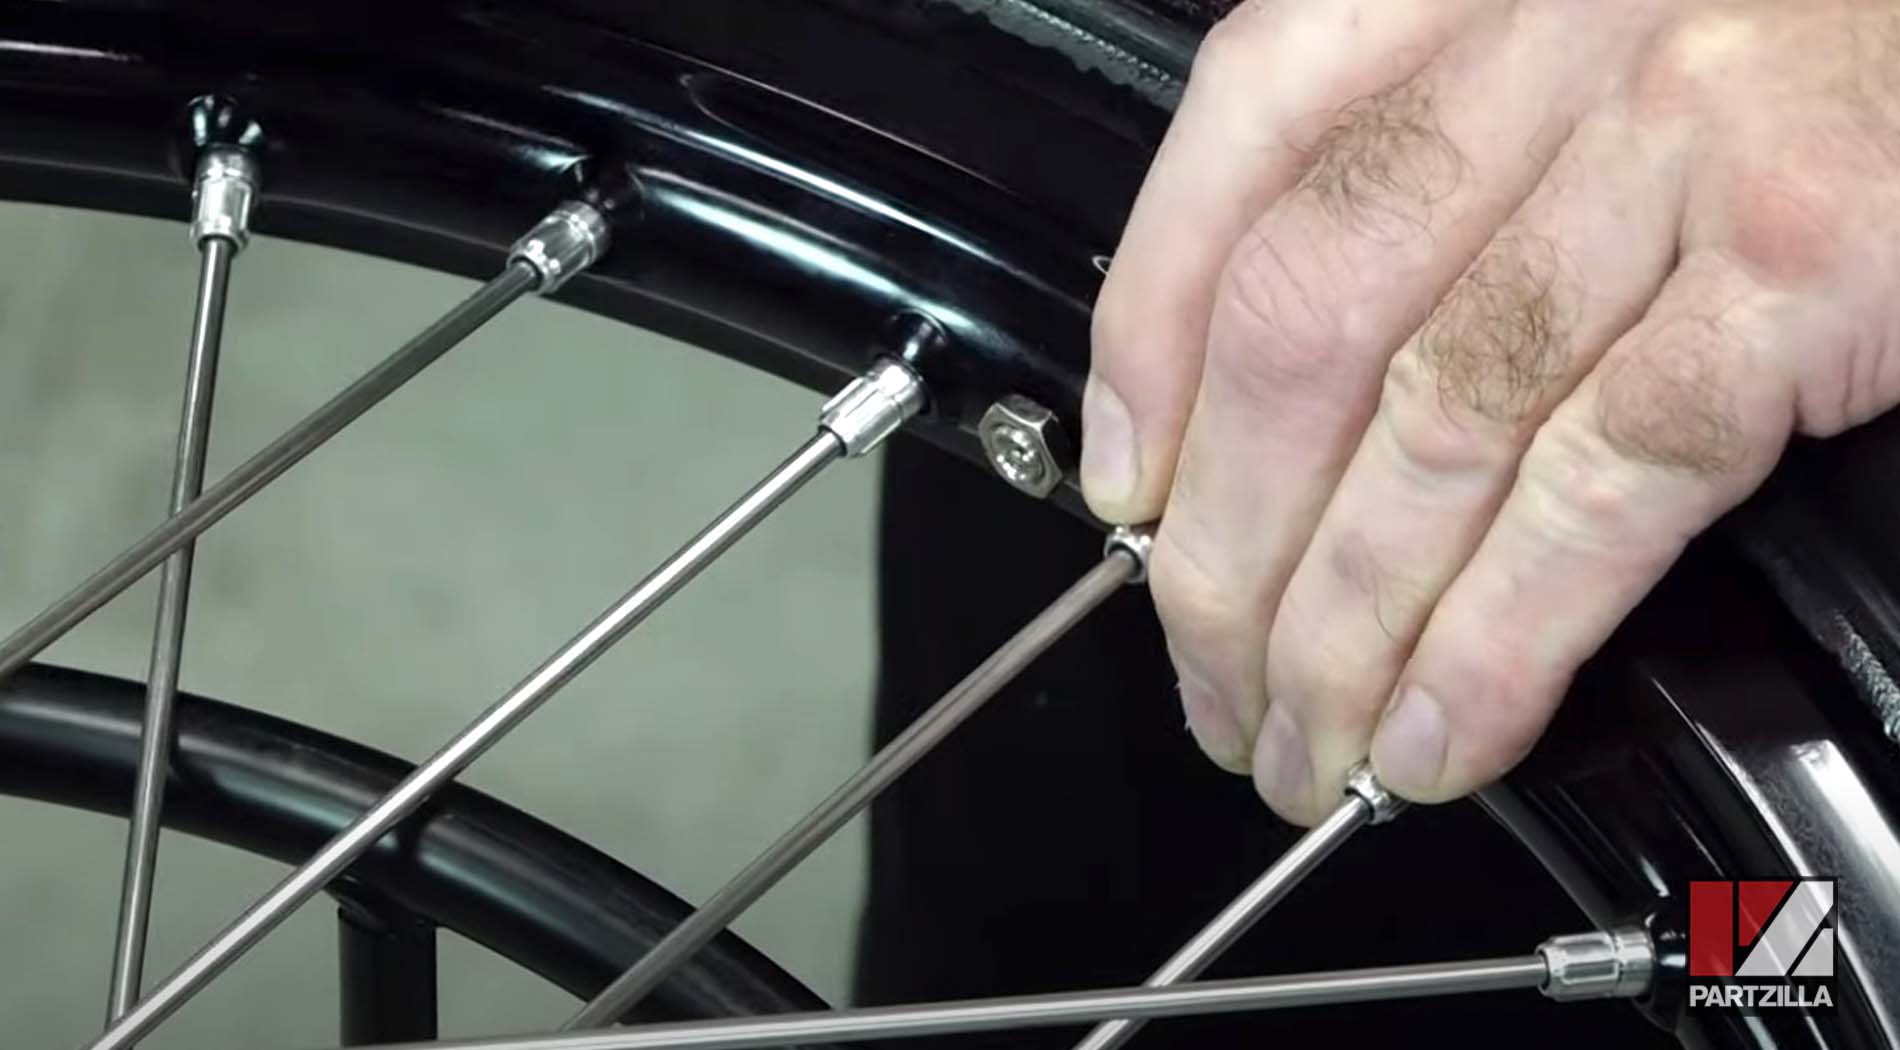
Step 8. Place the rim clamp (bead stopper) onto the wheel and give the nut a few turns.
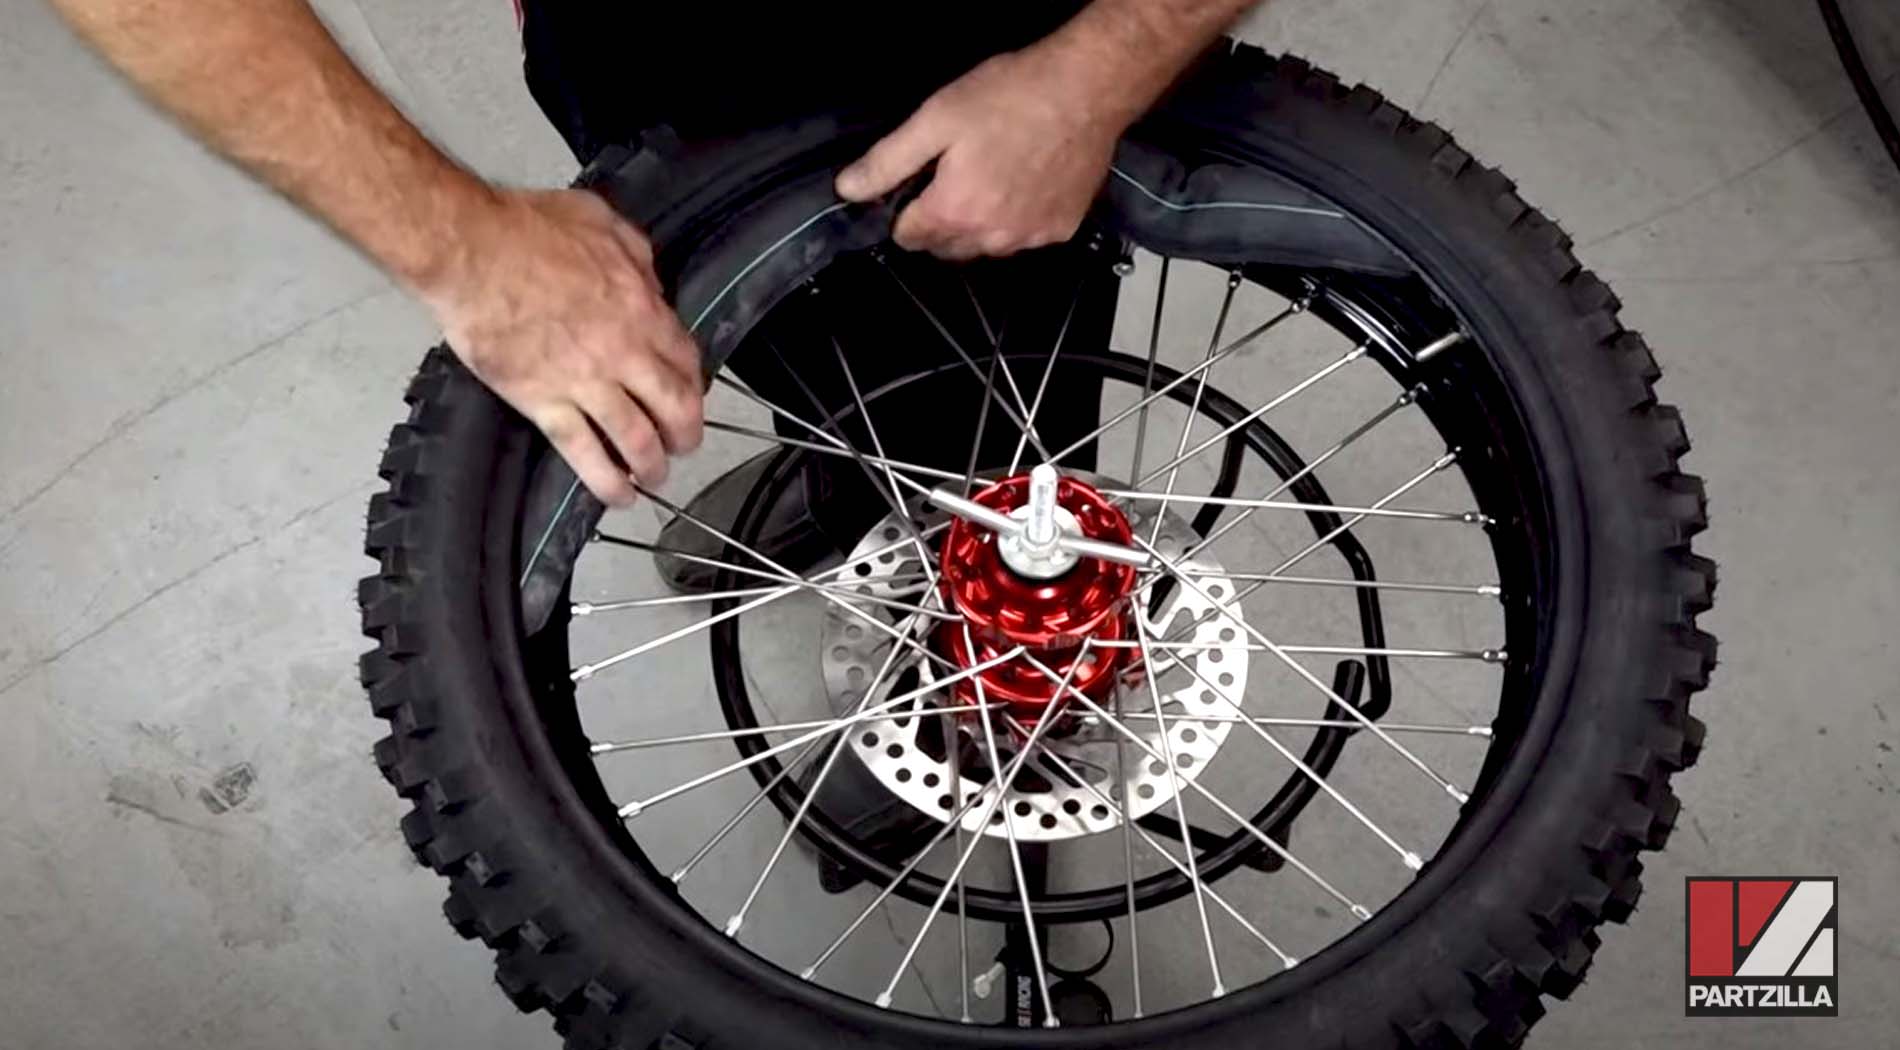
Step 9. Place the tire flap over the wheel to prevent the spoke nipples from going through the tube, then line it with the hole for the tube valve.
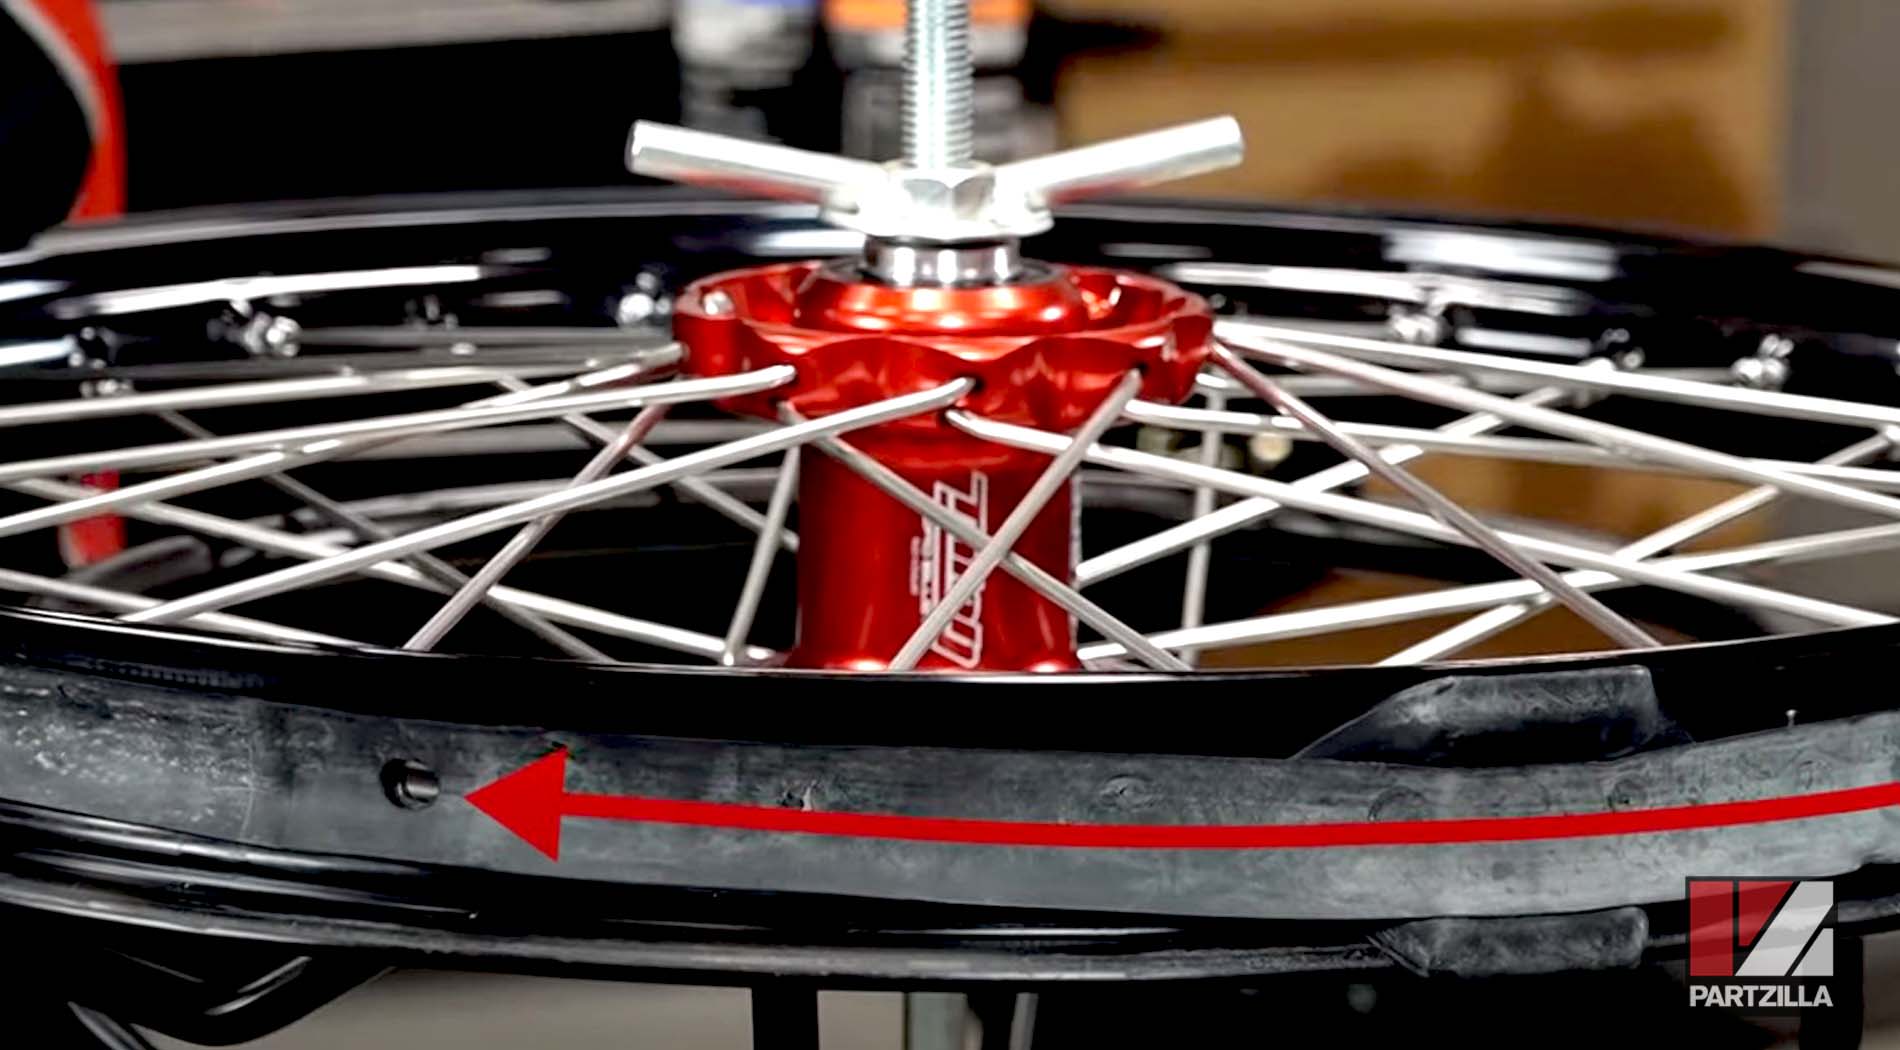
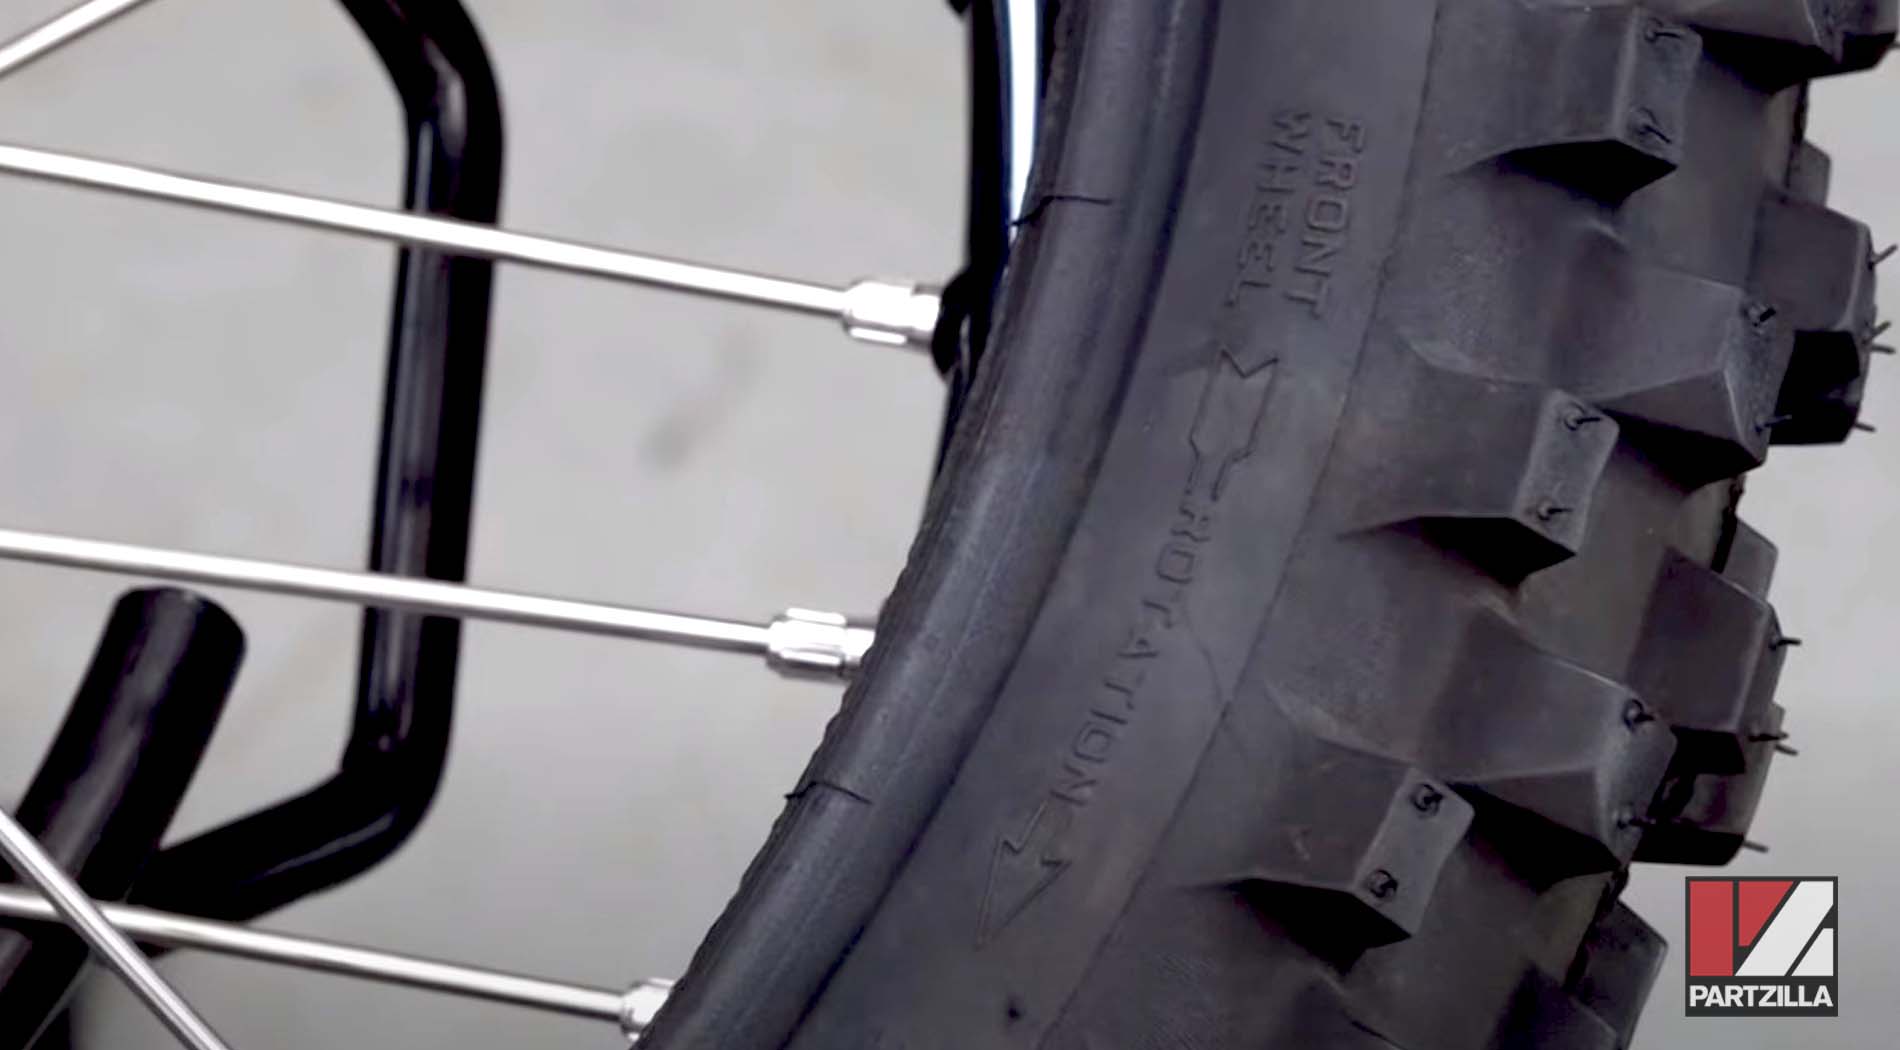
Step 10. Check if the tire is directional to determine which way it should rotate.
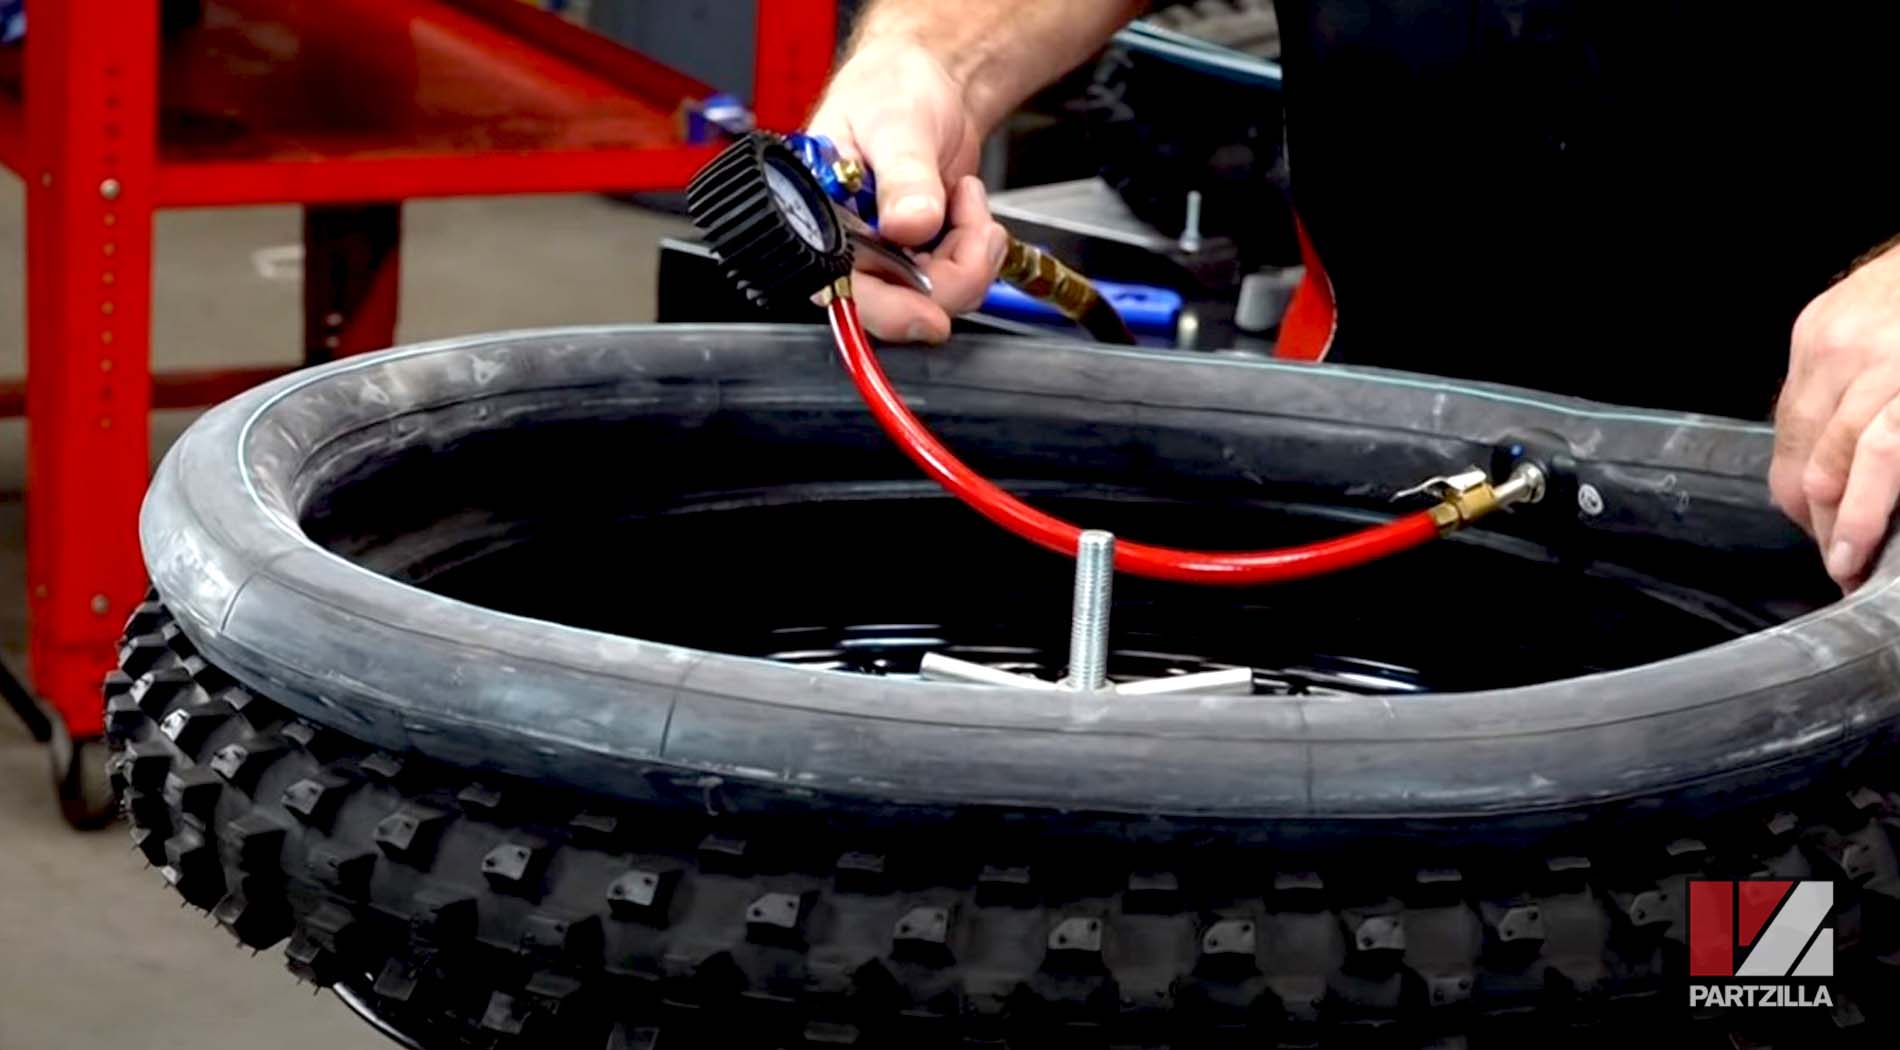
Step 11. Inflate the tire tube (#11 on front wheel diagram) with a tire pressure gauge slightly to 1 or 2 pounds, then cram the tube inside the tire.
NOTE: Don’t try to mount the tube flat, because the tire tools to pry into it might grab the tube instead of the rim and you’ll have to order another tube.
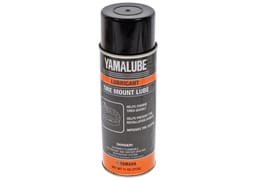
Step 12. Spray the tube from both sides of the wheel with tire mount lube.
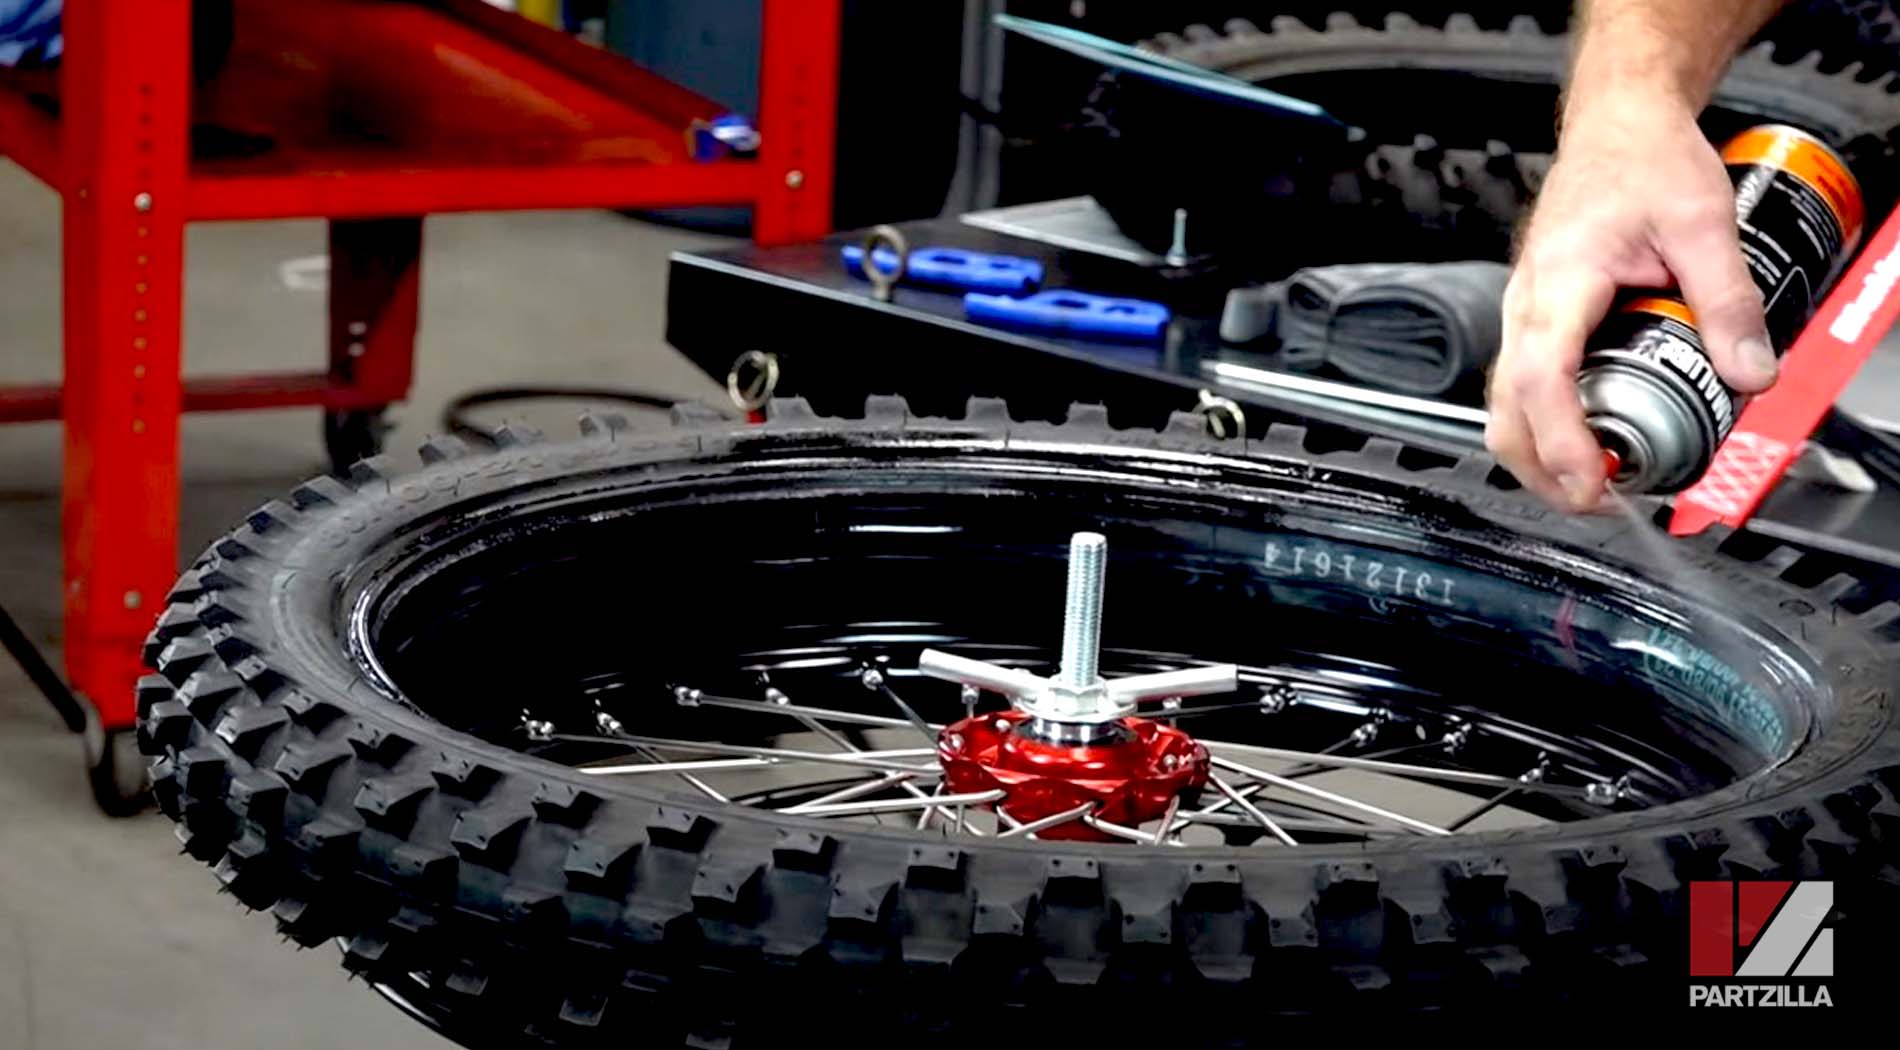
NOTE: Tire mount lube is not the same as a silicone lubricant, so make sure you only use the right lube for this step.
Step 13. Bring the tube down and feed it through the rim, working the tire around the rim in small sections. Once the tire tube is in place, give the rim clamp nut a couple of turns to hold everything in place.
Step 14. Use a set of tire irons to get the tire seated onto the rim.
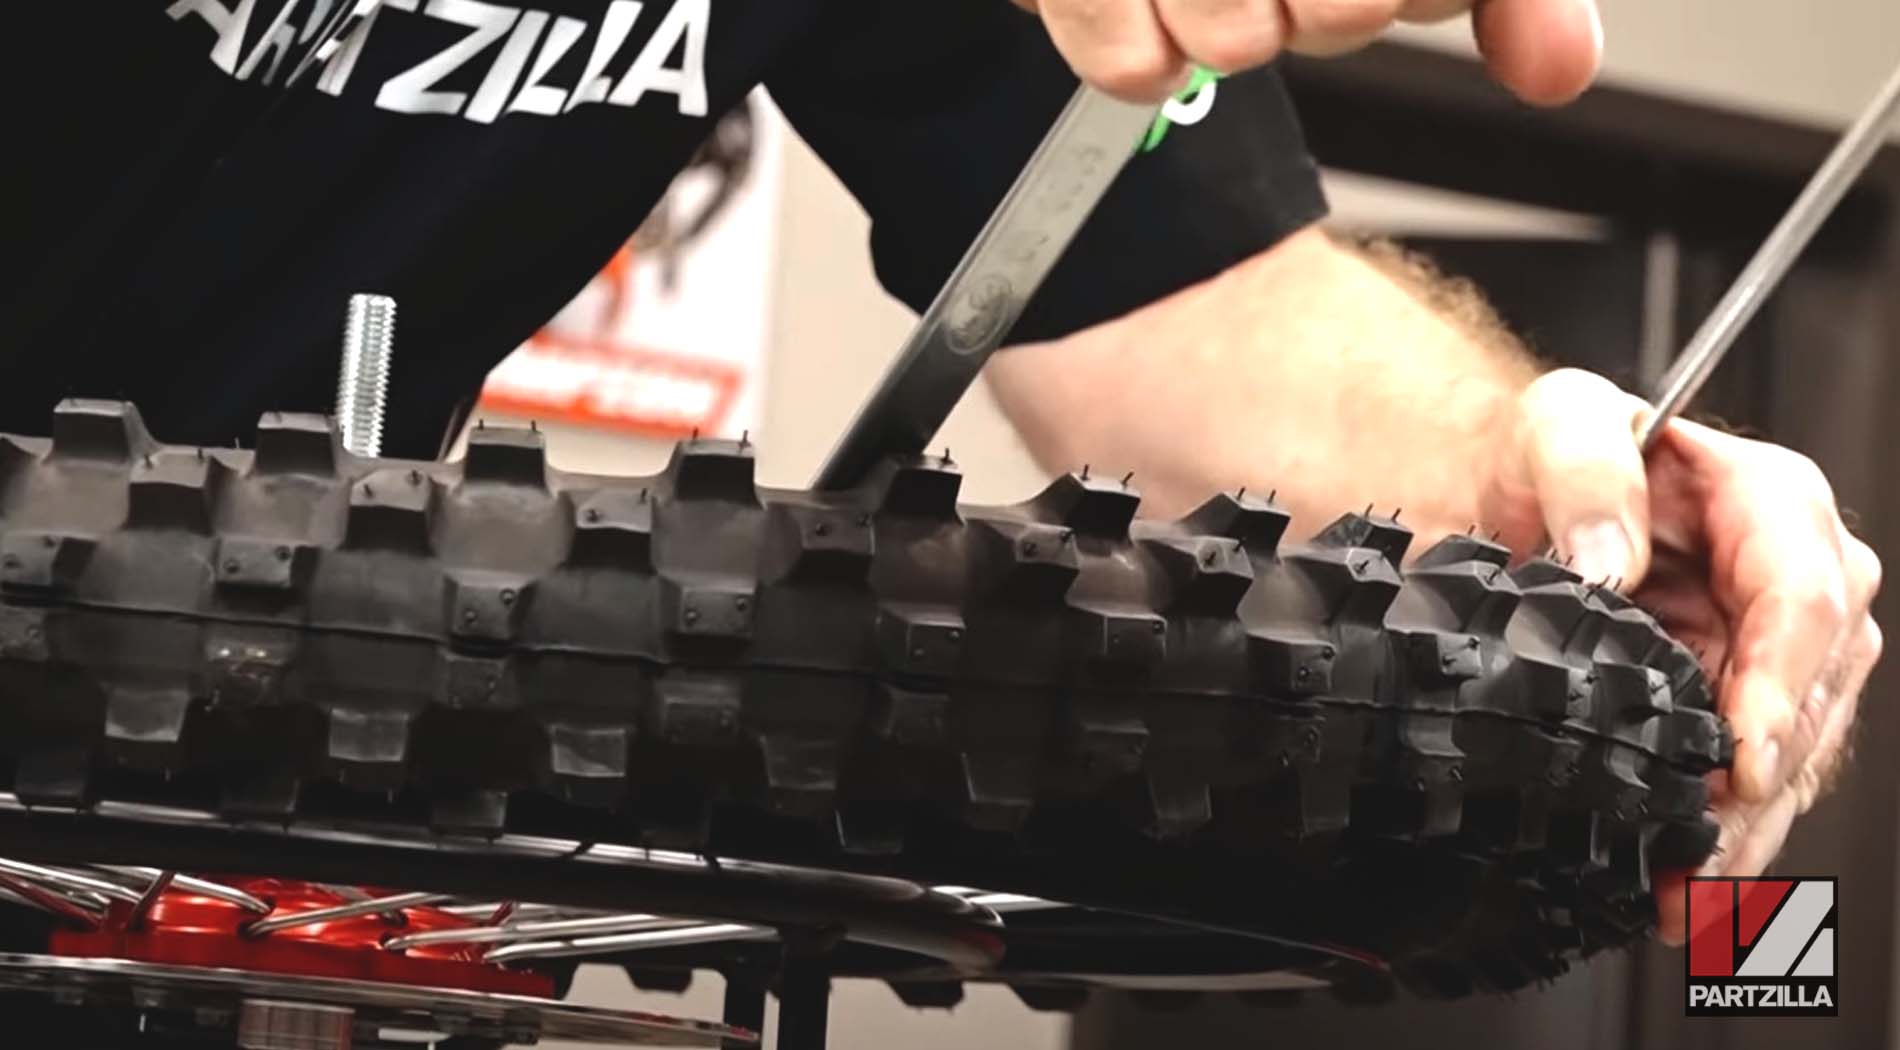
Step 15. Flip the tire over and get the rim lock seated.
Step 16. Flip the tire back over again, then start it at the bead lock and work your way around. Use a third extra long tire iron to center the tube and seat the bead.
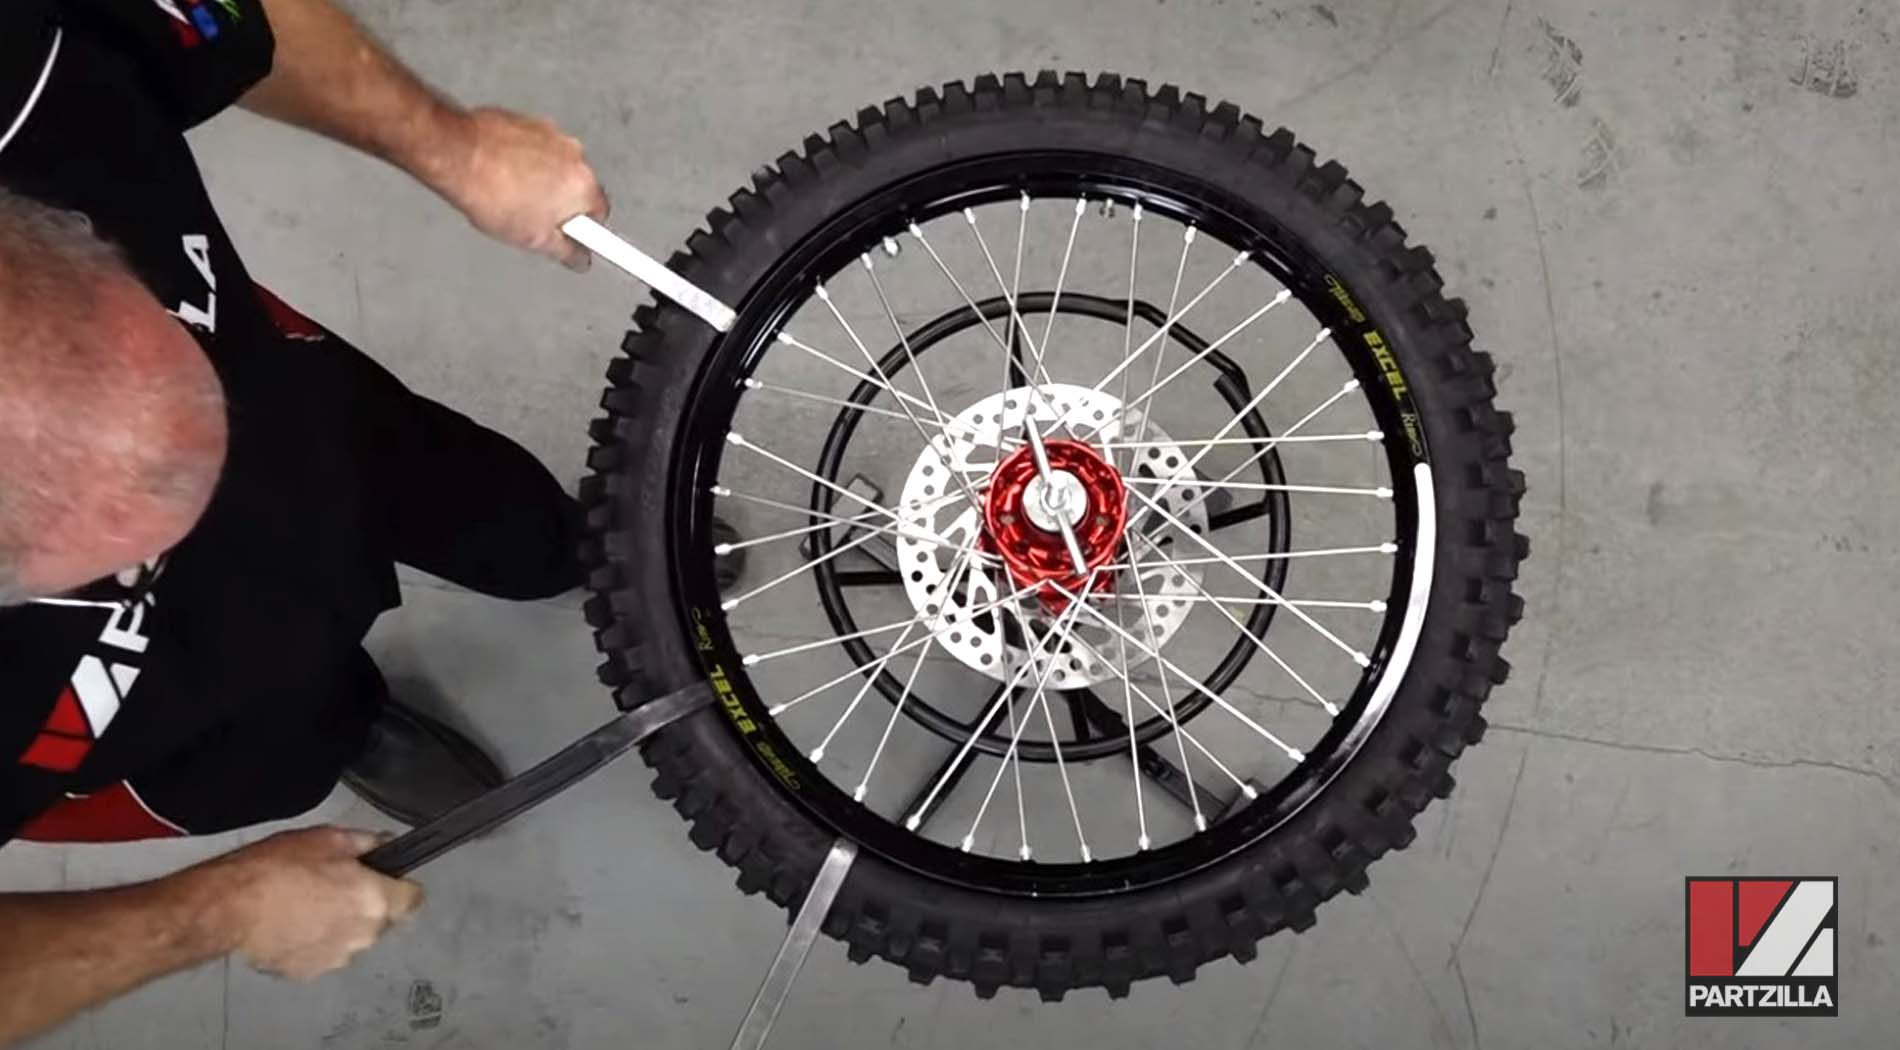
PRO TIP: Take your time and keep pushing the tire down while you’re installing it, being careful not to scratch the rim.
Step 17. Add about 55 or 60 PSI of pressure to the tube to make sure the bead has seated all the way around, then bring the pressure back down to 33 PSI.
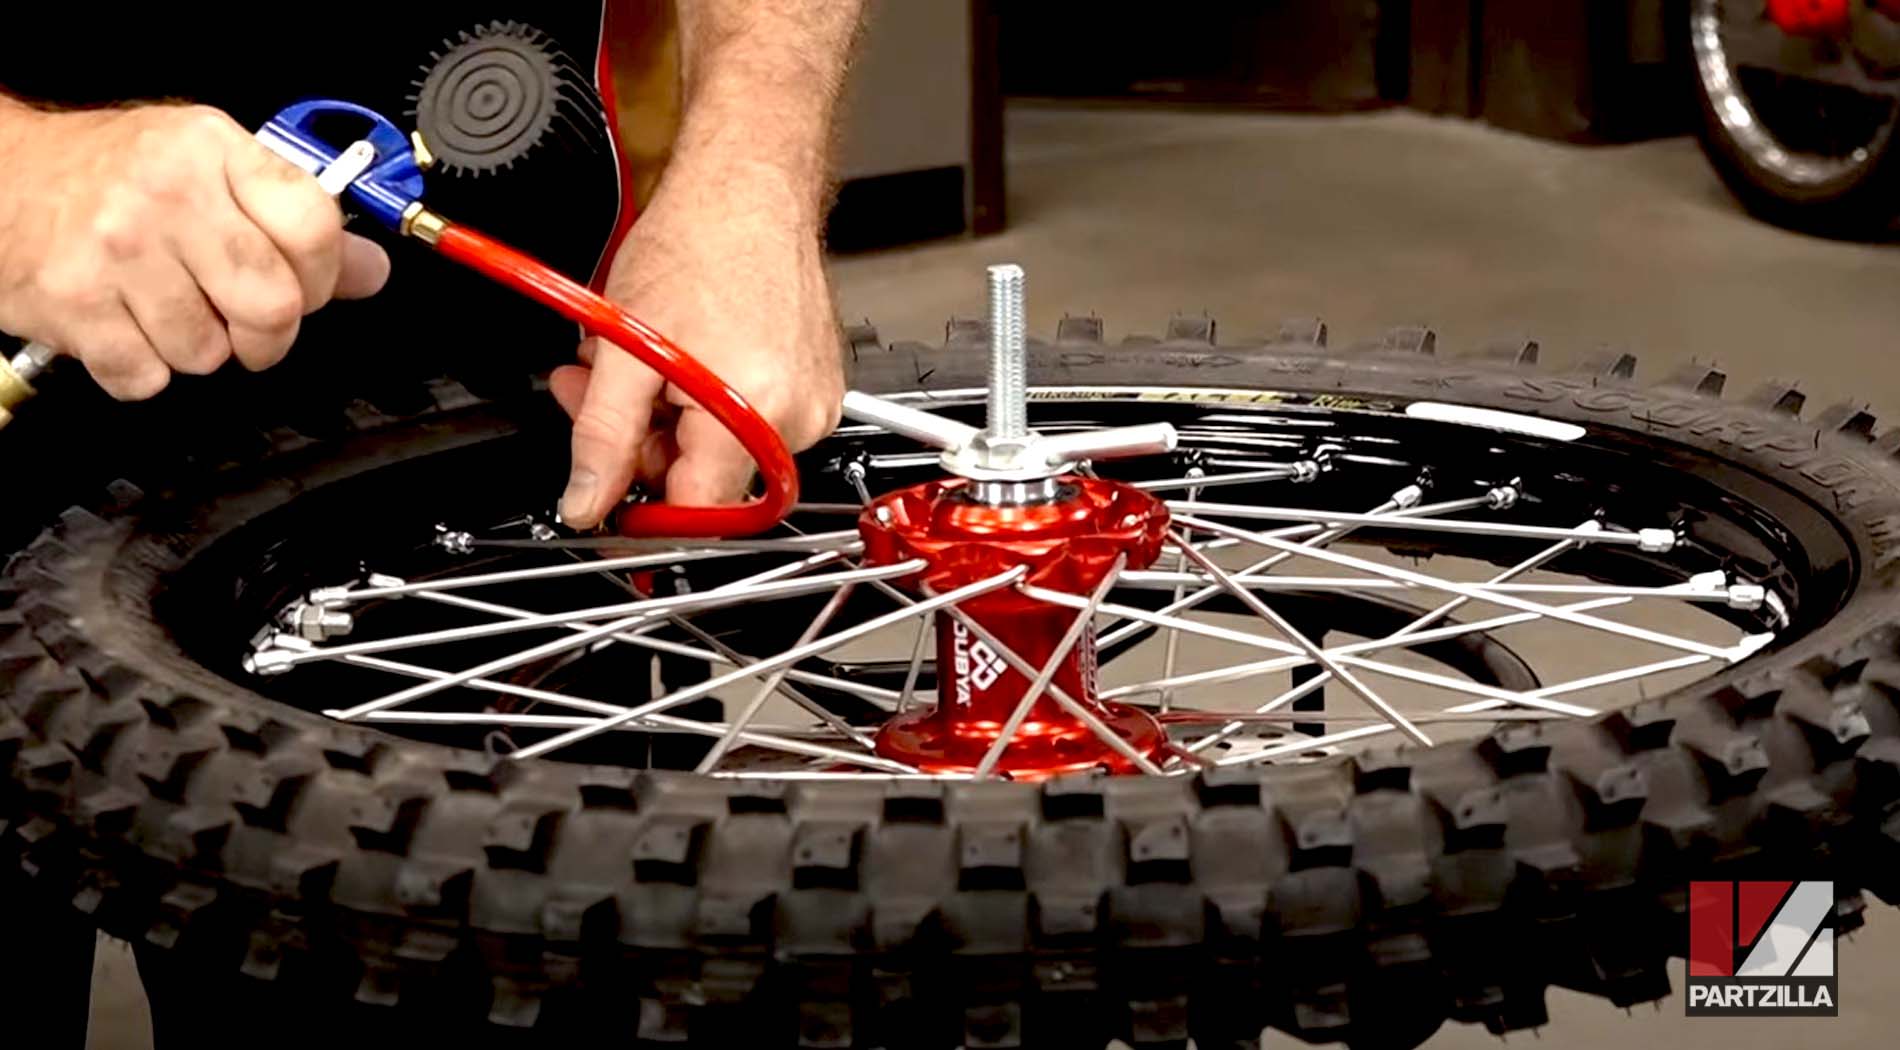

NOTE: Listen for leaks, which is a sign that you pinched the tube.
Step 18. Tighten up the rim clamp.
Repeat steps 7-18 for the rear tire and wheel and you’re done.
As mentioned before, this CRF450R custom tire and wheel installation is part of an entire Honda motorcycle rebuild. Watch the playlist below to see our Honda CRF450 dirt bike rebuild in its entirety.