How to Replace Honda CBR 600 Chain & Sprockets
A wear indicator on a Honda CBR600 tells you when the chain needs replacing, and the sprockets should be replaced as a set along with the chain.
Watch the video above and follow the steps below to replace the chain and sprockets on a Honda CBR 600RR.
Tools and Parts – Honda CBR600 Chain and Sprockets Change
- Ratchet and extensions
- 8mm, 10mm, 12mm, 17mm, 32mm sockets
- 10mm, 12mm wrenches
- Breaker bar
- Torque wrench
Removing Honda CBR600 Chain and Sprockets
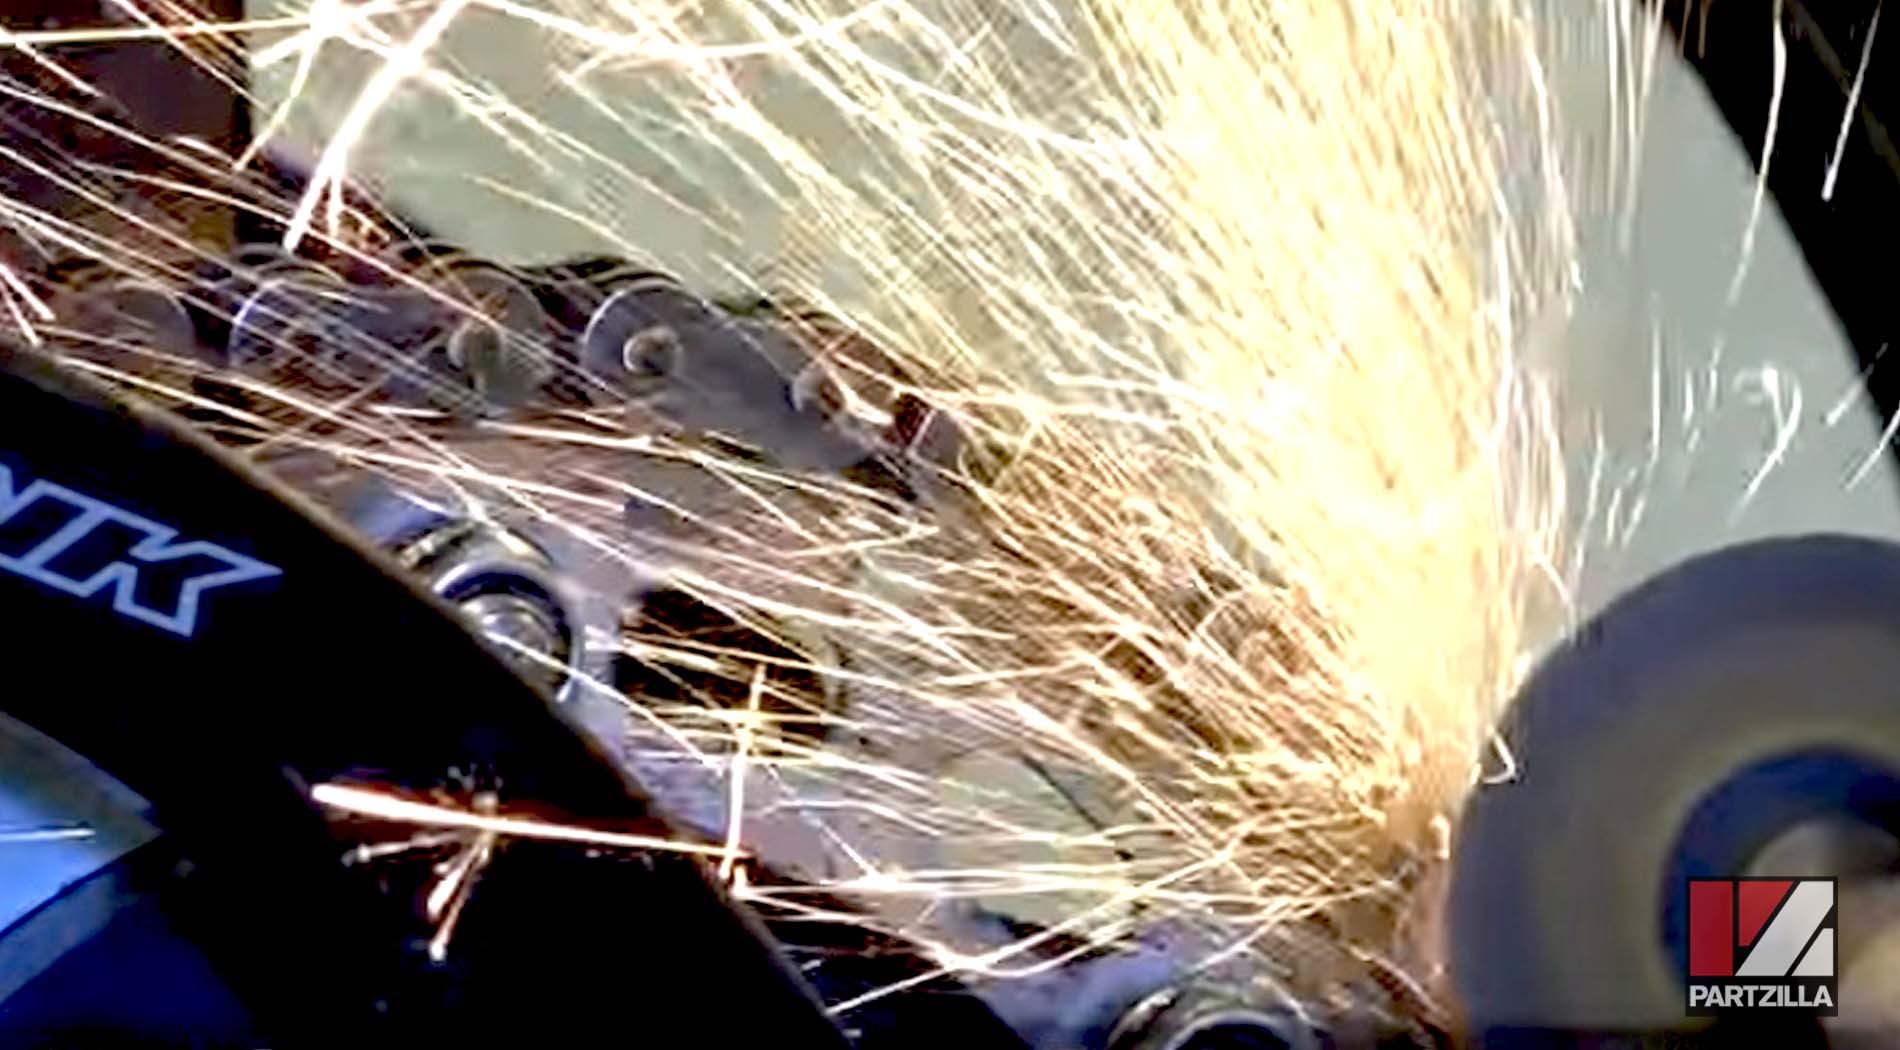
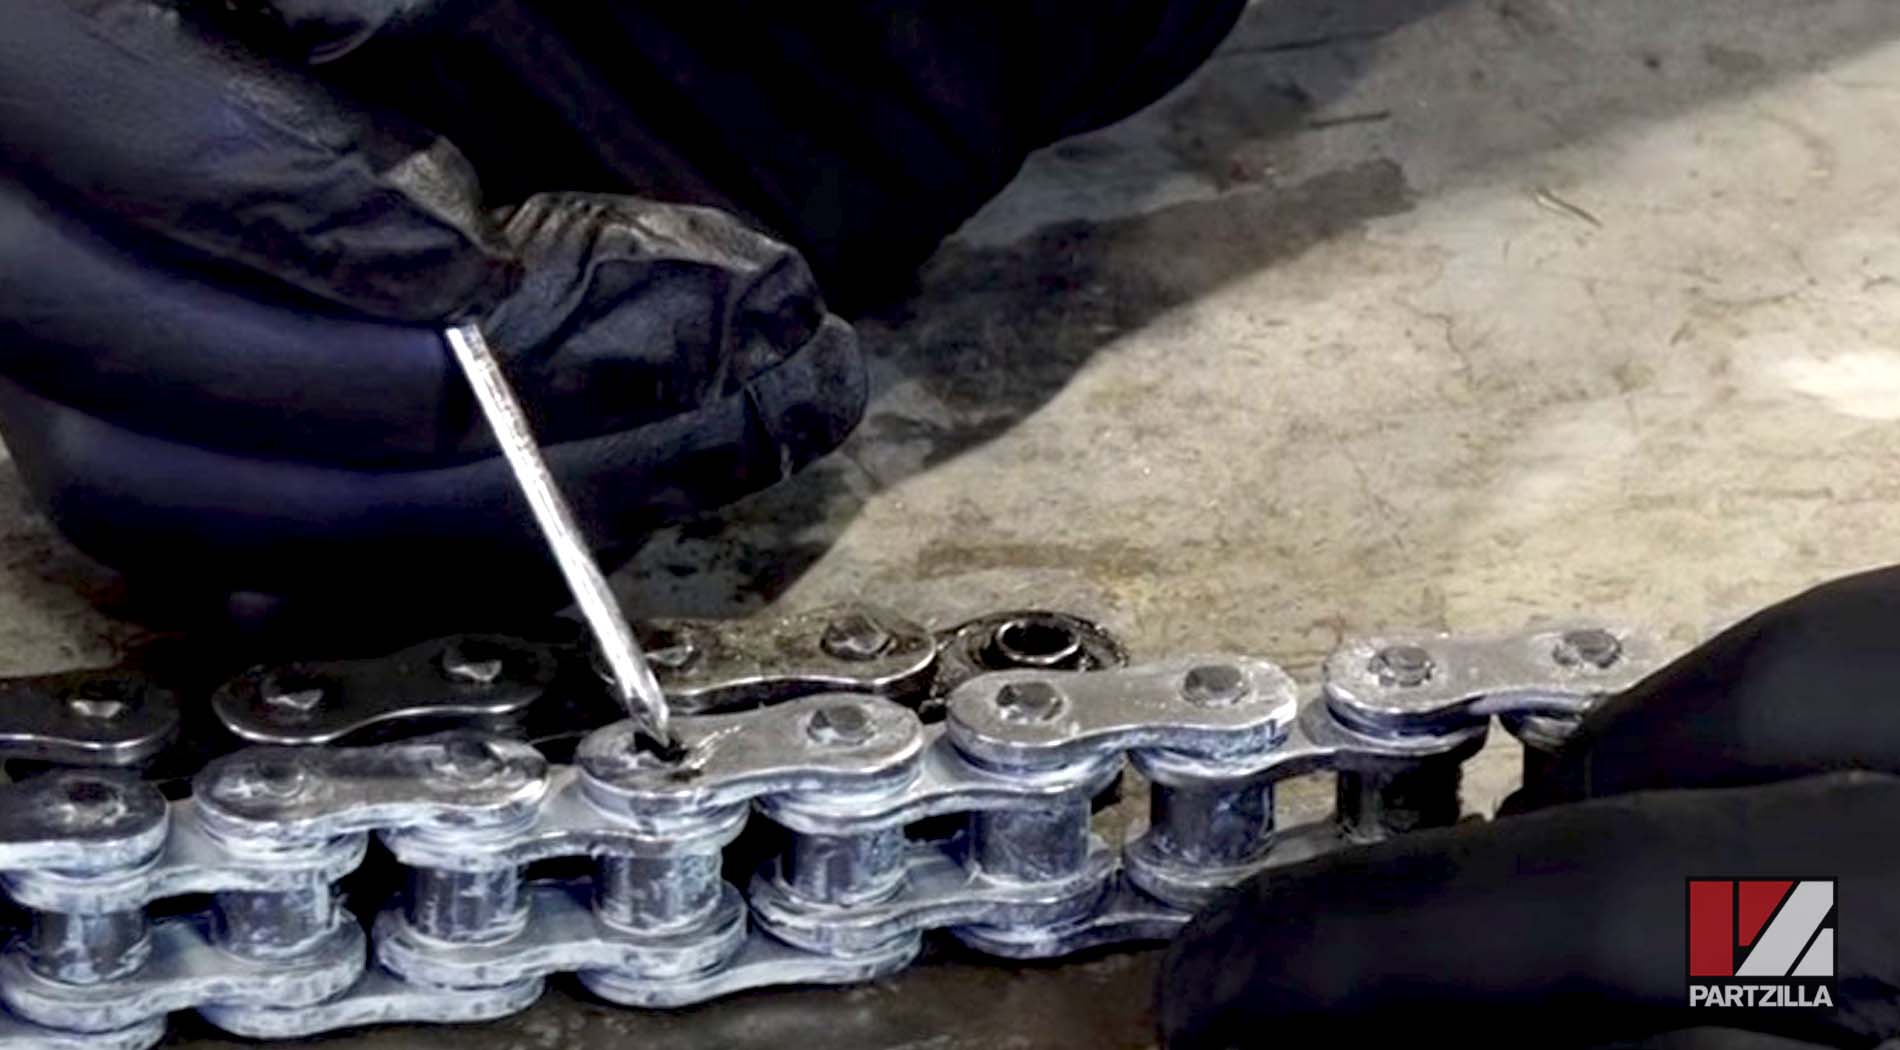
Step 1. Remove the old chain with a chain tool by pushing out two chain pins and breaking the chain, or using an angle grinder to grind away the flared heads of two chain pins, then prying off the outer plate and pushing out the link.

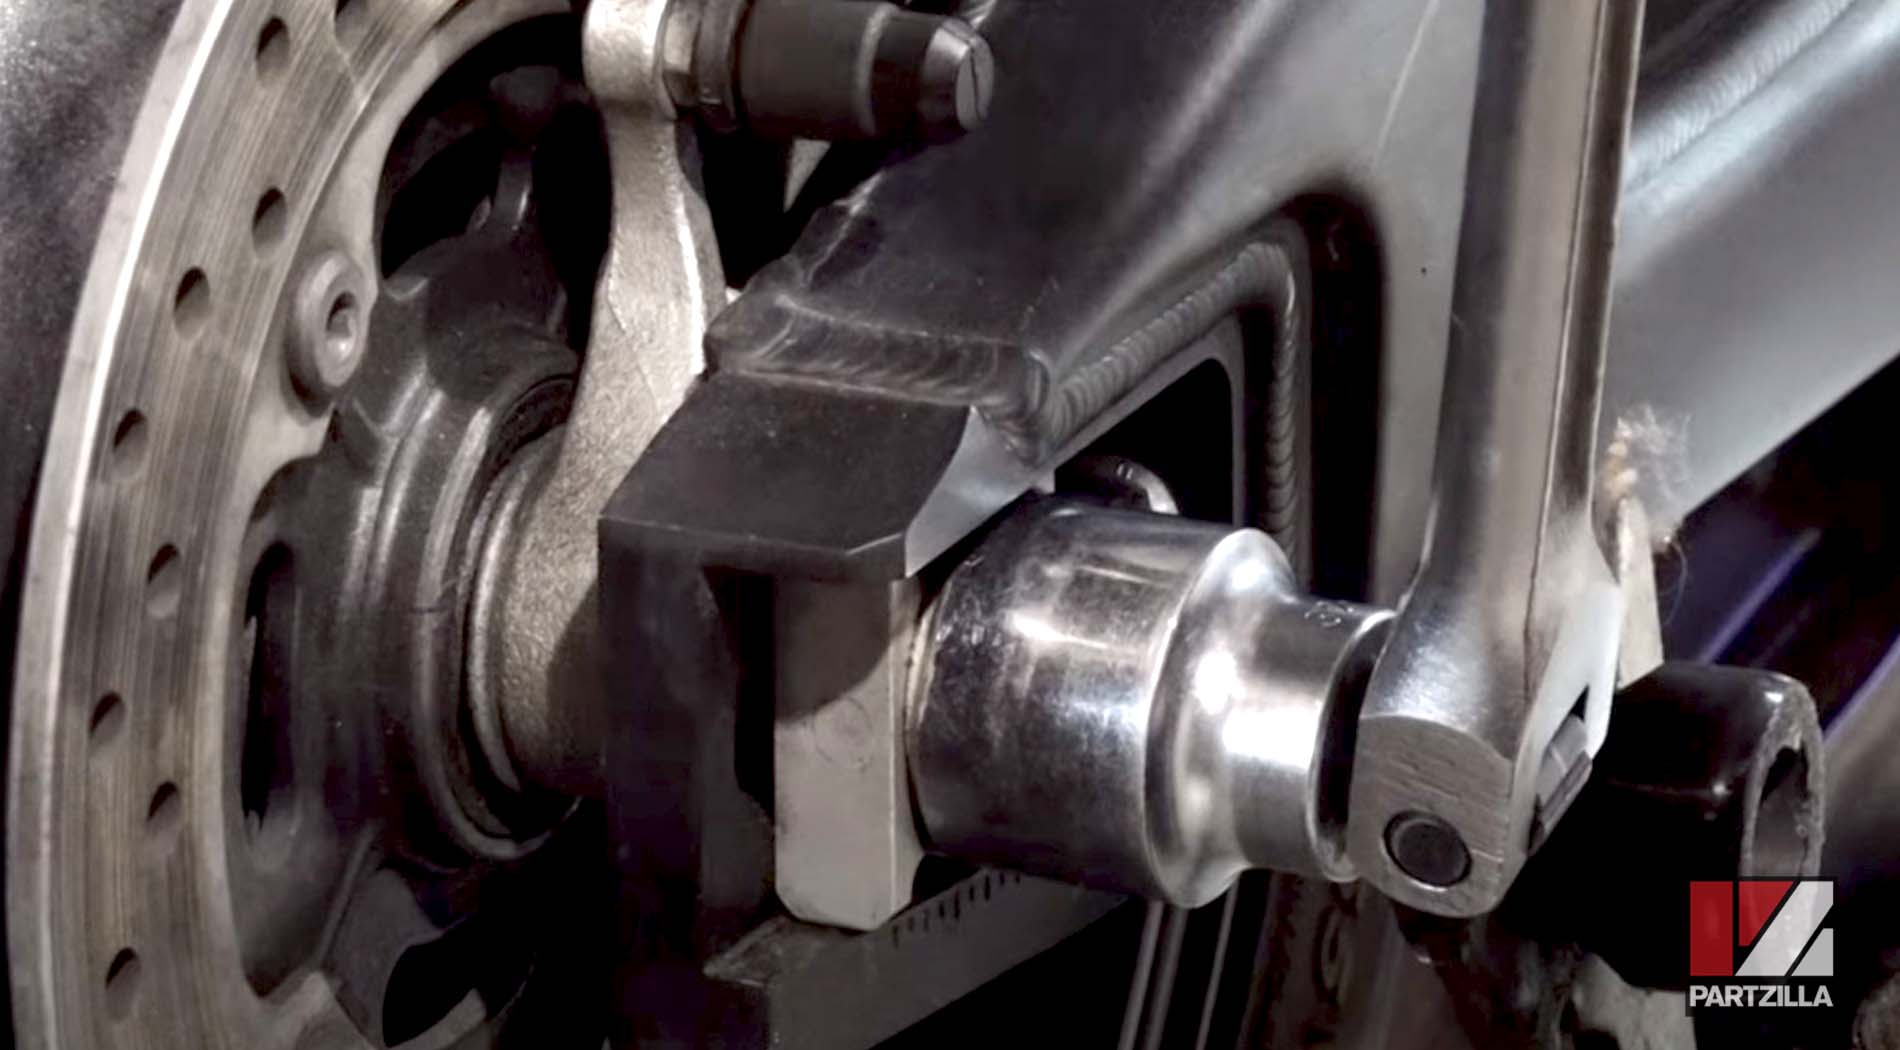
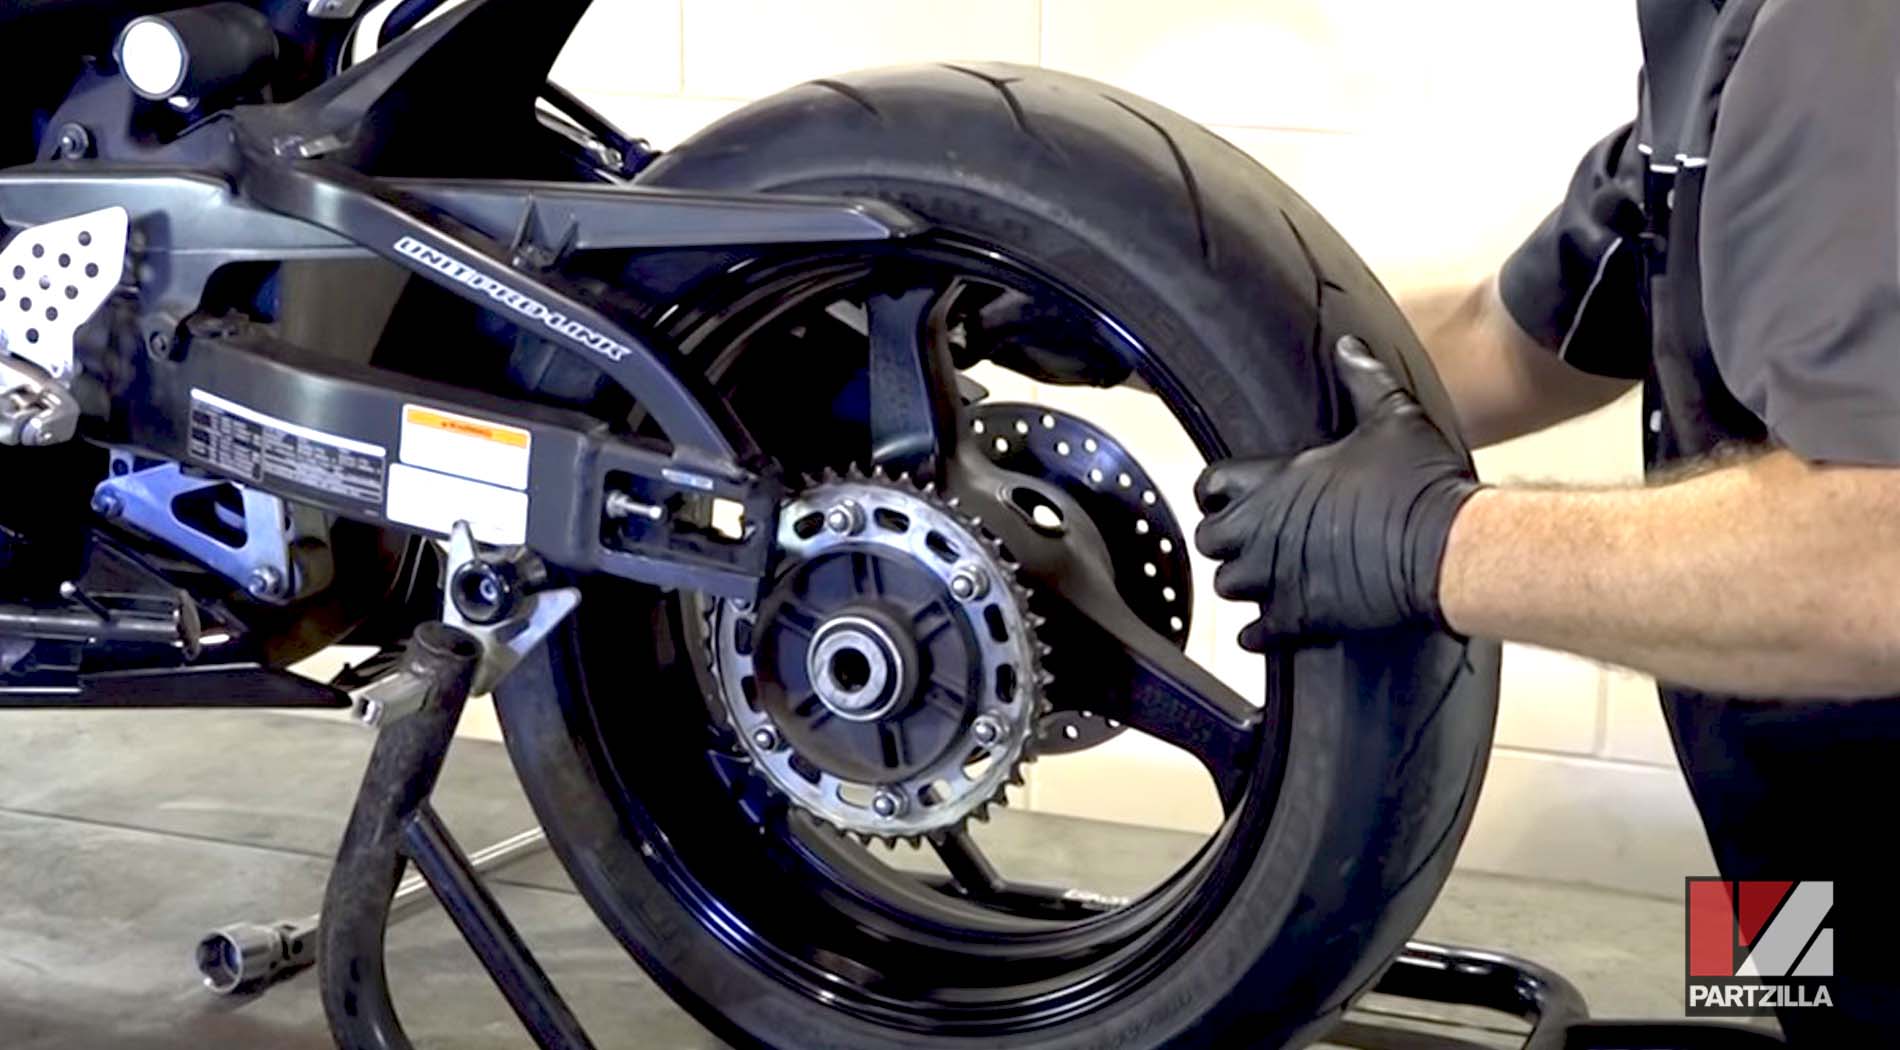
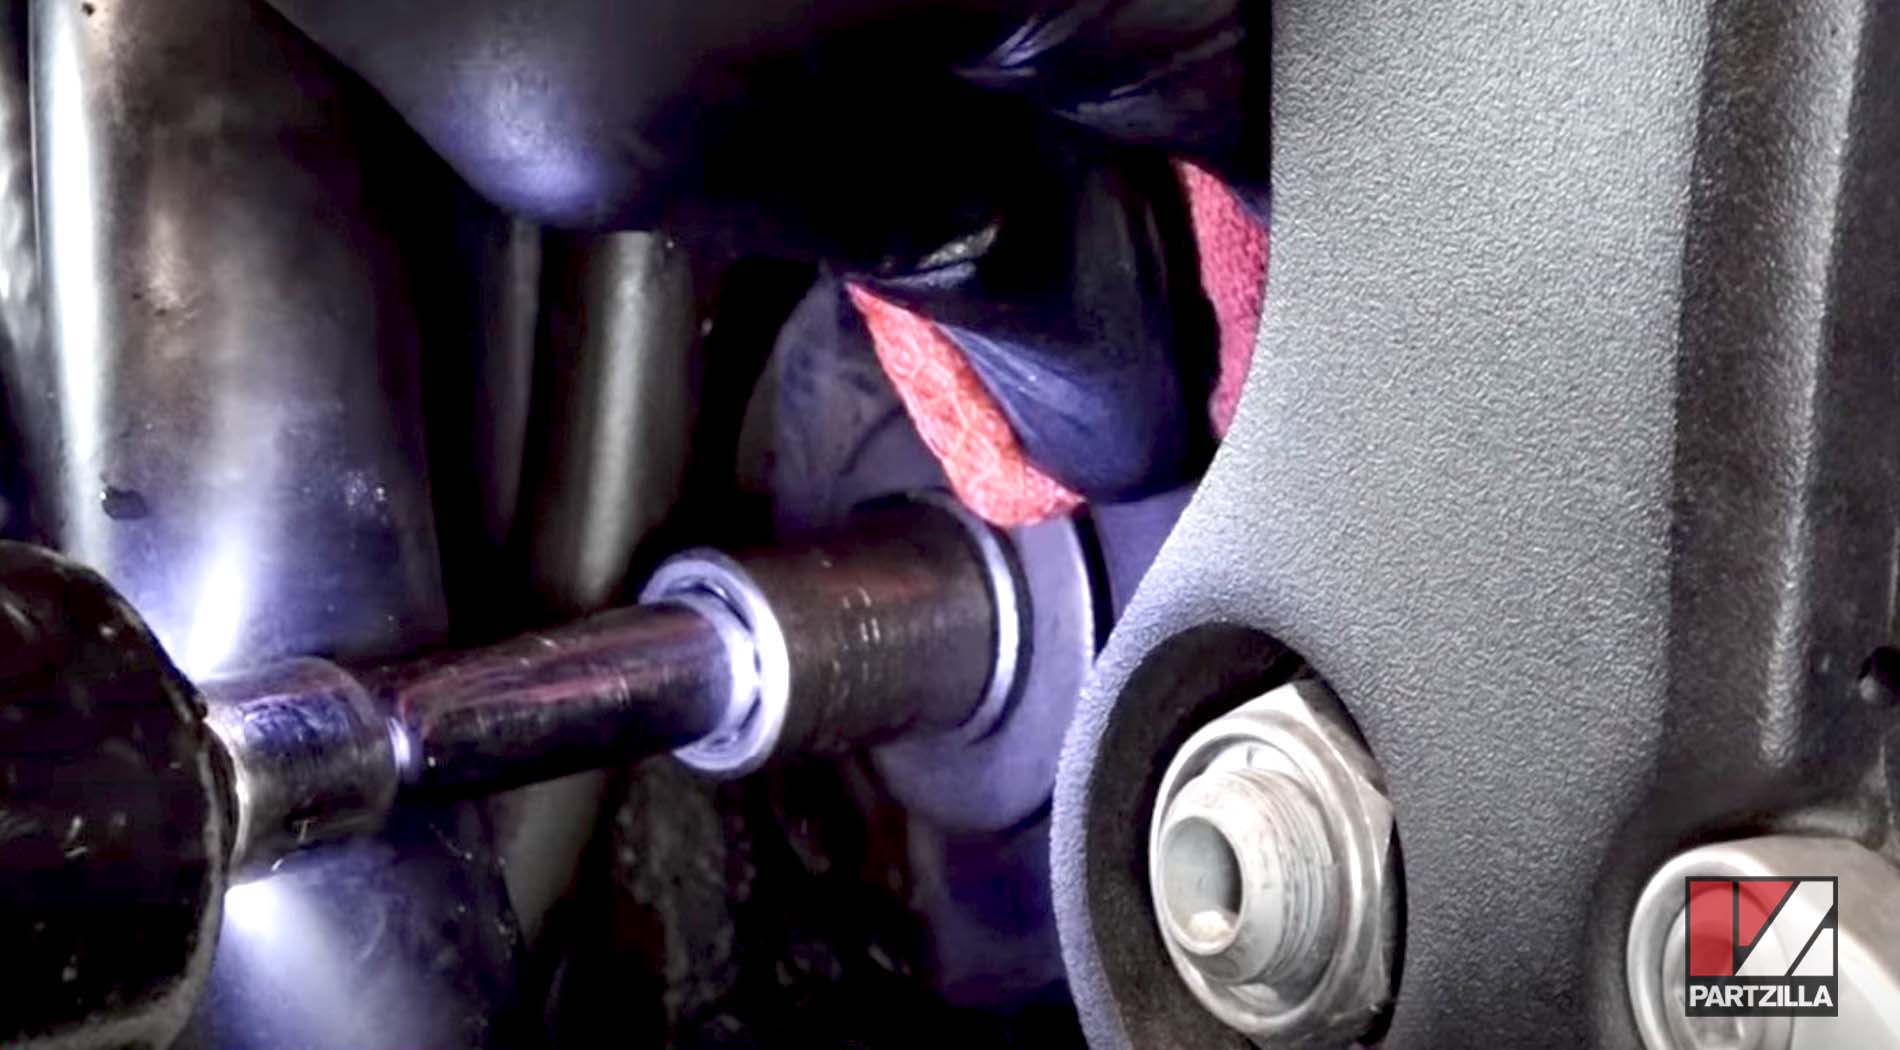
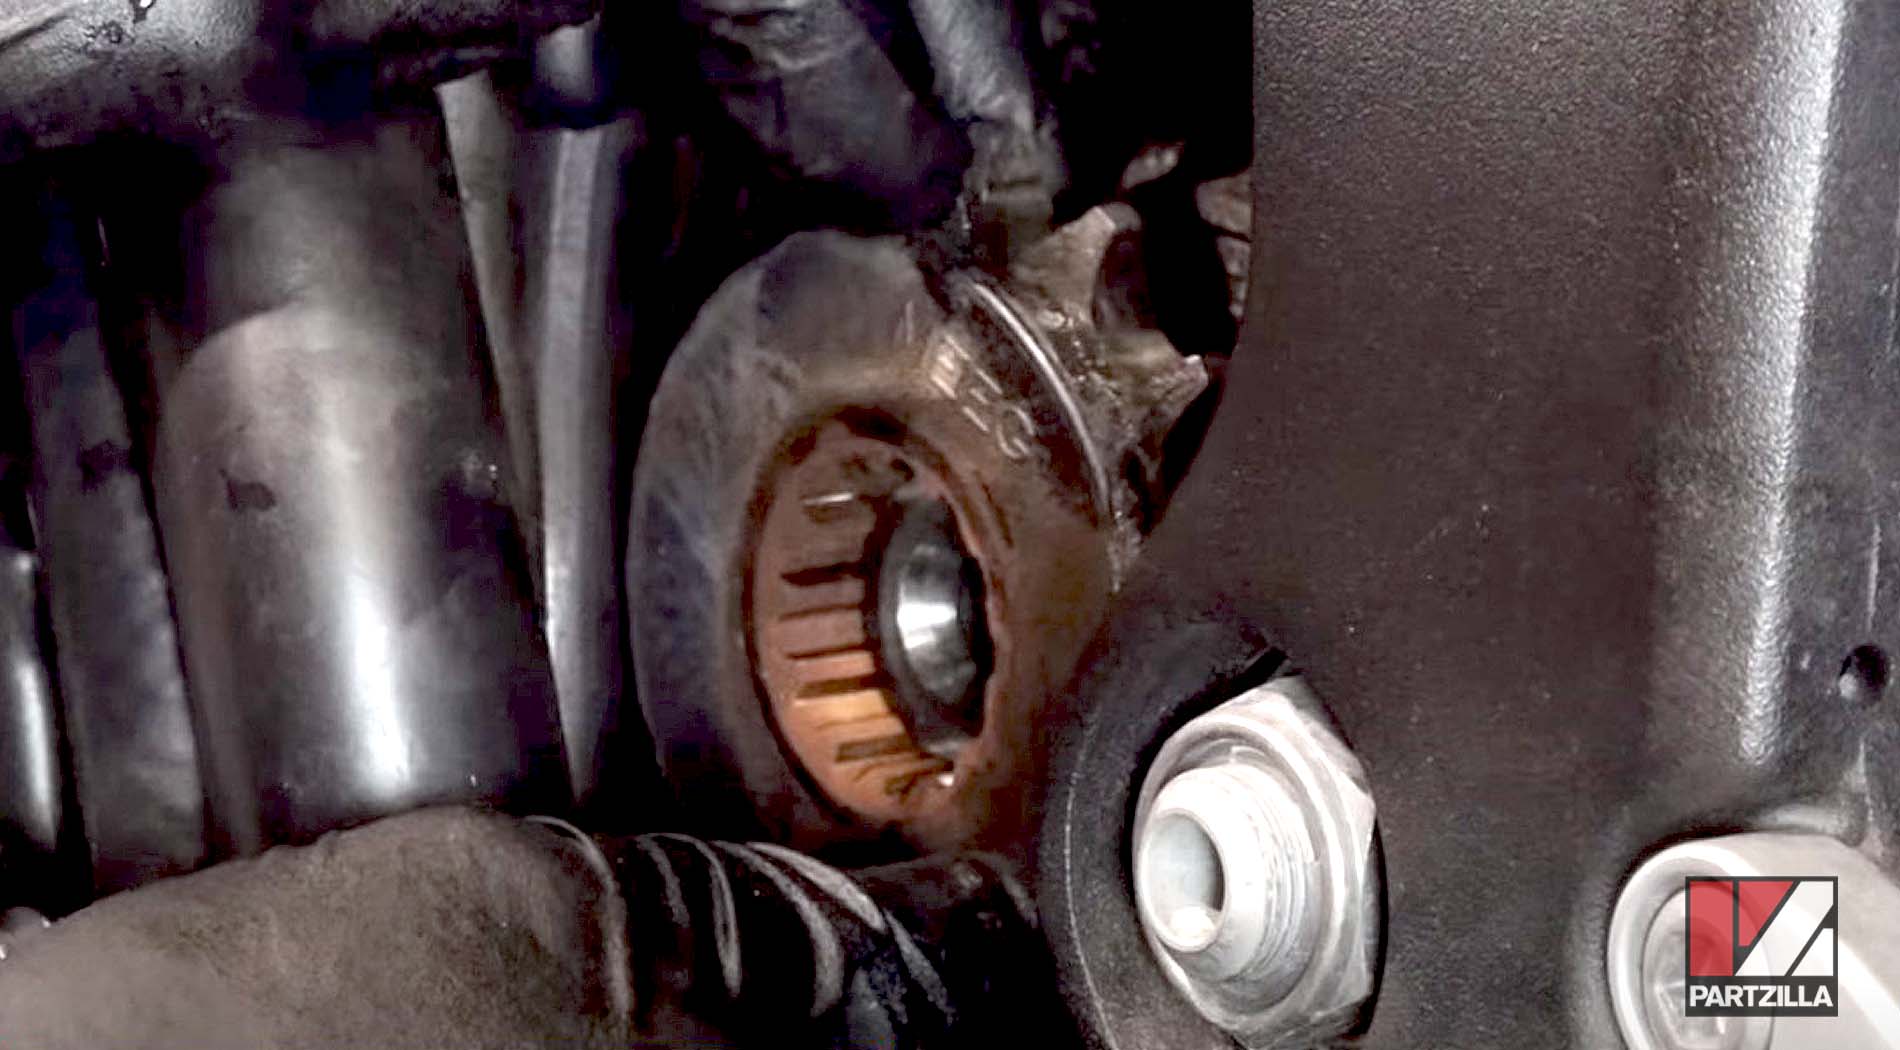
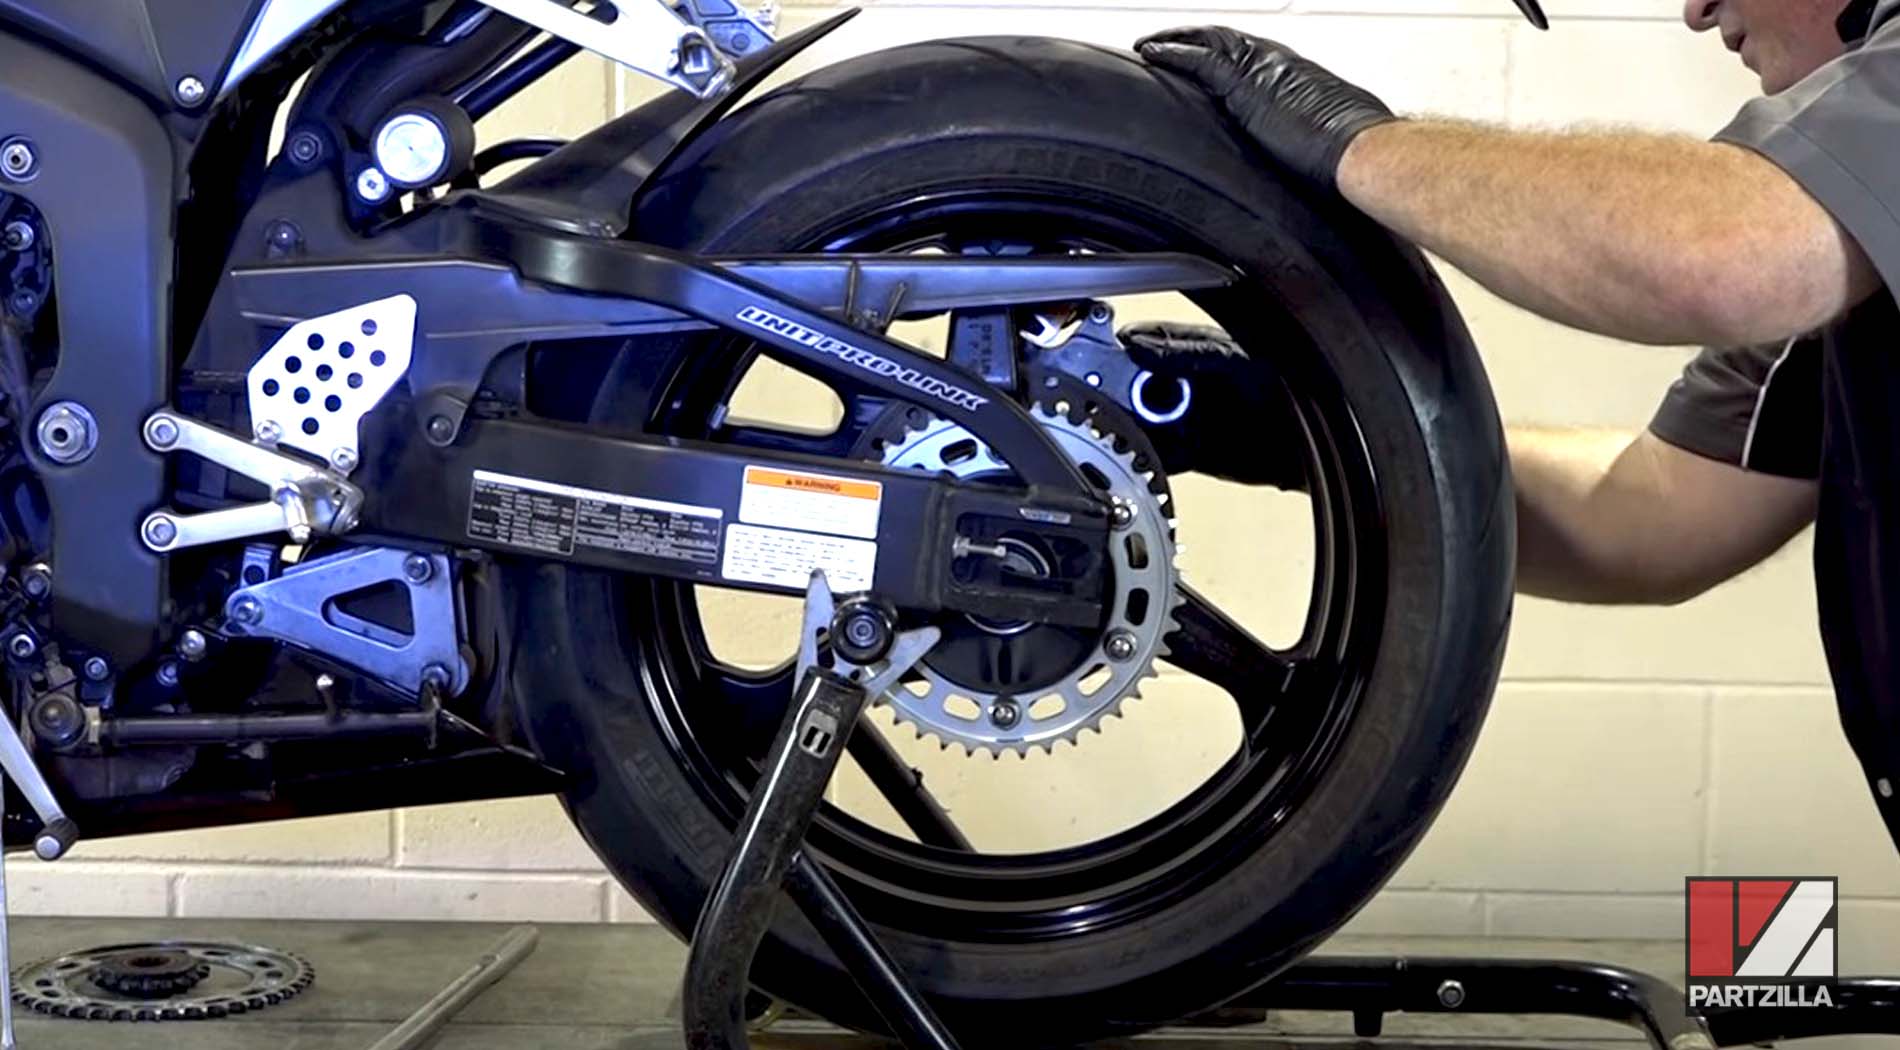
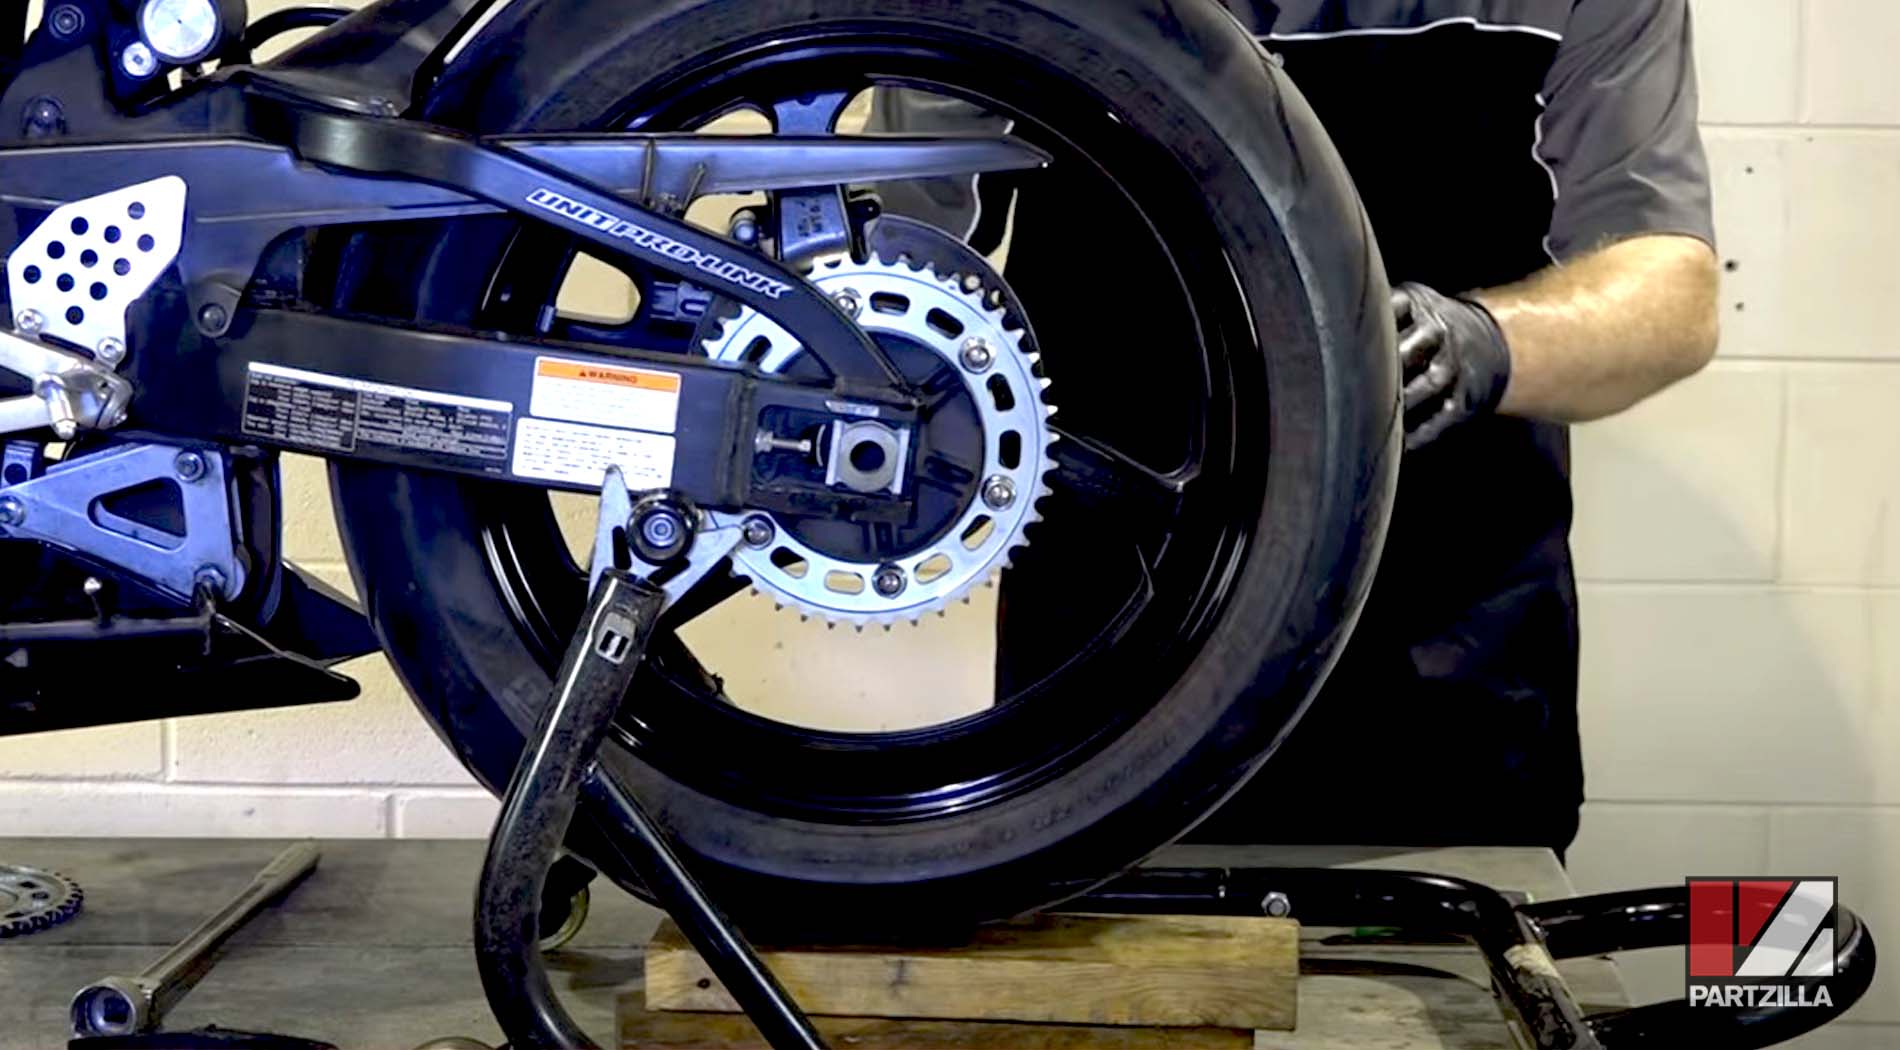
Step 2. Remove the 32mm axle nut and washer, then pull the axle from the wheel and swingarms and remove the rear wheel.
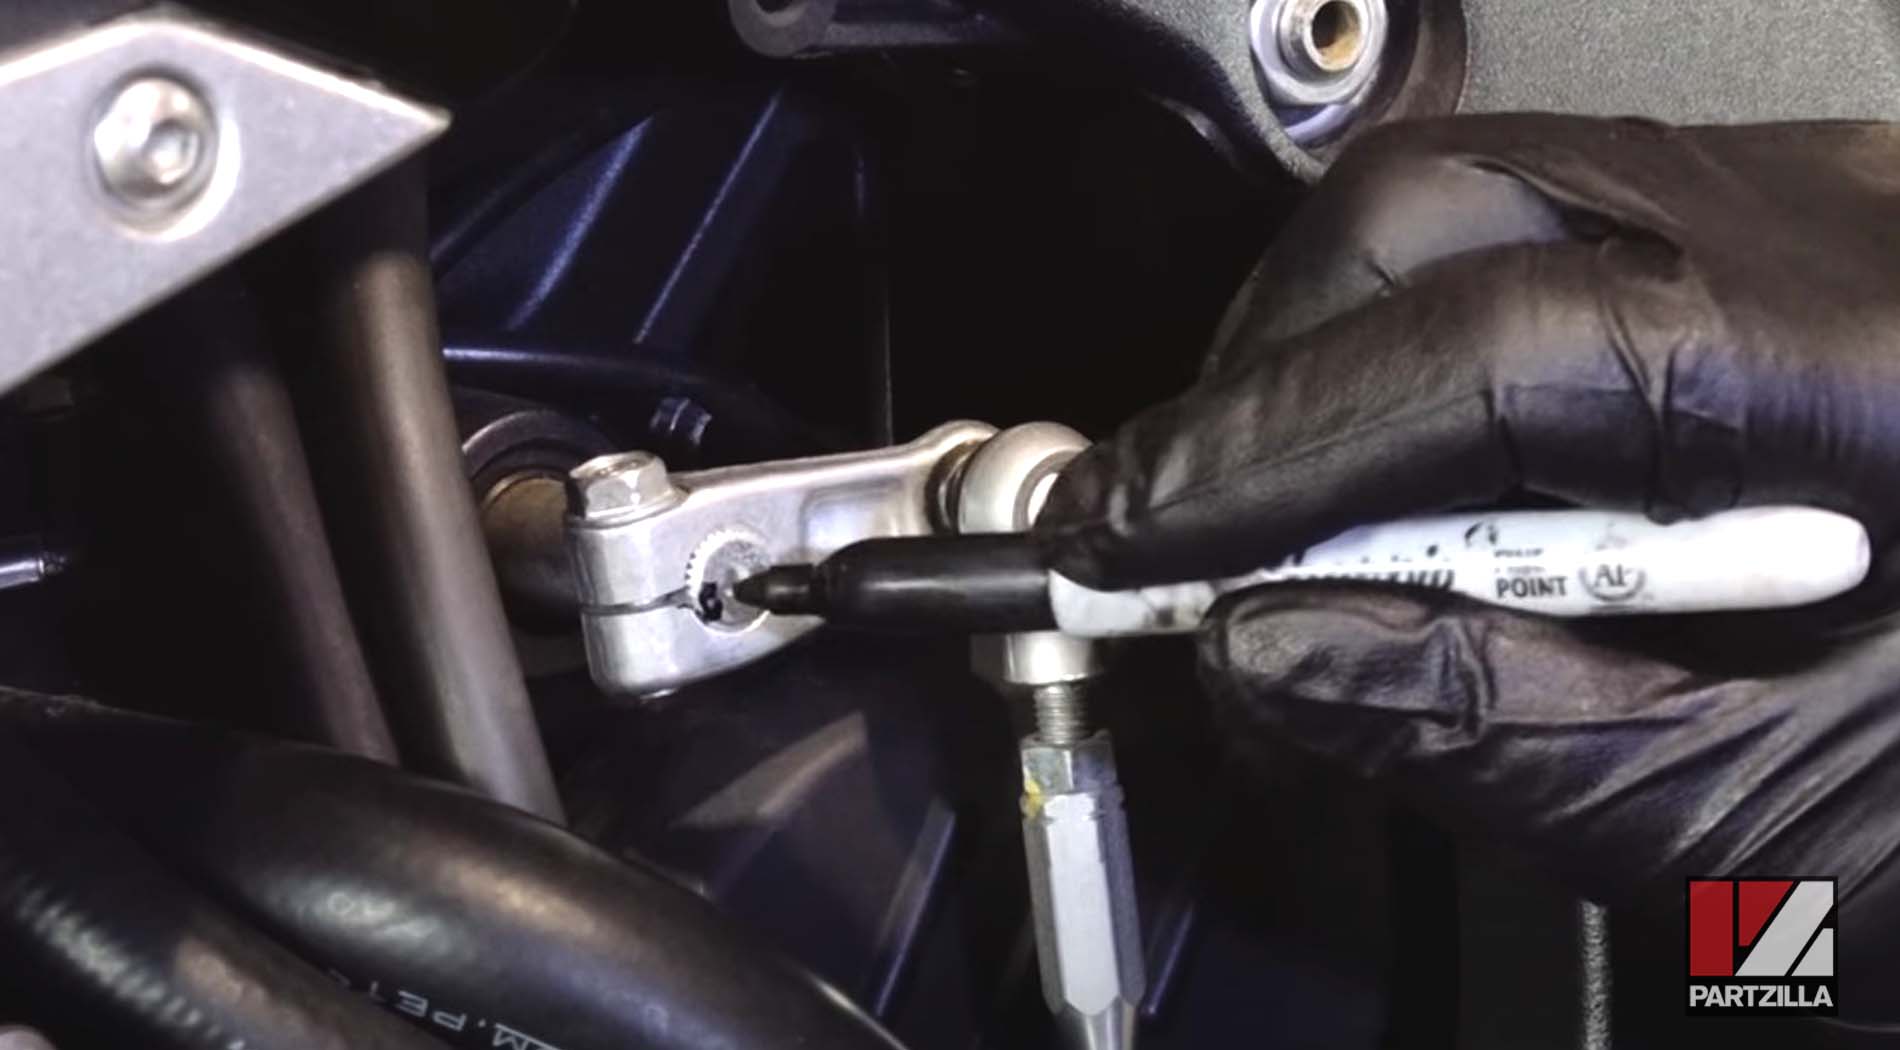
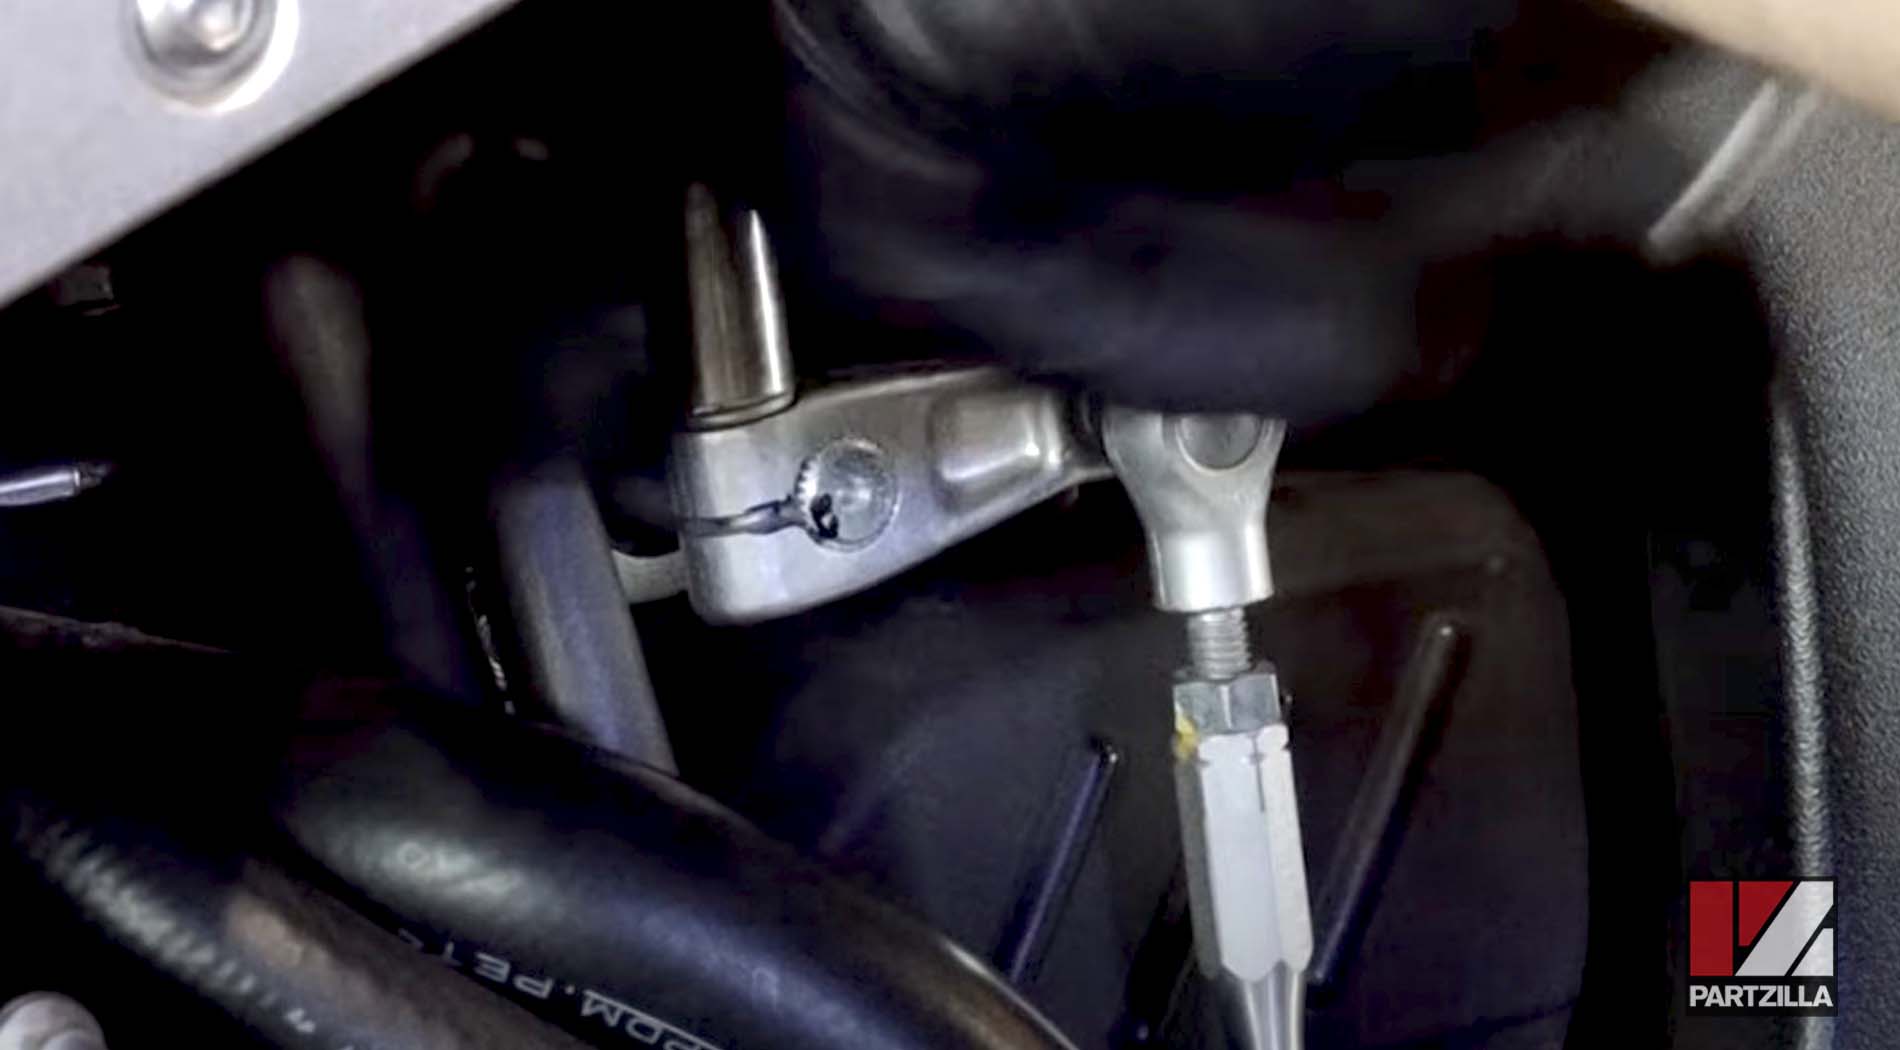
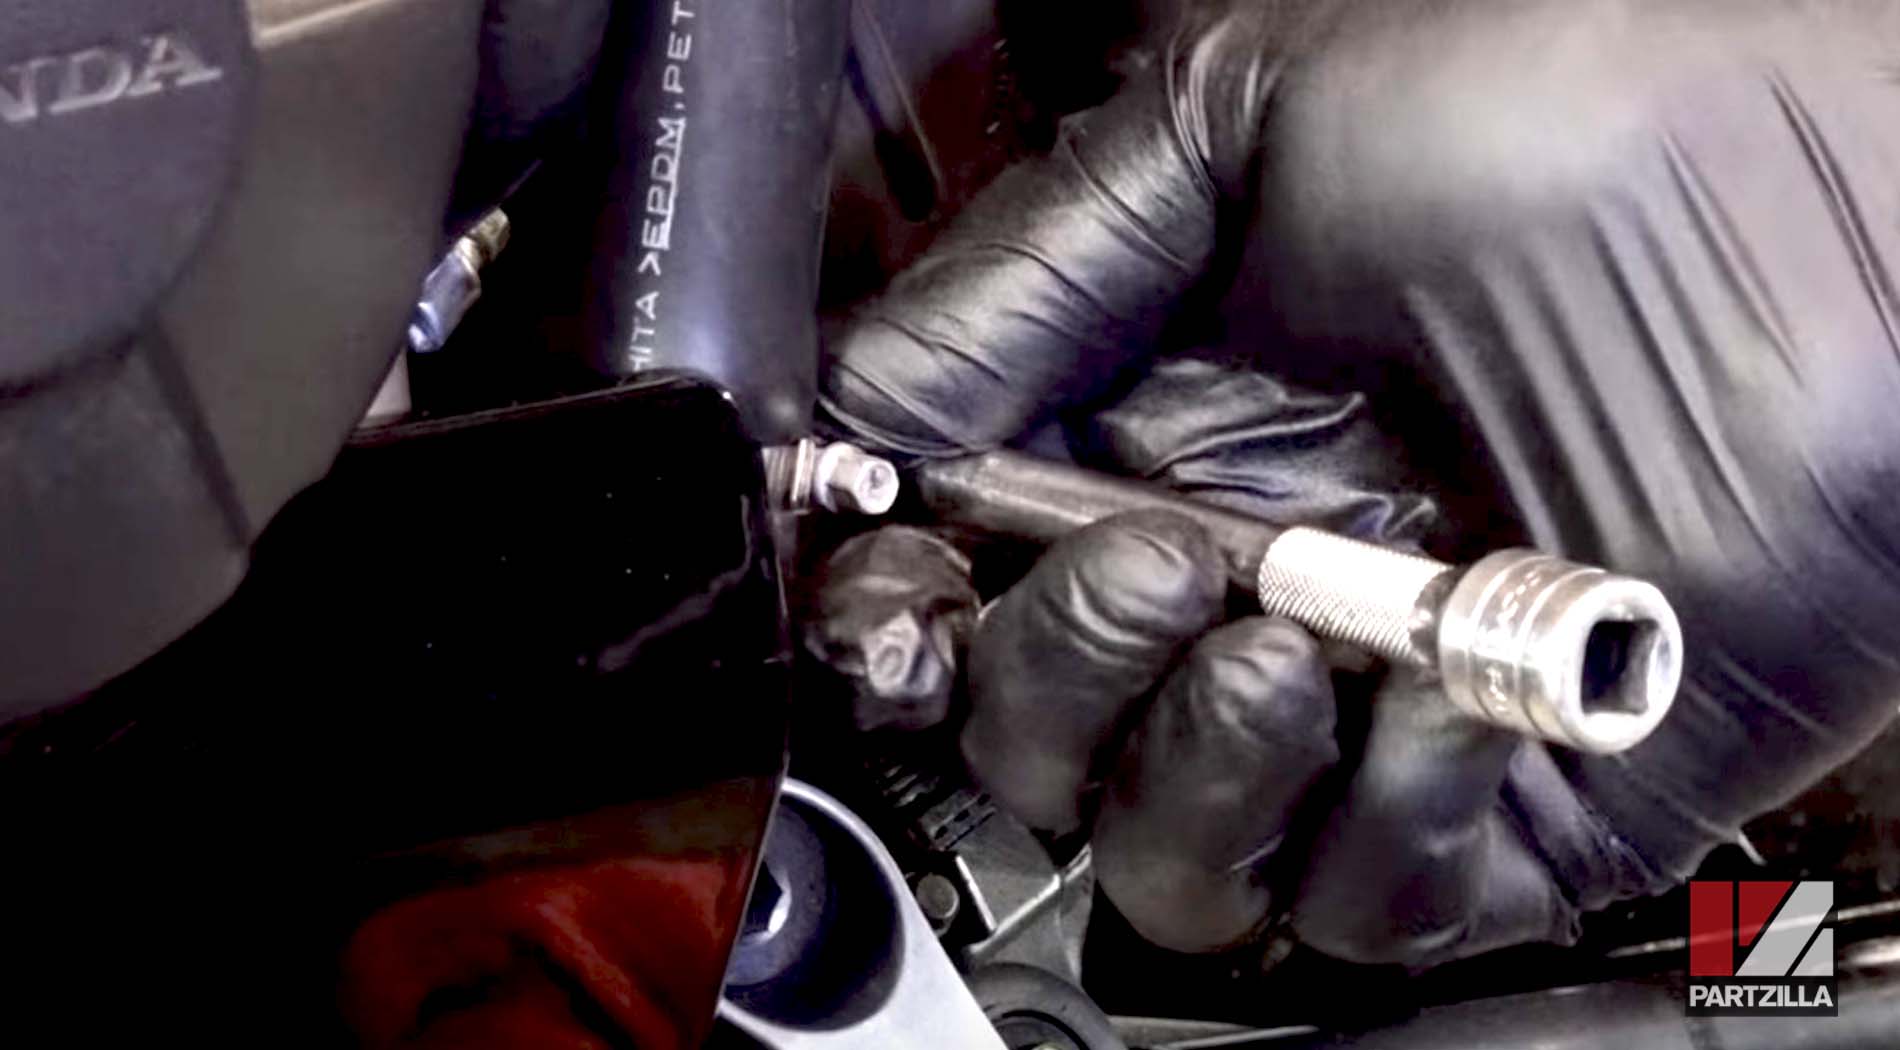
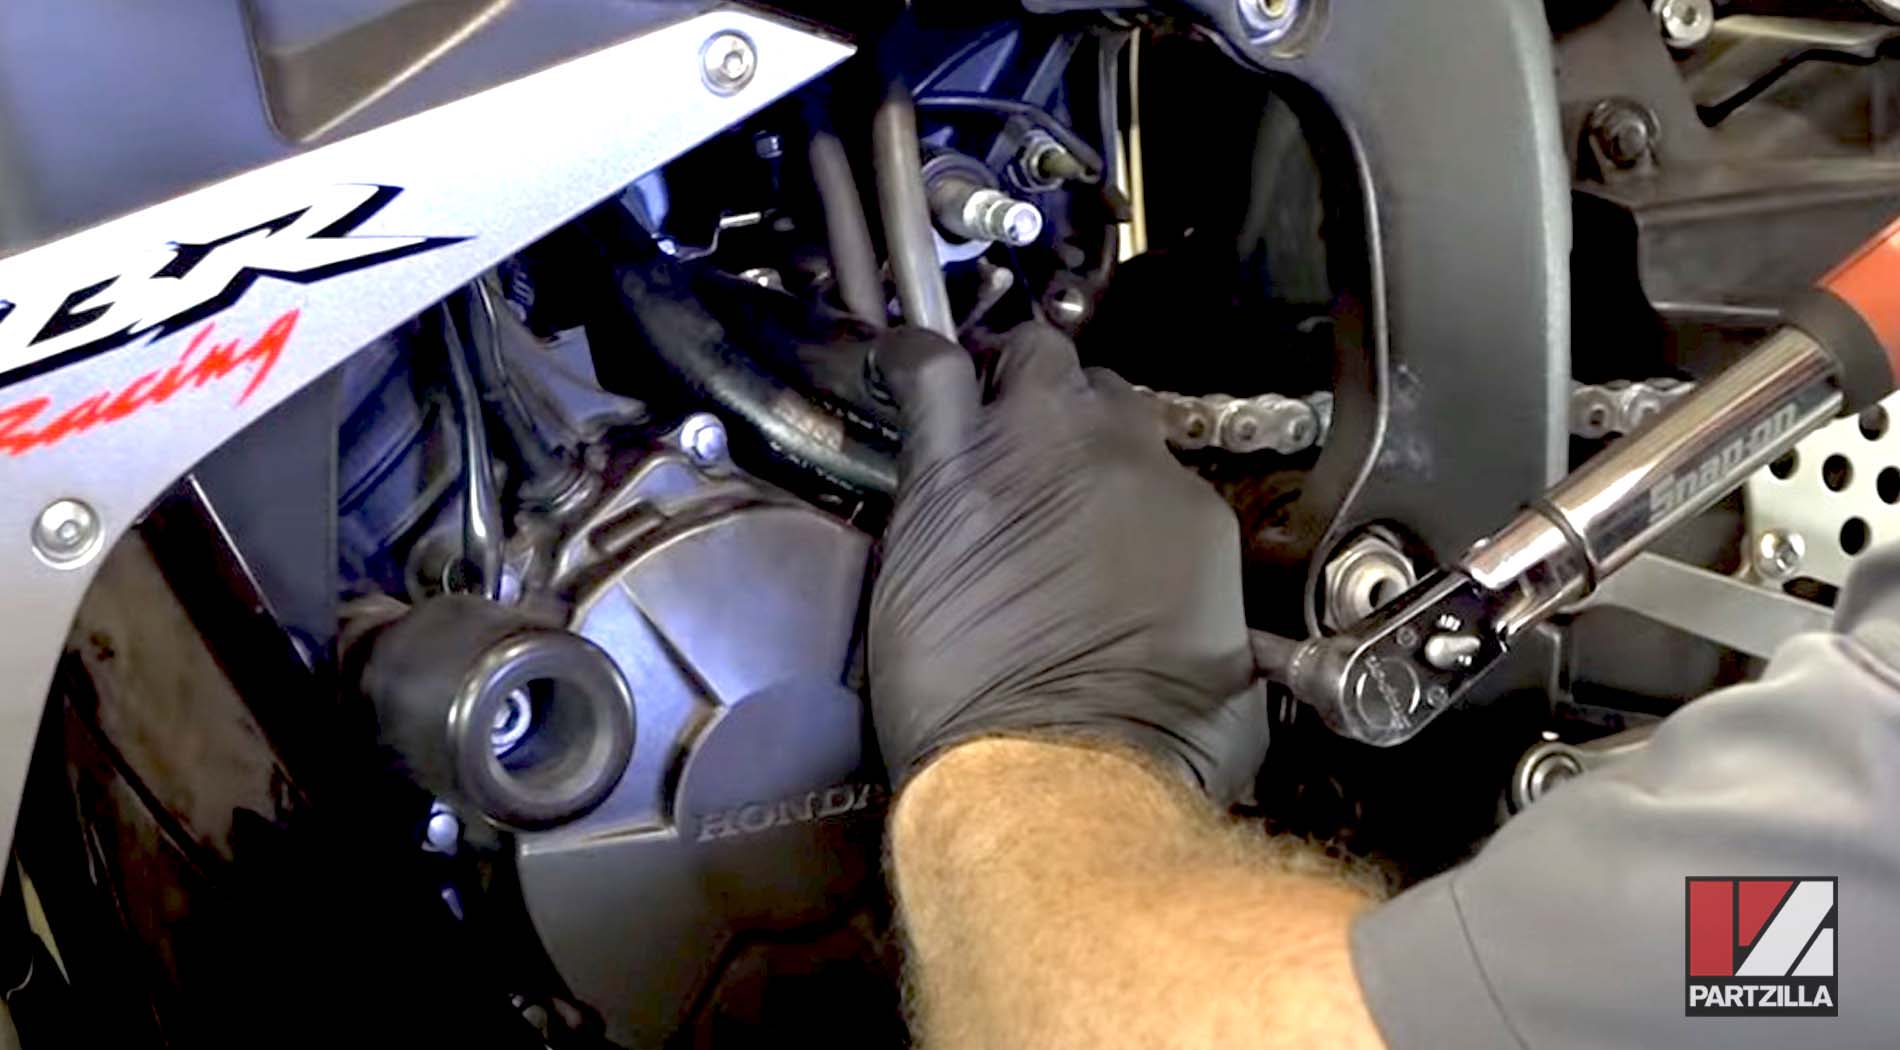
Step 3. Remove the pinch bolt from the gearshift linkage and pull the linkage off the gearshift spline.
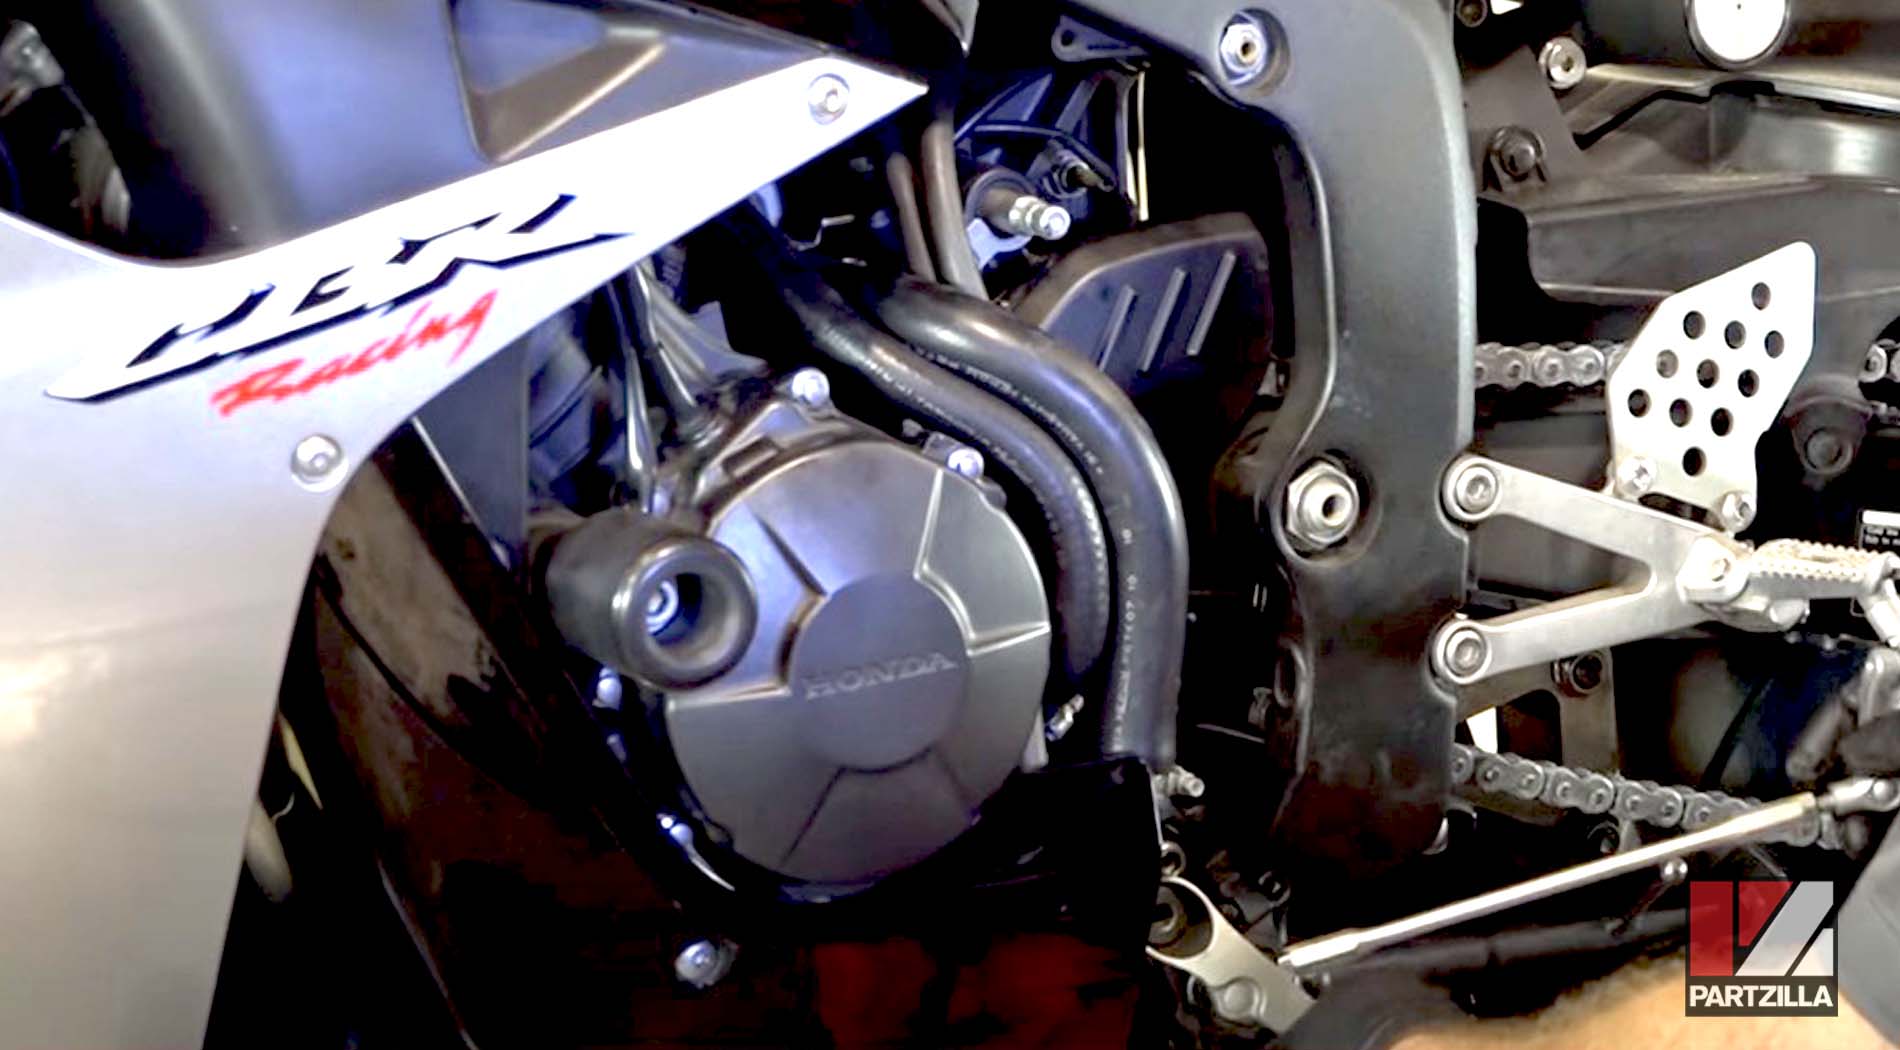
Step 4. Remove the two 8mm bolts holding the drive sprocket cover, followed by the cover itself.
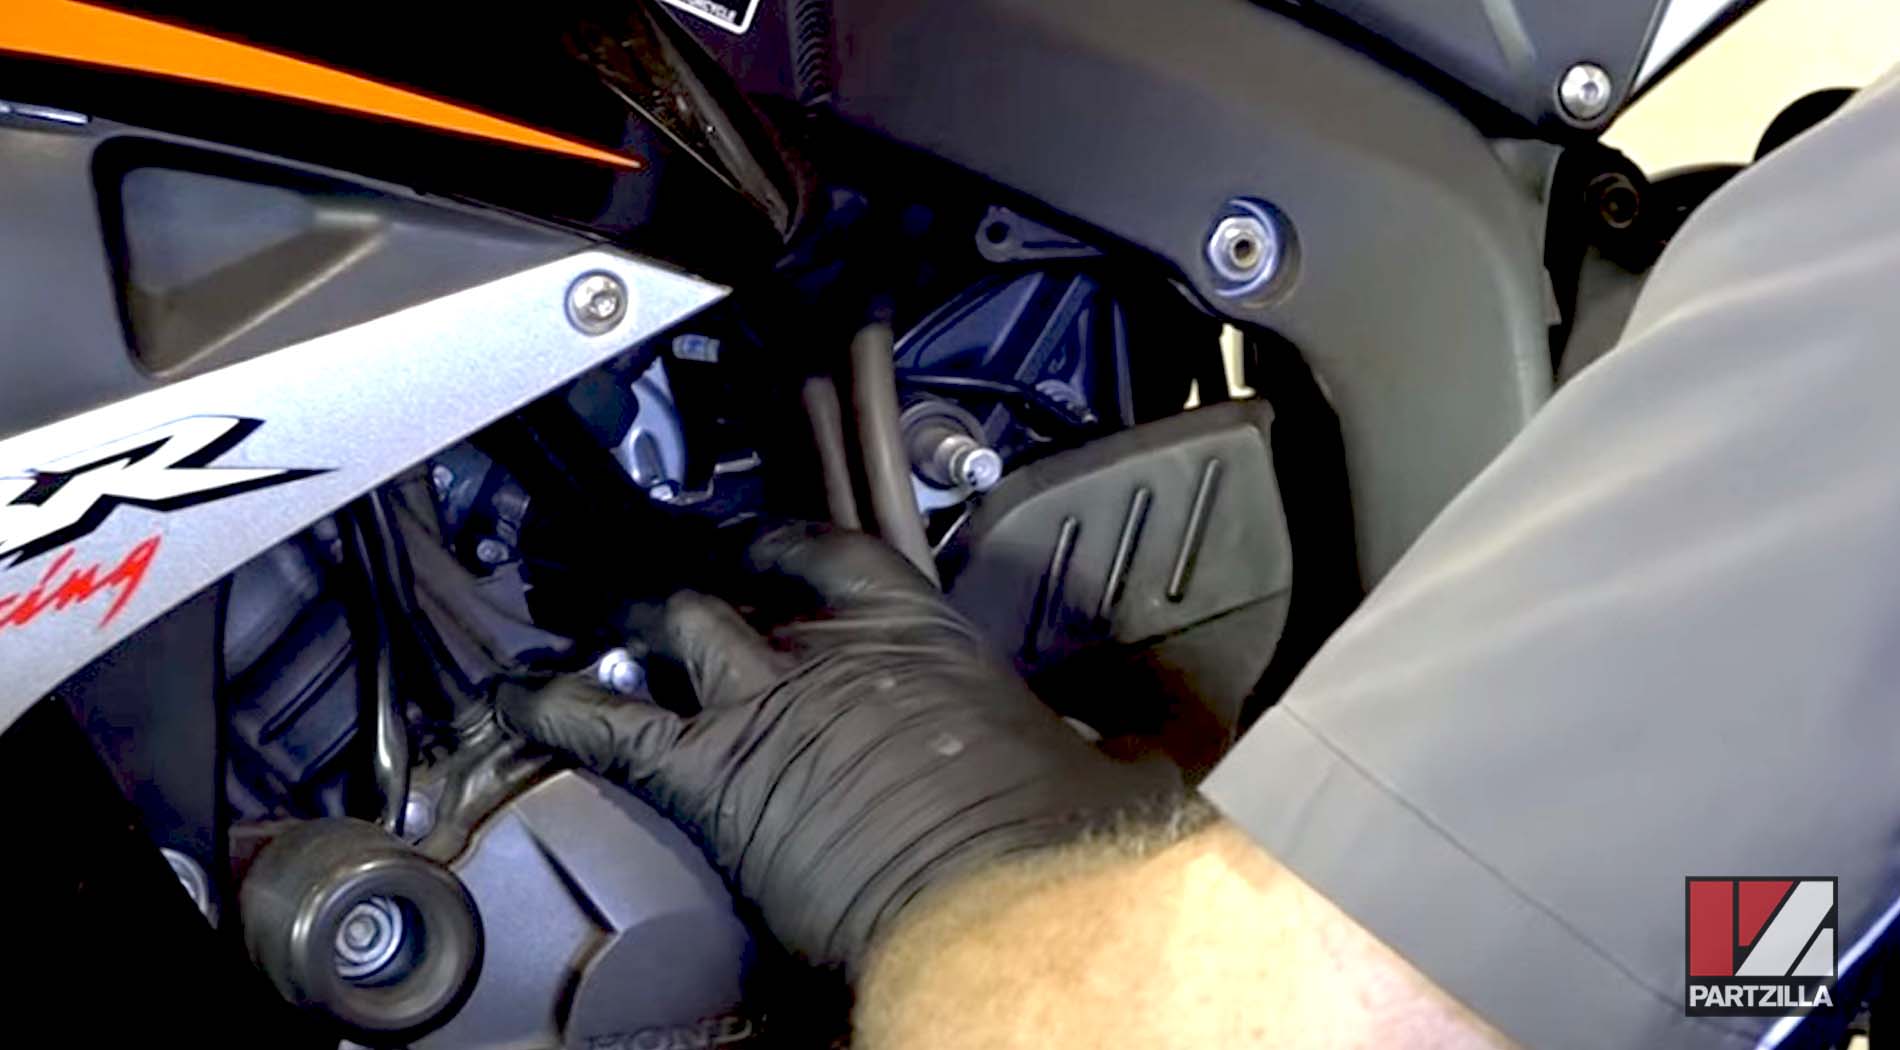
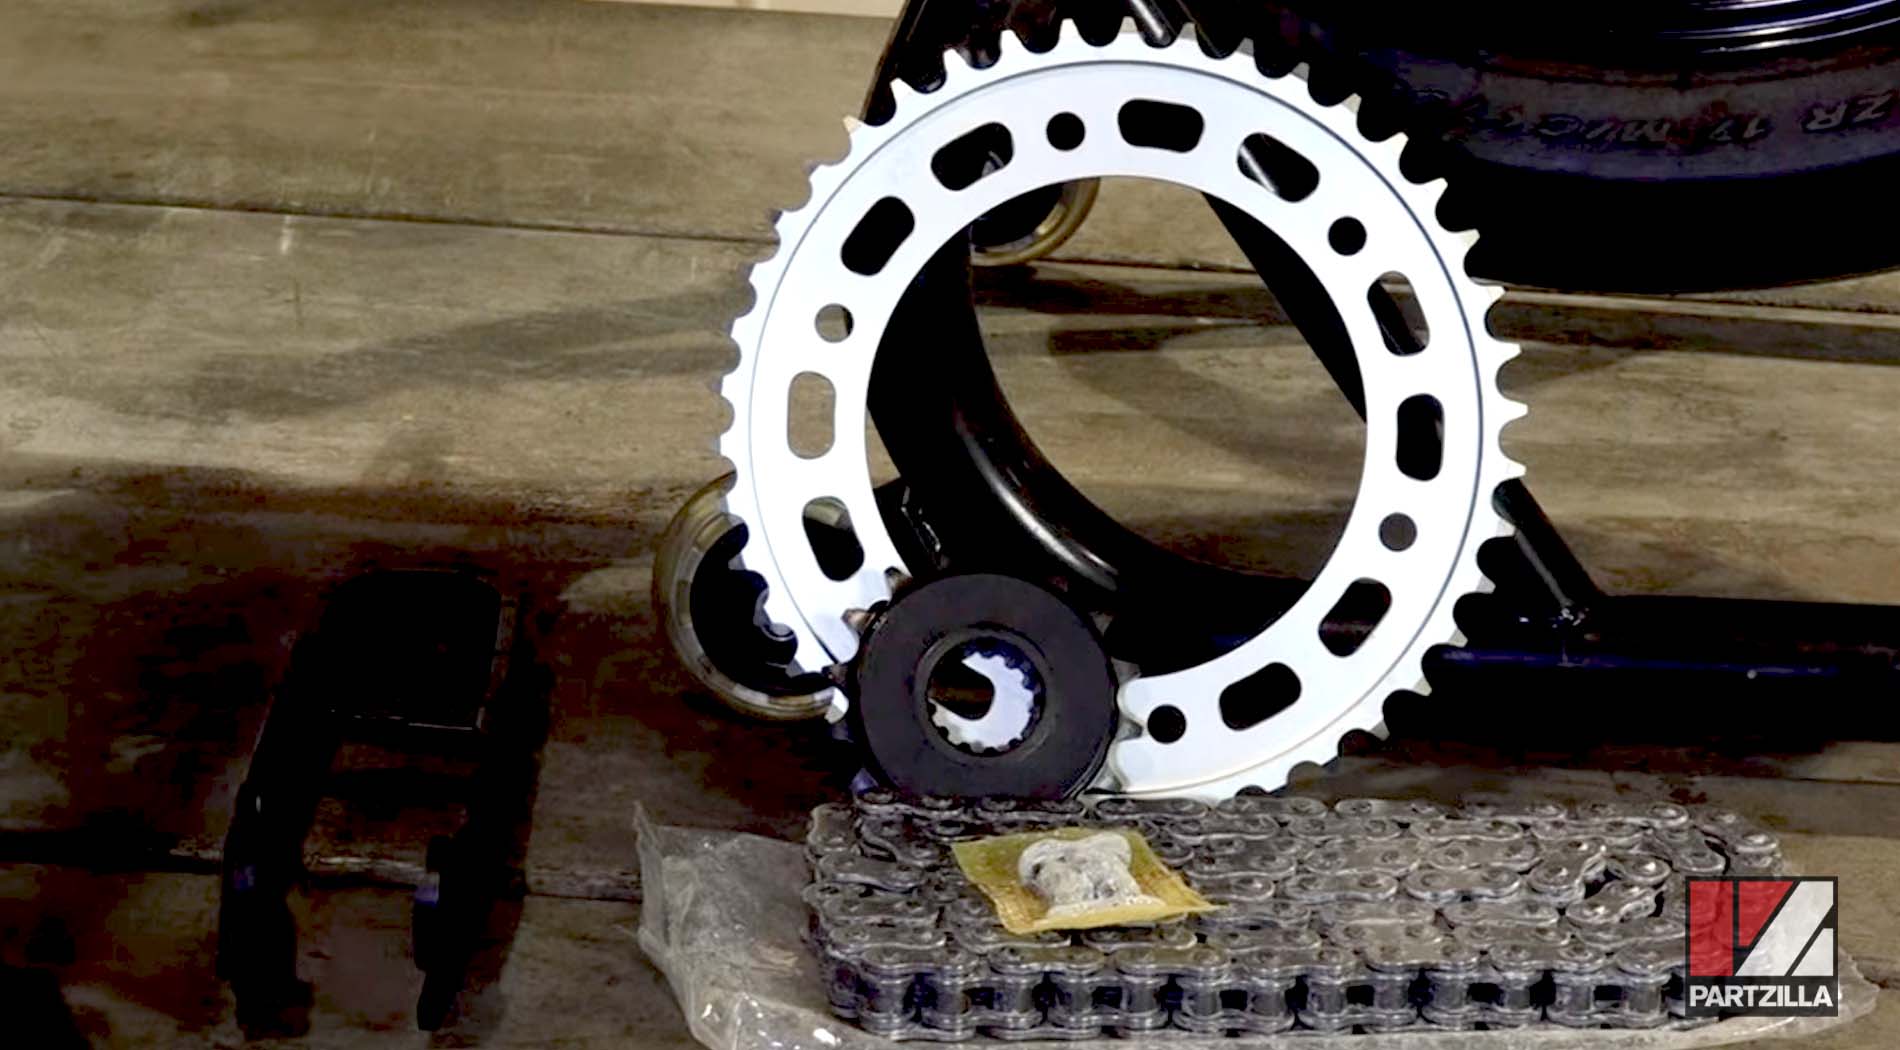
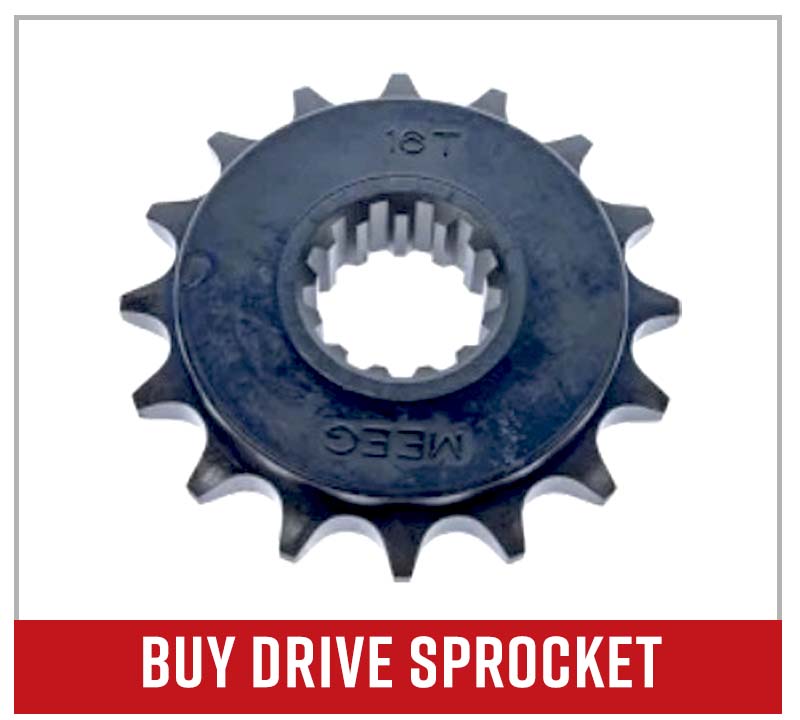
Step 5. Remove the 10mm drive sprocket bolt and washer and the sprocket from the driveshaft.
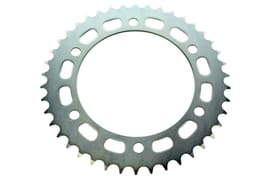
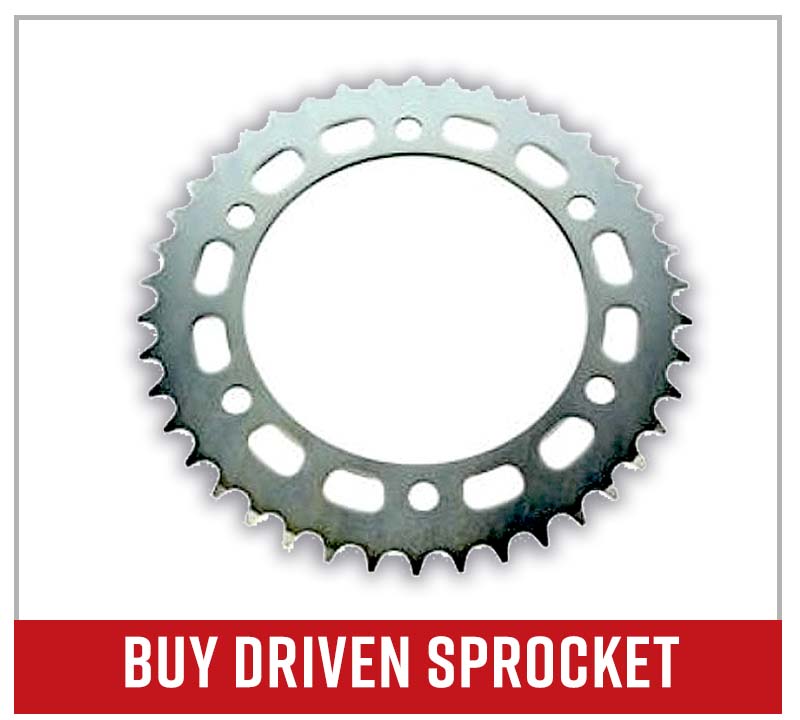
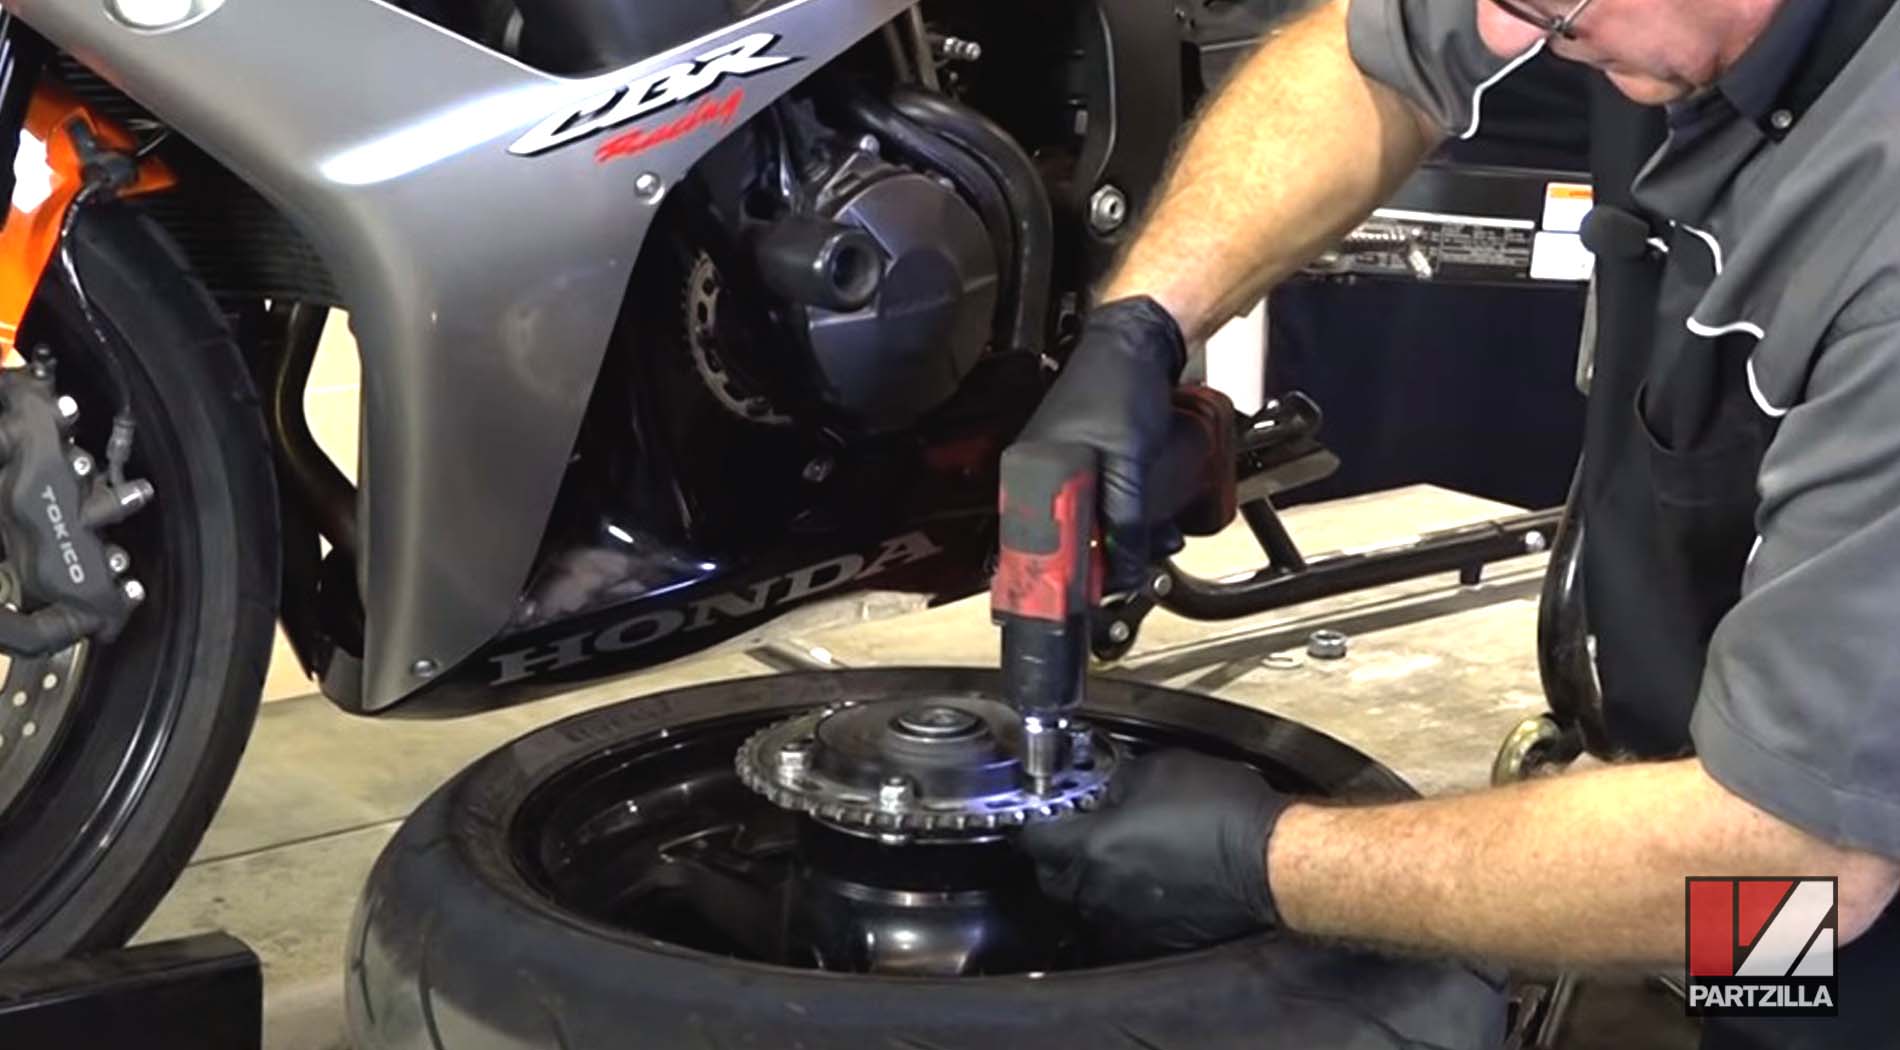
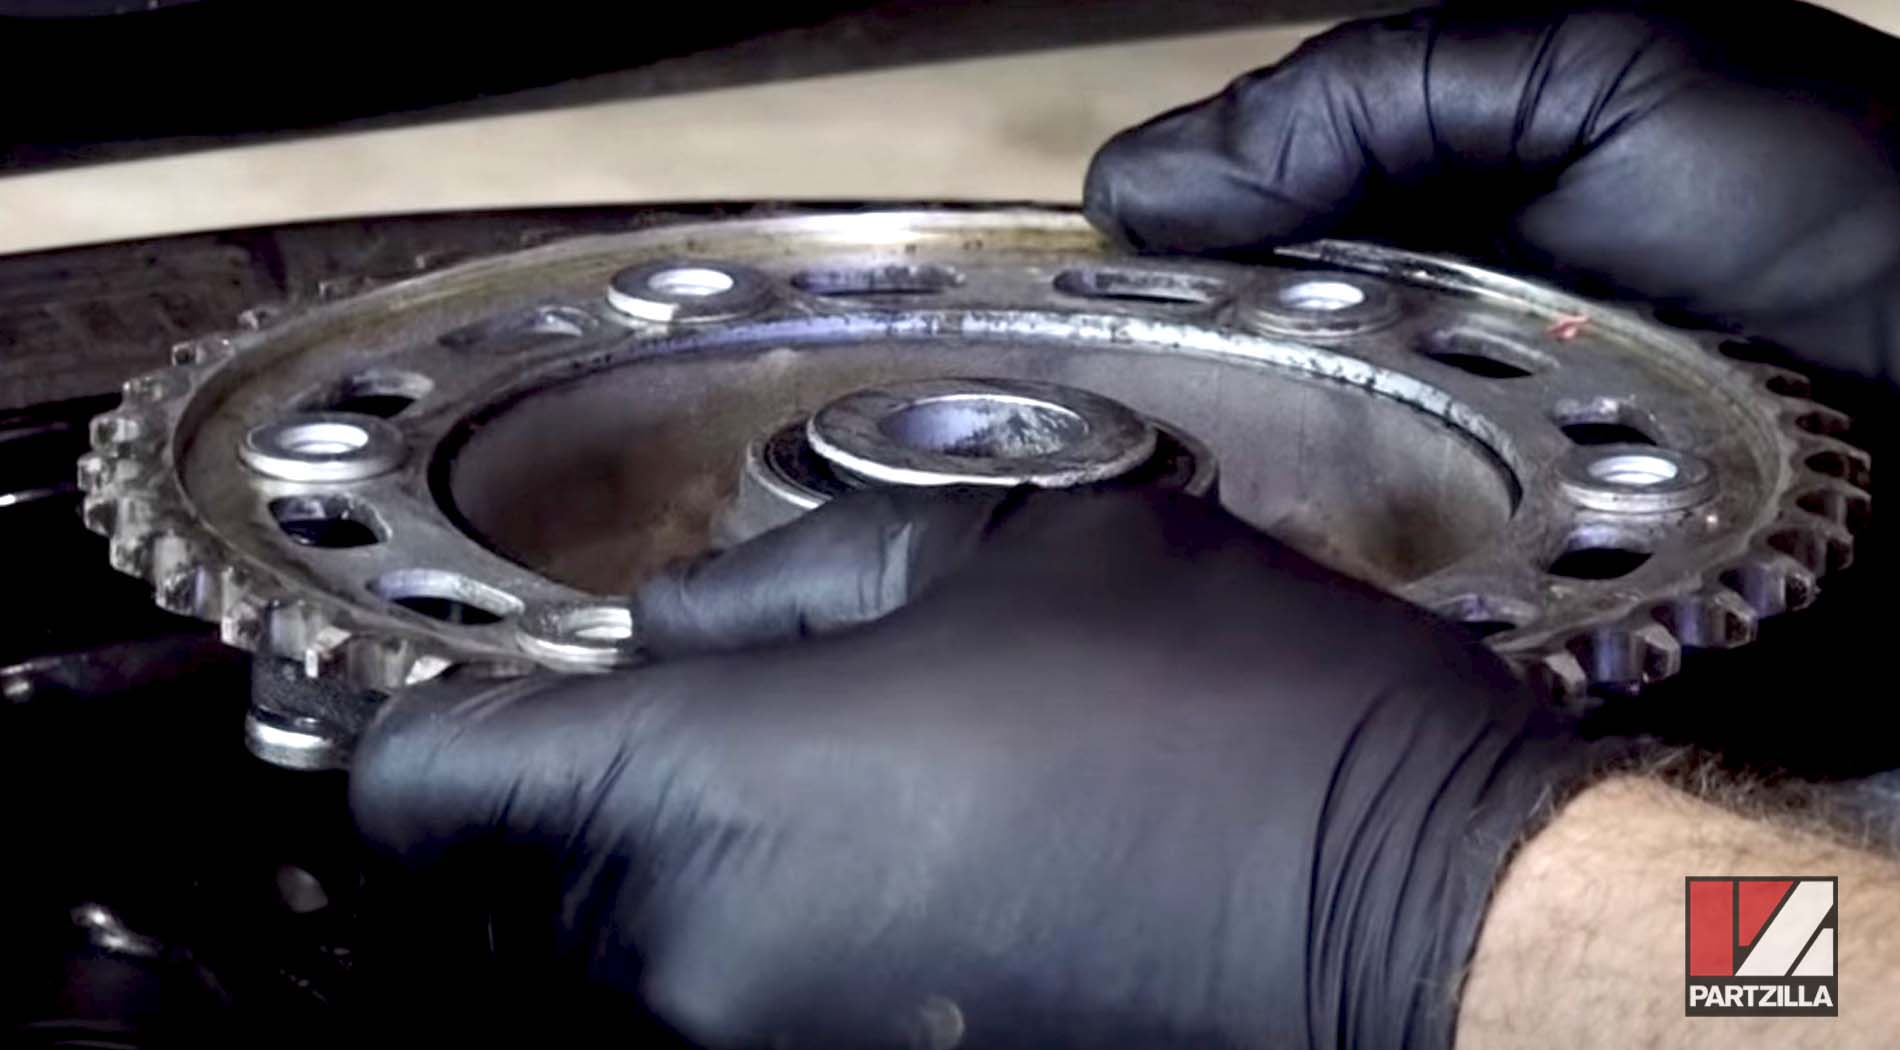
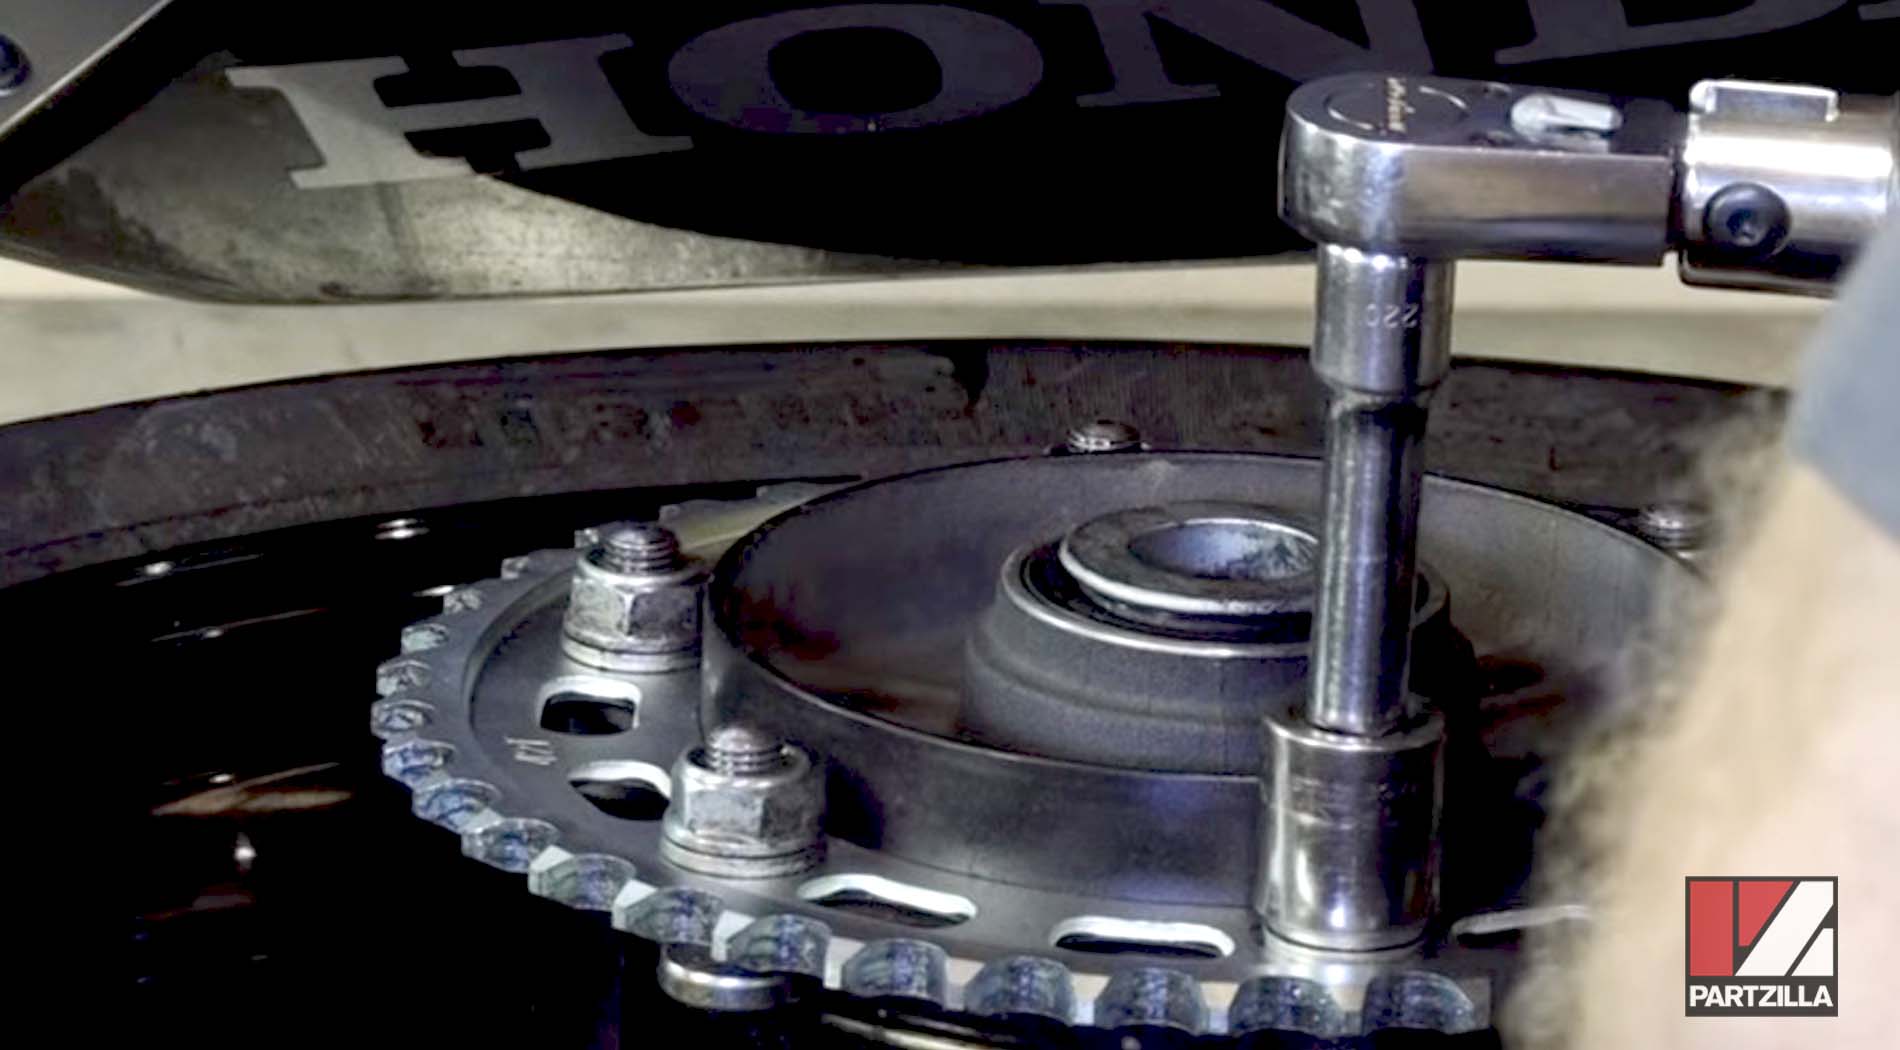
Step 6. Remove the six 10mm nuts and washers holding the driven sprocket to the rear wheel.
Installing Chain and Sprockets - Honda CBR600RR
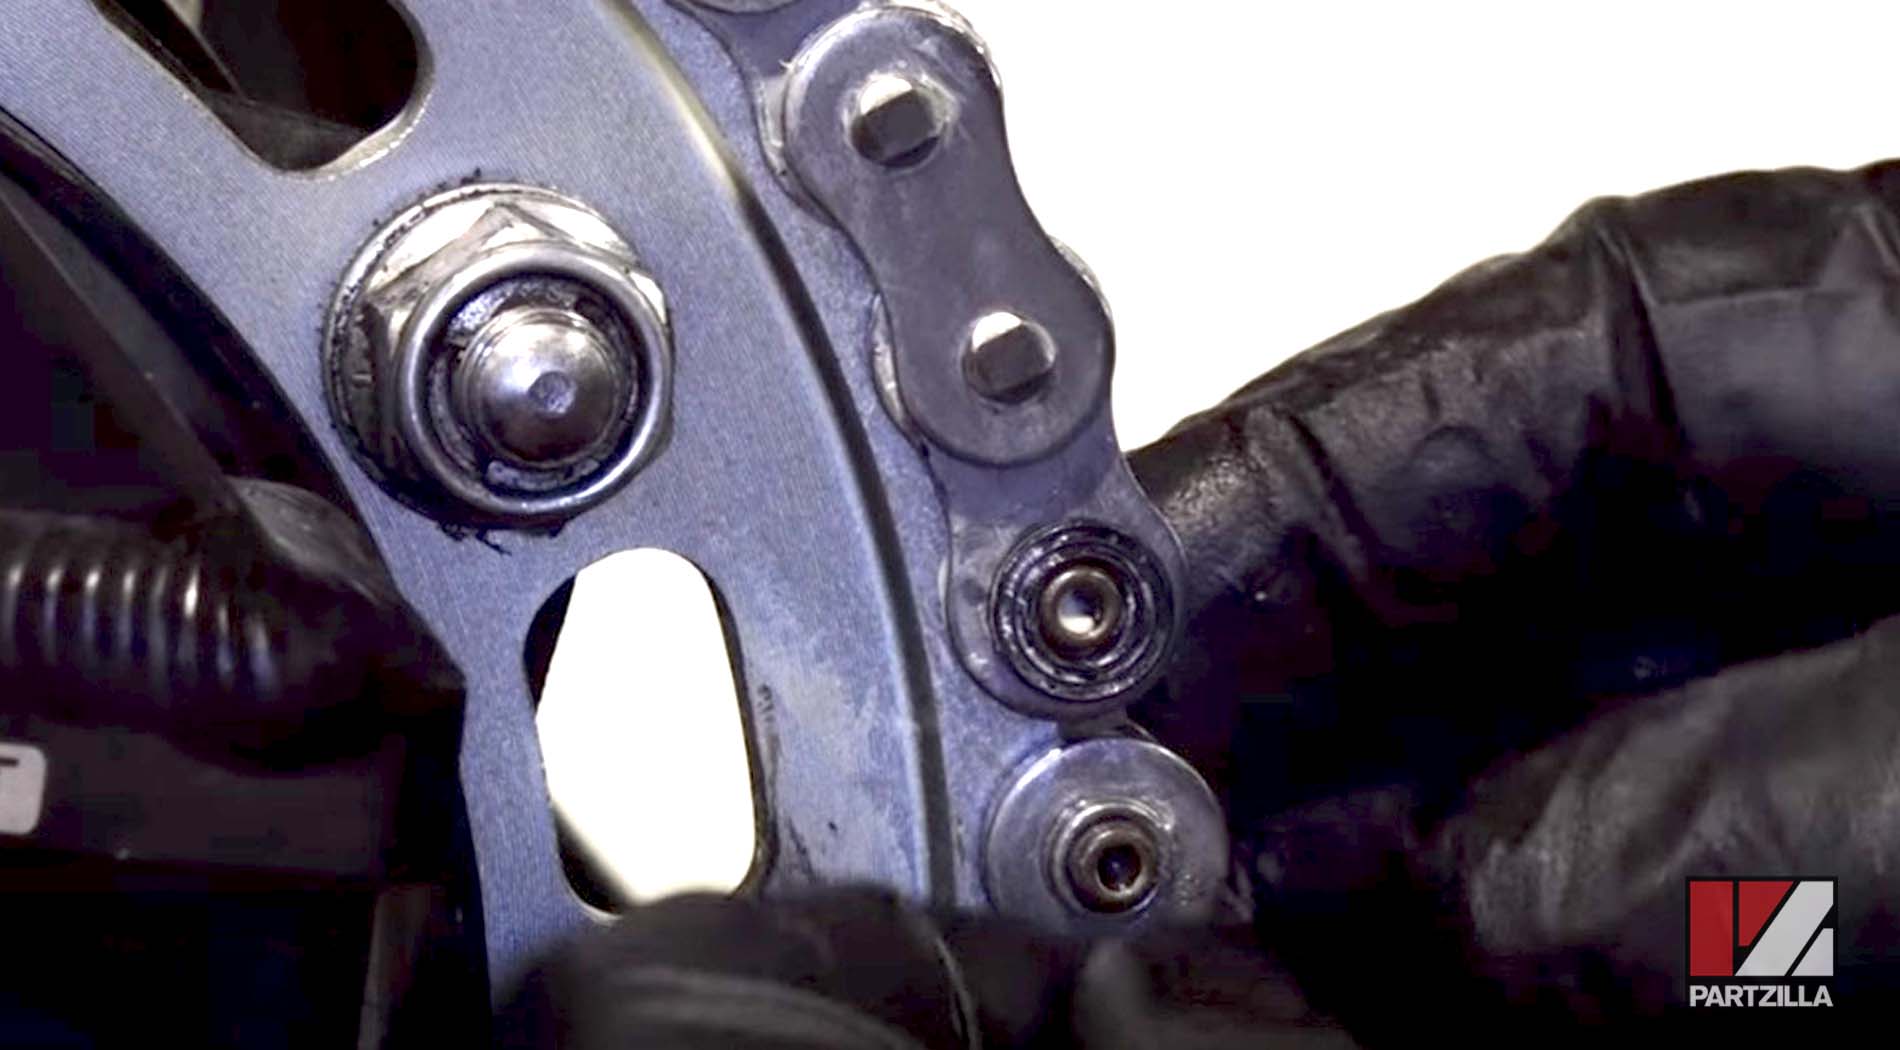
Step 1. Install the new driven sprocket onto the rear wheel, then reinstall the six nuts and washers and torque the nuts to 47 foot-pounds.
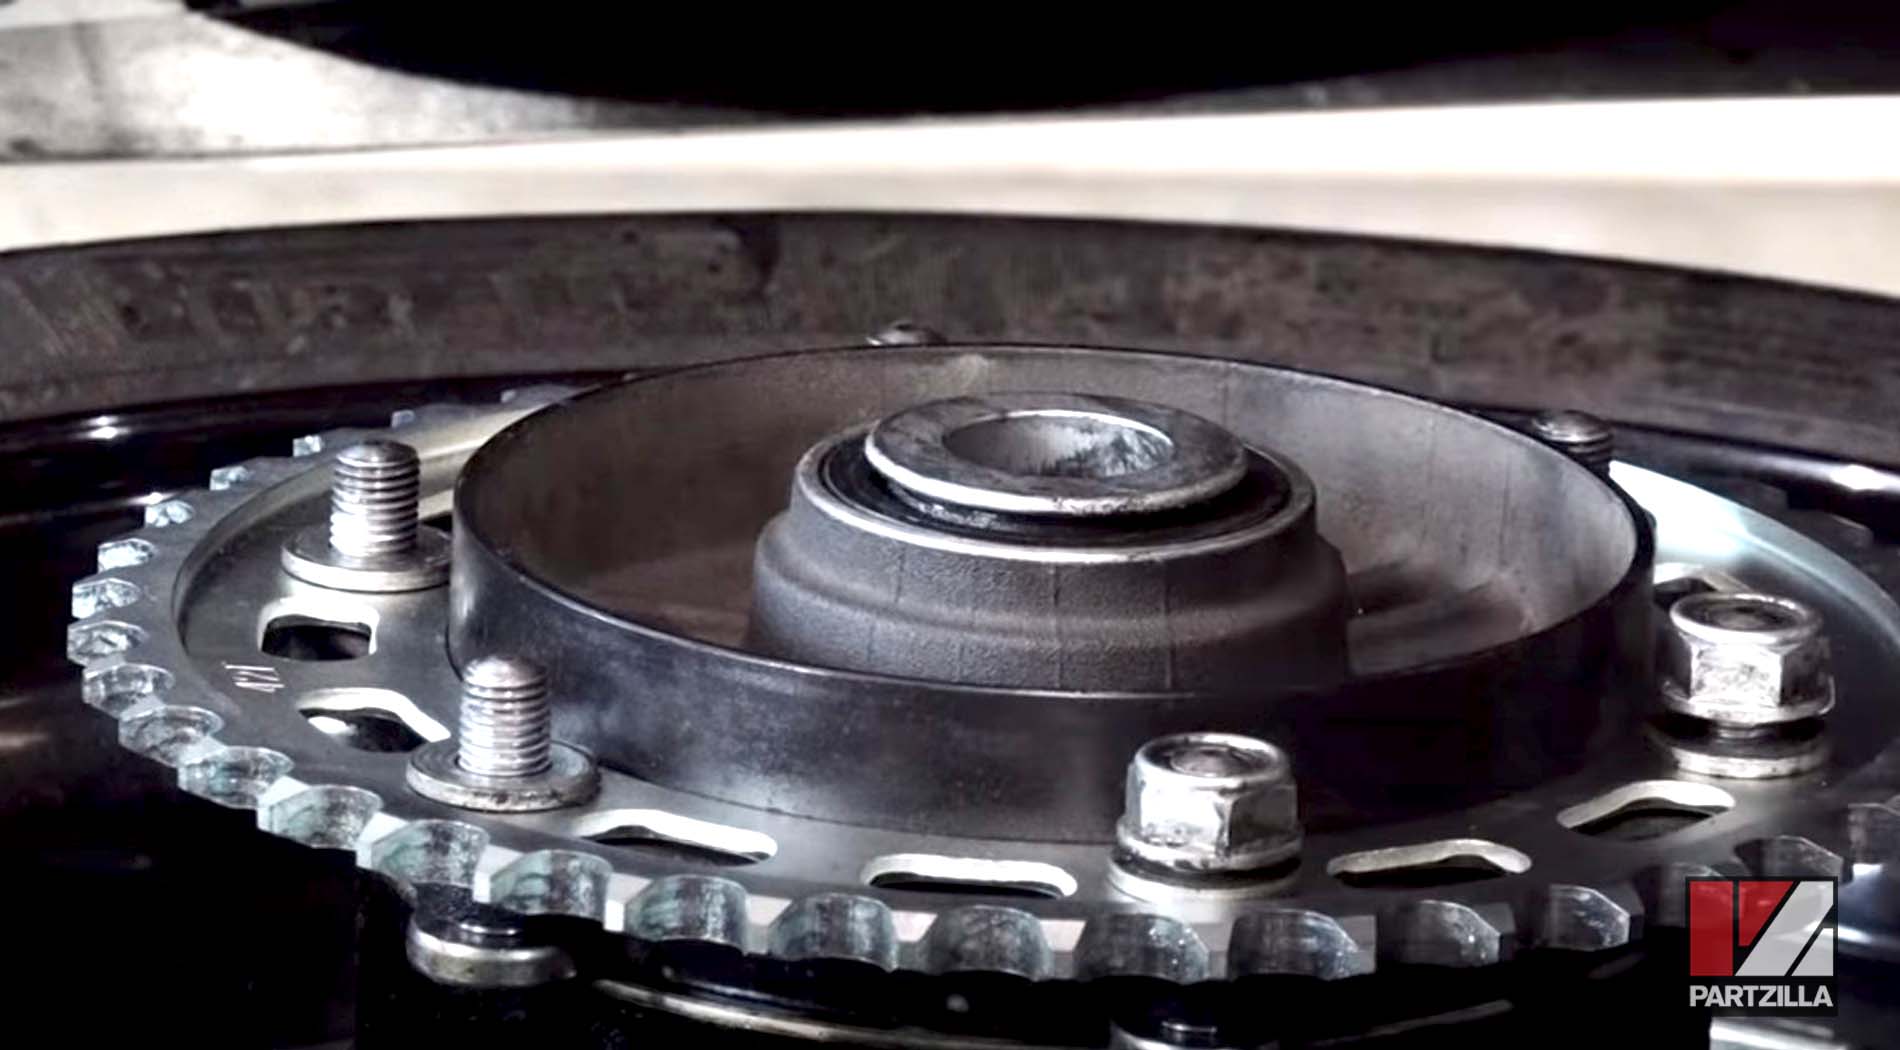
NOTE: Make sure the stamped markings on the driven sprocket are facing outward when you install it.
Step 2. Install the new drive sprocket onto the driveshaft, then reinstall the washer and nut.
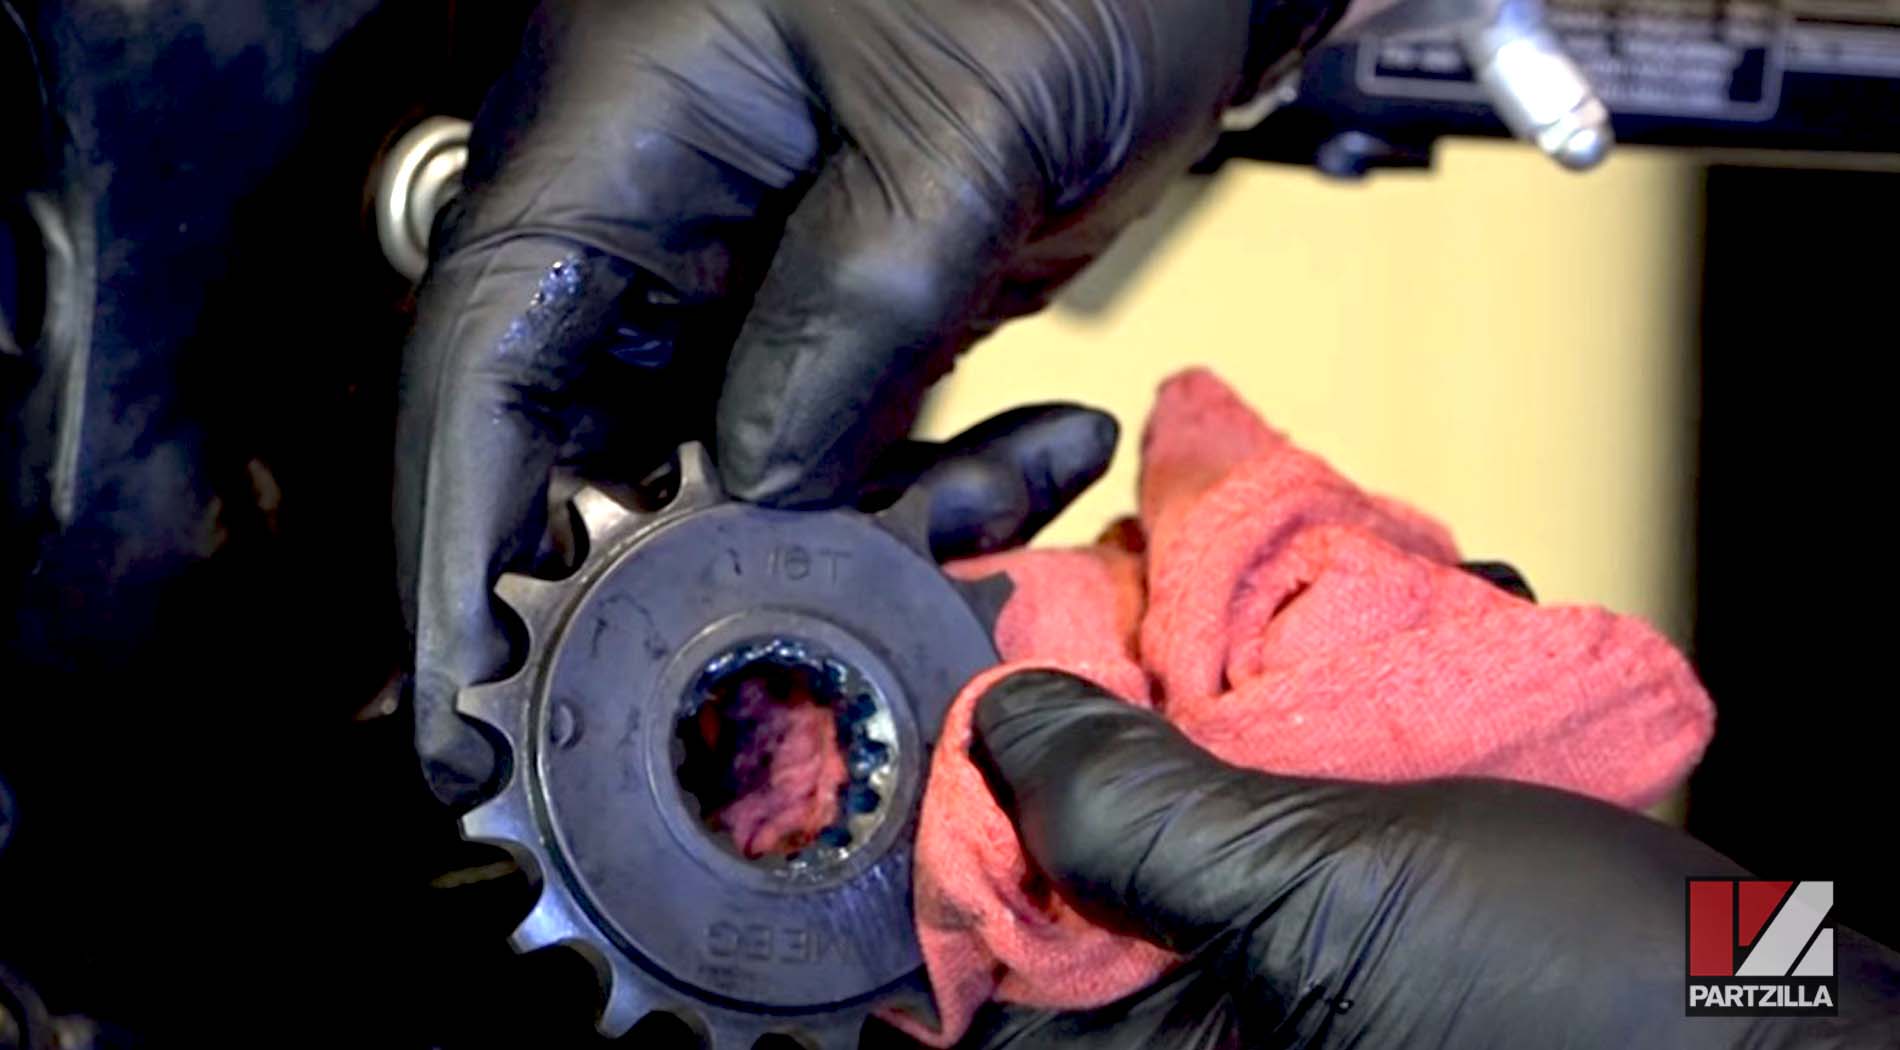
NOTE: Make sure the stamped markings on the drive sprocket are facing outward when you install it. Tighten the sprocket bolt finger-tight to prevent putting stress on the transmission.
Step 3. Loosen the 12mm locking nuts on the axle adjustment bolts on either side of the swingarms, and back off the adjustment bolts.

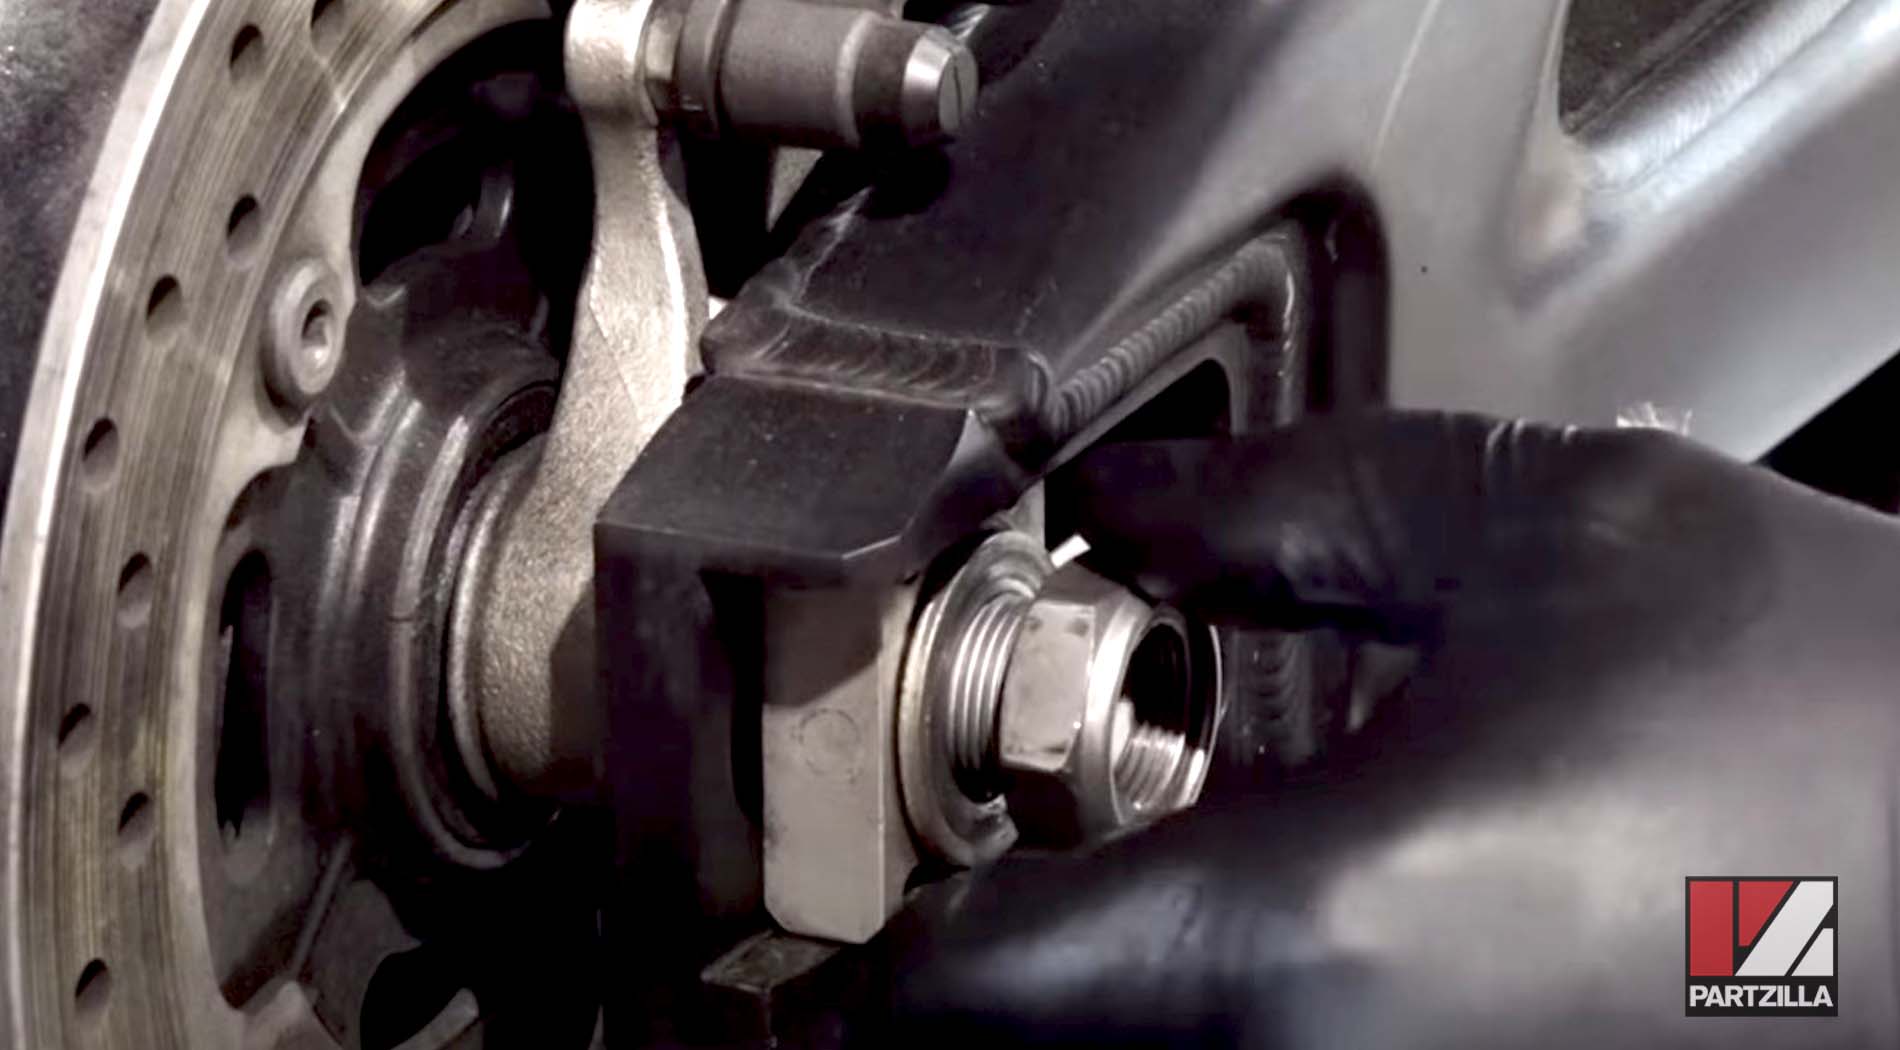
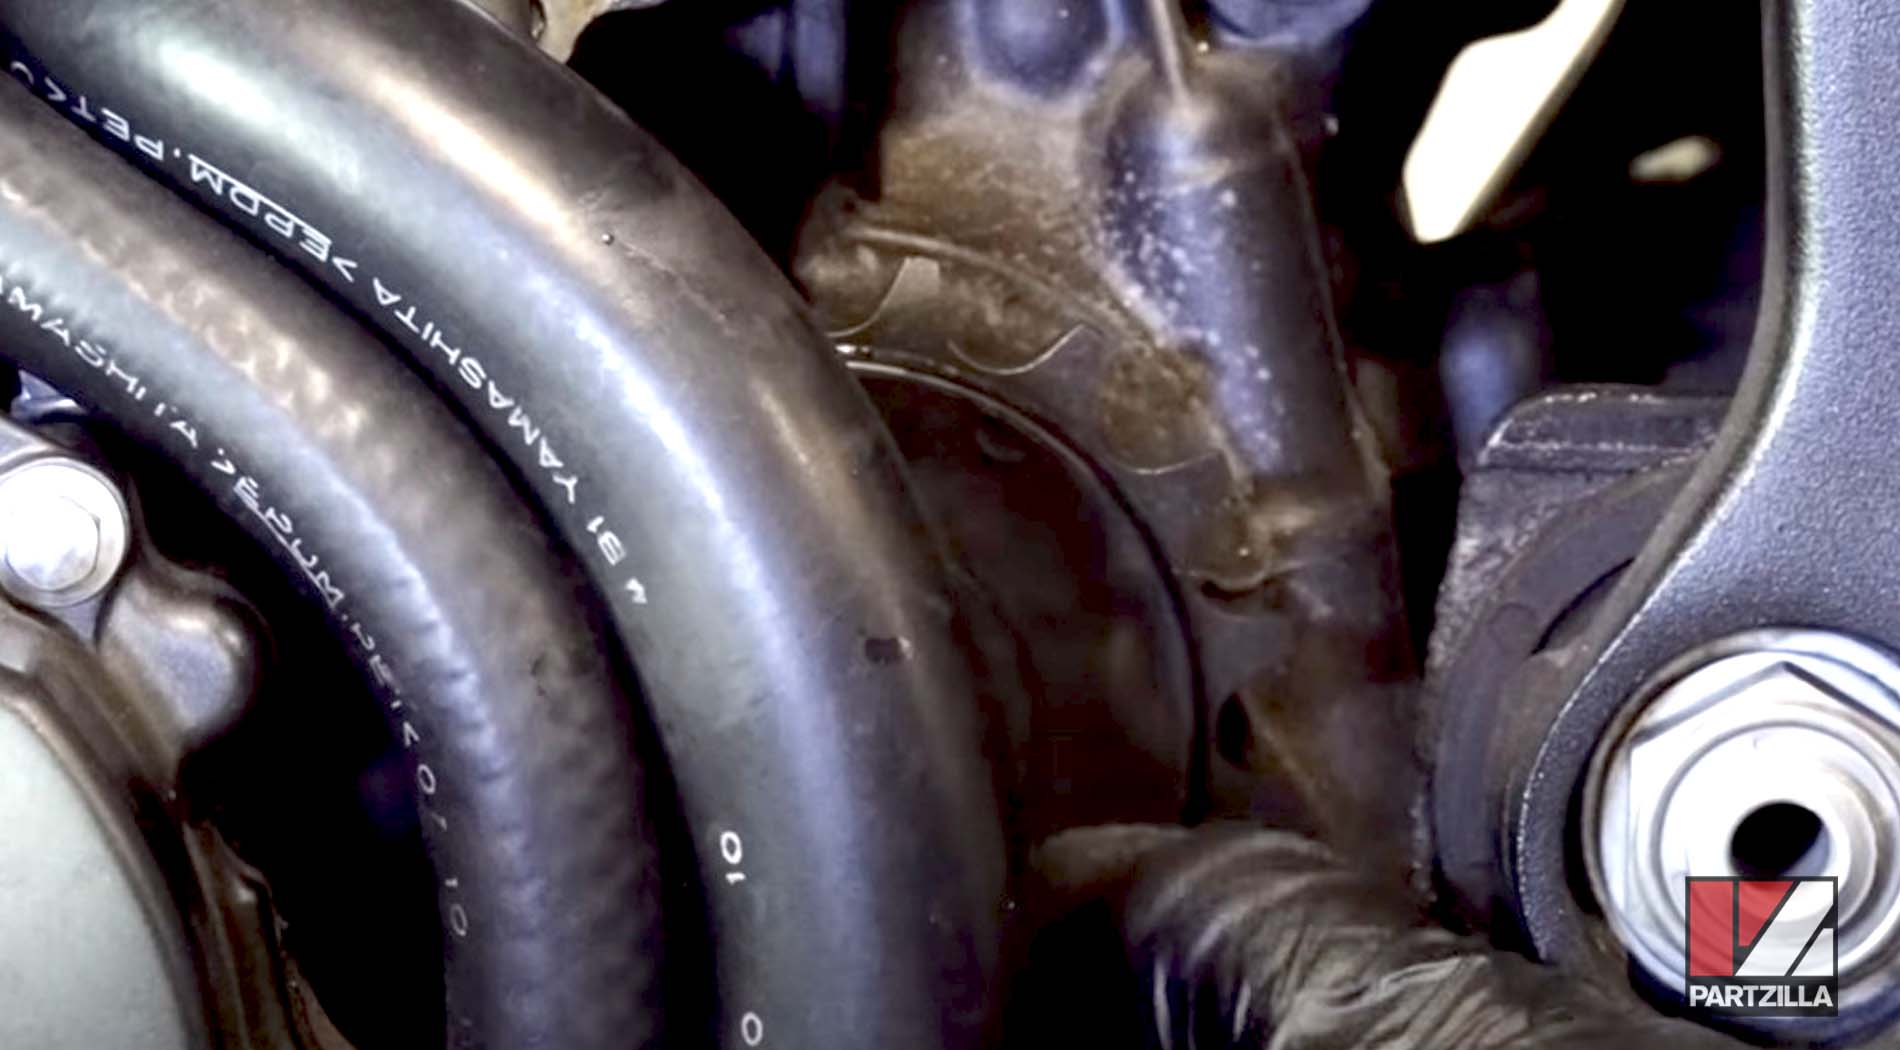
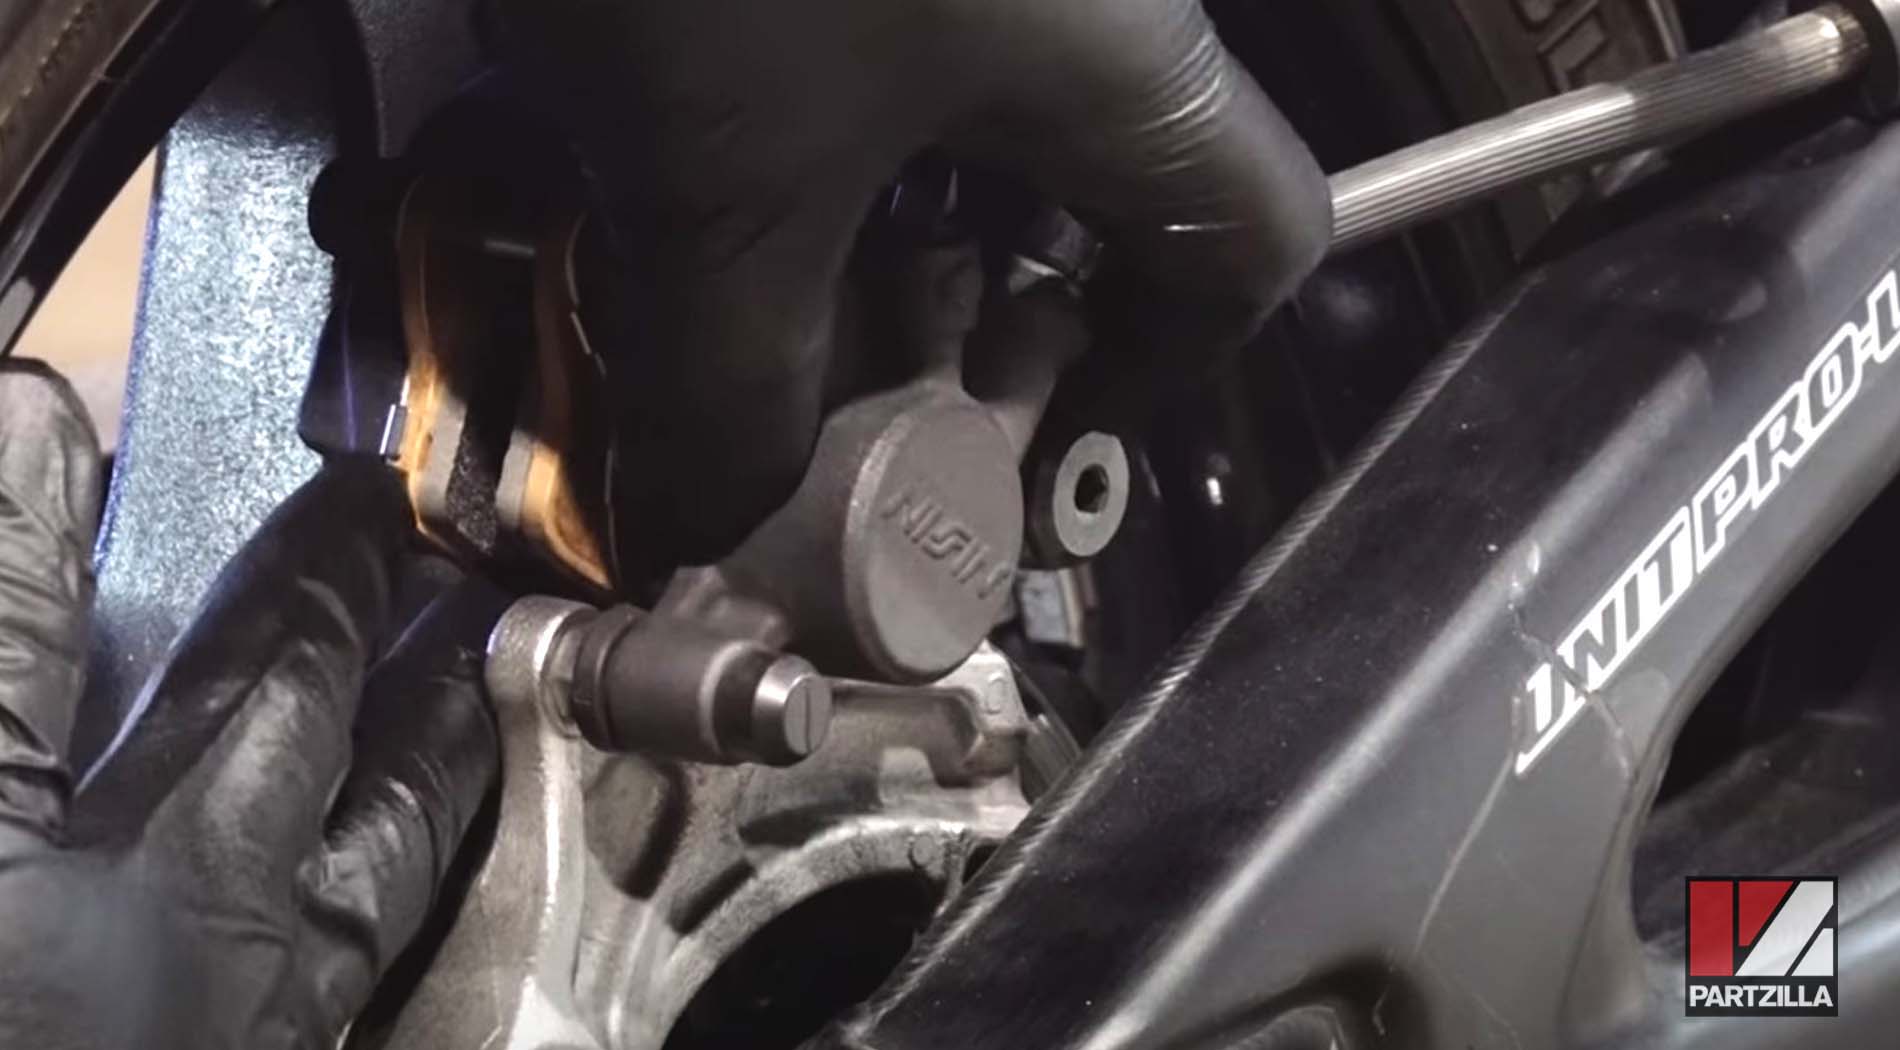
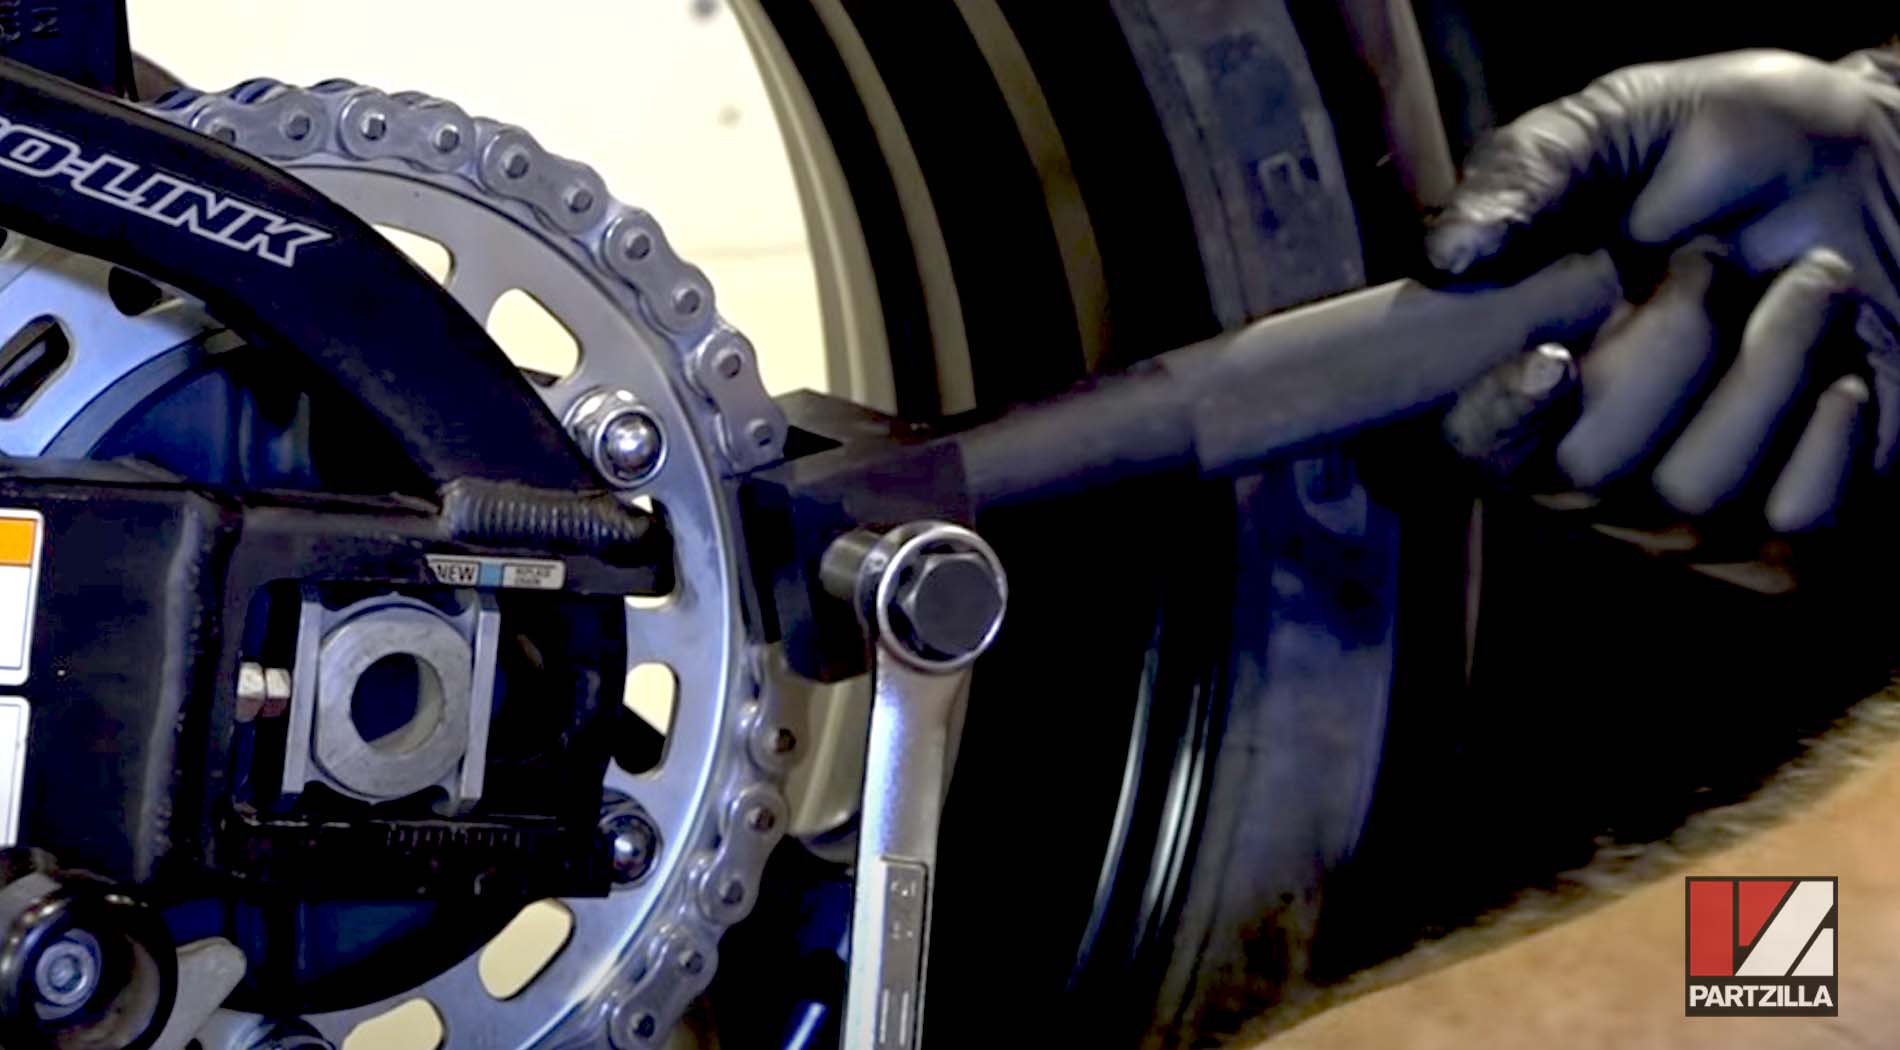
Step 4. Position the rear wheel between the swingarms, slide the brake caliper assembly back over the brake disk, then clean and grease the axle and reinstall it. Torque the axle nut to 83 foot-pounds.
PRO TIP: Use a couple of pieces of 2x4 to support the wheel, or have someone hold it for you while you reinstall it.
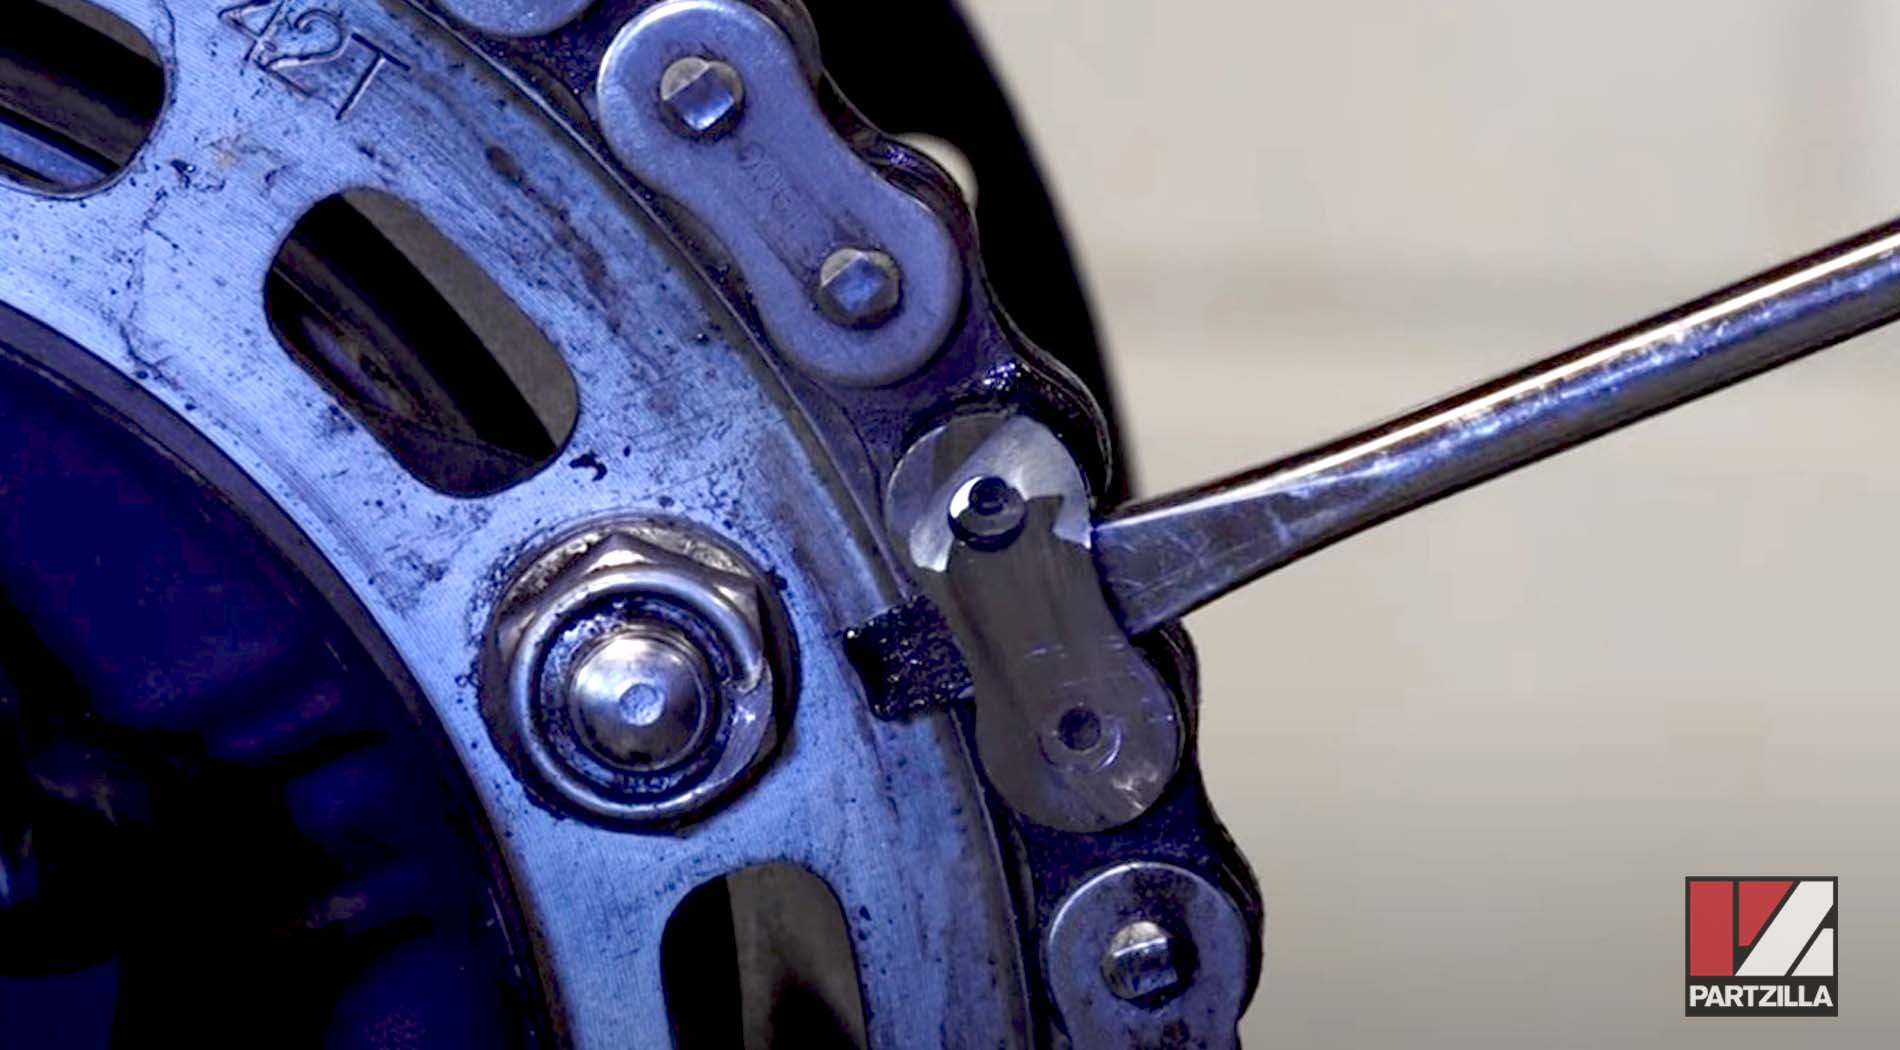
Step 5. Count the number of links in the old chain, then count the same number of links in the new chain. Mark the point you need to break the new chain and either use a chain tool or an angle grinder to break it.
NOTE: Cutting the new chain too short means you’ll have to buy another chain. The rule of thumb is to measure twice and cut once.

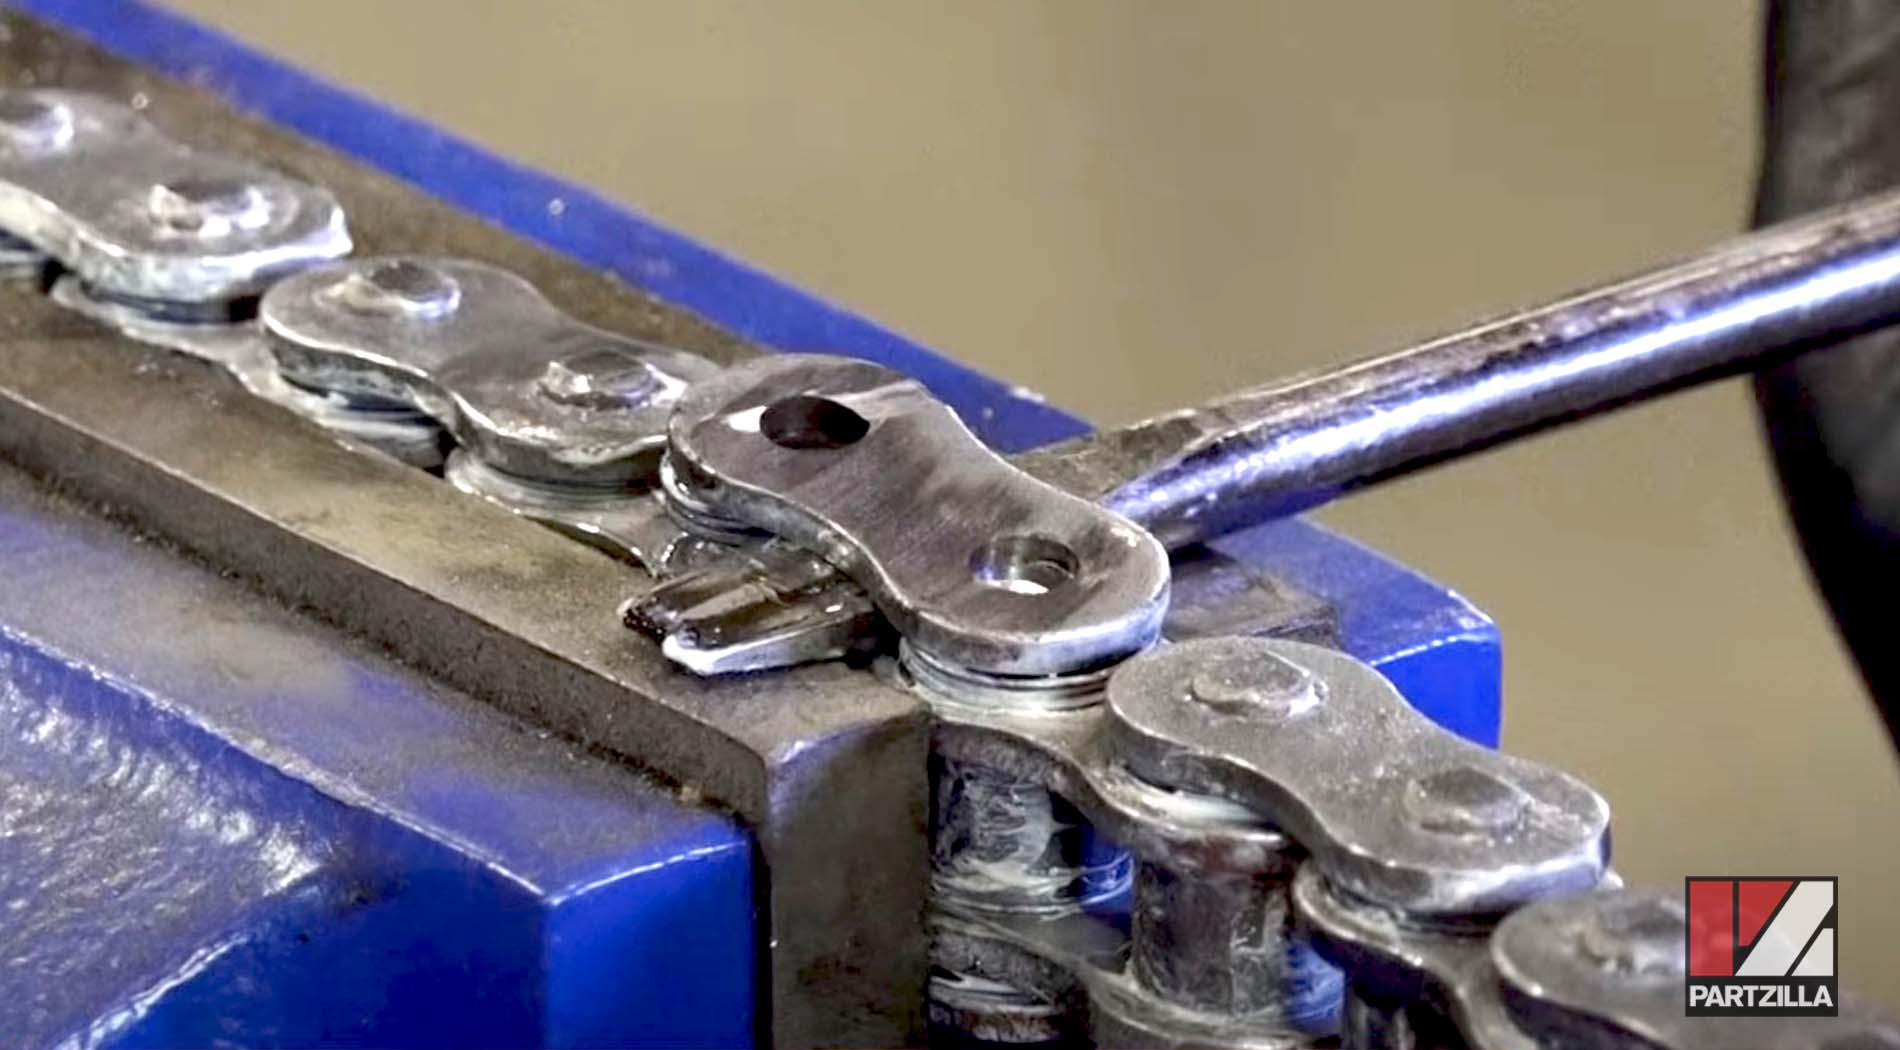
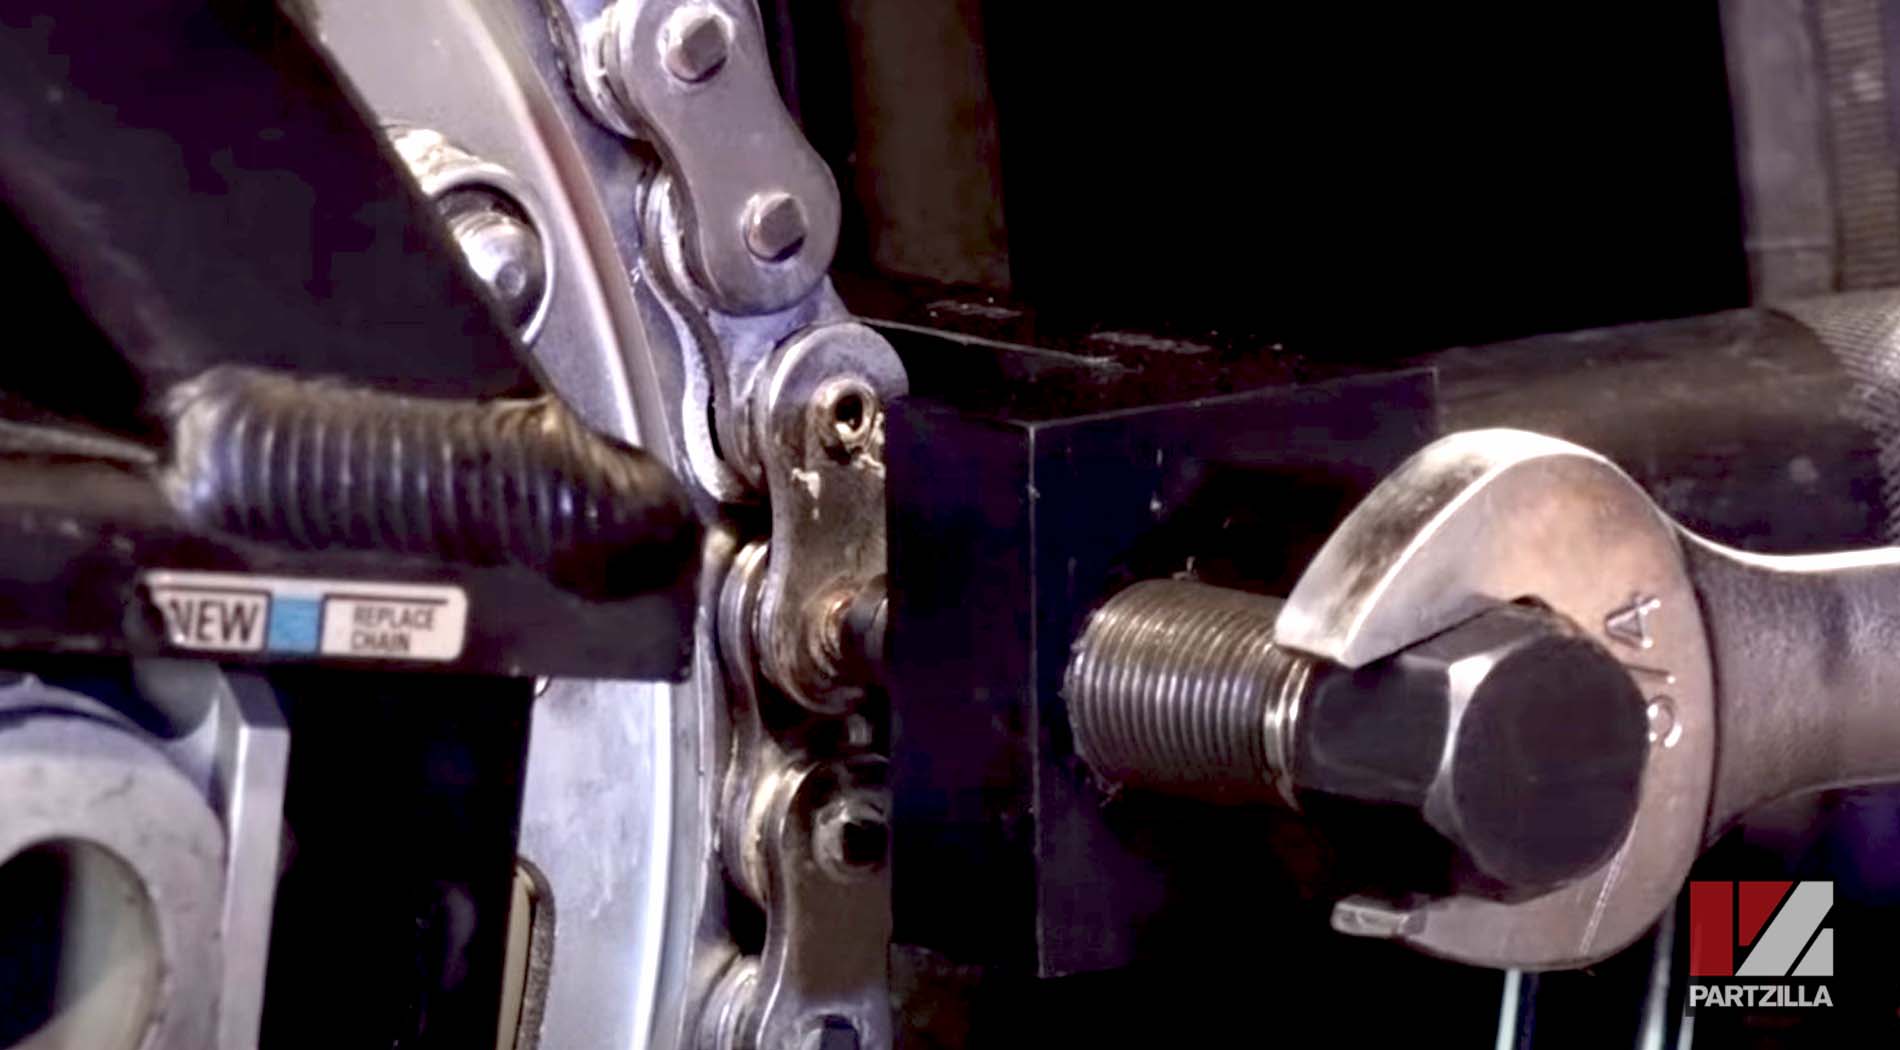
Step 6. Install the new chain over the new sprockets, and secure it with the new master link. Make sure you install the four master link O-rings on the back side and front side of the chain.
Step 7. Use a chain tool to press the new master link outer plate onto the chain, then use the chain tool to flare the master link’s pins.
Step 8. Torque the drive sprocket bolt to 40 foot-pounds and reinstall the drive sprocket cover.
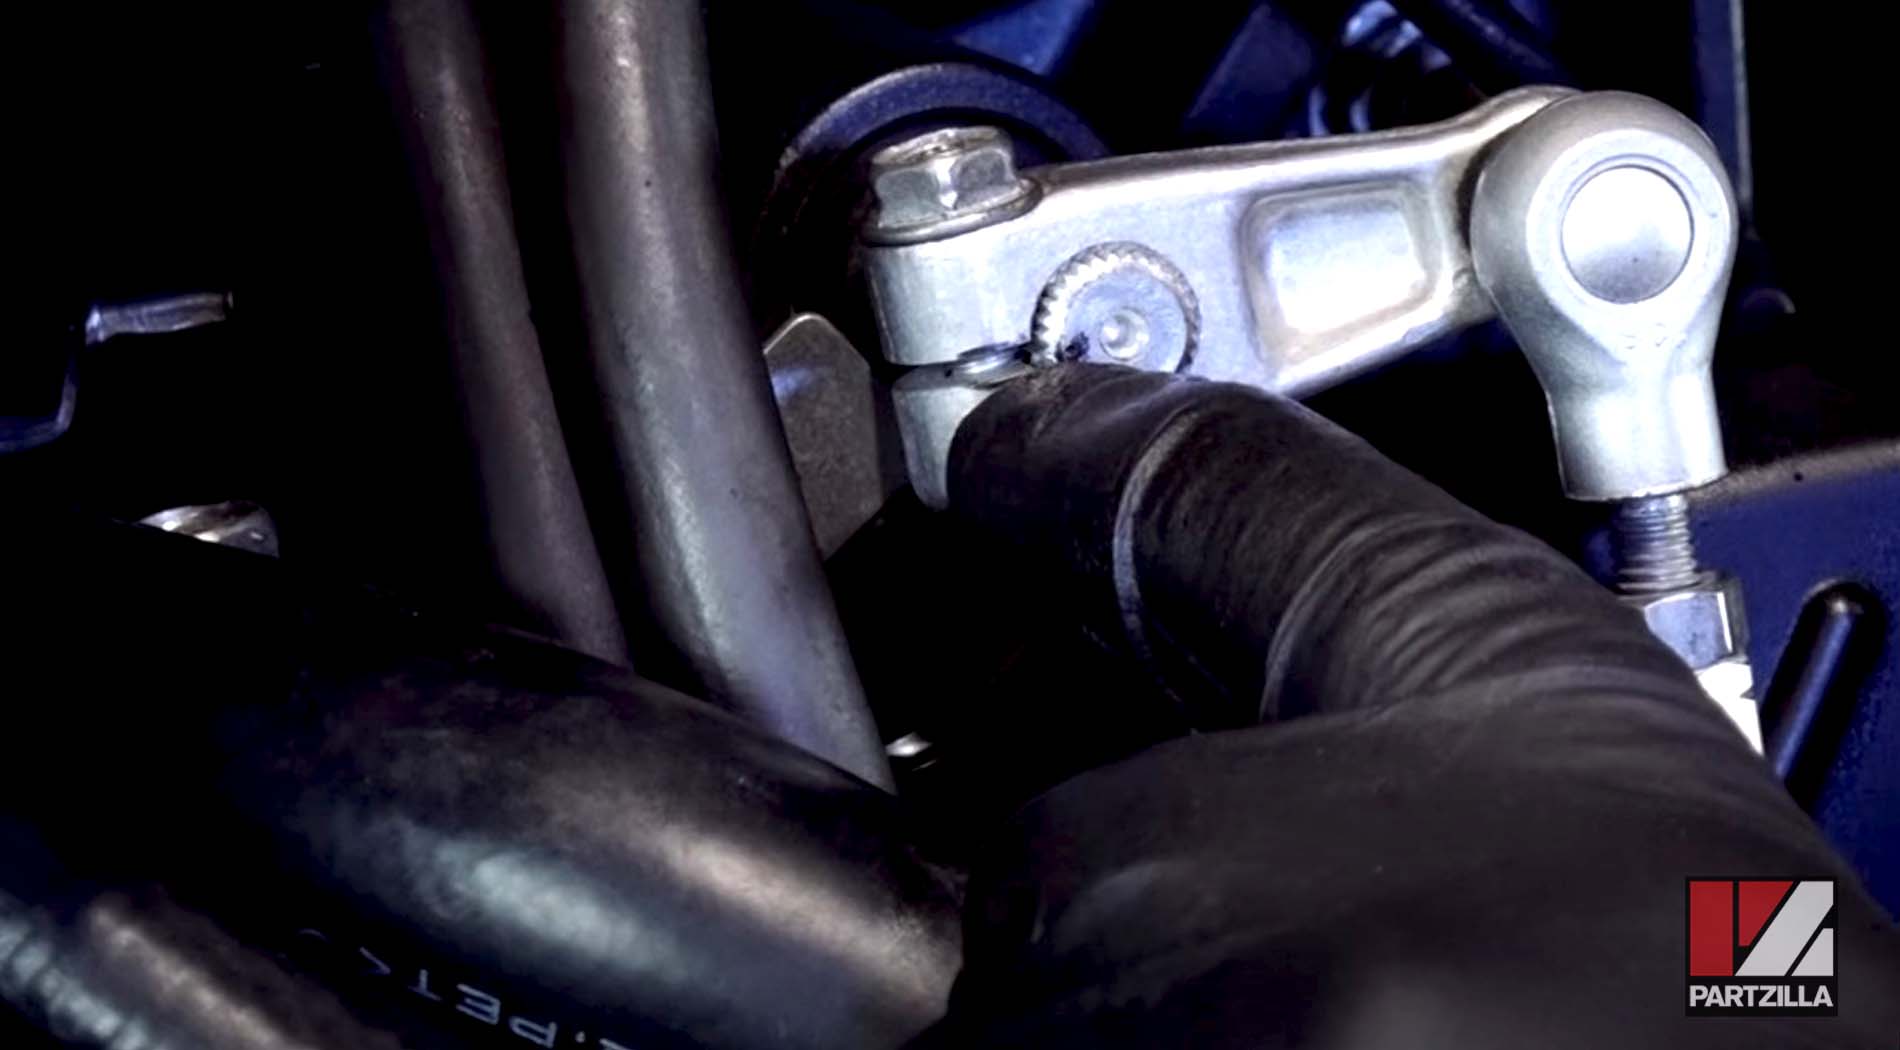
Step 9. Reattach the gearshift linkage to the gearshift spline and tighten the pinch bolt. Make sure the stamped mark on the gearshift spline aligns with the split in the gearshift linkage.
After installing the new chain and sprockets, it’s time to adjust the chain. Watch the video below to see how to do a Honda CBR 600 chain adjustment.