How to Replace a Honda CBR929 Rear Tire
If you ride your Honda motorcycle hard enough, it's going to chew up some rear tires pretty quickly, so you might want to learn how to change them out yourself.
To make this job easier, warm up both your new and current rear tires before starting. Warming the tires makes them pliant, and easier to remove and install. Place your bike and the new rear tire in direct sunlight for about an hour so they absorb plenty of heat. Watch the Honda CBR 929RR rear tire change video above and follow the step-by-step guide below to get this job done.
Tools and Parts - Honda CBR929 Rear Tire Replacement
- Wheel stand
- Valve core tool
- Replacement rear tire
NOTE: We changed the rear tire on a Honda CBR929RR, but the steps are the same or similar for replacing the rear tire on most motorcycle makes and models.
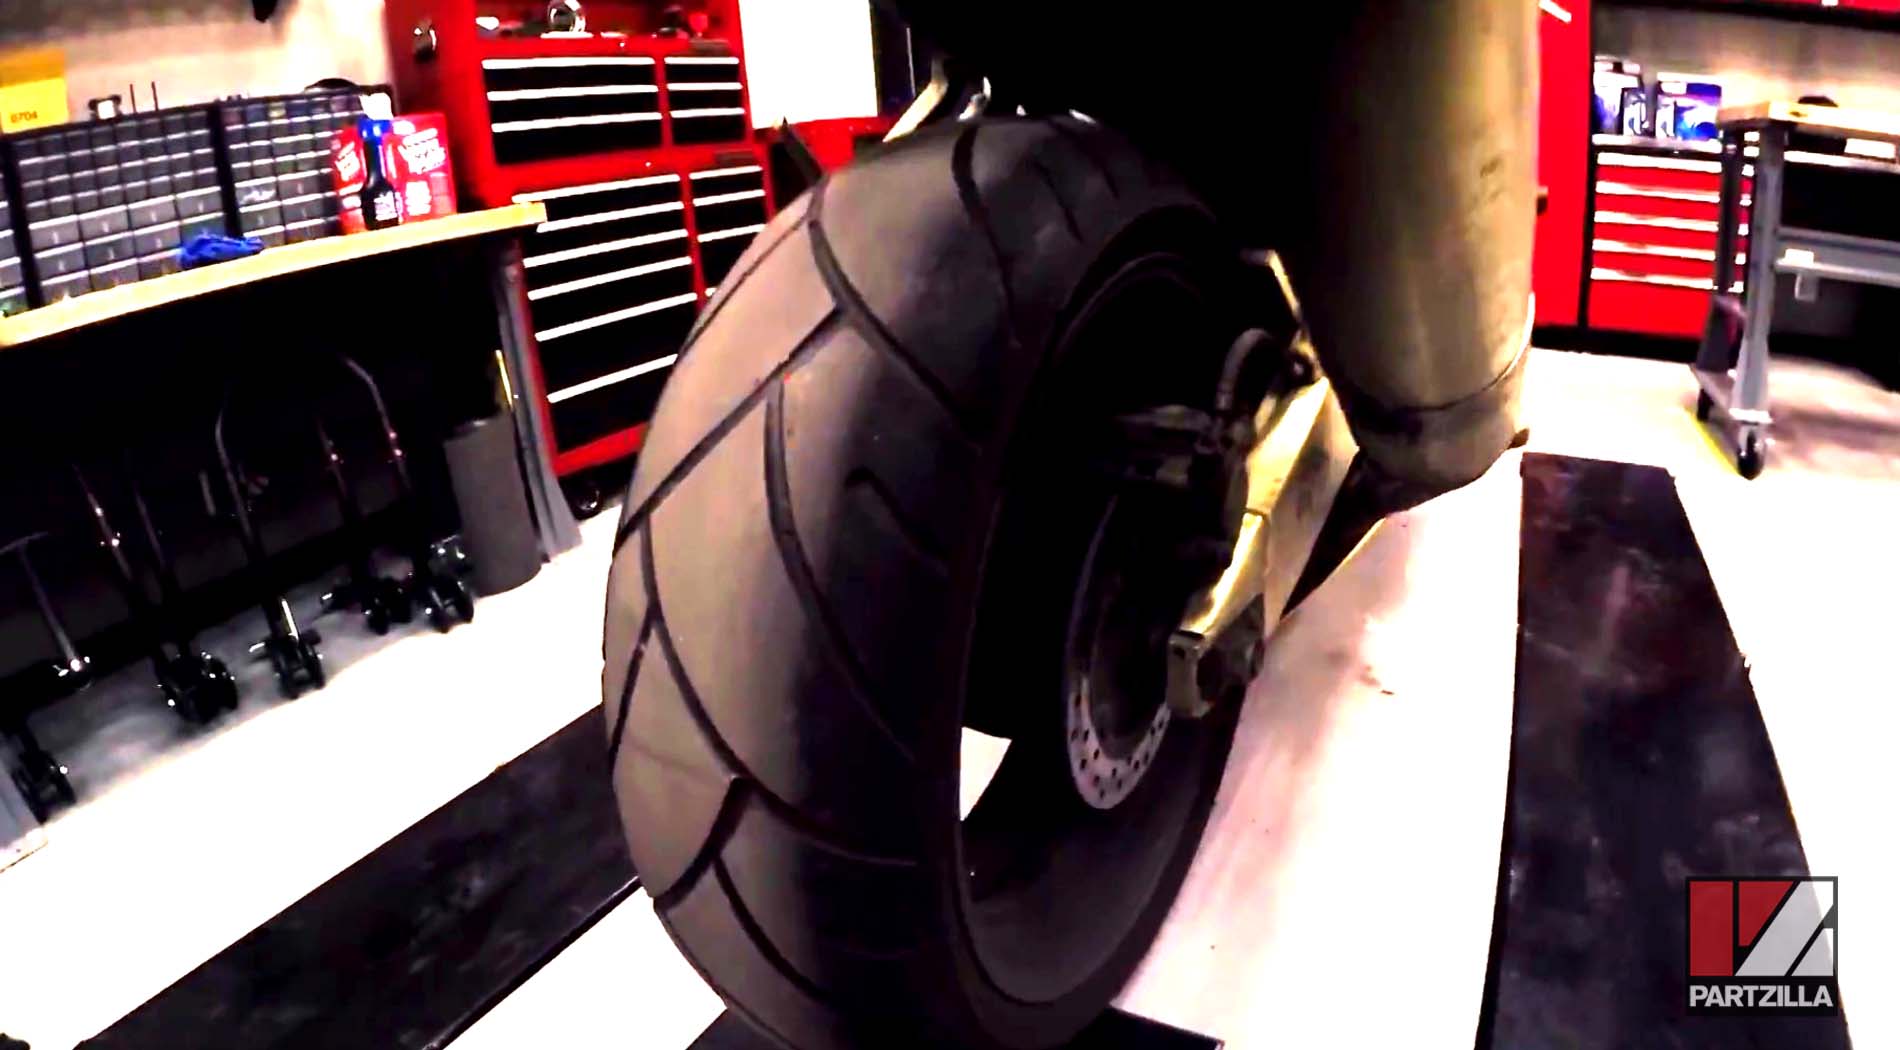
Honda CBR 929RR Rear Tire Removal
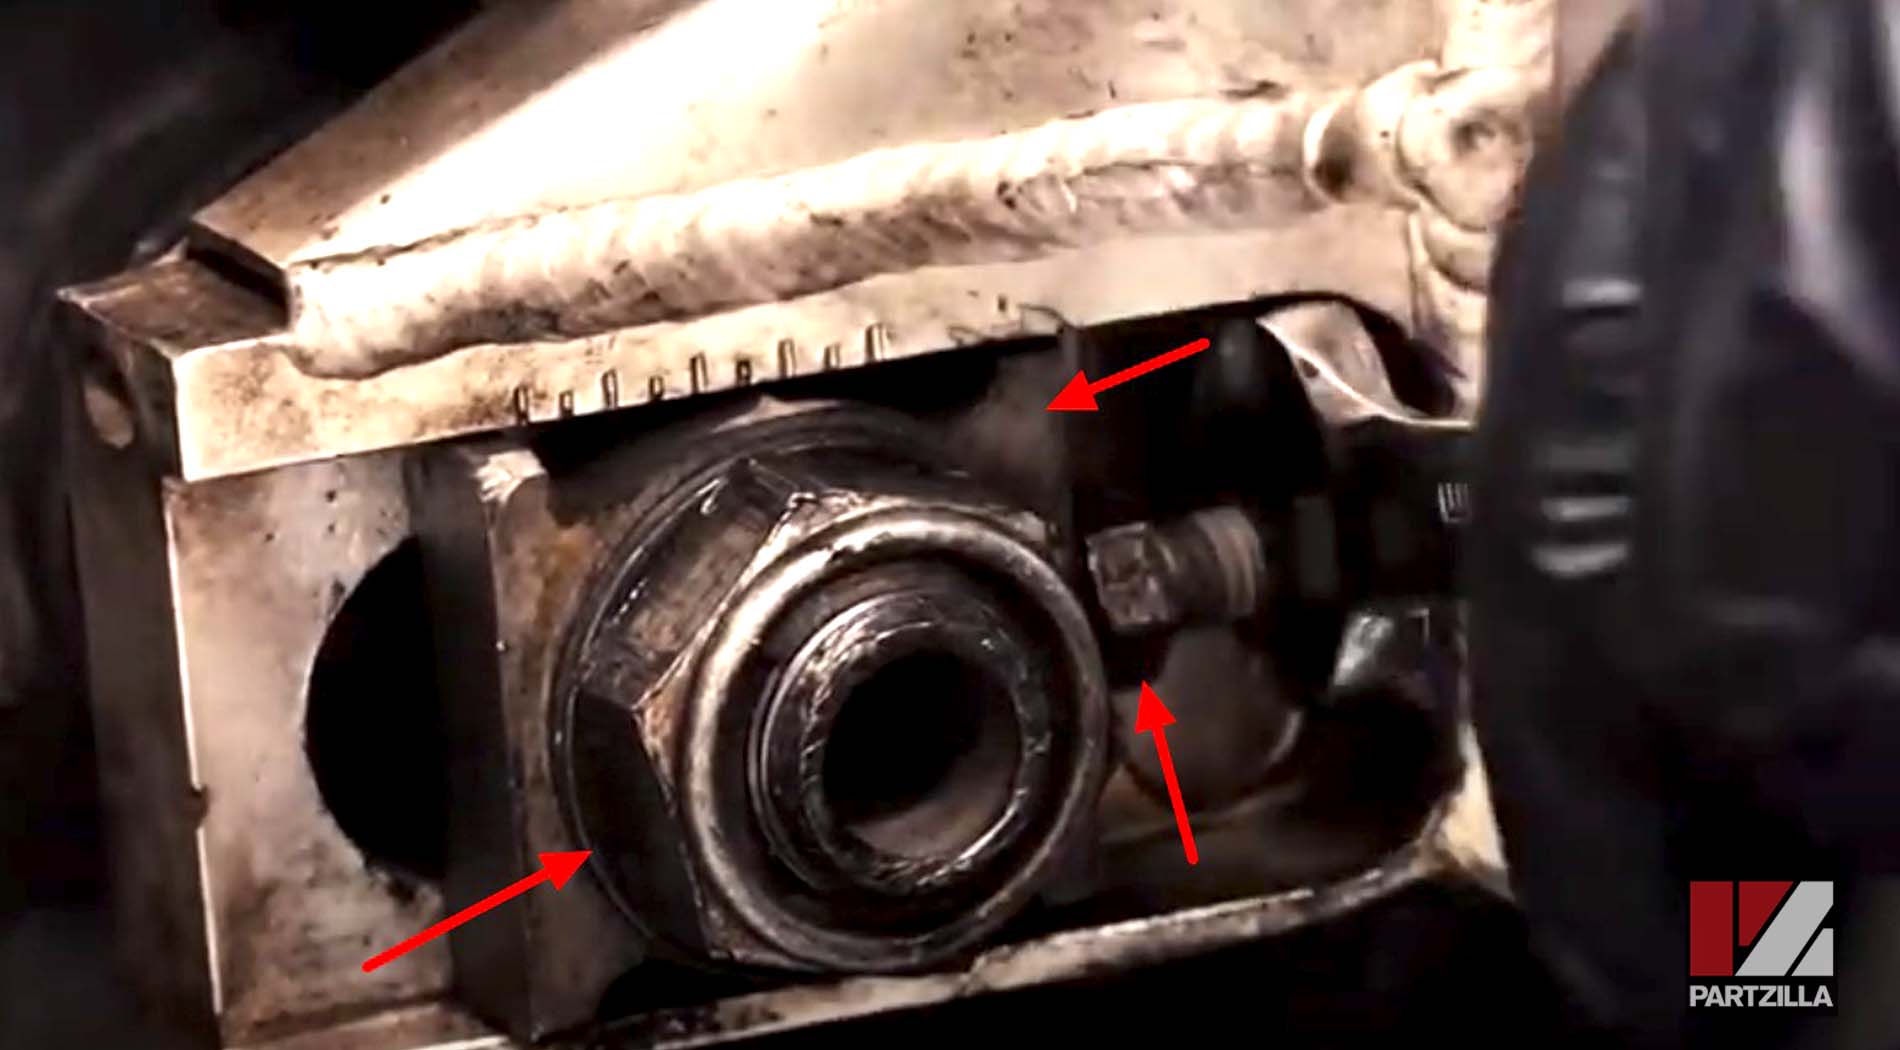
Step 1. Set the bike on a wheel stand, then loosen the chain adjusters located on either side of the rear swingarm.
Step 2. Remove the rear axle nut, washer and chain adjuster, then pull the rear axle out from the swingarm.
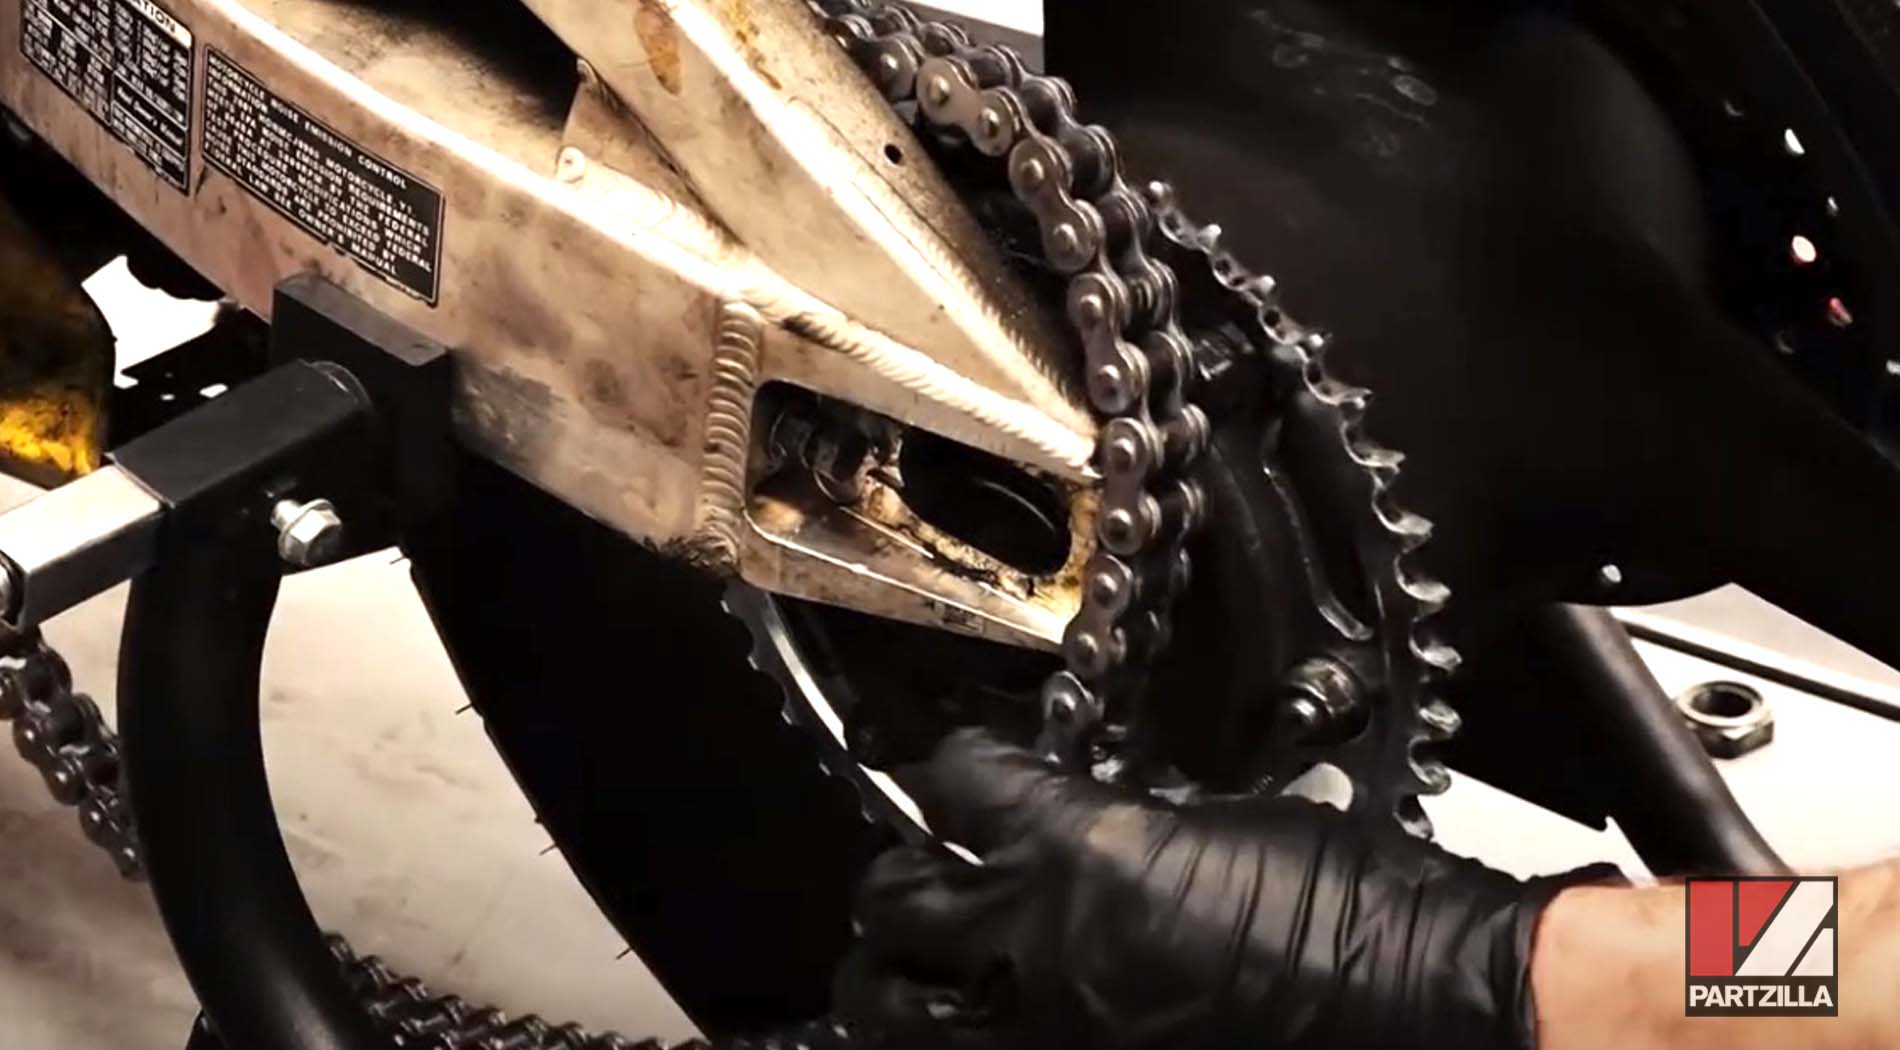
Step 3. Remove the chain from the rear sprocket and pull the rear wheel out from the swingarms, carefully sliding the brake caliper off the brake rotor as you do so.
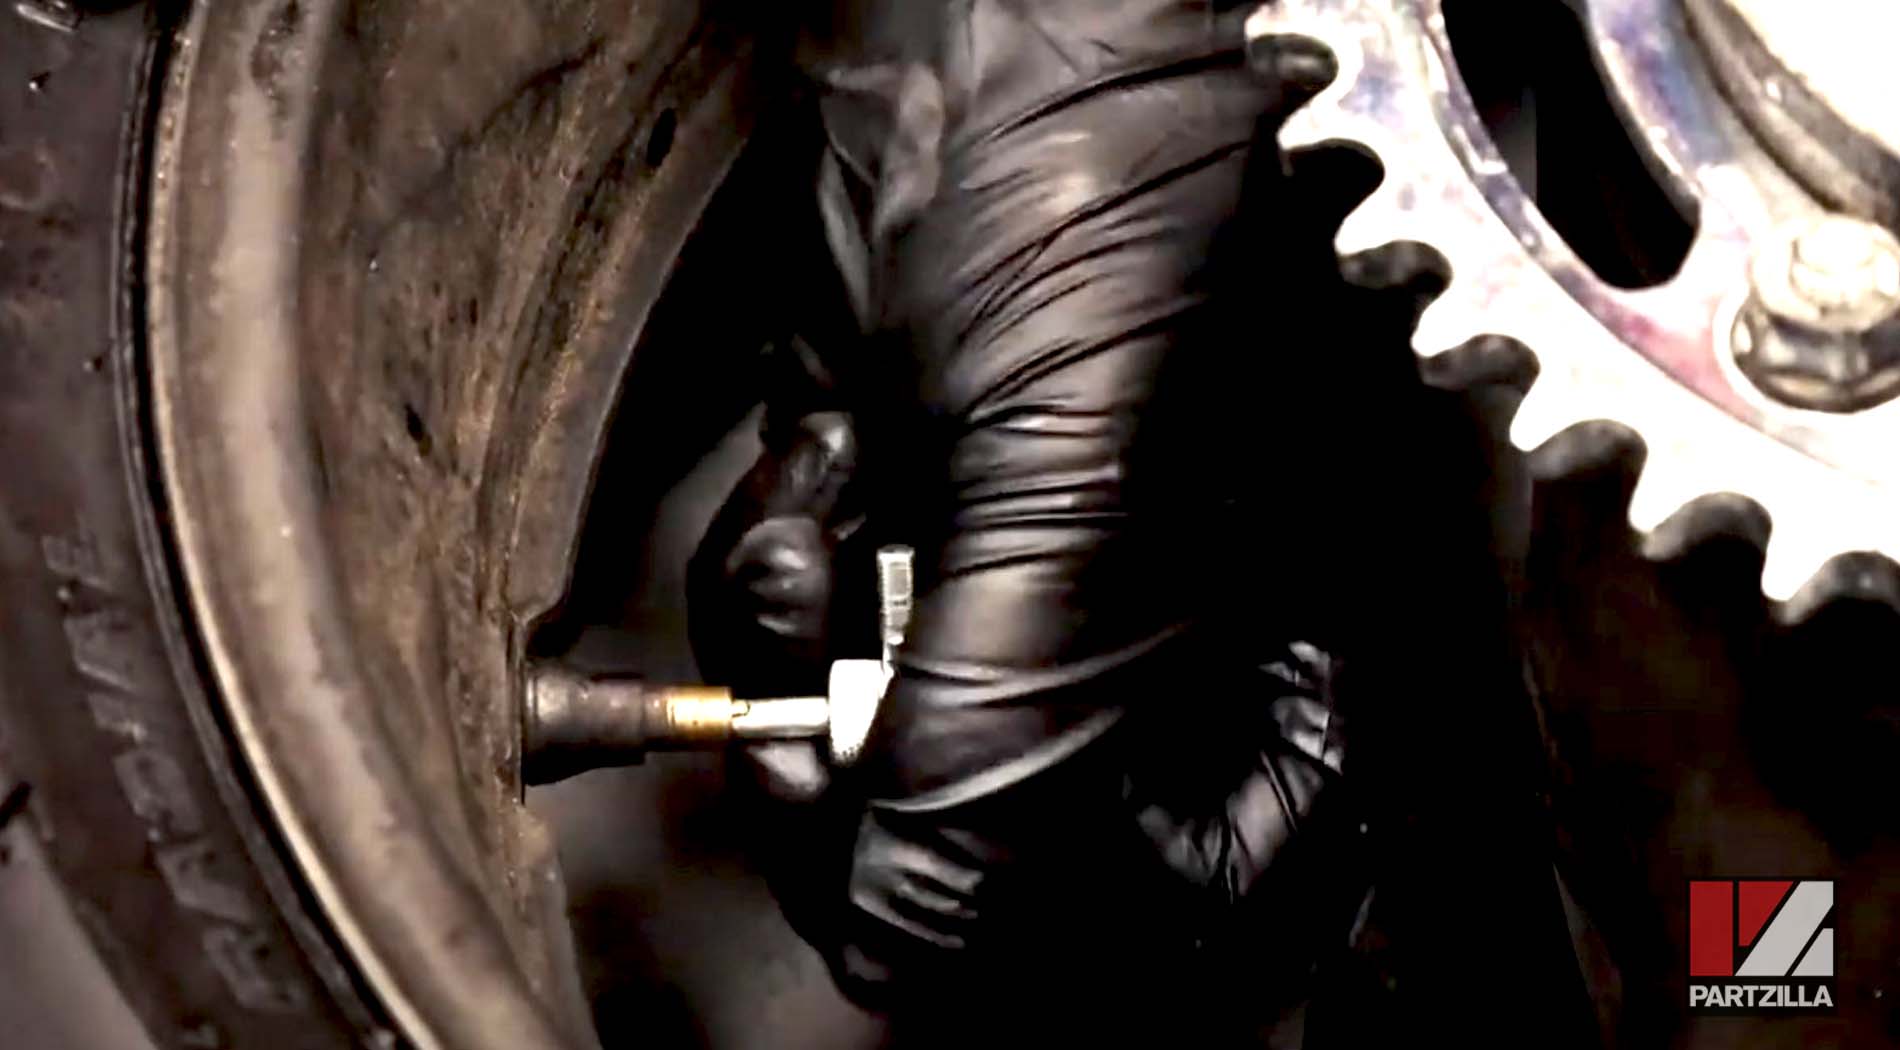
Step 4. Remove the valve's dust cap, followed by the valve stem with a valve core tool.
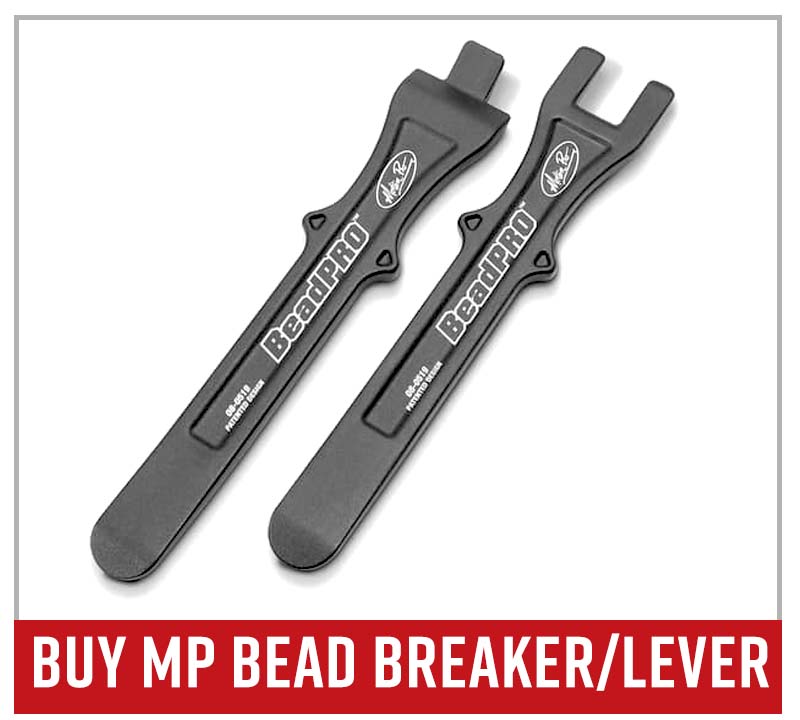
Step 5. Separate the tire bead from the wheel rim using bead breakers. Work the bead breakers around the tire on both sides.
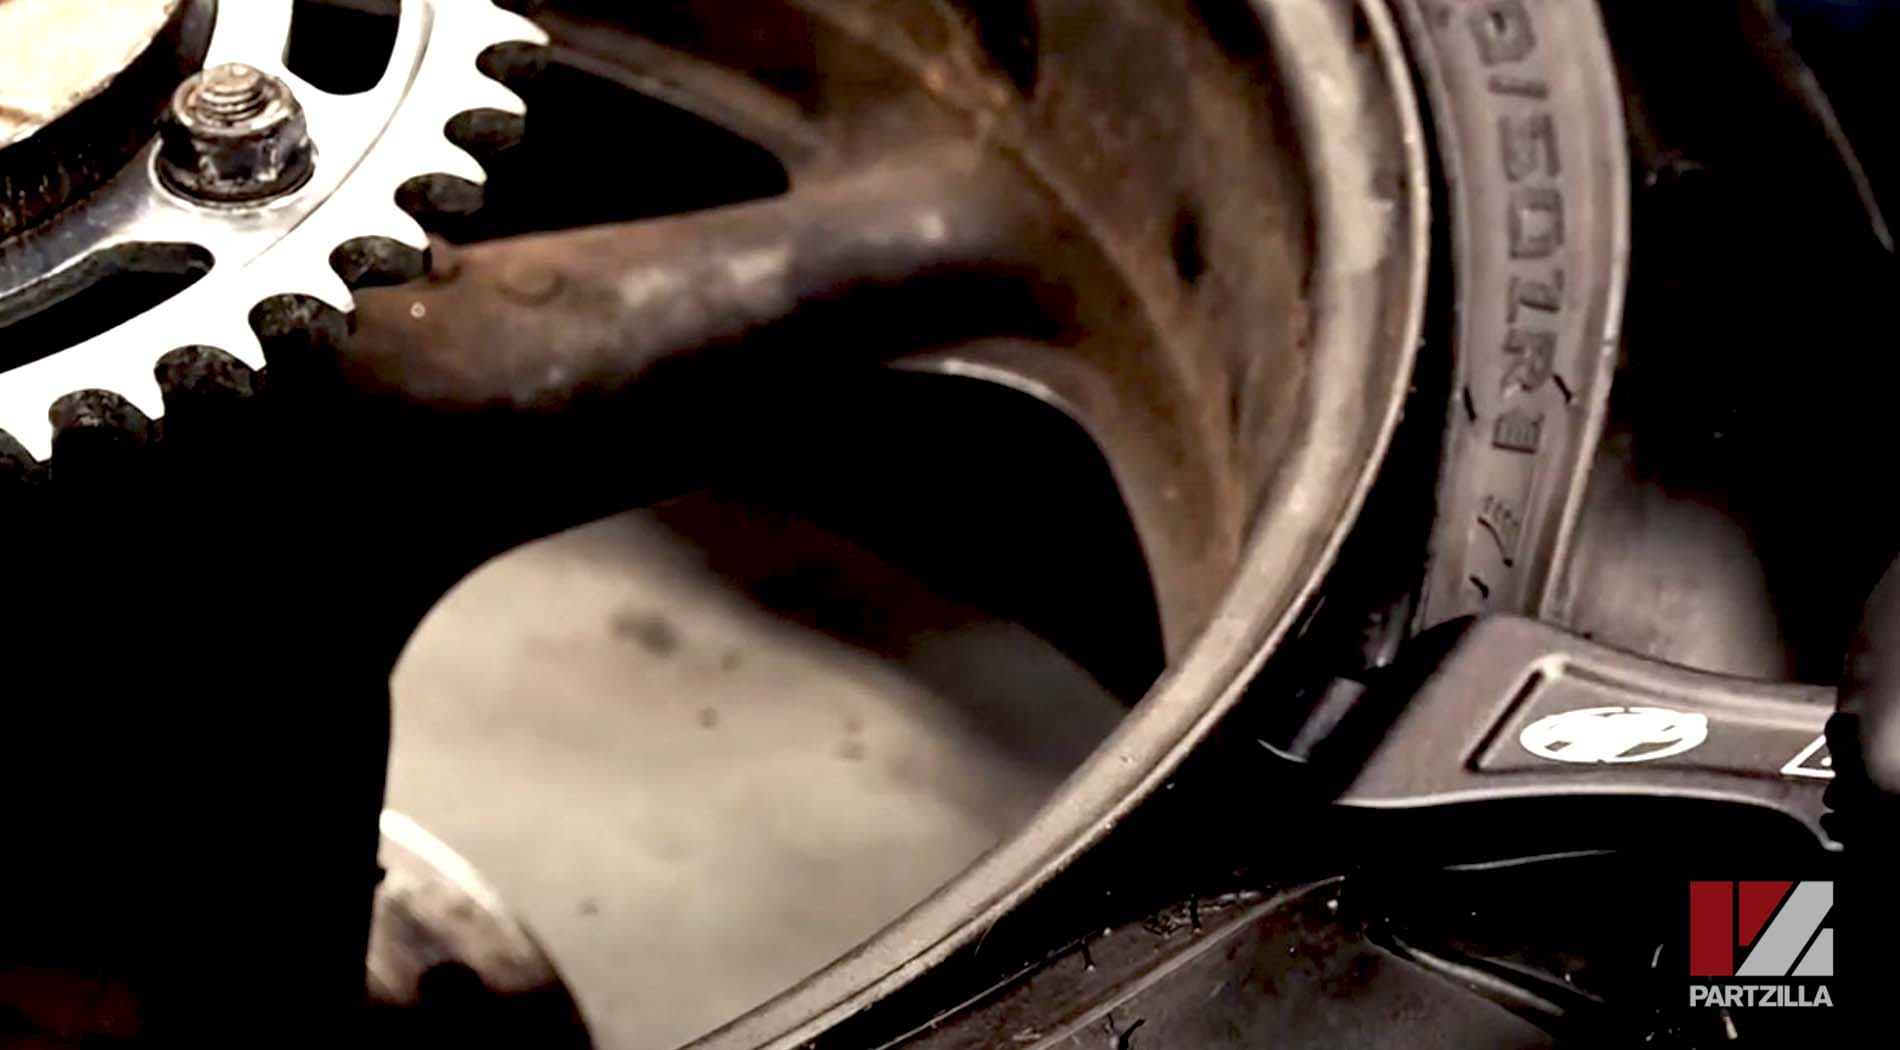
Step 6. Spray glass cleaner over the wheel and tire to lubricate them.
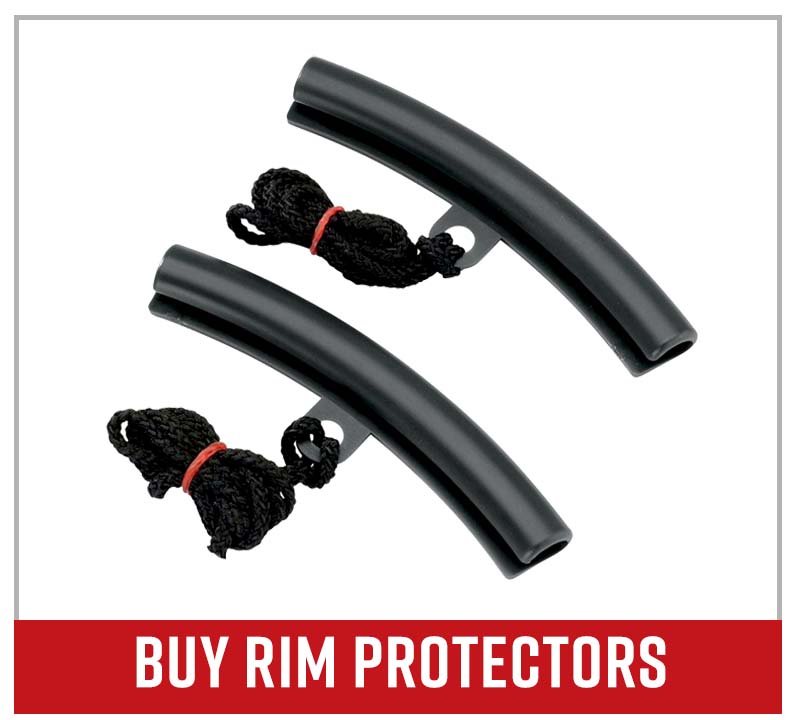
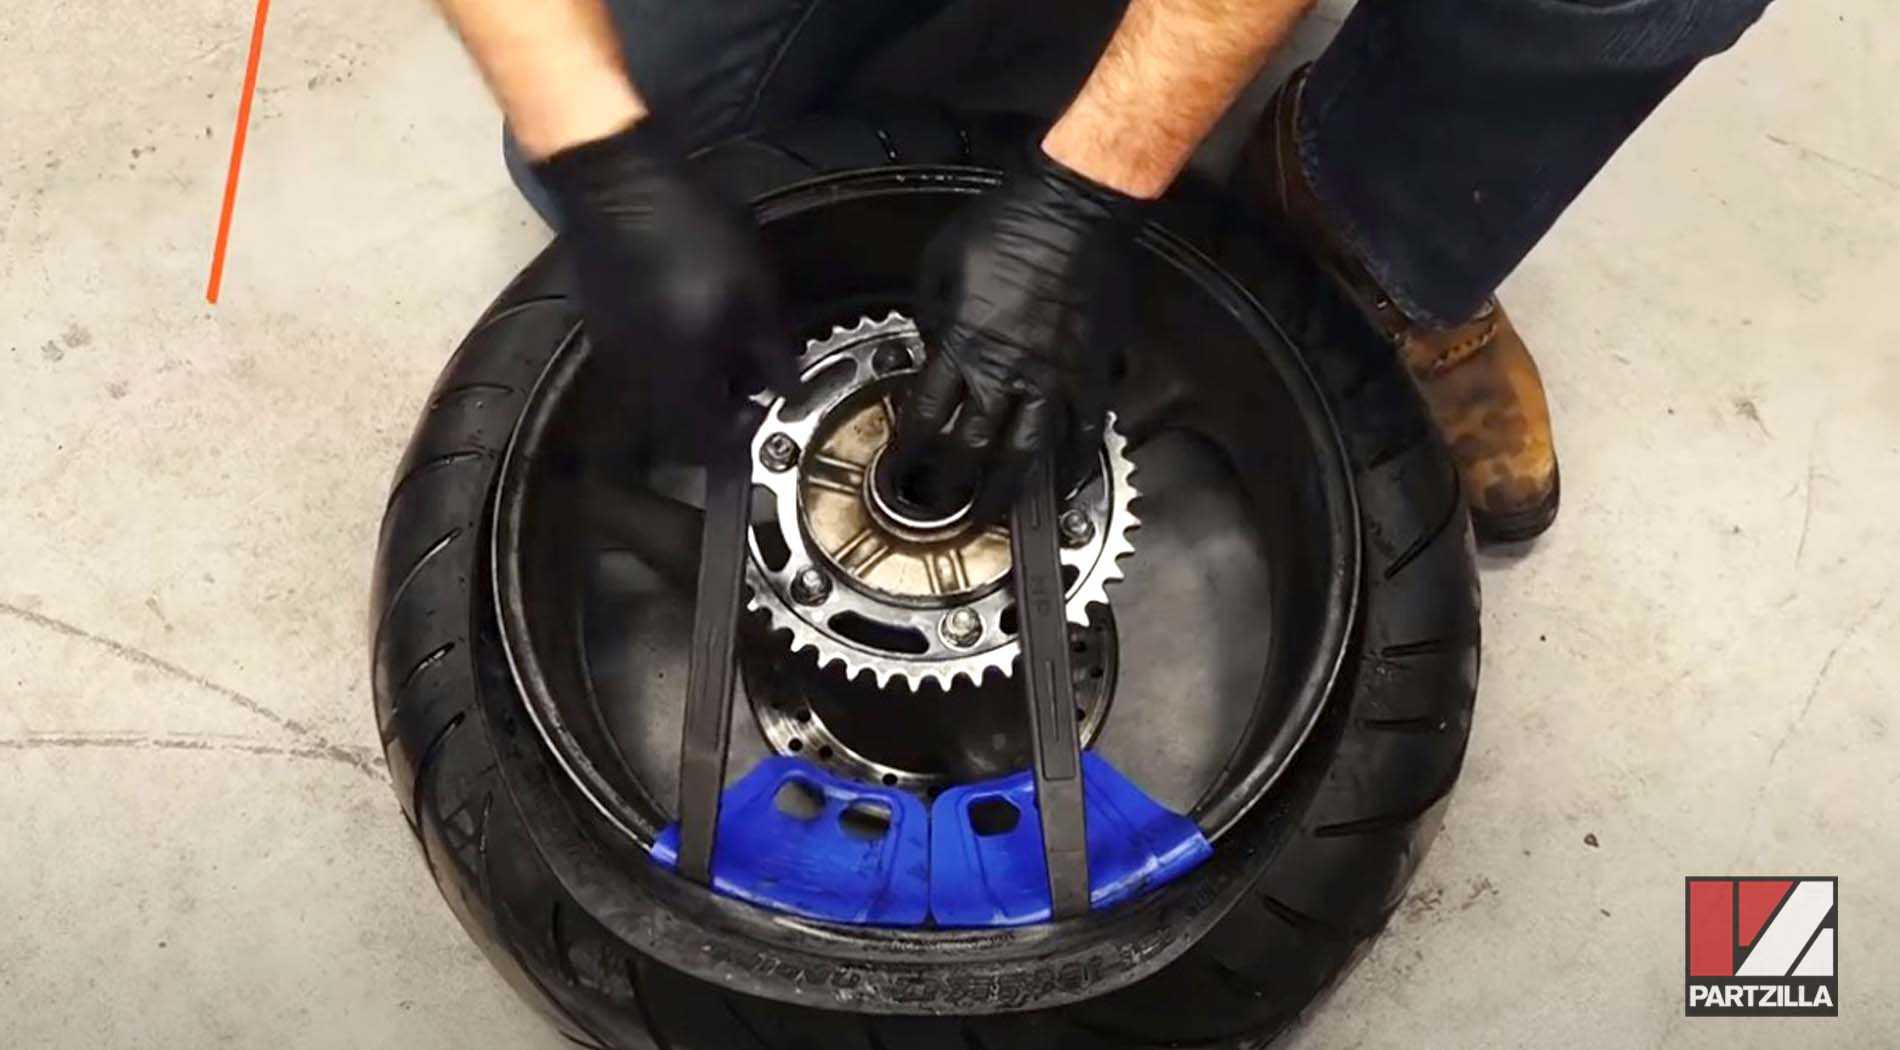
Step 7. Lever the tire over the wheel rim and off the wheel with tire iron spoons. Use rim protectors to prevent damaging the wheel.
Honda CBR 929RR Rear Tire Installation
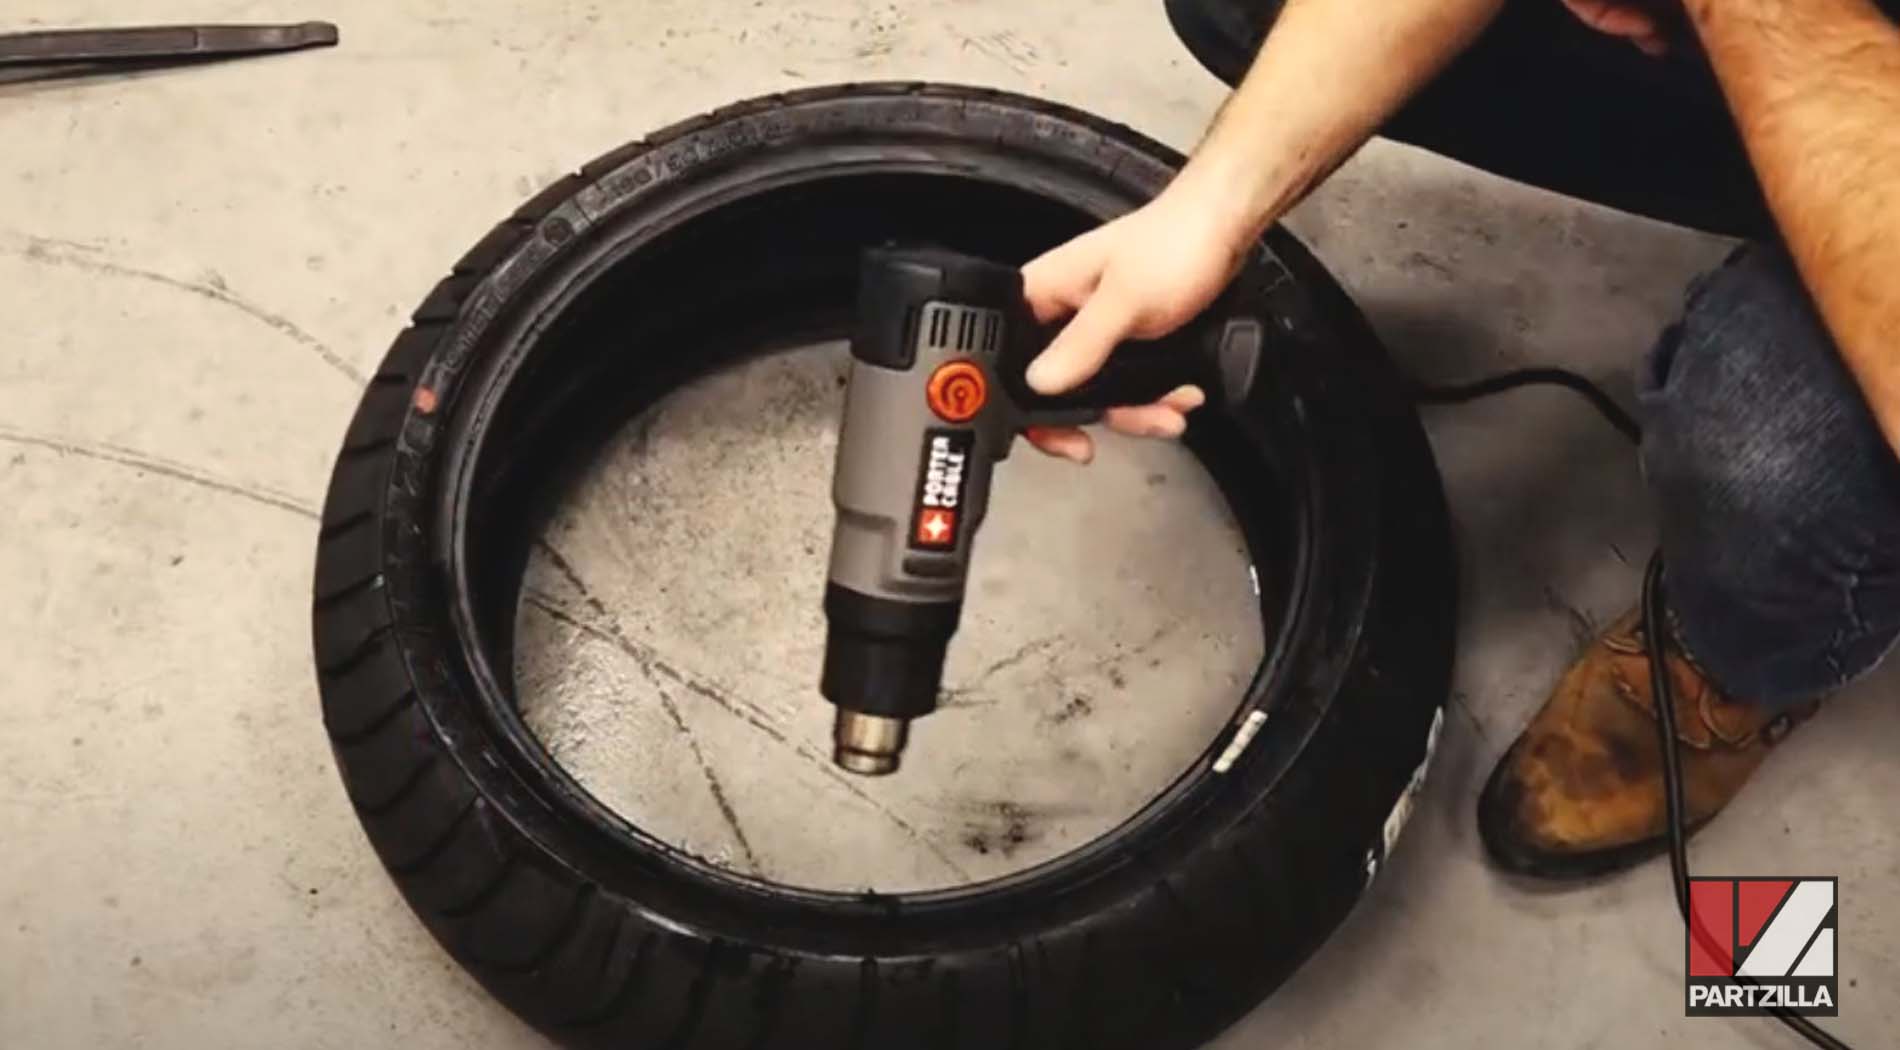
Step 1. Use a heat gun to warm the rear tire and make it more pliable.
Step 2. Mount the tire with the red (or yellow) dot aligned with the valve stem on the wheel rim, then spray the wheel rim and beads of the new tire with glass cleaner to lubricate them.
Step 3. Match the rotation markings on the new tire with the rotation of the rear wheel. The wheel's rotation is counterclockwise when the sprocket is facing you.
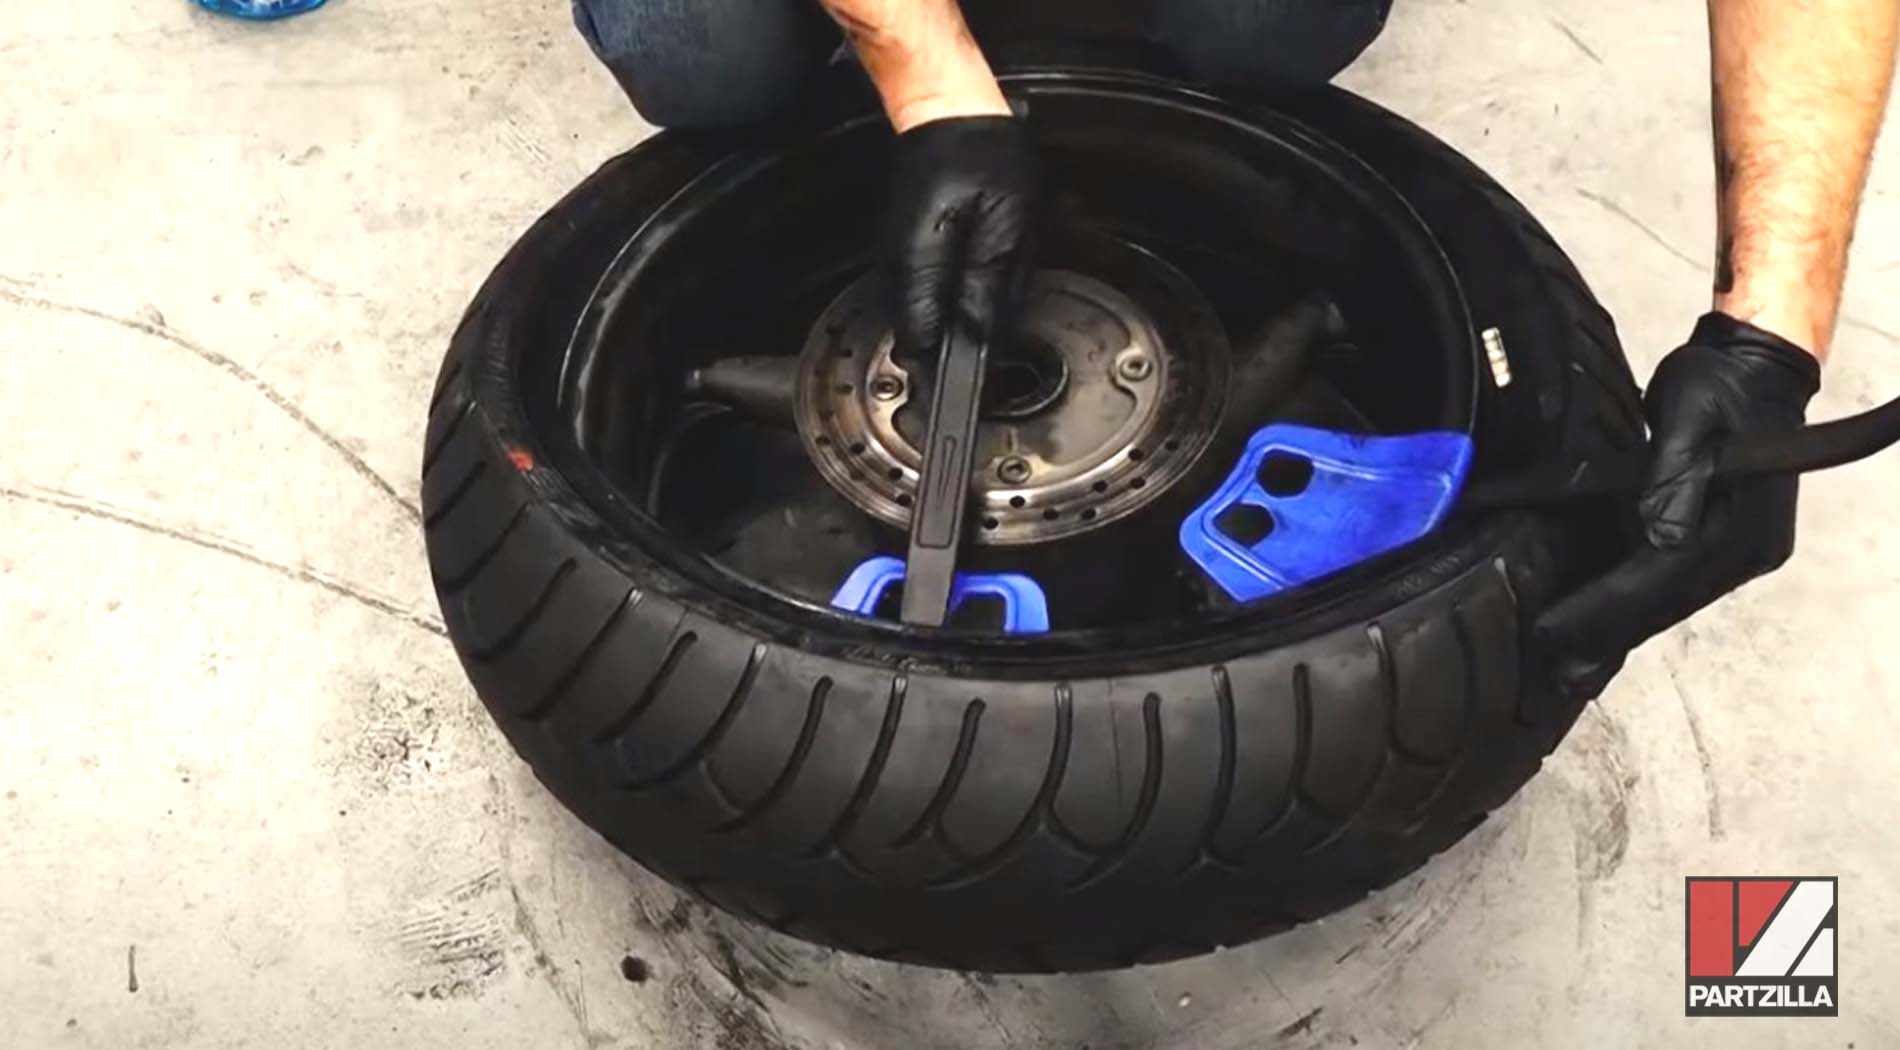
Step 4. Press the new tire down over the wheel rim and onto the wheel. Use the tire spoons and rim protectors to lever the new tire's beads into the wheel rim.
Step 5. Bead the new tire to the wheel rim by reinstalling the valve stem, and inflating the tire until the beads pop into place.
Step 6. Inflate the tire to the pressure specified in the owner's manual, then reinstall the valve dust cap.
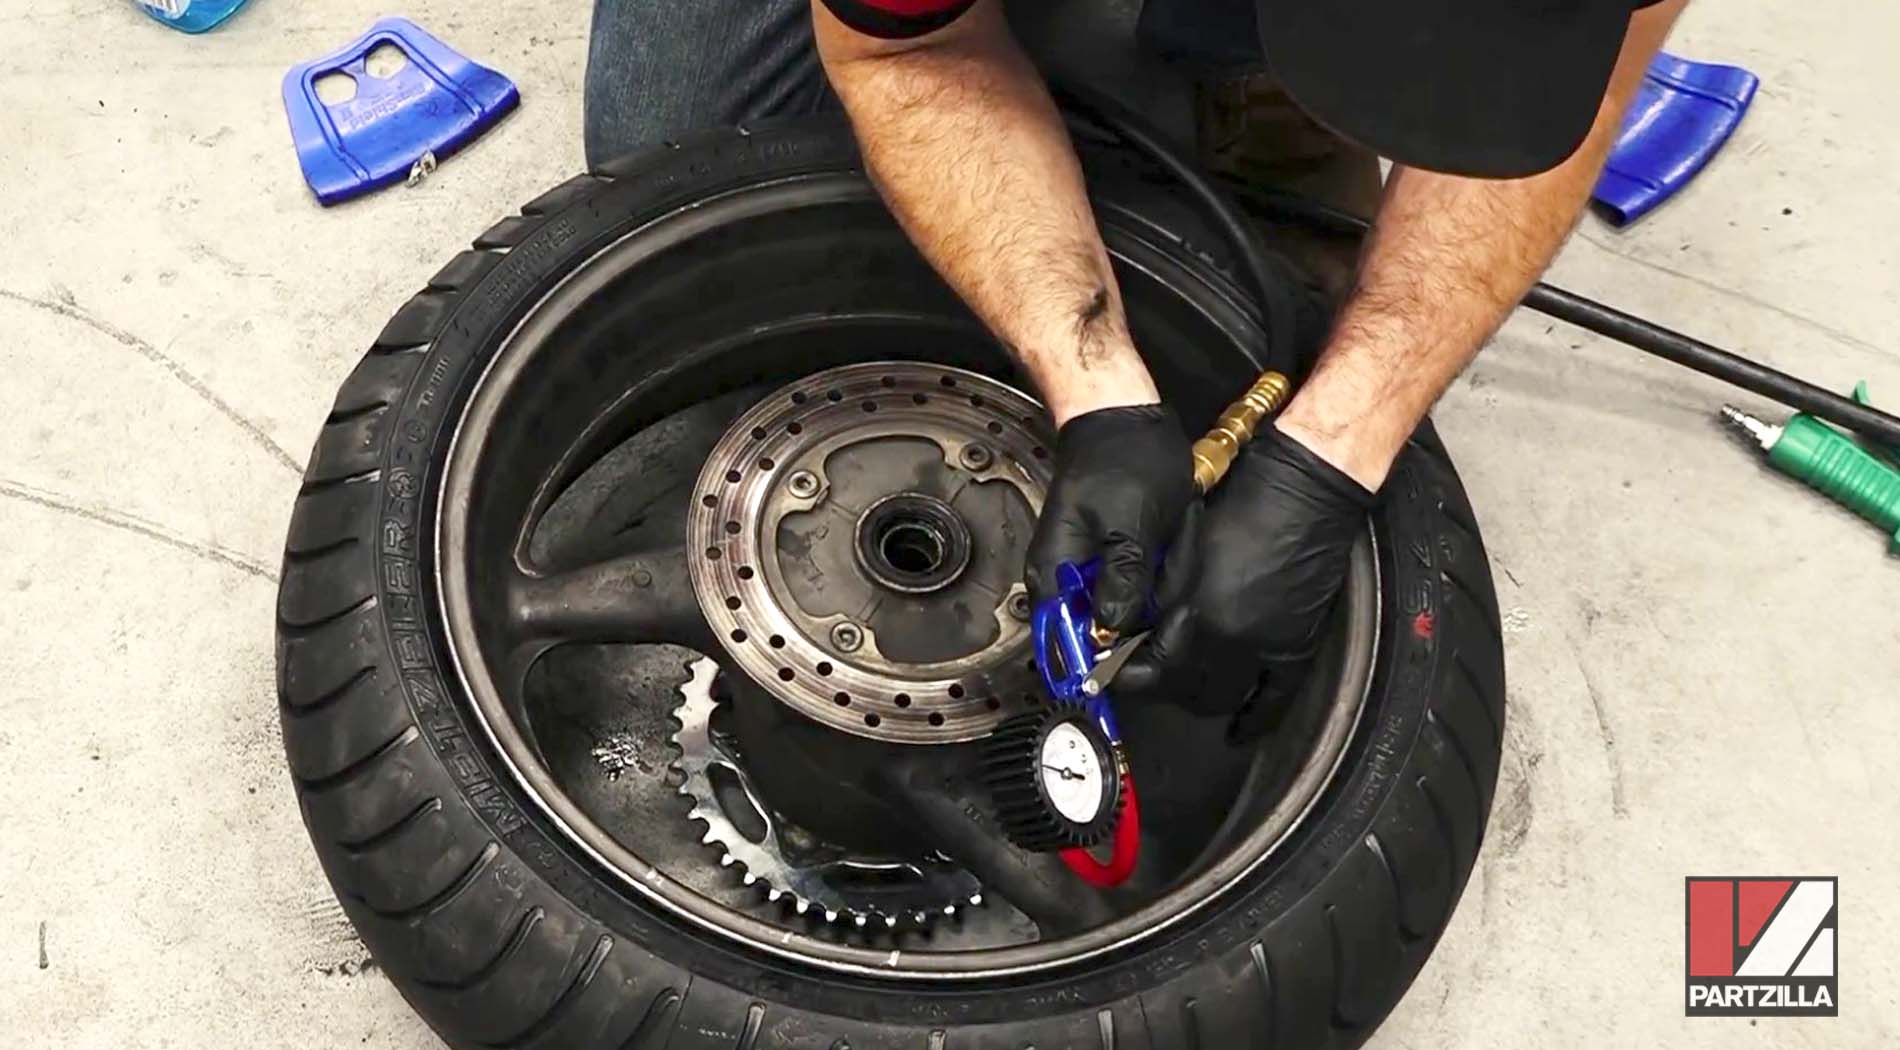
NOTE: The correct pressure for a Honda CBR929RR rear tire is 42 psi.
Step 7. Reposition the wheel back between the rear swingarms, then loop the chain back over the rear sprocket, and slide the brake rotor back into the rear brake caliper assembly.
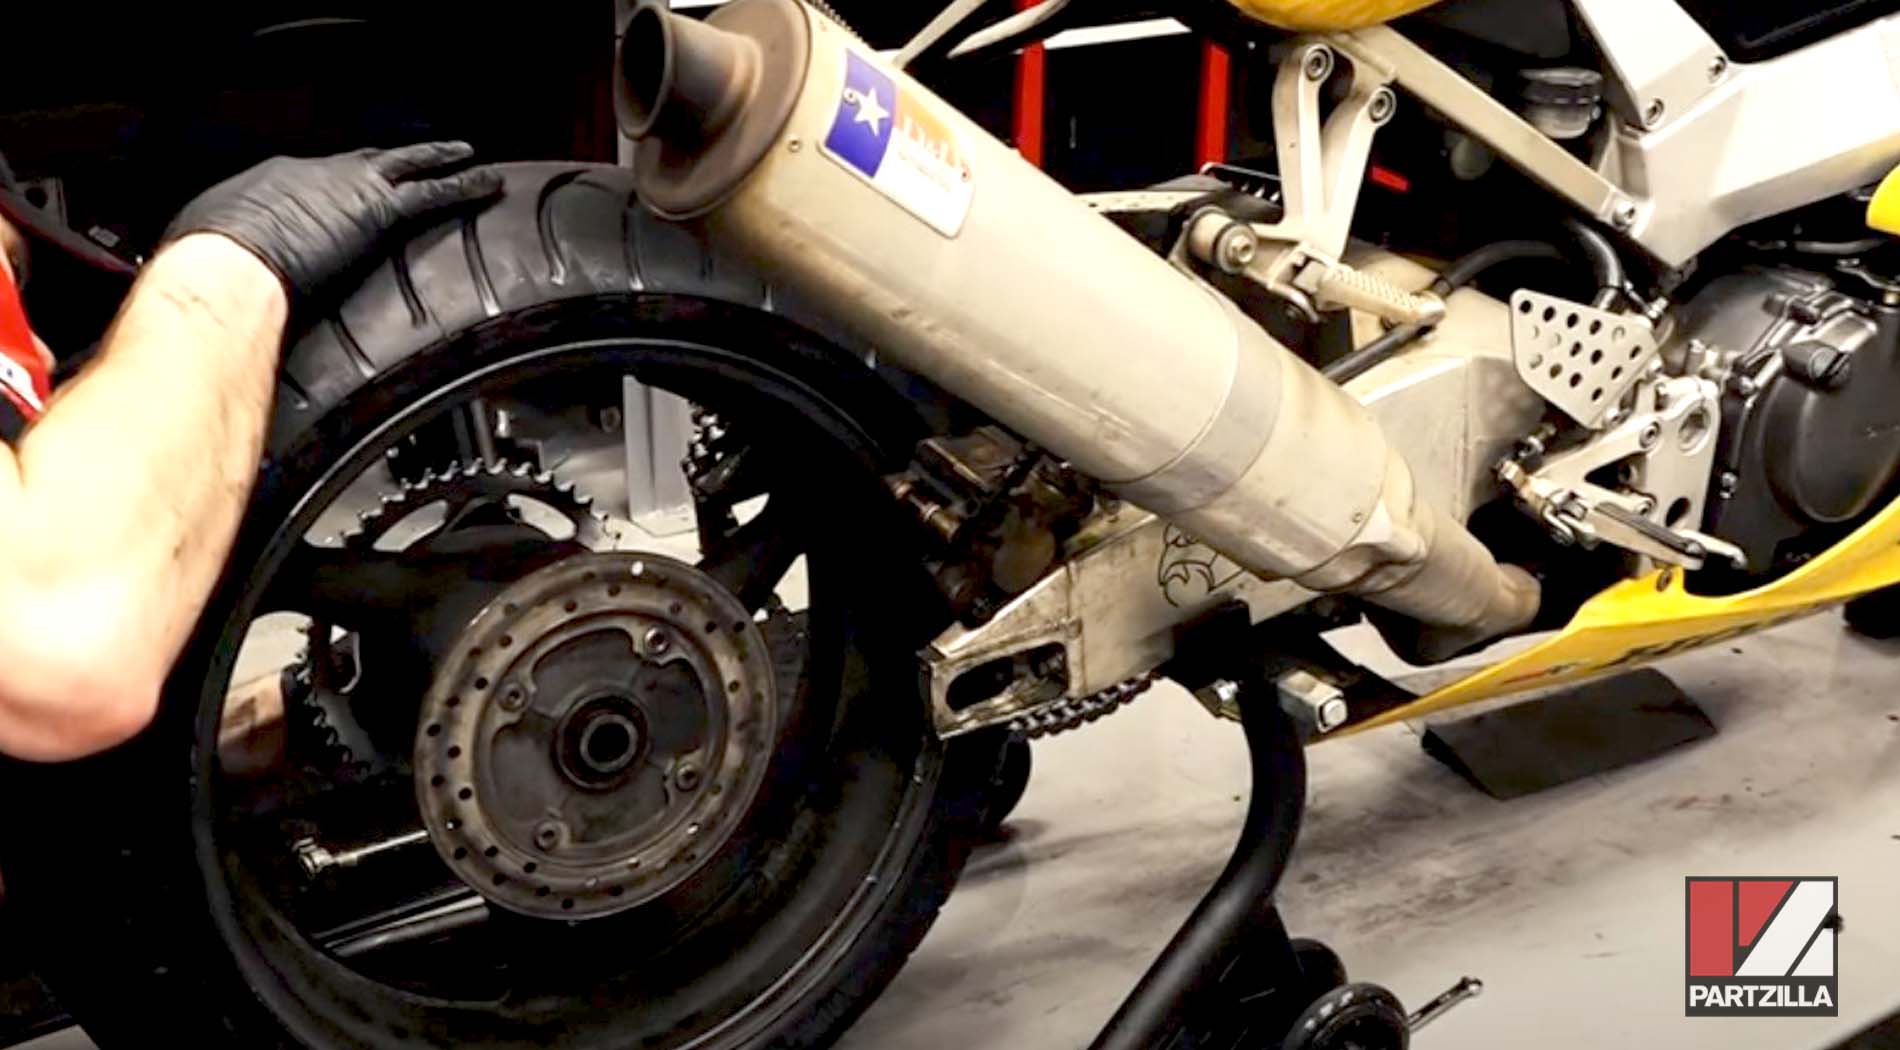
Step 8. Clean the rear axle, then lubricate it with high performance grease and slide it back through the wheel and swingarms. Reinstall the chain adjuster, washer and rear axle nut.
Step 9. Adjust the chain adjusters until the chain has the correct amount of slack in it.
Step 10. Make sure the chain adjusters are at the same point on the swingarm indexes.
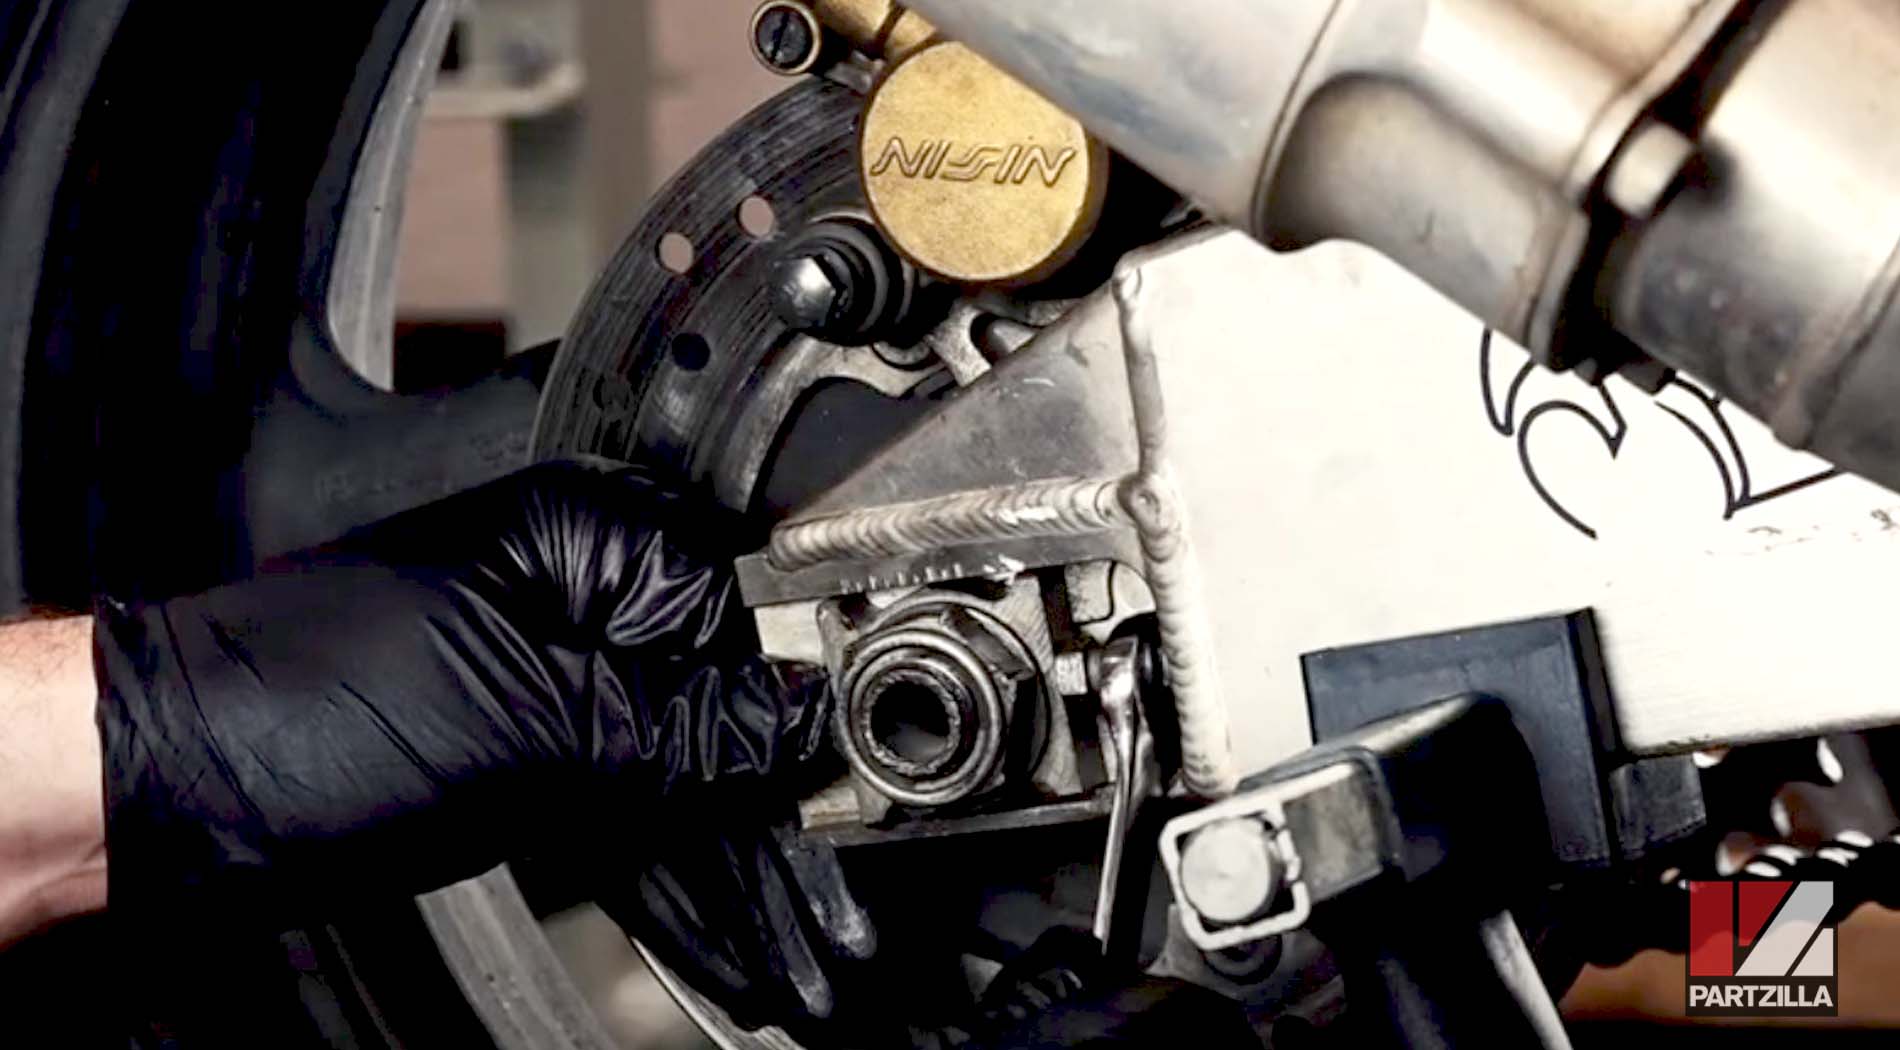
NOTE: If the adjusters aren't properly aligned, the rear wheel won't track straight, which will wear out the chain and rear sprocket.
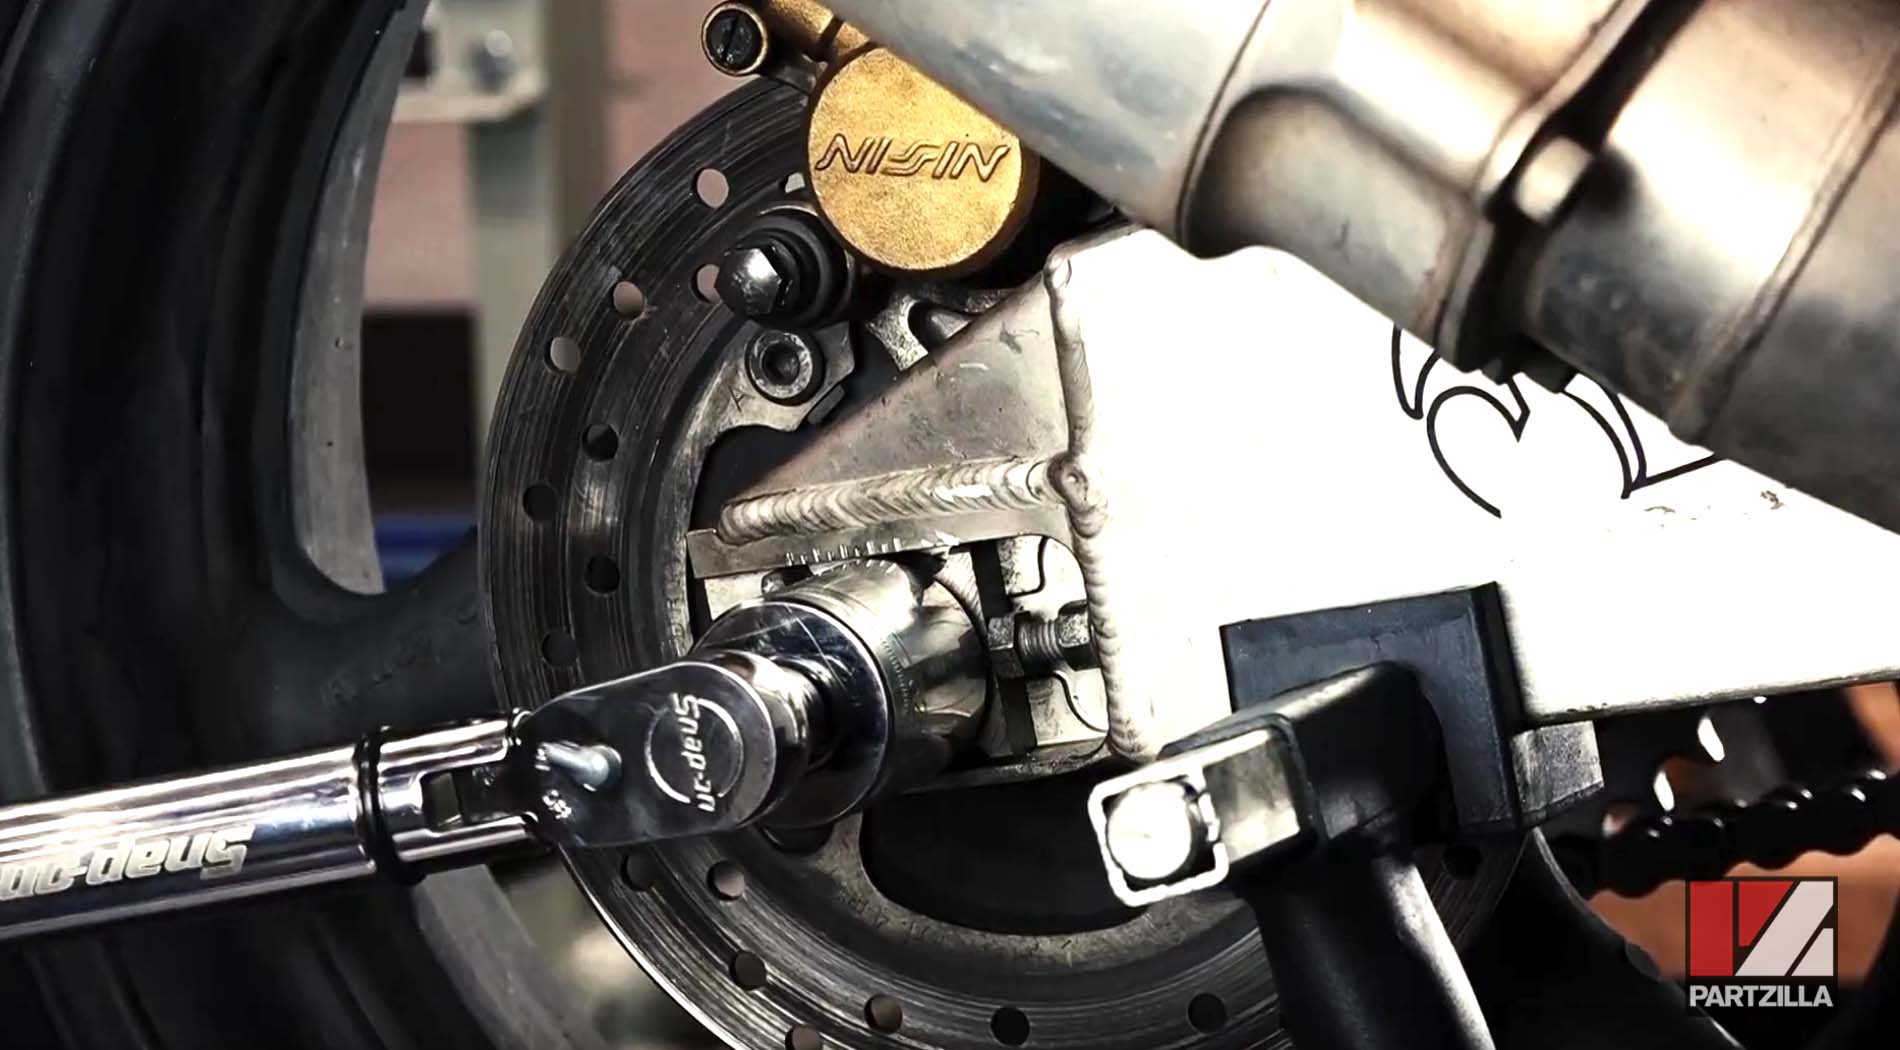
Step 11. Tighten the chain adjuster locking nuts to hold the adjusters in place, then torque the rear axle nut to 47 foot-pounds and you're done.
Are you ready to replace the front tire on your Honda motorcycle next? Watch the video below to see how to change the front tire on a Honda CBR929.
