How to Rebuild a Honda CBR 600 Rear Brake Master Cylinder
A motorcycle's rear master cylinder is one of the keys to pedal responsiveness and good braking power. Healthy seals inside the master cylinder can make all the difference.
If the brakes on your Honda motorcycle feel spongy even after bleeding them, there's a good chance the seal inside the master cylinder is shot. With a few parts and some basic tools, you can change the rear master cylinder on your machine. Watch the video above amd follow the steps below to rebuild the rear master cylinder on a Honda CBR600.
Tools and Parts - Honda CBR 600 Rear Master Cylinder Rebuild
- 8mm, 12mm, 14mm open-end wrenches
- 12mm socket
- Ratchet
- Pliers
- 5mm Allen
- Flat-blade screwdriver
- 90-degree screwdriver
- Pick tool
- Circlip pliers
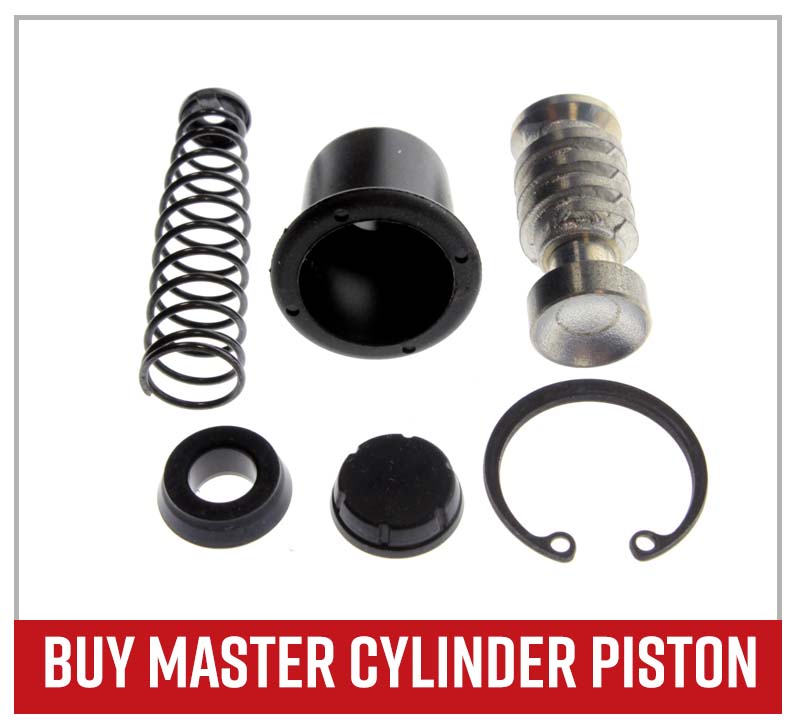
- Master cylinder piston set
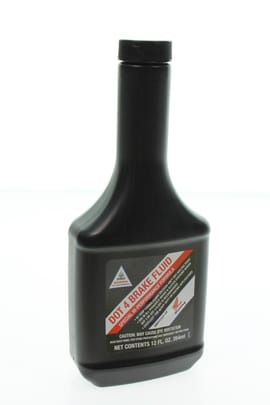
- Brake fluid
Bleeding the Brakes
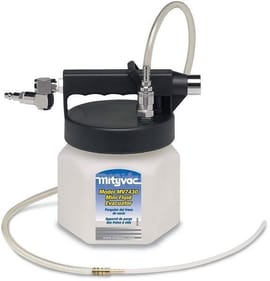
Before you begin, you'll need to extract the fluid from the brake system. You can either do it manually or by using a mini-fluid evacuator to make it easier. Watch the video below to see how to bleed the brakes on a Honda CBR600.
NOTE: The master cylinder is located on the right side of the machine, behind a protective plate. You'll need to disconnect it from the brake system and remove it from the bike before you can work on it.
Disconnecting and Removing the Master Cylinder
Step 1. Remove the small cotter pin on the backside of the master cylinder with pliers.
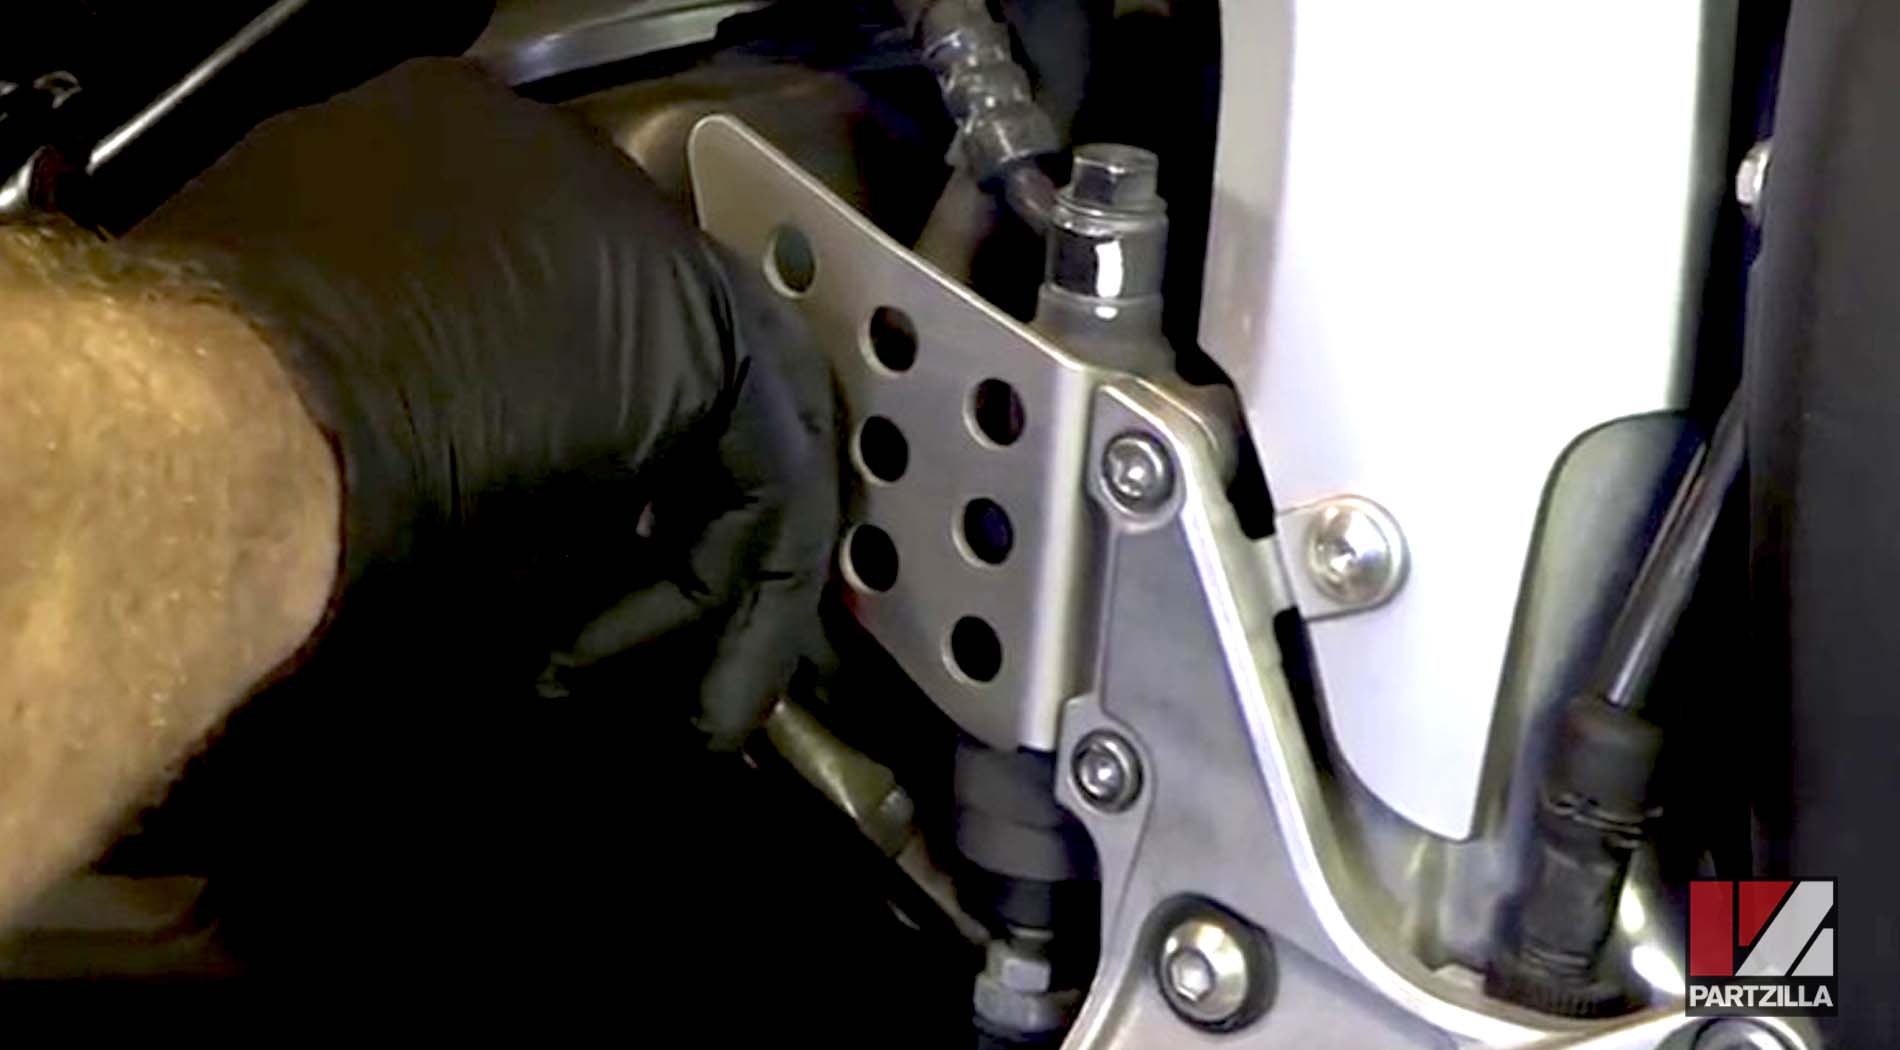
Step 2. Break the pedal loose from the master cylinder. The bolt holding the pedal in place is located at the lower end of the master cylinder.
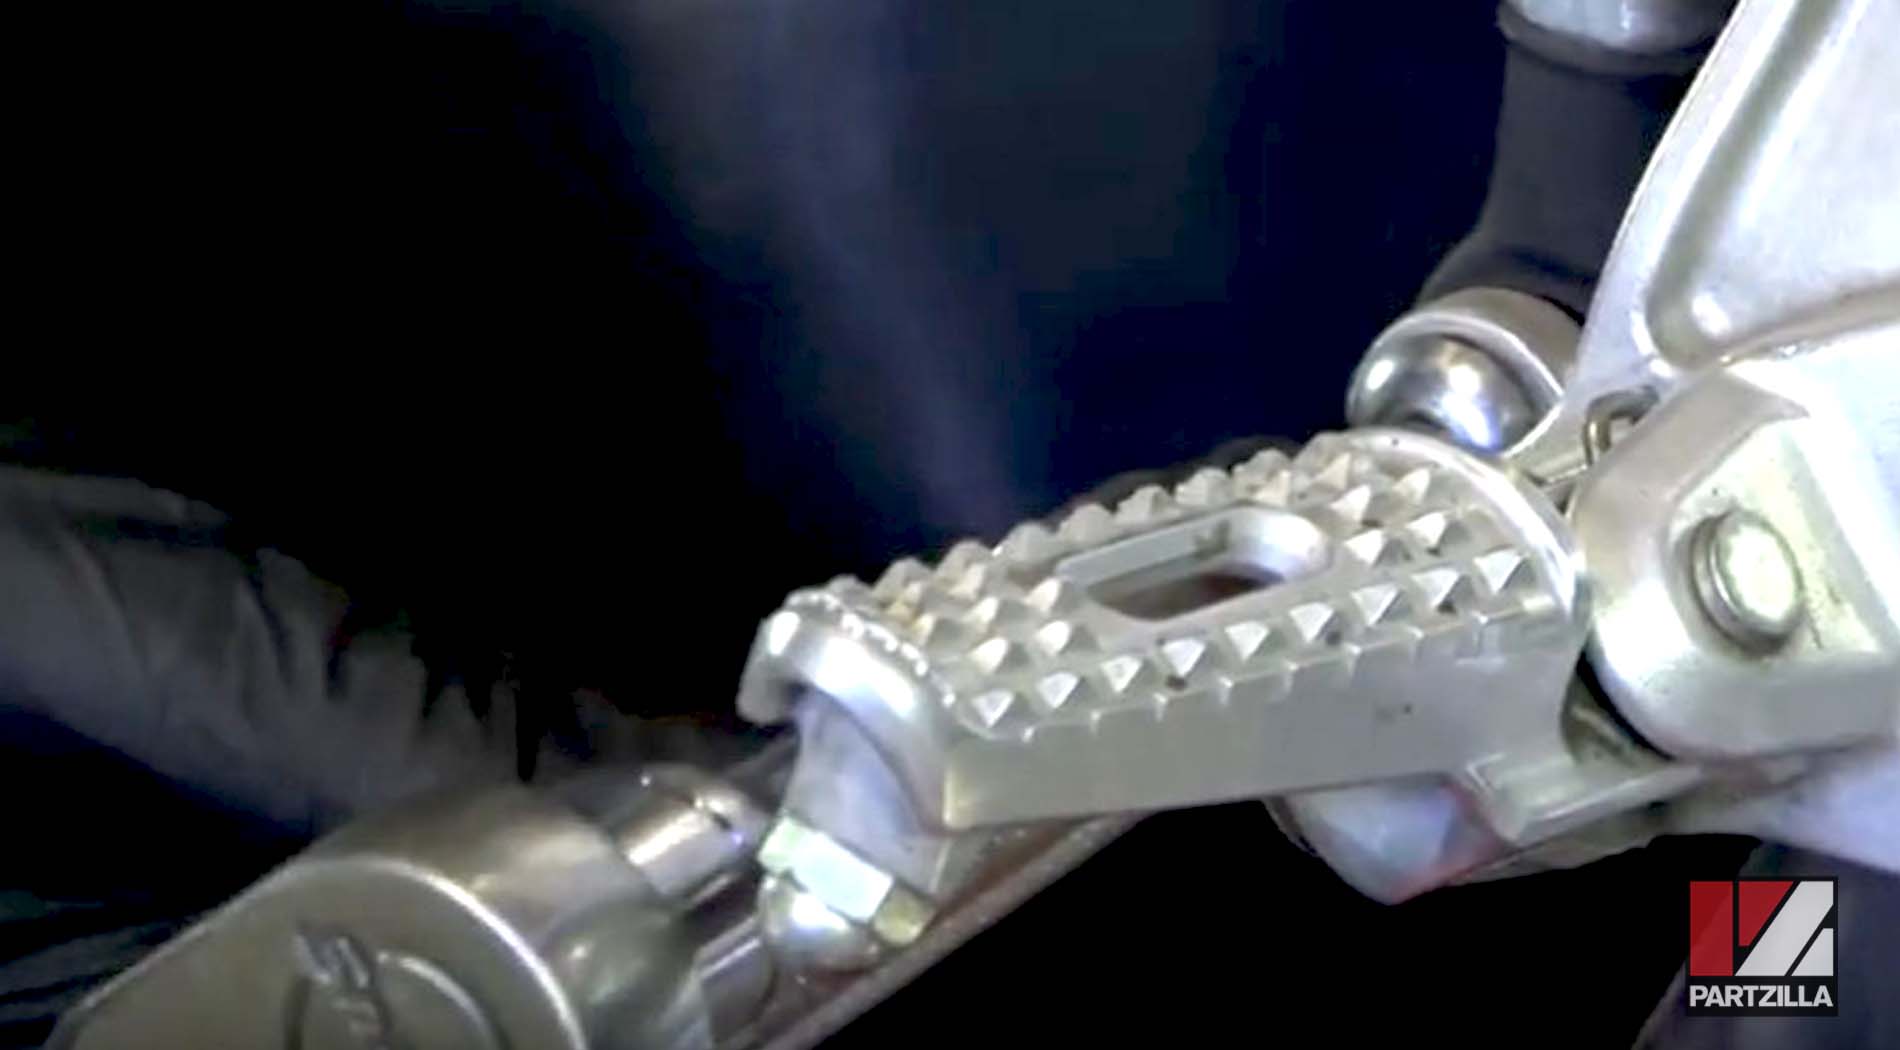
Step 3. Use an open ended wrench at the top of the master cylinder to disconnect it from the main line that runs to the rear brake caliper.
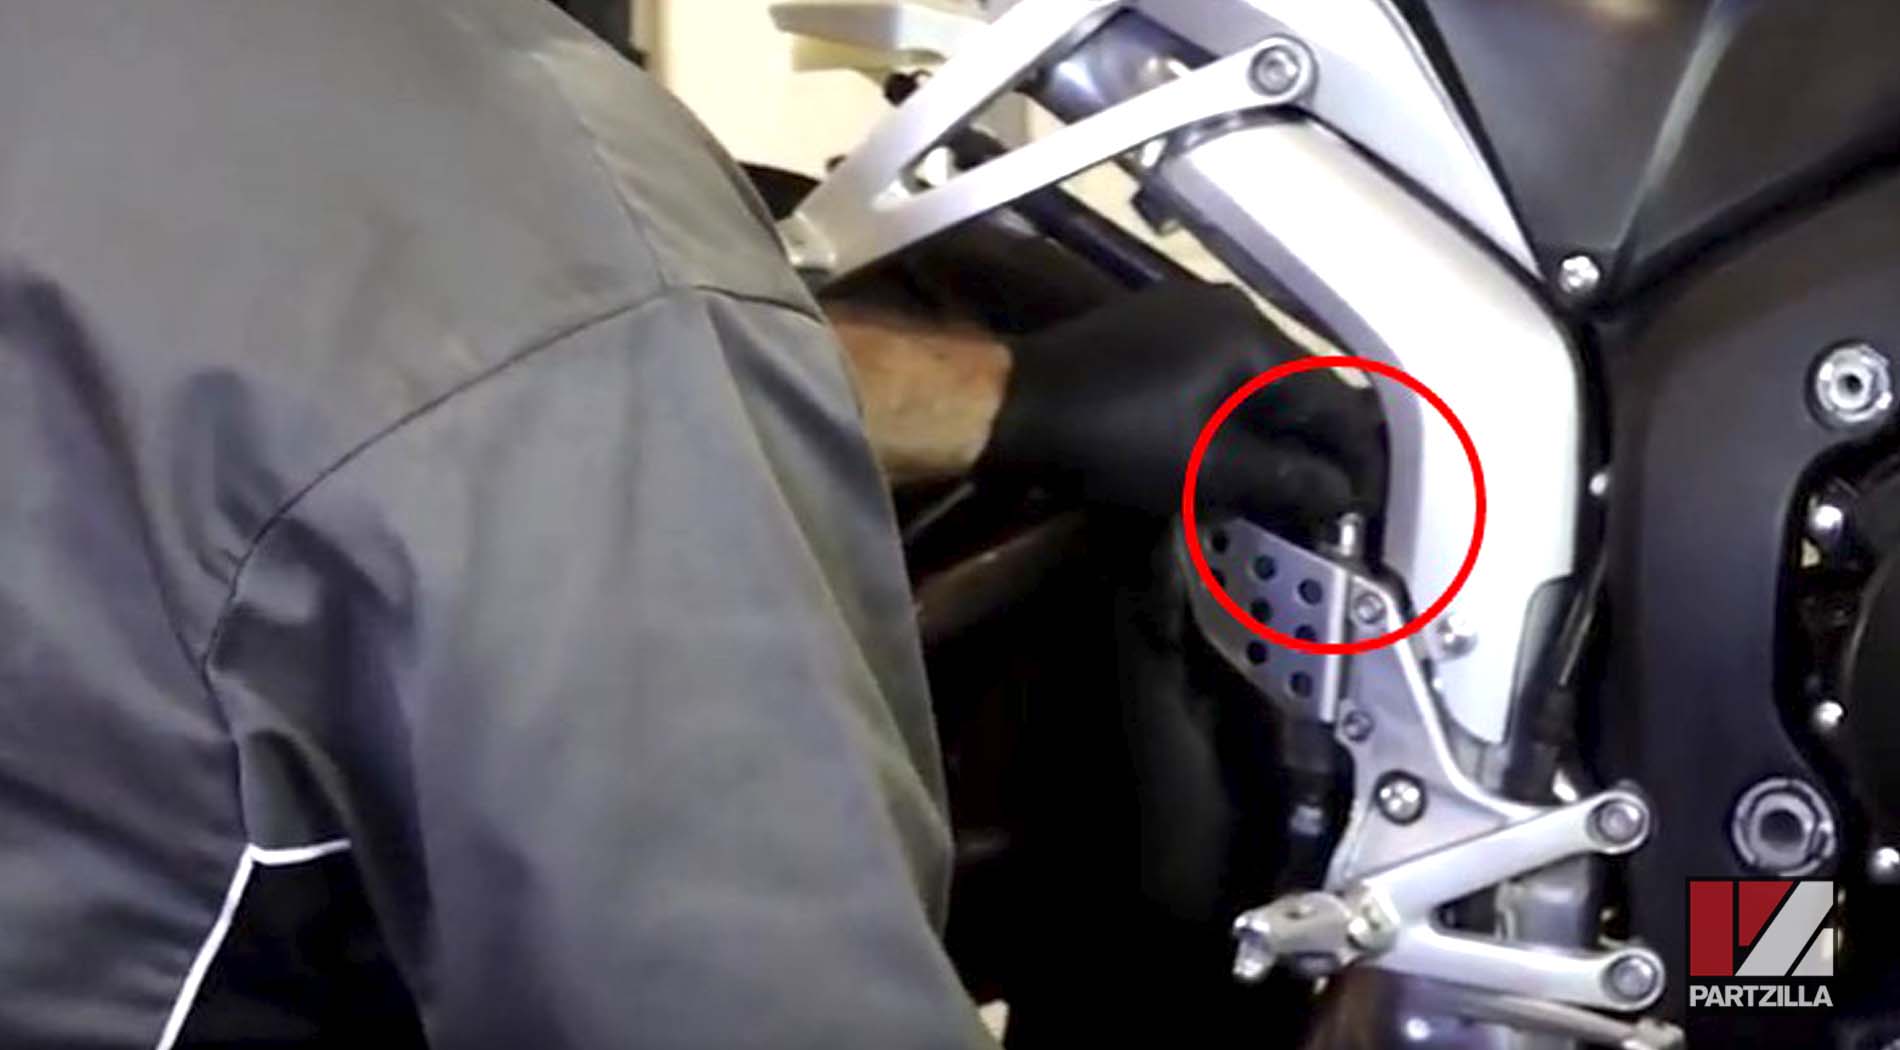
NOTE: Don't lose the crush washers between the bolt and the master cylinder.
Step 4. Use a 5mm Allen to remove the two bolts holding the protective plate in front of the master cylinder.
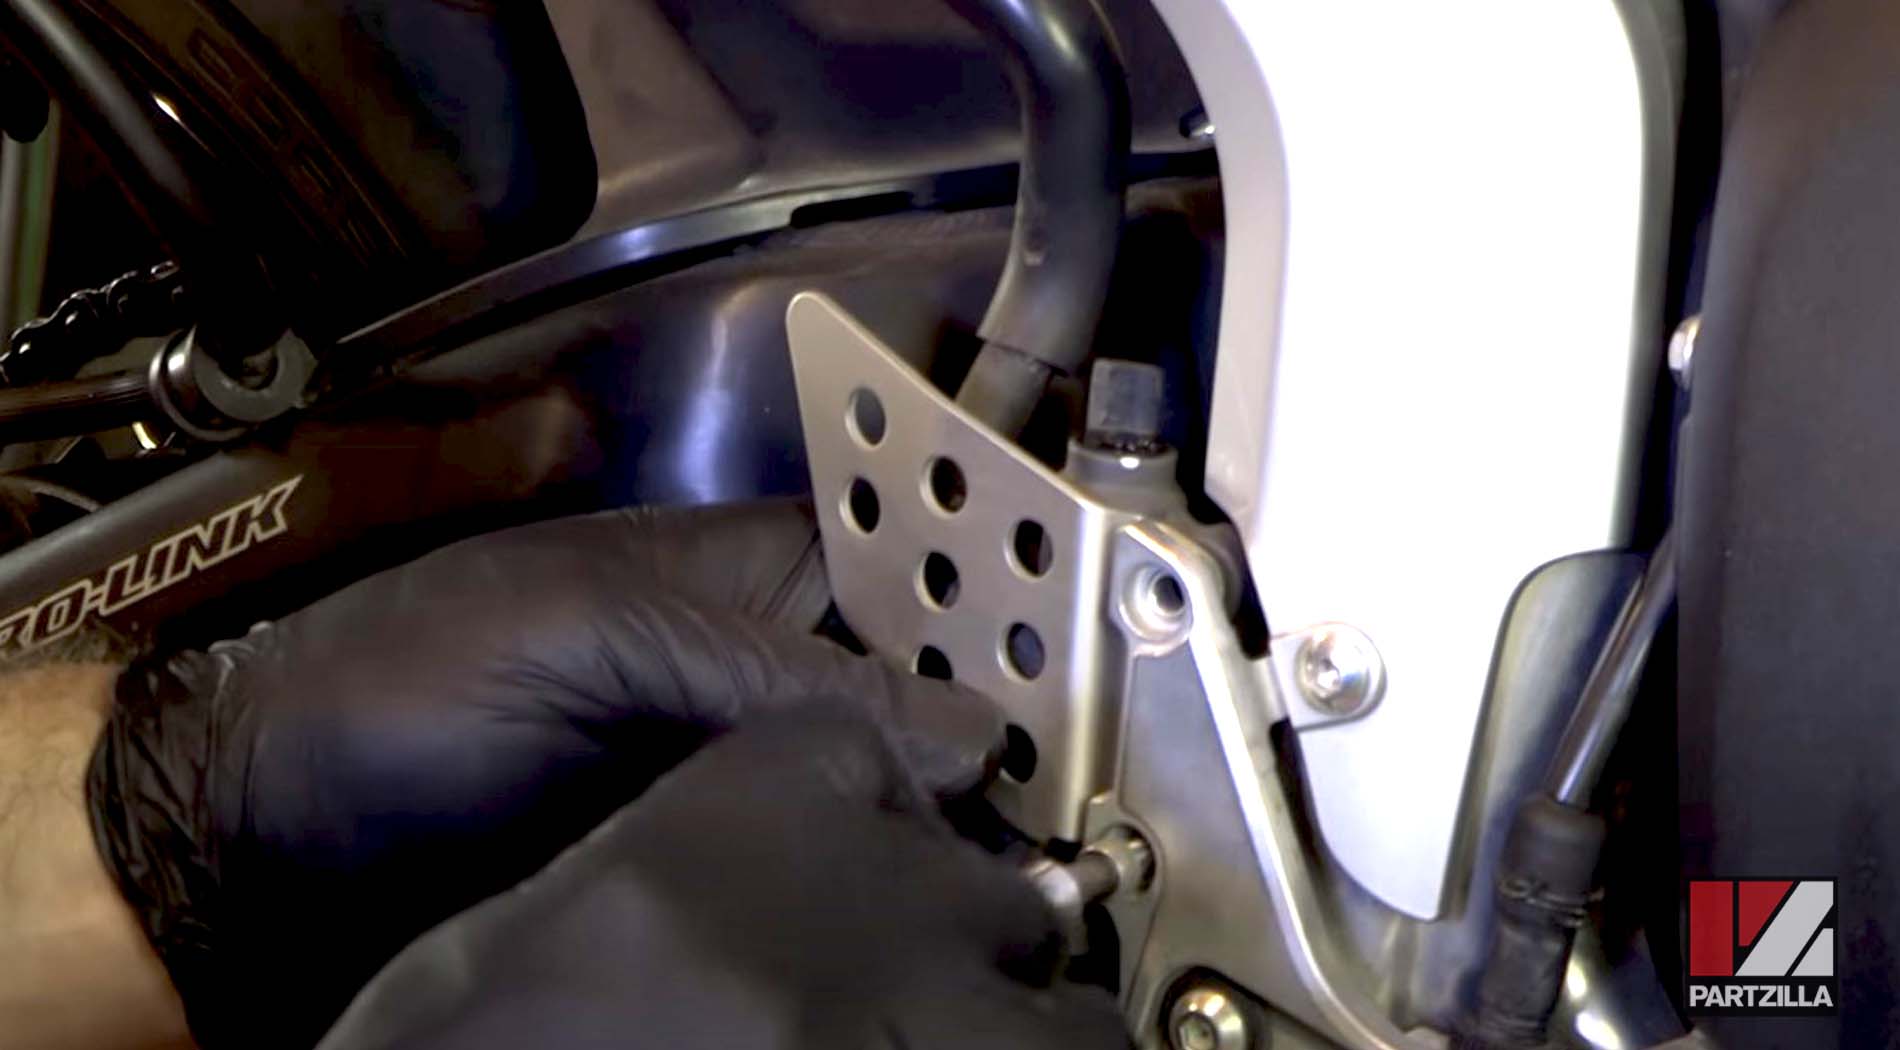
Step 5. Use pliers to open the clamp holding the reservoir line to the master cylinder, and remove the line.
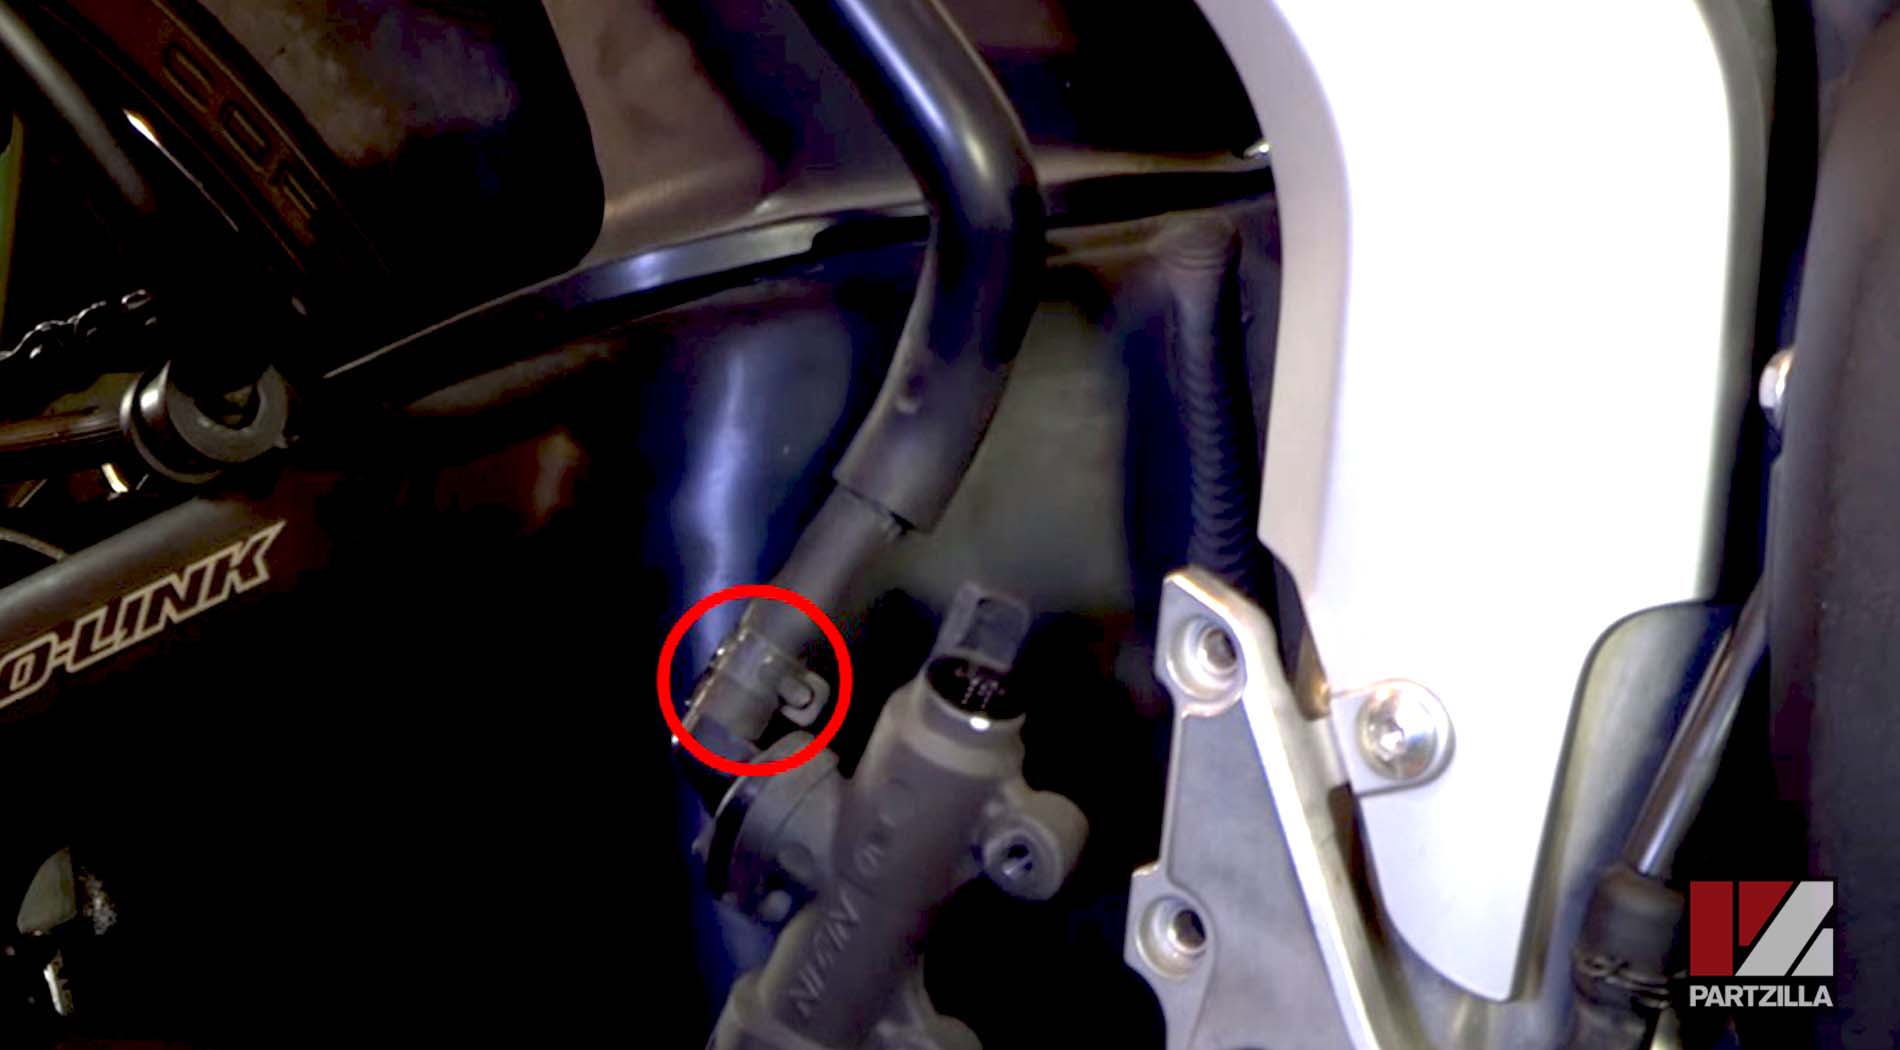
Disassembling the Master Cylinder
Step 1. Break the bolt loose on the end of the master cylinder that was connected to the pedal.
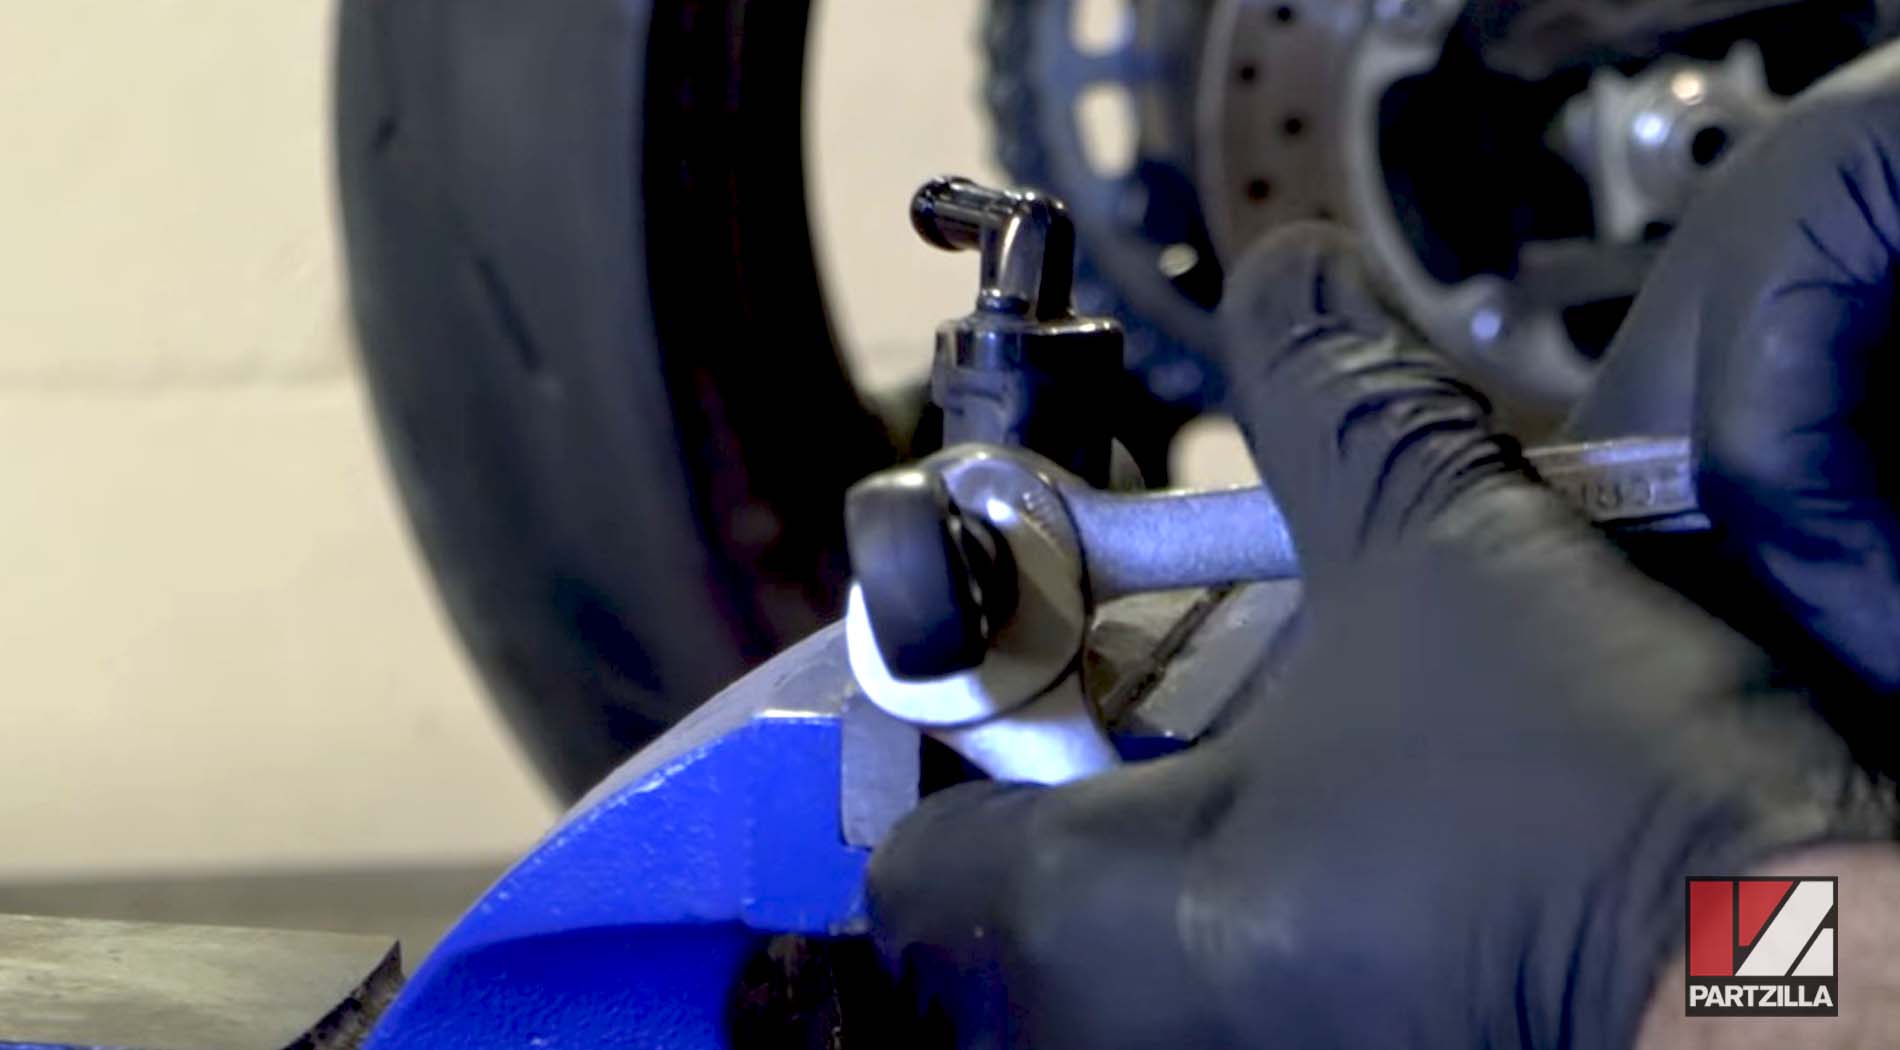
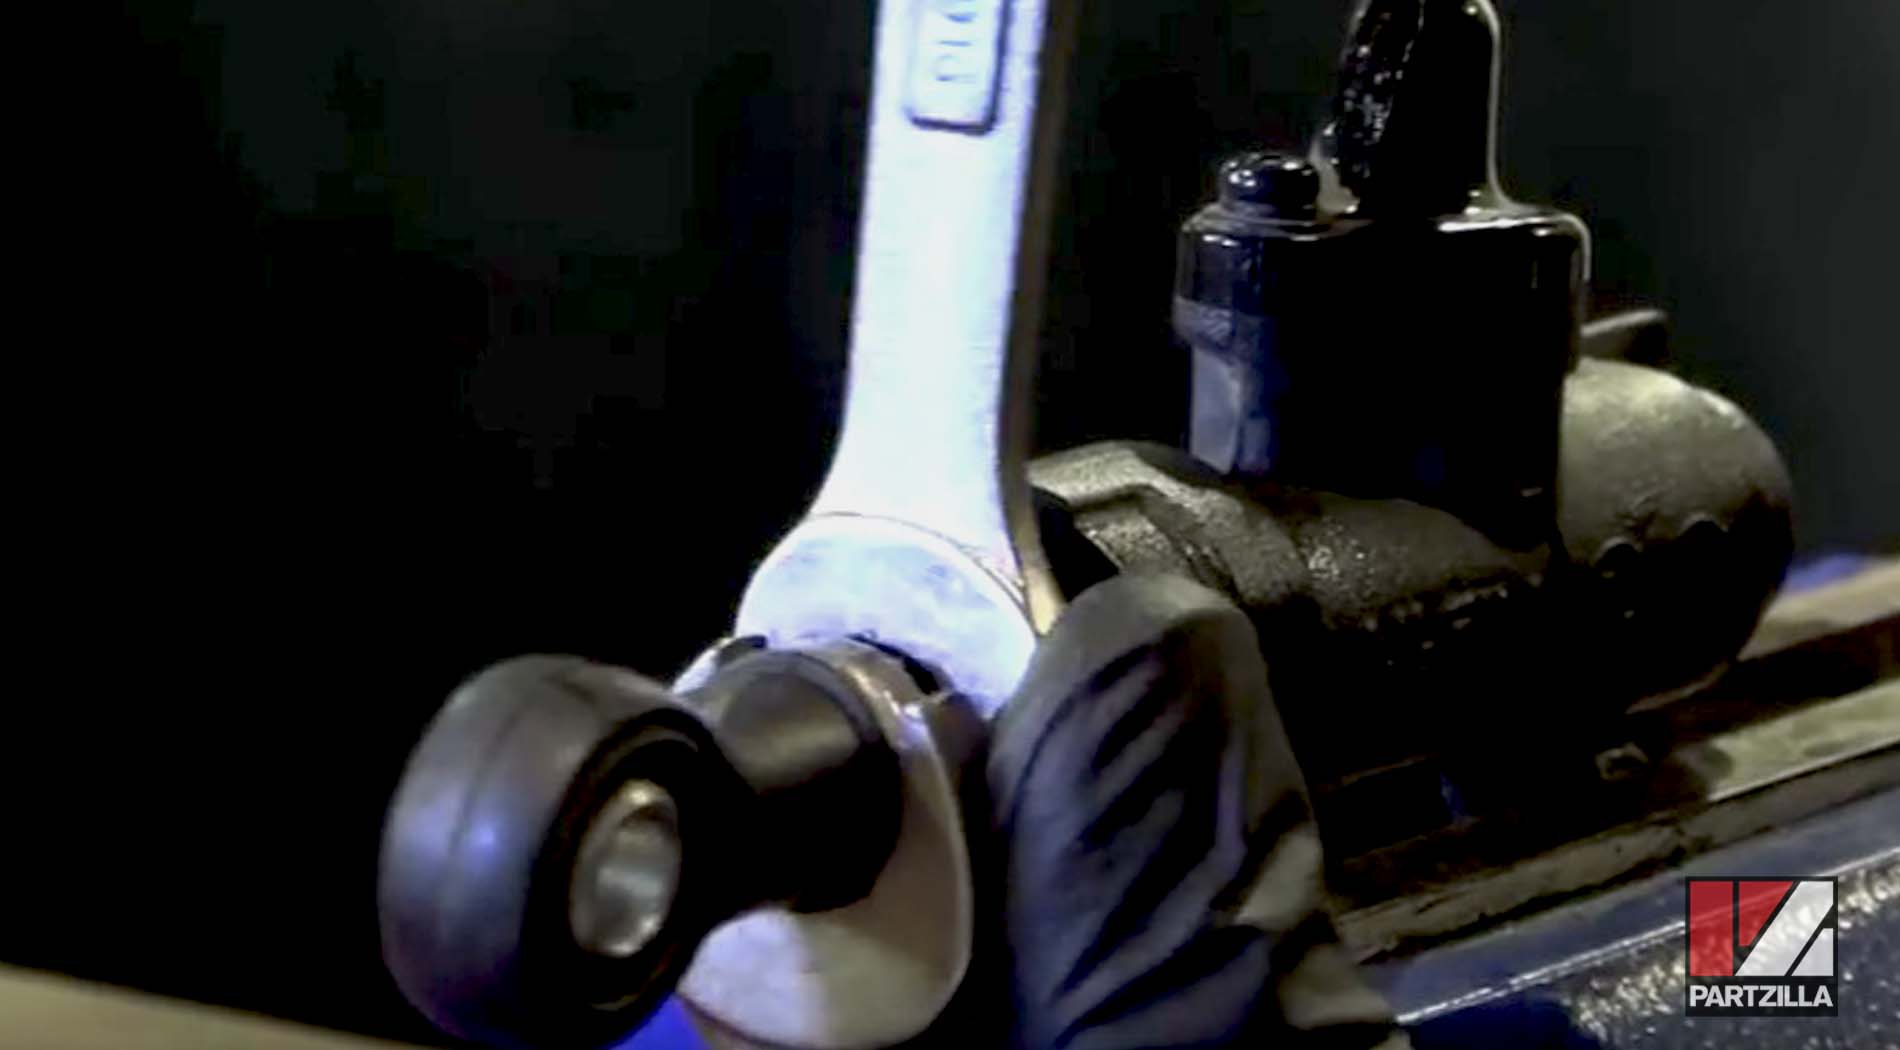
NOTE: You'll need two wrenches: one to hold the arm in place and one to turn the bolt. This allows you to remove the circular connector that attaches the master cylinder to the pedal.
Step 2. Remove the rubber boot behind the bolt that holds the ring in place.
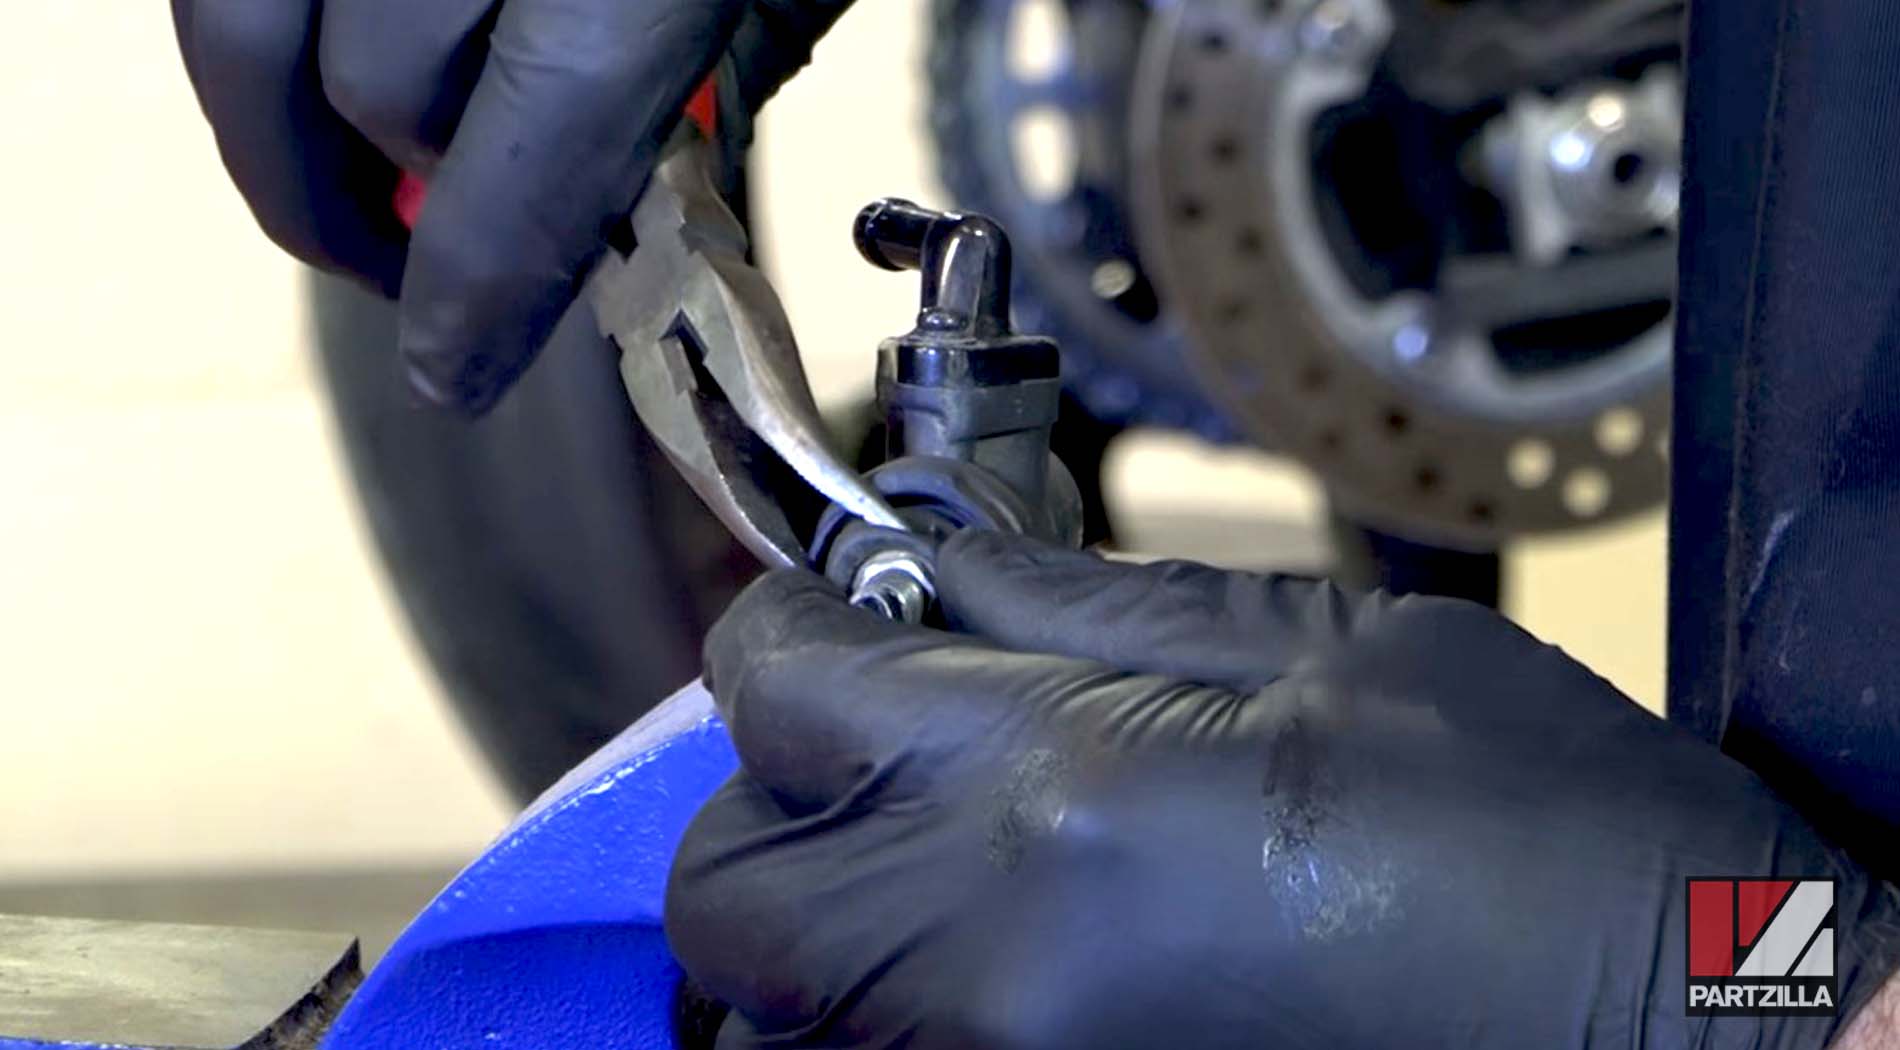
Step 3. Use circlip pliers to squeeze the circlip inside the master cylinder and remove it. The rest of the assembly inside the master cylinder can simply be pulled out.
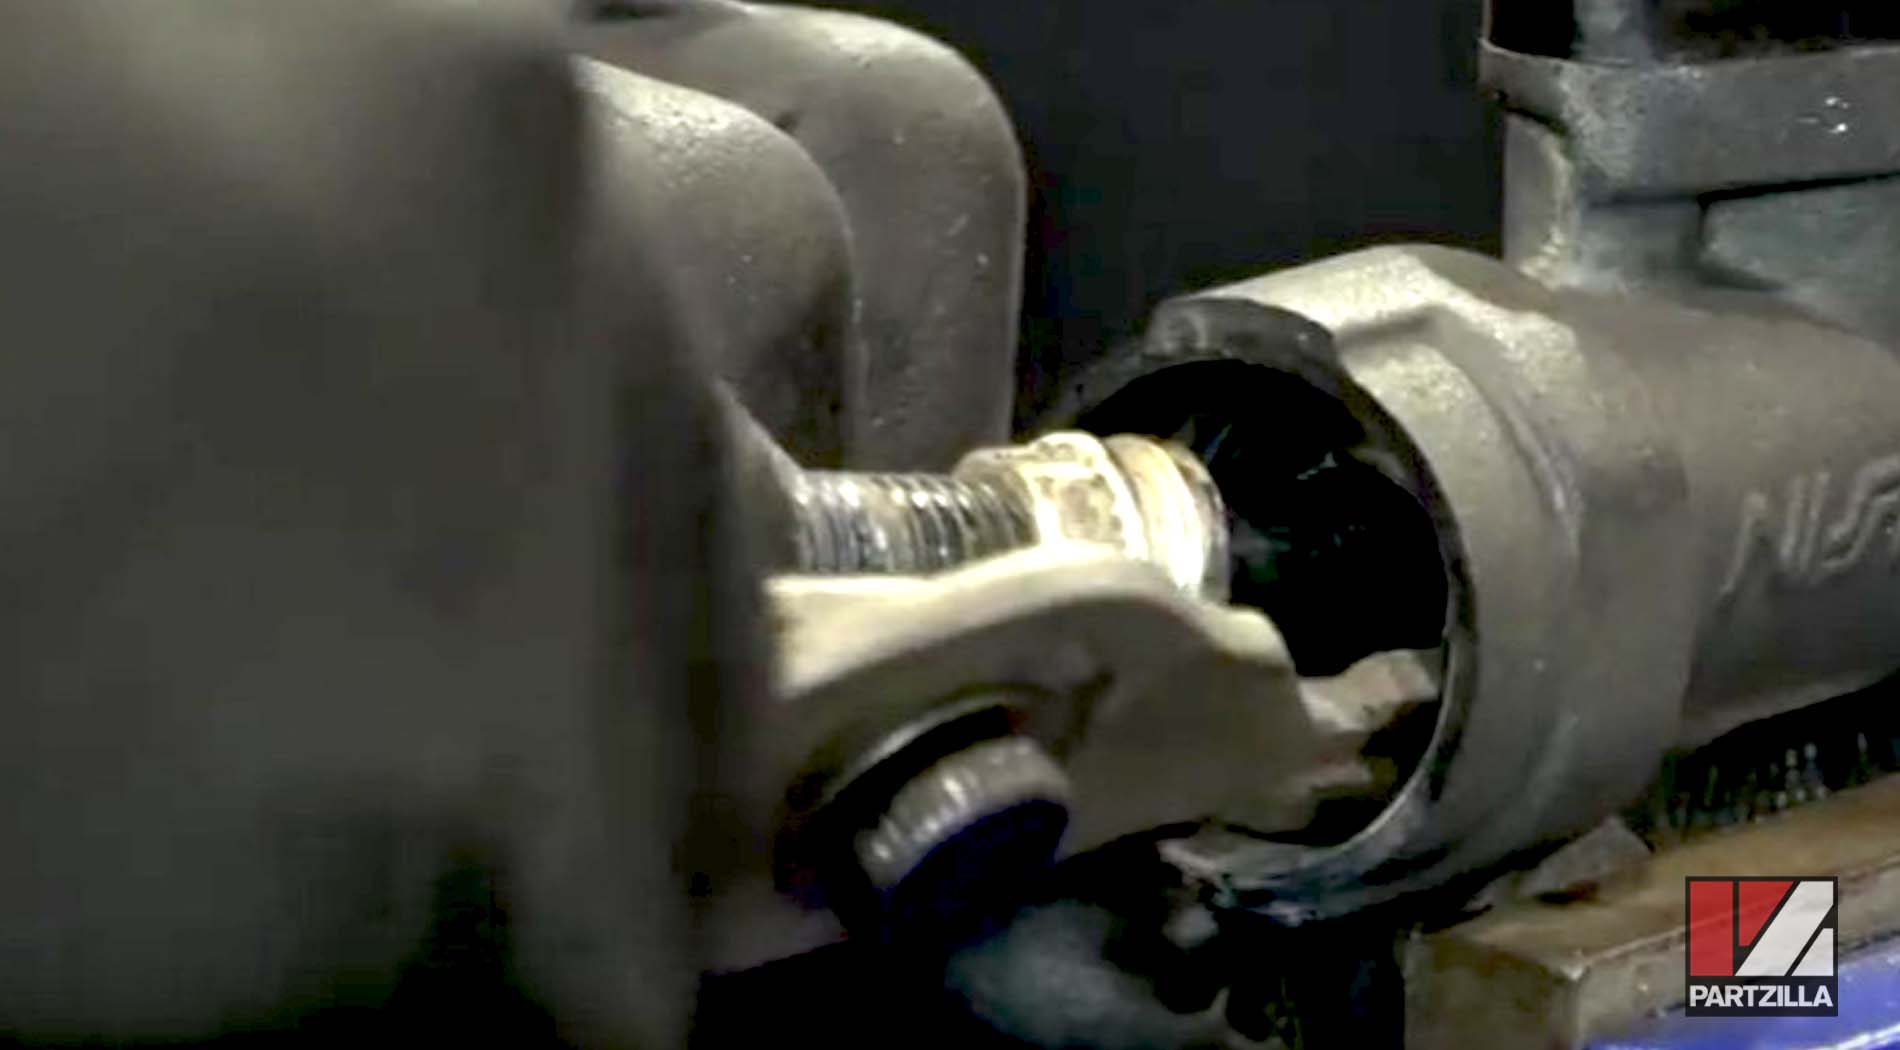
Step 4. Use brake cleaner to clean the inside of the master cylinder.
The new Honda OEM piston set has everything you need to rebuild the rear master cylinder.
Reassembling the Master Cylinder
Step 1. Stretch the seal over and onto the piston. Make sure that the seal is attached without any folded edges.
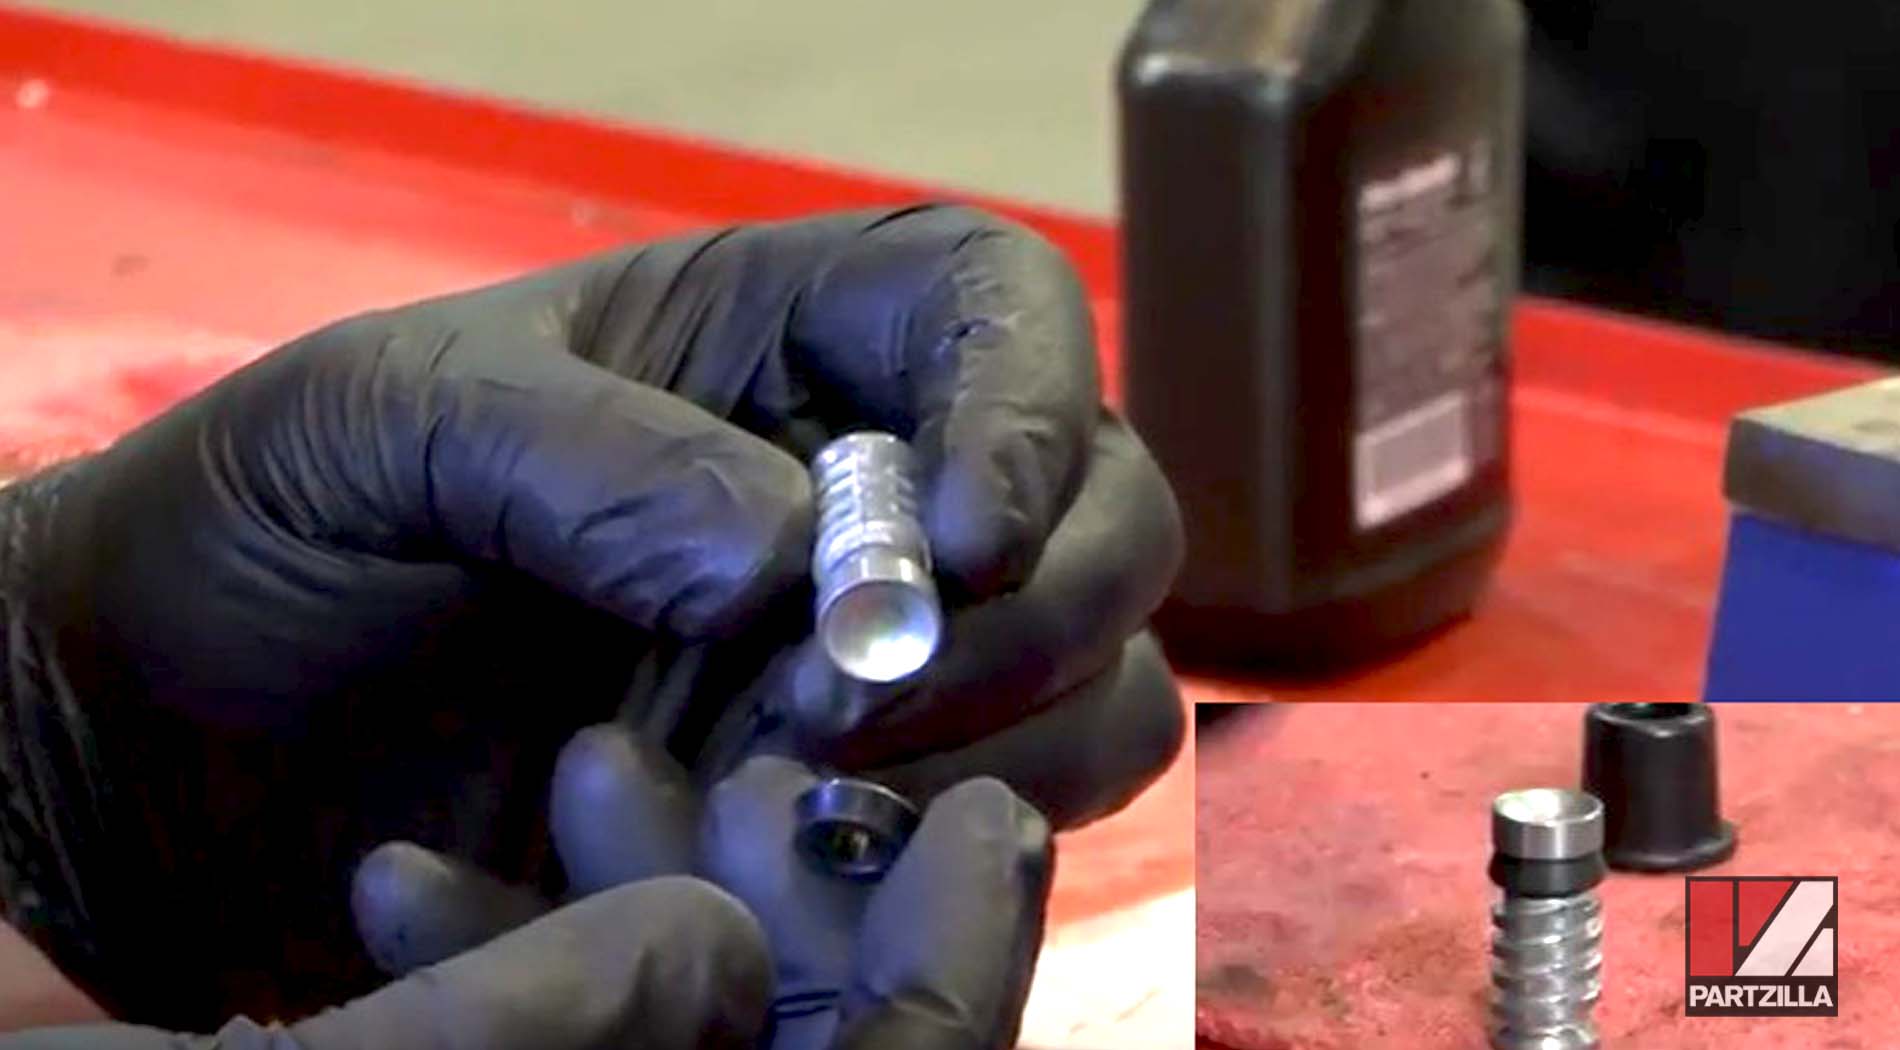
Step 2. Snap the black seal onto the tapered end of the spring.
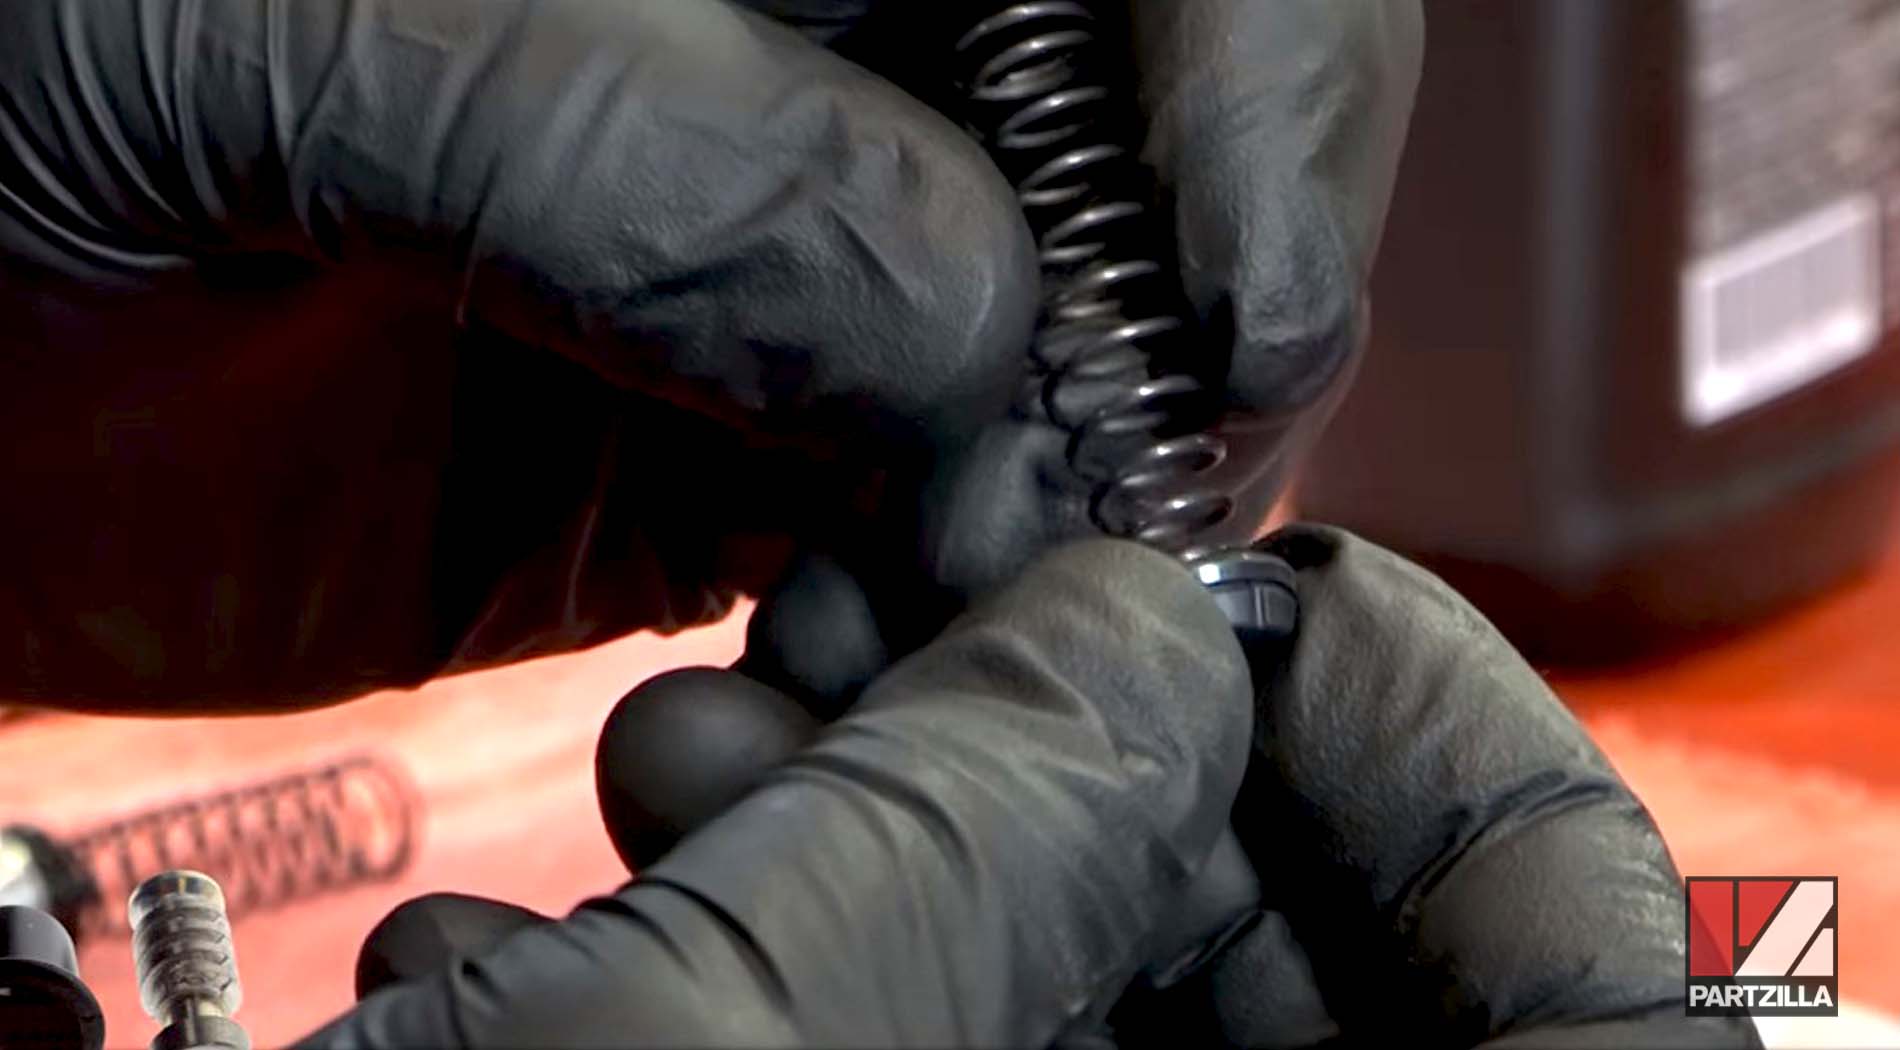
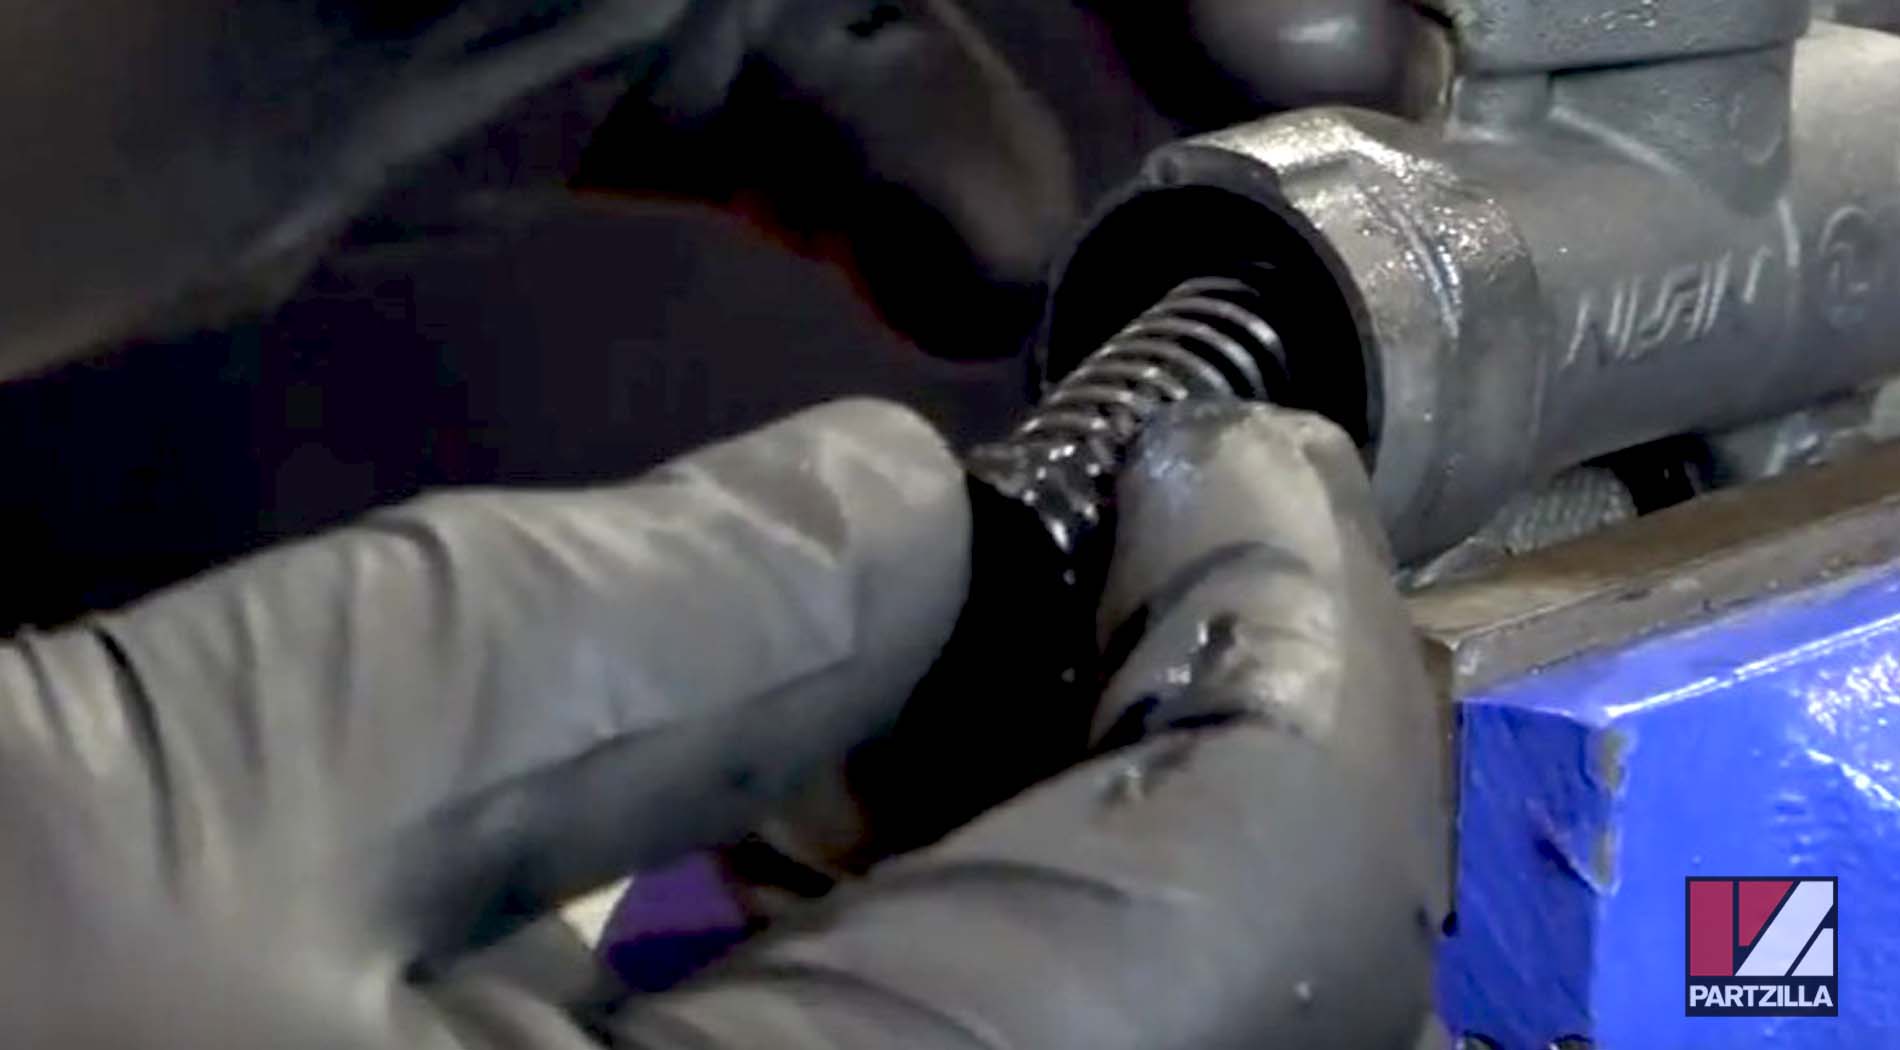
Step 3. Start replacing parts inside the master cylinder with the spring. Insert the open end of the spring first, so that the black seal faces out. Coat each part with DOT 4 brake fluid before placing them in the master cylinder.
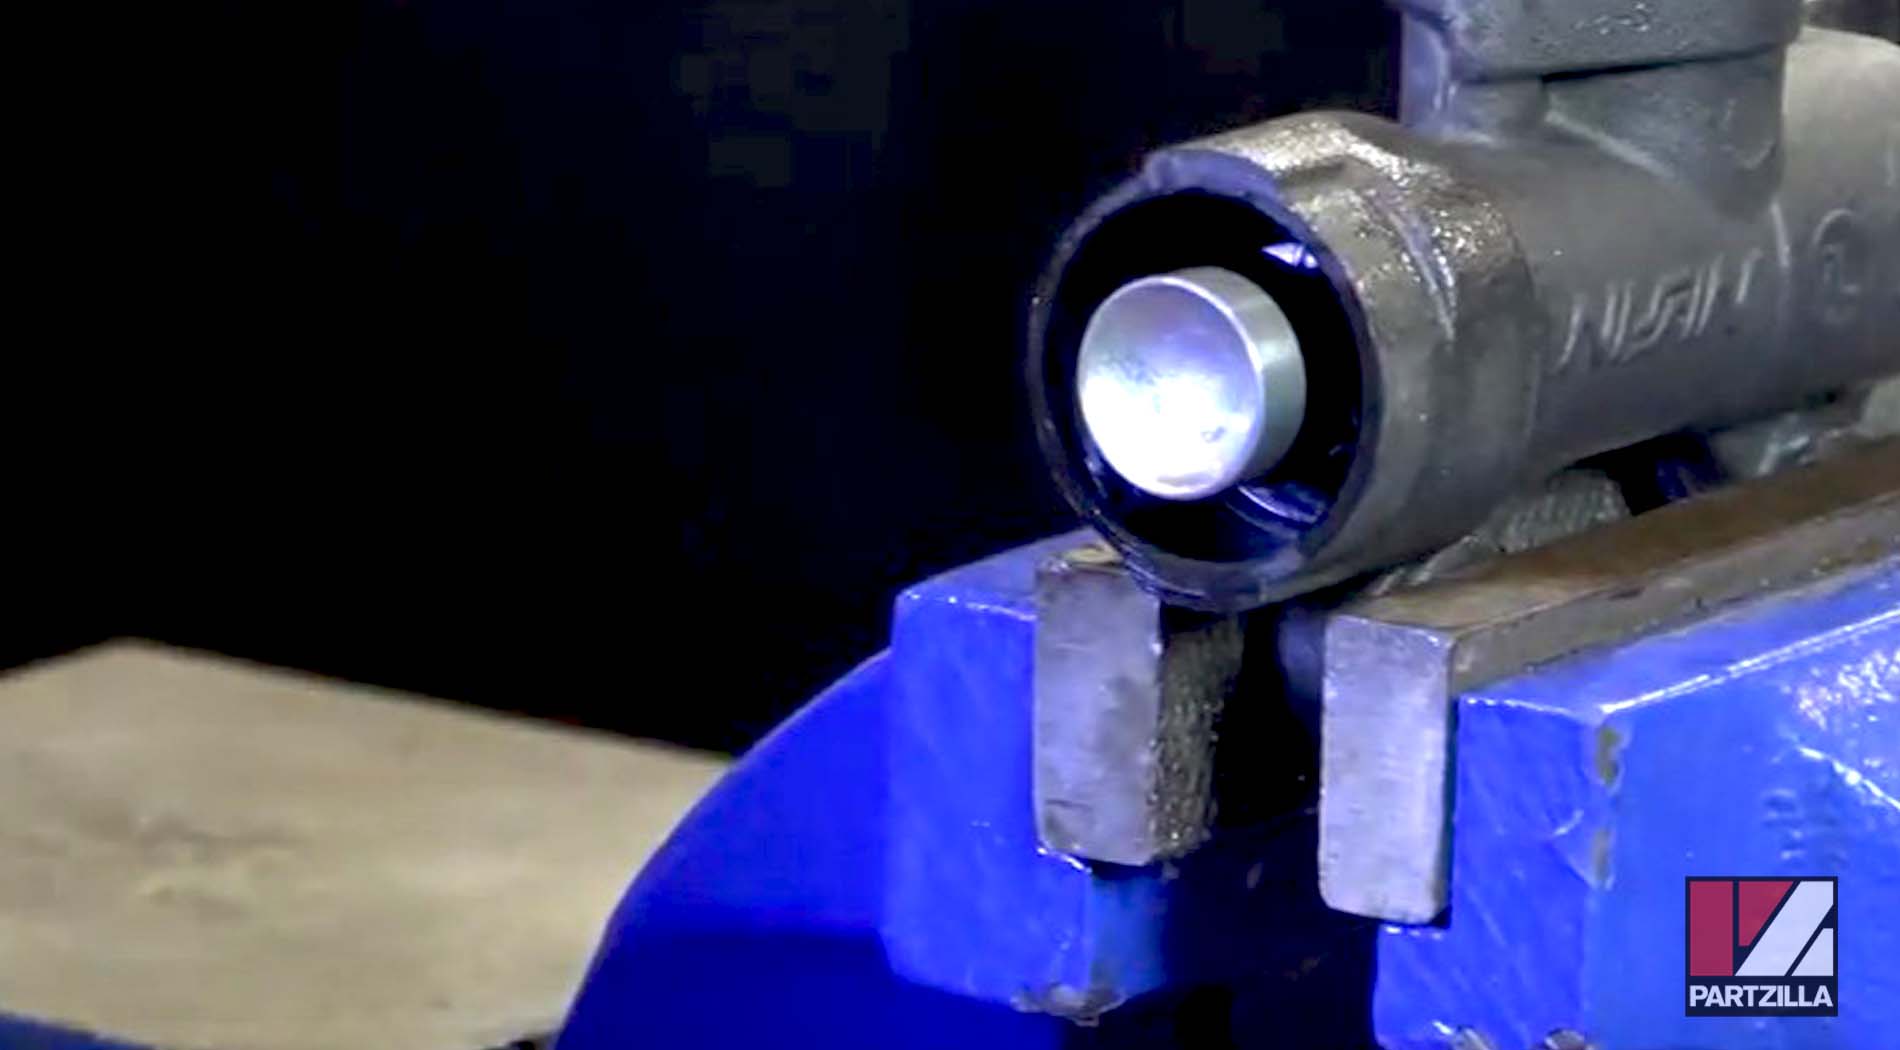
Step 4. Coat the piston with brake fluid, and insert it so that the end with the seal faces out.
Step 5. Insert the brake lever connecting arm.
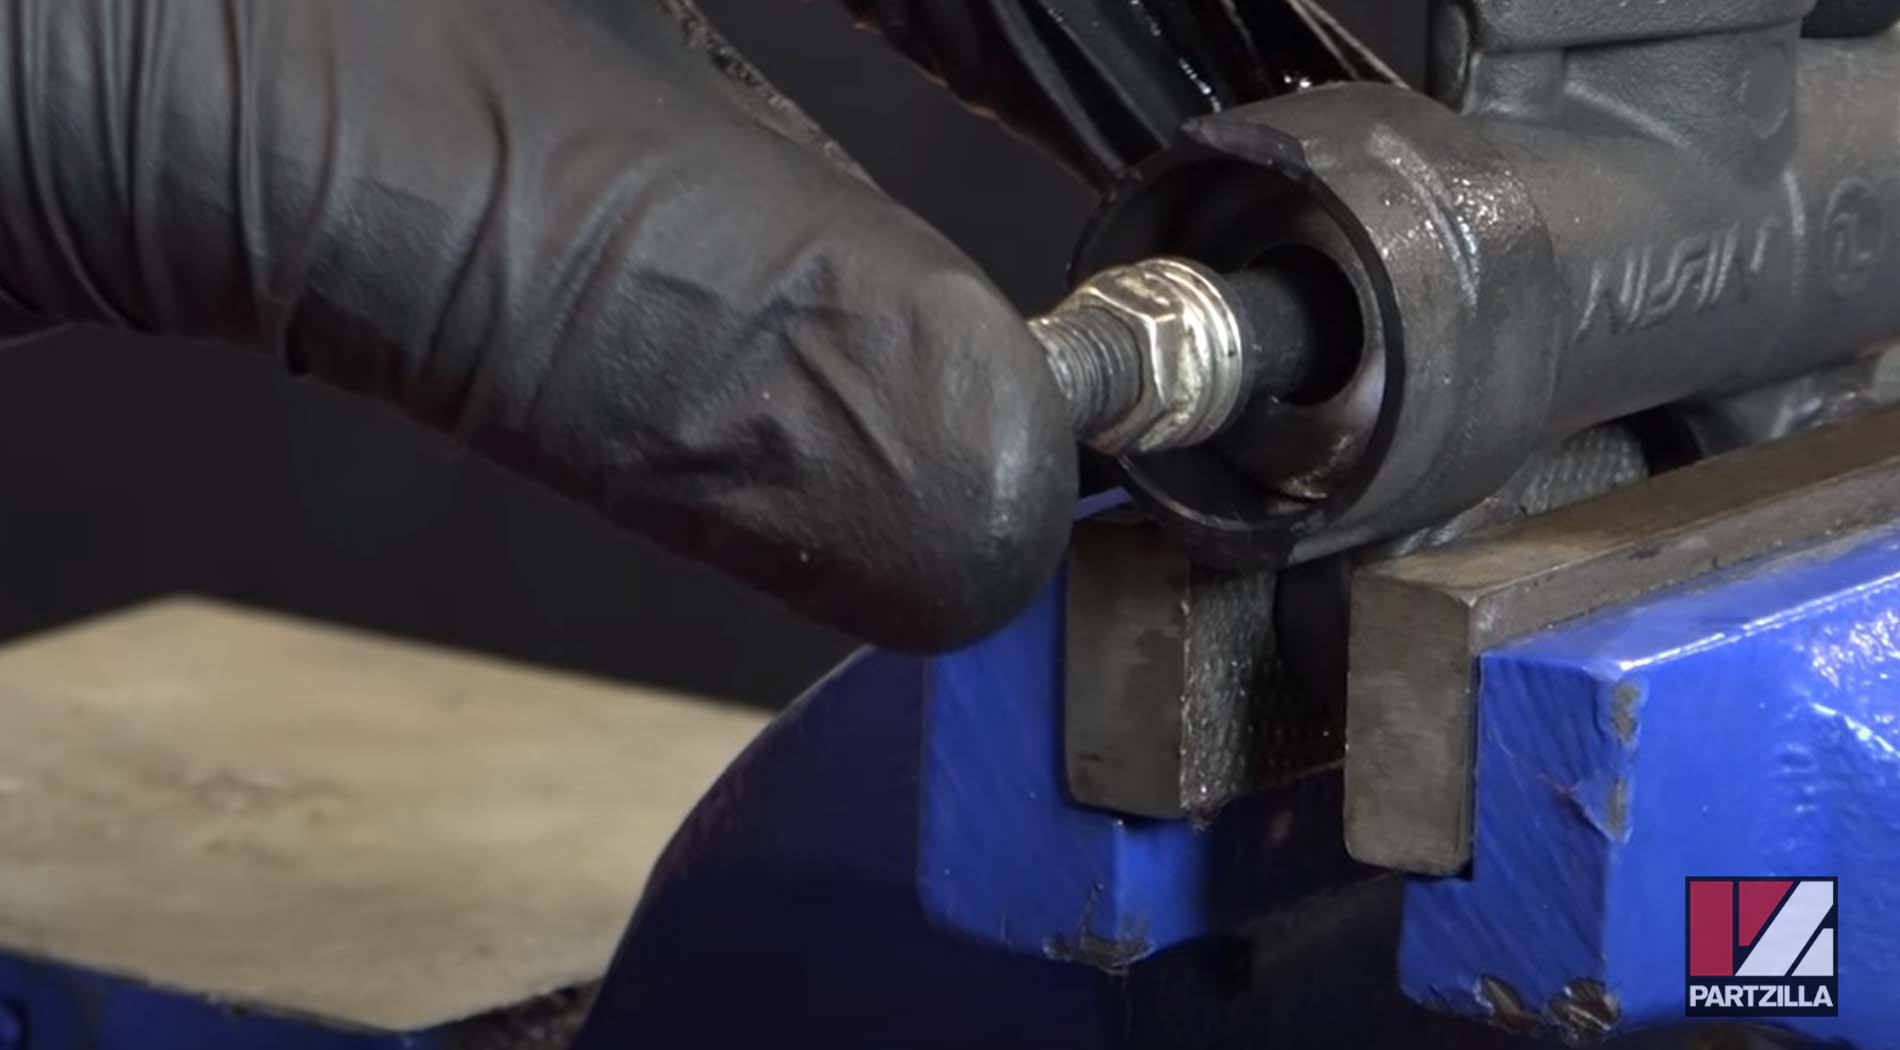
NOTE: There's a plate that looks like a washer, so don't forget to include it. You'll need to apply some pressure as you insert it to fight against the spring inside the master cylinder.
Step 6. Insert the rubber boot. The wider end goes into the master cylinder and the narrower end goes around the brake lever arm behind the bolt.
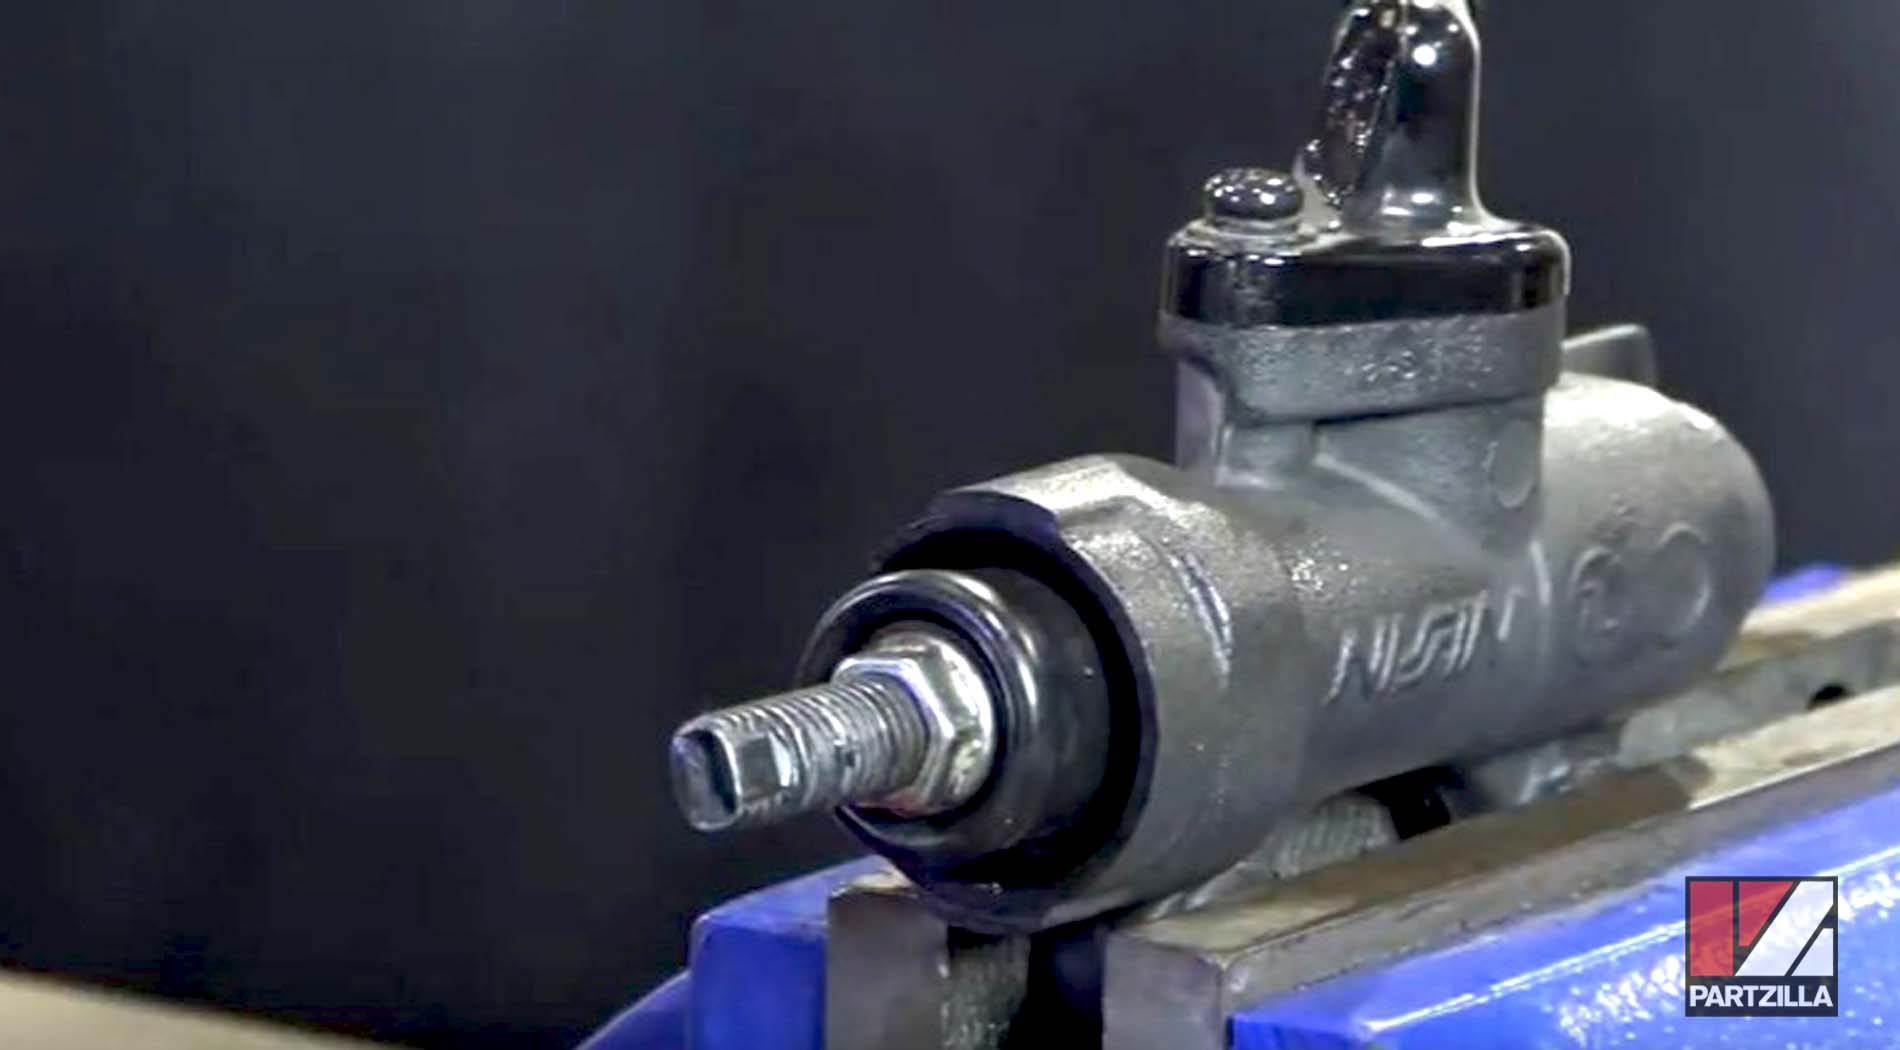
Step 7. Thread on the pinch bolt and the connector, and tighten both into place.
Replacing the Rear Master Cylinder
The process to replace the rear master cylinder is just a reverse of what you did to remove it from the machine. Watch the clip below to see how to replace the rear master cylinder.
Once you've reconnected everything, refill the system with brake fluid and you're done.
