Honda CBR600 Front Brake Master Cylinder Rebuild
If your Honda motorcycle is suffering from a spongy brake lever and poor stopping power even after you've bled the brakes, the master cylinder could be what's causing the issue.
When the piston seals in the master cylinder have worn and can no longer create enough pressure in the system, it's time to rebuild the master cylinder. Watch the video above and follow the steps below to rebuild the front master cylinder on a Honda CBR 600.
Tools and Parts - Honda CBR600 Front Master Cylinder Rebuild
- Ratchet and extensions
- 8mm, 10mm sockets
- 12mm wrench
- Pliers
- Circlip pliers
- Flathead screwdriver
- 90-degree Philips screwdriver
- Pick tool
- 3/16" hose
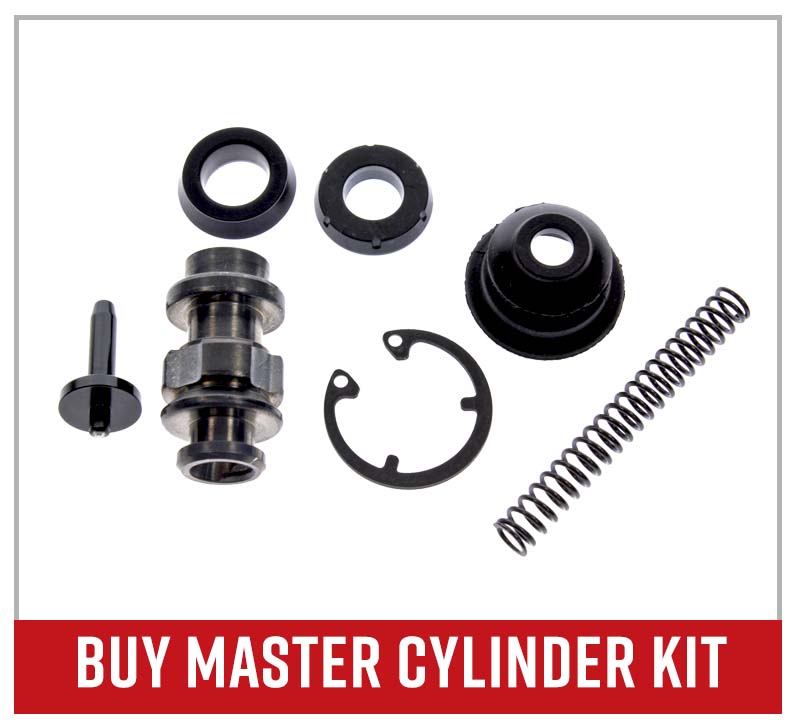
- Master cylinder kit
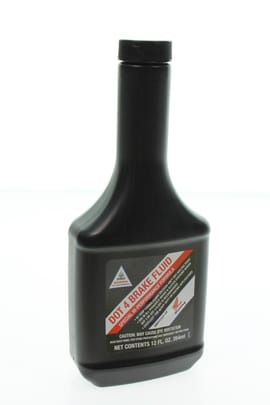
- DOT 4 brake fluid
- Contact/brake cleaner
NOTE: Brake fluid is highly damaging to a motorcycle's paintwork and plastics. Have plenty of shop towels or rags ready to immediately wipe off any spilt brake fluid.
Removing Honda CBR 600RR Front Brake Master Cylinder
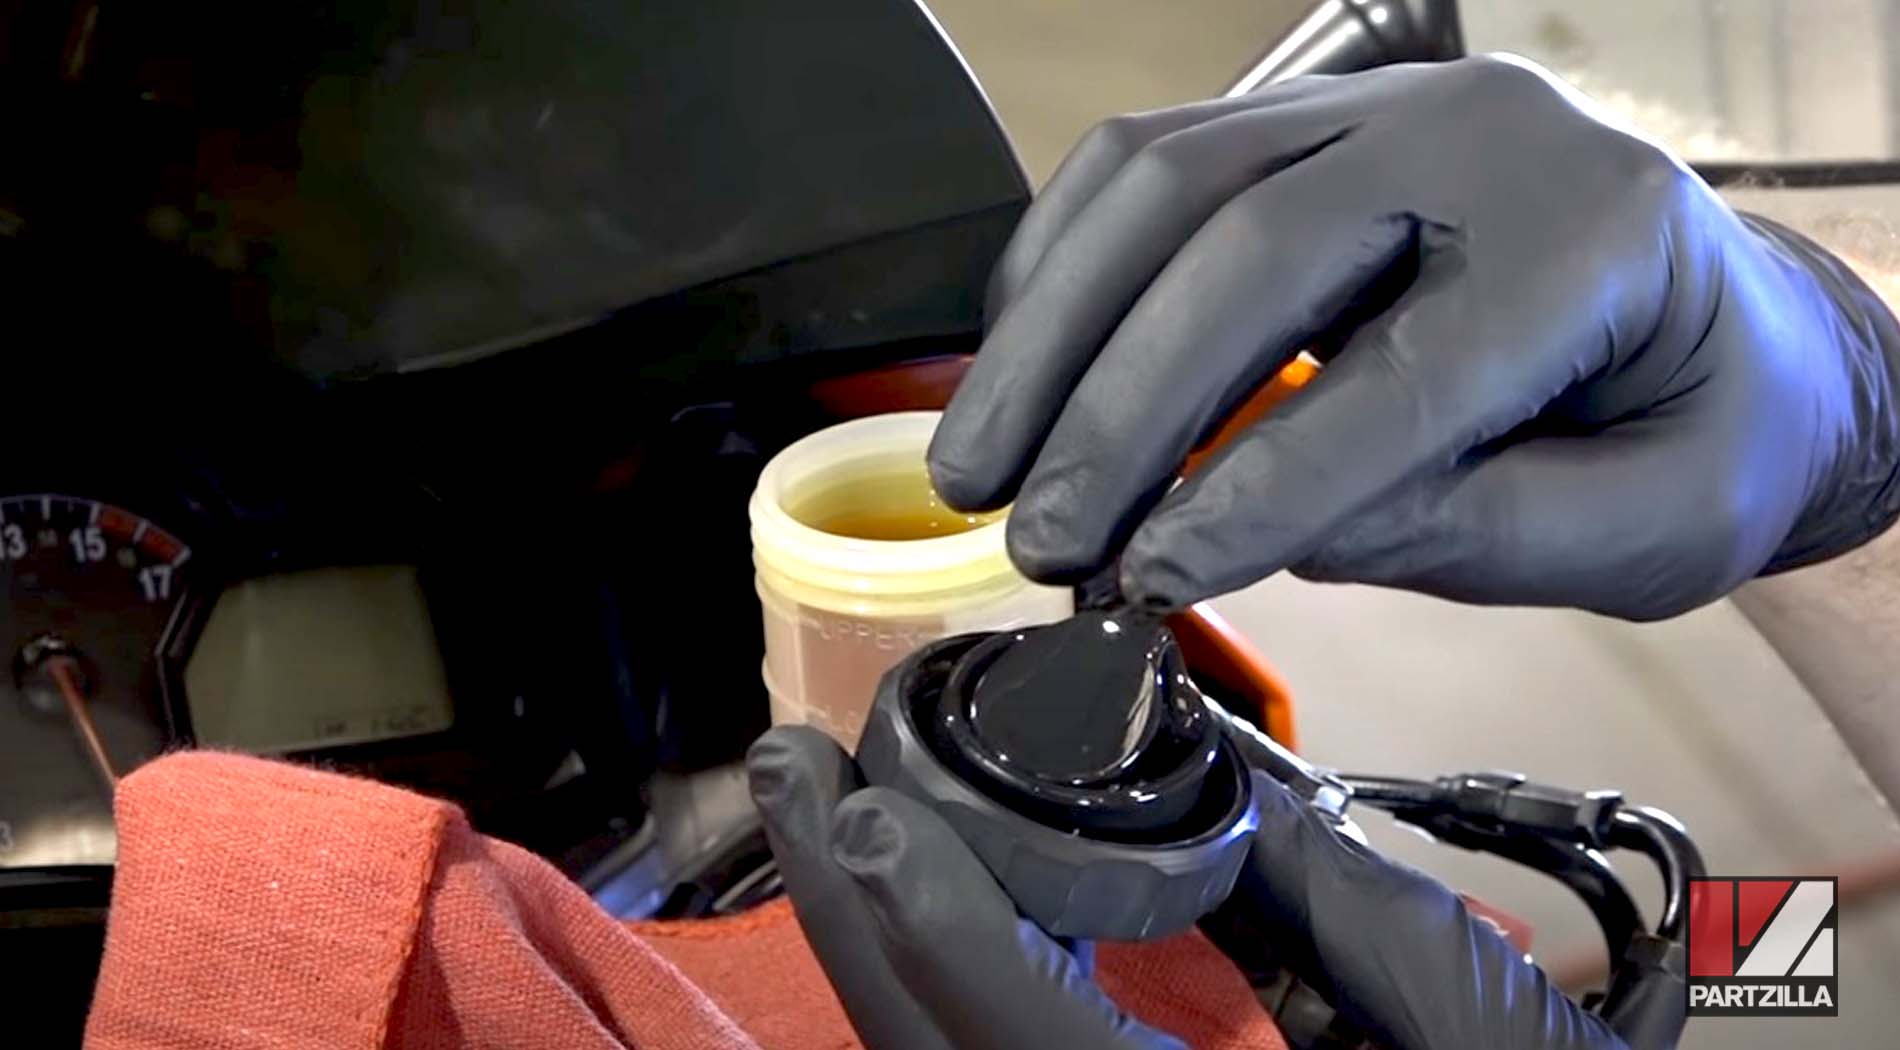
Step 1. Remove the small bracket from the master cylinder reservoir, then remove the master cylinder's cap, the diaphragm plate and the diaphragm beneath it.
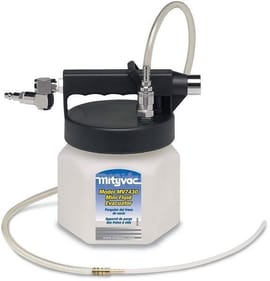
Step 2. Use a mini fluid evacuator to drain the old brake fluid from the system, or drain it manually if you don't have one.
To manually drain the brake system, connect a length of 3/16" hose to the bleed screw on the brake caliper, and run the hose to a container to catch the brake fluid. Pump the front brake lever a couple of times, release the bleed screw, tighten the screw, and then repeat this process until the all the brake fluid has been purged from the system.
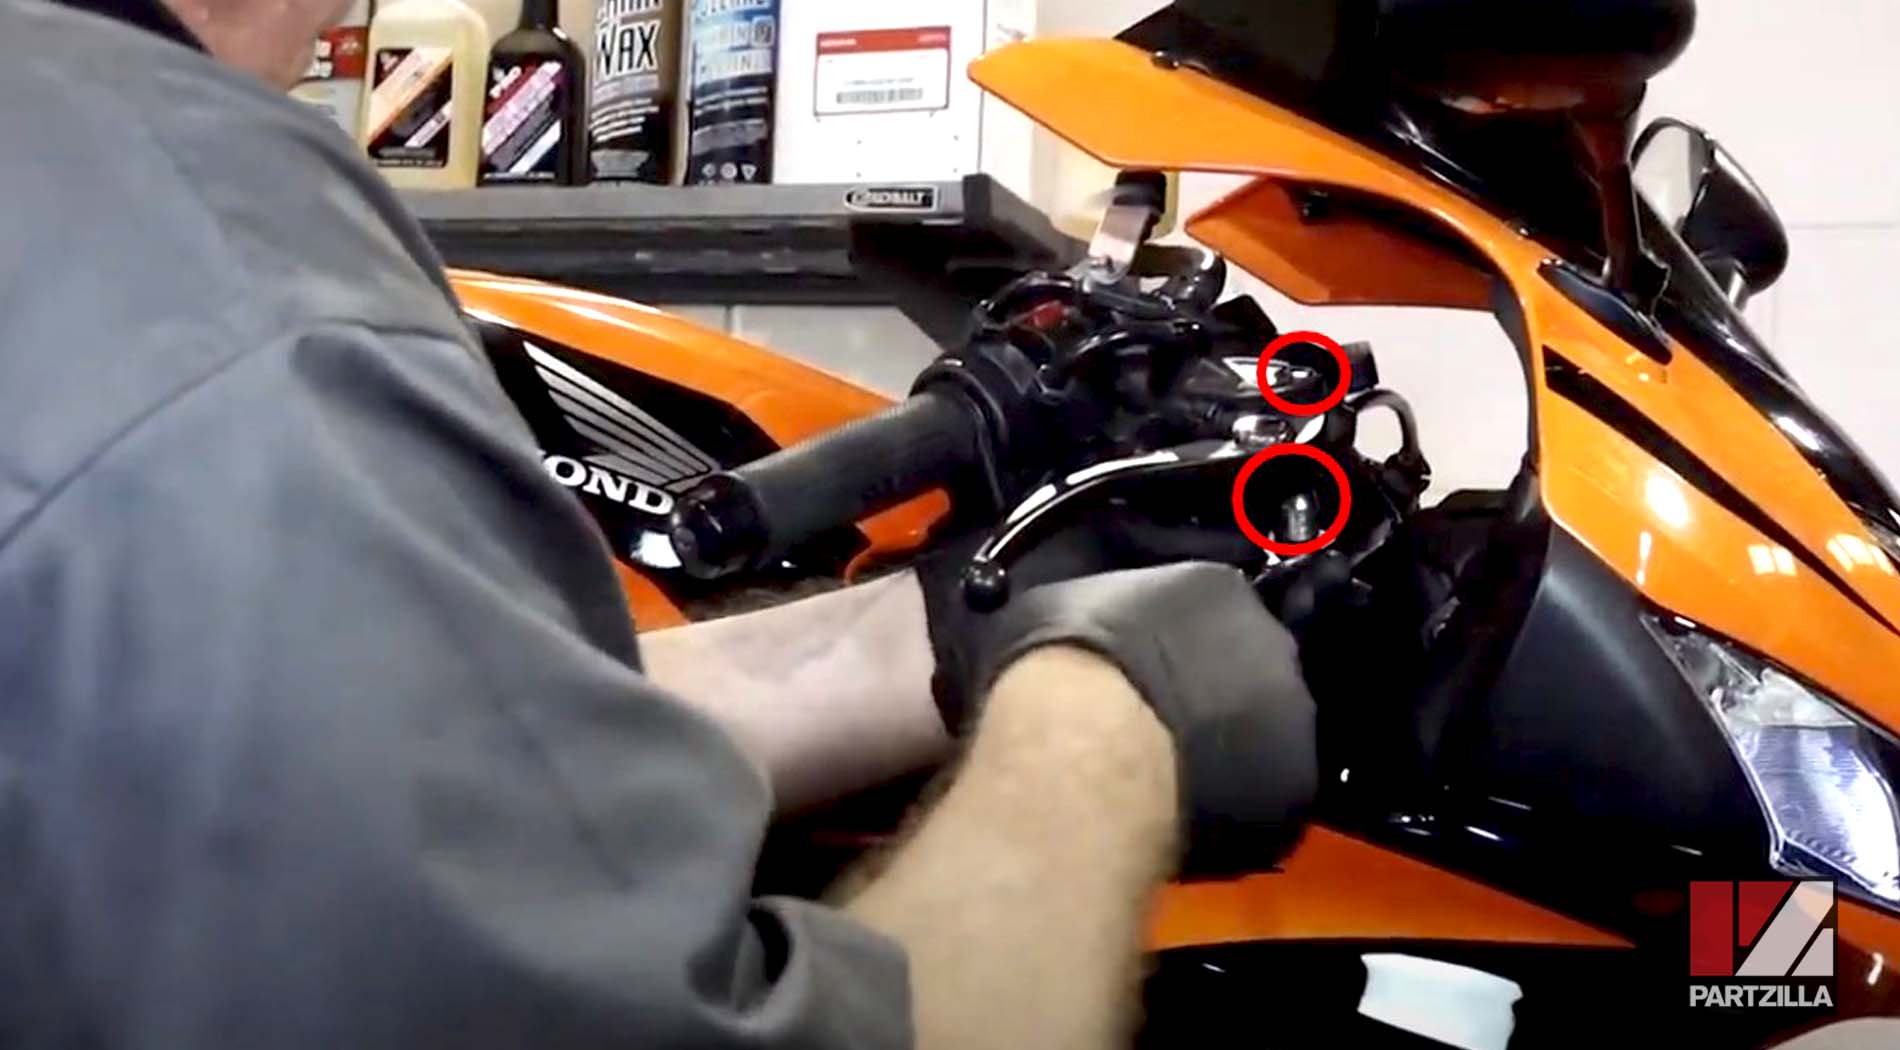
Step 3. Remove the brake lever by taking off the 10mm locknut under the brake lever and the pivot bolt holding the lever in place.
Step 4. Disconnect the two wires from the brake light switch under the master cylinder.
Step 5. Remove the union bolt and the two washers that connect the brake line to the master cylinder.
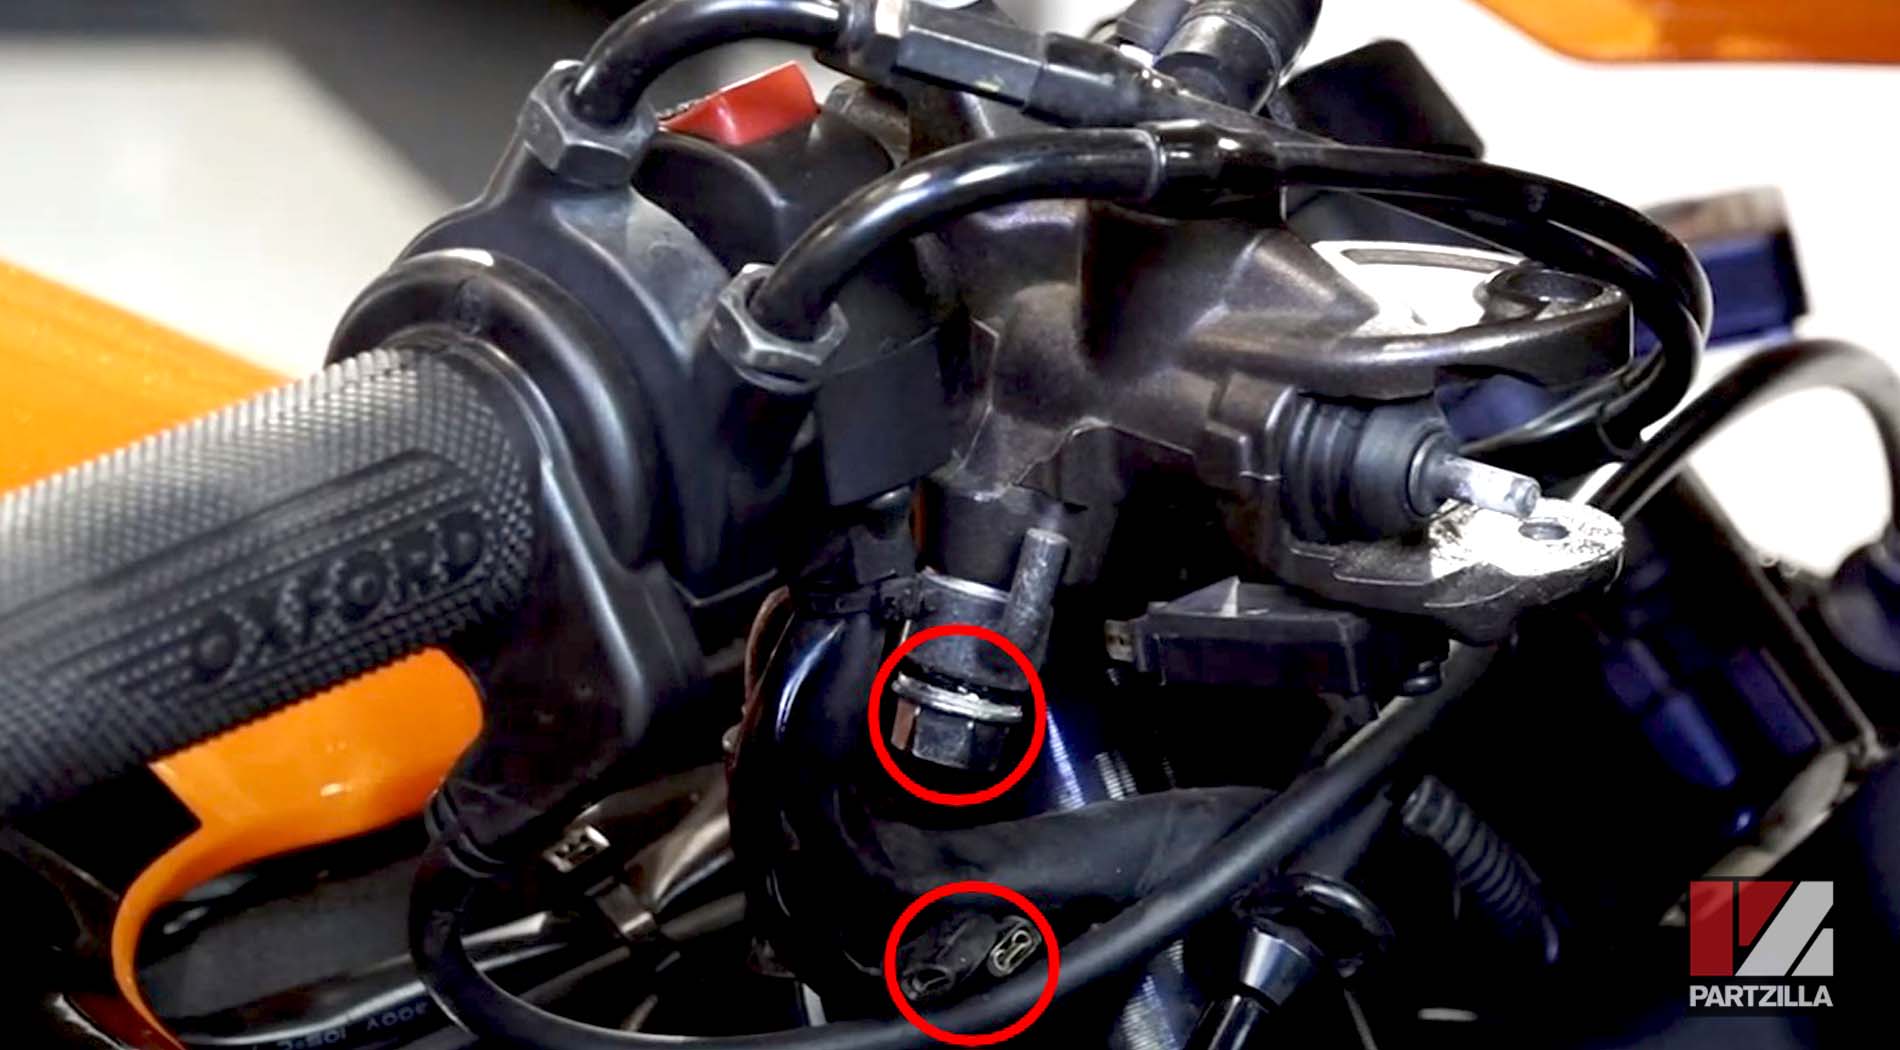
NOTE: Don't get any brake fluid on the paintwork of your CBR600 when disconnecting the union bolt.
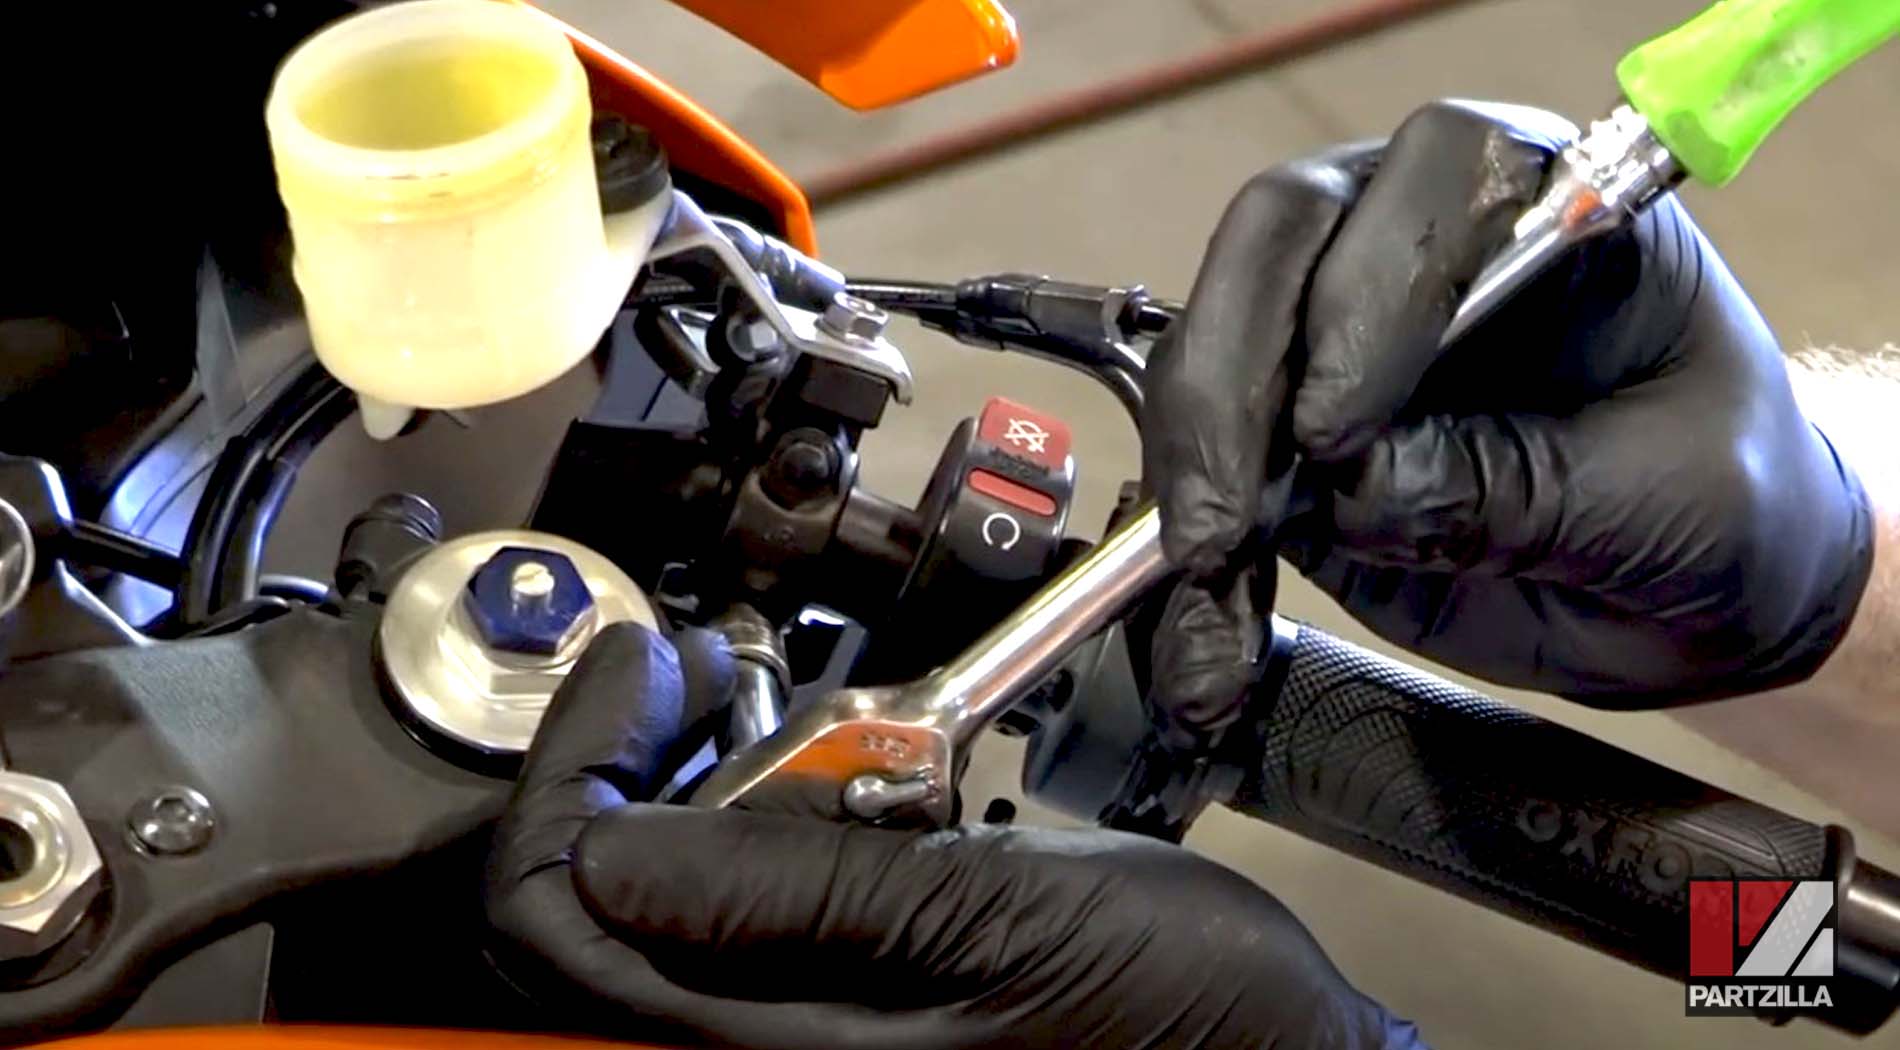
Step 6. Remove the two 8mm bolts from the bracket holding the master cylinder assembly to the handlebars.
NOTE: A little dirt in the braking system can dramatically reduce the system's performance, so thoroughly clean all the parts as you rebuild the master cylinder.
Rebuilding Honda CBR 600RR Front Brake Master Cylinder
Step 1. Remove the rubber boot from the master cylinder.
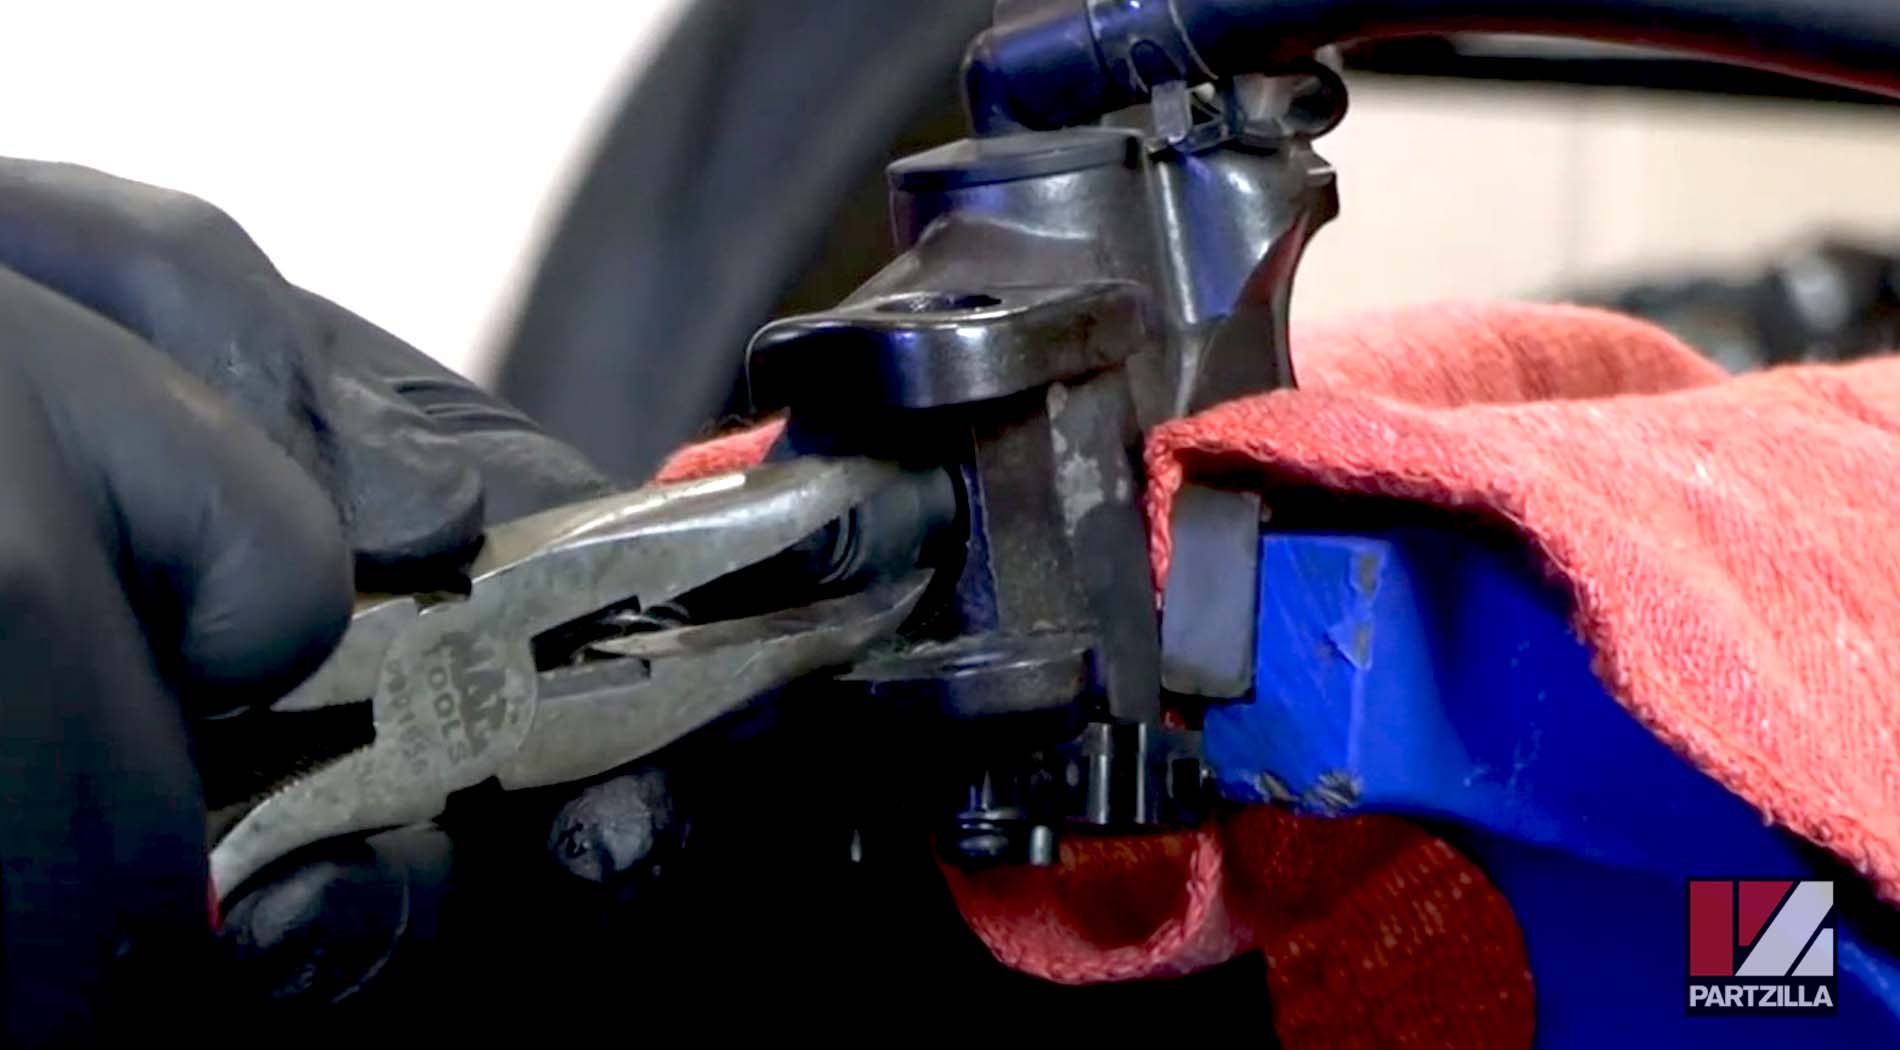
Step 2. Remove the circlip, and pull the piston and spring out from the master cylinder.
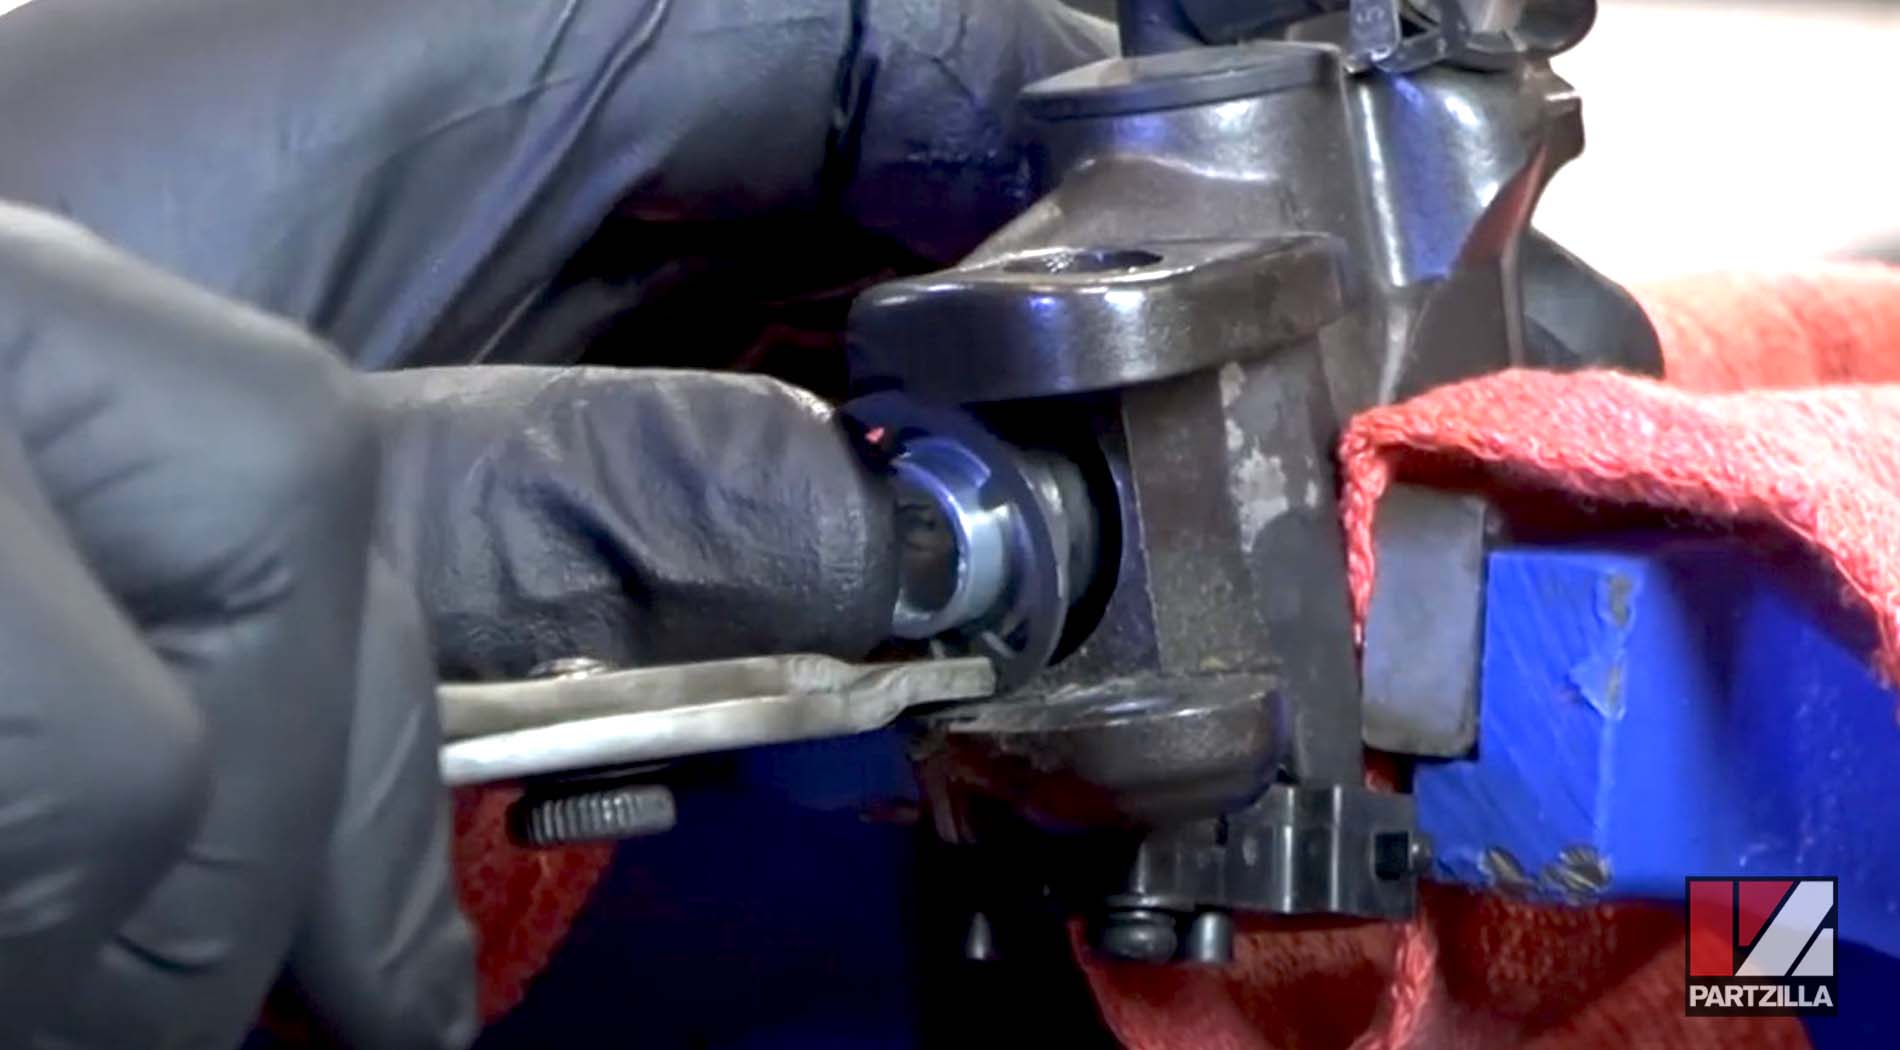
Step 3. Inspect the bore in the master cylinder the piston came out of for scratches, or signs of pitting and corrosion. If the bore is worn in any way, the master cylinder needs to be replaced.
Step 4. Put a drop of brake fluid on the piston seals to lubricate them, and install the piston into the master cylinder. Install the new circlip, making sure it's properly seated in its channel within the bore, and install the new rubber boot.
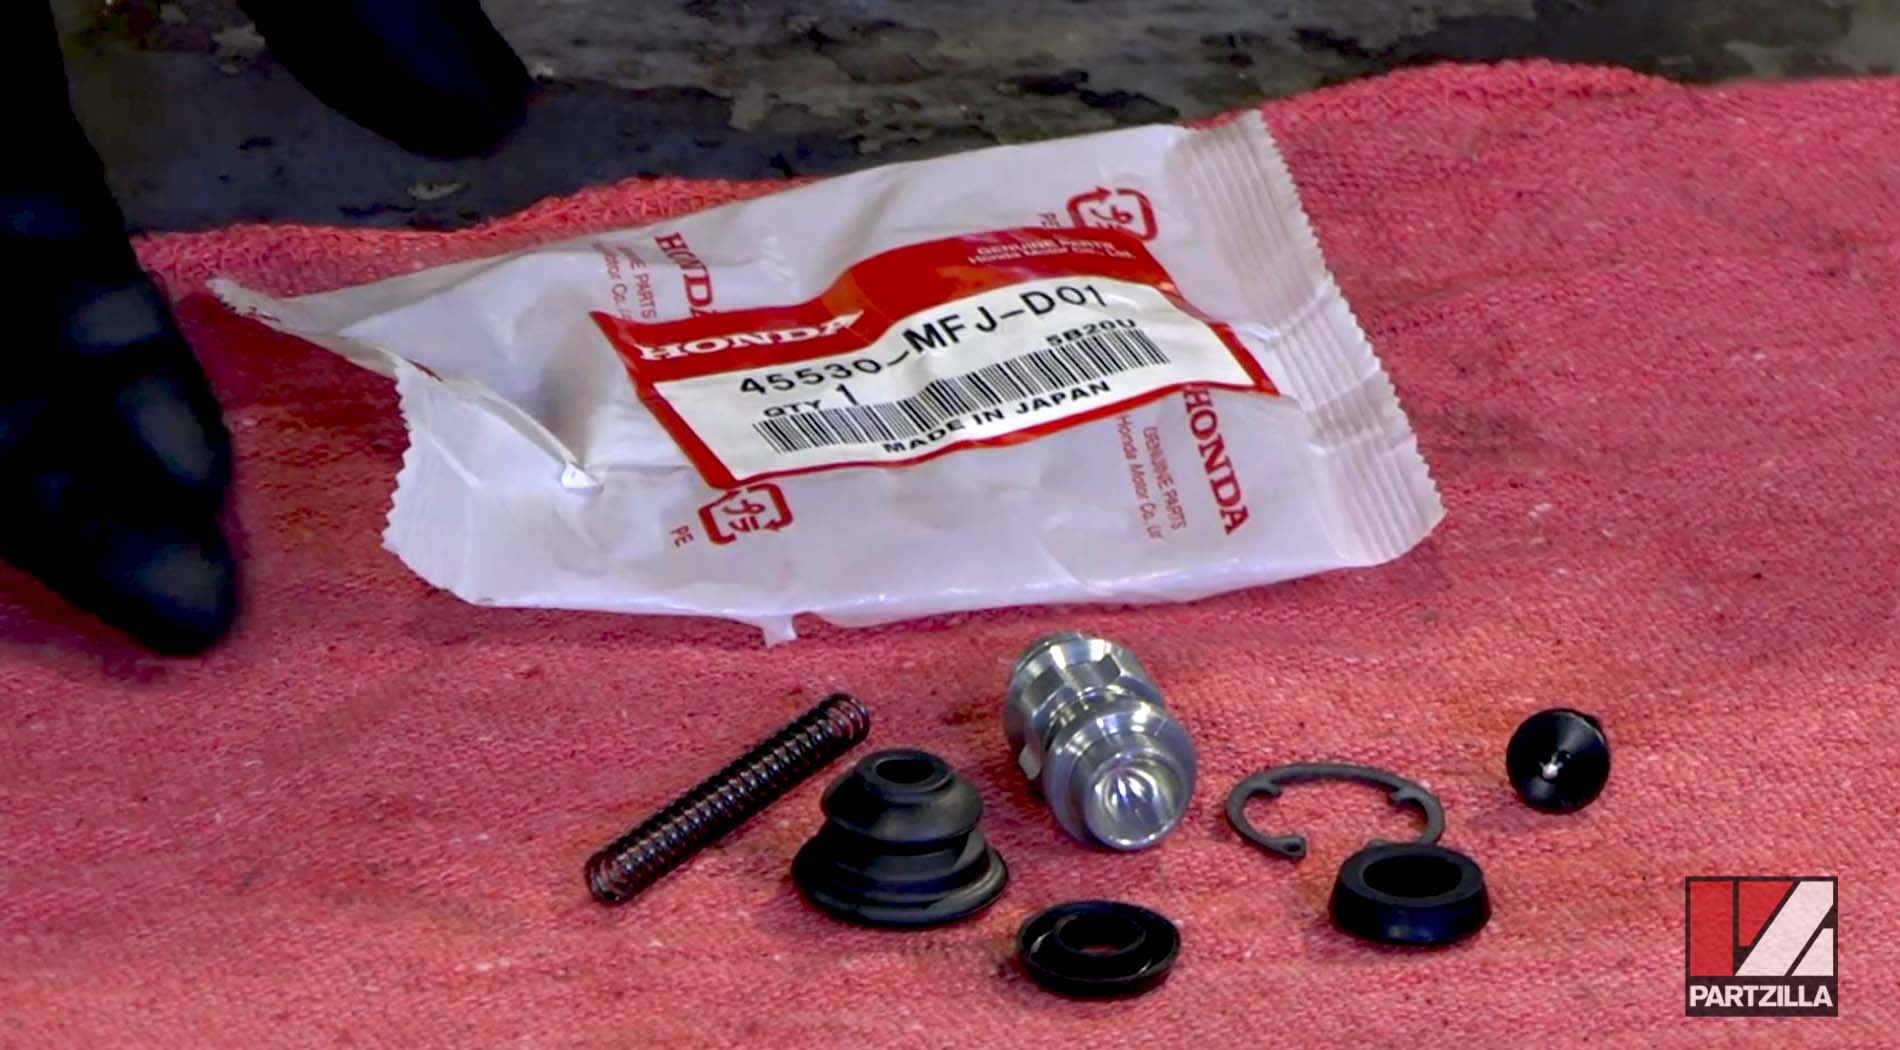
NOTE: The OEM Honda master cylinder kit includes a new piston complete with seals and spring, a new circlip and a new rubber boot.
Reinstalling Honda CBR 600RR Front Brake Master Cylinder
Step 1. Remount the master cylinder onto the handlebars by reinstalling the bracket and its two 8mm bolts.
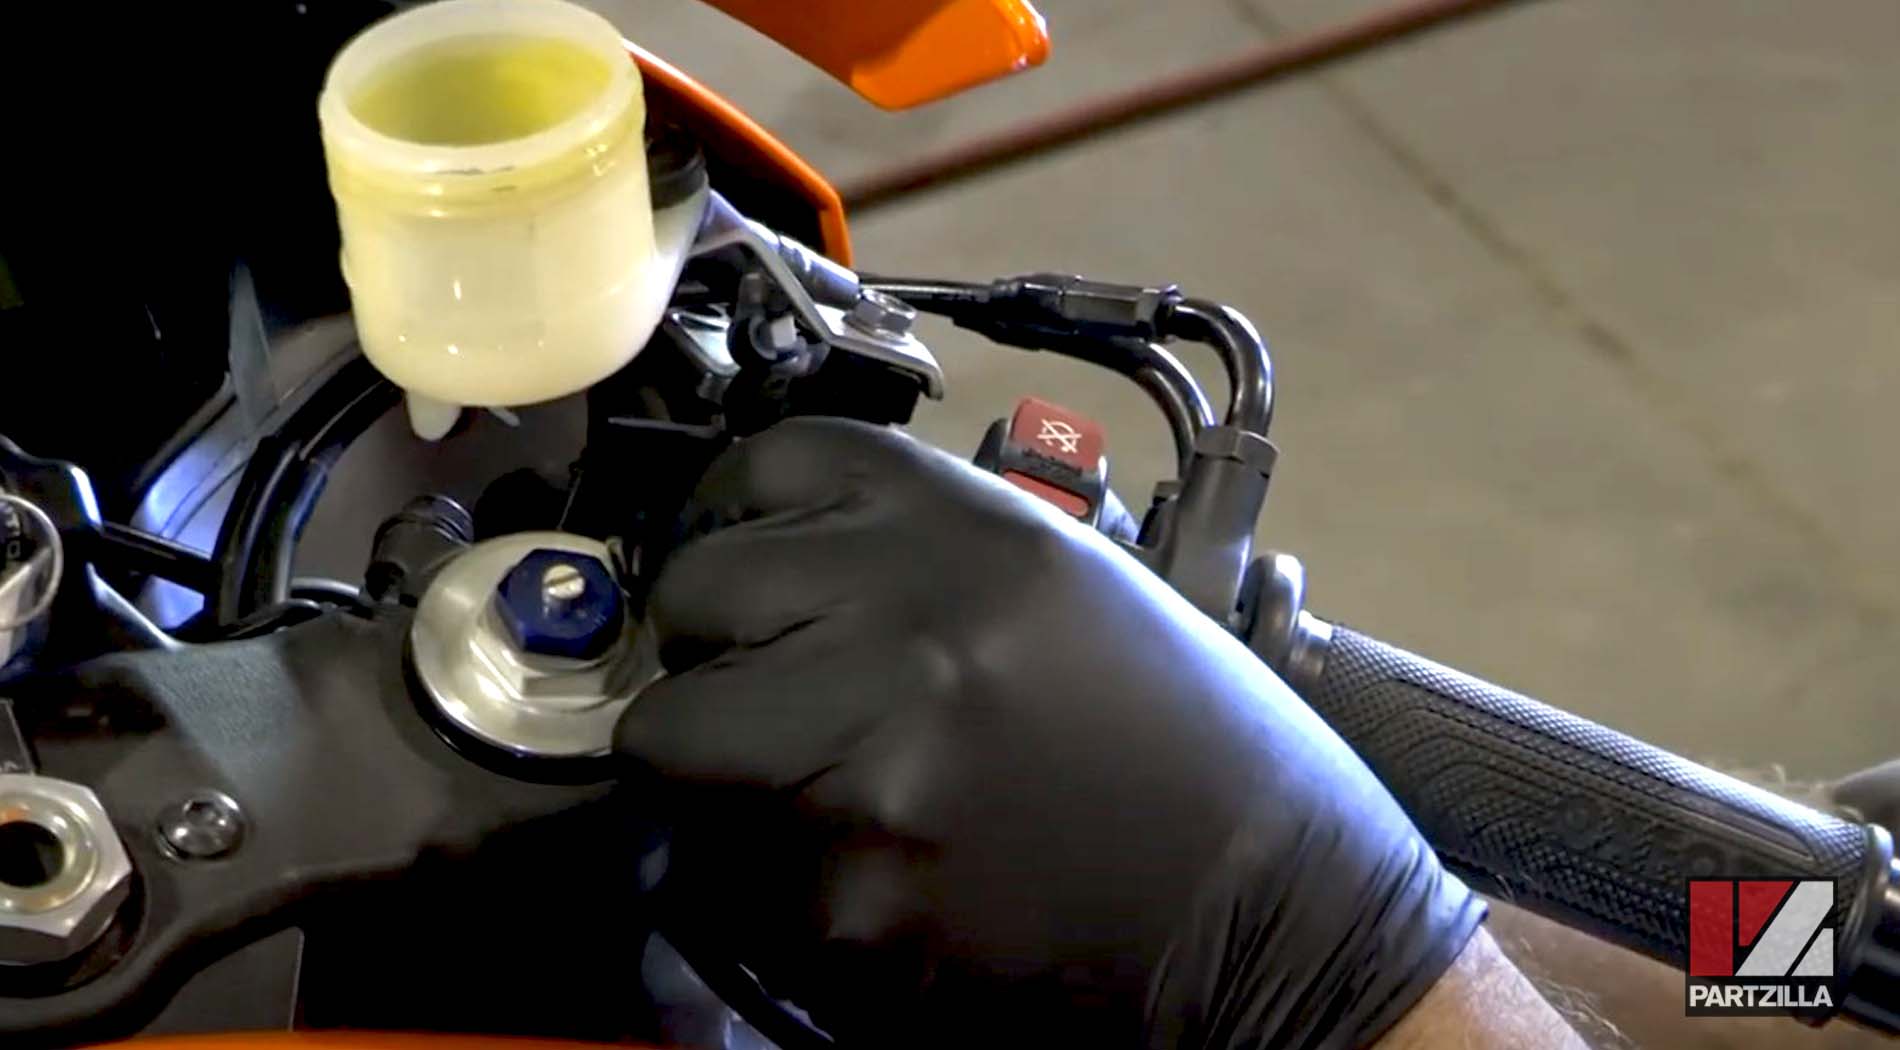
Step 2. Reinstall the union bolt and washers that connect the brake line to the master cylinder.
Step 3. Reconnect the two wires to the brake light switch.
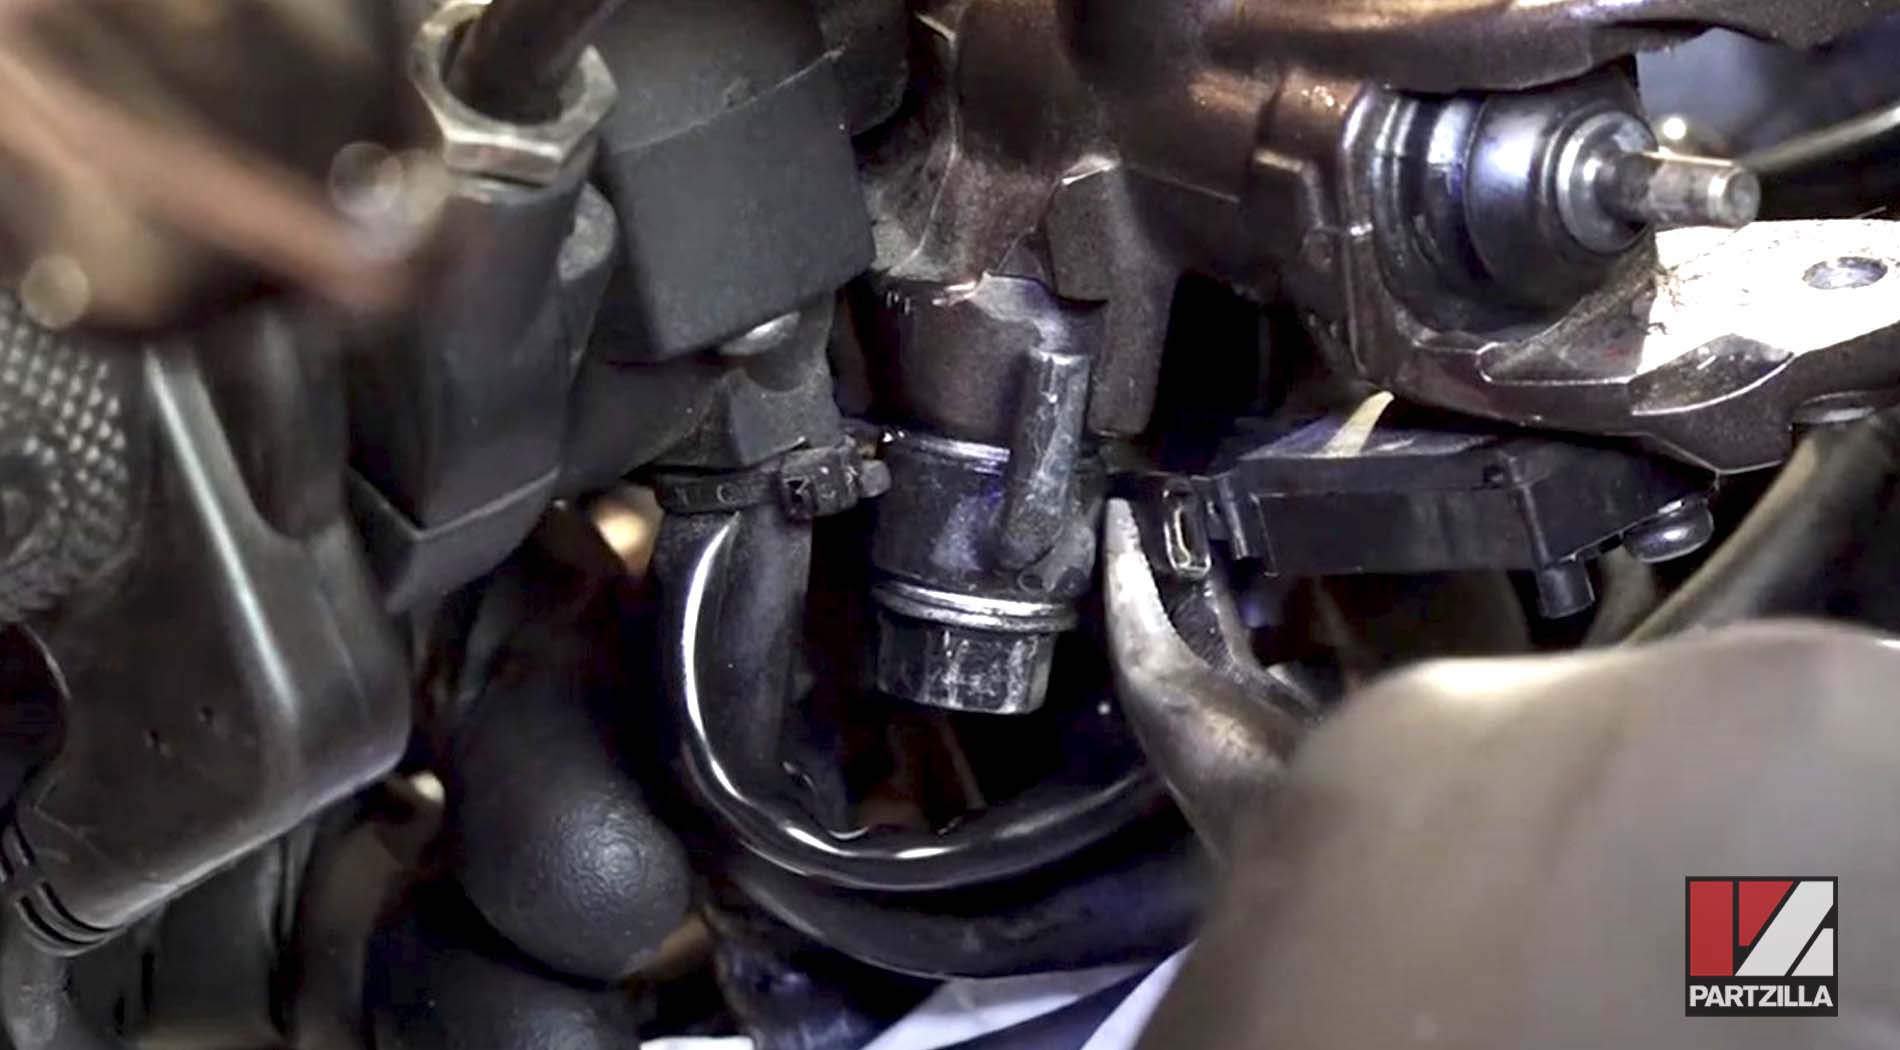
PRO TIP: Because it's a switch, the polarity of the wires won't affect it, so you can reconnect the wires either way around.
Step 4. Reinstall the brake lever, then grease and reinstall the pivot bolt and the locknut beneath the brake lever.
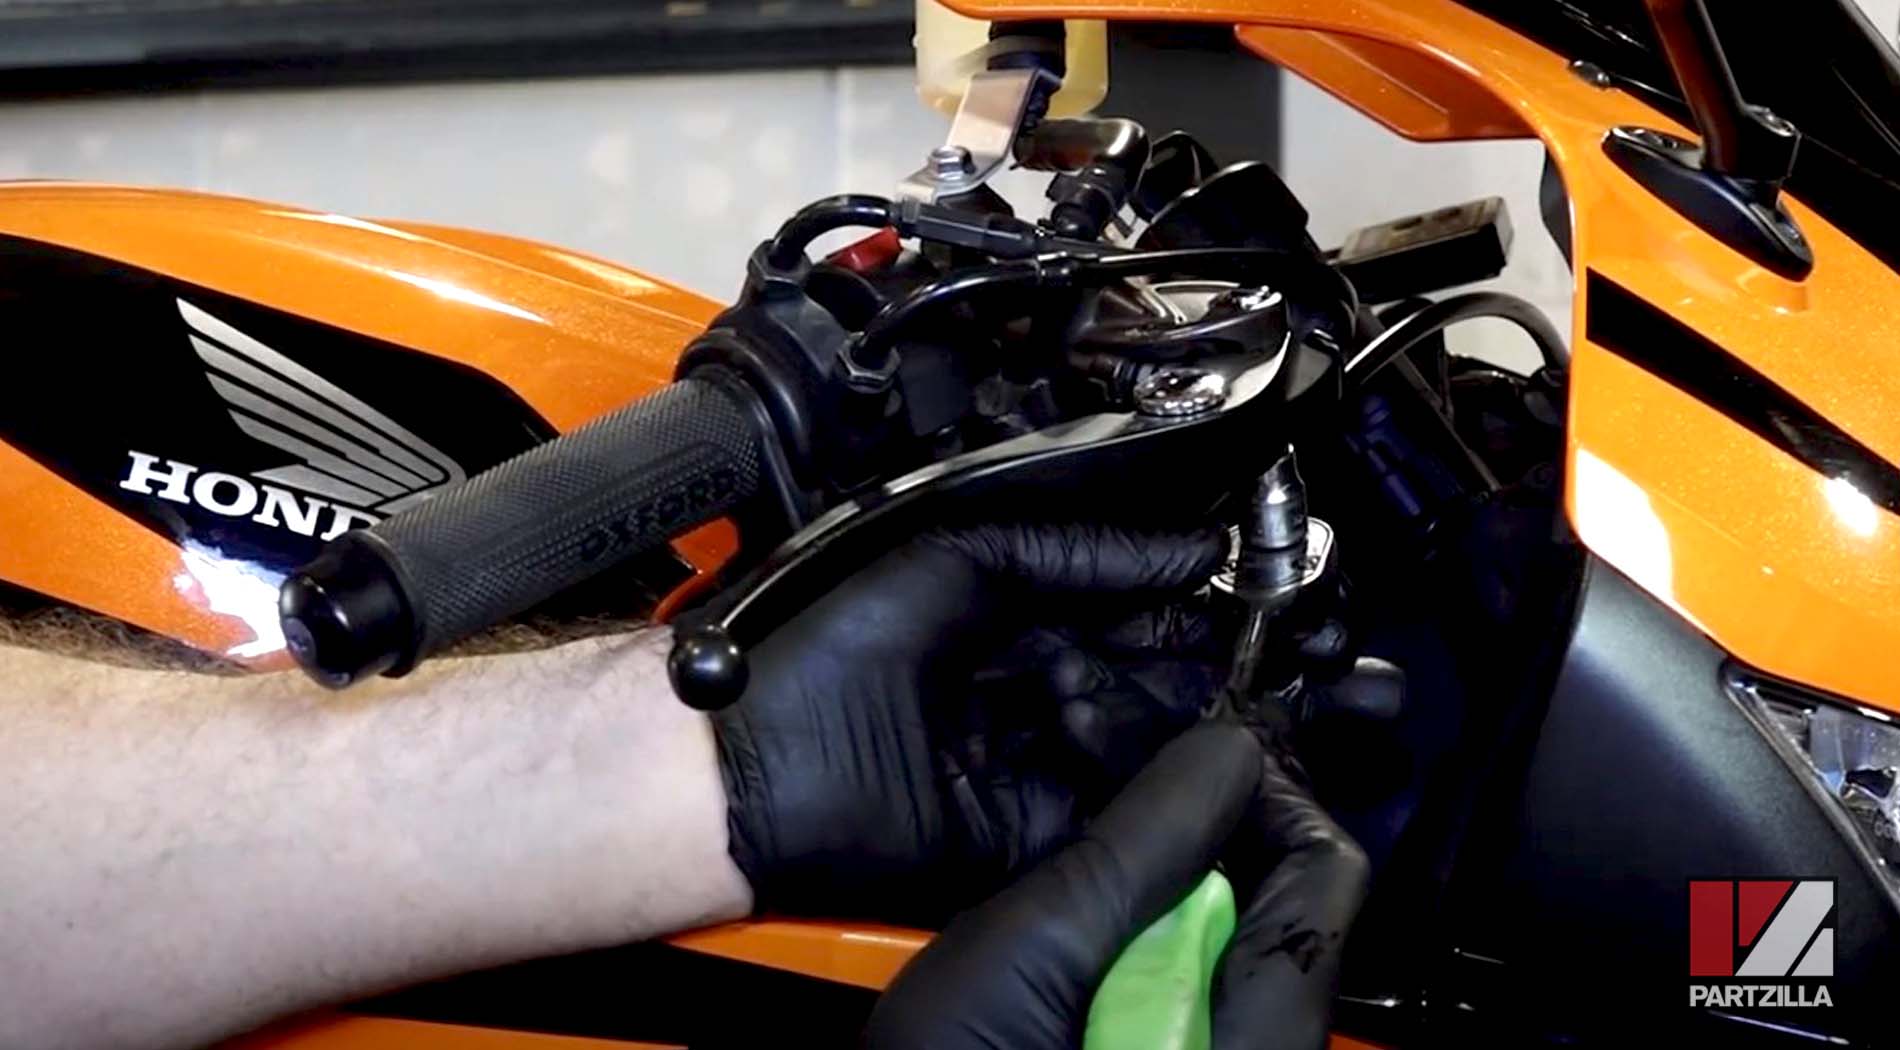
Step 5. Refill the master cylinder reservoir with DOT 4 brake fluid, and bleed the system until all the air is removed.
If you need help bleeding the brakes, watch our Honda CBR 600RR brake bleed video below.
