7 Head and Cylinder Gasket Mistakes to Avoid
Having to replace a cylinder/main gasket or head gasket is a lengthy and sometimes expensive process. Whether you have to replace a previously blown gasket, or install a new one as part of an intensive engine rebuild, the new gasket installation has to be flawless.
With that in mind, here are 7 head and cylinder head gasket mistakes to avoid.
Gasket Installation Mistake #1: Using the Wrong Gasket
Manufacturers are constantly upgrading the designs of their machines, and the gaskets for a particular model may change from year to year. Check and re-check the part number of the gasket you’re buying to be sure it’s the correct part for your exact model.
If you’re fitting an aftermarket gasket, you may have a choice of gaskets made from varying materials. Research the gasket manufacturers’ guidelines before buying.
- Composite head gaskets are good for stock engines.
- Composite head gaskets with copper wire rings are good for aluminum crankcase engines.
- Multi-layered steel (MLS) head gaskets are good for higher compression ratio engines.
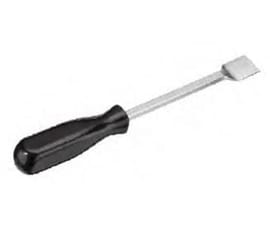
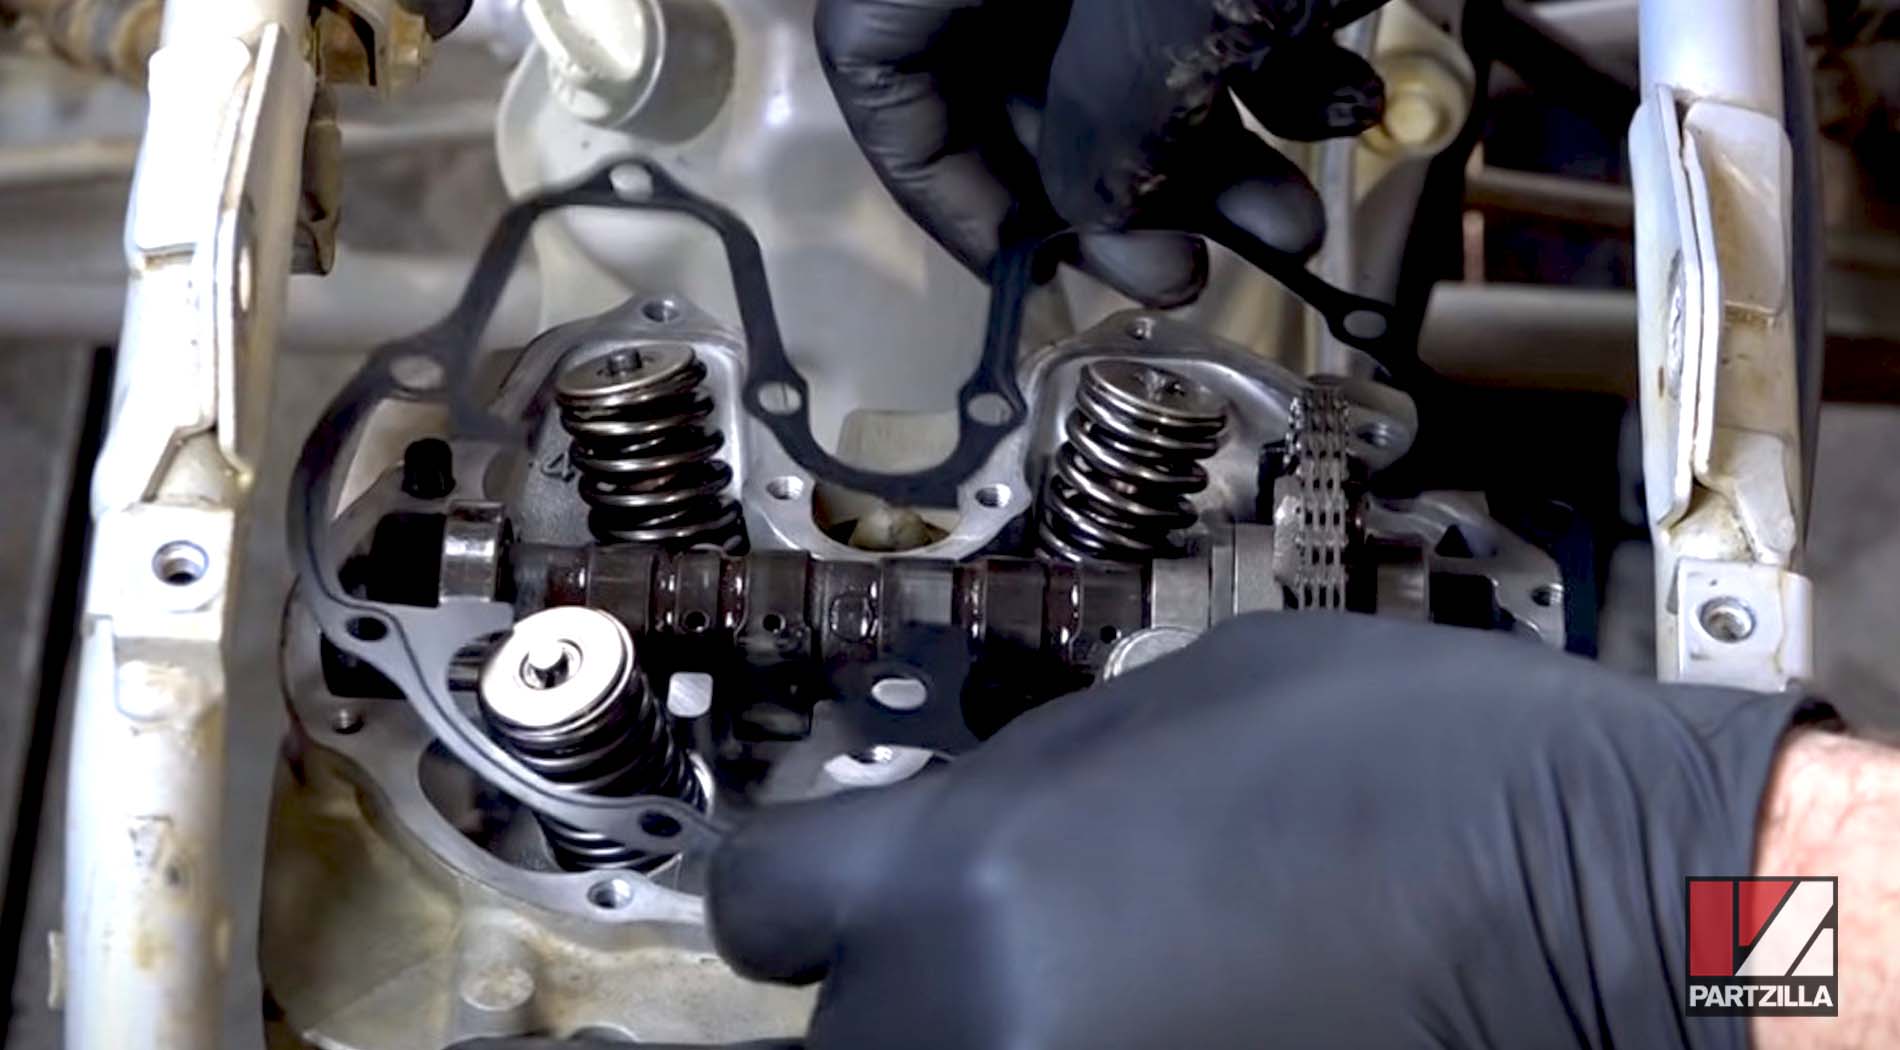
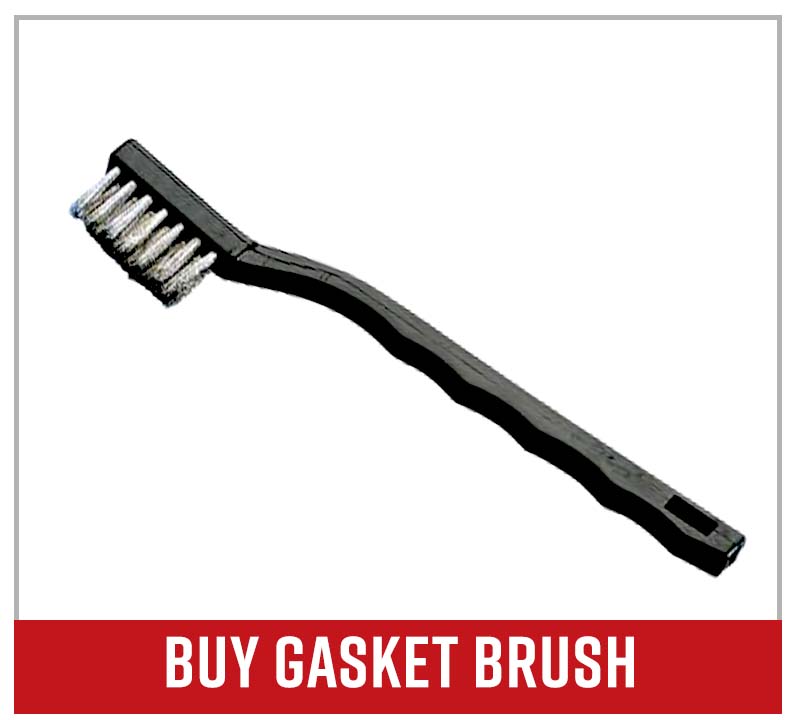
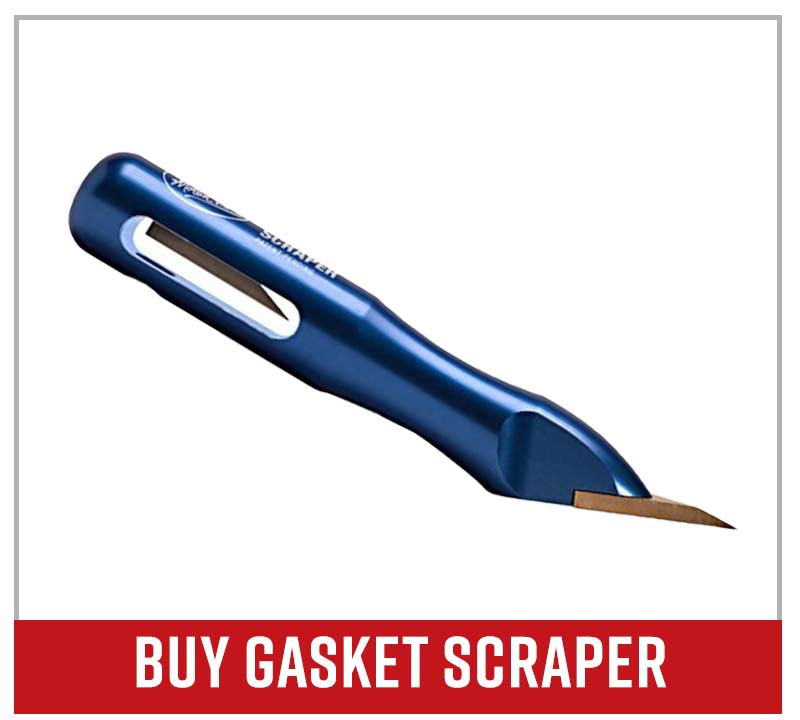
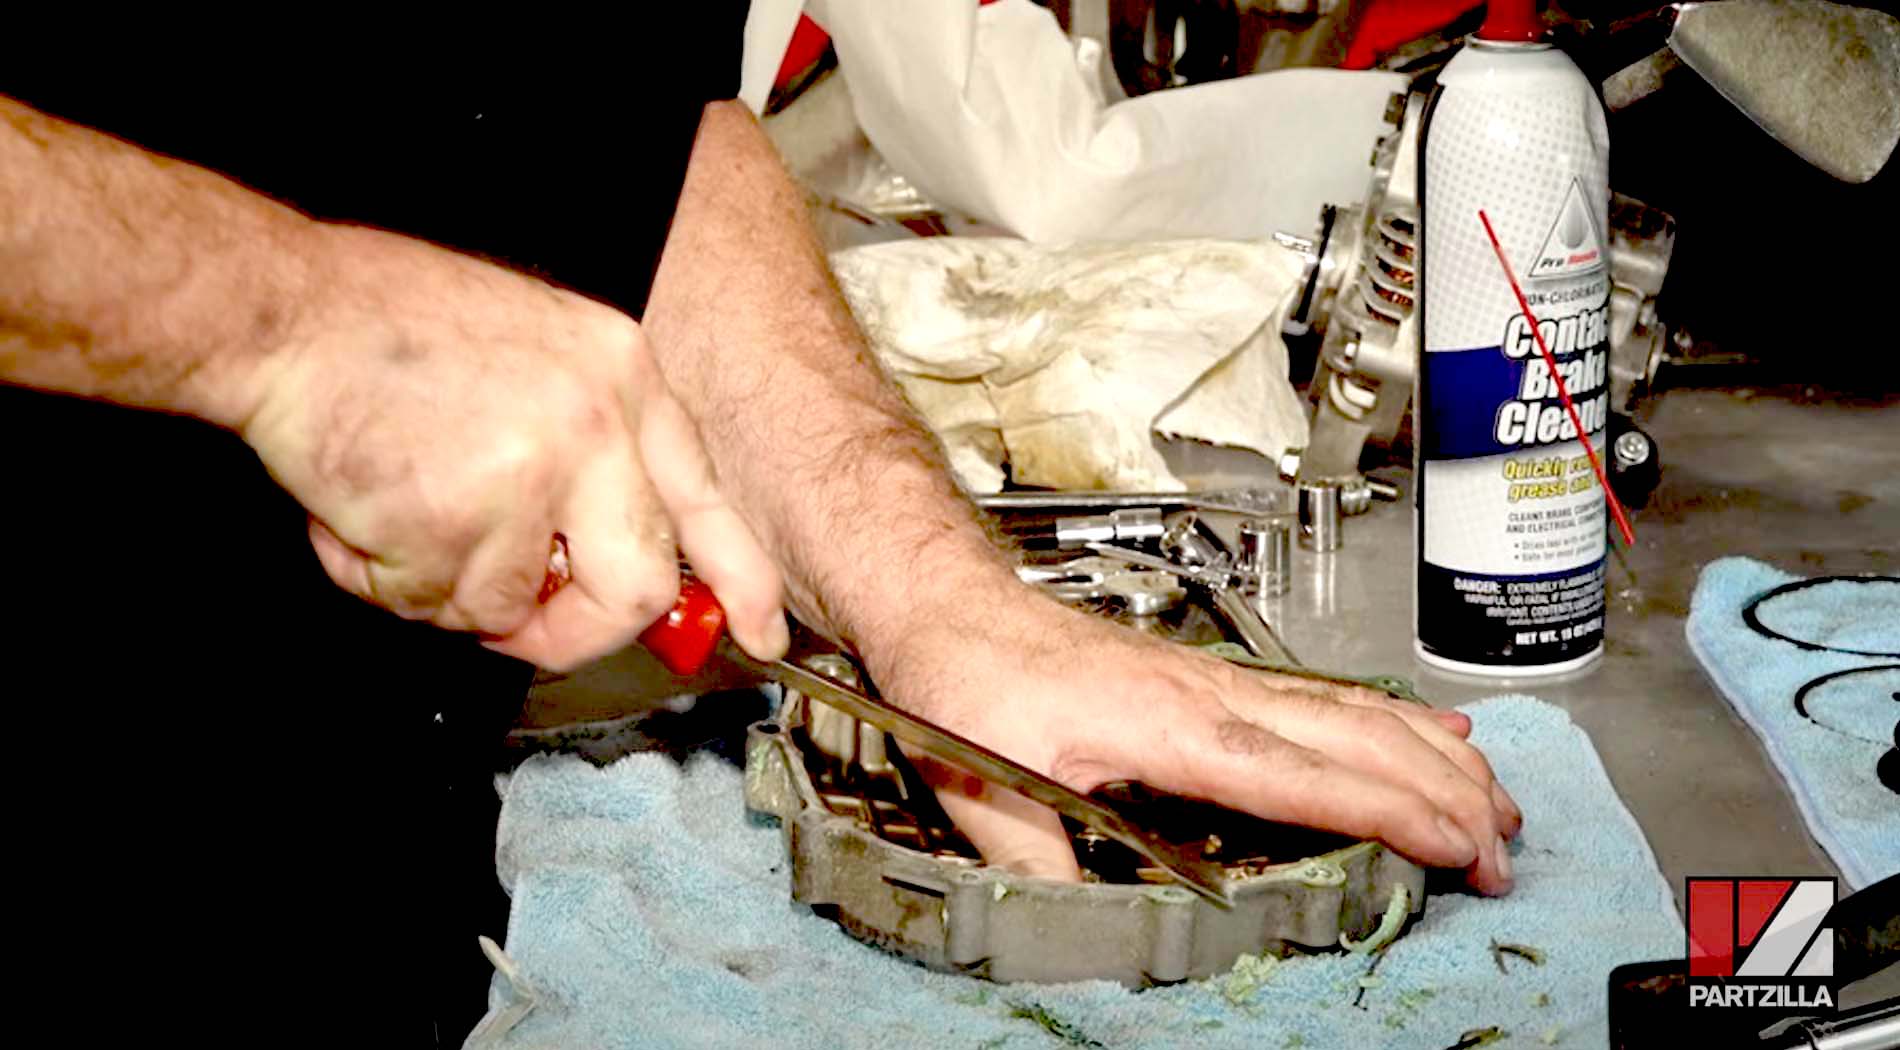
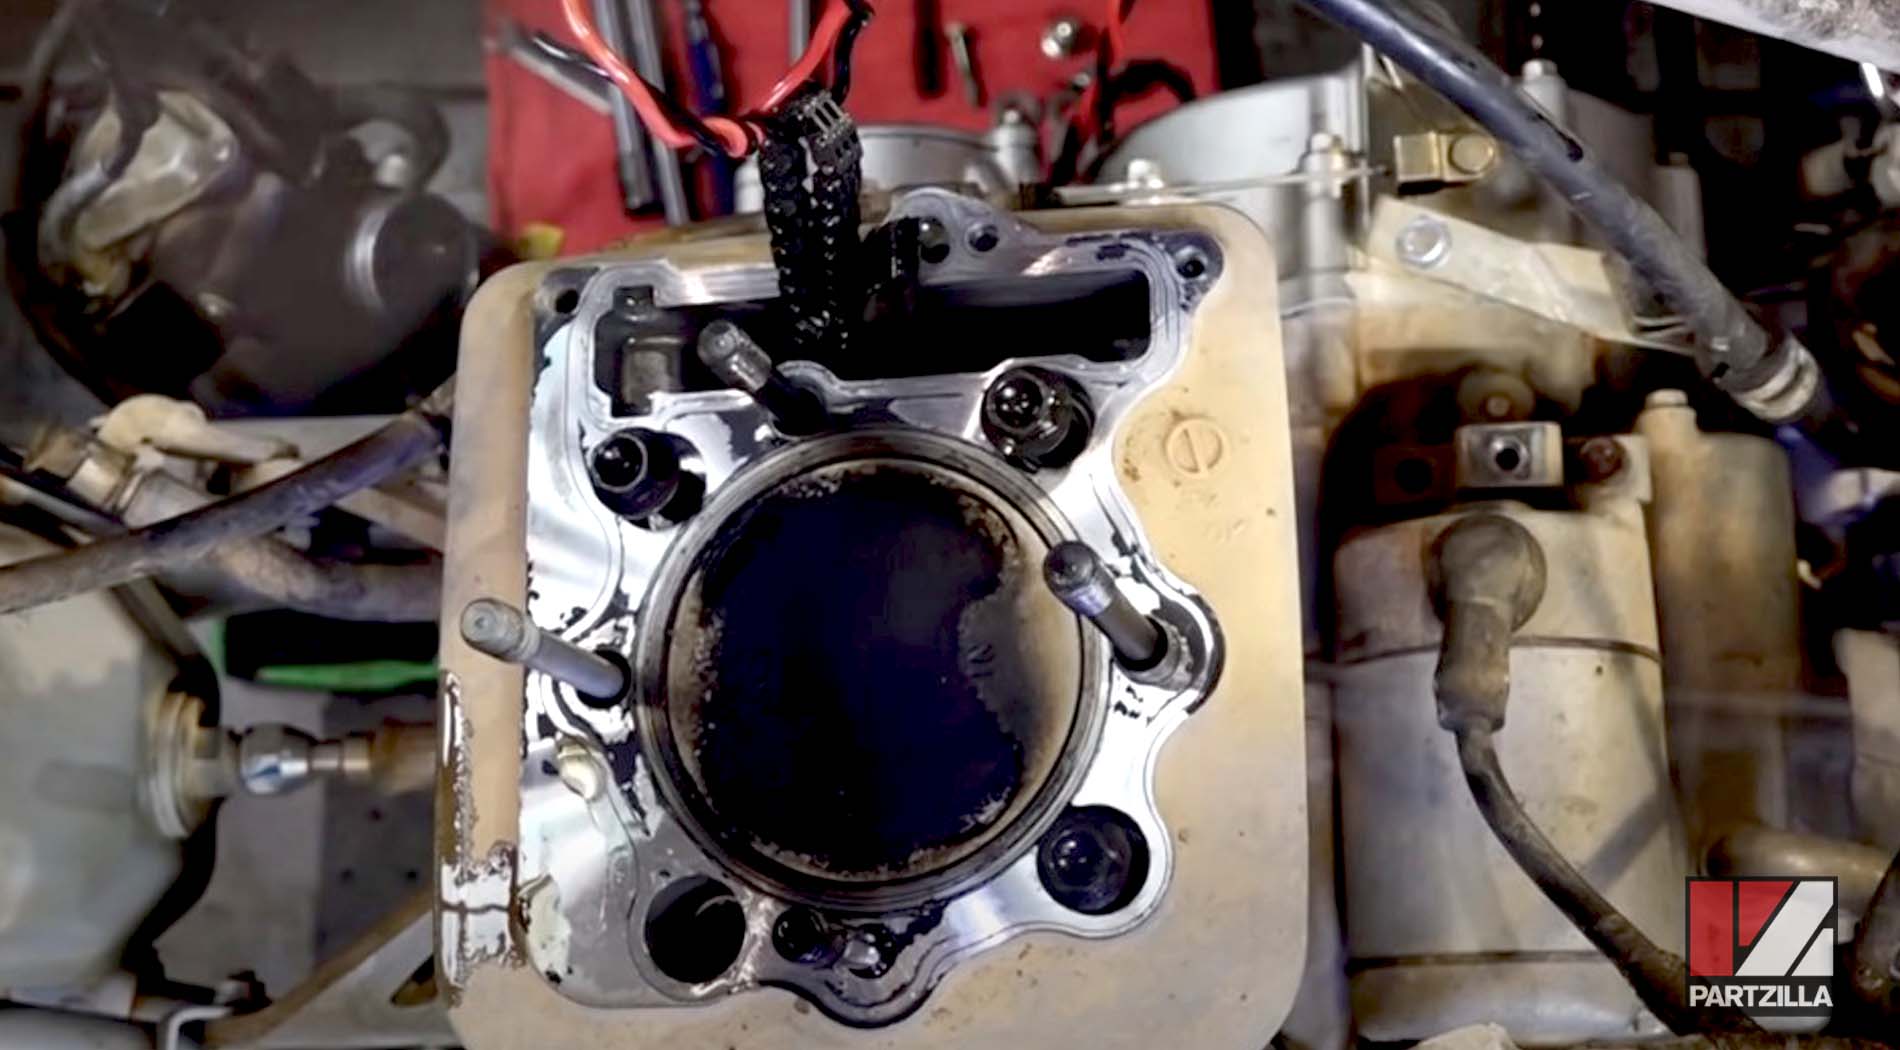
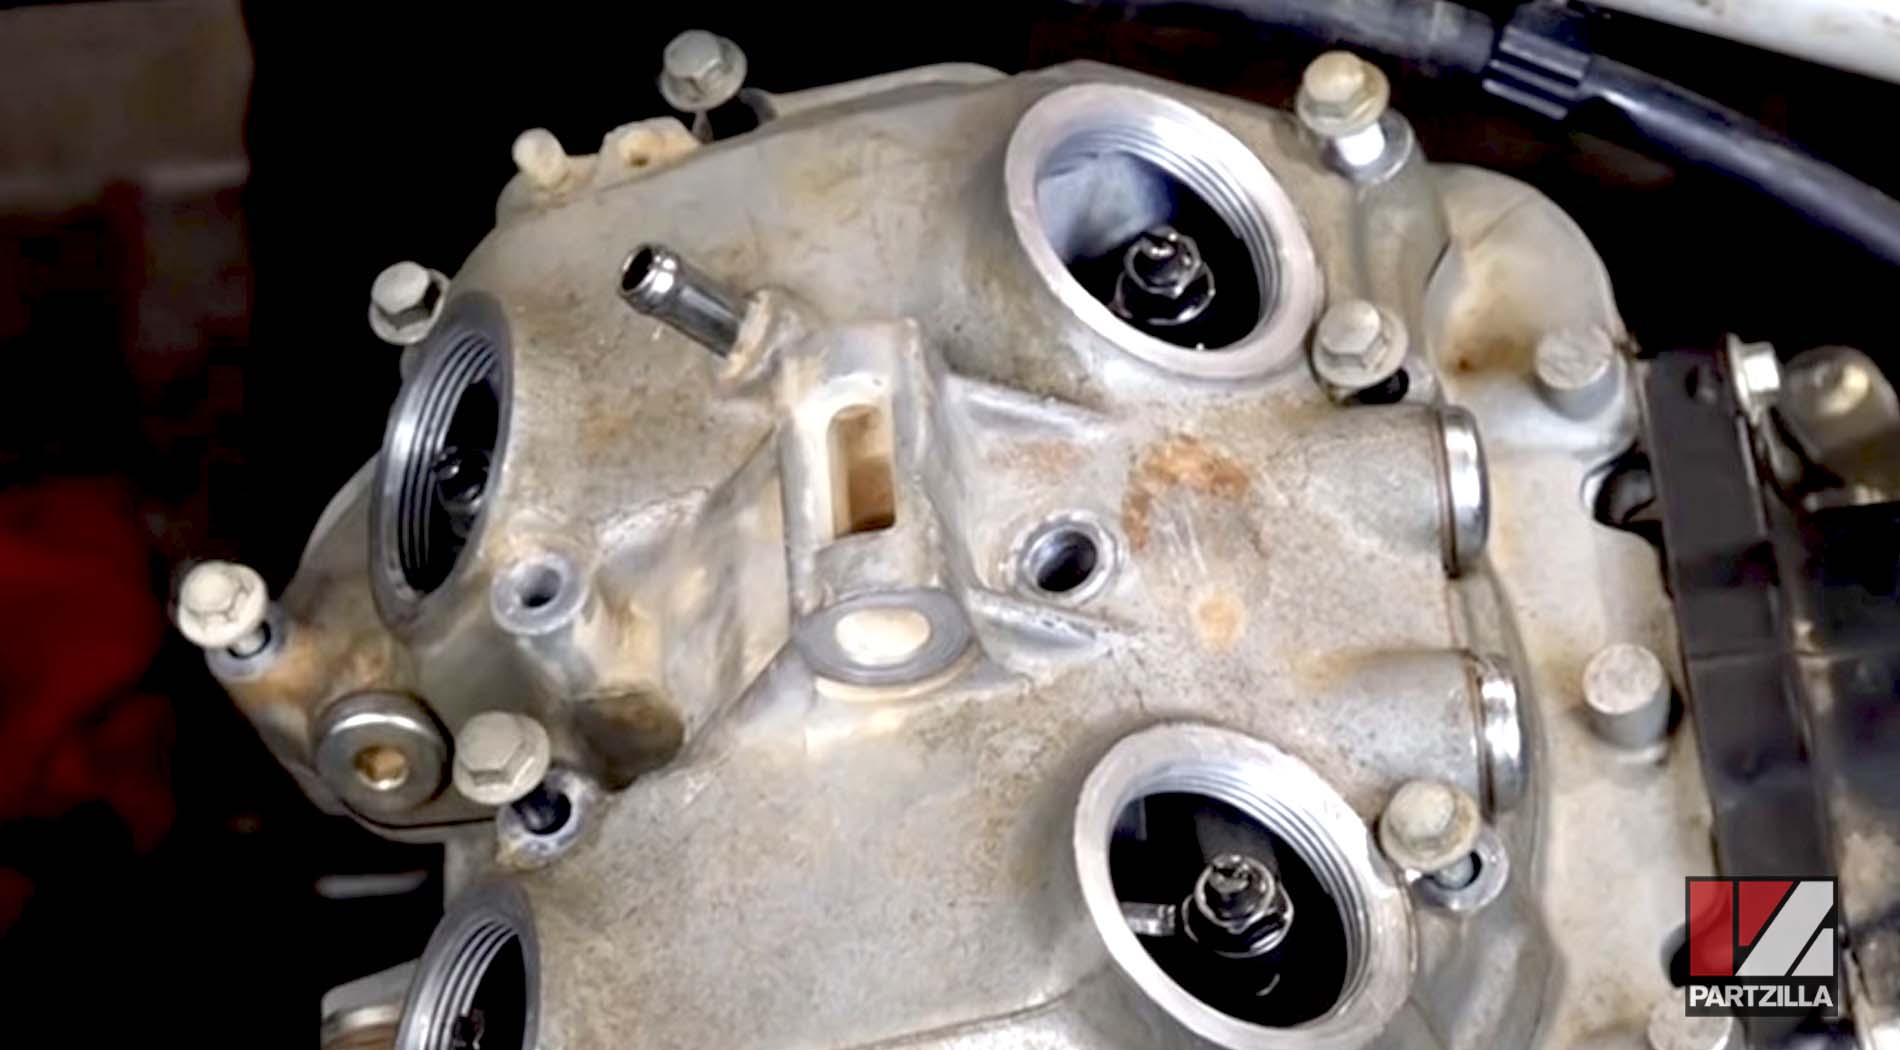
Gasket Installation Mistake #2: Not Cleaning the Components
If the mating surfaces of the crankcase, cylinder and cylinder head aren’t perfectly clean and flat, the gasket won’t seal them properly.
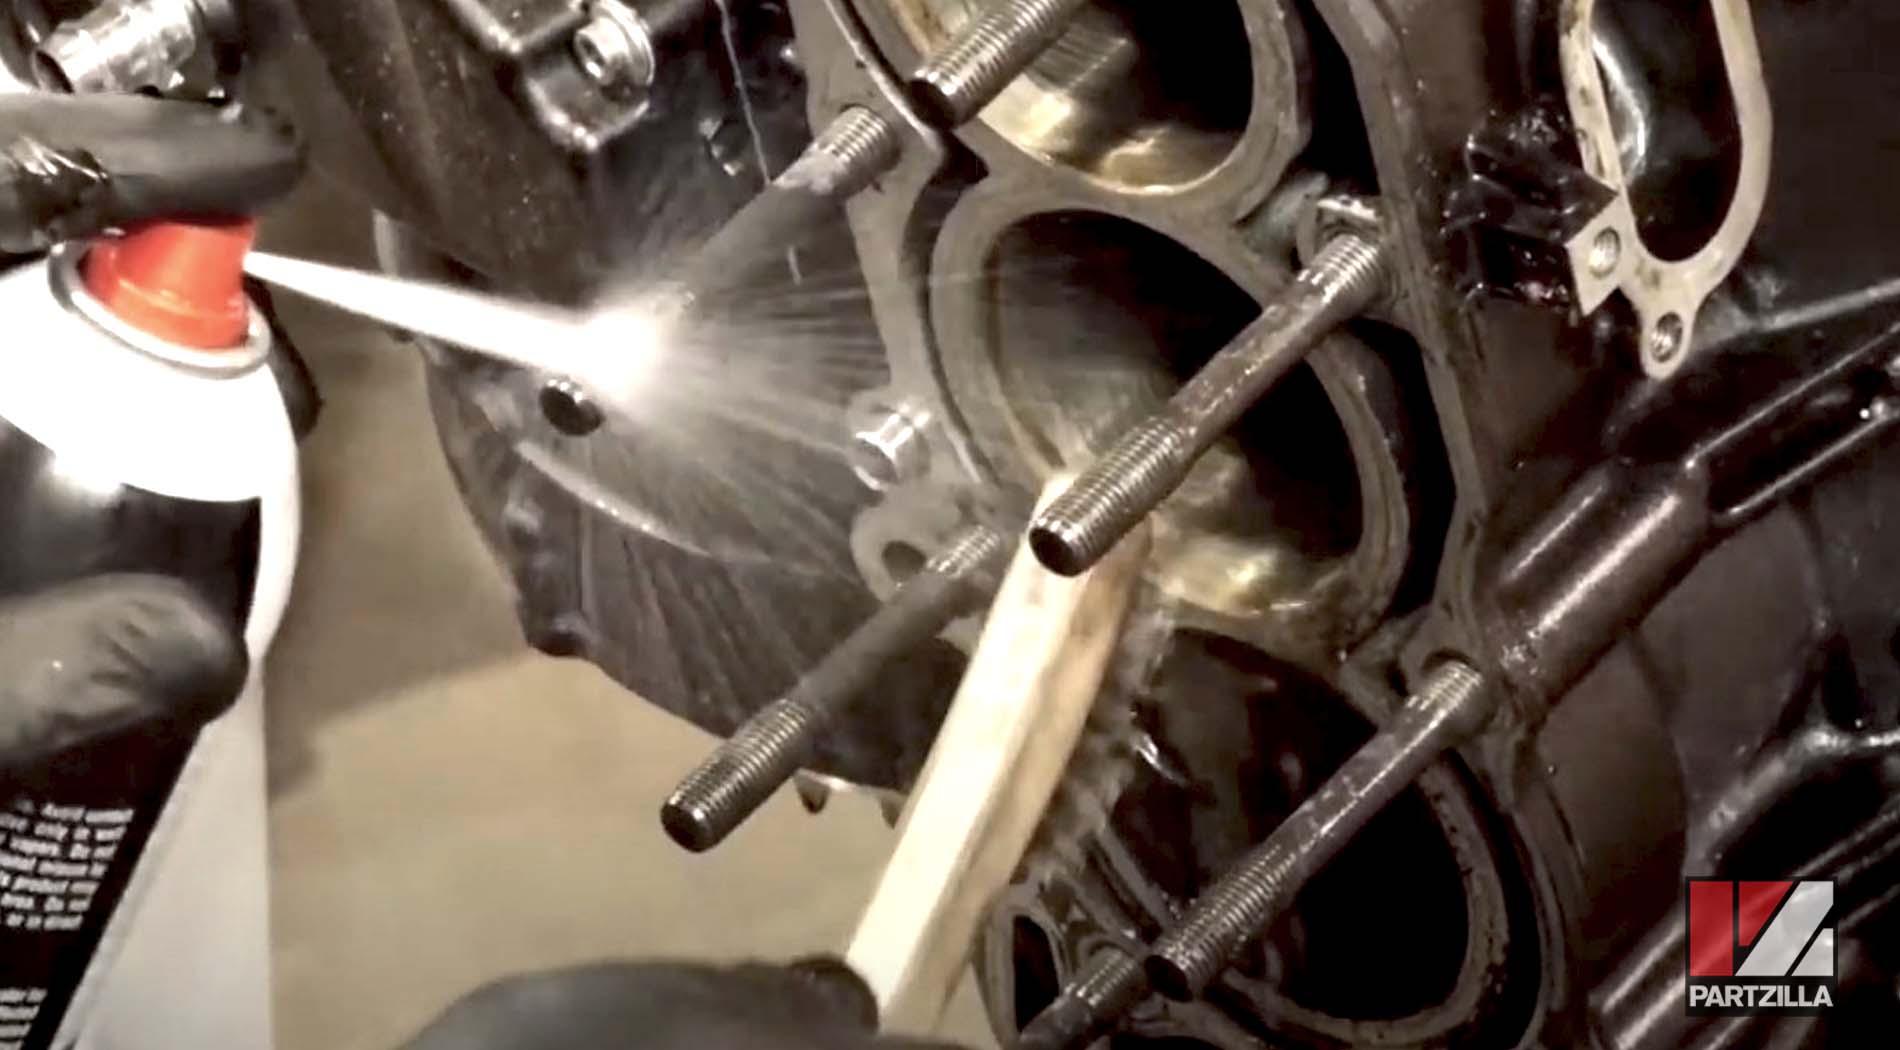
Make sure the mating surfaces are impeccably cleaned of any dirt, debris, oil or grease. Once cleaned, inspect the surfaces for wear or damage and check that the surfaces are perfectly flat. If necessary, have the damaged or warped component resurfaced before reassembling the motor.
After cleaning the crankcase, cylinder and cylinder head surfaces, clean out all the bolt holes. Remove all traces of engine oil or coolant from them, and make sure the threads are clean and free of debris. Bolt holes left with debris or fluids in them will prevent the cylinder bolts from being torqued properly when the components are reinstalled.
Gasket Installation Mistake #3: Reusing Old Head Bolts
The bolts used to join the crankcase and head are usually TTY (torque to yield) bolts. When torqued, these bolts stretch slightly to form a stronger fastening that resists loosening over time. Once a TTY bolt deforms by stretching, it can’t be reused. Always use new cylinder bolts when installing a cylinder gasket and reinstalling the cylinder to the crankcase.
Gasket Installation Mistake #4: Touching the Cylinder or Head Gasket
Wash your hands or put on latex gloves before handling new gaskets, and only hold them by the outer edges. The oils from your fingers will contaminate some gaskets, while other gaskets have sealant coatings that would be compromised if touched. Keep a new gasket sealed in its packaging until the moment you’re ready to install it.
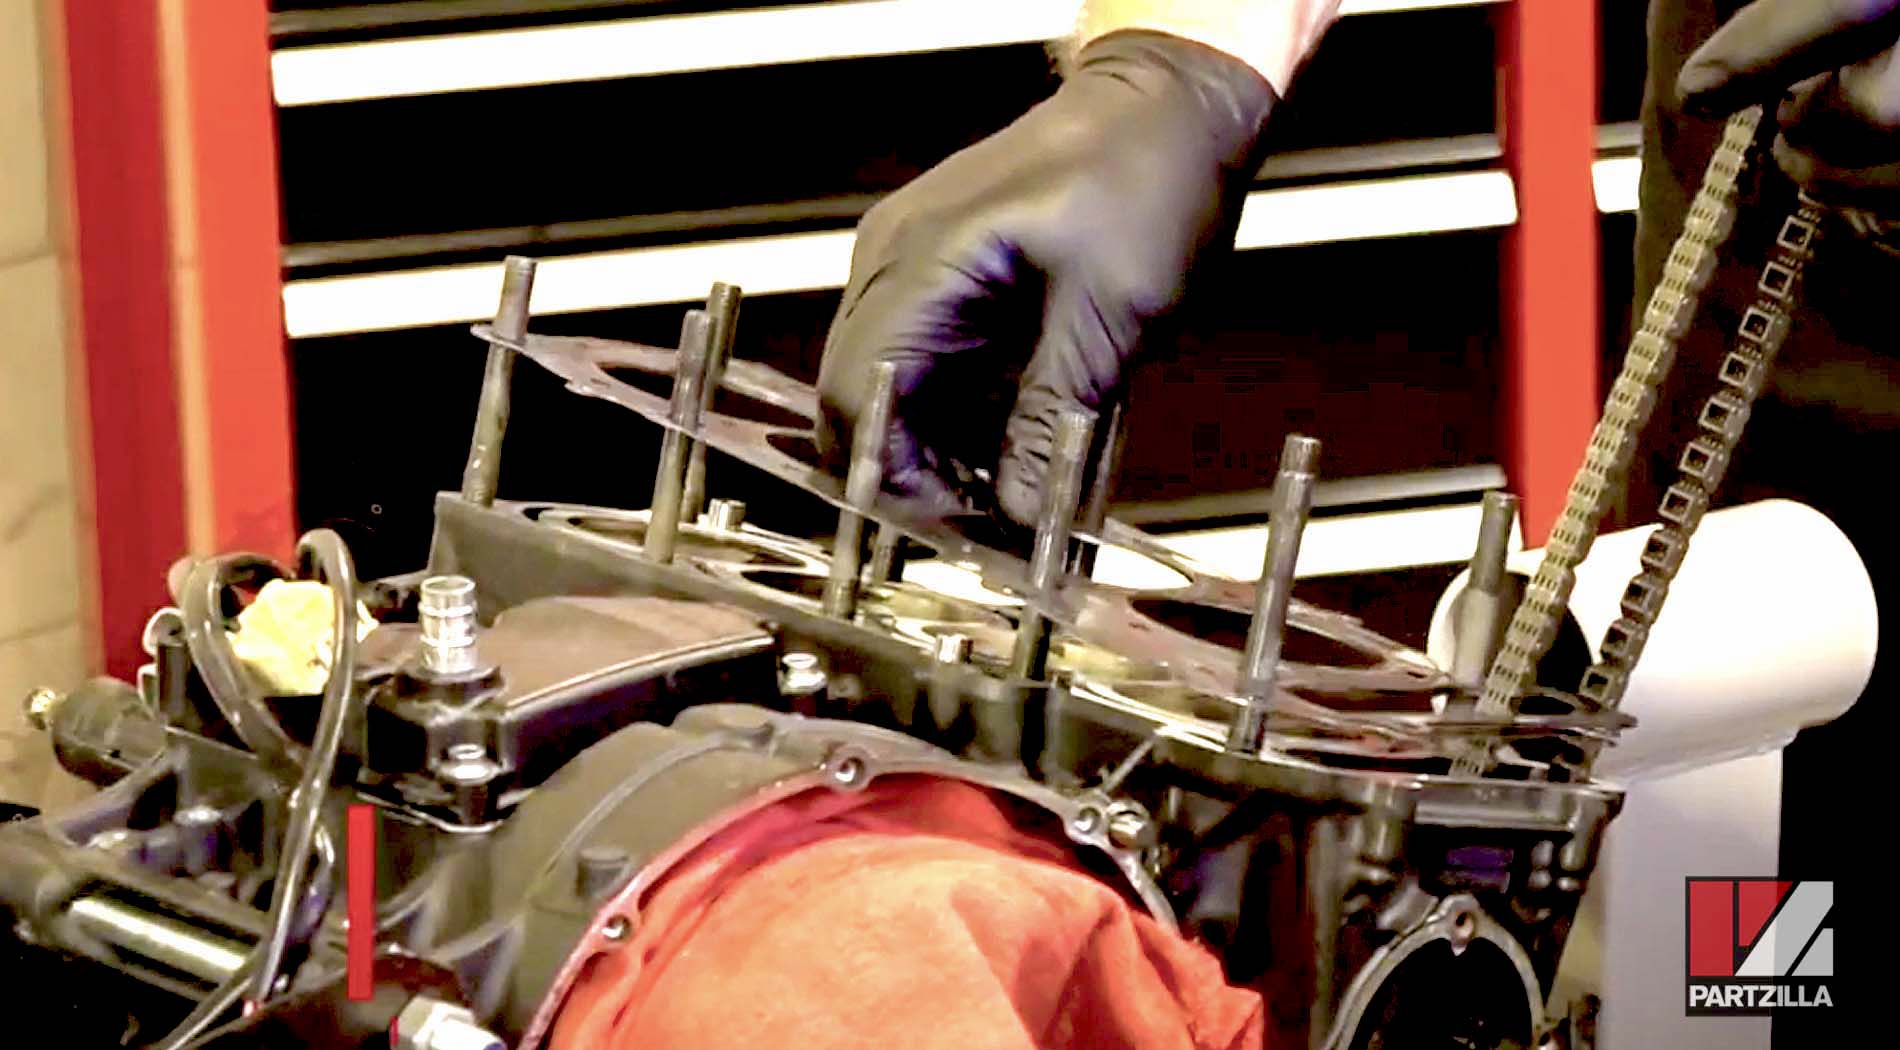
Gasket Installation Mistake #5: Incorrectly Installing the Gasket
Consult the gasket manufacturer’s instructions to determine the correct orientation for a new gasket. Dowel pins help keep head gaskets properly aligned during installation, so make sure those dowels are installed into the crankcase before placing the new gasket.
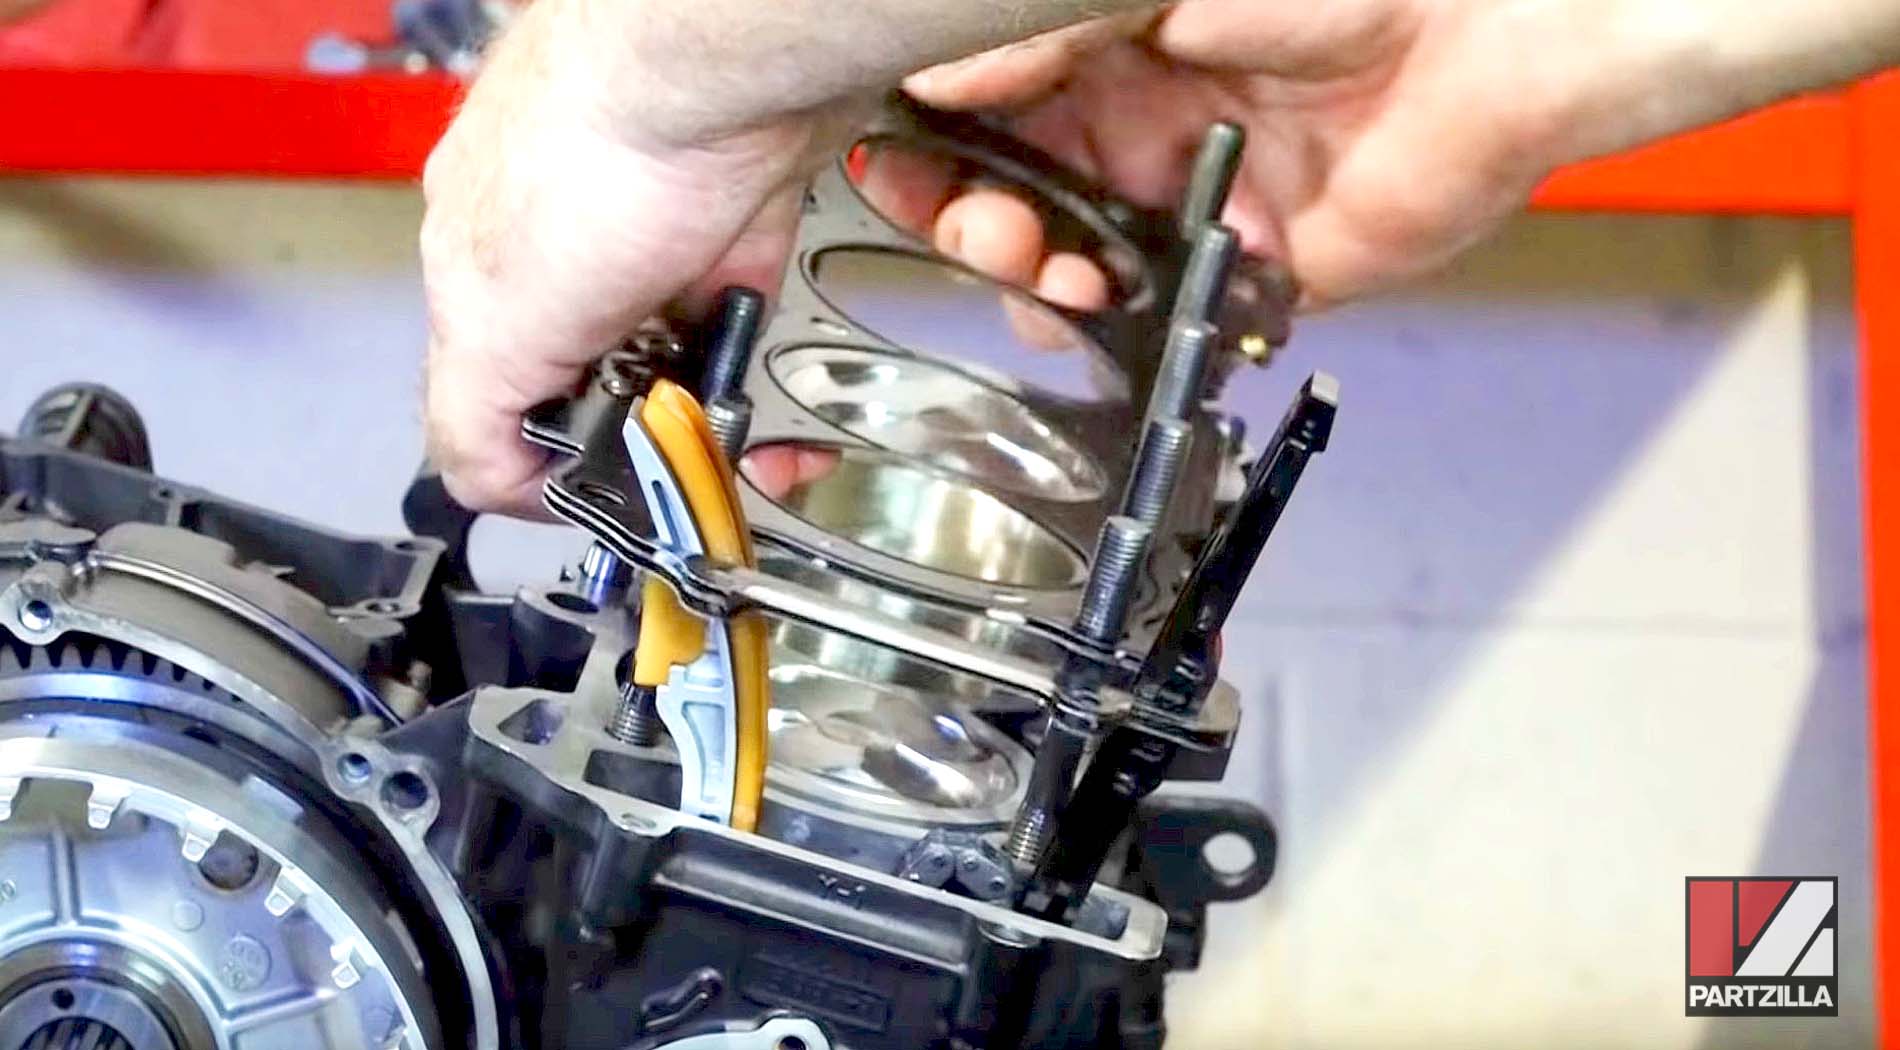
Gasket Installation Mistake #6: Incorrect Bolt Installation, Torque Settings and Sequences
Cylinder bolts often come in varying lengths, so make sure you install them with precision in their correct bolt holes. Tightening the cylinder bolts to precise torque loads and order or sequence usually involves torqueing all the bolts at once, then re-torqueing them a second time to a slightly higher torque, and sometimes re-torqueing a third time. Follow the proper steps and sequences for each one per the vehicle’s workshop manual or manufacturer’s website instructions.
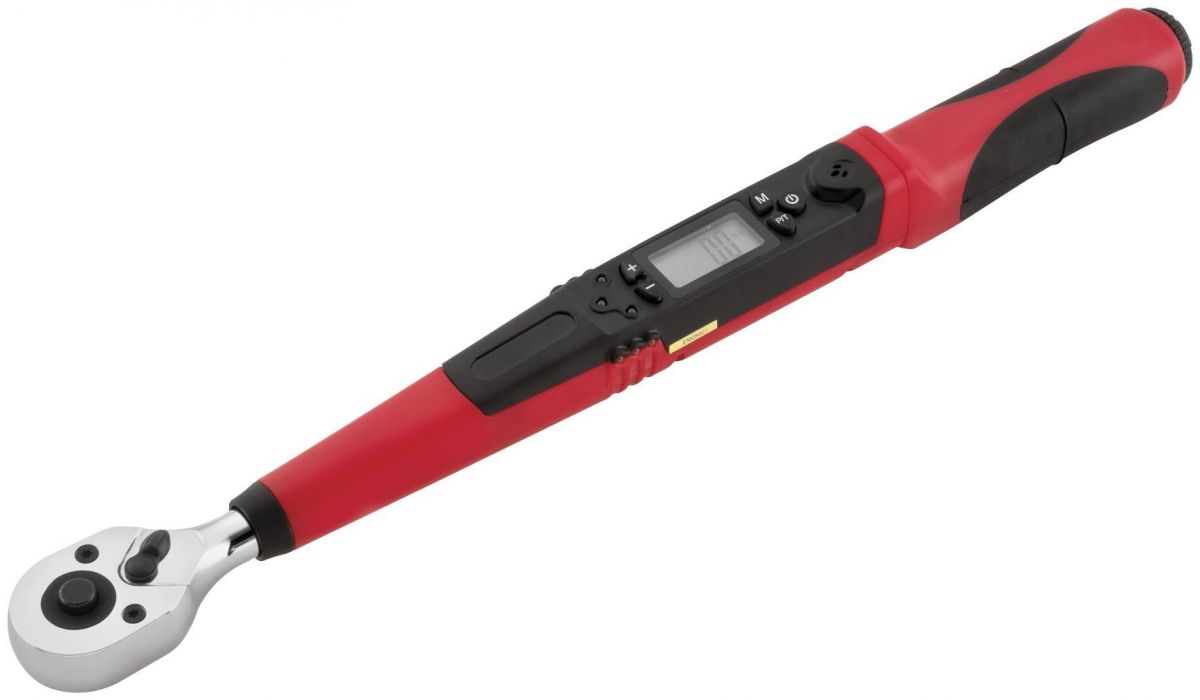
Gasket Installation Mistake #7: Using a Cheap Torque Wrench
Even if you follow the cylinder bolt torque sequencing to the letter, using a cheap torque wrench could compromise the accuracy of torque on the bolts. To properly rebuild a motorcycle or ATV engine, you should have both a 1/2" drive digital torque wrench and a 1/4" drive digital torque wrench. Combined, these two wrenches enable you to accurately torque anywhere between 2.2 foot-pounds and 147 foot-pounds.

If you’re unsure of the cylinder or head gasket part number needed for your machine, simply enter its make, year and model and use our exploded parts diagrams to identify the correct part number before ordering the gasket. Don’t hesitate to give us a call if you need help finding cylinder or head gaskets or anything else.