How to Install a Roof Rack on a Can-Am Defender
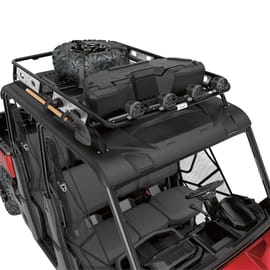
Taking a Can-Am side-by-side for long excursions calls for some extra cargo space. A roof rack is a great space for spare tires, camping gear, or anything else you may need for extended trips.
Watch the video above and follow the steps below to install an adventure roof rack on a Can-Am Defender Max.
Tools and Parts - Can-Am Defender Max Roof Rack Installation
- Basic hand tools
- Drill
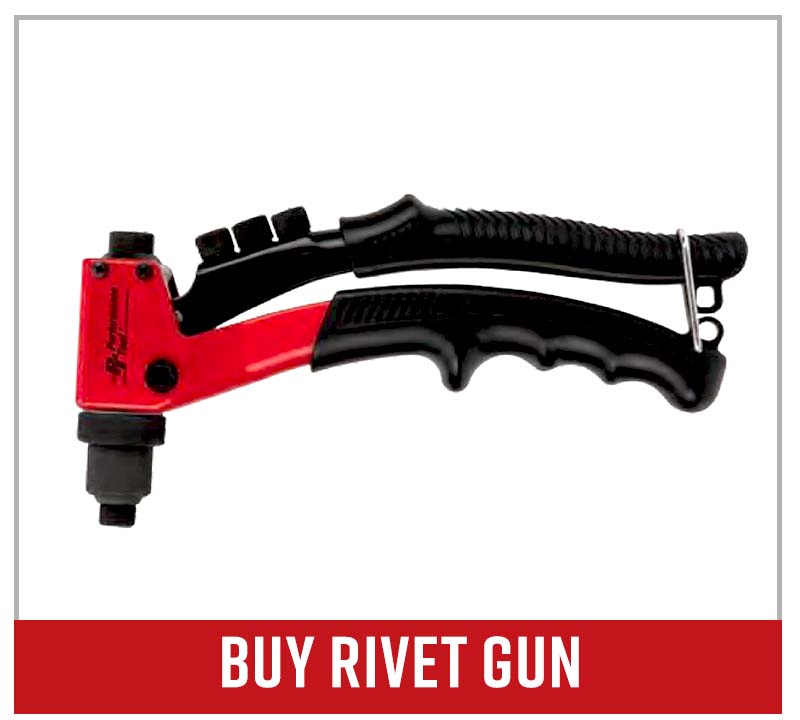
- Rivet gun
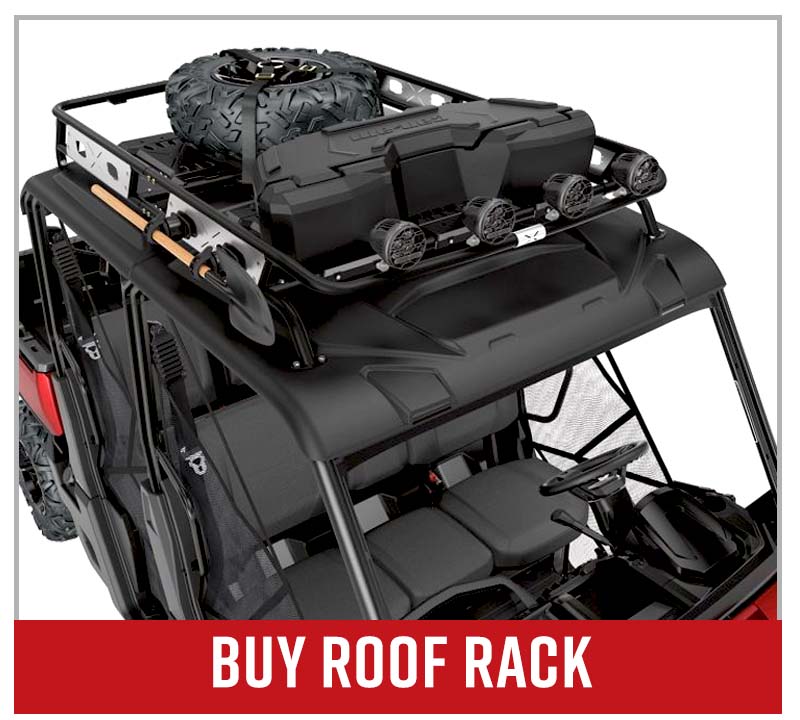
- Can-Am roof rack
NOTE: Holes need to be drilled to complete this installation. Can-Am offers instructions for their accessories, including necessary templates for drilling, which can be found here.
Can-Am Defender Roof Rack installation
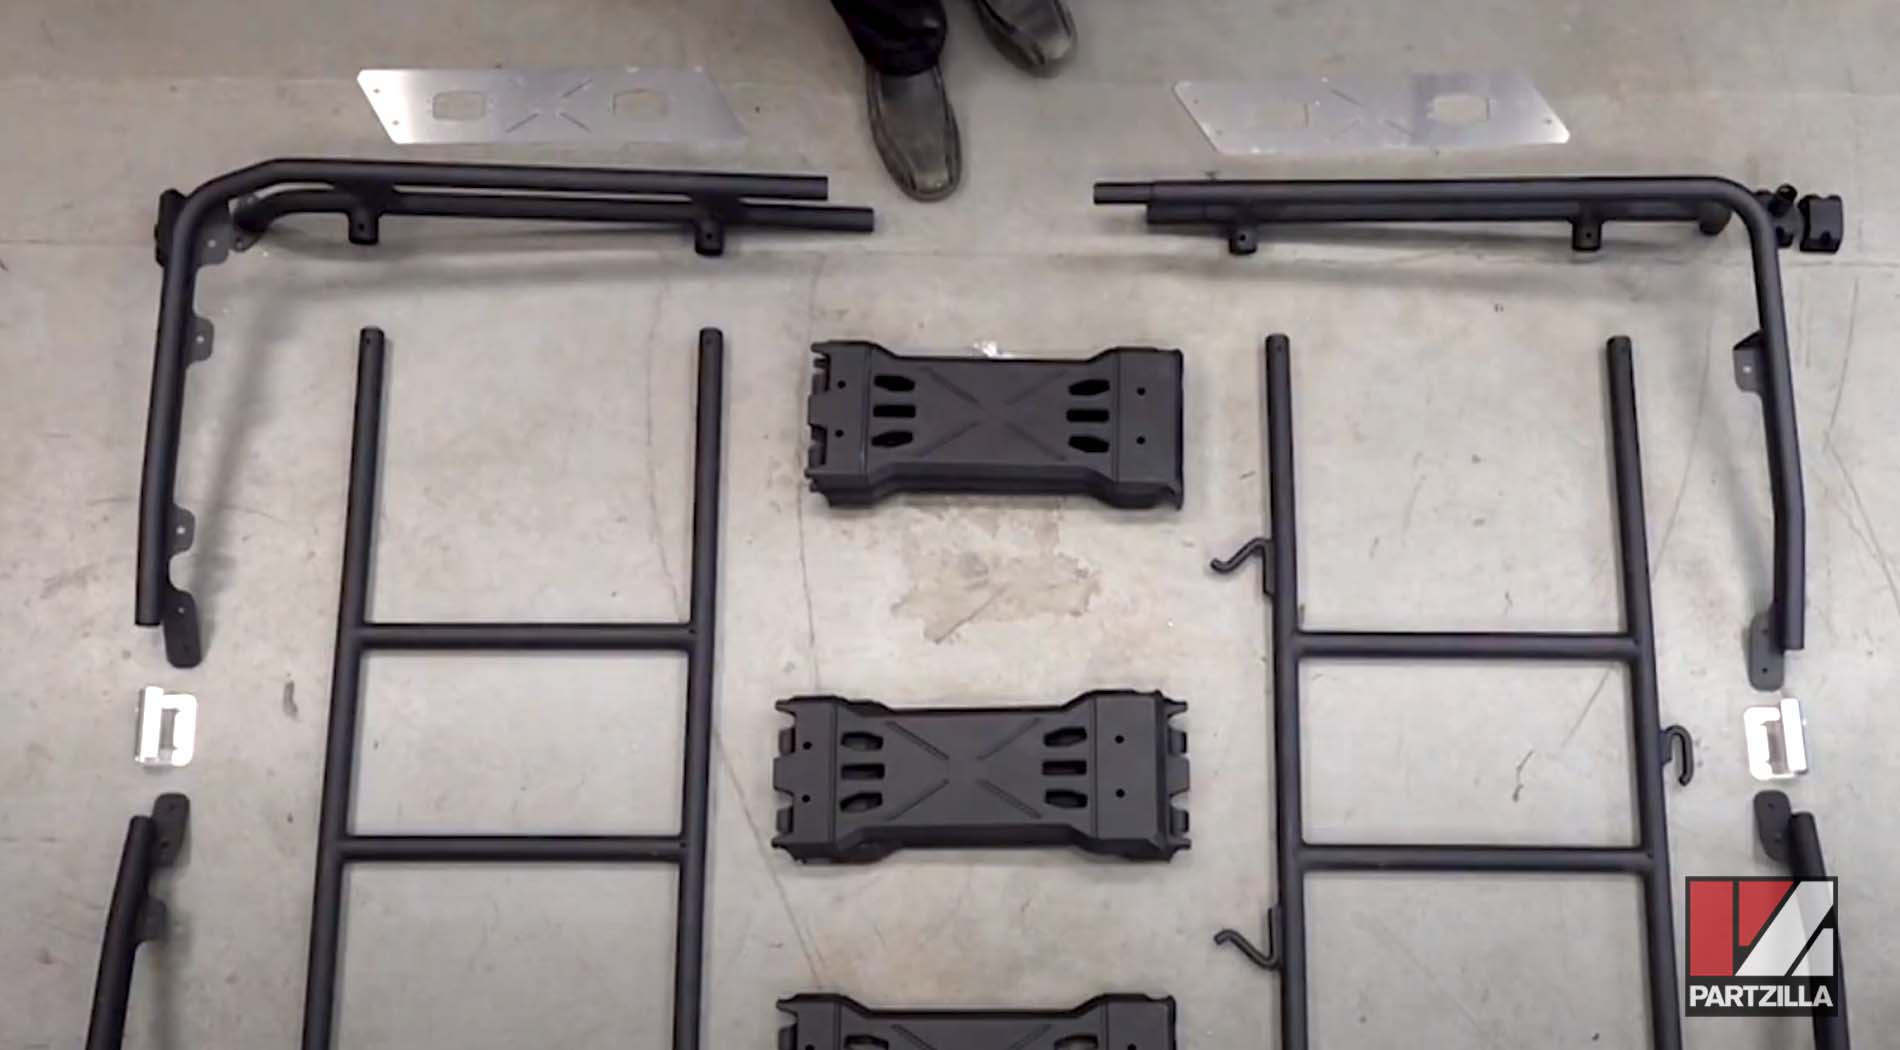
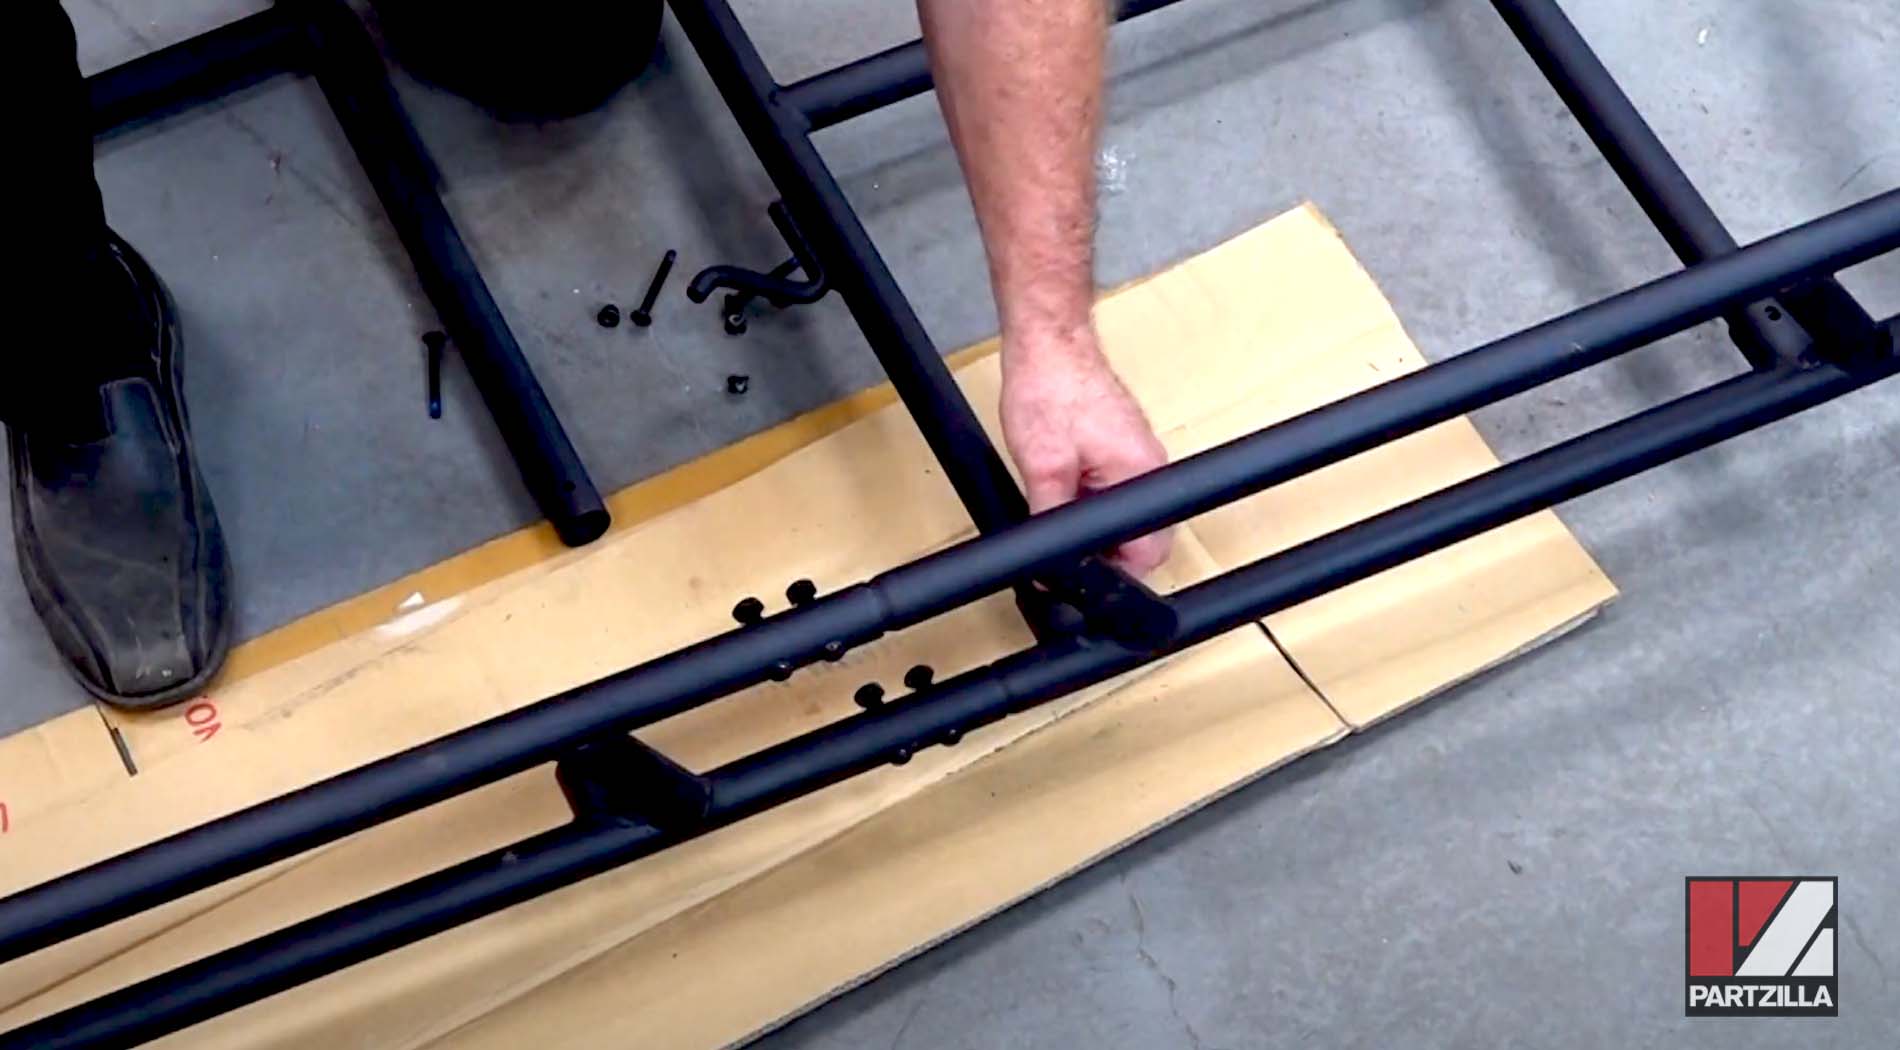
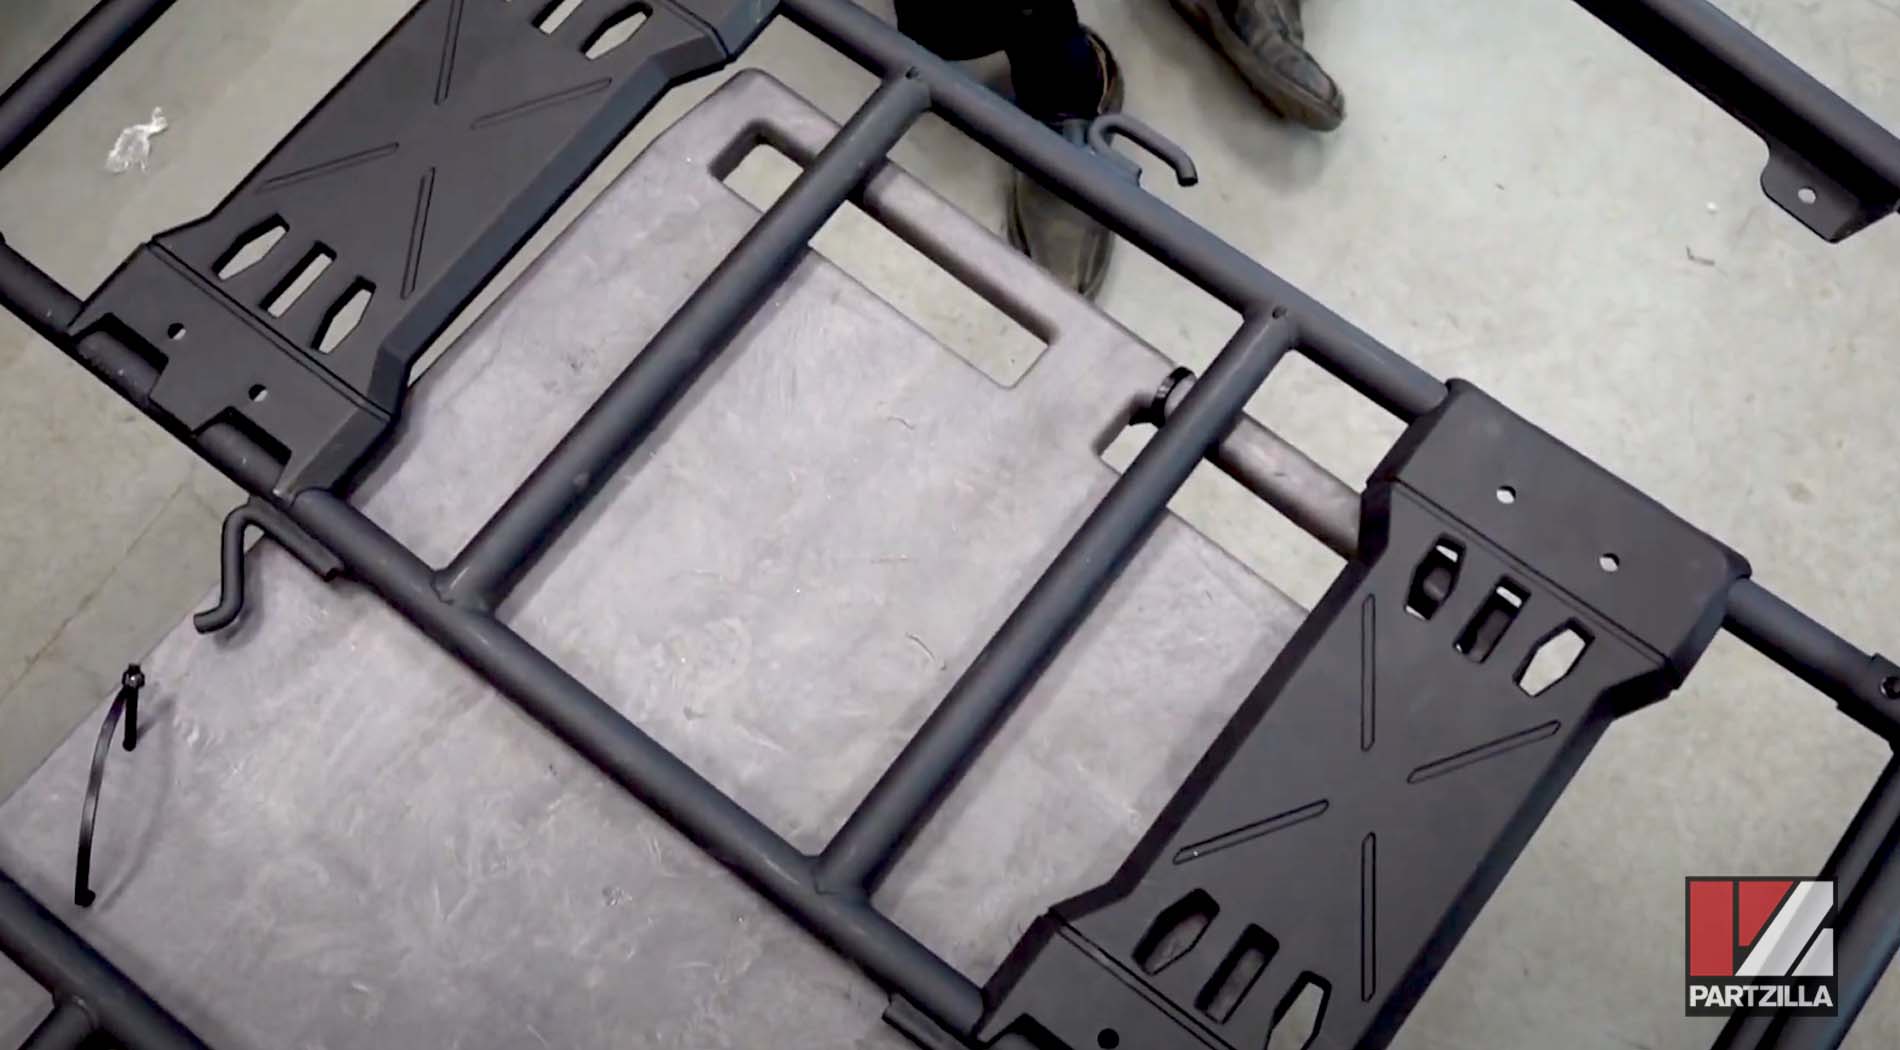
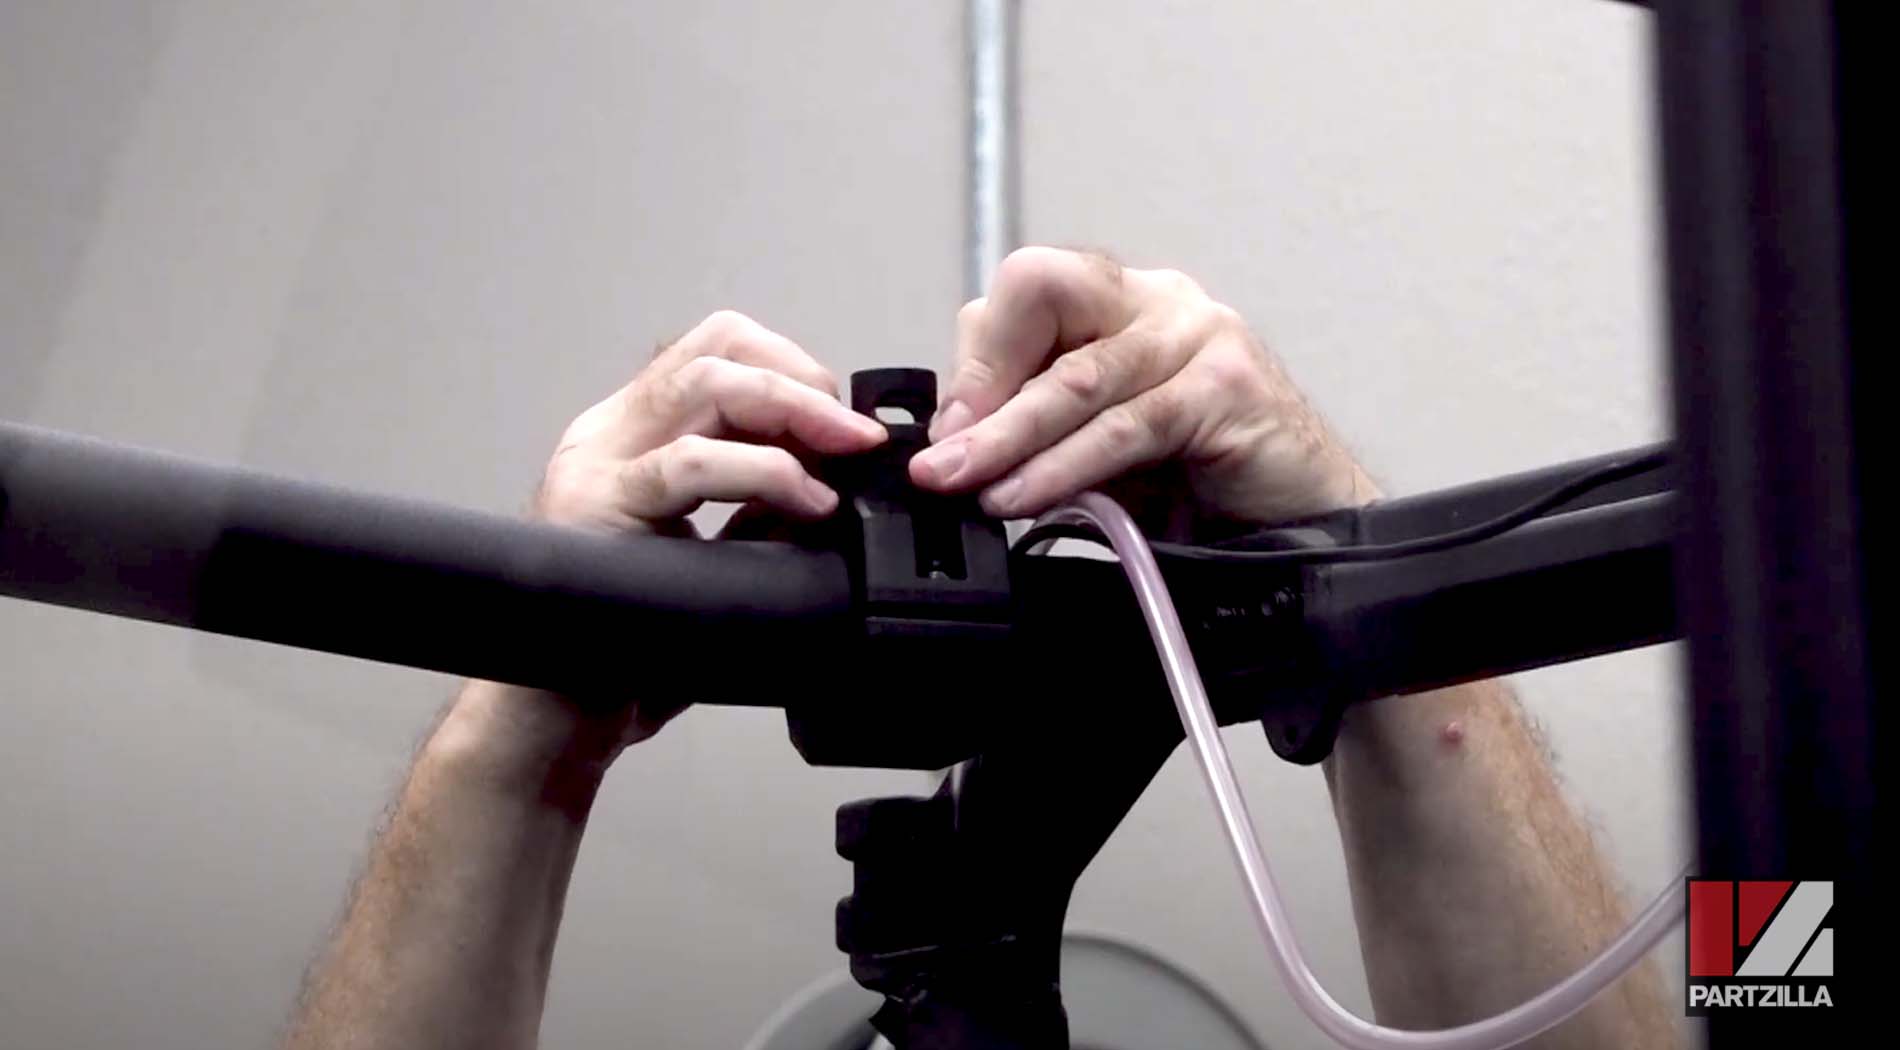
Step 1. Organize the roof rack assembly, then mate the front and back pieces together. Secure them with four of the M6x35mm bolts, washers, nuts. Hand-tighten these since you may need to adjust them later.
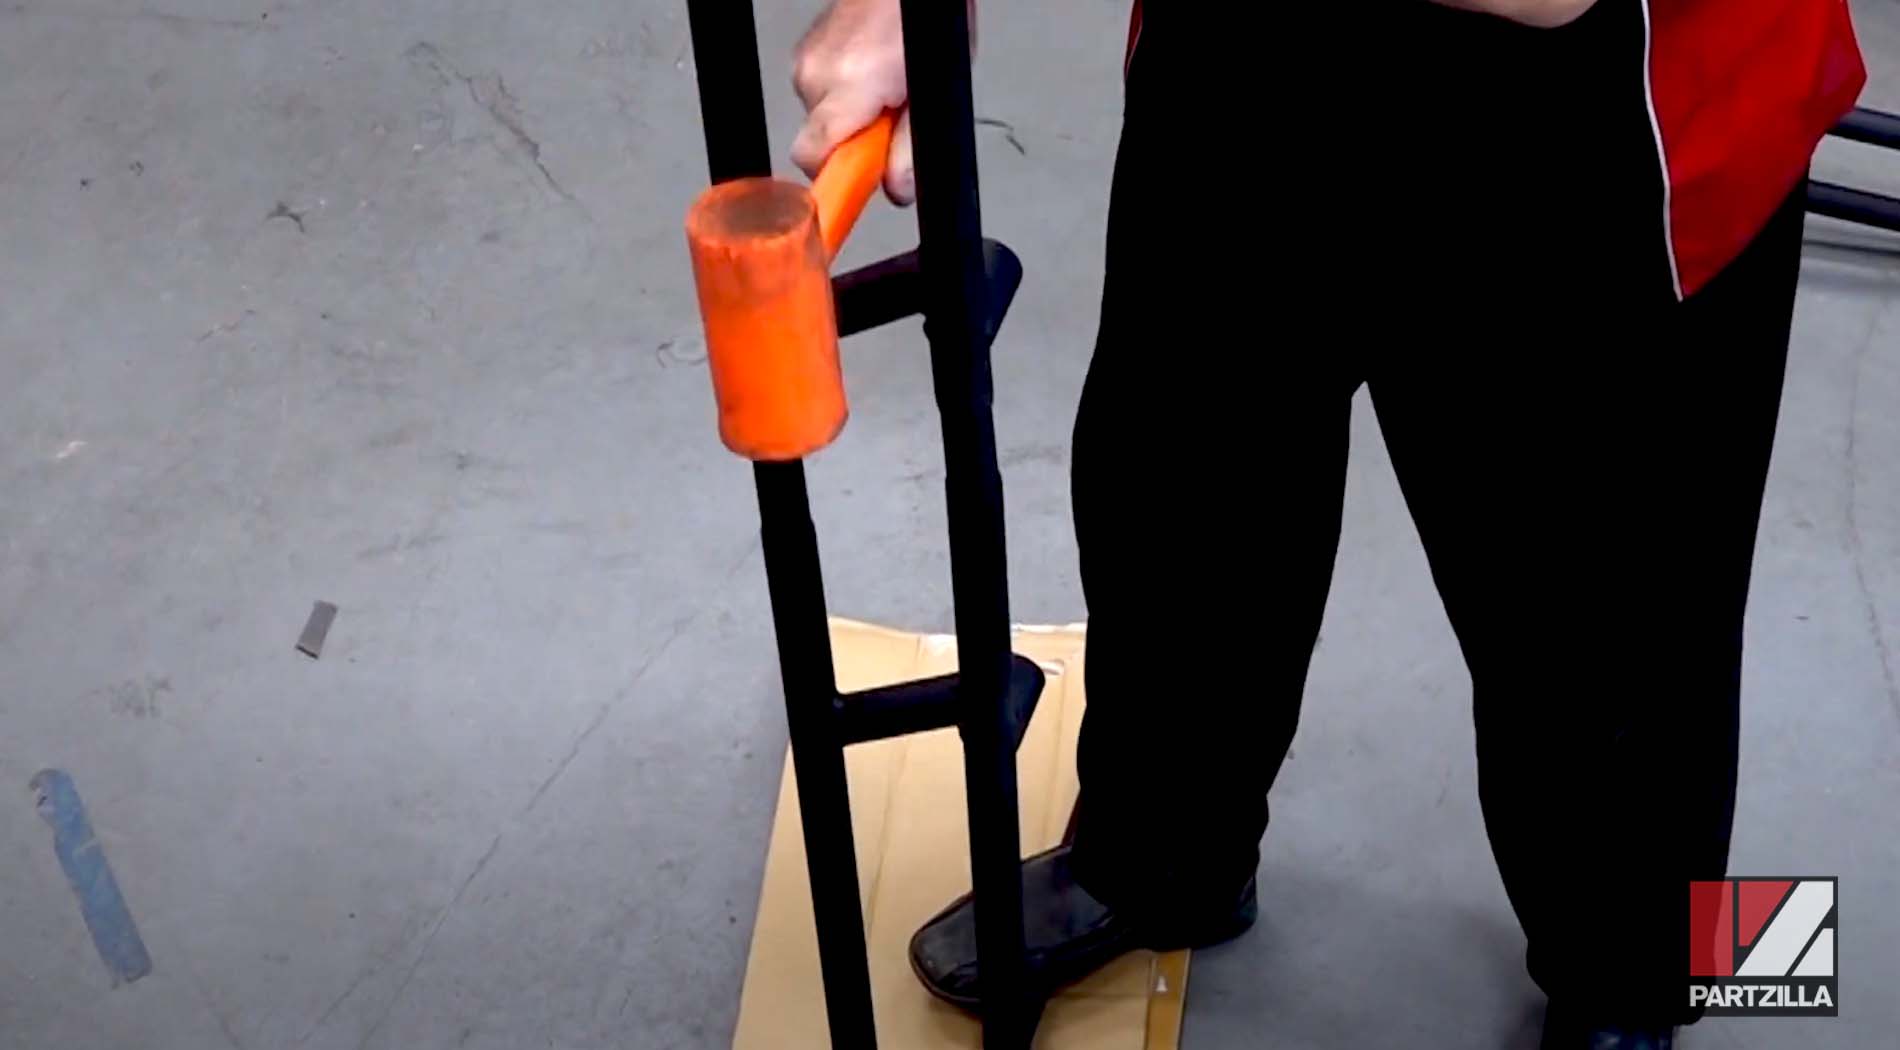
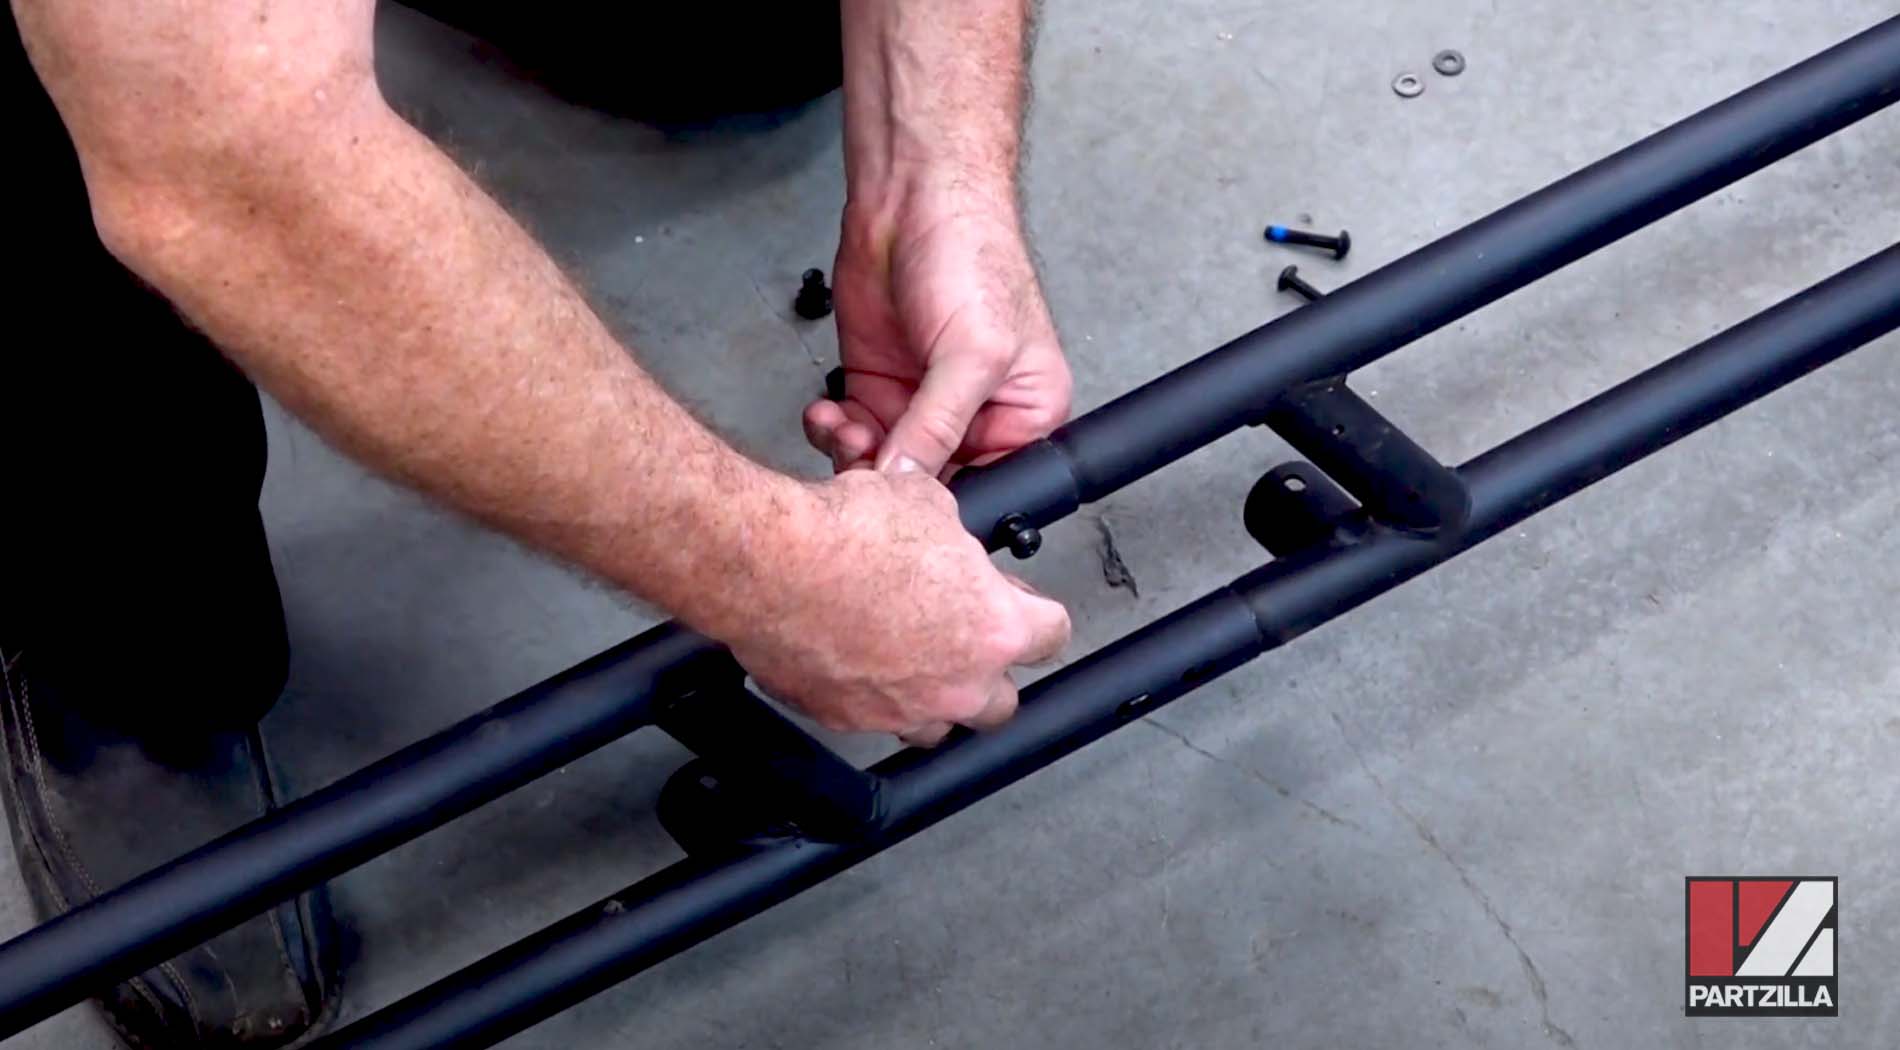
Step 2. Install the two large floor braces that run across the roof rack by inserting them into the fittings and securing them with the included M6x50mm bolts and nuts. Repeat the process for both floor pieces and their connections on both sides of the rack.
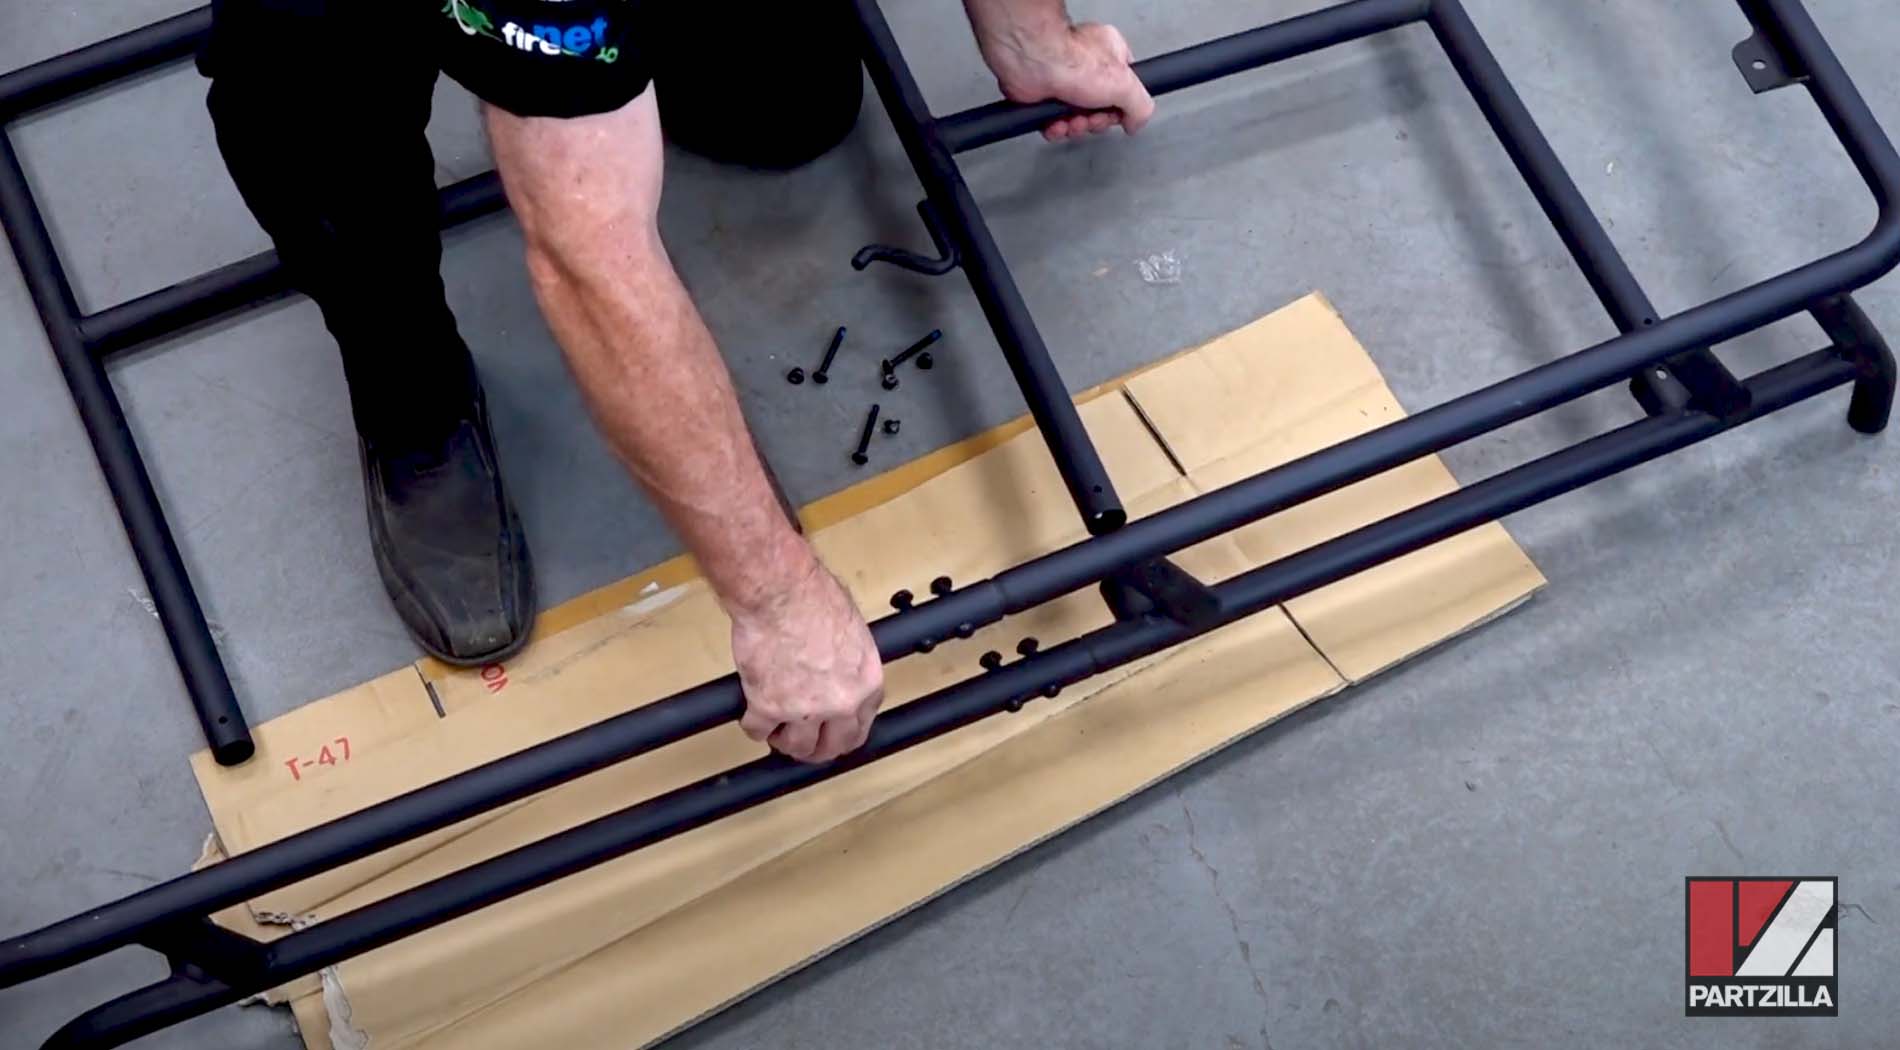
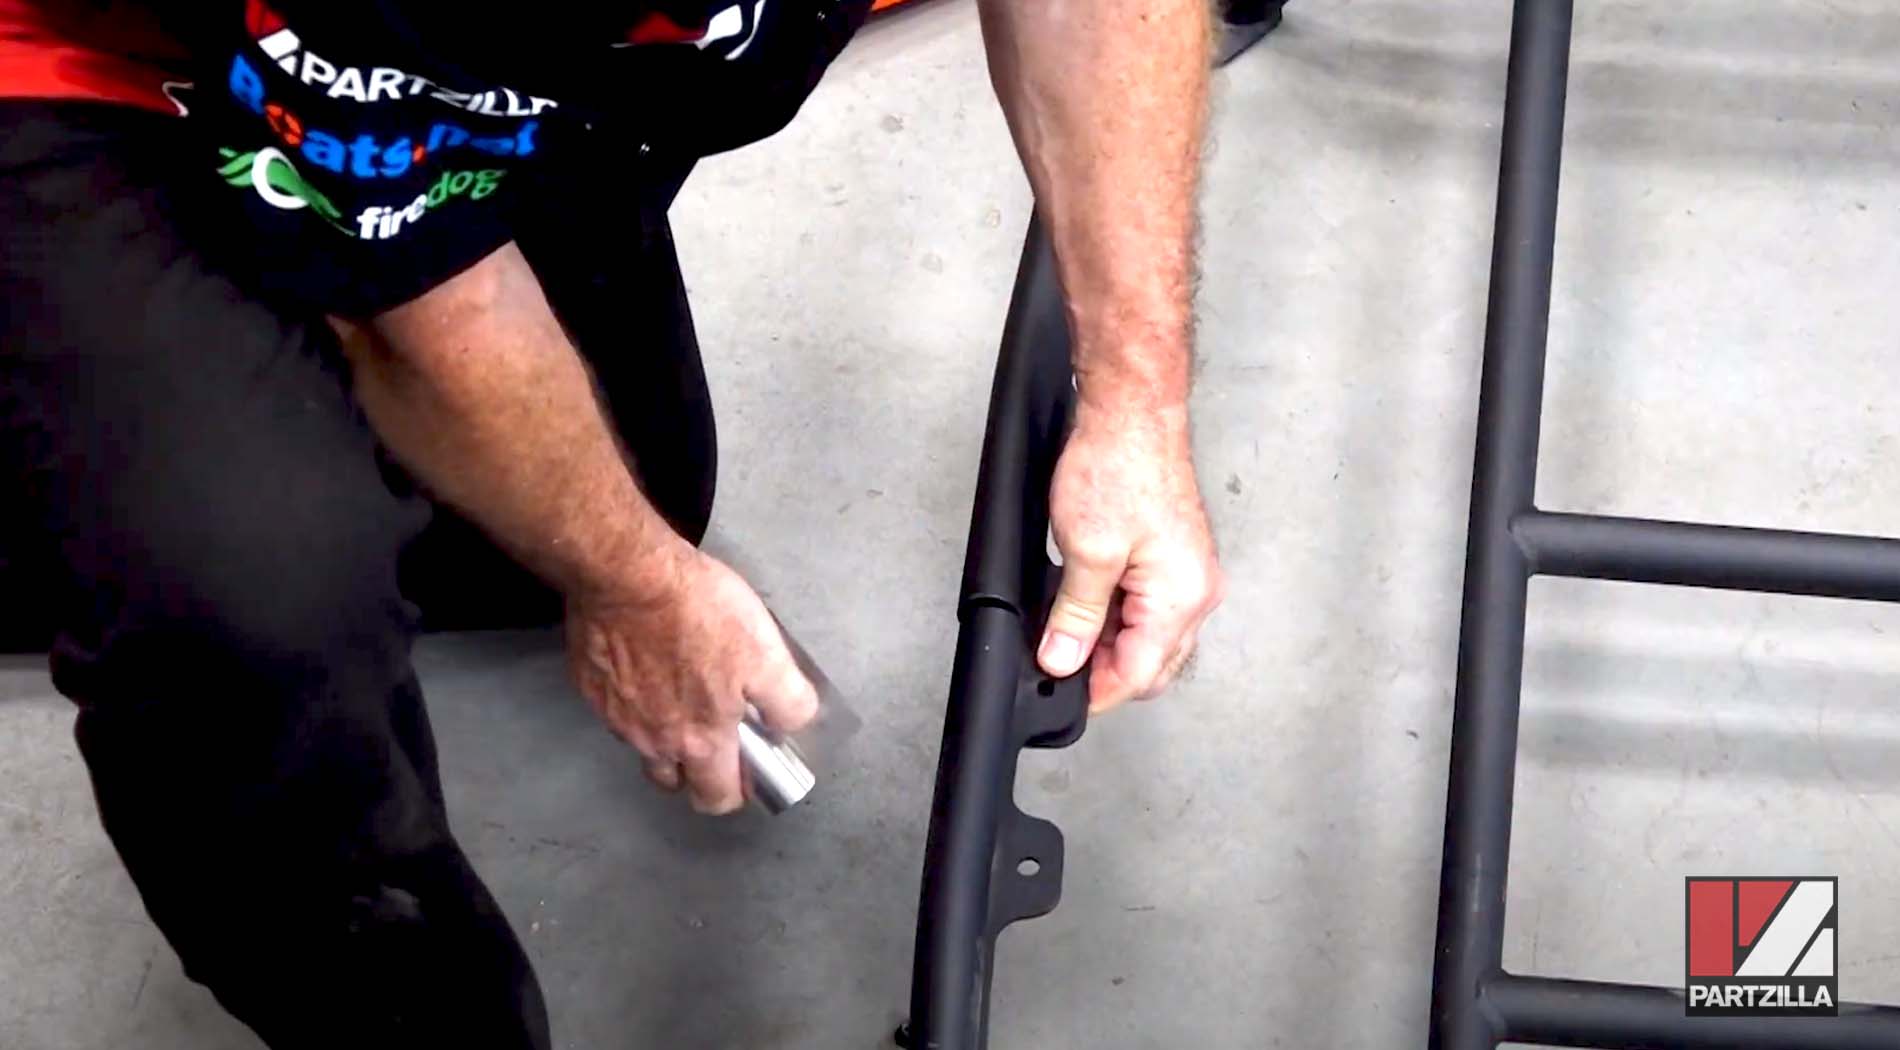
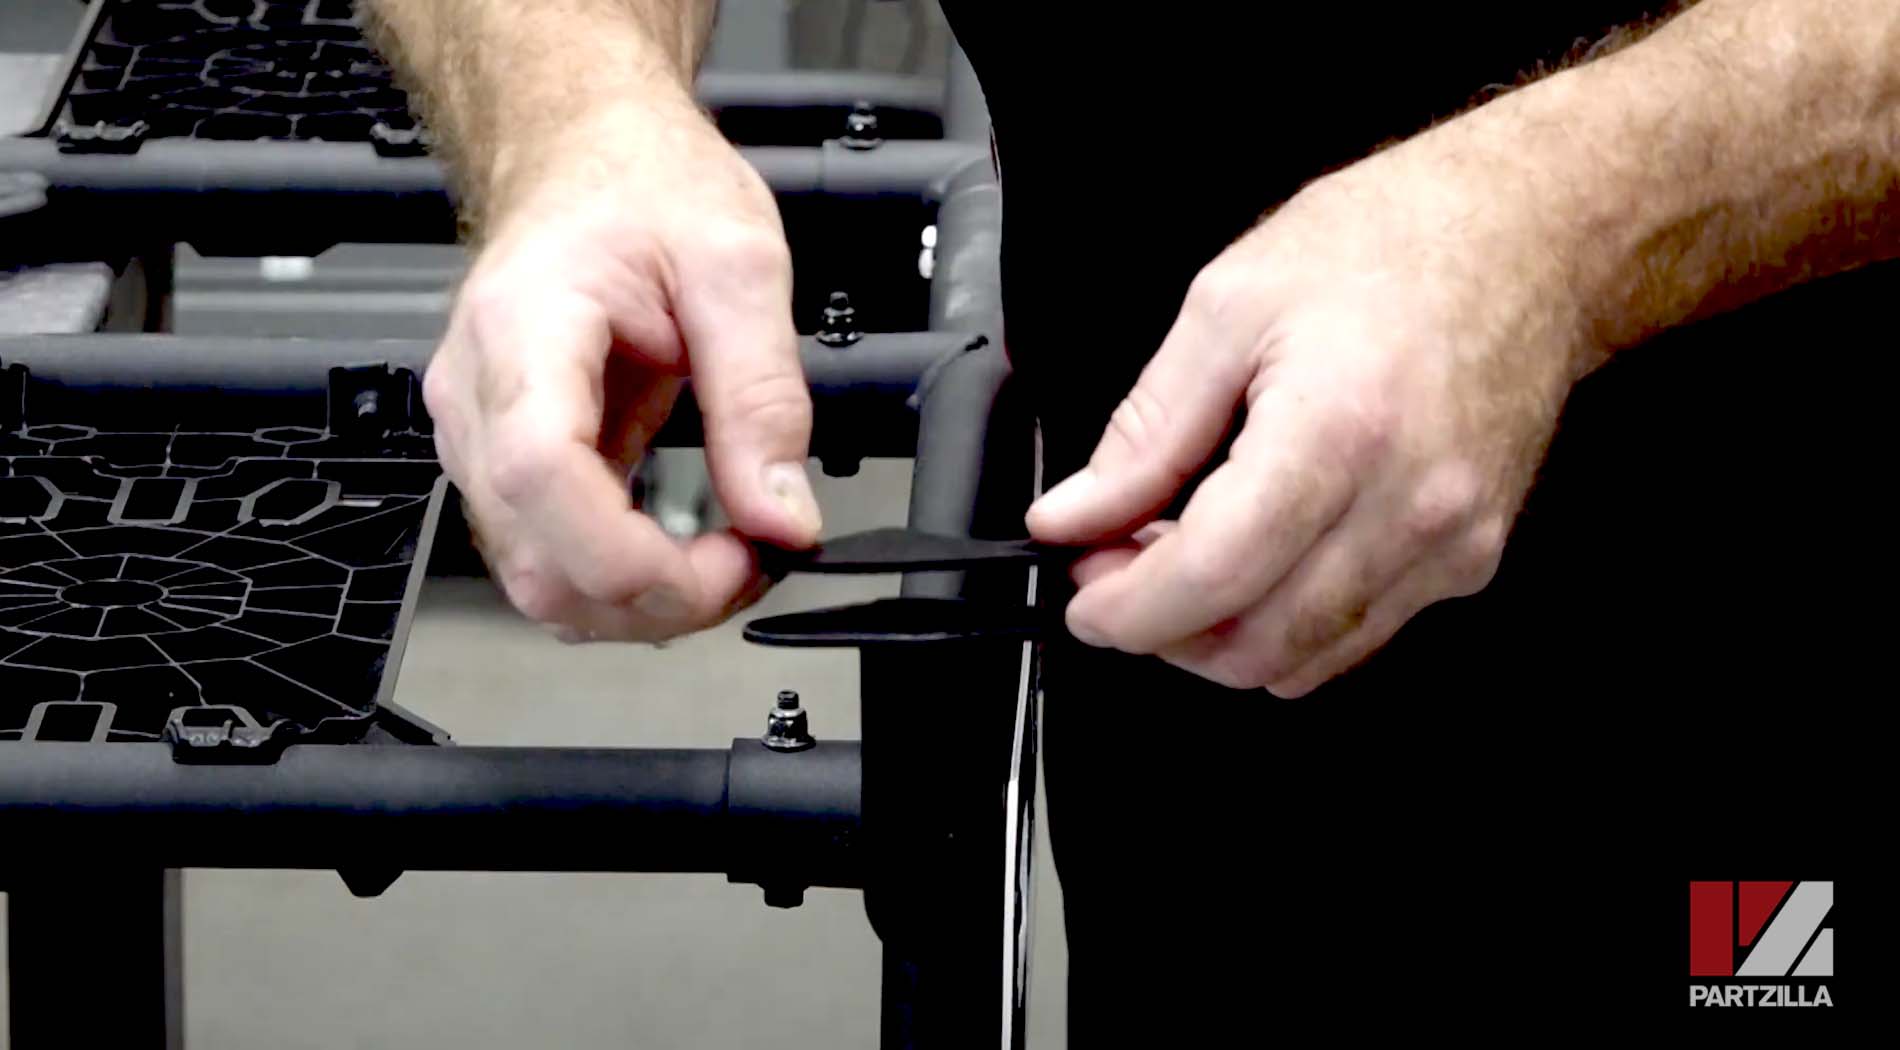
Step 3. Assemble the two decorative center pieces that go on the front and back of the rack. Clip the silver piece on, and use two short M6 bolts and nuts to secure them in place through the decorative piece and the plate on the underside of the rack itself. Repeat the process front and back.

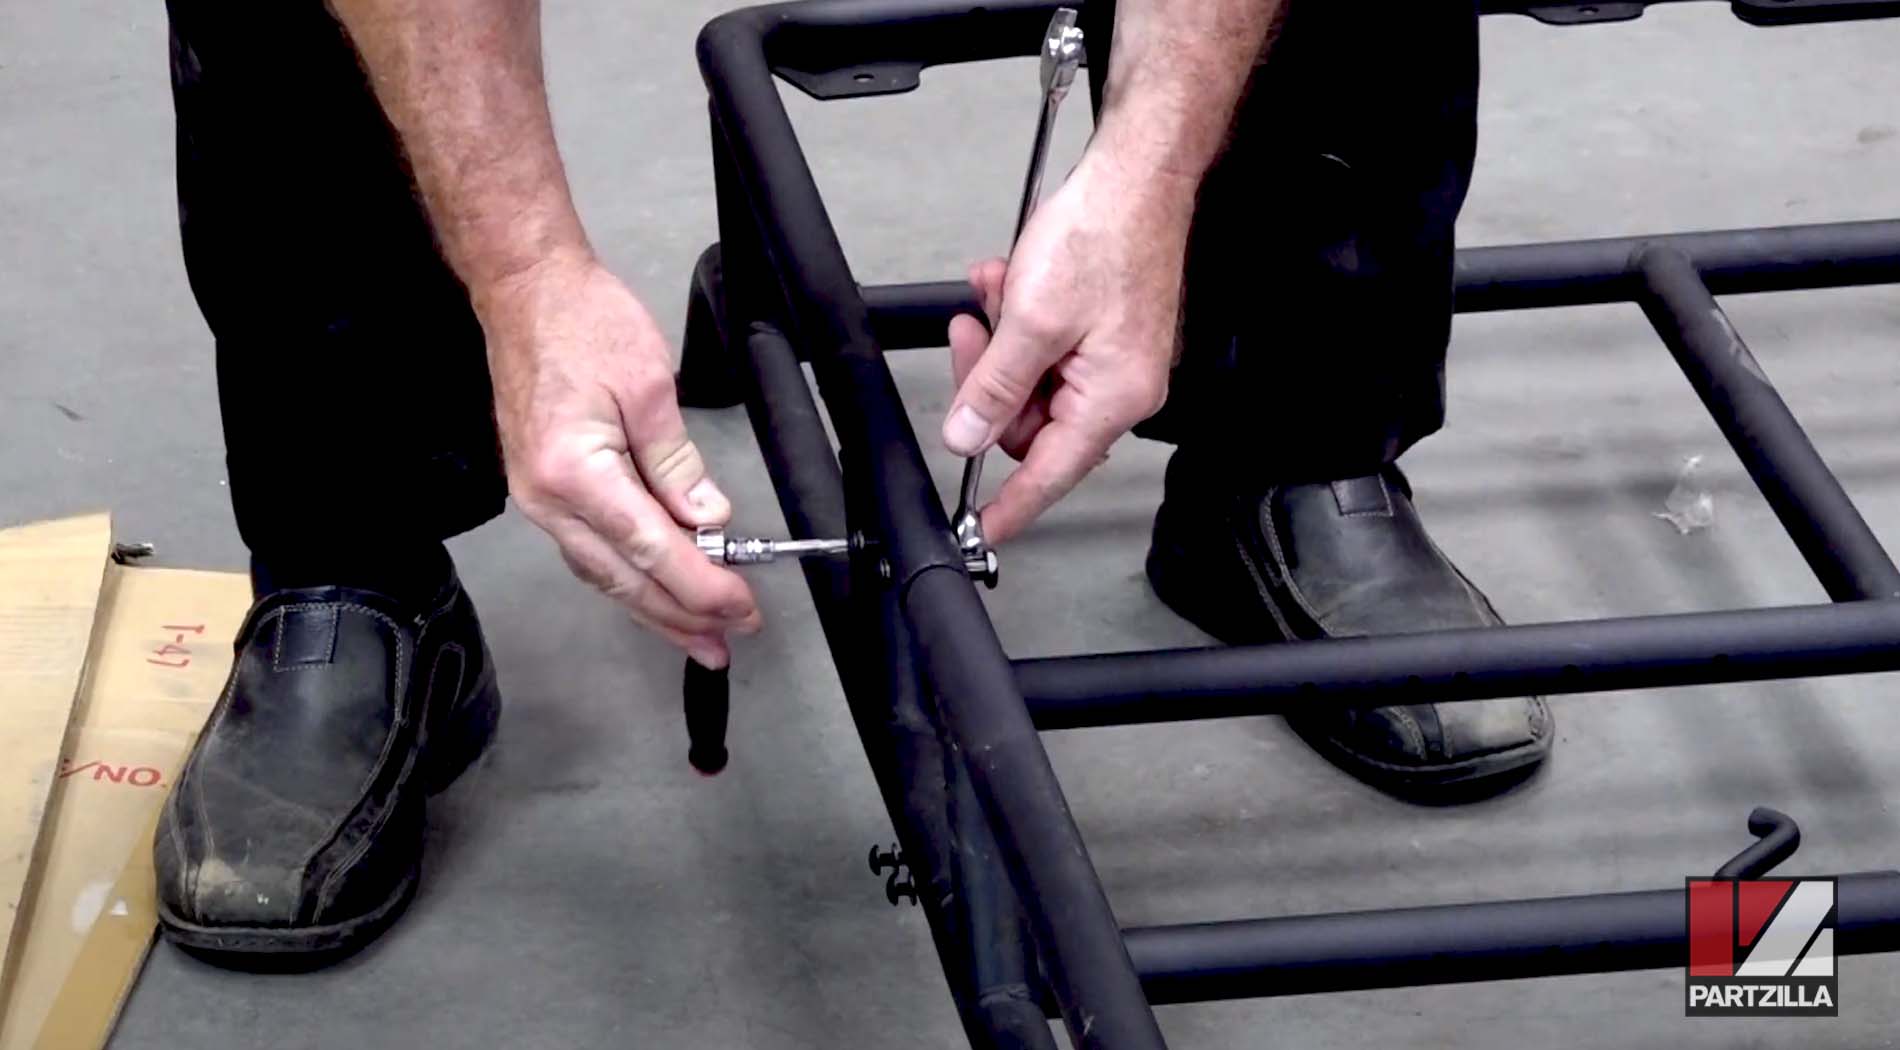
Step 4. Tighten everything down with a T30 bit and a 16mm wrench once it all lines up.
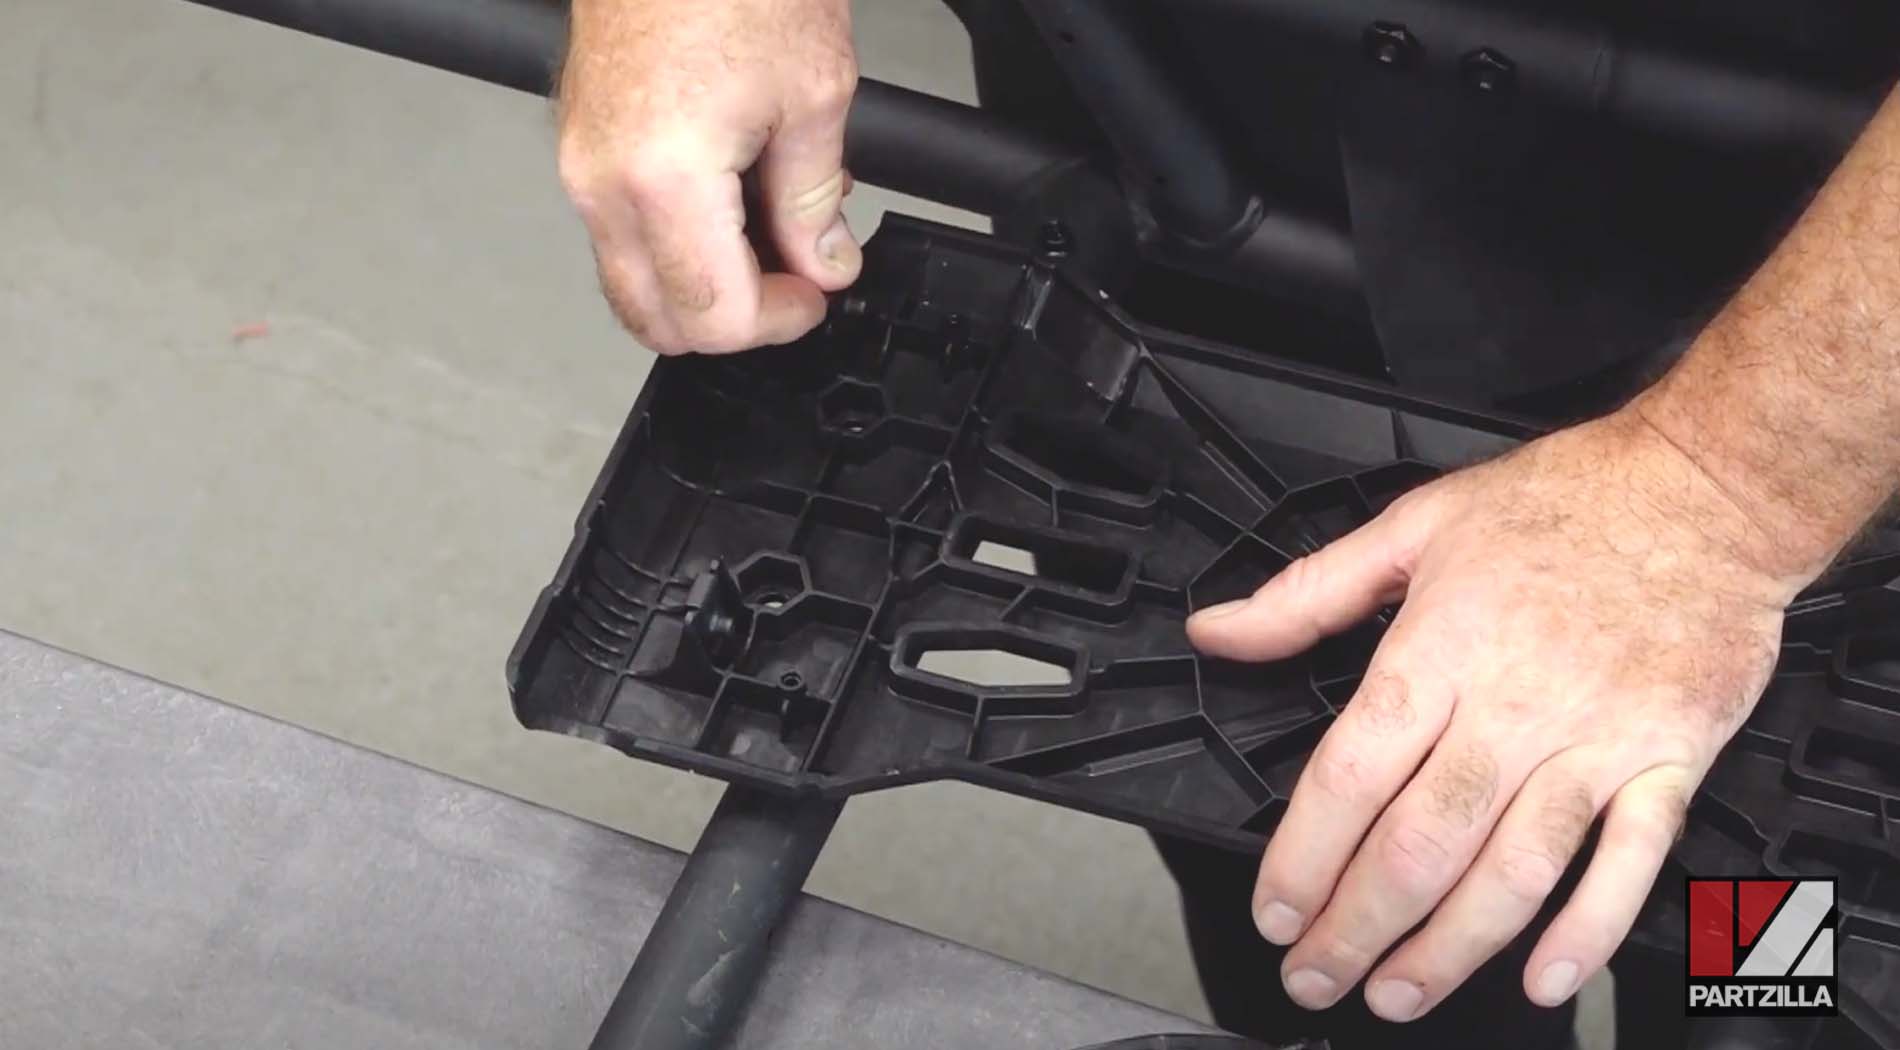
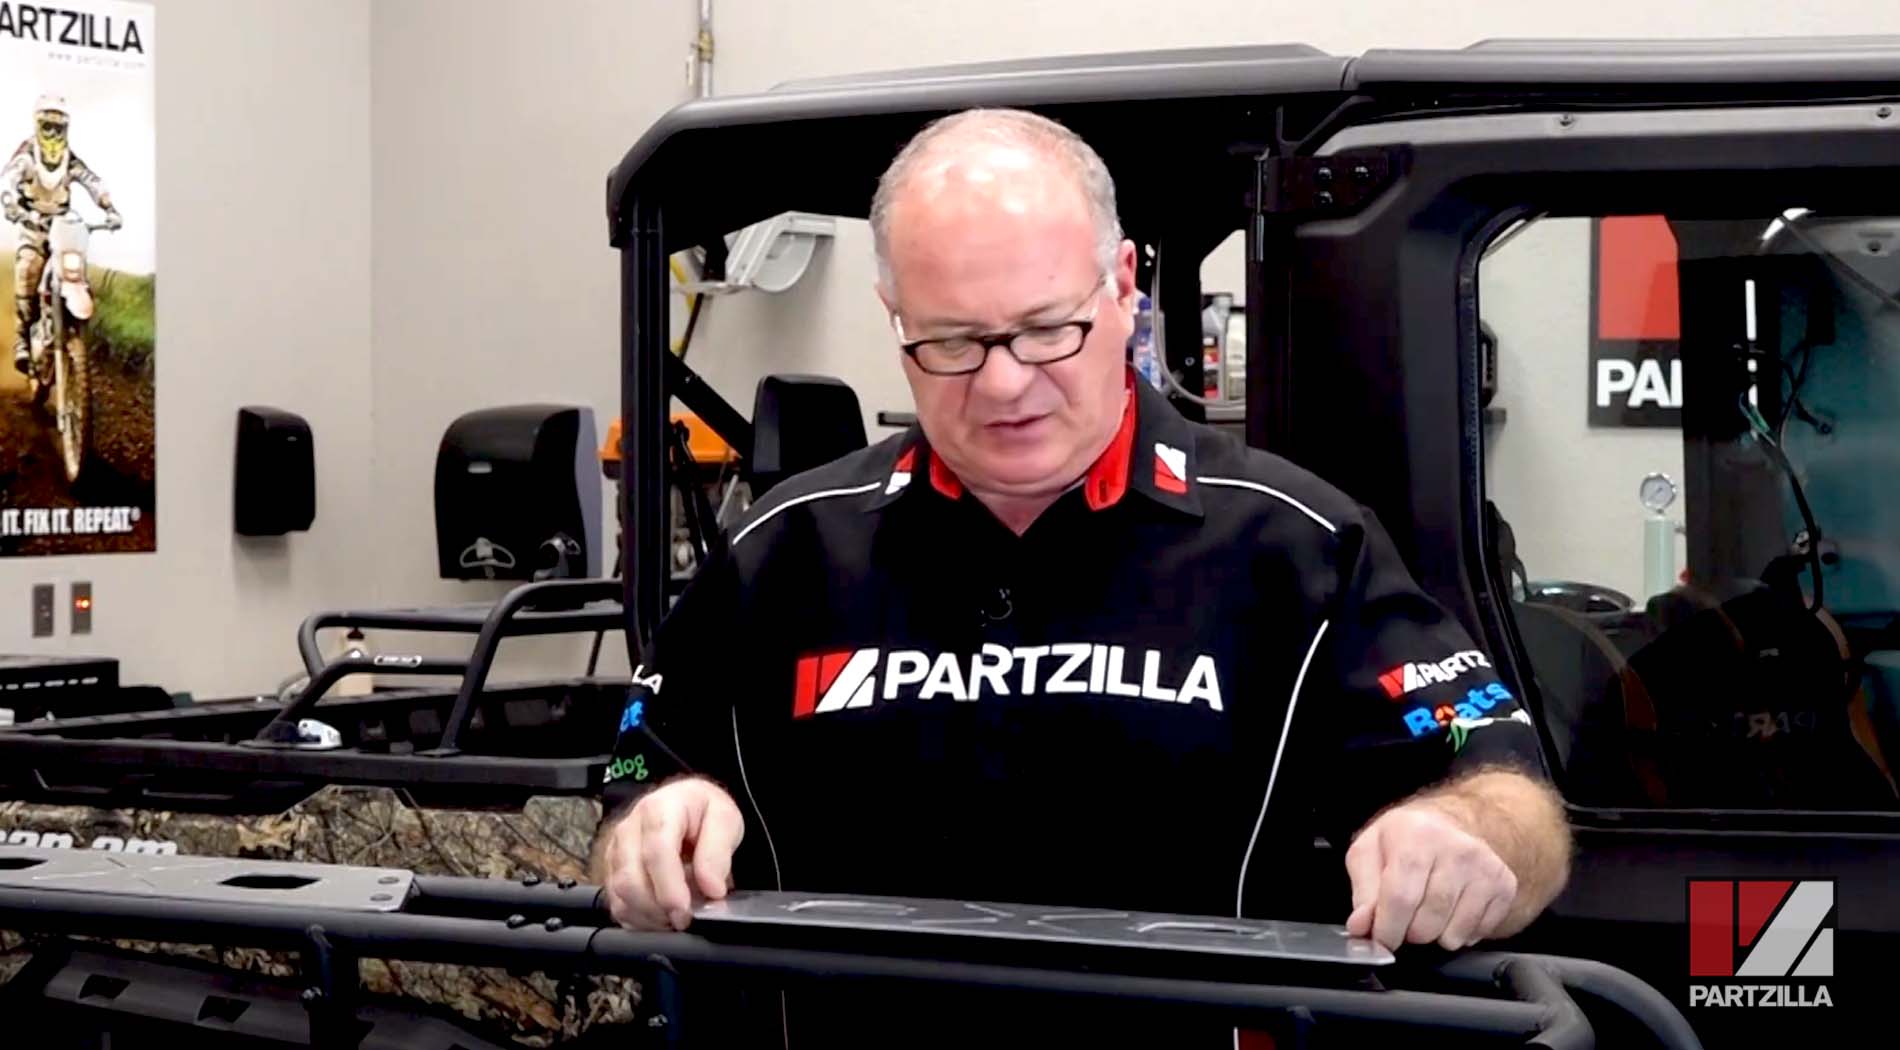
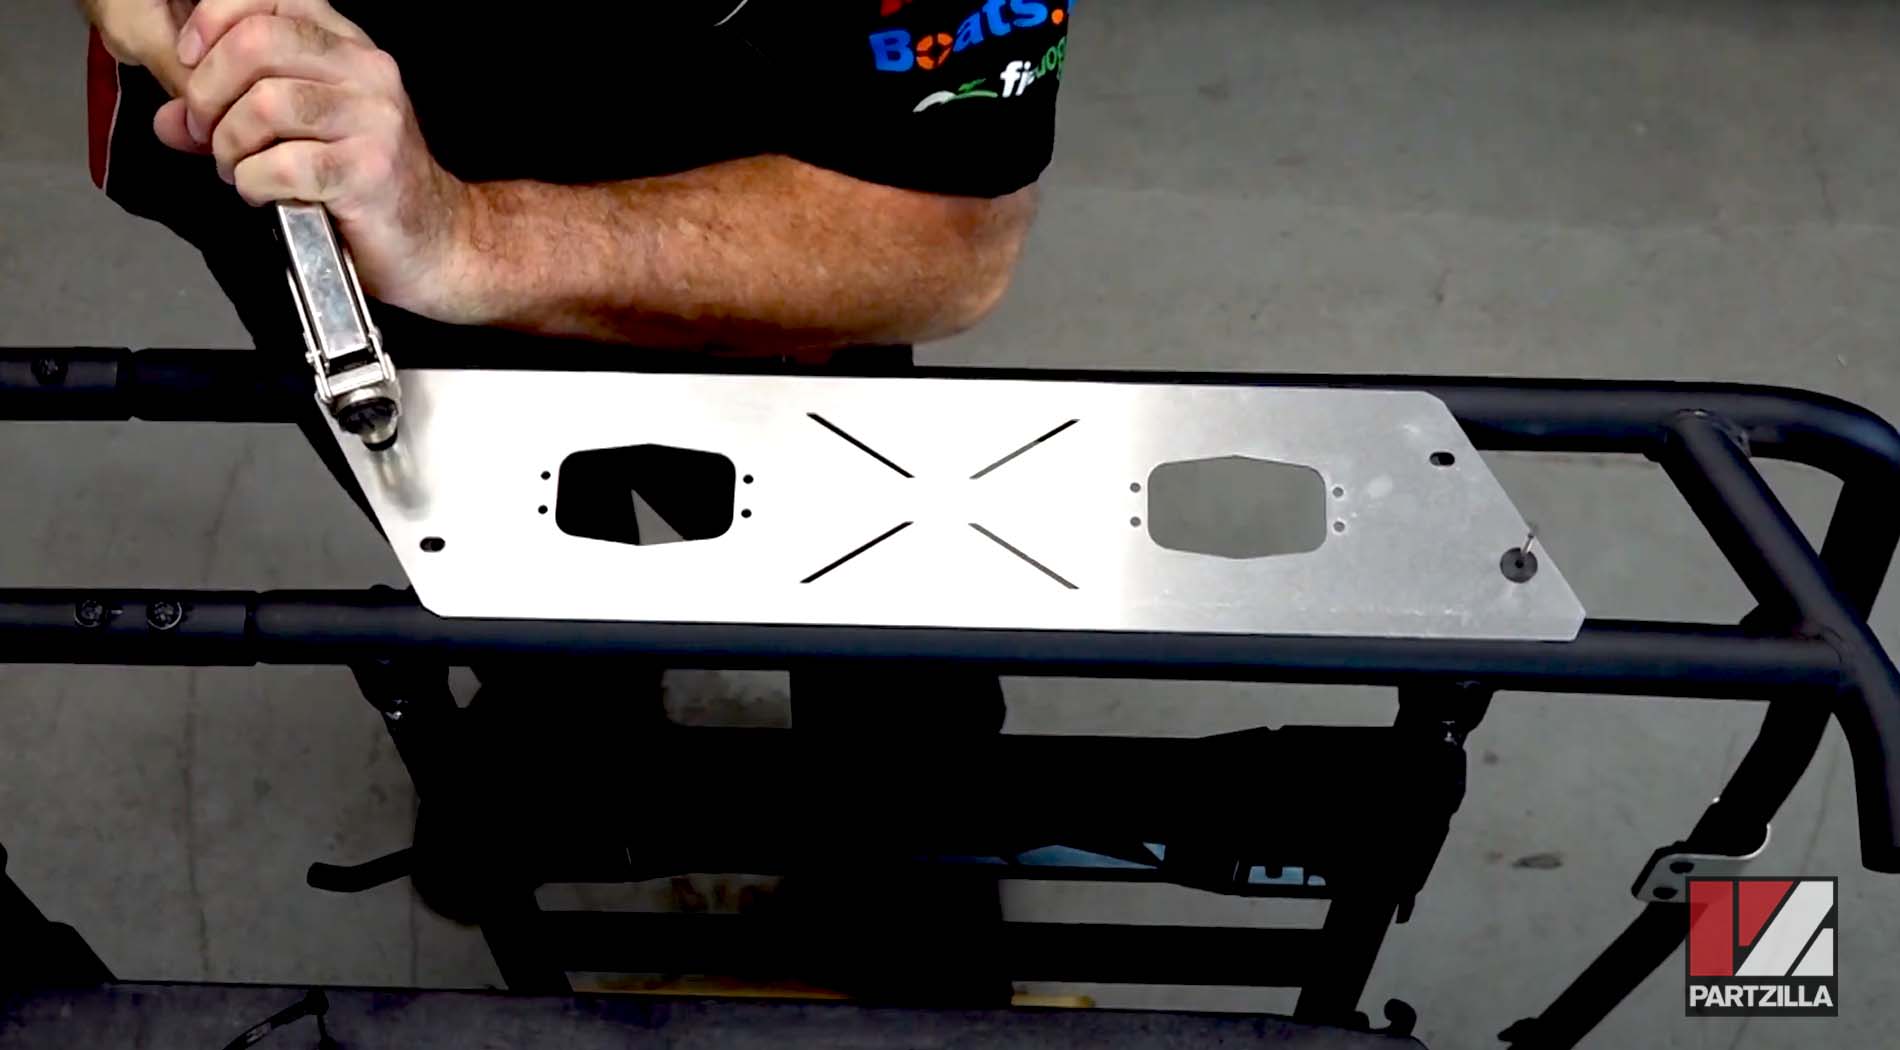
Step 5. Install the floor plates, which have speed releases that allow you to move them around as necessary, depending on how you’re using the rack. Snap the speed clips on, then use the 55mm T30 Torx bolts to hold them in place.
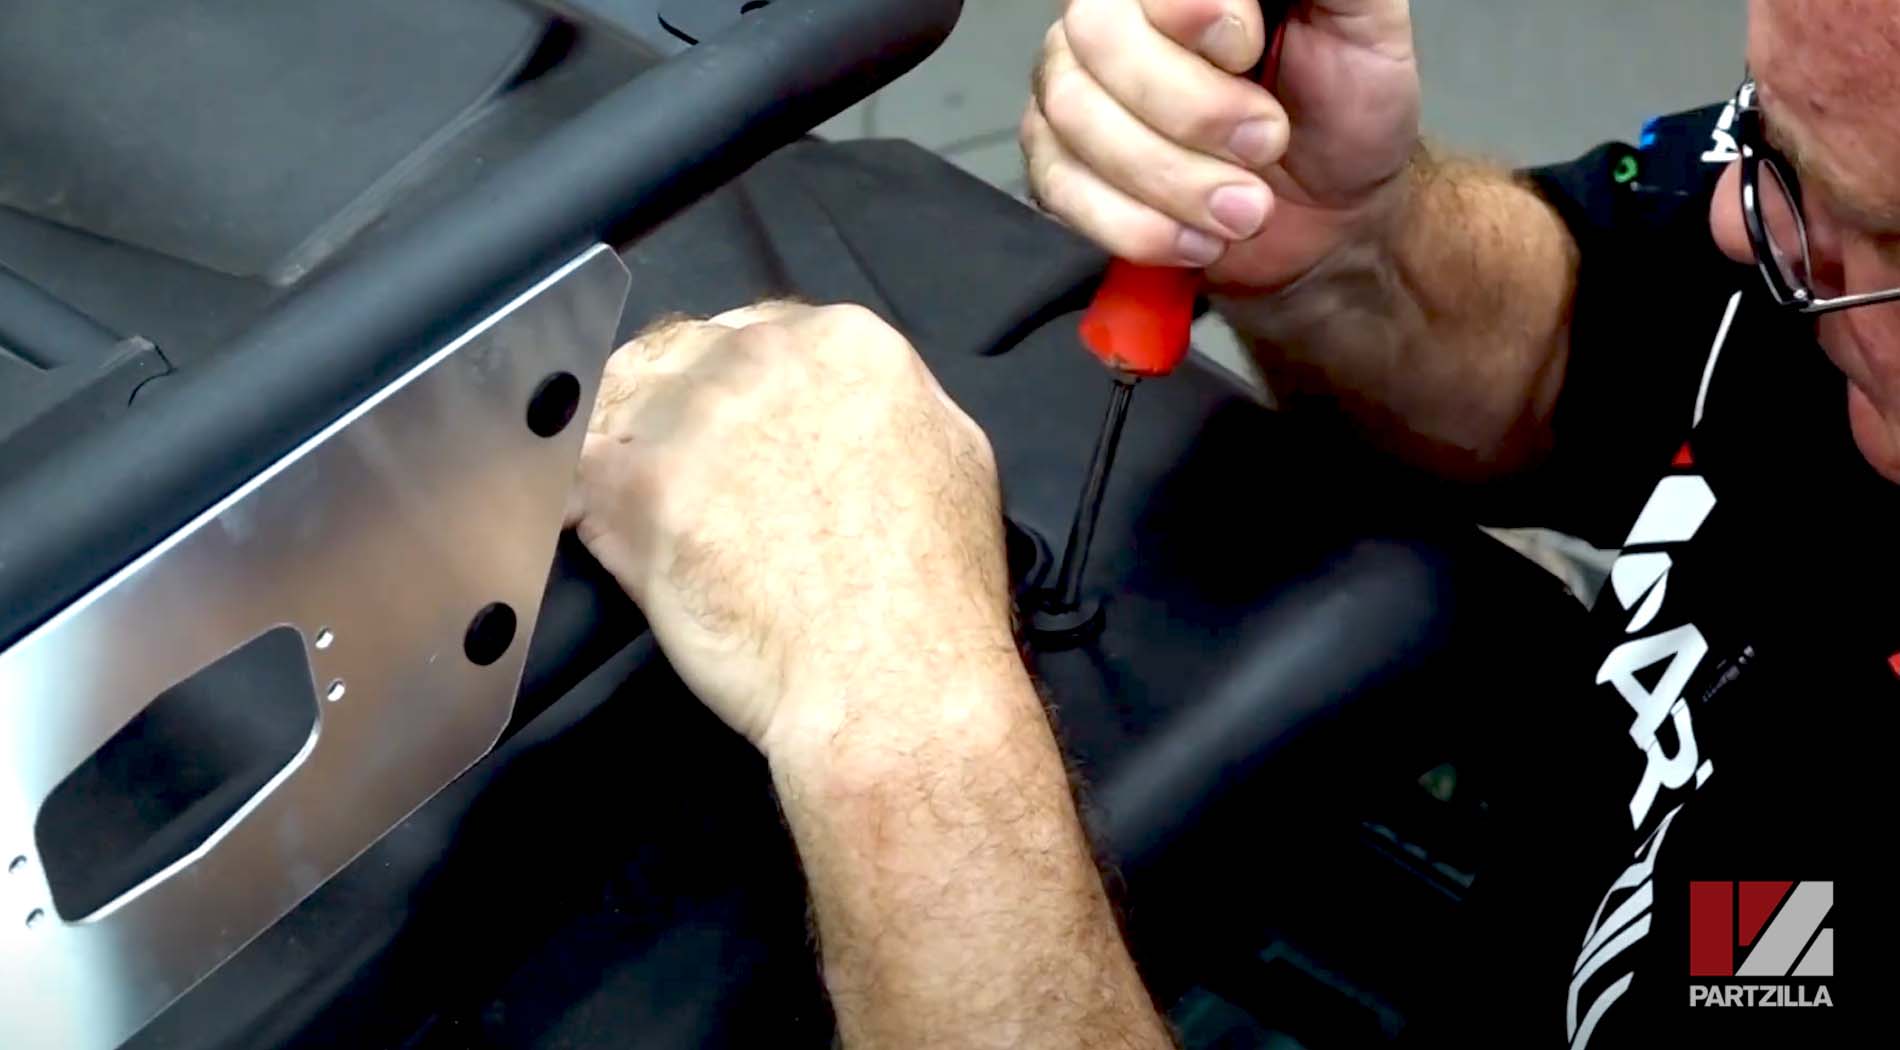
Step 6. Install the four side plates, two on each side, which are each held in place by four 3/16ths stainless steel rivets. Use a rivet gun to secure them in place.
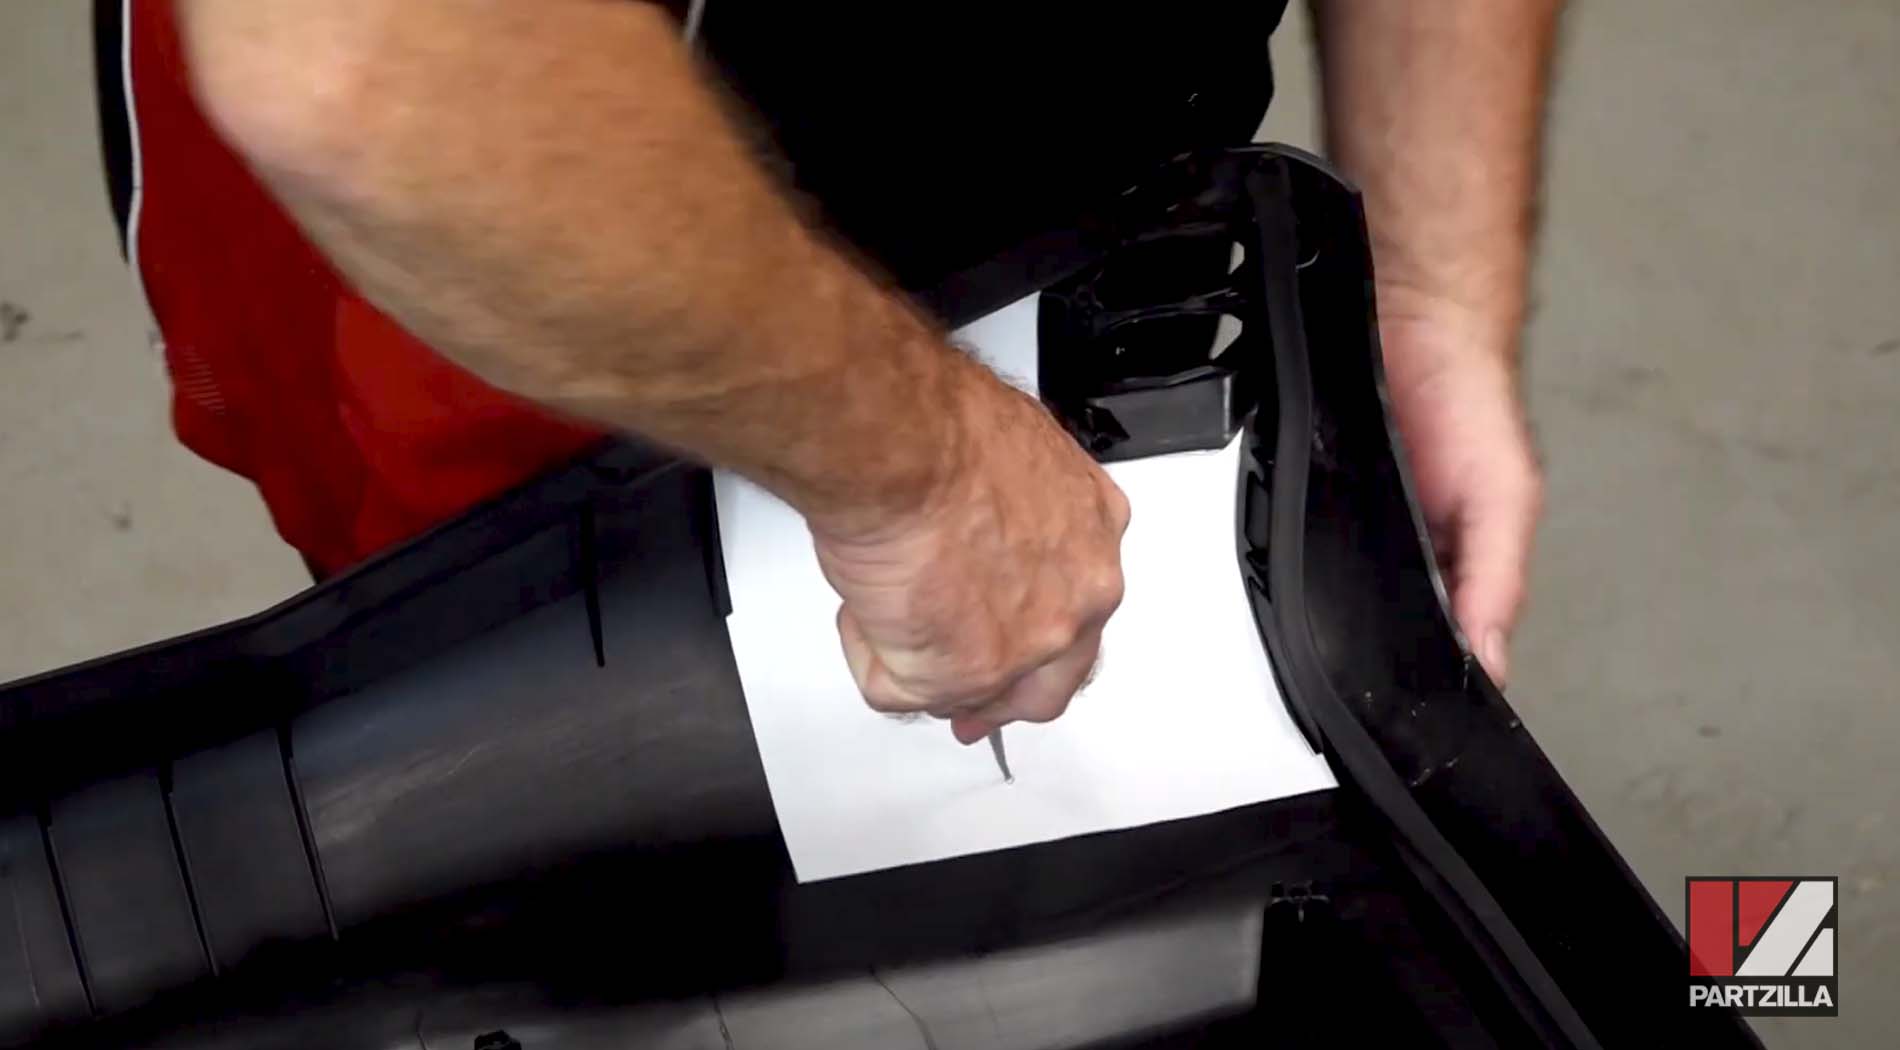
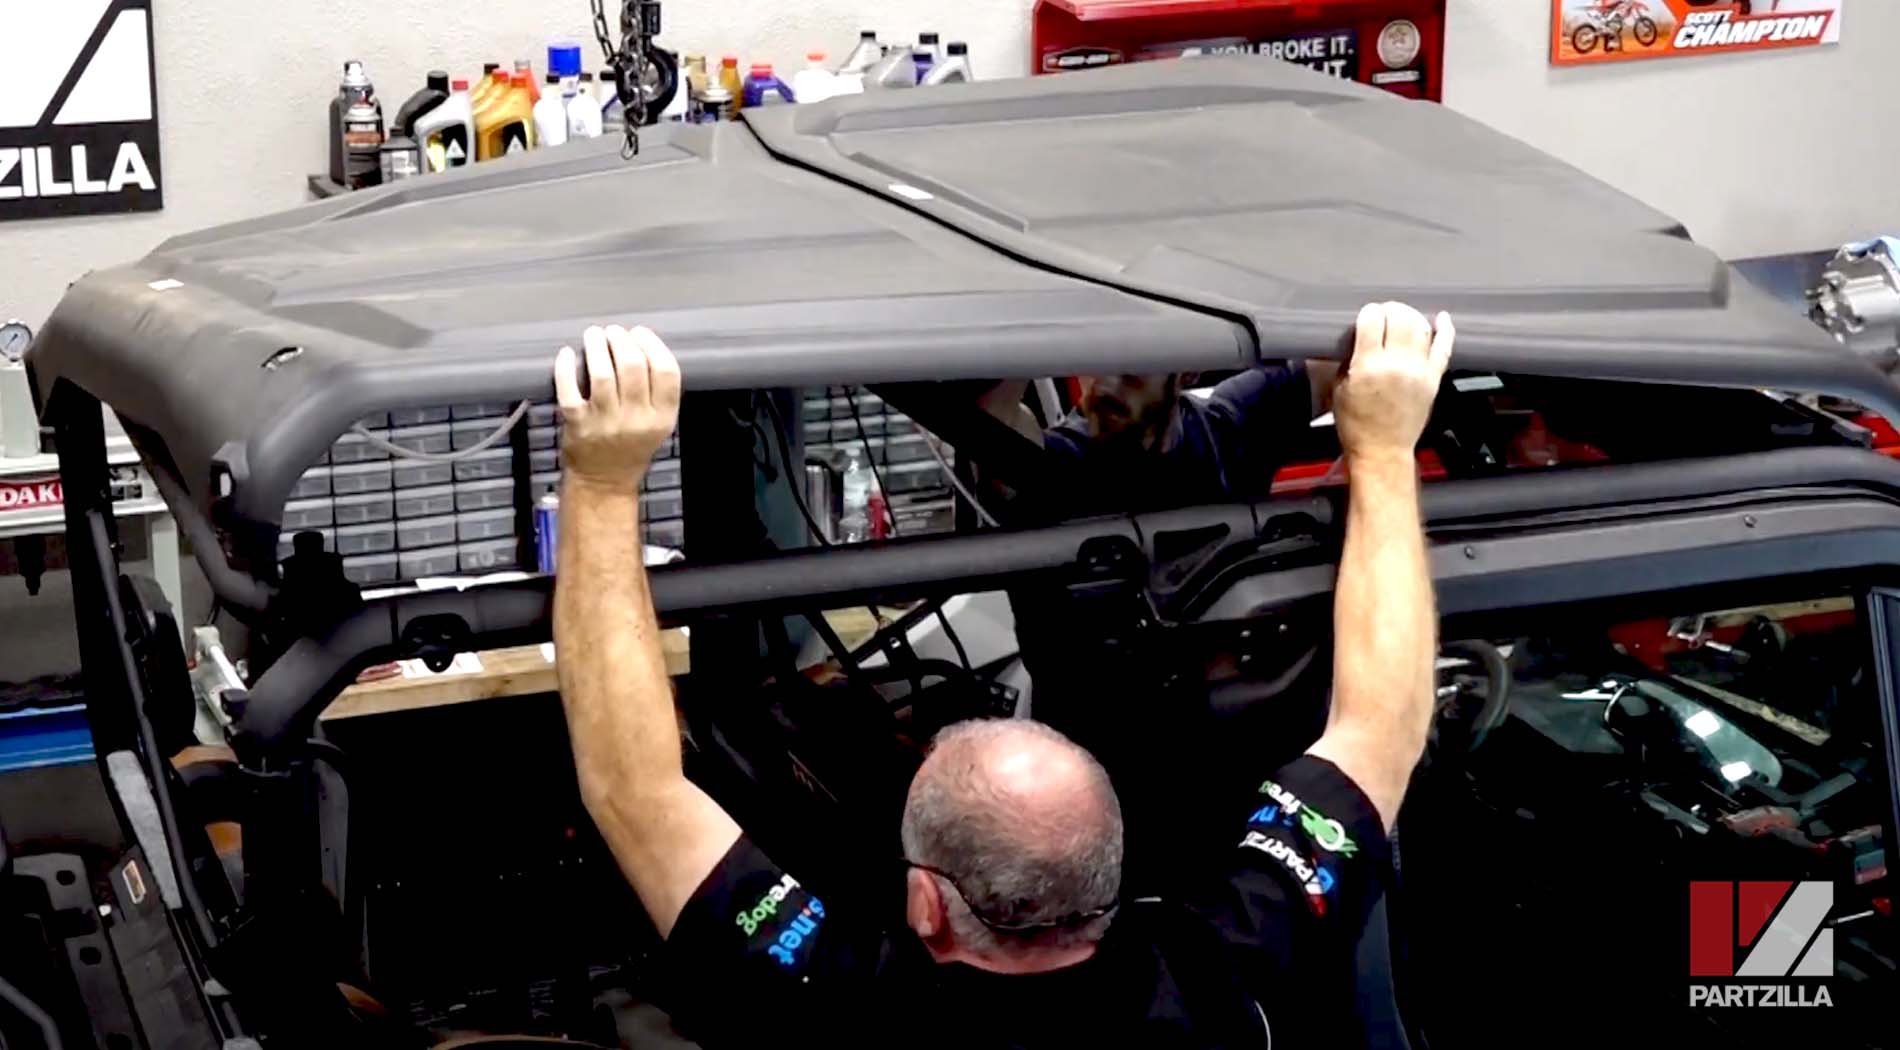
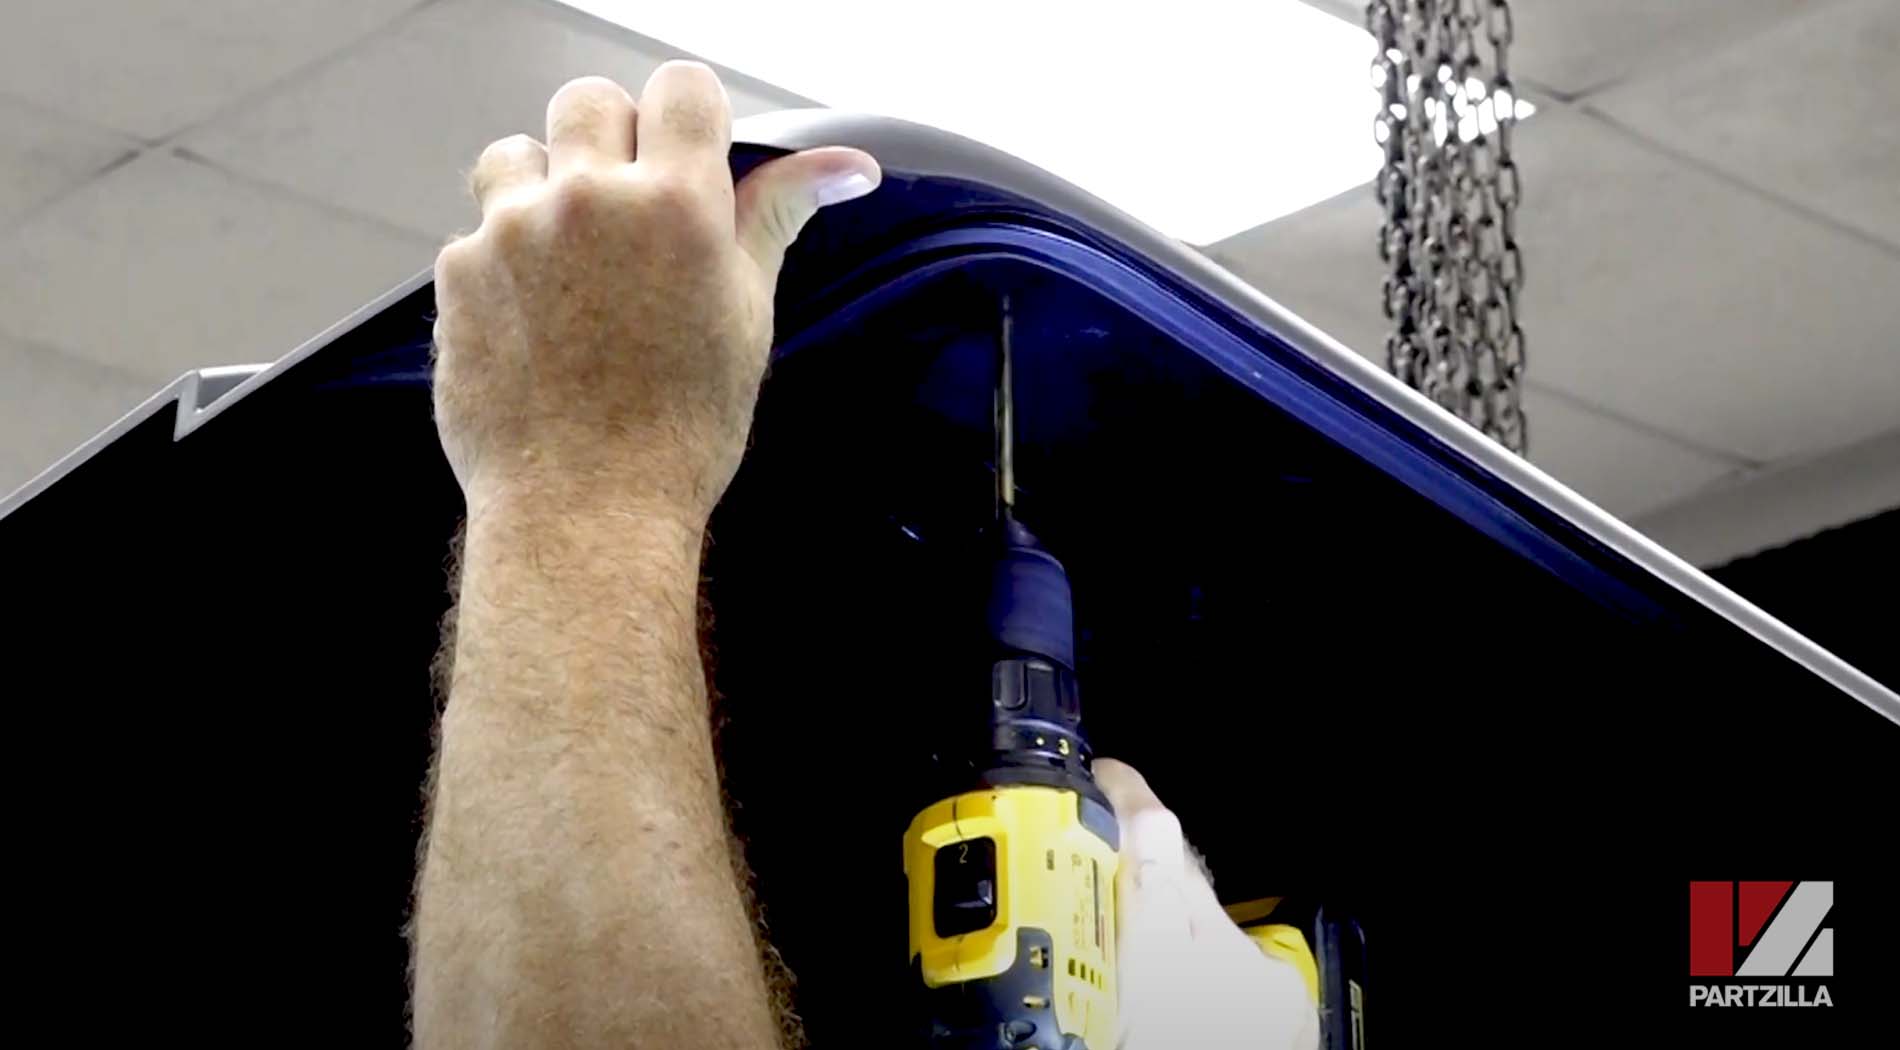
Step 7. Take the roof off, then use the printed instruction templates to drill holes for the mounting brackets that bolt to the roll cage. The templates show you where to drill. Use a punch tool to make marks on each side, then drill out the holes using a 1 ½ inch hole saw.
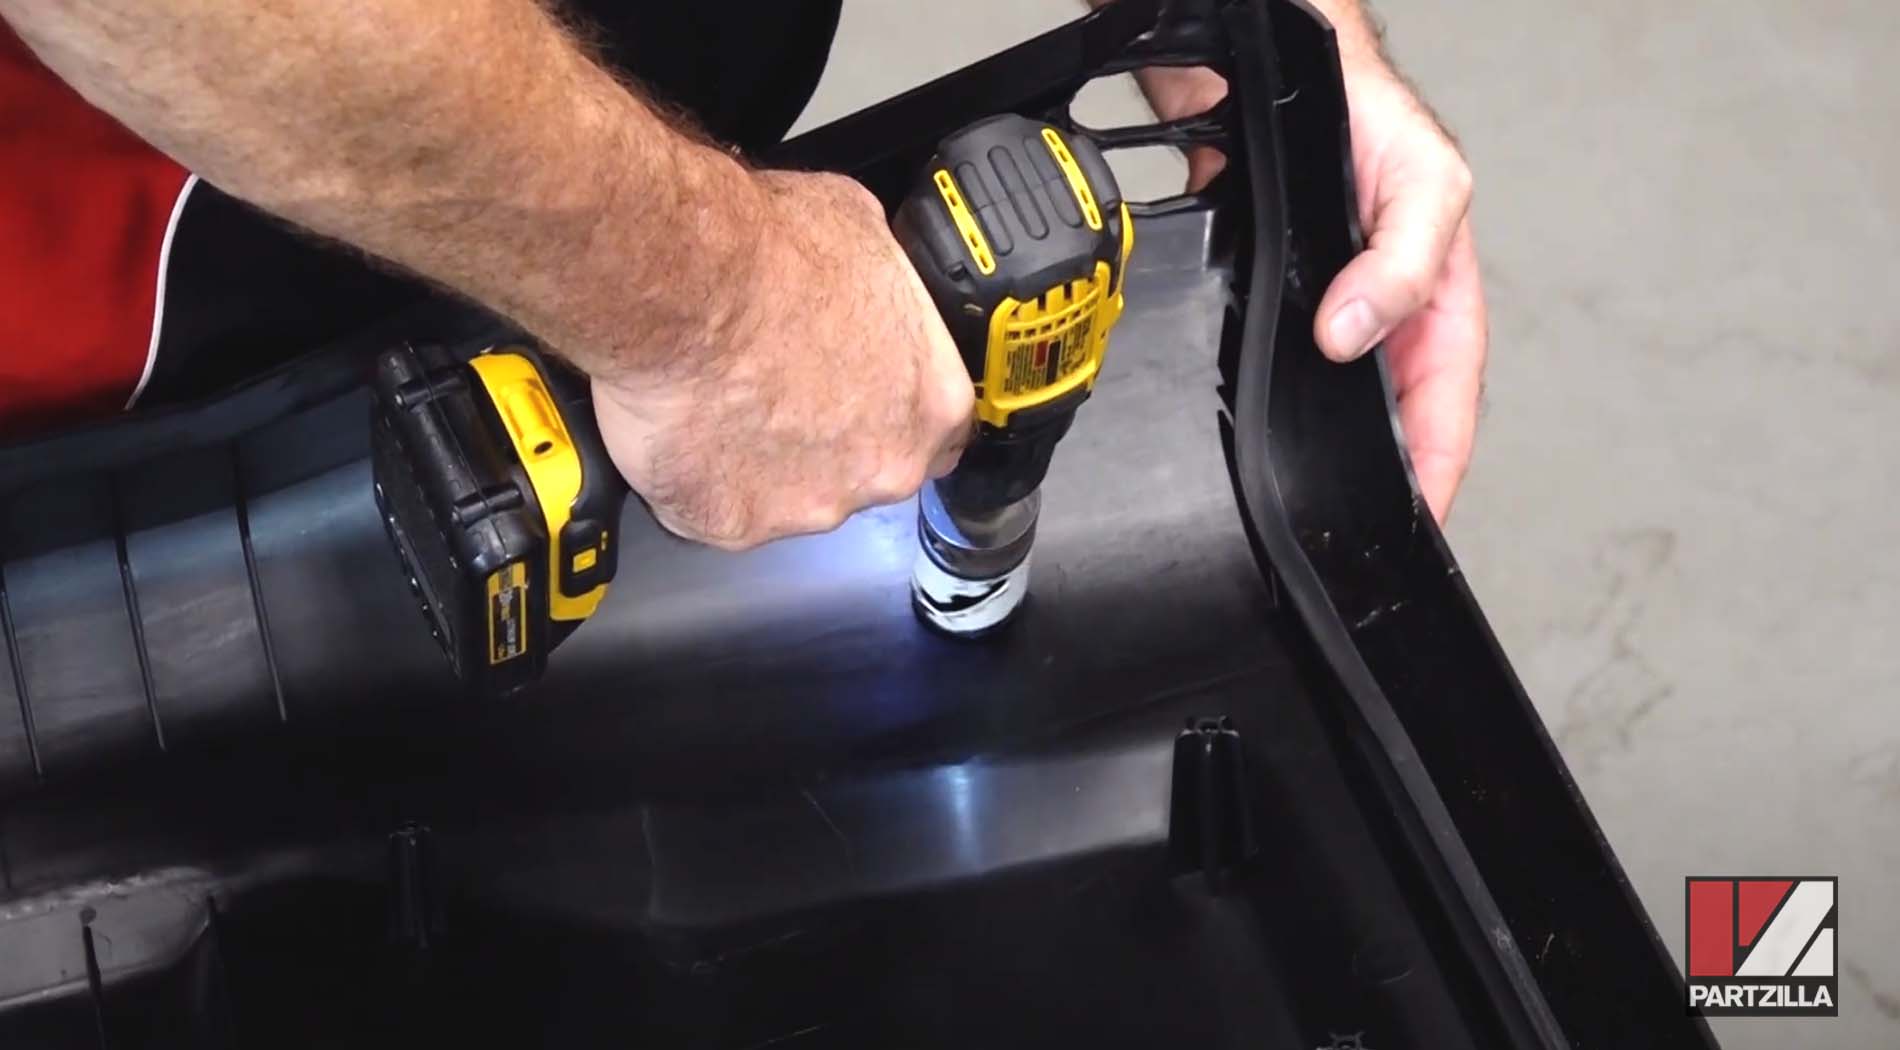
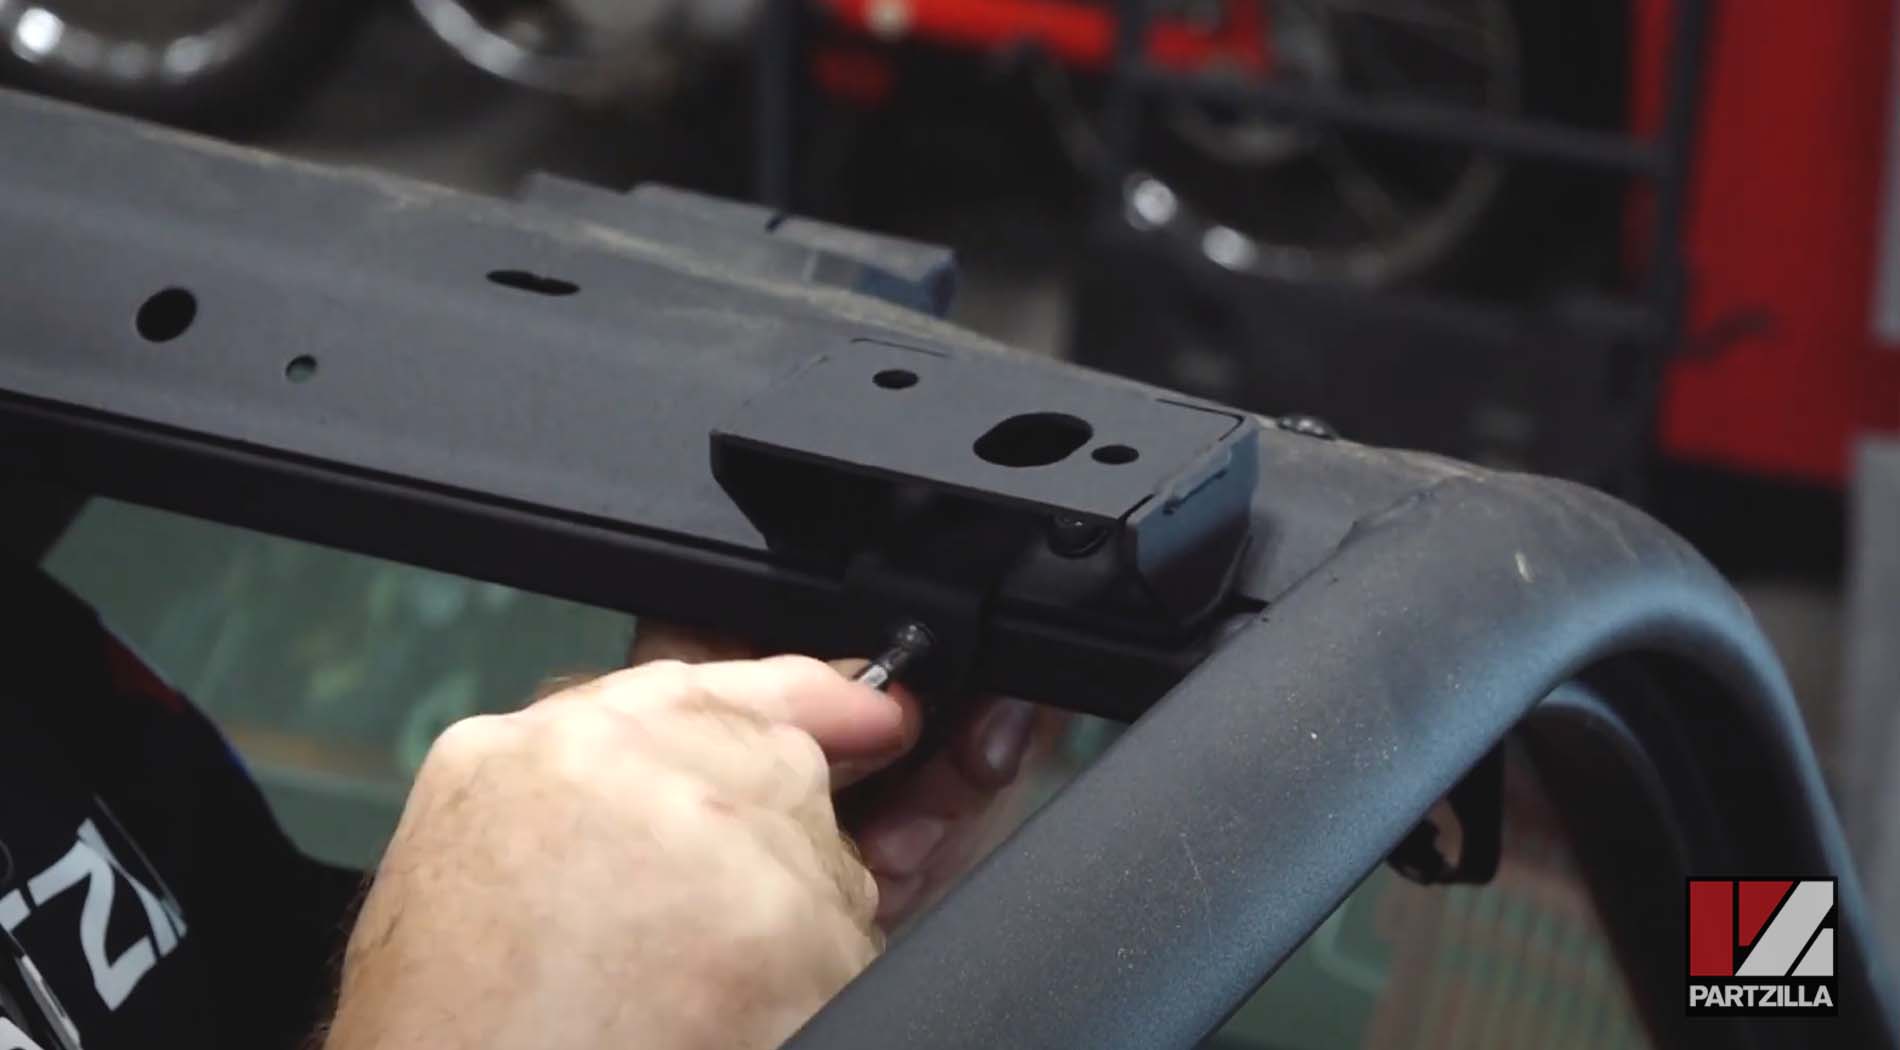
Step 8. Mount the front brackets with two bolts, one that you’ll need to drill for so that the bolt can transverse the roll cage. Make sure you’re perpendicular to the ground here so that the bolt can travel cleanly. Repeat on both sides.
NOTE: The instructions call for a 6.5mm drill bit, but we used a ¼ inch bit.
Step 9. Add the mounting bolts. The bottom one that goes in the hole you drilled is a 35mm bolt with a washer and a nut, and the other is a 16mm bolt with just a nut. Repeat for both sides.
Step 10. Bolt on the rear mounts 35mm M6 bolts to hold them in place, but don’t tighten them down in case you need to make adjustments. Next, slide the seals over the top.
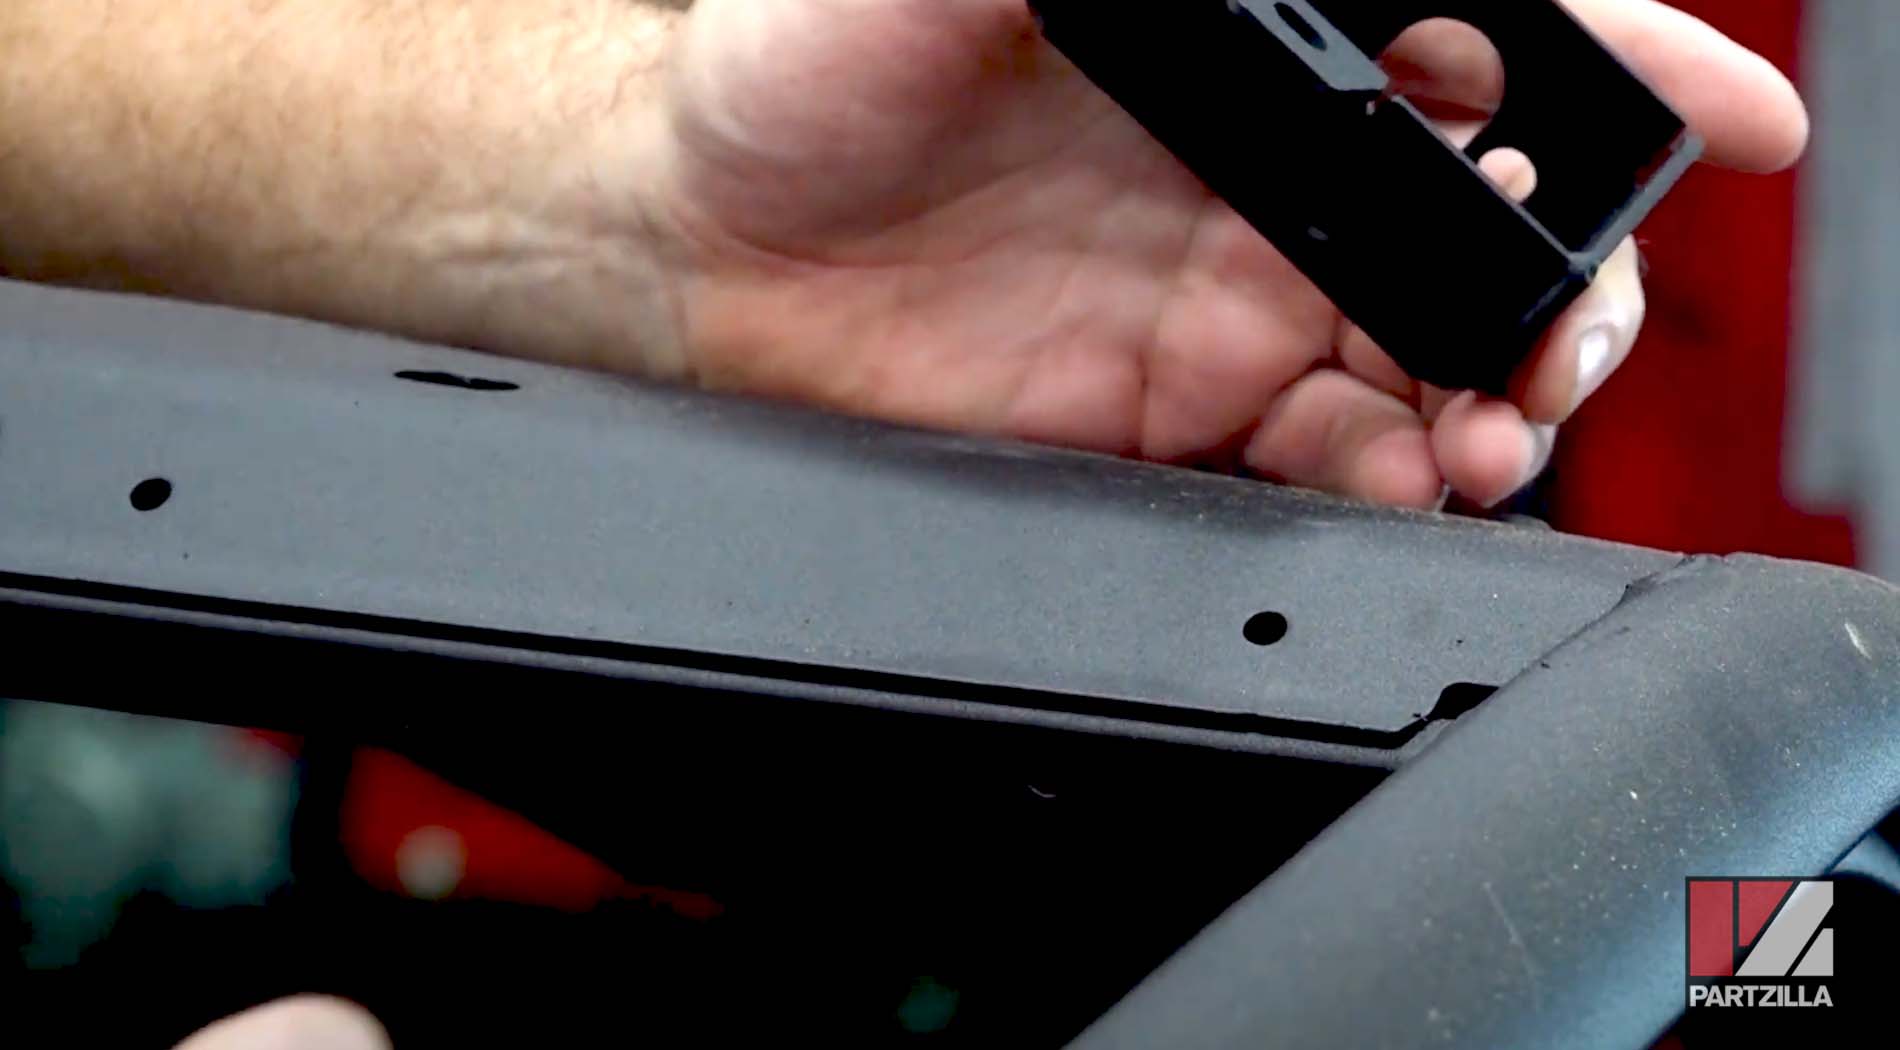
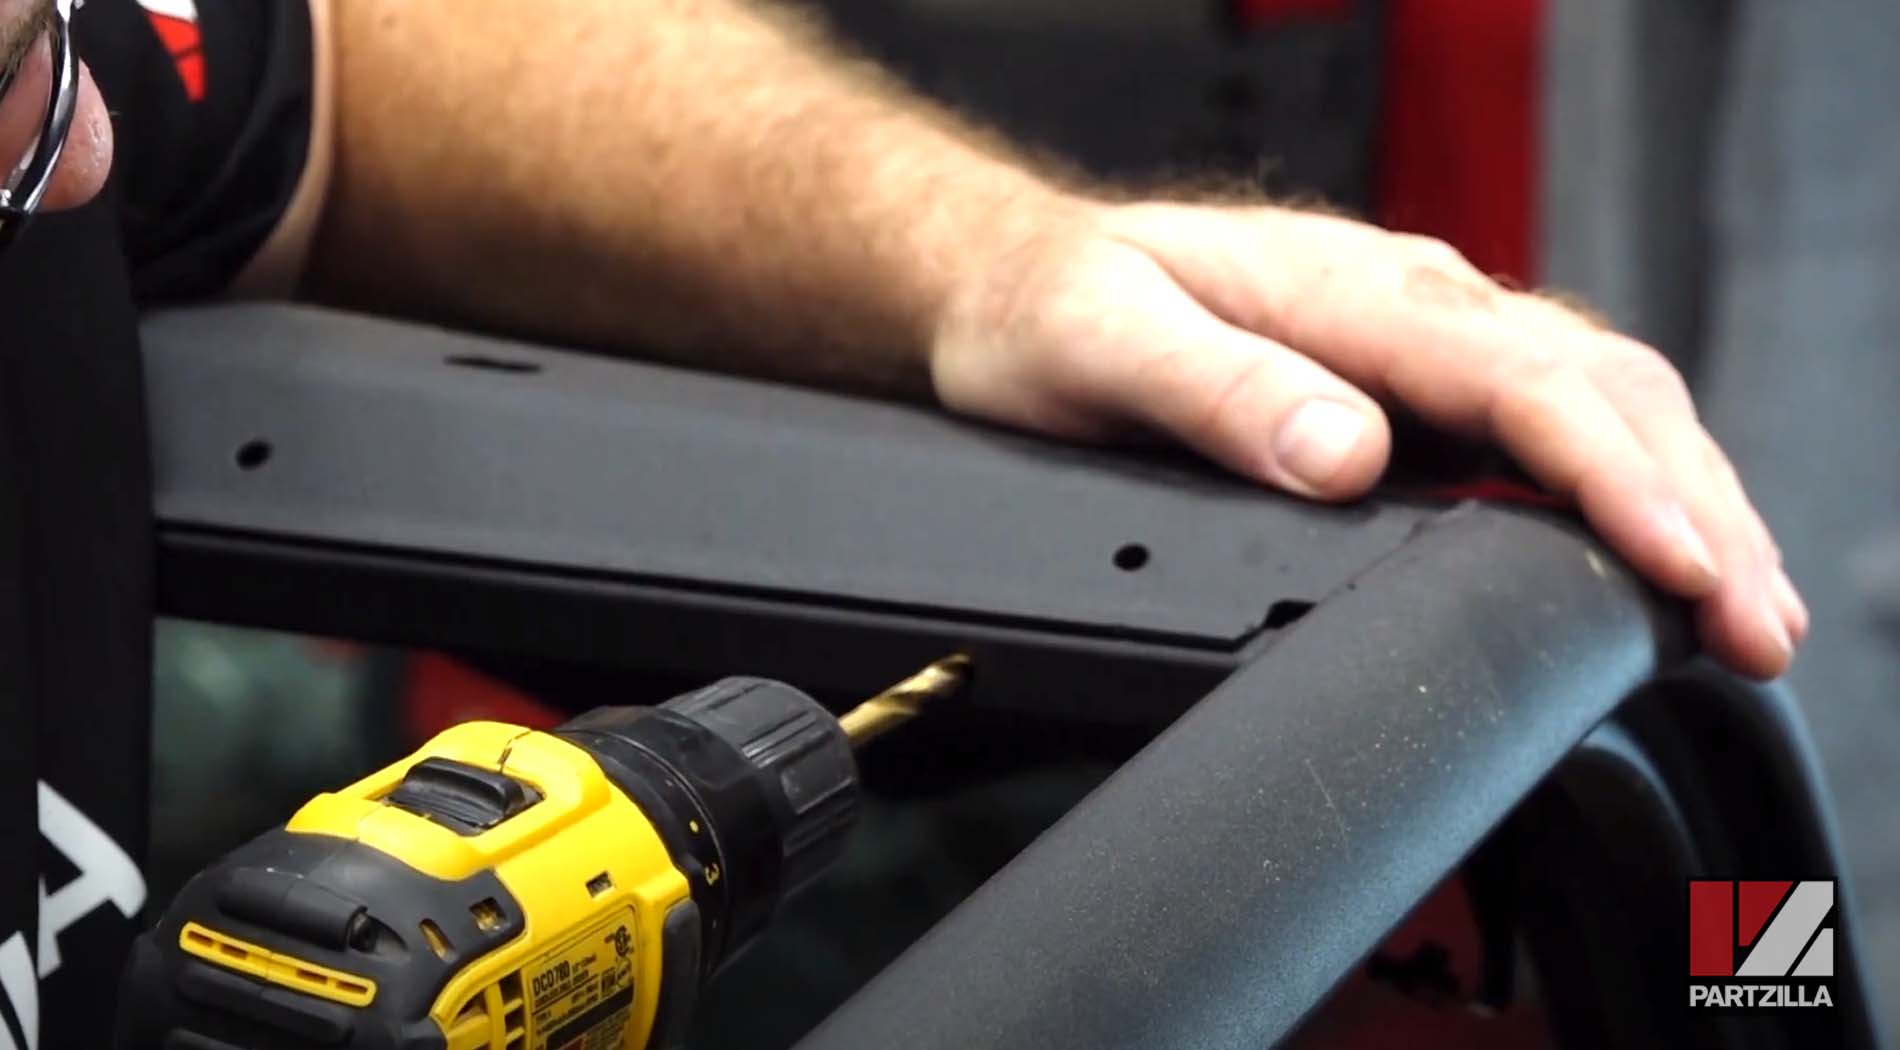
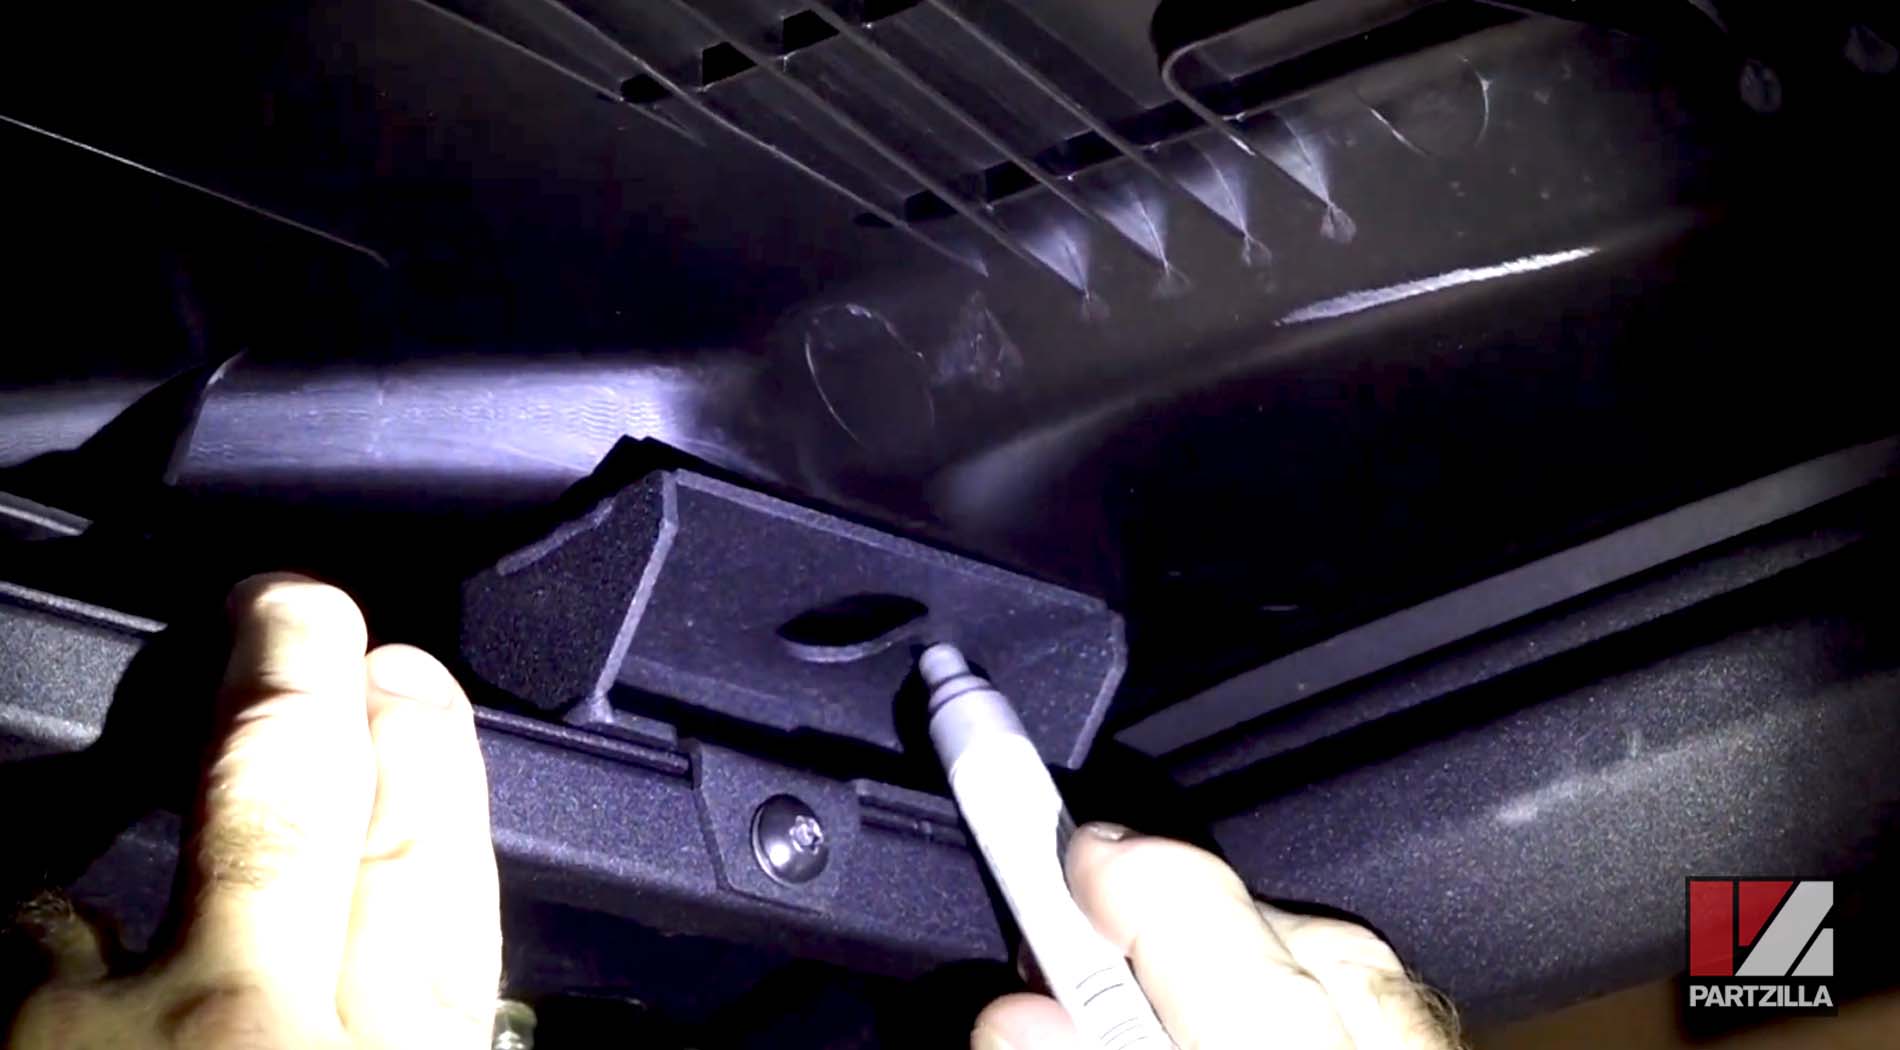
Step 11. Replace the roof, then mark the holes to mount the front of the rack. There are two holes in each of the two front brackets. Mark them and use a punch to get exactly where you want to drill. Use a ¼ inch bit for a pilot hole, then follow it up with something larger.
Step 12. Install the two seals that go on the underside of the two front mounting points on the rack.
NOTE: Be careful as you position the seals because once they’re installed, the adhesive is too strong for you to reposition them.
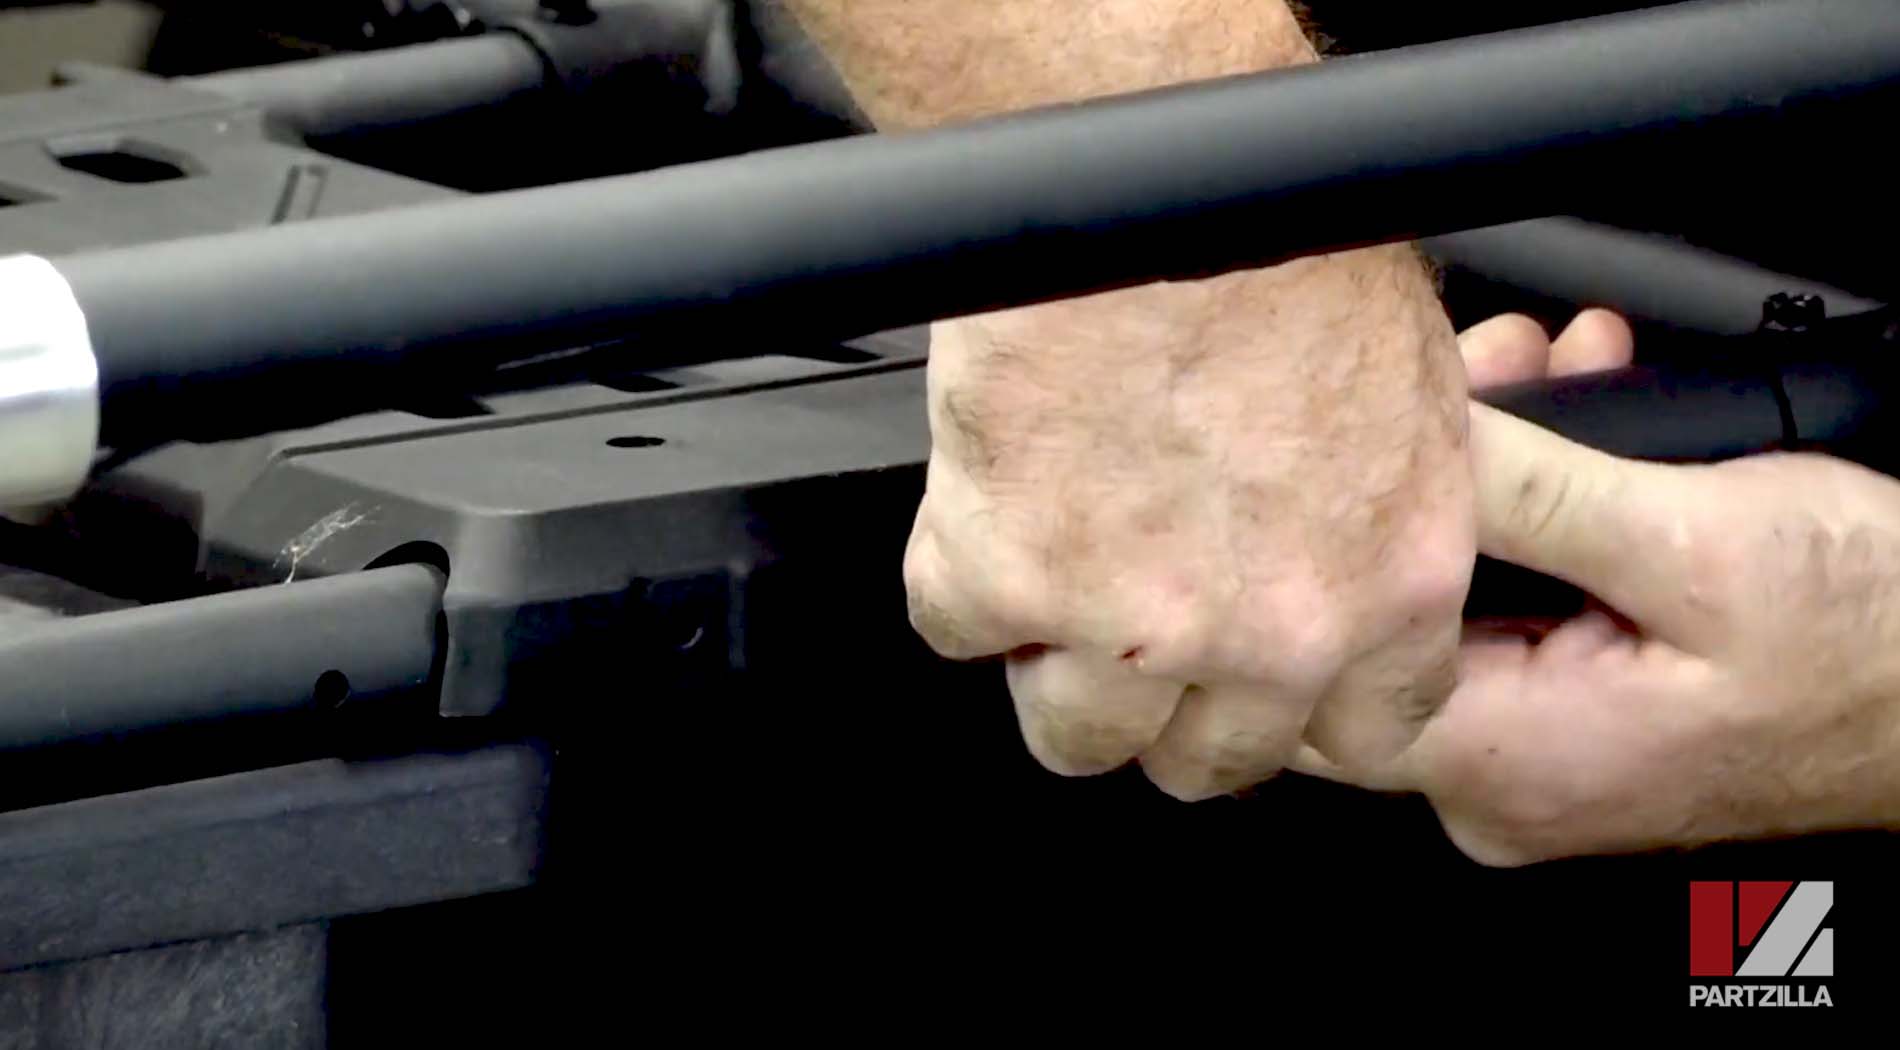
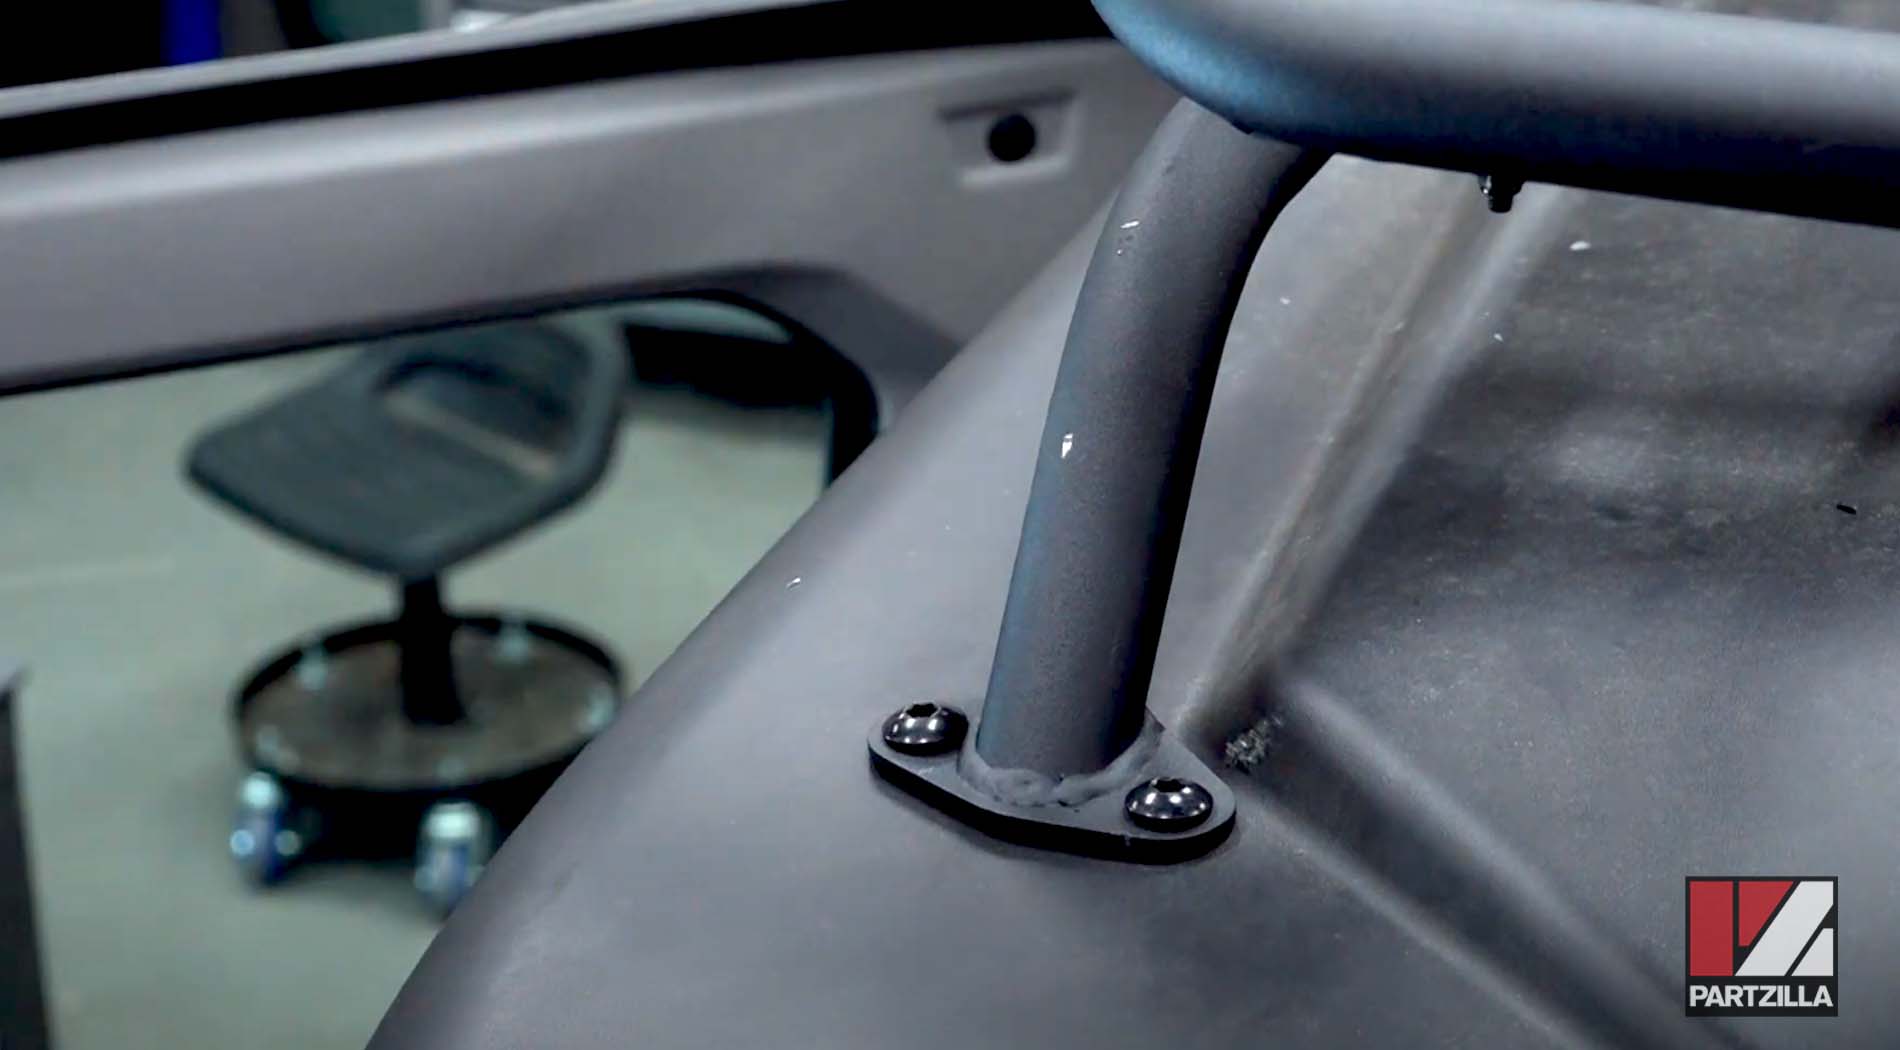
Step 13. Get the roof rack in position. The rear mounts protrude on each corner, and the front should roughly align with the holes you’ve drilled.
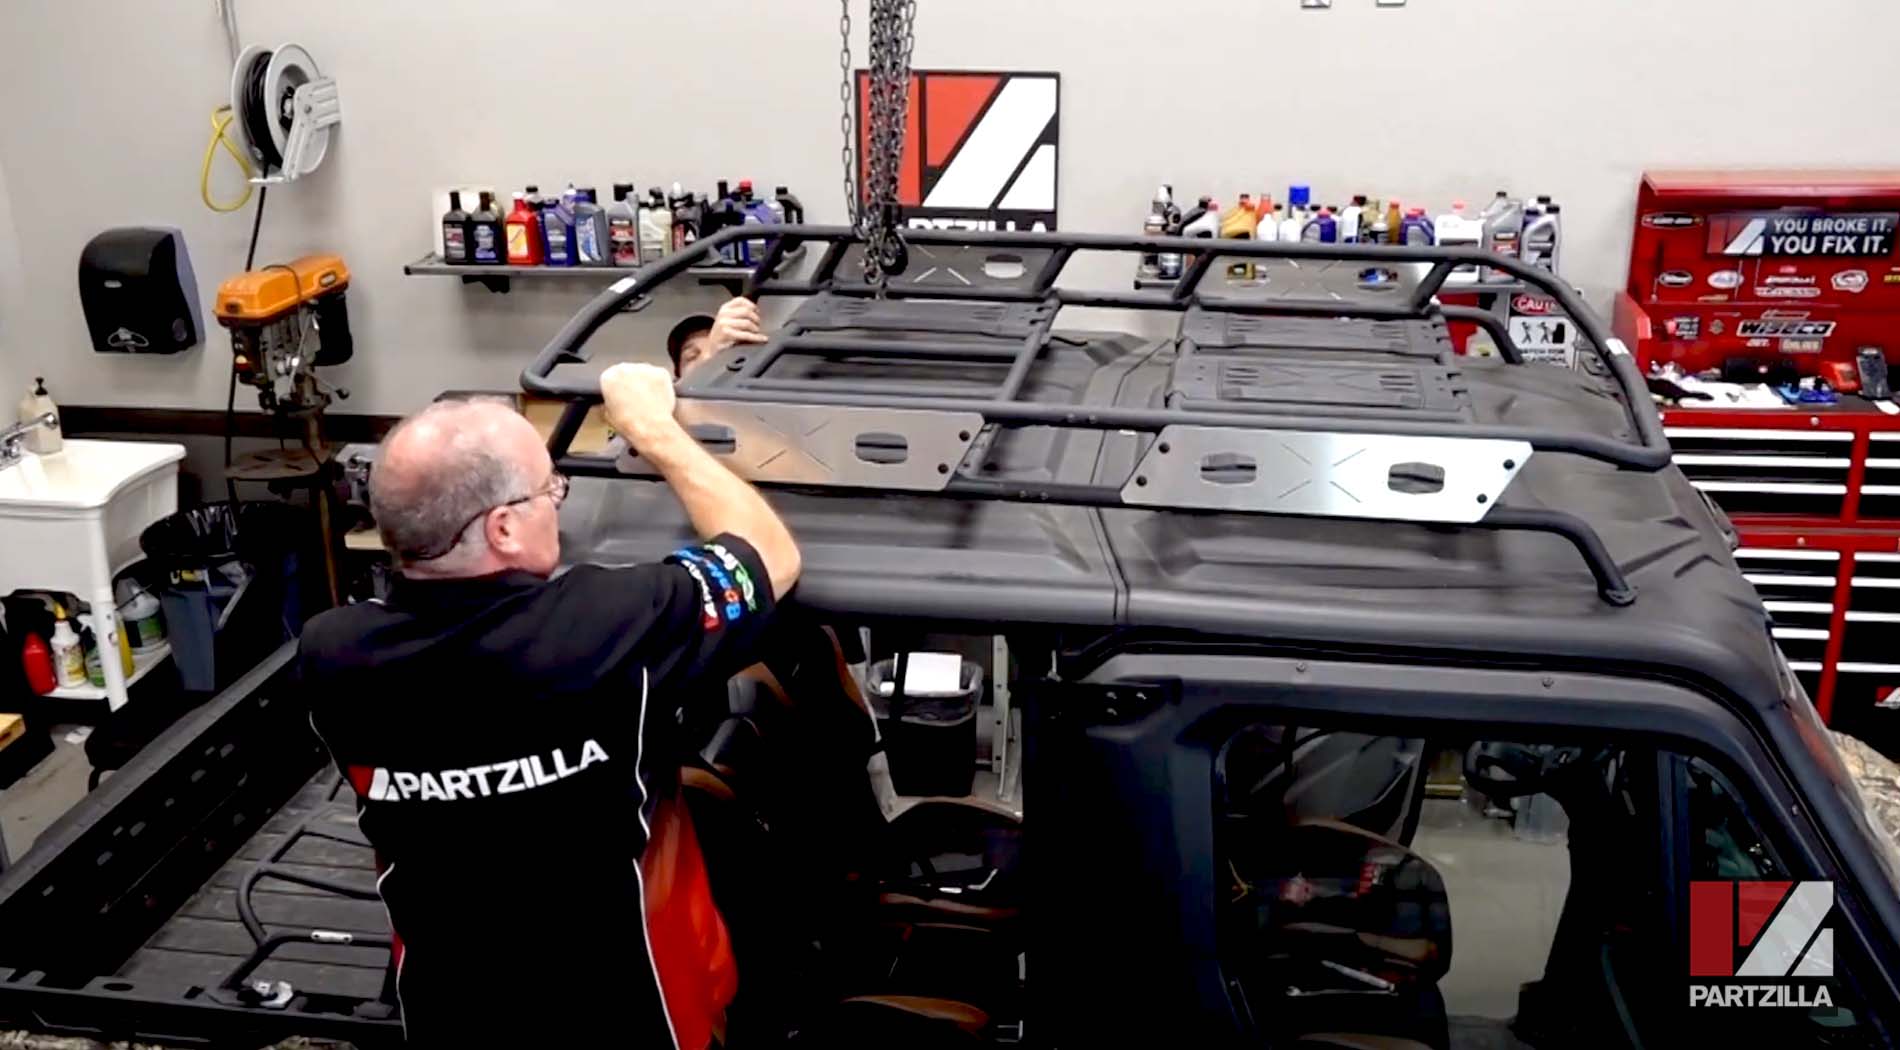
Step 14. Install the bolts in the back, along with their beveled washers and nuts. Hand-tighten them only, since you’ll probably need to adjust them a little. Do this for both rear mounts.

Step 15. Use a screwdriver to pry between the rack and the mounting holes on the front to put them into alignment. Next, install the bolts.
PRO TIP: You can loosen the middle bolts that connect the front and rear rack sections together to give you a little more adjustability.
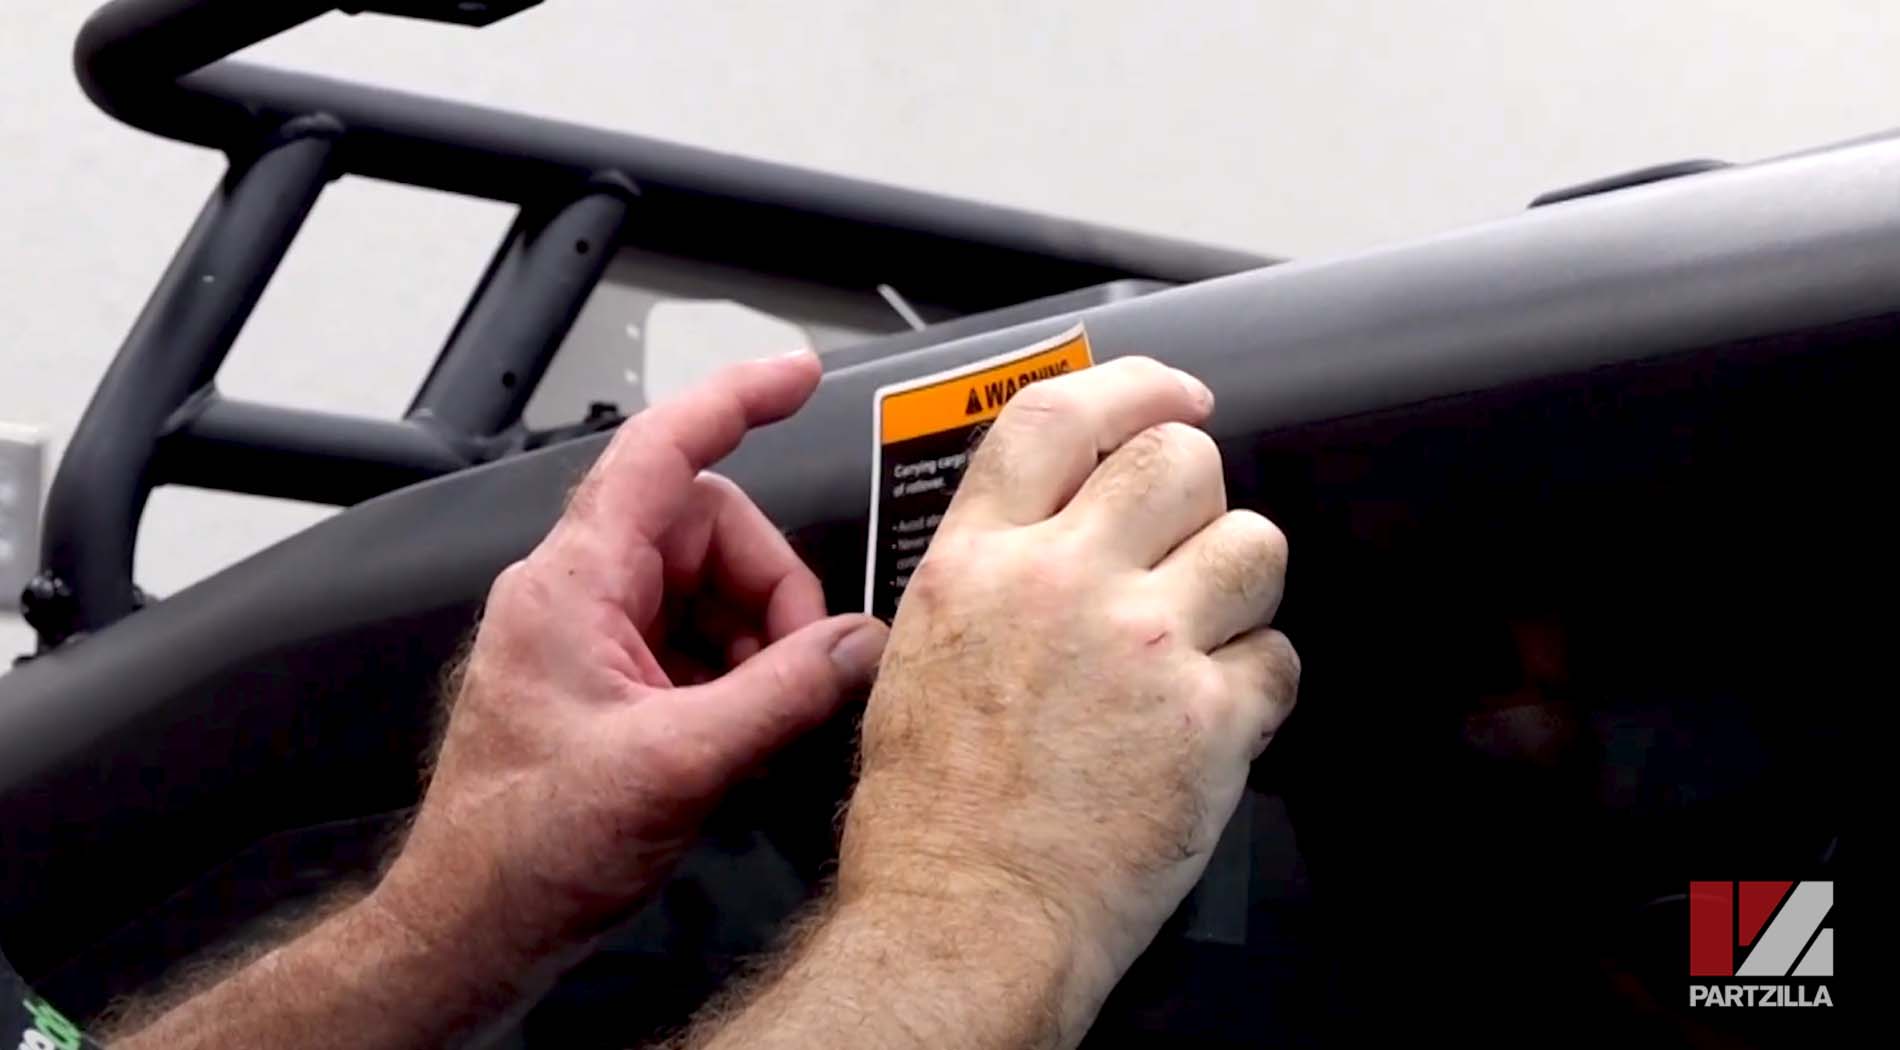
Step 16. Tighten all the bolts down, then add the stickers and you’re done.
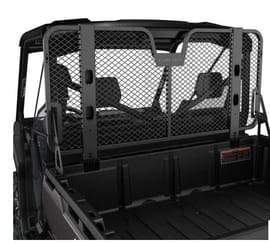
Want to see more modifications done to a Can-Am Defender Max? Watch the video below to see our headache rack installation upgrade for the Can-Am Defender side-by-side.