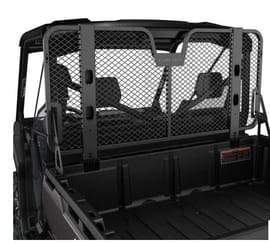
How to Install a Headache Rack on a Can-Am Defender
A headache rack on a Can-am Defender is a great accessory to protect the rear window of the side by side from flying debris.
Watch the video above and follow the steps below to install a headache rack on a Can-Am Defender UTV.
Tools and Parts - Can-Am Defender Headache Rack Installation
- Basic hand tools
- Drill and bits
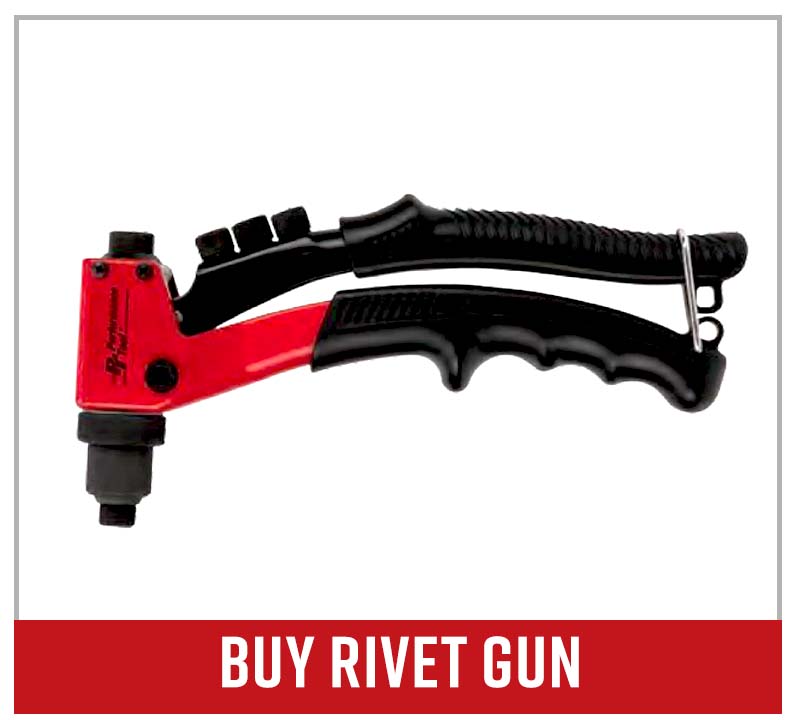
- Rivet gun
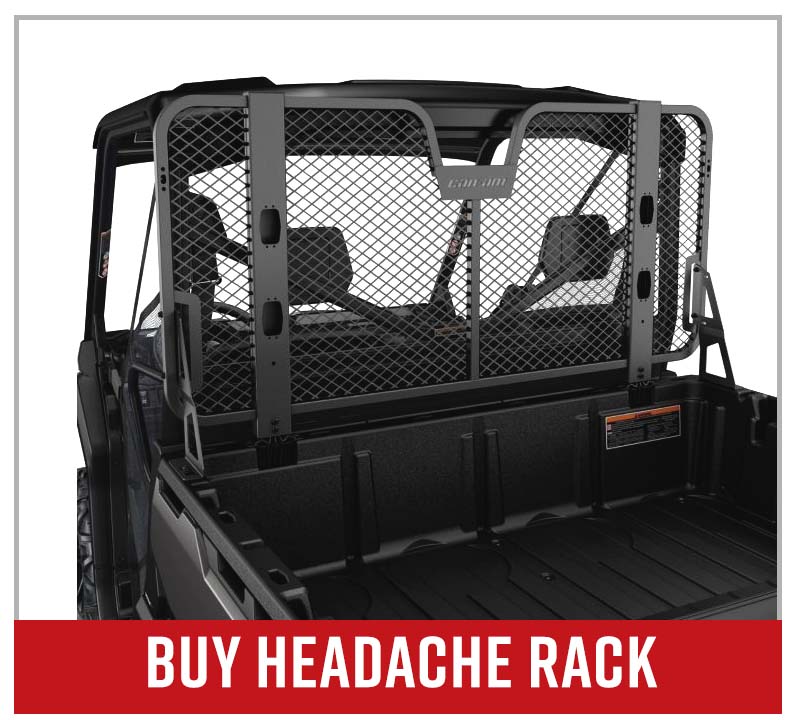
- Can-am headache rack
PRO TIP: There are a couple of ways to do this. You can build everything out on the table attached to the rack and then move it over to the unit. Or you can install the different attachment points to the bed itself, lay the rack in place, and then finish up with the different hardware.
Can-am Headache Rack Installation
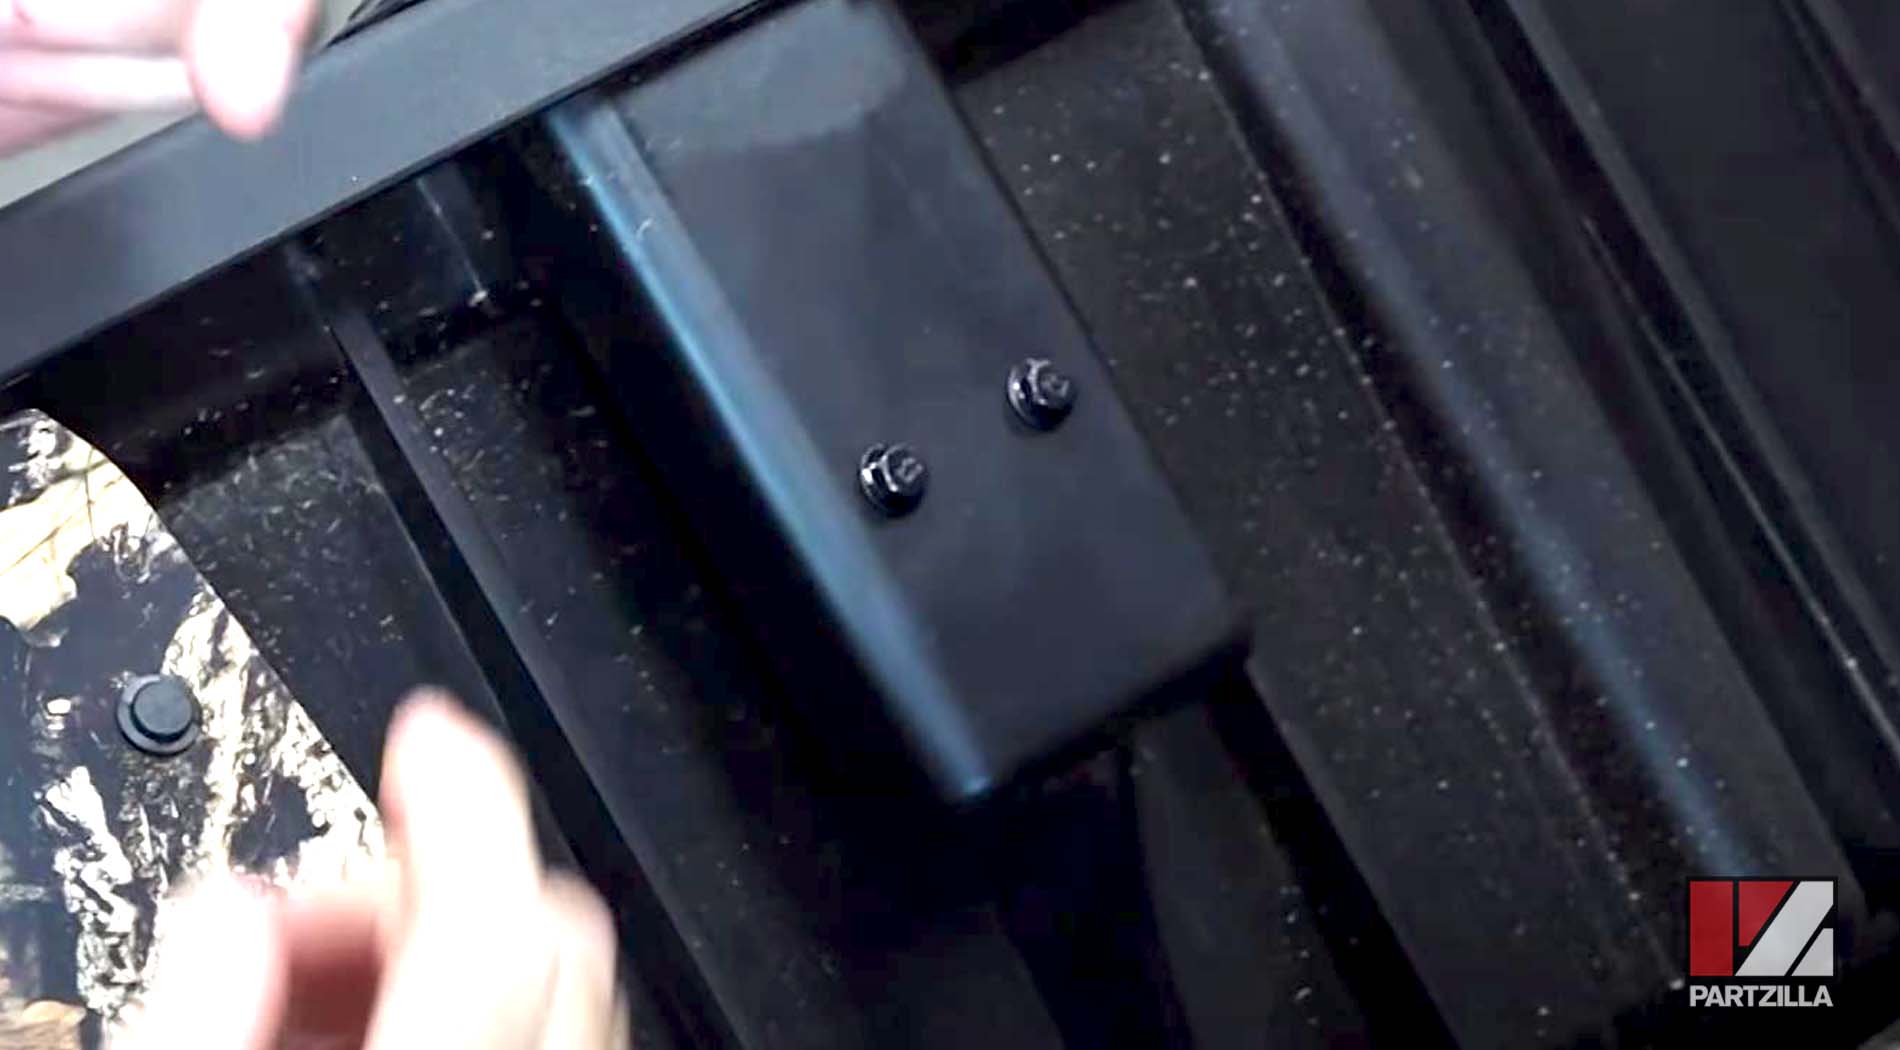
Step 1. Attach the bump stops with a rivet gun, using the exact locations specified in the directions.
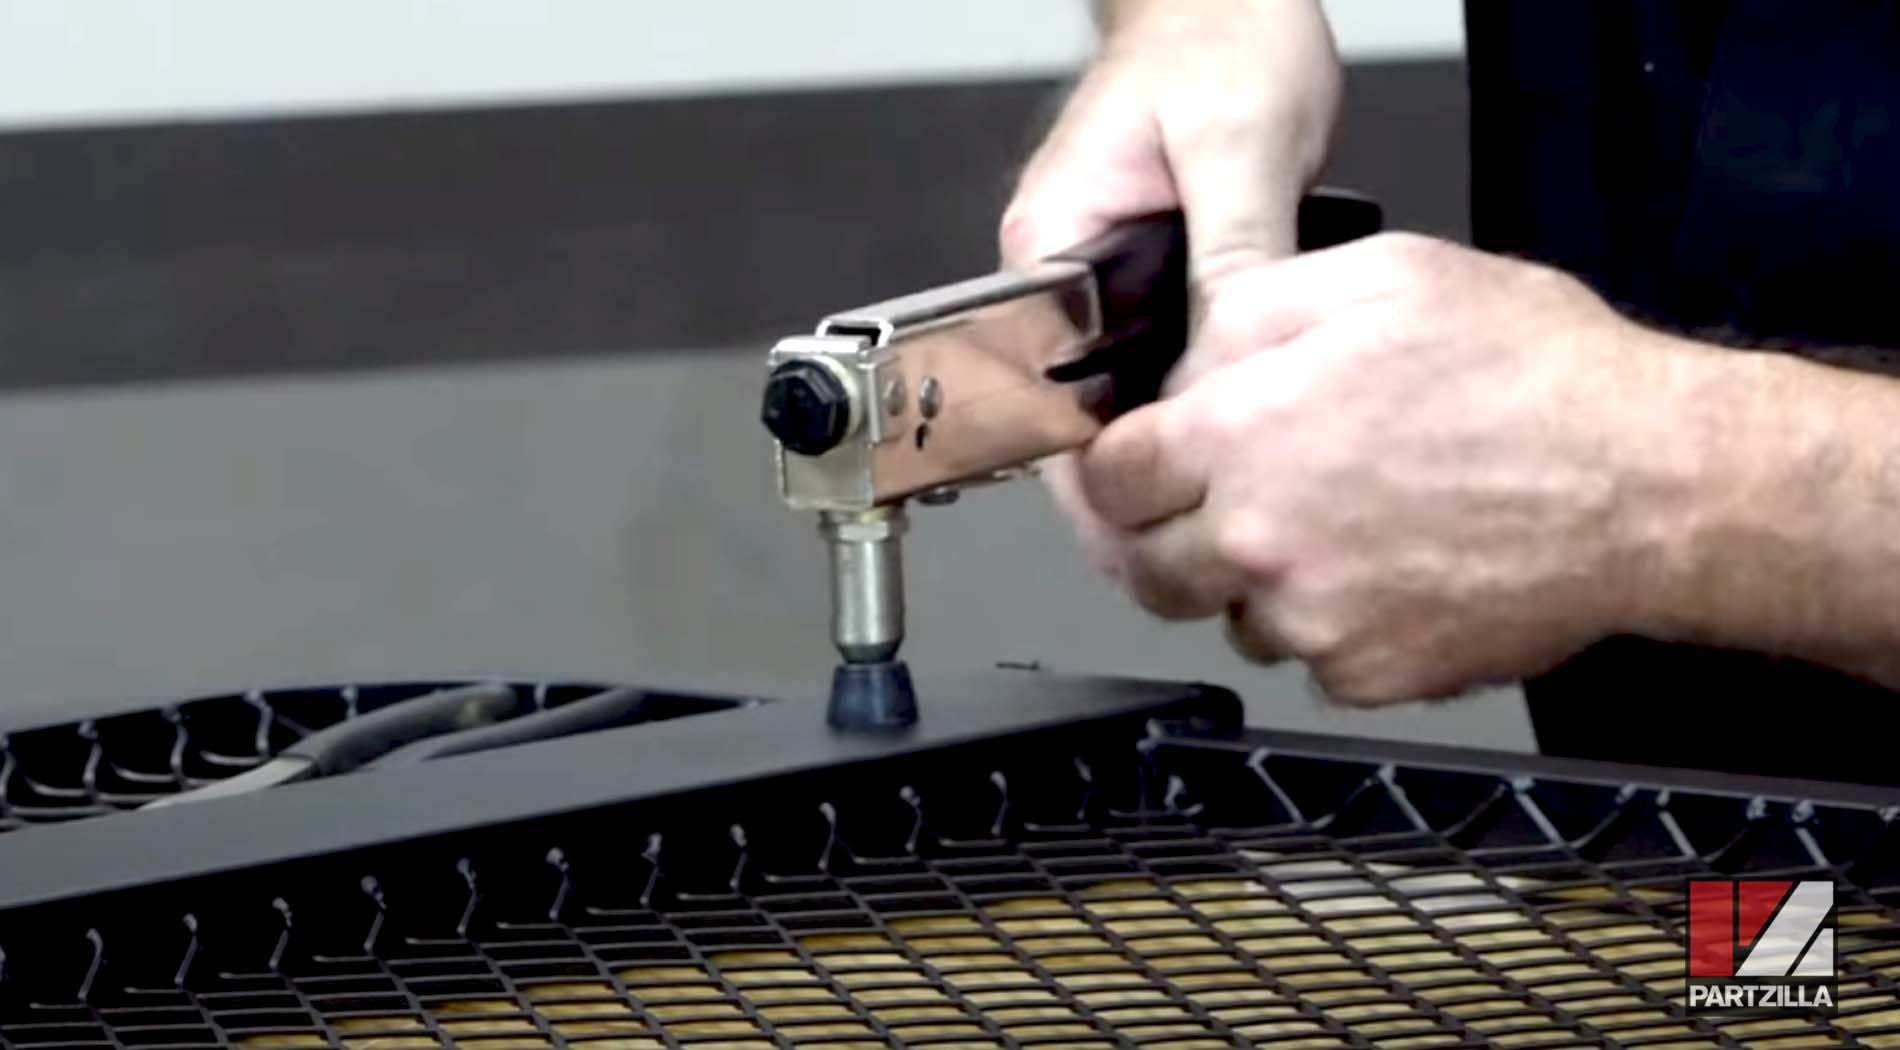
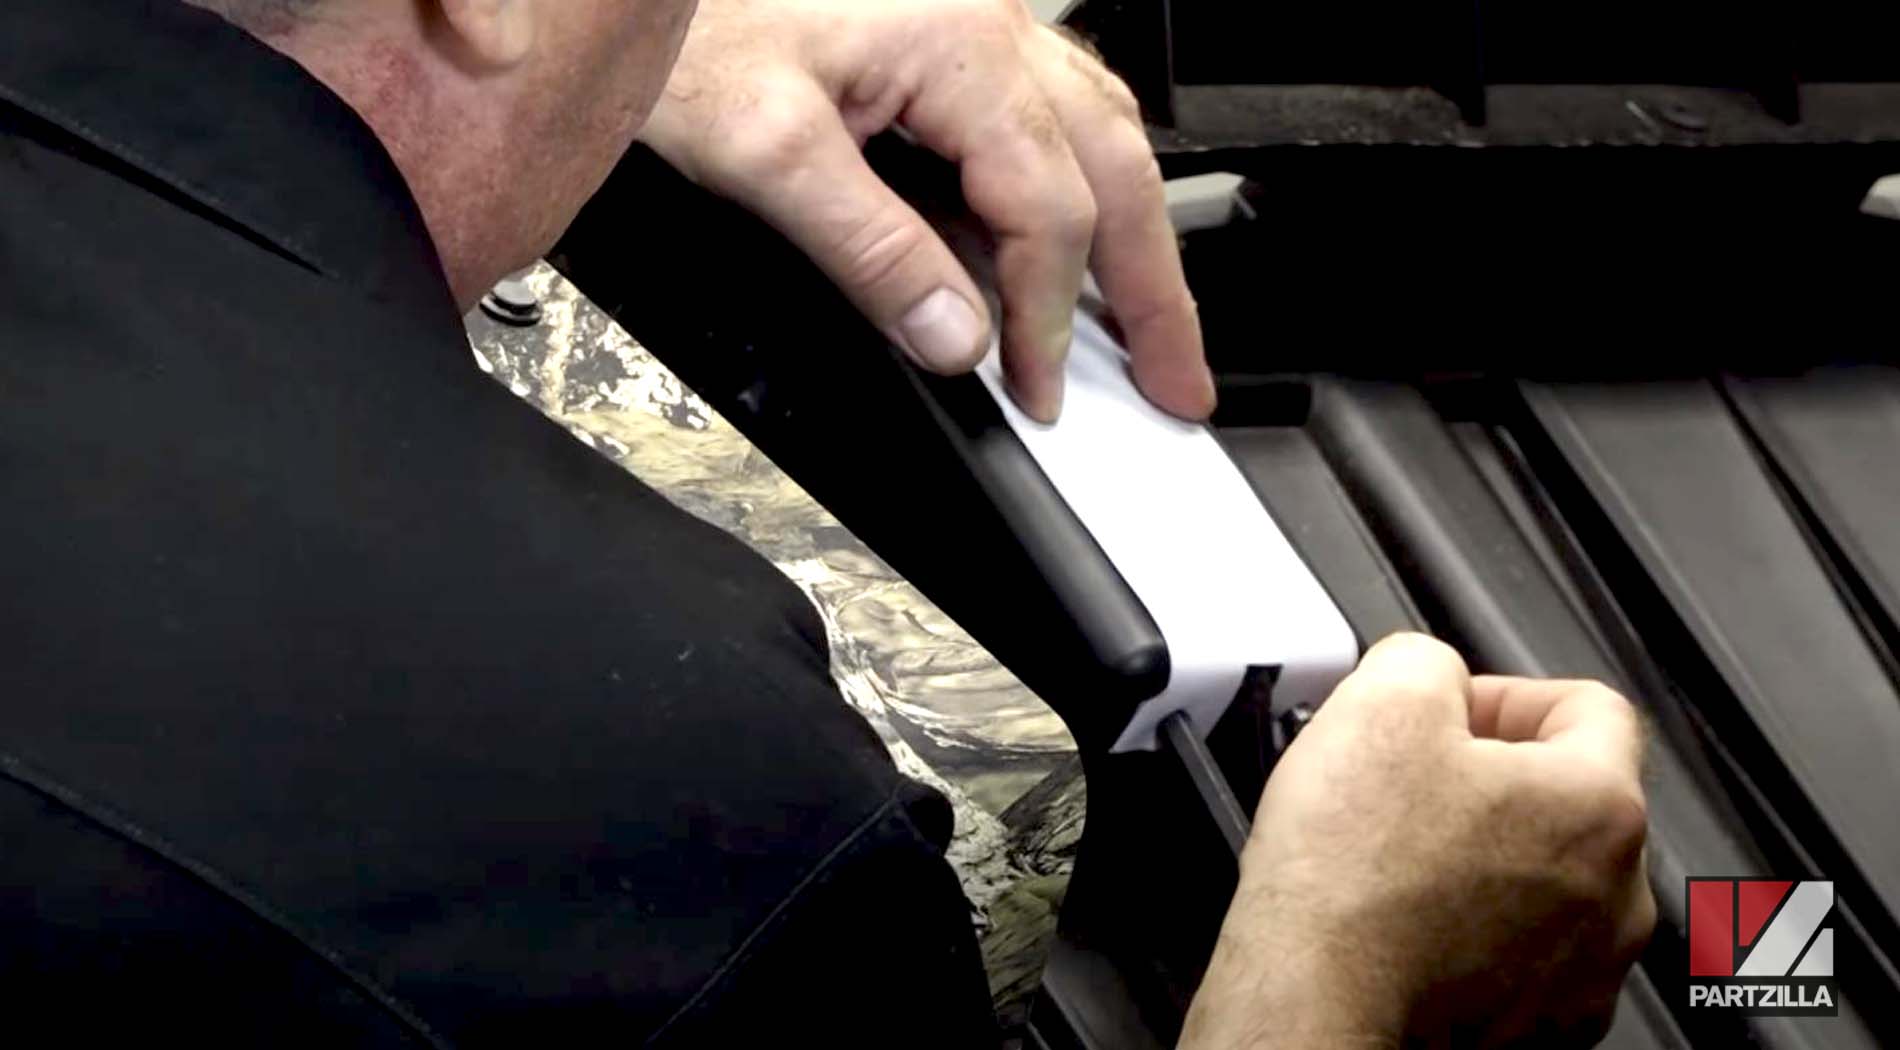
NOTE: Can-Am supplies a template included as part of the instructions that you’ll need to print and cut out.
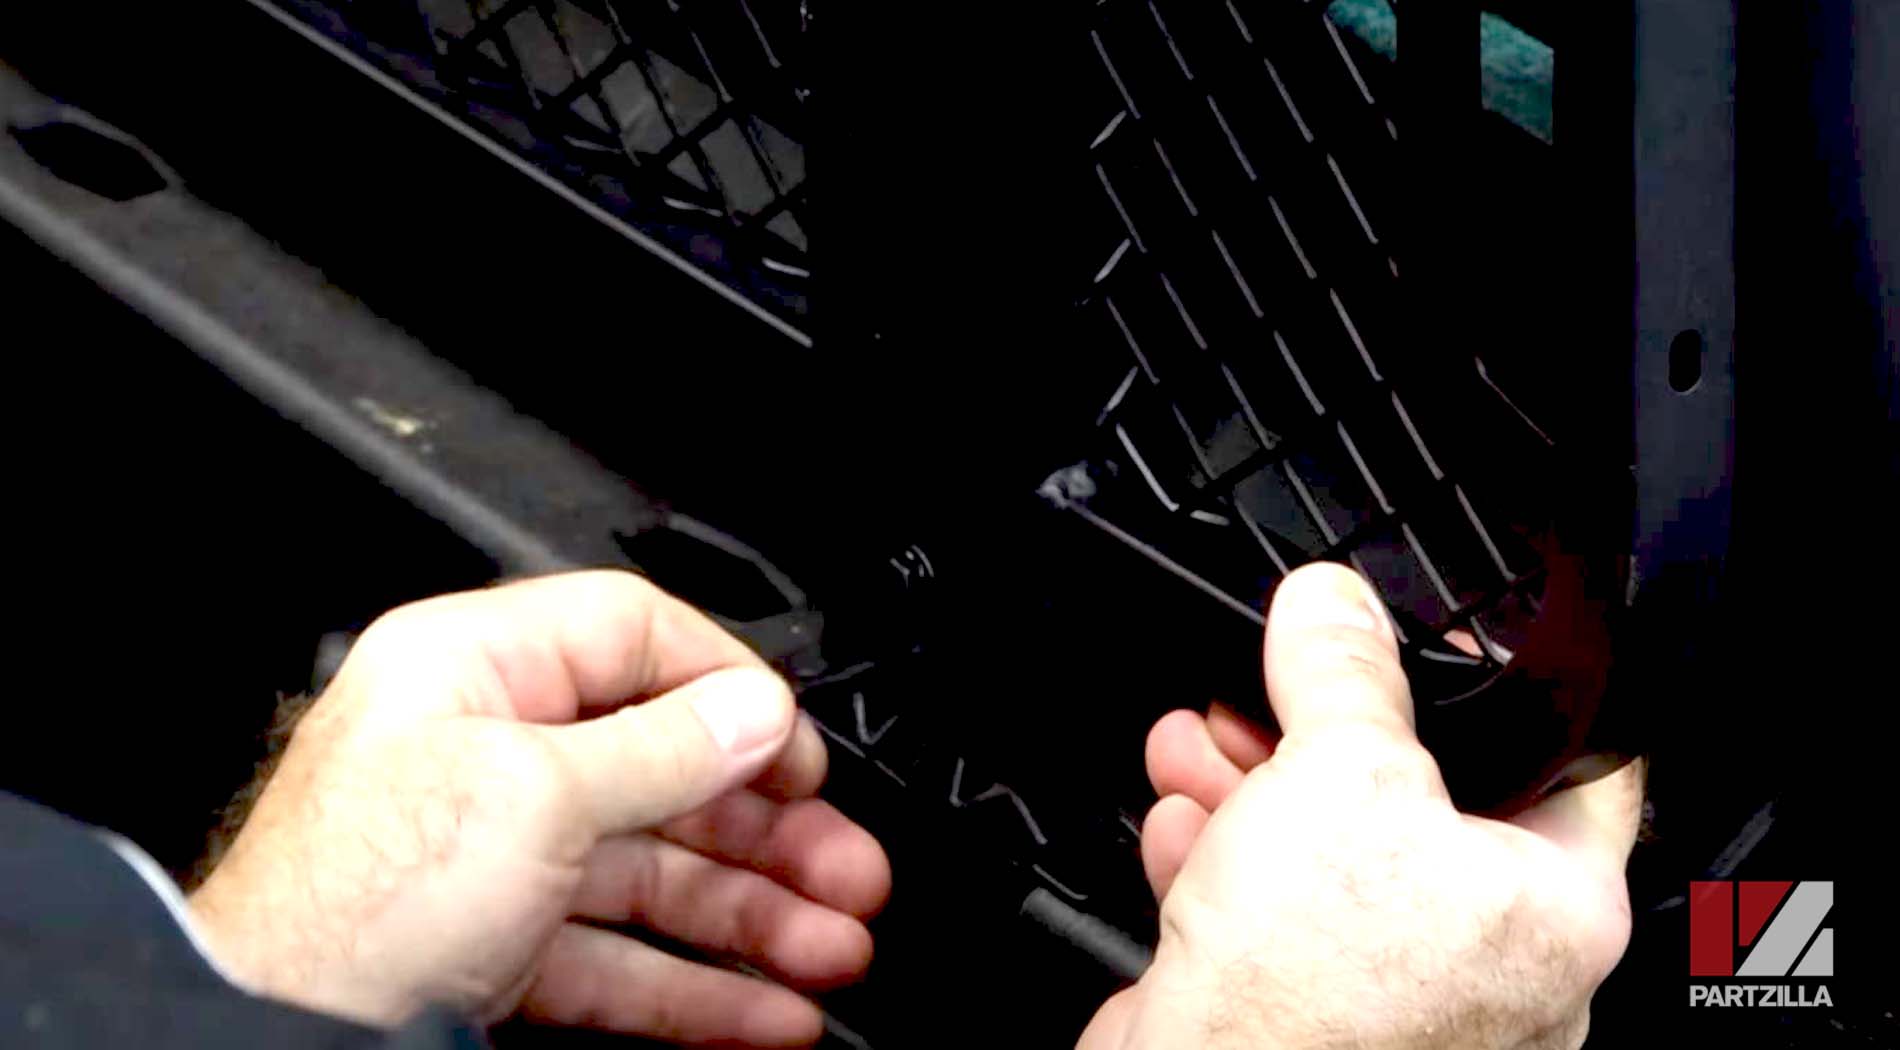
Step 2. Mark the holes for drilling using the template provided, which includes two large holes that align with the box where the rack will anchor into place on the forward section of the raised bed. Use a pair of drifts or punches to align the holes in the template with the drain holes on the box. This allows you confirm that the template is on the correct position for you to mark the two areas for drilling with a scribe or pick tool. Use this template to make marks on both the right and left sides of the front of the bed.
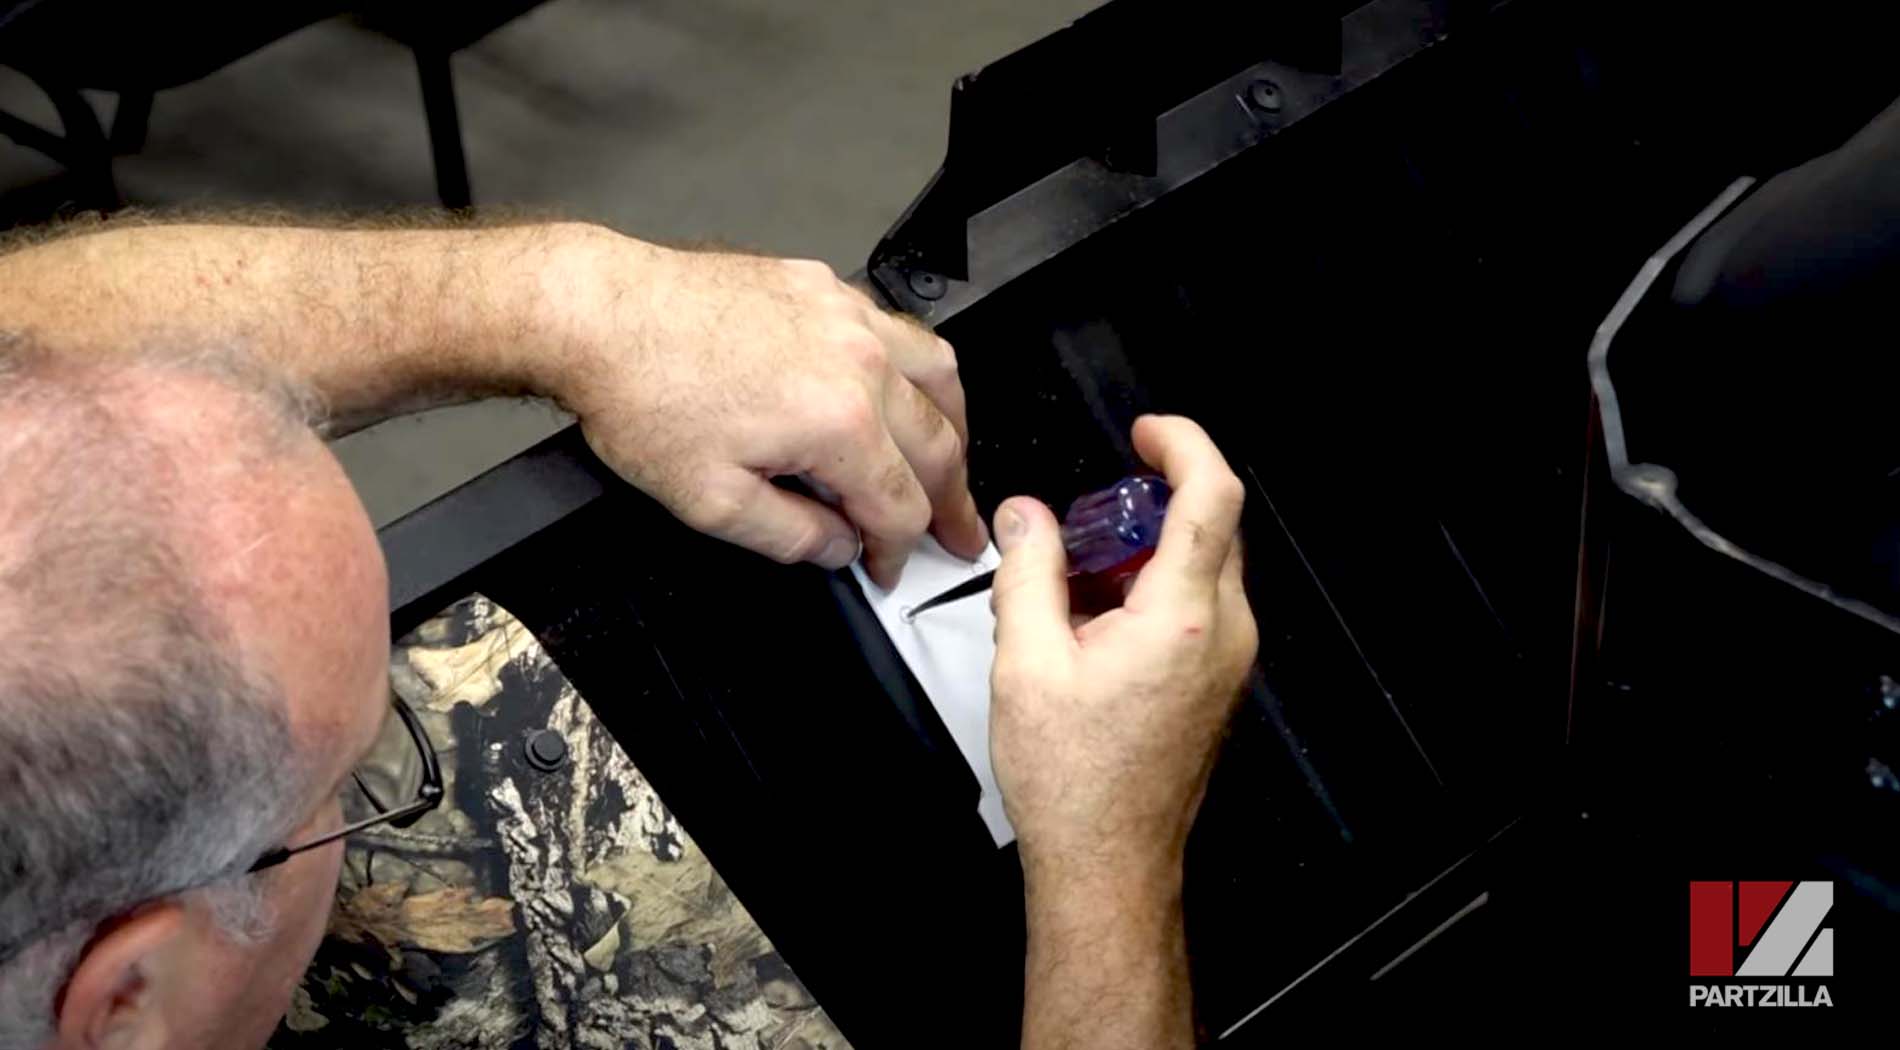
Step 3. Drill the holes that will be on the outside of the cavity and the inside, where it faces the bed itself. Use the marks to drill the outside holes, then install the insert for the headache rack, and then use that as a guide to drill the inside holes (two holes on the left-side cavity, two holes on the right-side cavity).

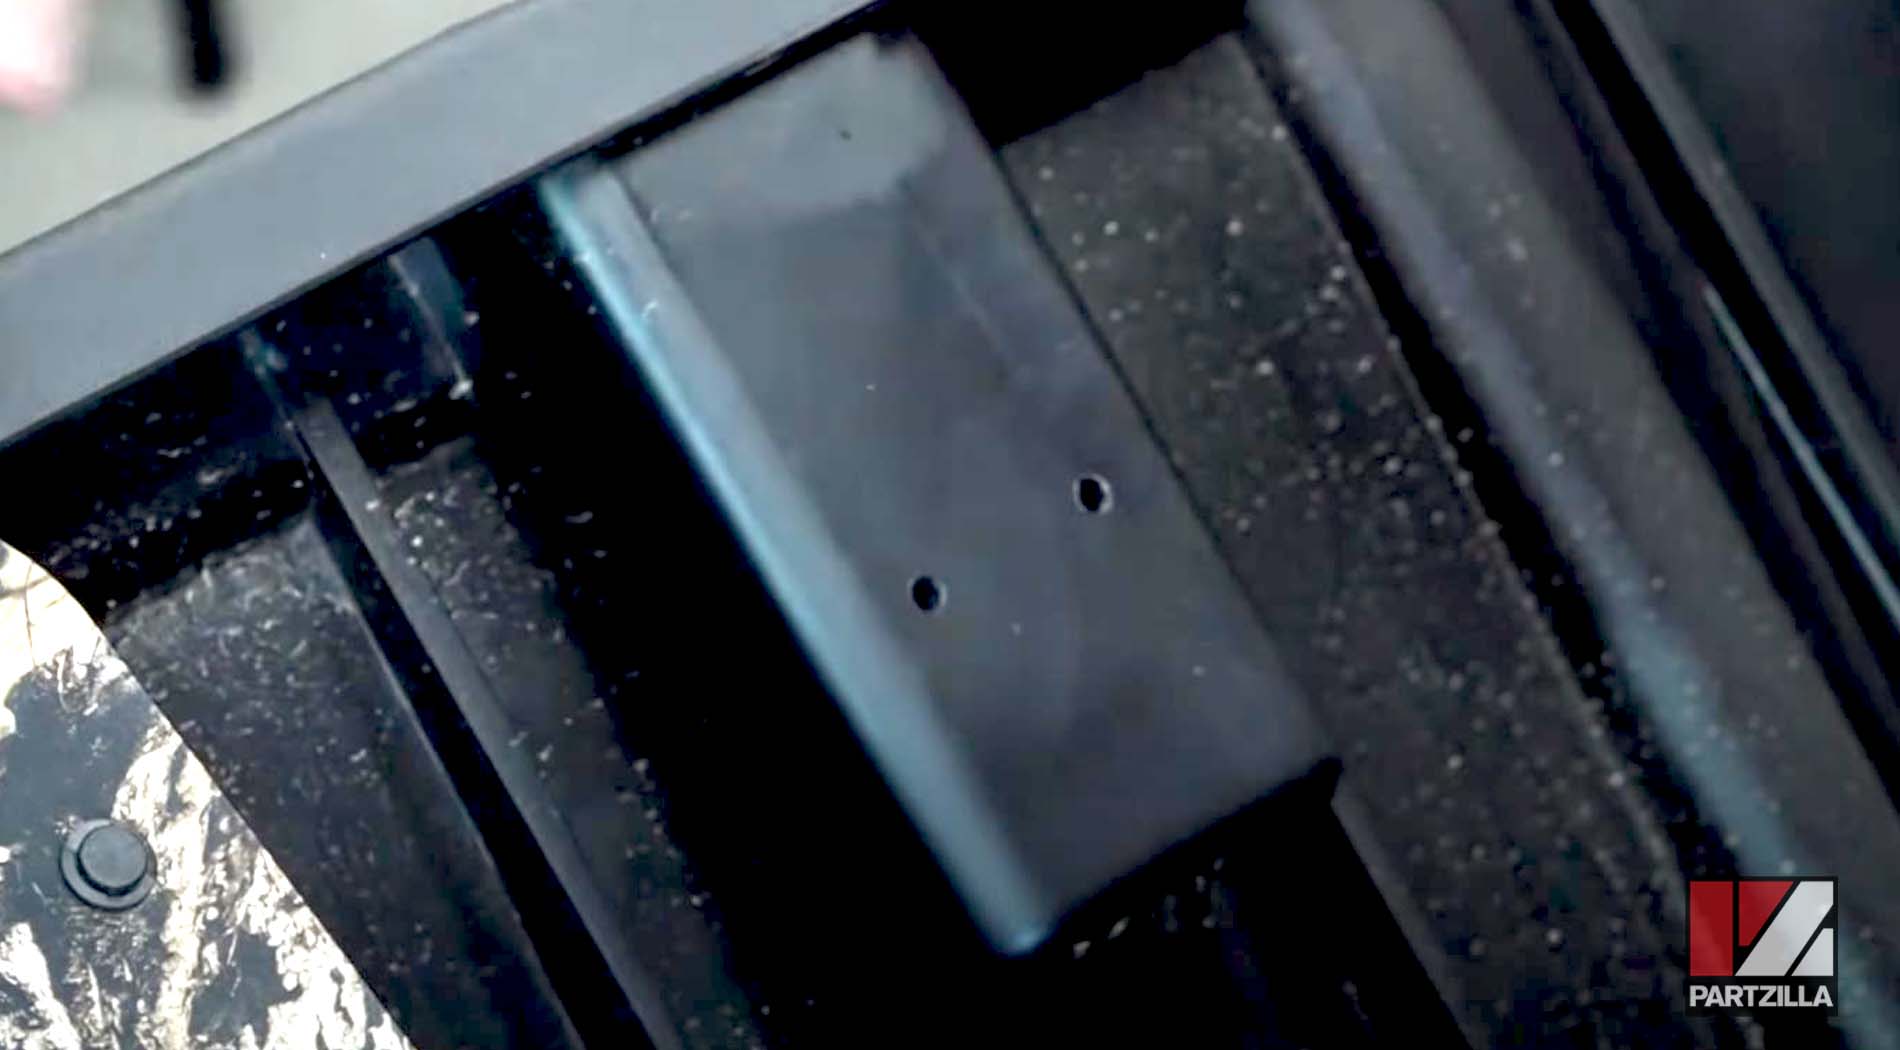
Step 4. Install the insert support for the headache rack. The support has “outside” stamped on it, and this side faces away from the bed. Do this on both the left and right sides.
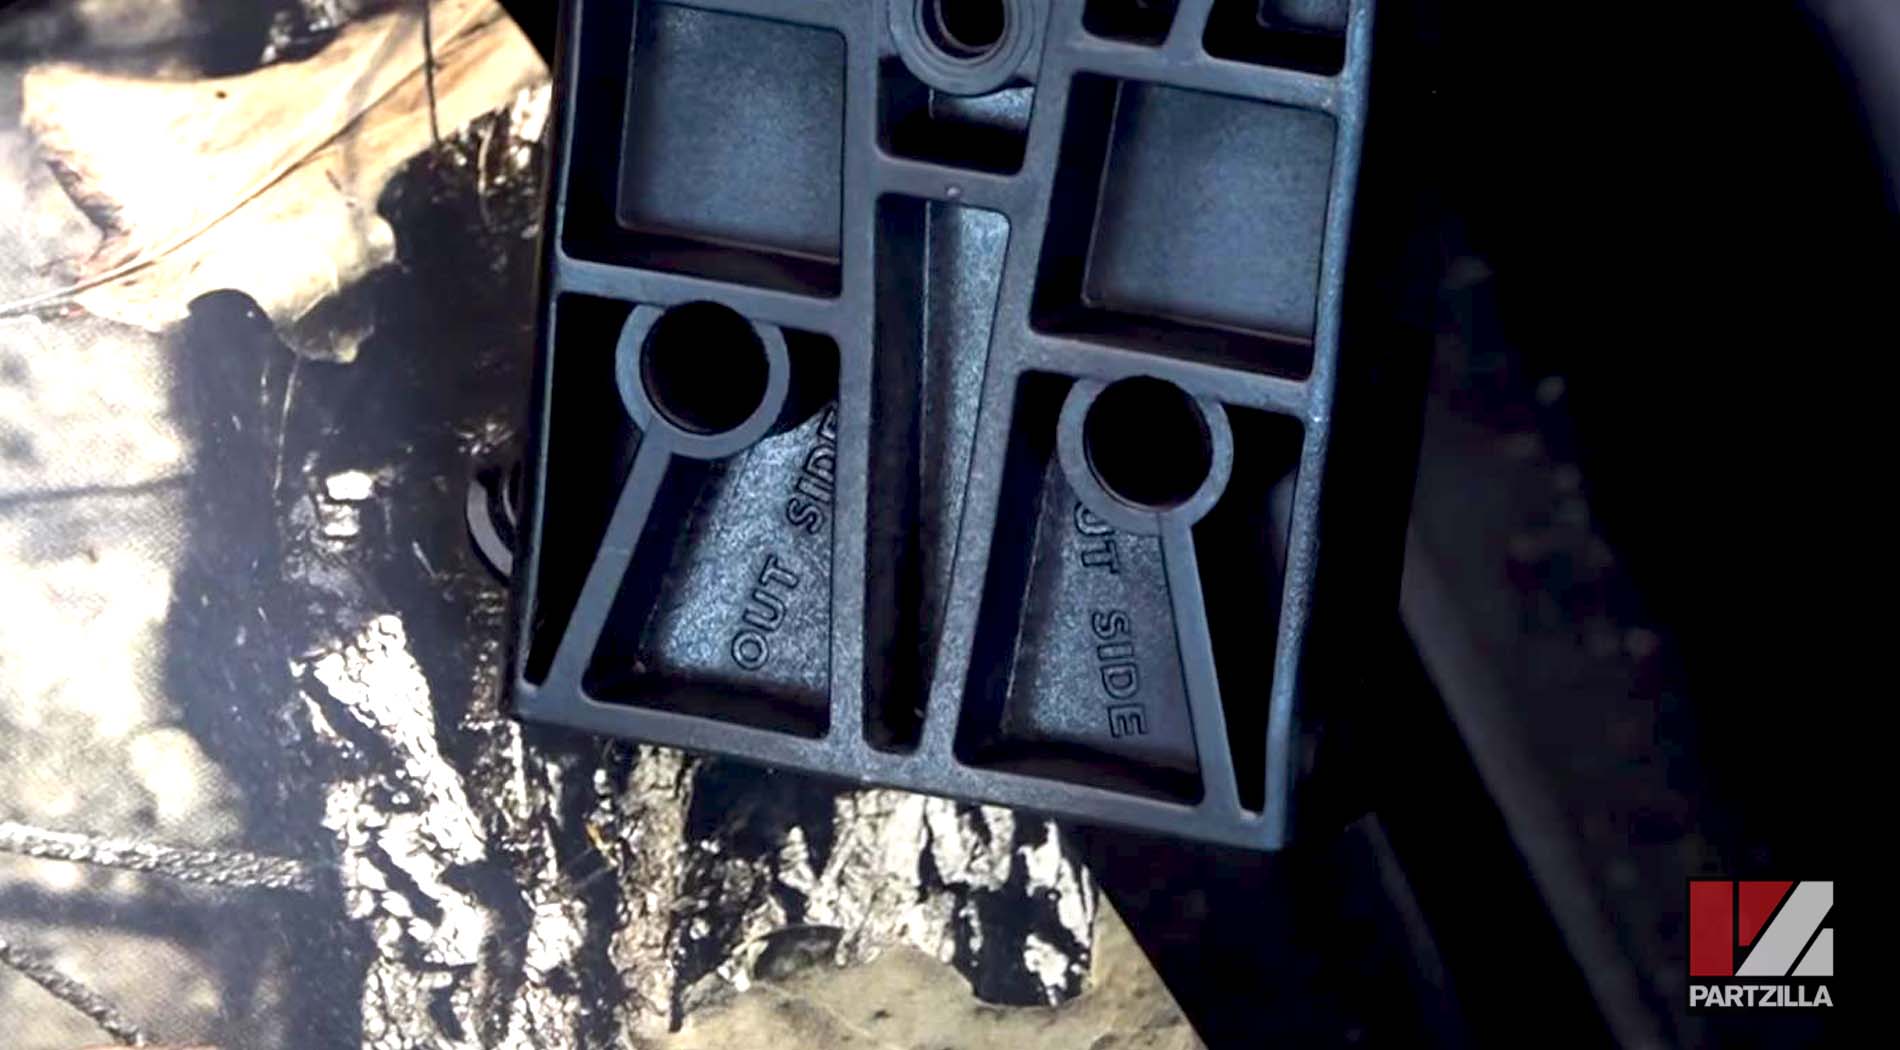
NOTE: You may need to use a rubber mallet to drive it into place.
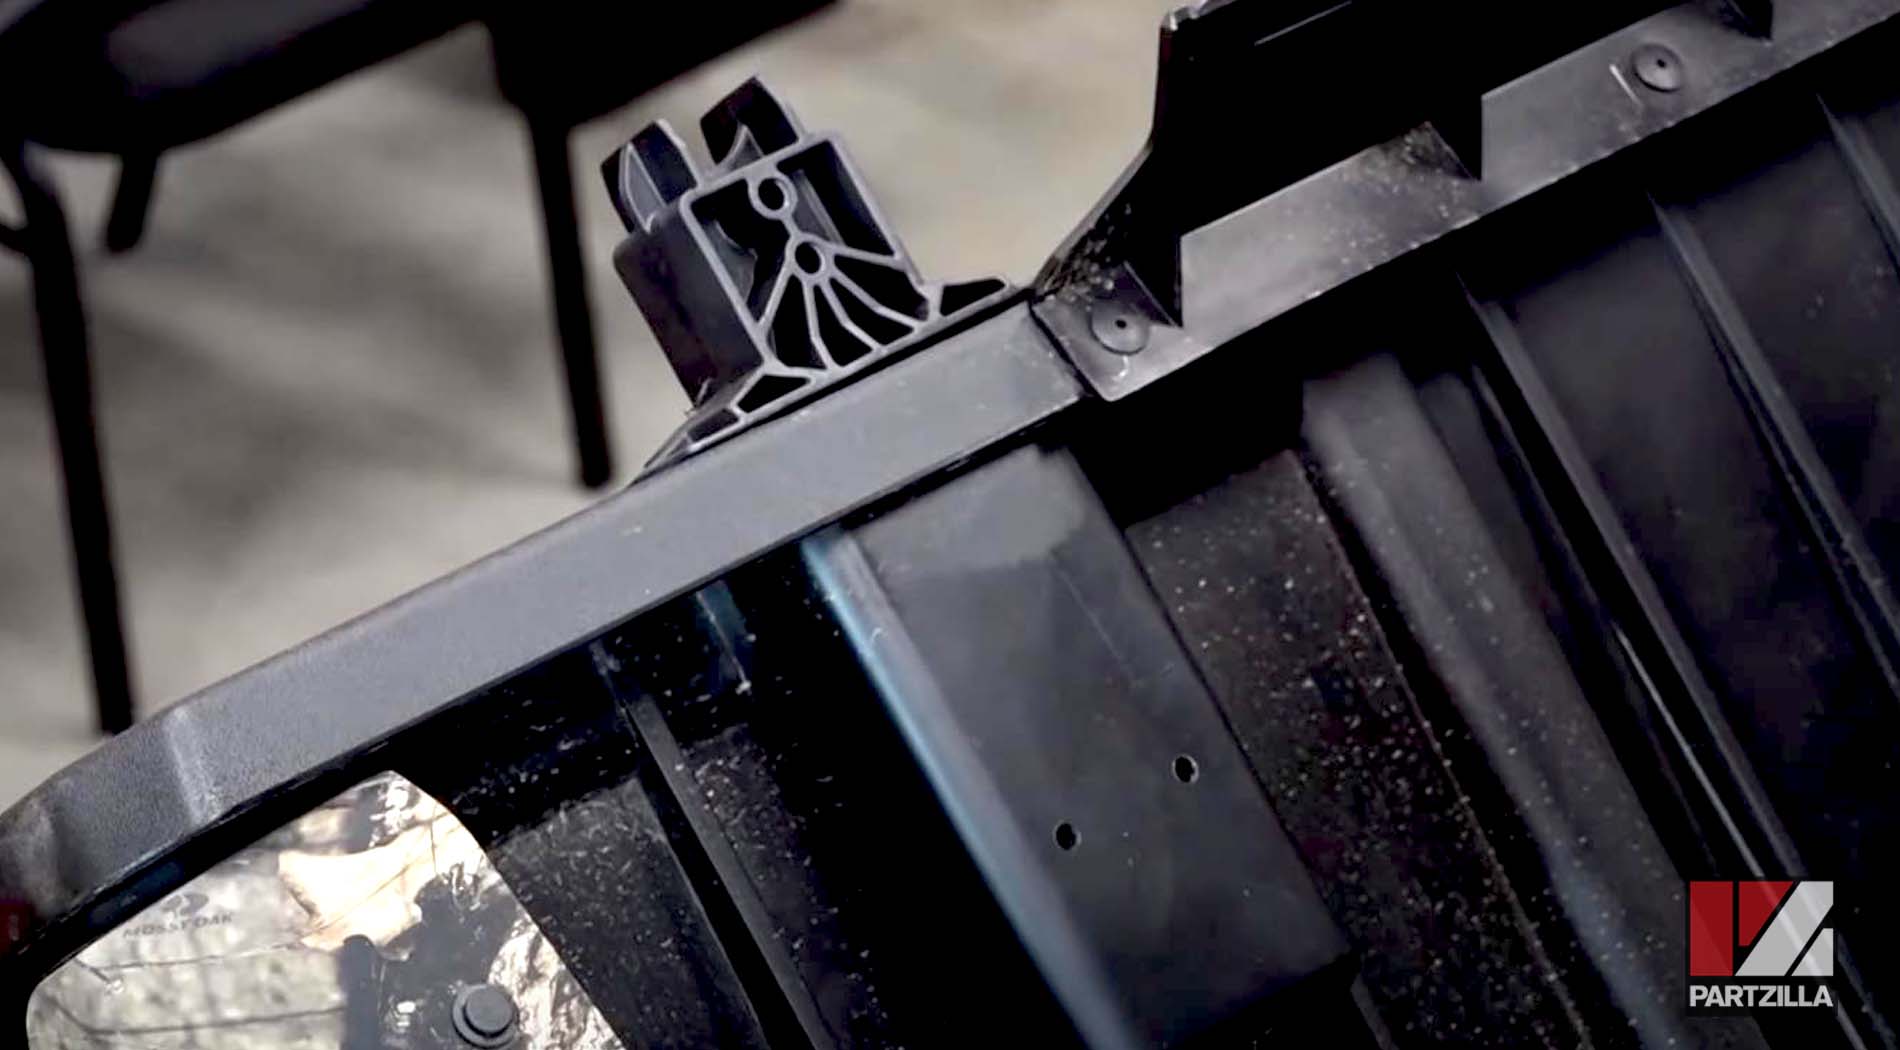
Step 5. Drill the holes in the back side of the boxed cavity for the support.
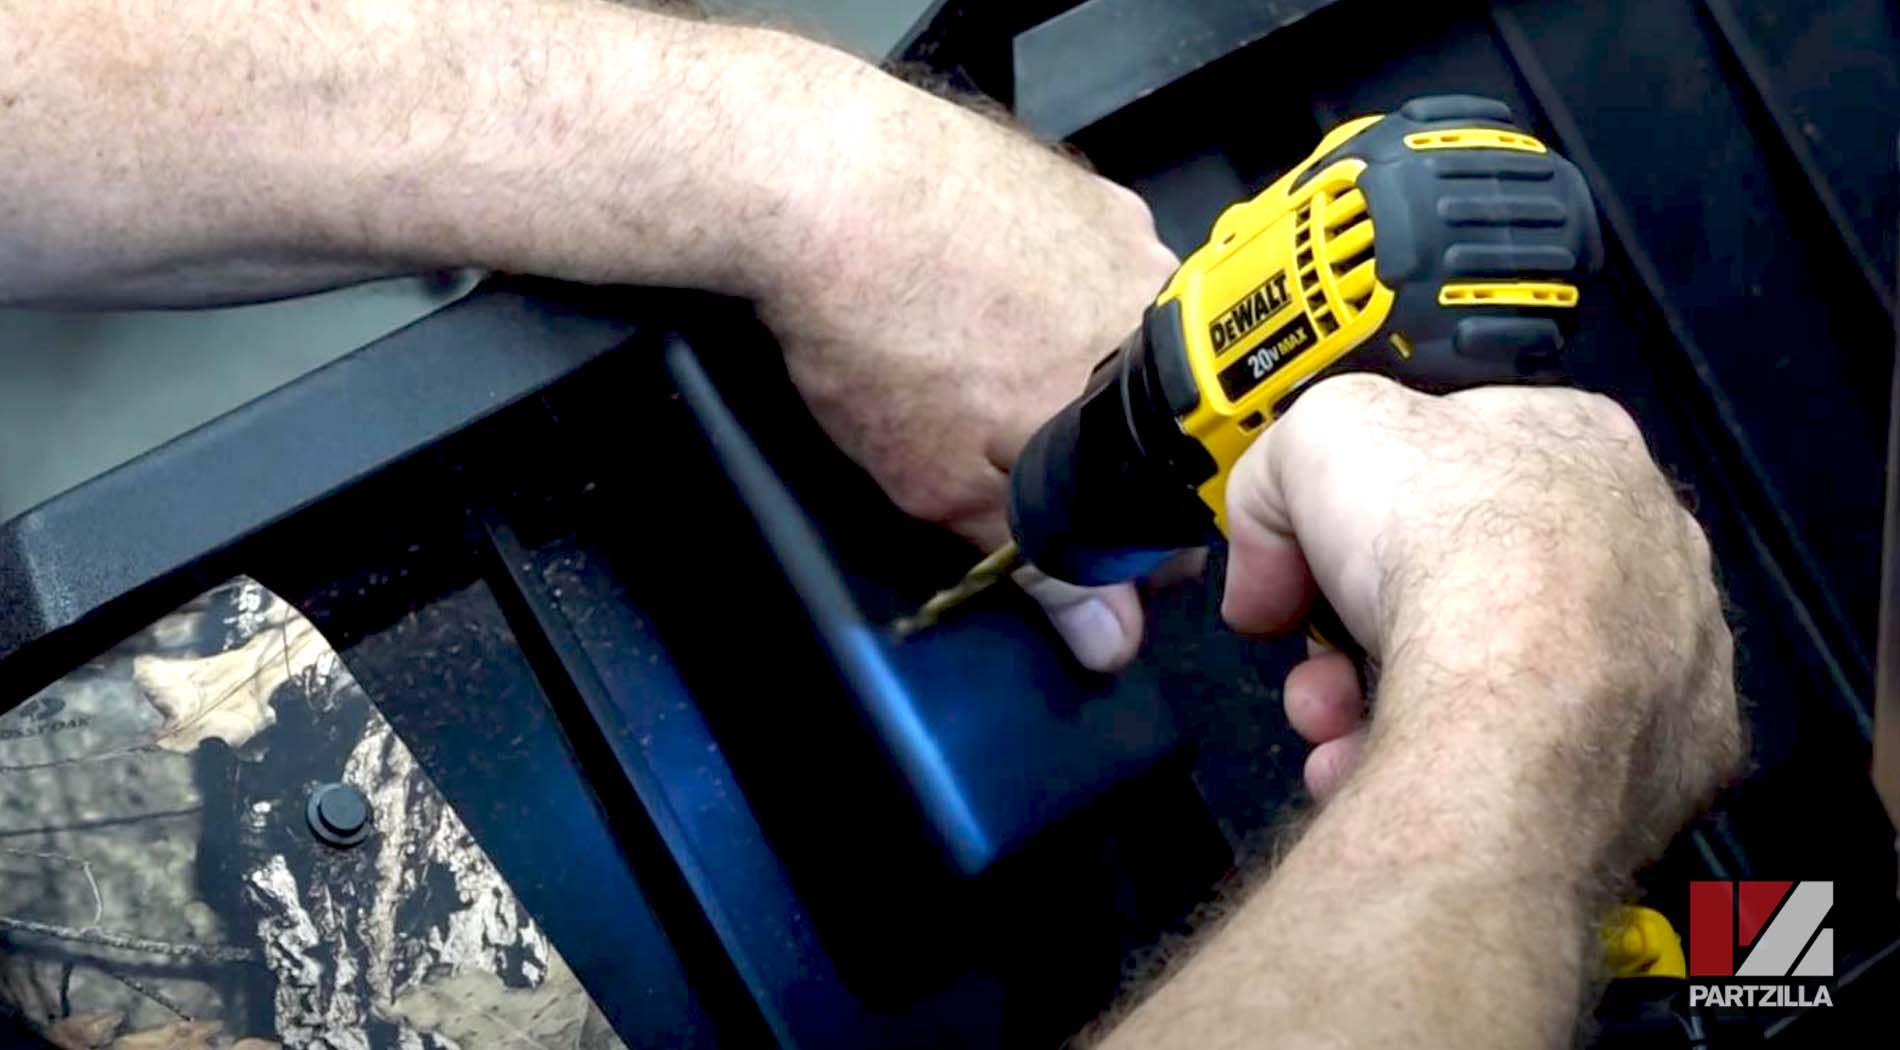
NOTE: Be careful not to drill too deep through the bed itself.
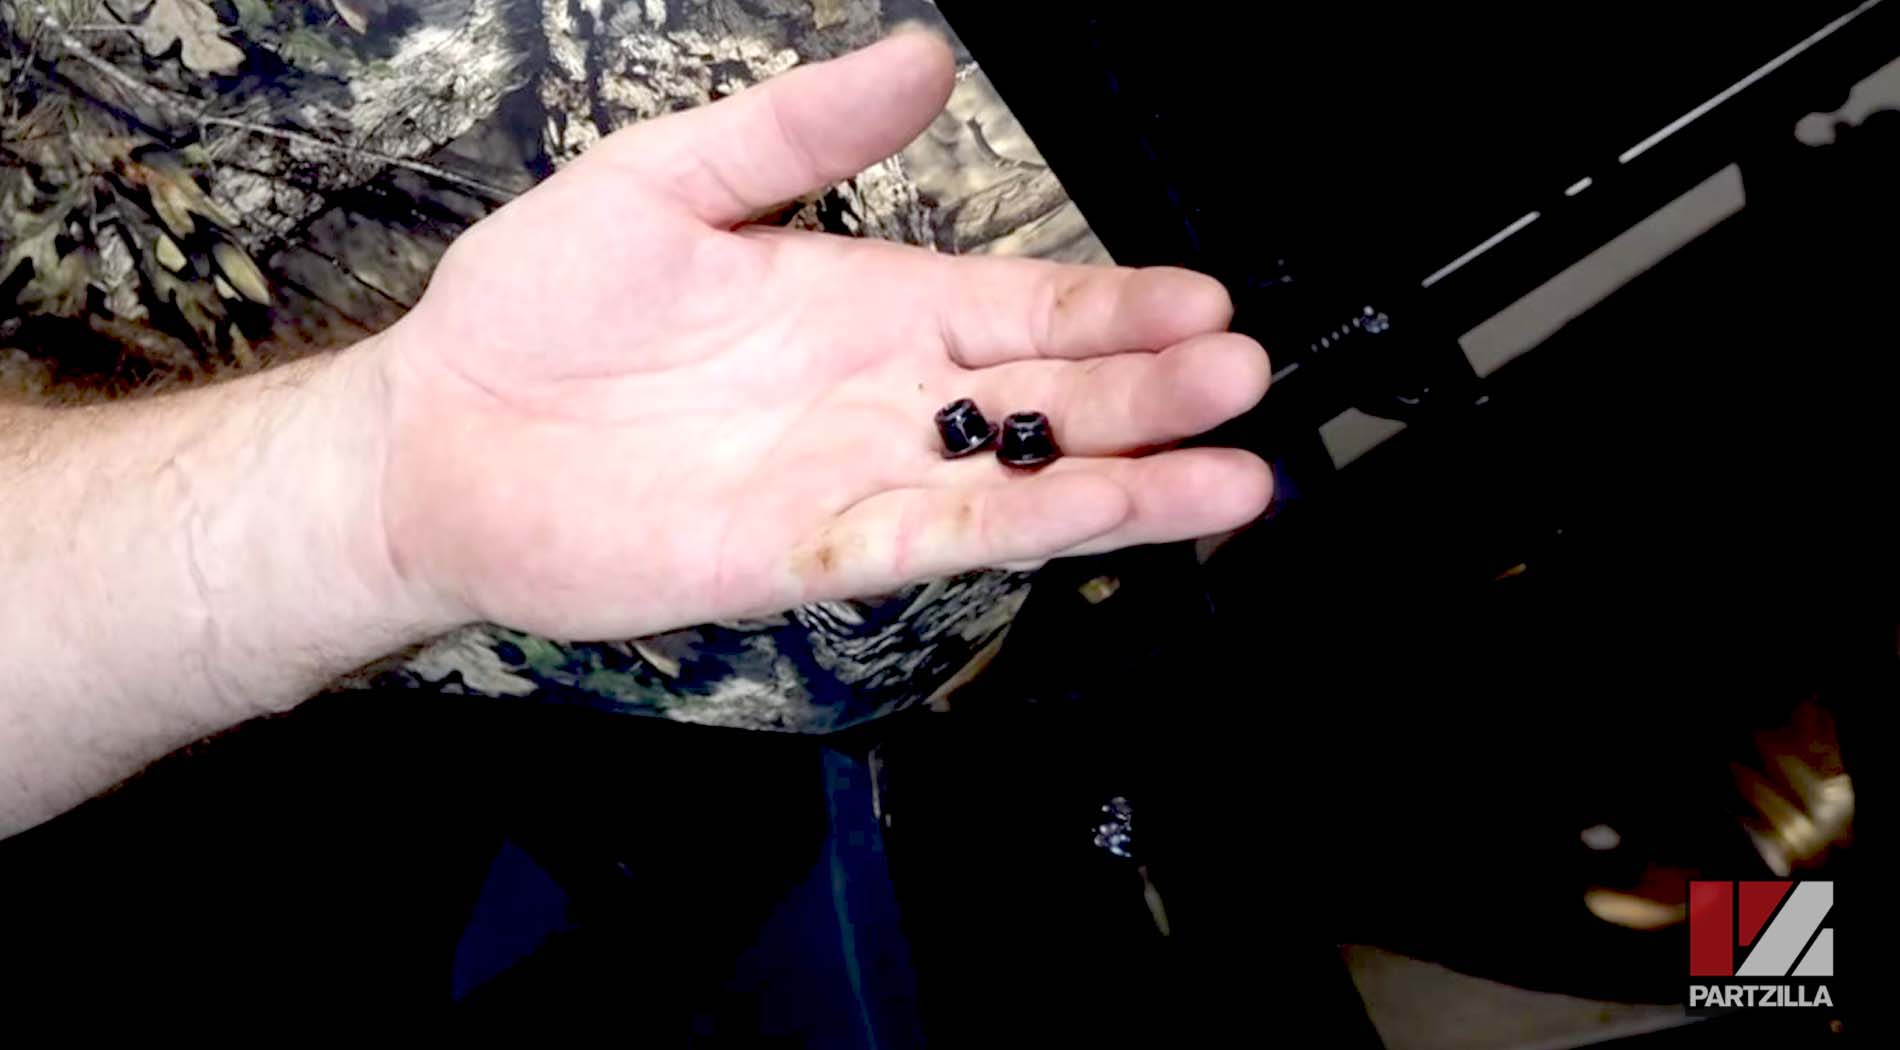
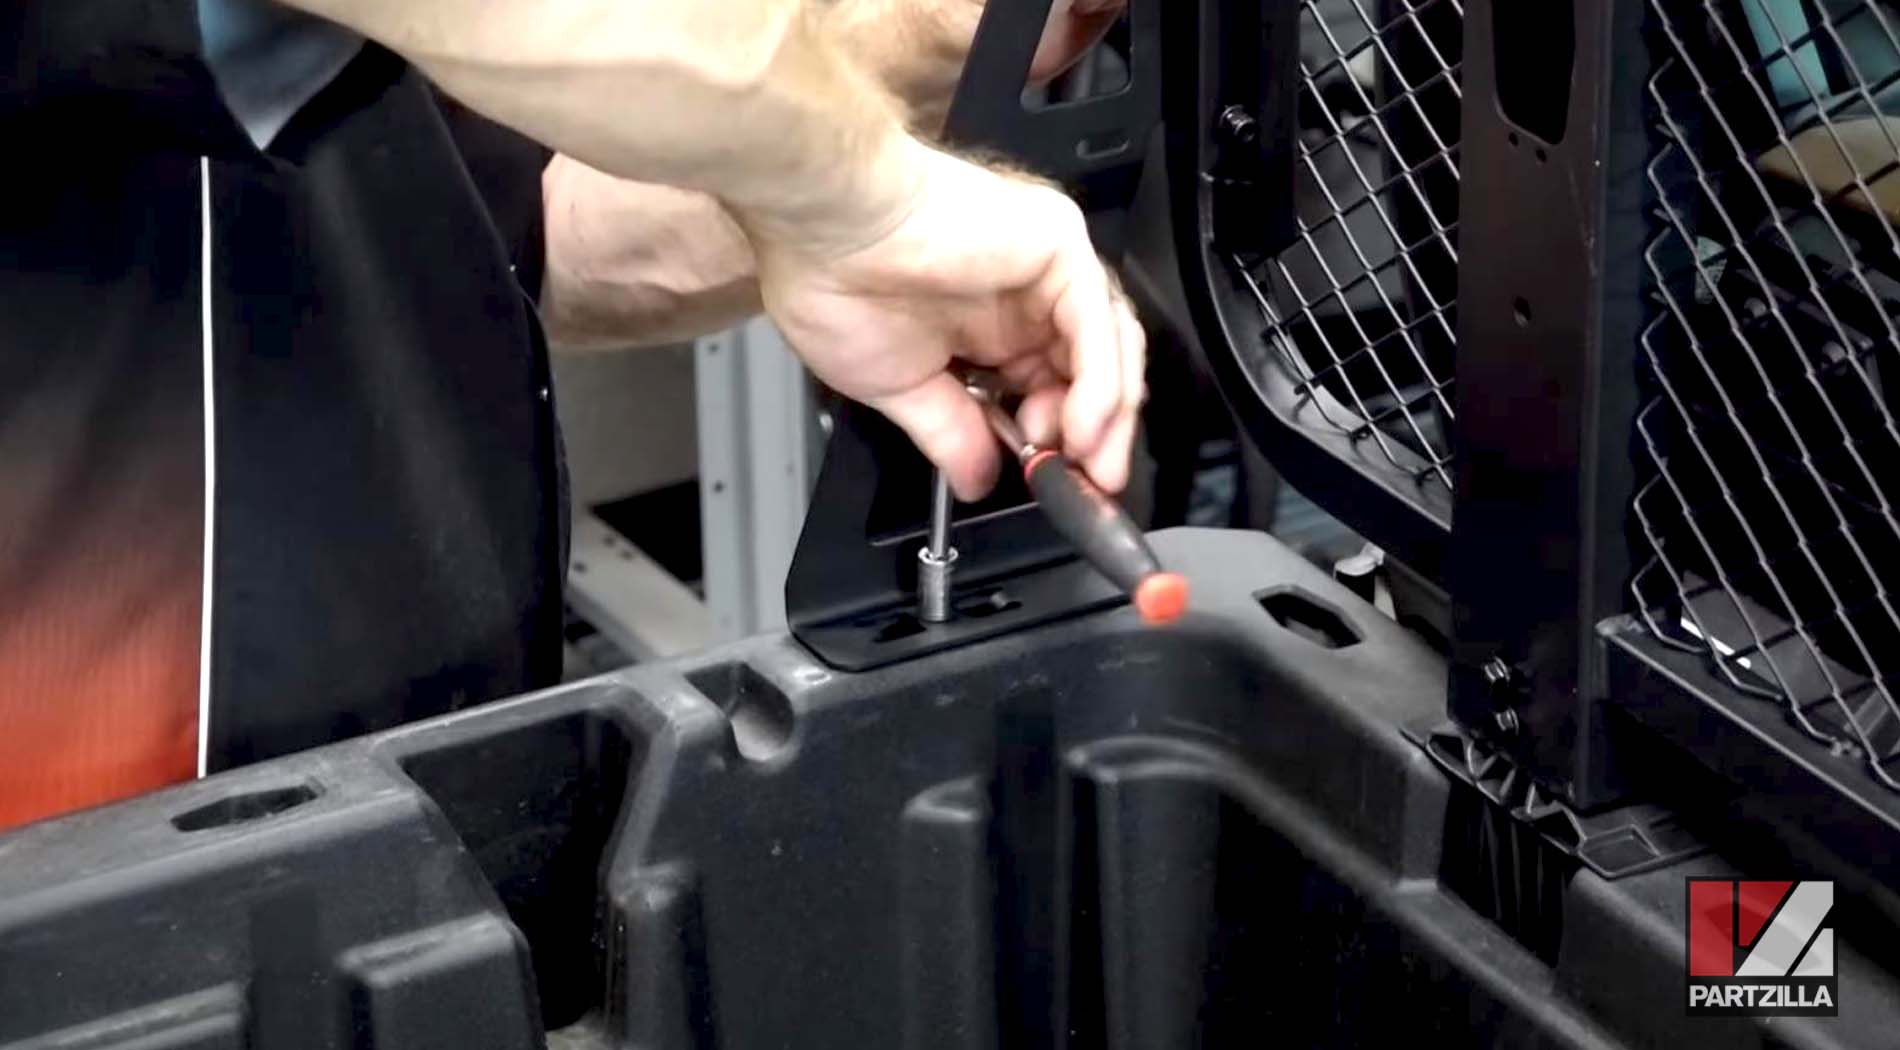
Step 6. Install the two 55mm bolts for the left and right side, and the two nylon nuts for the mounting cavity box.
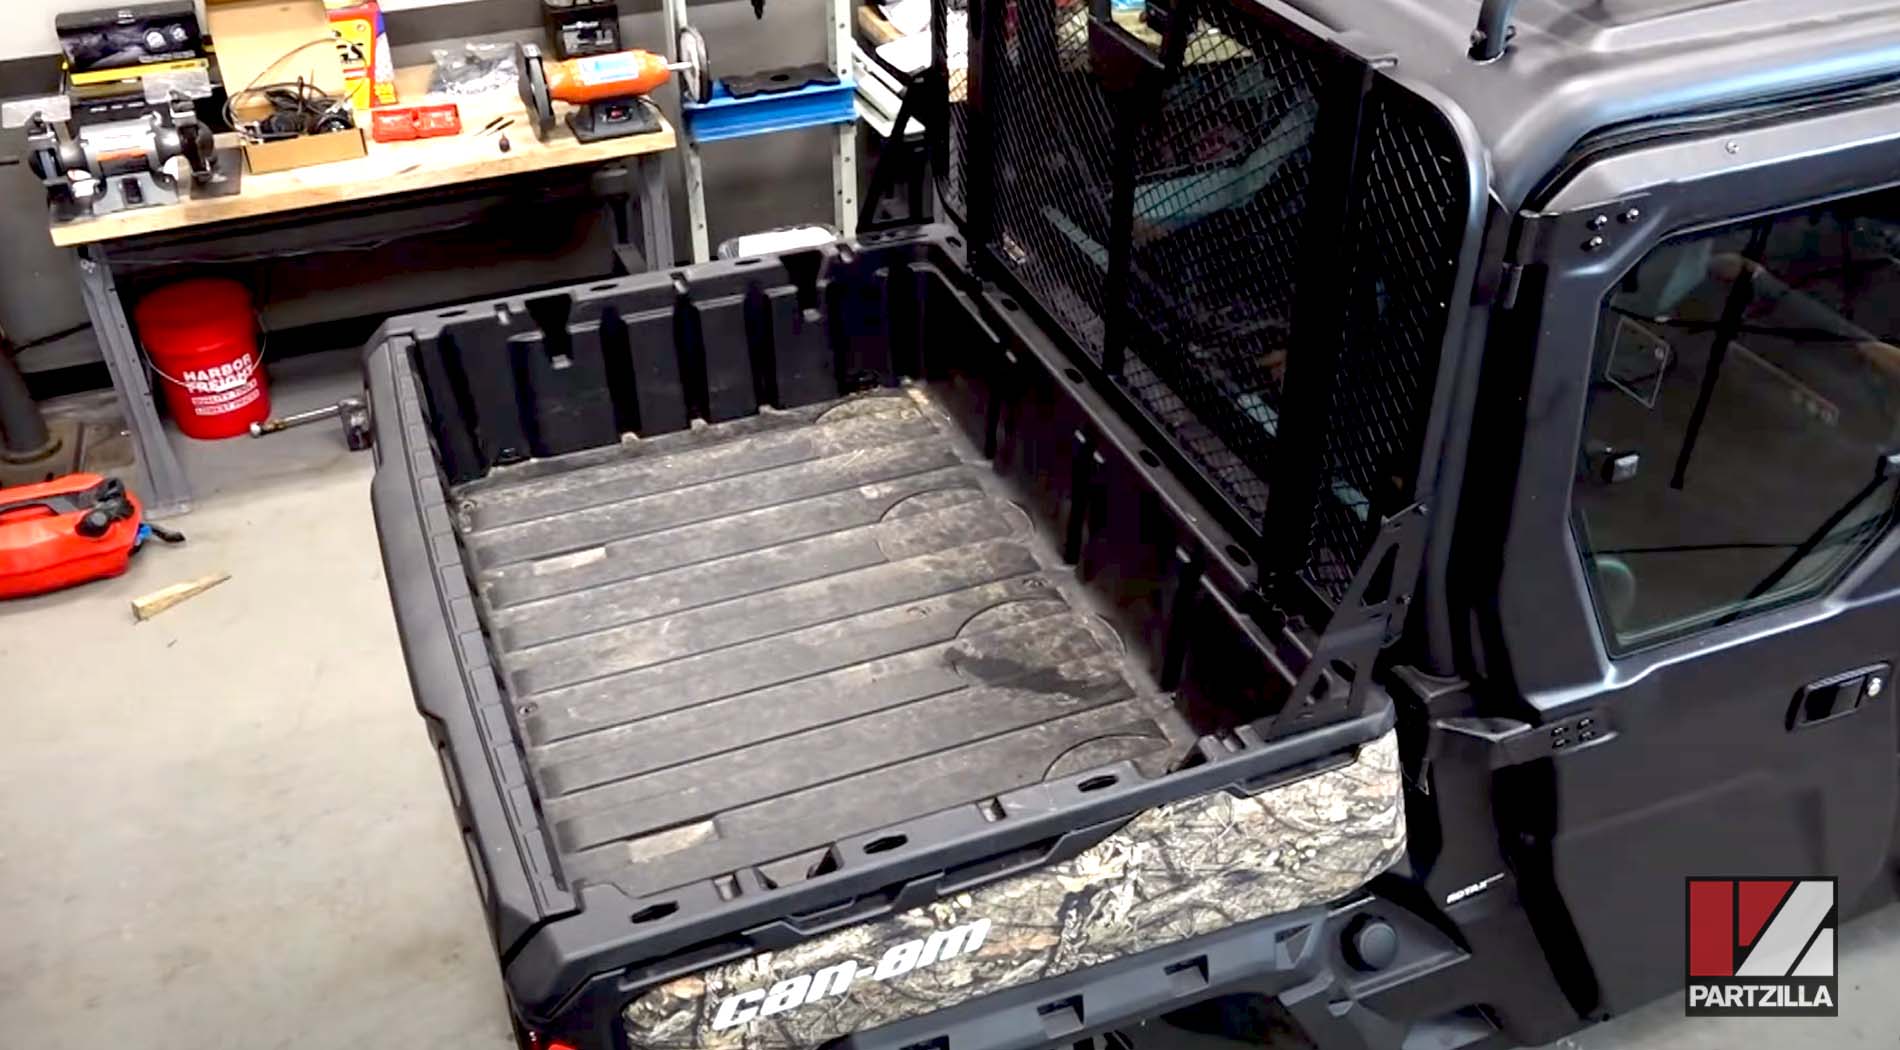
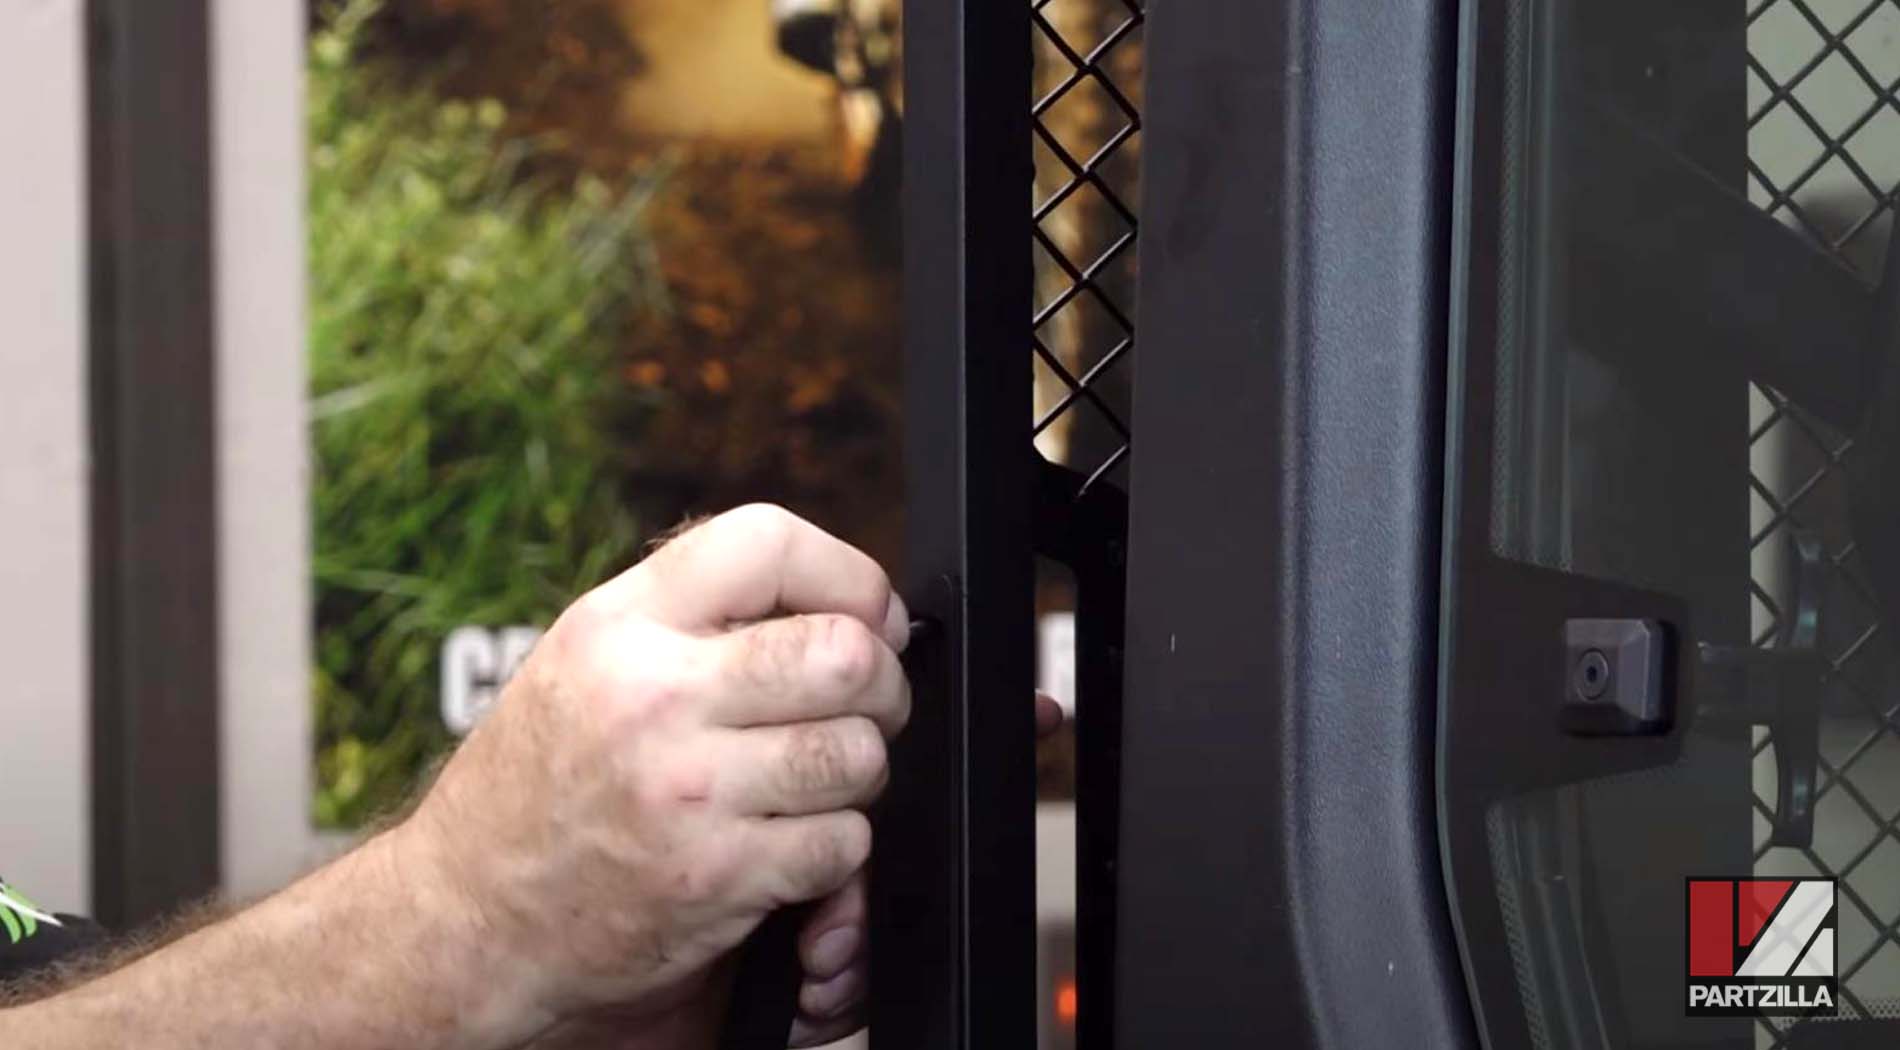
Step 7. Slide the headache rack over the supports.
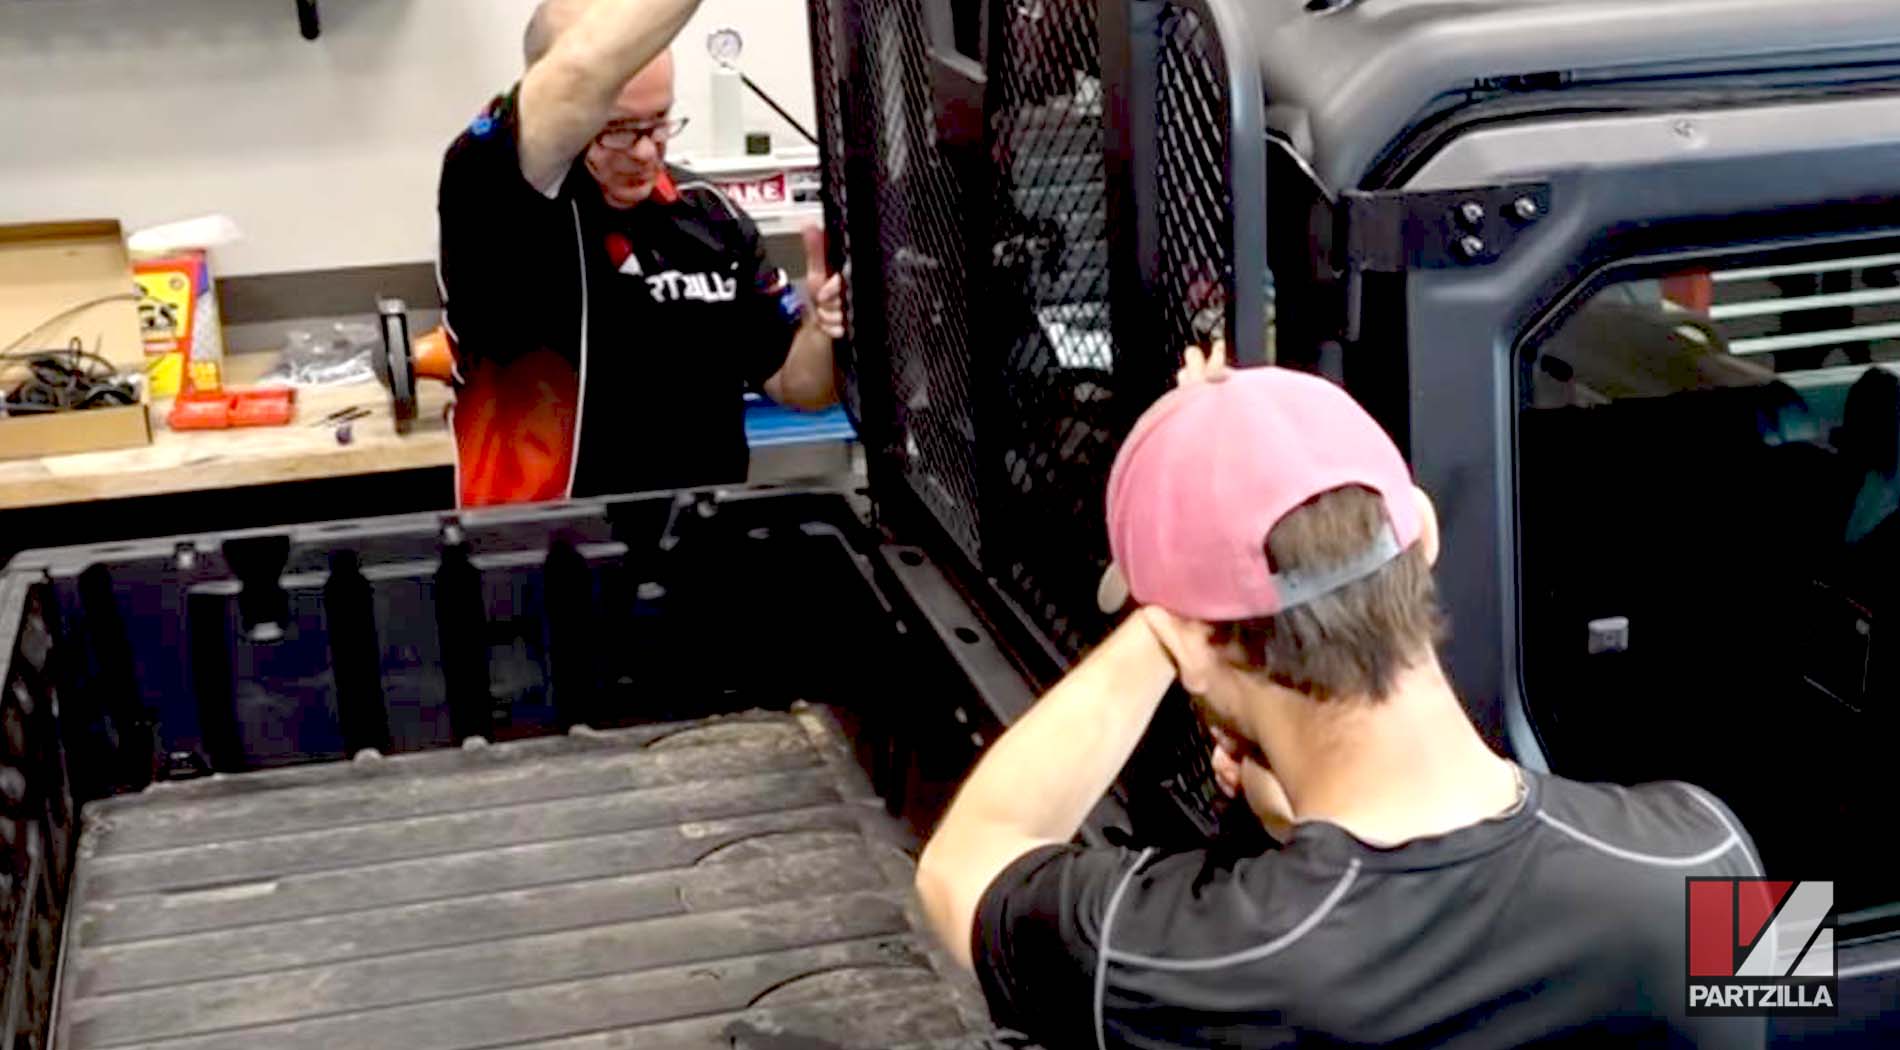
Step 8. Install the four more 55mm bolts and the nylon nuts that secure the rack to the support insert. Get the bolts in and hand-tighten the nuts, but don’t torque them all the way down. Make sure everything lines up first.
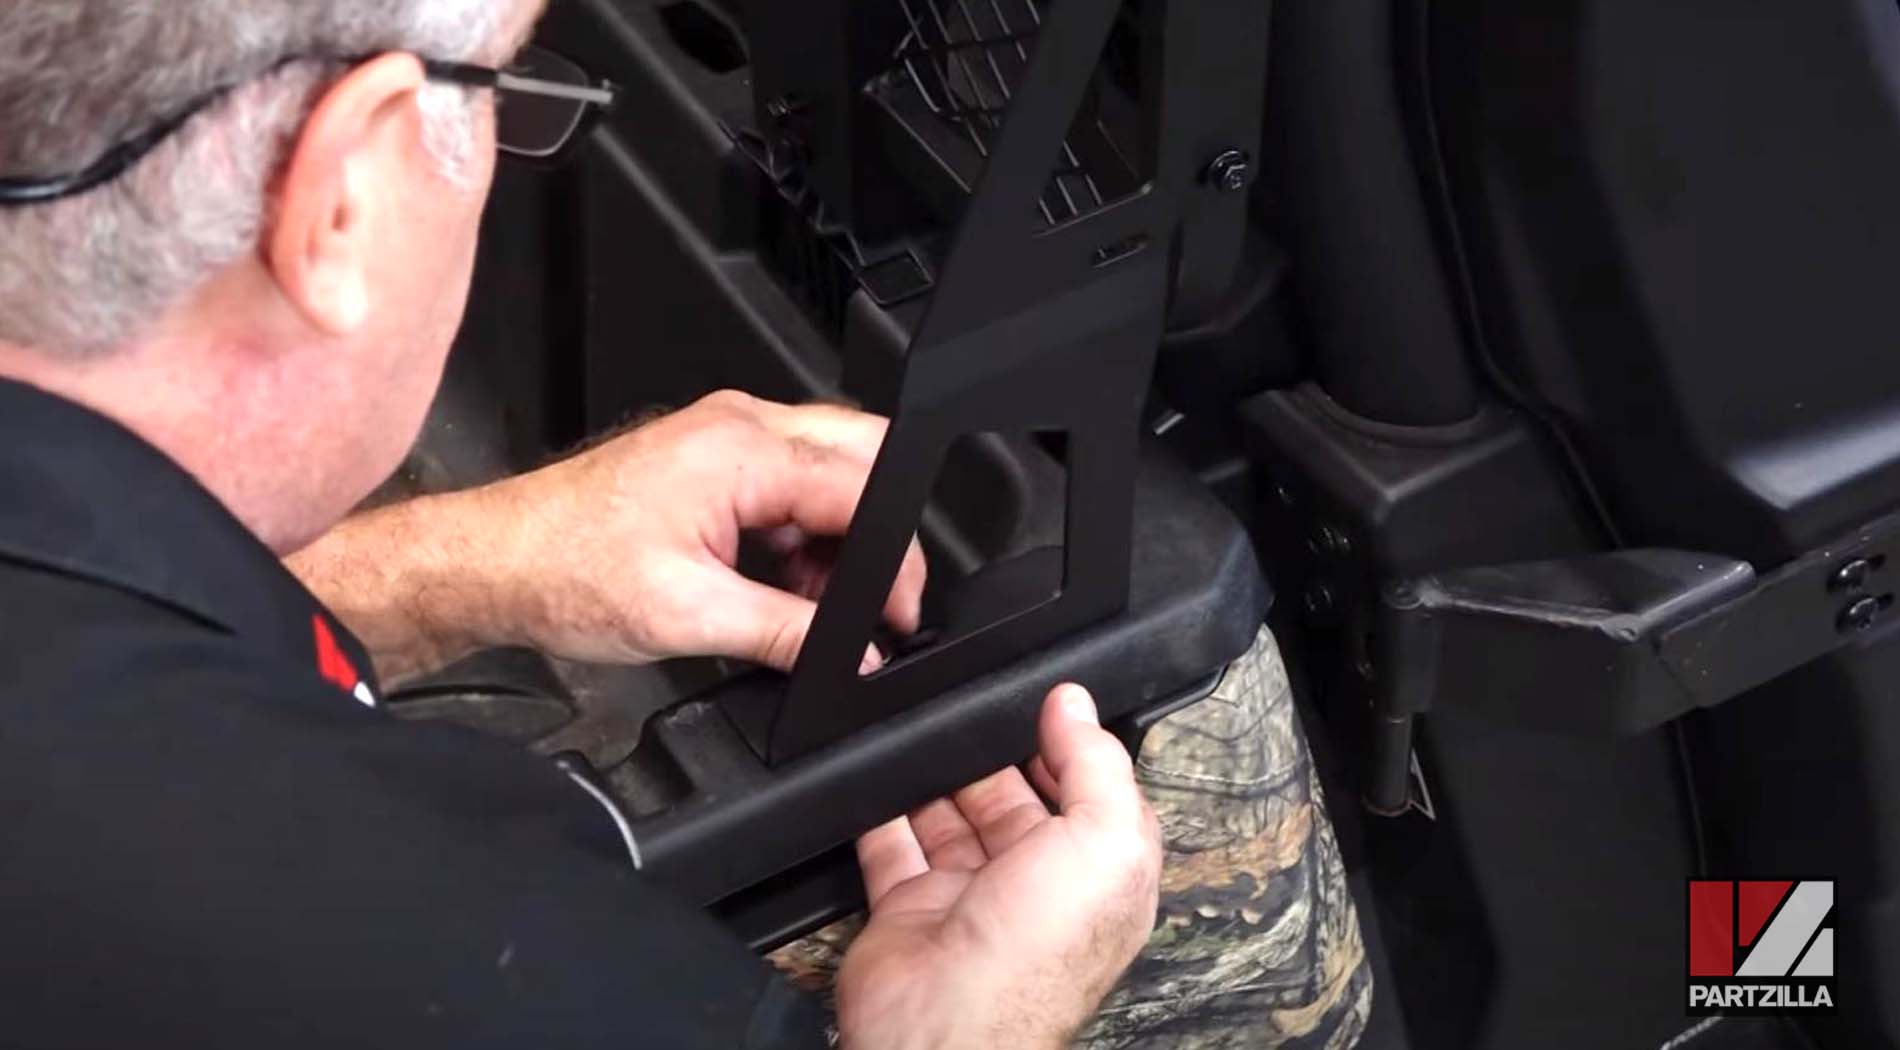
Step 9. Secure the support bracket for each side of the rack with two bolts and two nylon nuts. Once again, hold off on tightening them until you get both installed and everything is lined up.
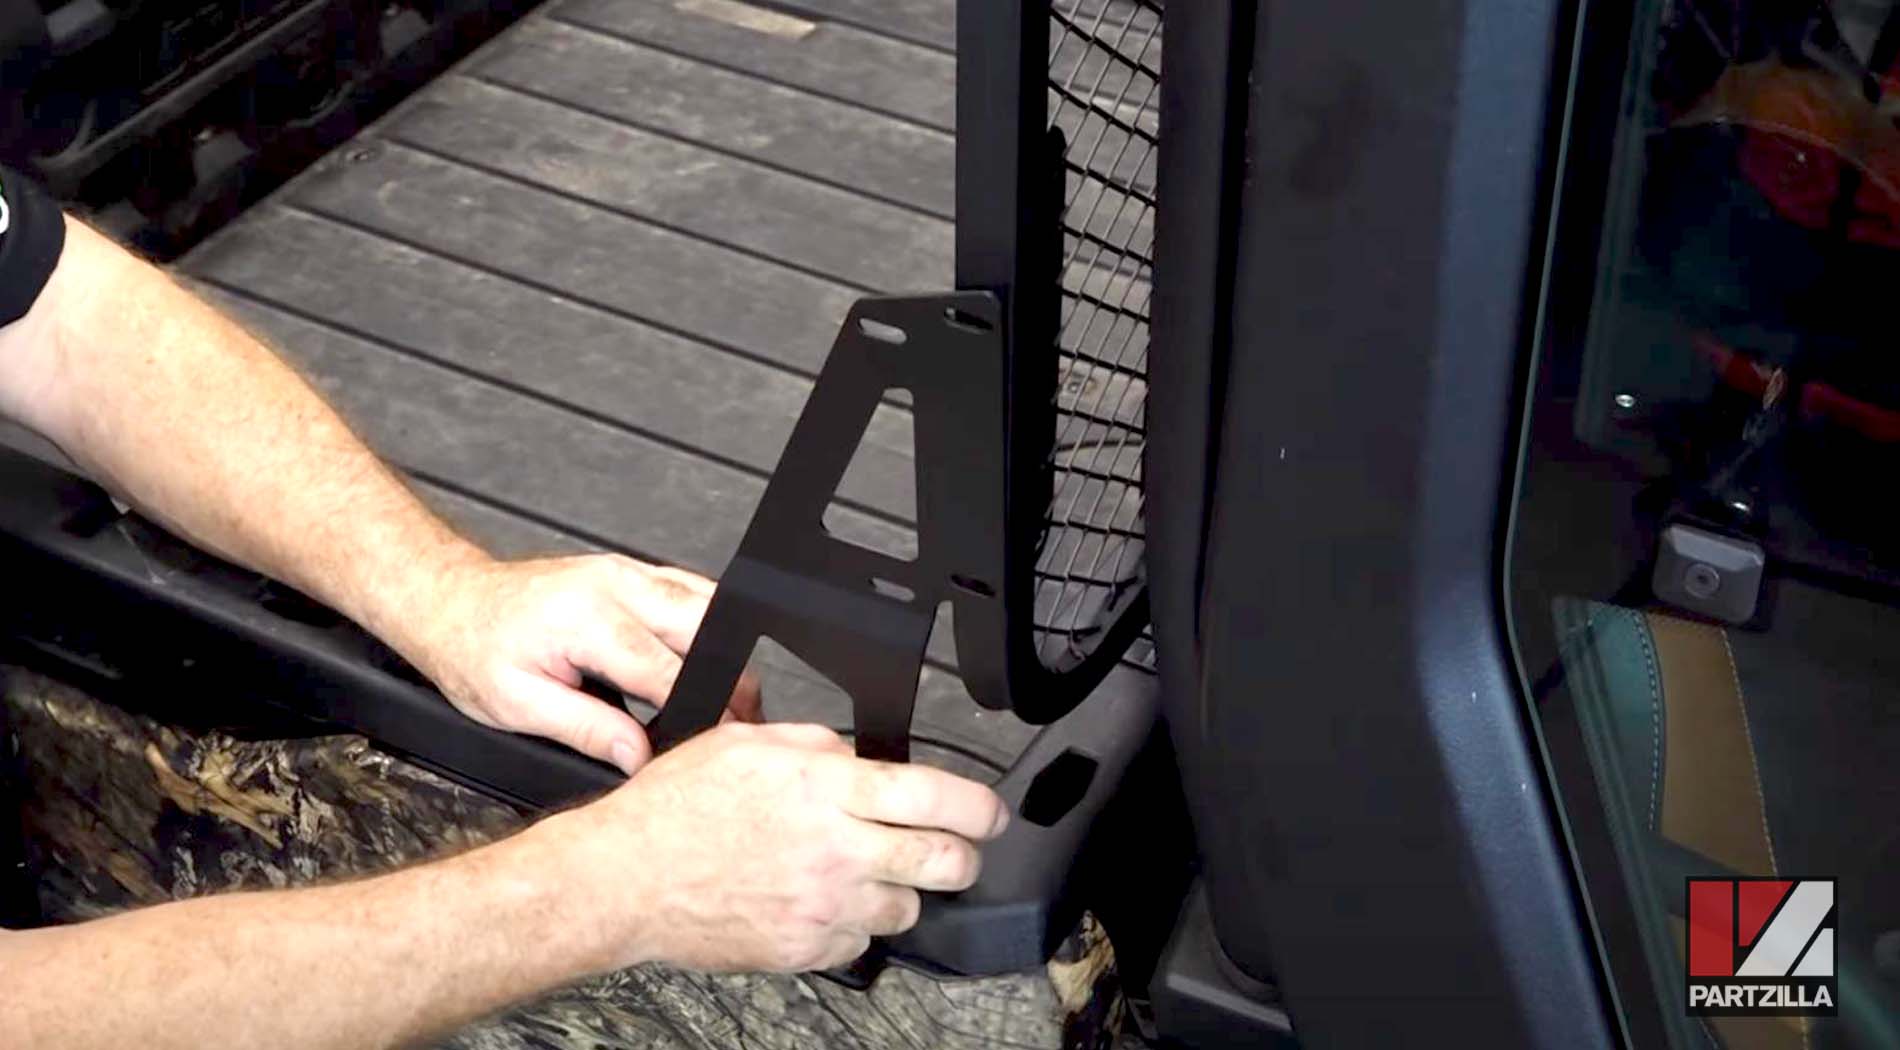
Step 10. Install the plate that goes up underneath the lip of the bed for each support bracket on both sides. Hand tighten each bolt holding it in place.
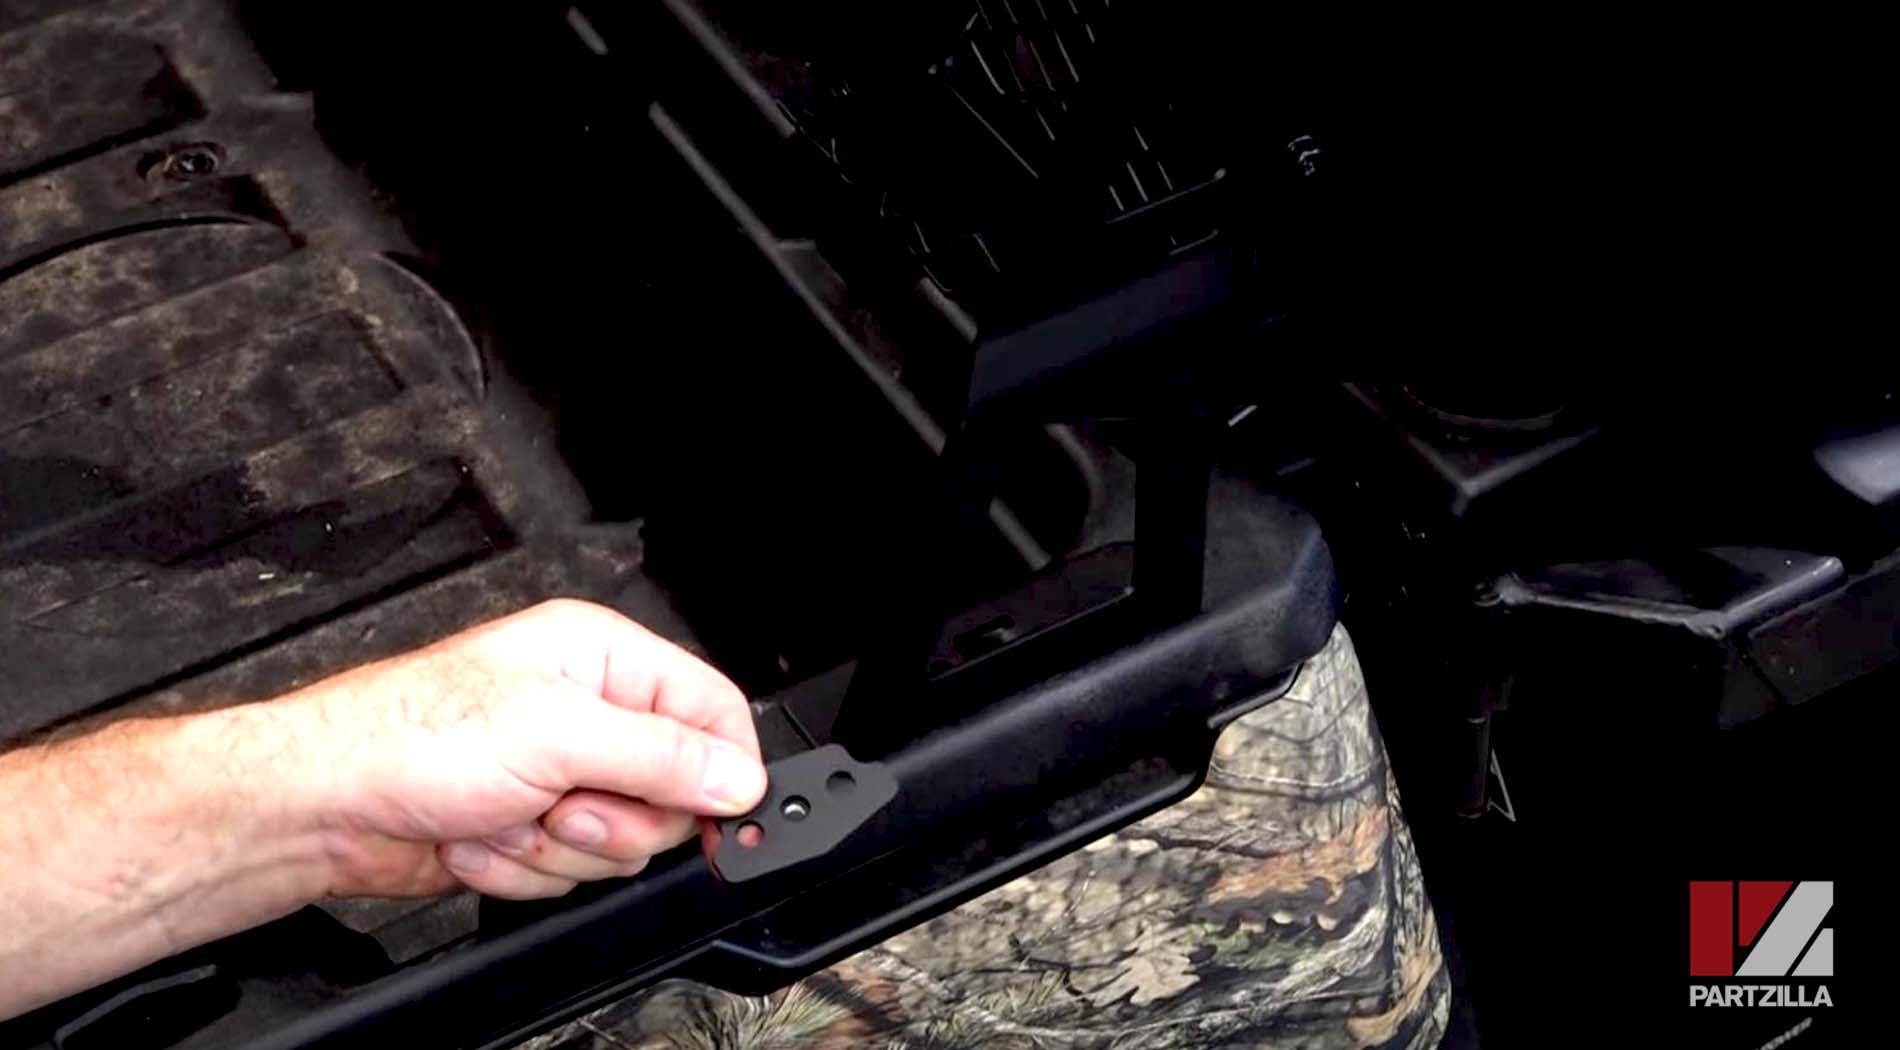
NOTE: These plates give the nuts a metal landing place. The side shaped like an arrow with the point faces out.
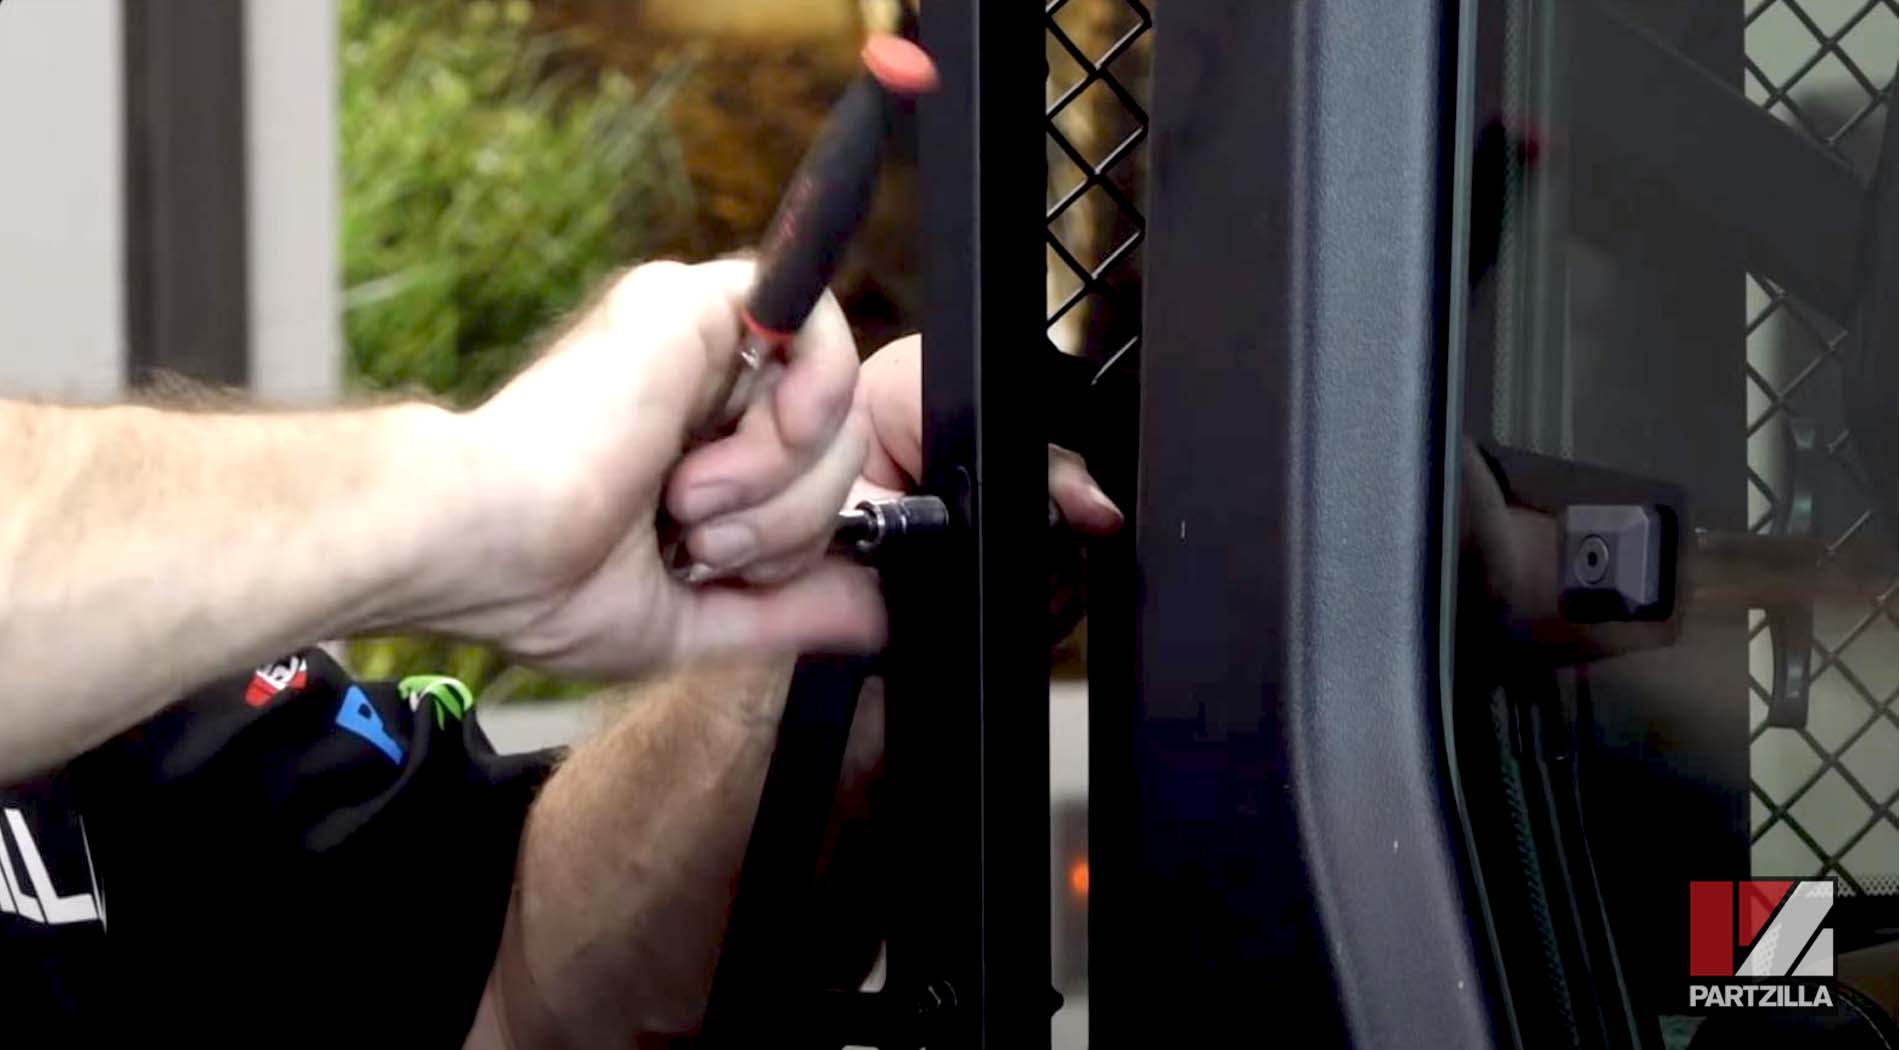
Step 11. Tighten all of the bolts and you’re done.
Our Can-Am Defender needed some side mirrors as well as a headache rack. Watch the video below to see how to install side mirrors on a 2021 Can-Am Defender Max.