Yamaha YZ450F Fuel Pump Replacement
When Partzilla-sponsored motocross racer Scott Champion crashed his 2018 Yamaha YZ450F dirt bike, he brought it to us to for repairs. One repair the Yamaha 450 bike needed was a fuel pump replacement.
Watch the video above or follow the steps below to learn how to replace the fuel pump on a Yamaha YZ450 dirt bike.
Tools and Parts - Yamaha YZ450 New Fuel Pump Installation
- Ratchet and extensions
- 4mm Allen wrench
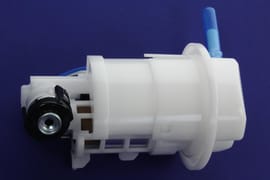
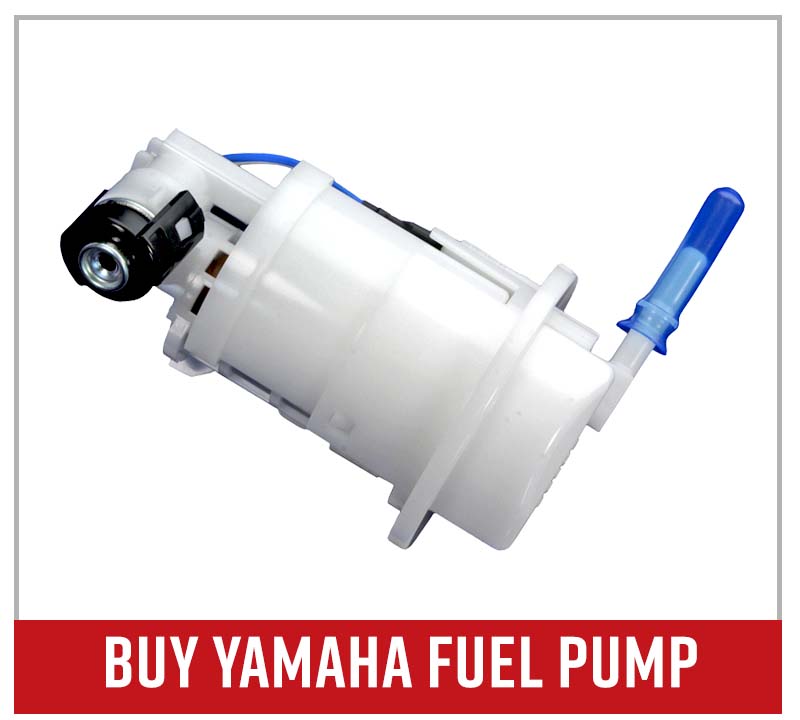
- Yamaha fuel pump
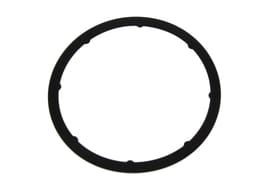
- Fuel pump O-ring
Yamaha 450 Dirt Bike Fuel Pump Replacement
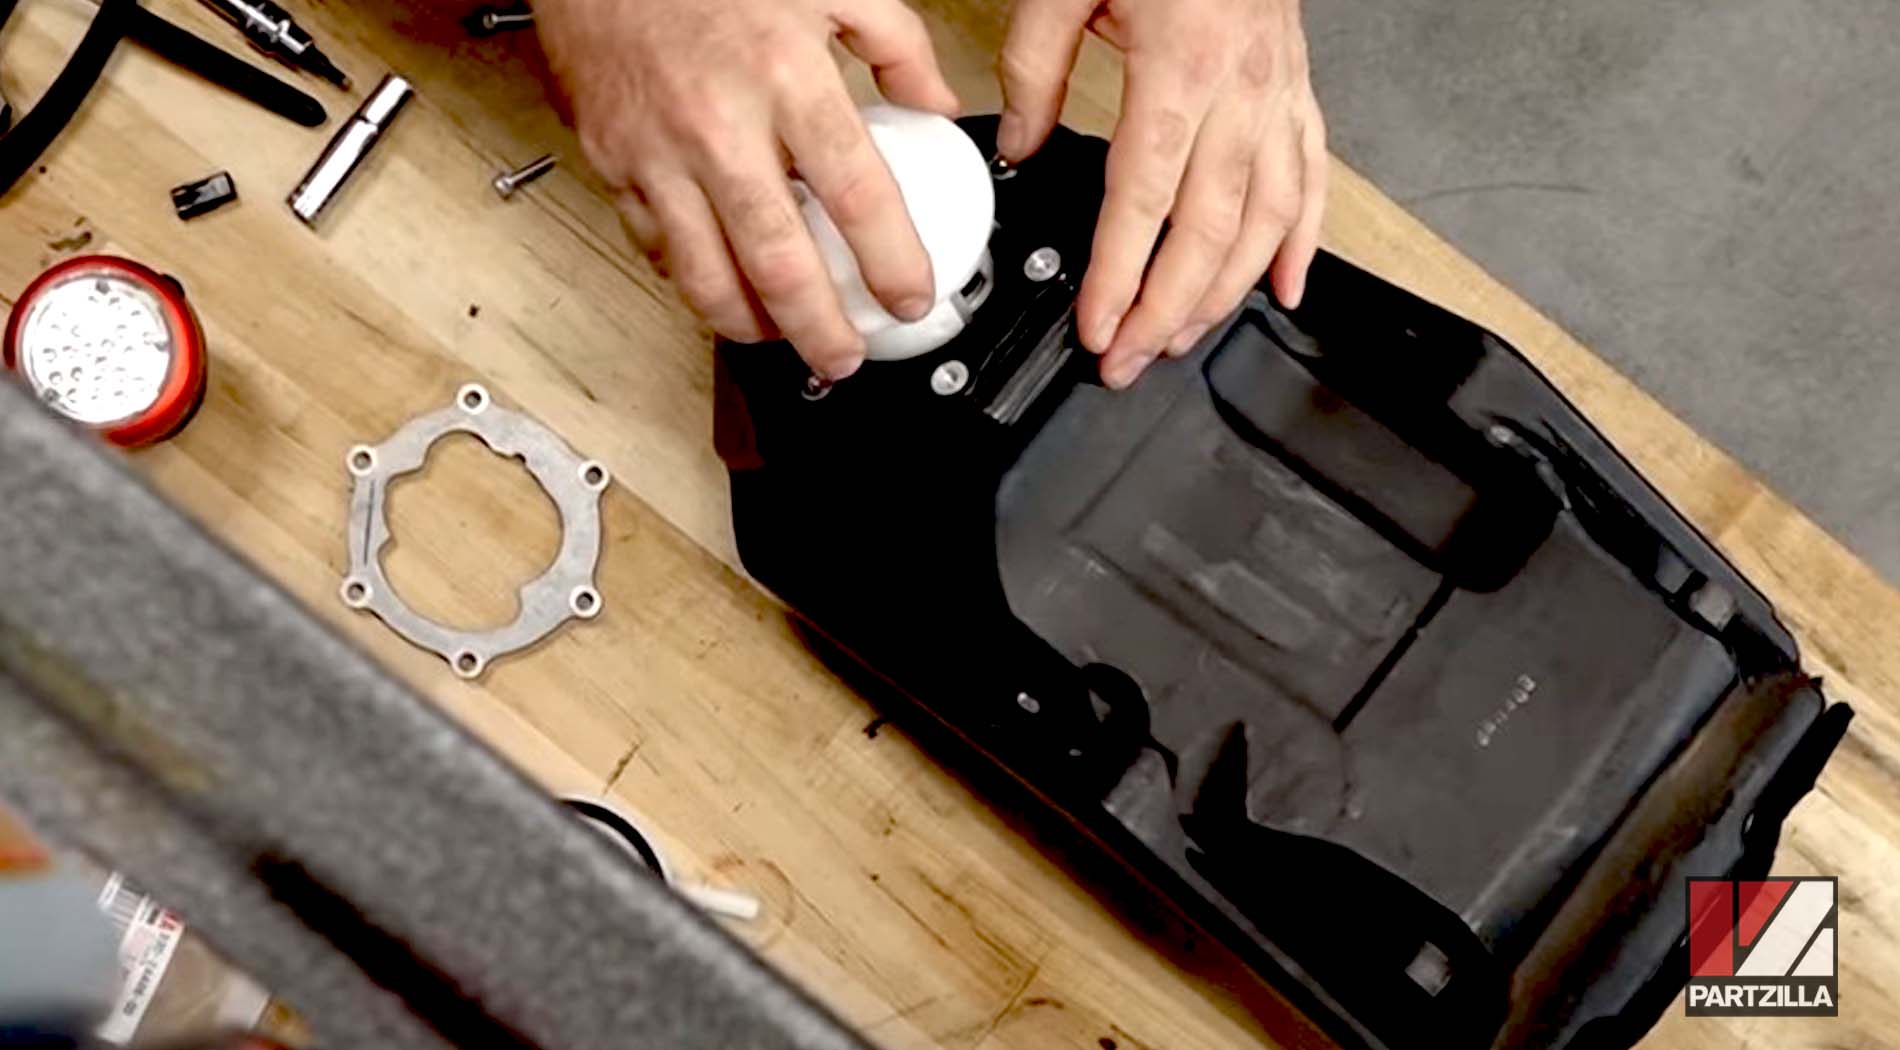
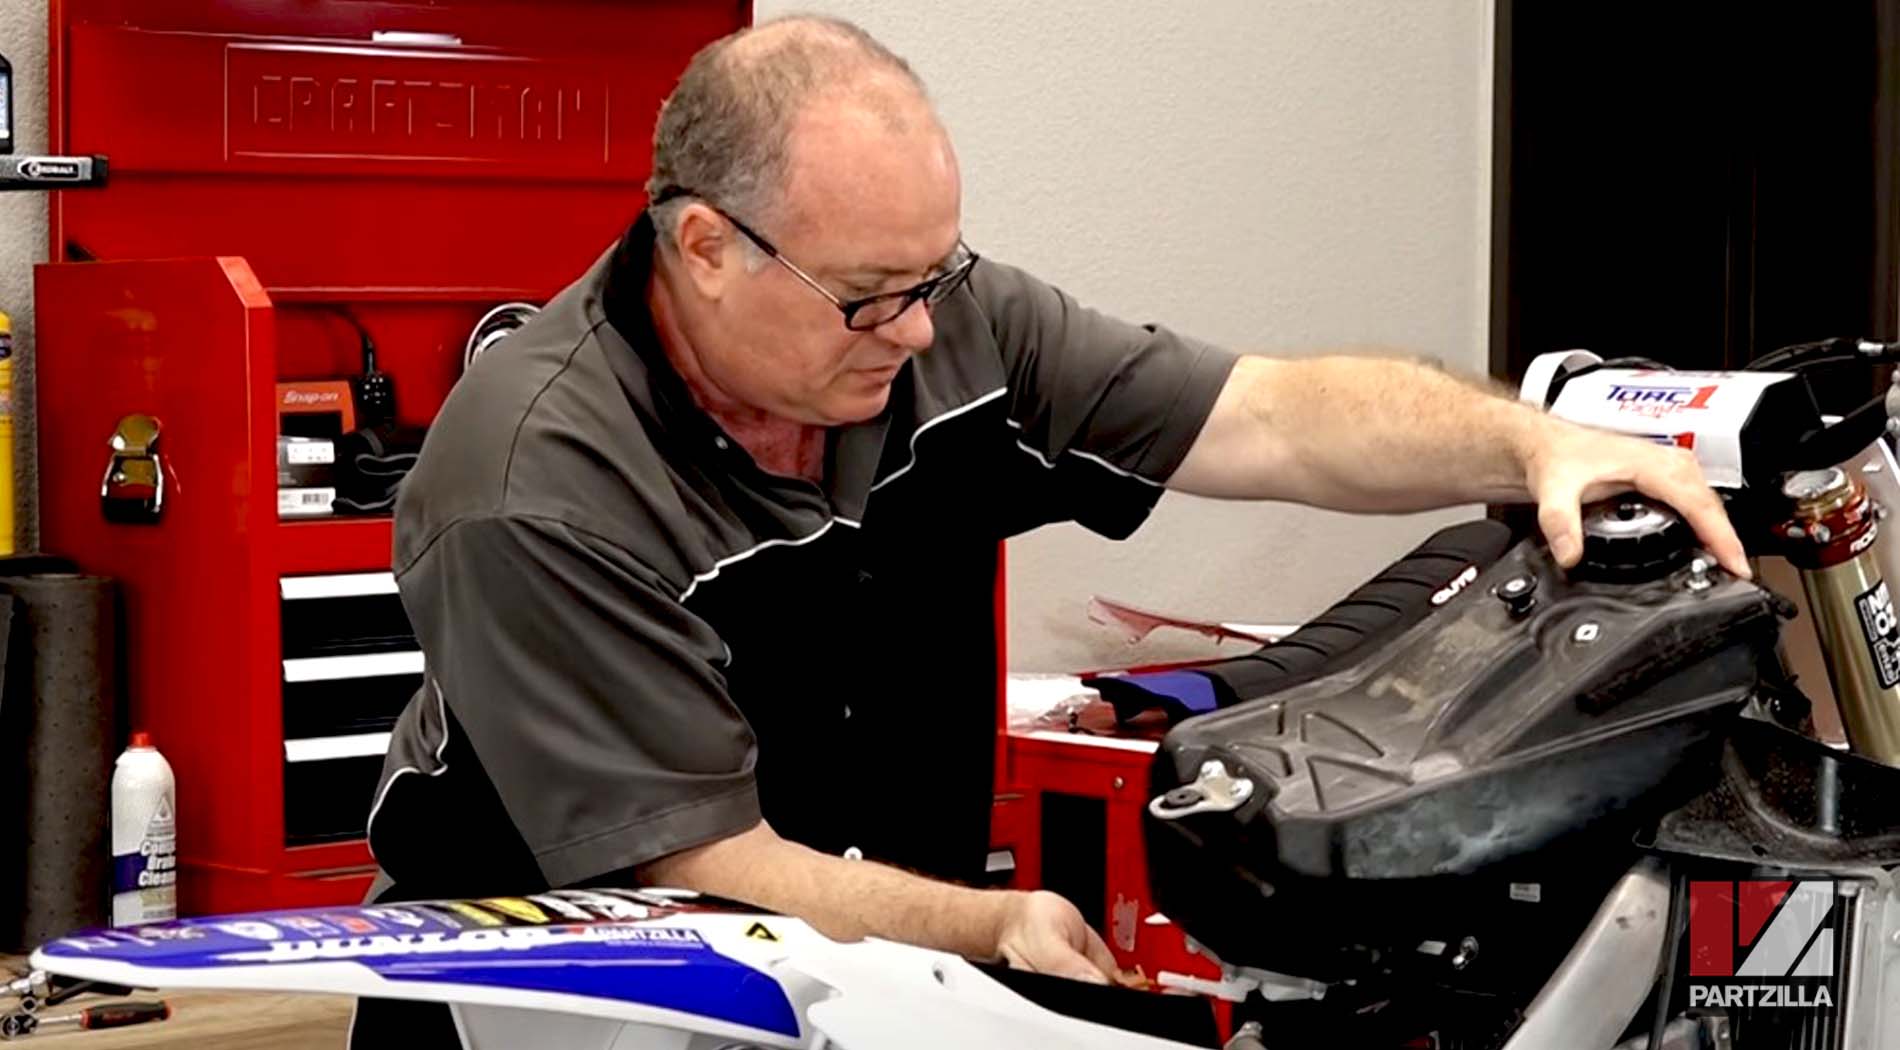
Step 1. Remove the fuel tank from the bike, then mark the orientation of the fuel pump so you can get it back in the same position.
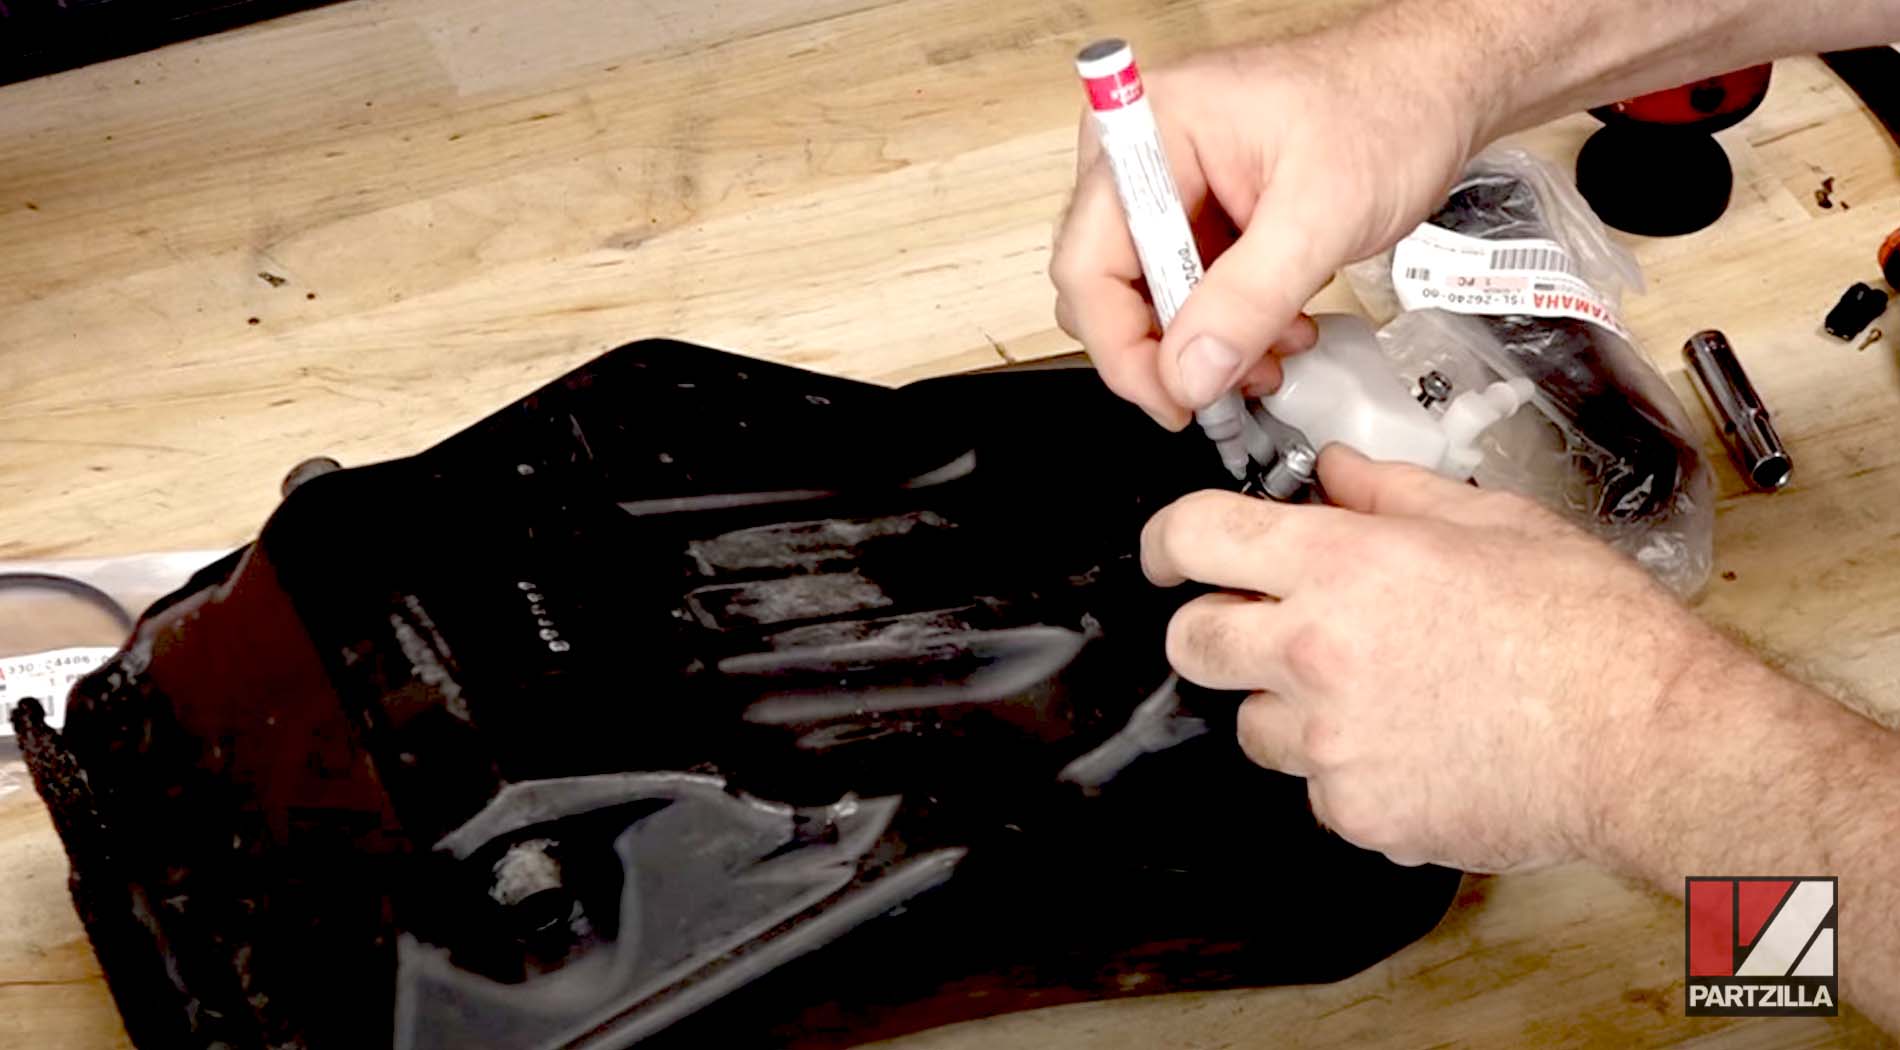
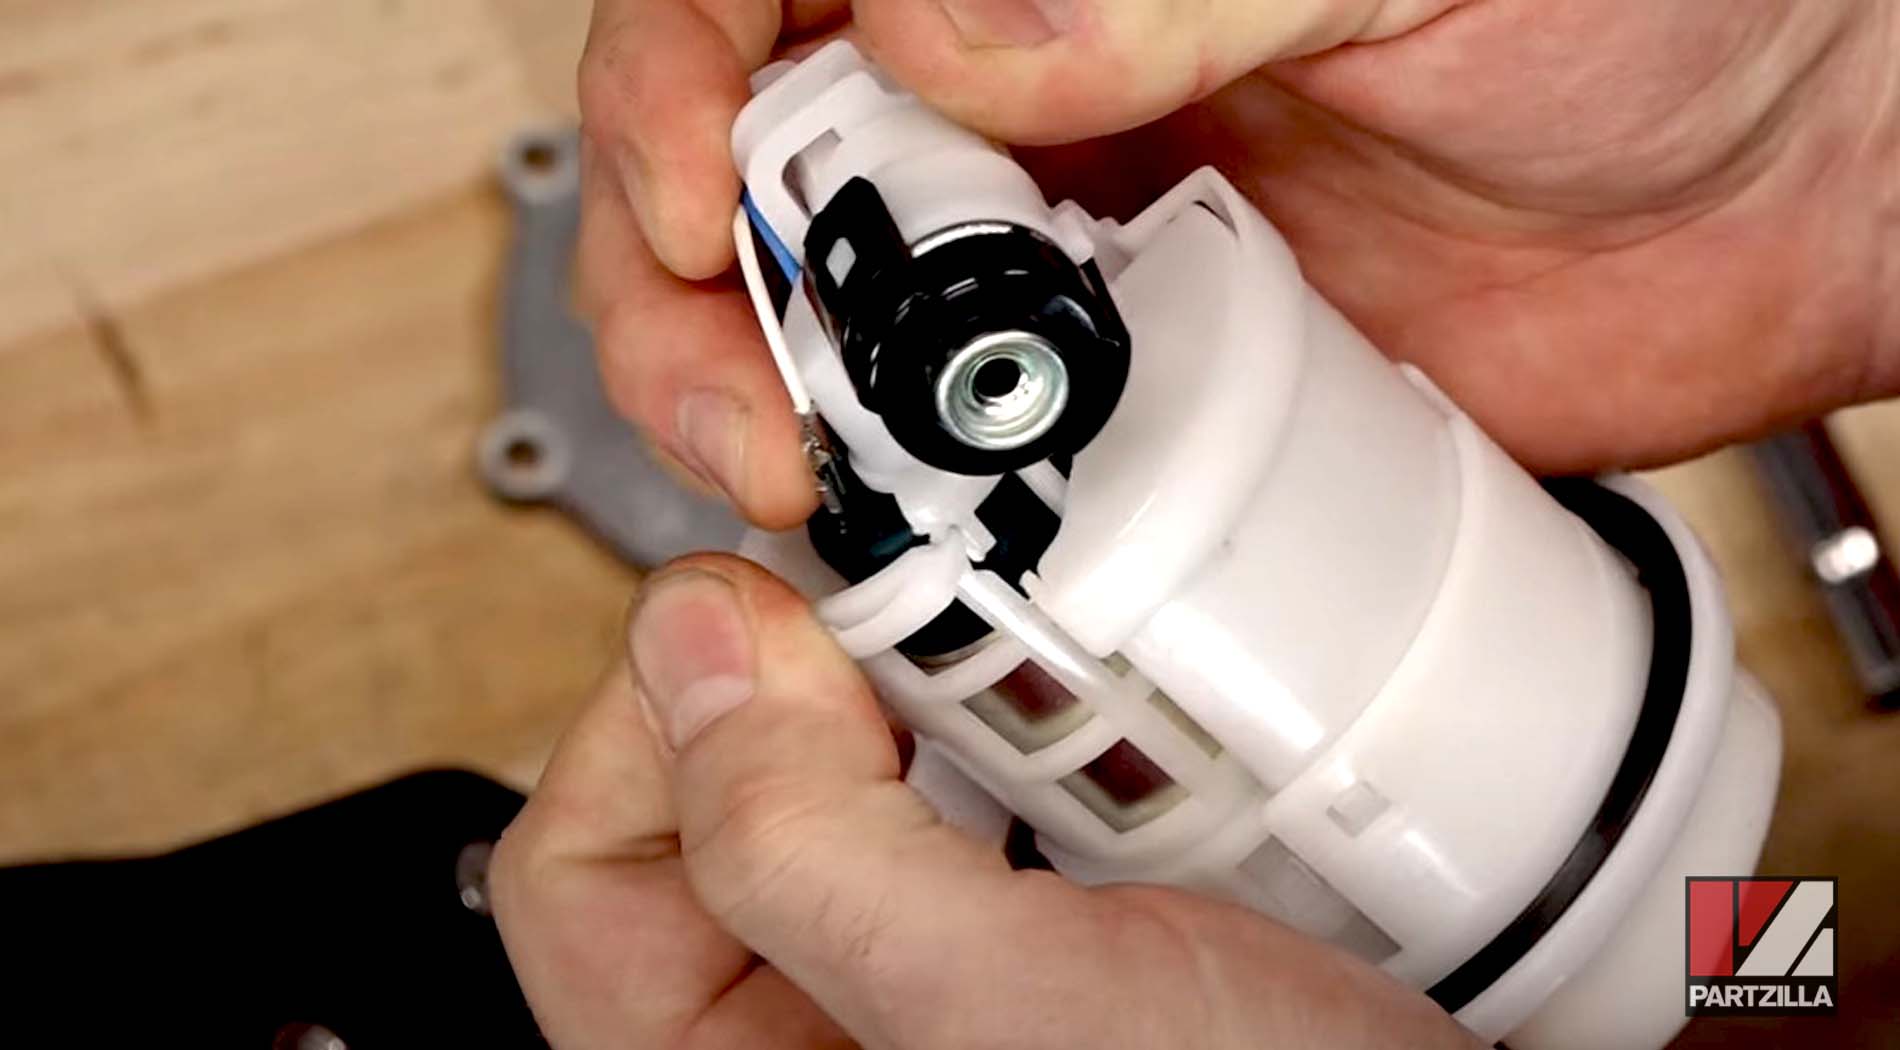
Step 2. Remove the six 4mm Allen bolts that hold the fuel pump gasket in place, then remove the gasket and the fuel pump from the tank.
NOTE: The fuel pump assembly took a hard hit and had a piece broken off during the impact of the crash, so it needed to be replaced.
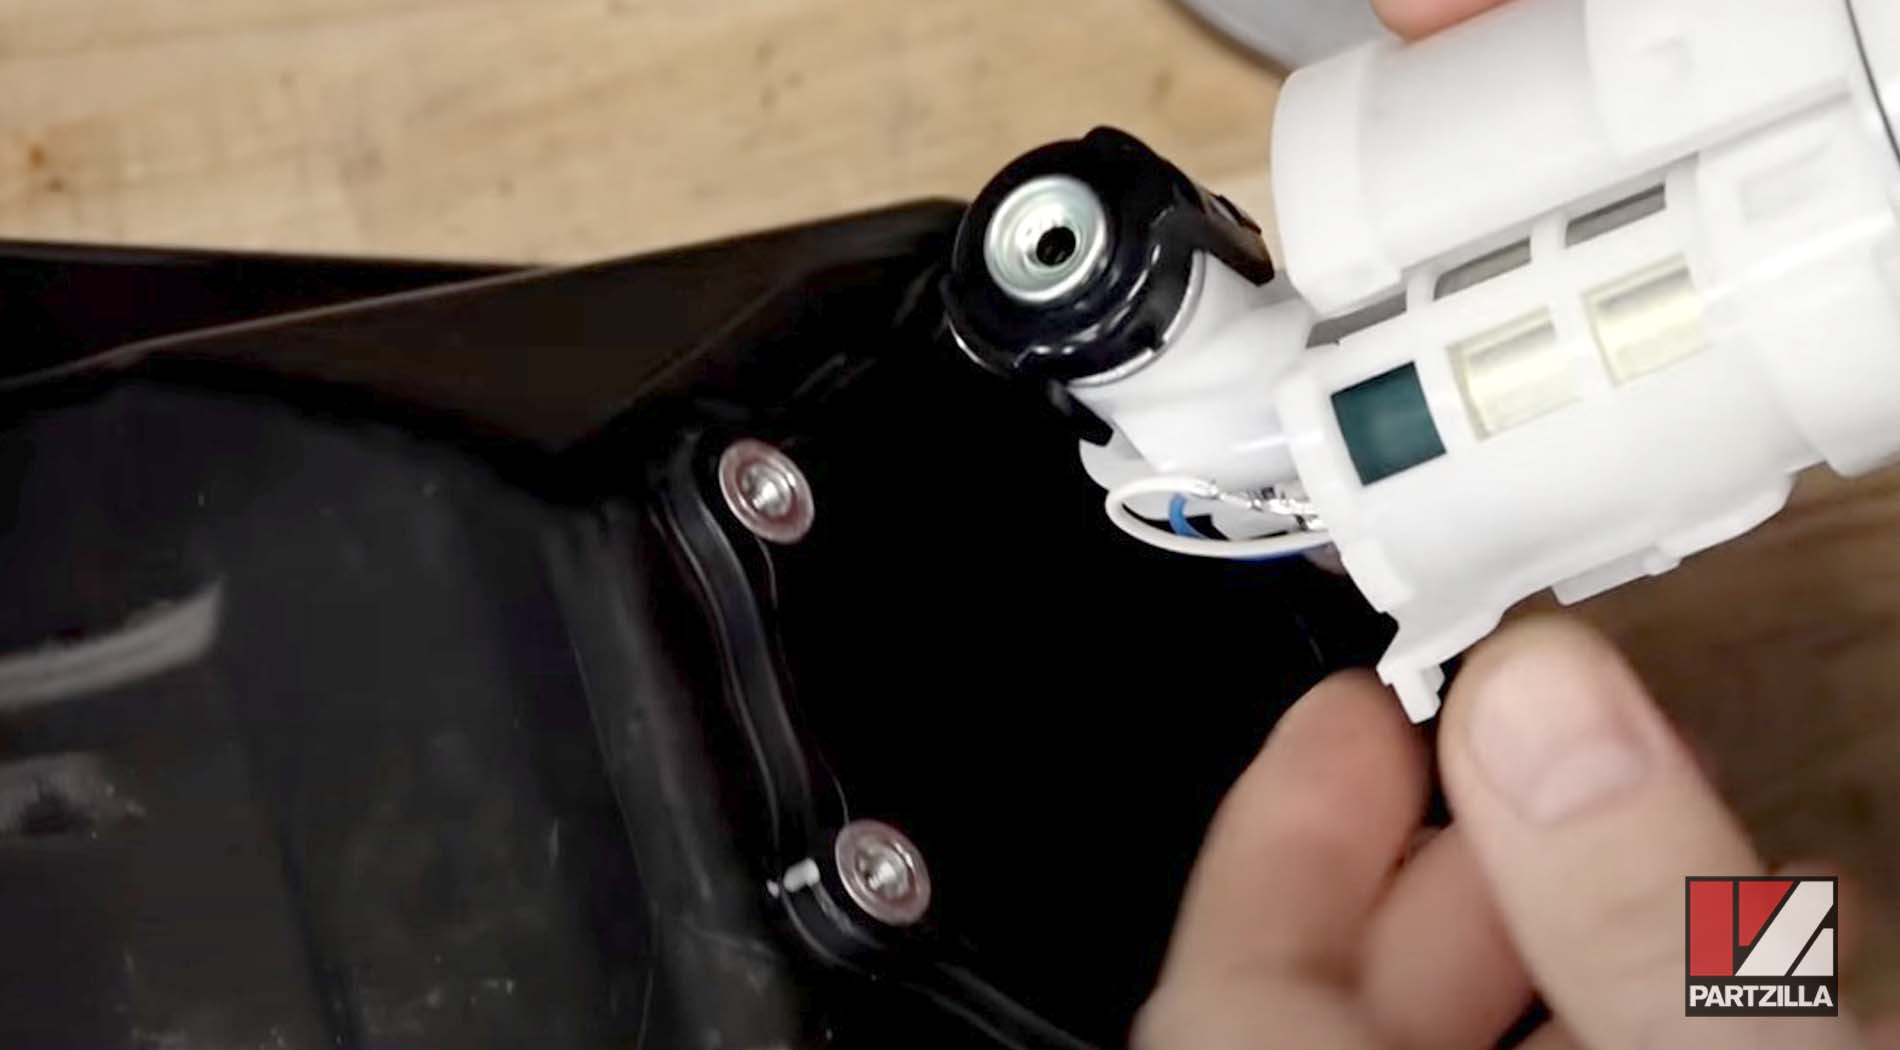
Step 3. Get the new fuel pump and install the O-ring that seals the pump to the bottom of the tank. The O-ring has a flat edge that goes face down and a beveled edge that goes up if you’re holding the pump upside down when installing it.
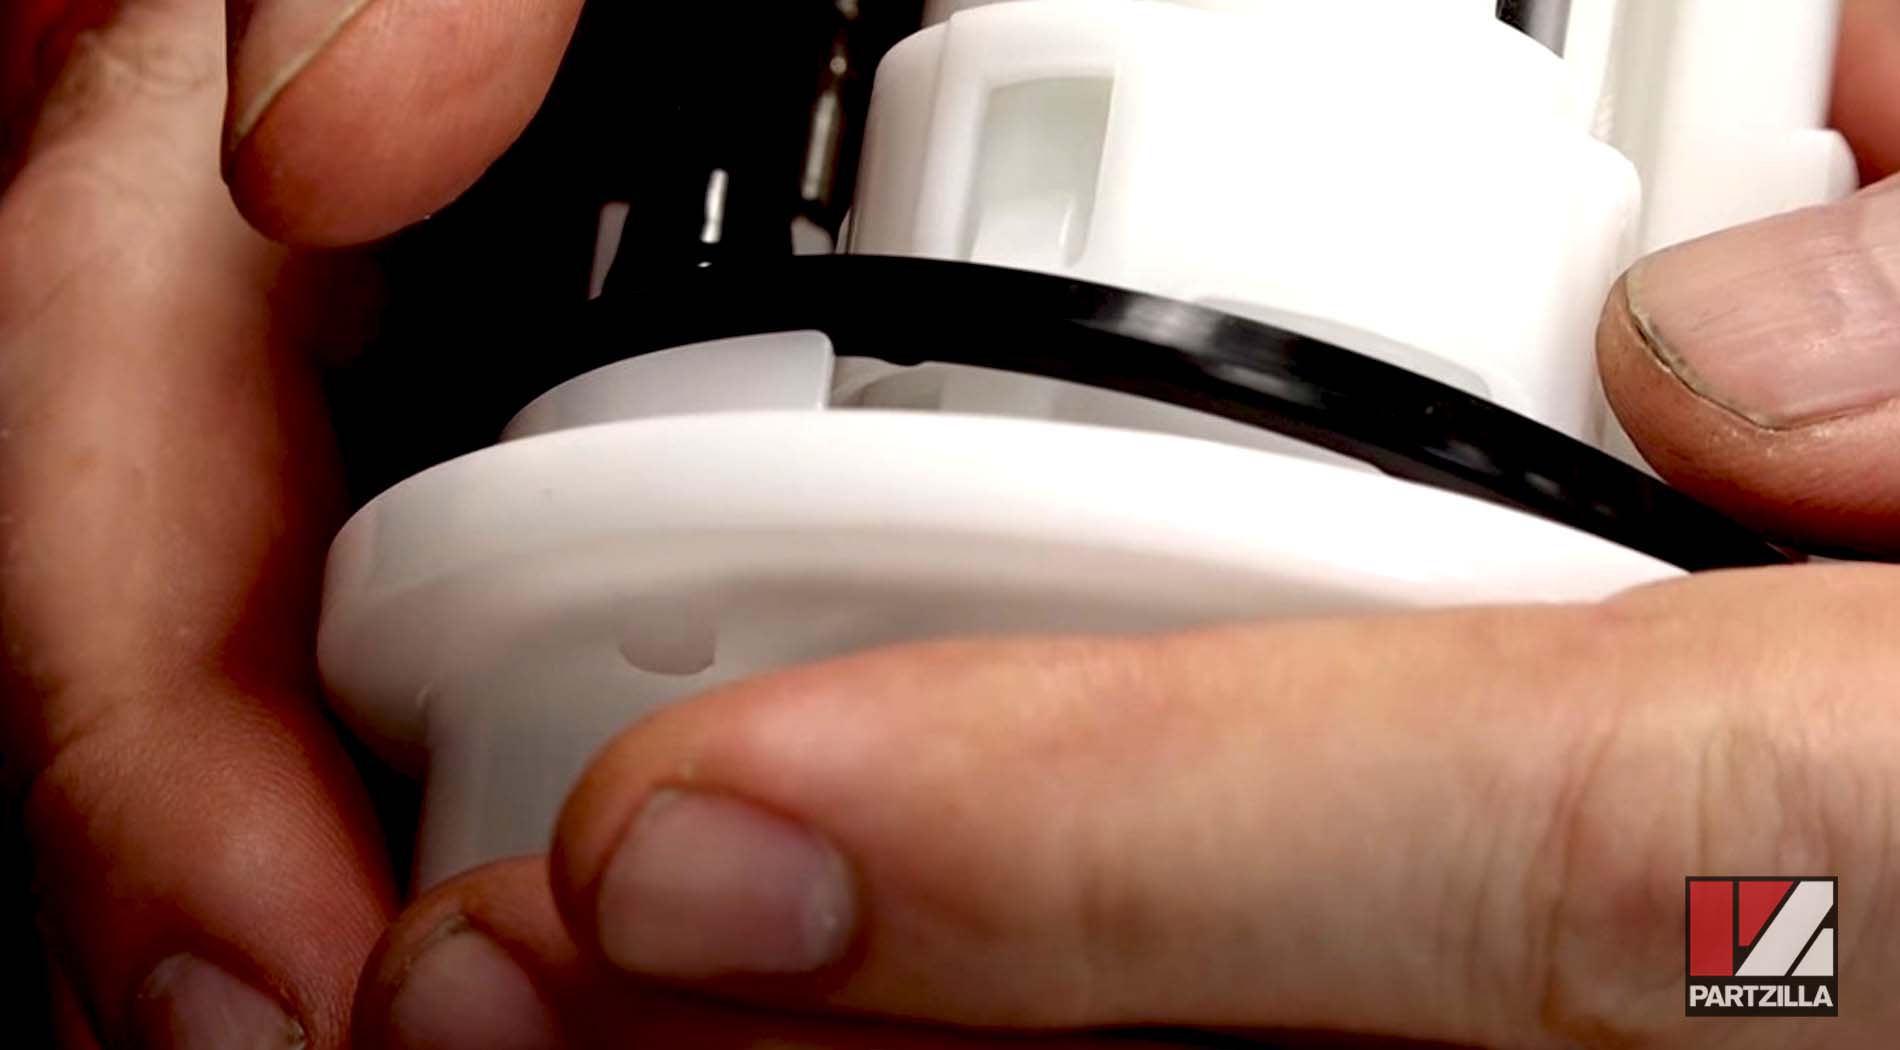
NOTE: It’s recommended you install a brand new O-ring onto the new fuel pump instead of reusing the O-ring from the old pump.
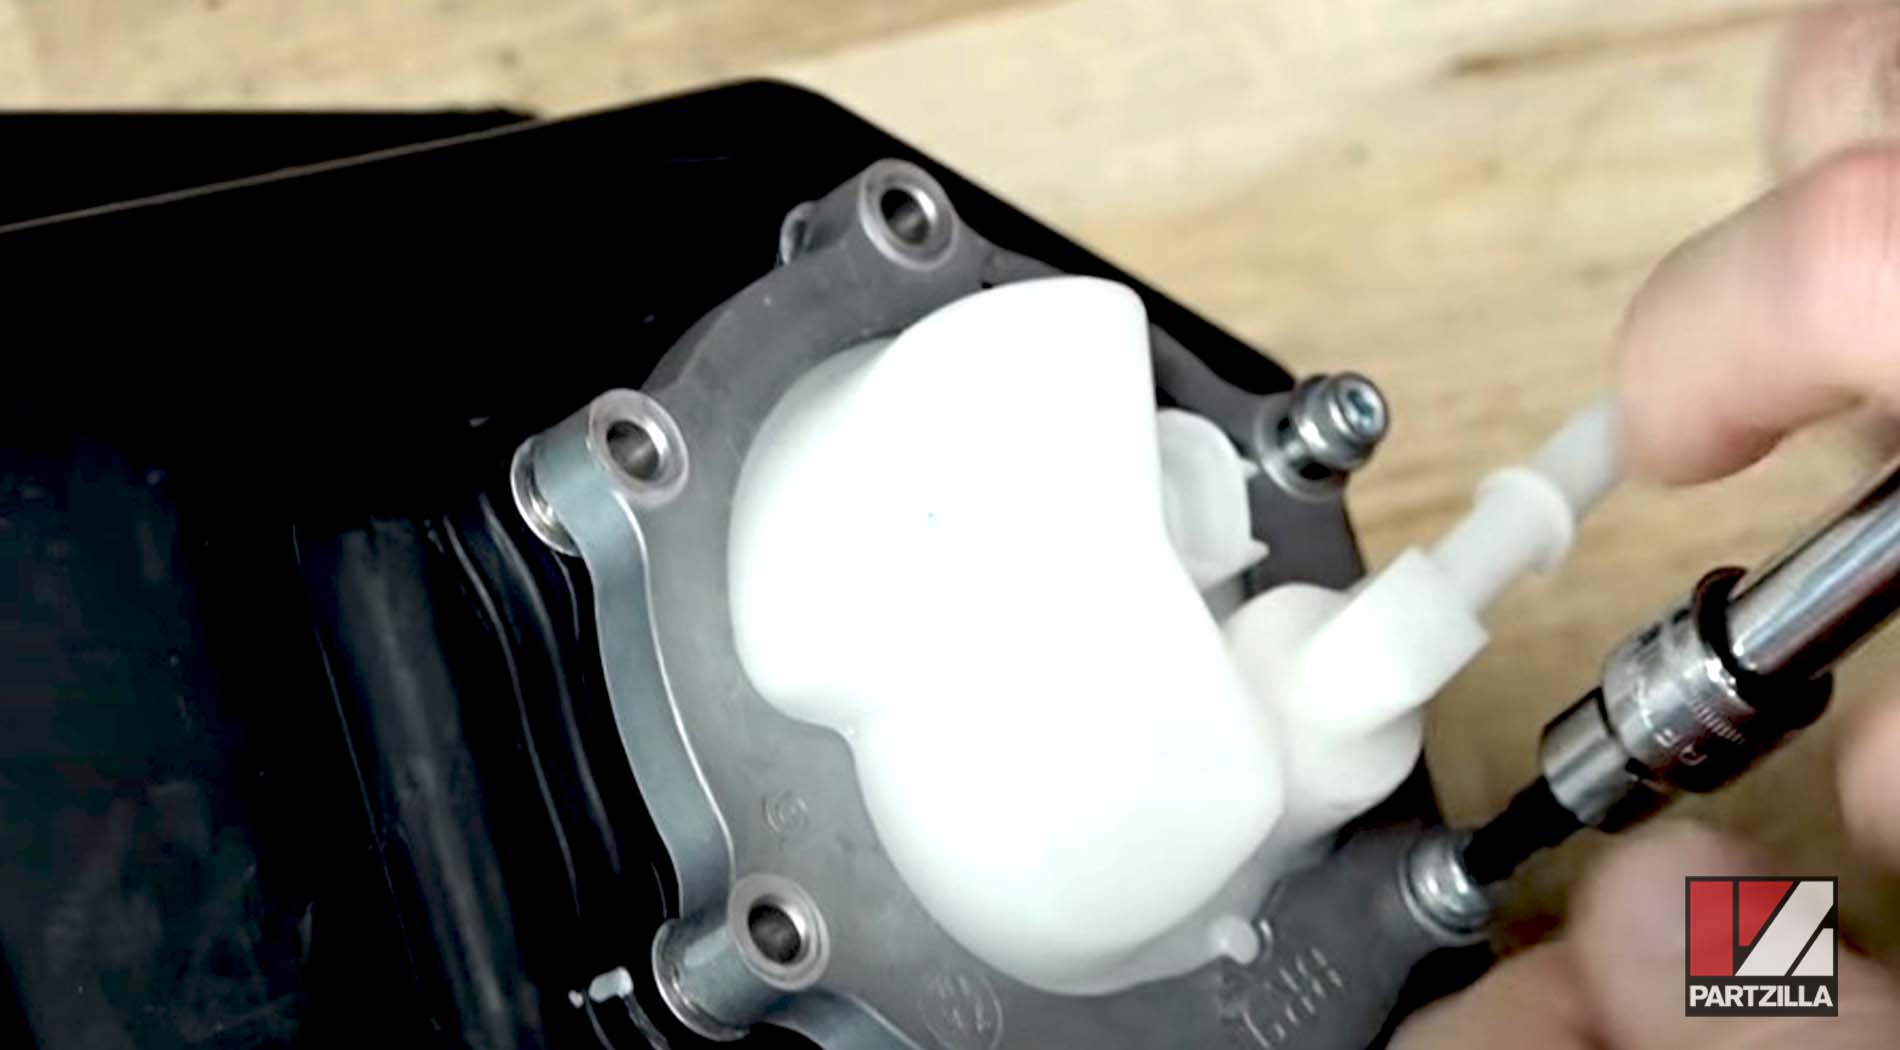
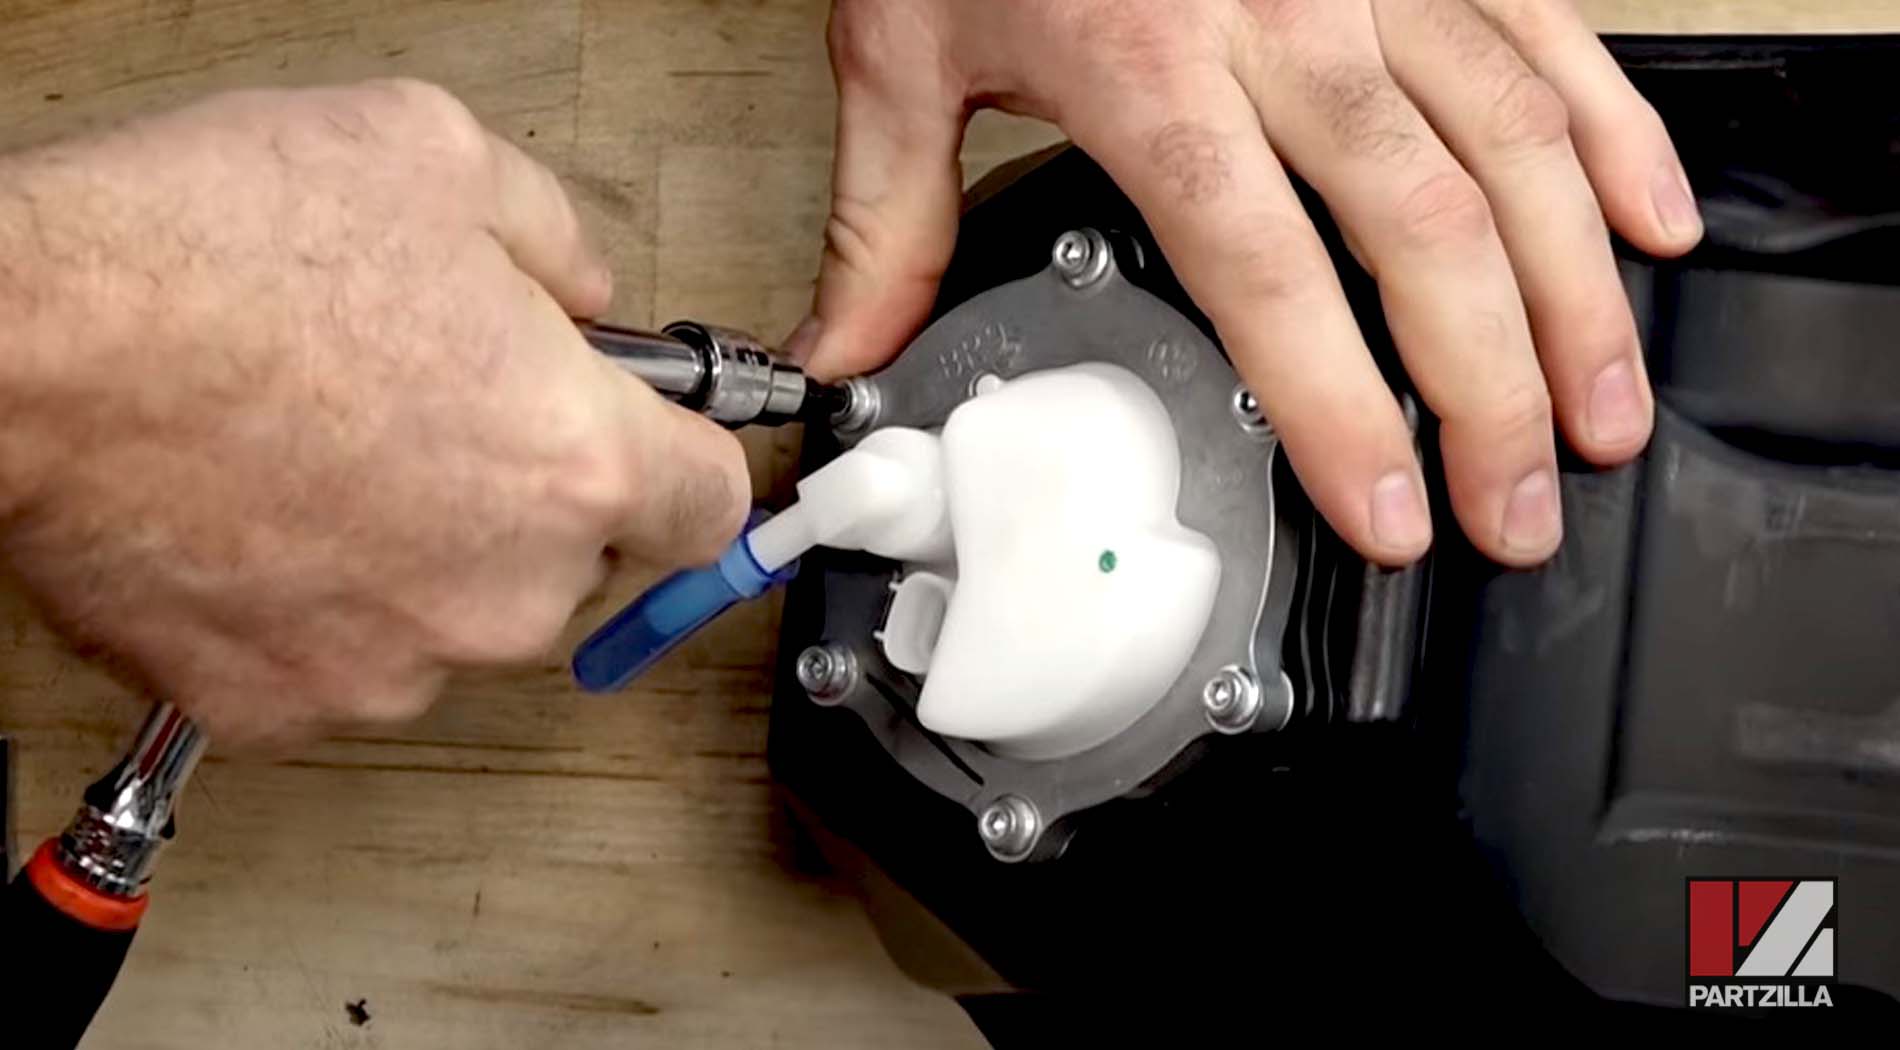
Step 4. Make sure the O-ring is seated down properly before inserting the new fuel pump into the tank. Use the marks made in Step 1 to line up the fuel pump, then install the gasket and the 4mm Allen bolts over it and tighten those down.
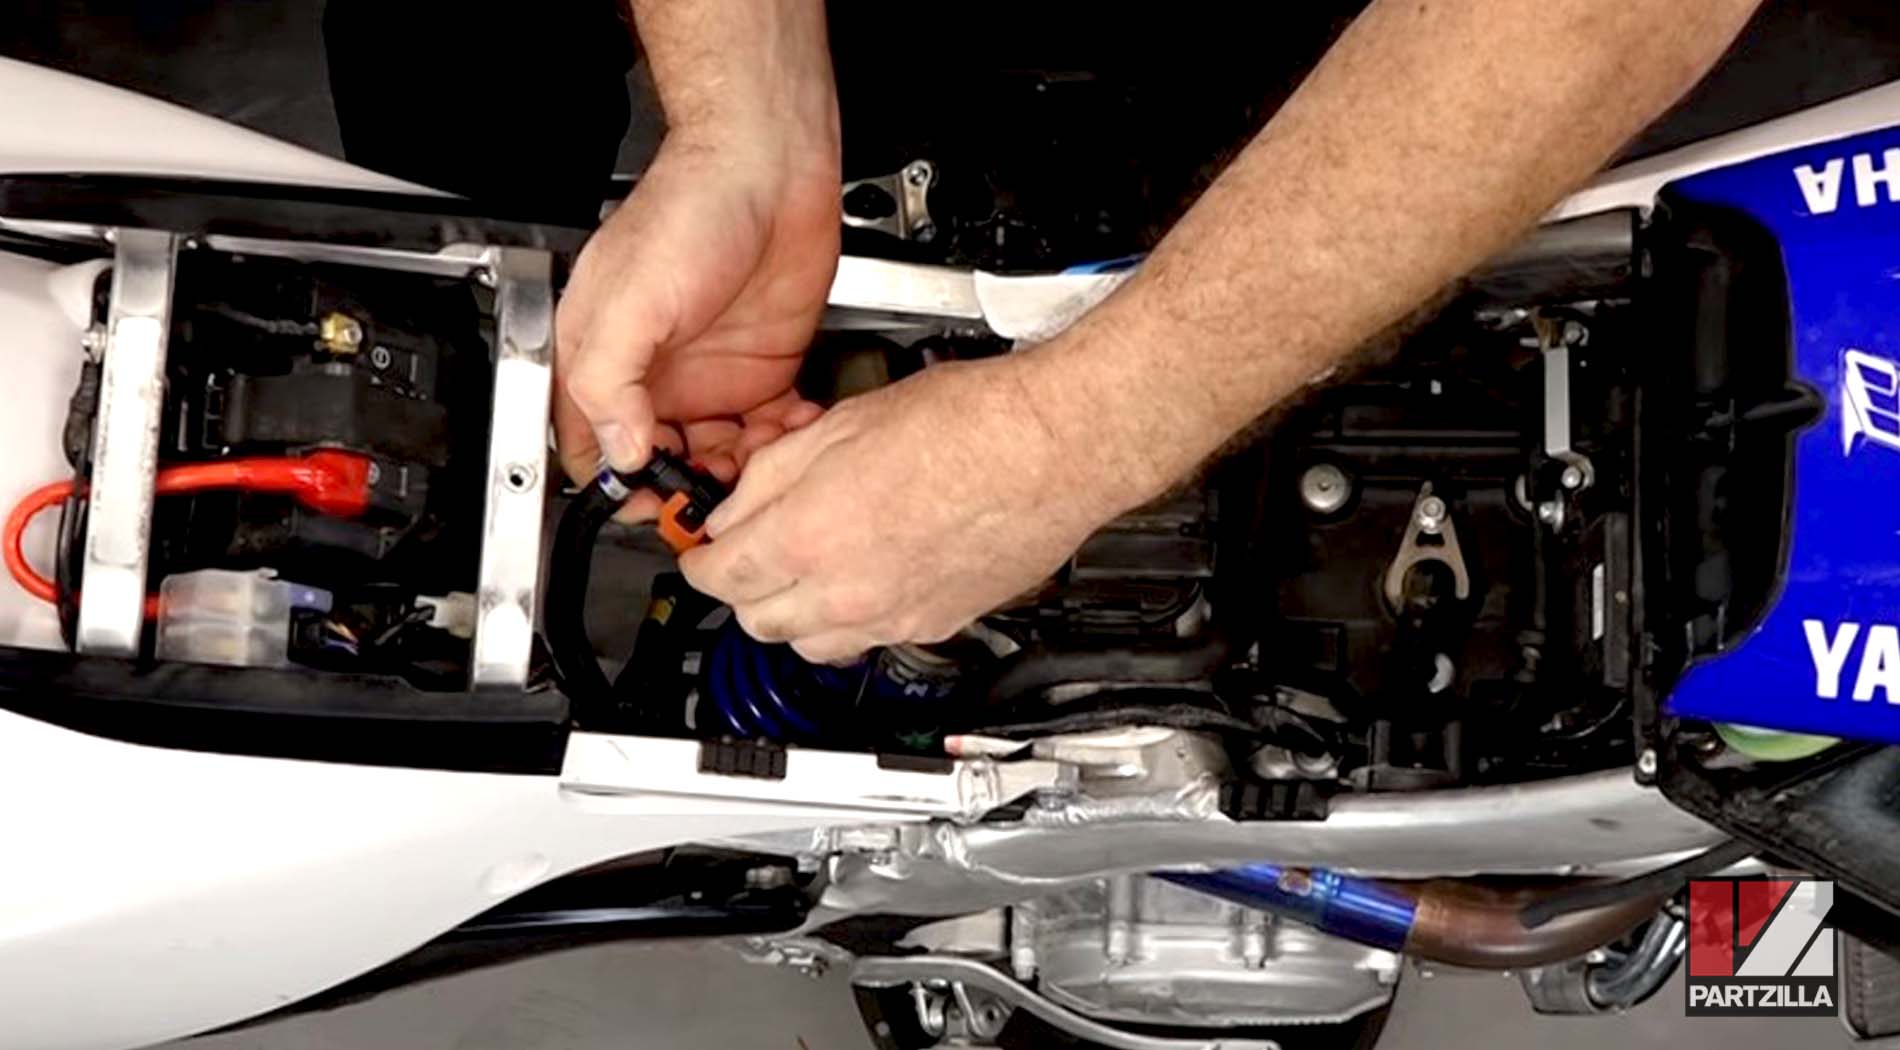
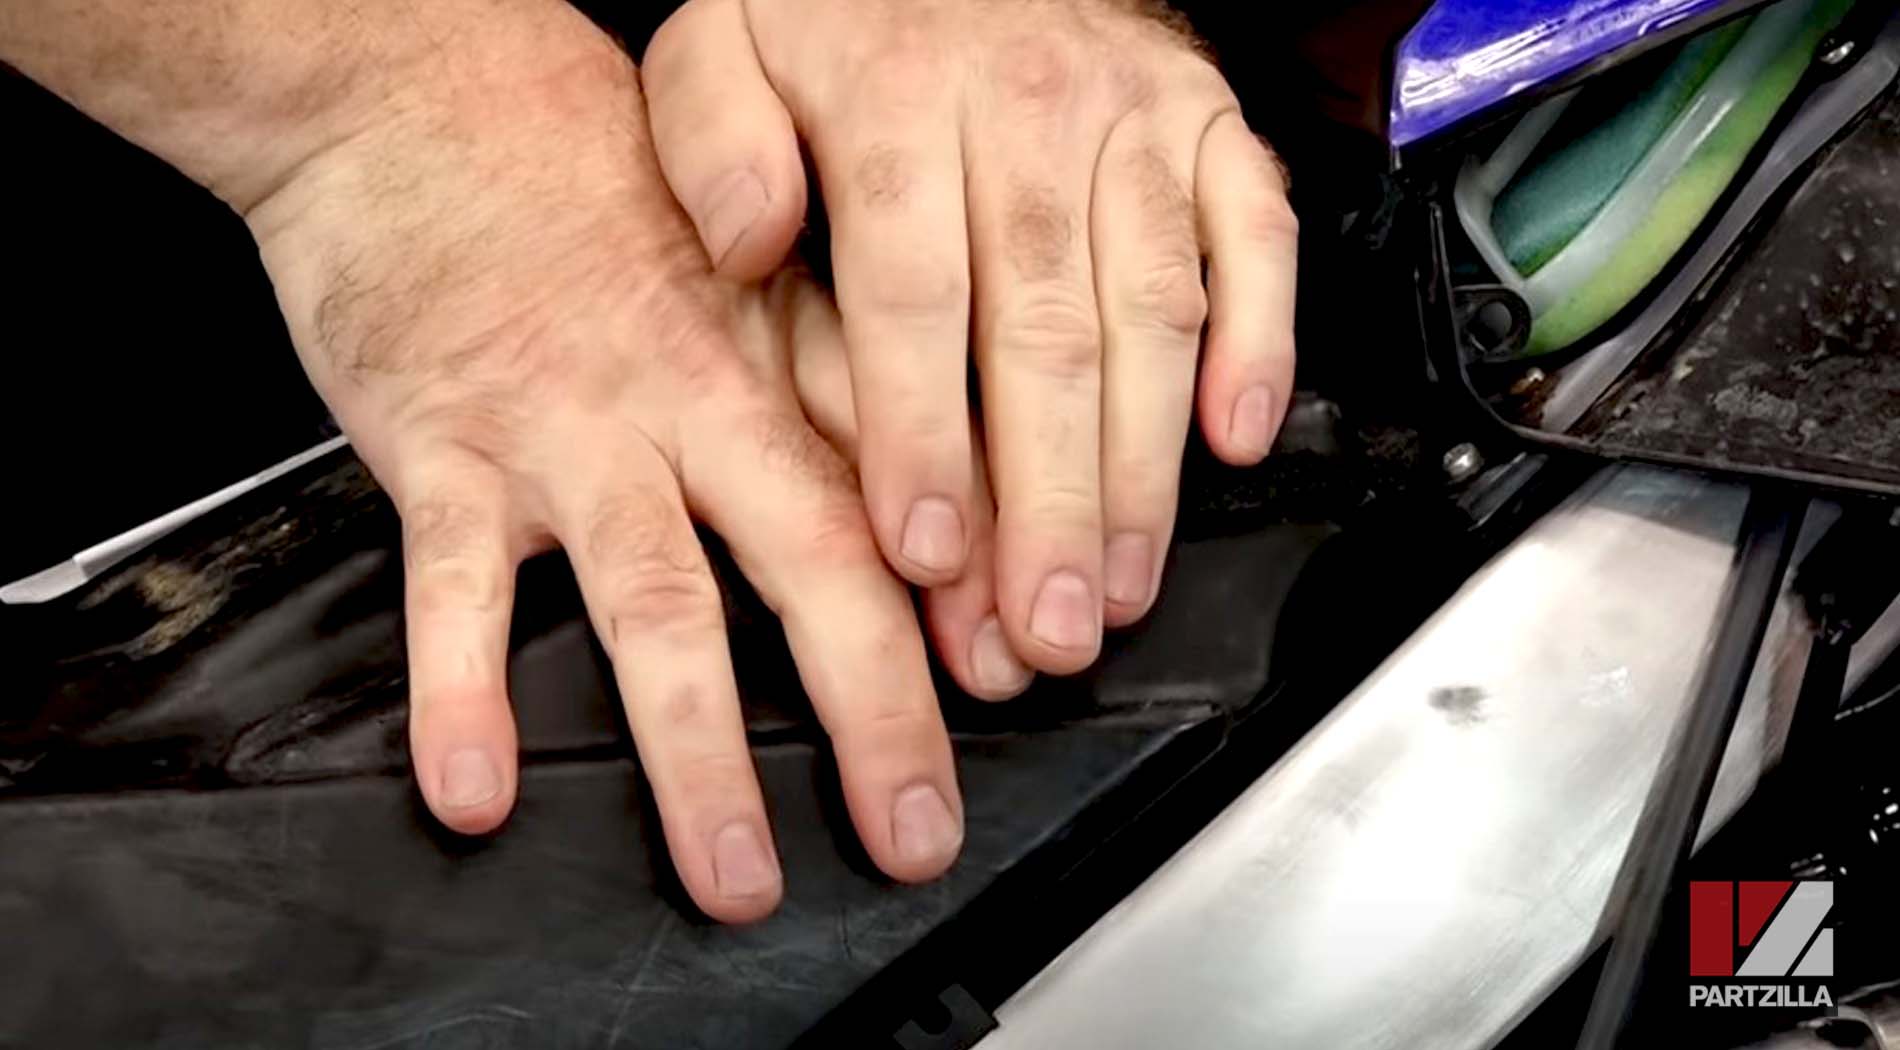
Step 5. Connect the tank to the fuel line before reinstalling it, otherwise you won’t have enough room to make the connection. Do this by pulling the red section at the fuel line back, then making the connection as you're bringing the tank in. Push the tank in all the way down and then push the red section in to lock it.
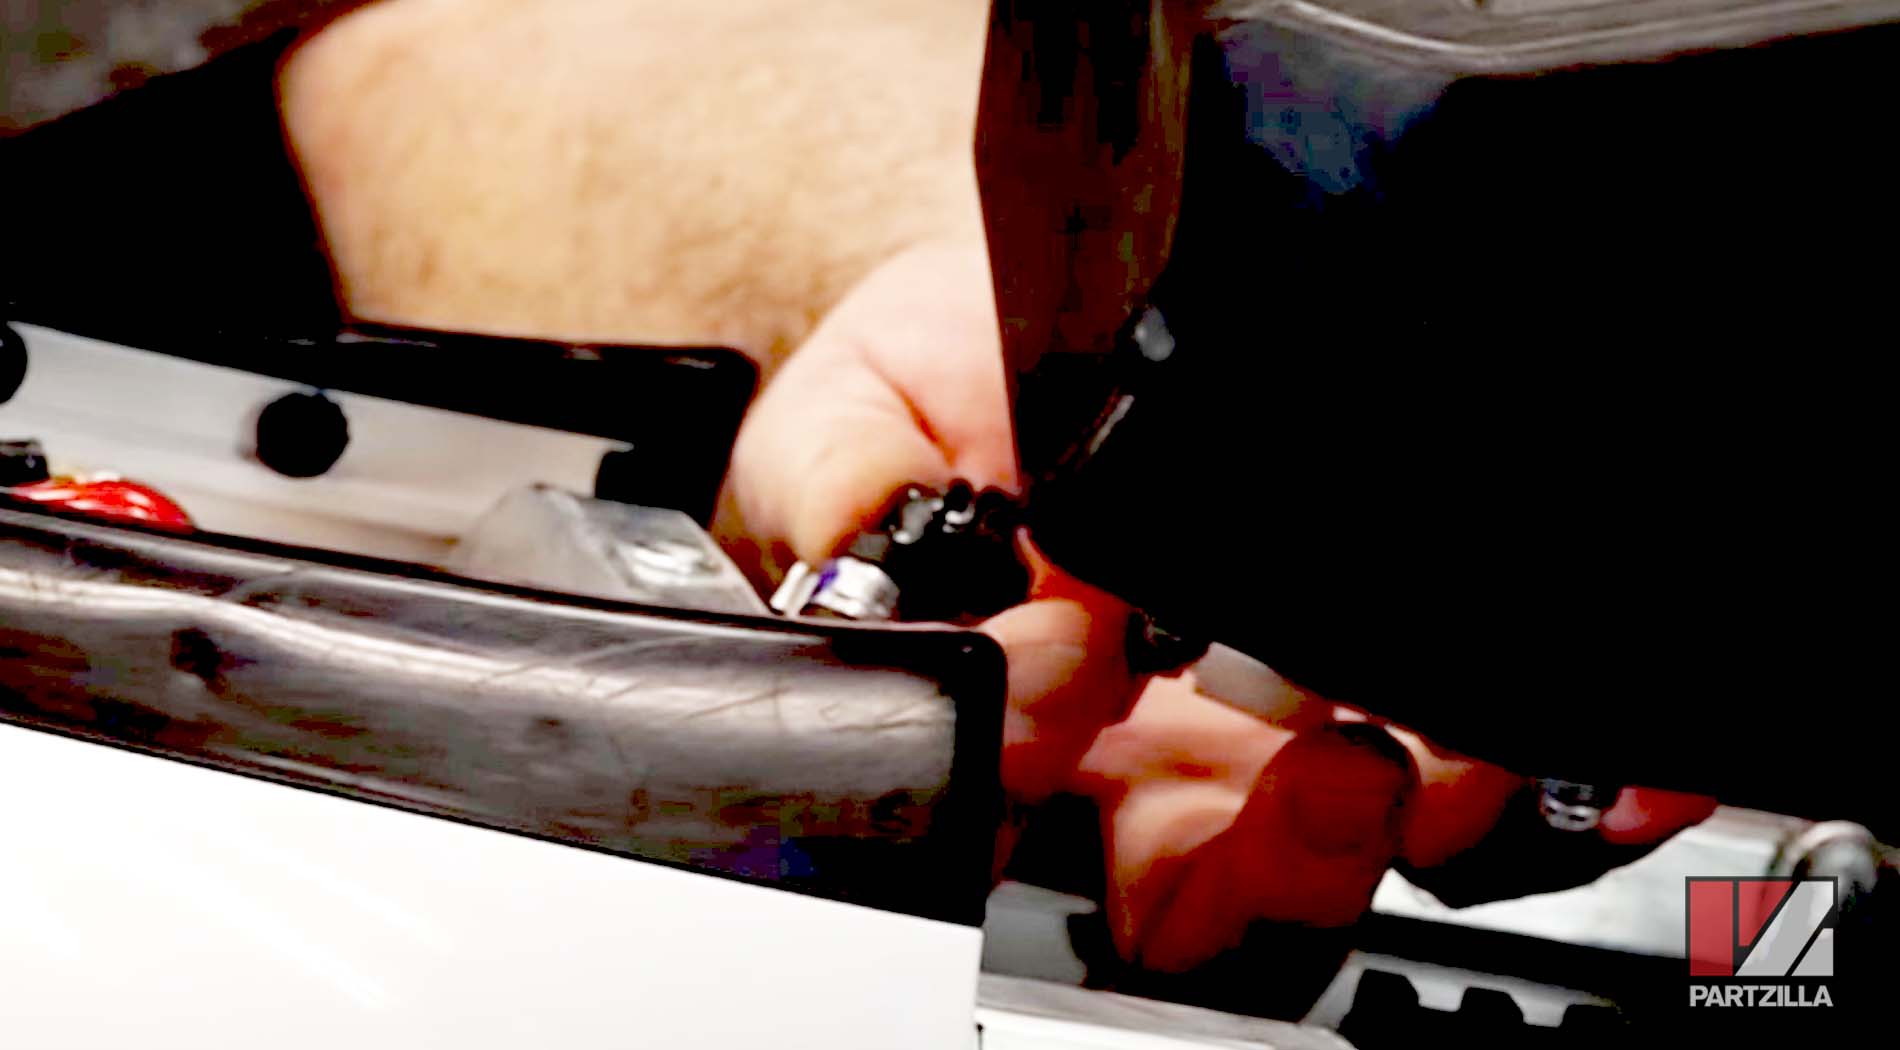
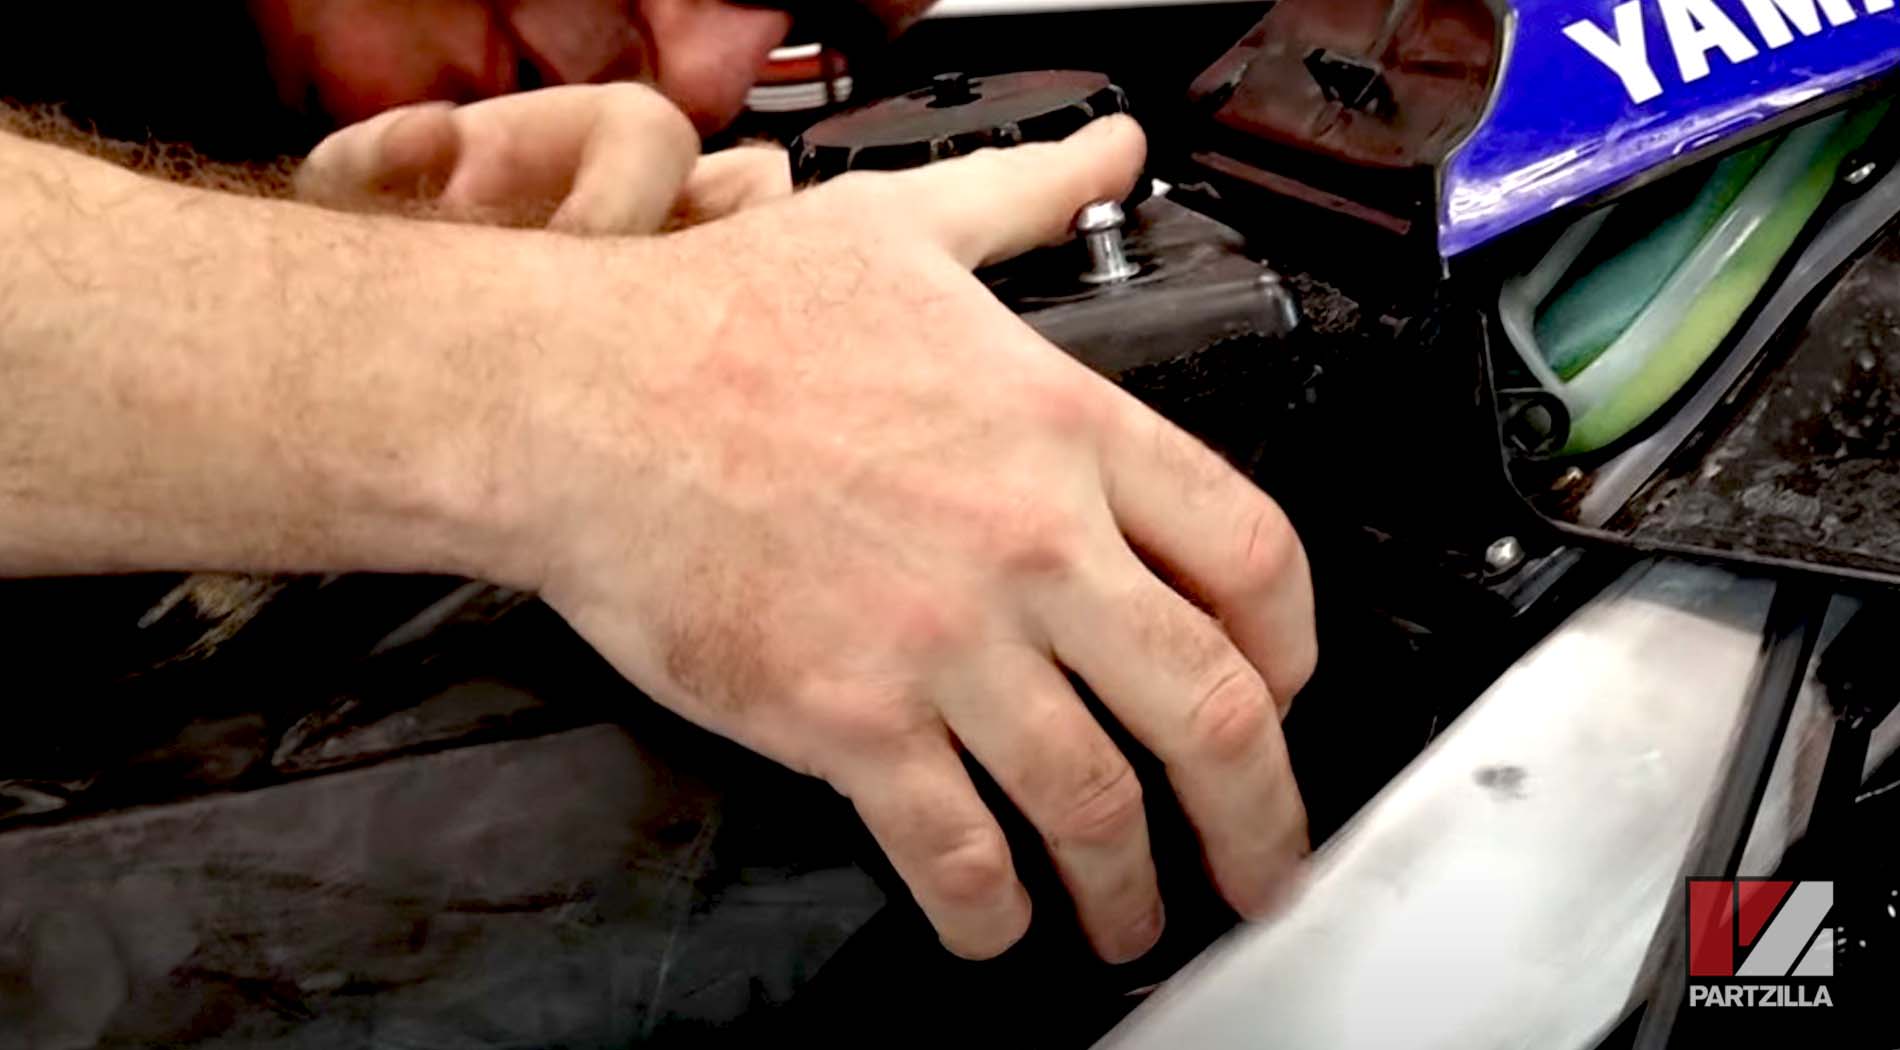
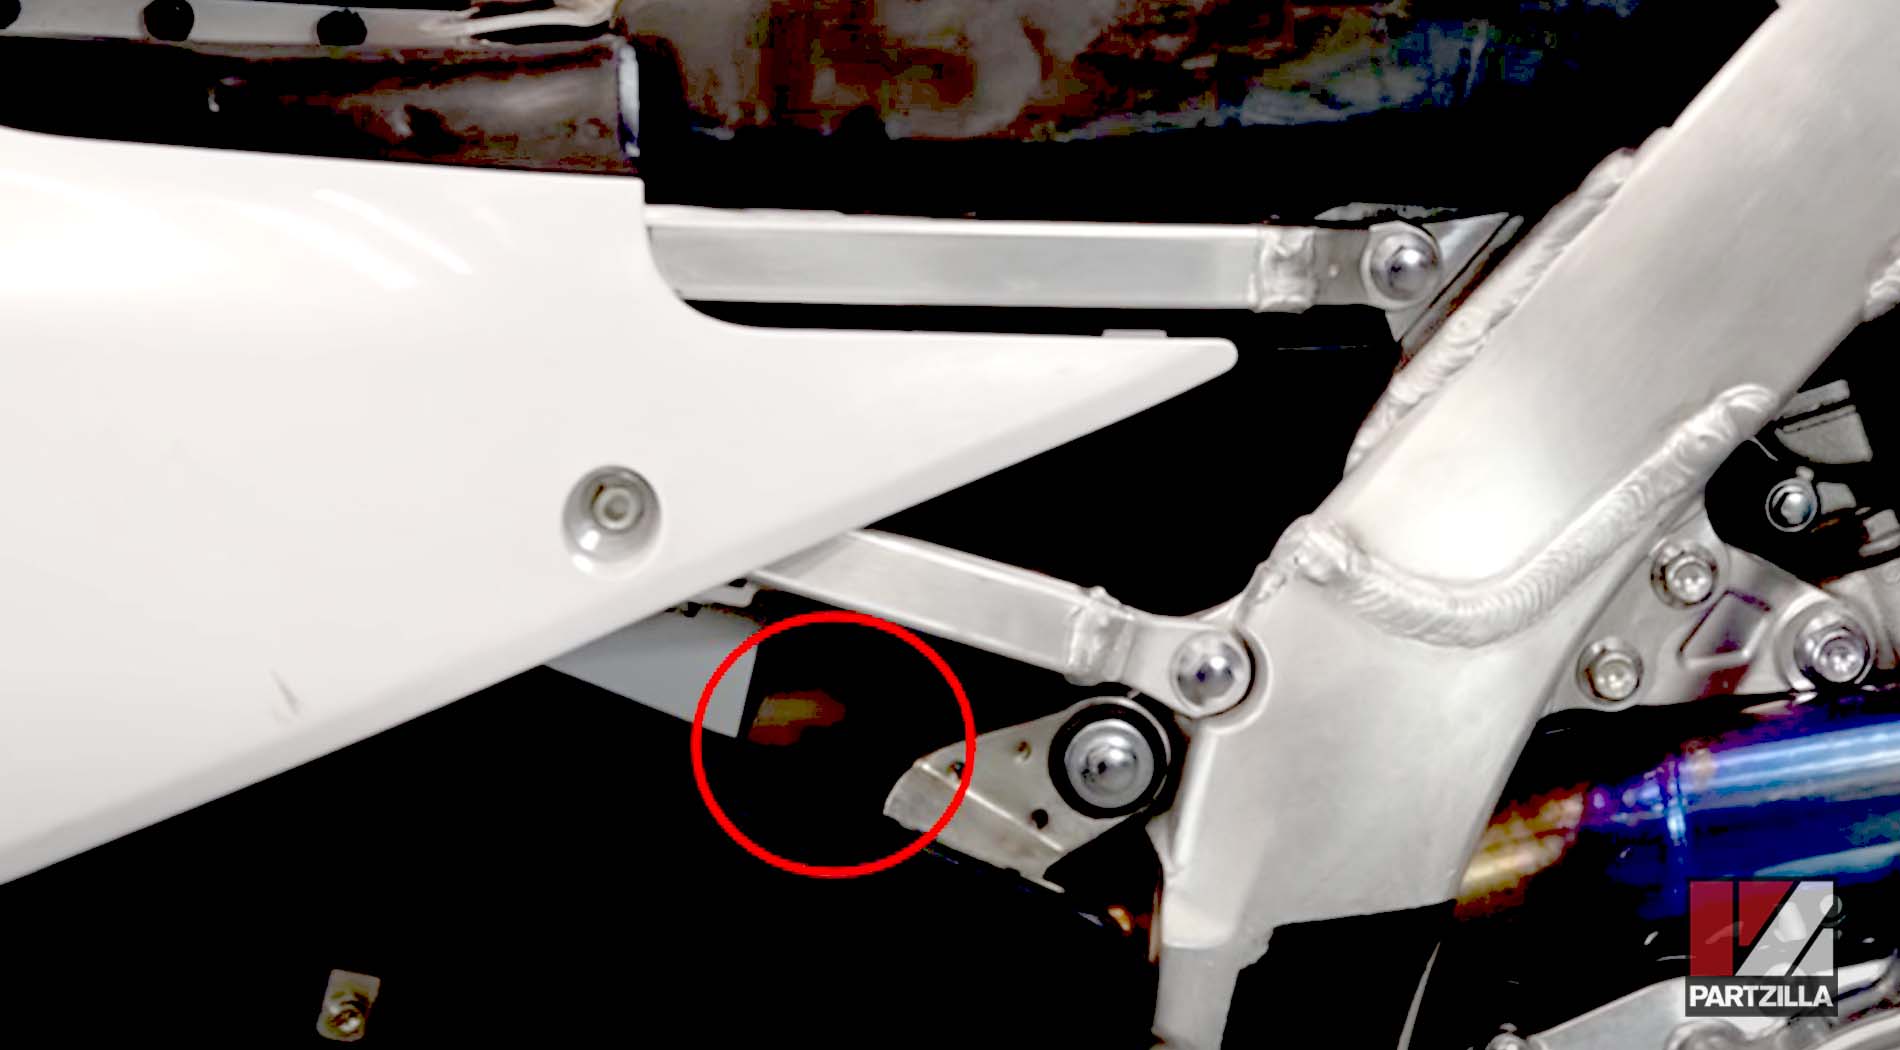
Step 6. Slide the fuel tank back into position at the front, which has two little sections protruding out on either side that lock it into place.
Step 7. Connect the fuel tank to its electrical connection, which is a single plug down below. Push the connection in until you hear it click.
Step 8. Reinstall the bolt in the back that holds the fuel tank in place and you’re done.