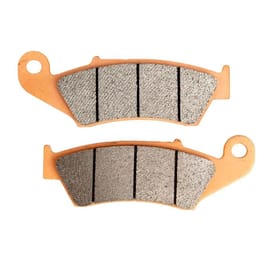
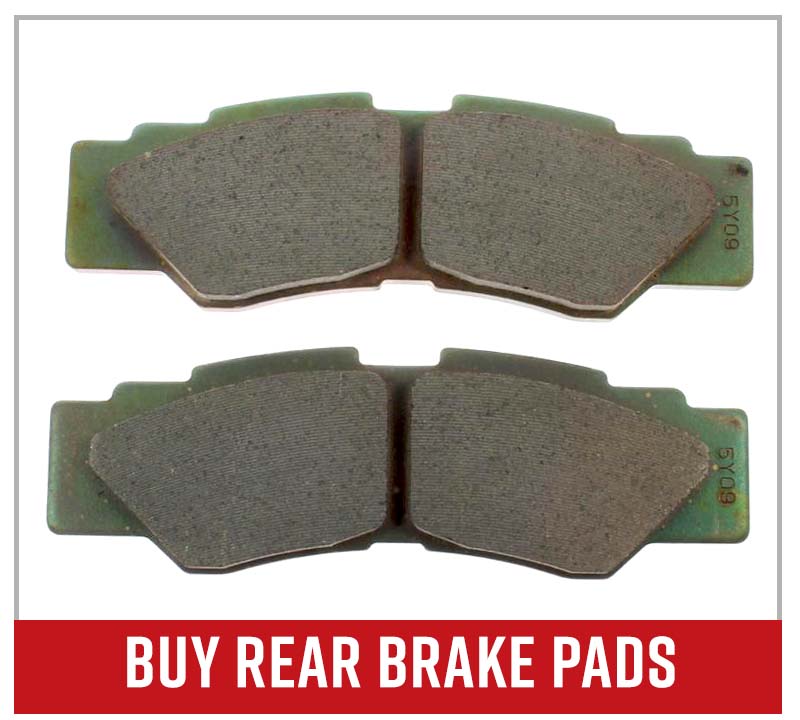
Yamaha YXZ1000R Rear Brake Pads Change
Changing the rear brake pads on a Yamaha UTV is basic “do it yourself” maintenance. No special tools are needed, so if you have basic mechanic skills, this should be an easy one.
Watch the video above and follow the steps below to replace the rear brake pads on a Yamaha YXZ1000R side-by-side.
Tools and Parts – Yamaha YXZ1000R Rear Brake Pads Change
- Ratchet and 14mm socket
- C-clamp
- Flathead screwdriver
- Torque wrench
How to Replace Yamaha YXZ1000R Rear Brake Pads
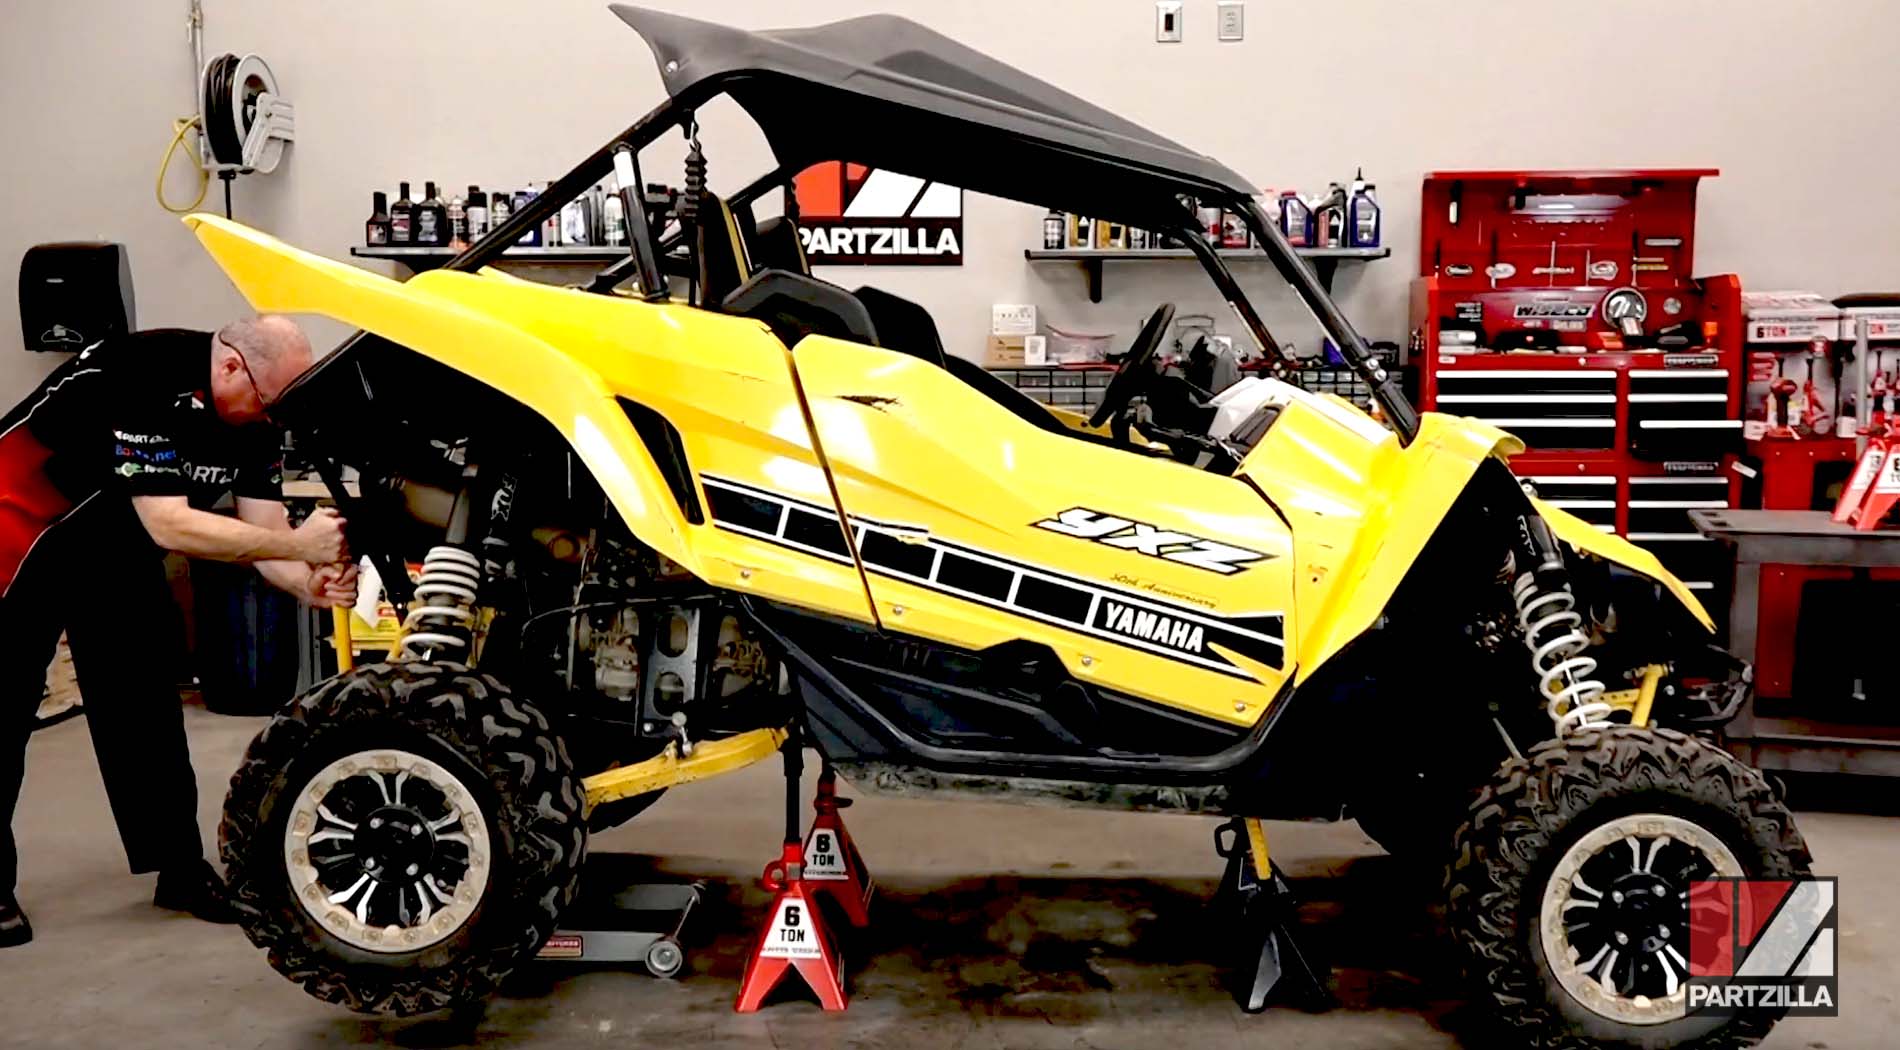
Step 1. Raise the rear of the vehicle, then support it on axle stands positioned under the frame and remove the rear wheels.
NOTE: Never work on a side-by-side or any other vehicle using only a jack. Make sure the vehicle is safely supported on axle stands.
Step 2. Remove the two 14mm brake caliper mounting bolts, and slide the caliper assembly off the brake rotor.
PRO TIP: You may have to use a socket swivel adapter to access the lower mounting bolt.
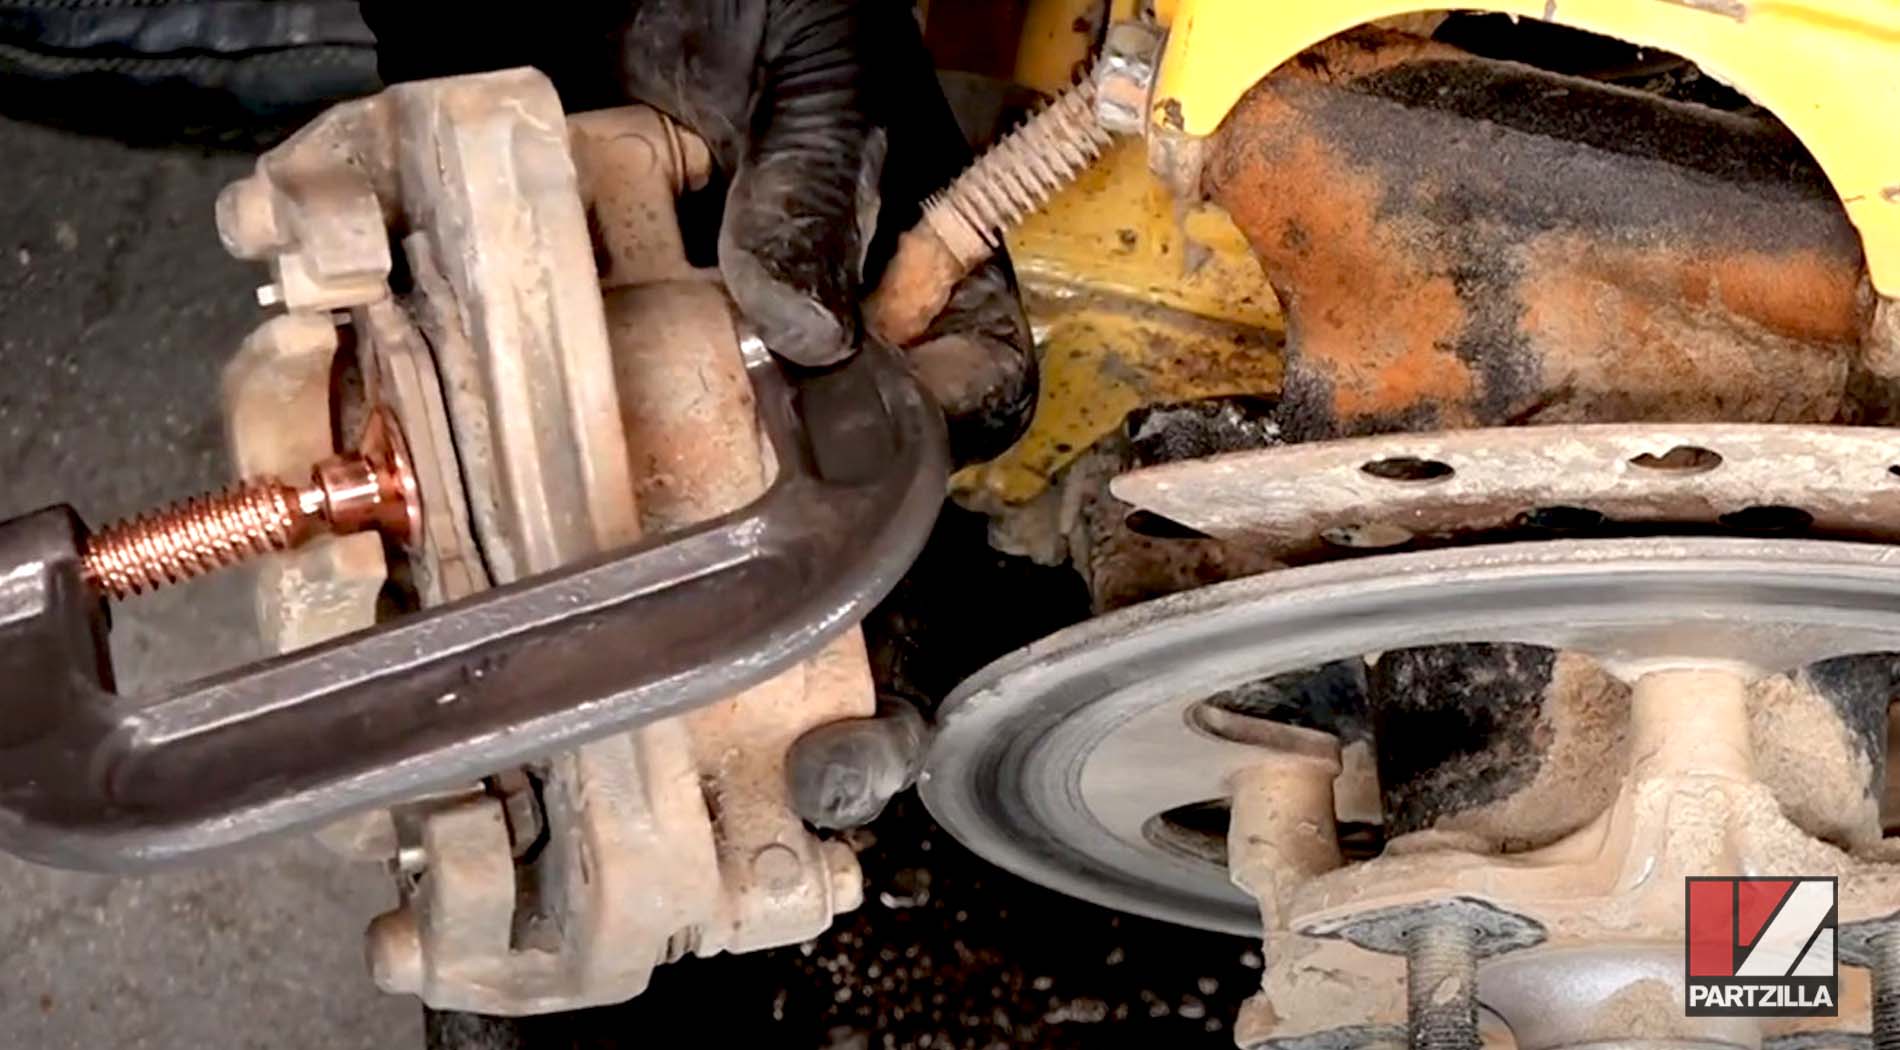
Step 3. Compress the pistons back into the brake caliper by tightening a C-clamp down on the old brake pads. Or tighten one side of the pad, then the other, to compress the calipers evenly.
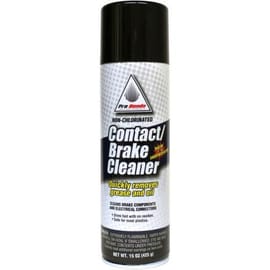
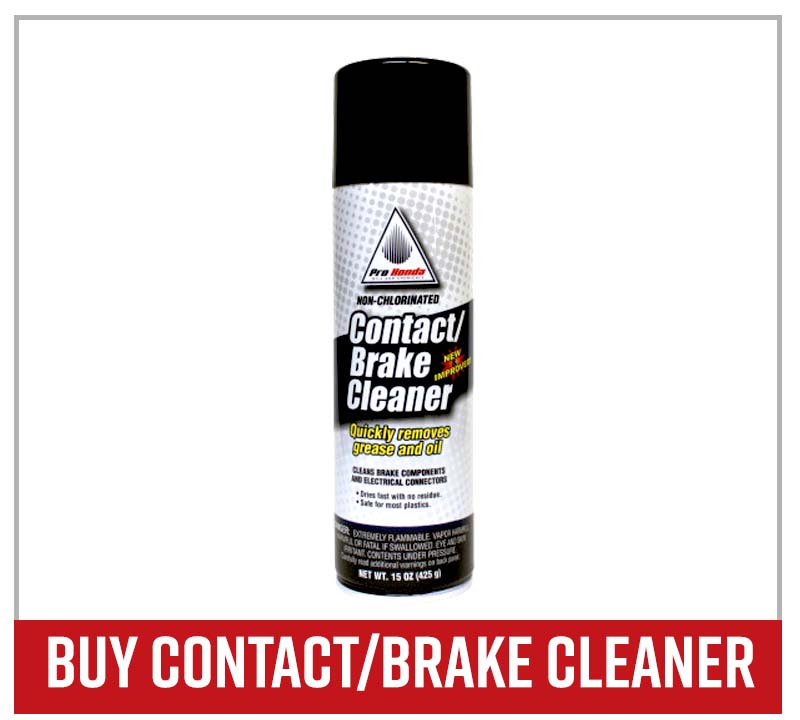
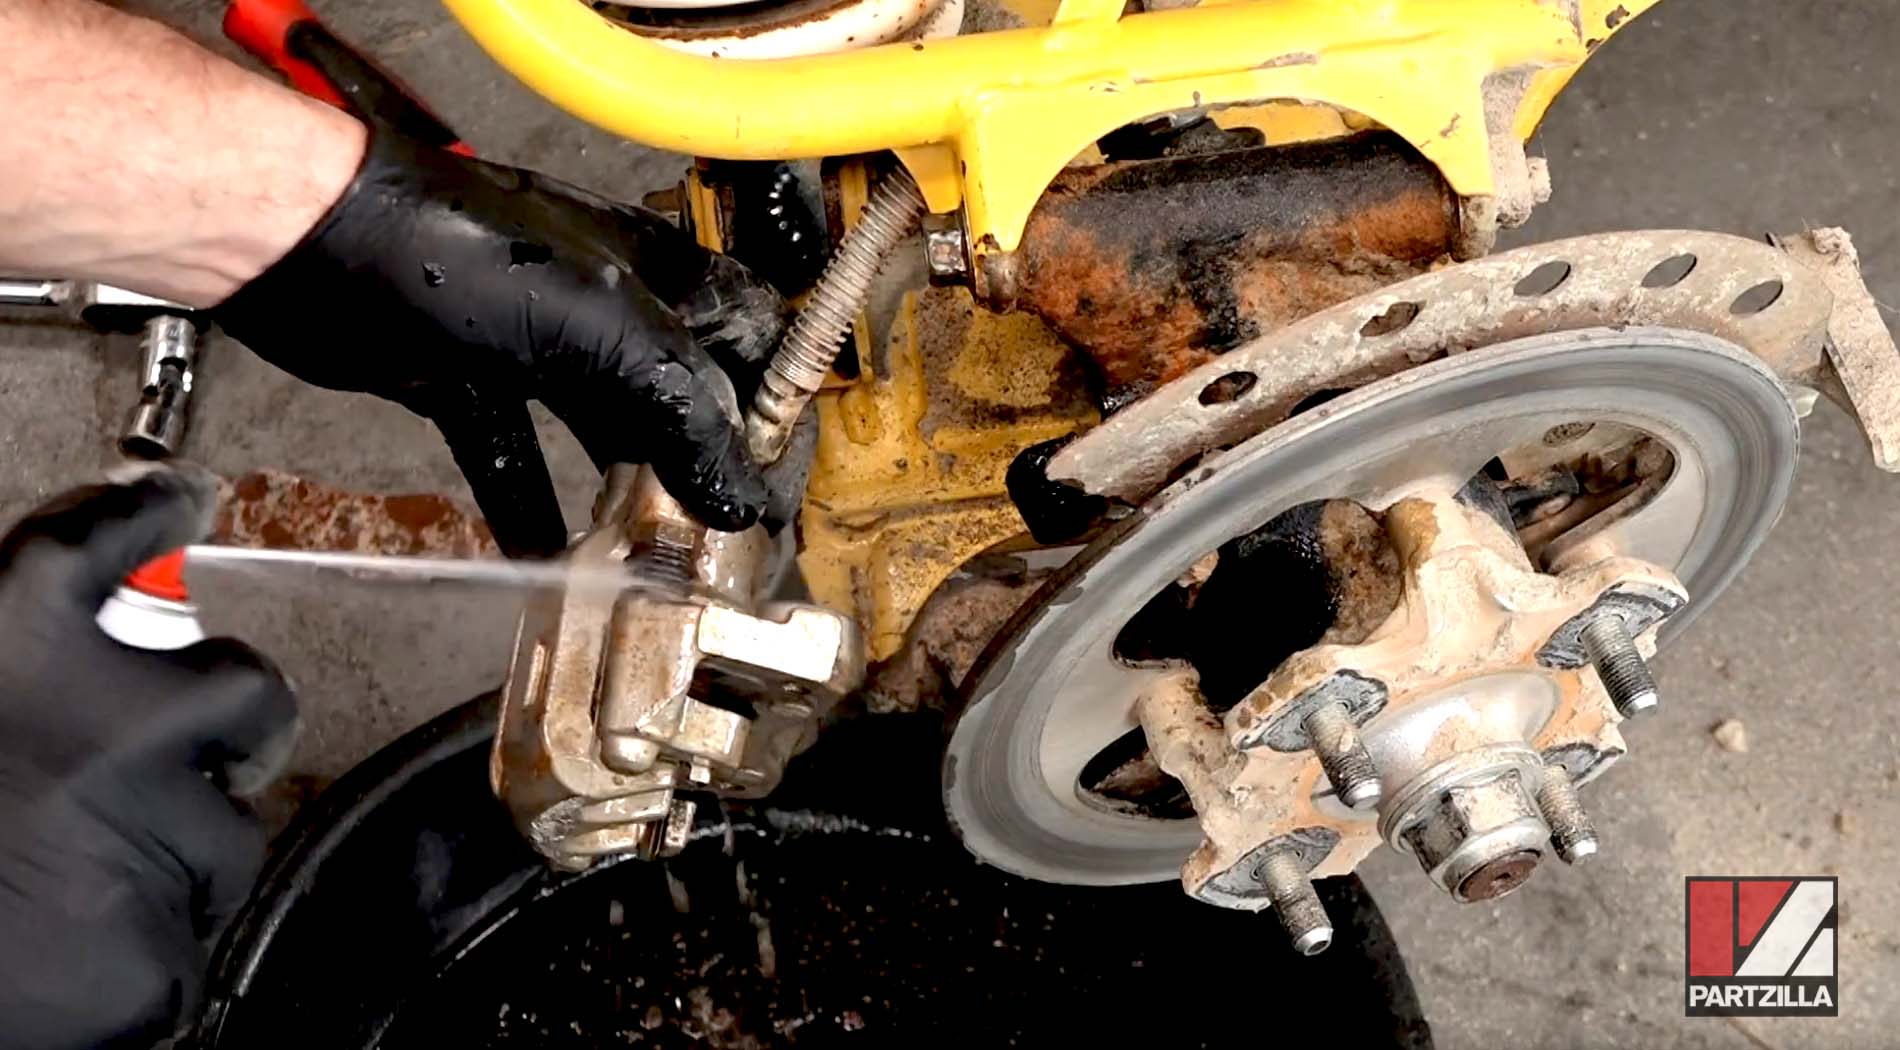
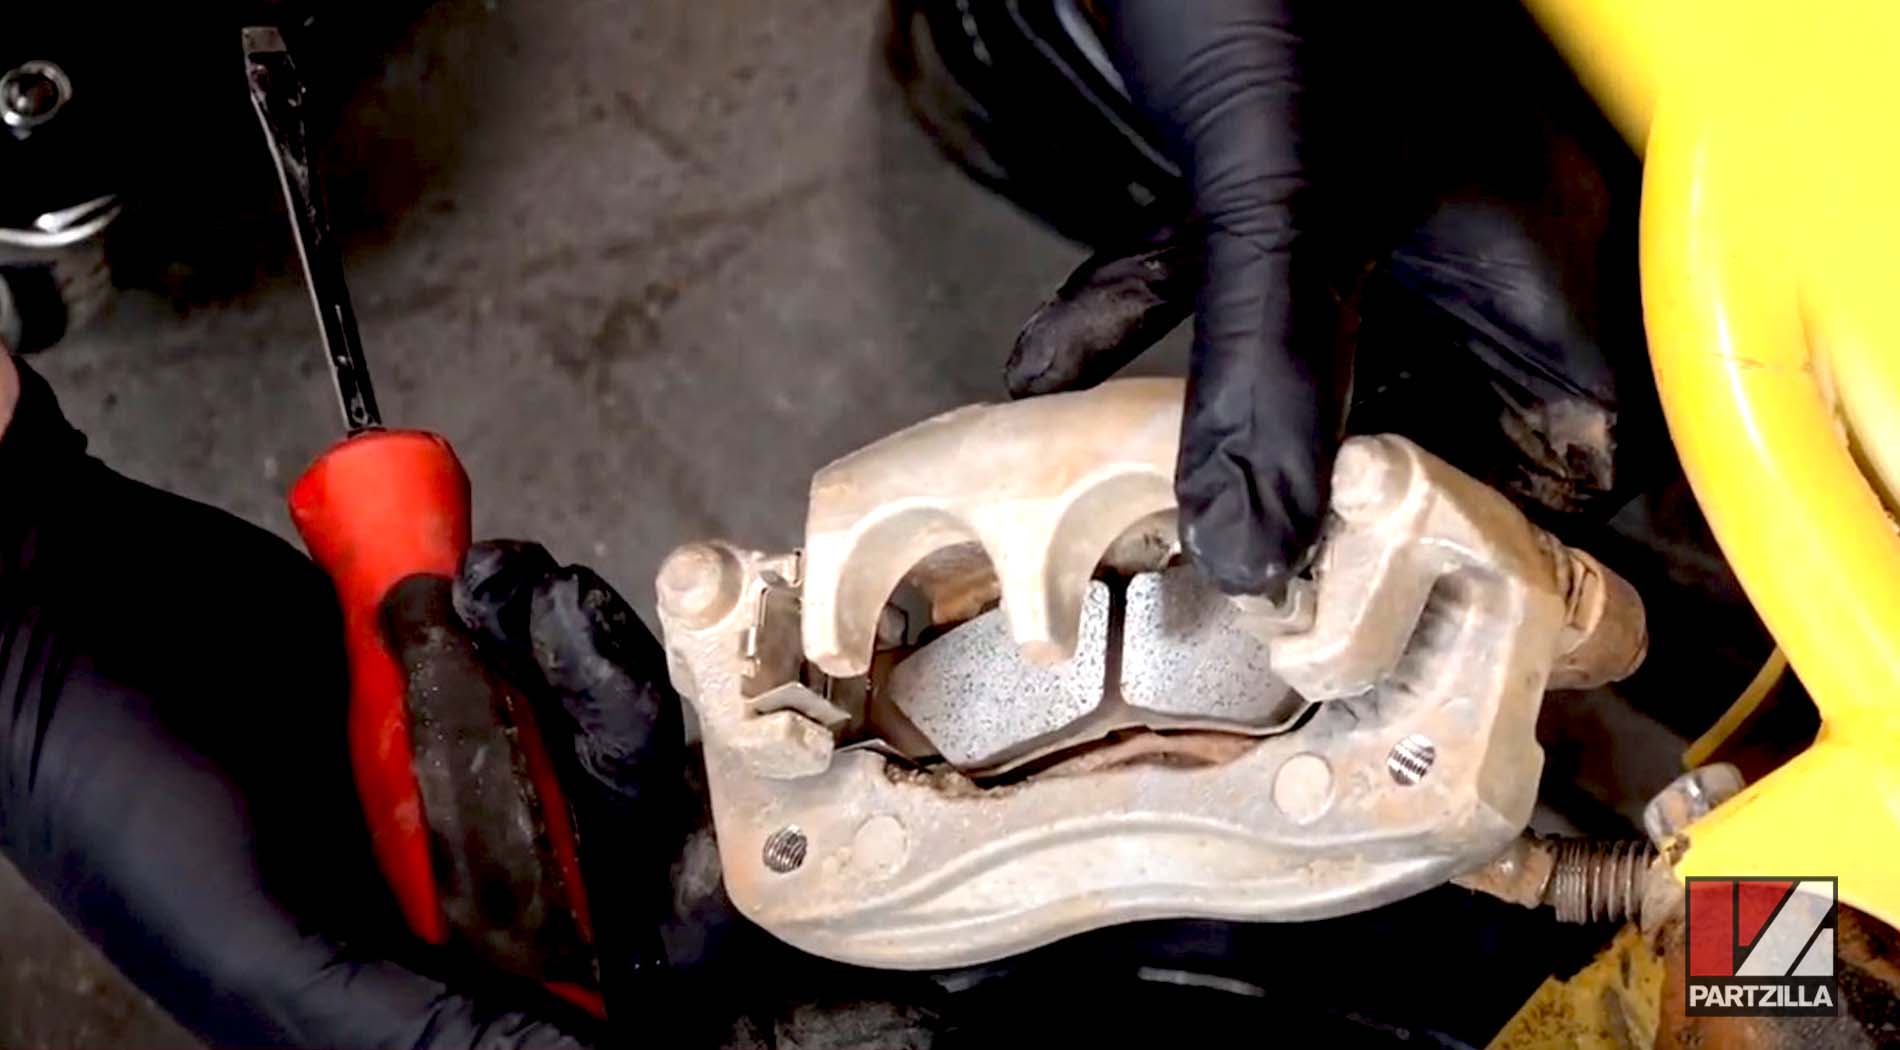
Step 4. Remove the old brake pads from the caliper, then clean the caliper assembly with contact/brake cleaner.
Step 5. Check the brake disc/rotor for excessive wear or any grooves cut into it. The rotor has a wear limit of 5mm minimum thickness.
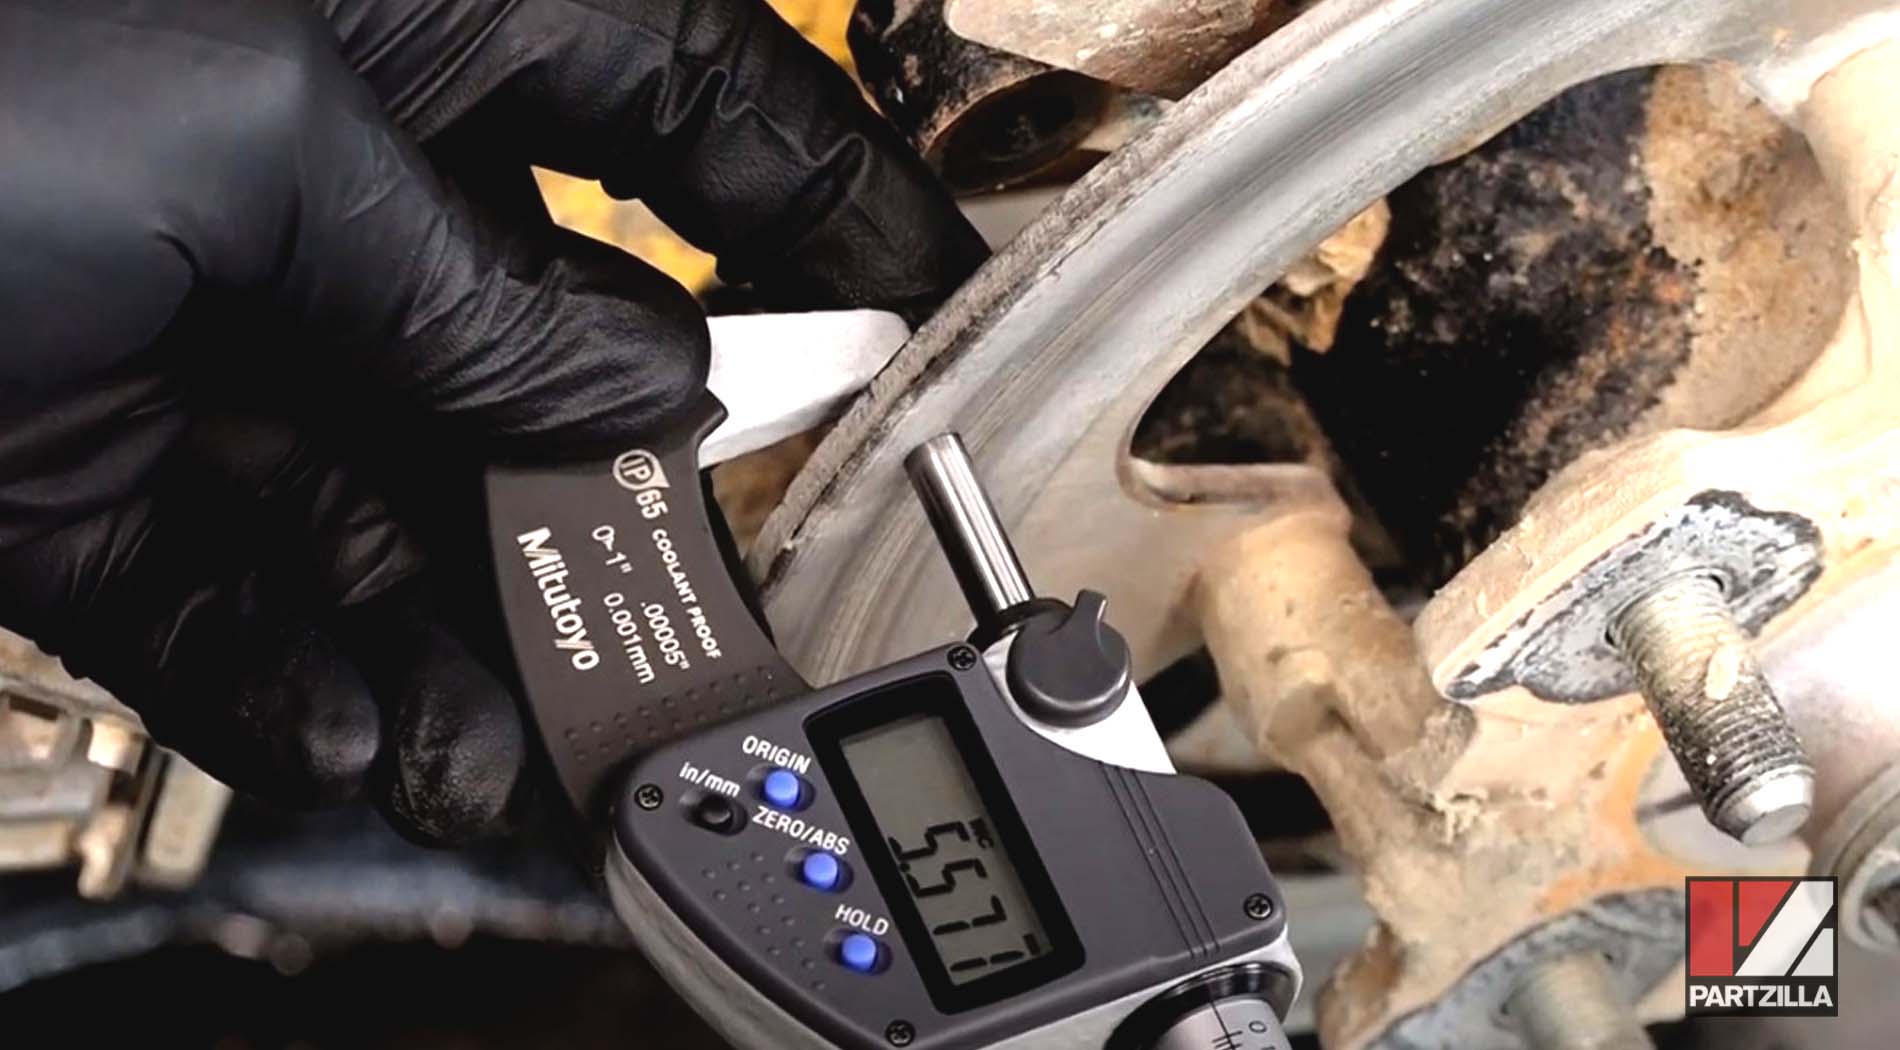
If the brake disc/rotor is excessively worn, replace it by unbolting it from the wheel hub and installing a new one.
Step 6. Check that the brake caliper and the caliper mount slide easily along the two pins protected by the rubber boots, then check the boots for splits or tears.

If the caliper and mount are binding on the pins, then remove the caliper, clean and grease the pins, and reinstall the carrier. However, if the boots are damaged, remove the carrier and replace the boots with new ones.
Step 7. Install the new brake pads by using a flathead screwdriver to hold the caliper’s spring clips and guiding the brake pads into the caliper.

Step 8. Slide the caliper assembly back over the brake rotor.
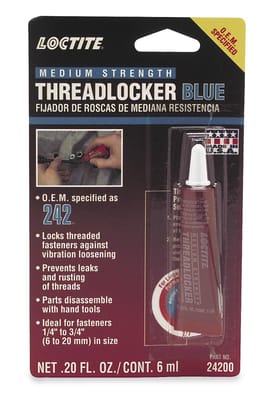
Step 9. Add a drop of blue threadlocker to the two 14mm brake caliper mounting bolts, then reinstall them and torque them to 35 foot-pounds.

Step 10. Reinstall the wheel and torque the lug nuts to 54 foot-pounds.
Repeat these steps for the brake pads on the other side of the vehicle and you’re done.
After changing the rear brake pads on your Yamaha side-by-side, you may want to change the front brake pads next. Watch the video above to see how to replace Yamaha YXZ1000R front brake pads.