Yamaha YXZ1000R Top End Rebuild: Valve Installation
As part of our complete Yamaha side-by-side engine build, we start building up the head for our 2016 Yamaha YXZ1000R with the installation of new aftermarket valves.
Watch the video above or follow the steps below to learn how to install new valves on a Yamaha YXZ1000 UTV engine.
Tools and Parts - Yamaha YXZ1000R Engine Rebuild Valve Installation
- Blow torch
- Pick tool
- Ratchet and extensions
- Soft blow hammer
- Grease
- Oil
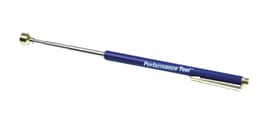
- Magnet retriever tool
- Contact cleaner
If you've been keeping up with this unit’s engine rebuild, you know we already did the bottom end and reduced the compression ratio to prepare the unit for a turbo installation.
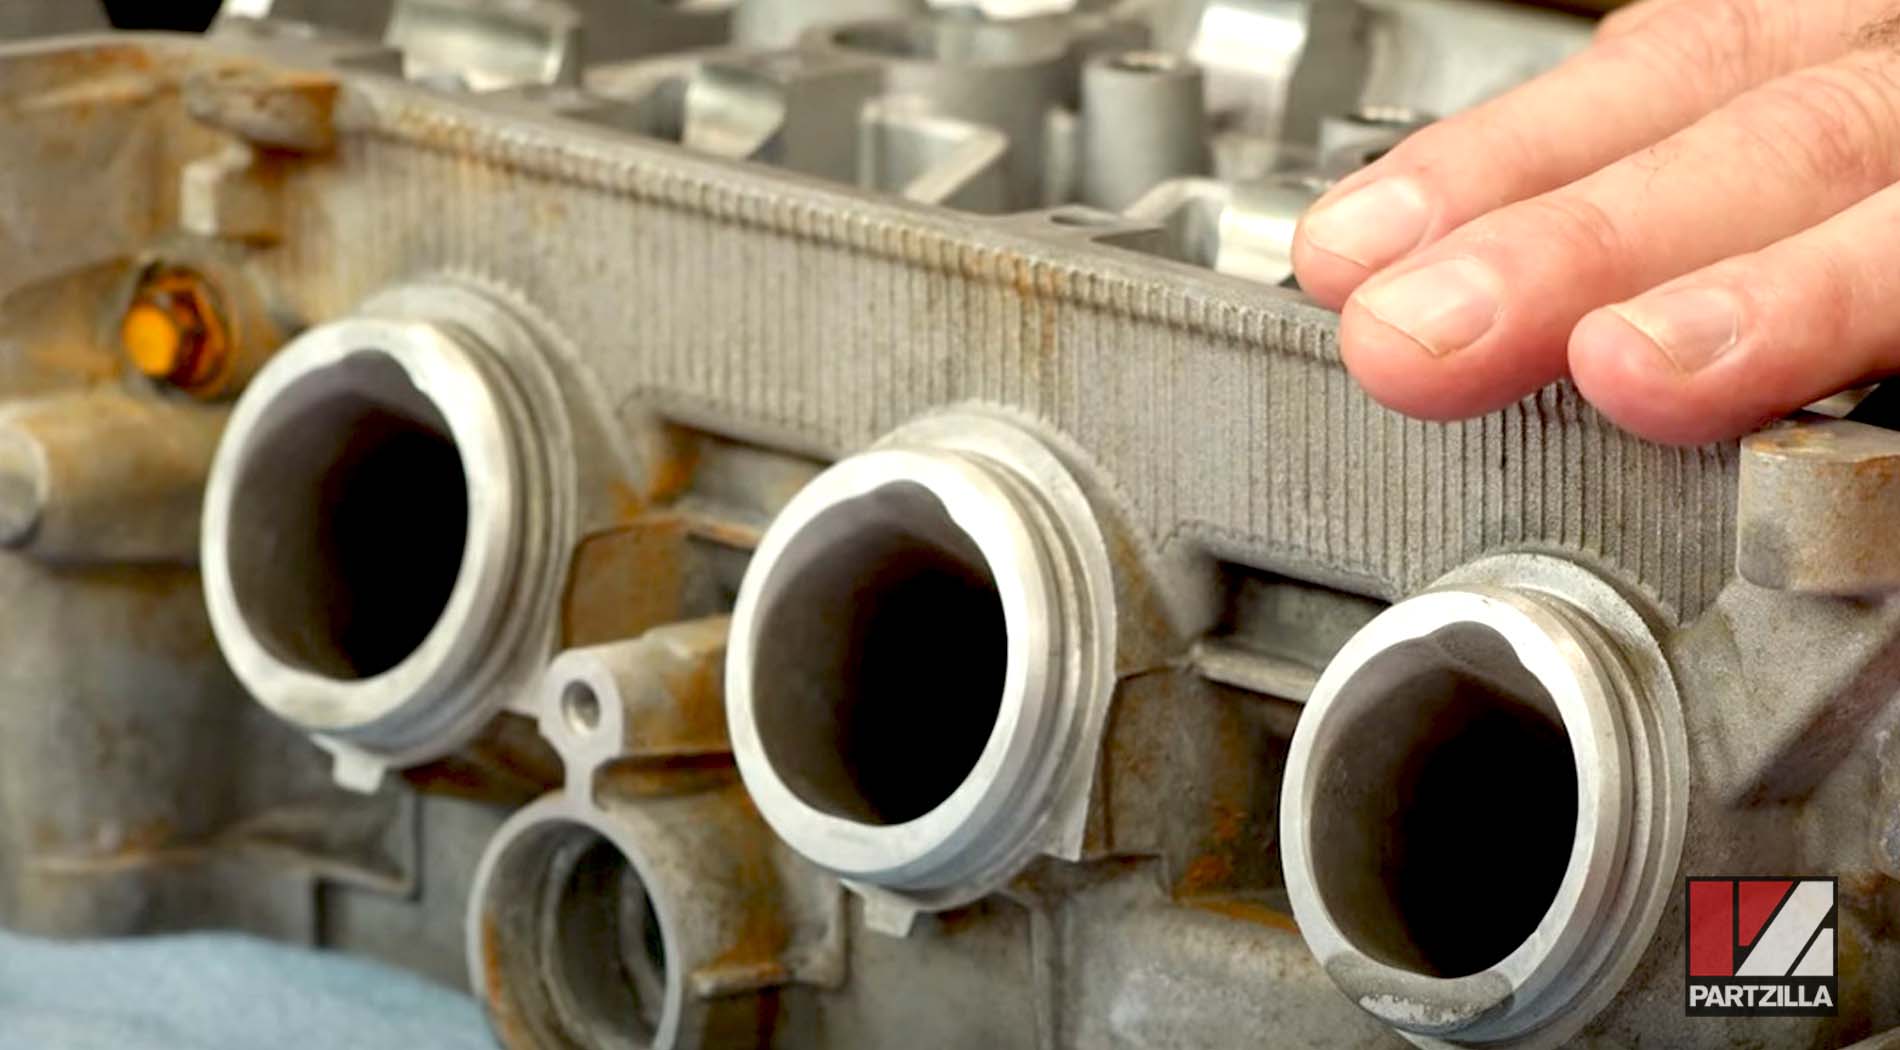
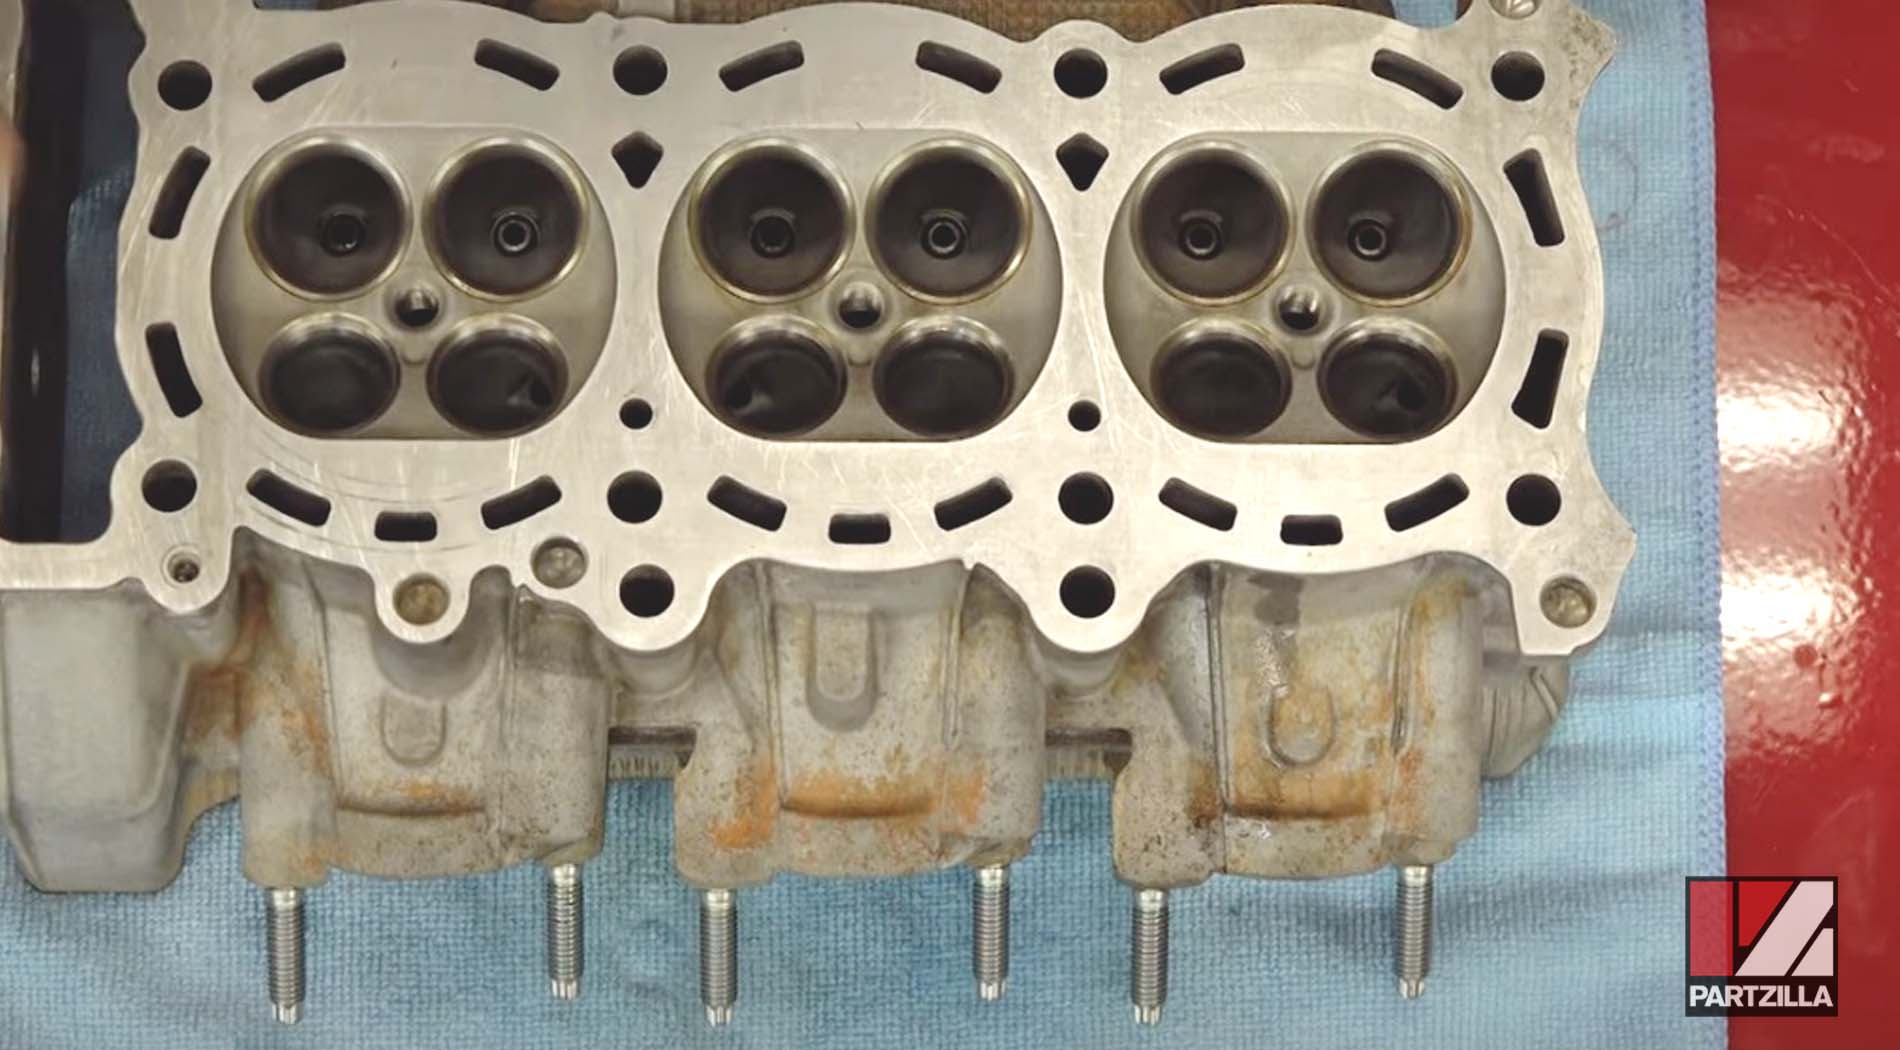
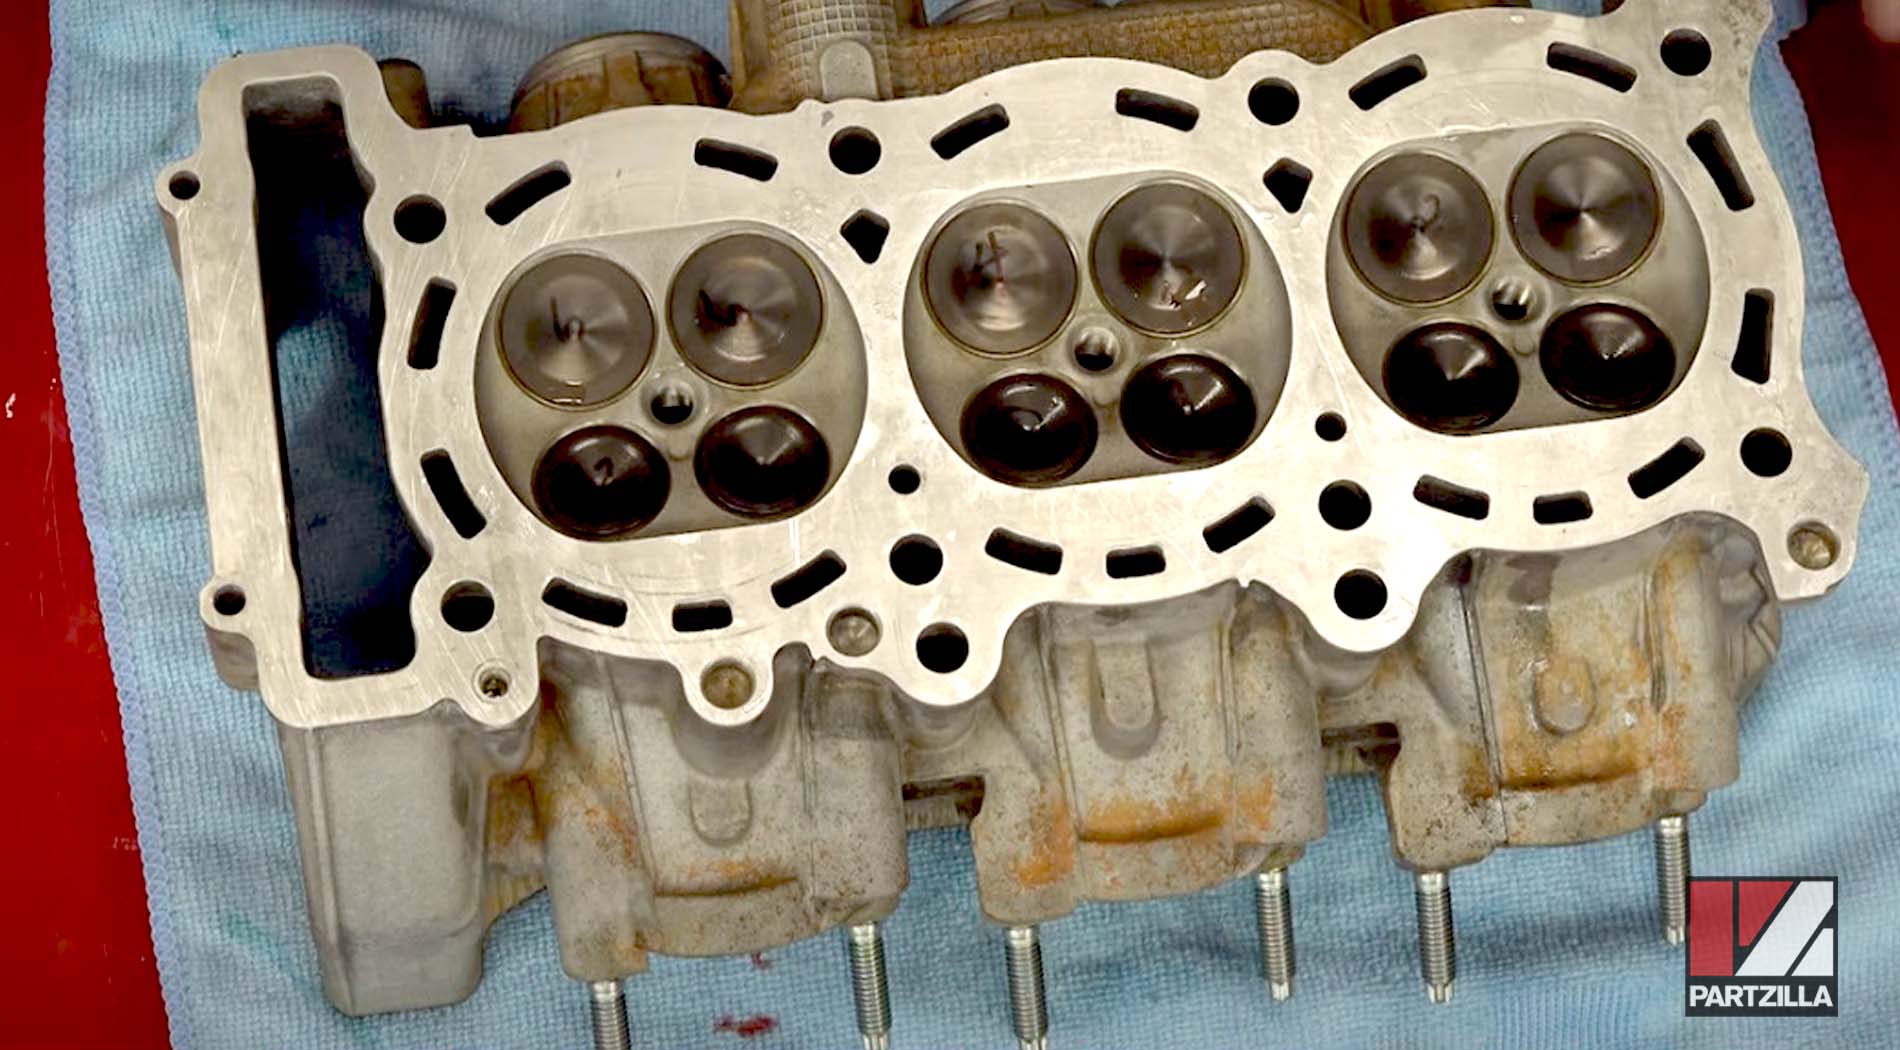
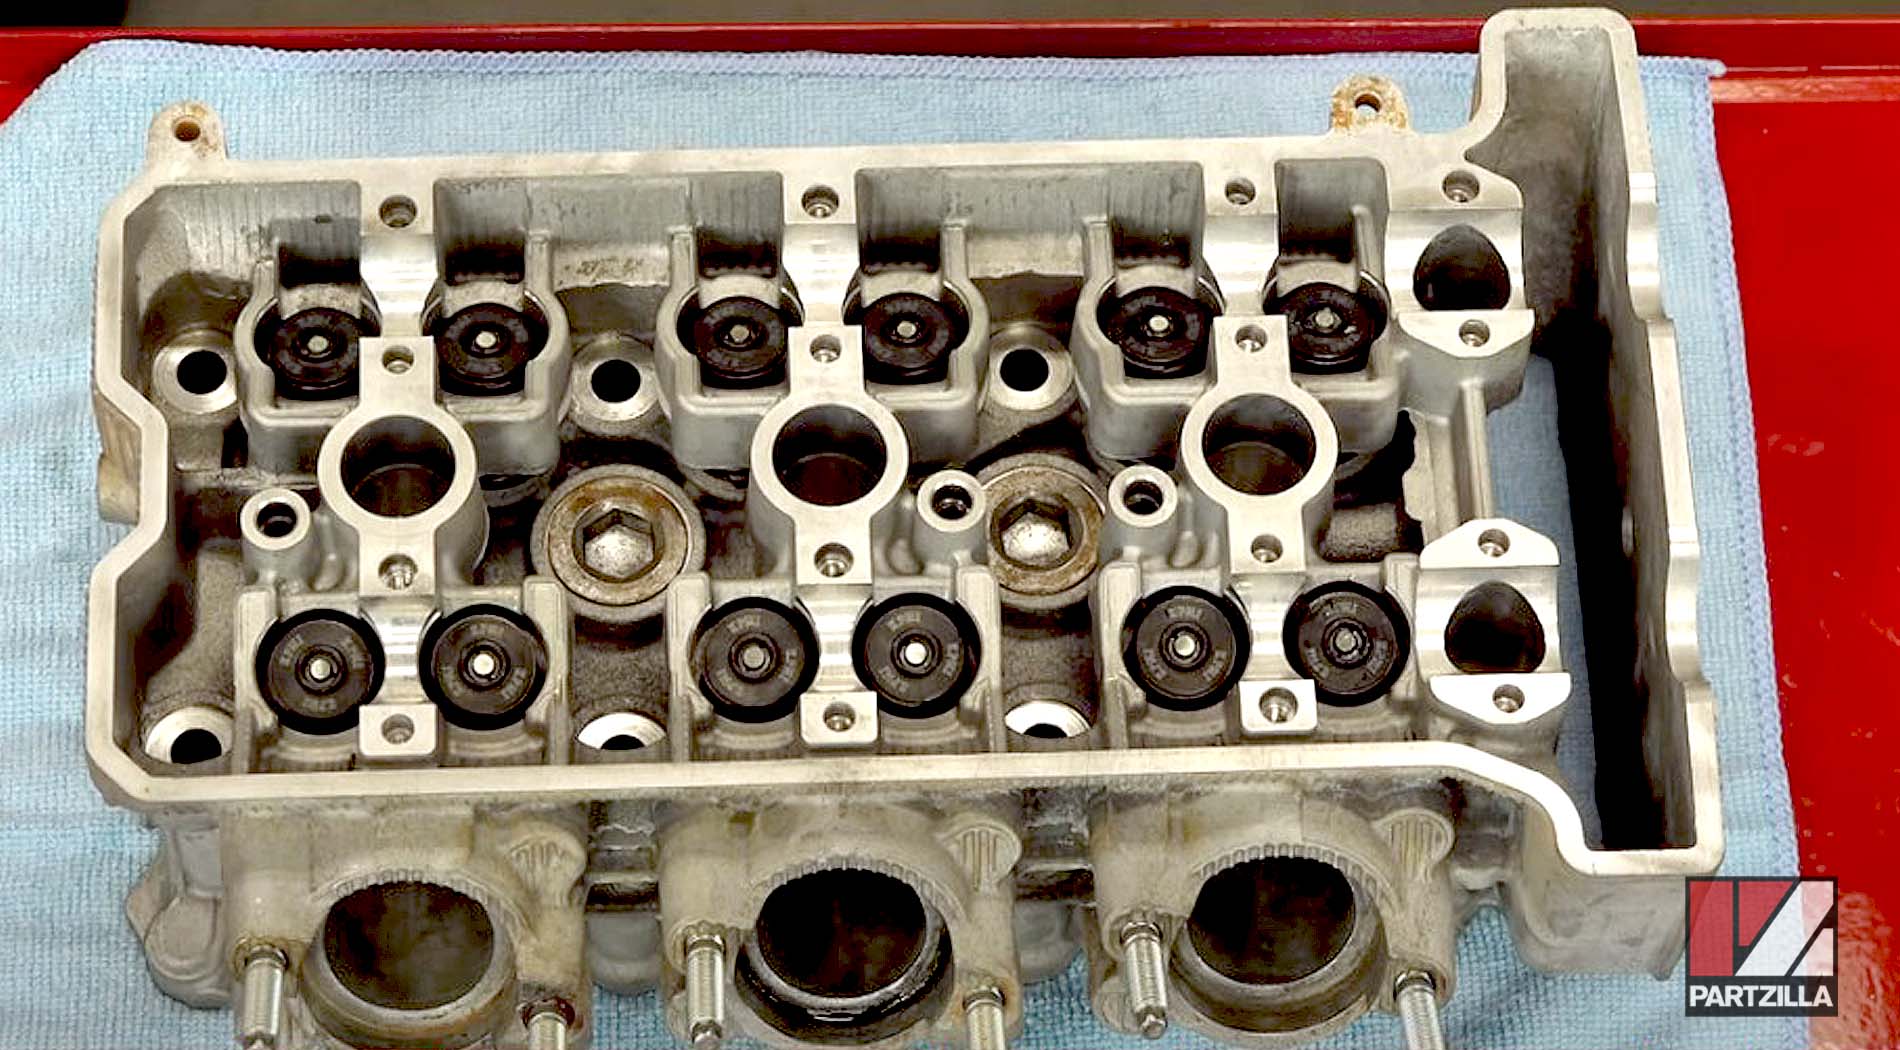
In this part of the rebuild project, we focus on the head, which had just come back from the machine shop with a clean bill of health. While it was there, the shop opened up the intake ports to smooth them out so it'll be easier for the upcoming turbo to cram in that charged air fuel mixture.
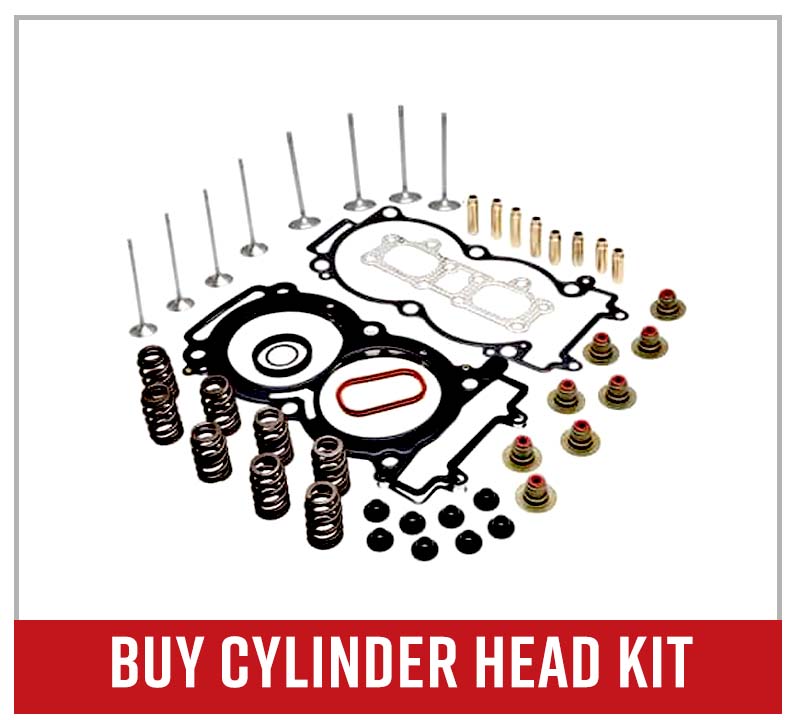
For this valve installation project, we went with a Kibblewhite cylinder head kit. Kibblewhite Precision parts are world renowned for their build quality, endurance and longevity, and this installation is going to put up with the extra stress that we're going to be inducing into the head, which will be a forced induction engine.
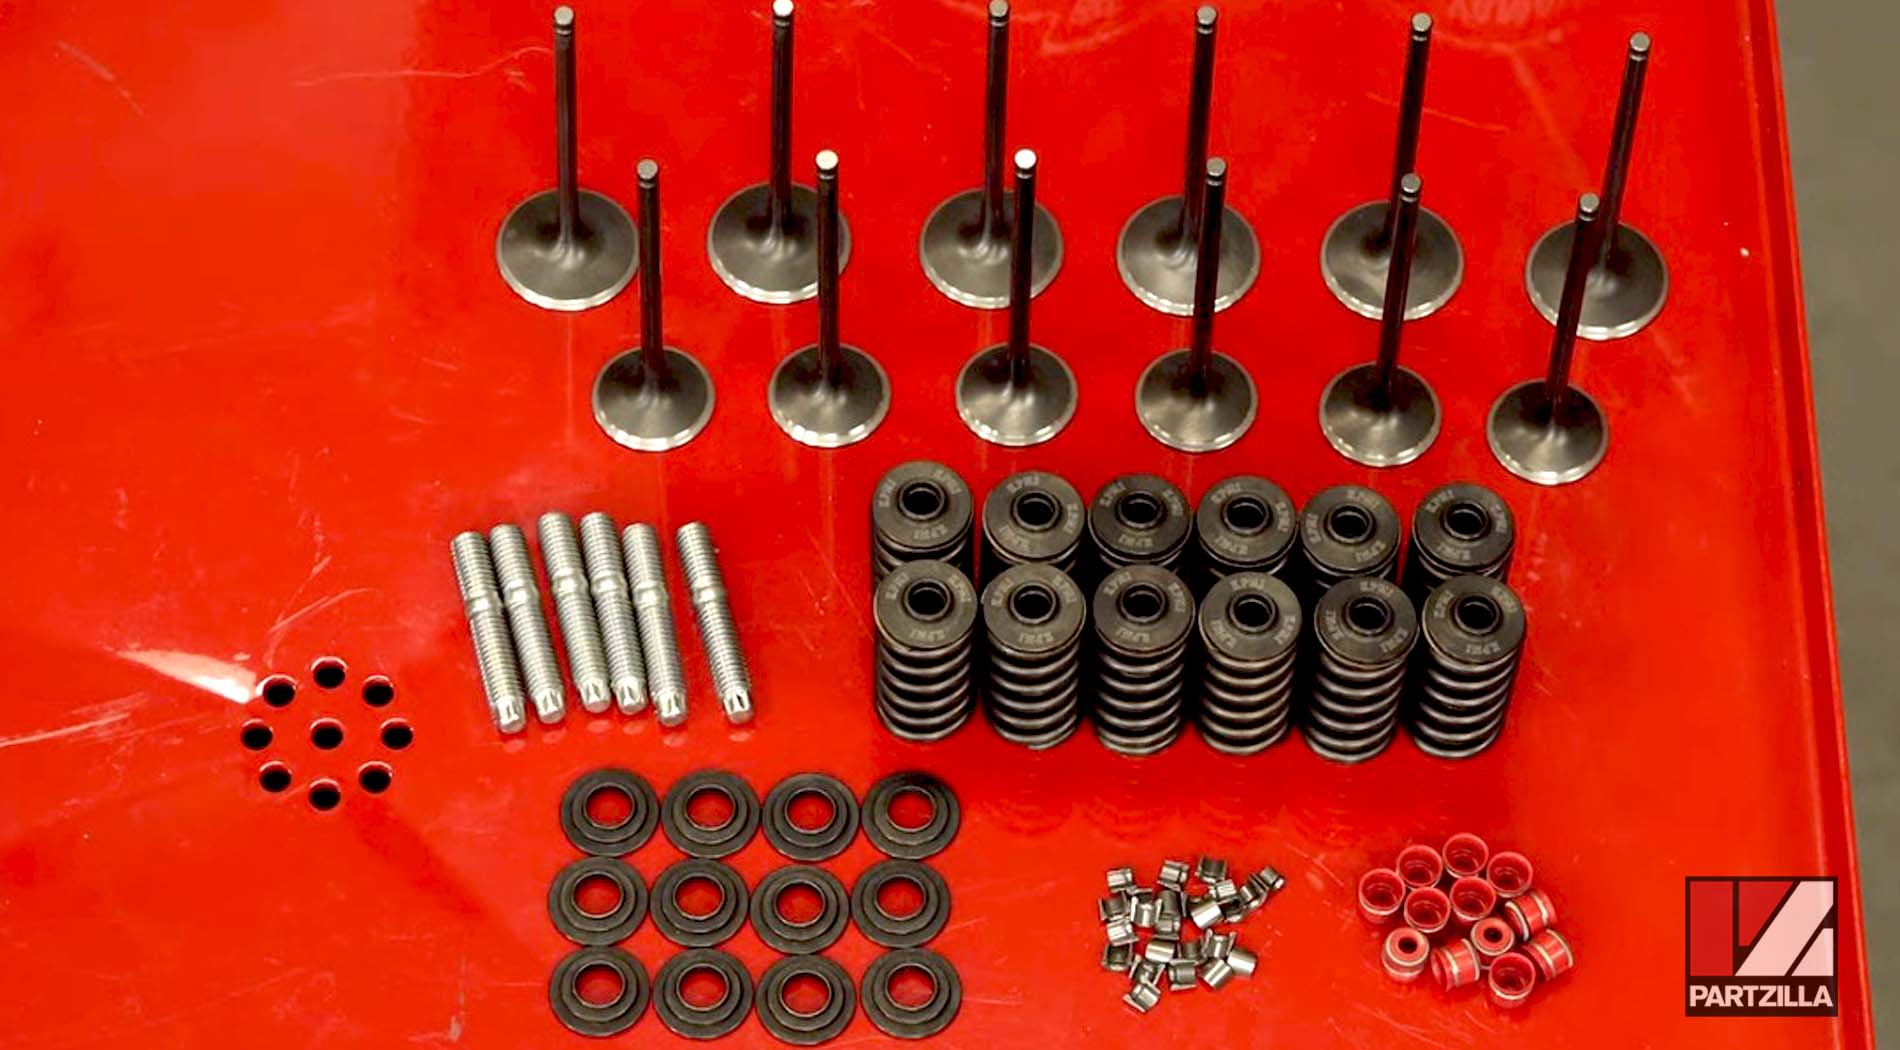
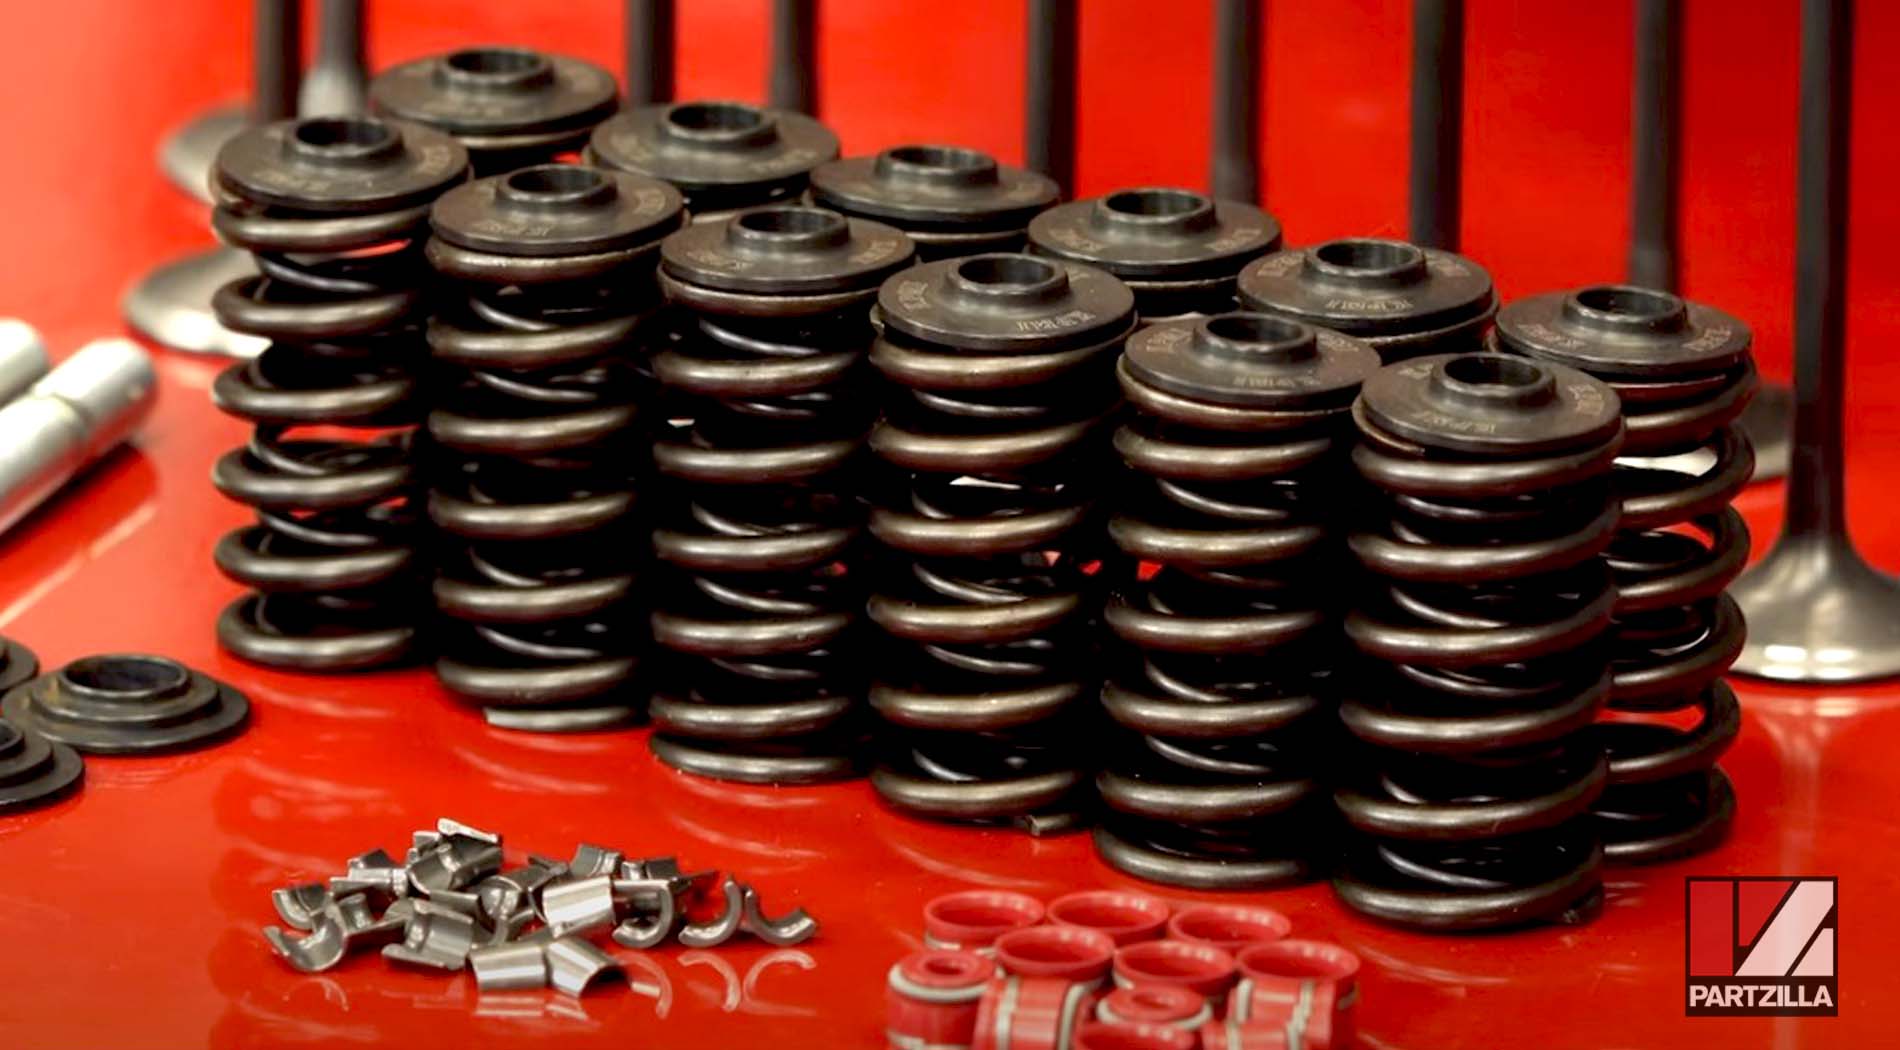
The kit is part of Kibblewhite’s Black Diamond Series, and it includes forged stainless steel valves, along with springs, keepers and seals all designed to work together. They can withstand the higher temperatures and pressure we're going to be putting this head through.
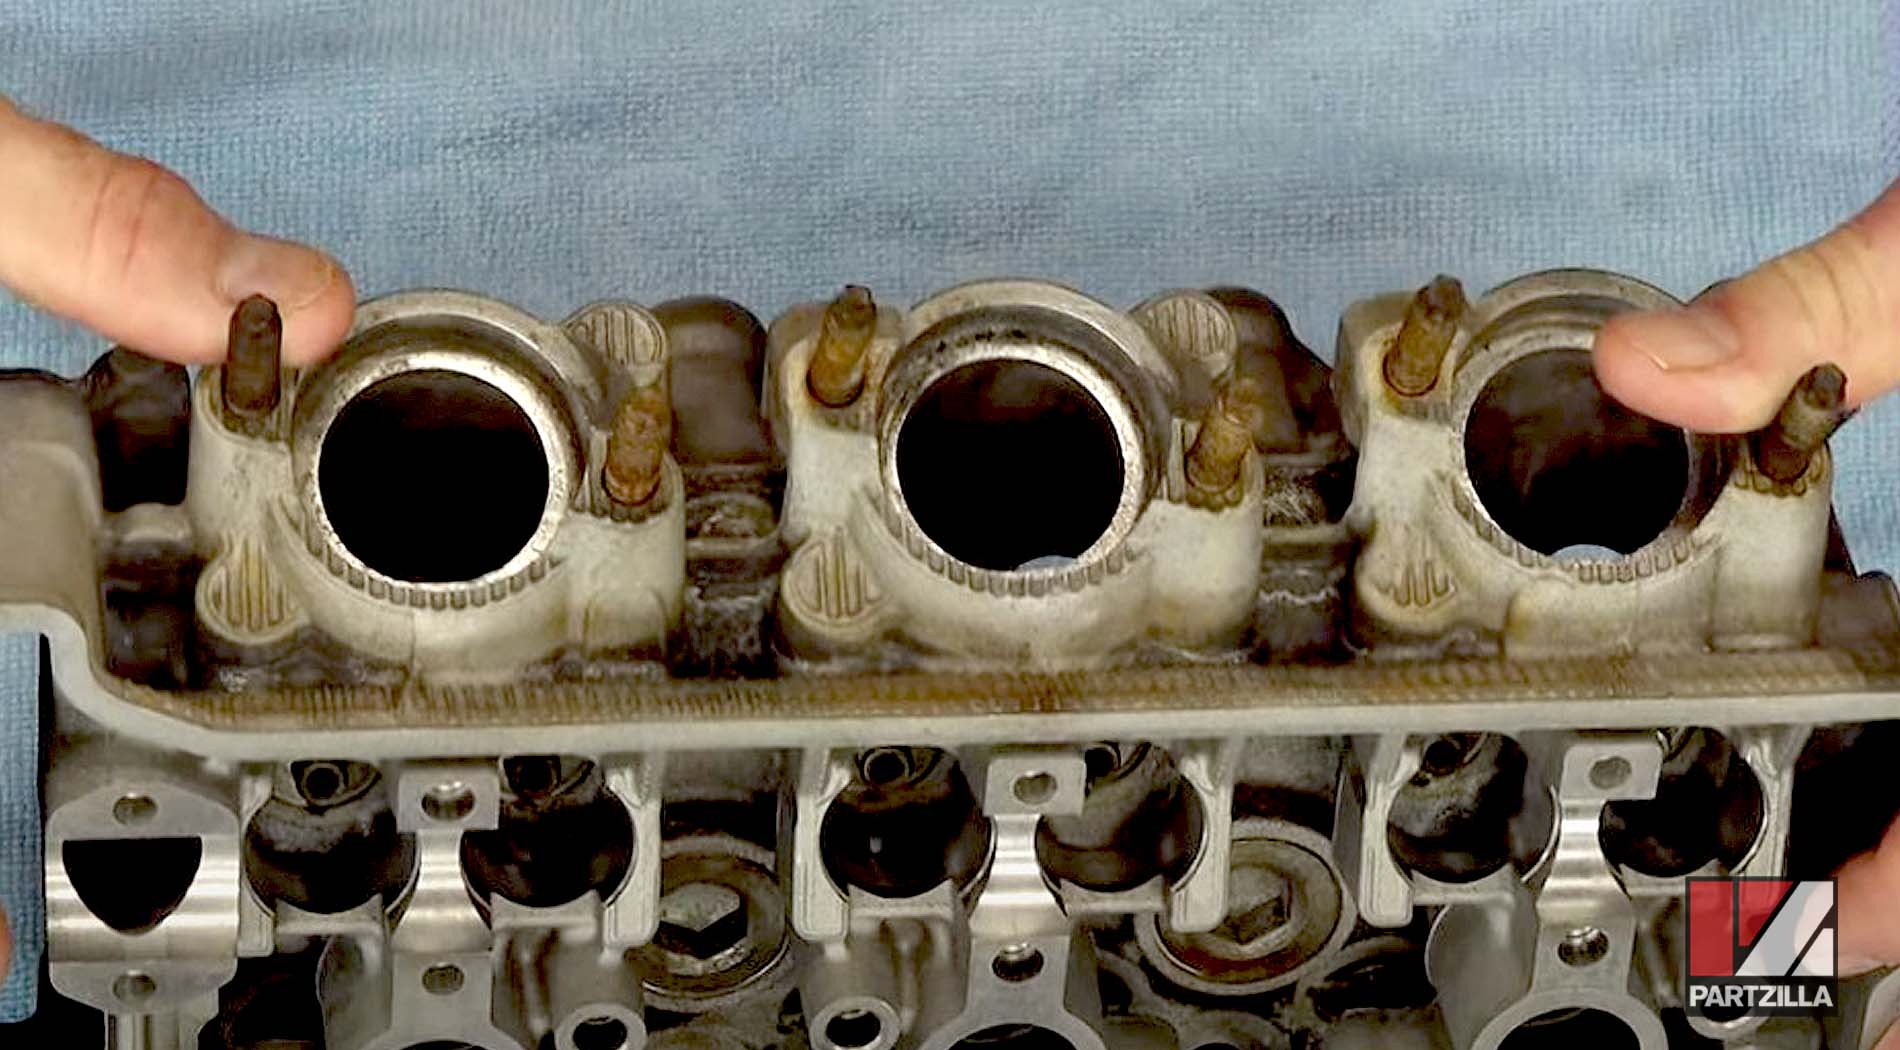
We included one OEM component in this project, the exhaust valve stud bolts, which needed to be replaced because the ones on our engine were completely rusted out.
Yamaha YXZ1000R Valve Installation Steps
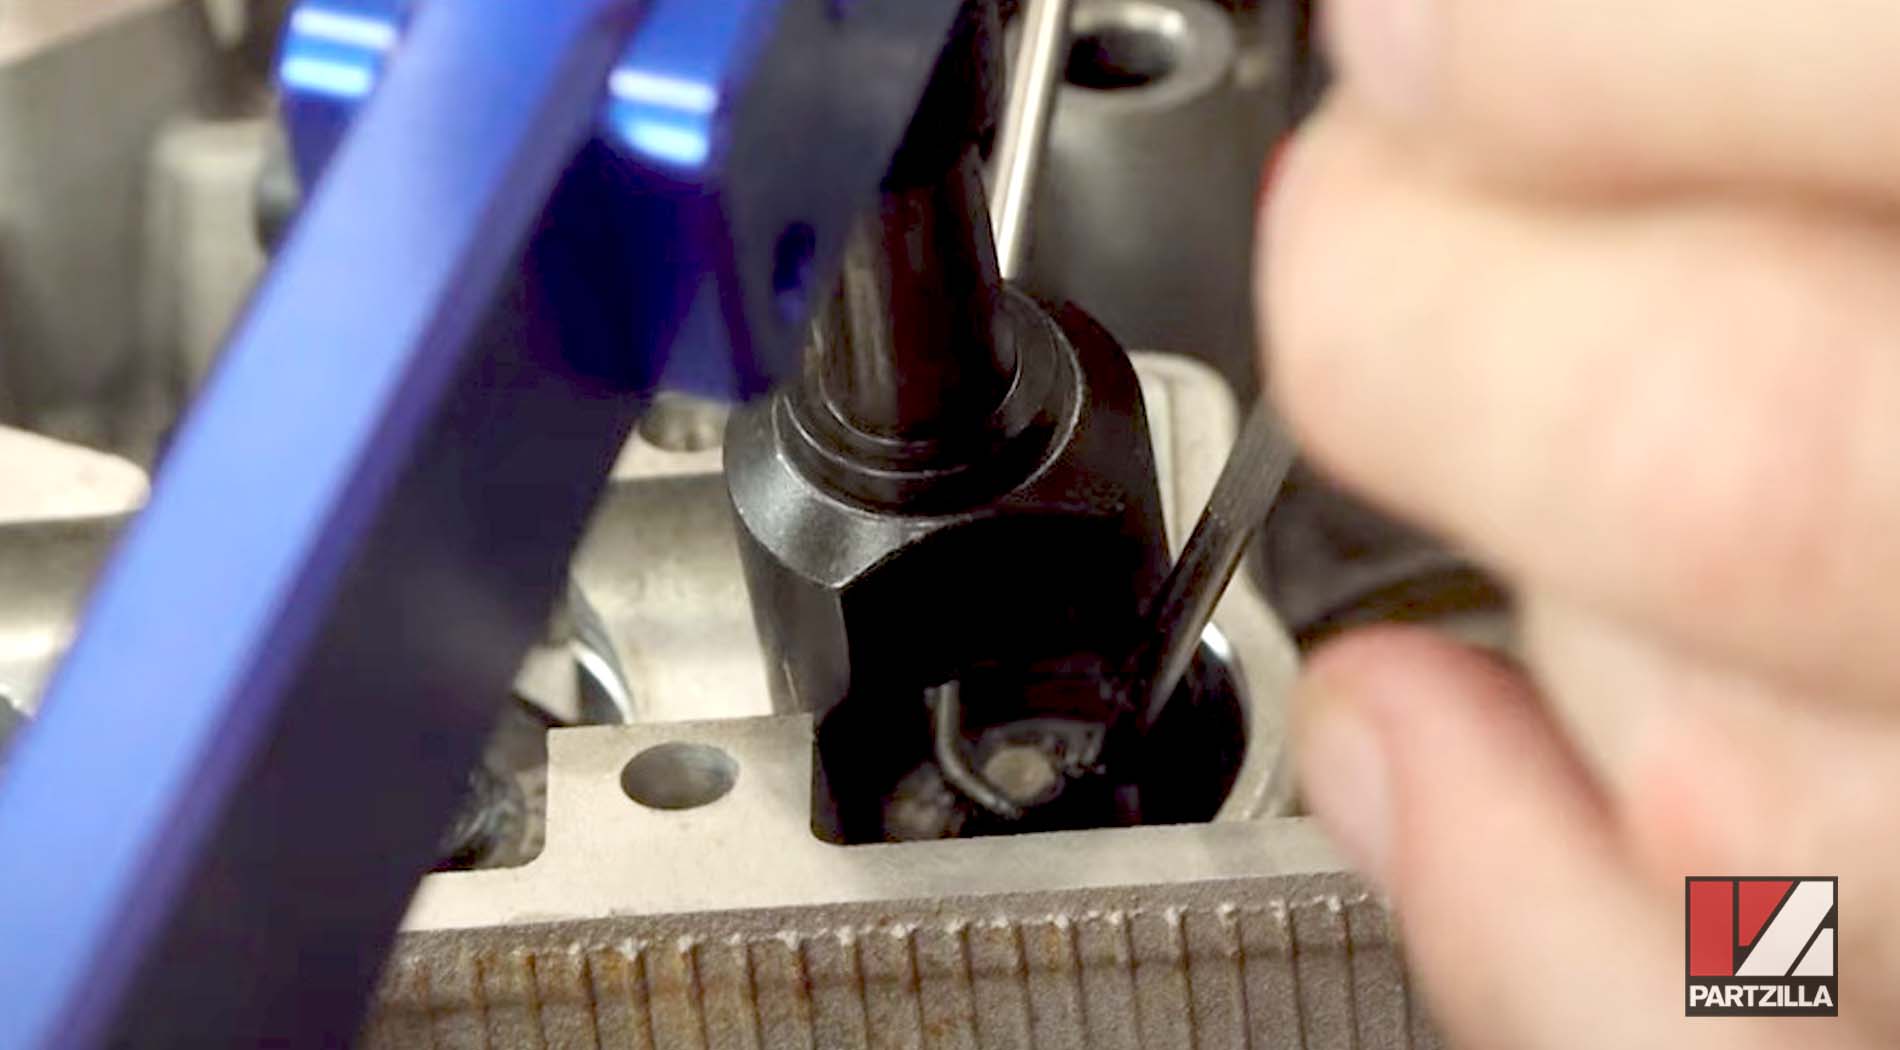
Step 1. Heat up the corroded exhaust valve studs with a blow torch to break down any corrosion in between the studs and the aluminum head before removing them.
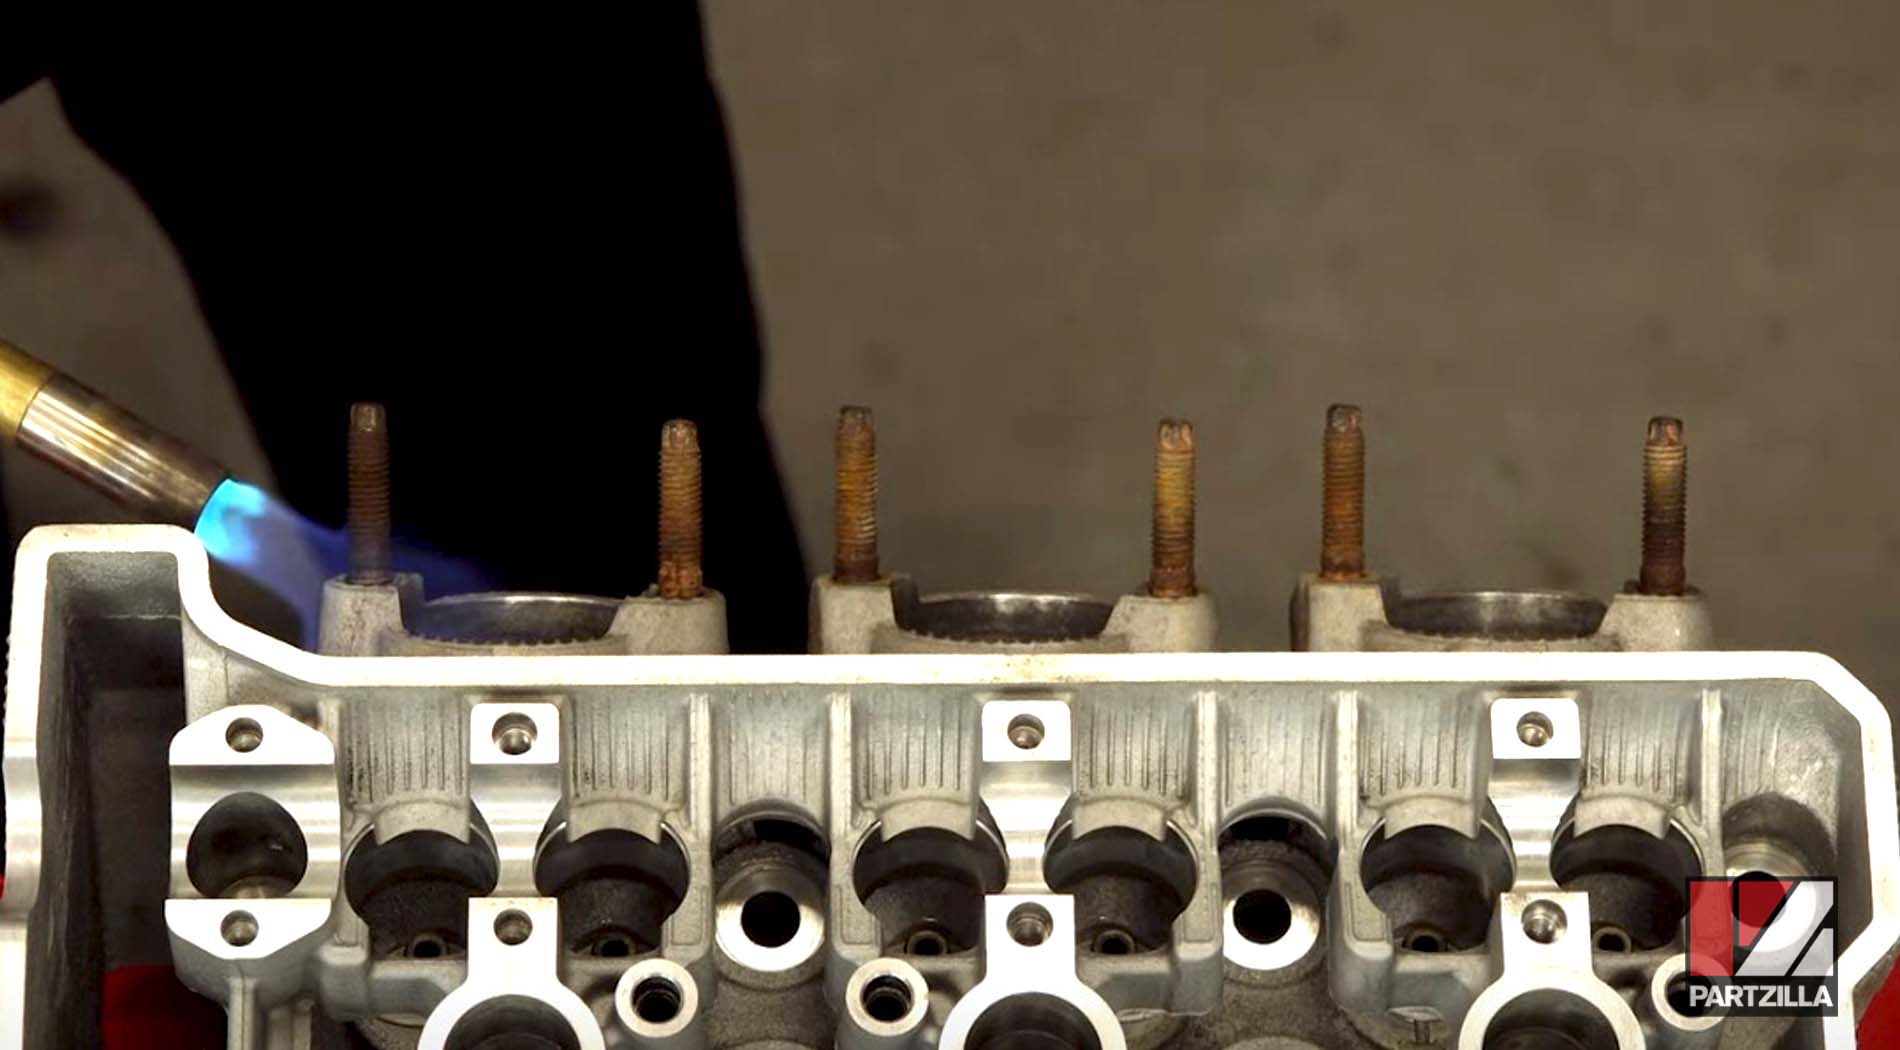
NOTE: If the stud bolts on your engine are as corroded as the ones on ours, don’t try to remove them without heating them up first. Otherwise, chances are you're going to strip or break the bolts. Use a blow torch and spend time heating each stud up one by one so they'll come out a lot easier.
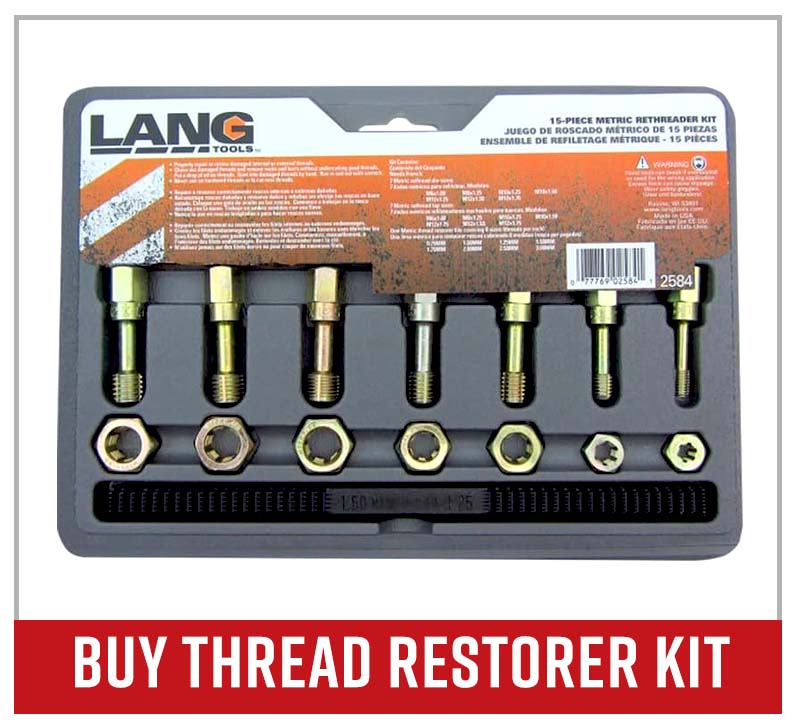
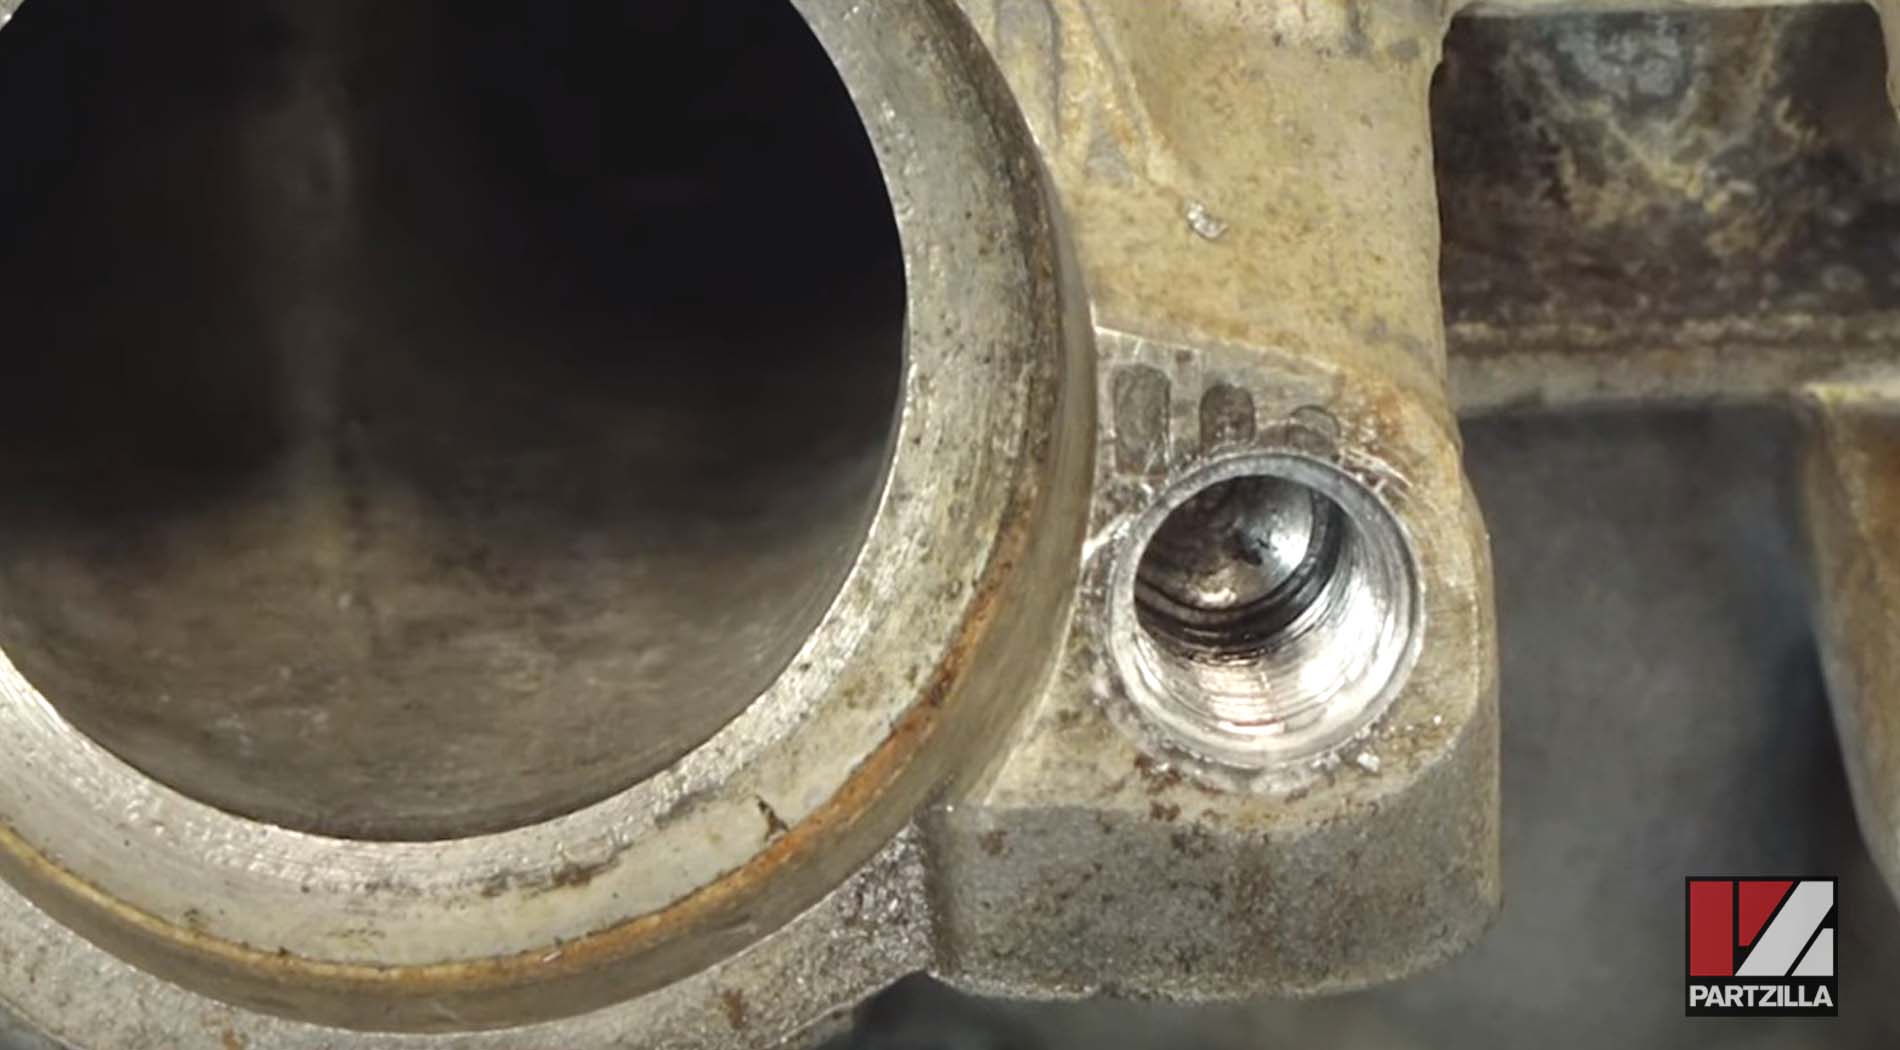
Step 2. Use a thread repair tool such as a Time Sert and/or thread restorer kit to straighten out the bolt holes if any of the bolts were corroded. The bolt holes should be countersunk and have nice clean threads going all the way in at the right angle.
NOTE: Two notable thread repair tools for this type of situation are Time Serts and Helicoils, which you can learn about in the video below.
In our particular case, we determined a thread chaser (restorer) was the best option to clean out the rest of the corroded stud bolt holes.
NOTE: A tap and die thread repair tool is like a drill bit that takes out a little bit more material than it should, so we went with the thread restorer tool instead because it chases and cleans it out without cutting new threads.
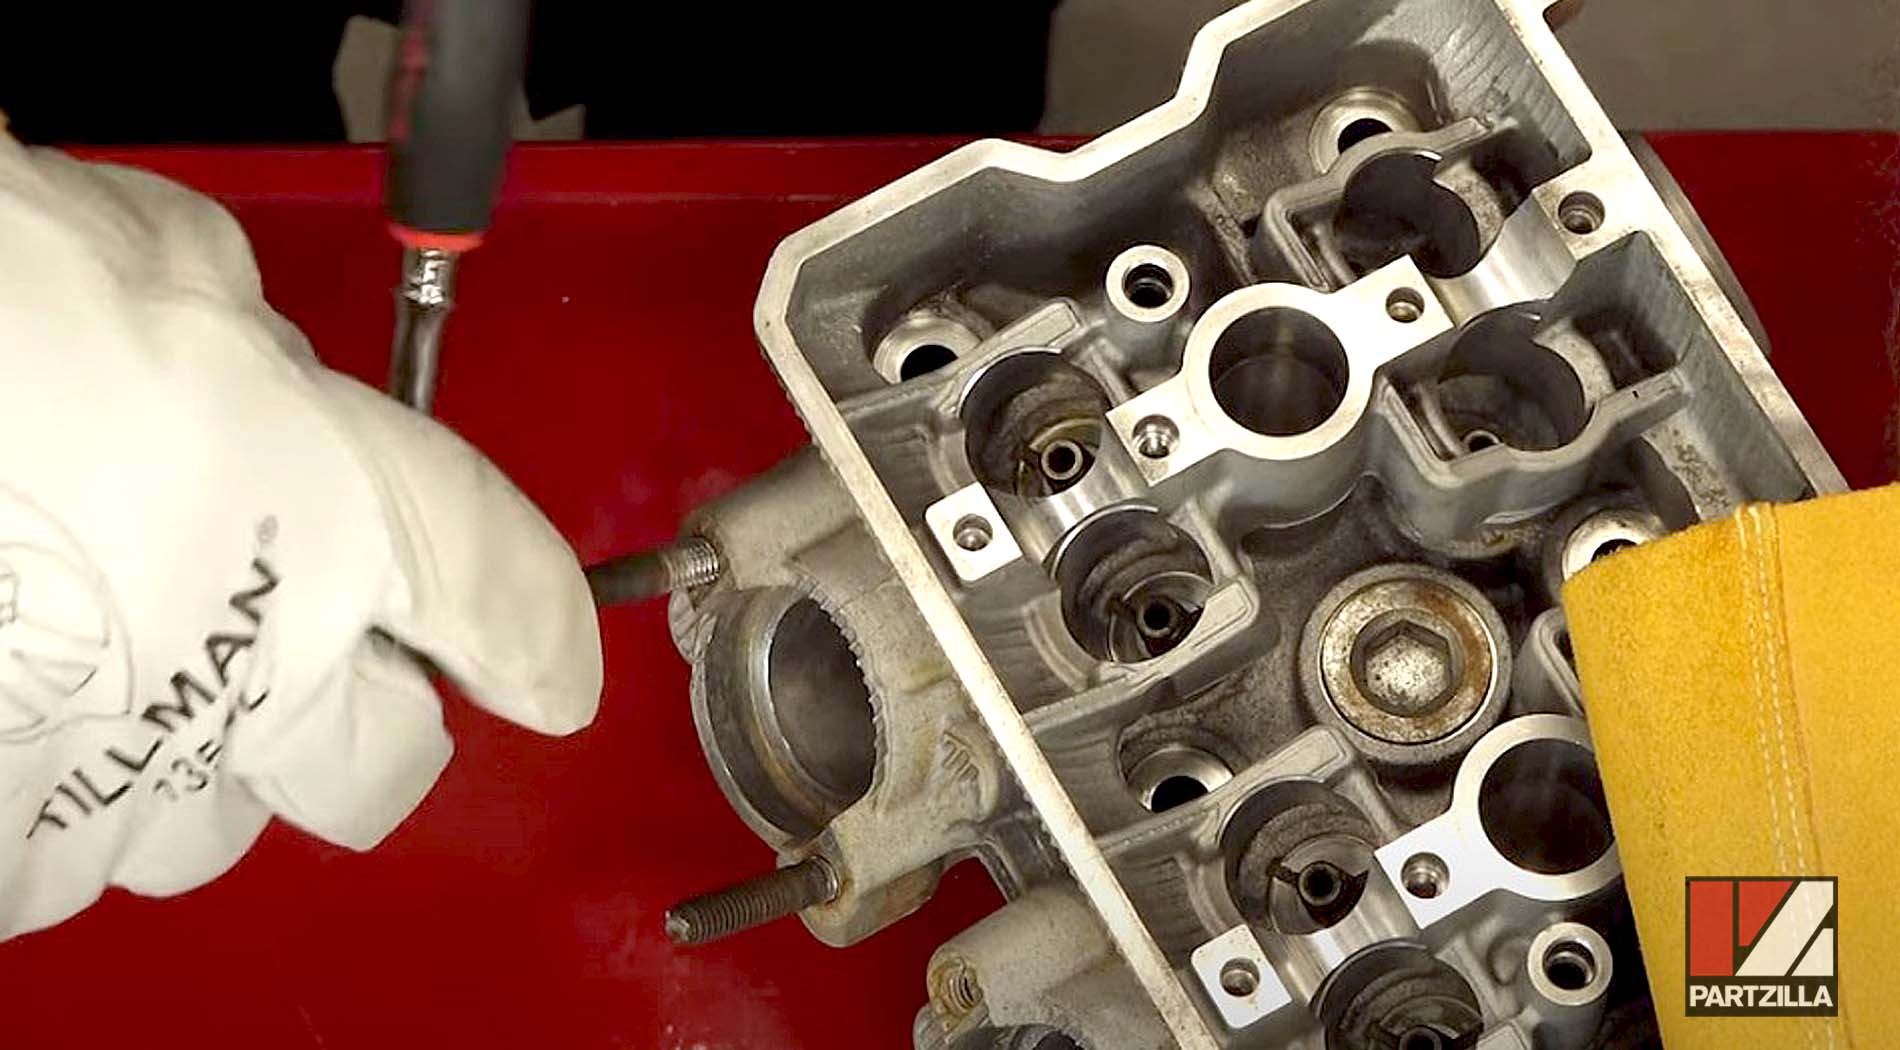
Step 3. Use contact-brake cleaner to finish cleaning out the stud bolt holes.
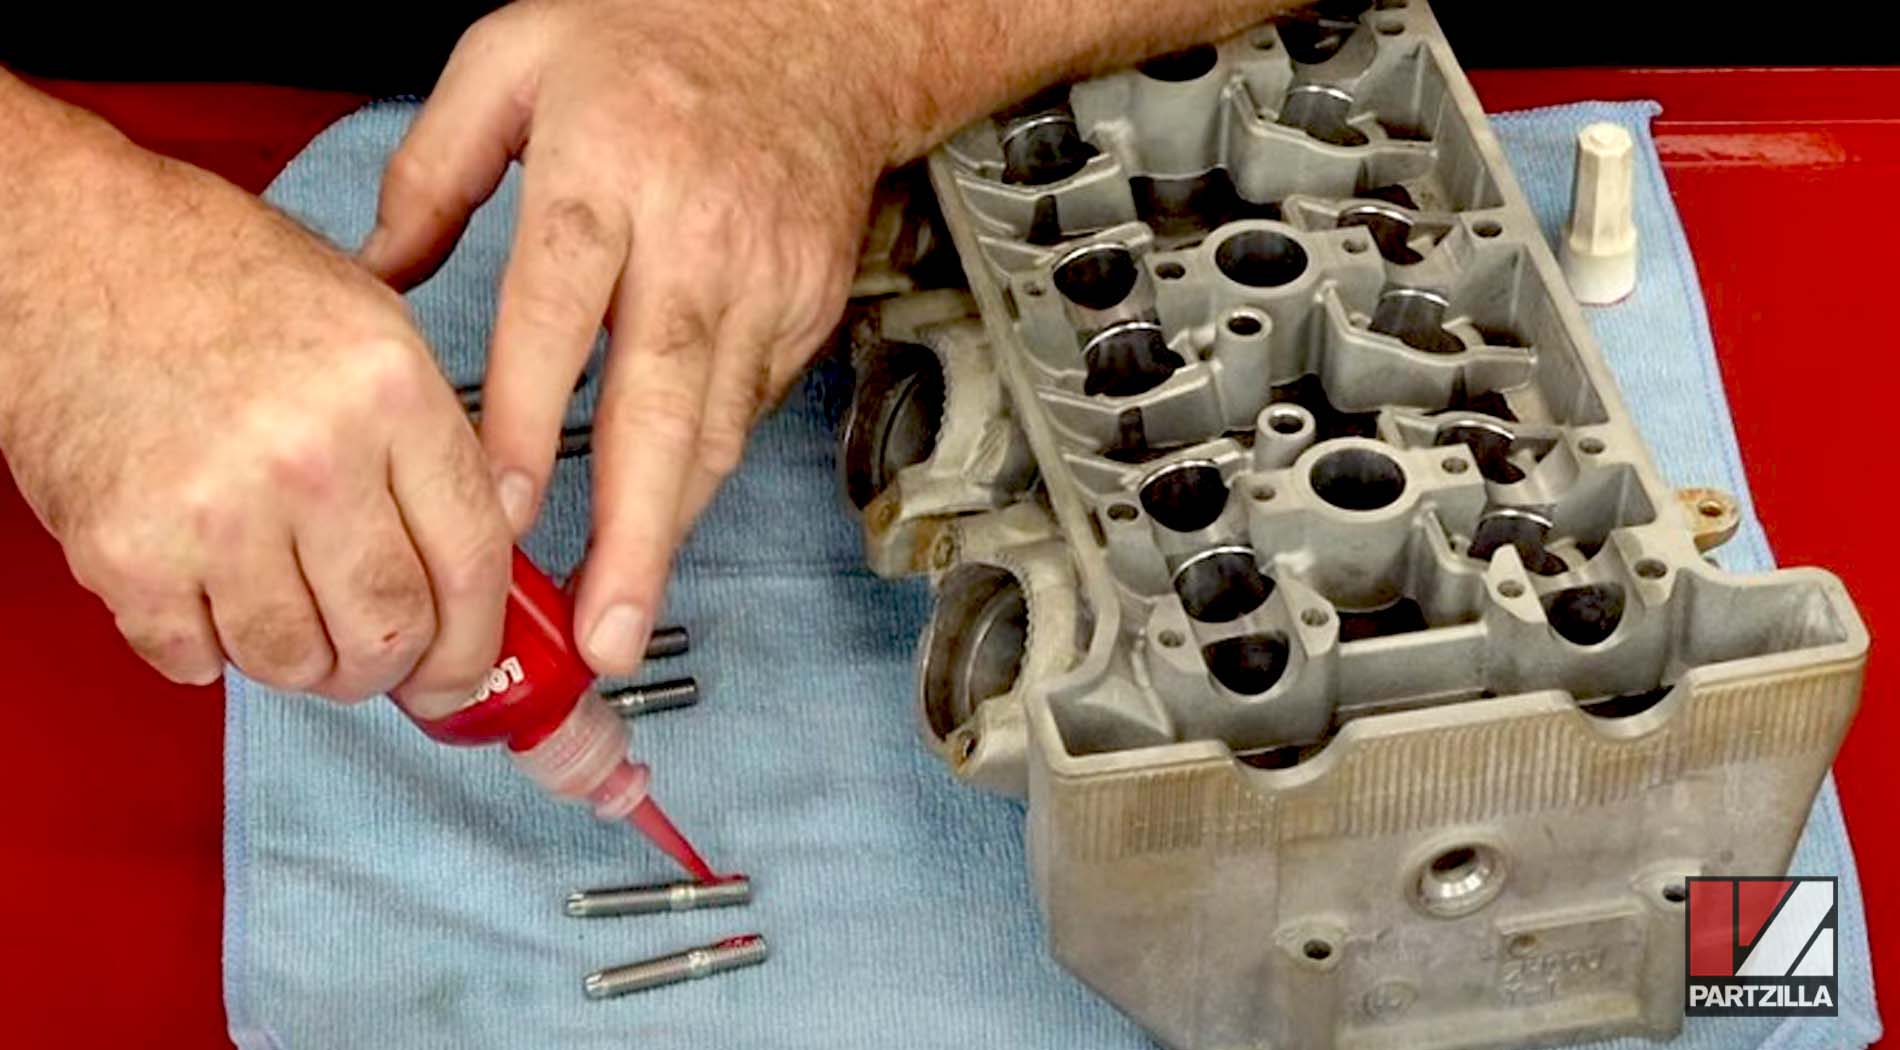
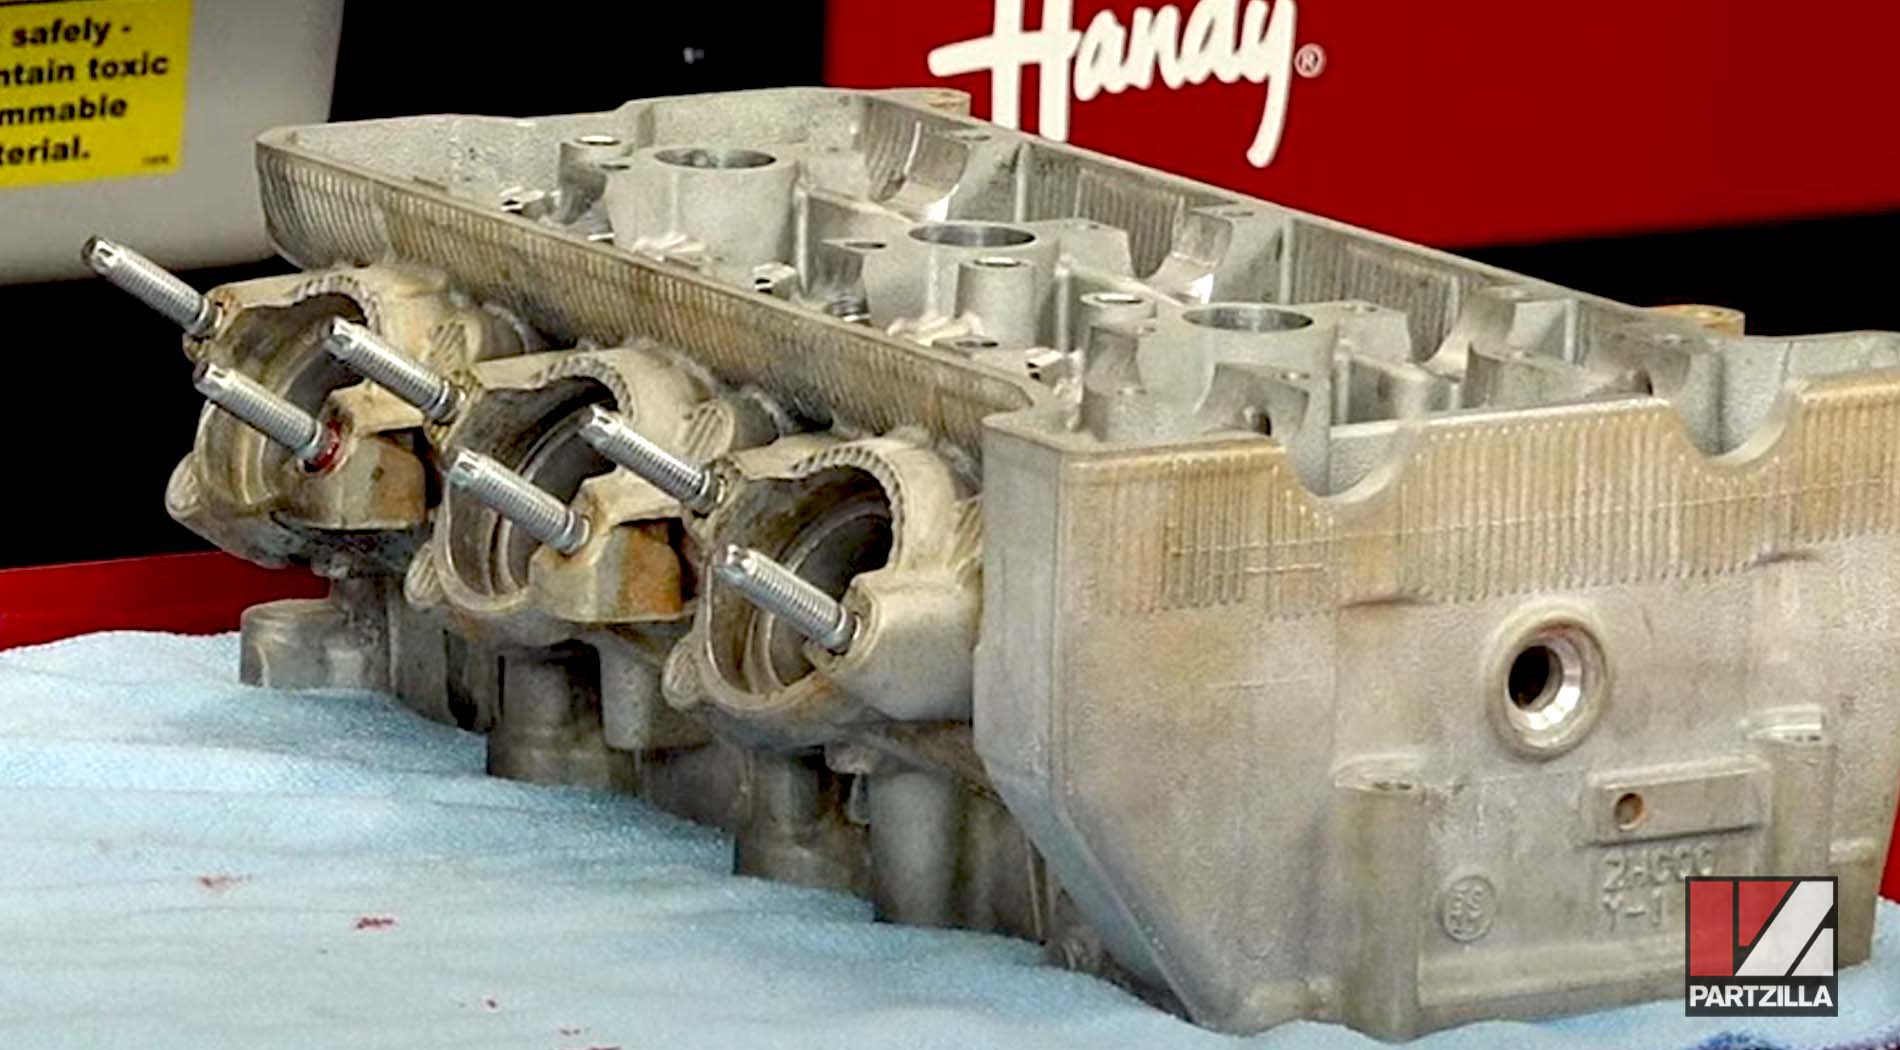
Step 4. Add red threadlocker to each of the new stud bolts, then install them.
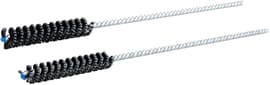
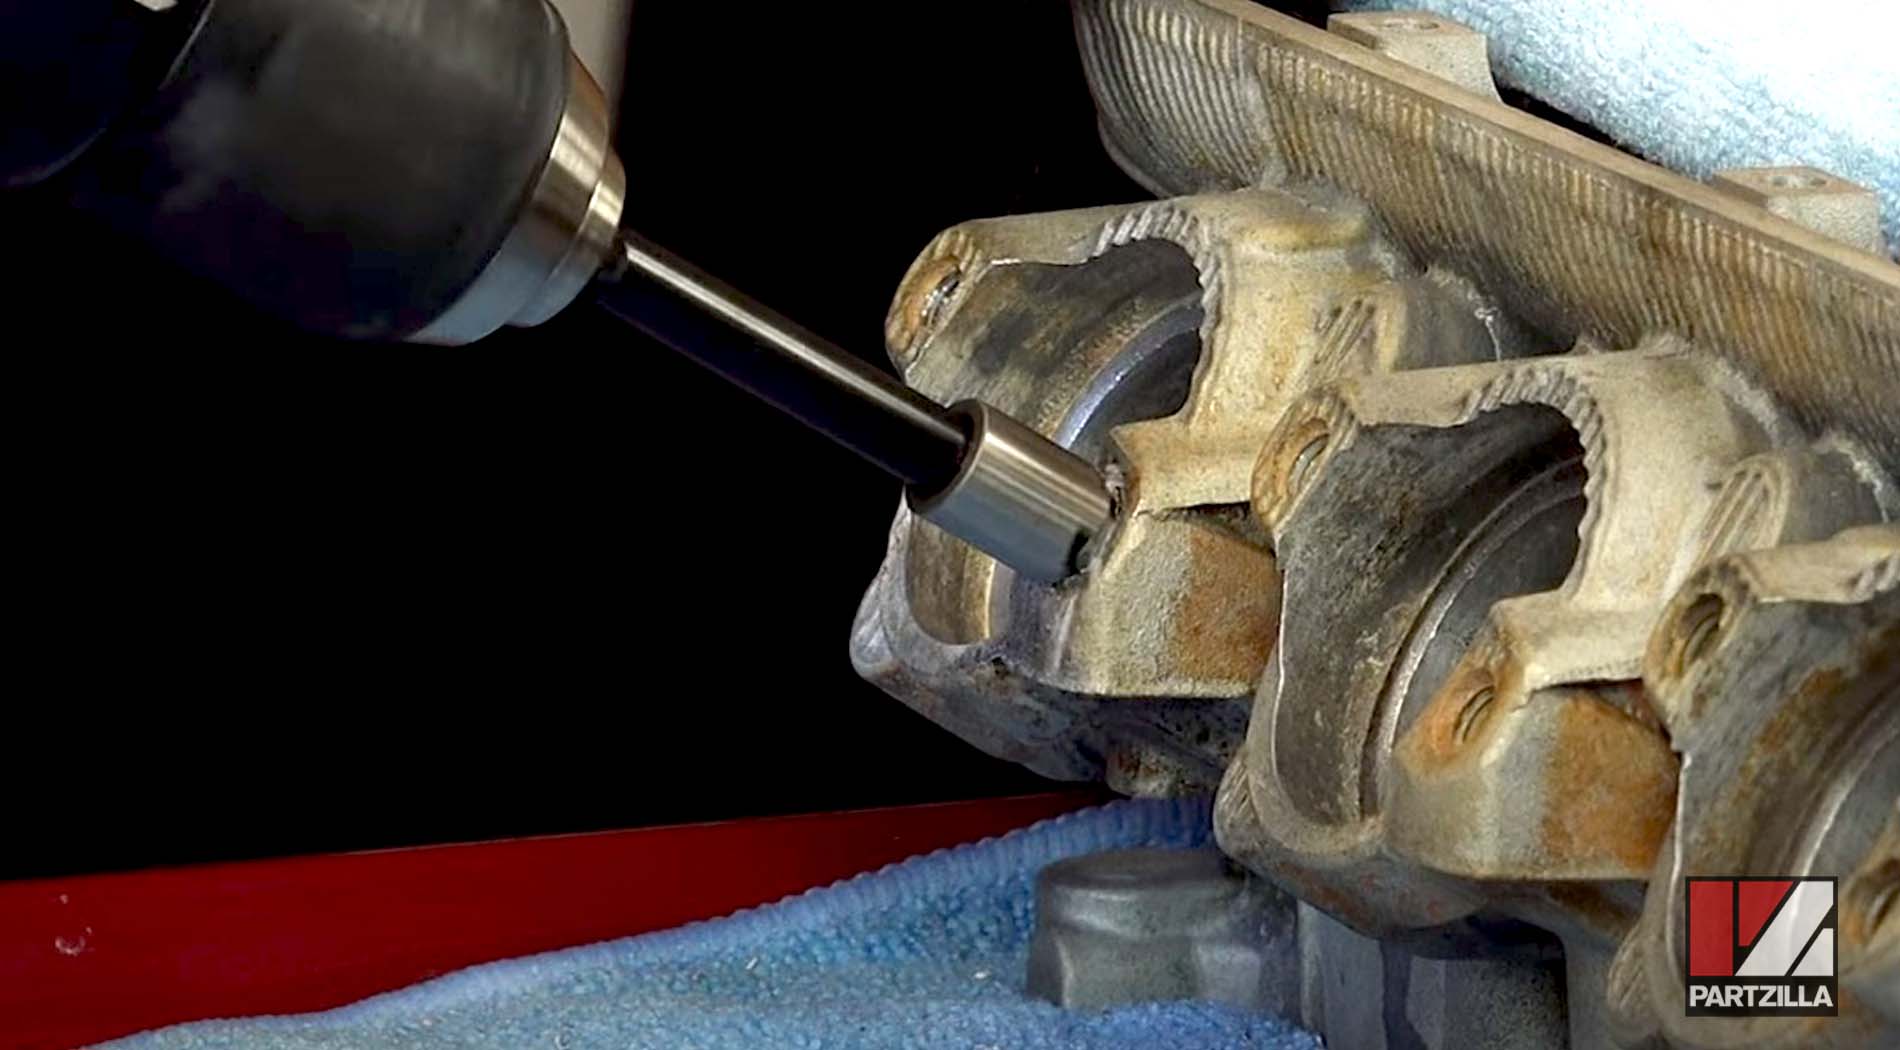
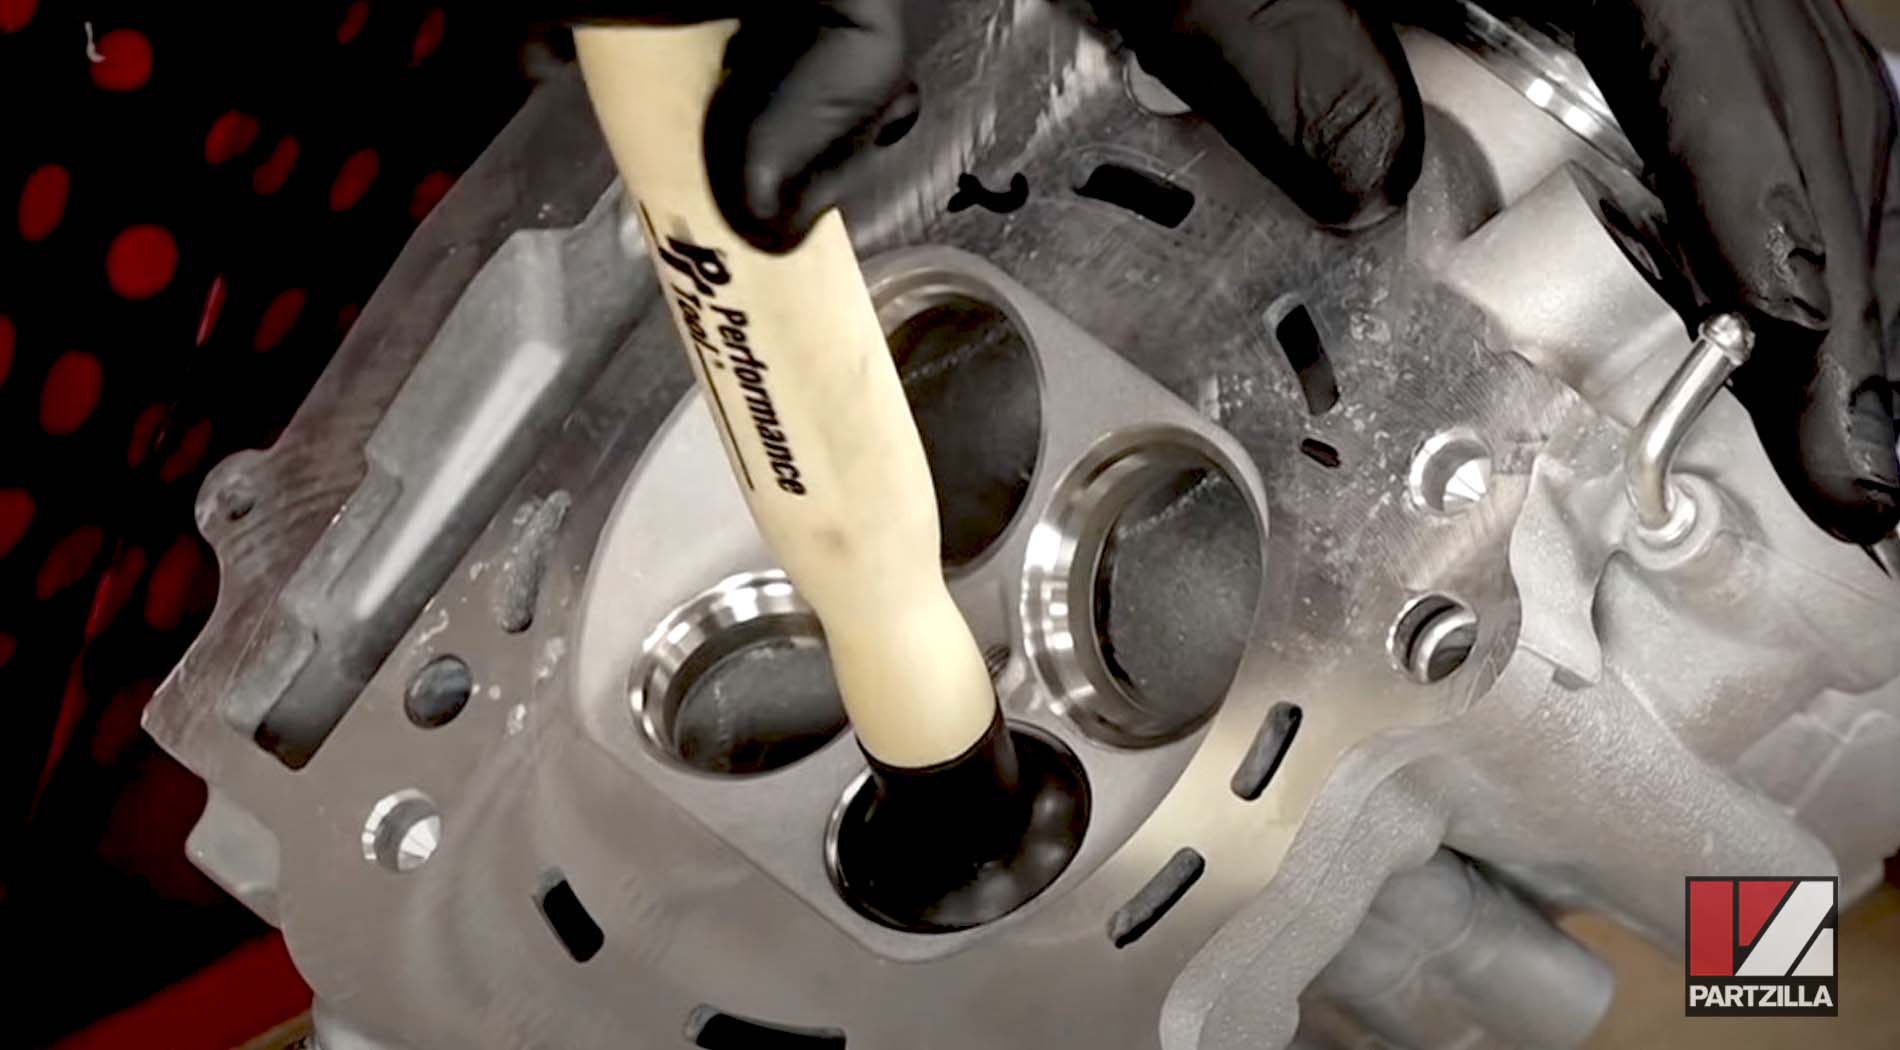
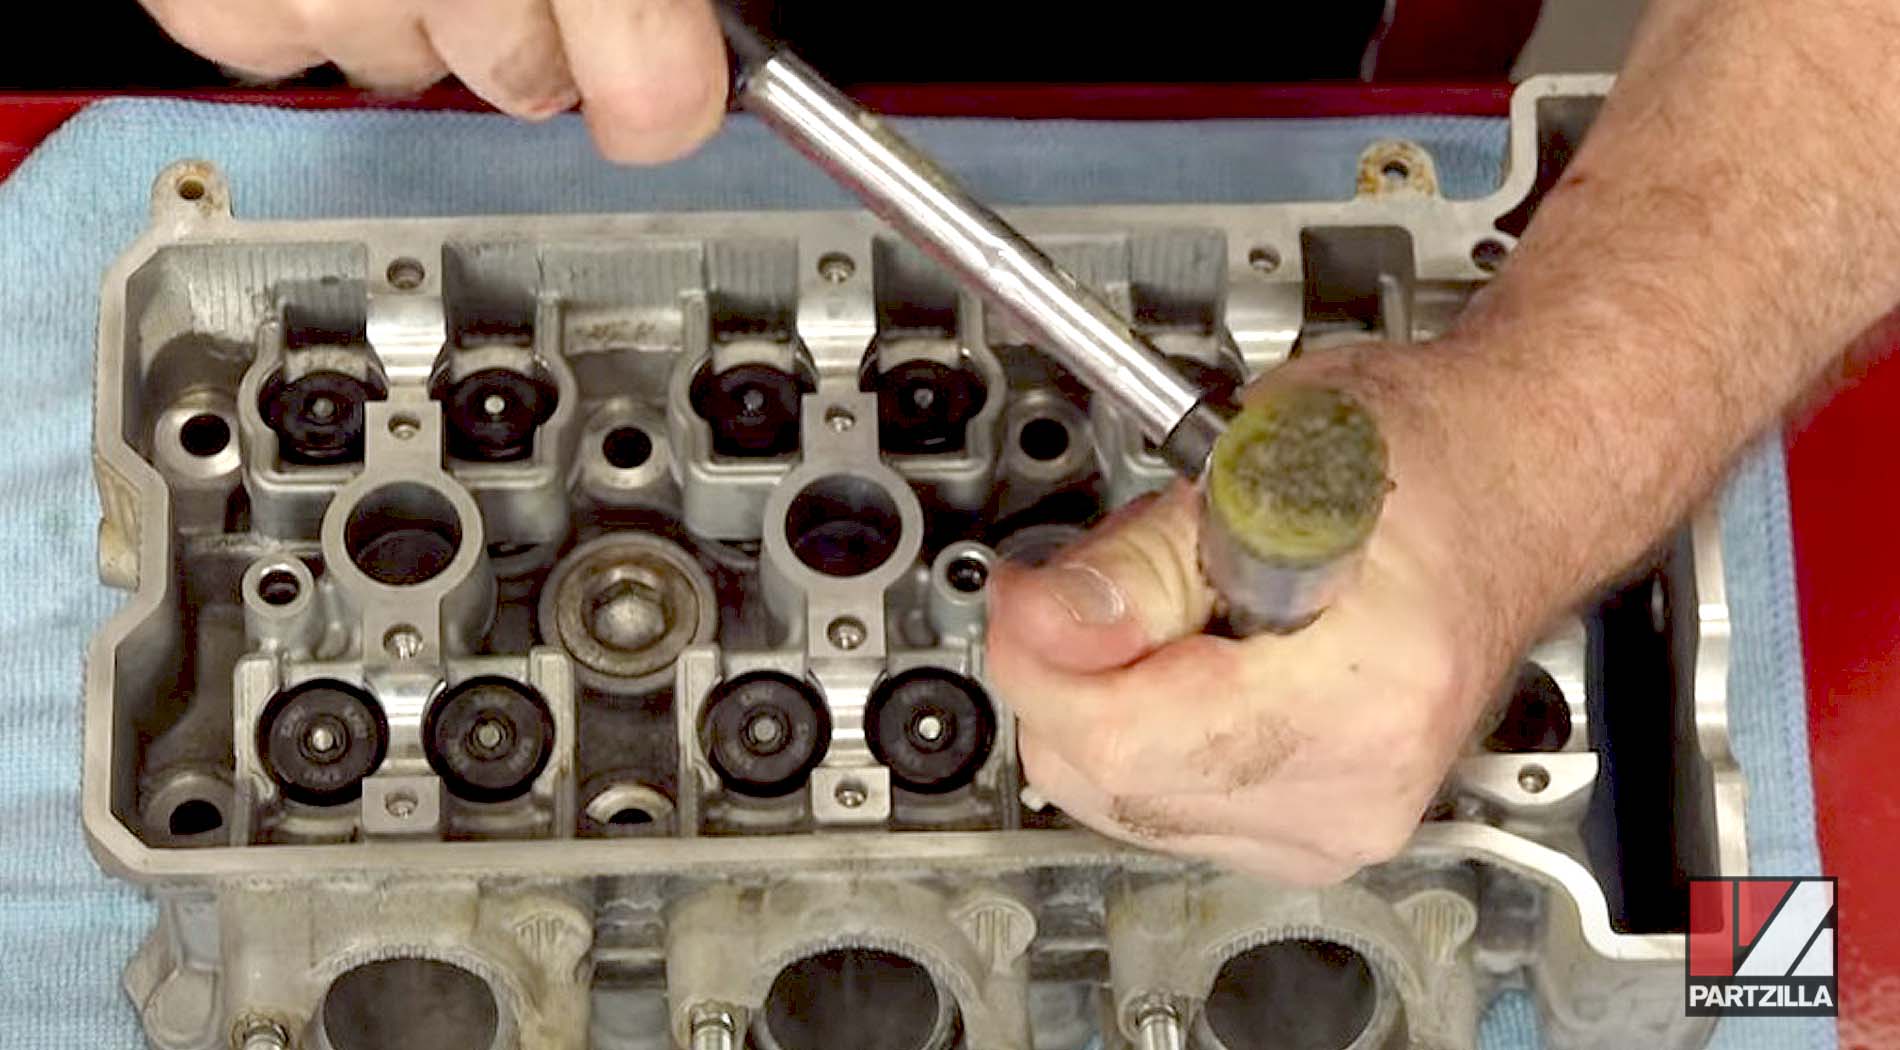
Step 5. Use a 4.5 millimeter valve guide ball hone and a little bit of oil to clean the inside of each valve guide.
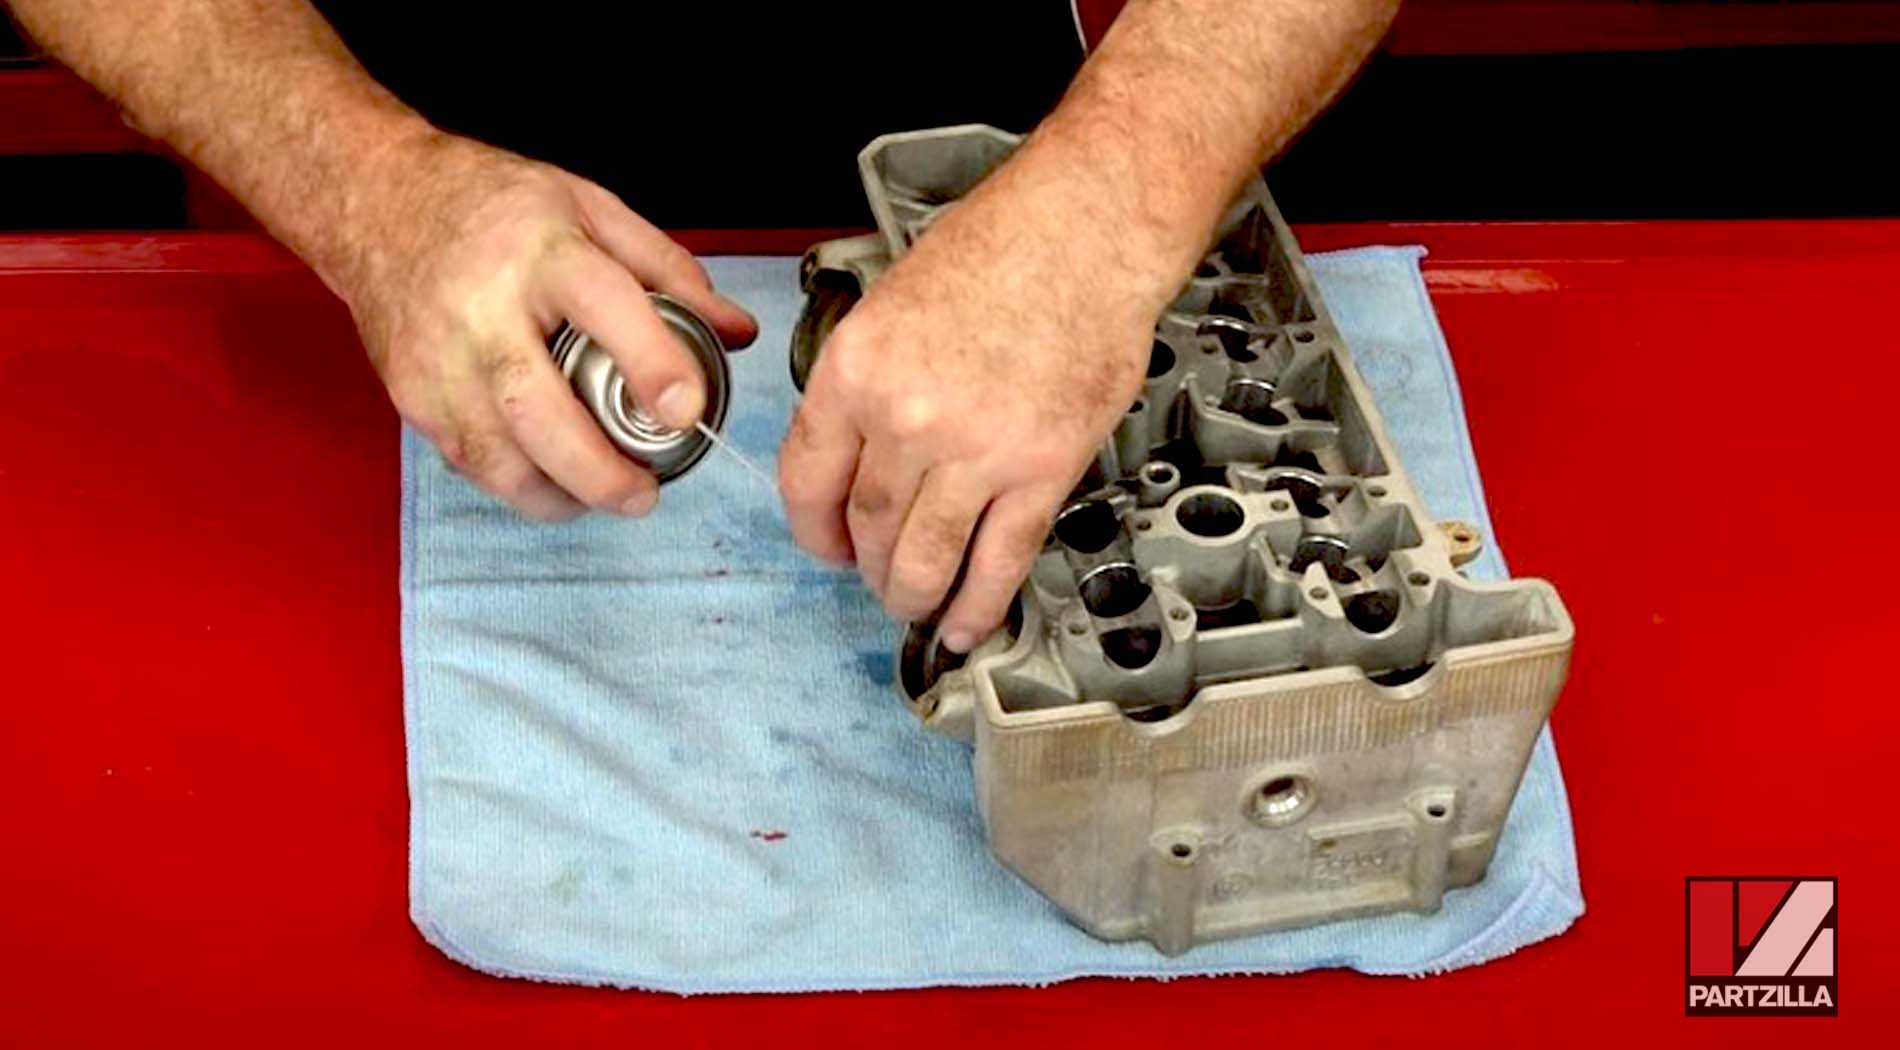
Step 6. Spray Yamalube Precision Parts Cleaner into each valve guide to completely clean them out.
Step 7. Lap the valves before installing the valve seats and seals.
NOTE: The machine shop we took our engine to had already lapped the valves for us, so the process is not shown in the video for this project. However, you can watch our Yamaha Raptor 700 engine rebuild video below to see how to lap valves.
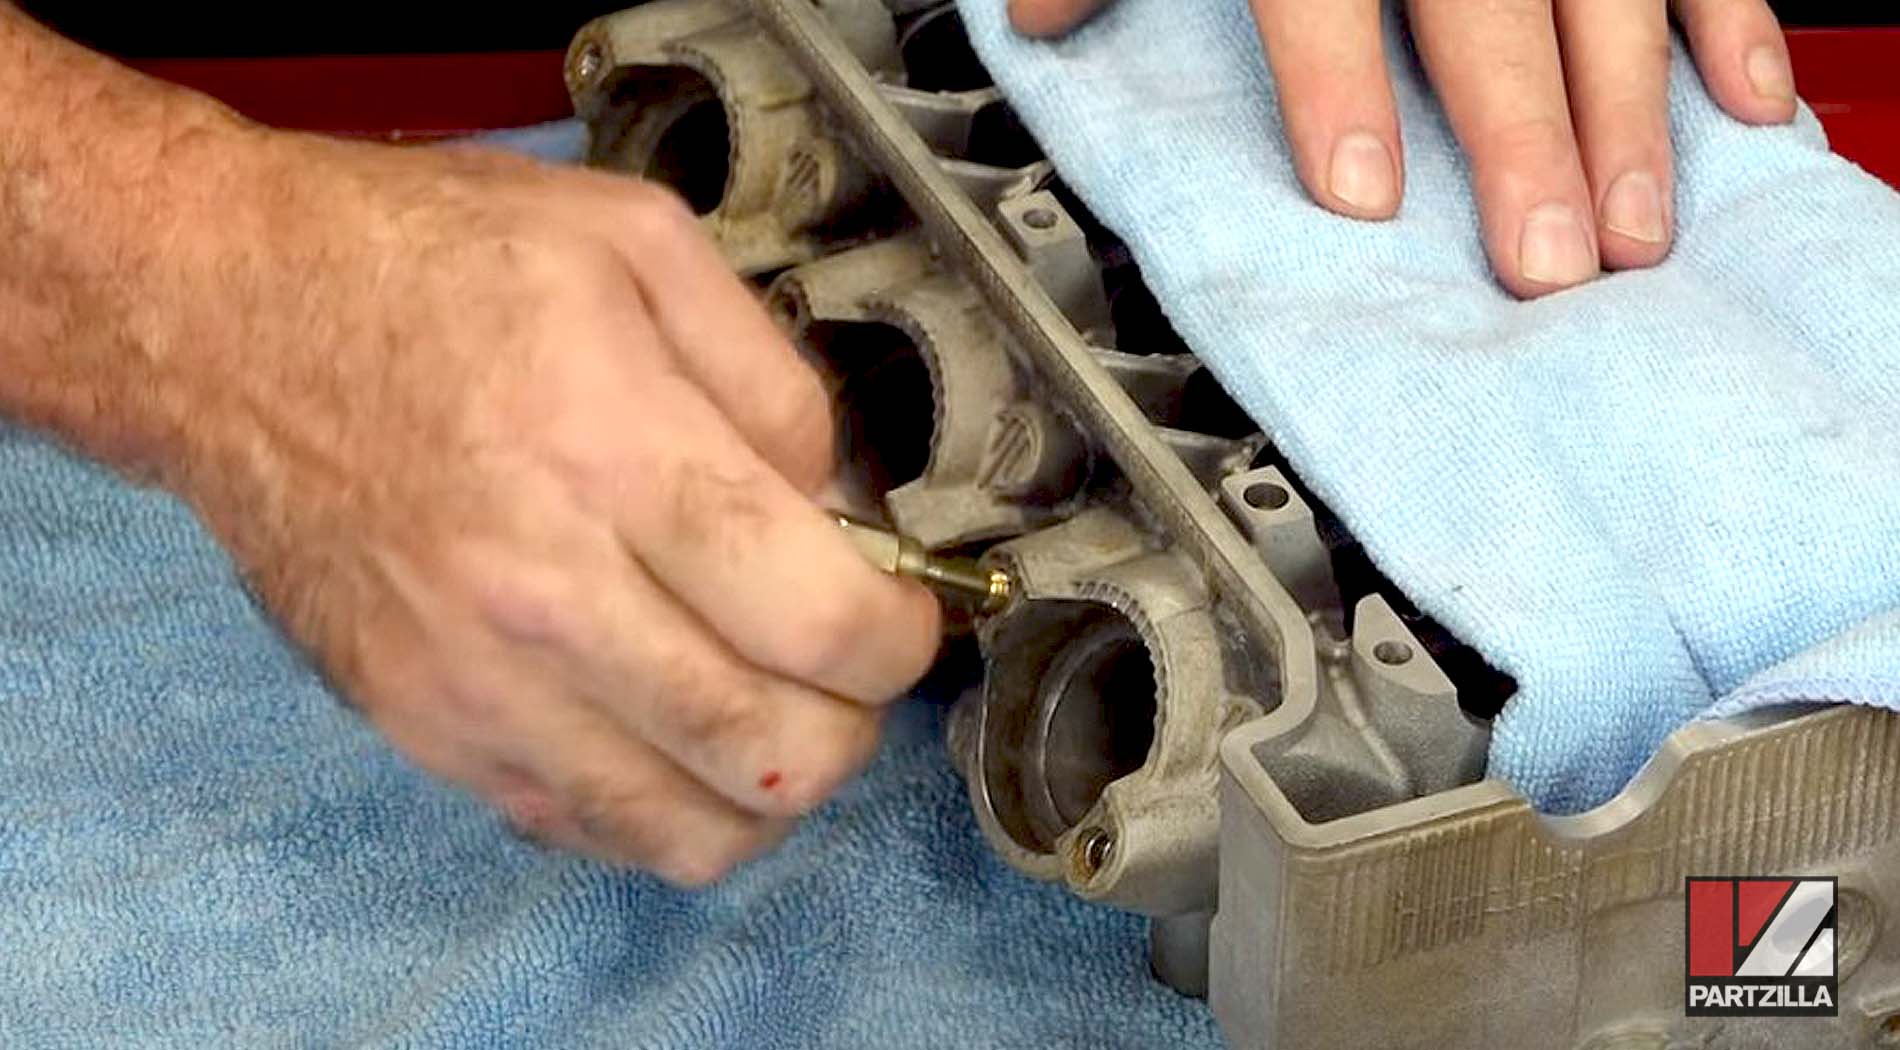
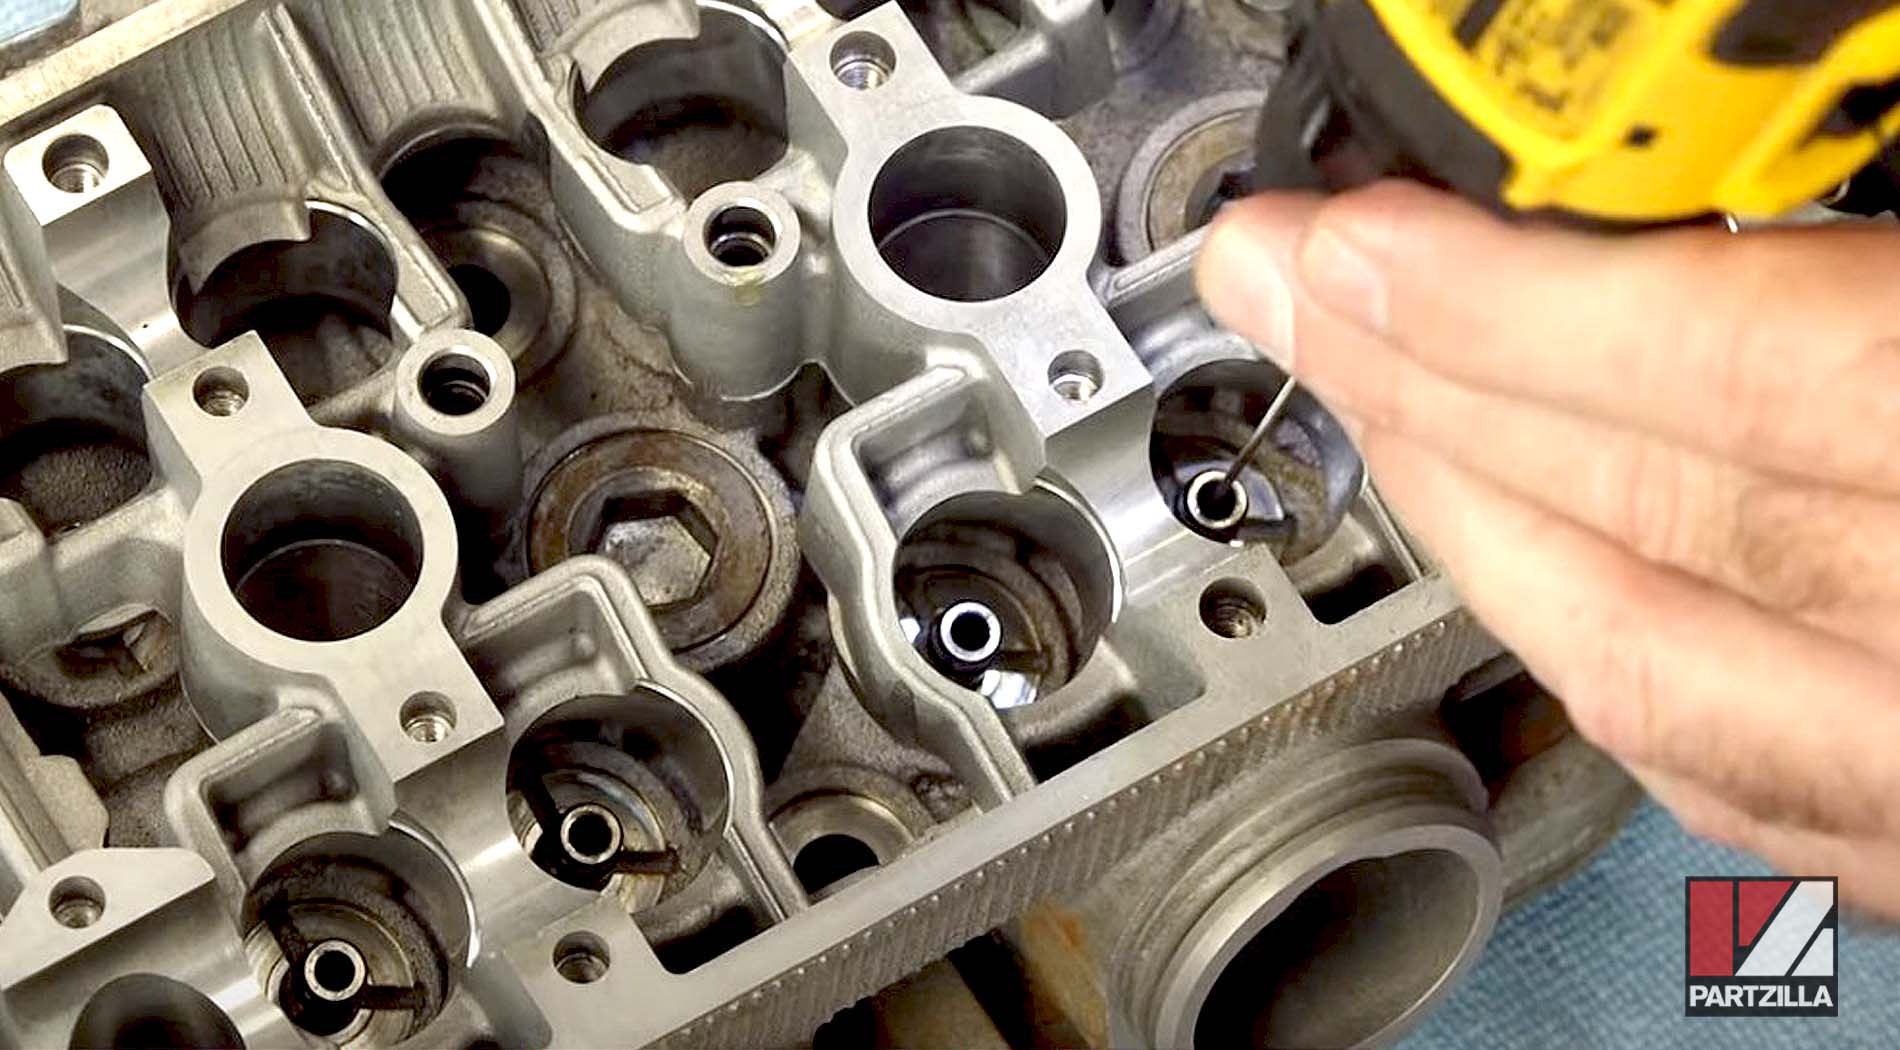
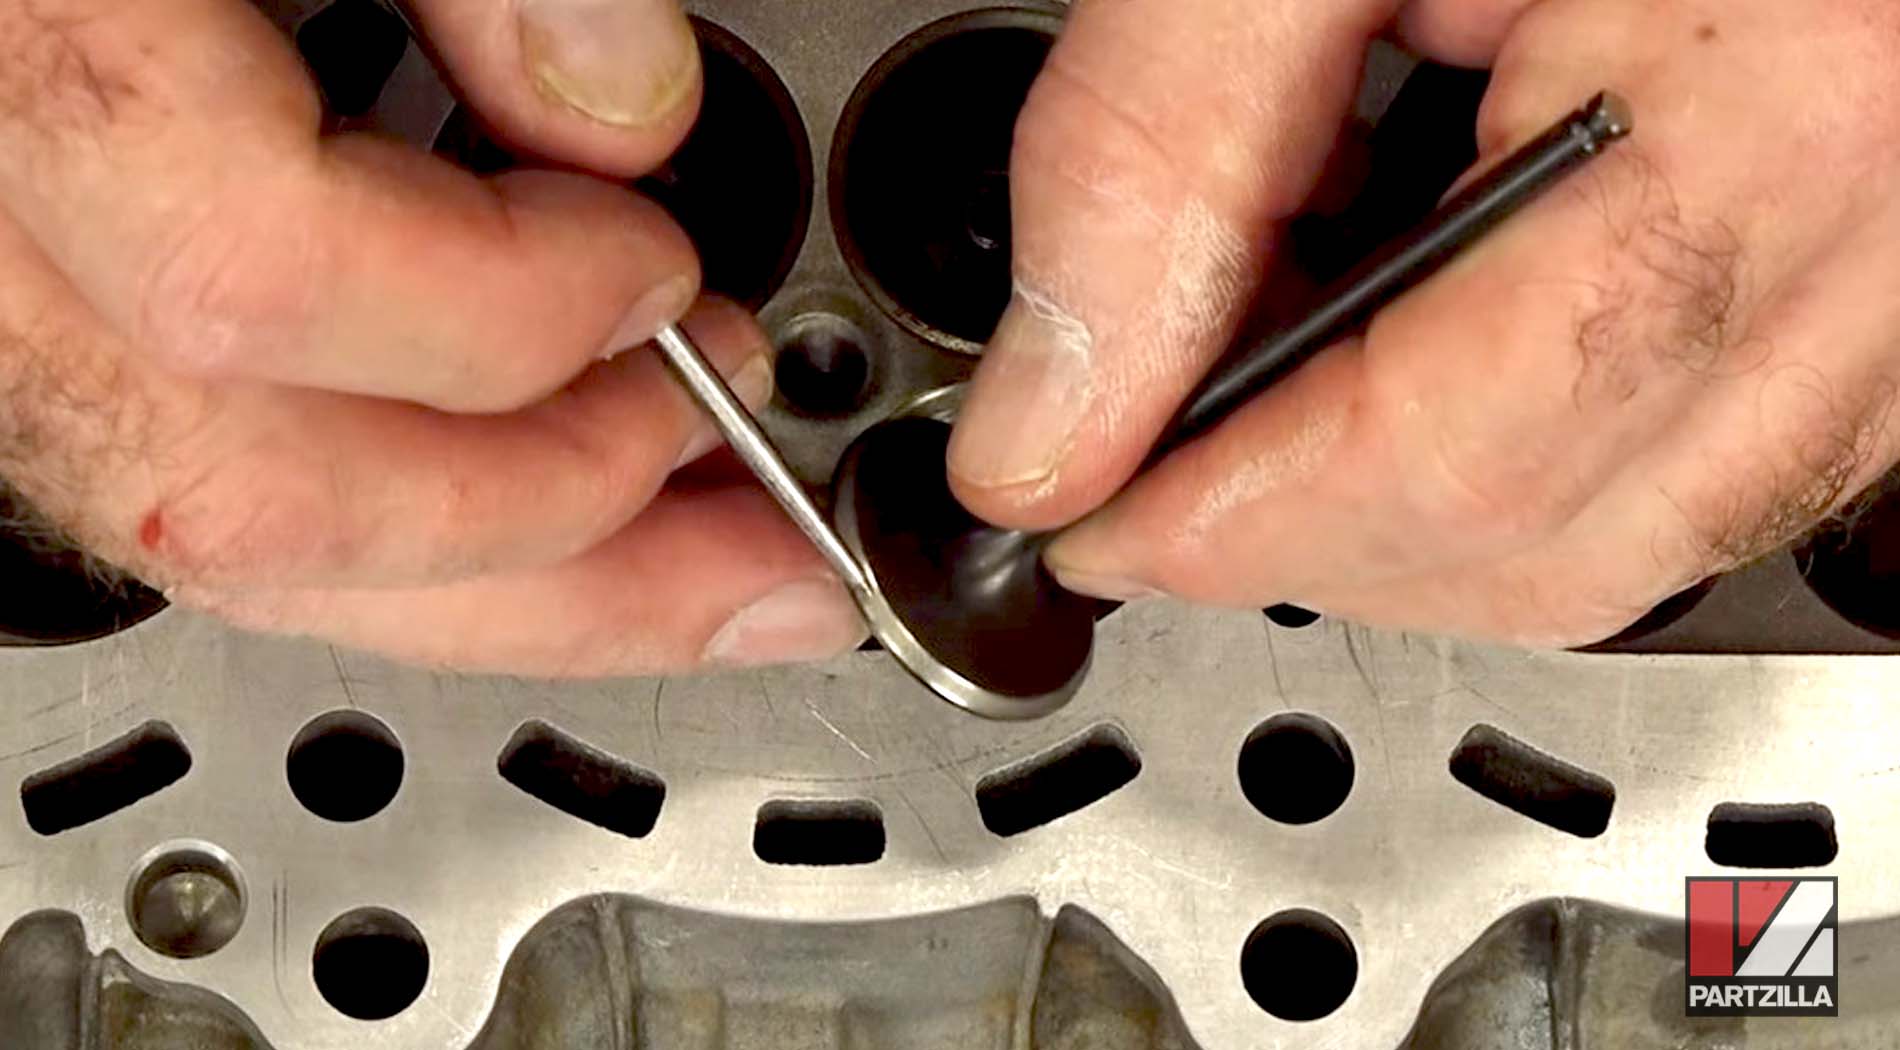
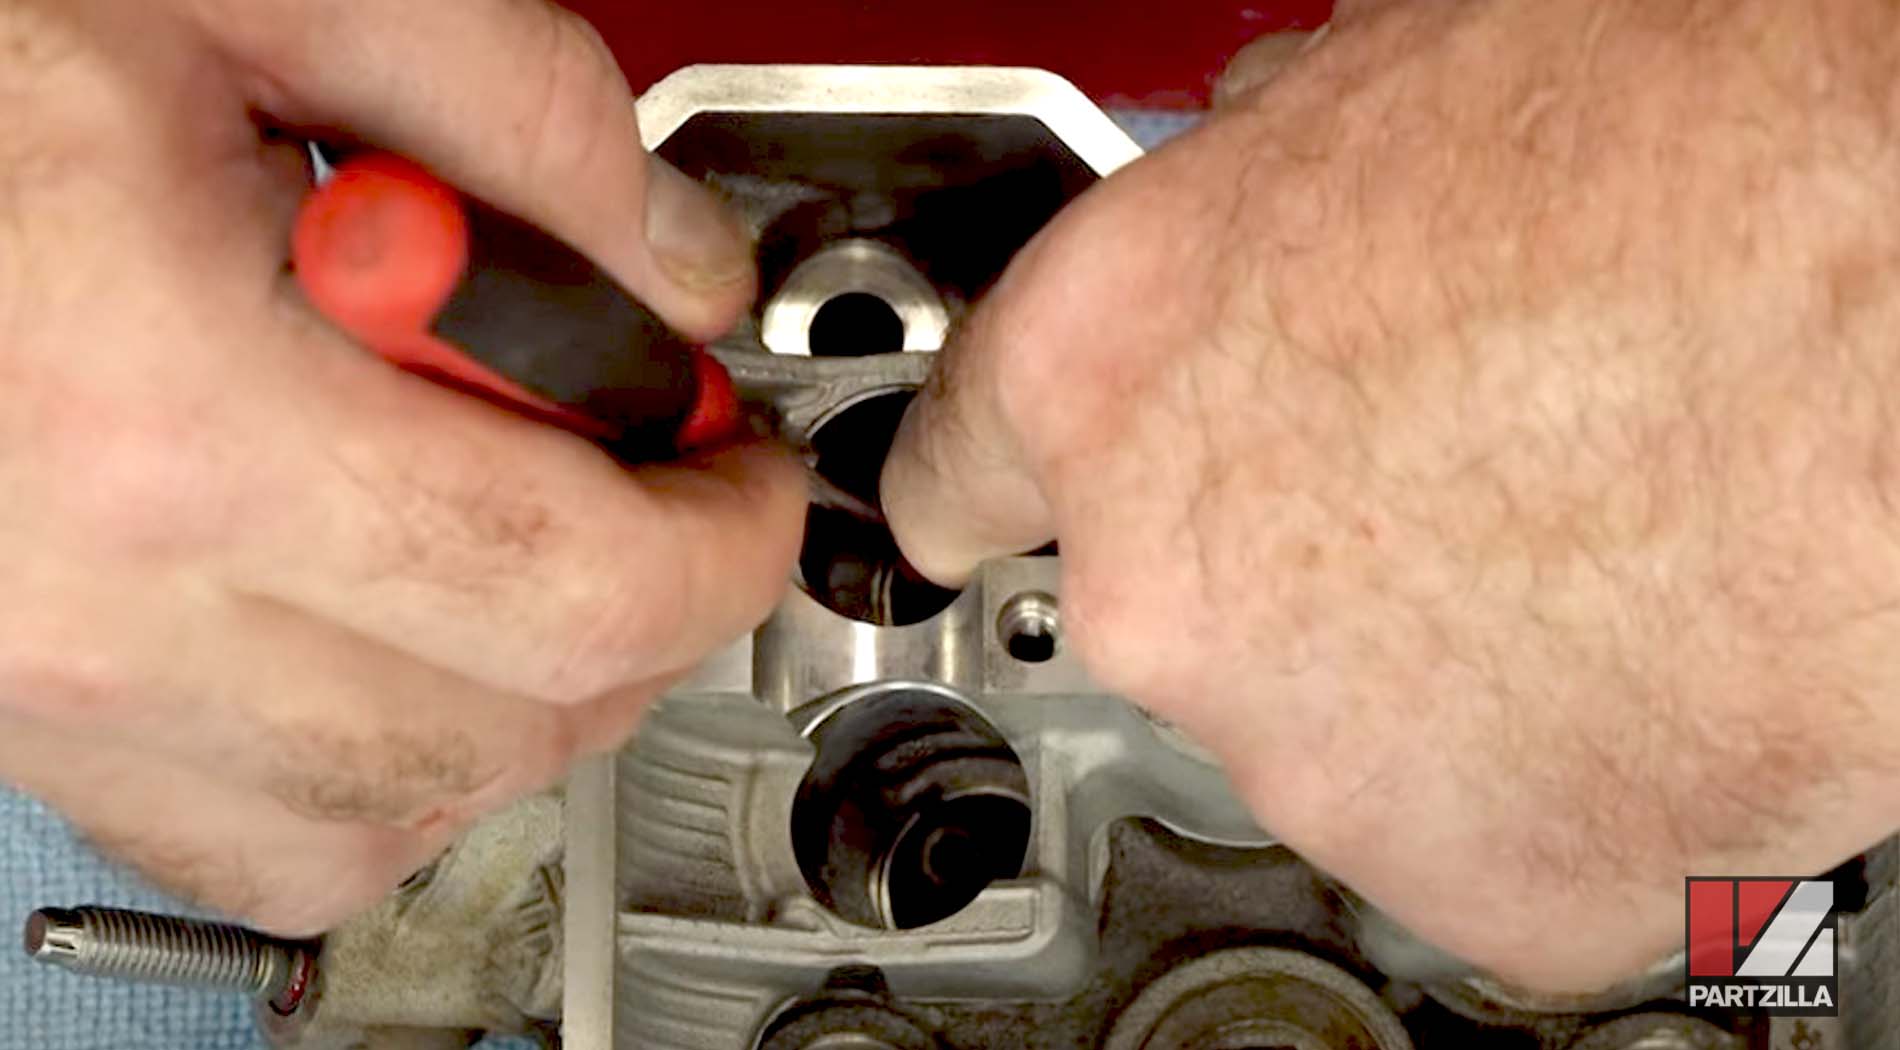
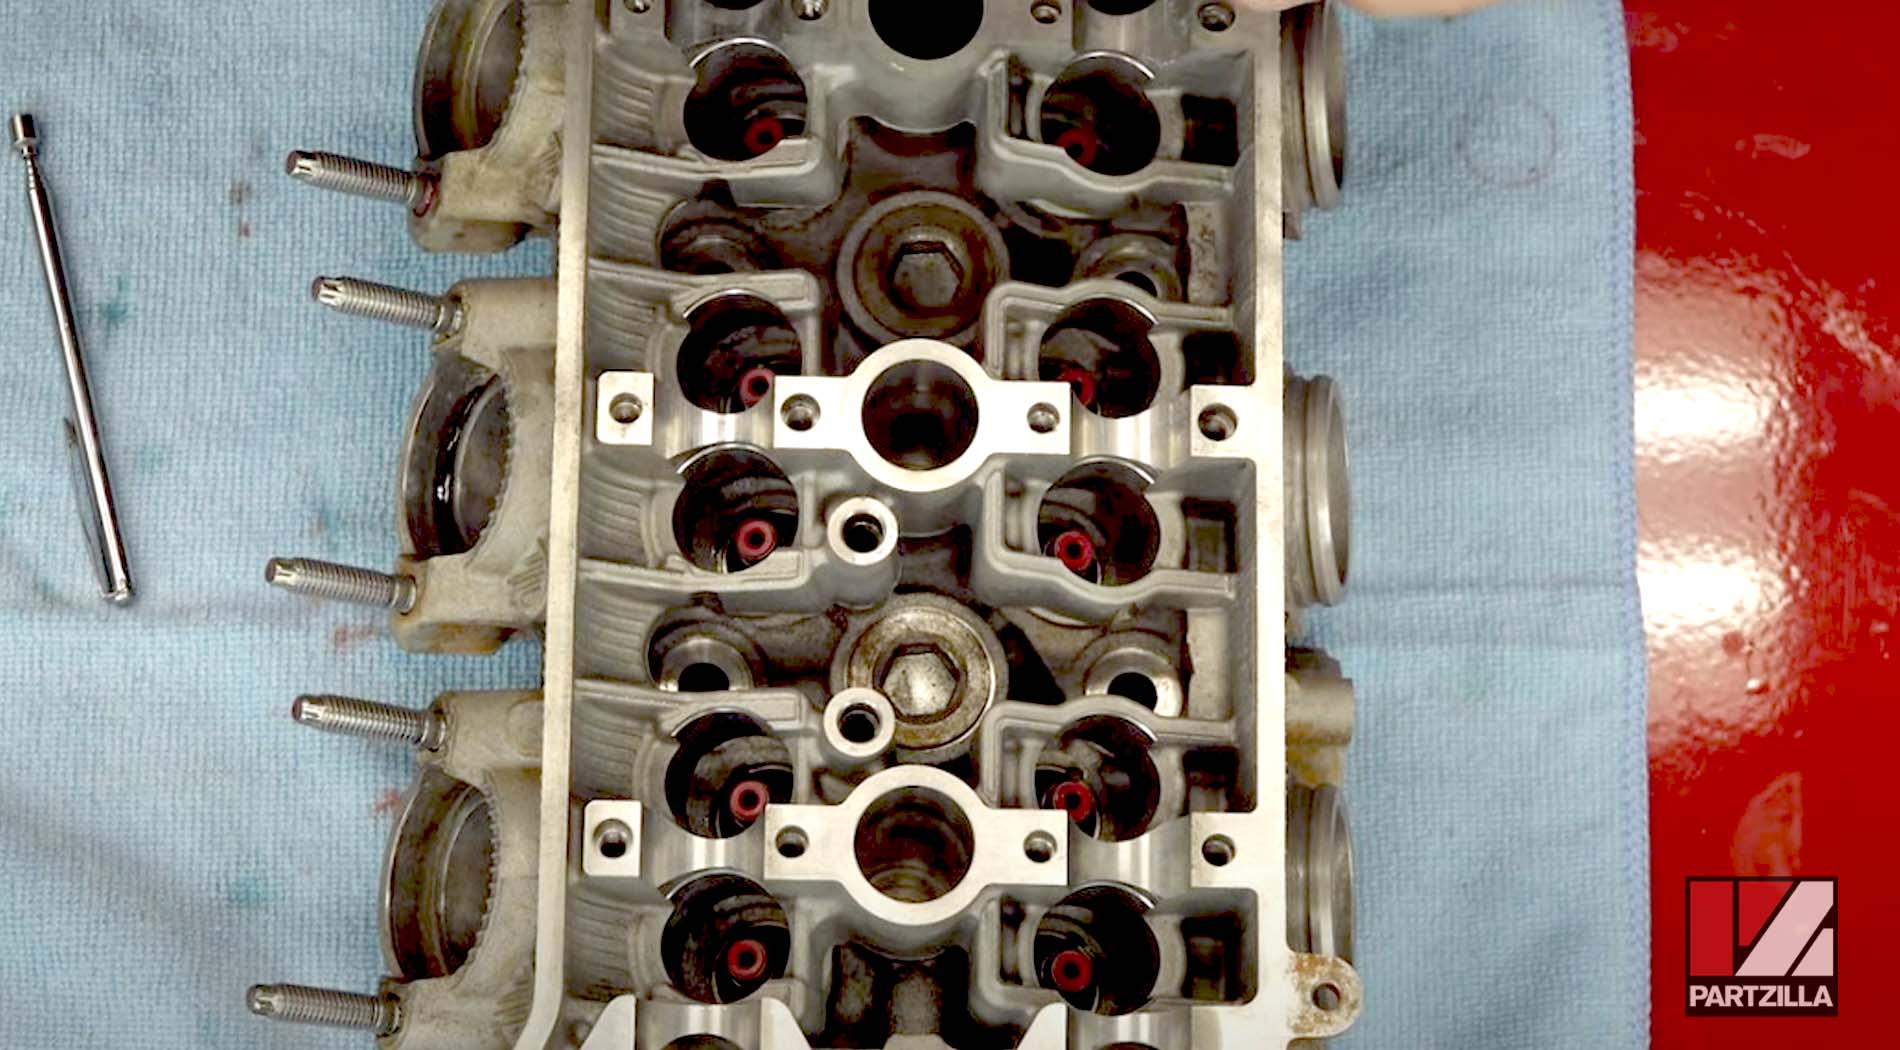
Step 8. Use a magnet retriever tool to install the valve seats, followed by the valve seals.
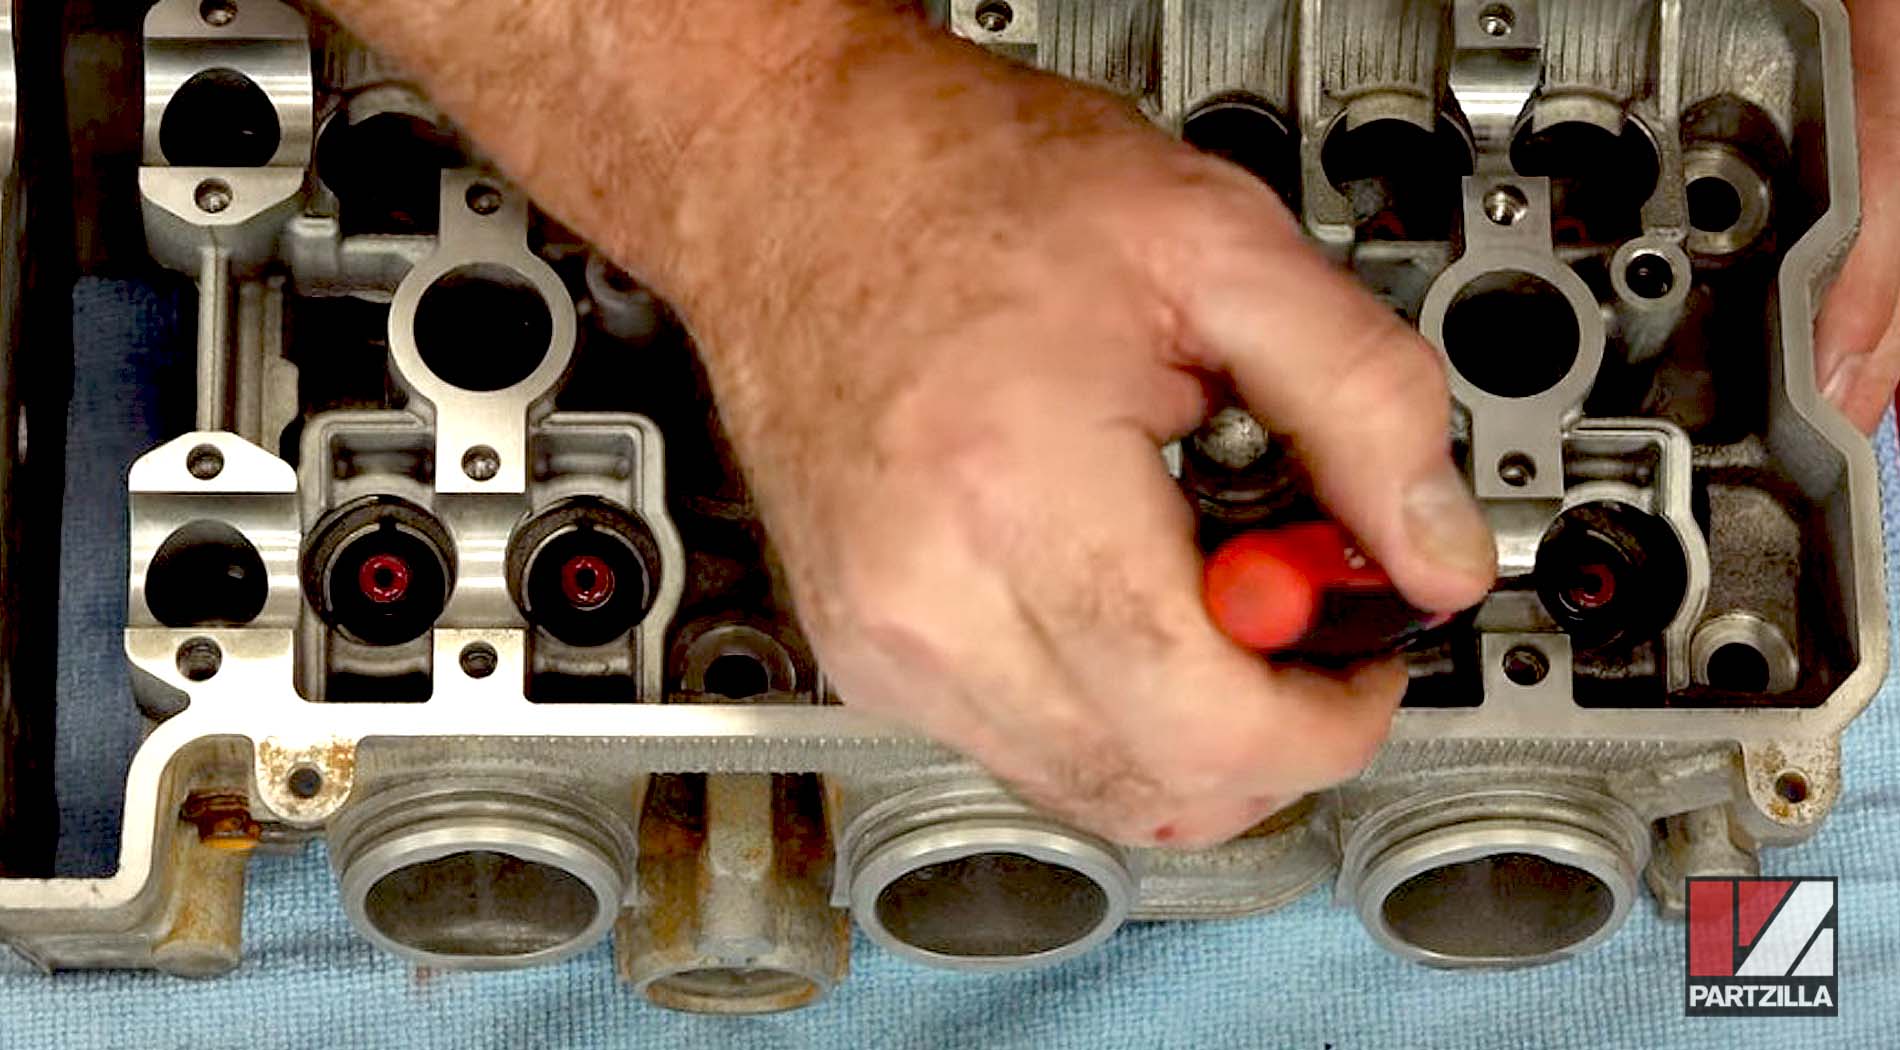
For the seals, line each one up with a pick tool after installing them and then push it down flat until you feel it pop into place. The top of the valve guide has an indention right at the top edge, and that's what the little spring is going to grab onto. If you have a seal that won’t go in easily, put a little bit of oil around it to help it along. The Yamaha manual says to use oil on all of the seals, but it’s not necessary if they seat in properly.
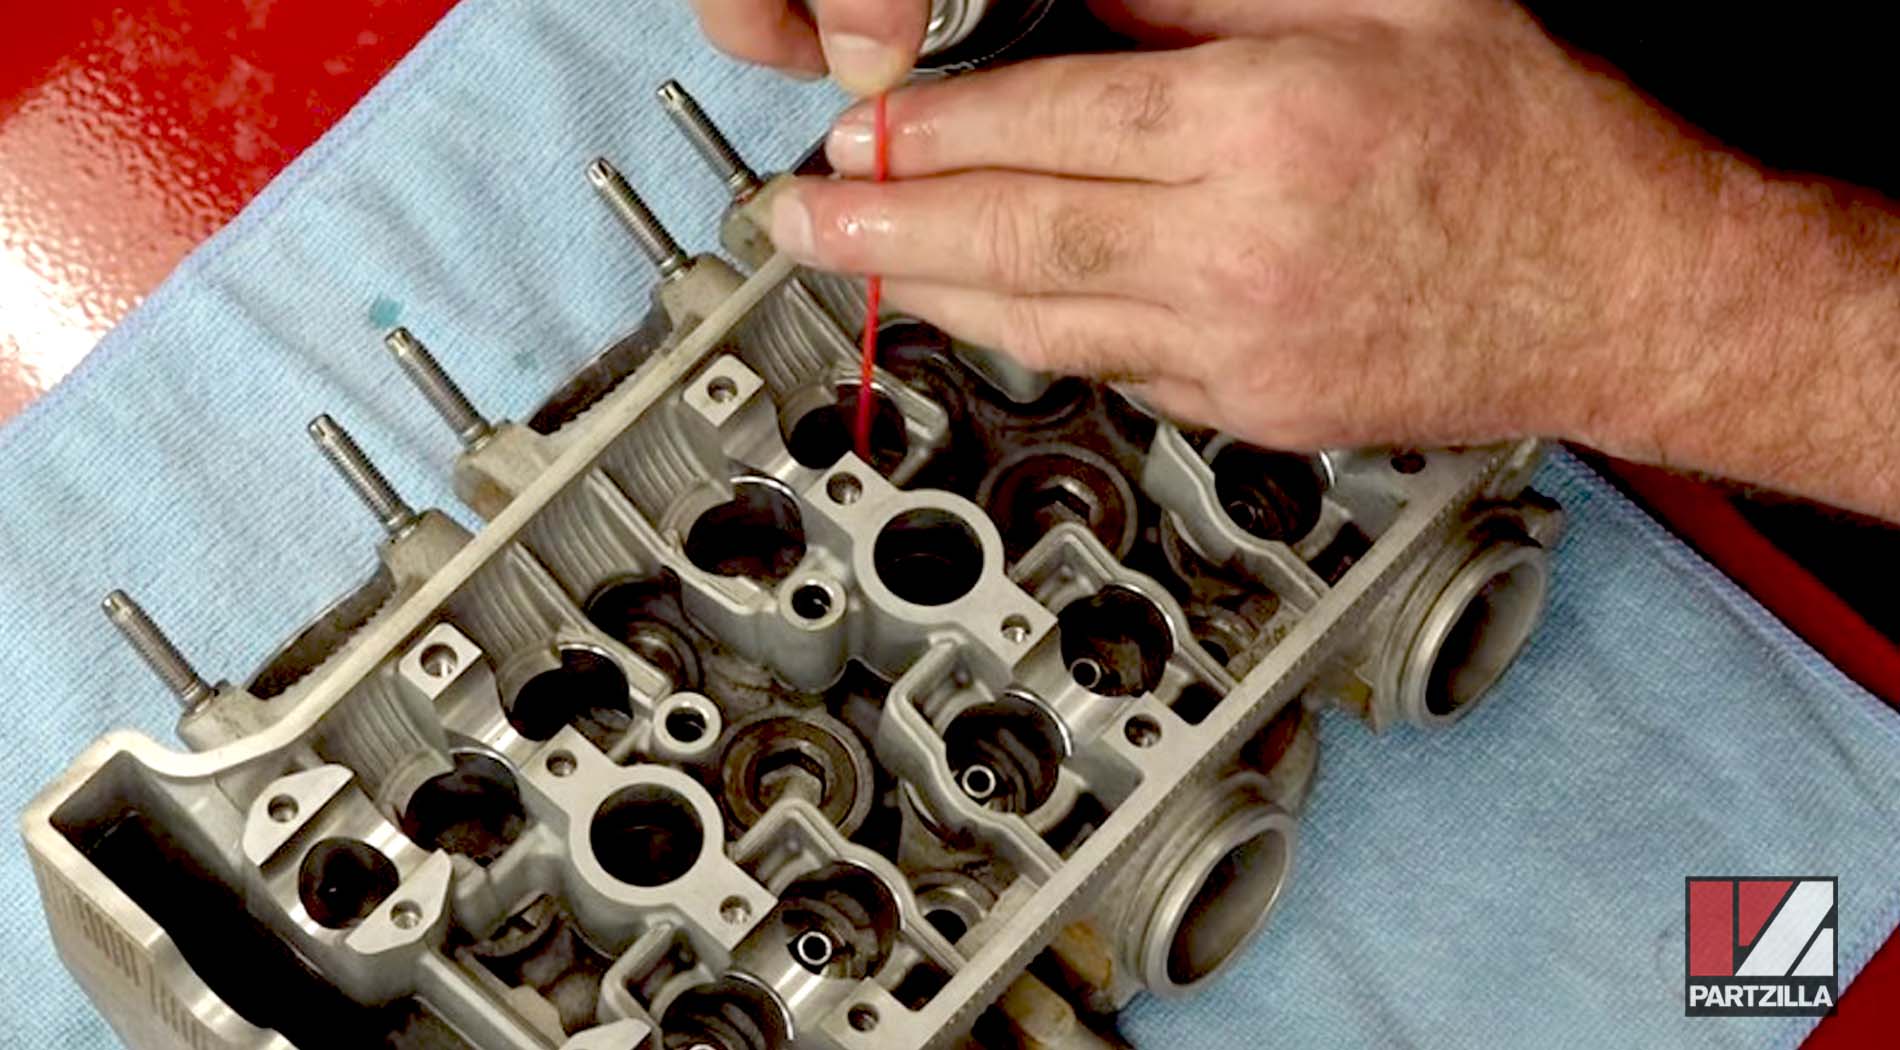
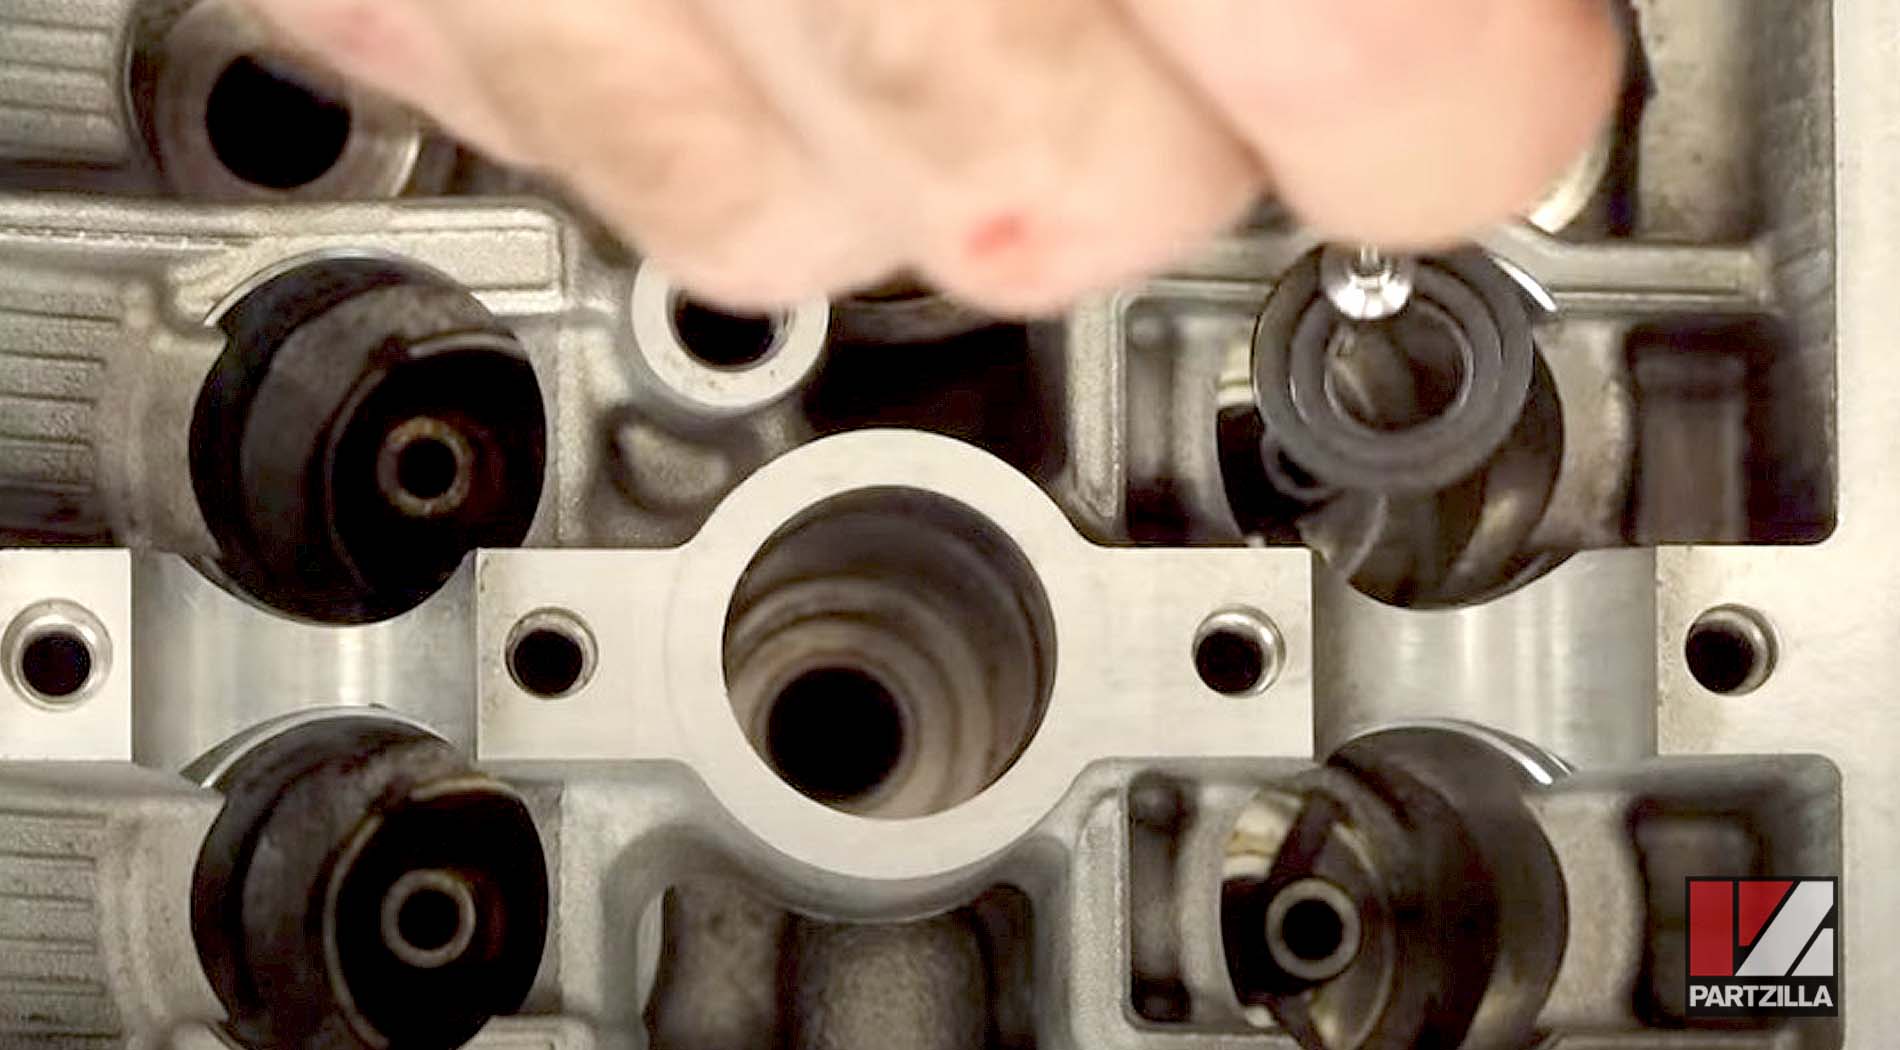
Step 9. Dip the tip of a pick tool in oil and use it to add some oil inside each one of the valve guides and the seal side so they’re not dry on startup.
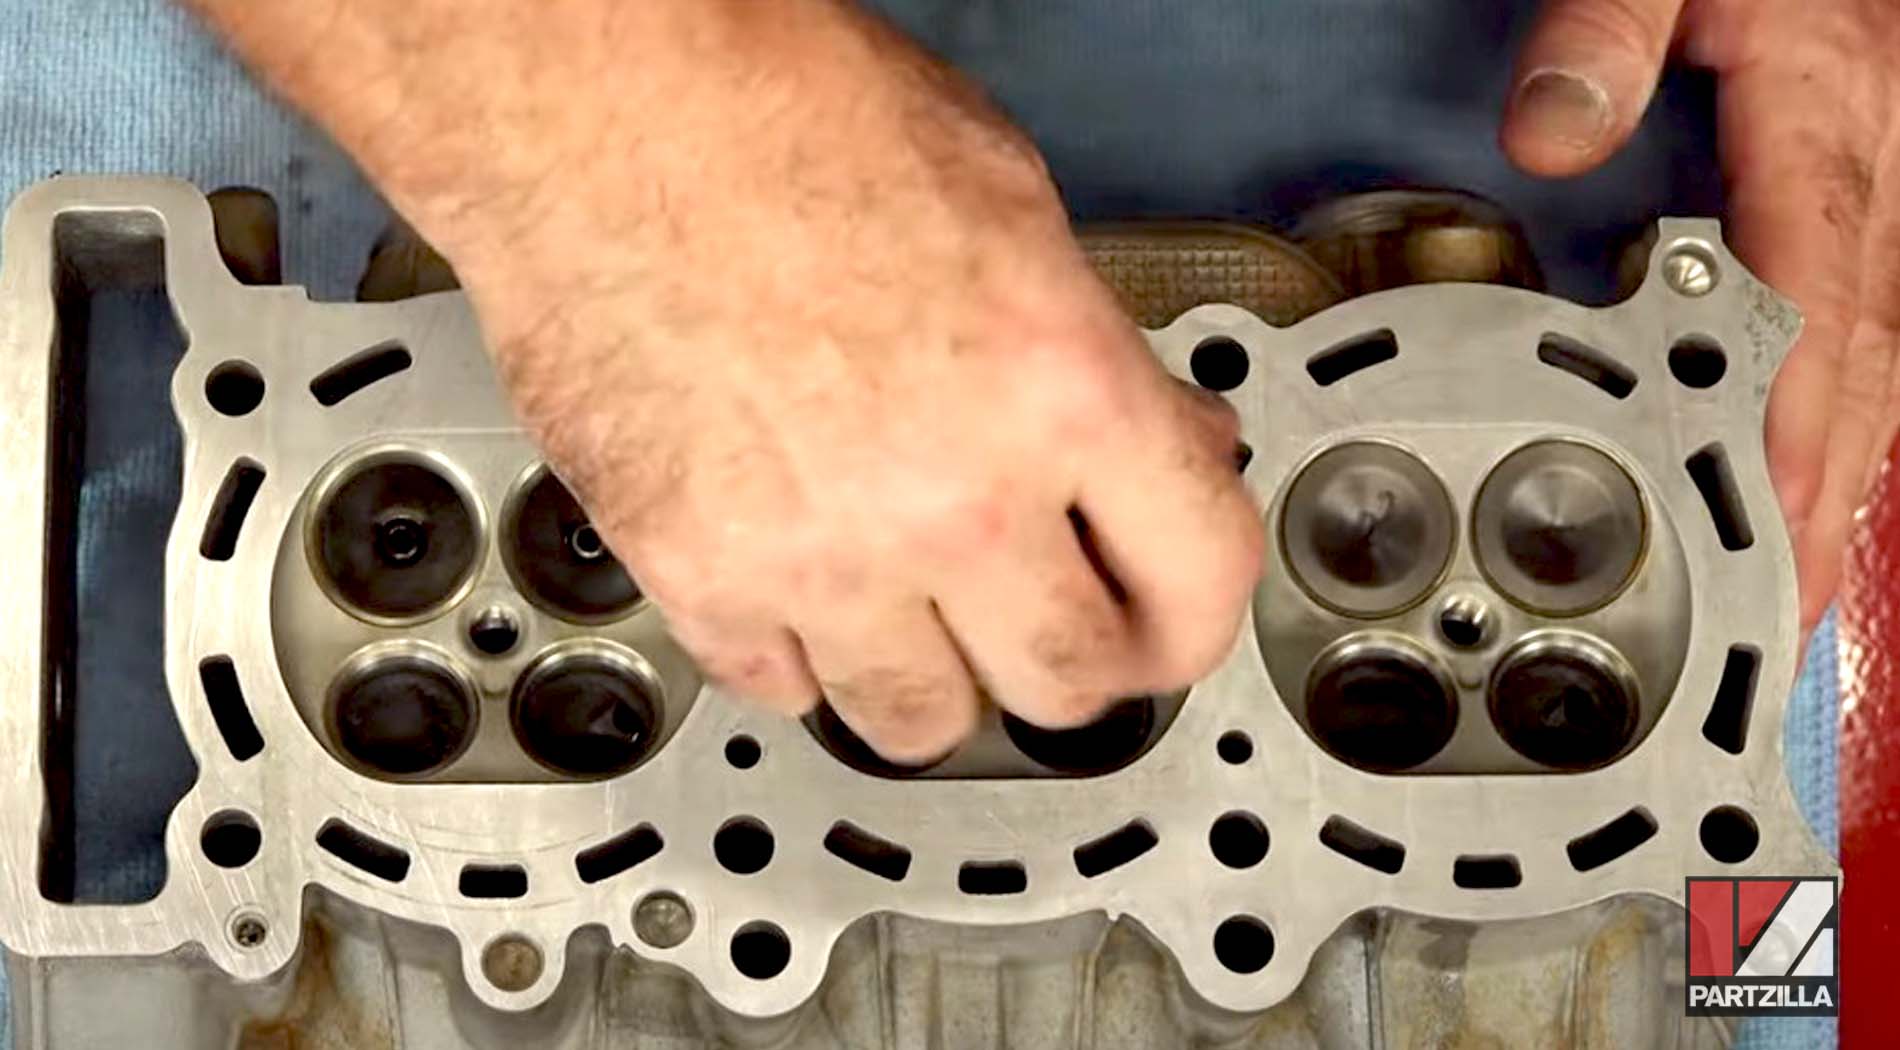
Step 10. Install the valves, rotating each one a little as you push them through the seal.
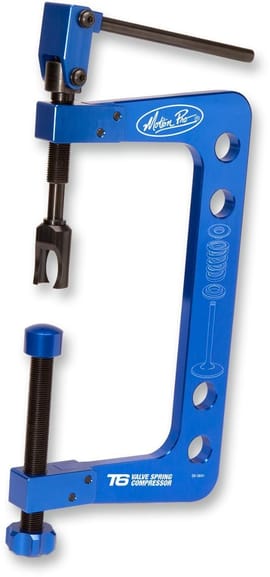
Step 11. Use a vise and a valve spring compressor to install the valve springs and valve keepers.
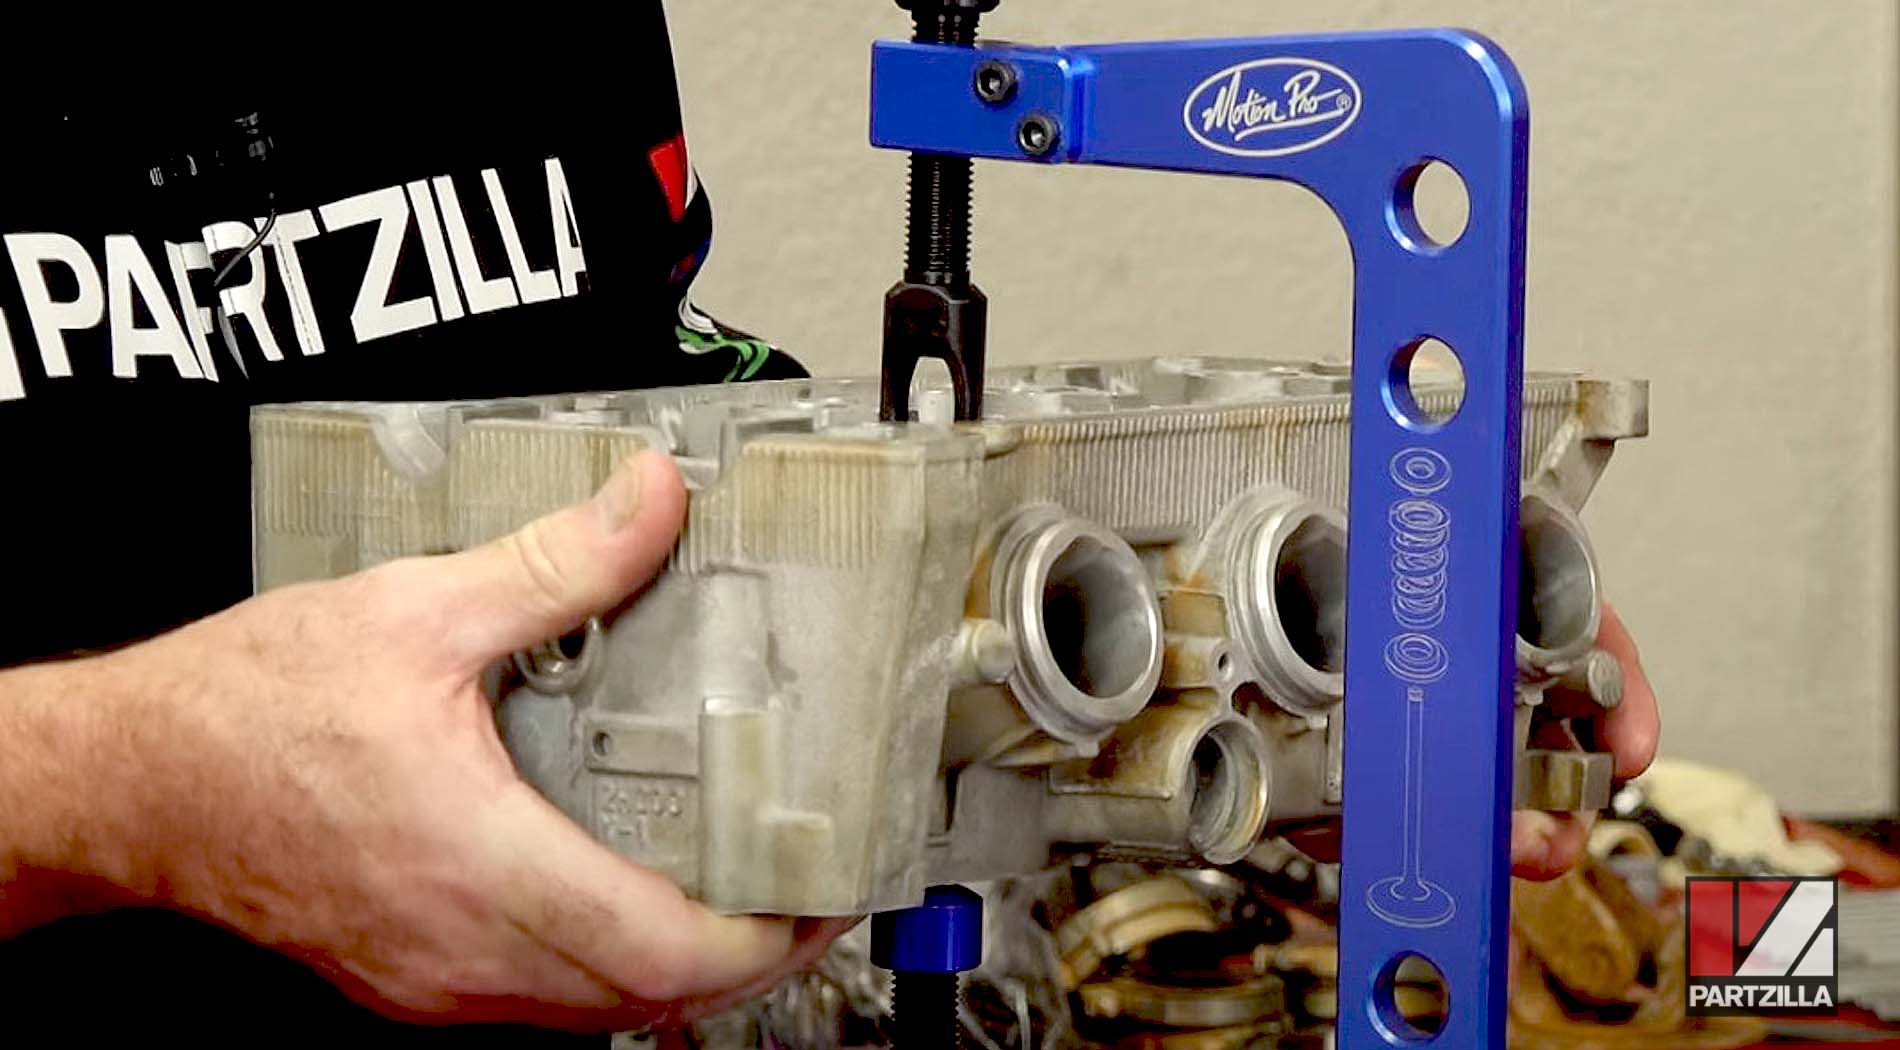
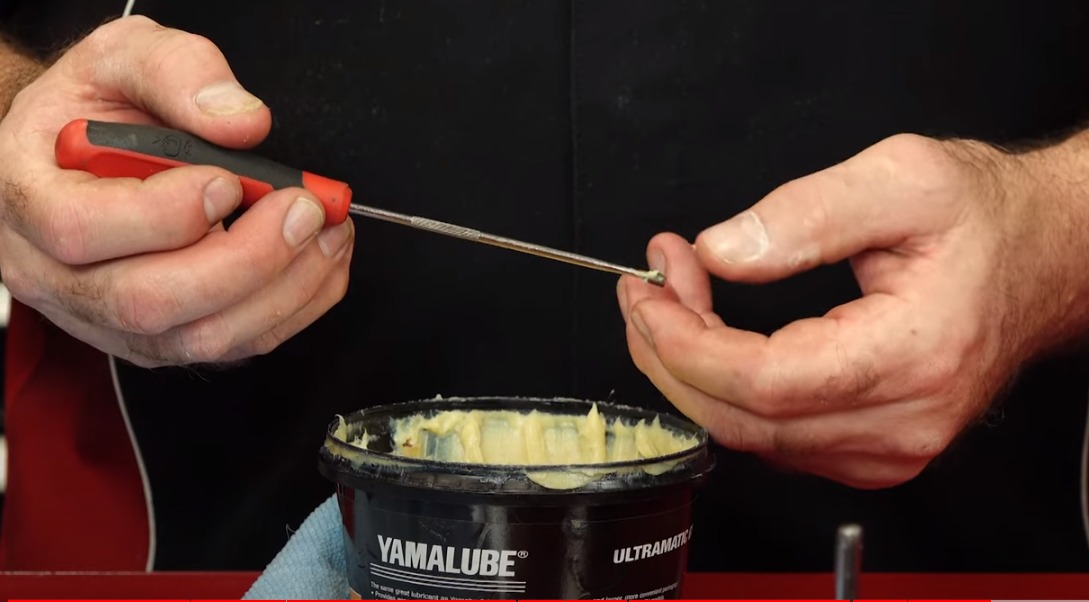
PRO TIP: Get the Motion Pro T-6 valve spring compressor, which comes with a couple of different heads to get into those tight spaces. Also, use a pick tool with a little bit of grease on the tip to hold the keepers in place.
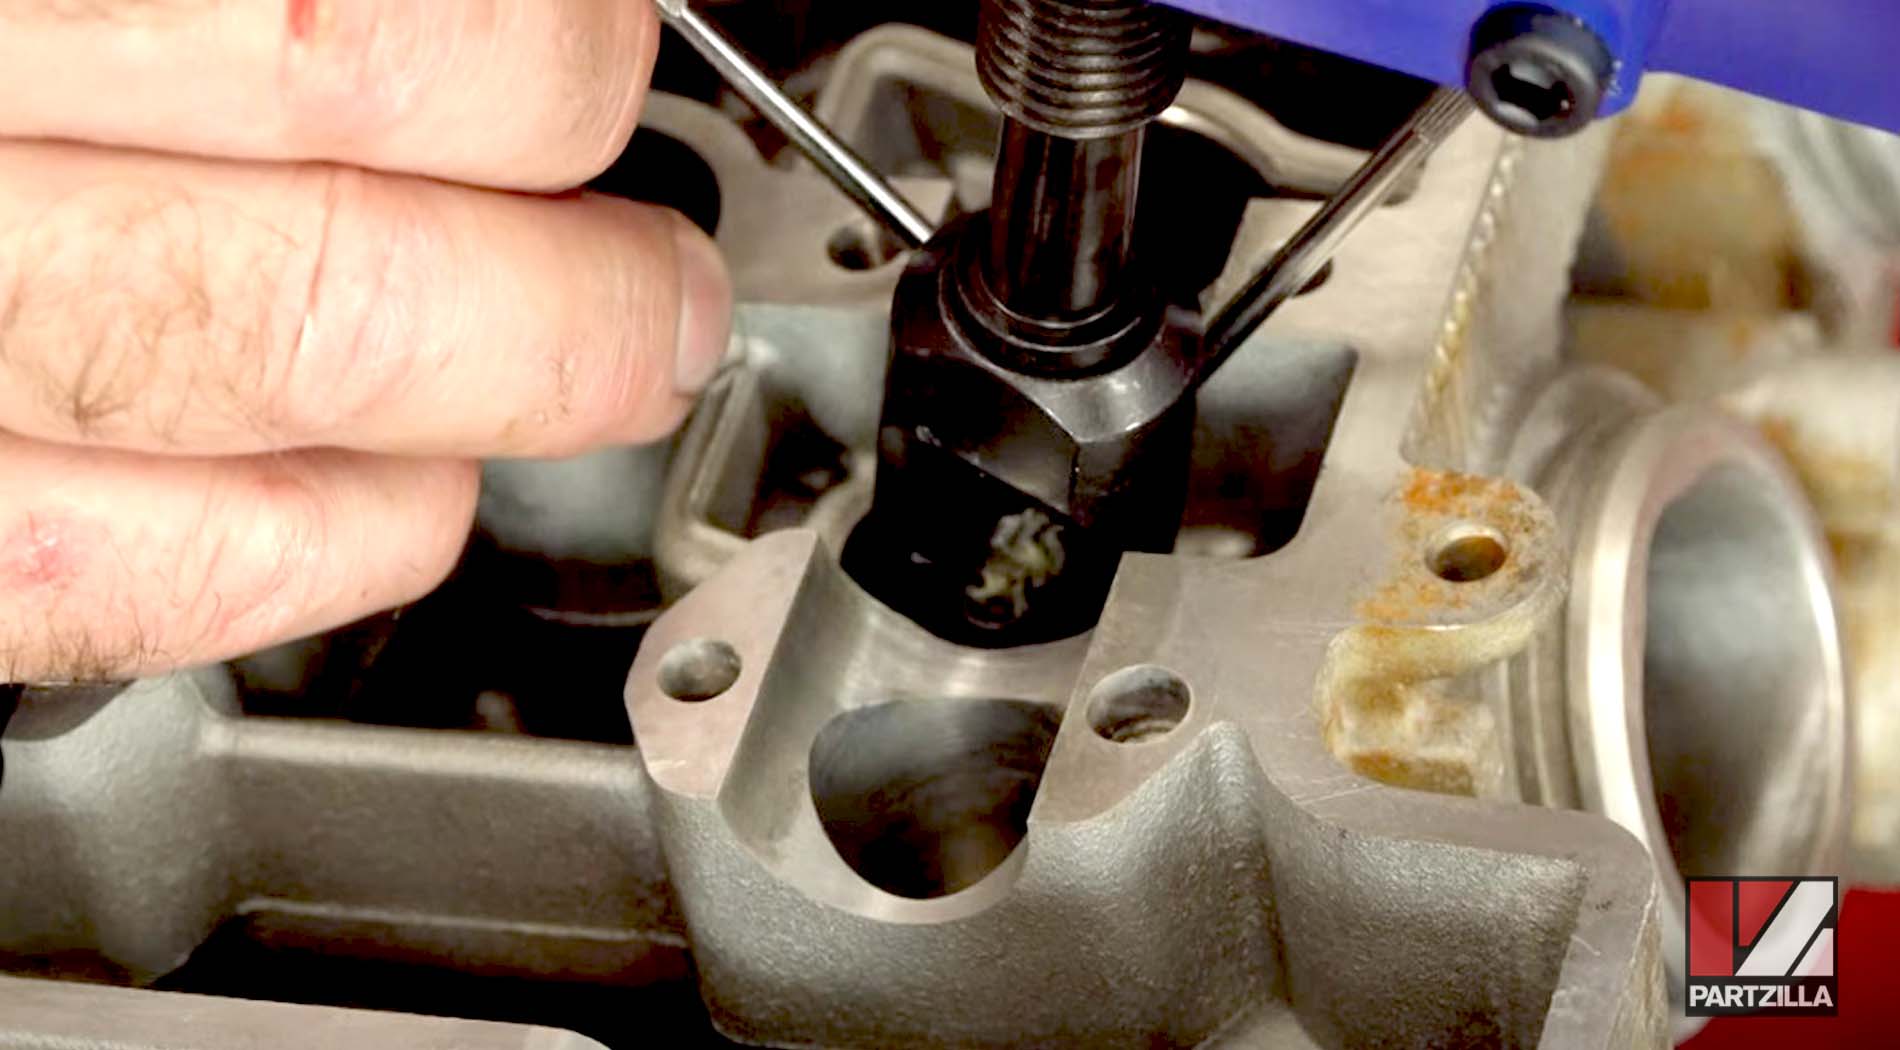
There’s a groove at the top of the valve stem, and the keepers go into that groove, and then the retainer is going to come up because the keepers are at an angle and that's going to lock it in place.
NOTE: This part of the process is very hard to do in such a tight space, so be very patient and work them in one by one.
Step 12. Use a soft blow hammer and a socket or the opposite end of a 3/8ths drive to tap the valve keepers in to make sure they’re seated.
If you want to keep up with what we've done and/or what we'll do next, watch our Yamaha YXZ10000R side-by-side complete engine rebuild playlist in its entirety below.