Yamaha YXZ1000R Engine Rebuild: Head Installation
As part of our 2016 Yamaha YXZ1000R engine rebuild, we're mounting the cylinder head. This engine is going to have a turbo upgrade, so the head has to be mounted a bit differently than the stock configuration.
We also install the cam shafts and set the timing of the engine. Watch the video above or follow the steps below to do a cylinder head installation on a 2016 Yamaha YXZ1000R side-by-side.
See the parts diagrams:
Tools and Parts - Yamaha YXZ1000R Head Installation
- Soft blow hammer
- Ratchet and extensions
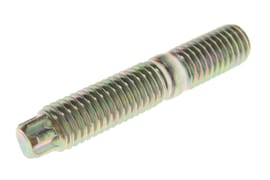
- ARP 625 age stud bolts
- Assembly lube

How to Install Yamaha YXZ1000R Cylinder Head
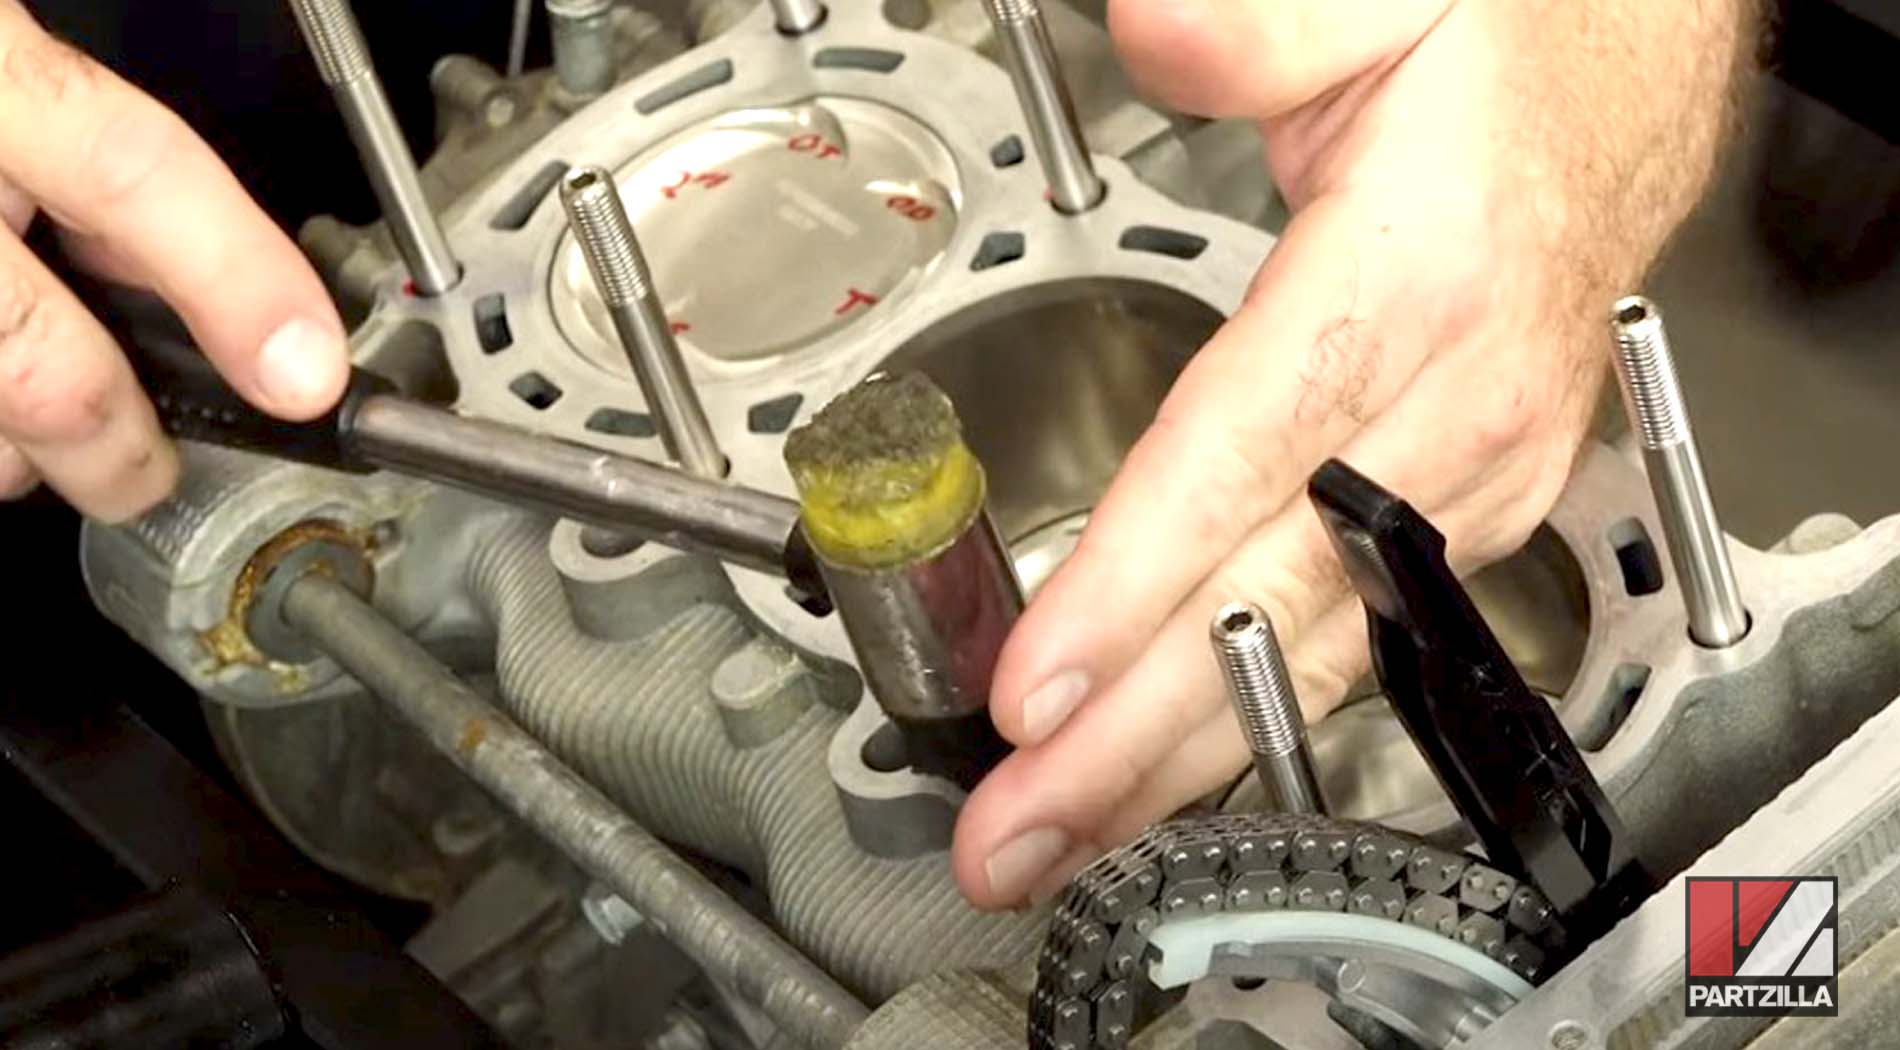
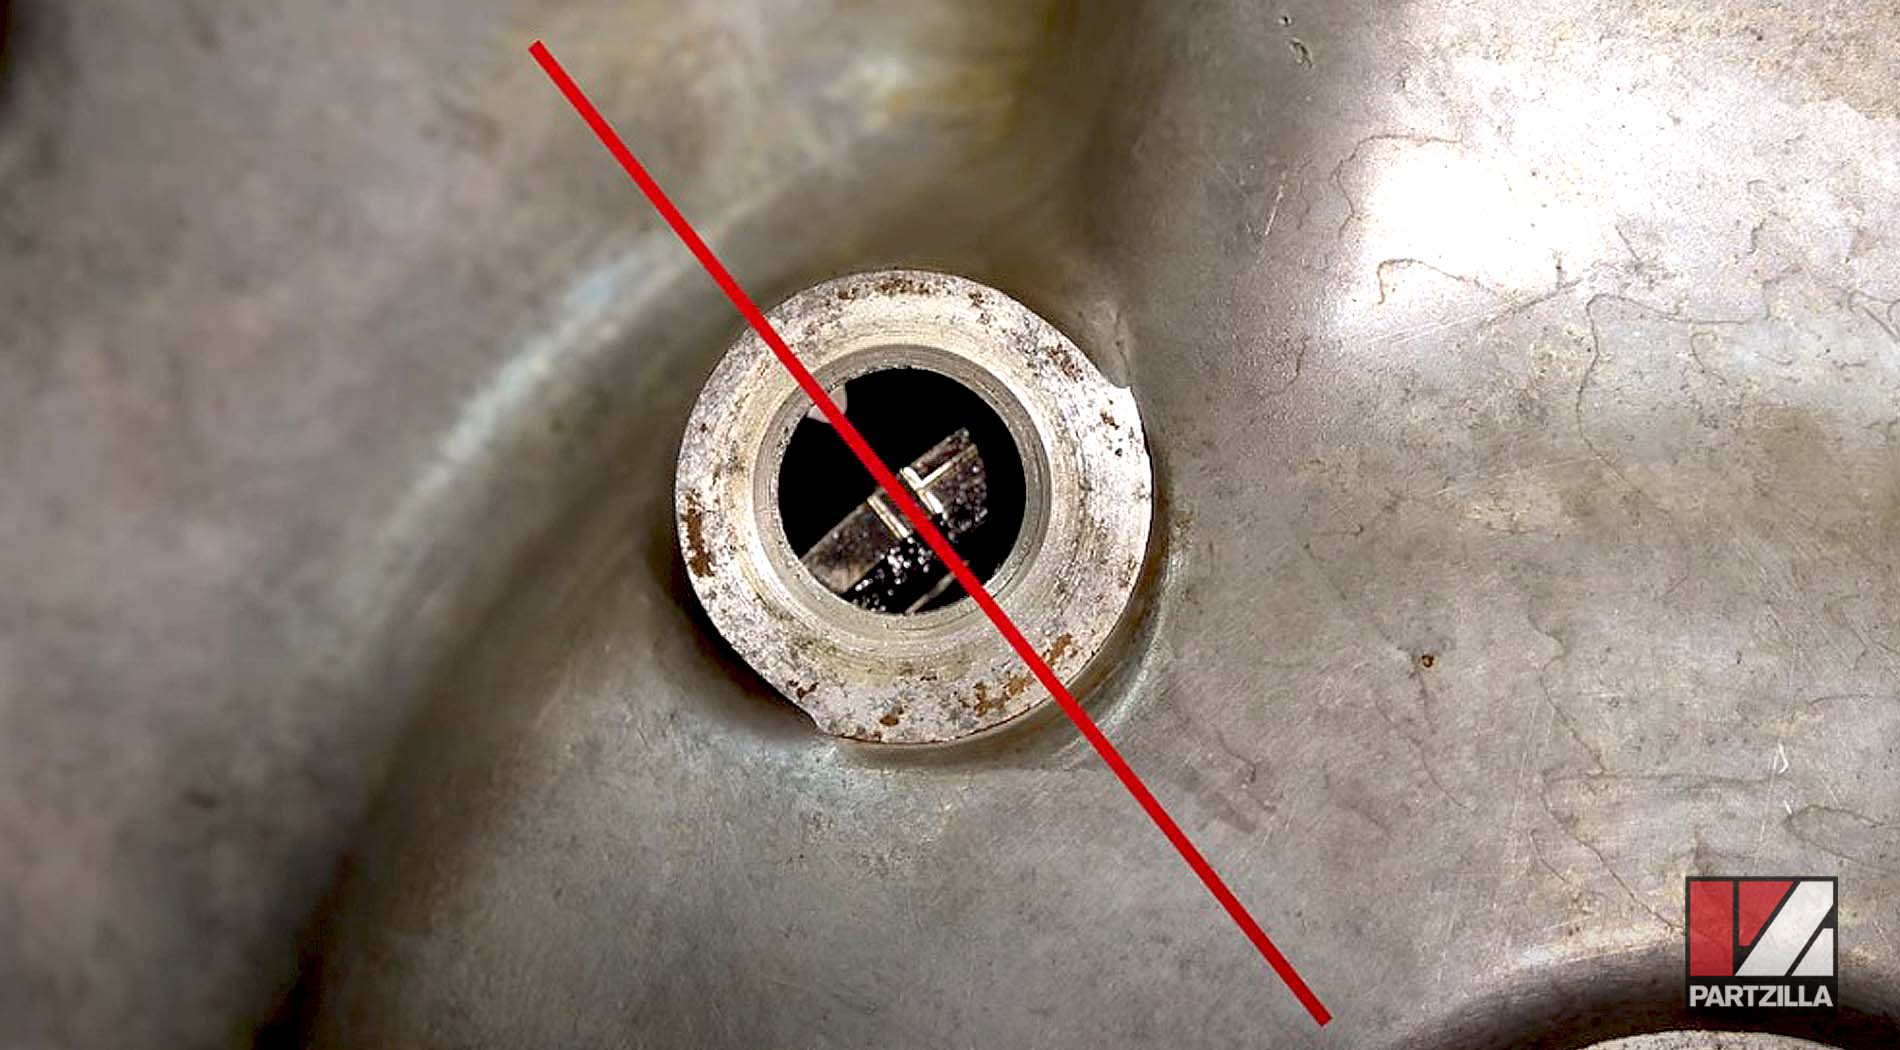
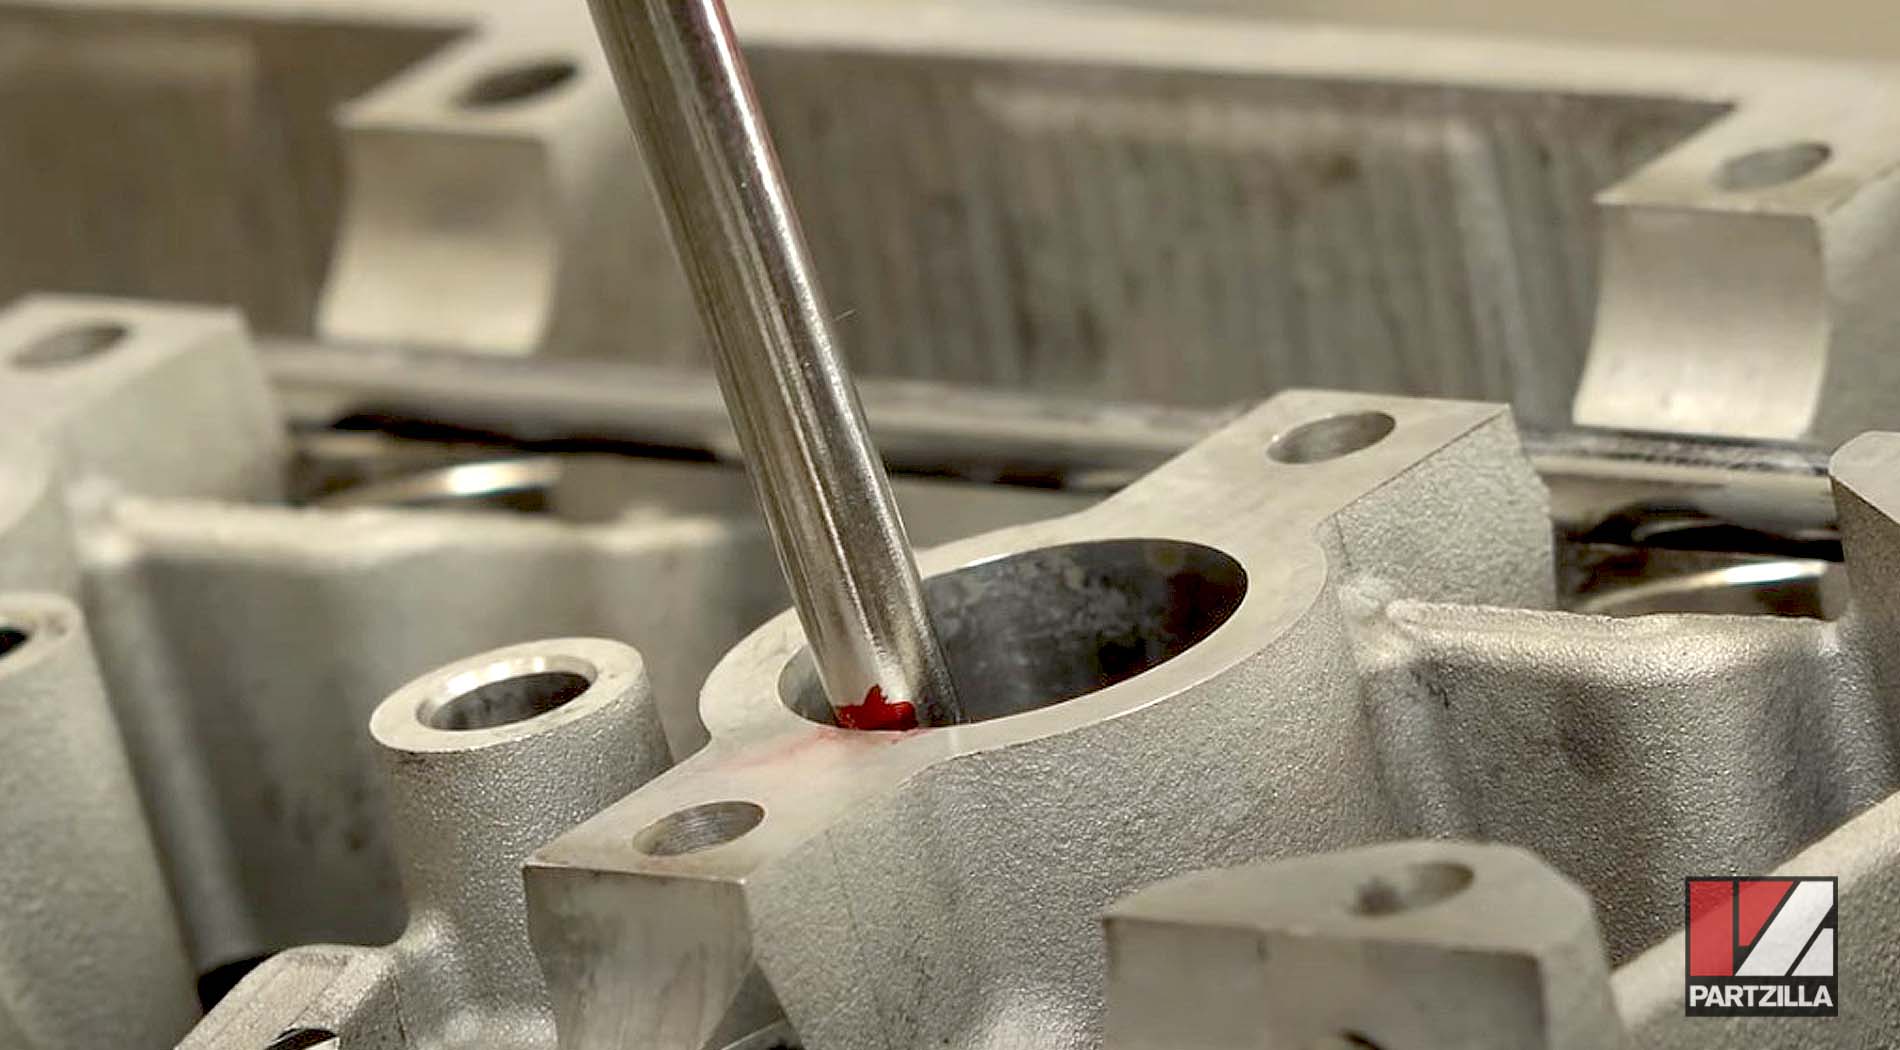
Step 1. Apply red threadlocker to the cylinder head studs and install each one by bottoming them out finger tight without torqueing them.
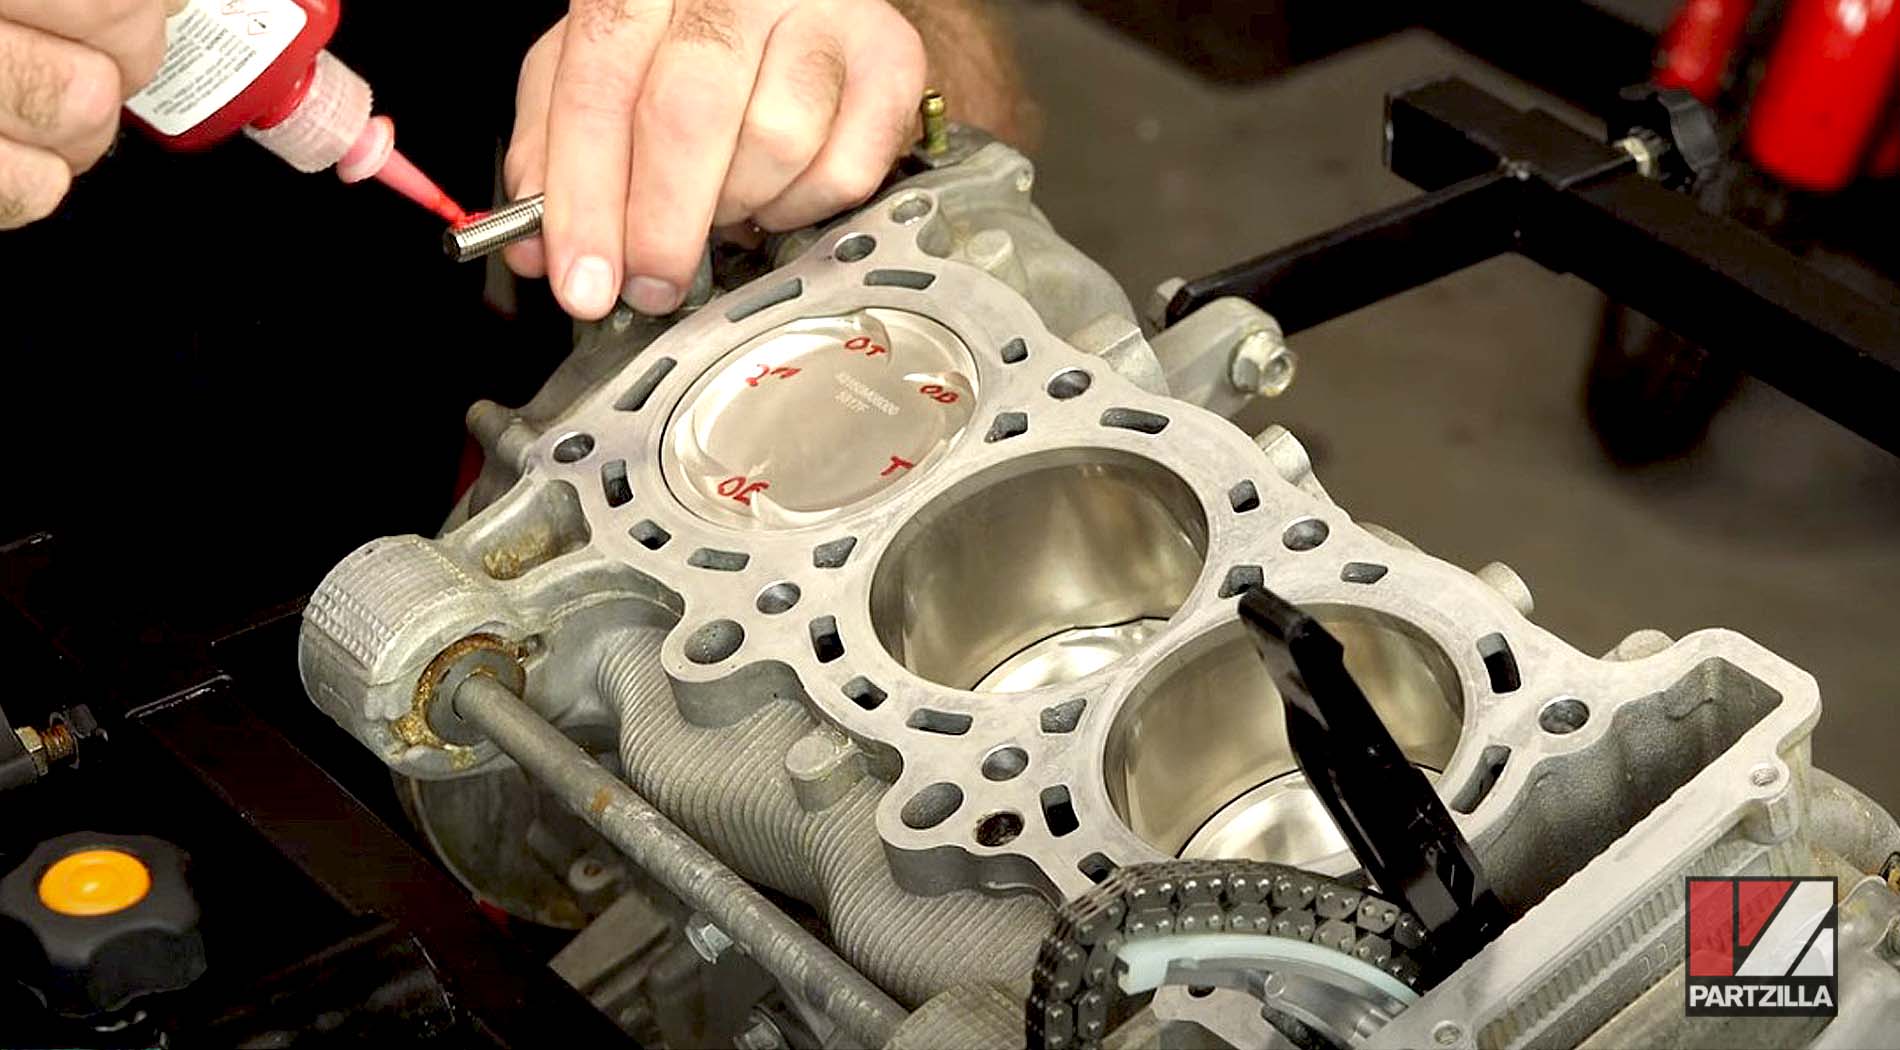
NOTE: We went with aftermarket ARP 625 age studs, instead of the OEM head bolts, because those are stretch bolts, and with a forced induction engine there’s higher compression and it's going to stretch those bolts even after they're already torqued down, which could blow a head gasket. Also note, the threads above the water pump are open, so don't force that stud past to avoid hitting the inner gears. Tighten it all the way down and back it up just a half turn.
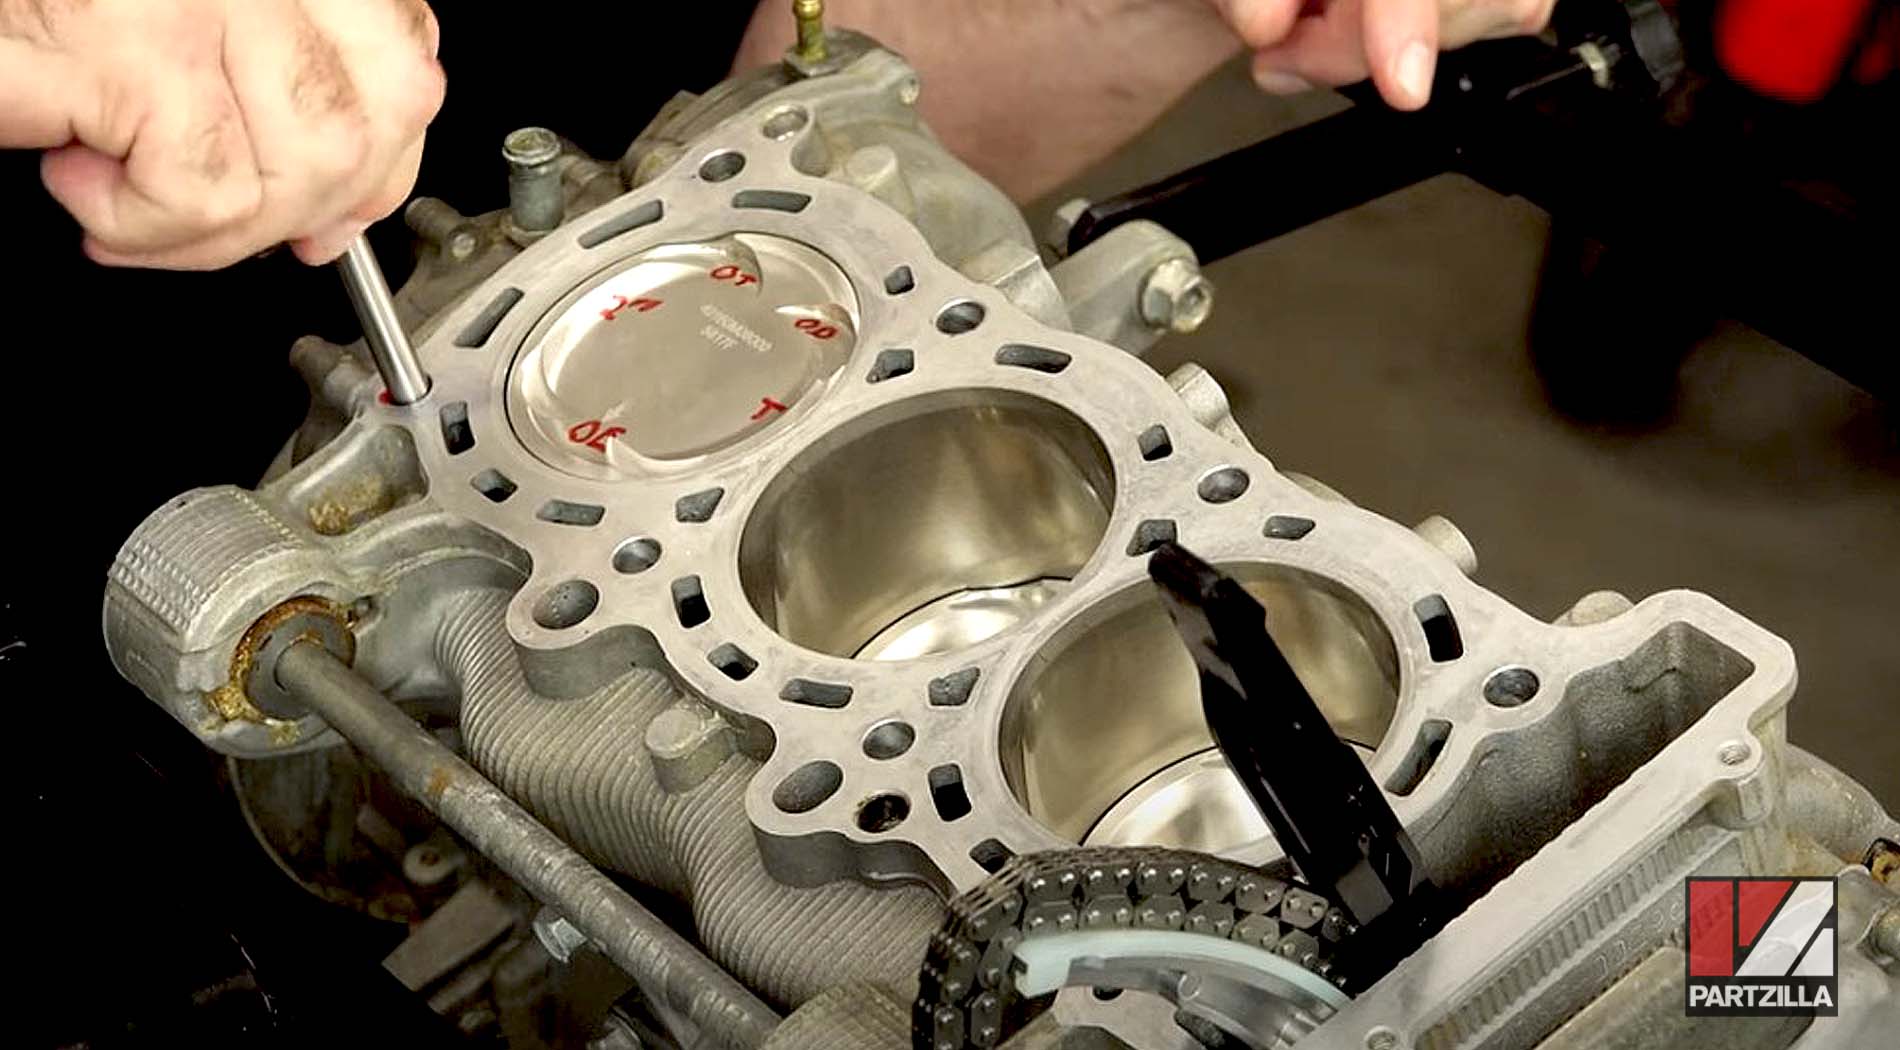
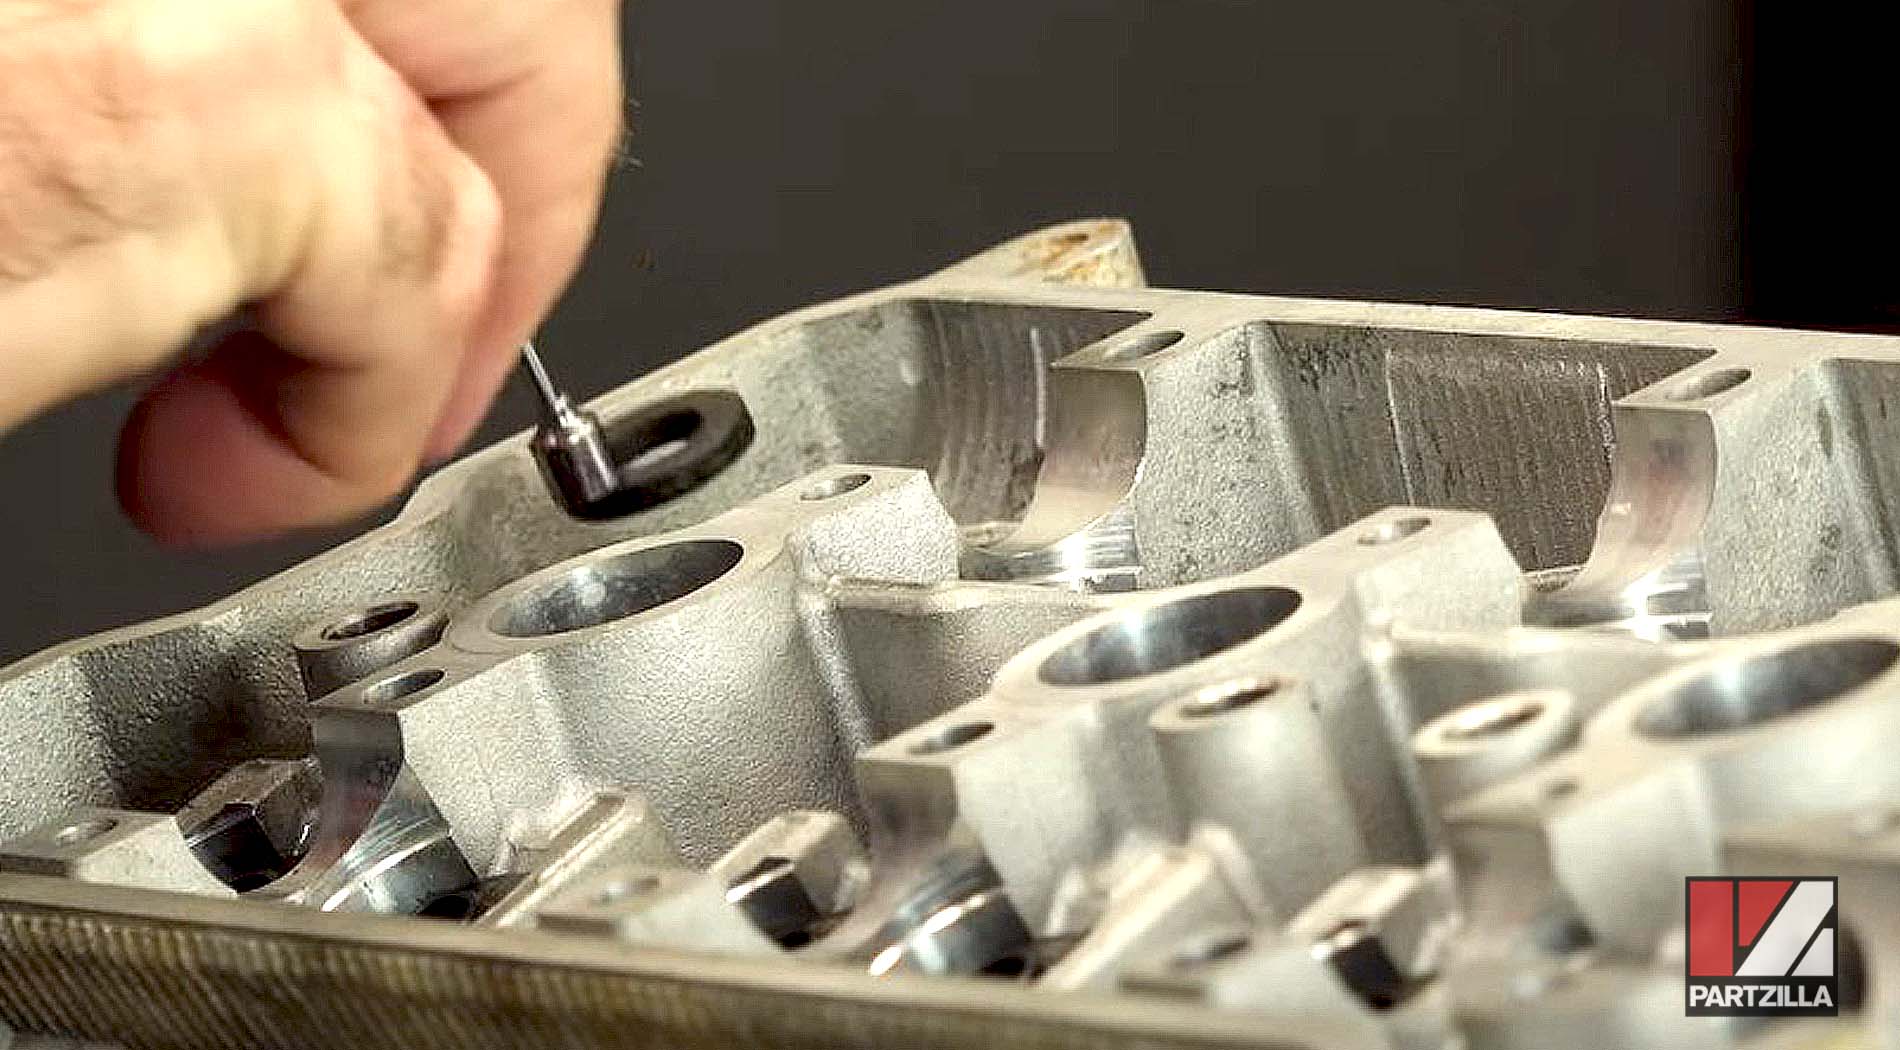
Step 2. Install the dowels and tap each one lightly in place with a soft blow hammer.
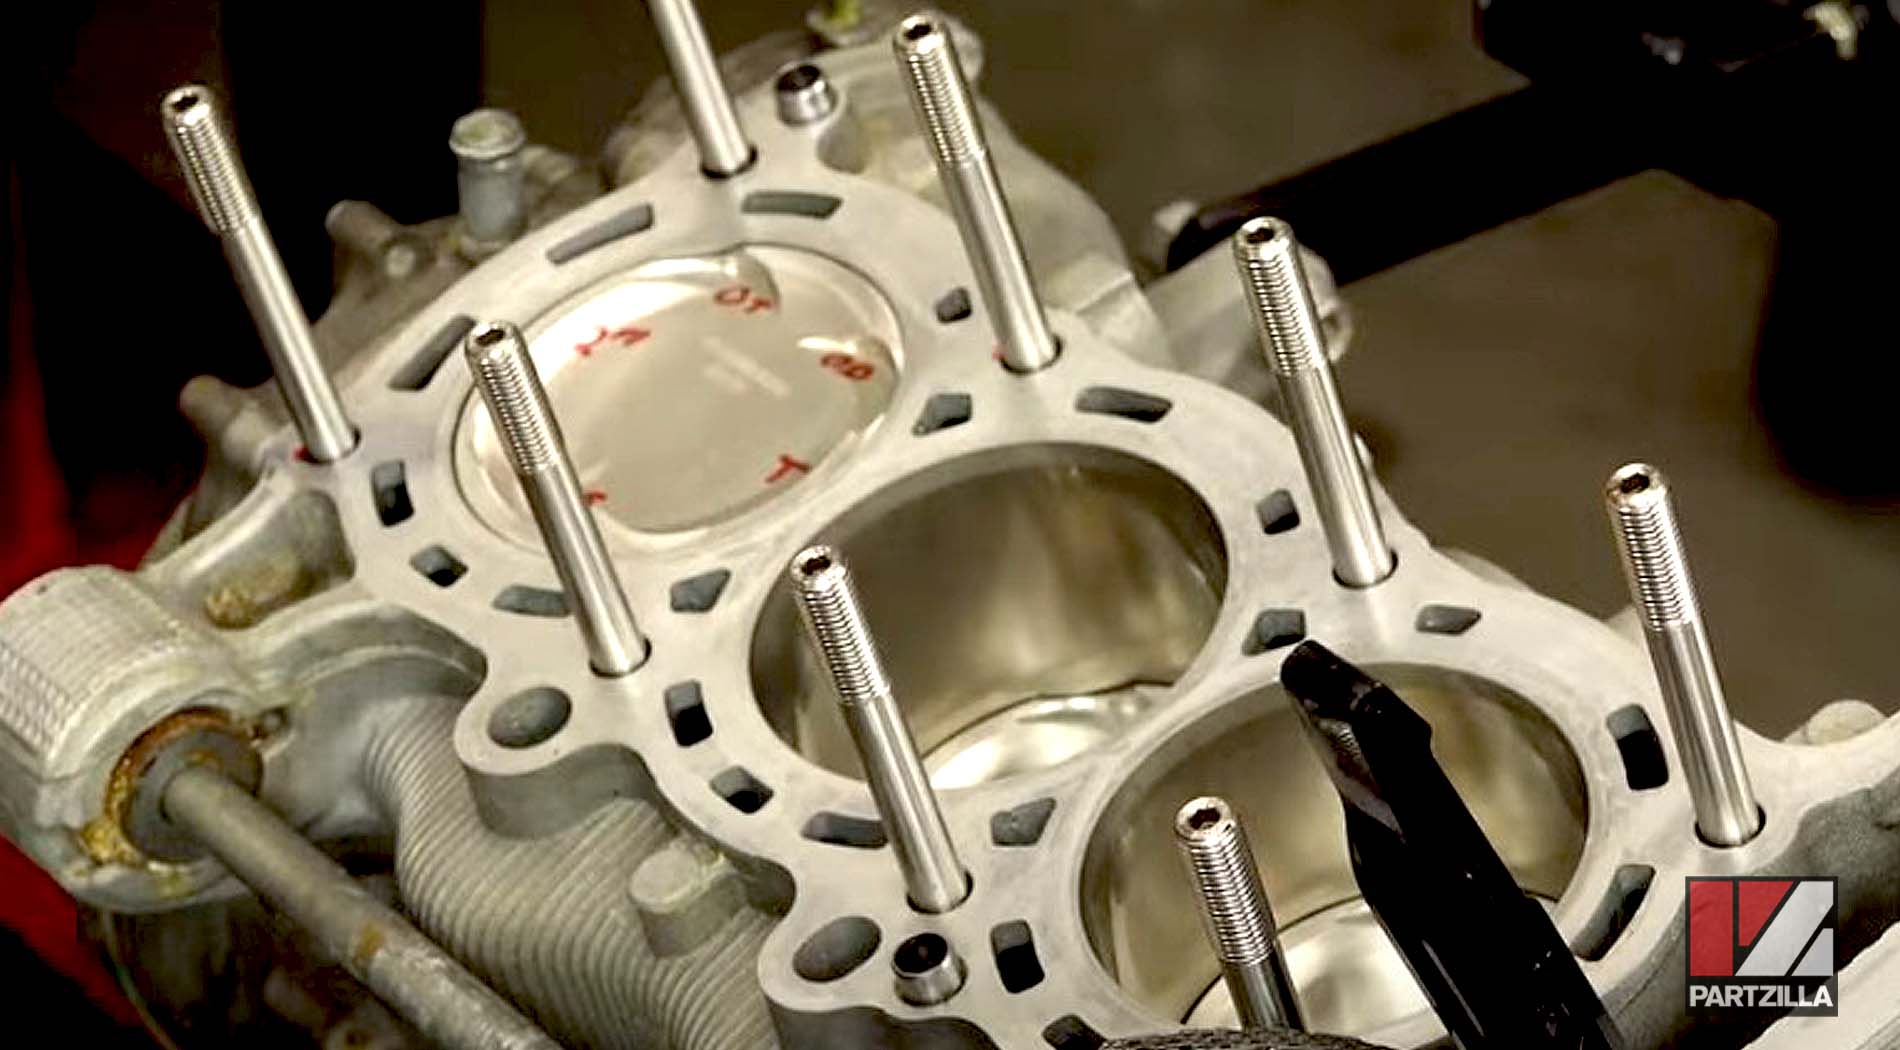
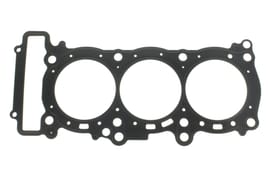
Step 3. Install the new cylinder head gasket.
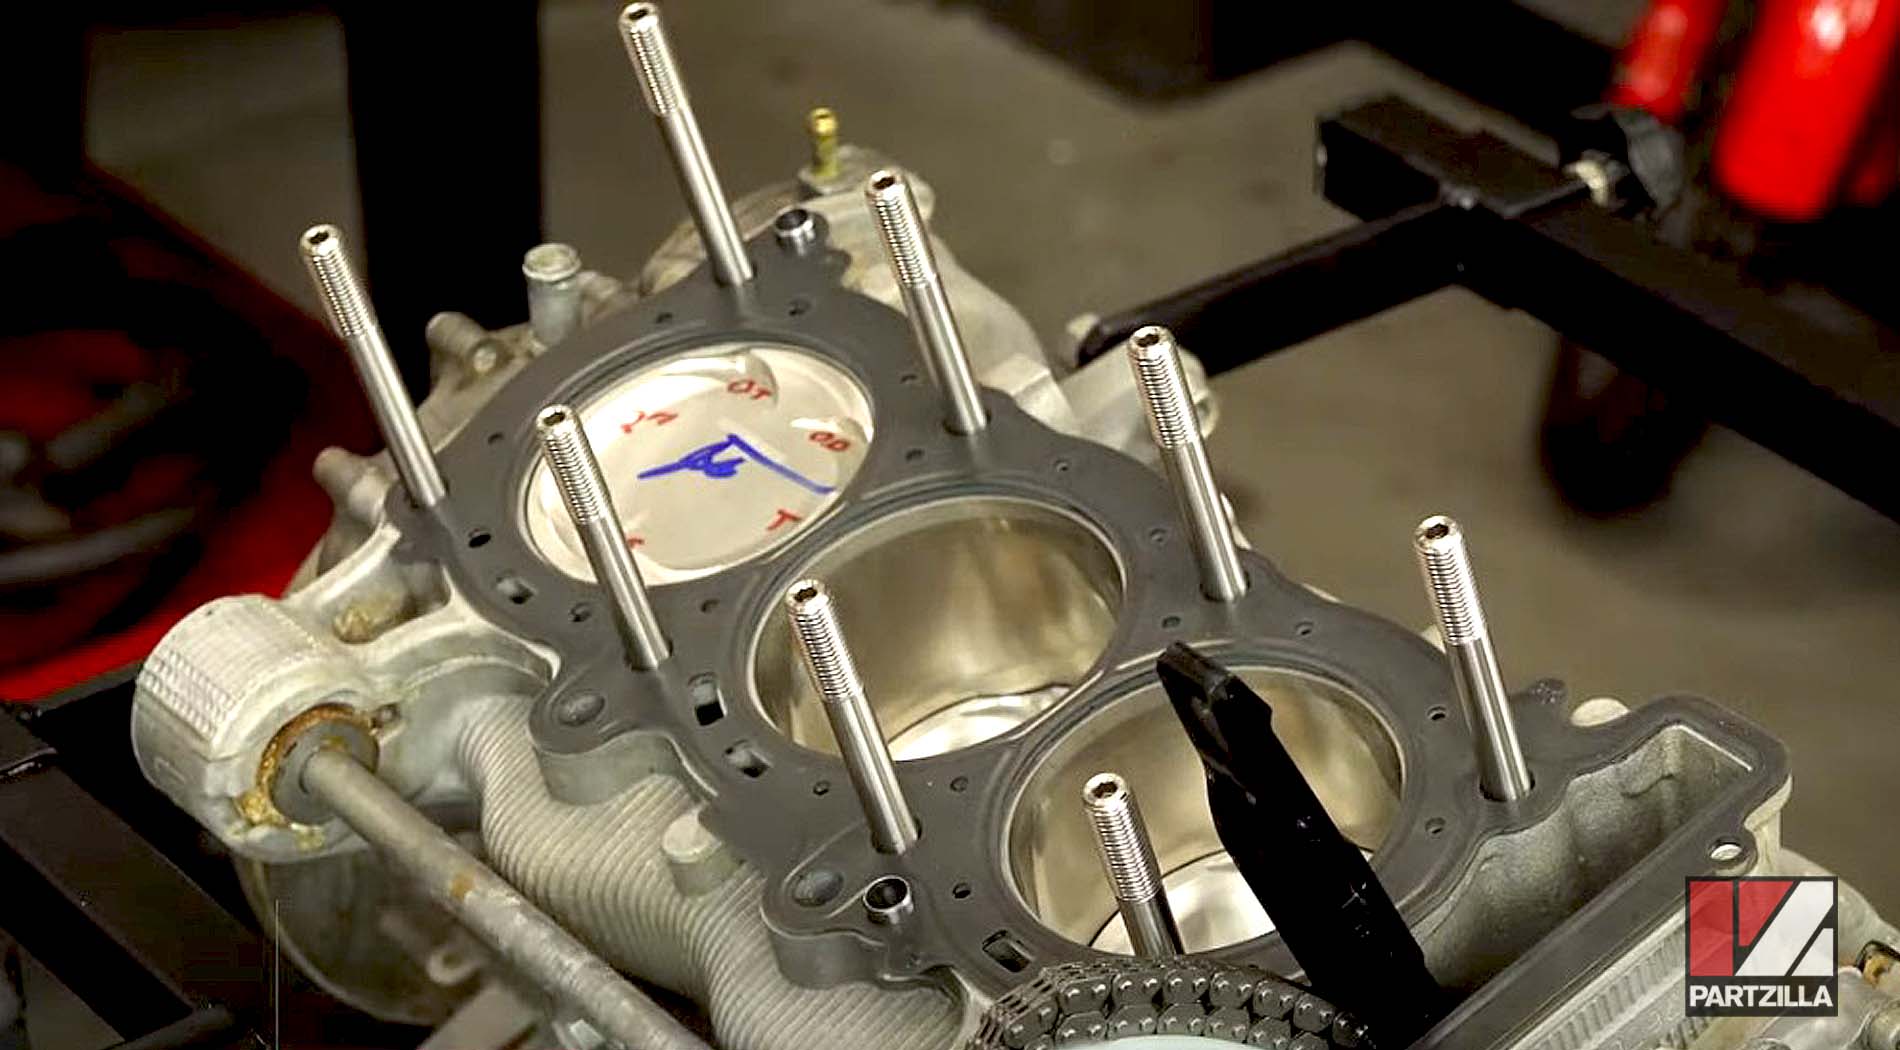
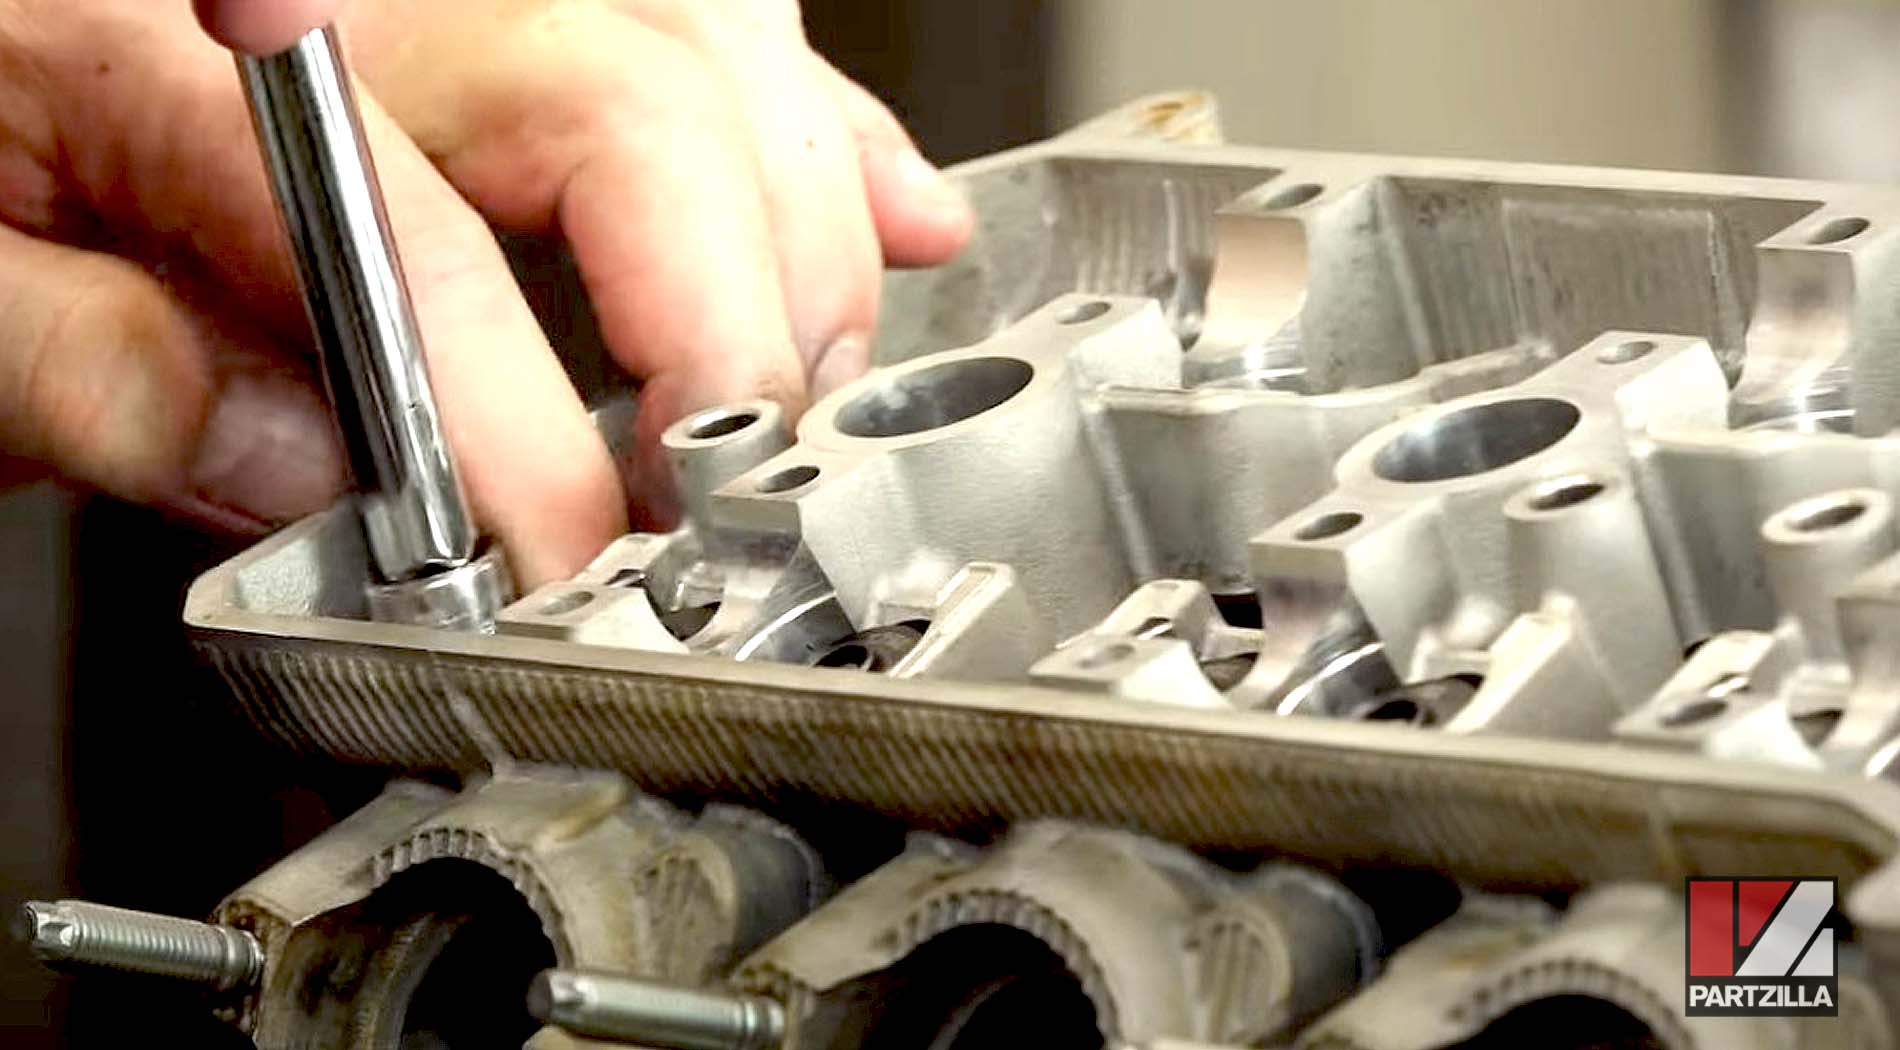
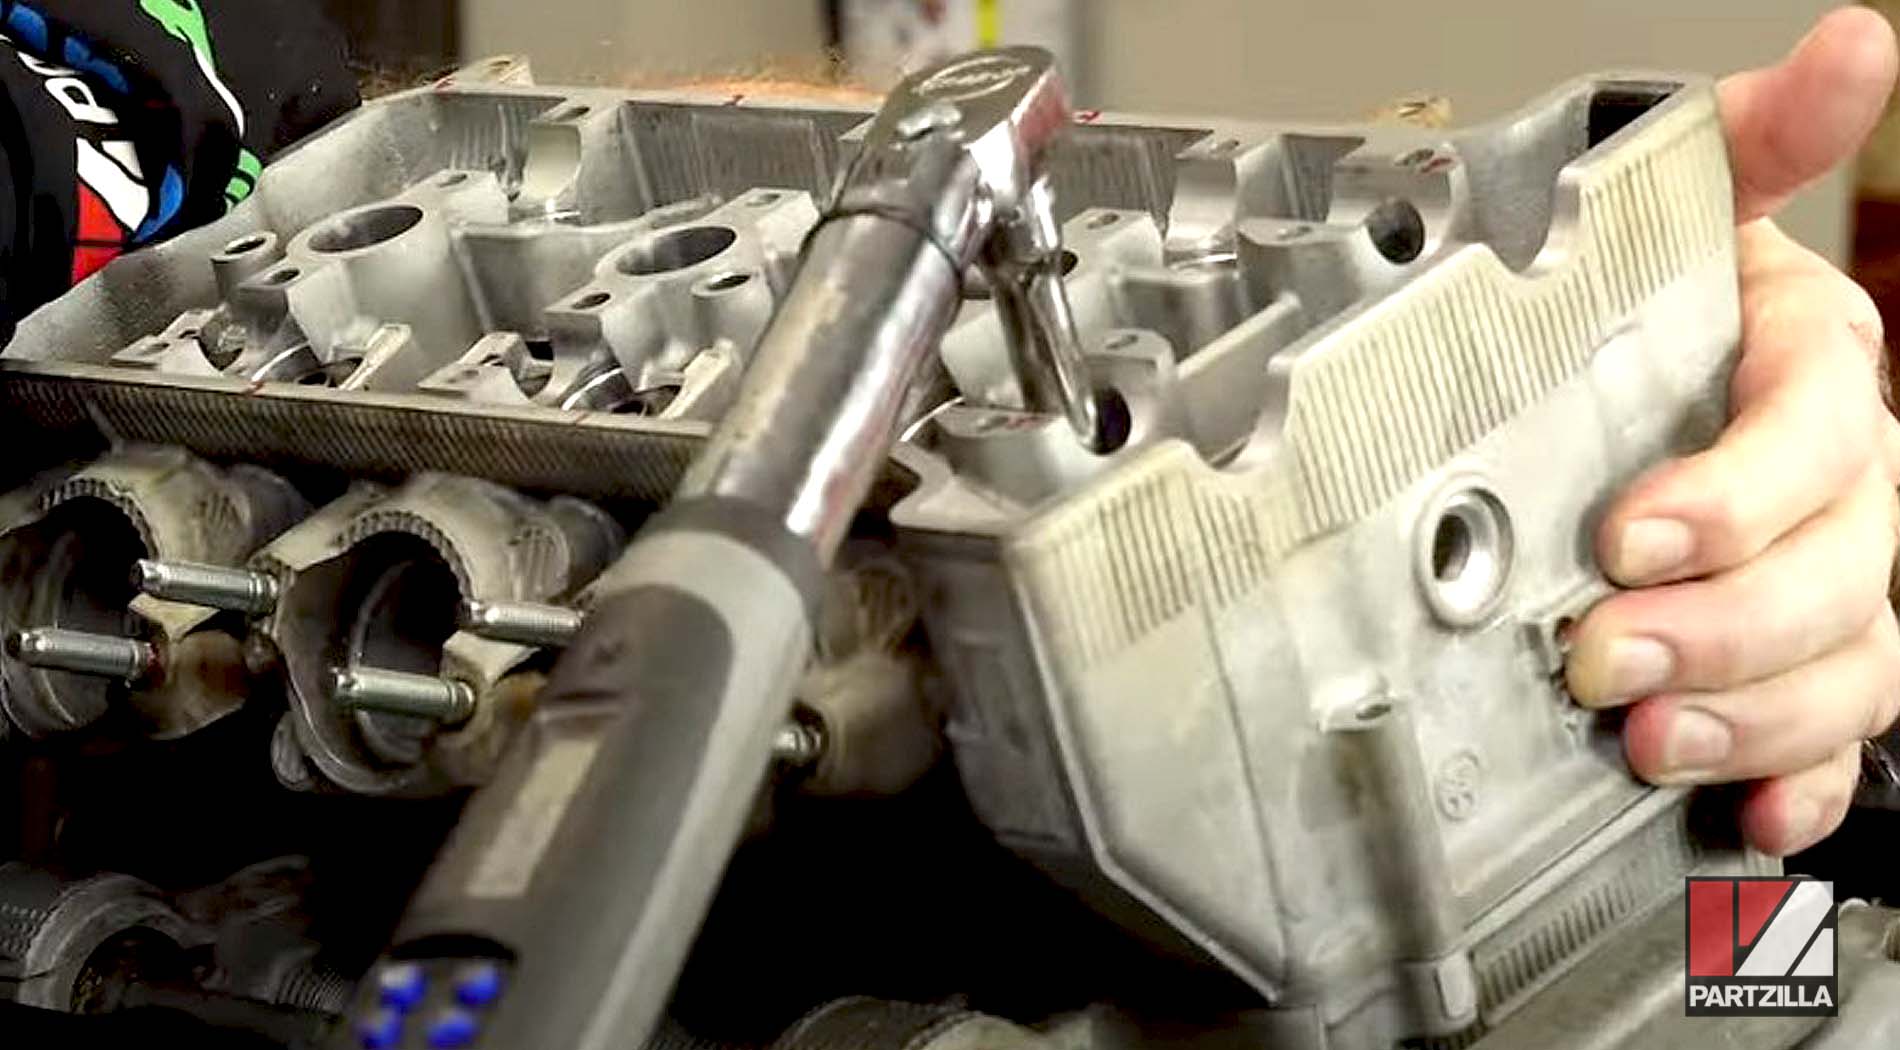
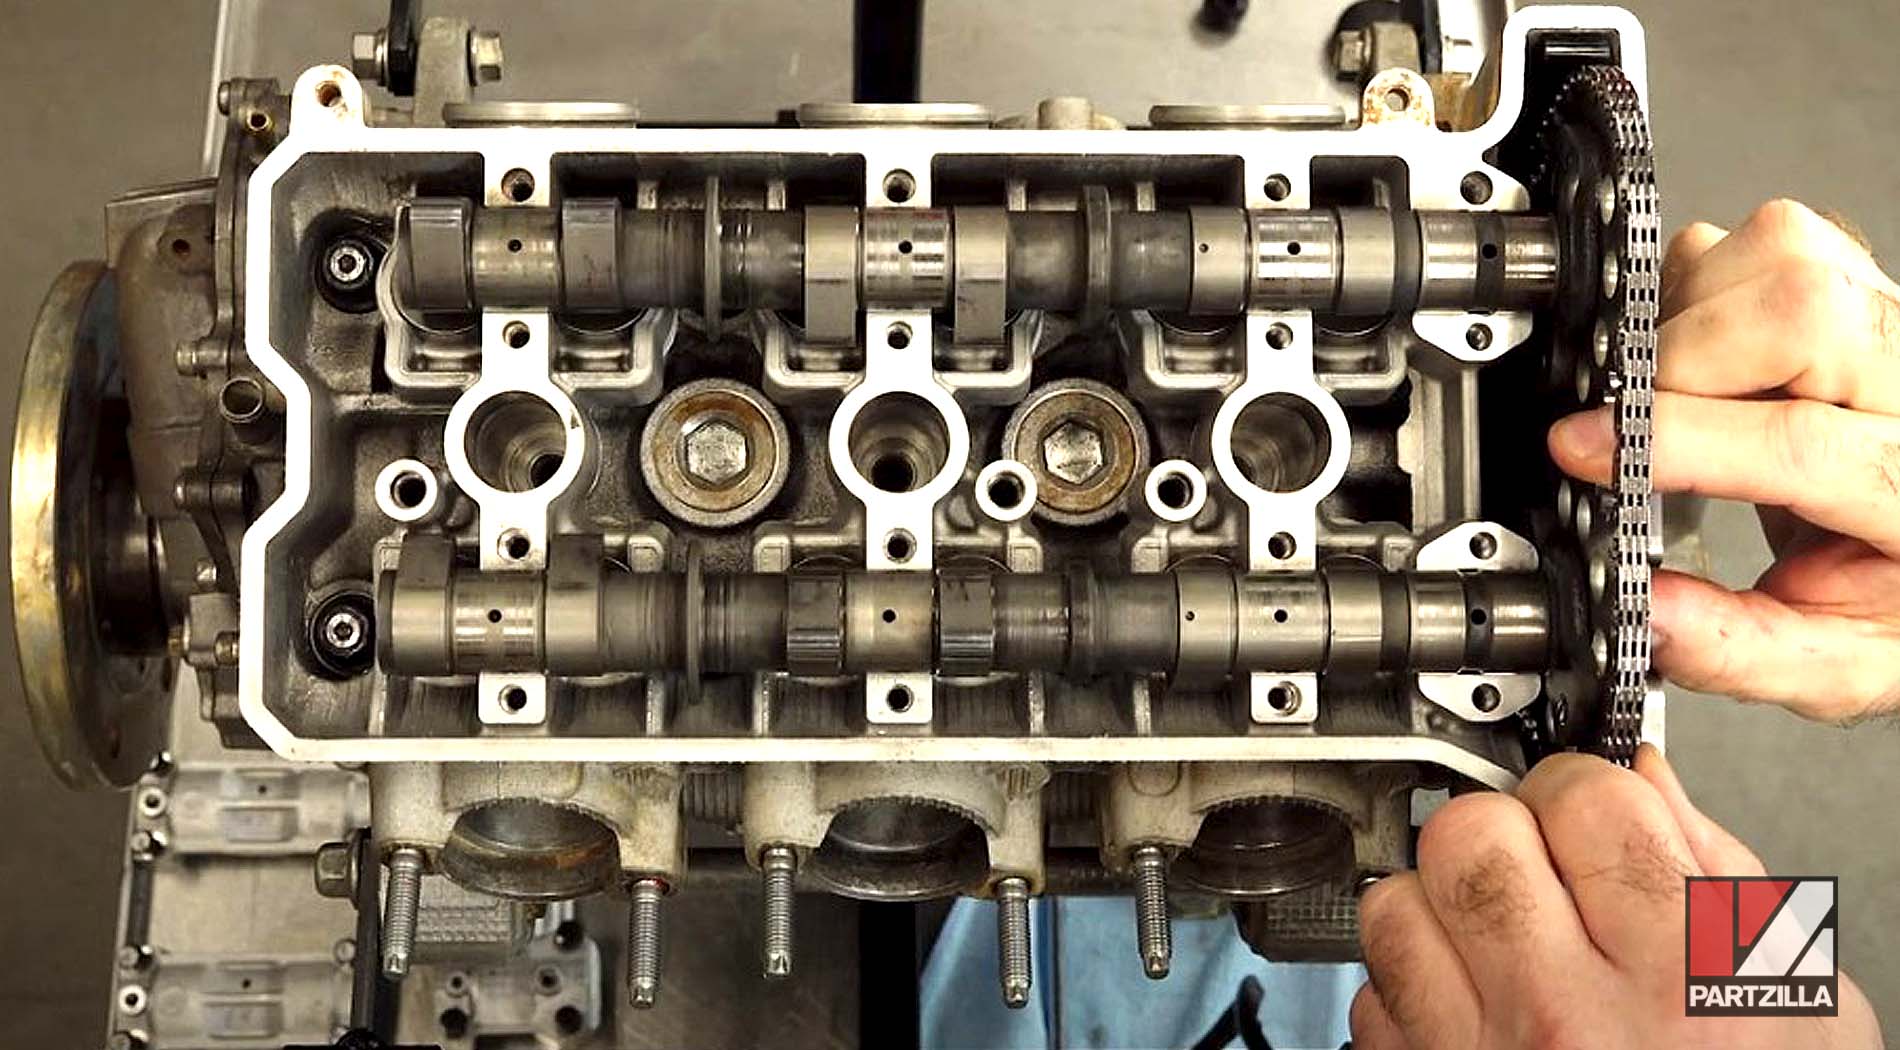
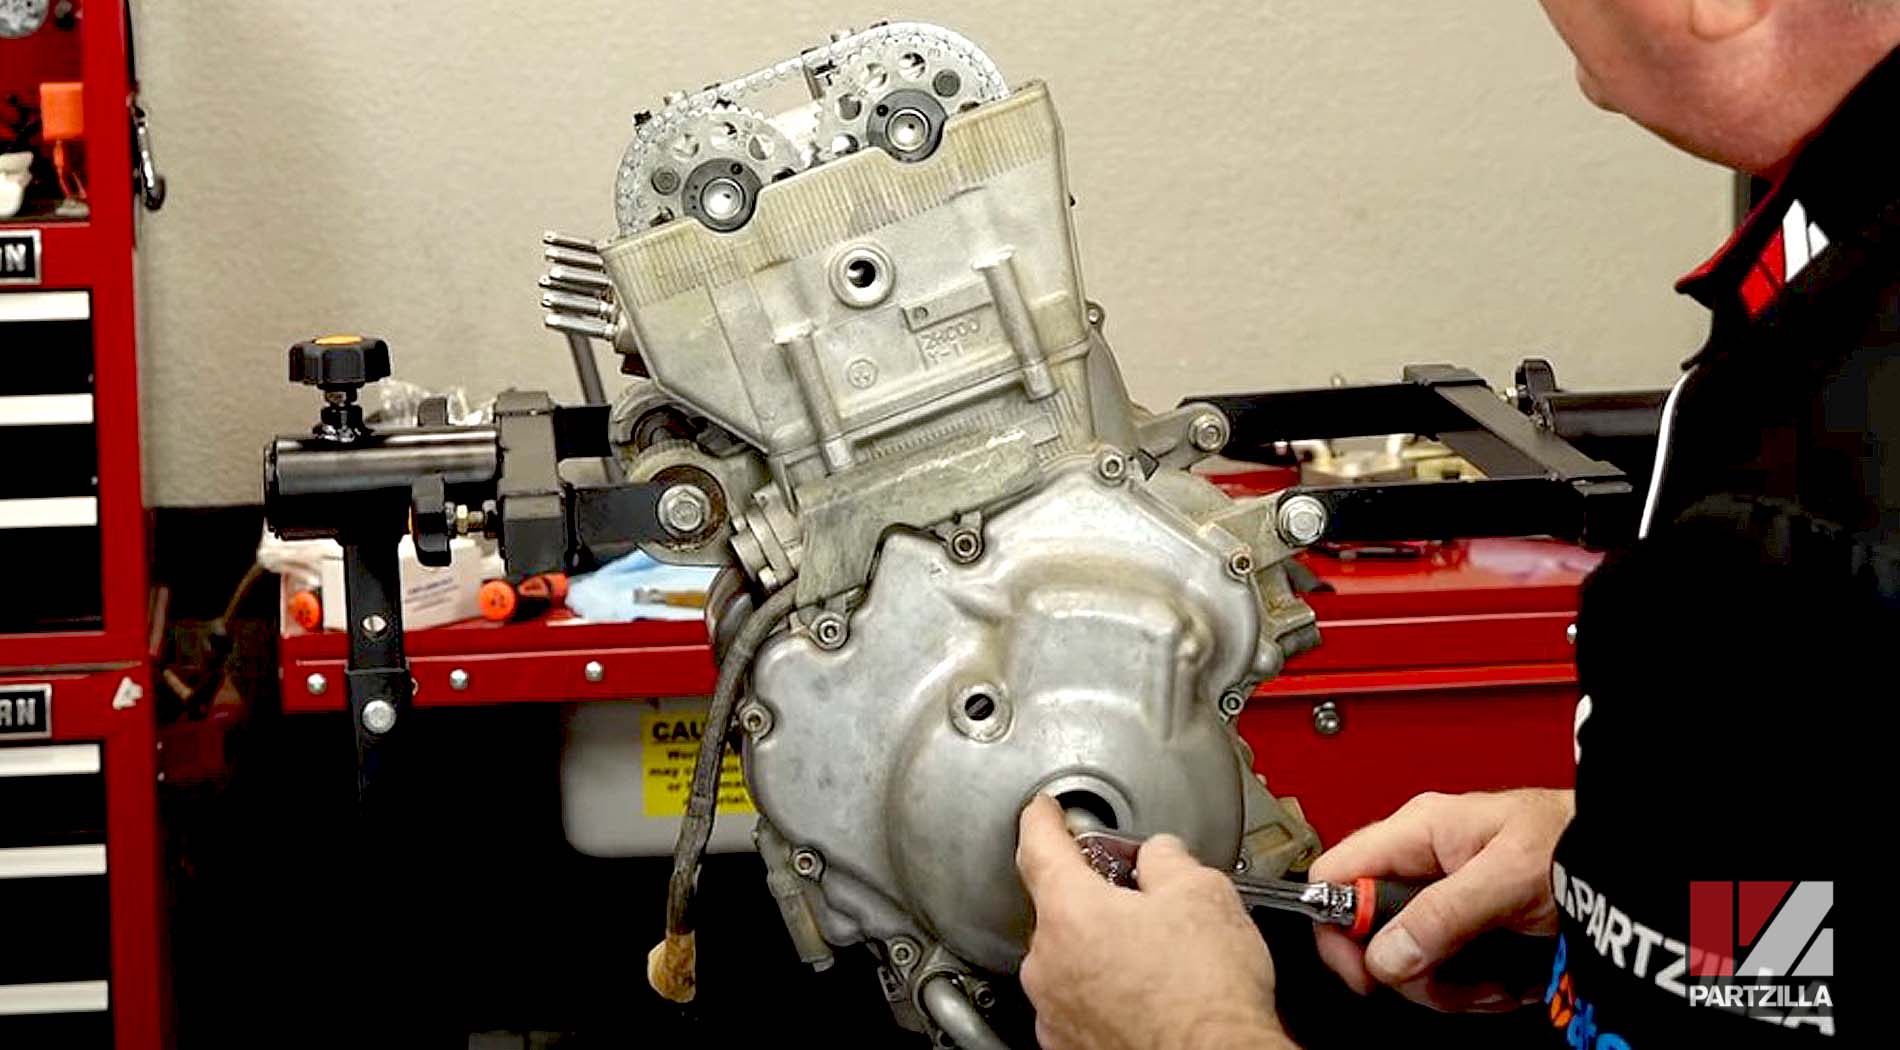
Step 4. Install the head onto the cylinder.
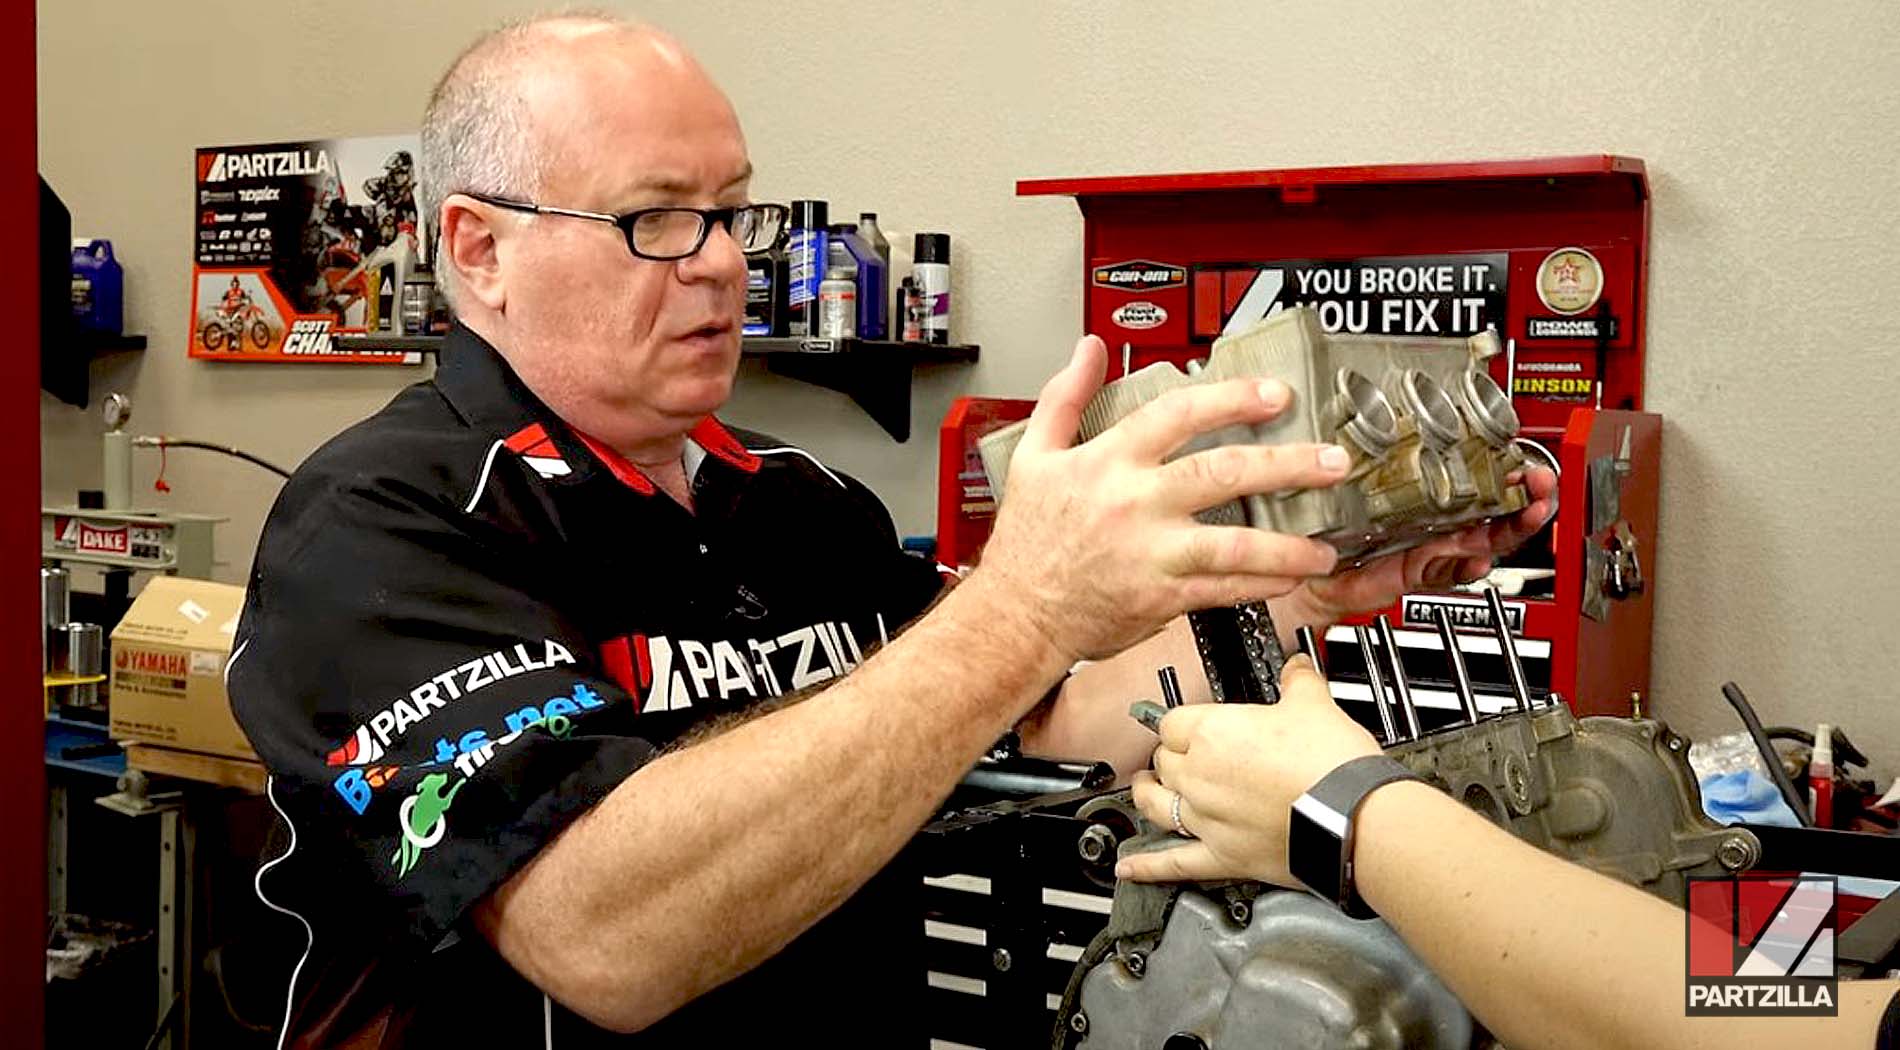
NOTE: Be careful during this step, and find somebody that can help you get the head cover installed because it's important to hold the timing chain and the guides dead center when lowering the head down. You can do this alone but it’s not recommended.
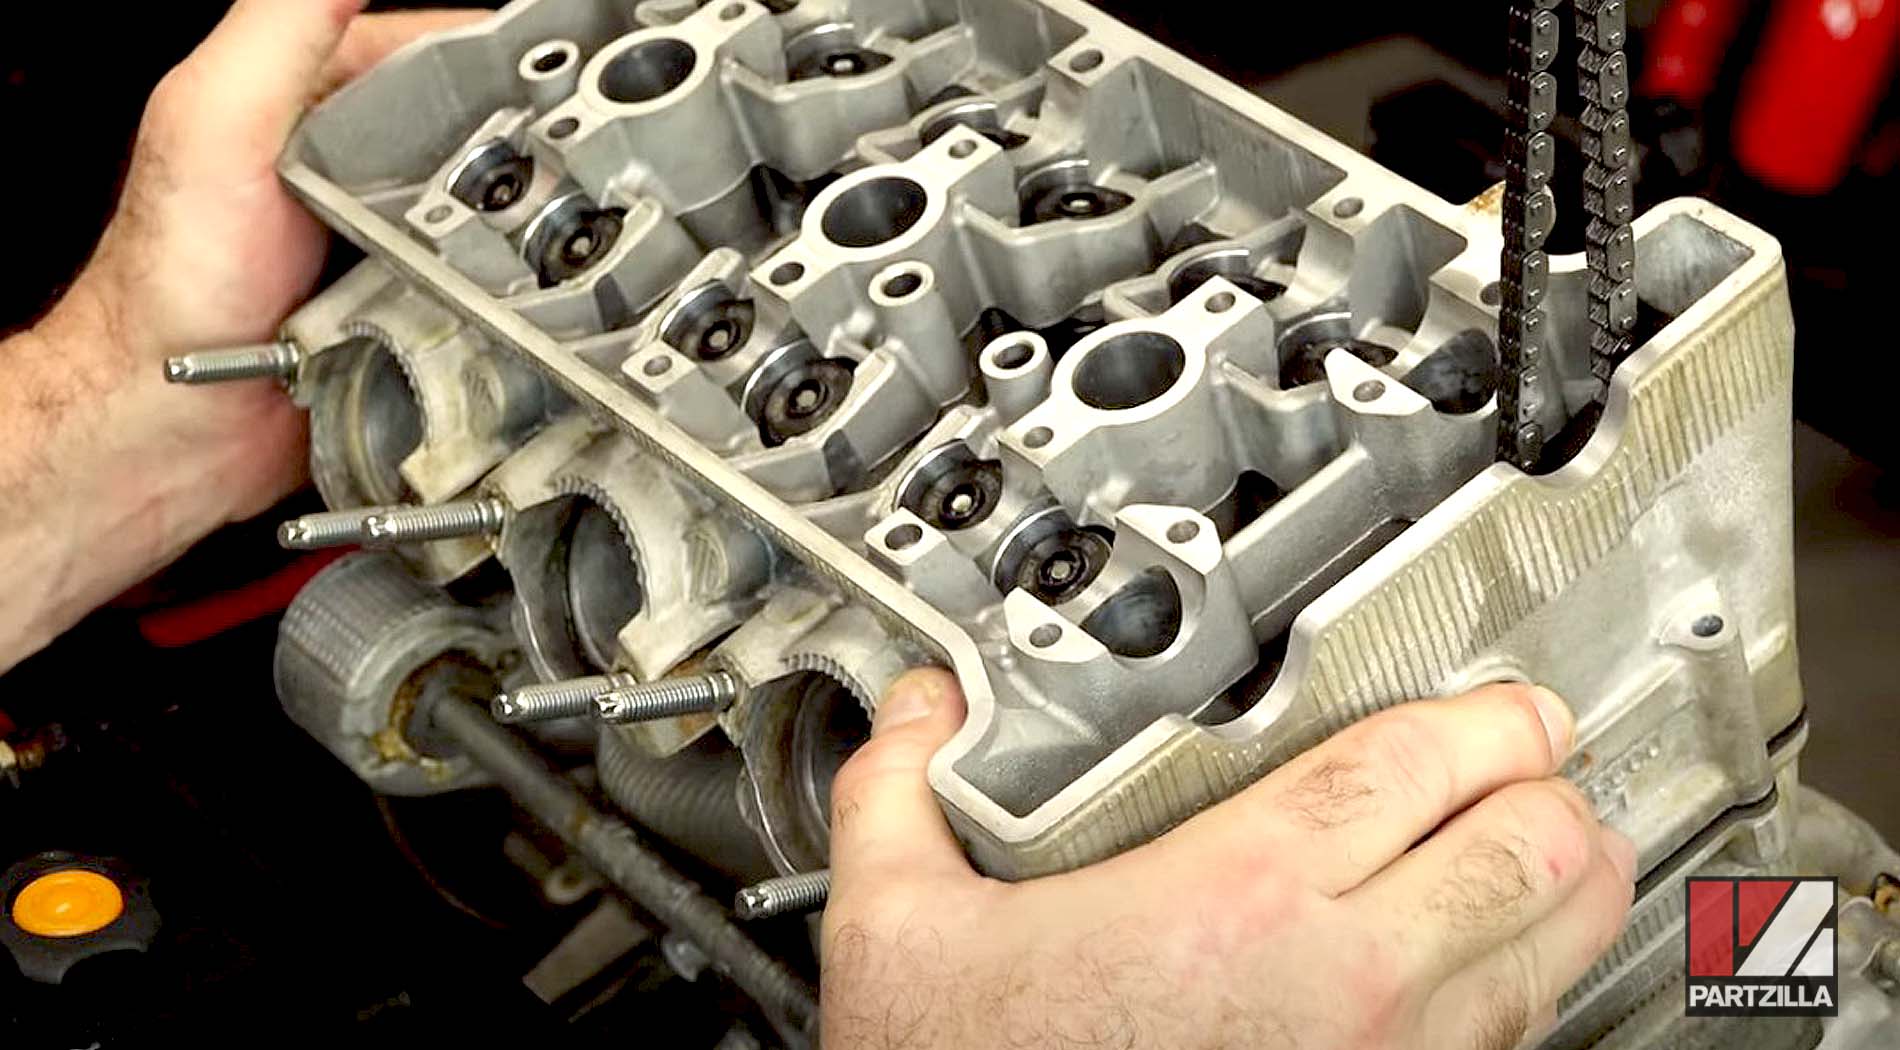
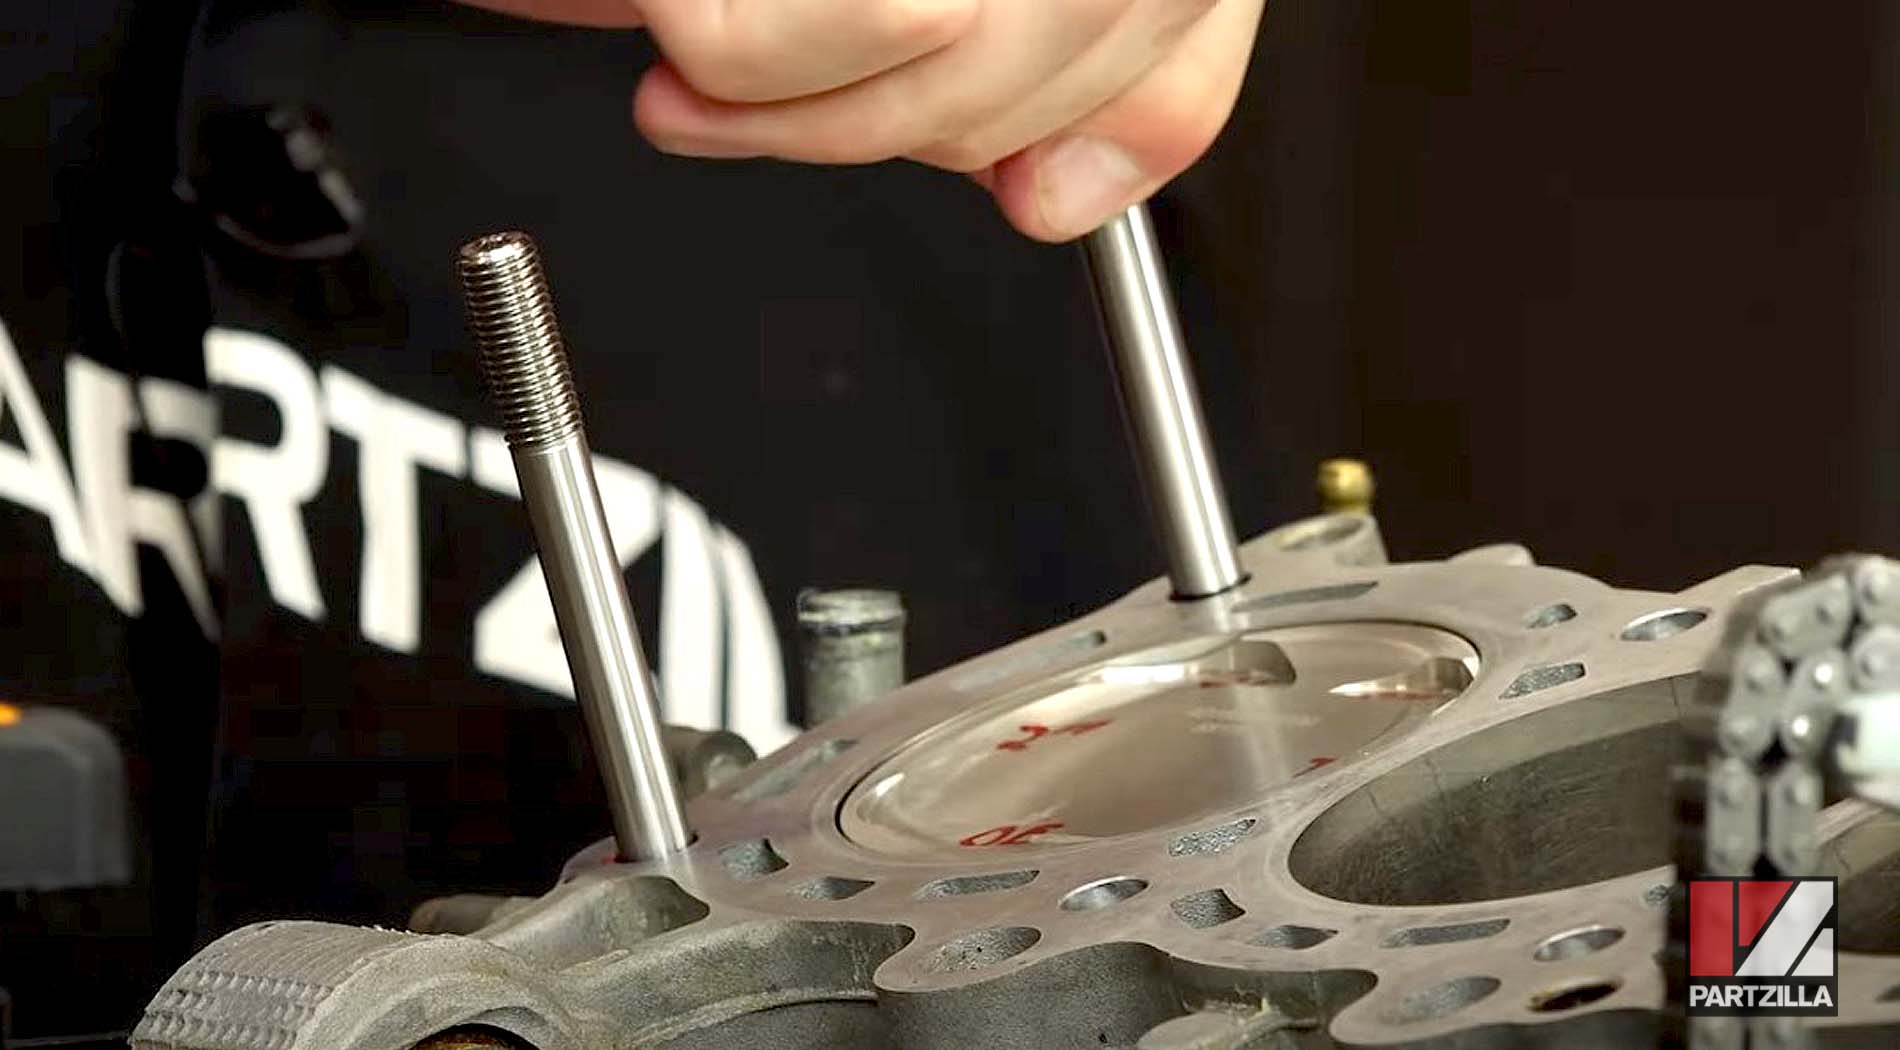
Step 5. Use assembly lube (included with the ARP stud kit) on the threads (both on the stud itself and inside of the nut, but not on the washers). Use a magnetic retriever to get the head bolt washers in place, then install the nuts.
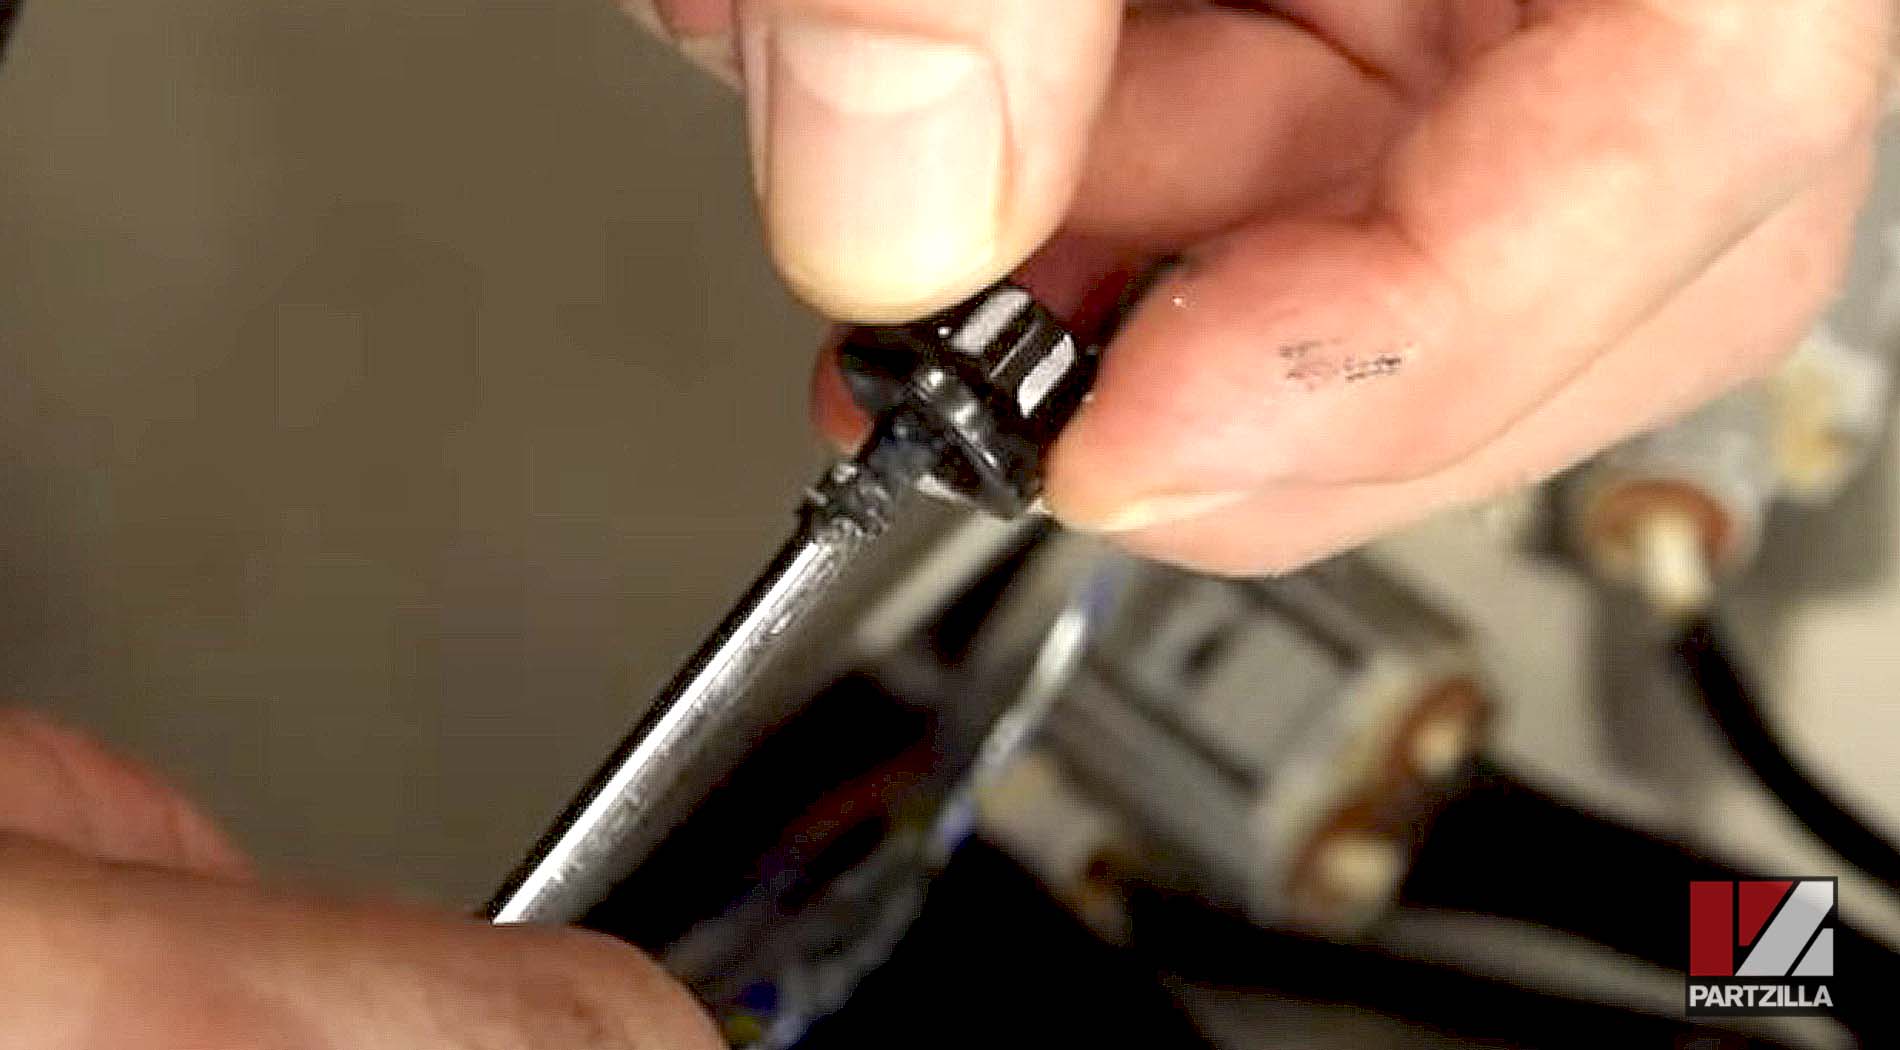
PRO TIP: Use a fairly small flat blade because it’s tight. While it might seem easier to get the lube on the studs before you put the head down, doing so runs the risk of knocking it off when you're lowering the head into position.

NOTE: Apply a little bit of the lubrication to the bottom of the nuts, but not on the bottom side of the washers.
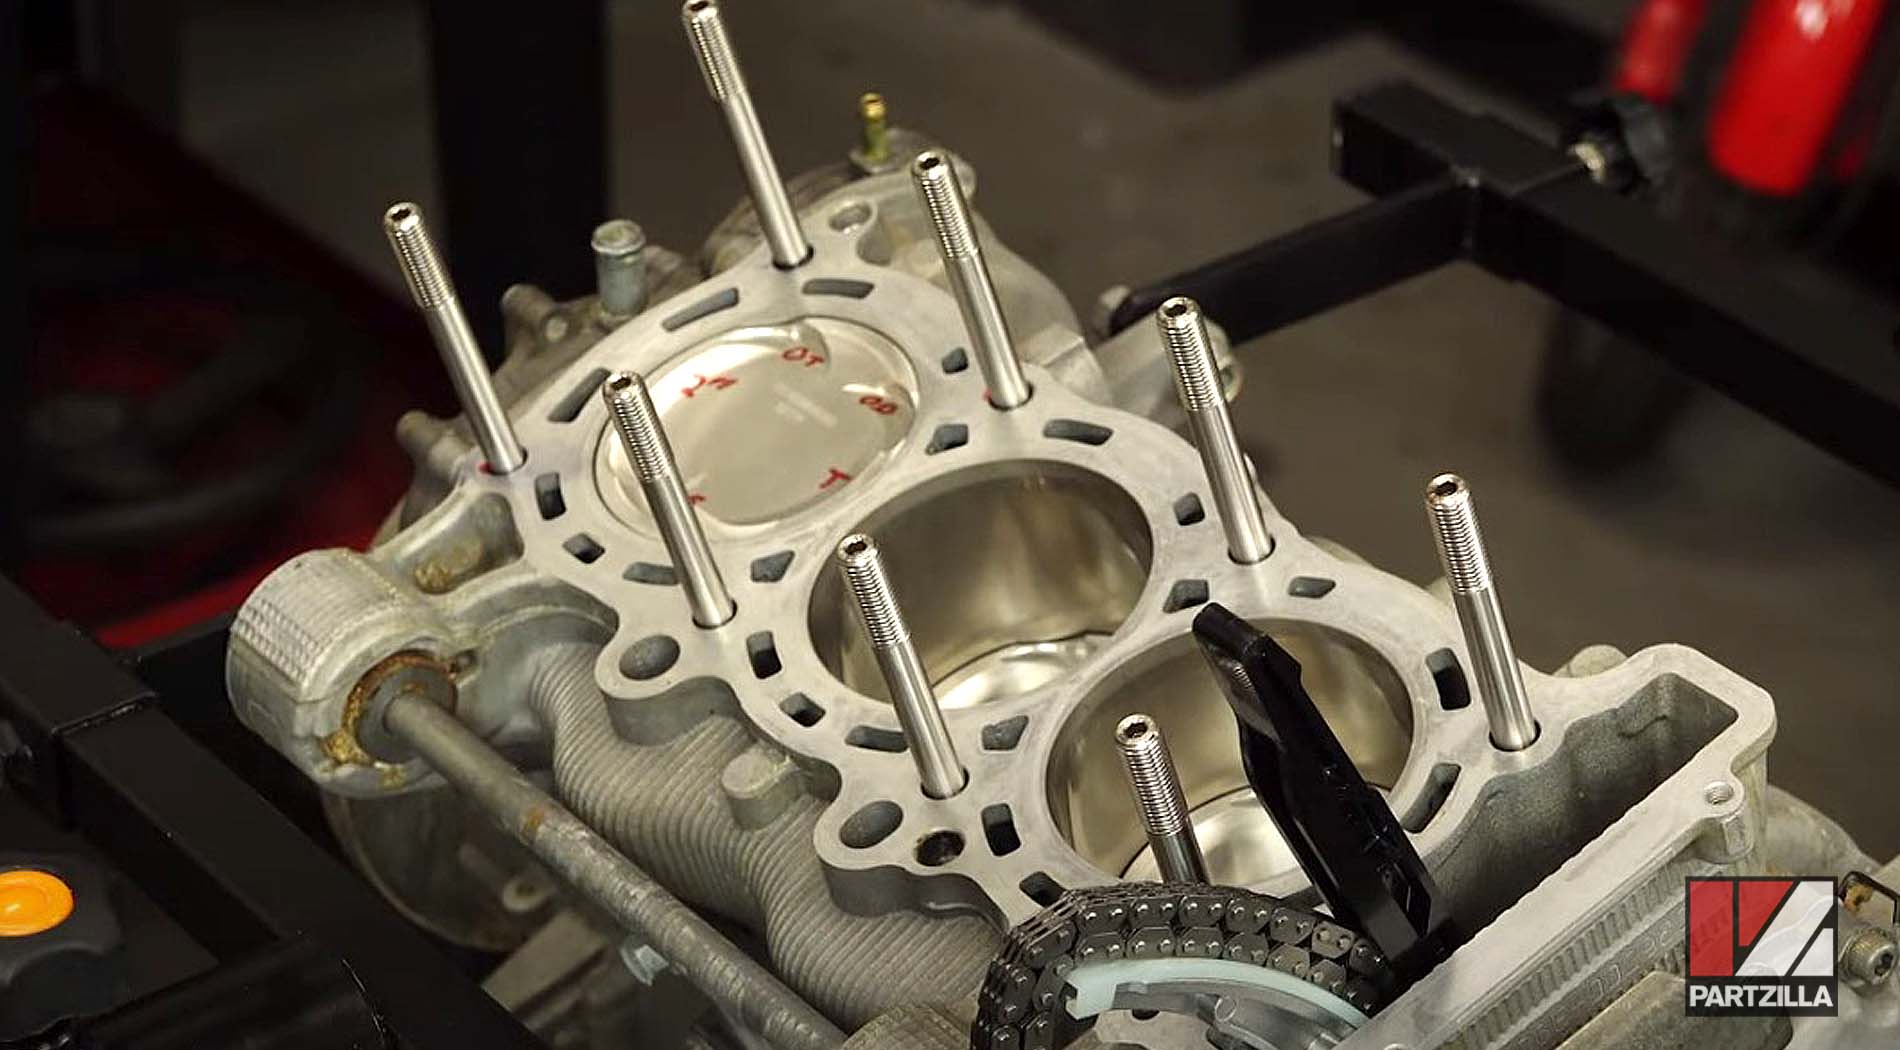
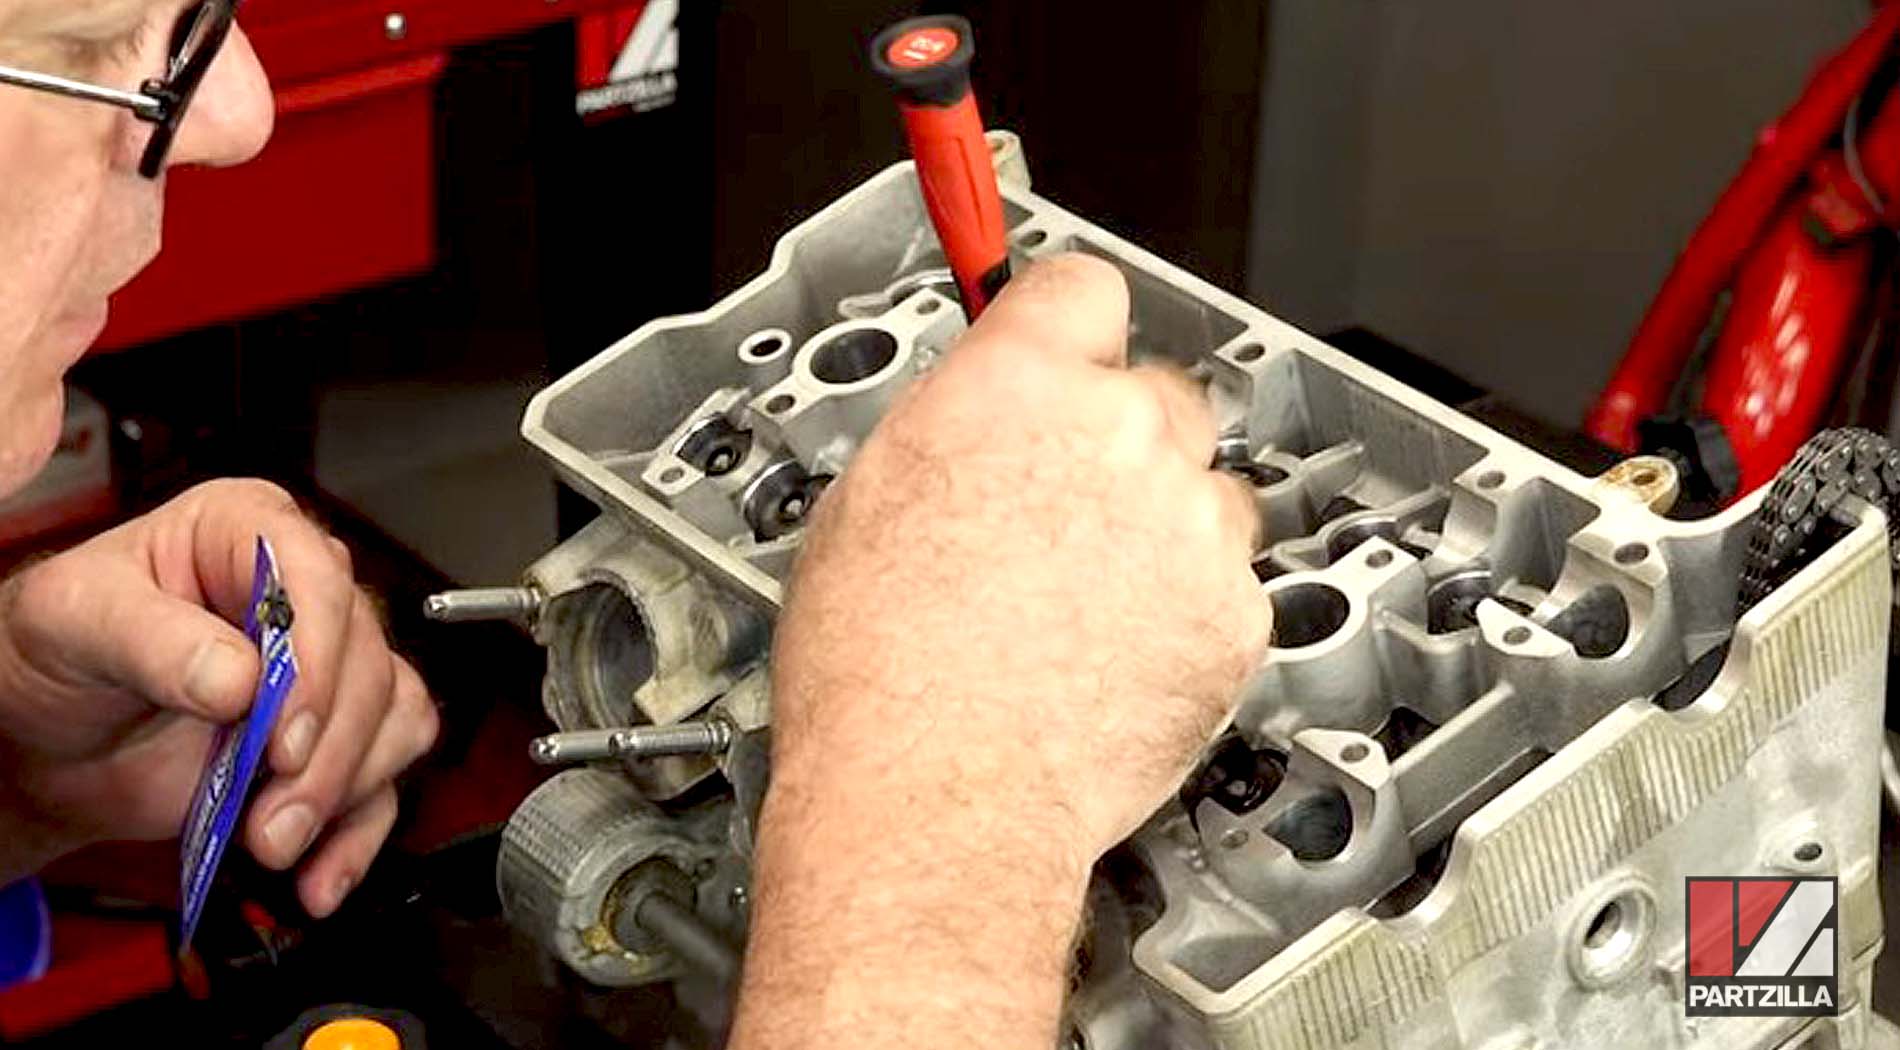
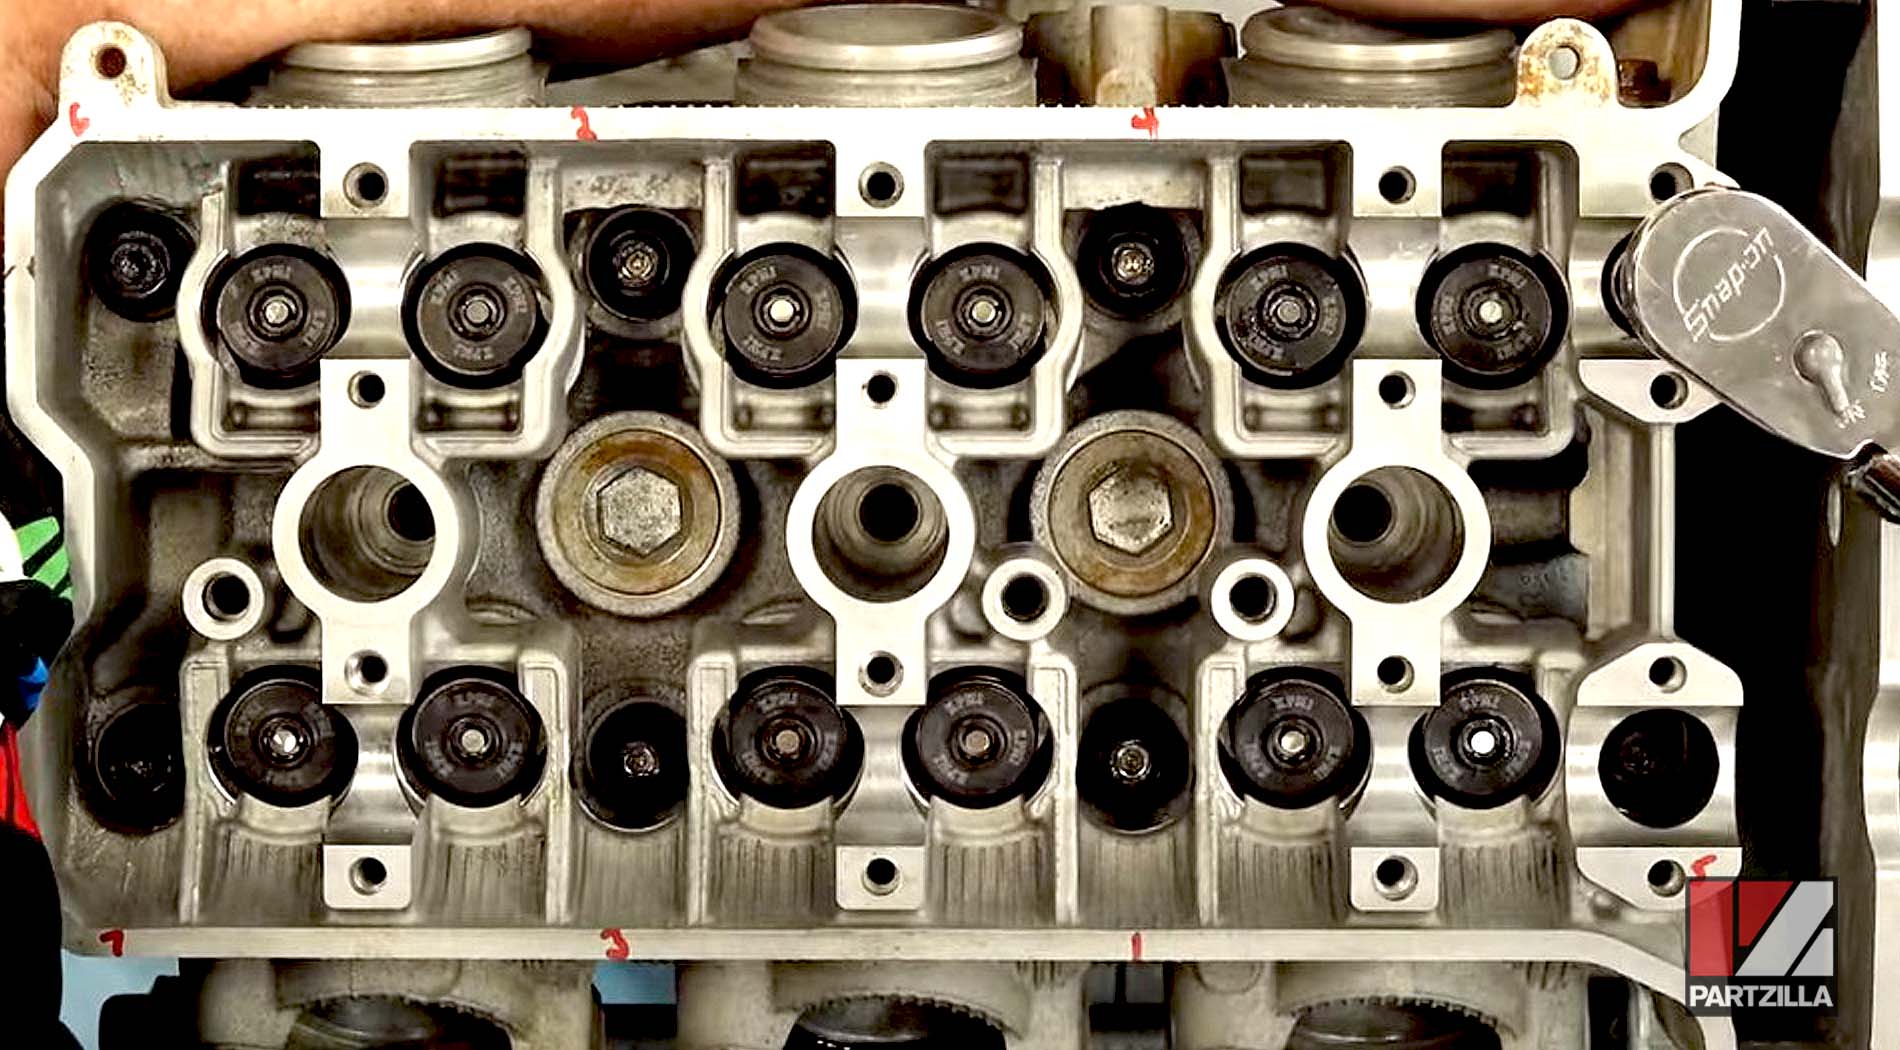
Step 6. Torque the head bolts down in three stages using the number sequence in the picture below.
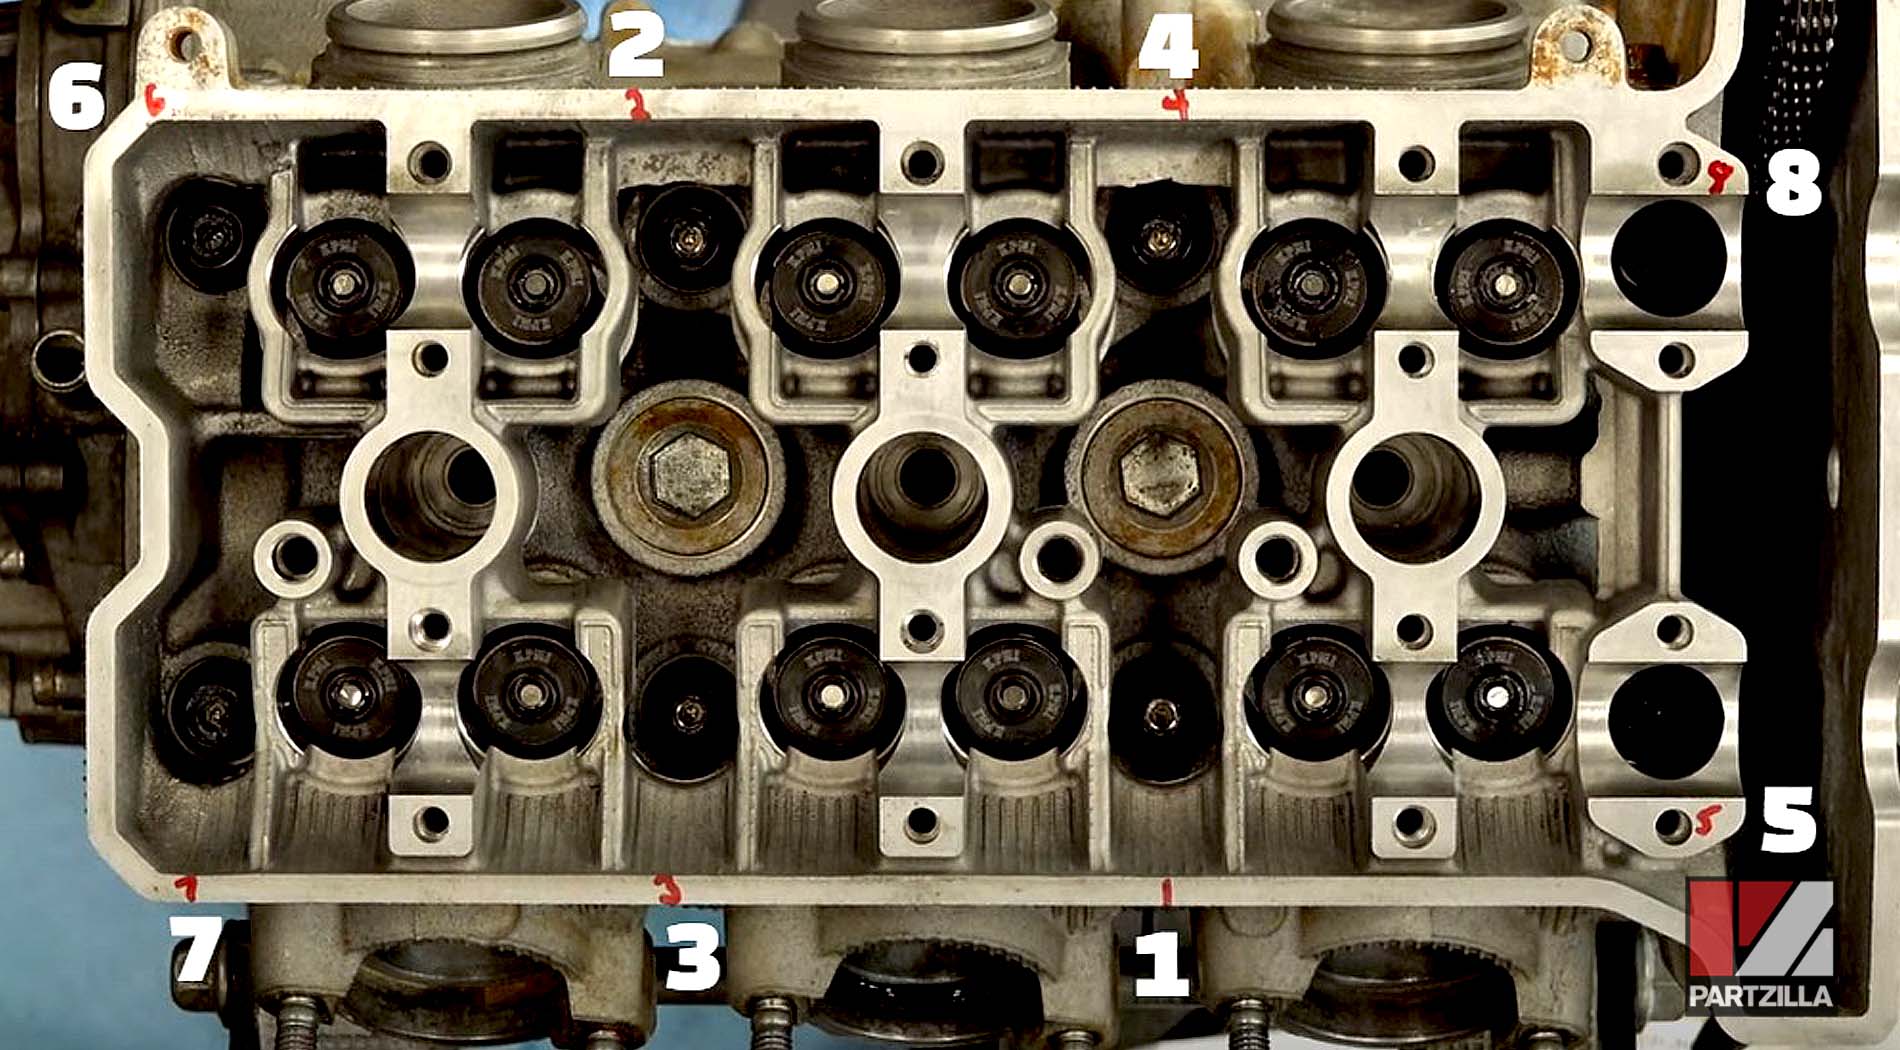
PRO TIP: Write the torqueing pattern numbers on the head with a permanent marker to make things easier.
- First stage: Torque the head bolts to 15 foot-pounds.
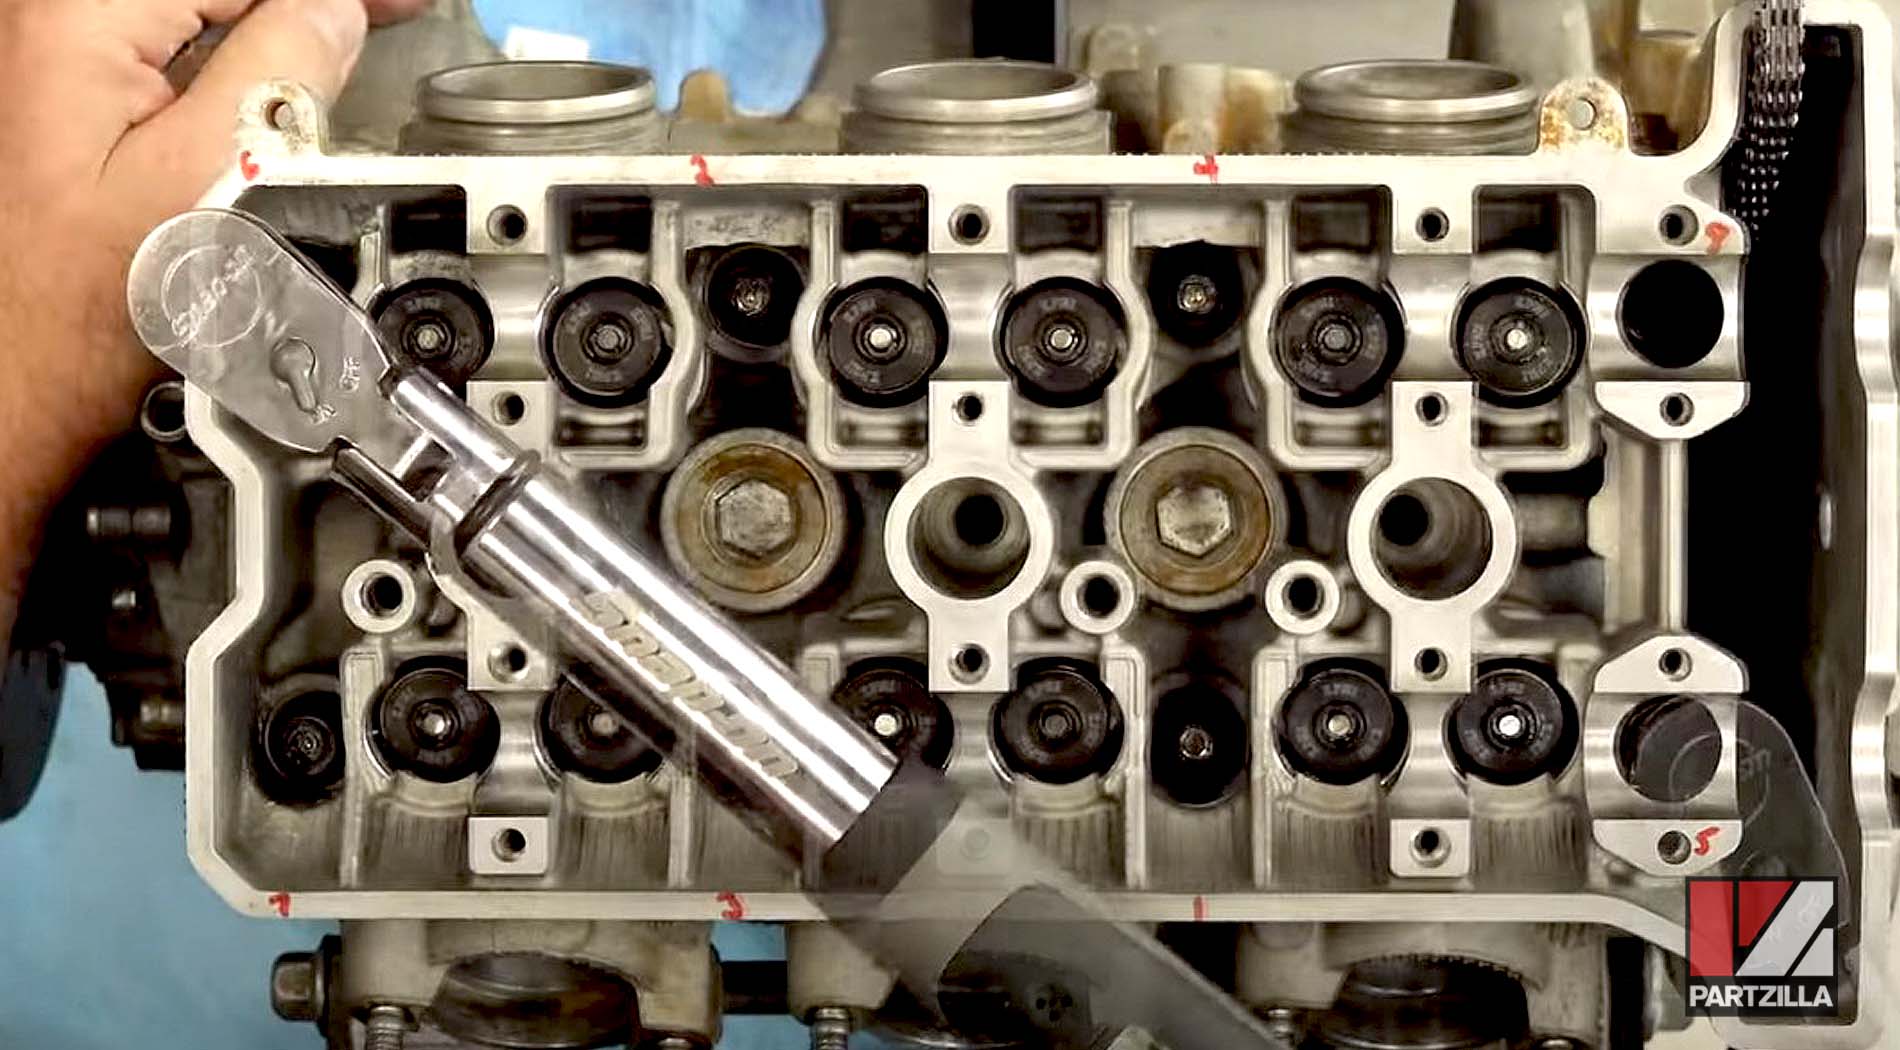
- Second stage: Torque the head bolts to 30 foot-pounds.
- Third stage: Torque the head bolts to 60 foot-pounds.
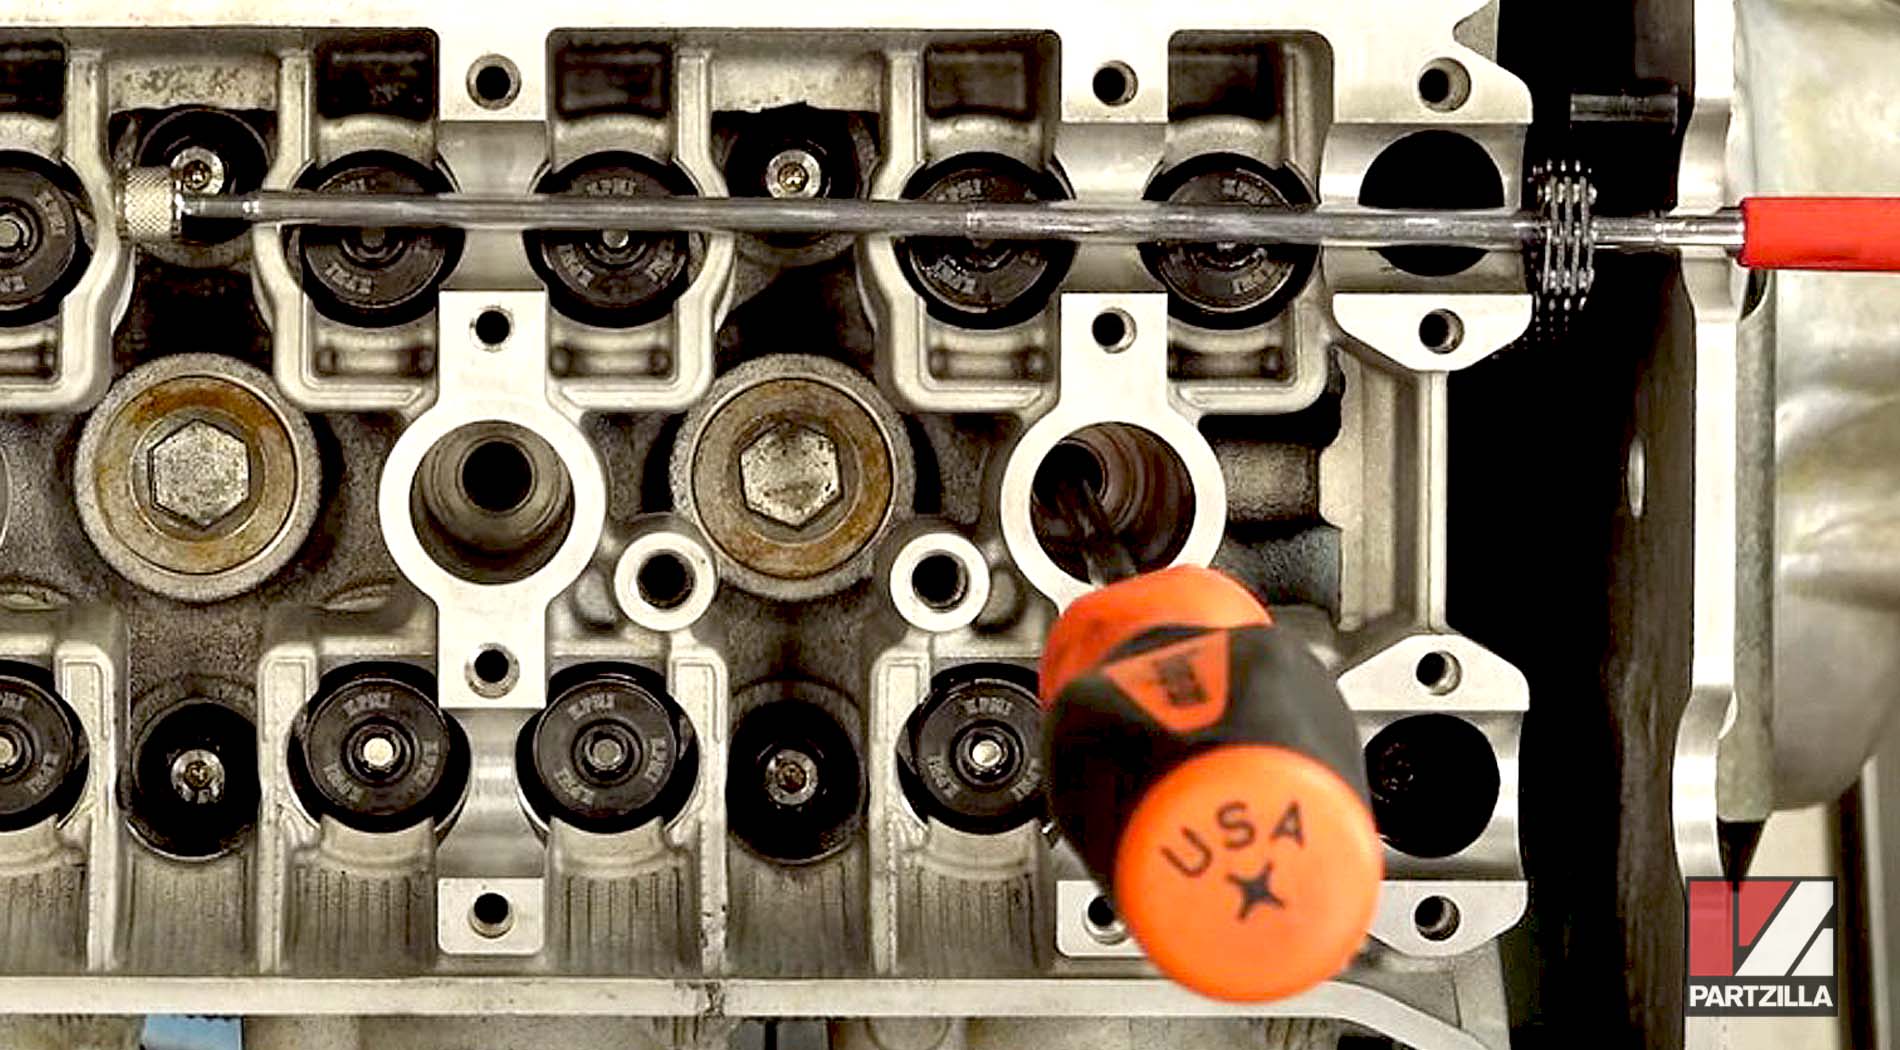
Step 7. Look for top dead center for cylinder number three. Find two marks parallel to each other to verify TDC. Set the engine to top dead center if it’s not already.
PRO TIP: You can also verify if the engine is at top dead center by putting a screwdriver into spark plug number three and see where it reaches the top of the stroke.
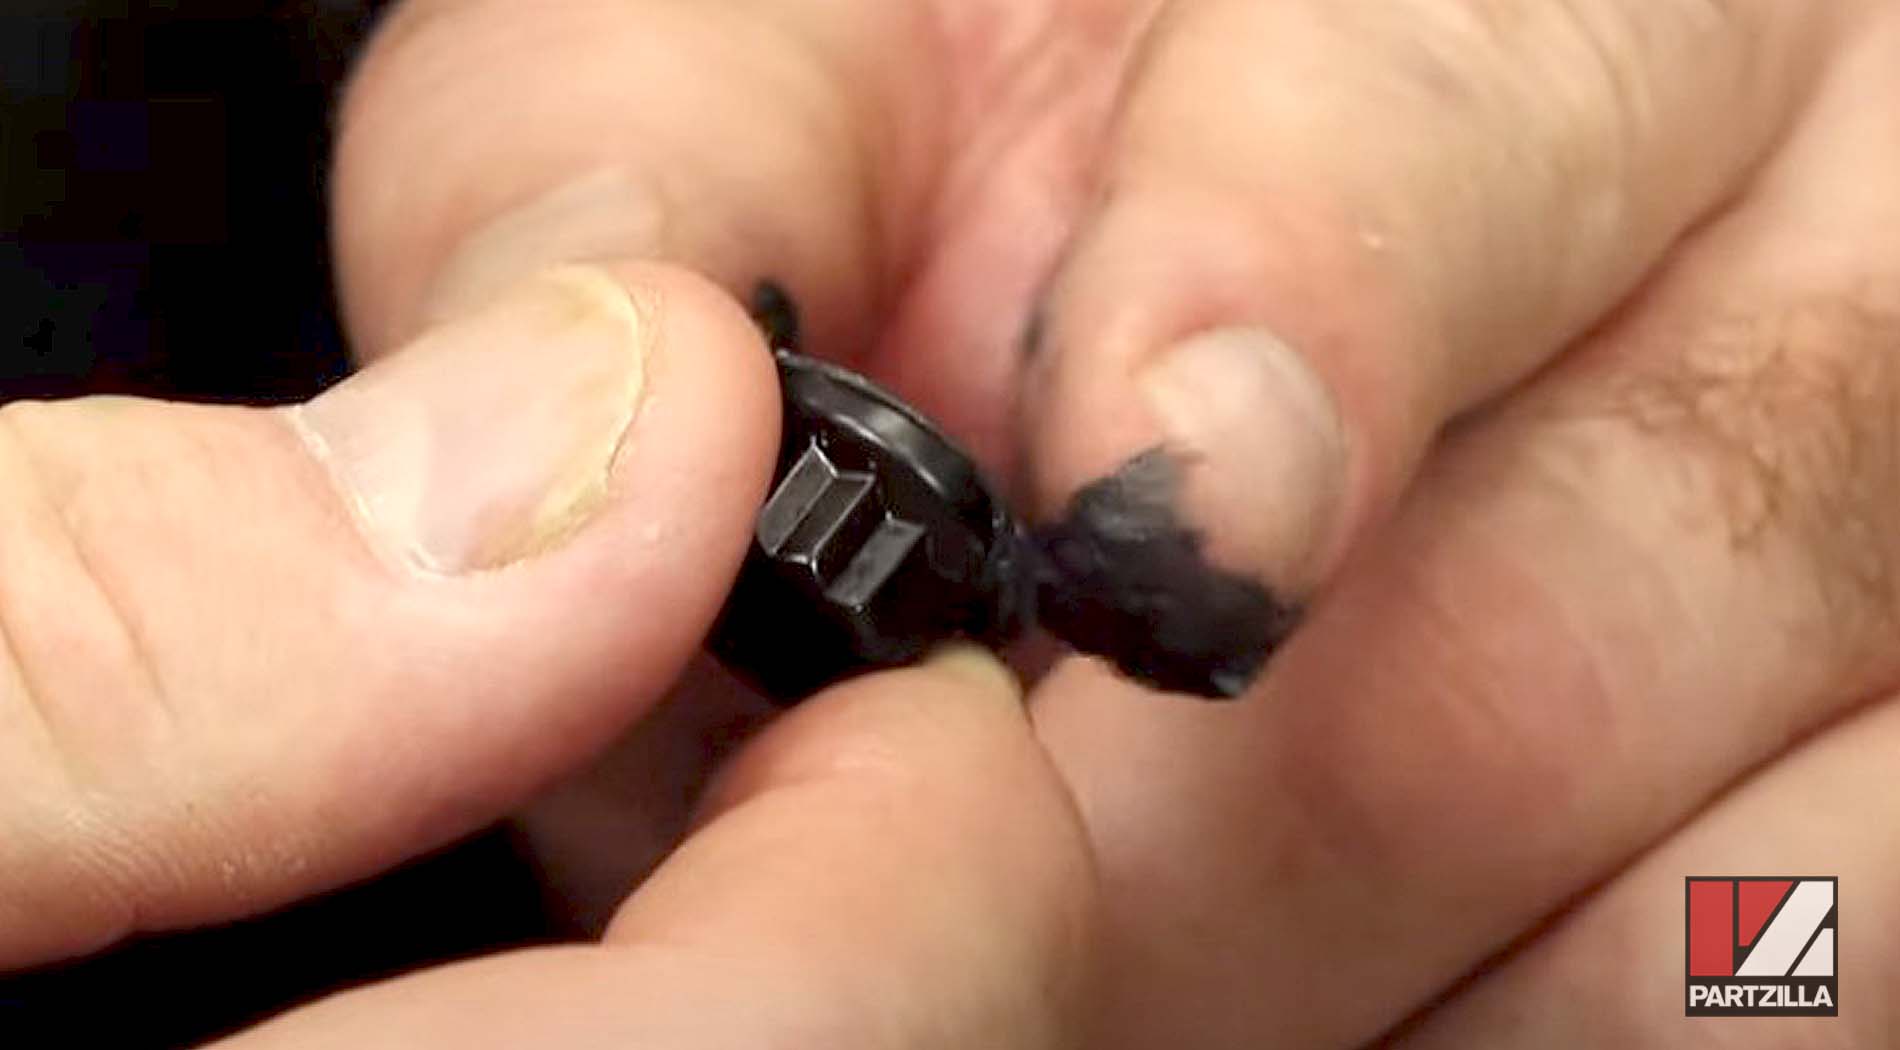
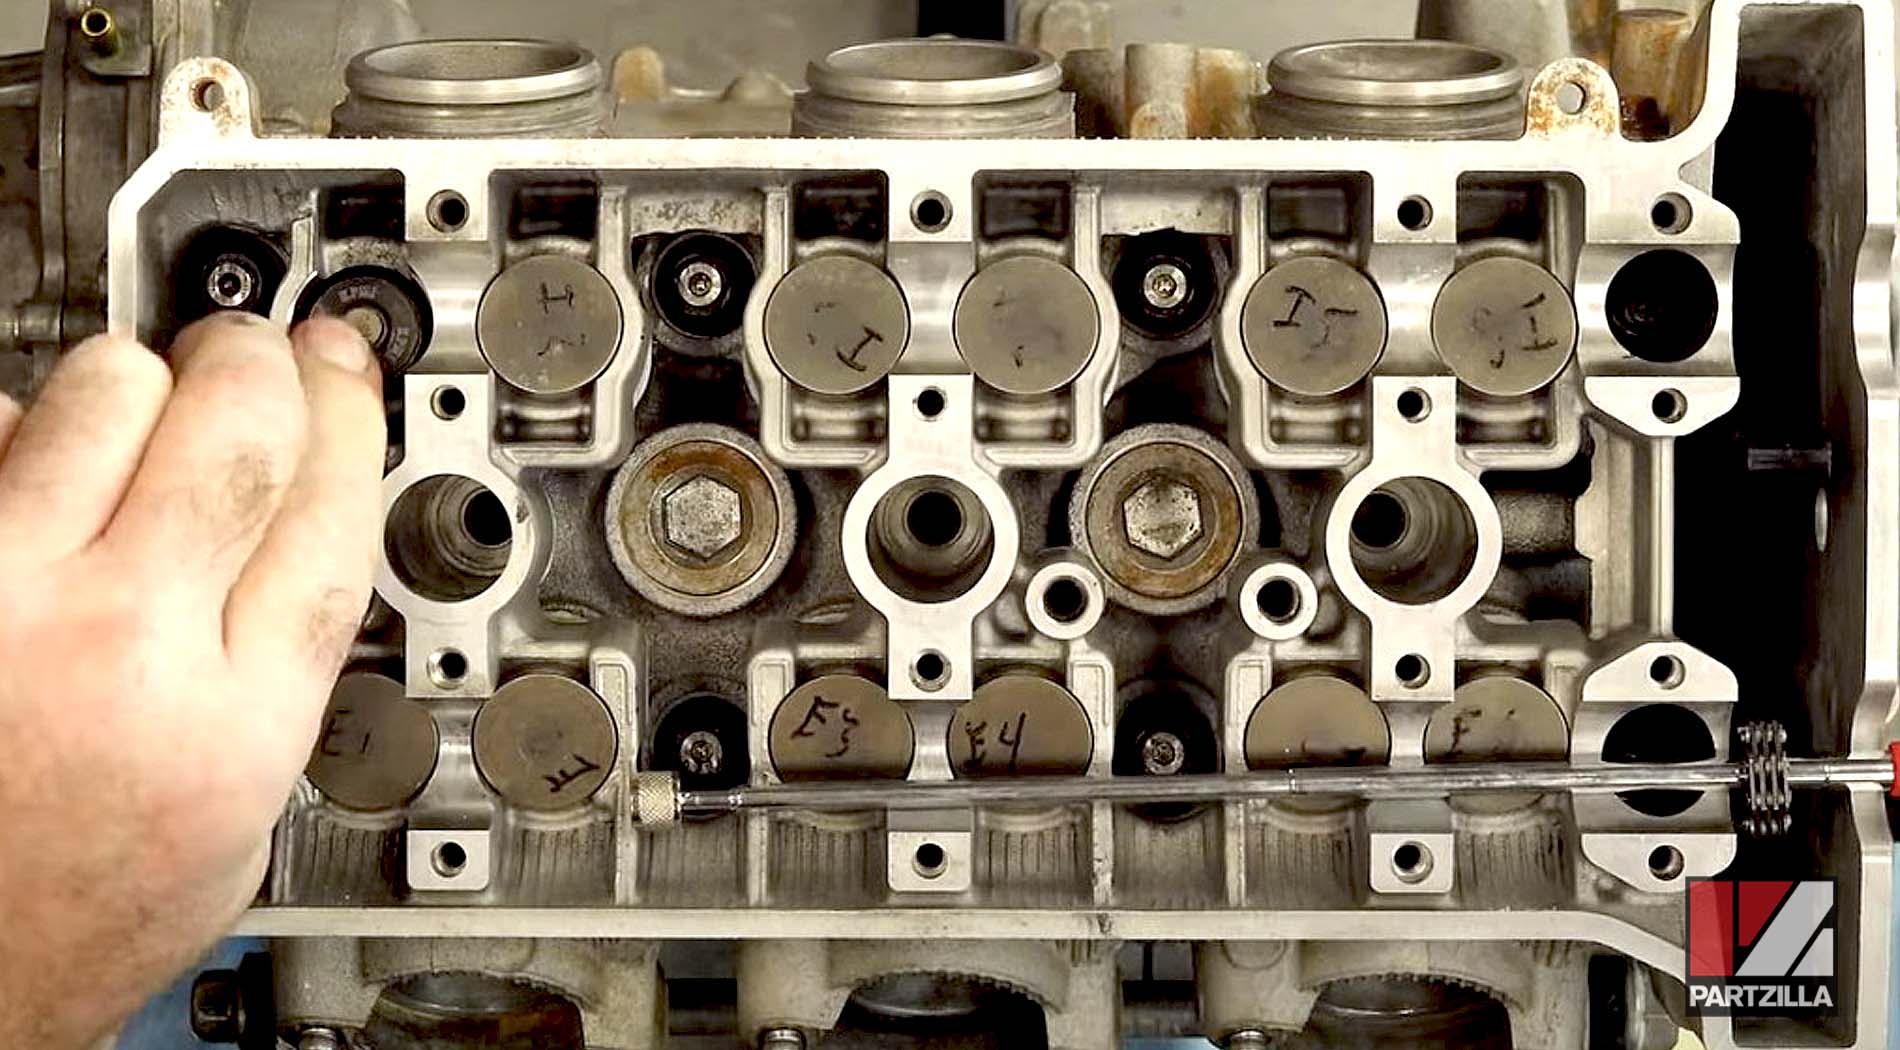
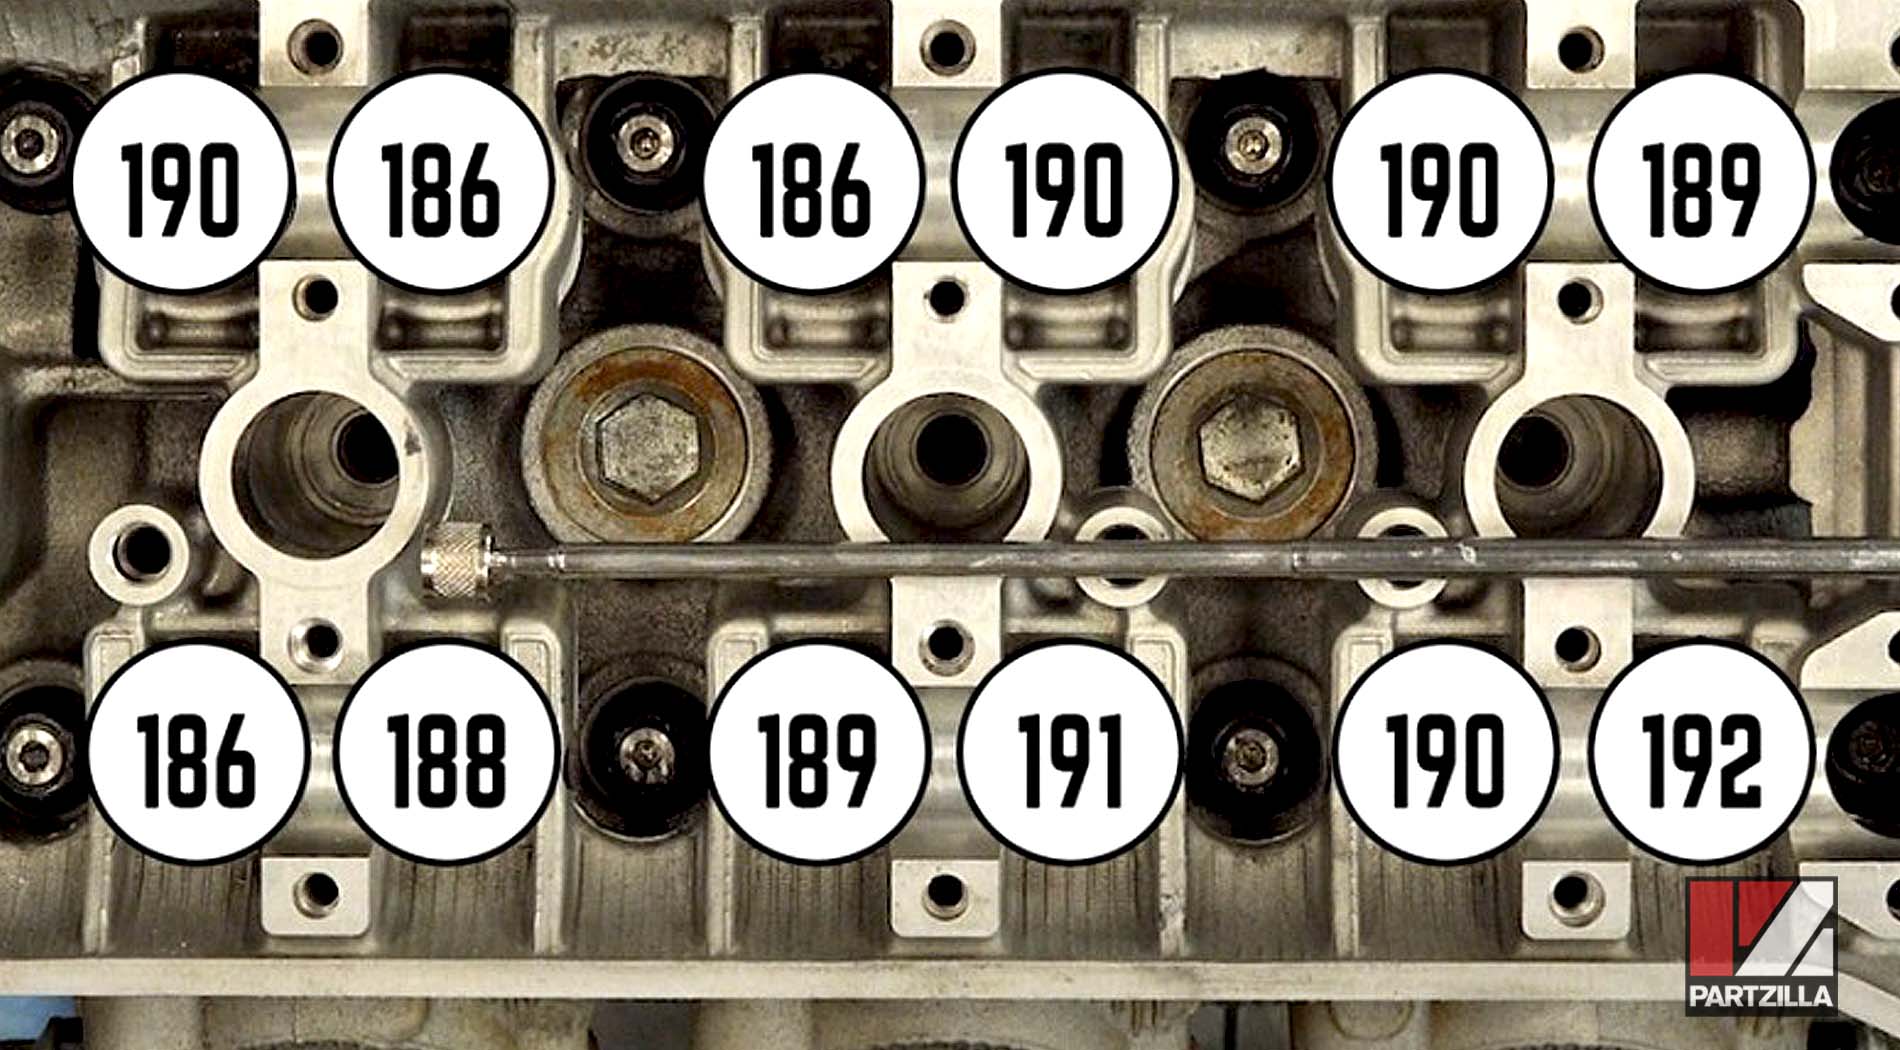
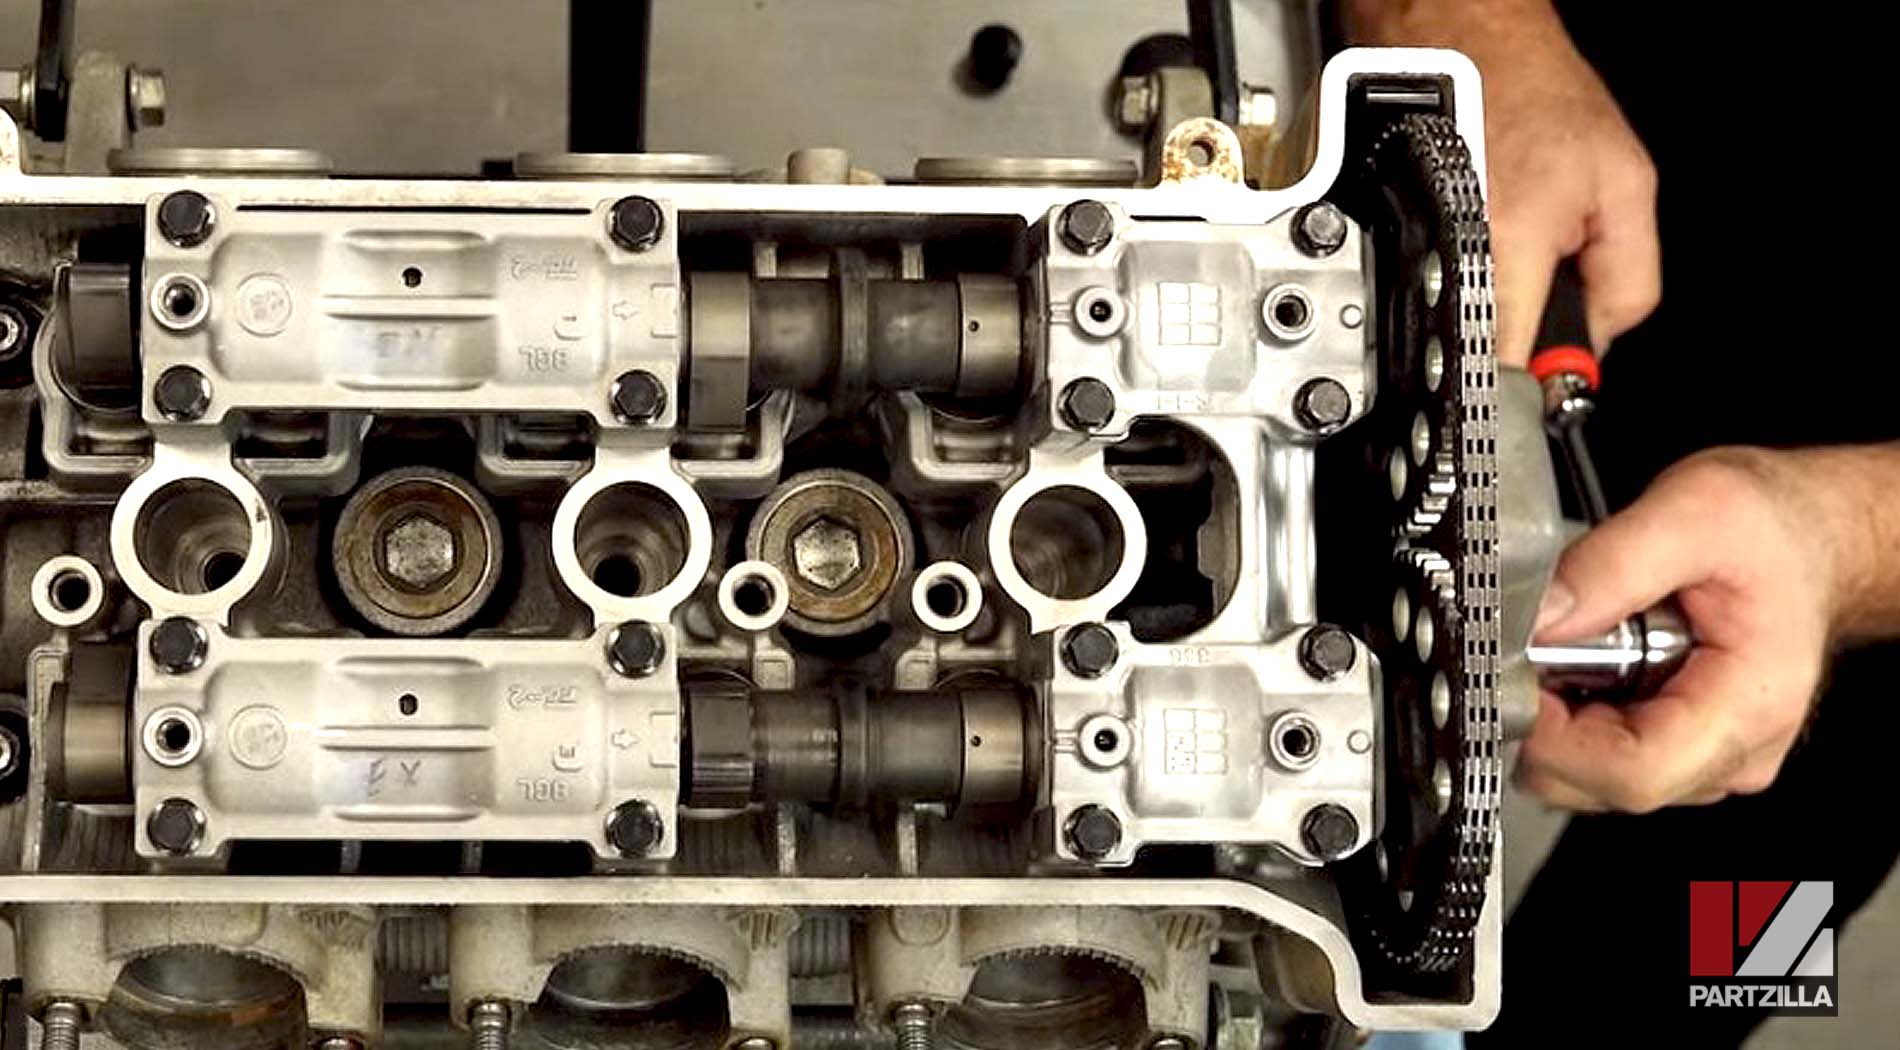
Step 8. Number the intake and the exhaust valve buckets to determine what size shim needs to go into where and to bring it within spec.
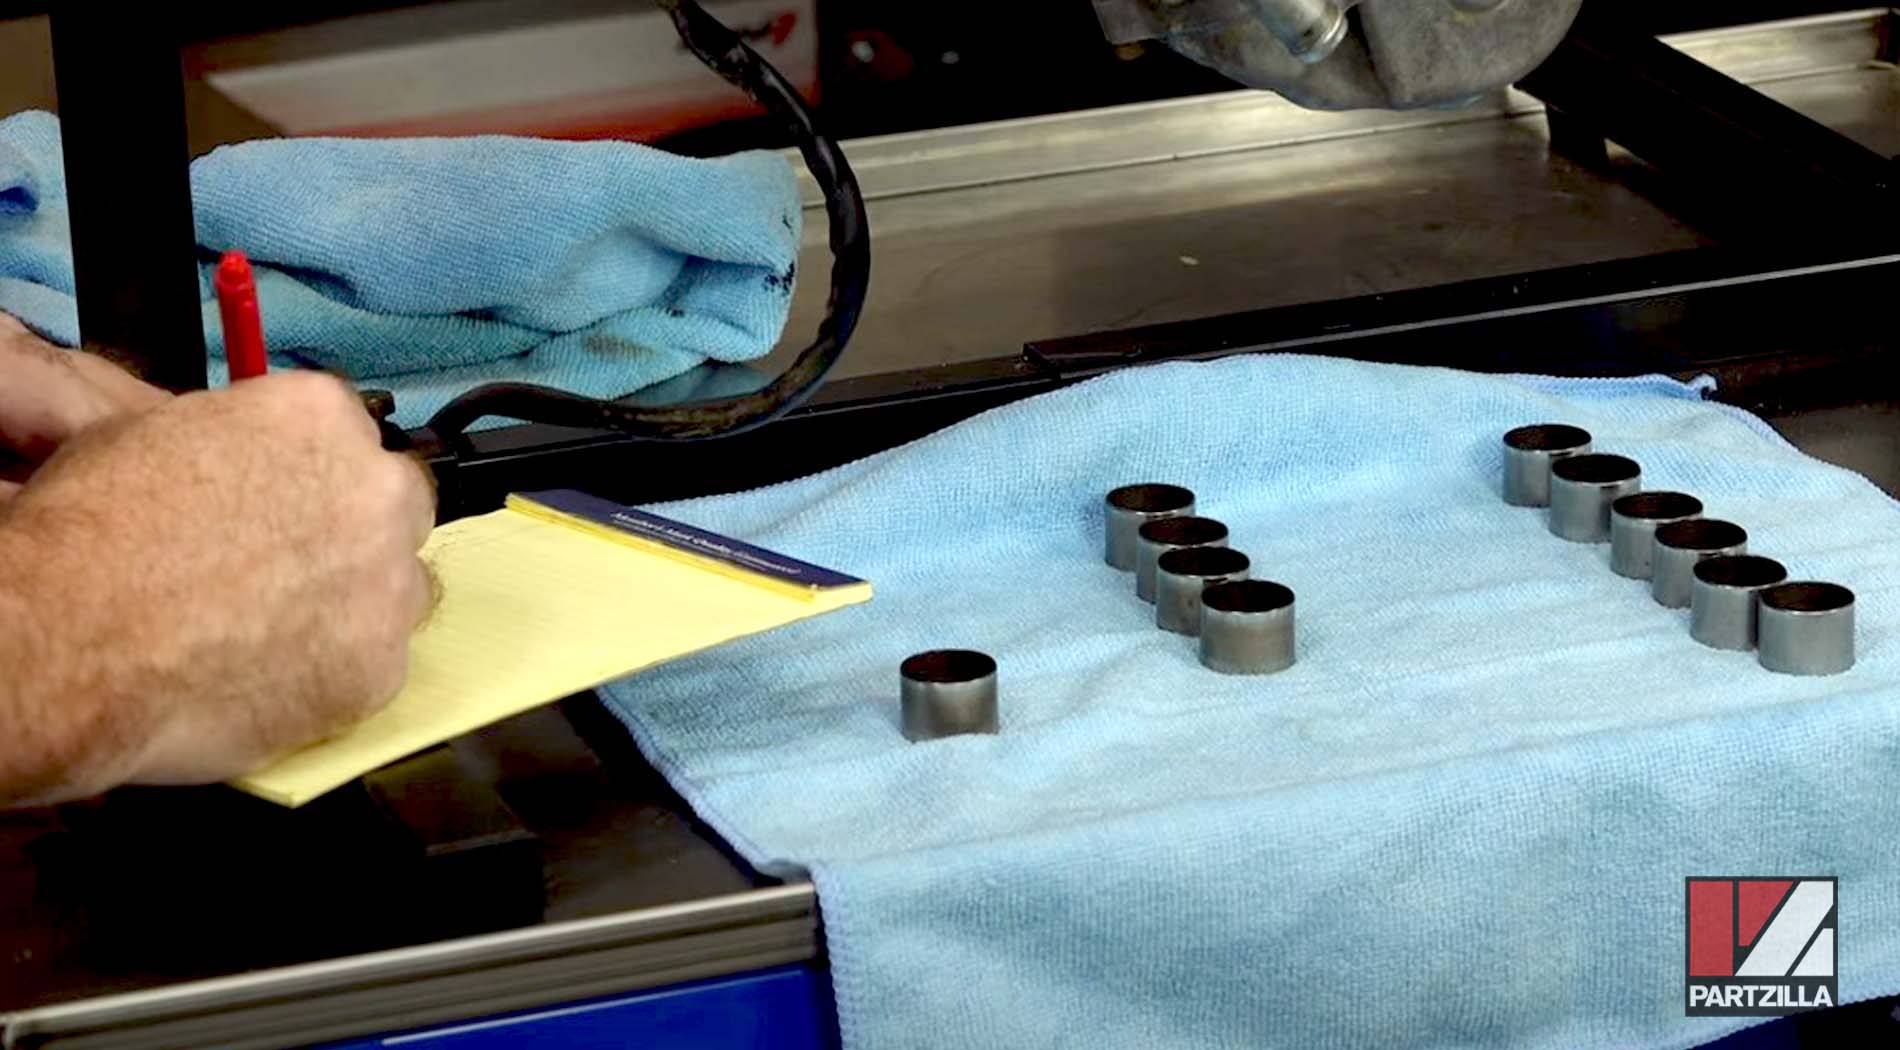
- Intake side (starting at cylinder number one): 190, 186, 186, 190, 190, 189.
- Exhaust side (starting at cylinder number one): 186, 188, 189, 191, 190, 192.
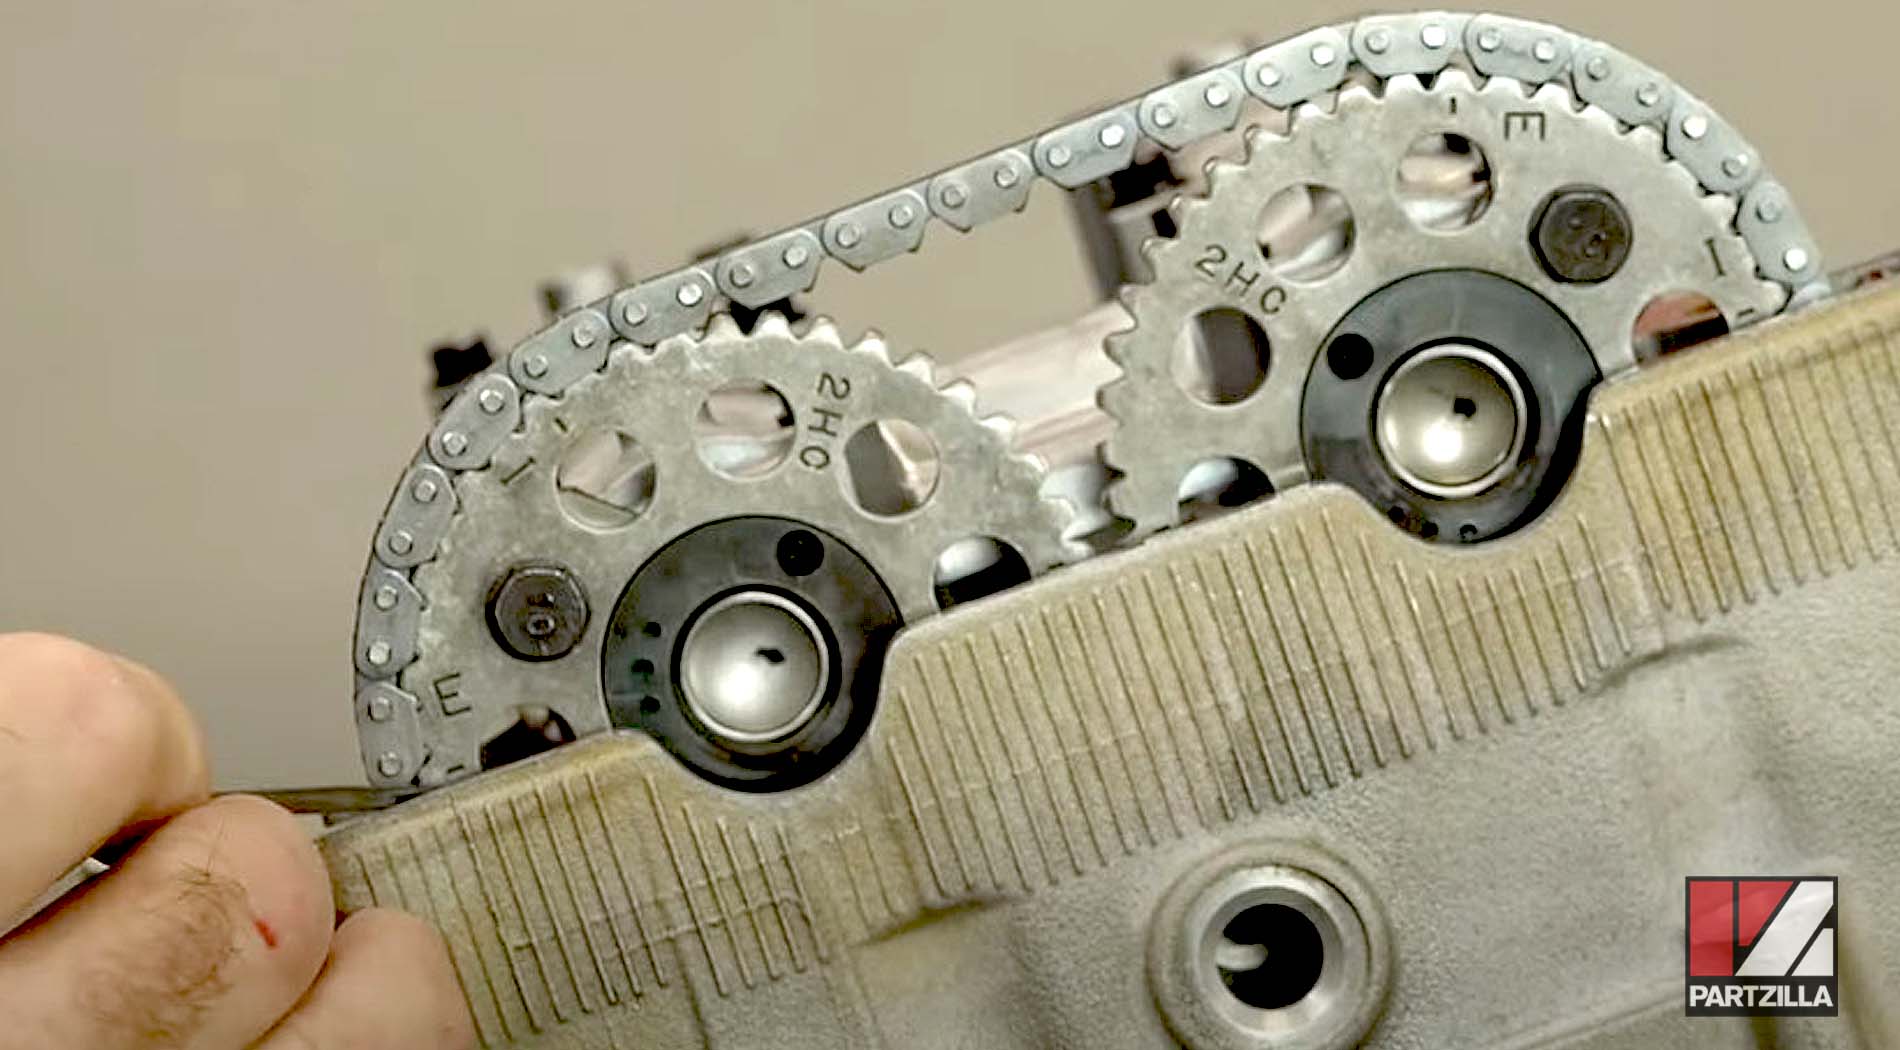
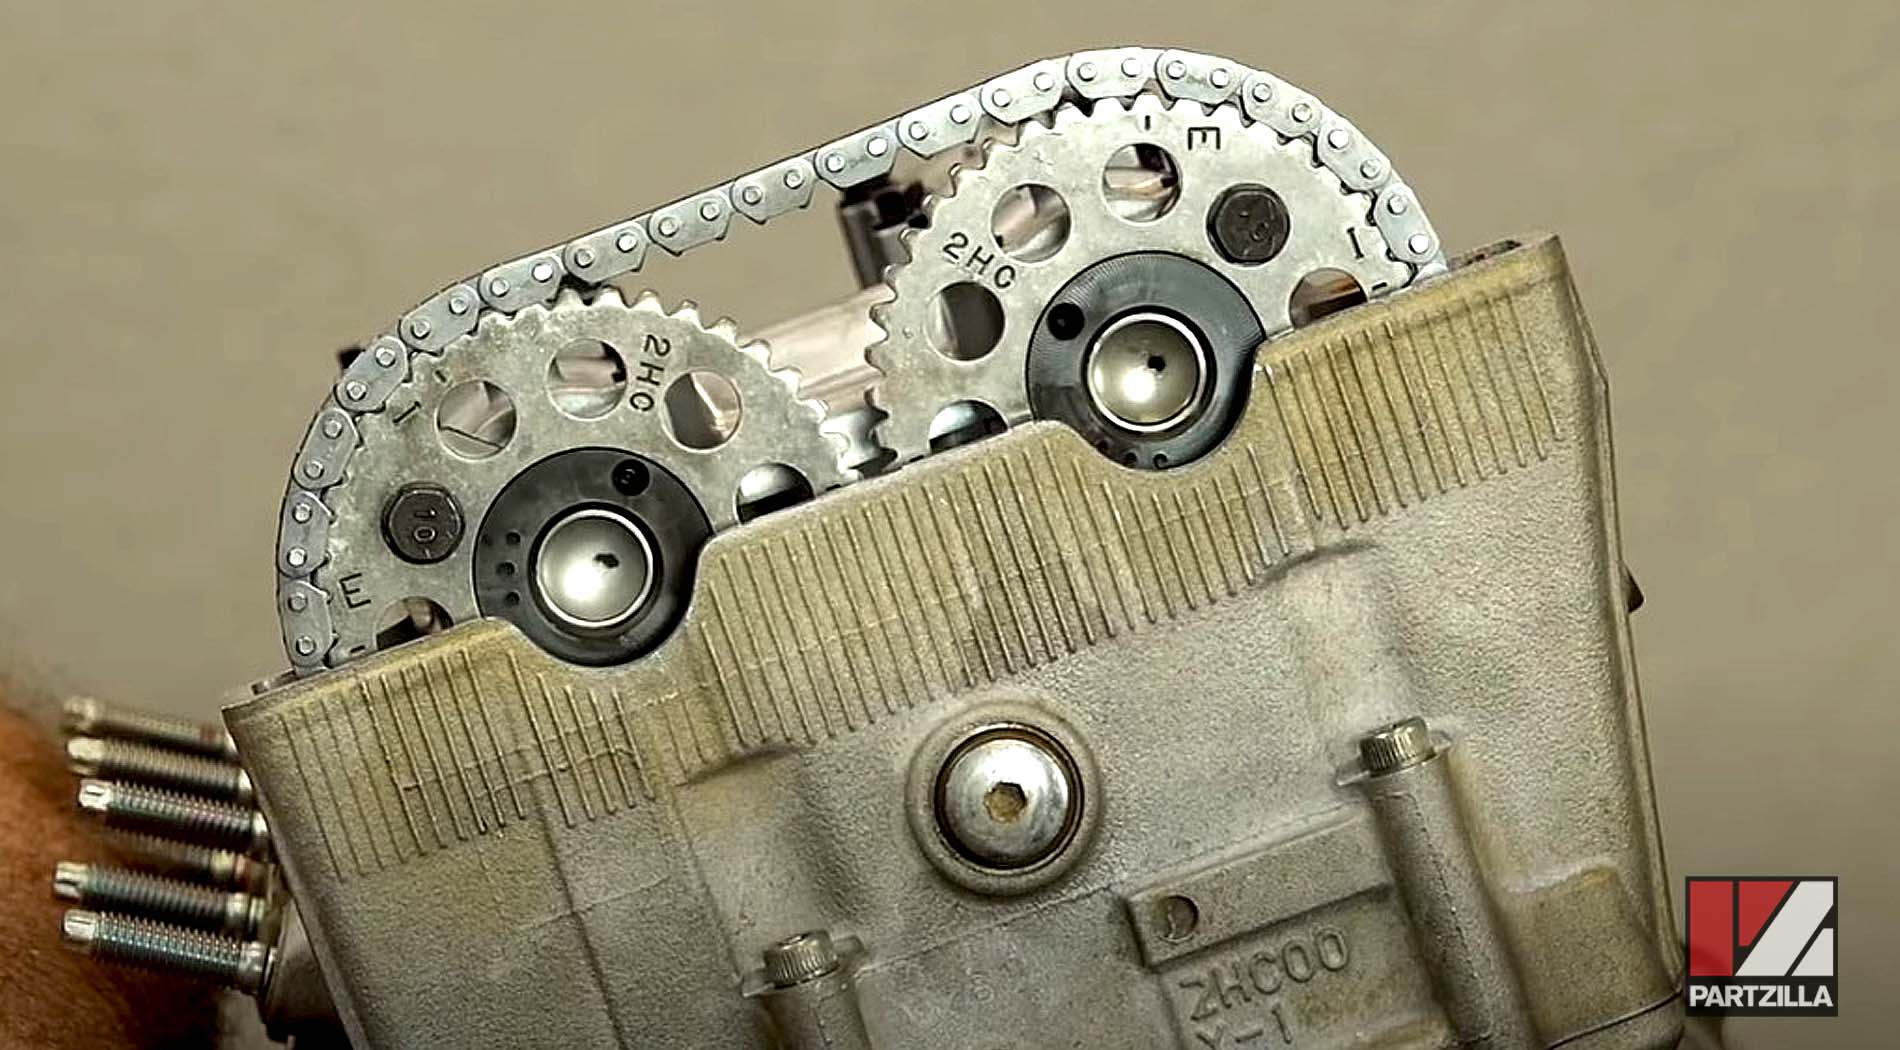
Step 9. Install the cam shafts, starting with the intake first and followed by the exhaust.
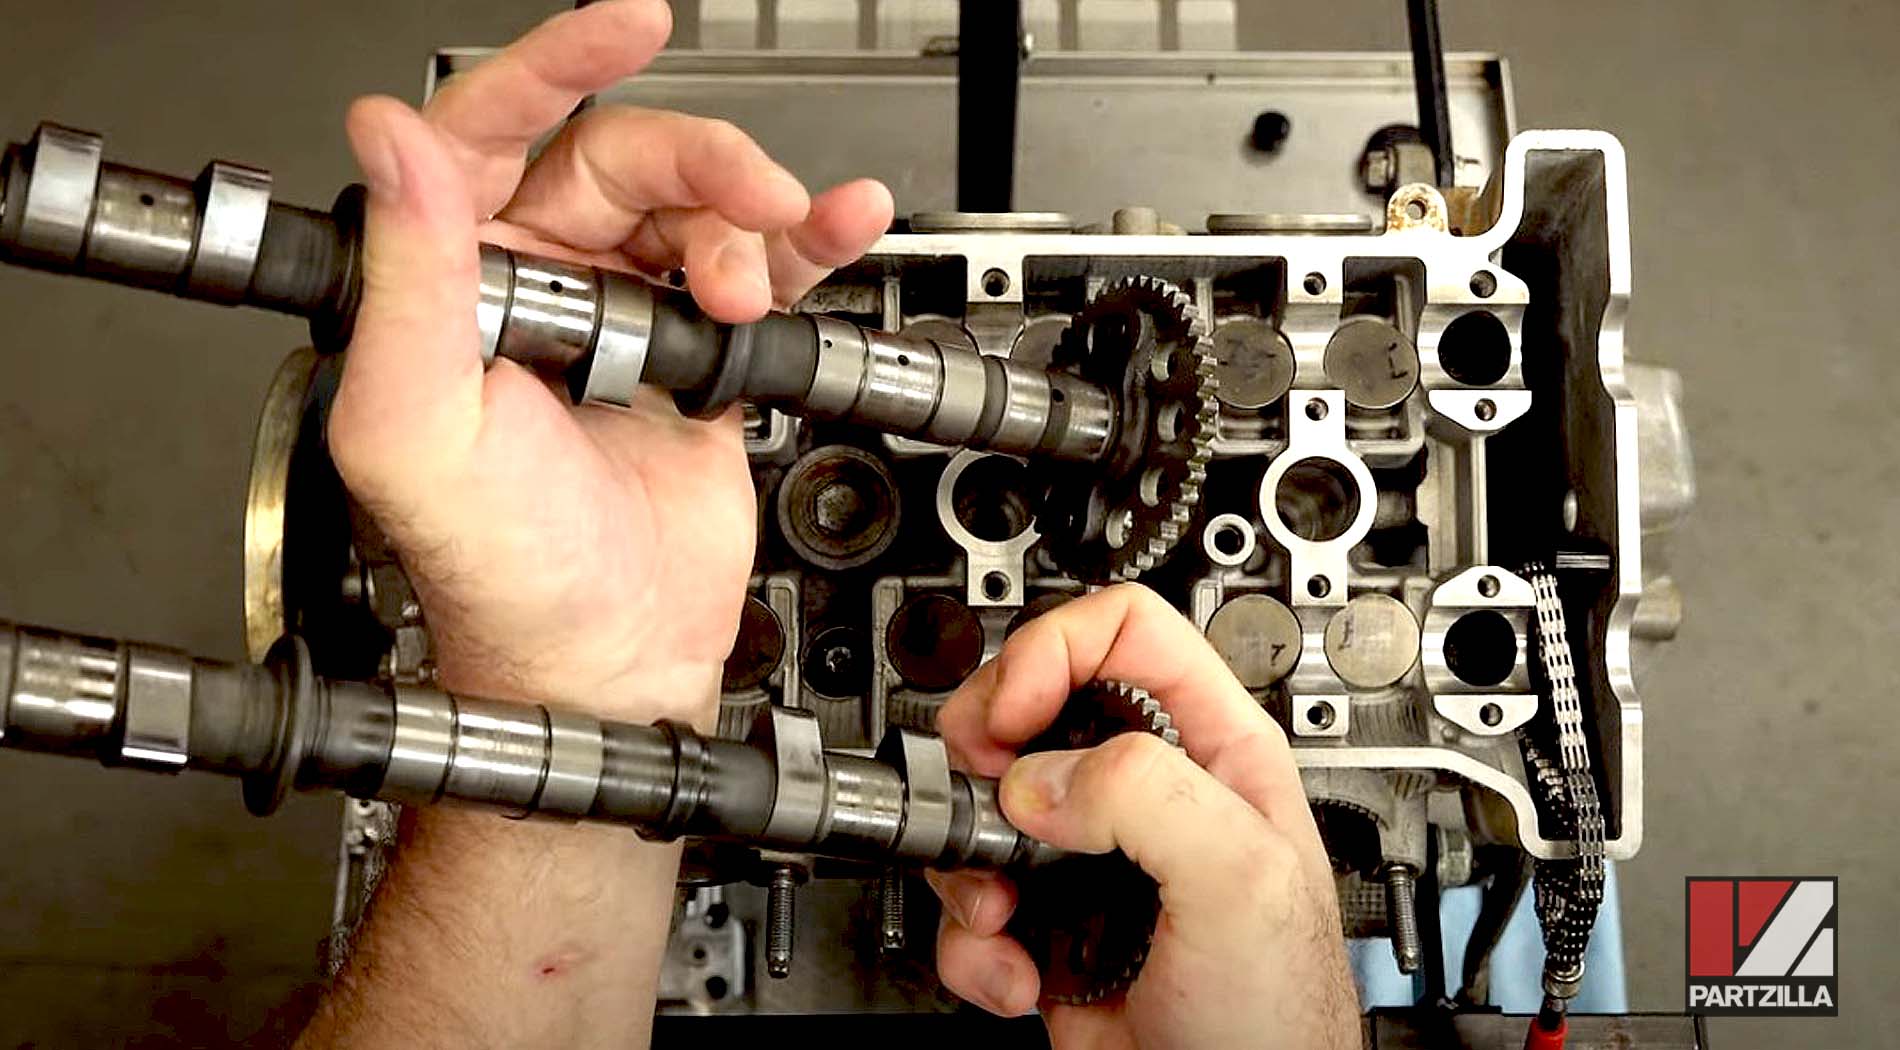
NOTE: The intake cam is easily identifiable by a larger section in the middle than the exhaust cam.
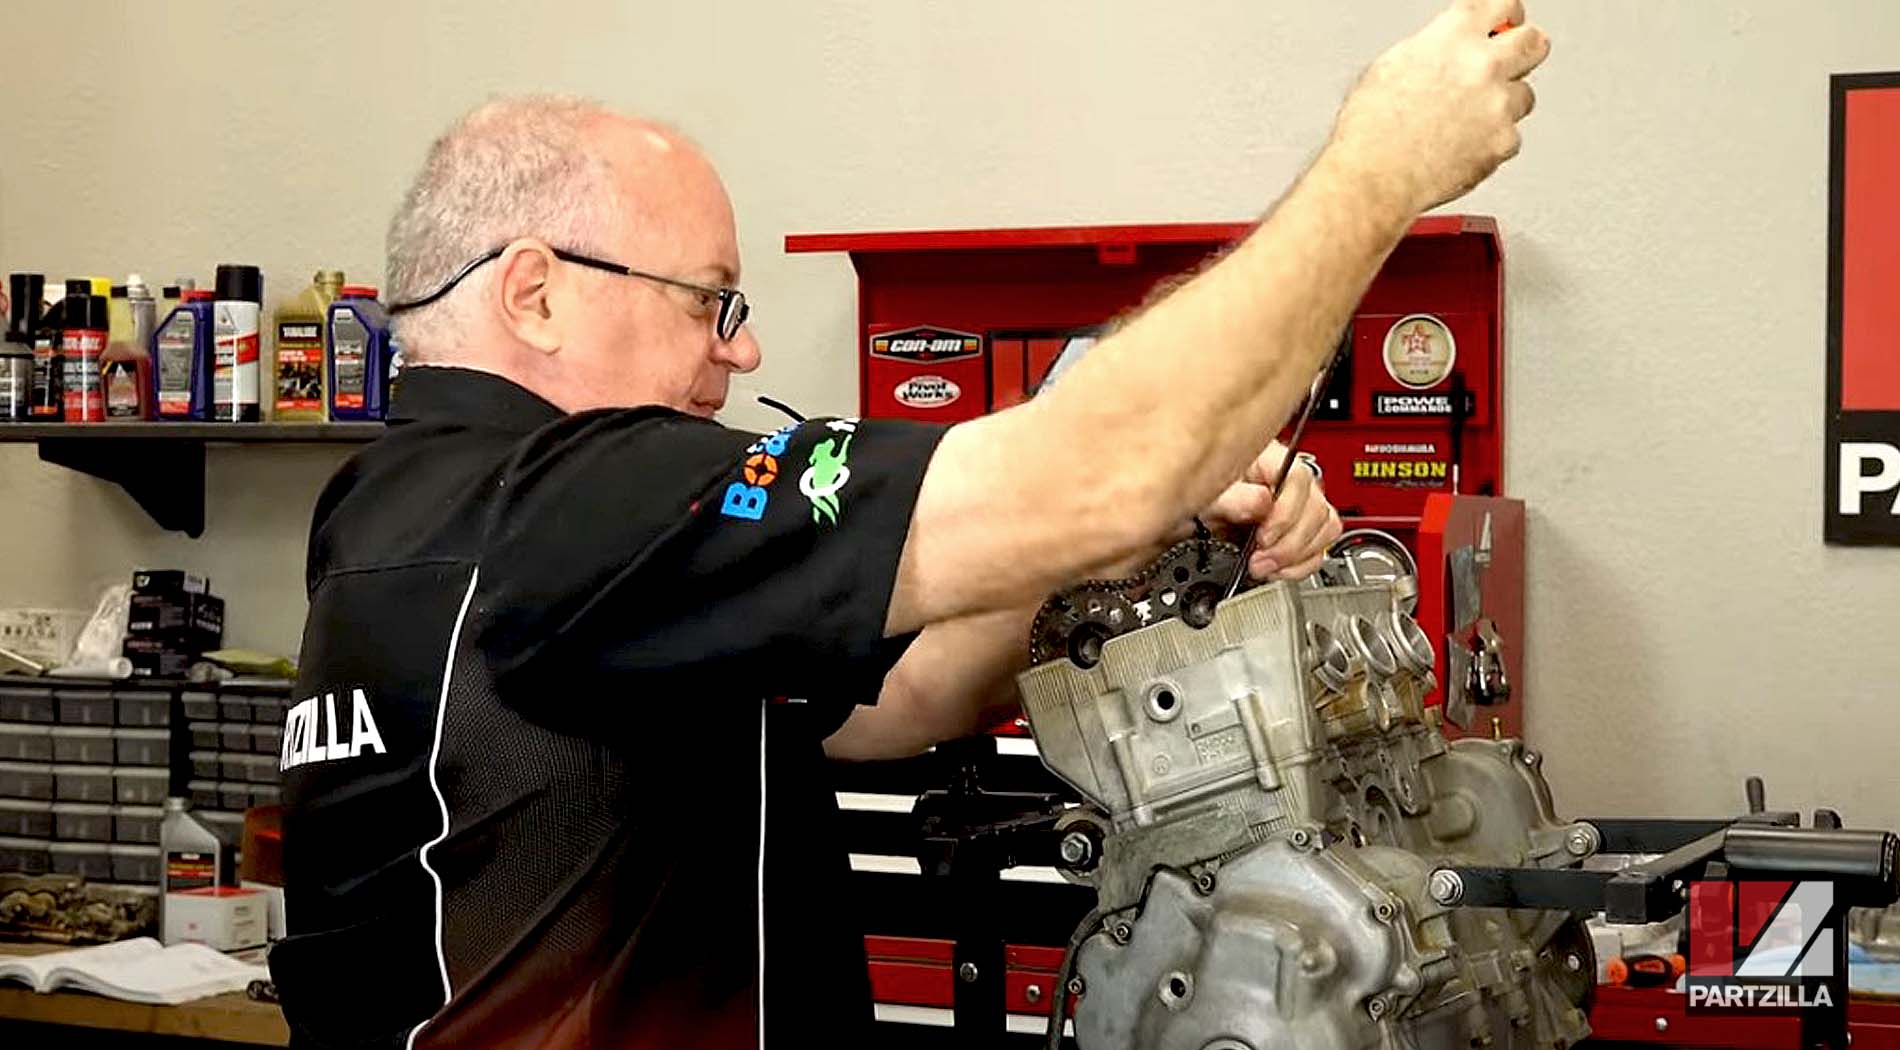
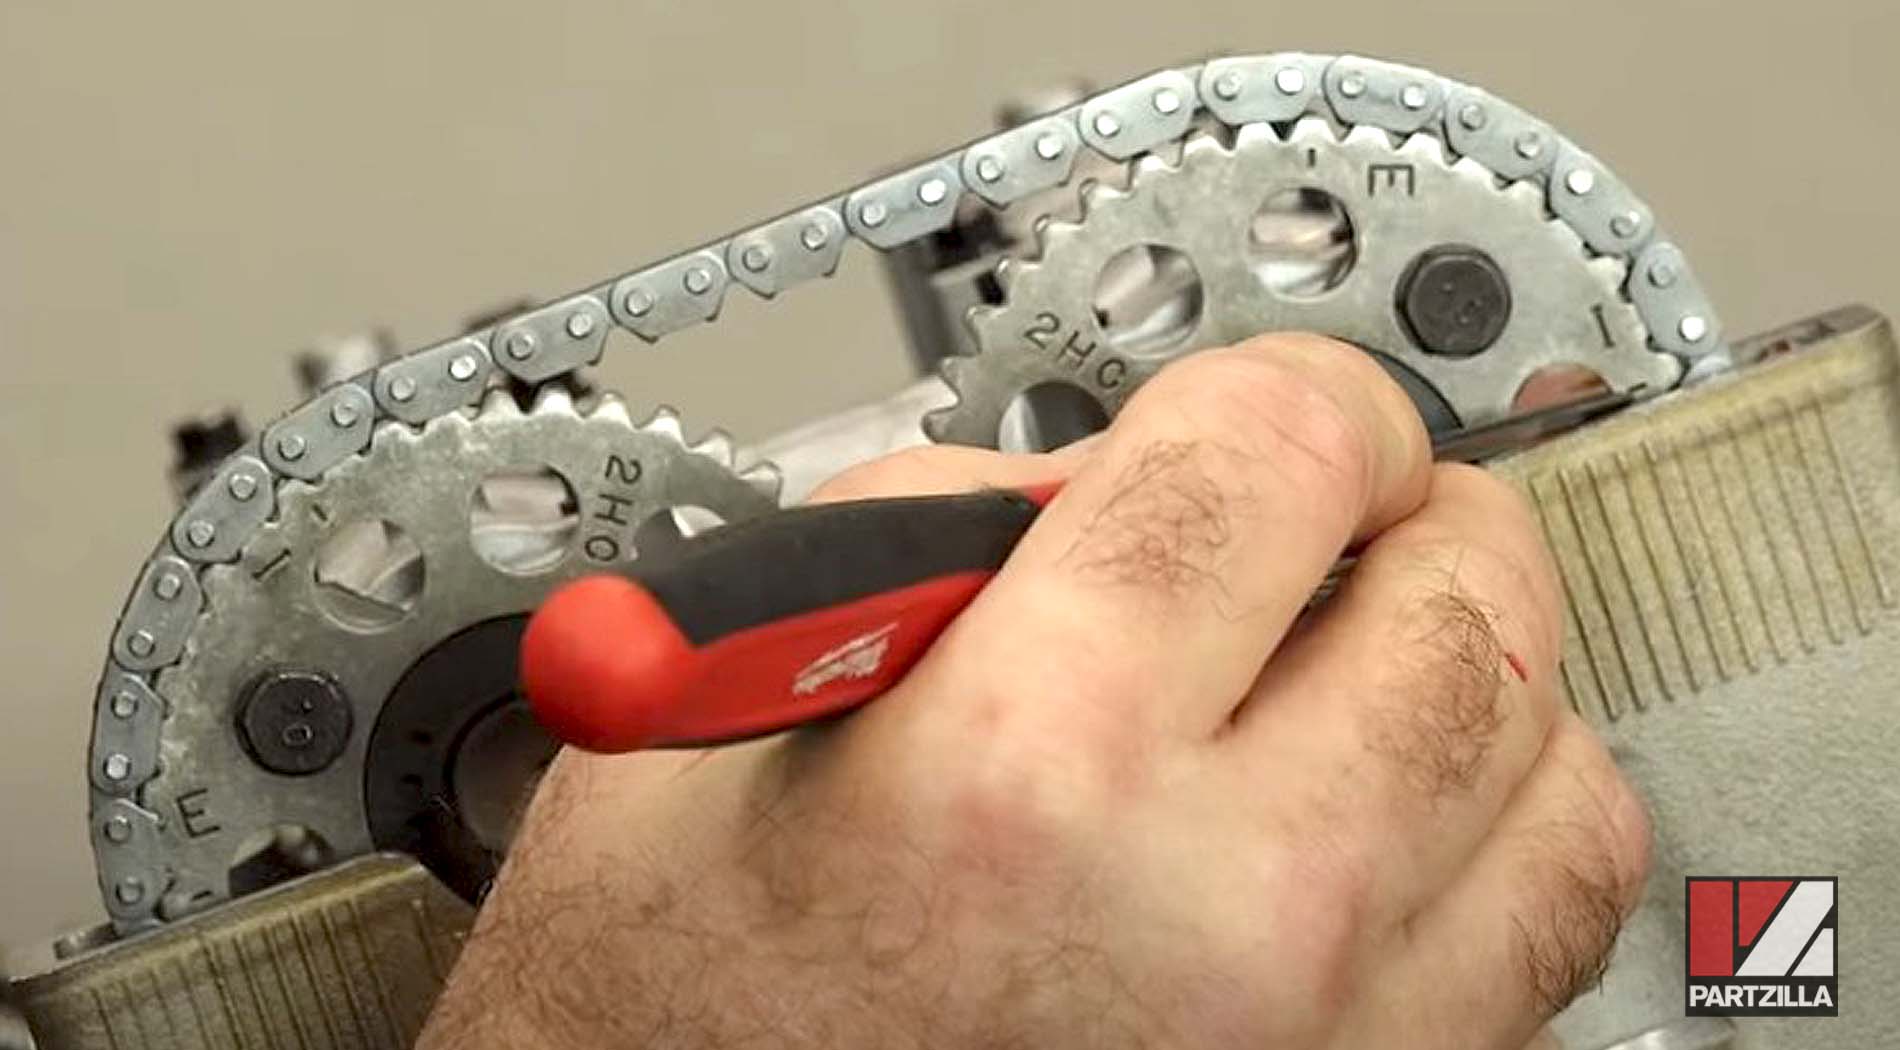
Make sure you’re at top dead center, then pull the chain up and you want the cam lobes to be at split overlap.
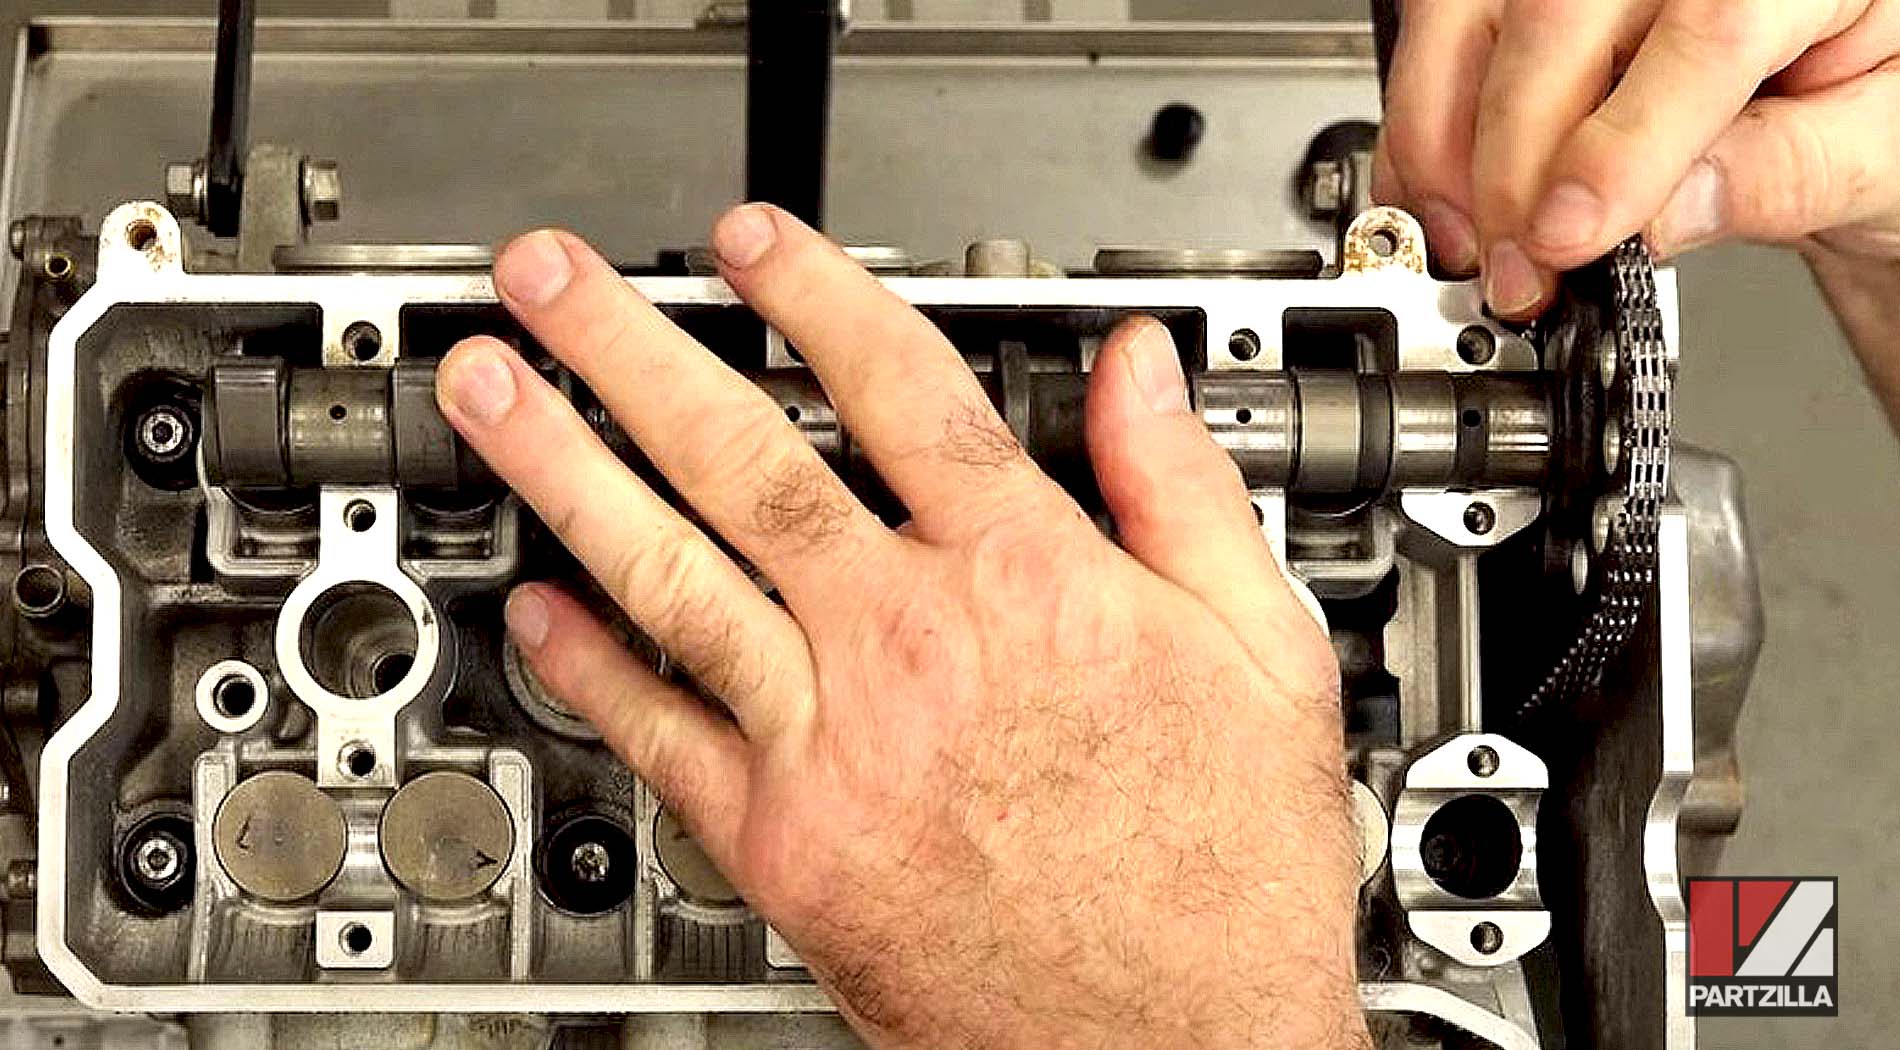
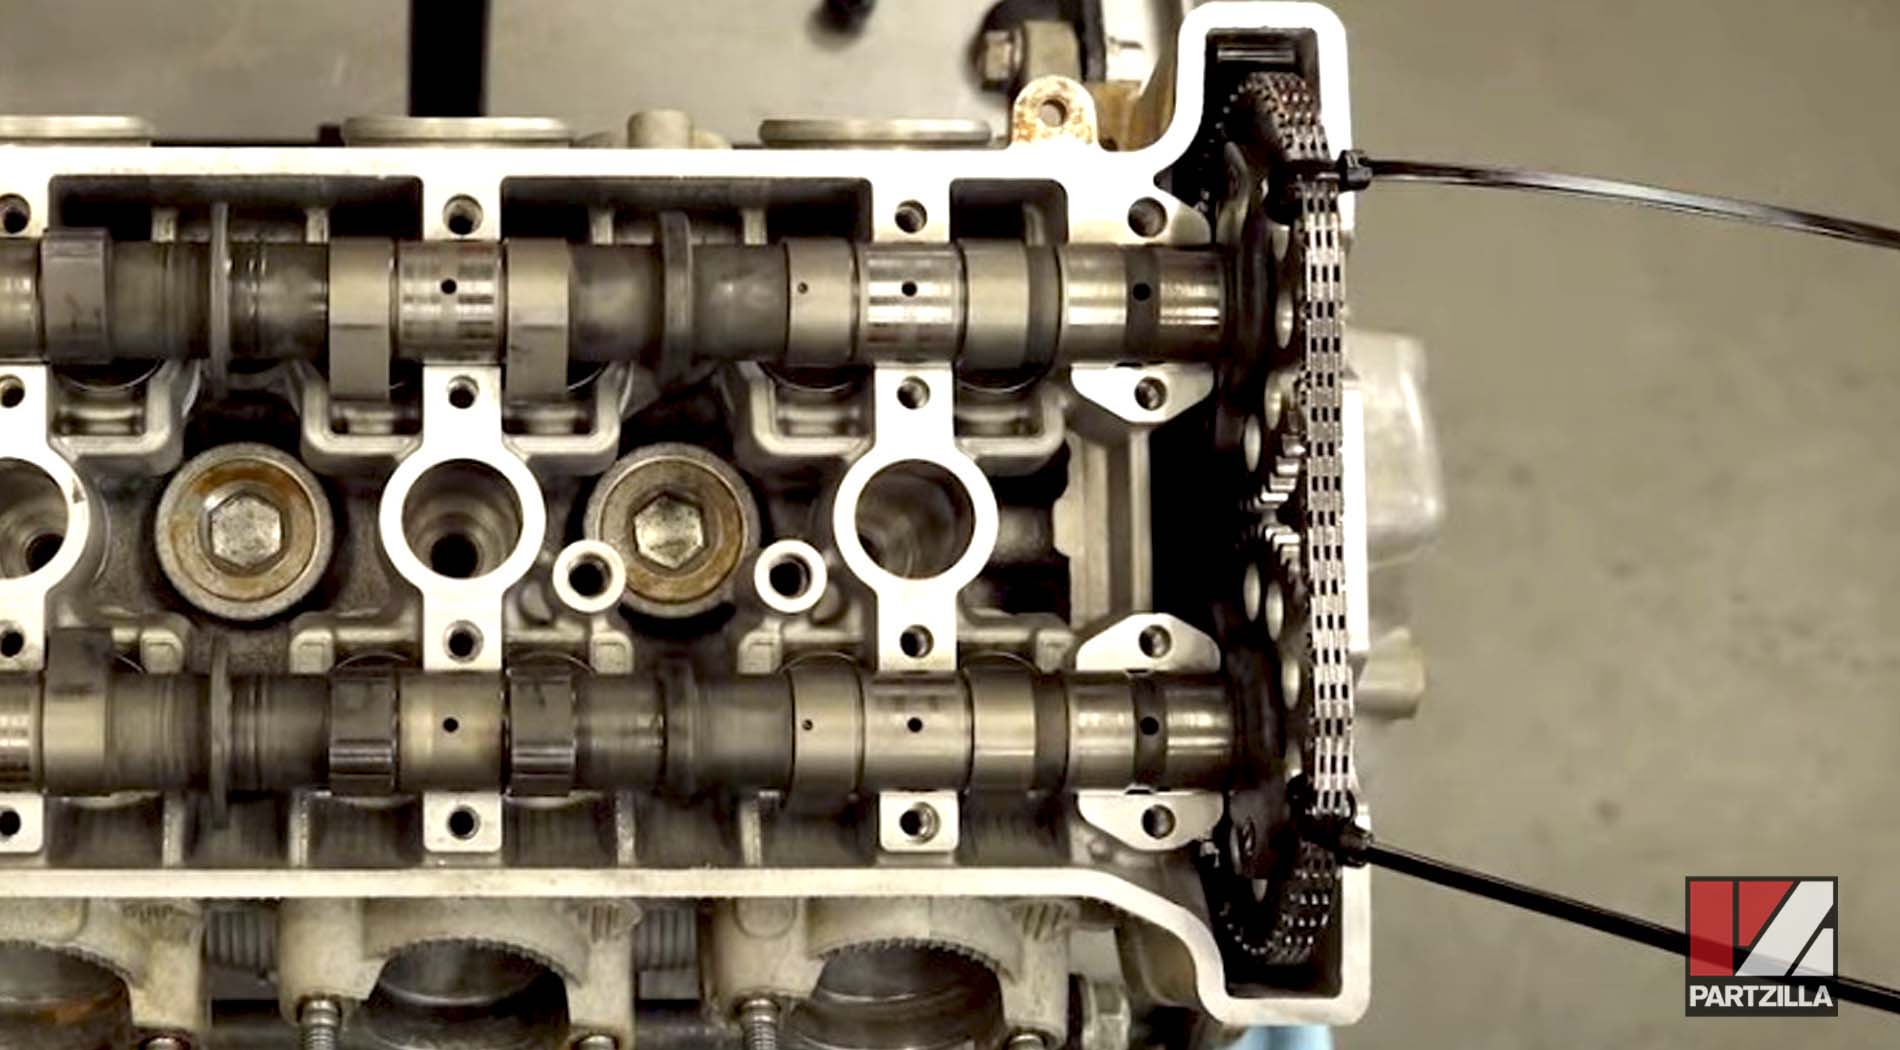
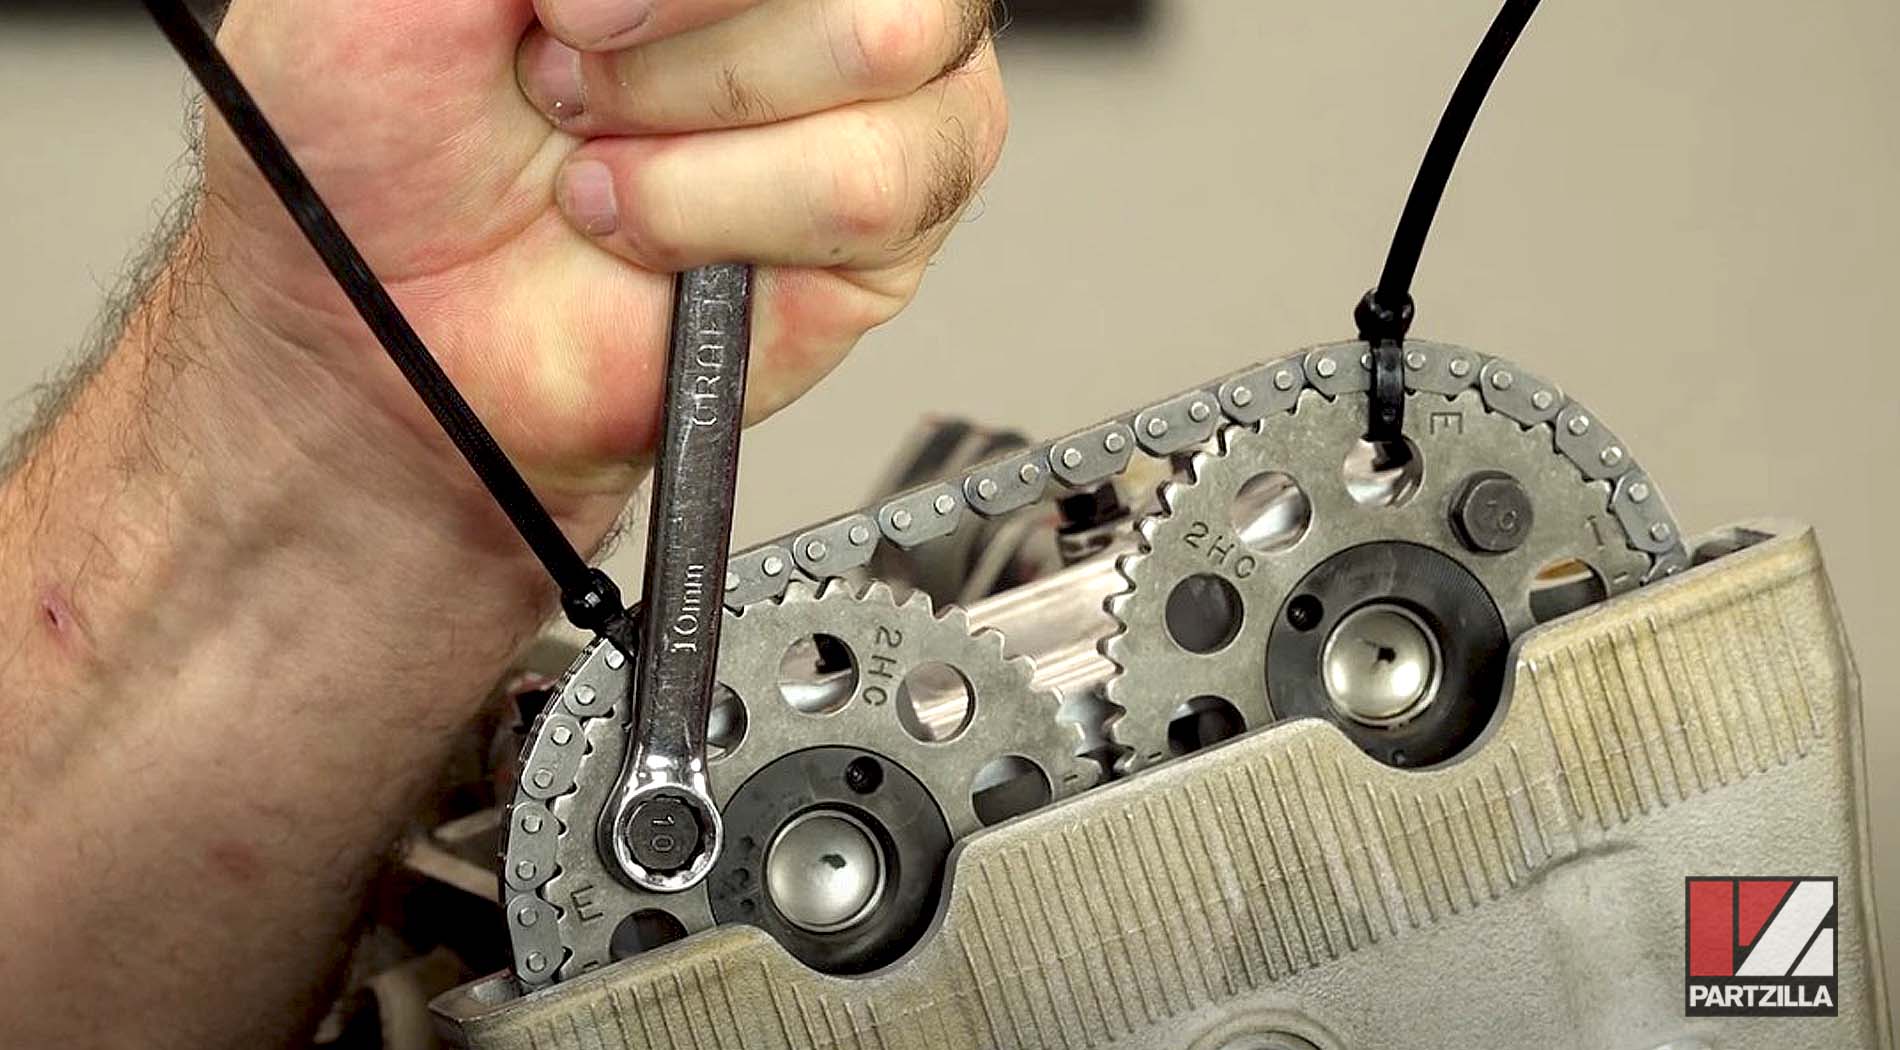
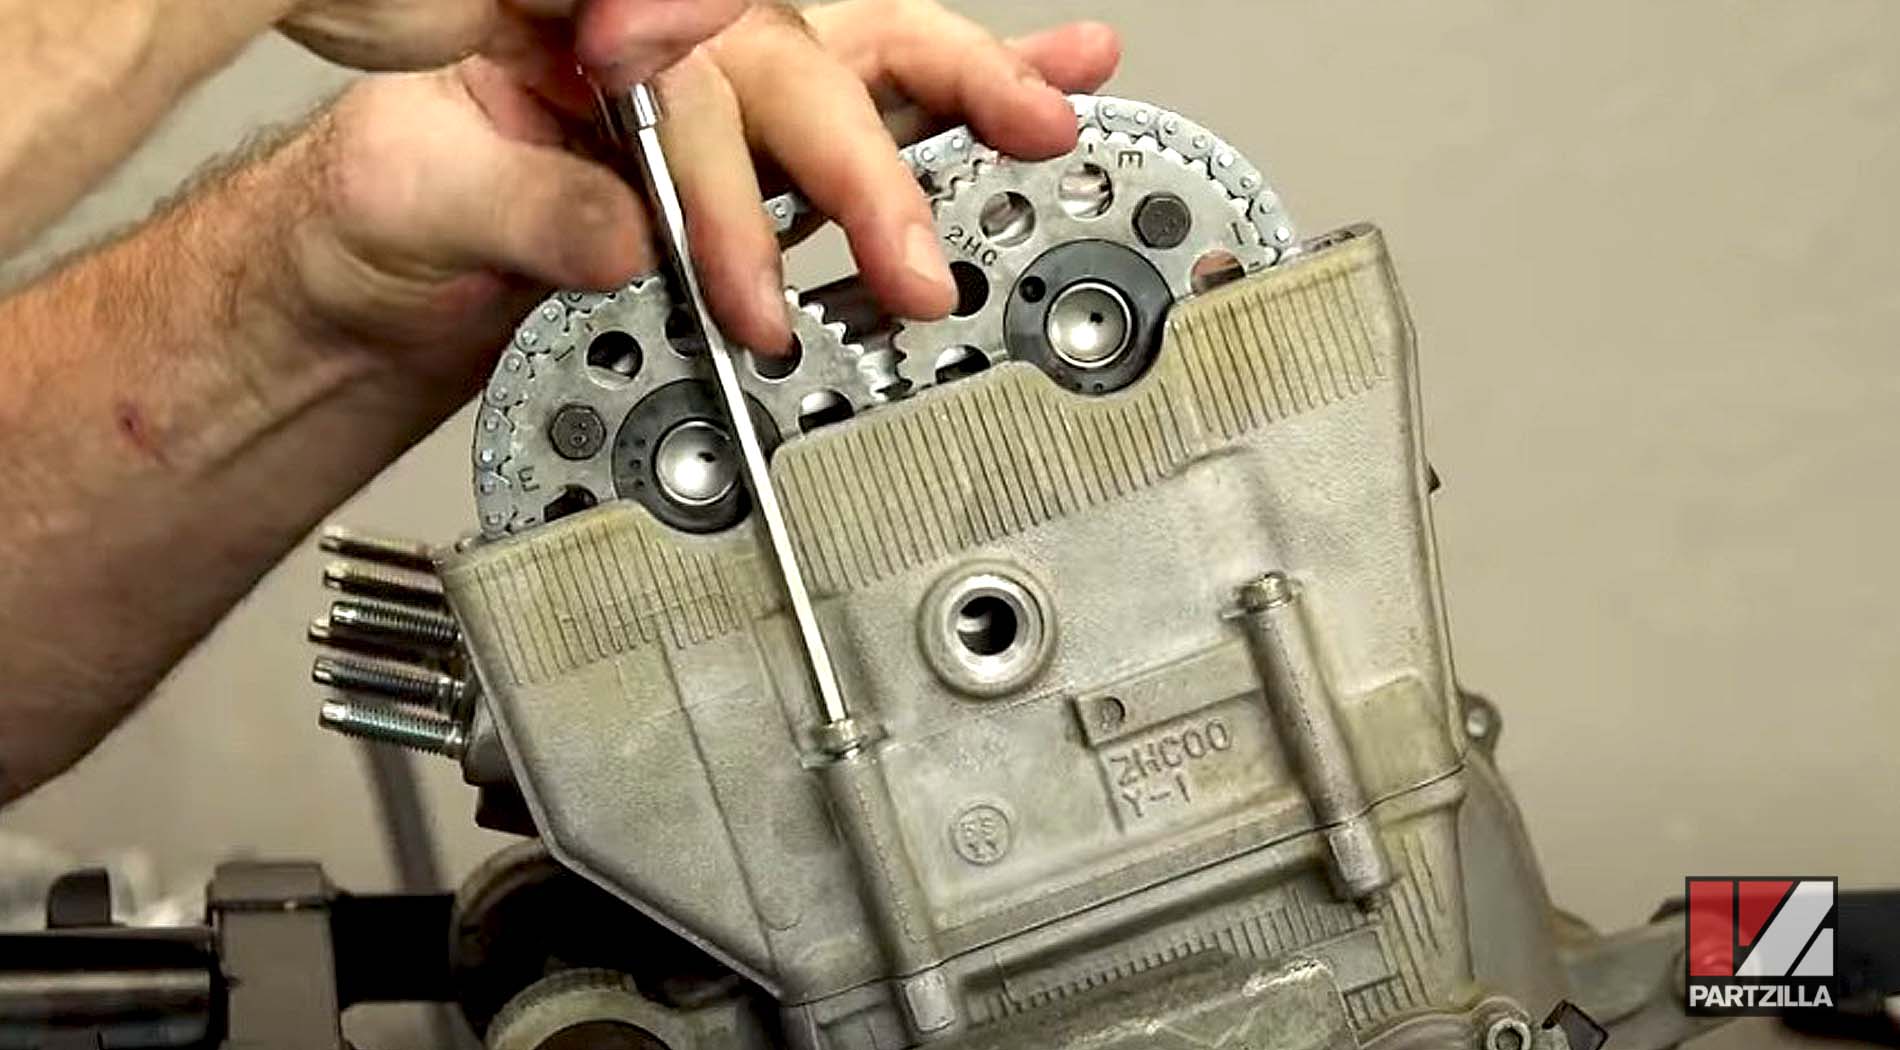
Step 13. Use a couple of zip ties to hold the chain in place because the teeth can easily jump around as you're tightening down the caps (next step).
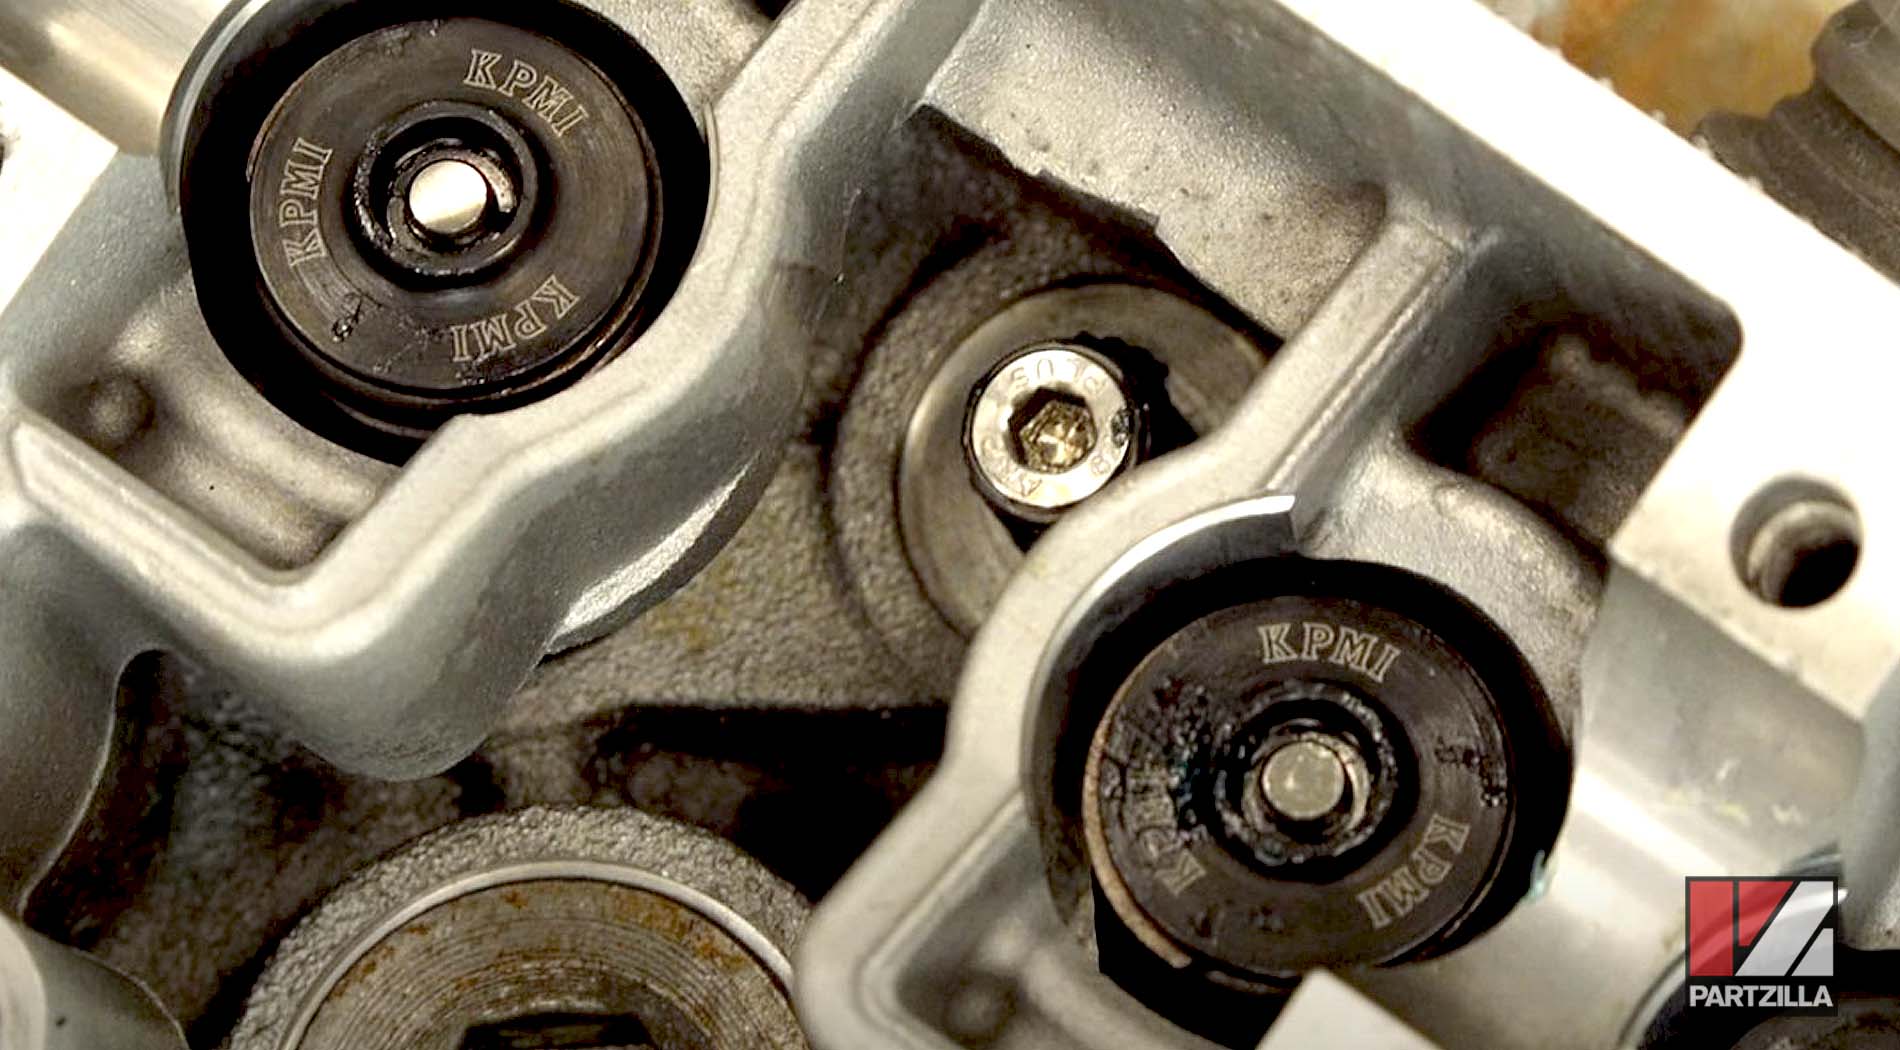
Step 14. Install the main cam cap up front by bringing it down level while tightening it down.

NOTE: You'll notice that the other lobes are all facing up, so there shouldn't be any tension on cylinders one and two. Once you get the tensioner in place, it's going to pull the exhaust cam into position and you're going to have marks you can verify where the dot is aligned with a mark (see image below).
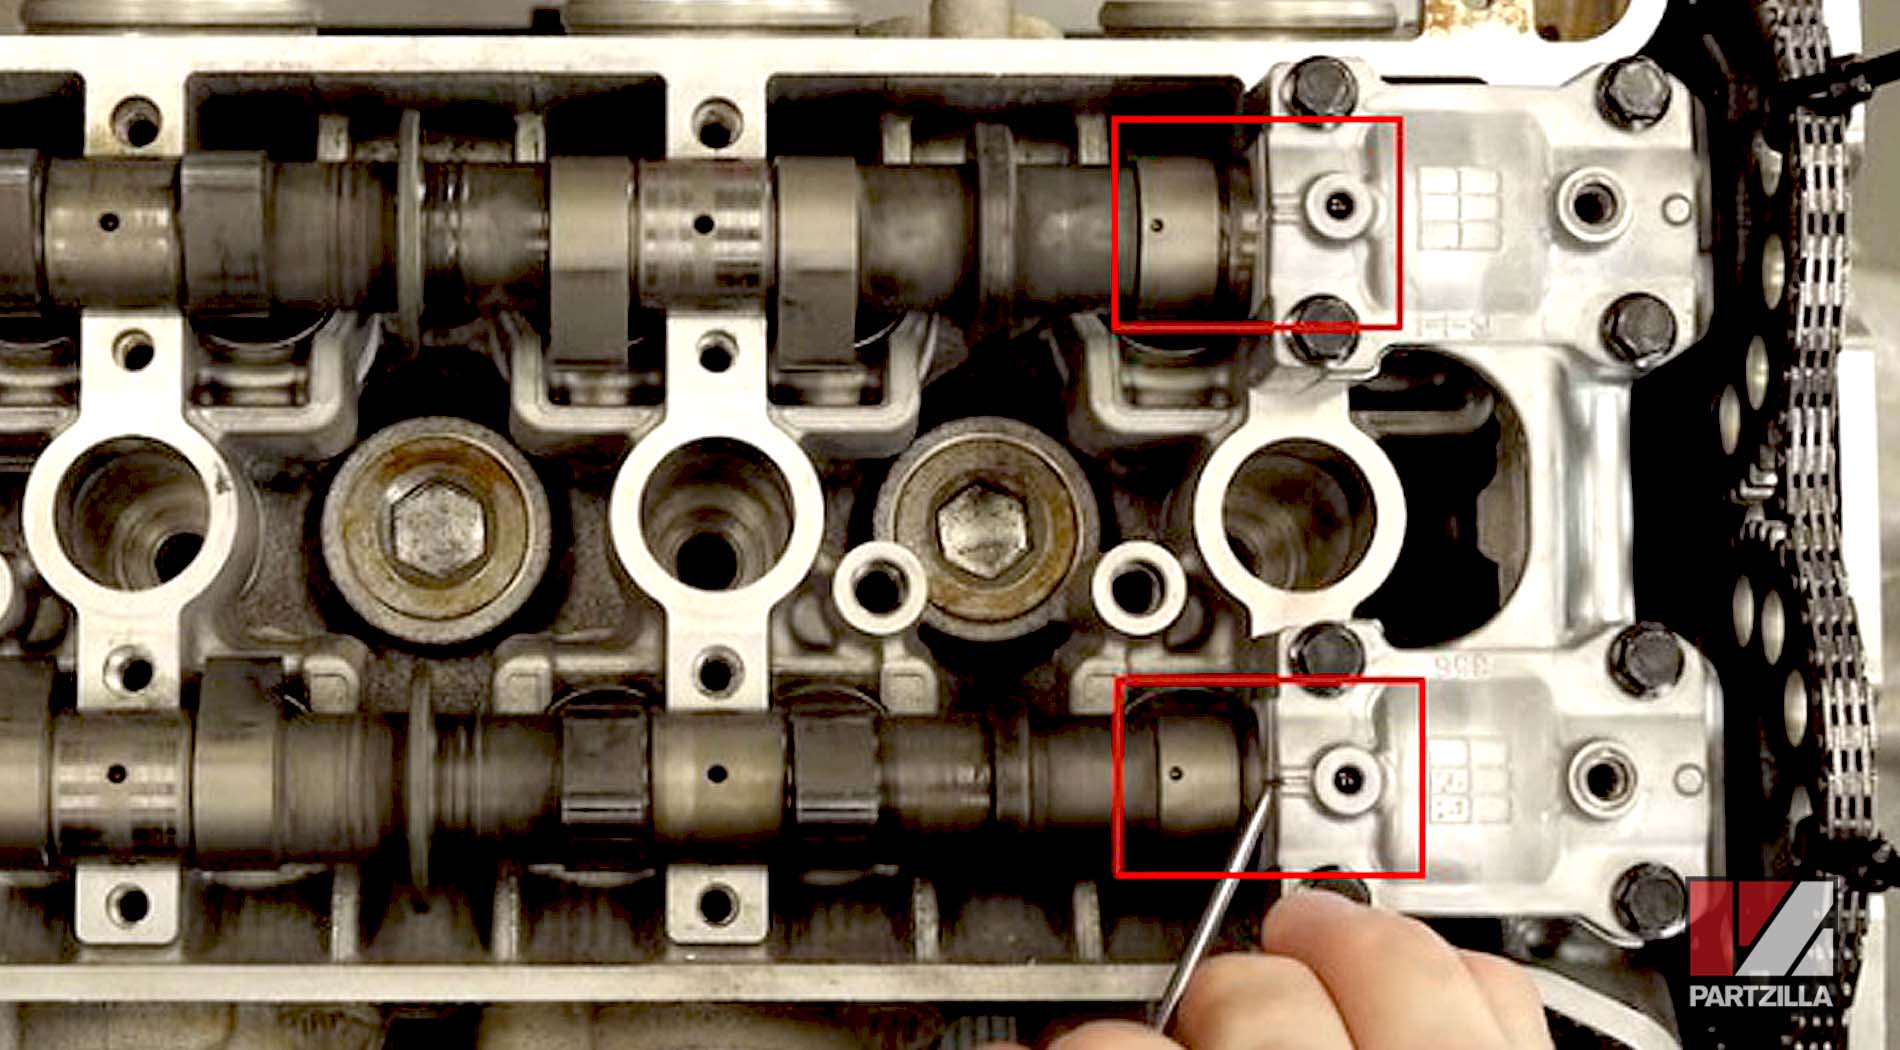
Step 15. Install the remaining intake and exhaust cam caps.
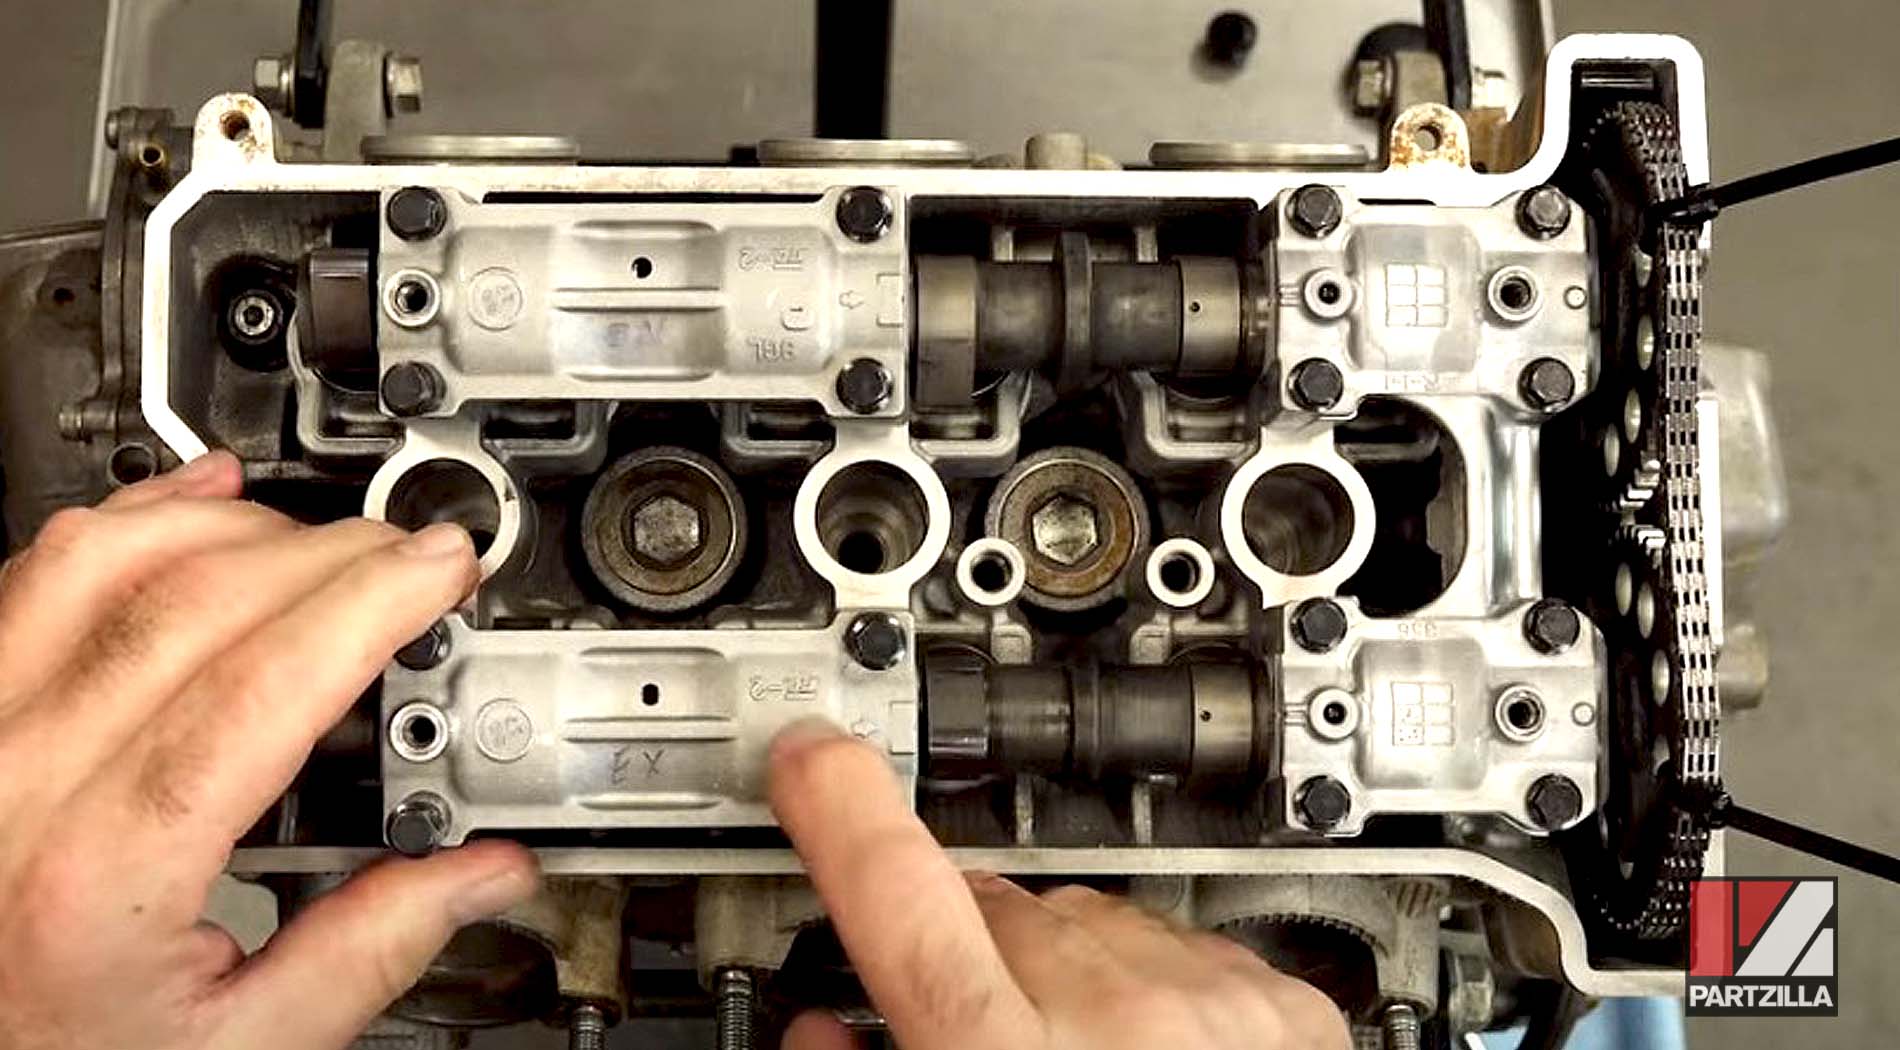
NOTE: The caps have the letters I (intake) and E (exhaust) on them, as well as arrows pointing forward.
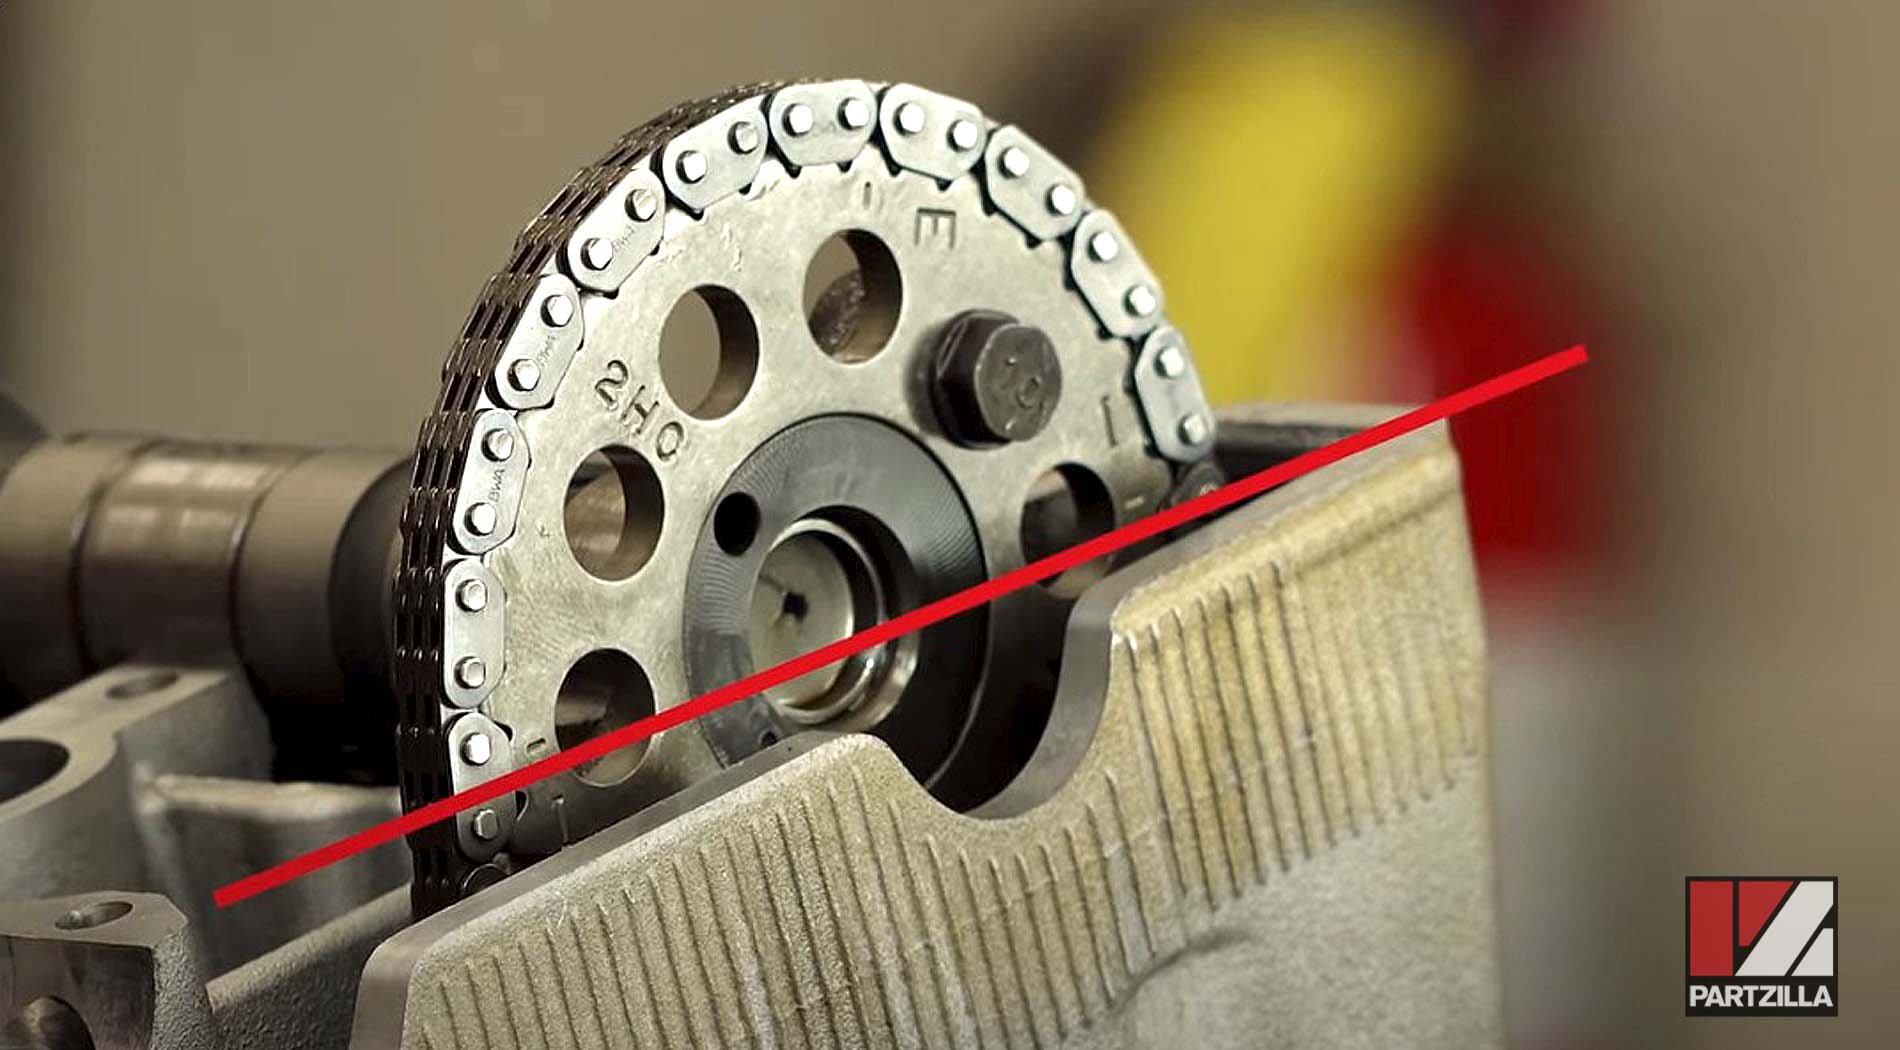
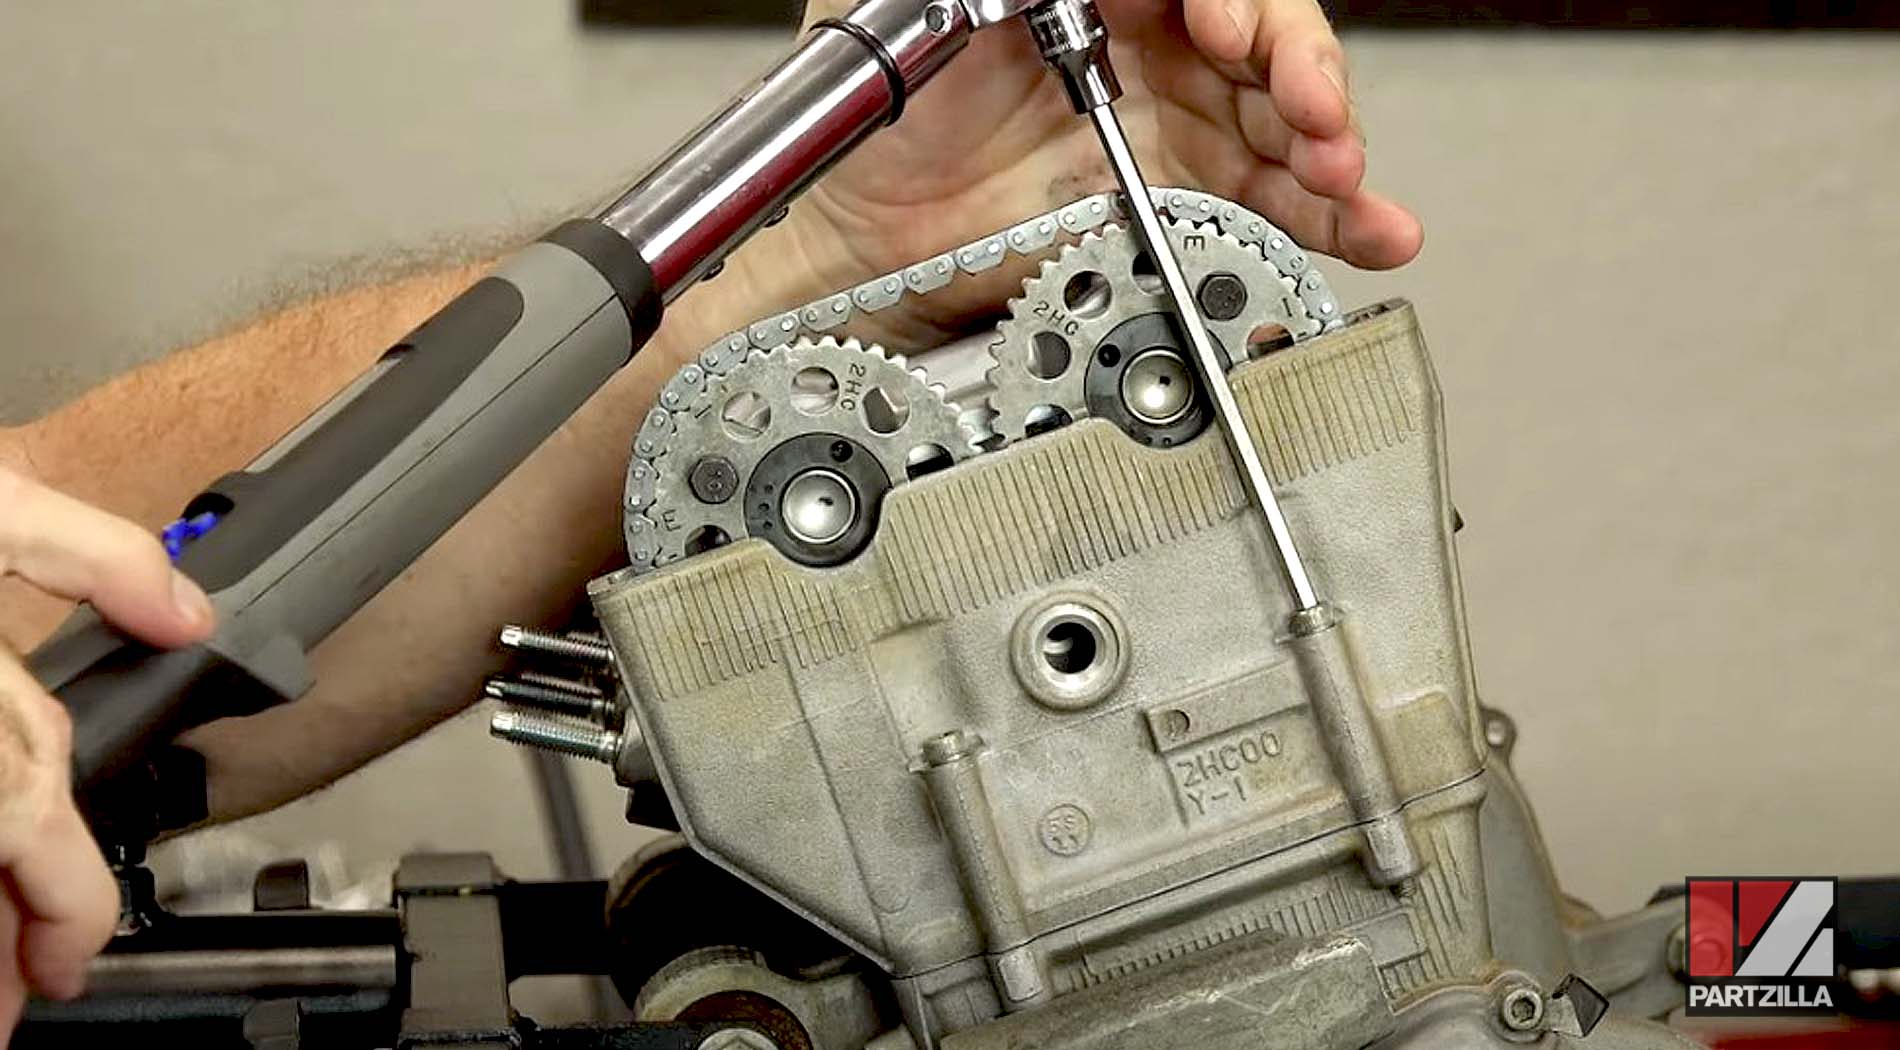
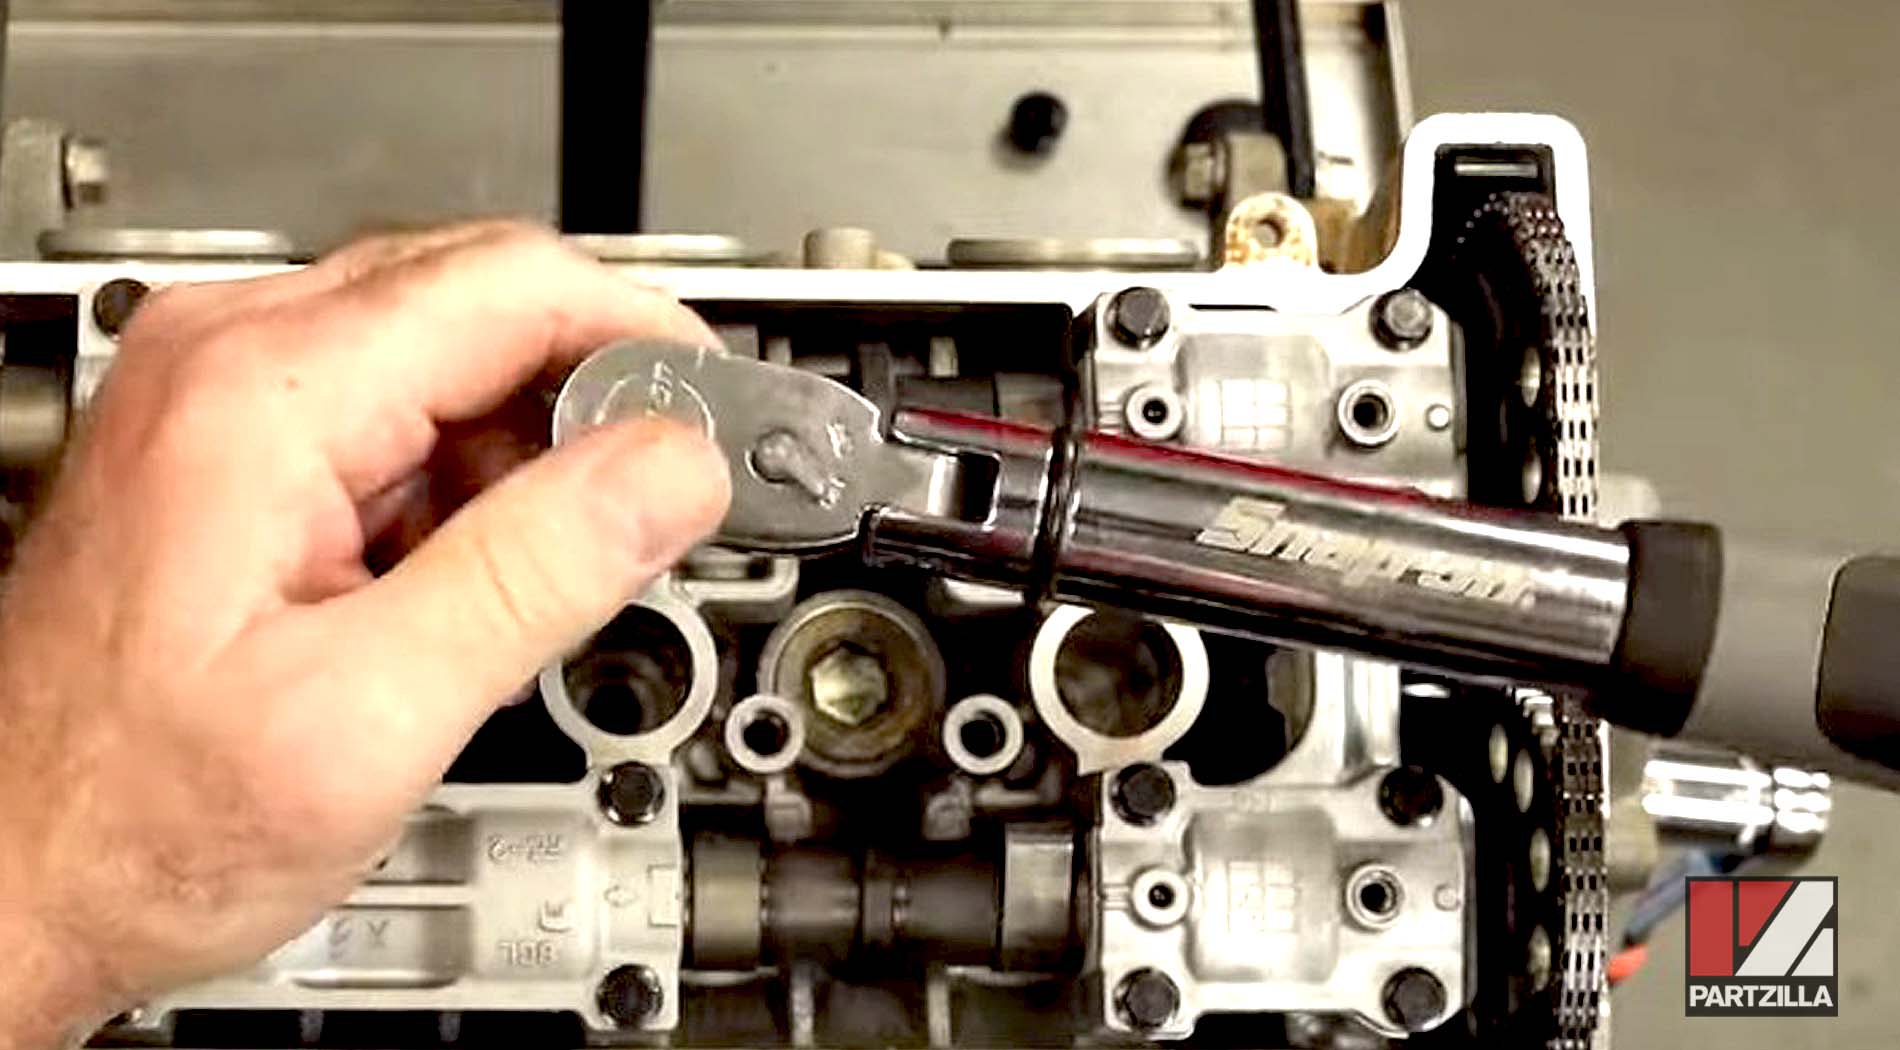
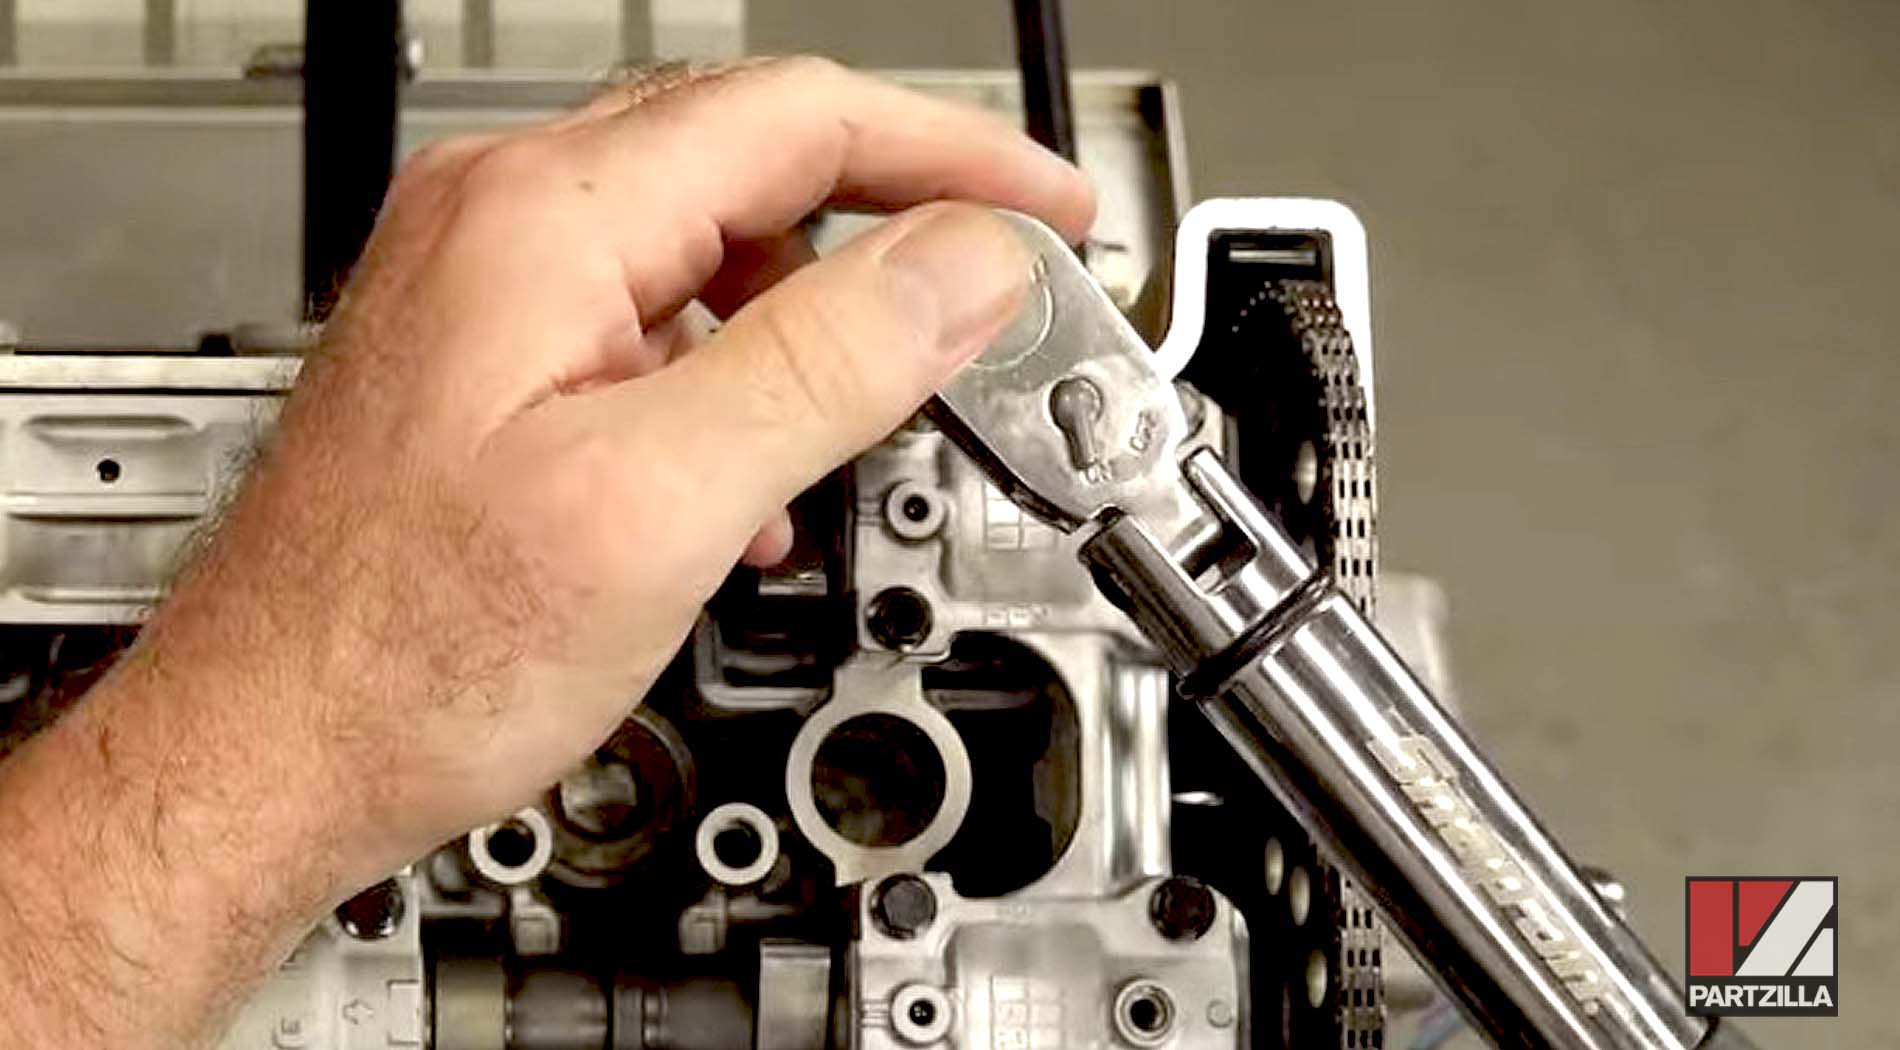
Step 16. Install the chain tensioner, then release the spring by reaching in and pushing on the edge of the guide to get the spring to release. Cut off the zip ties once the tensioner is in place.
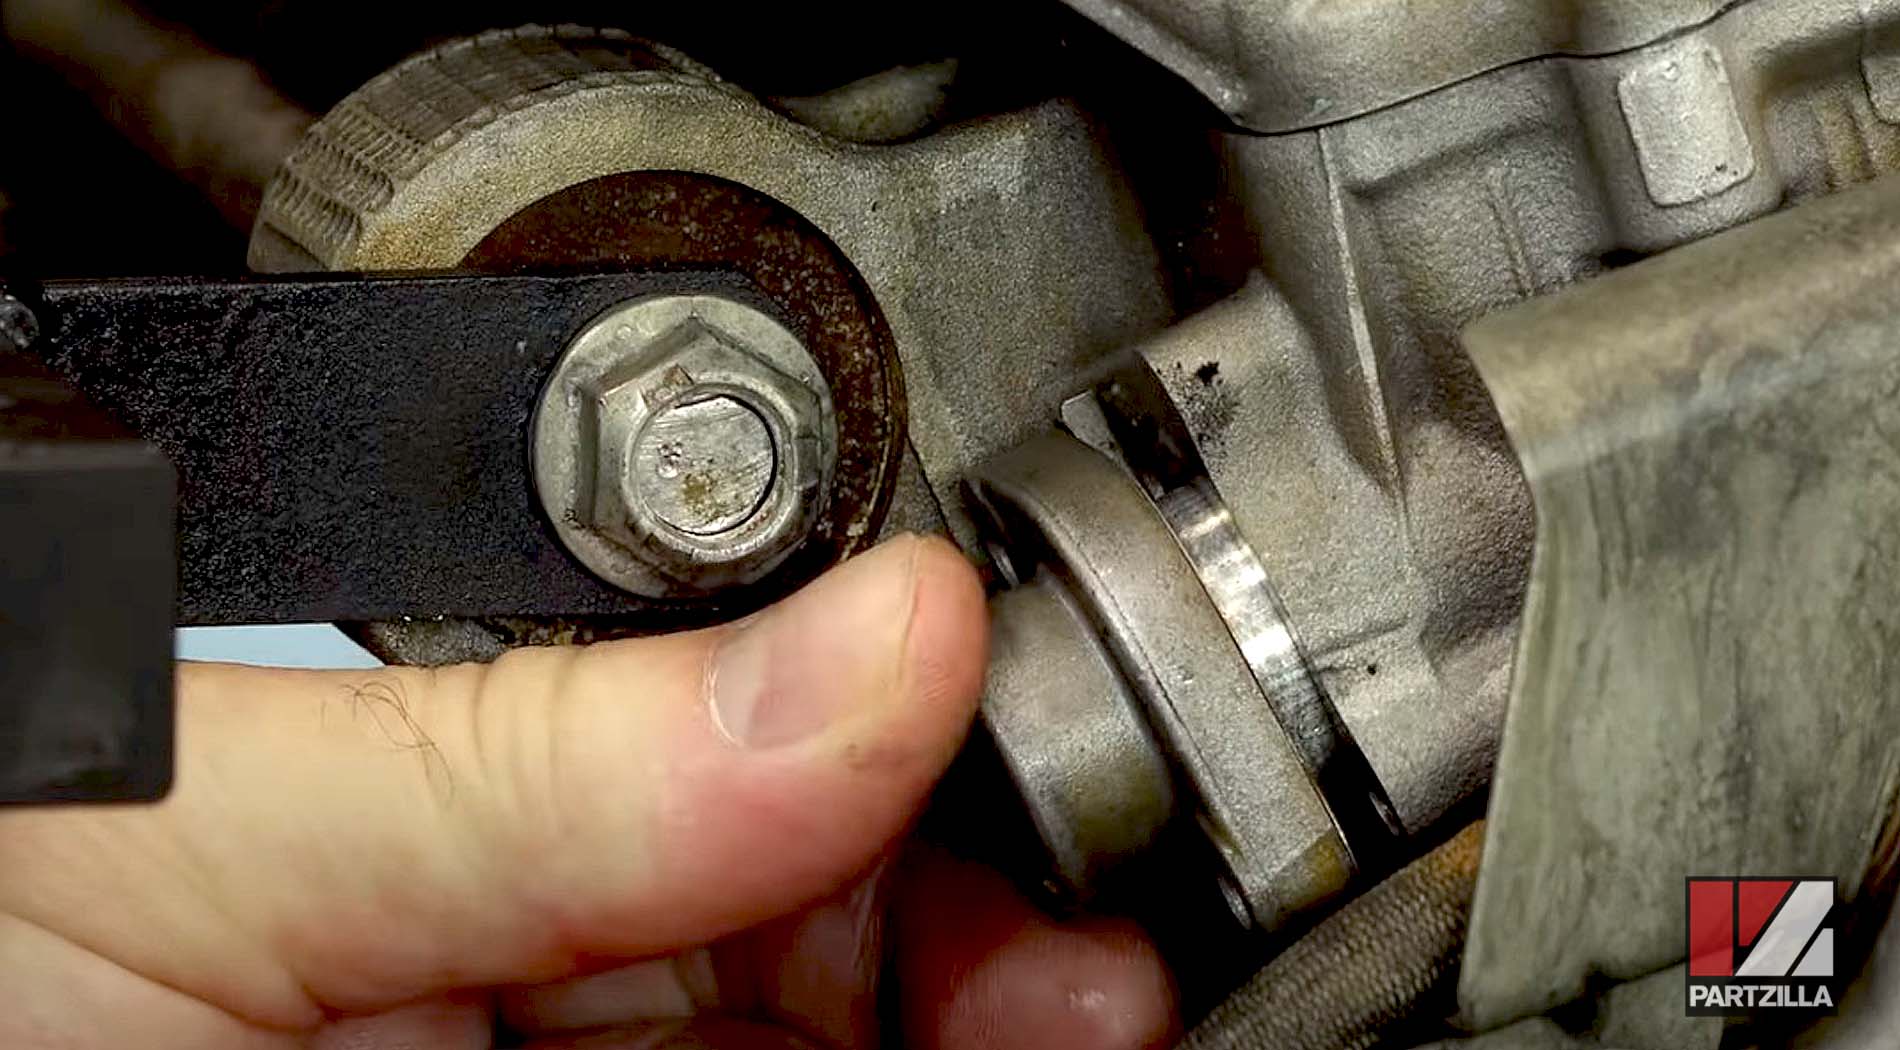
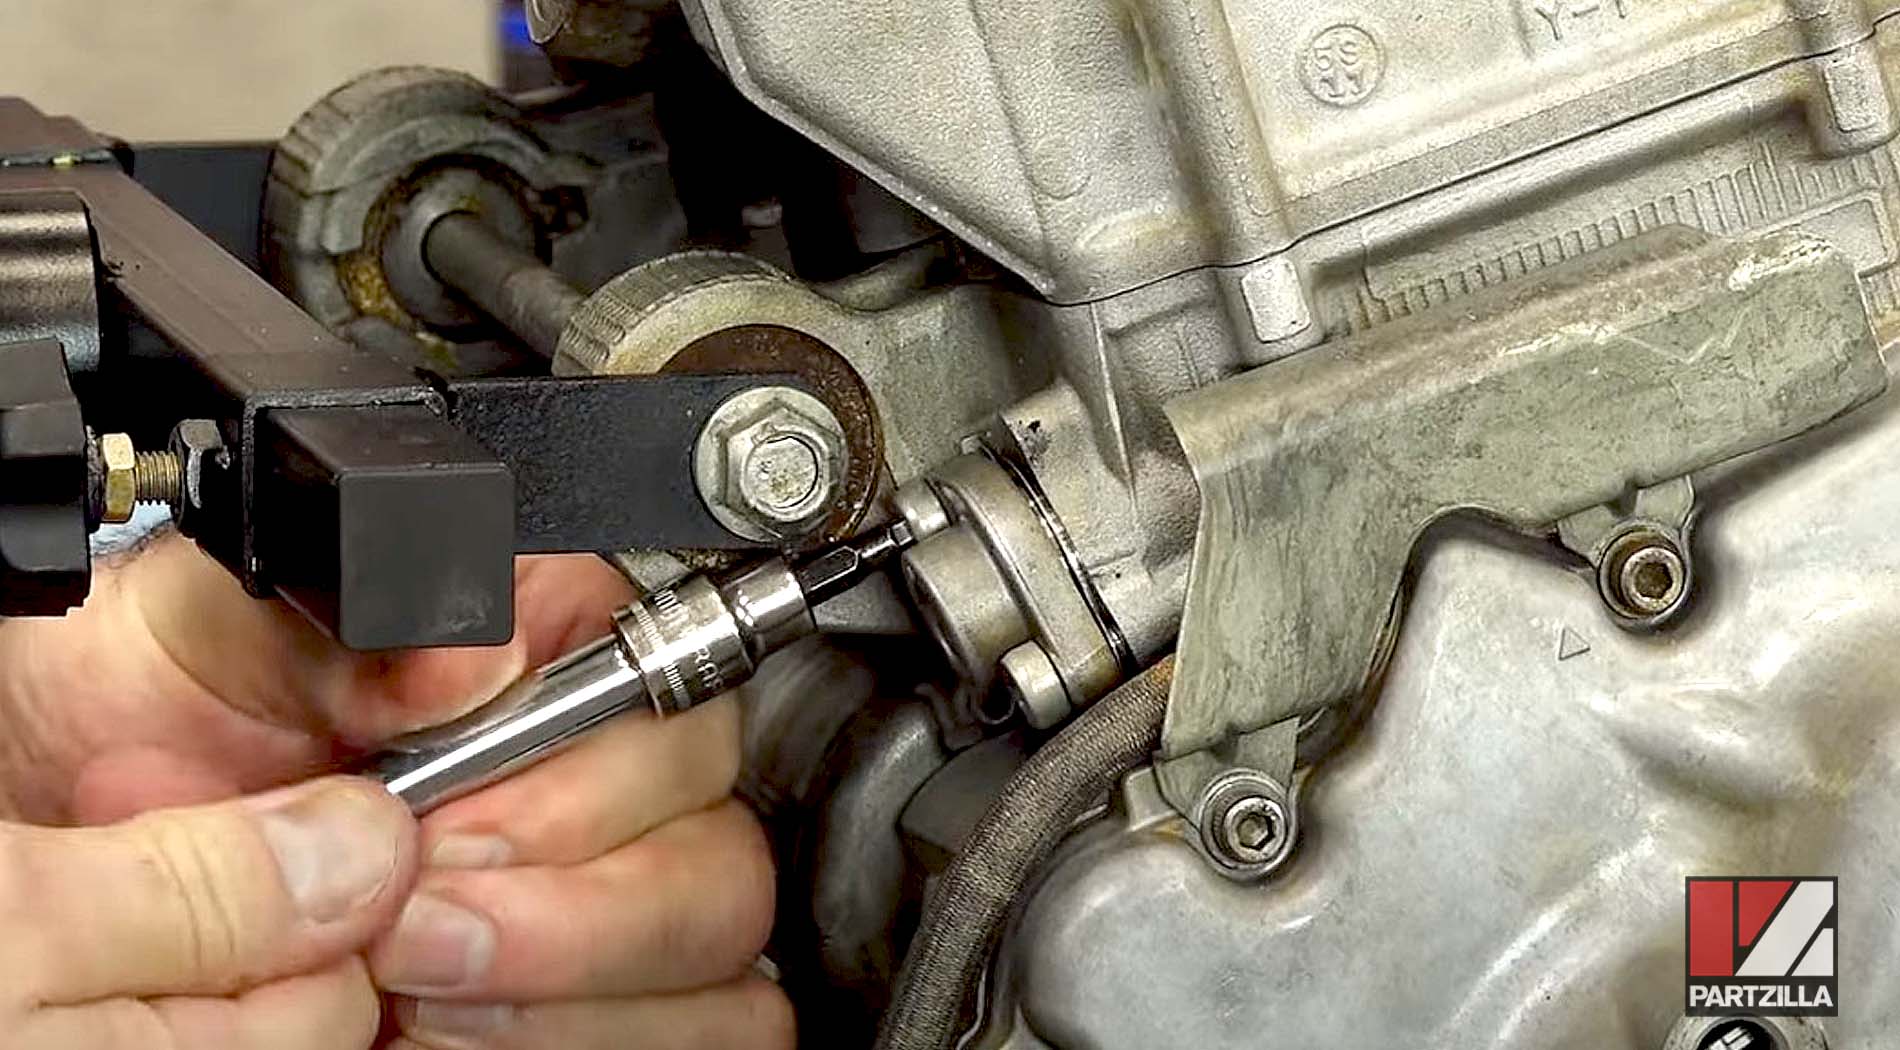

Step 18. Set the cam chain timing by turning the tensioner in a clockwise orientation (never go backwards) until the timing is set properly.
NOTE: Never rotate the engine counterclockwise because if you do, you run the risk of it jumping time. Check the compression stroke to make sure it’s timed correctly: top dead center, split overlap, intake, exhaust.
Step 19. Install the two outer head bolts and torque them to 8.7 foot-pounds, then install the center bolt.
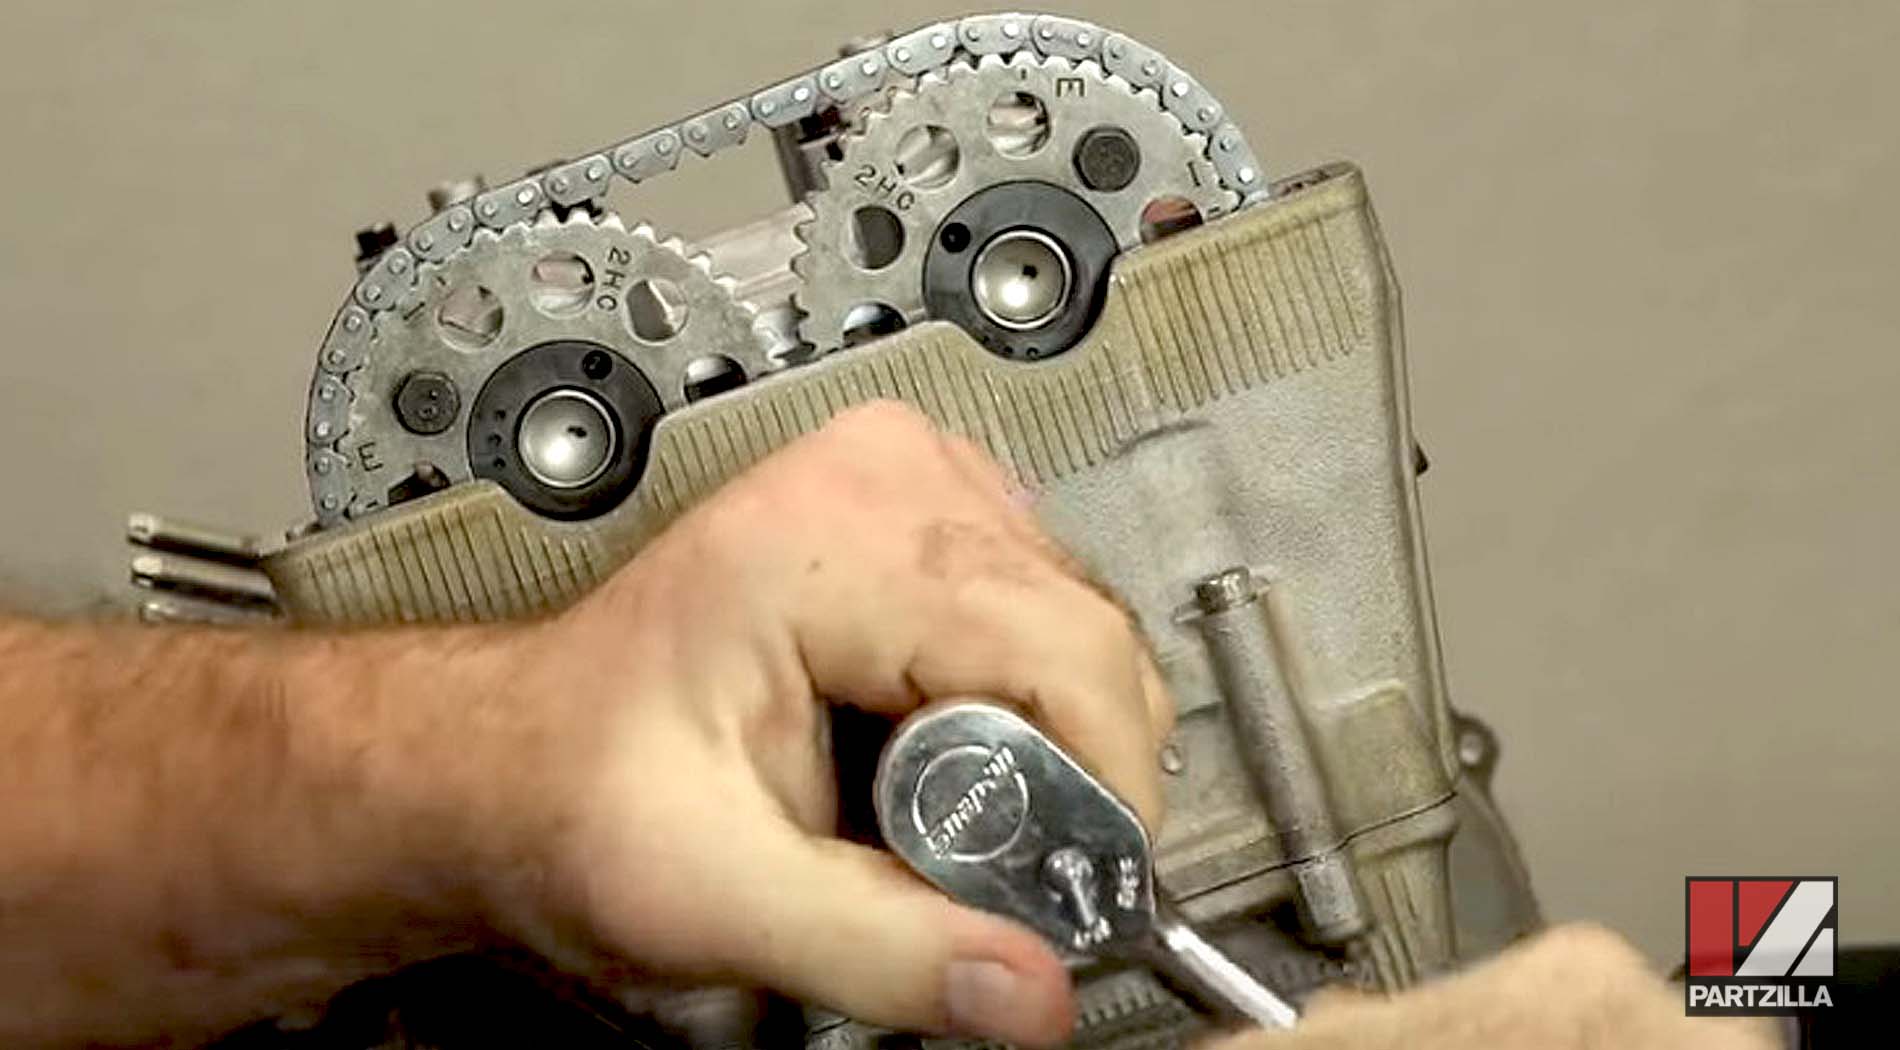
Step 20. Torque the cam cap bolts to 7.2 foot-pounds across the board, working from inside out.
Watch the full 2016 Yamaha YXZ1000R engine rebuild, maintenance and repairs playlist below.