How to Rebuild and Replace Yamaha YFZ450R Clutch
This walkthrough will show you how to change the clutch plates in your Yamaha YFZ450R and also replace the entire clutch assembly.
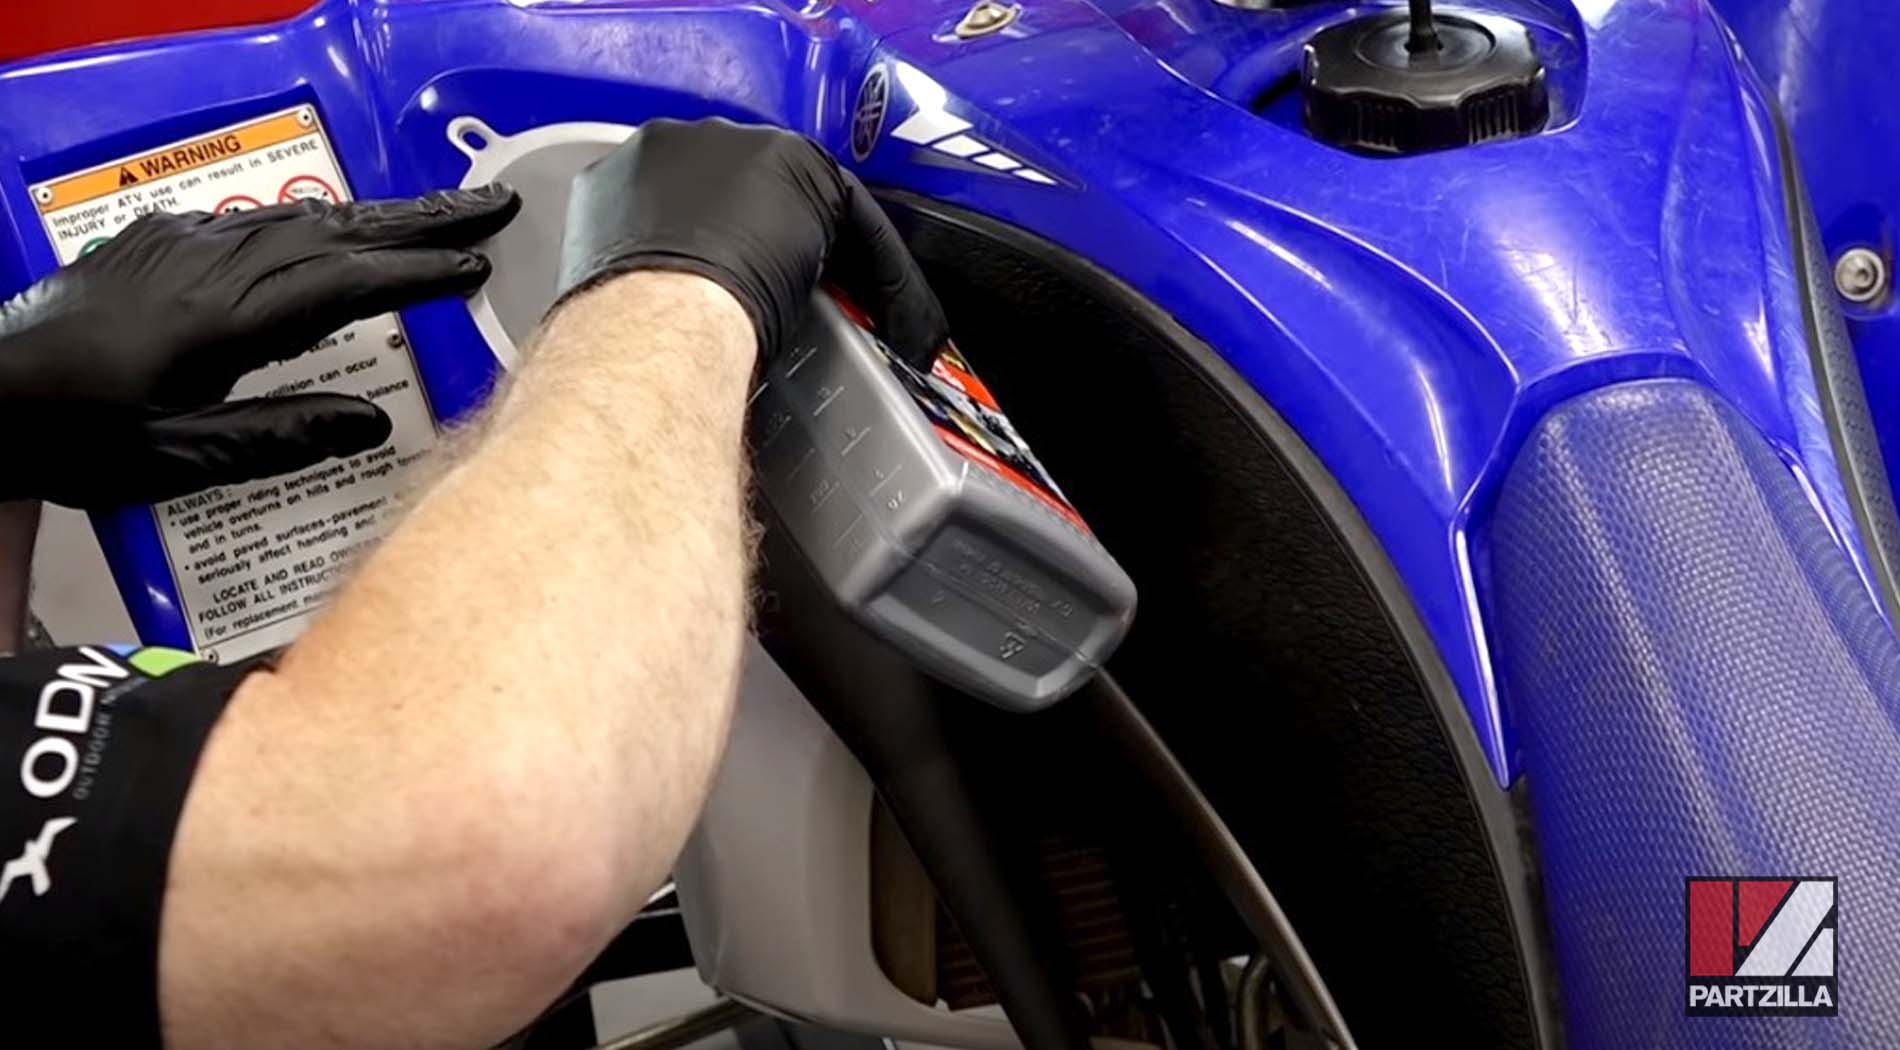
Watch the video above or follow the steps below to learn how to disassemble and rebuild a Yamaha YFZ450R clutch.
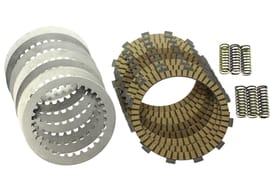
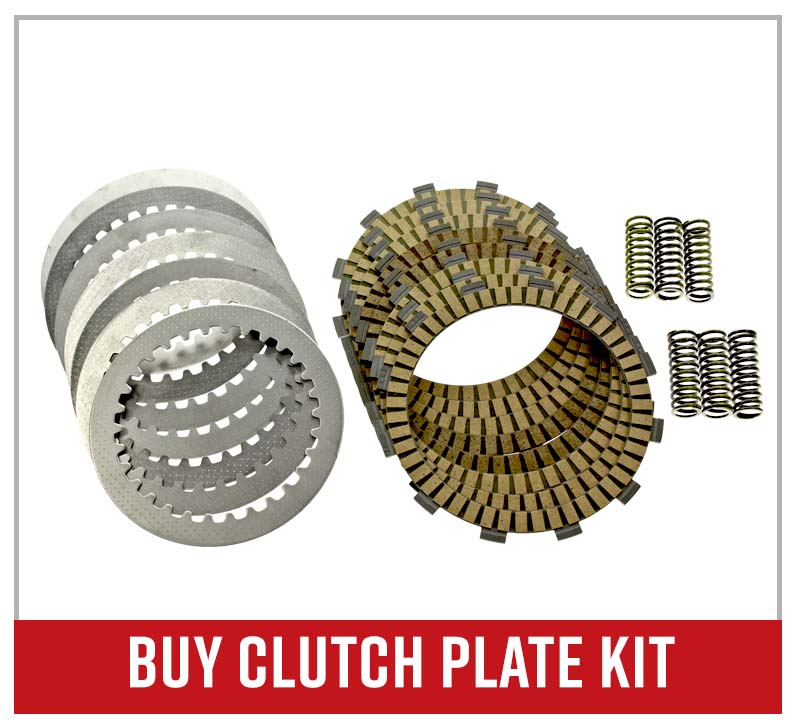
NOTE: We recommend buying a complete clutch plate kit, as it's cheaper than buying the clutch plates individually. The Yamaha clutch plate kit includes new clutch springs and a clutch cover gasket. If your clutch is badly worn, you'll also need to replace the clutch assembly itself. See the OEM Yamaha clutch parts diagram for reference.
Tools and Parts - Yamaha YFZ450R Clutch Rebuild
- Flatblade screwdriver
- Pick tool
- 8mm, 10mm,12mm, 30mm sockets
- 3/8th ratchet
- Torque wrench
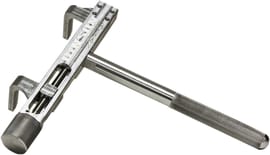
- Clutch boss holder
Clutch Plate Replacement
or
- Inner/outer friction plates (x2)
- Central friction plates (x6)
- Drive Plates (x7)
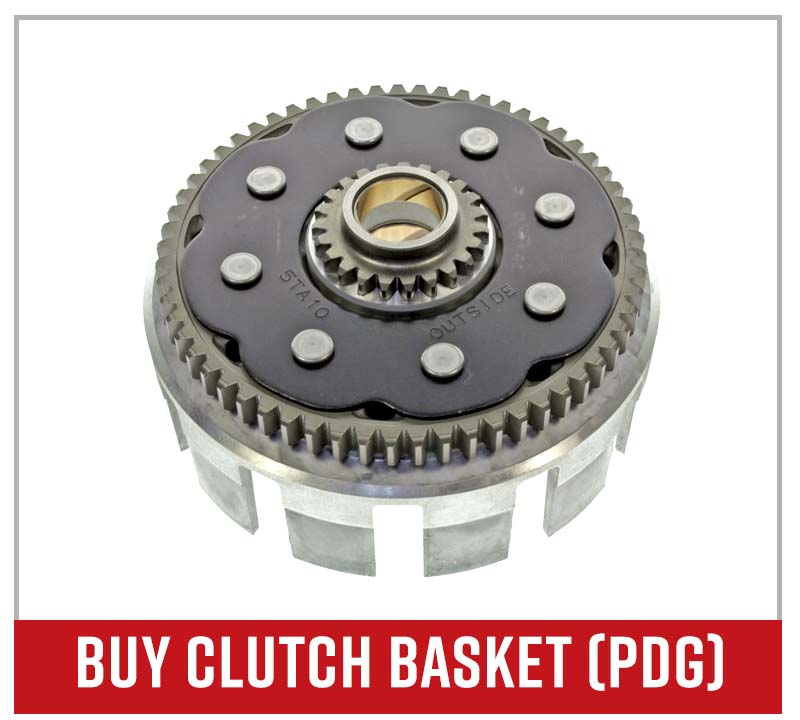
Clutch Assembly Replacement
- Primary driven gear (clutch basket)
- Clutch boss
- Thrust washer
- Lock washer
- Clutch springs (x6)
- Clutch cover gasket
How to Disassemble Yamaha YFZ450R Clutch
Step 1. Soak the new clutch friction plates in engine oil for an hour before installing them.
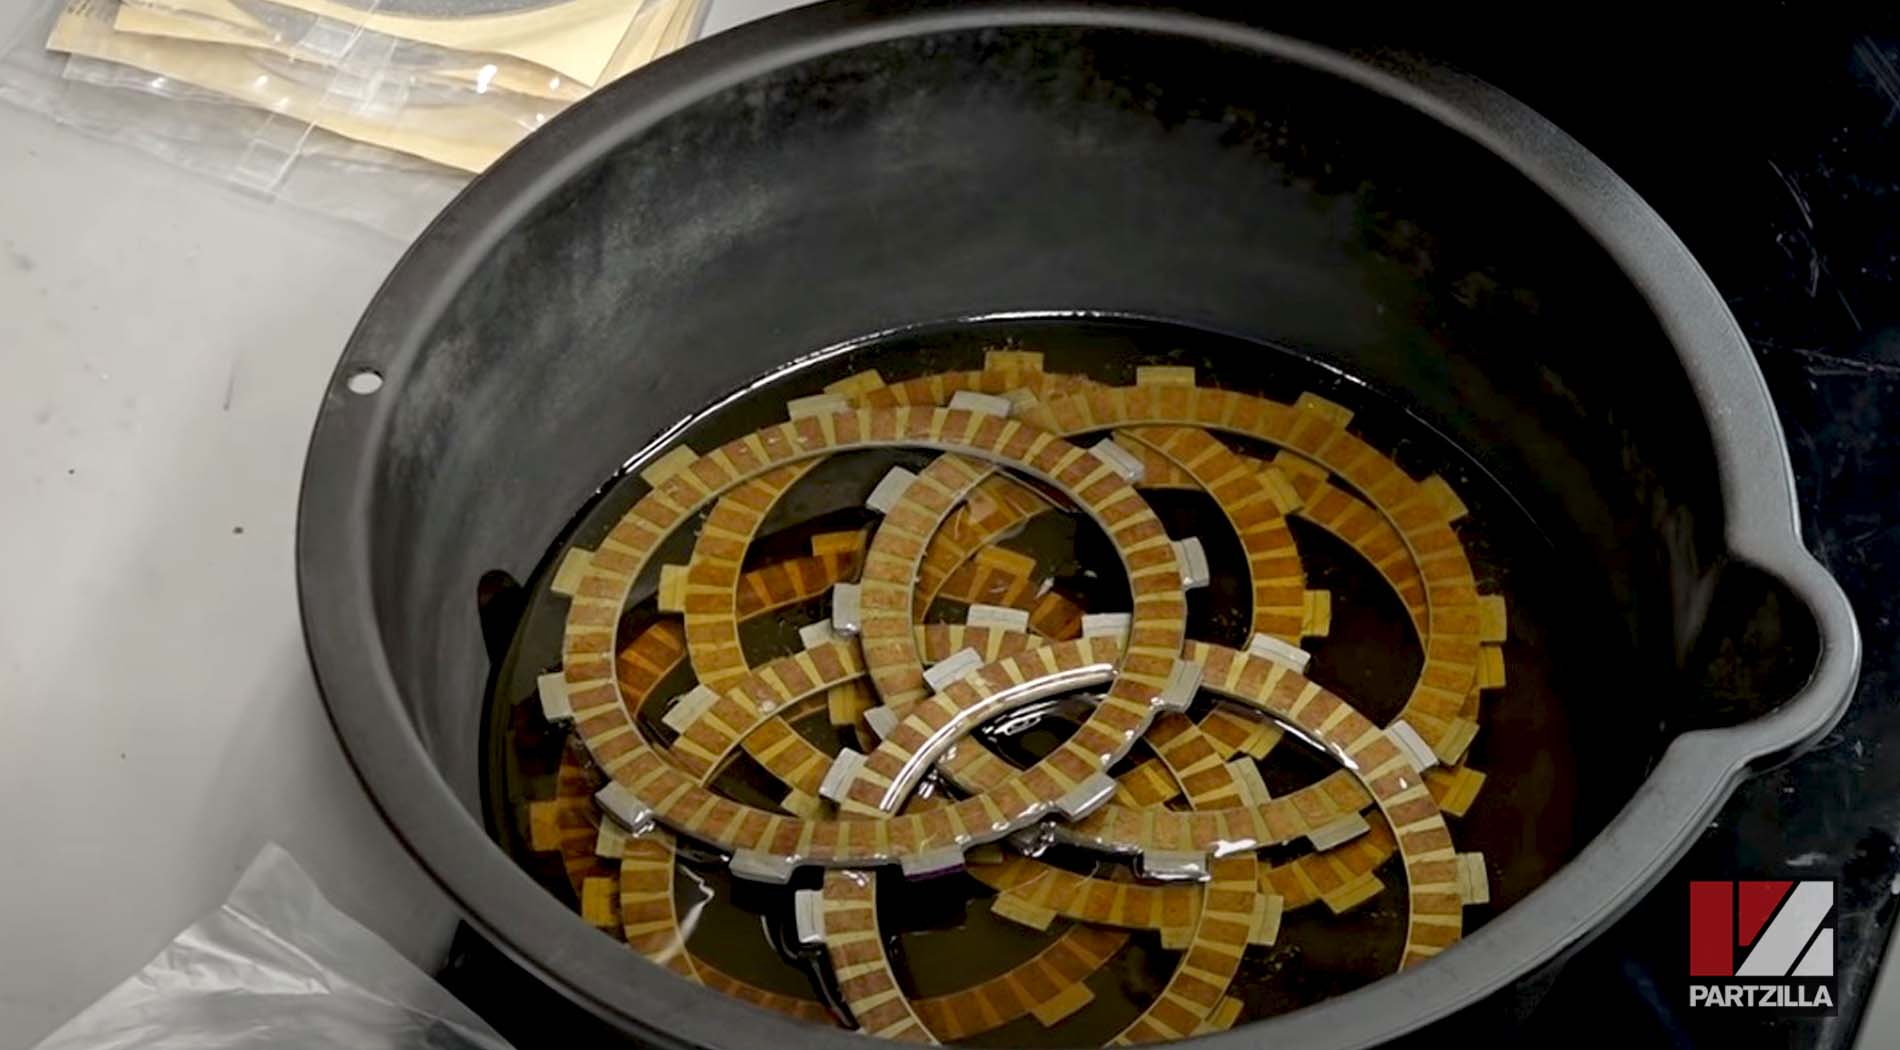
NOTE: The Yamaha YFZ450R uses two different types of clutch friction plate, each of which has its own part number. You may wish to soak the different plates separately. If you mix them together, the two outer friction plates are darker than the other plates, so you can tell them apart.
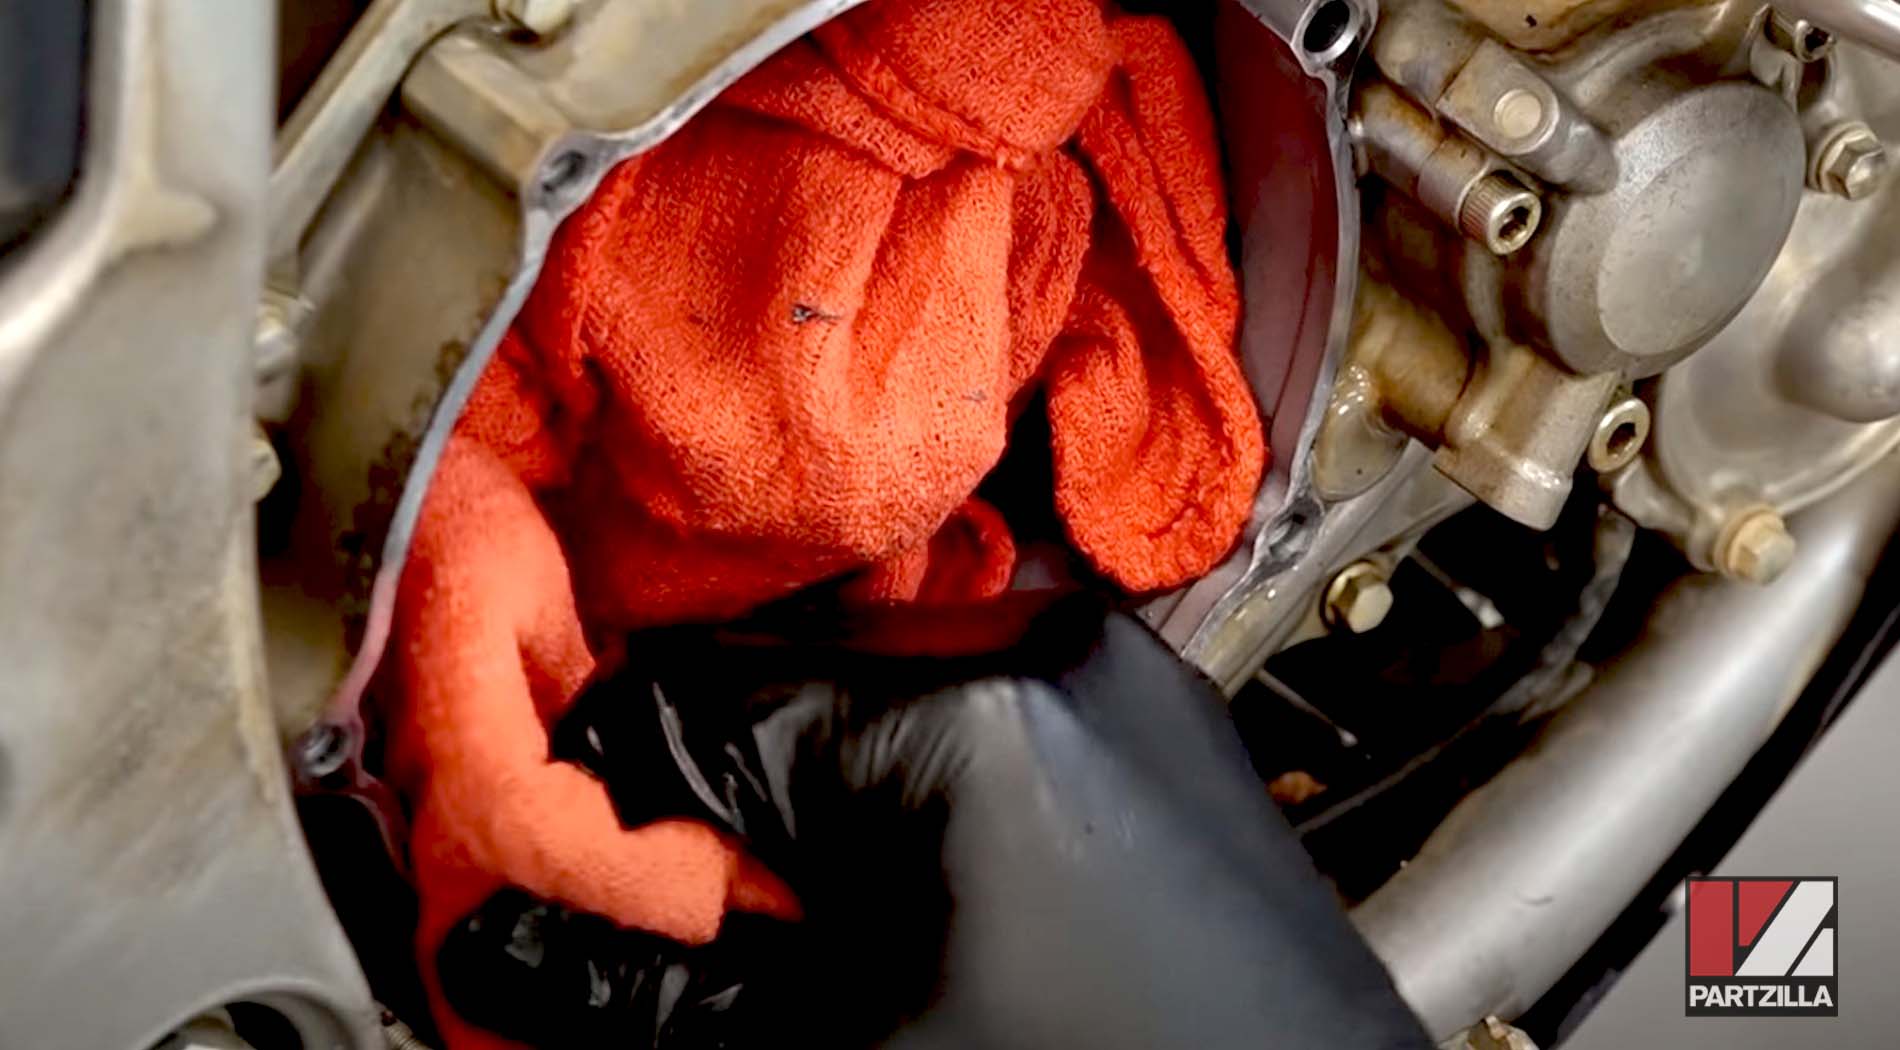
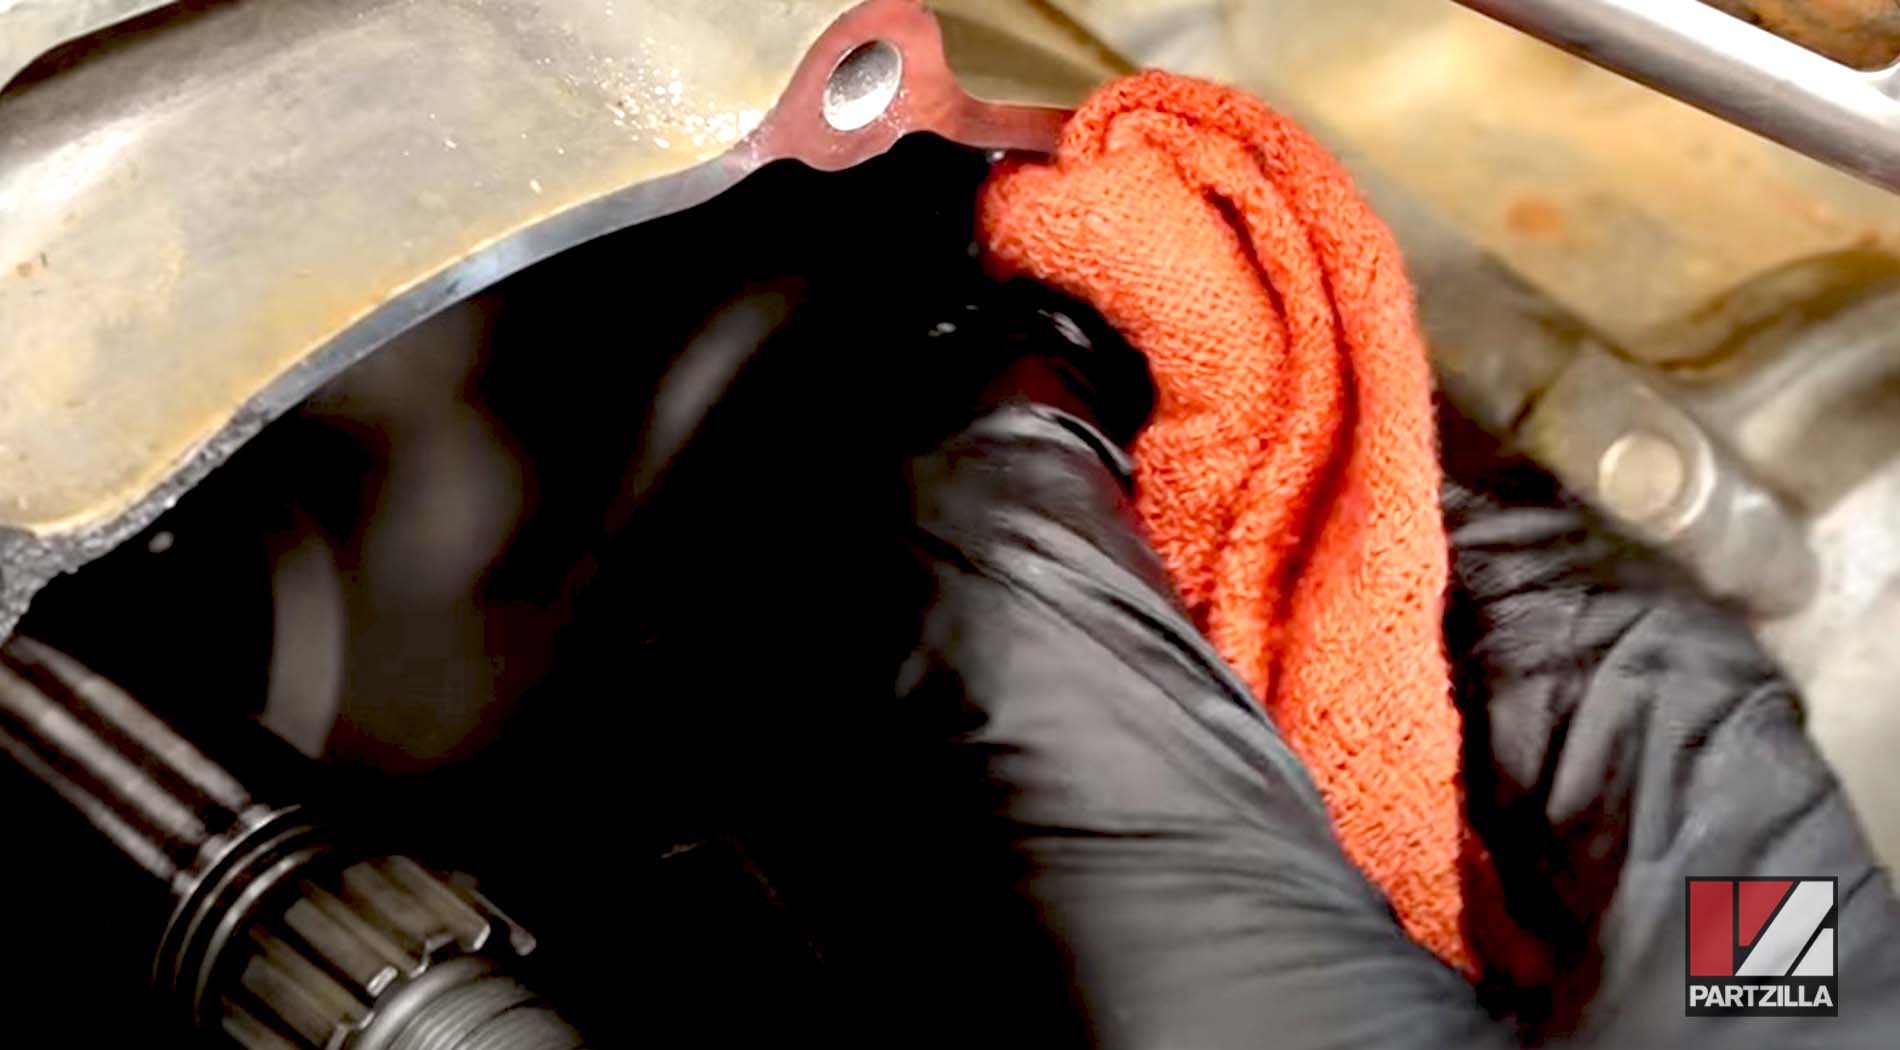
Step 2. Remove the two oil drain bolts. One is located under the engine to the front, and the other is located on the left side of the engine below the shifter pedal. Once the oil has completely drained, reinstall the bolts and torque them to 14 foot-pounds.

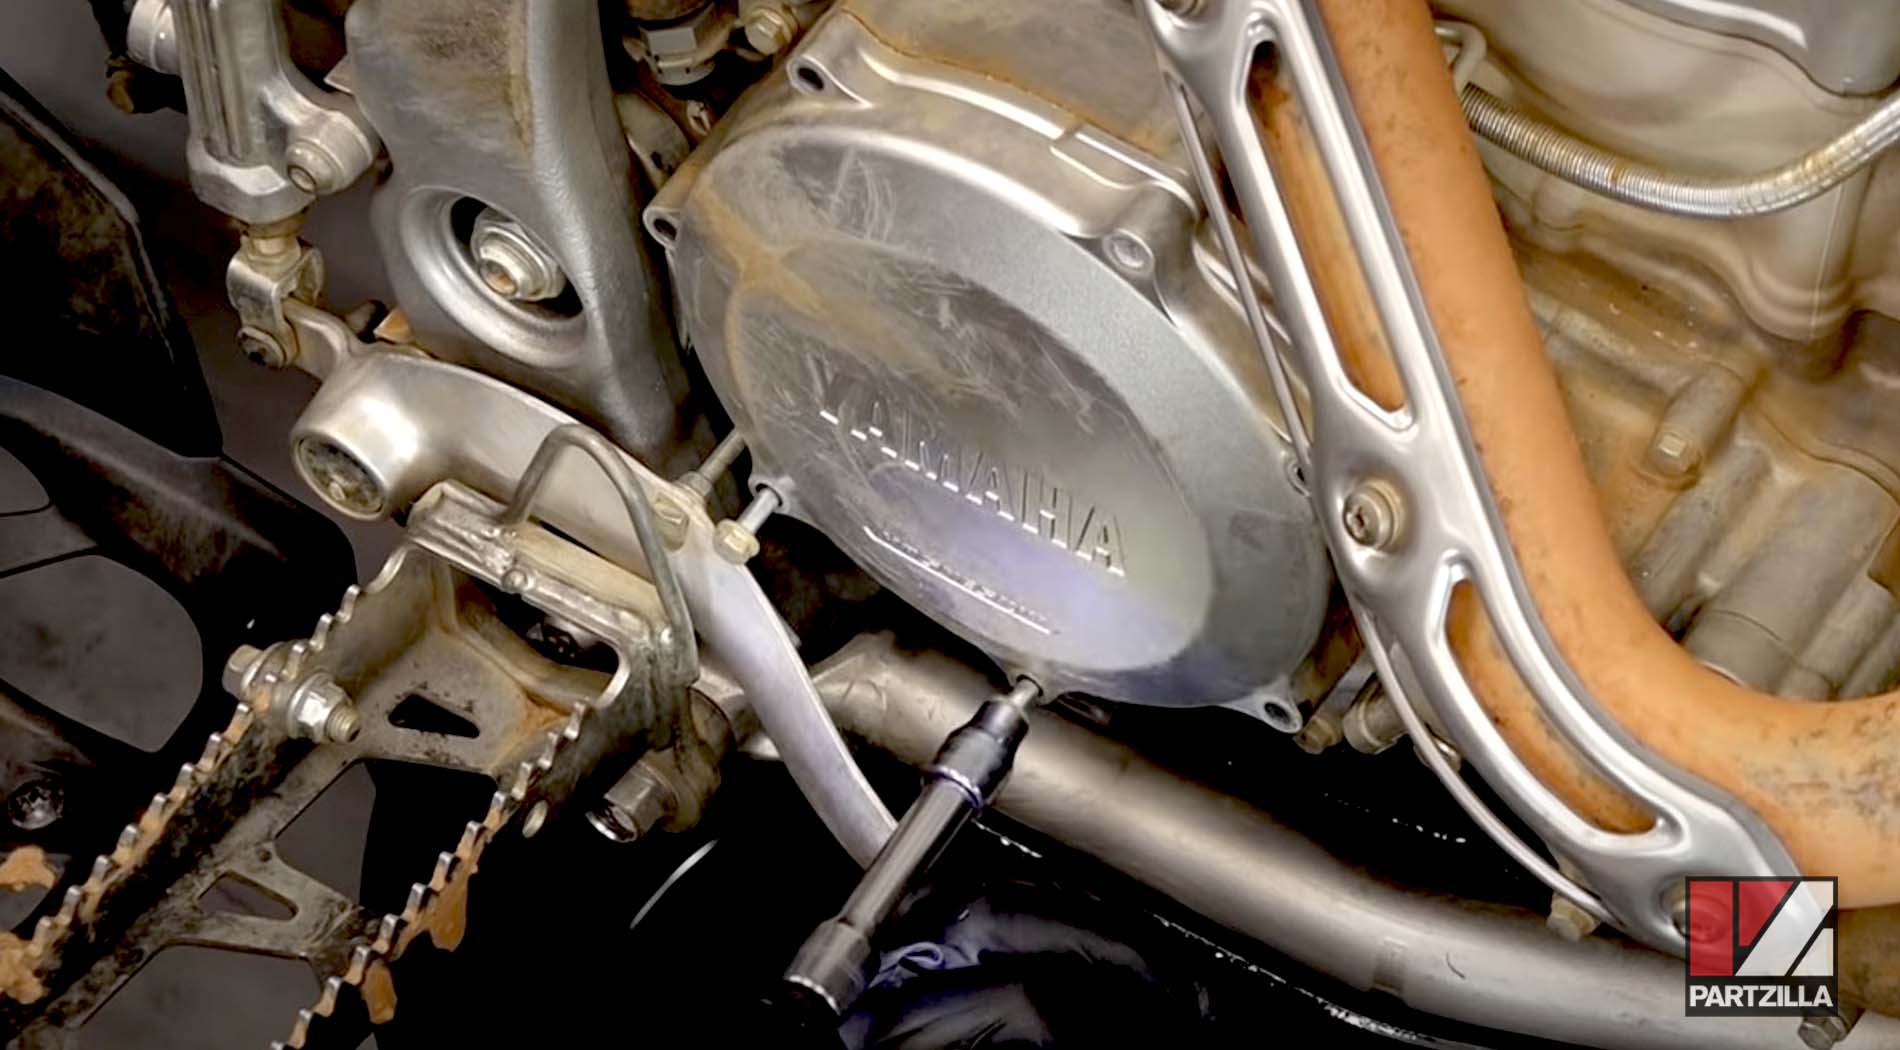
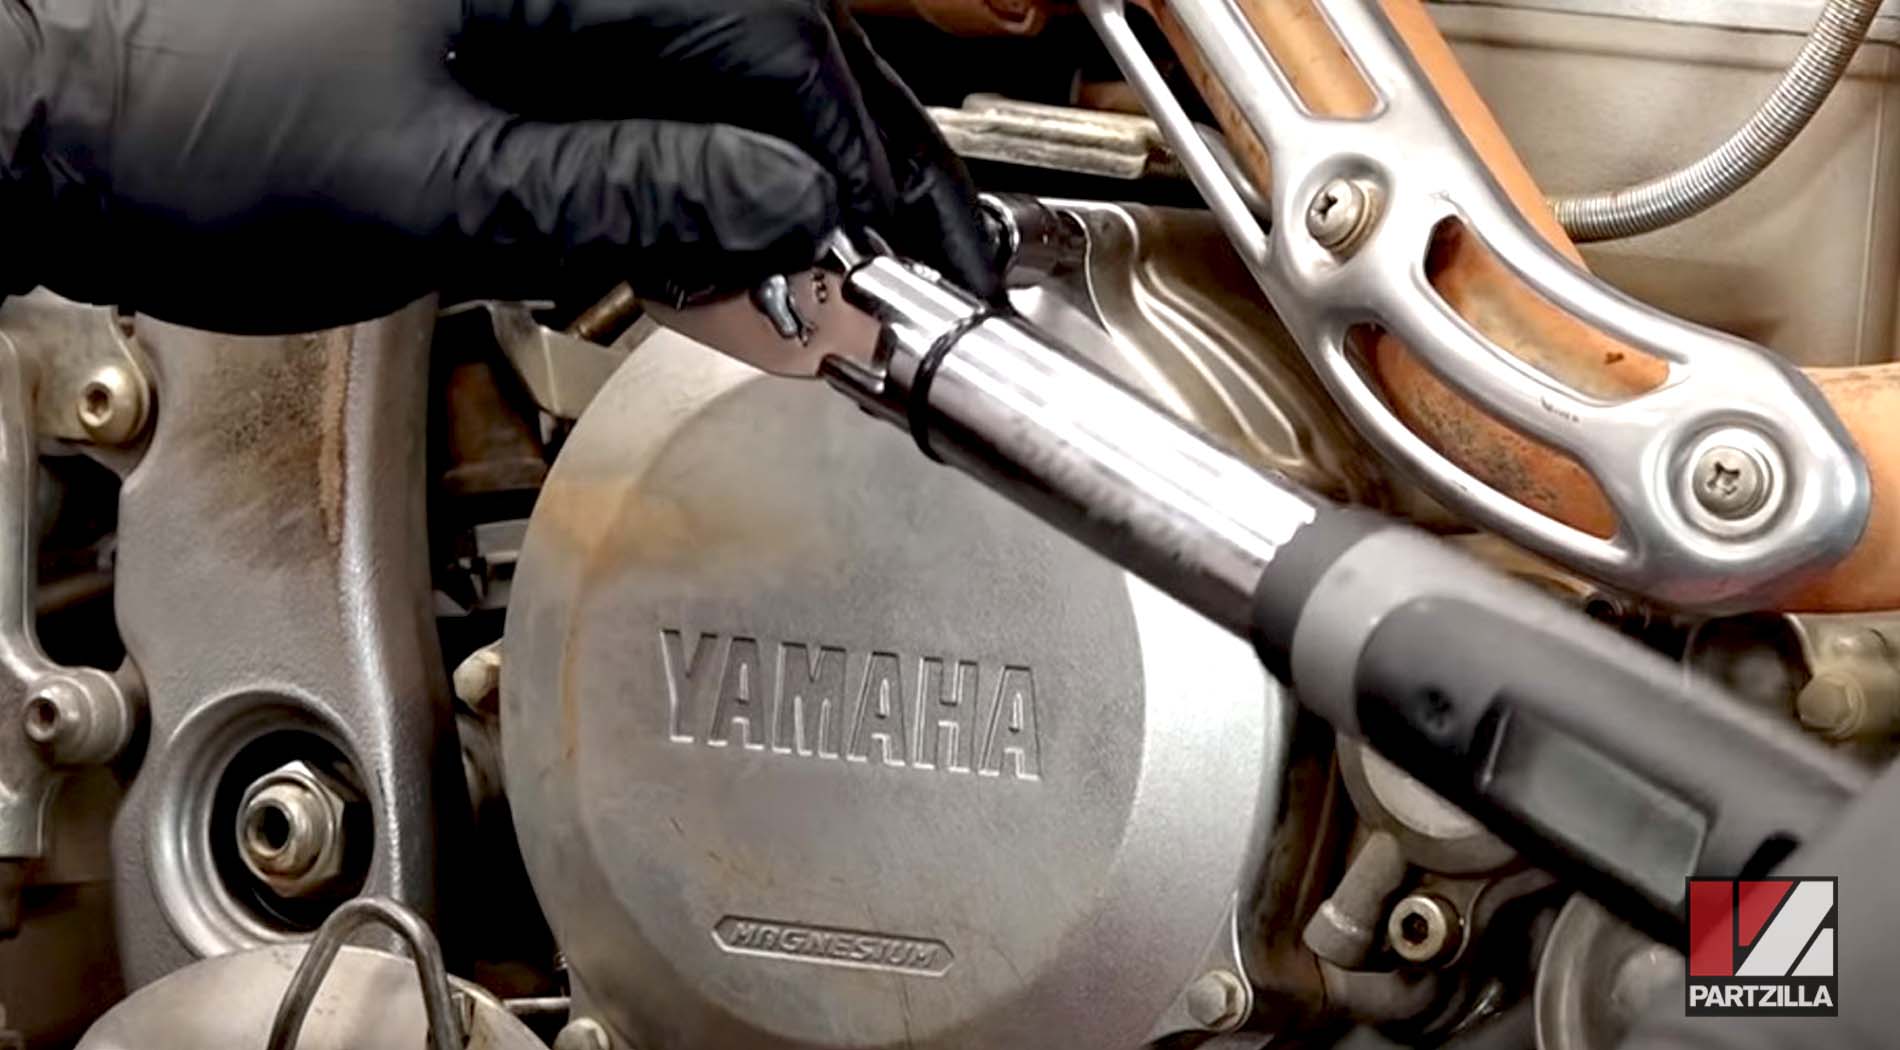
Step 3. Remove the clutch cover. The cover bolts are different sizes, so make a note of which bolt goes where for when it's time to reinstall them.
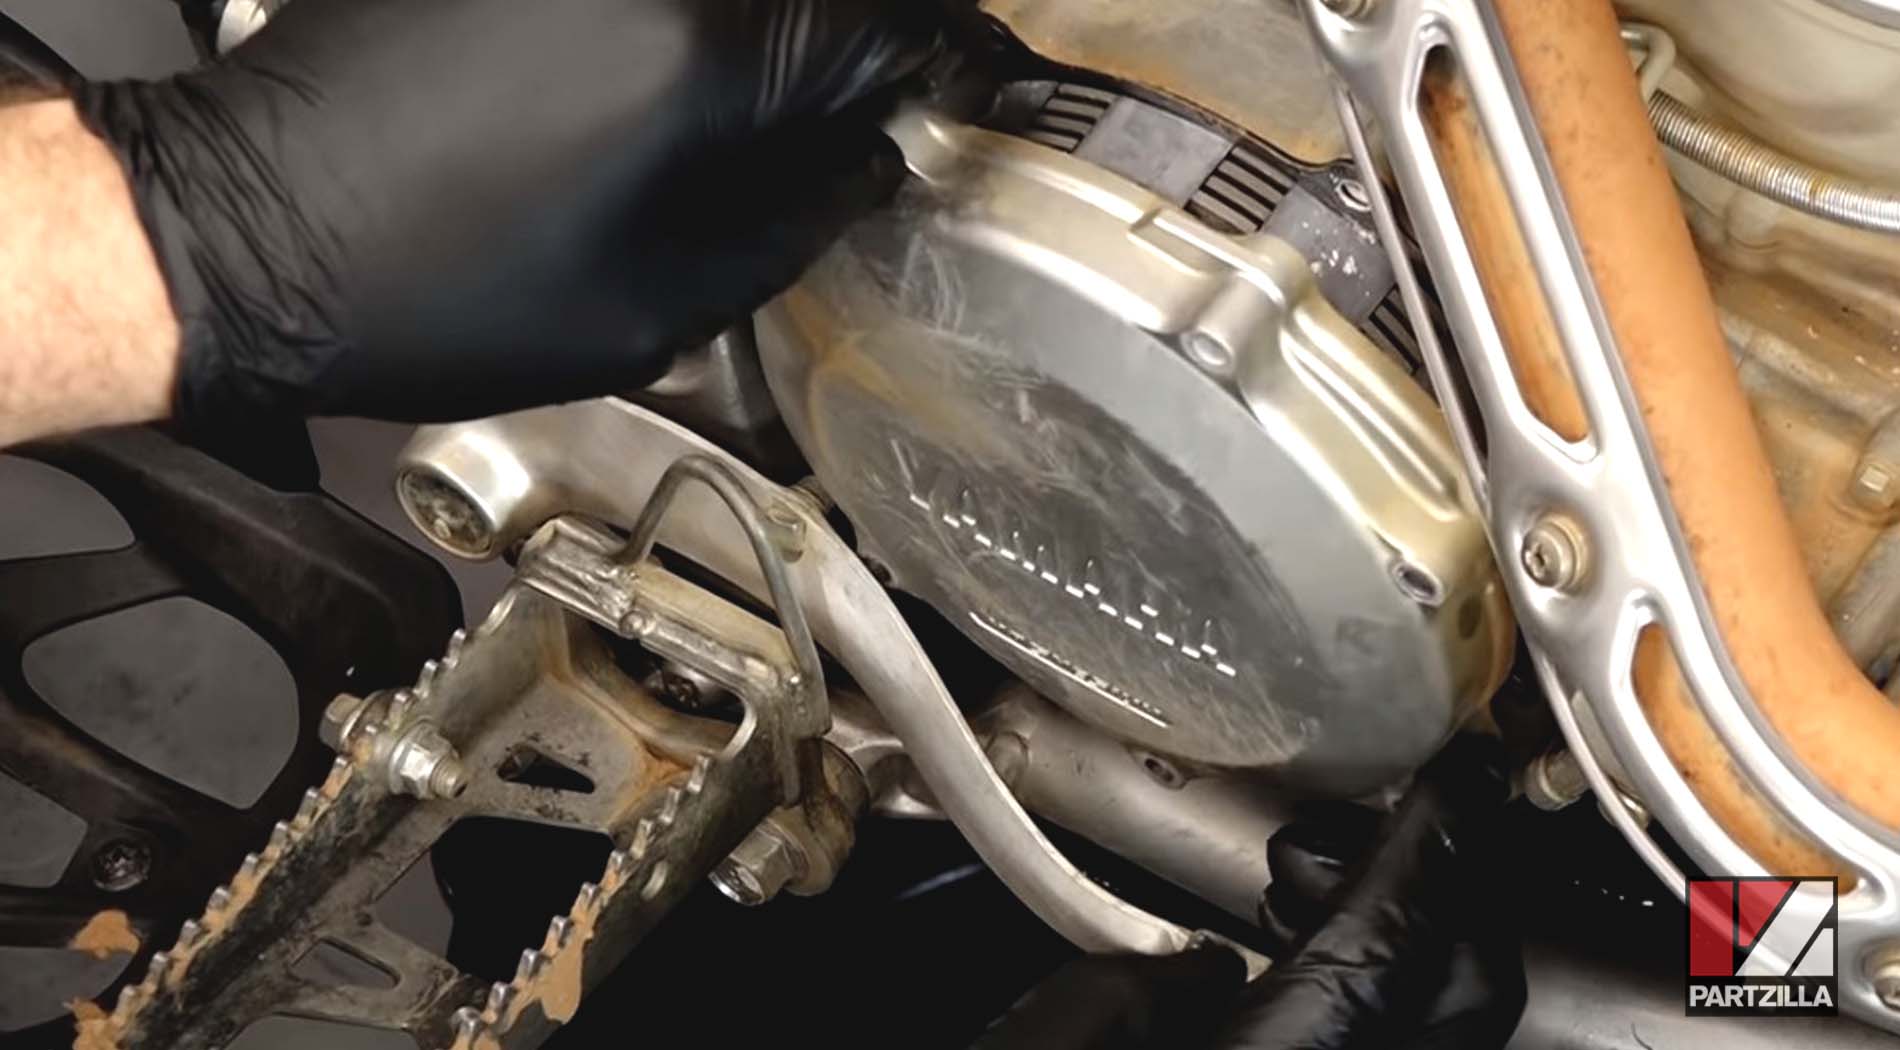
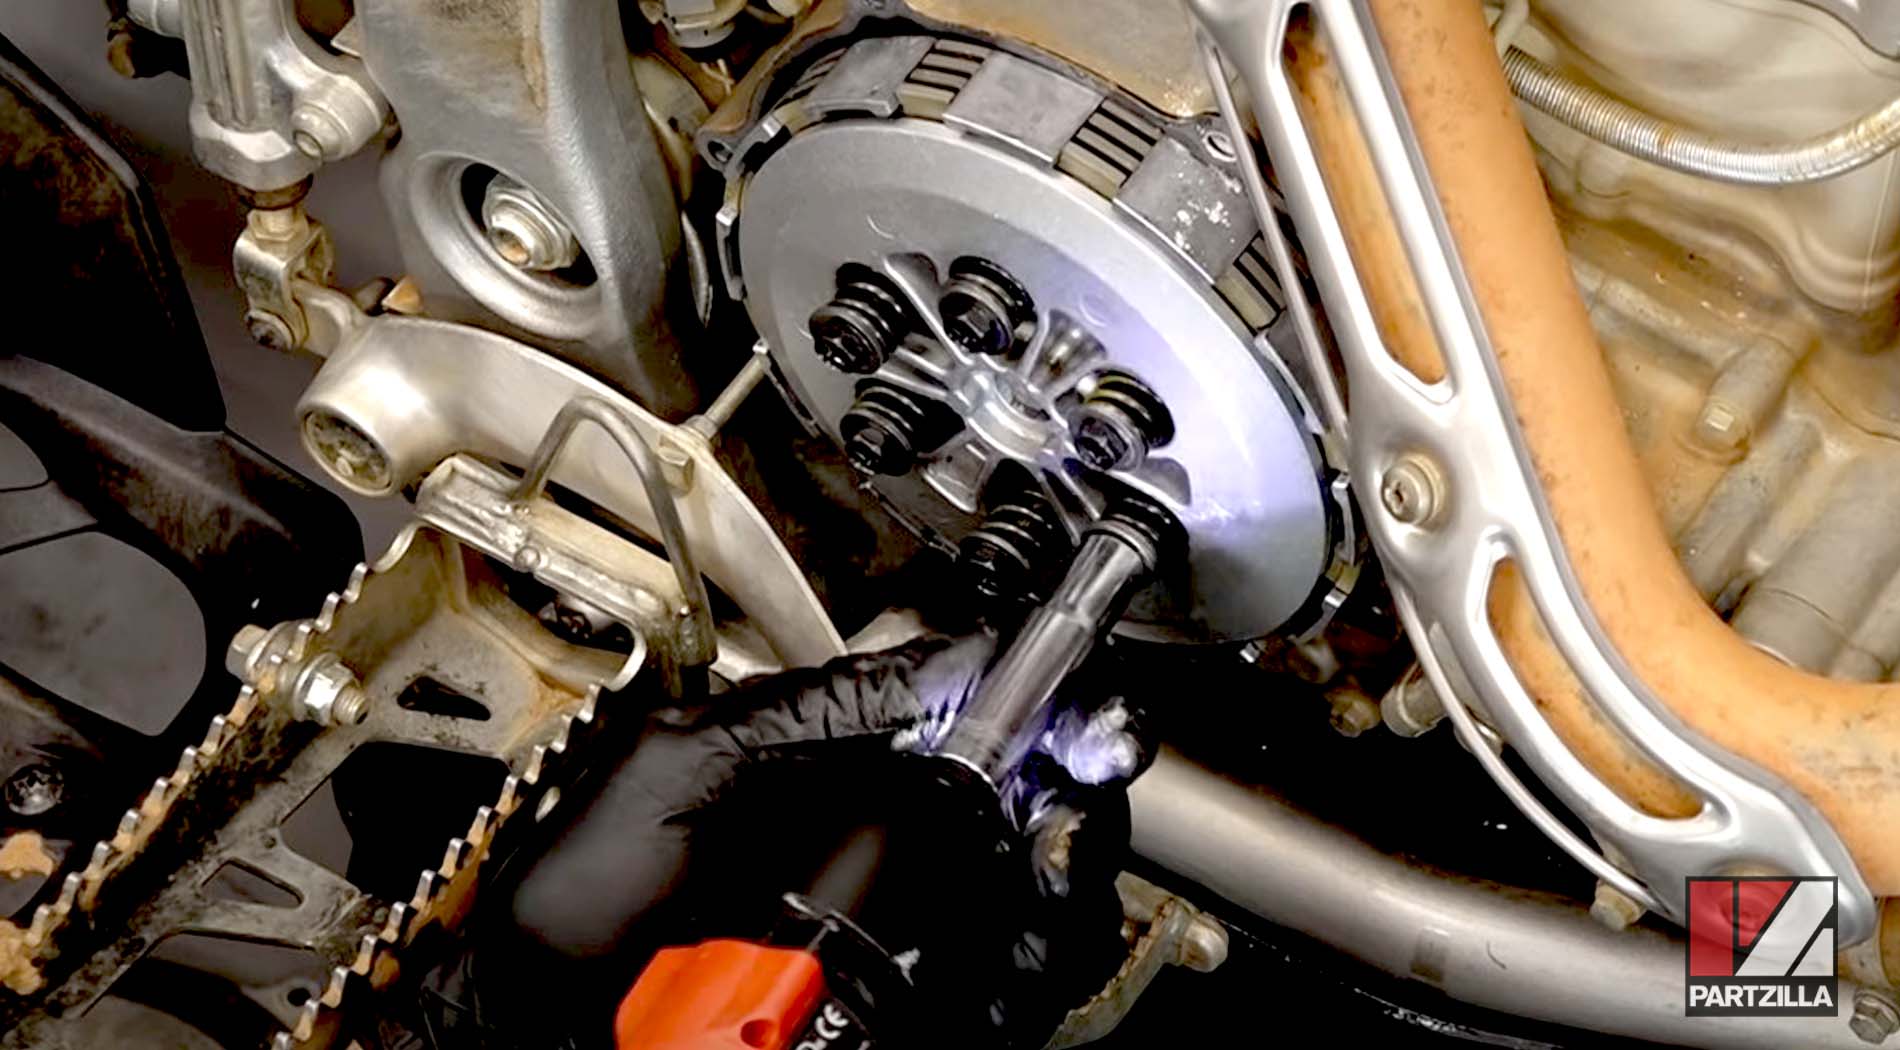
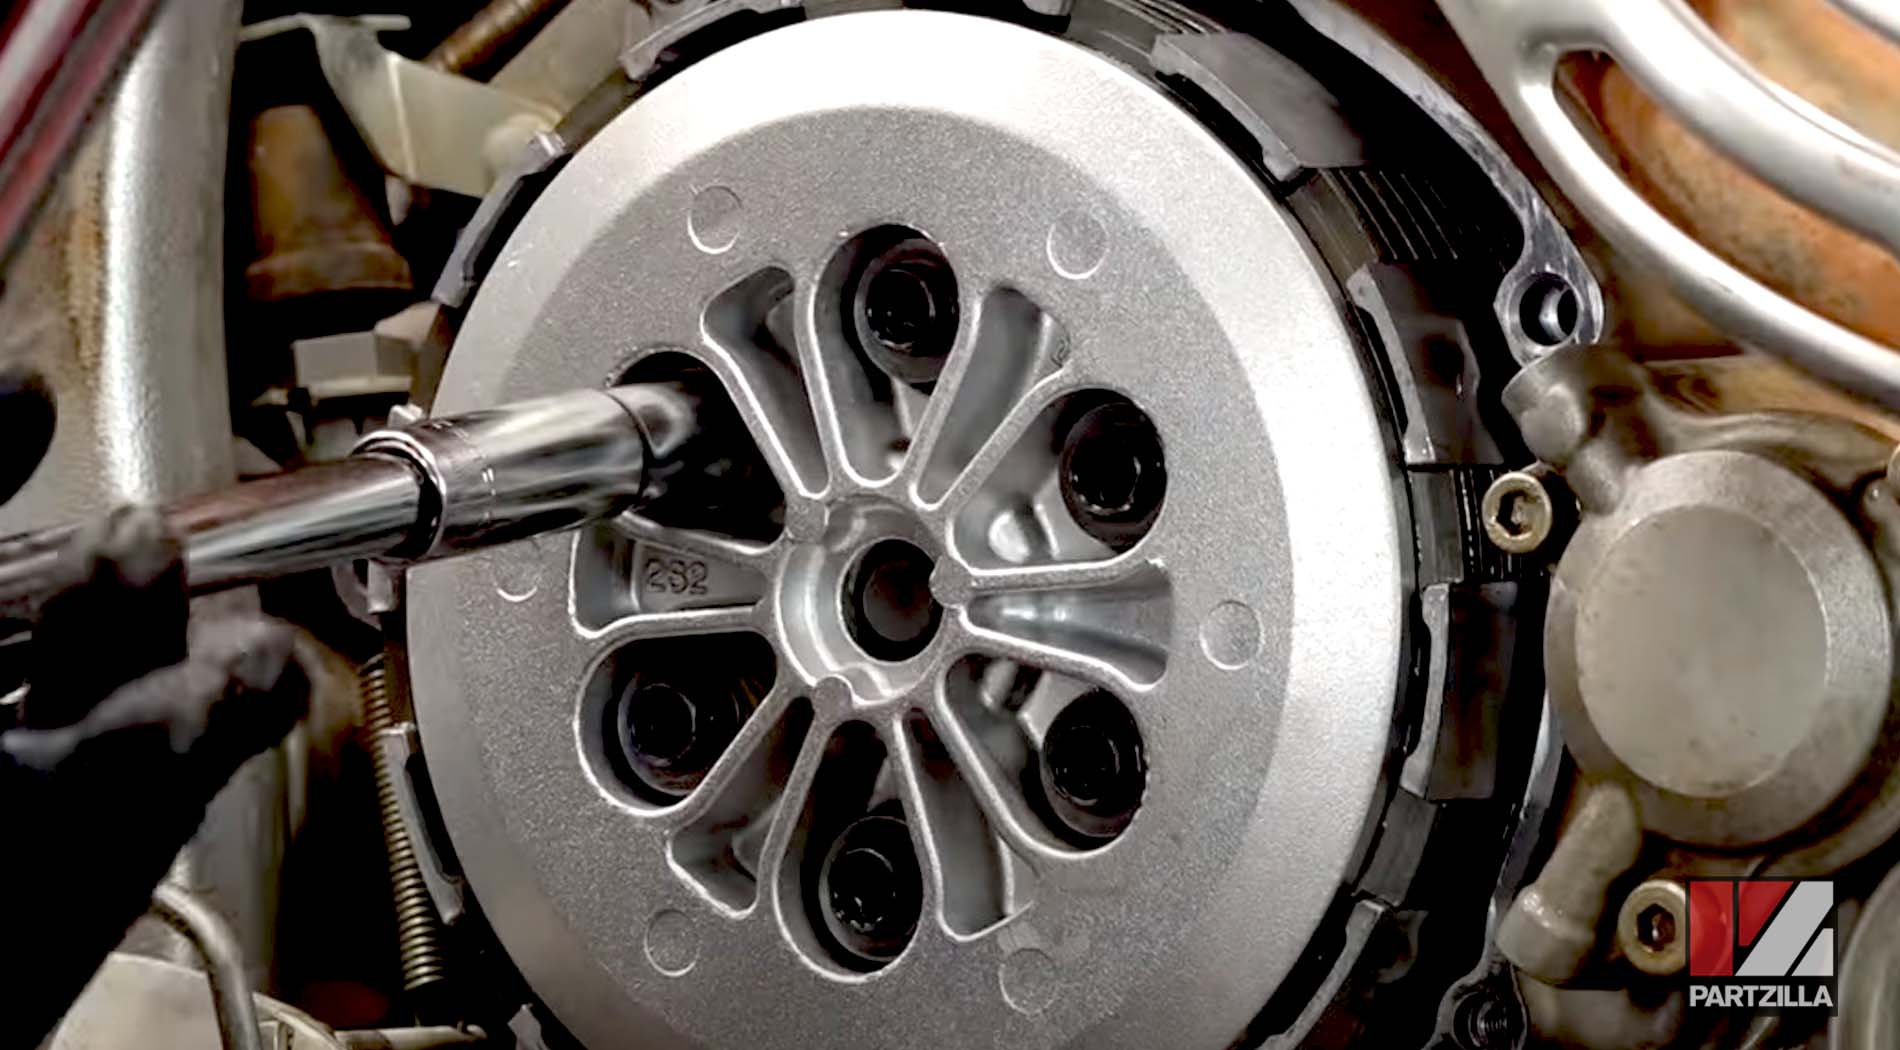
Step 4. Remove the clutch spring bolts. Back the bolts off a few turns at a time and work in a diagonal pattern to maintain even pressure on the pressure plate and prevent it from getting damaged. Next, remove the pressure plate once the springs are off.

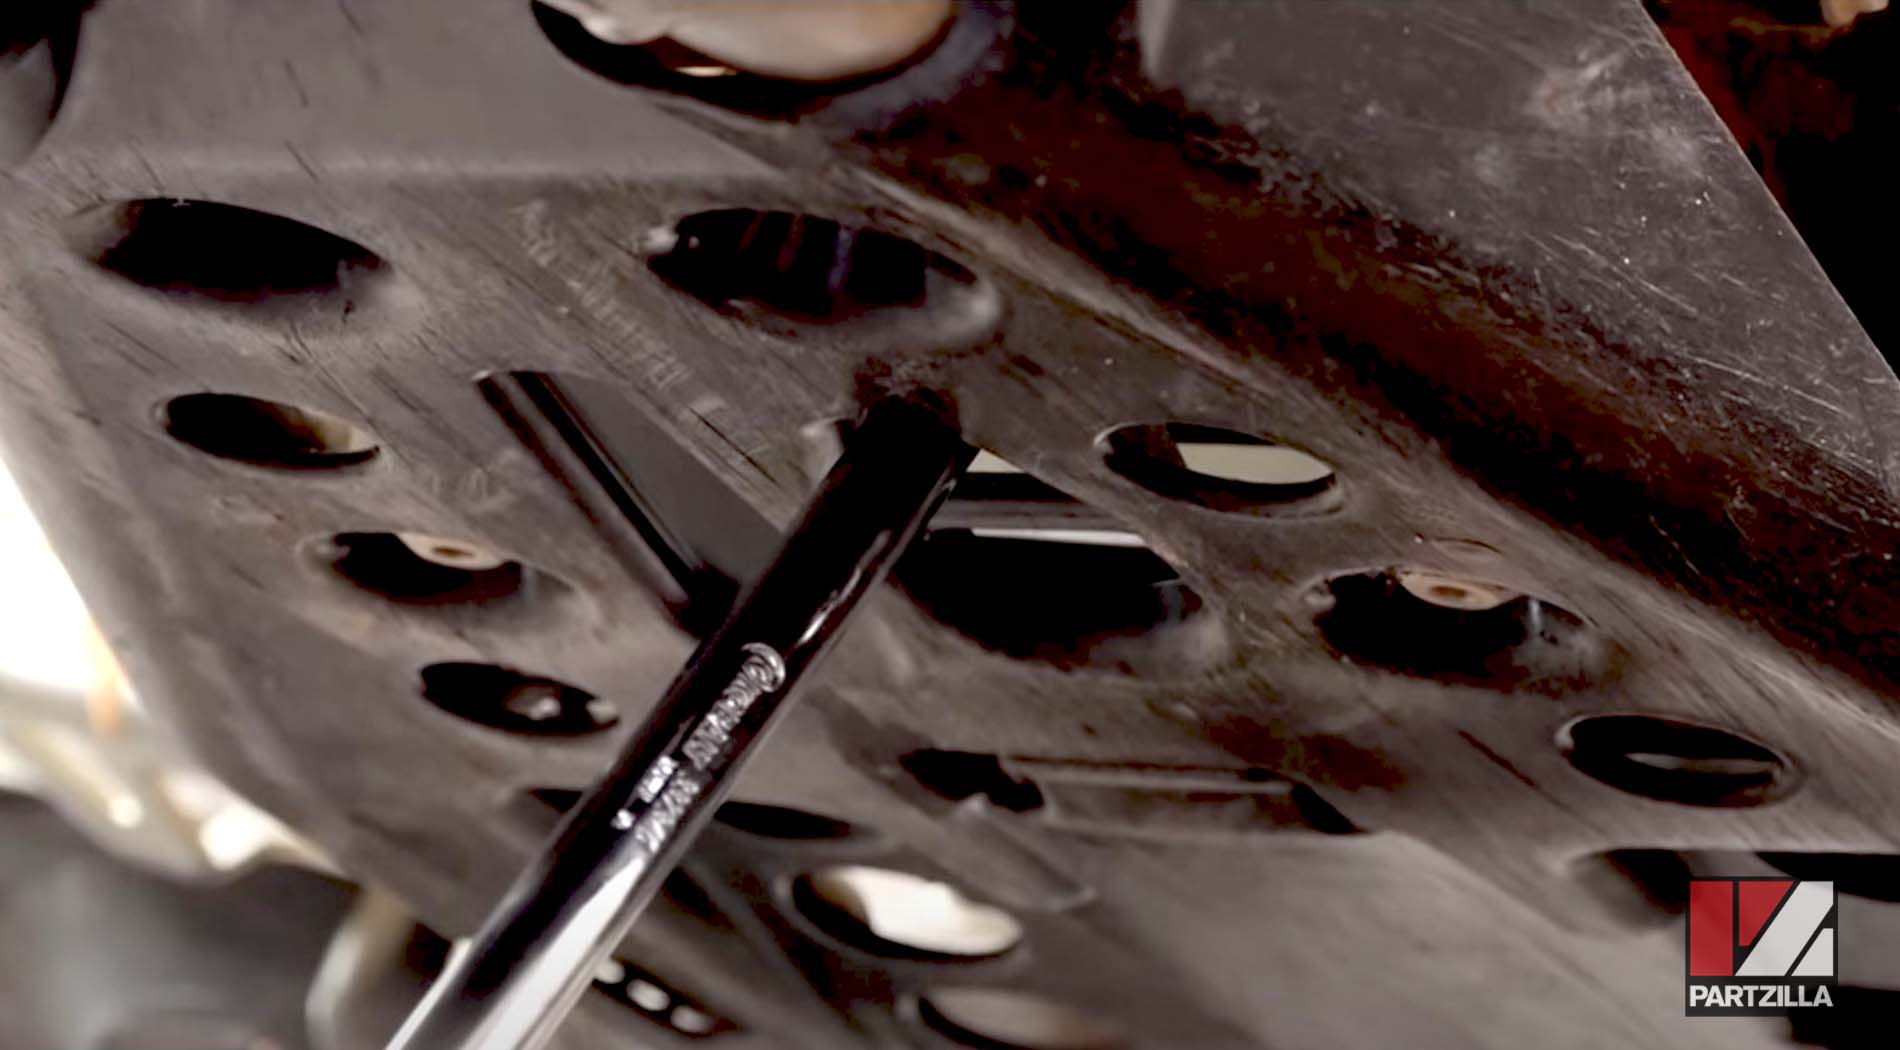
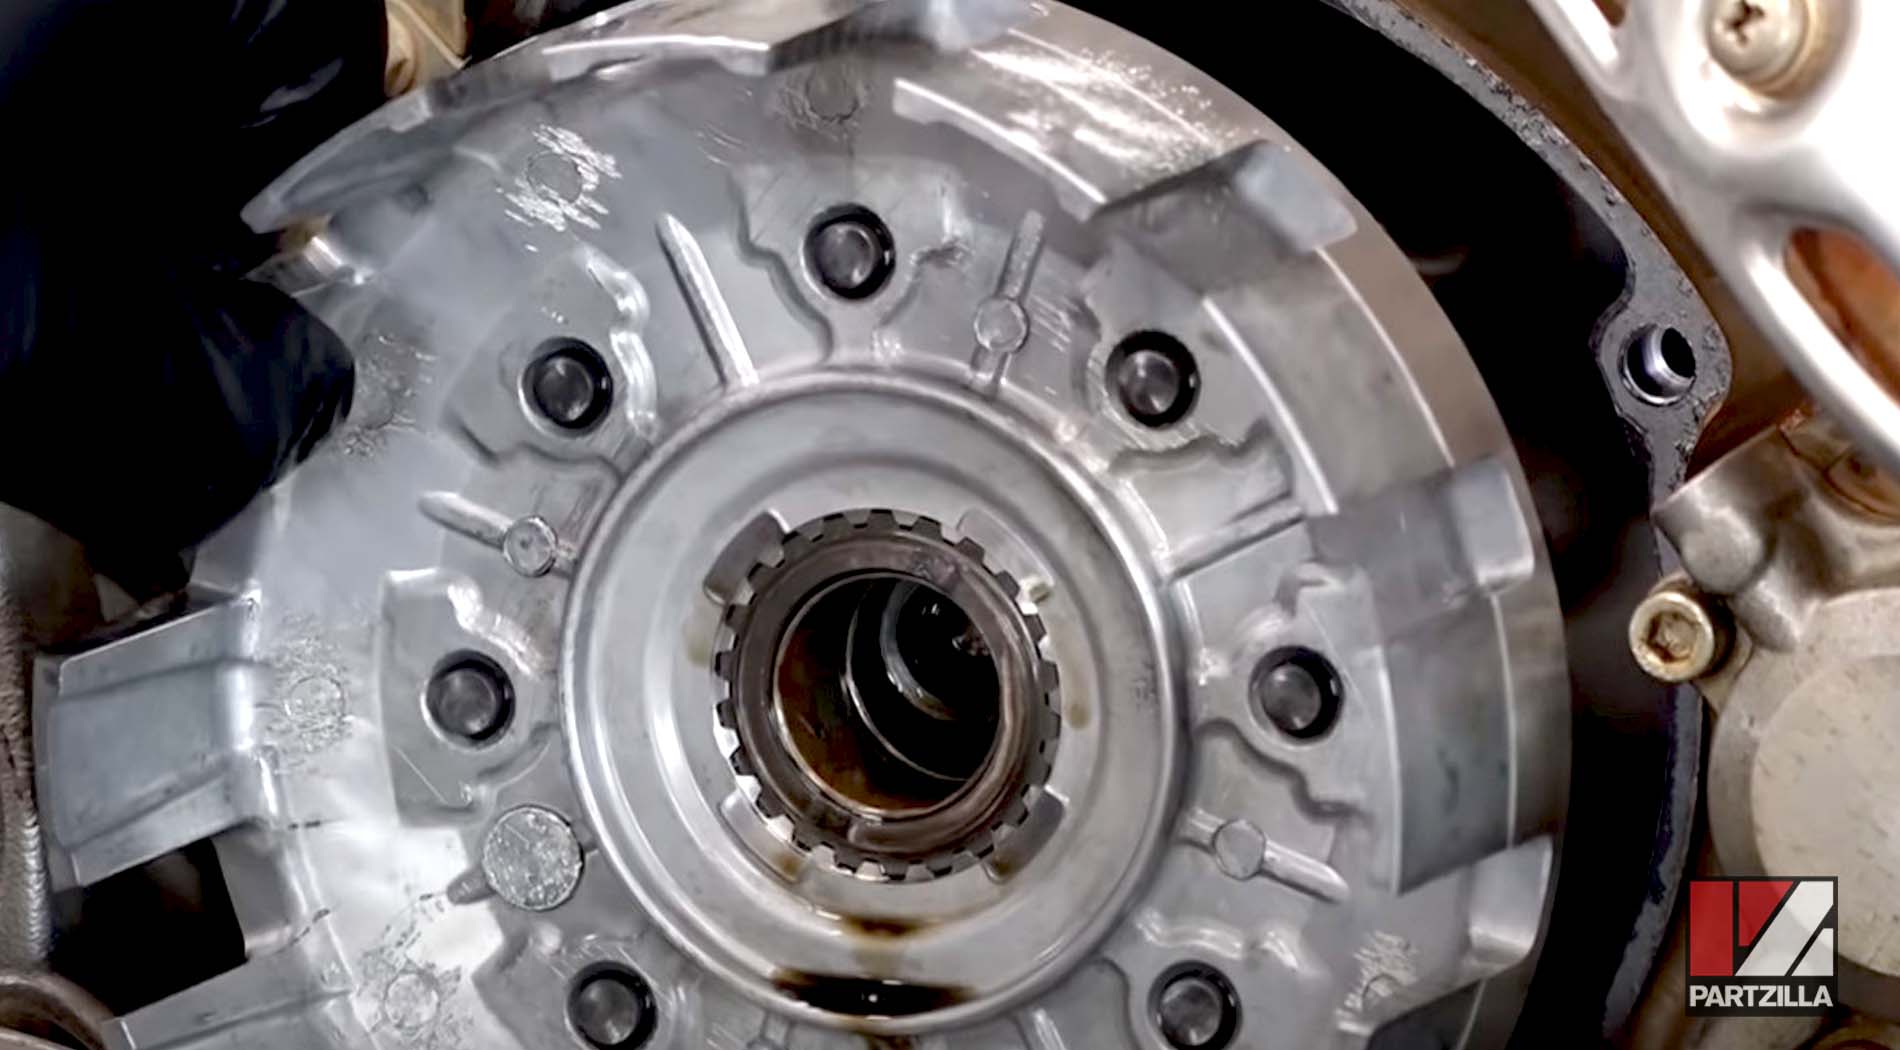
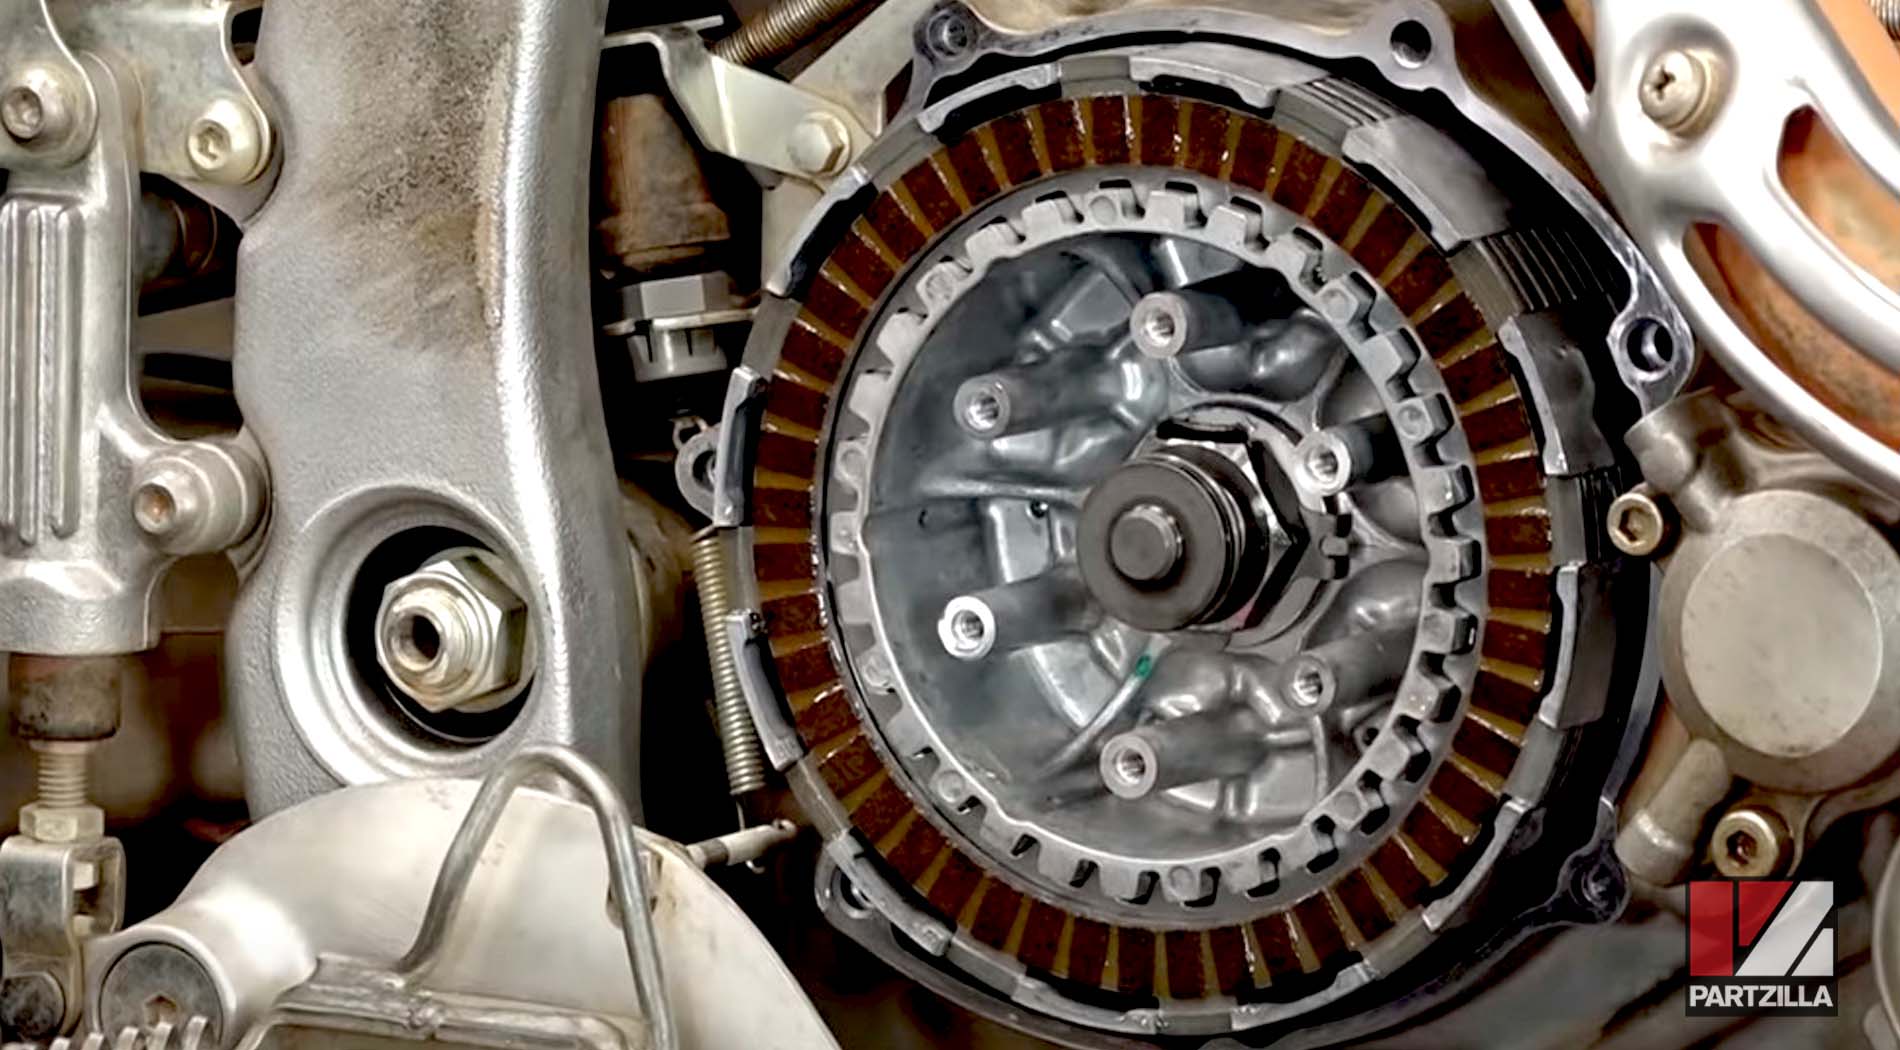
Step 5. Remove the old friction and drive clutch plates from the primary driven gear (clutch basket).
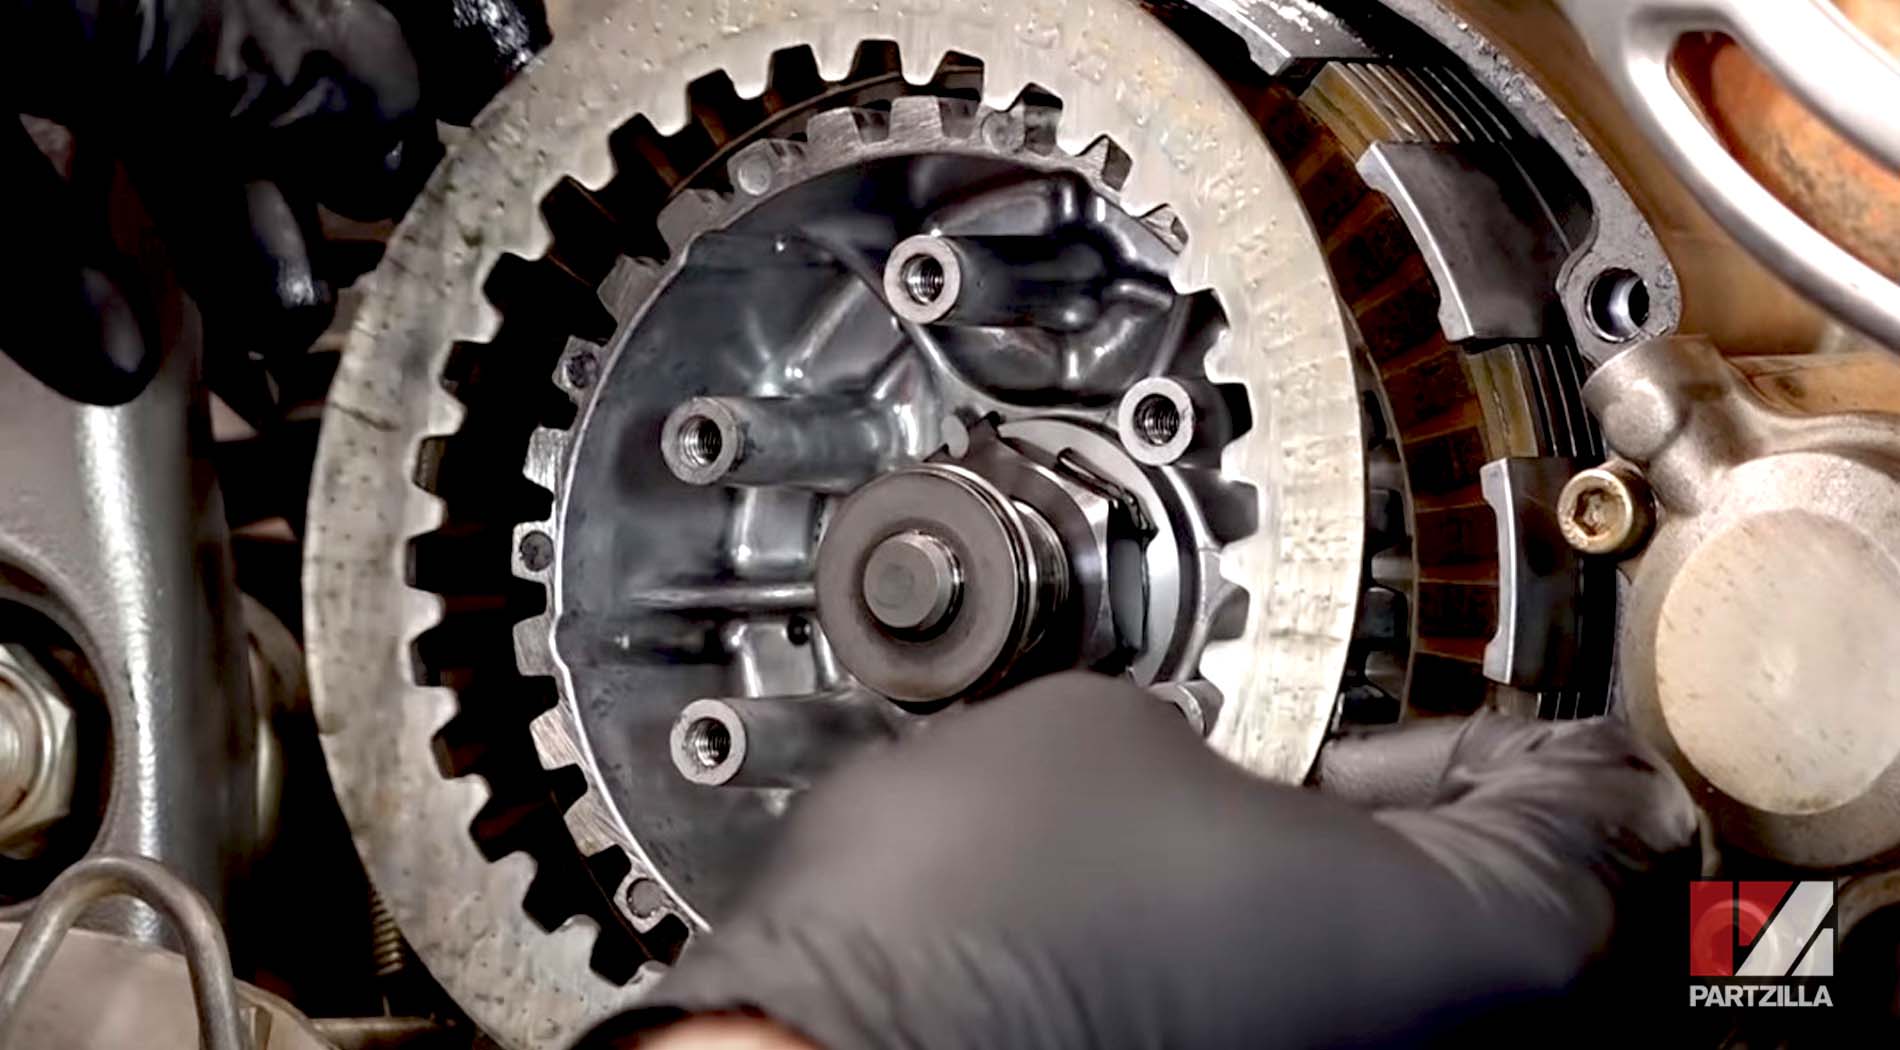
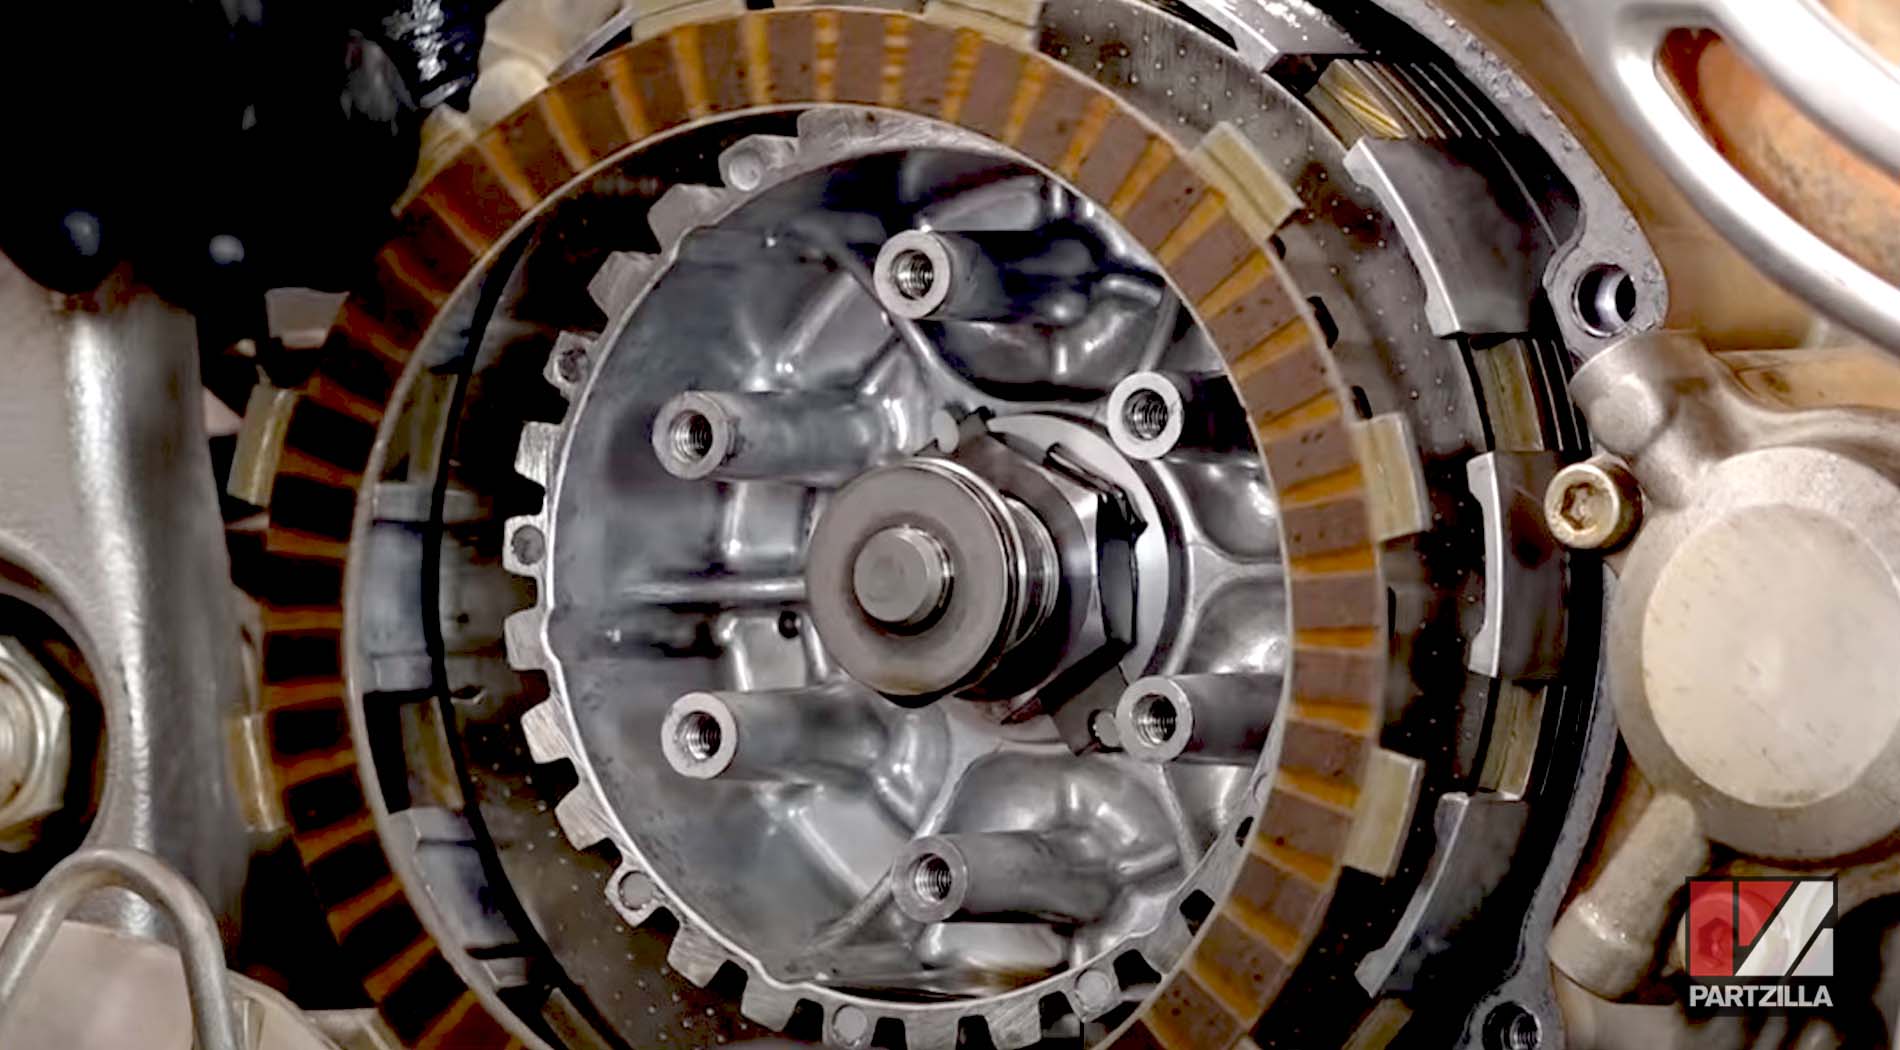
Step 6. Inspect the teeth of the clutch basket and the clutch boss for wear. If both are in good condition and only the clutch plates need changing, skip over to the clutch plates replacement section (How to Replace Yamaha YFZ450R Clutch Plates) below.
How to Replace Yamaha YFZ450R Clutch Assembly
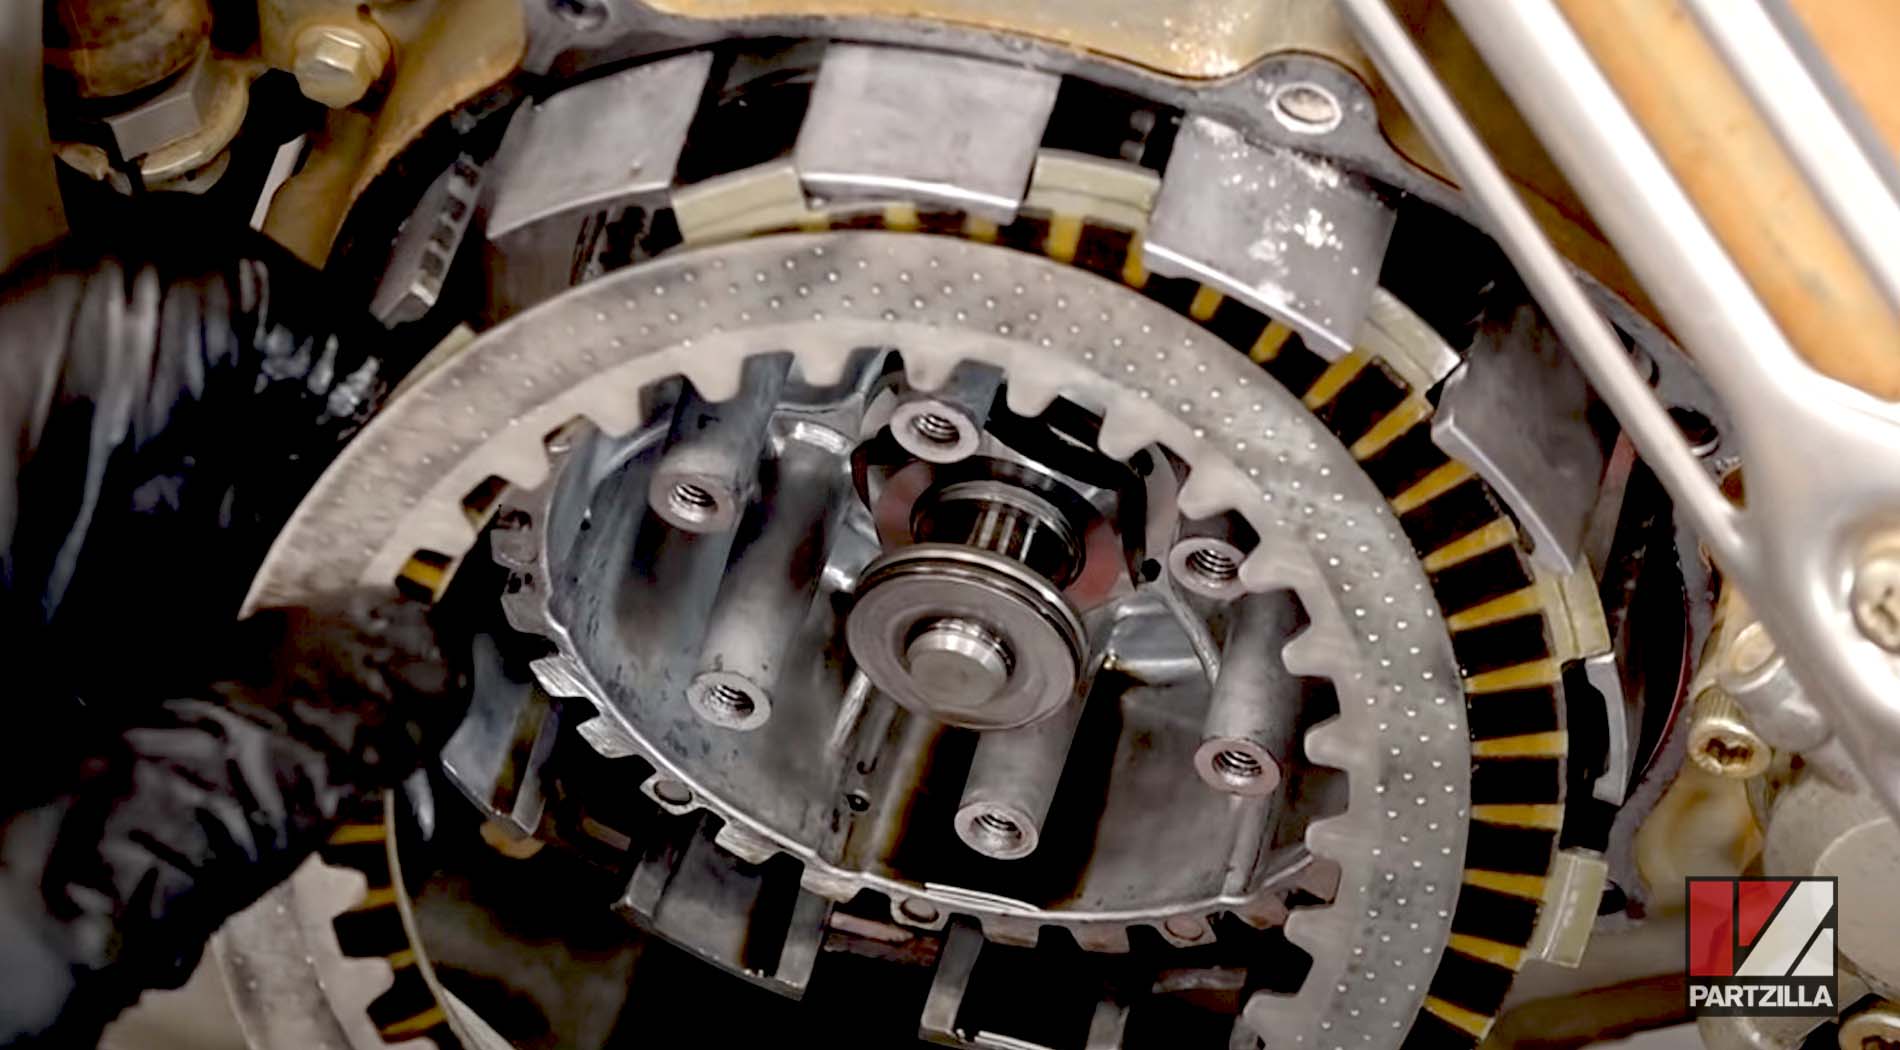
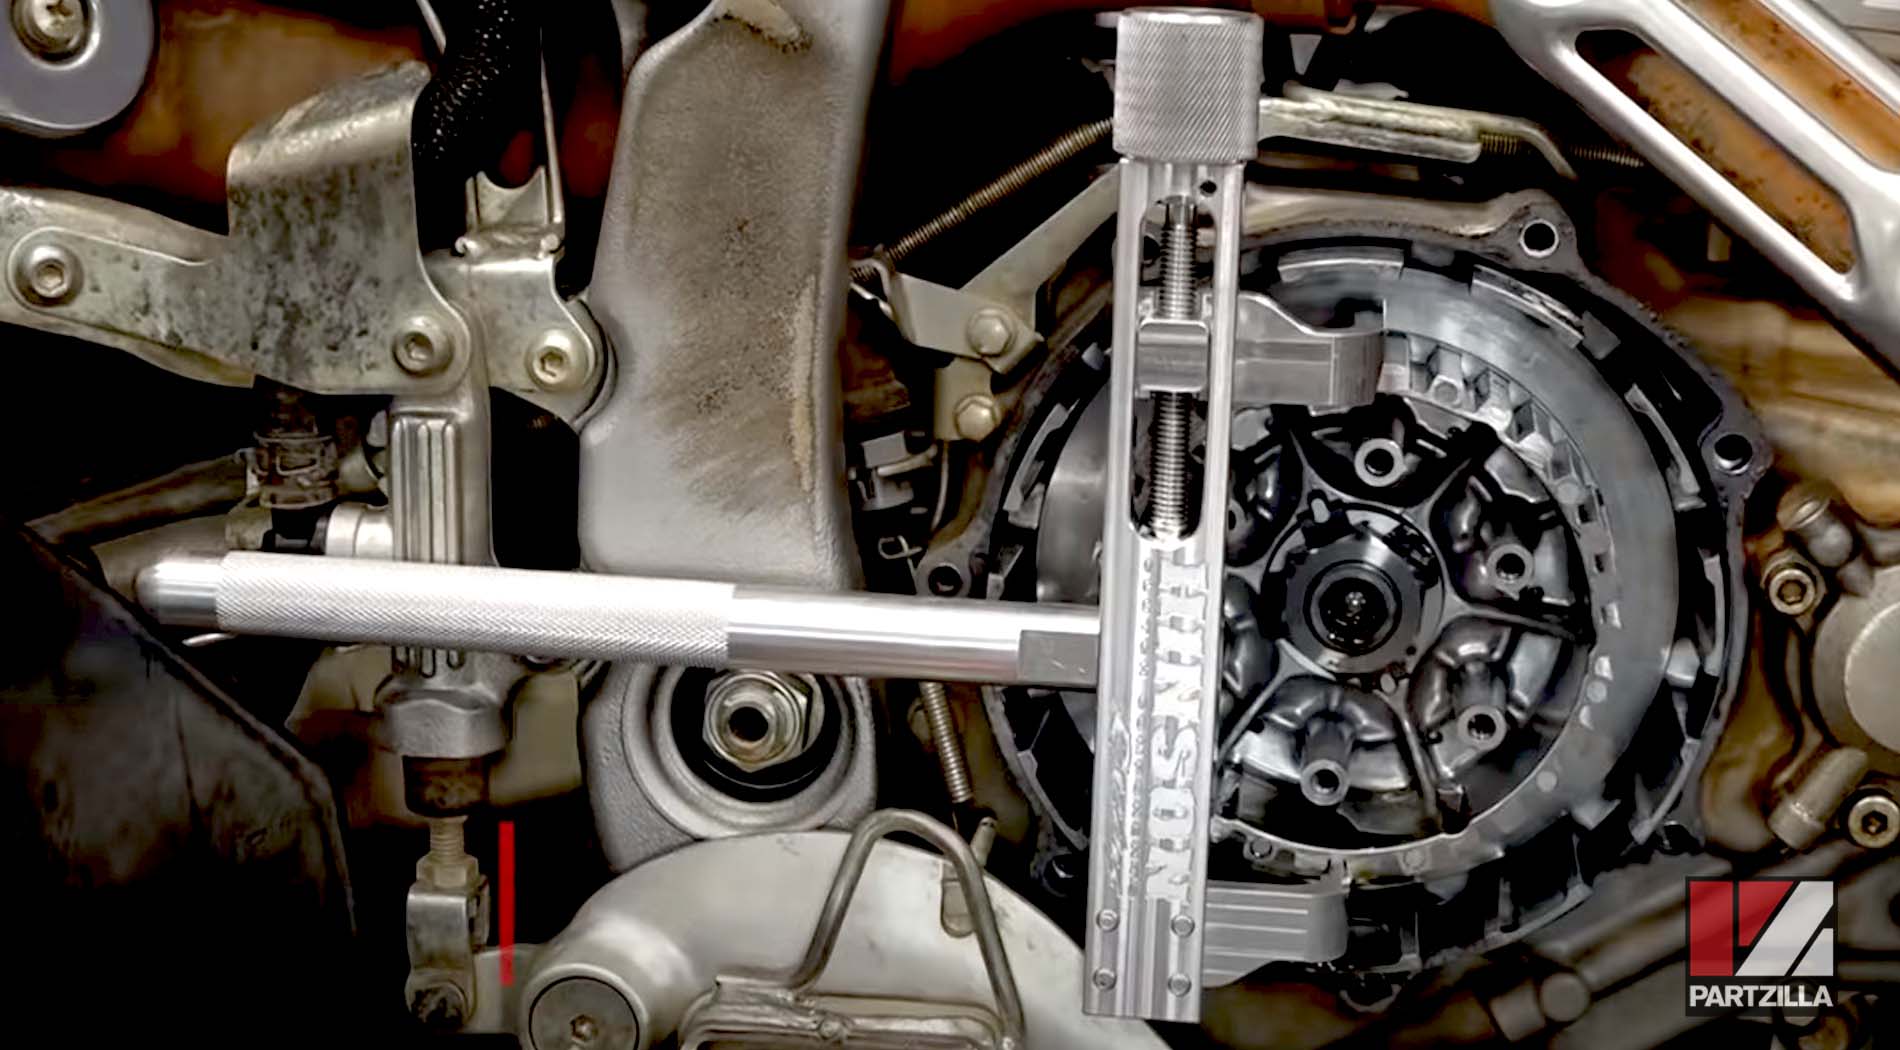
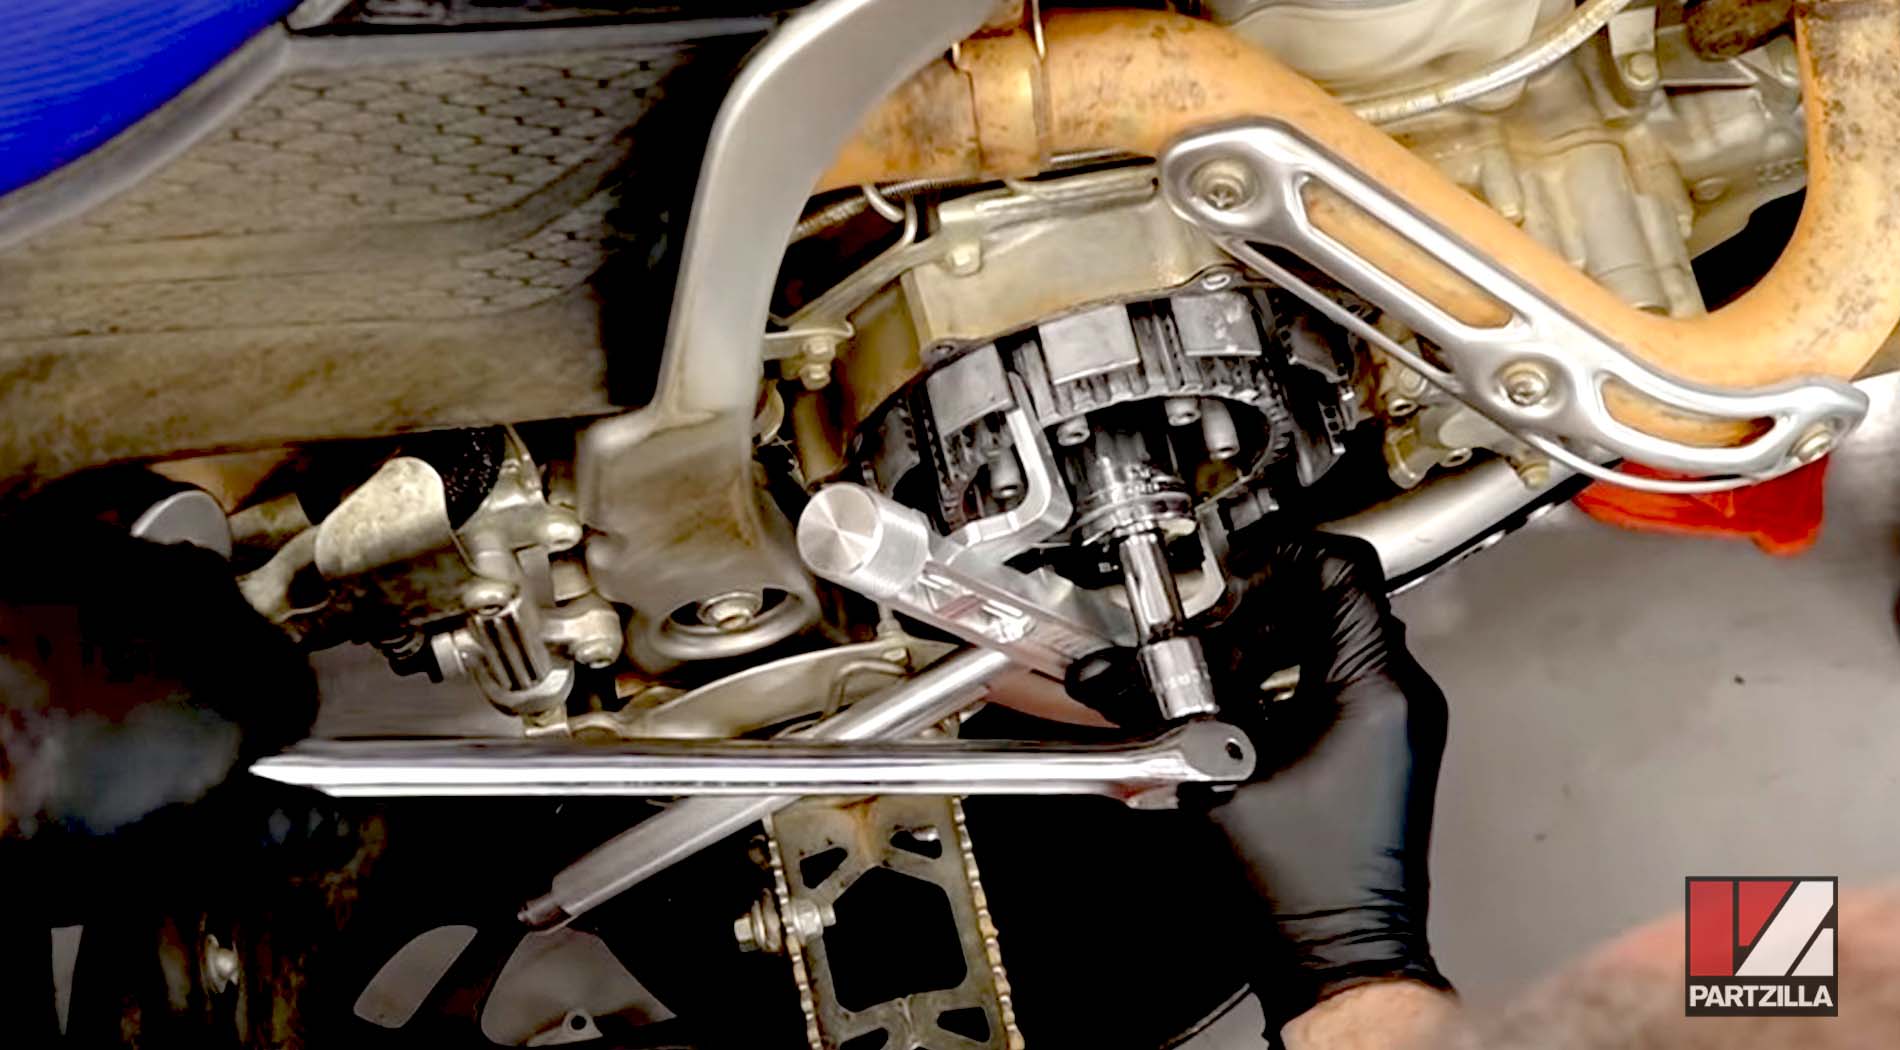
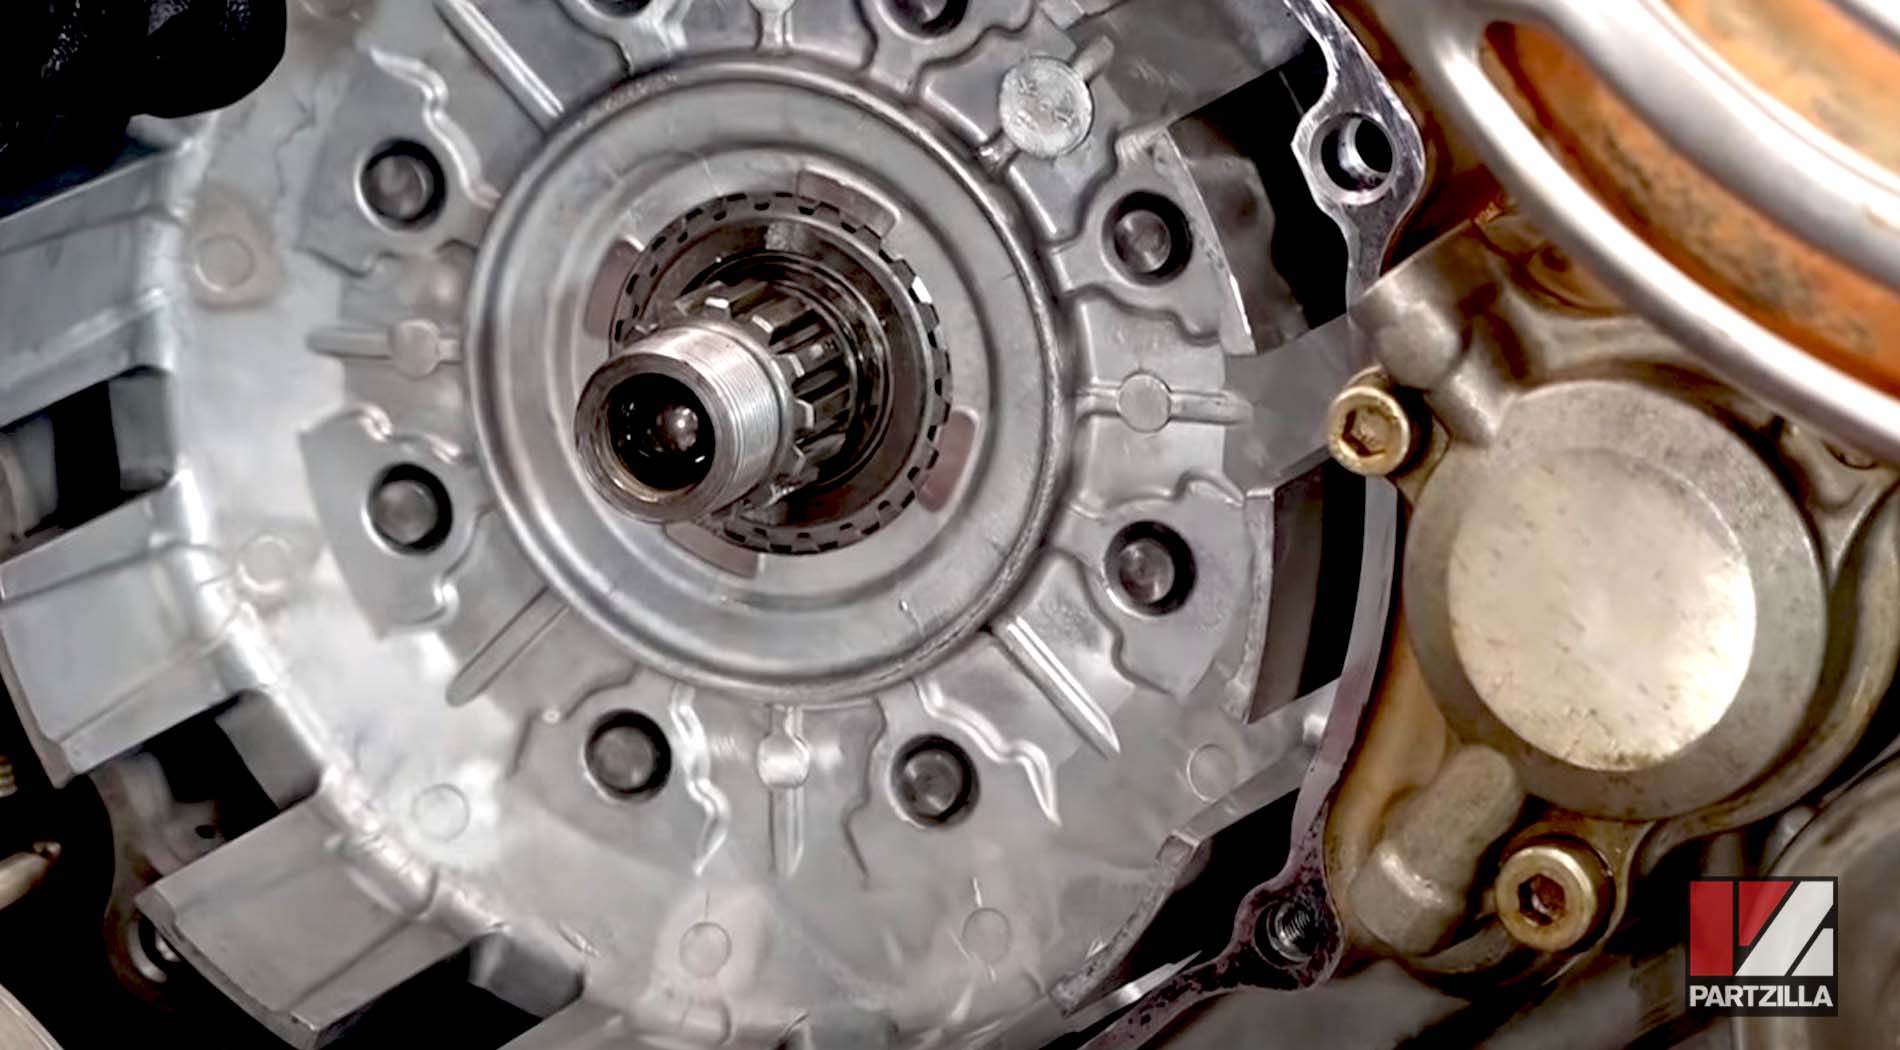
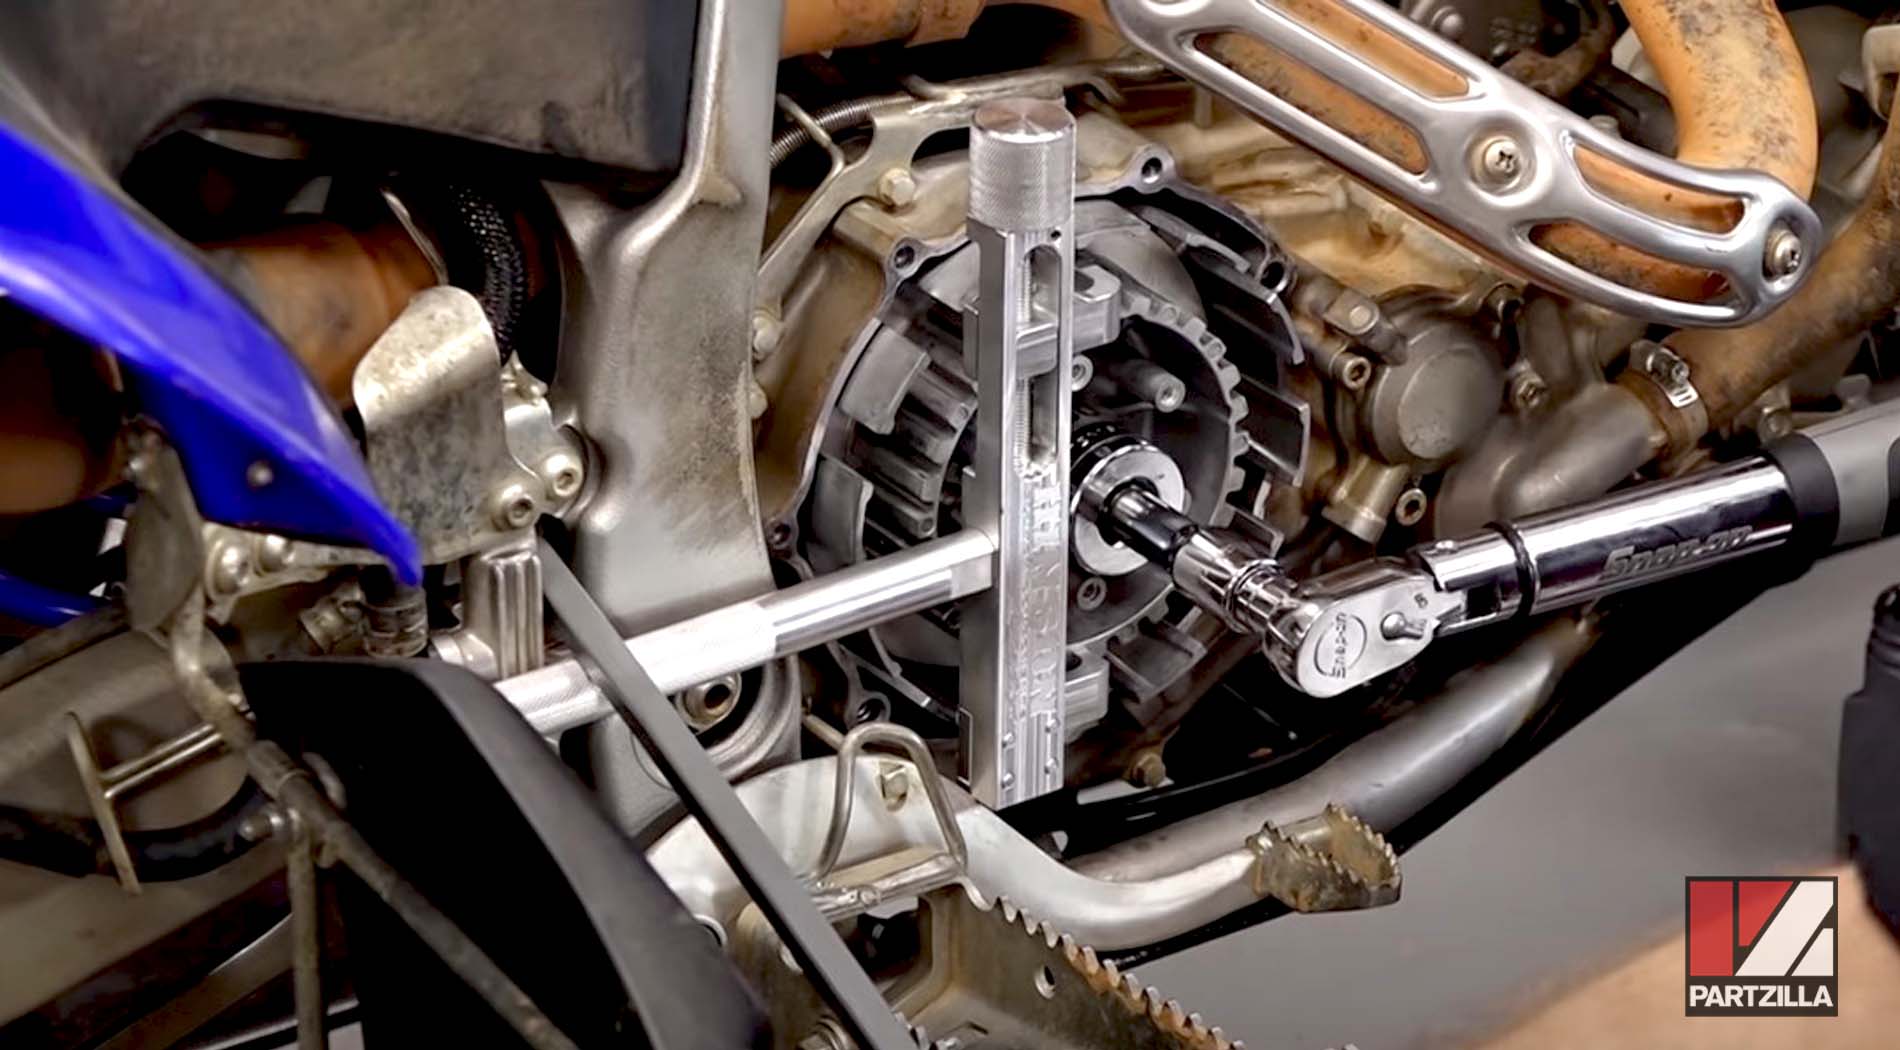
Step 1. Remove the central push rod, bend back the tab on the lock washer from the clutch nut, hold the clutch boss with a clutch holder tool, and remove the clutch nut and washer.

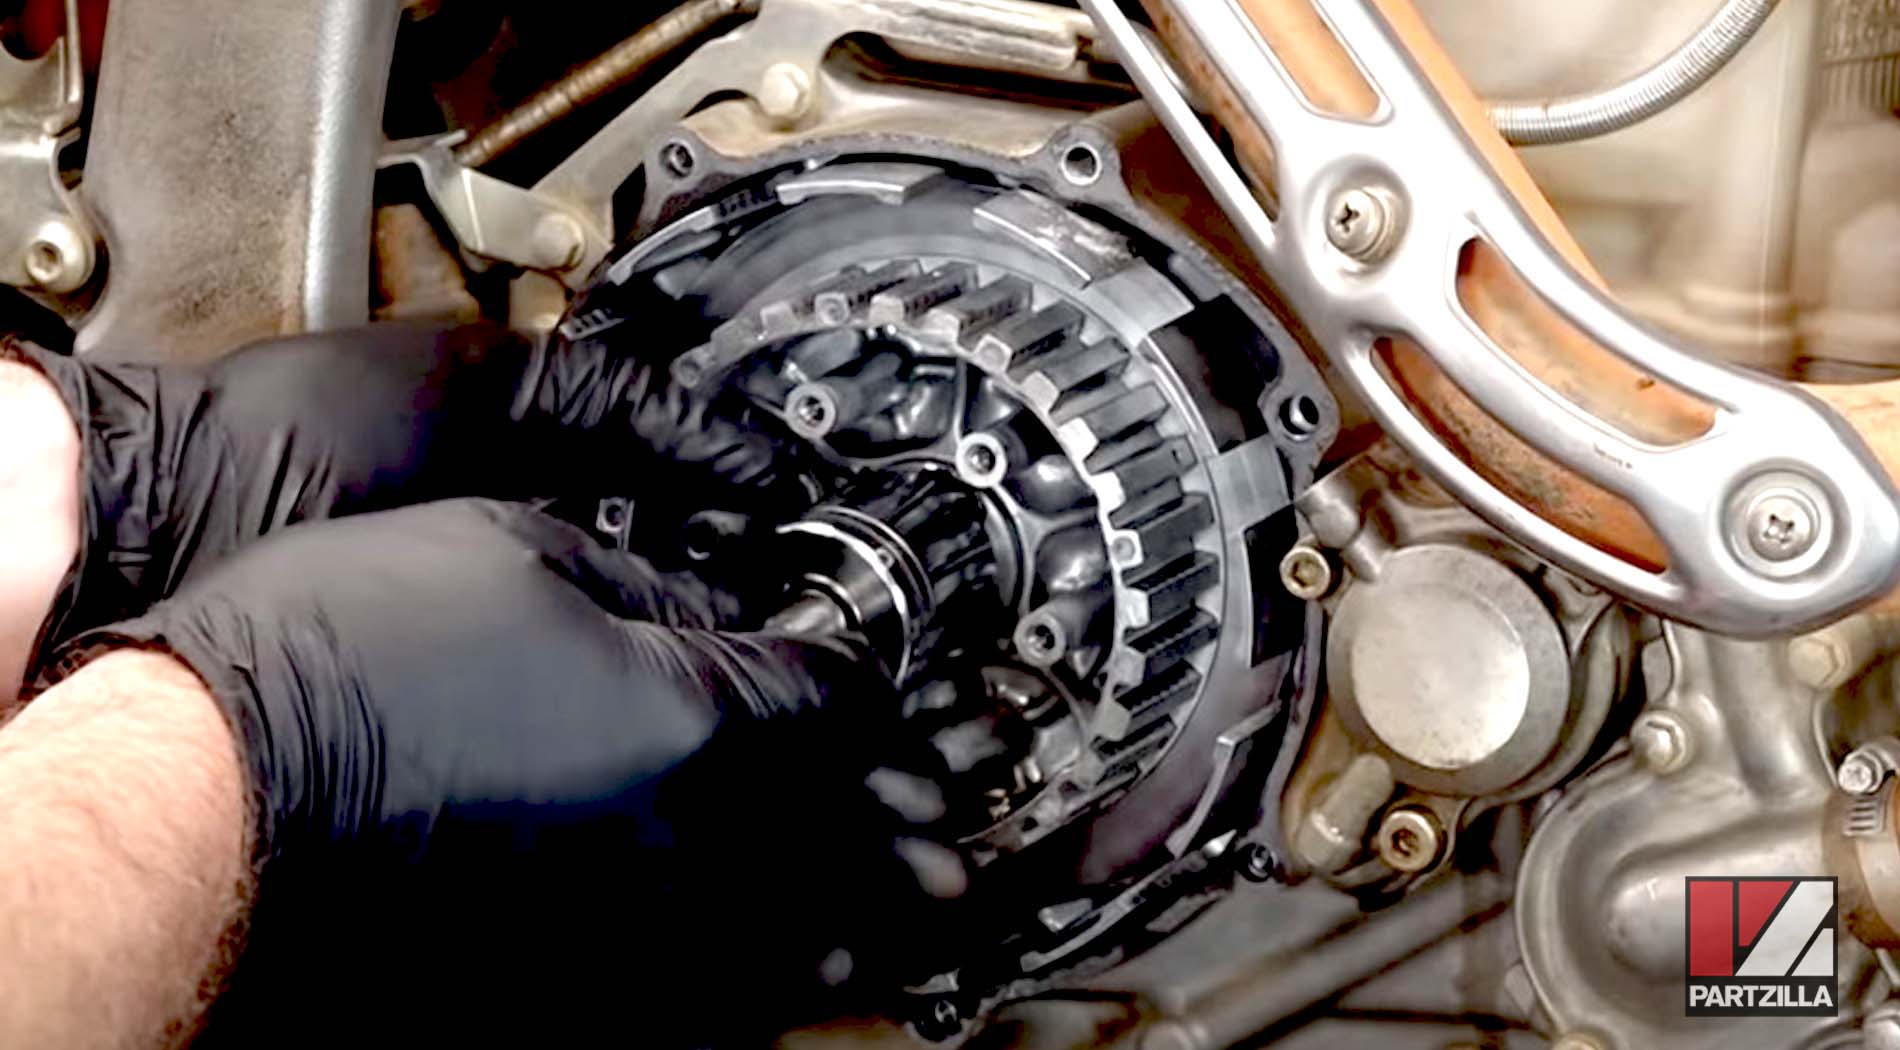
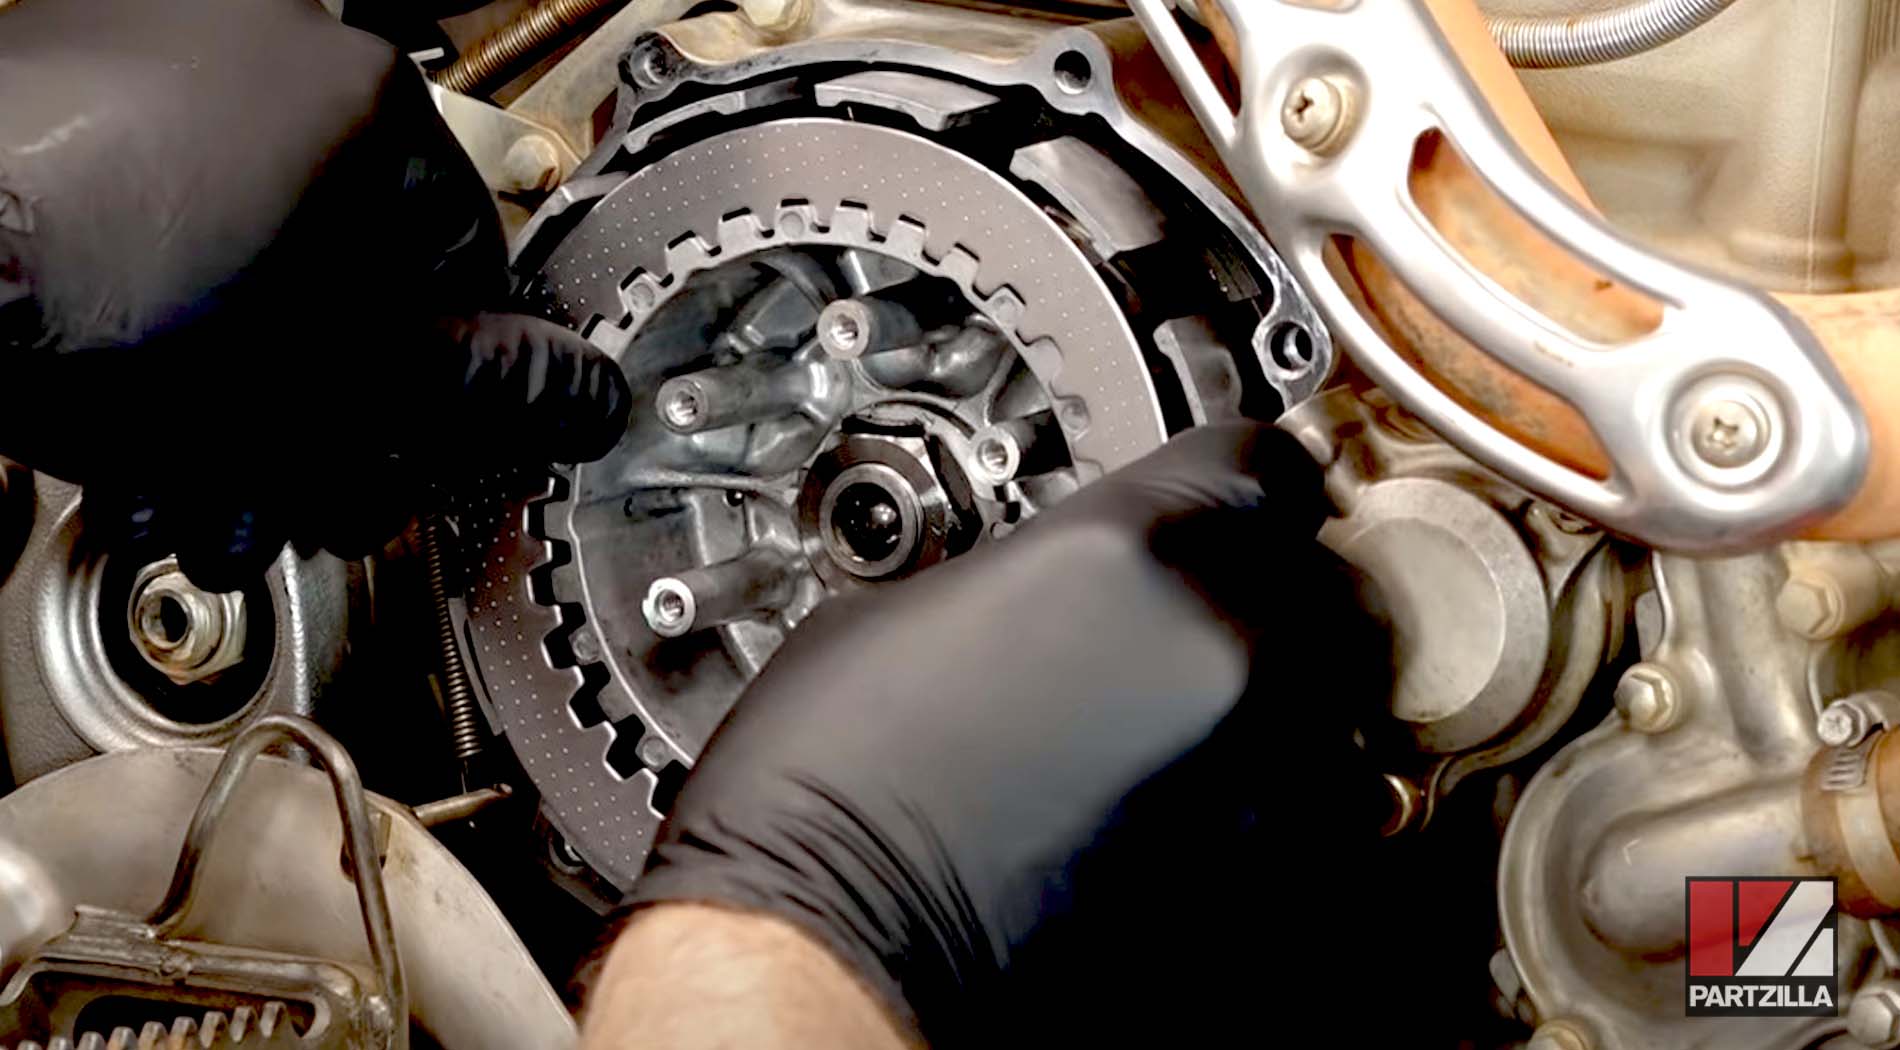
Step 2. Remove the old clutch boss, the thrust washer behind it and the clutch basket.
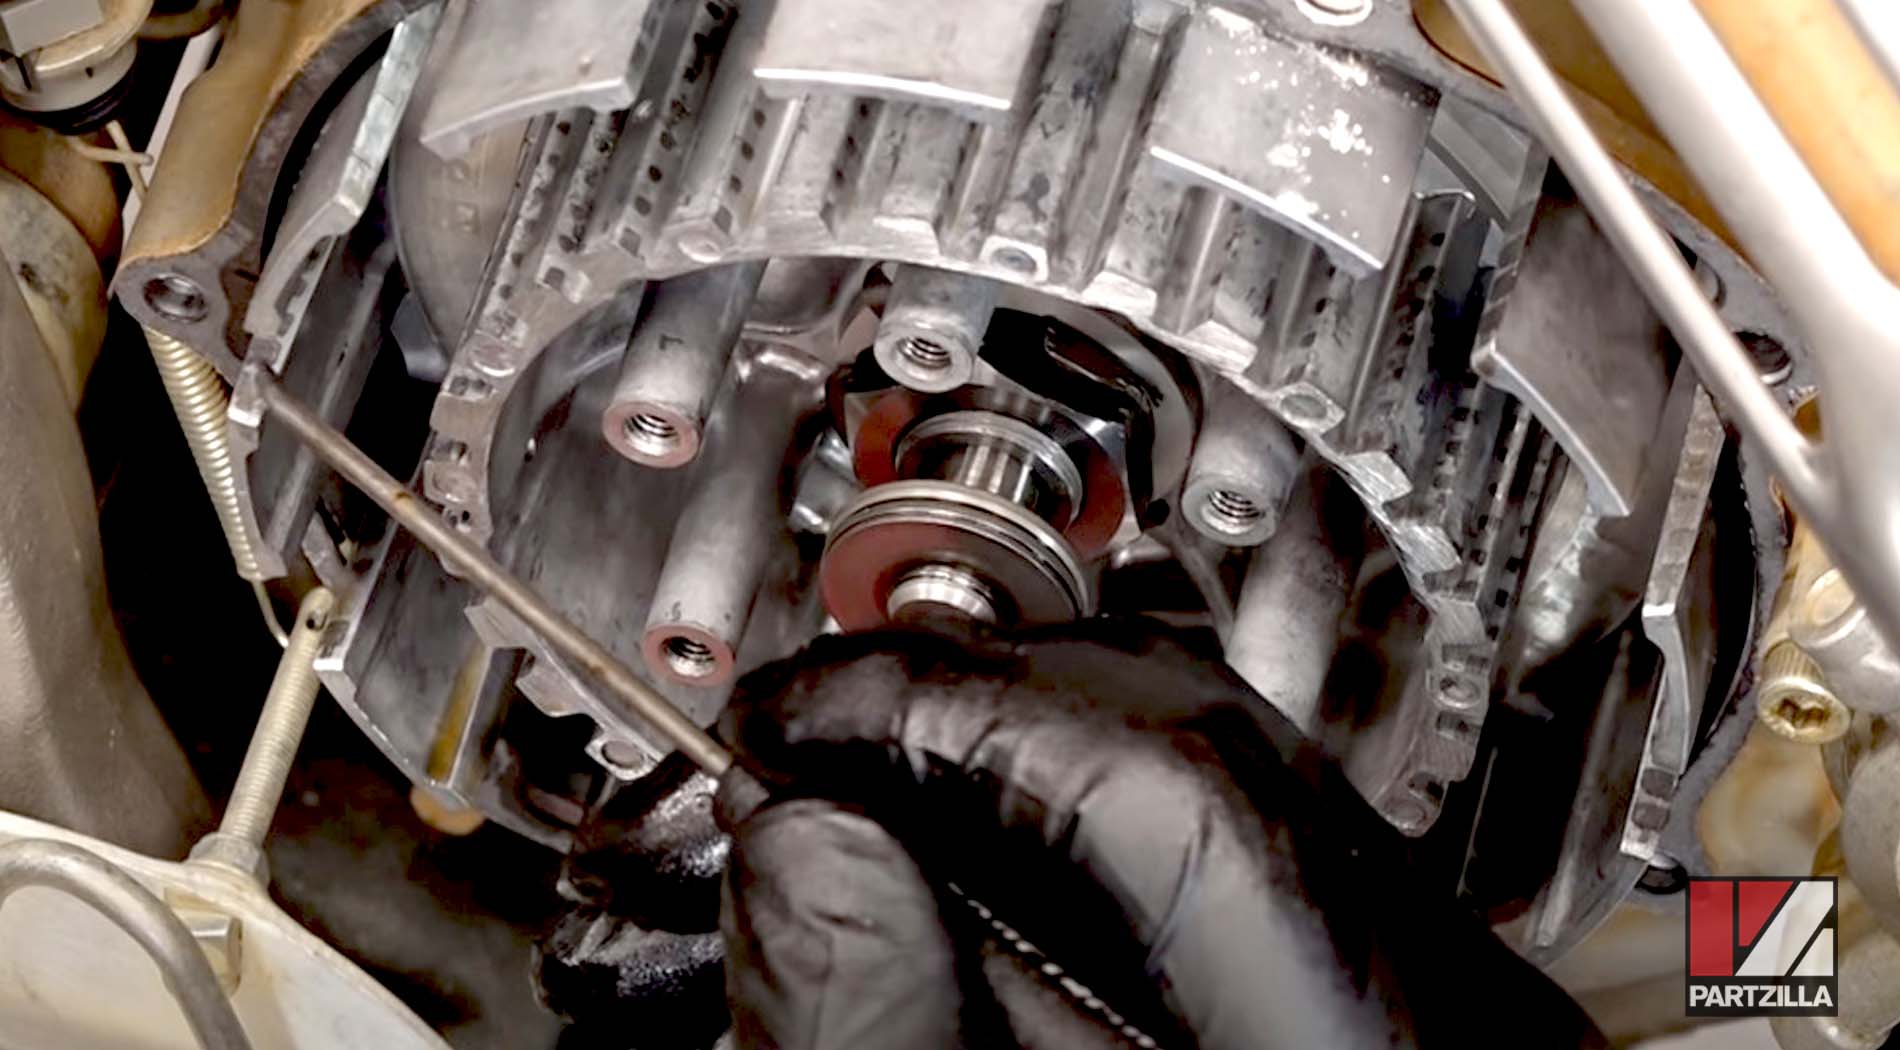
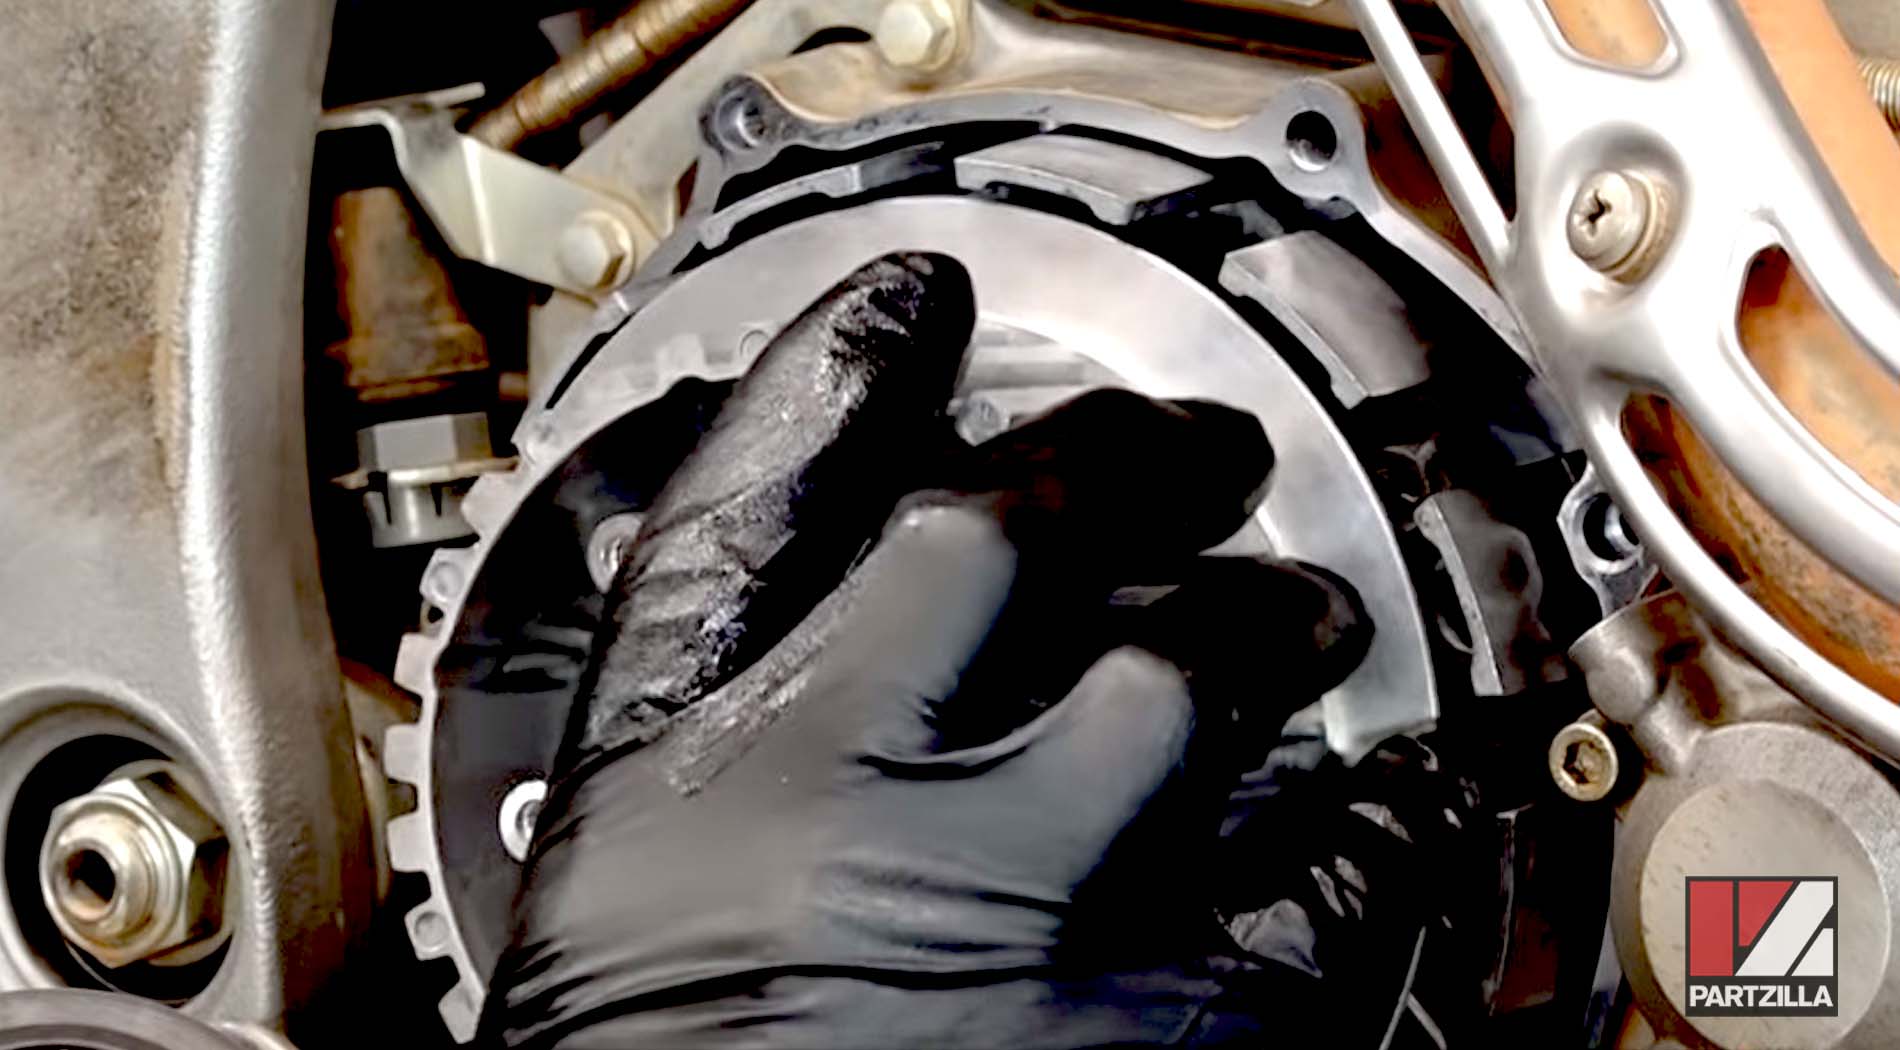
Step 3. Remove all of the old clutch cover gasket from the clutch housing and the clutch cover. Be careful not to let any fragments of the old gasket get into the clutch housing.
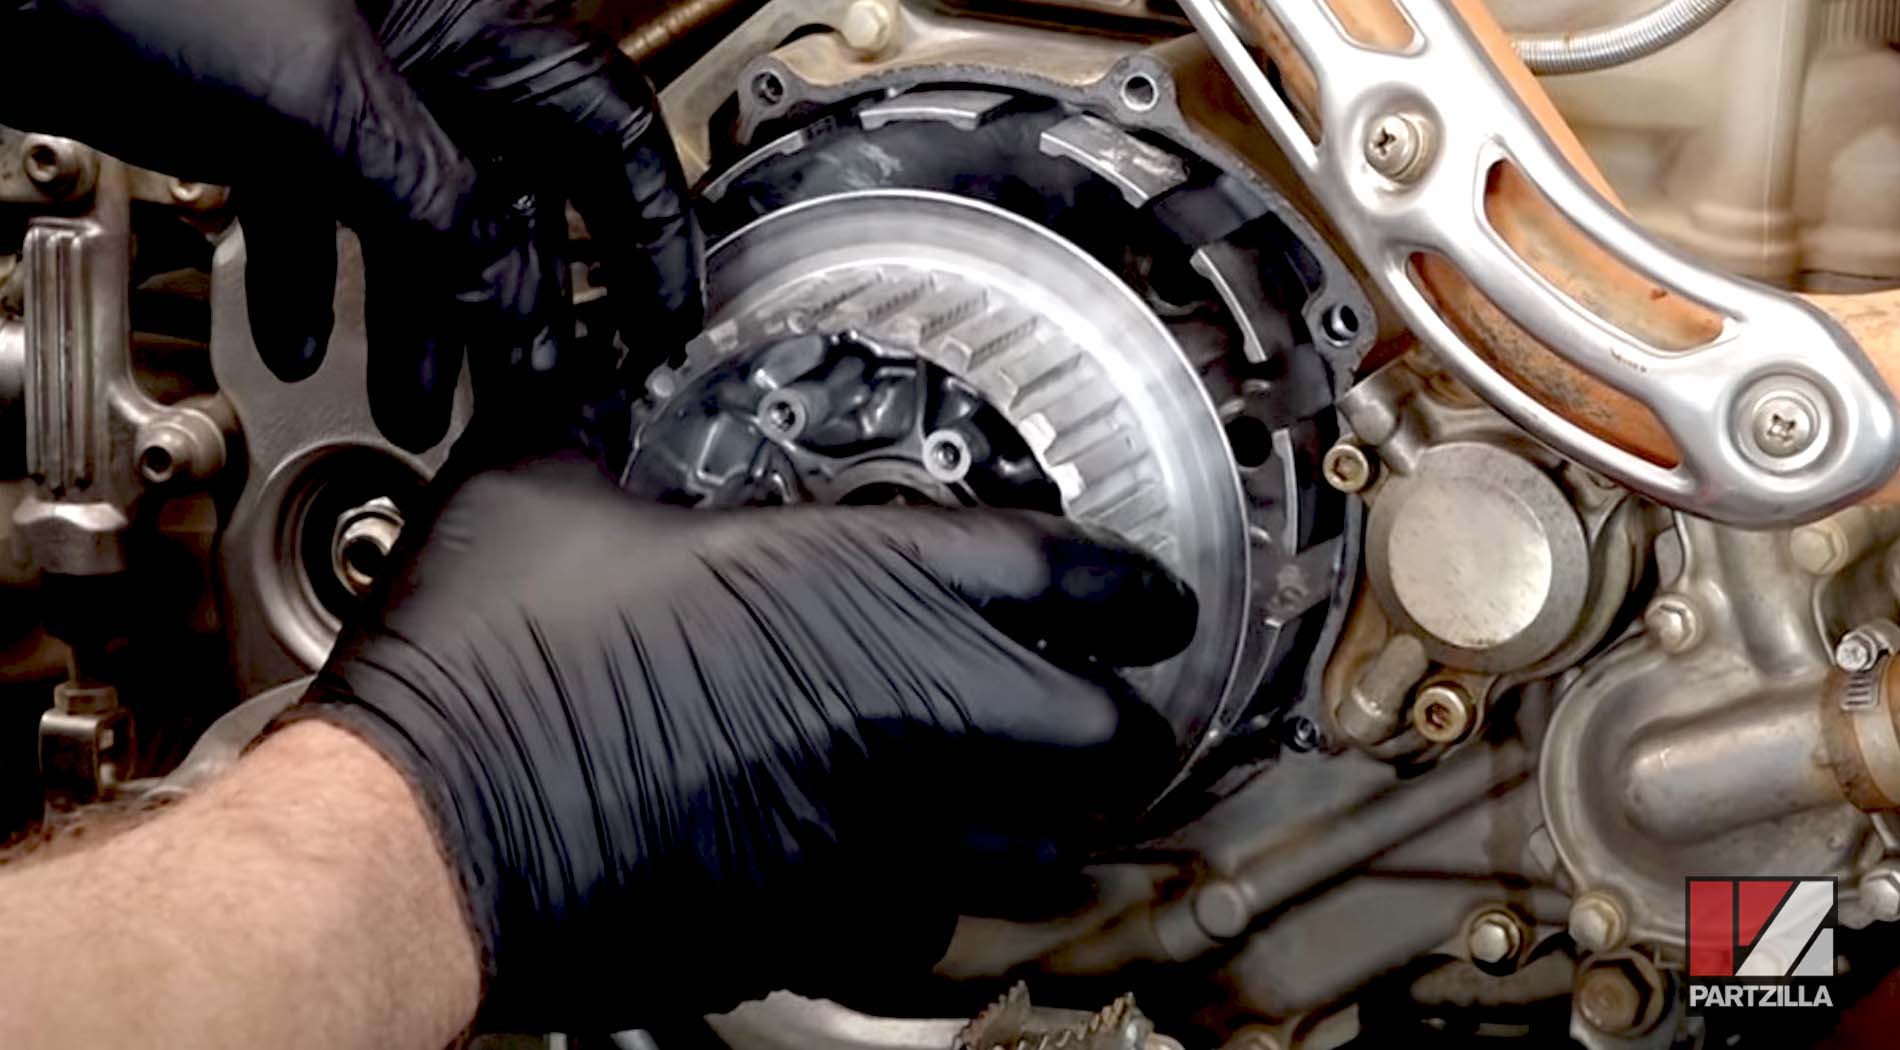
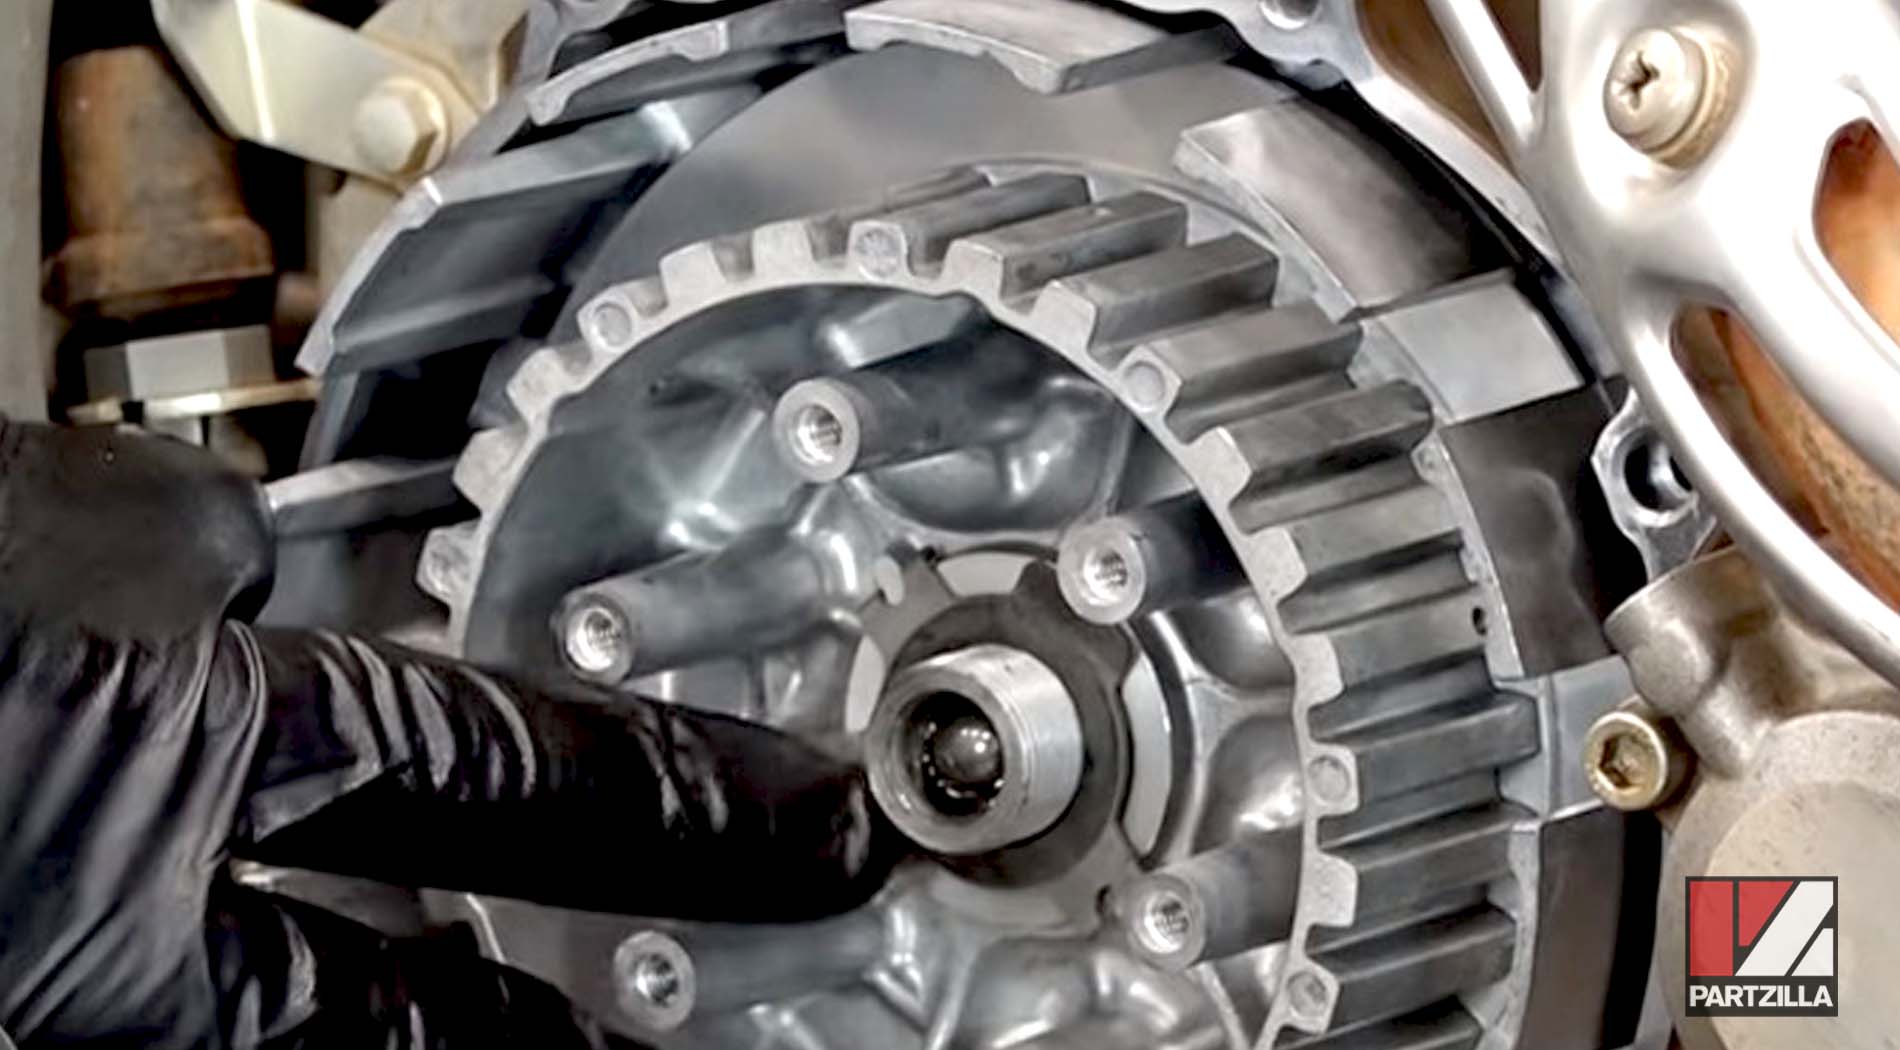
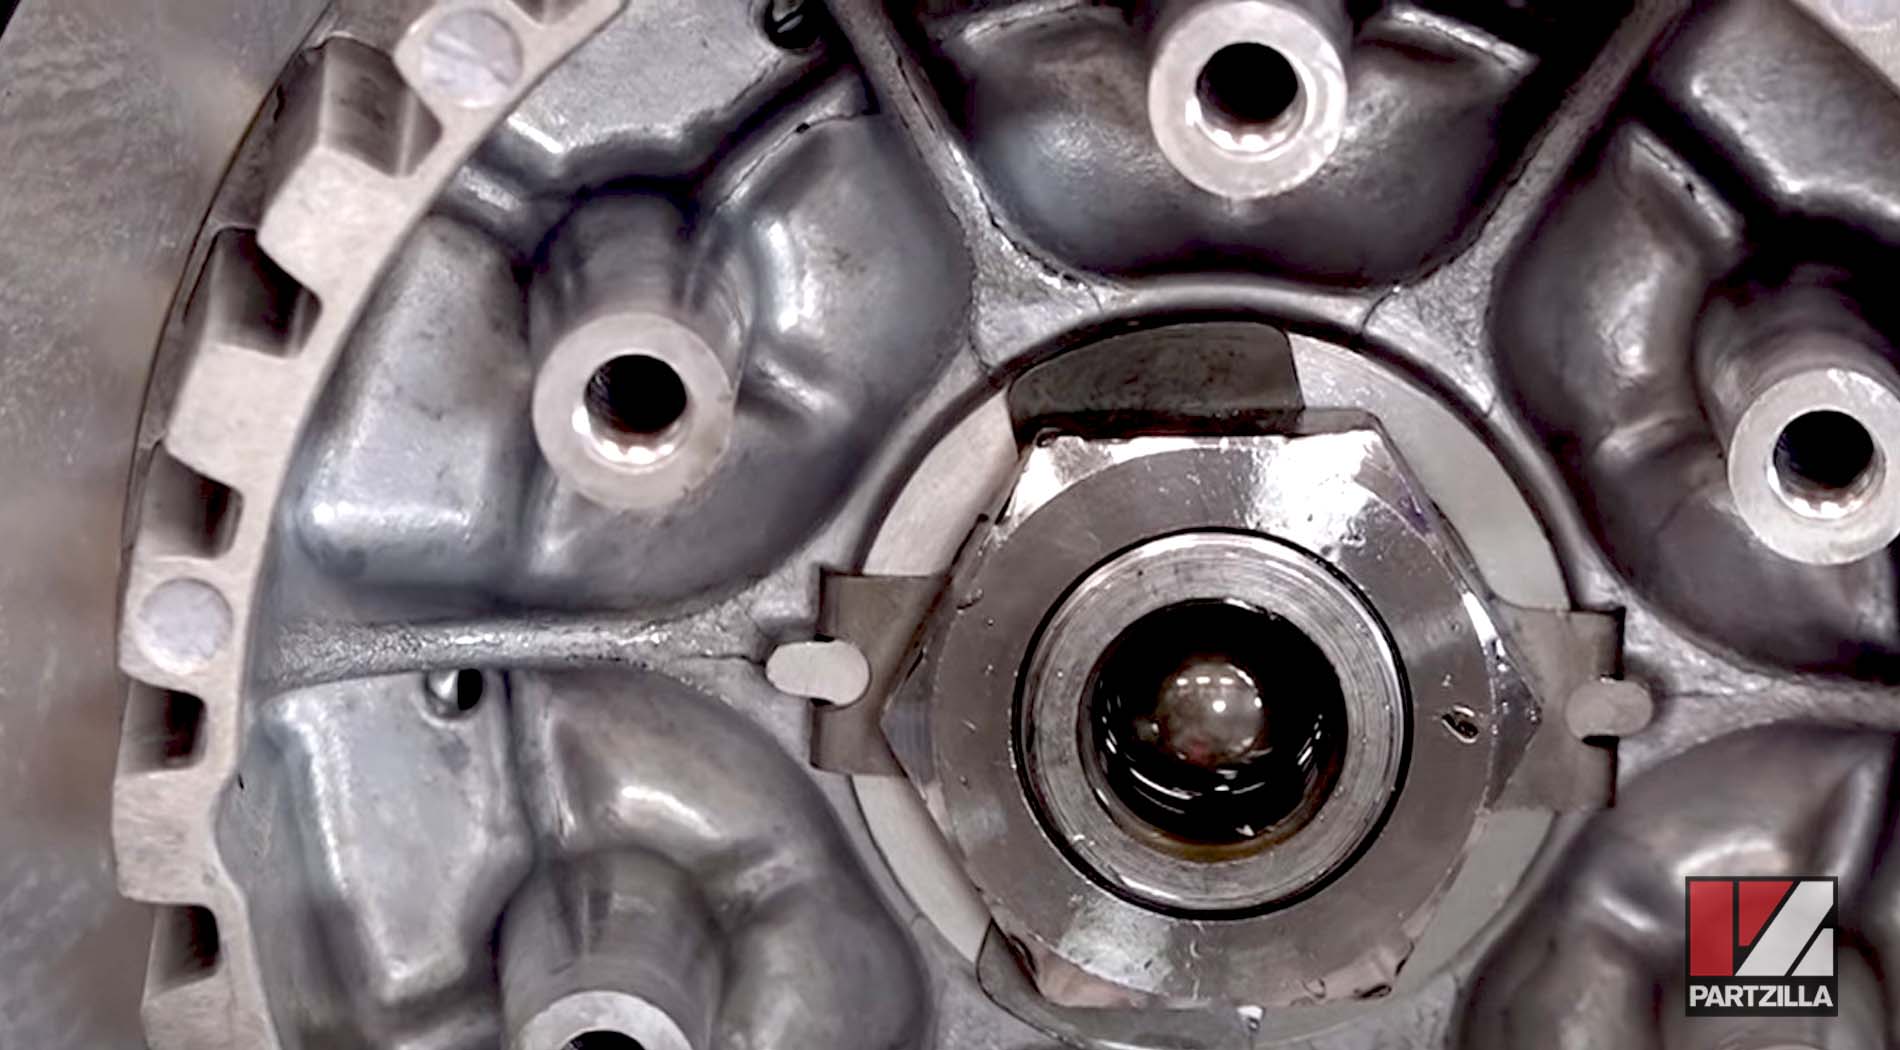
Step 4. Put a smear of oil on the new clutch basket's central bearing and install the basket into the clutch housing.
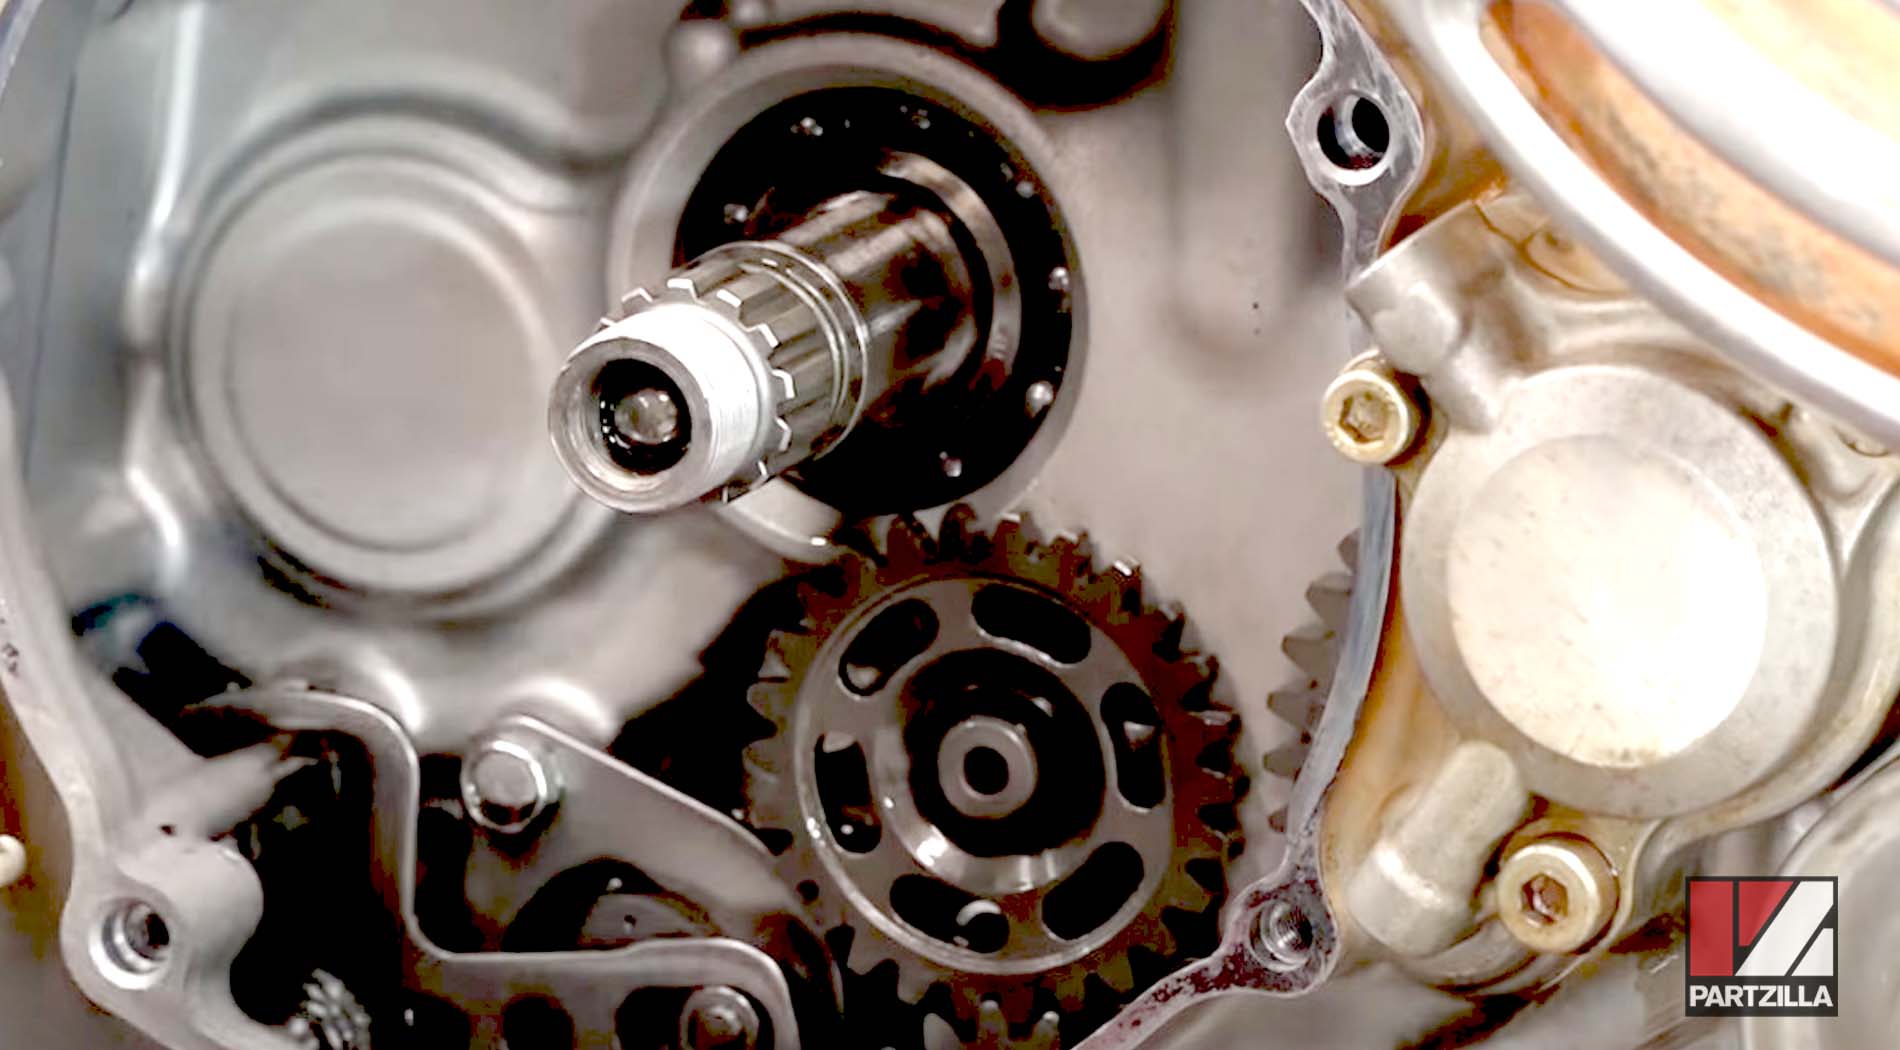
NOTE: You may have to rotate the gear sprocket behind the clutch basket to get the basket to engage with the gear sprocket's teeth. Only when they are engaged will the clutch basket seat properly in the clutch housing.
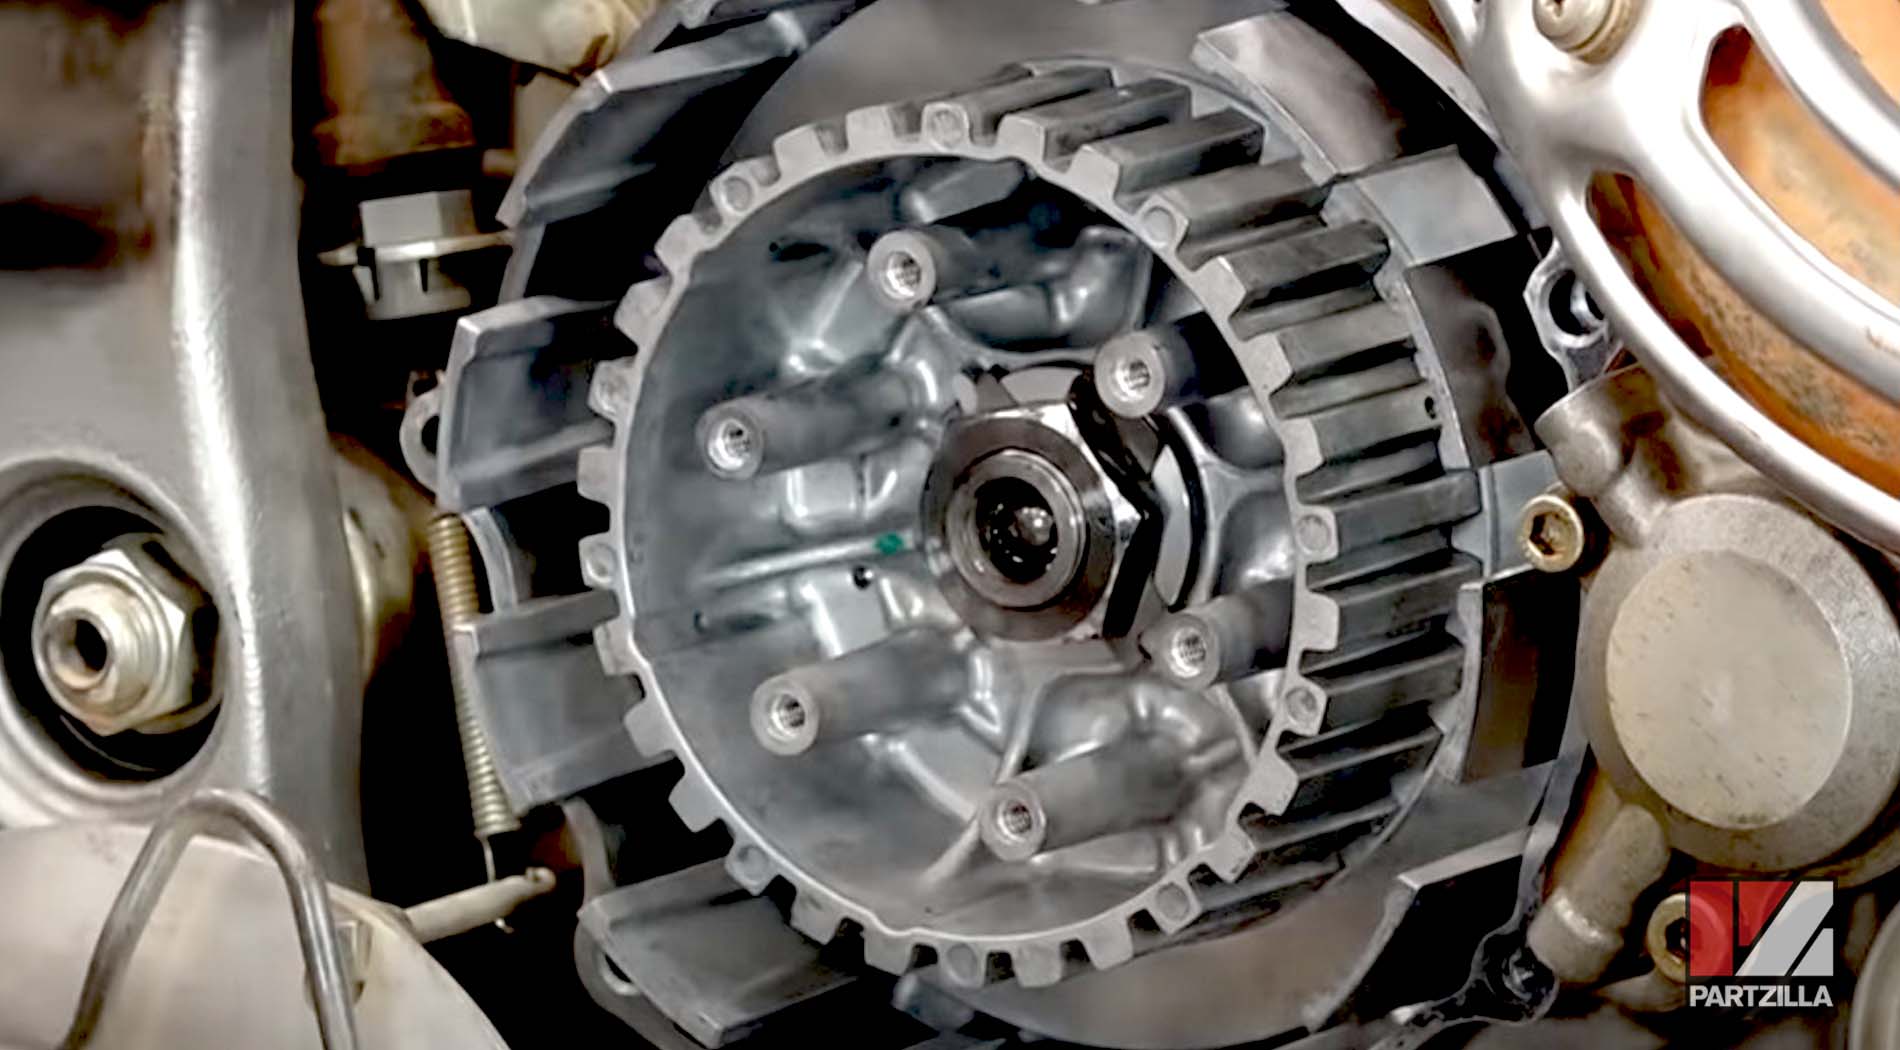
Step 5. Install the thrust washer and the new clutch boss.
PRO TIP: You don't have to replace the old thrust washer, but a new one is cheap, so you might as well install a new thrust washer while the clutch is disassembled.
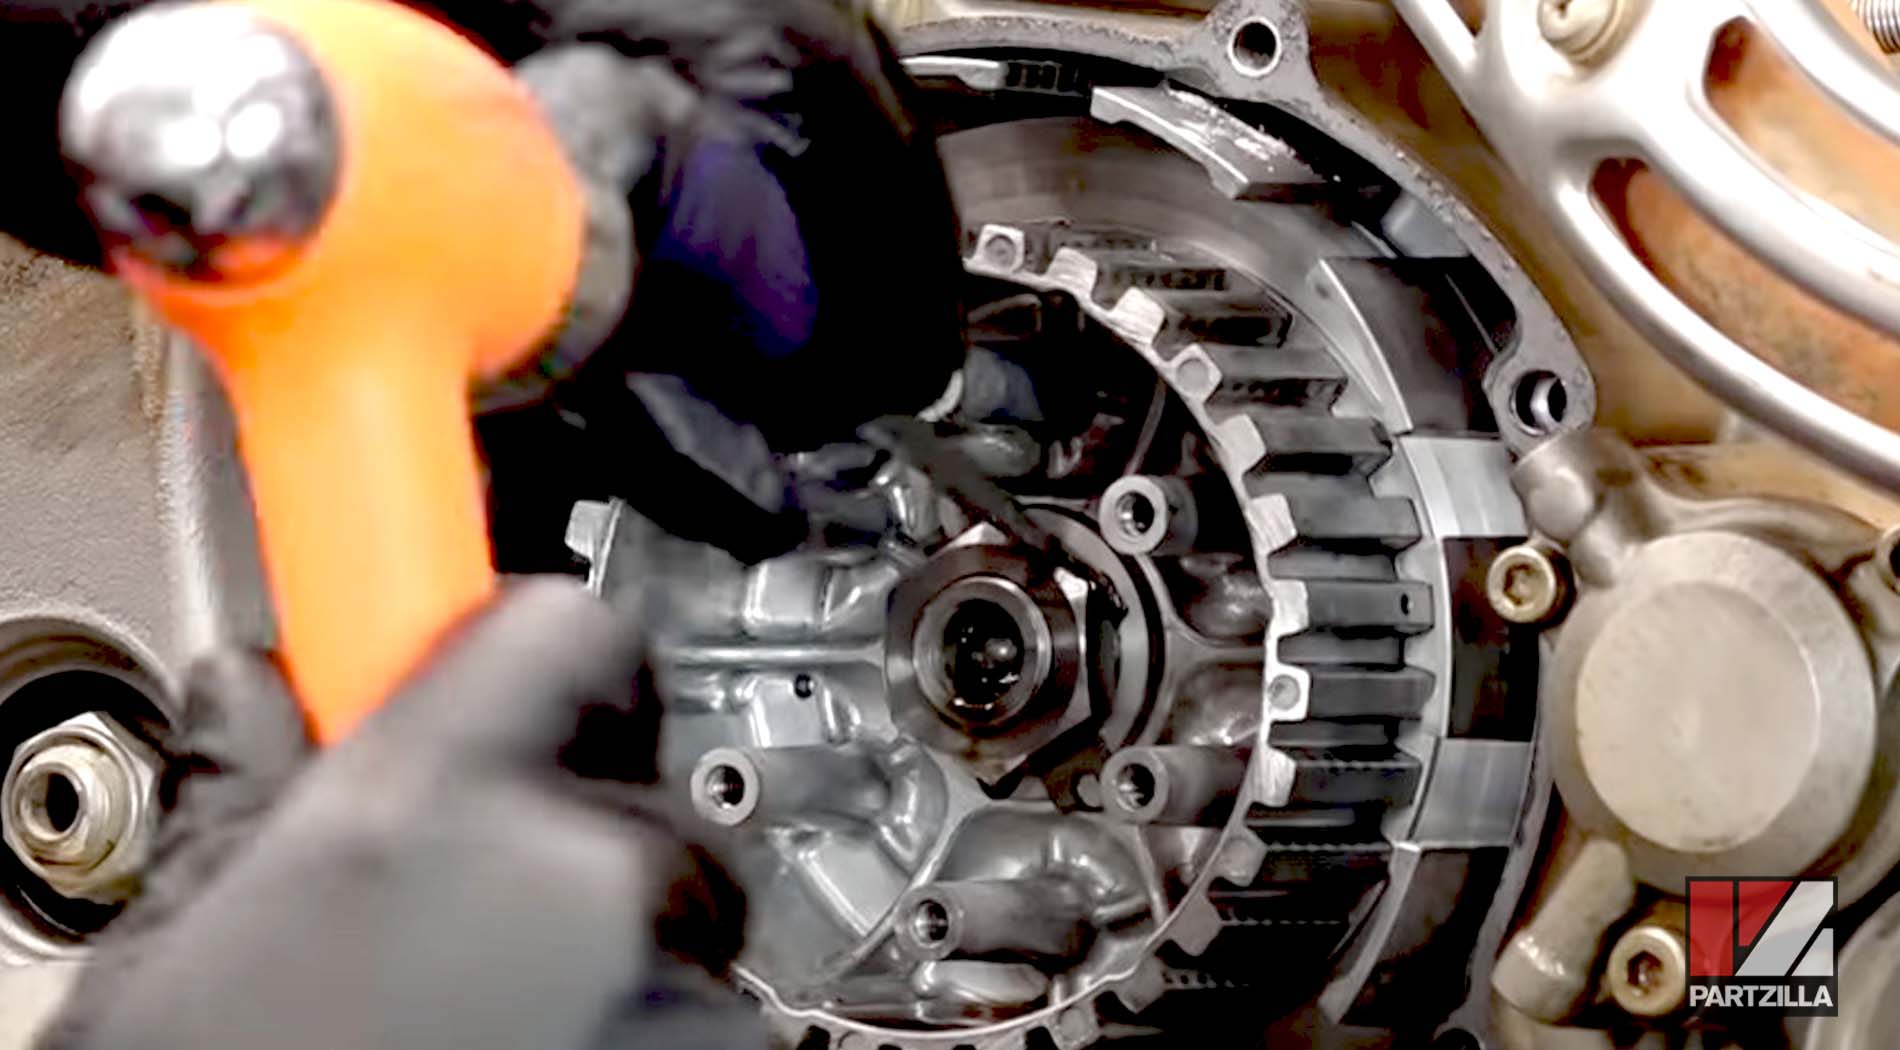
Step 6. Install a new lock washer and replace the clutch nut. Hold the clutch boss with the clutch holder tool and torque the clutch nut to 54 foot-pounds. Bend the lock washer tab against the nut to secure it. Reinstall the central push pin.
How to Replace Yamaha YFZ450R Clutch Plates
Step 1. Install the new clutch disks and plates in the following order.
1. Inner/outer friction plate (Yamaha part # 5TA-16321-00-00)
2. Metal drive plate (Yamaha part # 4X7-16325-00-00)
3. Central friction plate (Yamaha part # 5VY-16321-00-00)
4. Metal drive plate (Yamaha part # 4X7-16325-00-00)
5. Central friction plate (Yamaha part # 5VY-16321-00-00)
6. Metal drive plate (Yamaha part # 4X7-16325-00-00)
7. Central friction plate (Yamaha part # 5VY-16321-00-00)
8. Metal drive plate (Yamaha part # 4X7-16325-00-00)
9. Central friction plate (Yamaha part # 5VY-16321-00-00)
10. Metal drive plate (Yamaha part # 4X7-16325-00-00)
11. Central friction plate (Yamaha part # 5VY-16321-00-00)
12. Metal drive plate (Yamaha part # 4X7-16325-00-00)
13. Central friction plate (Yamaha part # 5VY-16321-00-00)
14. Metal drive plate (Yamaha part # 4X7-16325-00-00)
15. Central friction plate (Yamaha part # 5VY-16321-00-00)
16. Inner/outer friction plate (Yamaha part # 5TA-16321-00-00)
NOTE: If you mixed the two types of friction plates together while soaking them in oil, the two inner/outer friction plates are slightly darker in color than the six central friction plates.

How to Rebuild Yamaha YFZ450R Clutch
Step 1. Reinstall the pressure plate, the clutch springs and clutch spring bolts. The clutch plate kit includes new clutch springs. If you didn't get the kit, the old springs should measure 47.8mm and will need replacing if they measure any less.
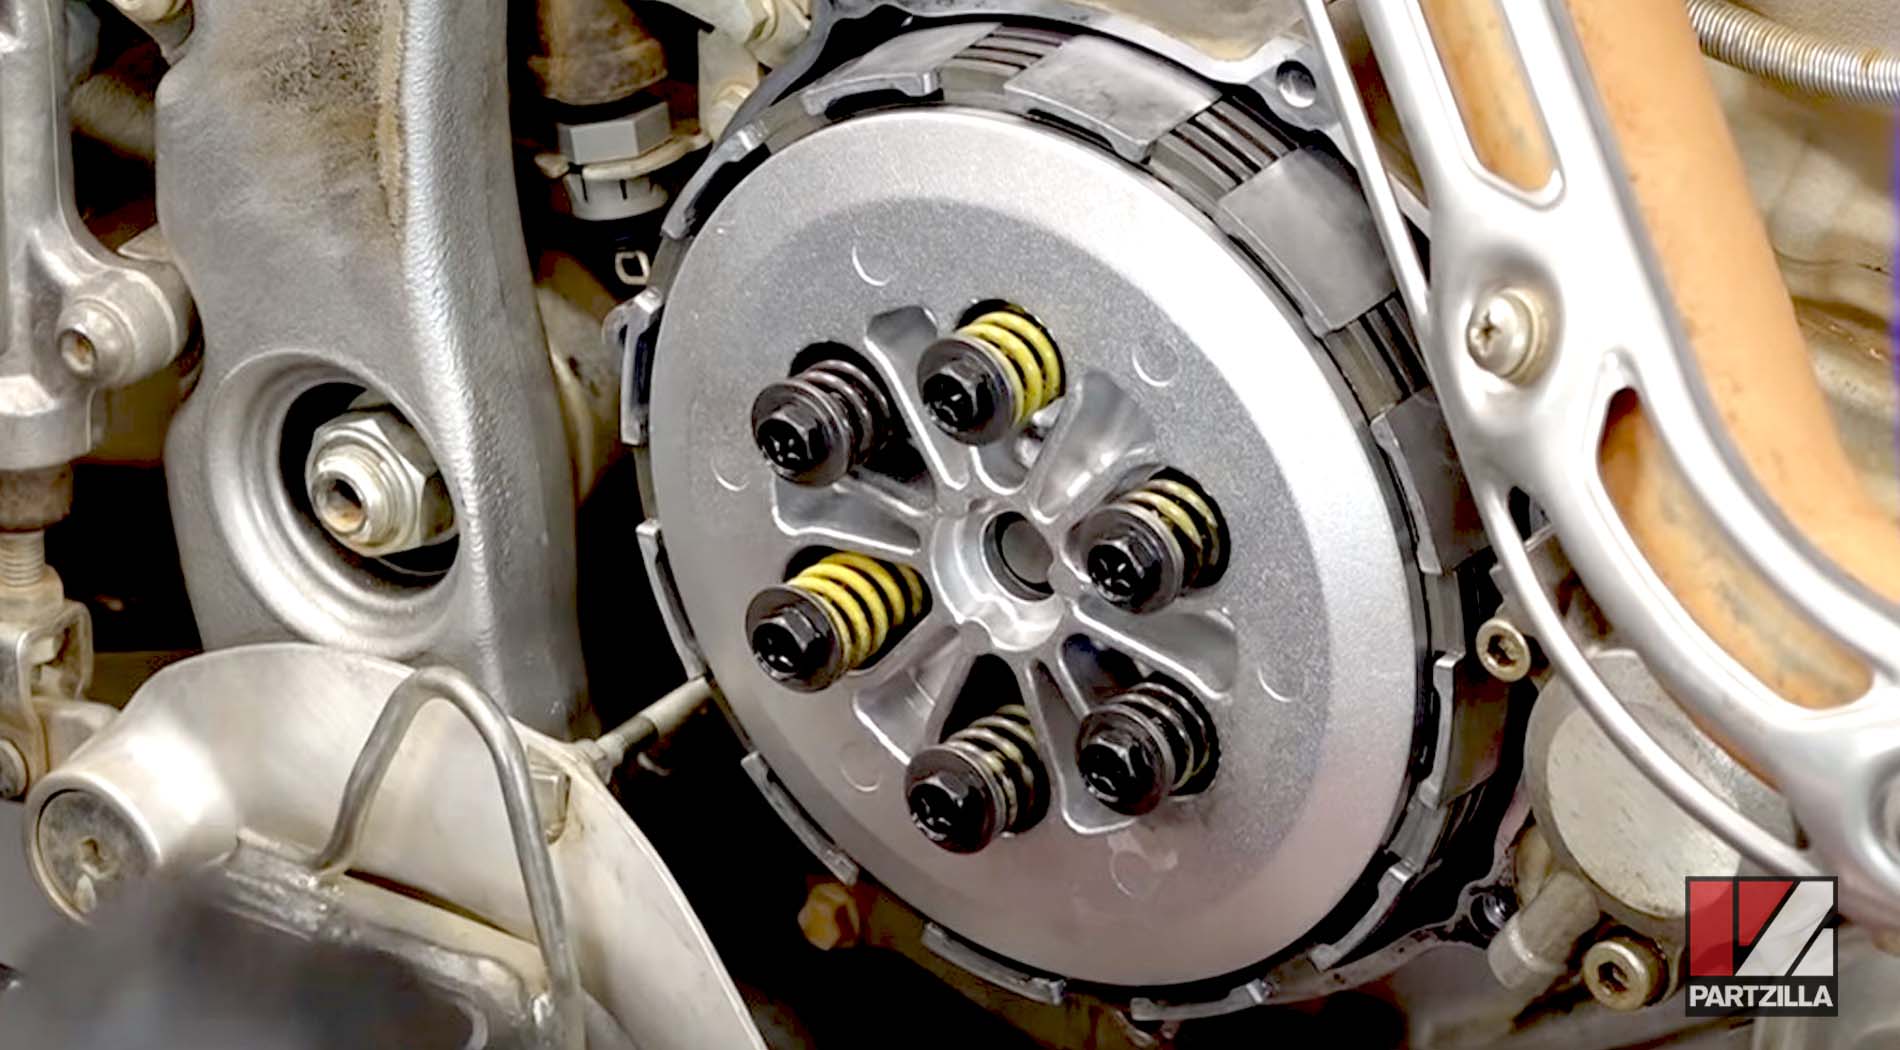
Step 2. Tighten the clutch spring bolts a few turns at a time, and work in a diagonal pattern to keep the pressure even across the pressure plate so as not to damage it. Once the spring bolts bottom out, torque them to 7.2 foot-pounds.
Step 3. Install a new clutch cover gasket and reinstall the cover. Torque the cover bolts to 7.2 foot-pounds.

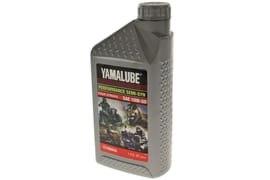
Step 4. Refill the engine with Yamalube motor oil and you're done.