How to Set Yamaha Raptor 700R Timing and Valve Adjustment
Correct valve clearances are essential to extracting every ounce of power from your Yamaha Raptor ATV. Setting the timing and adjusting the valves (valve lash) on a quad is easy to do.
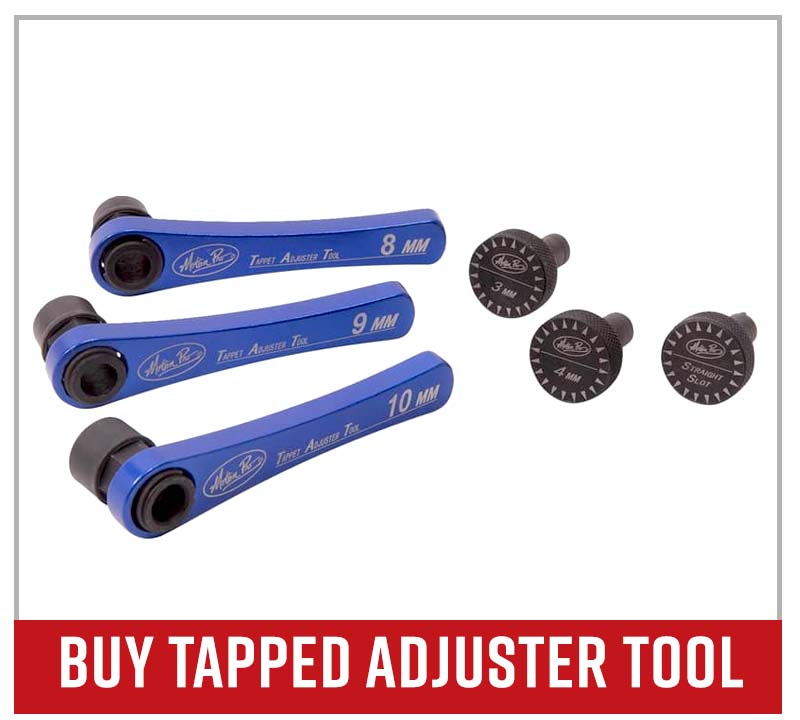
You won't need any replacement parts to get this job done, but investing in a set of valve tappet adjustment wrenches will make things a whole lot easier.
Watch the video above to learn how to set the cam timing and adjust the valves on a Yamaha Raptor 700R.
See the parts diagrams:
Tools - Yamaha Raptor 700 Cam Timing and Valve Lash Adjustment
- Ratchet and sockets
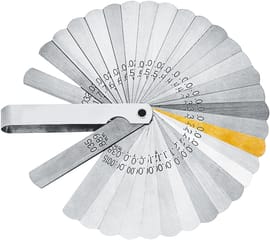
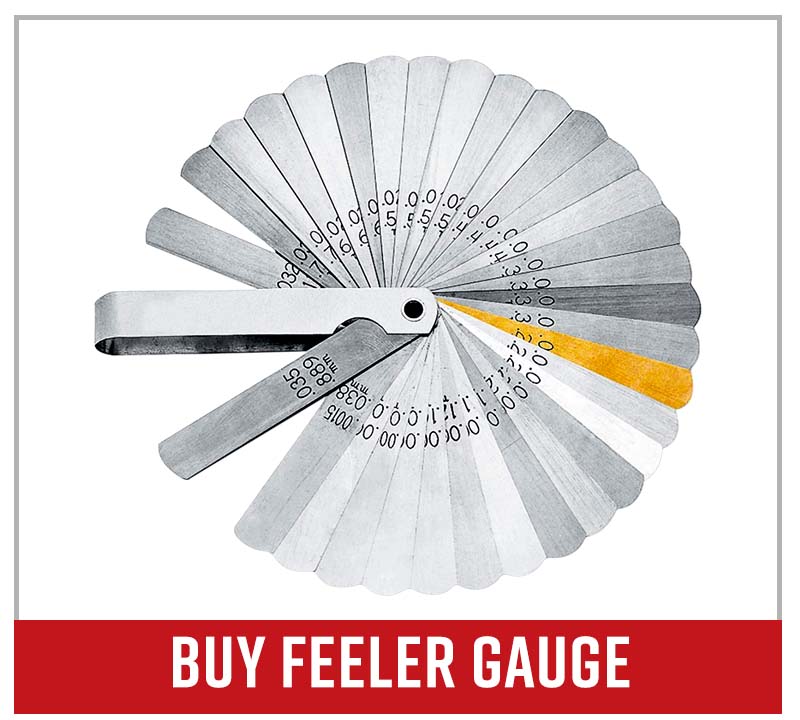
- Feeler gauge
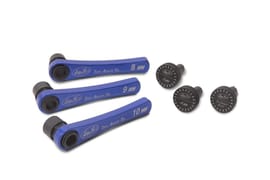
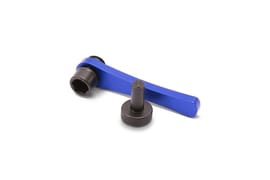
- Valve tappet adjustment tool
NOTE: Make sure the Raptor's engine is completely cold before trying to set the timing and adjust the valve lash. The metal parts making up the valves expand slightly when hot, thus making accurate adjustments impossible.
Preparing the Yamaha Raptor for Adjustments
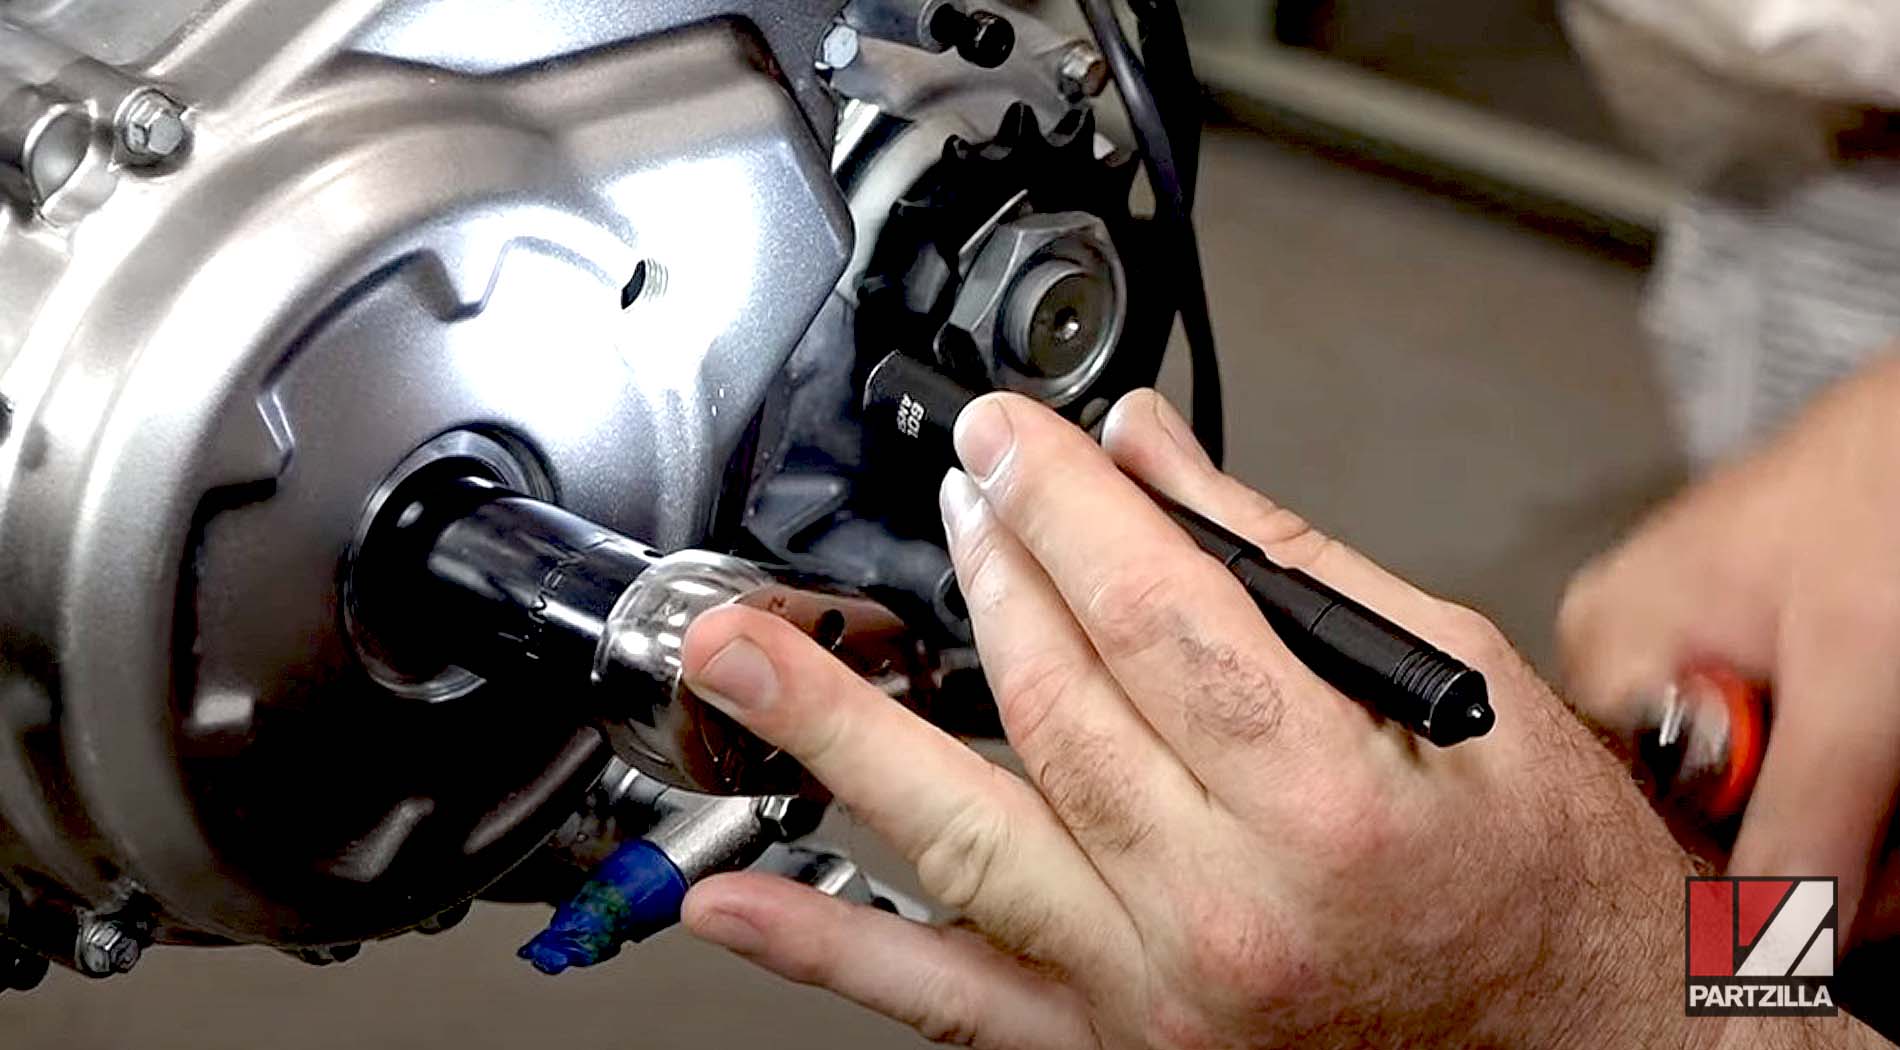
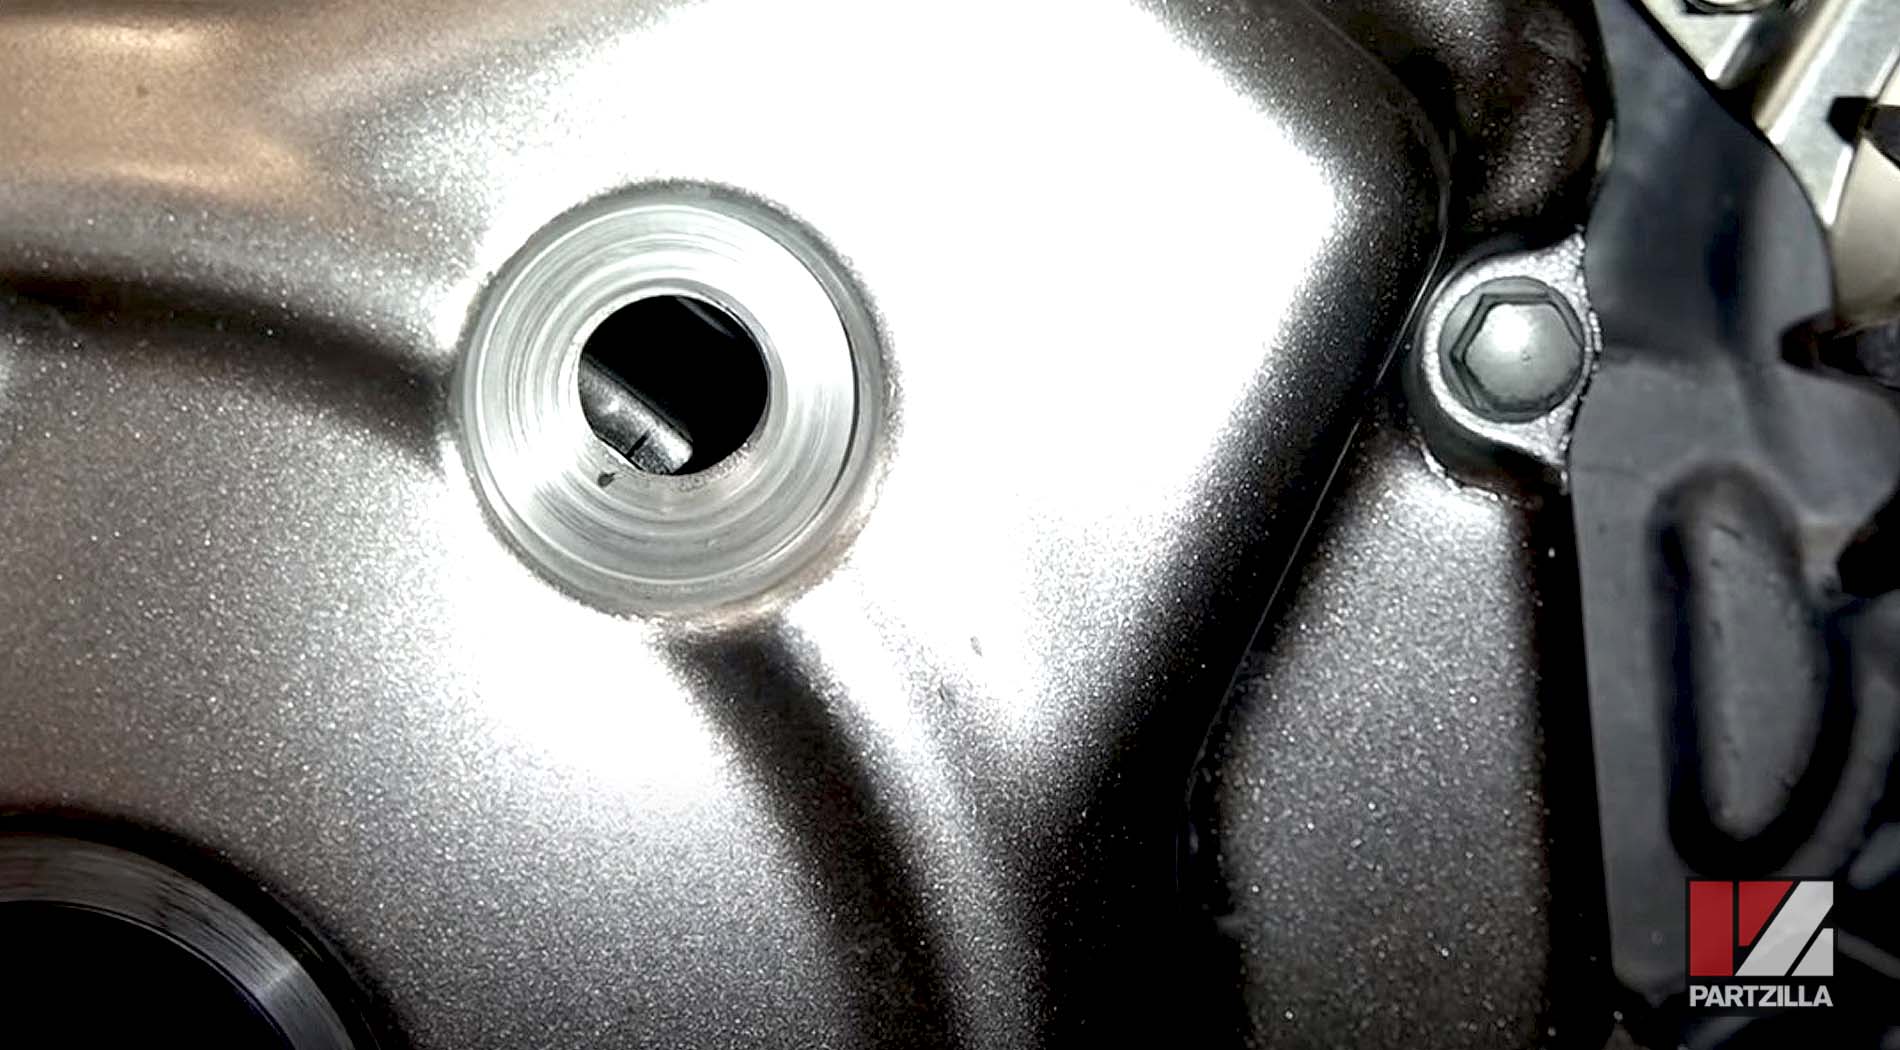
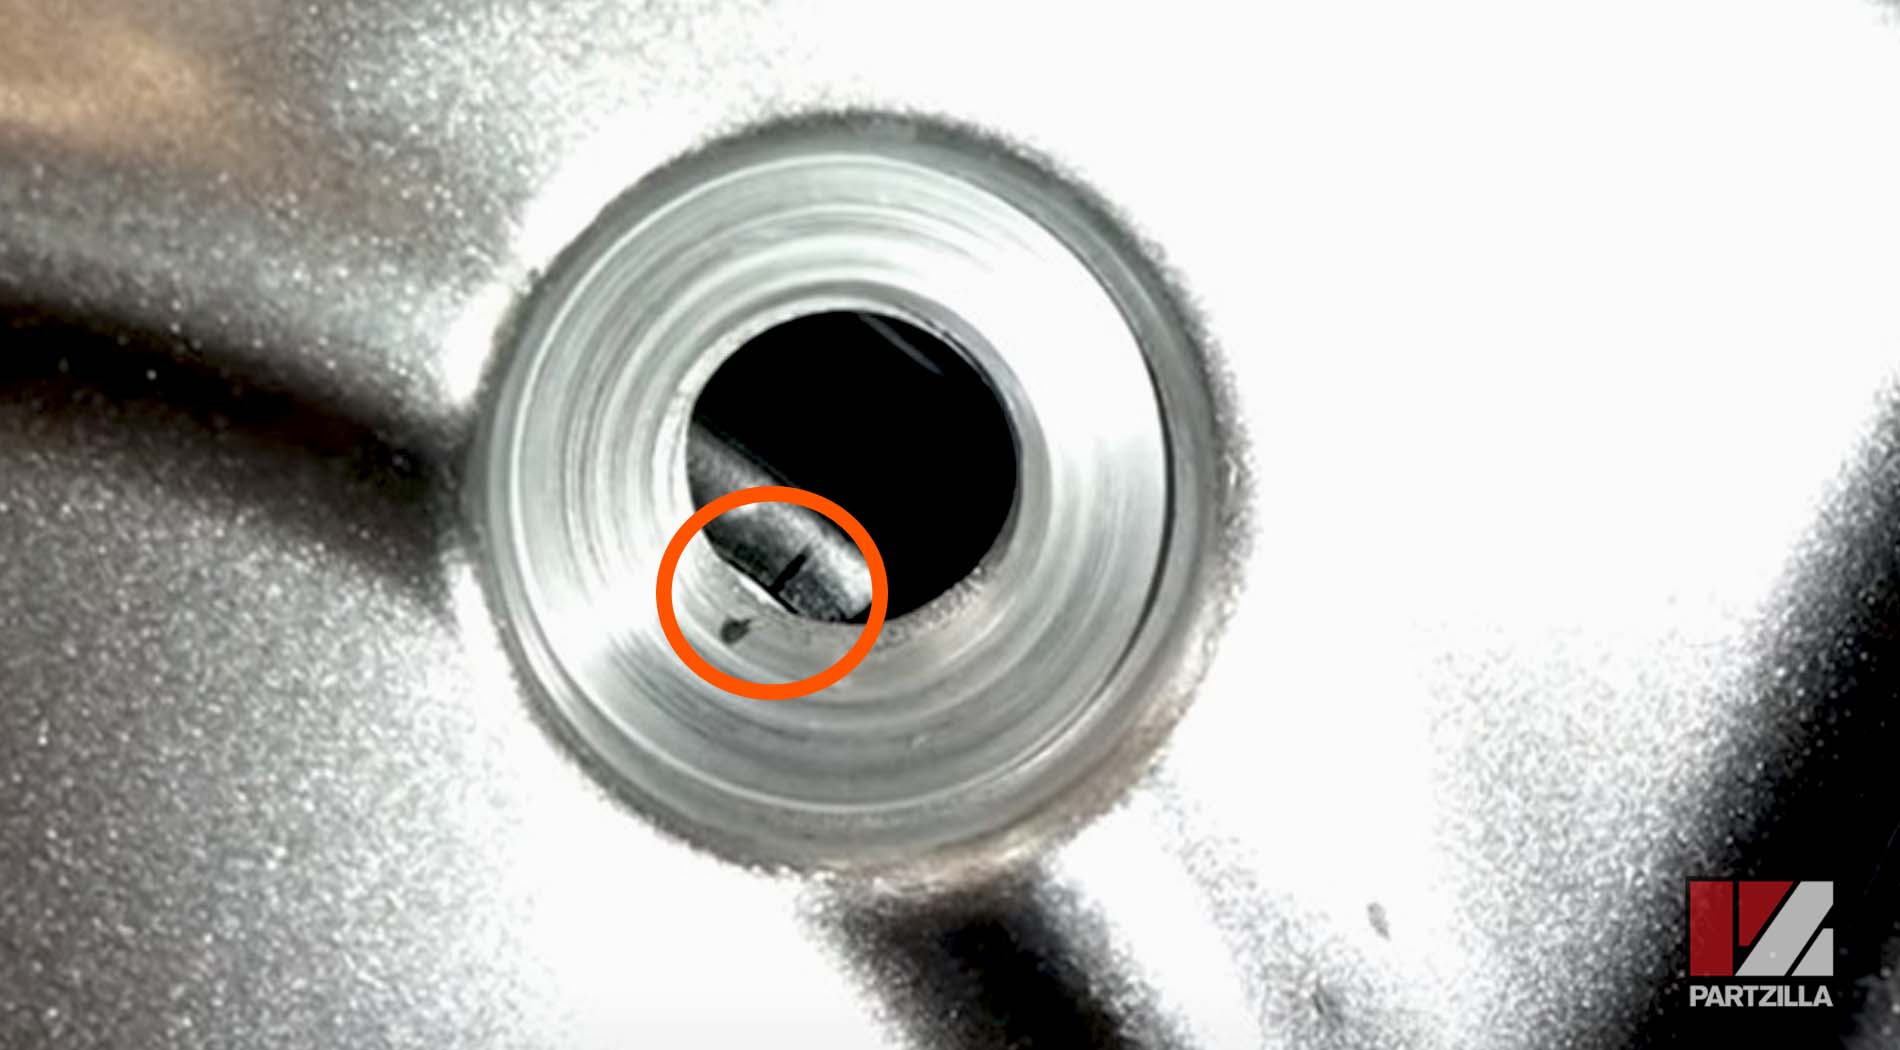
Step 1. Remove the crankshaft cover plug, and take off the flywheel inspection plug from the left side crankcase cover.

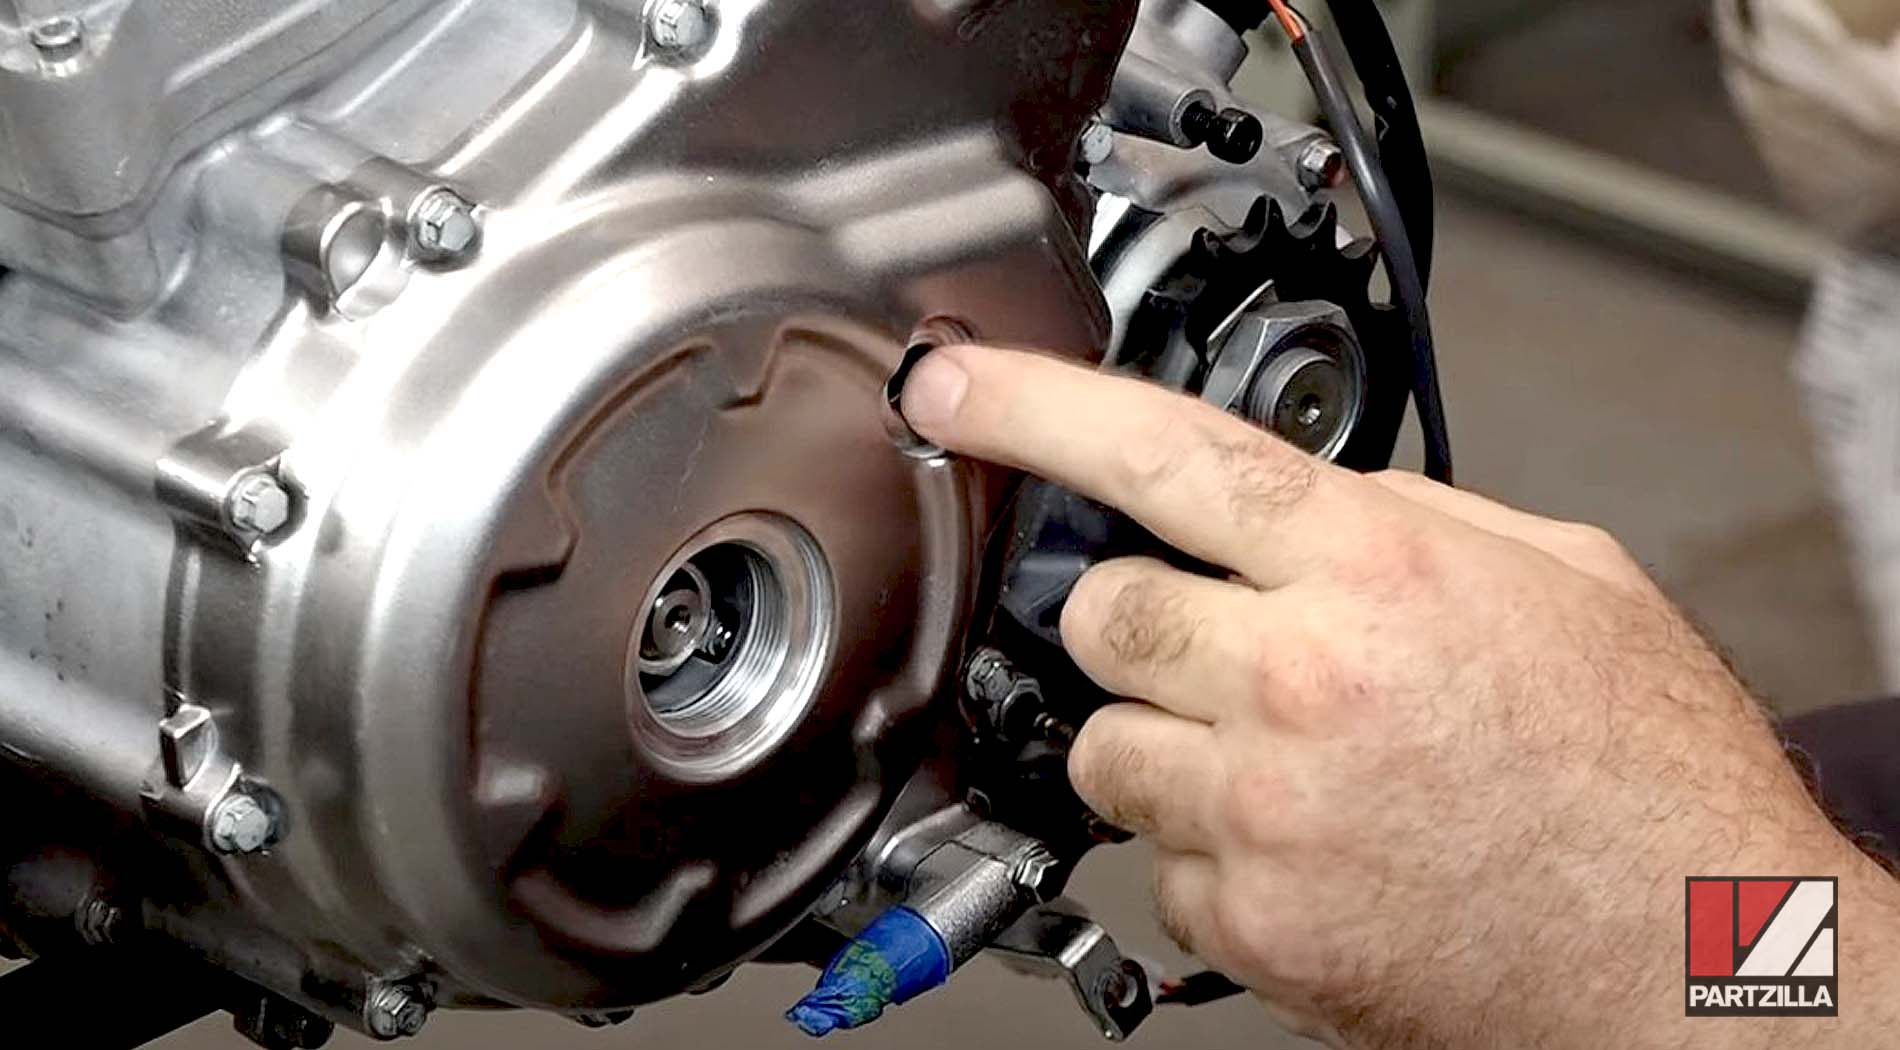
Step 2. Remove the two valve covers from the top of the cylinder head, then take off the side cover from the left side of the cylinder head.
How to Set Yamaha Raptor 700 Timing
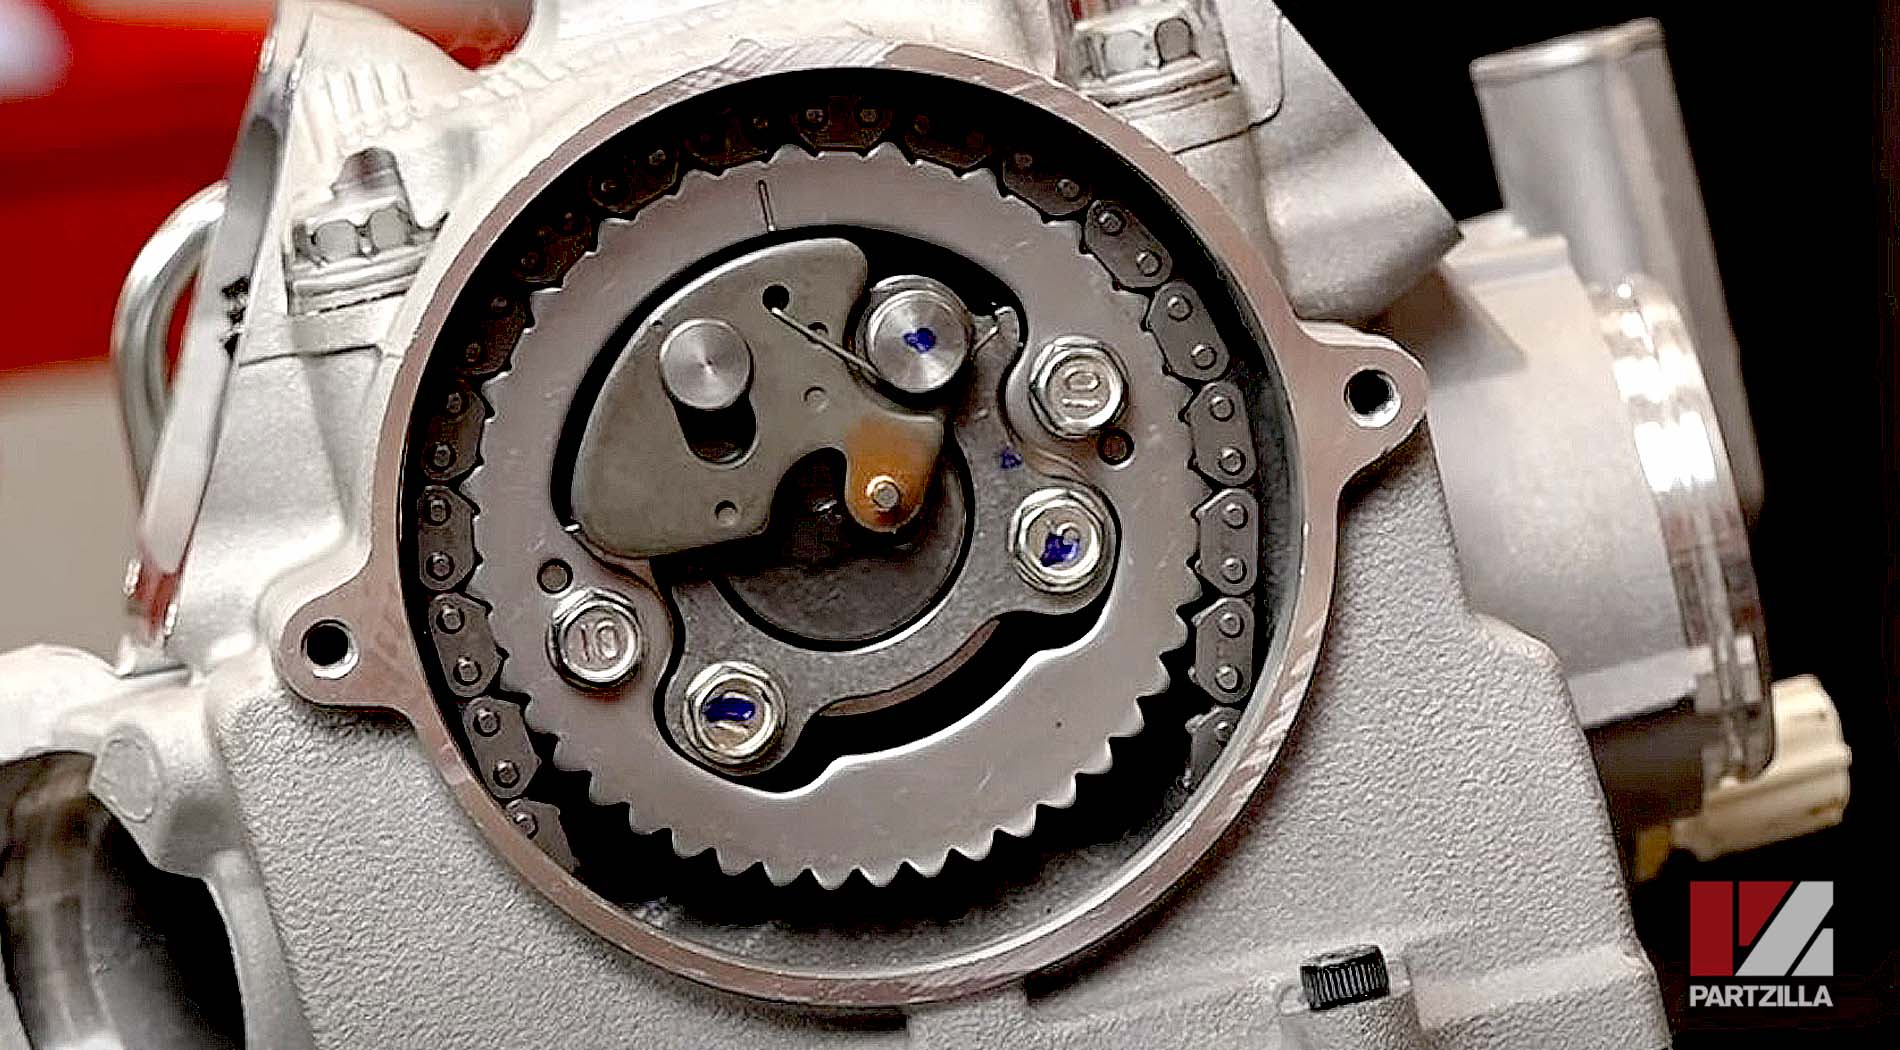
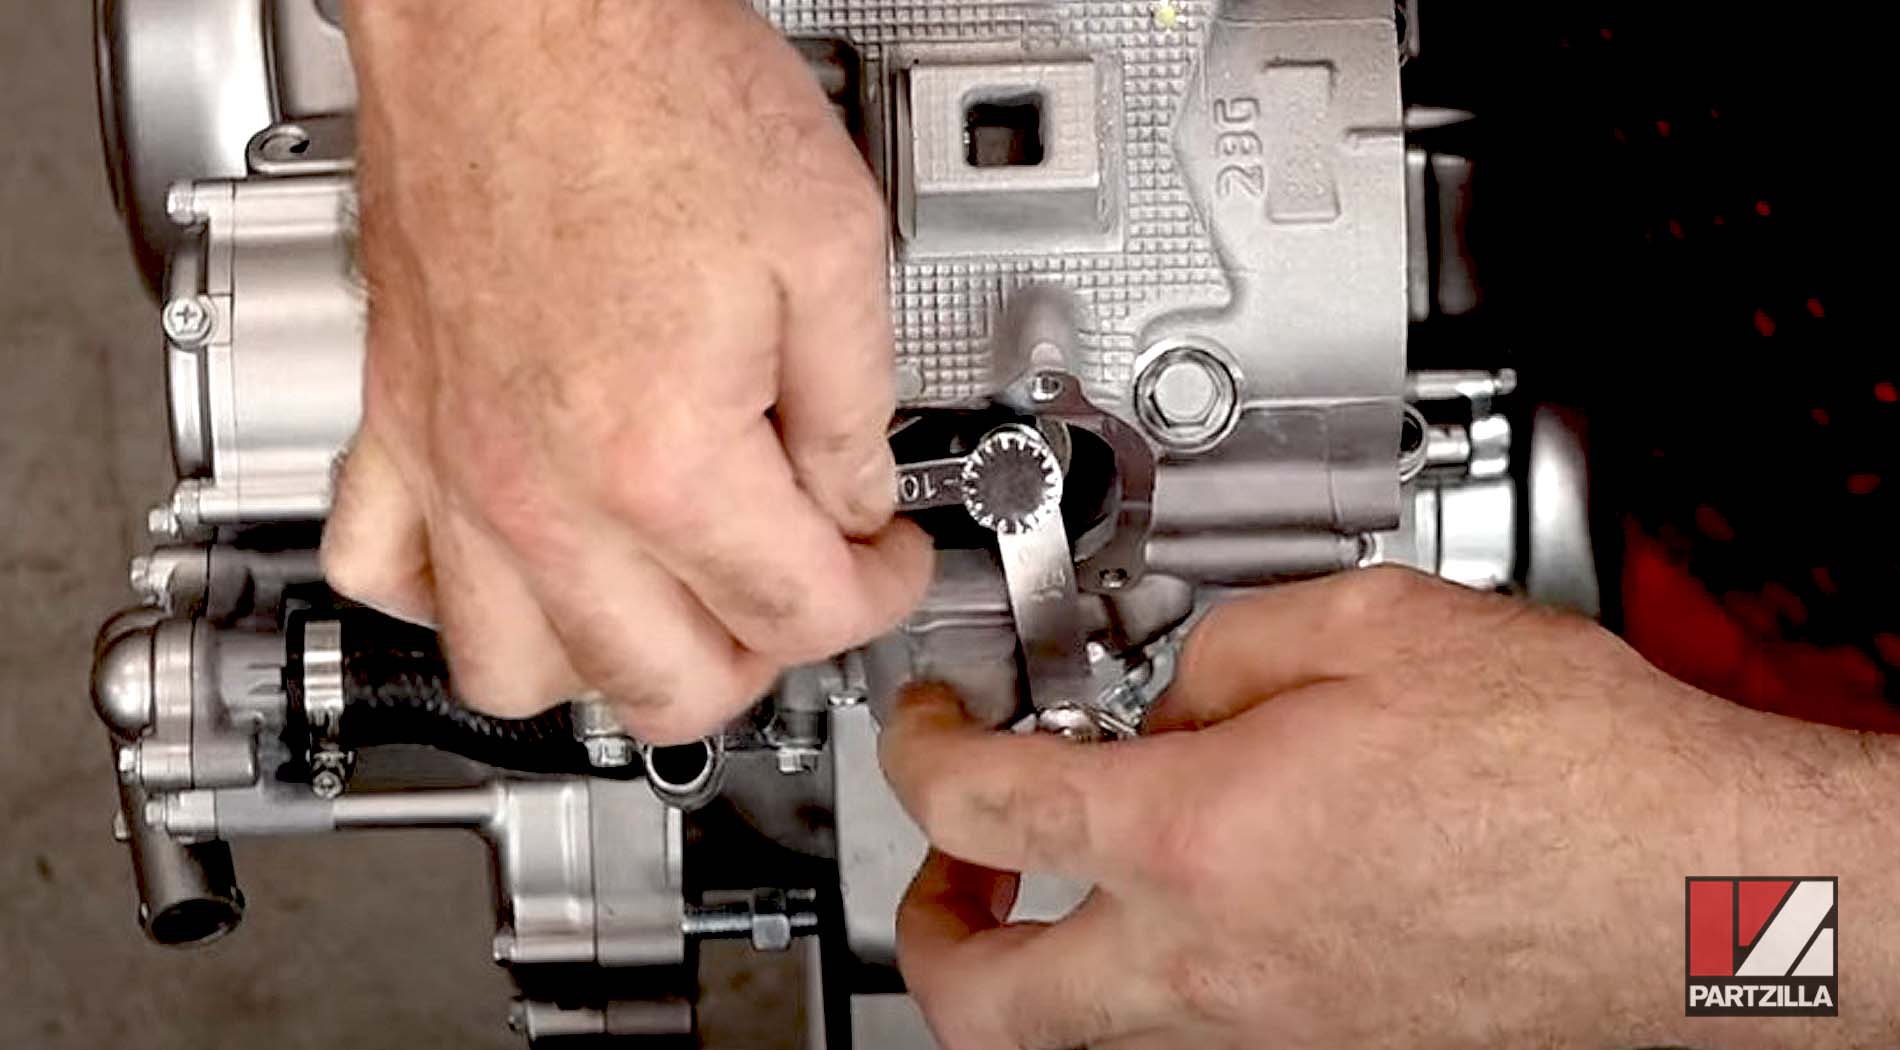
Step 1. Use a socket and ratchet to rotate the crankshaft counterclockwise until the timing mark on the flywheel lines up with the mark beside the inspection window in the crankcase cover.
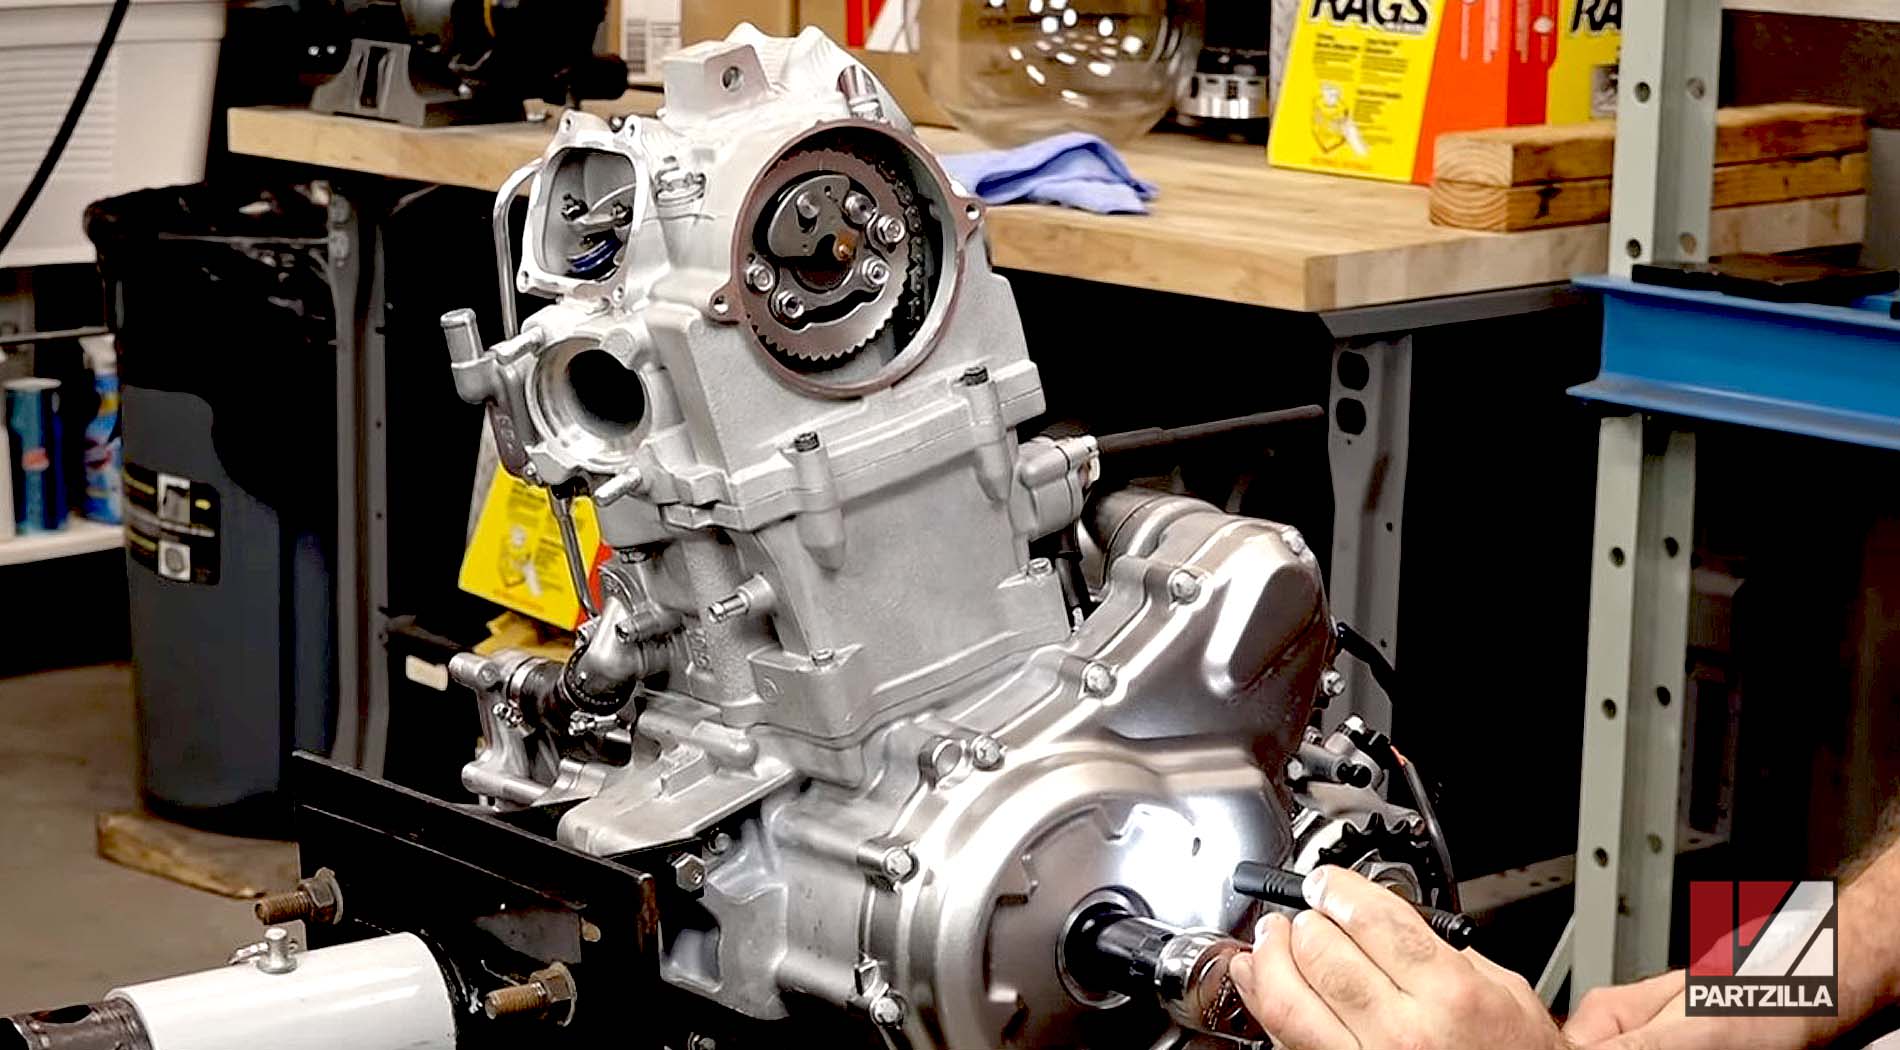
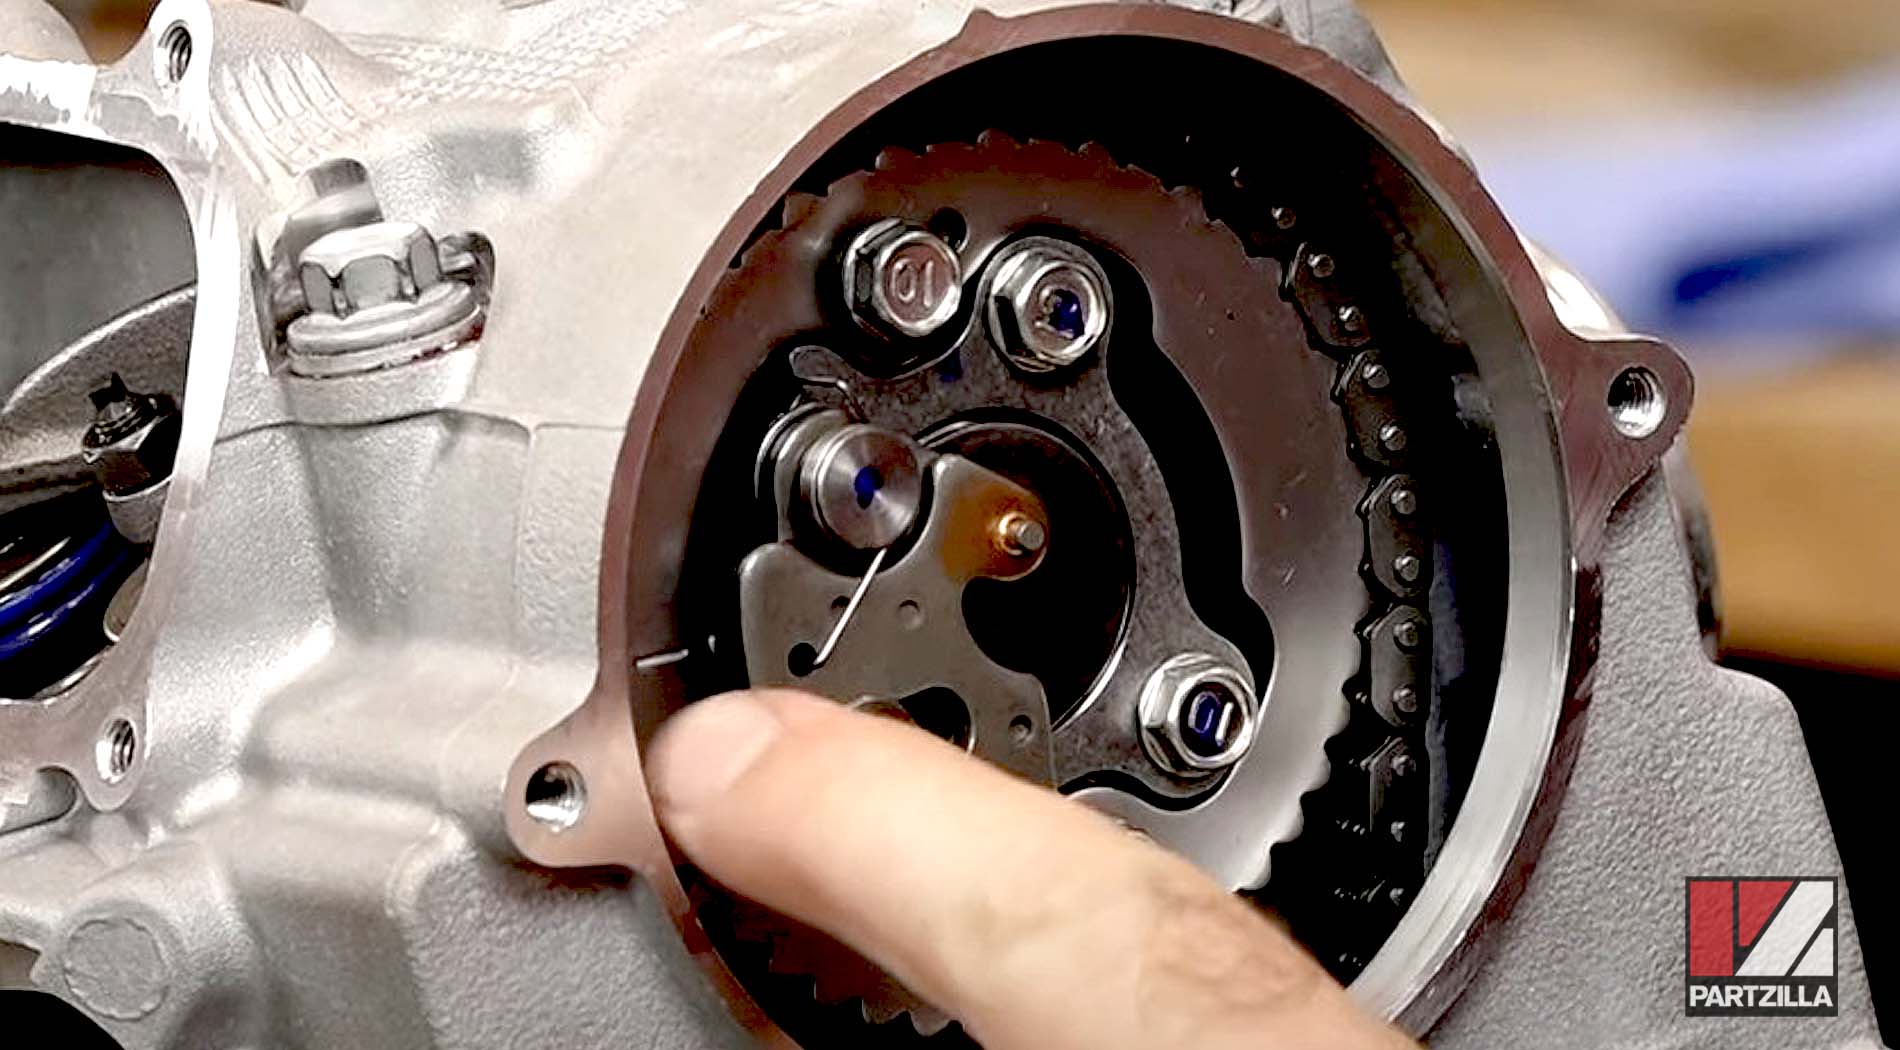
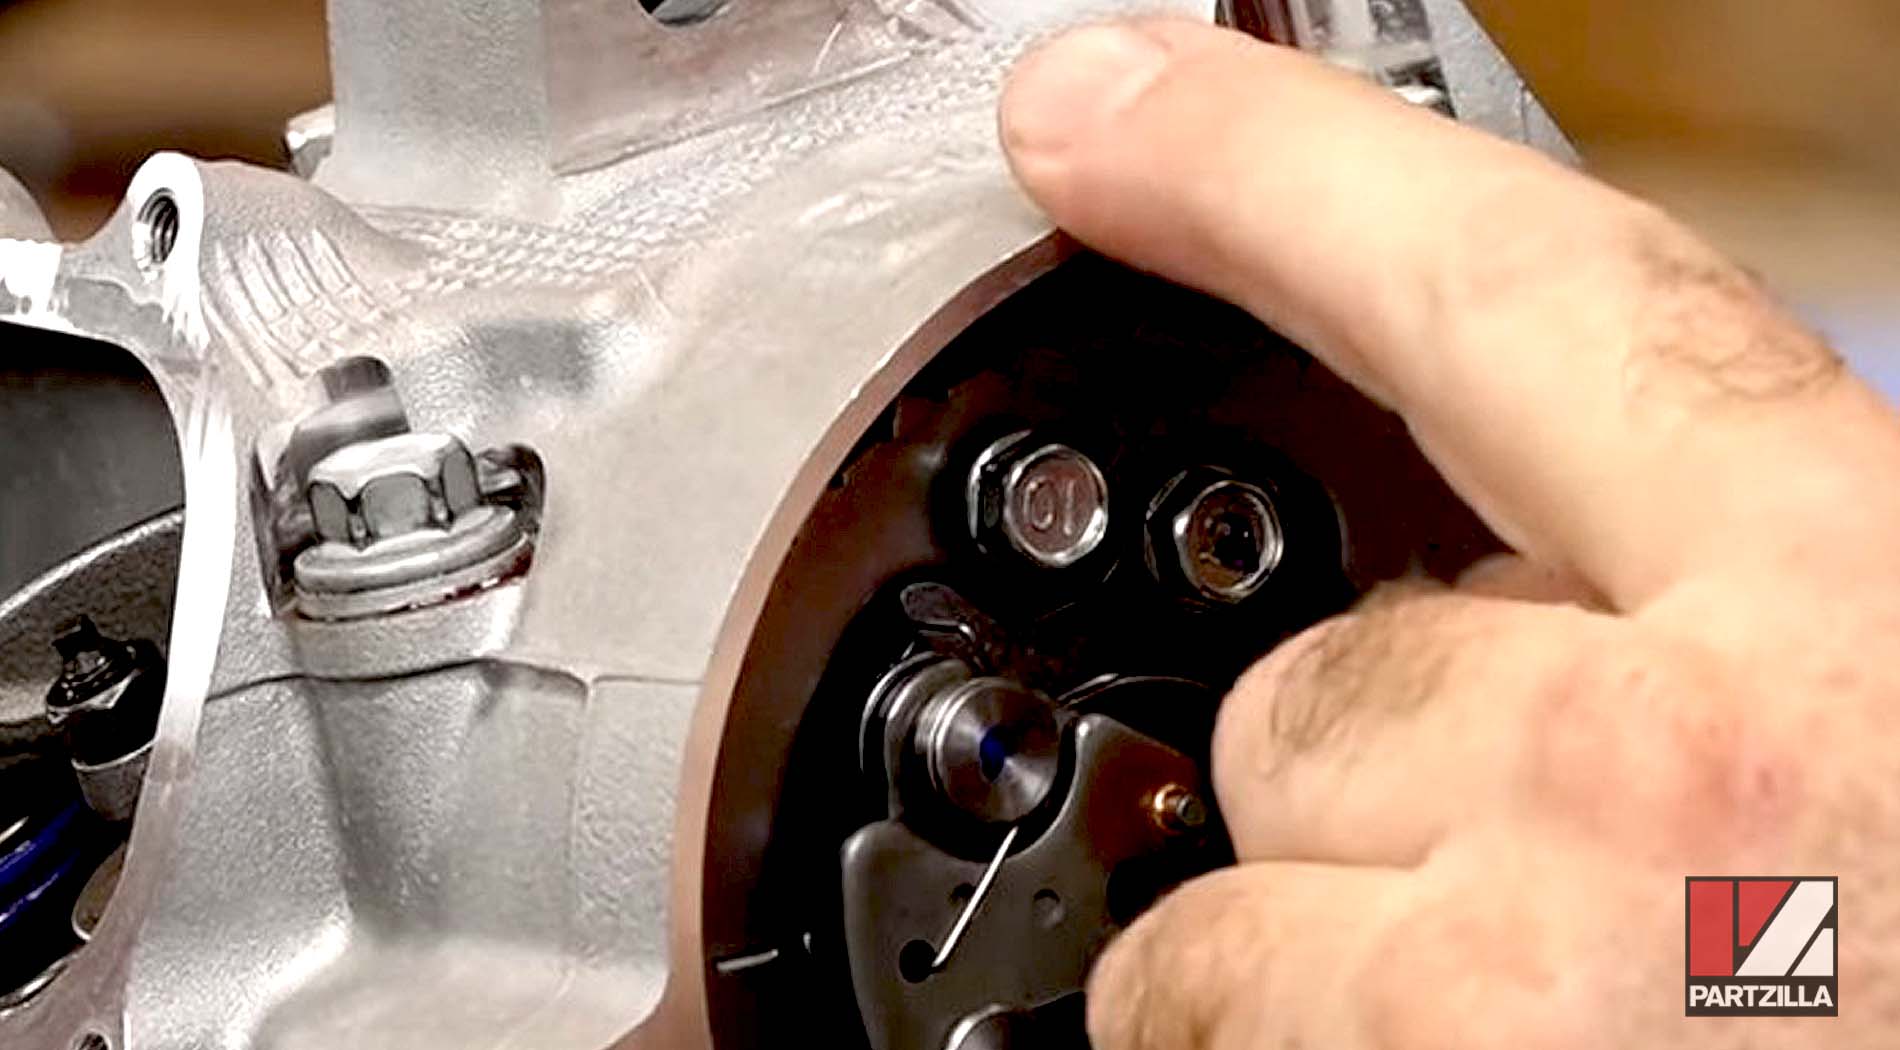
Step 2. Check whether the mark on the cam chain sprocket is at the top or bottom. If the mark is facing upward, the timing is now set at top dead center and you can now adjust the valve clearances. However, if the mark is facing downward, continue rotating the crankshaft until the timing mark is once again in the center of the inspection window, and the mark on the cam chain sprocket is at the top.
How to Adjust Yamaha Raptor 700 Valve Clearance
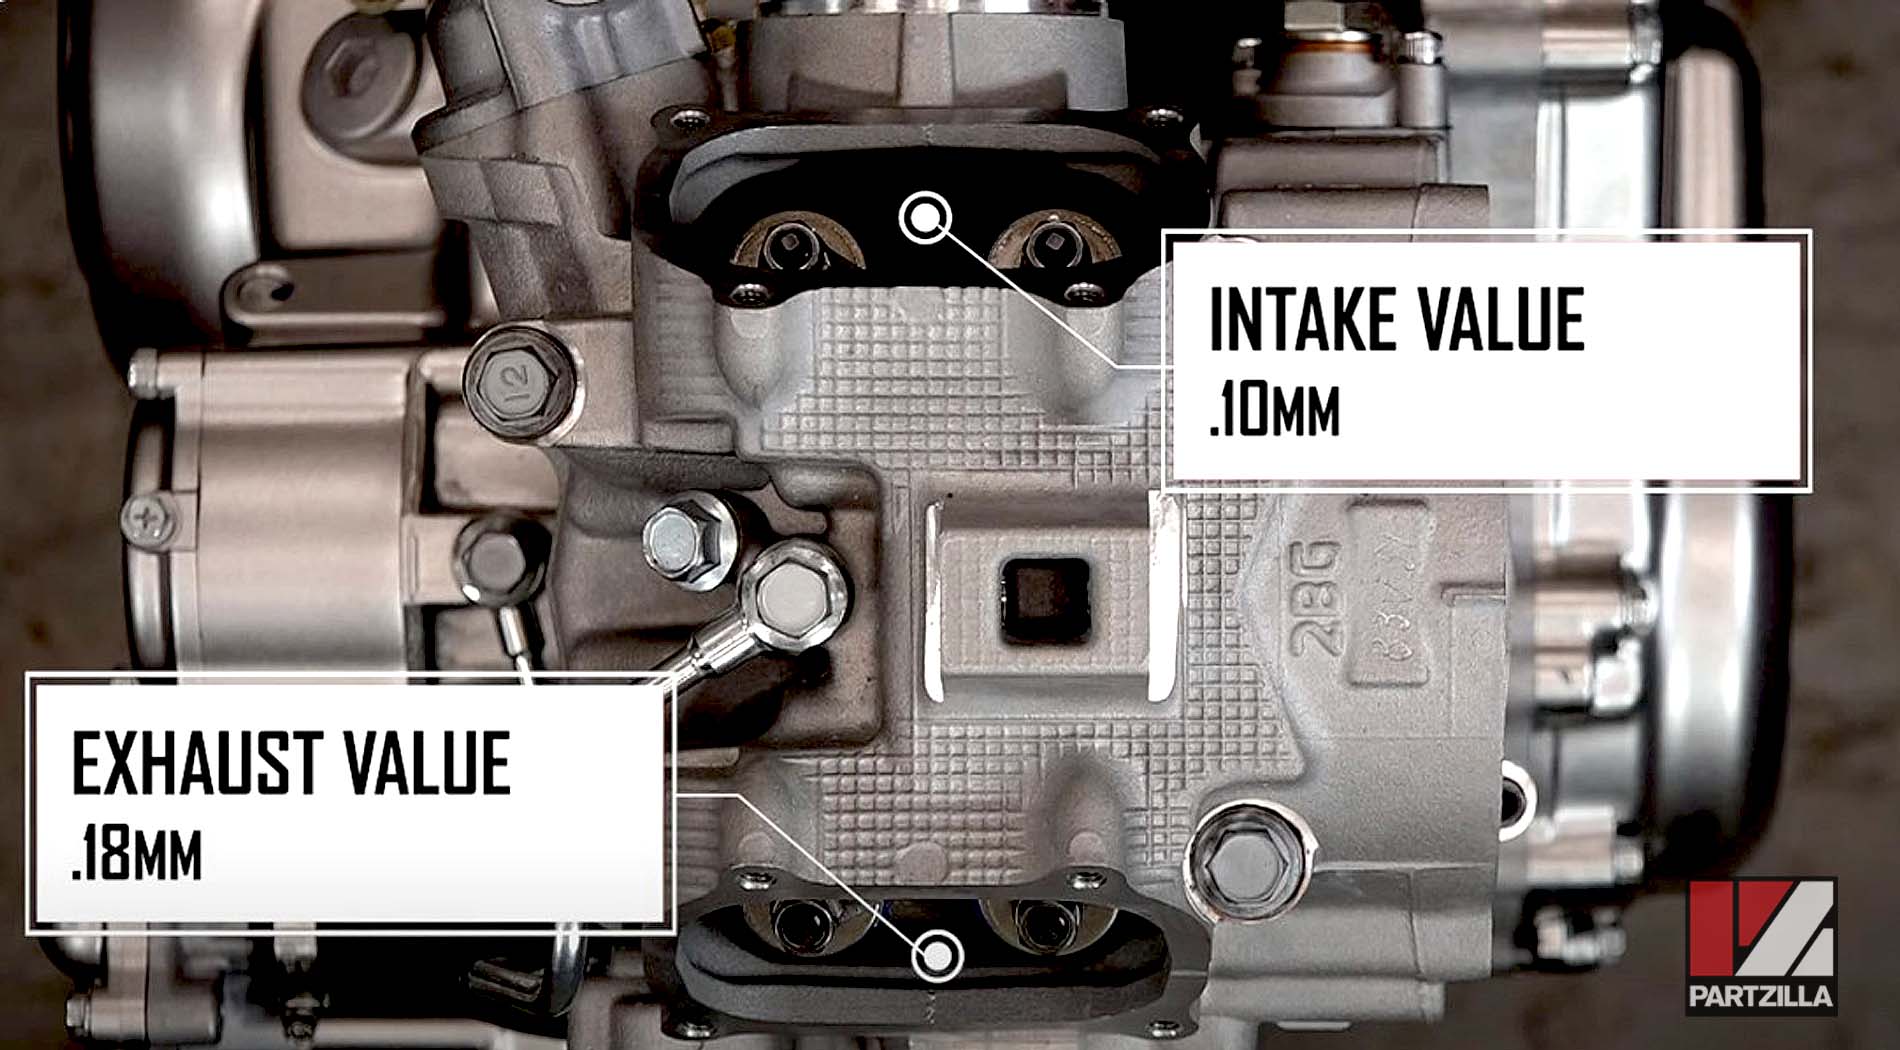
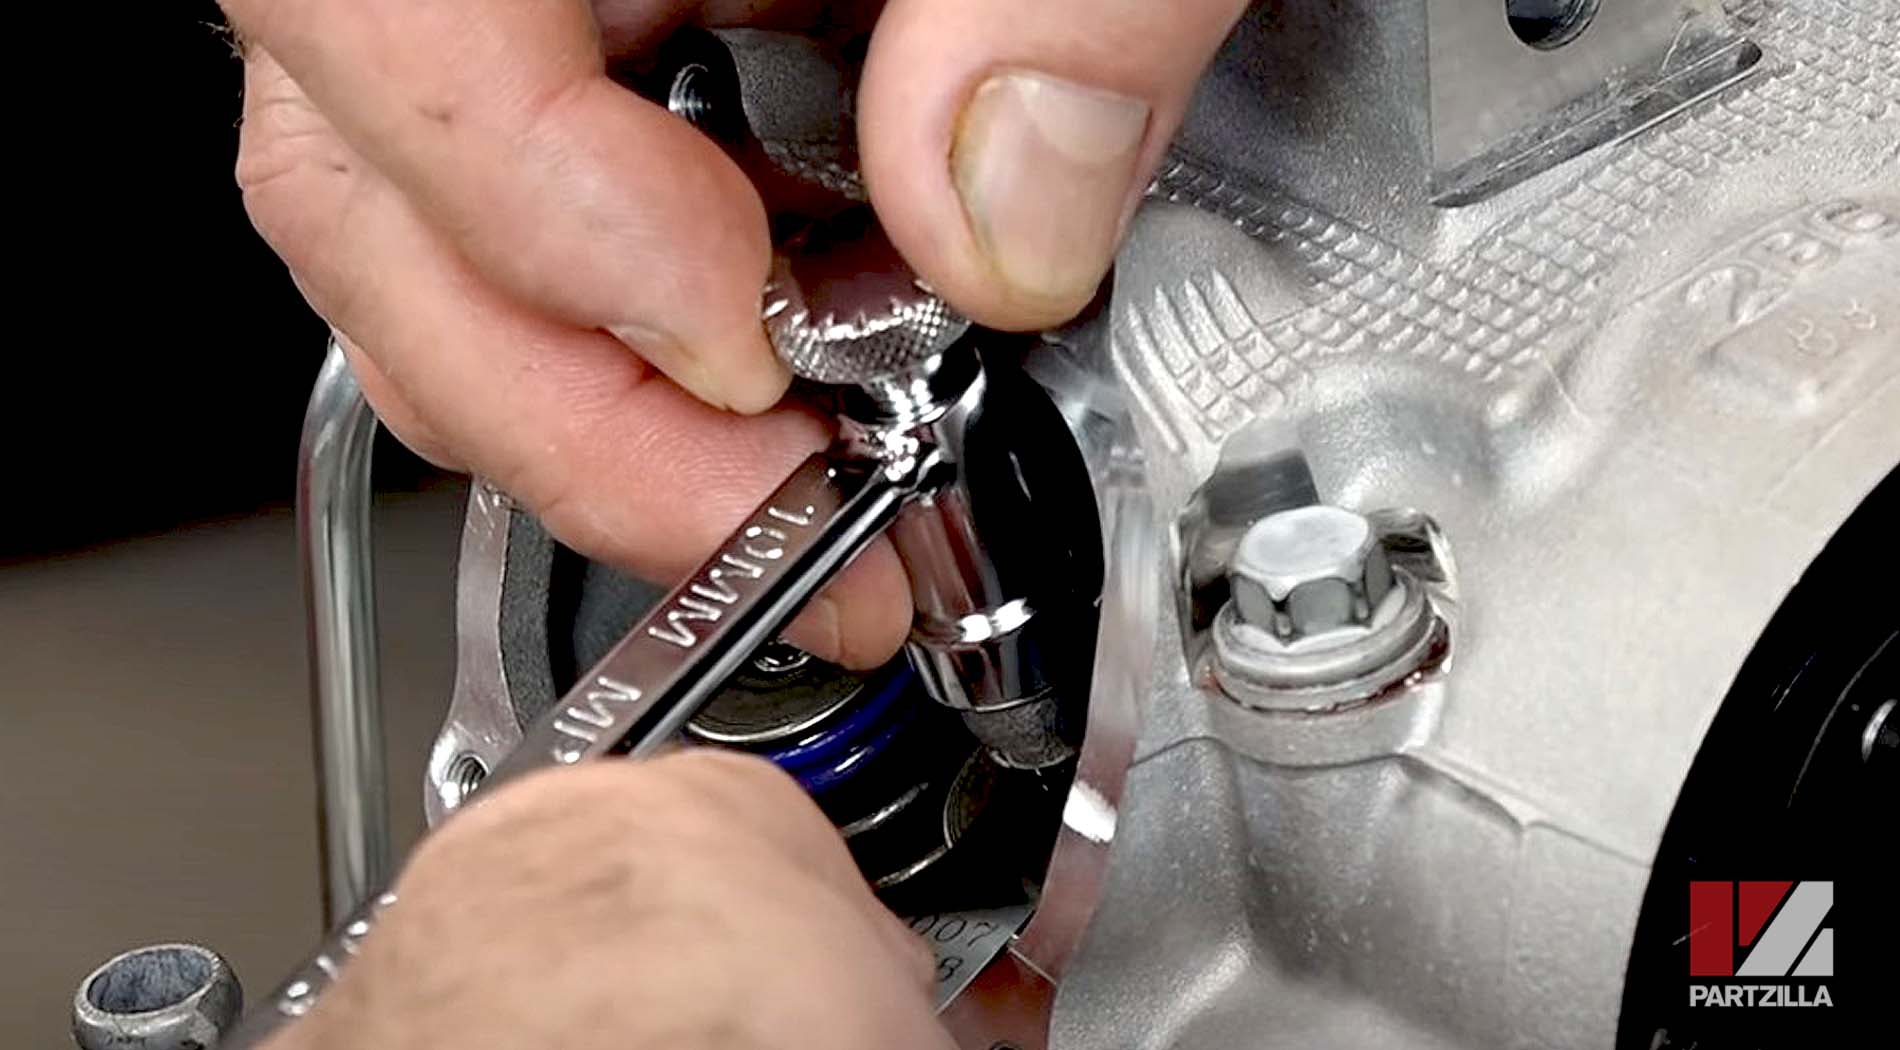
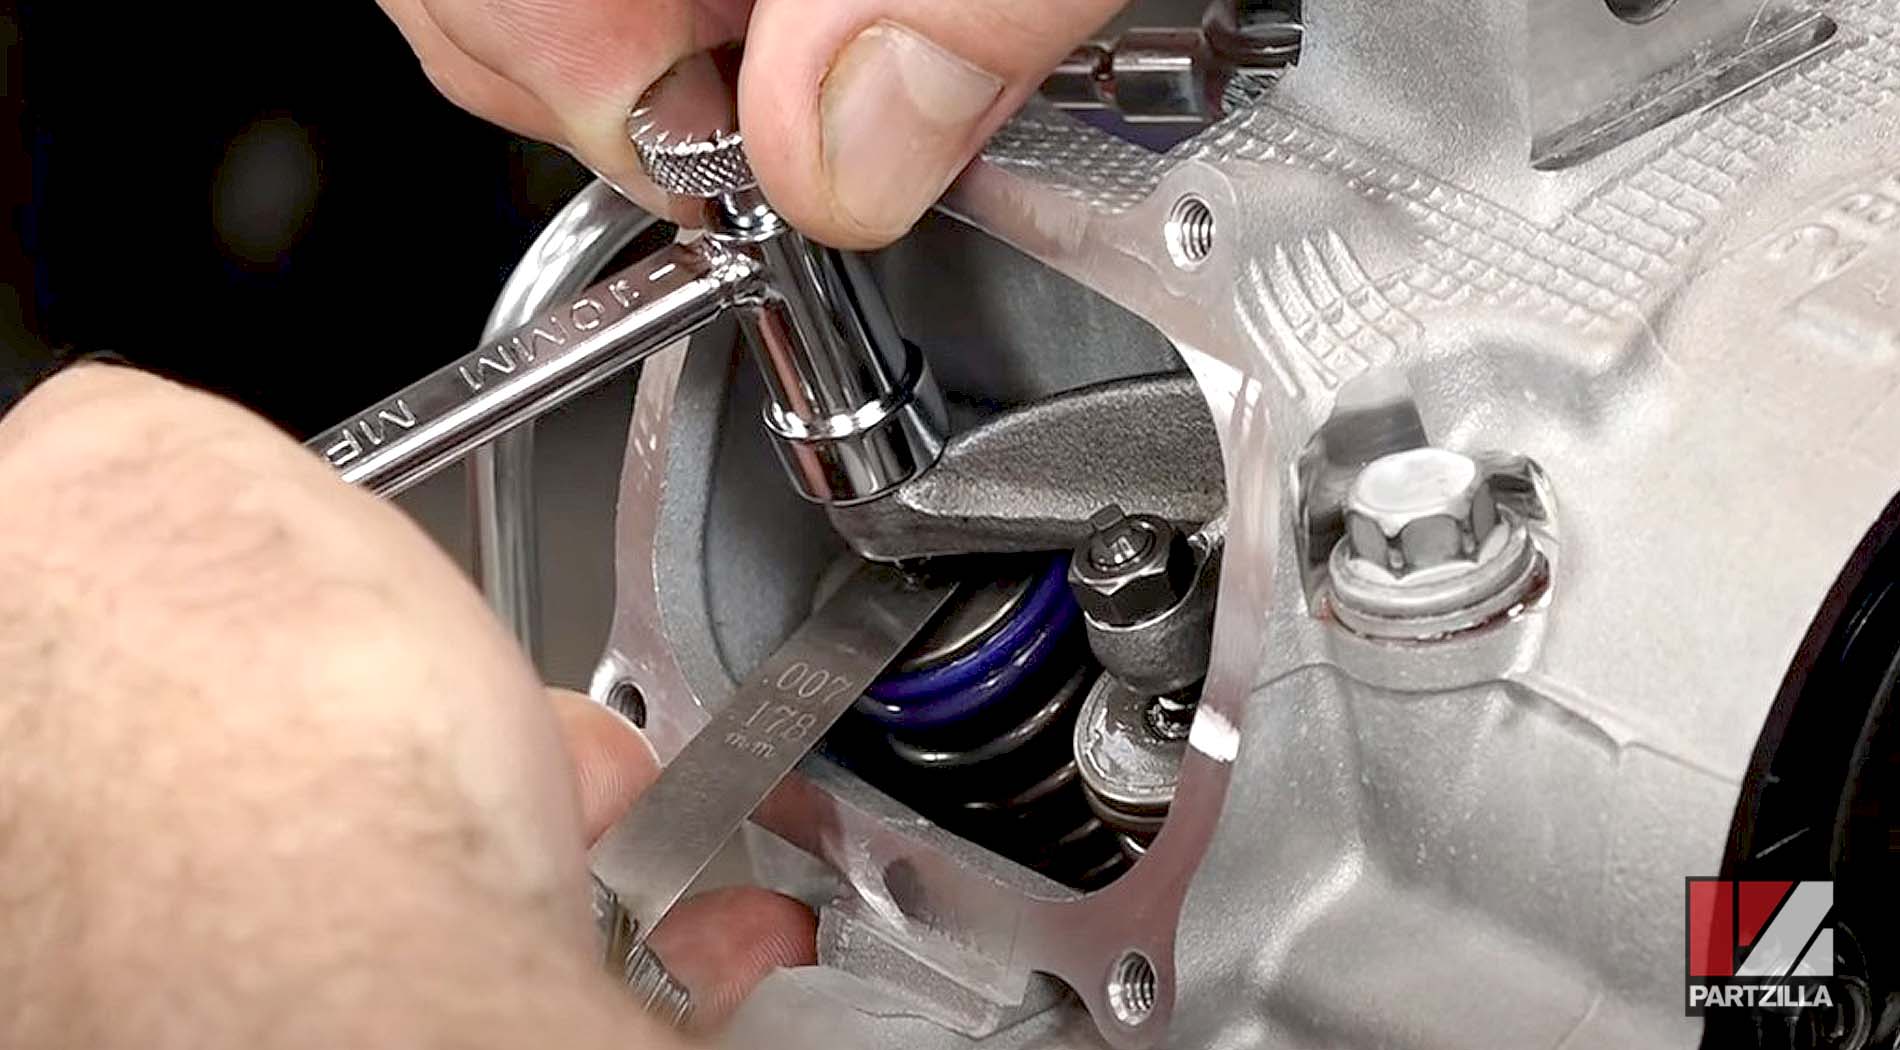
Step 1. Loosen the lock nuts on top of the intake valves, then place a 0.10 mm feeler gauge between the valve rocker arm and the valve head to adjust the clearance on both intake valves at 0.10mm, which is the proper setting for the Yamaha Raptor 700R.
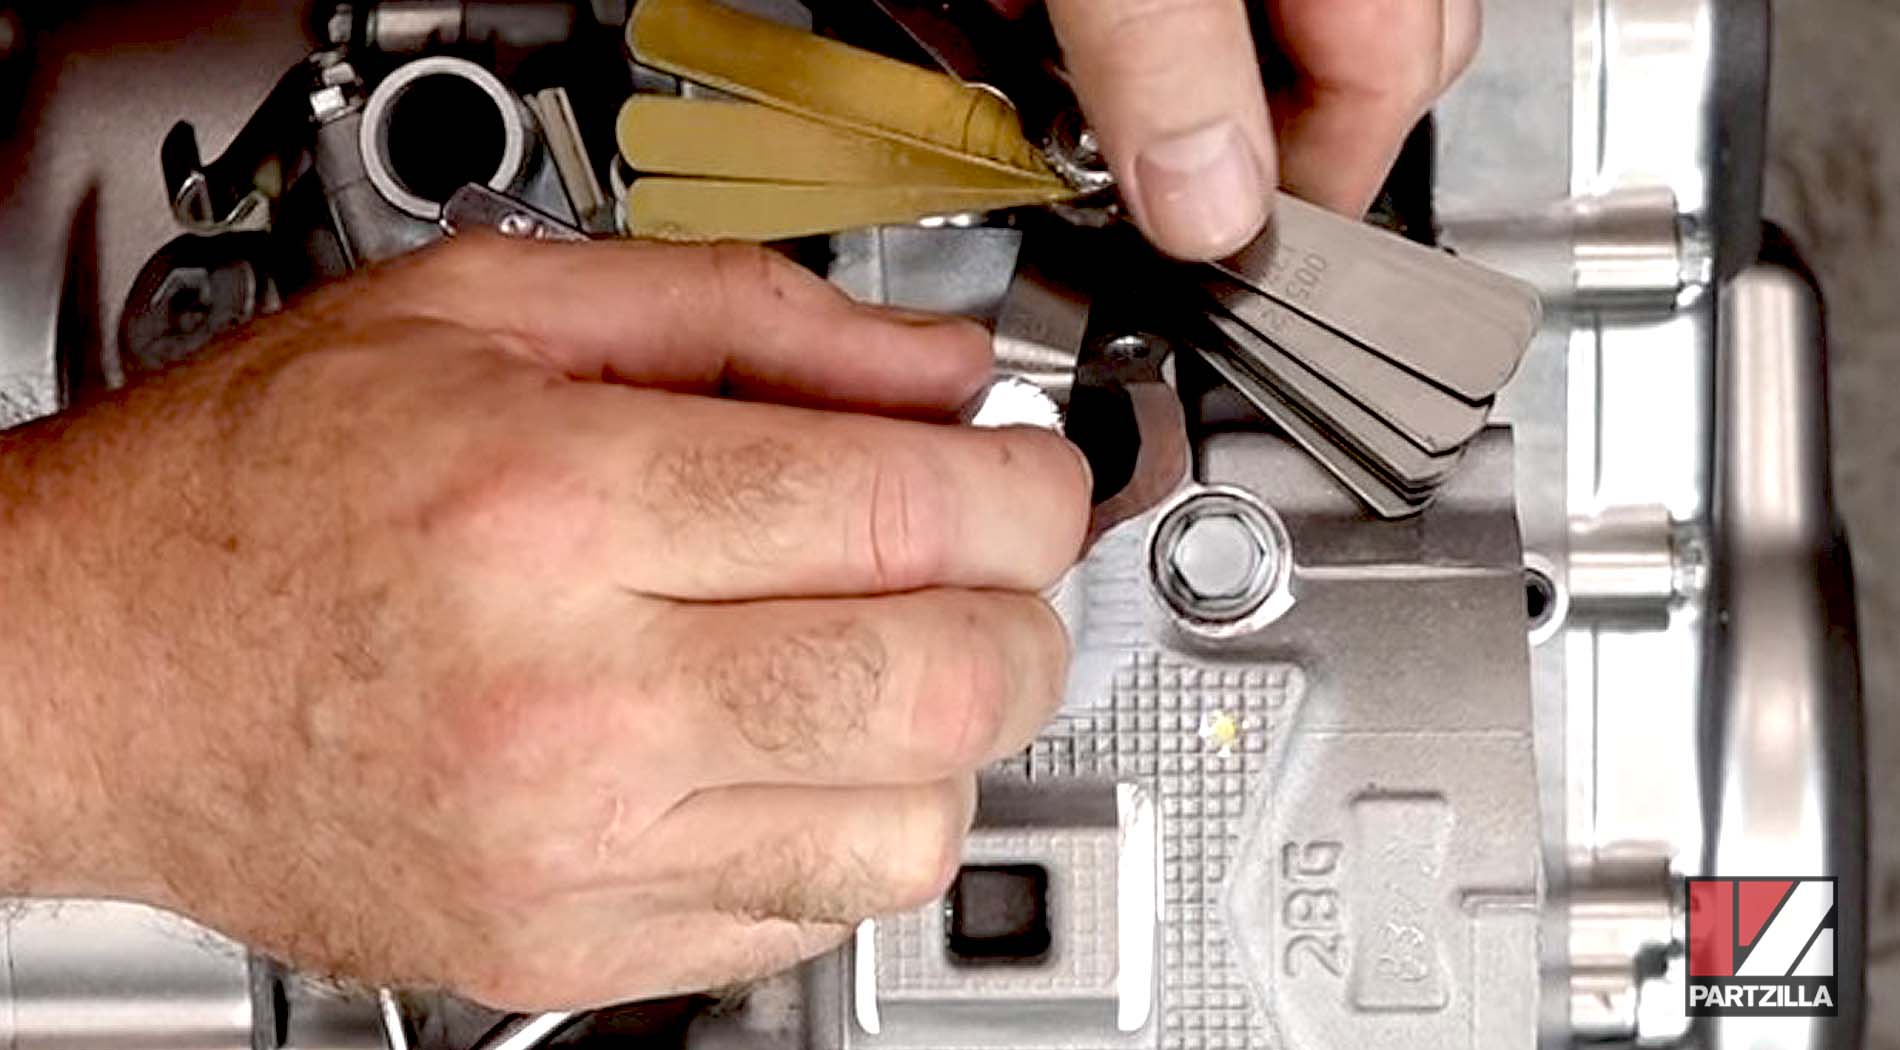
Use the valve tappet adjustment wrench to carefully tighten the valve adjustment screw at the top of the valve until the valve gap just begins to snag on the feeler gauge. You should feel a slight resistance against the feeler gauge when the gap is set correctly.
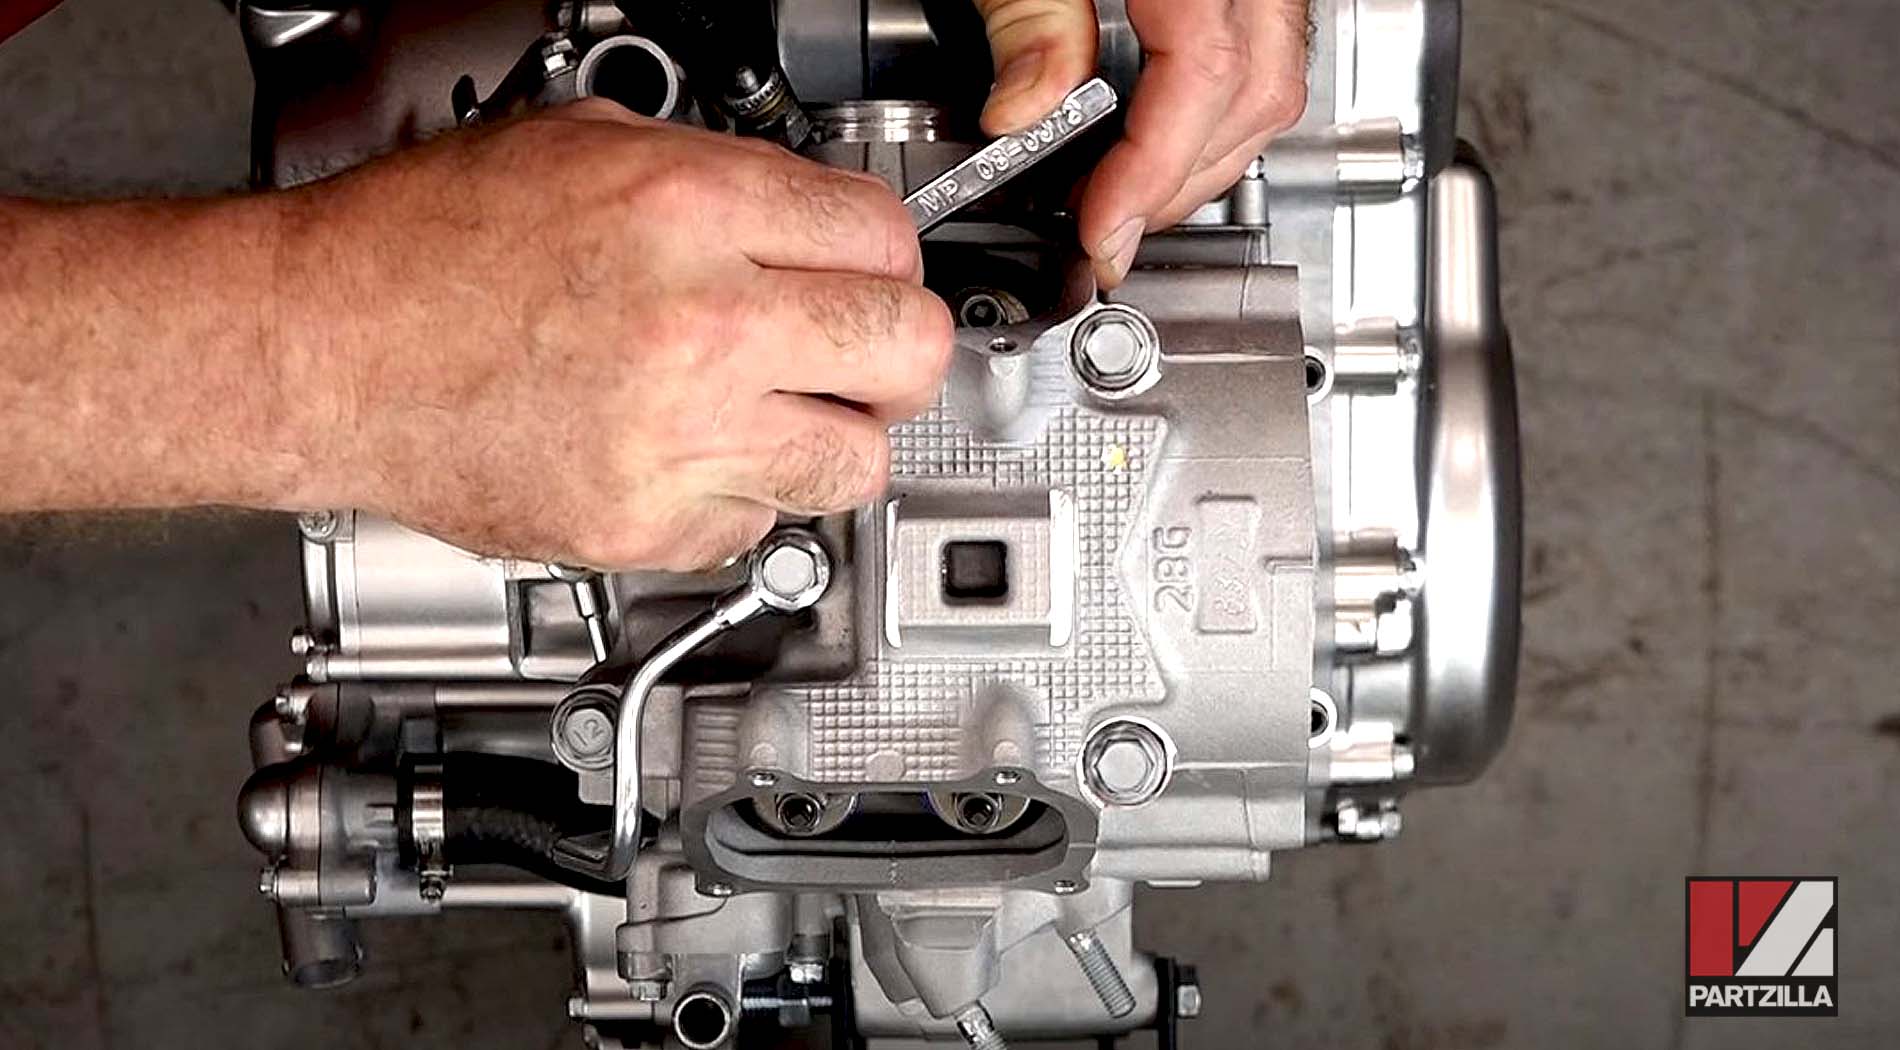
Hold the adjustment wheel on the valve tappet adjustment wrench in place and tighten the valve lock nut. Check that the valve gap is still correct, and adjust if needed.
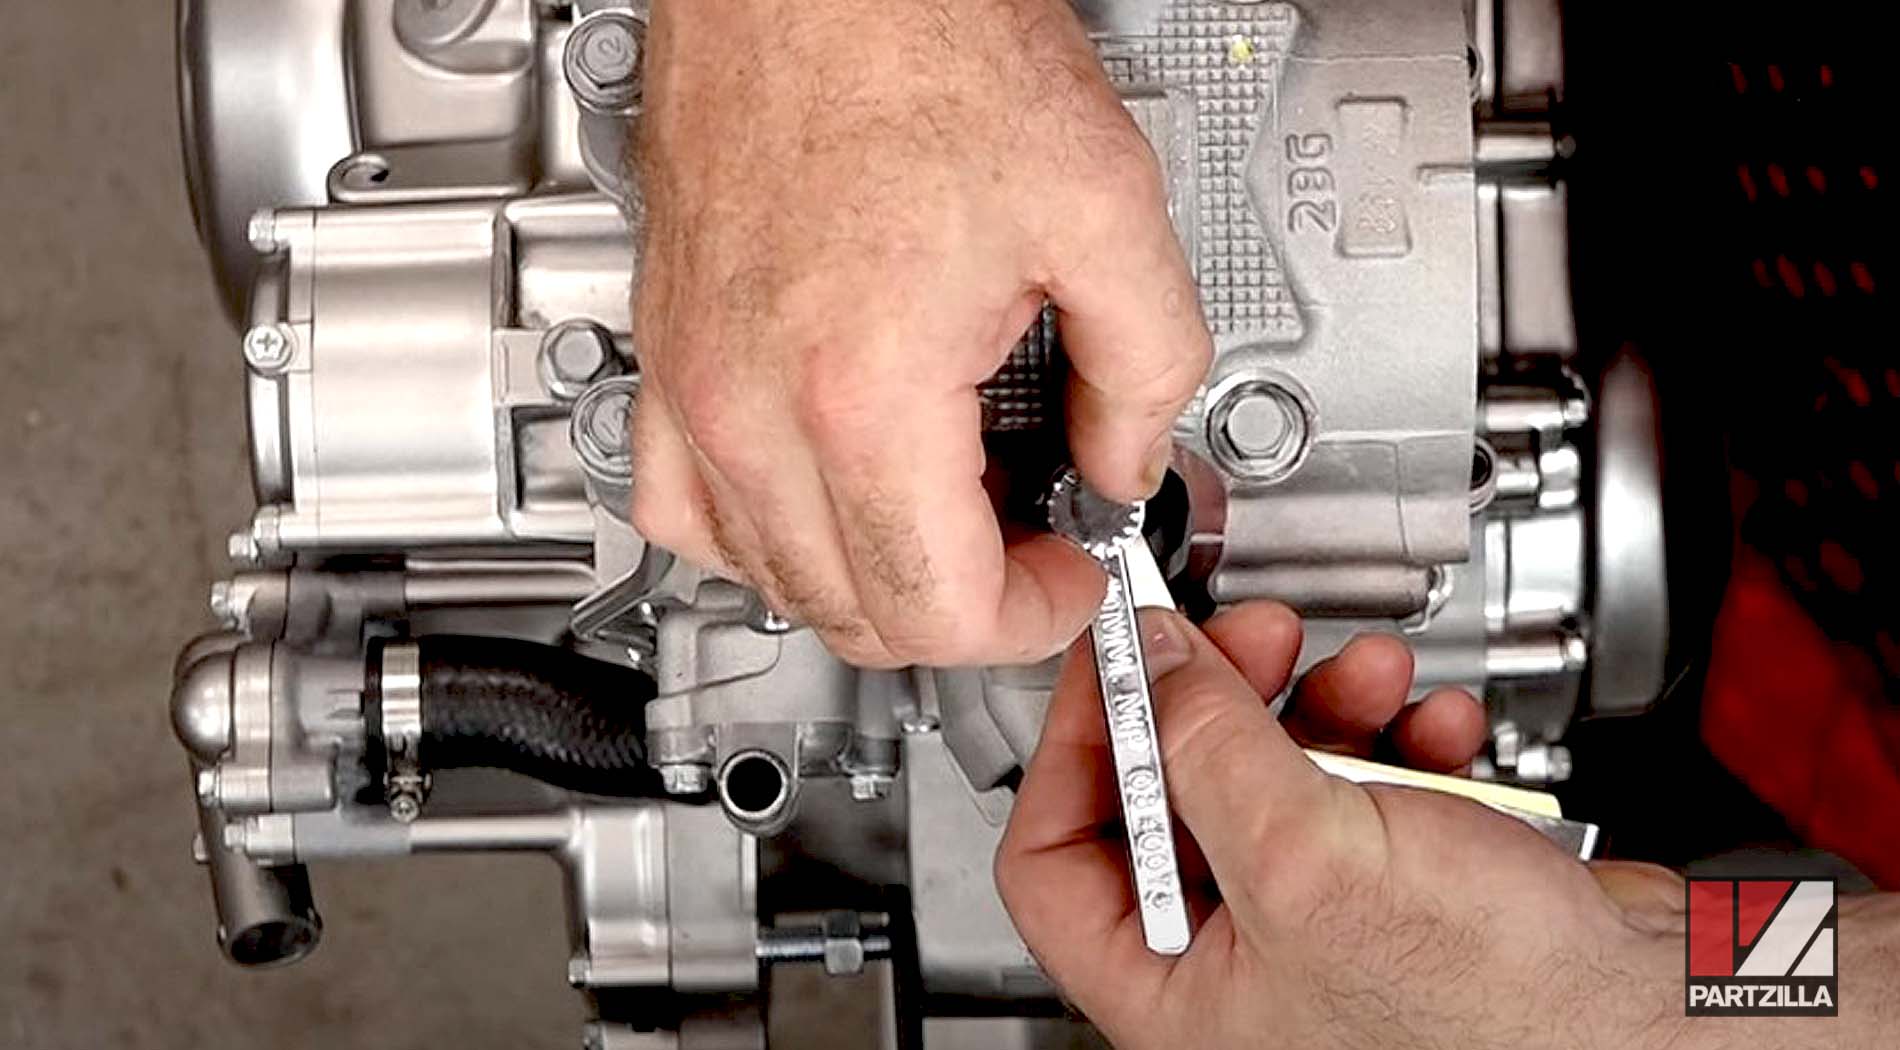
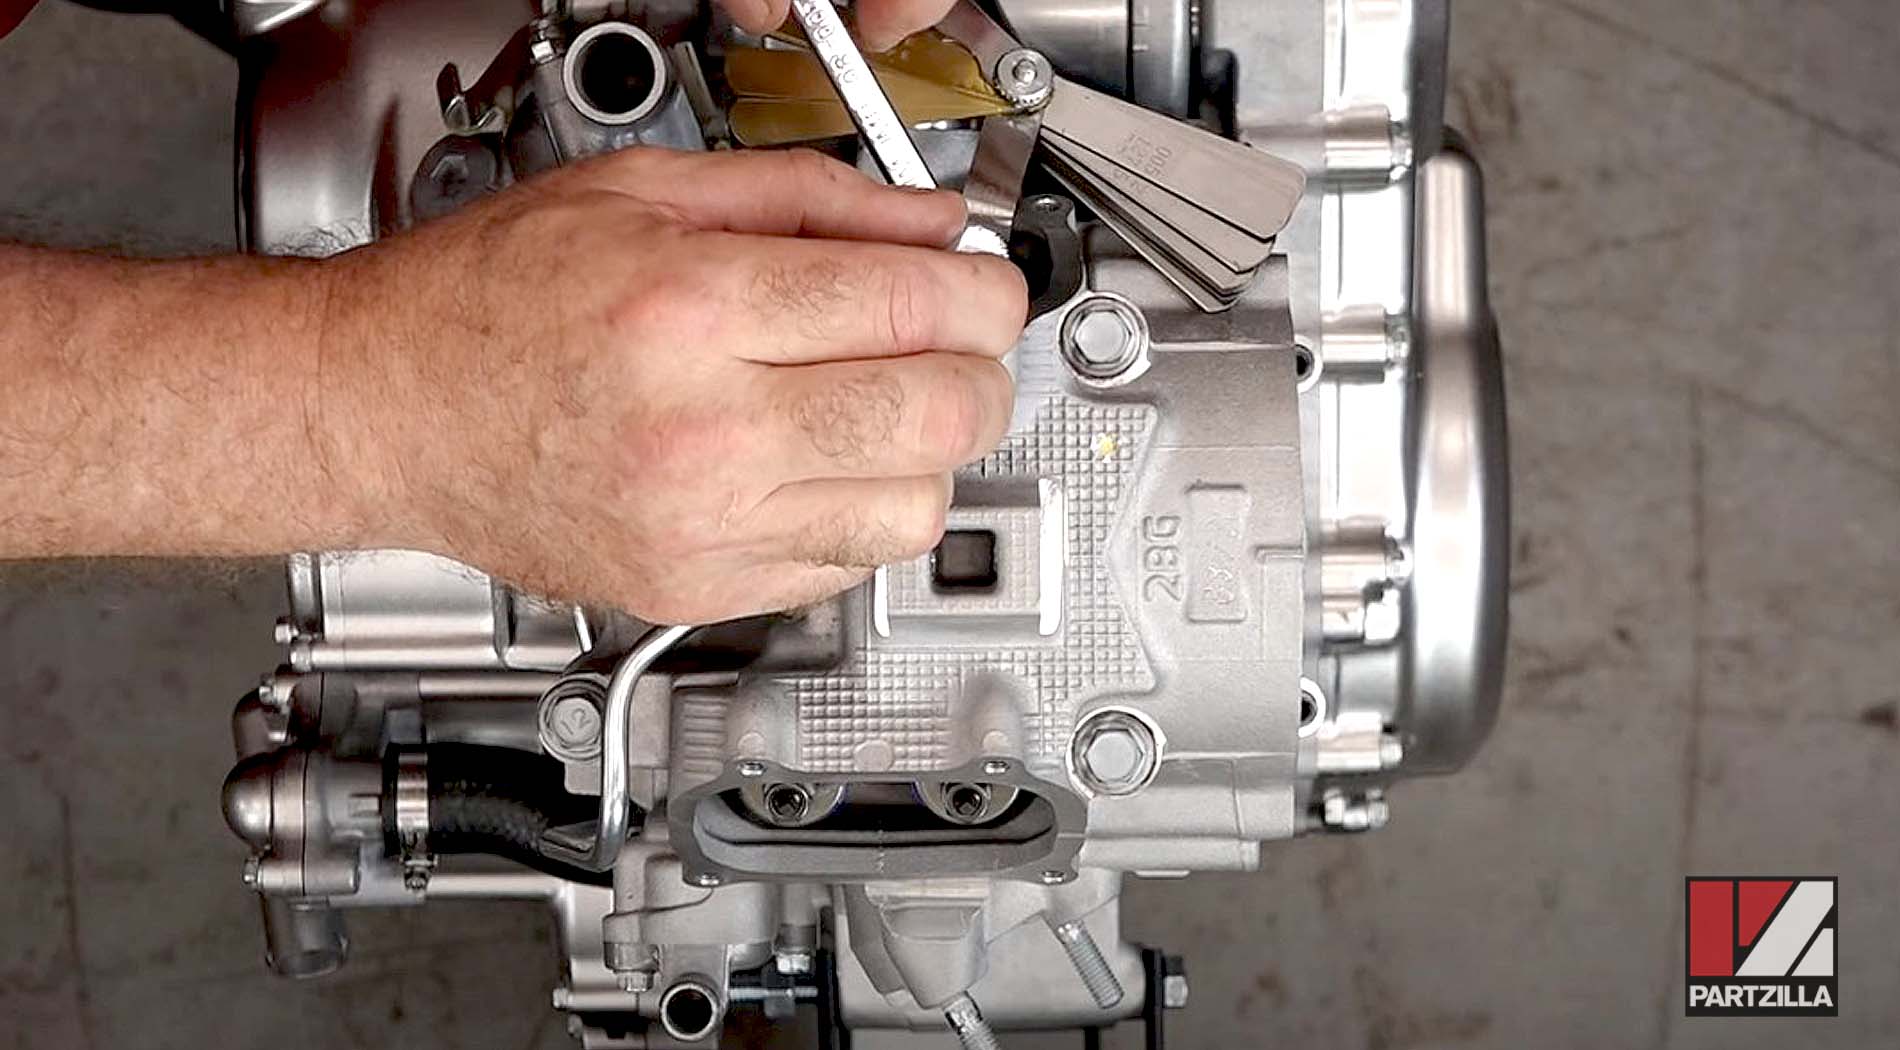
Step 2. Loosen the lock nuts on top of the exhaust valves, then place a 0.18mm feeler gauge between the valve rocker arm and the valve head to adjust the exhaust valve clearance at 0.18mm, which is the proper setting for the Yamaha Raptor 700R.
Use the valve tappet adjustment wrench to tighten the valve adjustment screw until the valve gap just begins to snag on the feeler gauge, then tighten the valve lock nut while holding the adjustment wheel on the valve tappet adjustment wrench, and check that the valve gap is still correct.
Step 3. Reinstall the two valve covers and the side cover back onto the cylinder head. Next, reinstall the crankshaft cover plug and flywheel inspection plug back onto the crankcase cover and you're done.
Setting the cam timing and adjusting the valve lash is only a part of our complete 700R ATV engine rebuild. Watch the video above to see how to install the camshaft and the valves on a Yamaha Raptor.