How to Replace Yamaha Raider Spark Plugs
Changing out the spark plugs on a 2008 Yamaha Raider is an easy maintenance job, but accessing the plus requires the removal of the fuel tank first.
Watch the video above or follow the steps below to see how to replace the old spark plugs in a Yamaha Raider with new factory spec Yamaha NGK spark plugs.
Tools and Parts - Yamaha Raider Spark Plug Replacement
- Ratchet and extensions
- Flathead and Philips screwdrivers
- T30 Torx screwdriver
- Hex wrench
- Needlenose pliers
- Allen wrenches
- Electrical tape
- Anti-seize lube
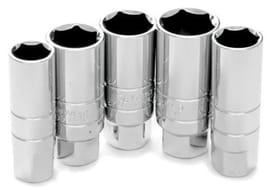
- Spark plug socket
- Spark plugs (x4)
Yamaha Raider Spark Plugs Change Steps
Step 1. Remove the seat from the motorcycle.
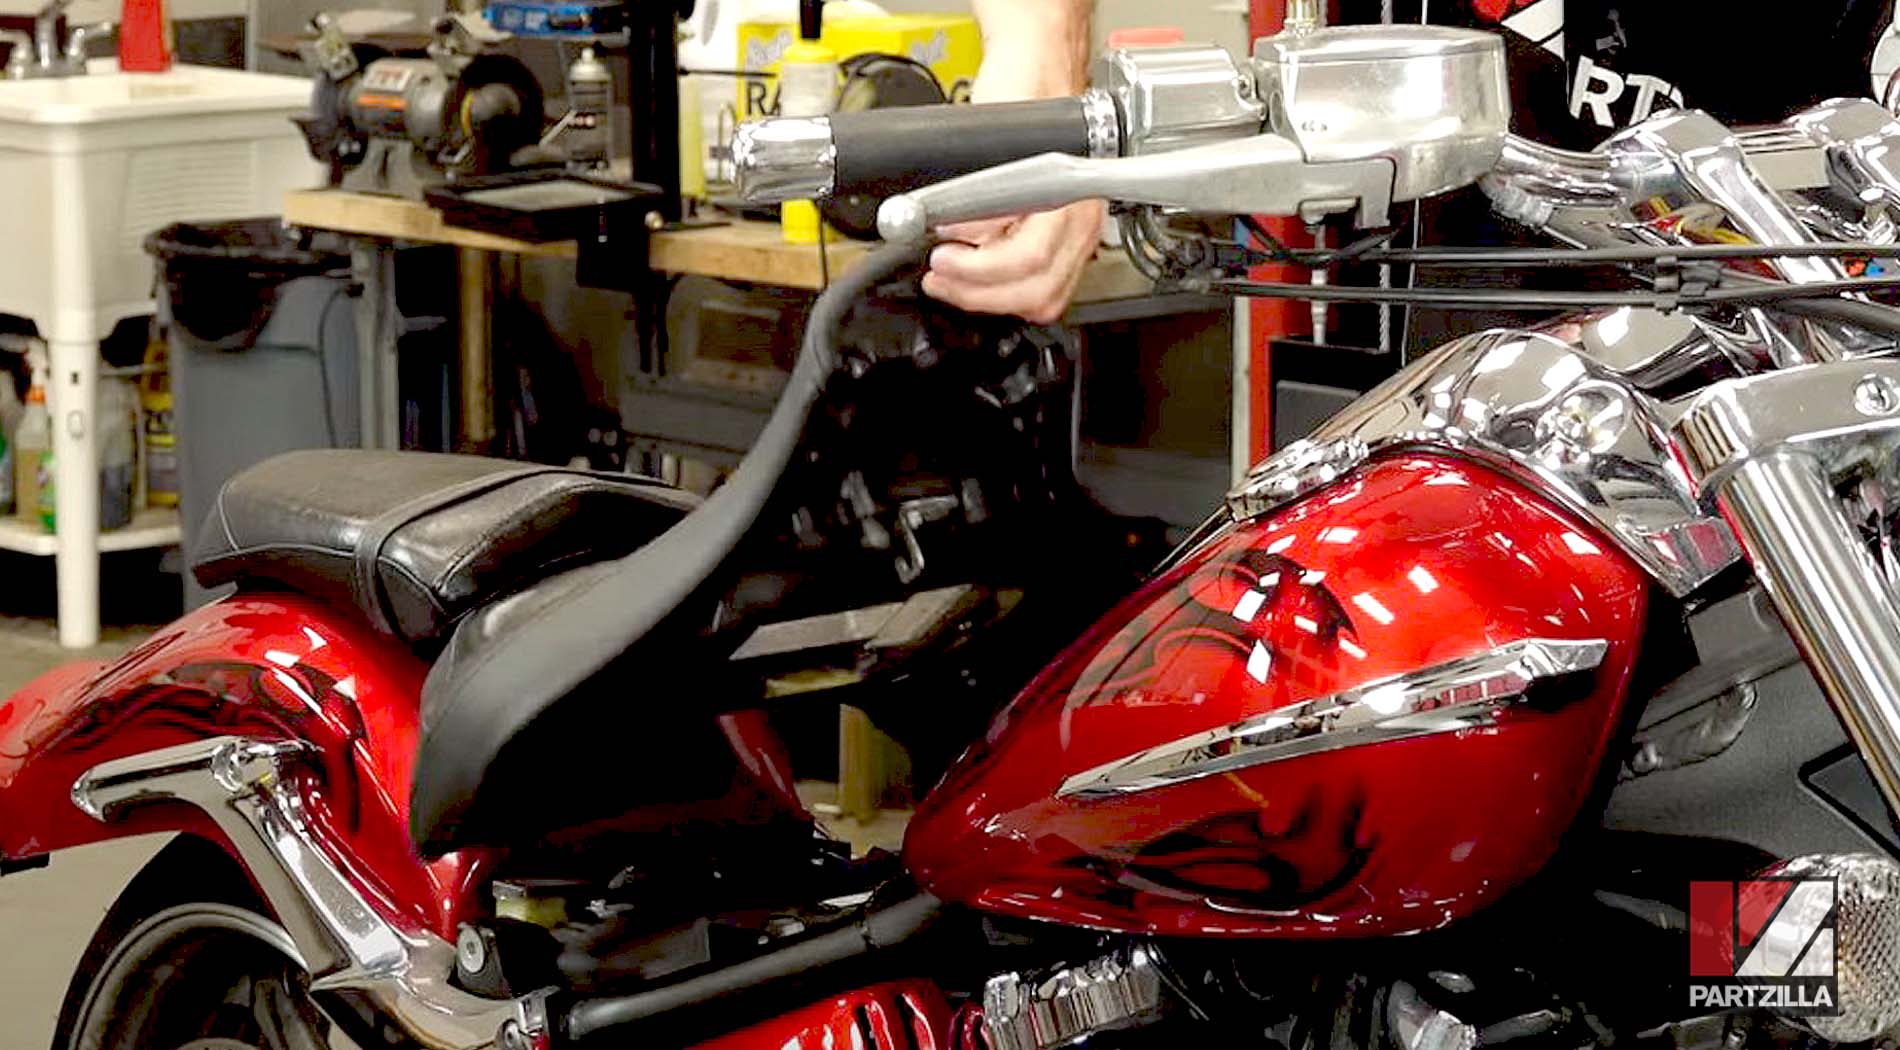
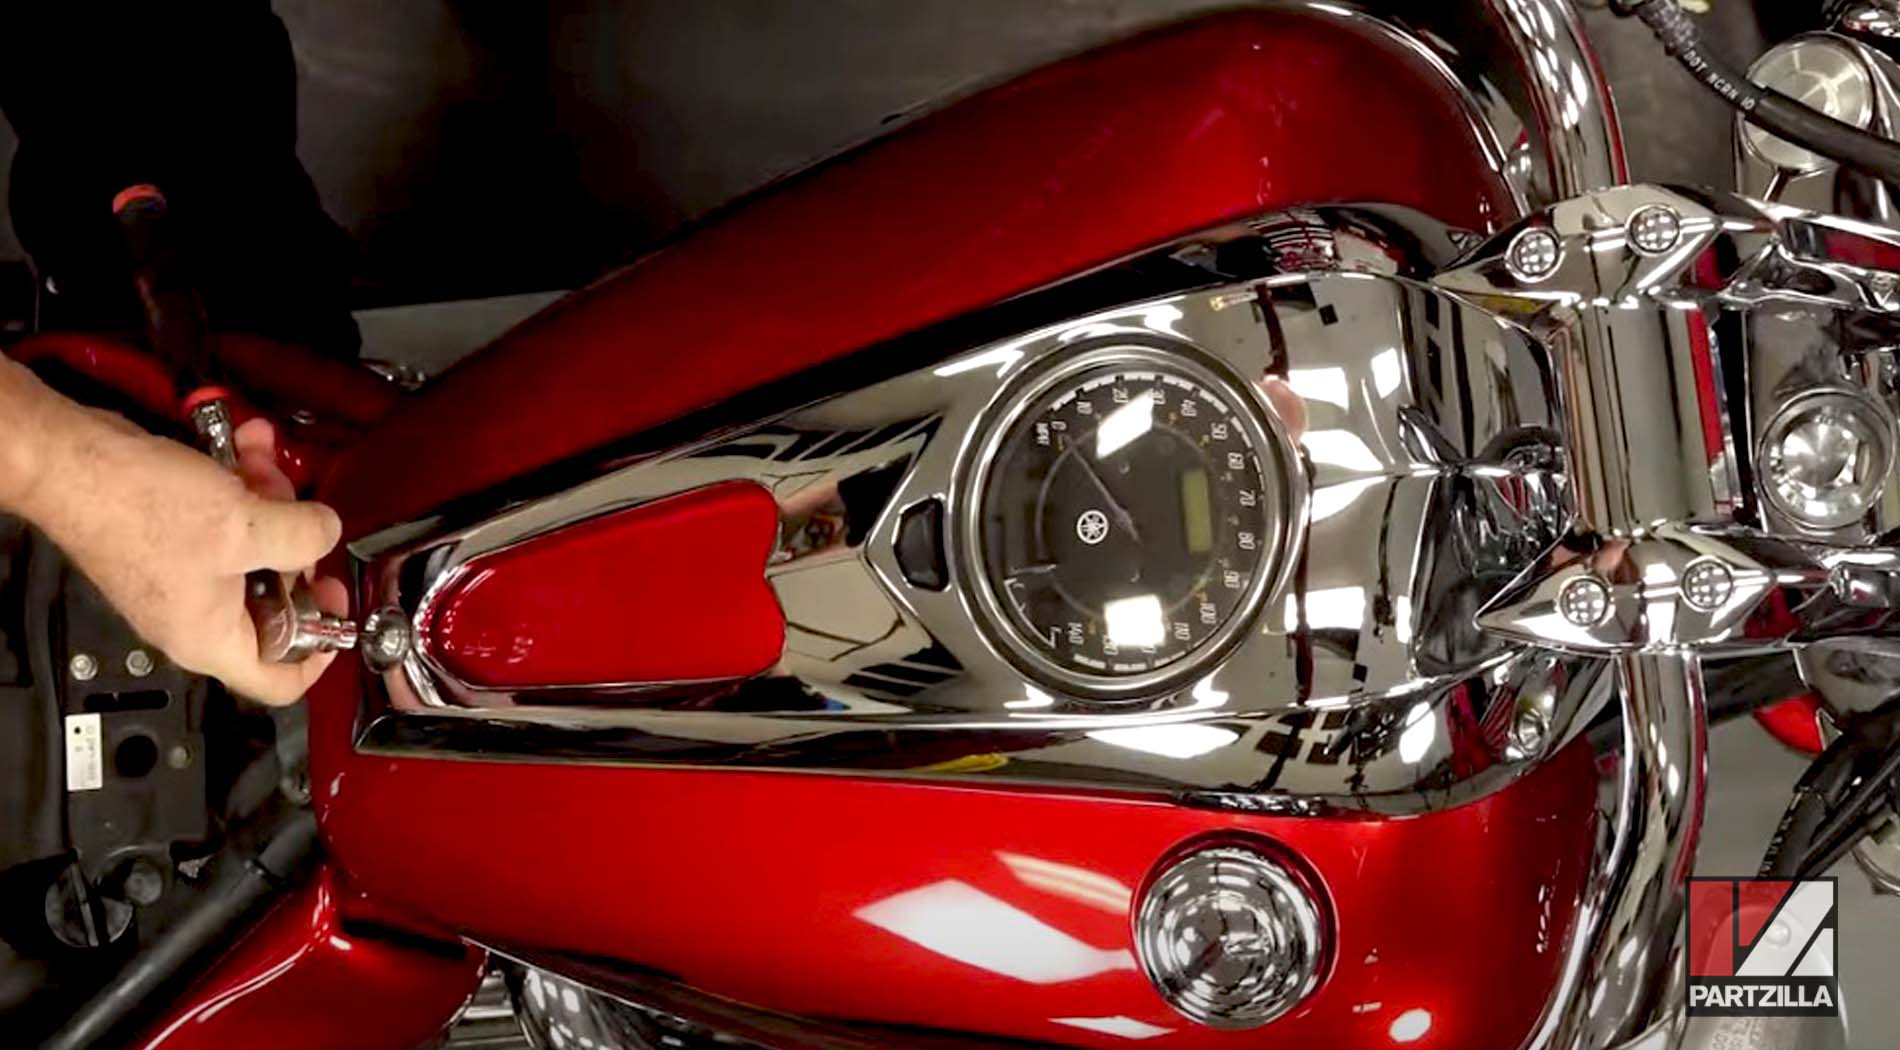
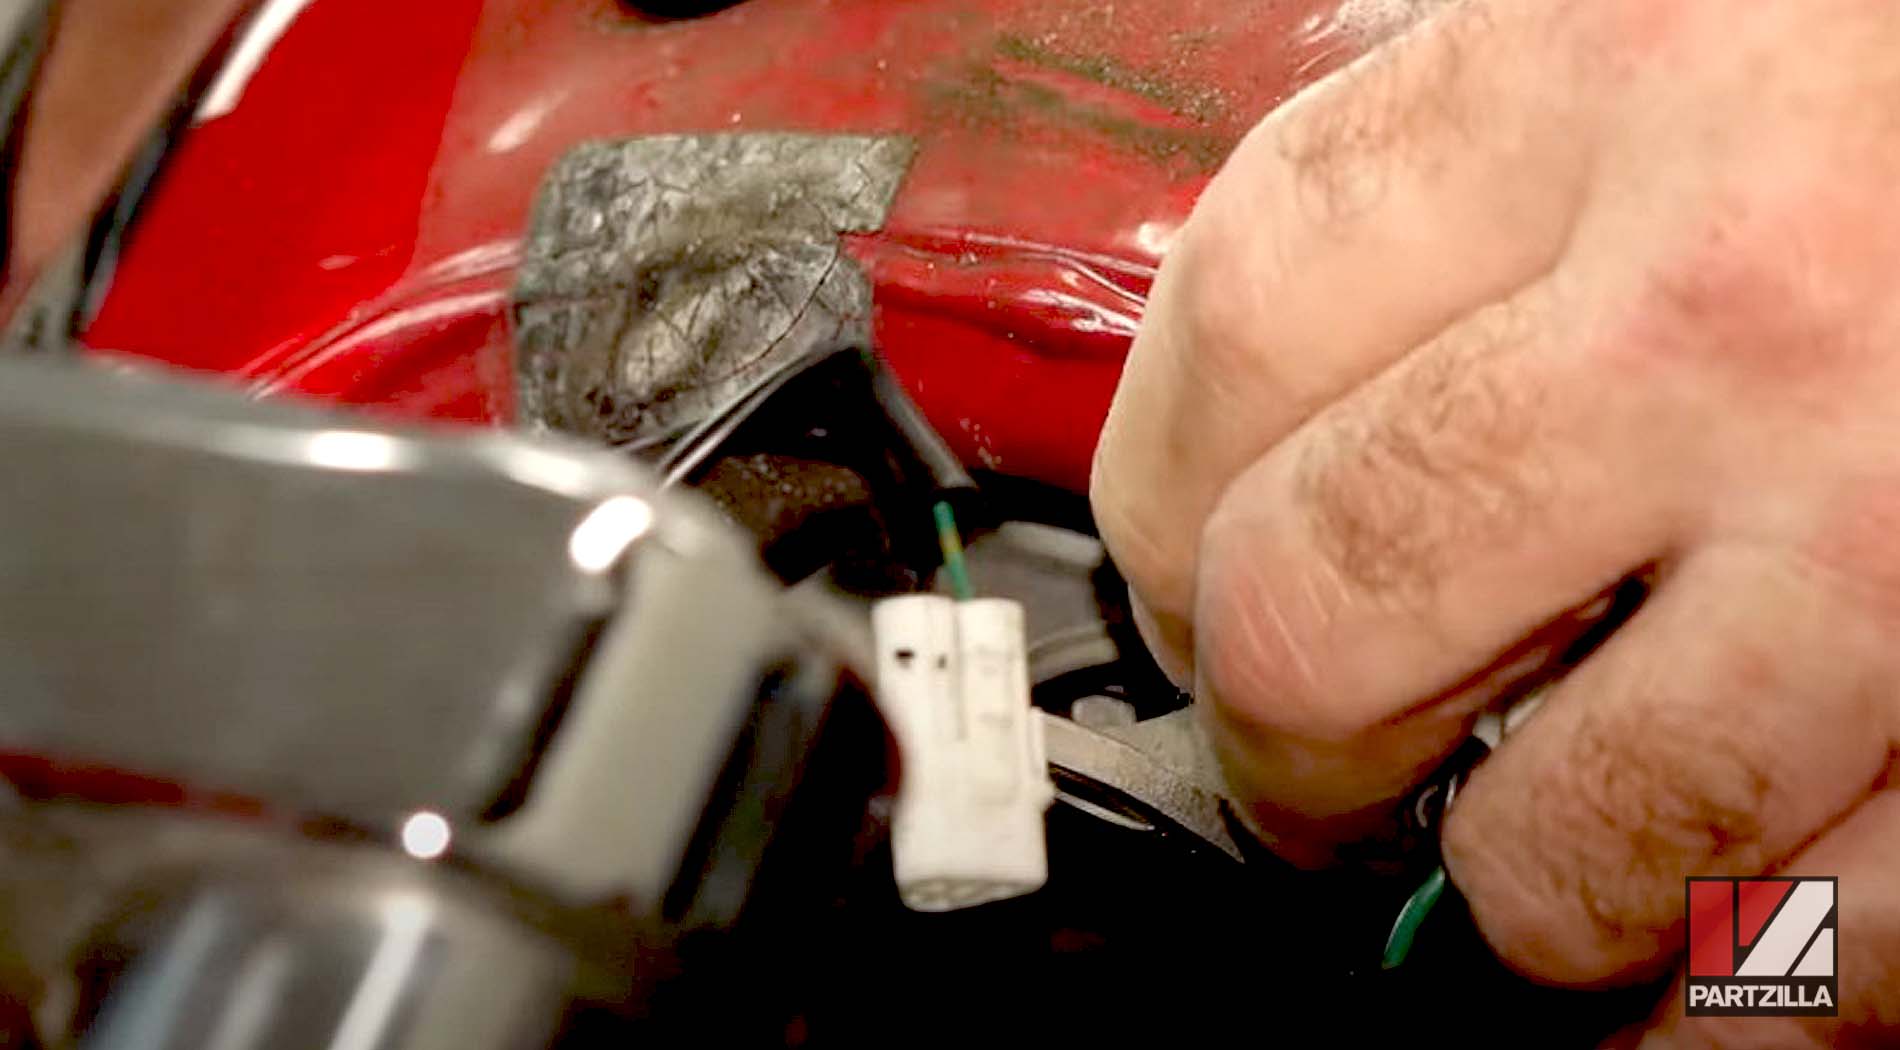
Step 2. Remove the 5mm Allen bolts holding the instrument cluster in place, followed by the three plugins on the center tab, then remove the instrument cluster itself.

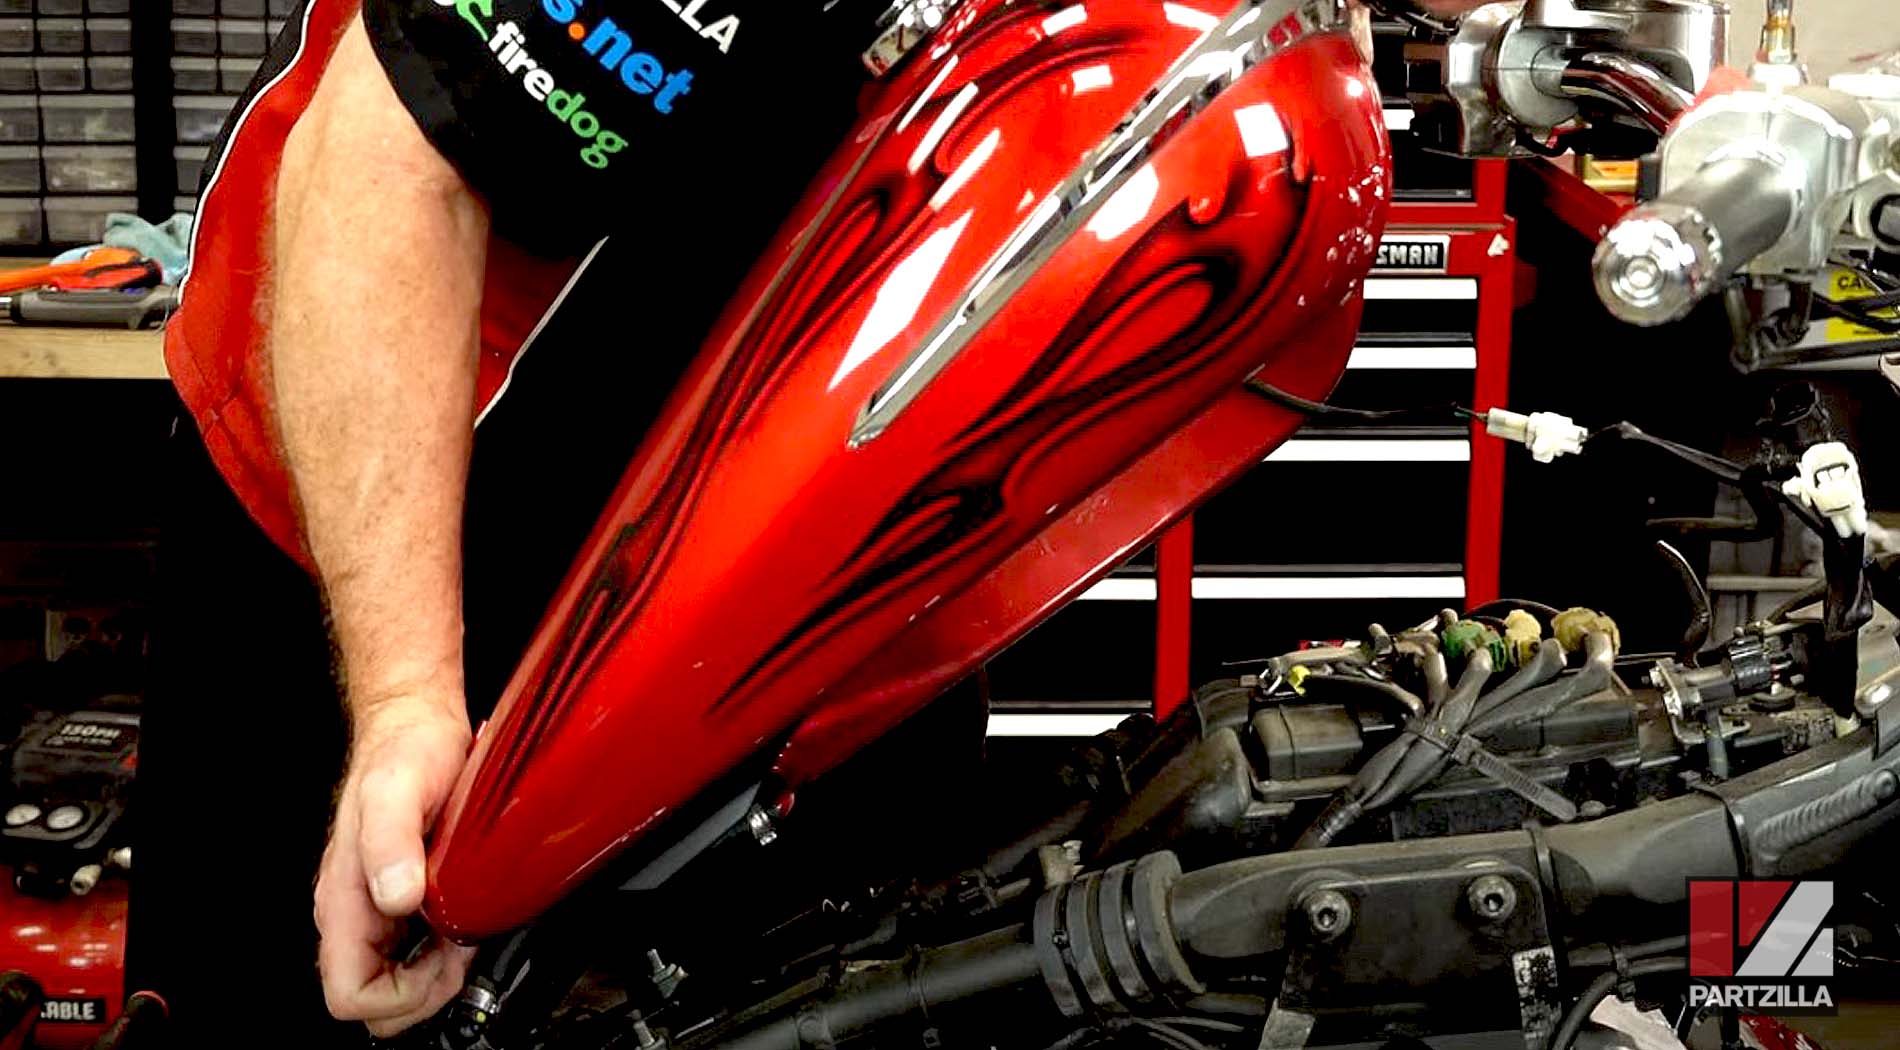
NOTE: The next few steps cover removing the fuel tank from the motorcycle. If the fuel tank is full, drain as much fuel as you can out of it to reduce the weight of the tank so you don’t accidentally drop it.
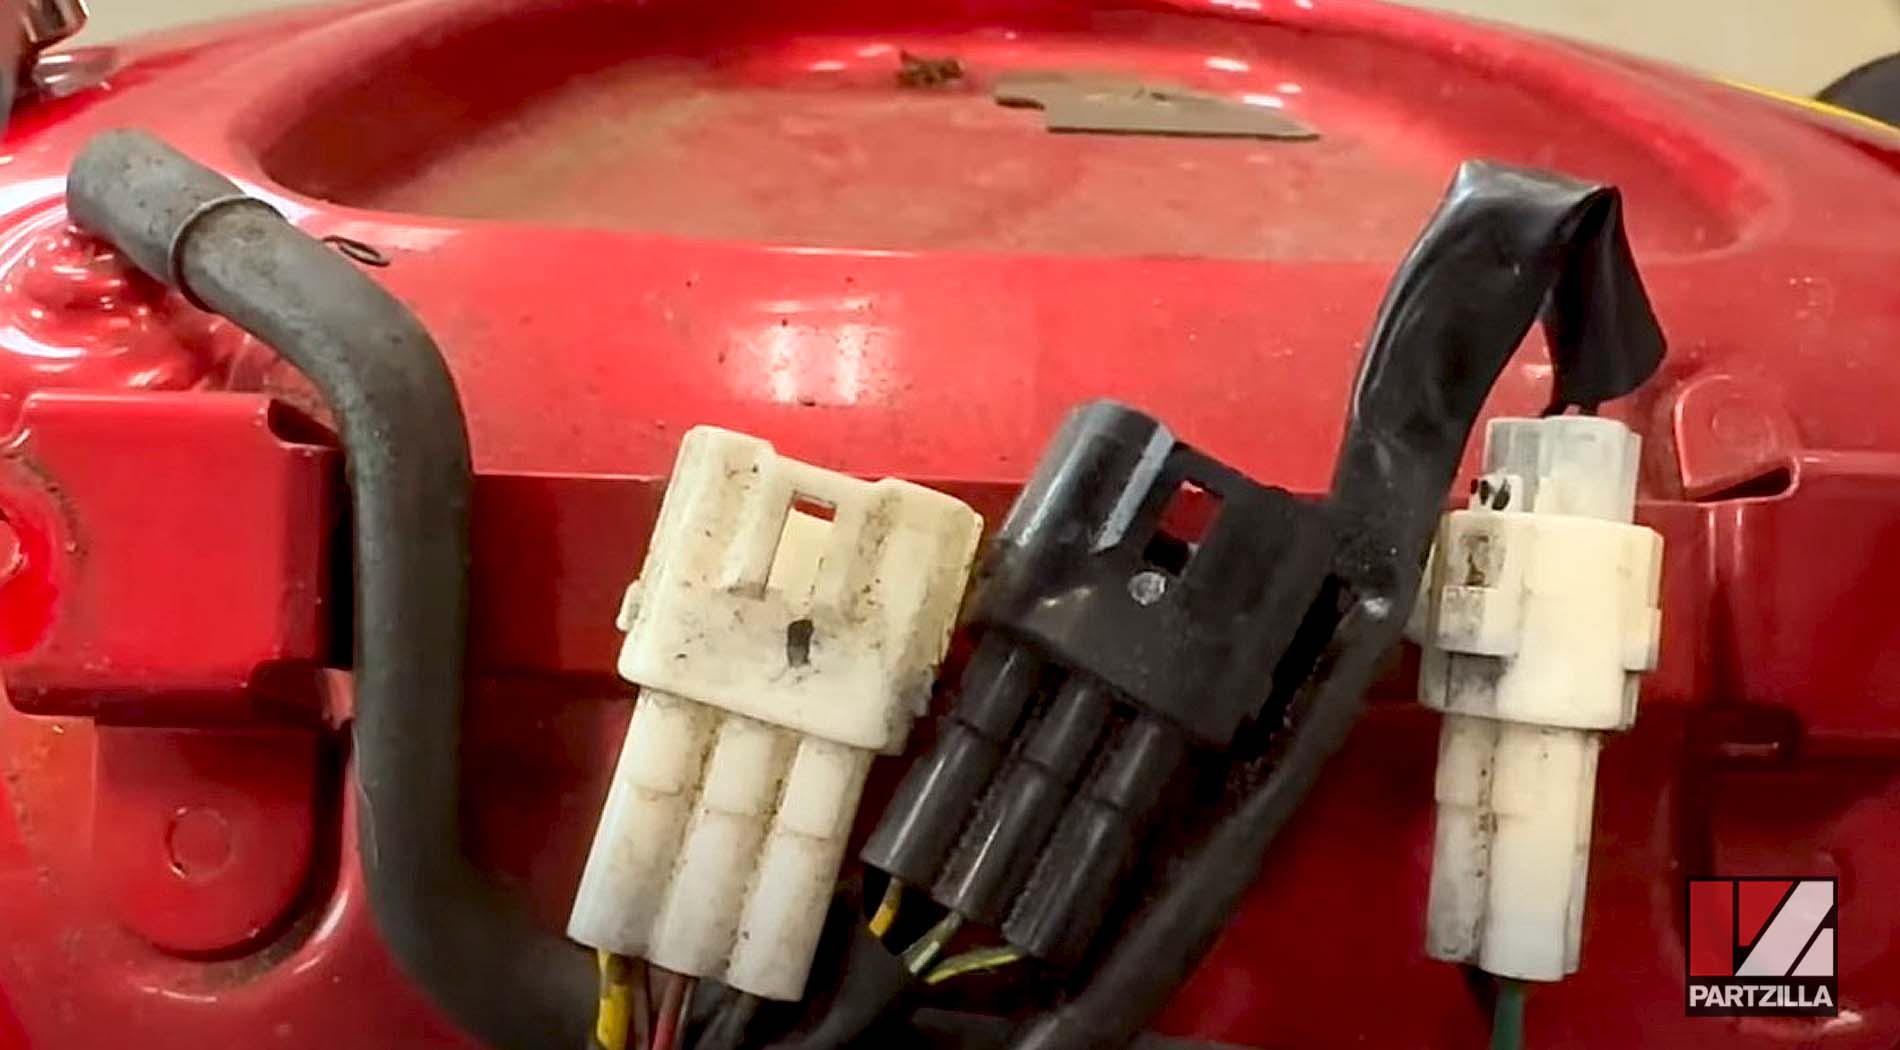
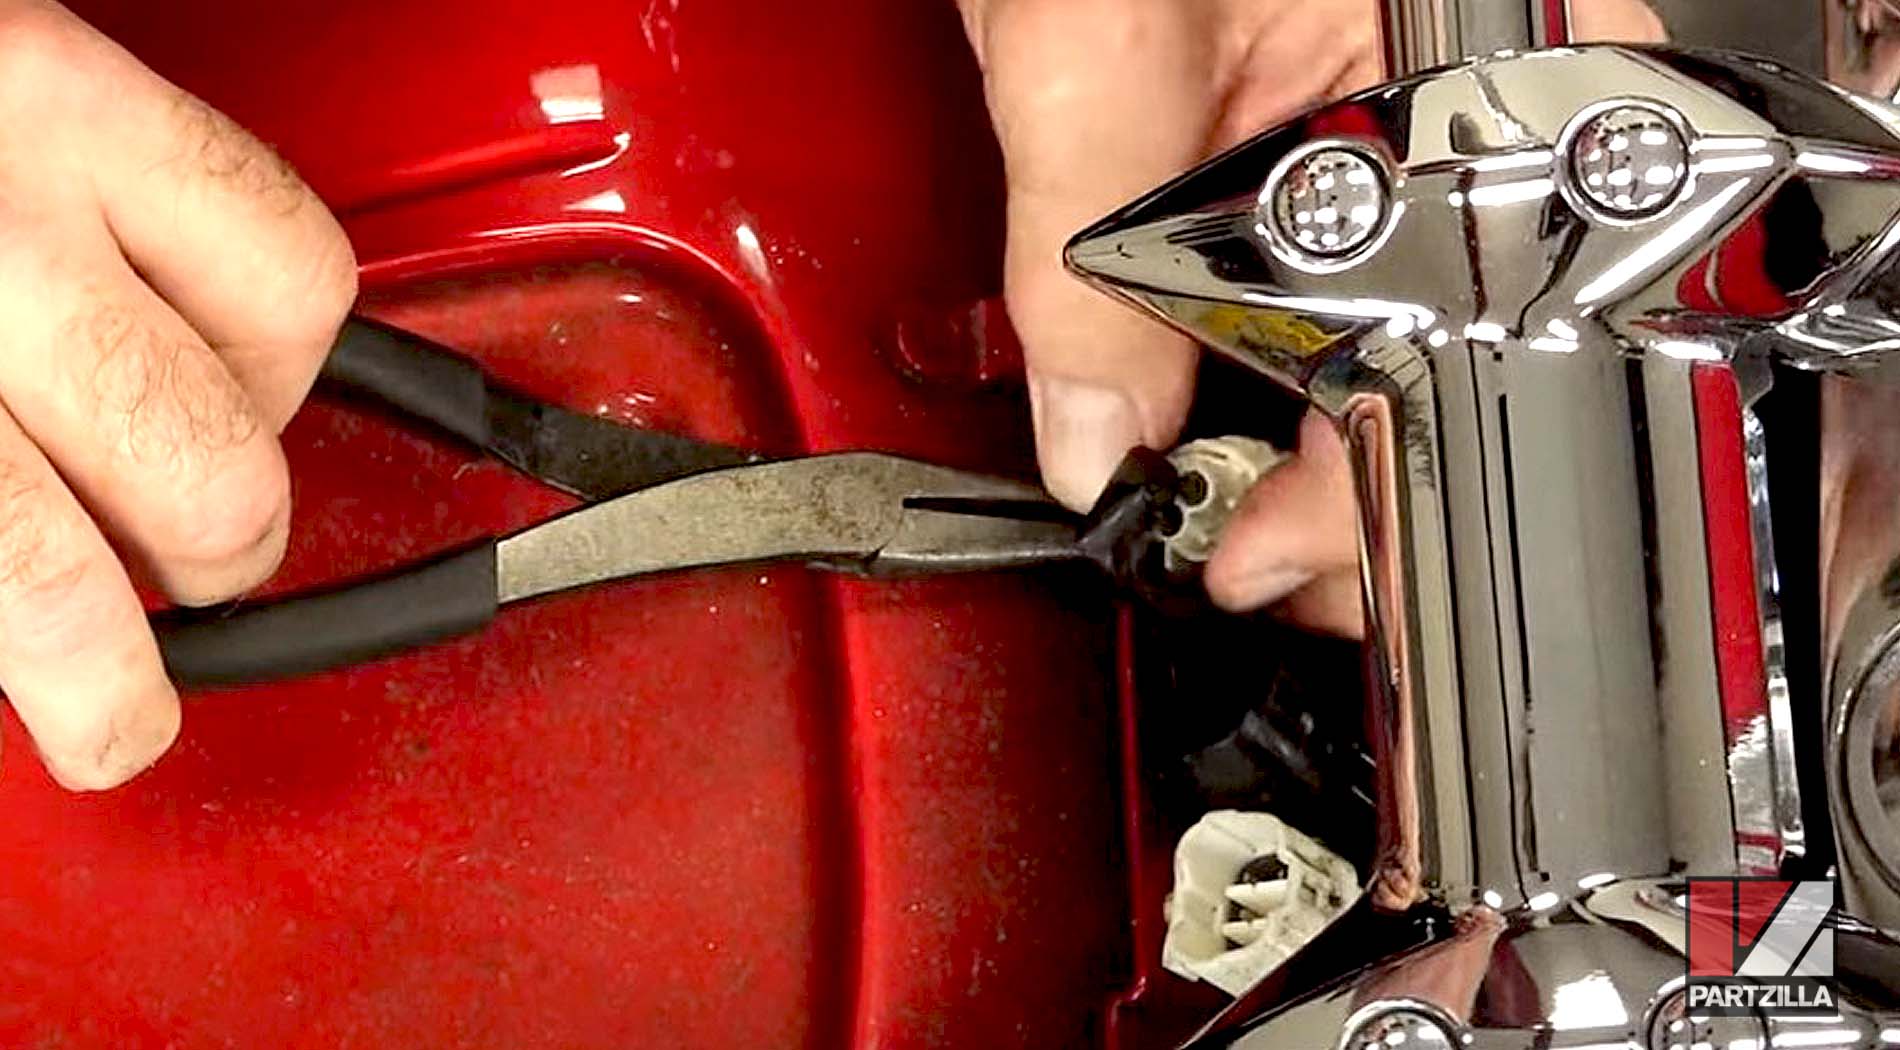
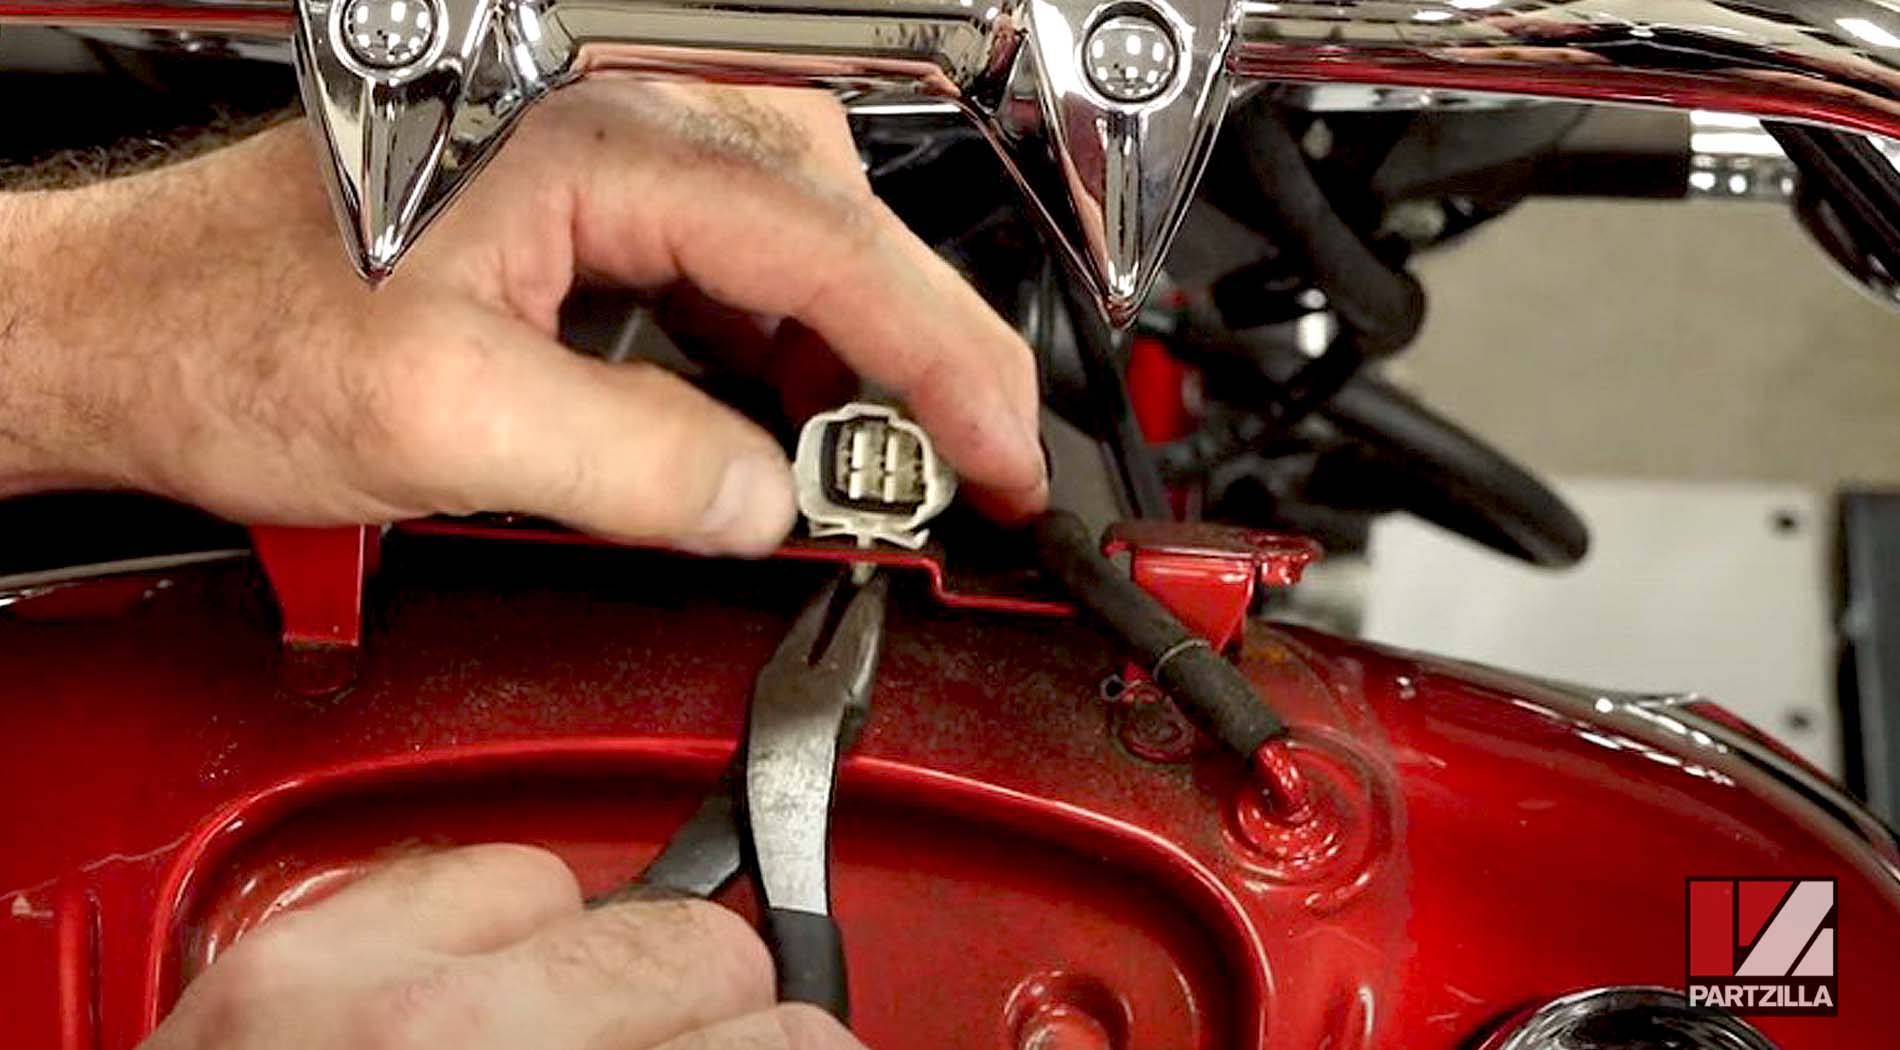
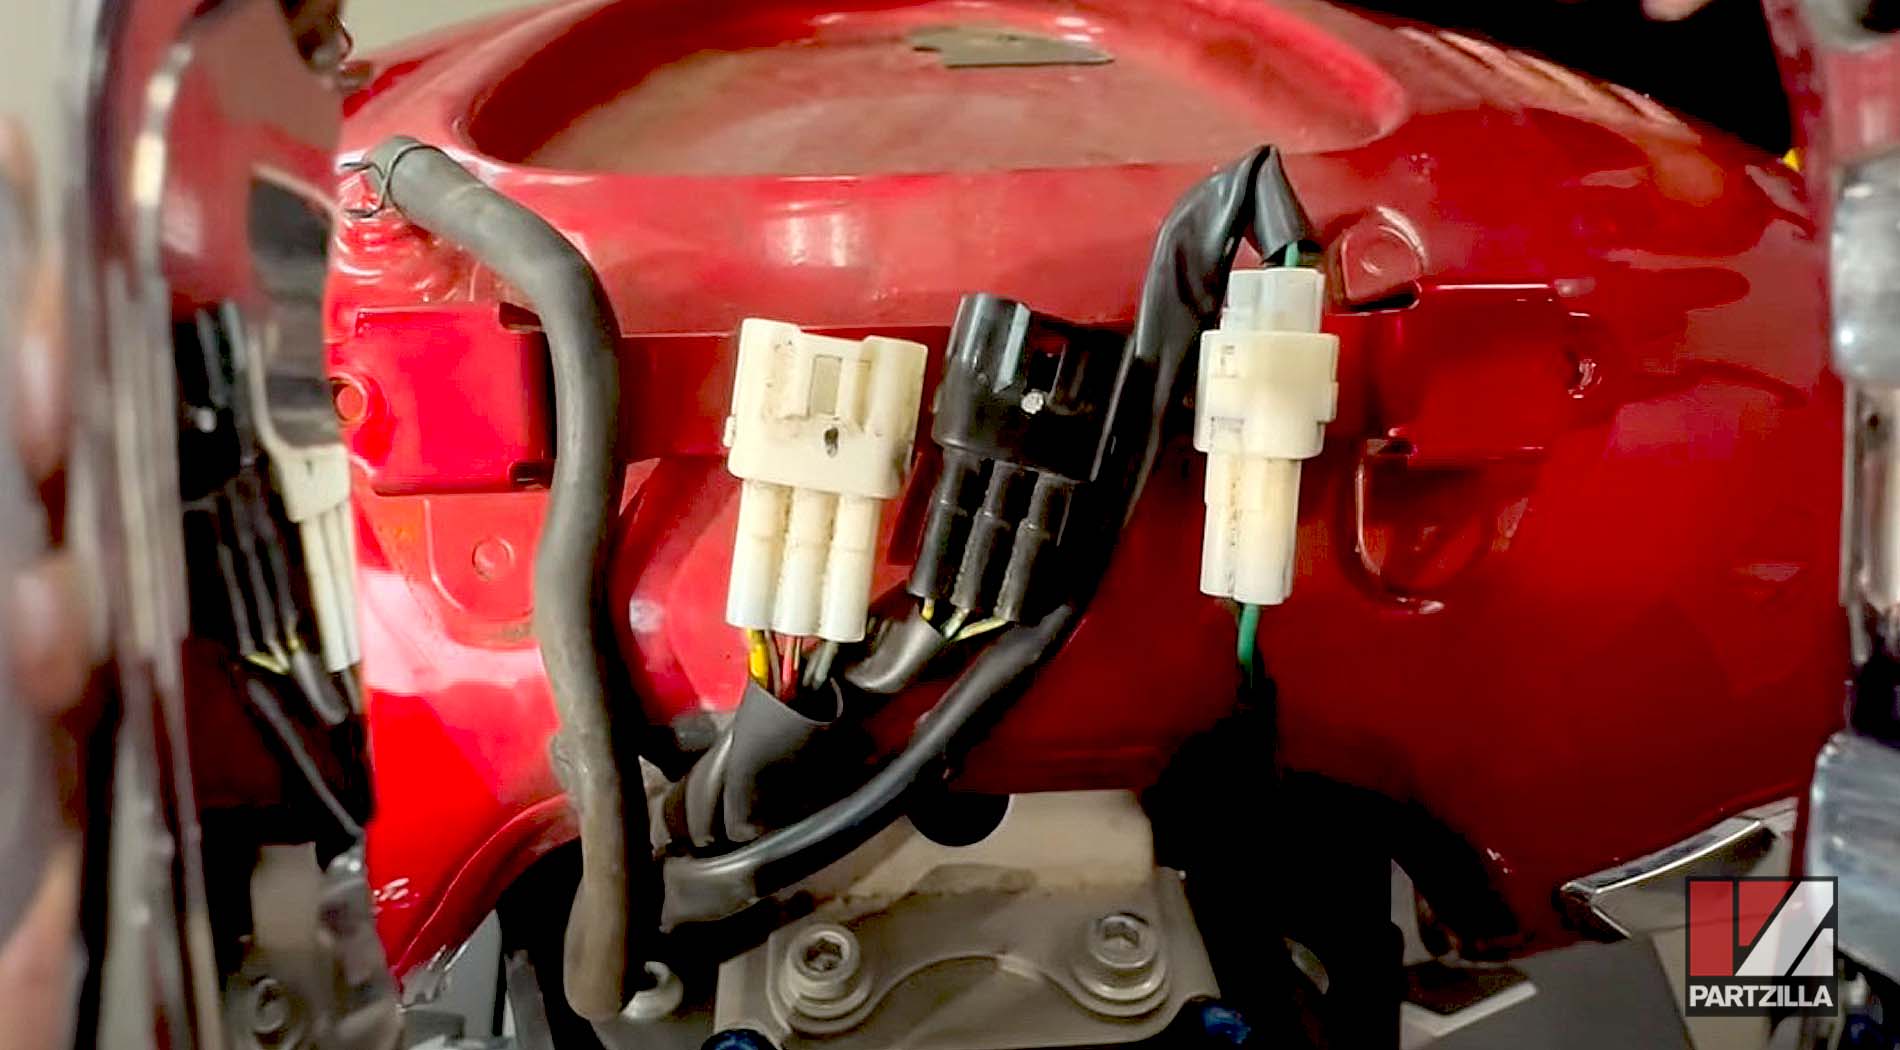
Step 3. Disconnect the wiring harness and the hose on top from the fuel tank.
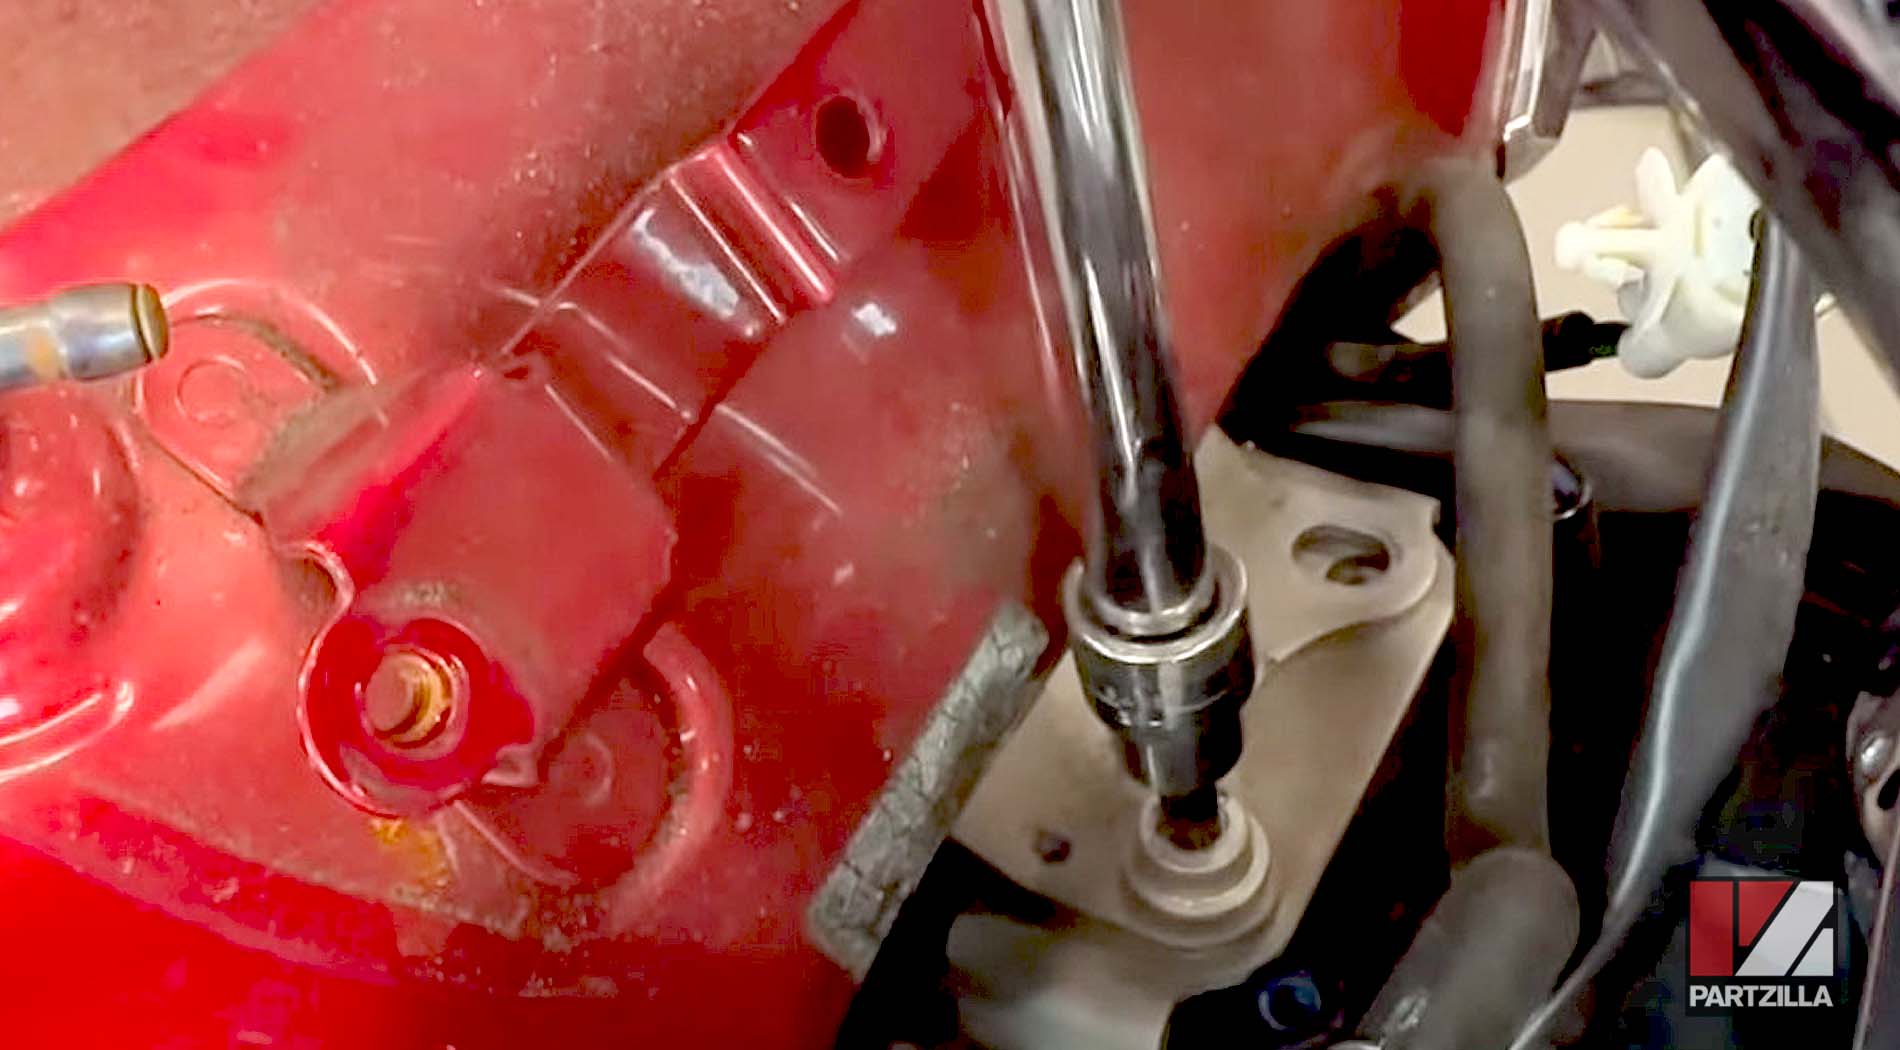
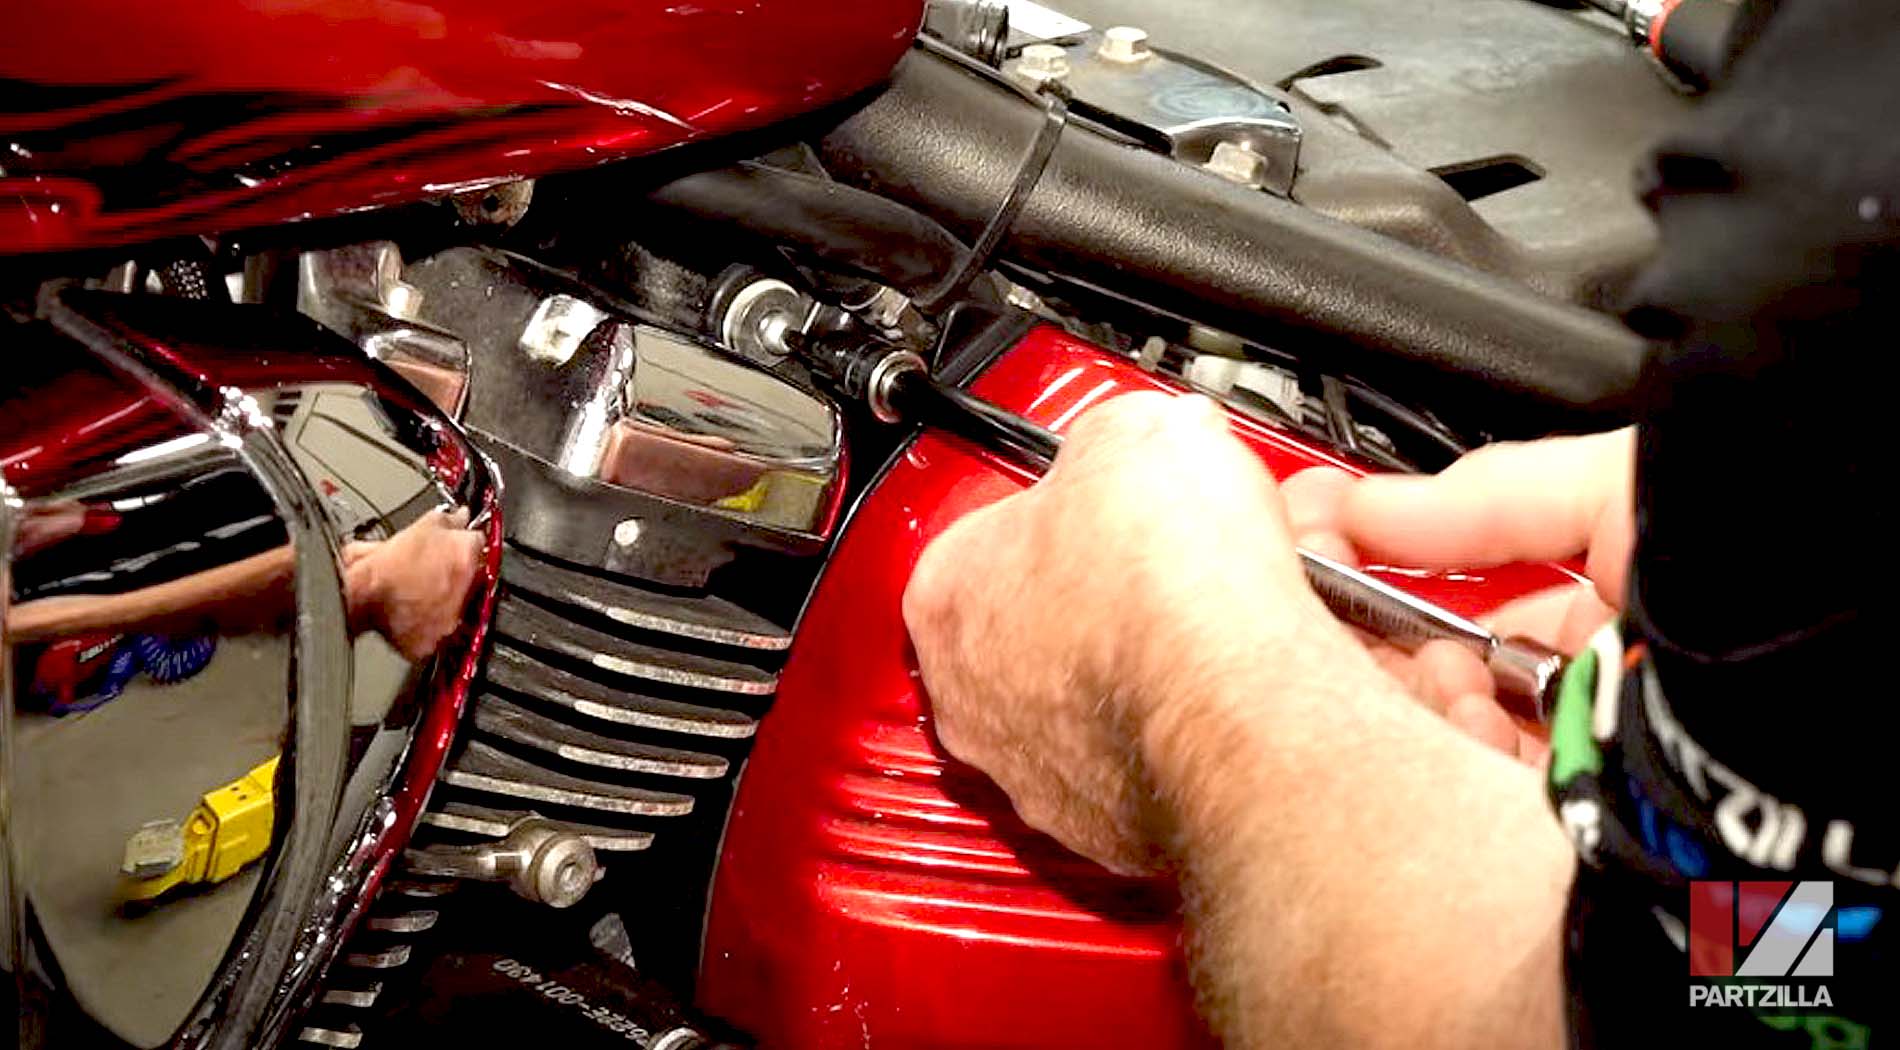
Step 4. Remove the bolts that hold the fuel tank in place.
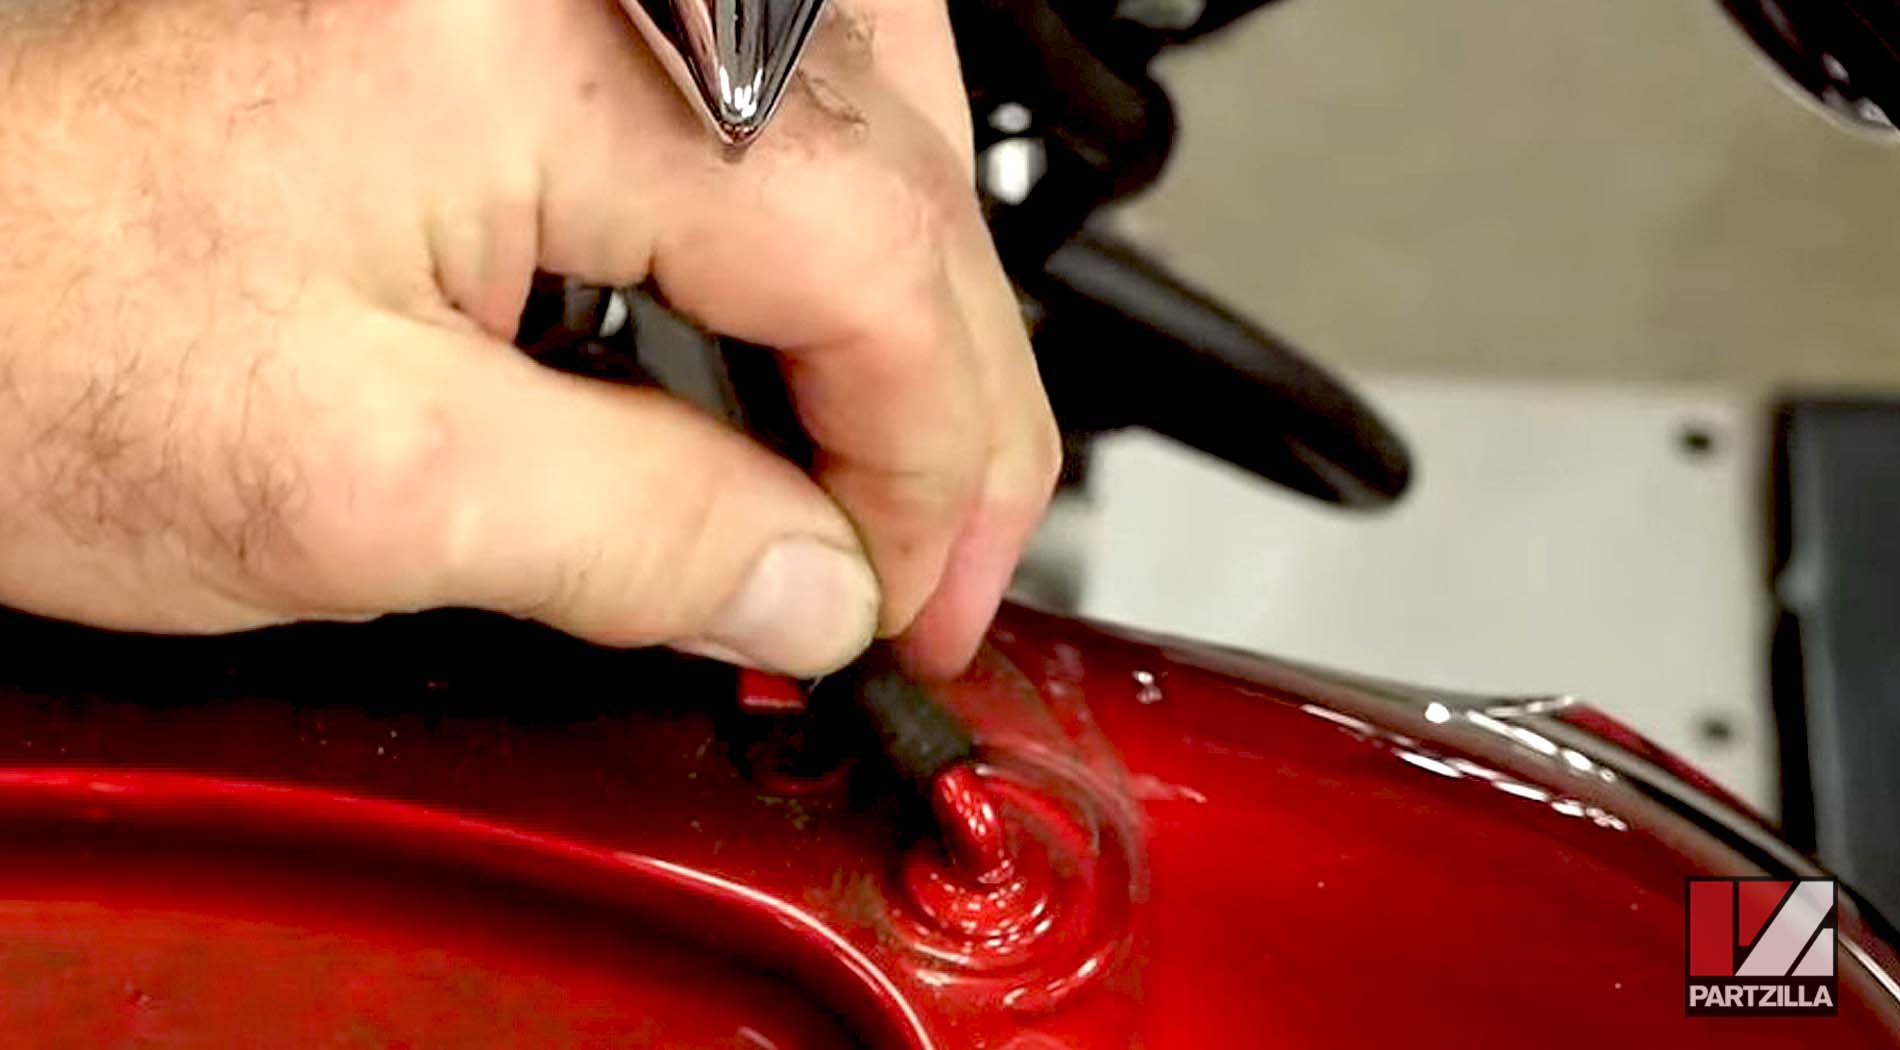
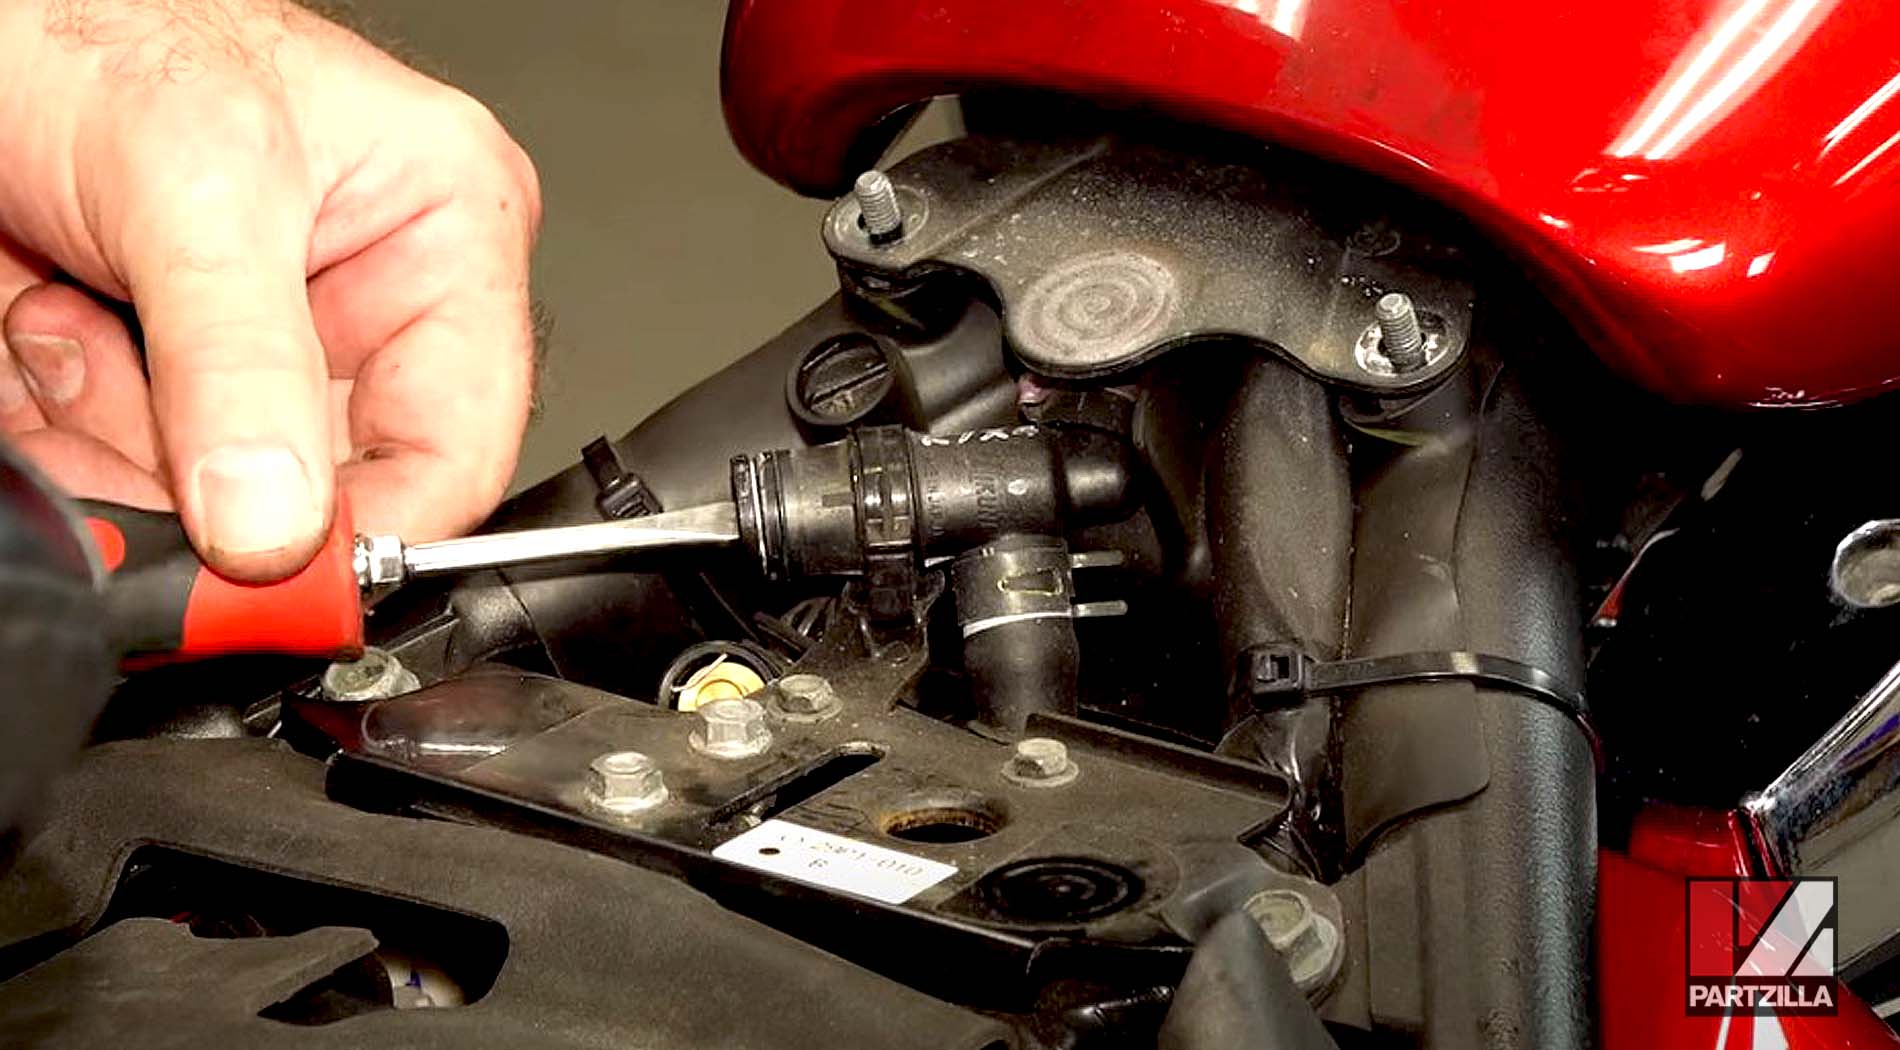
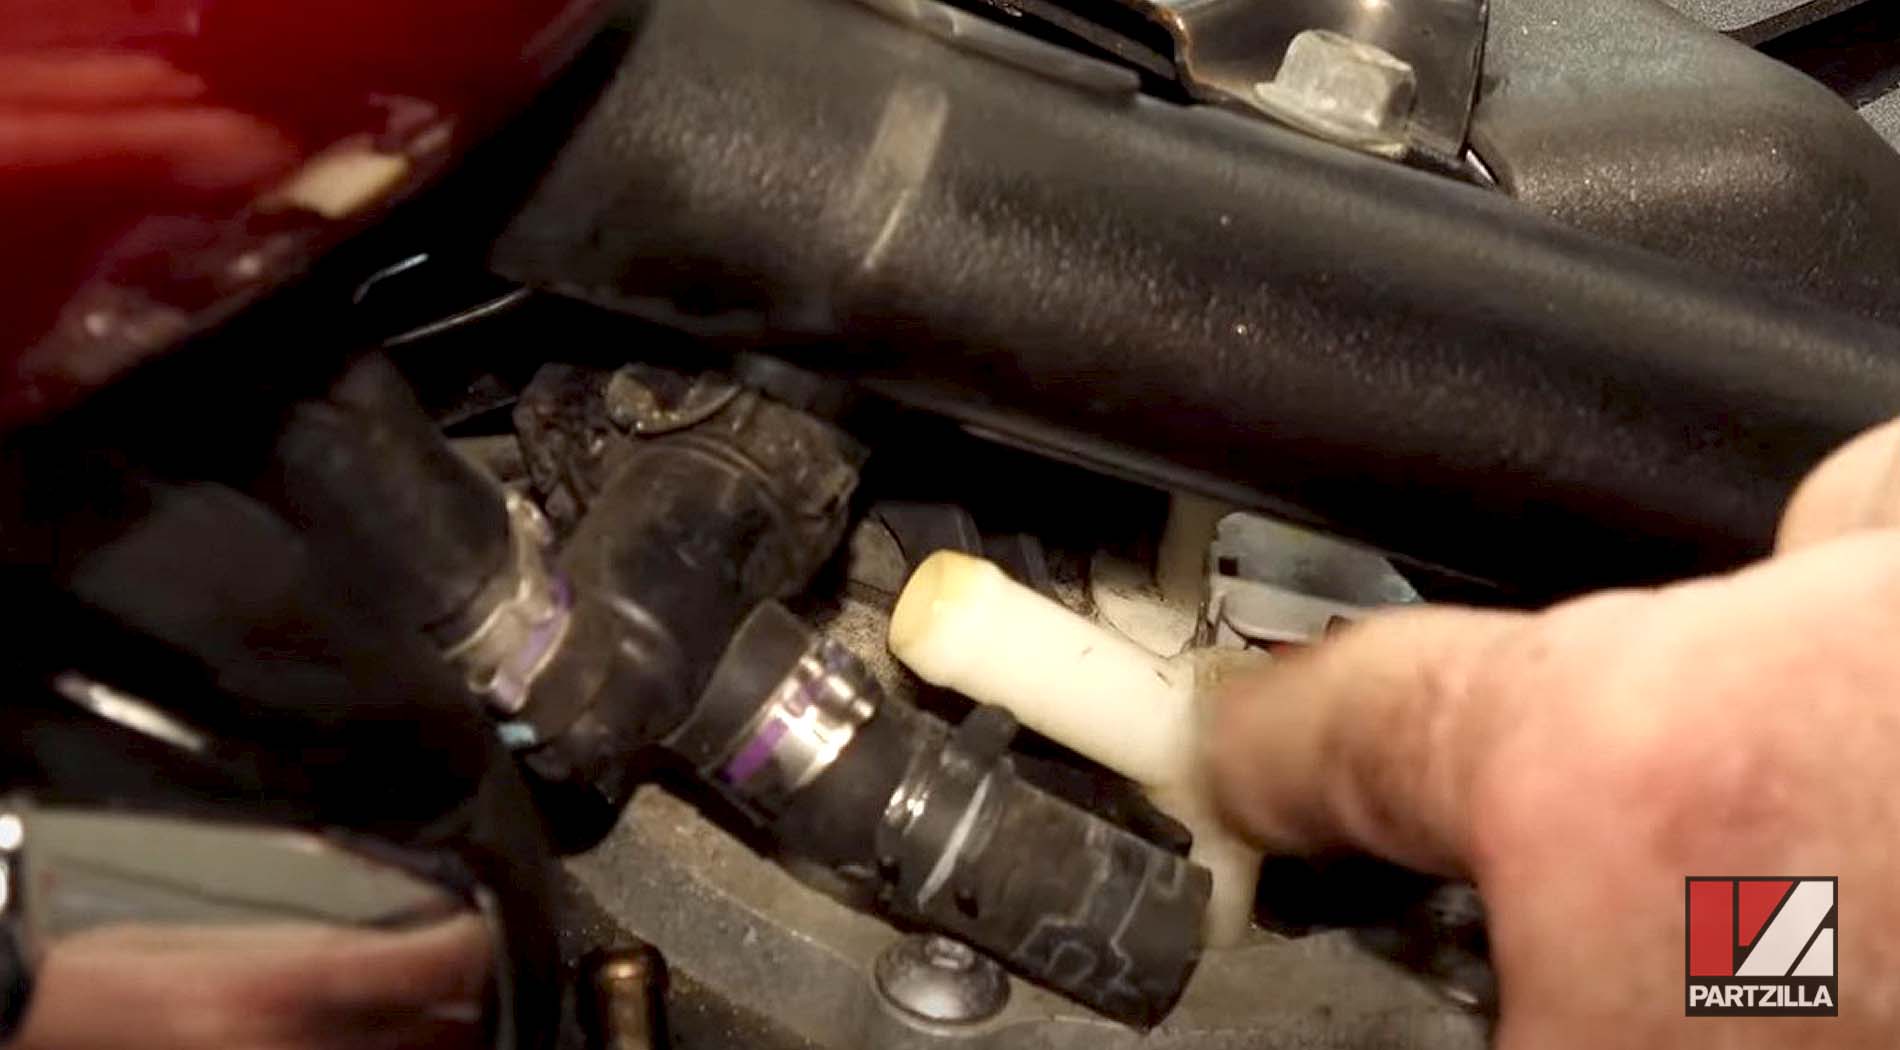
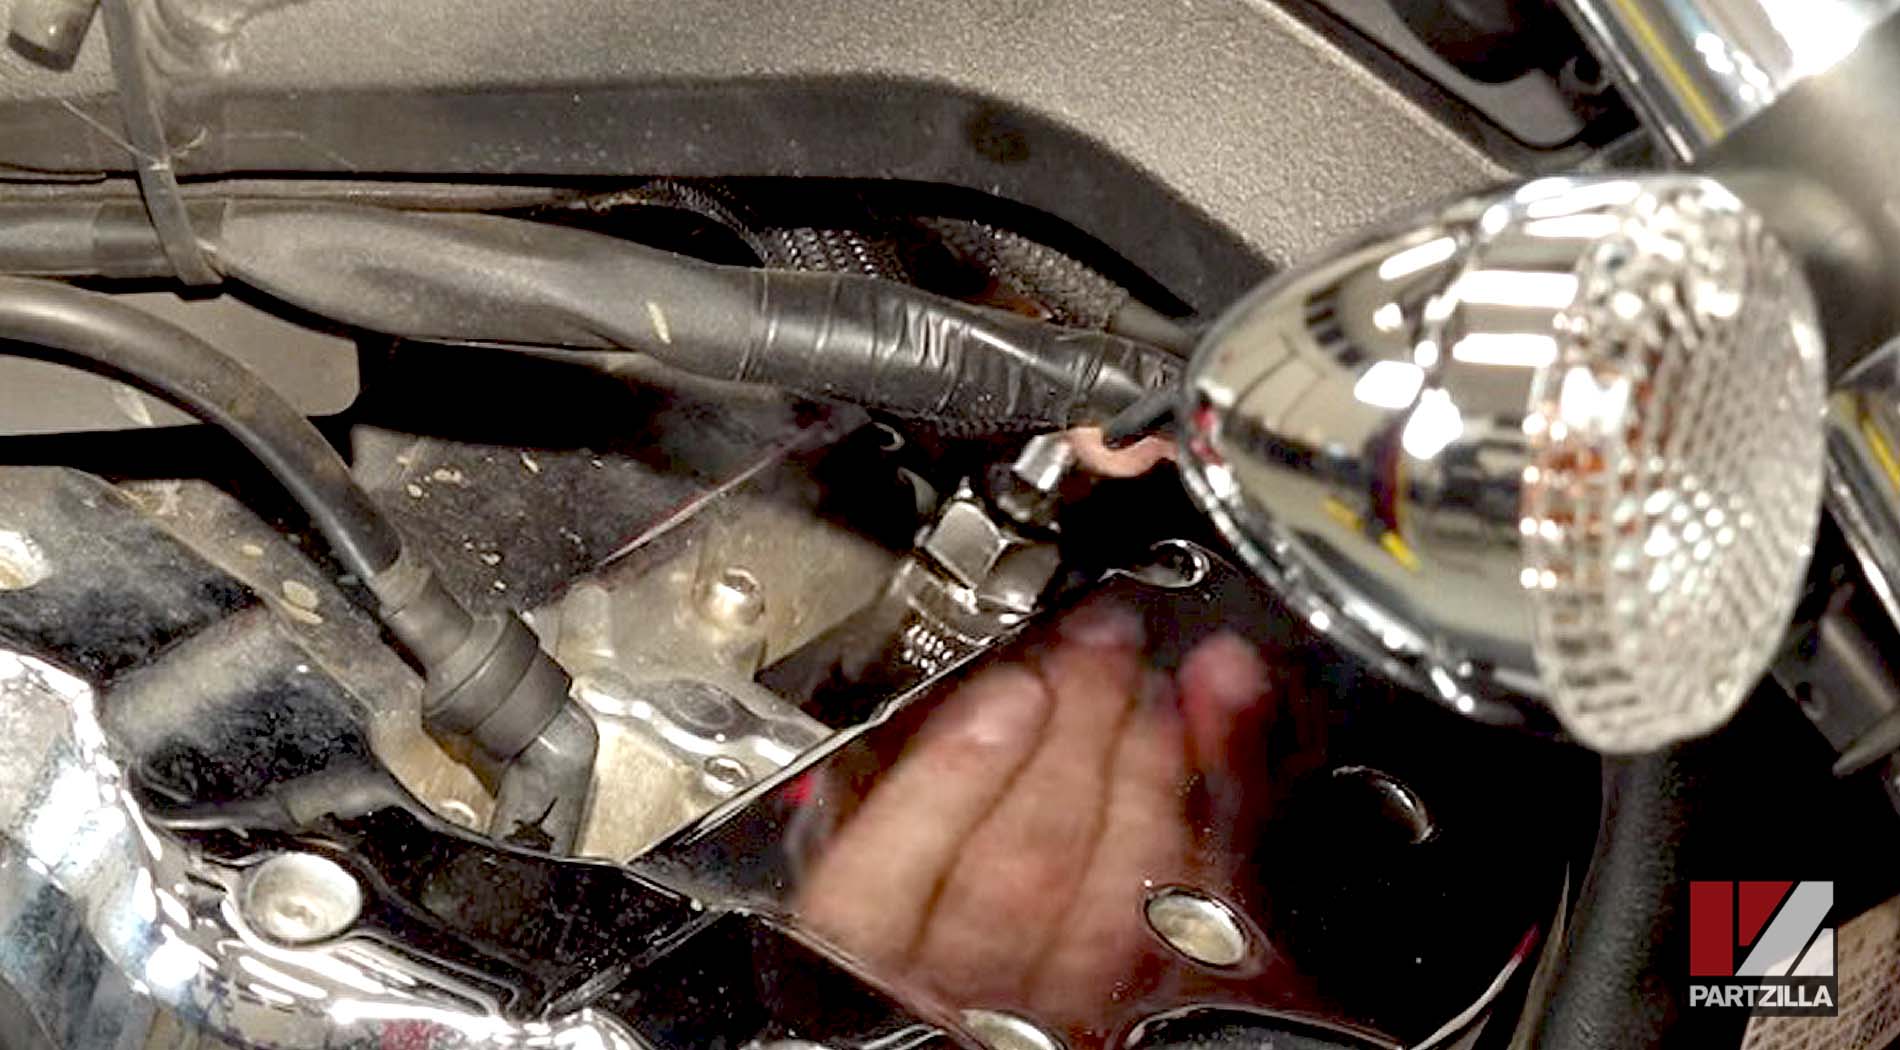
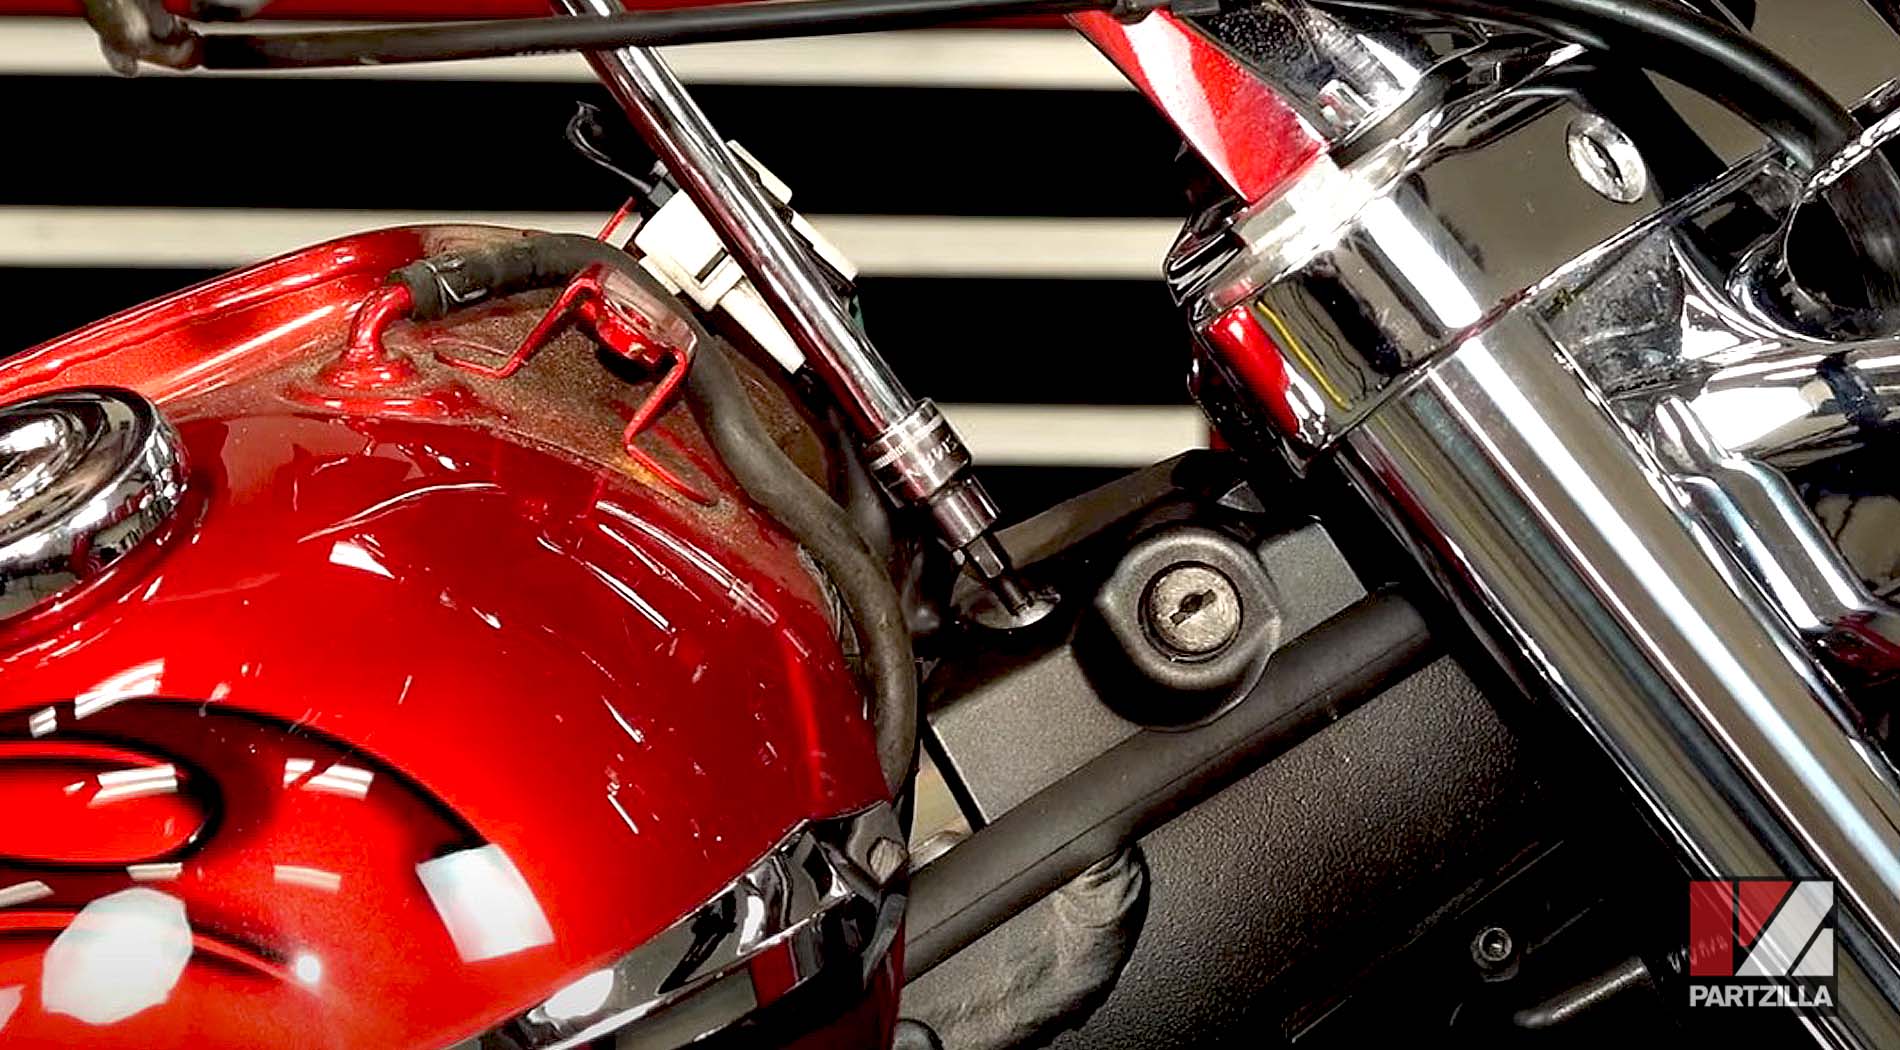
Step 5. Disconnect the fuel lines and close the fuel shutoff valves with a screwdriver.
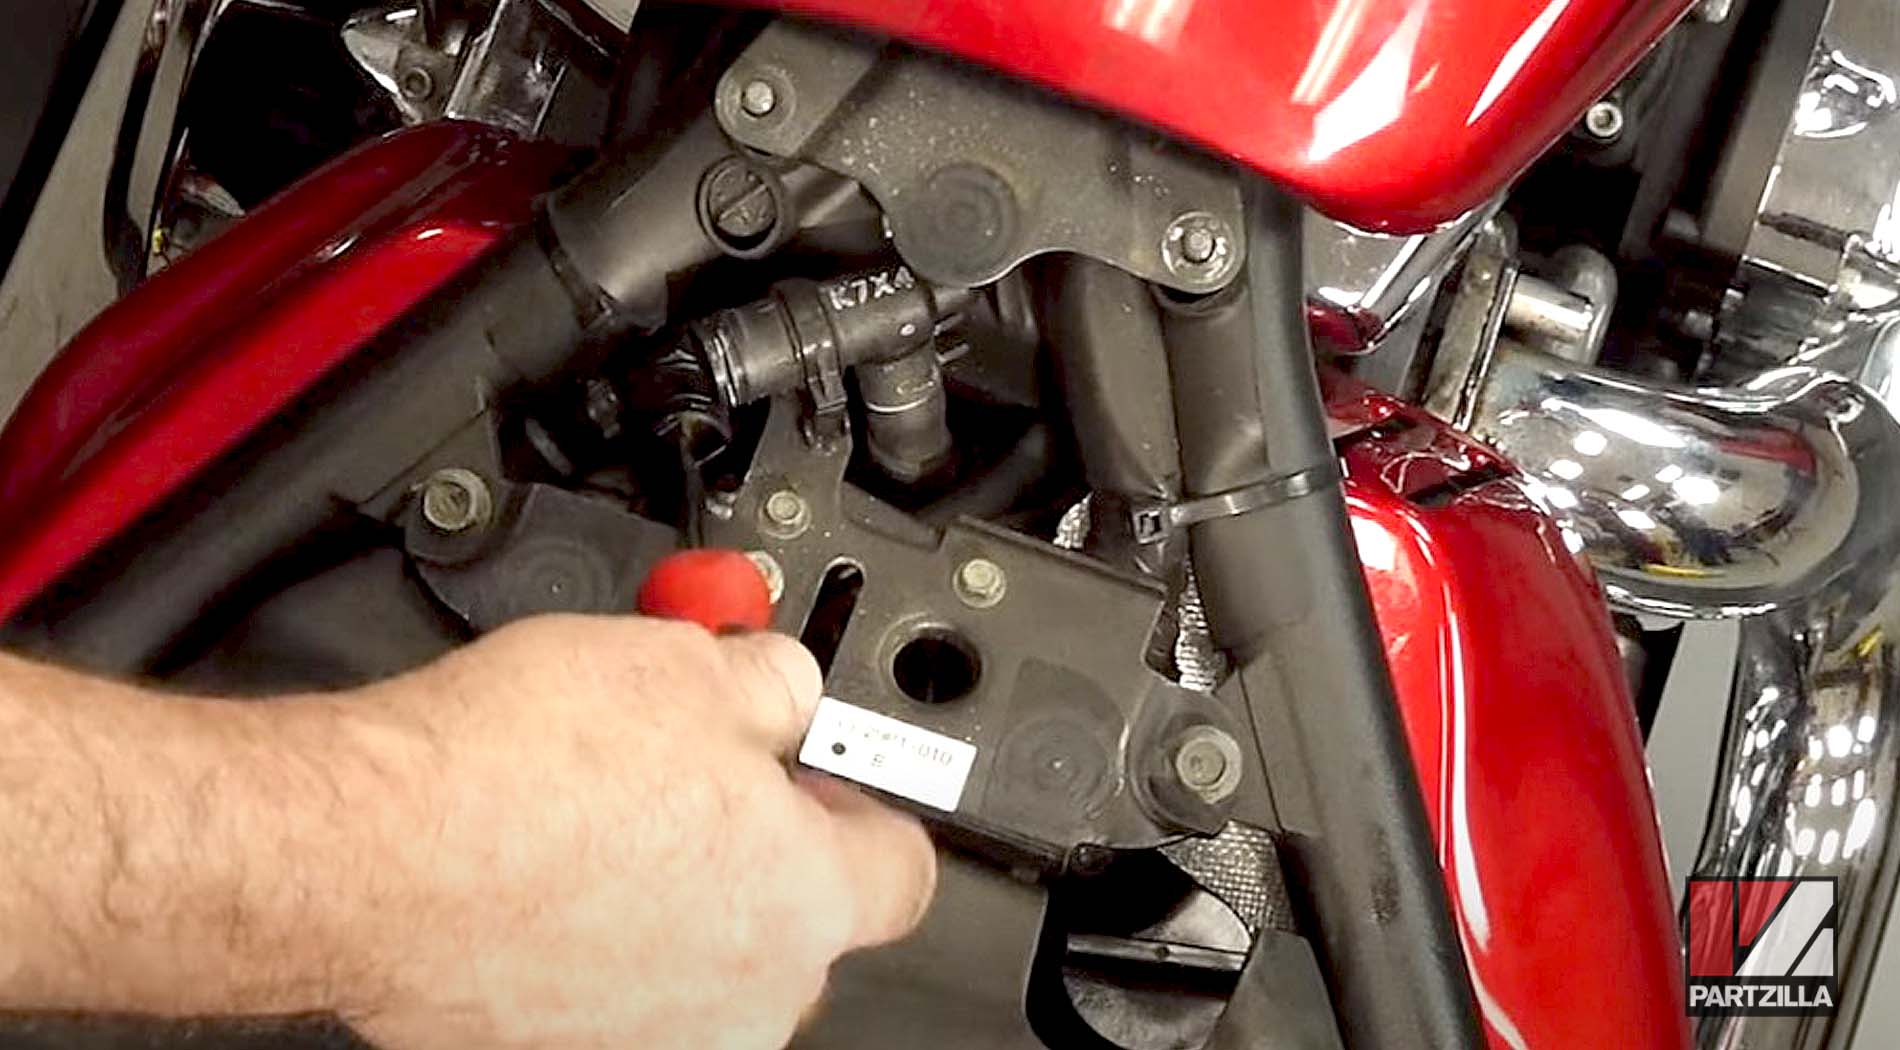
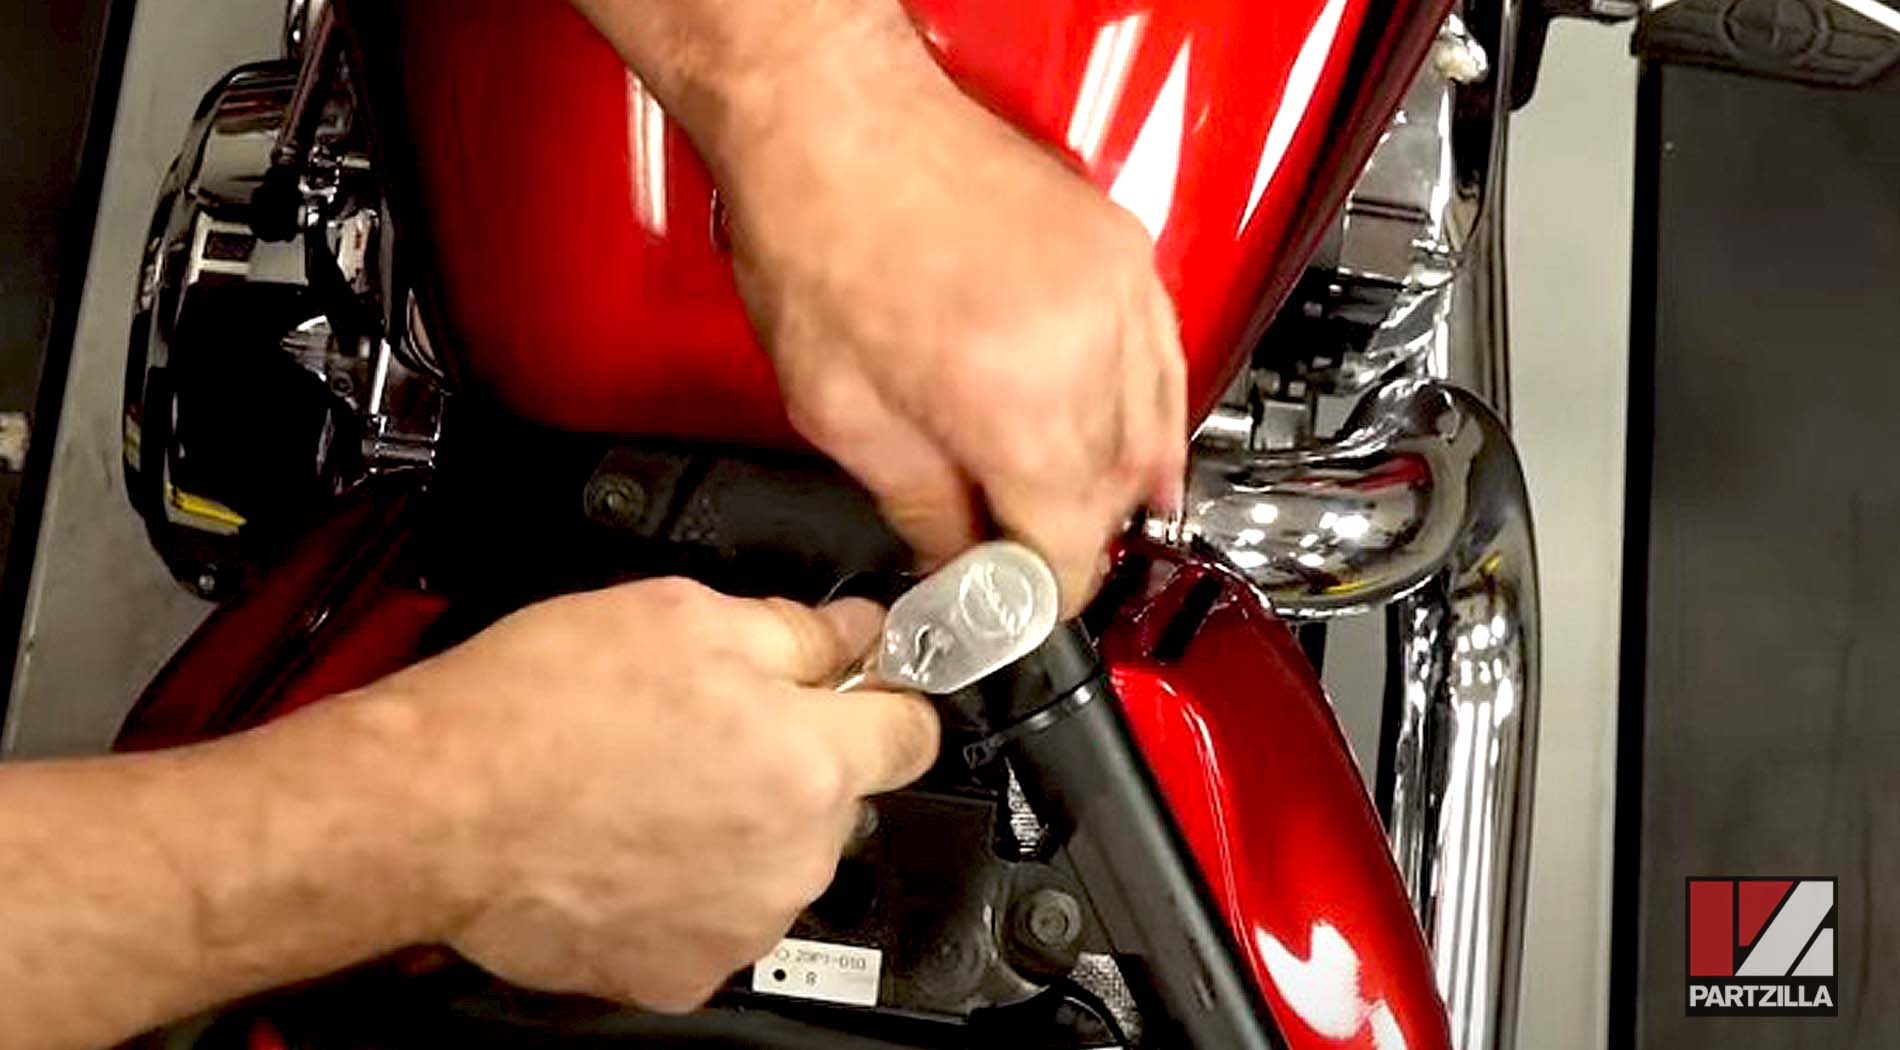
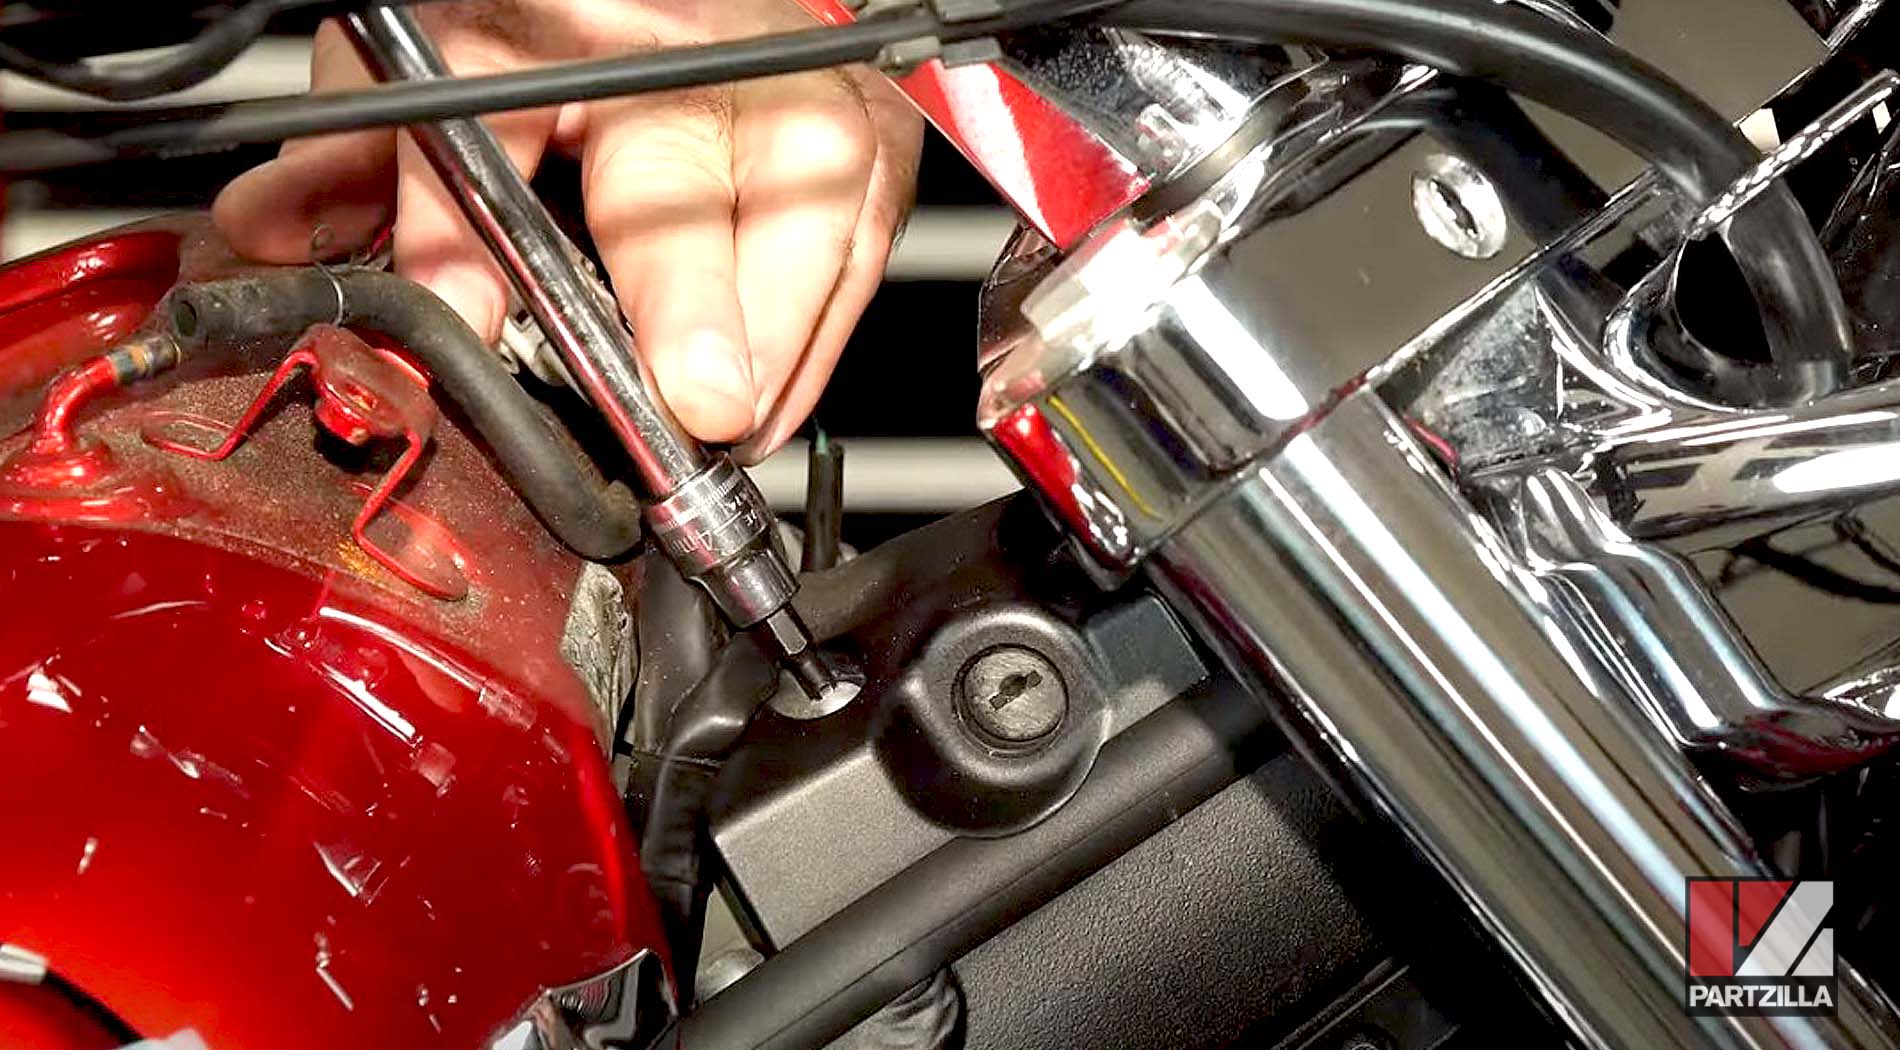
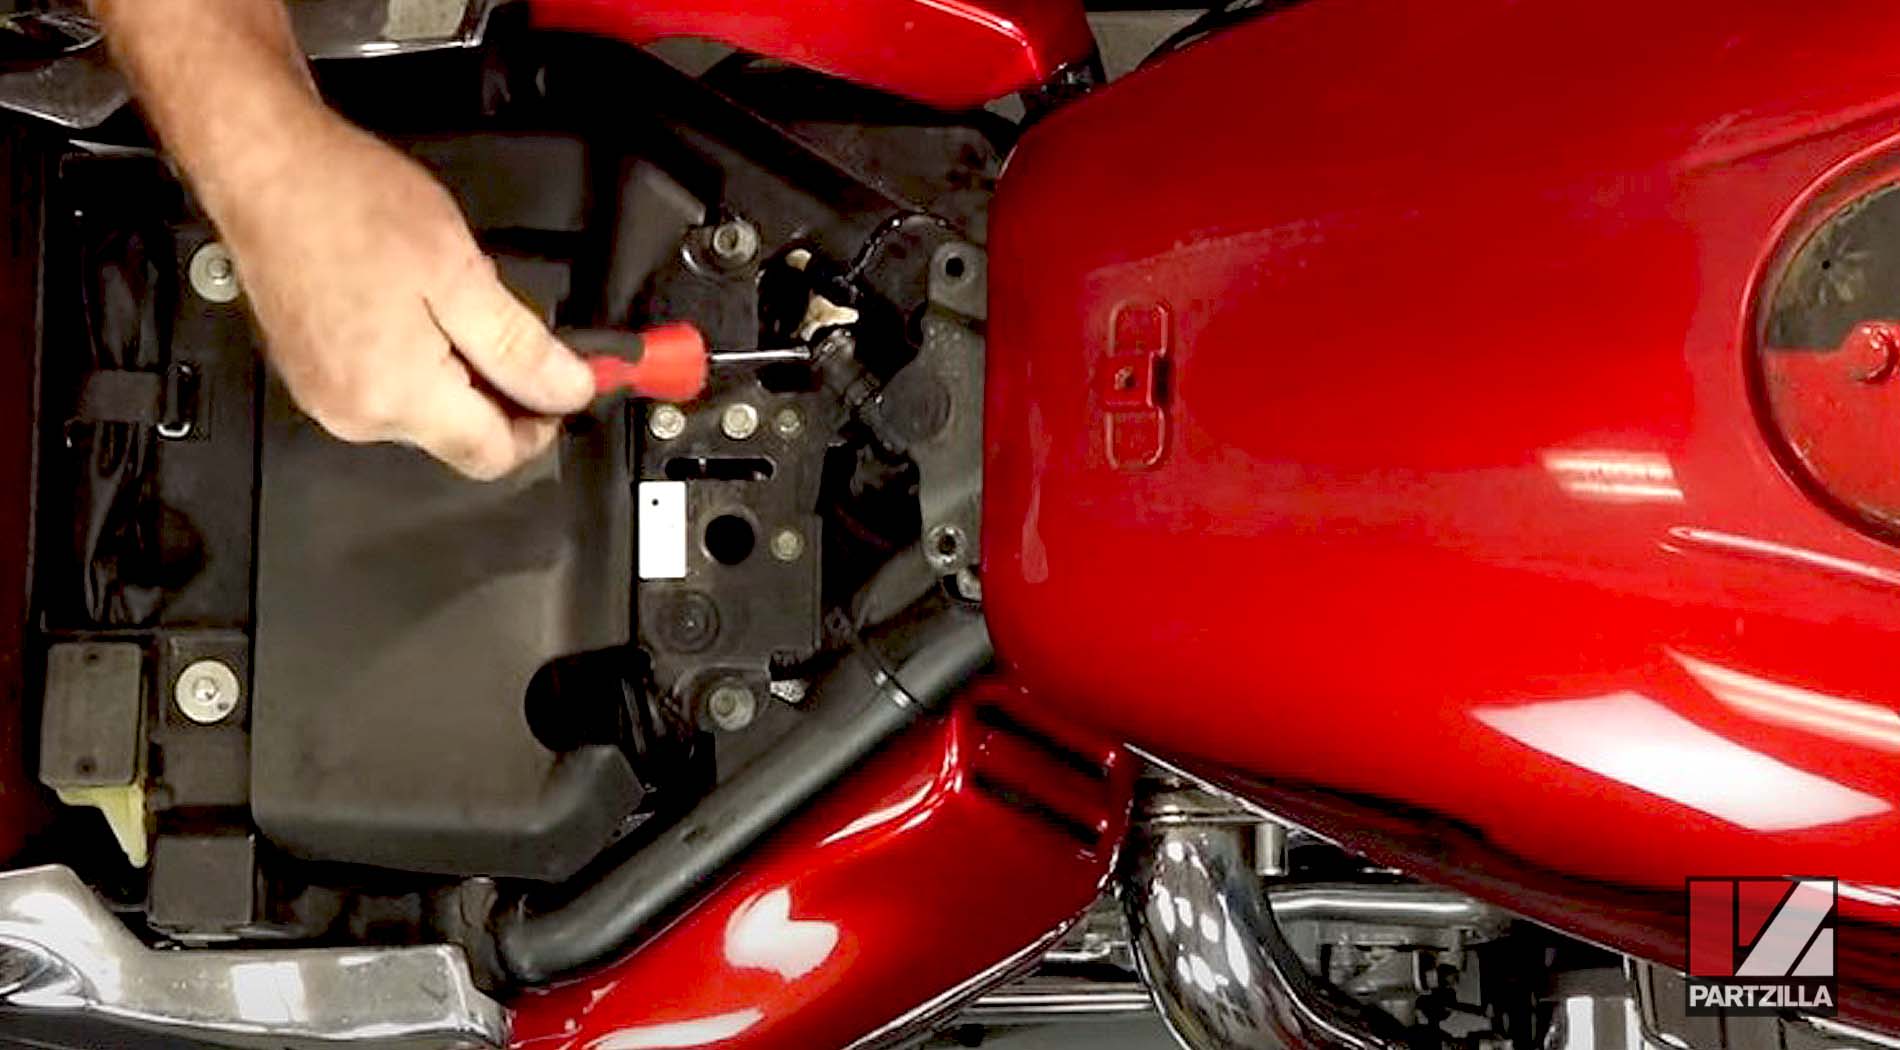
Step 6. Remove the side panel, which has a T30 Torx security screw in the back, and a 4mm hex up top, so you can access the fuel pump.

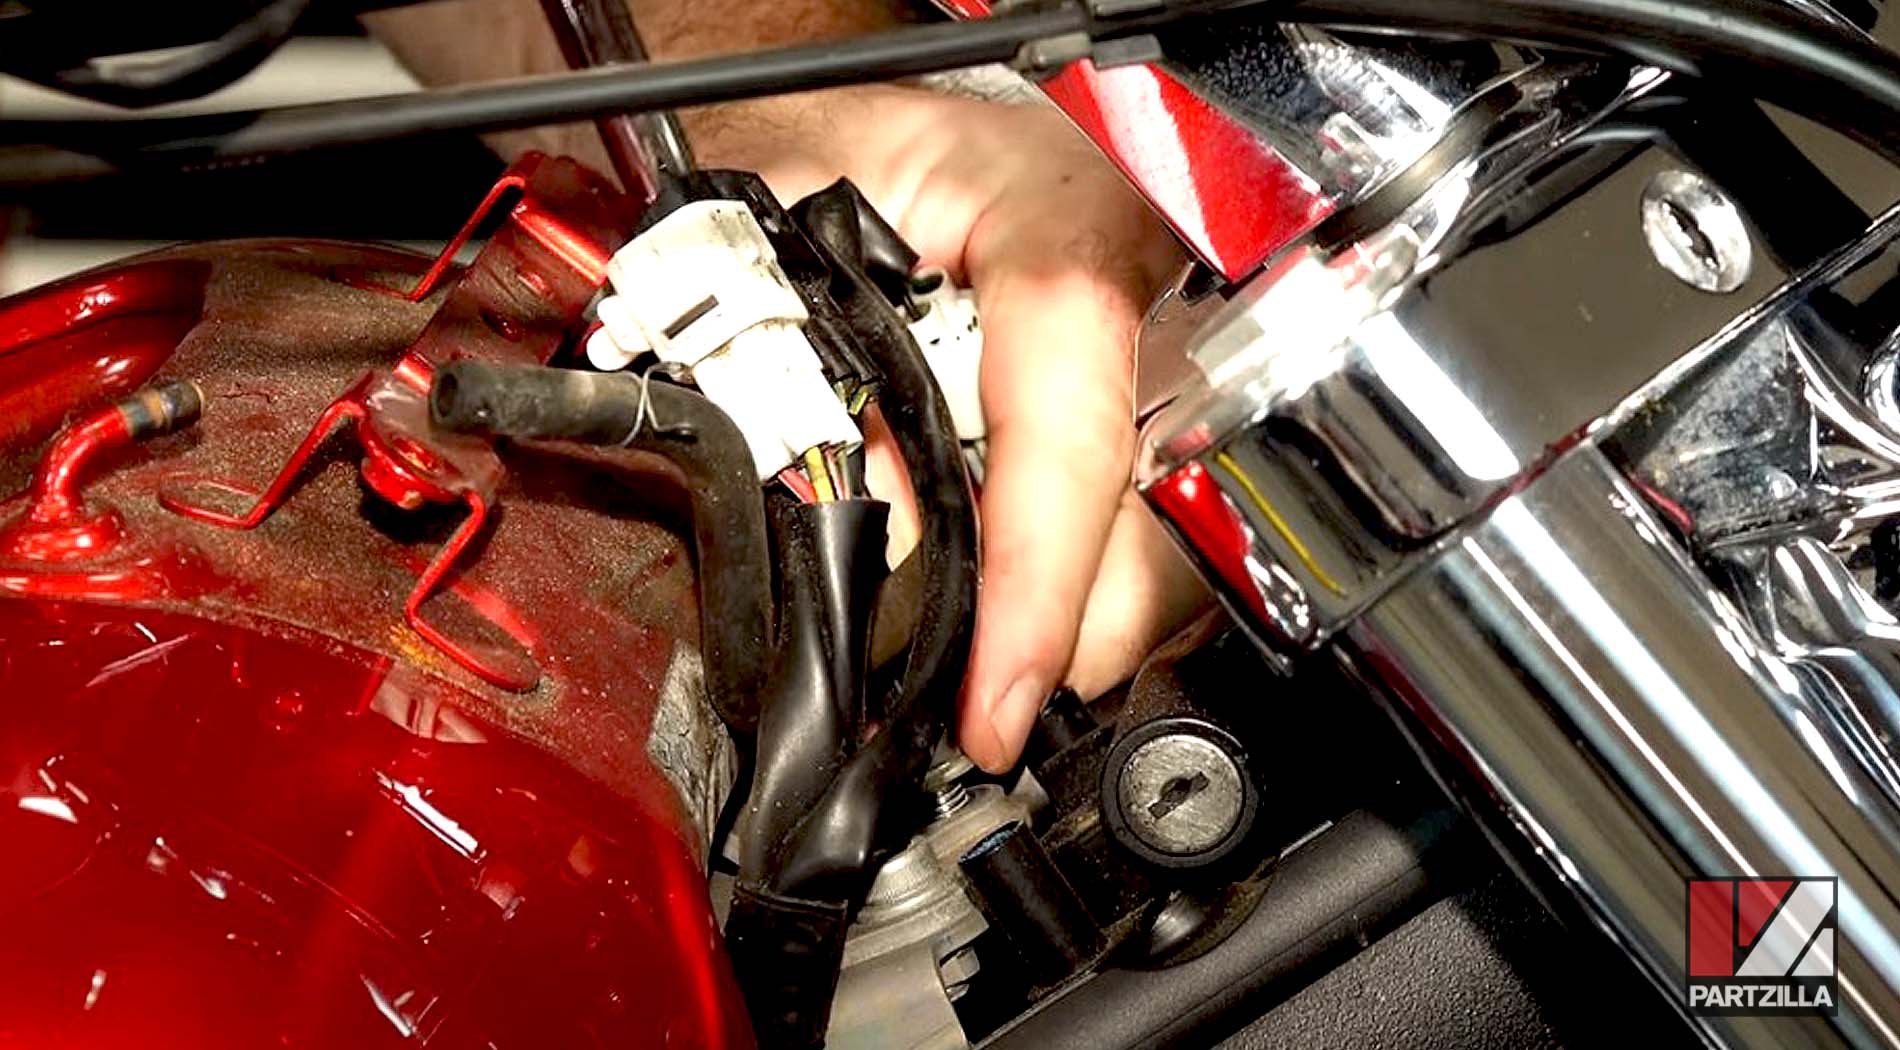
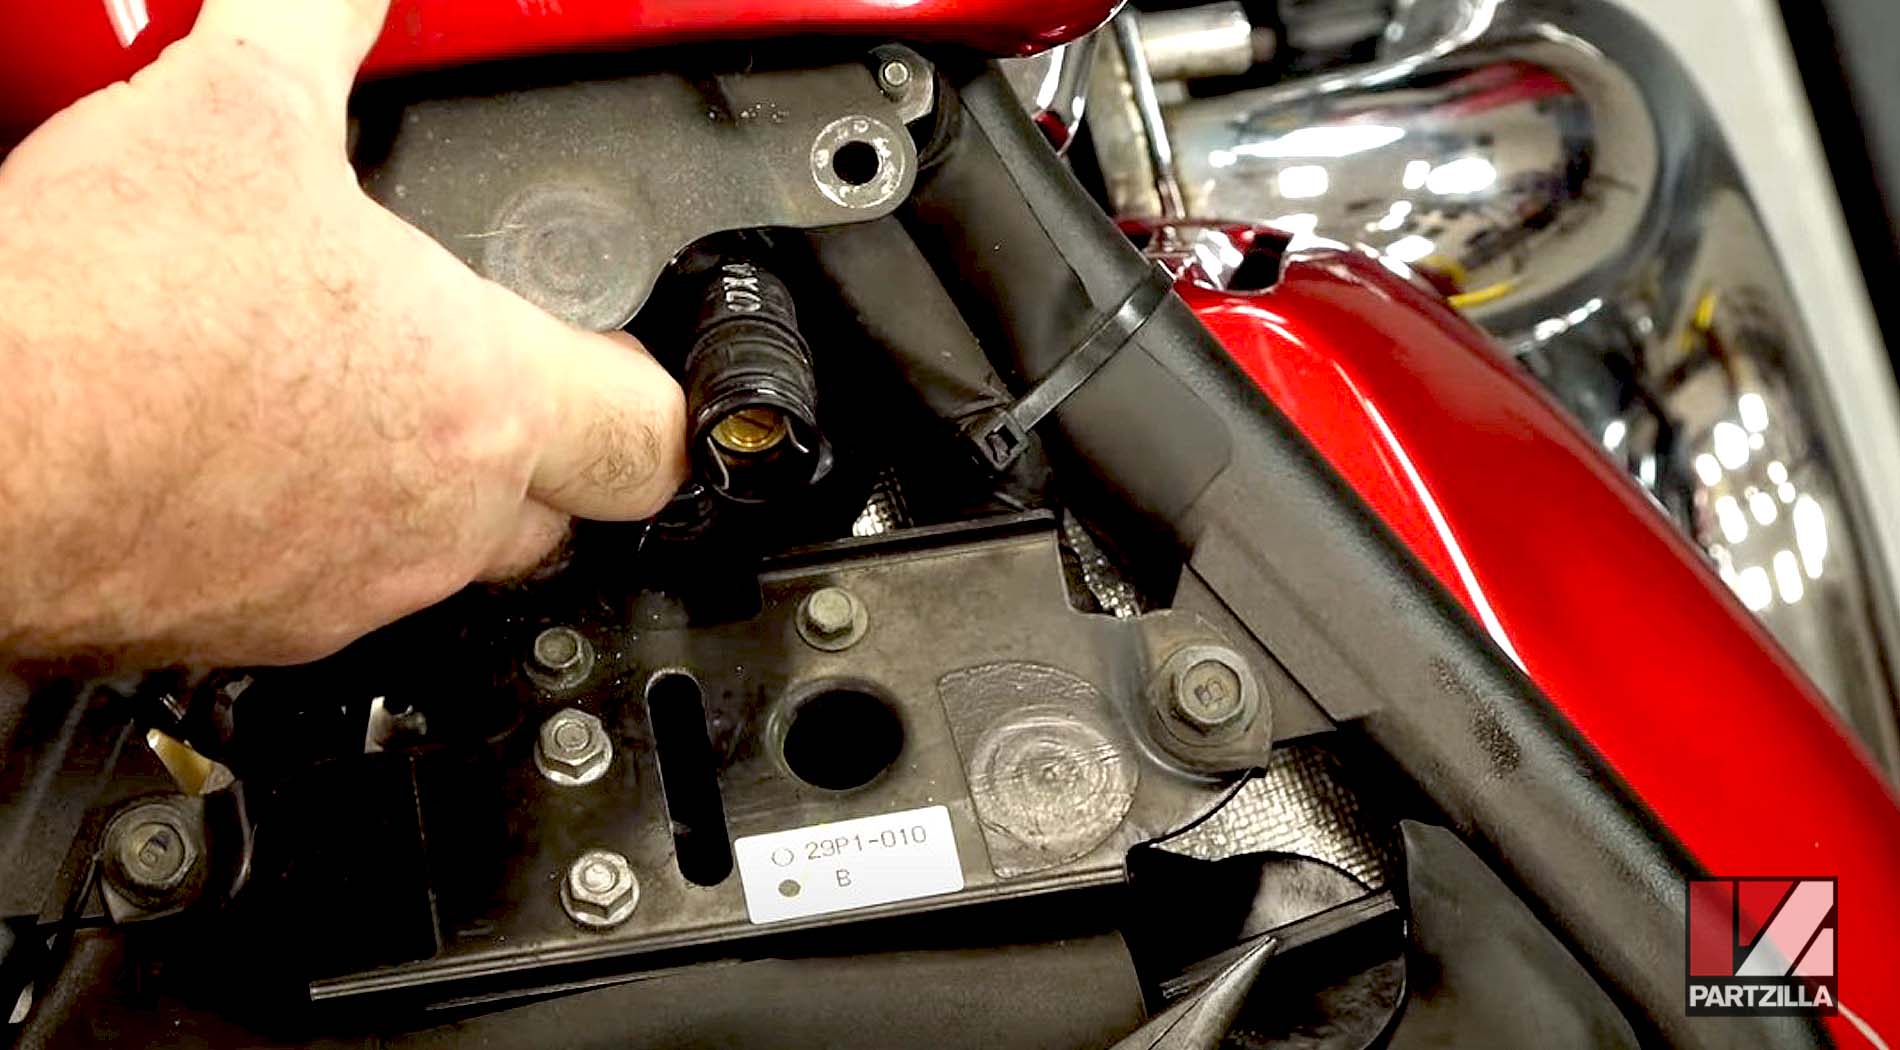
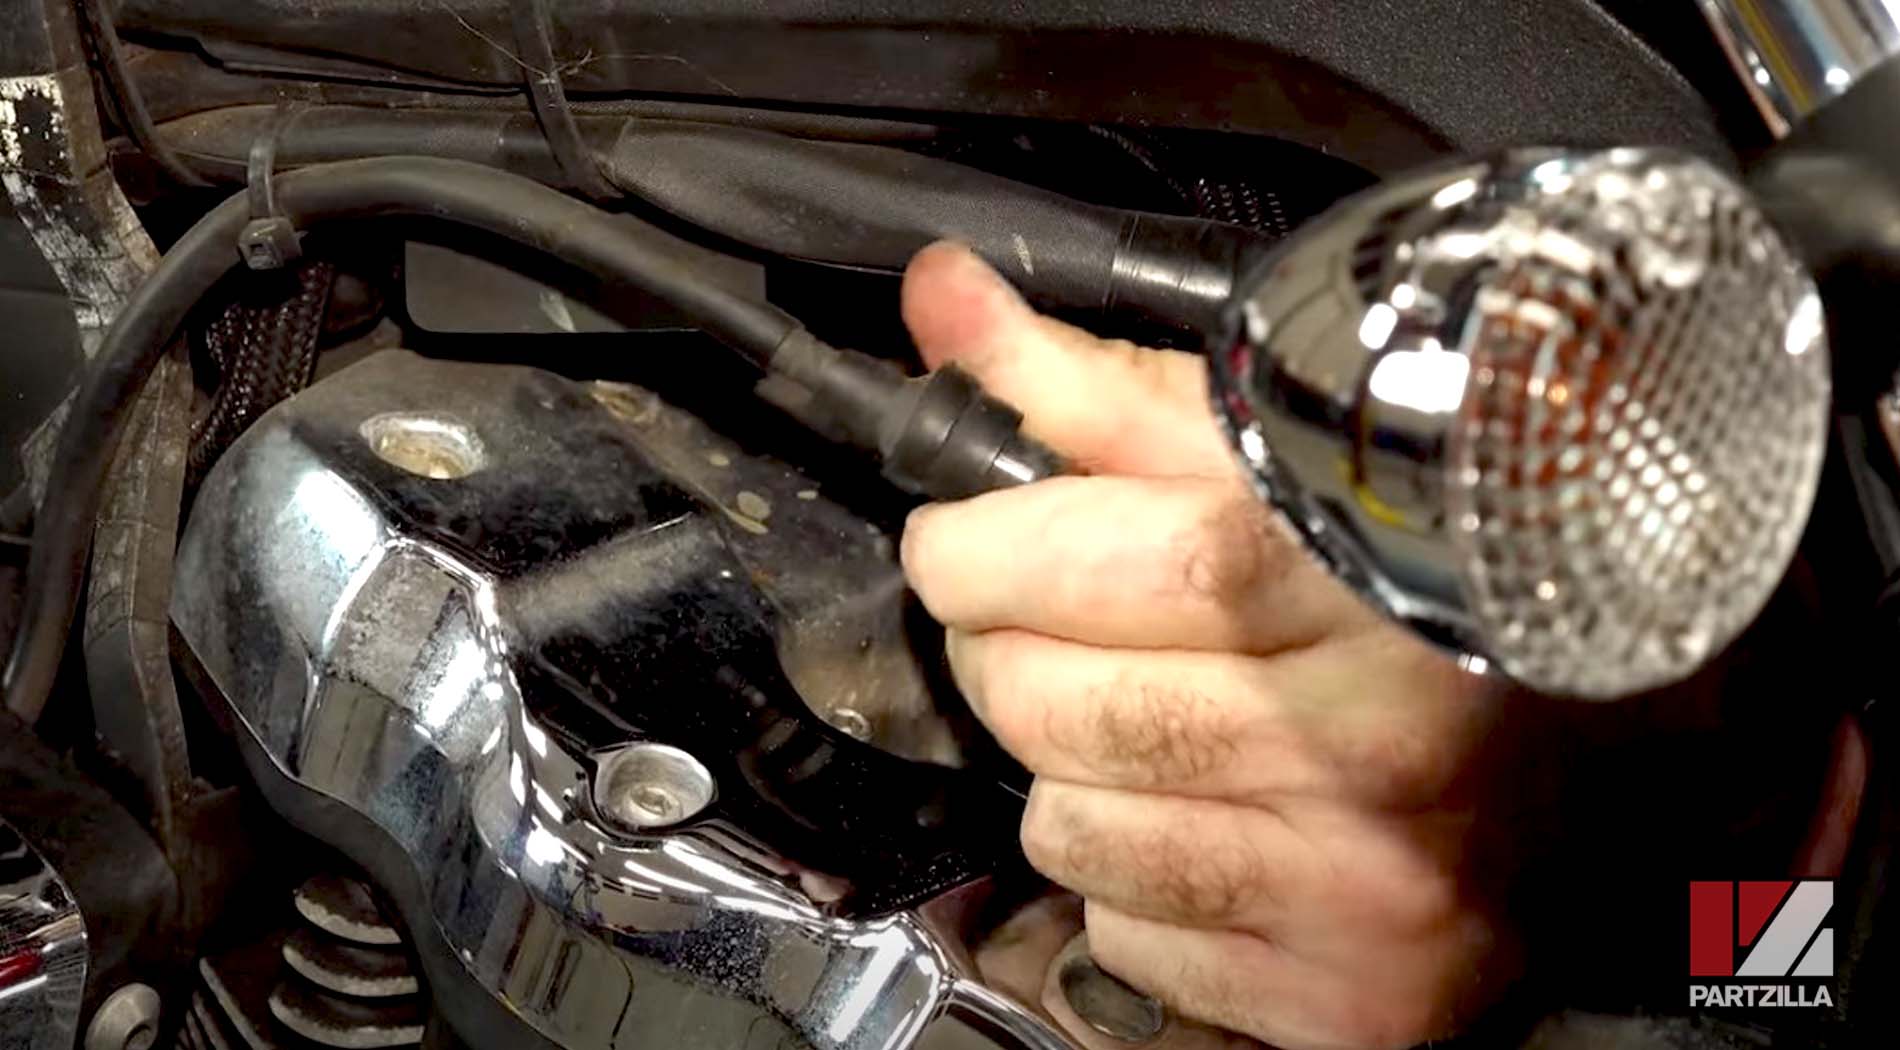
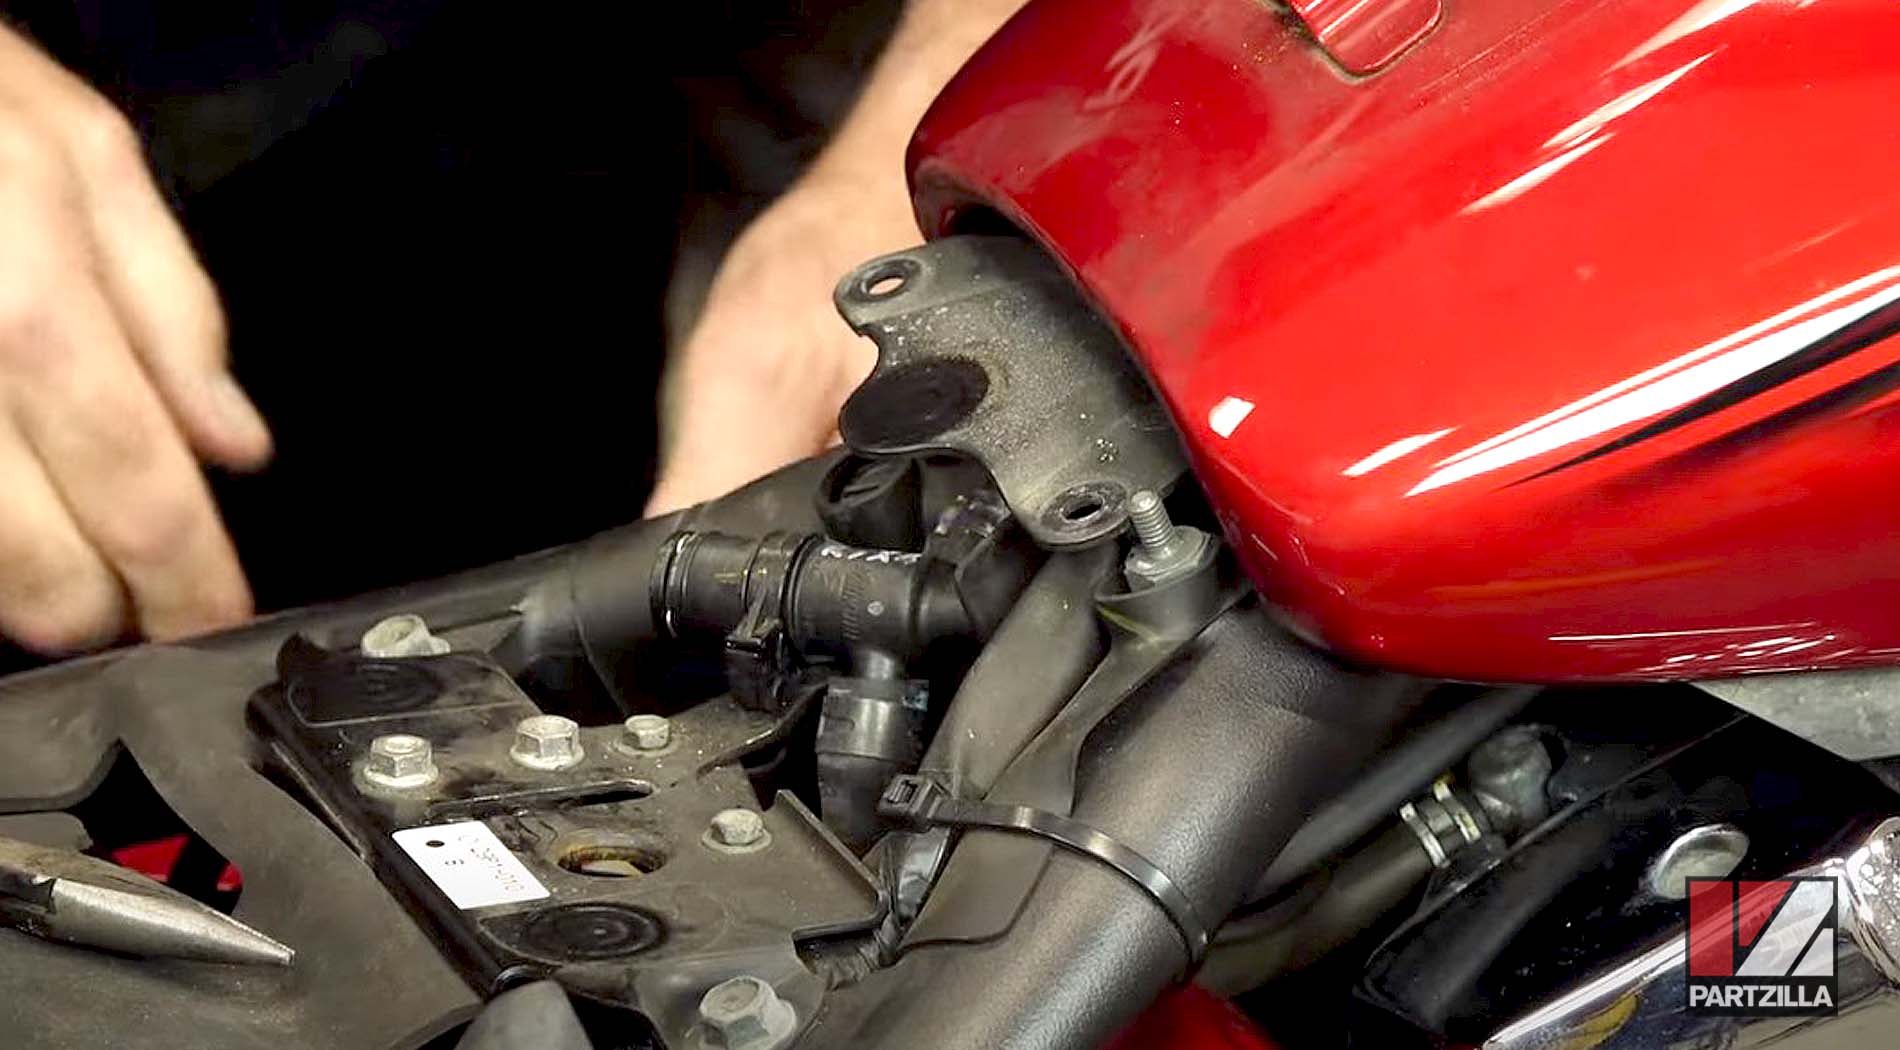
Step 7. Remove the zip tie and disconnect the line at the top of the fuel pump.
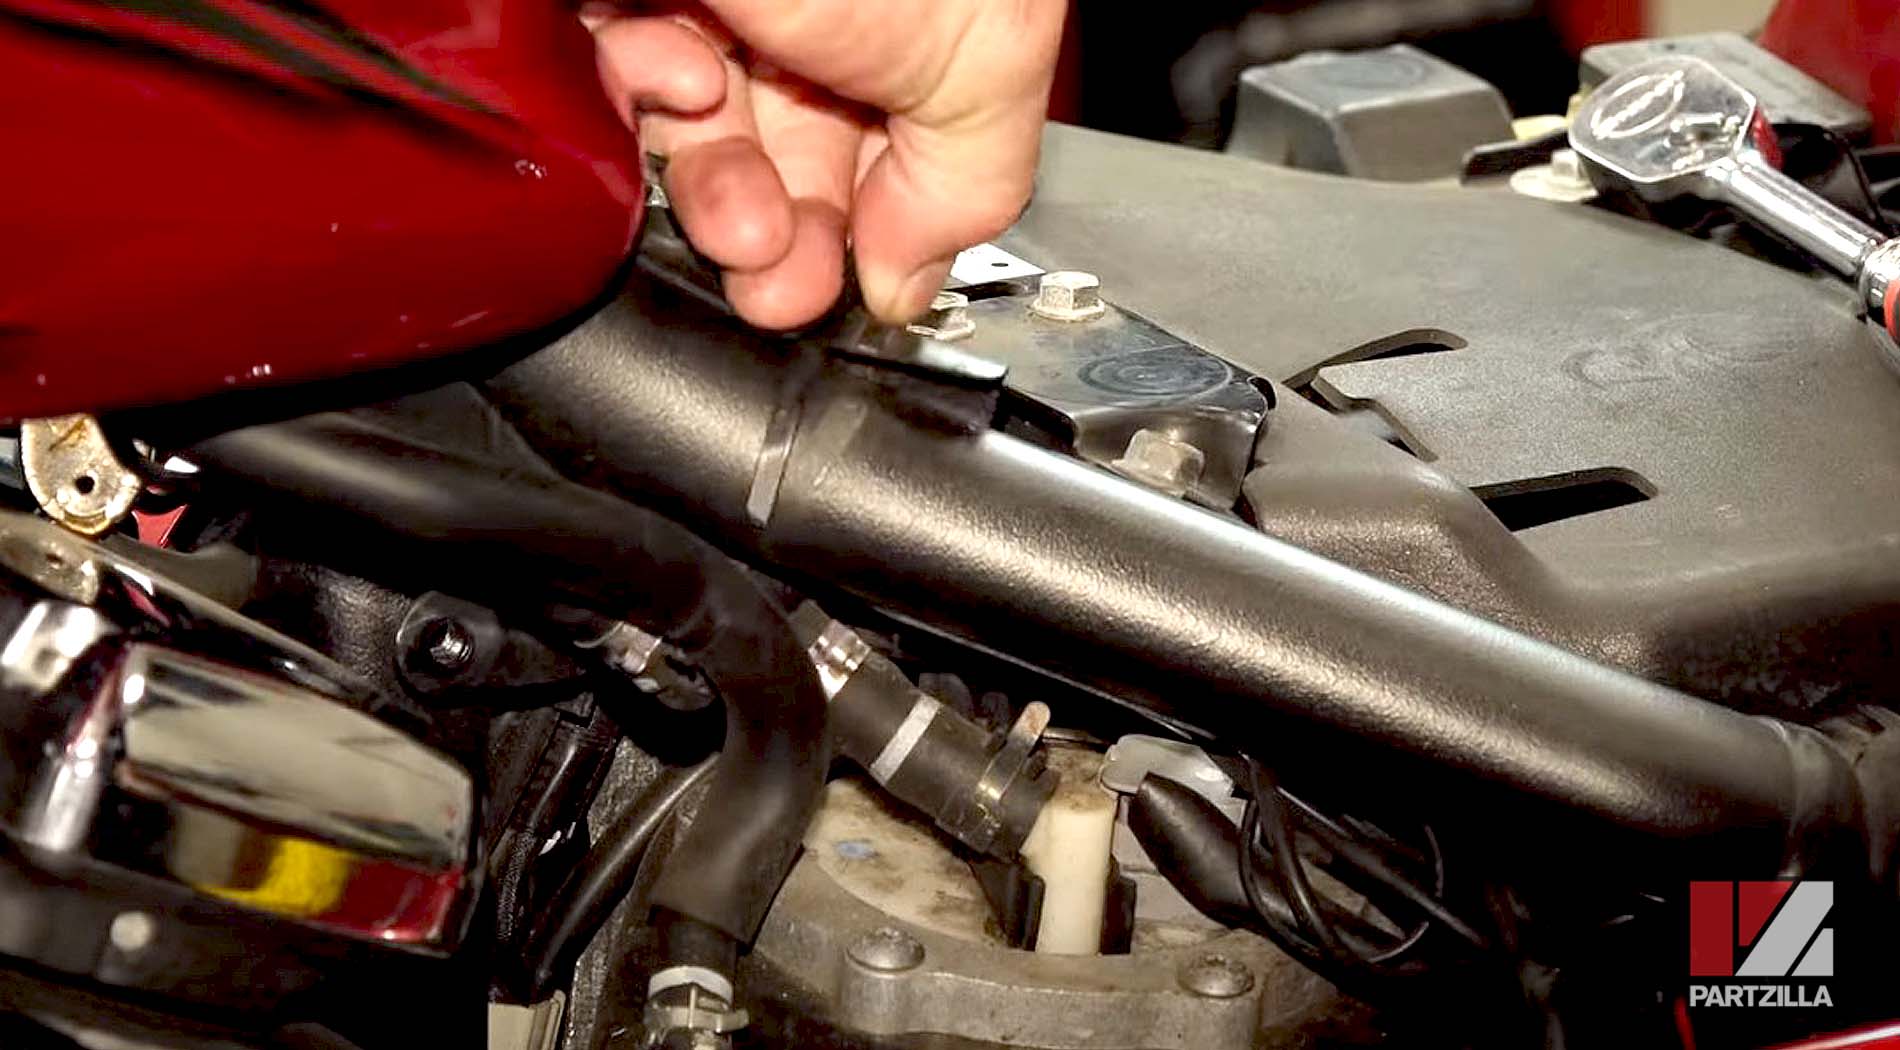
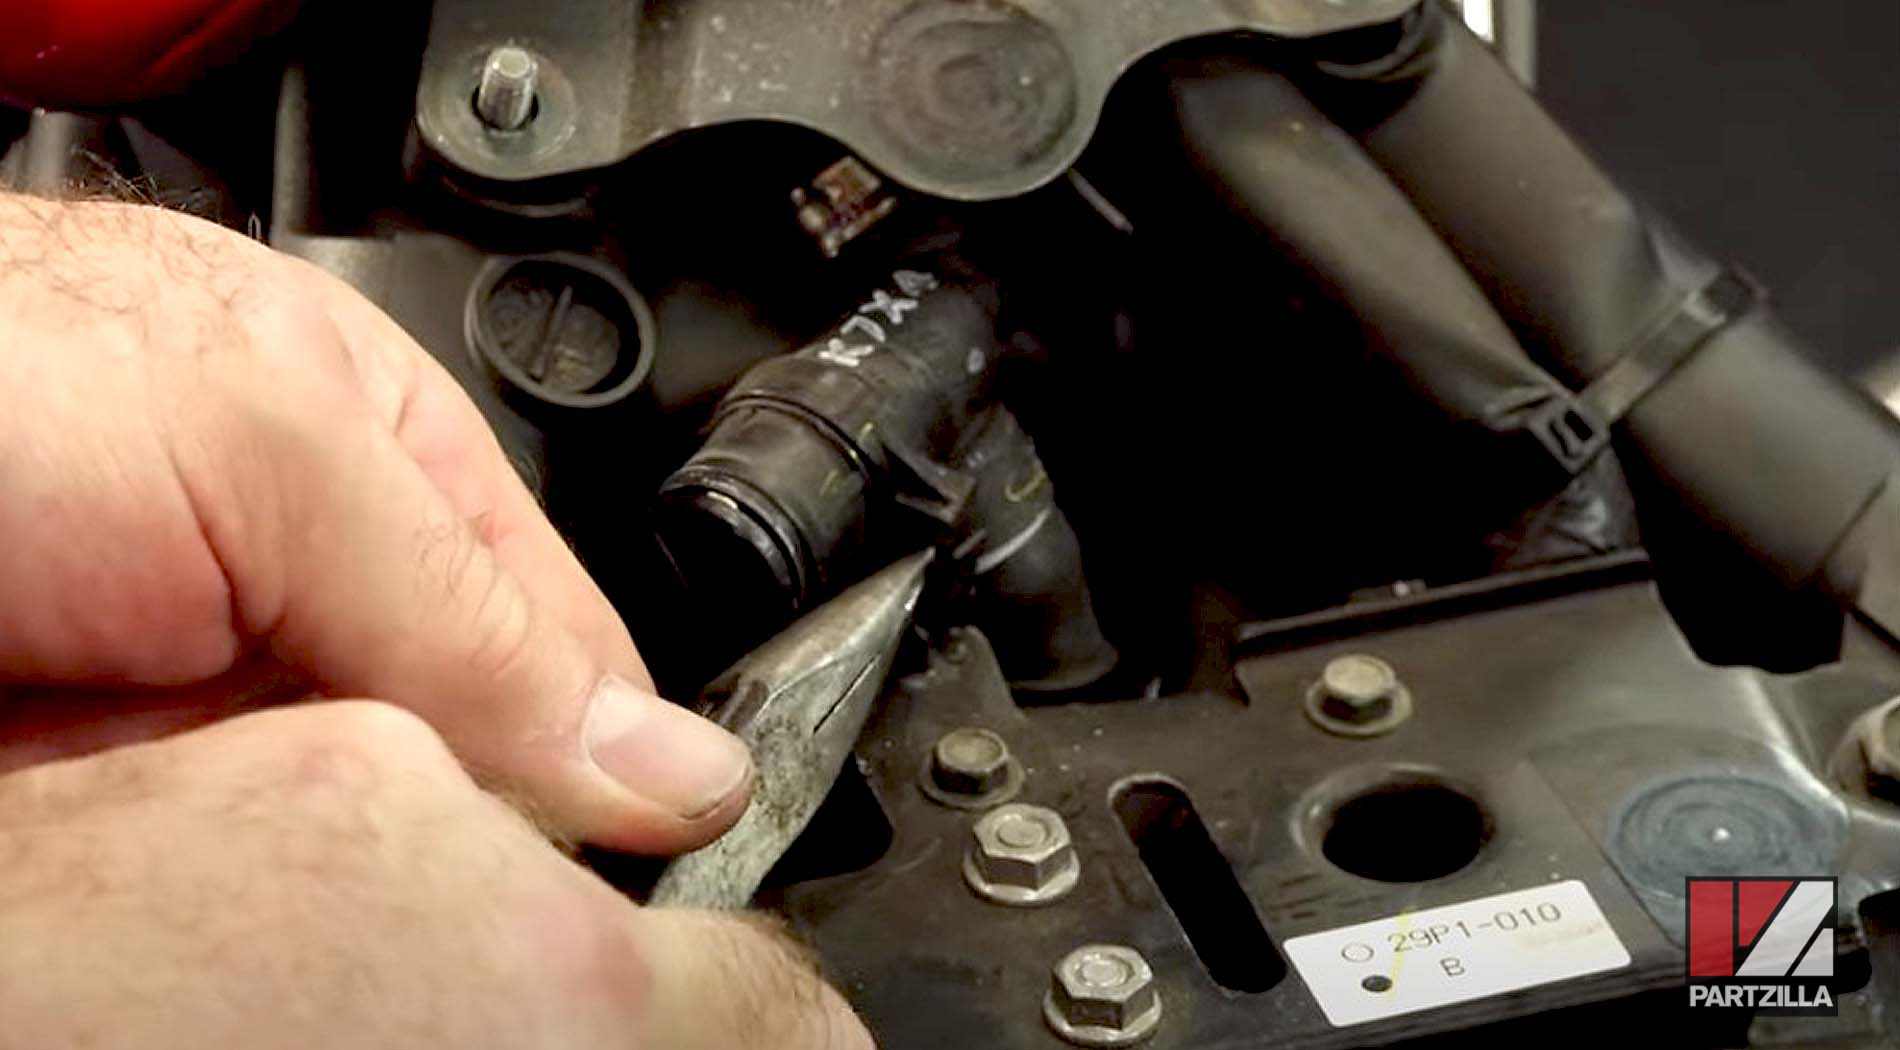
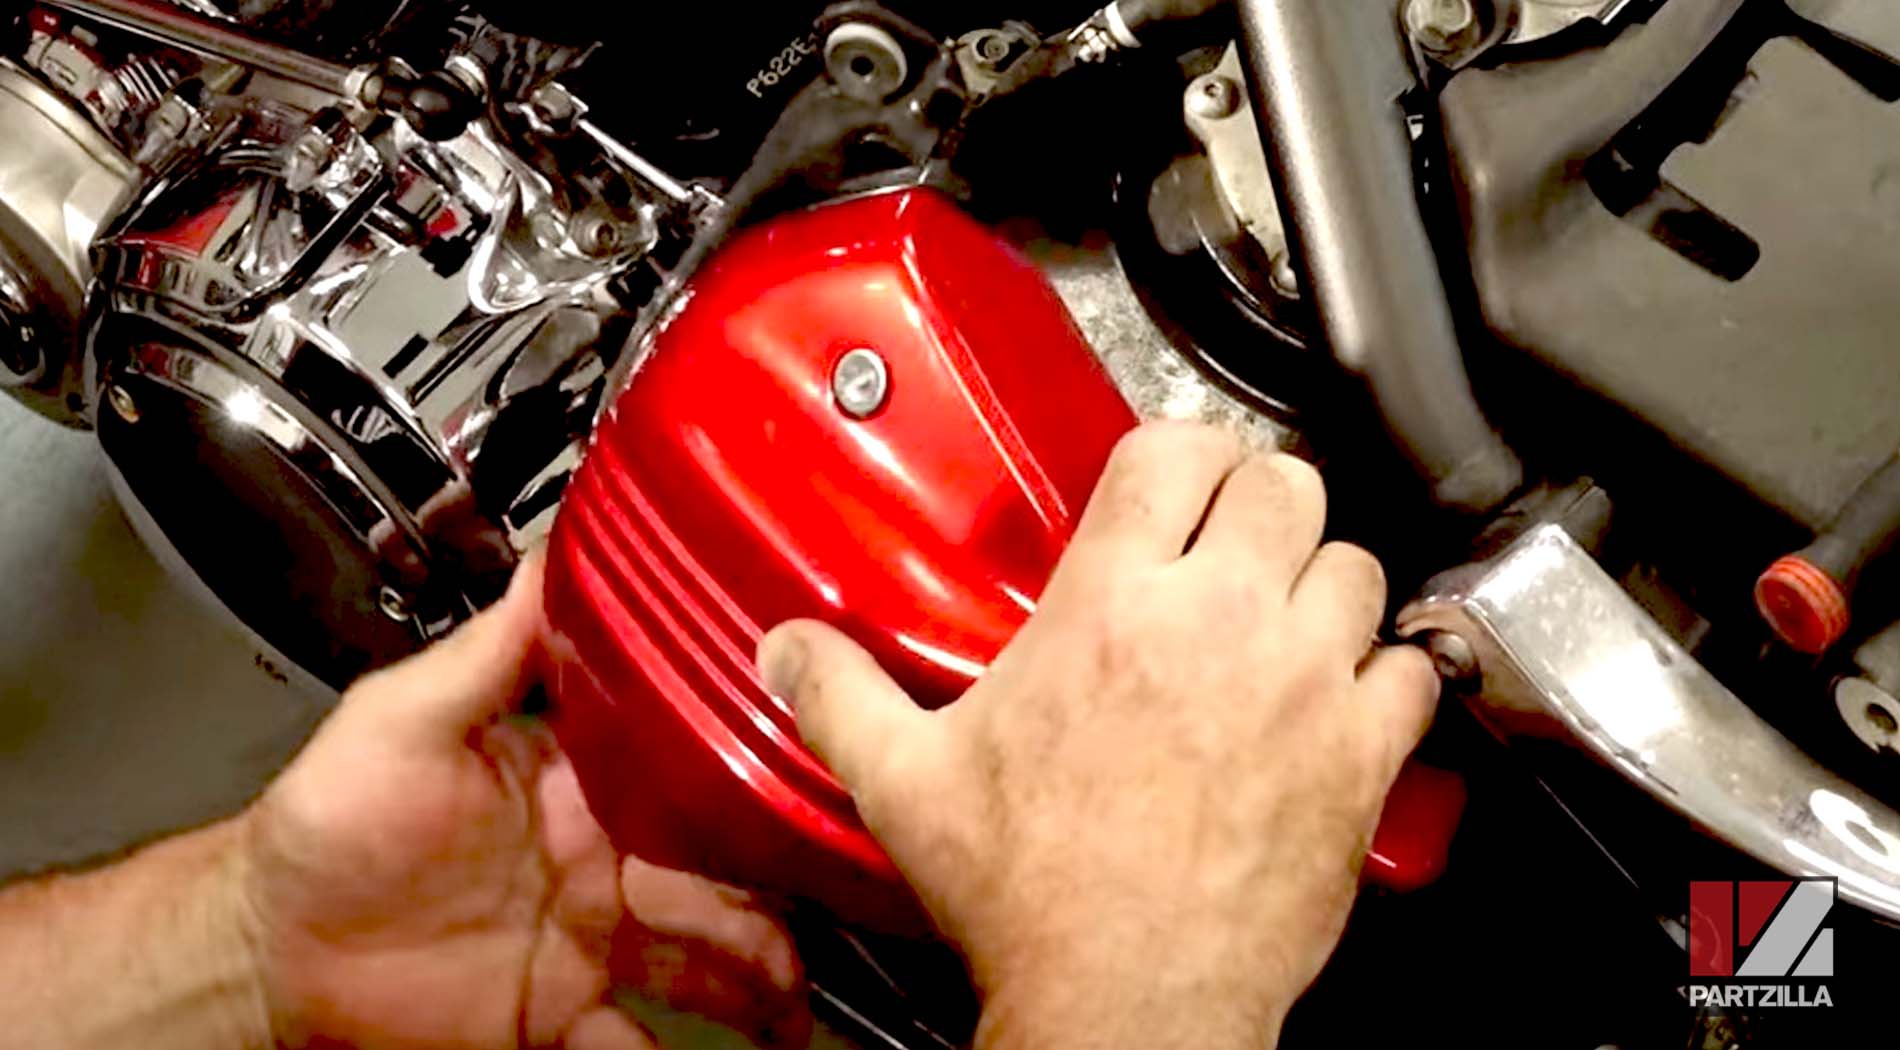
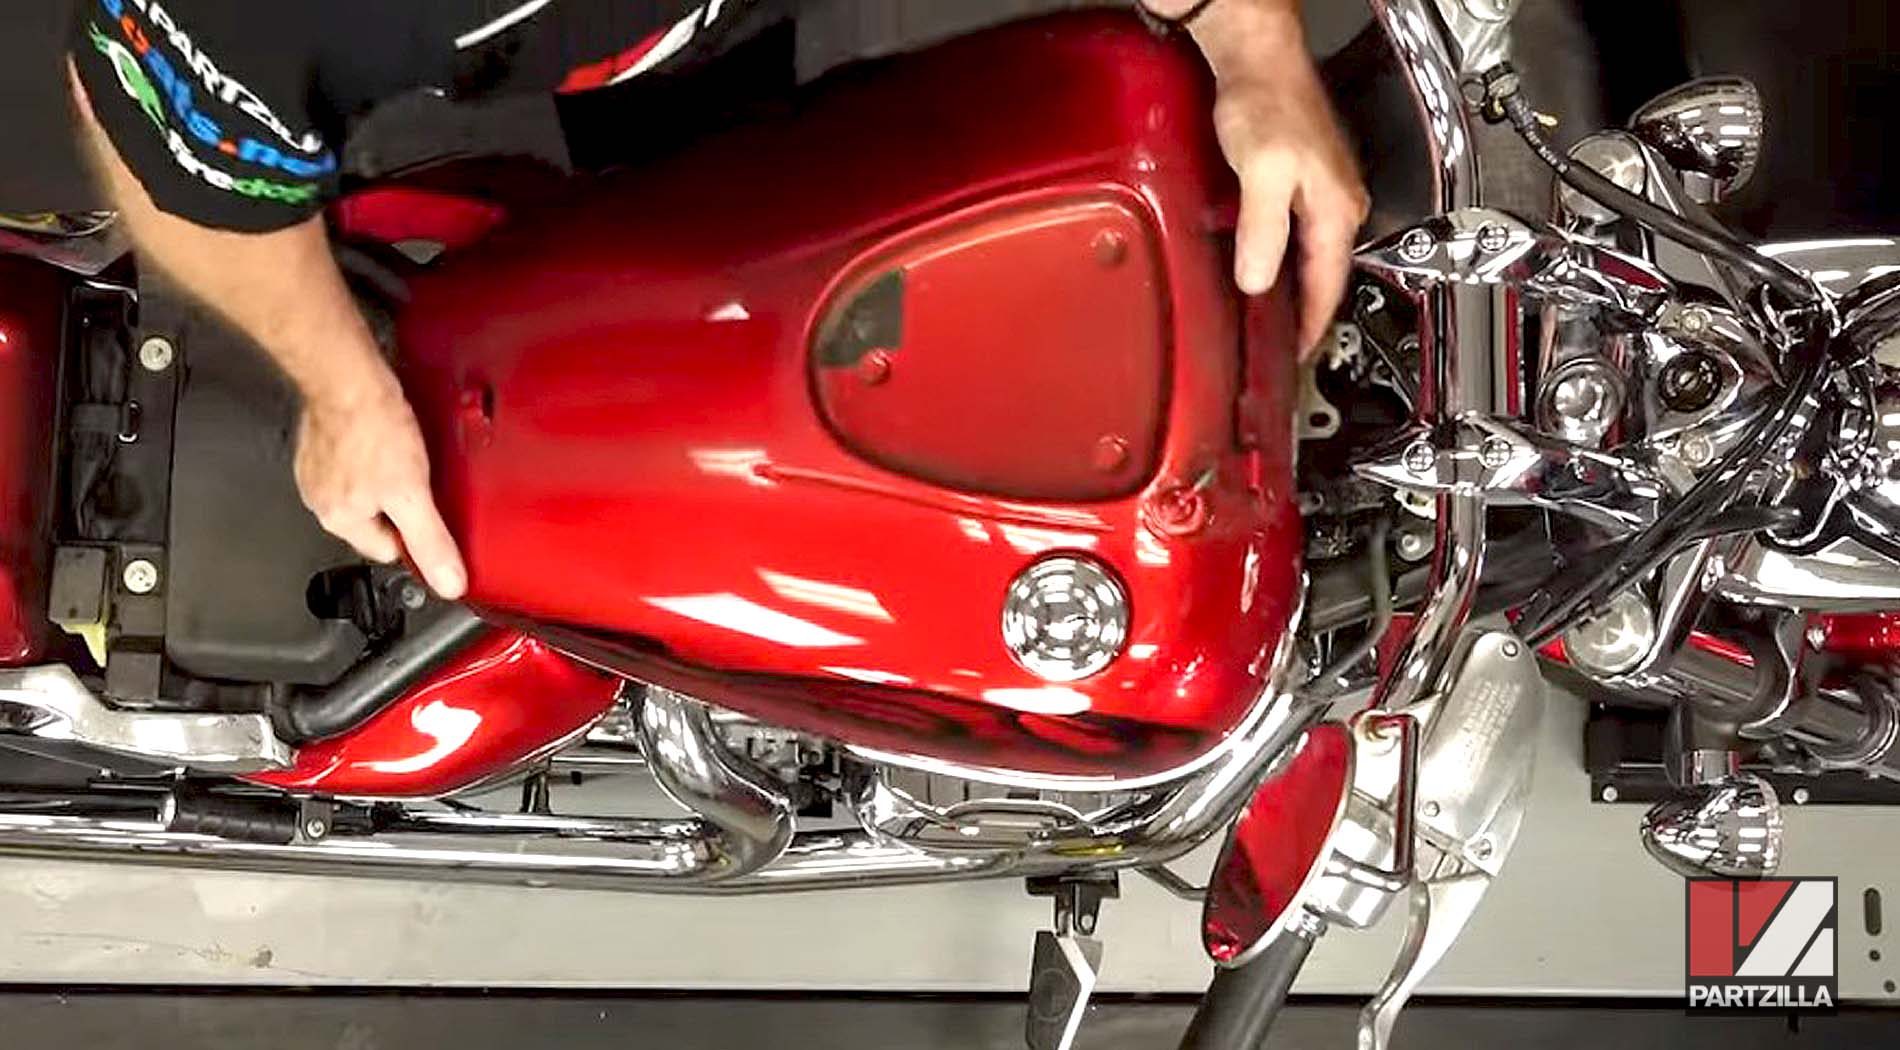
Step 8. Disconnect all remaining connections to the fuel pump, then lift the fuel tank itself off the motorcycle.
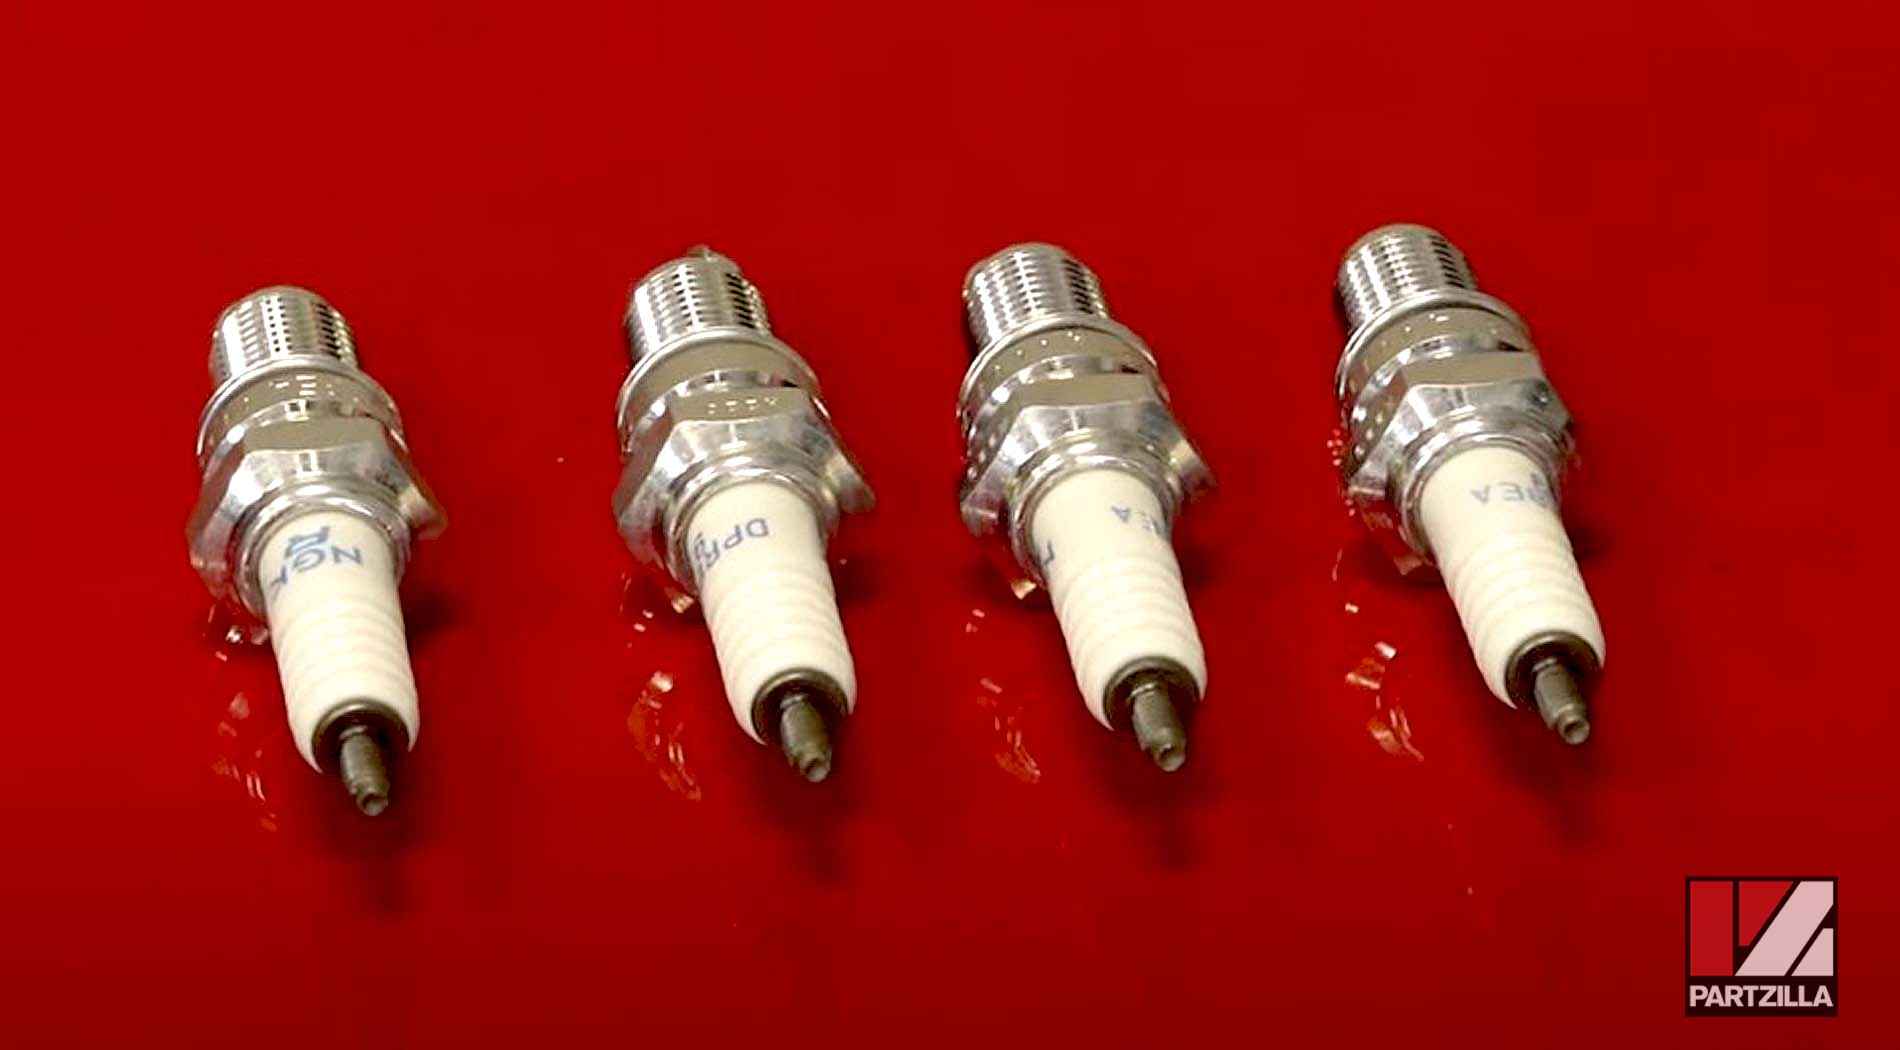
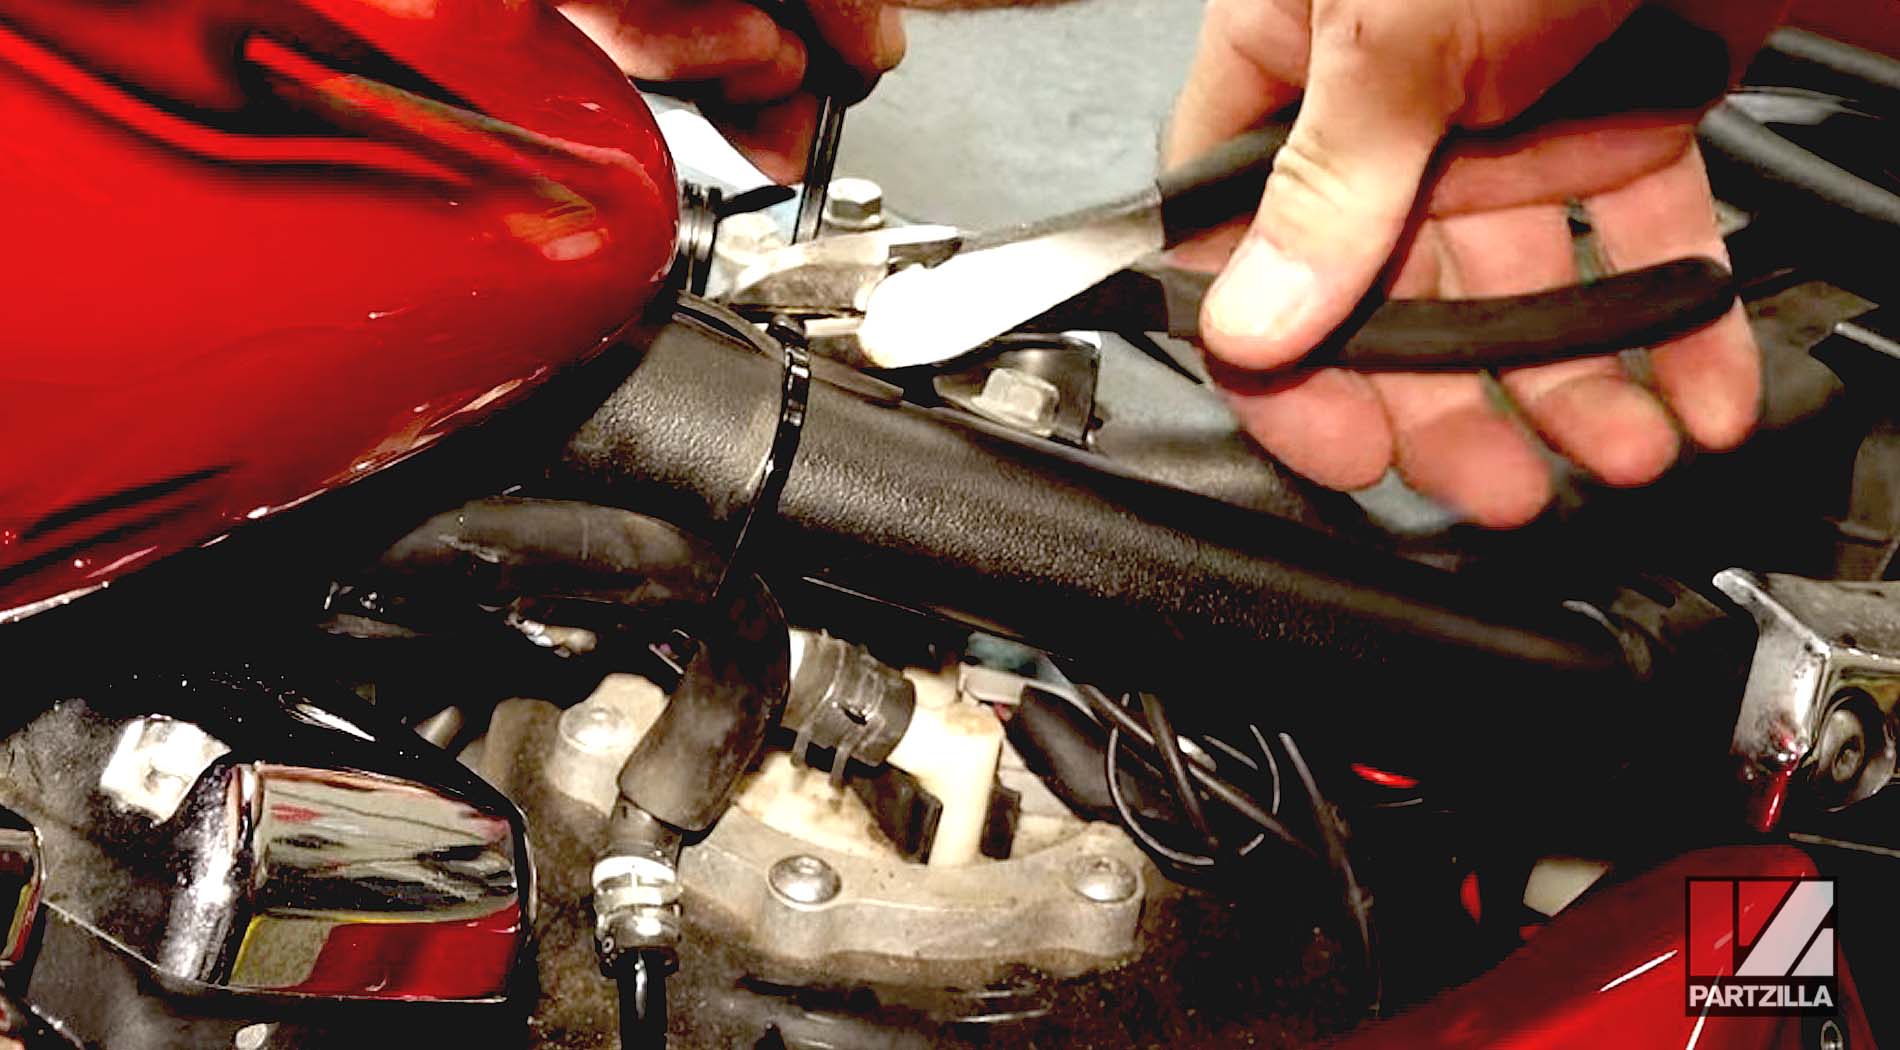
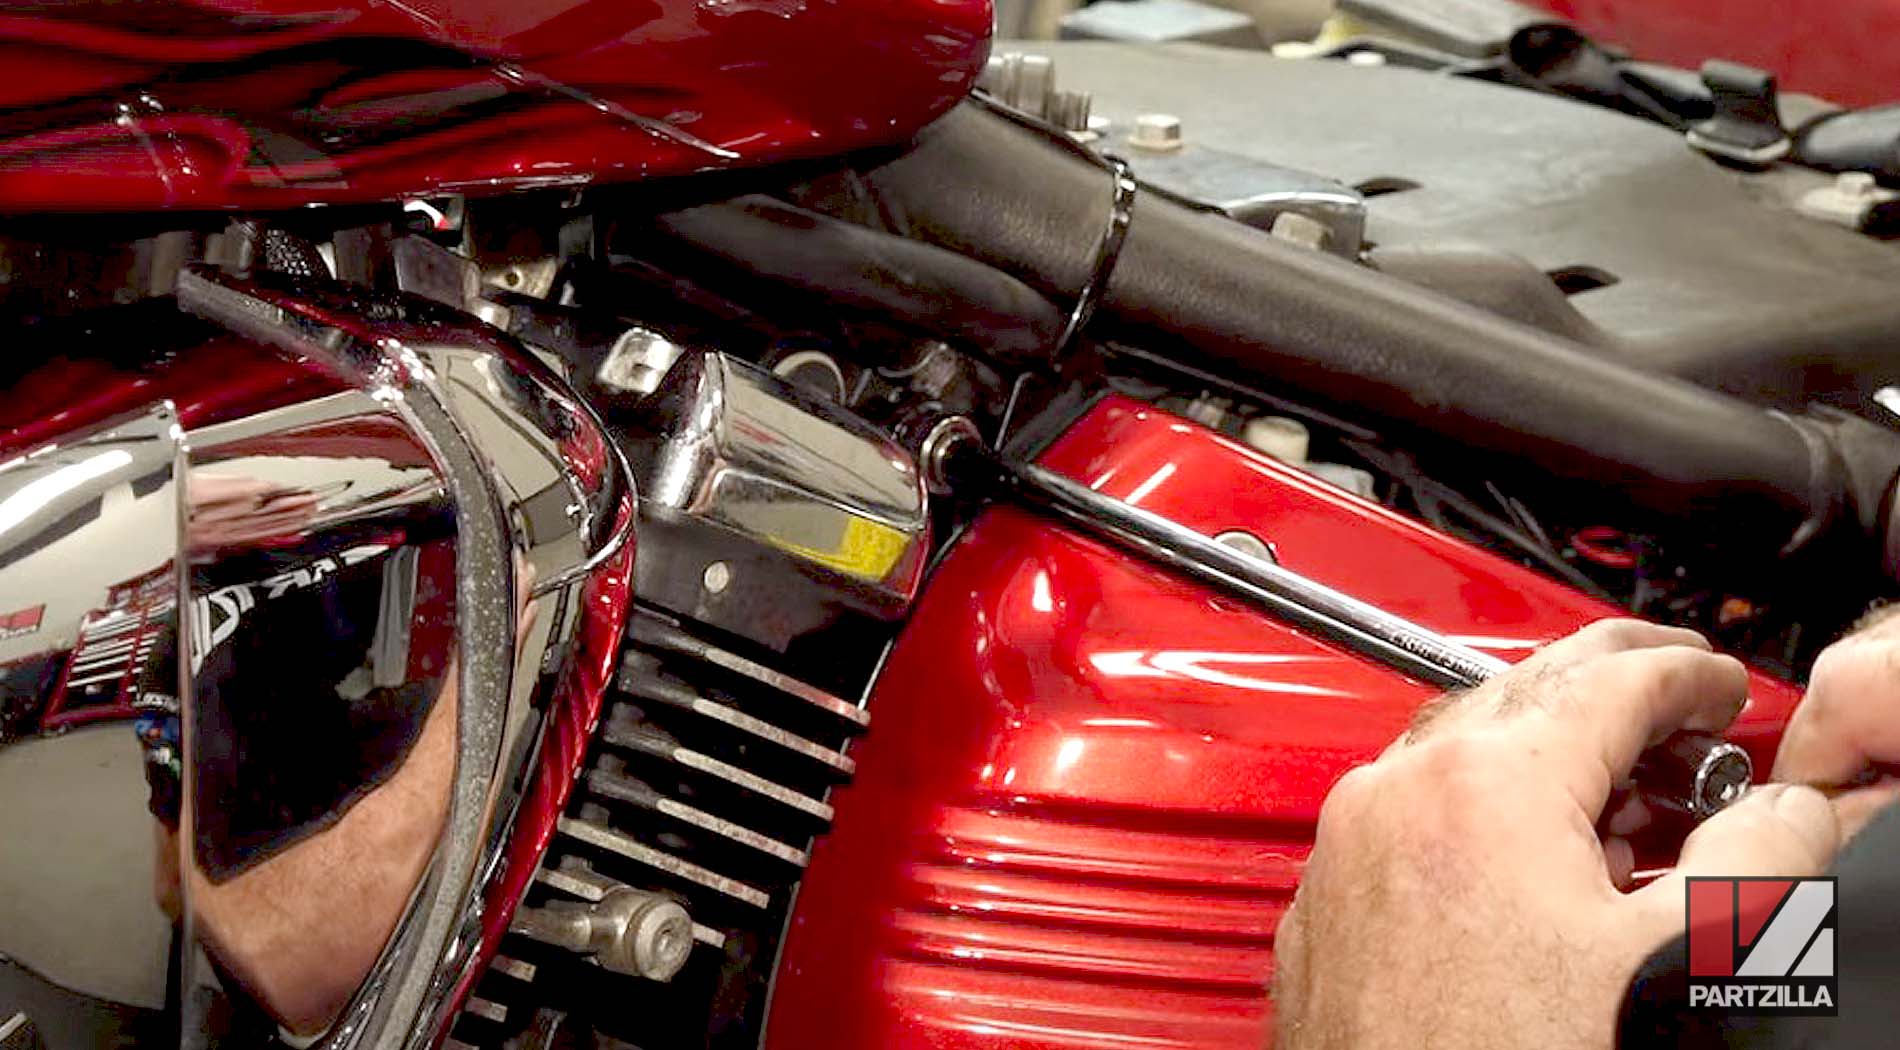
Step 9. Pull the wires off the spark plugs and then remove all four plugs from the machine with a spark plug socket wrench extension.
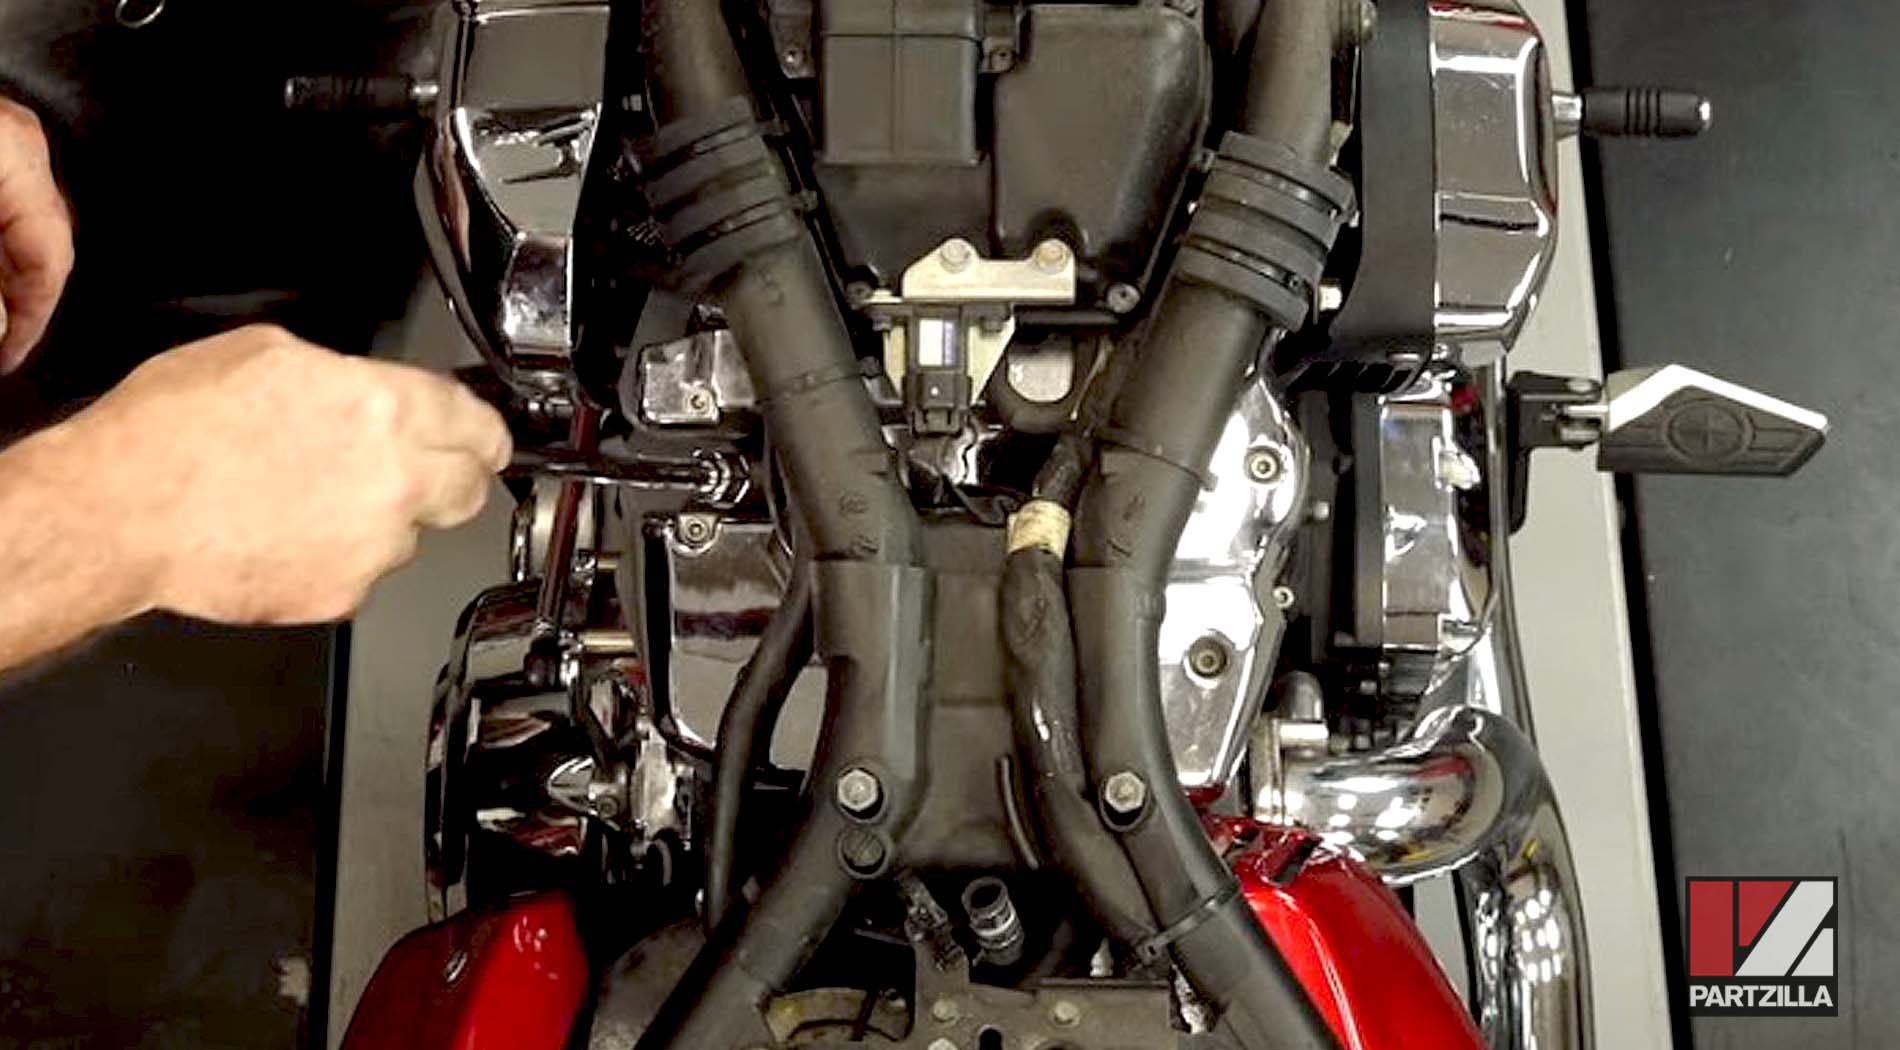
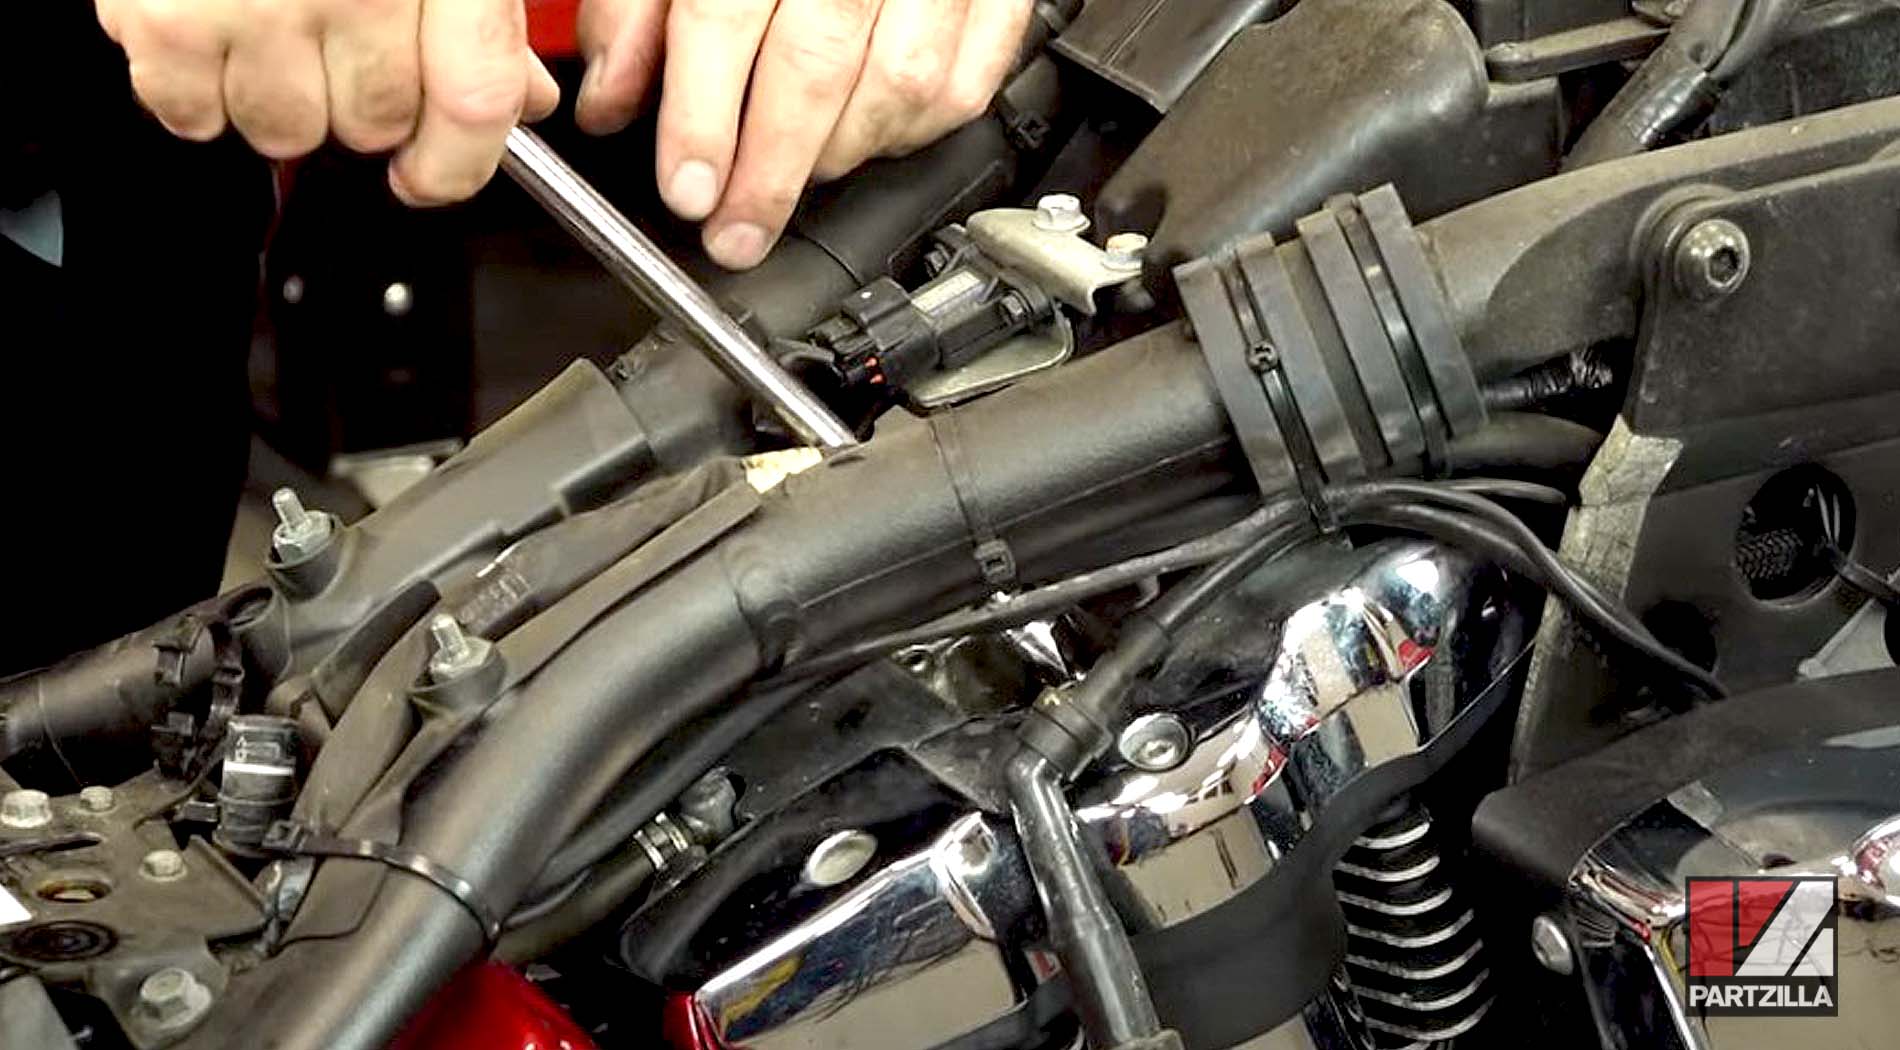
PRO TIP: It’s not required, but add a little bit of anti-seize lube on the threads of the new spark plugs before installing them.
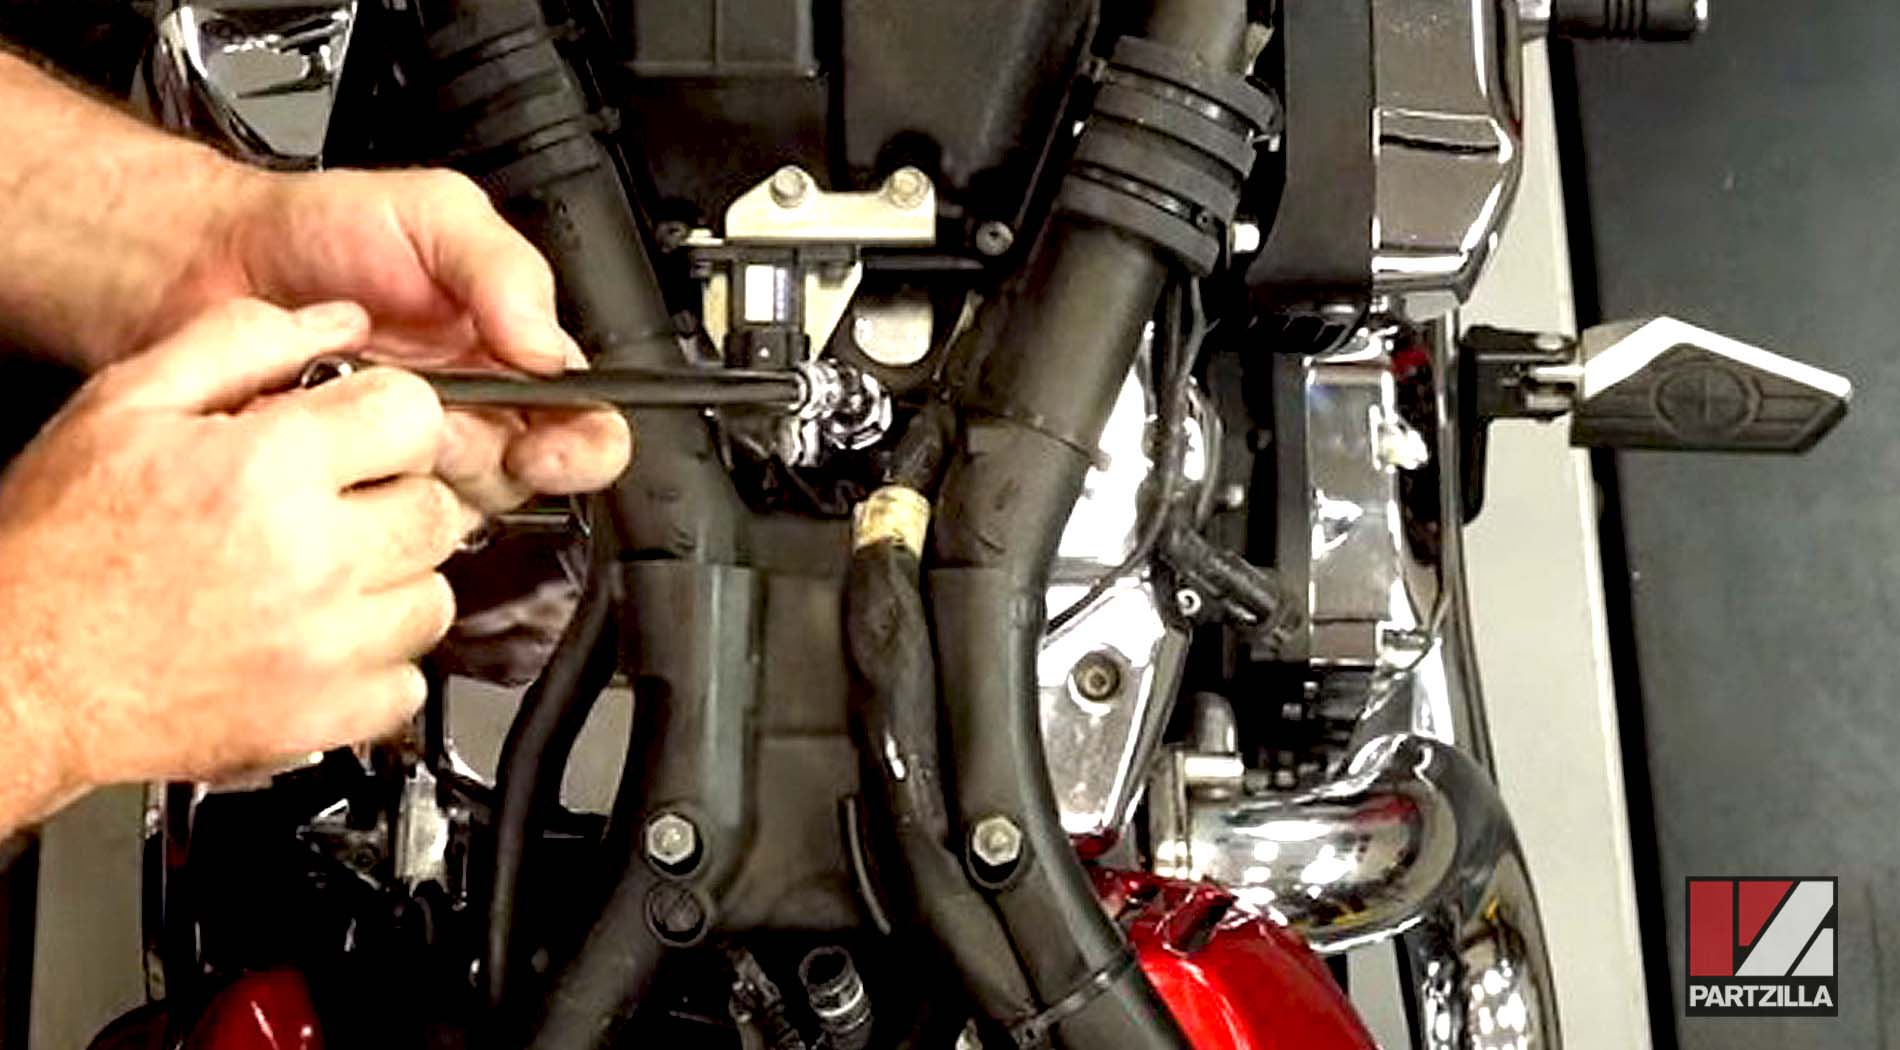
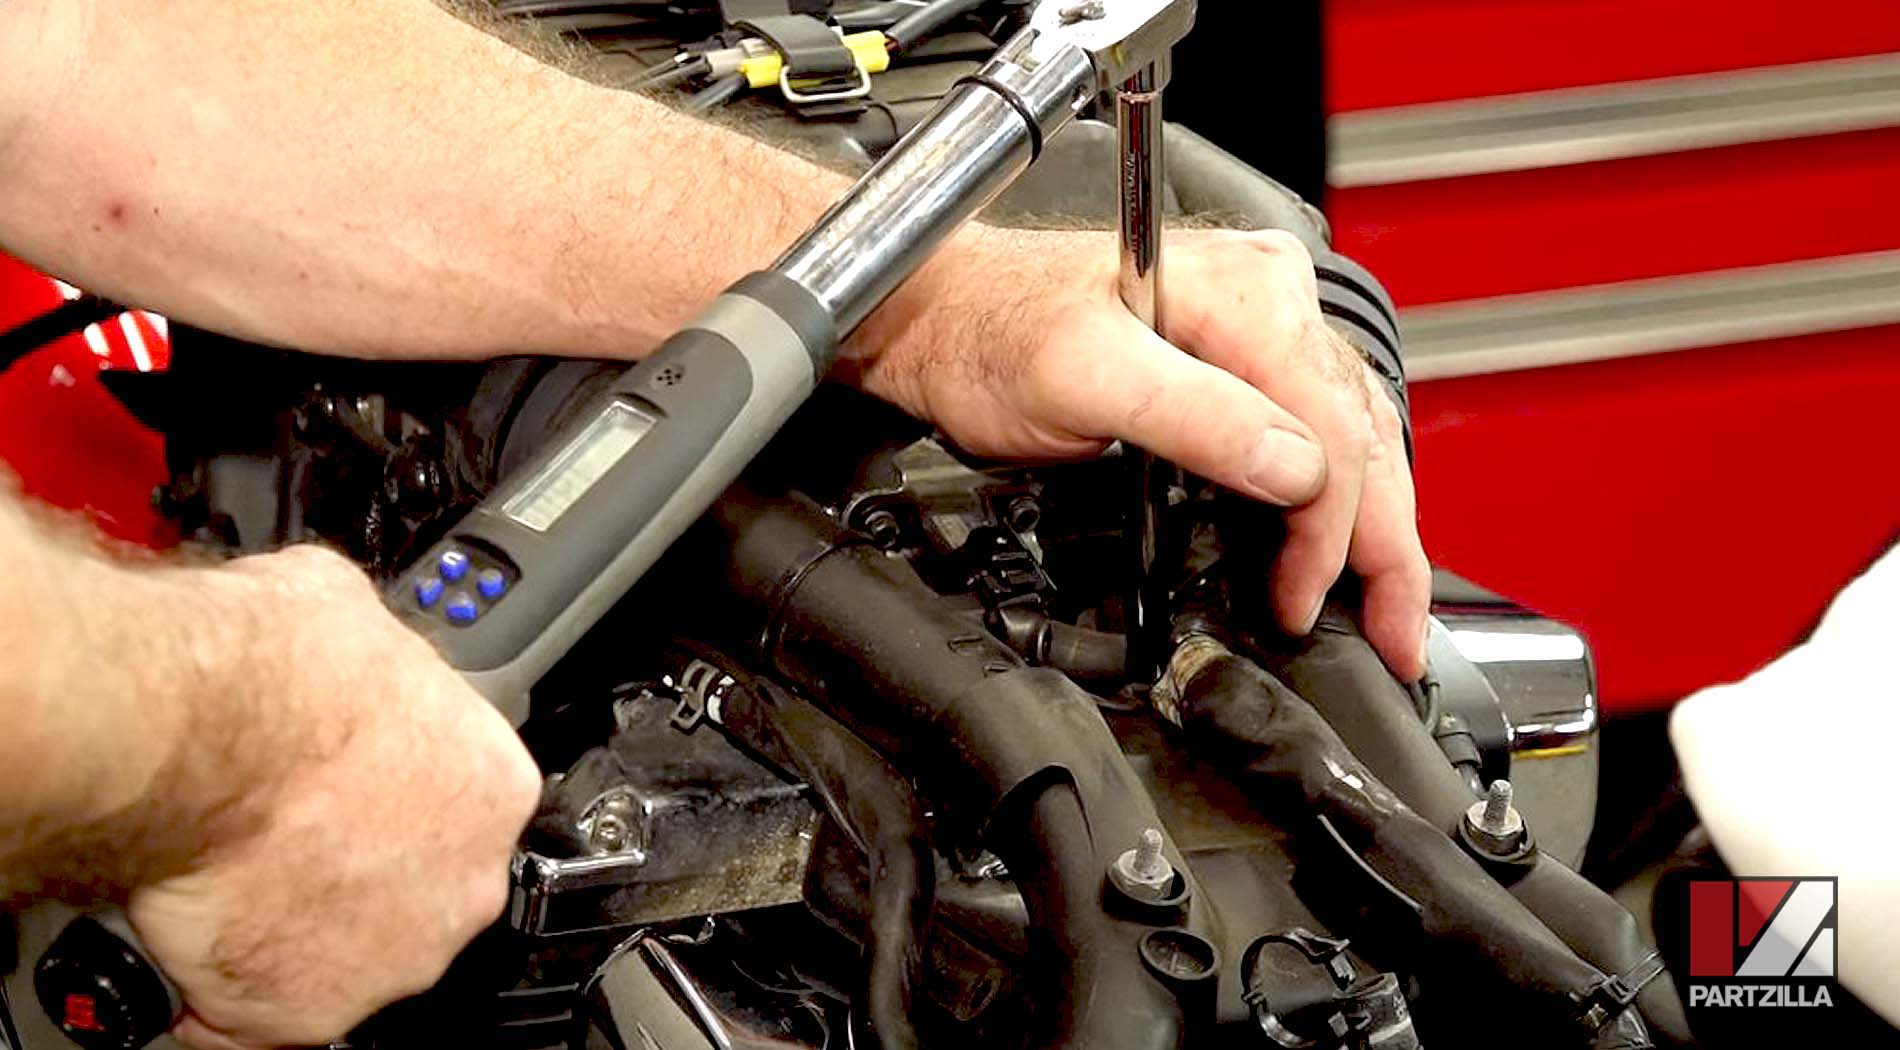
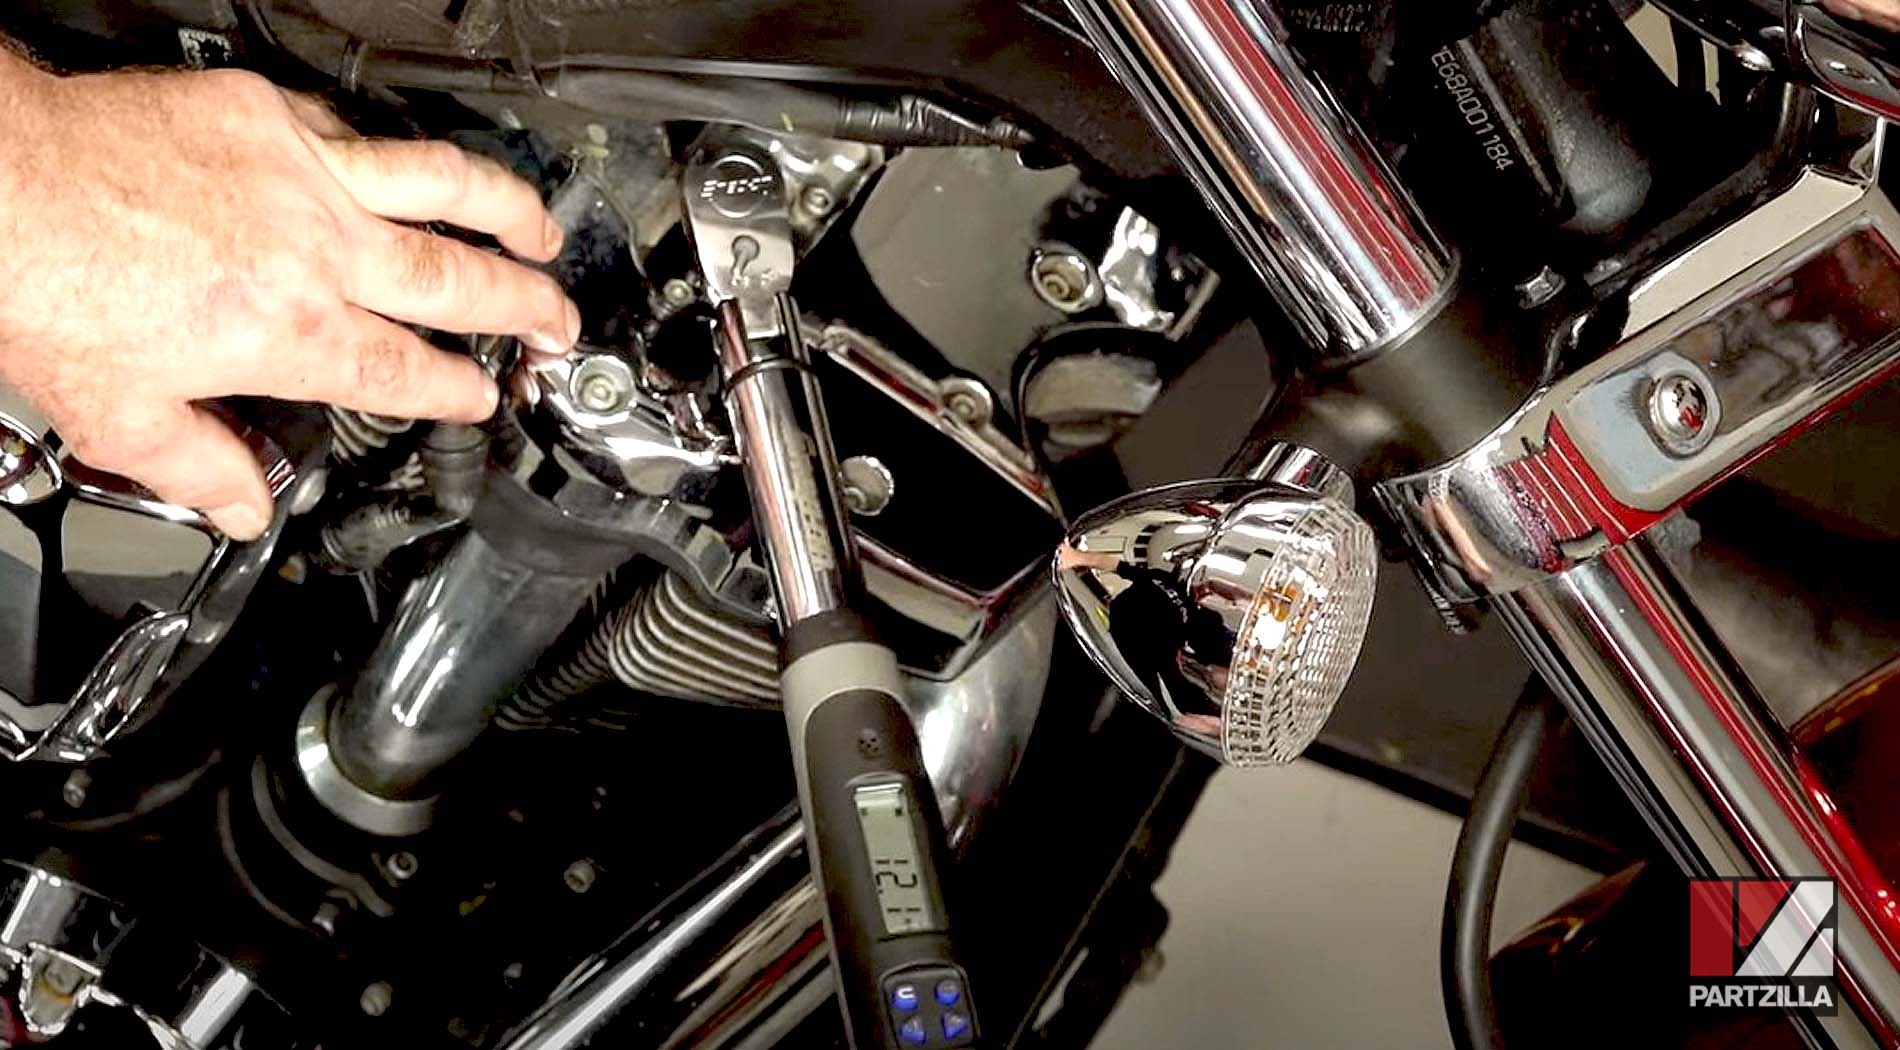
Step 10. Use an 18mm spark plug socket wrench to install the new plugs, then torque each plug to 13 foot-pounds and put the spark plug wire caps on.
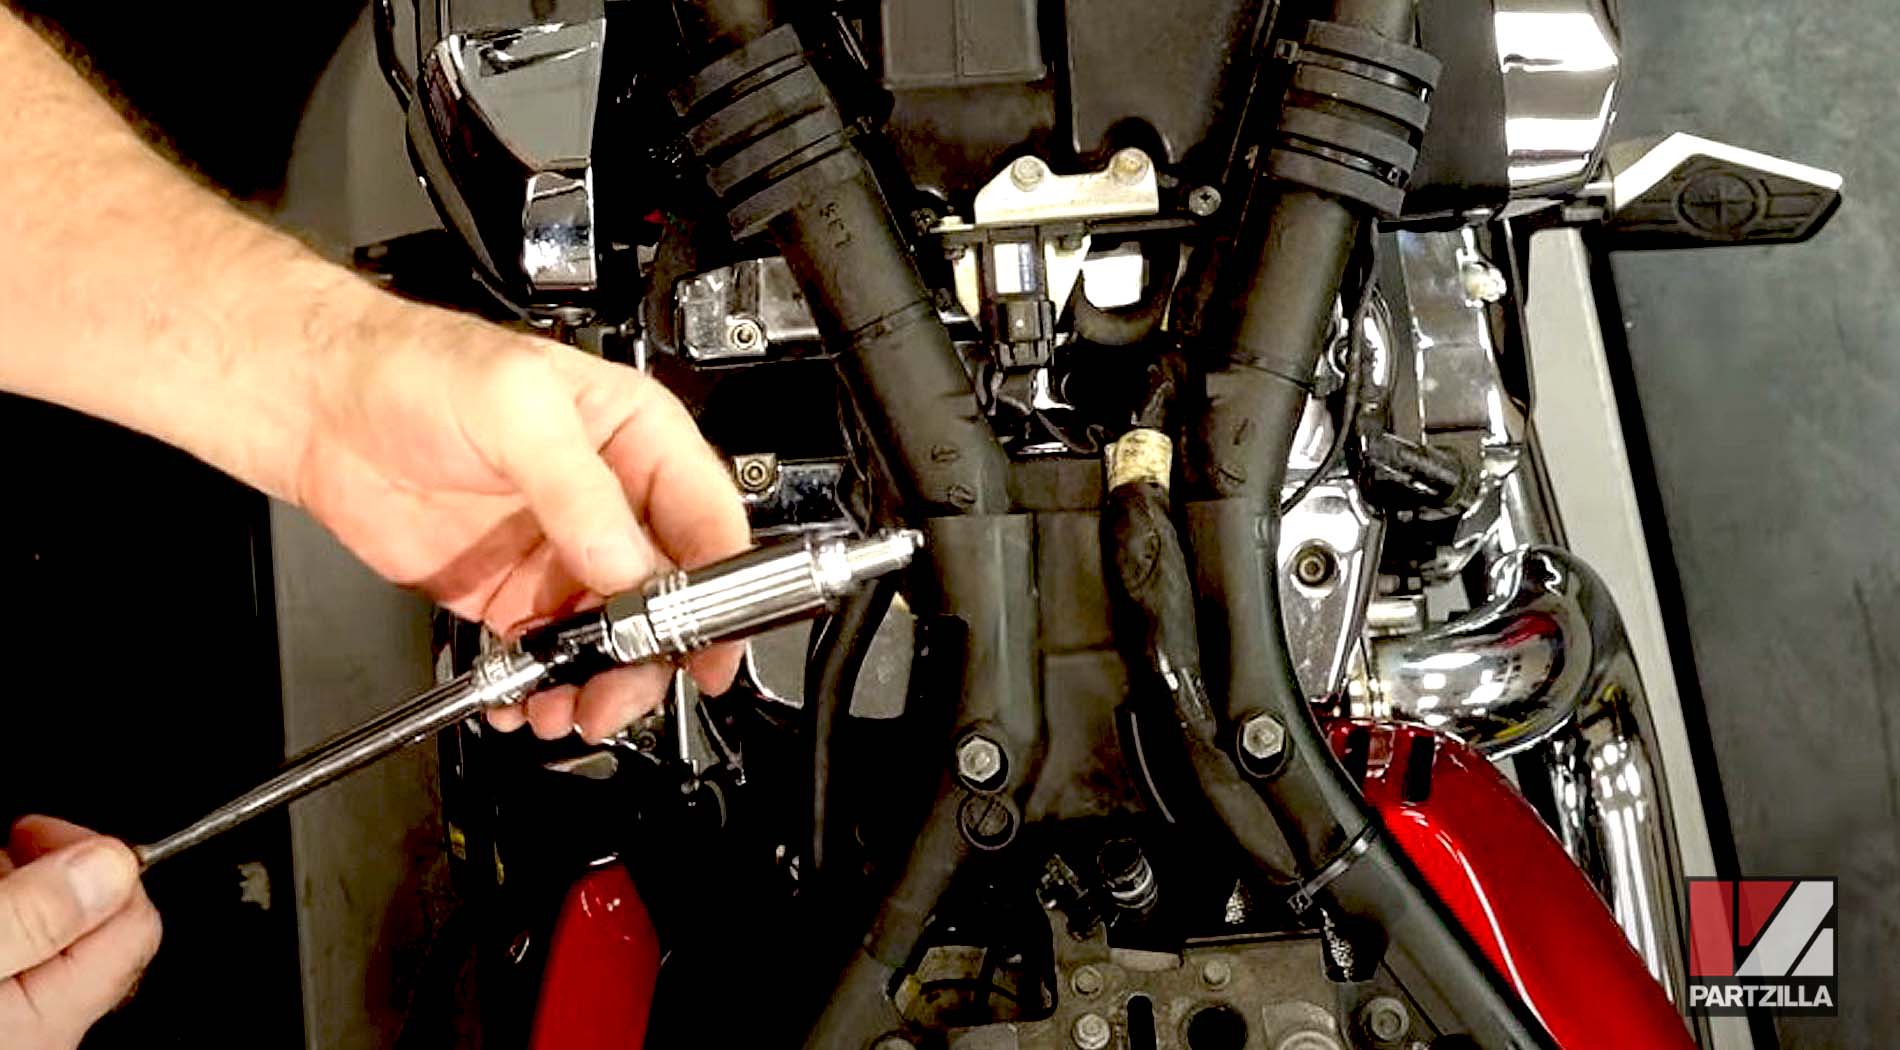
PRO TIP: Wrap a bit of electrical tape around the wrench, which allows it to swivel but gives you more control over it.
Step 11. Reinstall and reconnect the fuel tank, then reinstall the side panel, the instrument cluster and the seat and you’re done.
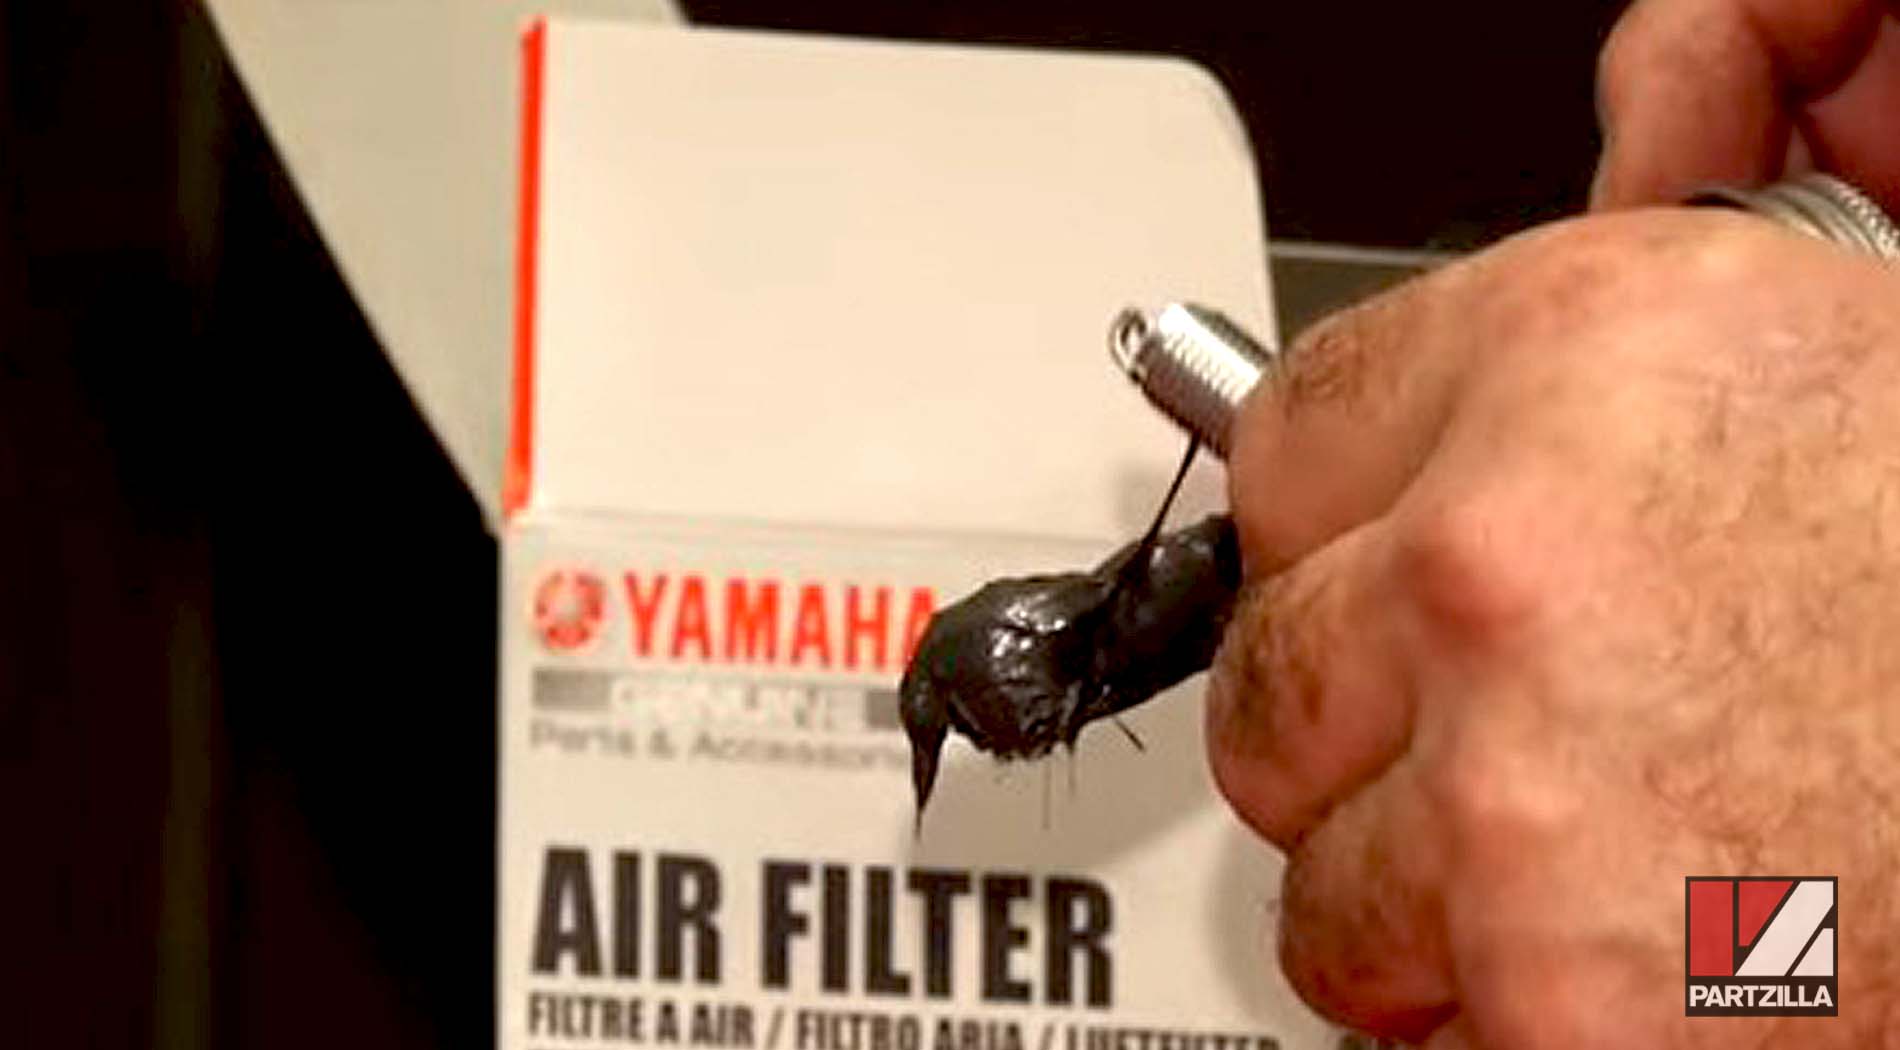
Changing out the spark plugs in a Yamaha Raider requires removing the fuel tank from the machine, and so does removing the air filter.
If you’ve already gone through the trouble of removing the fuel tank to change out the spark plugs, might as well go ahead and inspect the air filter while you’re at it, and replace it if necessary.