How to Change Yamaha Raider Motorcycle Oil
When changing the oil on our 2008 Yamaha Raider, we had to jump through a couple of hoops since the bike has three hard-to-reach oil drain bolts, but it’s still a simple maintenance job.
The engine oil in a Yamaha motorcycle should be changed every 4000 miles or at least once a year. Watch the video above or follow the steps below to do an oil change on a Yamaha Raider.
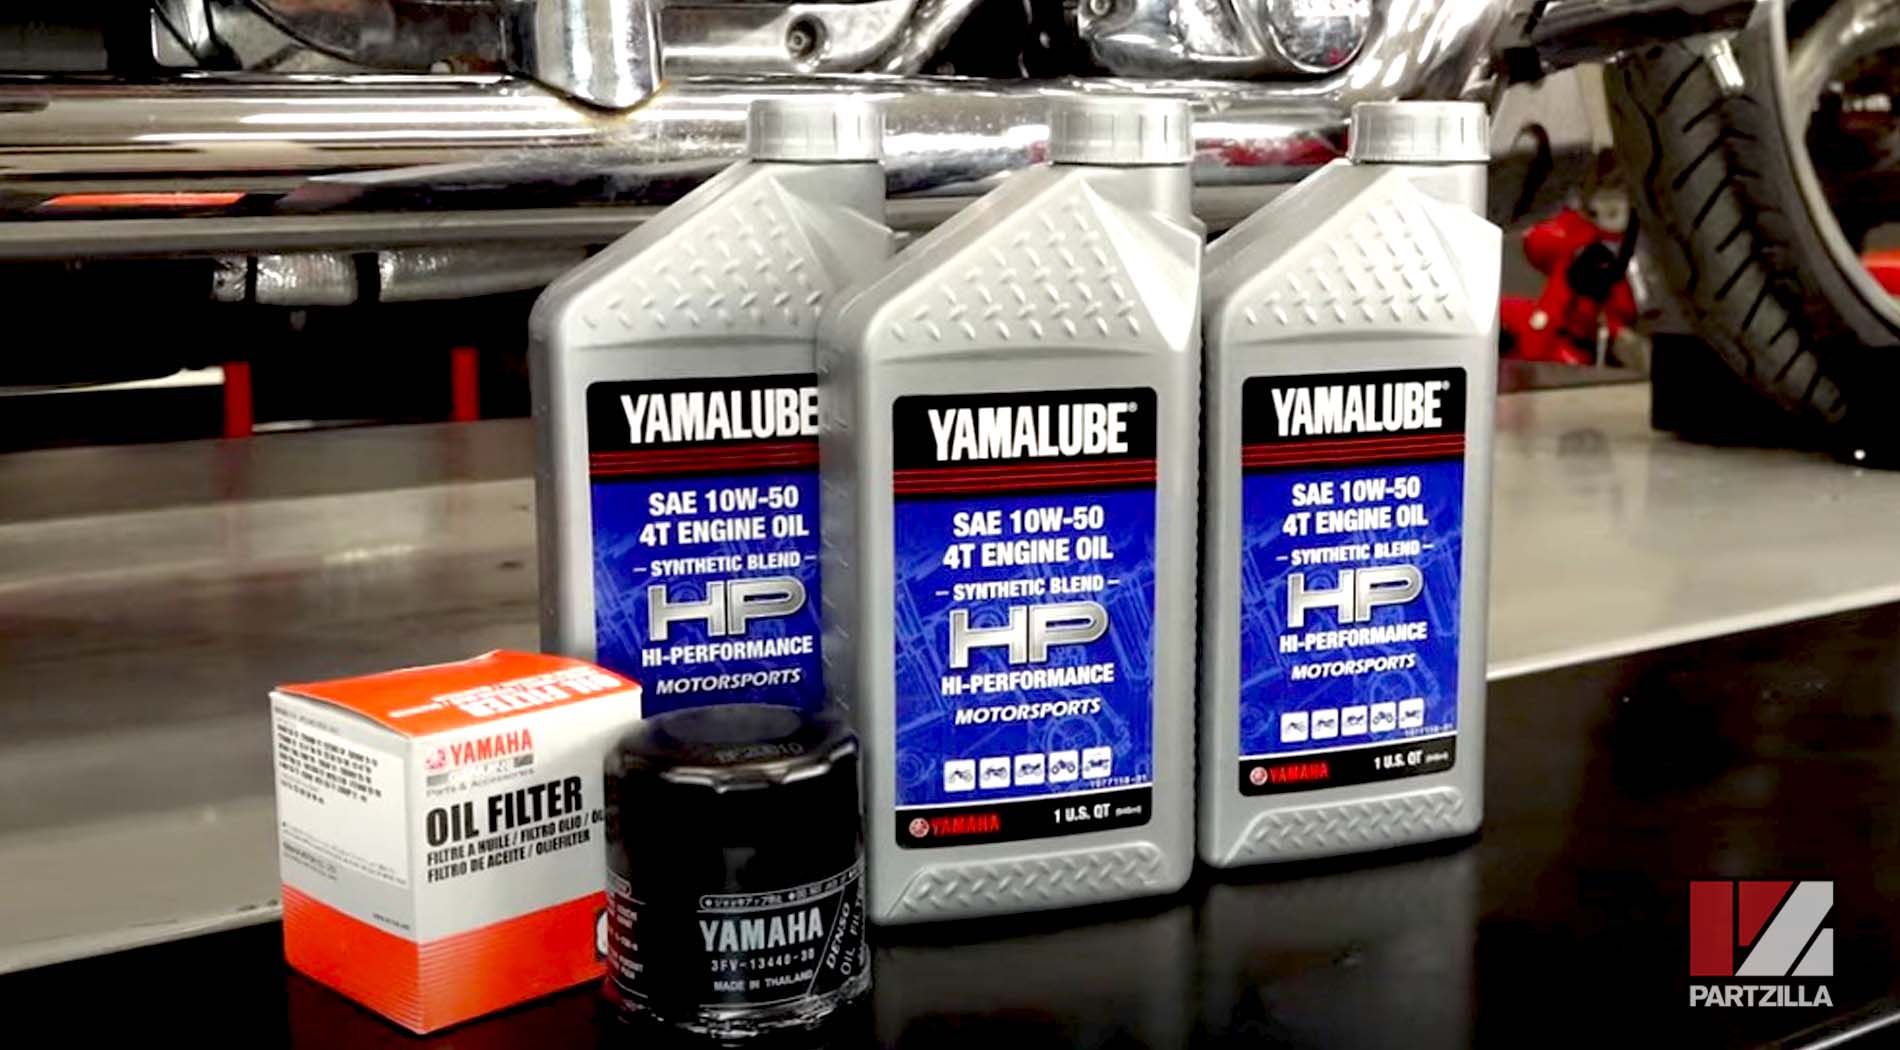
Tools and Supplies - Yamaha Raider Oil Change
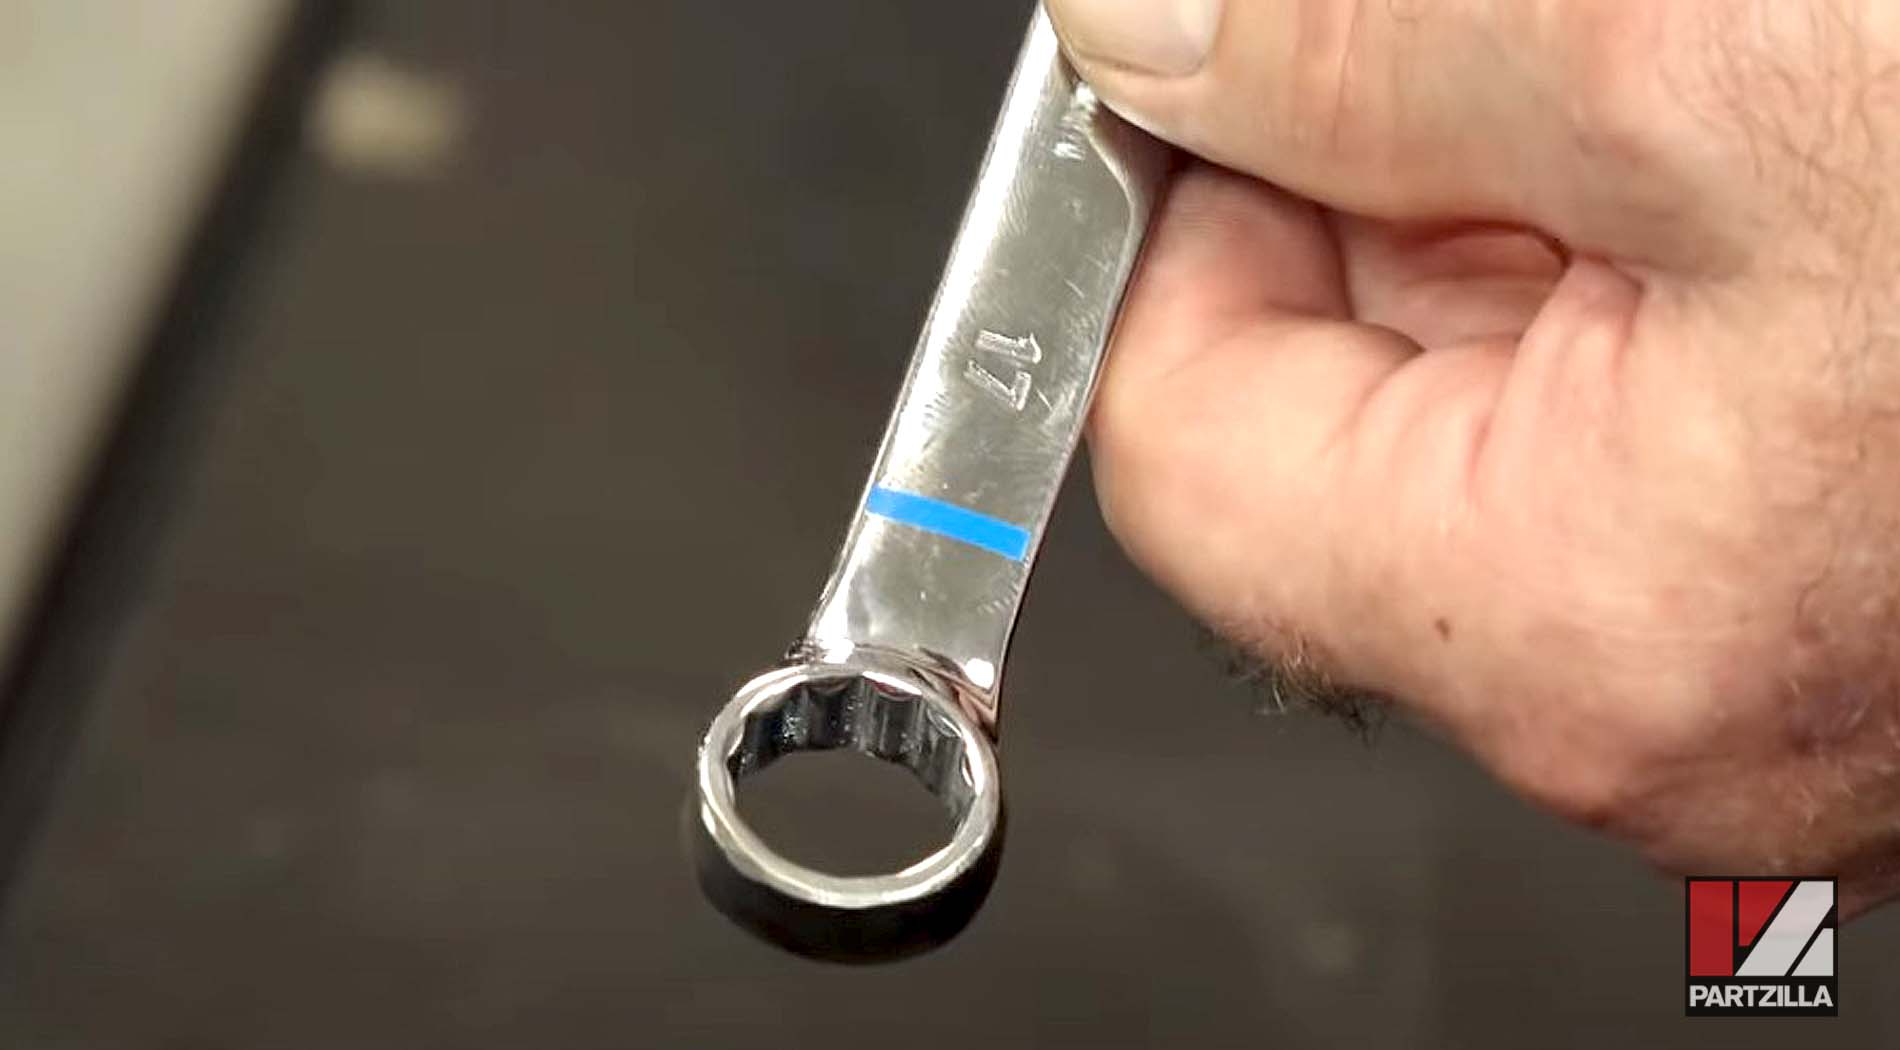
- 17mm wrenches (one standard, one modified)
- Torque wrench
- Oil drain pan
- Oil filter wrench
- Torque wrench adapter
- Oil filter
- Drain bolt gaskets (x3)
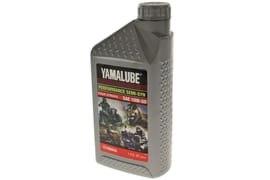
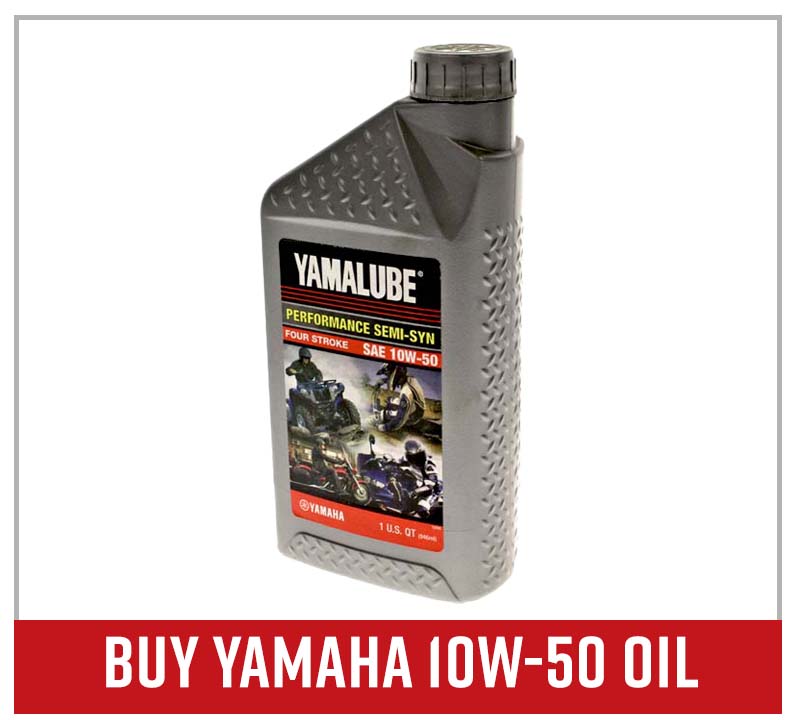
- Yamaha 10W-50 synthetic oil (6 quarts)

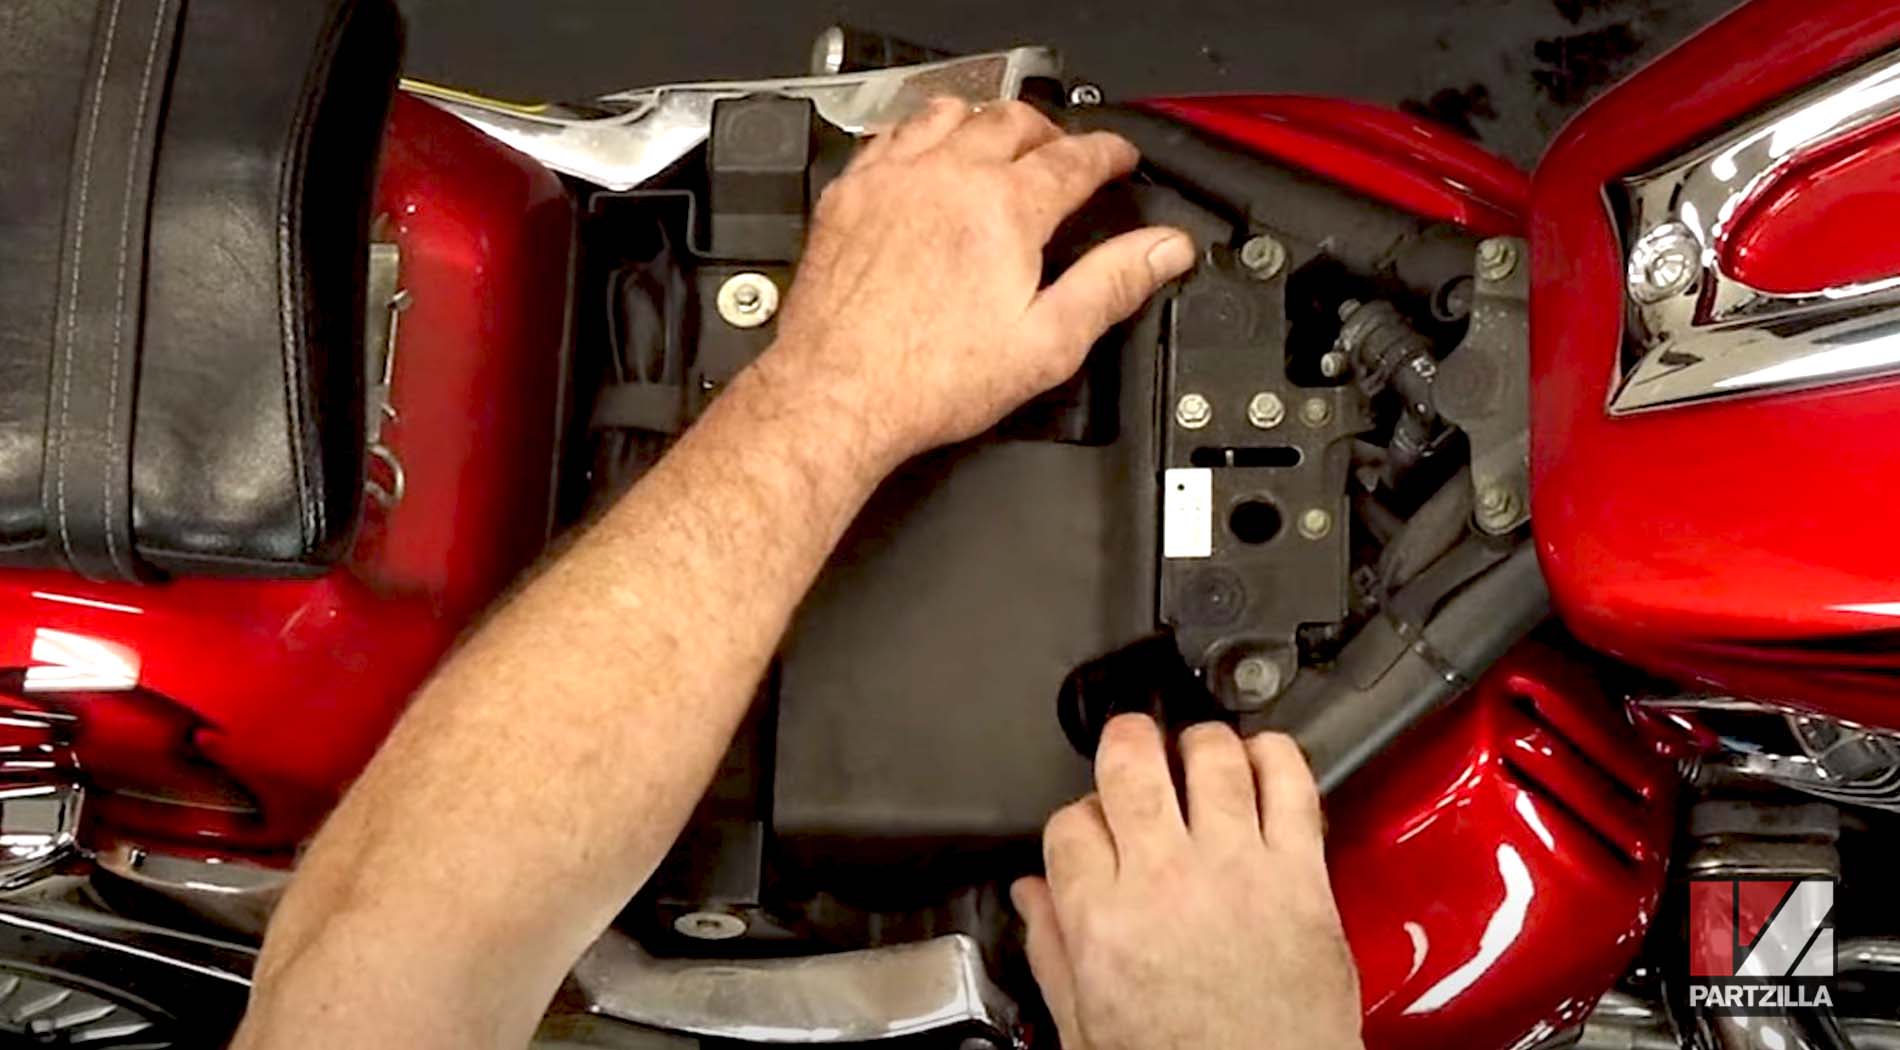
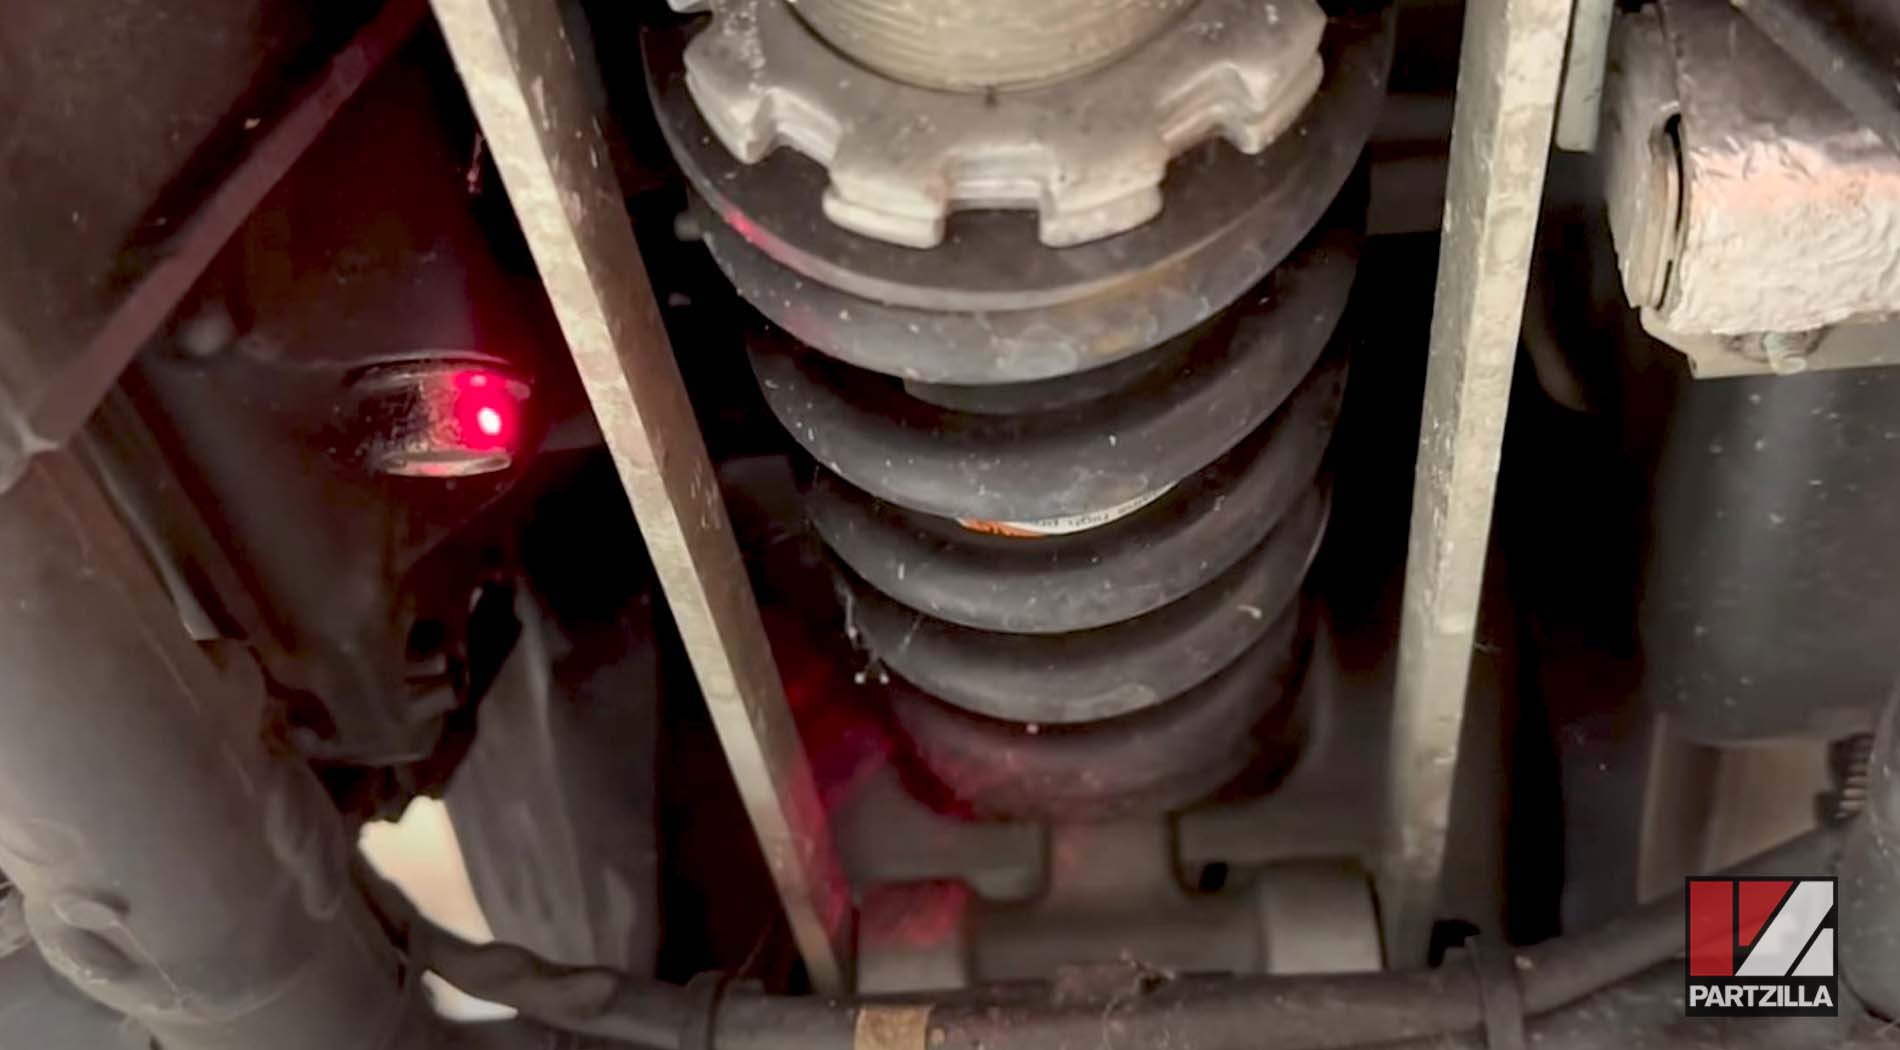
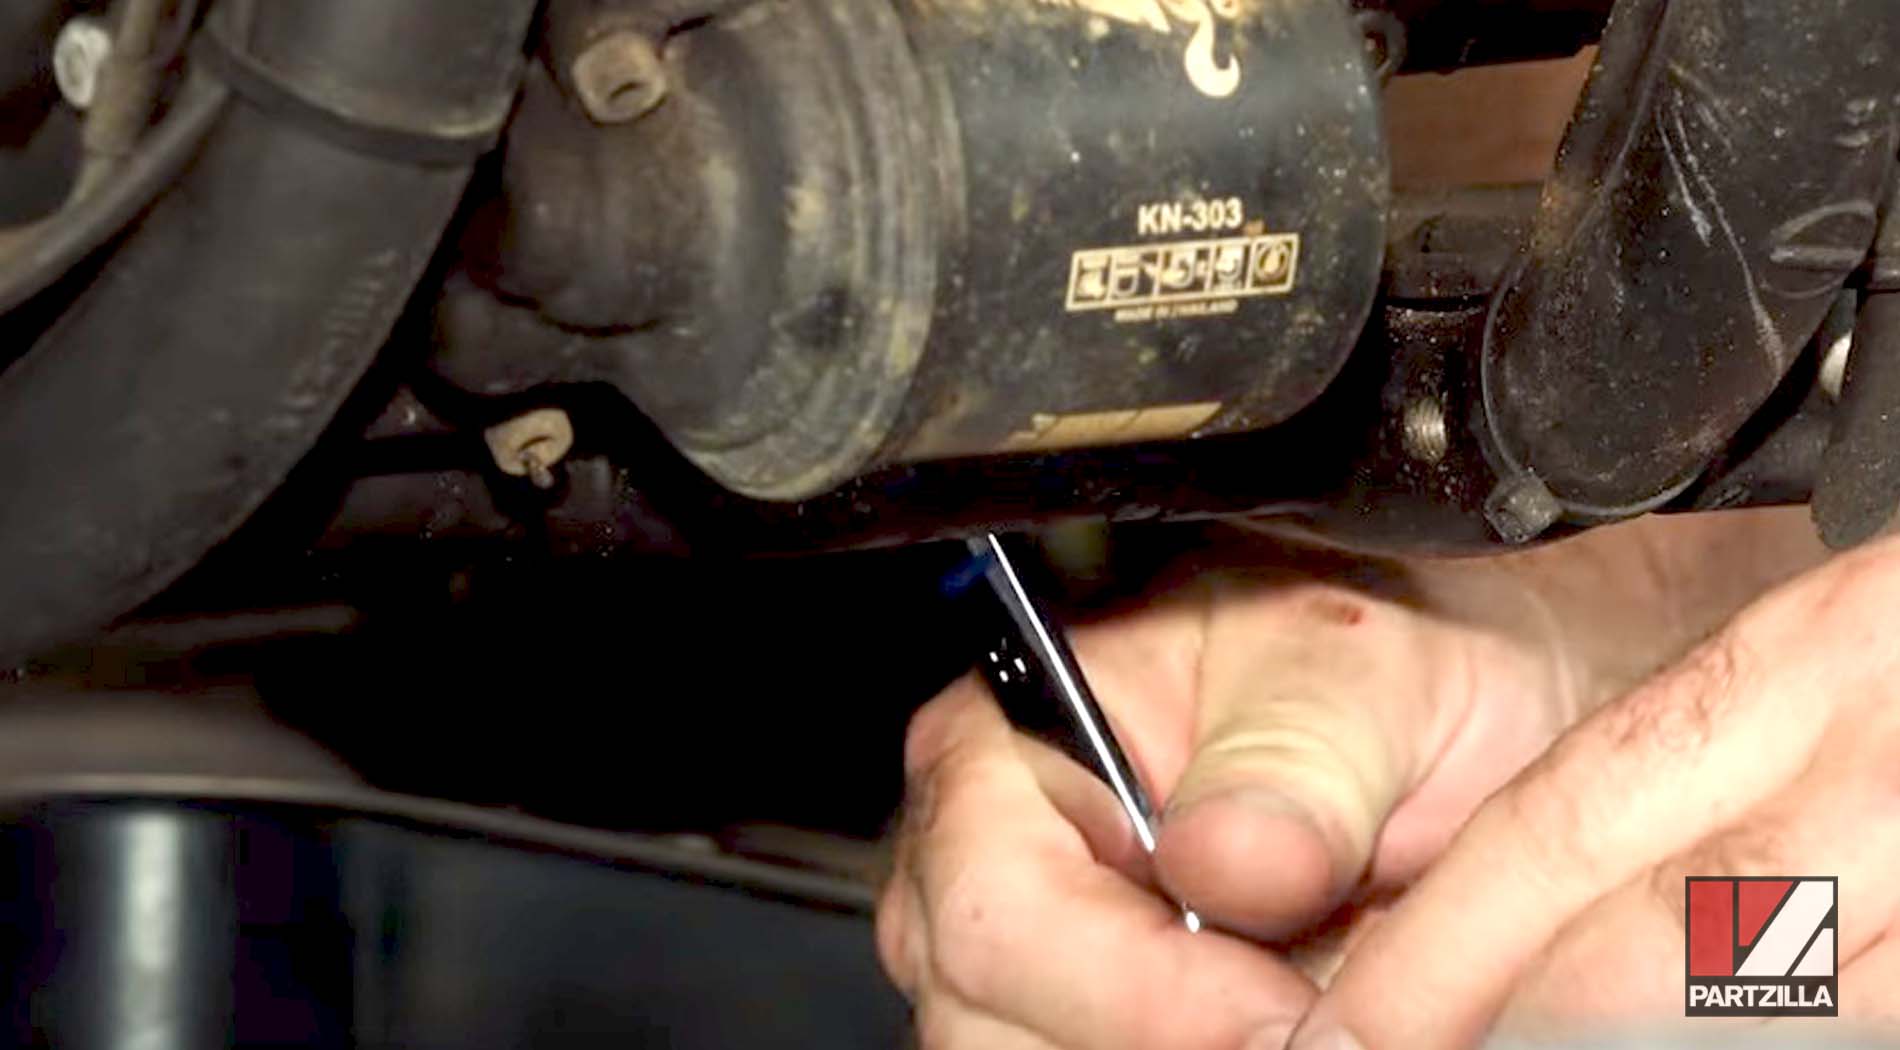
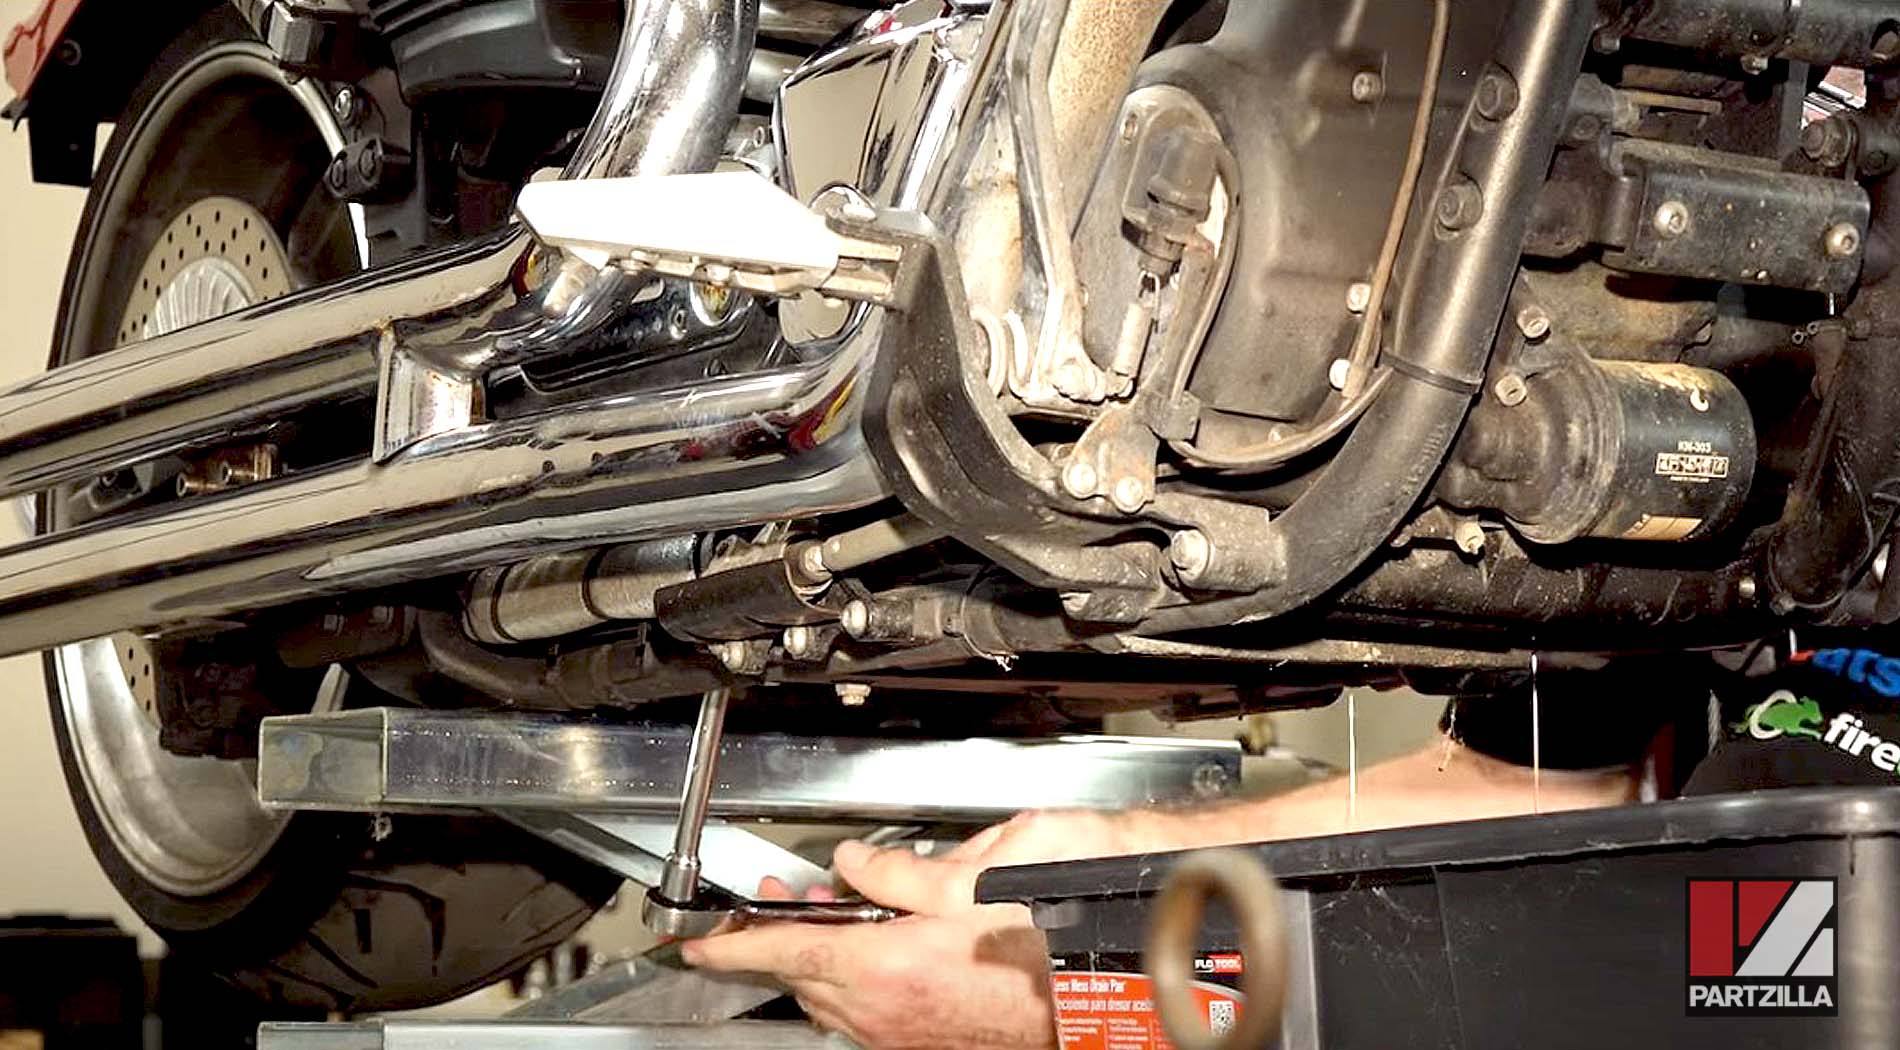
The Yamaha Raider has three oil drain bolts: two on the engine and one all the way back at the oil tank. One is all the way up front right past the oil filter.
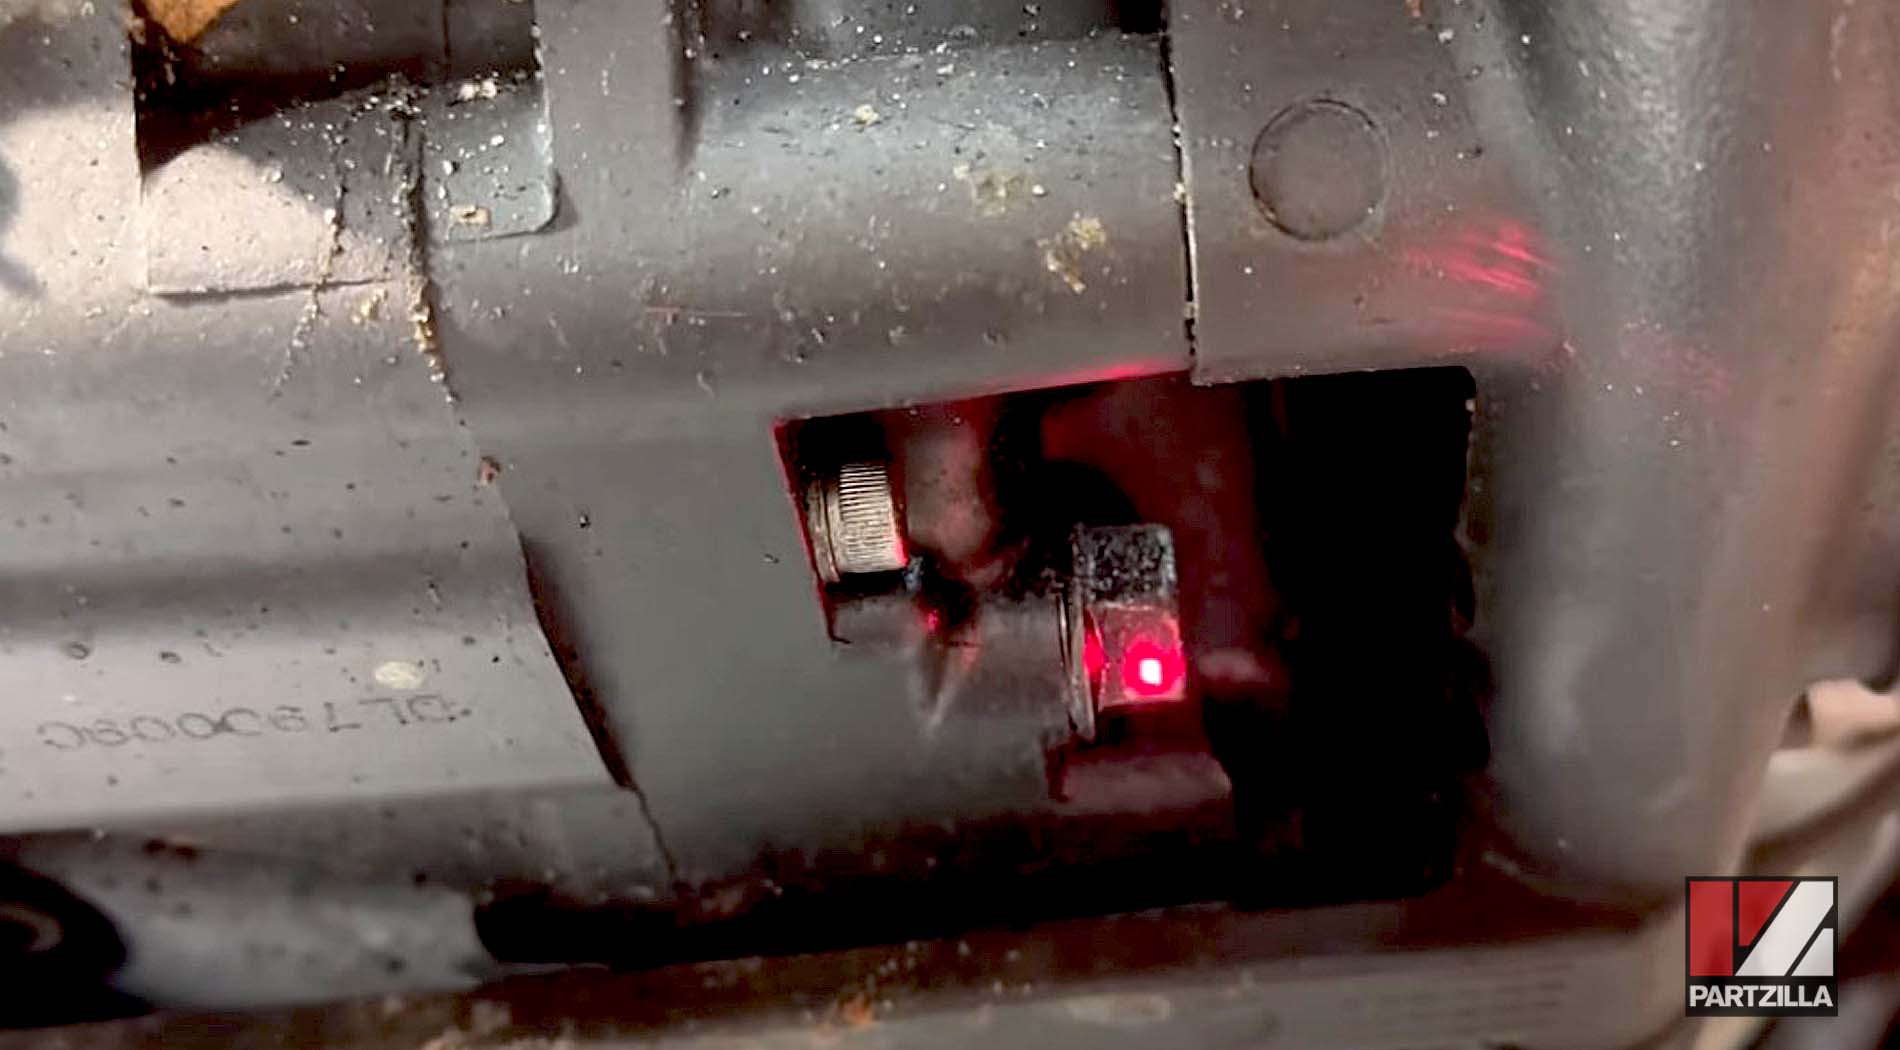
The second one is about even with the kickstand pivot bolt.
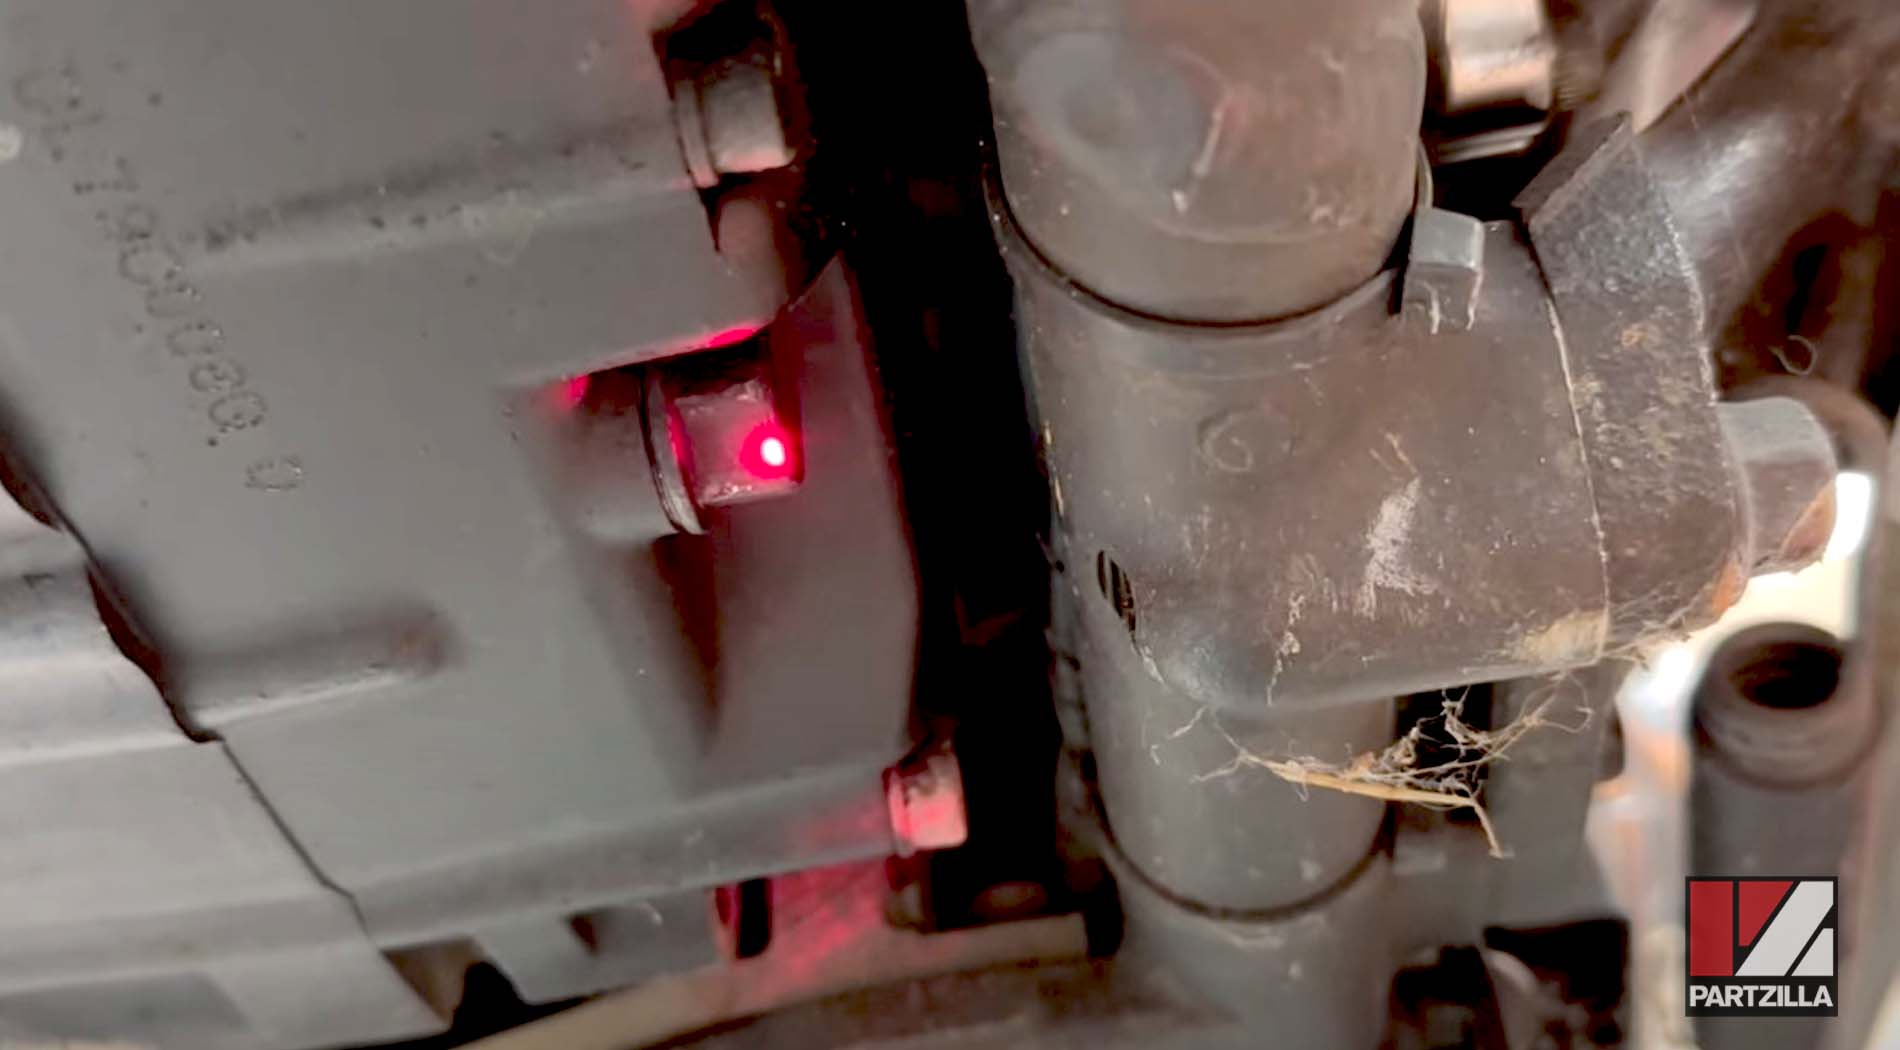
And the third one is all the way back under the oil tank, on the opposite side.
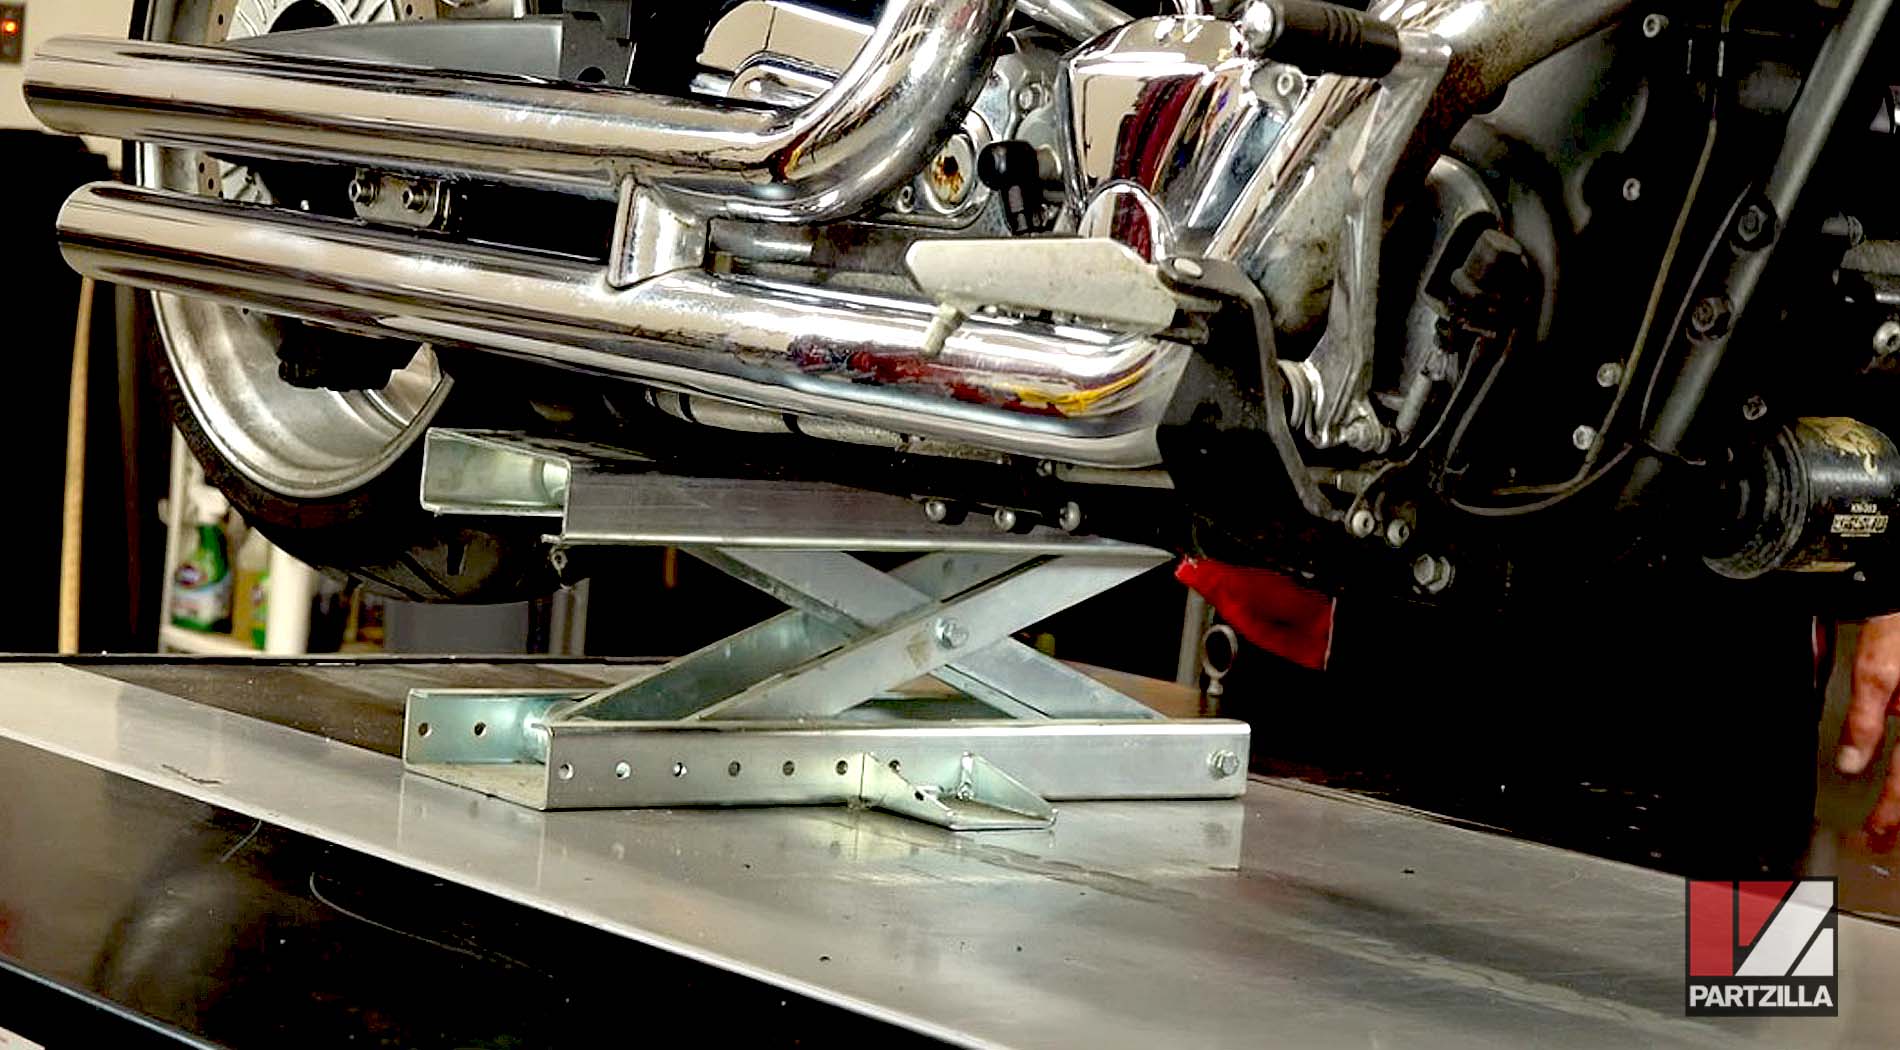
PRO TIP: You don’t need to lift this machine to change the oil, but it makes the job a lot easier.
Yamaha Raider Oil Change Service Steps
Step 1. Start up the motorcycle until it reaches operating temperature so the oil will circulate, then turn it off.
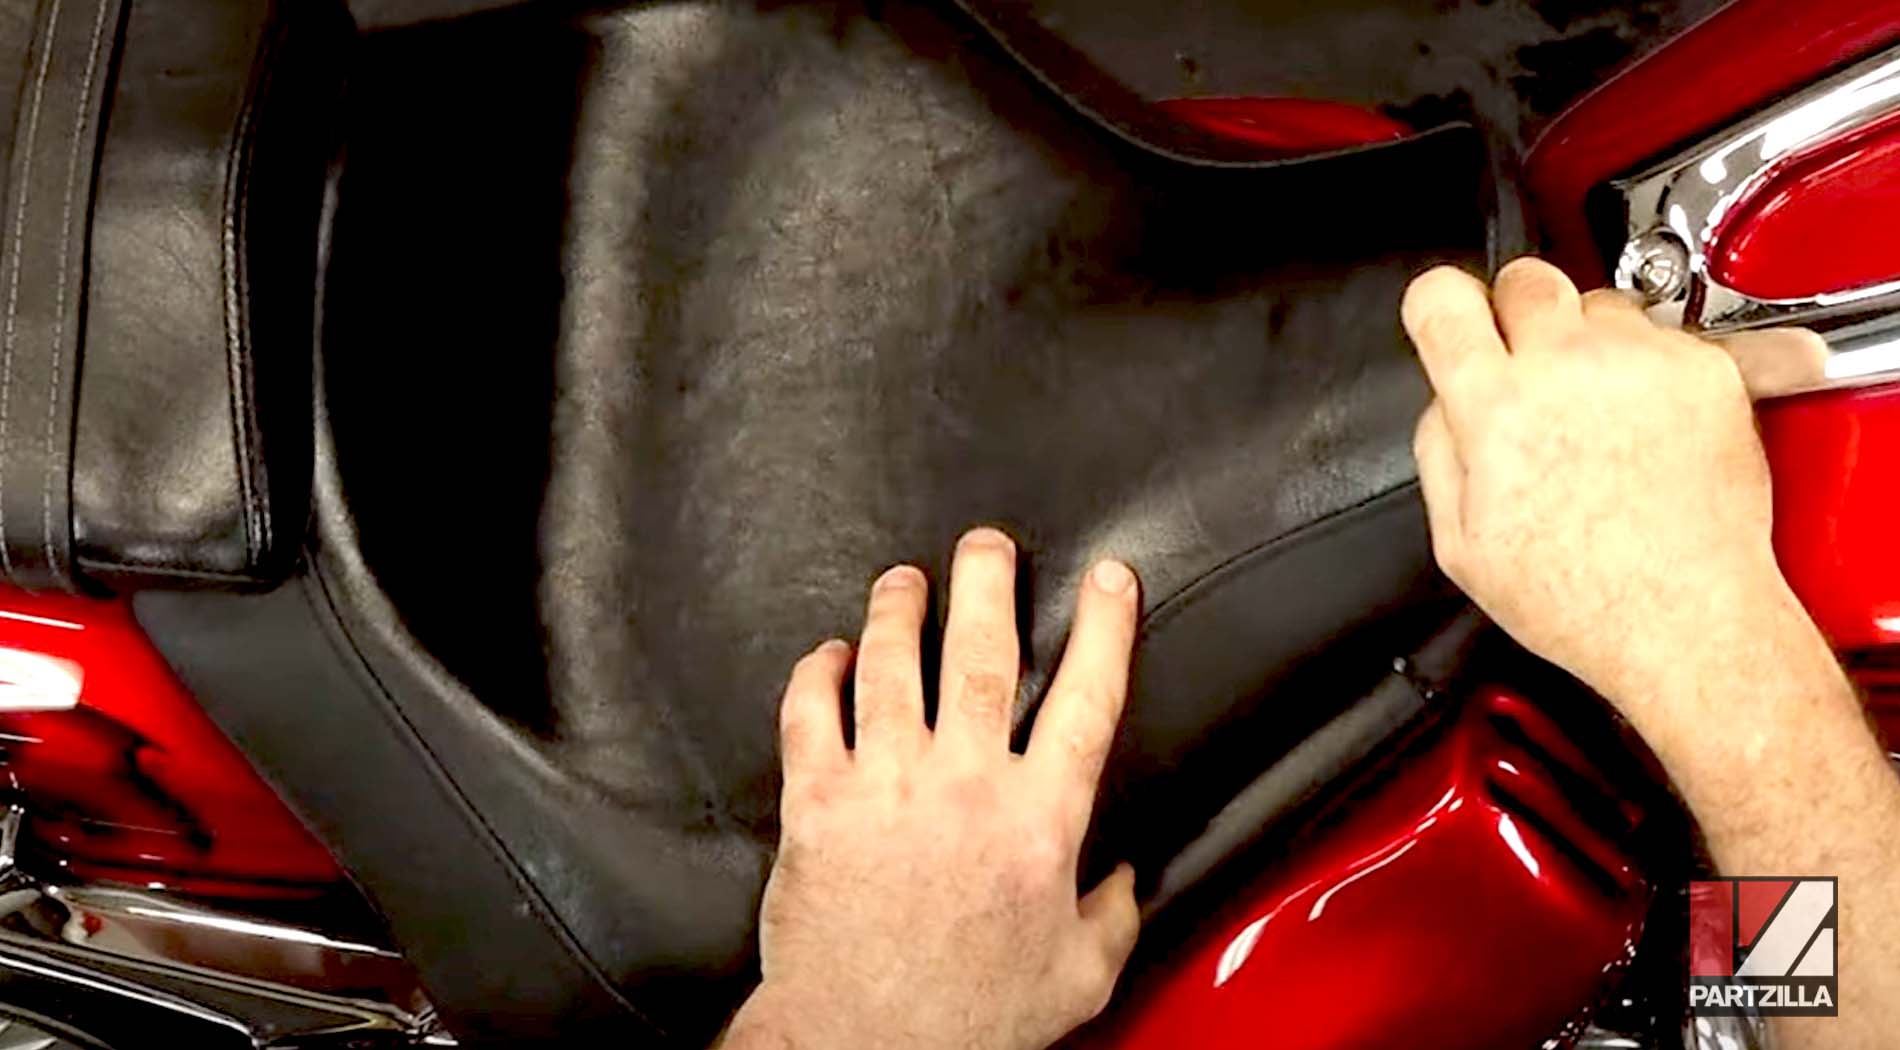
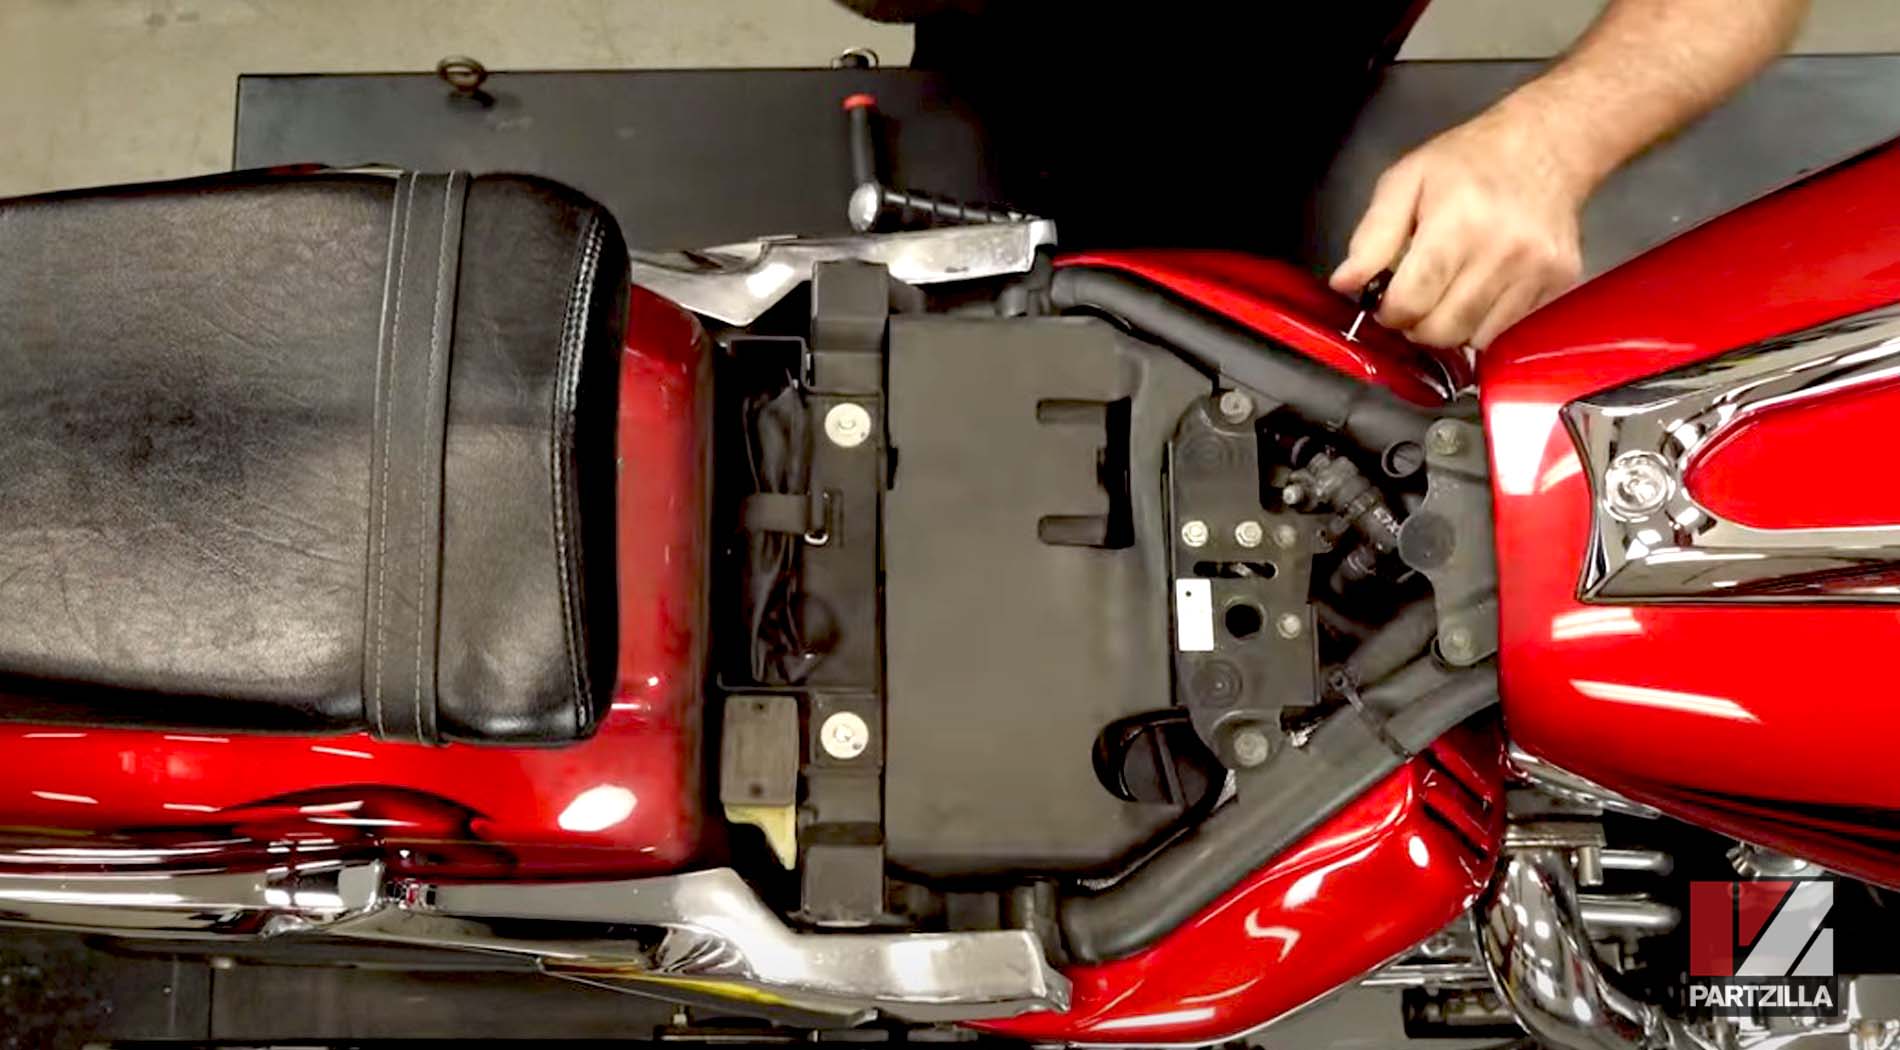
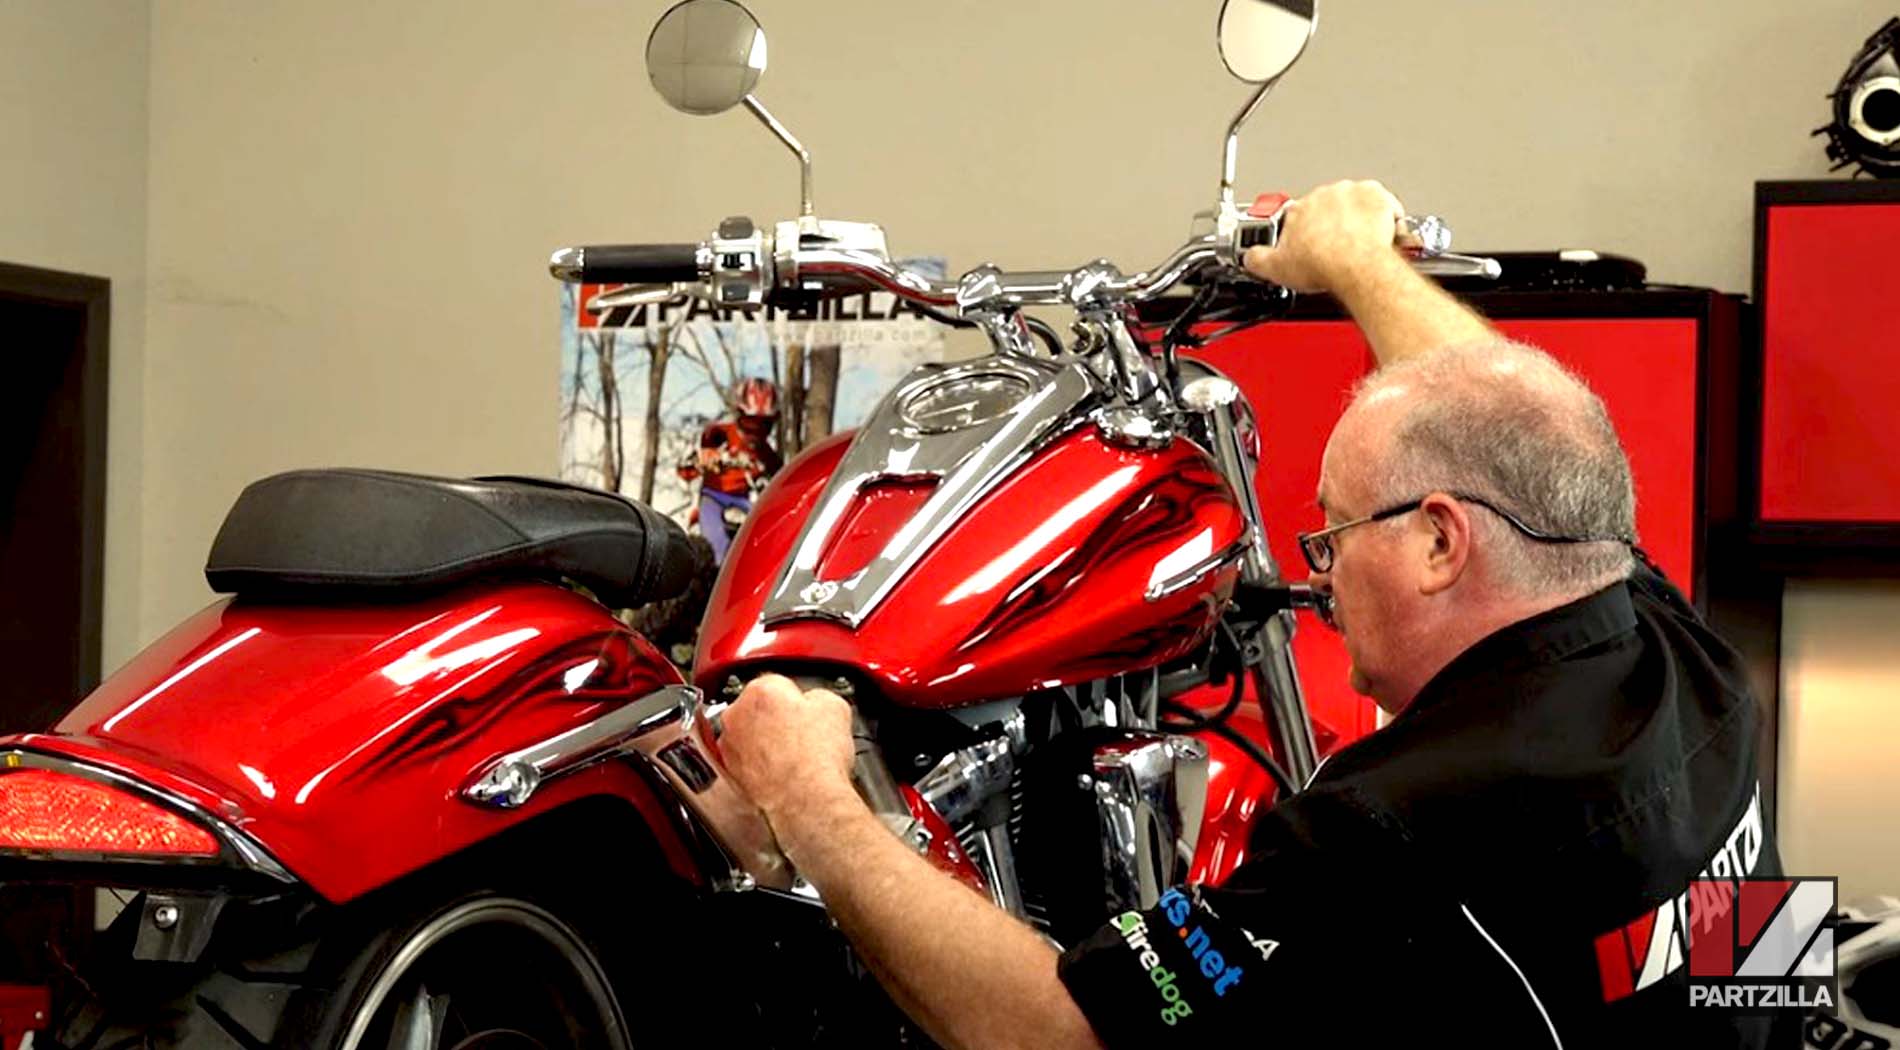
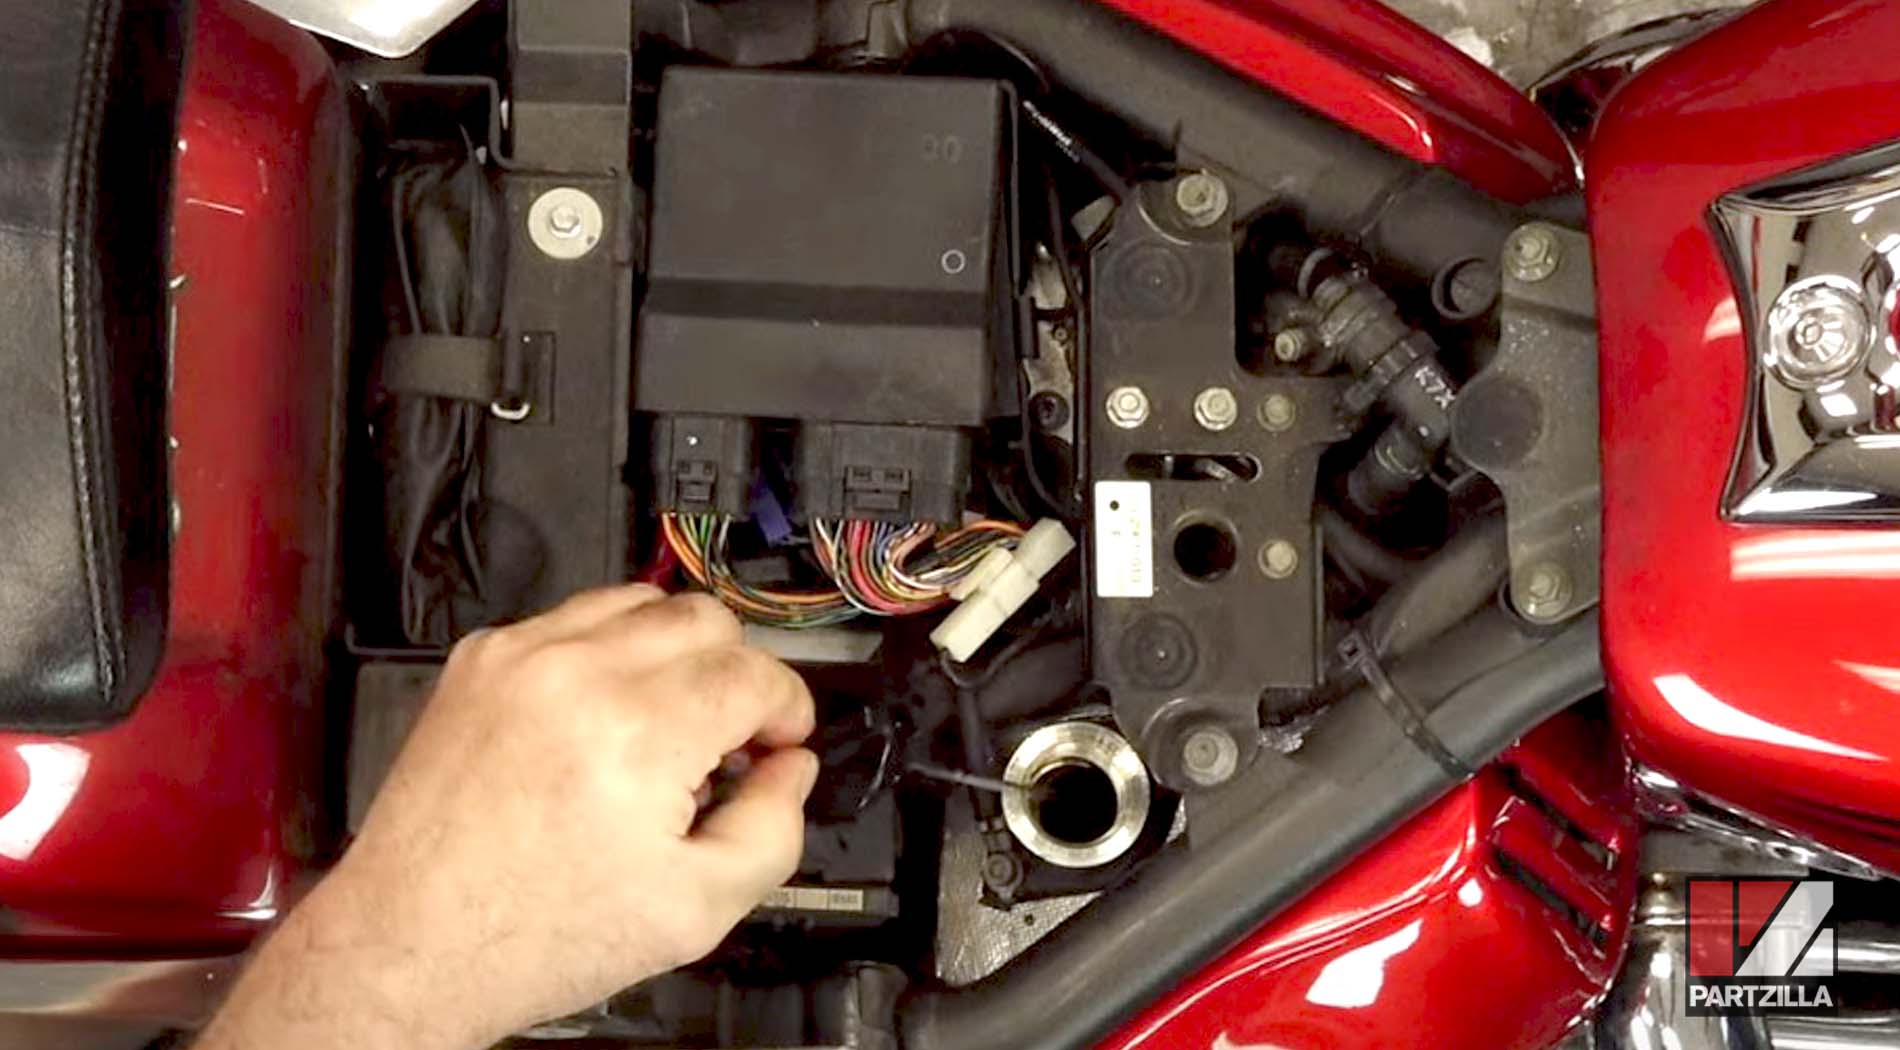
Step 2. Remove the seat and the plastic cover underneath it to access the oil fill cap, then remove the cap itself.
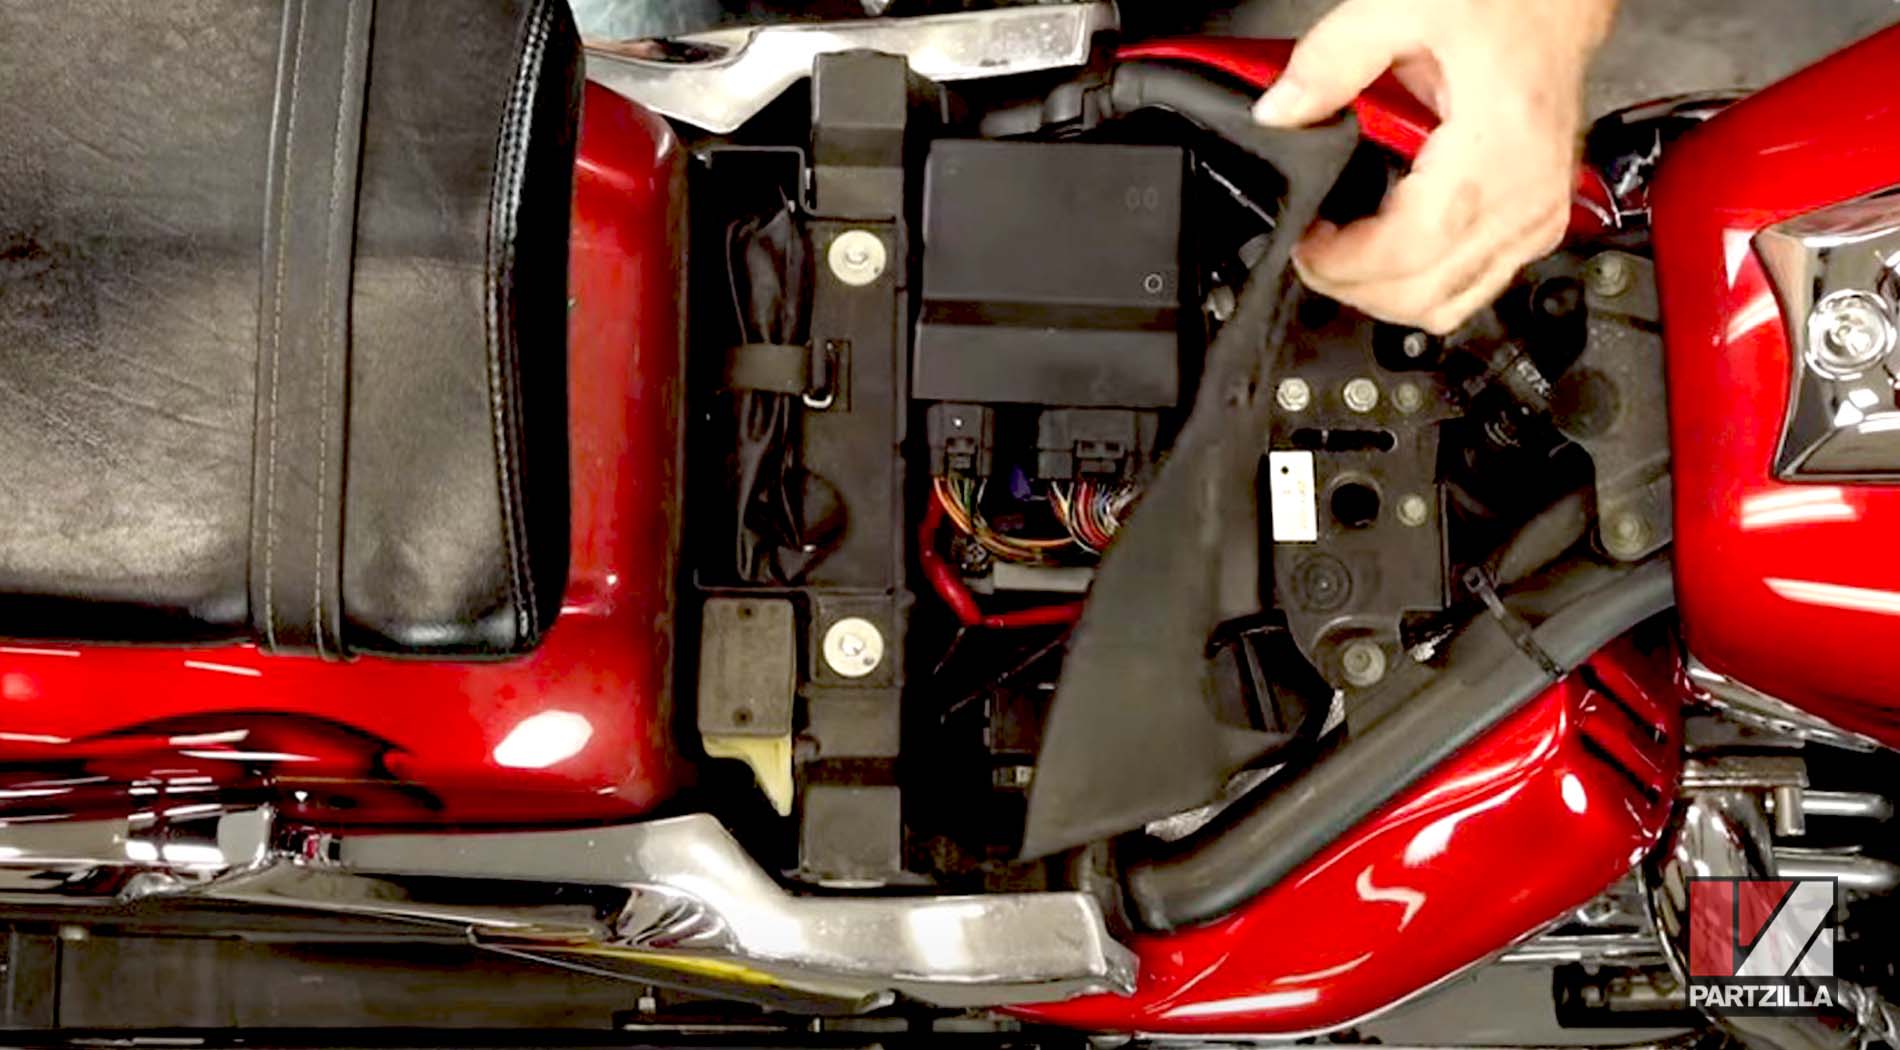
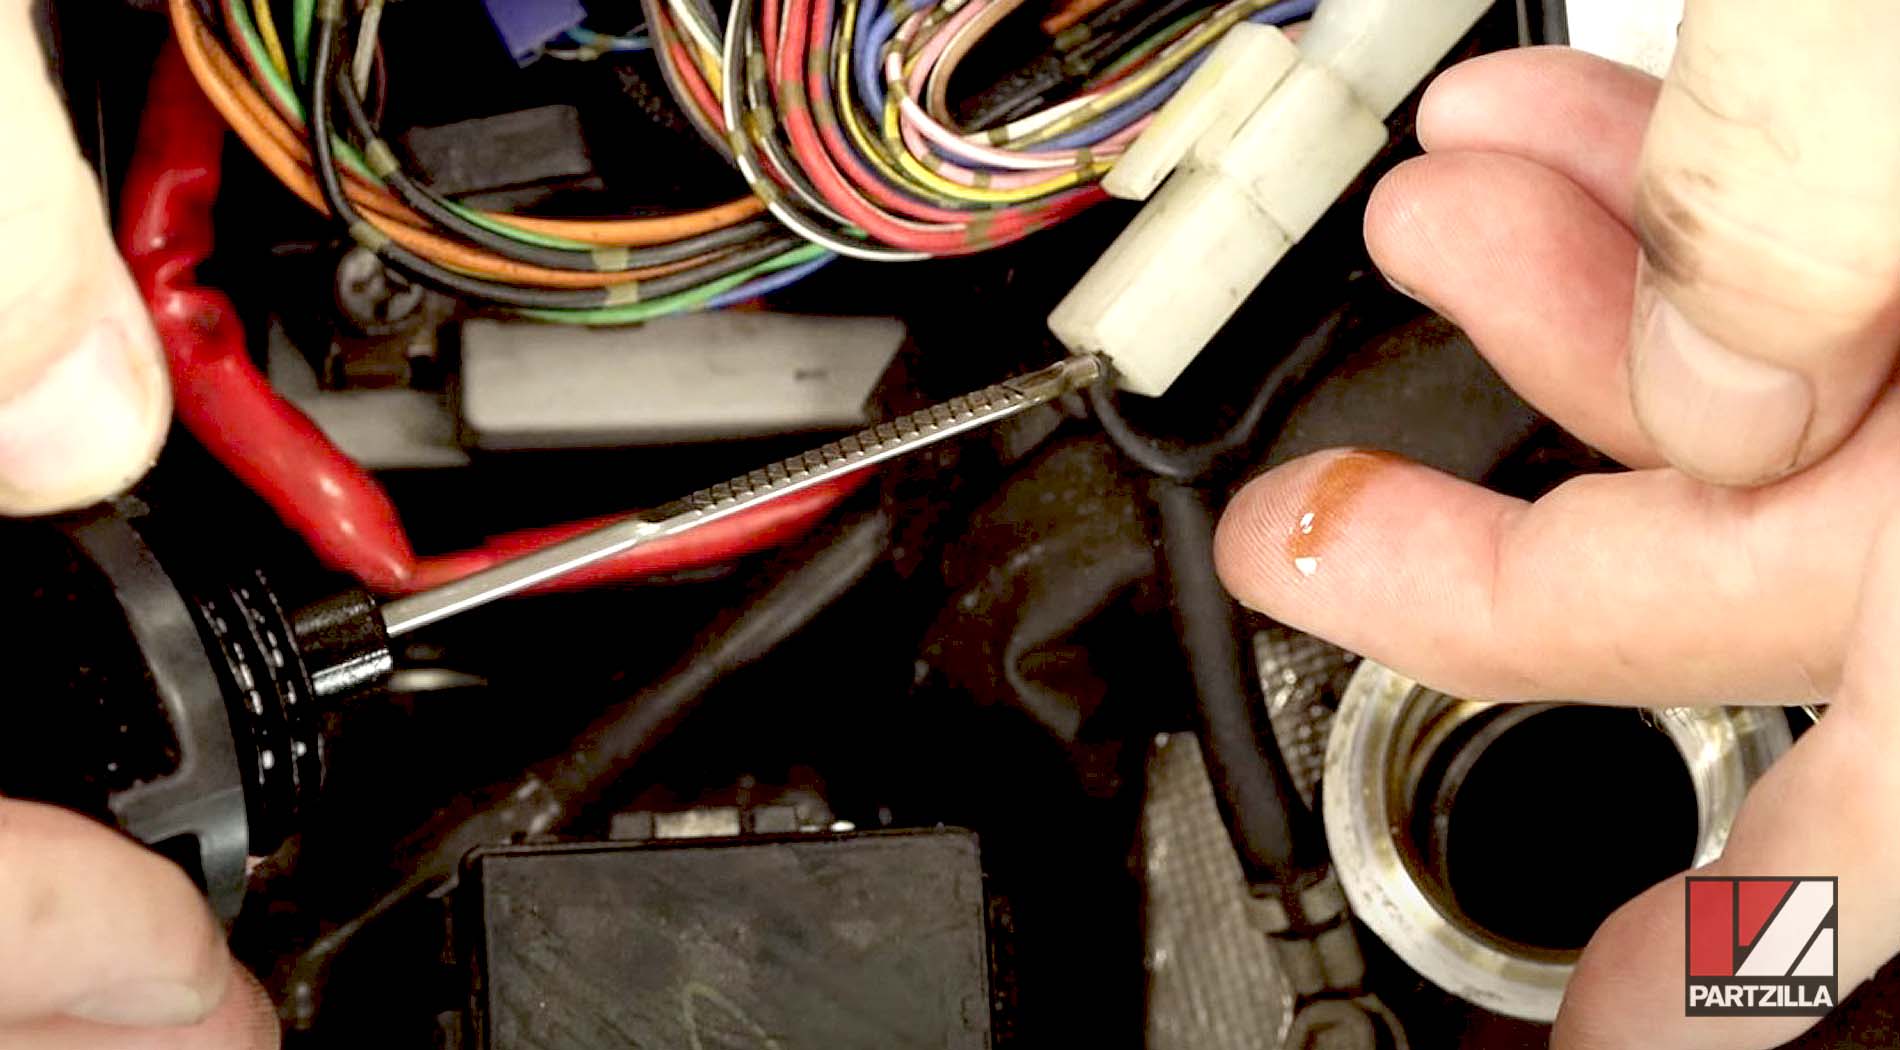
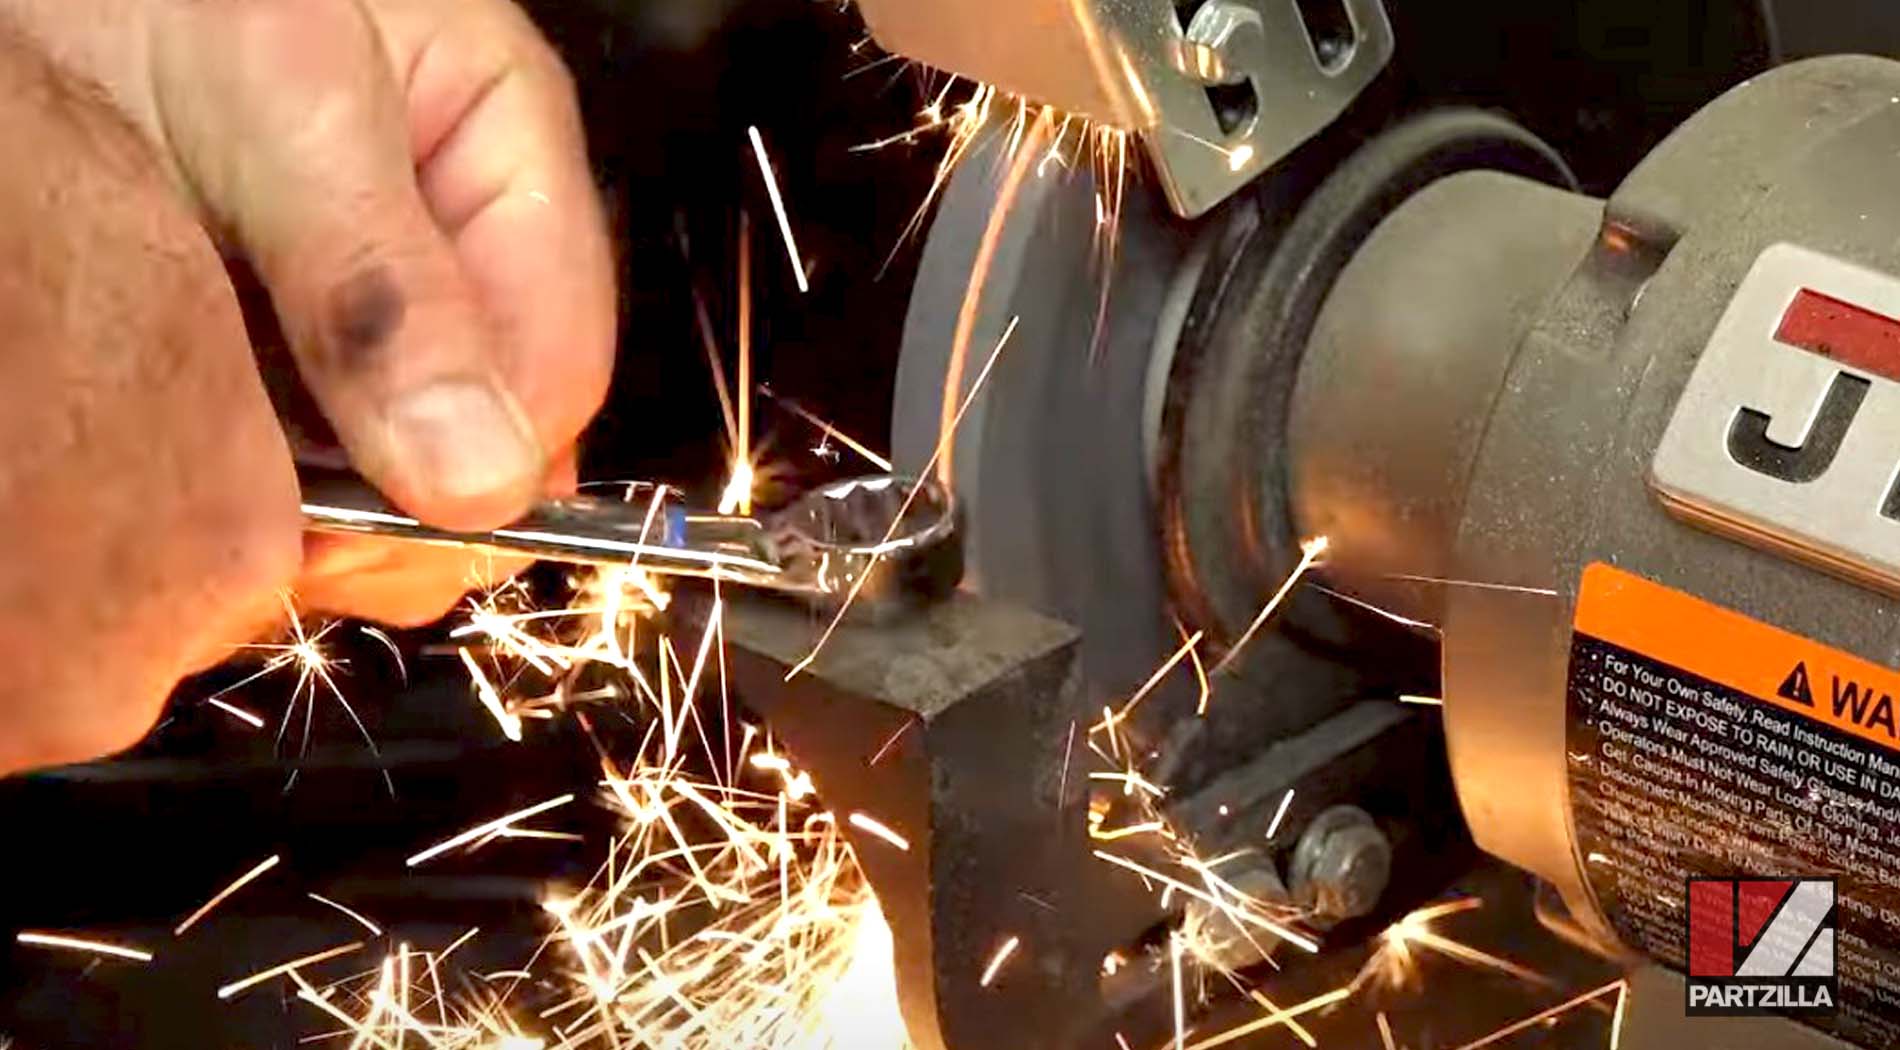
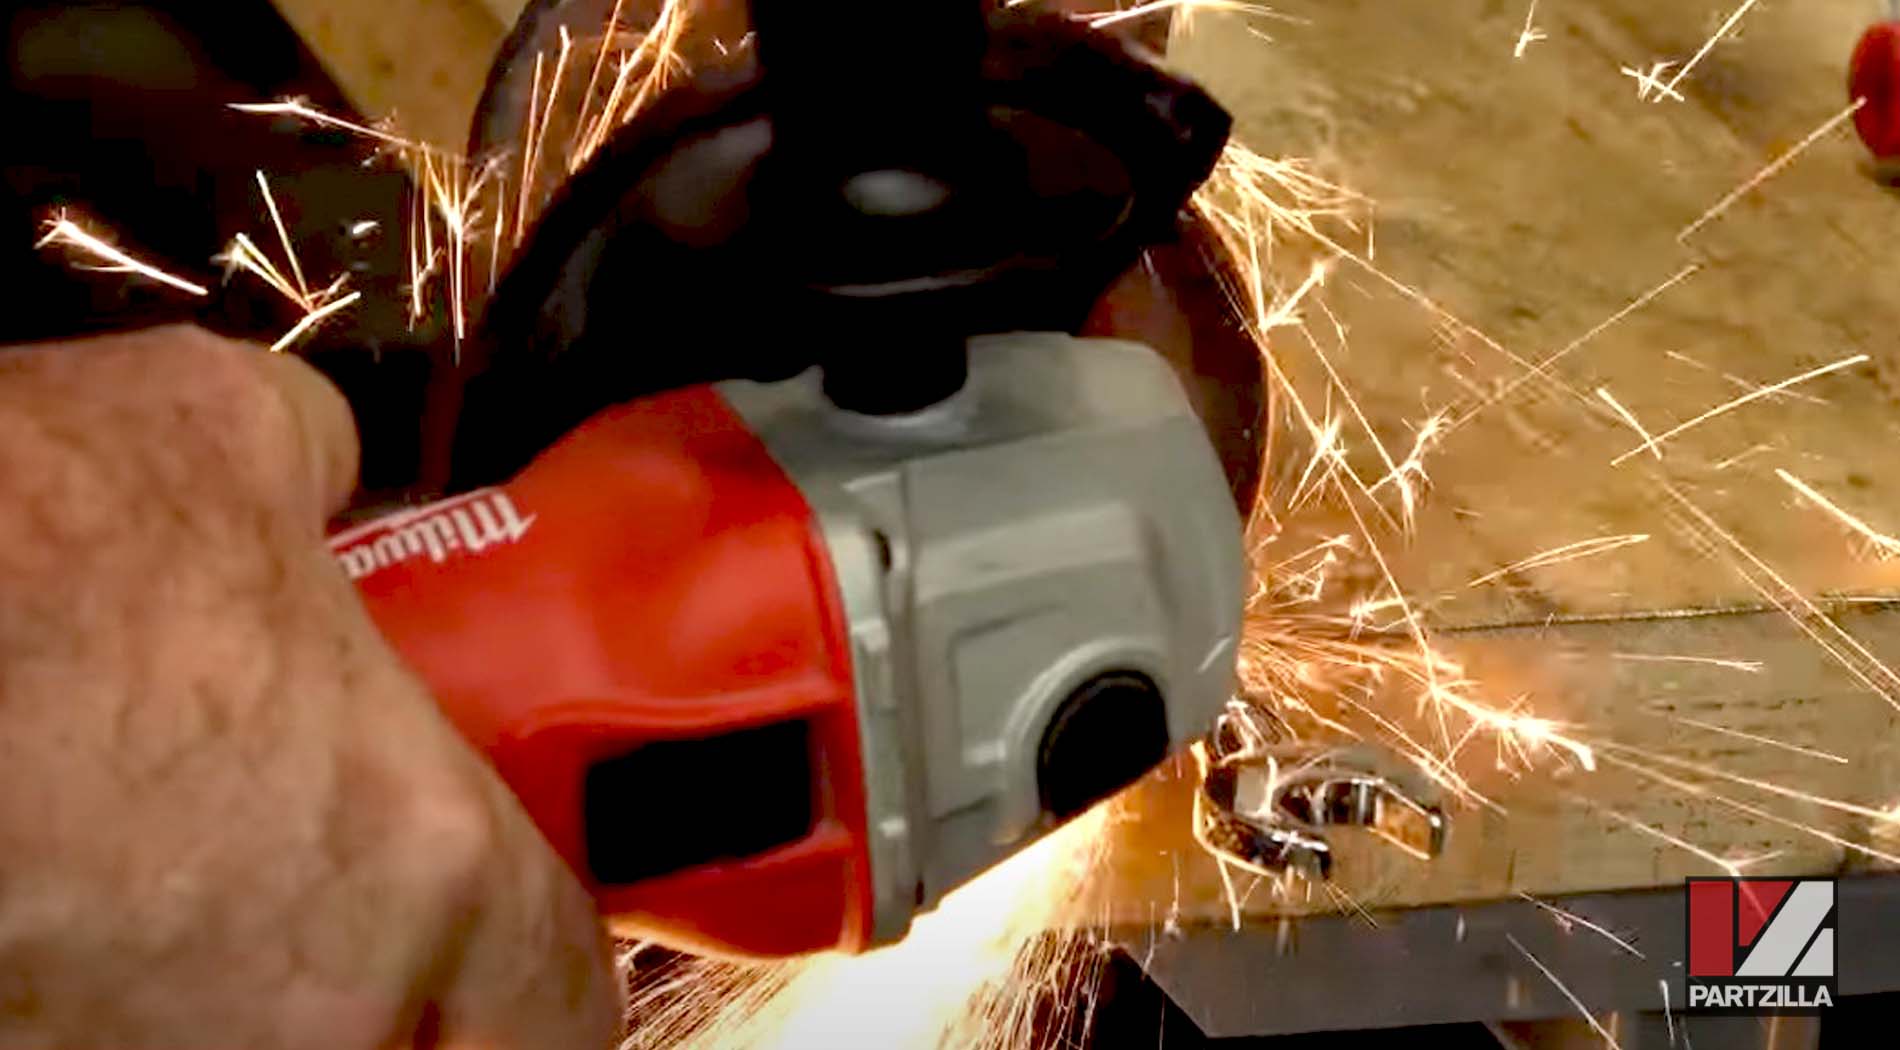
NOTE: To access and remove the first two oil drain bolts, we needed a modified wrench because a standard size 17mm wrench wouldn’t reach. We modified the head to make it thin enough to where it's got enough clearance to go in. Don’t skip over this process to just drain the oil tank. You need to drain the oil out of the oil tank and the engine itself from all three drain bolts.
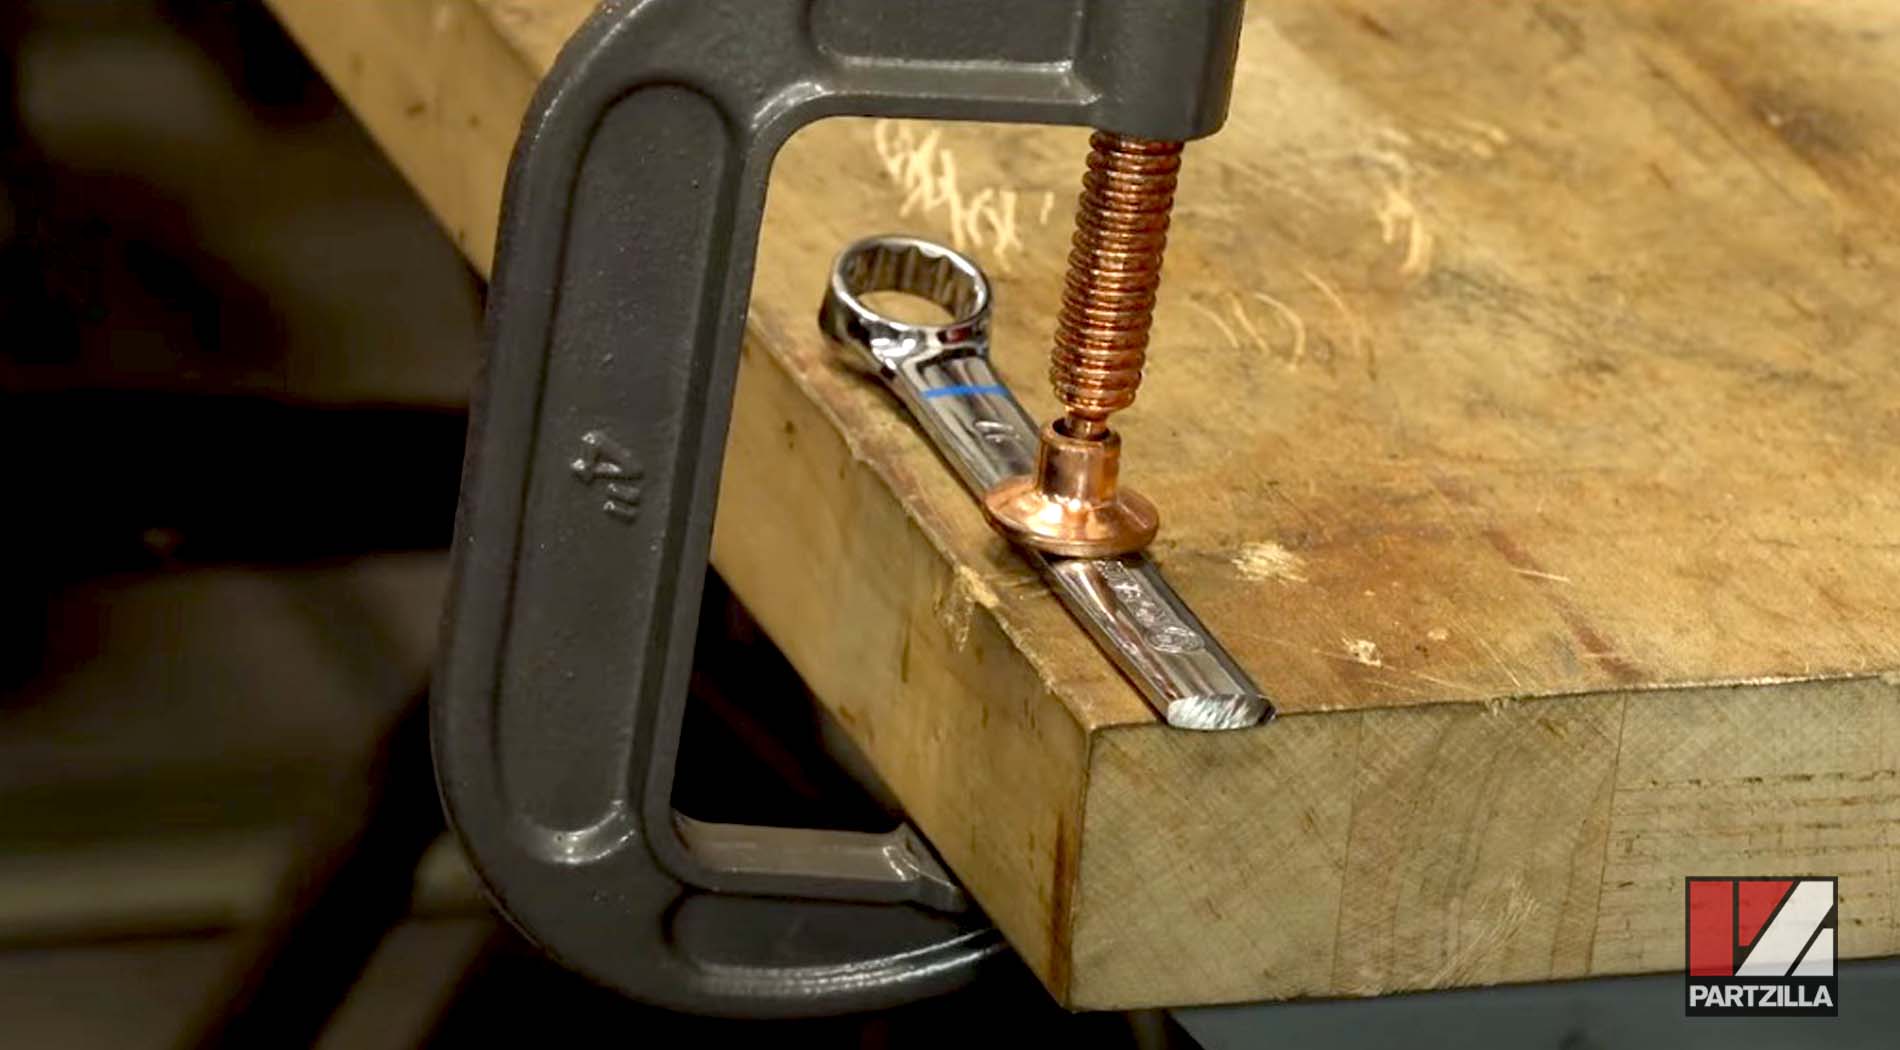
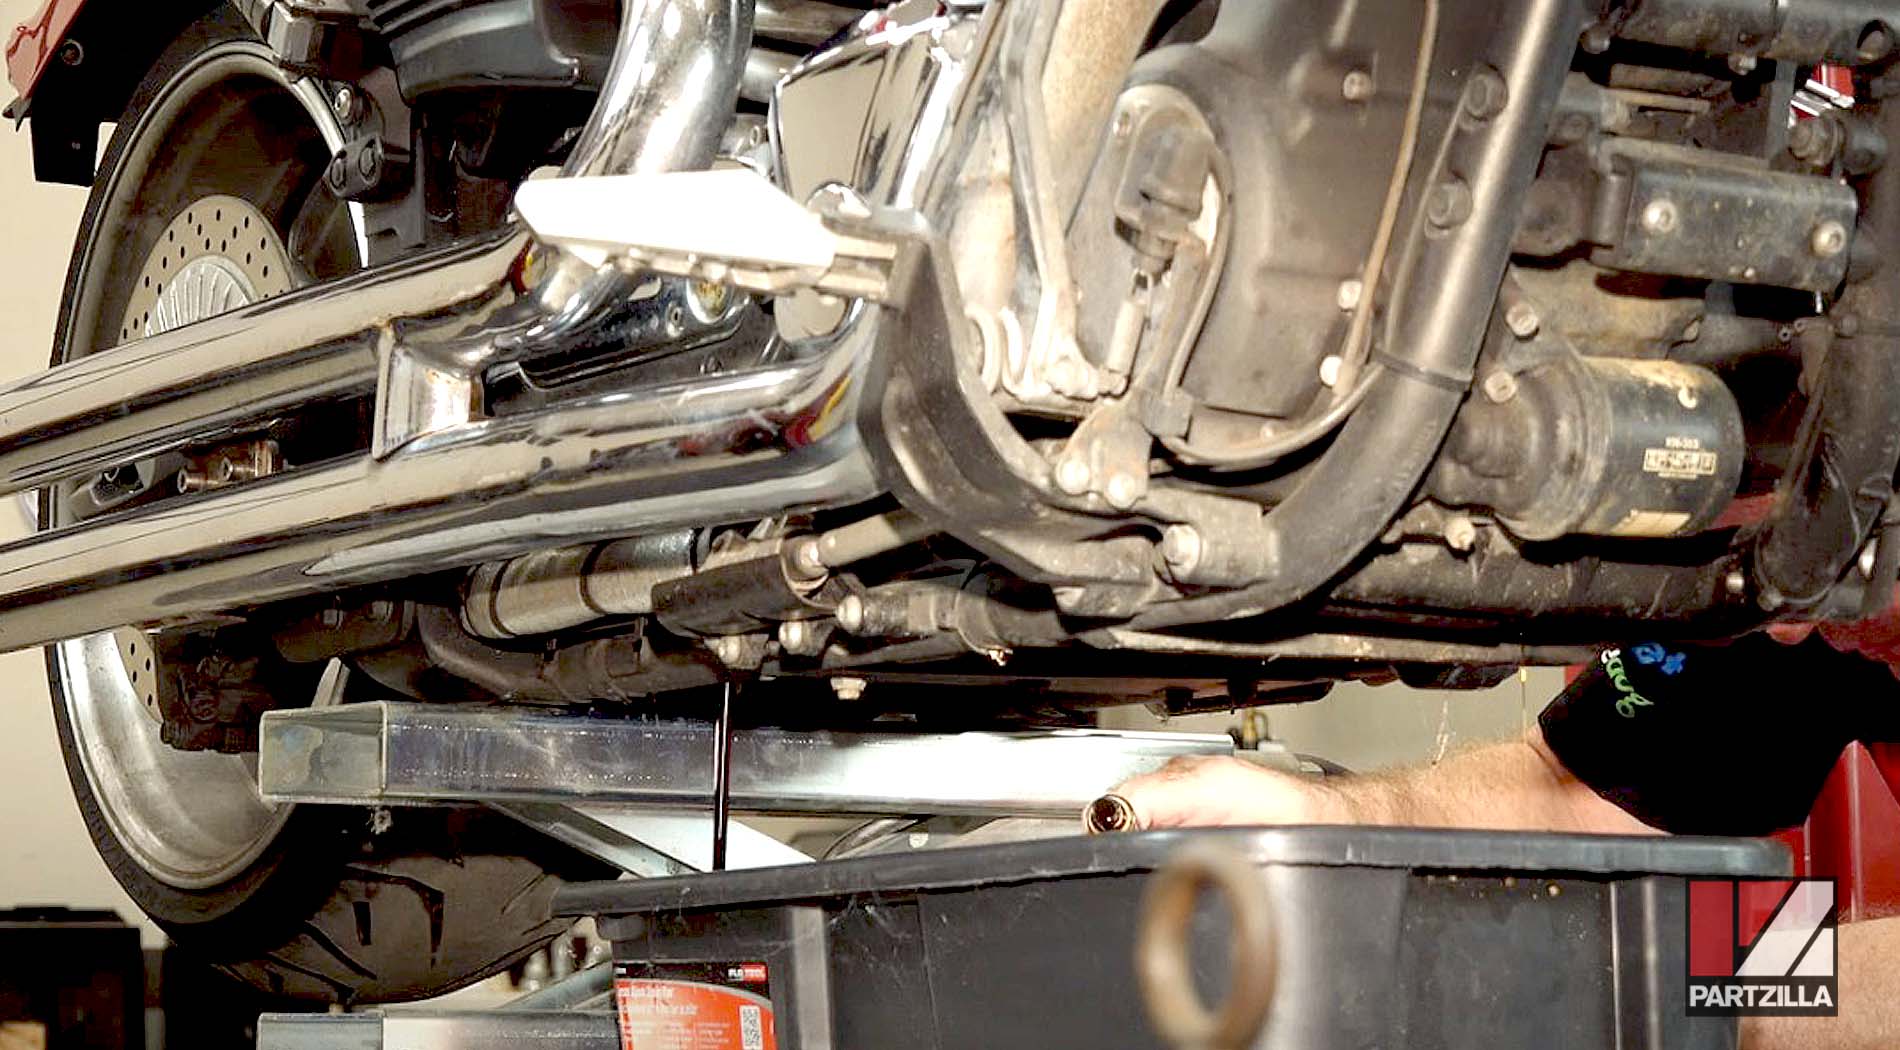
Step 3. Place an oil drain pan underneath the motorcycle, then remove the two 17mm engine oil drain bolts (and their crush washers) up front and let the oil drain out completely.
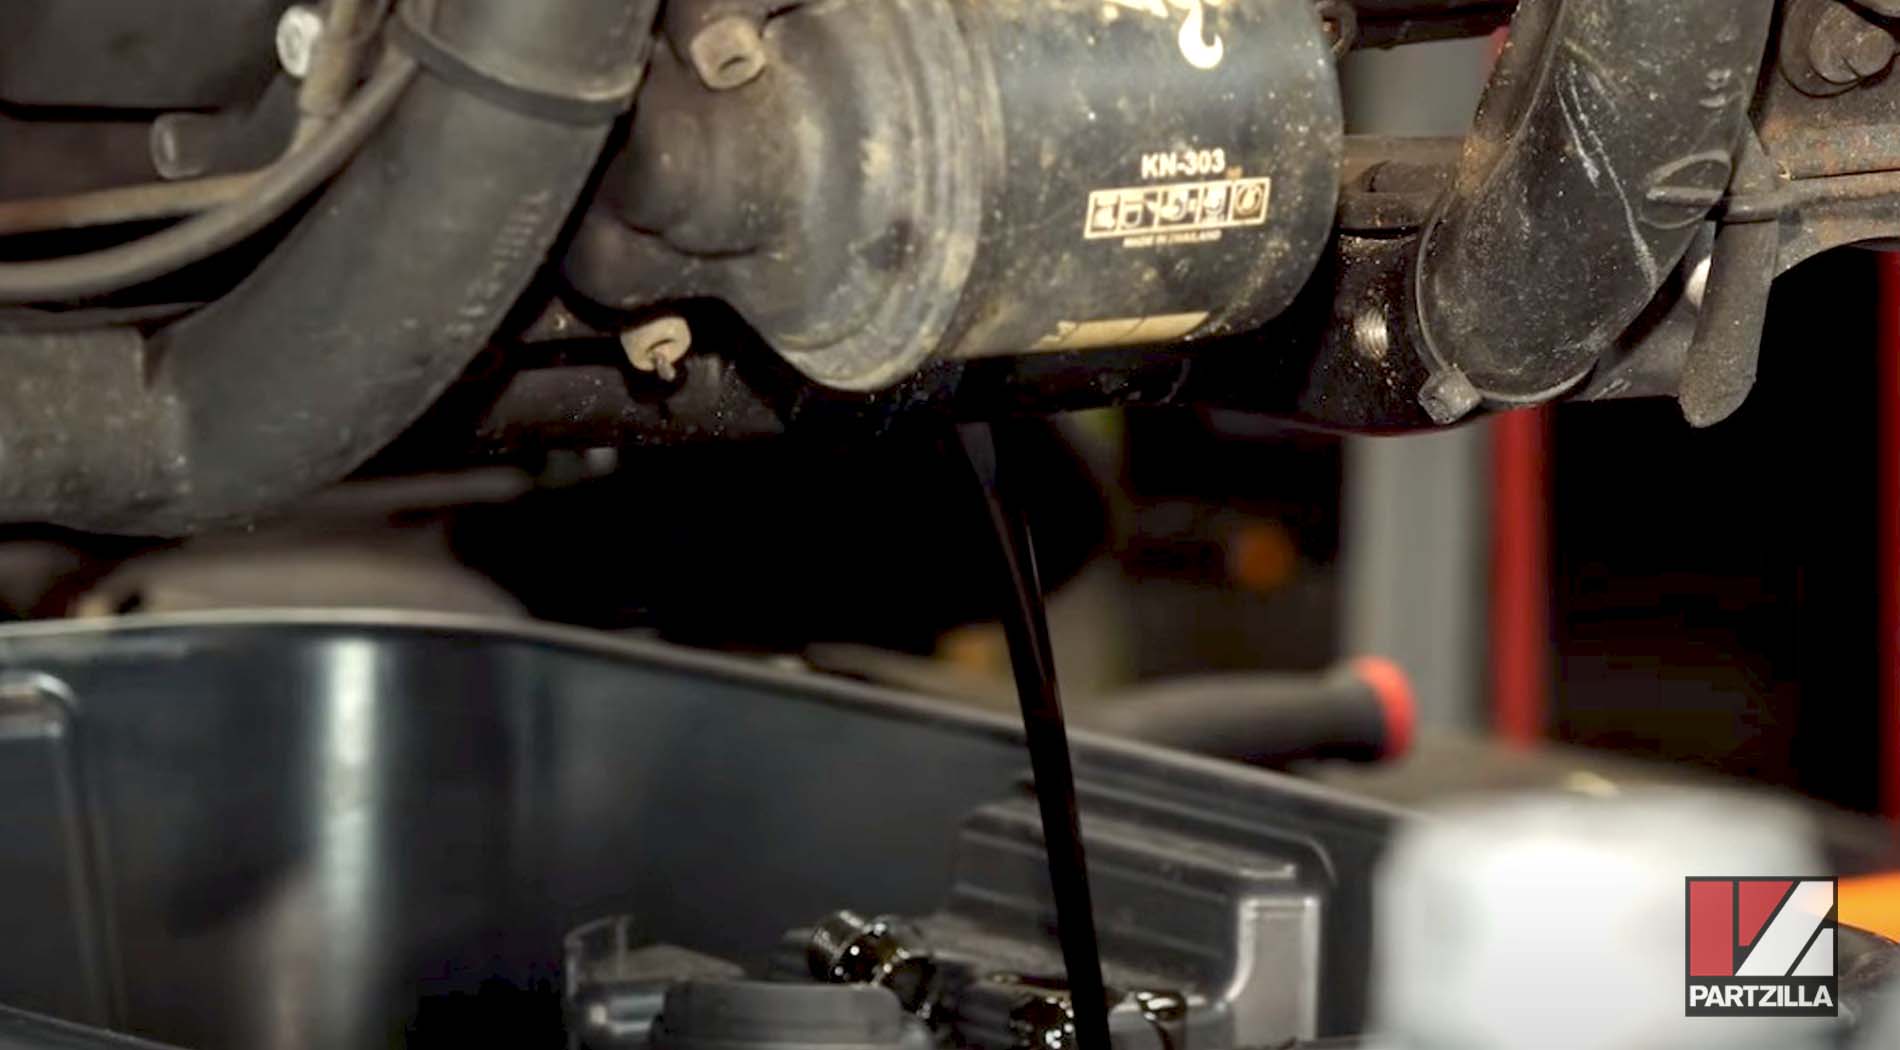
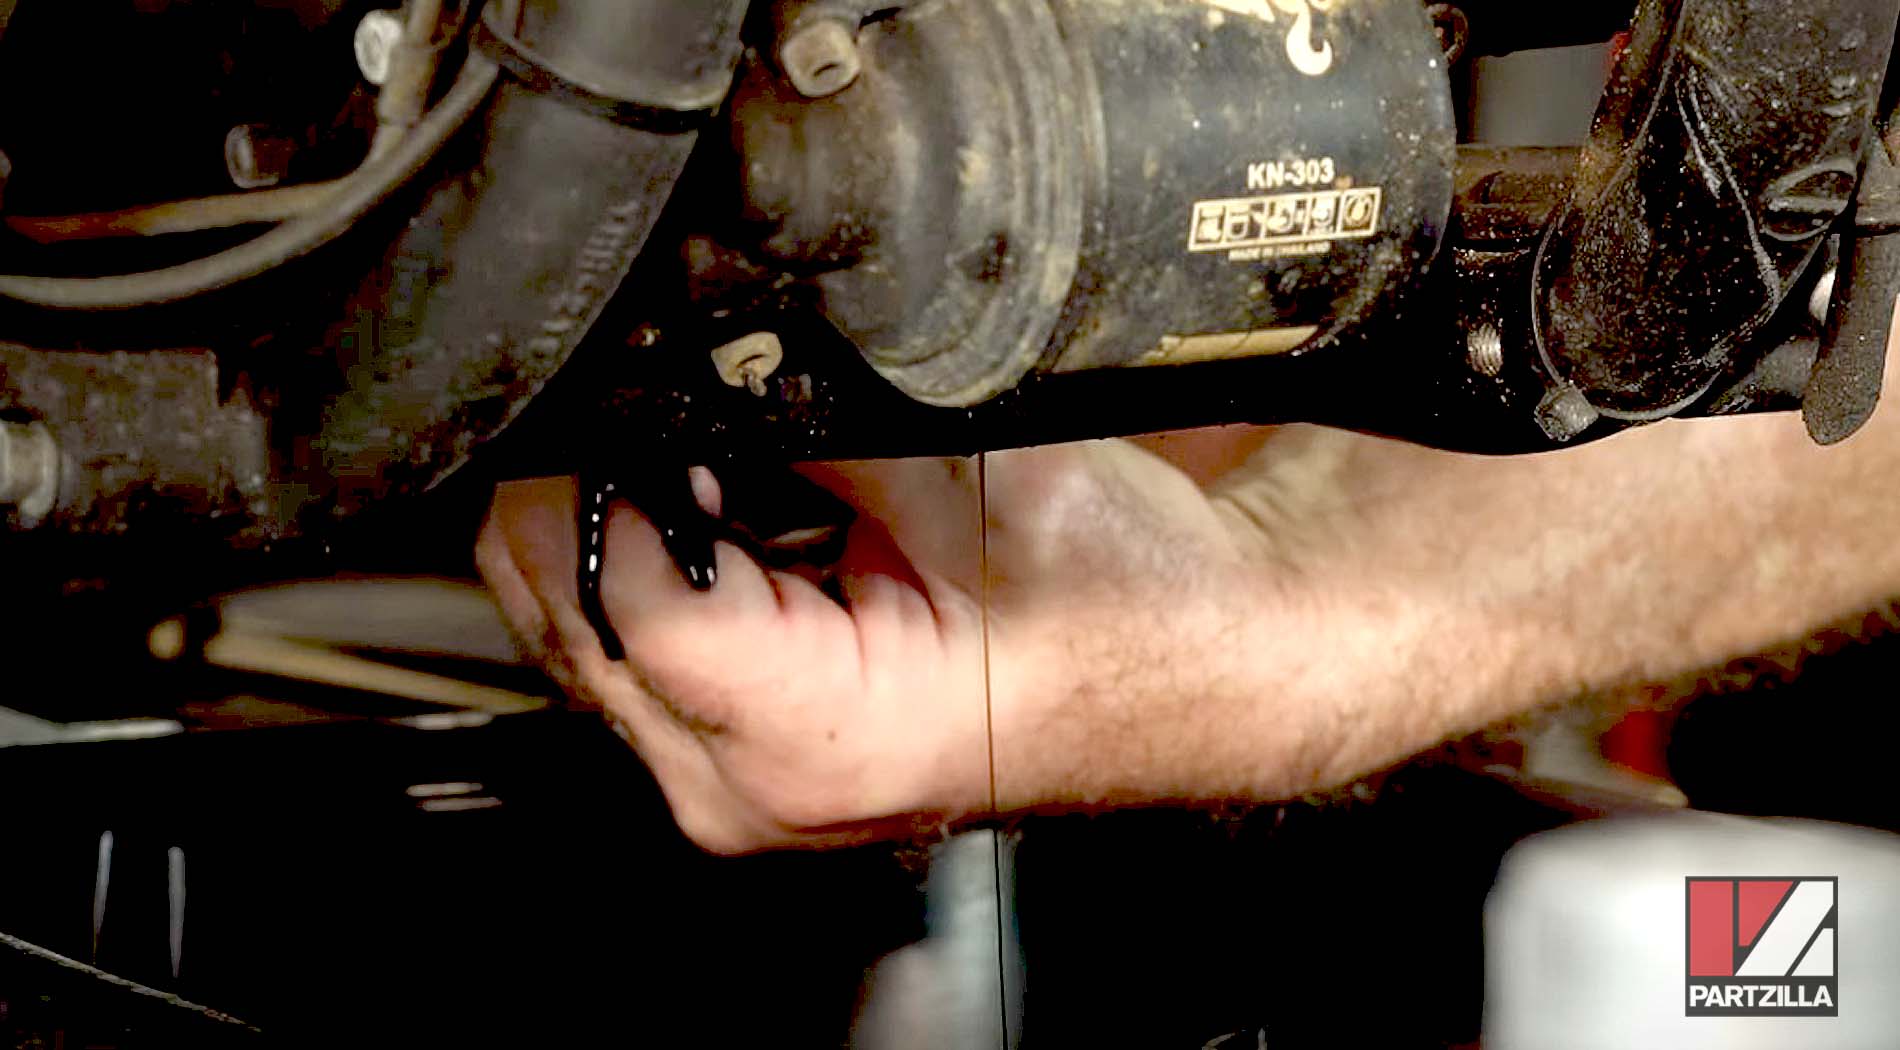
Step 4. Remove the third oil drain bolt (and its crush washer) underneath the oil tank and let the oil drain out completely.
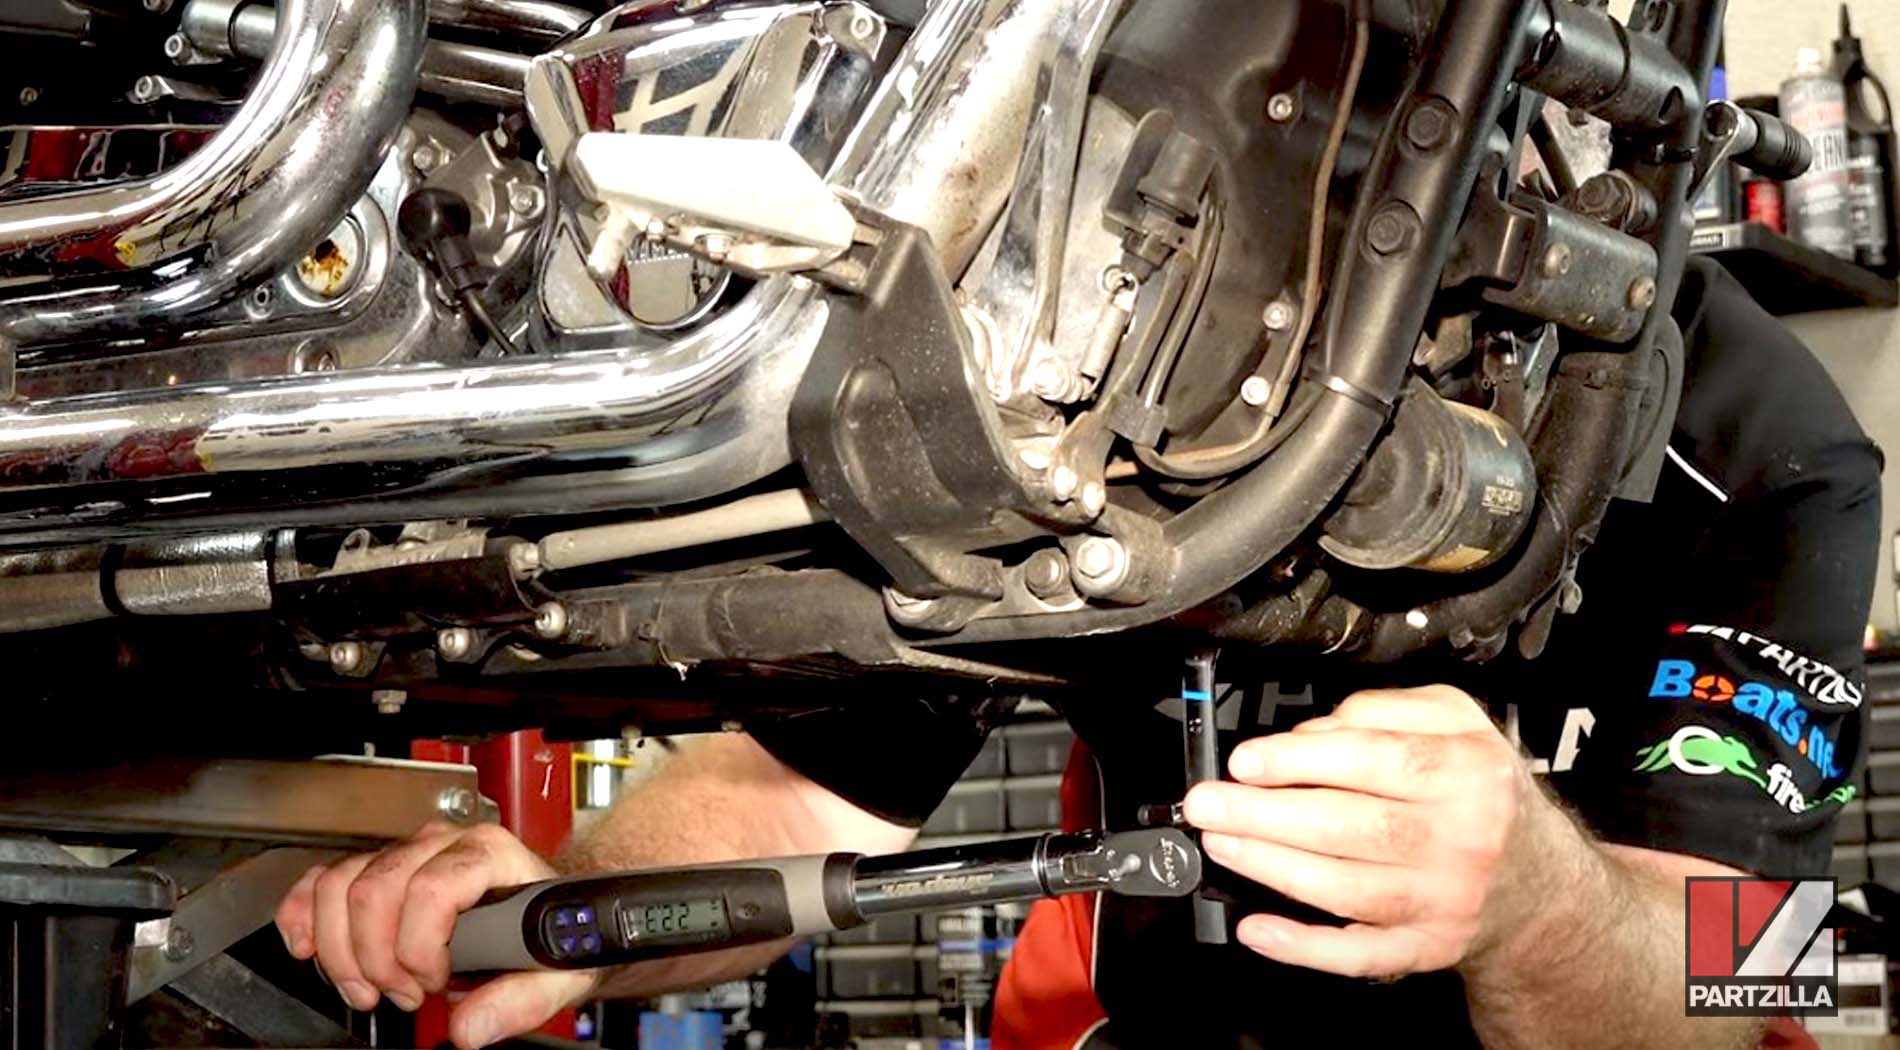
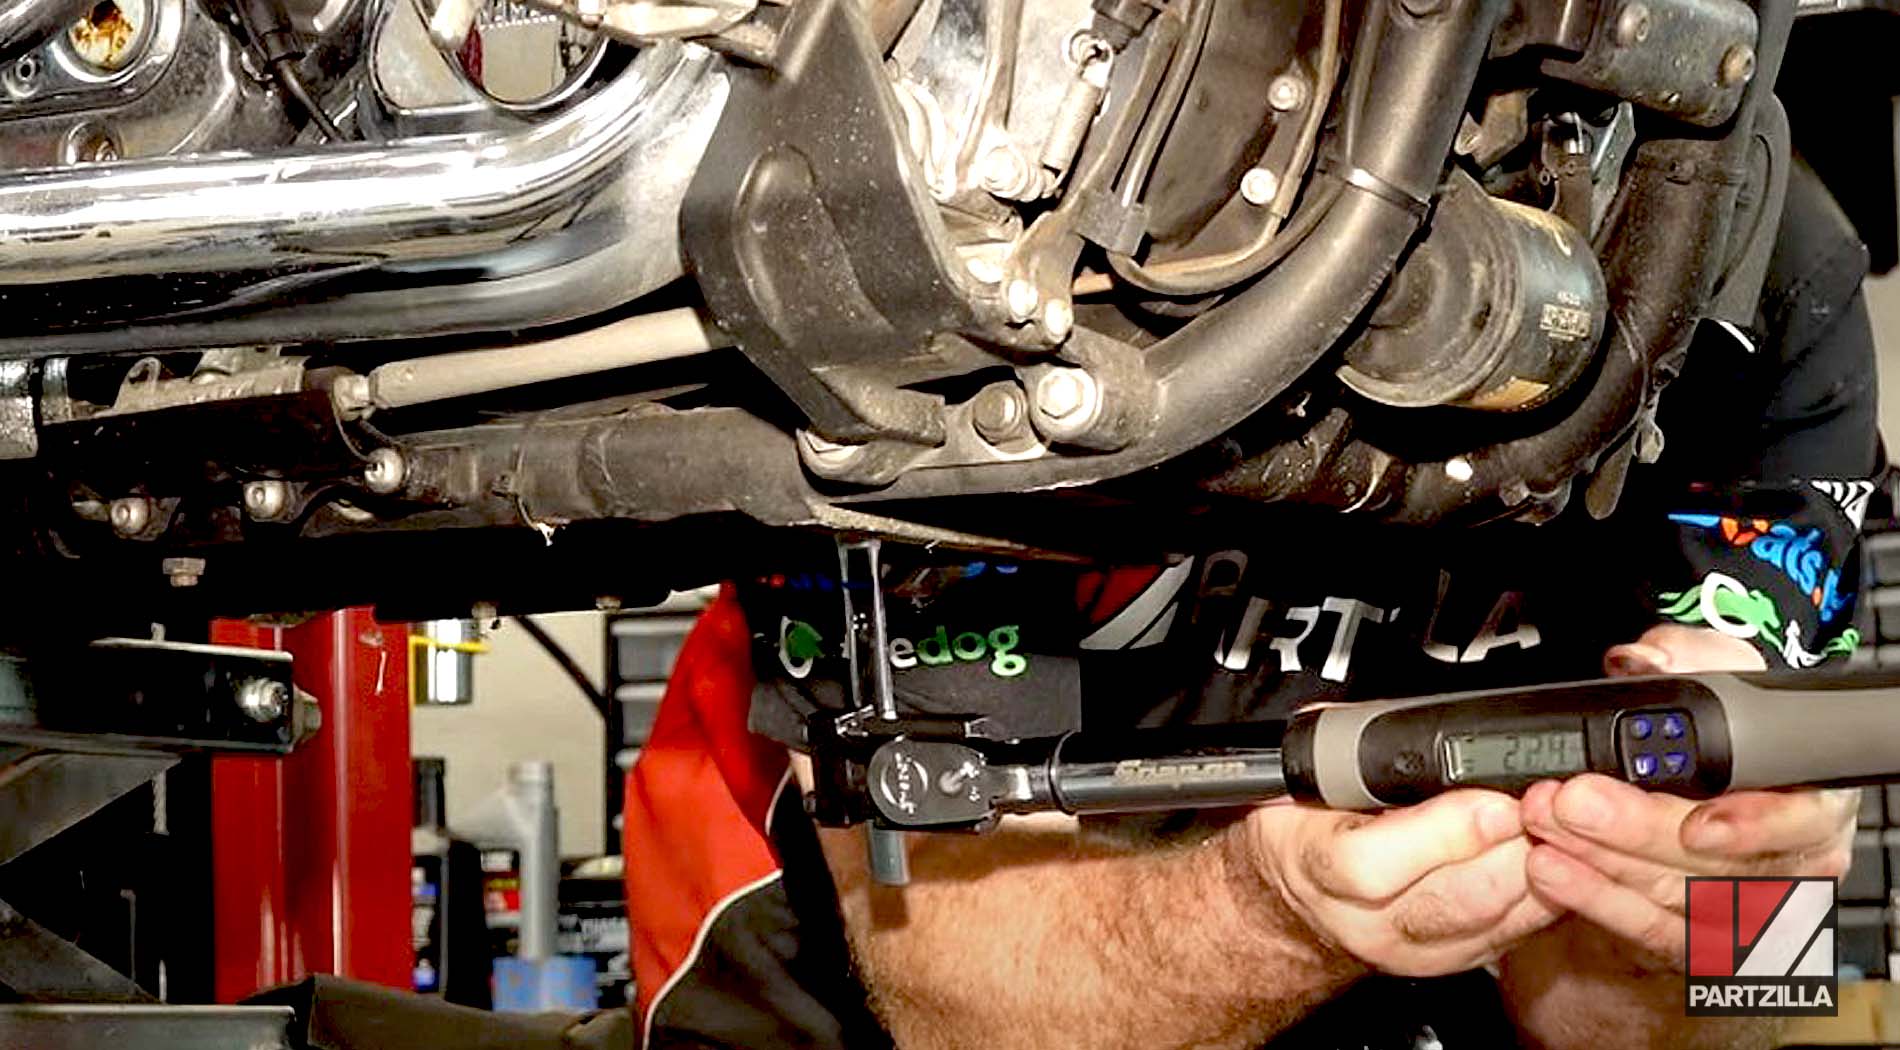
Step 5. Put the drain bolts with new crush washers back in and hand tighten them to begin with, then torque the oil tank bolt to 31 foot-pounds and the two engine drain bolts up front to 23 foot-pounds.
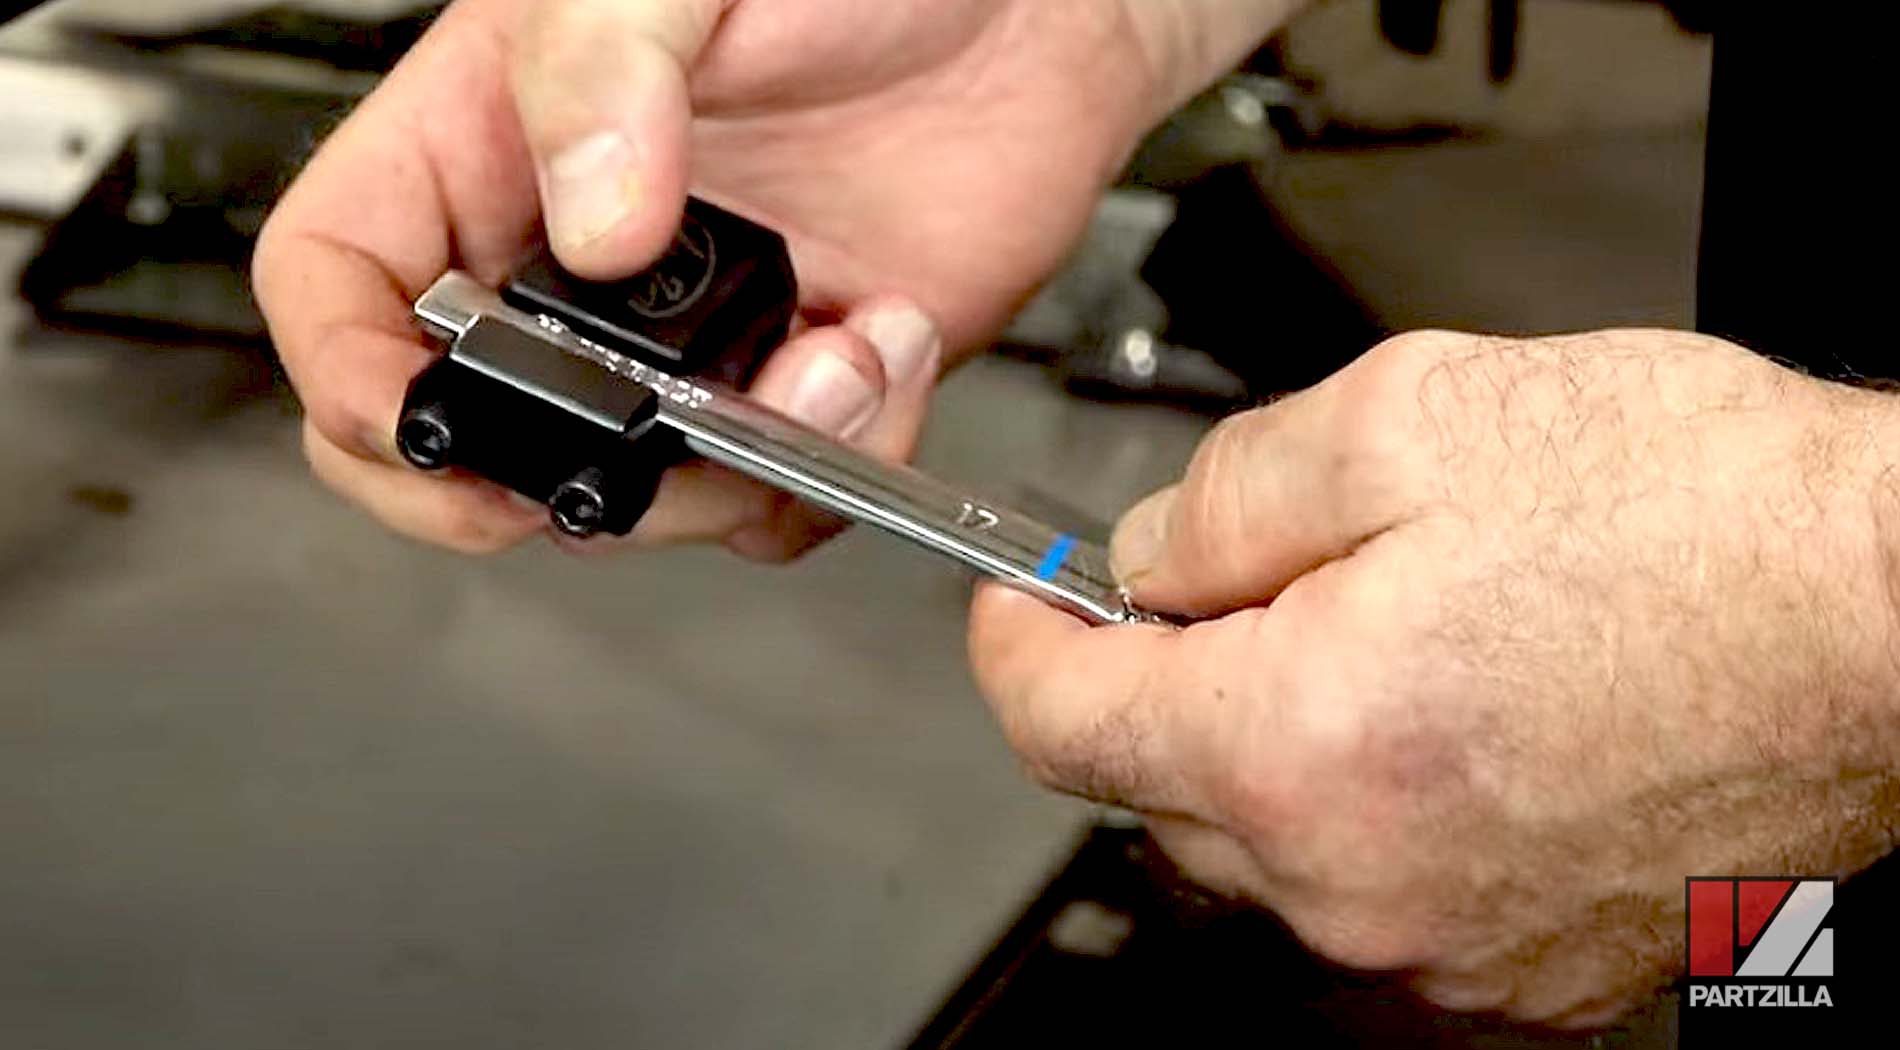
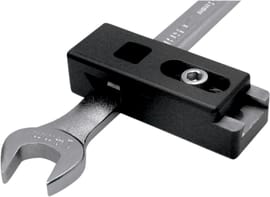
PRO TIP: Since you’re working with such a tight space, use a torque wrench adapter to get your 17mm wrench at 90 degrees, which makes it easier to access and torque the oil drain bolts.

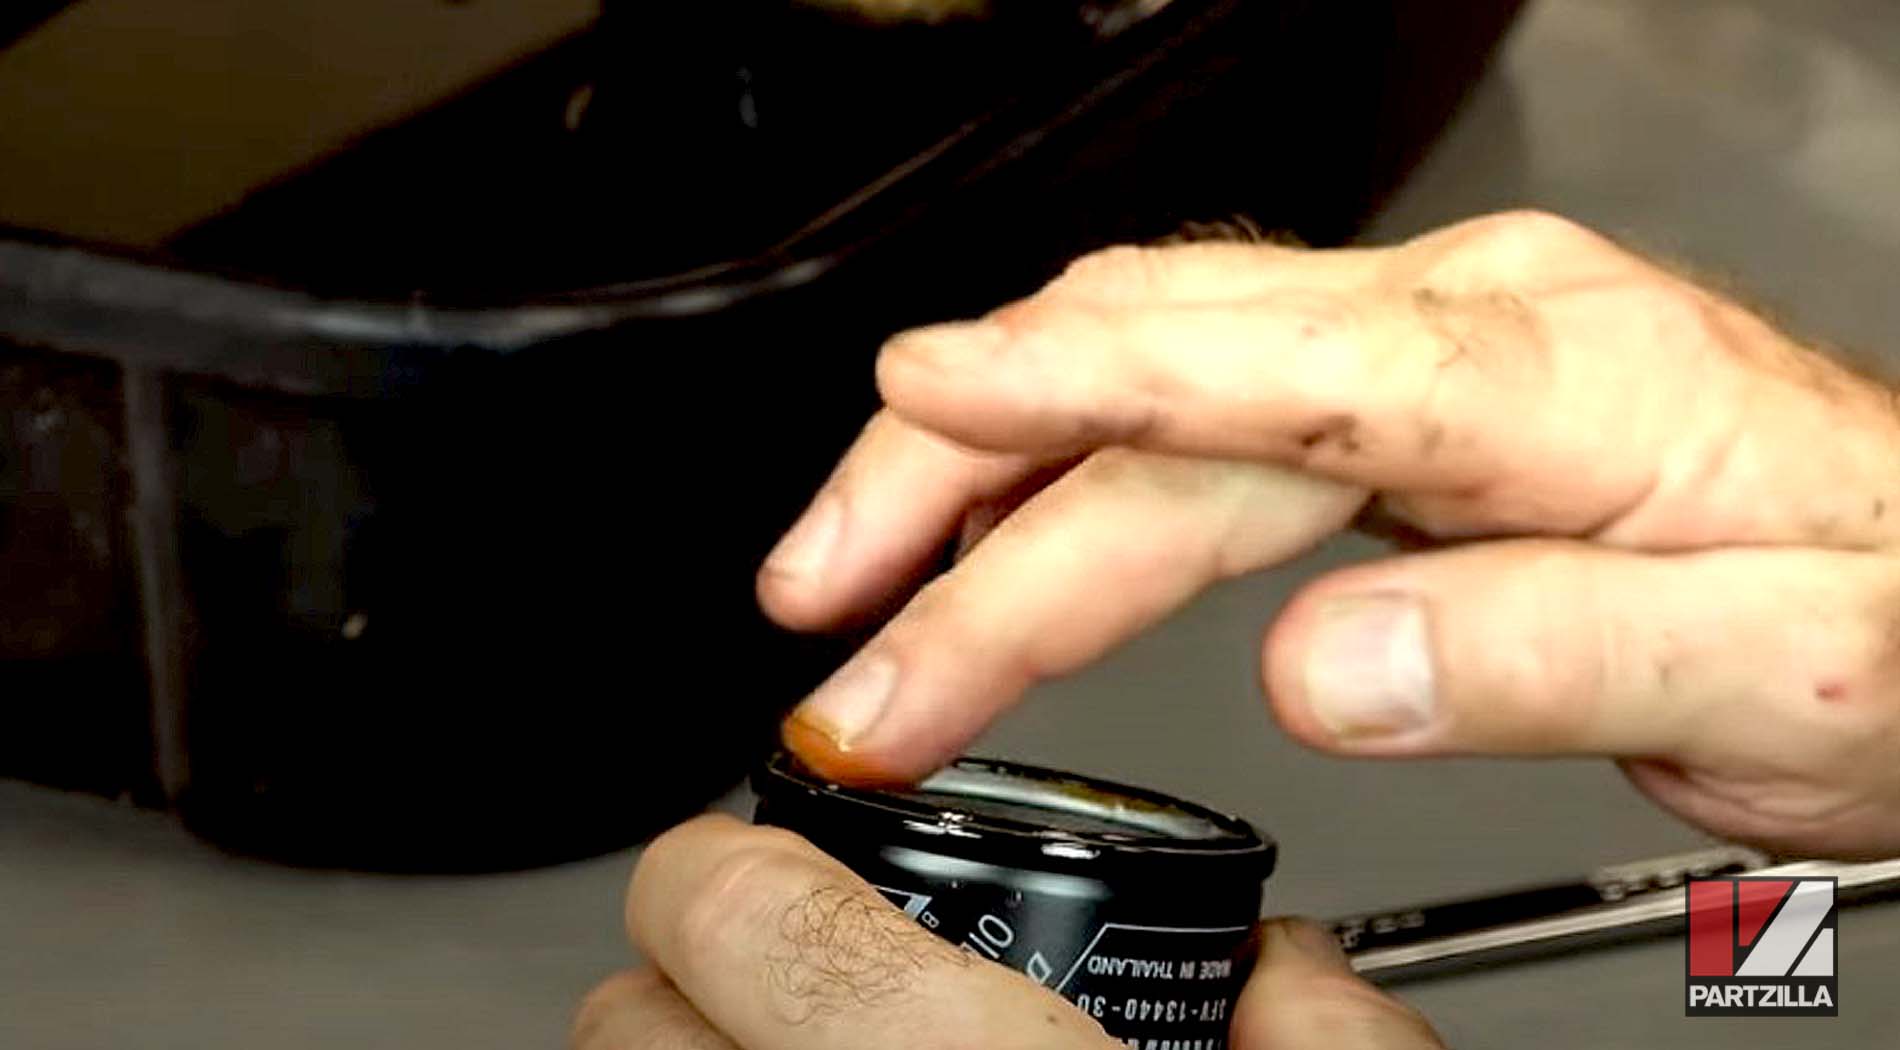
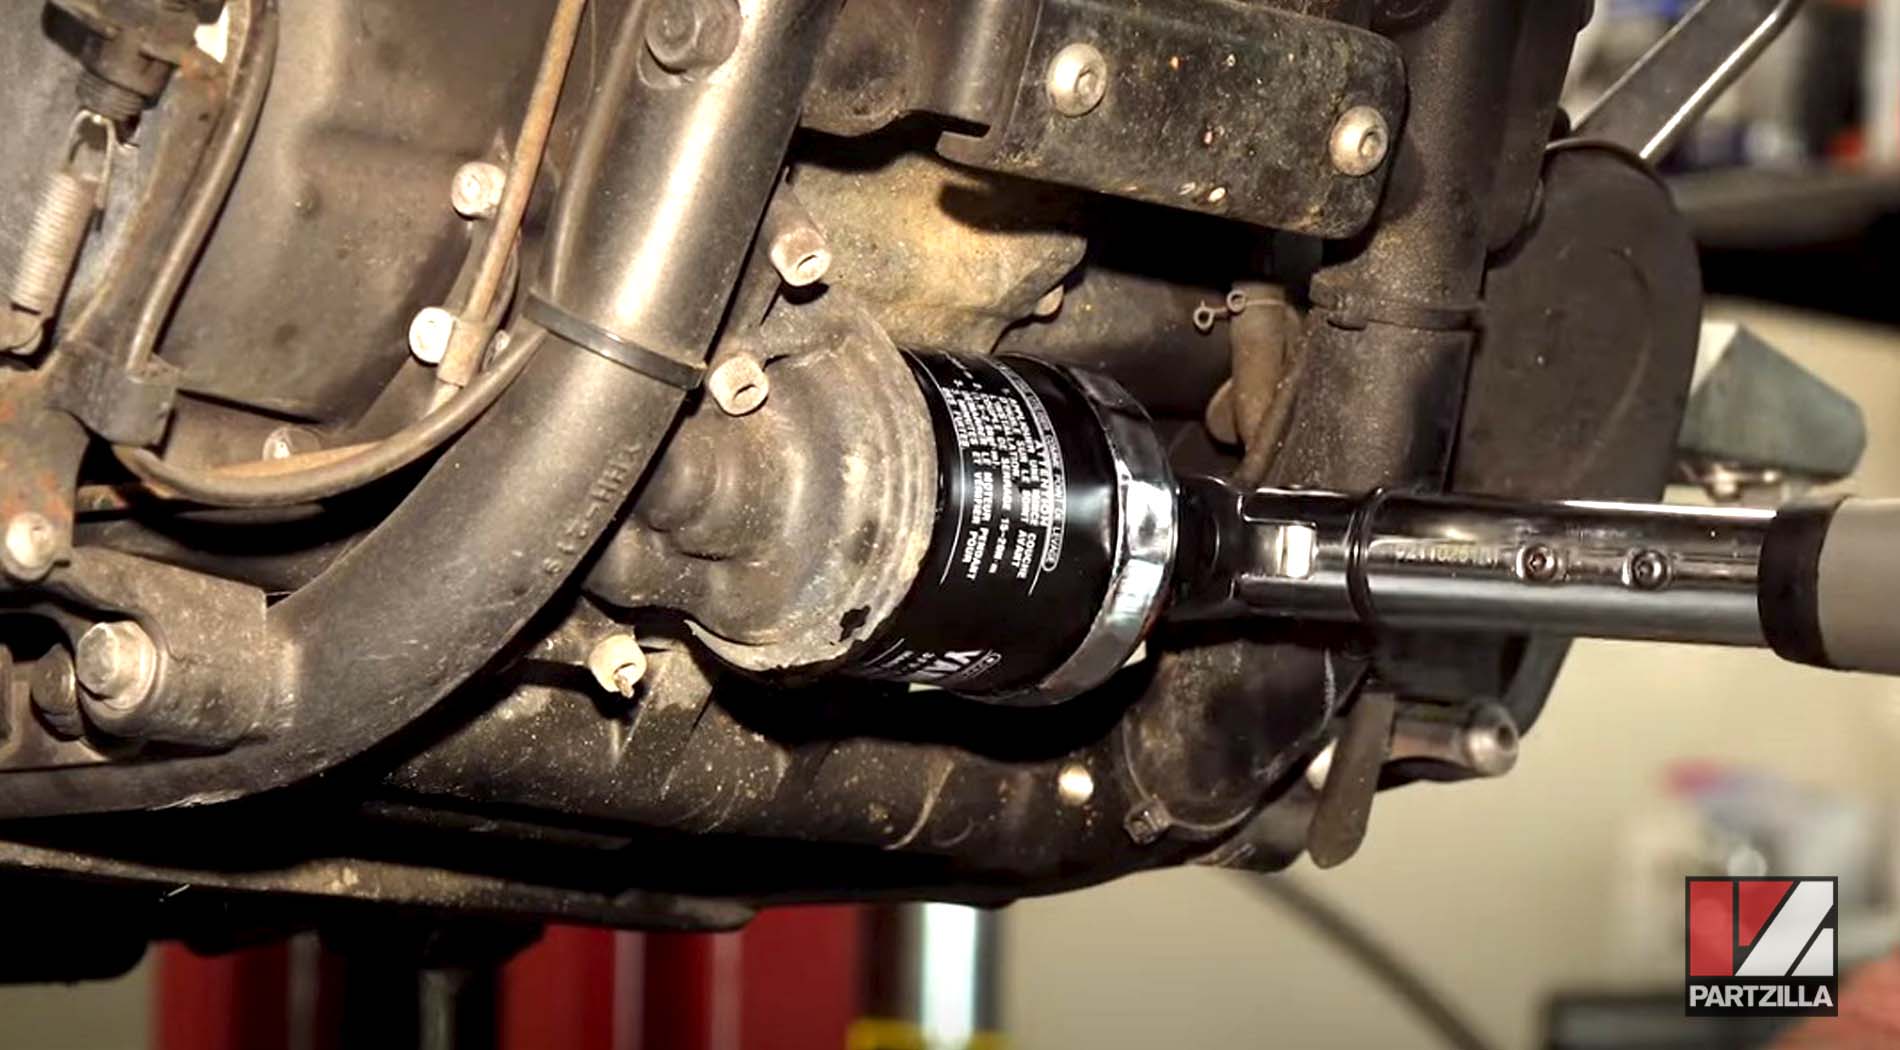
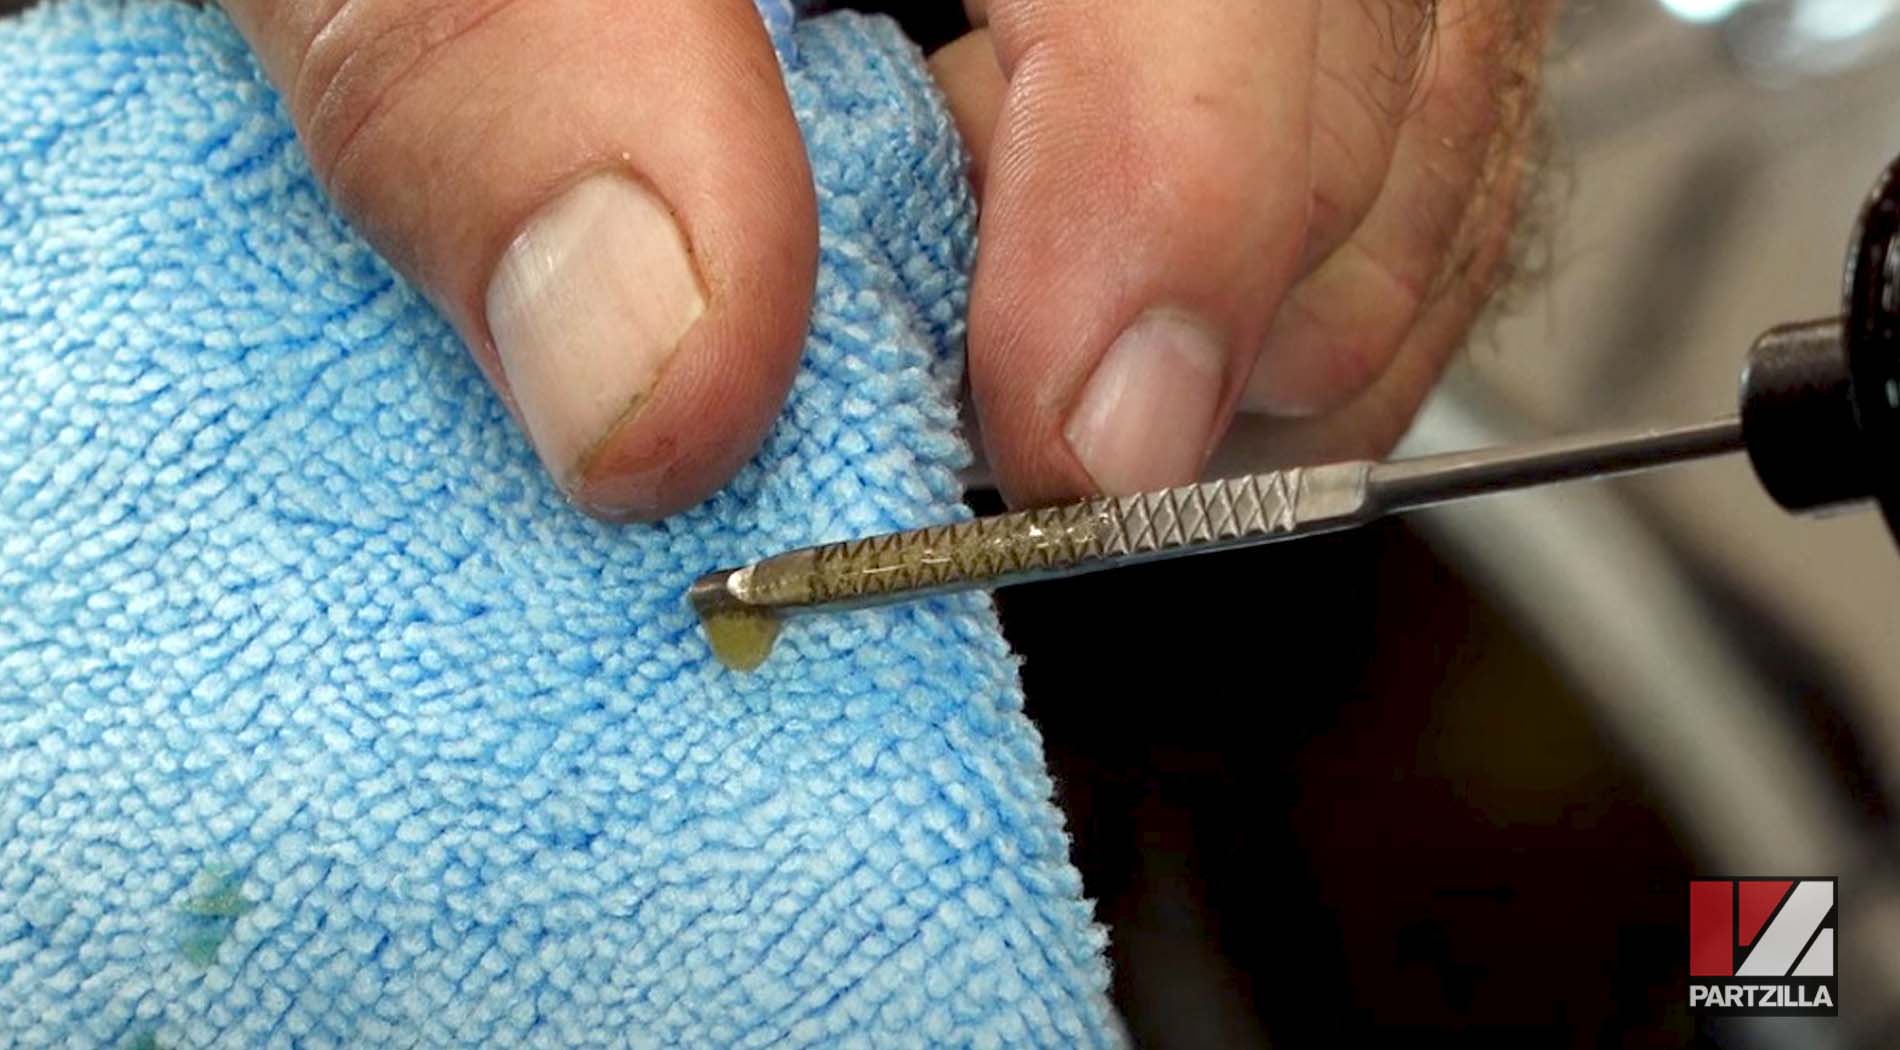
Step 6. Use a 65mm oil filter wrench to remove the oil filter.
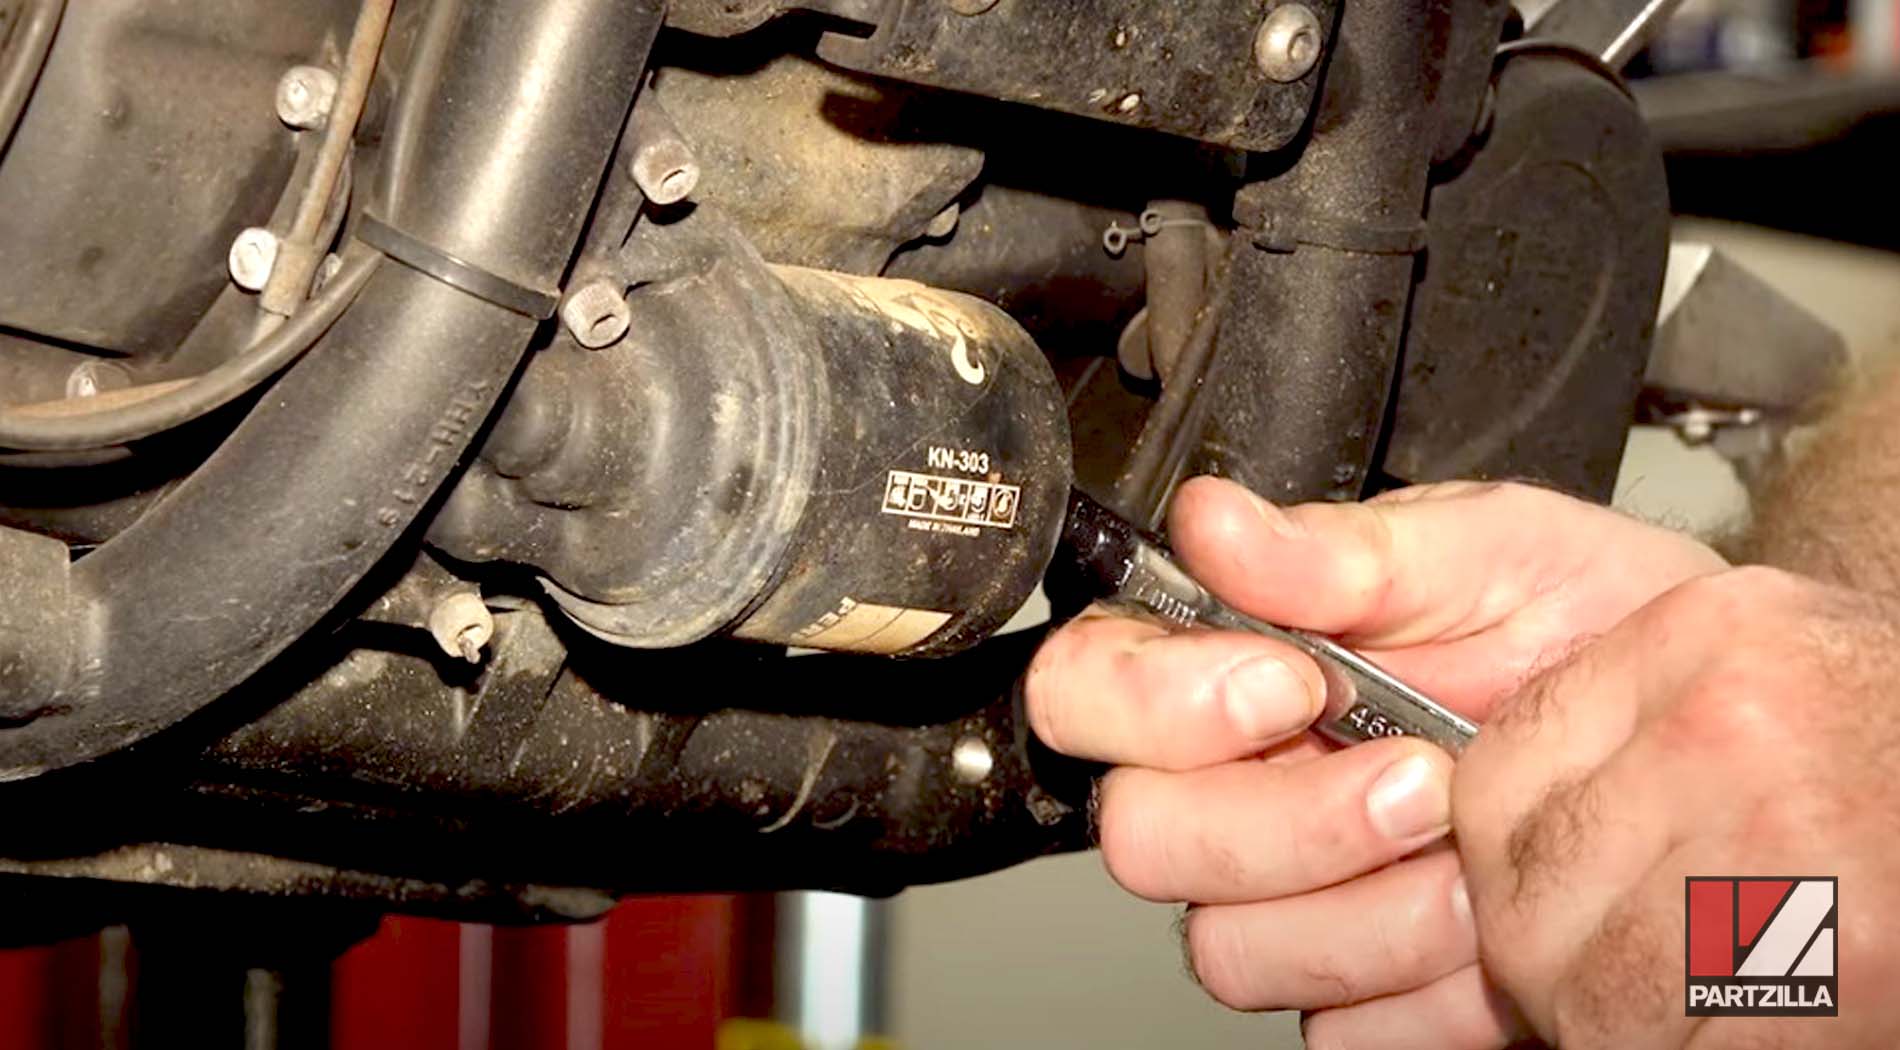
NOTE: Our Yamaha Raider had a K&N filter on it with a 17mm bolt welded to the end of it, so we used a 17mm wrench to remove it.
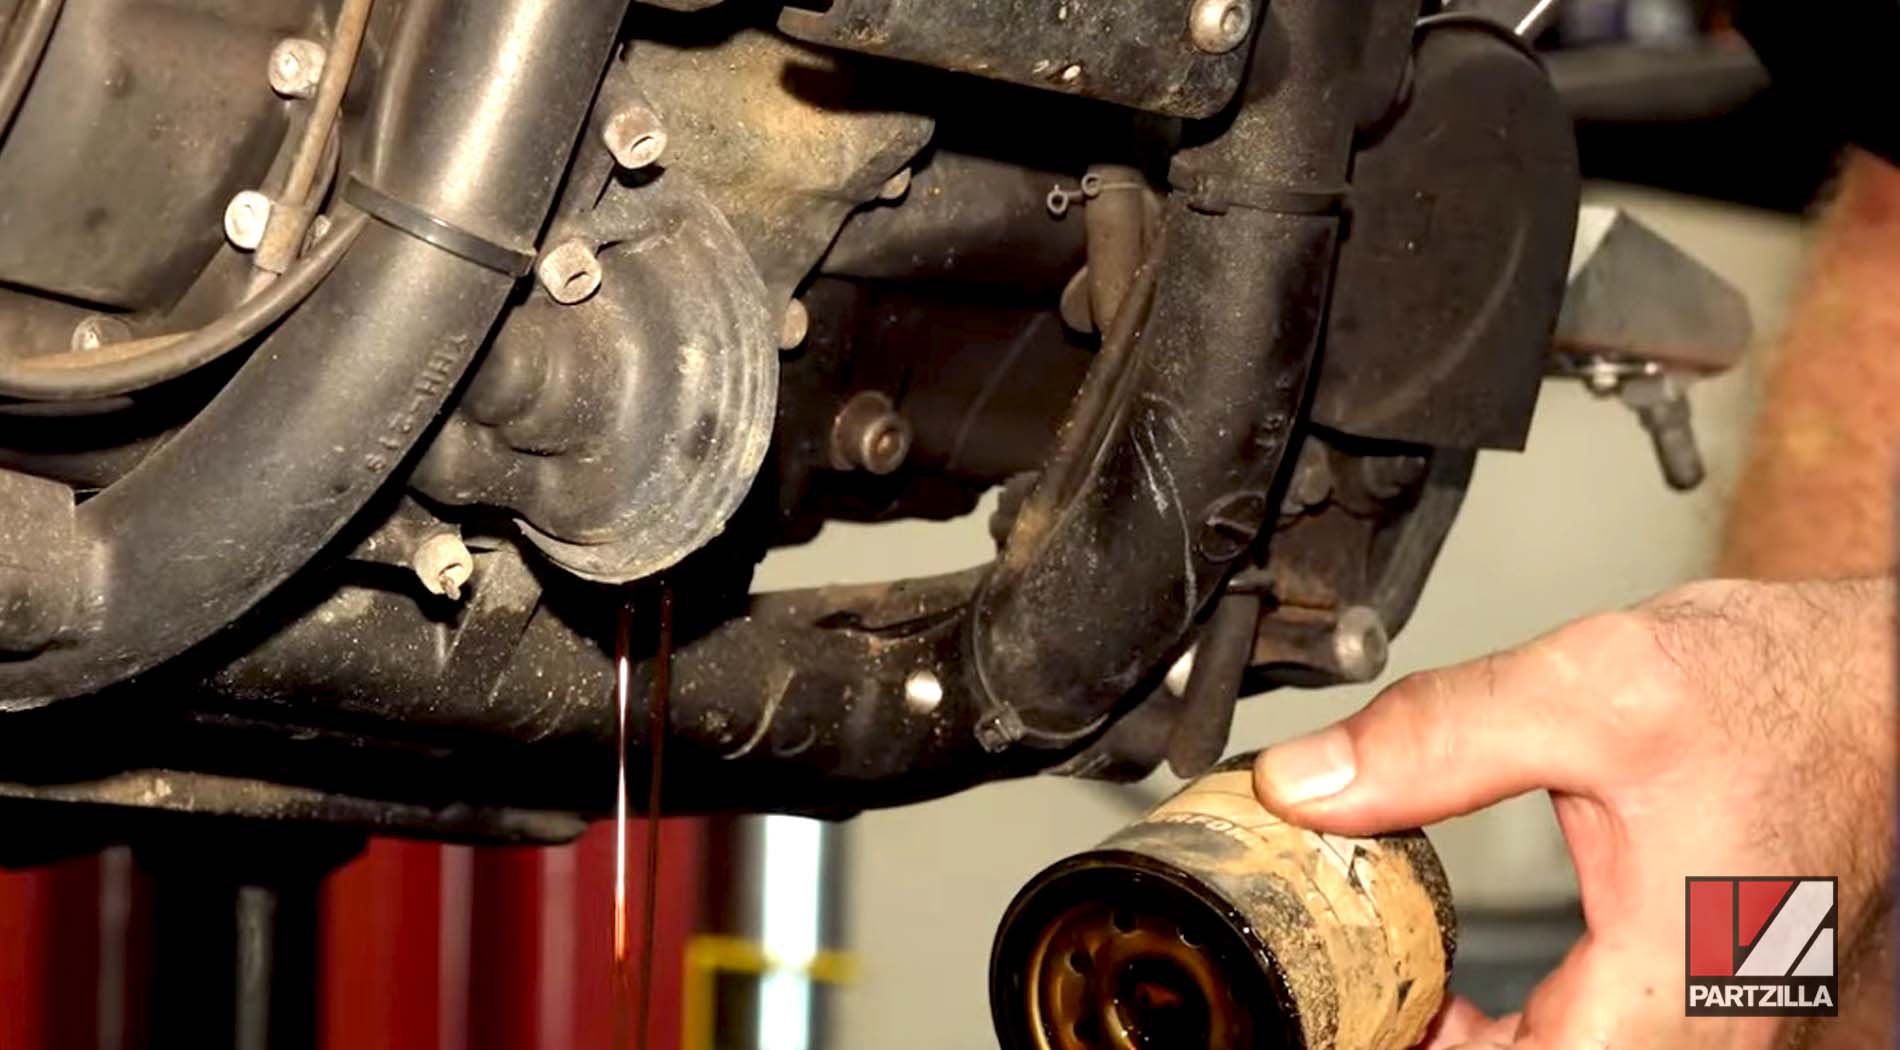
Step 7. Remove the plastic from the new oil filter, then smear a little oil around the edge of the oil filter, and use a 65mm oil filter wrench to install it and torque it to 12 foot-pounds.
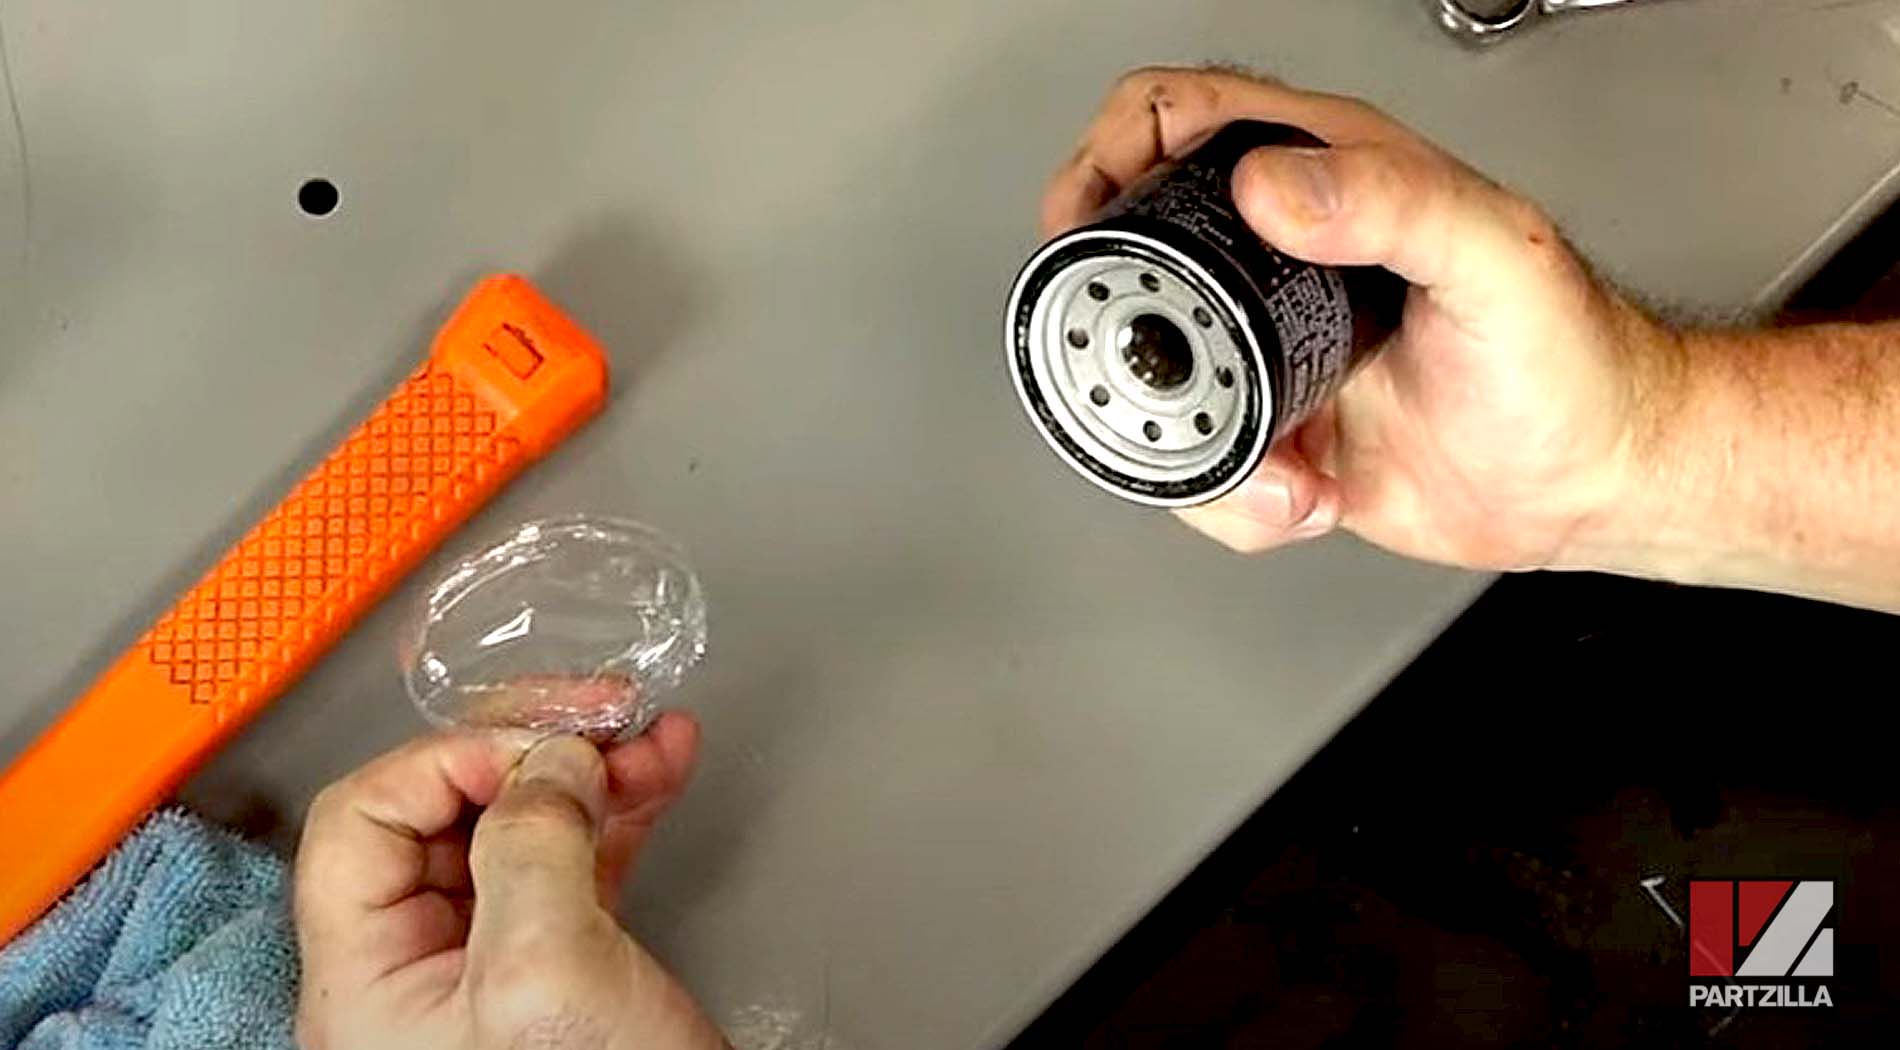
NOTE: Make sure you pull the plastic cover completely off without ripping it before installing the oil filter, because if any piece of that plastic cover makes its way into the engine, it can stop it up and damage it.
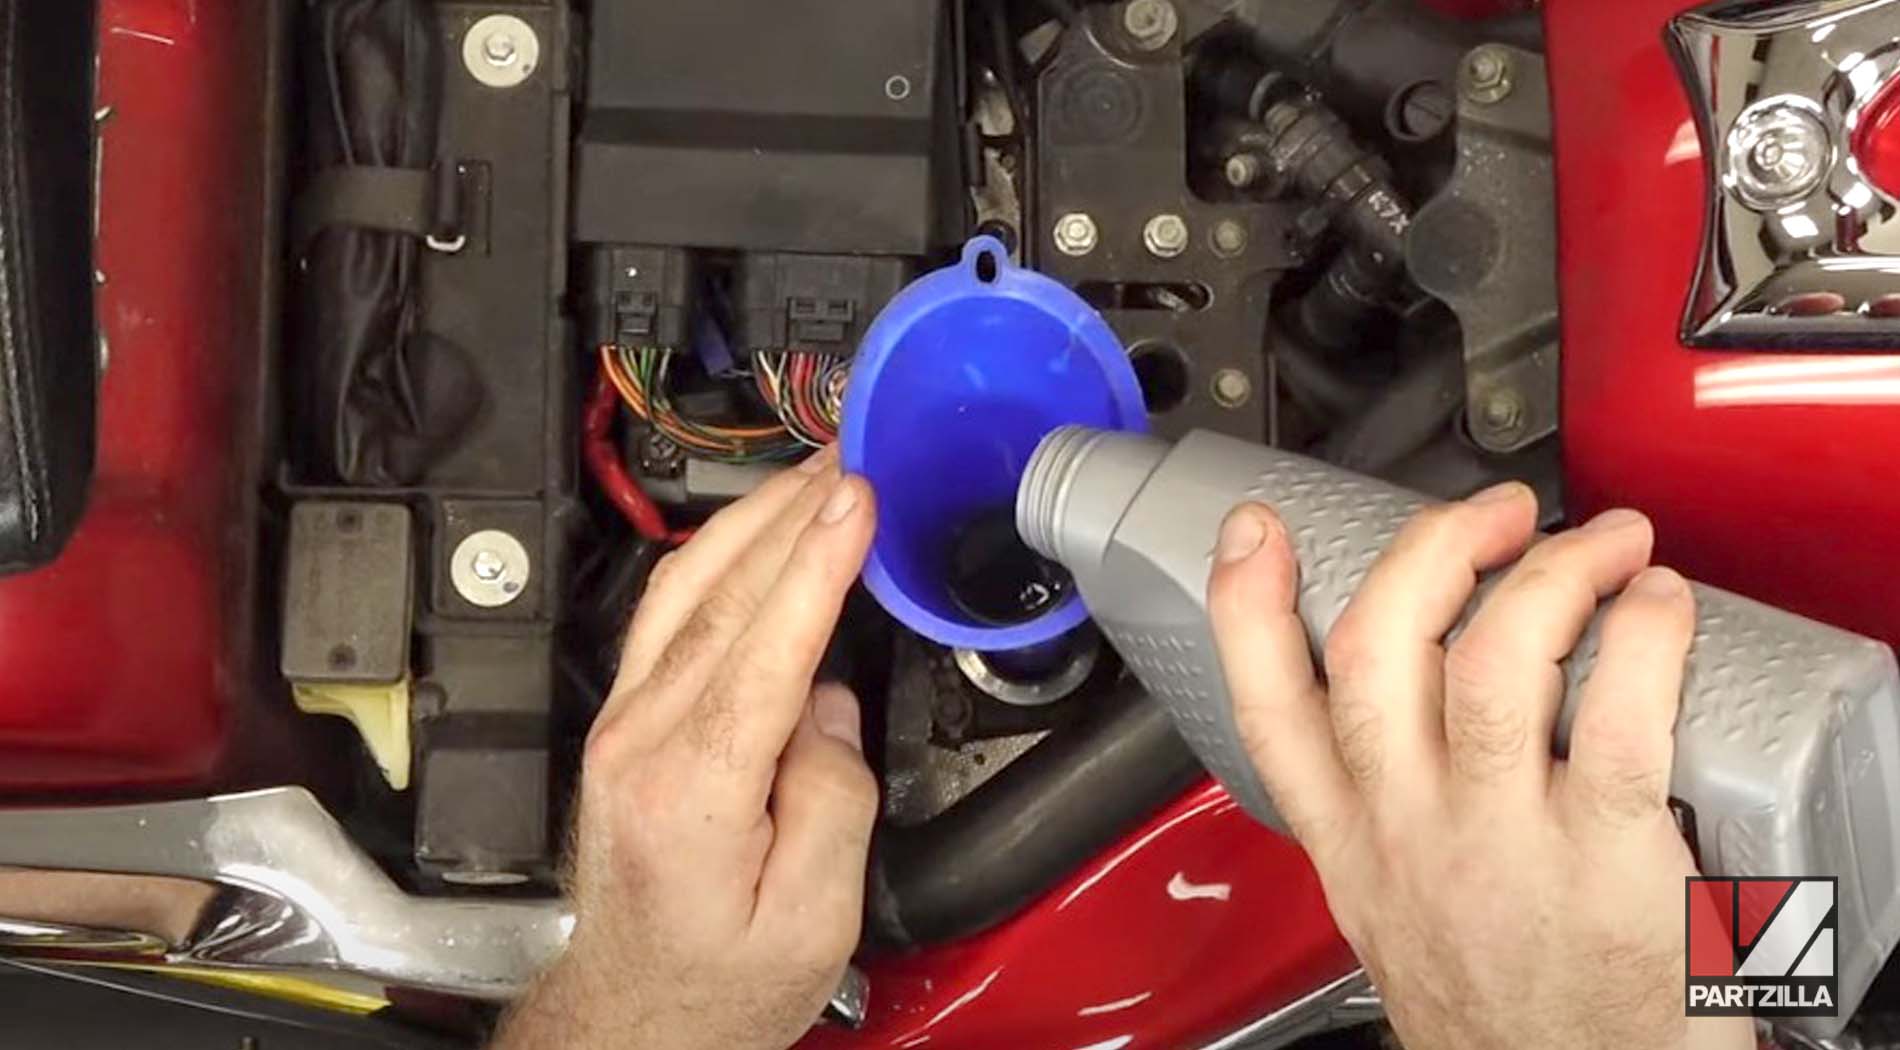
Step 8. Fill the oil tank with 2 ½ quarts of Yamalube 10W-50 synthetic oil, then put the oil fill cap back on, start up the machine, rev the throttle three or four times, then remove the oil fill cap.
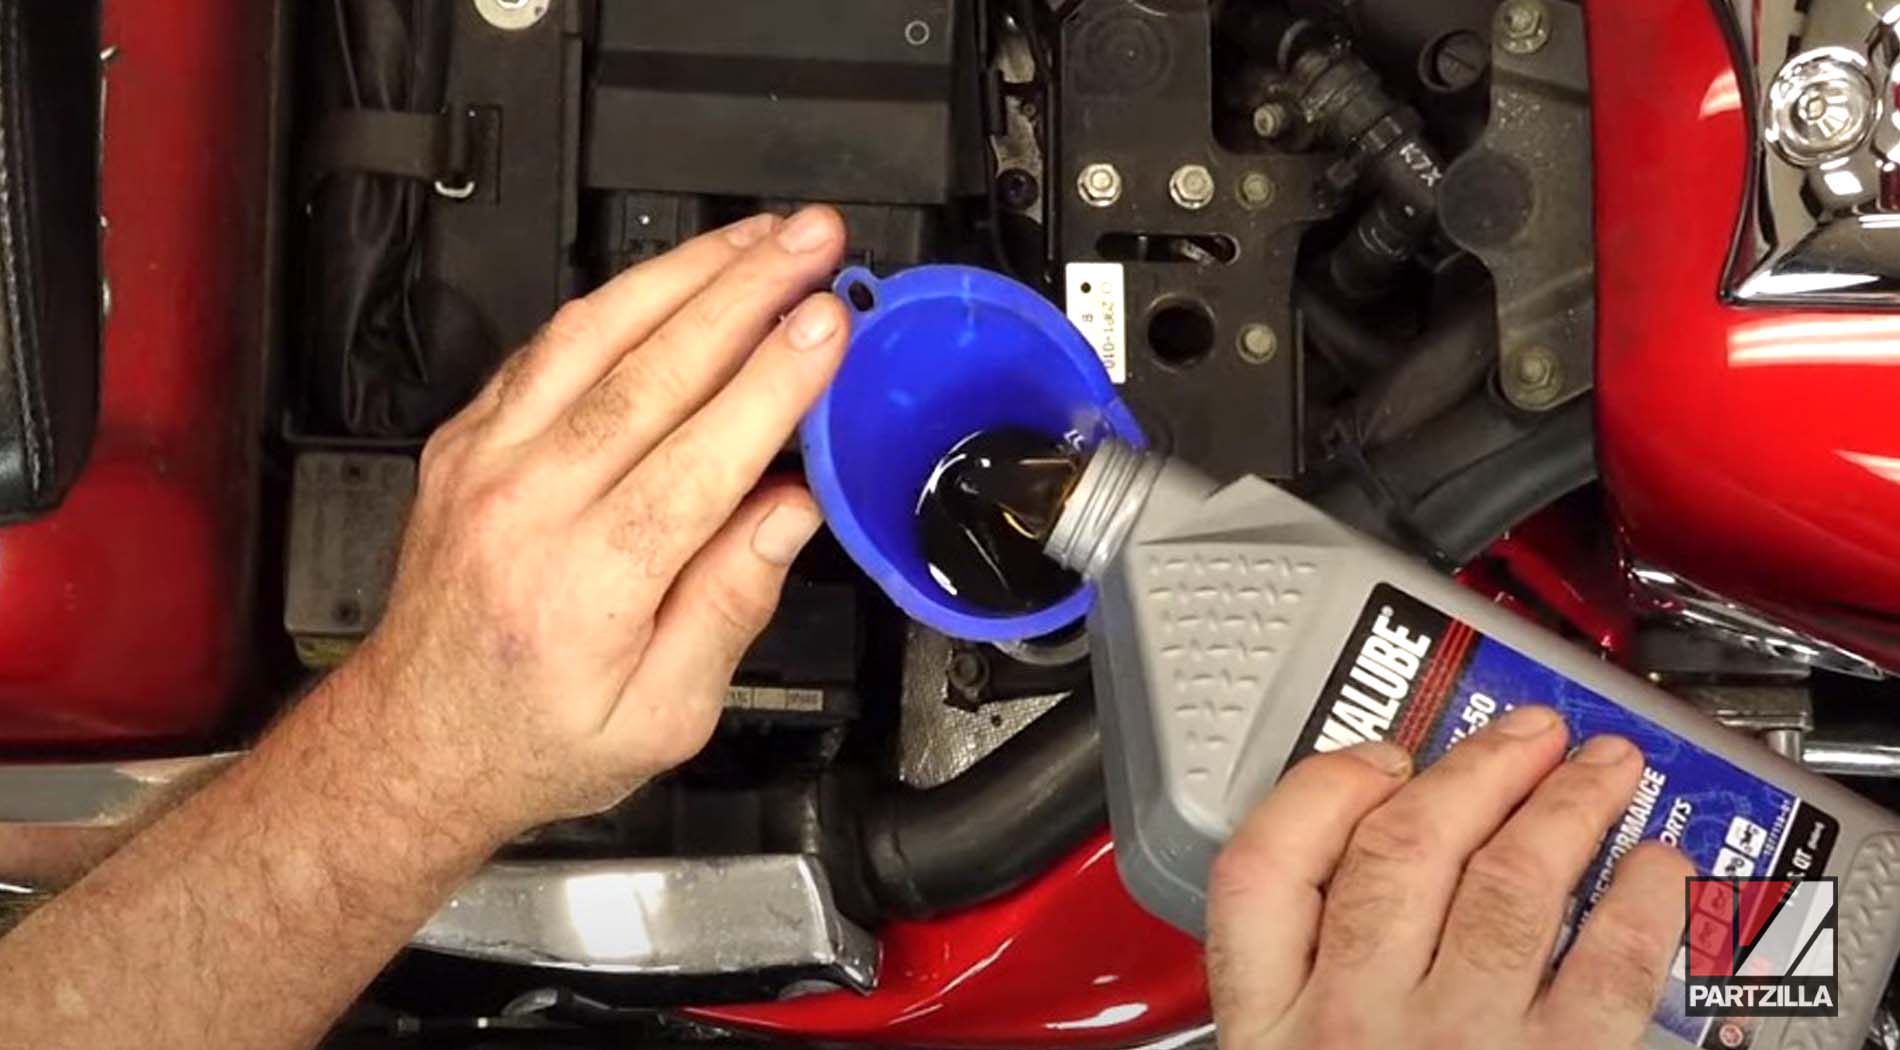
NOTE: Refilling the oil is a two-step process. The Yamaha Raider takes a total of 5 ½ quarts of oil.
Step 9. Fill up the oil tank with the rest of the oil, then put the dipstick back in, crank up the bike and let it run for about 5 minutes, then let it sit for a few minutes.
NOTE: If you lifted your bike on a stand, make sure to lower it down before starting it up again to make sure it’s level.
Step 10. Pull out the oil fill cap, then check the oil level on the dipstick and top it off if necessary.
NOTE: When you're checking the oil, don't screw the cap back in, just bottom it out and lift it up. If the oil level is anywhere in the middle, you’re good to go.
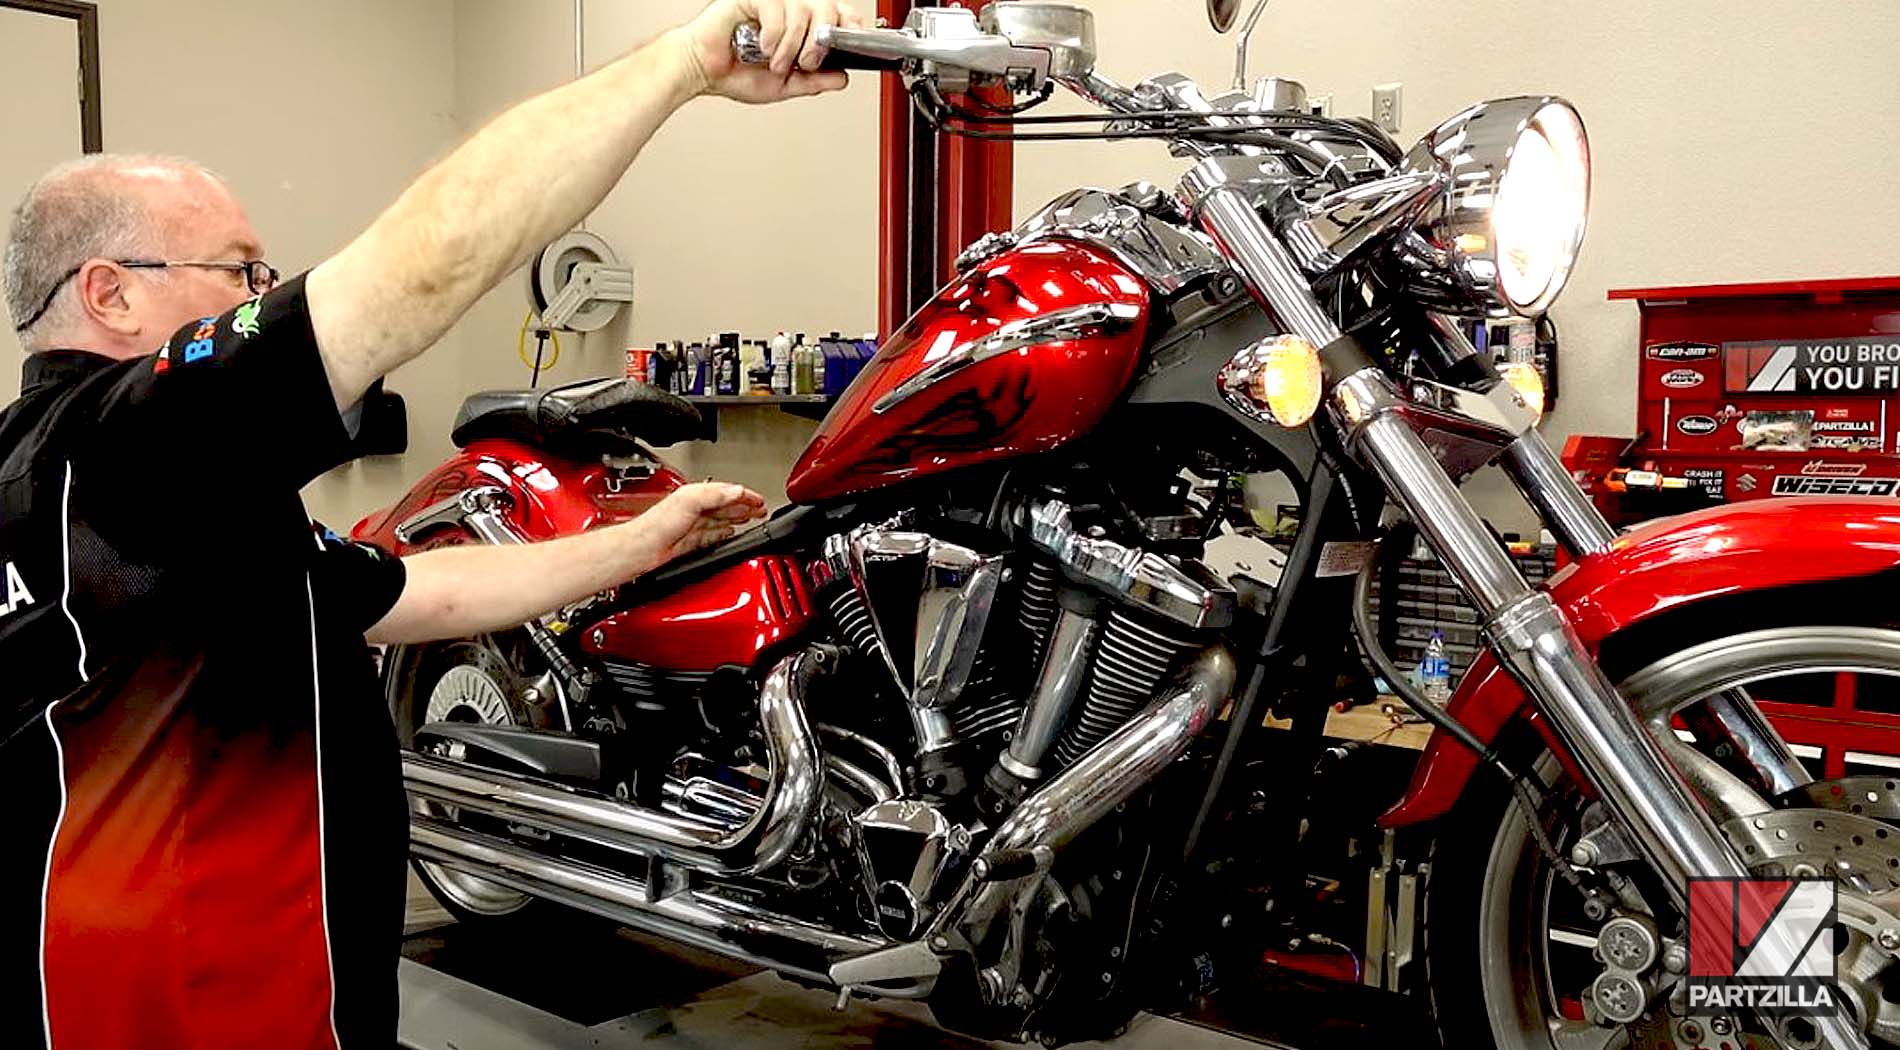
Step 11. Replace the plastic cover and the seat and you’re done.