How to Adjust Valve Lash on a Yamaha R6
Before you can adjust the valve clearance (valve lash) on a motorcycle, you have to gain access to the valves, which requires some work on a Yamaha R6 to get it performing at its peak.
You’ll need to remove the R6's body panels, fuel tank, radiator, air intake, numerous hoses and cables, and finally the cylinder head cover. Also, you’ll need some new valve shims before you can correctly set the valve lash on a Yamaha YZF-R6. Watch the video above and follow the steps below to learn how to set the valve clearance on a Yamaha R6.
Tools Needed – Yamaha YZF-R6 Valve Clearance Adjustment
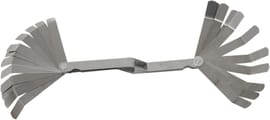
- Angled feeler gauge set
- 8mm socket wrench
NOTE: The Yamaha catalog calls valve shims "adjusting pads". Use our OEM Yamaha R6 valve parts diagram for additional guidance.


Setting Yamaha R6 Valve Clearance
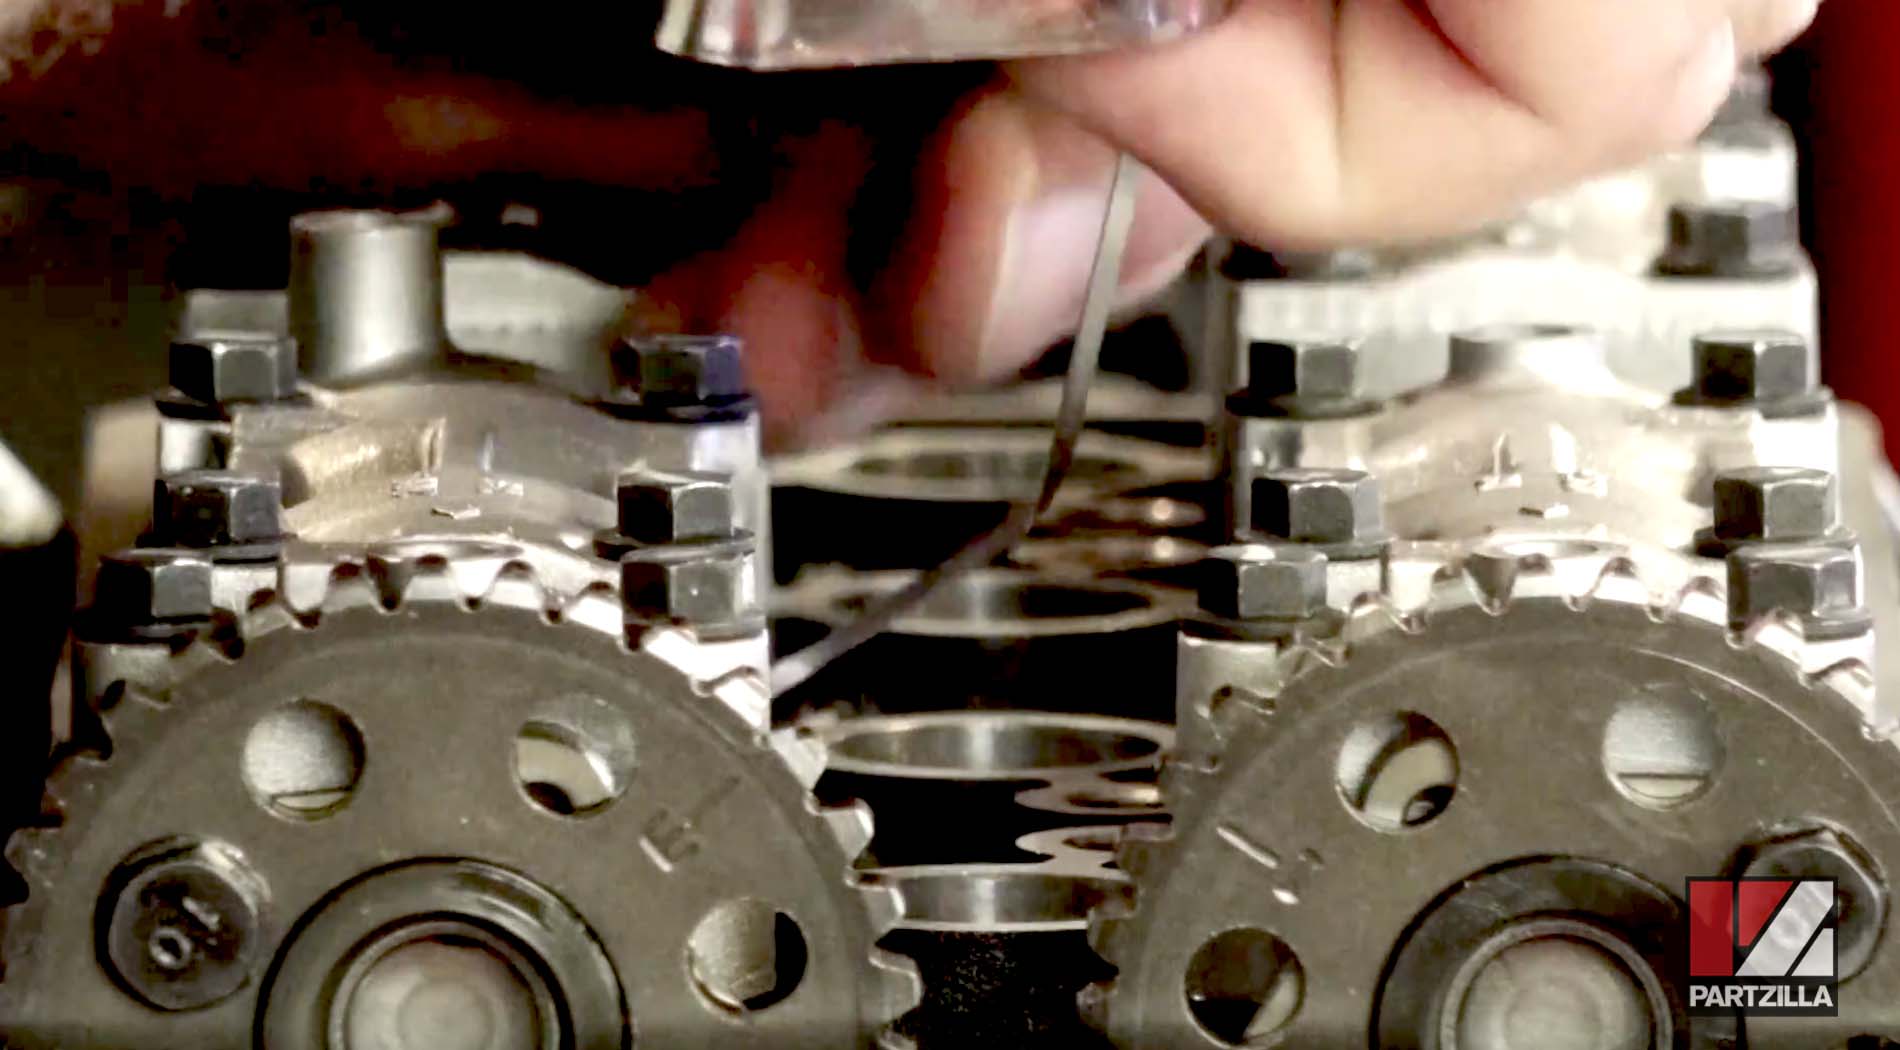
Step 1. Start at cylinder #1 and turn your R6’s engine so the camshafts rotate until the valves are fully open on the cylinder you’re measuring.
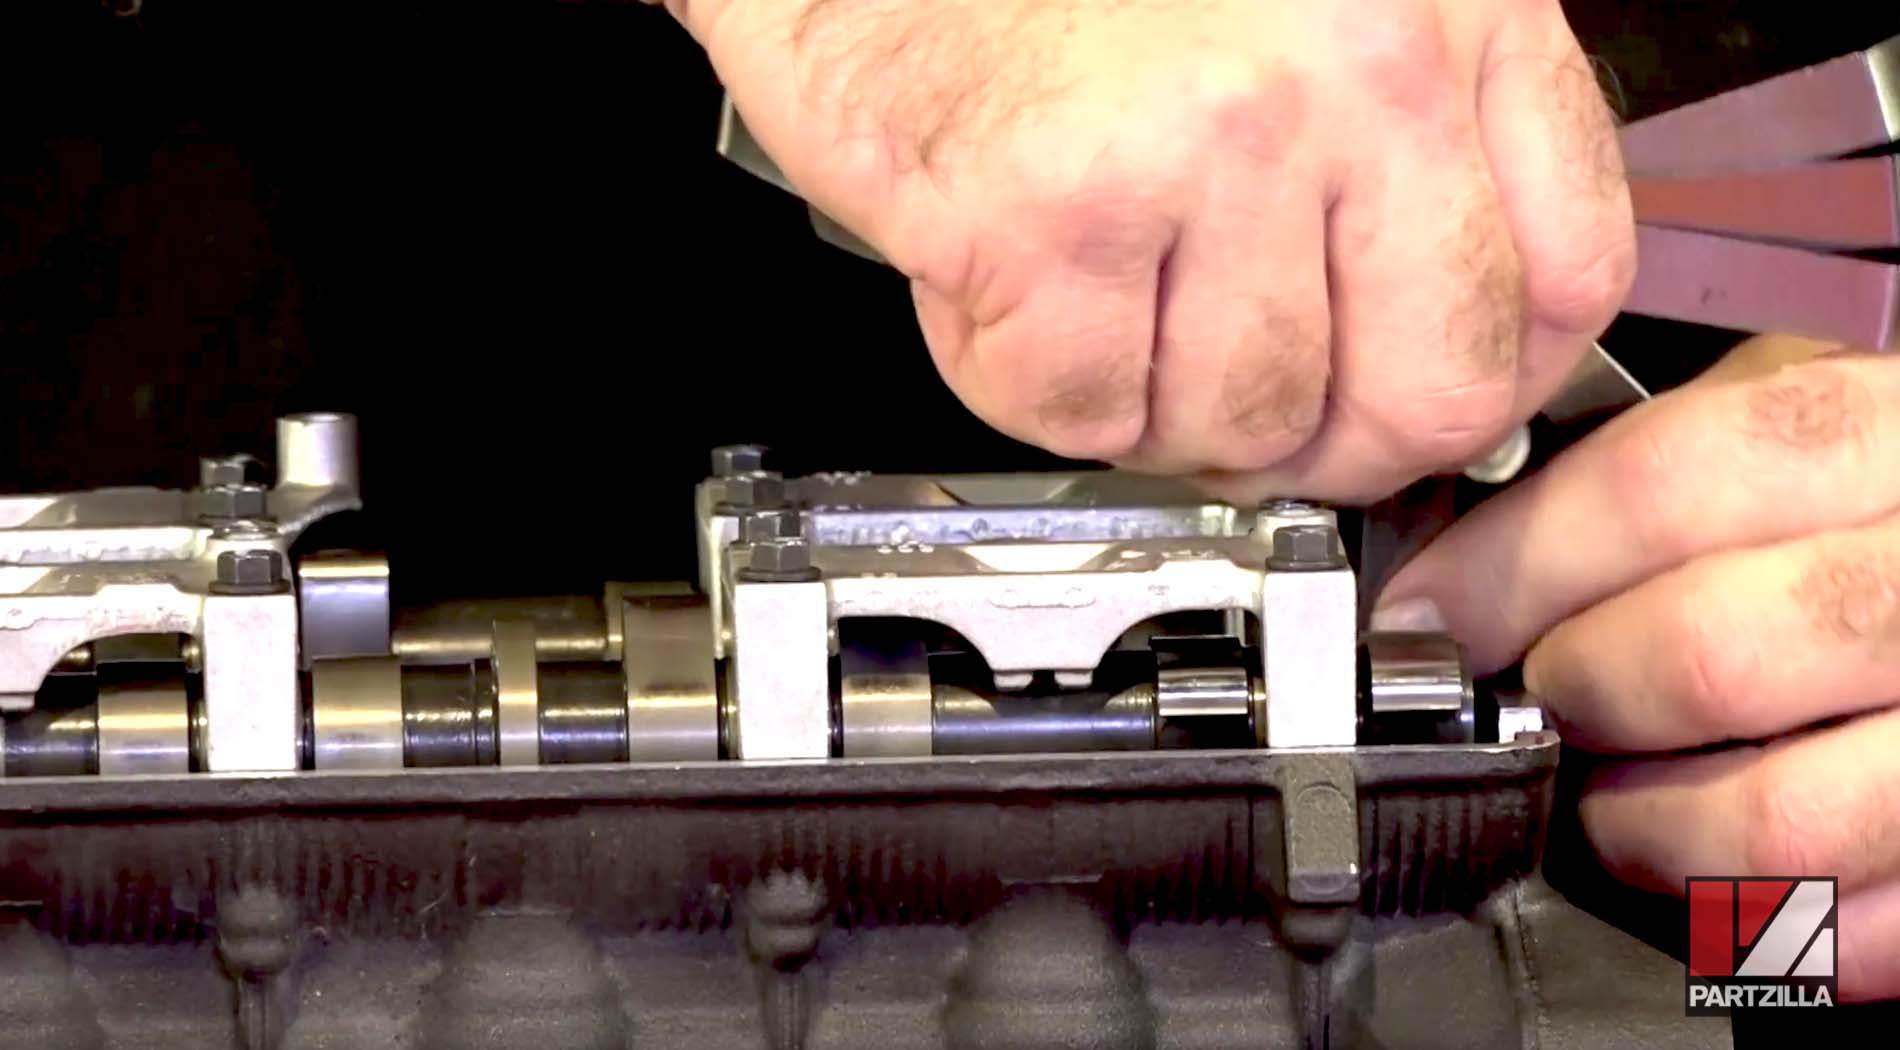
Step 2. Use a feeler gauge to measure the valve clearance (the gap between the lifter valve head and the camshaft), and write down the measurement.
PRO TIP: Always make at least two measurements of each valve so you’re completely sure your calculations are accurate. An angled feeler gauge set makes measuring valve lash much quicker, because the offset gauges are easier to slip into the valve gaps.
Step 3. Compare your actual measurements to the valve clearances Yamaha specifies for your R6 model.

NOTE: For most models, the intake valve clearances should be between 0.12mm and 0.19mm, and the exhaust valve clearances should be between 0.16mm and 0.23mm. Consult your Yamaha owner’s manual, or contact your local Yamaha dealership for the valve lash for your precise R6 model.
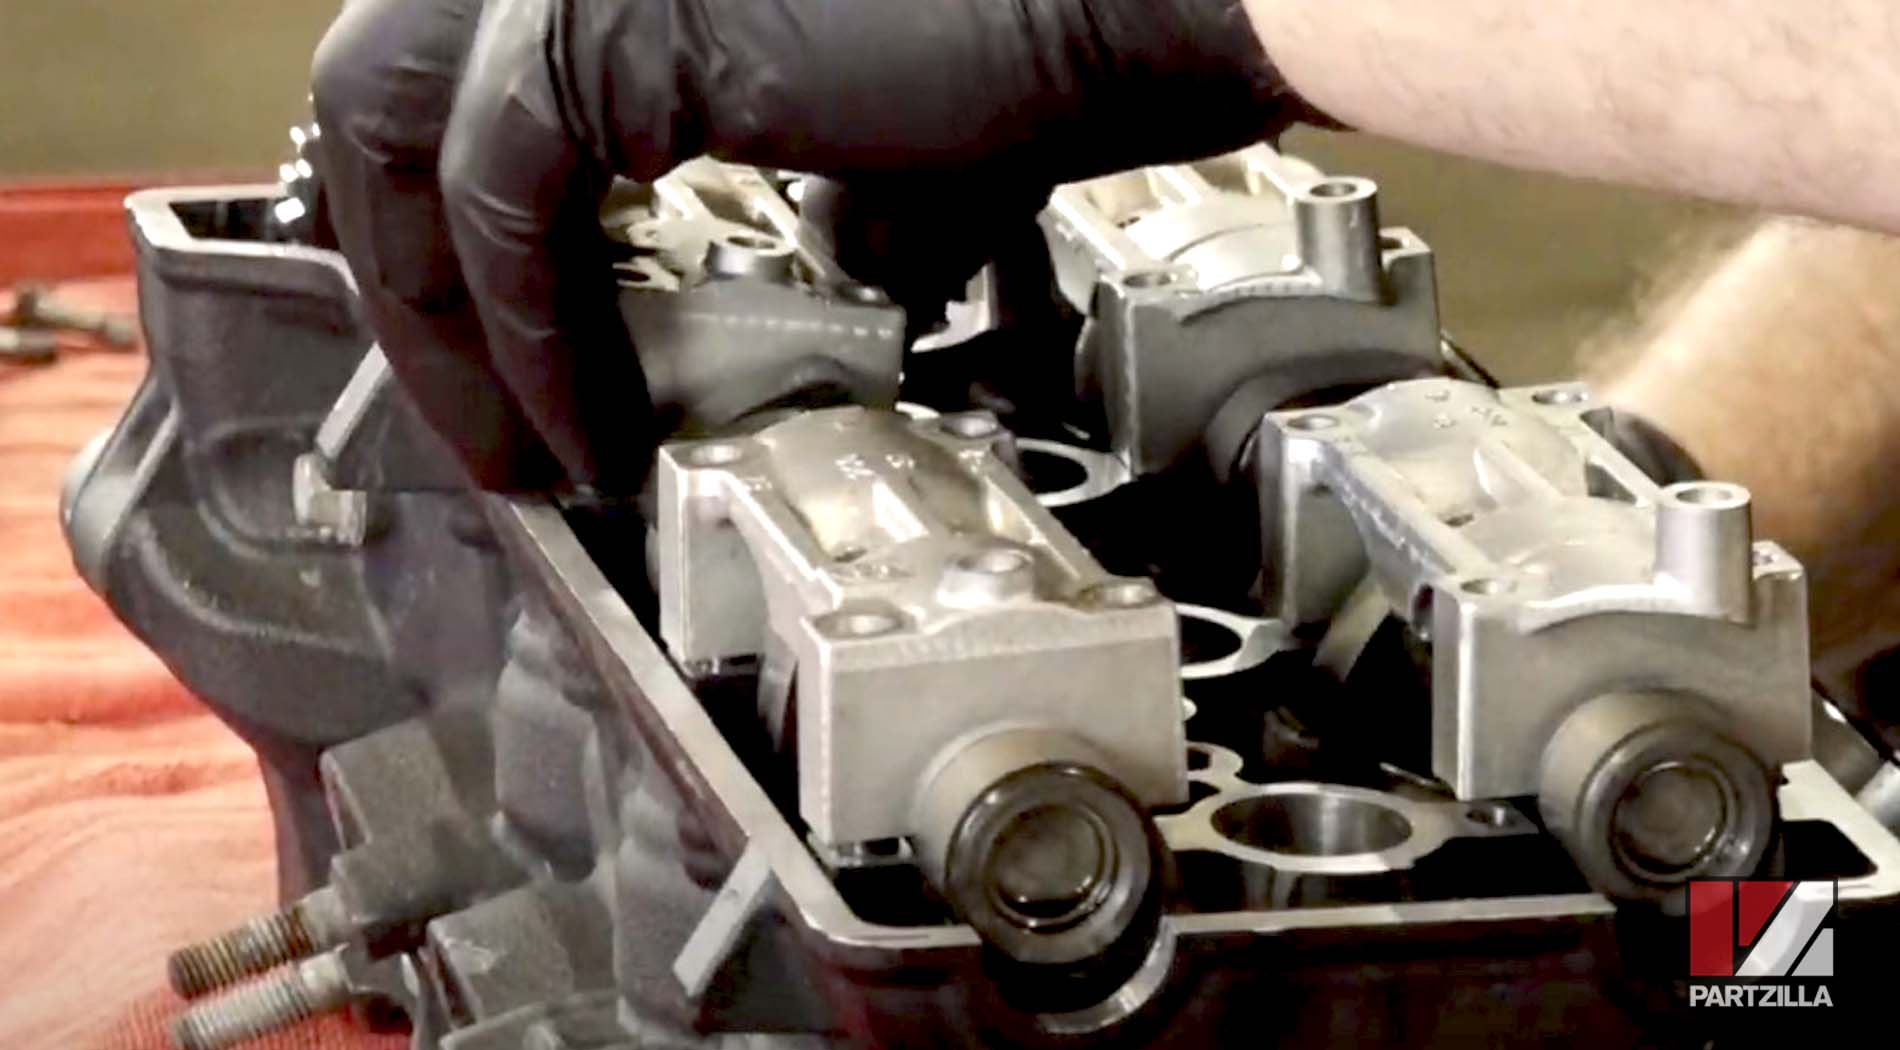
Step 4. Remove the caps holding the camshafts. Slowly loosen the cap bolts in an even pattern to release the pressure on the camshafts evenly and to avoid warping or cracking a camshaft.
Step 5. Number each of the valves and the valve lifter heads so you know which is which. This way you’ll be sure you’re replacing each valve lifter head back onto the same valve it originally came from.

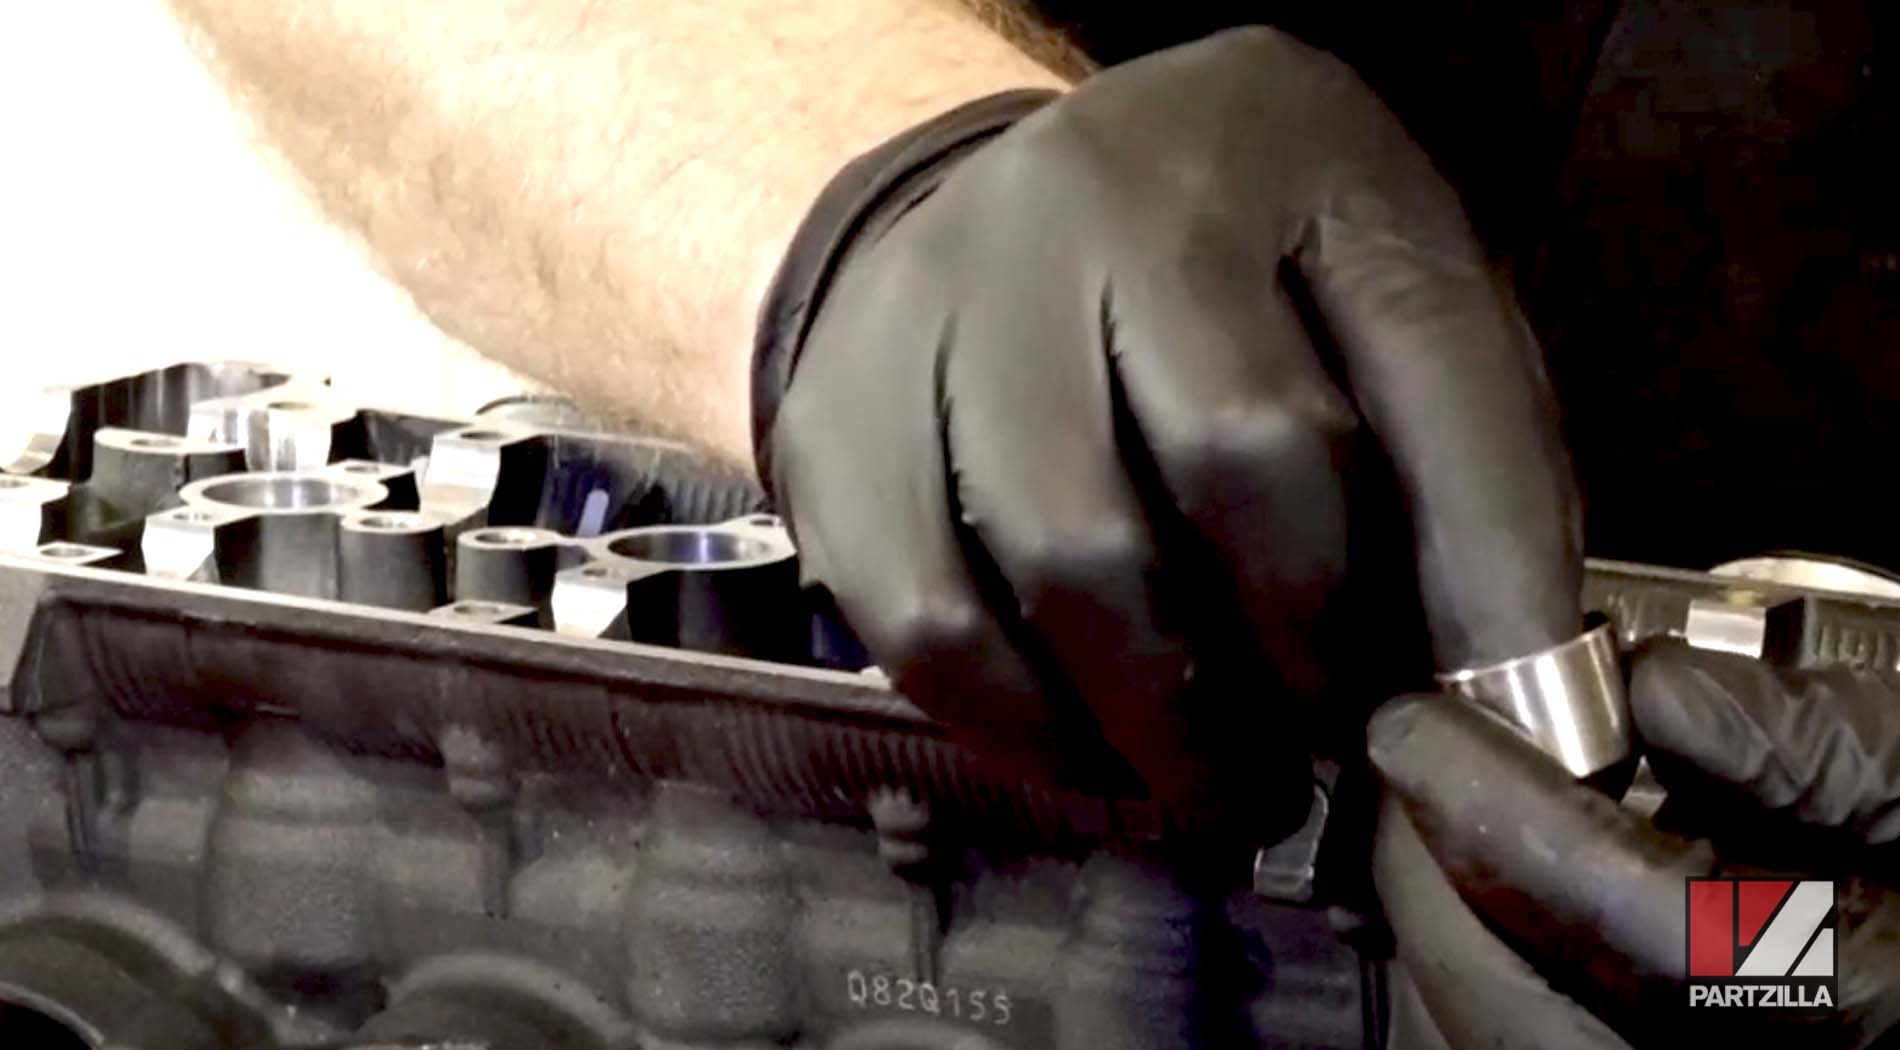
Step 6. Remove the valve lifter heads with a magnet, and remove the valve shims beneath them. Write down the valve shims’ sizes.
PRO TIP: Each shim should have its size stamped on it, but if the number has worn away, use a micrometer to measure the shim.
Step 7. Use the list of valve shim sizes and of valve gap measurements to calculate the size of the valve shim needed to adjust each individual valve to within the specified gap range.
NOTE: A valve gap that was too wide will need a larger valve shim to close it down and a valve gap that was too small will need a smaller valve shim to open it up.
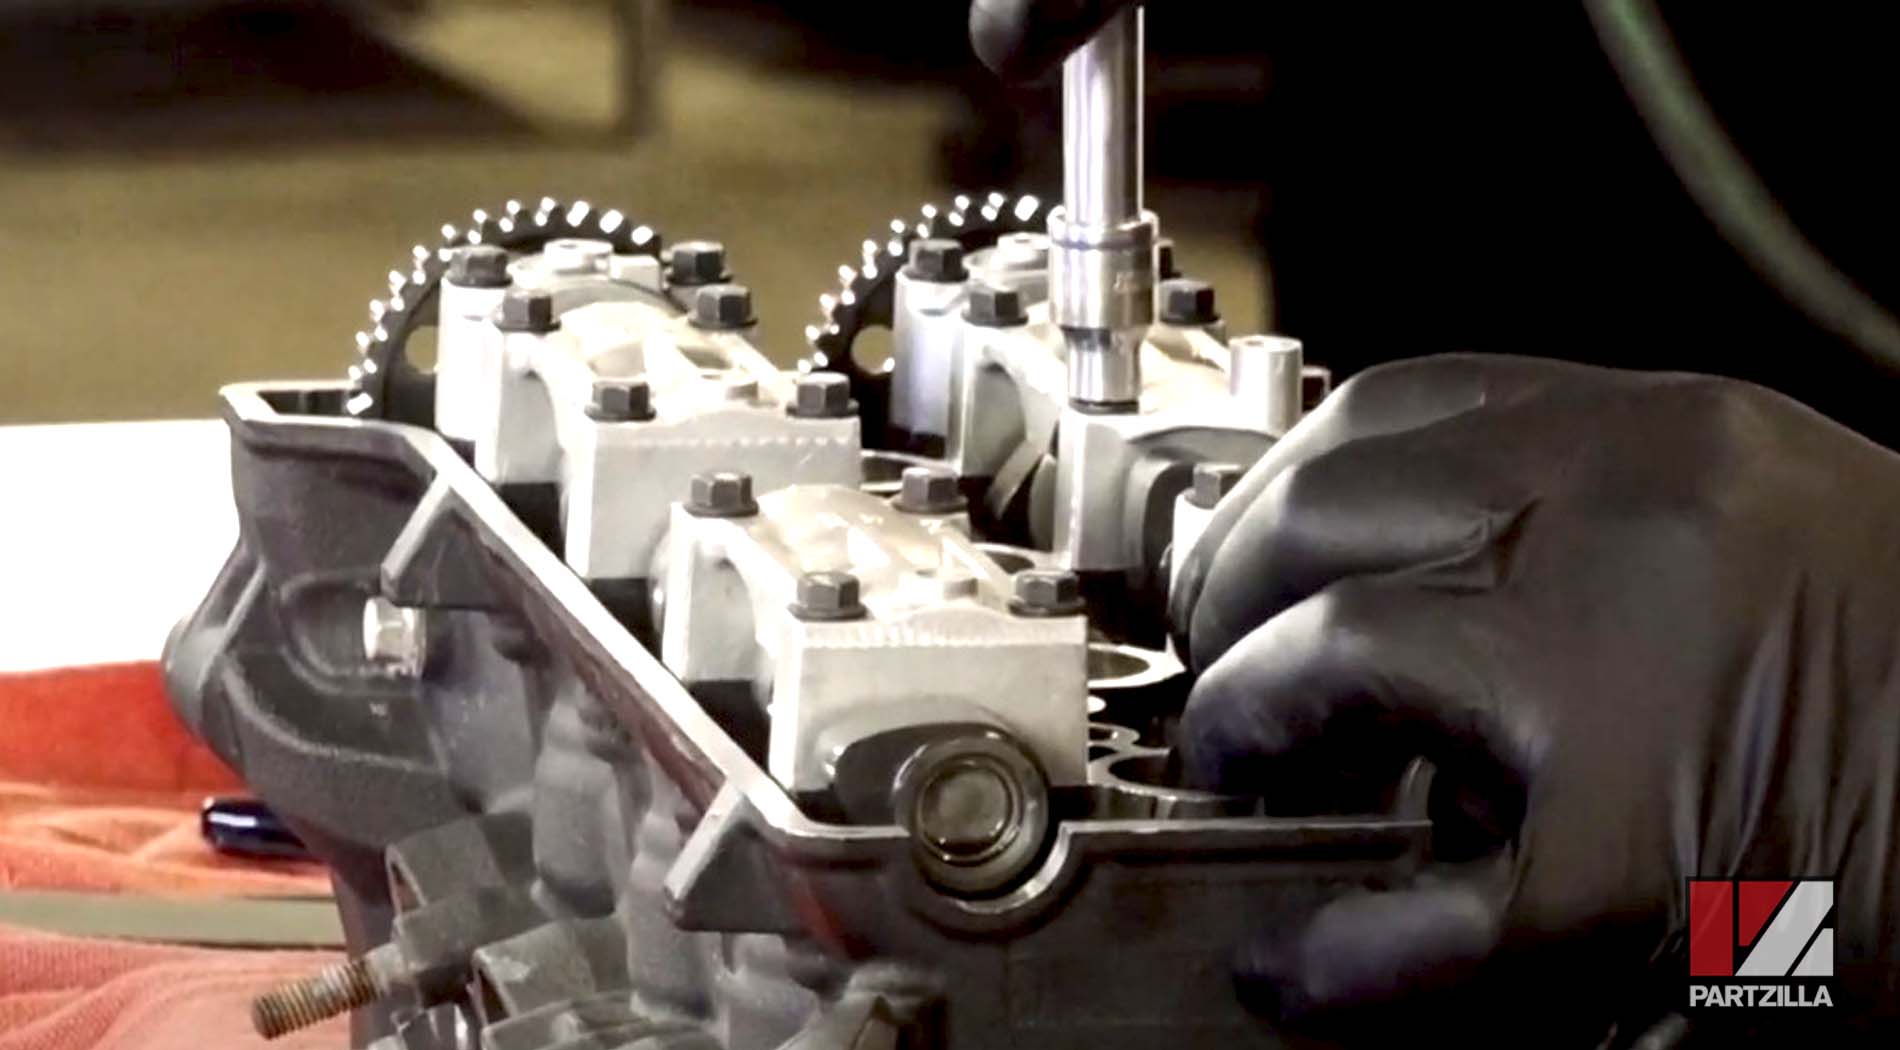
Step 8. Install new valve shims of the correct size into each valve lifter head, and reinstall the lifter heads onto their respective valves. Reinstall the caps over the camshafts, and slowly tighten them down, once again working in an even pattern to evenly distribute the pressure on the camshafts and avoid damaging them.
Step 9. Measure your R6’s valve lashes again with the feeler gauges to be absolutely sure each valve clearance is correct. If any valve gap is still too big or too small, repeat the re-shimming process of steps 5-8.