Yamaha R6 Engine Rebuild: Bottom End Install
Rebuilding a Yamaha R6 engine requires some time, effort, and a lot of tools and parts, but it's not as daunting as it seems.
Watch the video above and follow the steps below to rebuild the bottom end of a Yamaha R6 motorcycle. Use our Yamaha R6 engine parts diagrams for additional reference.
Tools and Parts - Yamaha R6 Engine Rebuild Bottom Install
- Ratchet and extensions
- Set of sockets
- 5mm, 6mm, 8mm,10mm Allens
- 10mm wrench
- T30 Torx
- Screwdriver
- Magnet
- Pick tool
- Punch tool
- Soft blow hammer
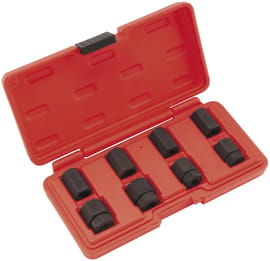
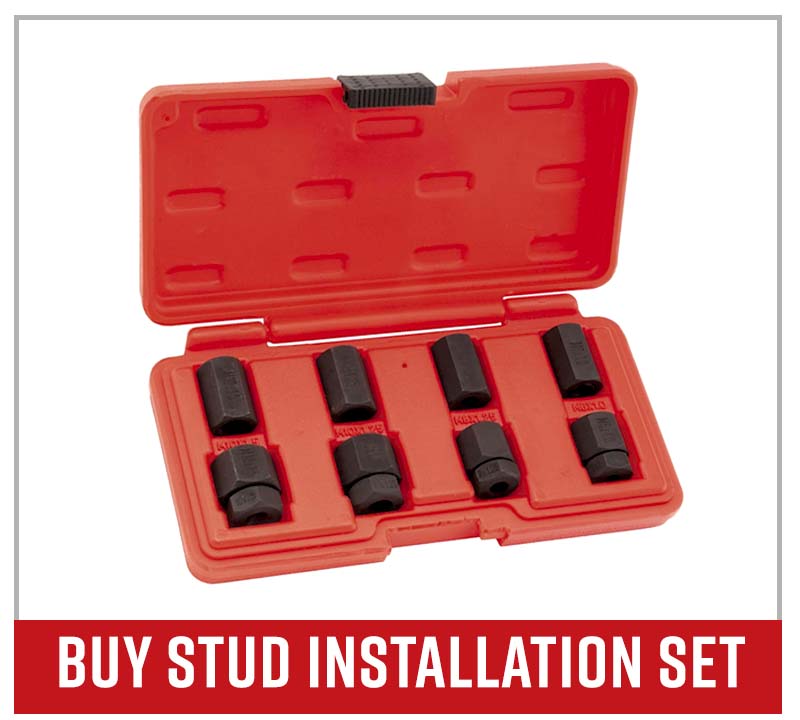
- Stud removal - installation set
- Feeler gauges
- Piston ring pliers
- Piston ring compression tool
- Clutch holder tool
- Flywheel holder tool
- Torque wrench
- Angle meter
- Red threadlocker
- Assembly lube
- Crankcase sealant
NOTE: The OEM Yamaha YZF-R6 parts you'll need to rebuild a Yamaha R6 motor vary according to the amount of wear your engine has encountered.

Yamaha R6 Engine Rebuild Part 1: Bottom End to Piston Install
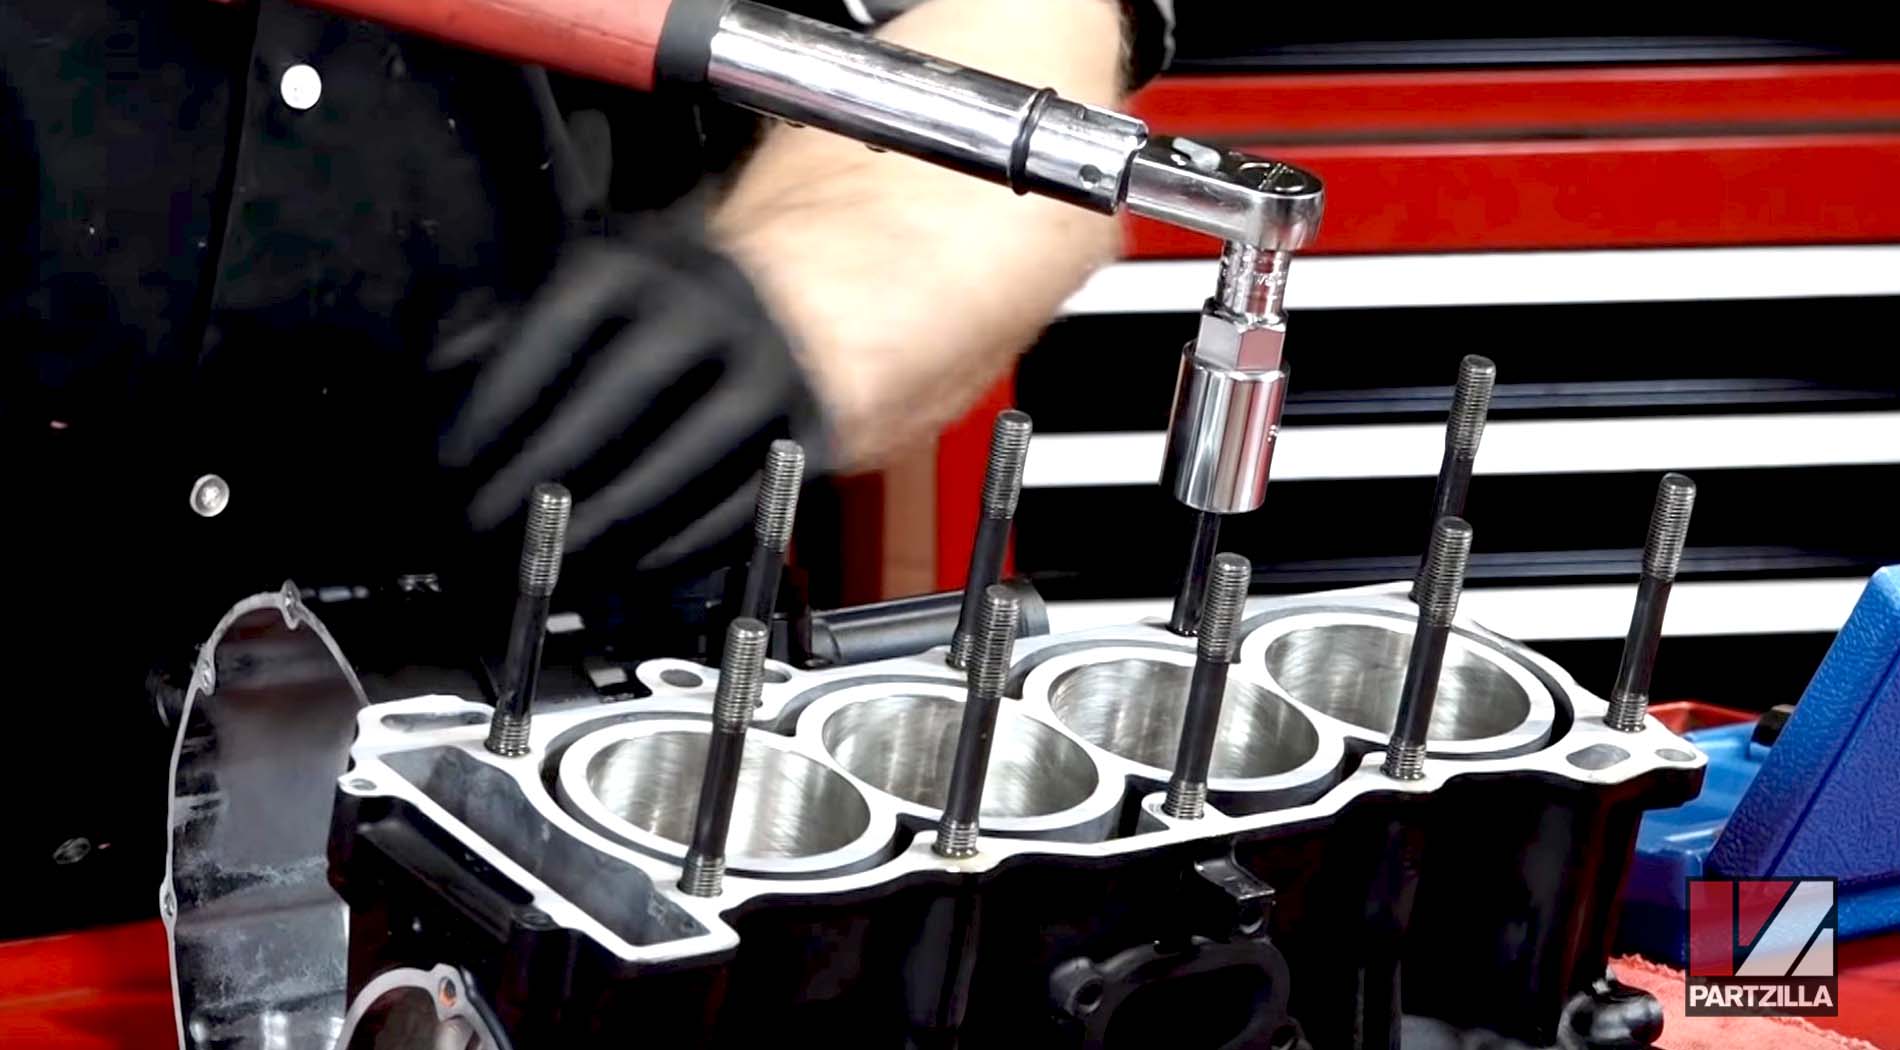
Step 1. Reinstall the cylinder head studs into the upper half of the crankcase. Apply a drop of oil to the thread of each one, and use a stud remover/installer socket to torque the studs to 8 foot-pounds.
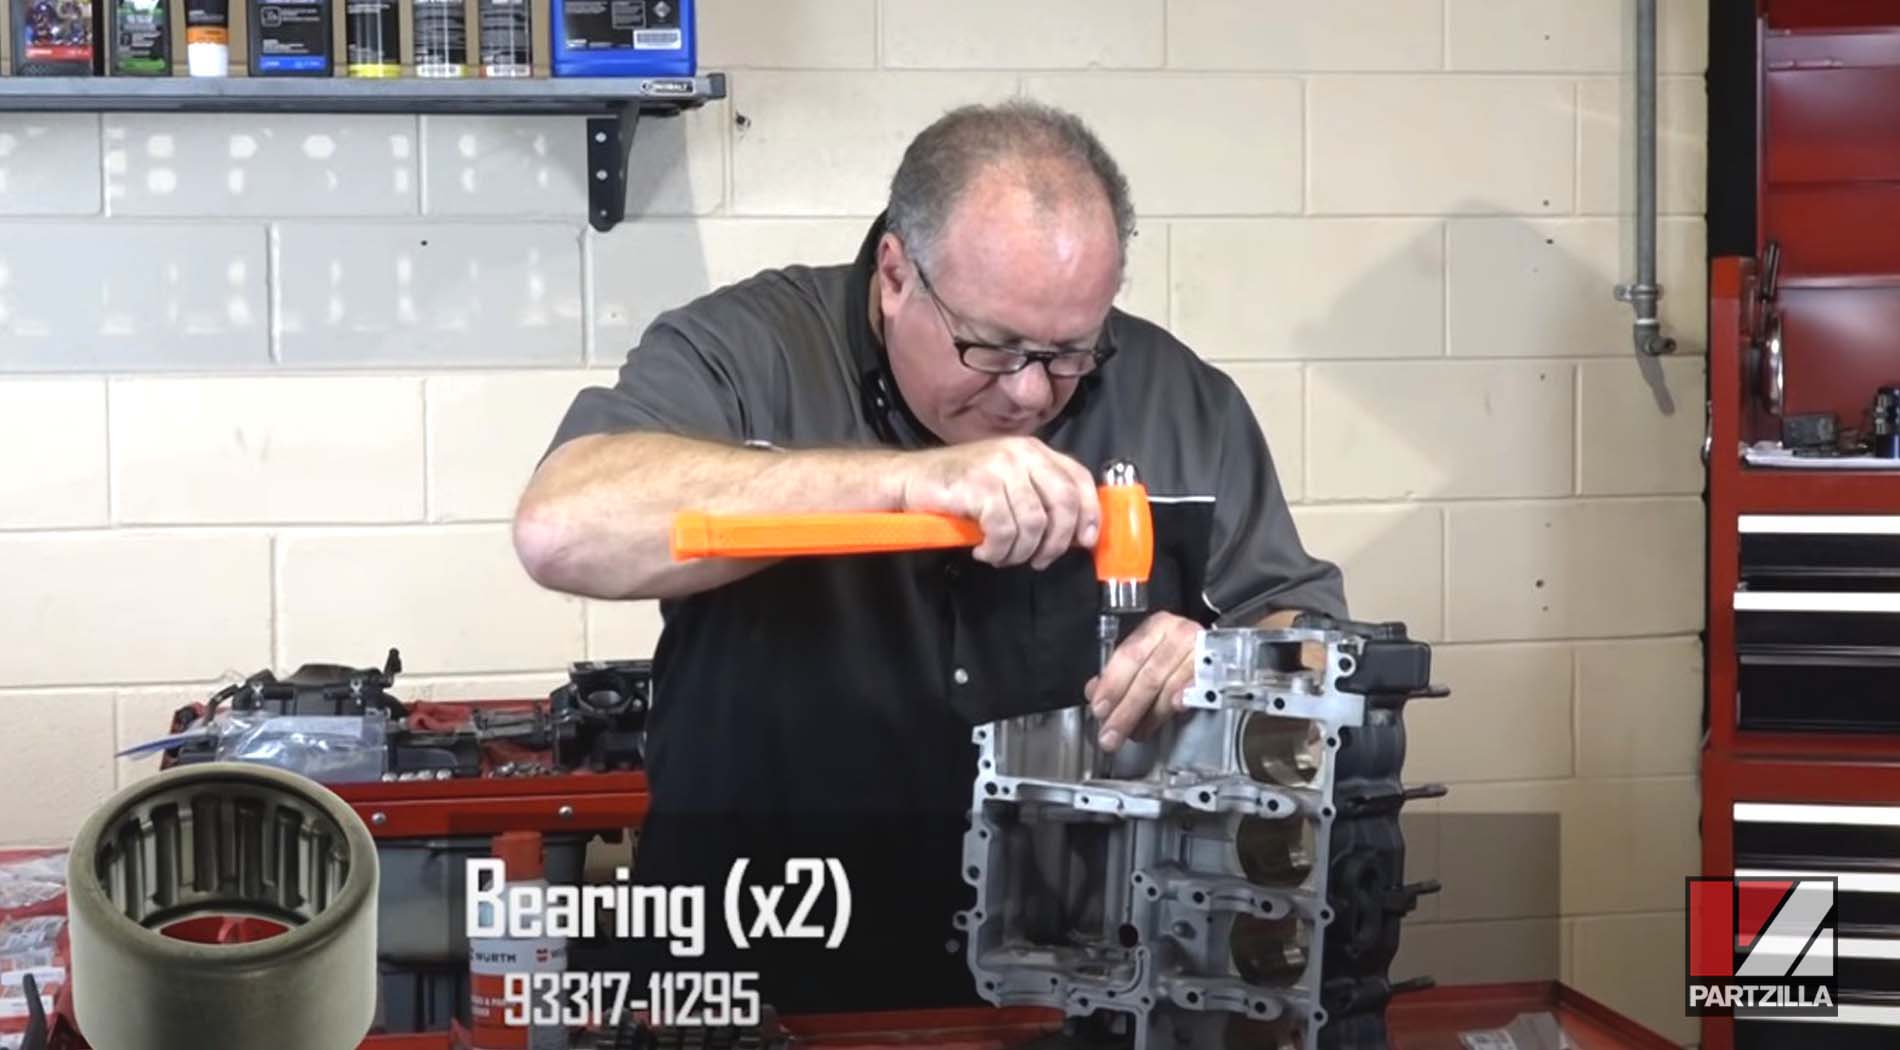
Step 2. Reinstall the shift cam bearing into the upper half of the crankcase.
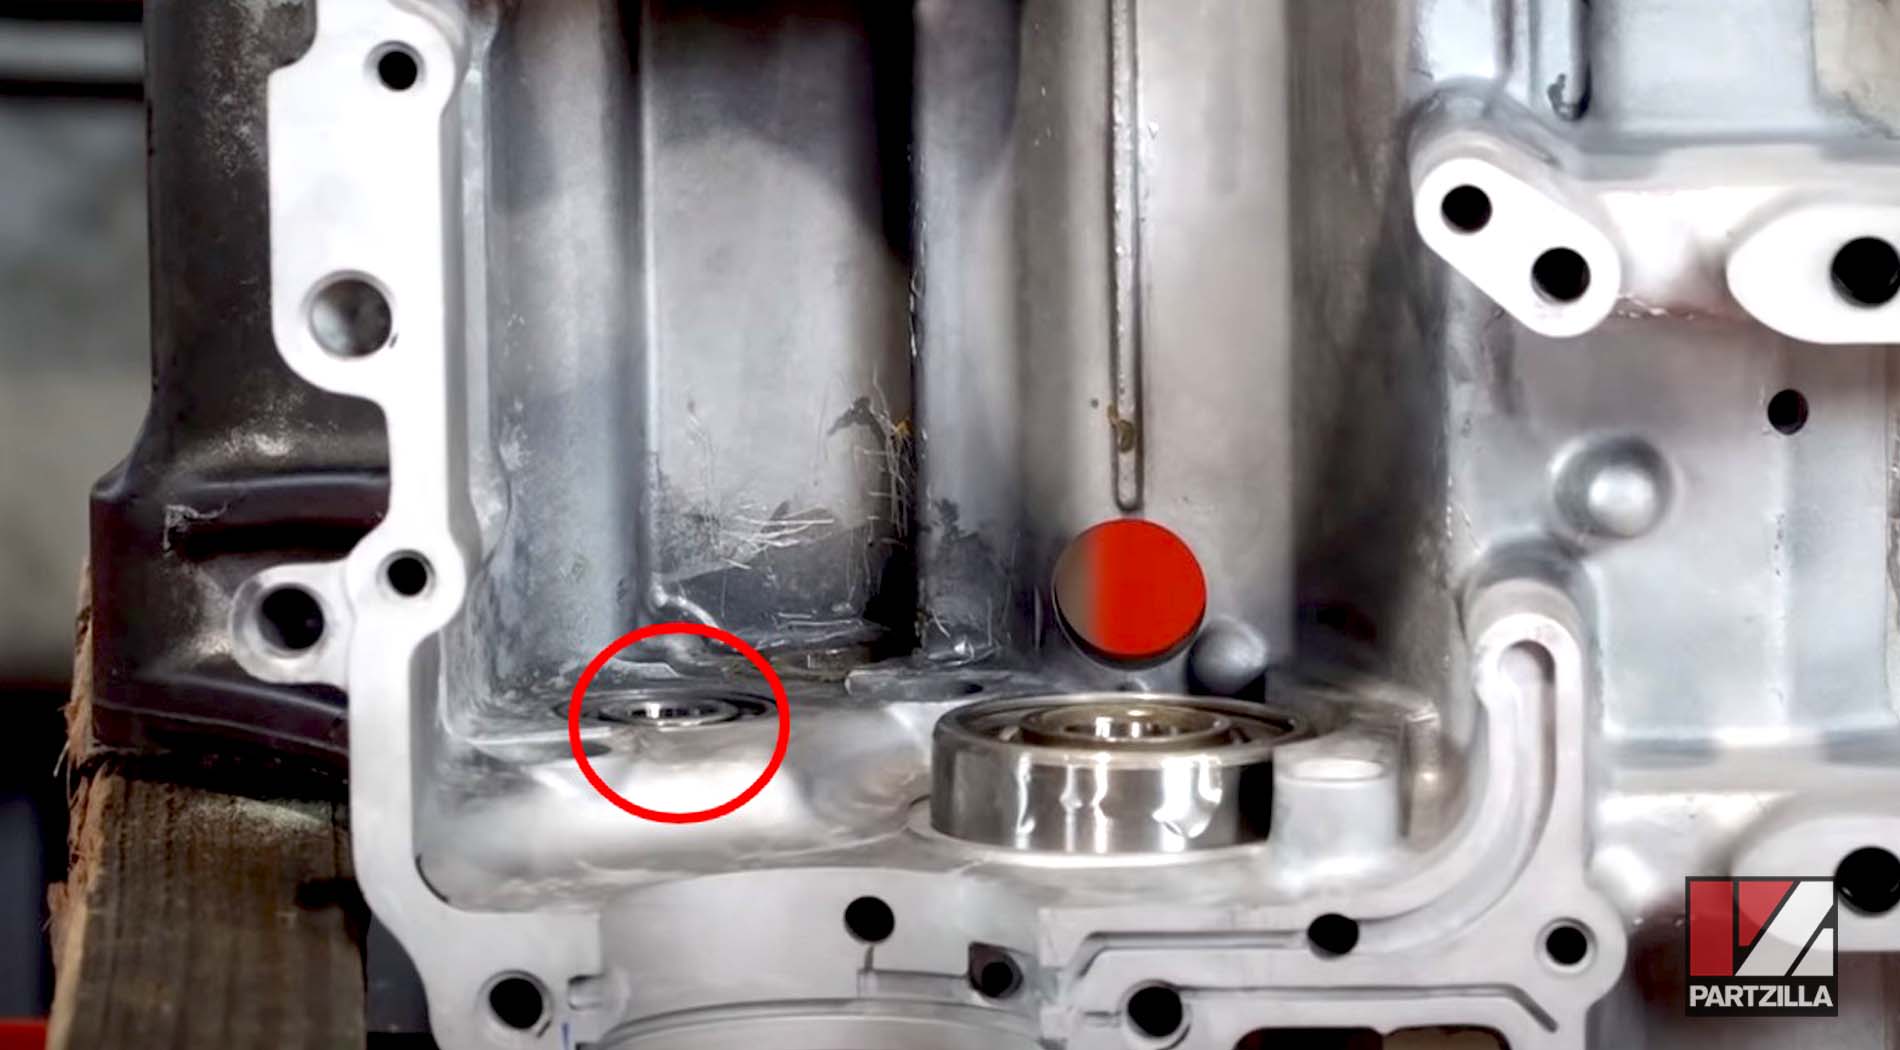
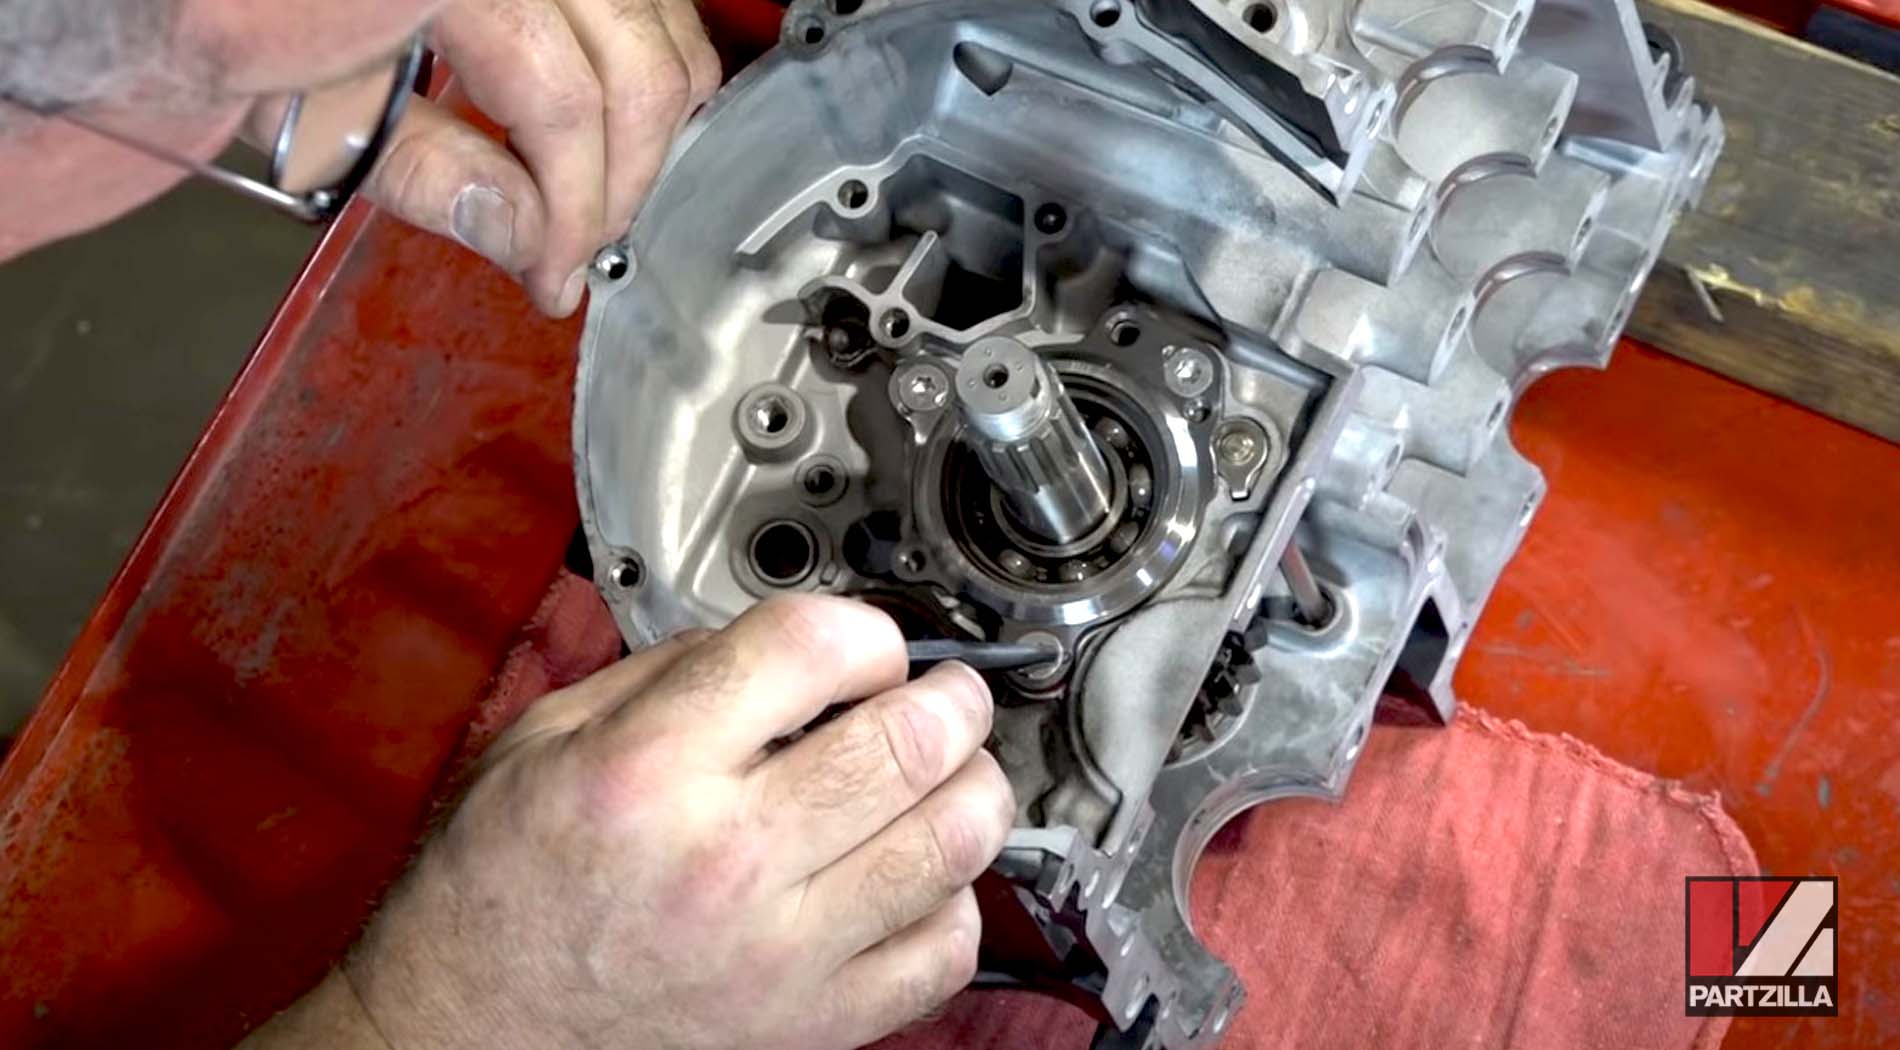
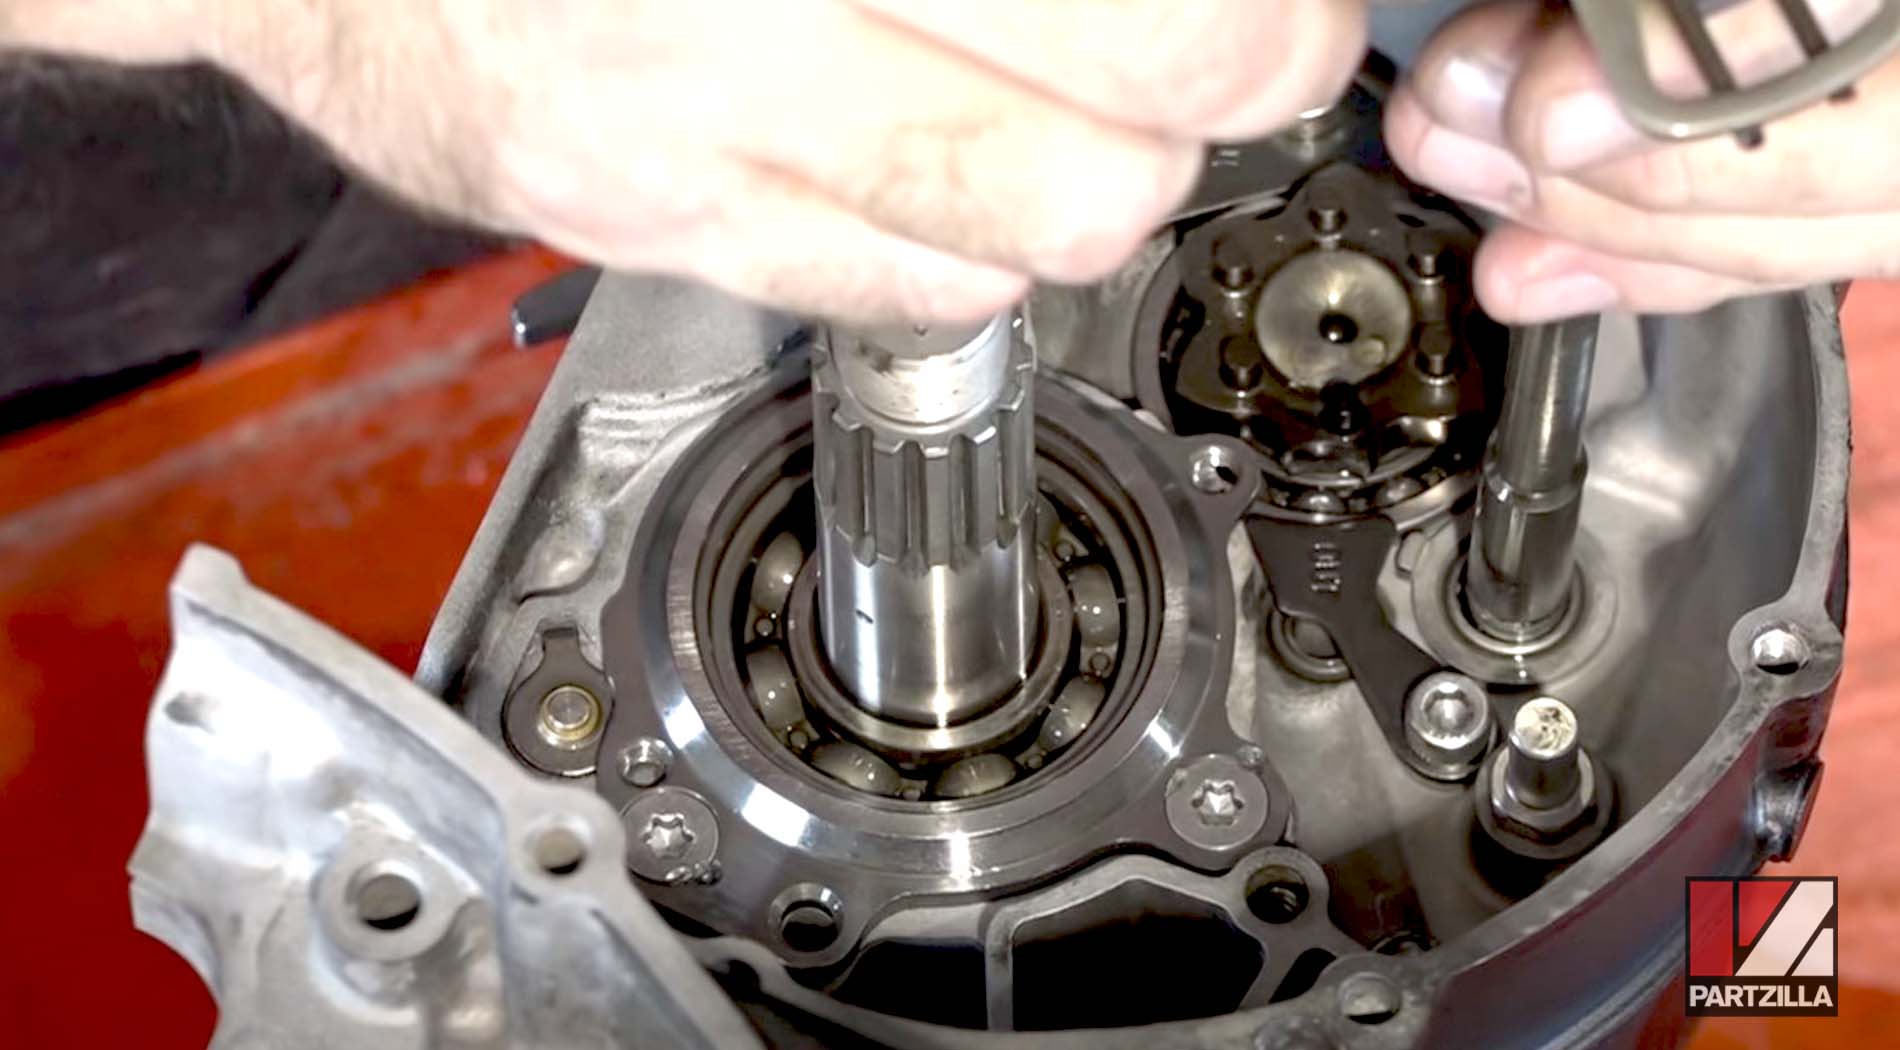
Step 3. Reinstall the axle drive bearing into the upper half of the crankcase. Make sure the sealed side of the bearing faces the outside of the crankcase.
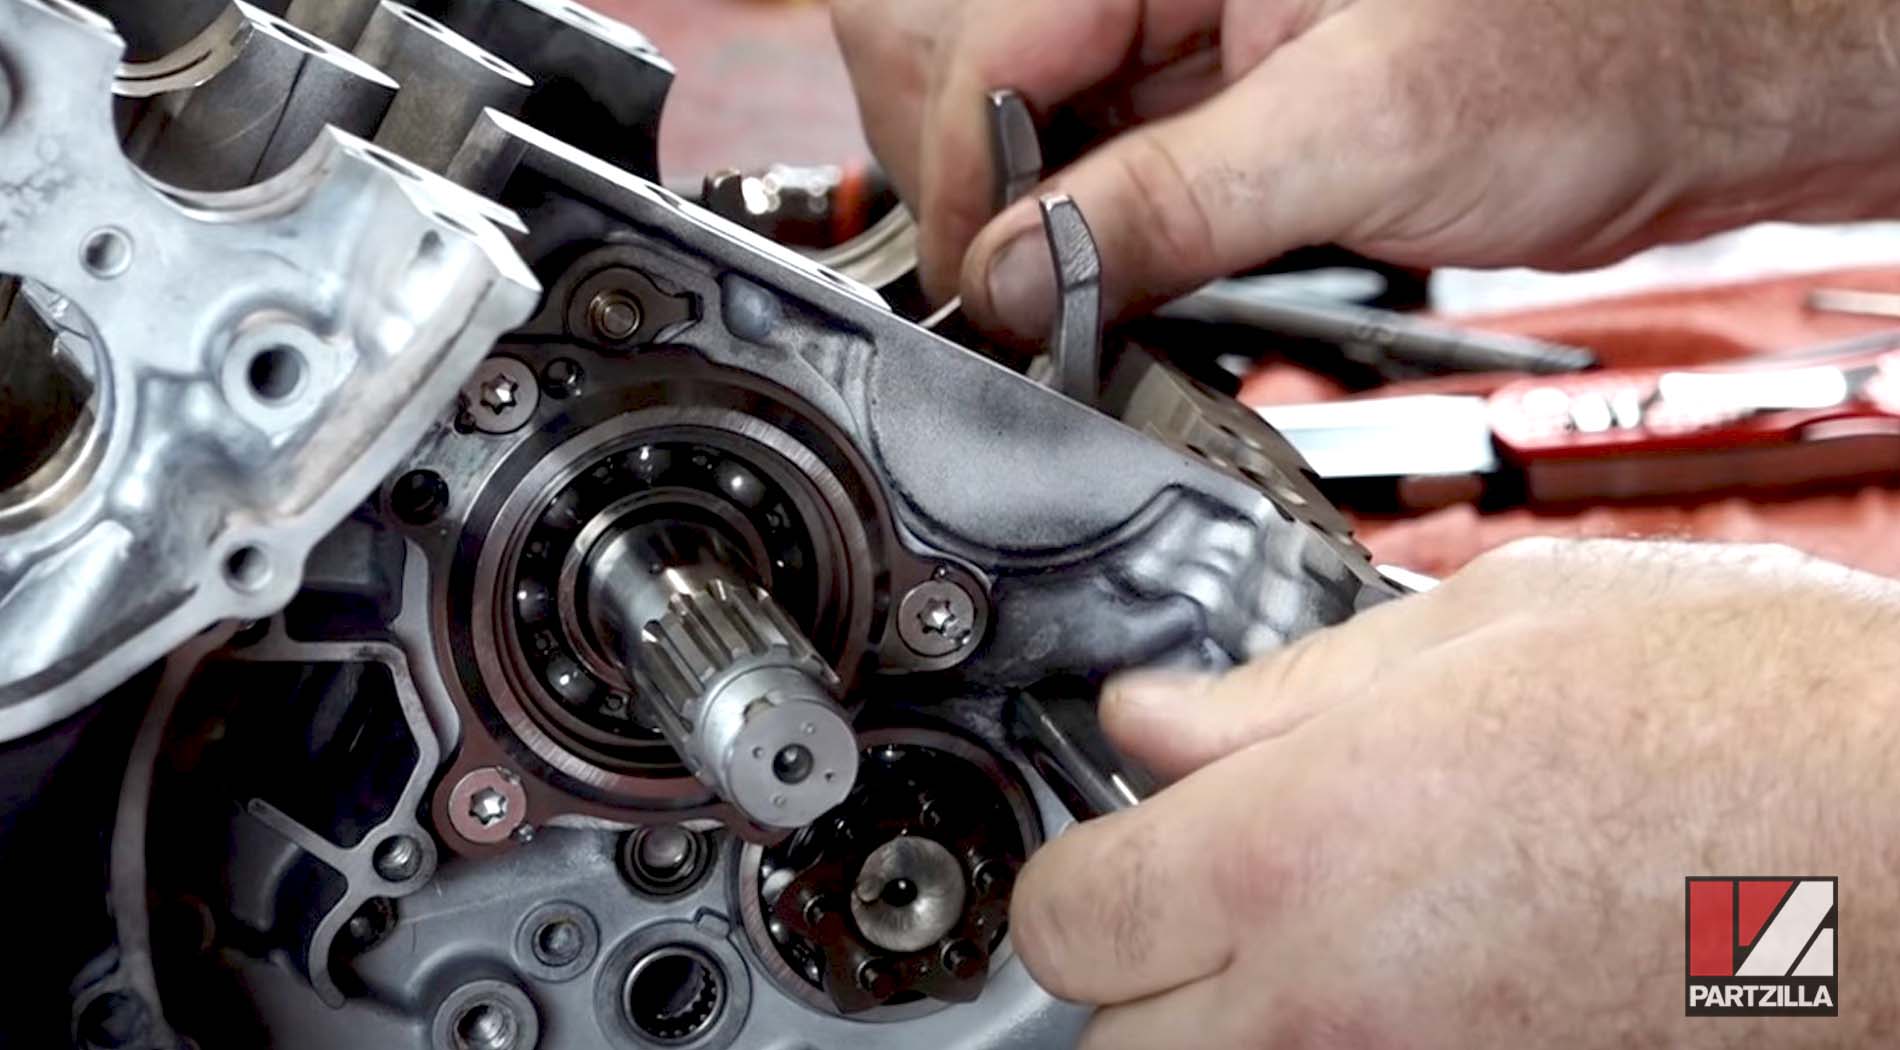
Step 4. Reinstall the shift shaft bearing into the upper half of the crankcase and the oil seal that protects it.
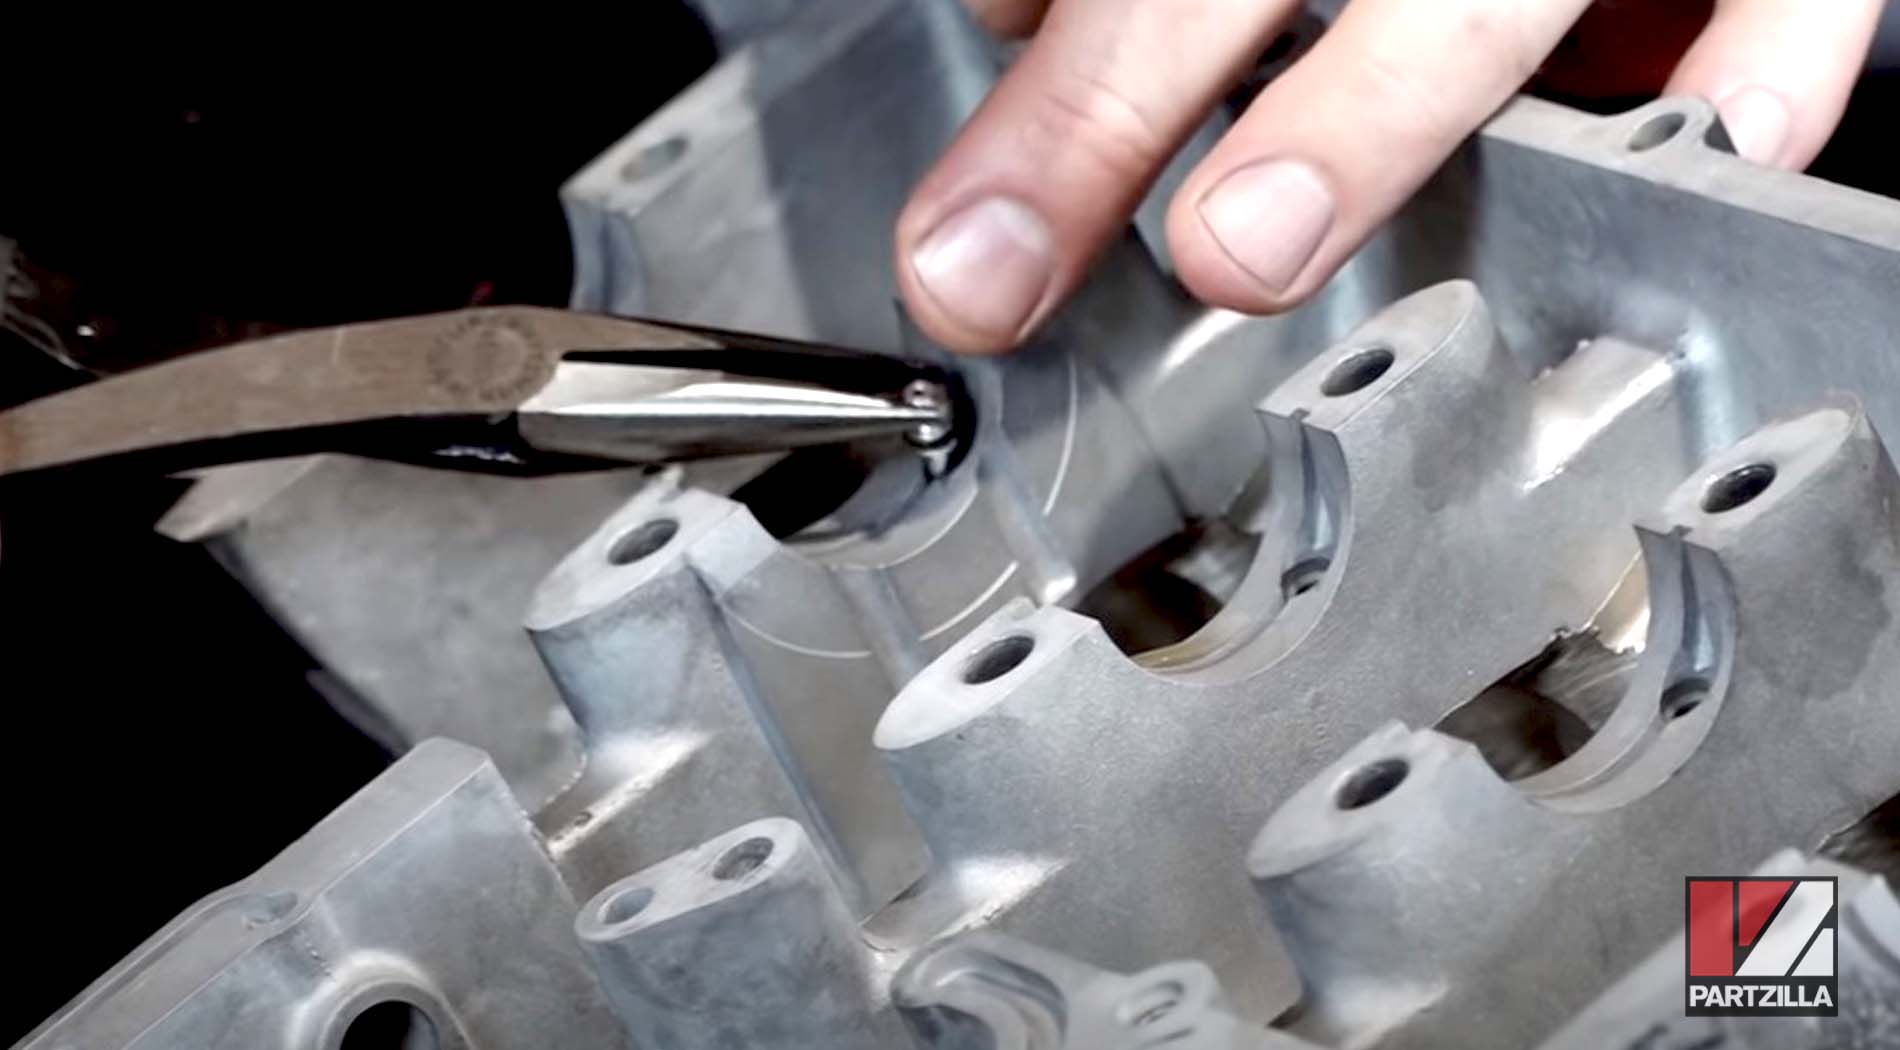
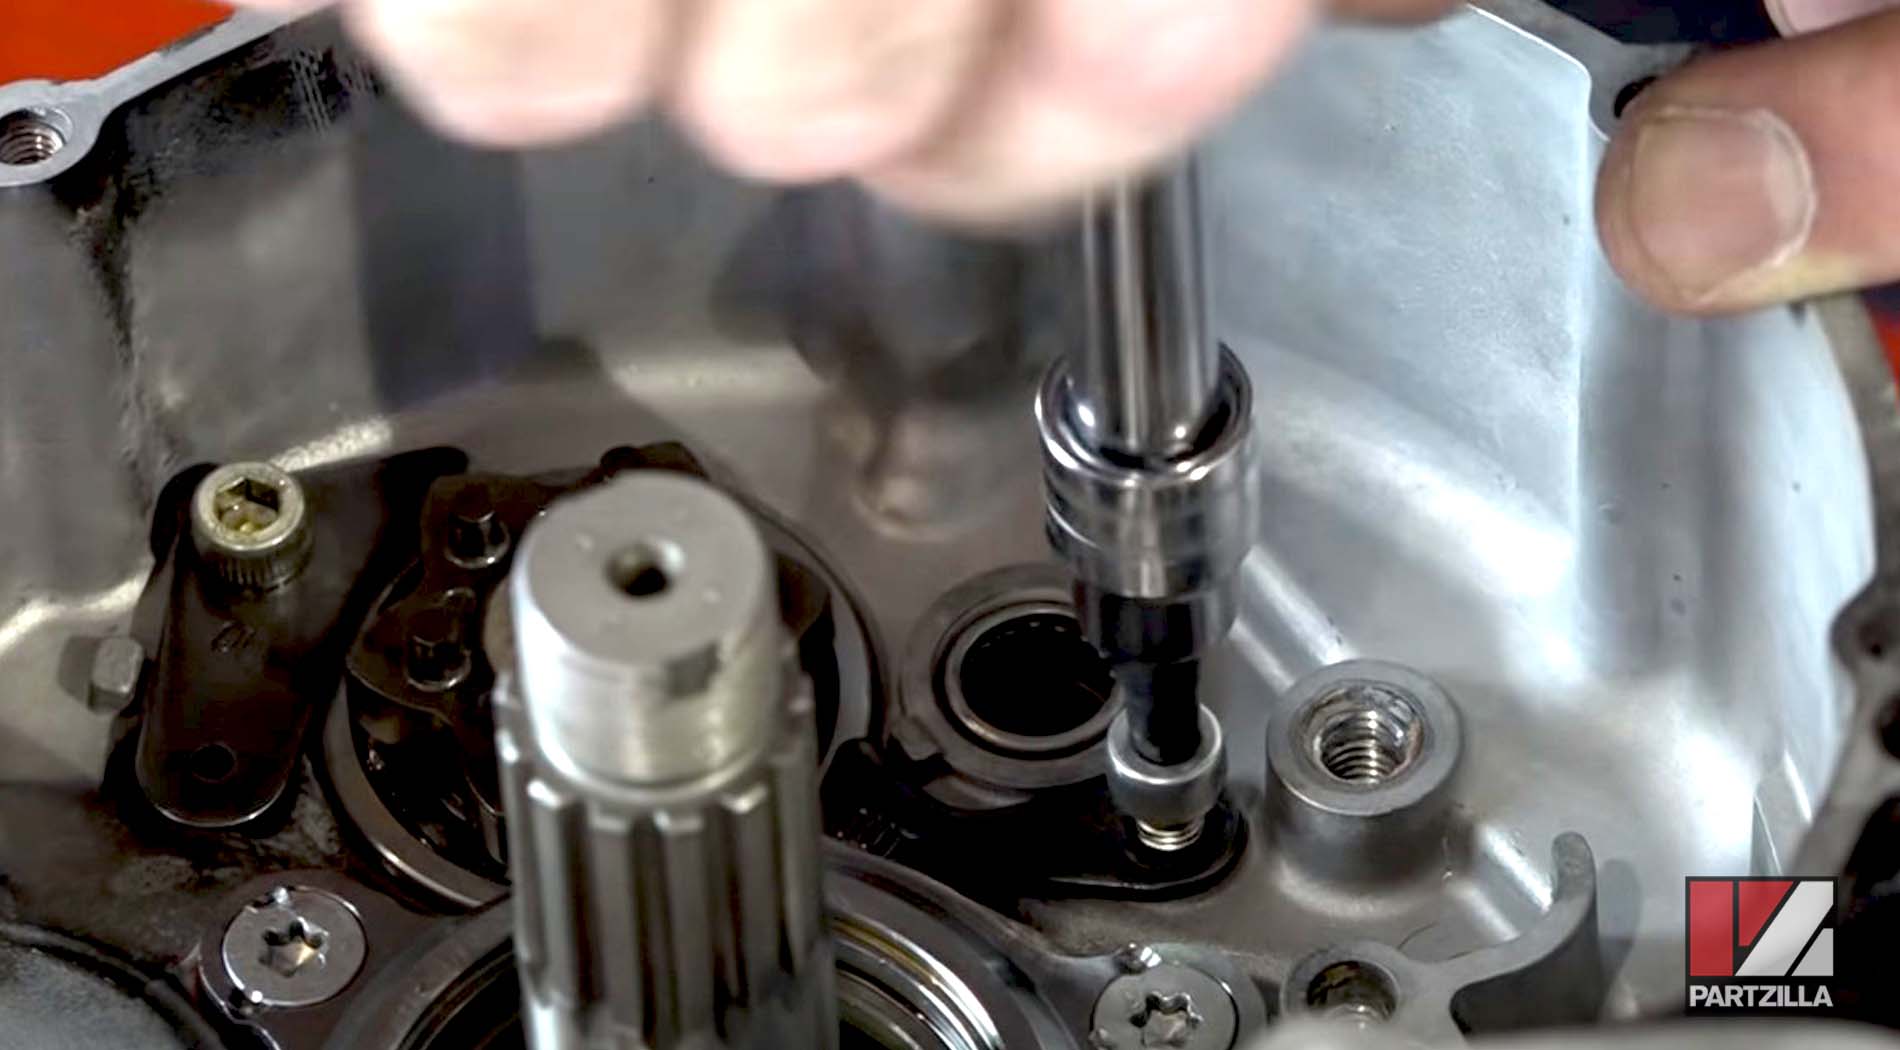
Step 5. Reinstall the four oil nozzles into their recesses in the camshaft bearing holders in the upper half of the crankcase. Apply a drop of oil to each nozzle. Make sure each nozzle has its O-ring fitted and that the O-rings aren't torn or damaged. Use a punch tool to gently tap each nozzle back into place.
Step 6. Align the small tab on the metal oil pipe with the indent in the transmission housing in the upper half of the crankcase, and gently tap the oil pipe back into the housing. Apply a drop of oil to the ends of the pipe. Make sure its three O-rings are fitted and free of damage.
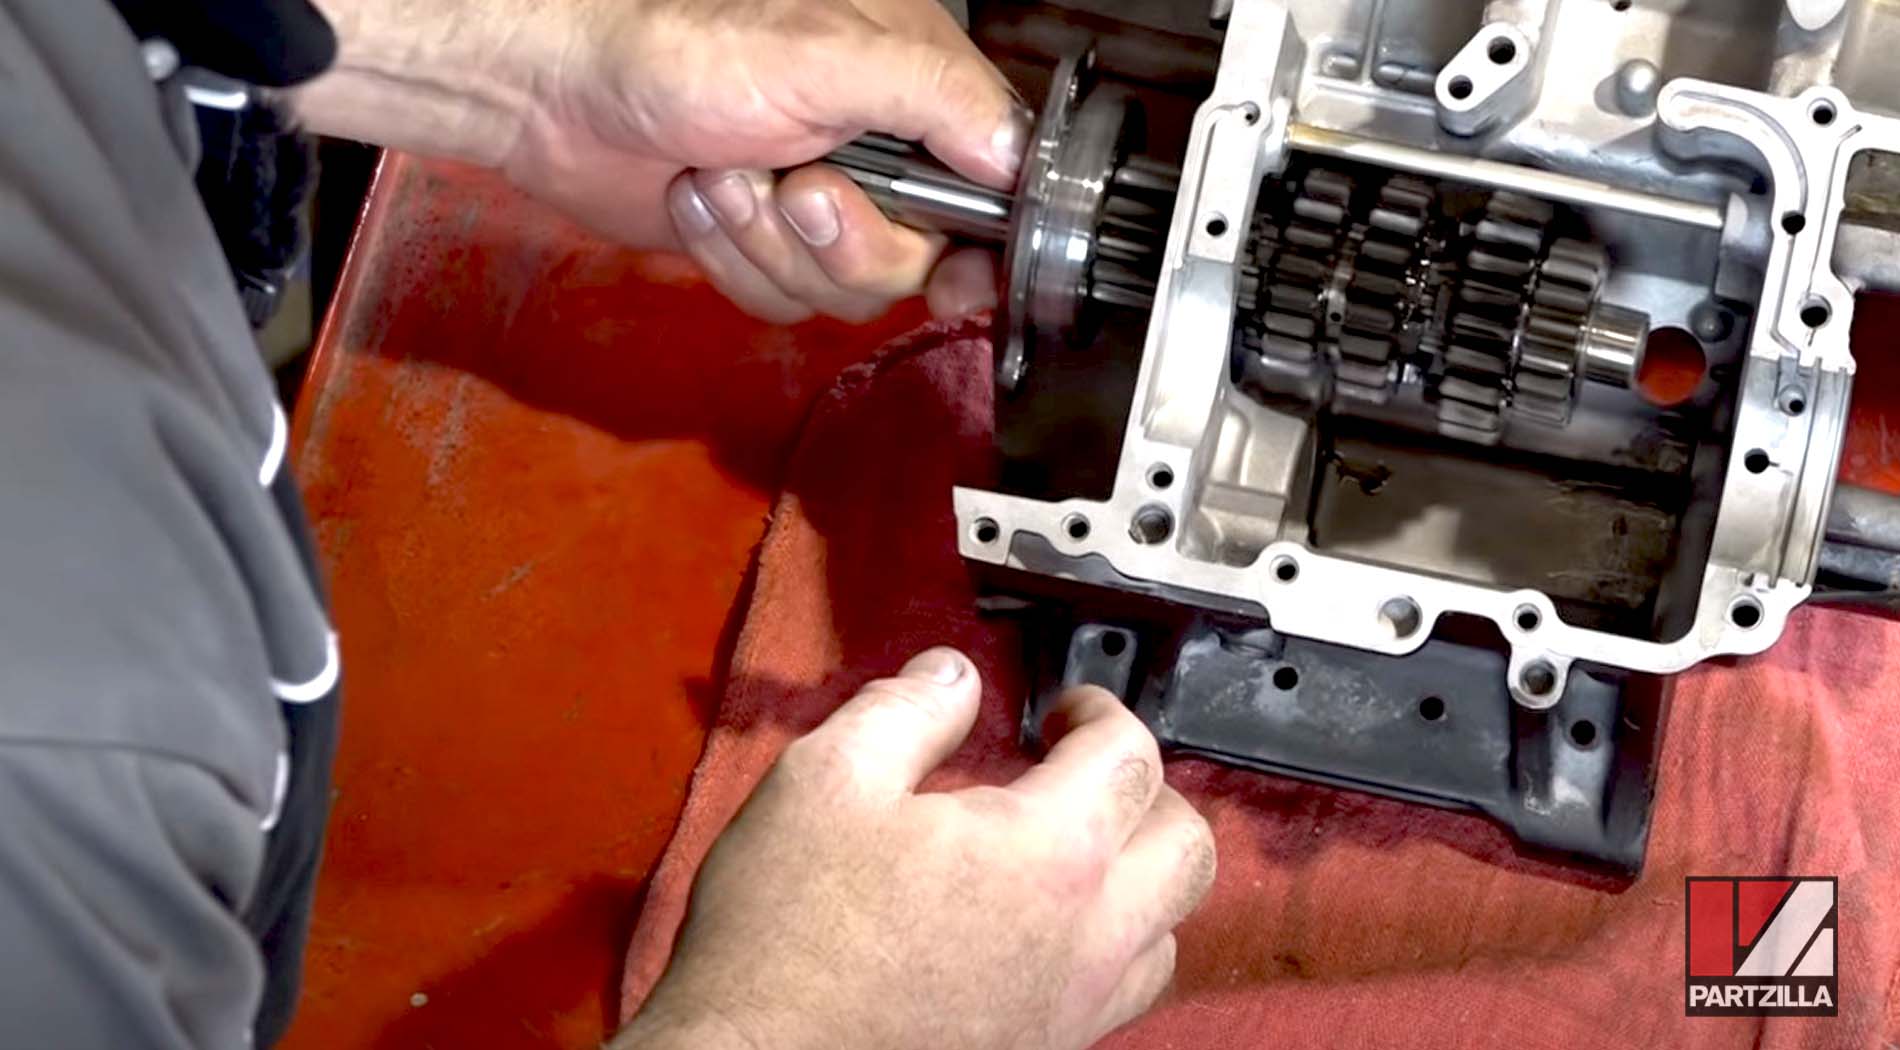
Step 7. Reinstall the transmission main axle assembly into the upper half of the crankcase. Apply red threadlocker to the three screws, and tighten down the bearing housing that holds the axle. Tighten the screws a couple of turns at a time to evenly apply pressure to the bearing, and stake each of the screws once they are fully tightened.
Step 8. Reinstall the shift cam assembly and shift forks into the upper half of the crankcase. Using this exploded shift and cam fork diagram as a reference, install shift fork #2 and the shift cam assembly. Use a pick tool to align fork #2 with shift fork bar #1, and slide the bar into place. Next, slide shift fork bar #2 into the upper crankcase, and install shift fork #1 and shift fork #3 onto the bar as it slides into place.
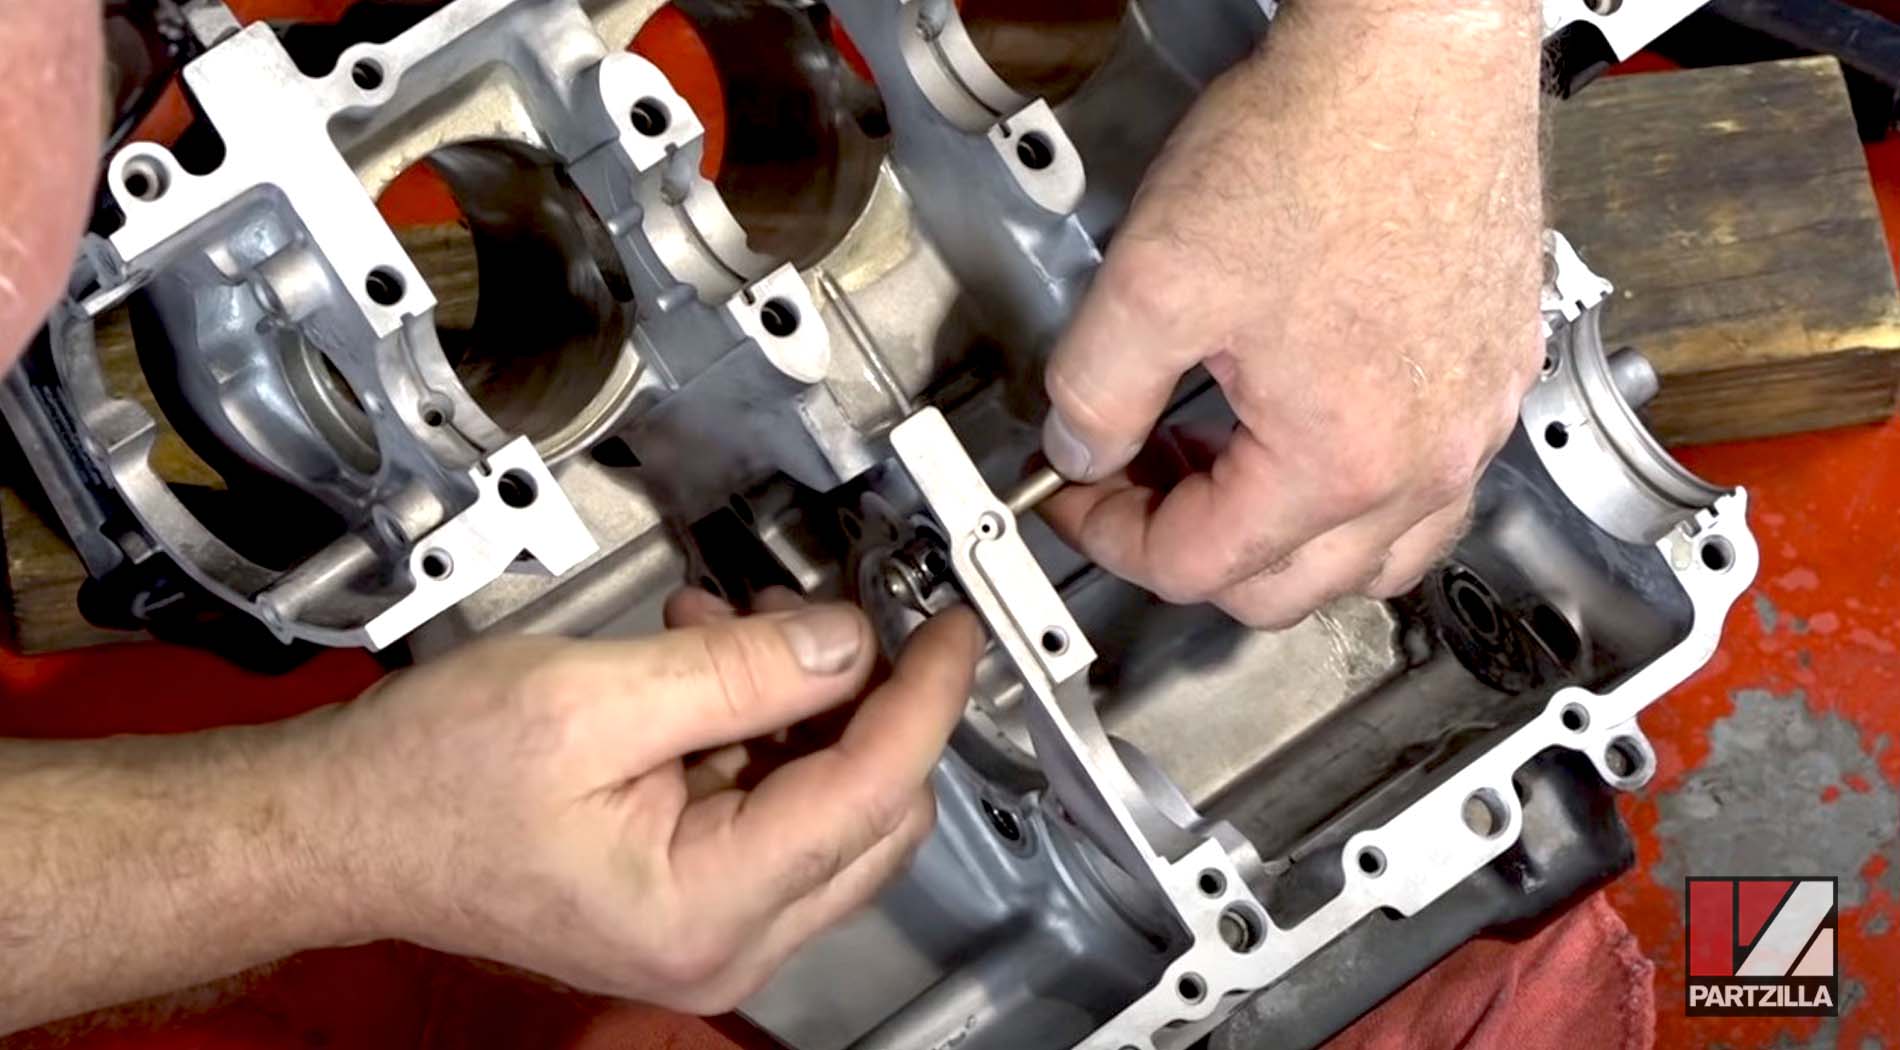
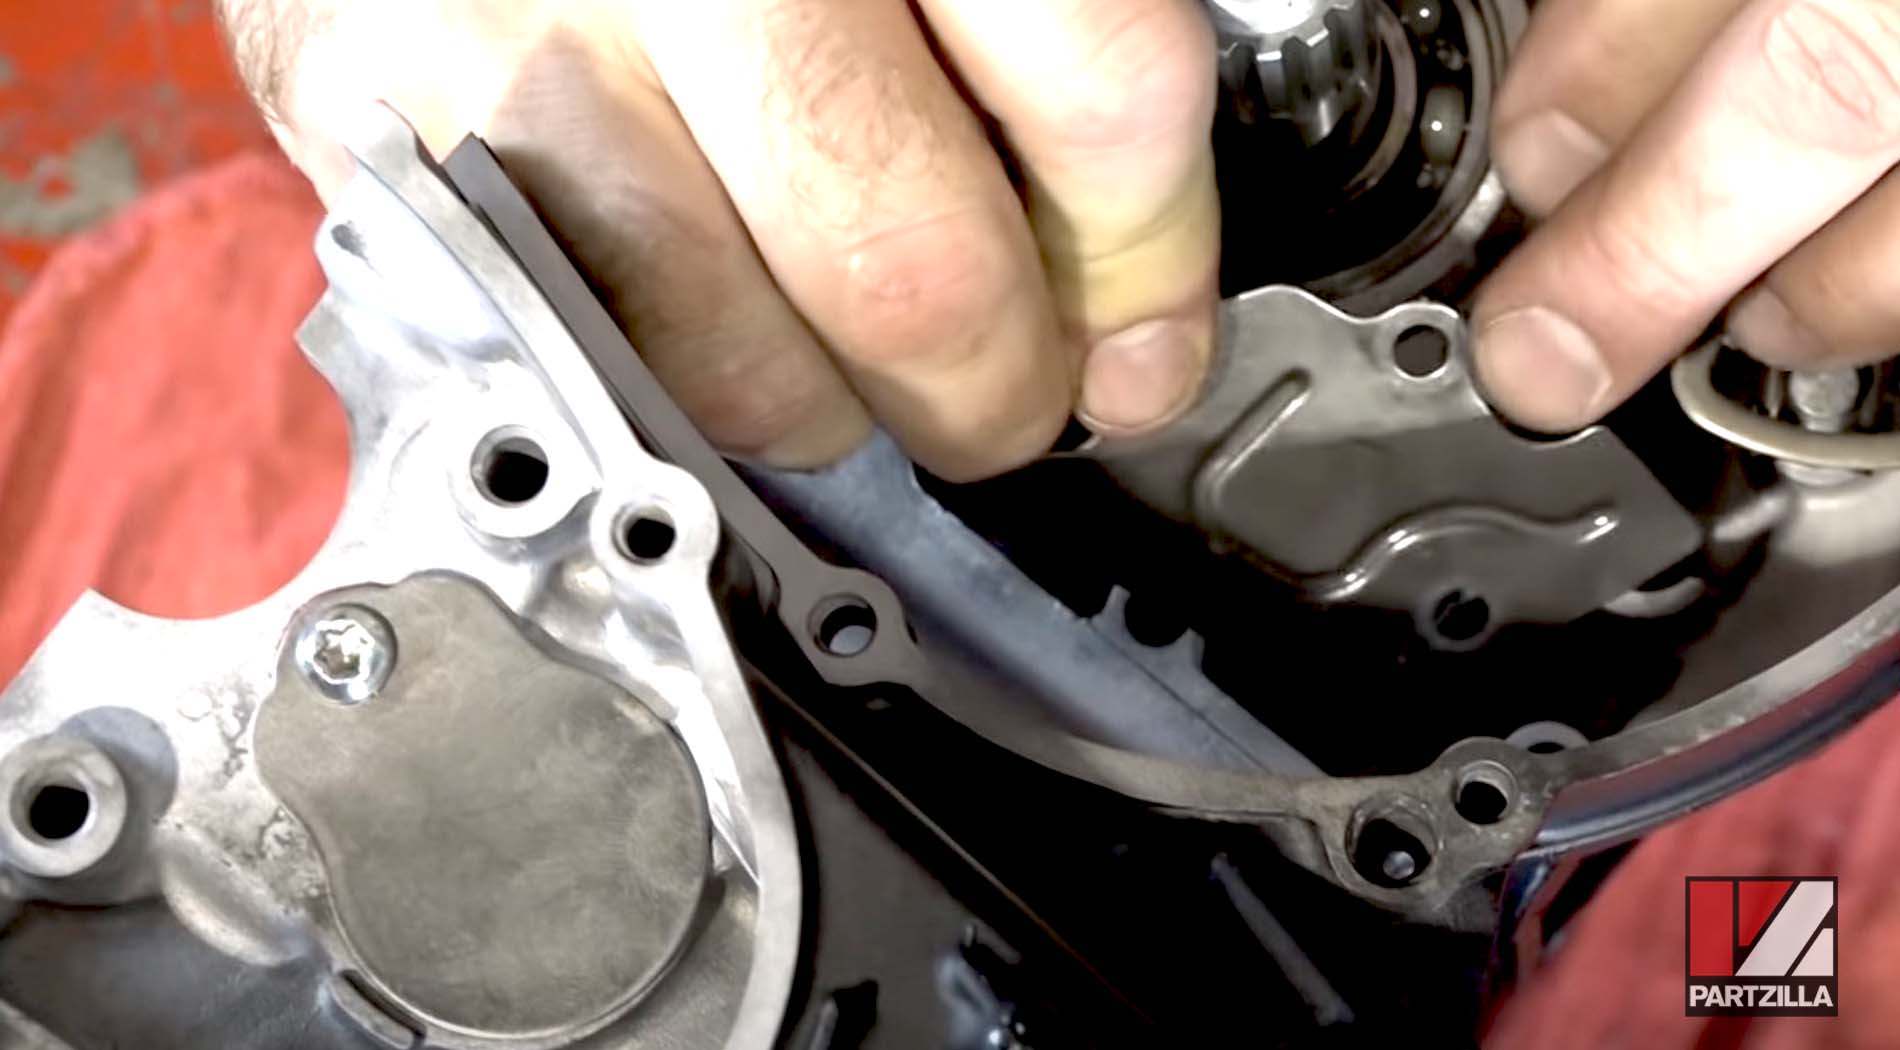
Step 9. Reinstall the shift bar and shift cam retaining plates. Make sure the word "out" that is stamped on both the plates is facing outwards, and use red threadlocker on each of the plates' mounting bolts.
Step 10. Reinstall the shift shaft into the upper crankcase by first reinstalling the stopper post into the crankcase housing, then sliding the shift shaft assembly into place and reattaching the spring from the shift shaft assembly to the stopper post.
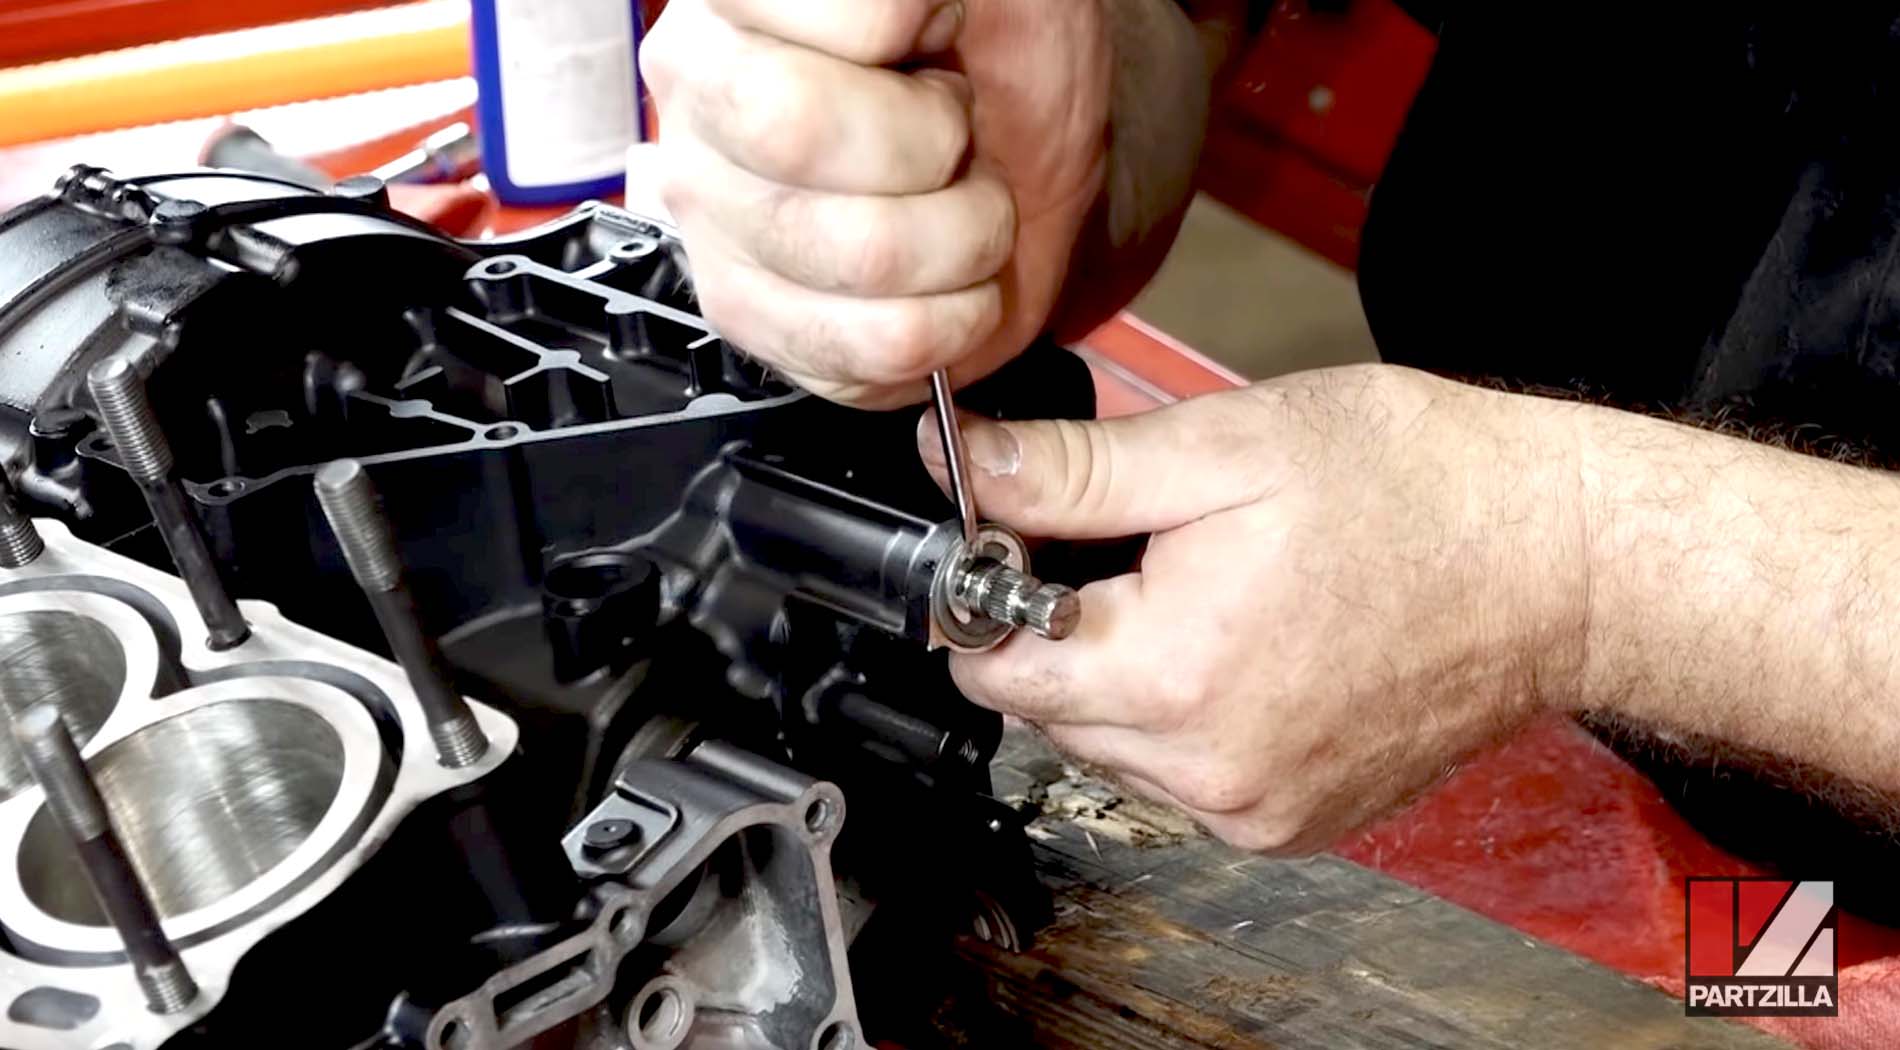
Step 11. Reinstall the washer and circlip over the shift shaft on the outside of the crankcase.
Step 12. Reinstall the oil plug plate and oil breather plate on the right side of the upper half of crankcase. Apply red threadlocker to both plates' retaining screws.
Watch the videos below for the next steps to rebuilding a Yamaha R6 engine.
Yamaha R6 Engine Rebuild Part 2: Piston Install
Yamaha R6 Engine Rebuild Part 3: Head Install & Completion