How to Install Yamaha R6 Cylinder Head
Pulling the cylinder head from a Yamaha YZF-R6 is pretty straightforward. Reinstalling the cylinder head on the R6 is also easy enough, provided you know what you're doing.
You can damage the motor if you don't tighten the cylinder head bolts on your R6 correctly, which will be costly to repair and involve removing the cylinder head again. Watch the video above or follow the steps below to install the cylinder head on your Yamaha R6.
Tools and Parts - Yamaha R6 Cylinder Head Install
- Ratchet and extensions
- 8mm, 10mm, 14mm, 16mm sockets
- 5mm, 10mm Allens
- Magnet
- Screwdriver
- Torque wrench
- Pick tool
- Brake/contact cleaner
- Gasket brush
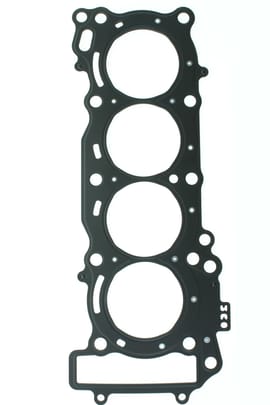
- Cylinder head gasket


Installing Yamaha R6 Cylinder Head
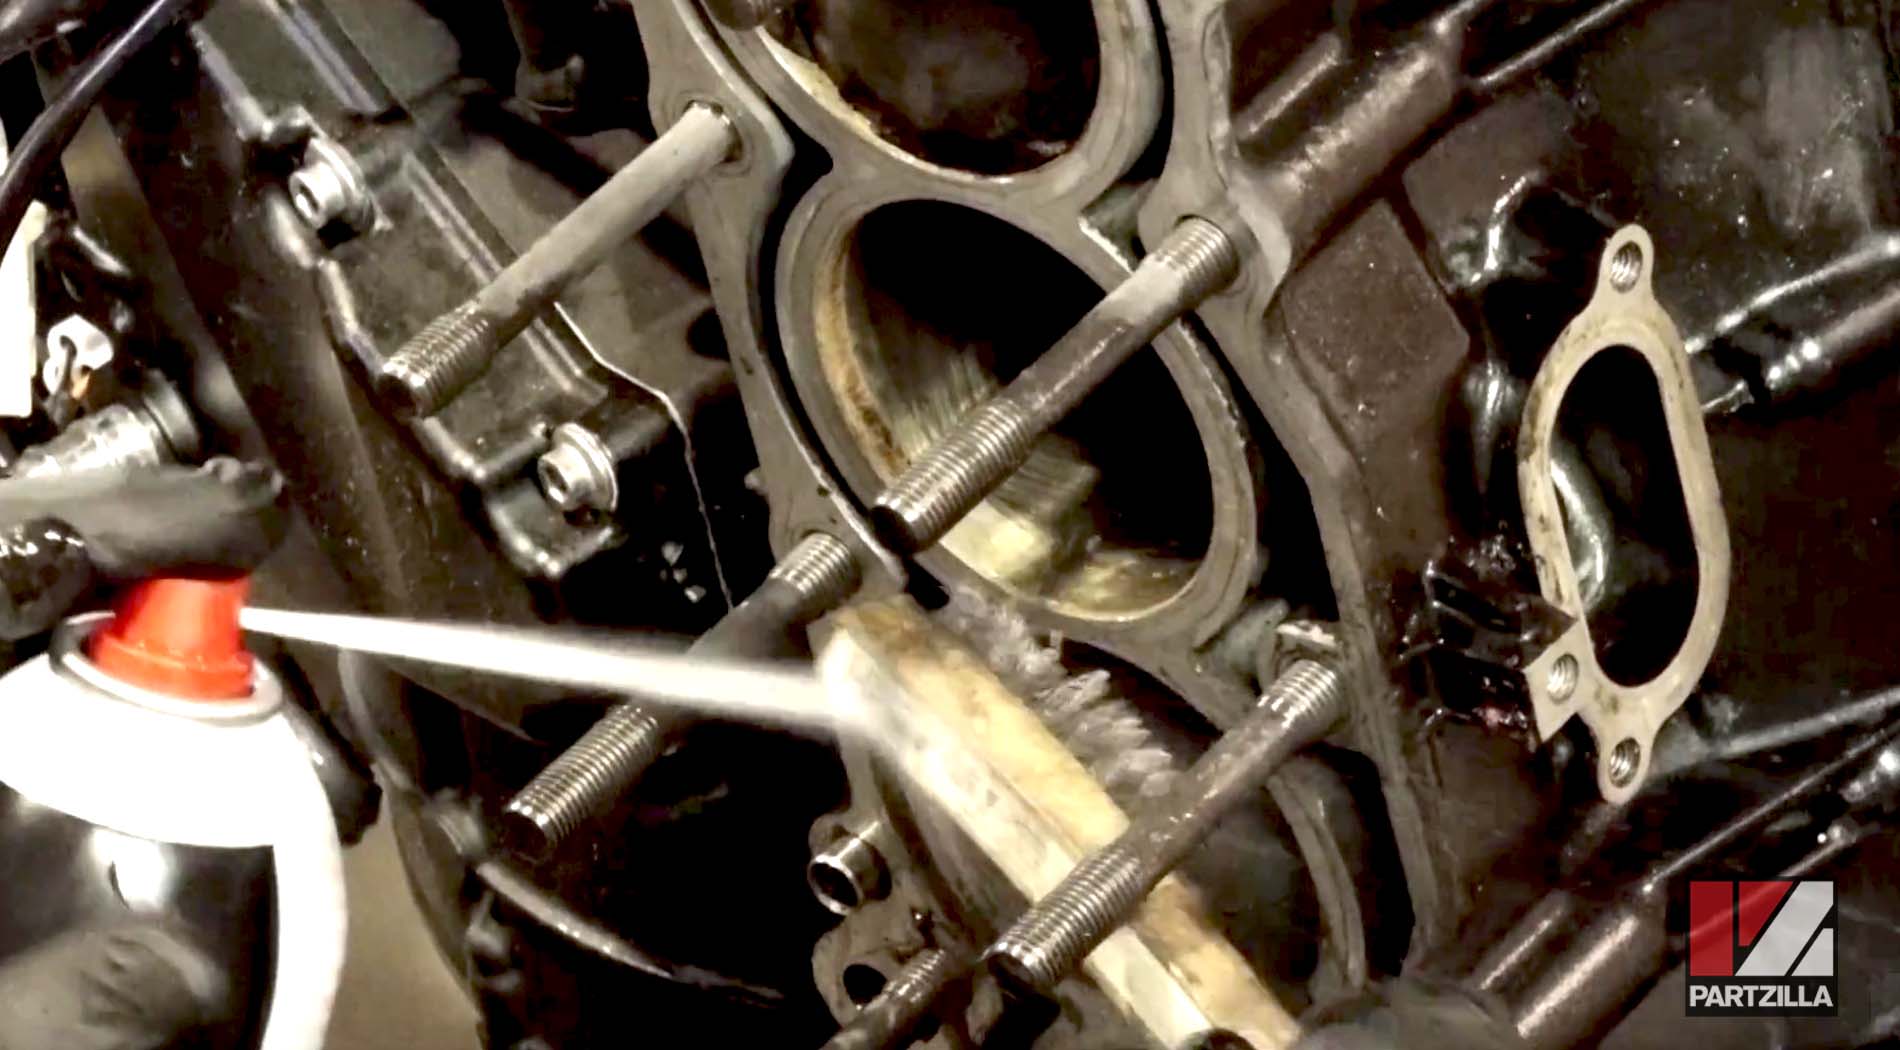
Step 1. Clean the crankcase. Remove all traces of the old cylinder head gasket from the face of the crankcase. Much of the old gasket will come away using brake/contact cleaner on the crankcase, and a gasket brush will help remove any stubborn patches of old gasket.
Step 2. Install the new cylinder head gasket over the crankcase. To keep the gasket as clean and flat as possible, try to avoid touching the flat parts of the gasket. If you removed the two dowels from the crankcase, be sure they're both reinstalled before installing the new cylinder head gasket.
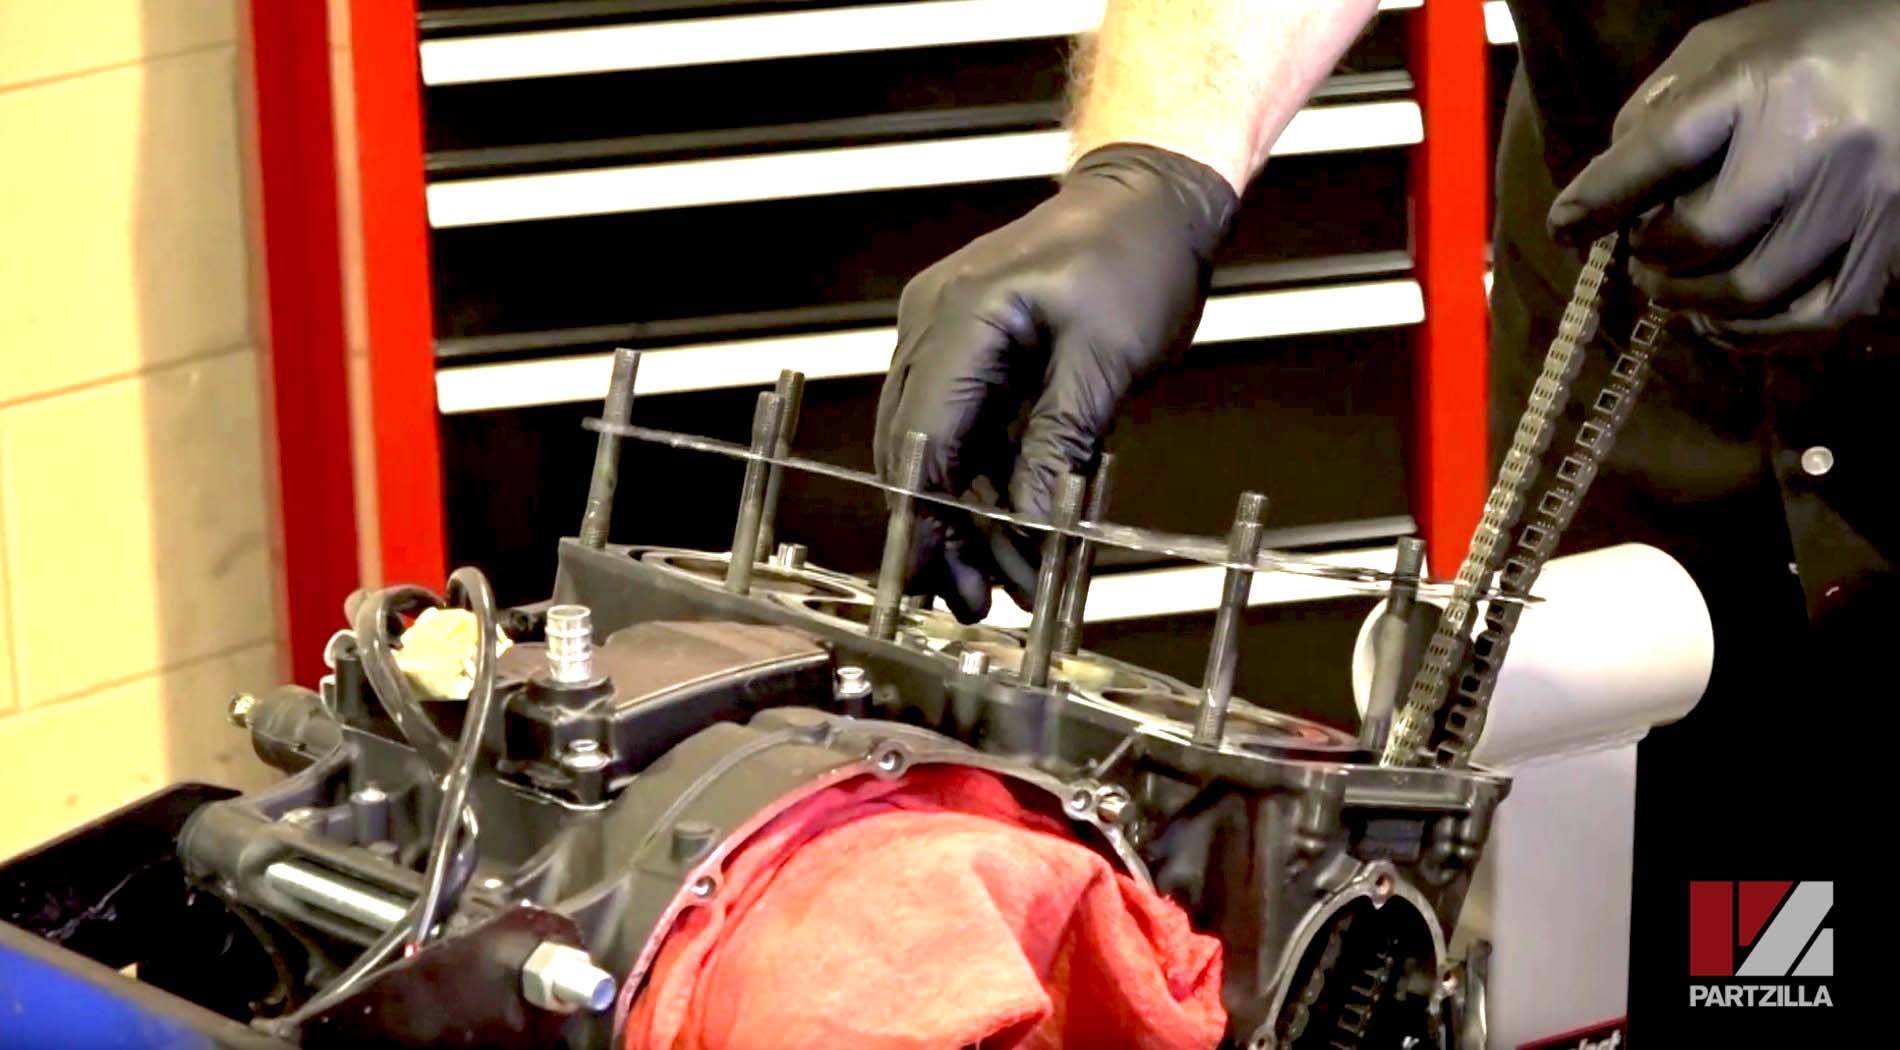
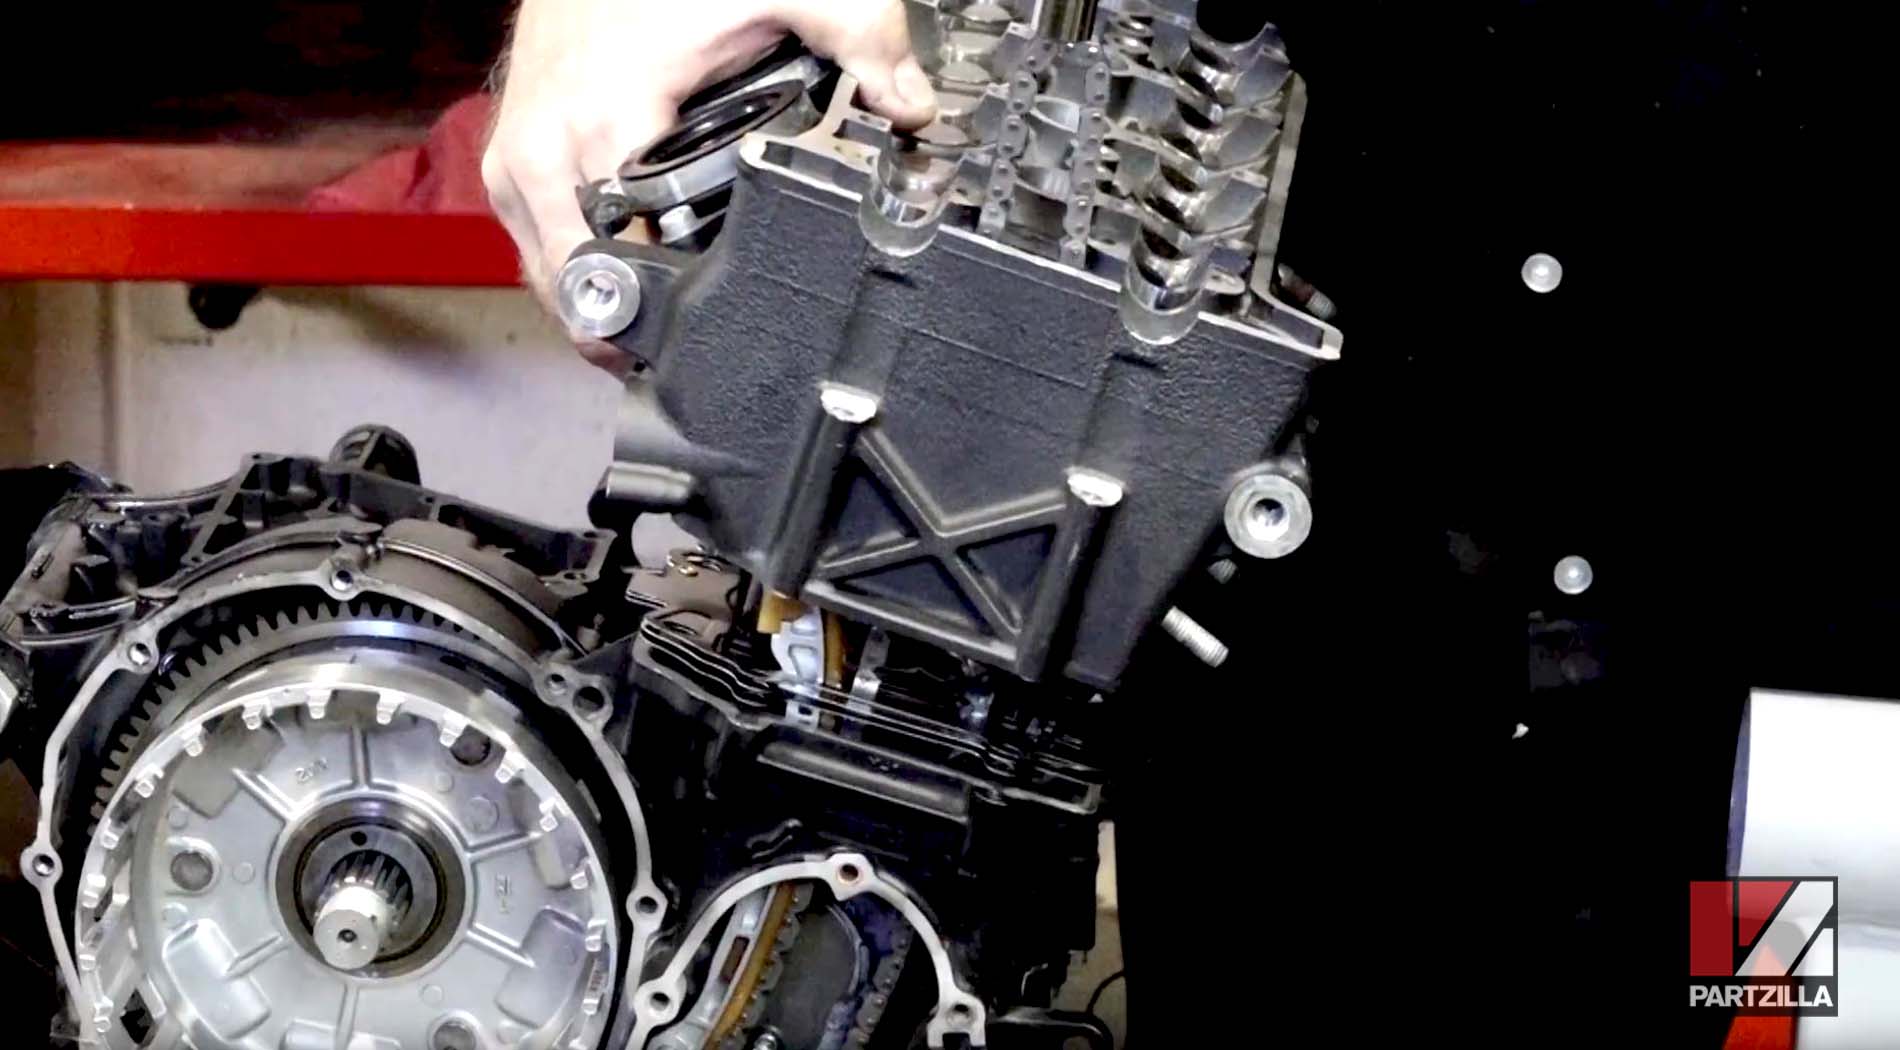
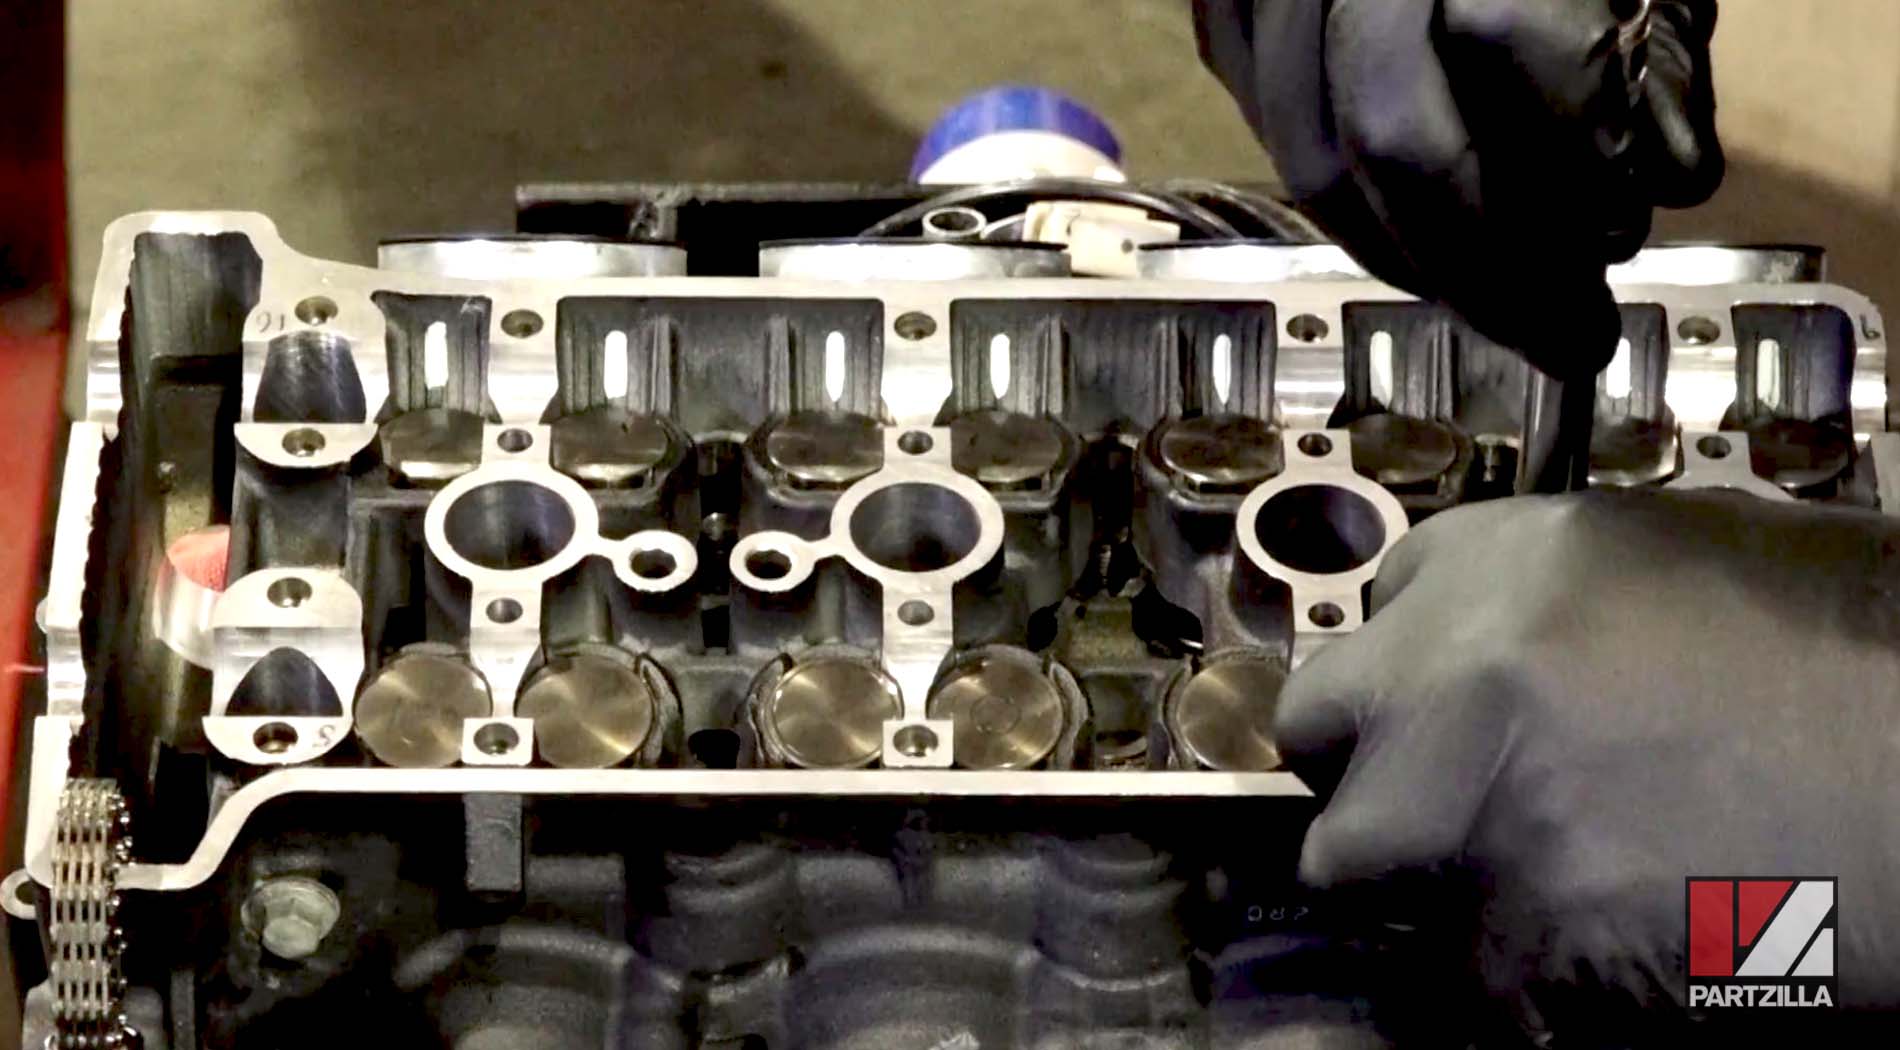
Step 3. Reinstall the cylinder head. Use a magnet or pick tool to hold the cam timing chain in place and reinstall the cylinder head over the cylinder studs.
Step 4. Reinstall the washers over the cylinder studs. Using a magnet and screwdriver makes putting the washers over the studs set down in the cylinder block much easier.

Step 5. Reinstall the ten nuts over the cylinder studs and washers. Use an 8mm Allen to install the nuts and only hand tighten them at this stage. Also, reinstall the two bolts at the left side of the cylinder head.
NOTE: The two bolts are on the right side of the image below, which is the left side of the engine.
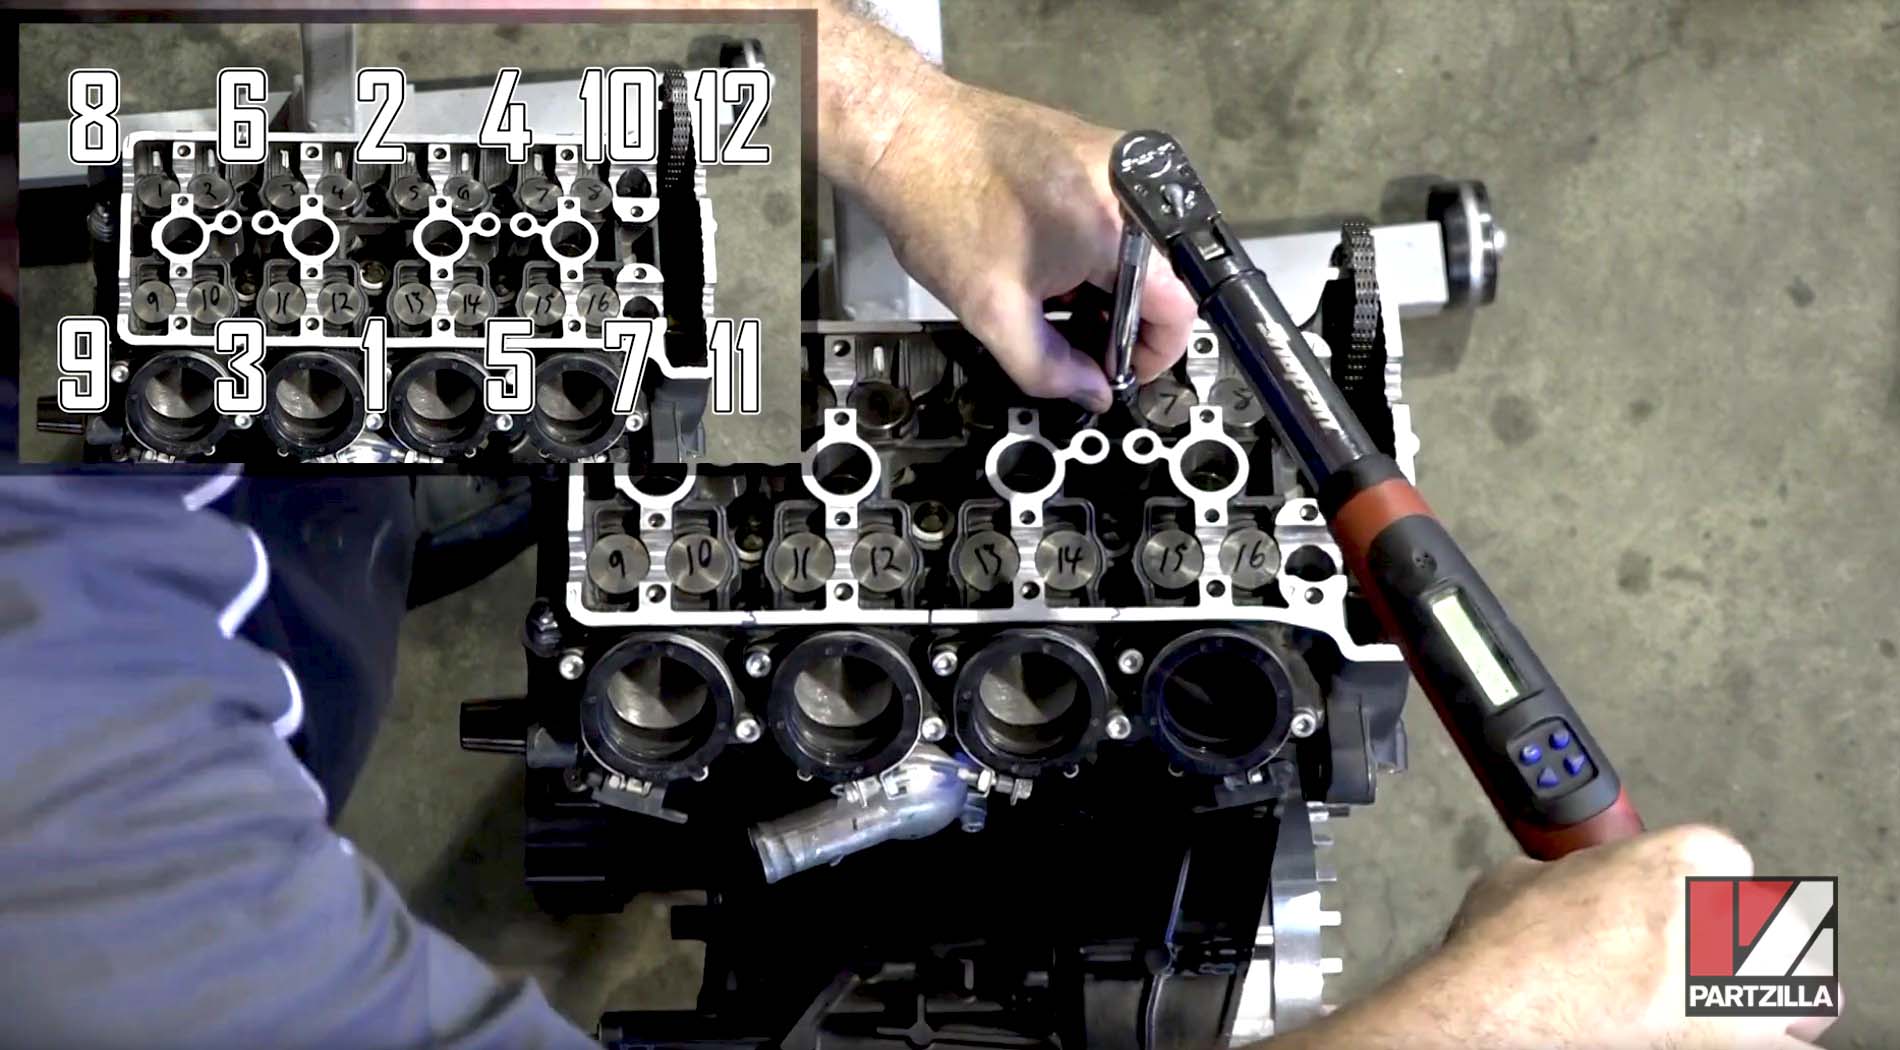
Step 6. Following the illustrated sequence in the image below, torque the cylinder studs (1-7, 10-12) to 18 foot-pounds and torque the two bolts (8-9) to 22 foot-pounds.
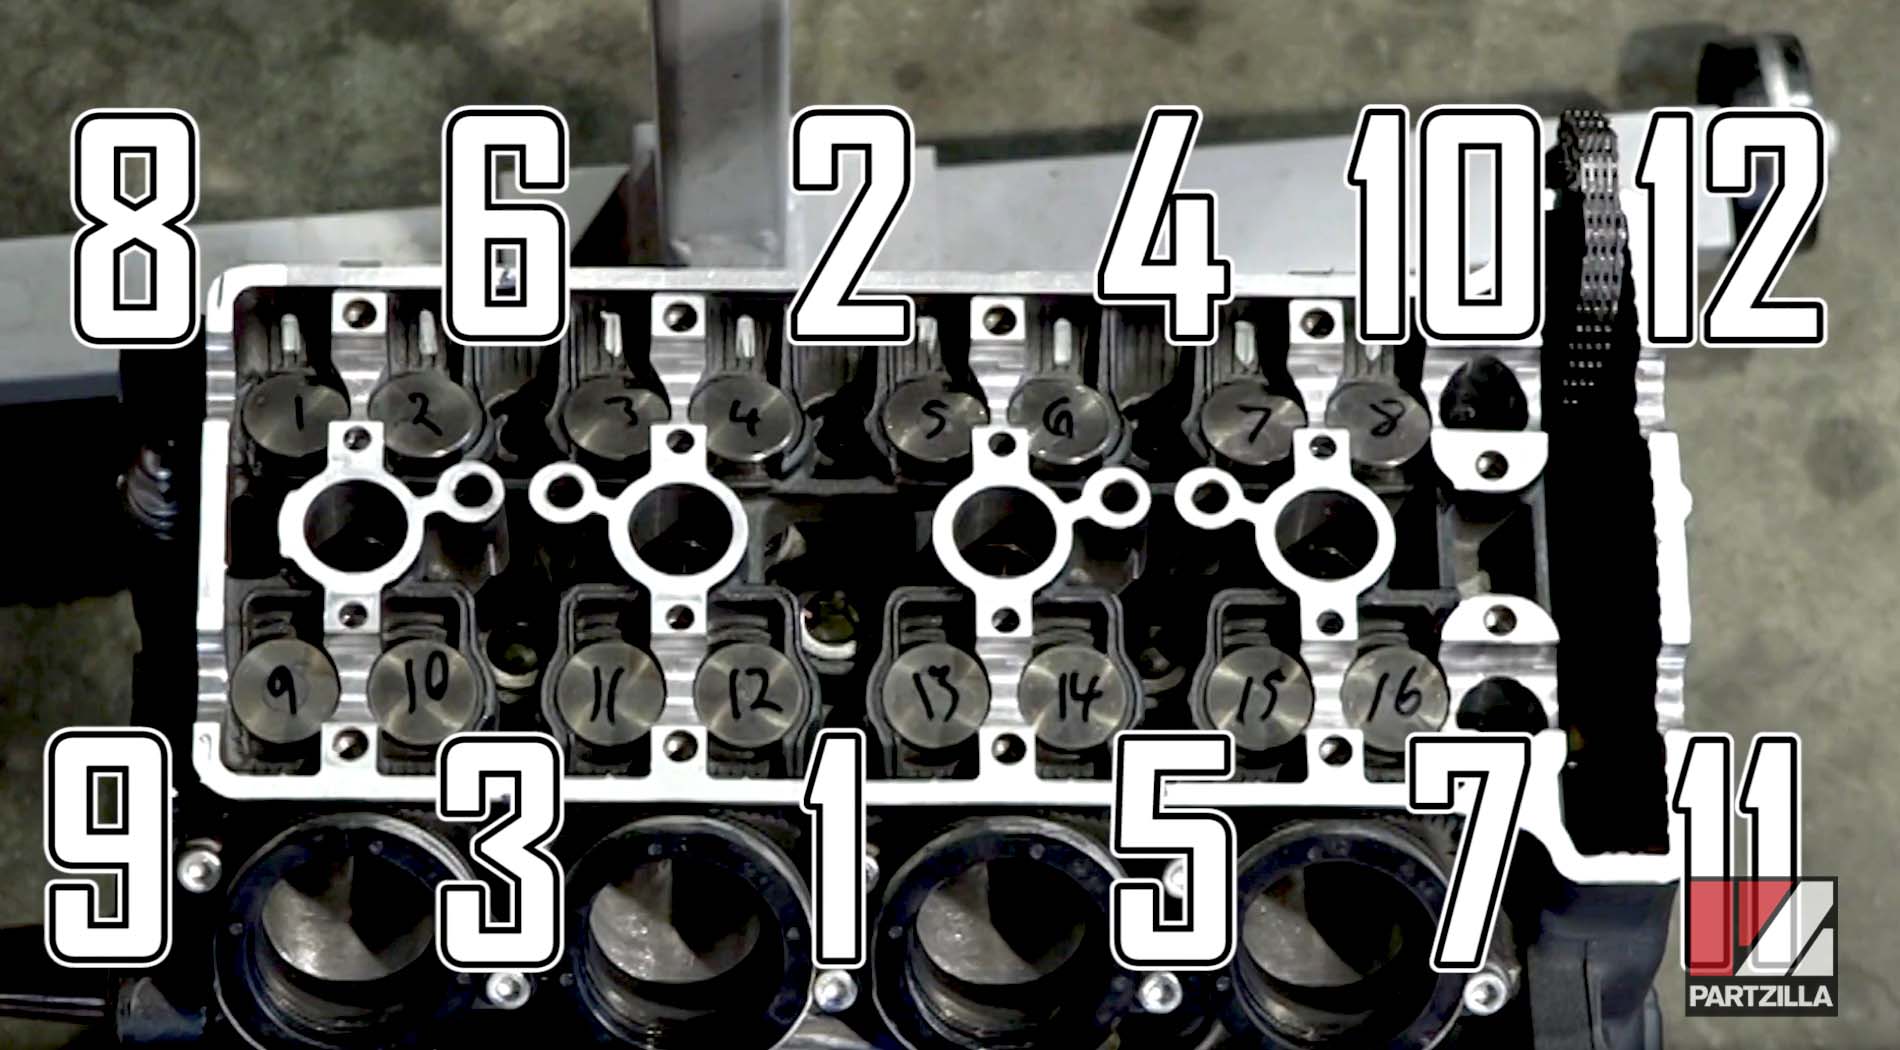
Step 7. Following the same sequence, go back and torque the cylinder studs (1-7, 10-12) to 31 foot-pounds and torque the two bolts (8-9) to 44 foot-pounds.
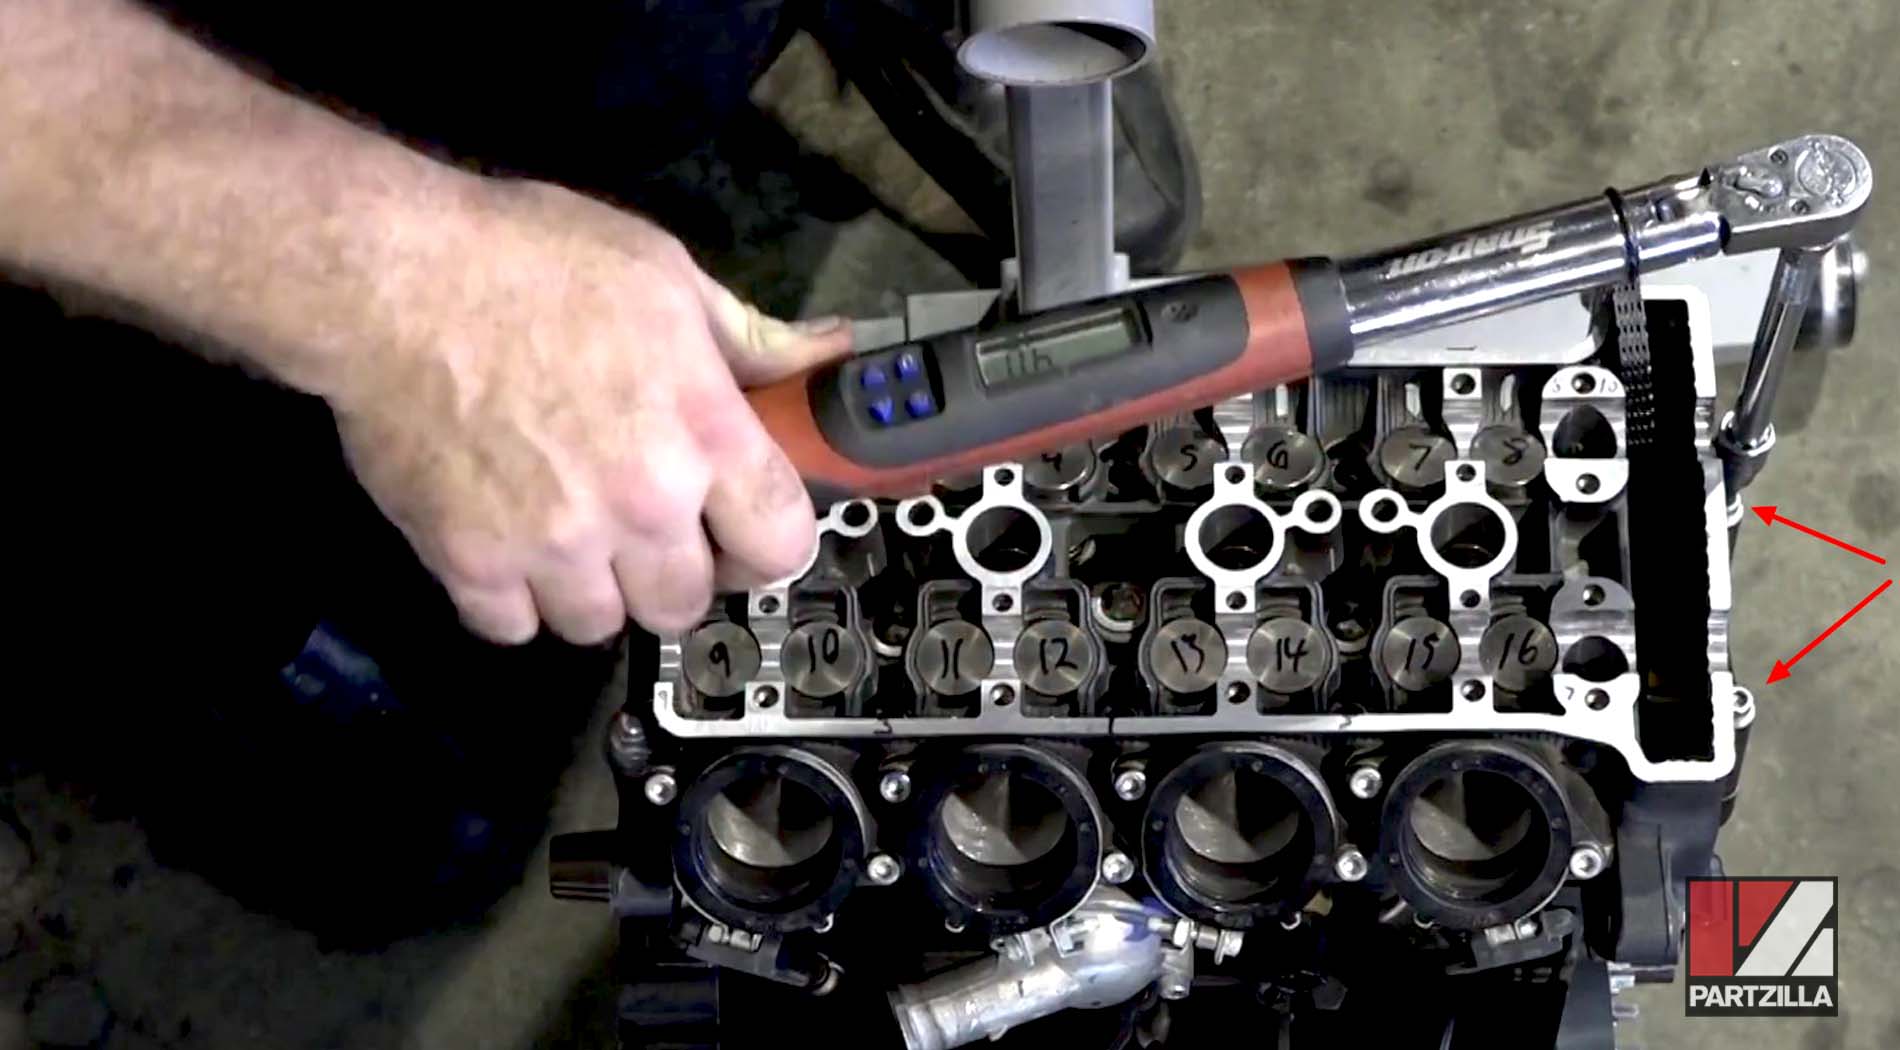
Step 8. Reinstall the two 5mm Allen bolts on the right of the engine (beside the cam timing chain) and torque them to 9 foot-pounds.
After installing the cylinder head on a Yamaha R6, there's still a ways to go before the motor is fully rebuilt. Watch the video below to see the final steps in rebuilding a Yamaha YZF-R6 engine.