How to Replace Yamaha Grizzly 700 Lower Ball Joints
Ride your Yamaha ATV even half as hard as it’s capable of running and you’ll eventually have to replace some ball joints over time.
Watch the video above and follow the steps below to replace Yamaha Grizzly YFM700 lower ball joints.
Tools and Parts – Yamaha Grizzly 700 Lower Ball Joint Replacement
- Ratchet and extensions
- 12mm, 17mm, 19mm, 27mm, 32mm sockets
- 14mm wrench
- Punch tool
- Circlip
- Torque wrench
- Vise
- Hammers
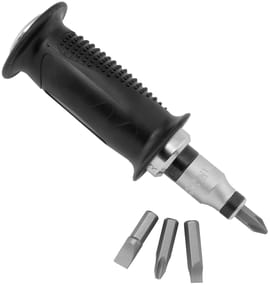
- Impact driver
- Circlip pliers
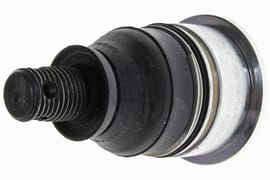
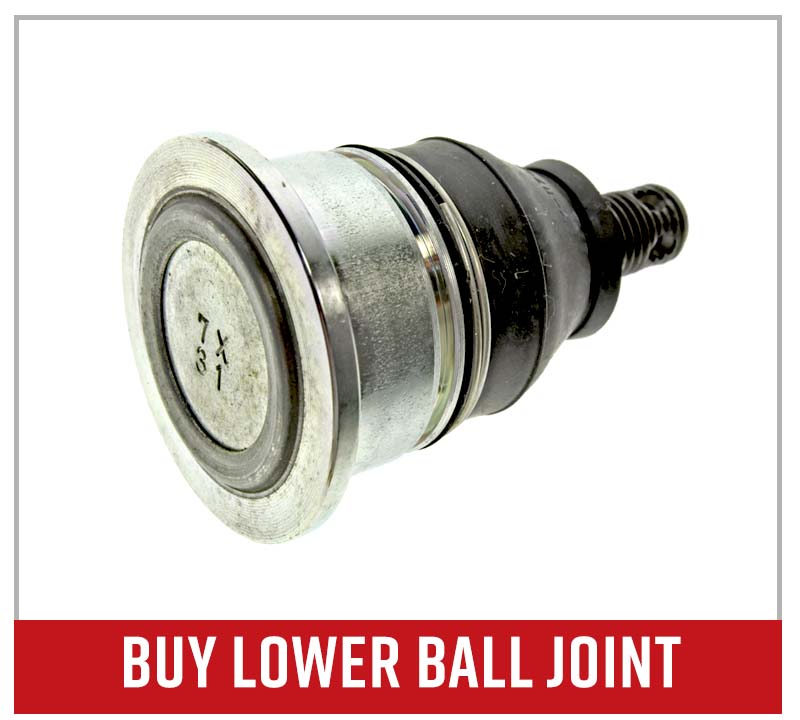
- Lower ball joint
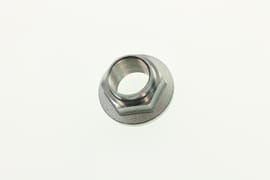
- Axle nut
Yamaha Grizzly YFM700 Lower Ball Joint Replacement
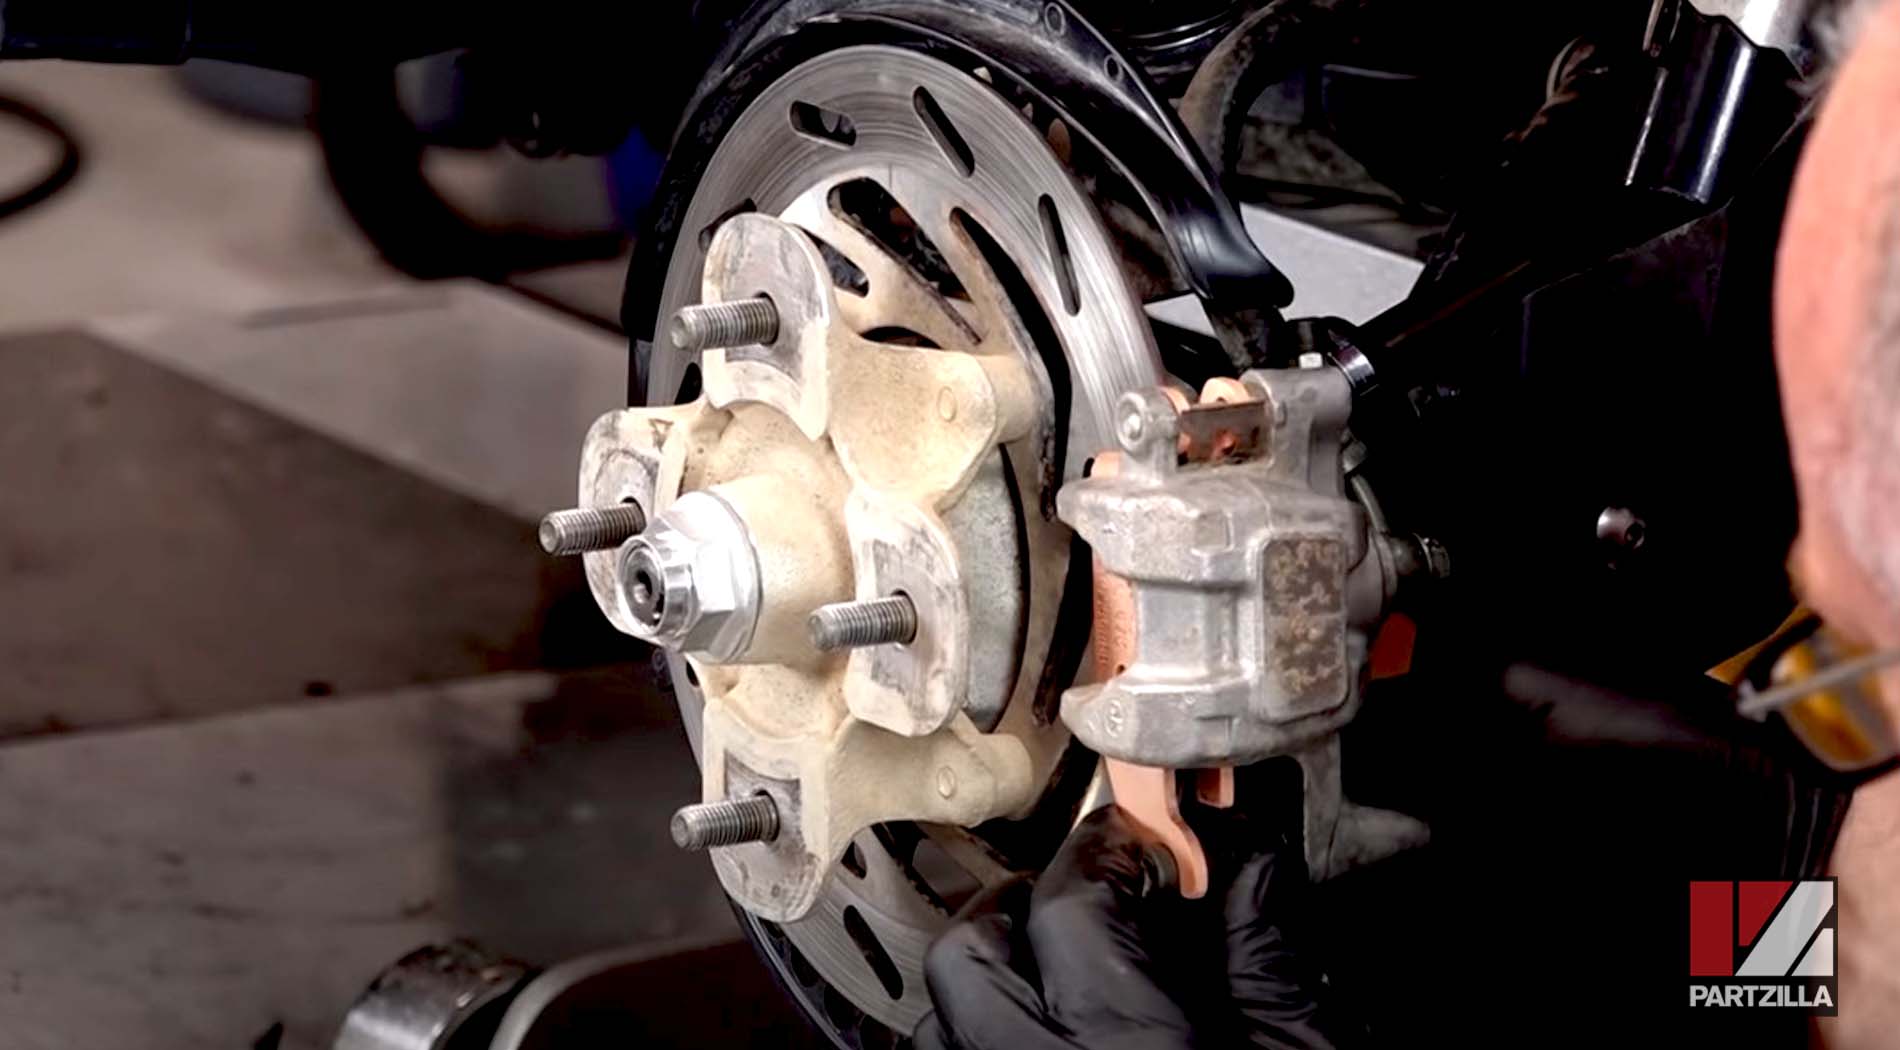
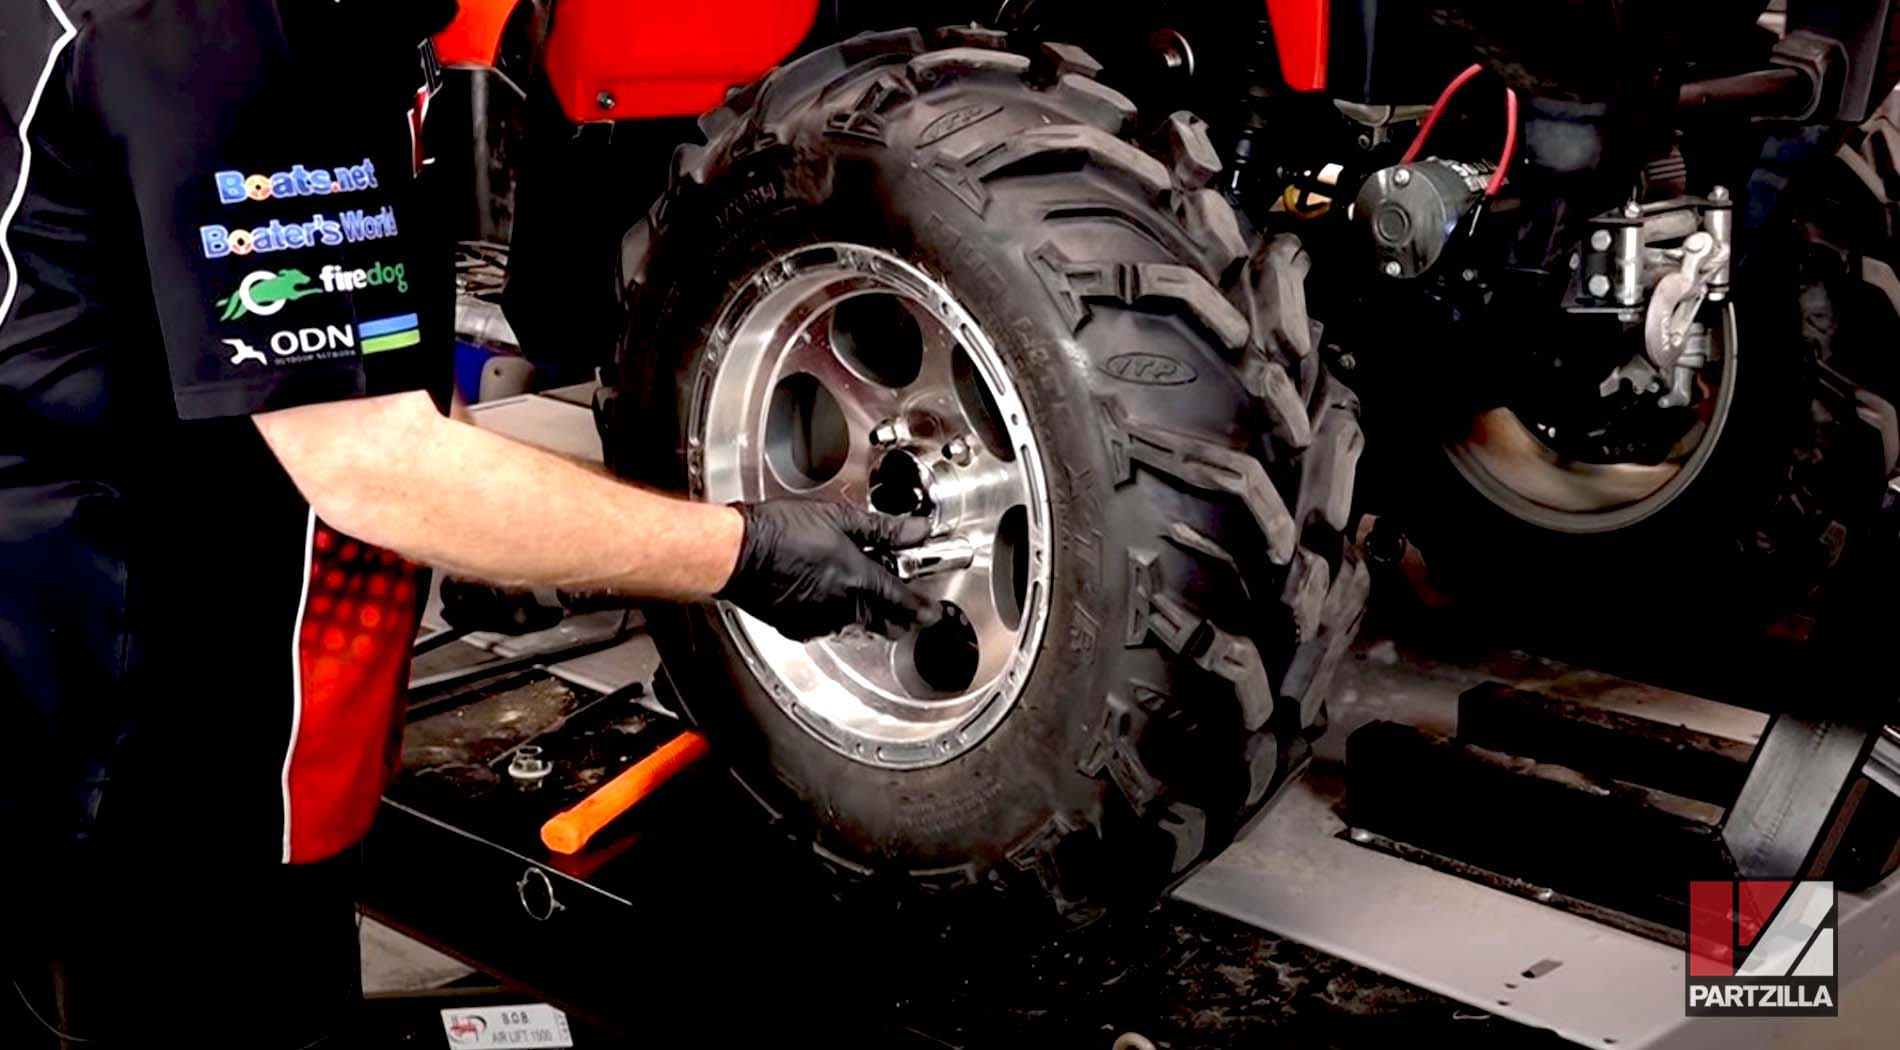
Step 1. Remove the front wheel and the dust cap covering the axle.
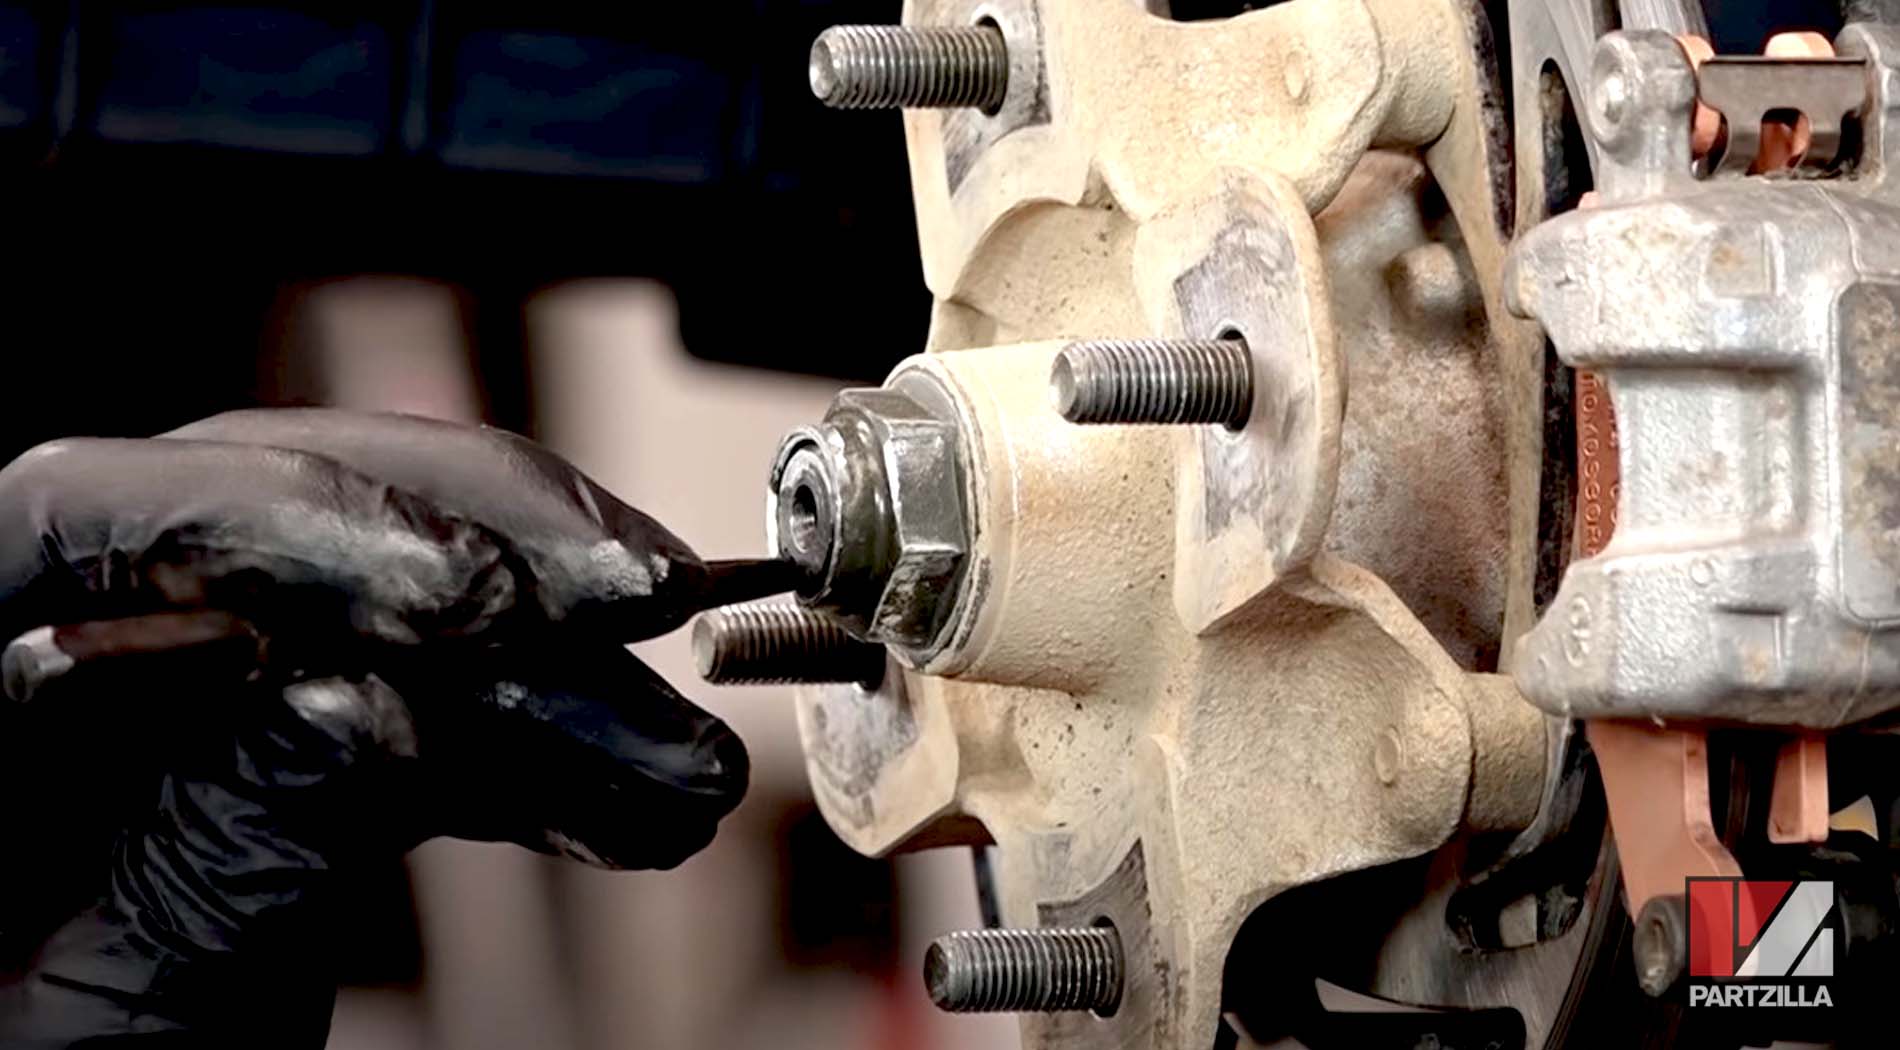
Step 2. Use a punch tool to bend back the axle nut from the axle, and remove the nut.
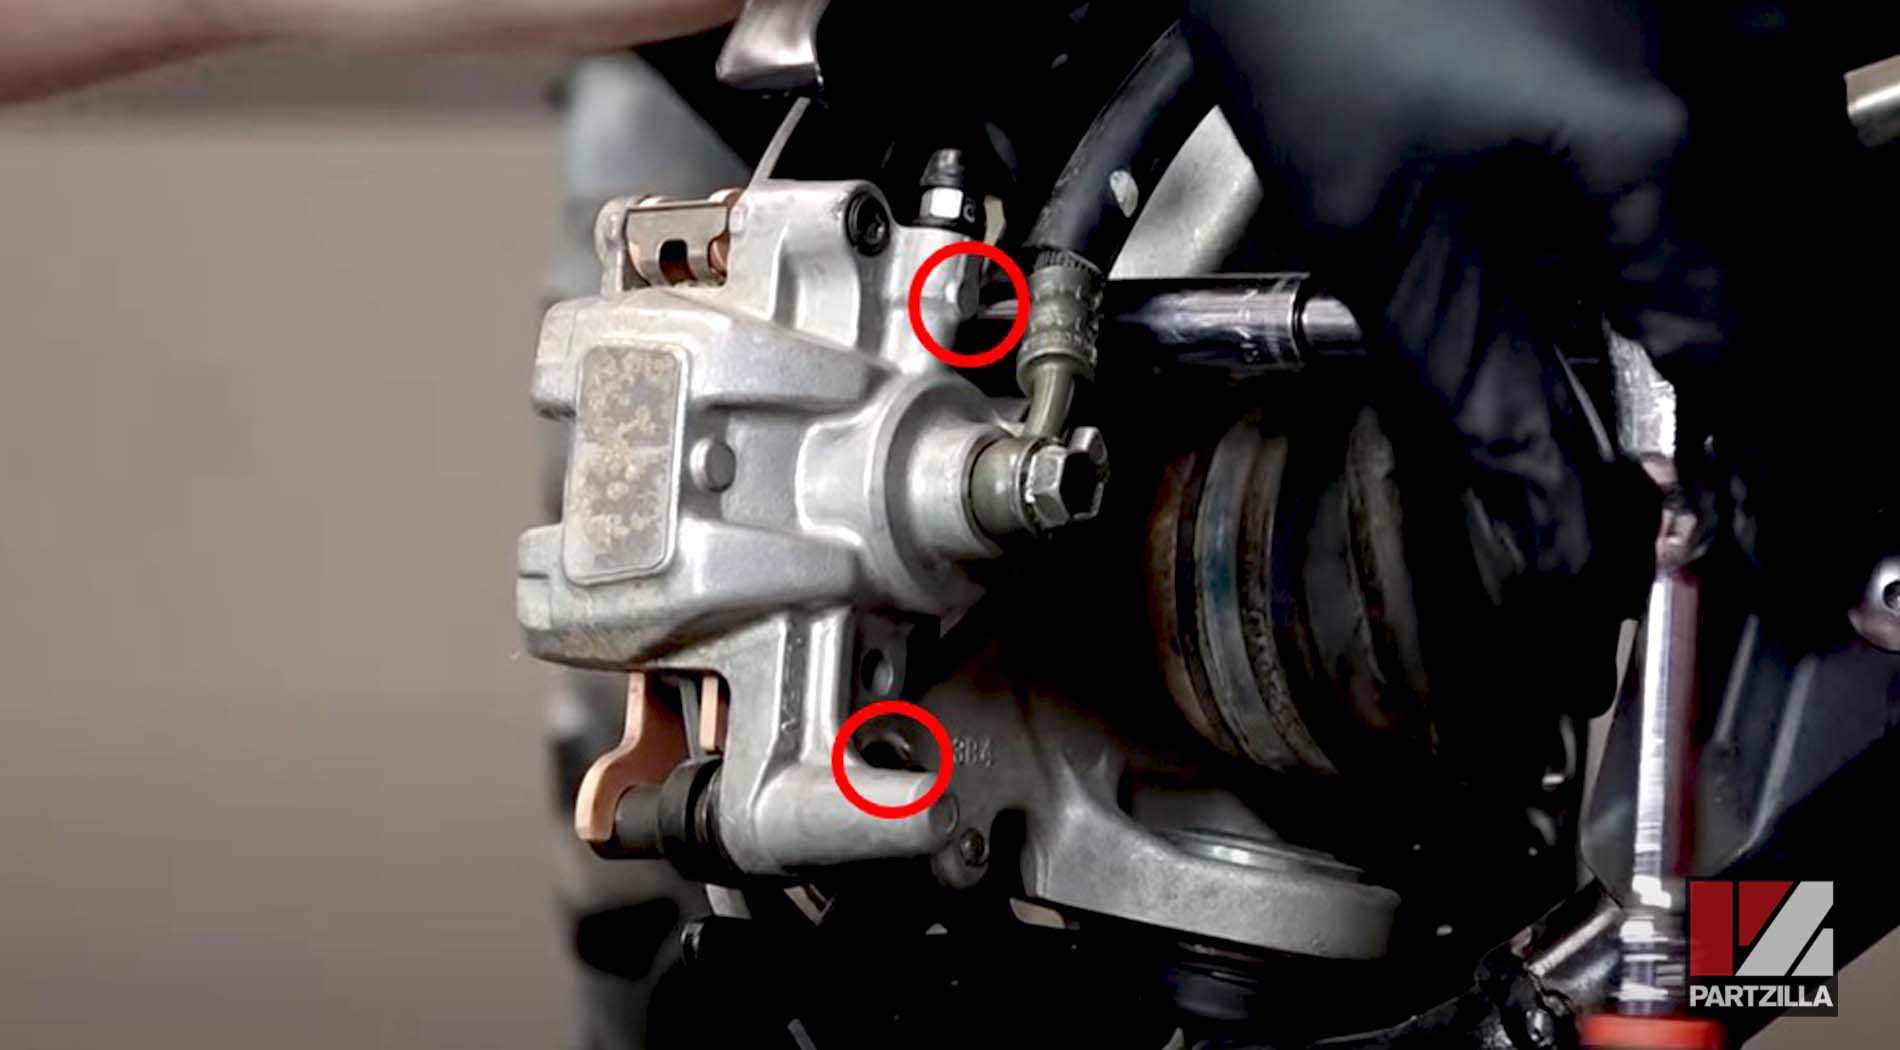
Step 3. Remove the two 12mm brake caliper mounting bolts, and slide the caliper assembly off the brake rotor. Use a zip tie to attach the caliper assembly to the shock absorber spring, where it’ll be out of the way.
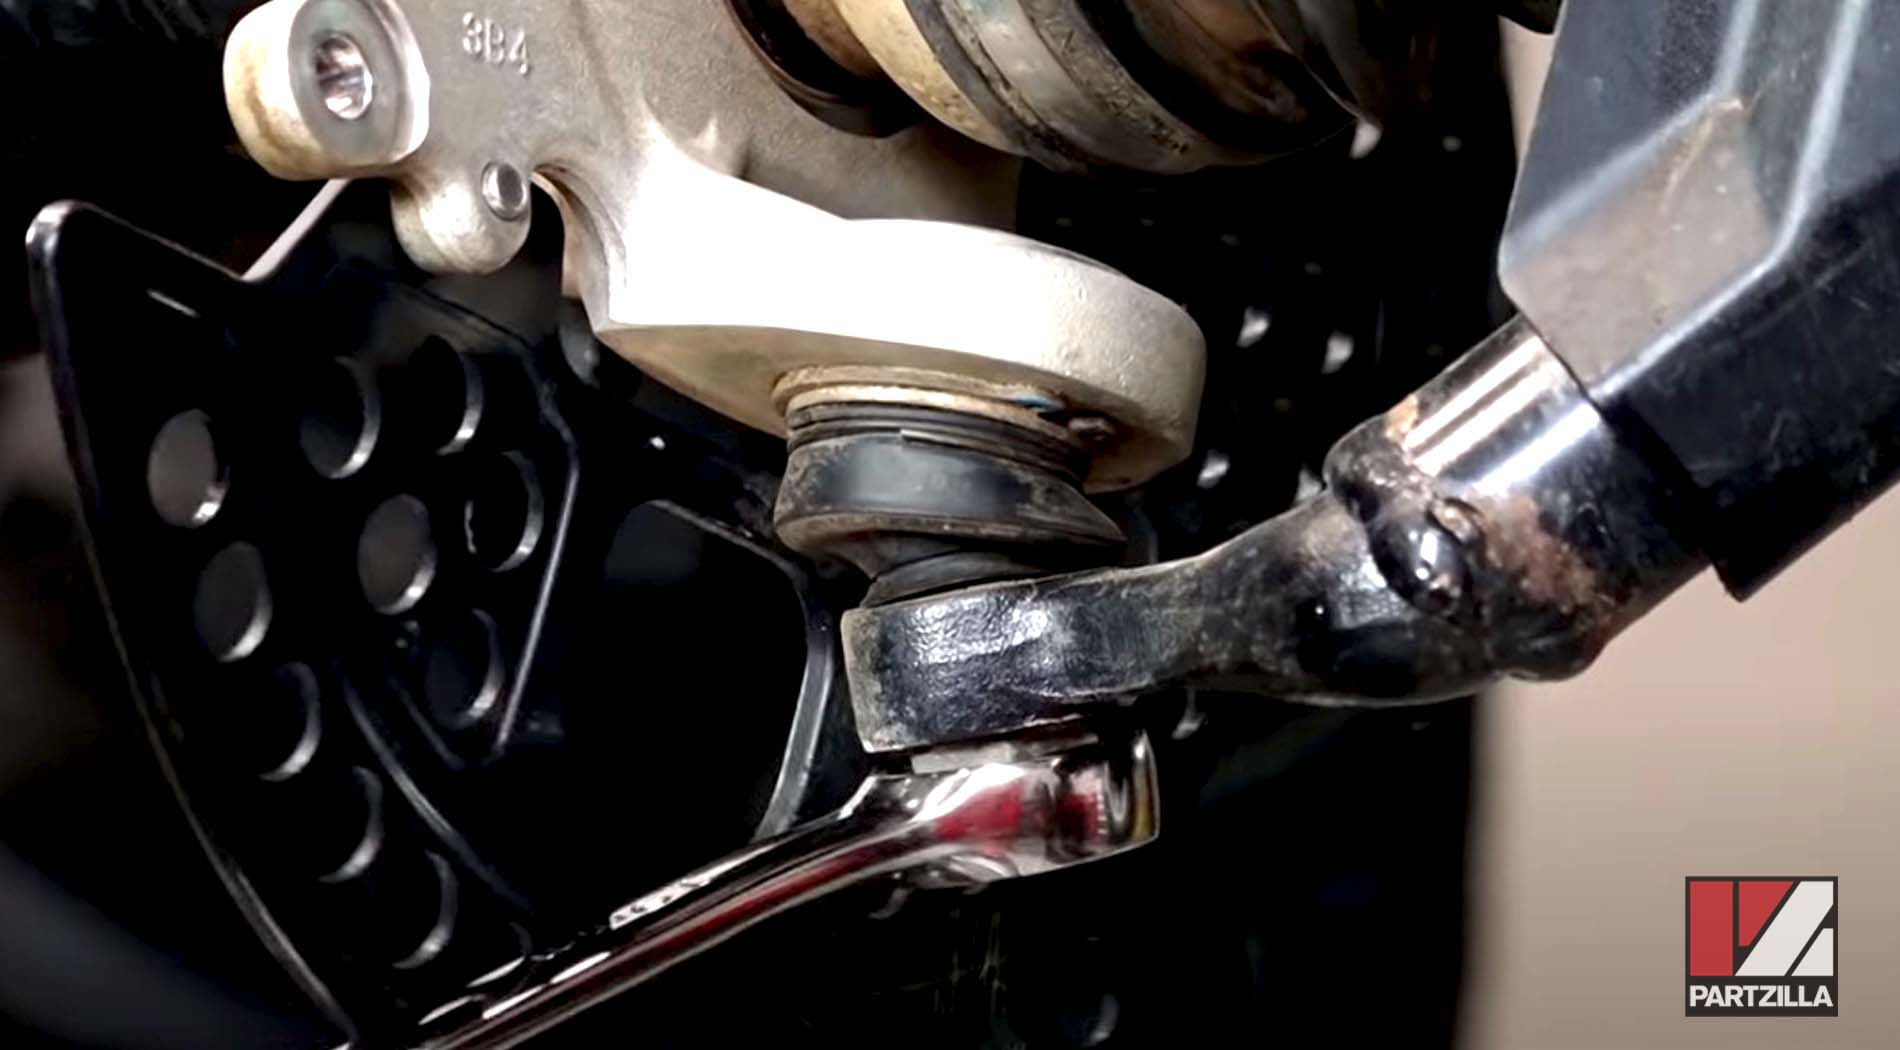
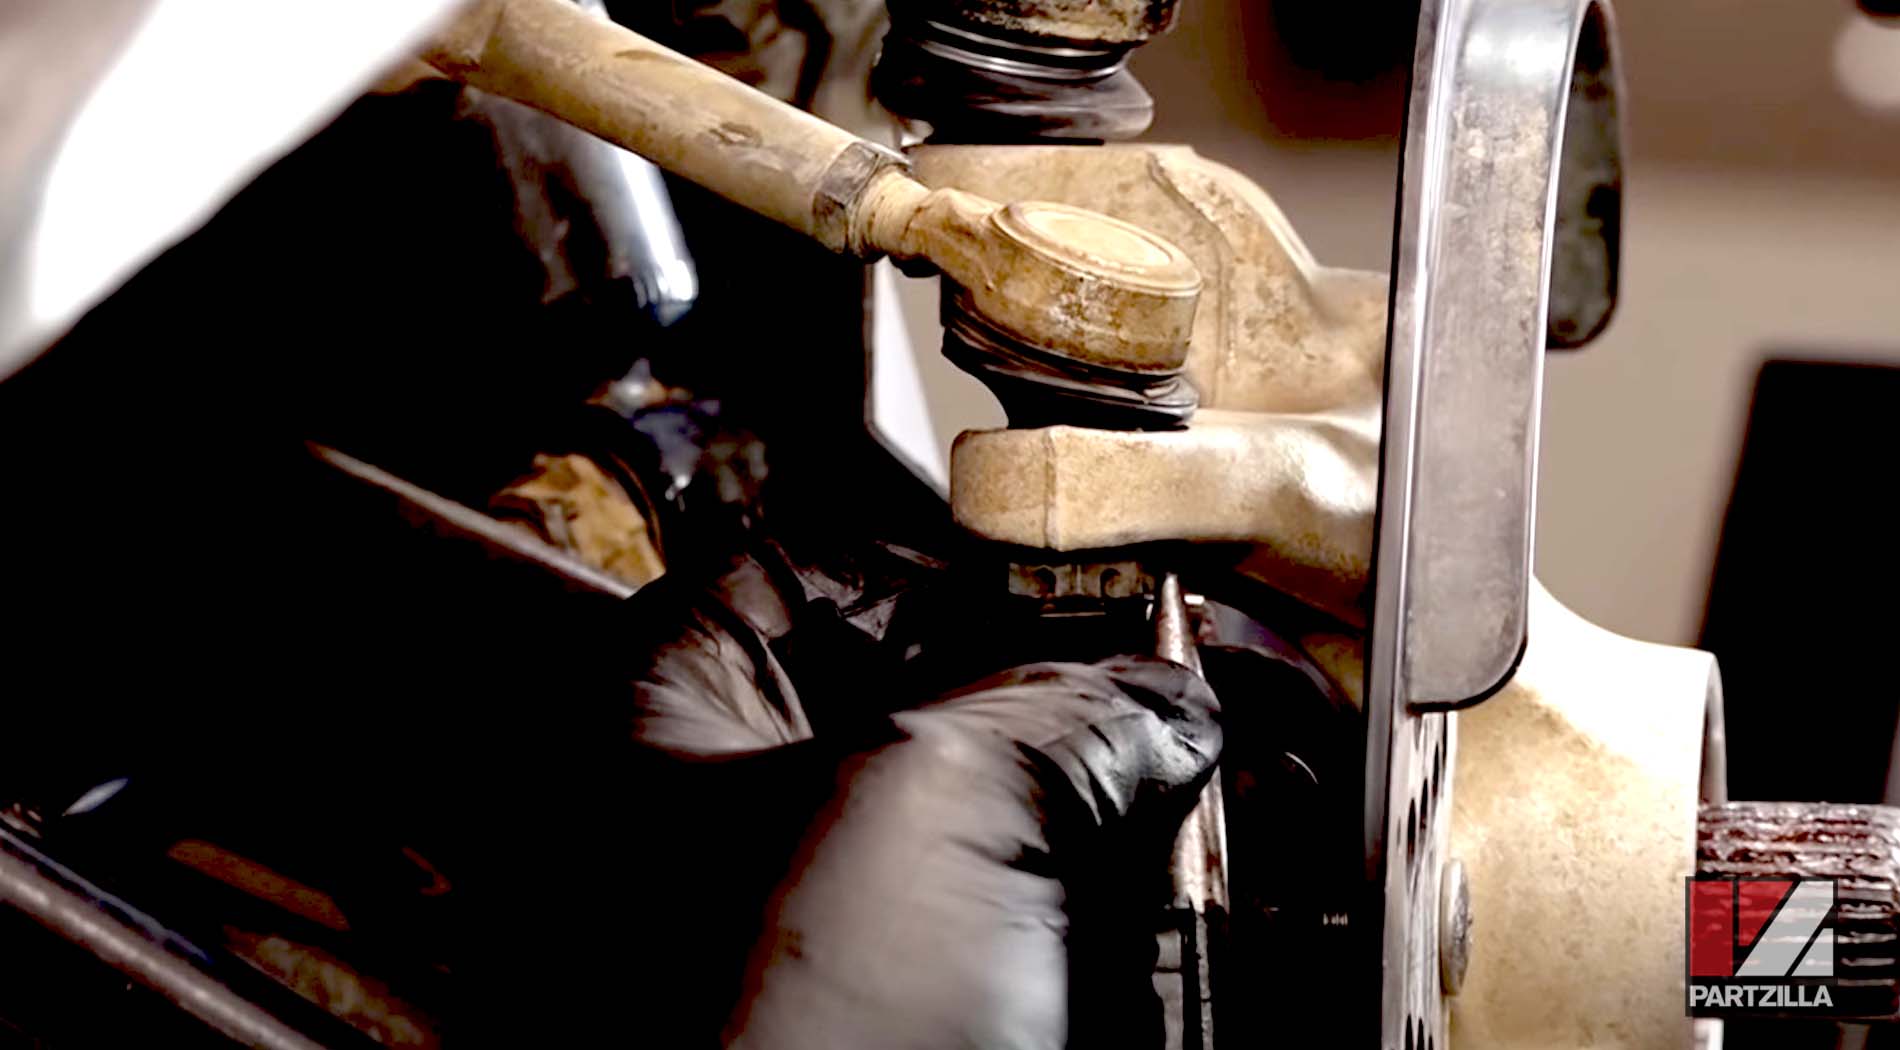
Step 4. Remove the cotter pin, nut and washer from the steering arm ball joint. Use a dead-blow hammer to tap the steering arm ball joint out of the steering knuckle.
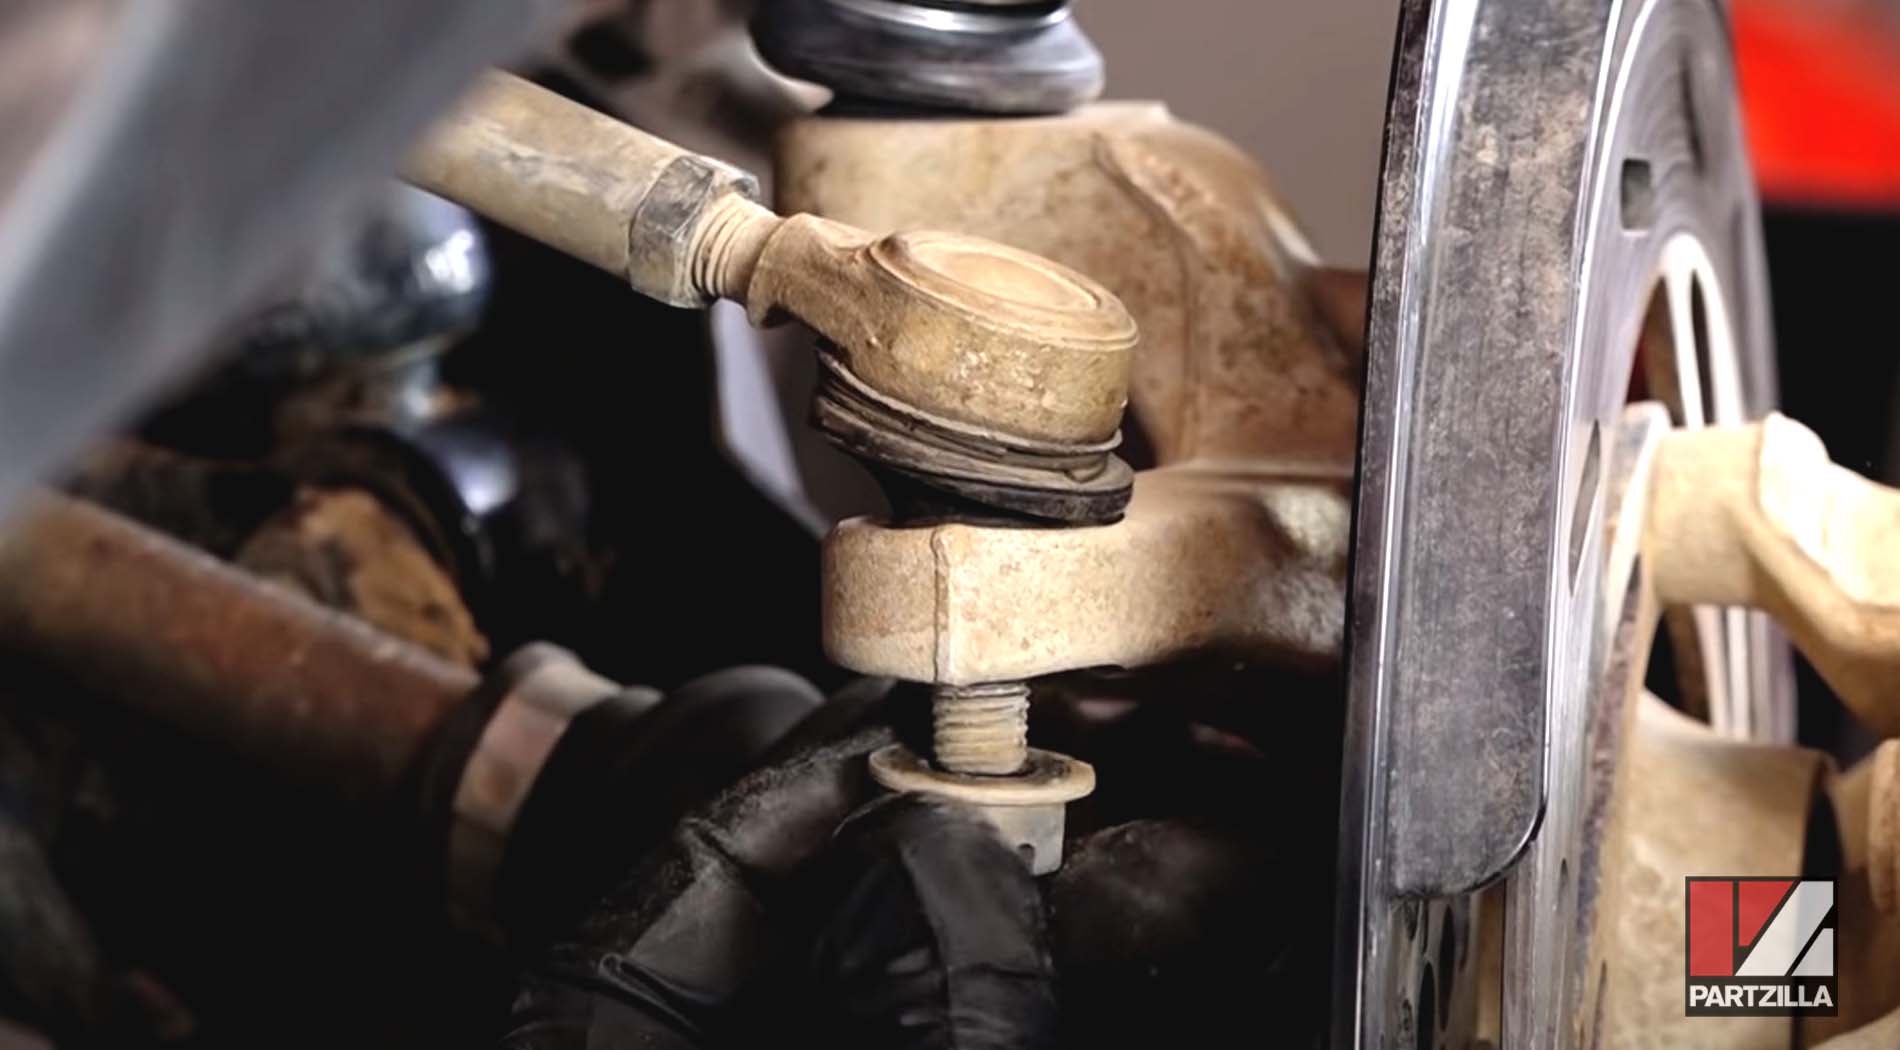
PRO TIP: If the steering arm ball joint is firmly stuck in the steering knuckle, put the nut on the ball joint backward to protect the screw thread, and strike the nut with a regular hammer to break the ball joint free.
Step 5. Remove the cotter pin and nut from the upper ball joint. Use a punch tool and hammer to tap the upper ball joint out of the steering knuckle, being careful not to damage the ball joint’s screw thread.
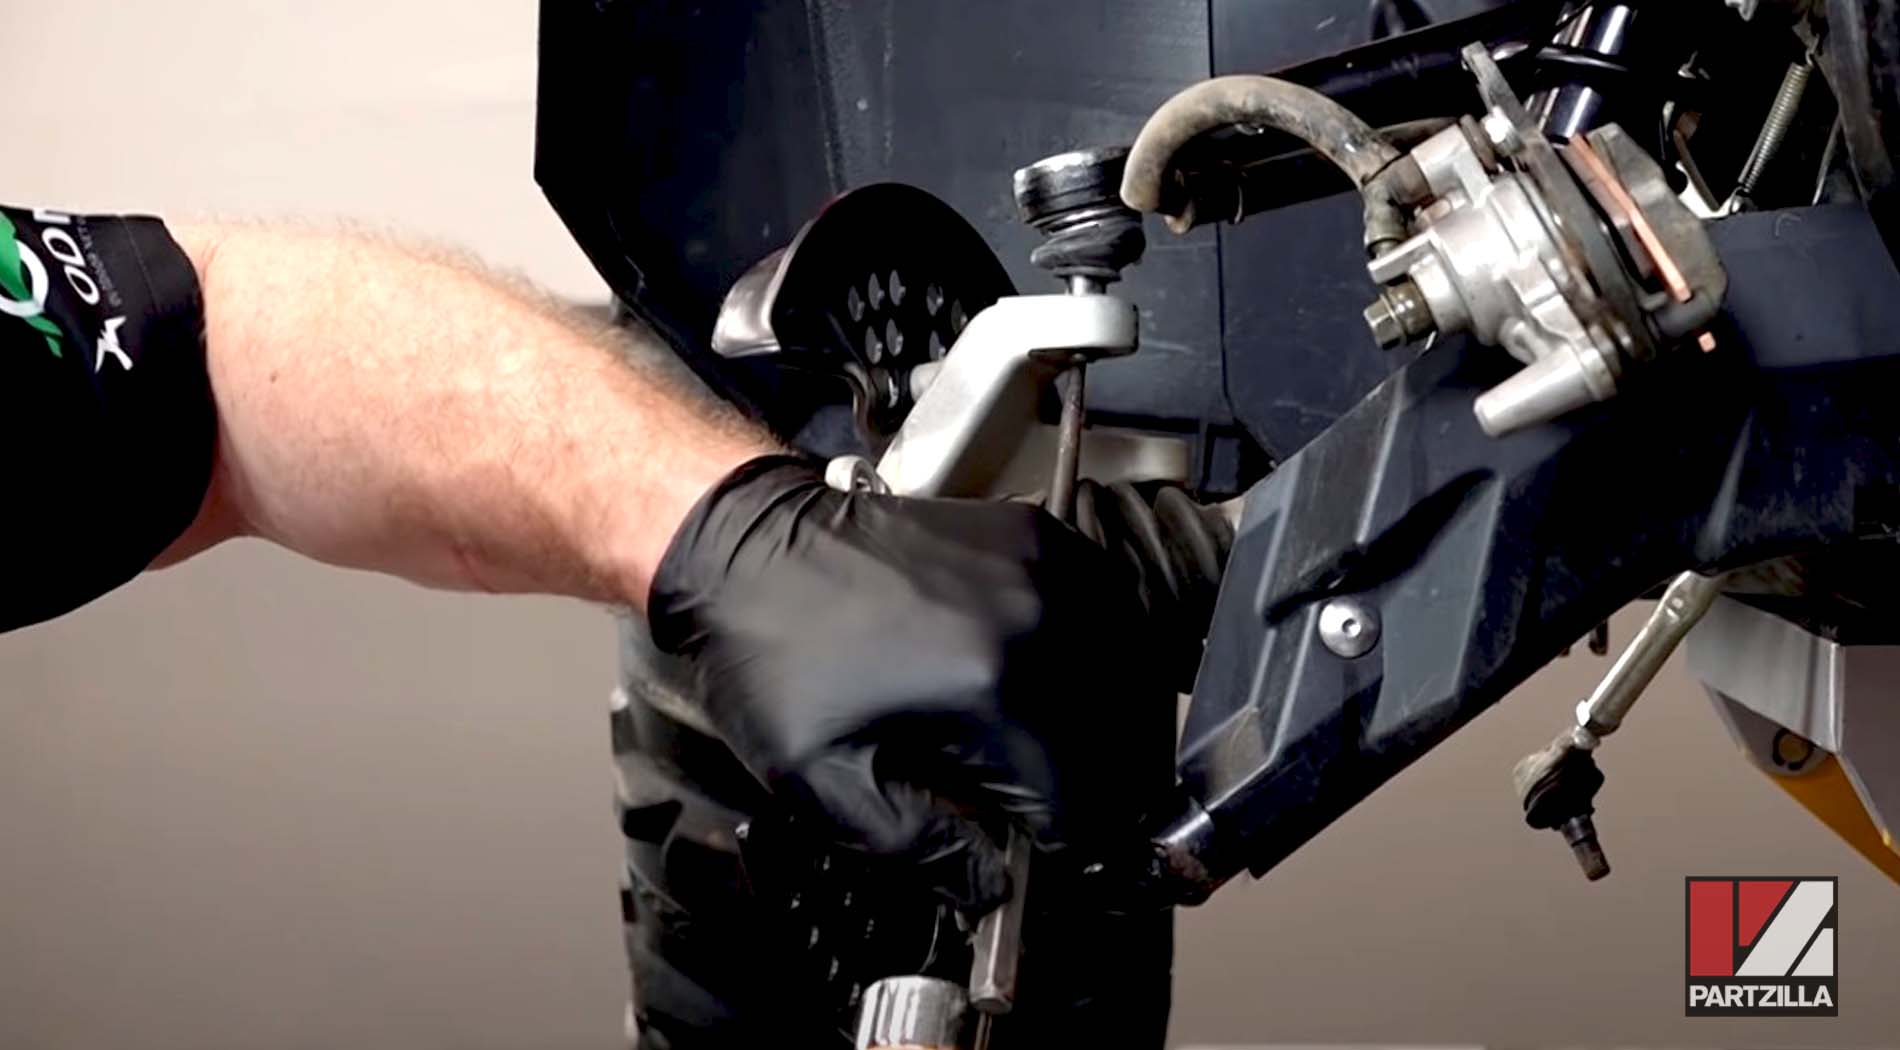
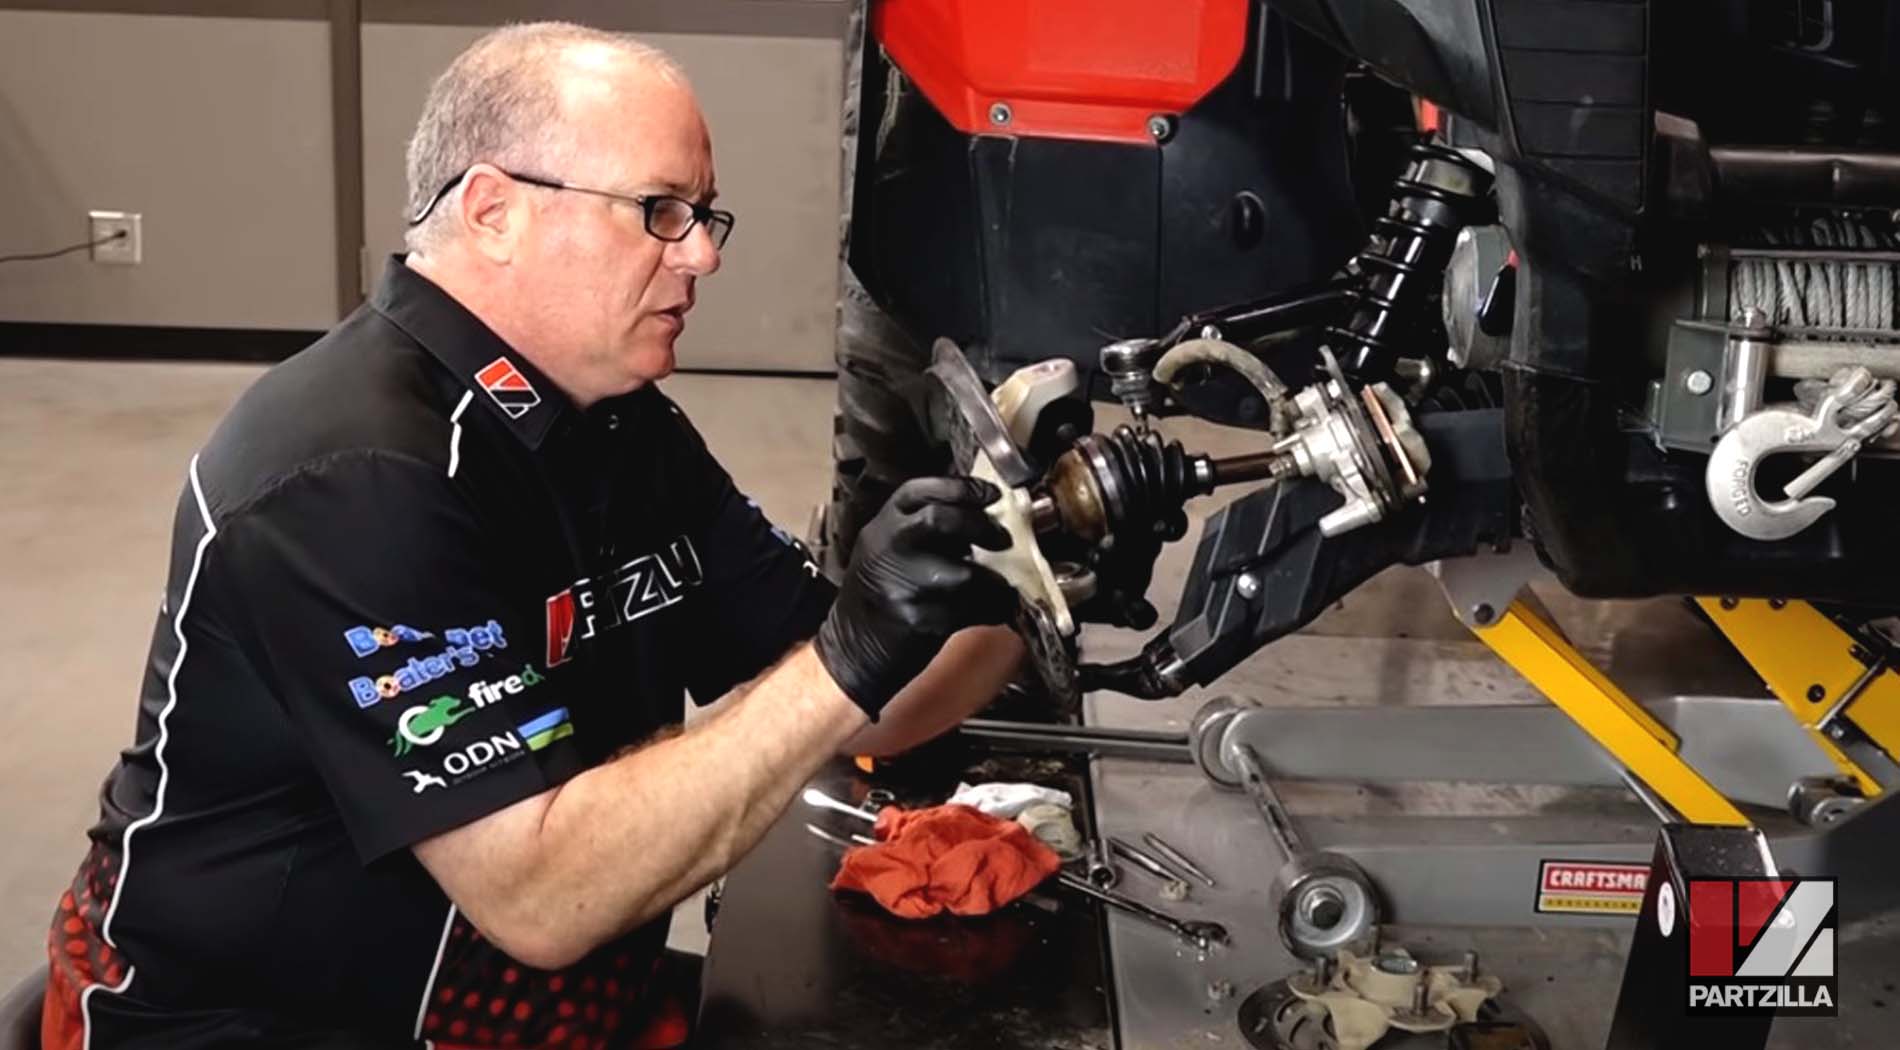
Step 6. Remove the cotter pin and nut from the lower ball joint. Use a dead-blow hammer to tap the lower ball joint out from the lower A-arm. If the ball joint is stuck in place, use the method described in the PRO TIP from Step 5.
Step 7. Remove the protective wheel ring from the steering knuckle by taking off the three Philips screws with an impact driver to prevent stripping the screws’ heads.

Step 8. Remove the circlip from the base of the lower ball joint.
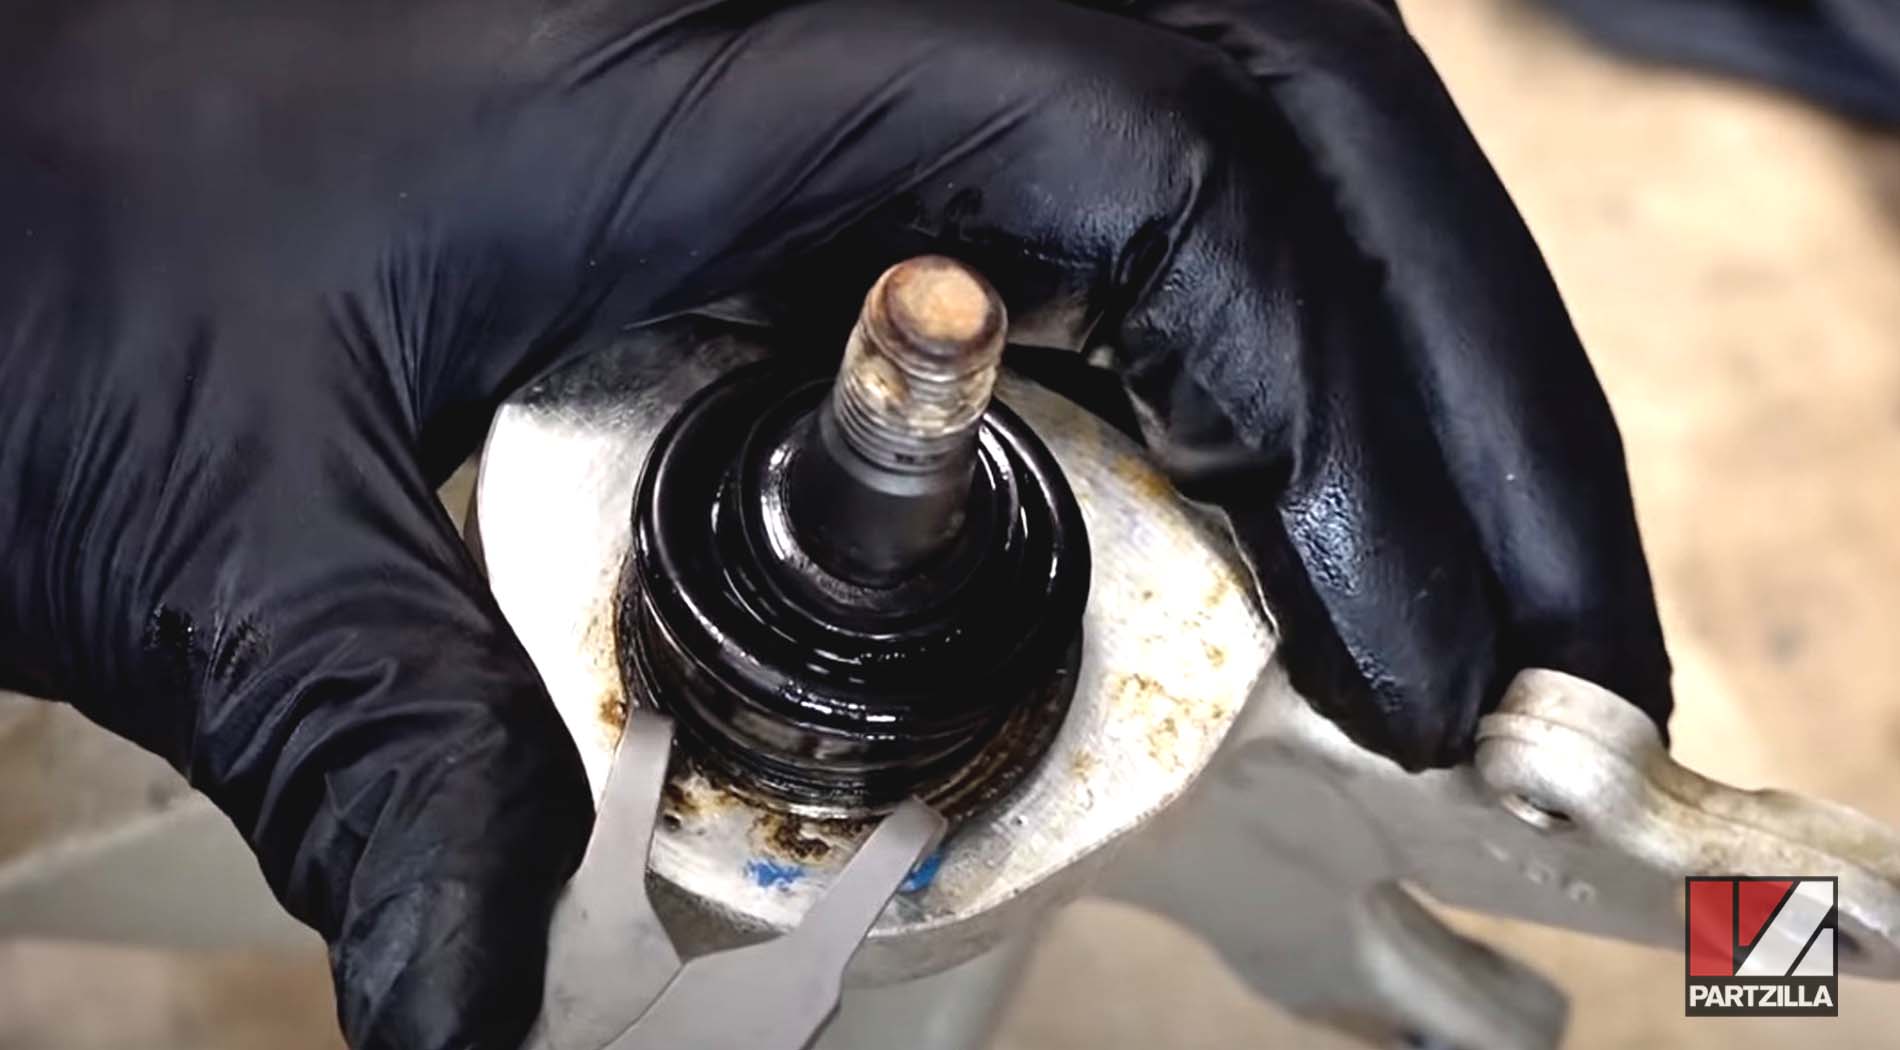
Step 9. Put the steering knuckle over a vise, and use a hammer to drive the lower ball joint out of the steering knuckle.
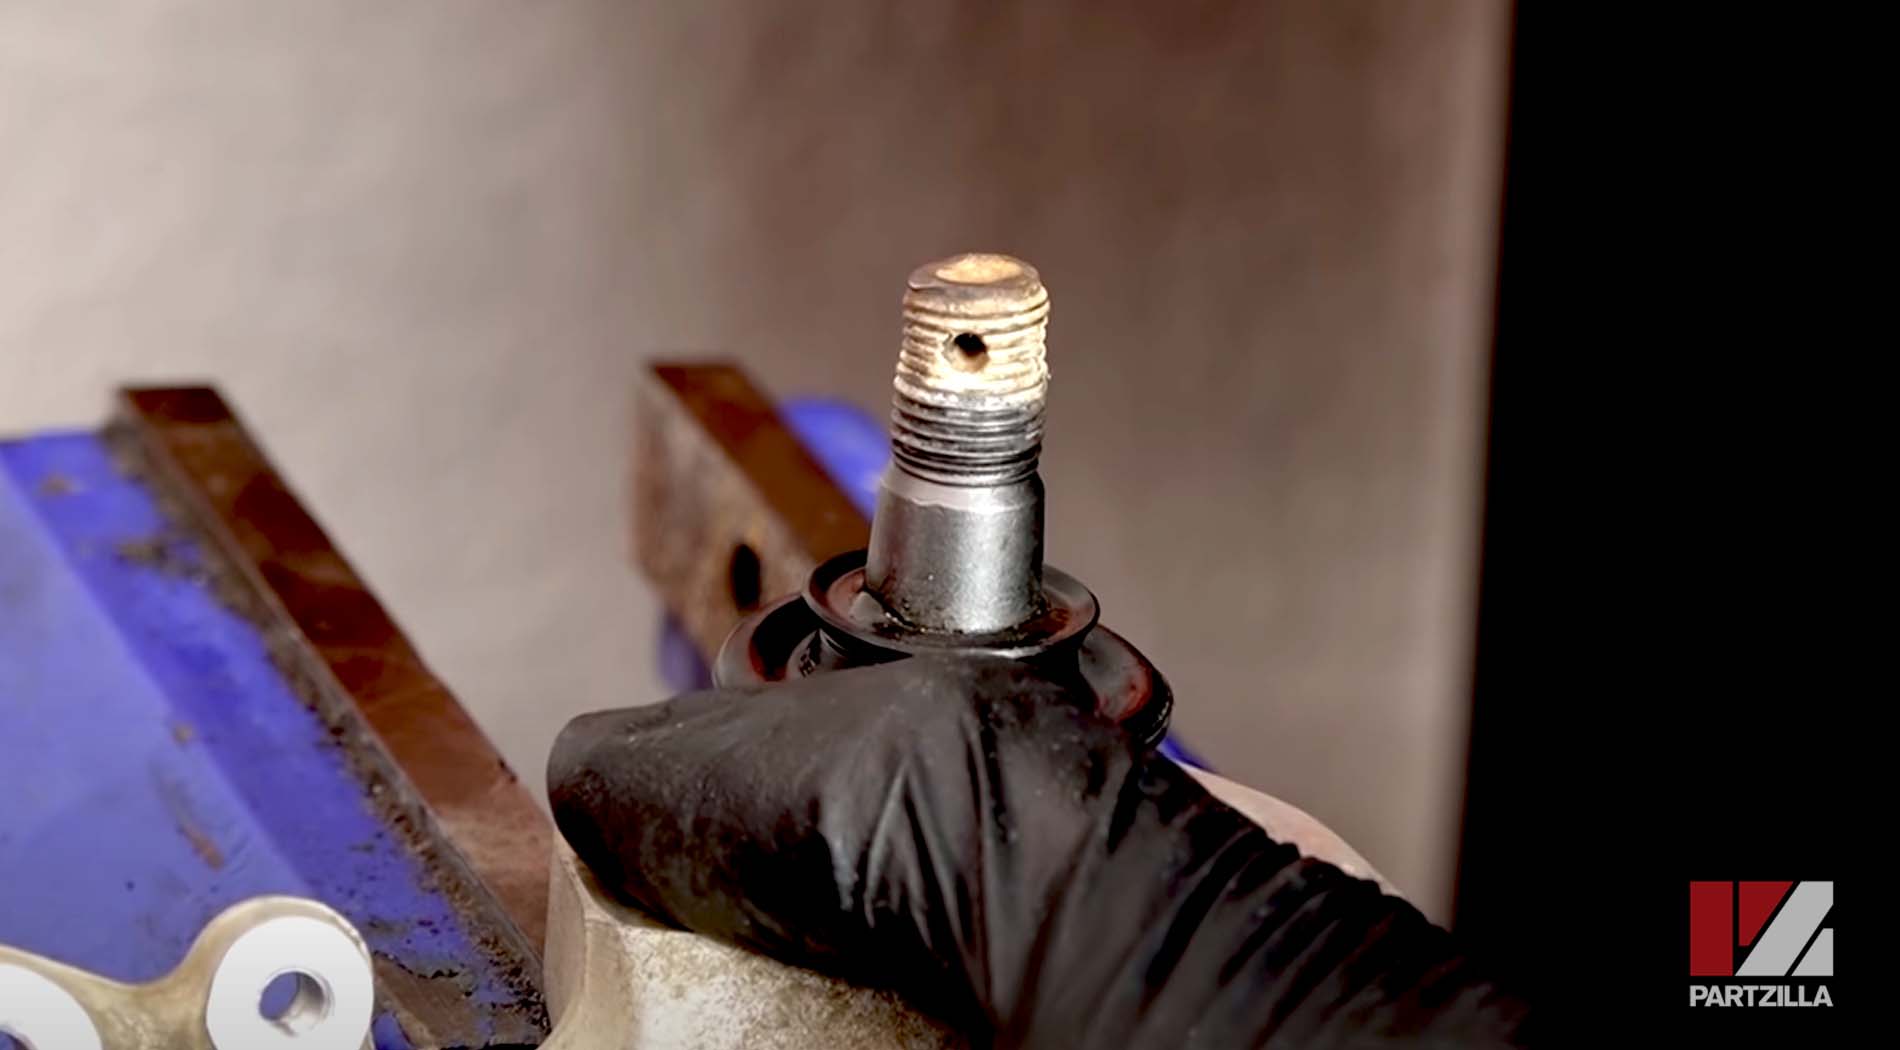
Step 10. Clean the steering knuckle, paying particular attention to the space for the lower ball joint.
Step 11. Put a 32mm socket over the new lower ball joint, and use the combination of the vise and the socket to push the new ball joint into the steering knuckle until it bottoms out.
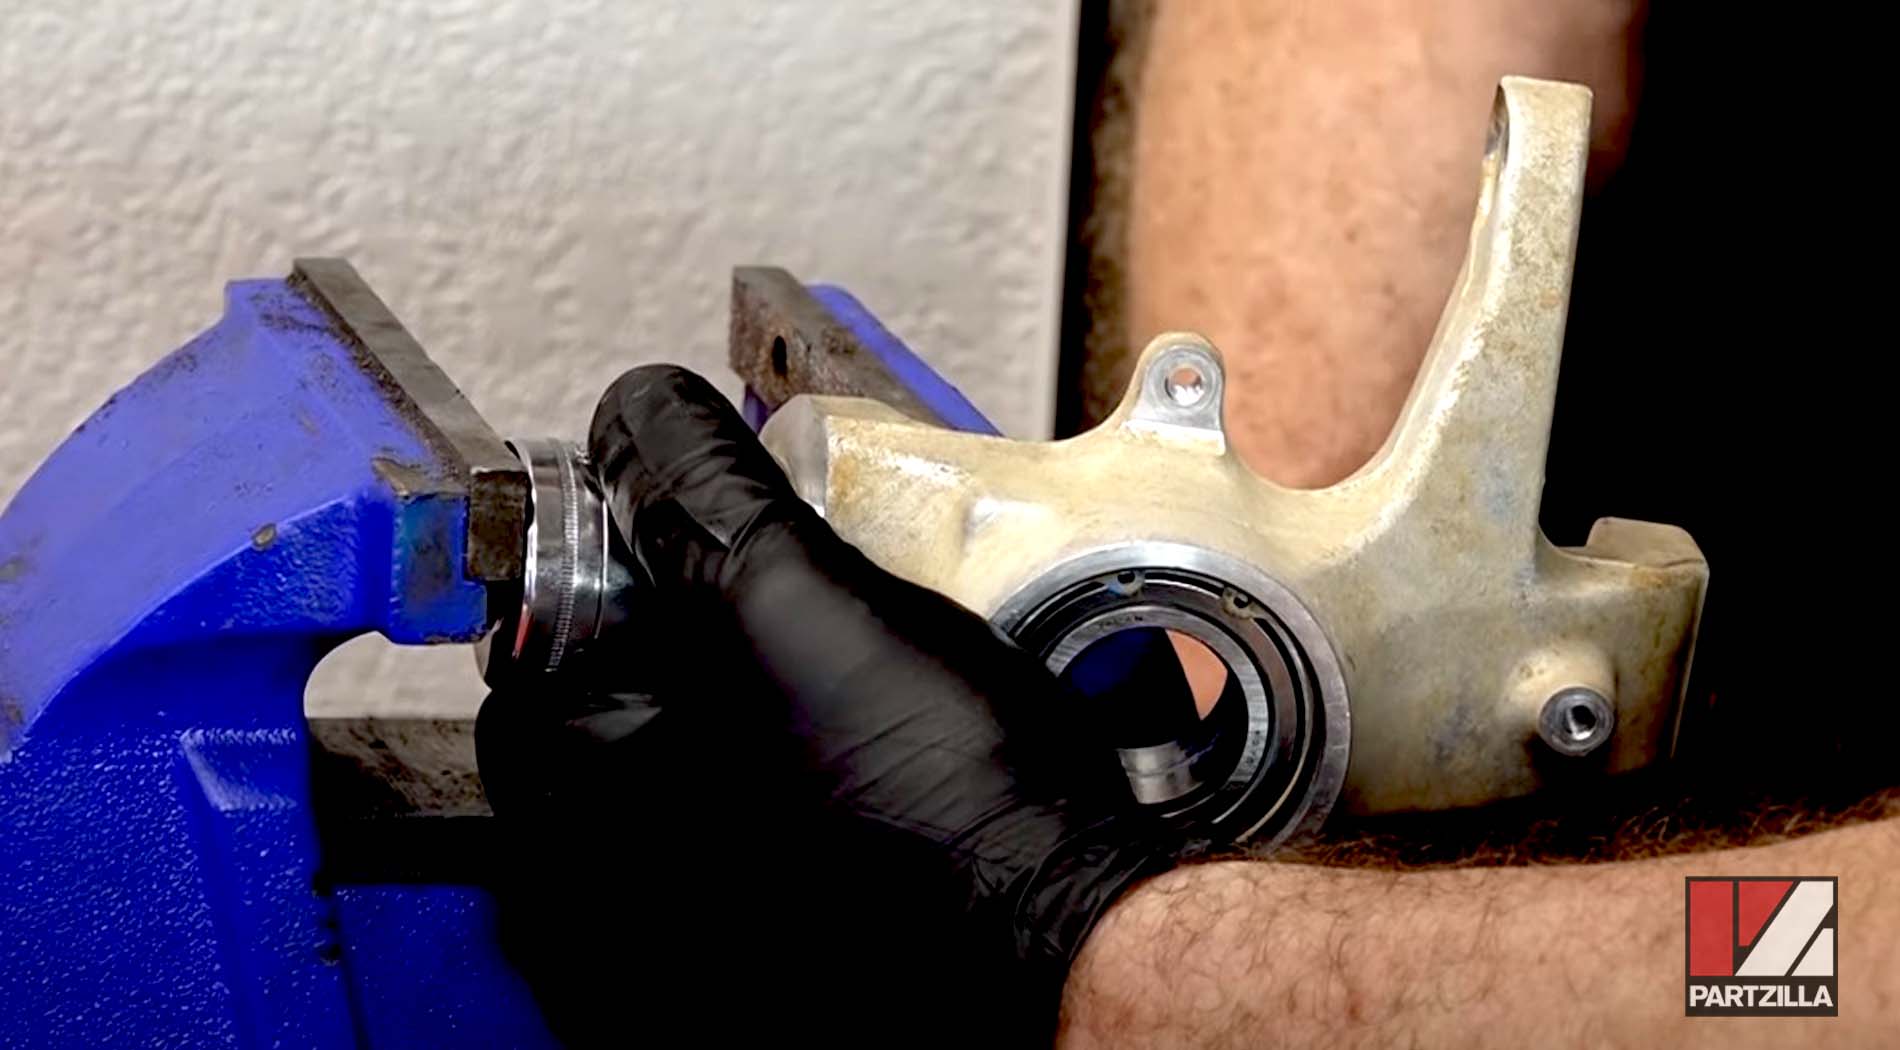
PRO TIP: Work the vise in and out and on different parts of the socket to drive the new ball joint in slowly and evenly.
Step 12. Install a new circlip over the lower ball joint, and reinstall the protective wheel ring to the steering knuckle.
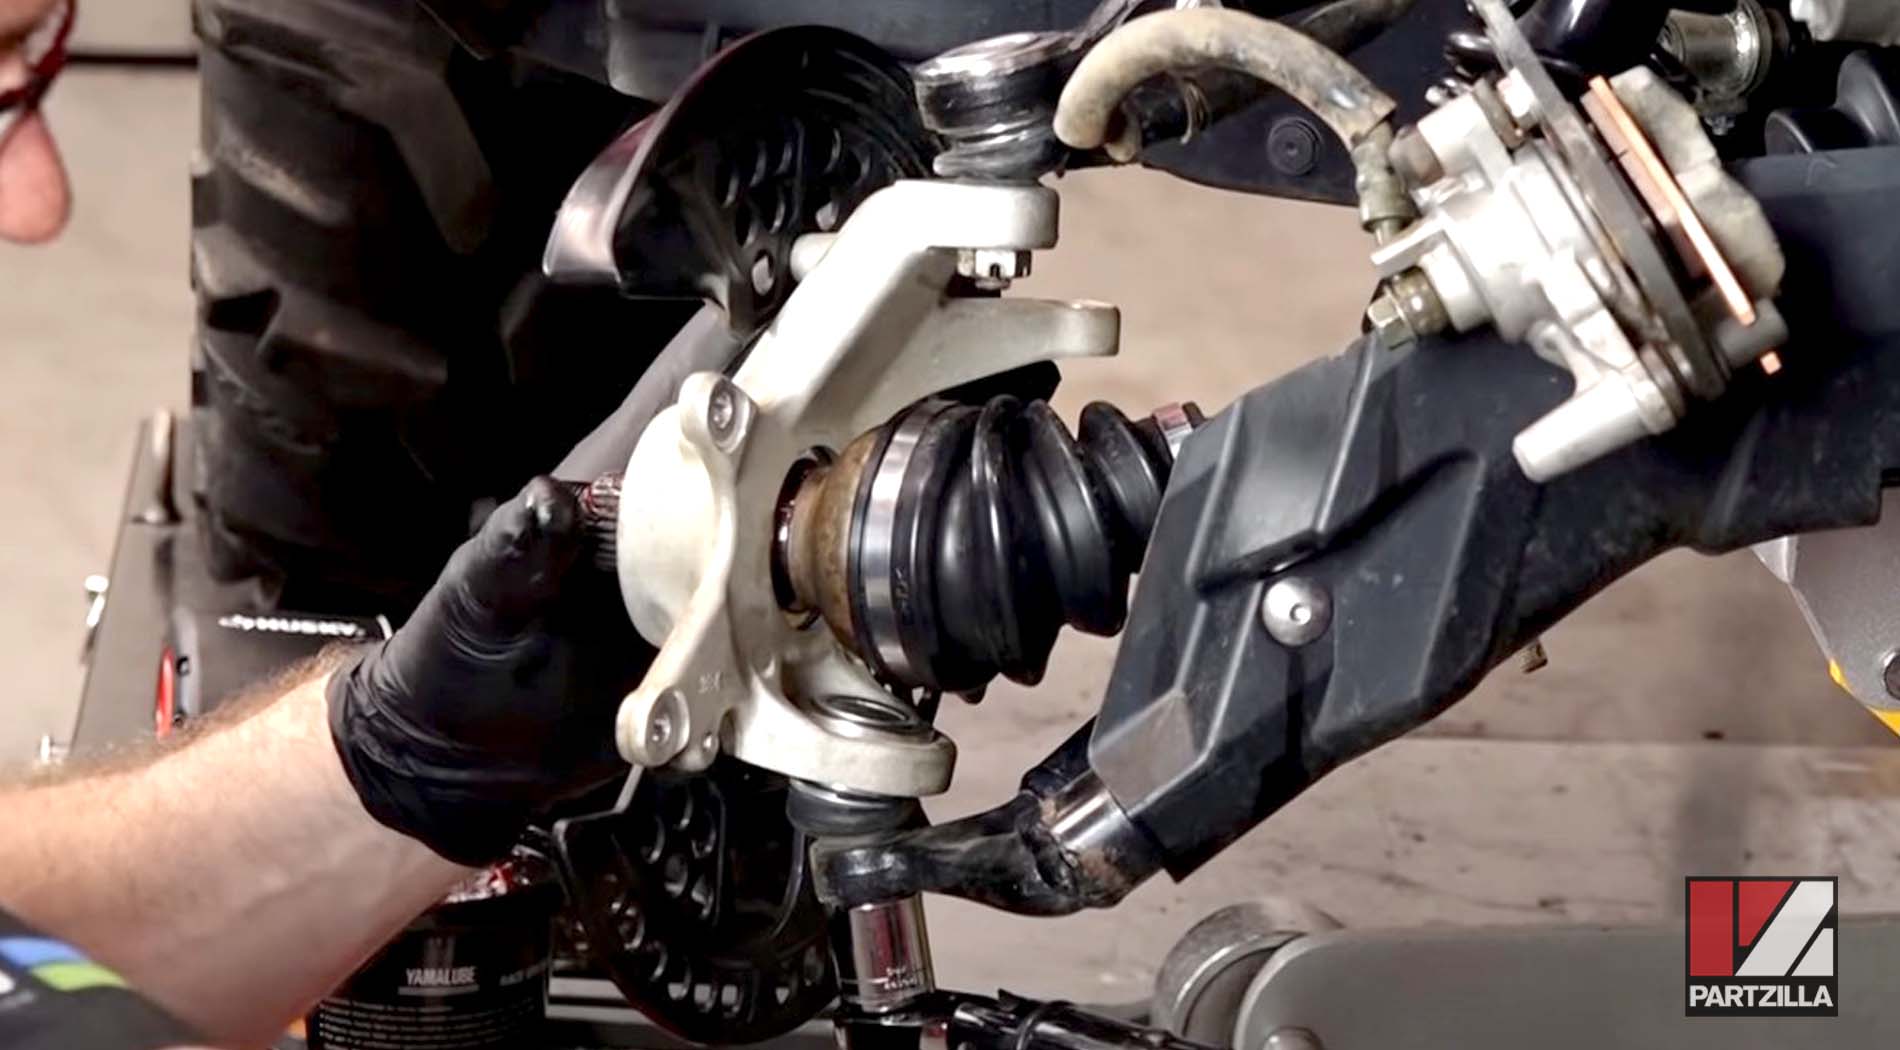
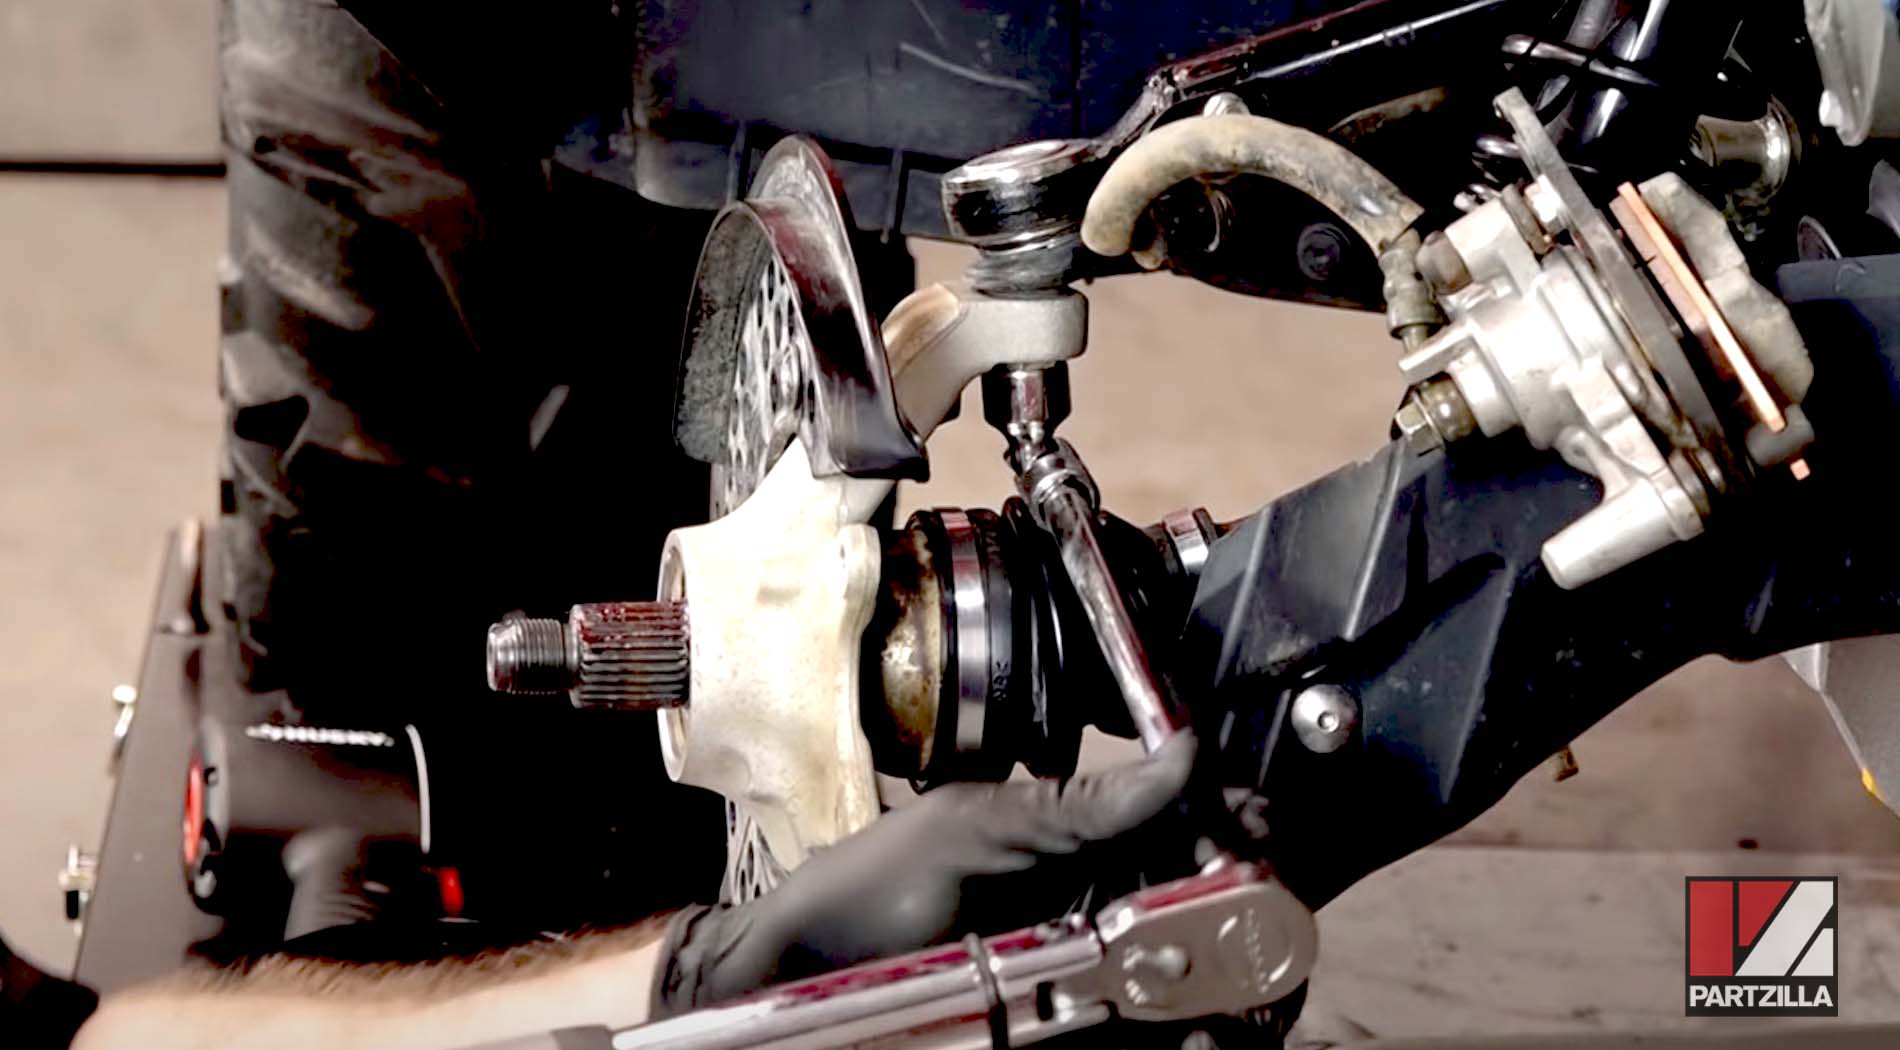
Step 13. Grease the CV joint and stub axle, and reinstall the steering knuckle over it.
Step 14. Drop the lower ball joint into the lower A-arm, then reinstall the nut and torque it to 22 foot-pounds. Reinstall the cotter pin.
Step 15. Press the upper ball joint back into the steering knuckle, then reinstall the nut and torque it to 18 foot-pounds. Reinstall the cotter pin.
Step 16. Press the steering arm ball joint back into the steering knuckle, then reinstall the washer and nut, and torque the nut to 18 foot-pounds. Reinstall the cotter pin.
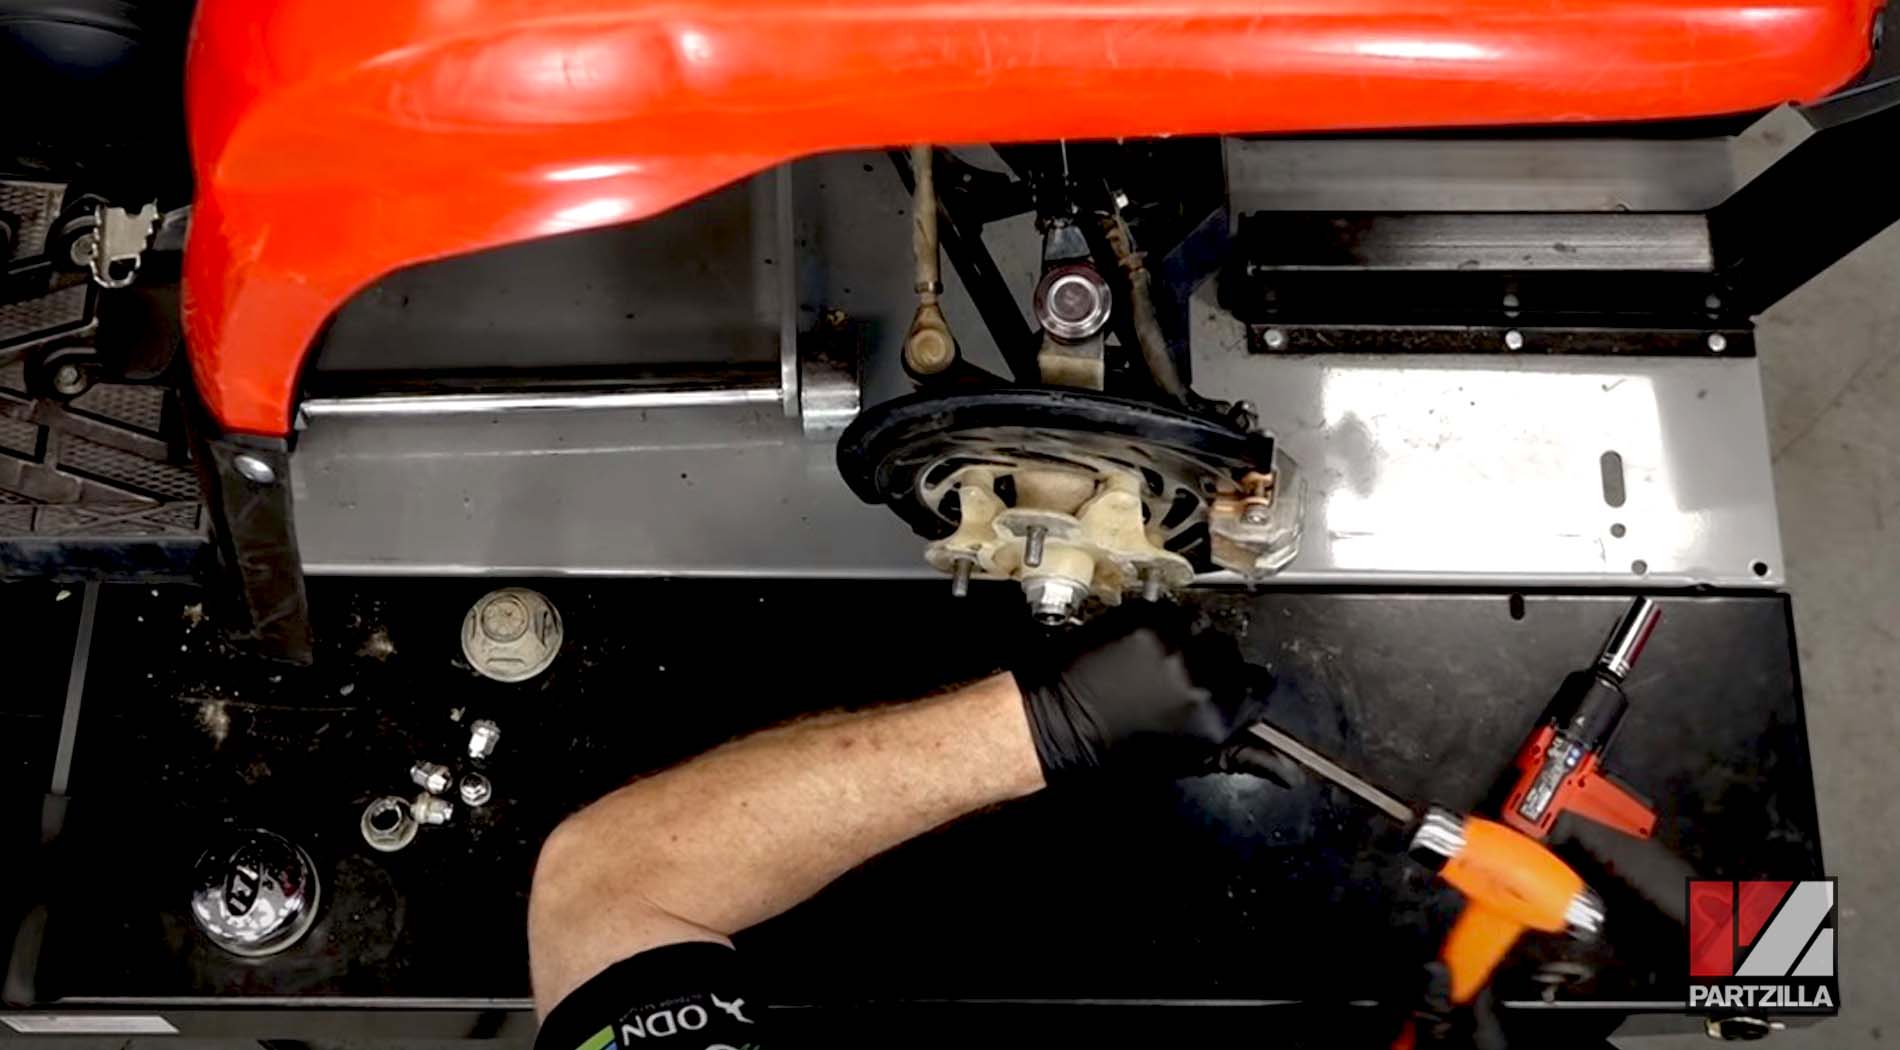
Step 17. Reinstall the wheel hub and brake rotor assembly onto the axle and install a new axle nut.
Step 18. Slide the brake caliper assembly back over the brake rotor, then reinstall the two caliper mounting bolts and torque them to 22 foot-pounds.
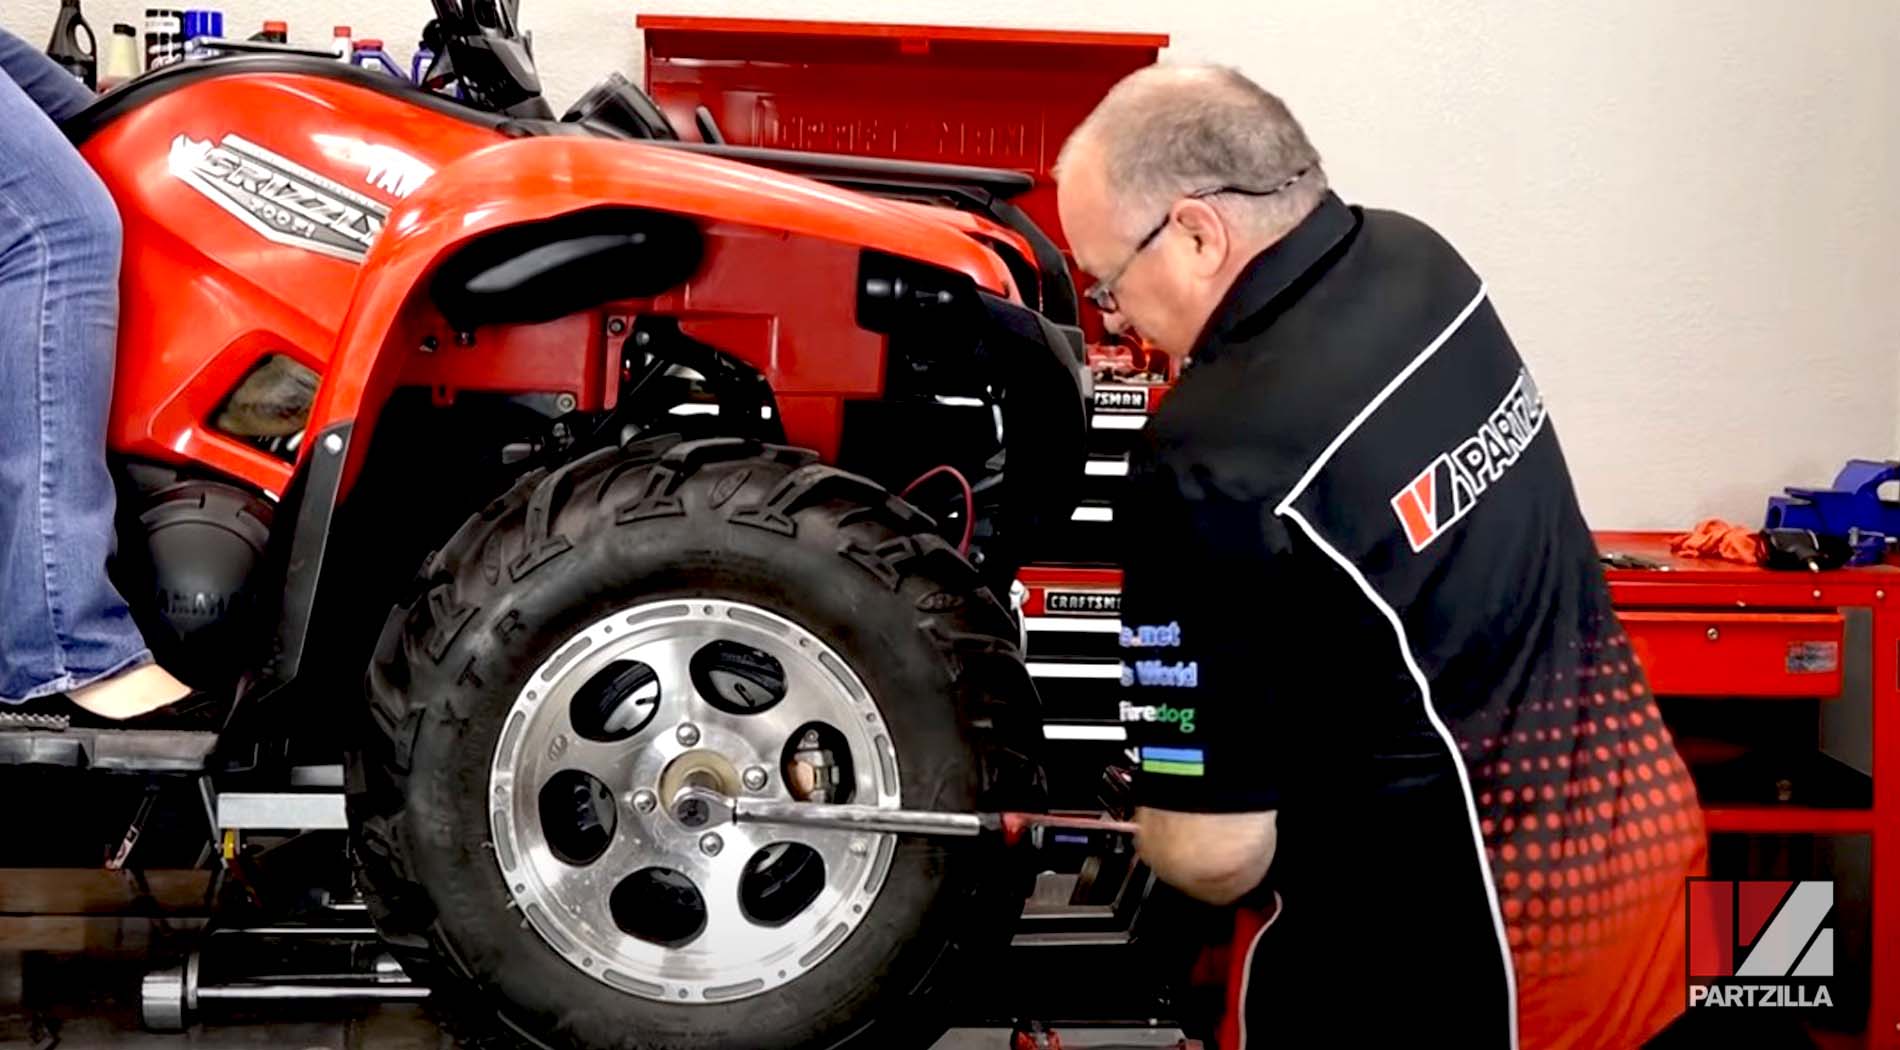
Step 19. Replace the front wheel, then sit the Grizzly back on the ground and have someone apply the brakes to prevent the axle from turning as you torque the axle nut to 190 foot-pounds.
Step 20. Remove the front wheel again, and stake the new axle nut against the axle to lock it in place.
Step 21. Reinstall the dust cap and the front wheel, then torque the lug nuts to 40 foot-pounds and you’re done.
Ready to replace the upper ball joint on your Yamaha ATV next? Watch our Yamaha Grizzly YFM700 upper ball joint replacement video below to see how it’s done.