Yamaha Generator Carb Removal & Cleaning
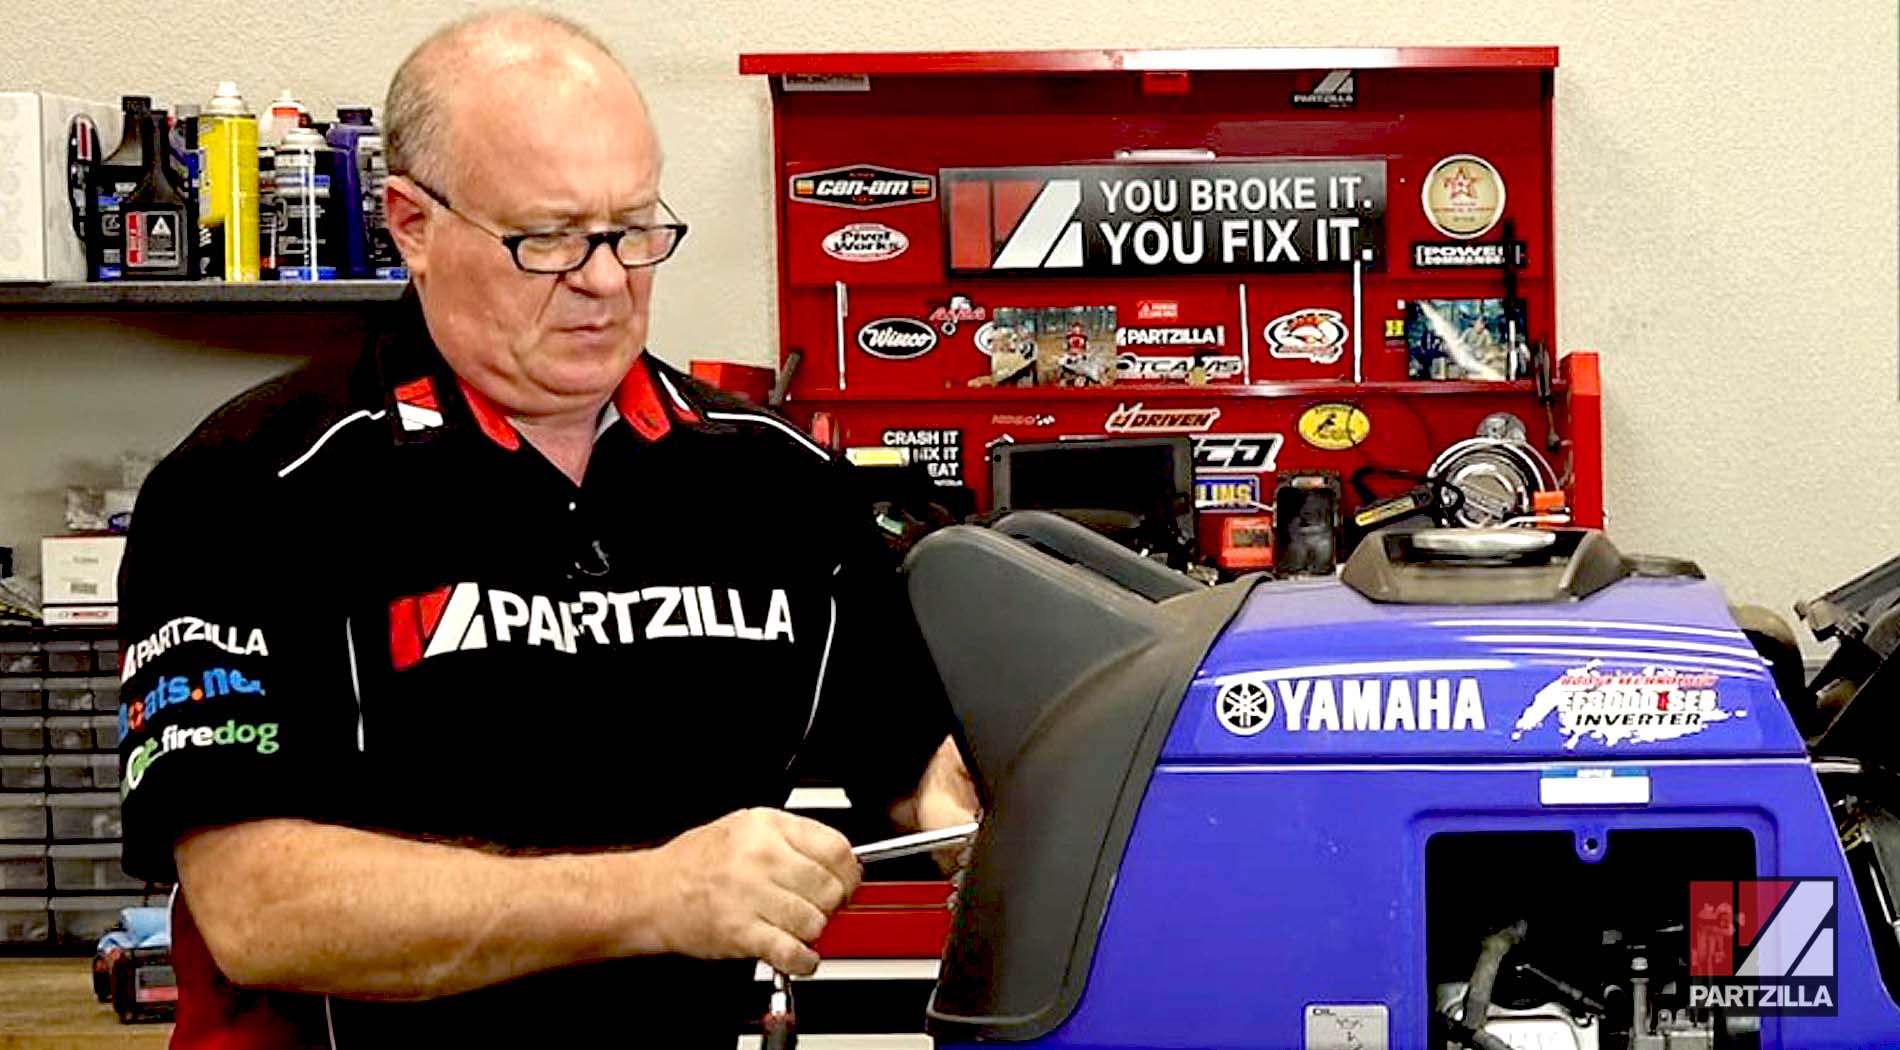
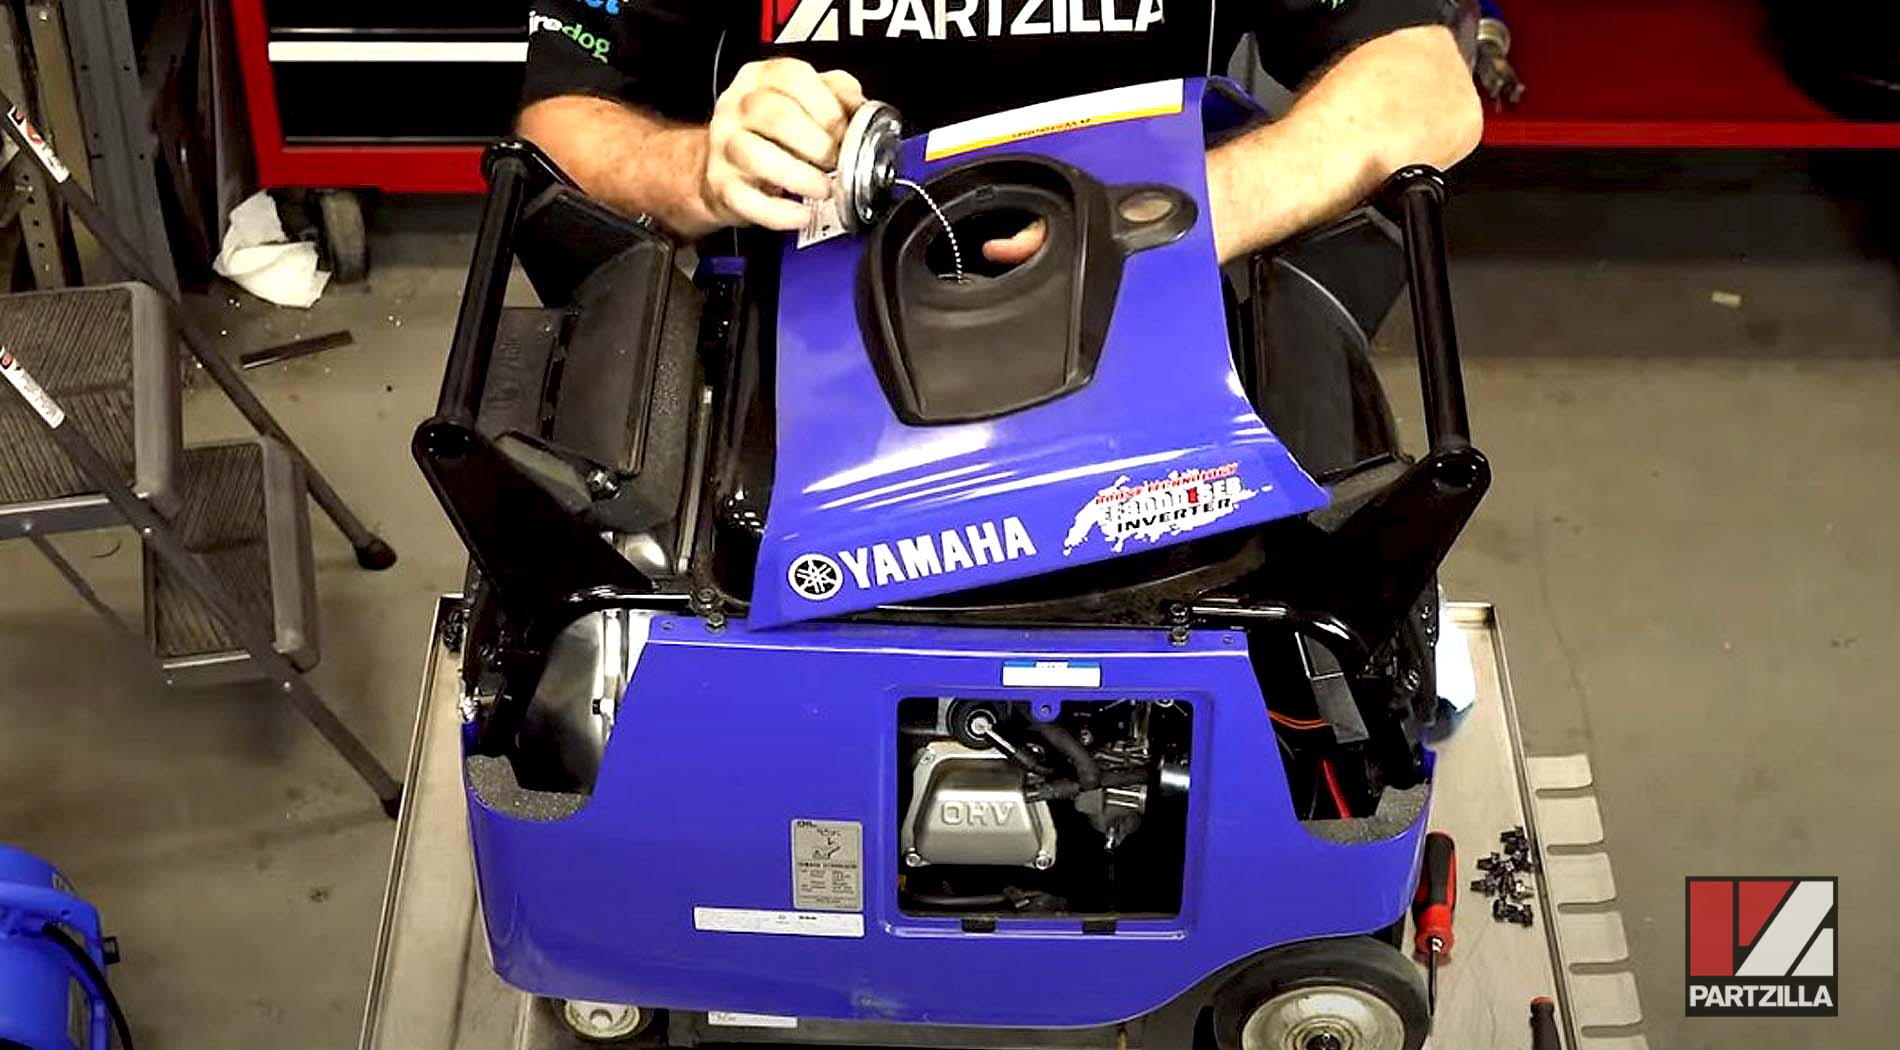
When Partzilla’s powersports pro John Talley went to test his own Yamaha EF3000iSEB generator before a weekend trip, he found fuel in it that had been sitting in the carburetor for 5-6 months.
The generator started up, but it wasn’t running well with the old fuel sitting inside it, which means a carburetor cleaning was in order. Watch the video above or follow the steps below to learn how to remove and clean a Yamaha EF3000iSEB carburetor.
Tools and Parts - Yamaha Generator Carburetor Cleaning
- Needlenose pliers
- Screwdrivers
- Ratchet and extensions
- Carb cleaner
How to Remove and Clean Yamaha Generator Carb
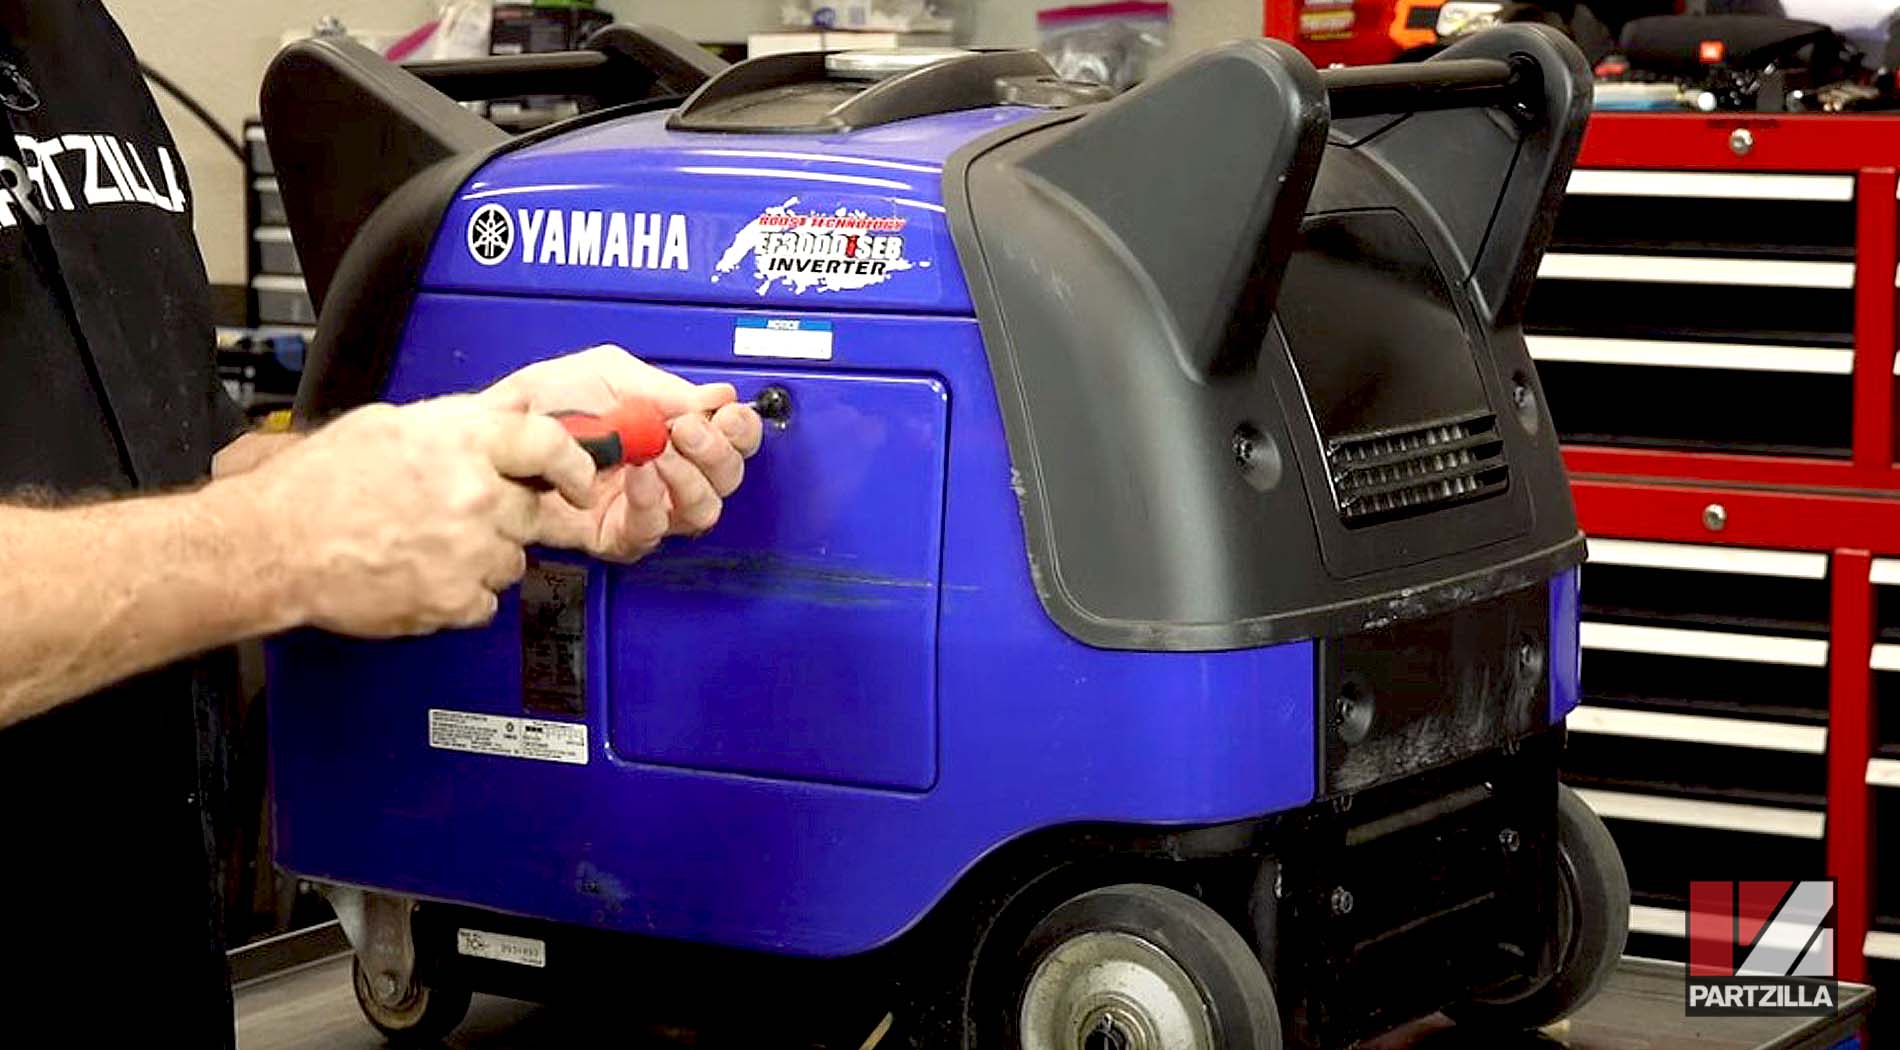
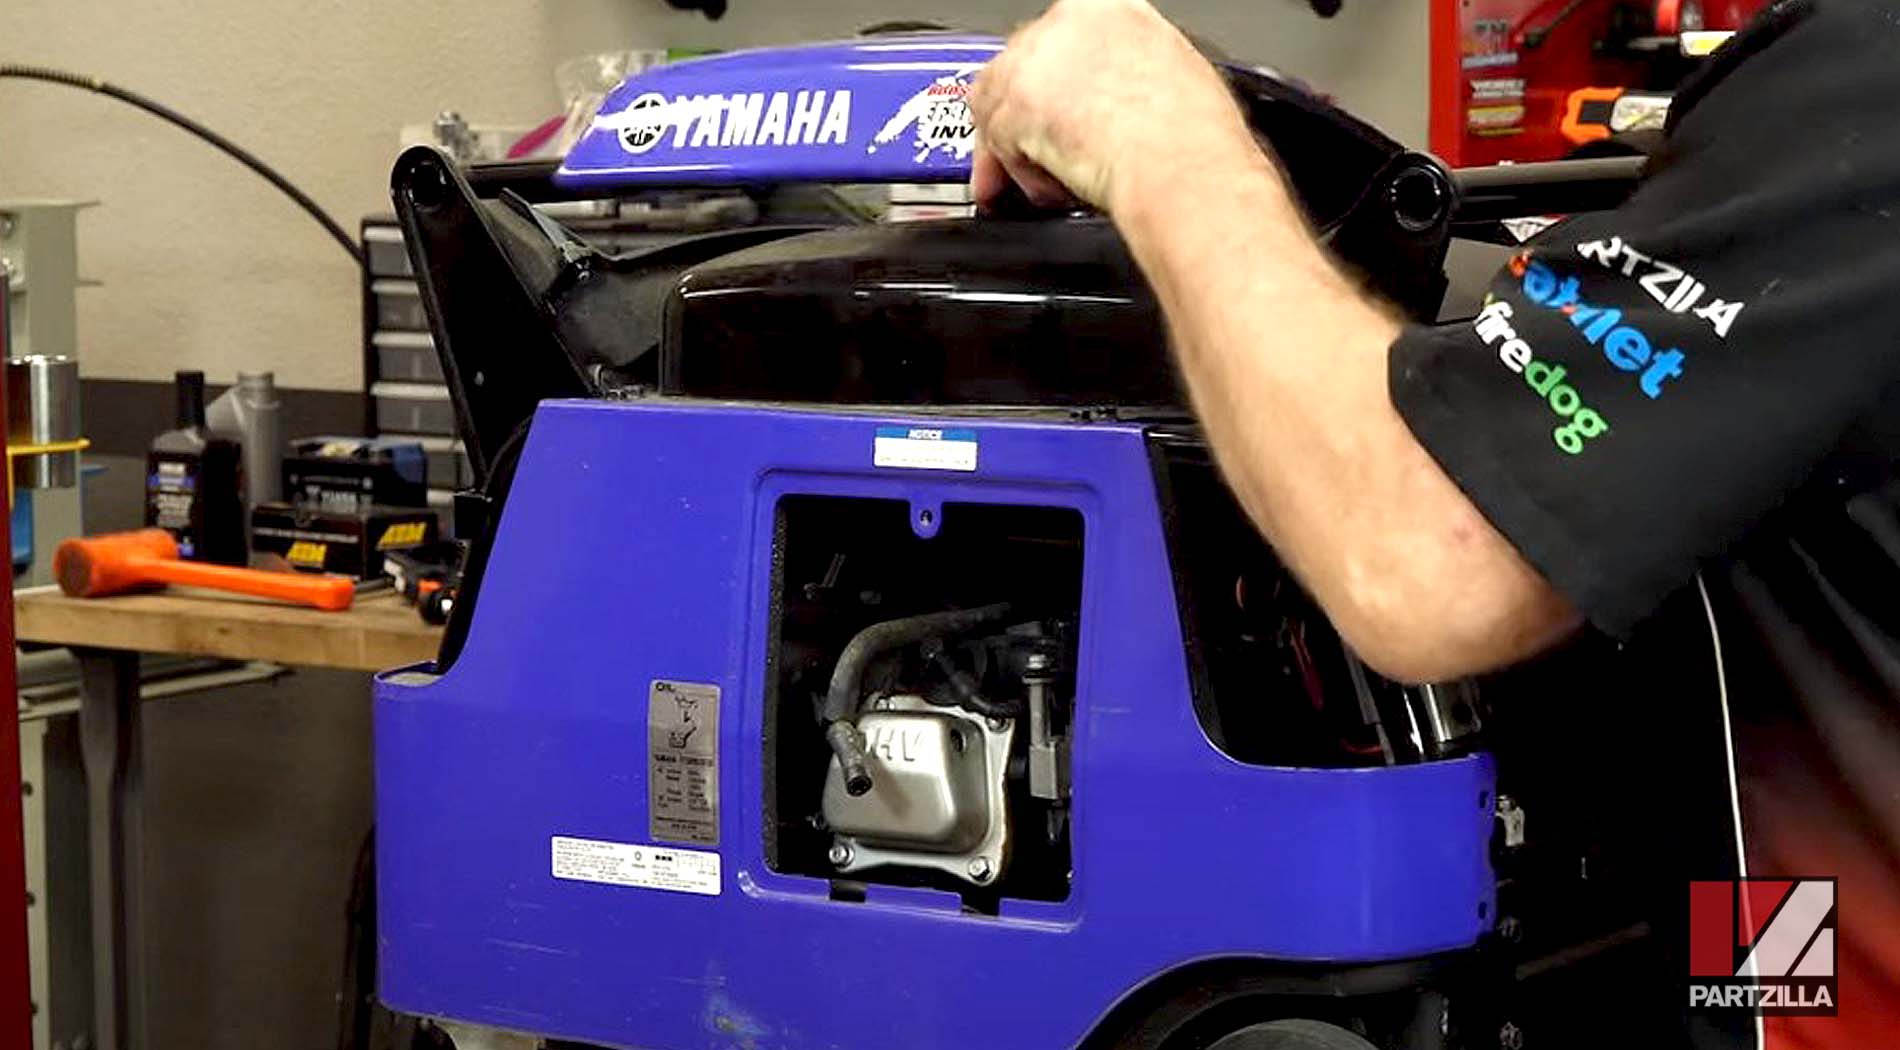
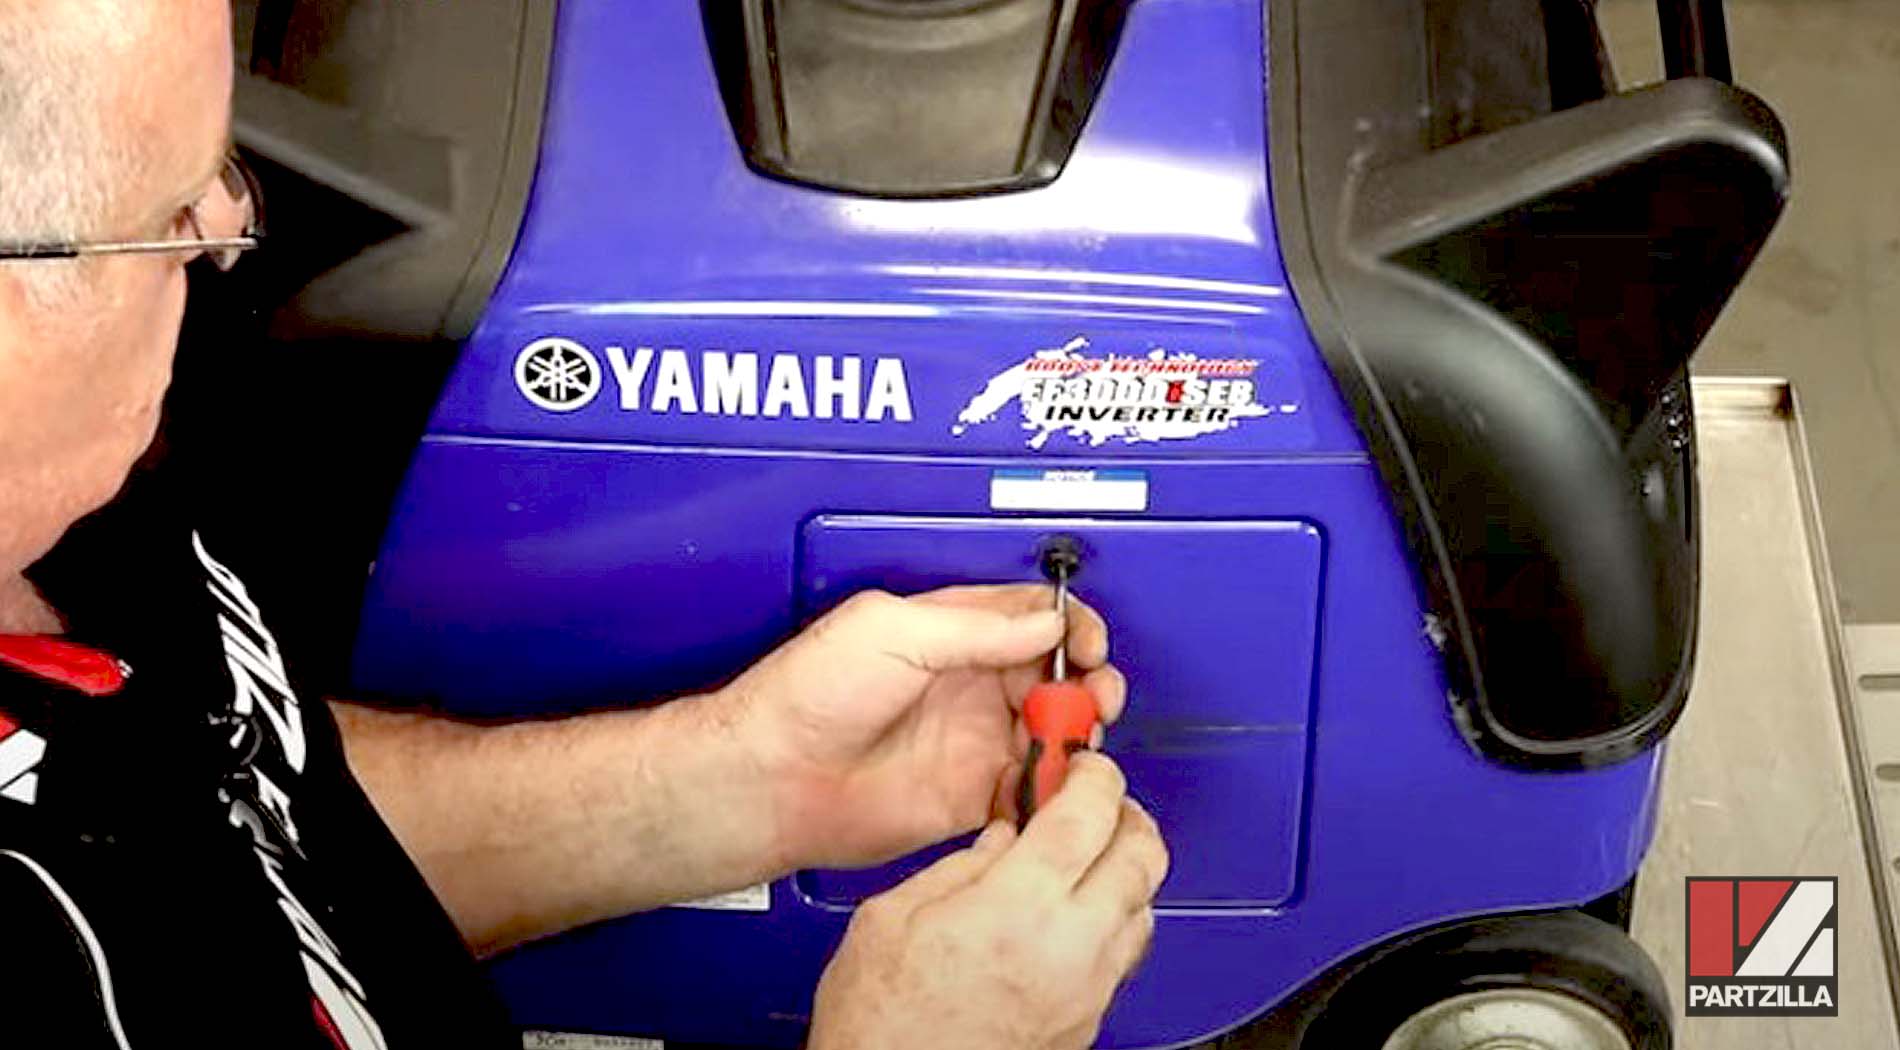
Step 1. Remove the access cover on the side.
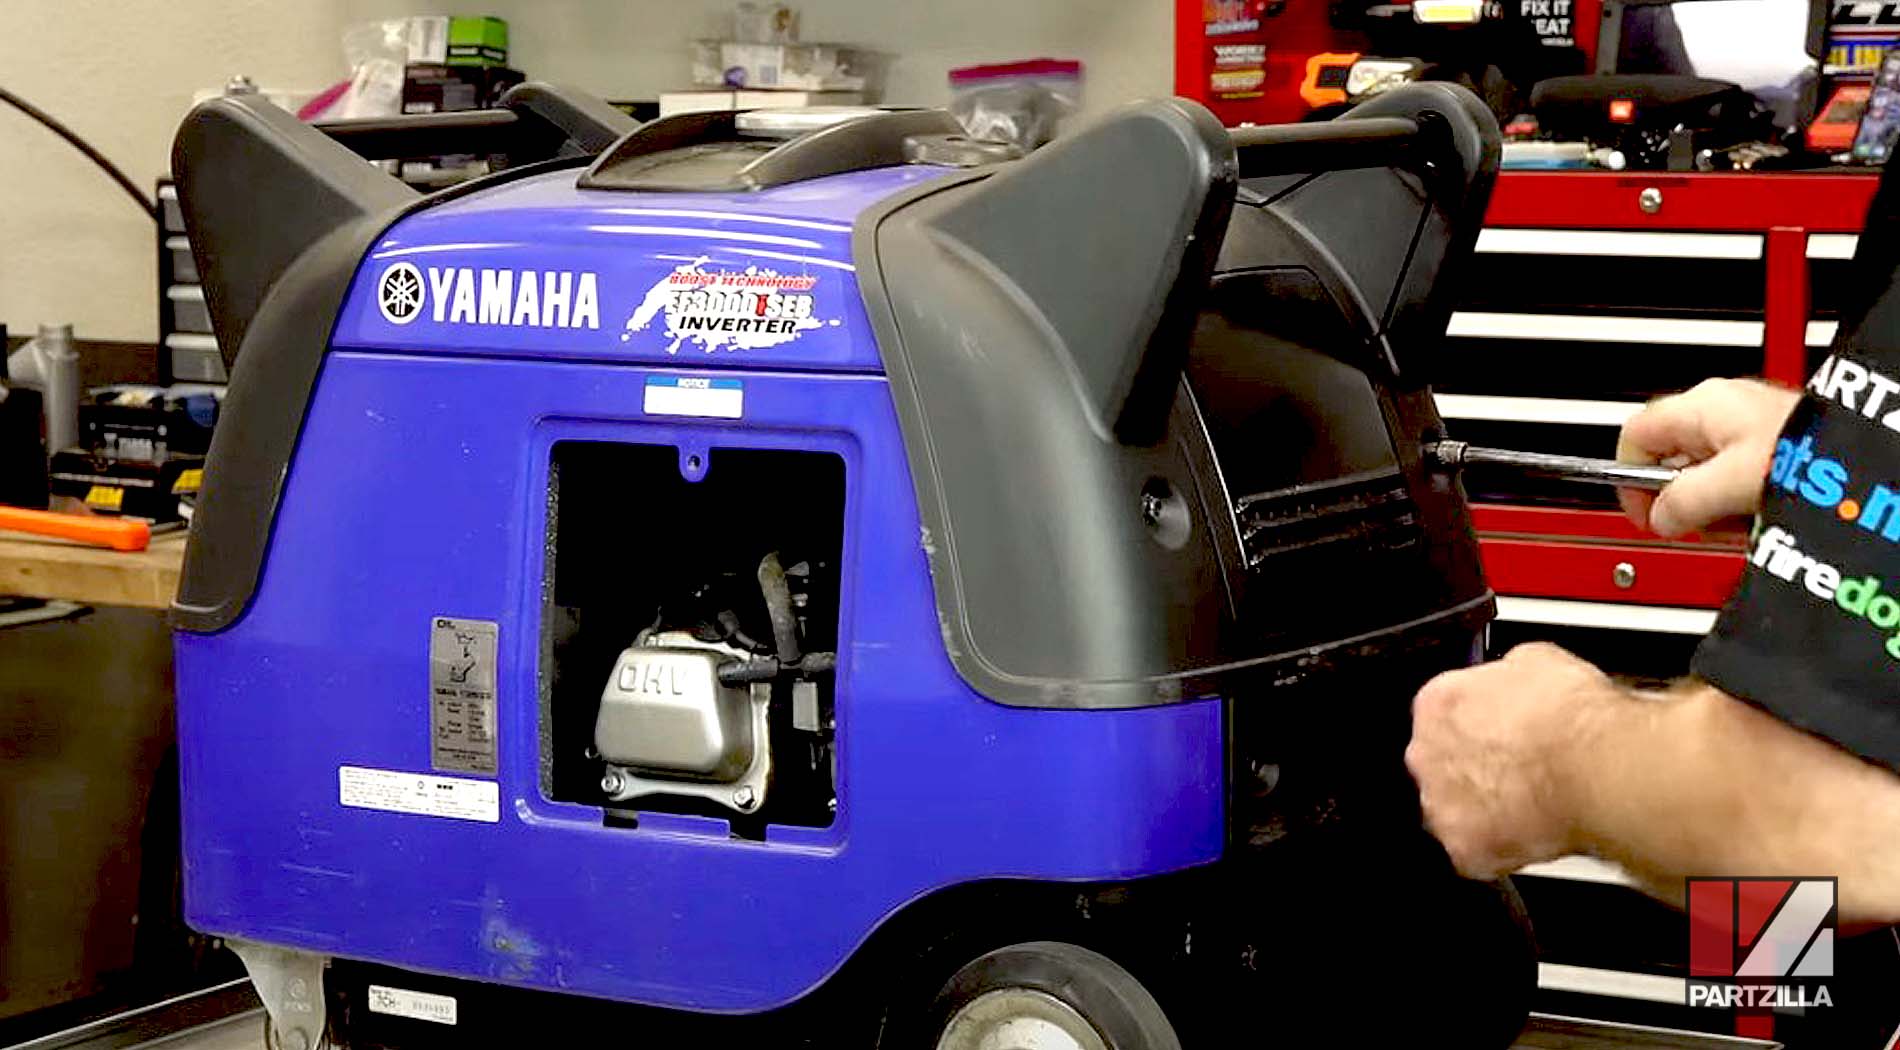
Step 2. Remove the end cover.
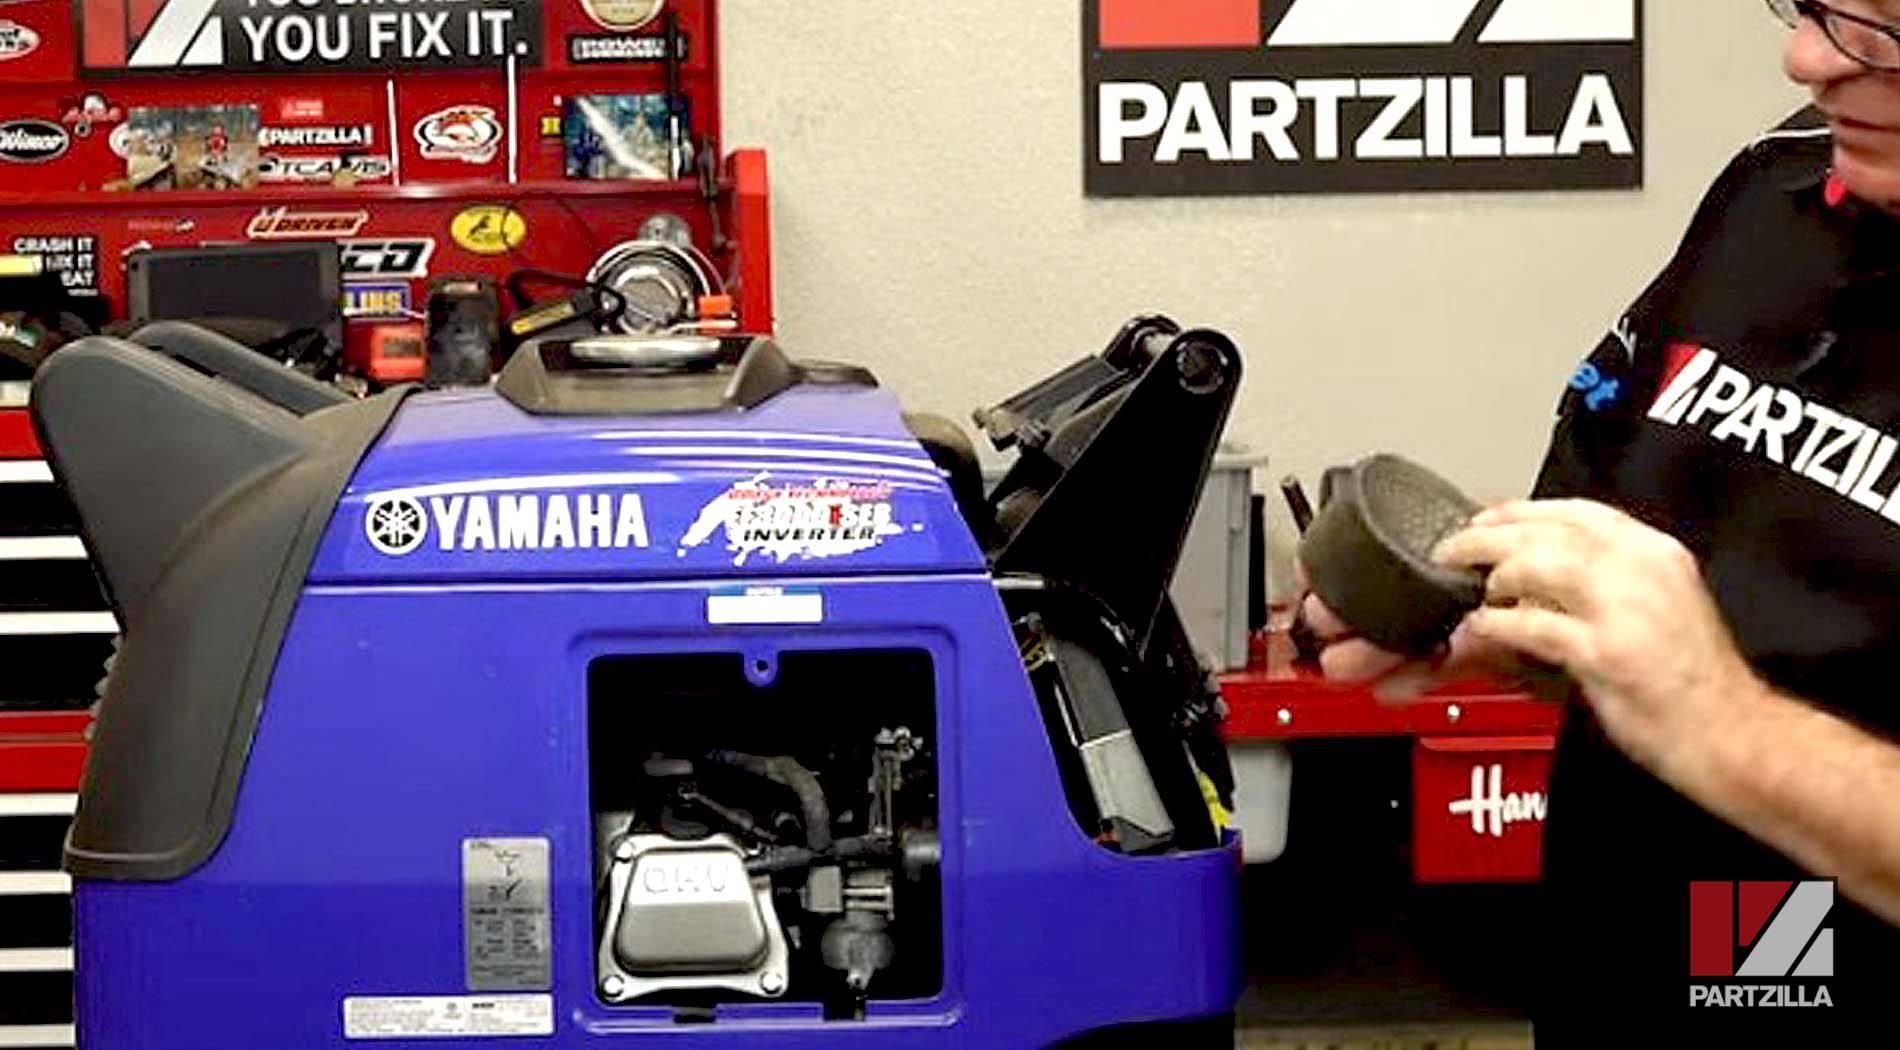
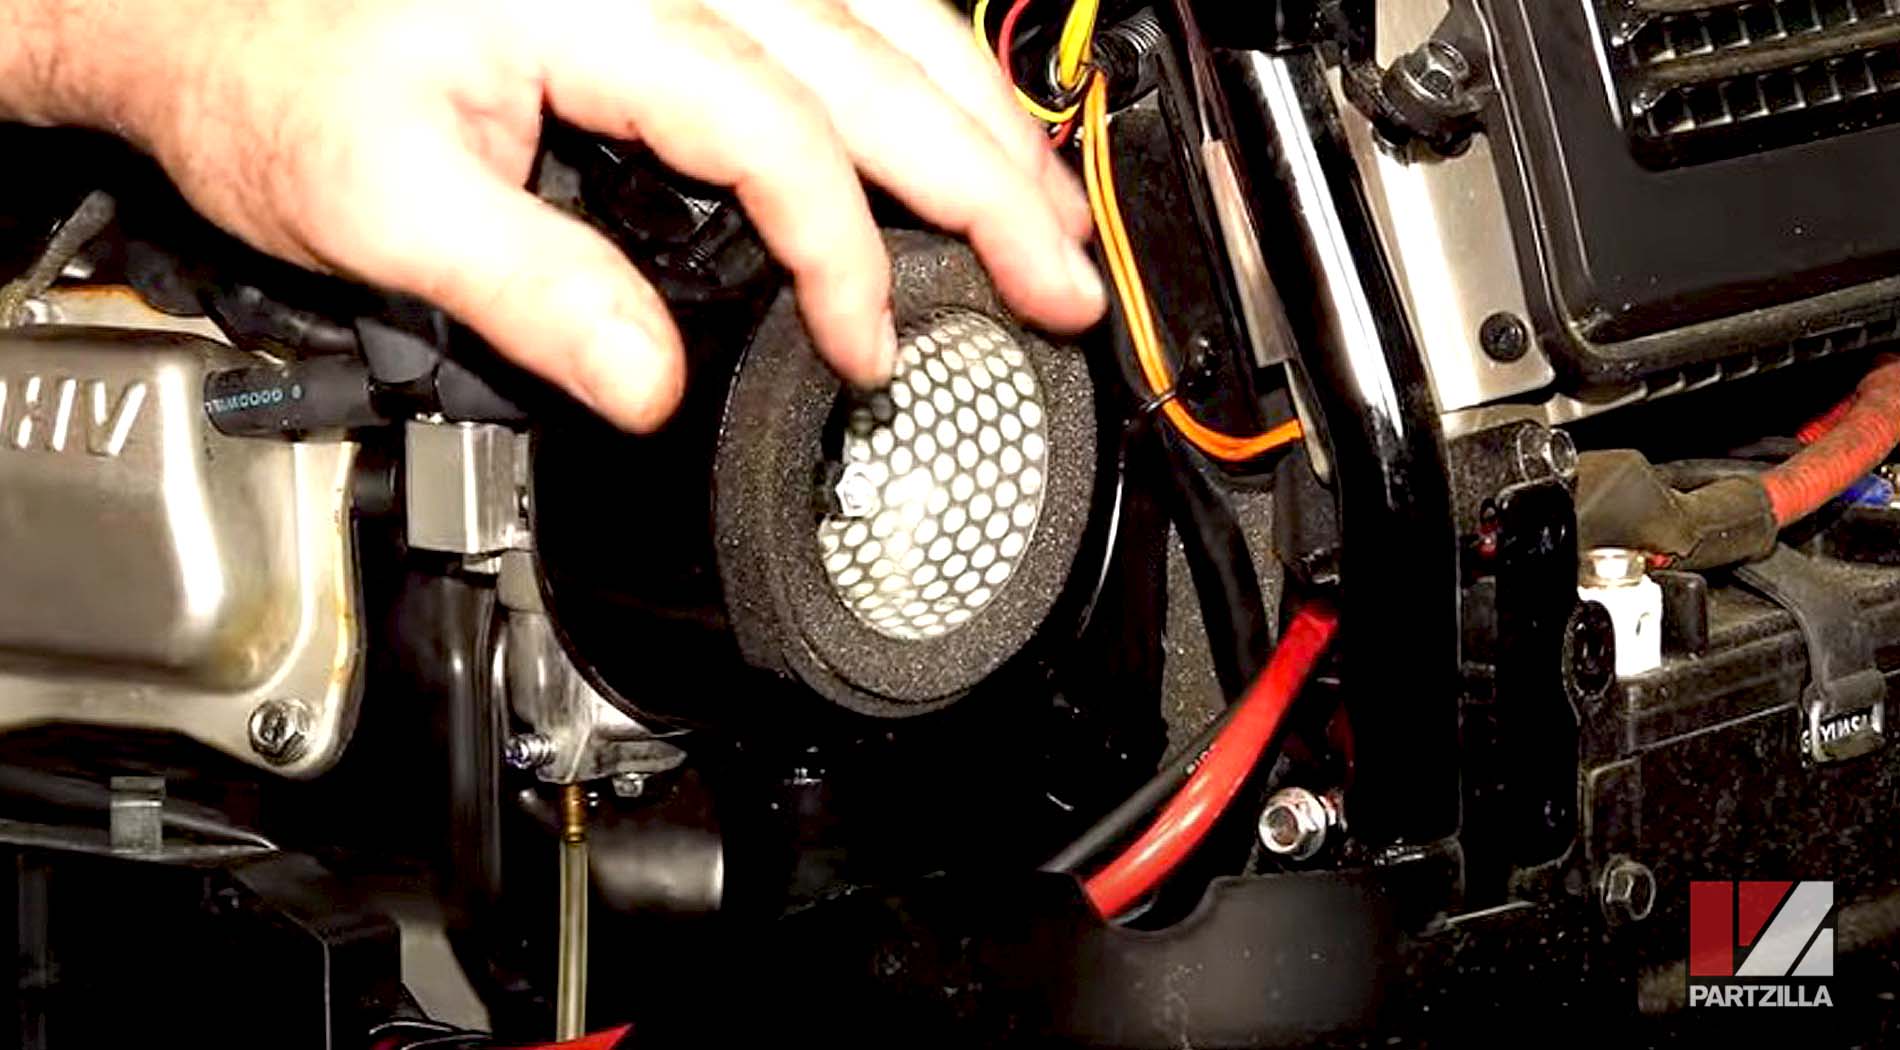
Step 3. Remove the air filter cover and the air filter itself from the airbox, and inspect the filter to see if it needs to be replaced.
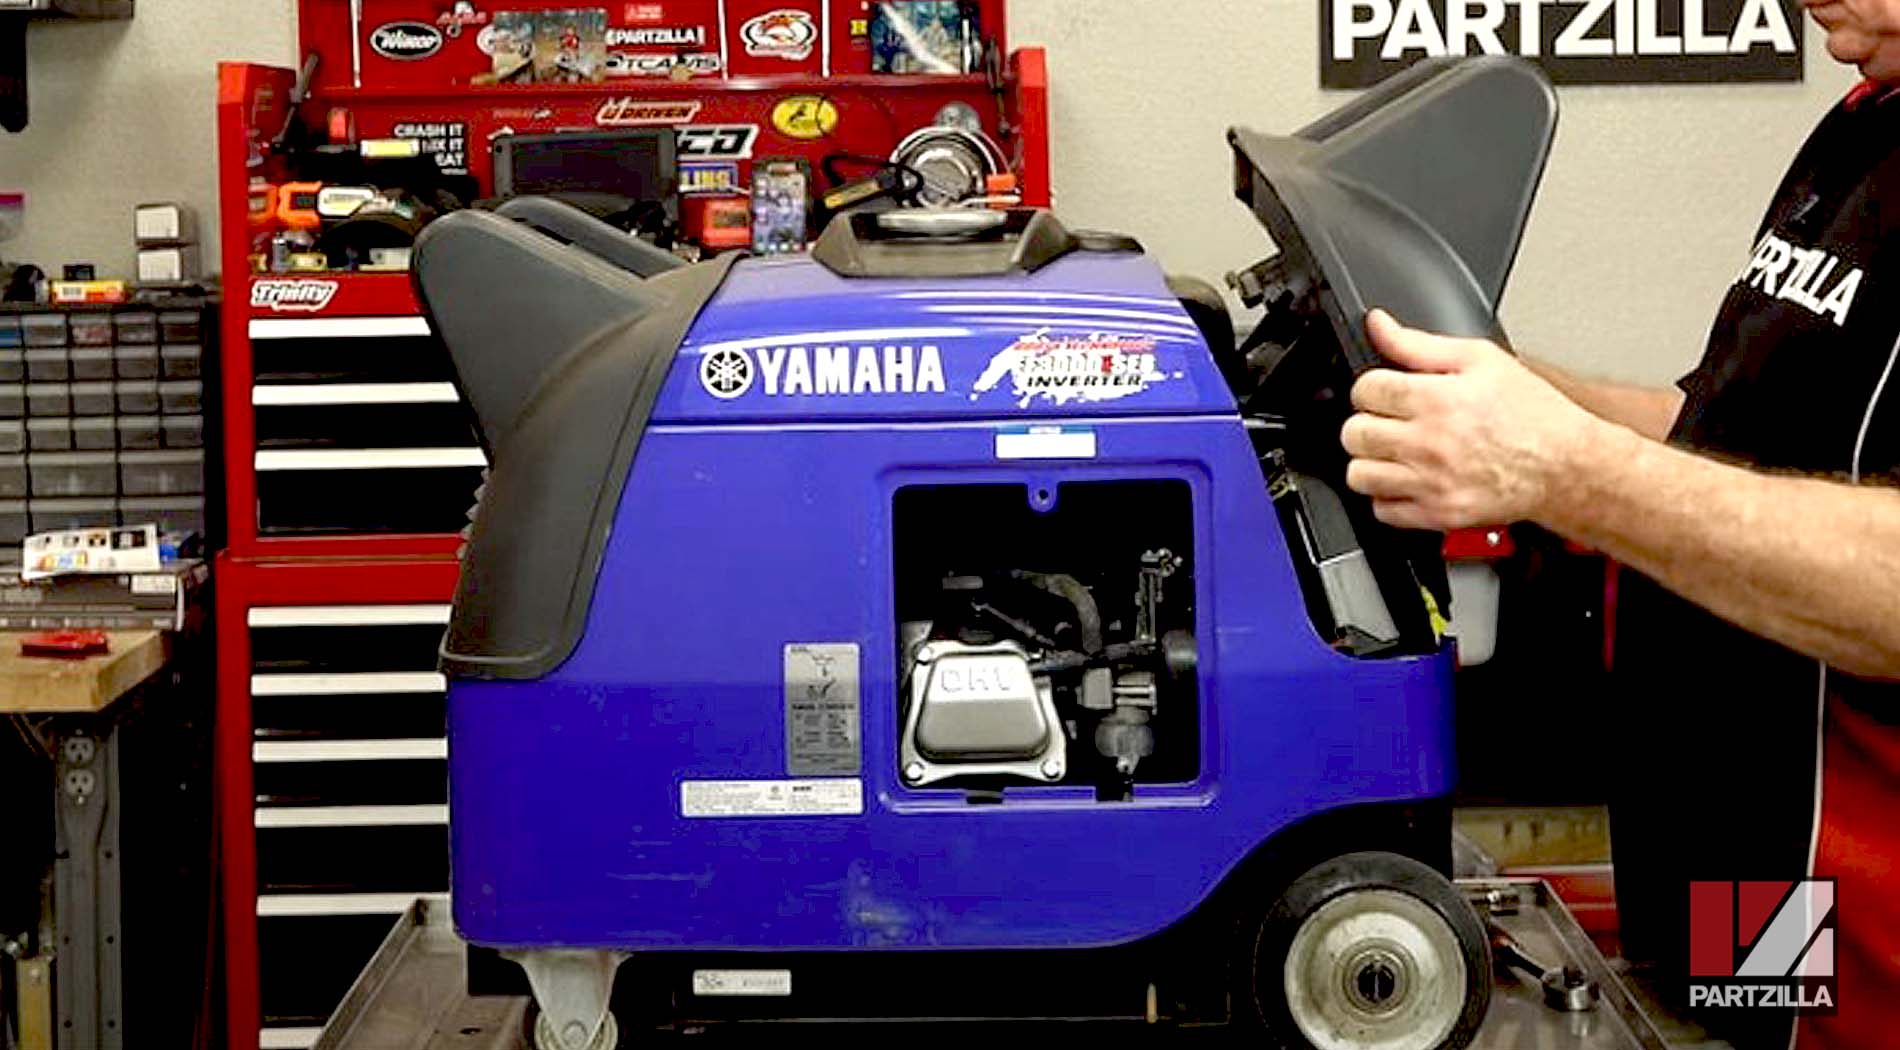
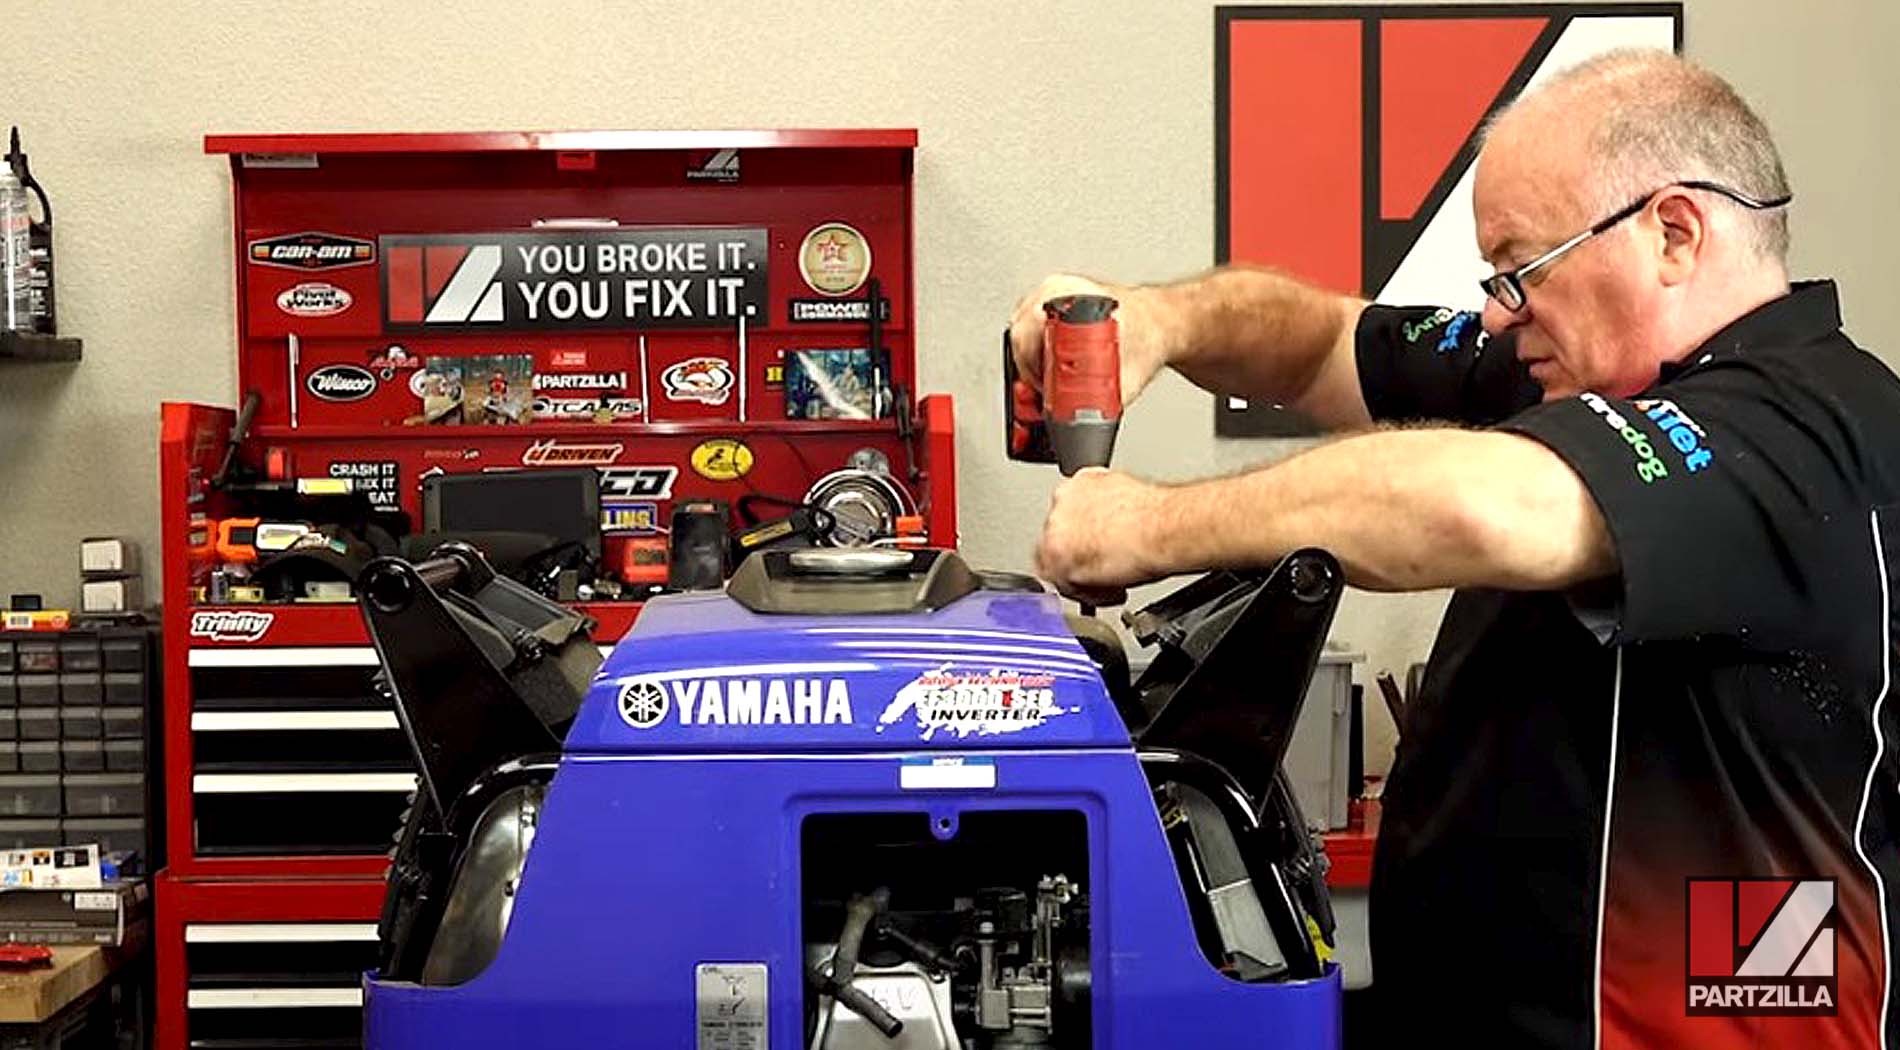
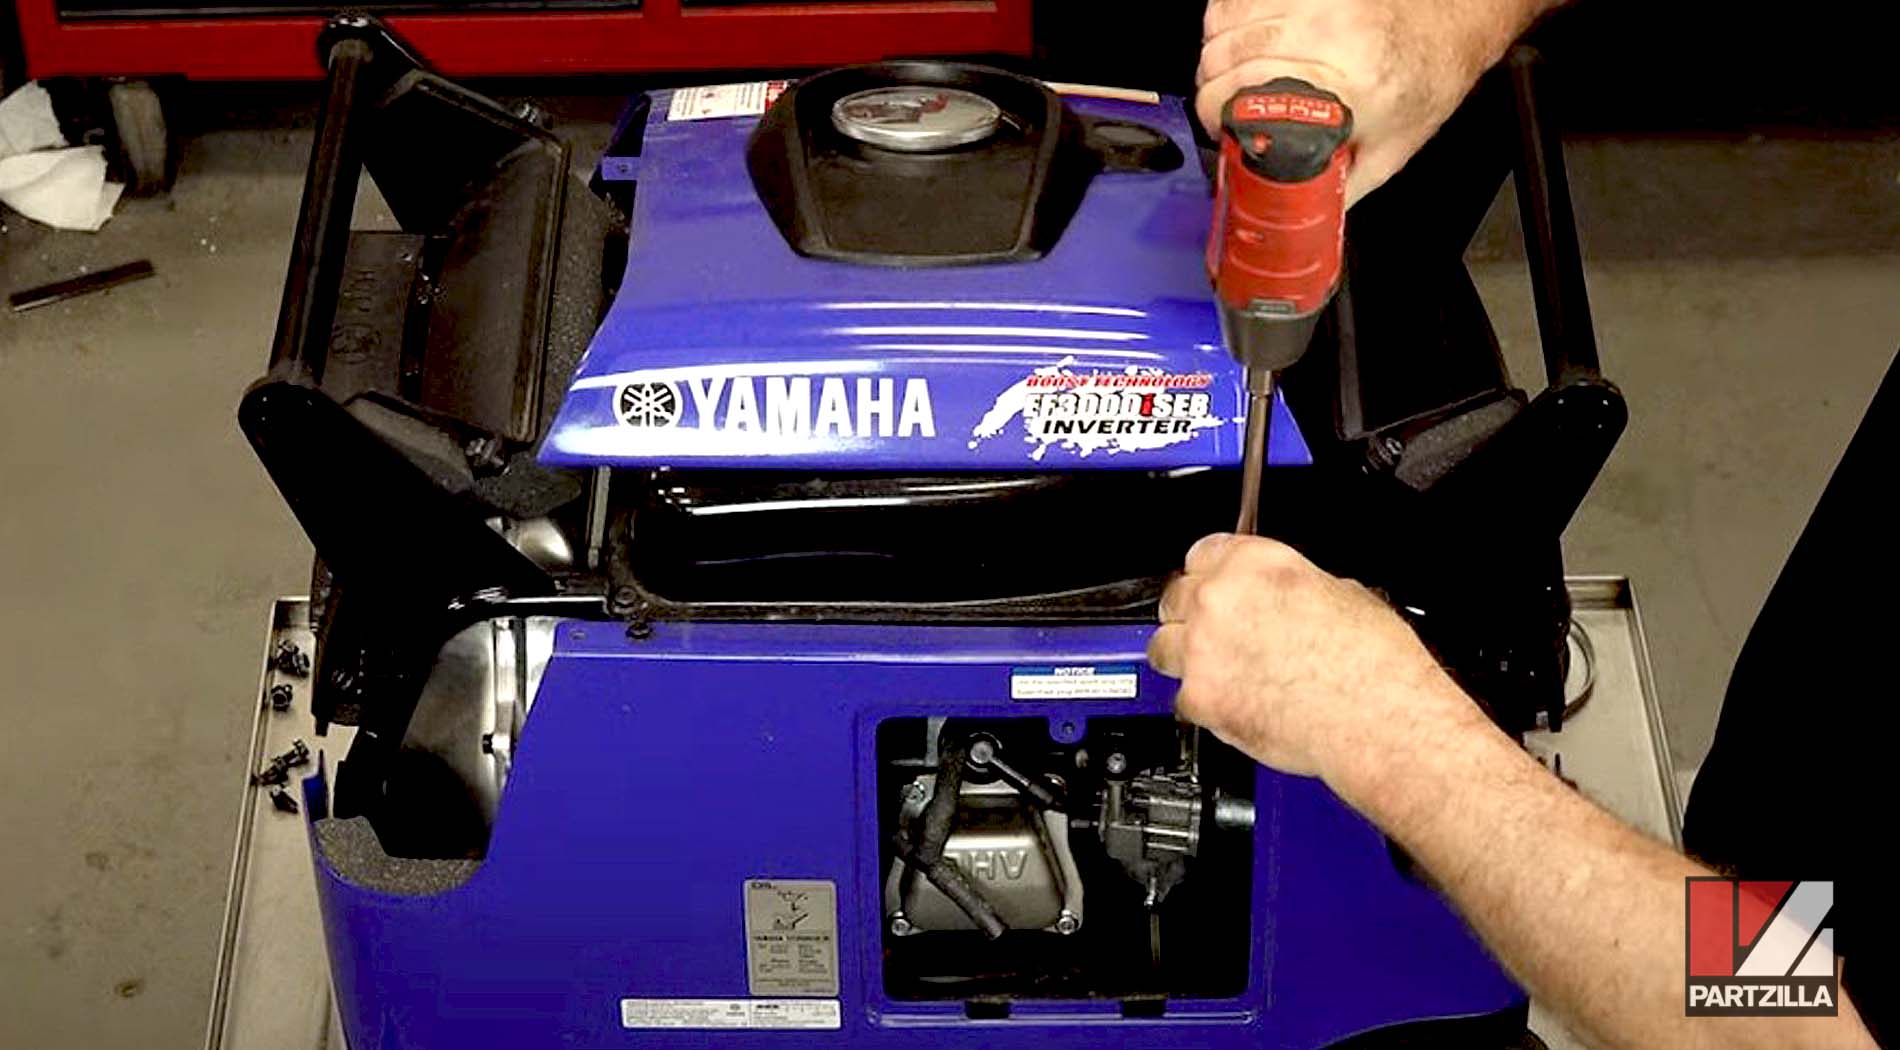
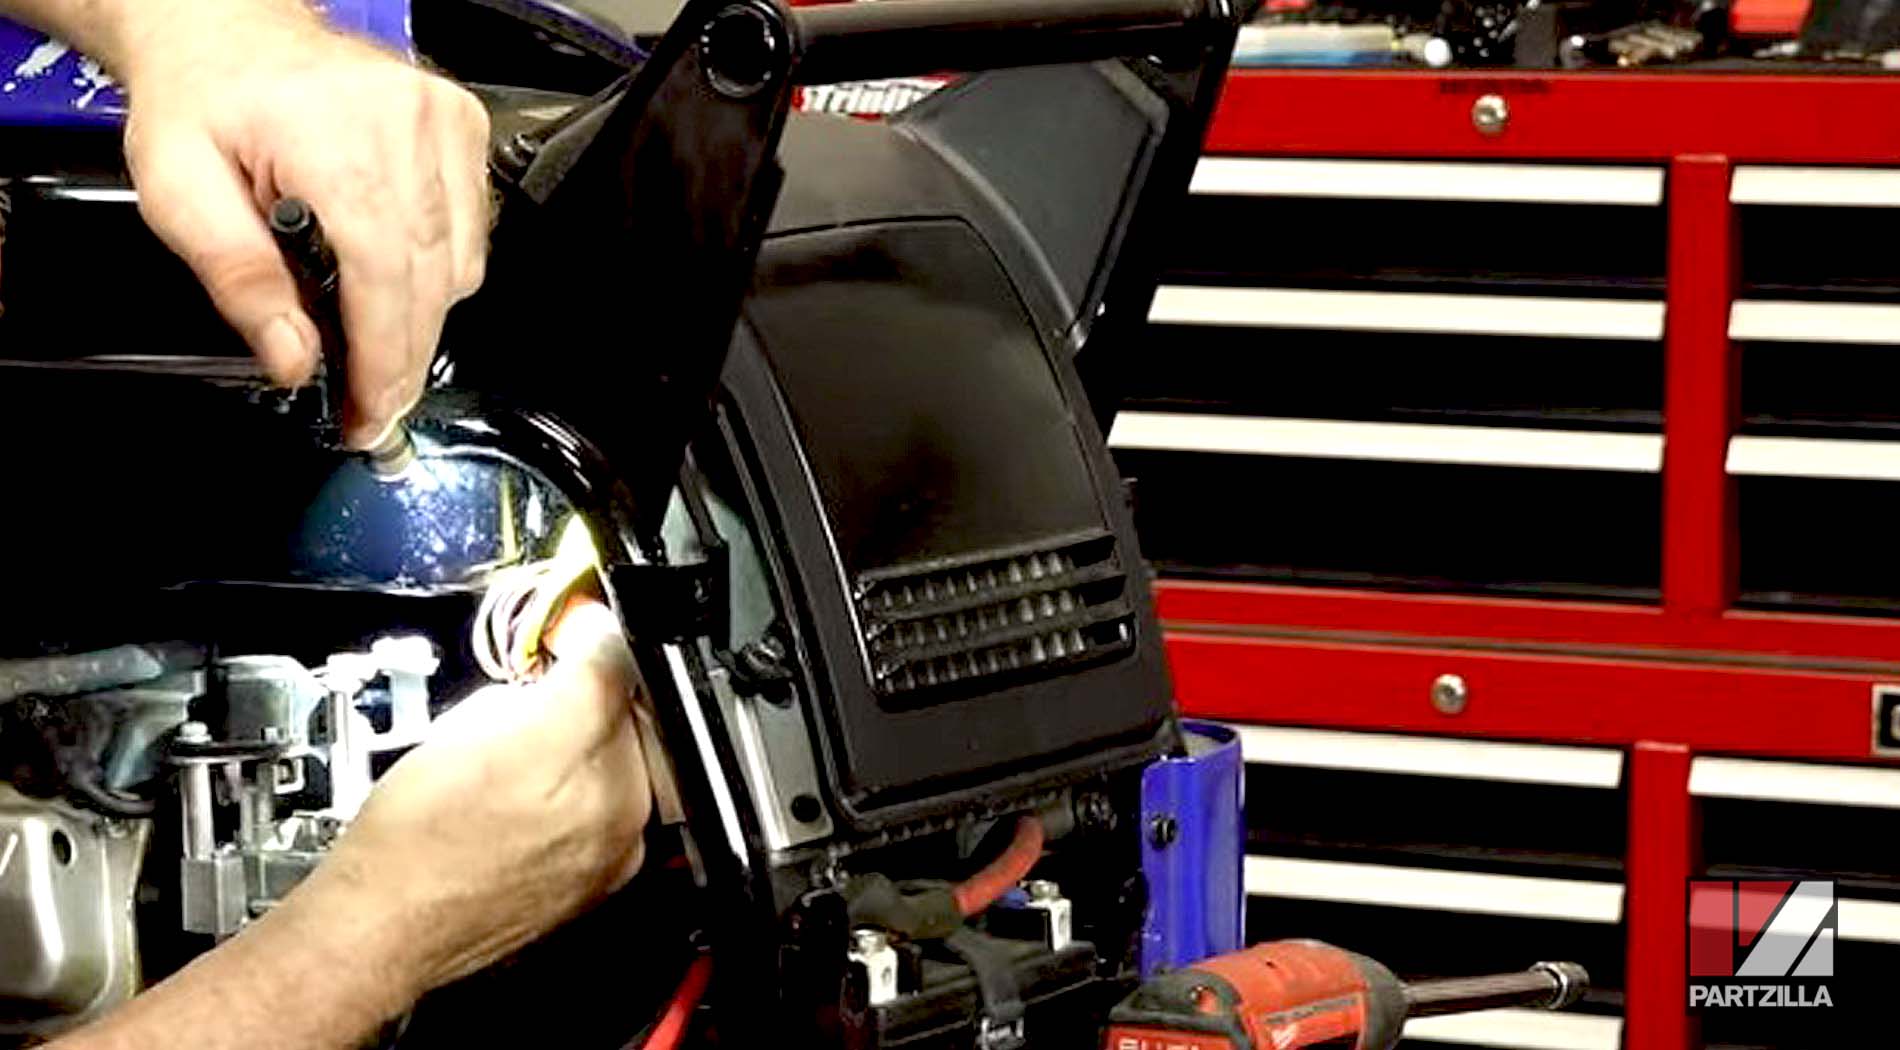
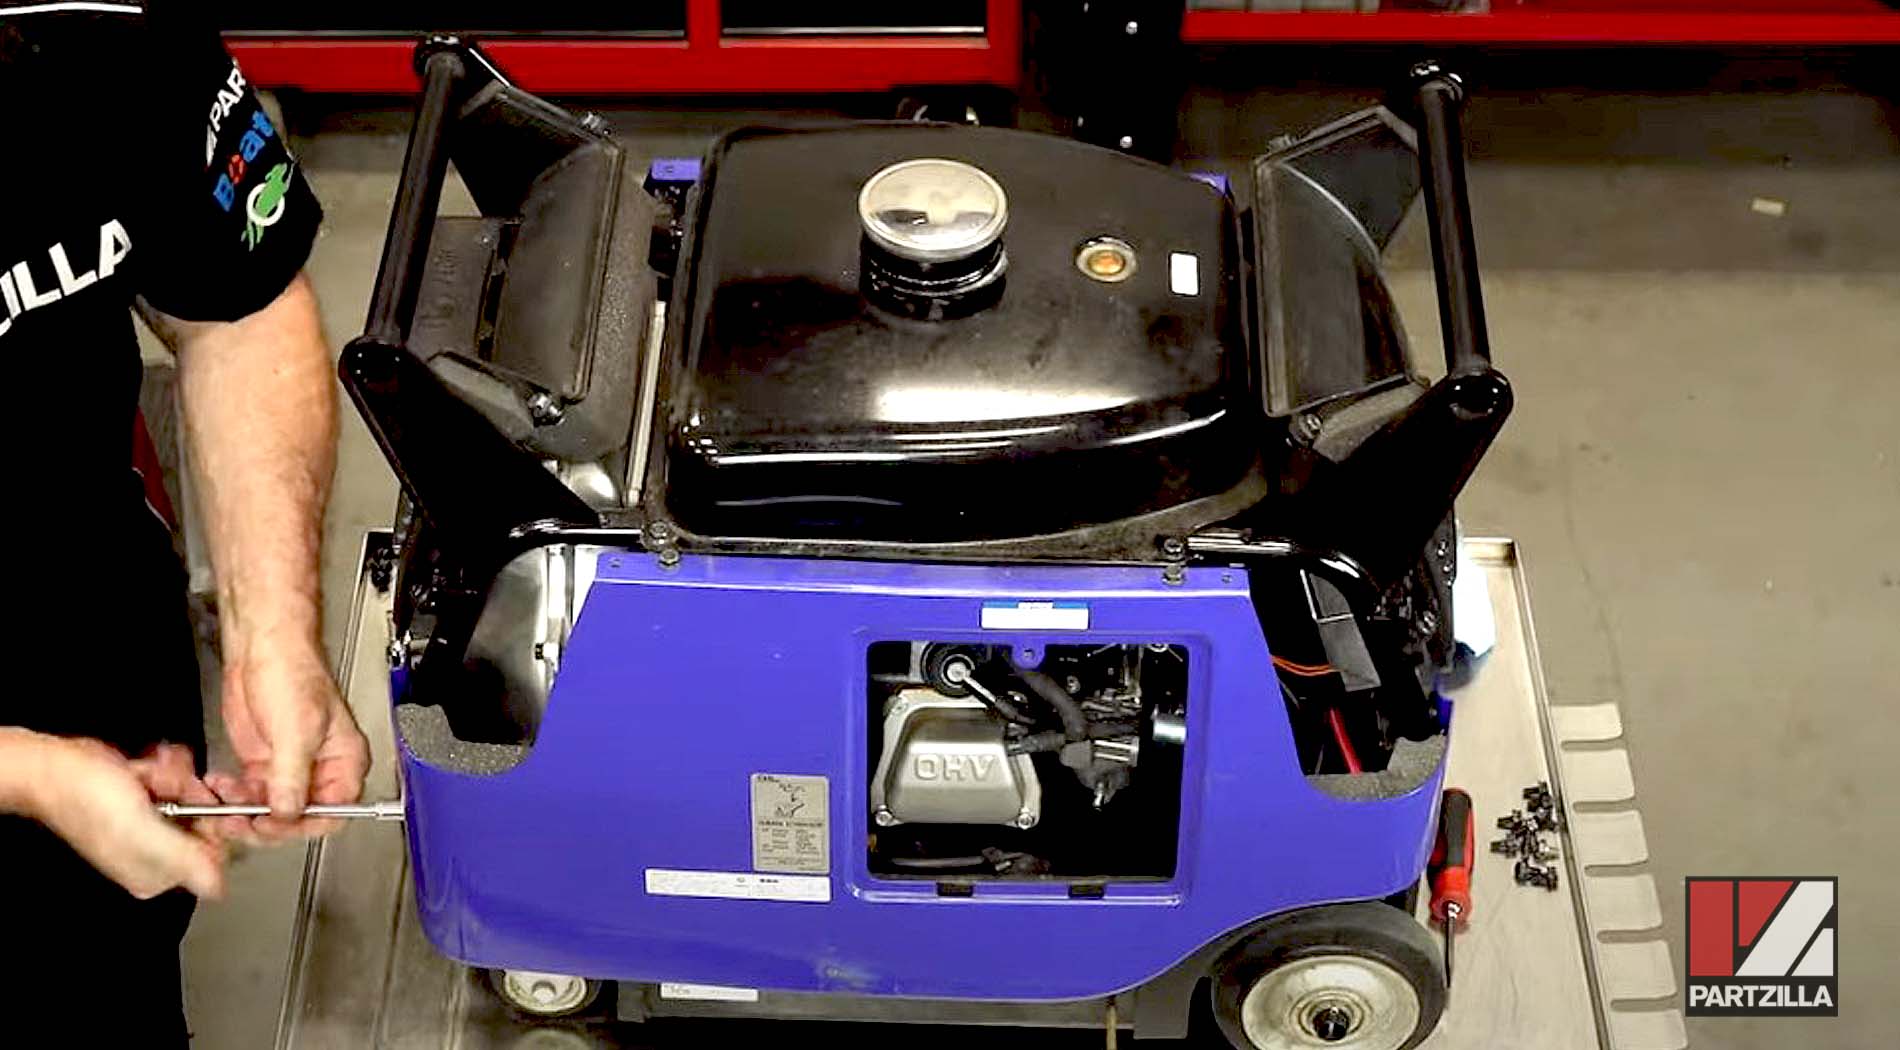
Step 4. Remove the other end cover and the remaining panels from the generator.
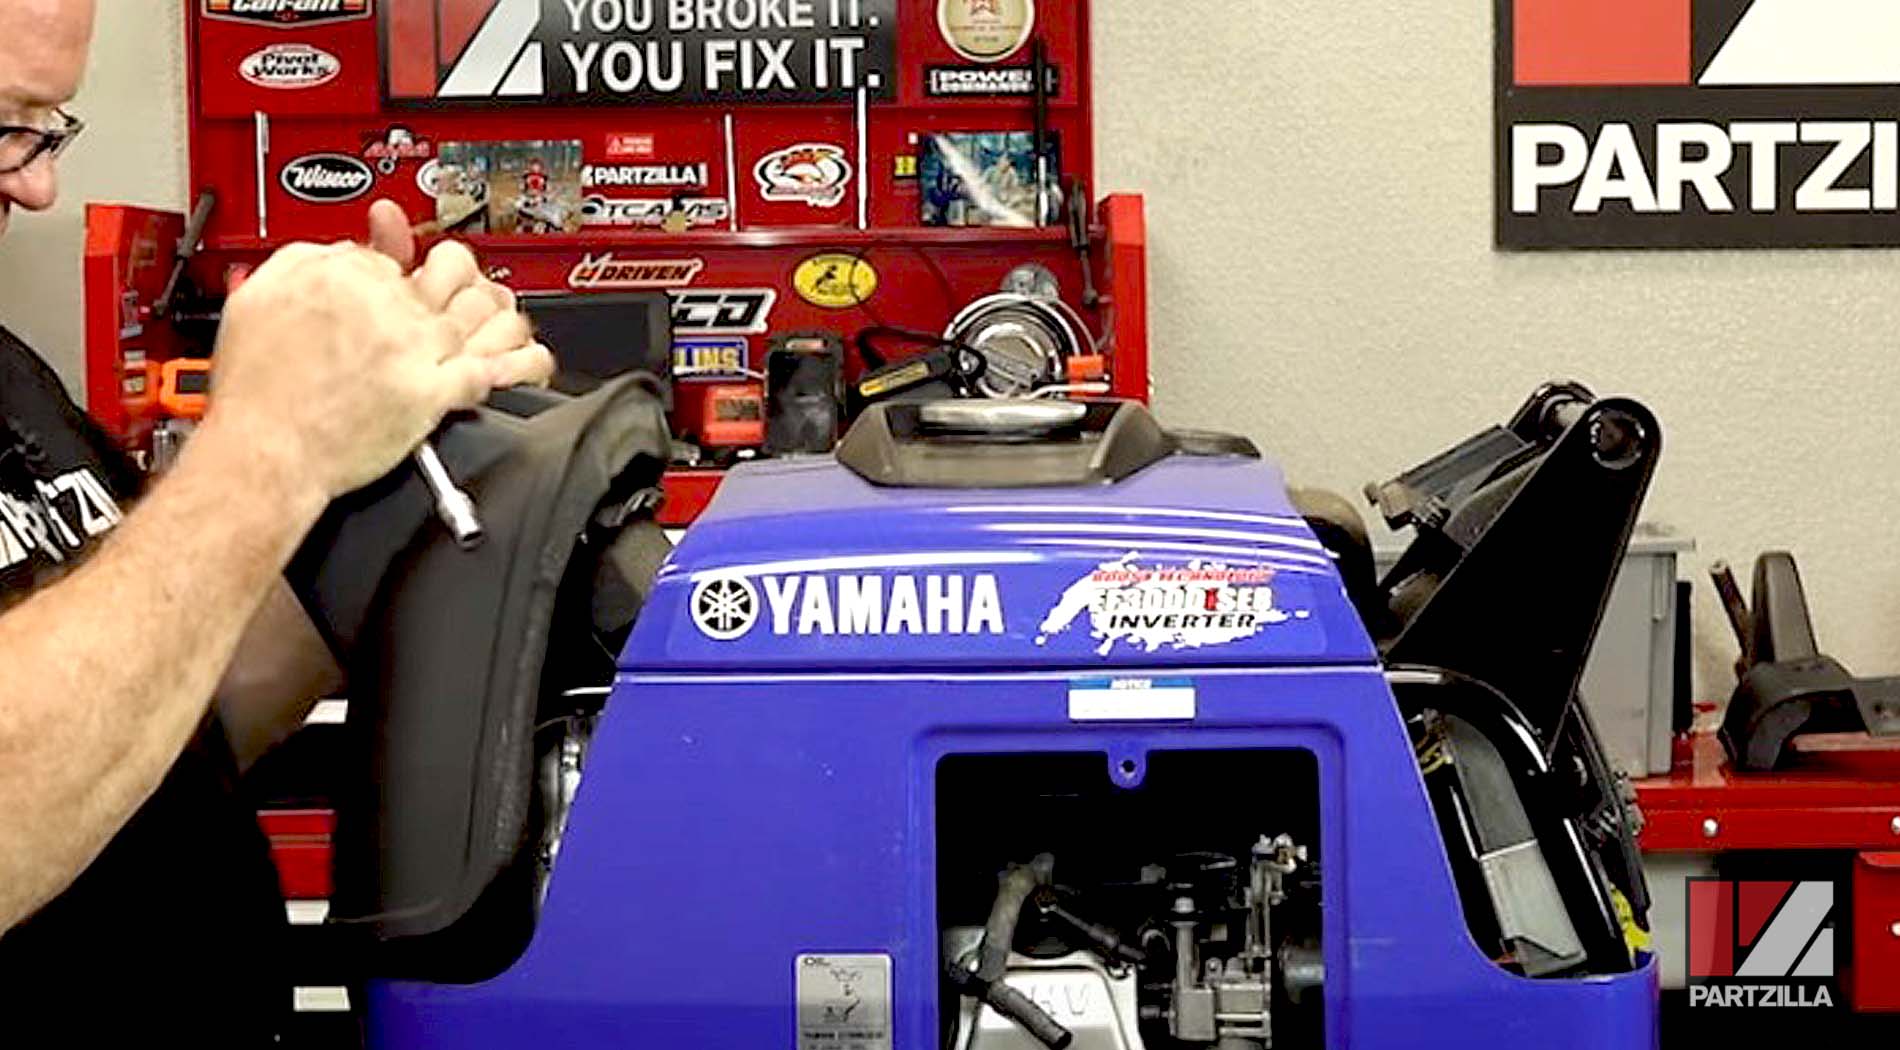
NOTE: To speed things up, use an impact wrench to pull the covers and panels out, but don't use that tool to put it back together because you could end up stripping threads.
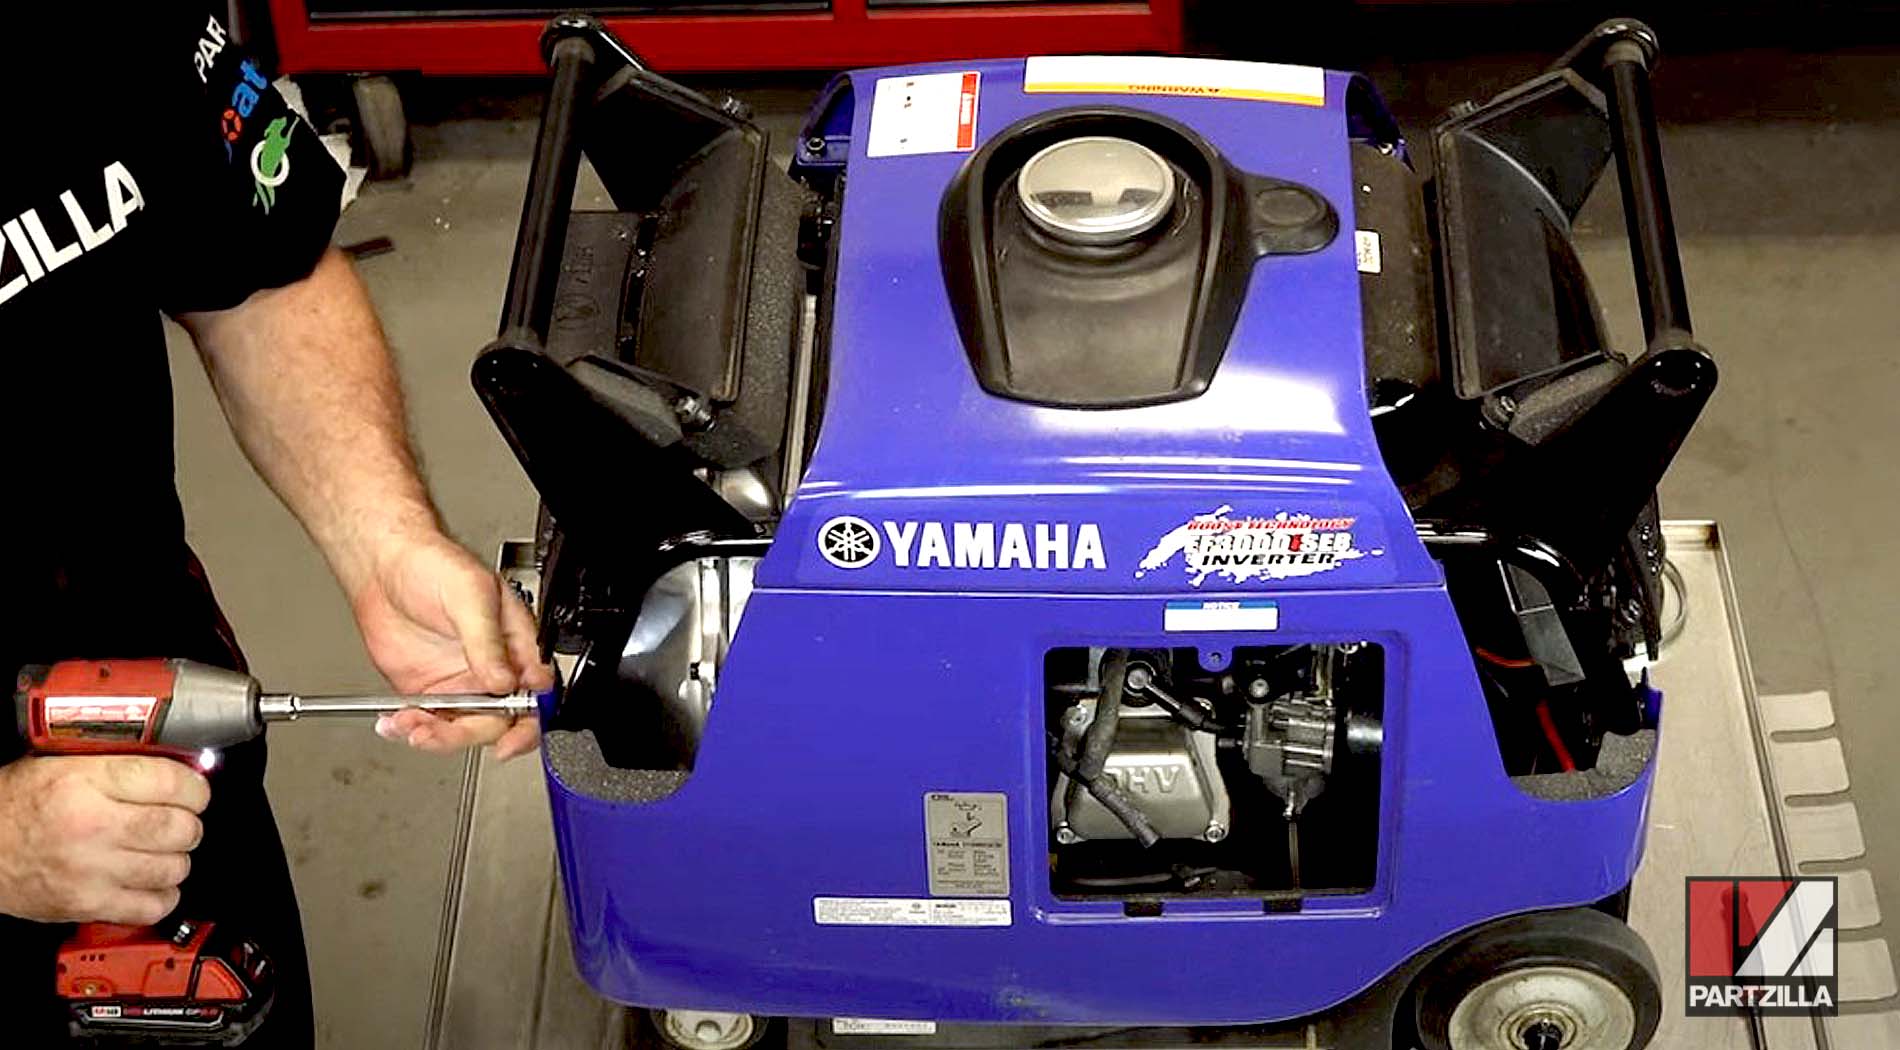
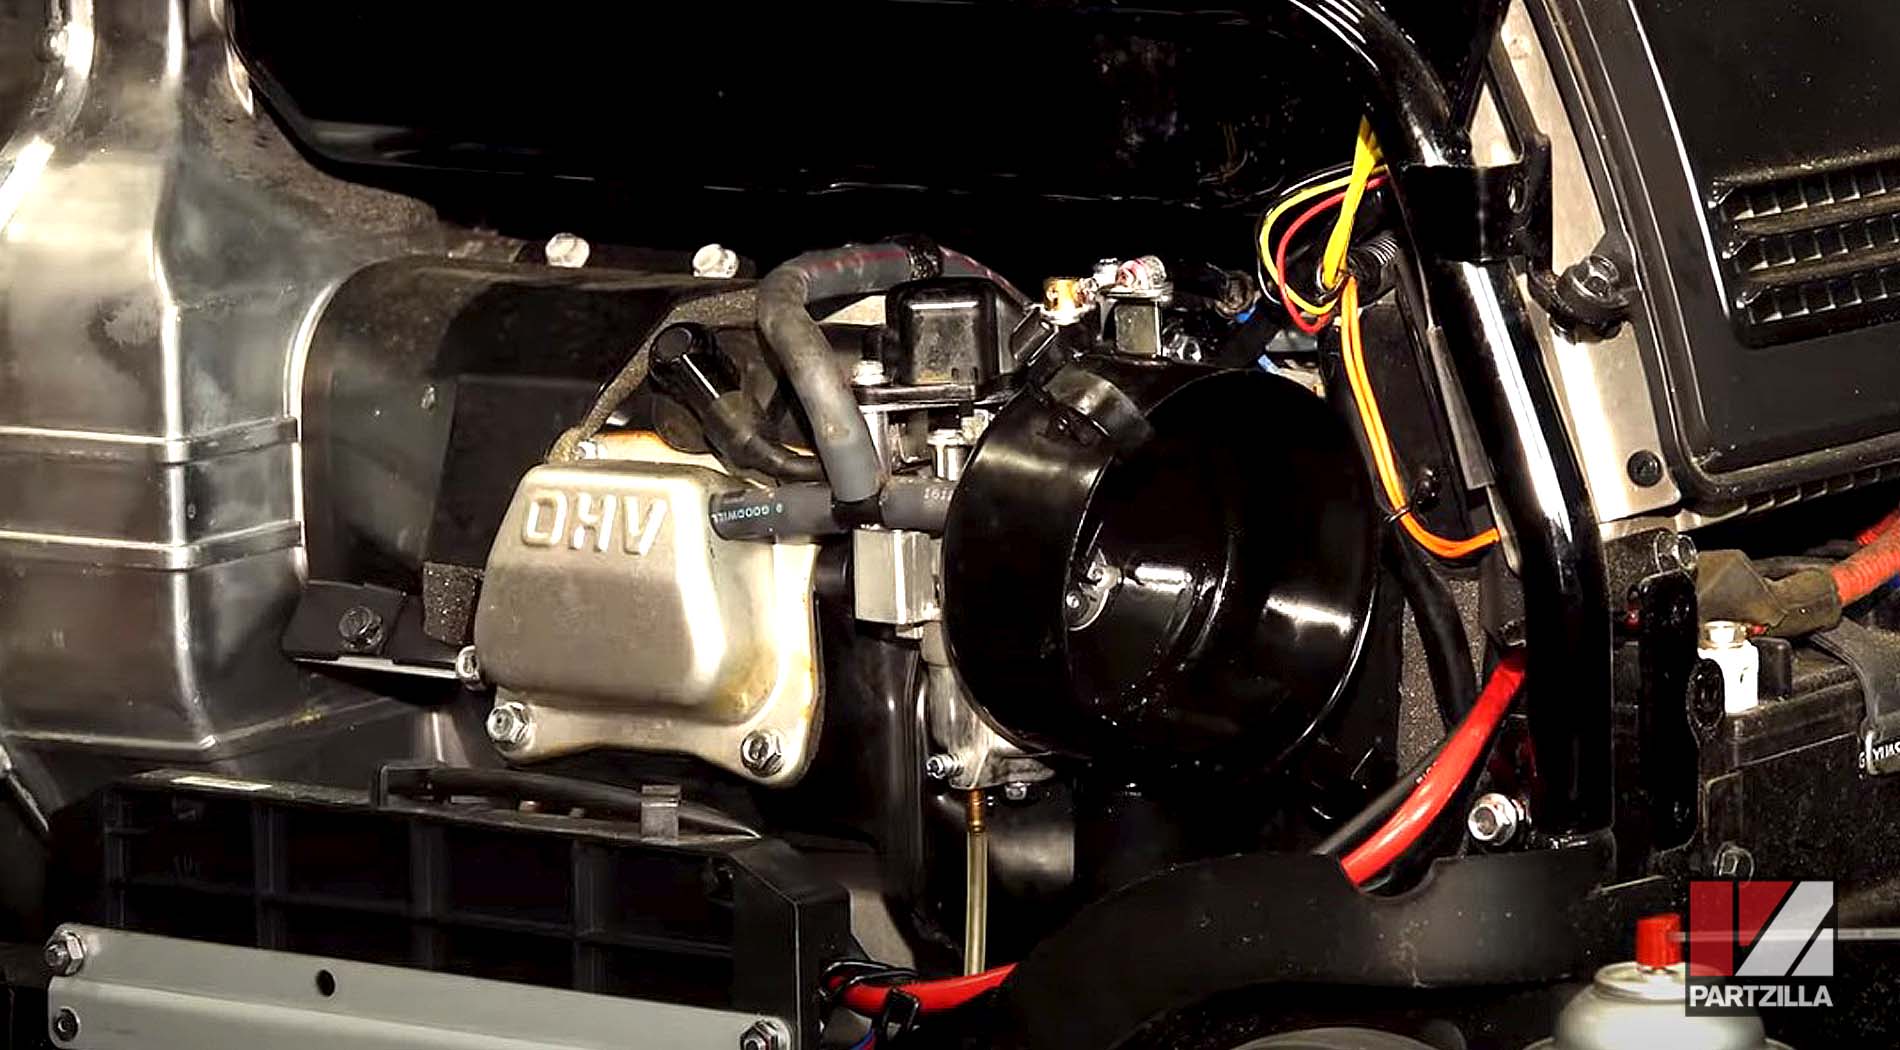
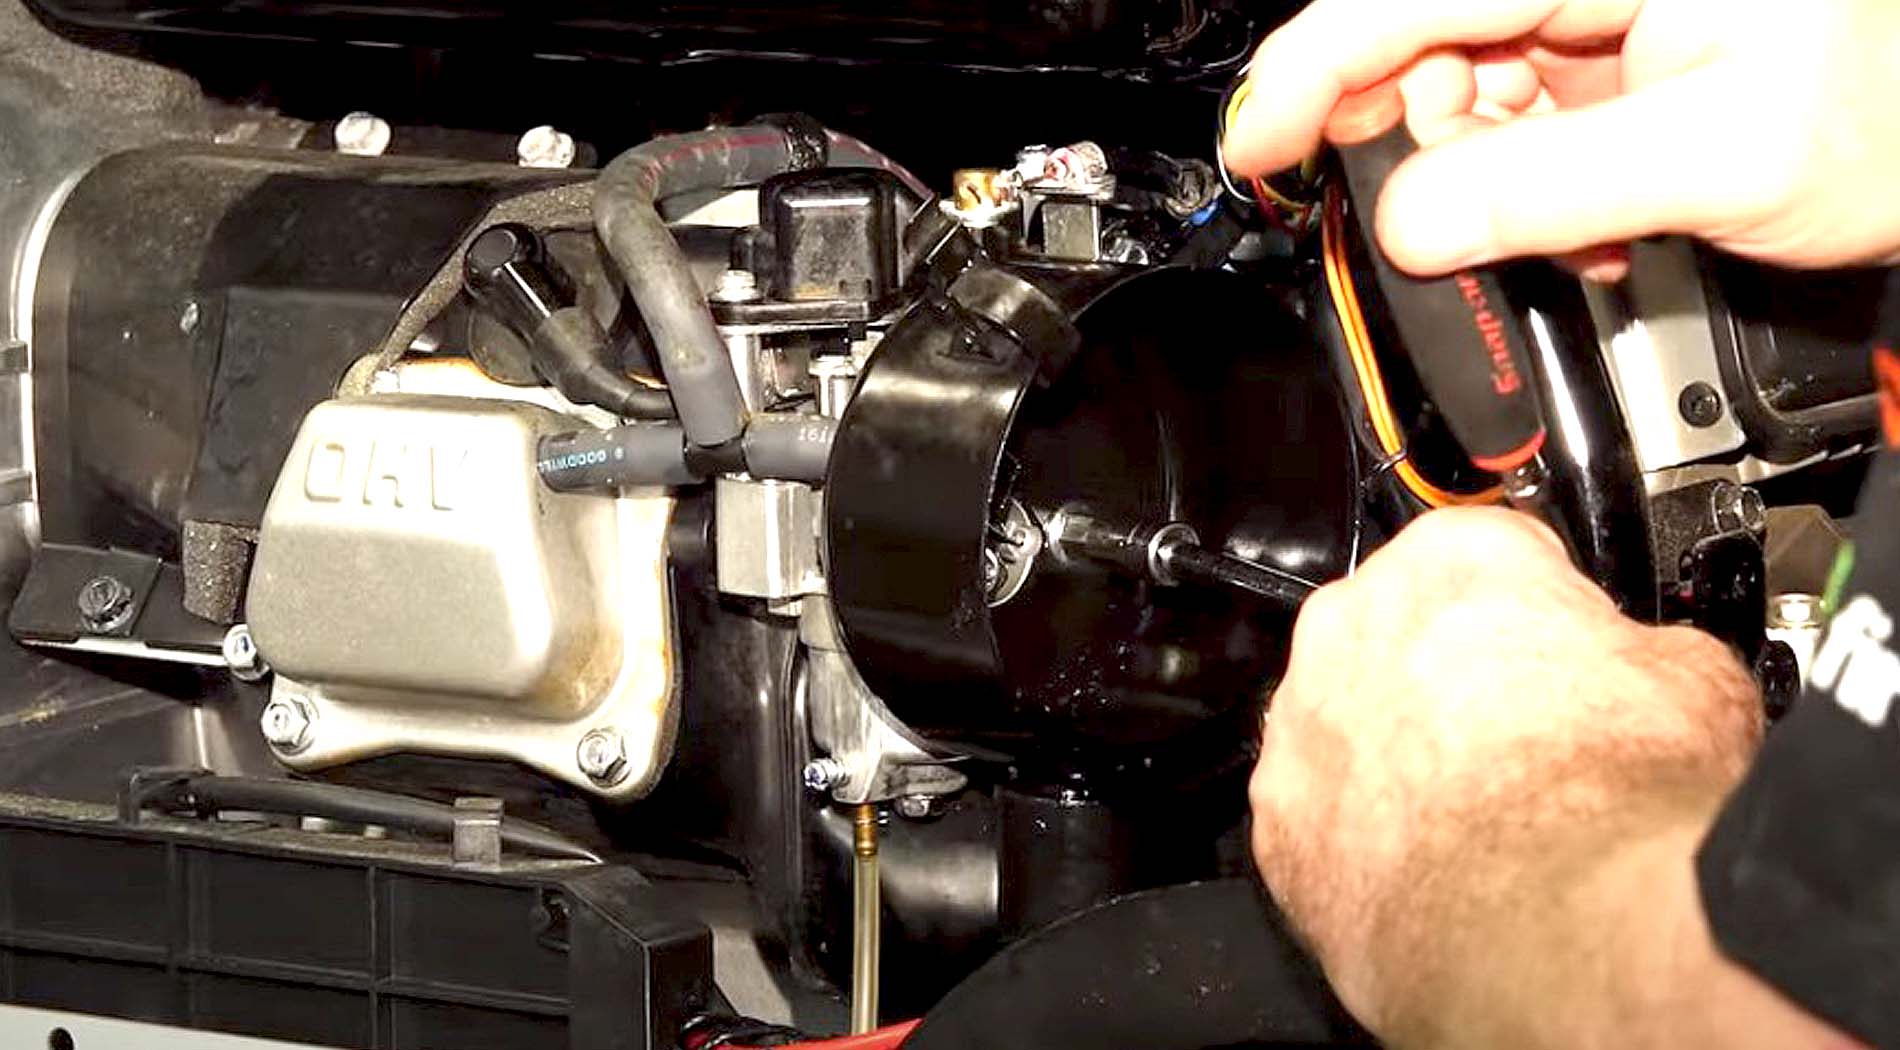
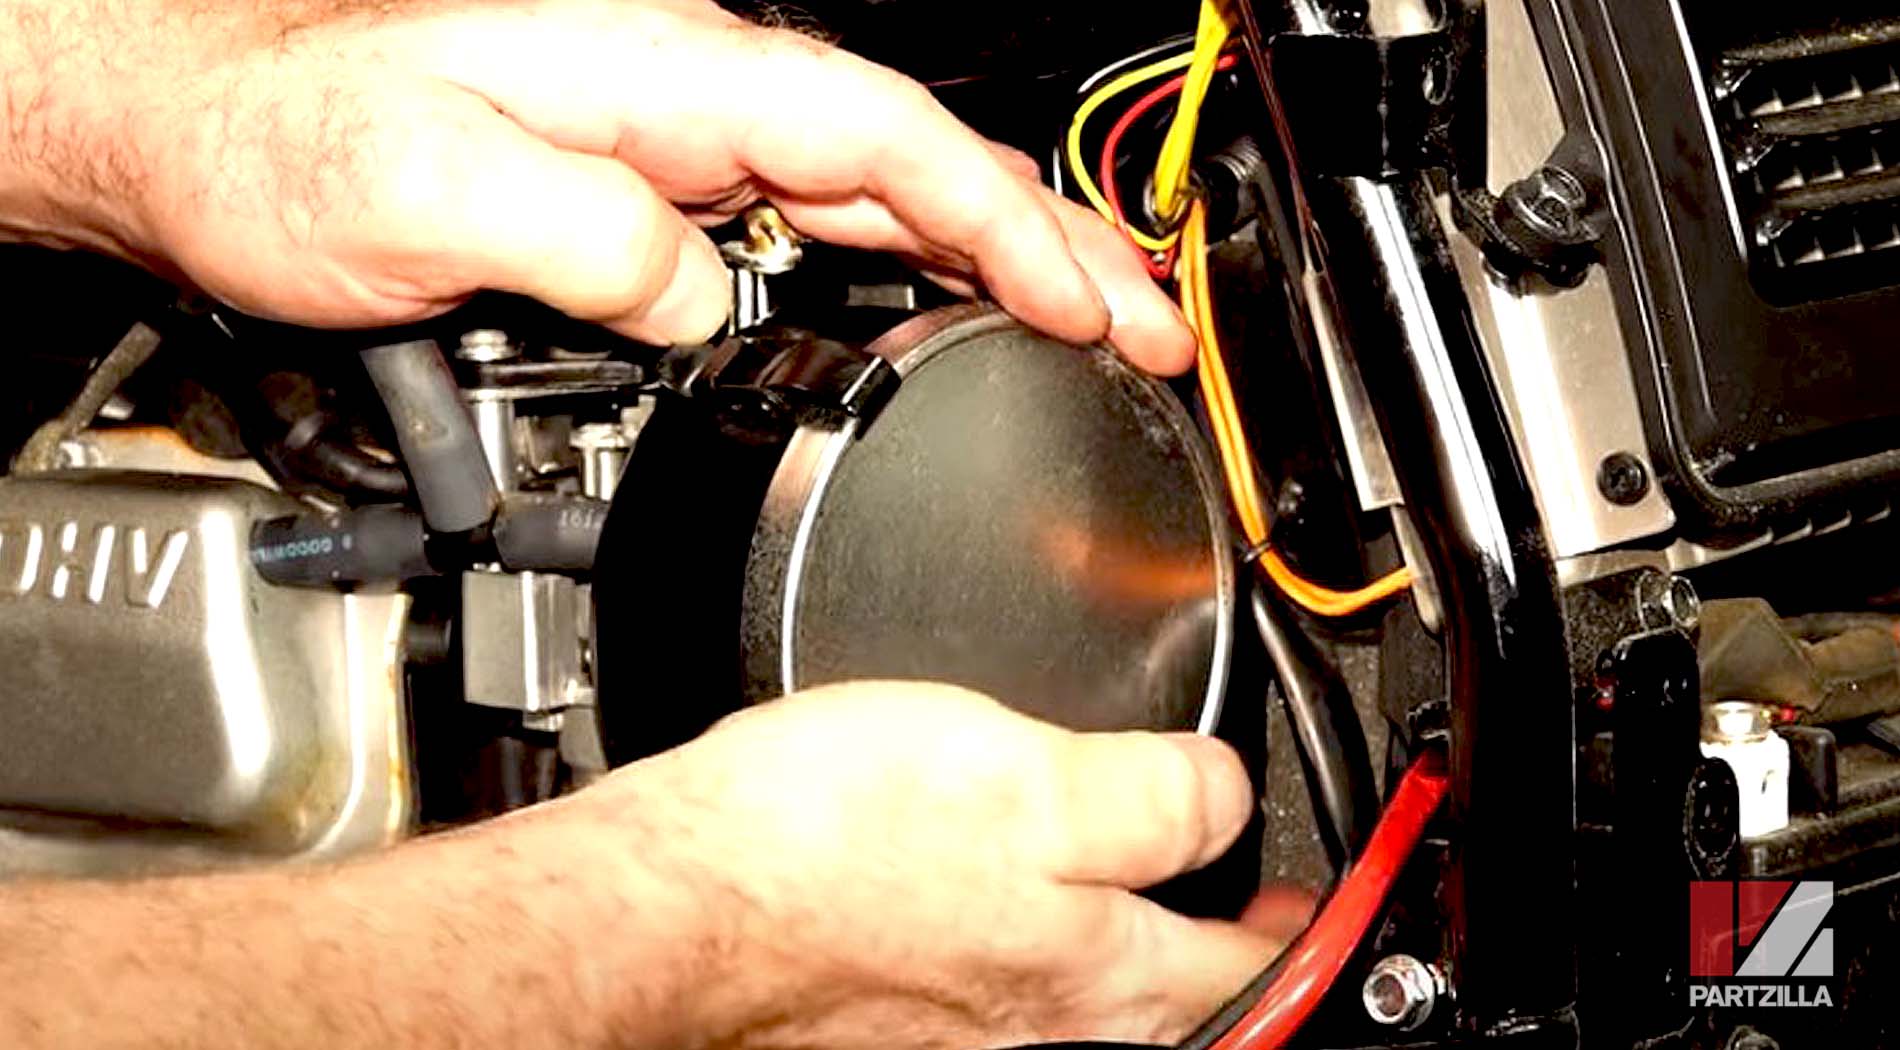
Step 5. Remove the two large 10mm nuts and bolts that hold the air filter box in place, followed by the box itself.
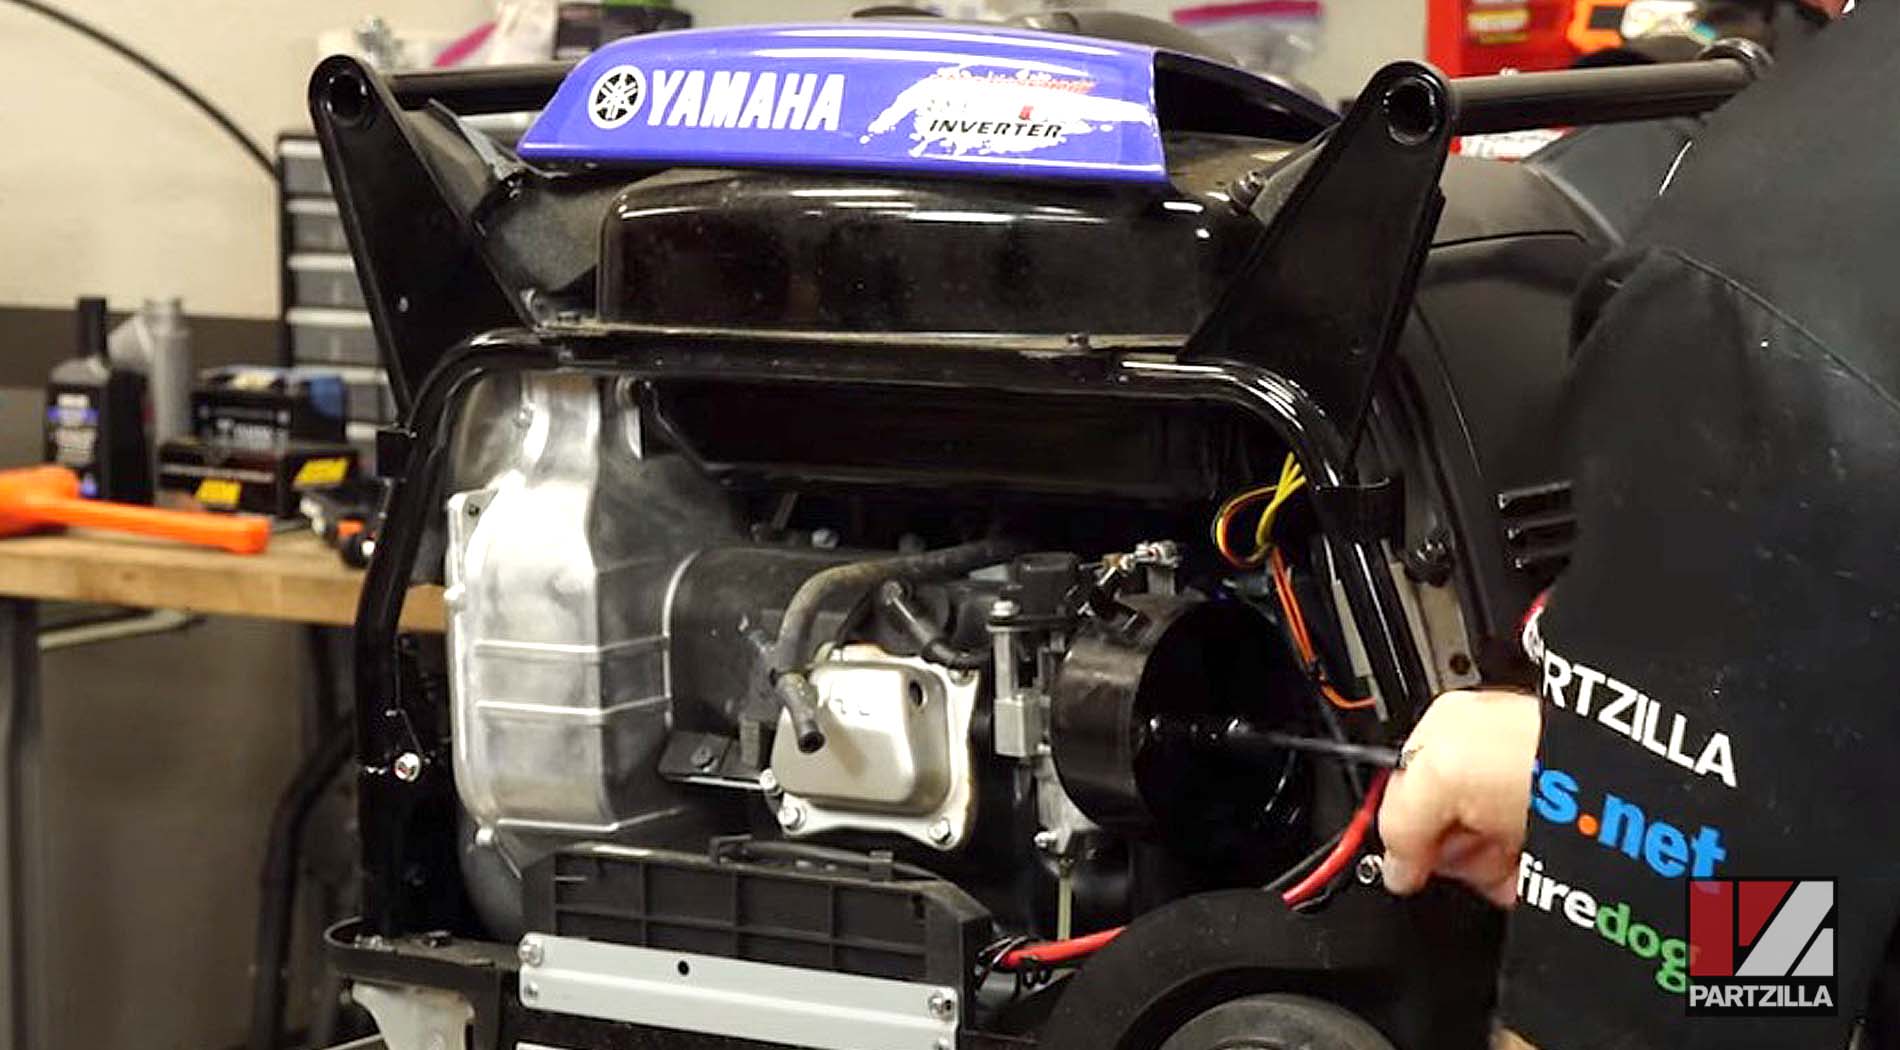
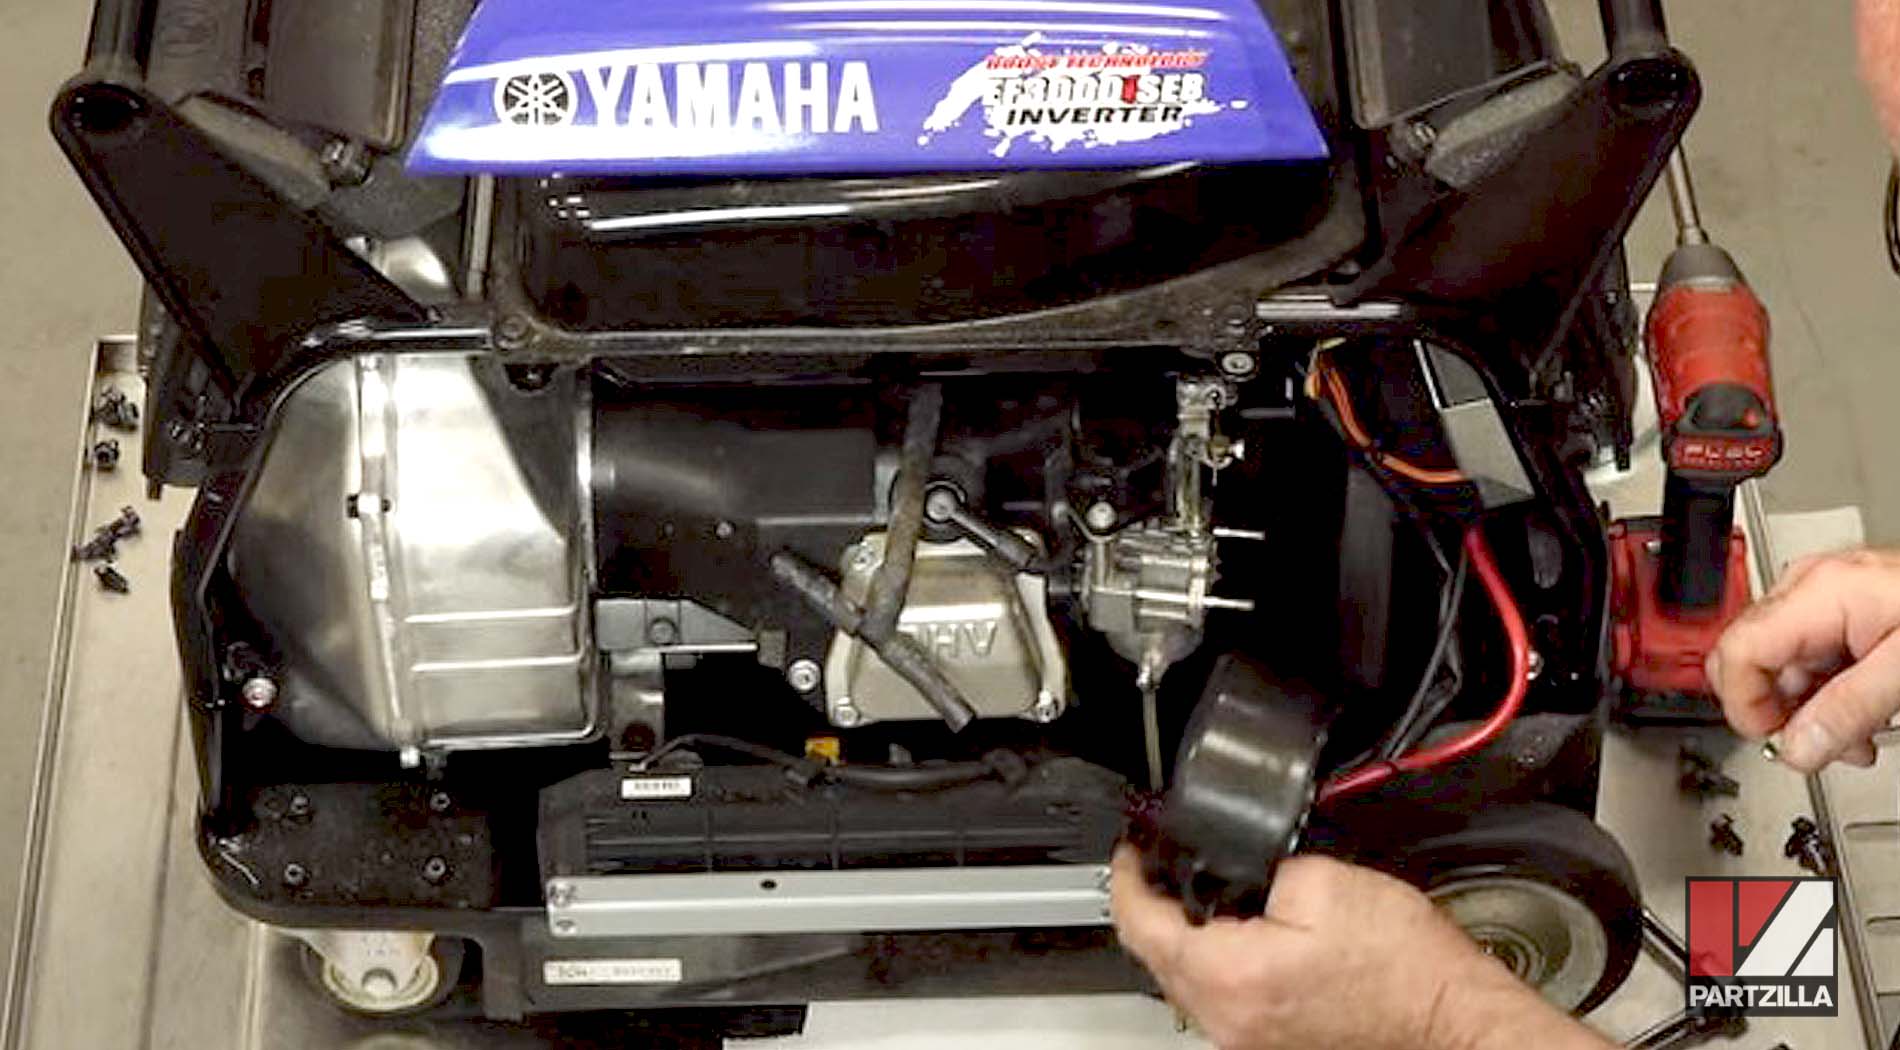
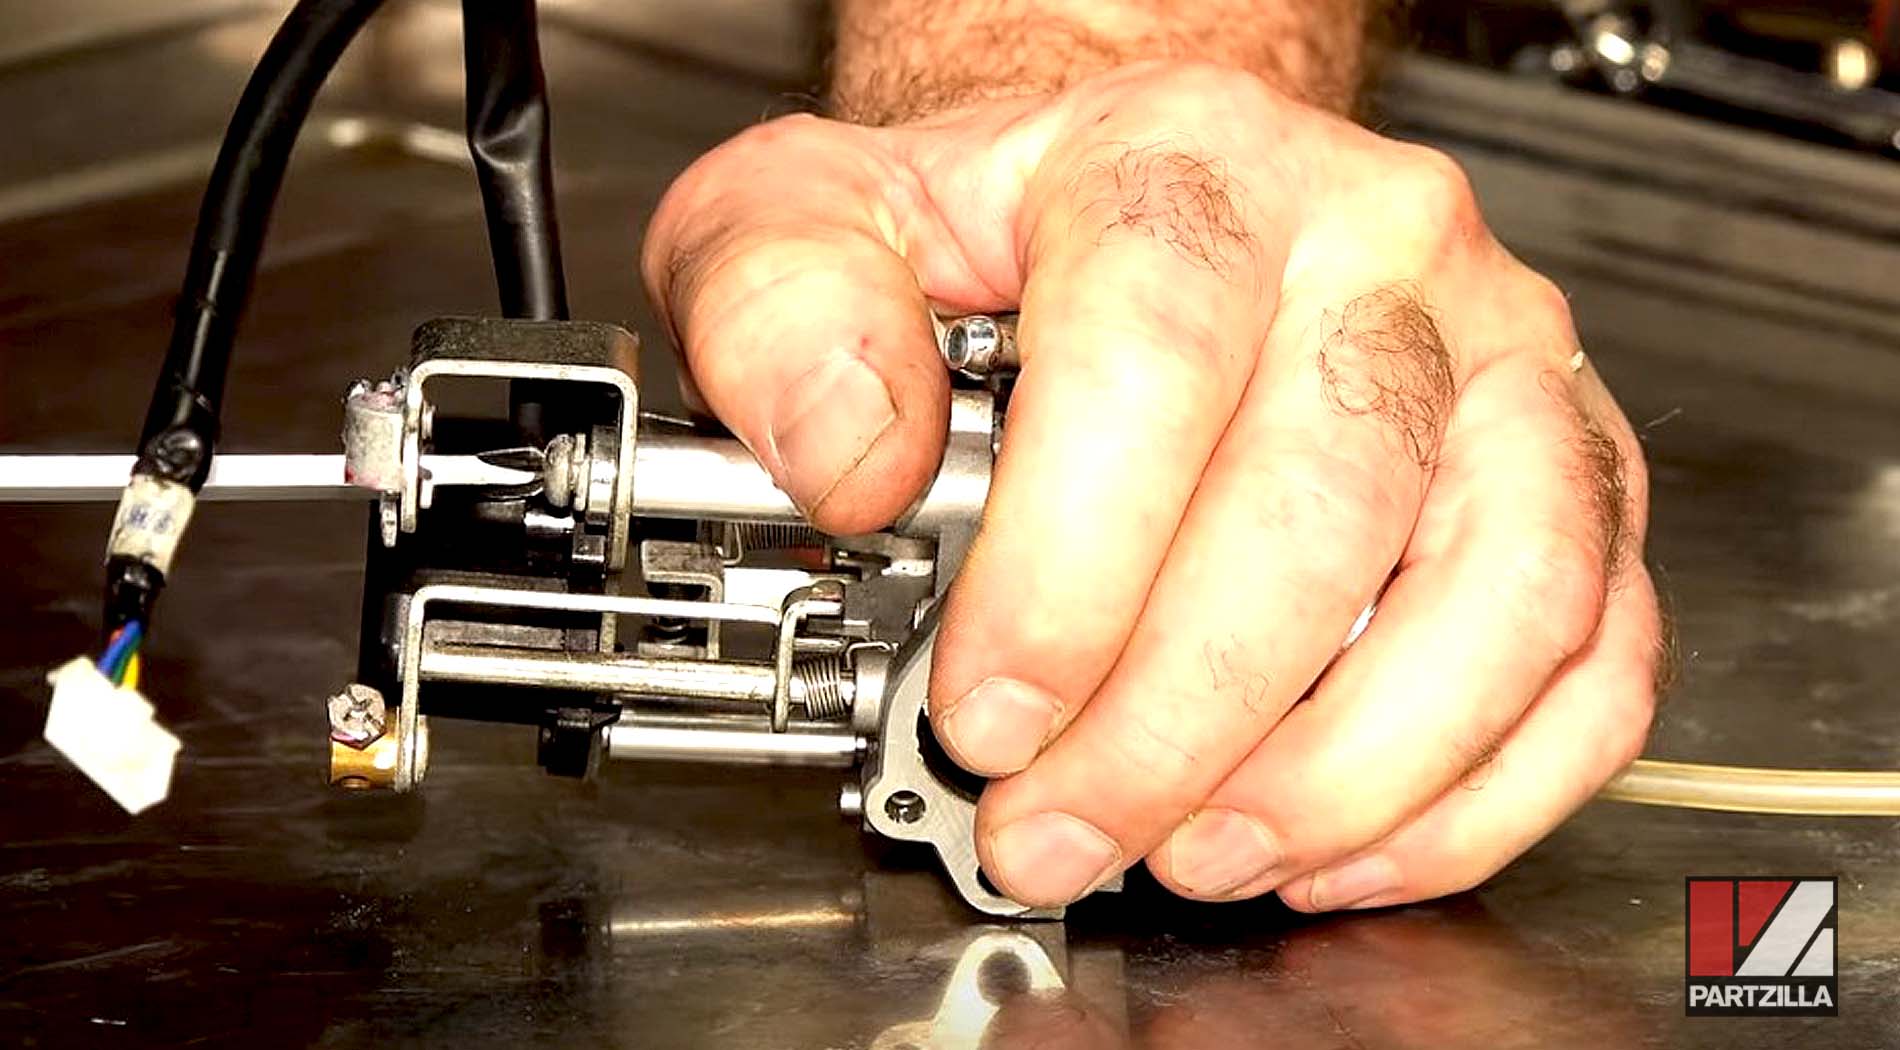
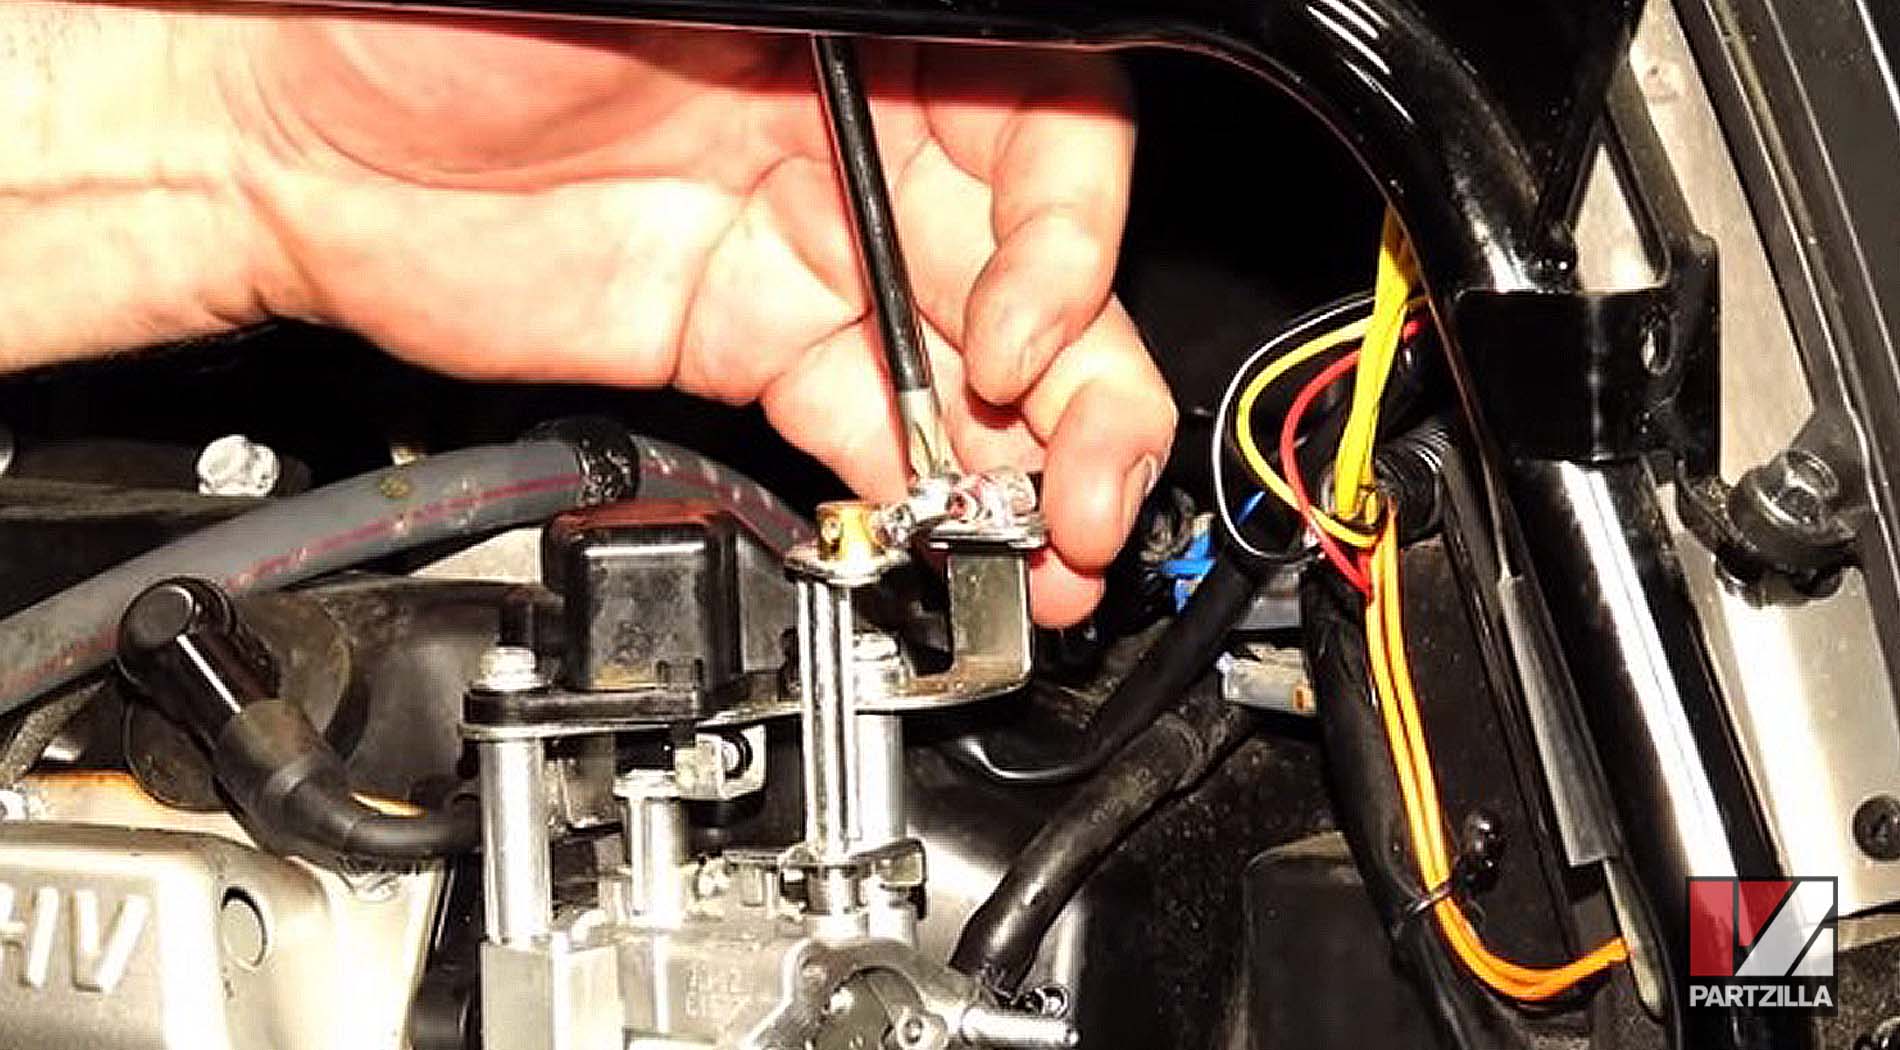
Step 6. Disconnect the carburetor from its electrical connections.
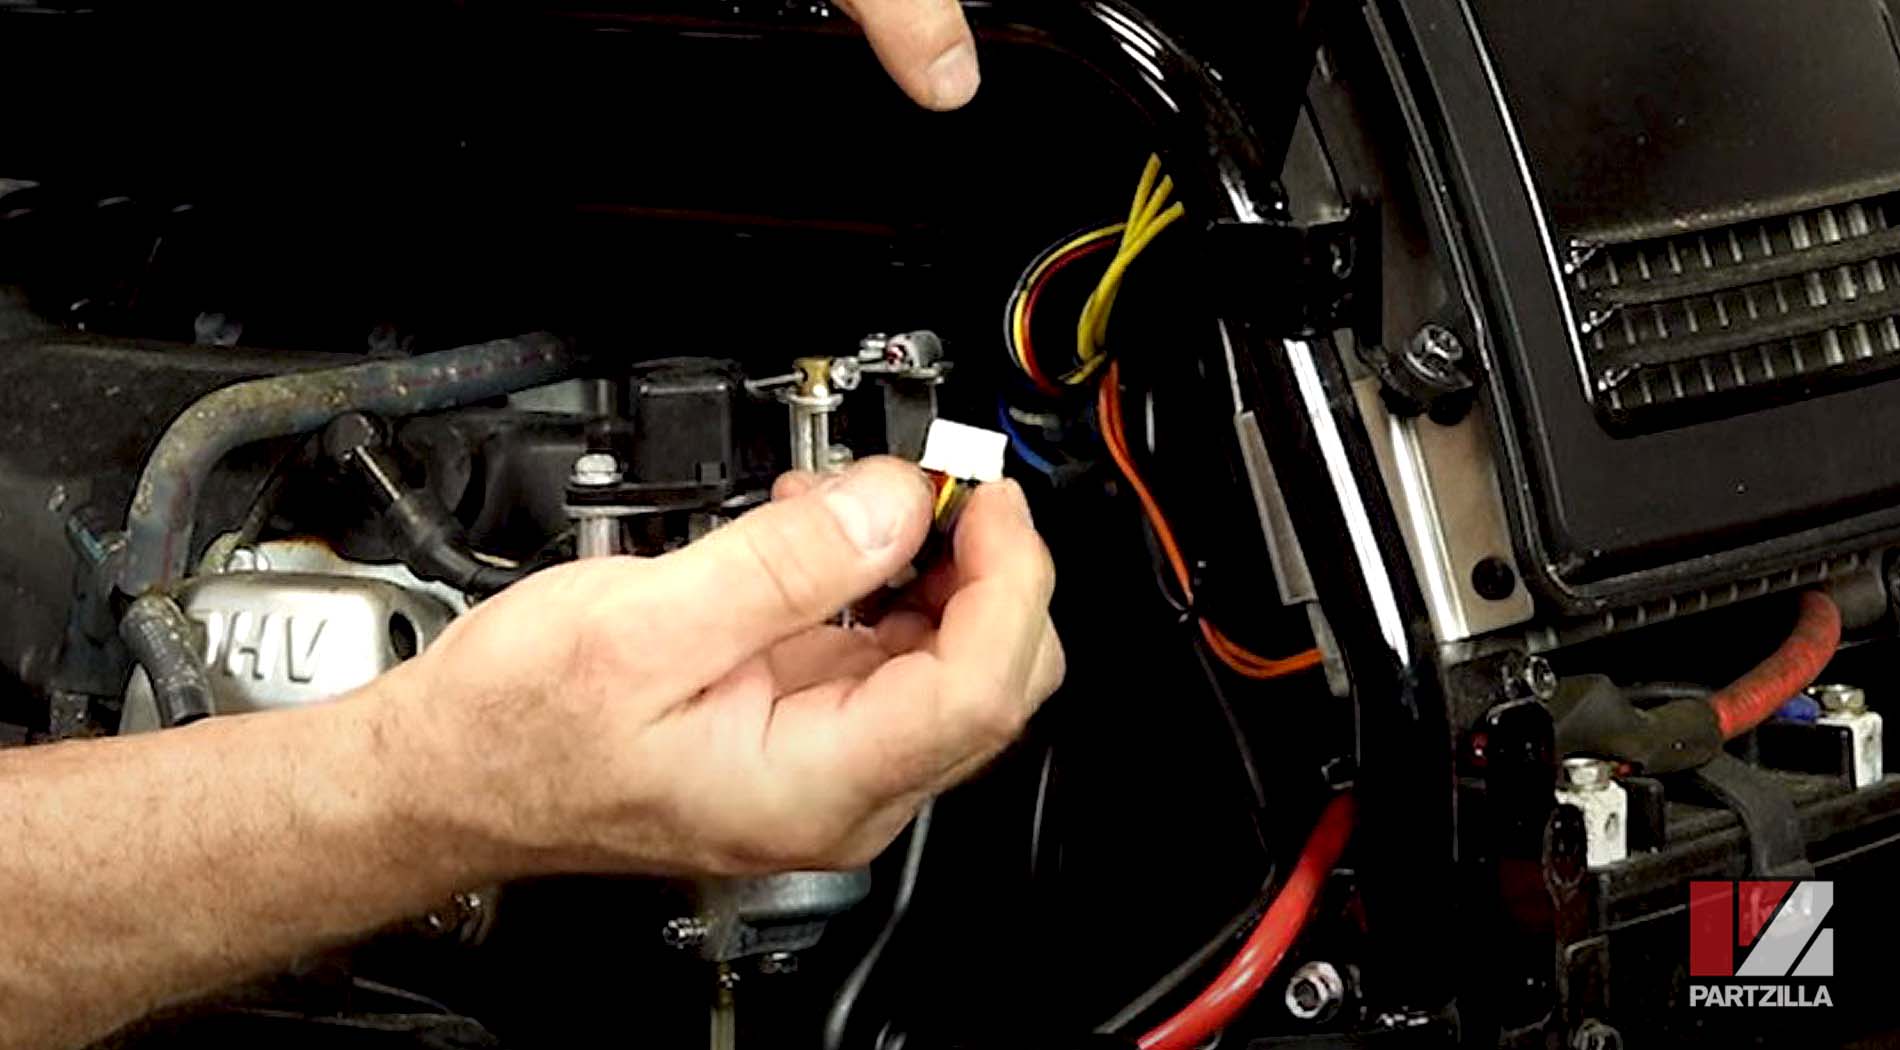
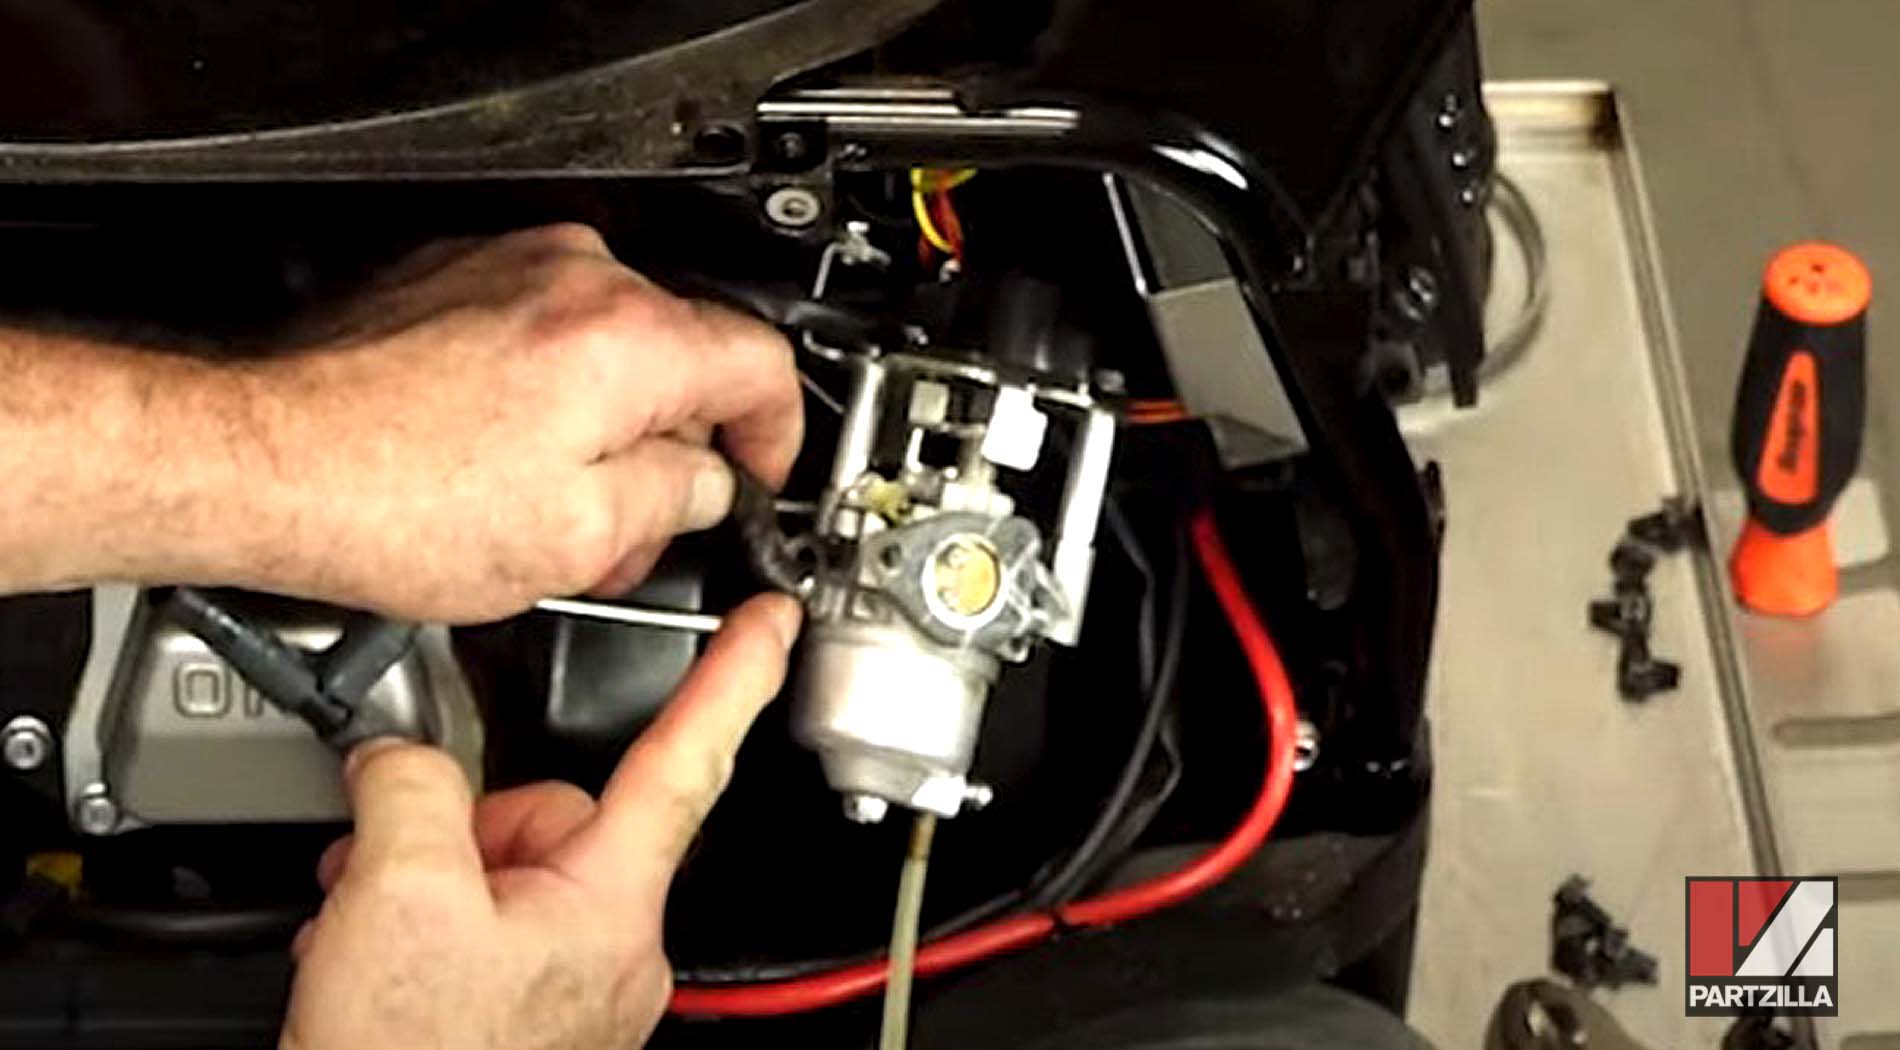
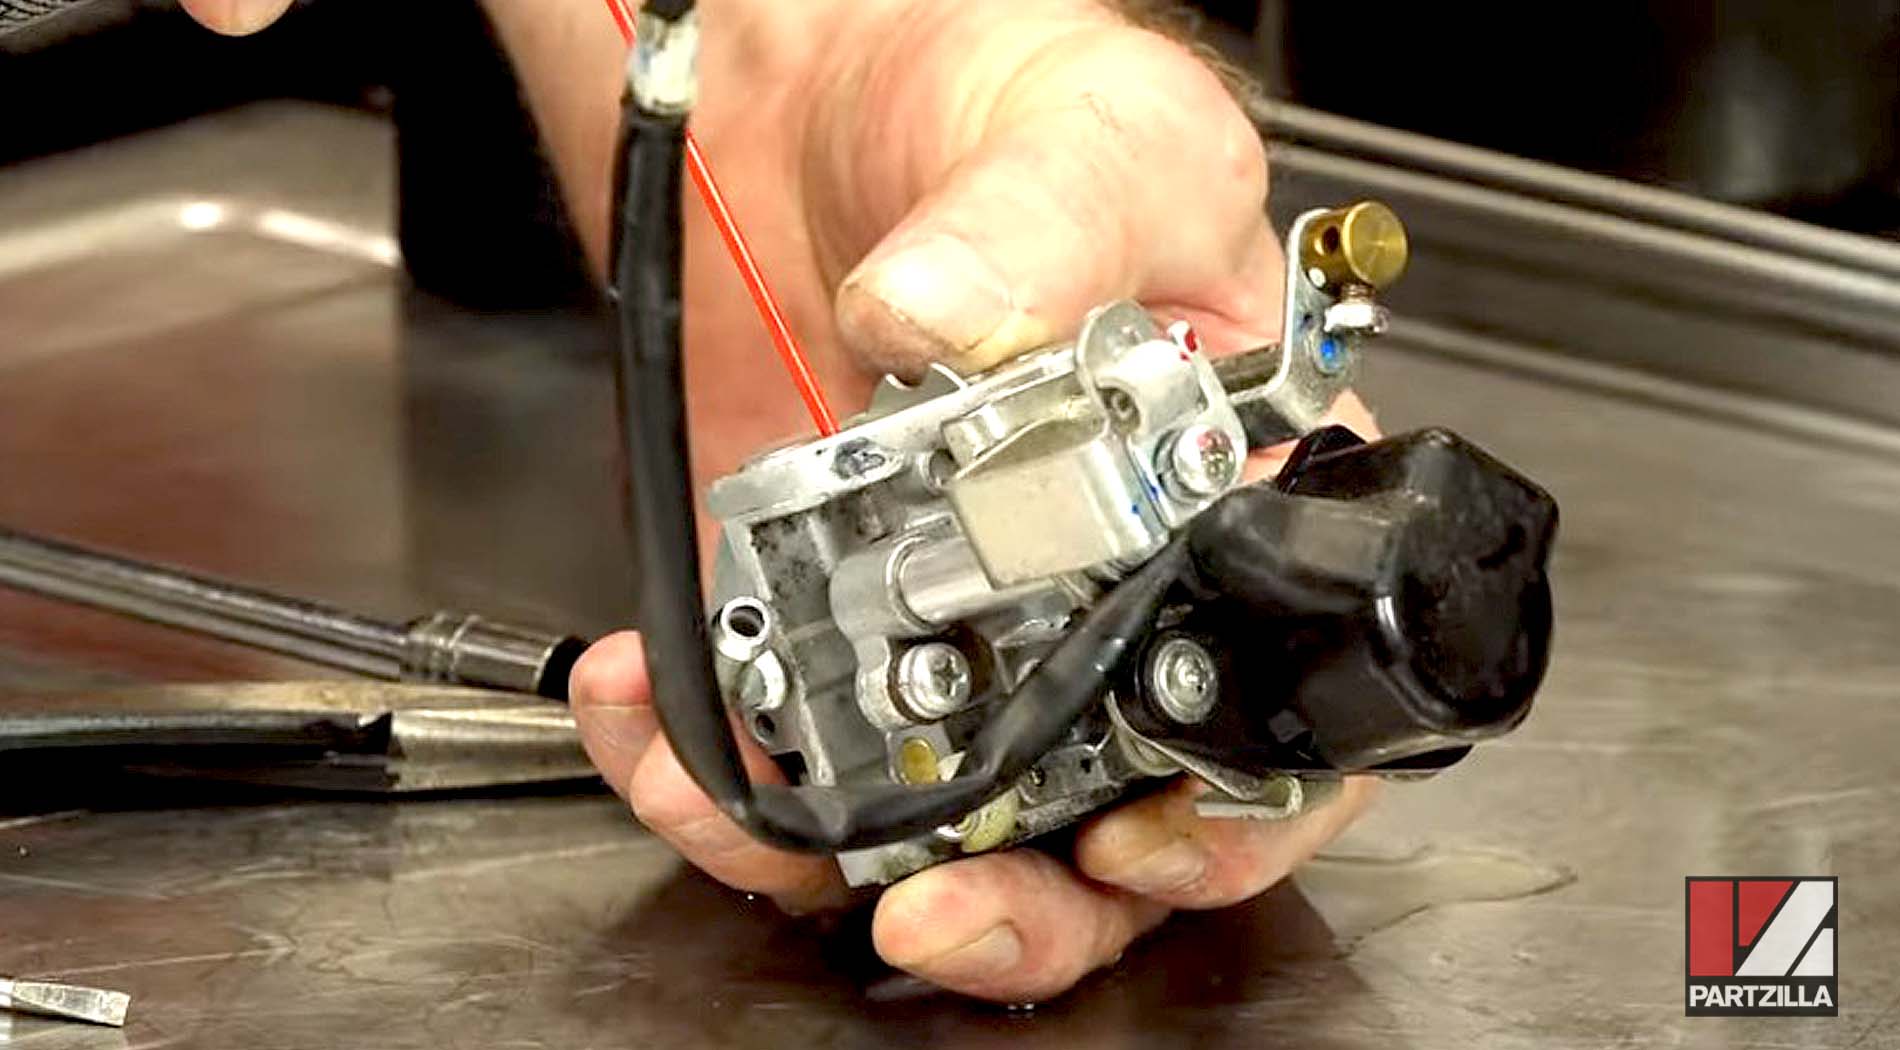
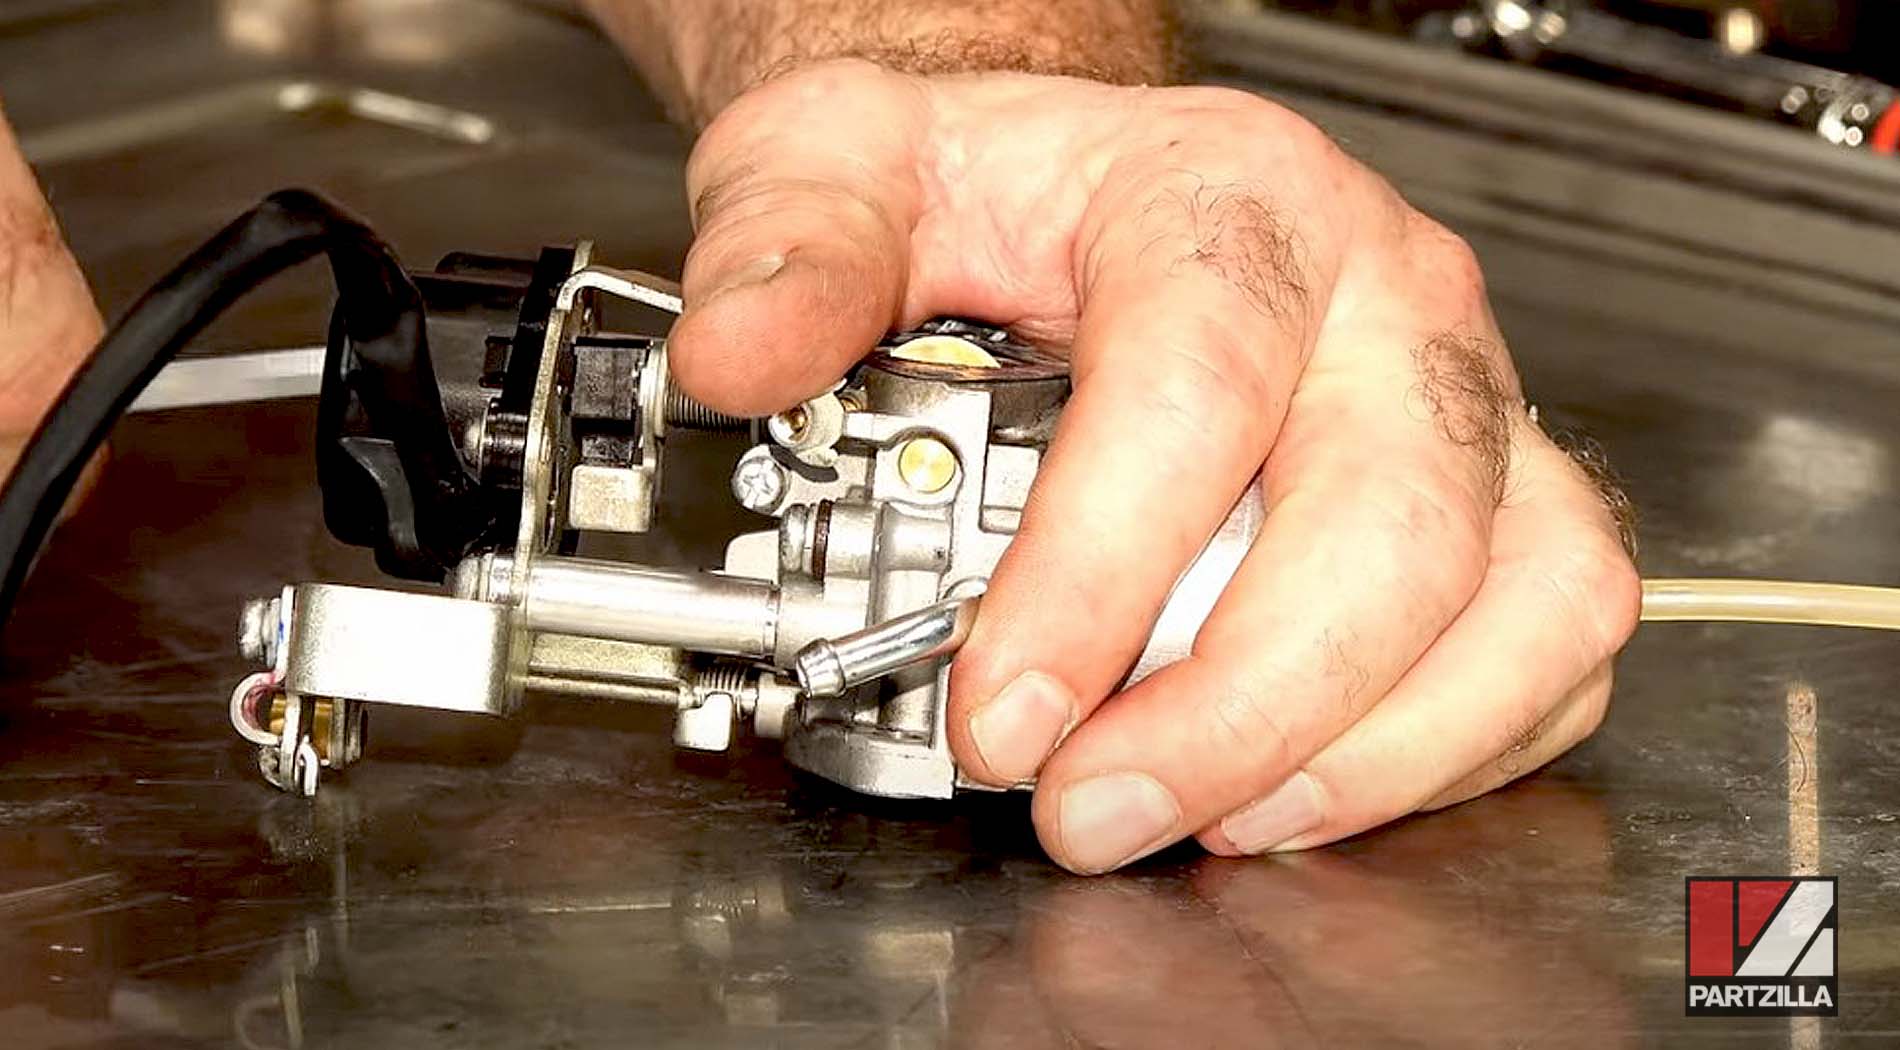
Step 7. Turn off the fuel line if you haven’t already, release the throttle cable and disconnect the fuel line to remove the carburetor from the generator.
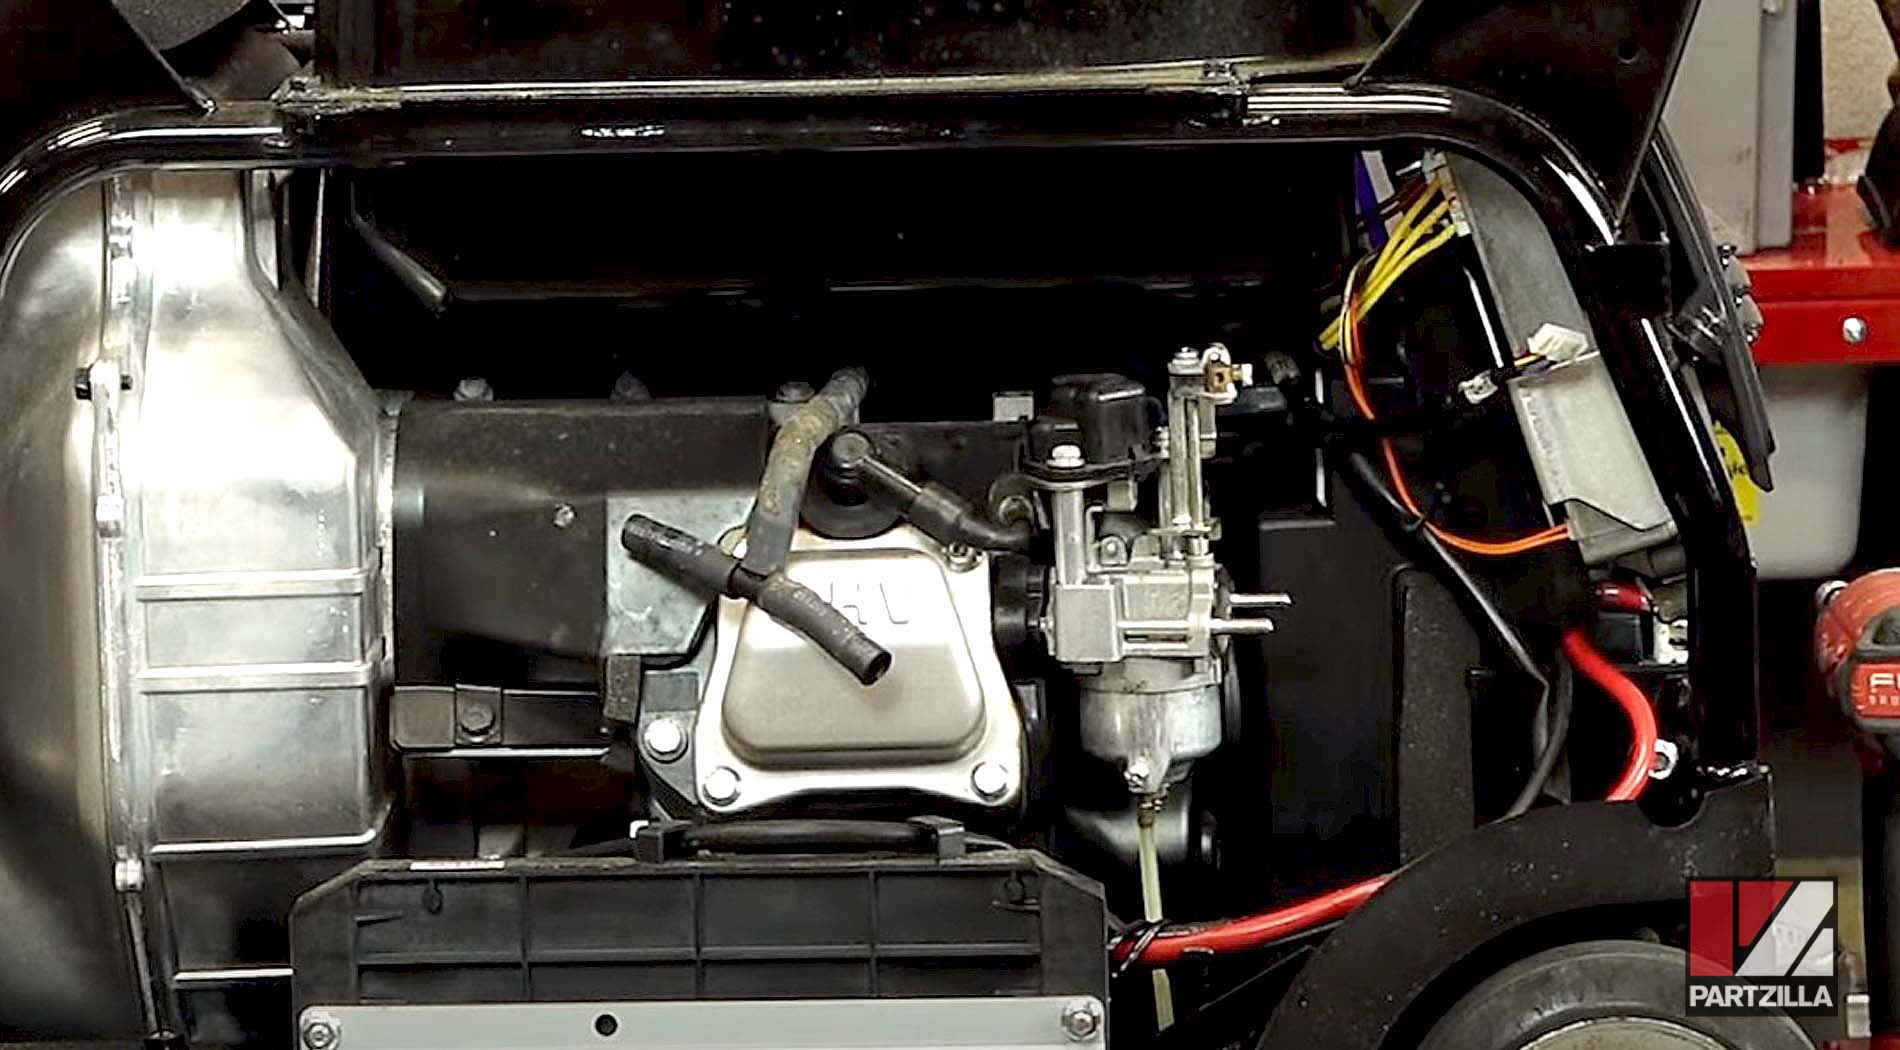
NOTE: You might need to lift up the fuel tank a bit to be able to remove the carburetor.

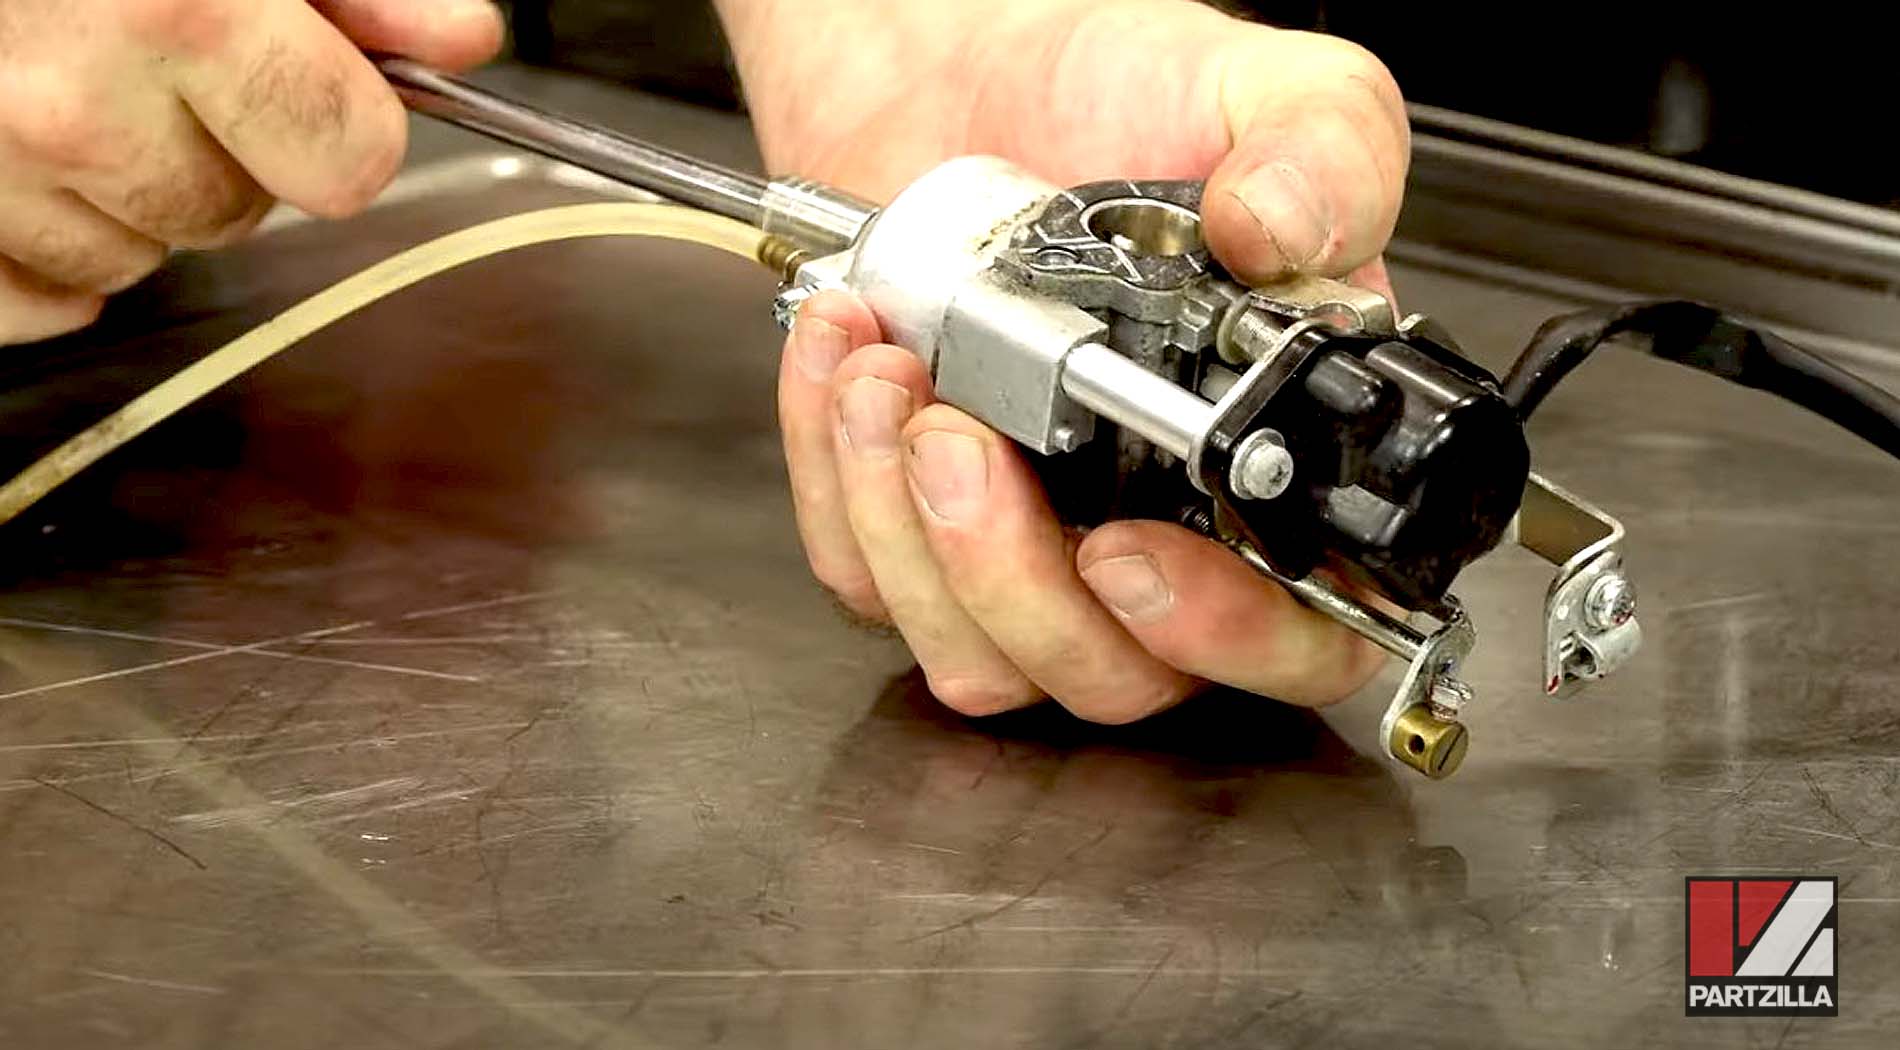
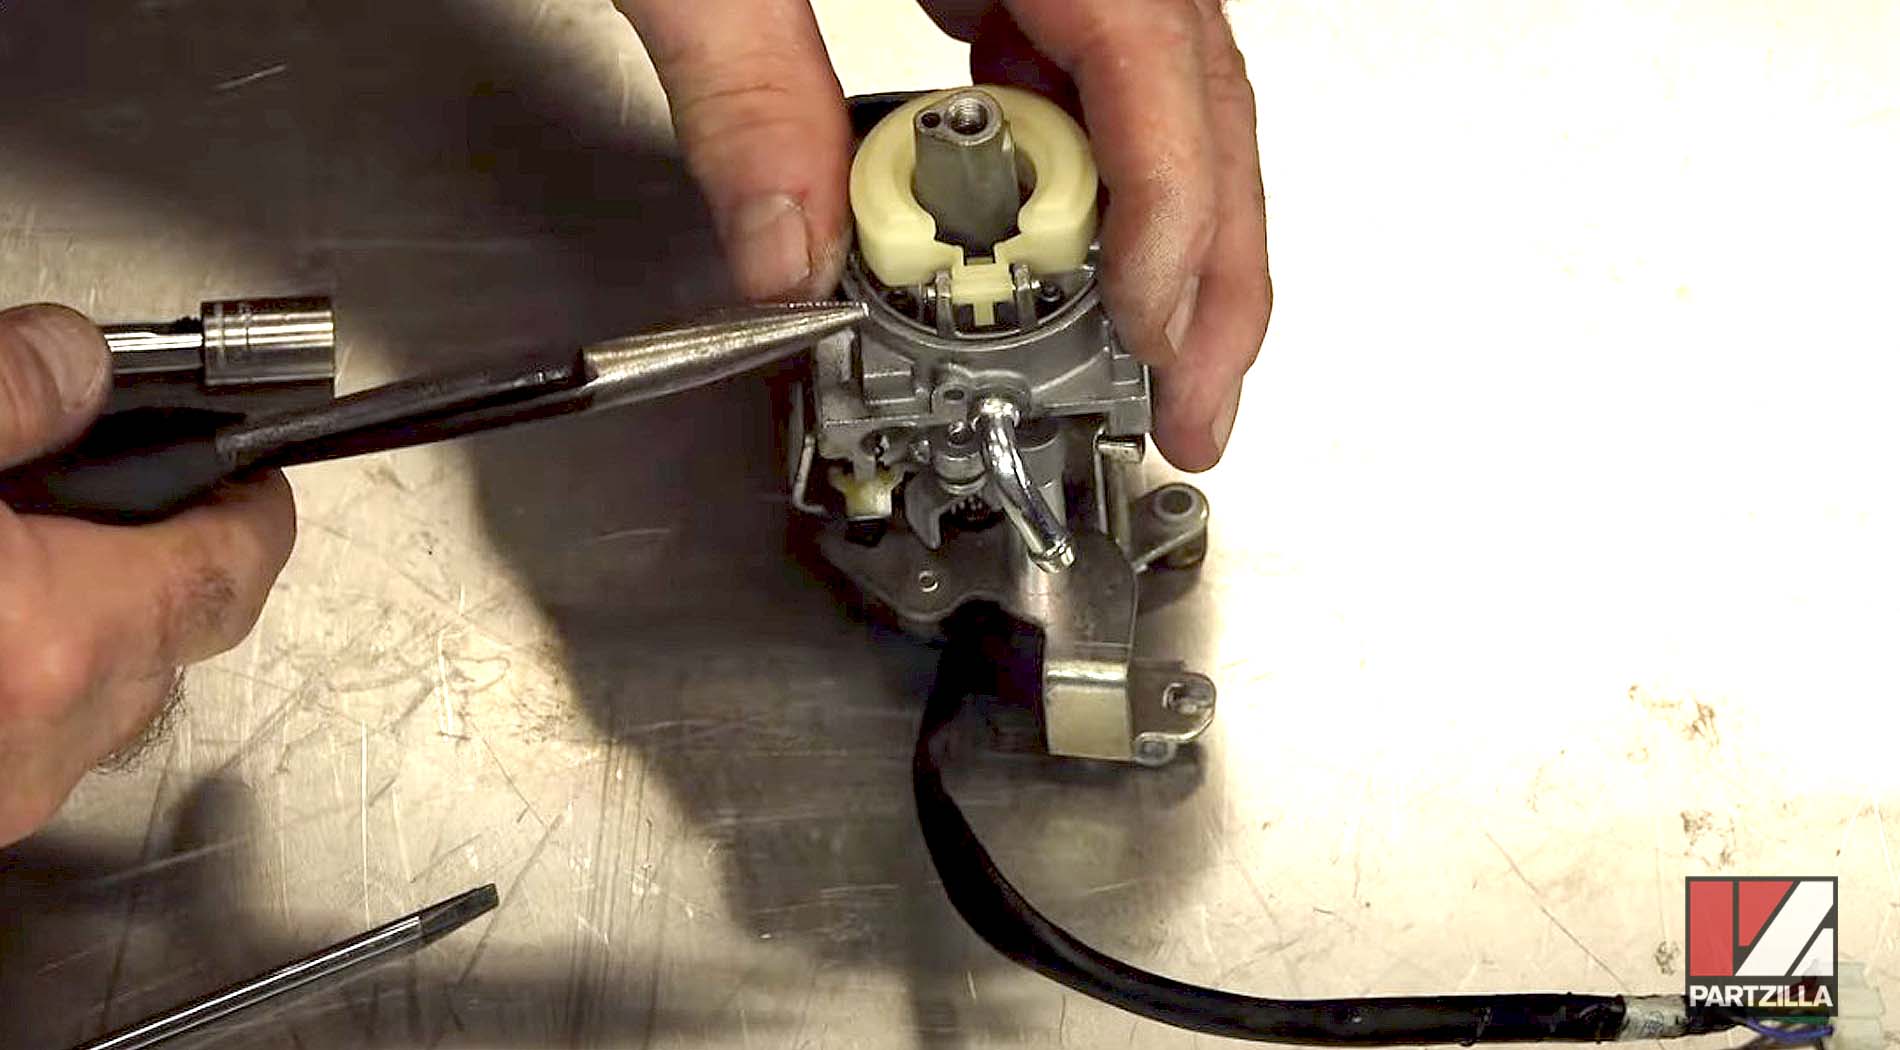
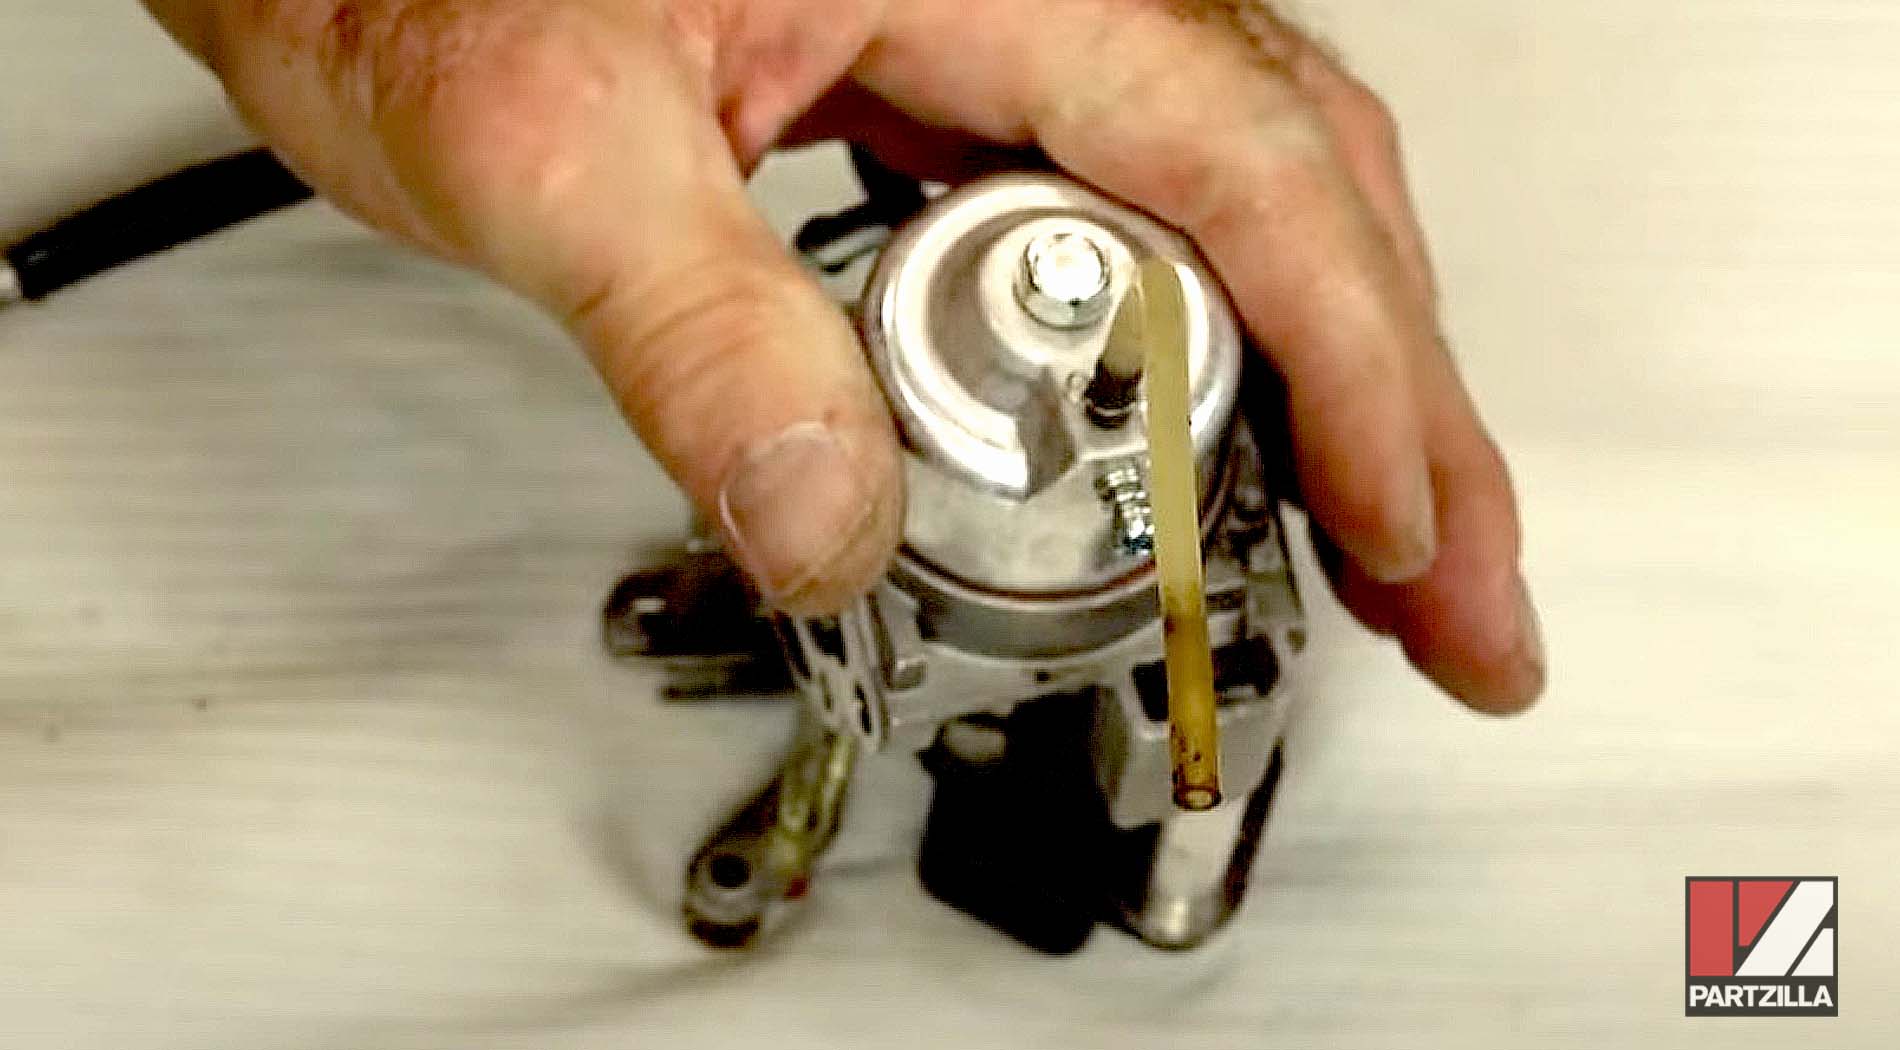
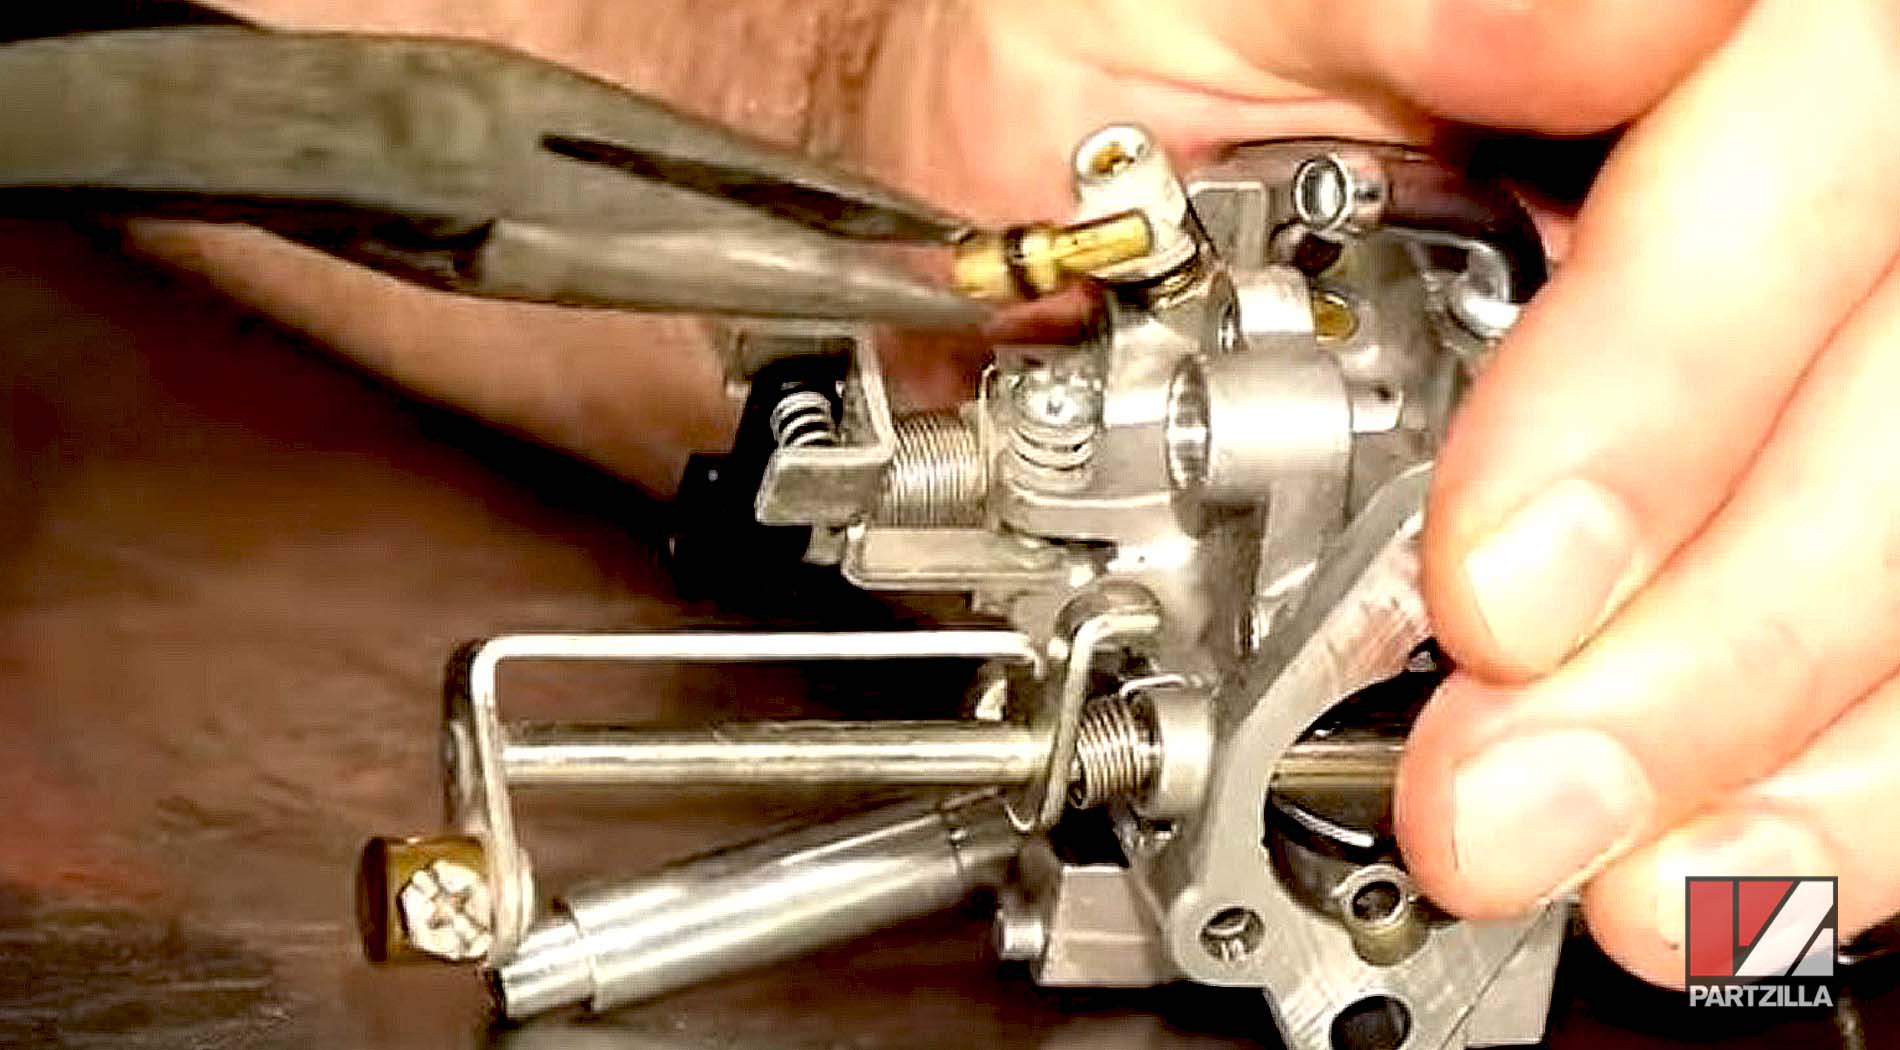
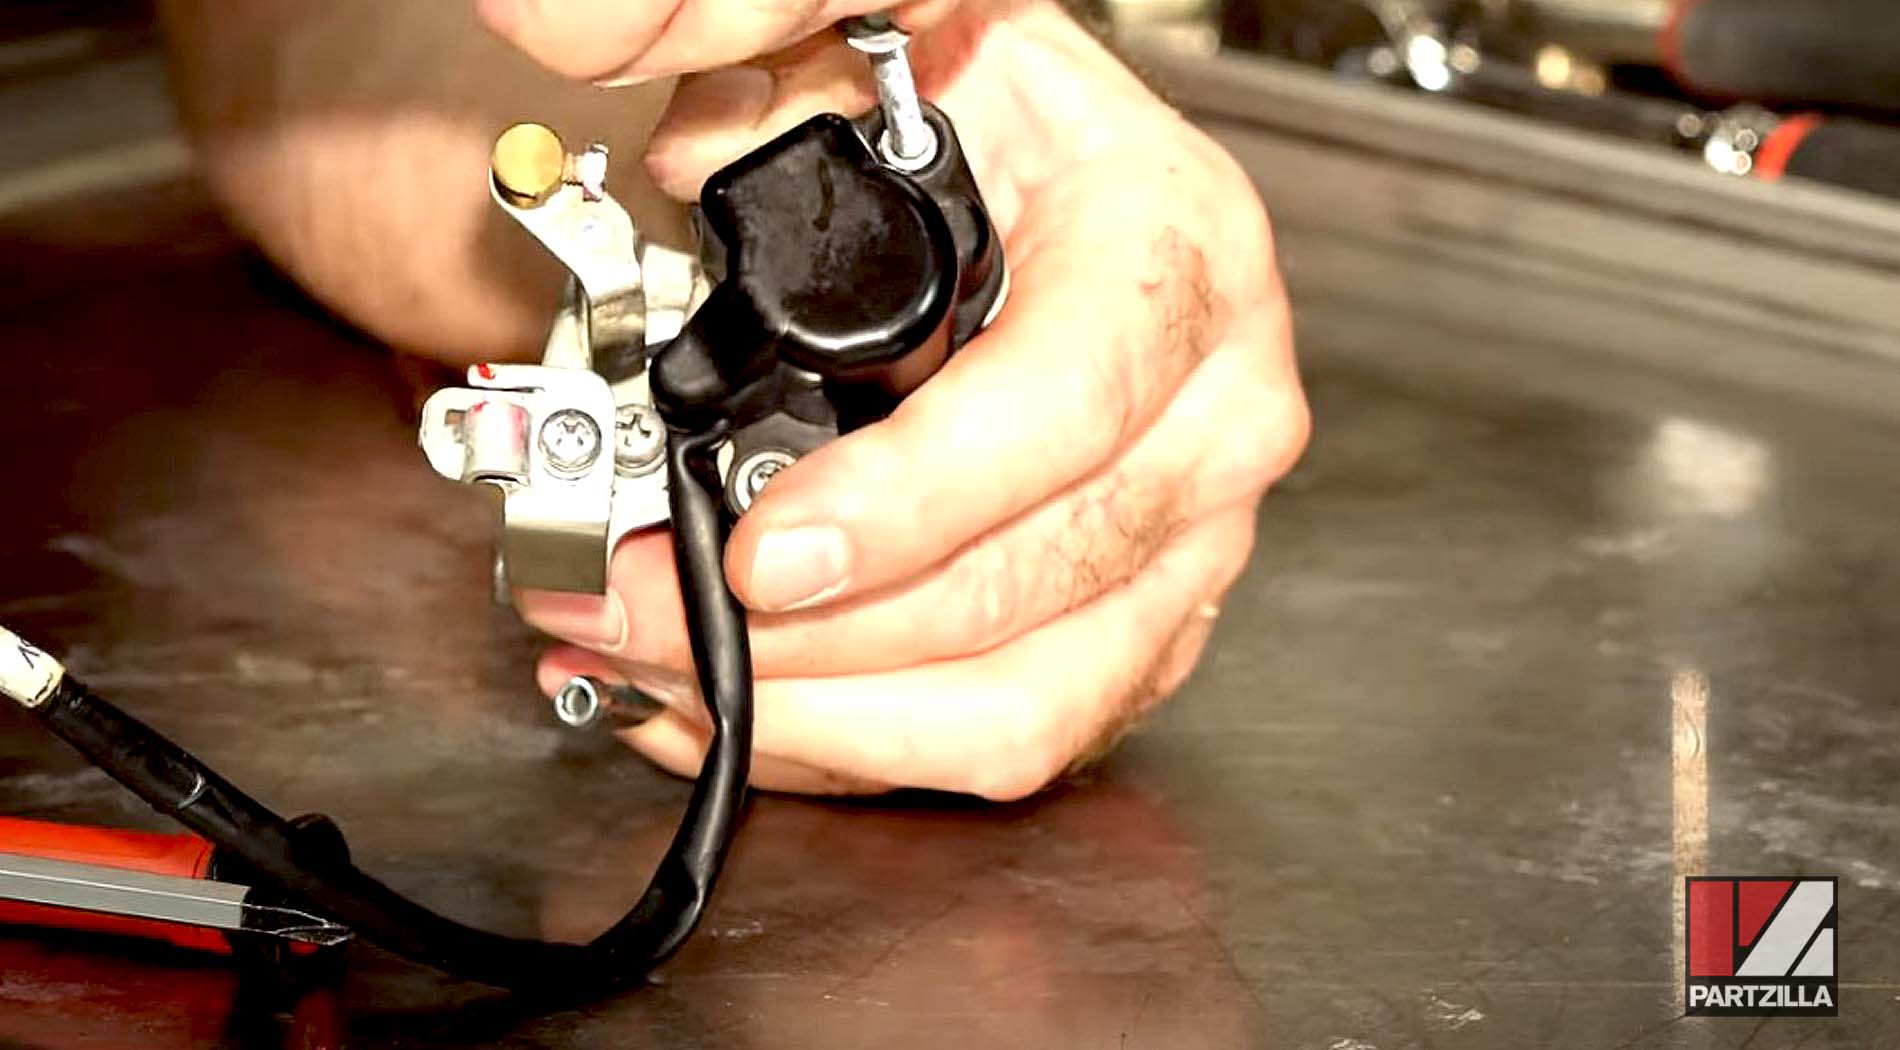
Step 8. Remove the float bowl cover and the gasket below it from the carburetor.
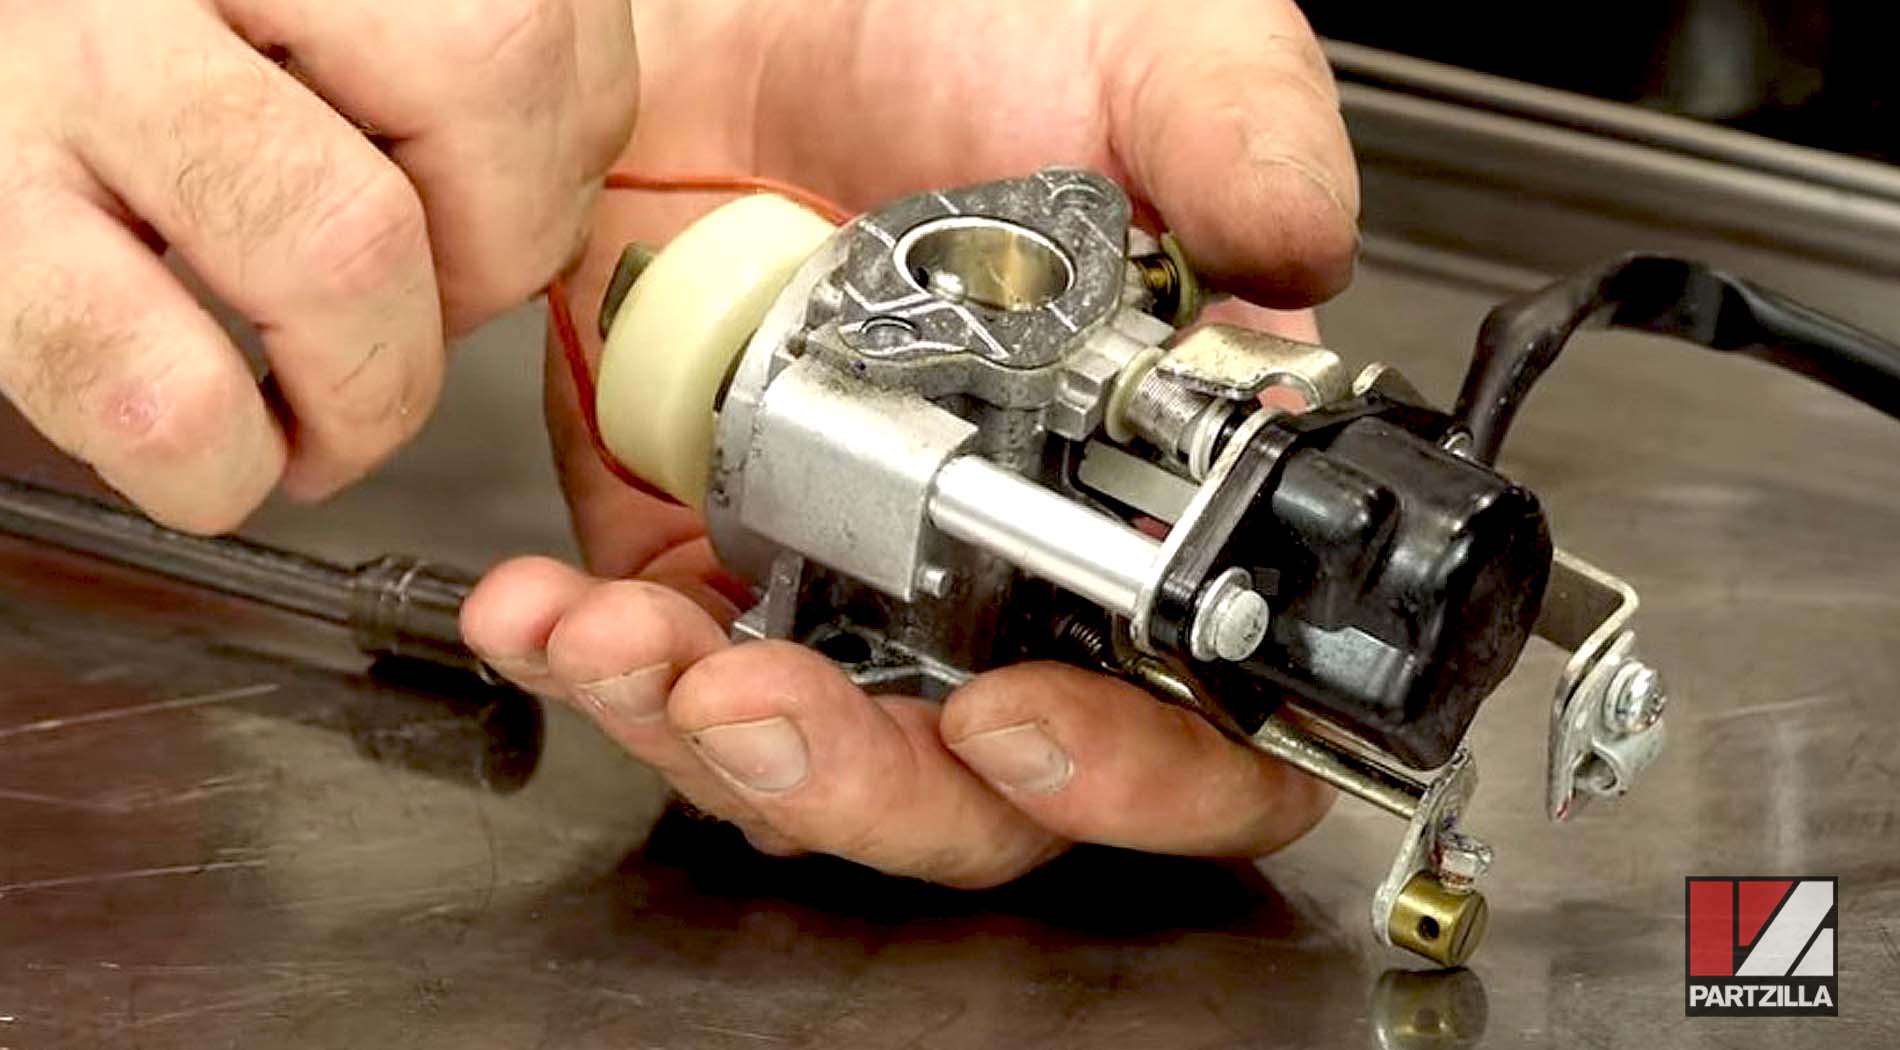
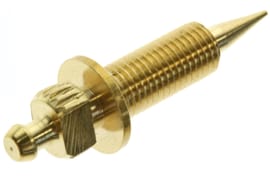
Step 9. Pull the jets out of the carb and spray them with carburetor cleaner.
NOTE: When spraying carb cleaner, wear glasses or goggles to protect your eyes.
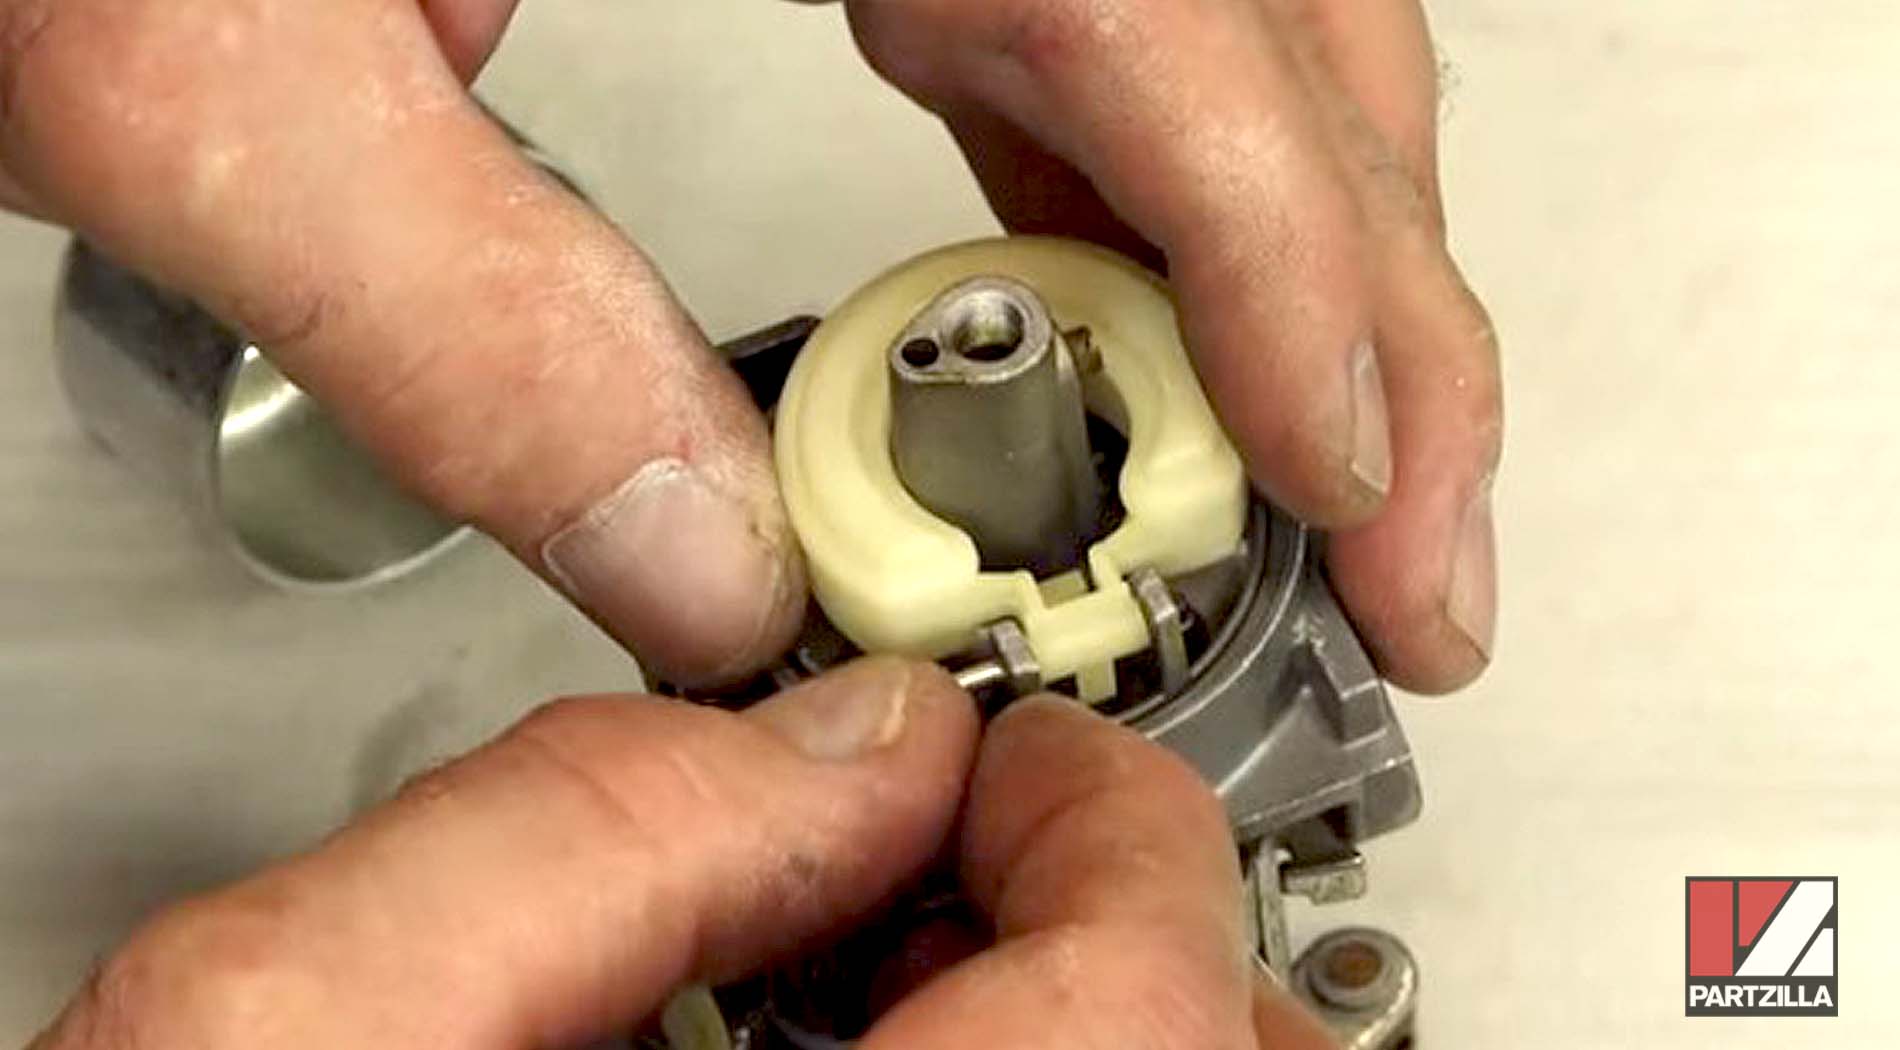
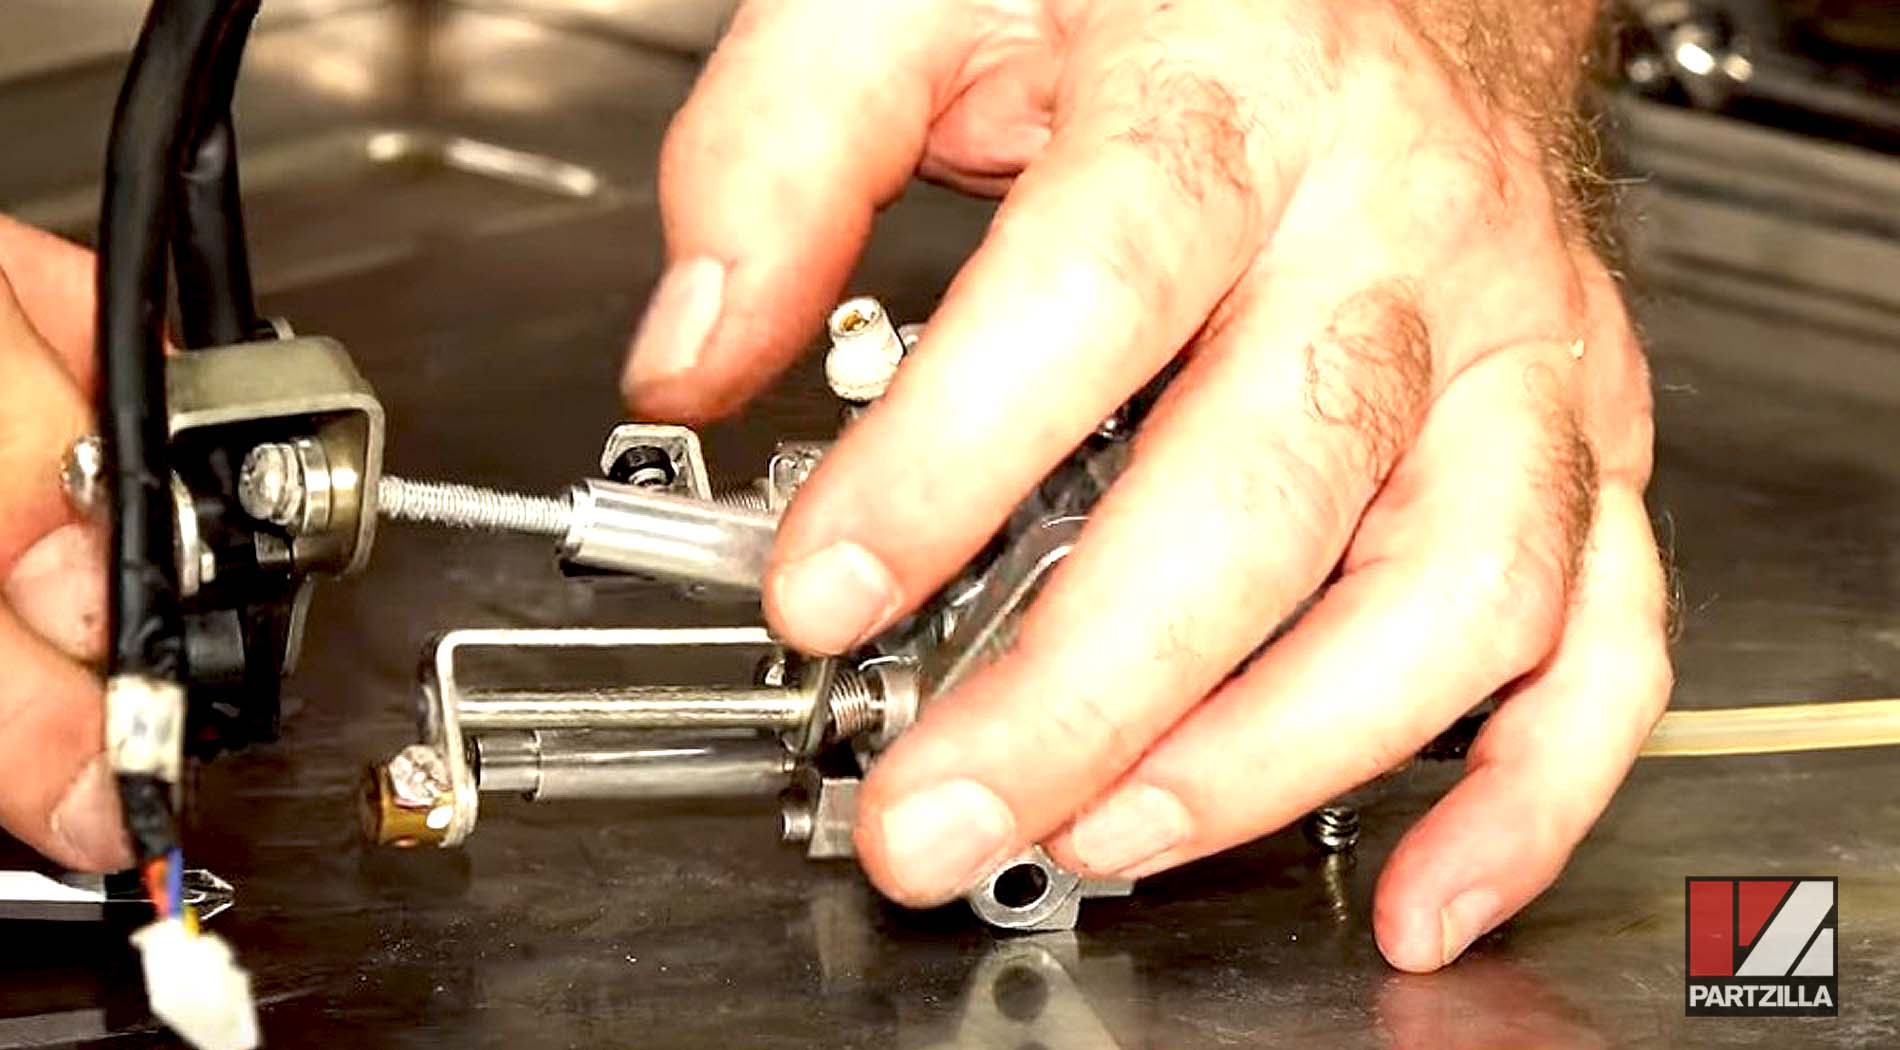
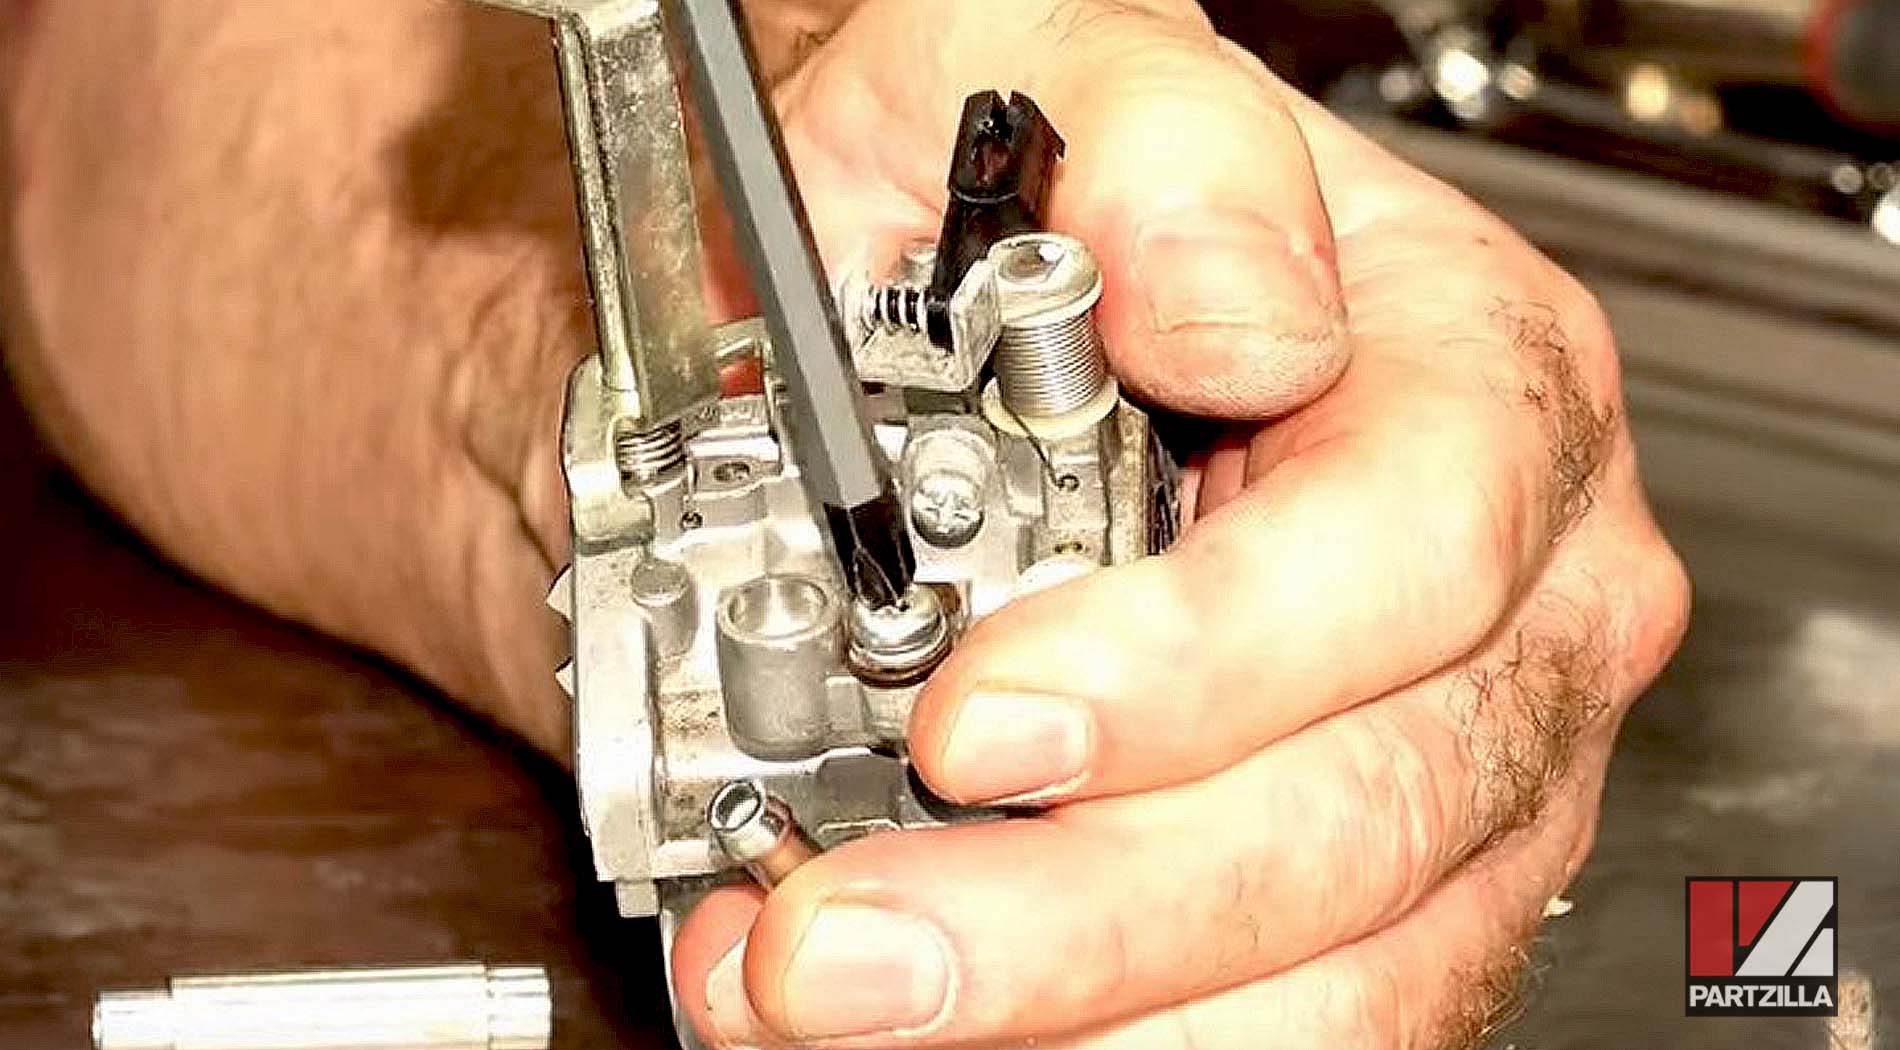
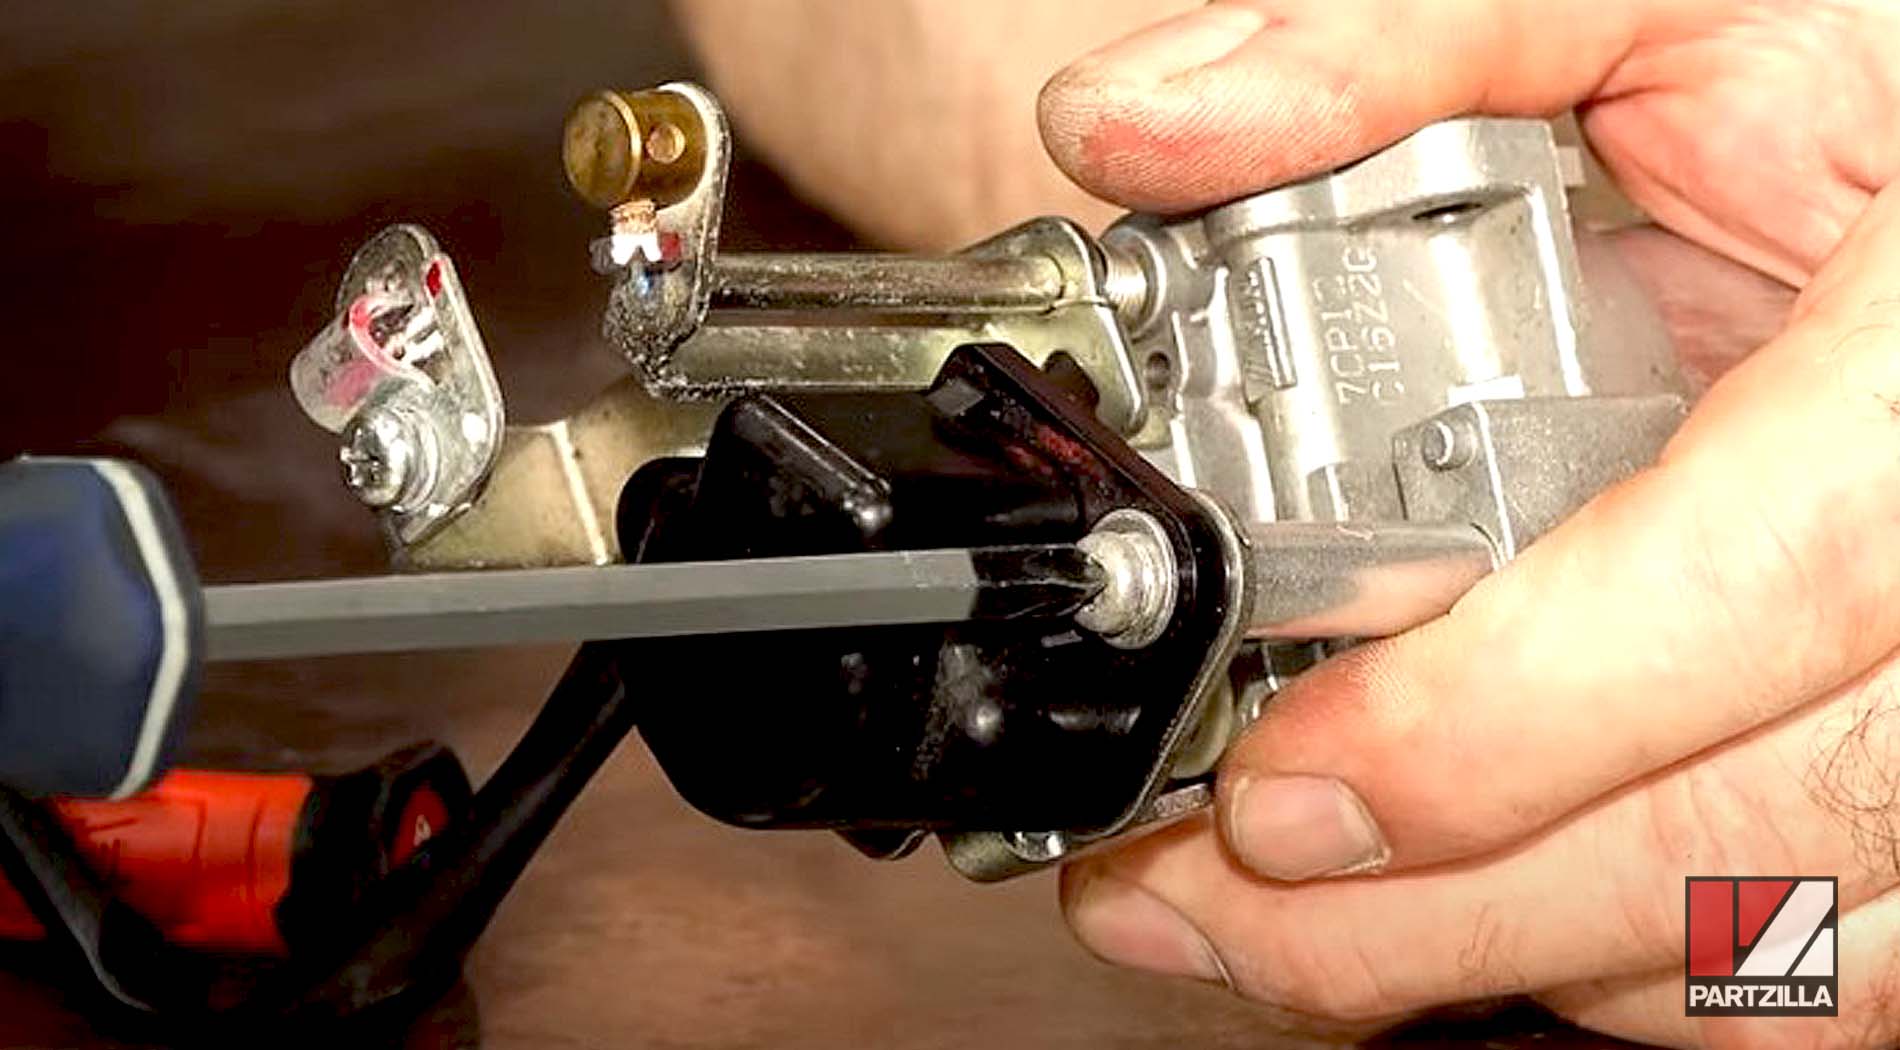
Step 10. Remove the float bowl from the carburetor and spray the carb with carb cleaner.
Step 11. Reassemble the float (needle, gasket, bowl) and put it back onto the carburetor.
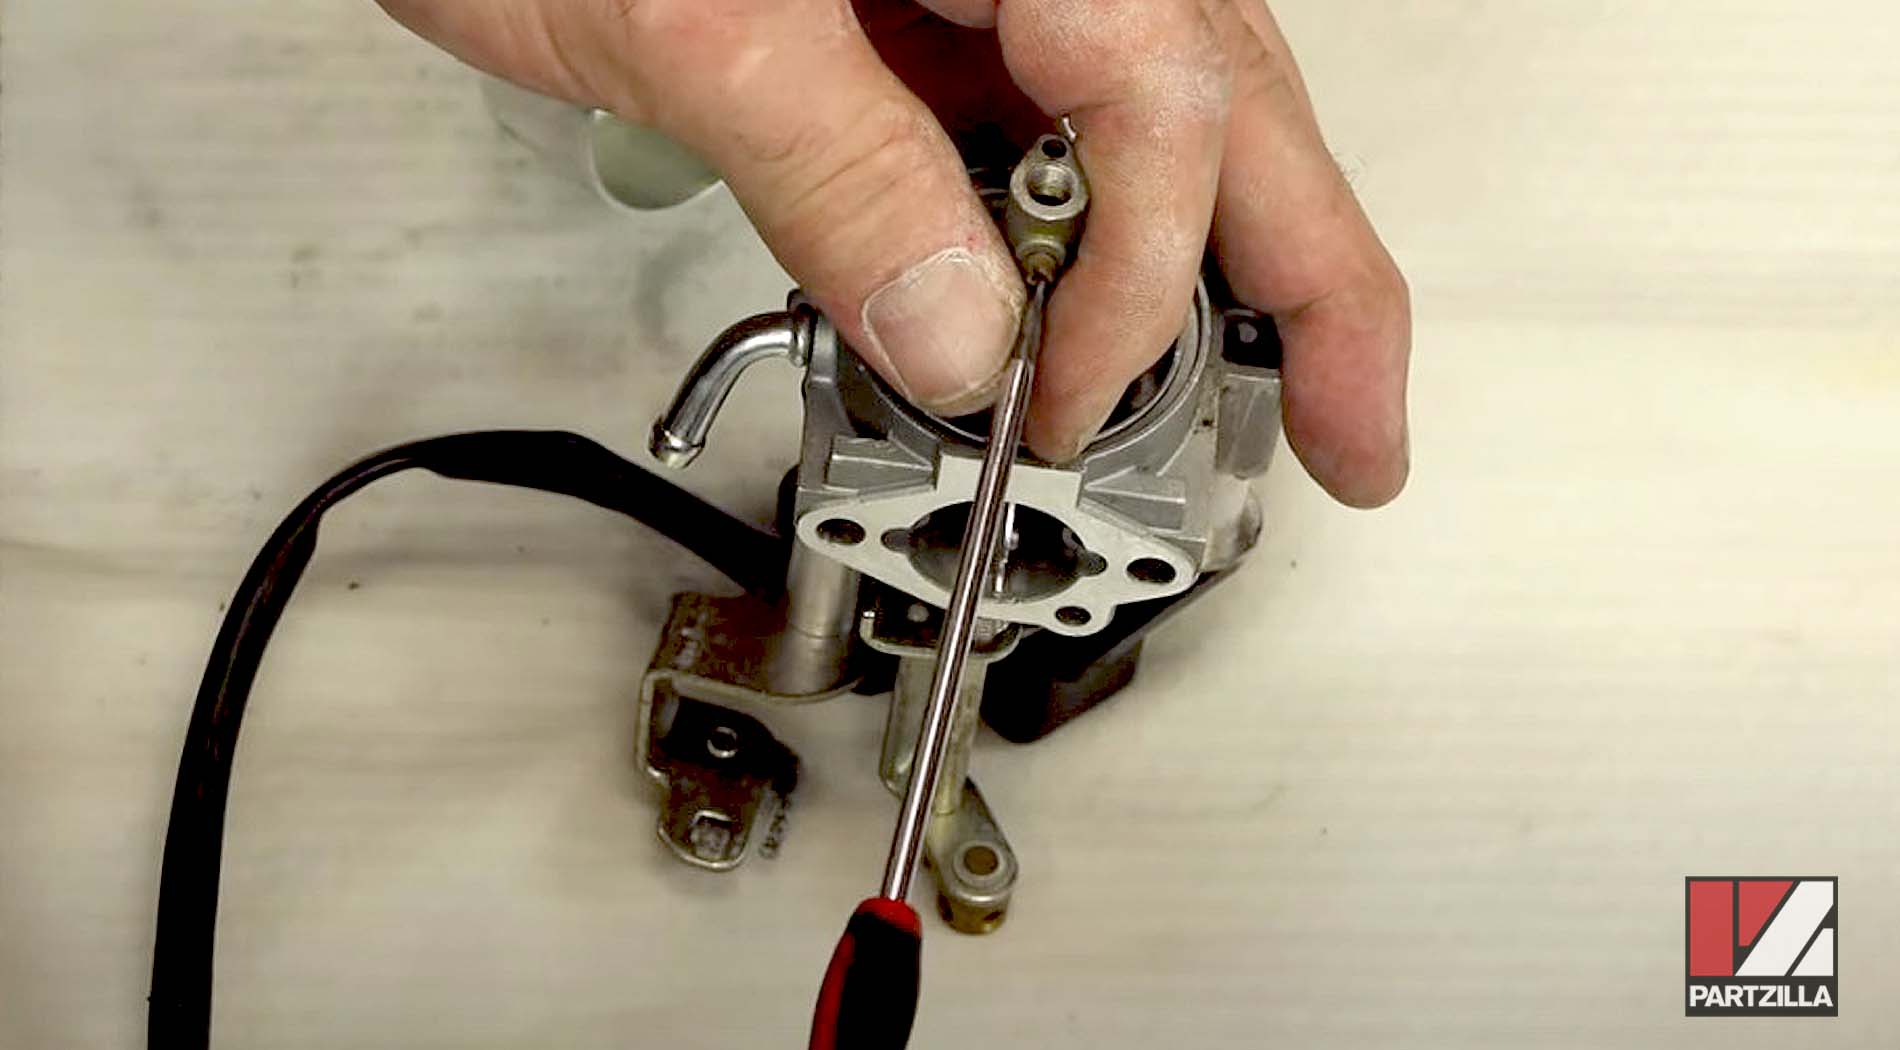
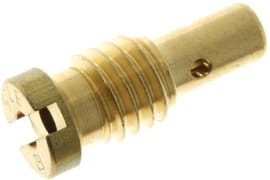
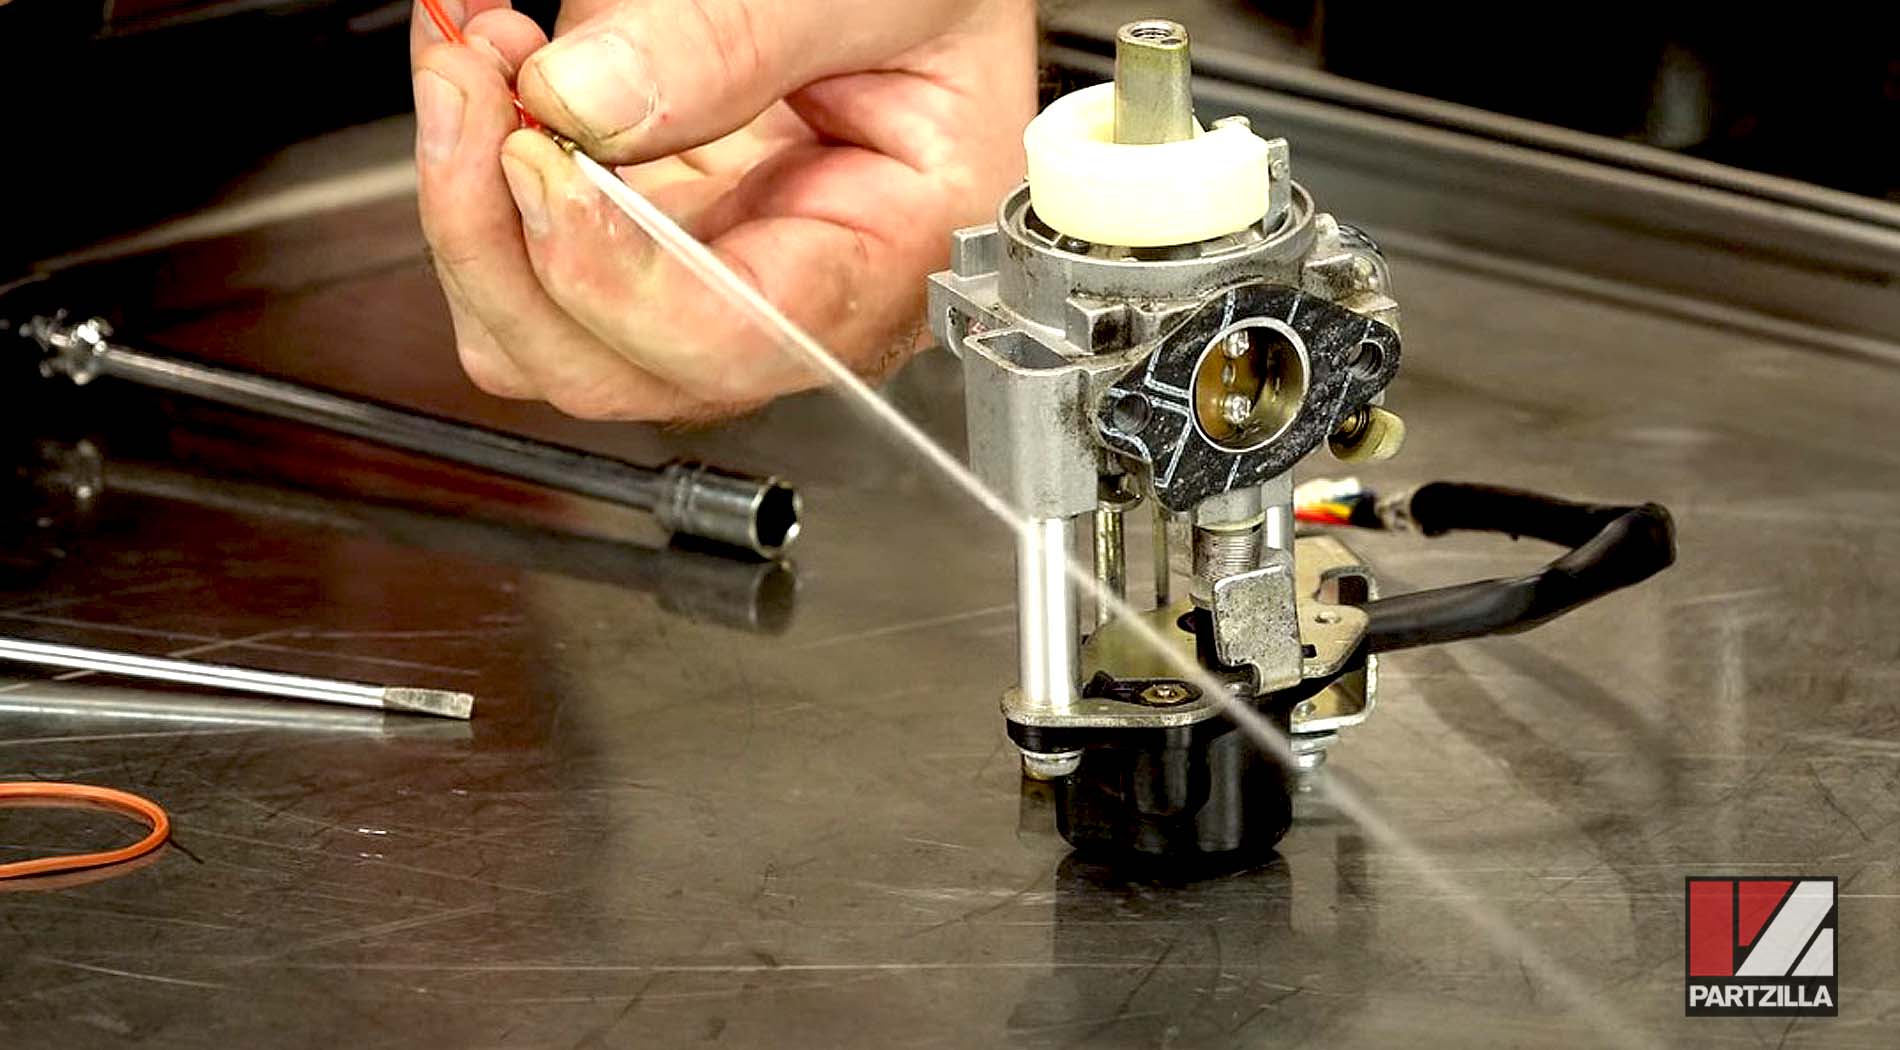
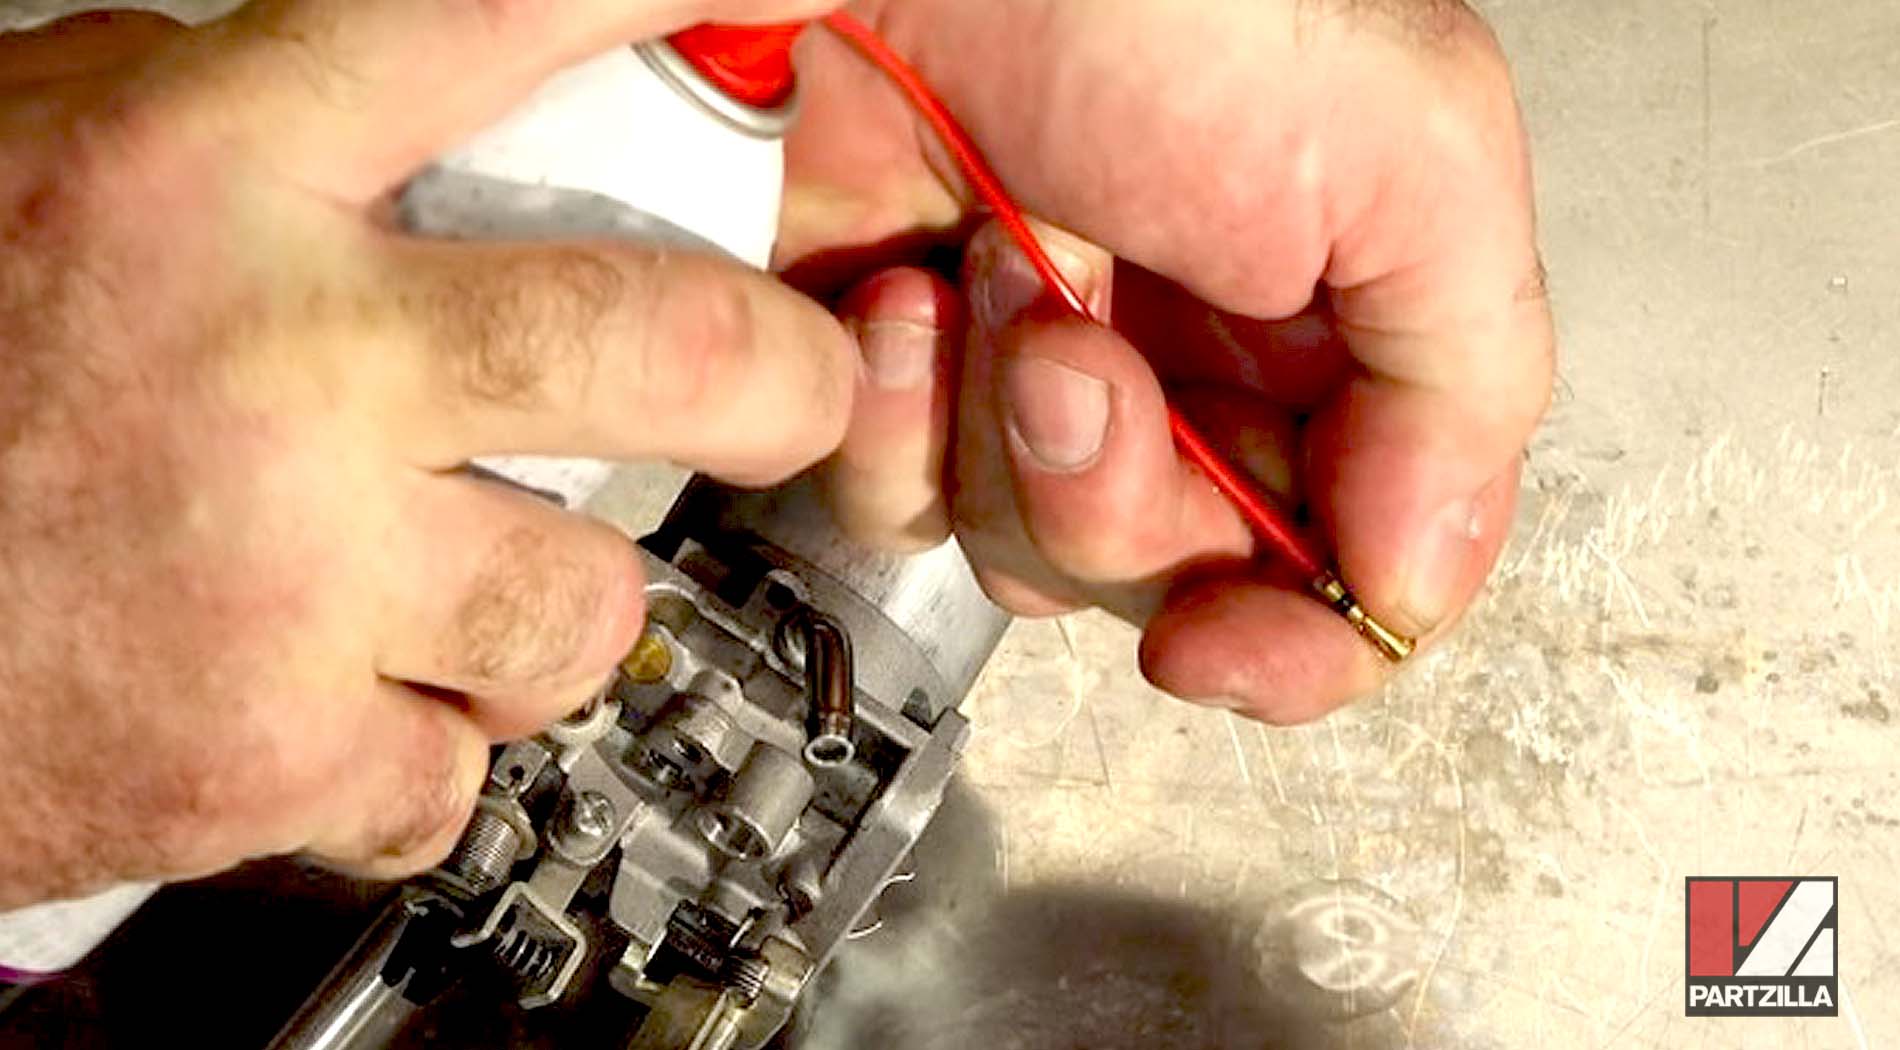
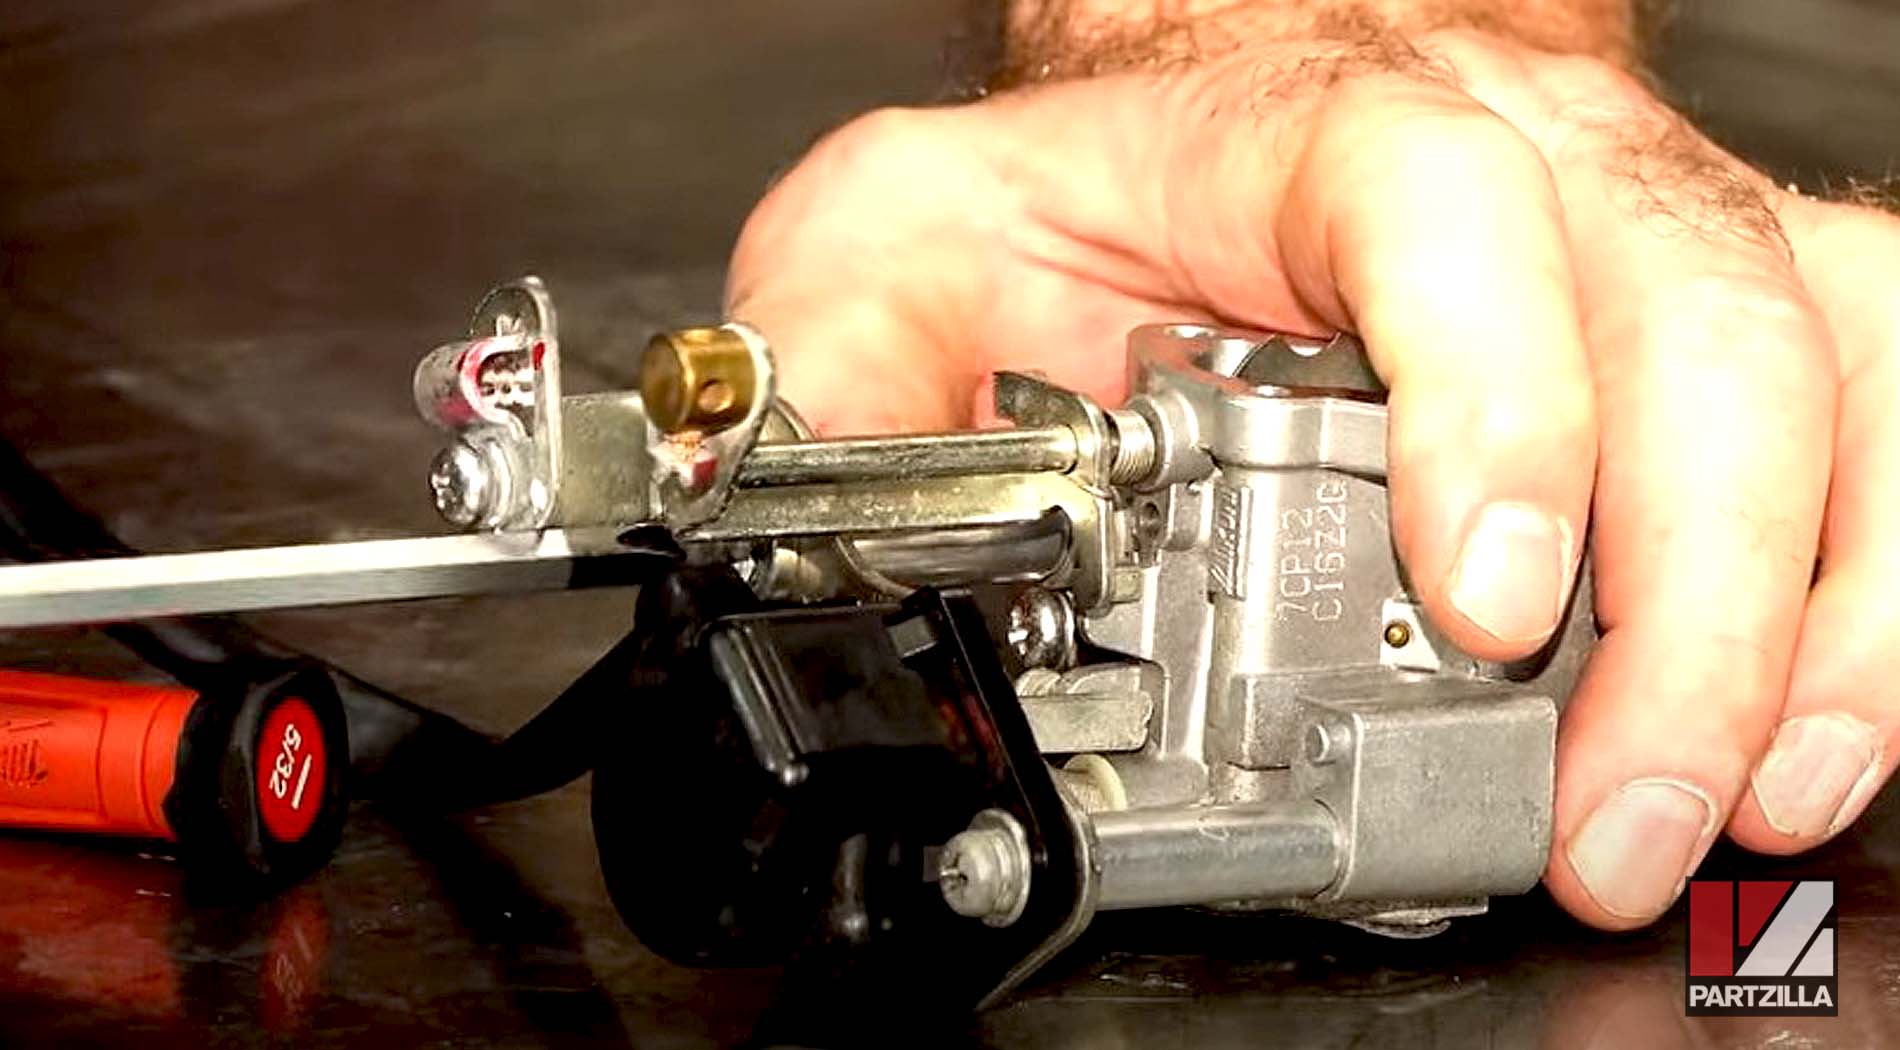
Step 12. Remove the pilot jet from the carb and spray it with carb cleaner.
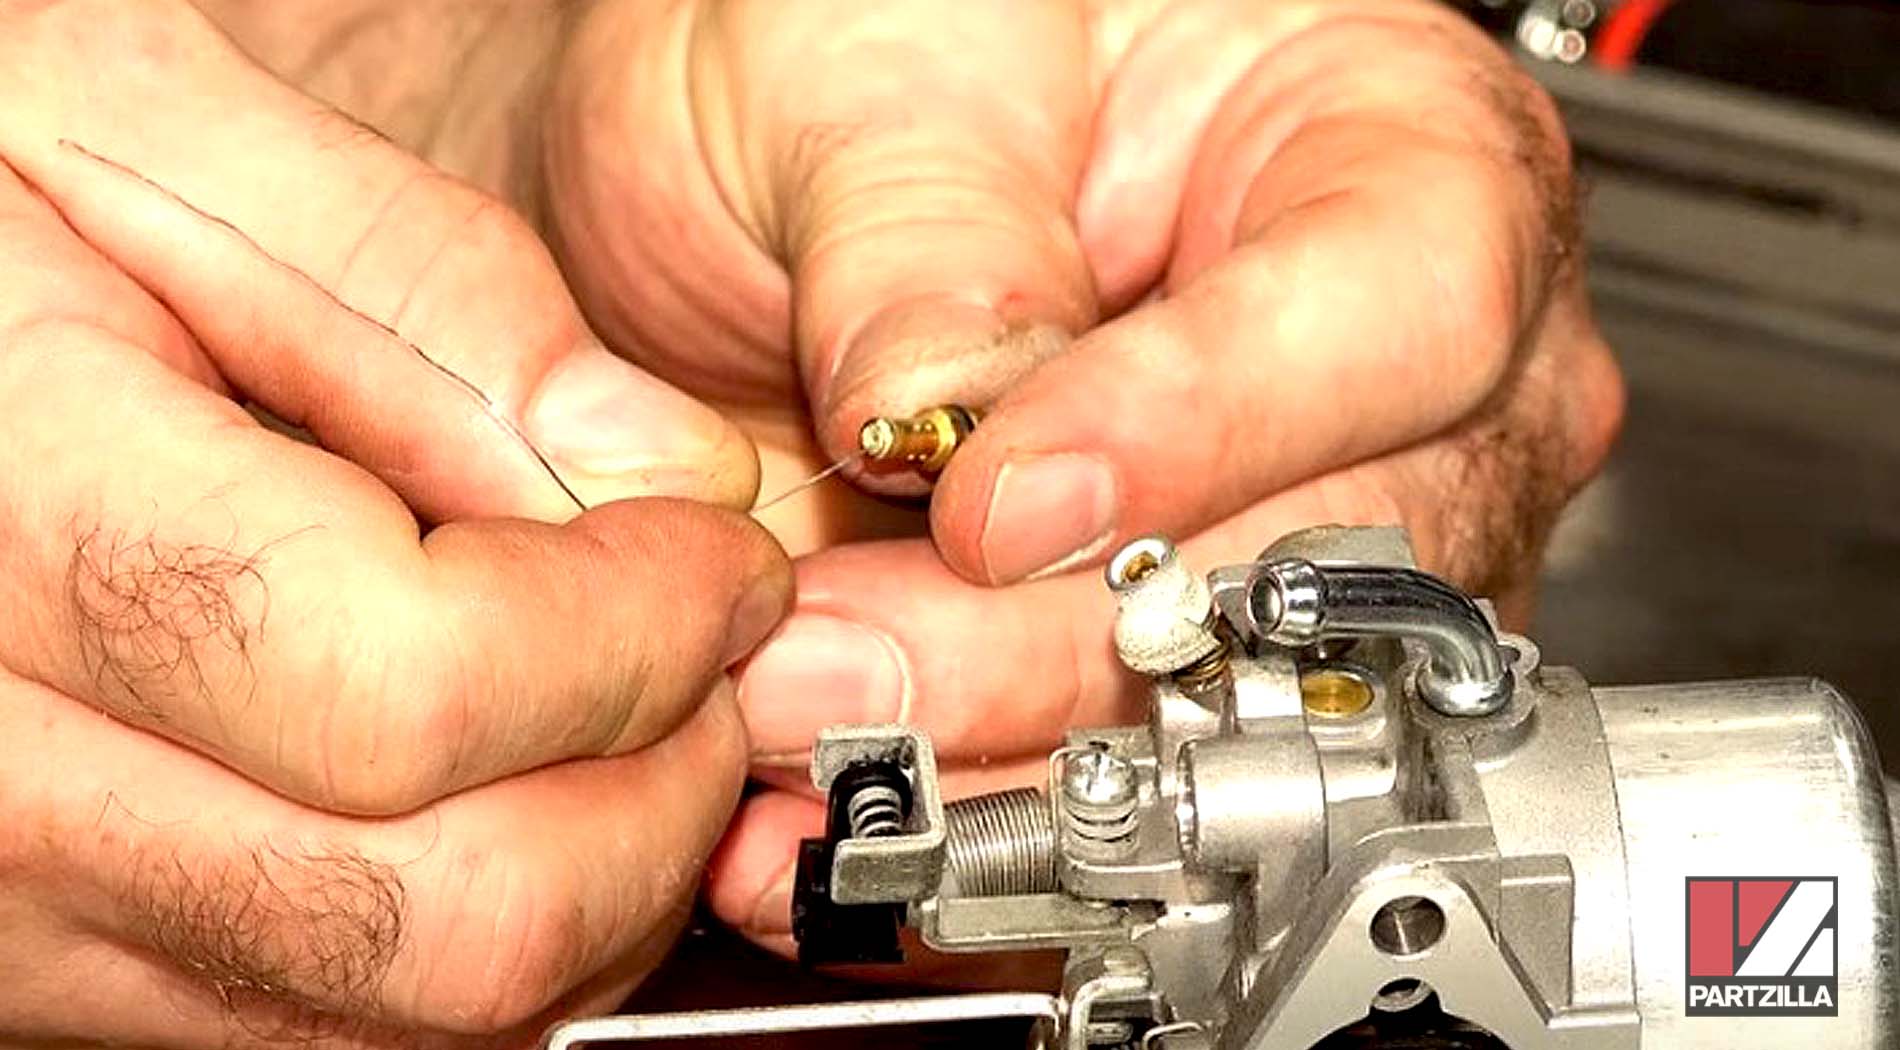
PRO TIP: If you’re spraying carb cleaner into the pilot jet and the spray doesn’t shoot out of the other end of it, that means the jet is clogged and you need to either A) replace it, B) put it in ultrasonic cleaner or C) use one bristle from a wire brush to clean out the clog.
Step 13. Reinstall the pilot jet and reassemble the carburetor.
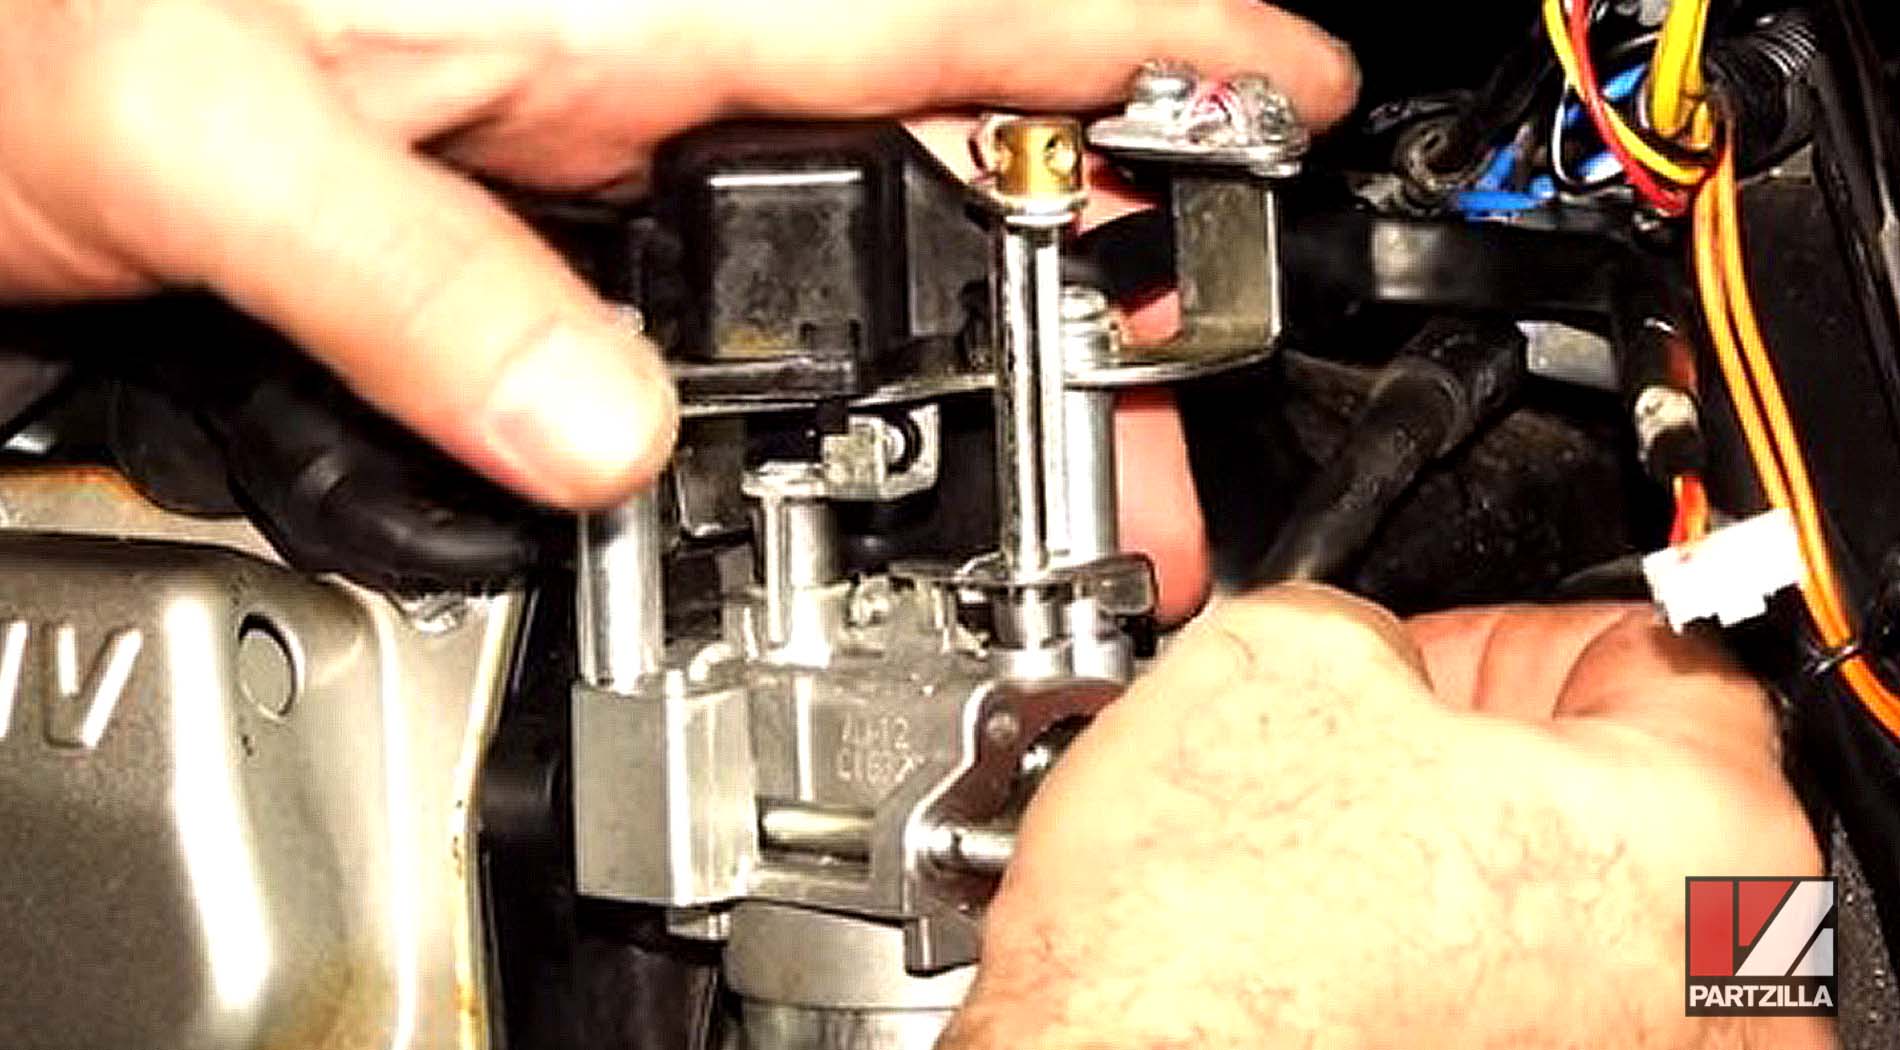
Step 14. Reinstall the carburetor onto the generator and reattach the fuel line, clamp, throttle control, choke cable, bowl drain and engine vent hose.
Step 15. Reinstall the air filter box, the air filter and its cover.
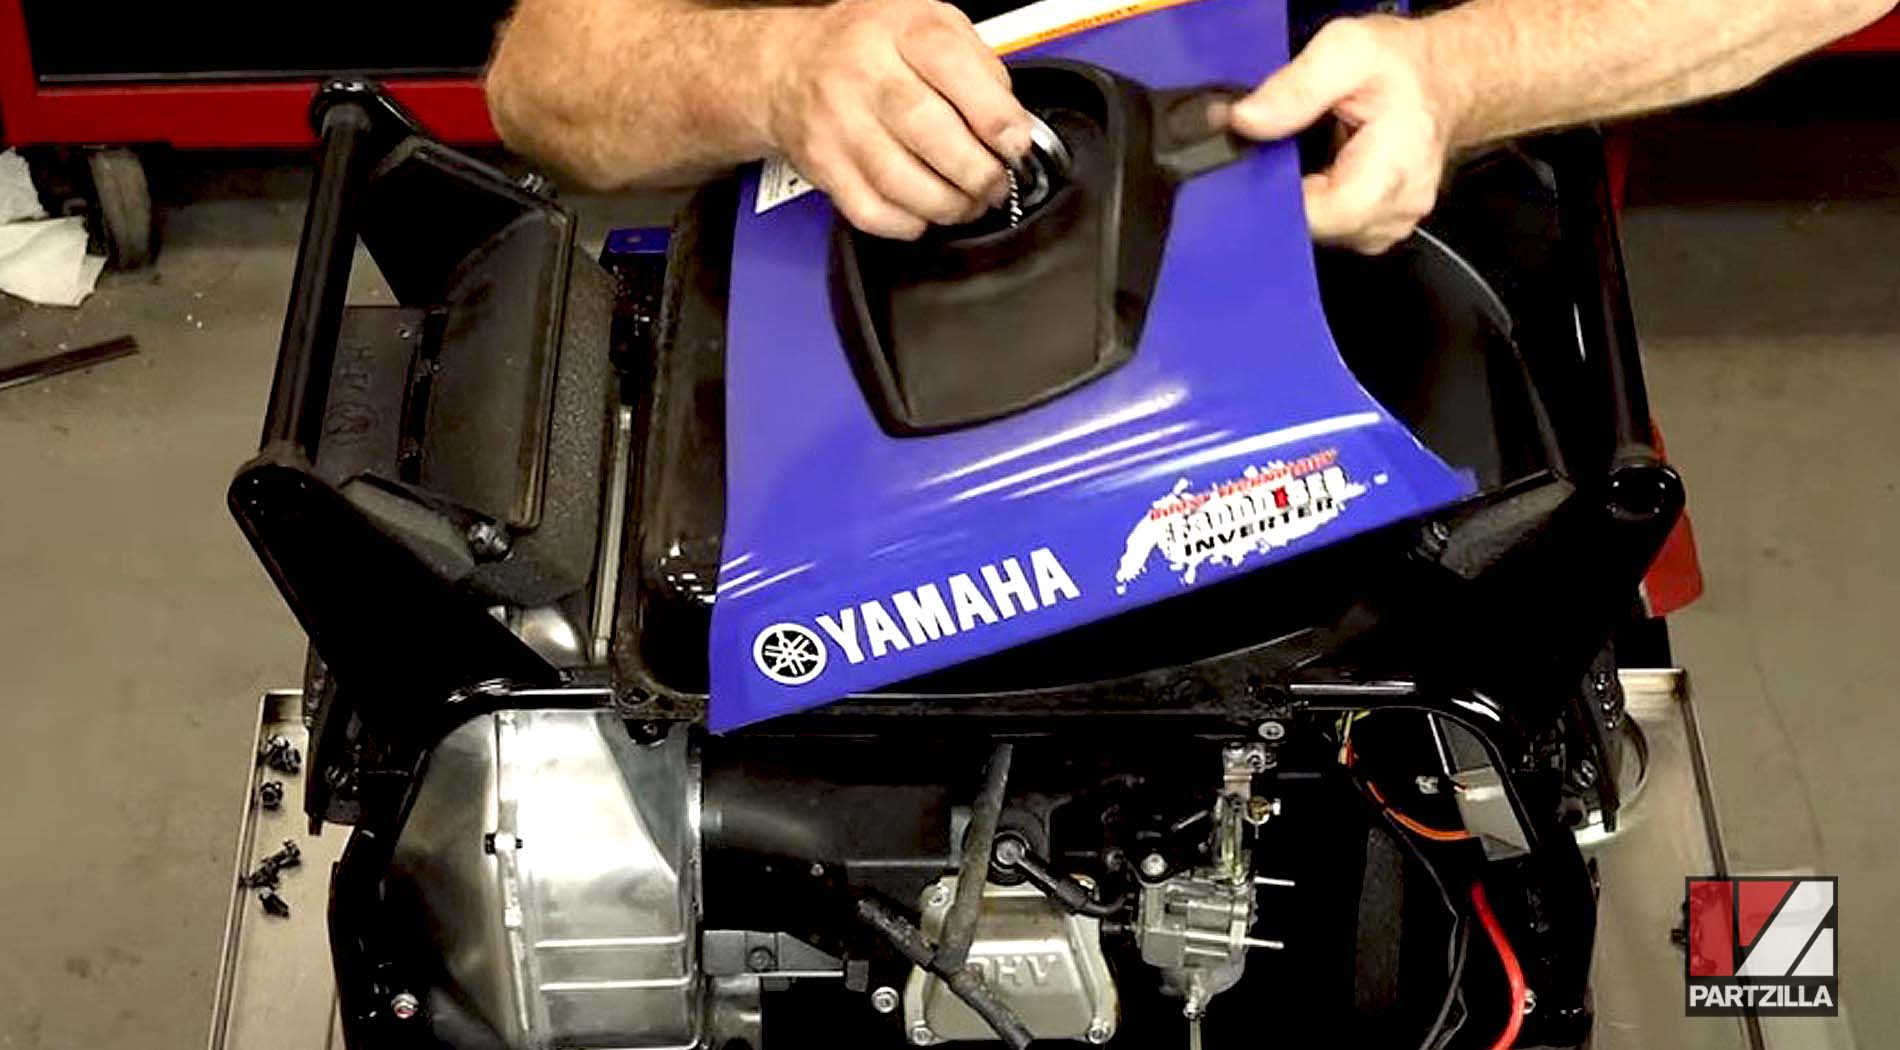
Step 16. Turn on the fuel and the choke on the generator and let it run to check for leaks, then reinstall the fuel tank covers, the side covers and the upper covers and you’re done.
Our Yamaha generator’s carburetor just needed a simple cleaning. If you’re not sure whether your machine’s carb needs to be changed out or just cleaned, watch the video below to learn about whether you should clean, rebuild or replace a carburetor.