How to Install a Yamaha ATV Clutch Cable
When it's time to do a Yamaha ATV clutch cable replacement and adjustment, a couple of simple tools and a few parts is all it takes to get it done.
A sign that a clutch cable replacement and adjustment on a YFZ450R is in order is that the clutch gets harder and harder to pull. Watch the video above and follow the steps below to do a clutch cable installation and adjustment on a Yamaha YFZ450.
Tools and Parts - Yamaha YFZ450 Clutch Cable Replacement
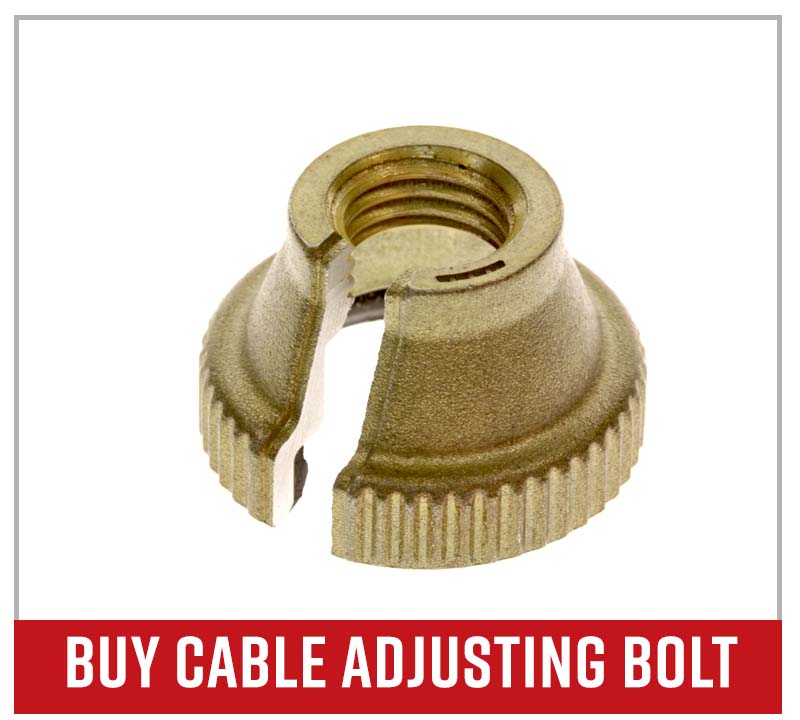
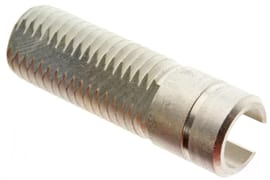
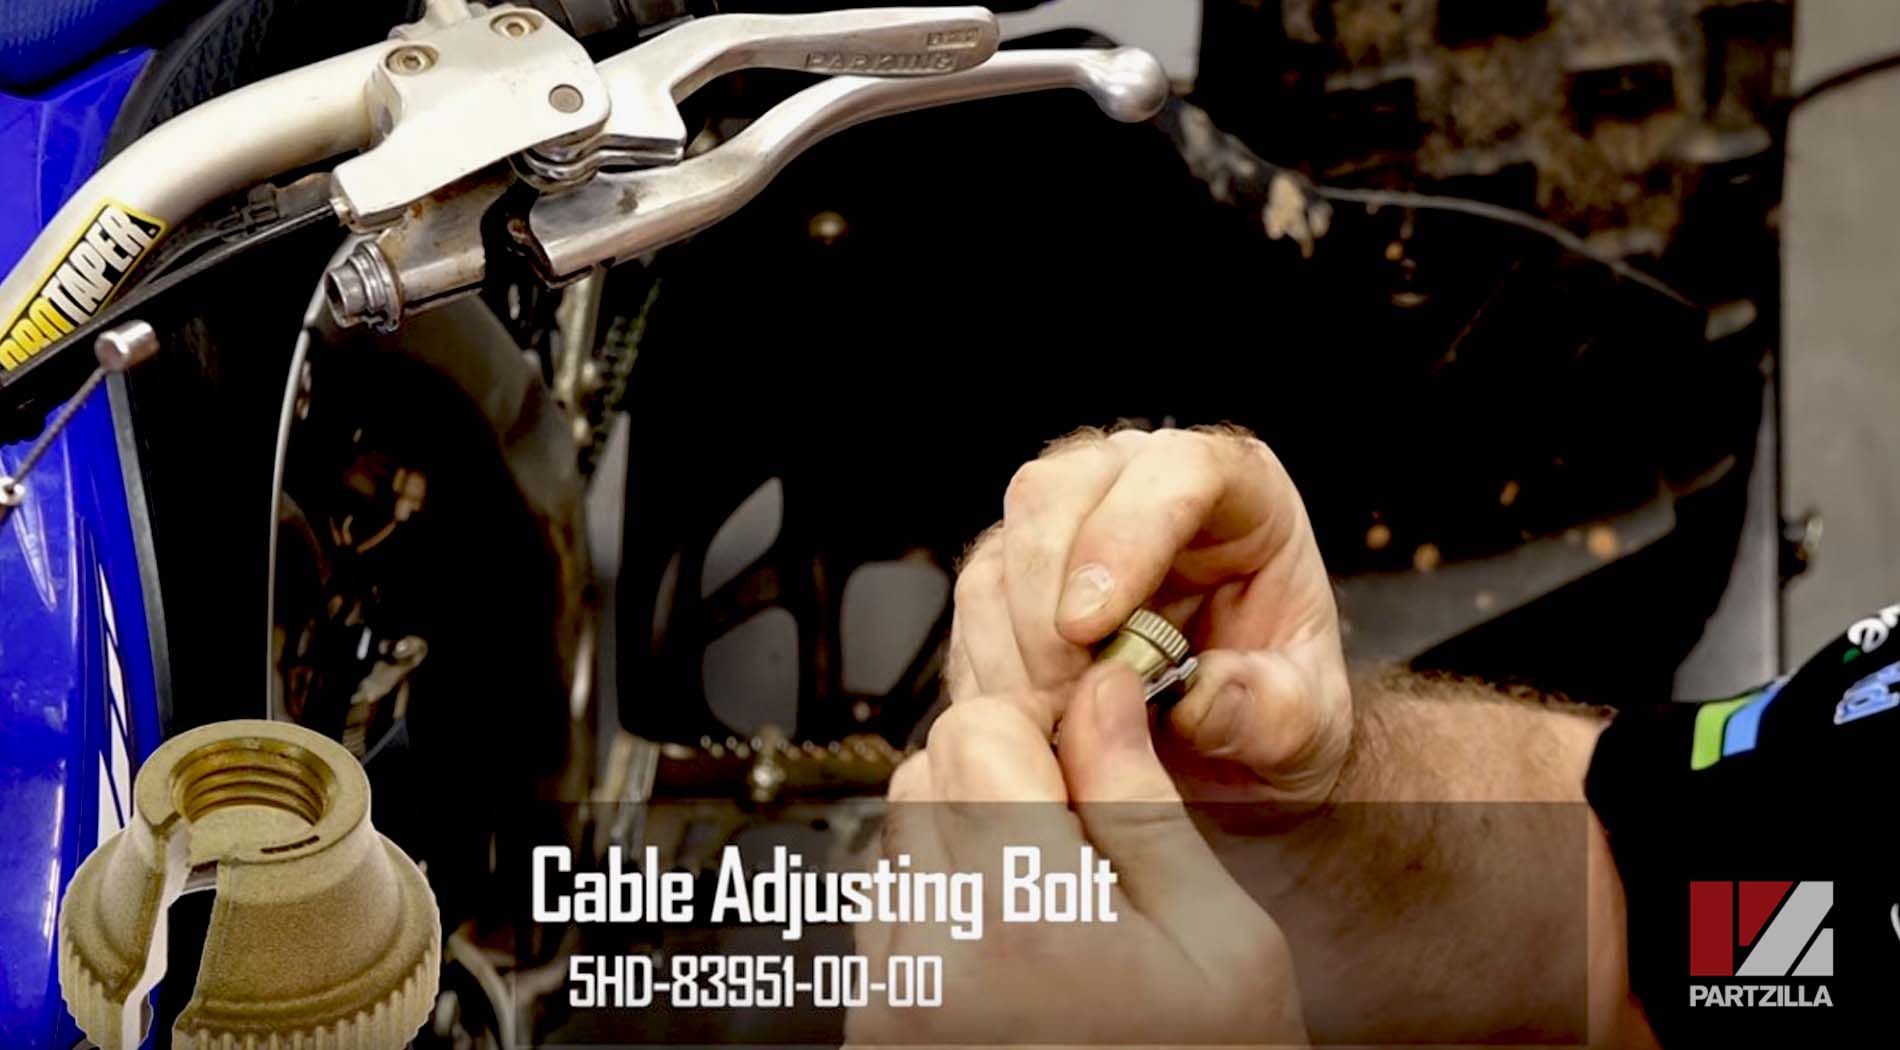
- Cable adjusting bolt
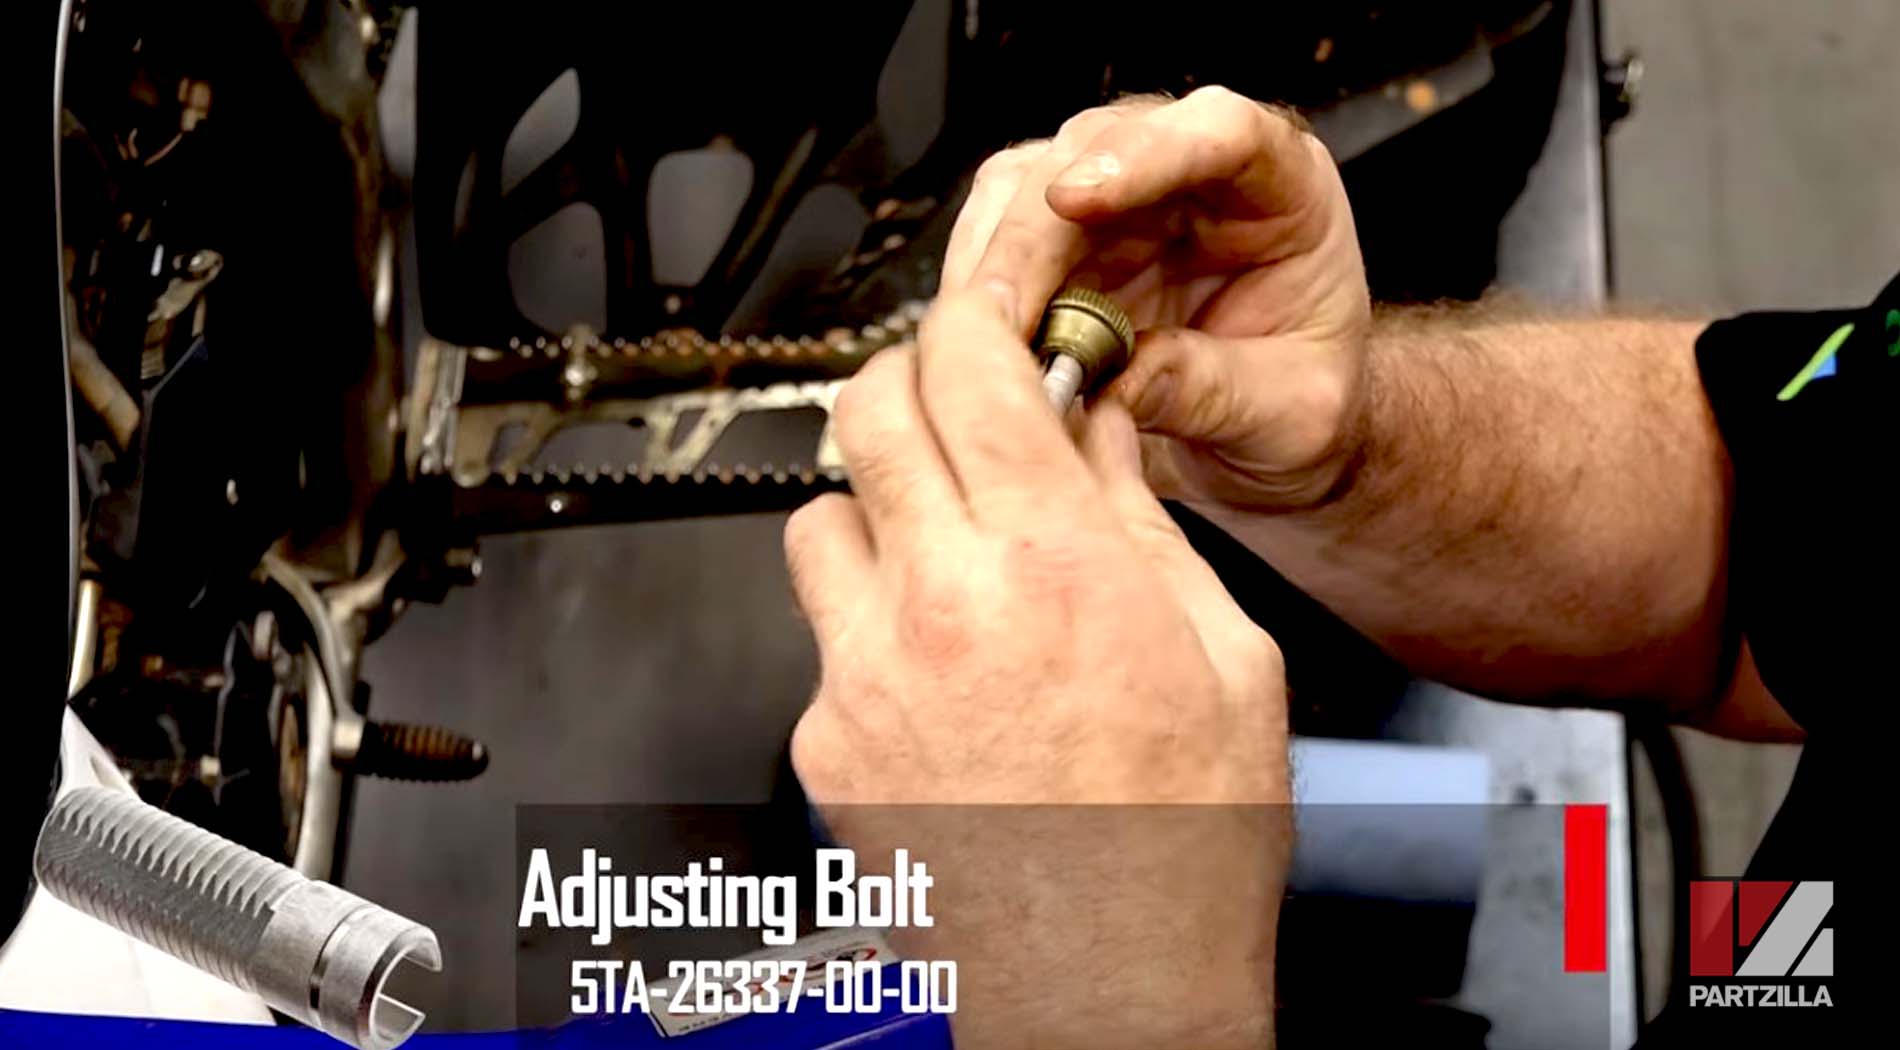
- Adjusting bolt
- Clutch cable
- 8mm wrench (x2)
Yamaha ATV Clutch Cable Replacement and Adjustment
Step 1. Loosen up and minimize the distance on the adjustment of the clutch cable (found about 1/3 of the way down the cable) to release it from the clutch lever.
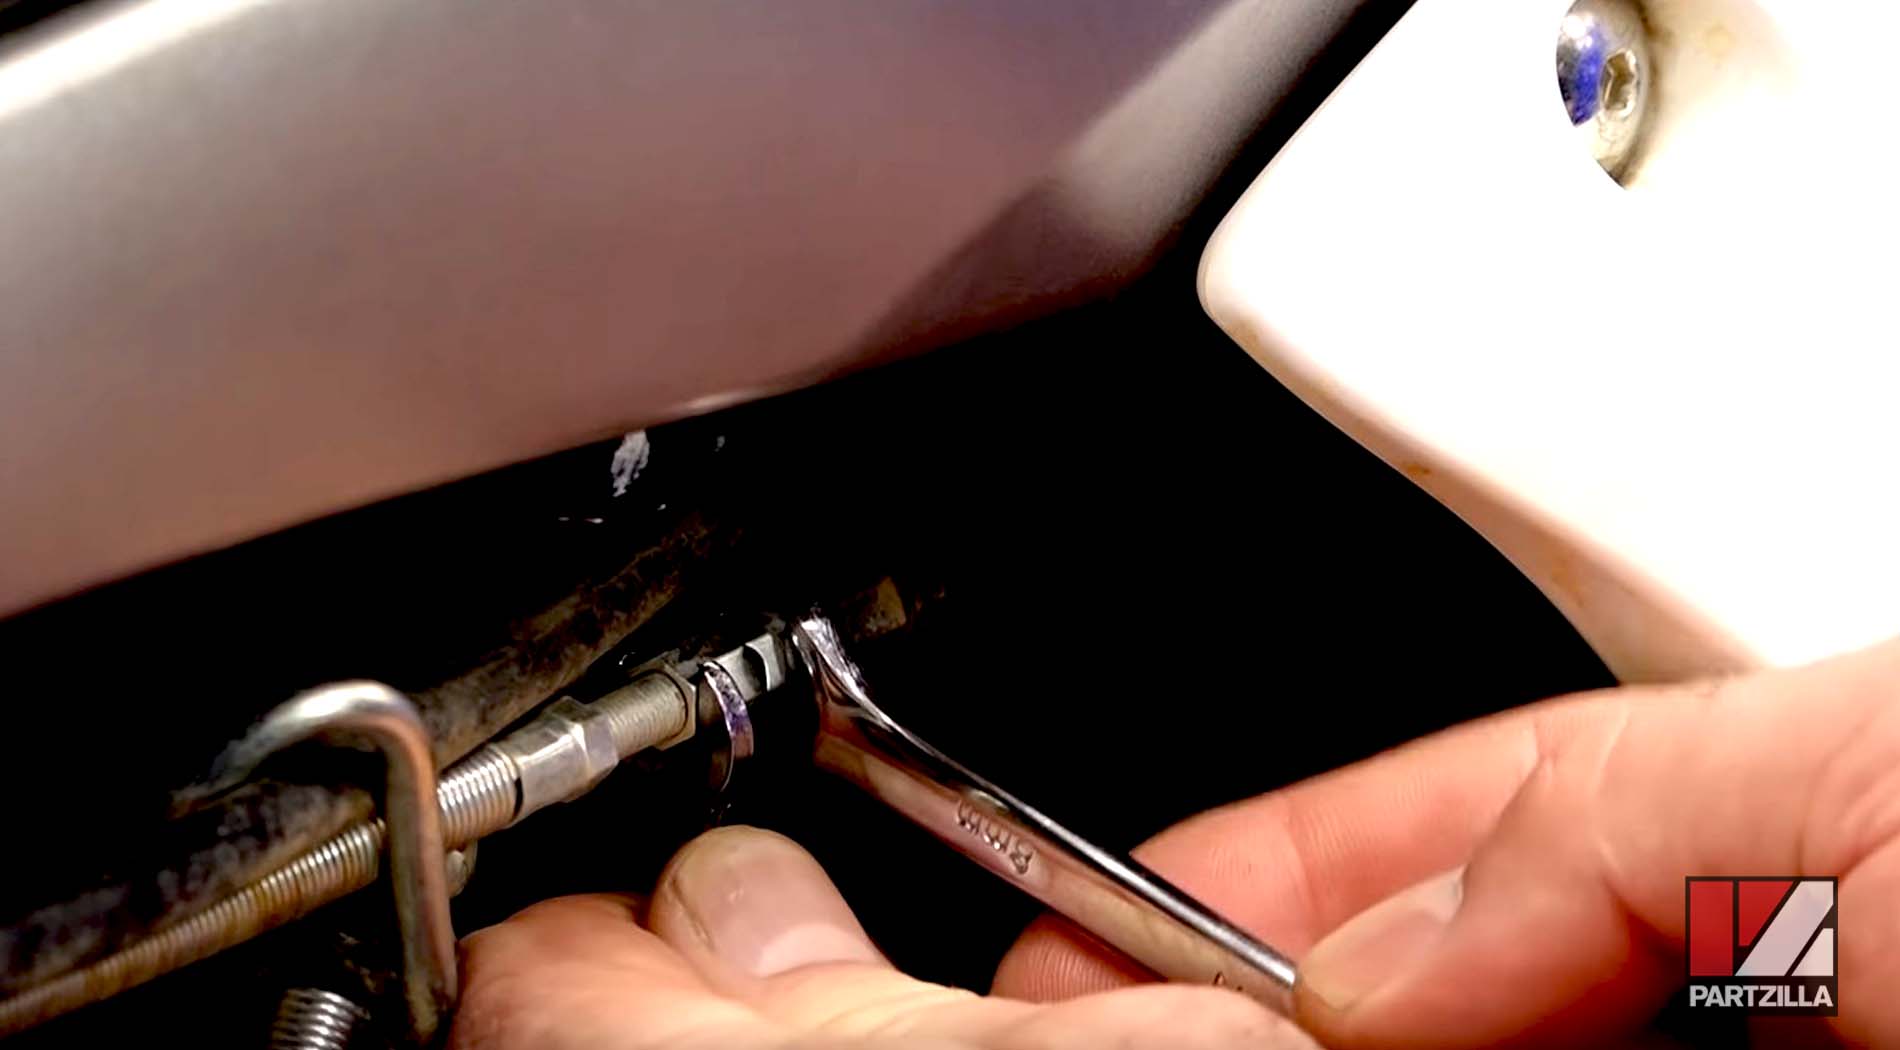
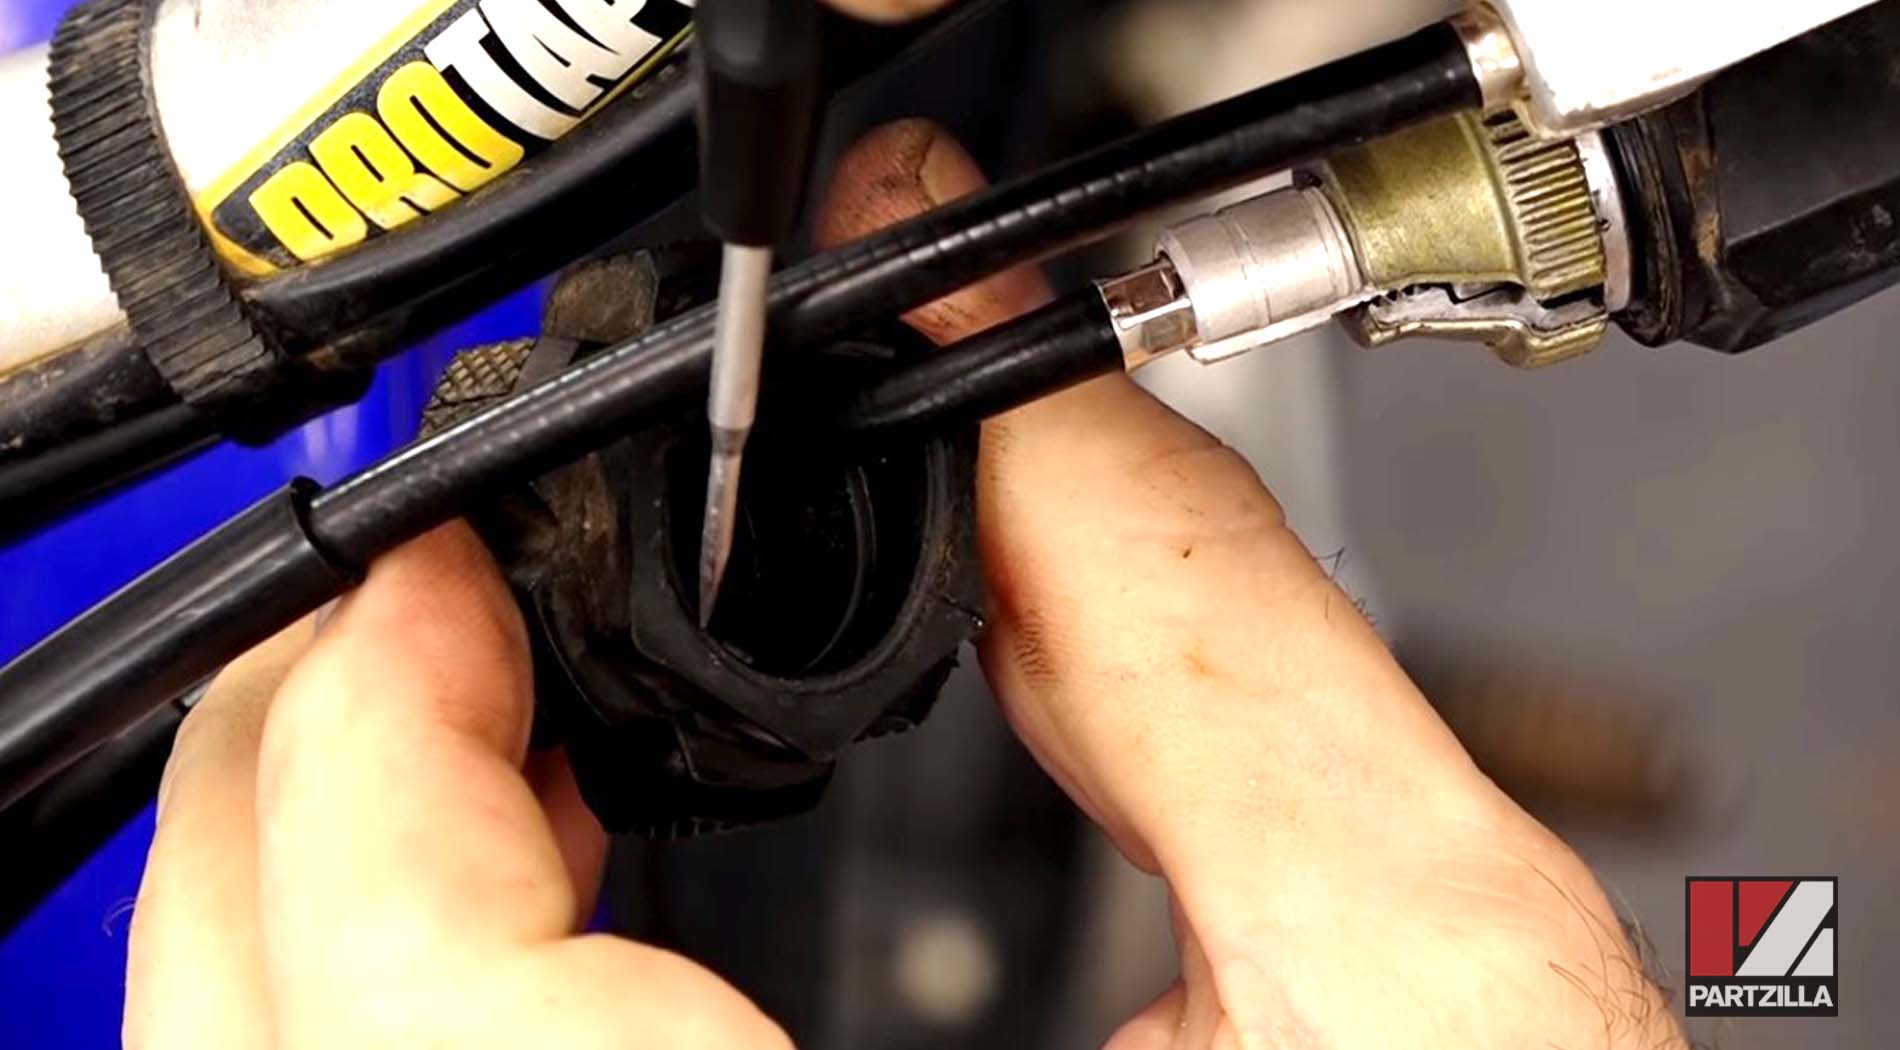
Step 2. Remove the rubber adjustment collar from where the clutch cable connects to the handlebar mount. Pull the clutch cable up and out of the opening on the cable adjusting bolt.
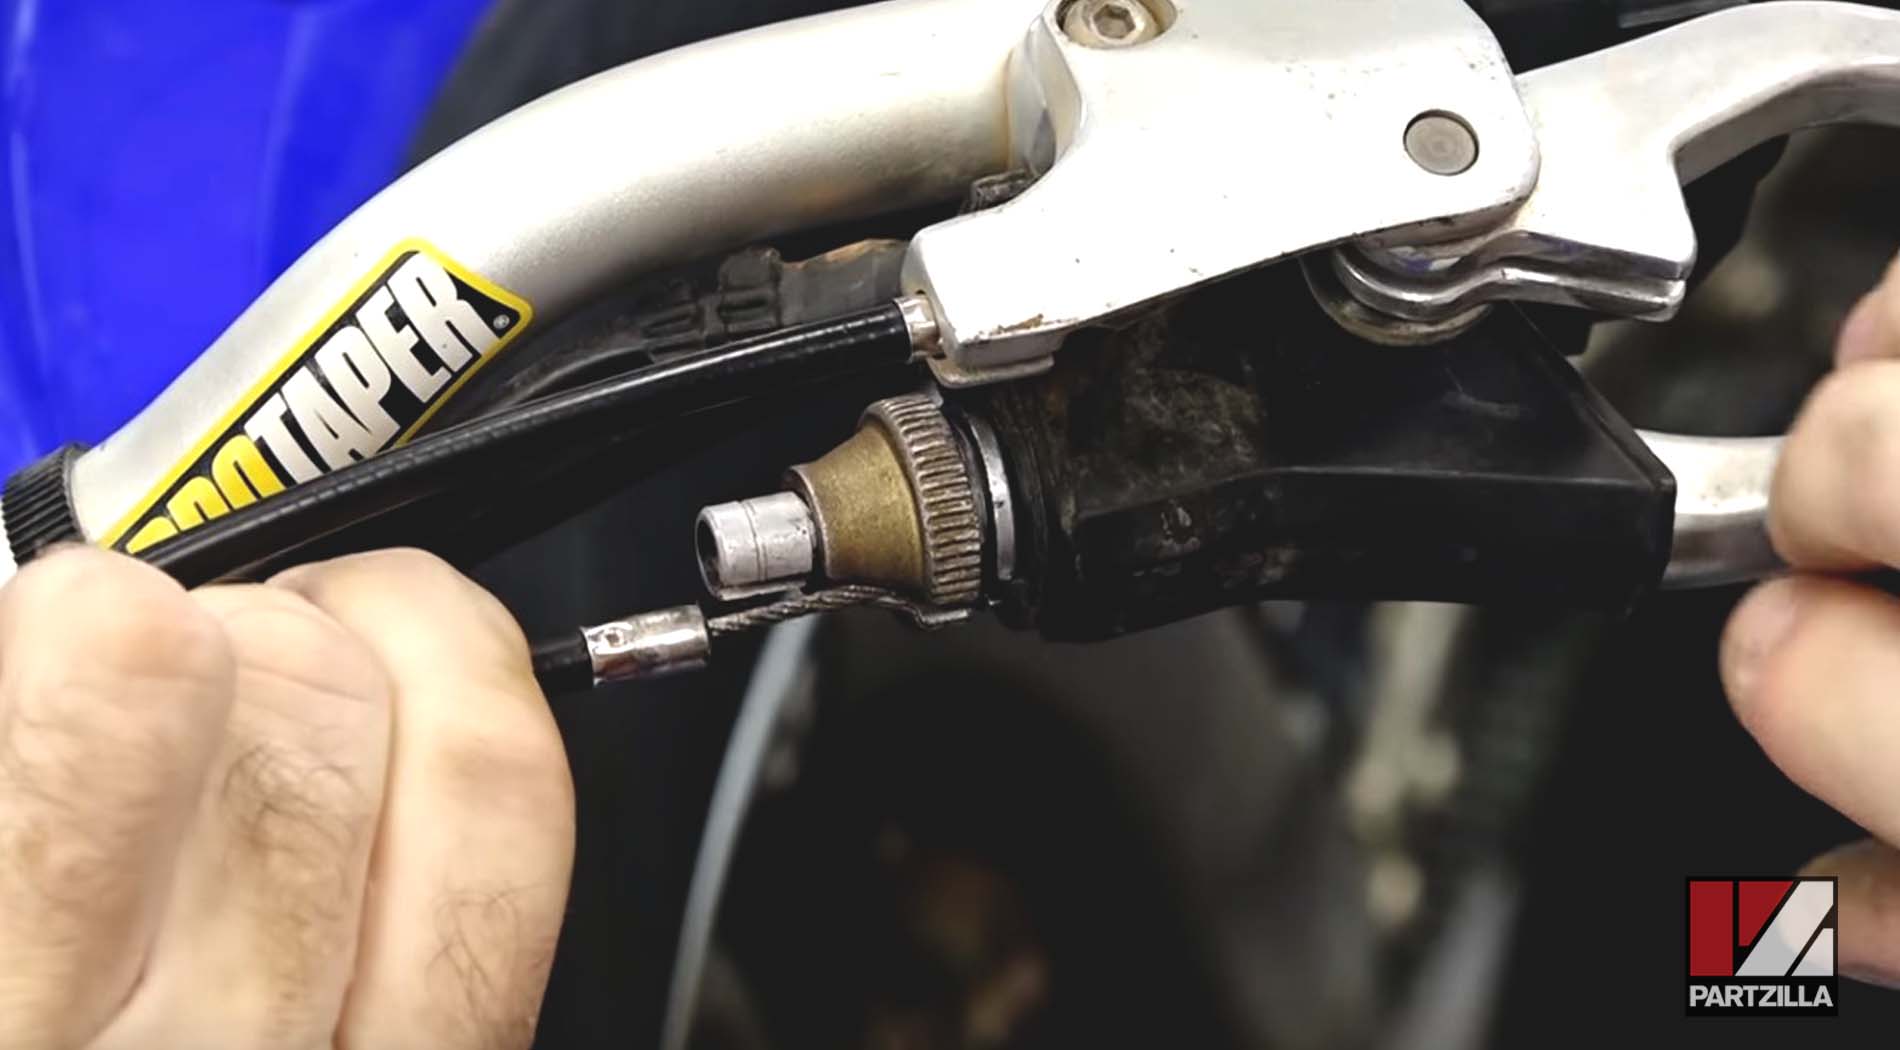
Step 3. Once the clutch cable is loose, pull the cable adjustment bolt out of the handlebar clutch mount.
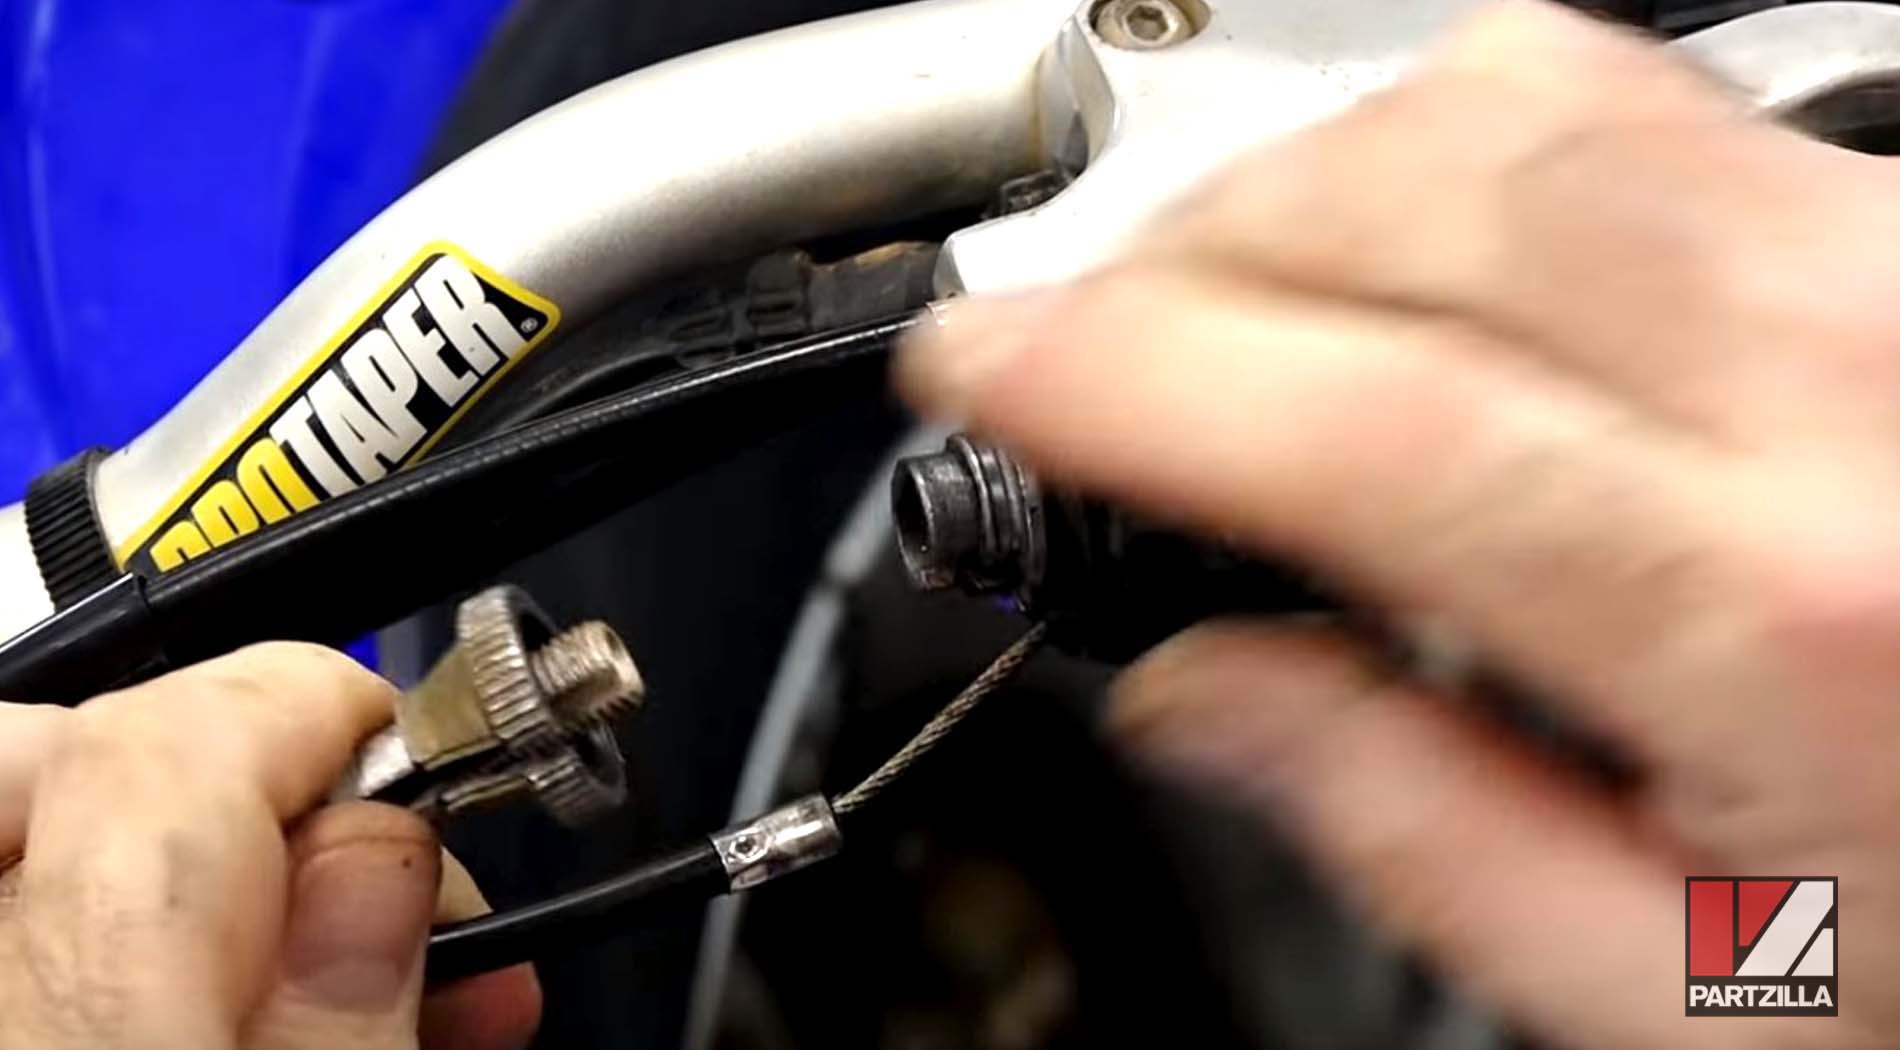
Step 4. Slide the rubber protection boot from the handlebar mount off and out of the way, and pull the clutch cable out from where it attaches to the clutch arm.
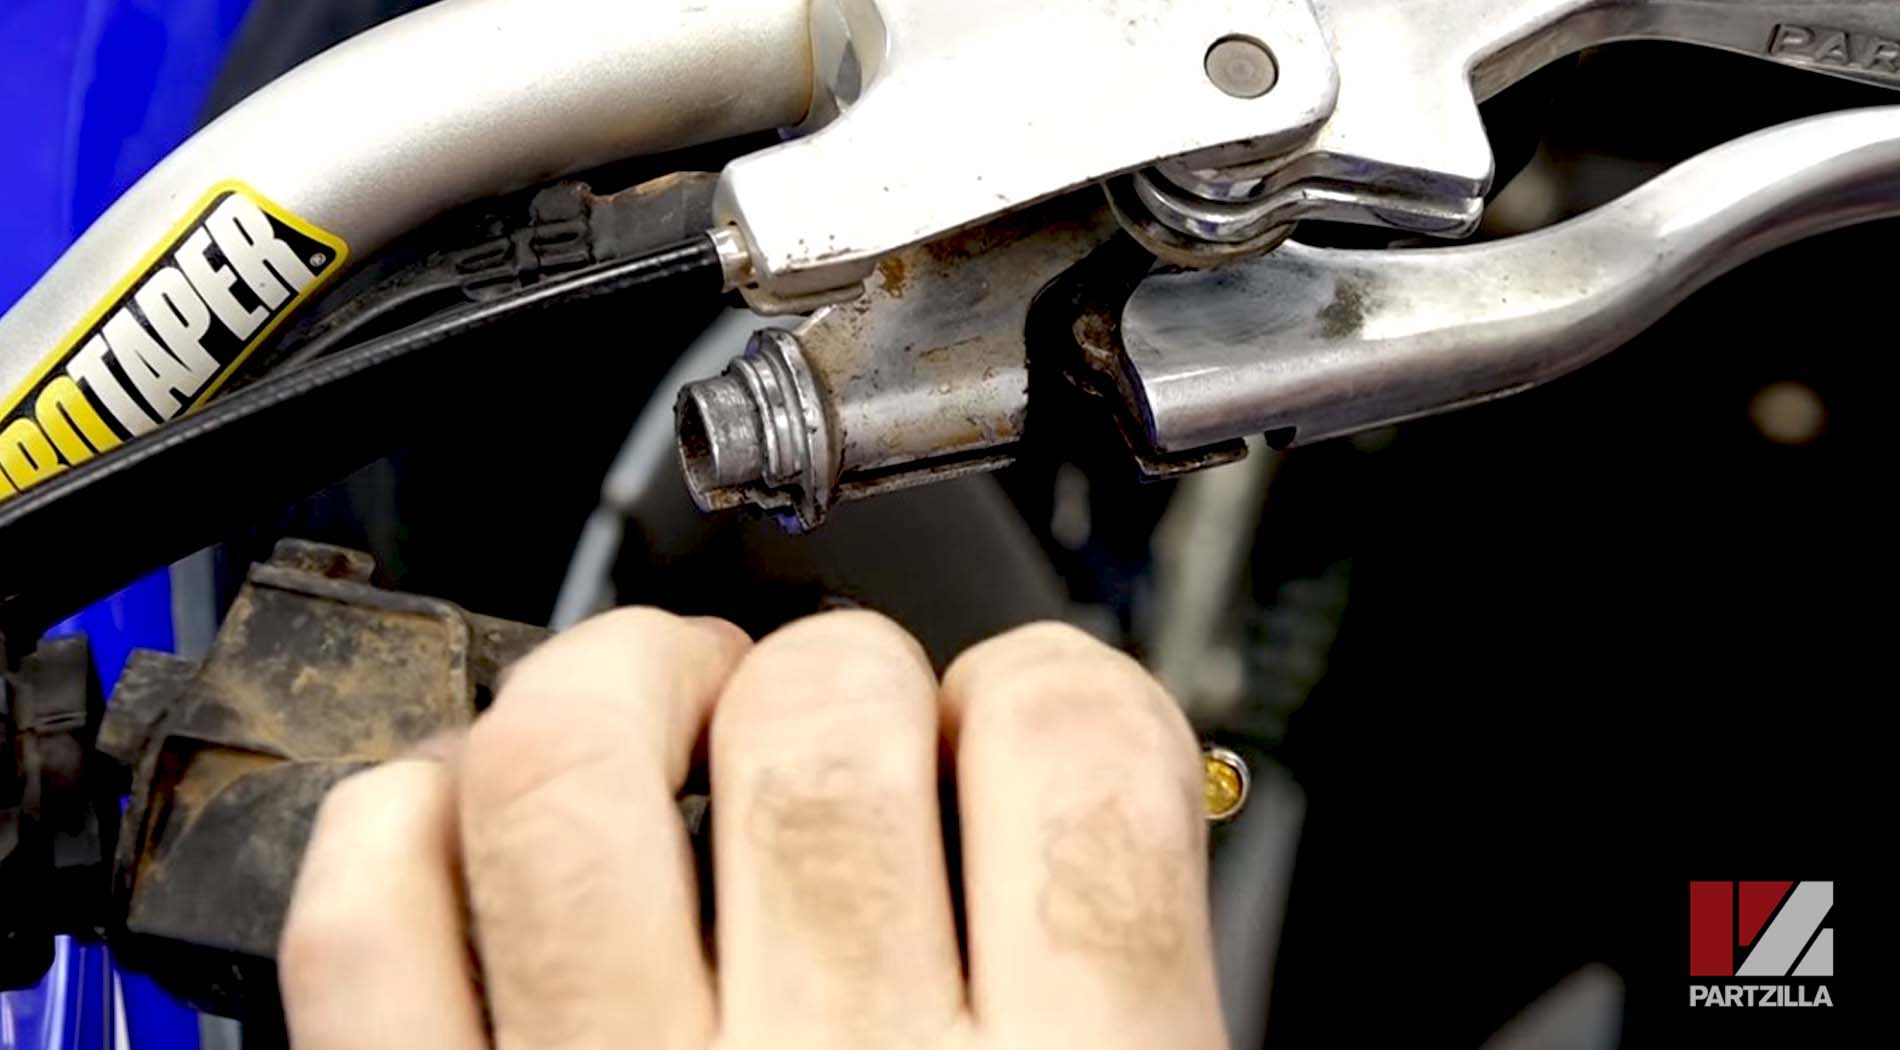
Step 5. Remove the cover and the collar from the clutch cable, and proceed down to the clutch control arm to lift out and disconnect the clutch cable.
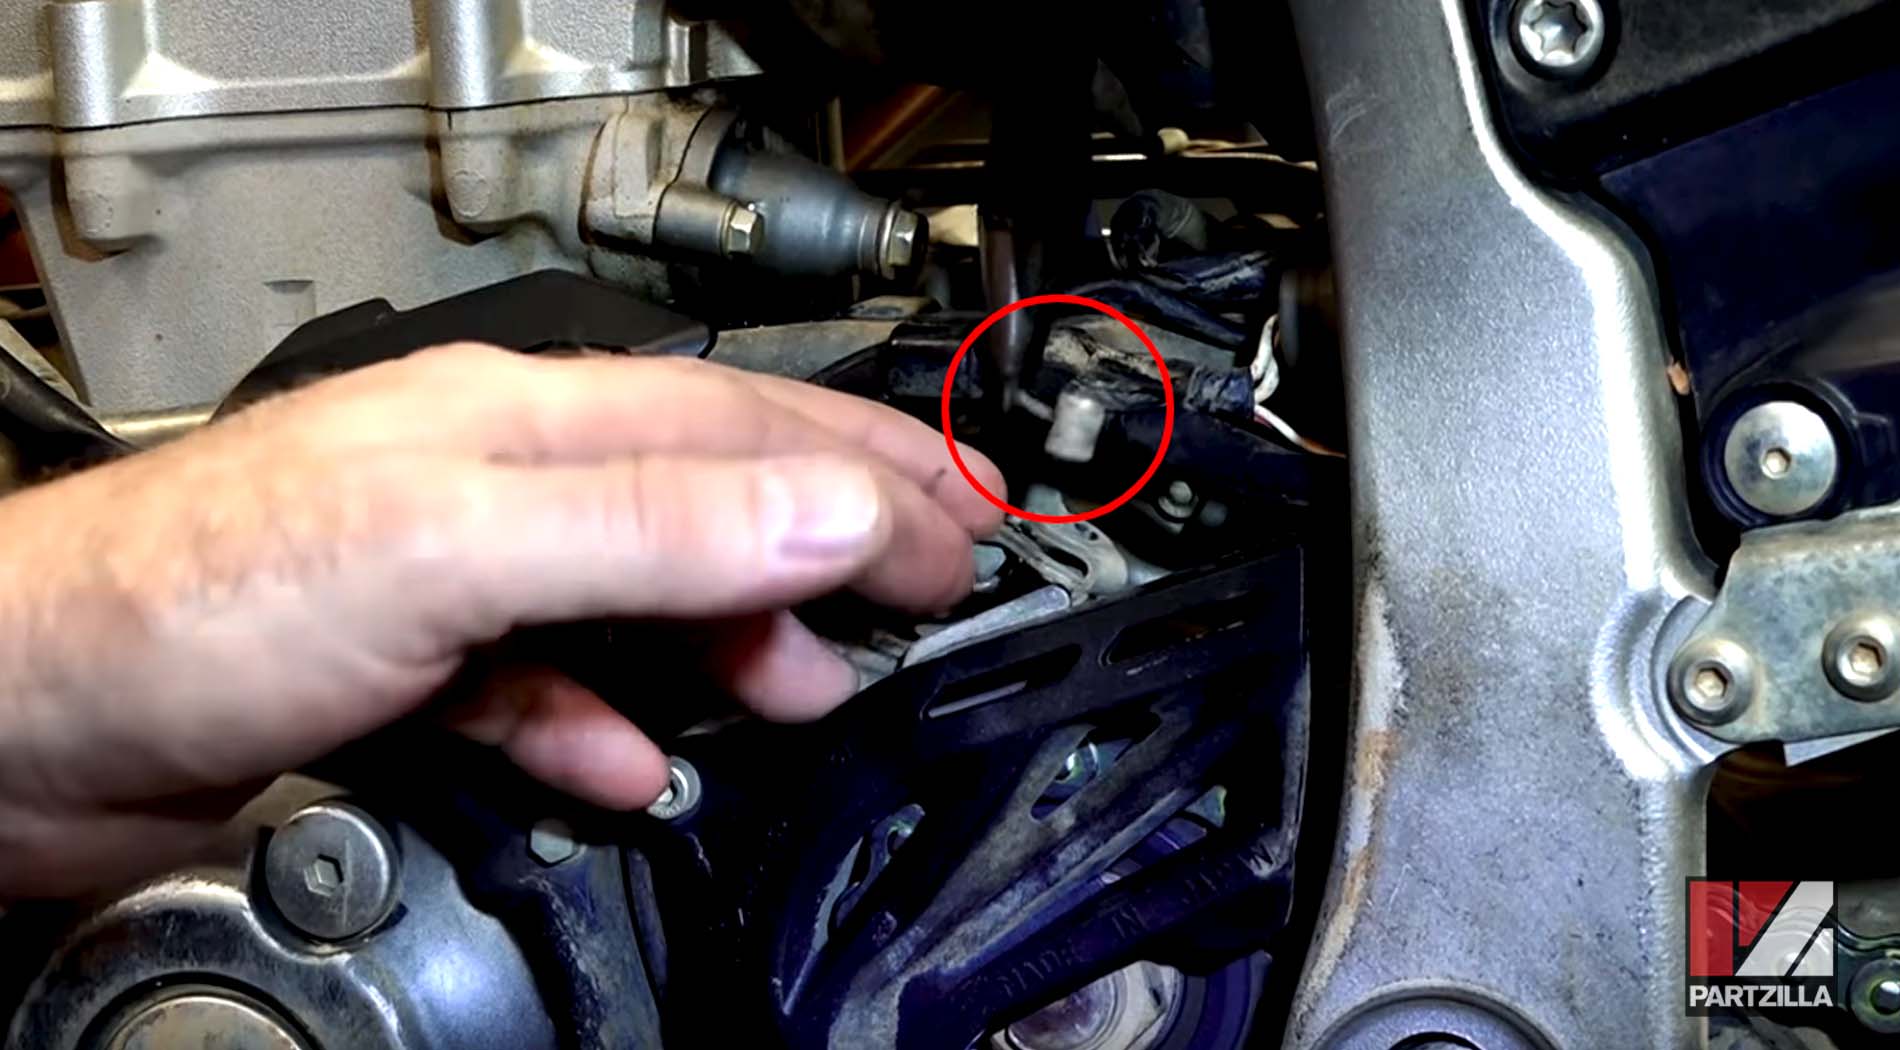
Step 6. Slide the rubber protection boot off the clutch cable, and pull the clutch cable out from the other side.
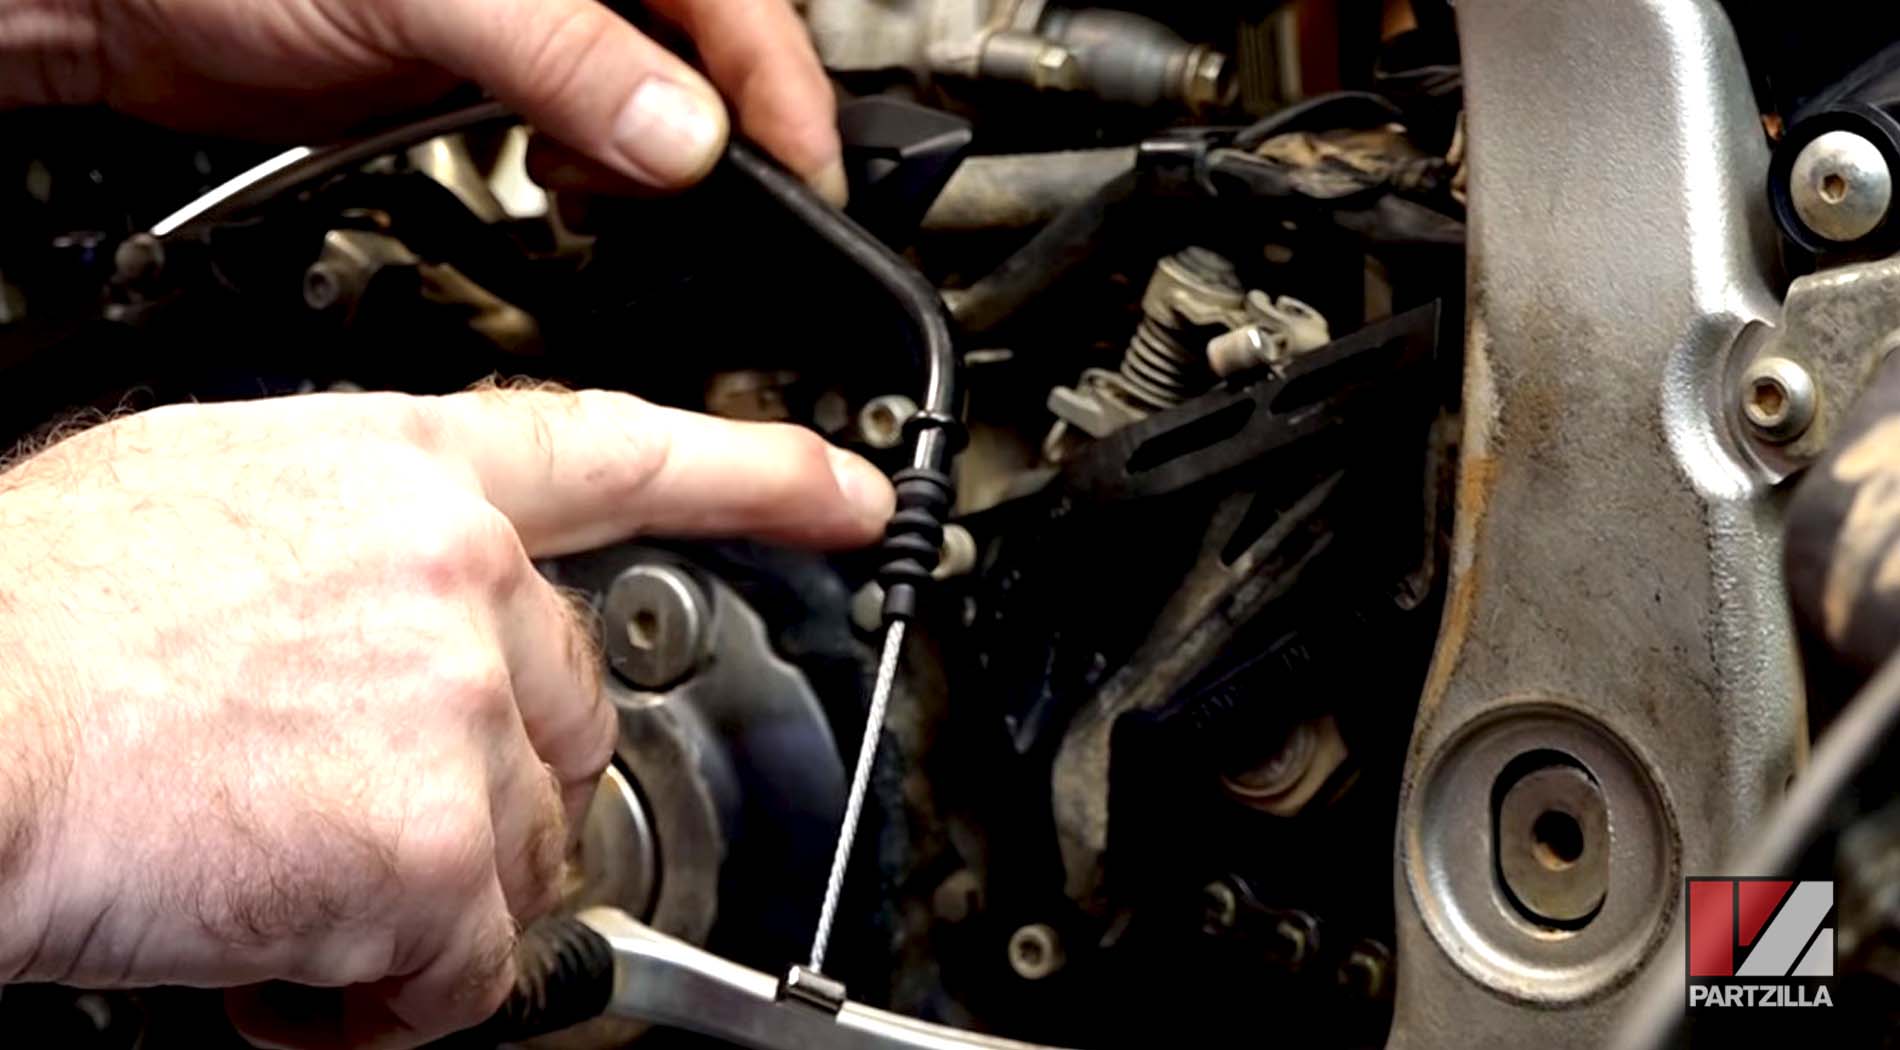
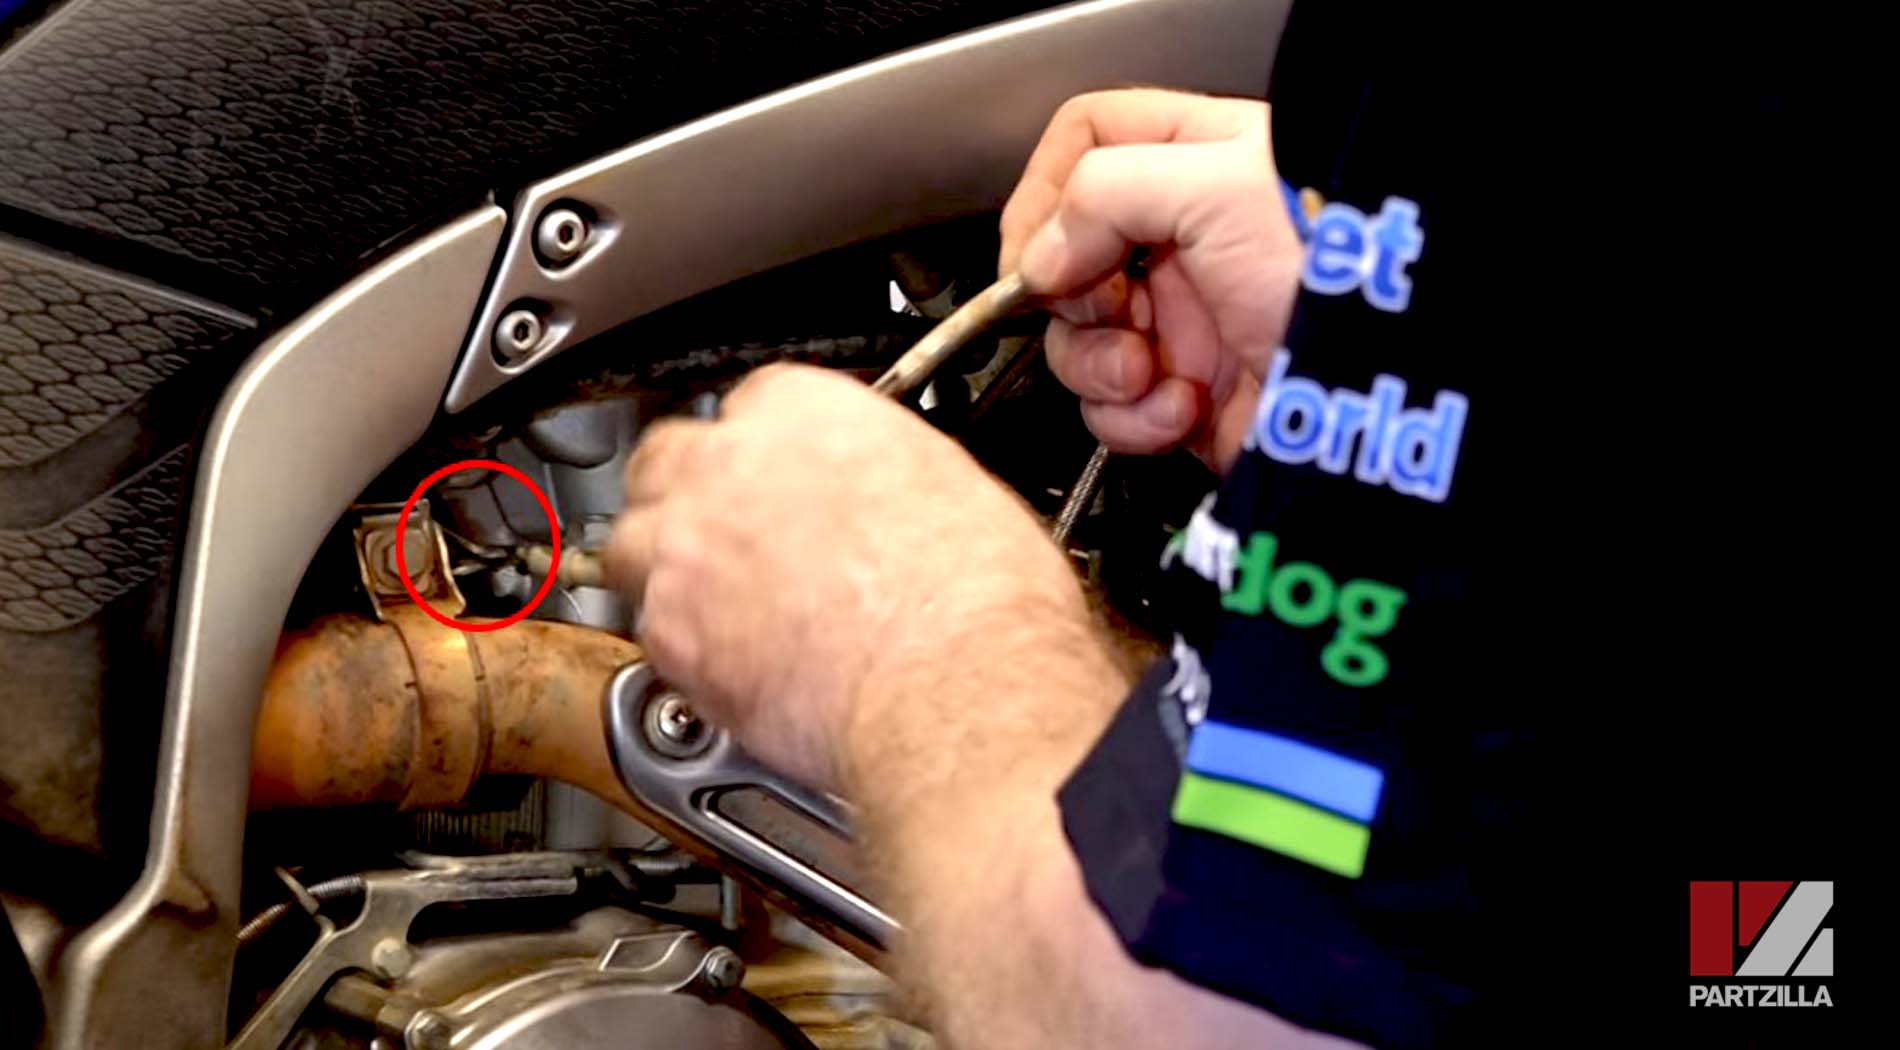
Step 7. Tape the old cable to the new cable to make it easy to route the new cable through the path of the old one. Once the new cable is routed through, unwind or cut the tape off both cables, being careful not to damage the new cable.
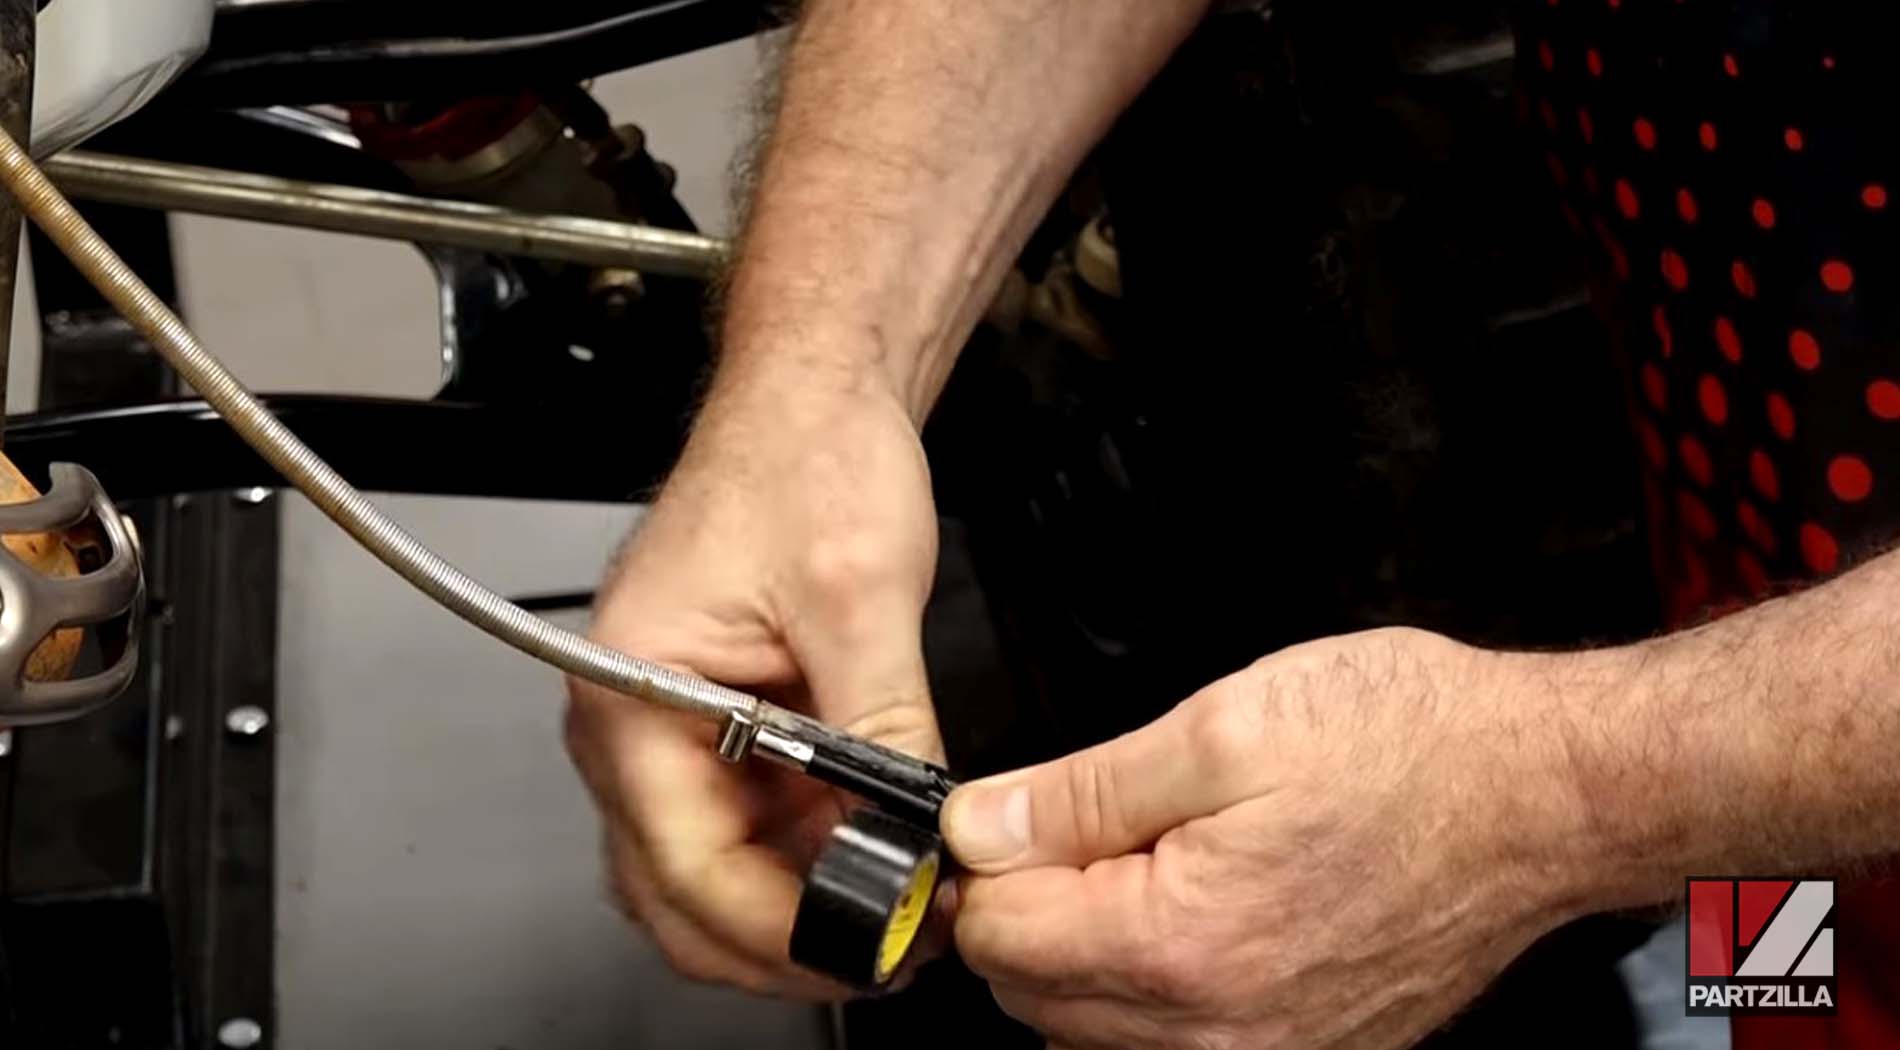
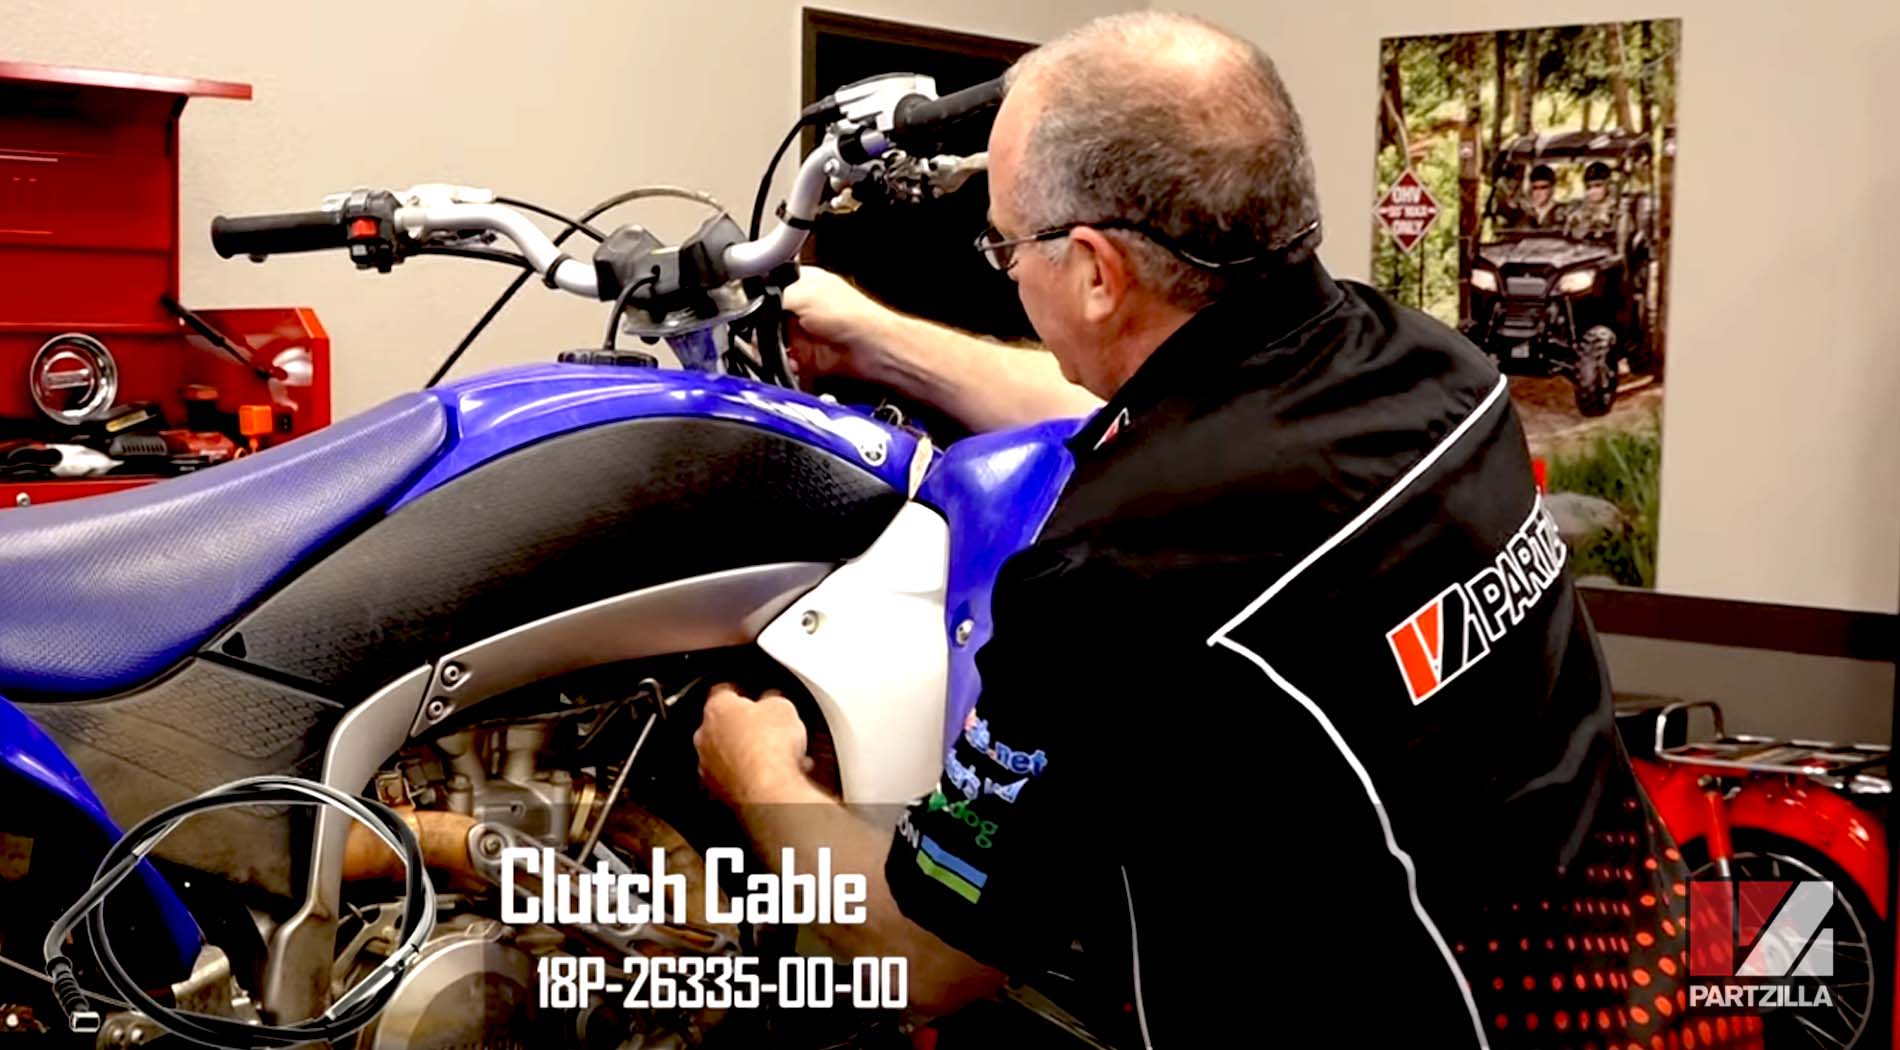
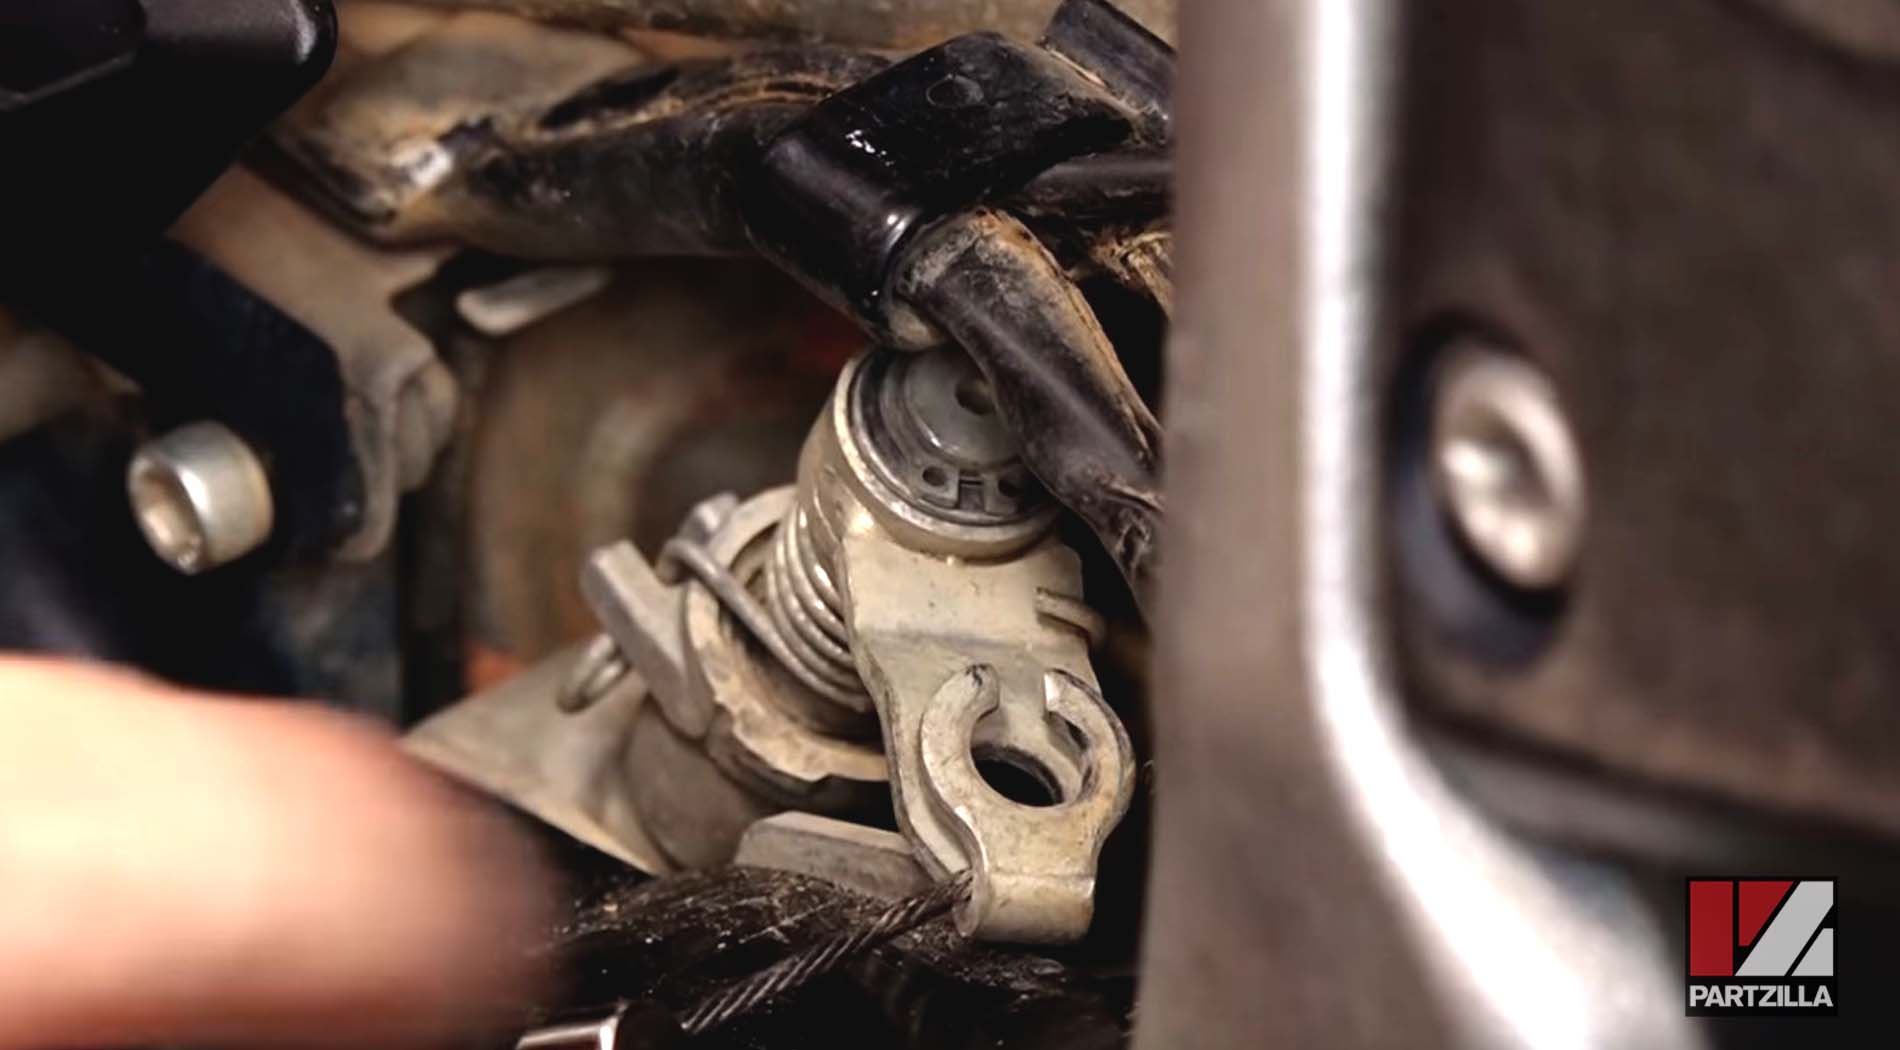
Step 8. Once the old cable is out of the way, continue routing the new cable through to the clutch arm, and attach the end of clutch cable to the clamp before pushing the boot back onto the end of the cable.
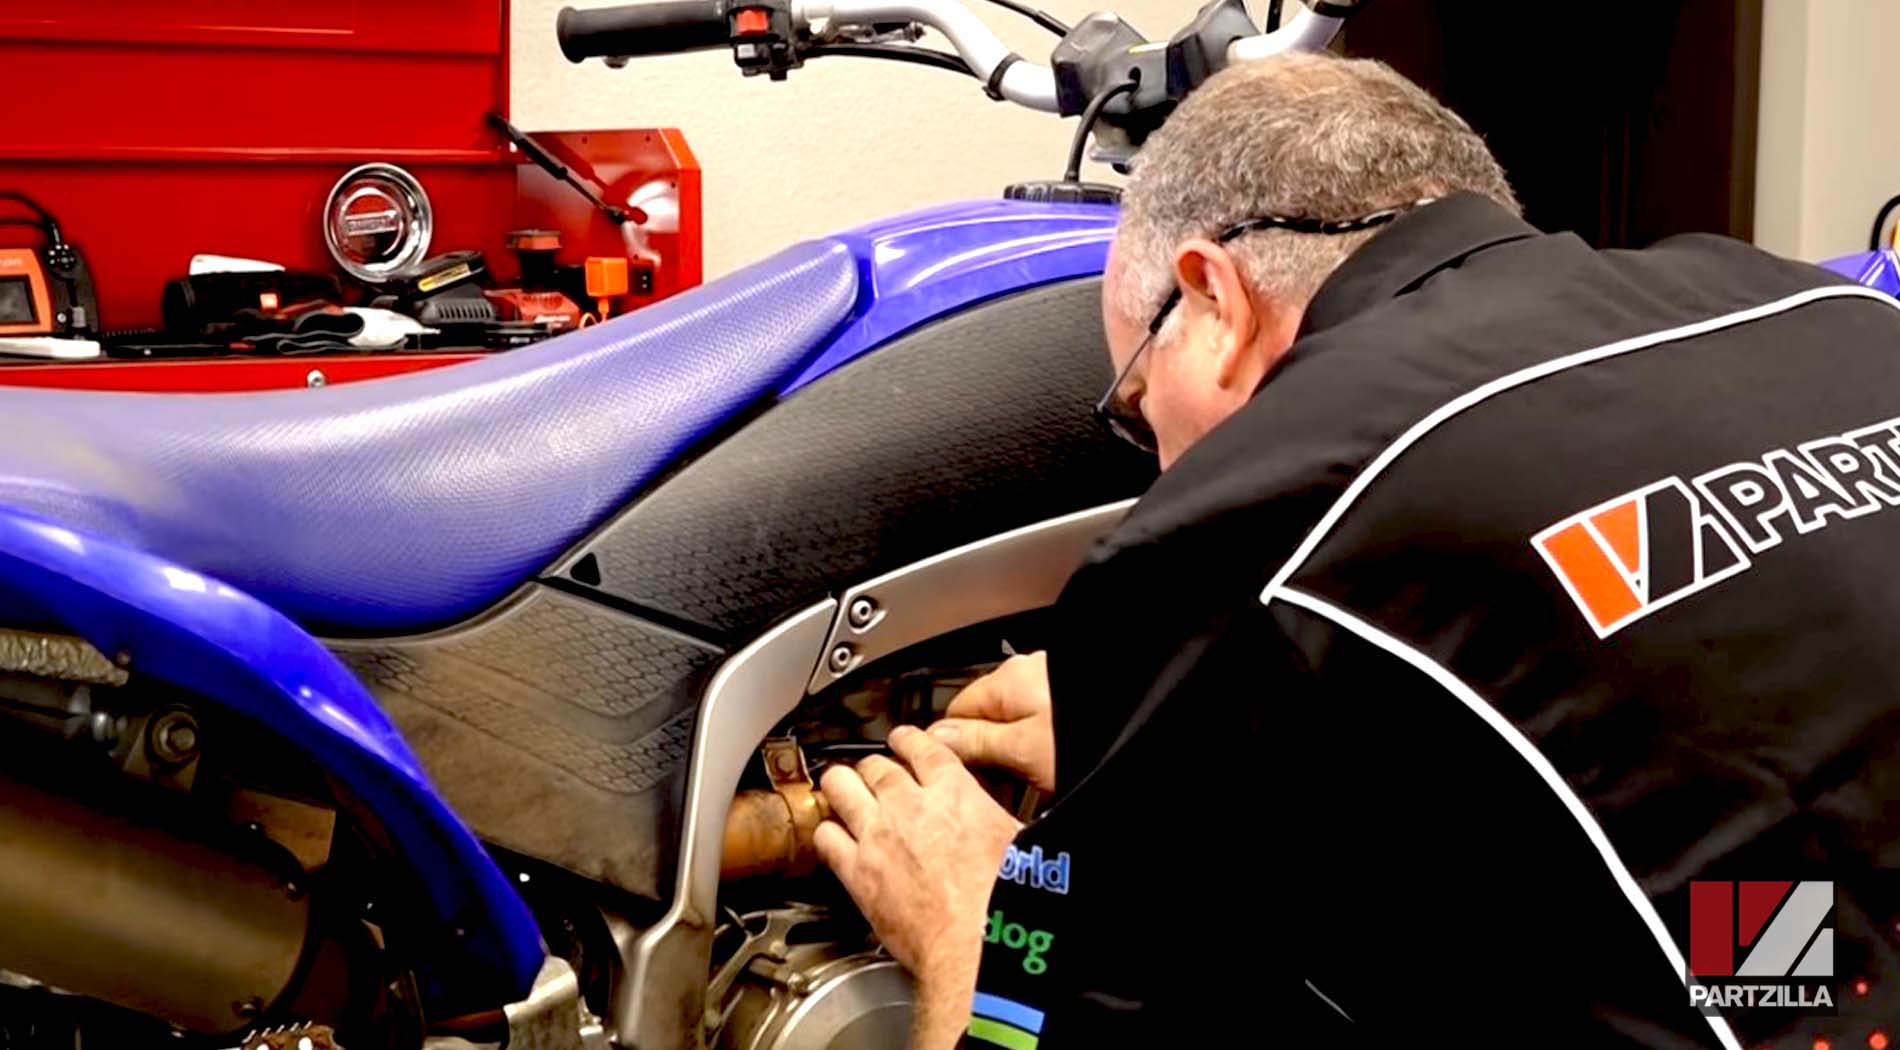
Step 9. Replace the rubber cover and the collar onto to the new clutch cable on the handlebar side.
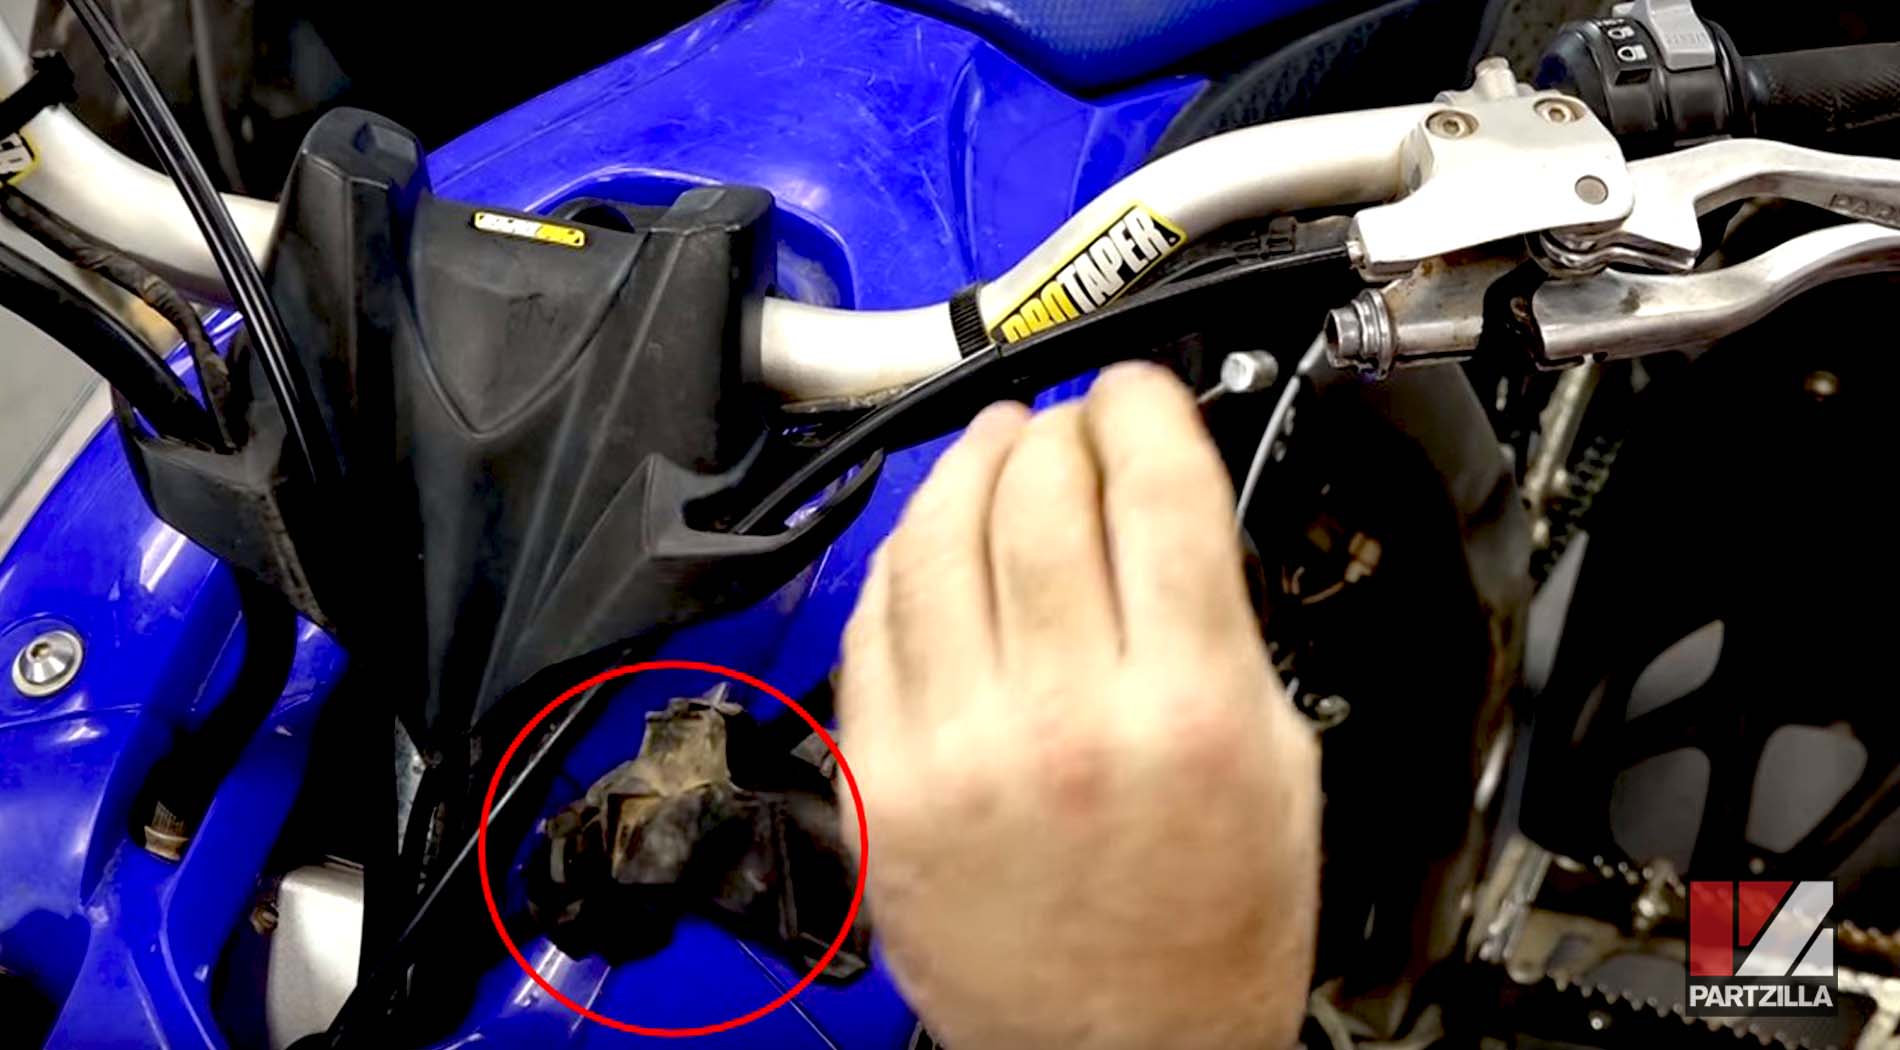
Step 10. Add a little grease to the inside of the seal of the cable adjusting bolt and to the threads of the adjusting bolt, and slide them back into position.
NOTE: If you notice the cable adjusting bolt and adjusting bolt are worn, replace them both.
Step 11. Take the end of the new clutch cable, slide it back into the clutch lever and lock it into place.
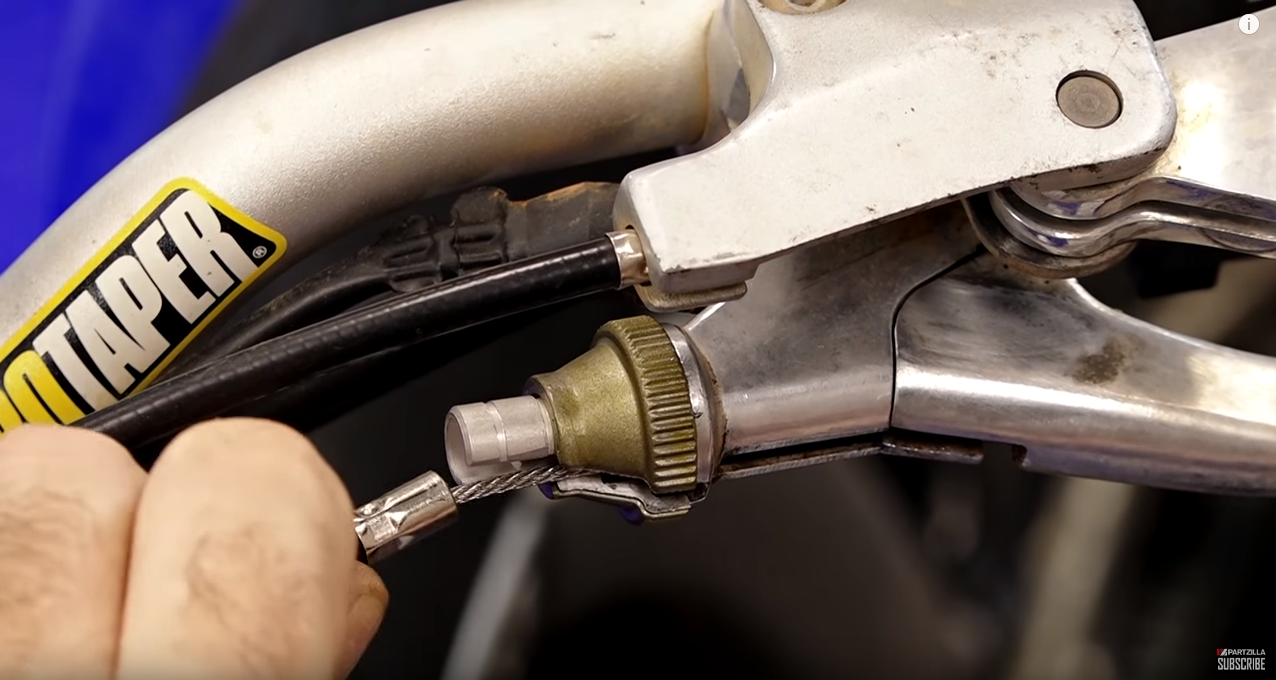
Step 12. Go down to the cable adjustment area on the side of the machine where you first started, and take out the slack for the coarse adjustment by tightening the pinch bolt against the adjuster.
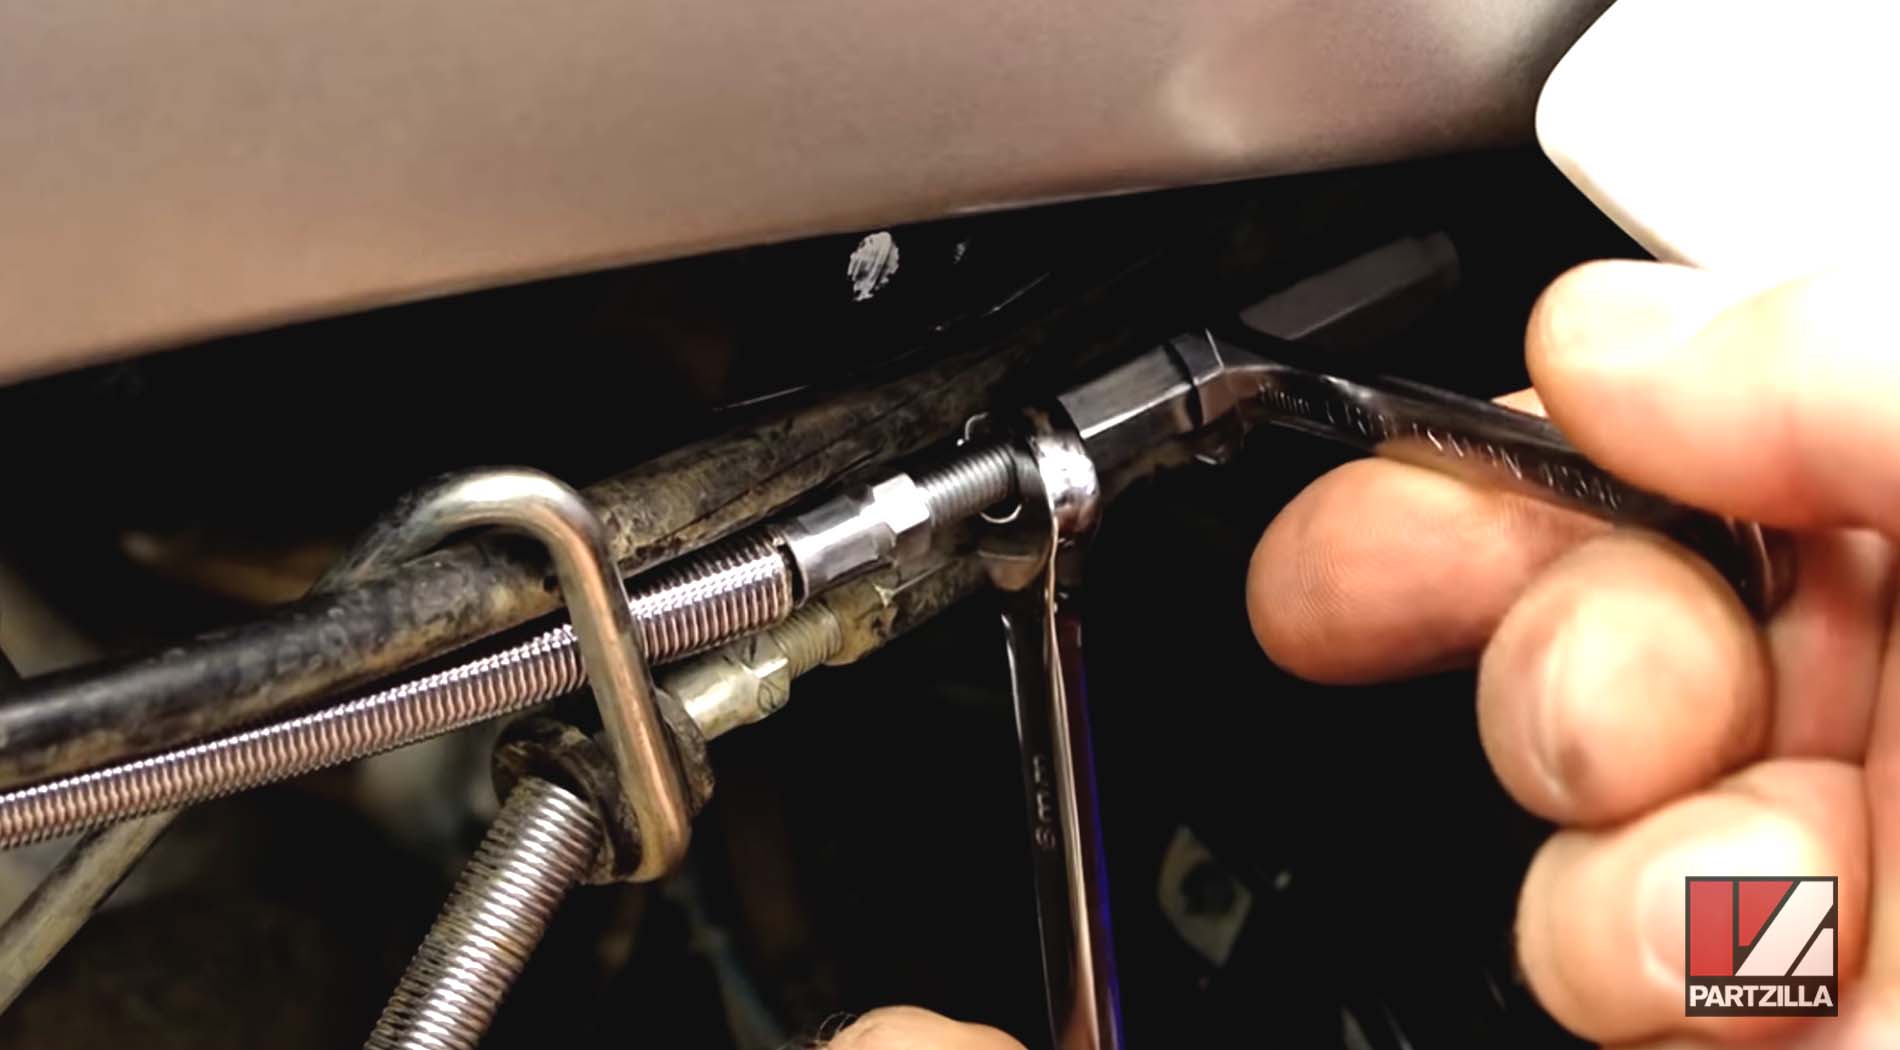
Step 13. For the fine adjustment, bring a nickel up to the handlebar to measure approximately 8mm of play (Yamaha recommends between 8mm and 13mm), squeeze the handlebar clutch arm repeatedly, and adjust the cable adjustment bolt until the clutch cable engages.
.jpg)
Step 14. Slide the protective boot over the cable adjuster bolt, and before putting back the protective rubber collar, check for a small protrusion on the inside, which will align with the channel on the cable adjusting bolt. Once the rubber collar is in place, you’re done.
