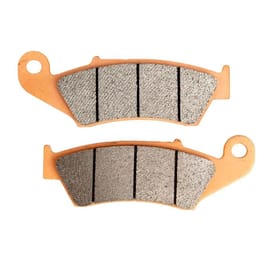
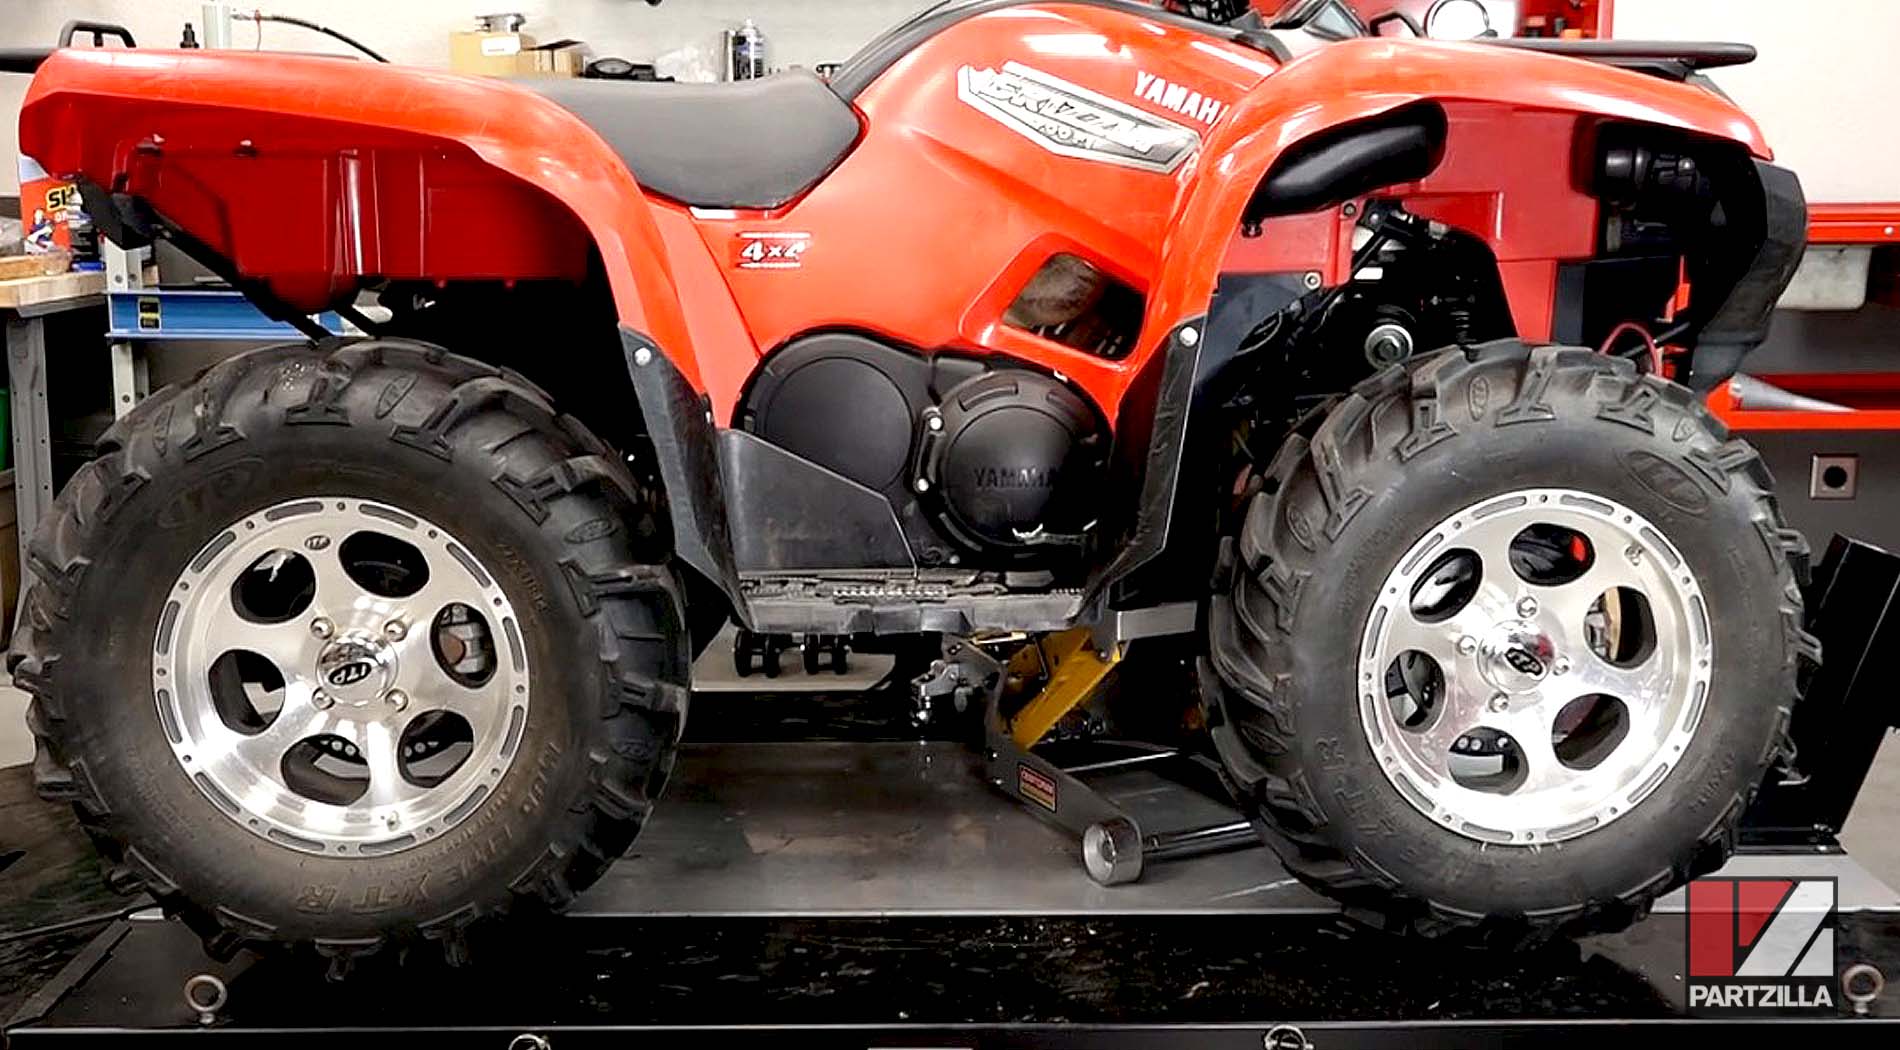
Yamaha Grizzly 700 Front Brake Pads Replacement
Brakes pads are on the front lines of an ATV’s stopping power, and front brake pads on an ATV wear out more quickly than rear brake pads, so it’s important to know when to swap them out.
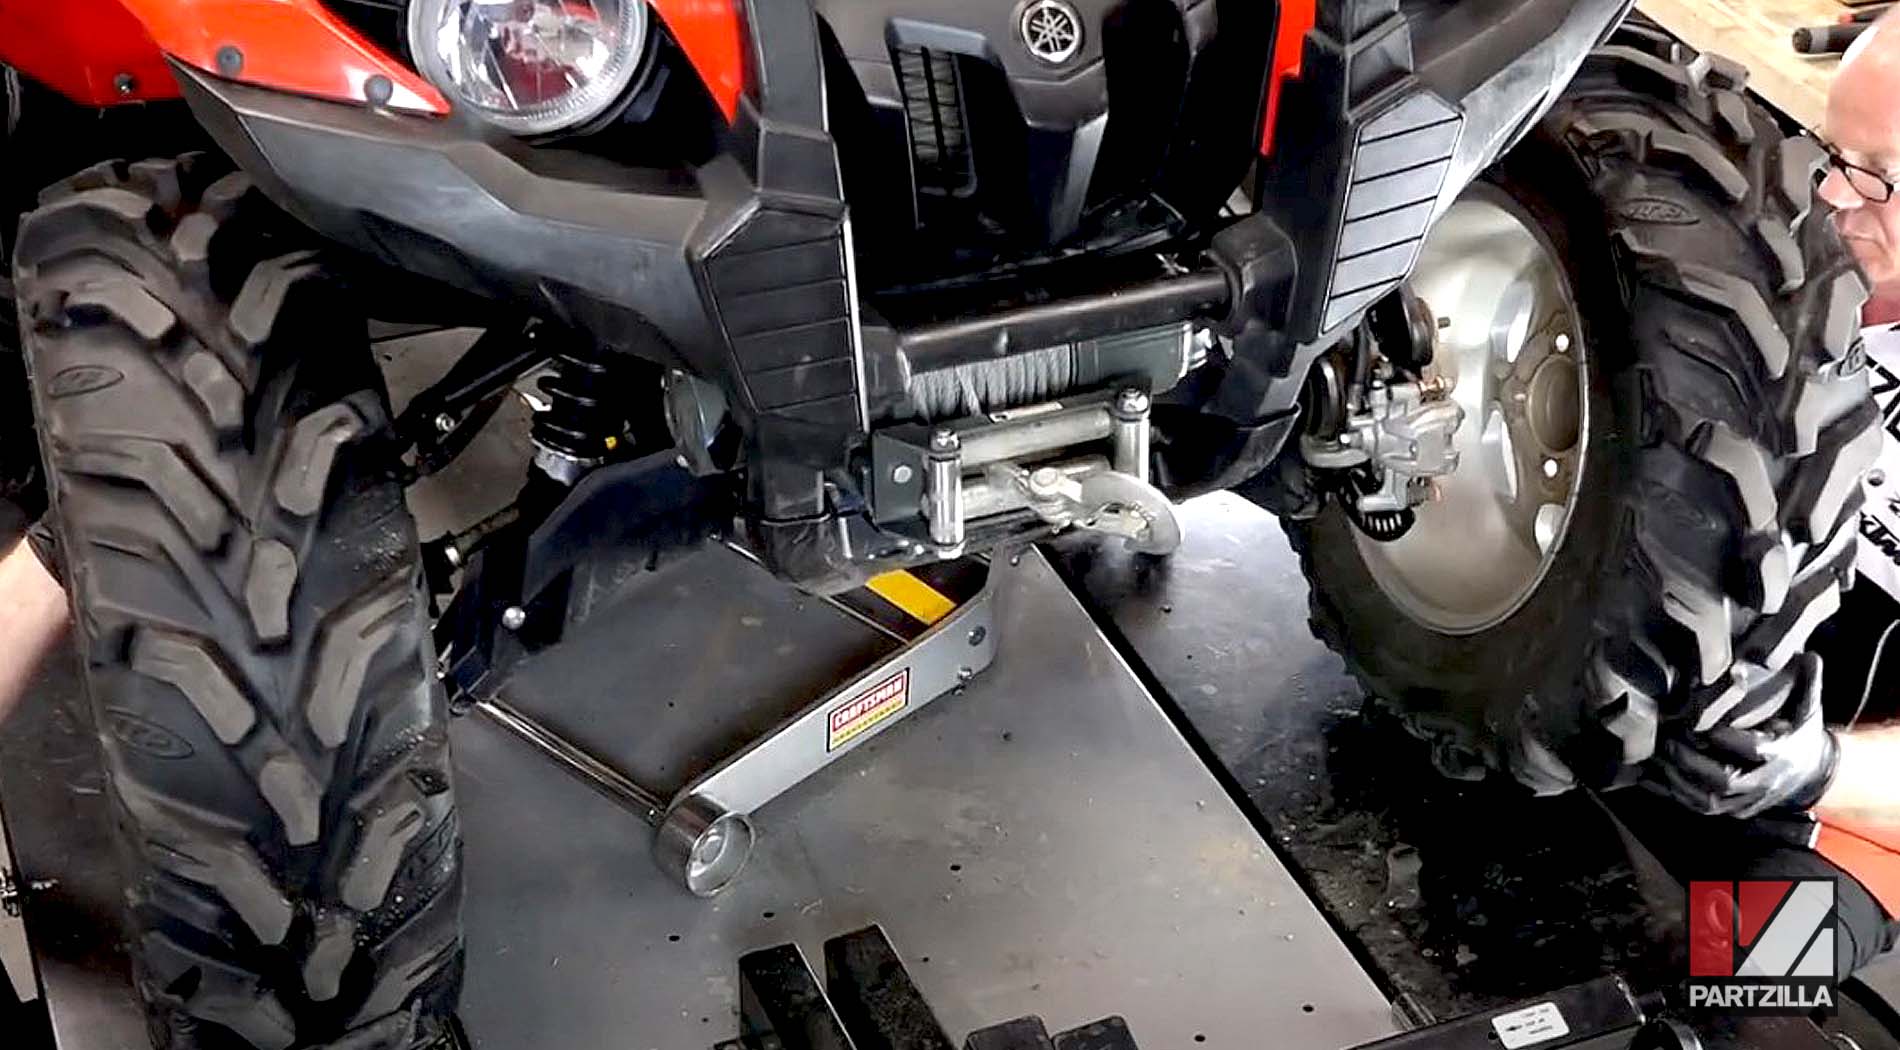
Watch the video above or follow the steps below to change the front brake pads on a Yamaha Grizzly 700 ATV.
See the parts diagram: Yamaha Grizzly 700 front brake caliper
Tools and Parts – Yamaha YFM700 Front Brake Pads Change
- 3/8th ratchet
- 12mm, 17mm socket
- 5mm Allen
- Flat-blade screwdriver
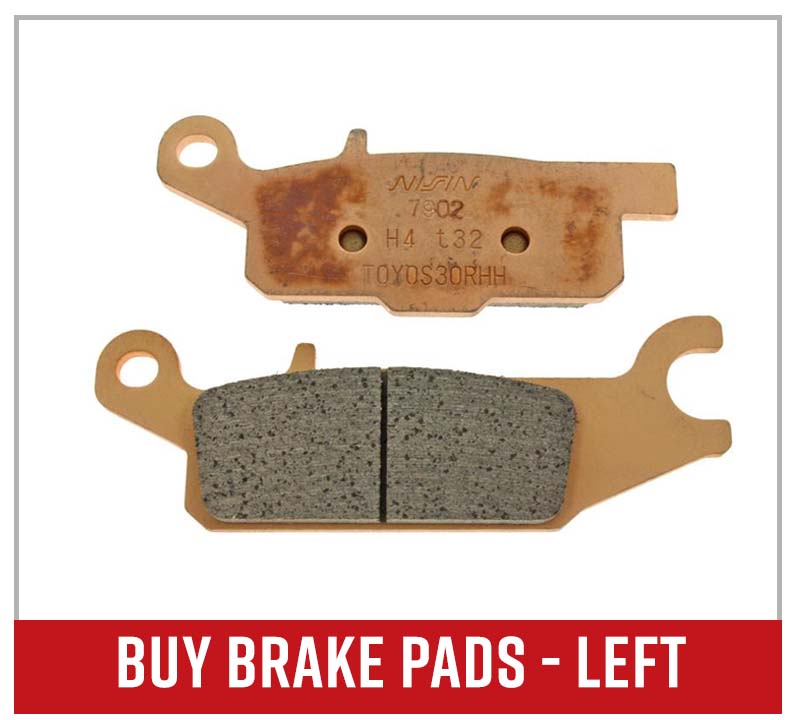
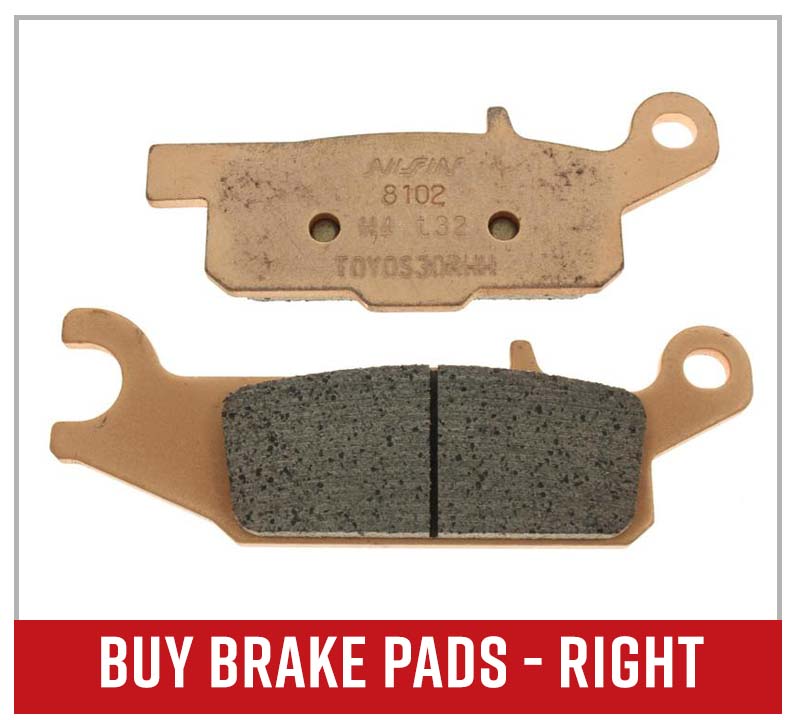
NOTE: Pay special attention here, because there are different part numbers for the right and left side brake pads.
How to Change Yamaha Grizzly 700 Front Brake Pads
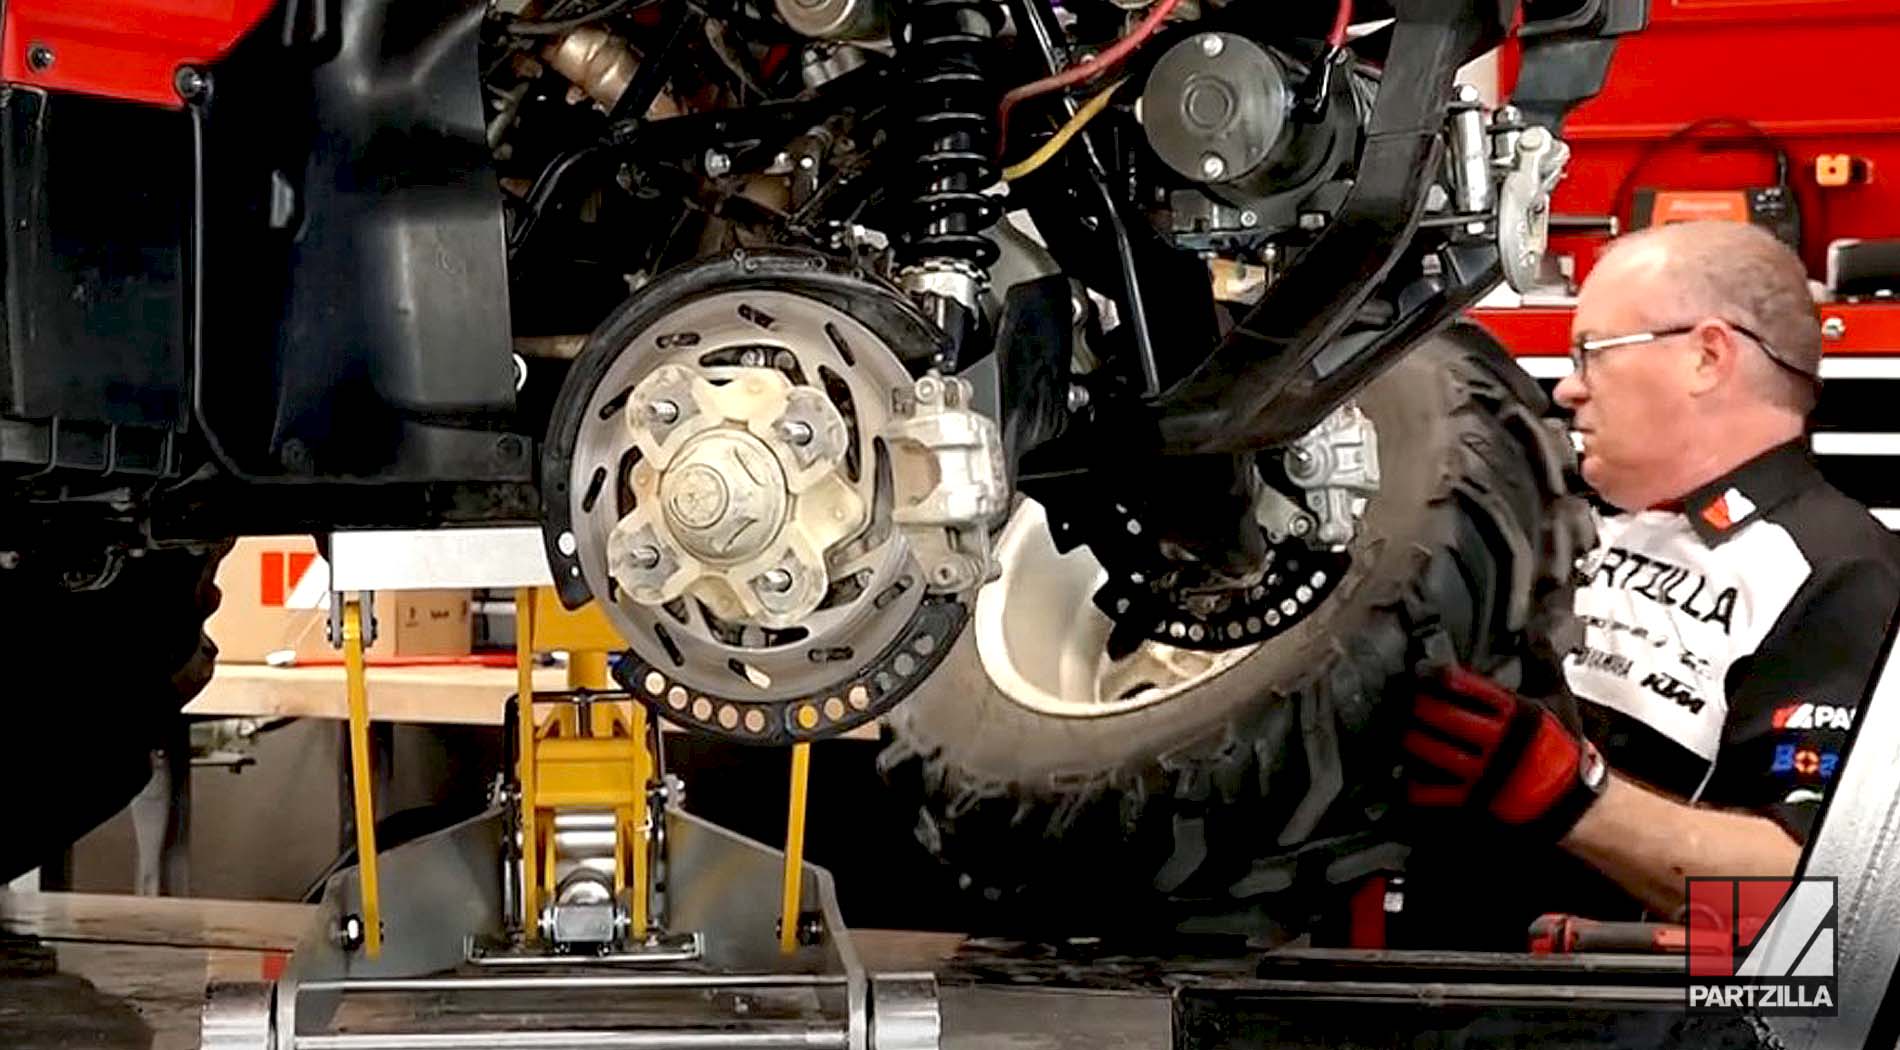
Step 1. Lift the Grizzly on a jack, and remove the front wheels.
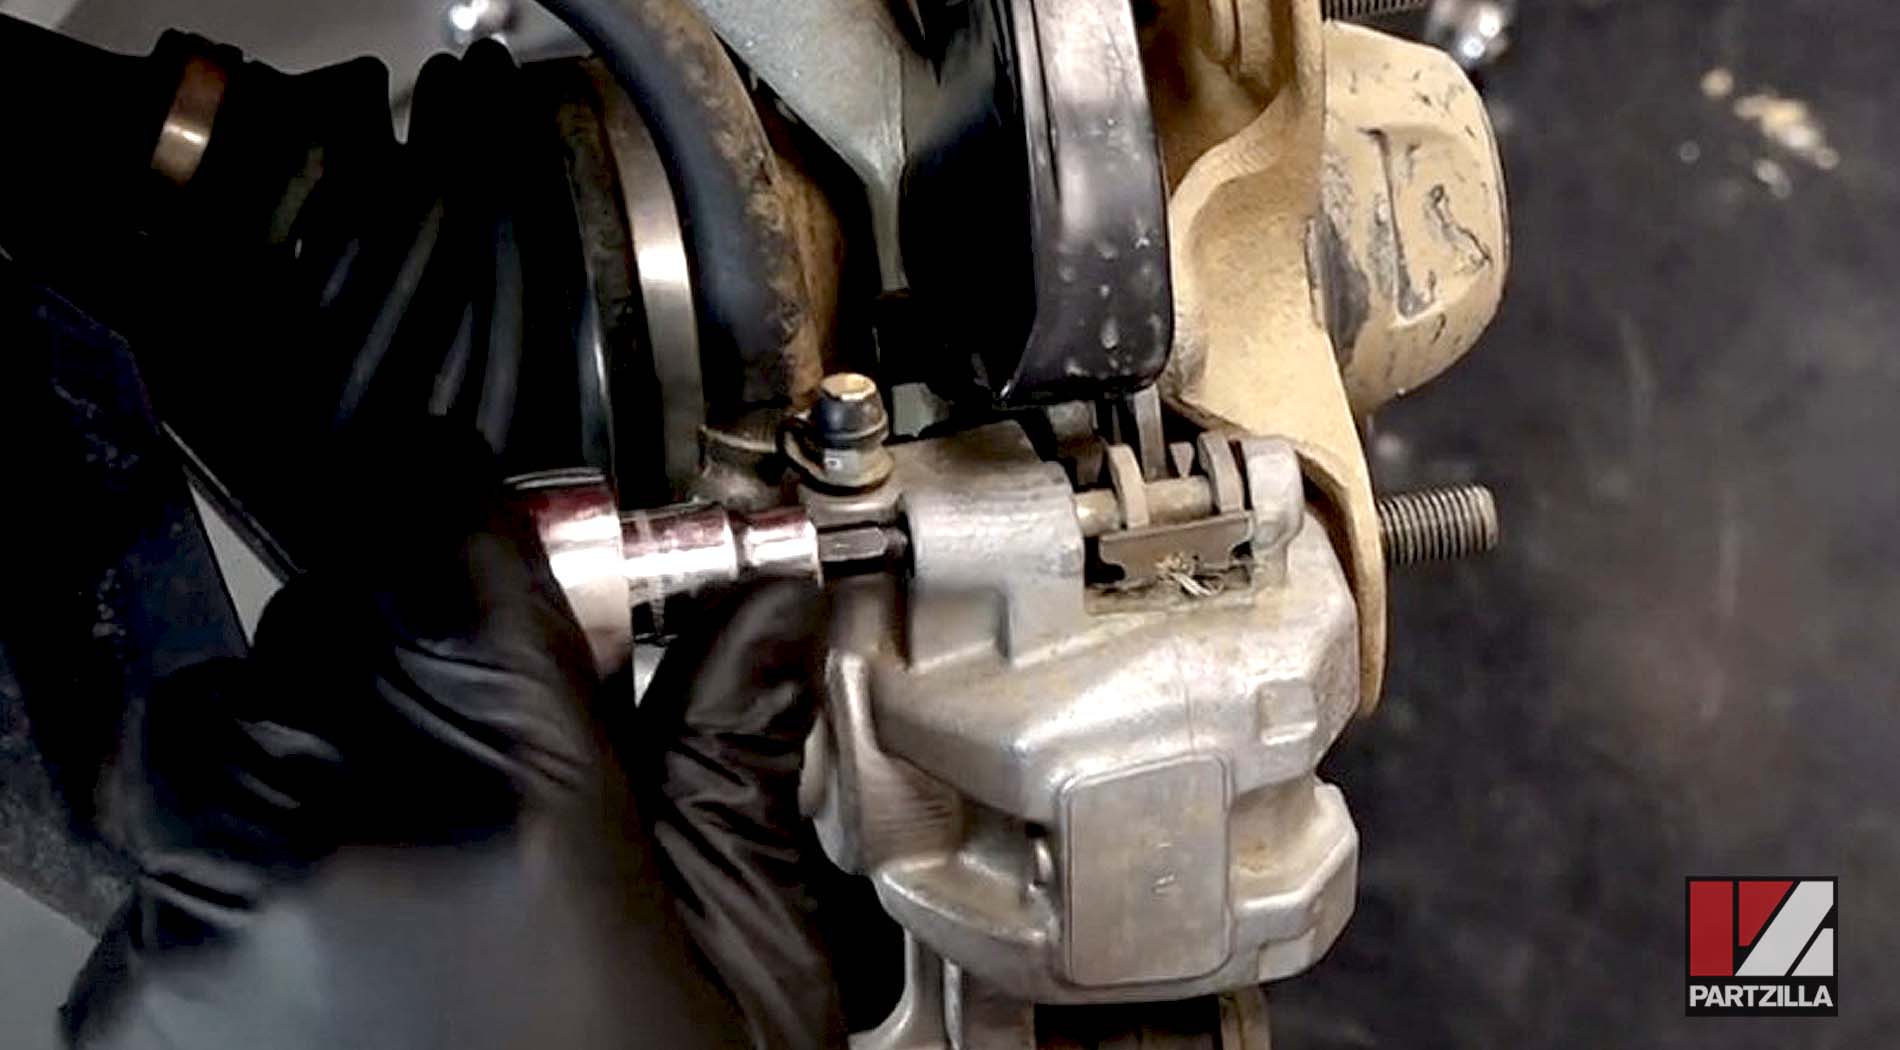
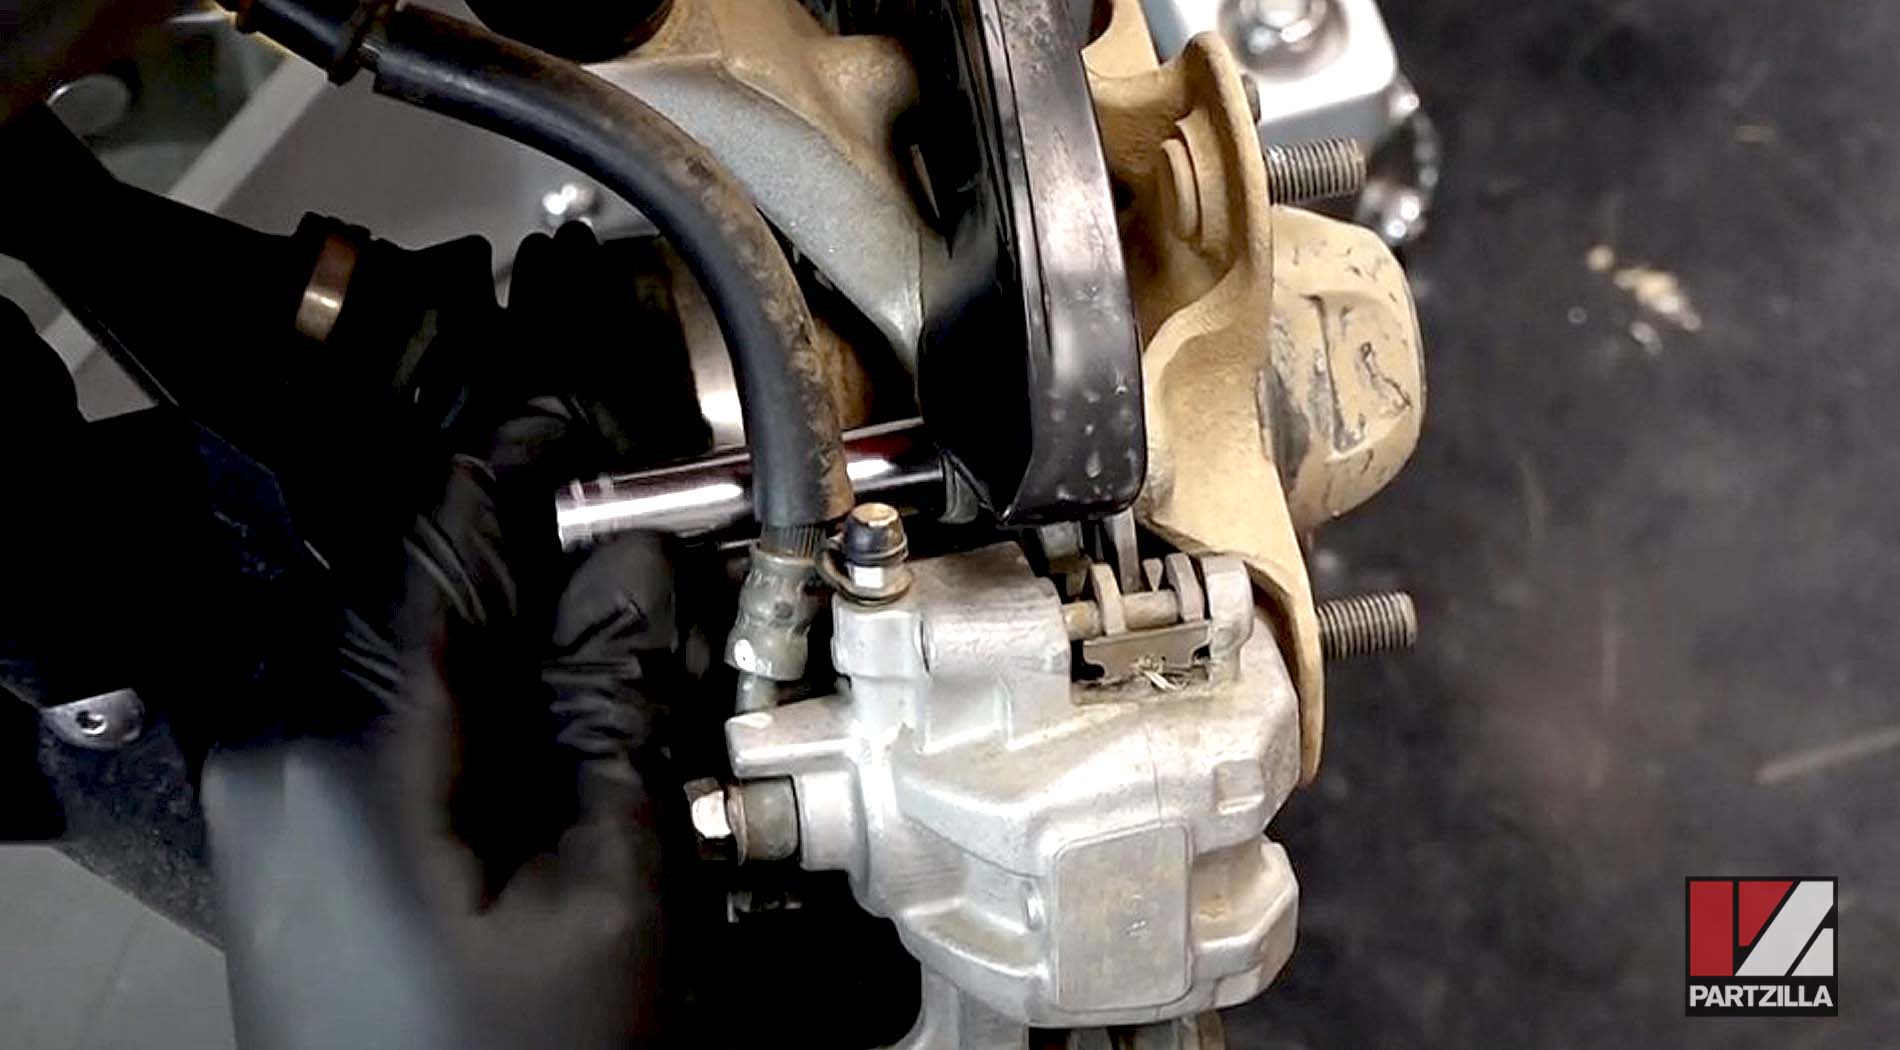
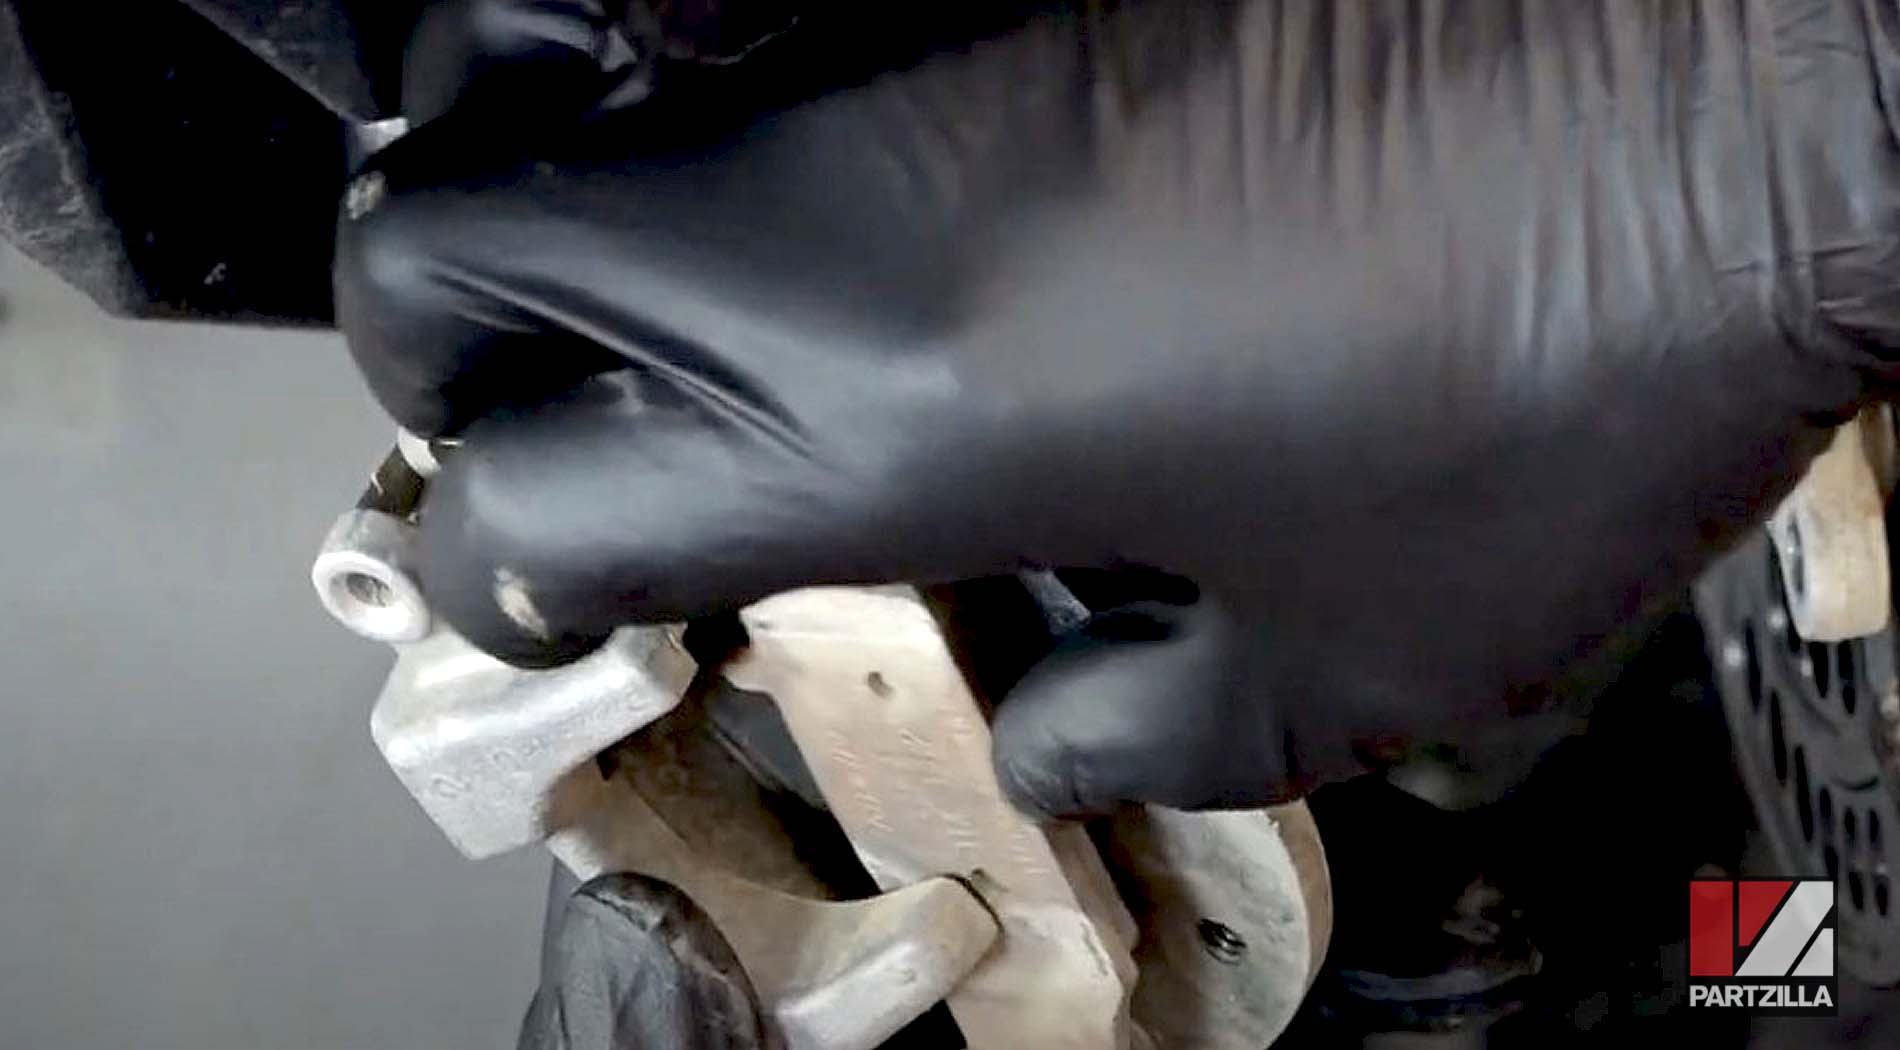
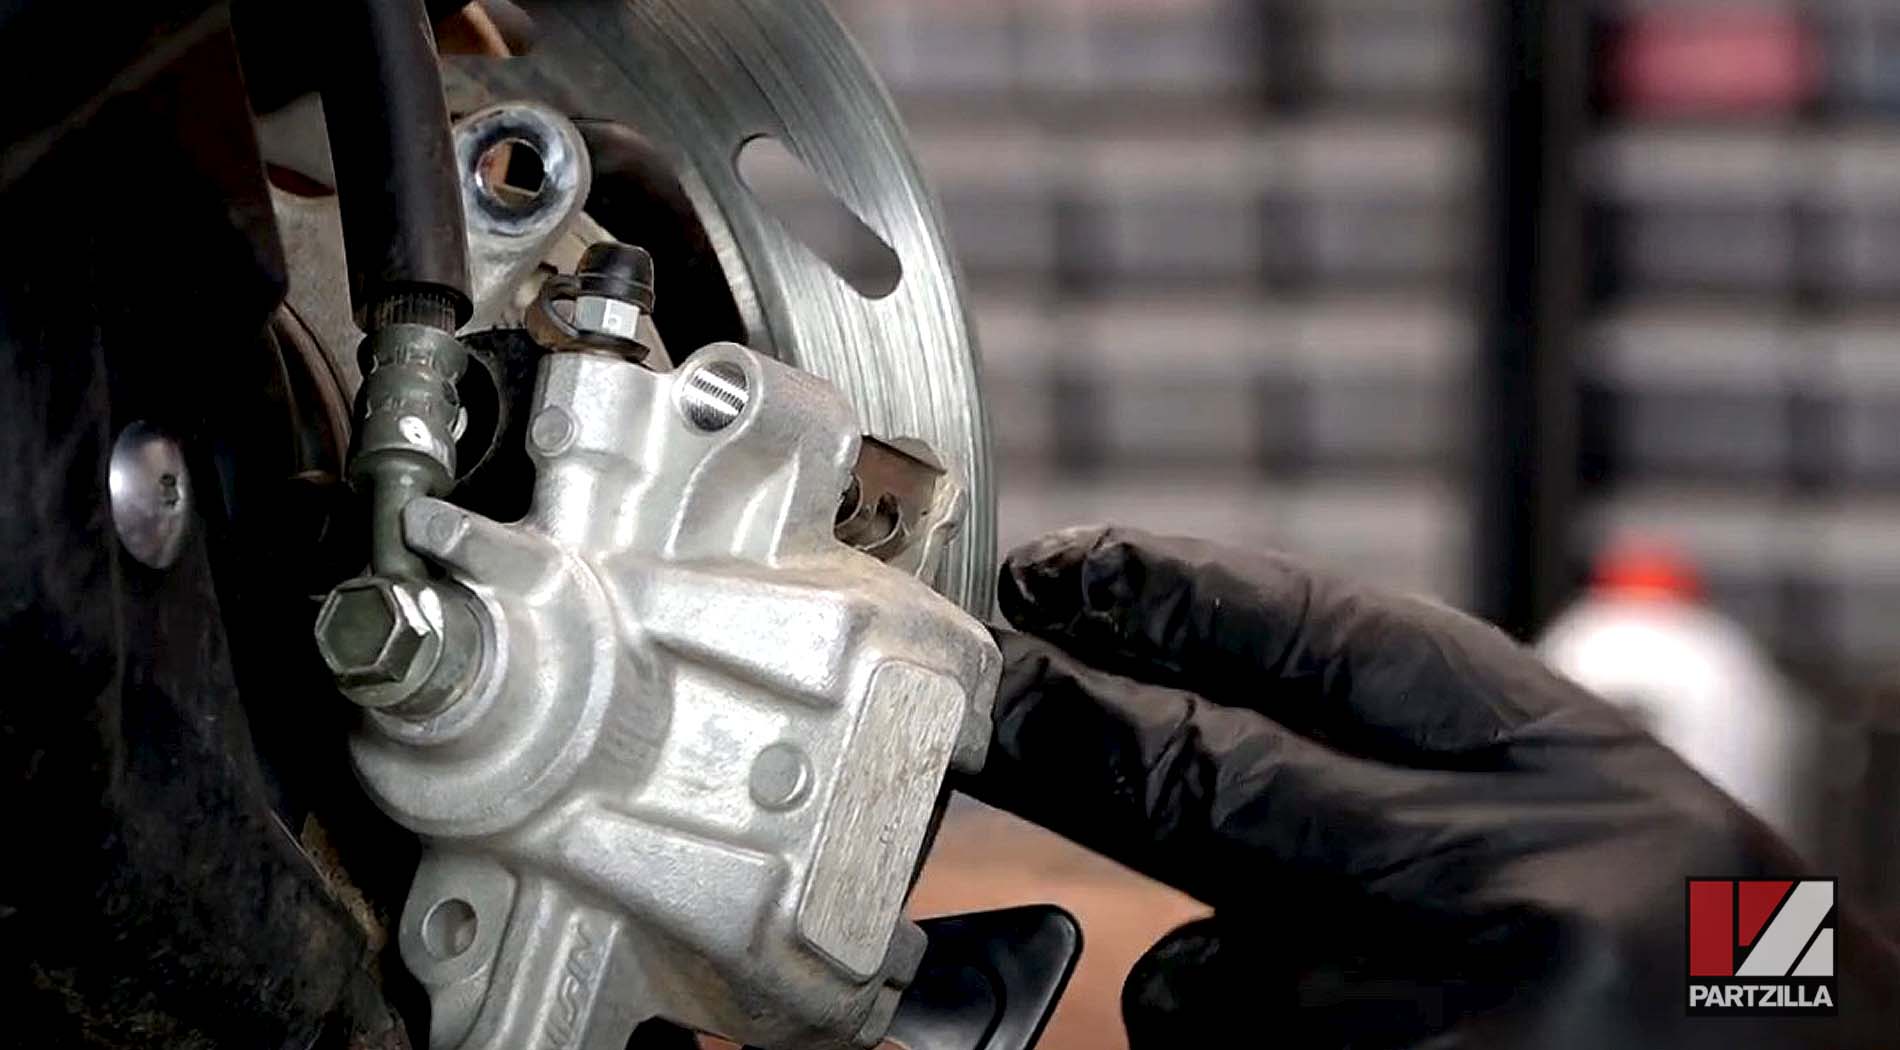
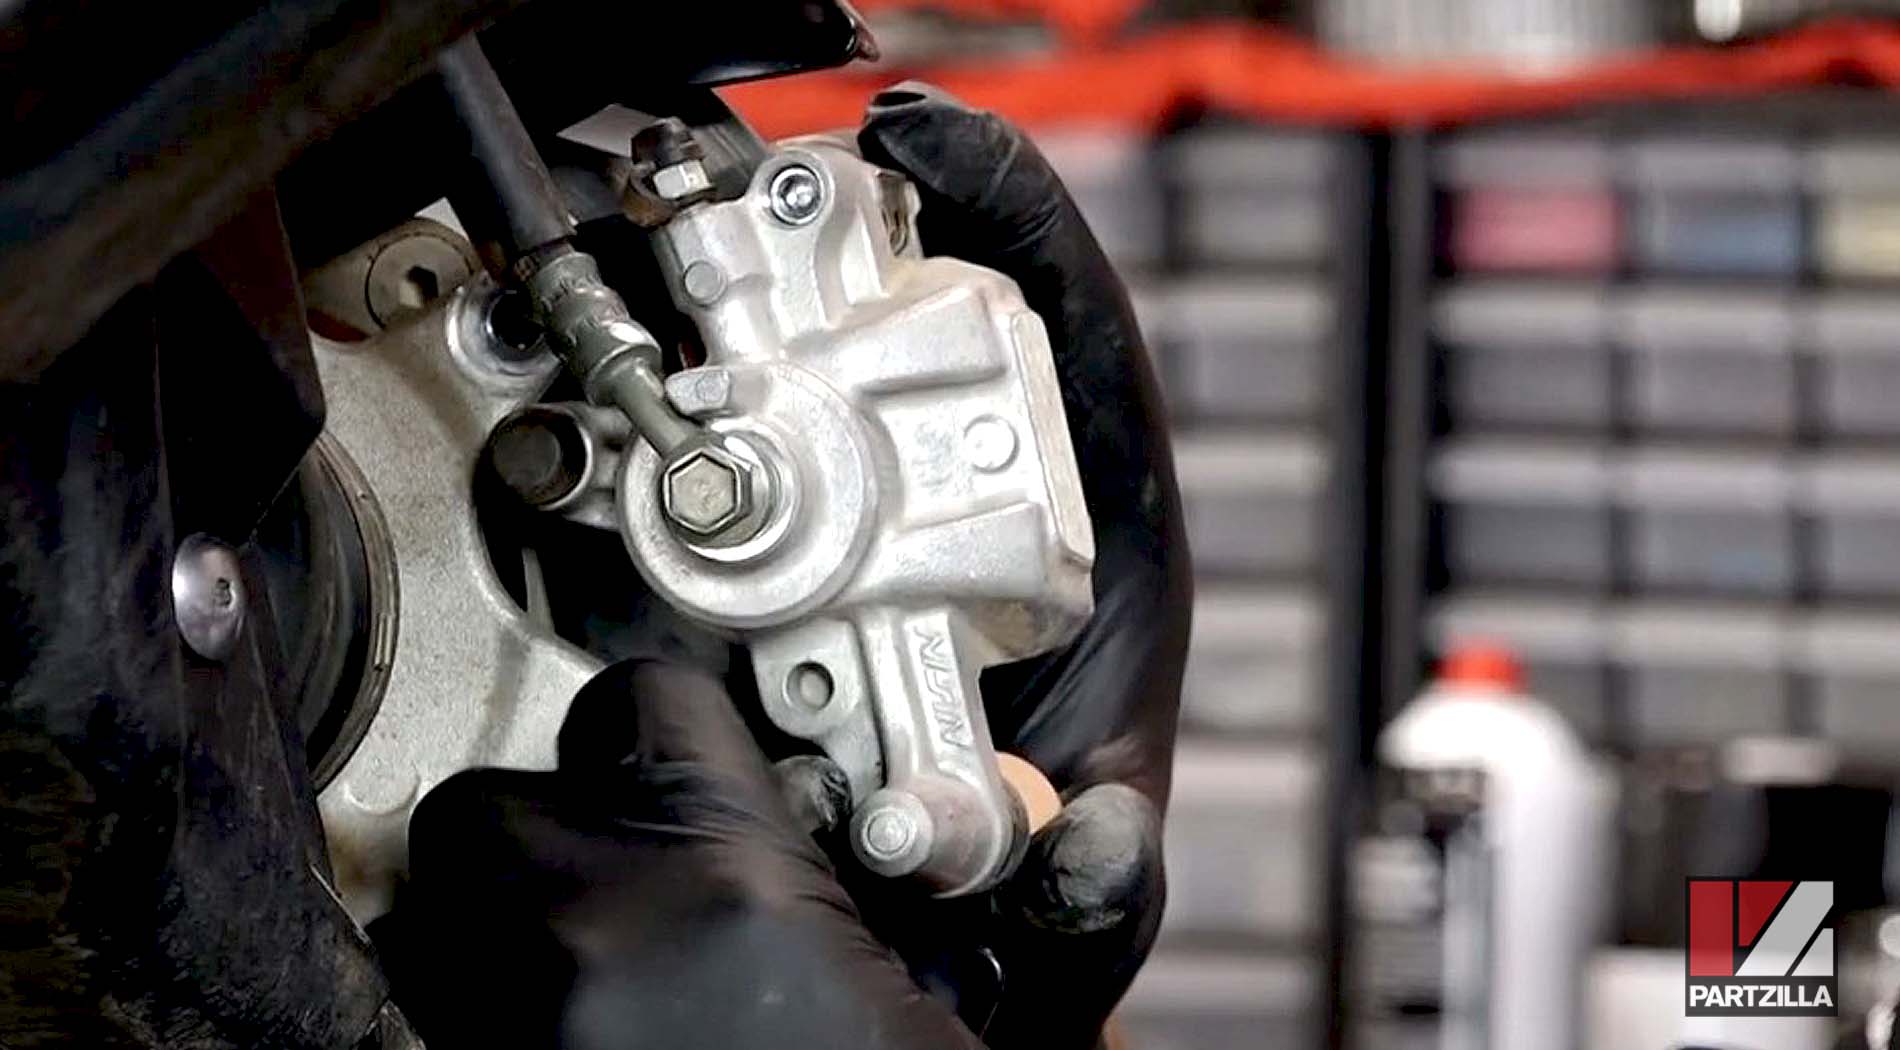
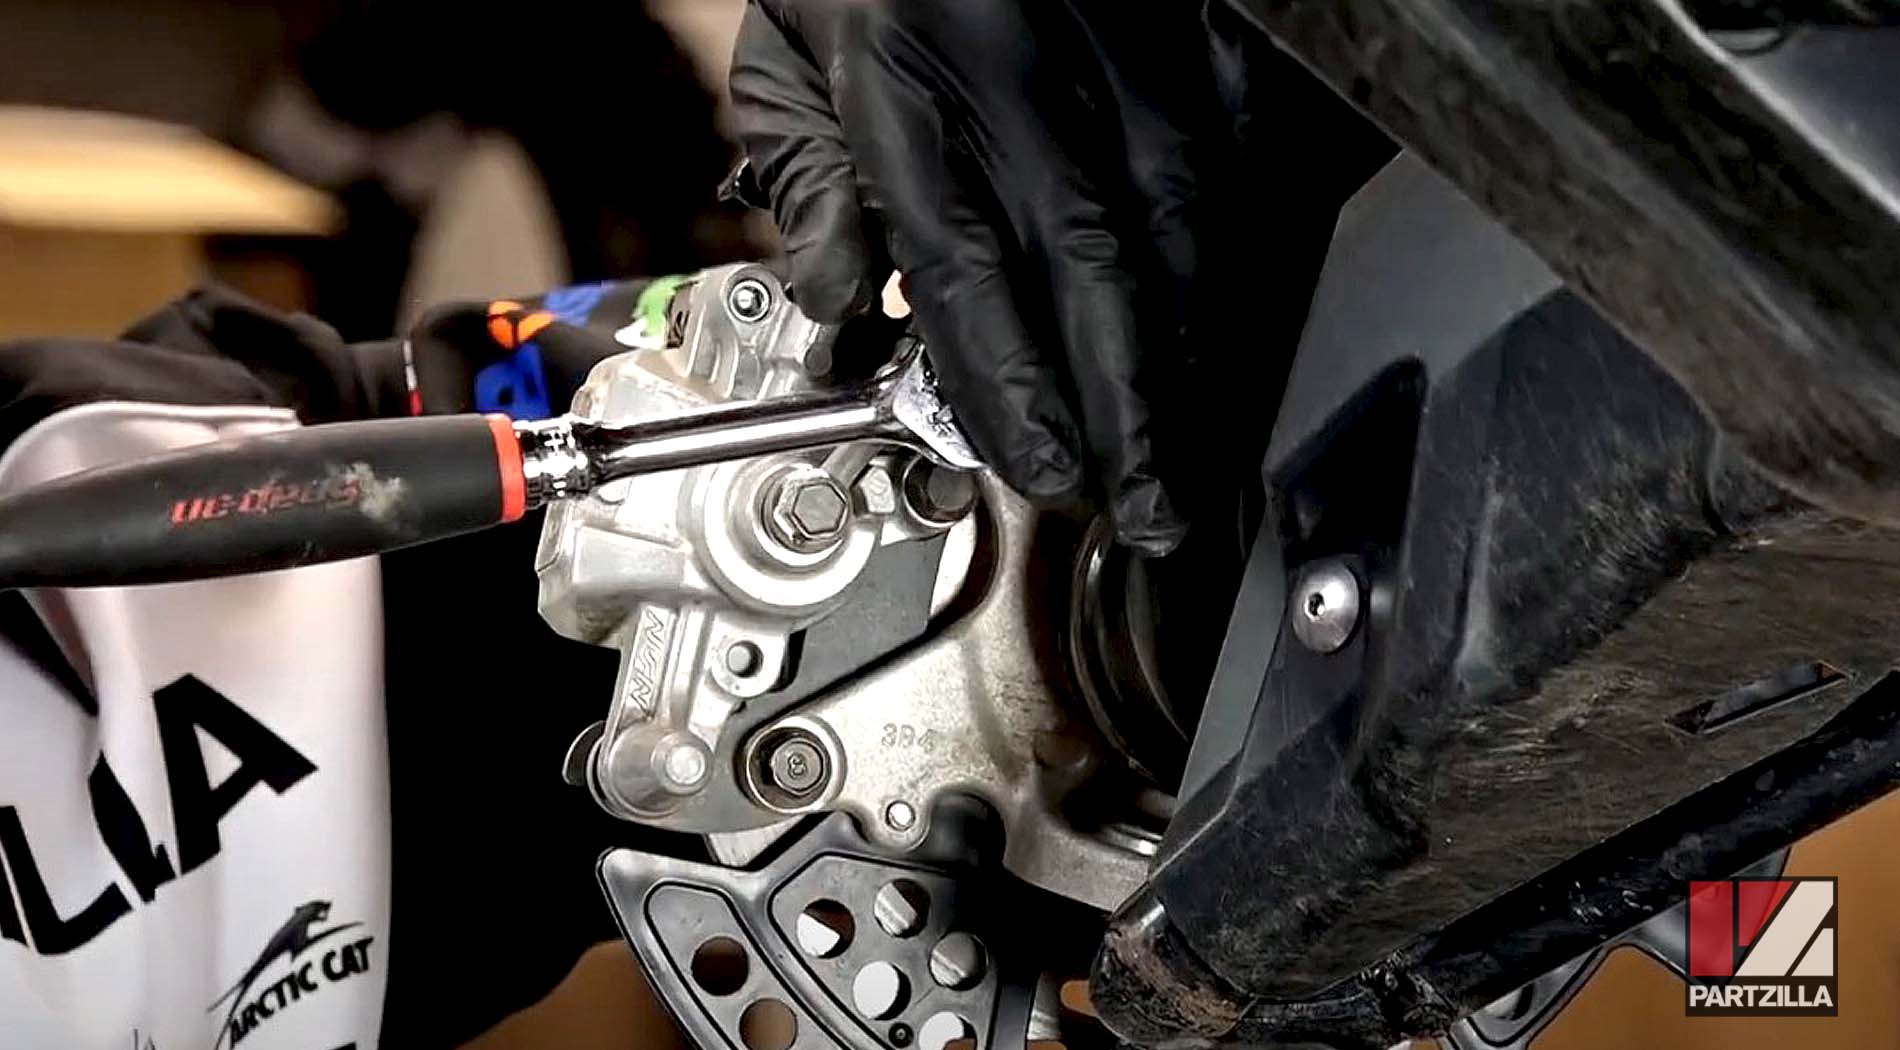
Step 2. Remove the small dust cap on the inside (opposite the wheel studs) of the brake caliper and then loosen, but don’t remove, the 5mm Allen pin that holds the brake pads in place.
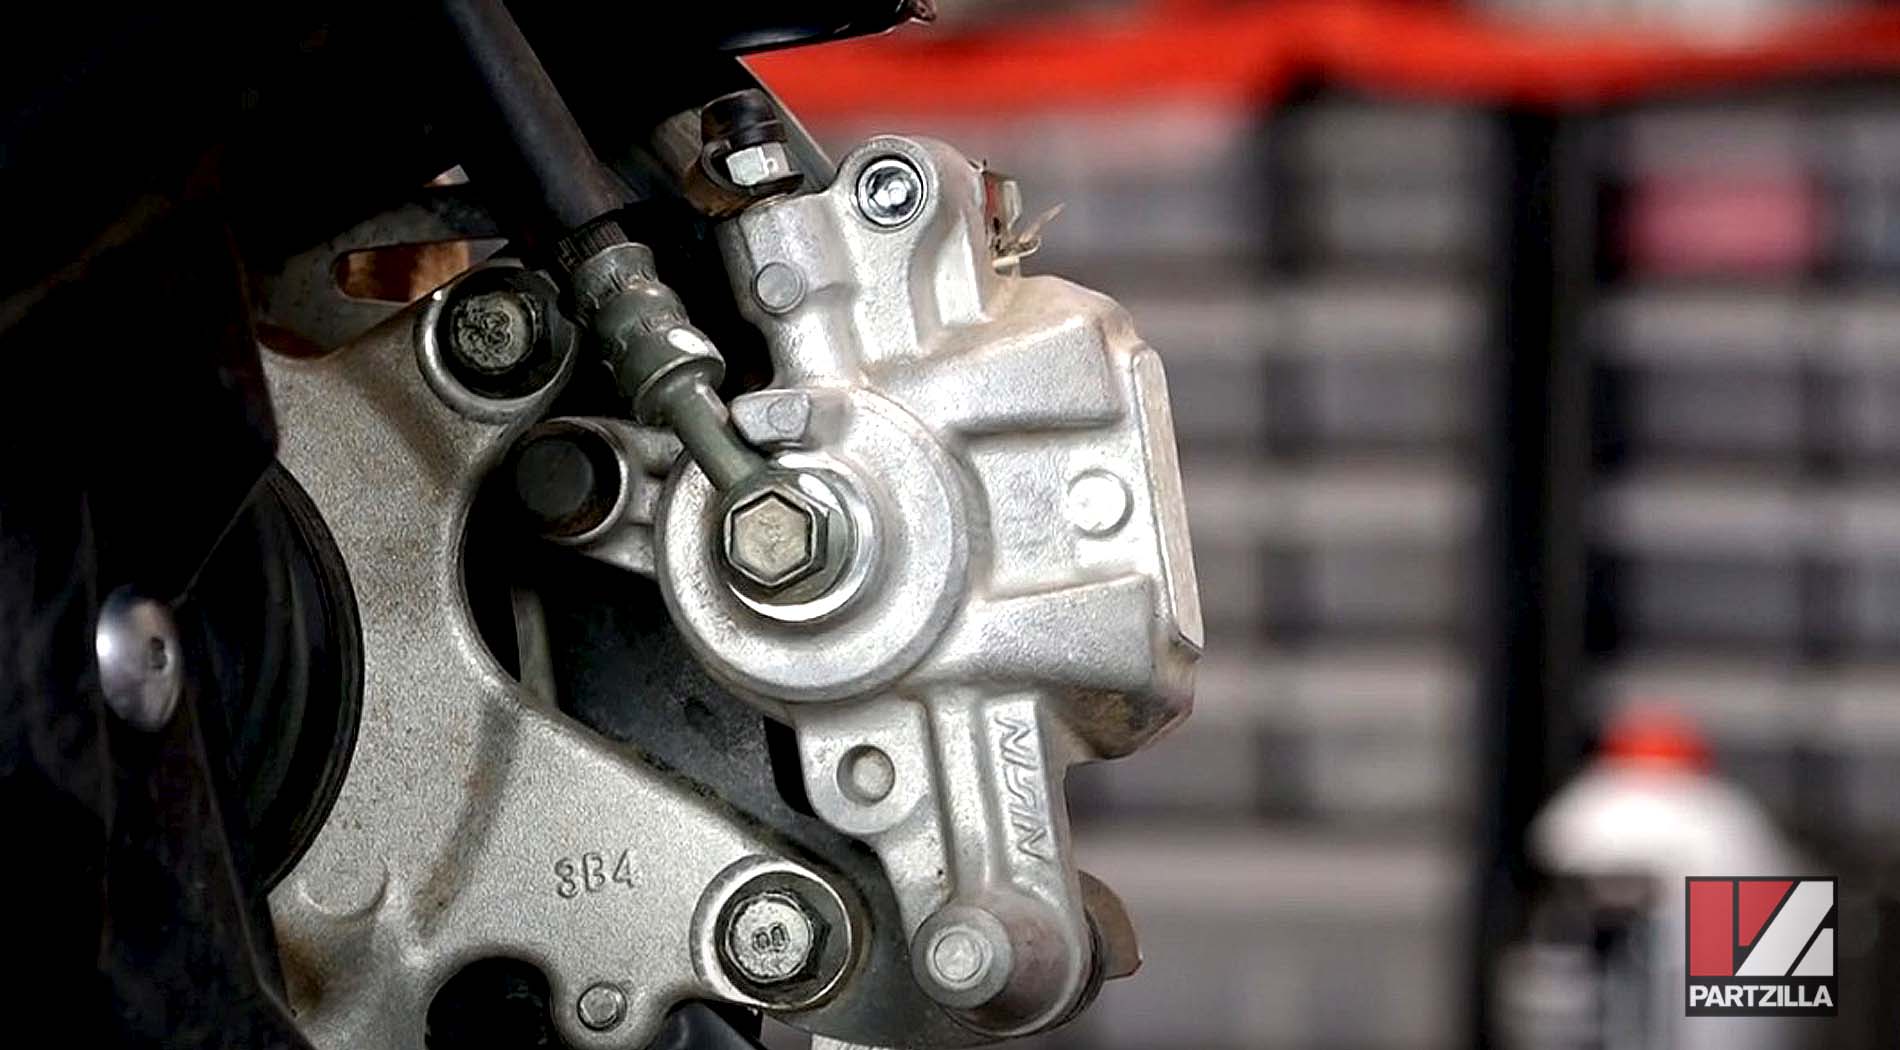
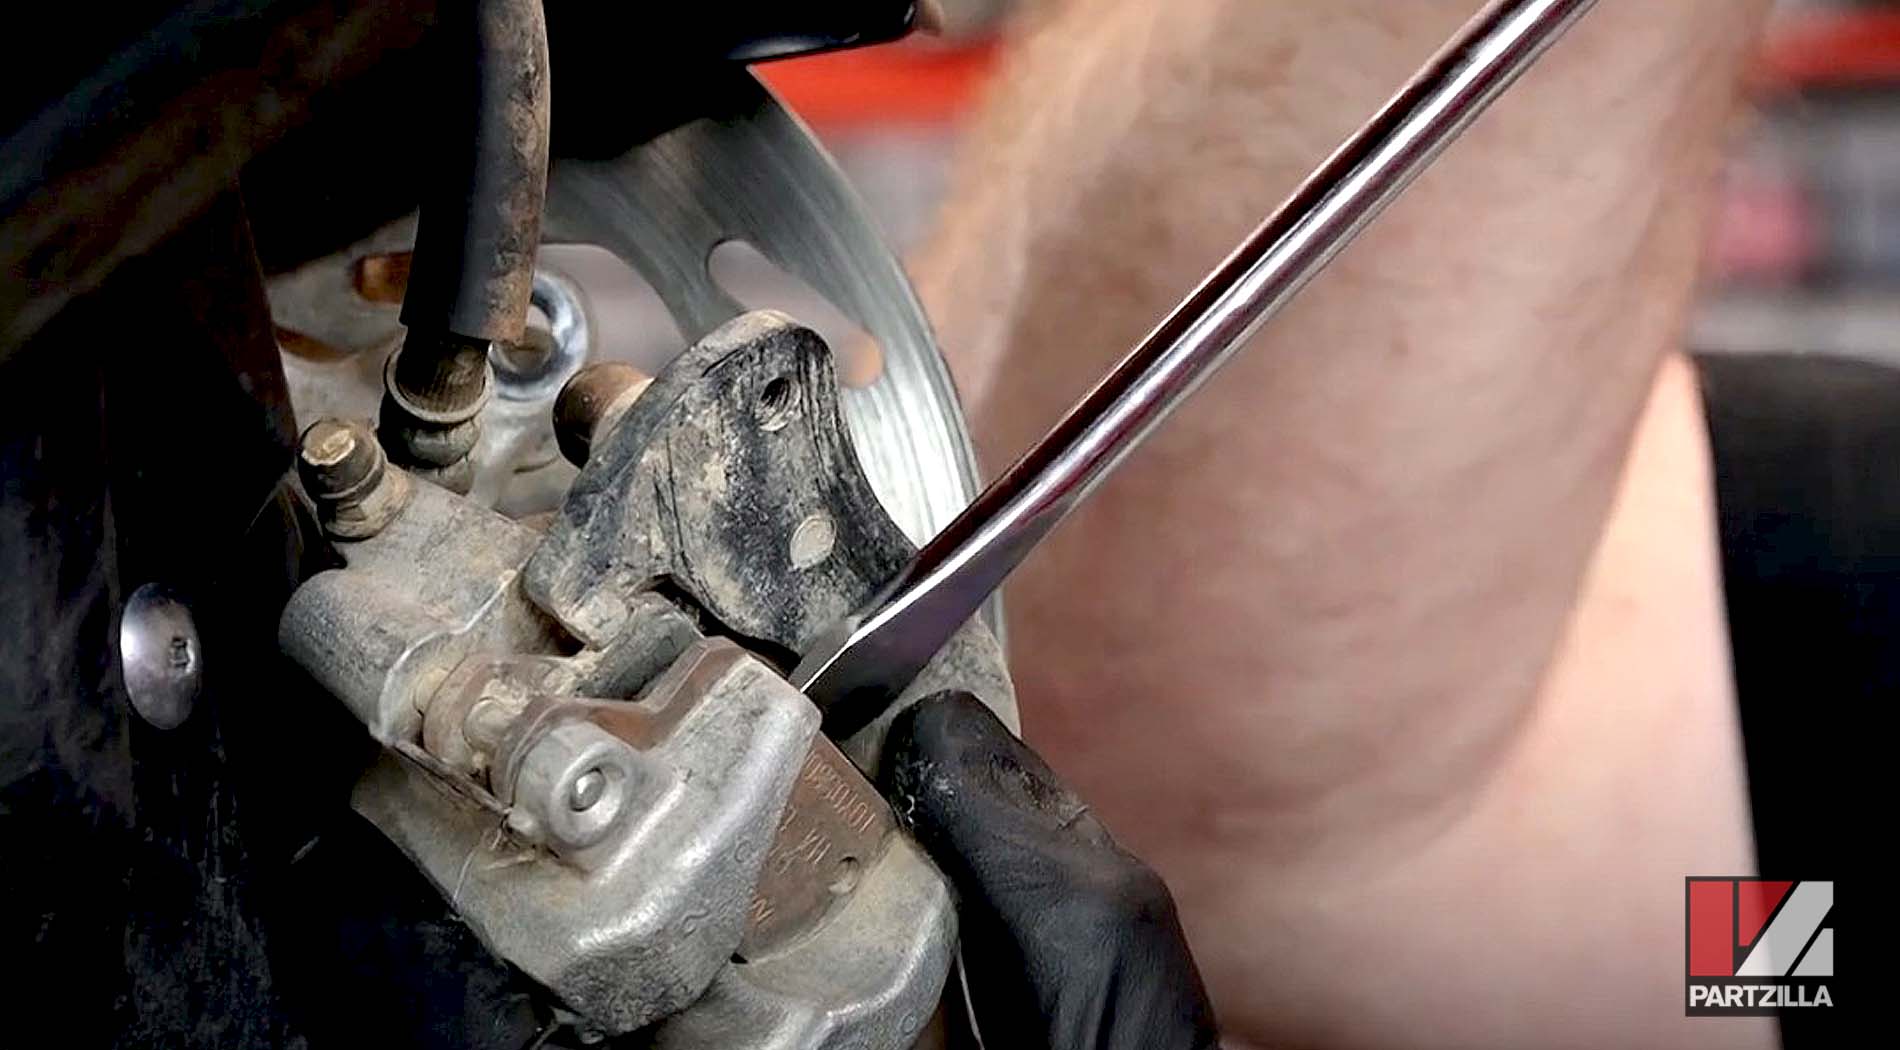
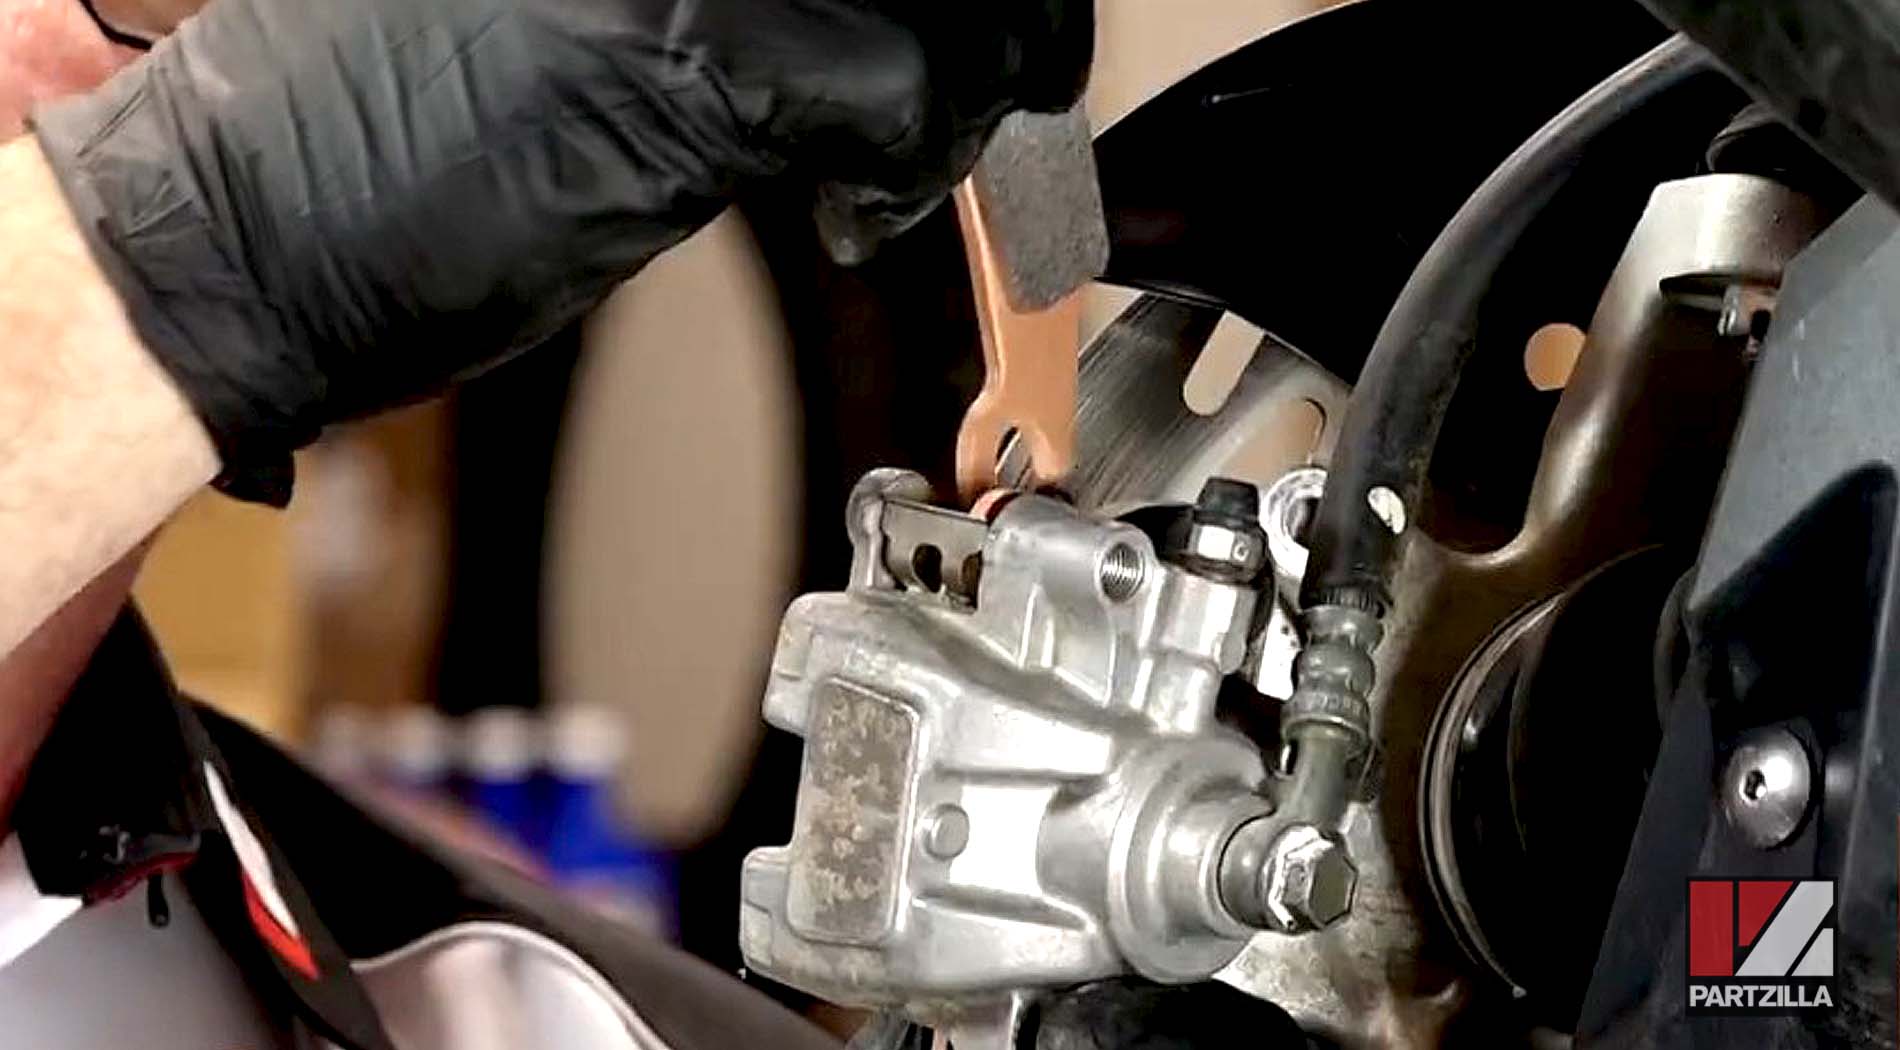
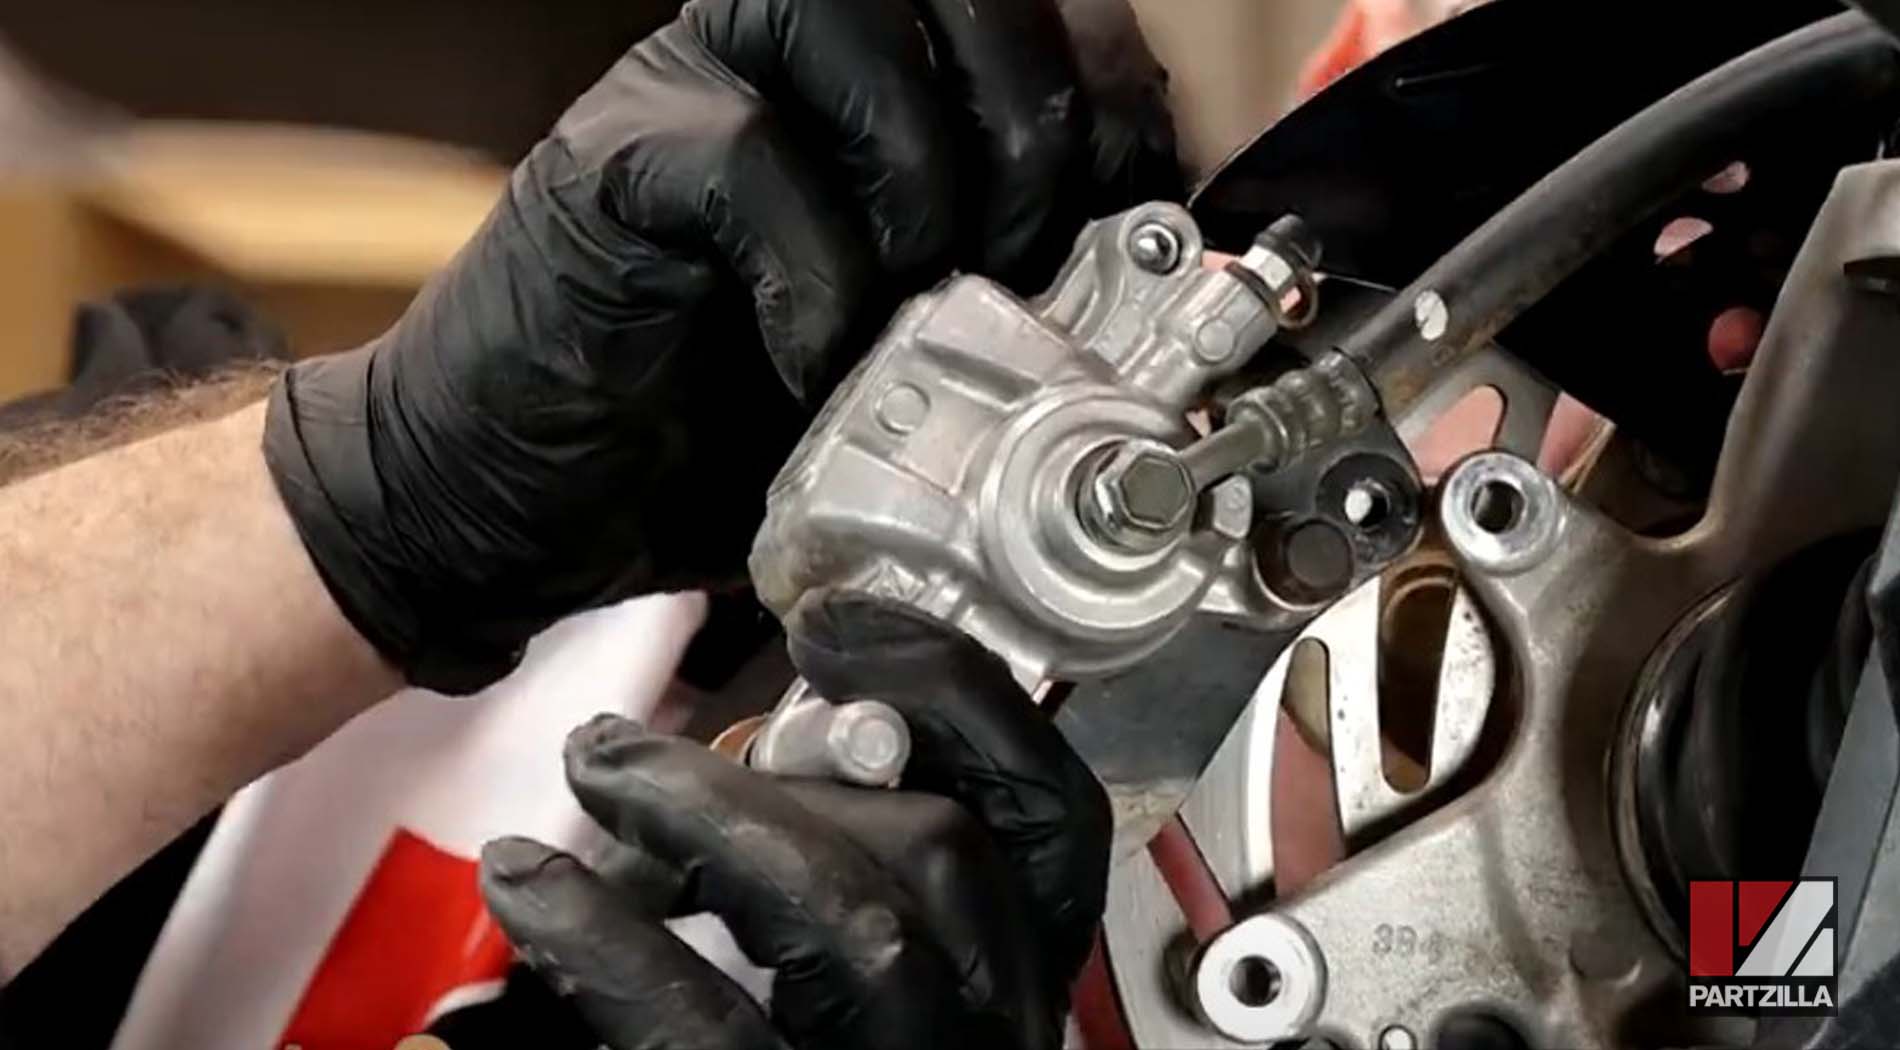
Step 3. Remove the brake caliper by taking off the two 12mm bolts that hold it in place.
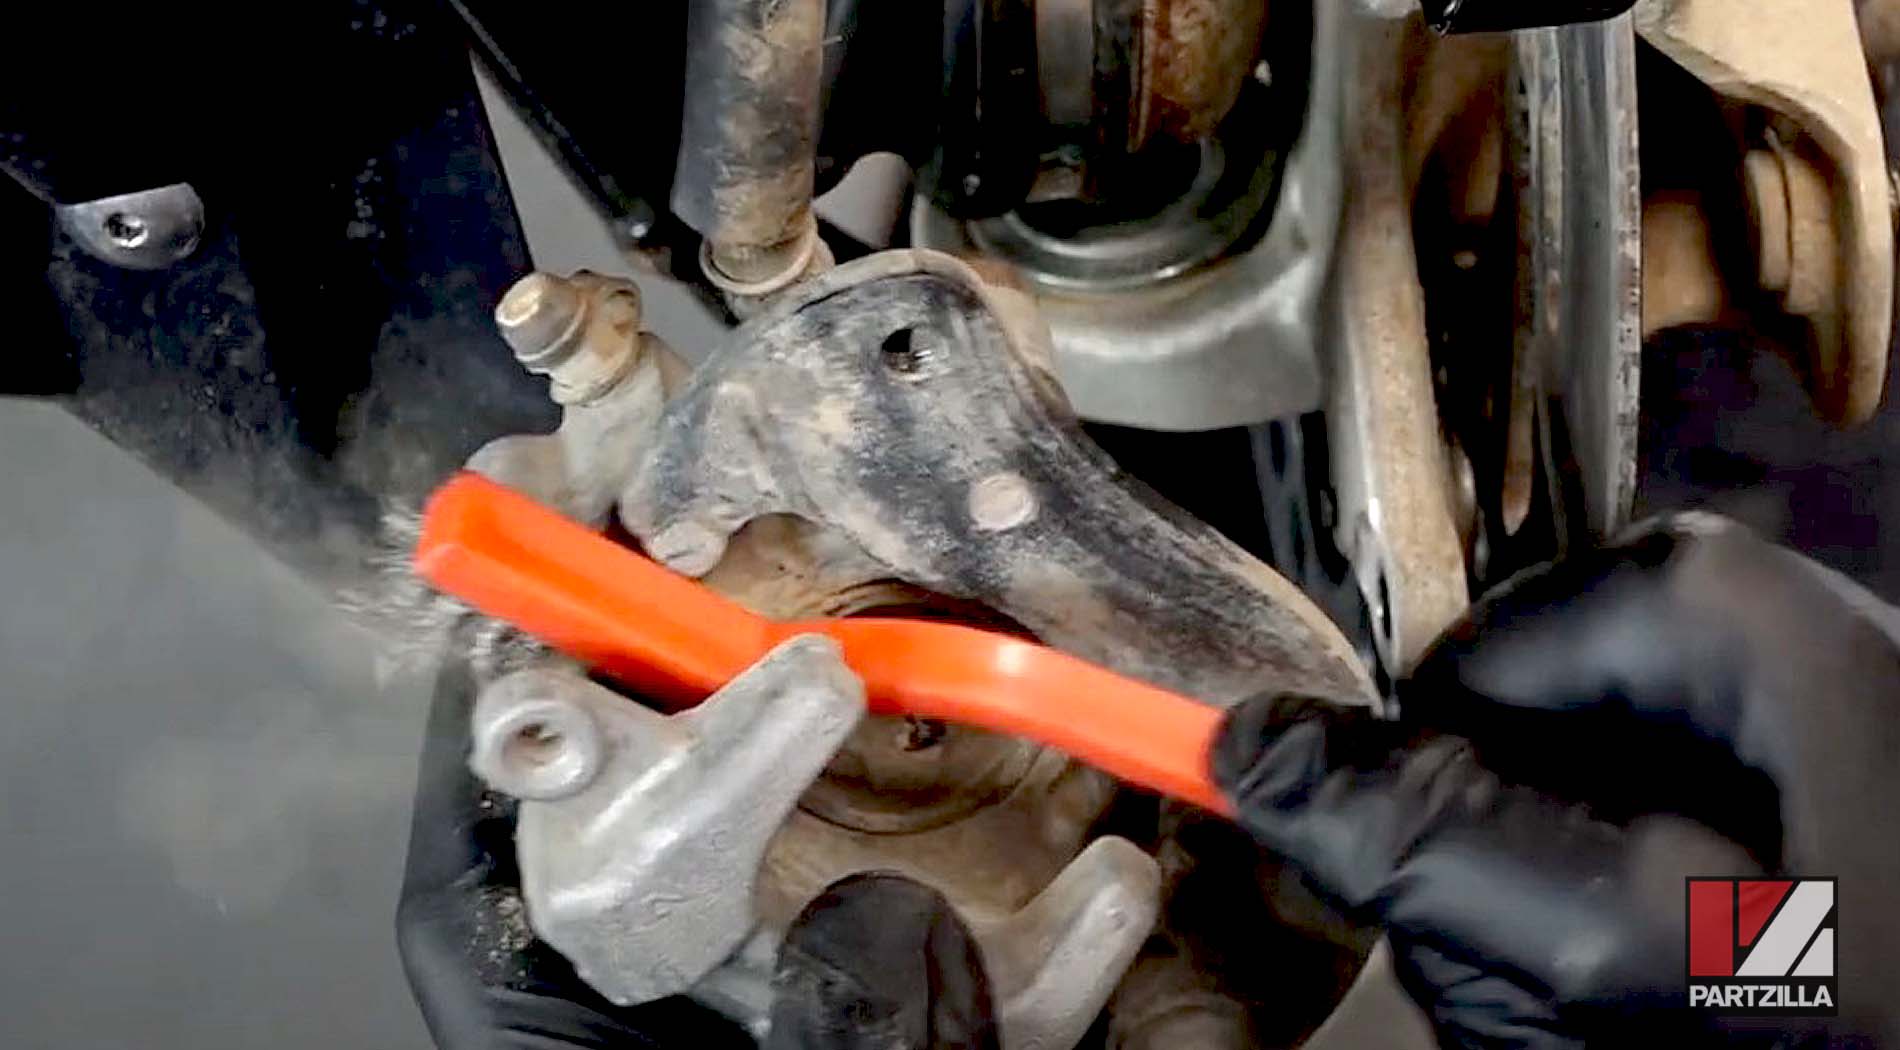
Step 4. Use a flat-head screwdriver to push the old brake pads apart.
PRO TIP: The new pads will have more material, so it’s a good idea to do this step in order to make some room for them. Don’t worry about damaging the old pads since you’re going to be replacing them anyway.

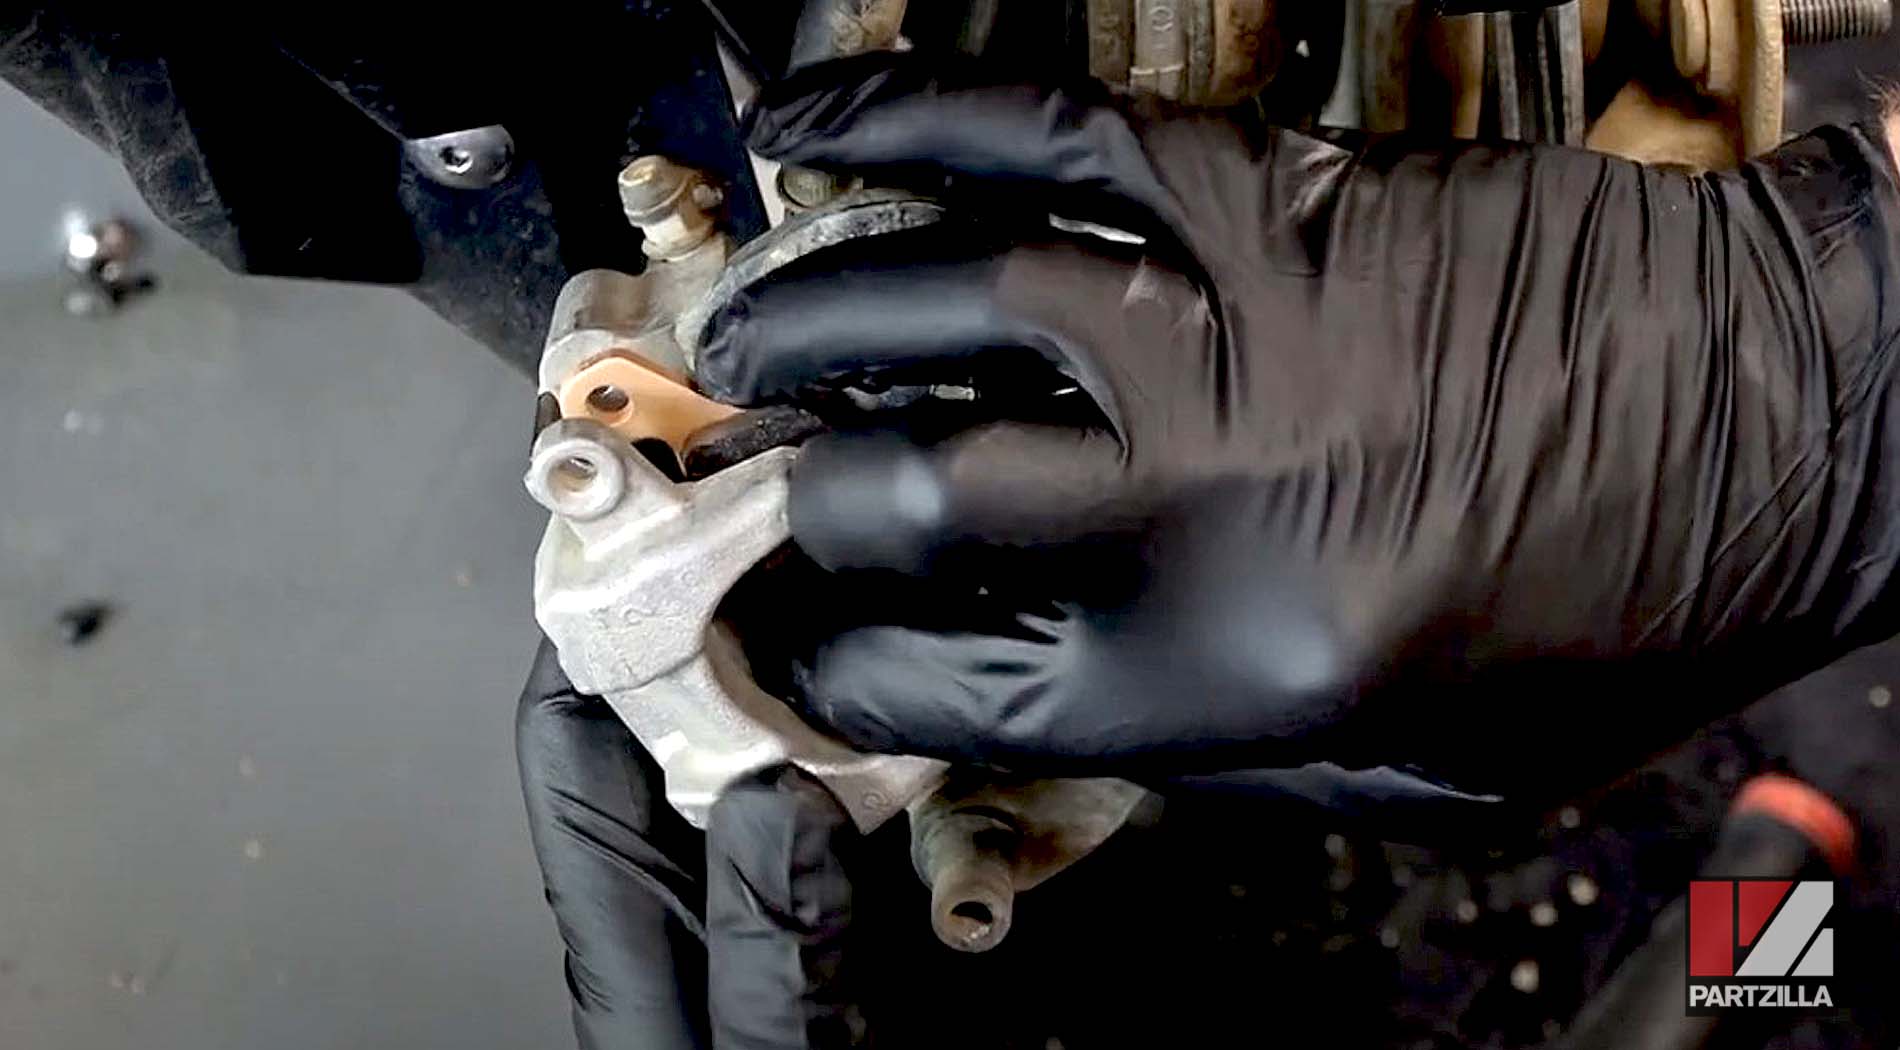
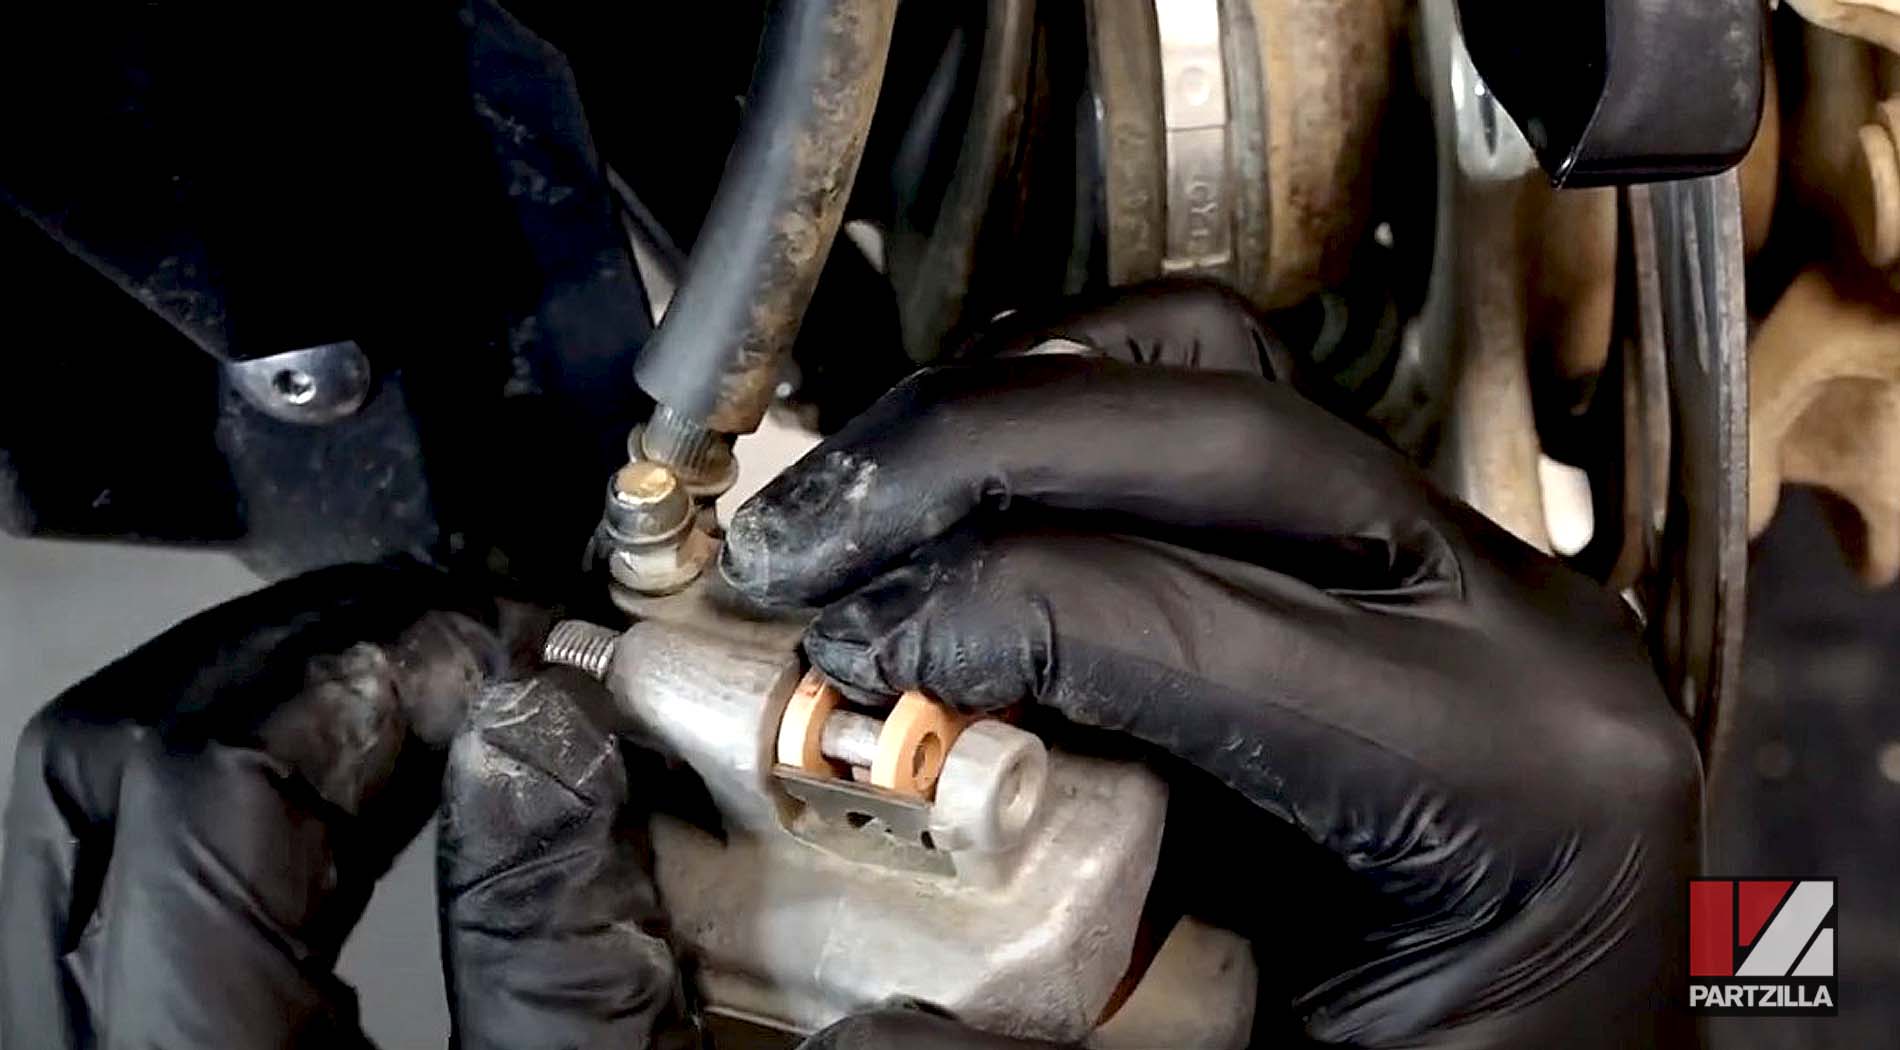
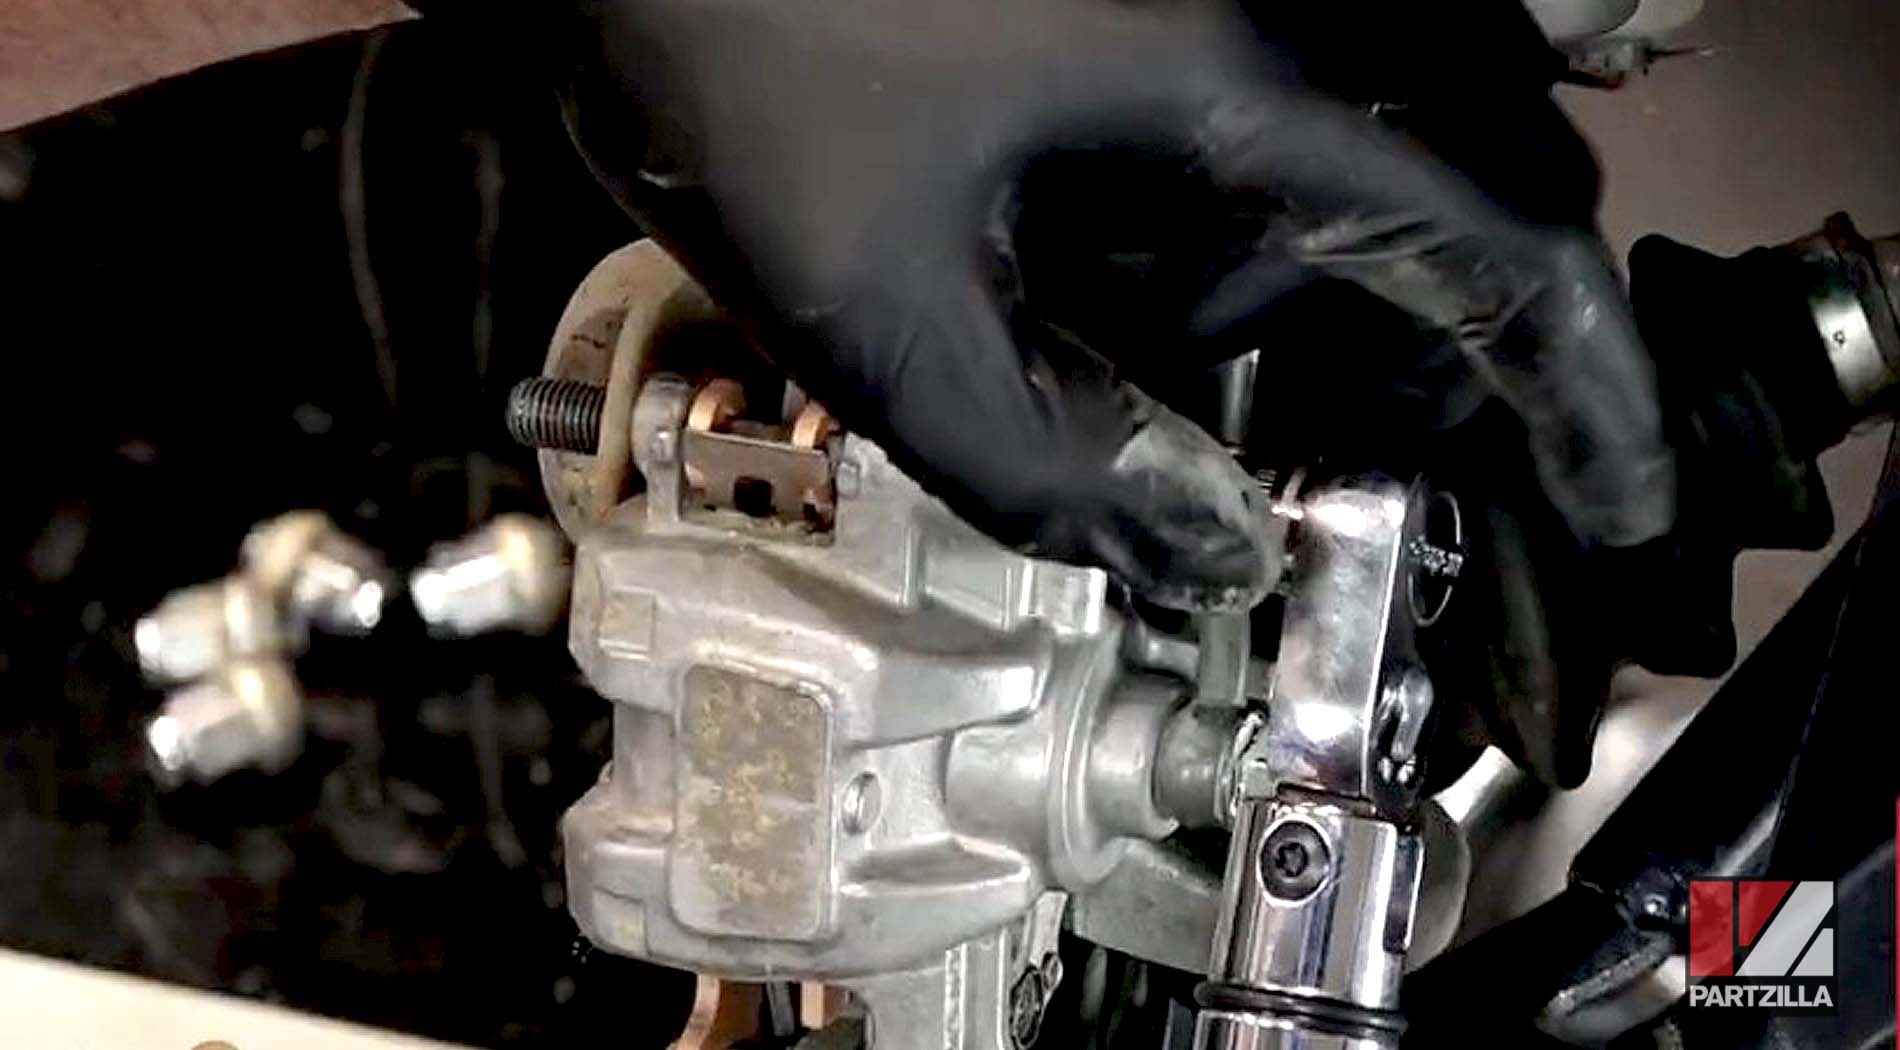
Step 5. Remove the pivot pin loosened in Step 2.
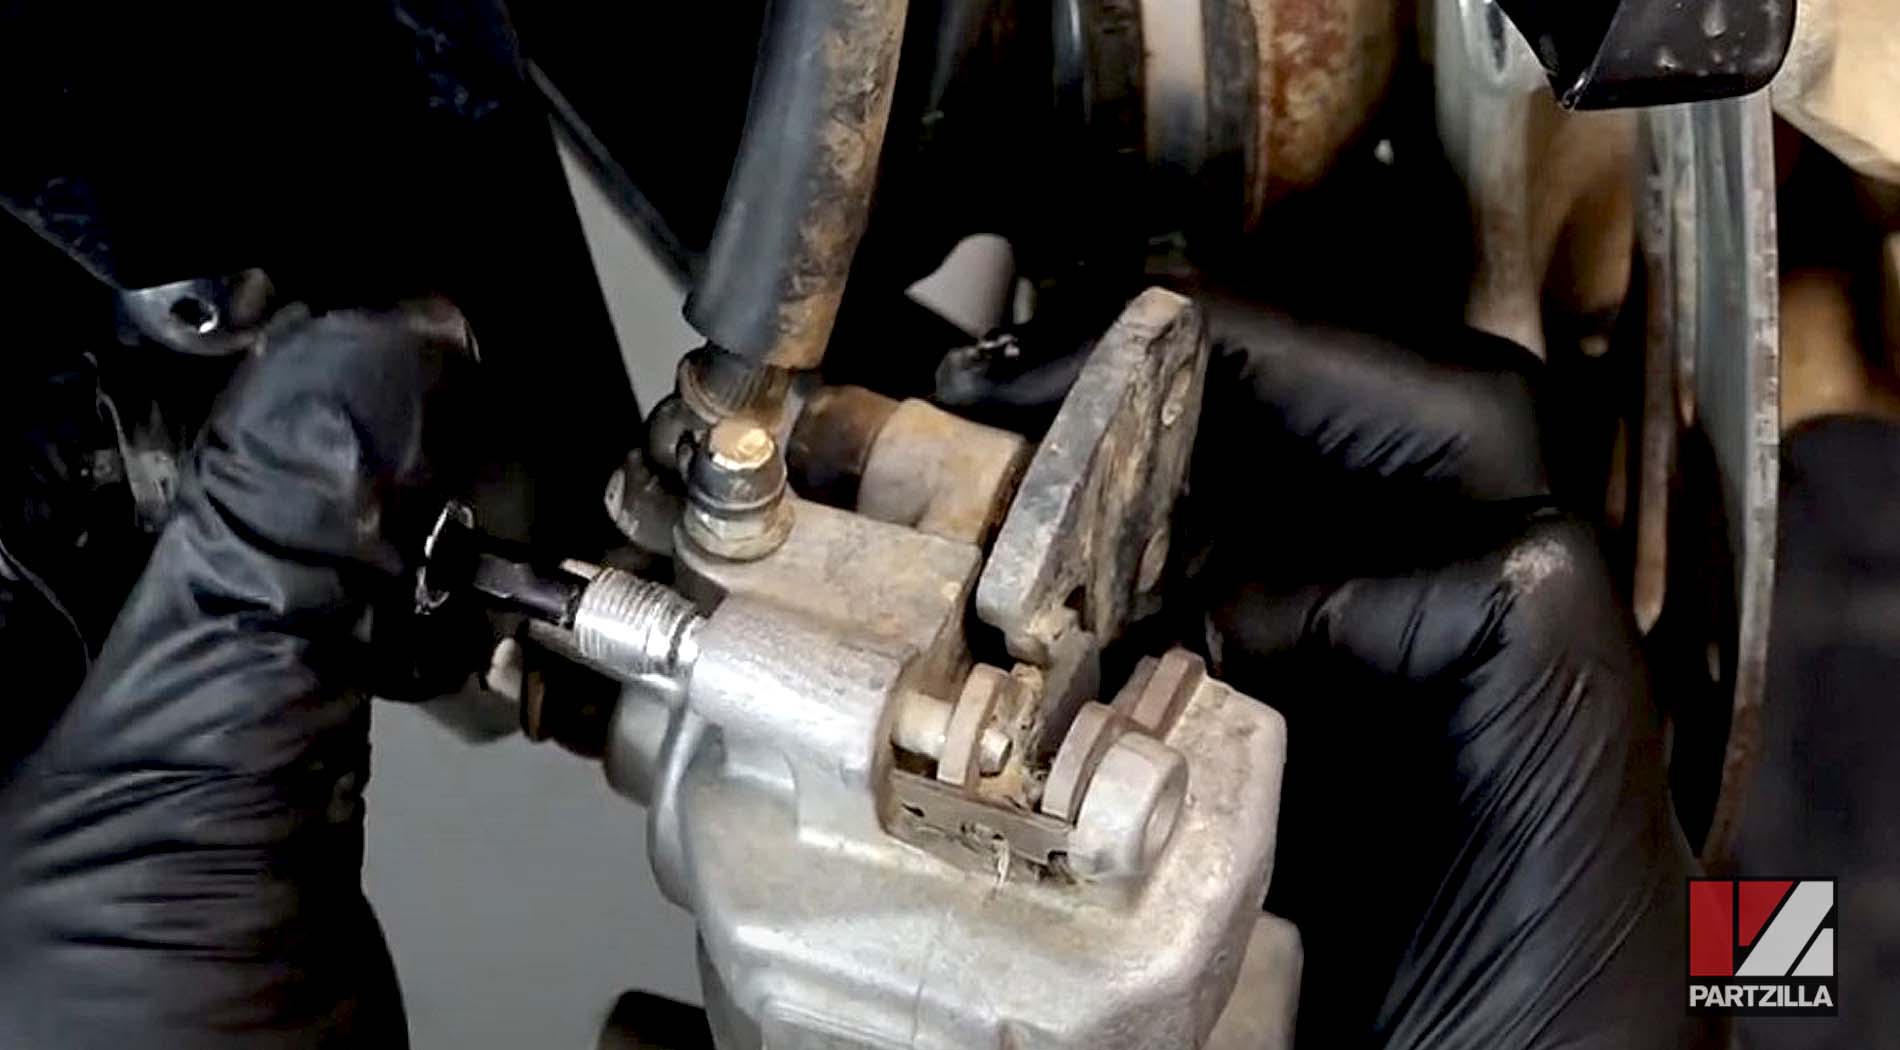
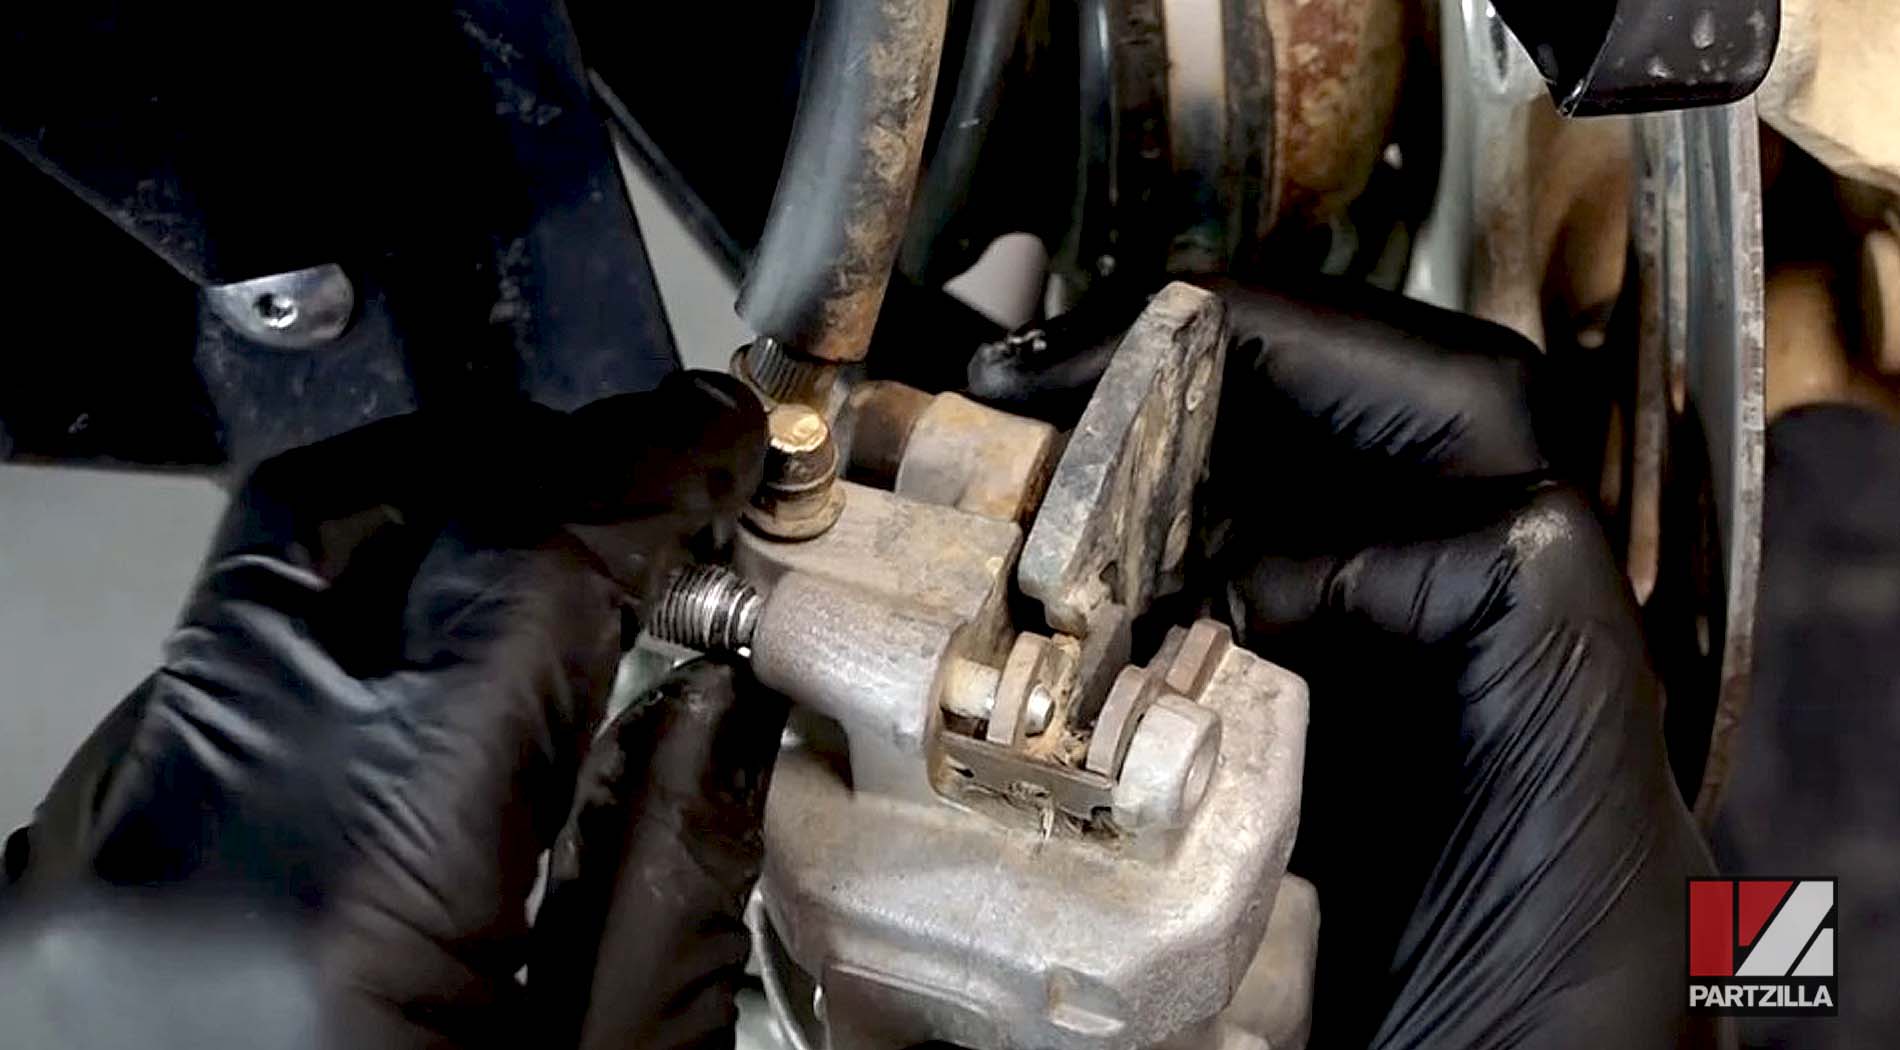
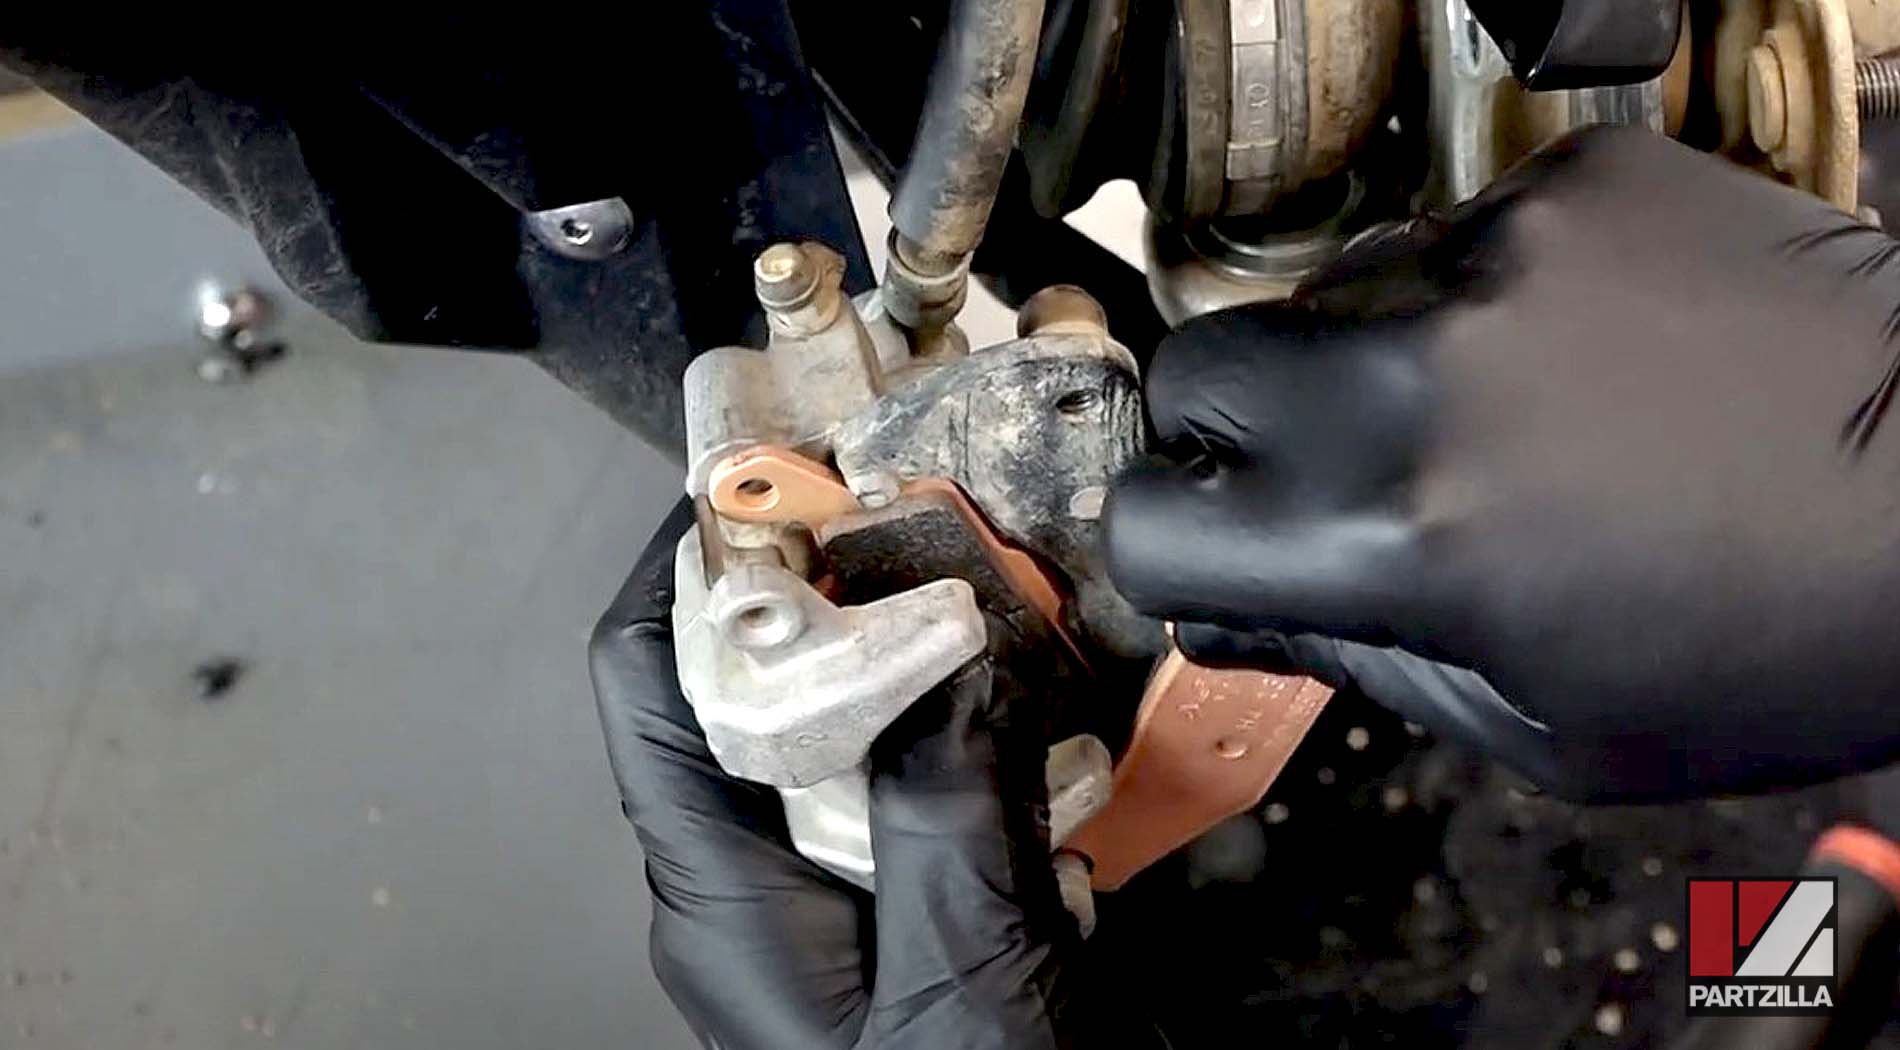
Step 6. Lift out and remove the old brake pads.
Step 7. Clean out any caked dirt in the caliper with a steel brush.
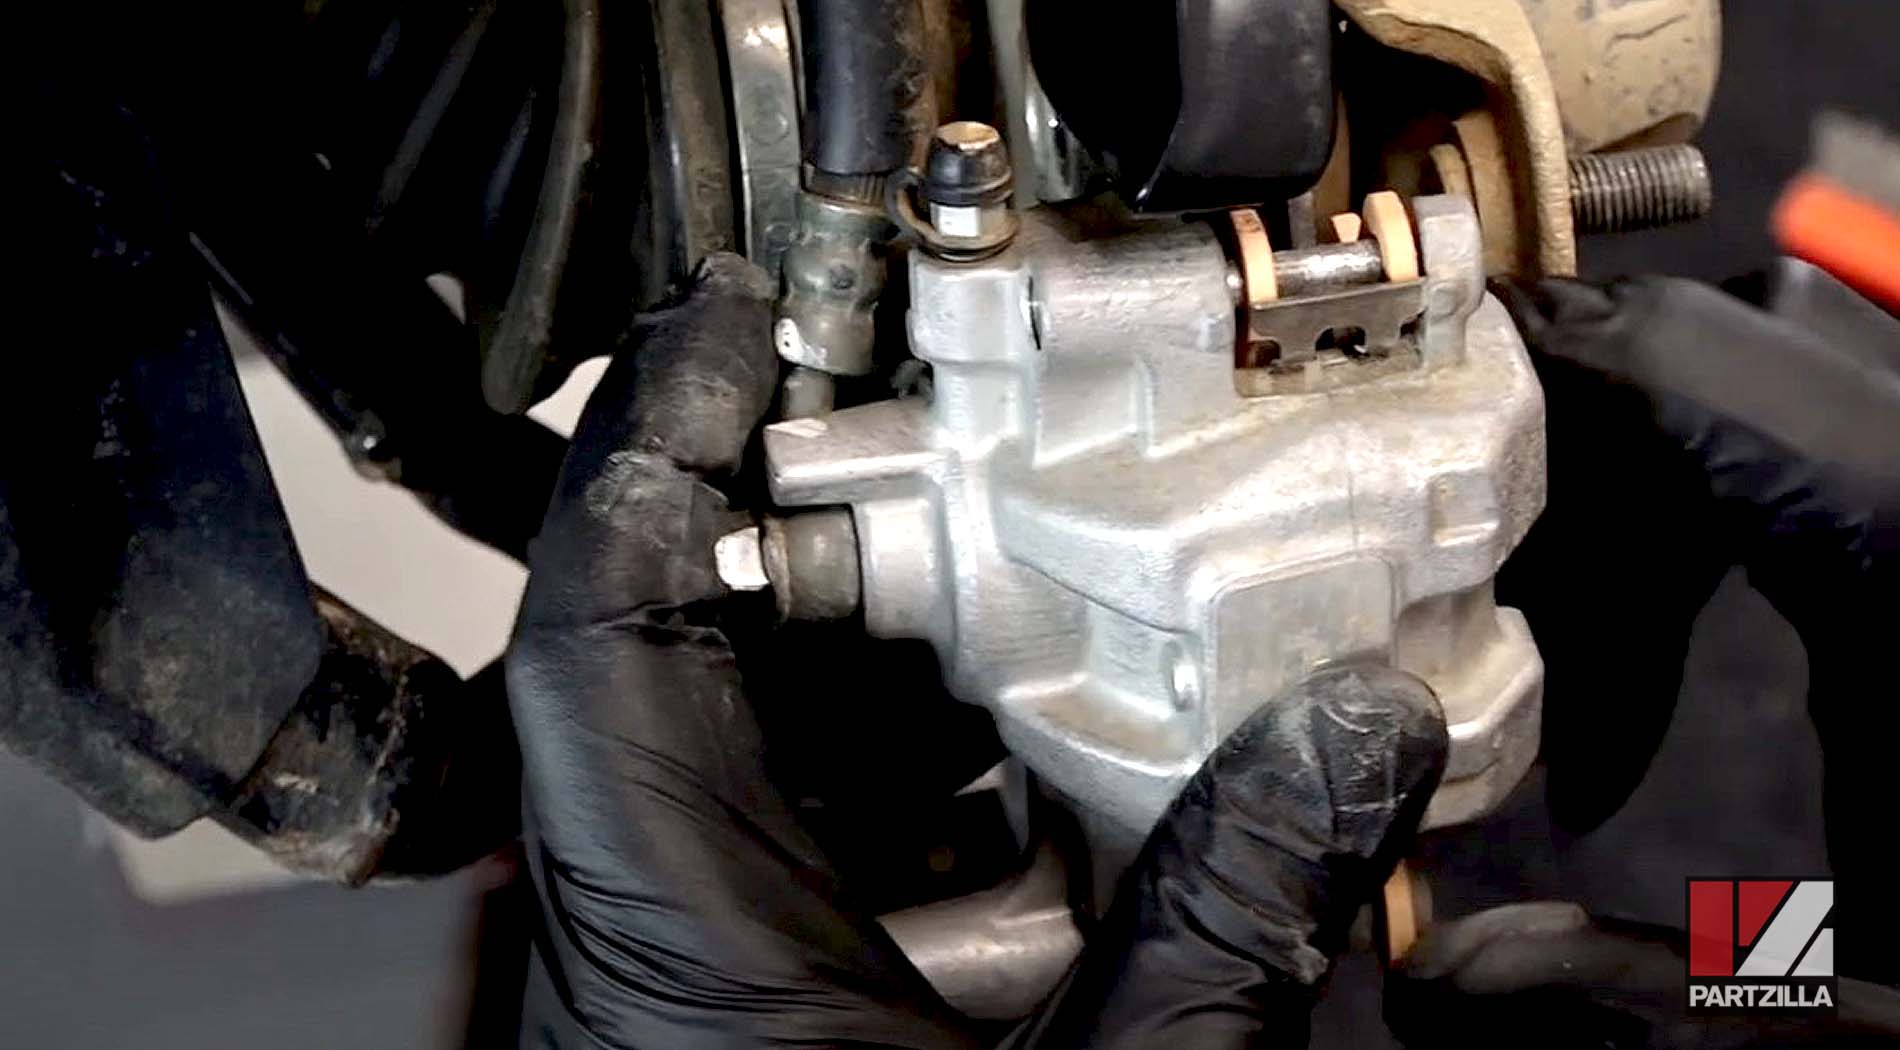
Step 8. Position the new pads in the caliper.
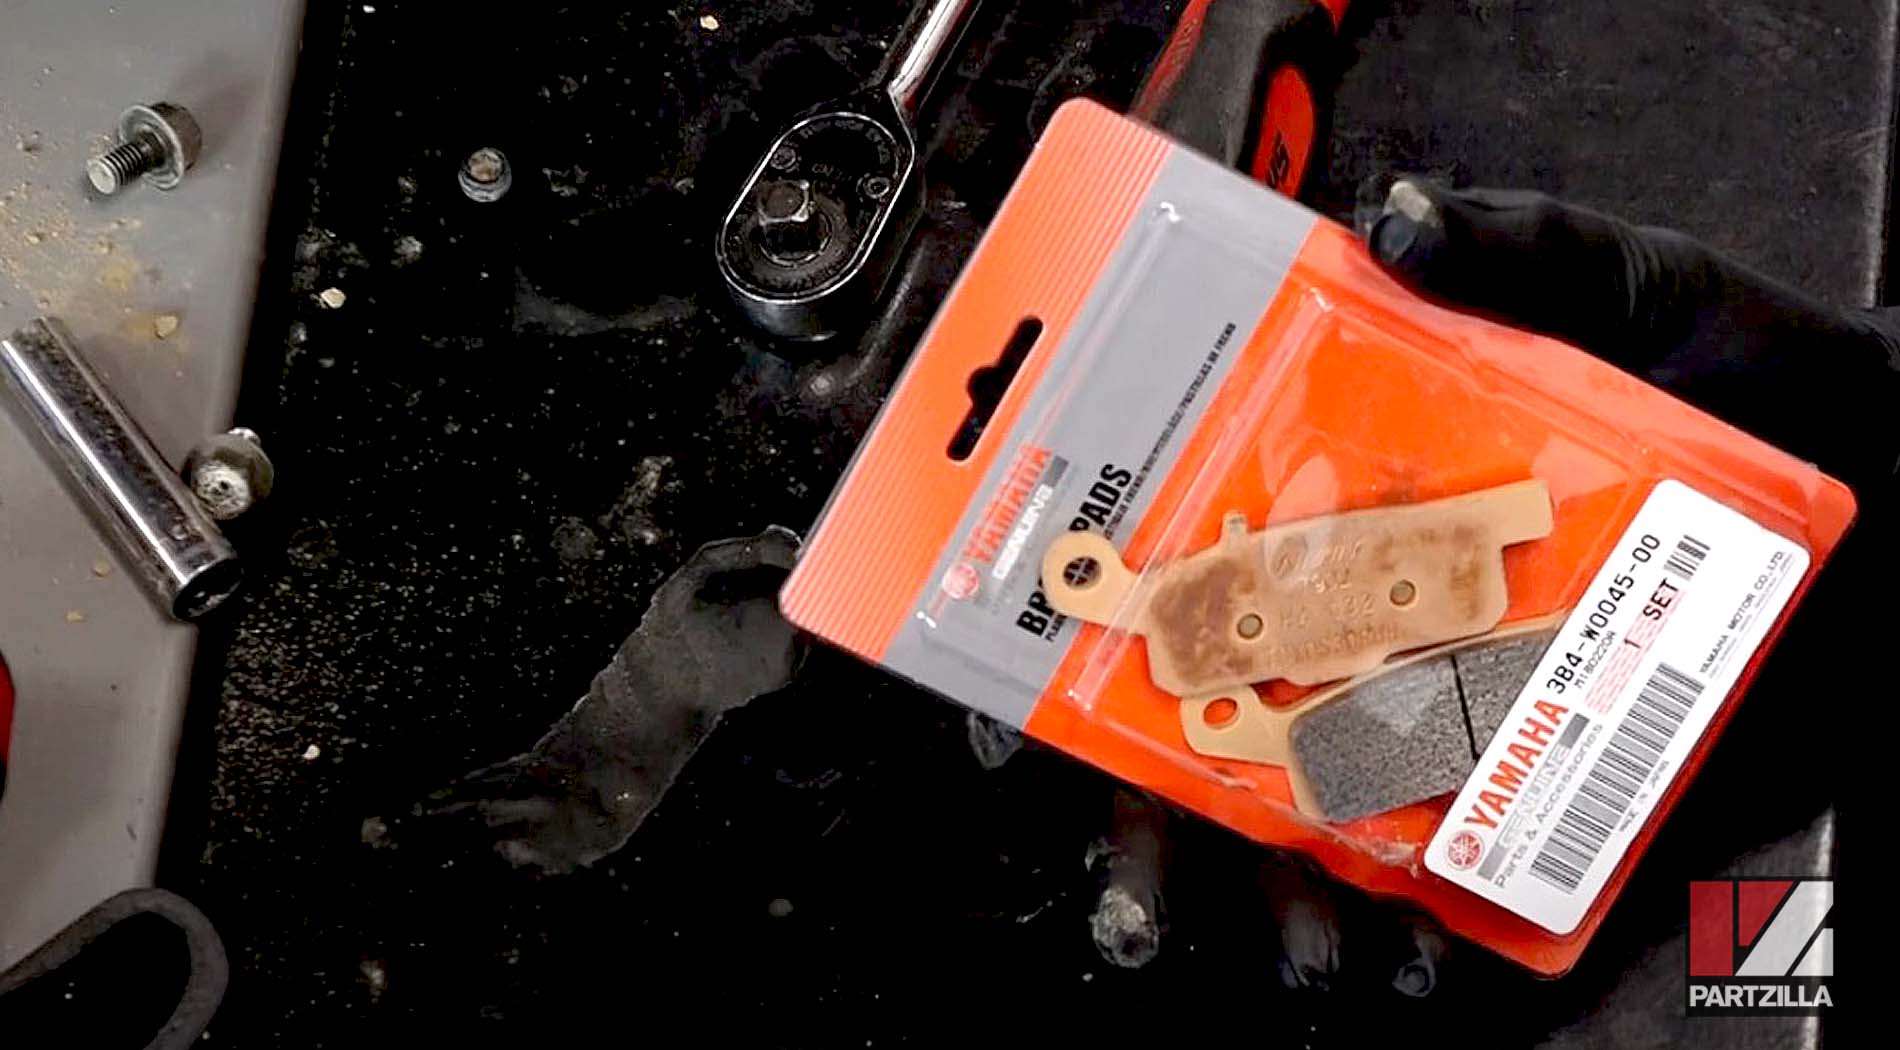
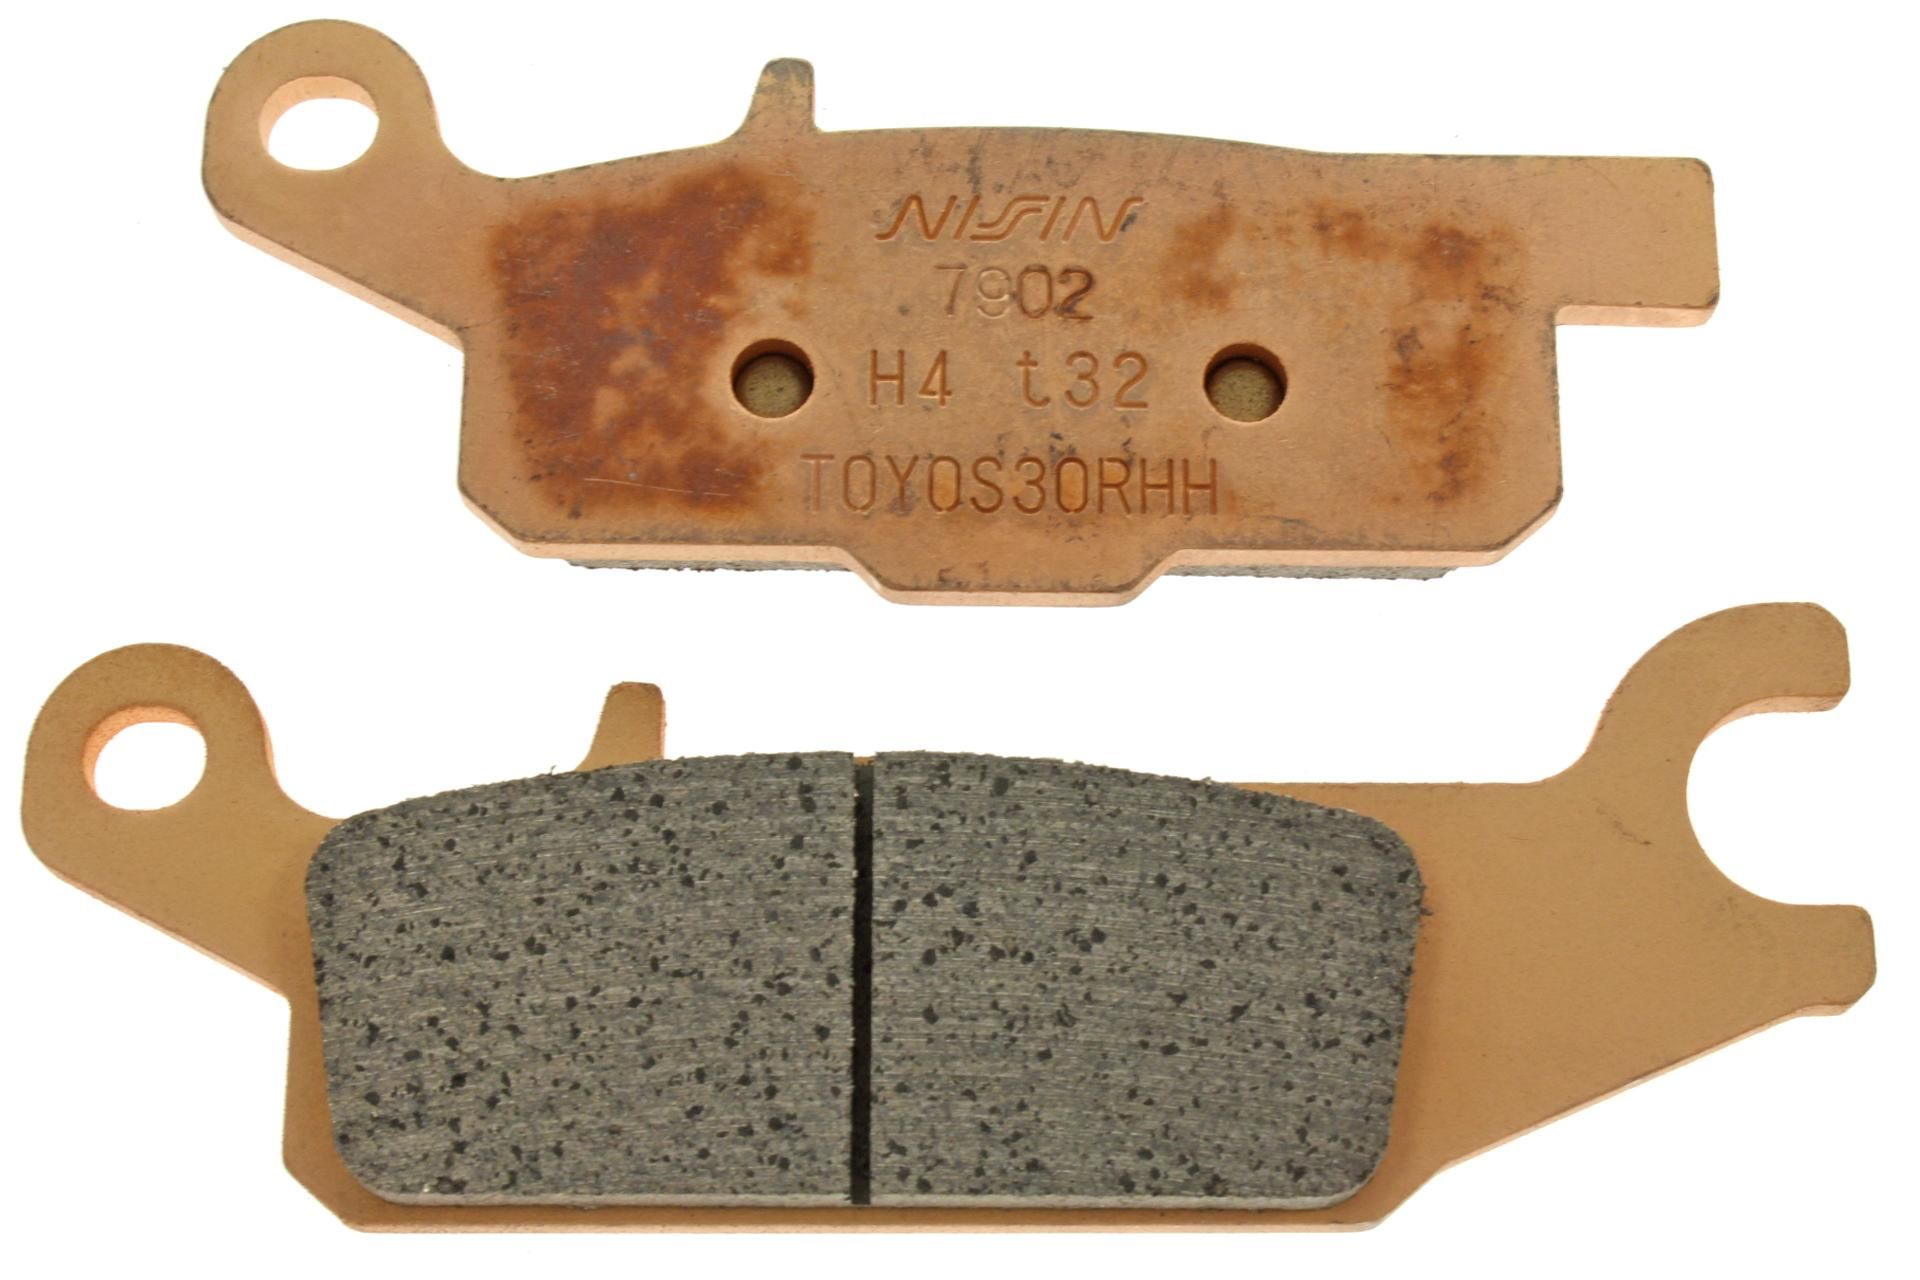
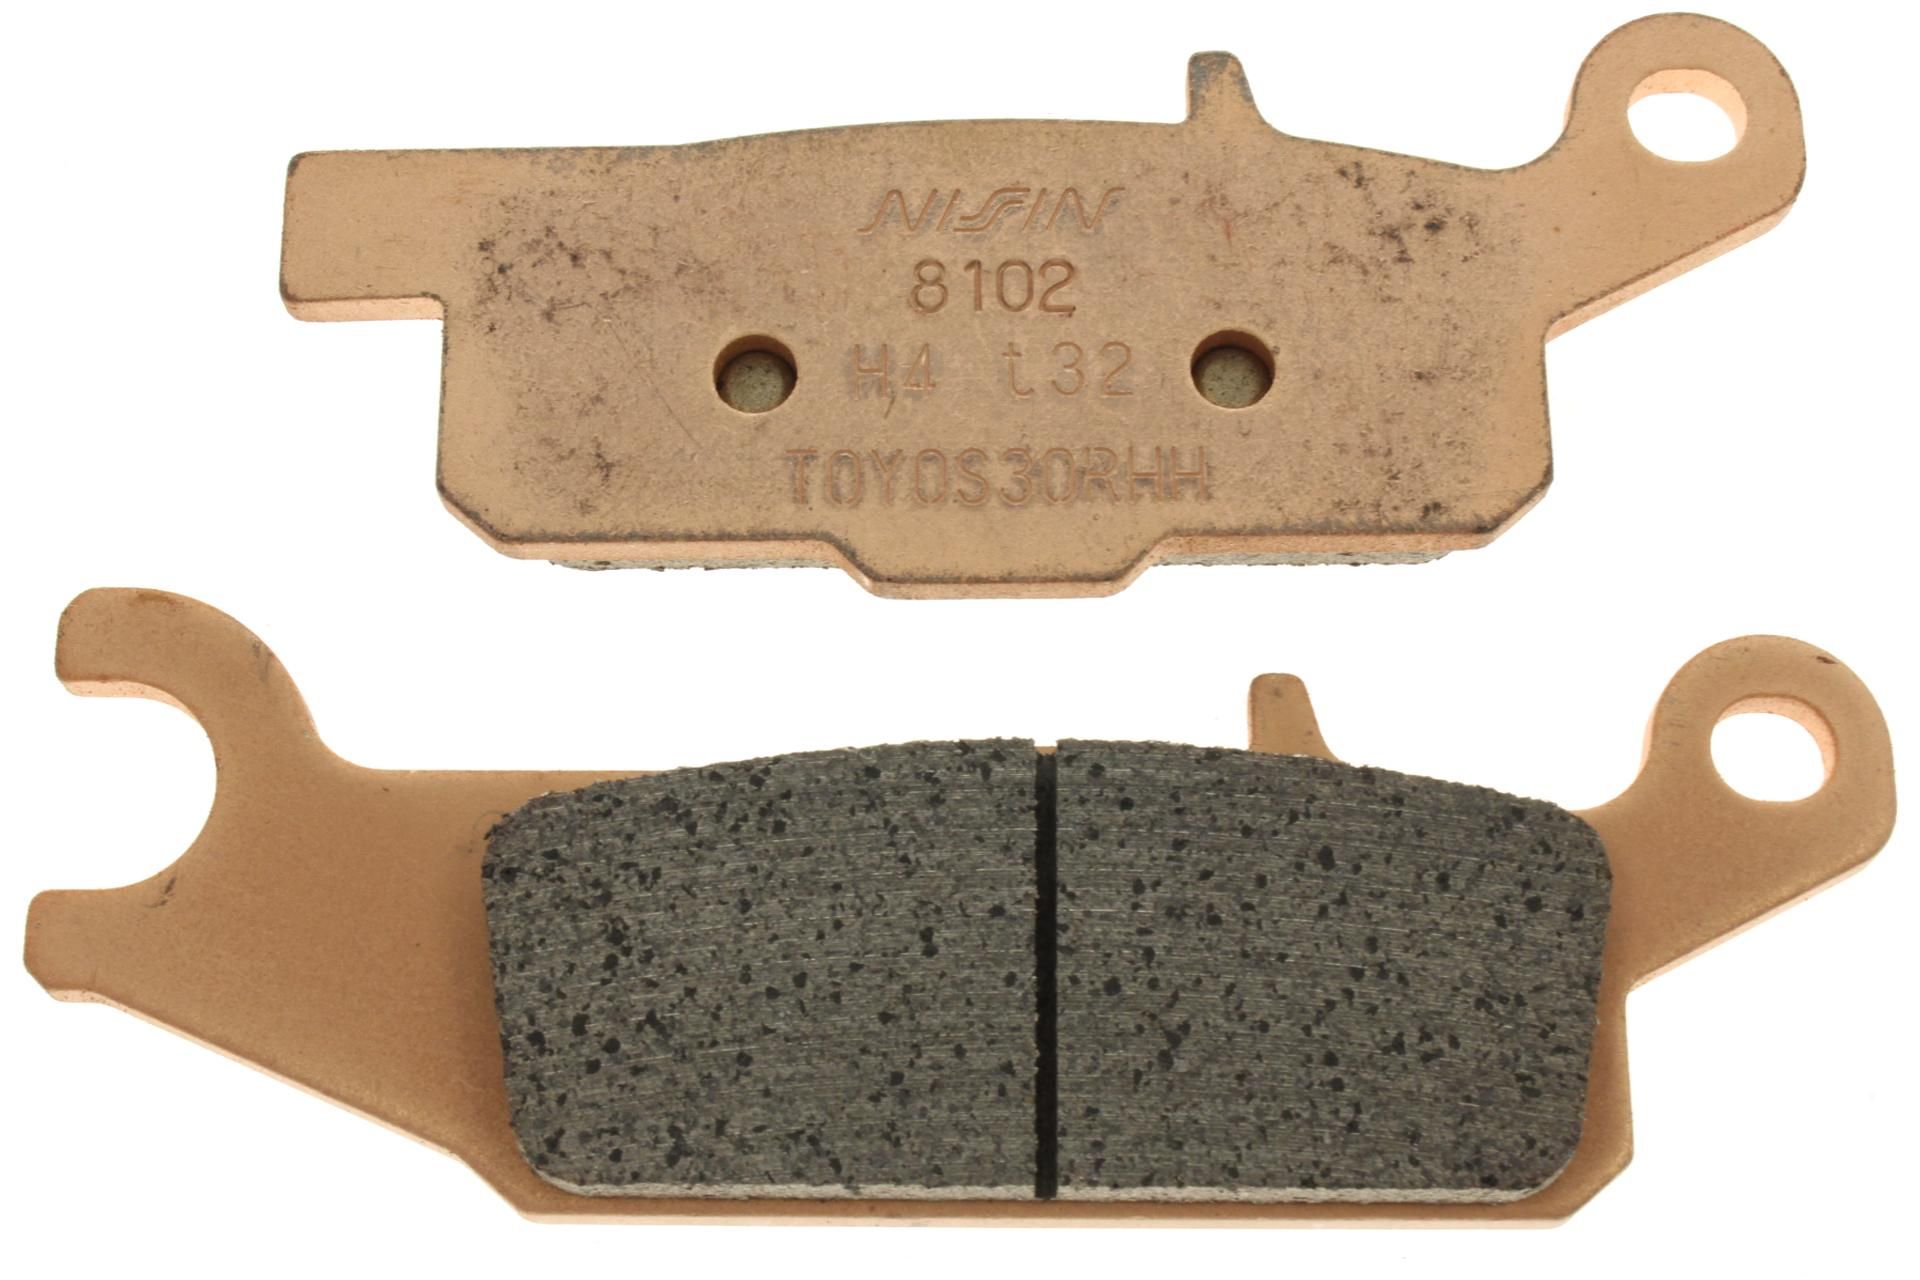
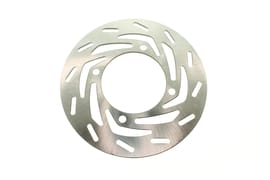
REMINDER: The Yamaha Grizzly YFM700 has separate brake pads with different part numbers for the left and right side, so make sure you have the right set in the corresponding side of the ATV. While you're changing out the brake pads, check the brake rotor to make sure it's still in good shape.
Step 9. While pressing down on the brake pads, insert the pivot pin, run it through the loops on both pads and hand-tighten it. Torque it down once the caliper has been bolted back on the Grizzly.

Step 10. Reinstall the caliper by sliding it back over the rotor and tightening the two 12mm mounting bolts removed in Step 3 to 22 foot-pounds.
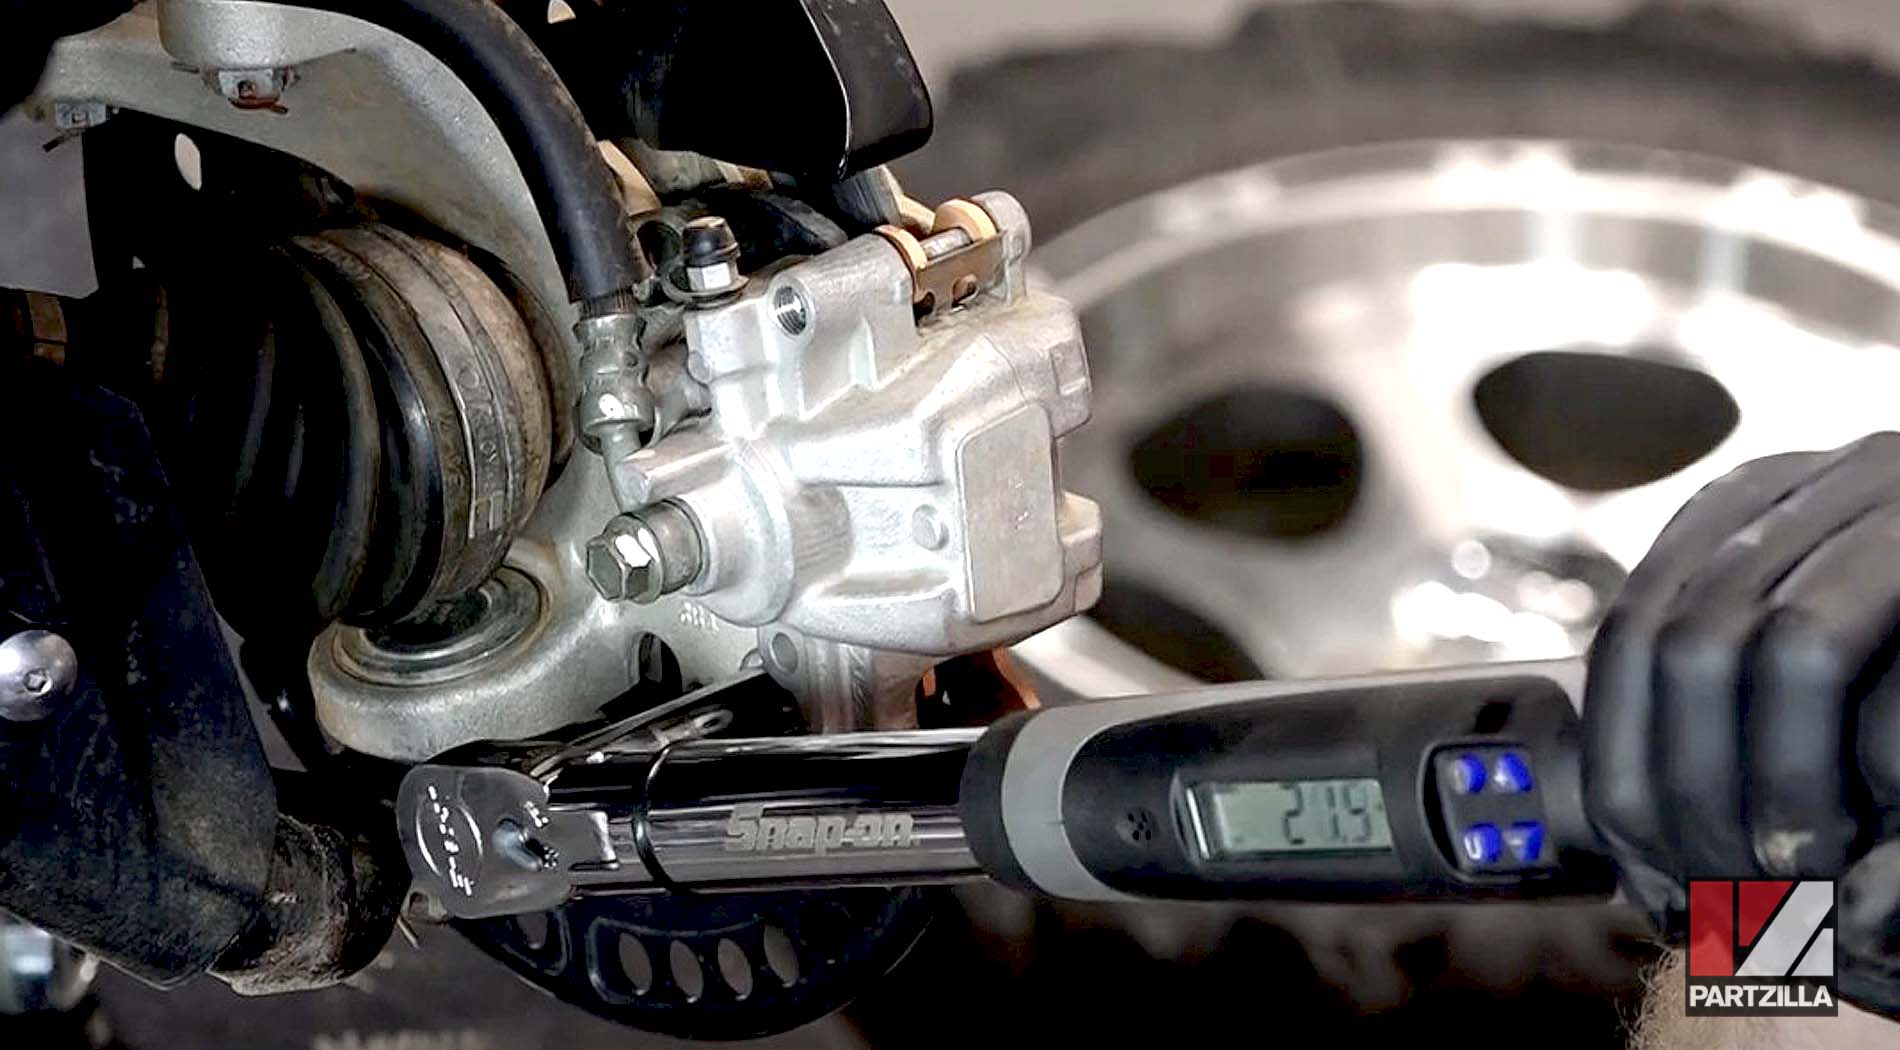
Step 11. Torque down the pivot pin hand-tightened in Step 9 to 12 foot-pounds, and replace and tighten the dust cap to 3 foot-pounds.
Step 12. Repeat the process for the brake pads on the other side (right side if you started with the left side or vice-versa).
Step 13. Reinstall the wheels and you’re done.
Ready to change out the rear brake pads? Watch the video below to see how to replace the rear brake pads on a Yamaha YFM700 Grizzly.