How to Change Yamaha Grizzly 700 Rear Brake Pads
The rear brake pads on a Yamaha Grizzly YFM700 ATV don't wear out as quickly as the front pads, but they still need to be replaced from time to time.
Watch the video above or follow the steps below to learn how to change the rear brake pads on a Yamaha Grizzly YFM700.
See the parts diagram: Yamaha Grizzly 700 rear caliper
Tools and Parts - Yamaha Grizzly Rear Brake Pads Change
- Ratchet and extensions
- 10mm, 17mm sockets
- 5mm Allen
- Screwdriver
- Torque wrench
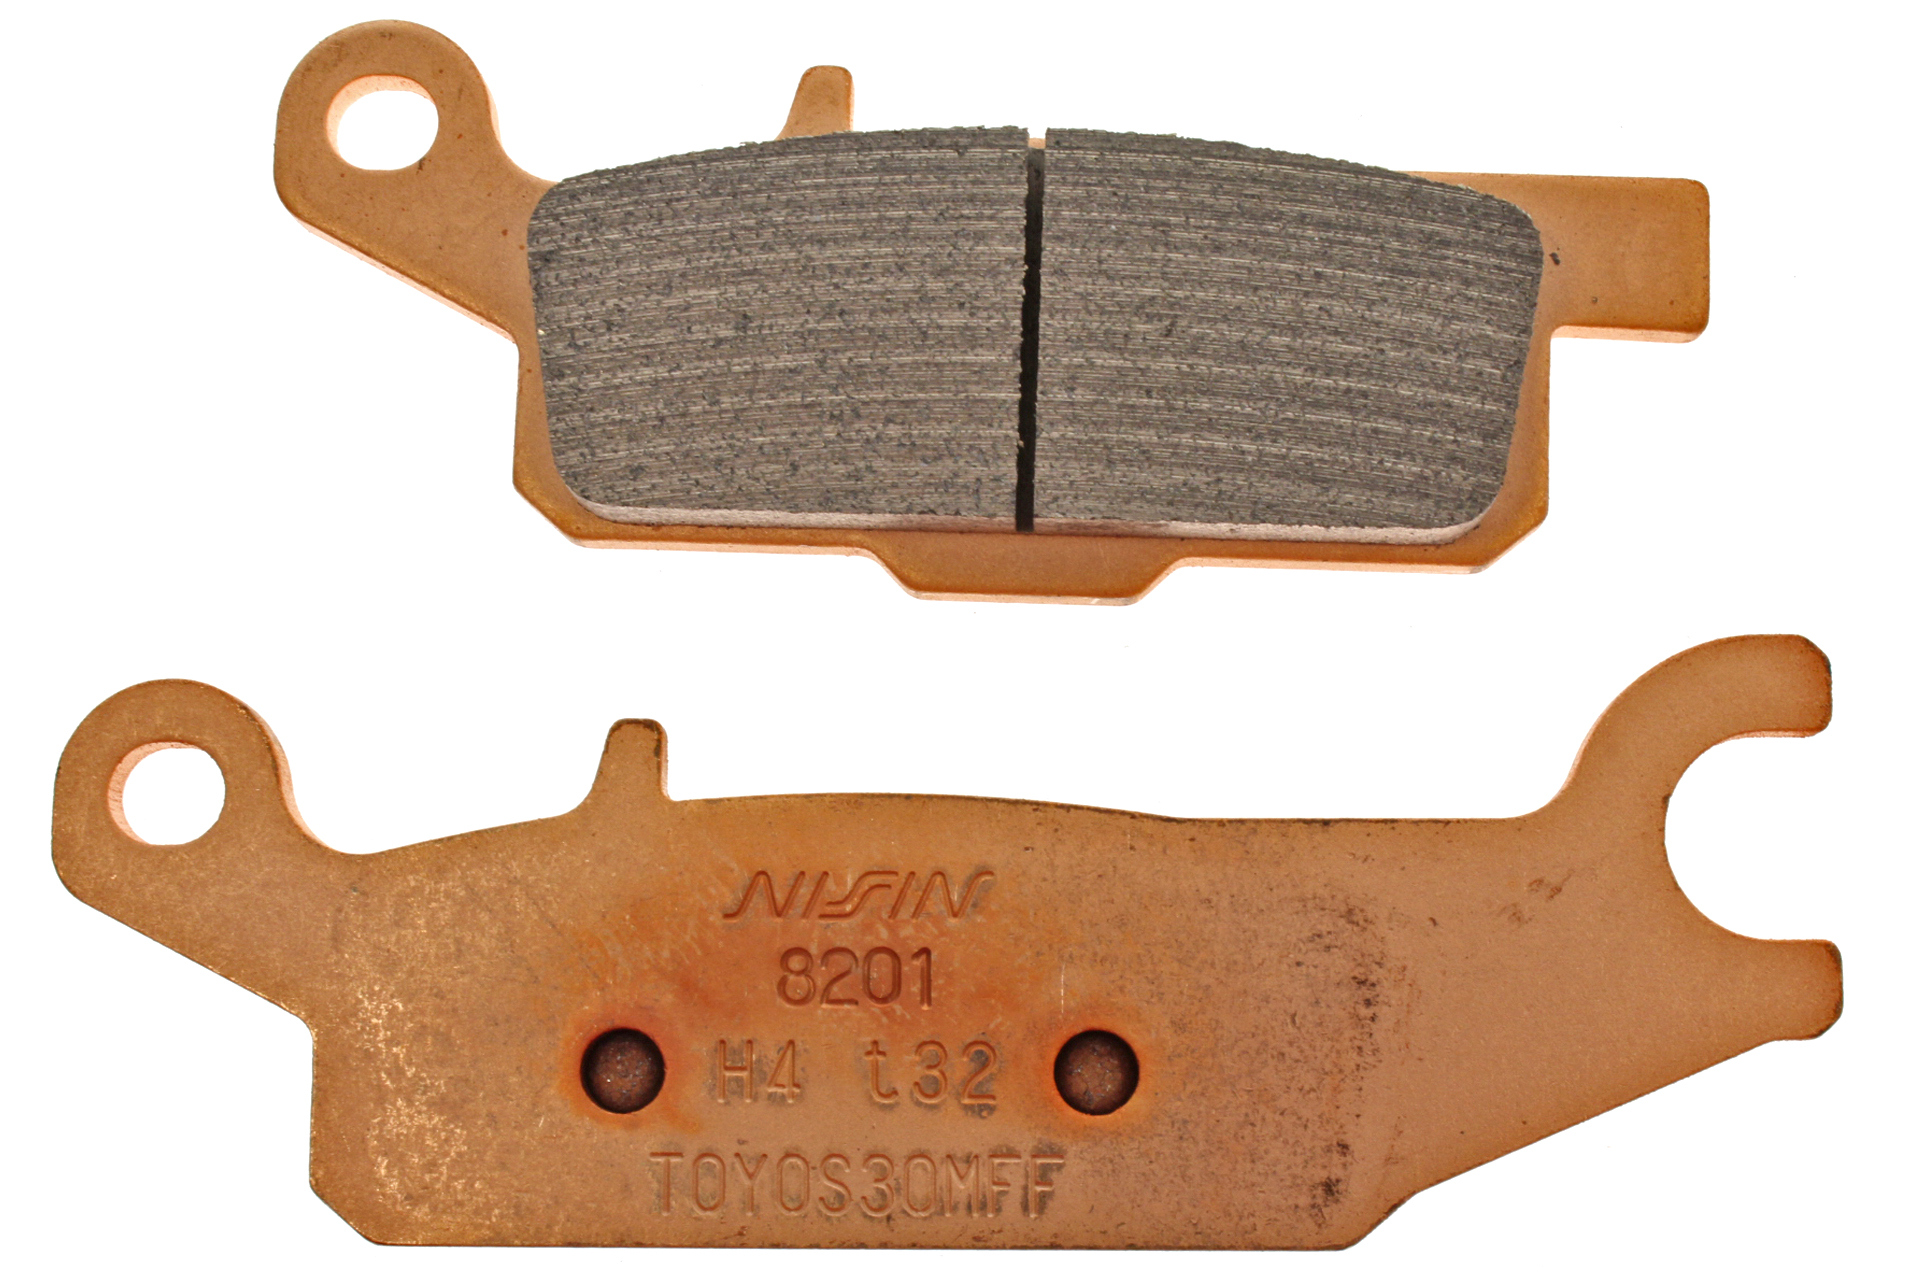
- Brake pad kit (right)
- Brake pad kit (left)
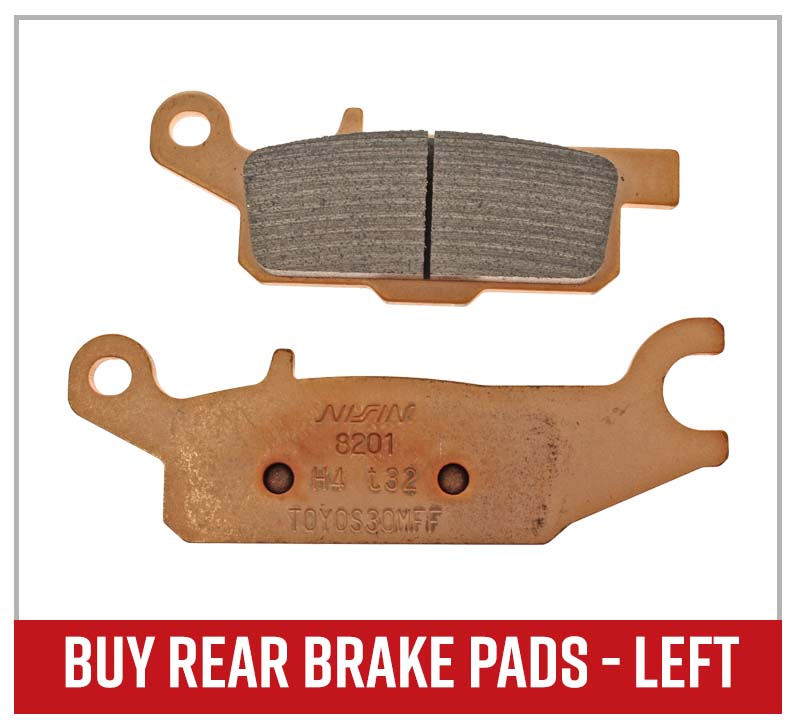
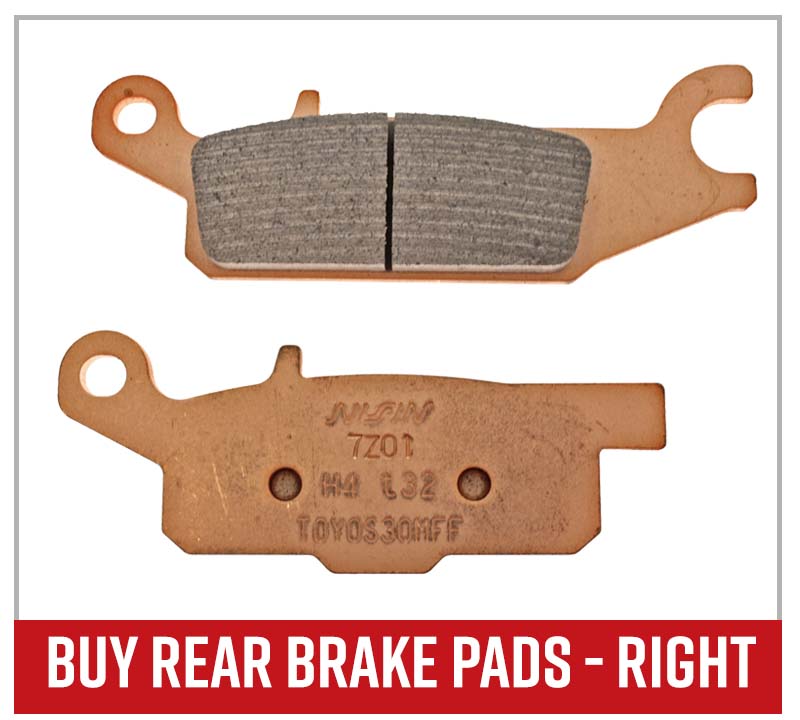
NOTE: The brake pads on a Yamaha Grizzly YFM700 differ slightly from the left and right side, so be sure to get the correct pad kit for each side.
How to Replace Yamaha Grizzly 700 Rear Brake Pads
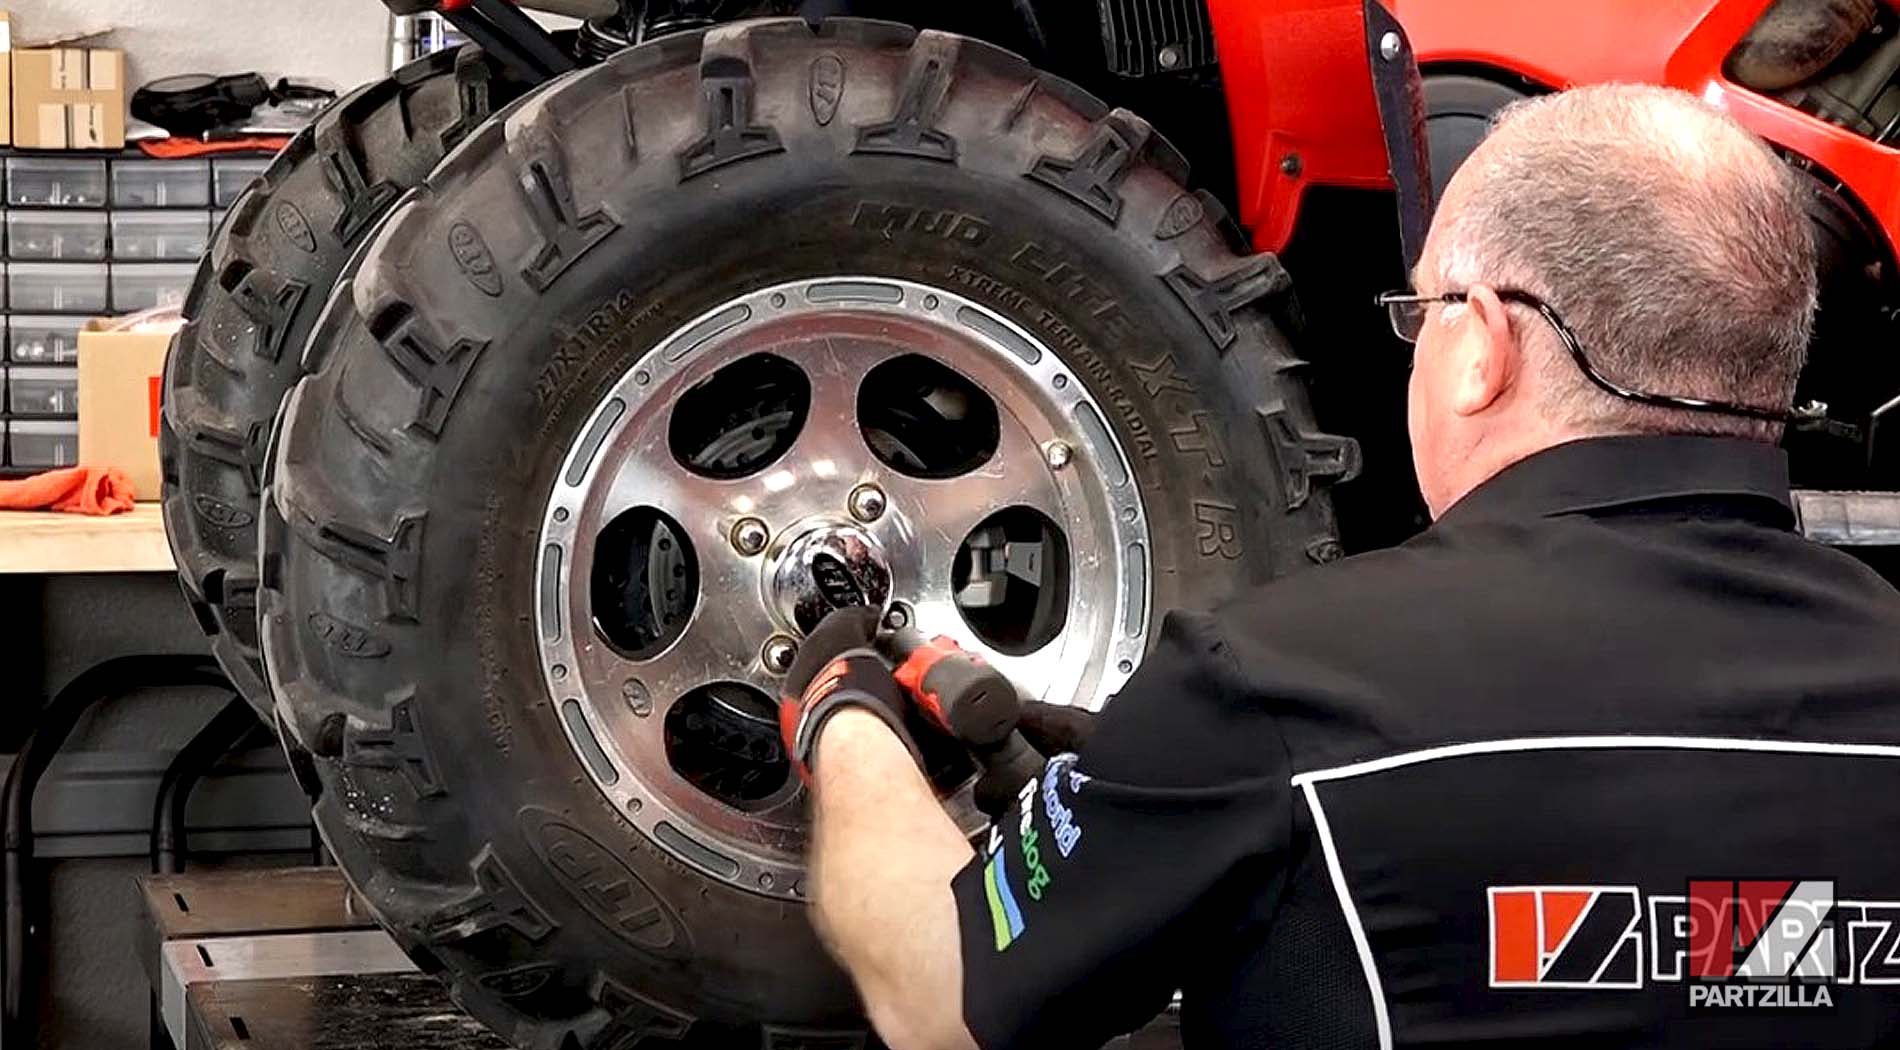
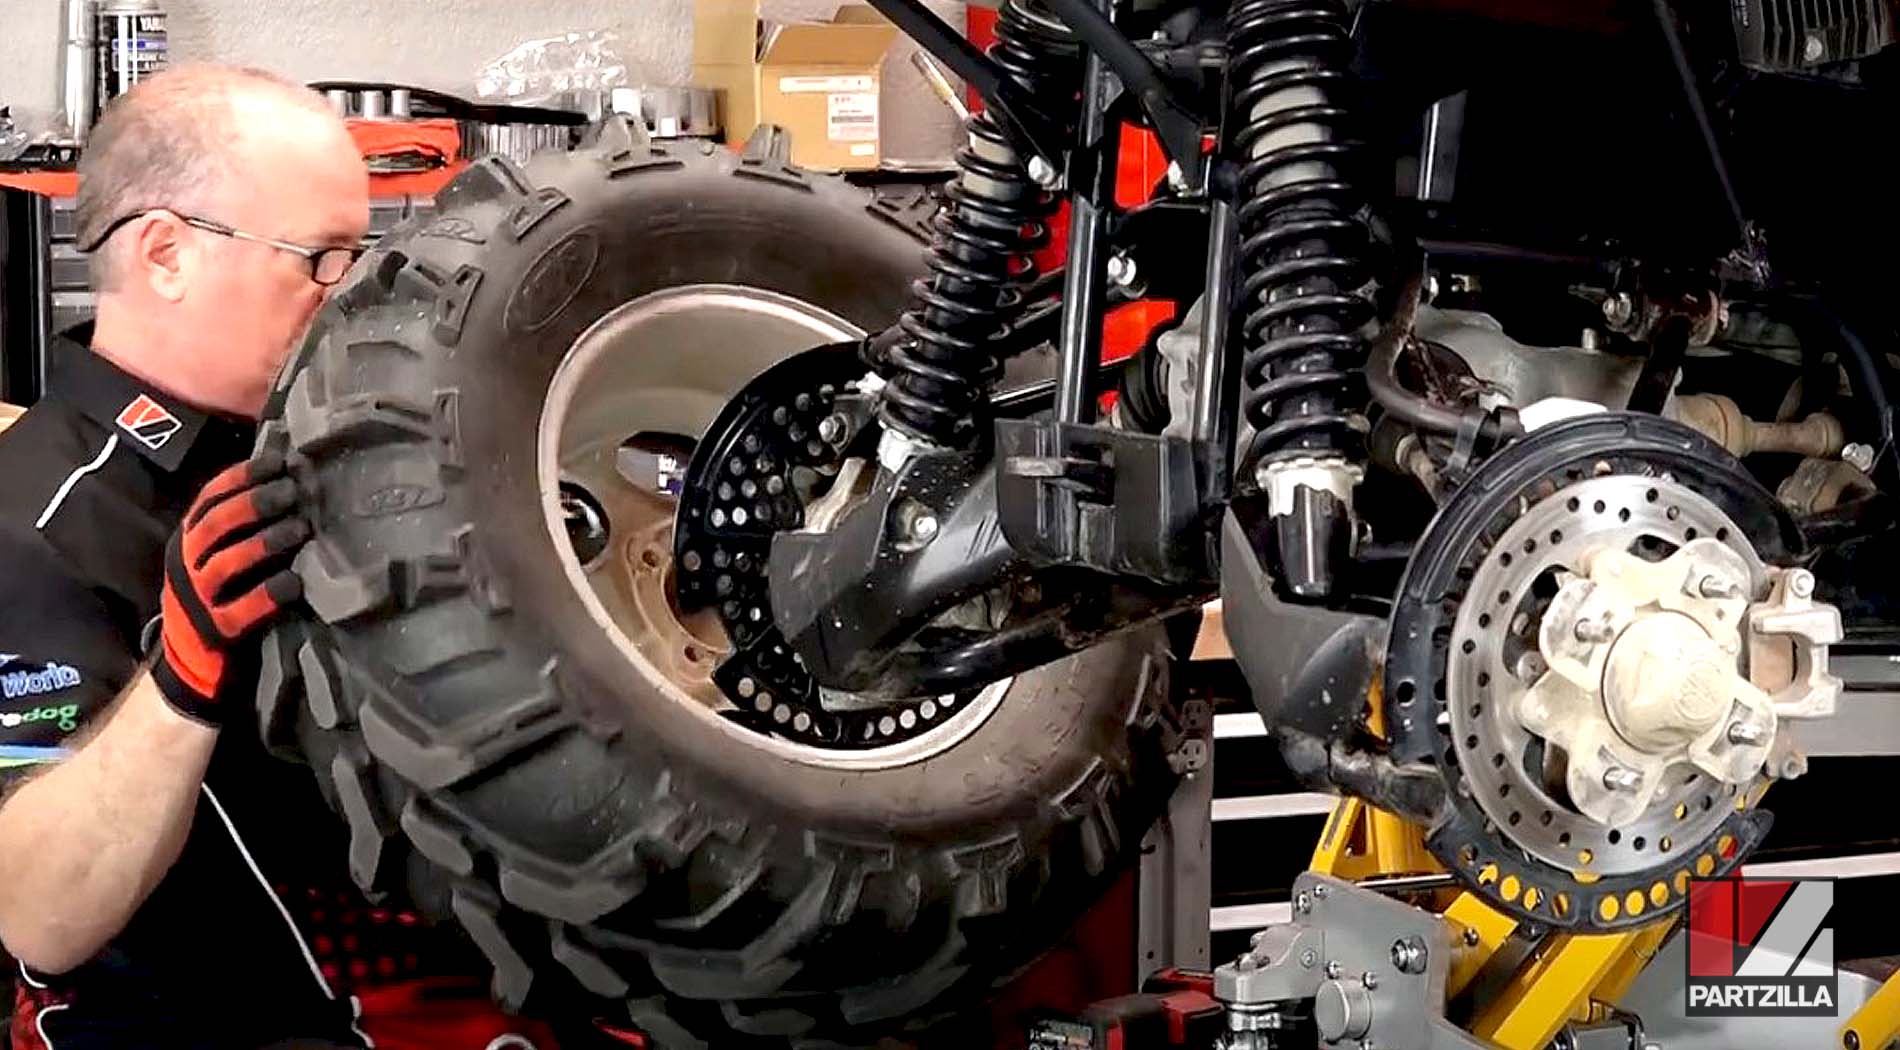
Step 1. Remove the 17mm lug nuts on the rear wheel, followed by the wheel itself.
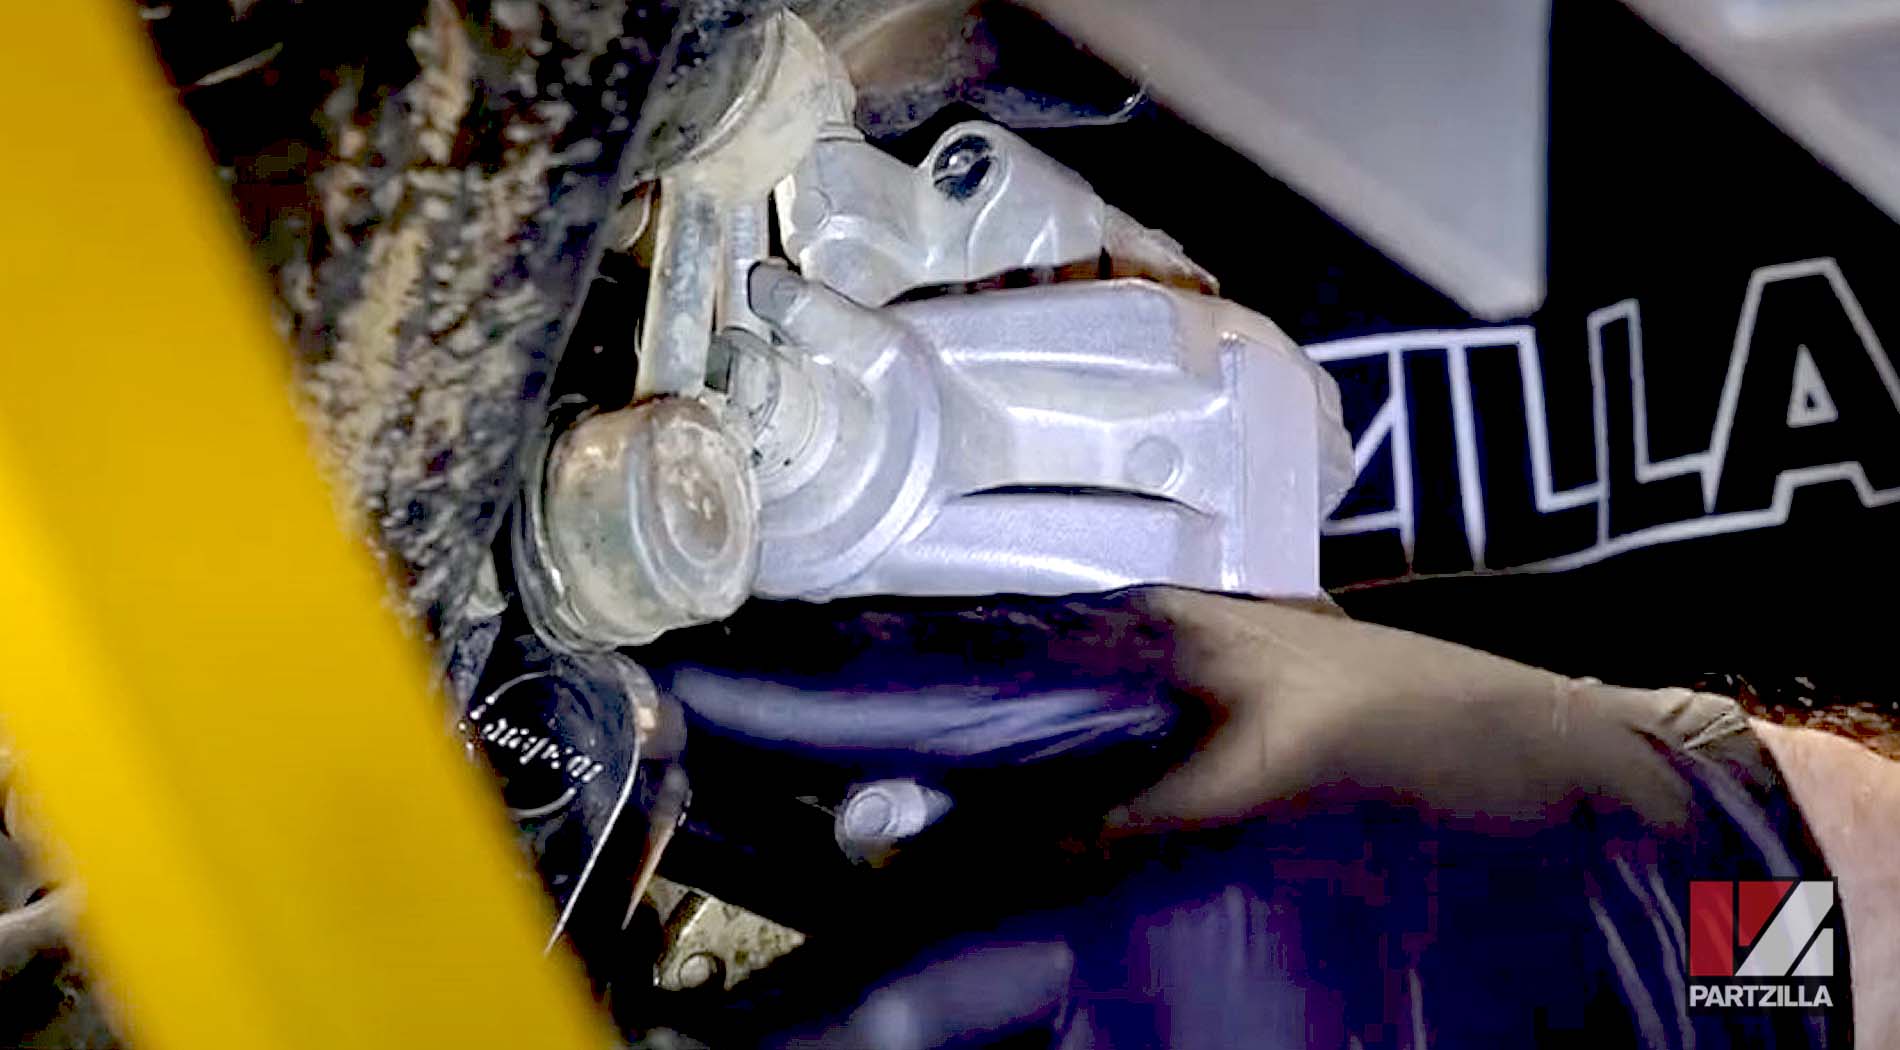
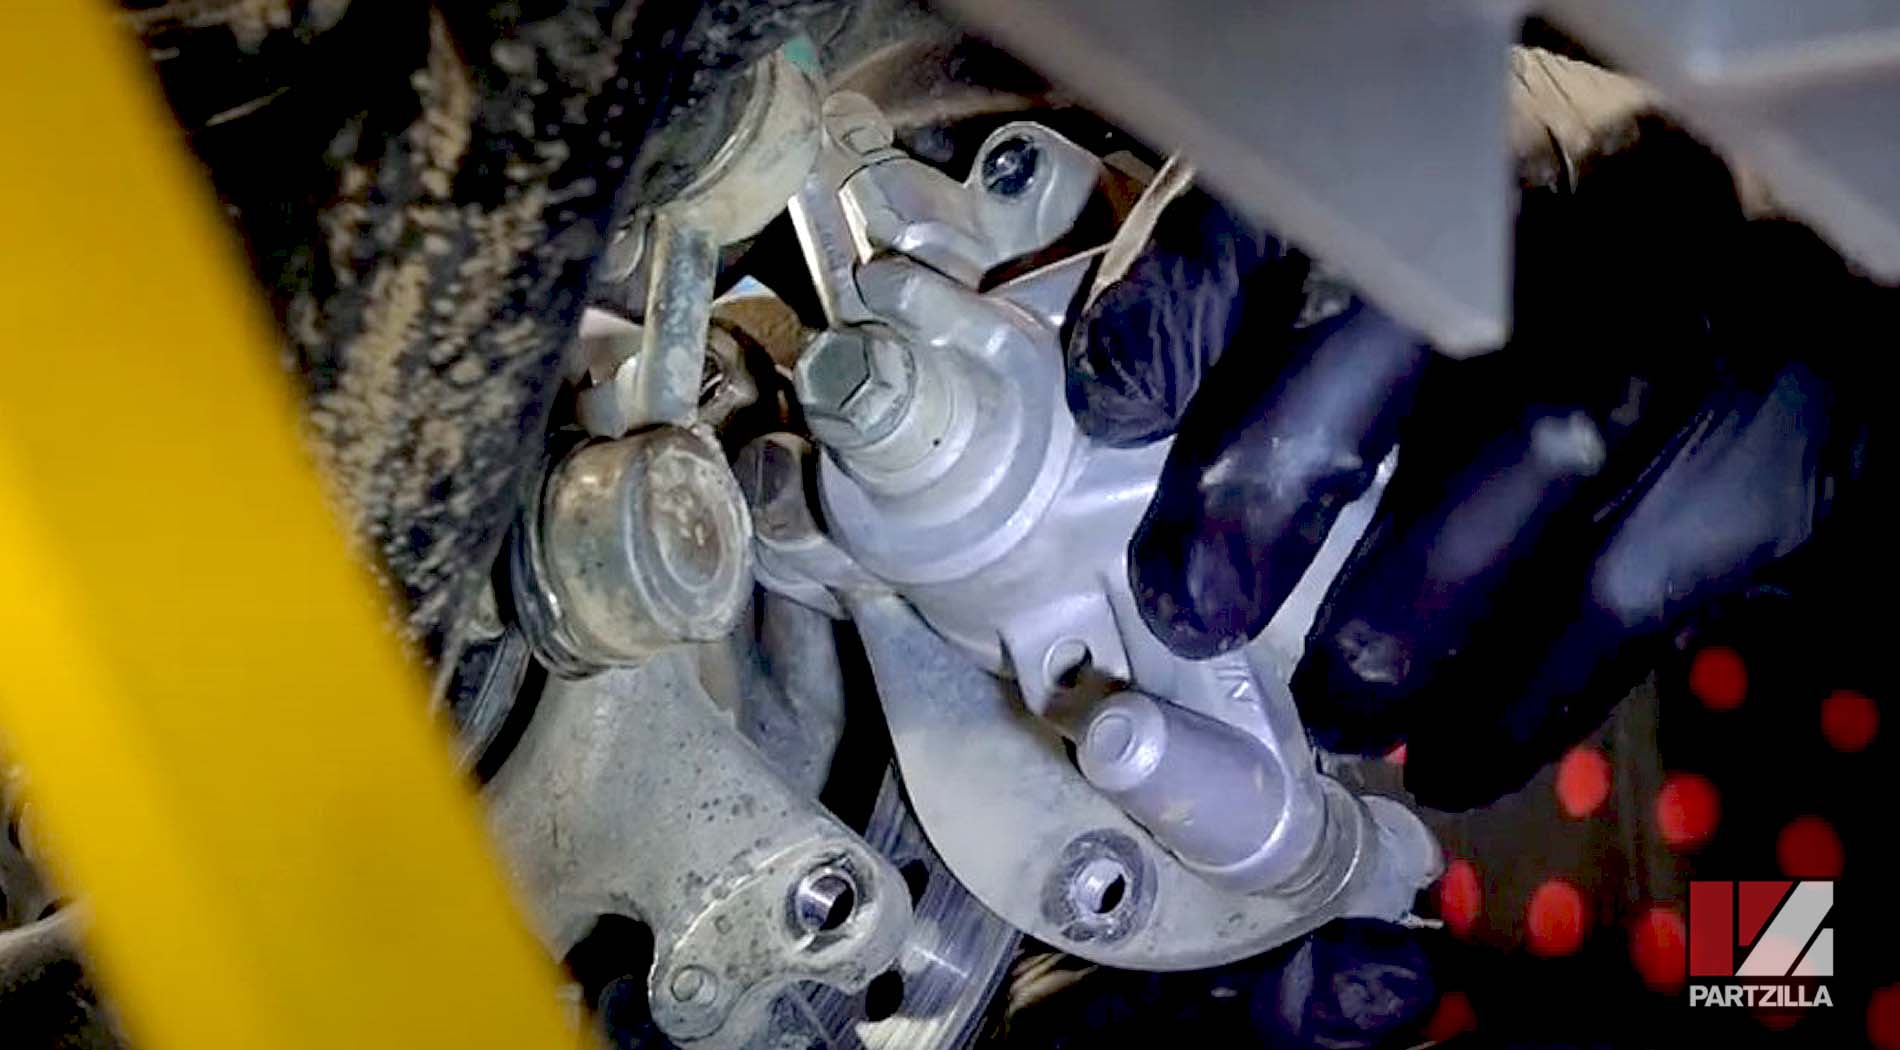
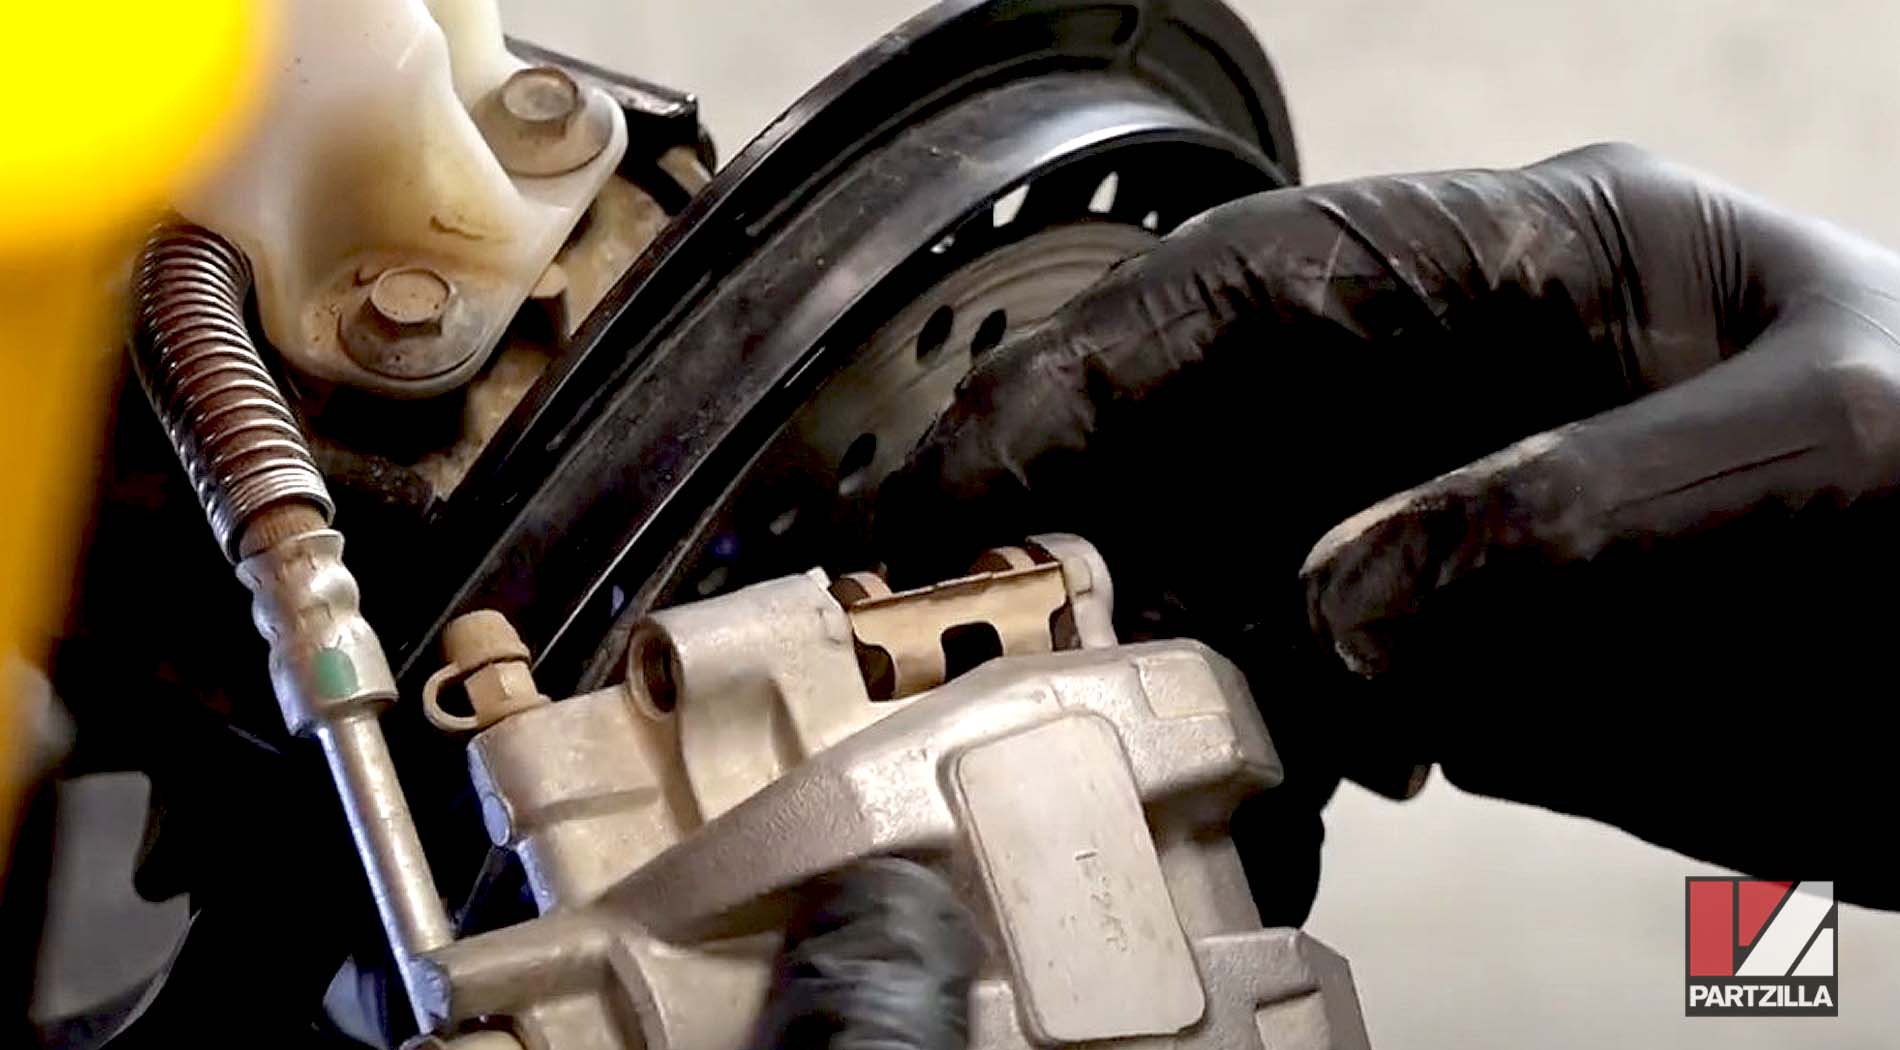
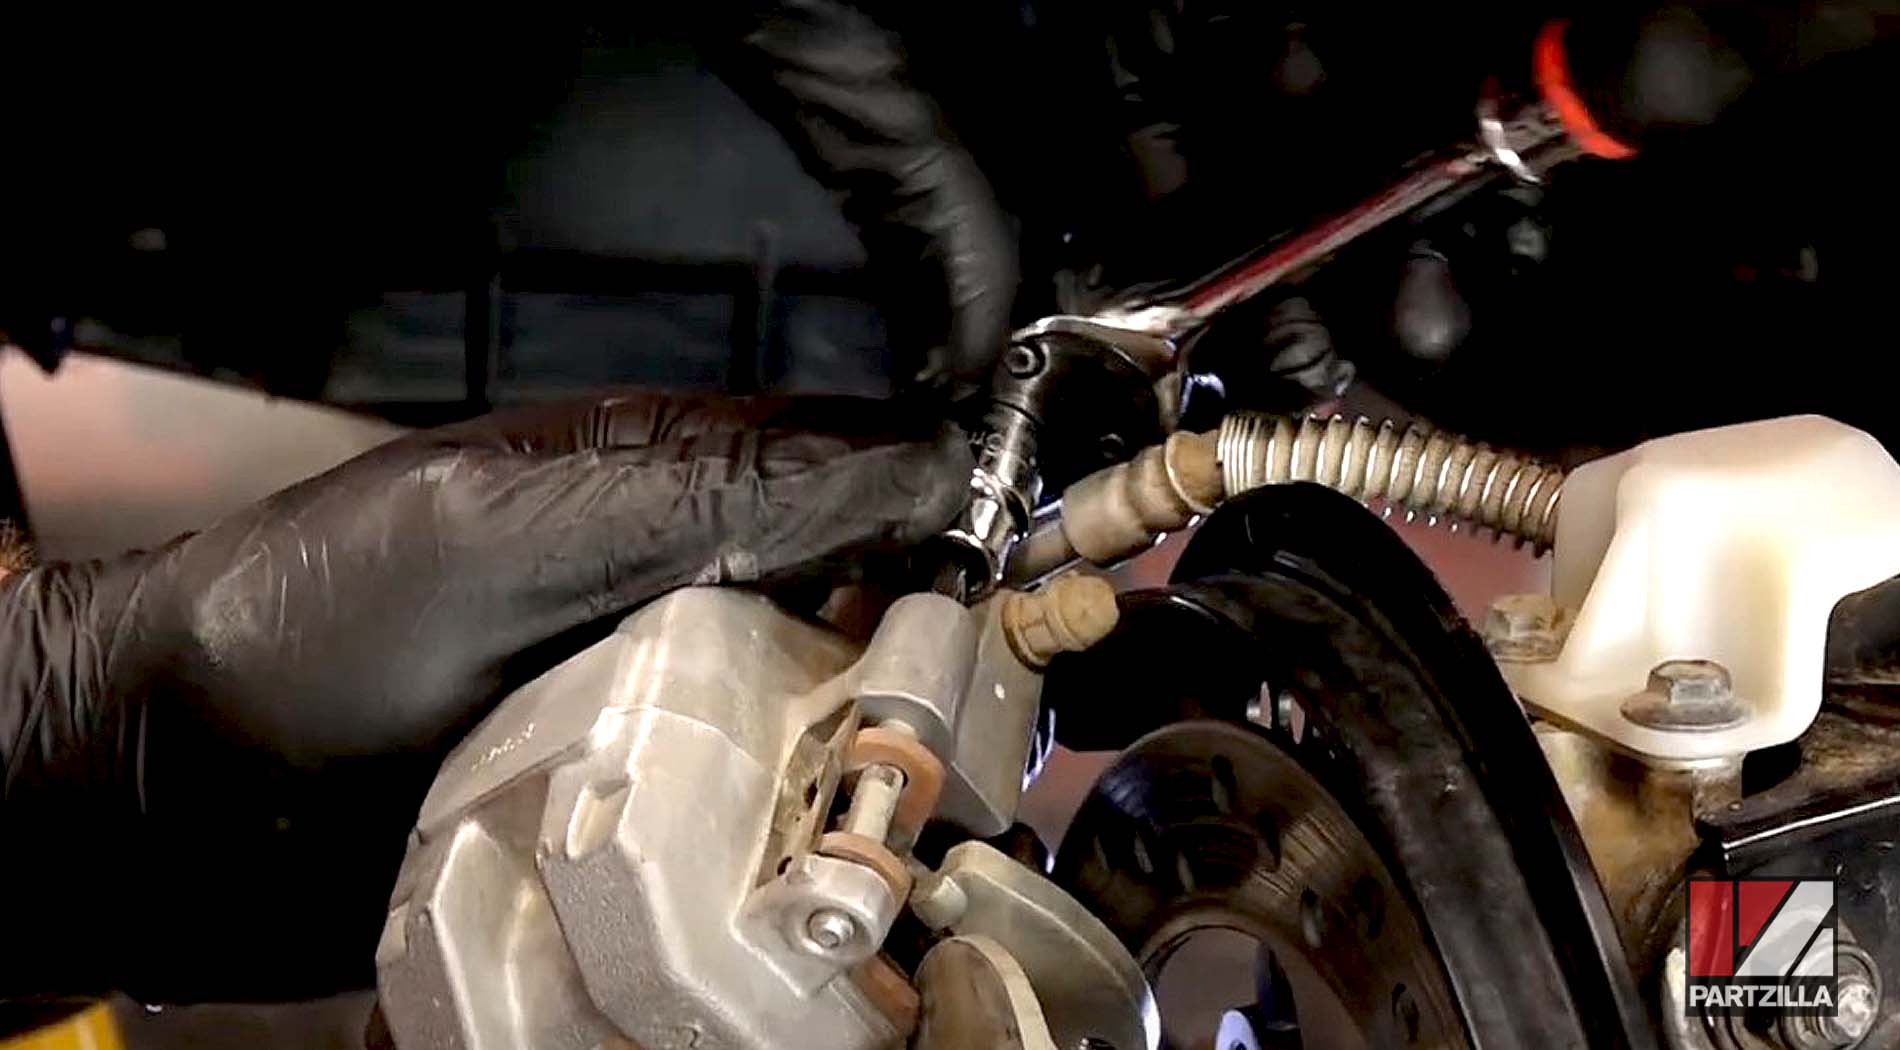
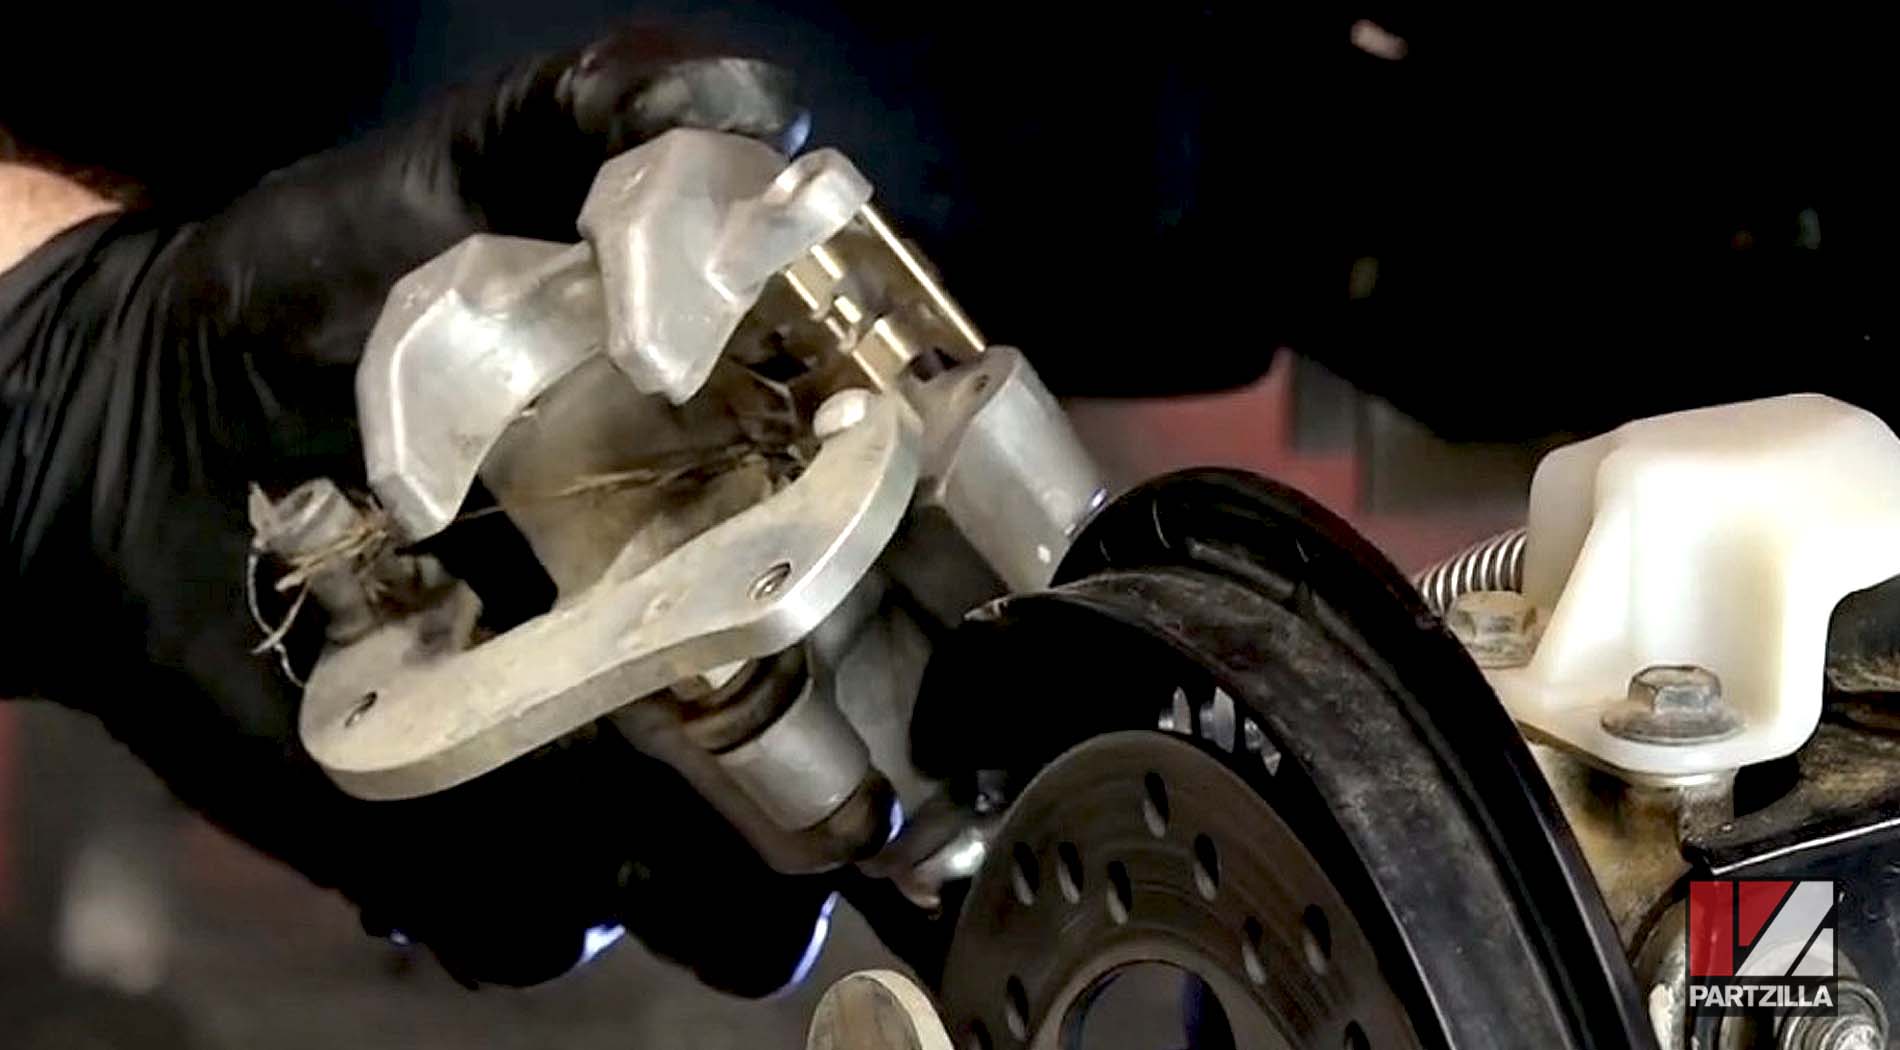
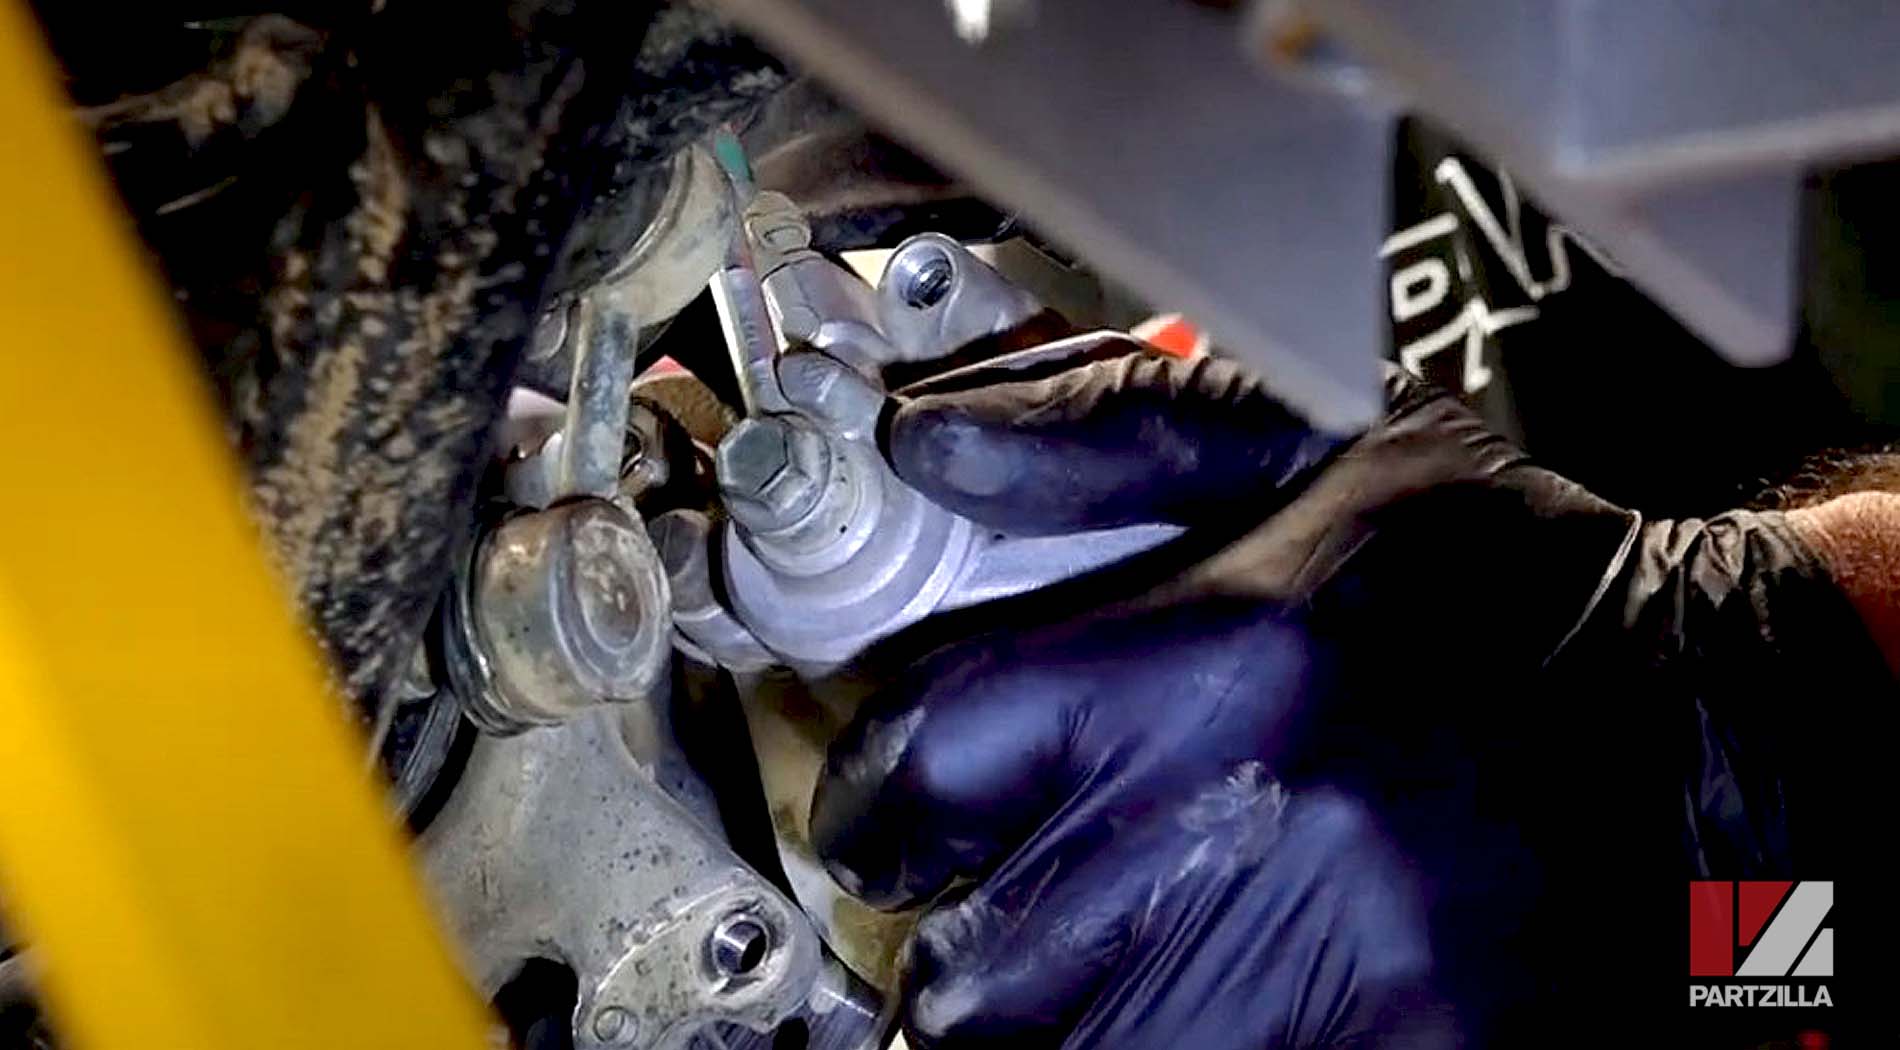
Step 2. Remove the two 12mm bolts that mount the brake caliper assembly to the steering knuckle, and slide the caliper off the brake rotor.

Step 3. Use a screwdriver to lever against the brake pads, and push the piston back into the brake caliper.
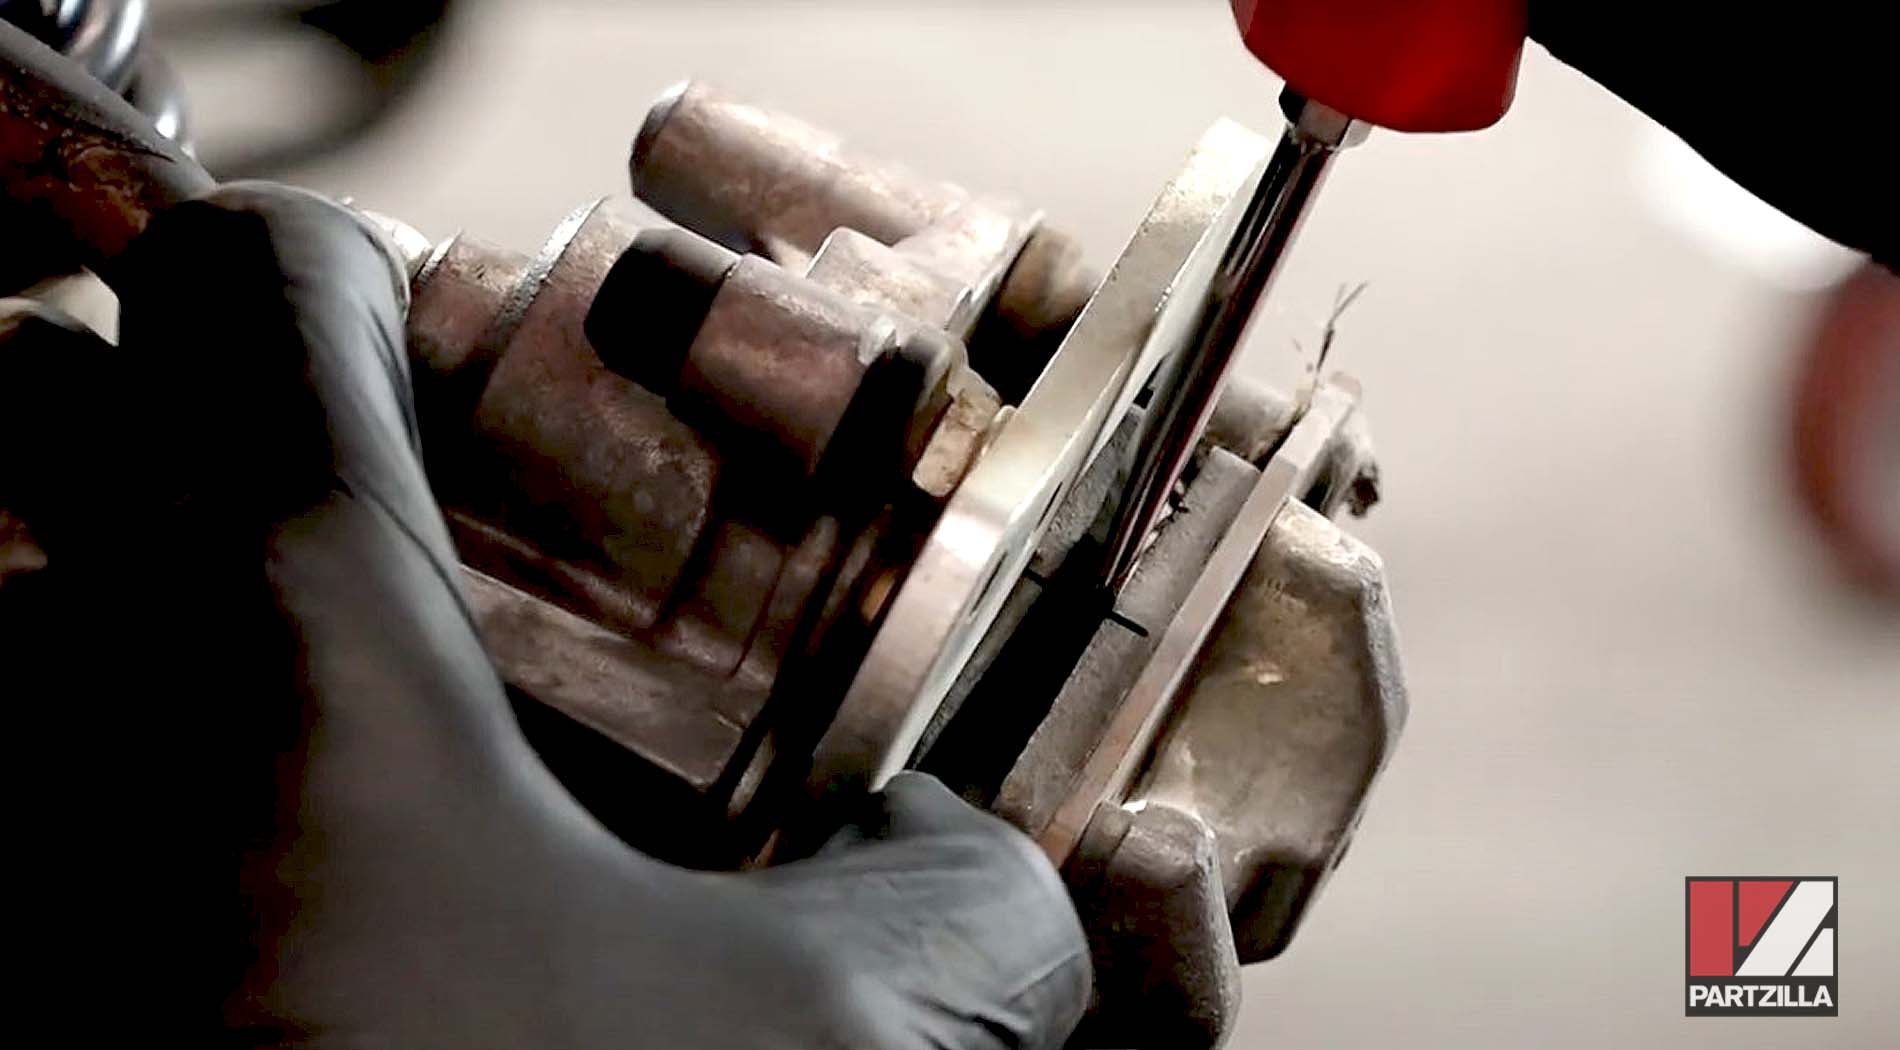
NOTE: If you don't retract the piston into the caliper, there won't be enough room to fit the new brake pads.
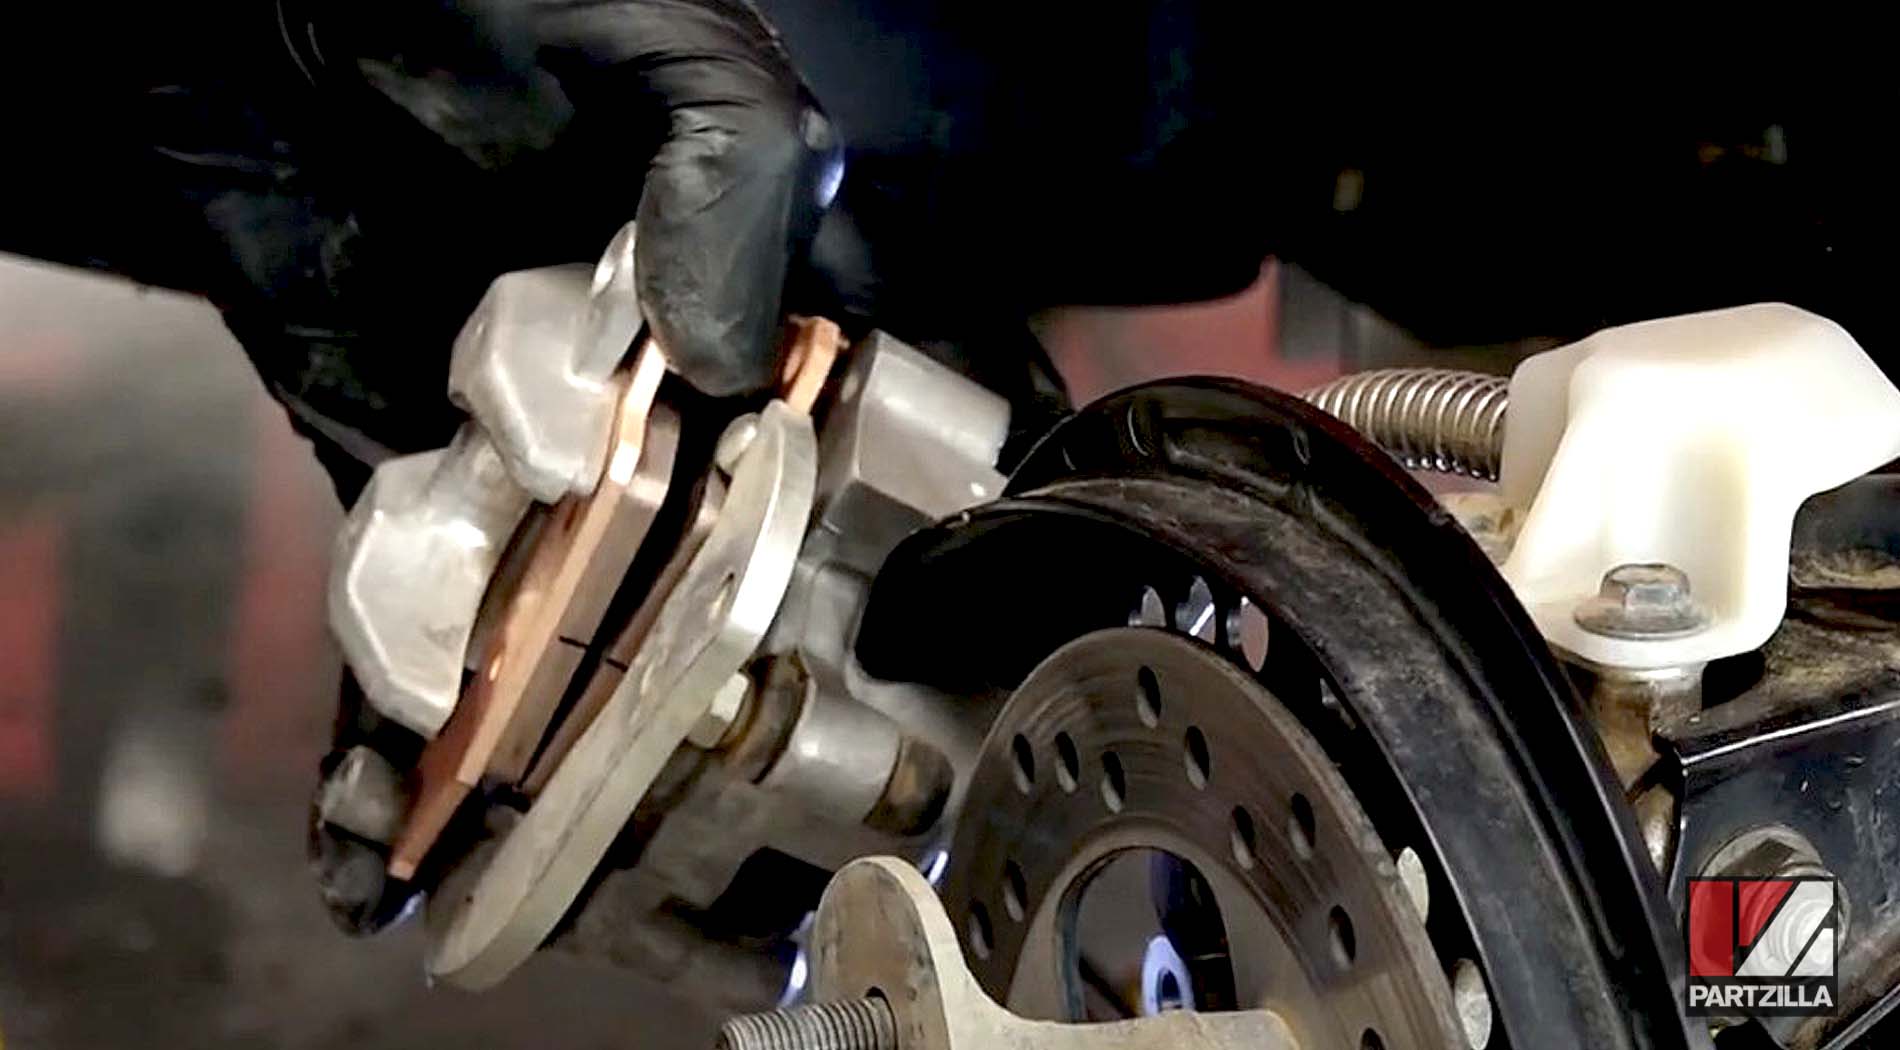
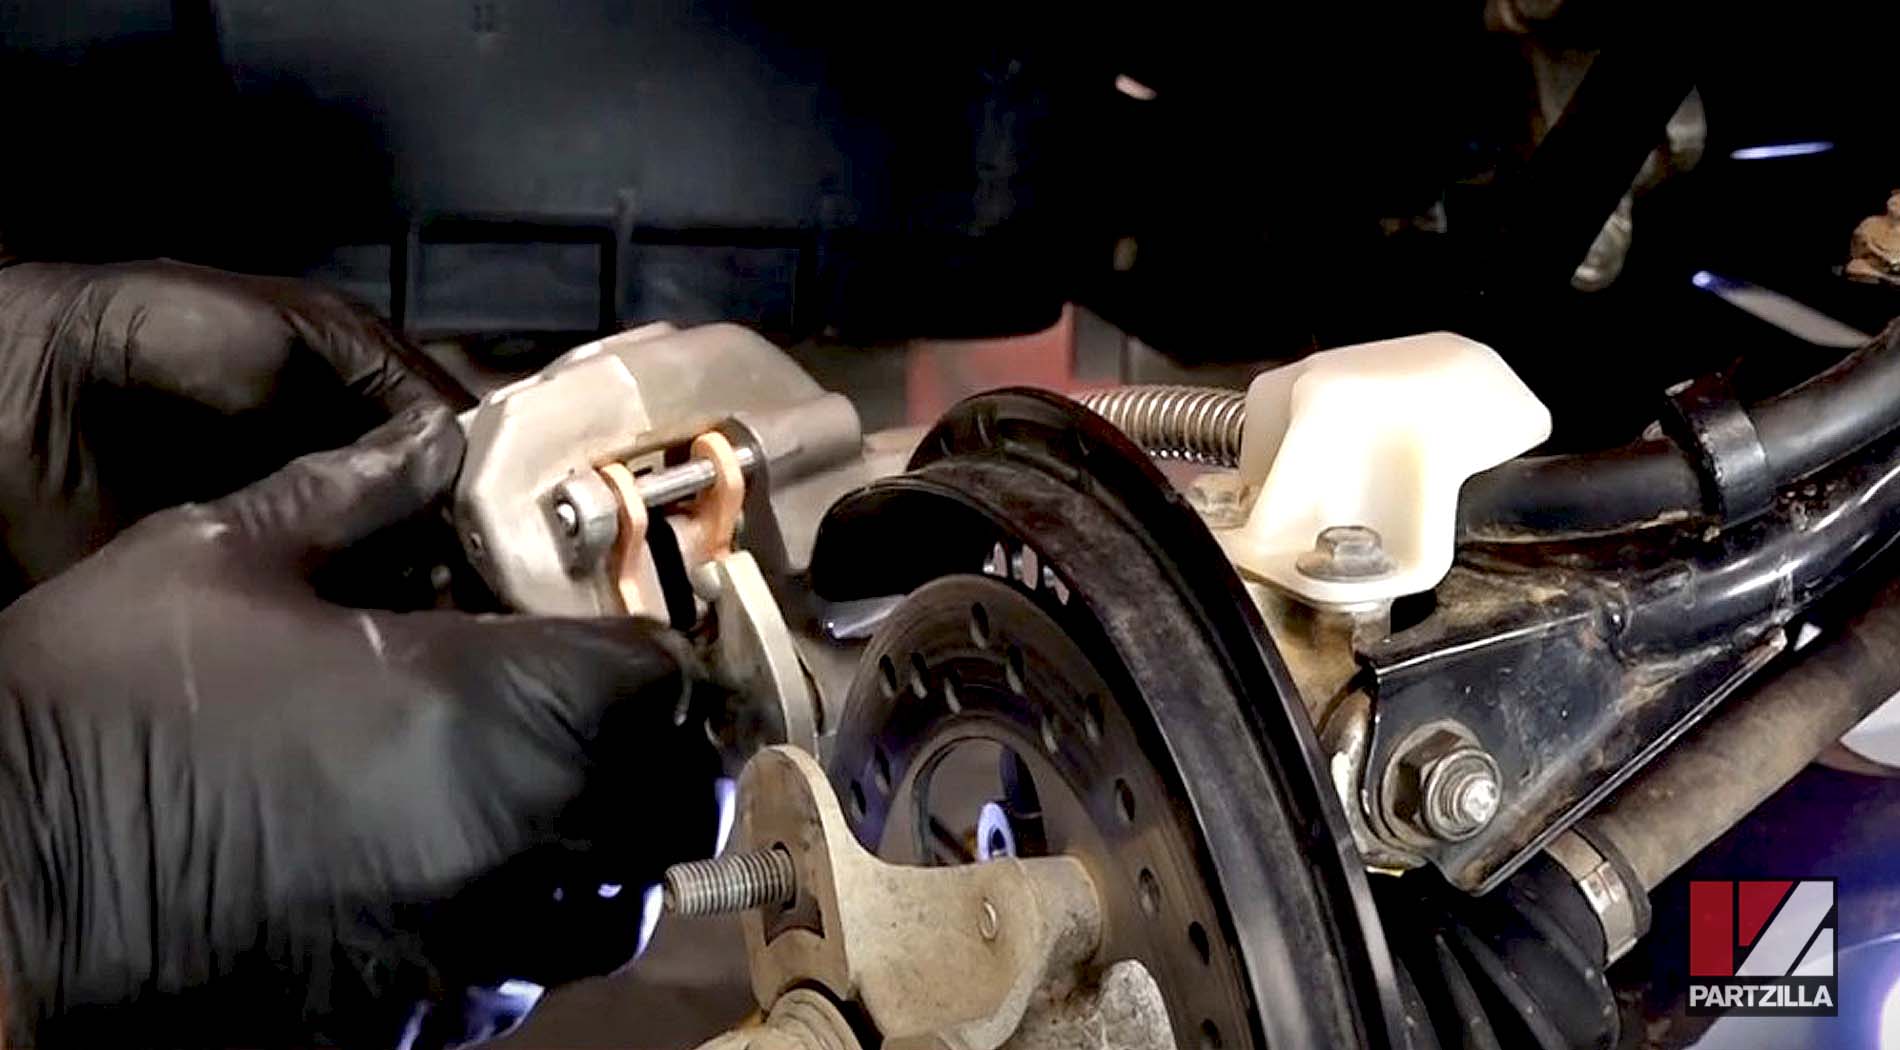
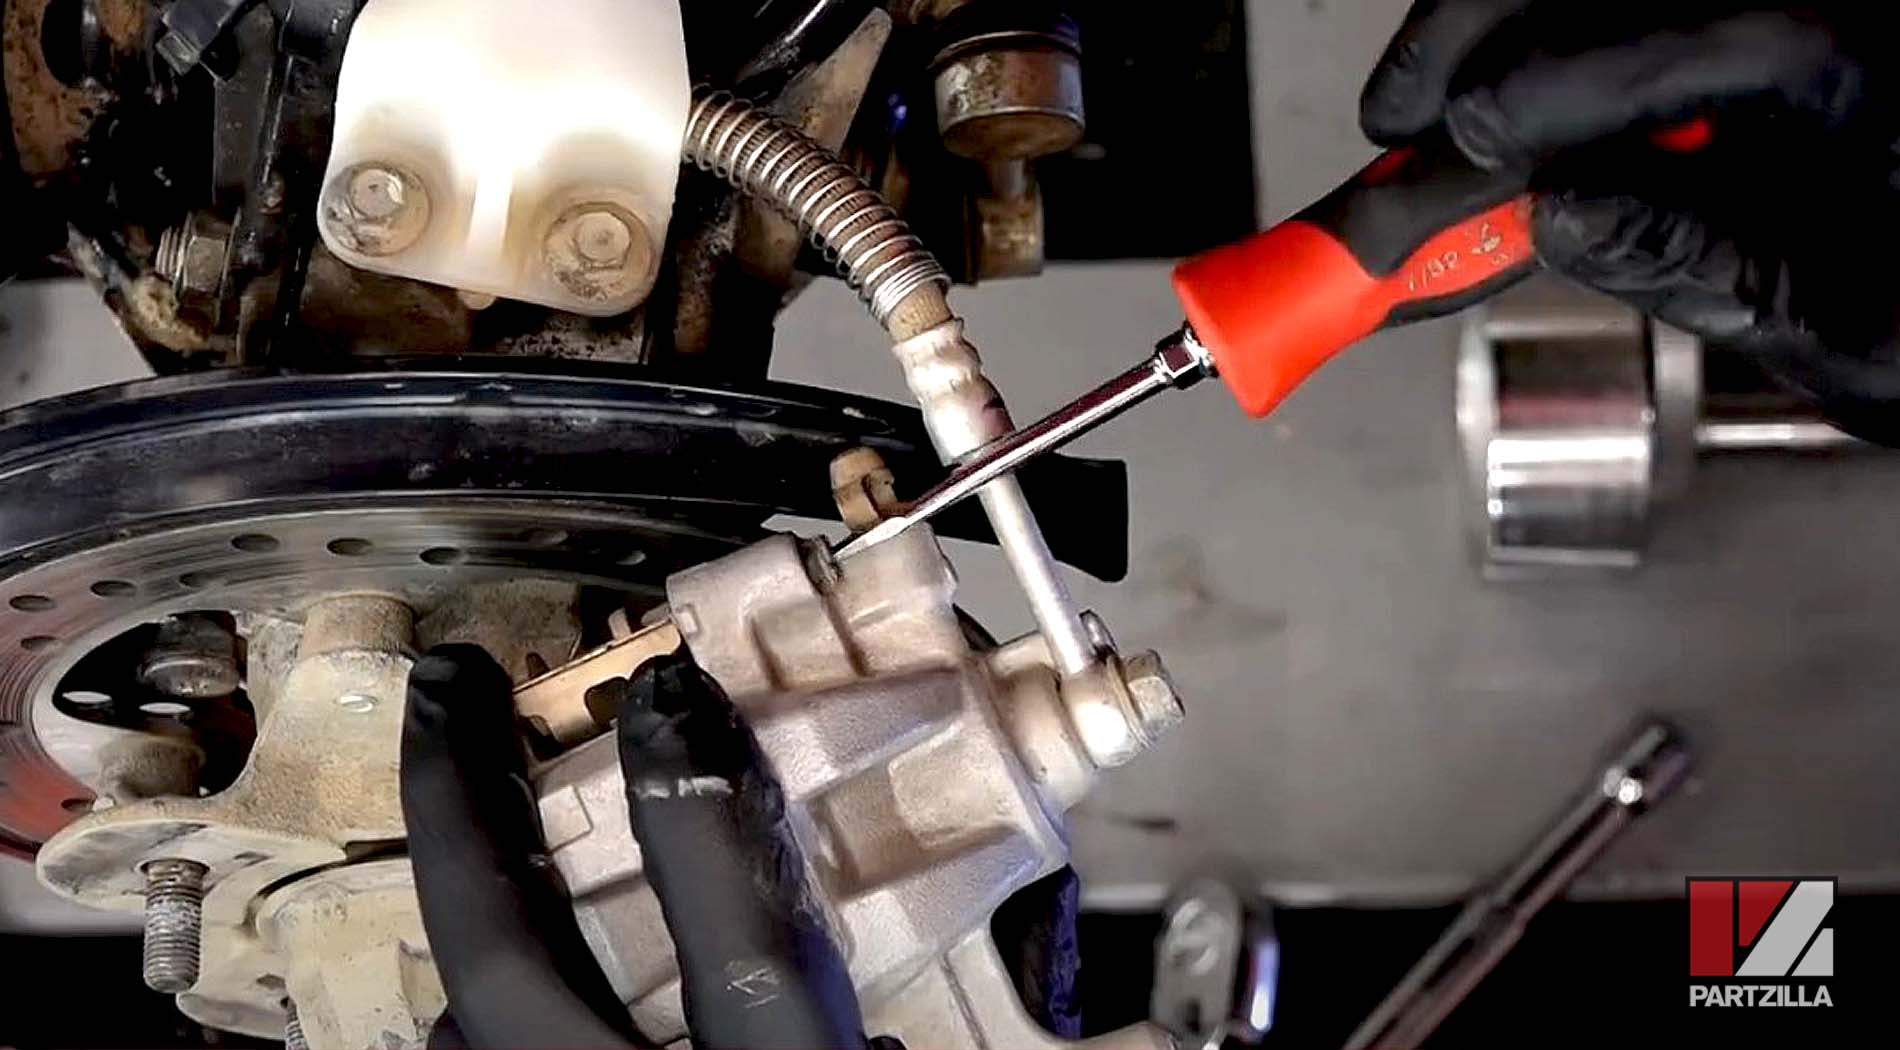
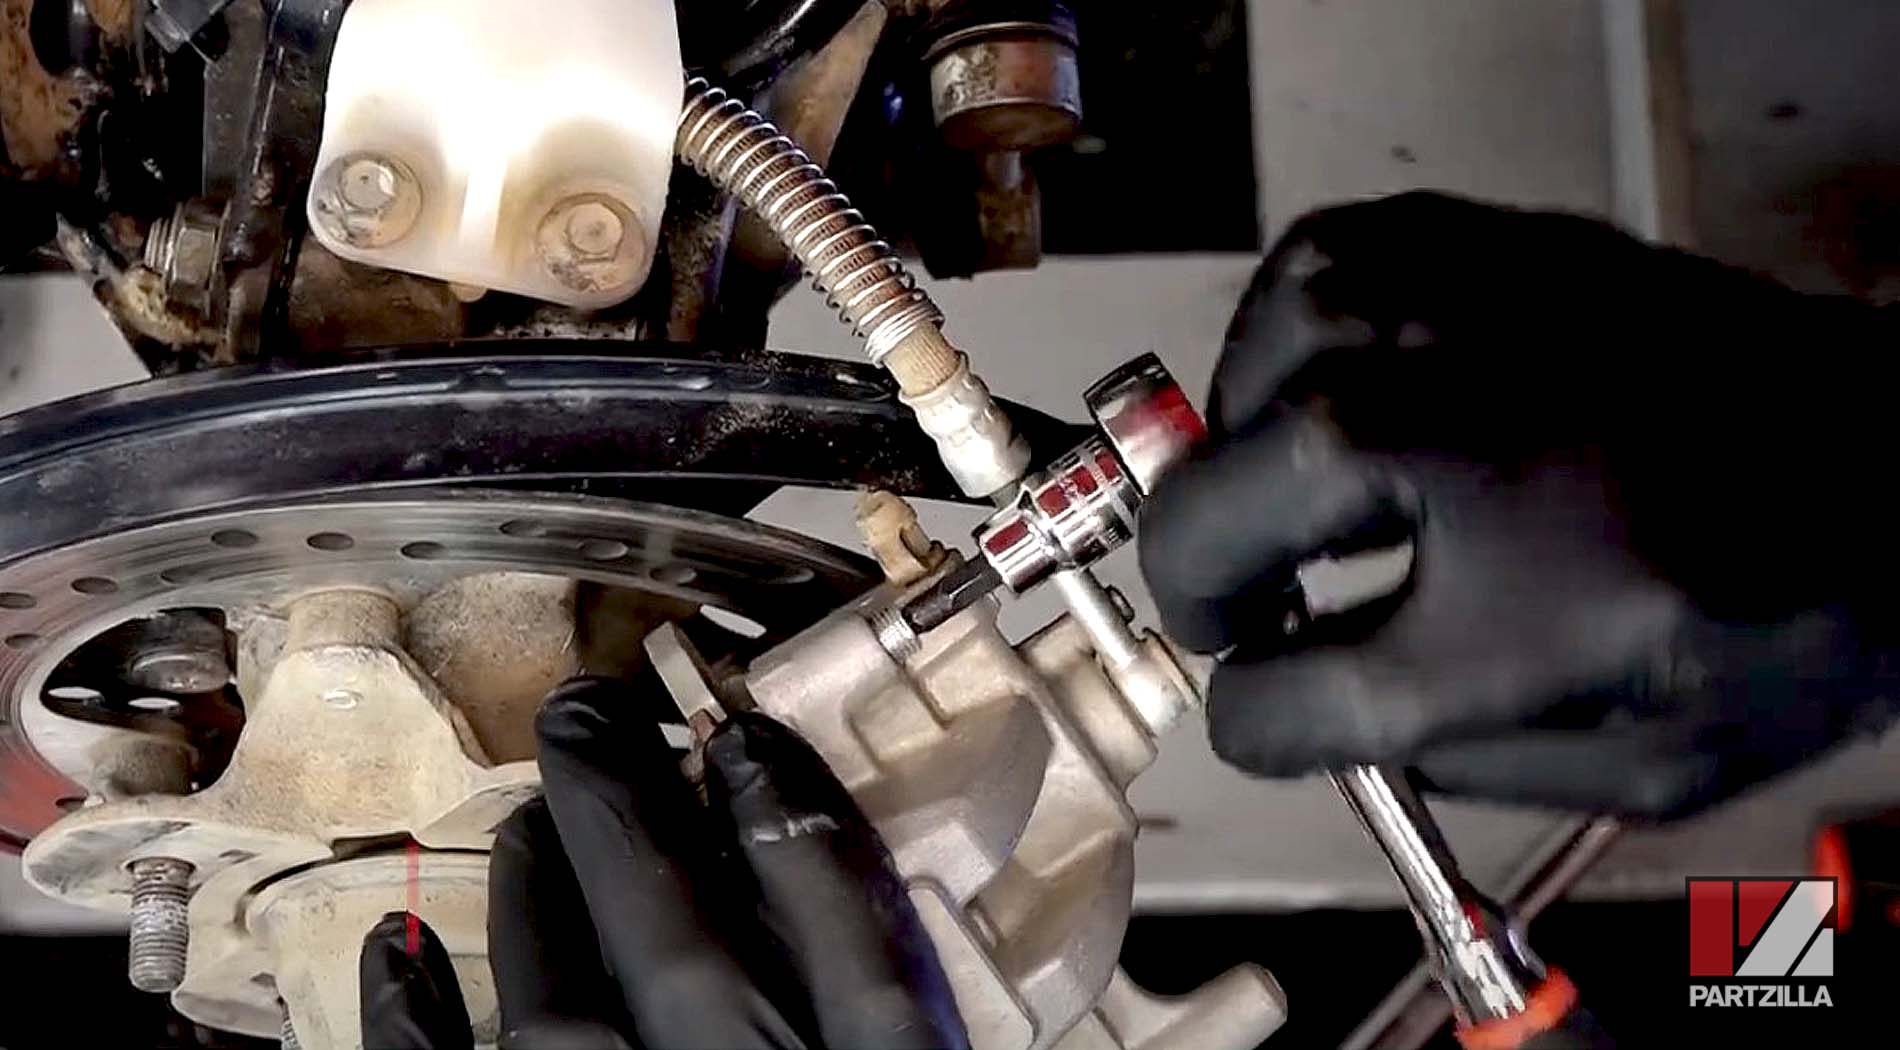
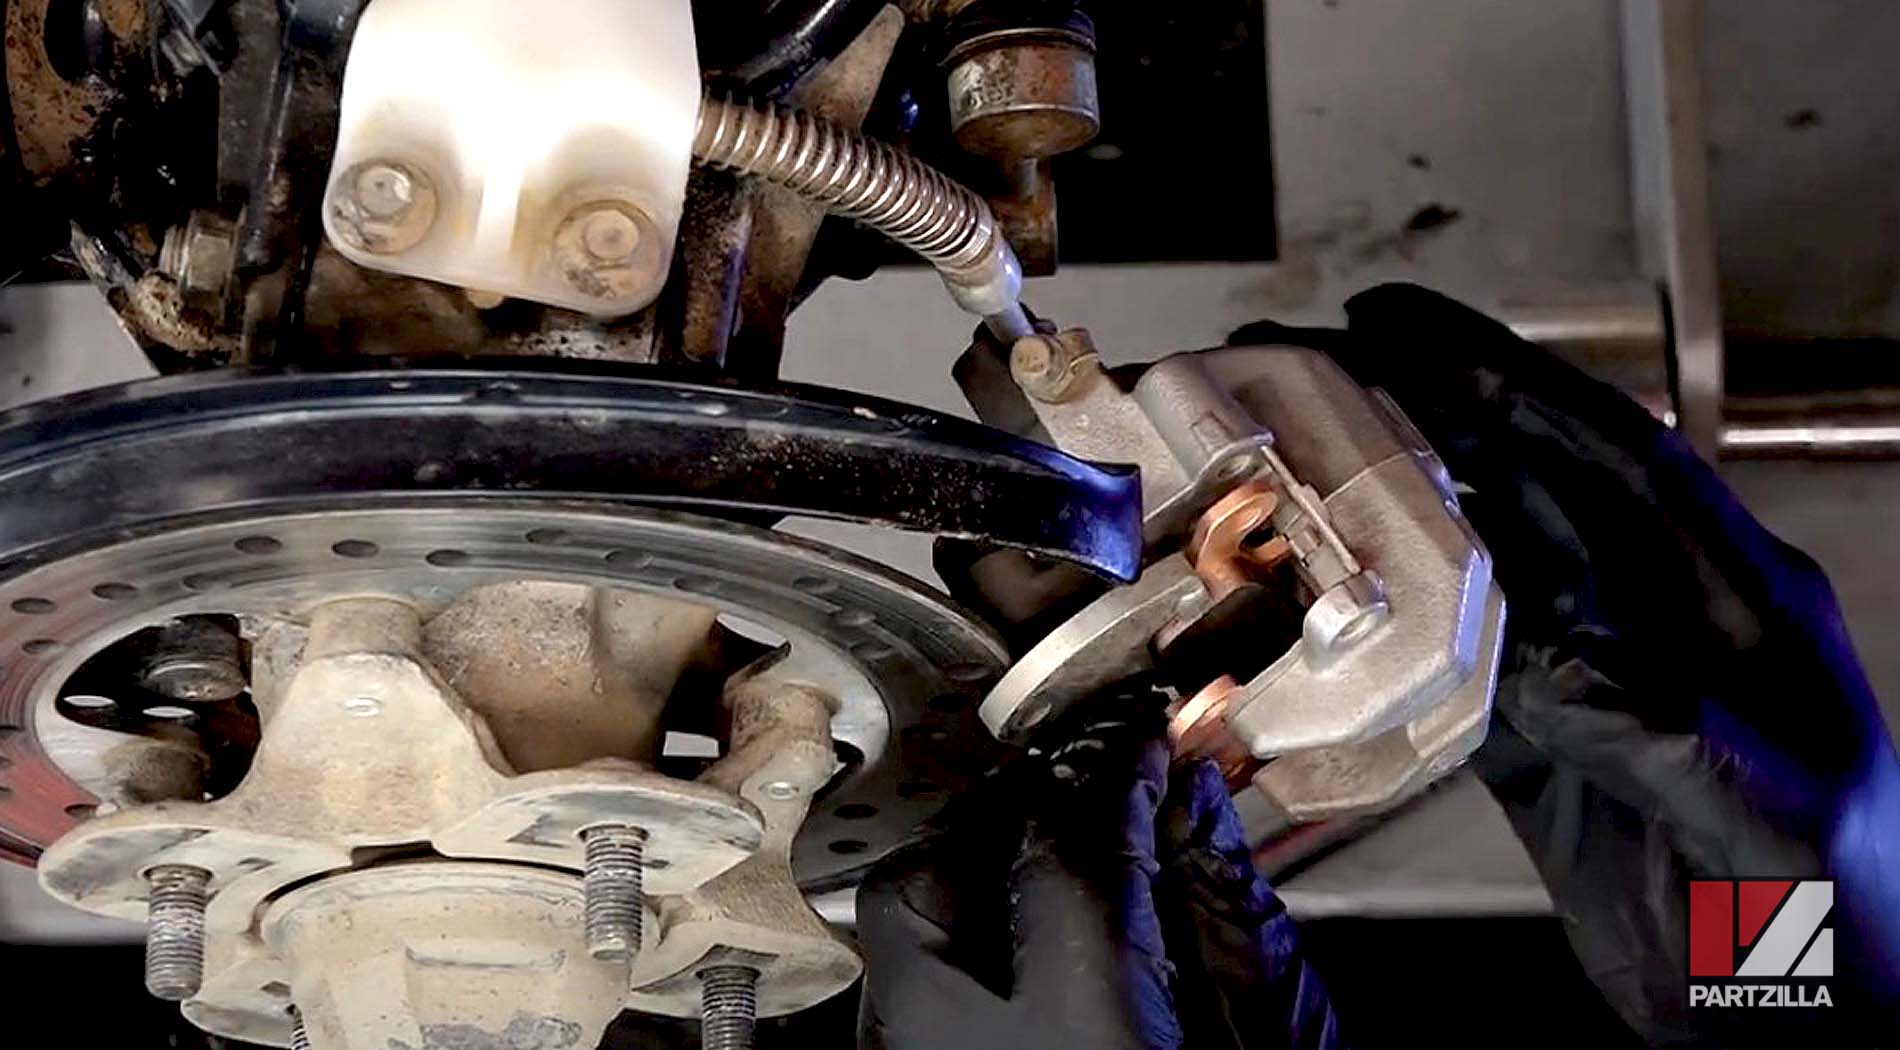
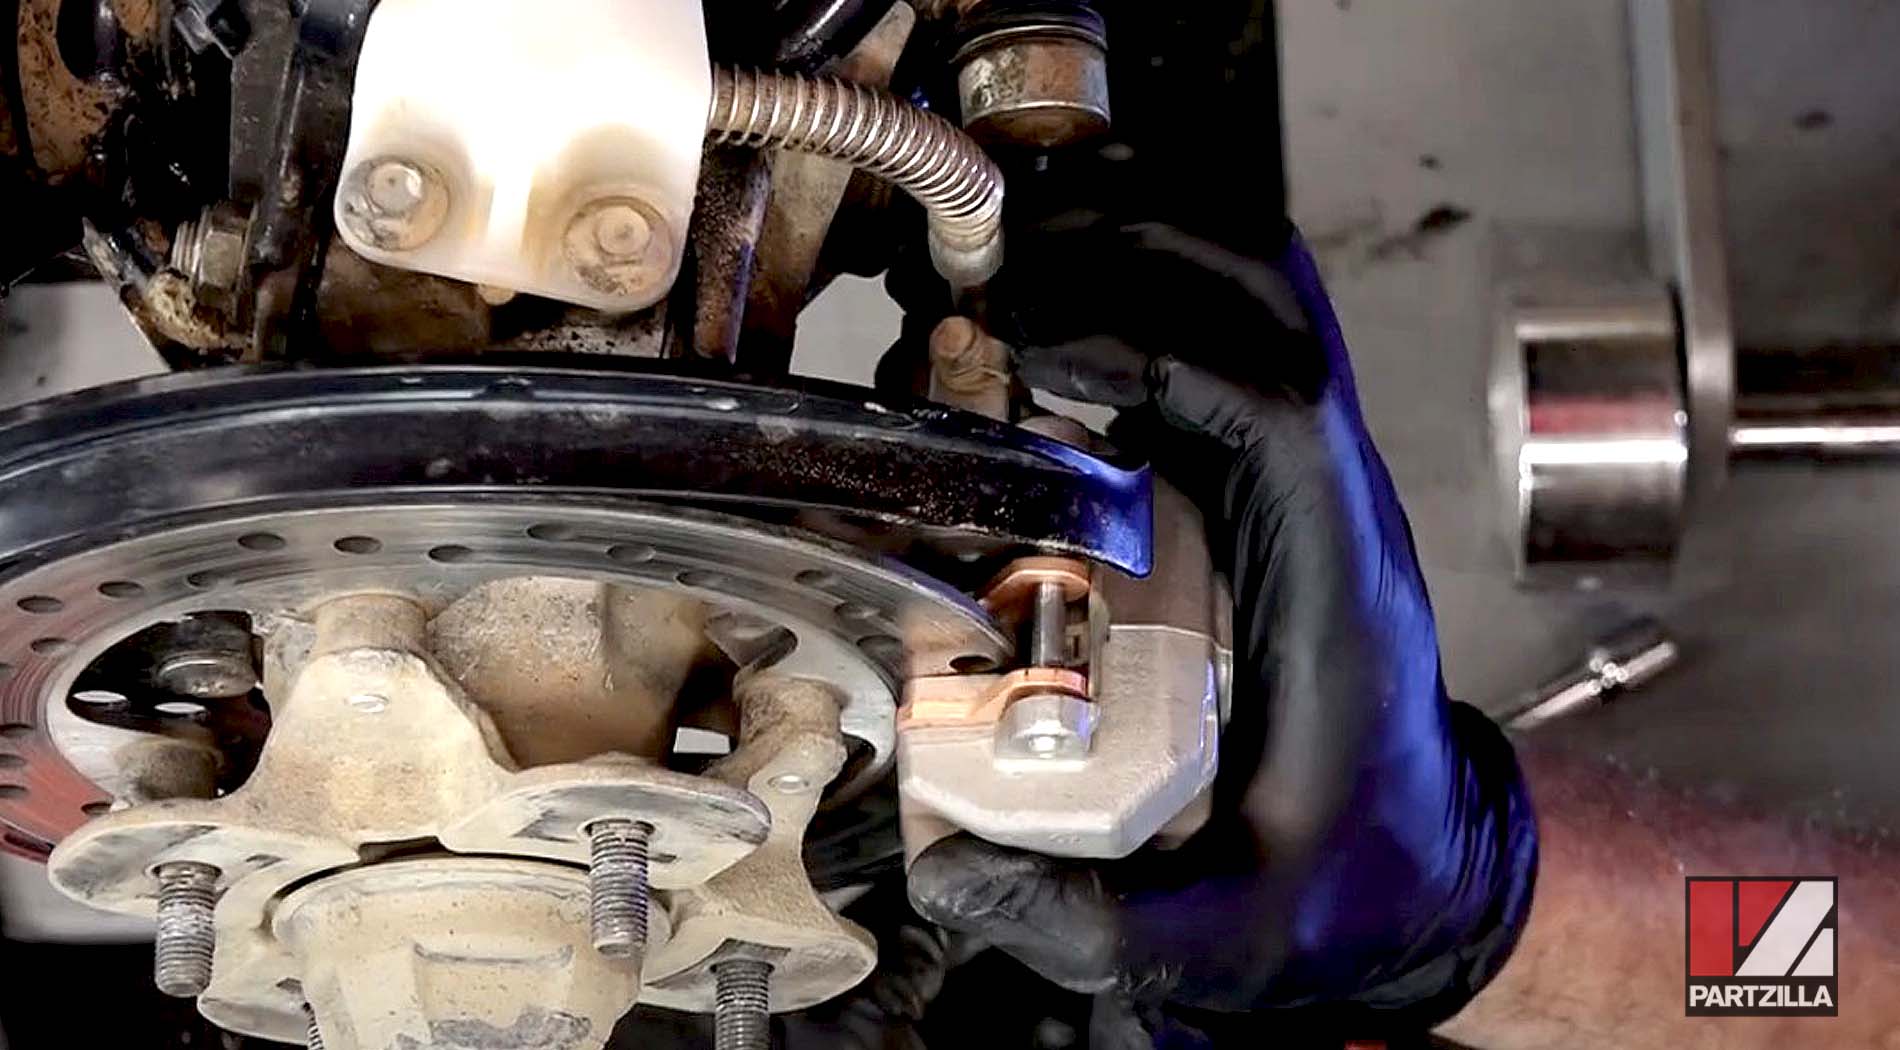
Step 4. Remove the dust cap covering the brake pad pin, then press the brake pads against the spring clip to make removing the pad pin easier, and take off the pin (5mm Allen).
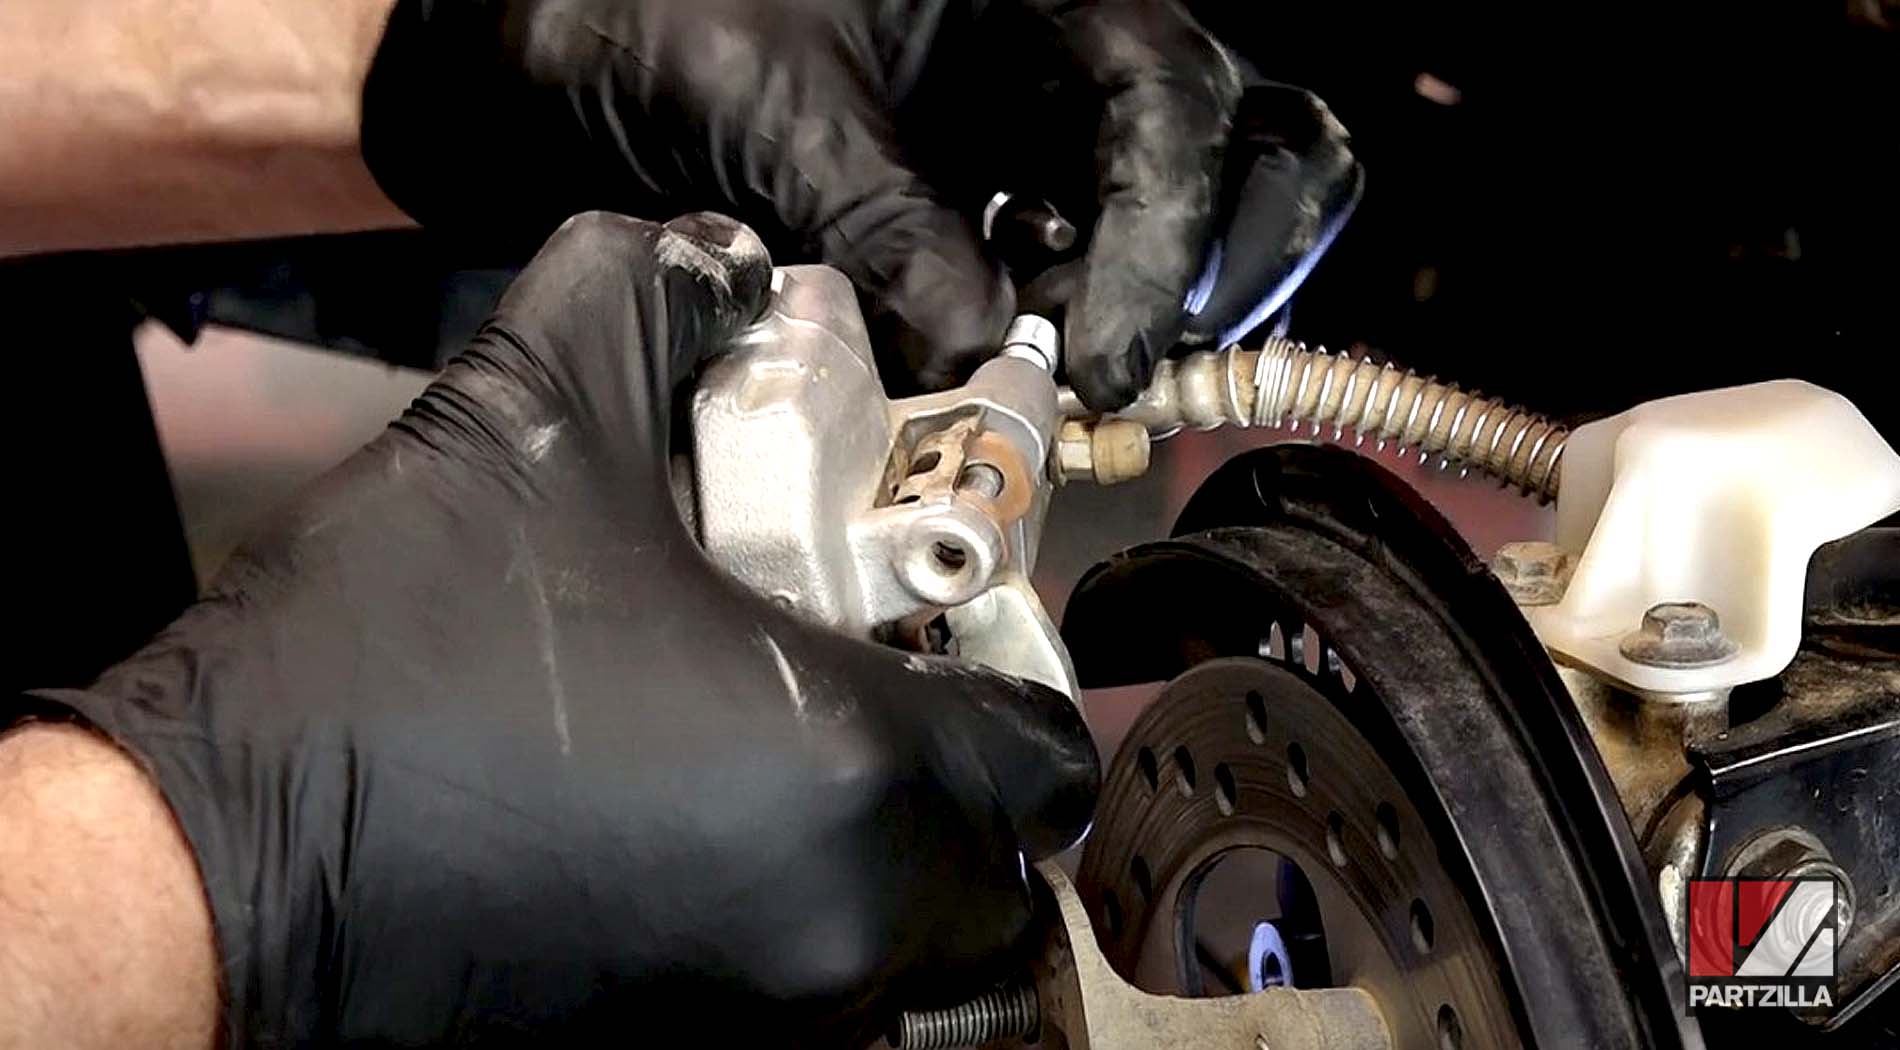
Step 5. Remove the old brake pads, and install the new pads.

REMINDER: The Yamaha Grizzly YFM700 has different brake pads for the left and right rear brakes, so make sure you're fitting the correct pads.
Left side: Yamaha part # 3B4-W0046-10-00
Right side: Yamaha part # 3B4-W0046-00-00

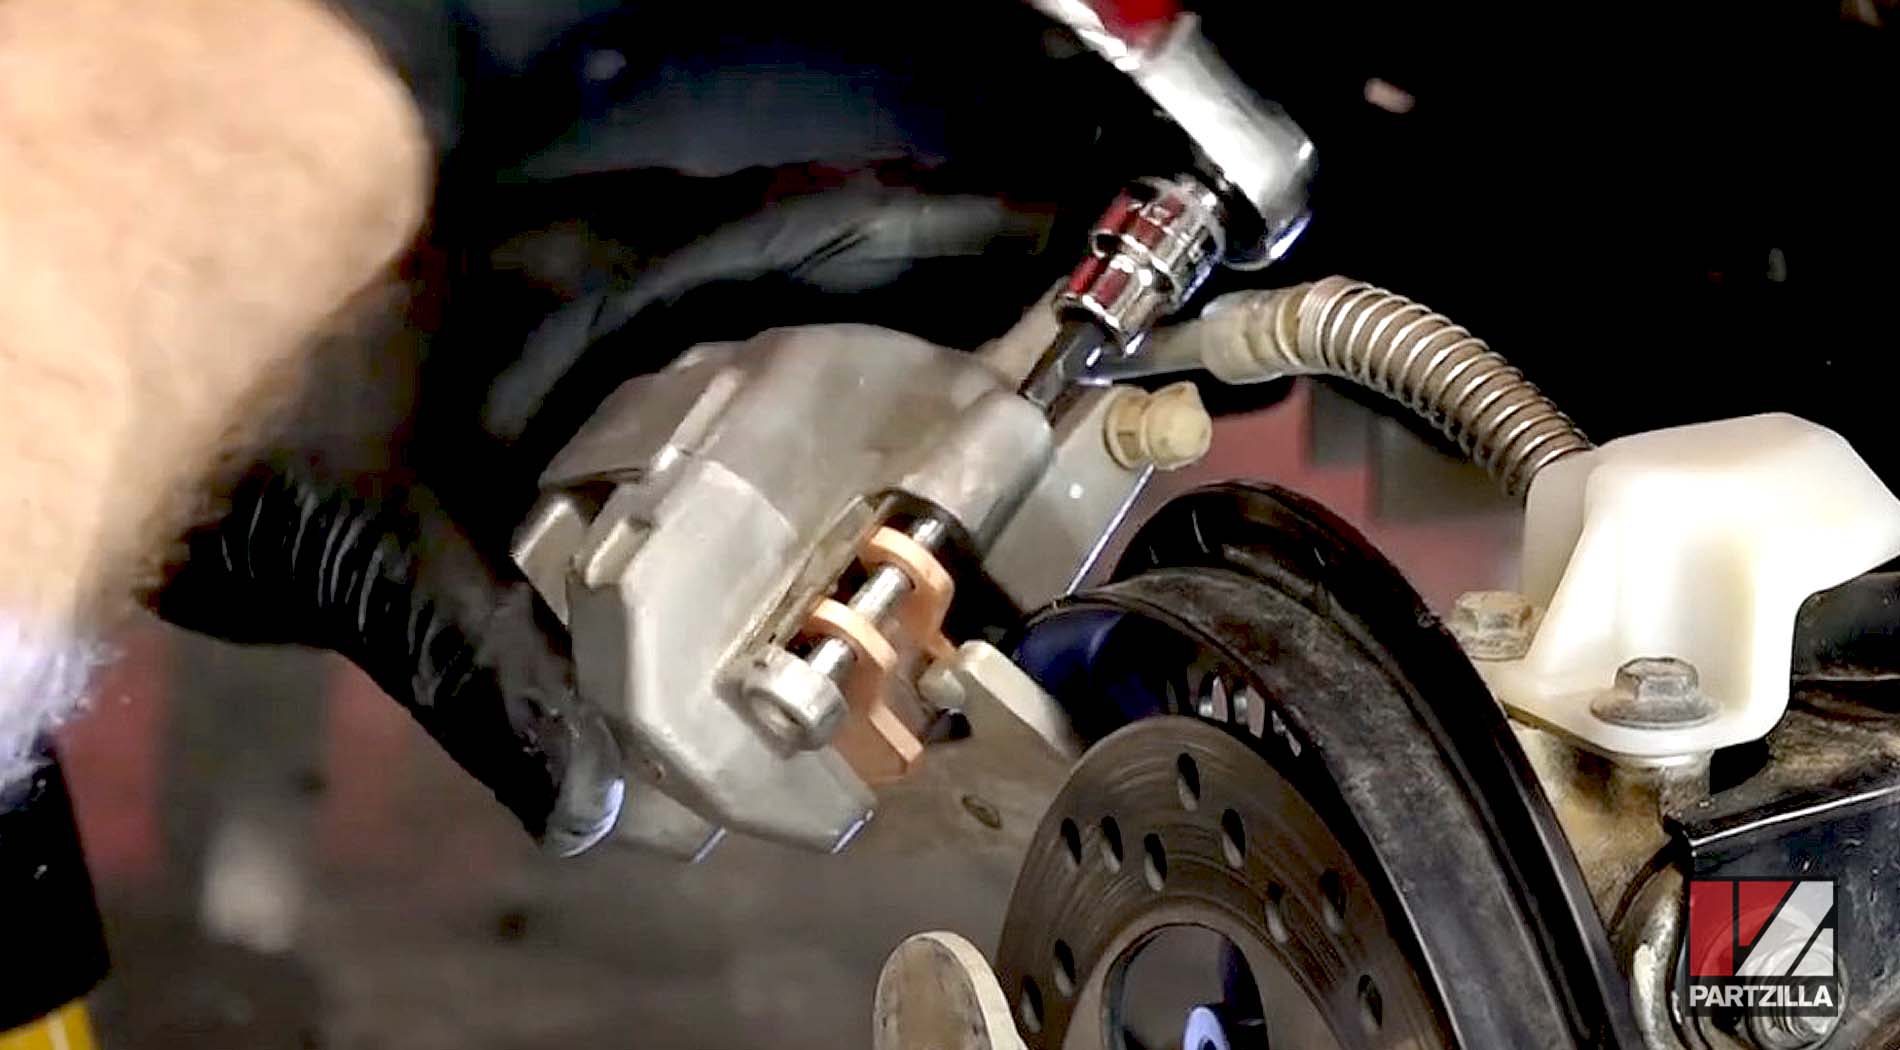
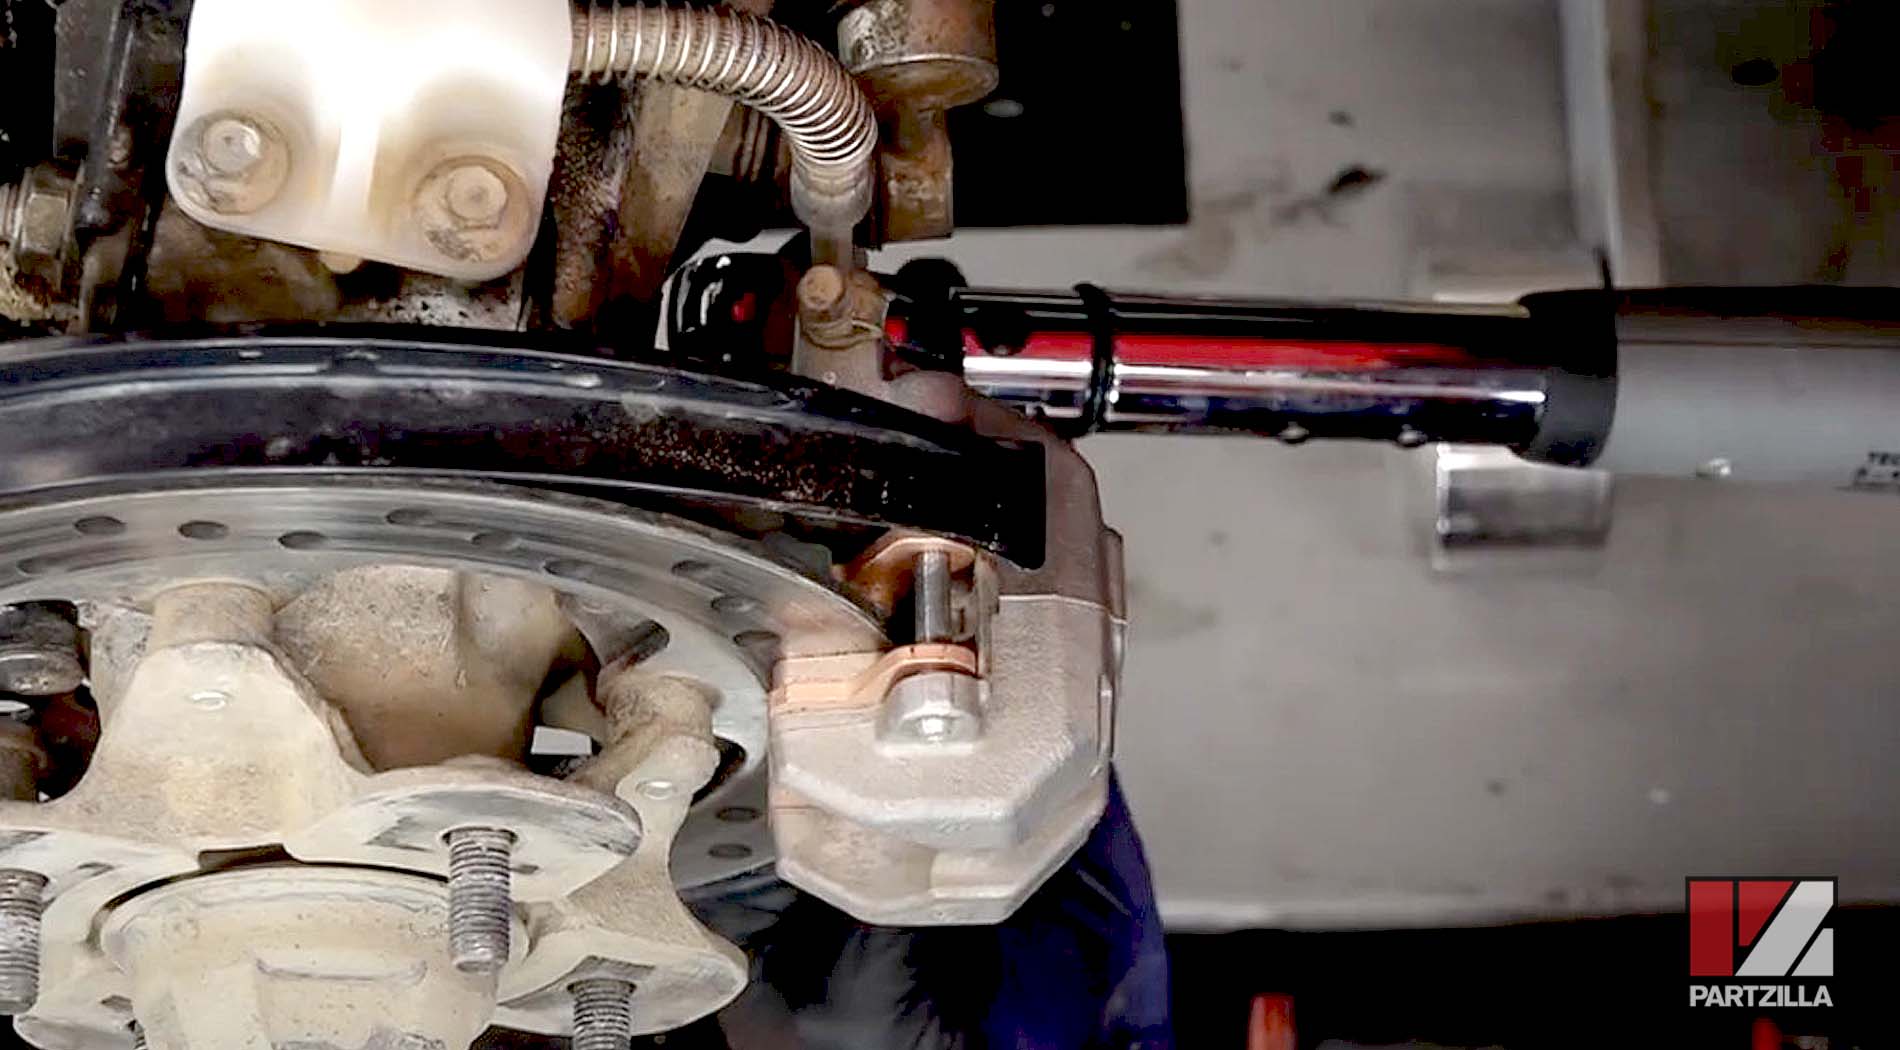
Step 6. Press the new brake pads against the spring clip, and reinstall the brake pad pin.
Step 7. Spread the brake pads apart, and slide the caliper back over the brake rotor.
Step 8. Reinstall the caliper mounting bolts, and torque them to 22 foot-pounds, then torque the brake pad pin to 12 foot-pounds, and reinstall the dust cap.

Step 9. Repeat the process for the brake pads on the other side (right side if you started with the left side or vice-versa).
Step 10. Reinstall the rear wheel, and torque the lug nuts to 40 foot-pounds.

PRO TIP: Before running the Yamaha Grizzly, pump the brake pedal a couple of times to seat the new brake pads on the rotors, and go easy on the brakes for the first mile or so until the new pads have had the chance to properly bed themselves in.
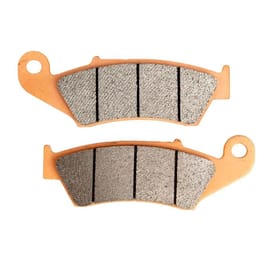
Ready to change out the front brake pads? Watch the video above to see how to replace the front brake pads on a Yamaha YFM700 Grizzly.