Troubleshooting Yamaha Grizzly Brake Light
Some parts need to be removed to get to it, but once those are out of the way, troubleshooting a faulty tail light or brake light on a Yamaha Grizzly YFM700 is a piece of cake.
Watch the video above or follow the steps below to troubleshoot problems with a faulty tail light/brake light on a Yamaha Grizzly YFM700 ATV.
Tools and Parts - Troubleshooting Yamaha Grizzly Brake Light
- Ratchet
- 10mm, 14mm sockets
- Flathead screwdriver
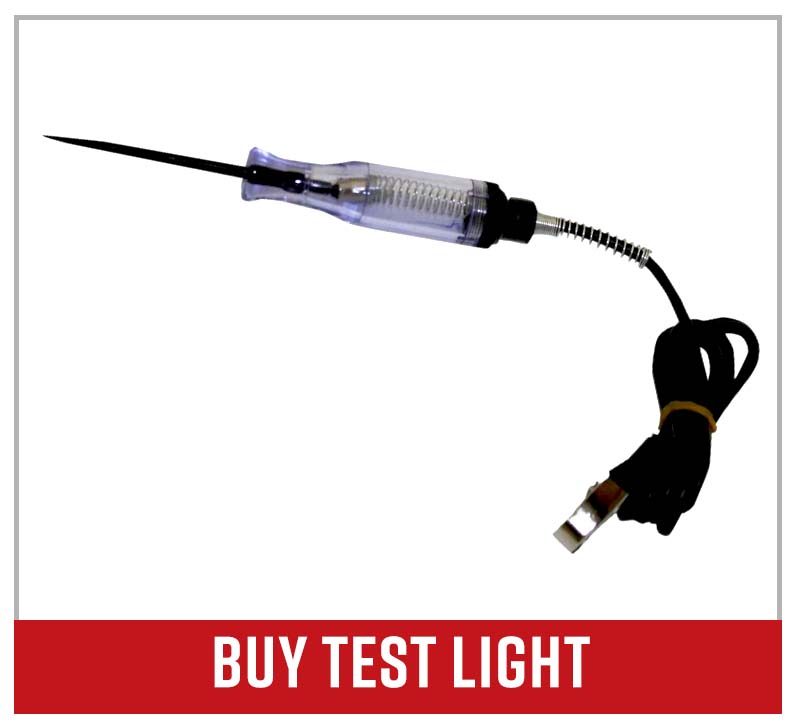
- Test light
PRO TIP: The replacement parts you'll need will vary depending on what has failed. However, you should always keep spare fuses and taillight bulbs in your toolbox just in case.
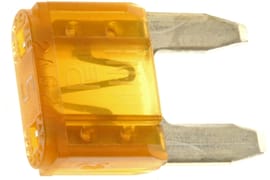
A blown fuse will prevent the Yamaha Grizzly 700's brake light or tail light from working.
Troubleshooting Tip #1 - Test the Fuse
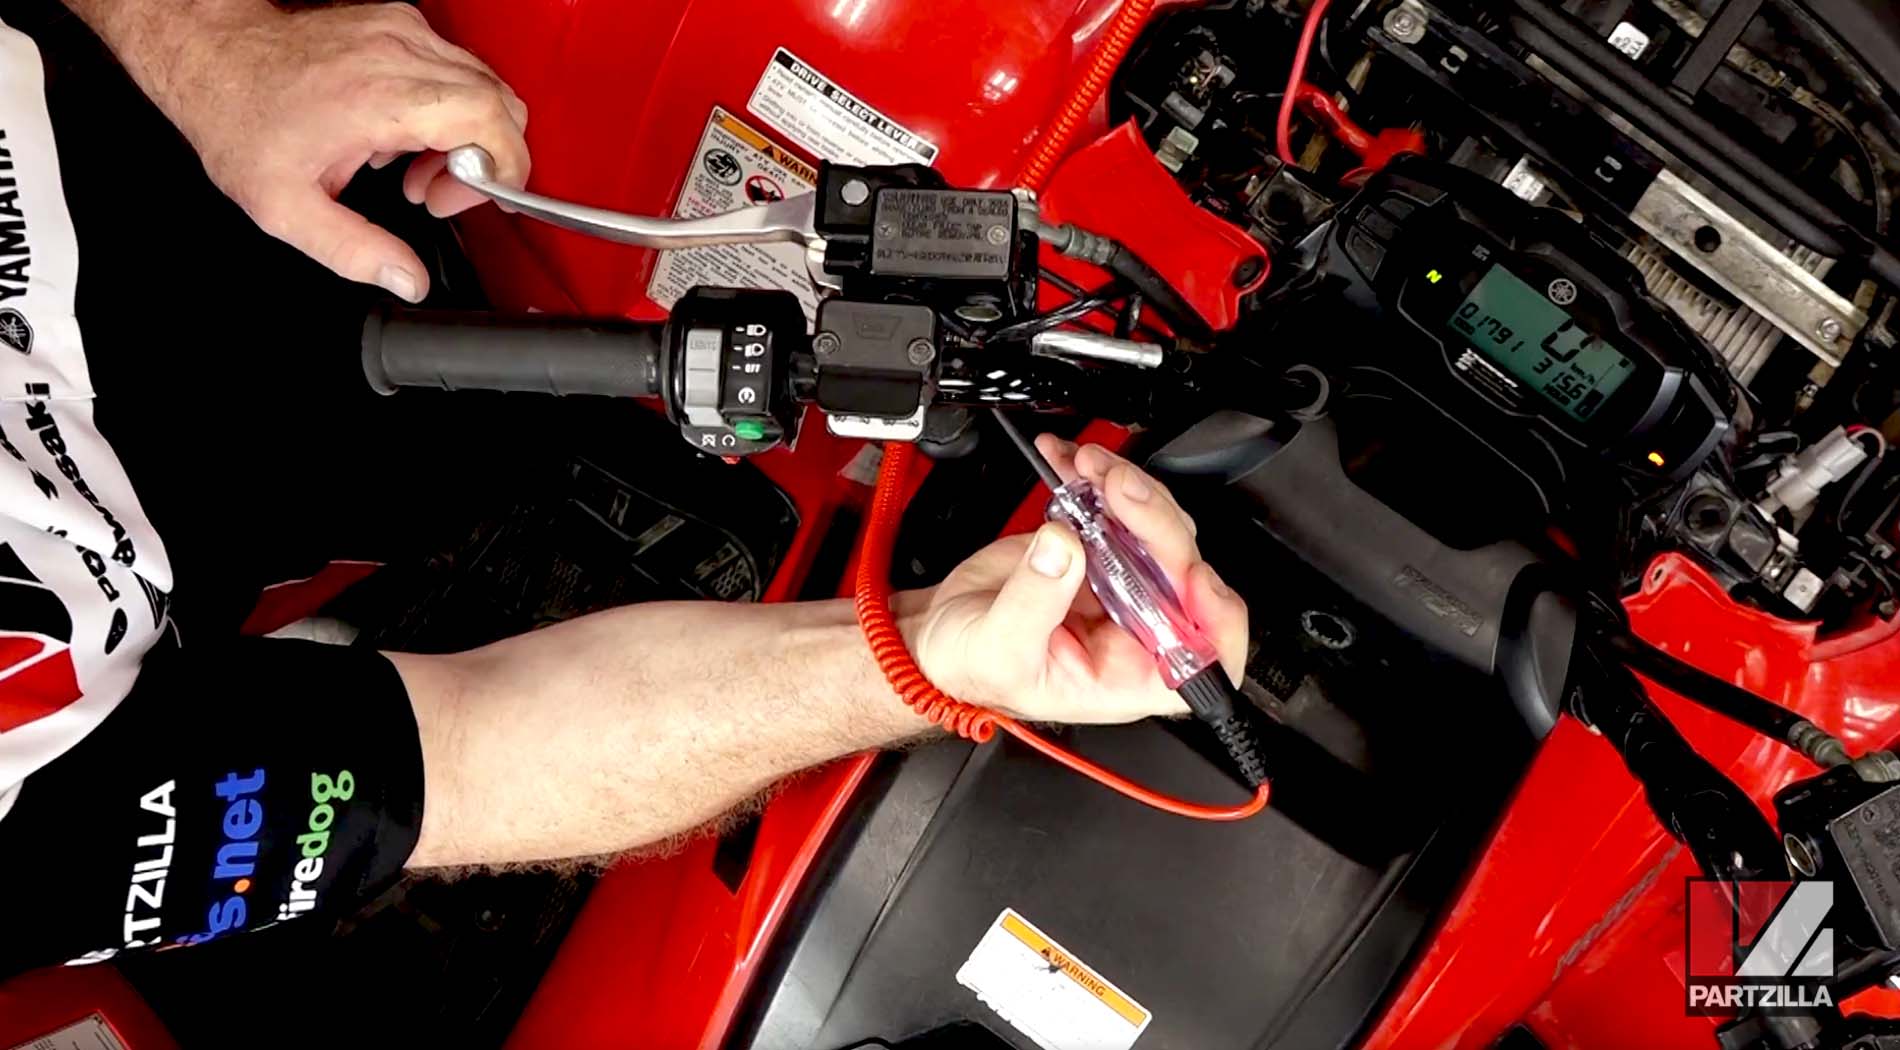
Step 1. Remove the cover on top of the front fenders just in front of the handlebars to access the fuse box.
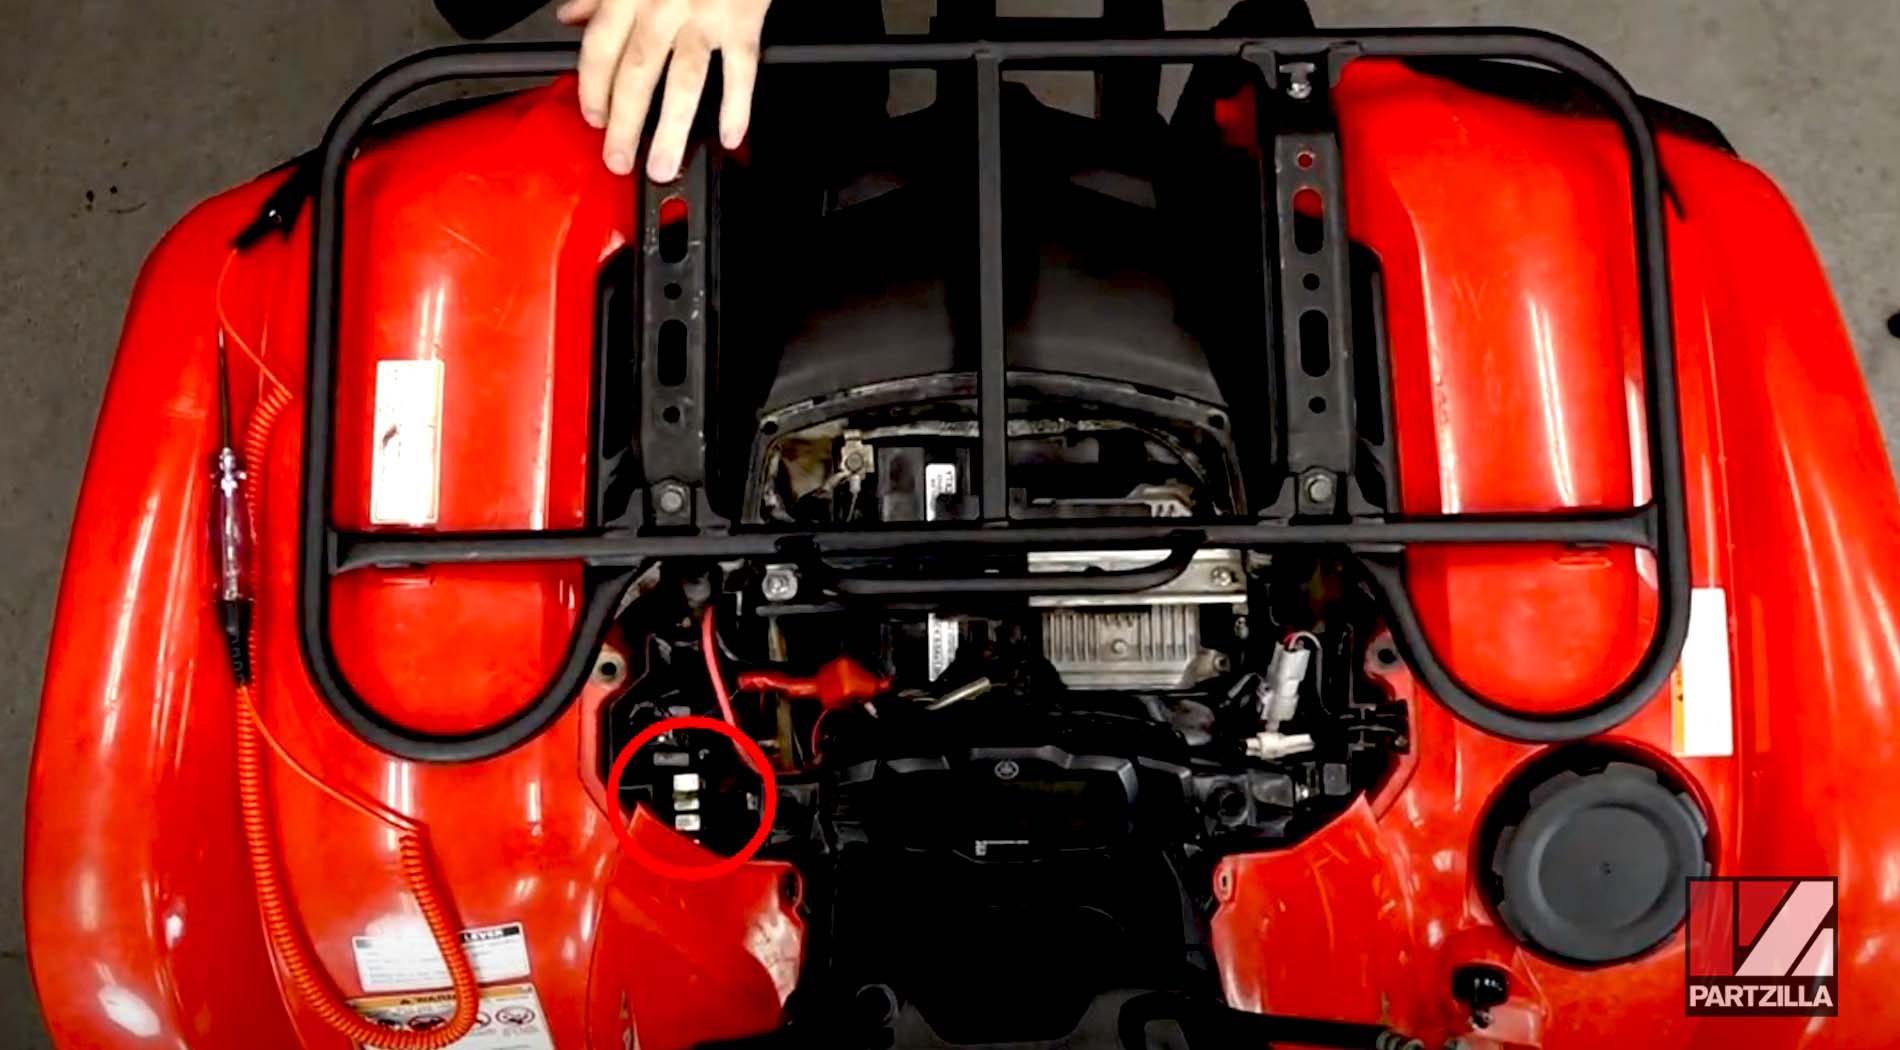
Step 2. Remove the fuse box cover and look for the orange 5 amp signal fuse.
Step 3. Turn on the Grizzly's ignition, and use a circuit test light to test for power at both sides of the signal fuse.
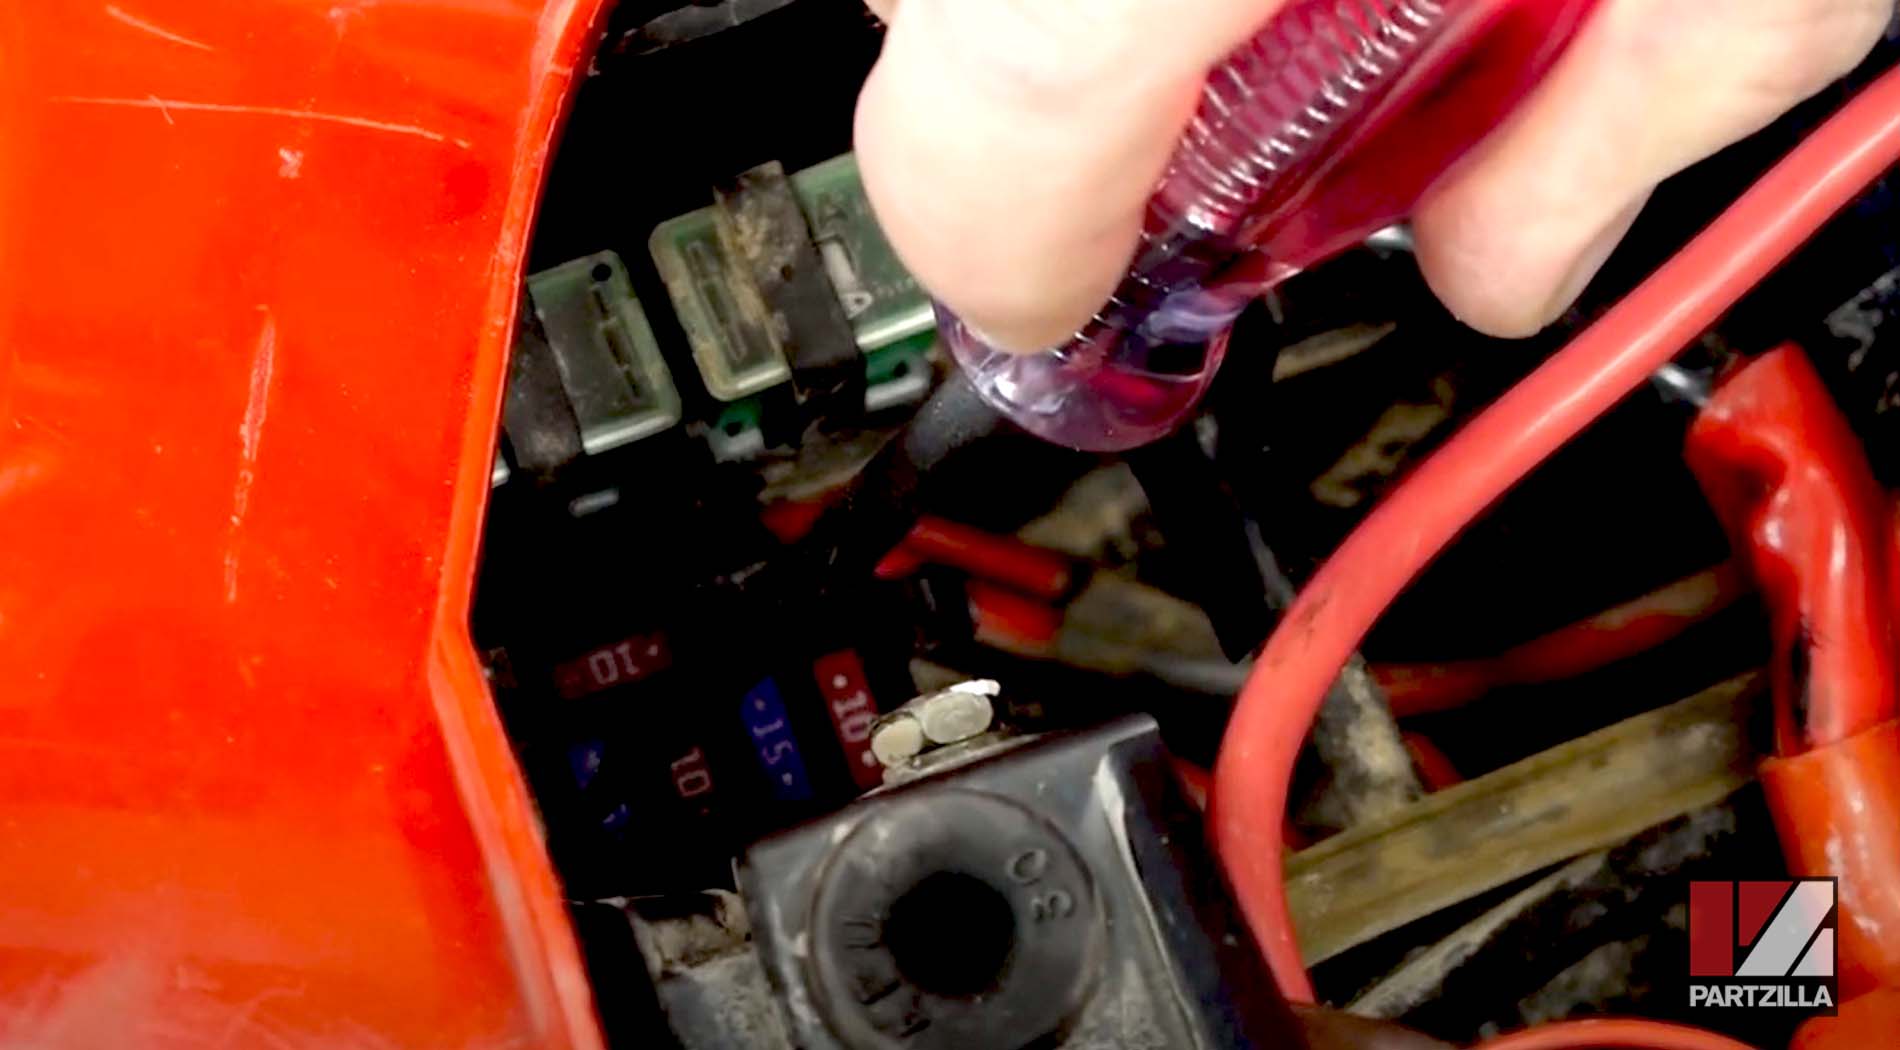
Step 4. If the fuse is blown, replace it with a new 5A fuse, then check to see if the taillight is working.
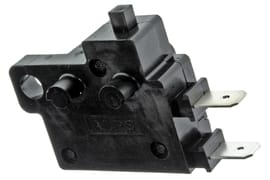
If the taillight works but the brake light doesn't, the stop switch assembly could have failed. The stop switch assembly is the switch that activates the brake light circuit.
Troubleshooting Tip #2 - Test the Brake Light Switch
Step 1. Locate the stop switch assembly, just below the master cylinder on the handlebars.
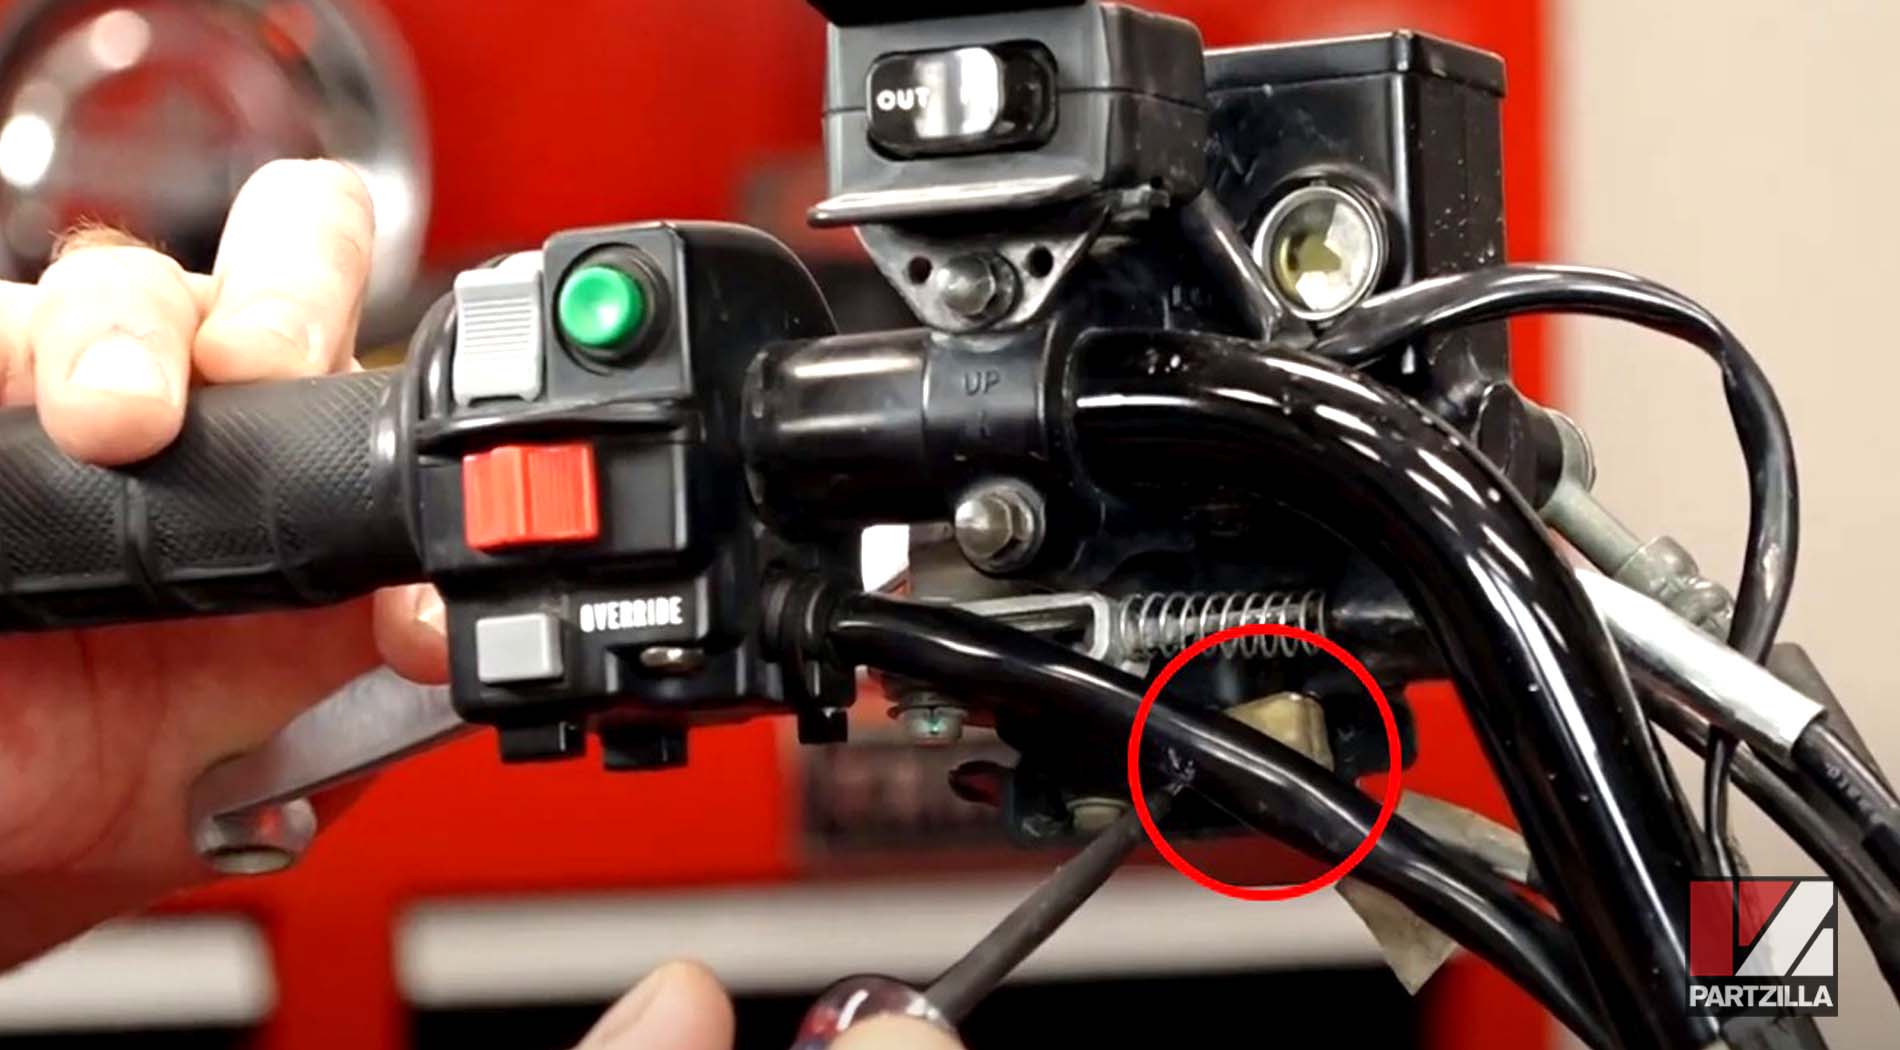
Step 2. Turn on the Grizzly's ignition, and use a circuit test light to test the switch.
Step 3. If the switch is defective, replace it with a new stop switch assembly and check to see if the brake light is working.
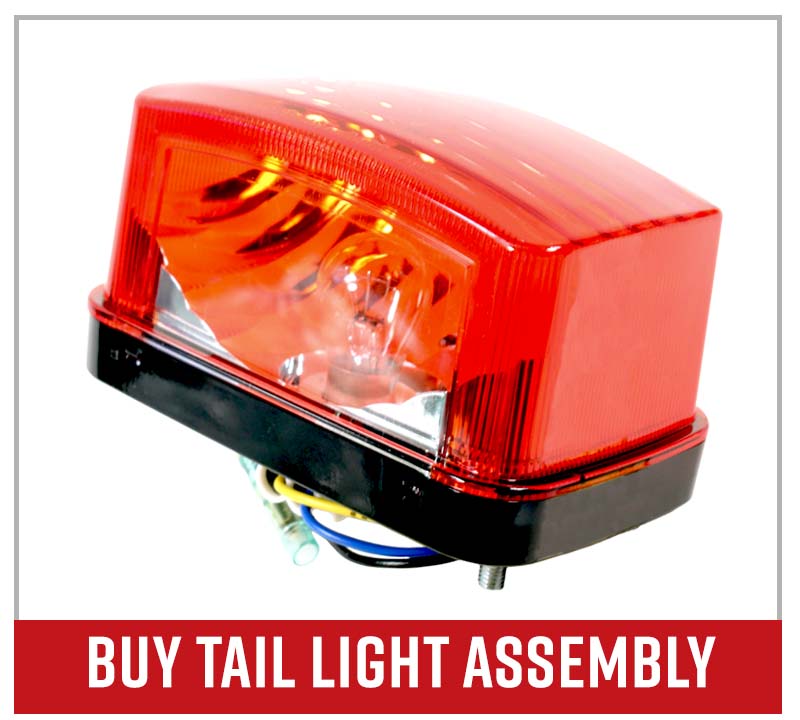
If the fuse and stop switch assembly are both working correctly, the problem is with the taillight assembly or the taillight/brake bulb itself.
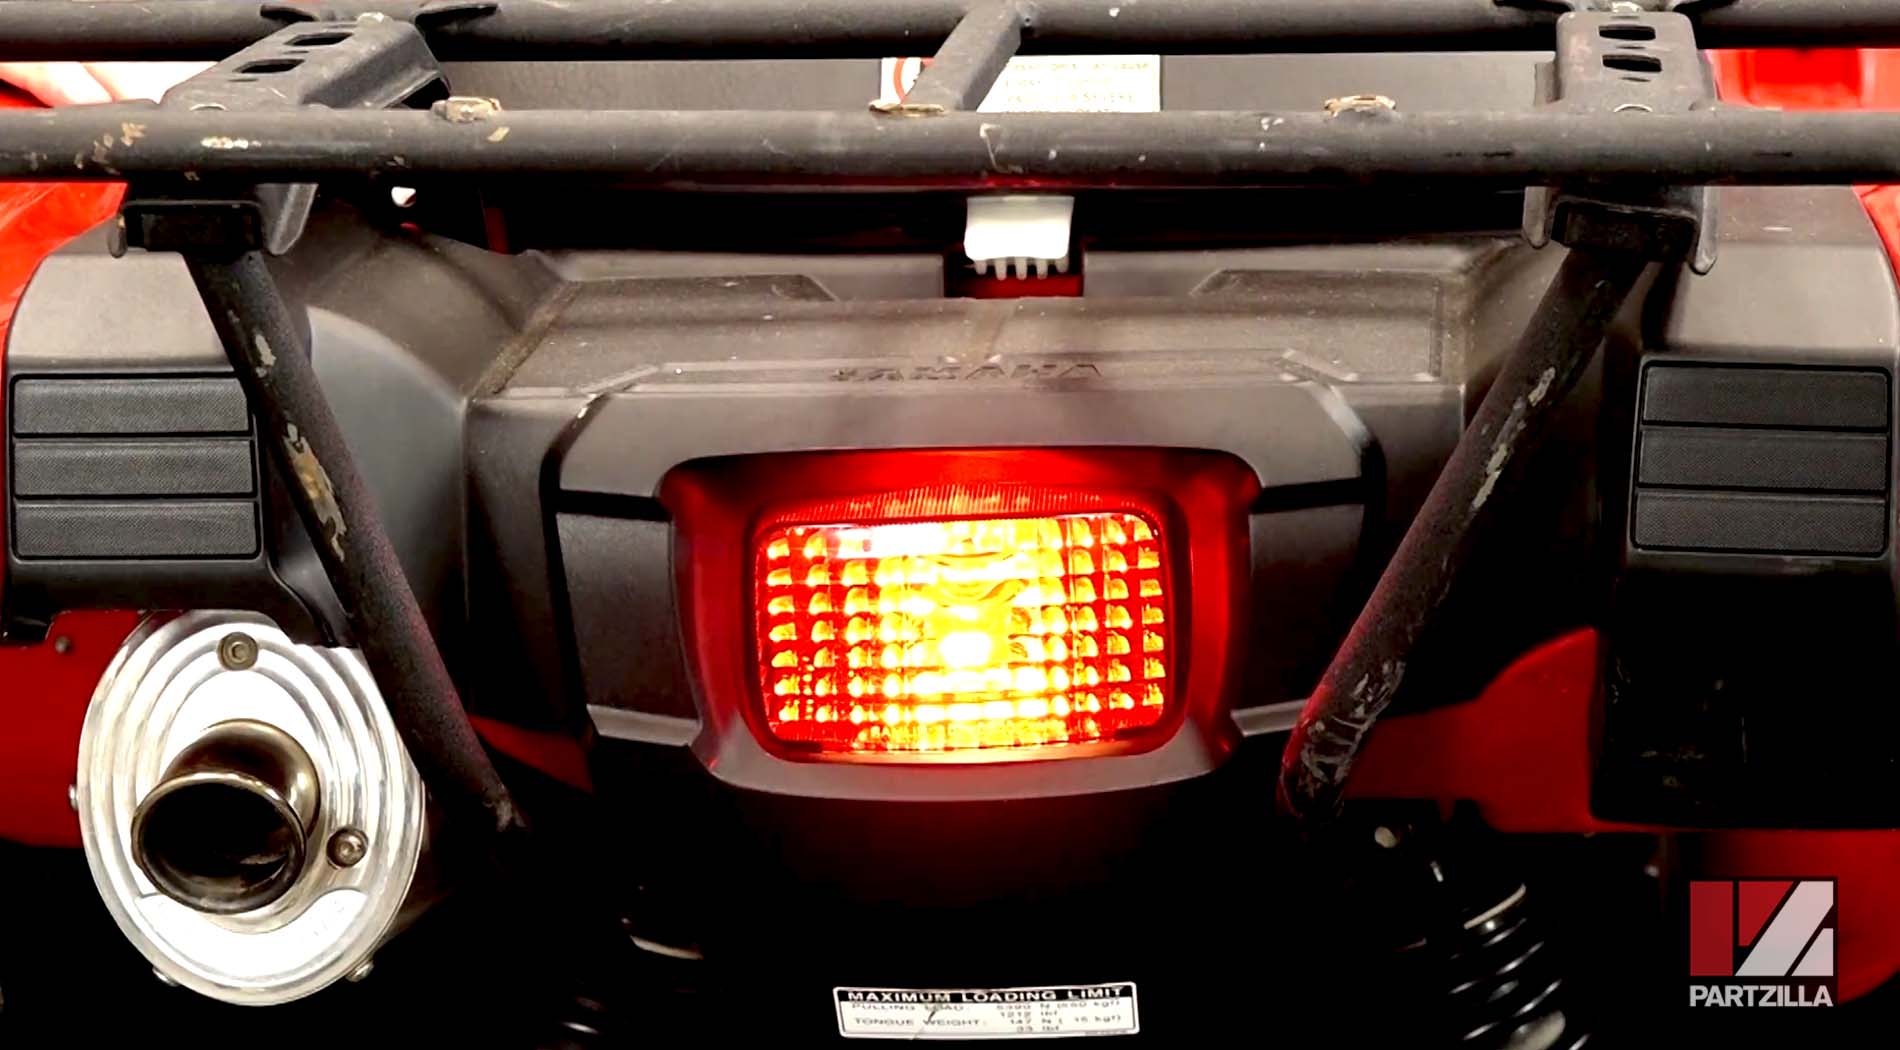
#3 - Test the Taillight Bulb
Step 1. Remove the seat.
Step 2. Remove the rear rack by taking off the four 14mm bolts from the top and bottom of the rack, and the two 10mm bolts from either side of the rack.

Step 3. Remove the cover from the rear fender by taking off the two plastic rivets at the front, releasing the clip at the bottom, and using a flathead screwdriver to push in and release the four clasps on either side of the cover.

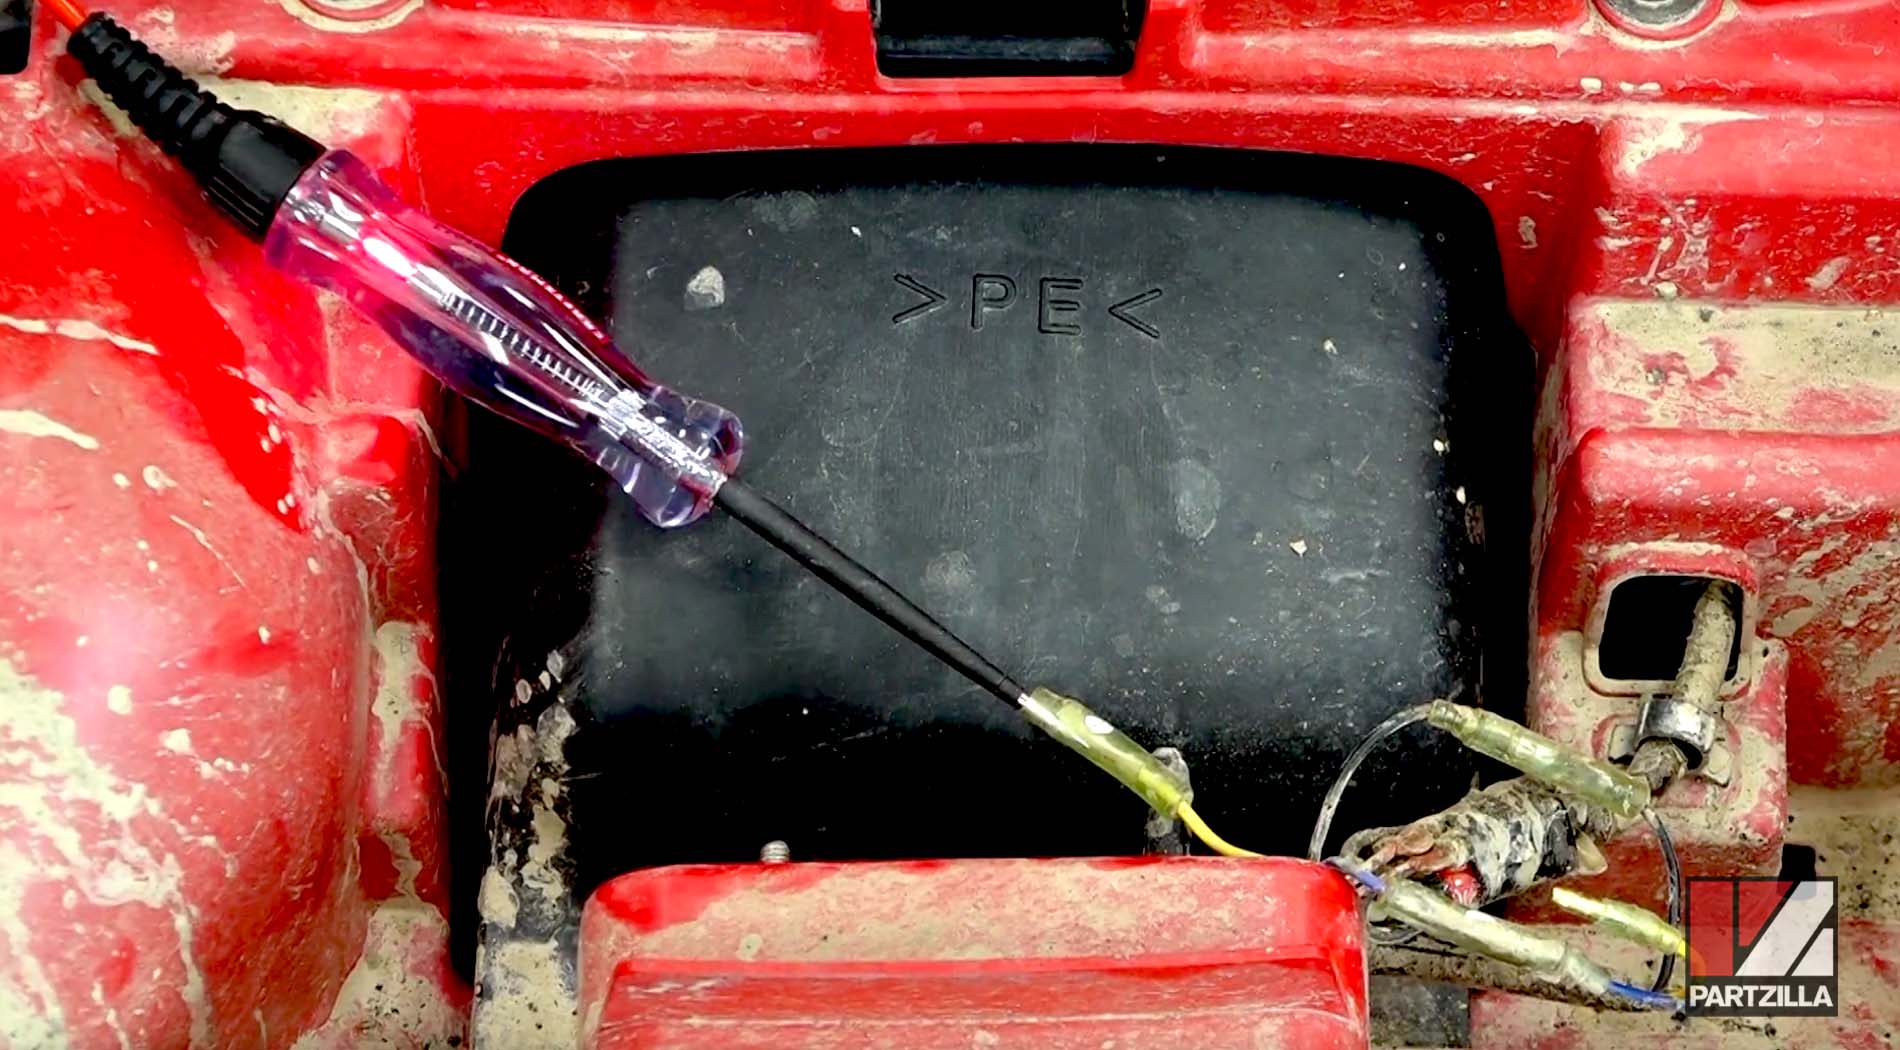
Step 4. Turn on the Grizzly's ignition, and use a circuit test light to test the yellow wire to see if the taillight assembly is receiving power.
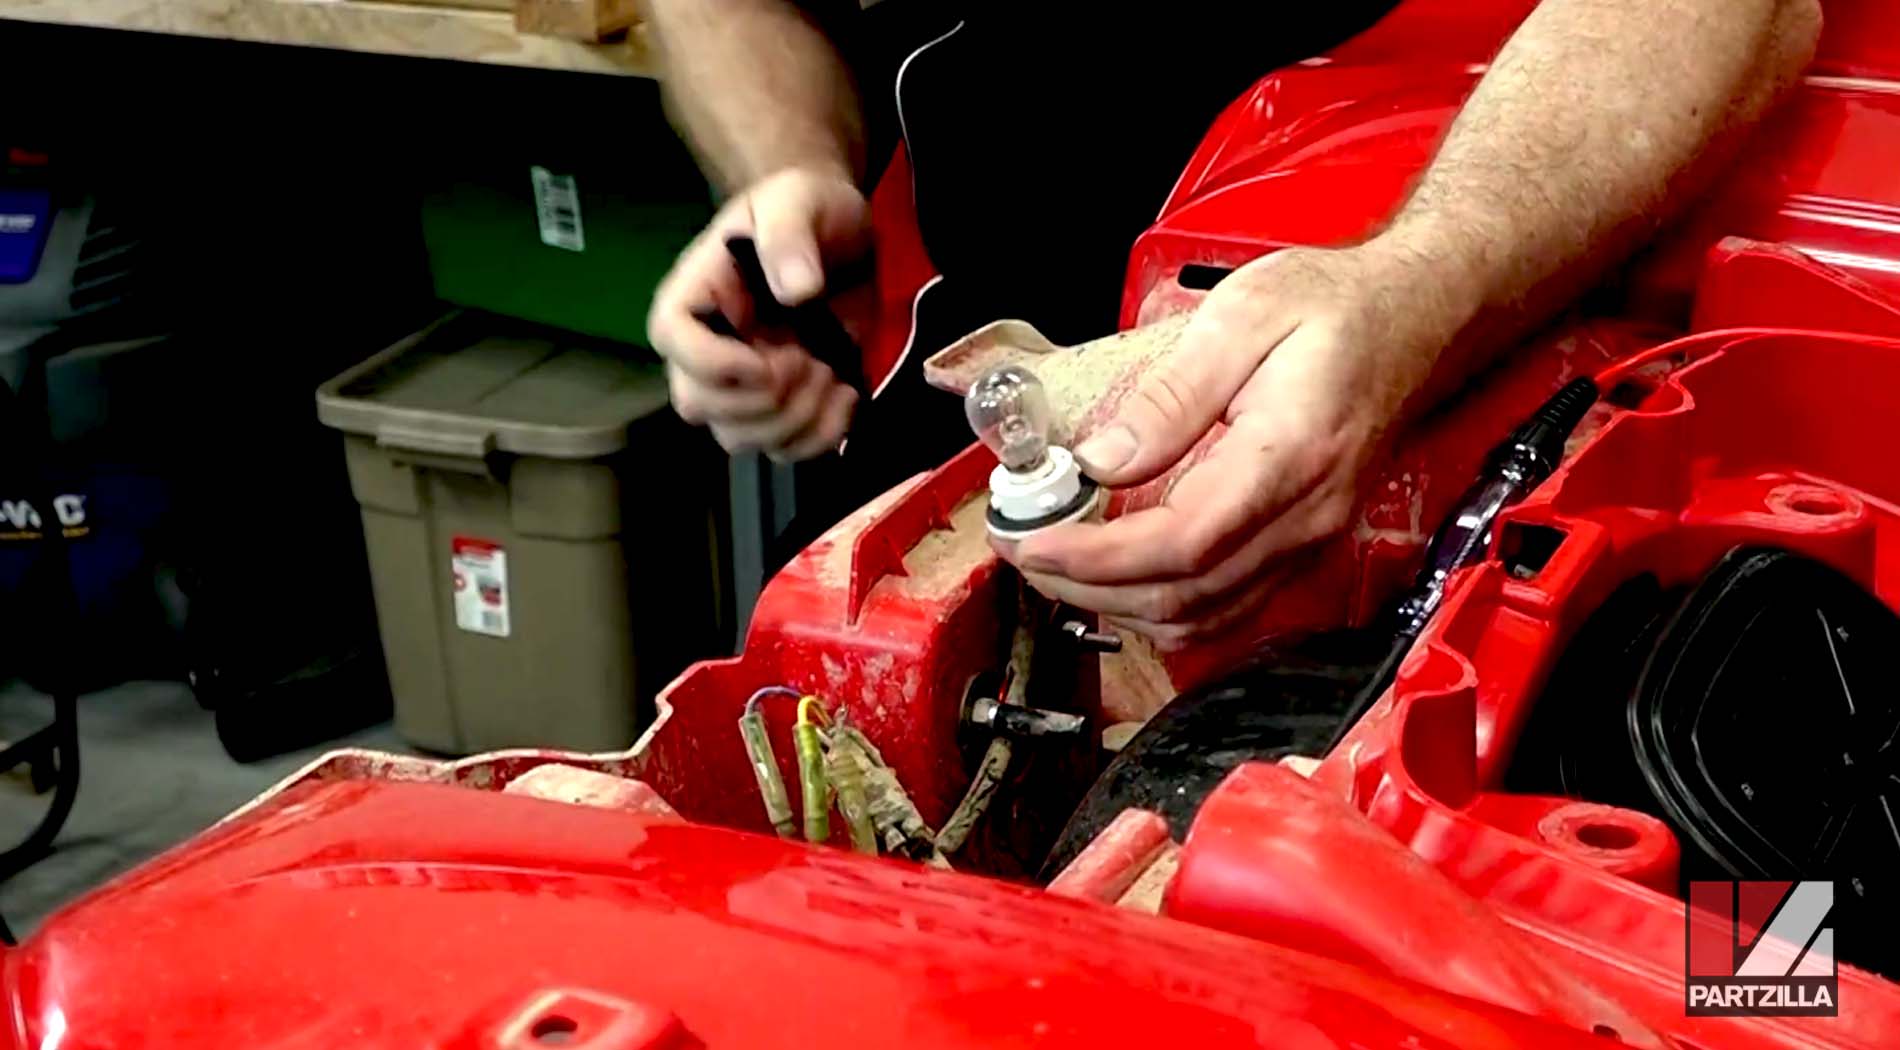
Step 5. Remove the taillight bulb holder from the back of the rear fender by turning it counterclockwise and pulling it free.
Step 6. Remove the old bulb, replace it with a new taillight bulb, and reinstall the taillight bulb holder back into the taillight assembly. Turn on the Grizzly's ignition, and check that the taillight and brake light are both working.
Step 7. Reinstall the rear fender cover, the rear rack and the seat and you're done.